John Ruy
-
Posts
1,592 -
Joined
-
Last visited
Content Type
Profiles
Forums
Gallery
Events
Everything posted by John Ruy
-
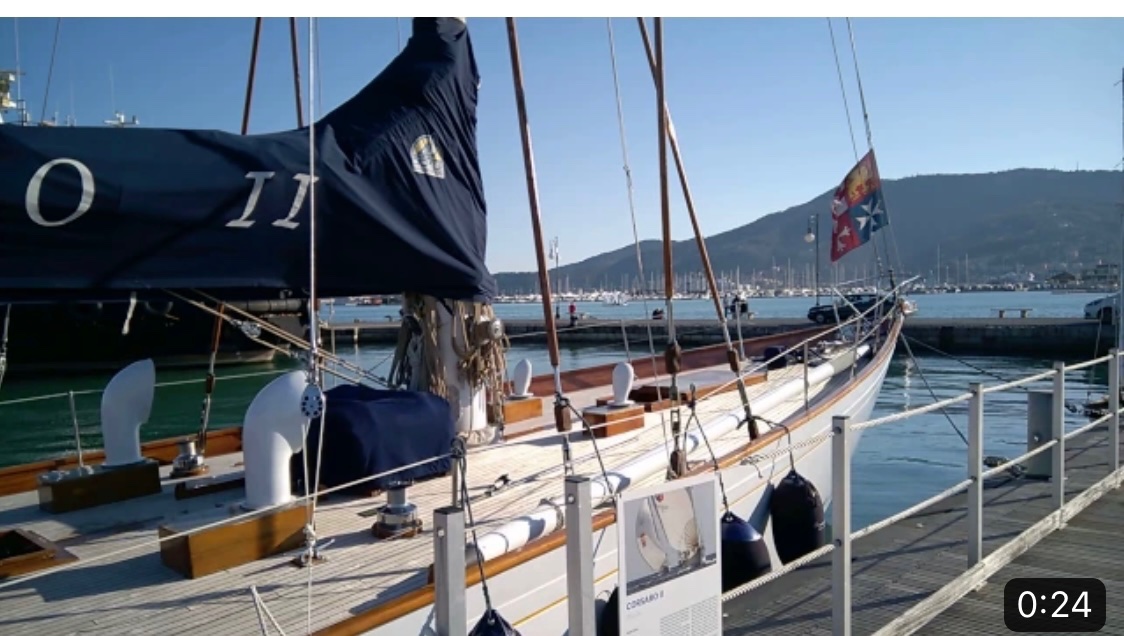
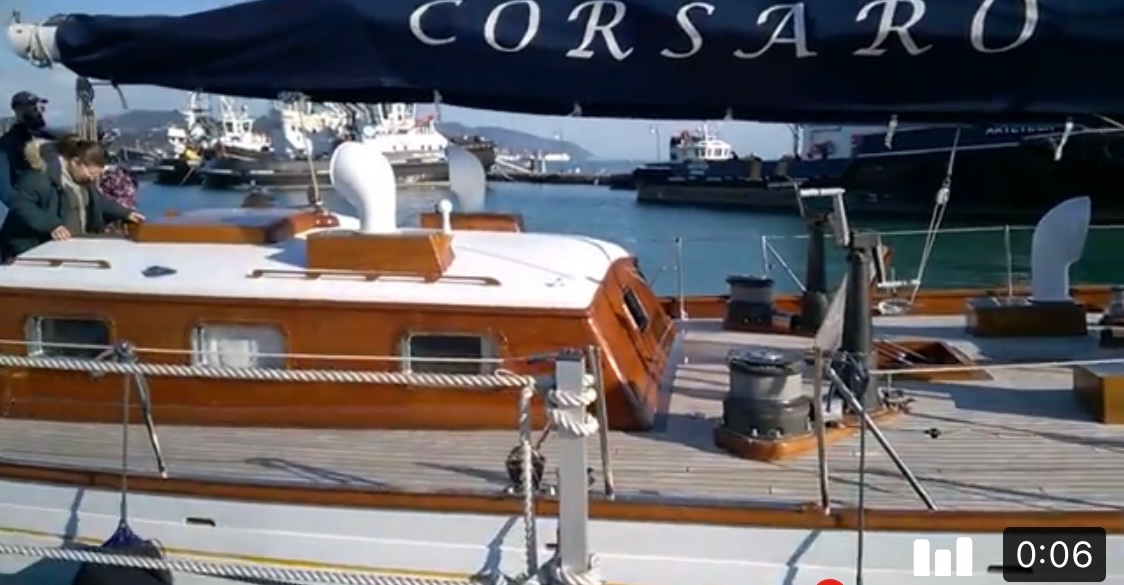
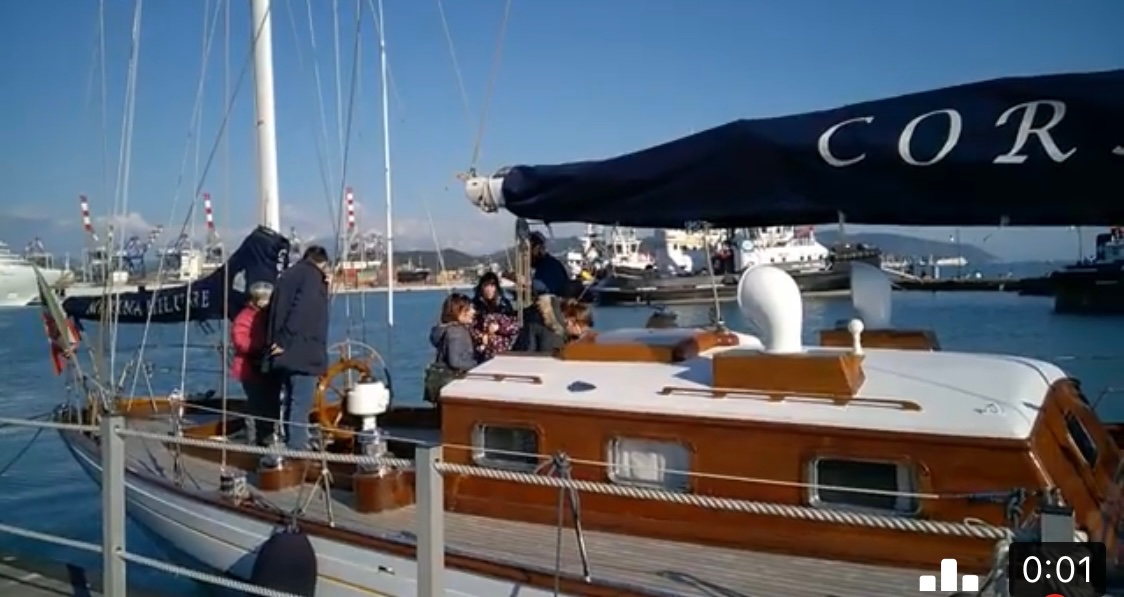
 I found this video on an Italian Site. The ventilators are definitely stowed while they are underway. Makes sense… https://www.nauticareport.it/dettnews/barche_e_navi_depoca/corsaro_ii_1961-4808-6020/ Very interesting video to watch the crew working the sails.
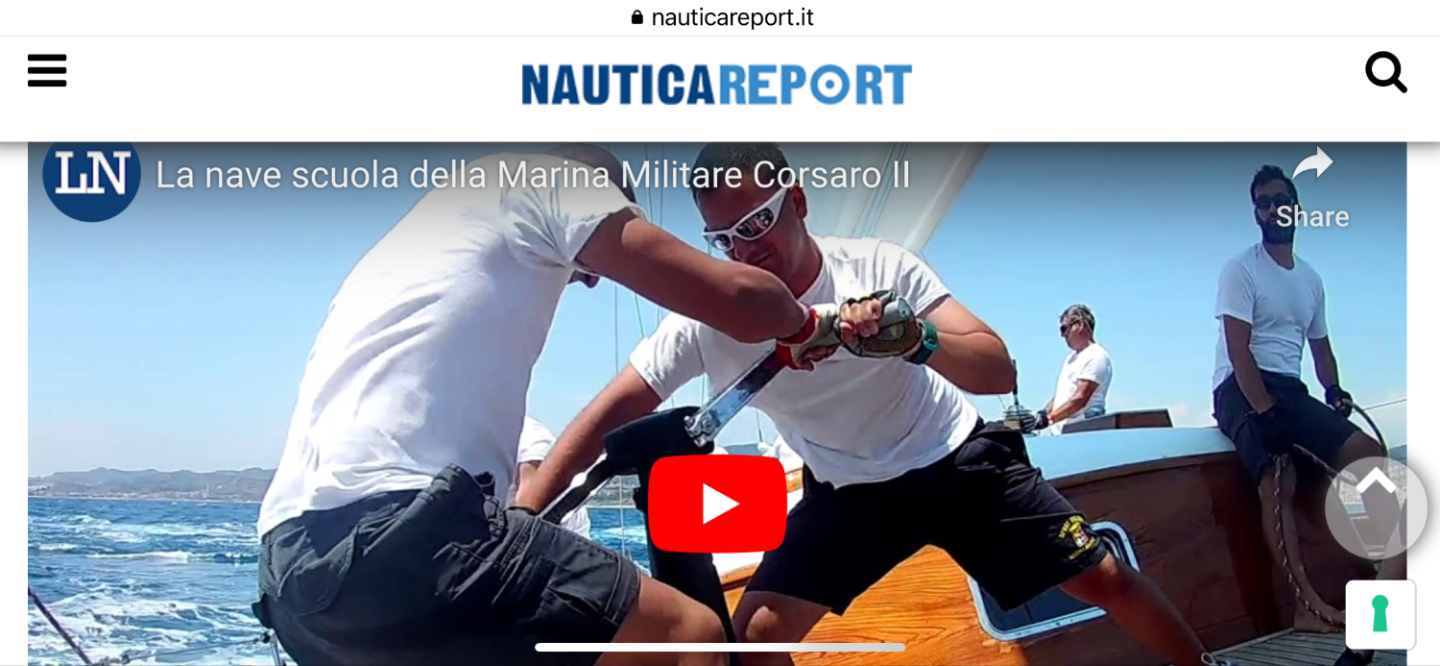
-
Exactly… That small deckhouse doesn’t seem right either. I am having a hard time reconciling this kit. Needs more research…

-
Agreed… I would like to display her with ventilators as a static display, as I don’t think I can depict her under sail given the size/scale of the sails. However, as you can see the ventilators supplied don’t accurately represent the ventilators as seen in the first photo above. Perhaps another source for accurately scaled ventilators would be a solution.
-
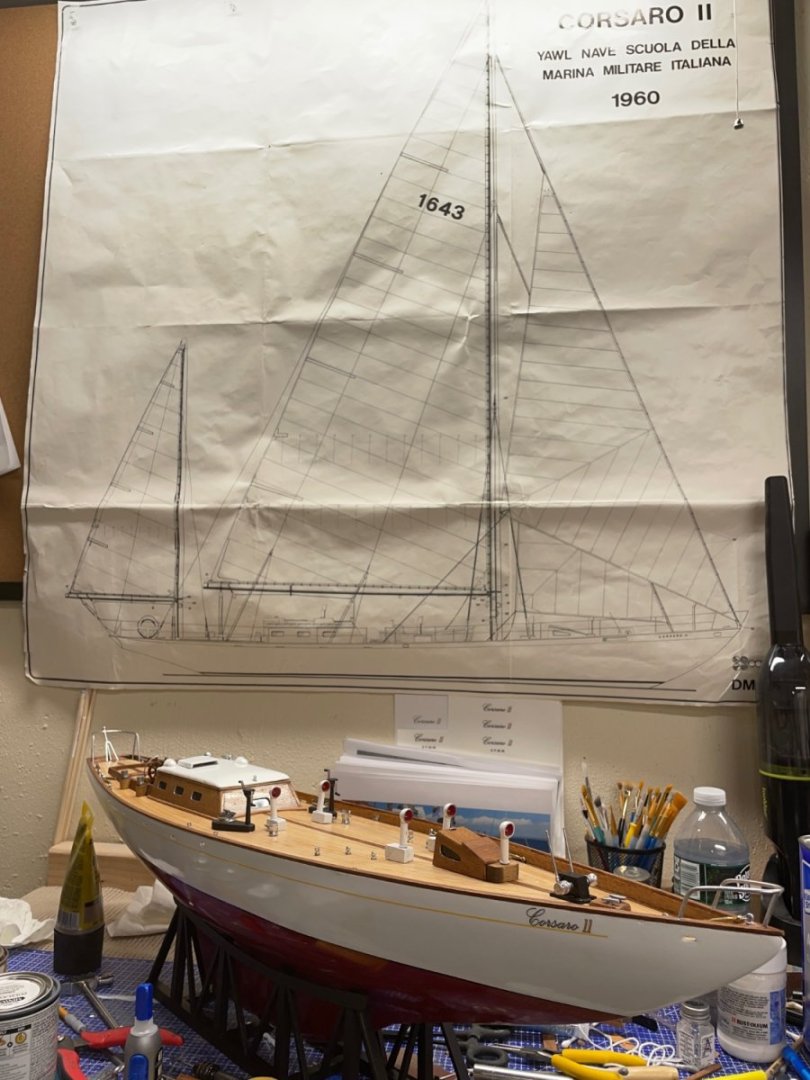
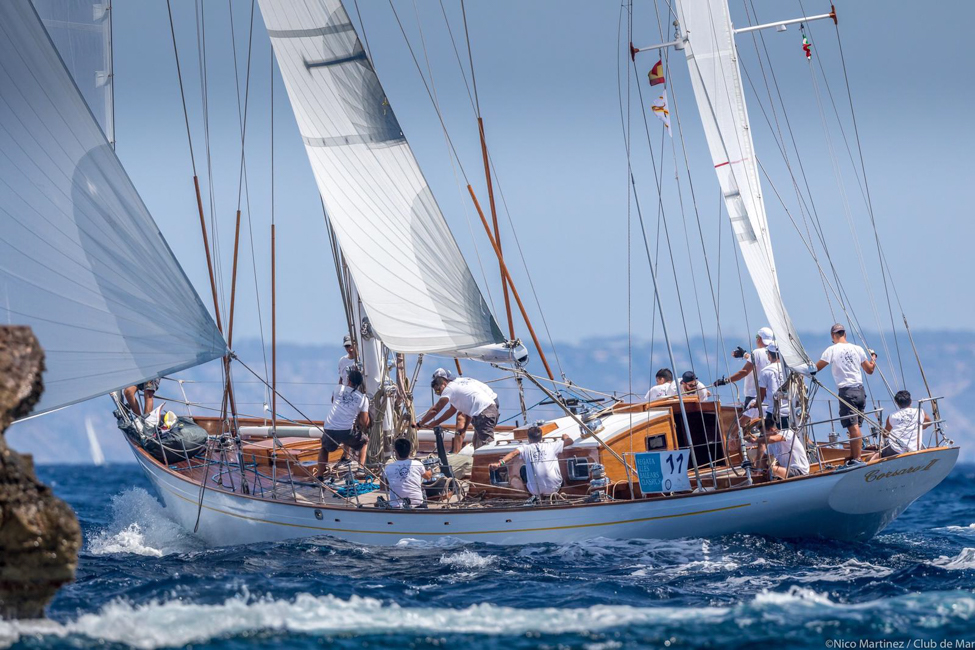
I’m building The Italian Yacht Corsaro II from a Corel kit and have been researching actual photos of the 1960 Yacht in an effort to make its appearance as accurate as possible. My question is regarding the Ventilation of this Yacht. I have photos of The Corsaro II both in harbor and racing at sea. I don’t particularly care for the appearance of the cowl ventilators that are provided with the kit and I would like to clean my model up a bit by capping the ventilators. It appears from the photos of the yacht in races that this would be a valid configuration. I would like your collective opinions… Would capping the ventilators would be appropriate? I have not seen this model displayed this way and think it would be a way of making it more unique. Your thoughts please… Thanks

-
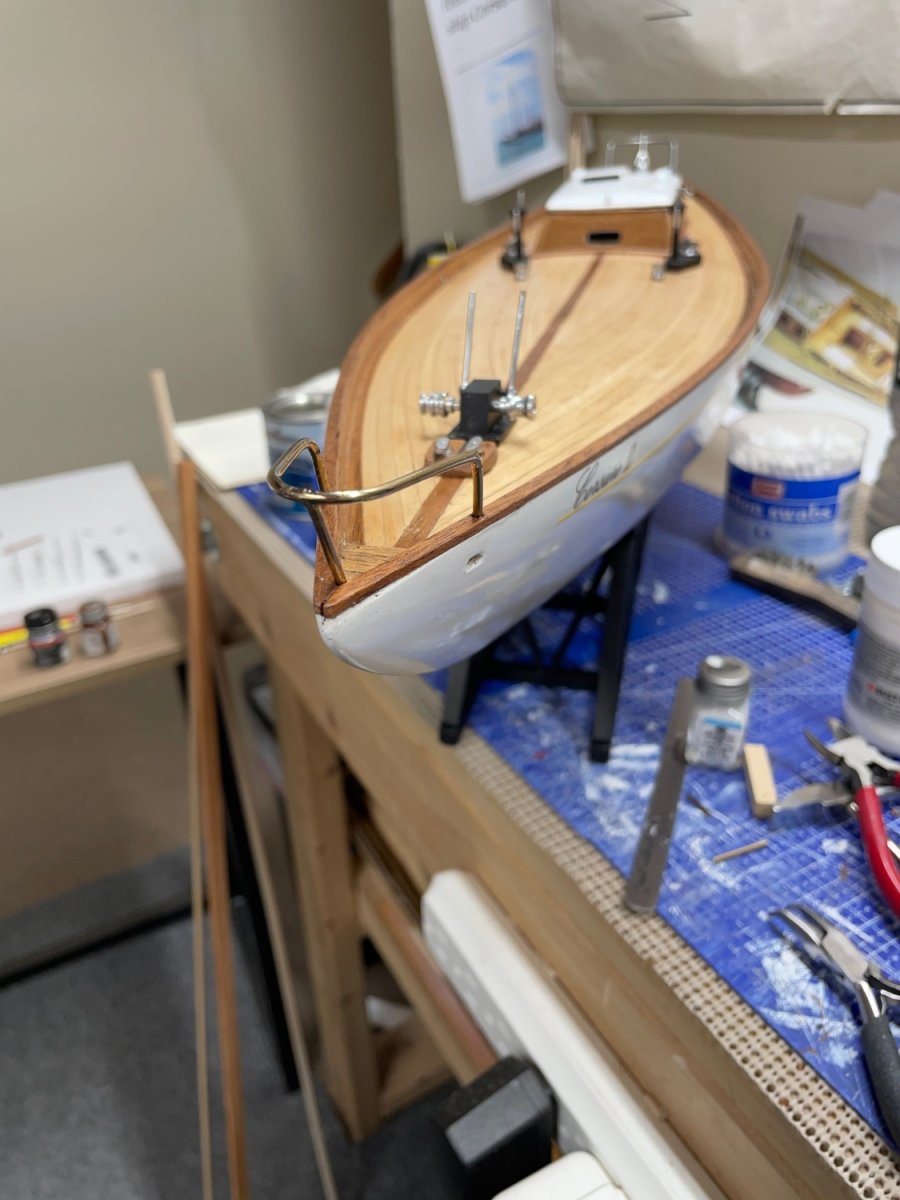
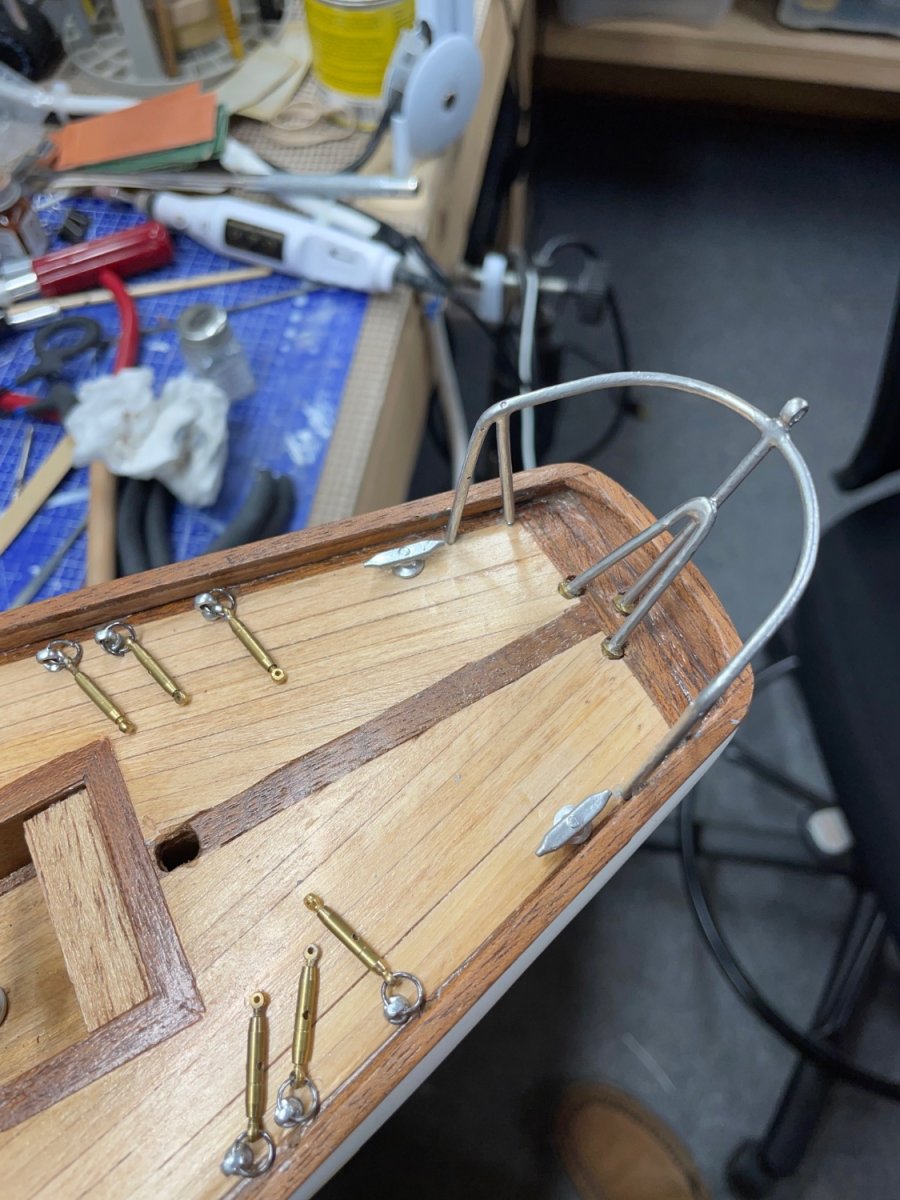
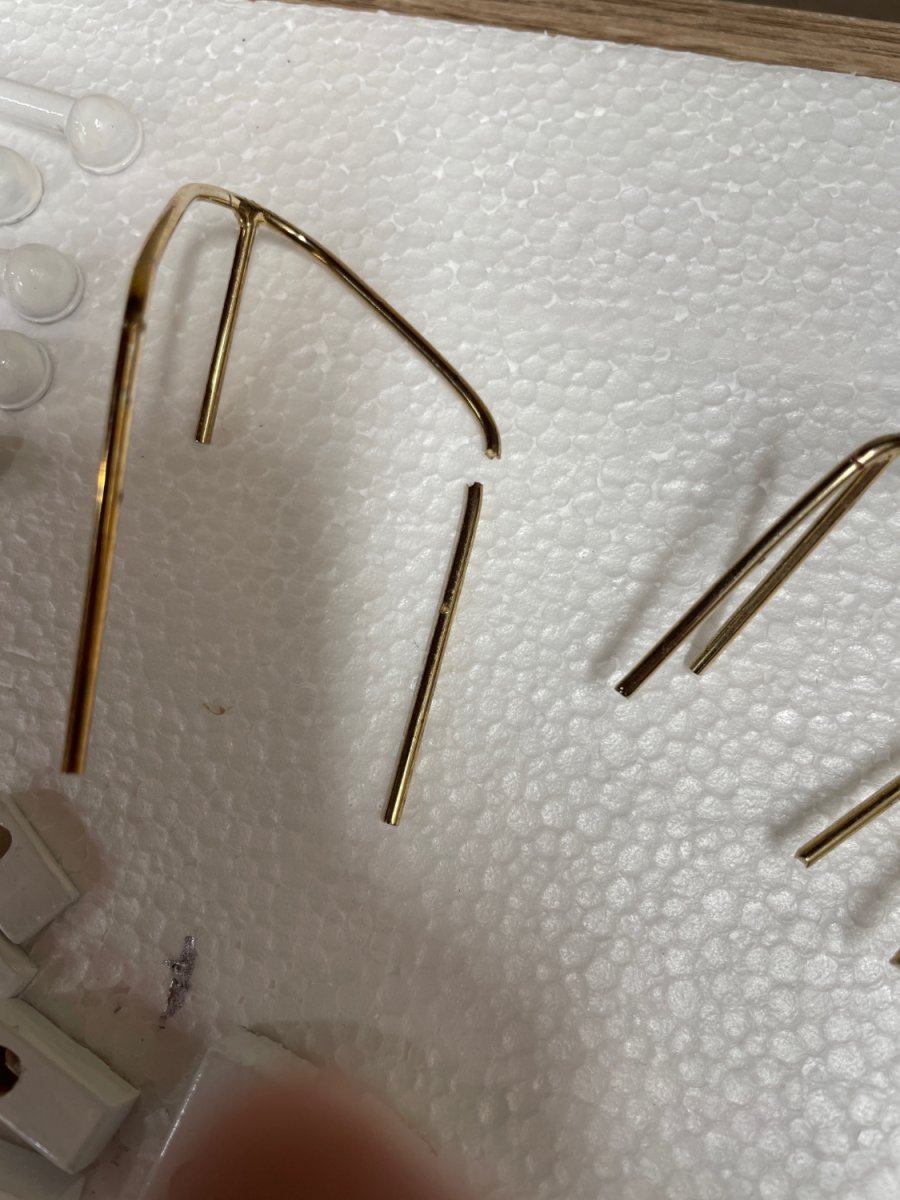
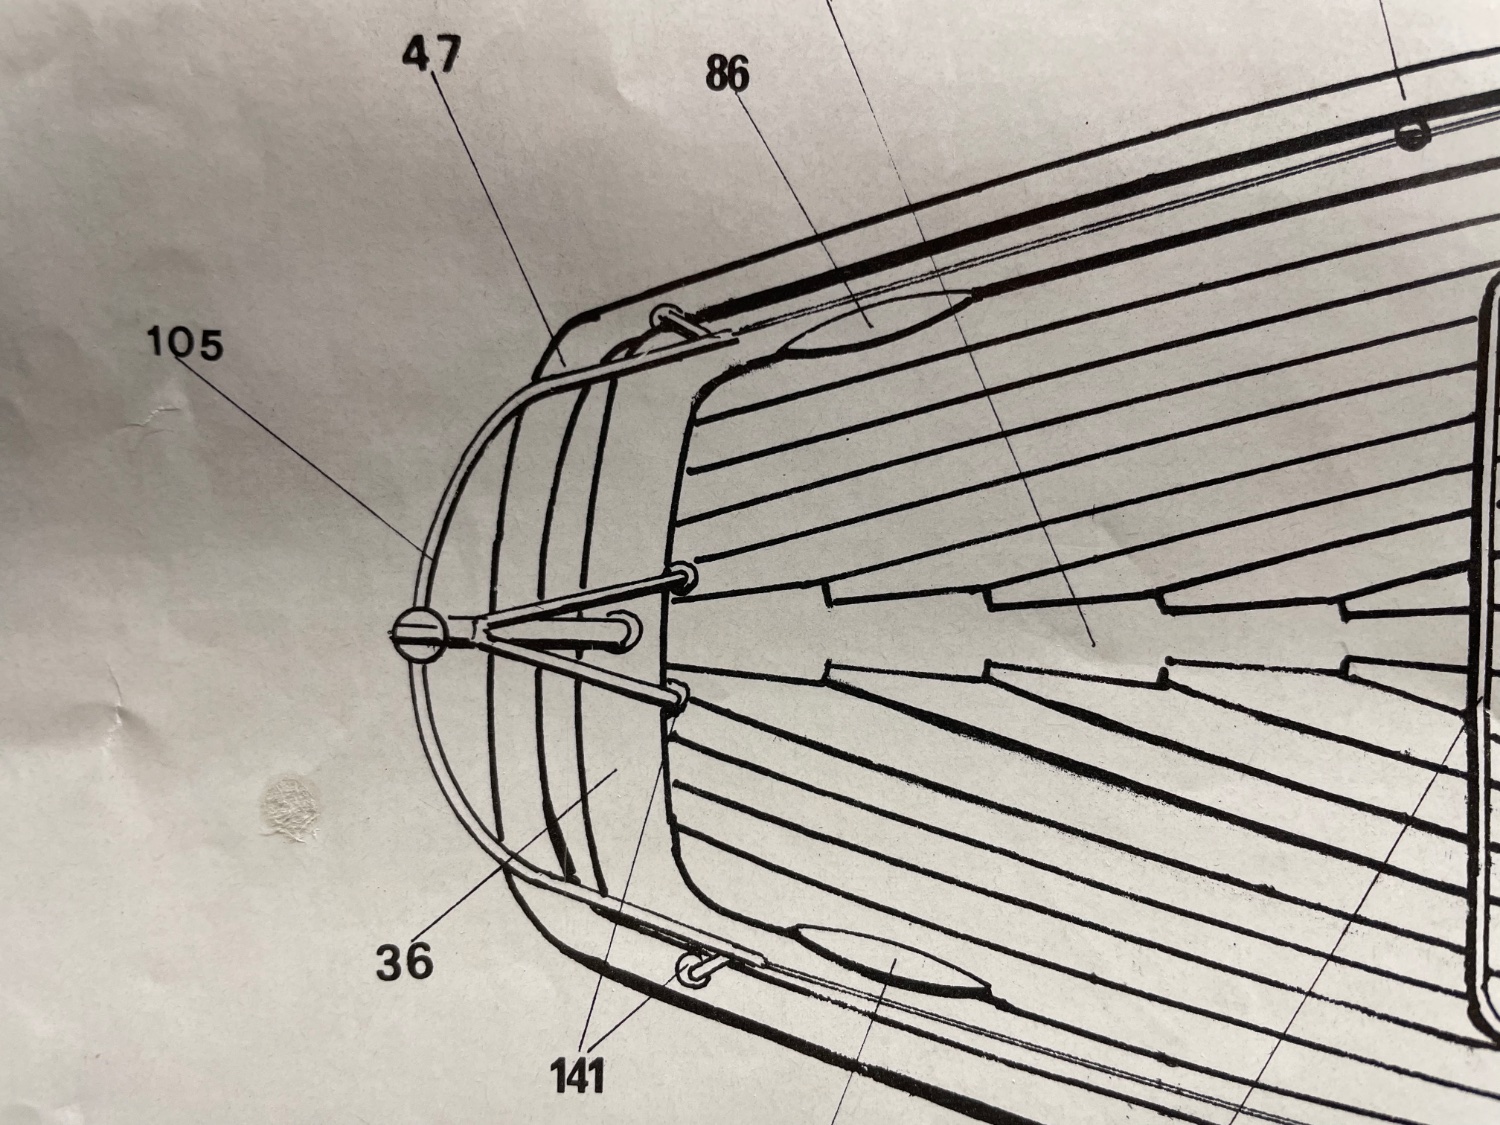
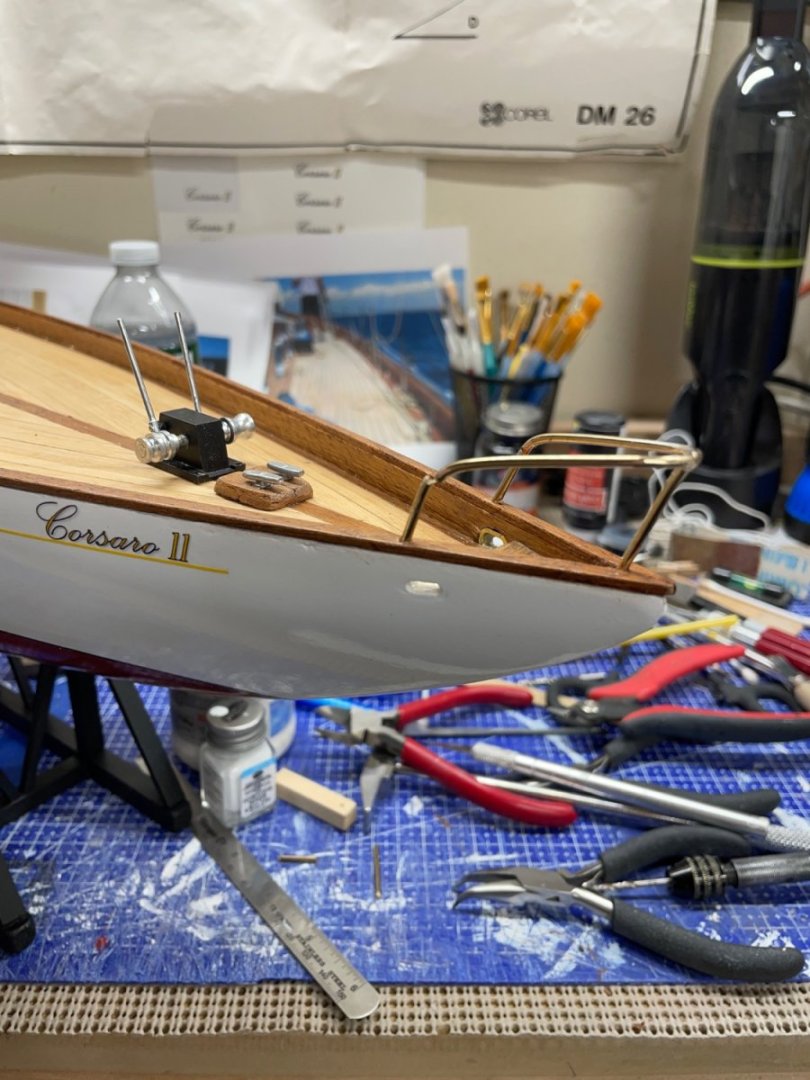
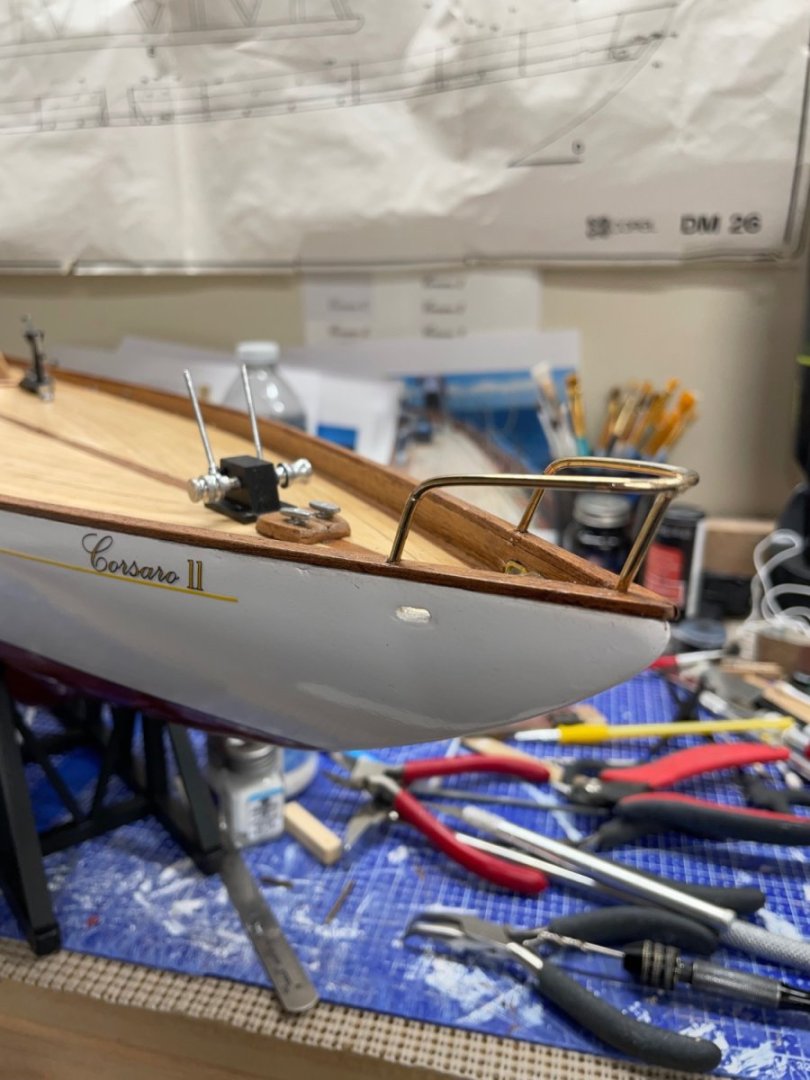
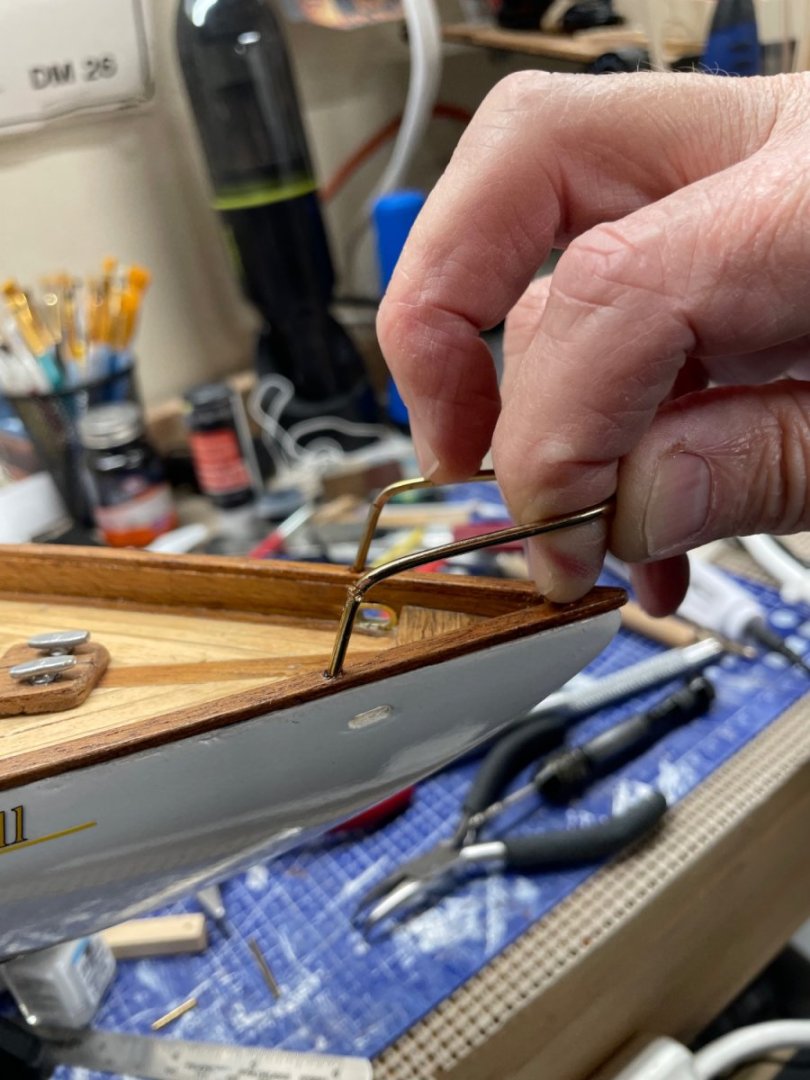
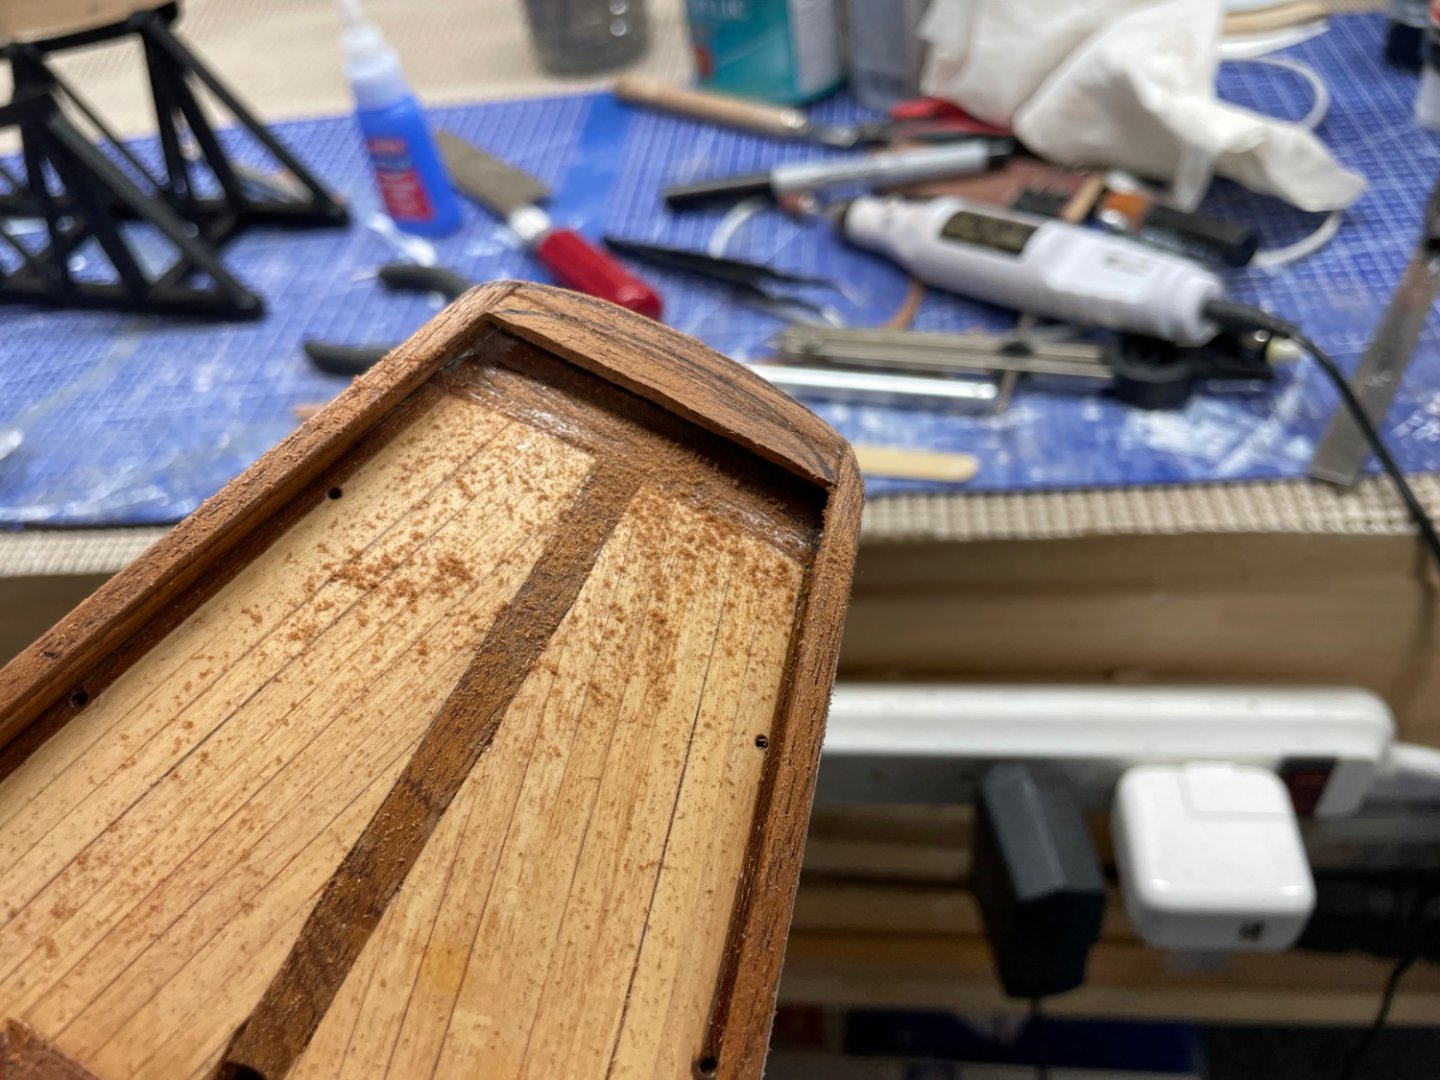
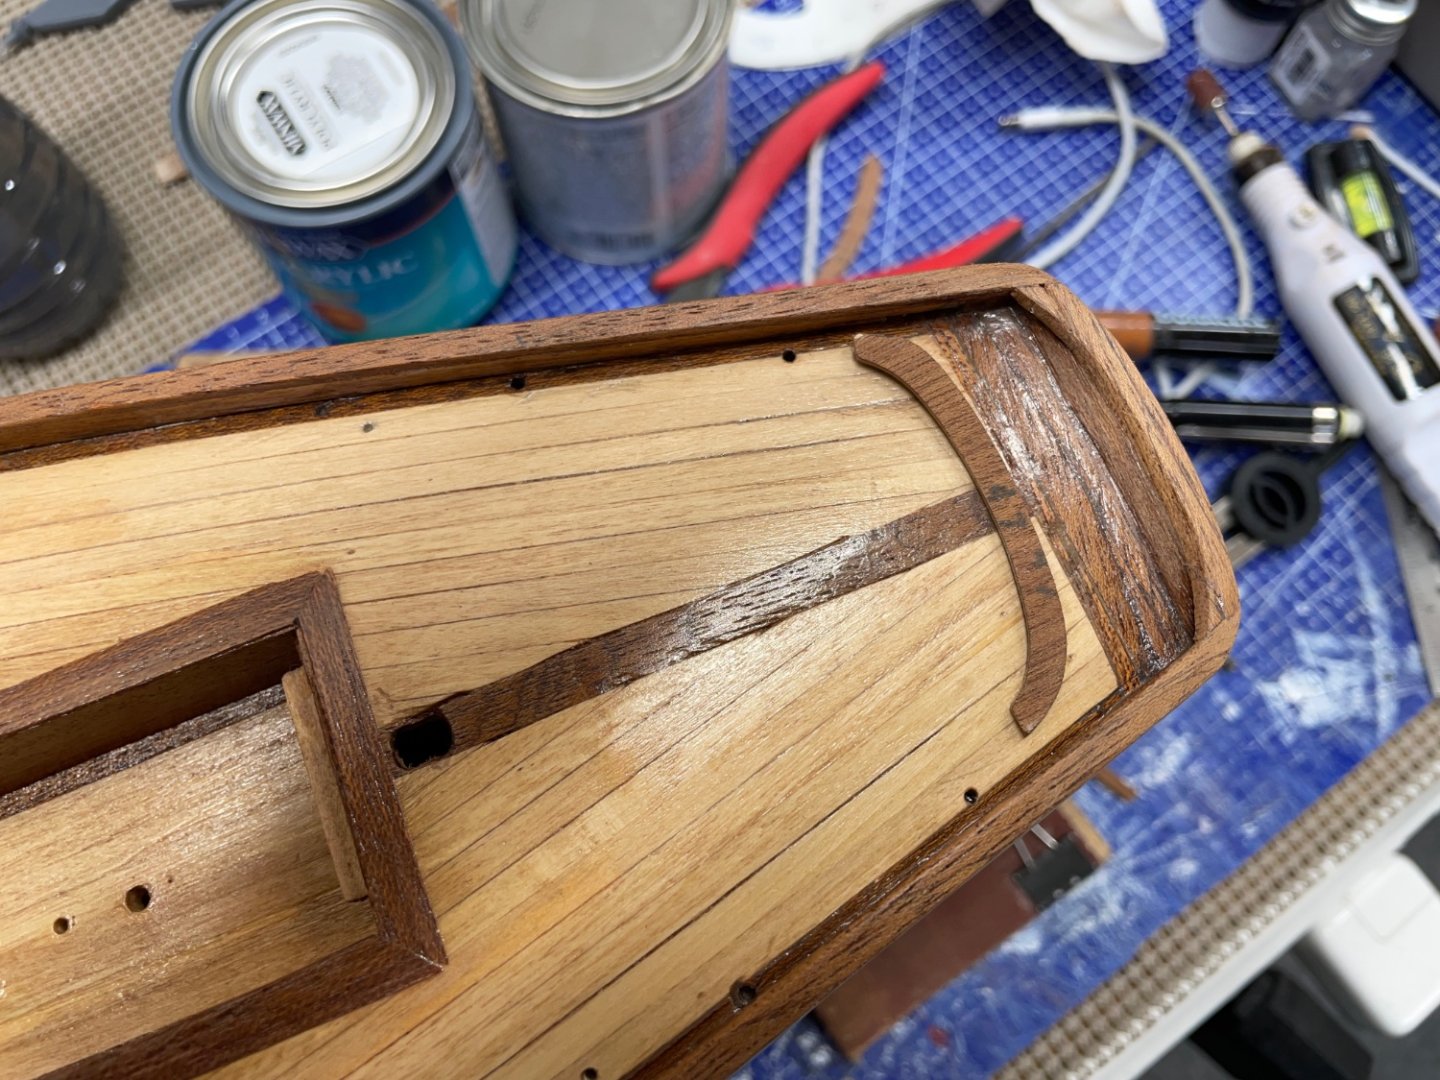
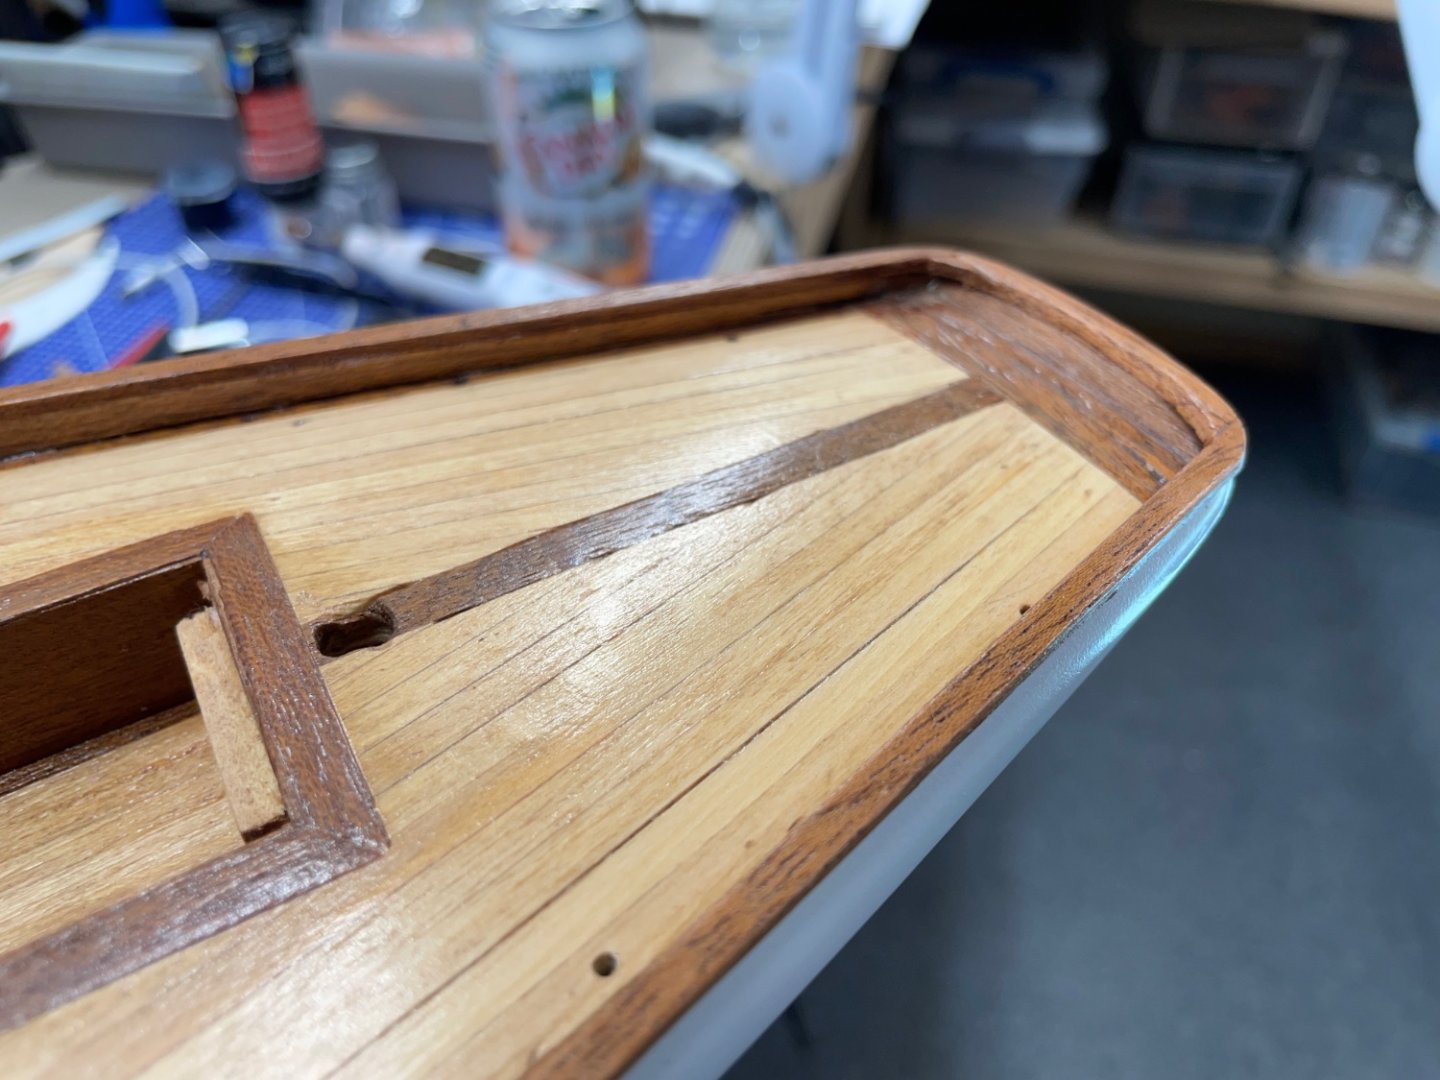
Bow Pulpit… @rshousha Note repair of Bow Pulpit as follows. I found the Bow Pulpit provided by Corel to not be a proper fit and needing quite some bit of adjustment (bending). I’m sure this how you found yourself breaking the part. In fact I had planned to fit the original part and cement the broken piece in place on the bow. Unfortunately, I too broke the other leg of the bow pulpit. So, I came up with a plan B and custom fitted the Pulpit into the railing. 🧐 I have found many of the parts provided needing to be “adjusted”. I personally am not impressed with the quality of the kit. I certainly would not recommend this kit for a beginner. 😆 Used my finger clamp method to hold in place while the CA glue cured. Successfully installed the busted Bow Pulpit. Onwards 🍻

- 84 replies
-
- 10
-

-
- Corsaro II
- Corel
- (and 1 more)
-
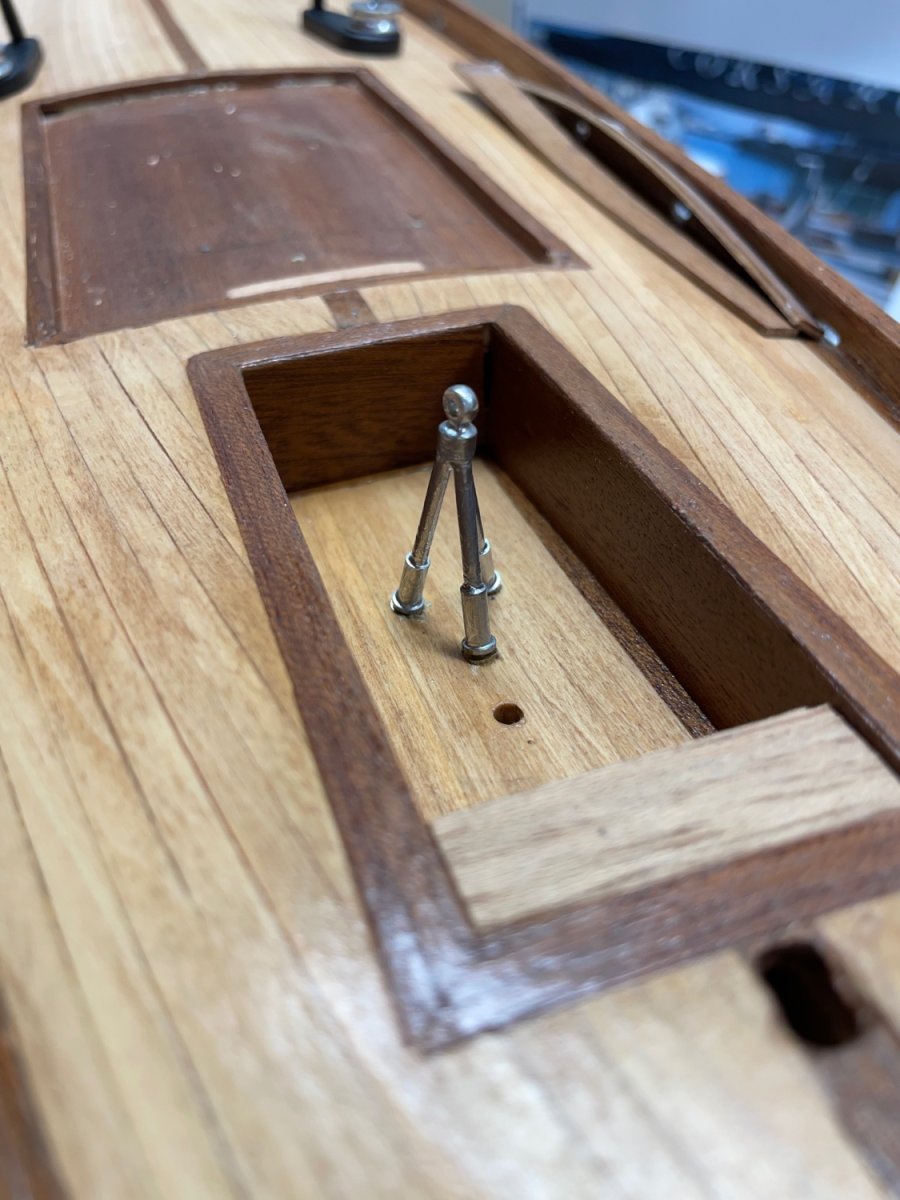
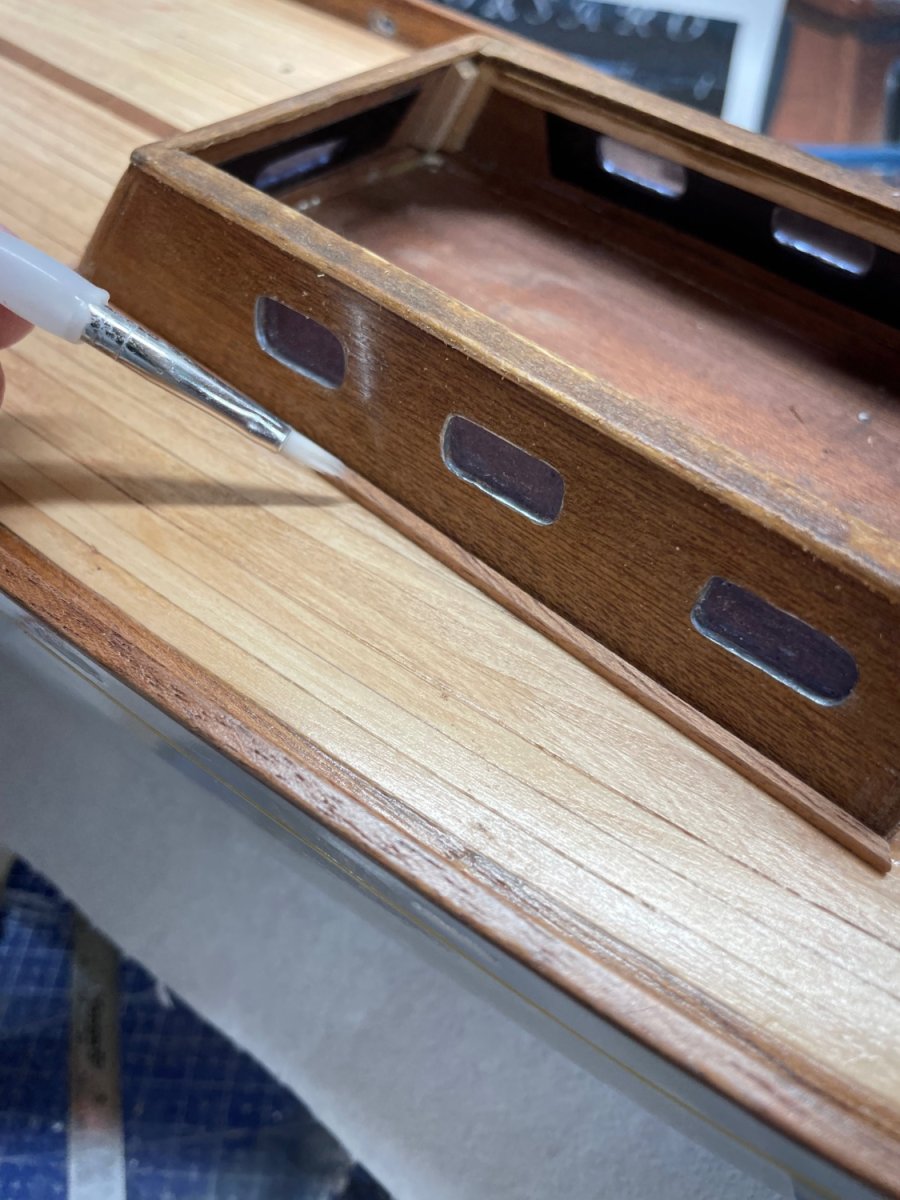
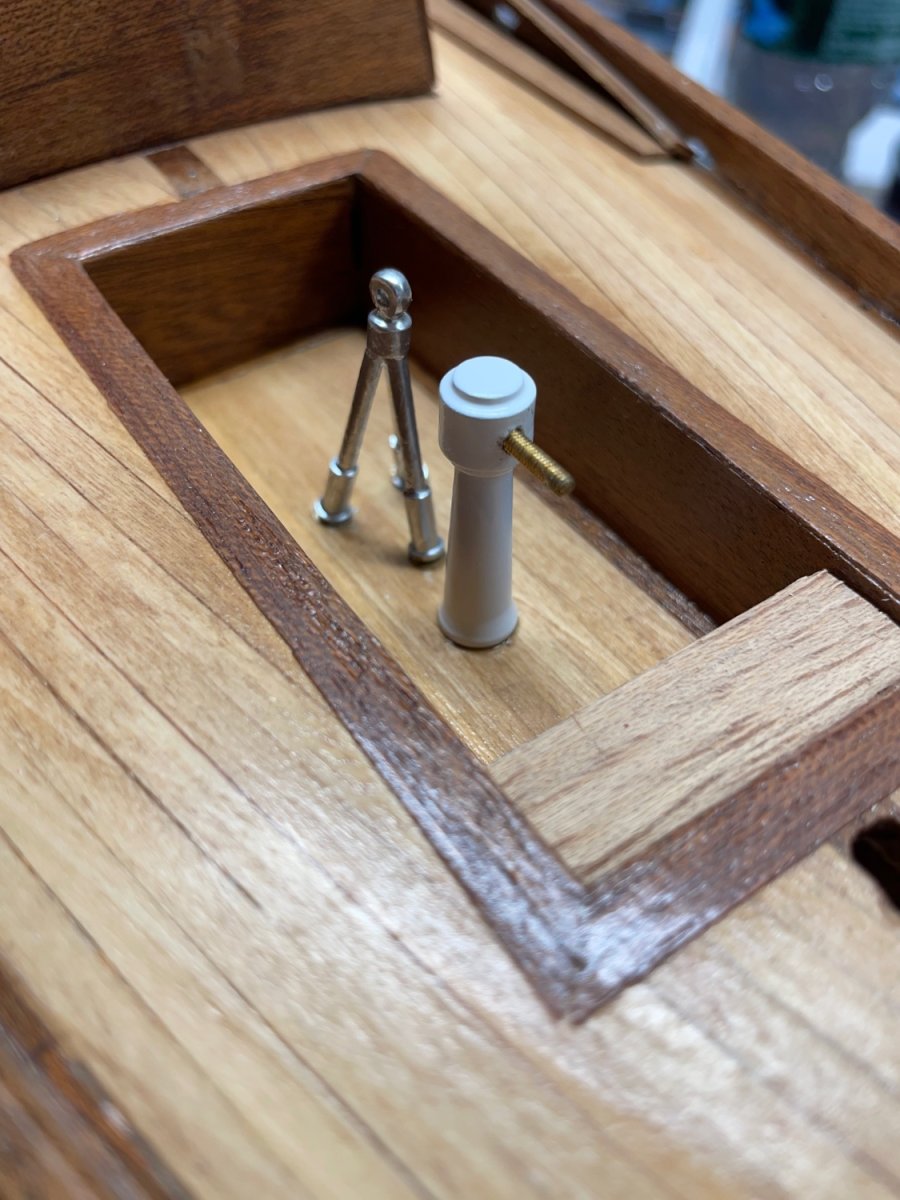
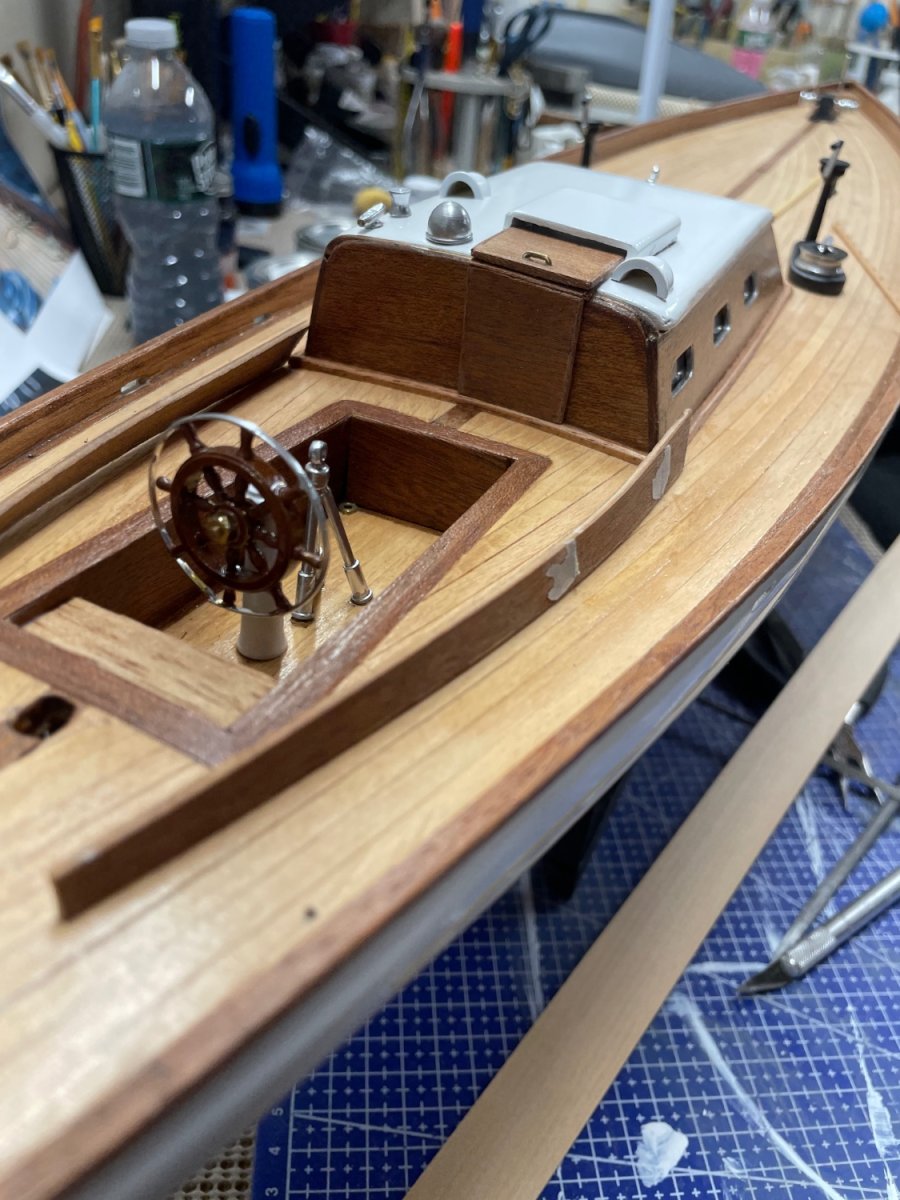
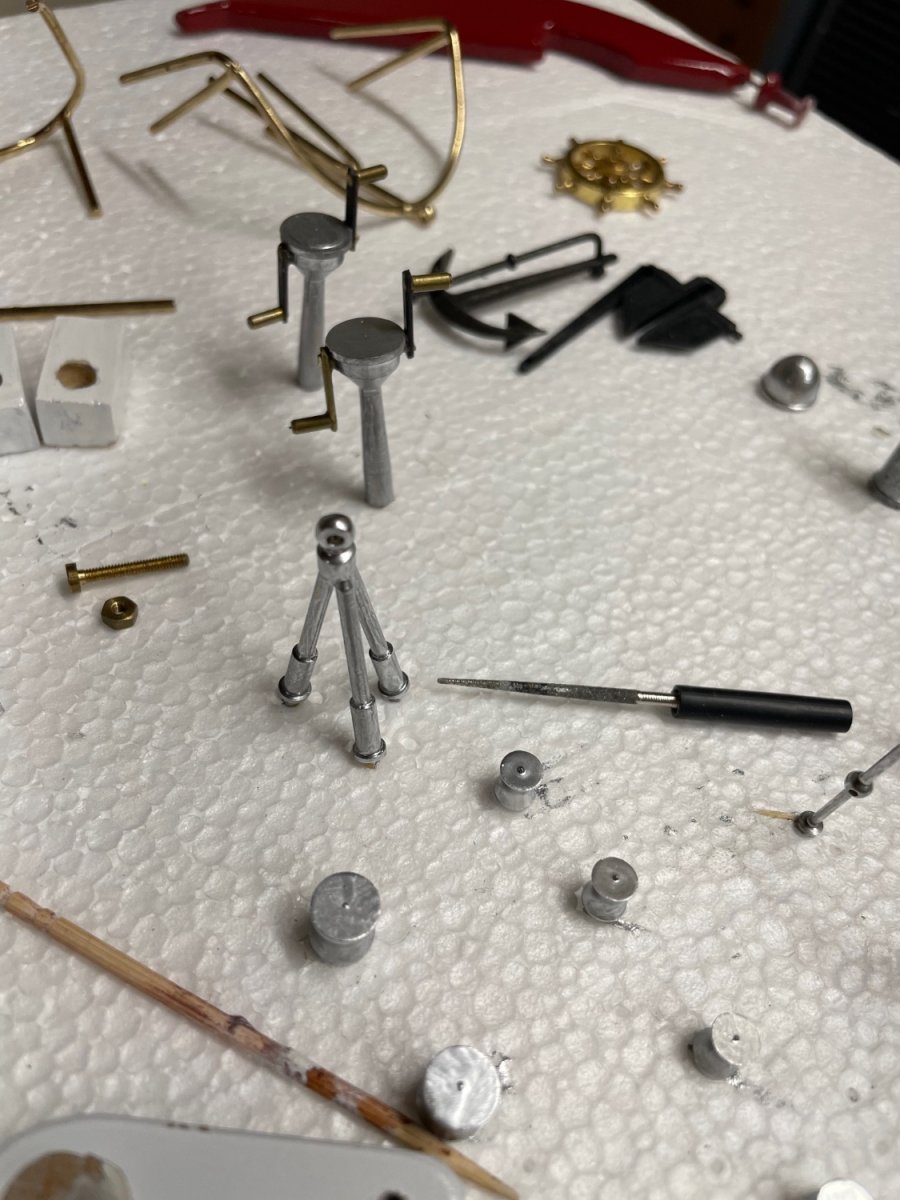
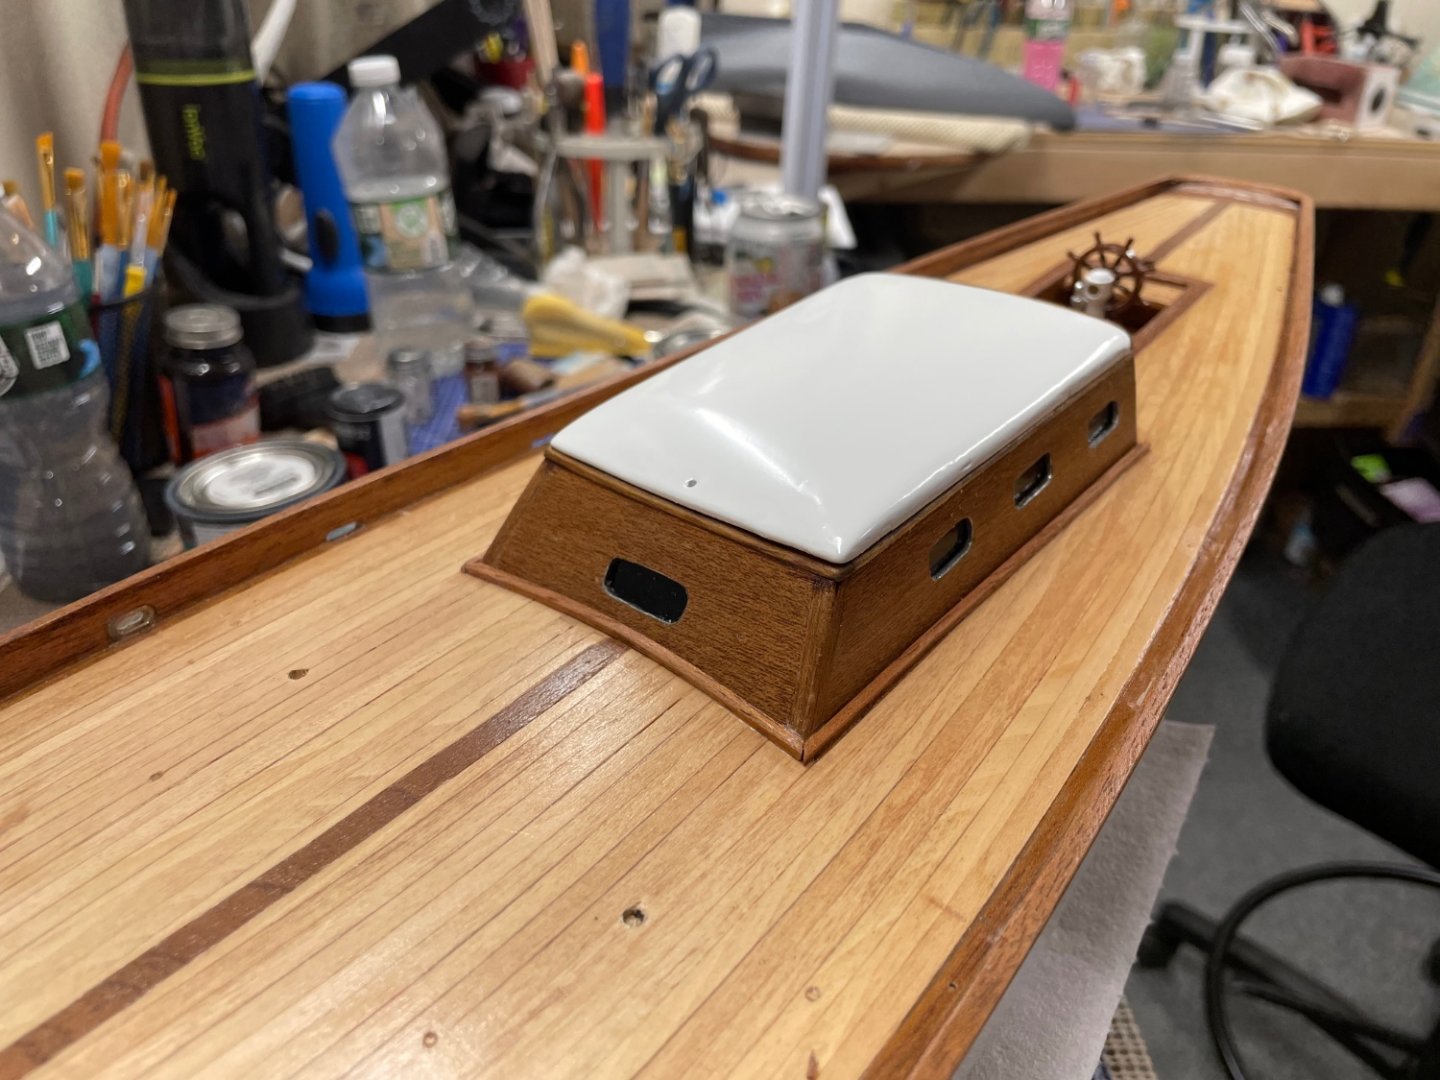
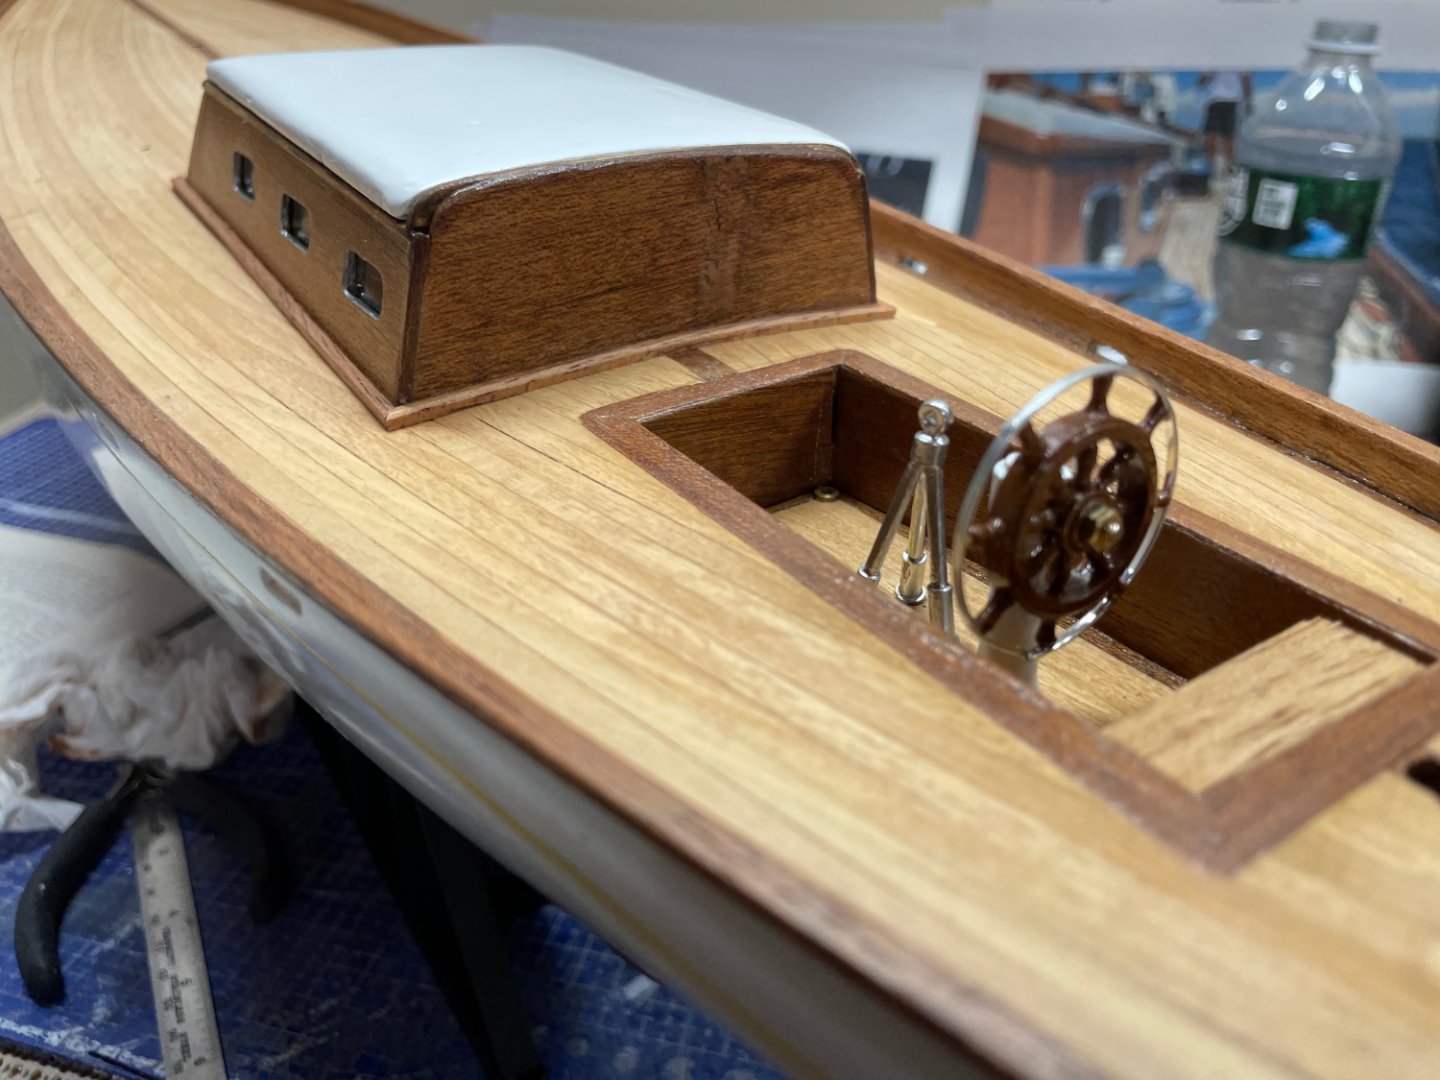
Deck House and Cockpit… Trivit mounted in the cockpit… Wheel pedestal in cockpit… Deckhouse and Wheel mounted… Details added to Deckhouse Hatch, etc… Progress on Deck Furnishings/Fittings… Onwards 🍻


- 84 replies
-
- 8
-
-

-
- Corsaro II
- Corel
- (and 1 more)
-
You must mean this break right on the tiny hole for the hand rail wire. Should be interesting 🧐 May have to build a new one from scratch. I will certainly post the fix when I get it done. That piece should be coming up soon. Unless I work the deck fittings from stern to stem. LOL 😆 Truth is I will probably put this off for it but to give it some real thought. 🤨

- 84 replies
-
- 2
-
-
- Corsaro II
- Corel
- (and 1 more)
-
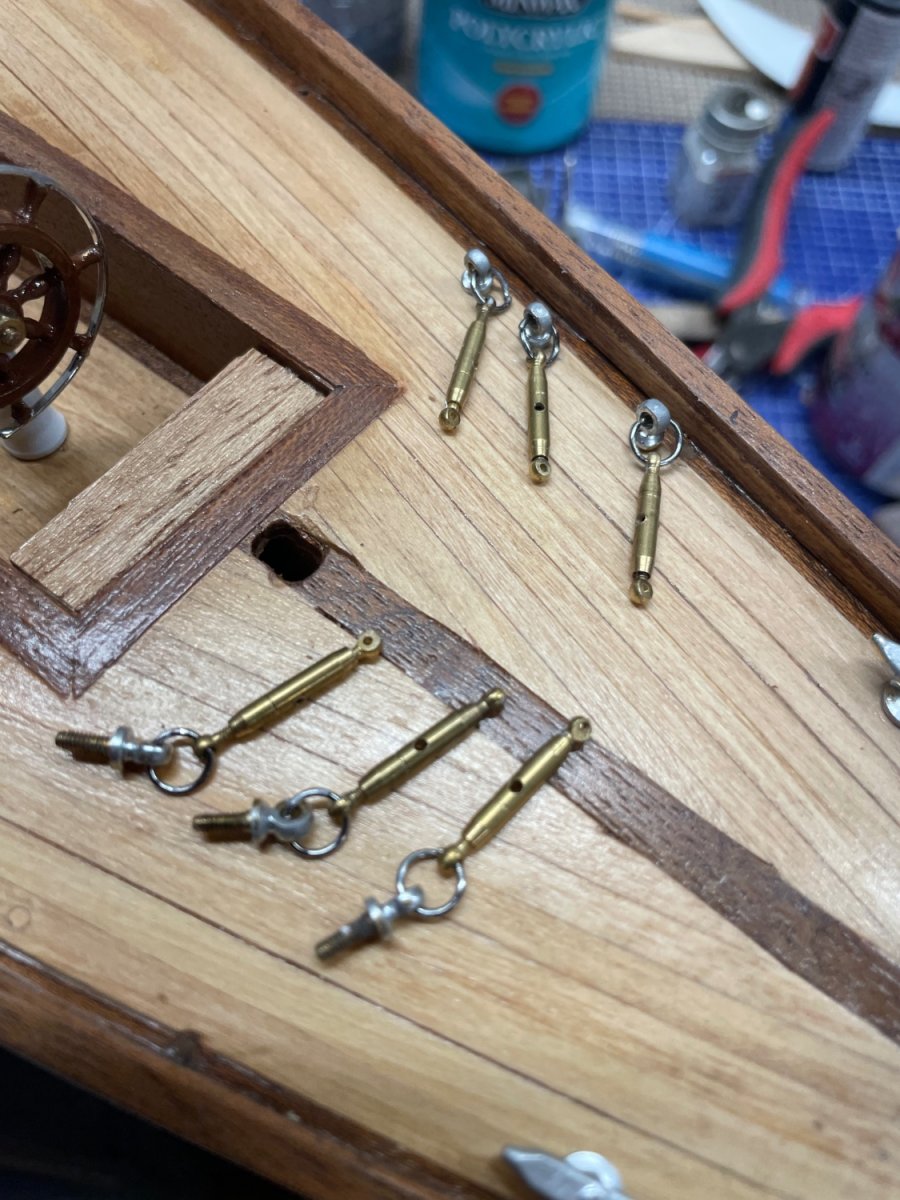
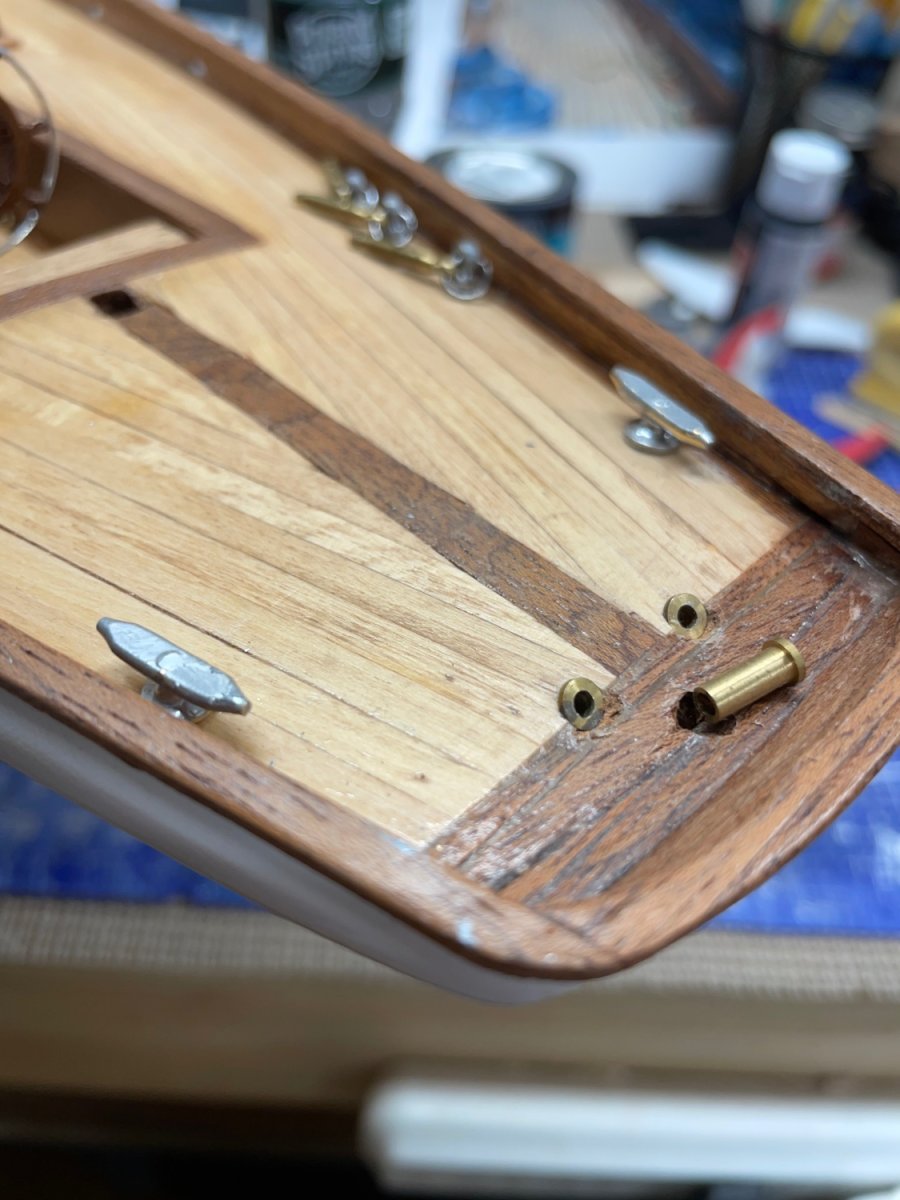
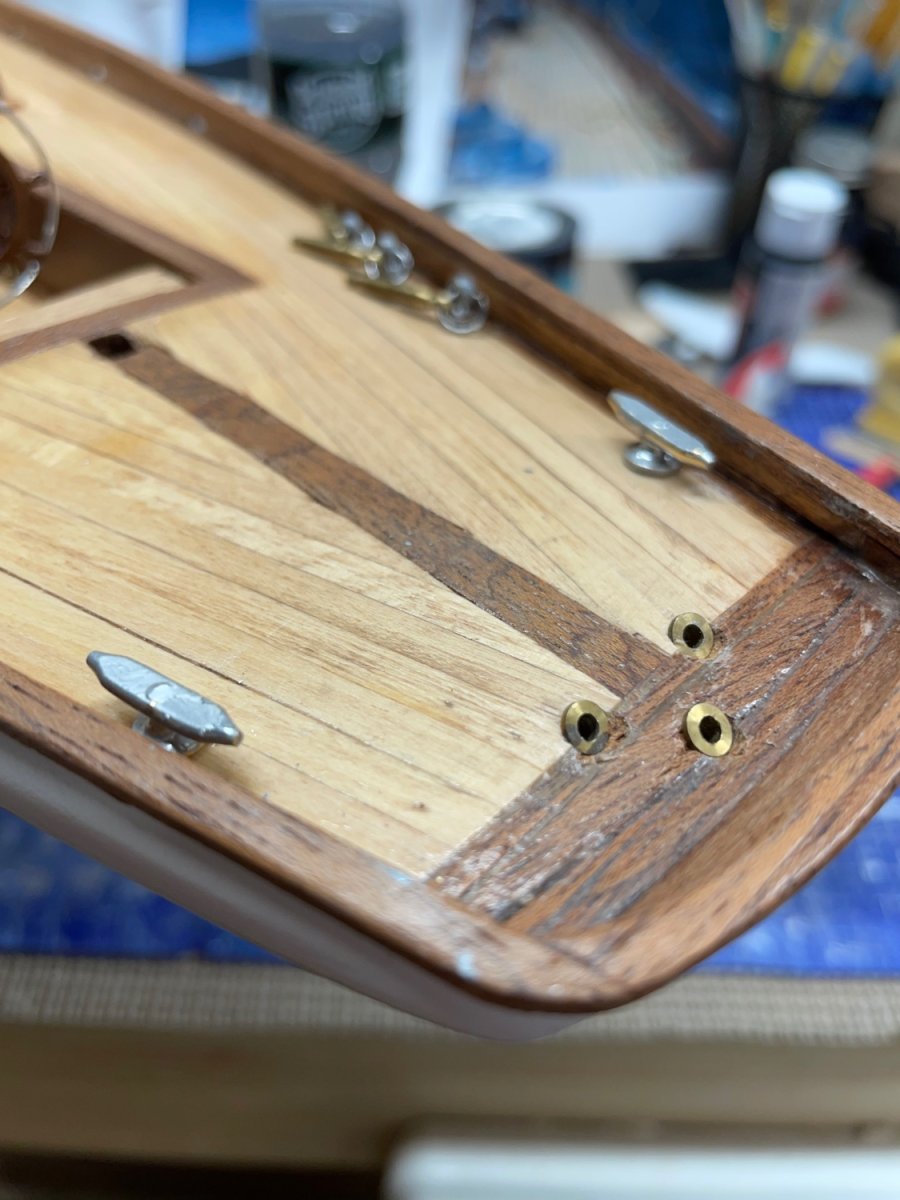
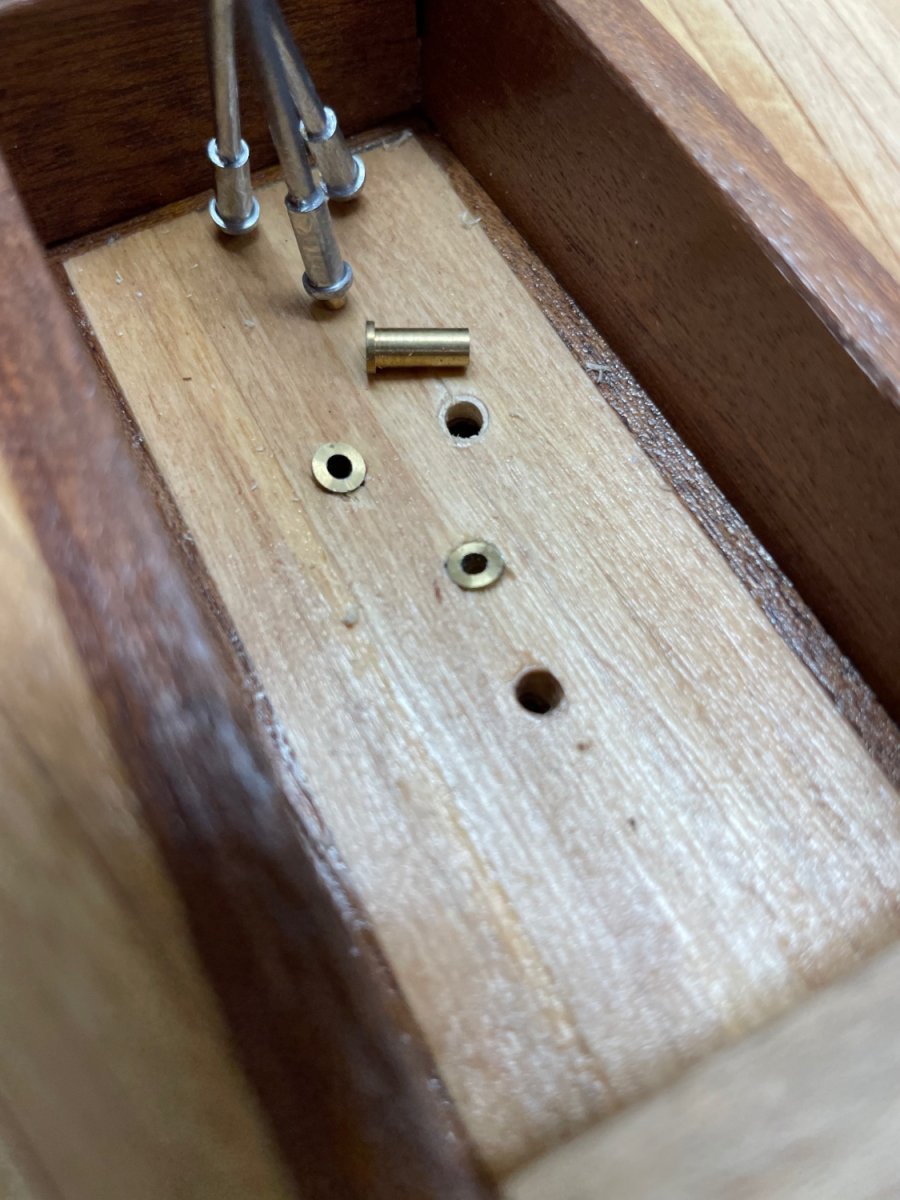
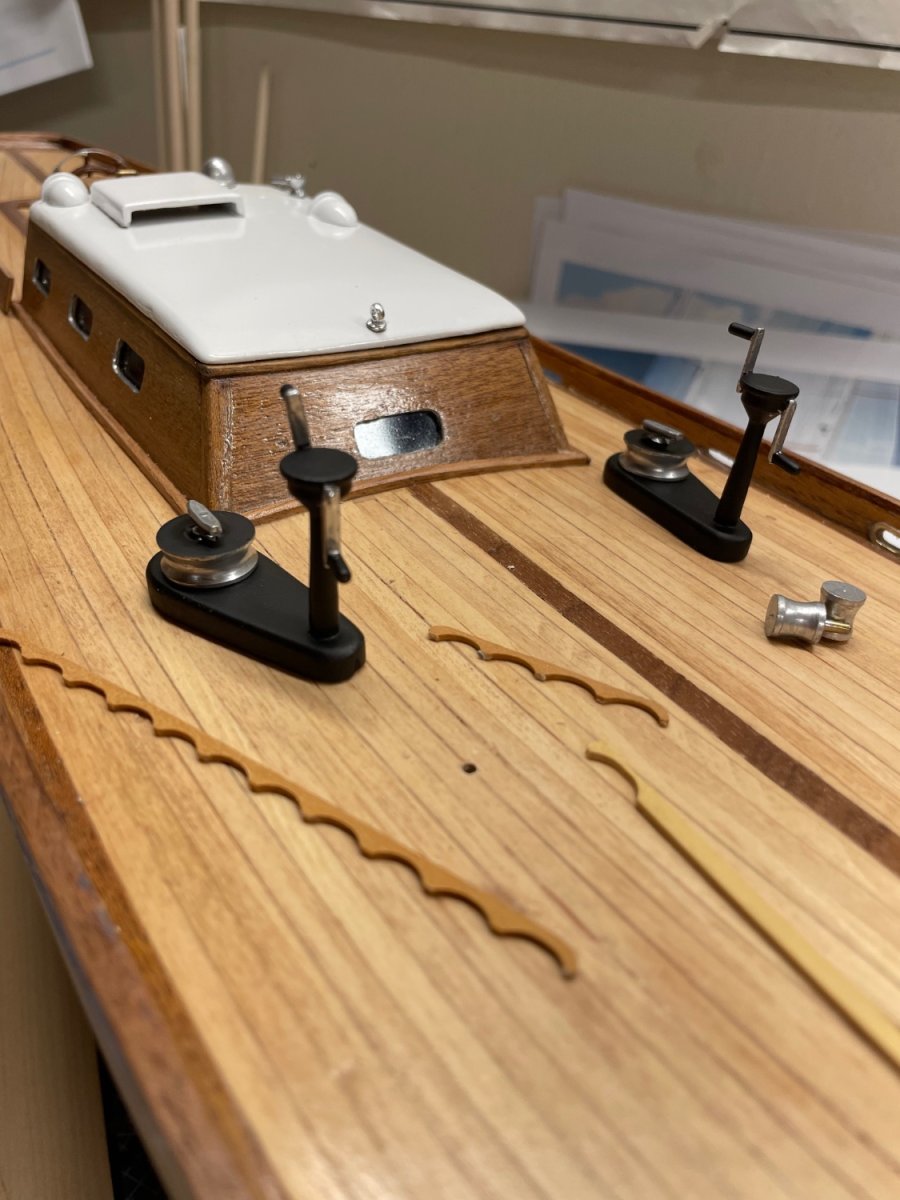
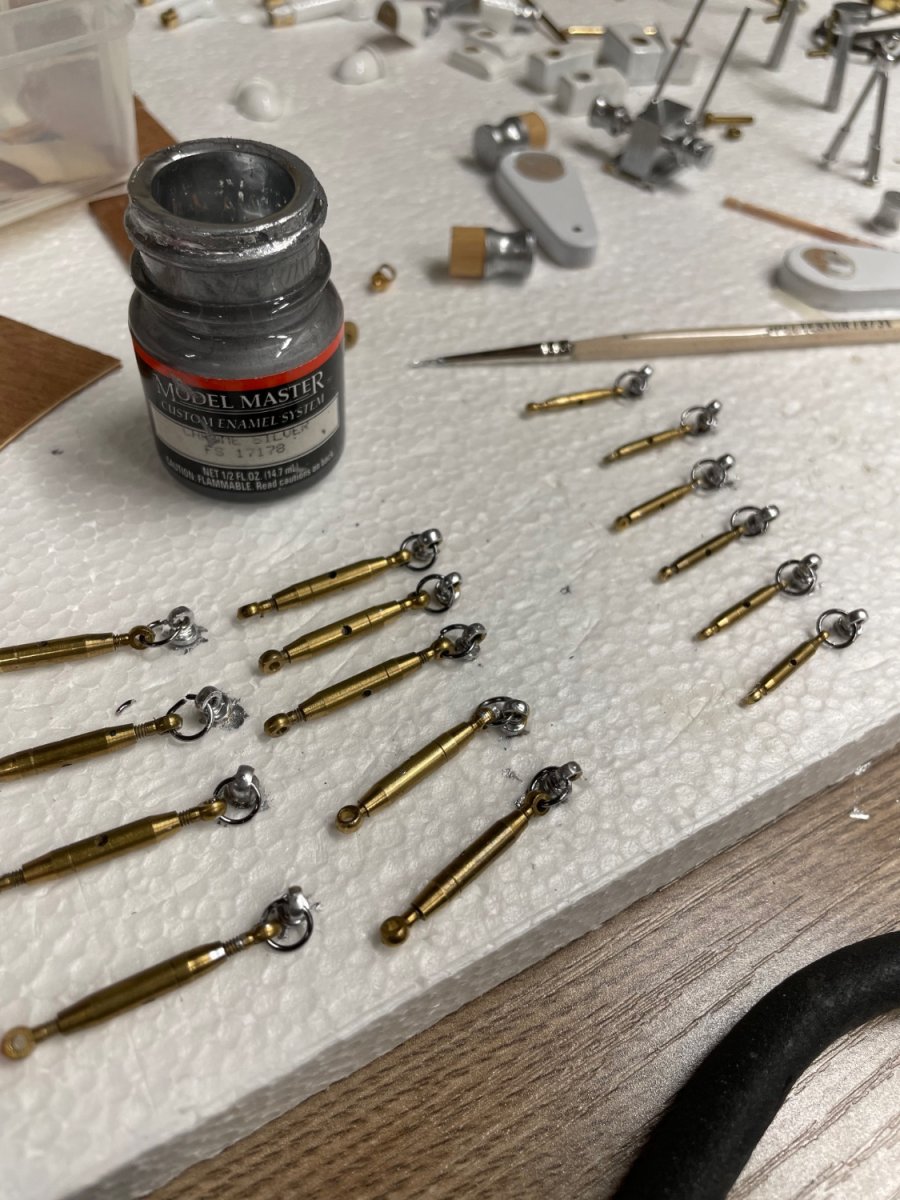
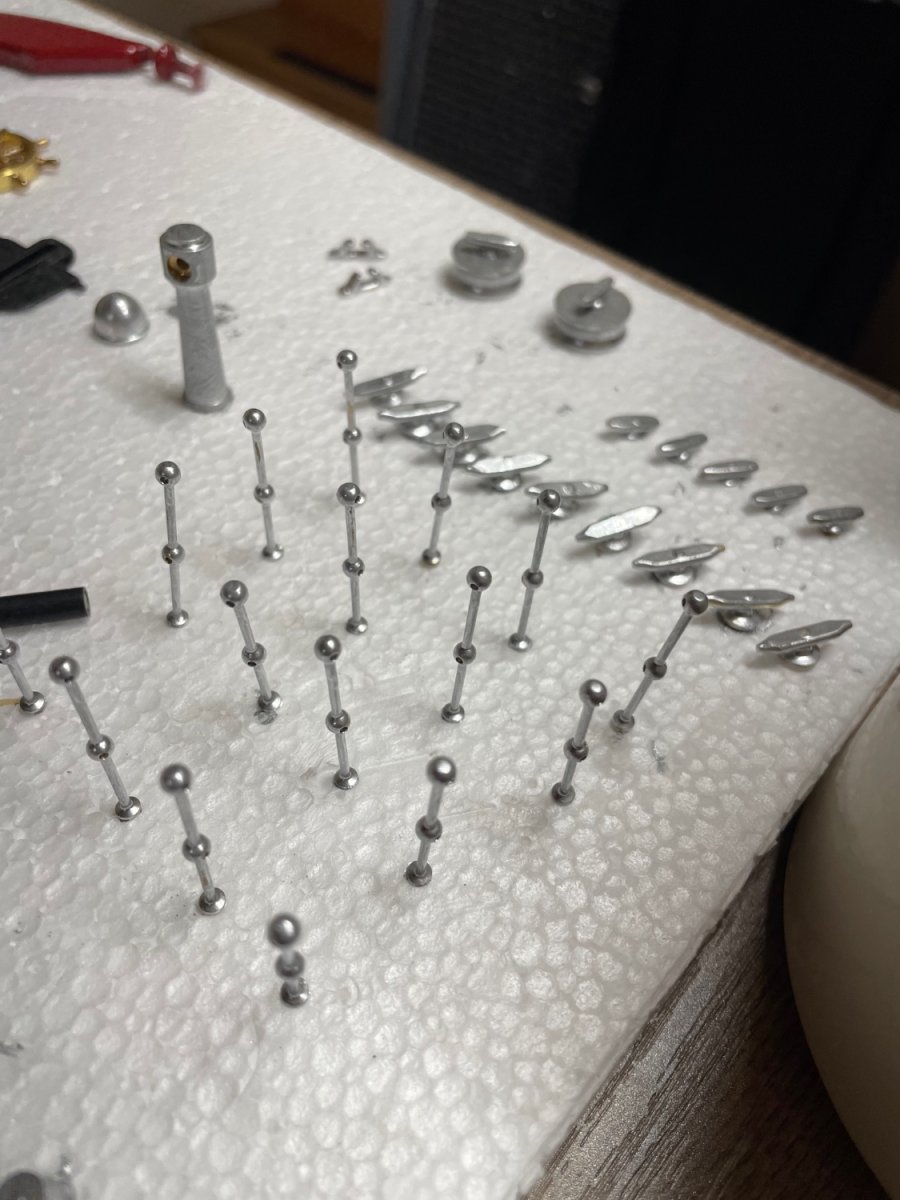
Turnbuckles and other deck fittings. Now for the placement of her jewelry. That’s the fun part. 🤪


- 84 replies
-
- 6
-
-
- Corsaro II
- Corel
- (and 1 more)
-
Found a short video of the Corsaro II and captured some stills that will help with placement and finish of the deck furnishings and fittings. Onwards 🍻

- 84 replies
-
- 4
-
-
- Corsaro II
- Corel
- (and 1 more)
-
Making brass parts chrome
John Ruy replied to John Ruy's topic in Painting, finishing and weathering products and techniques
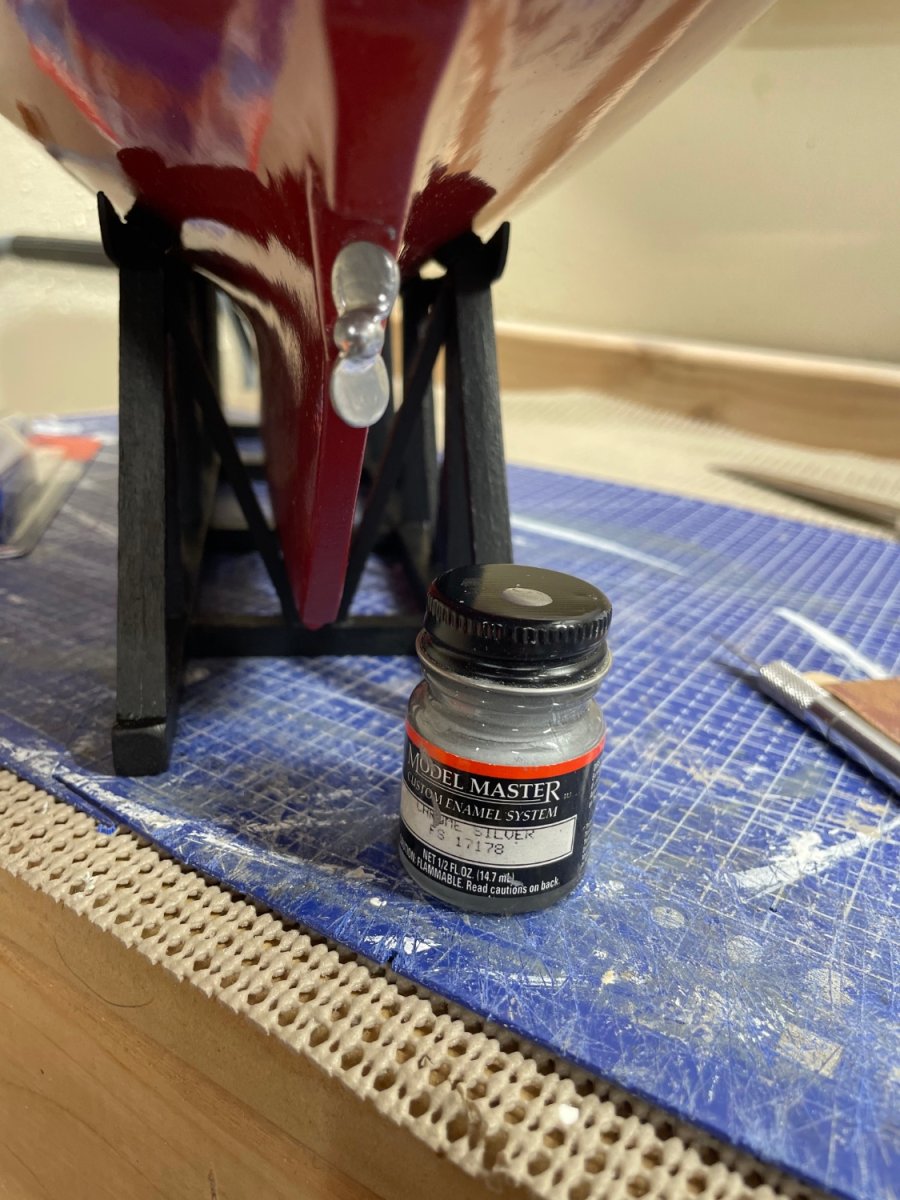
I decided to stick with the Model Master Custom Enamel. It seems to have good adhesion properties and shines when dry. Thanks again… 🍻

-
Thanks Bob… So gorgeous, I’m working on her jewelry as we speak. Very challenging, given Corel’s translated instructions. Although I’m not sure it be any better if I could read Italian. 😂

- 84 replies
-
- 5
-
-
- Corsaro II
- Corel
- (and 1 more)
-
Making brass parts chrome
John Ruy replied to John Ruy's topic in Painting, finishing and weathering products and techniques
Thanks for all these great suggestions. I can always depend on this forum to come up with great solutions. I will probably go with a combination of chrome/clear coat paint and aluminum parts. I will definitely share my results here on this thread. Meanwhile, keep the suggestions coming if there are any other solutions out there. Cheers 🍻 -
I am looking for the best way to turn brass parts into chrome. I have just painted a brass propeller chrome with Model Master Custom Enamel System. Are there other products or methods out there? This looks good but will it work well for all of the small fittings in my Corel kit. Corel has supplied all brass fittings for the Corsaro. The photo above shows chrome for most of the hardware. Your collective knowledge will be appreciated. John


-
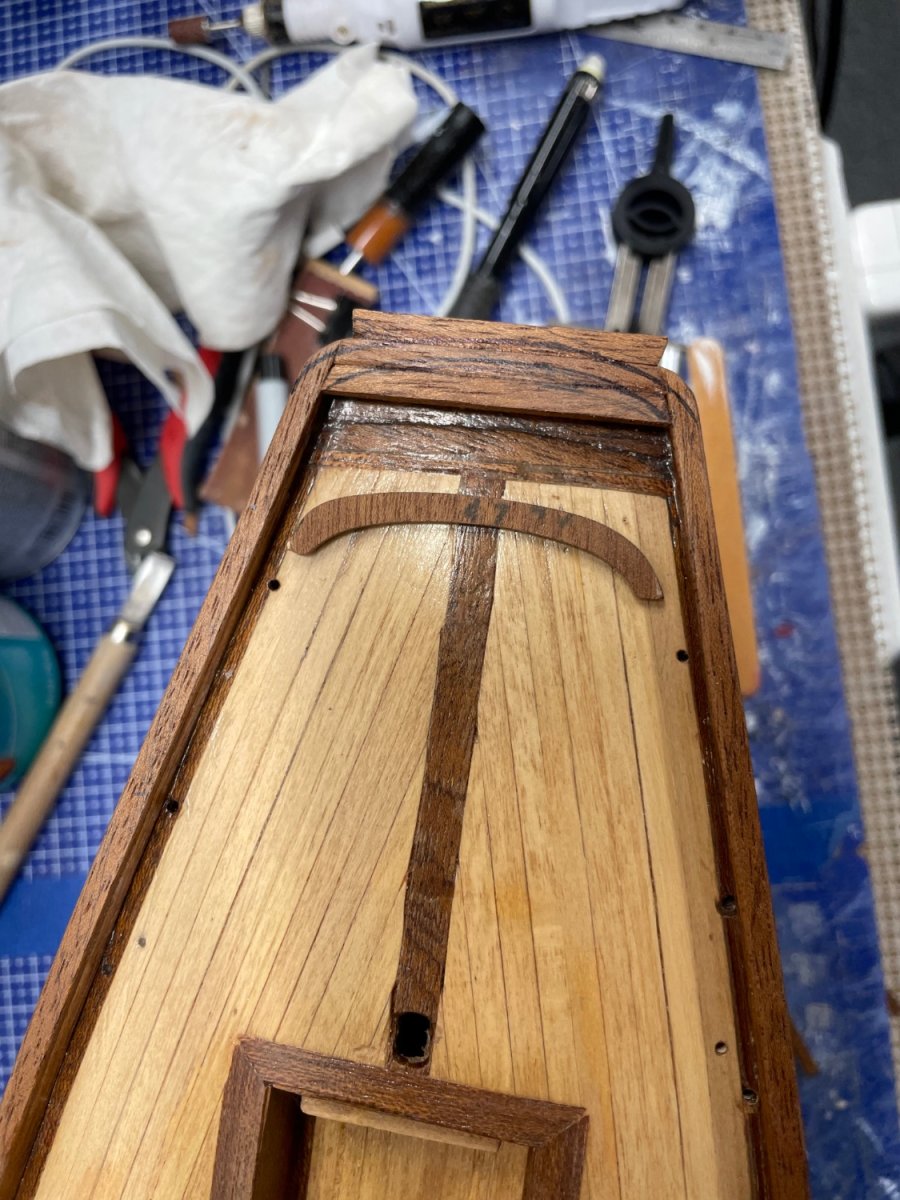
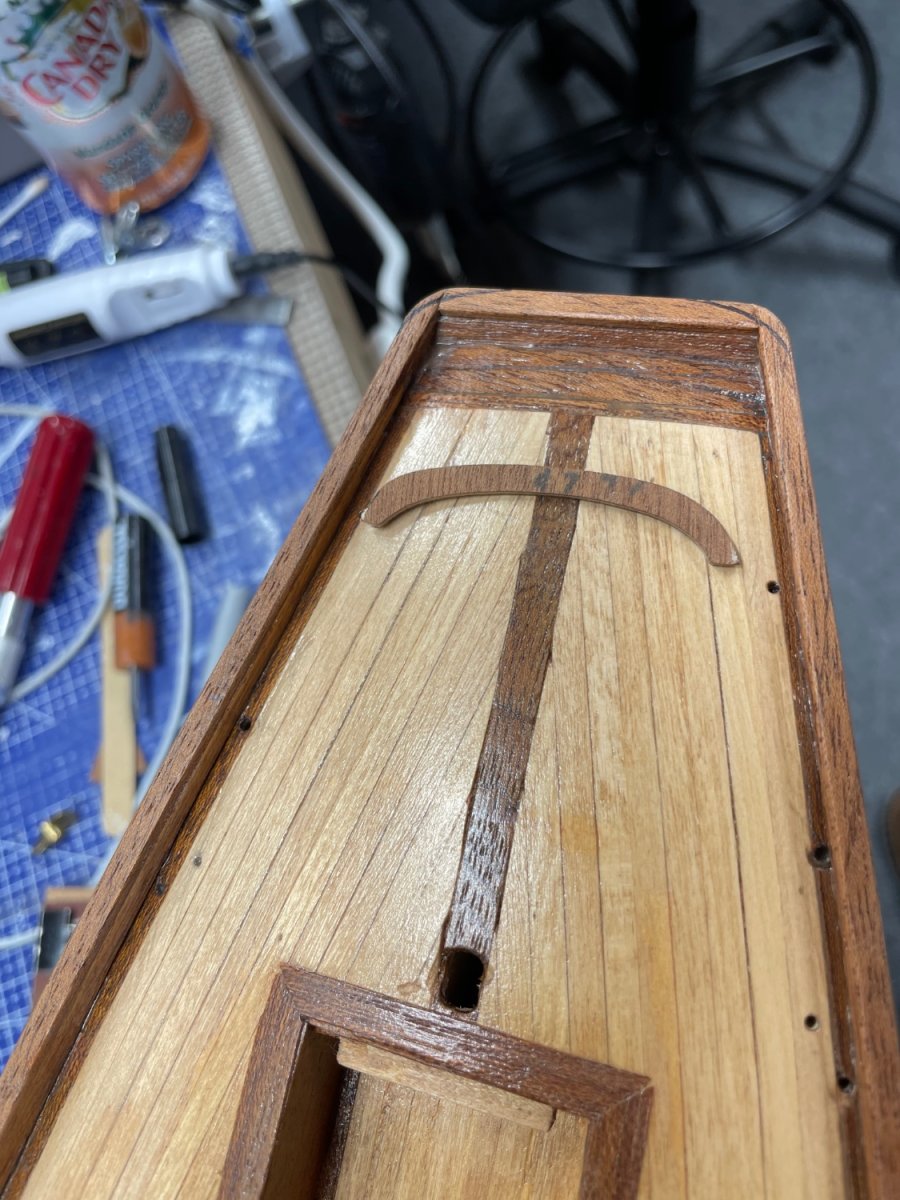
The Mahogany Rail continued… The stern planksheer is shown here as part 47. Unfortunately part 47 is 1.5 mm ply and the Rail is 2mm x 4mm solid mahogany. As seen here I will need to laminate the 2x4mm Mahogany to create this curved section of rail. The Rail or Planksheer as it is called out on the Corel Drawings and instructions, is now finished. Cheers 🍻


- 84 replies
-
- 8
-
-
- Corsaro II
- Corel
- (and 1 more)
-
Hi Rick Agreed… Building the rails aren’t even mentioned in the instructions. I personally have not found any good instructions with the exception of Model Shipways New Bedford Whaleboat. That kit came with a book that was a build log of the prototype. It had very good instructions with photos it was written by the kit designer. That’s where I was able to improve my wood modeling skills. Most of these kits just aren’t assembly type model kits. I consider our “hobby” an art form some experience required. That’s why there are so many unassembled kits out there on eBay and in closets. Thanks for the opportunity, this kit is definitely challenging my skills. John
- 84 replies
-
- 3
-
-
- Corsaro II
- Corel
- (and 1 more)
-
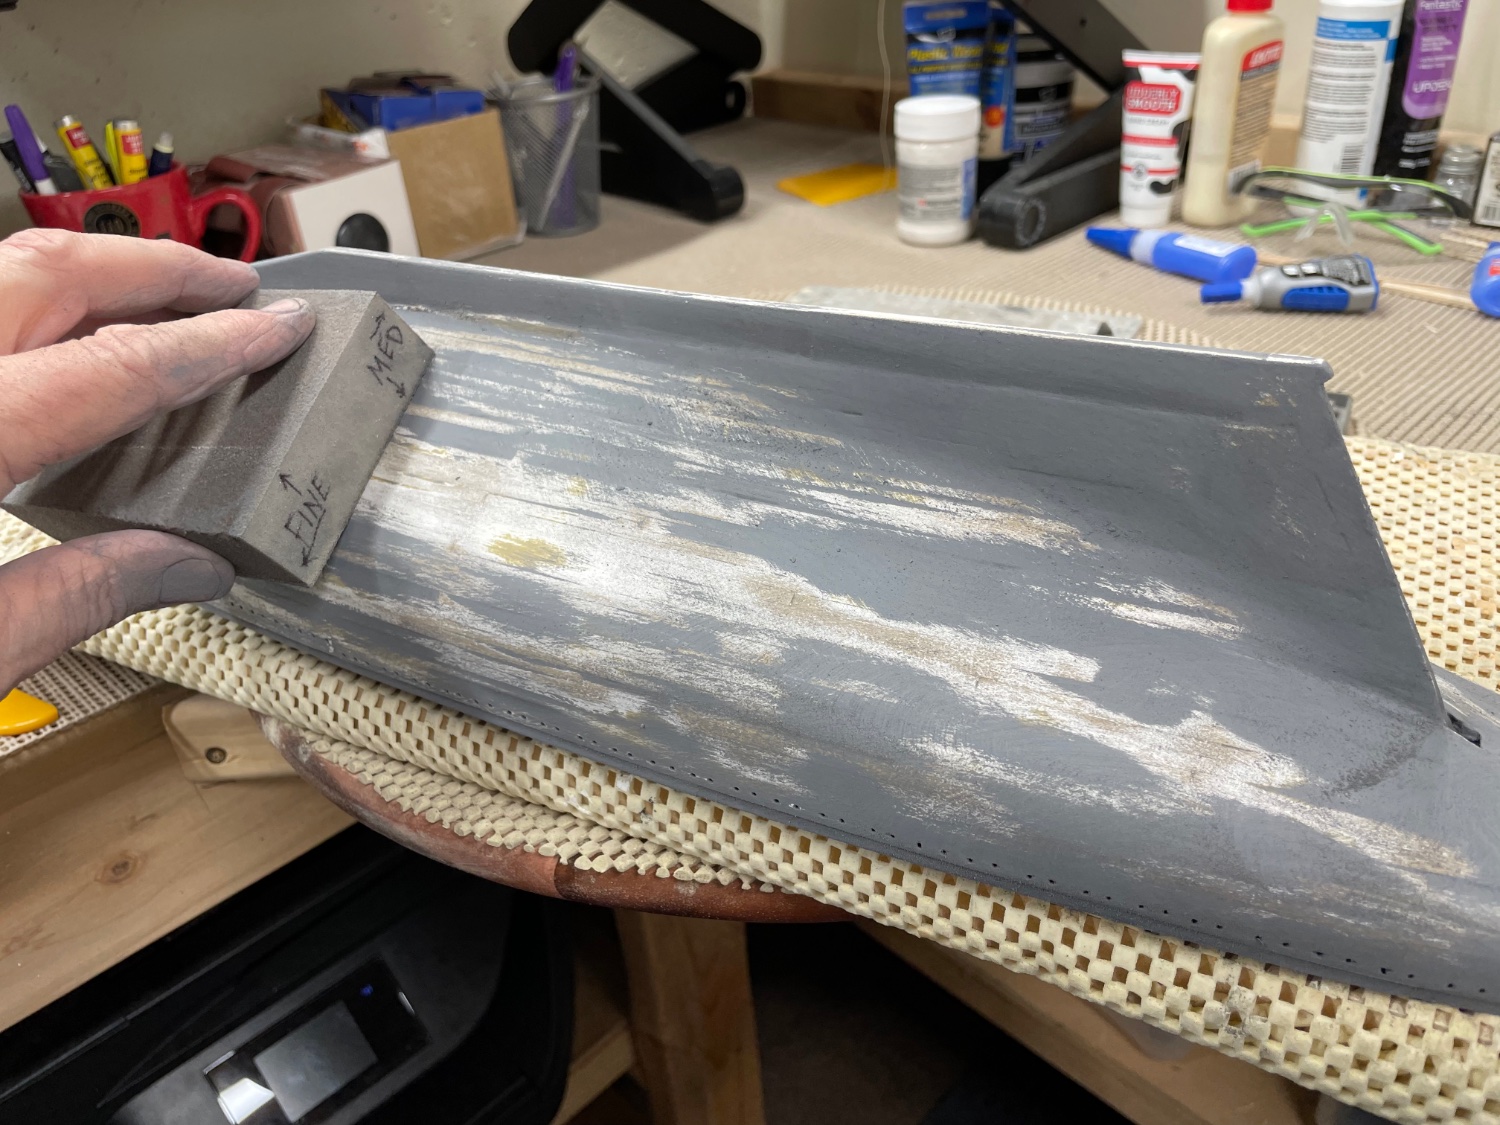
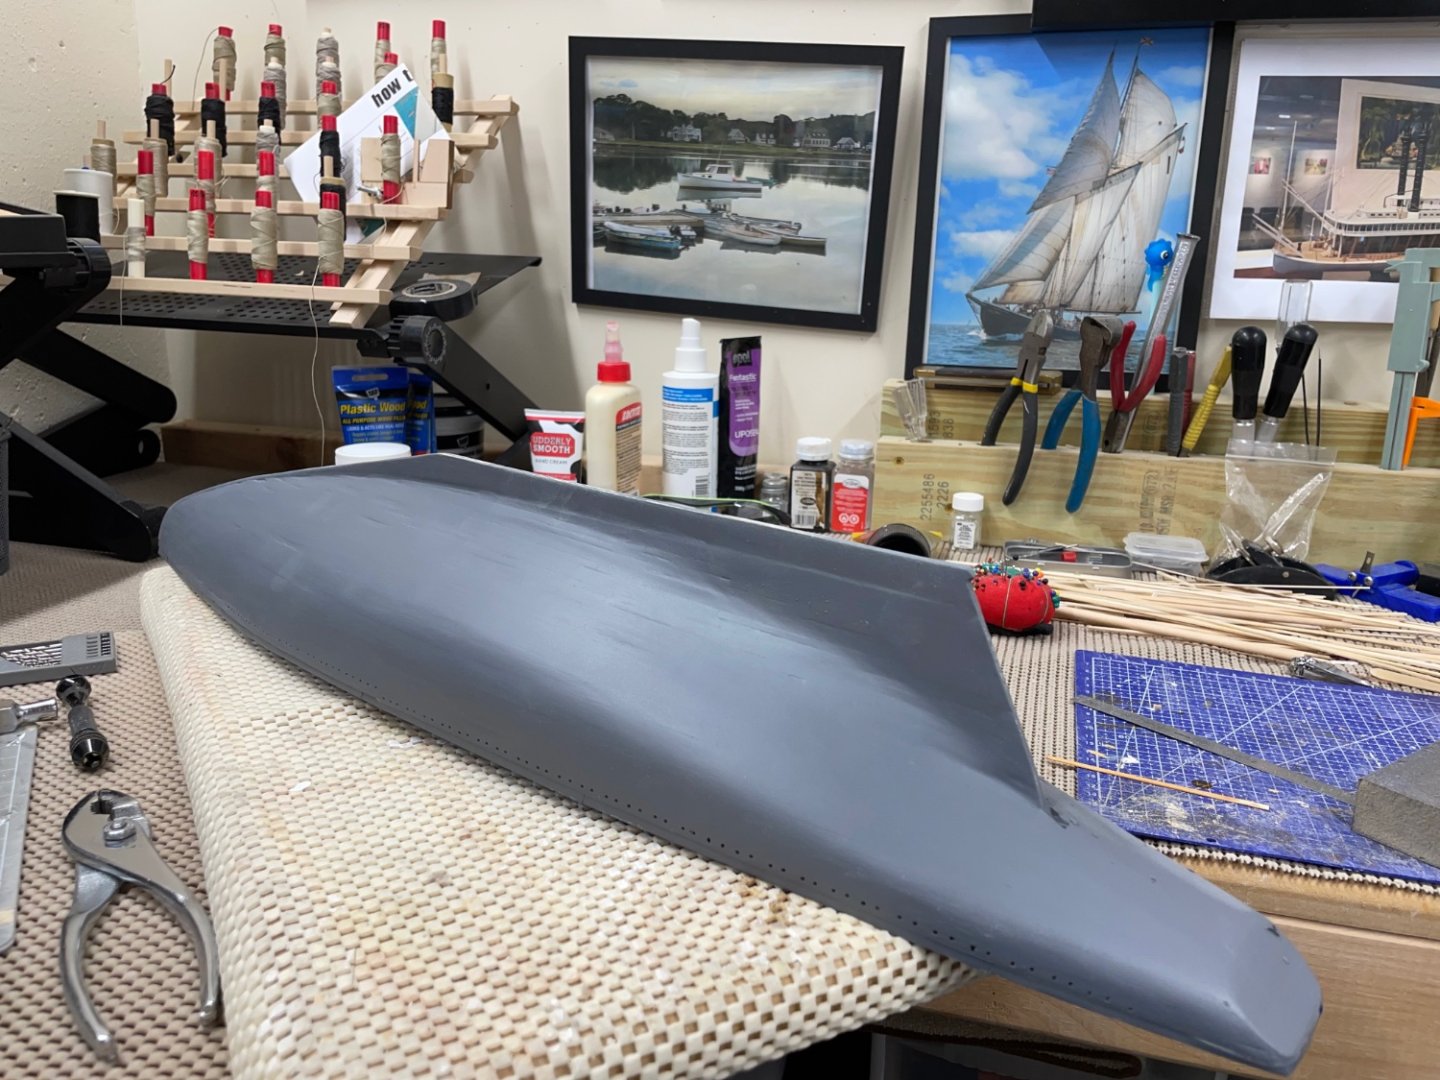
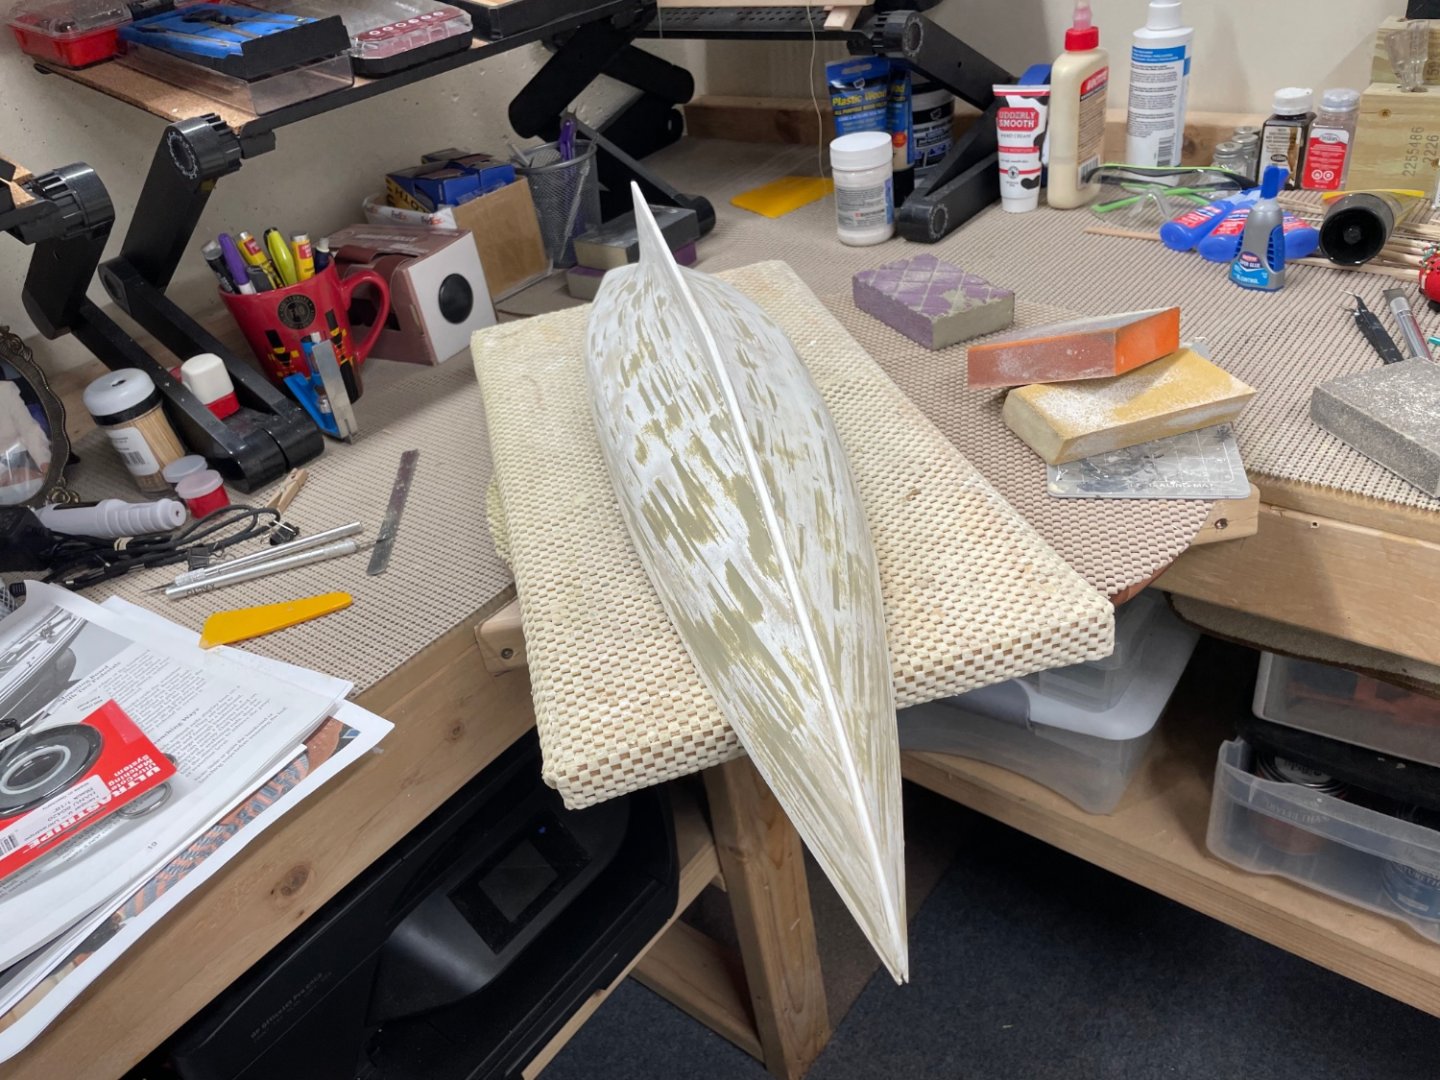
More sanding and another coat… She is coming along rather nicely, sure is a lot of sanding and painting. It’s getting there. Another sanding and we should be ready for the color coat. 😎 Cheers 🍻
- 282 replies
-
- 7
-
-
- Bluenose
- Model Shipways
- (and 1 more)
-
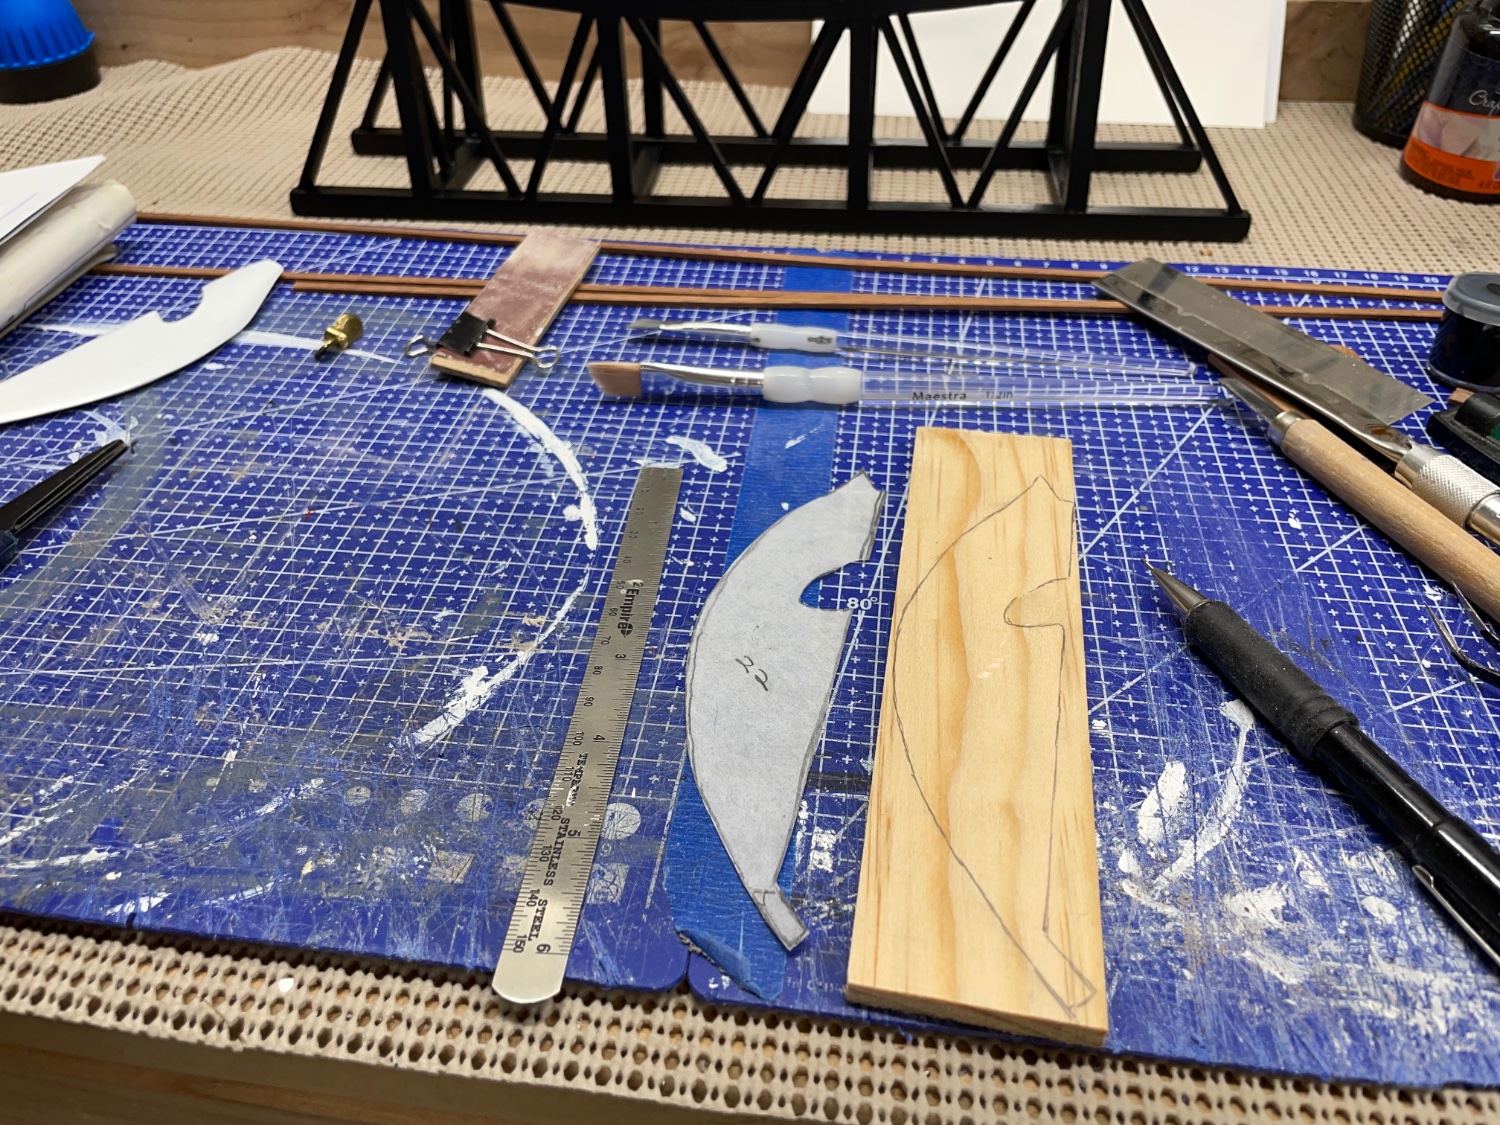
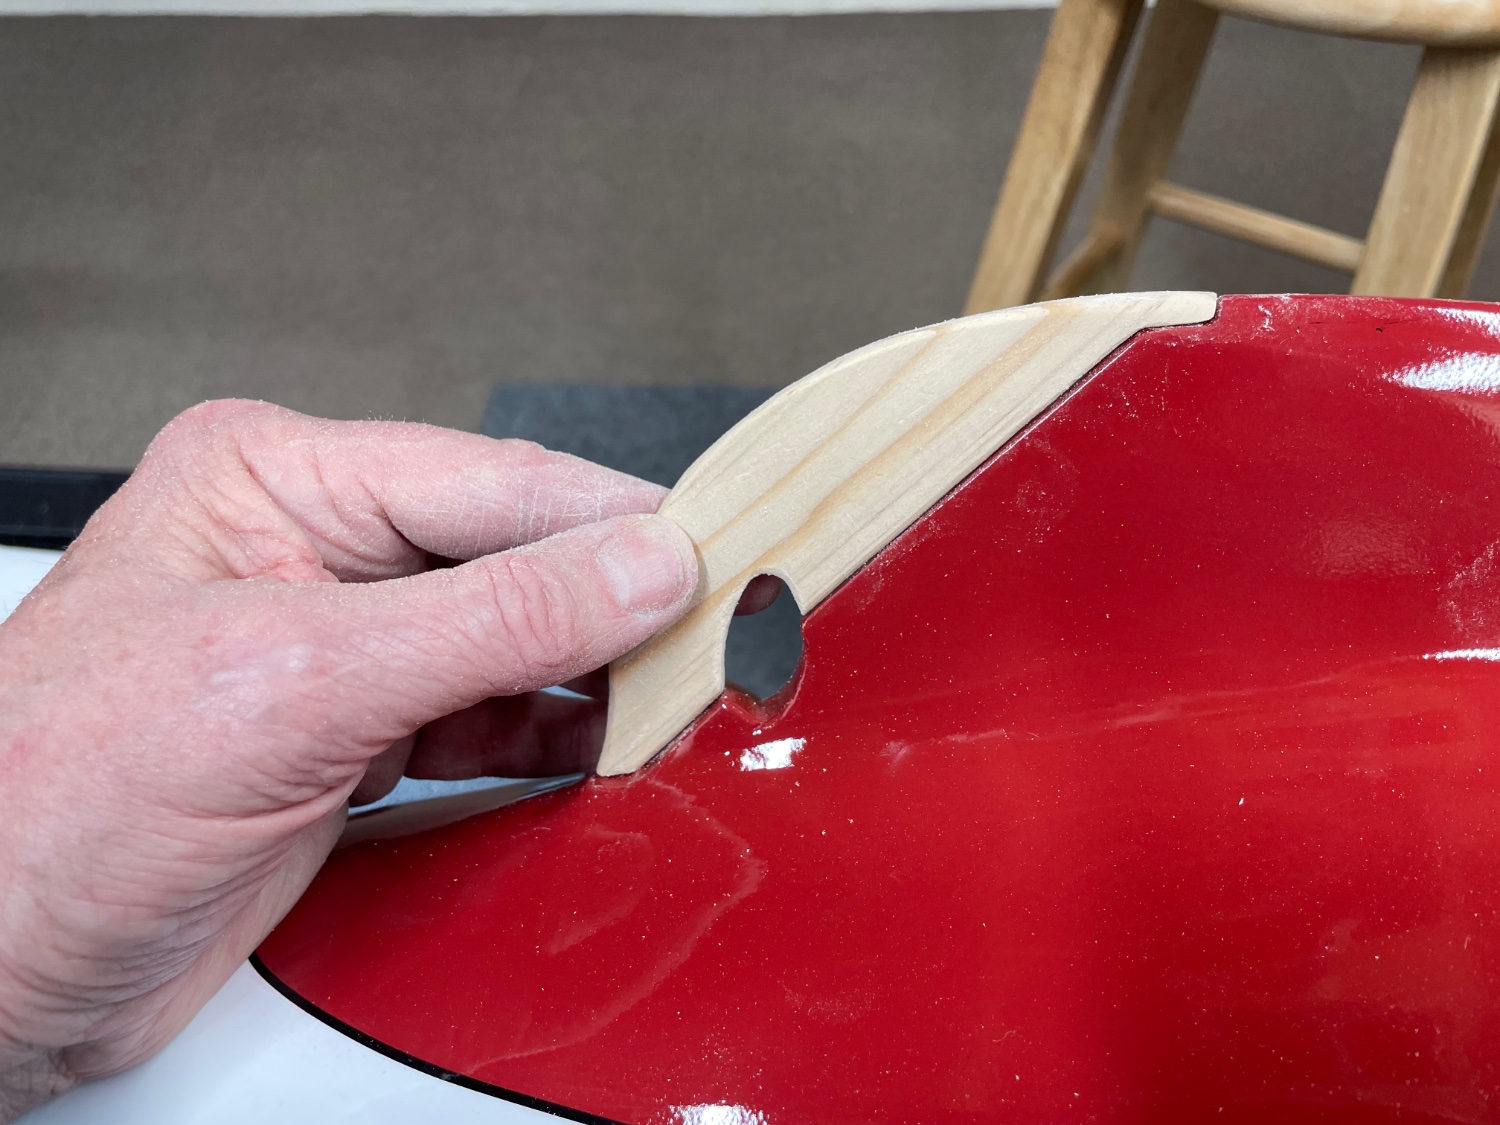
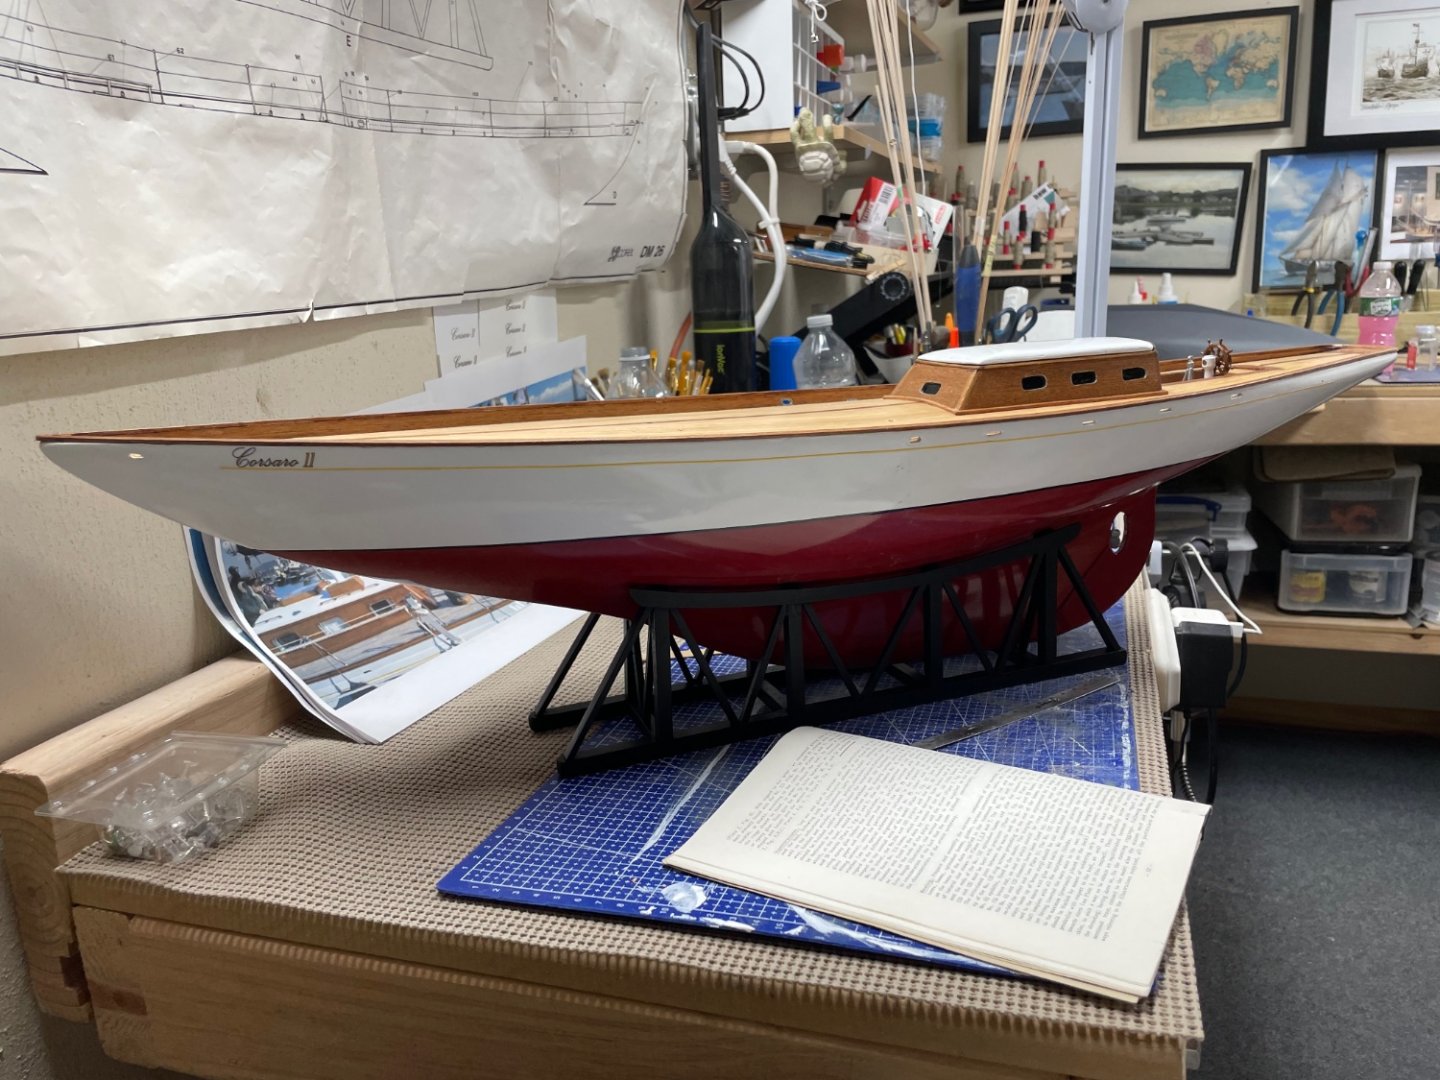
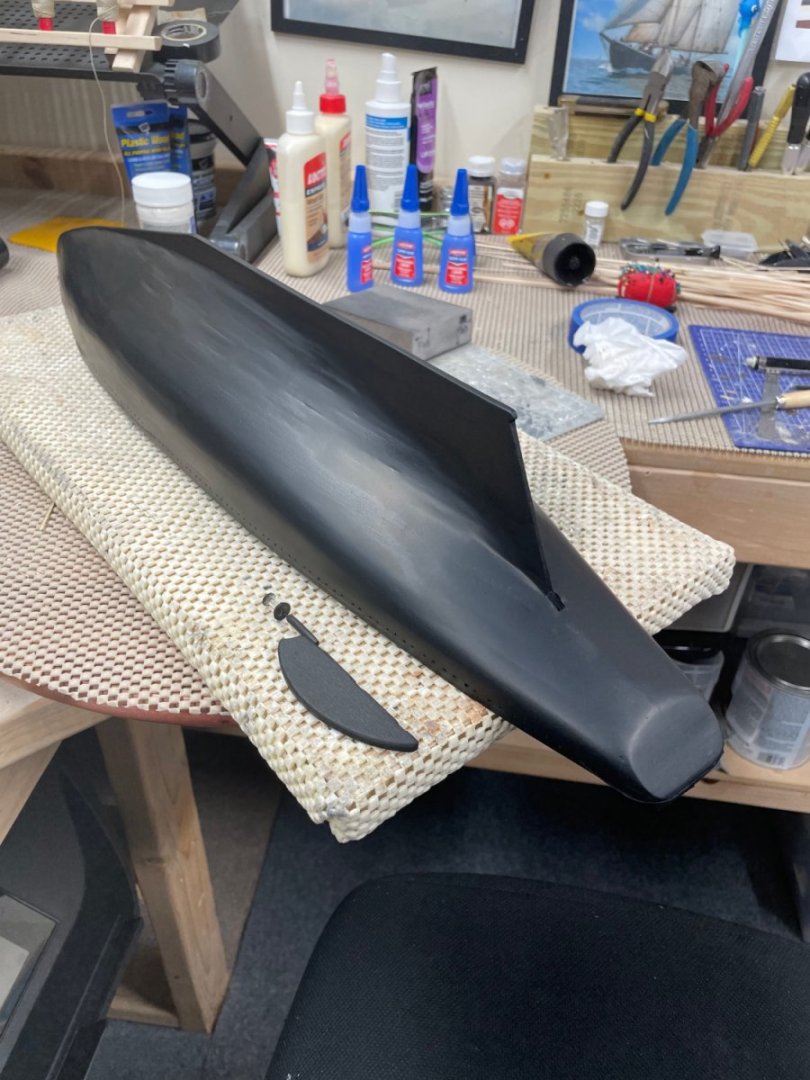
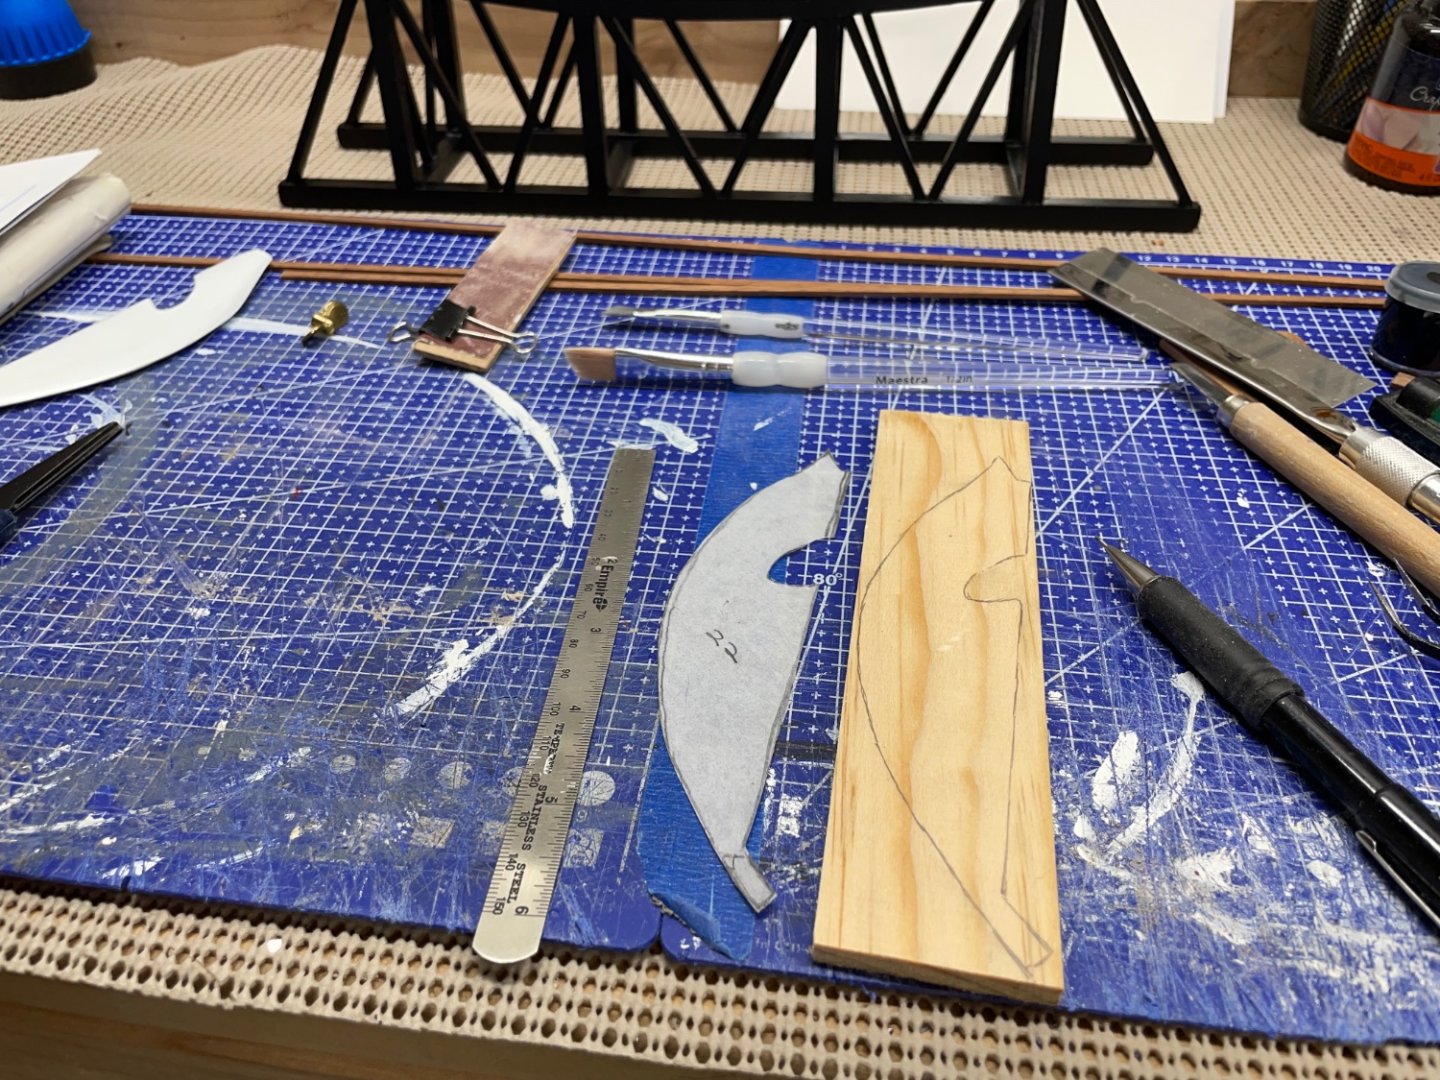
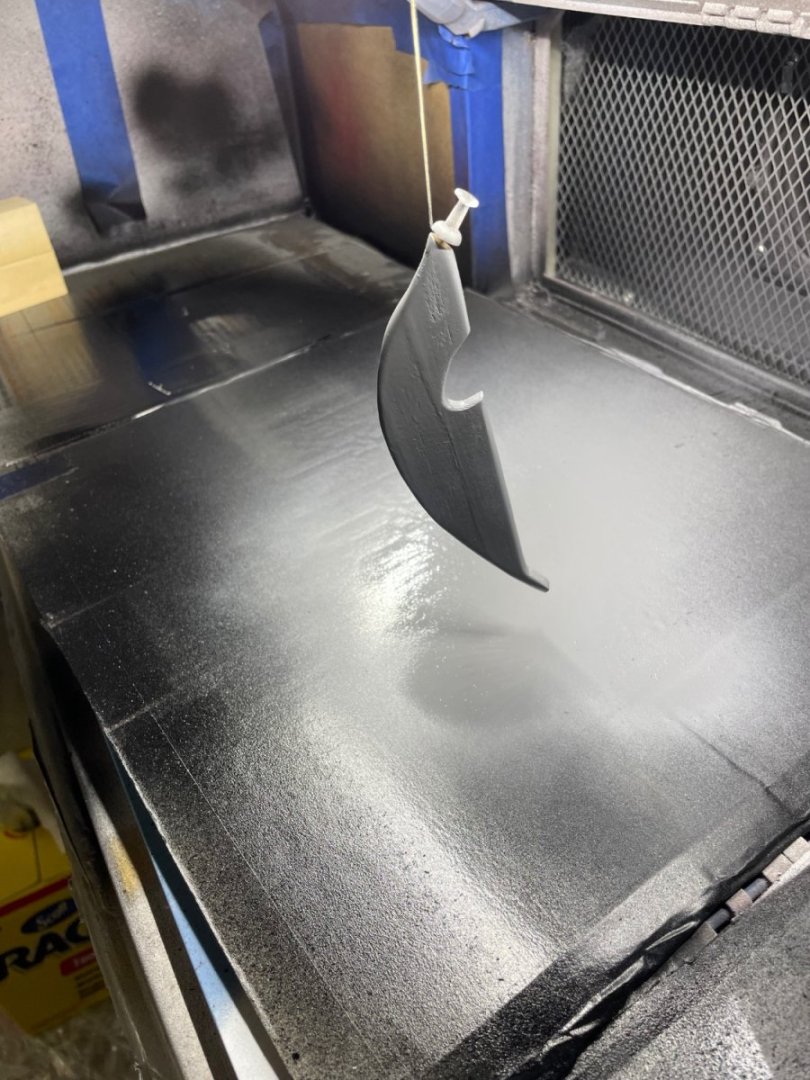
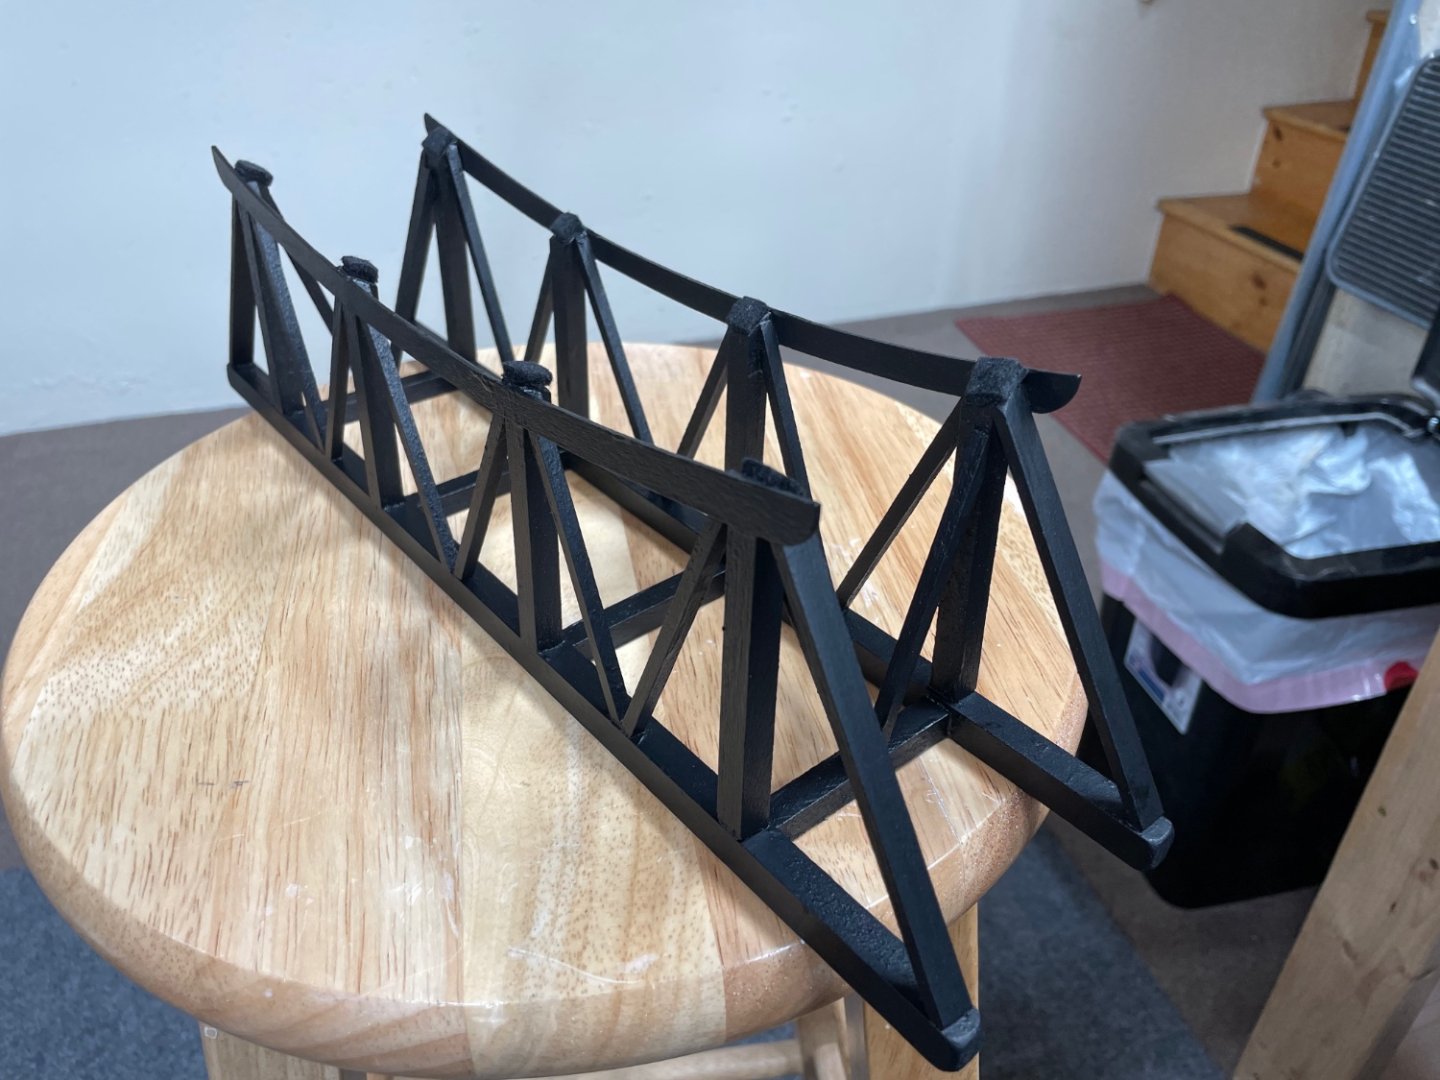
One more coat of poly… Rudder… Cut from 1/14” pine lattice… Rudder fitted… Primer coat… Display stand painted Matt Black. I added felt pads to hold her hull. I could not bring myself to permanently attach this stand to this hull. Mahogany Rail… First coat of Polyurethane on short bulwarks and rail. It will need another coat or two. Onwards 🍻


- 84 replies
-
- 9
-
-
- Corsaro II
- Corel
- (and 1 more)
-
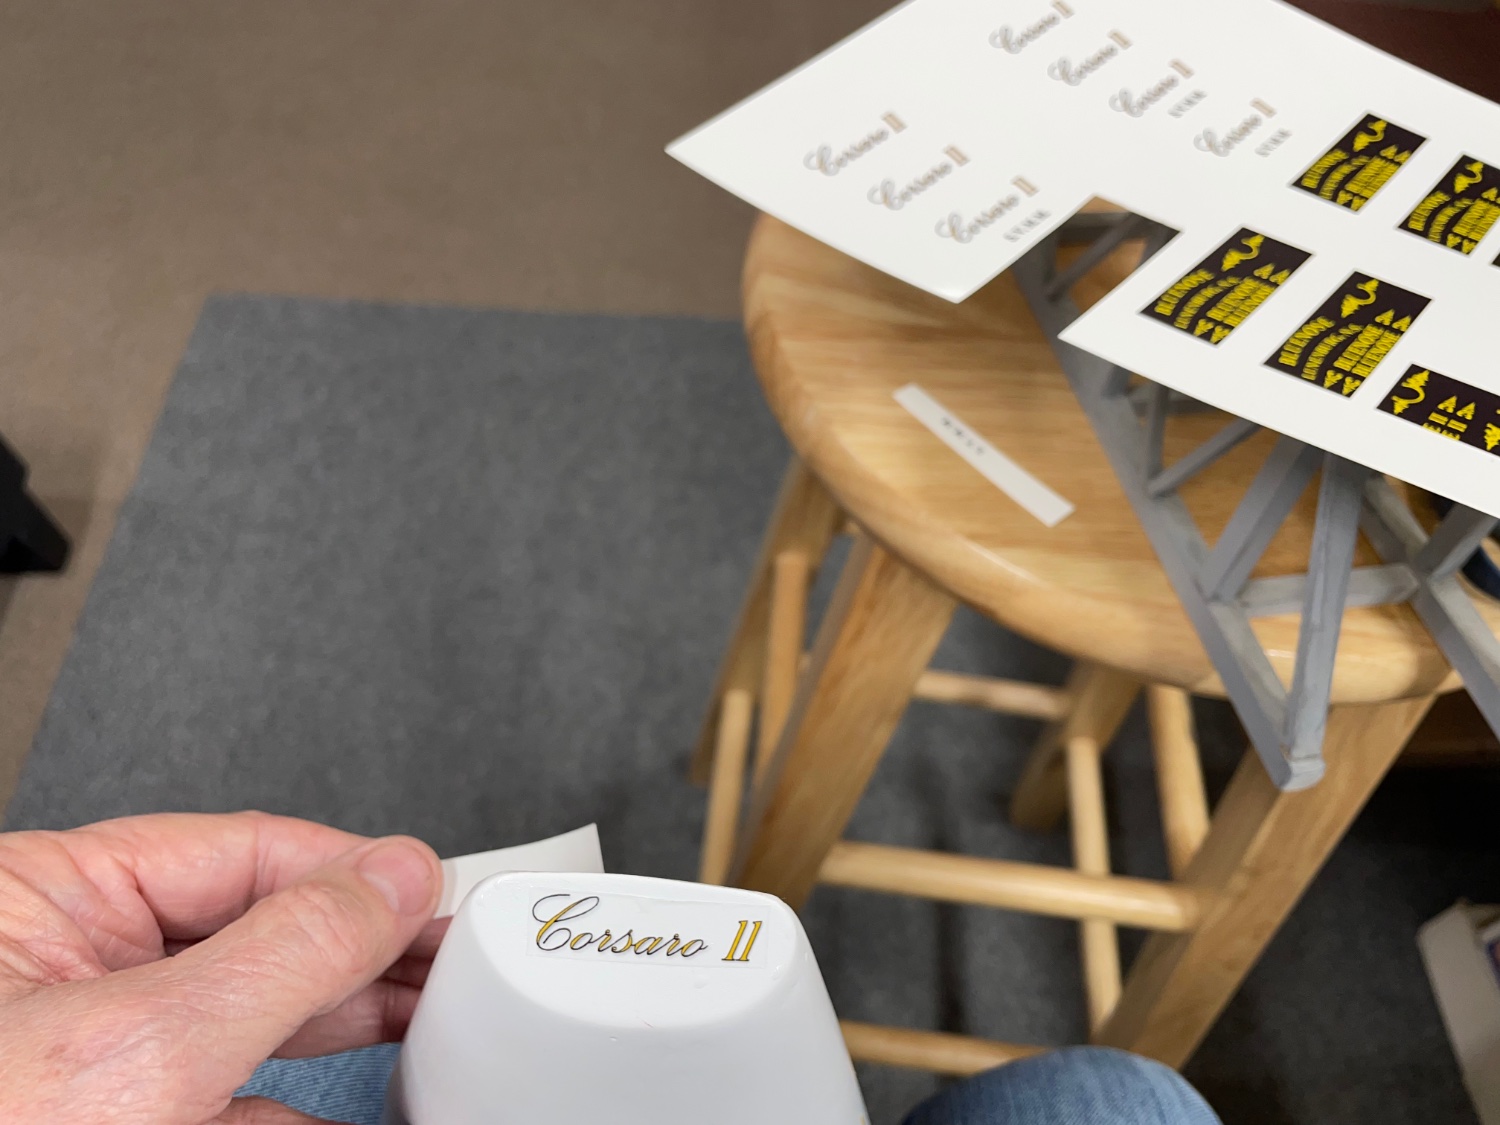
It was an ink-jet printer. The water slide paper and acrylic sealer are readily available and MS Word has every font and word art to creat the decals. Vinyl Pin-Striping is a great way to add the striping, as well. John
- 84 replies
-
- 2
-
-
- Corsaro II
- Corel
- (and 1 more)
-
Wow! Nice detail at this scale. Excellent Work. 👍
- 200 replies
-
- 1
-

-
- Whaling Bark
- Charles W Morgan
- (and 1 more)
-
Thanks 😊 She is going get one more fine sanding for a final clear coat.


- 84 replies
-
- 8
-
-
- Corsaro II
- Corel
- (and 1 more)
-
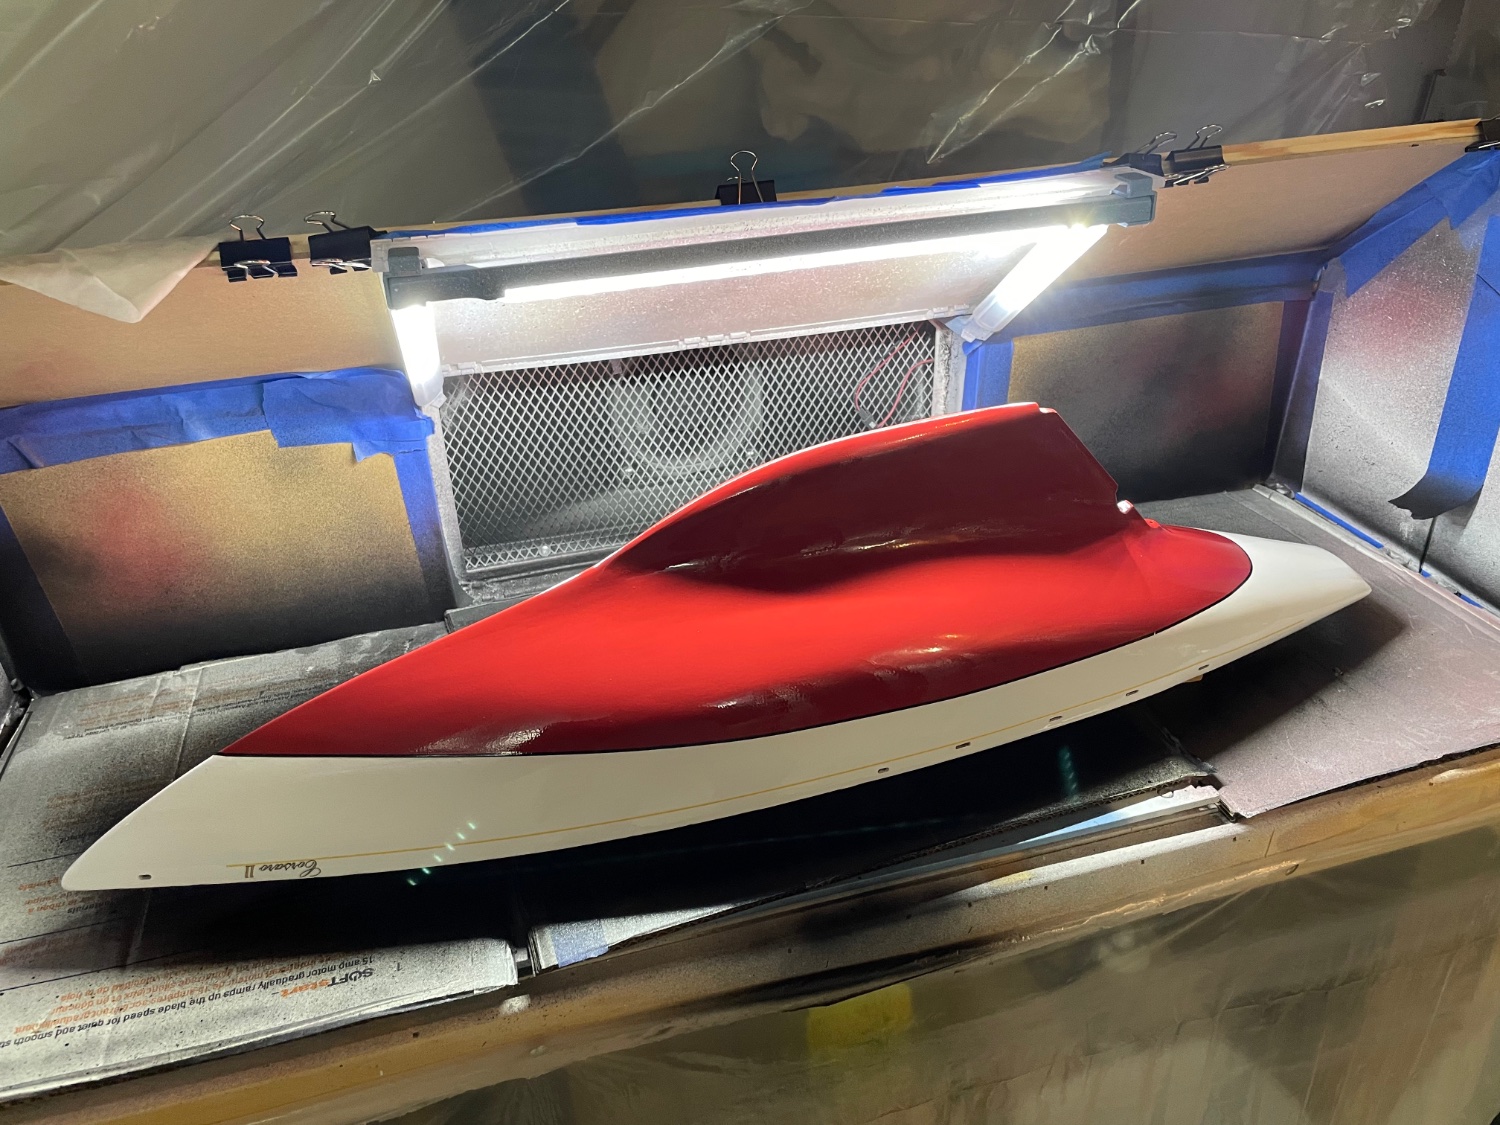
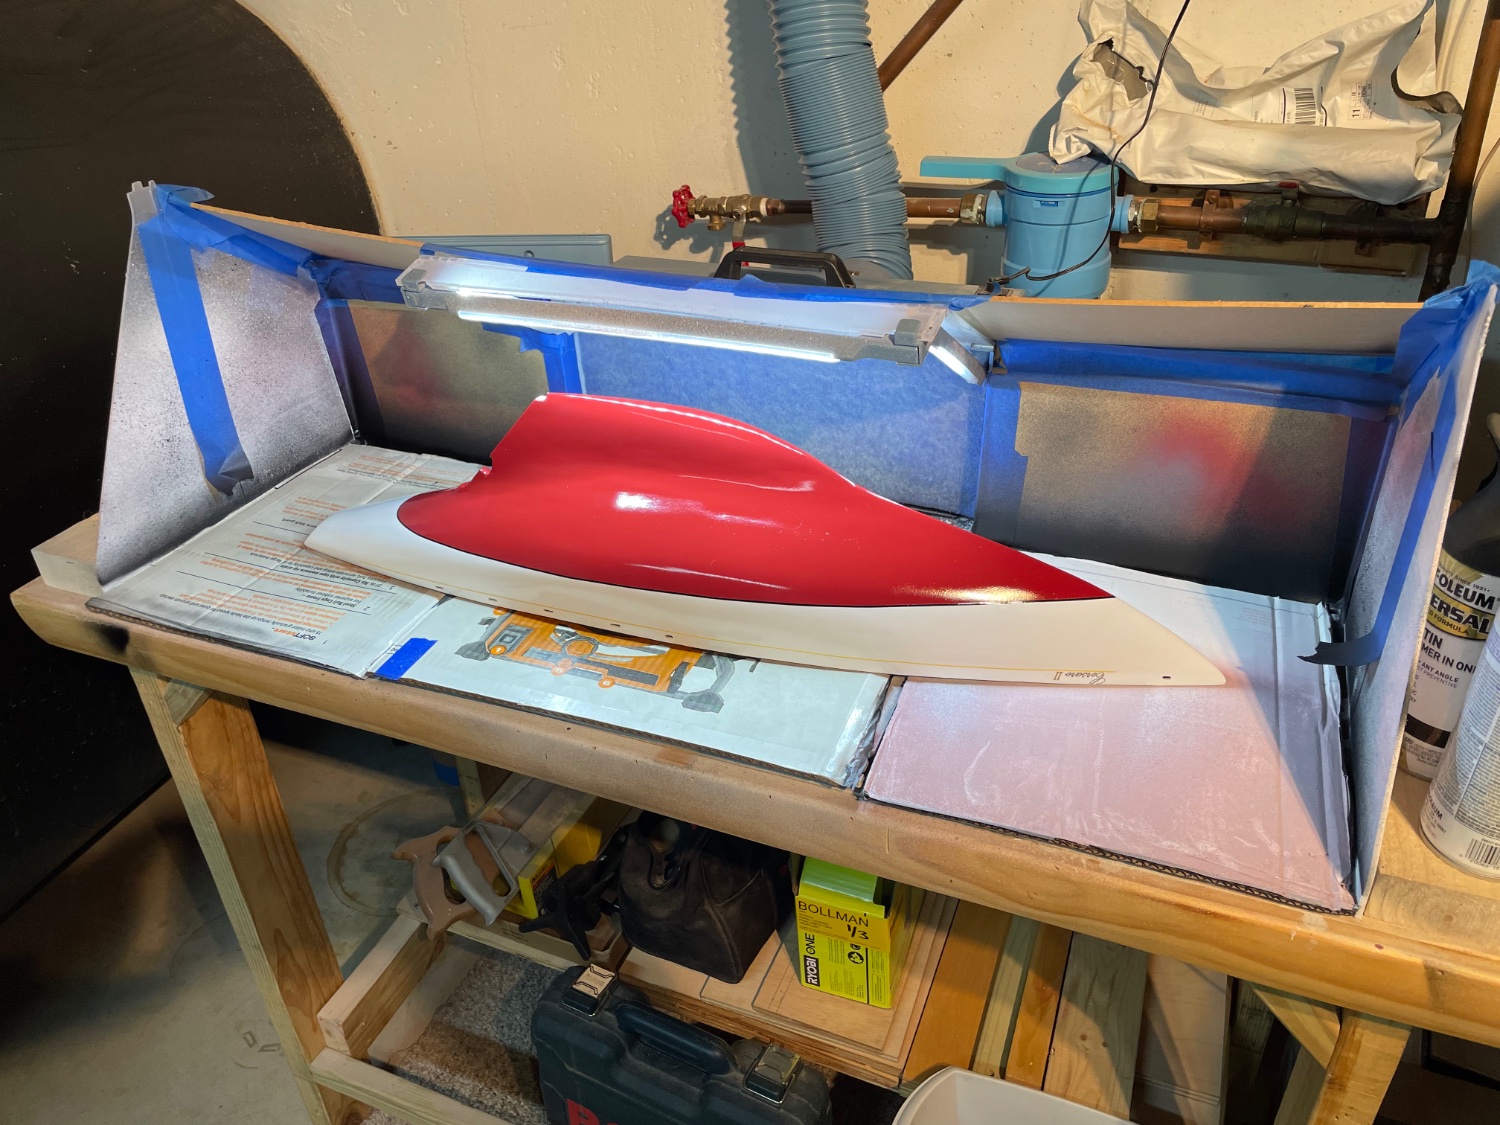
Clear Coat… Had to enlarge my paint booth for this beauty. 😆 Cheers 🍻

- 84 replies
-
- 8
-
-
- Corsaro II
- Corel
- (and 1 more)
-
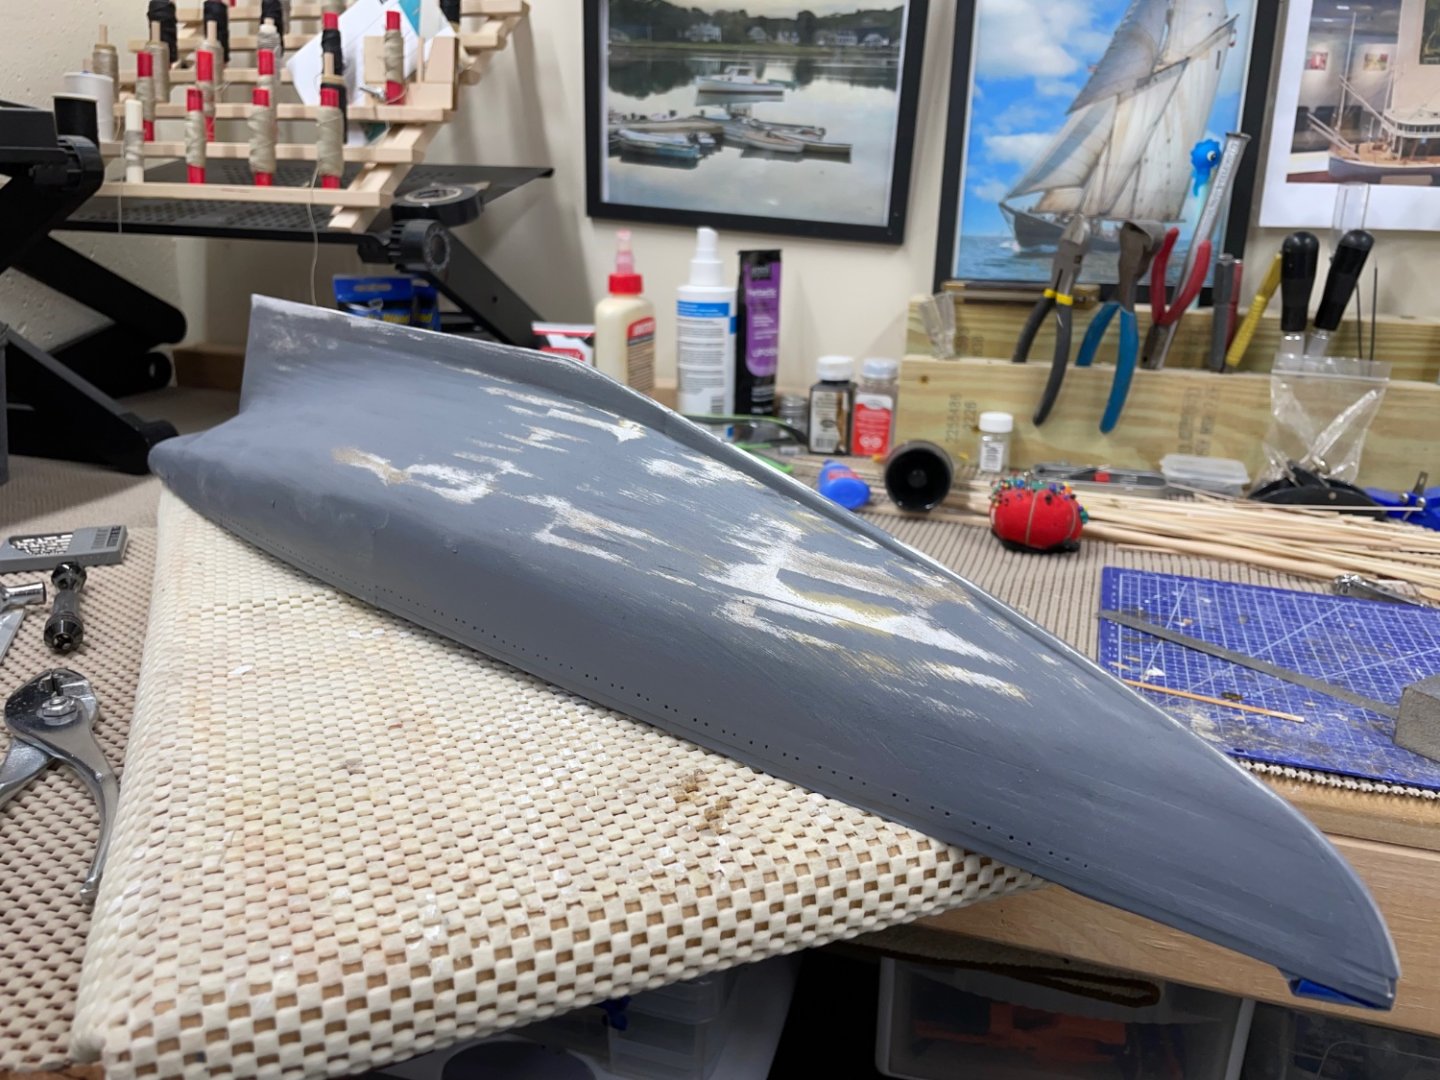
Filling Primer… Ready for another coat of paint and more sanding… Cheers 🍻
- 282 replies
-
- 10
-
-
- Bluenose
- Model Shipways
- (and 1 more)
-
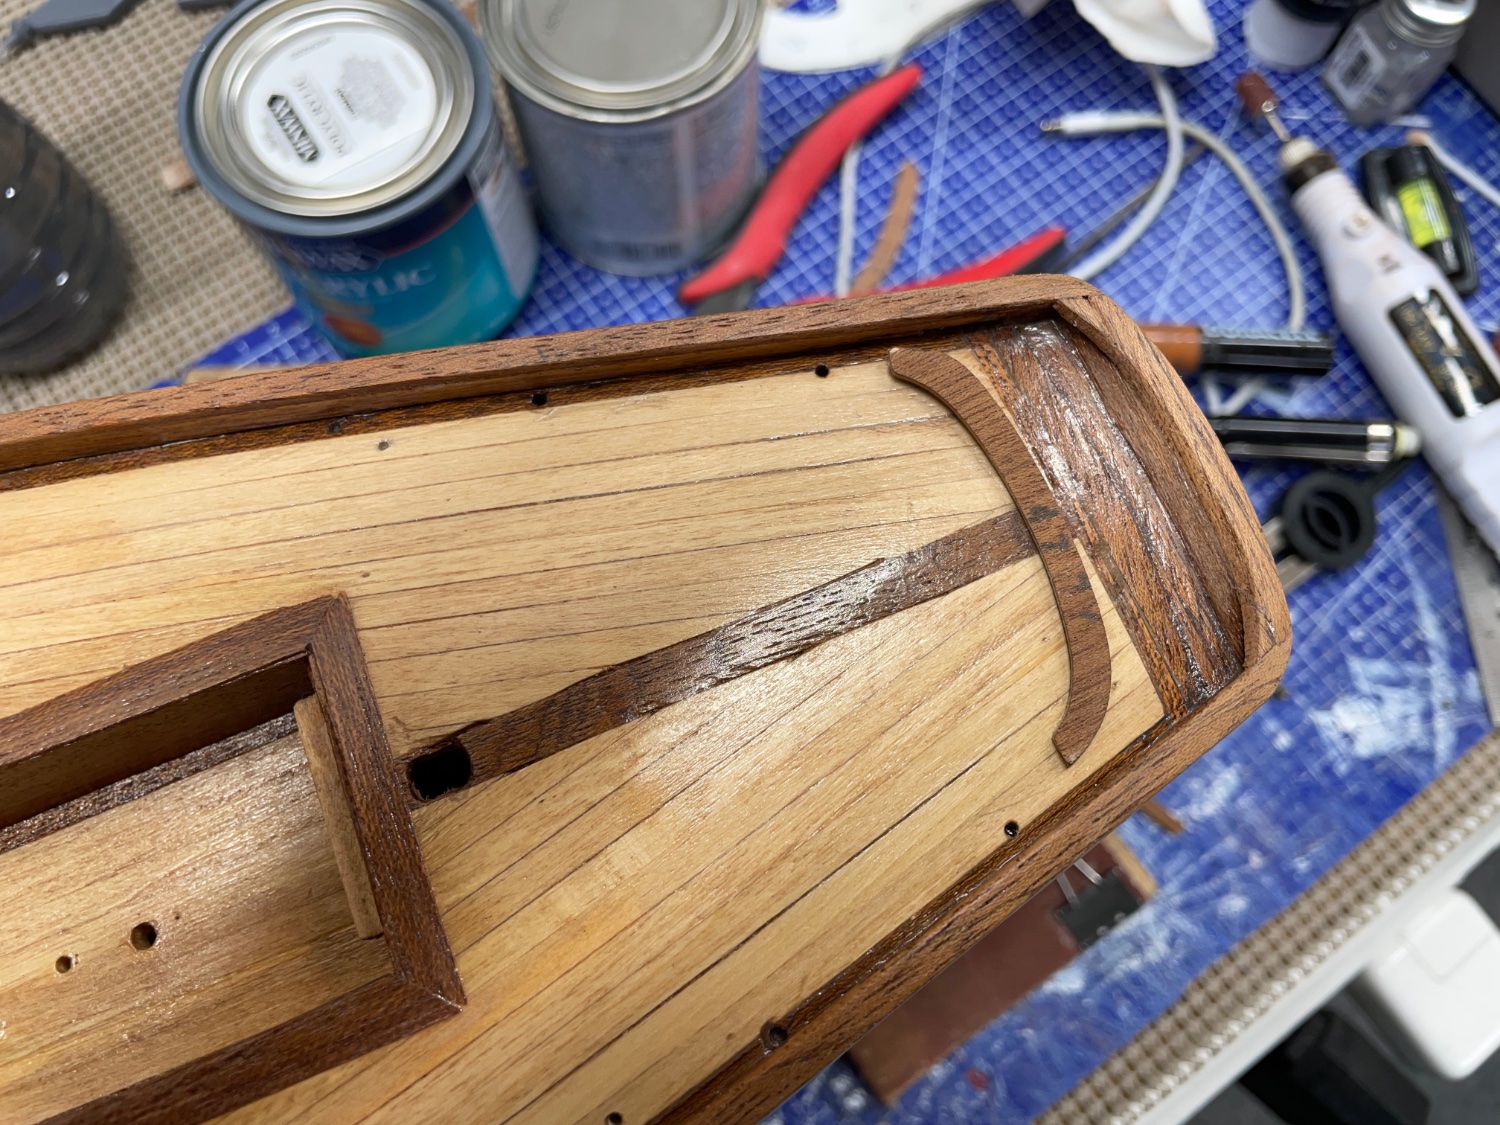
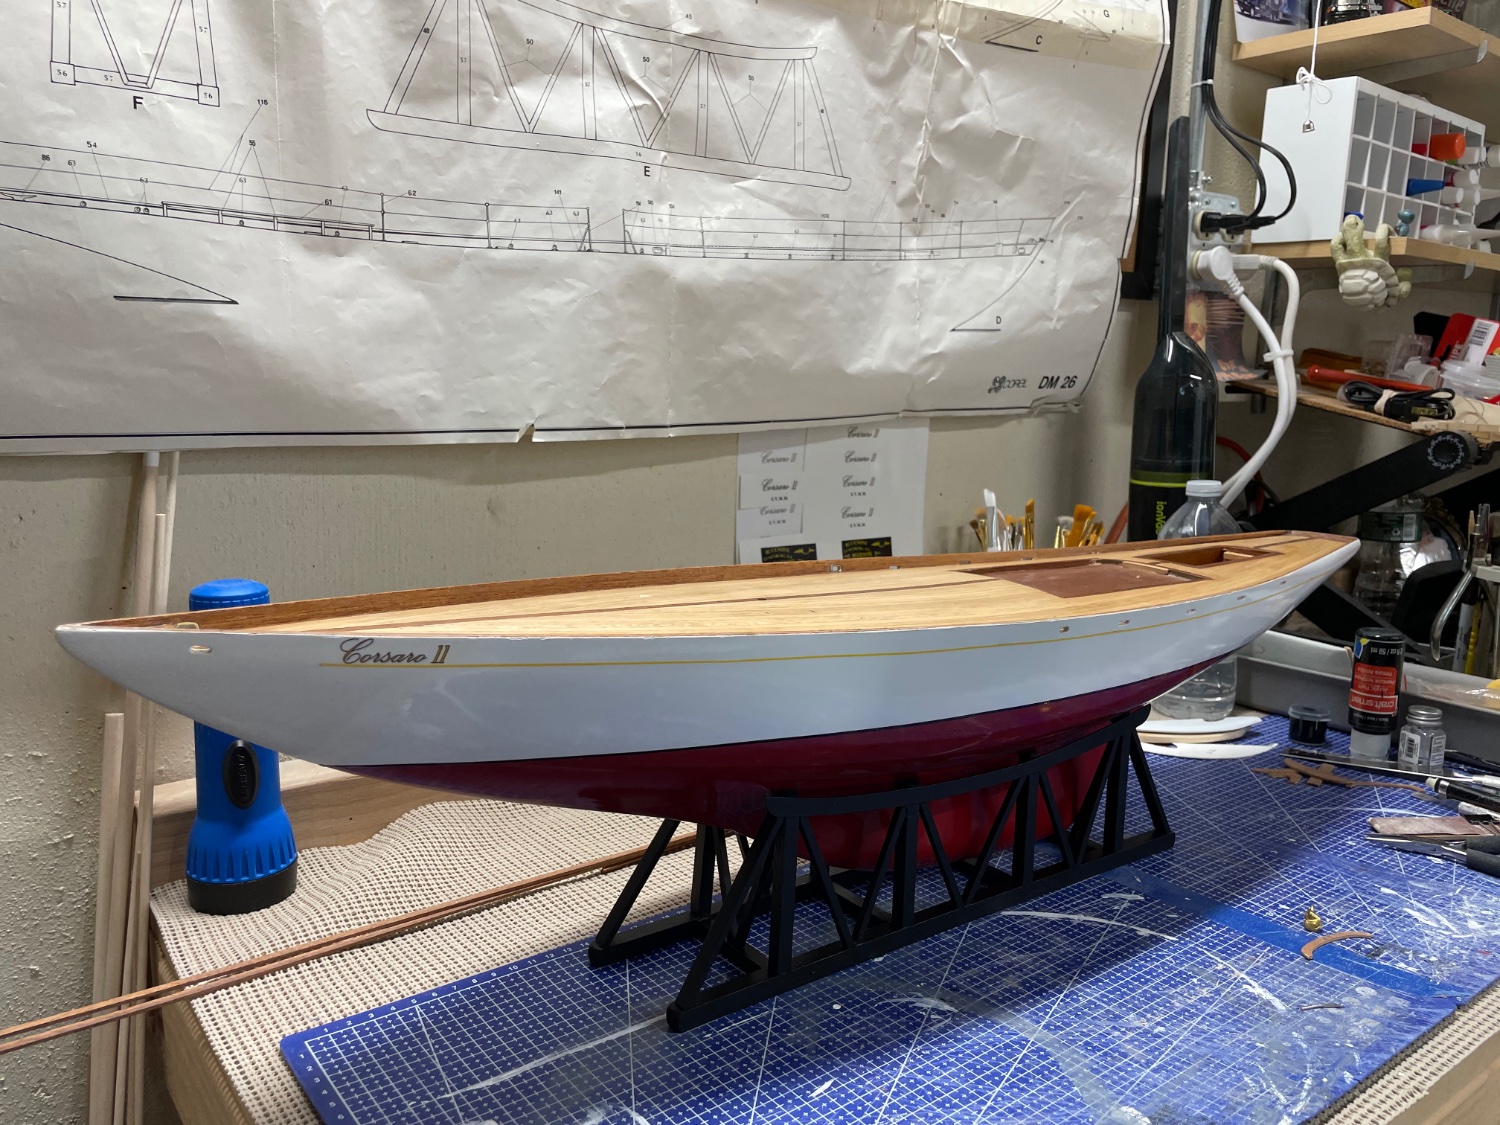
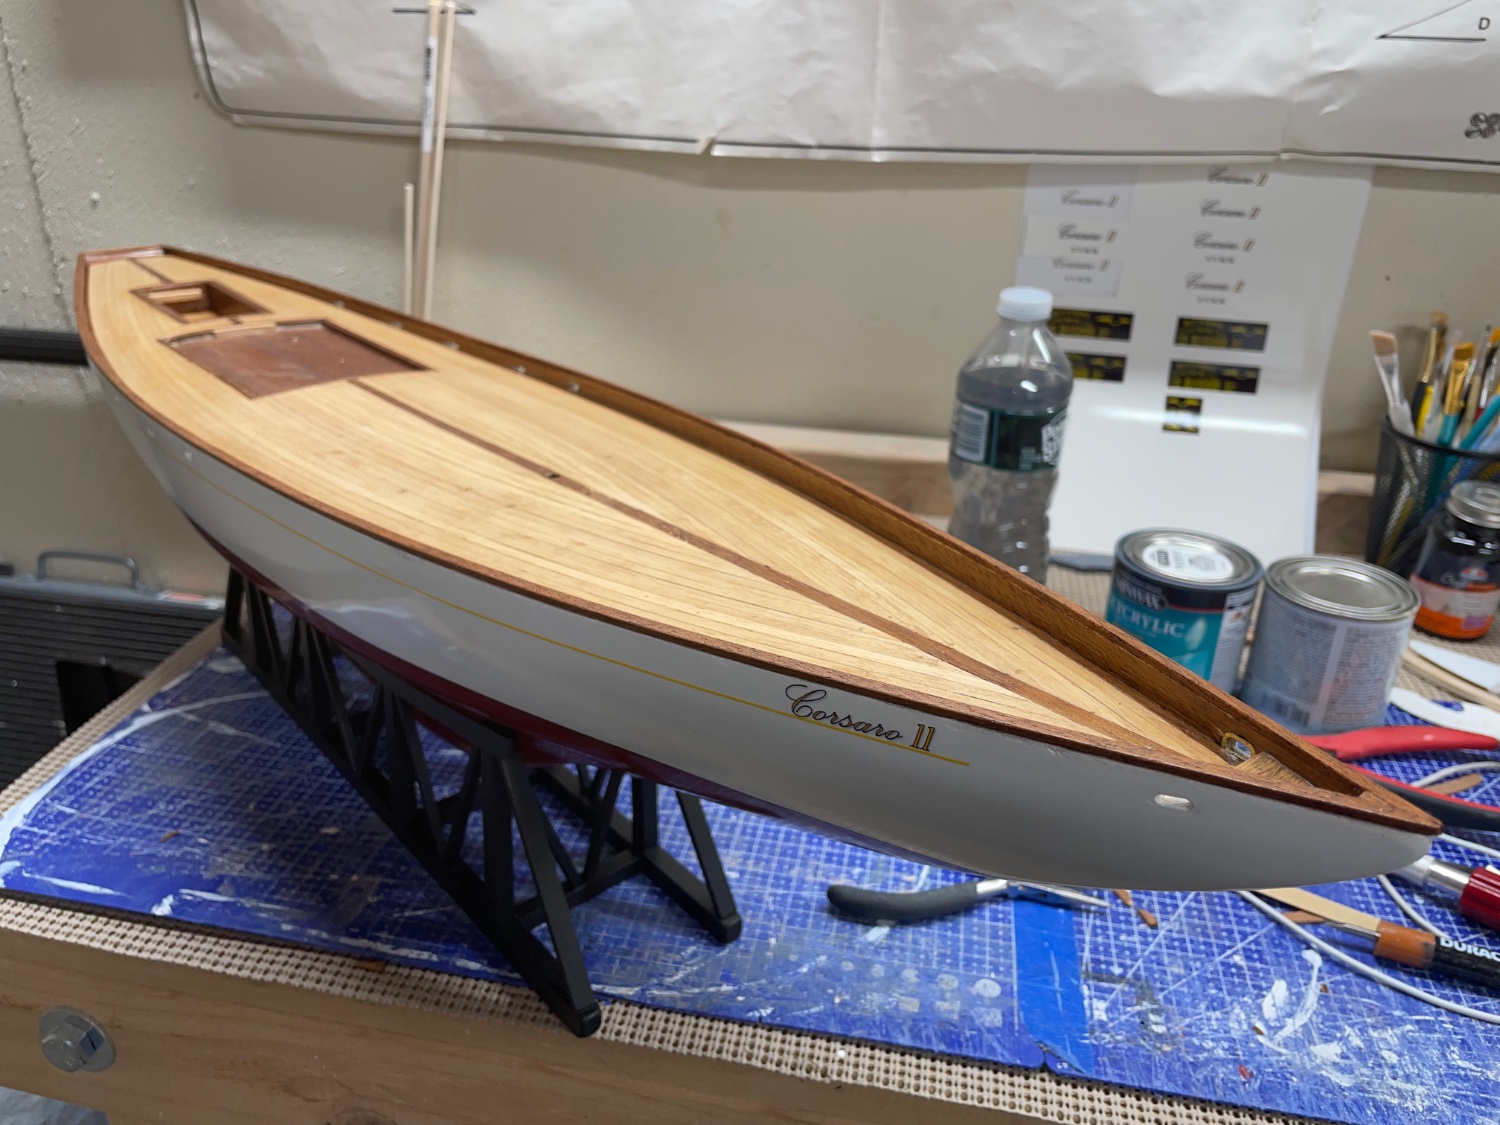
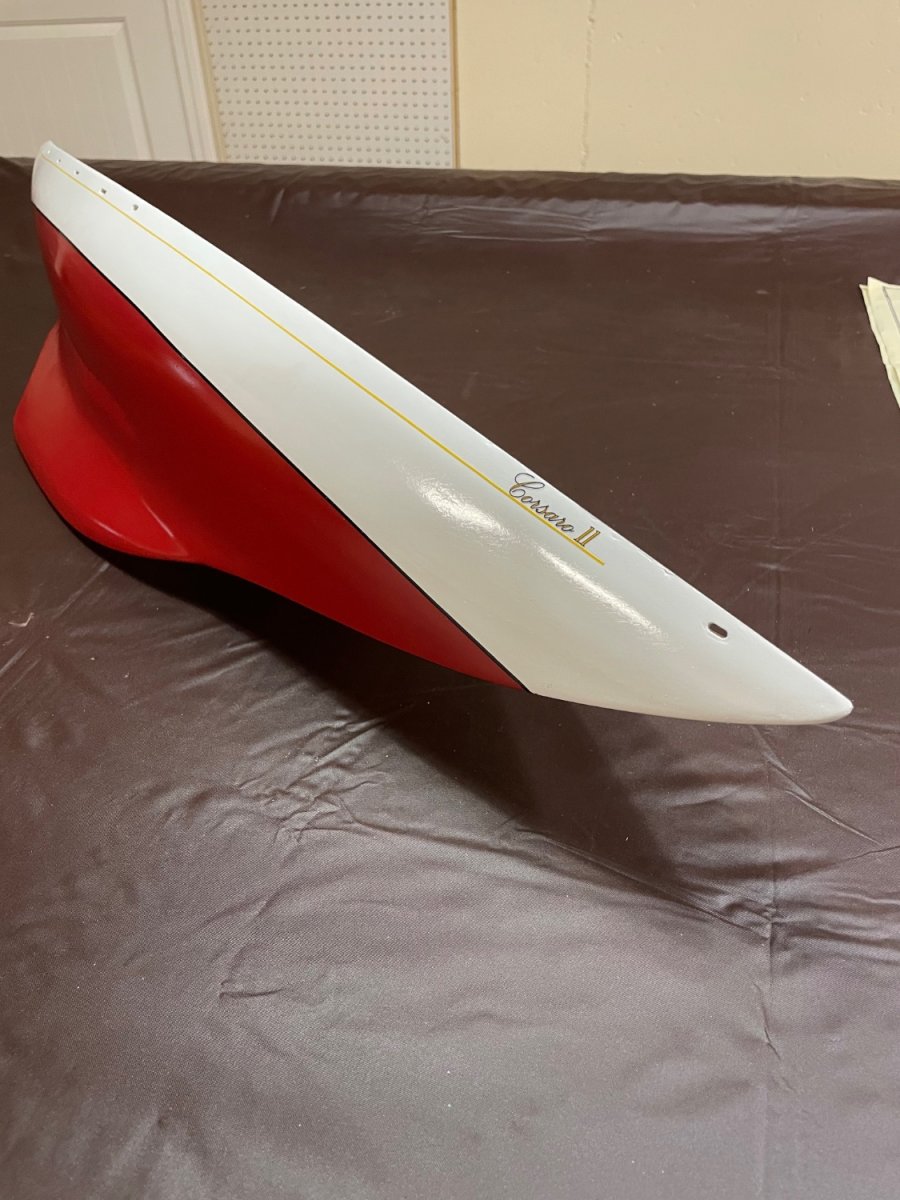
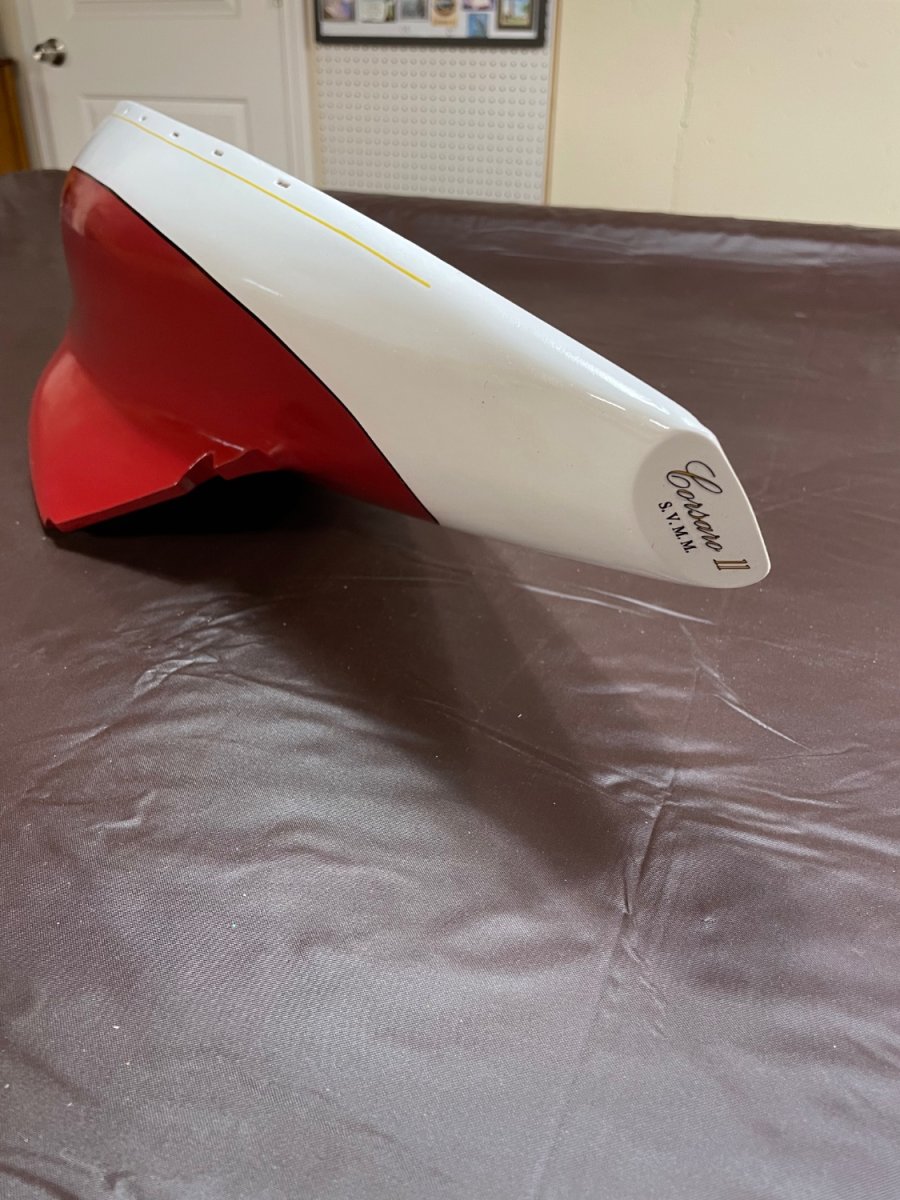
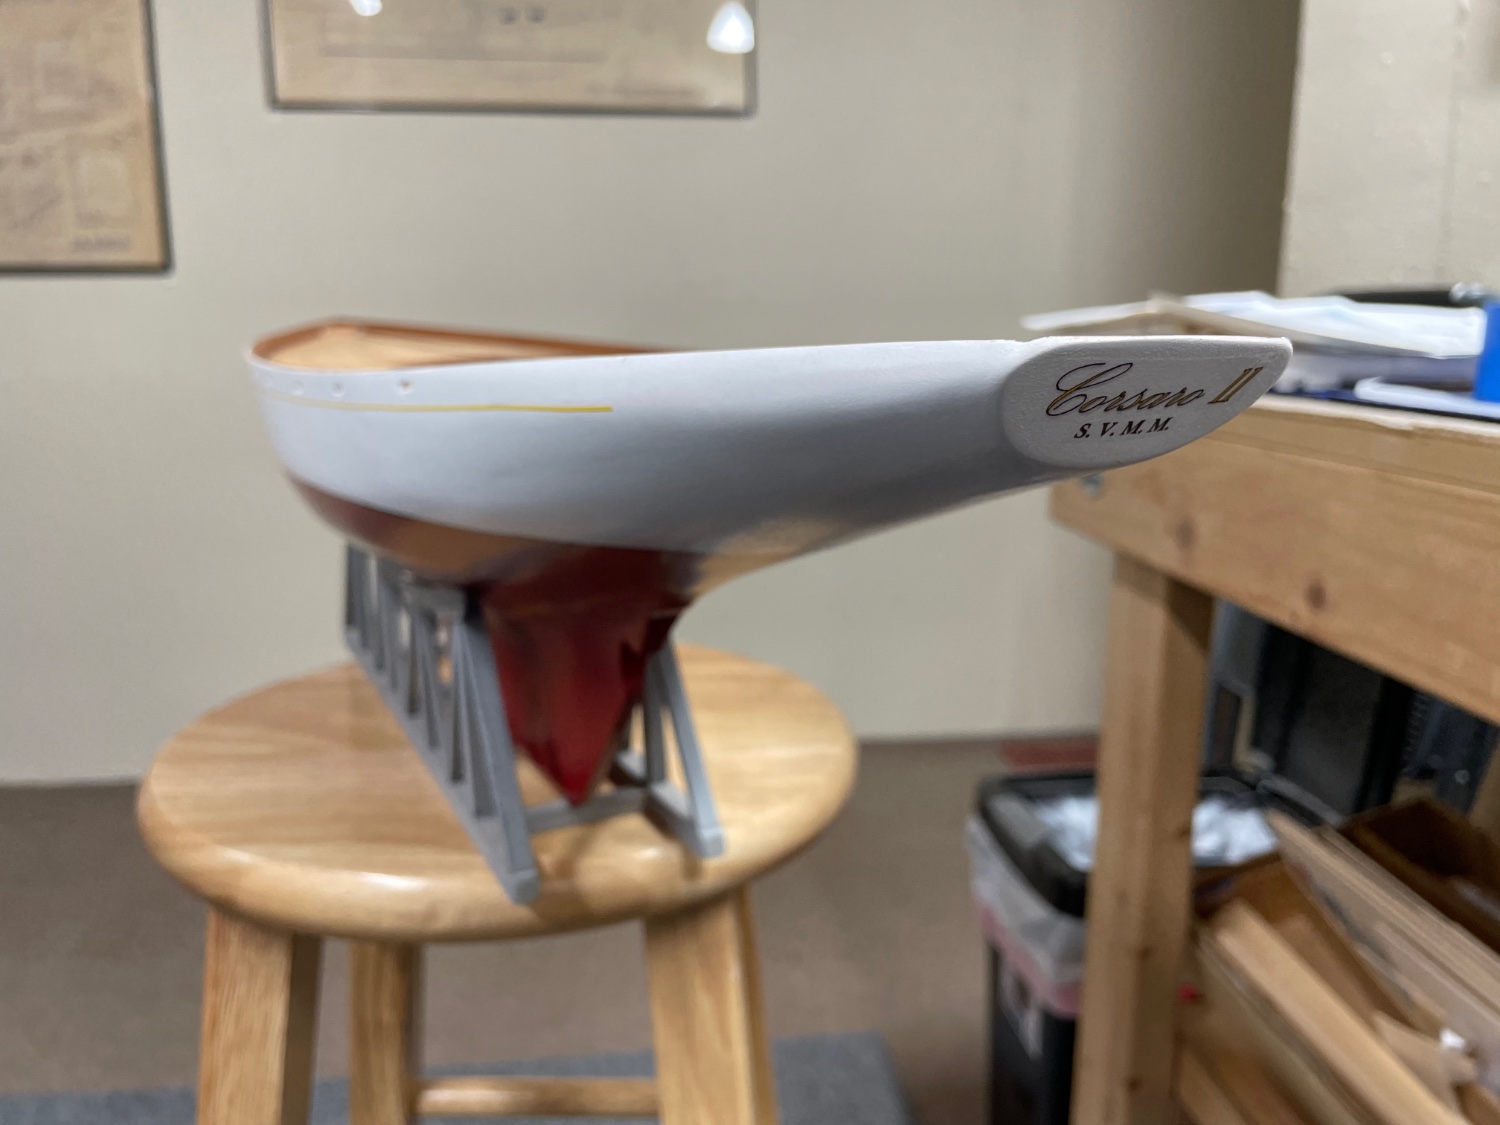
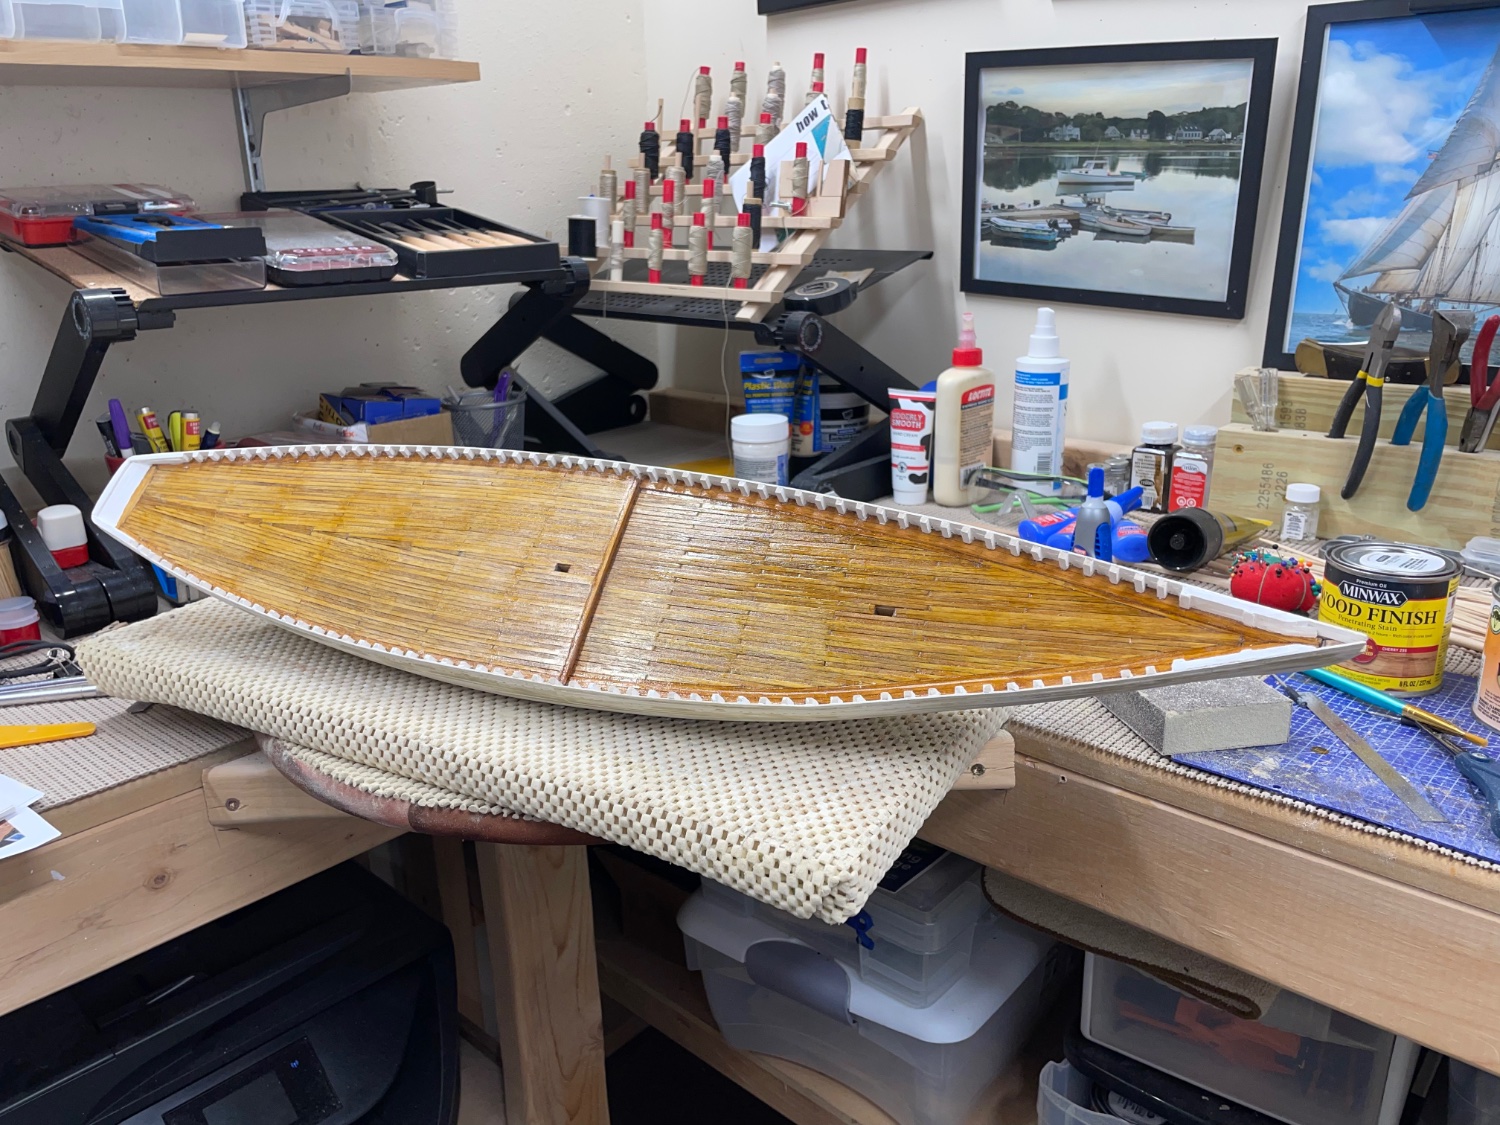
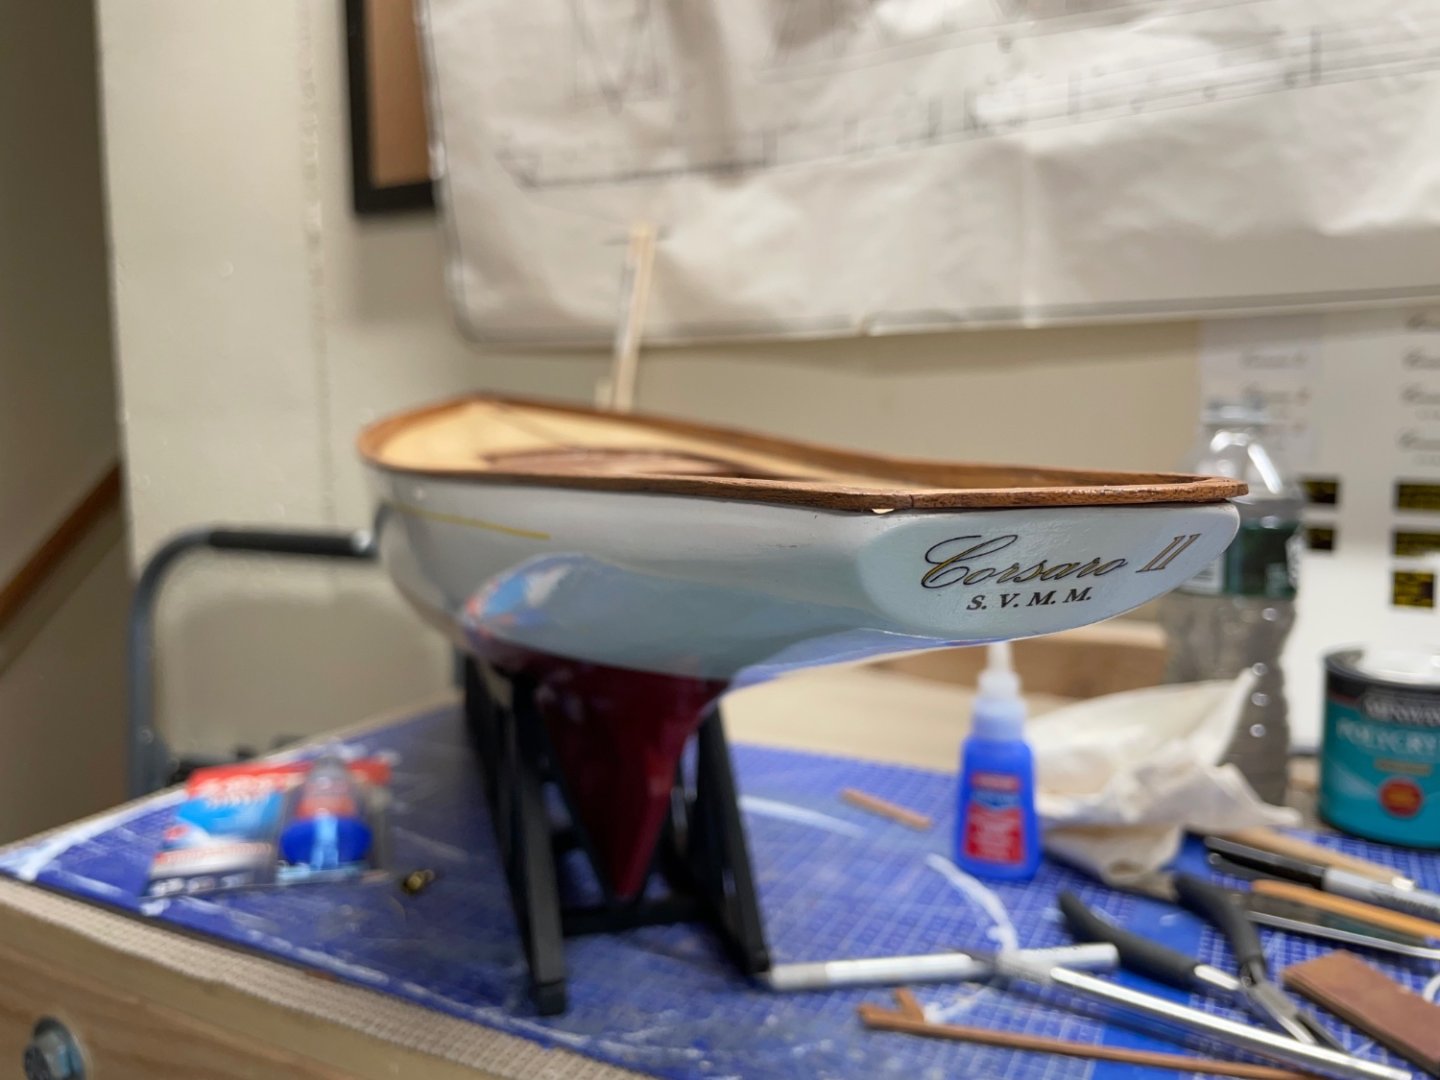
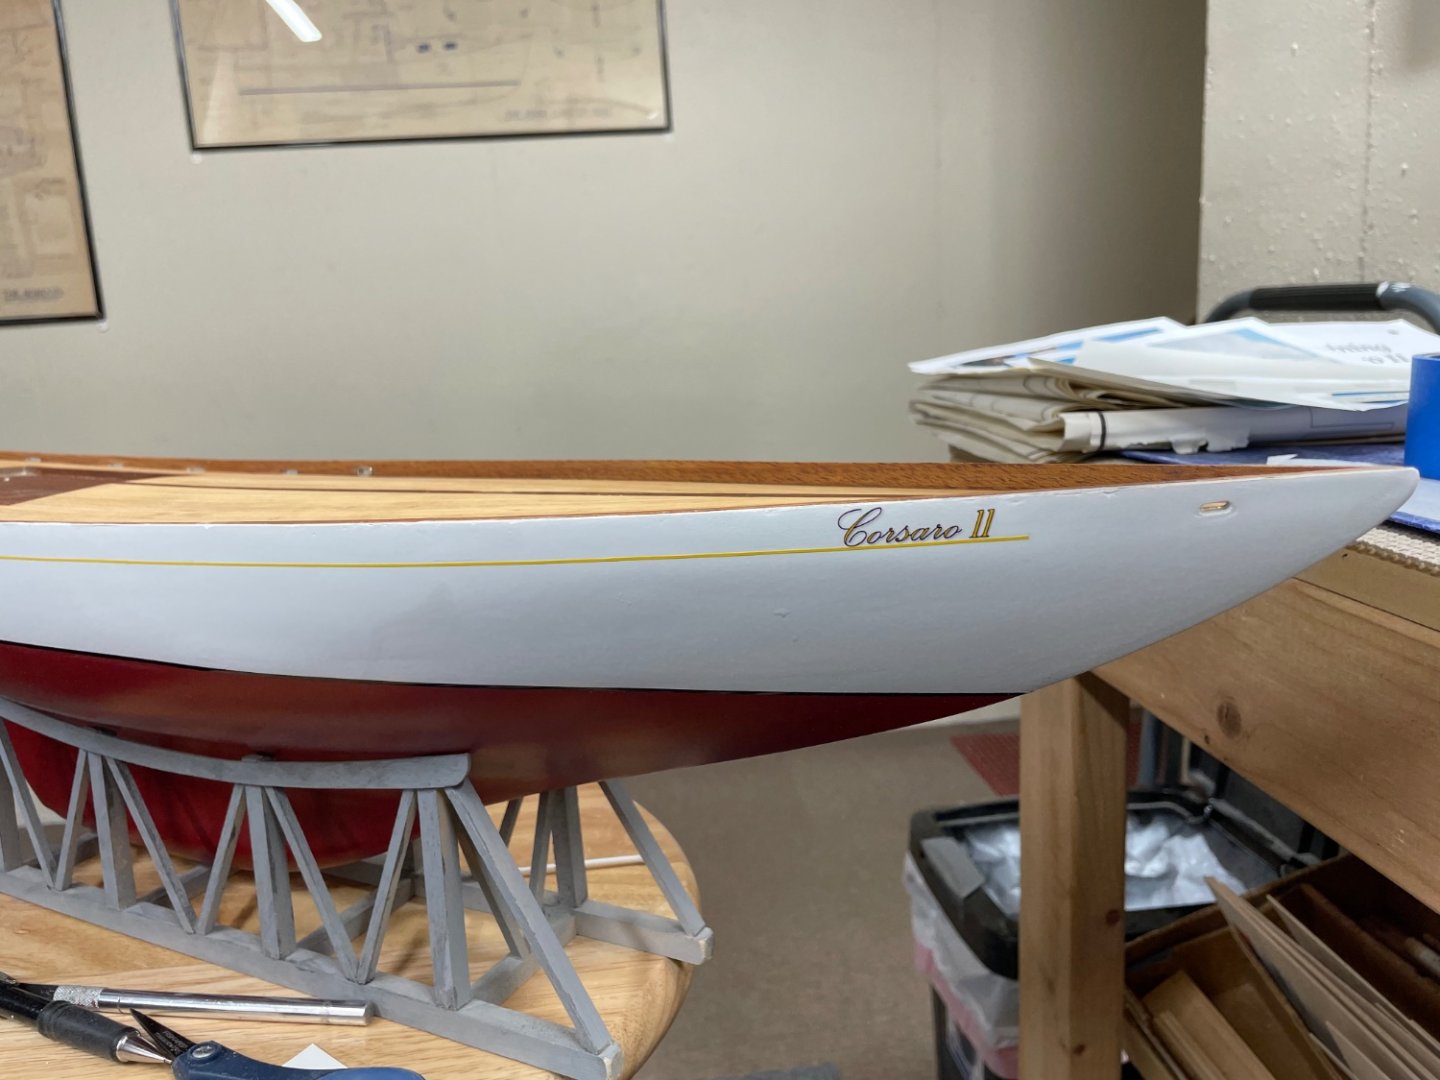
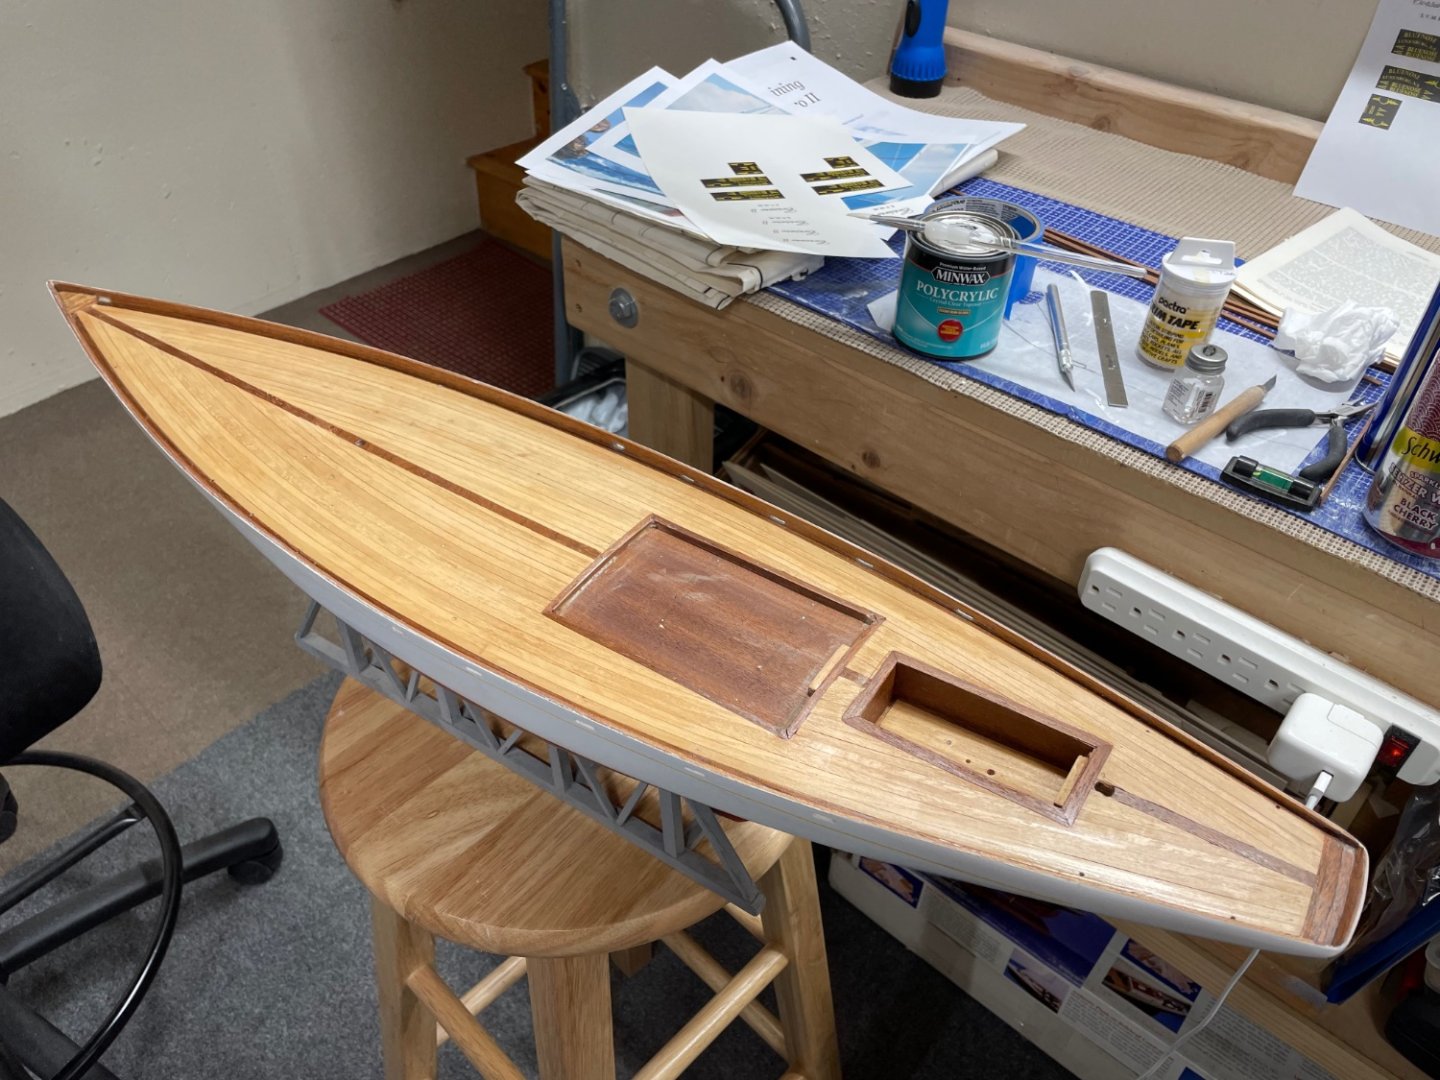
Decals and Strping… Decals produced in MS Word and printed on ink jet water slide decal paper. Bow markings and yellow striping. Stern markings… @rshousha Rick’s beautiful deck planking with its first coat of semi gloss poly. I’ll probably do another coat or two before I clear coat this hull. Cheers 🍻


- 84 replies
-
- 10
-
-
- Corsaro II
- Corel
- (and 1 more)
-
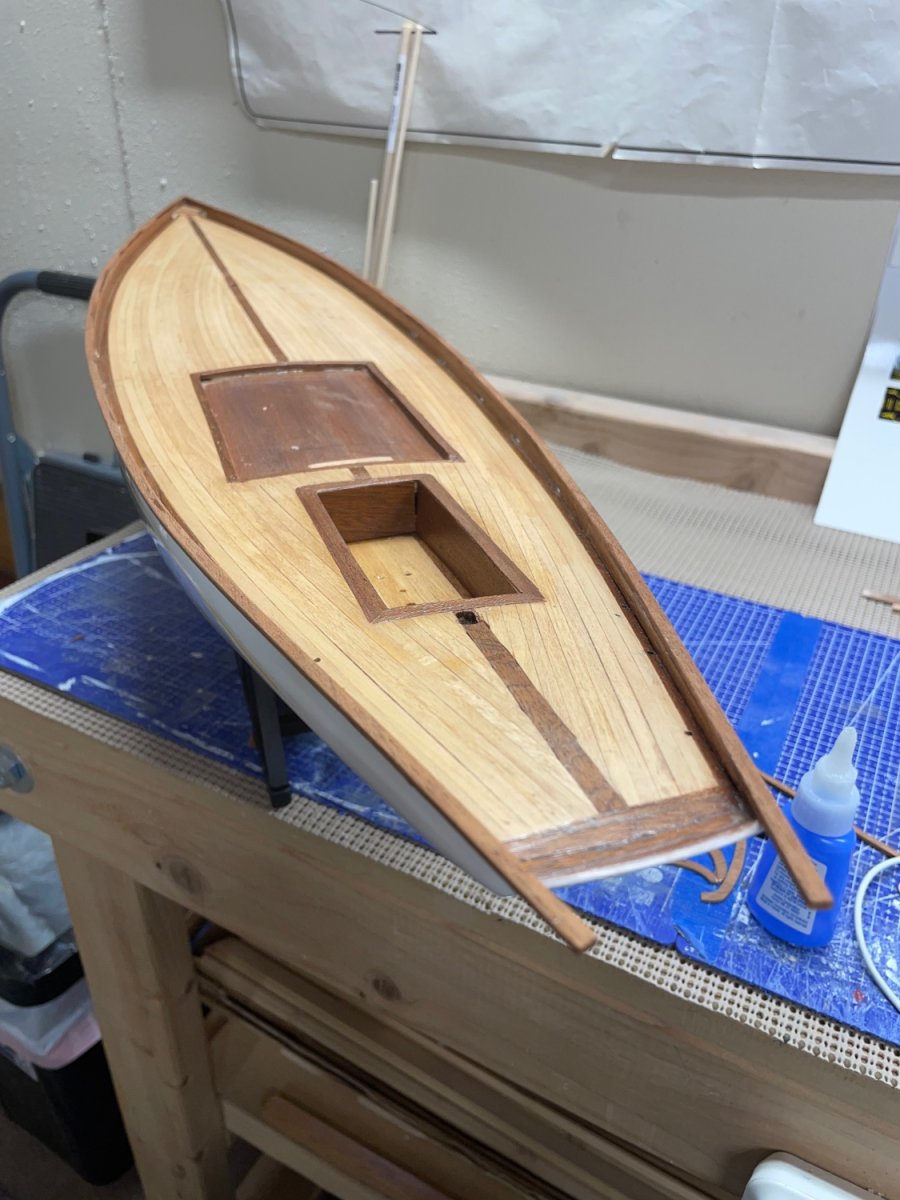
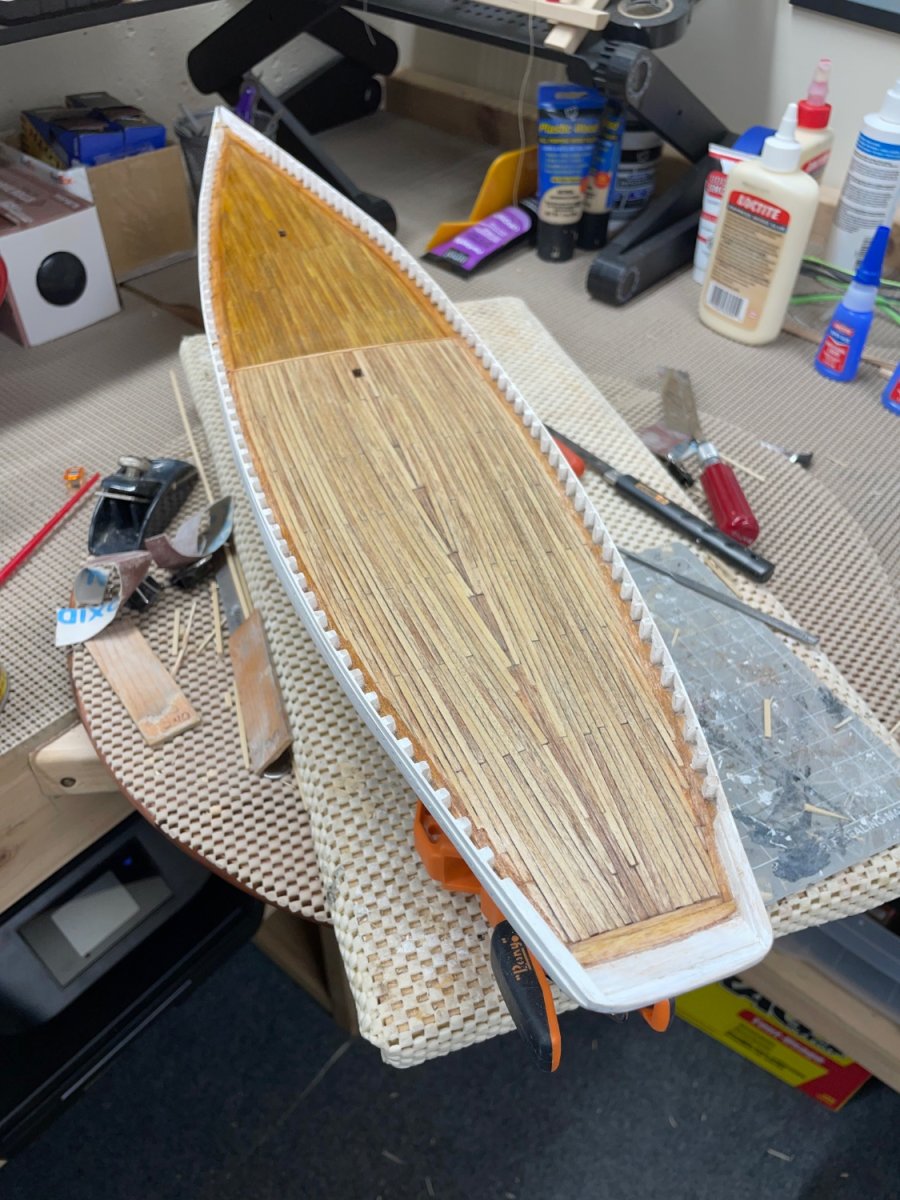
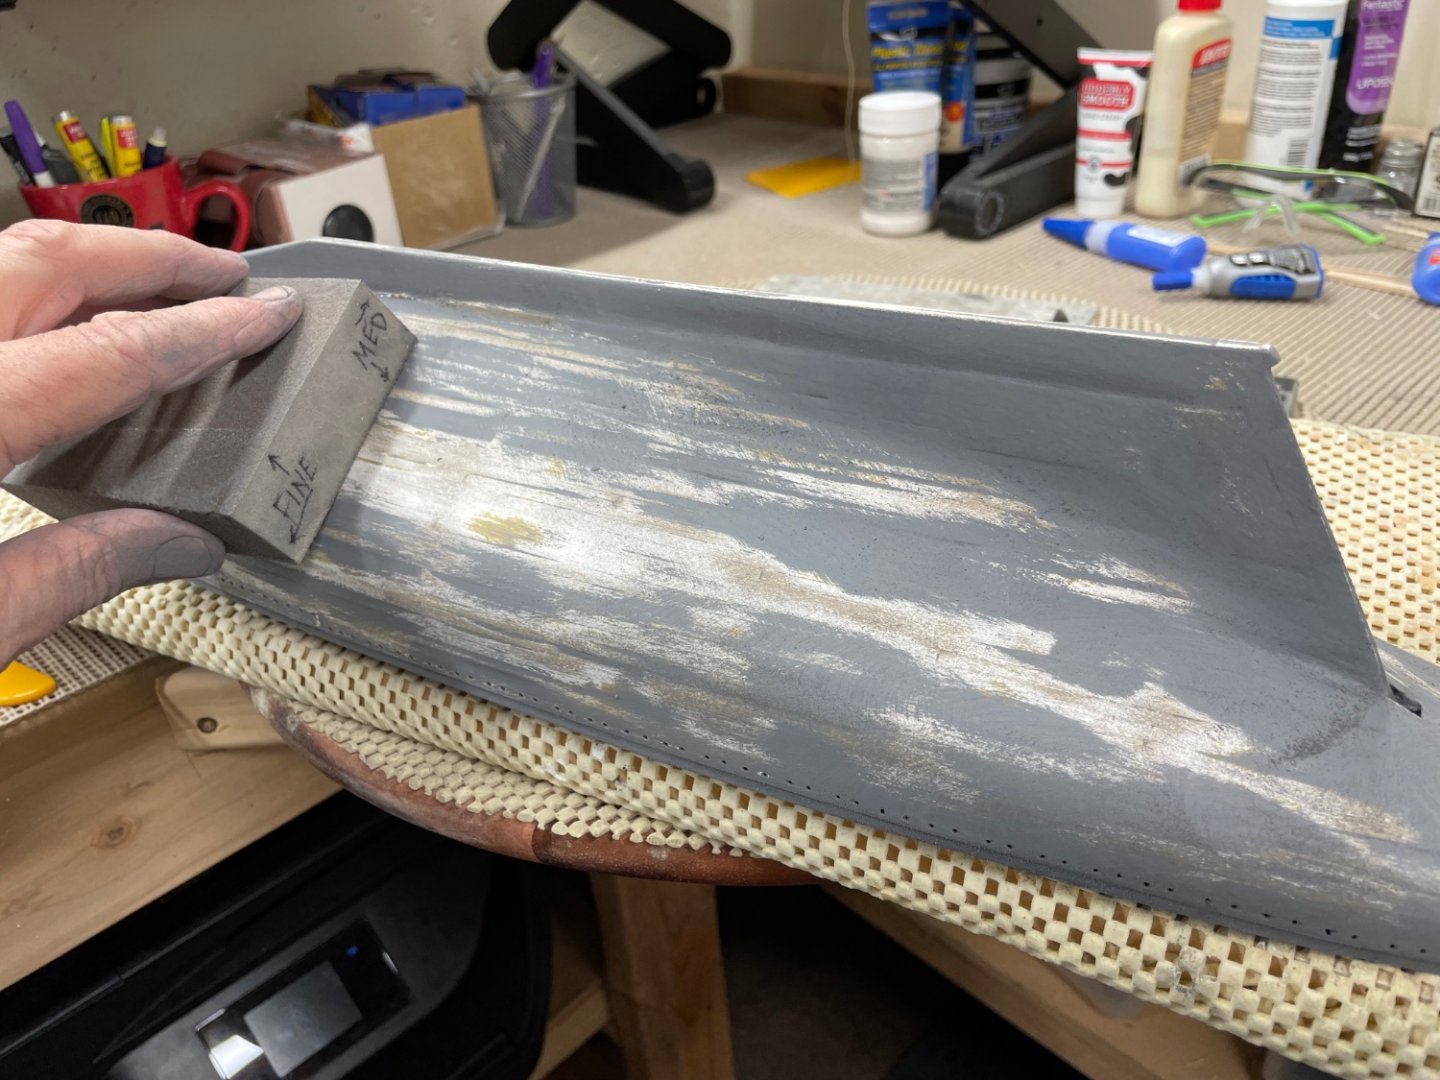
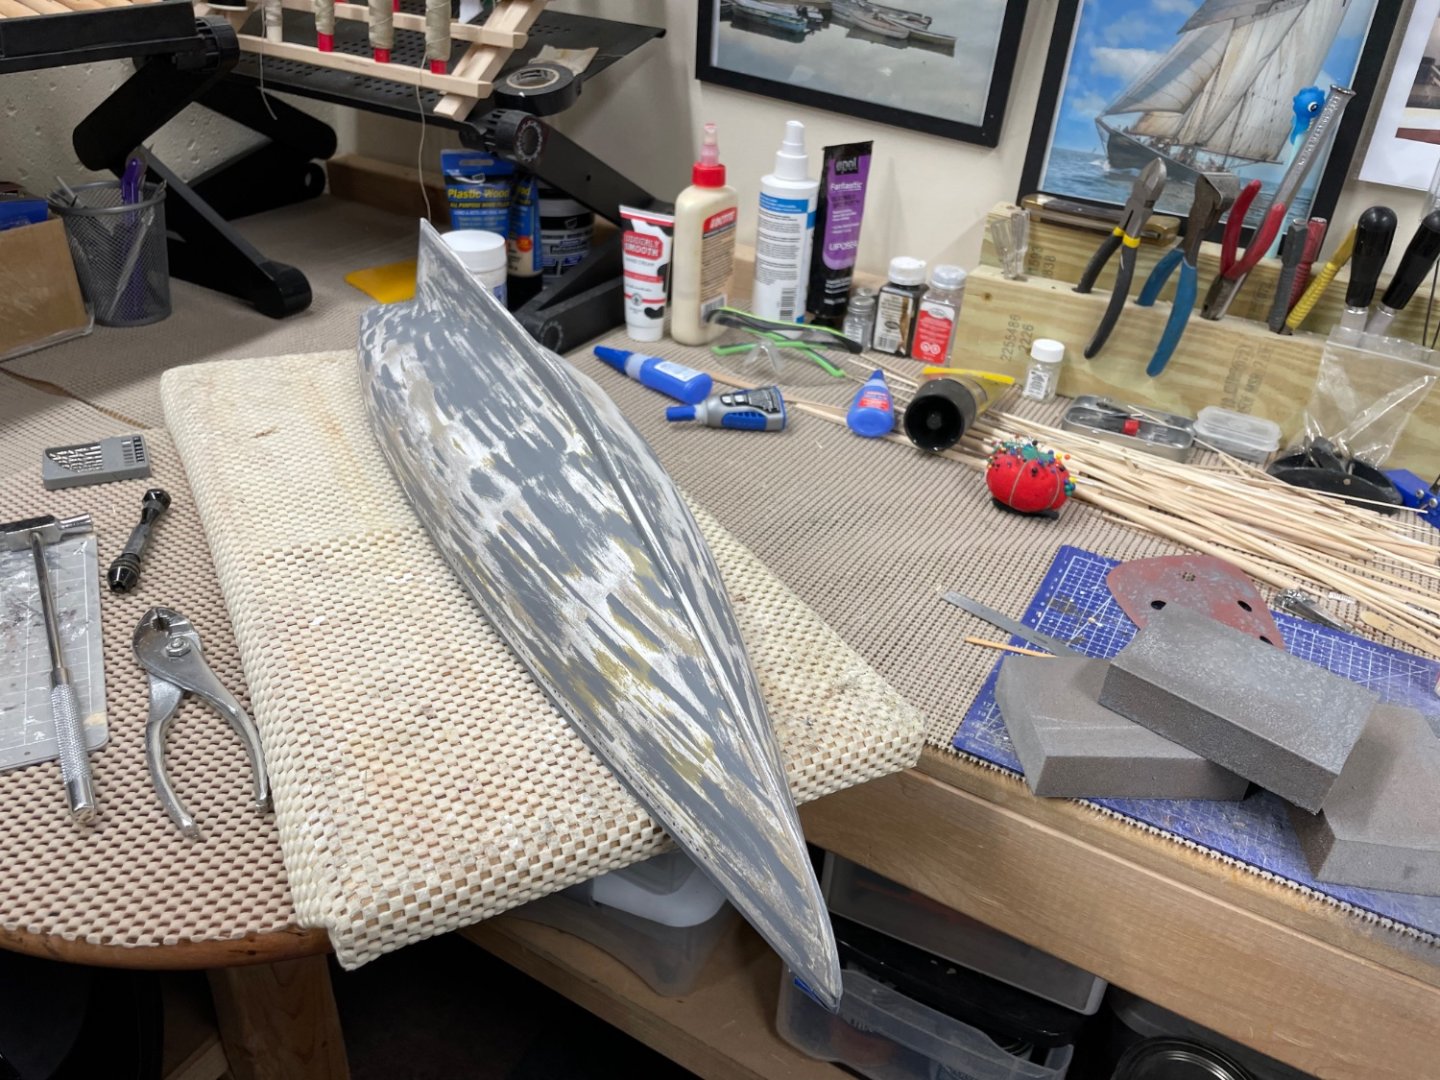
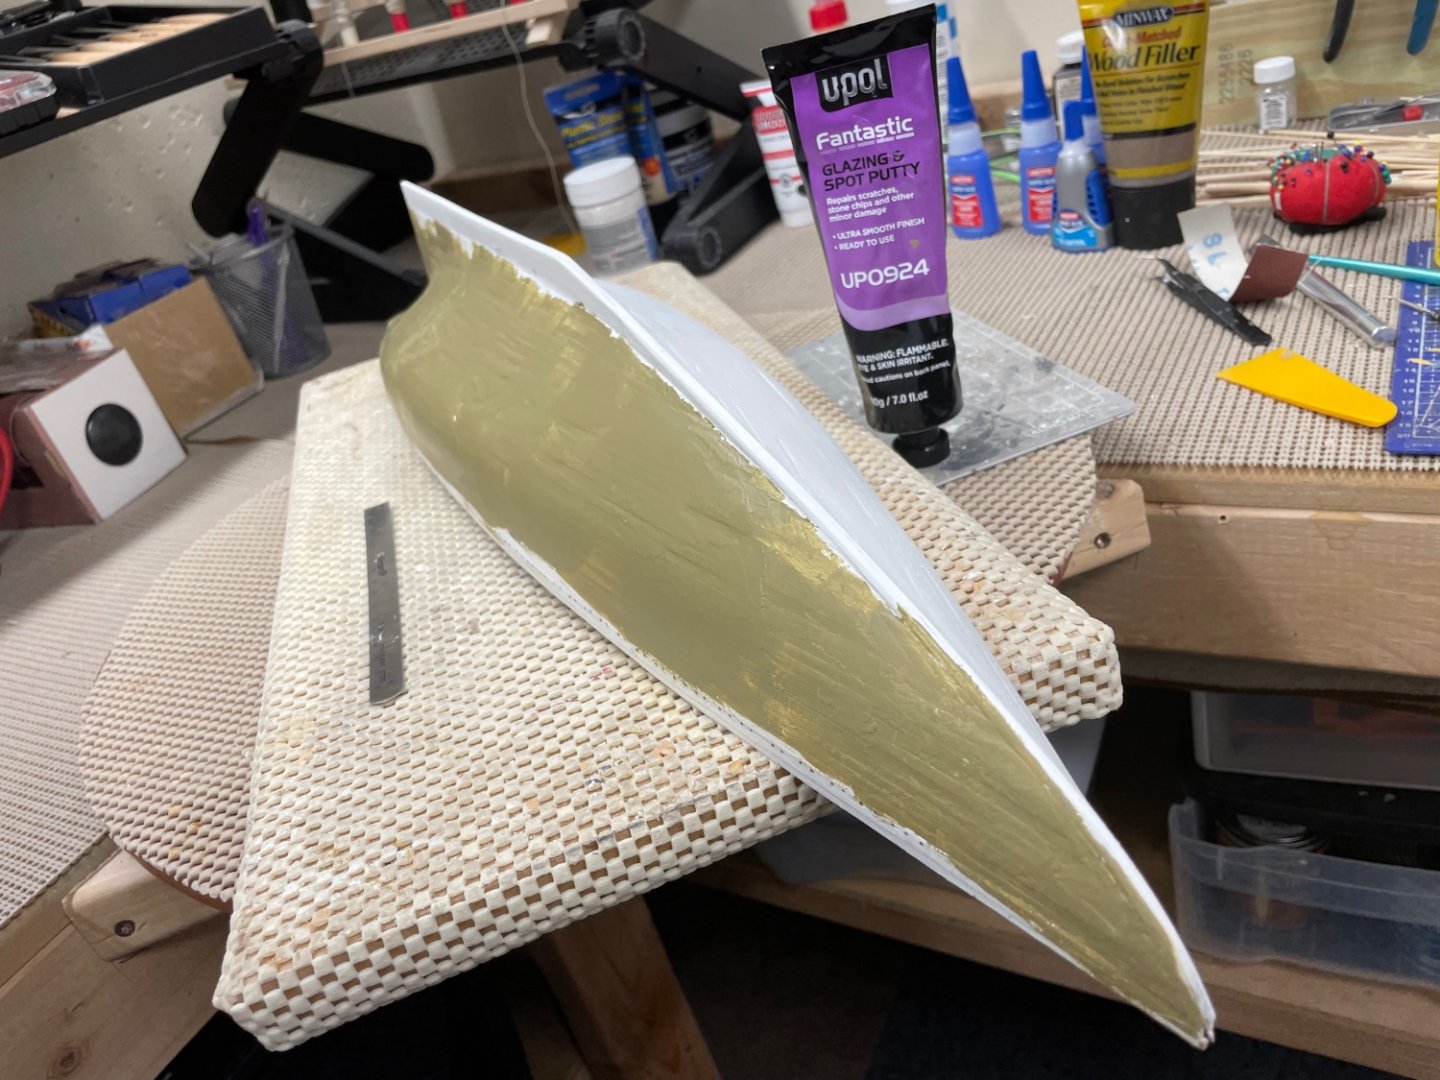
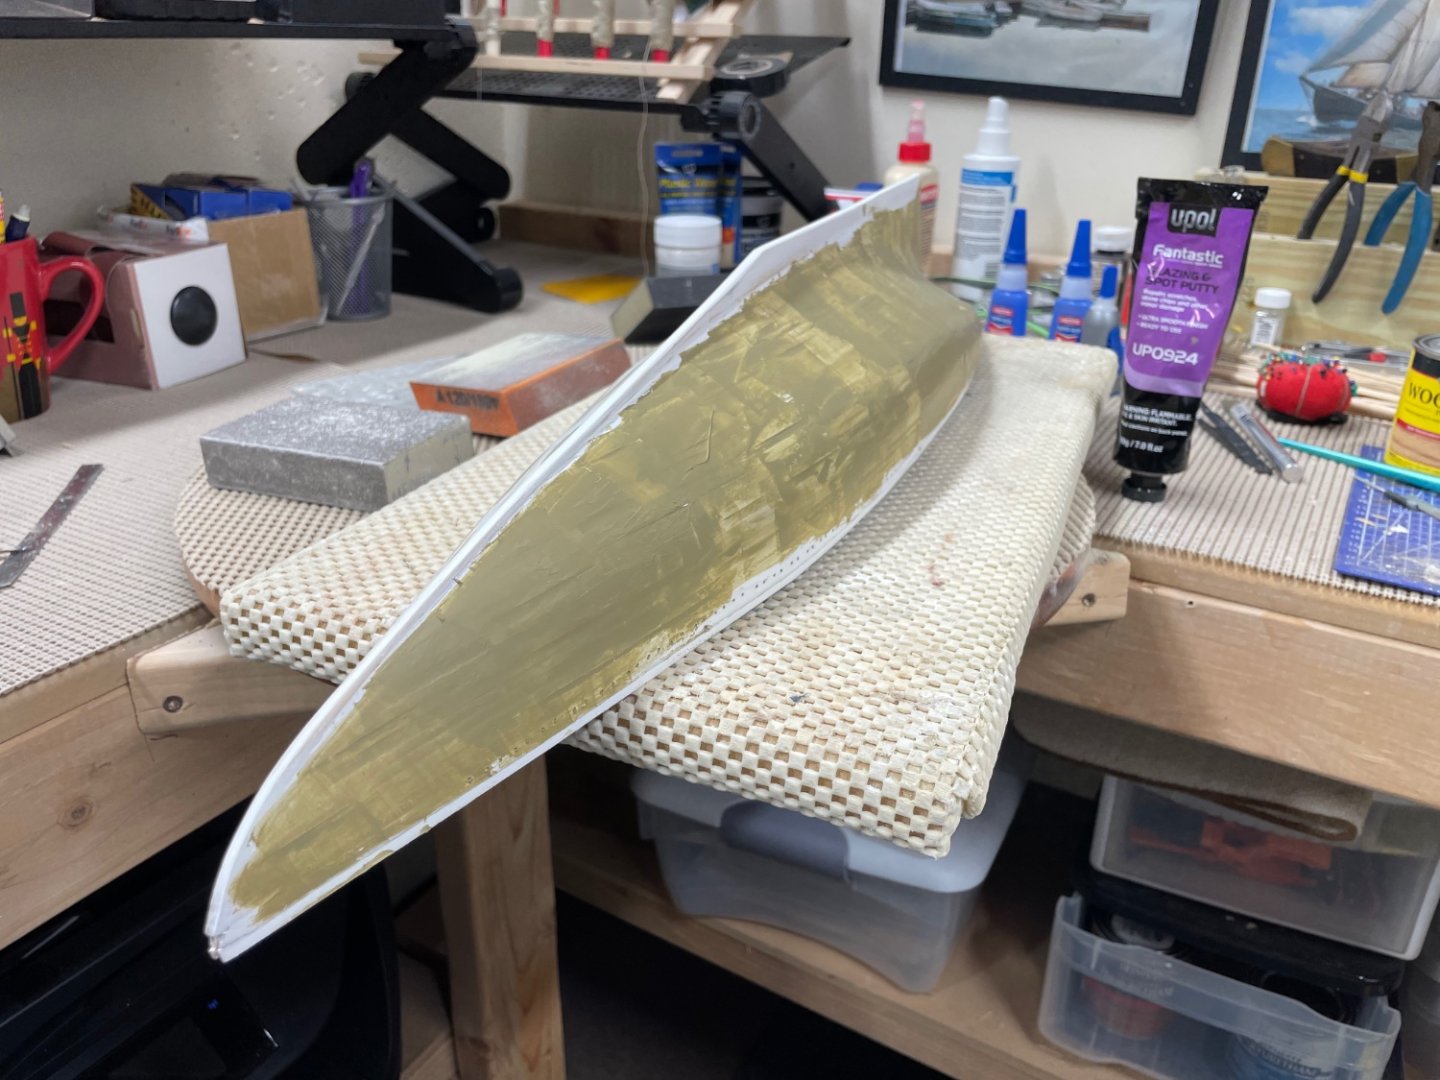
Decking completed… …and Finished. Sanding the hull… Using an Acrylic Auto Body glazing and spot filler. The glazing worked well, you will want to keep it thin. It does sand easily… Ready for the paint booth with some Filling Primer. Cheers 🍻


- 282 replies
-
- 9
-
-
- Bluenose
- Model Shipways
- (and 1 more)