HOLIDAY DONATION DRIVE - SUPPORT MSW - DO YOUR PART TO KEEP THIS GREAT FORUM GOING! (Only 13 donations so far - C'mon guys!)
×


John Ruy
-
Posts
1,566 -
Joined
-
Last visited
Content Type
Profiles
Forums
Gallery
Events
Everything posted by John Ruy
-
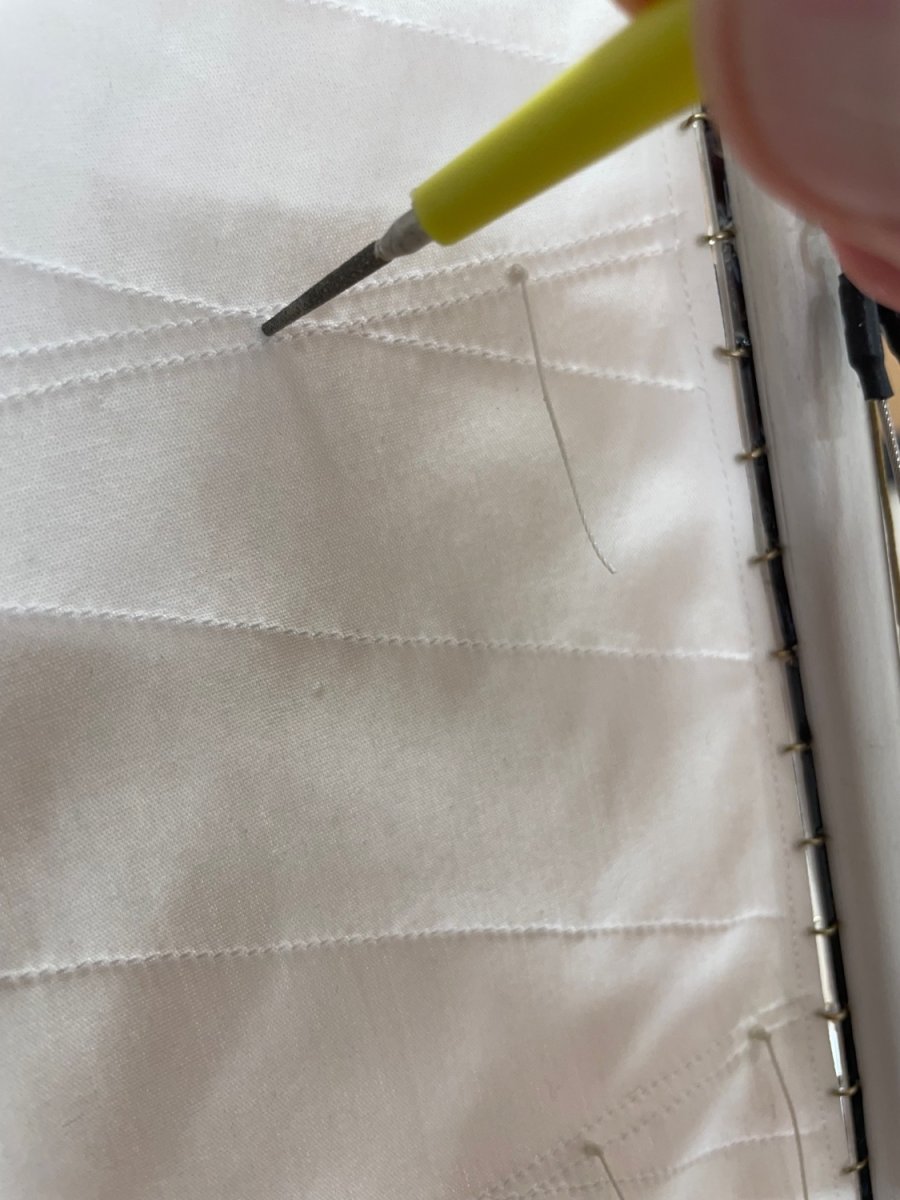
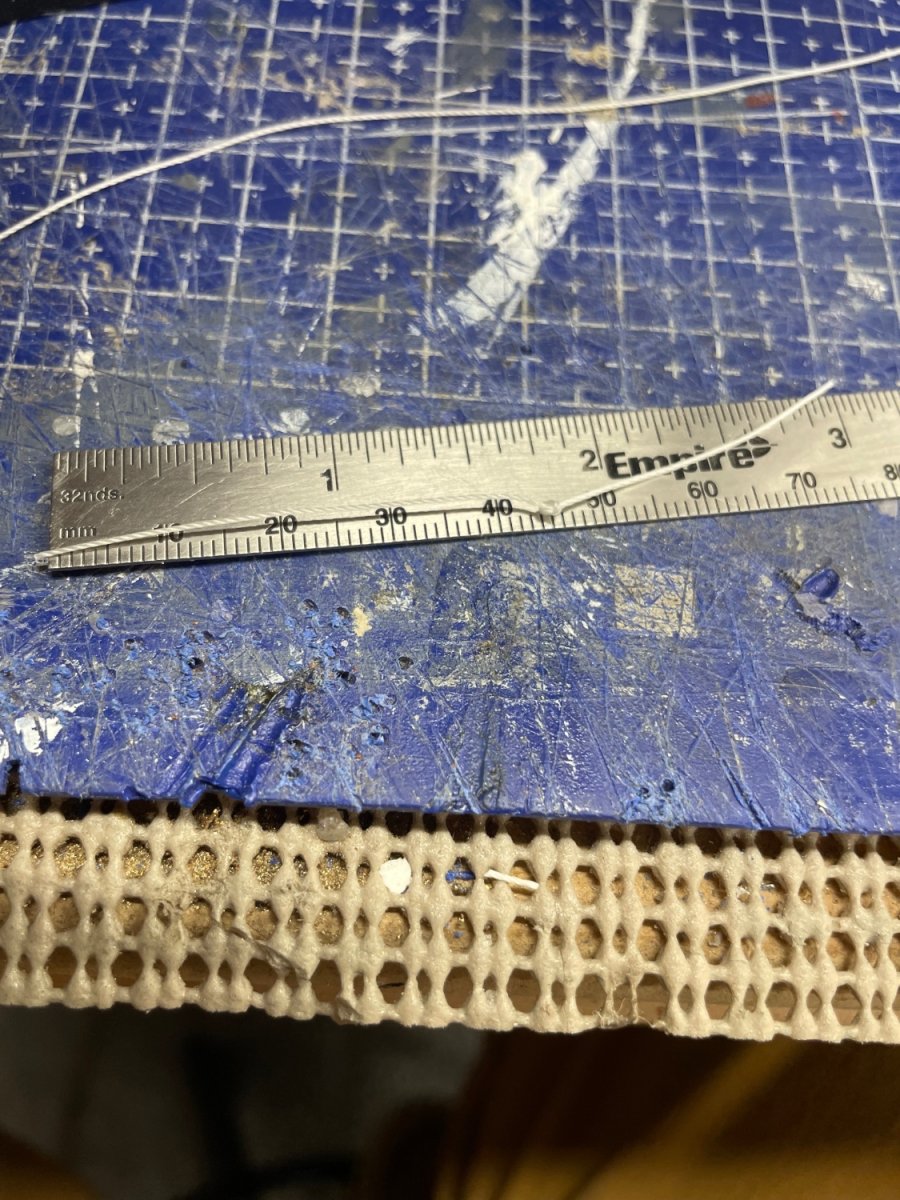
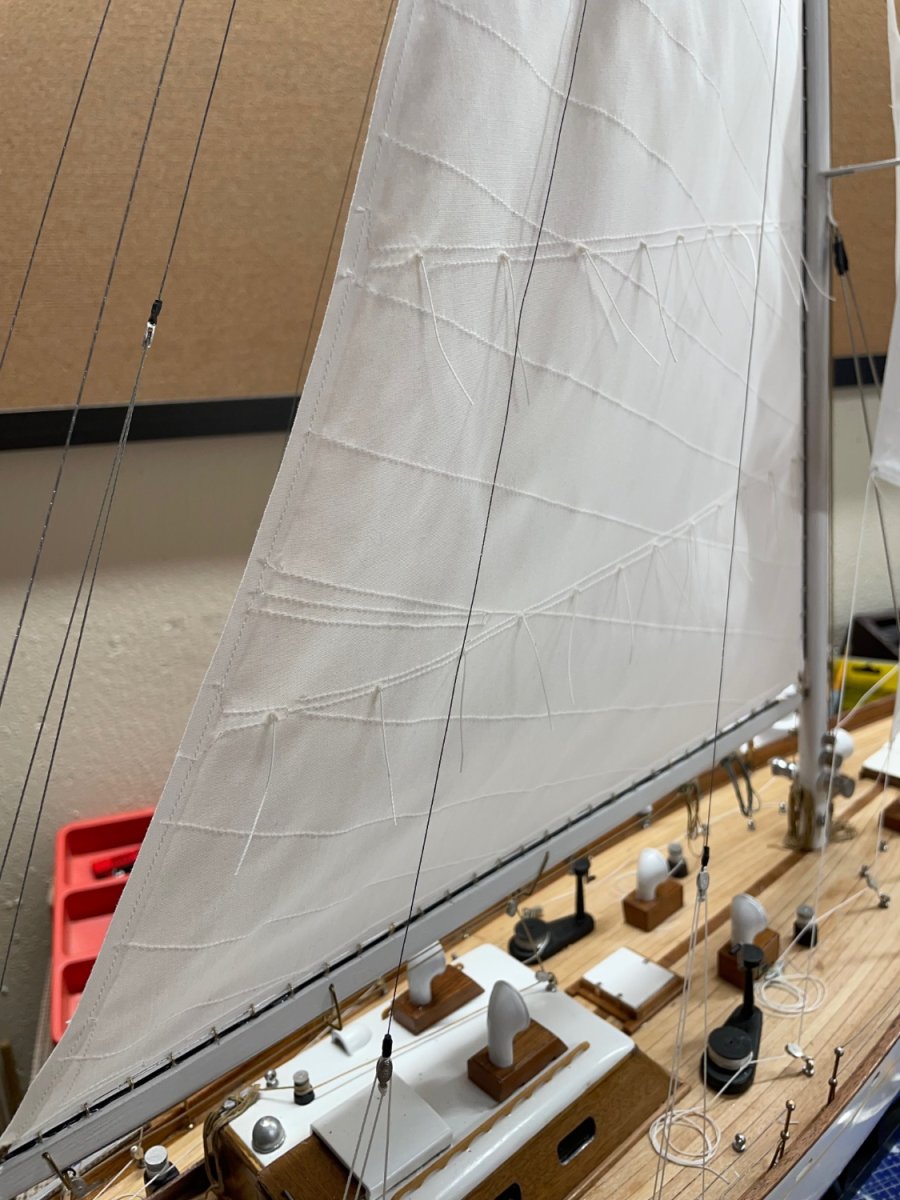
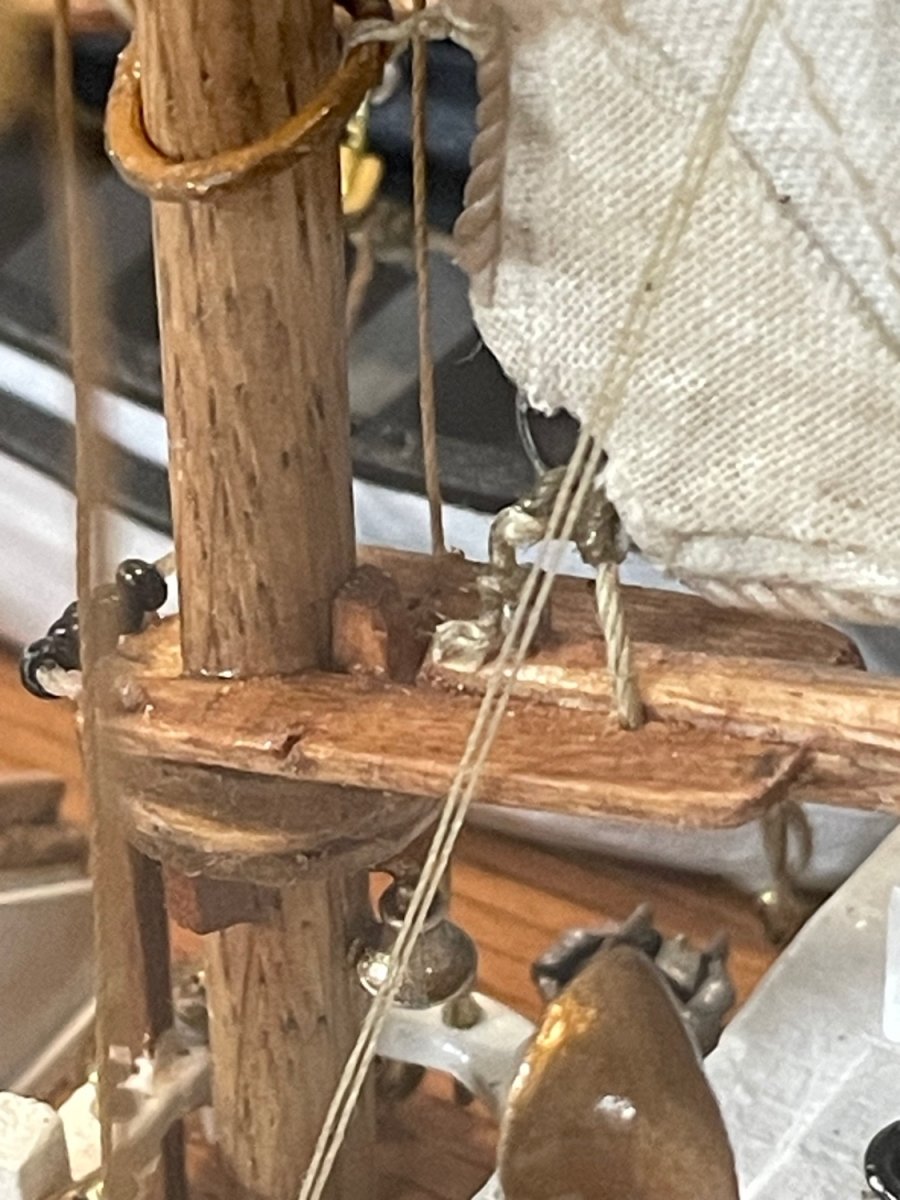
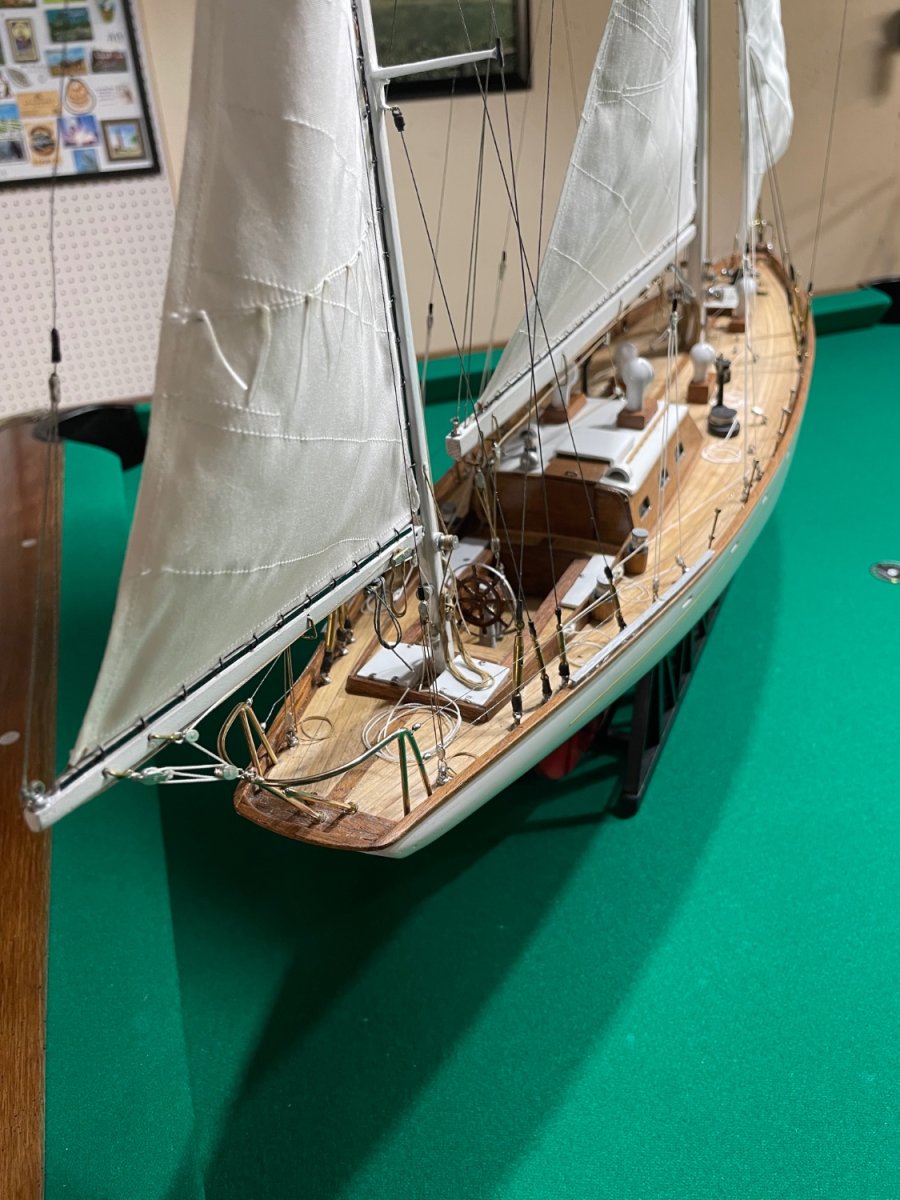
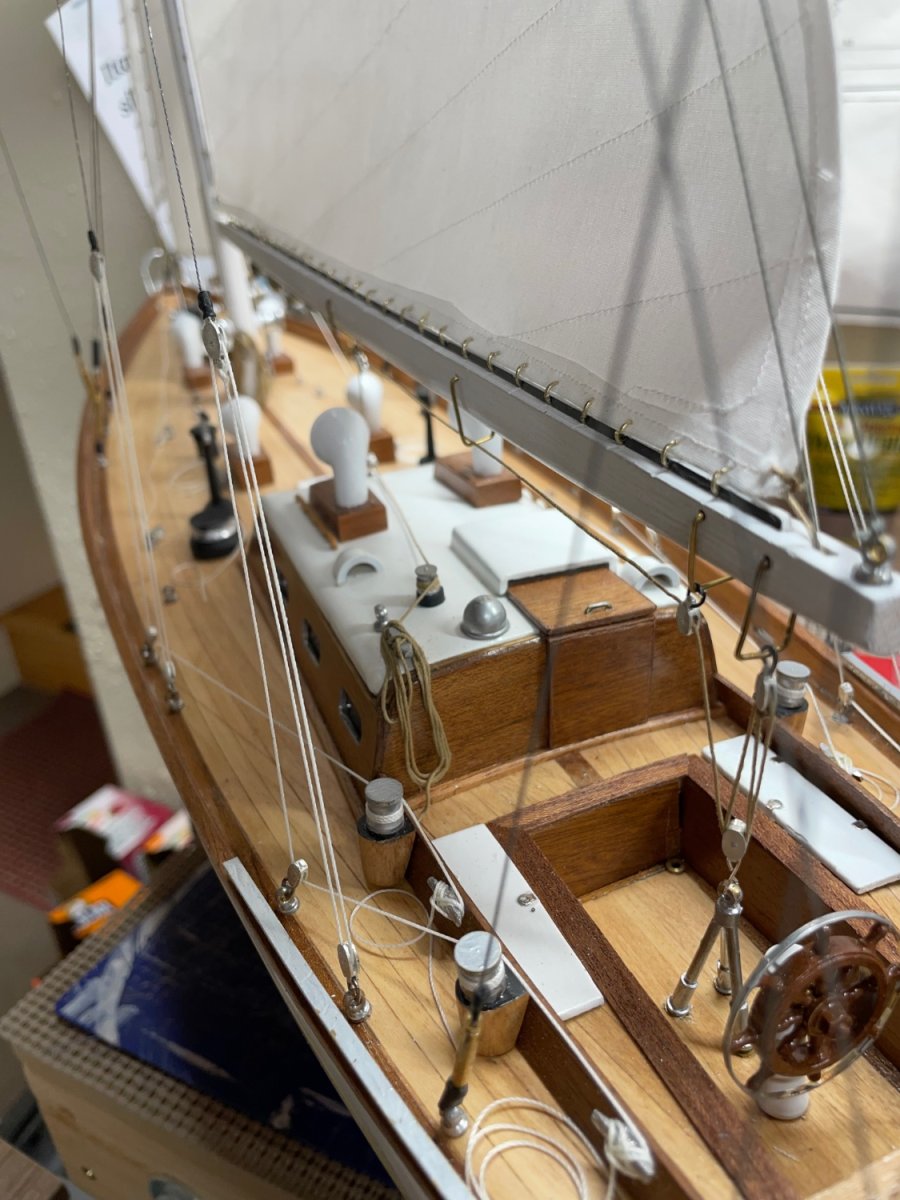
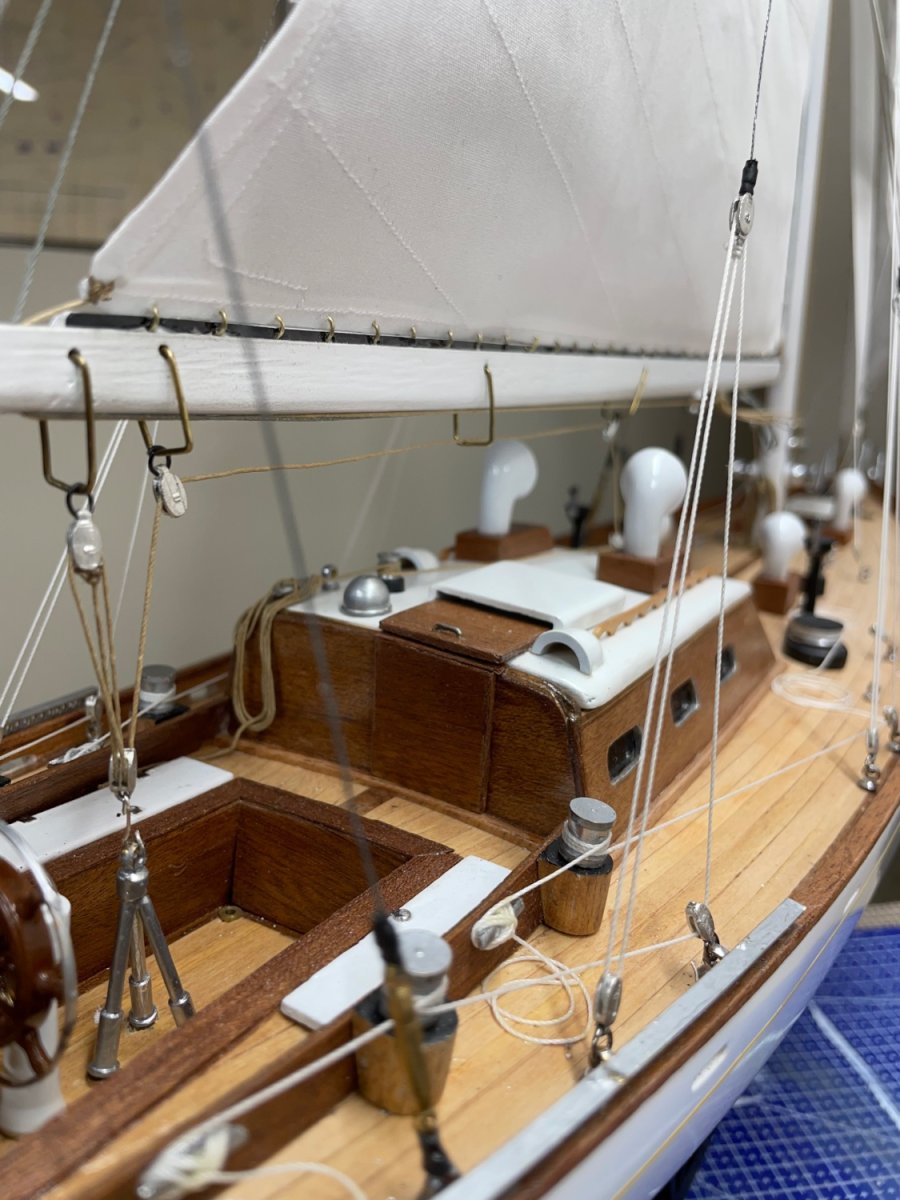
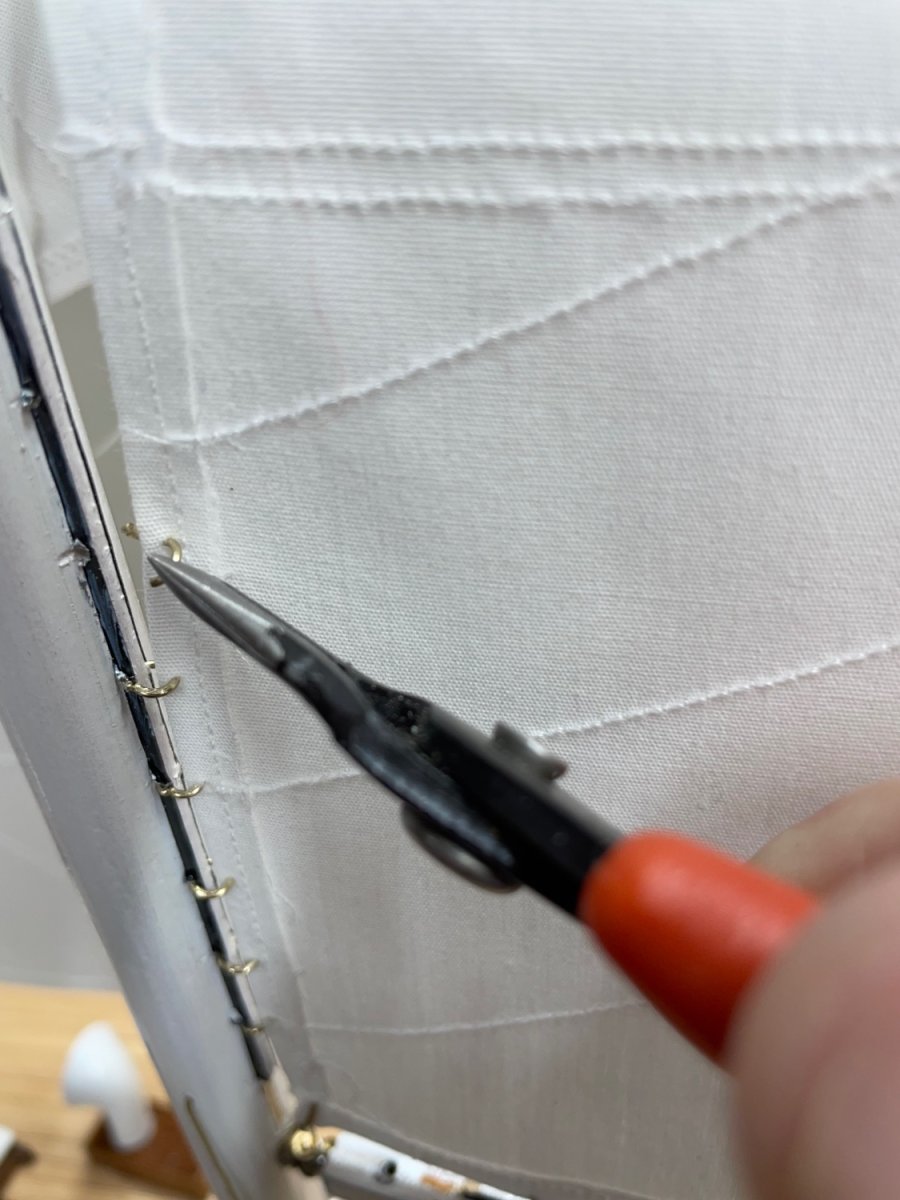
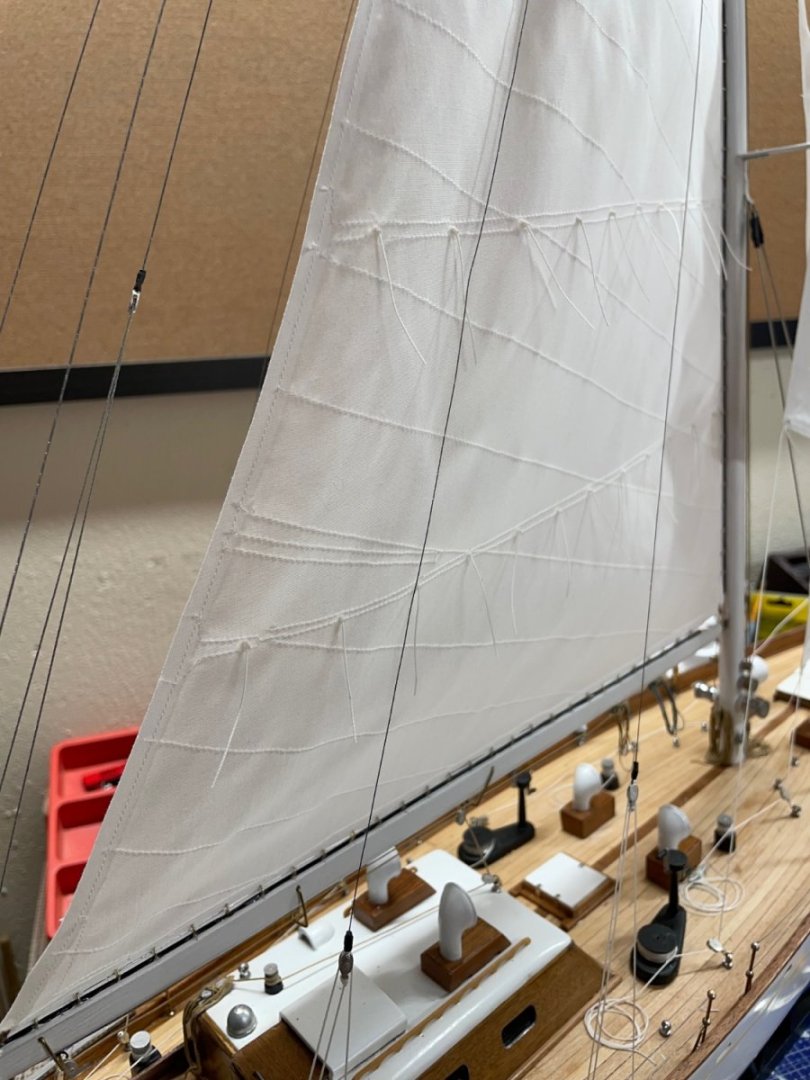
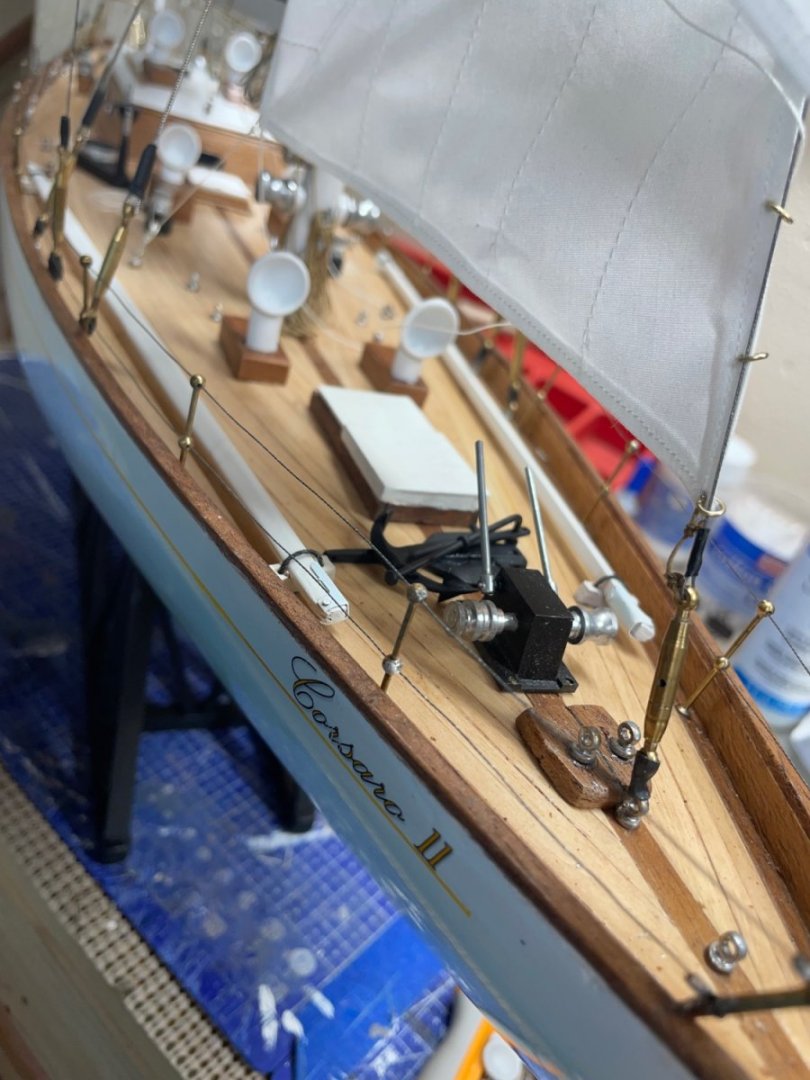
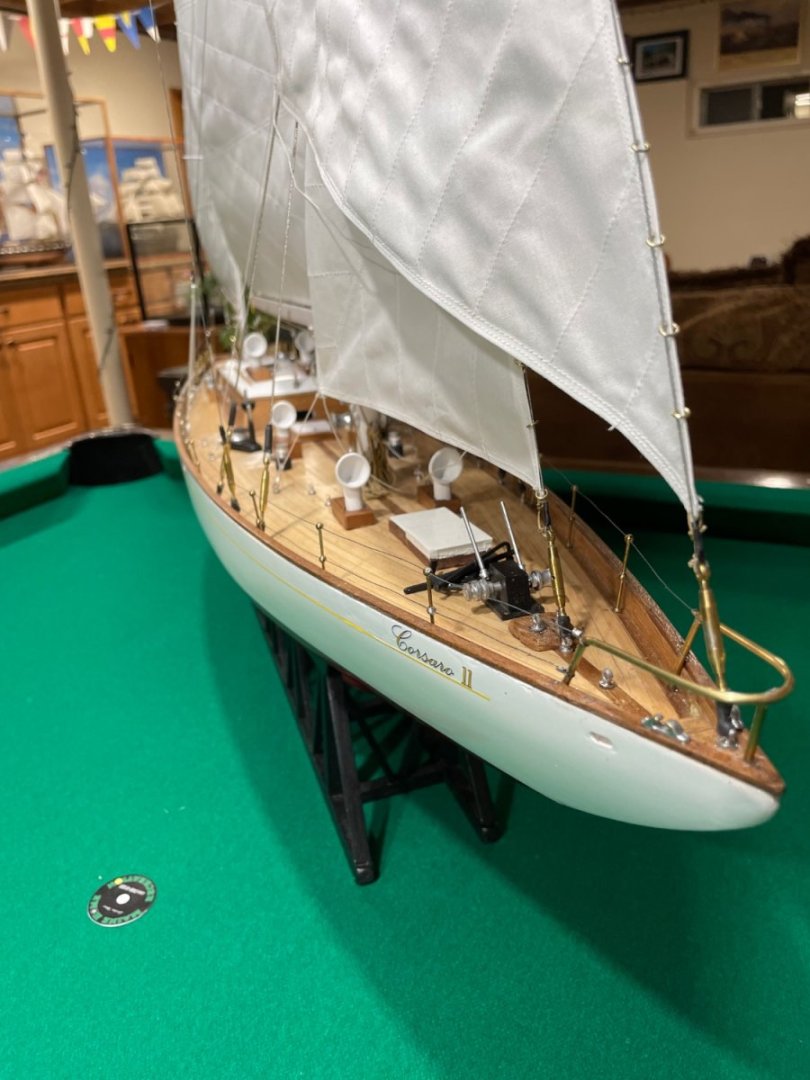
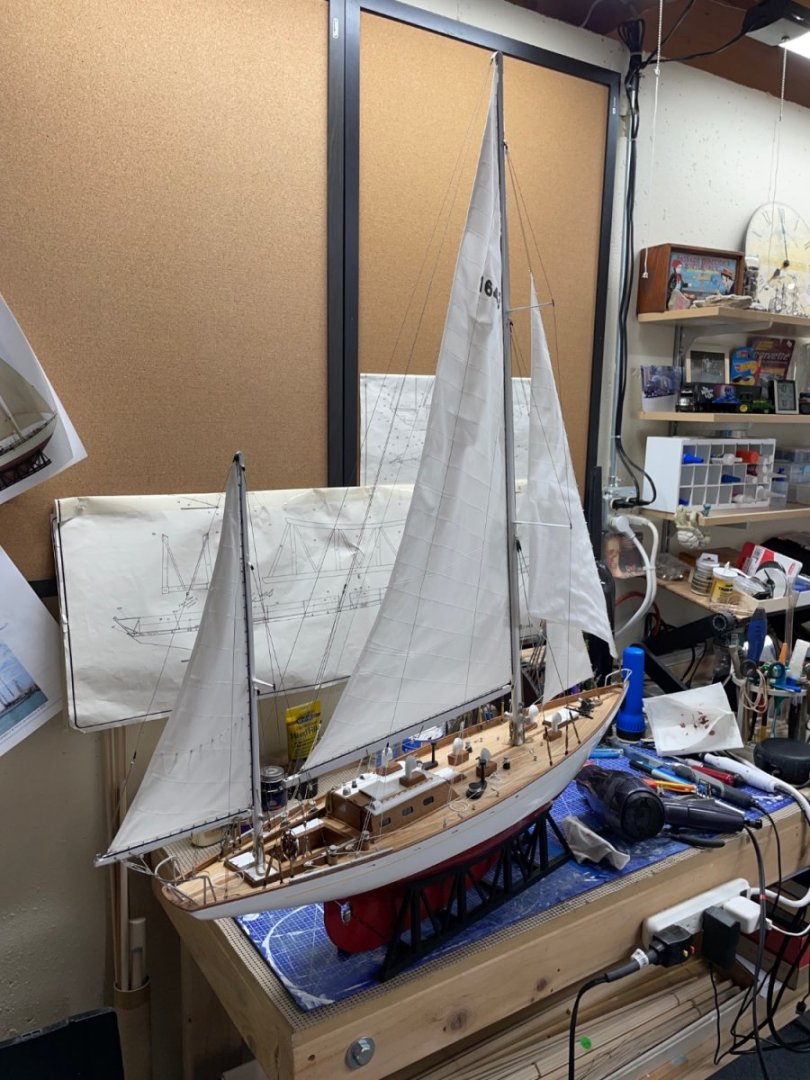
 Missing details… Oops… I forgot the Reefing Lines on the Main Sail. 🤨. This would have been a lot easier before the mounting of the sails. Reefing Lines complete… Also noticed that I hadn’t placed the Spinnaker Booms. 😜 Now I can say she is FINISHED! As long as I walk away now. Darn OCD. 🤣
- 84 replies
-
- 7
-

-

-
- Corsaro II
- Corel
- (and 1 more)
-
Nick, You are correct, she is a beautiful model. Unfortunately, some of the building details are left to the builders. No templates here… Below is a link to my build log, I covered the details pretty well. Maybe it will be of some help. You might call the boom and gaff yokes hand carved. 😎

-
I’ll follow along as well. I have the Amati Santa Maria new in my stash. I am hoping you give me lots of detail on planking technique. Every thing I’ve done so far has been painted. I’m looking forward to seeing your approach to the planking. Do you have a build log on the Santa Maria? John
-
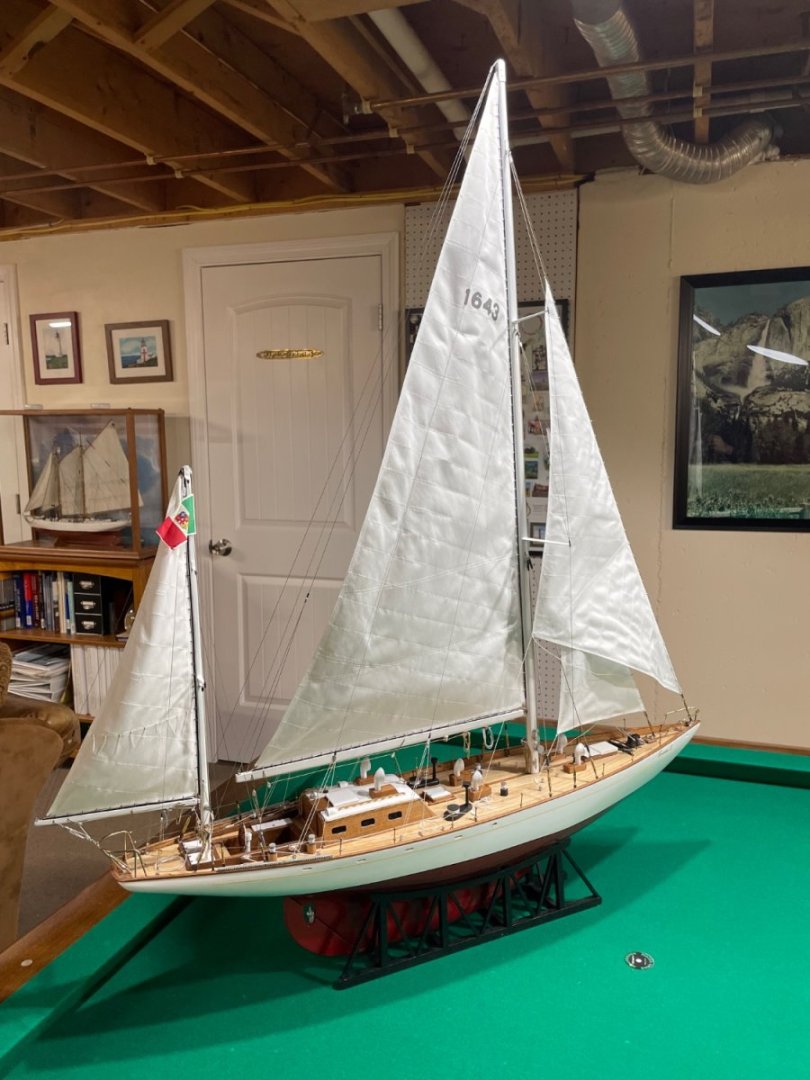
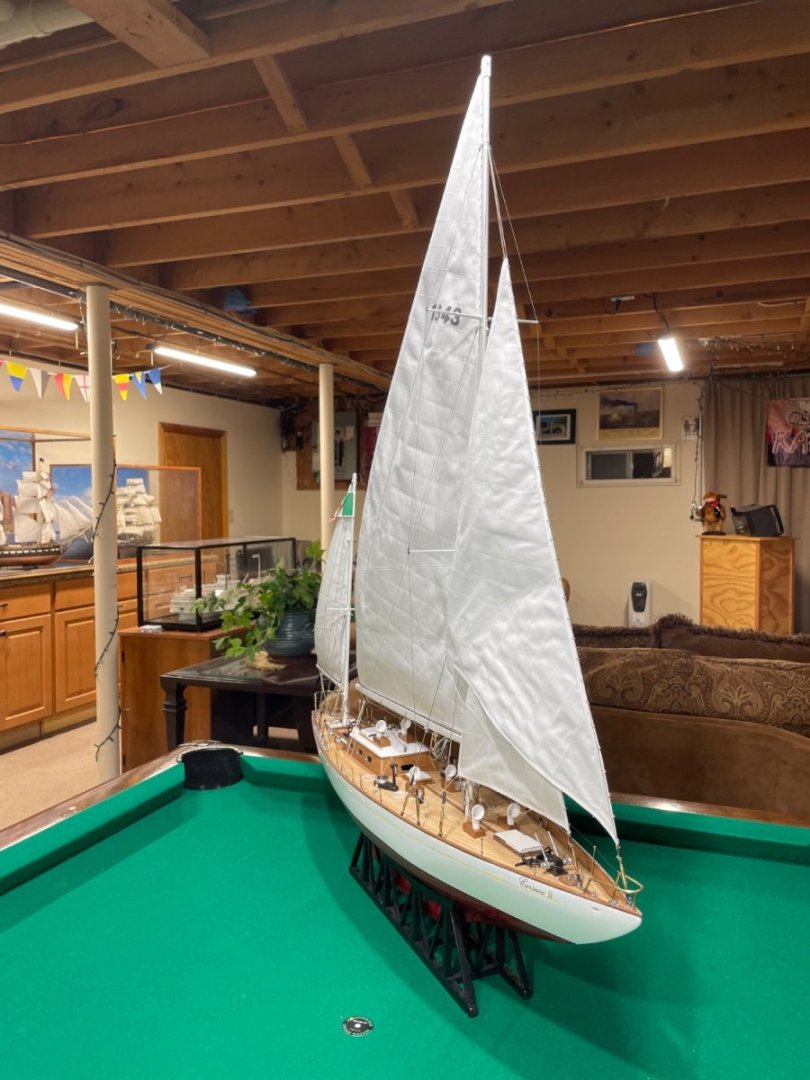
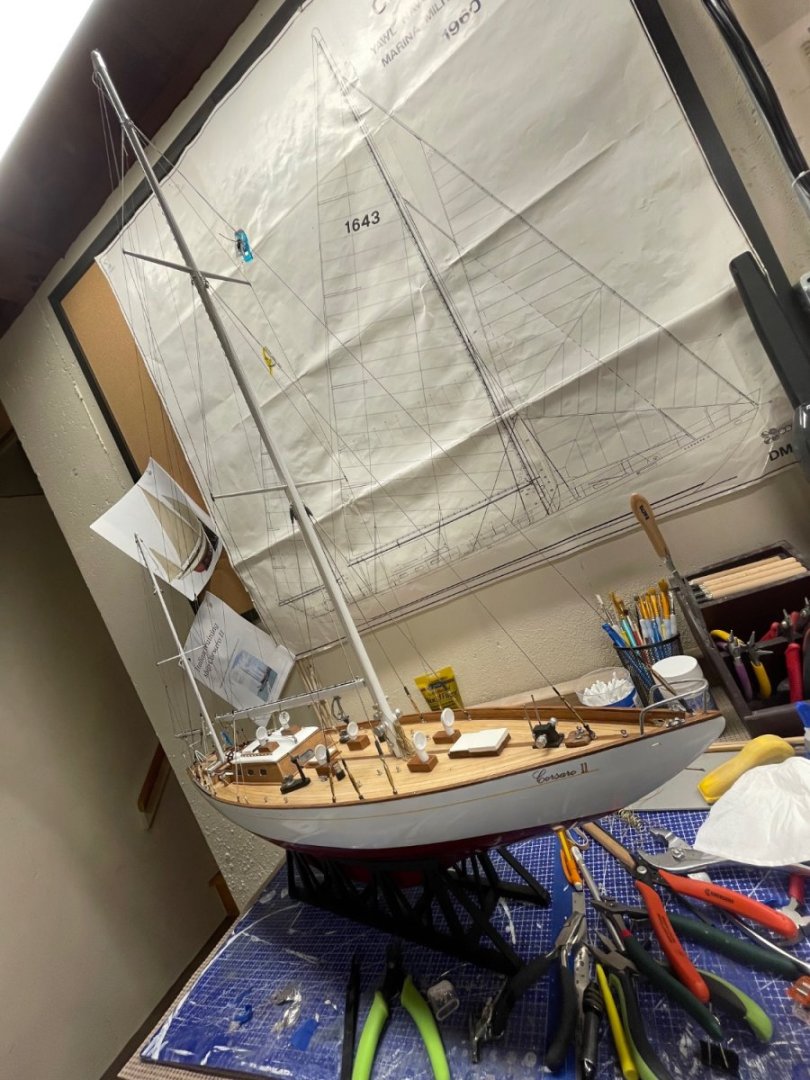
FINISHED!!! Hoisted the Italian flag 🇮🇹 on the Mizzen Mast. She is done… @rshousha Thank you Rick for the opportunity to complete this beauty. Cheers 🍻

- 84 replies
-
- 9
-

-
-
- Corsaro II
- Corel
- (and 1 more)
-
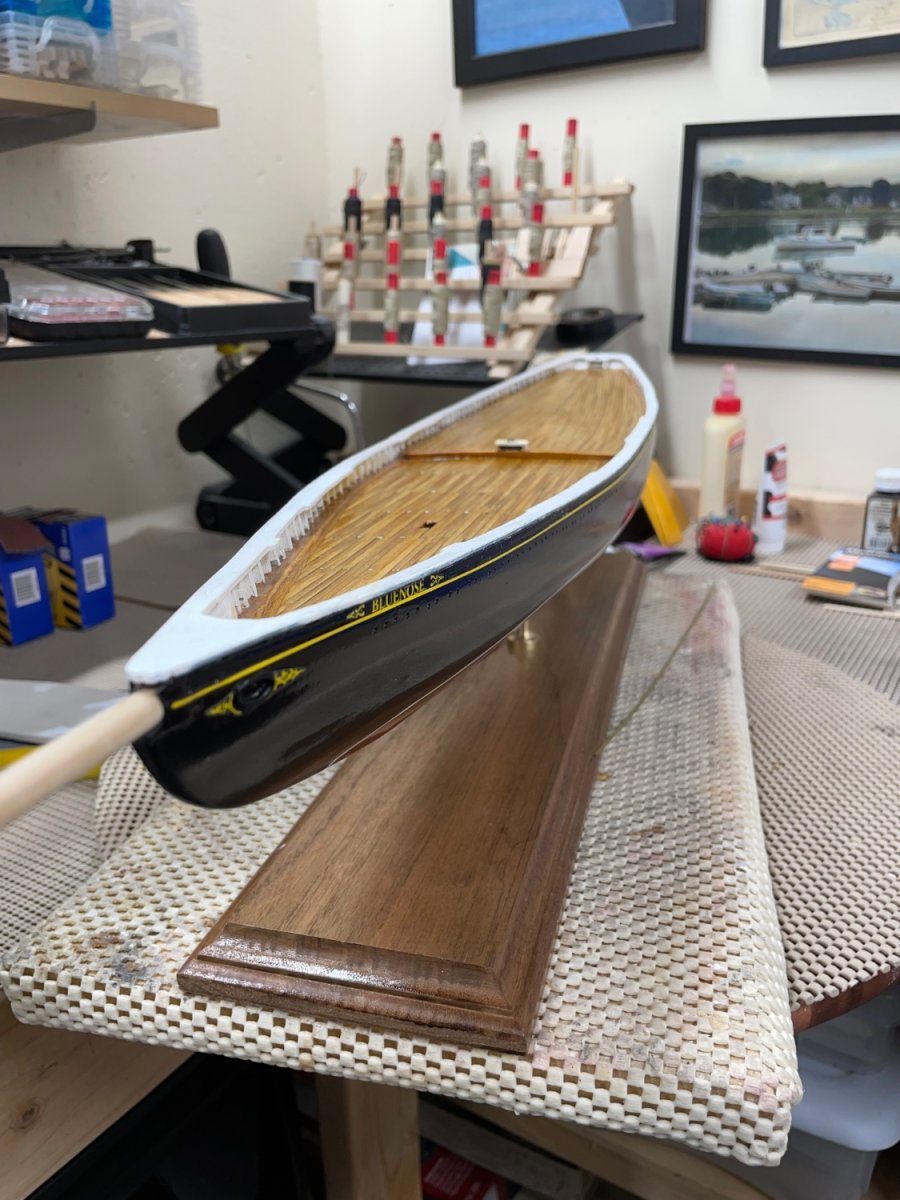
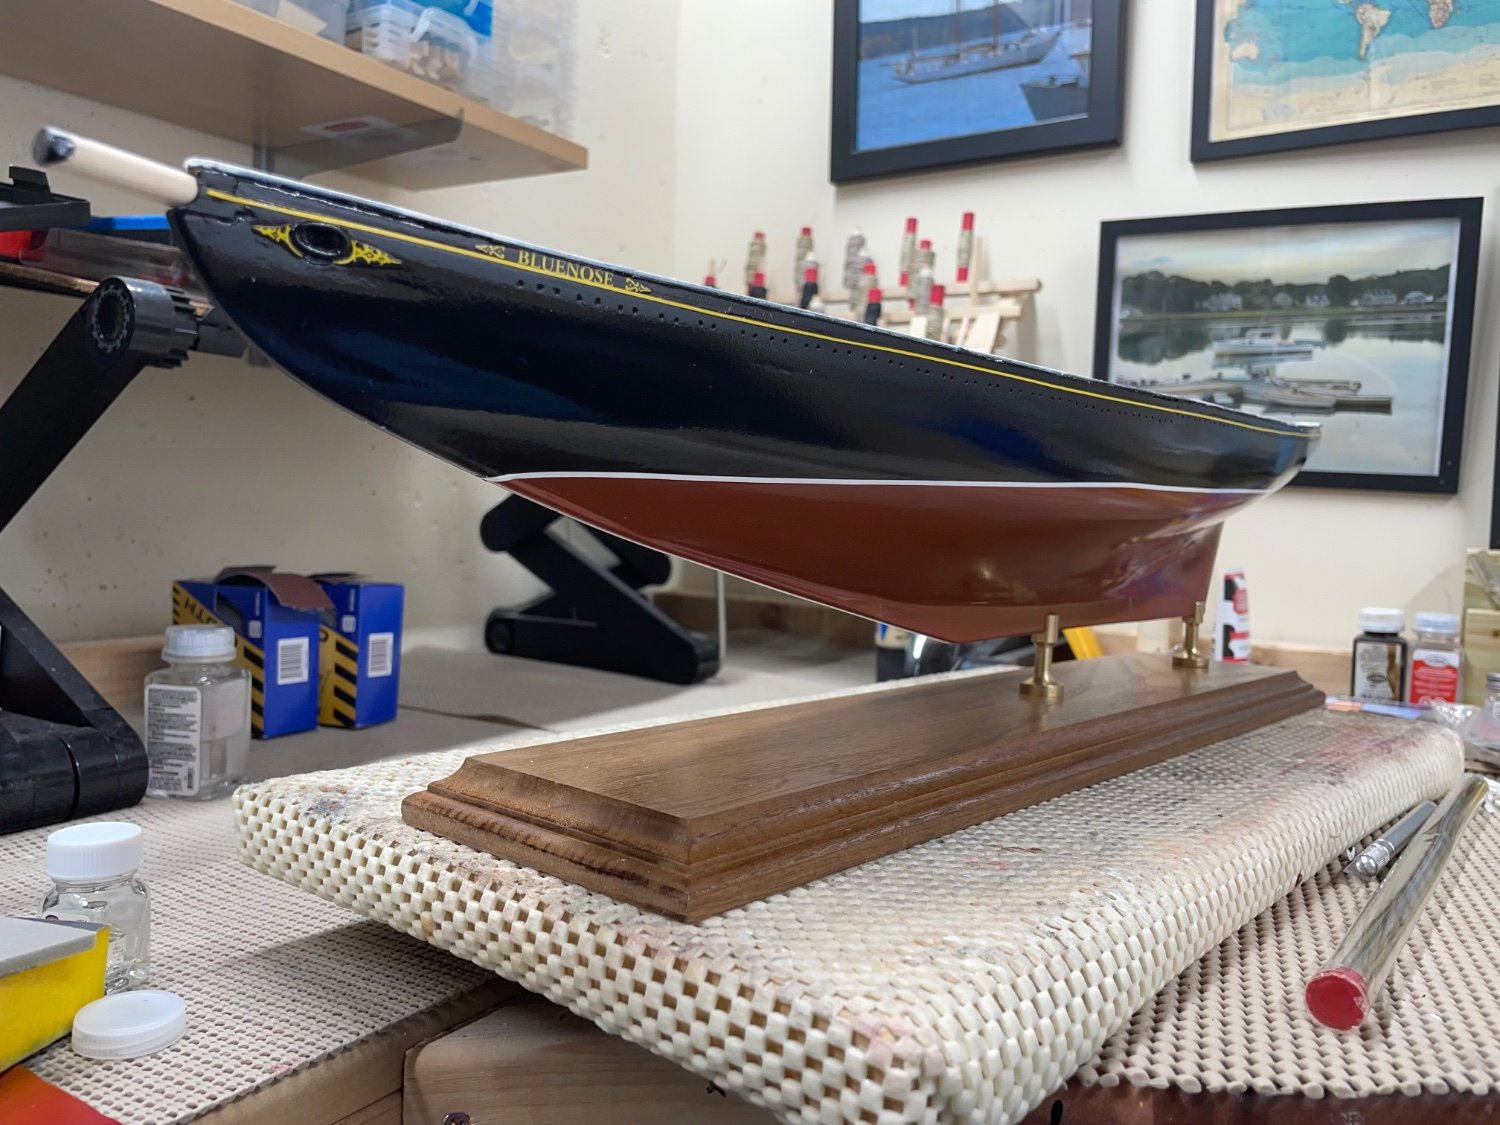
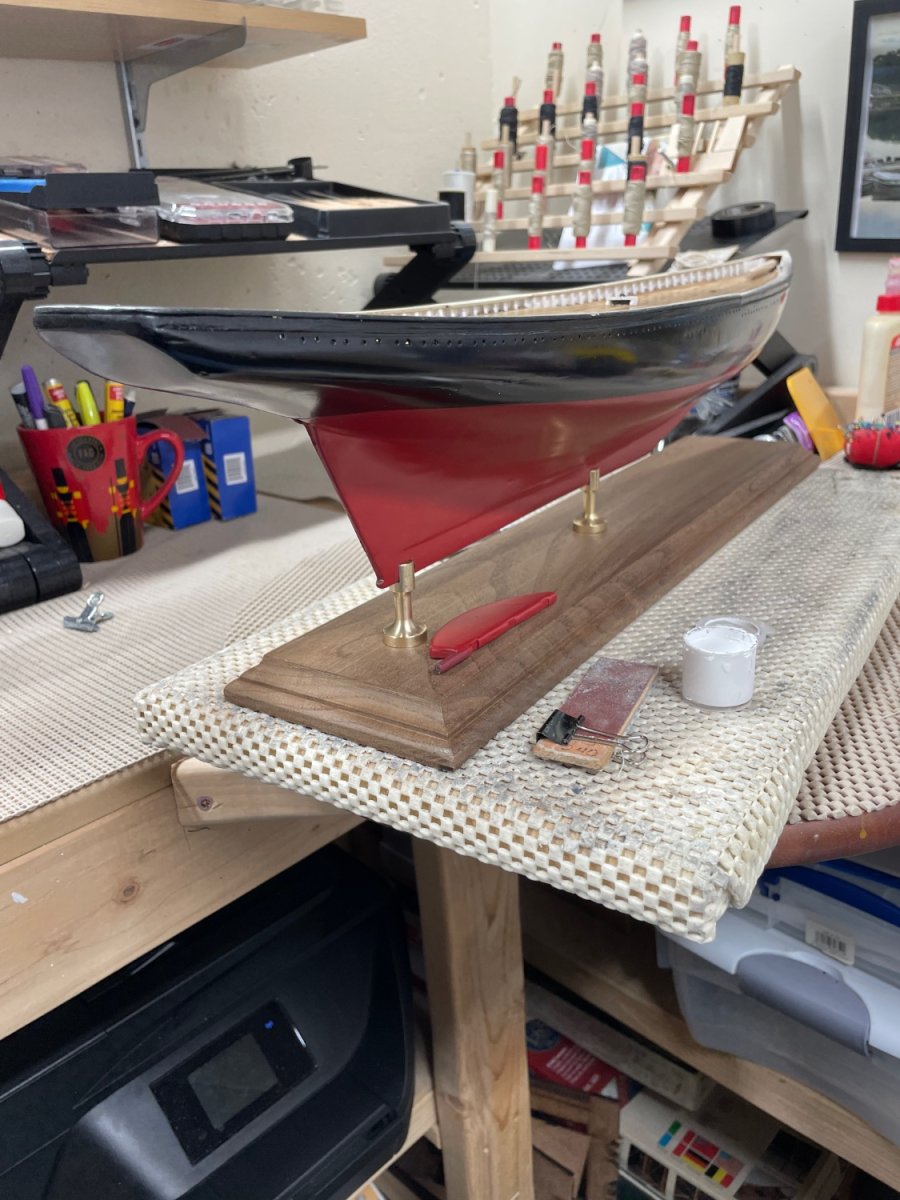
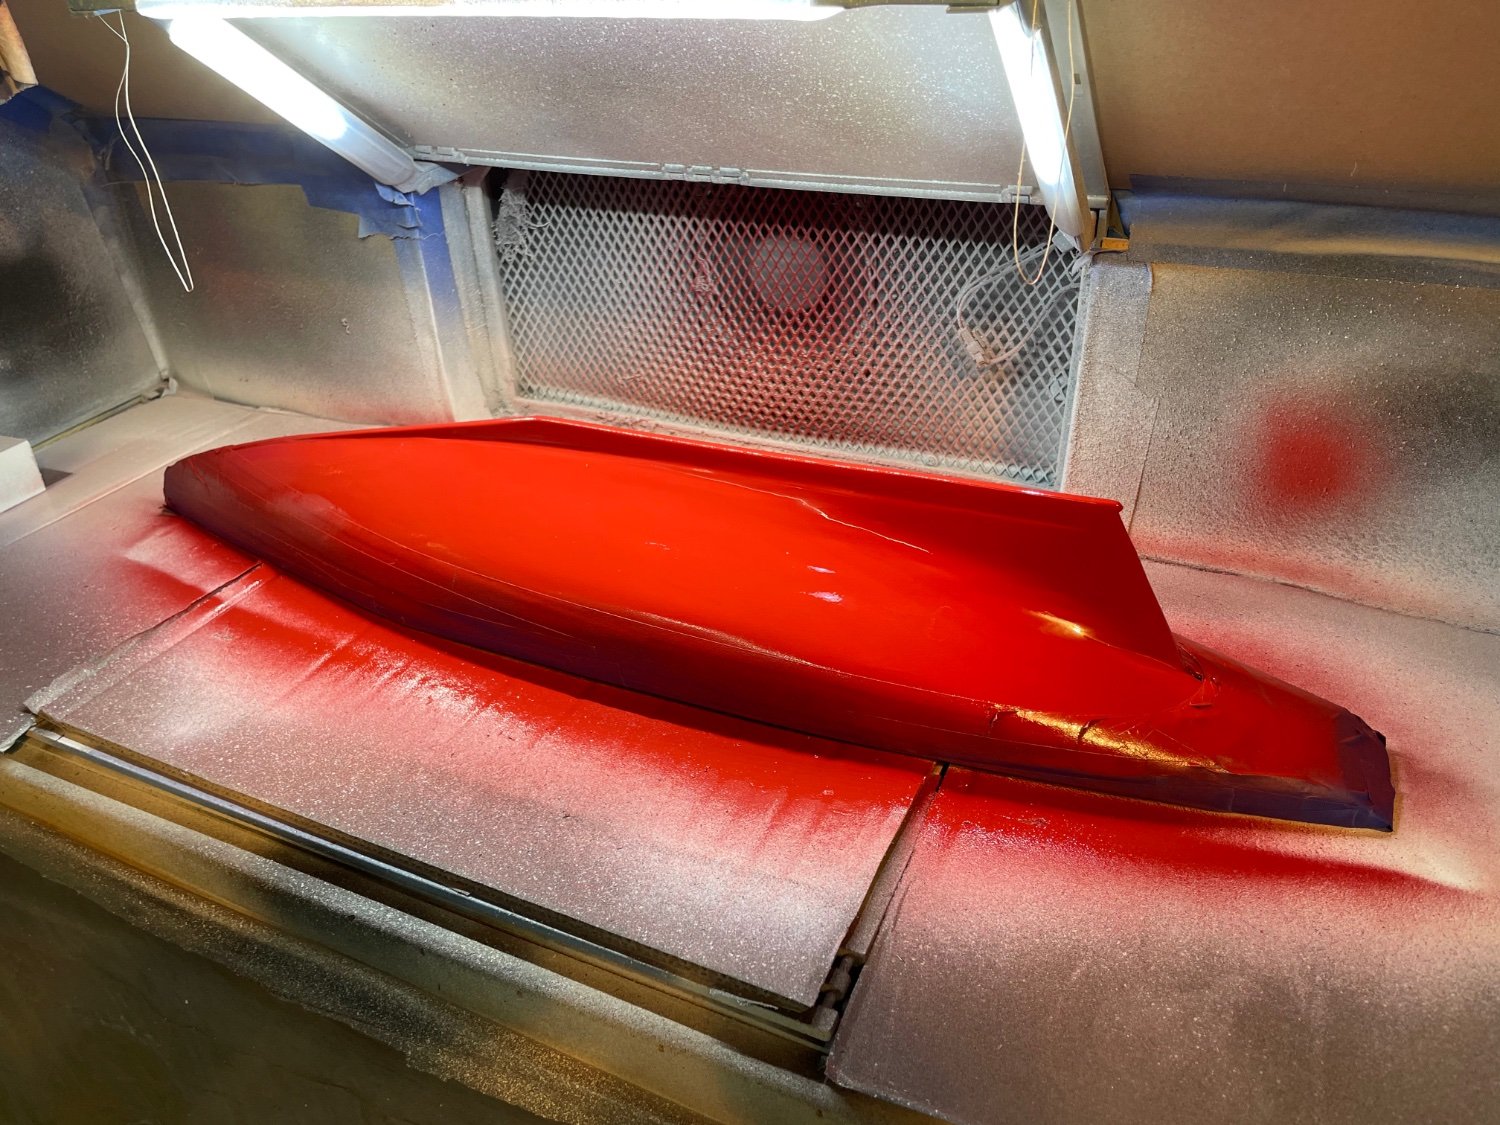
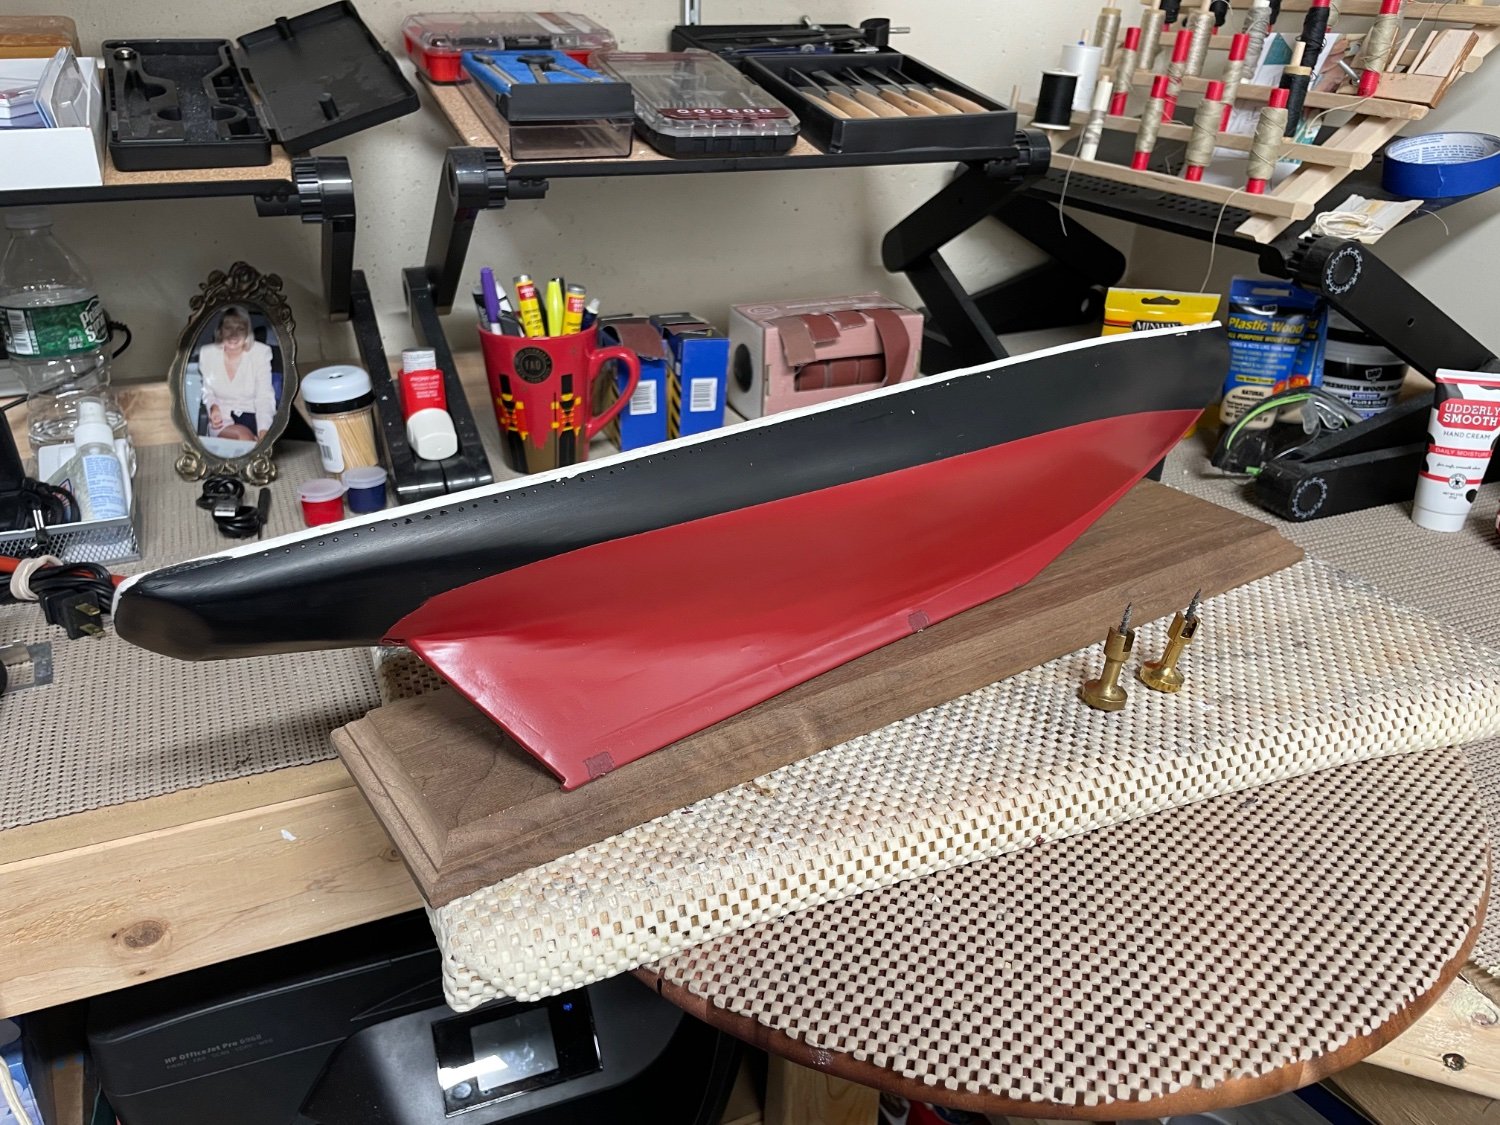
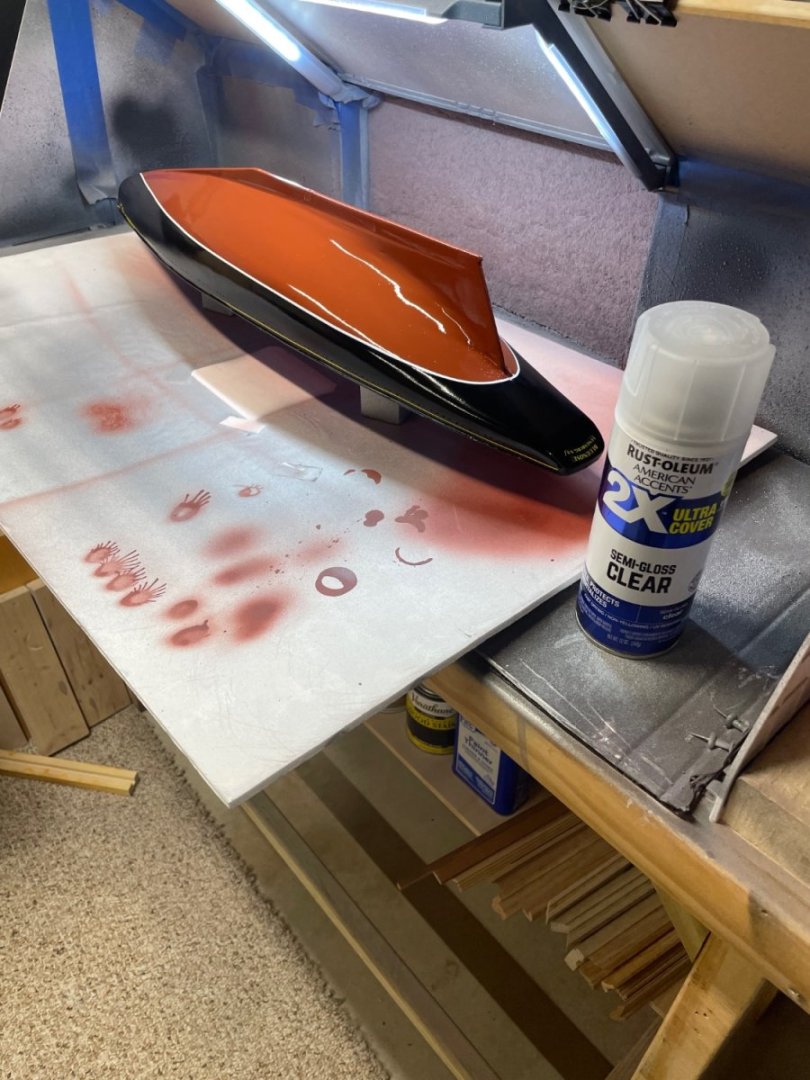
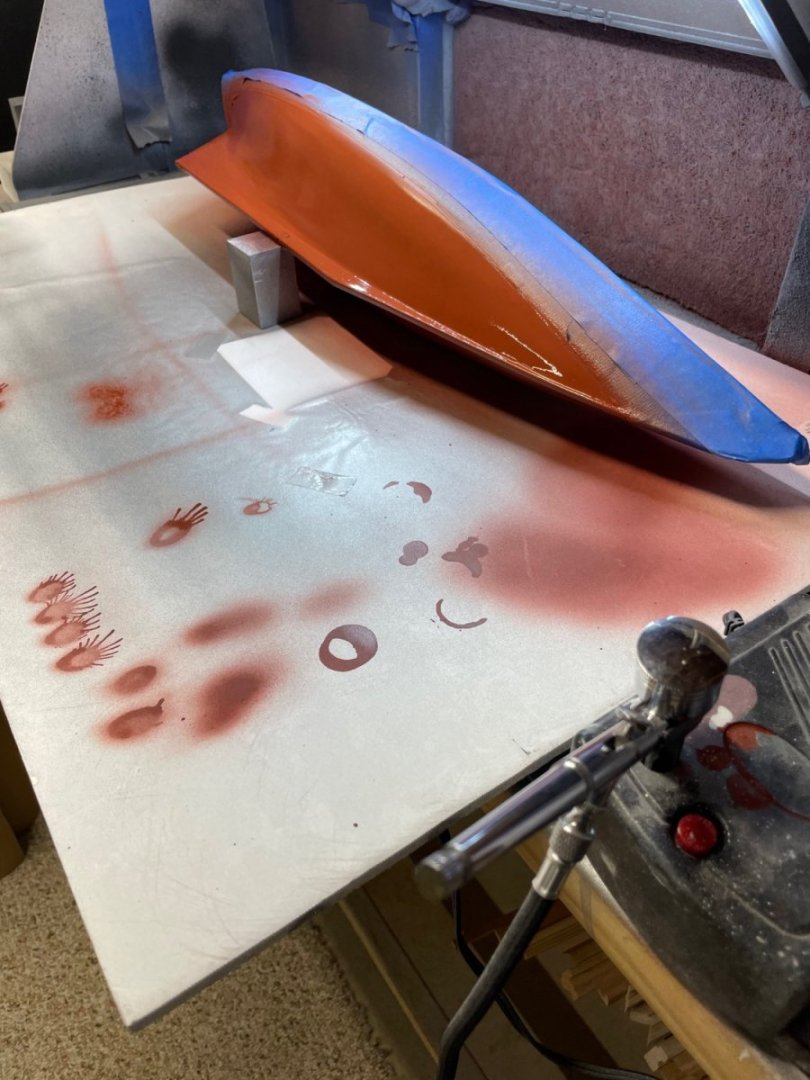
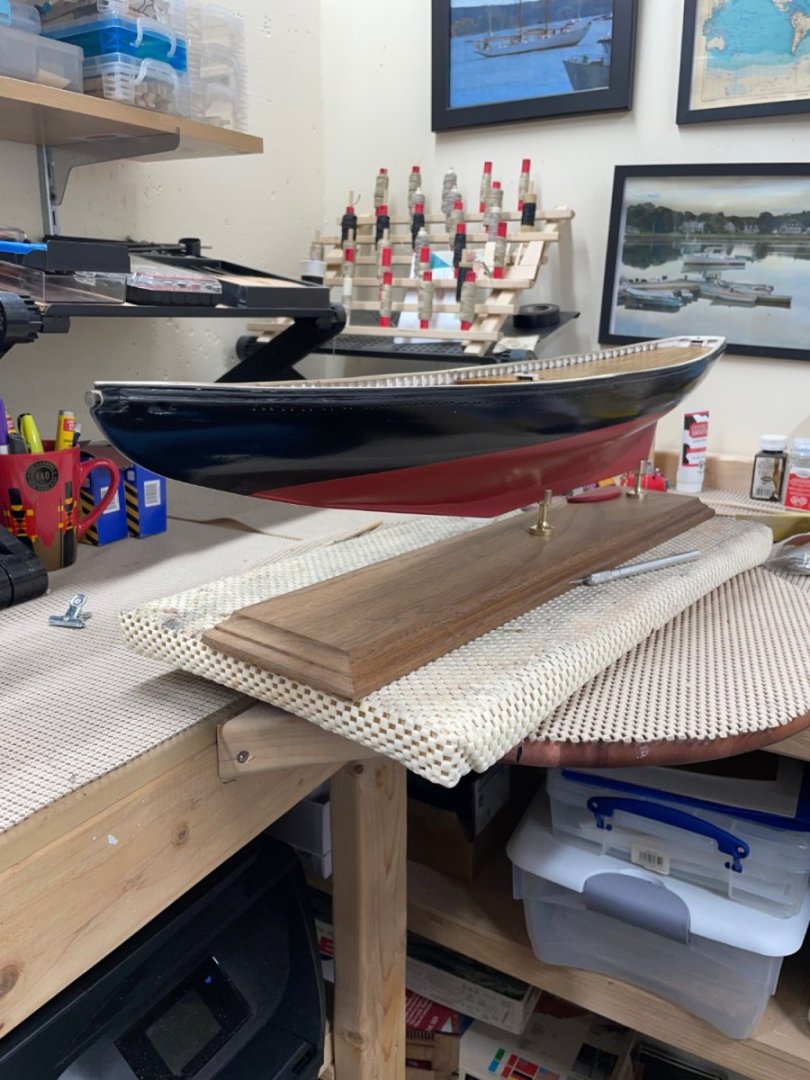
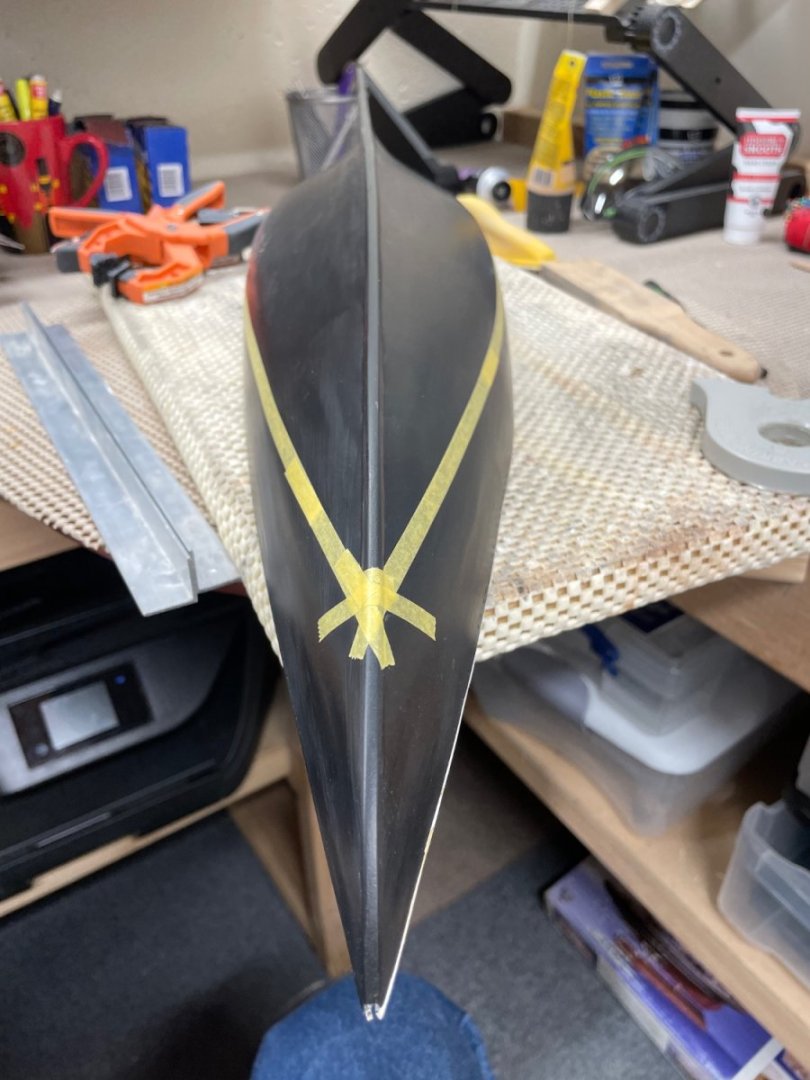
Hull details continued… Airbrushed Hull Copper Red on bottom of the hull. Applied white vinyl stripe to waterline and finalized with Clear Coat. Hull completed and mounted on the kit supplied walnut wood stand. We can only go up from here. 😆 Cheers 🍻

- 282 replies
-
- 9
-
-
-
- Bluenose
- Model Shipways
- (and 1 more)
-
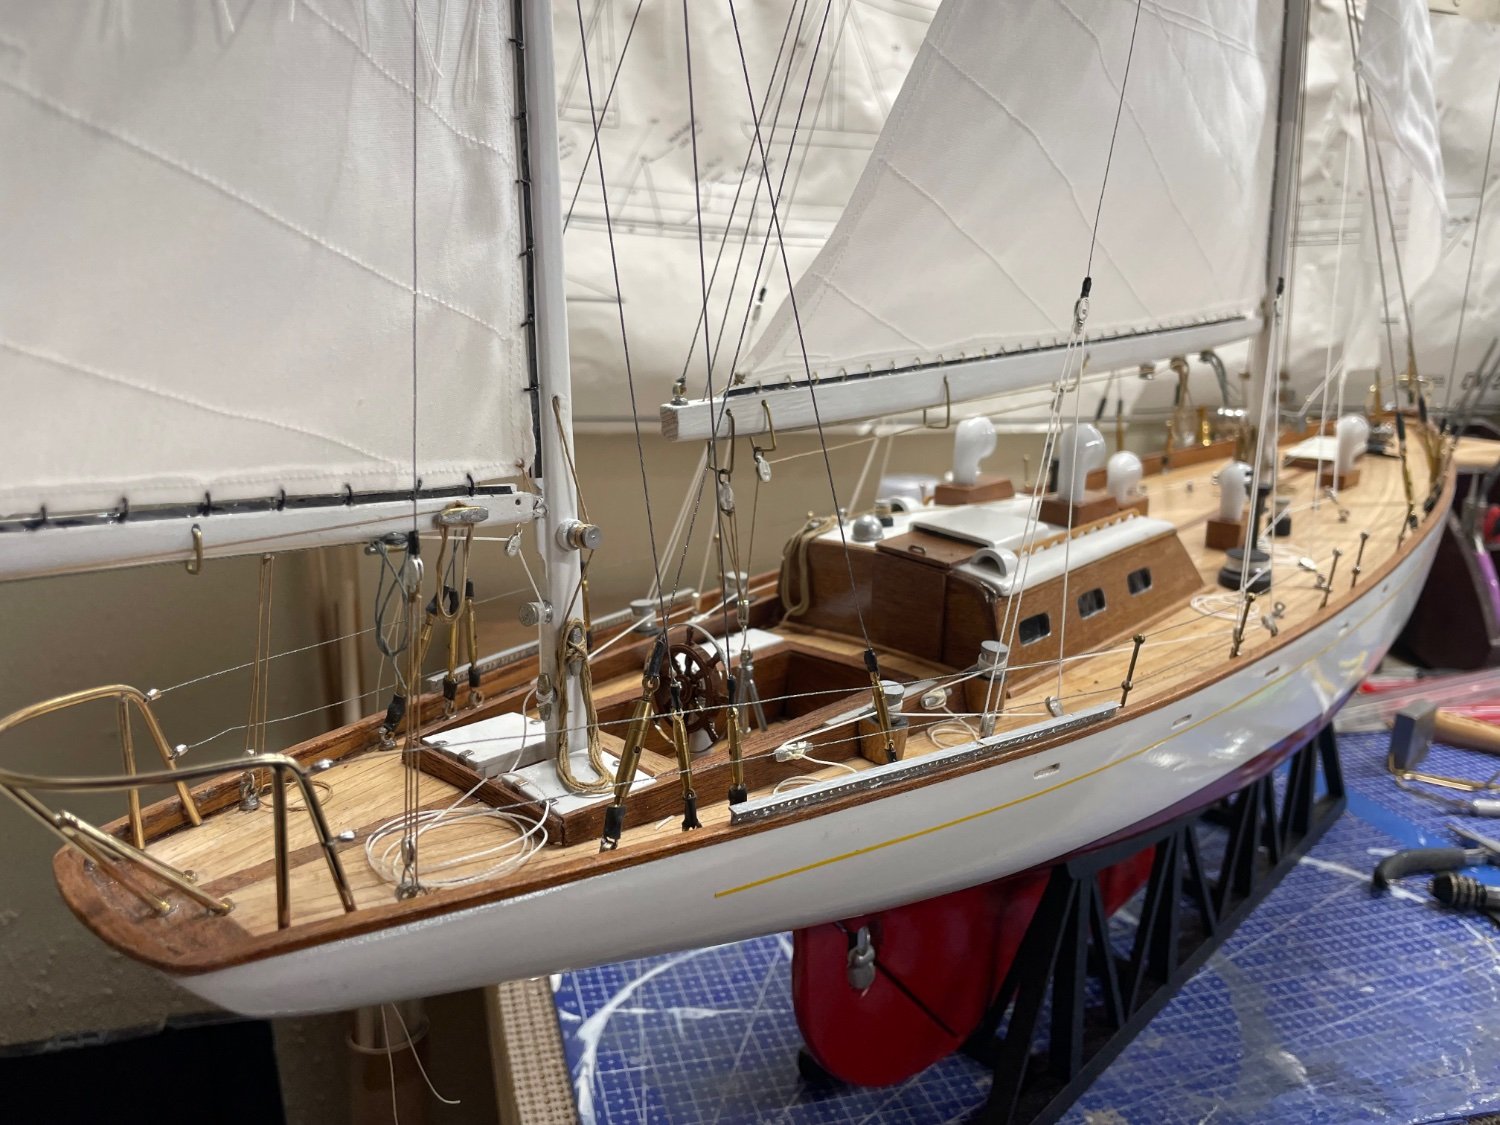
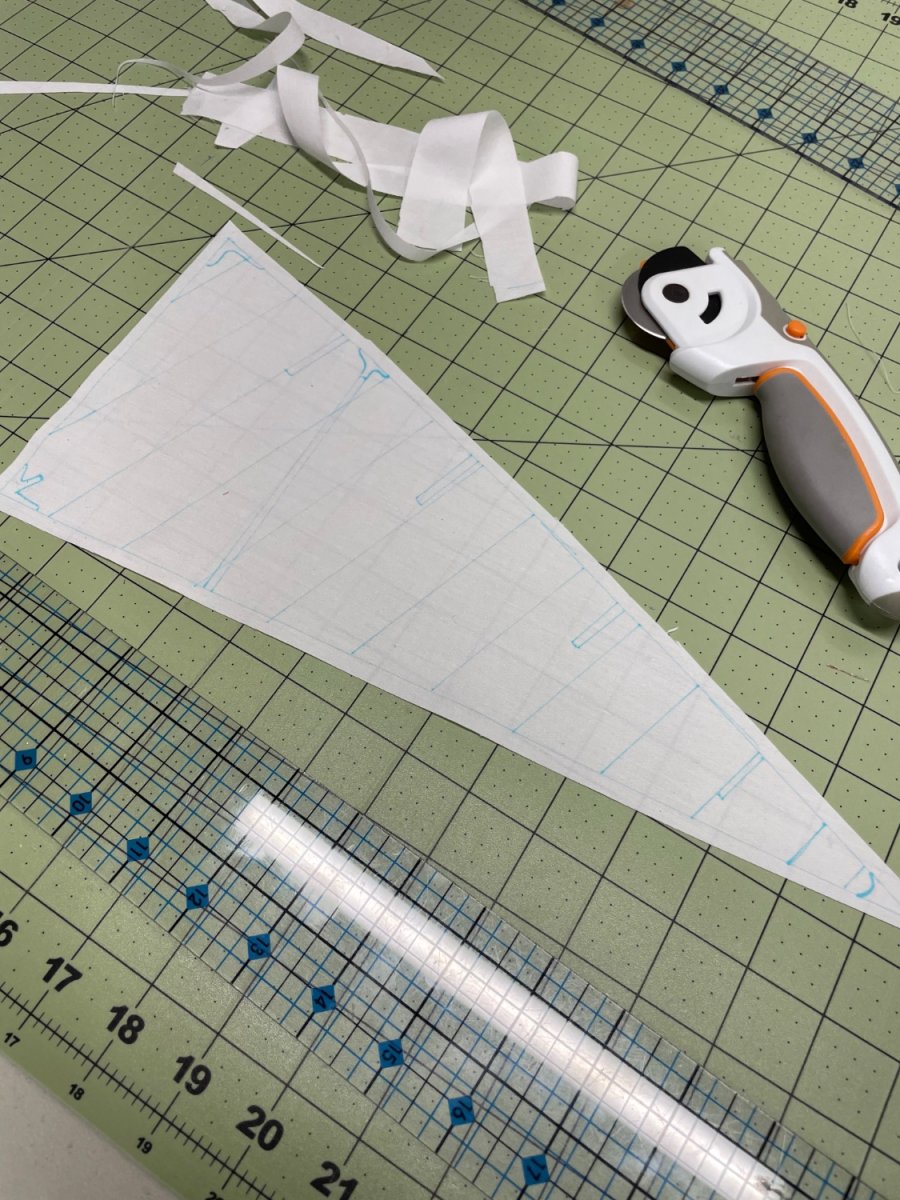
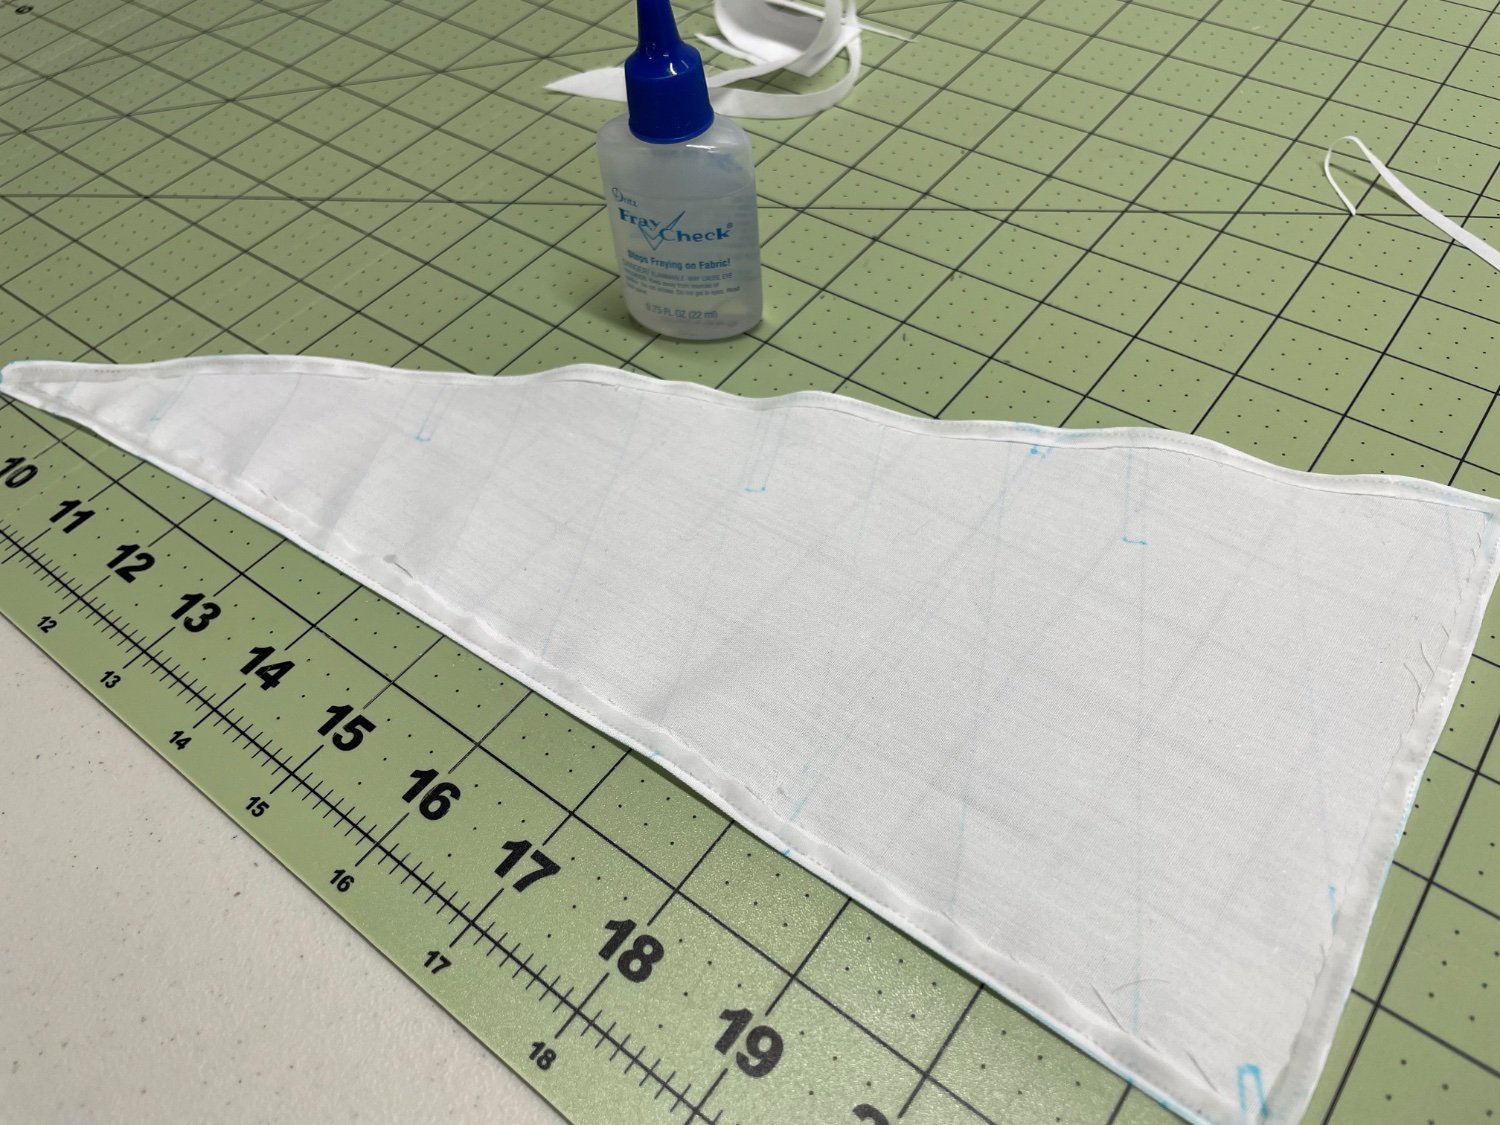
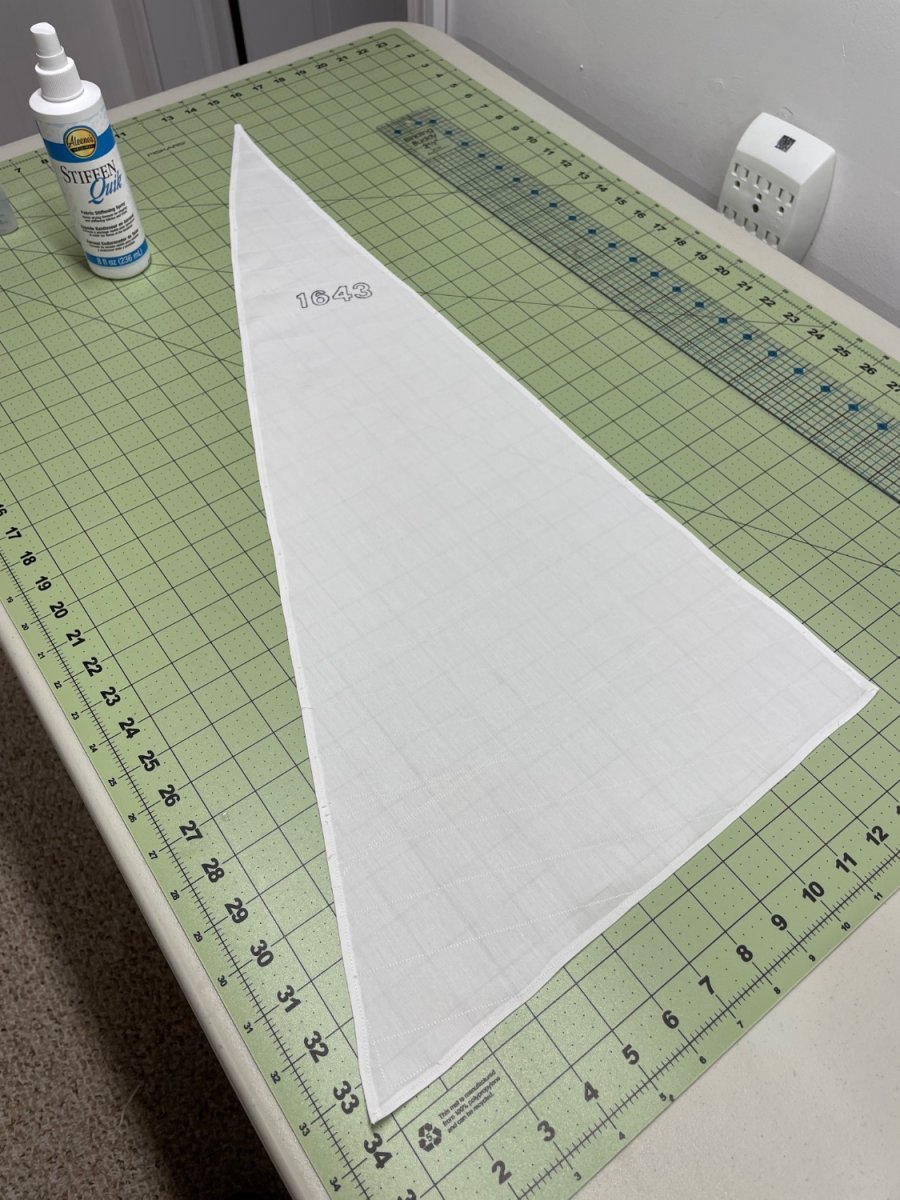
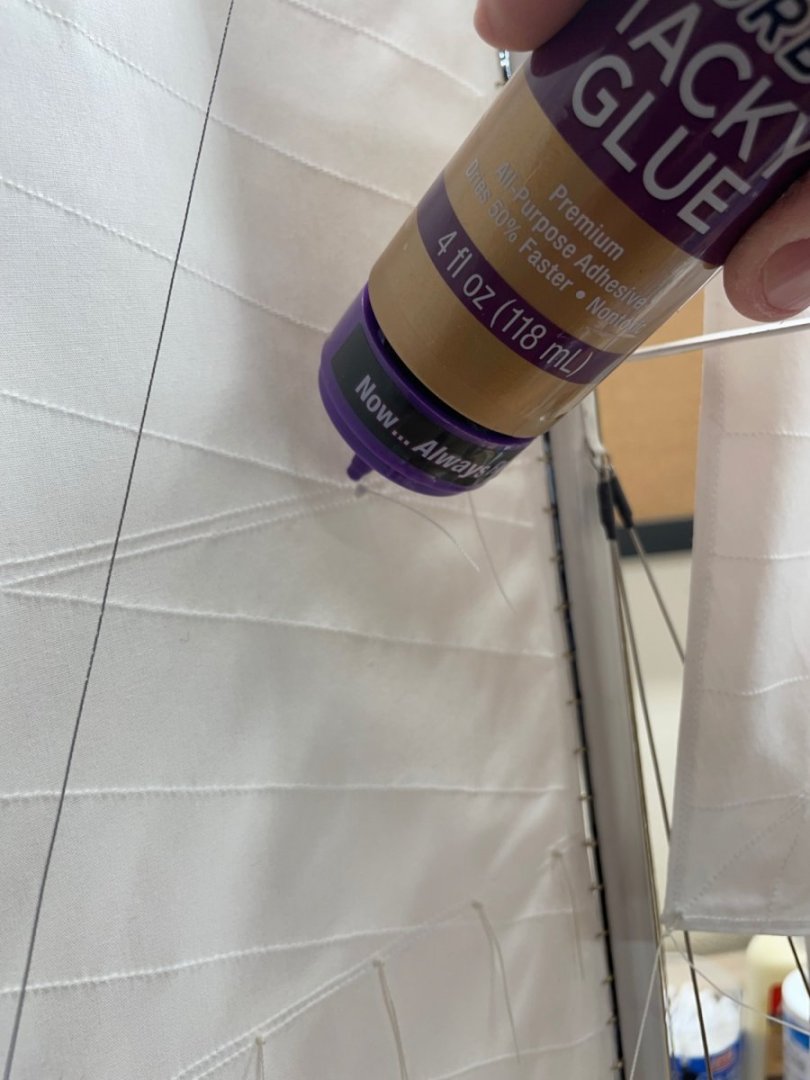
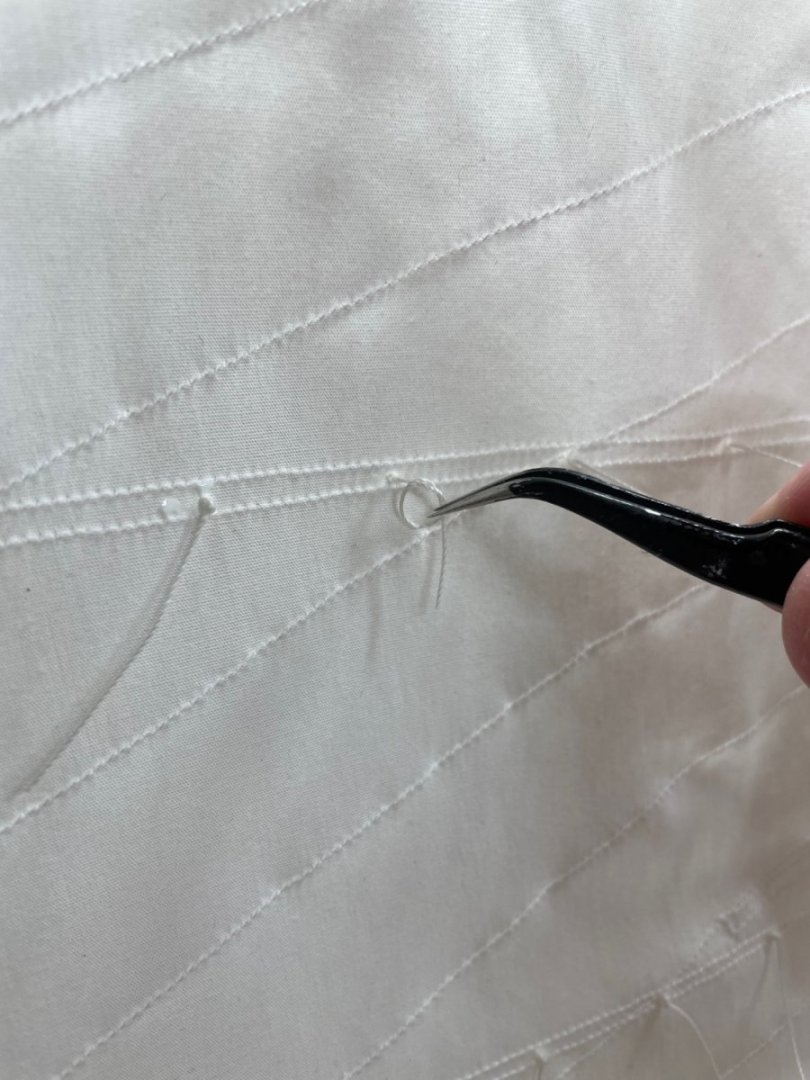
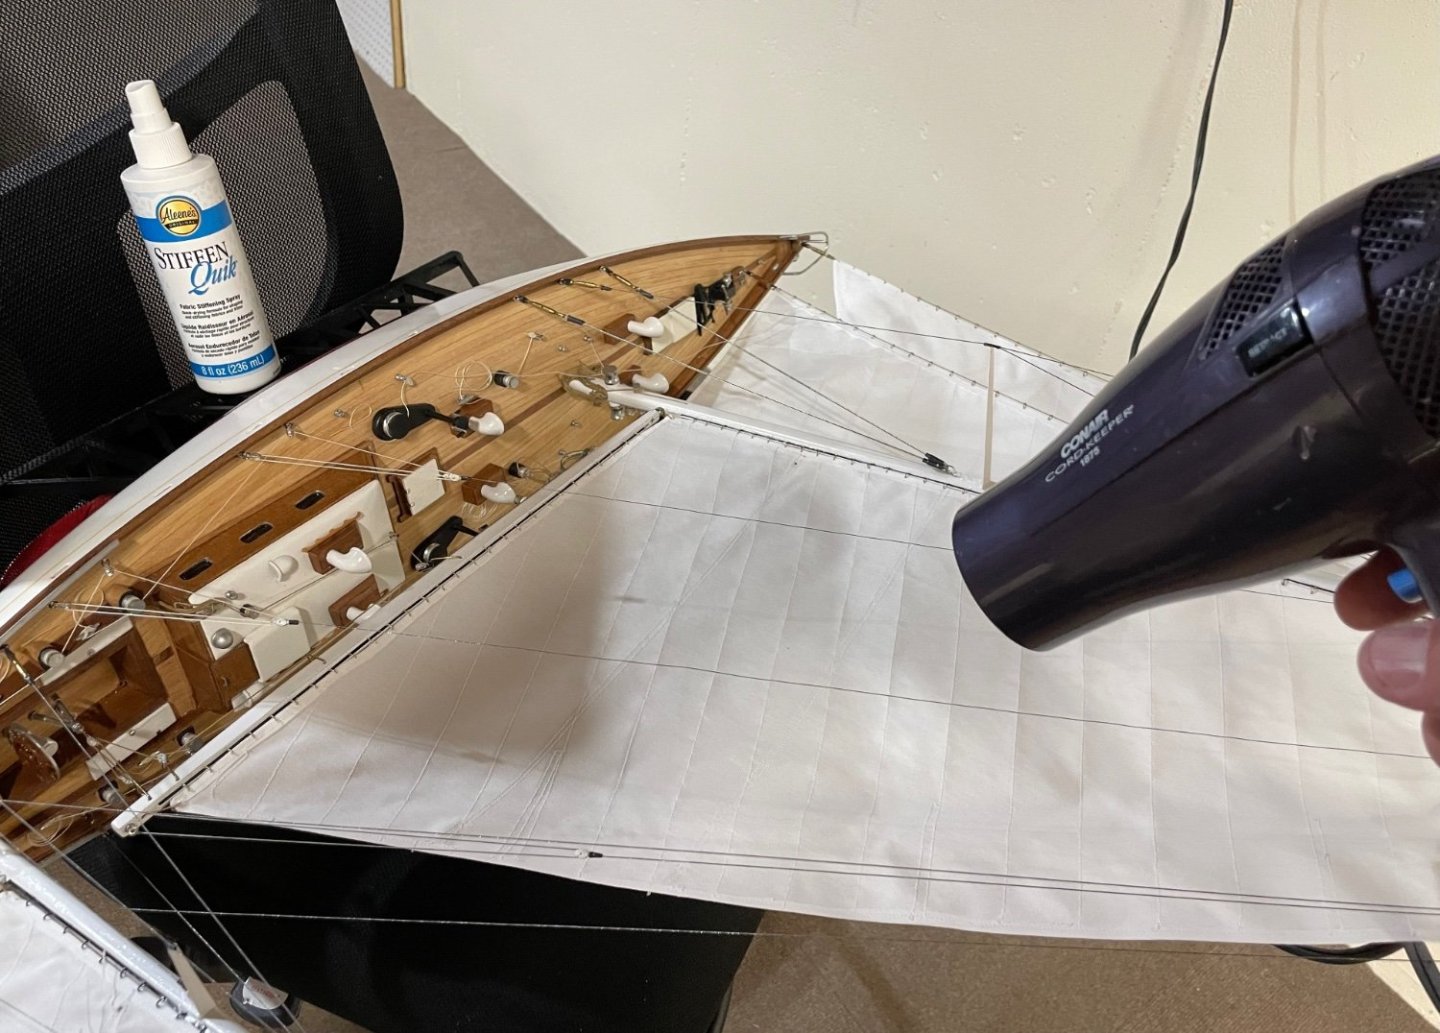
Sails completed… Added a bit of a fair wind in her sails with Fabric stiffener and a hair dryer. Ready for railings… Cheers 🍻
- 84 replies
-
- 10
-
-
-
- Corsaro II
- Corel
- (and 1 more)
-
Matt Clear Coat
John Ruy replied to aliluke's topic in Painting, finishing and weathering products and techniques
Pintyplus Spray Paint, Matte Varnish Clear. GREENGUARD Gold Certified, Waterbase, Low Odor, Low GWP Propellant, 10.9oz Sold at Walmart -
Mike, Thanks for your comment, it’s really nice to know my build log is useful. 😆 As for MS rigging plans they can be expensive, that’s up to you. There are several MSW builds of the CWM that might be useful. The resource I referenced to complete my rigging was @David Lester build of the CWM. Also @toms10 is currently building the CWM from scratch using the MS Plans. Both of these build would be good references as well as mine. If you have specific questions as you go through my build. You are welcome to PM me and I will try to help. John
-
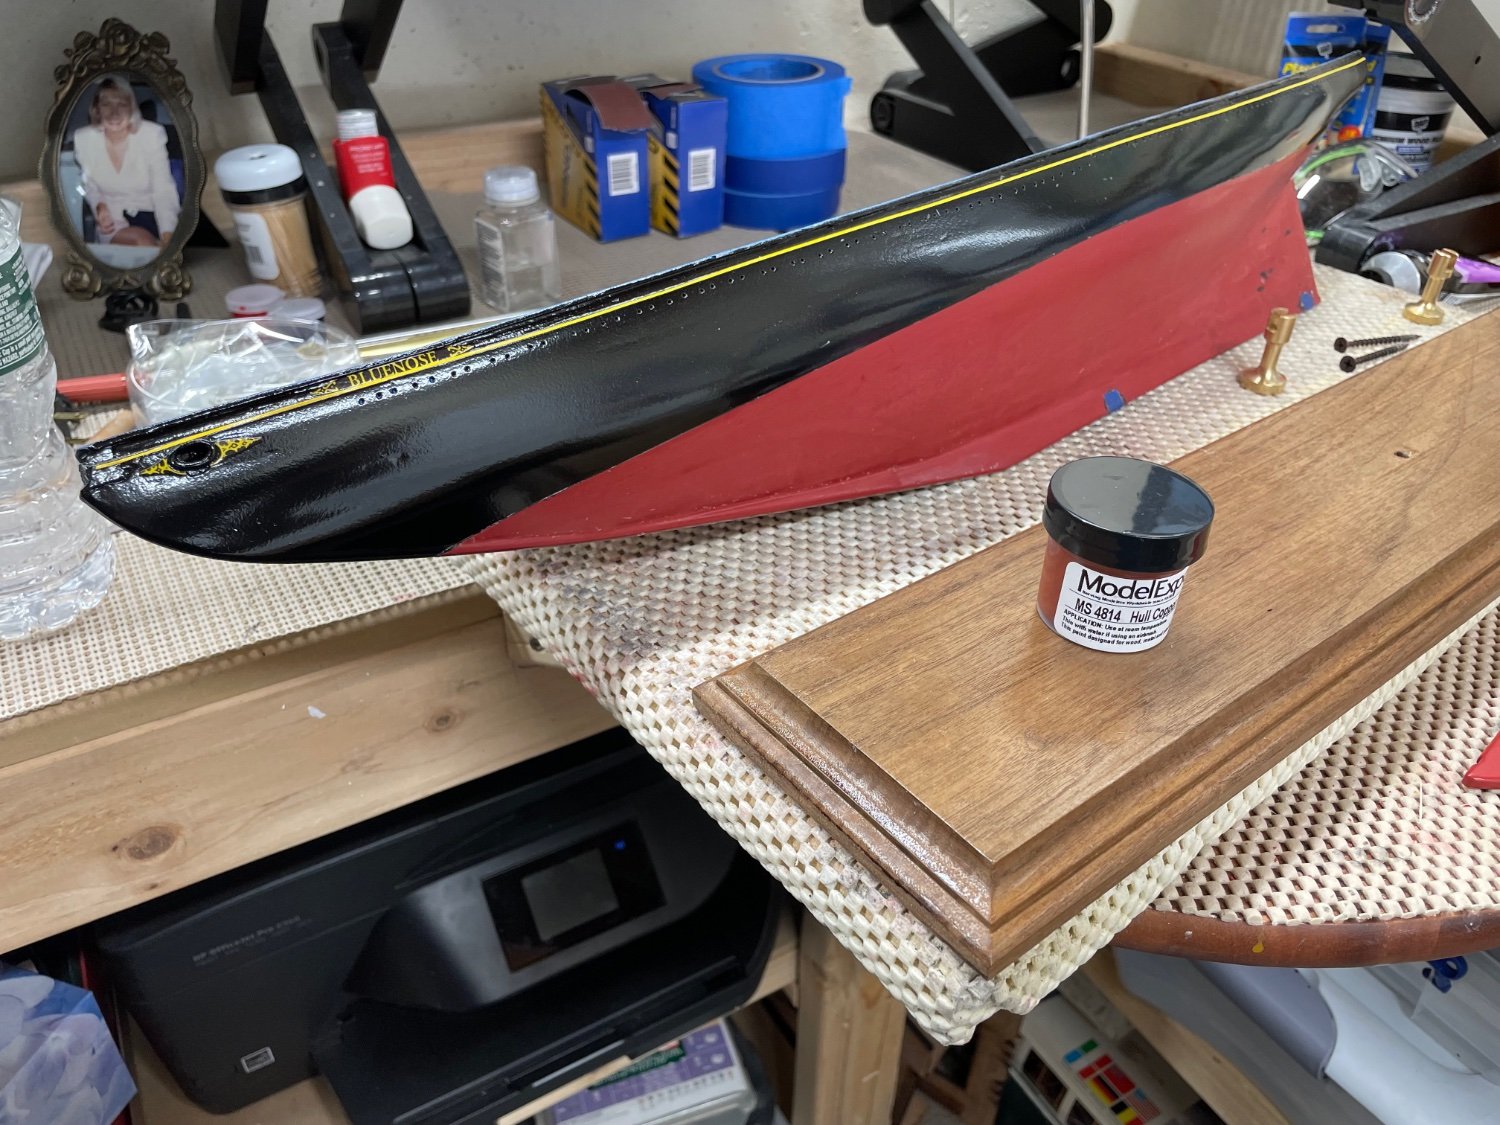
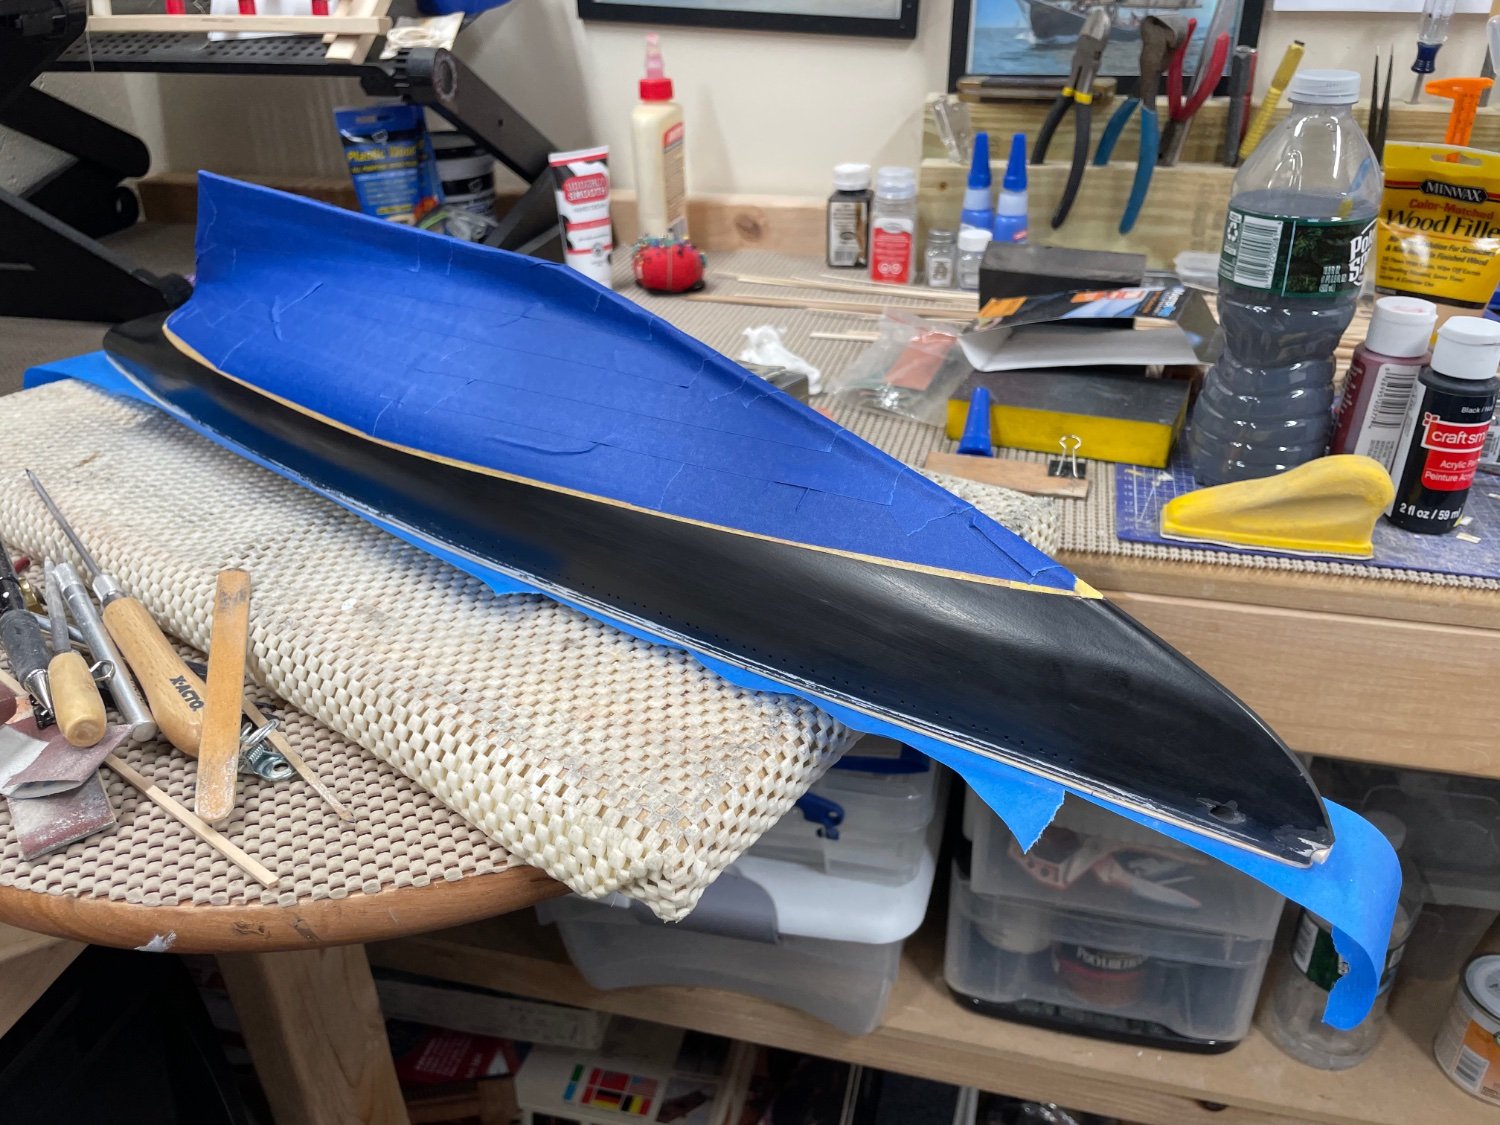
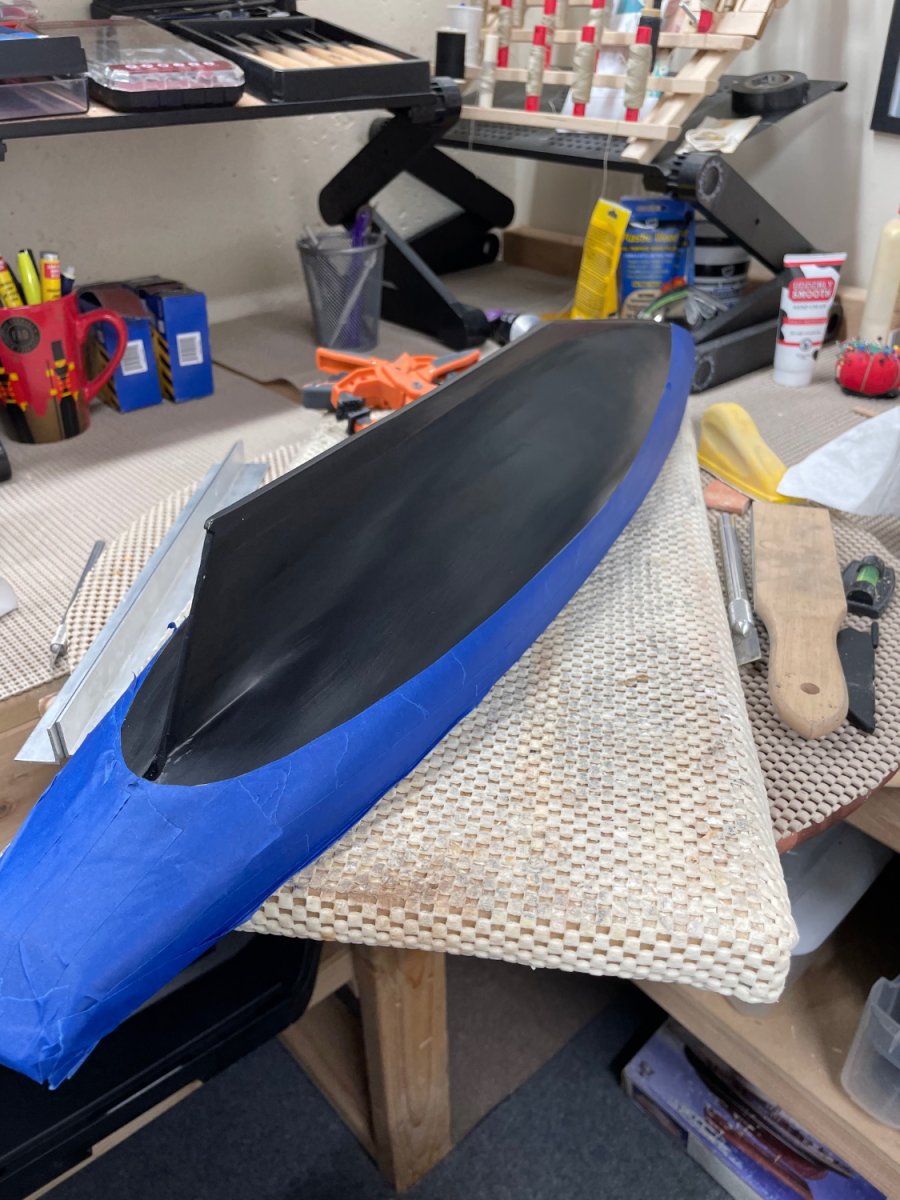
Hull detailing… Above the water line completed. Model Expo “Hull Copper Red” to be airbrushed on the hull below the water line. Cheers 🍻

- 282 replies
-
- 10
-
-
- Bluenose
- Model Shipways
- (and 1 more)
-
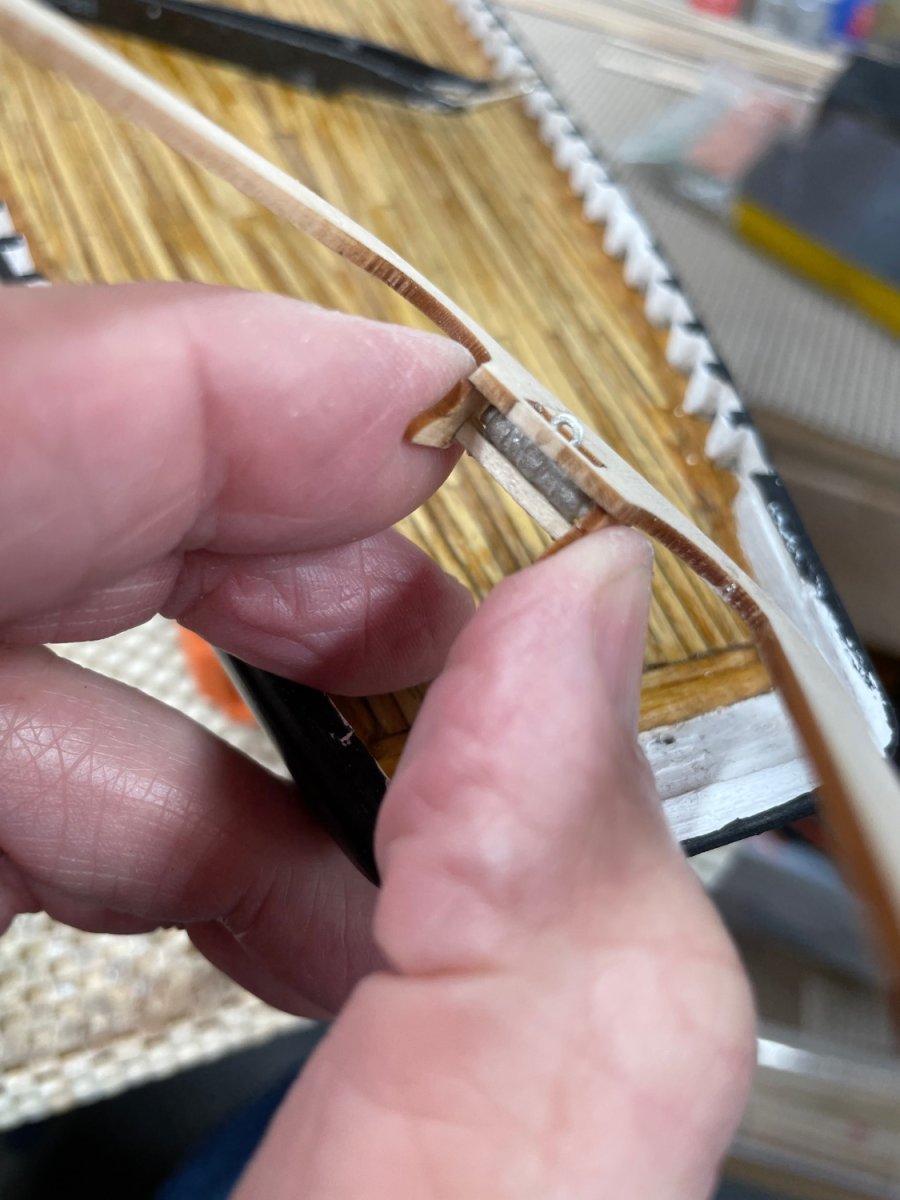
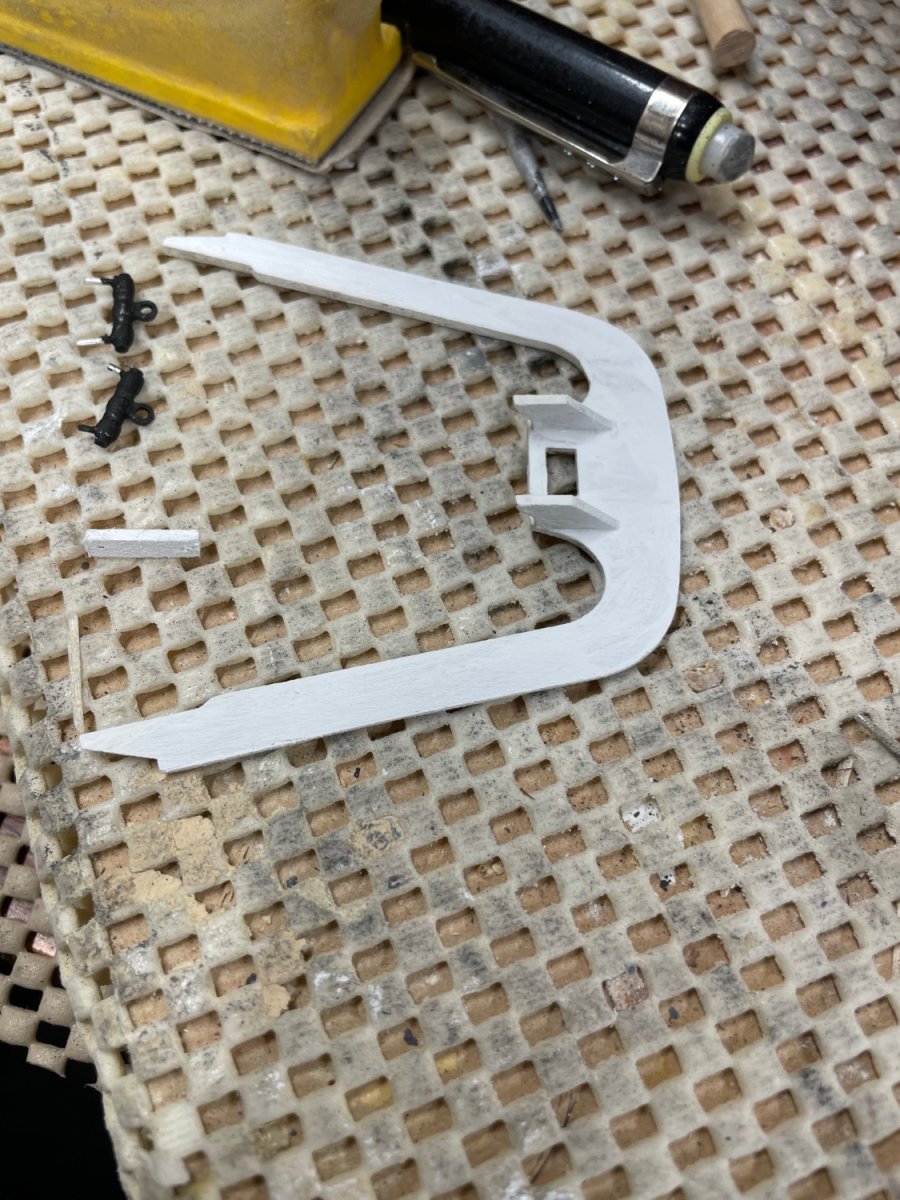
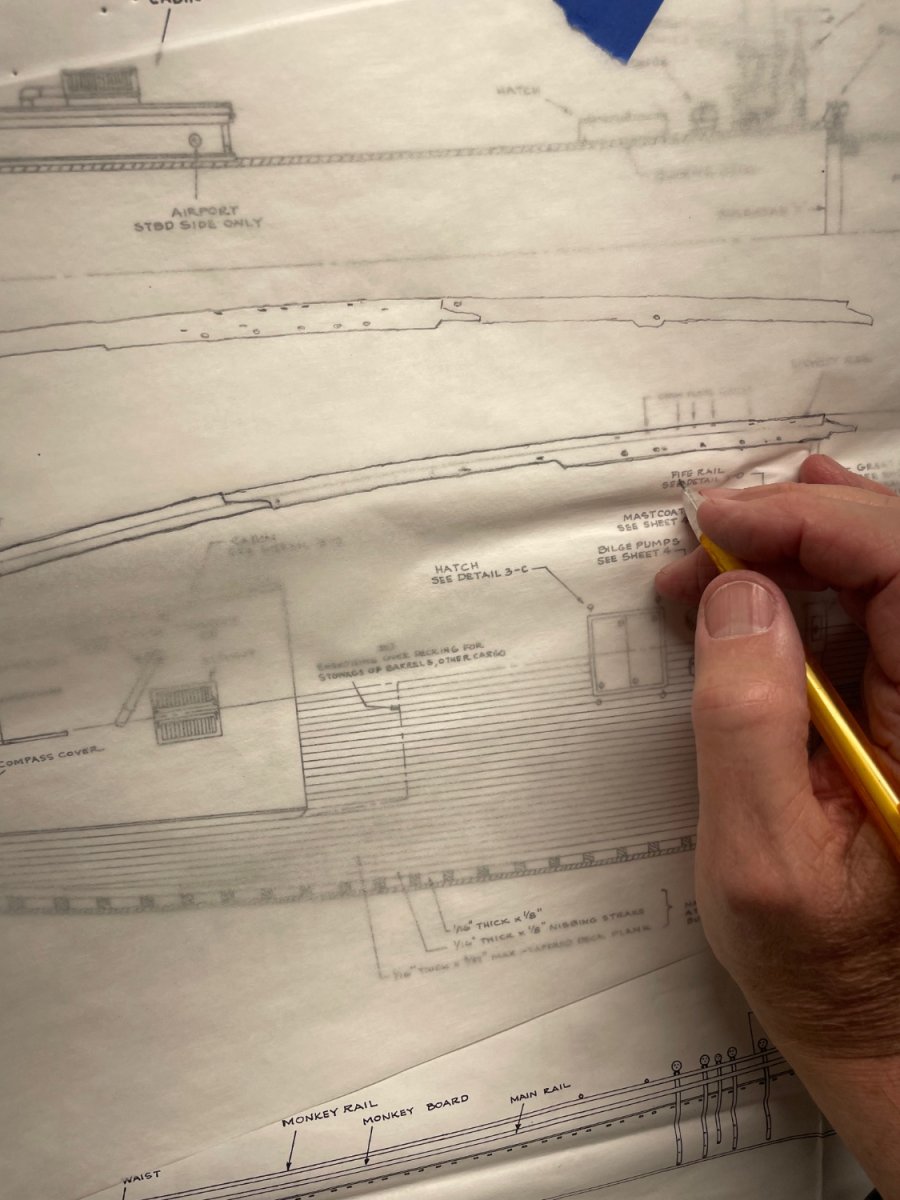
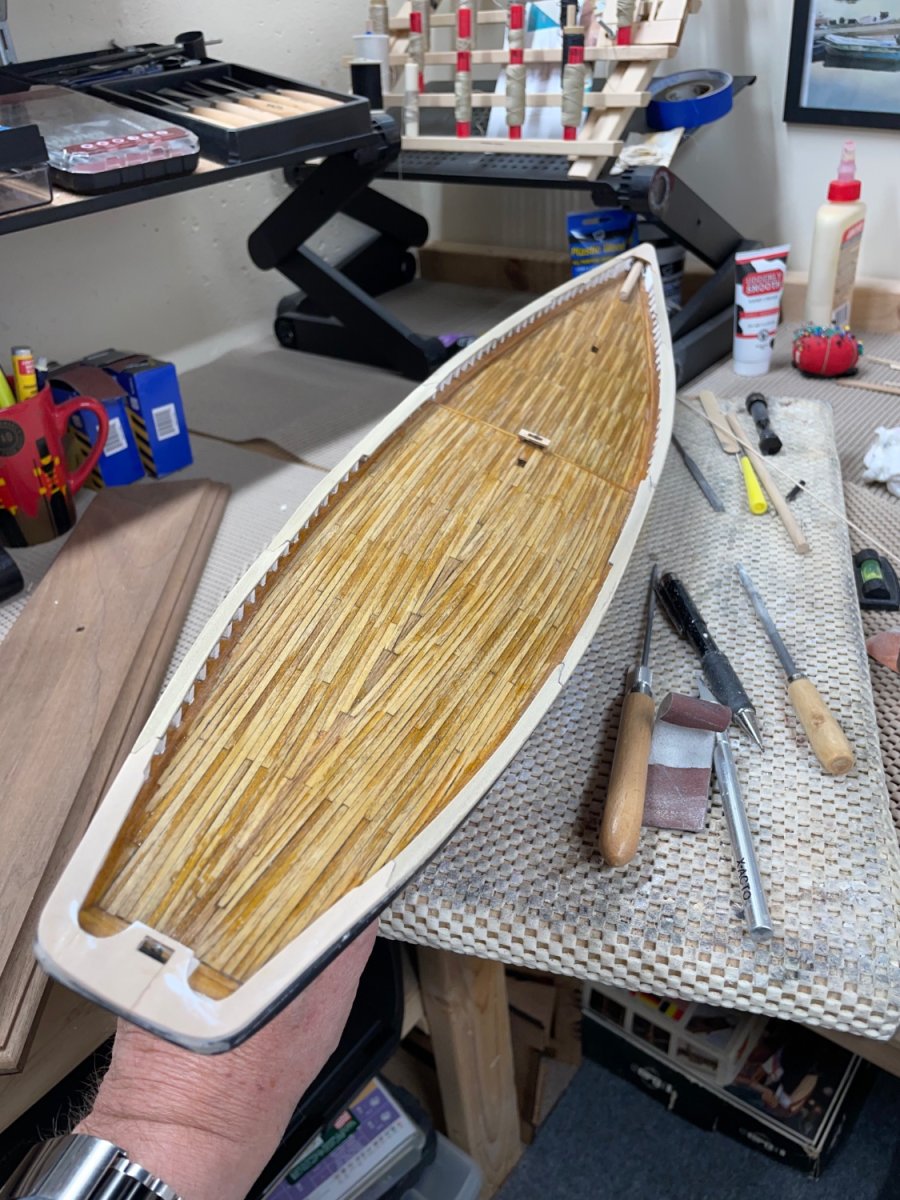
Finishing the hull… Cutting in the Hause Holes and Bowsprit… Main Rail… Stern and Bow Railings are laser cut pieces. The remaining railing all has to be cut from wood strips. I created a template of each section with tracing paper. I then laid each template on to the strip wood with rubber cement. Using a belt sander, trimmed away the edge of the strip wood up to the template. Main Rail completed… Back to the paint booth… Hull finished and ready for details… First coat of paint on the Main Rail. Cheers 🍻


- 282 replies
-
- 8
-
-
- Bluenose
- Model Shipways
- (and 1 more)
-
Excellent Yves… I particularly like your use of Future Floor Gloss. Is this the same product I remember as Future Mop and Glow? Takes me back to the 70’s. Looks Great 👍 John
-
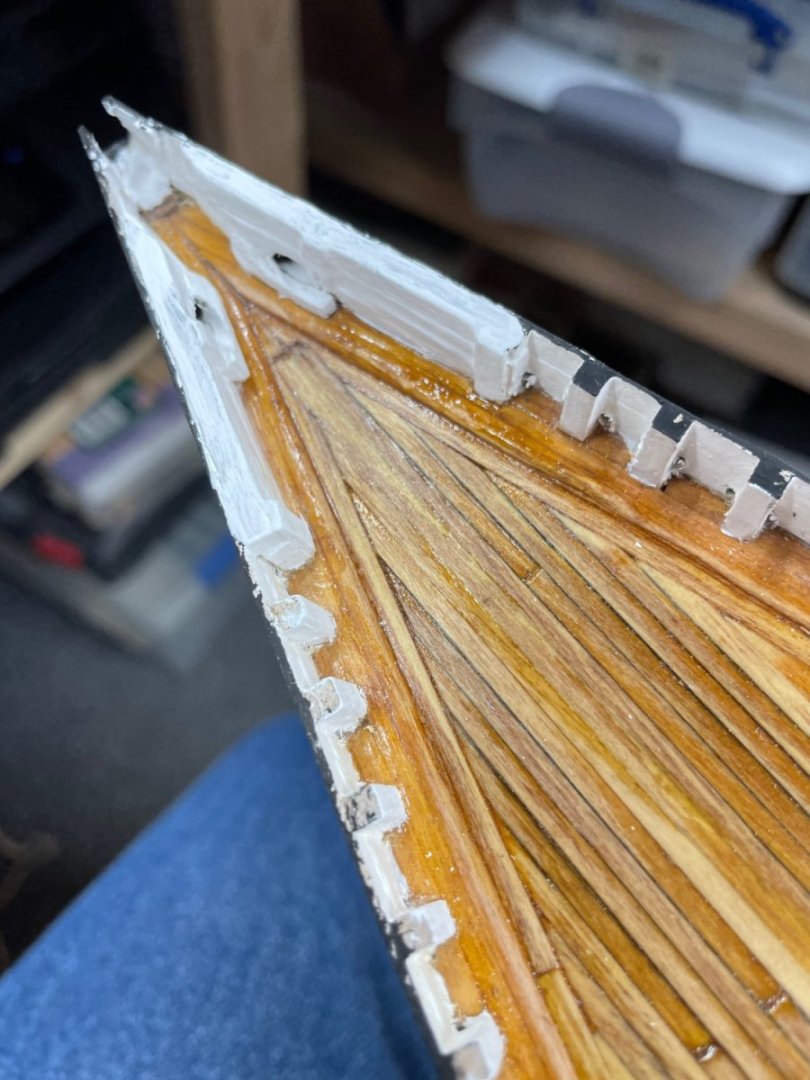
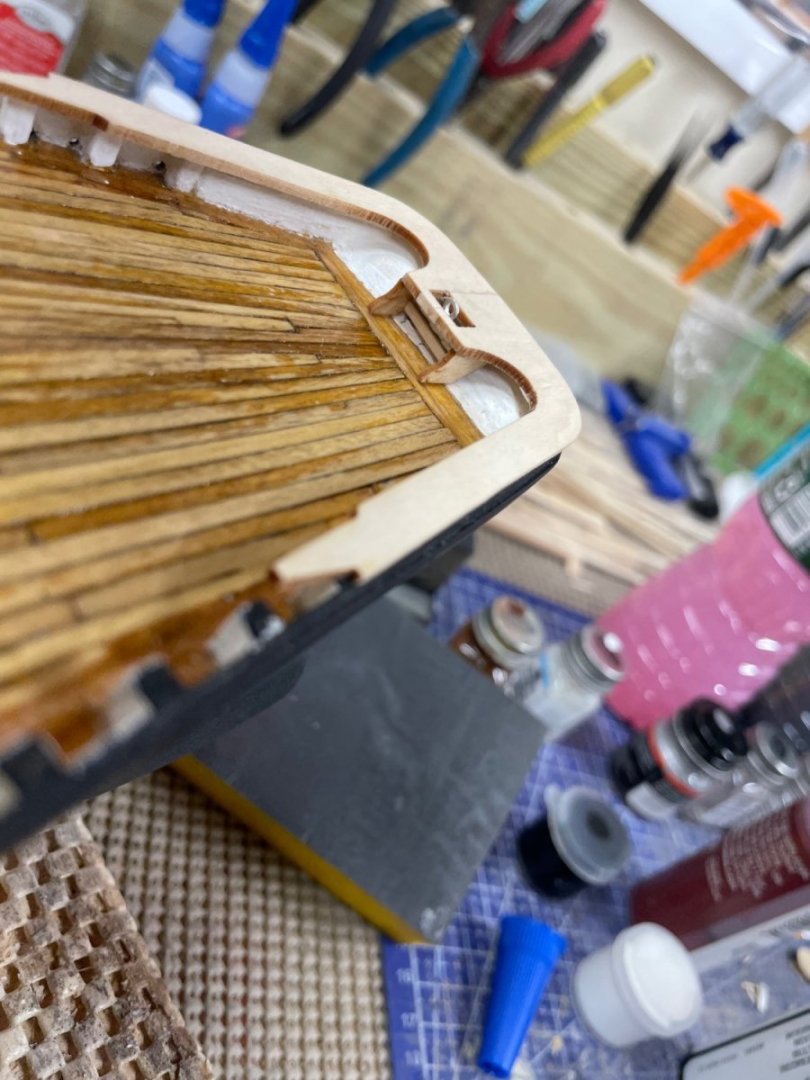
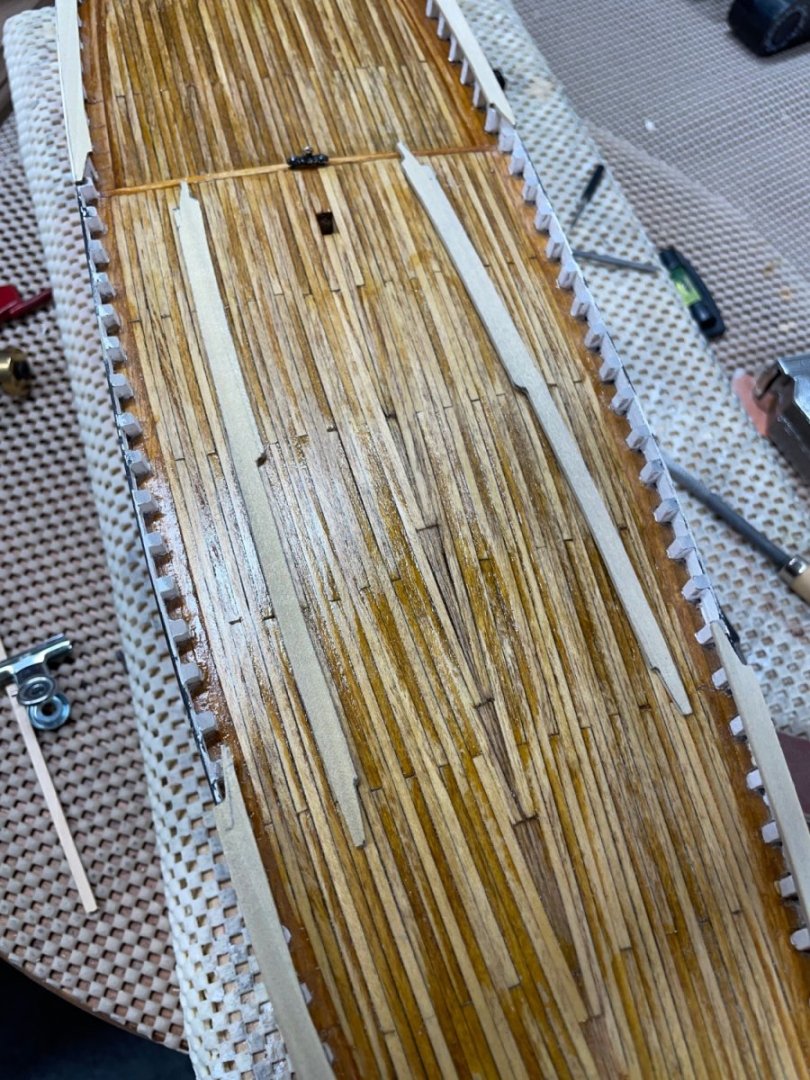
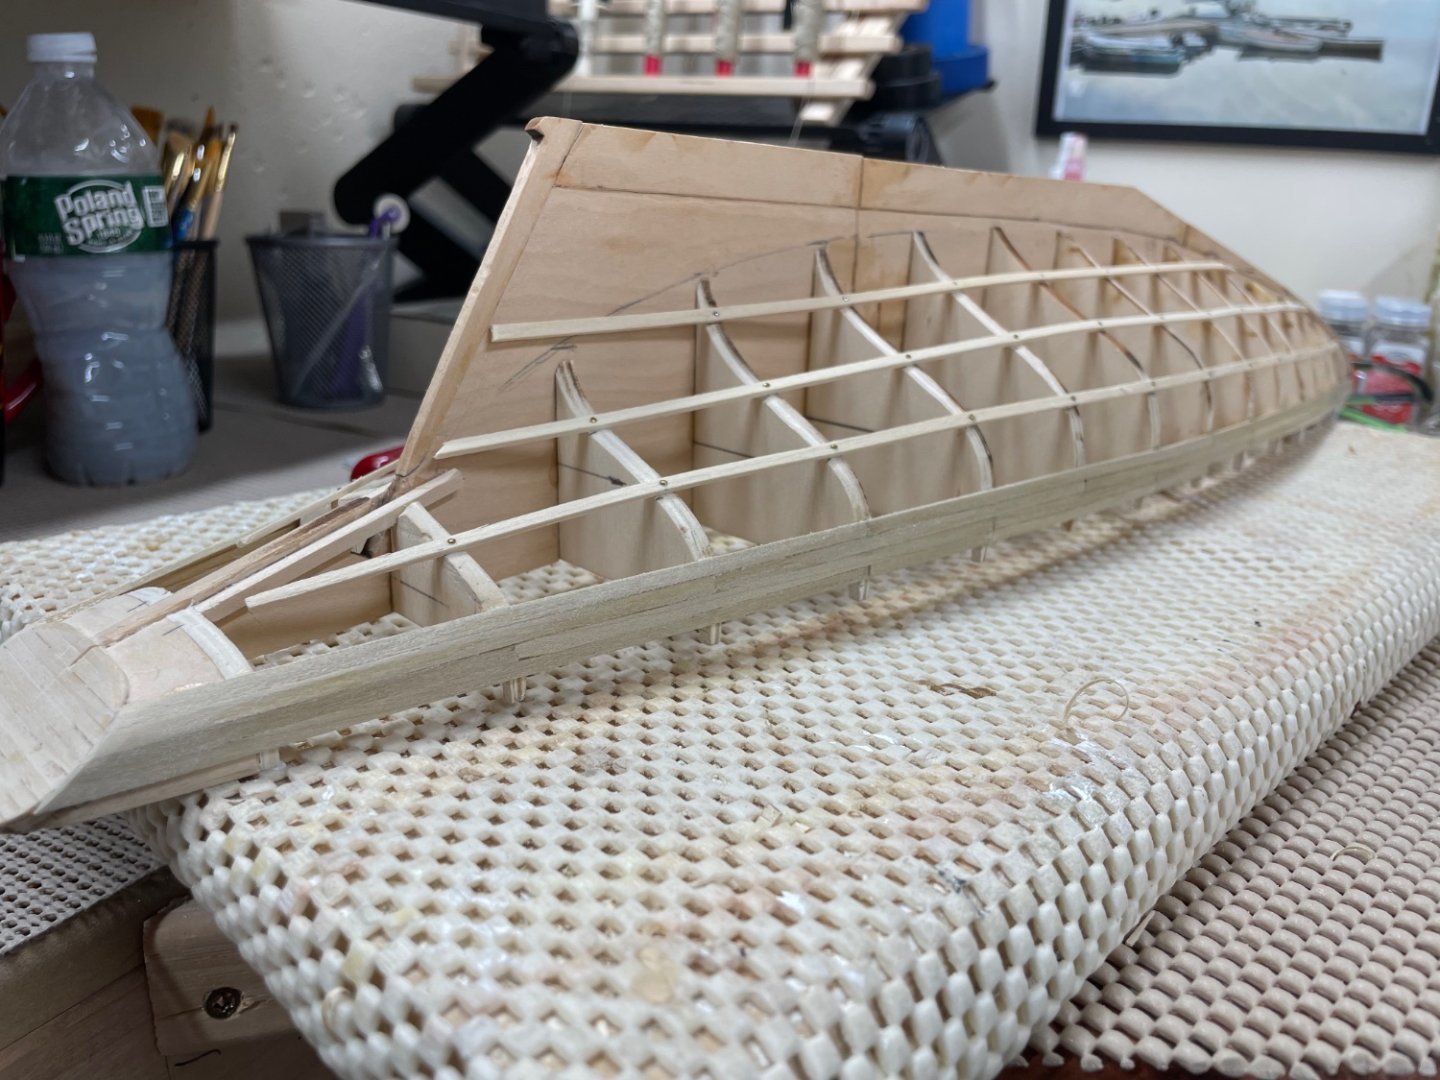
Looks like you are progressing well. As I said getting the framing square is key. If the sub deck keeps everything aligned you may want to install it before you start planking. You can also use battens and pin nails to hold everything in place (see photo) as you start planking from the bulwarks down to the keel. Be sure your fairing of the bulkheads keeps the hull lines true, dips and high spots are very difficult to correct with filler and sanding. Good Luck this is the most difficult stage of the build. Remember, it’s only wood and it can be filled and sanded because it will be a painted hull. Cheers 🍻
-
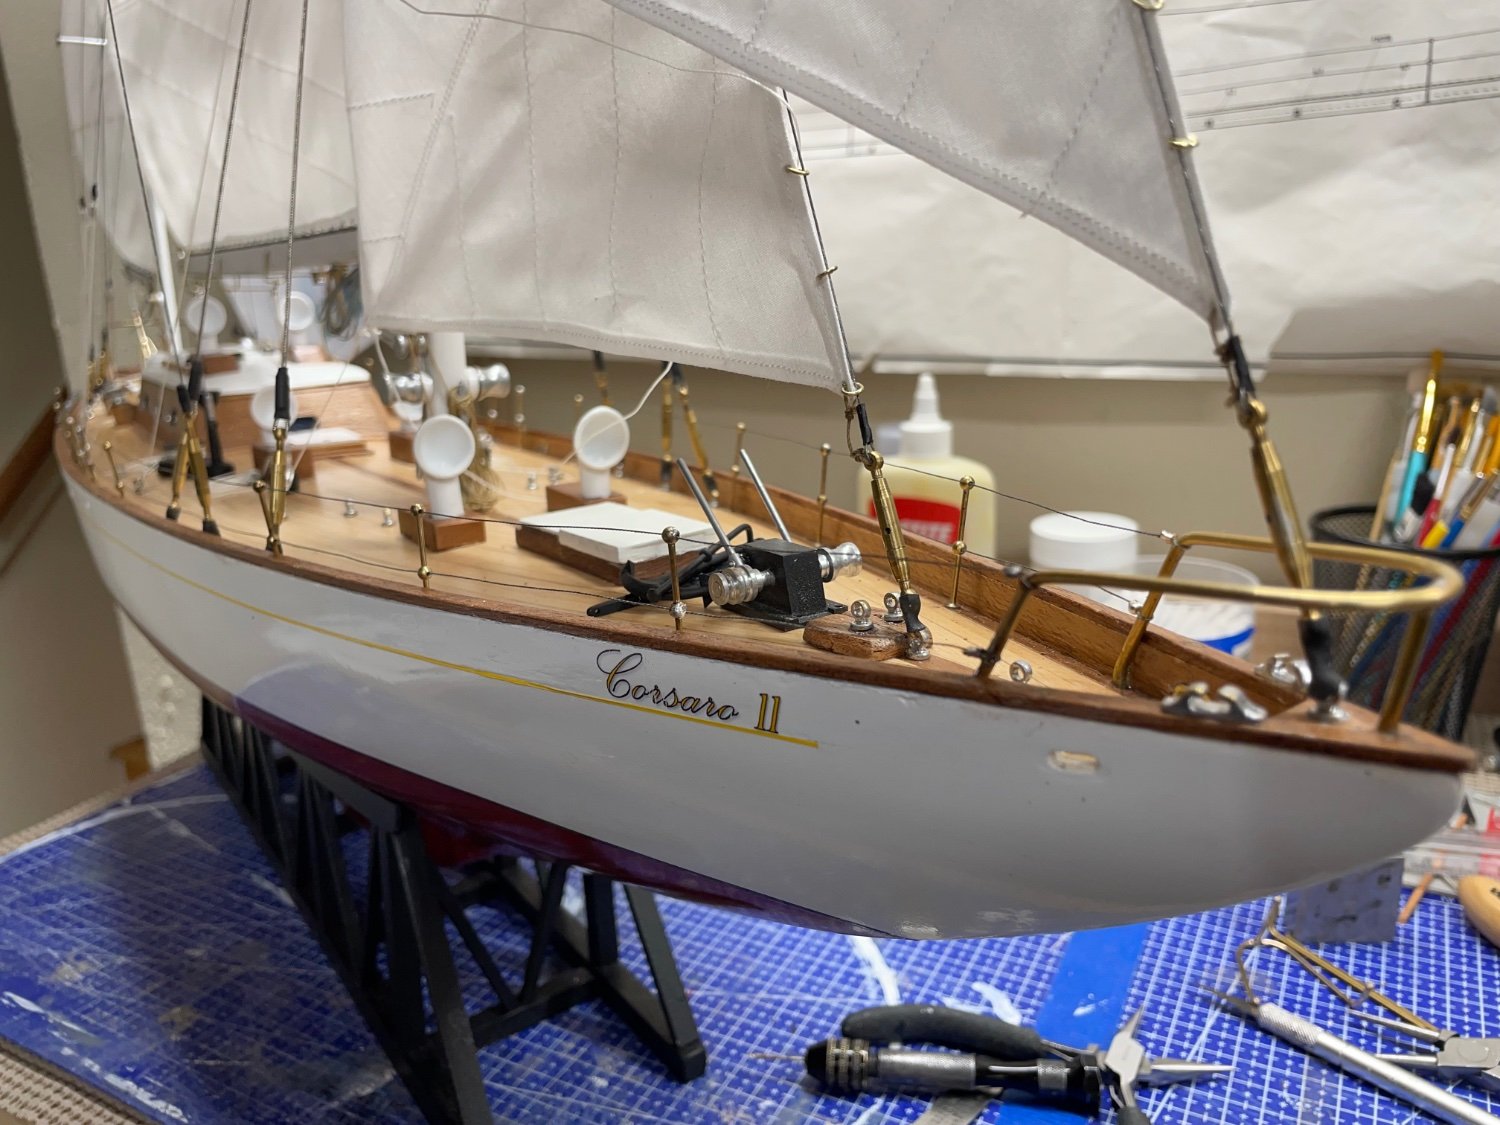
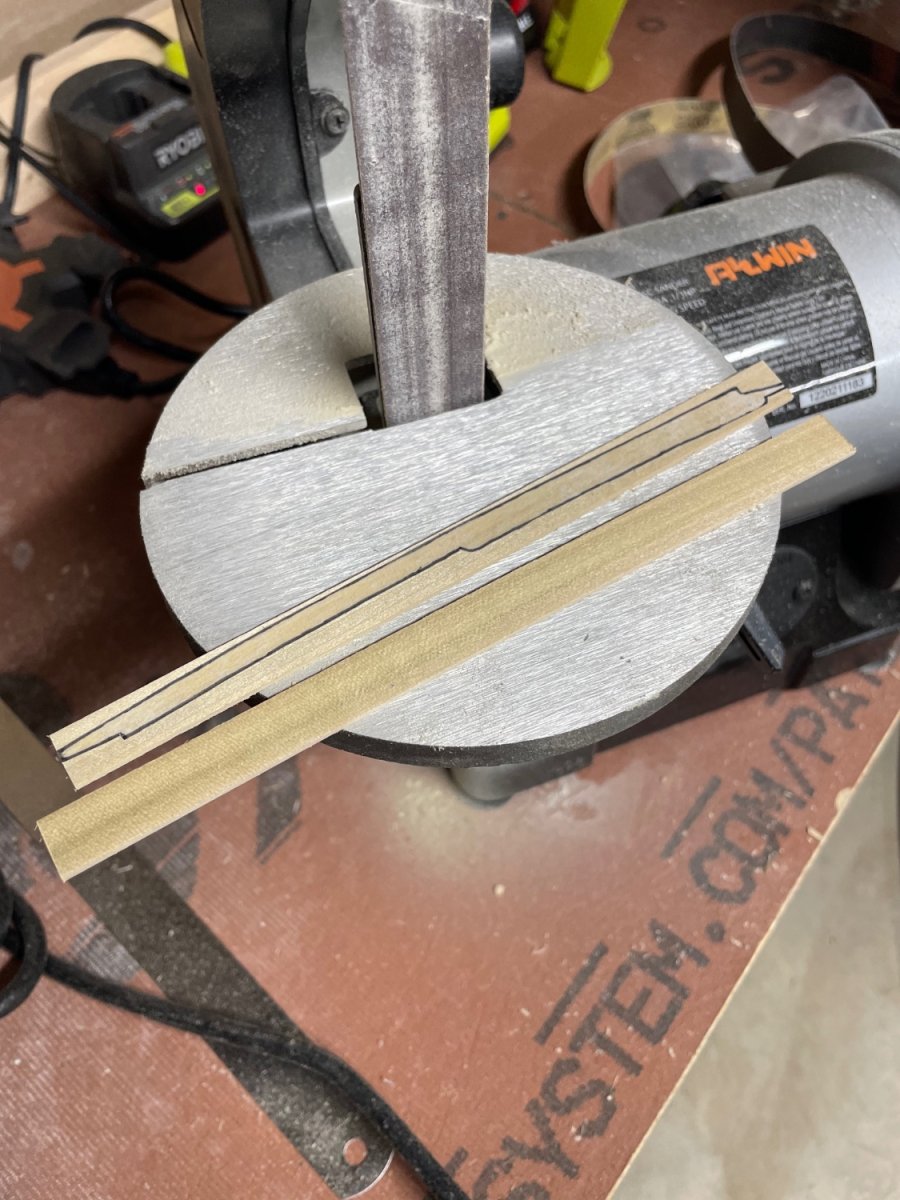
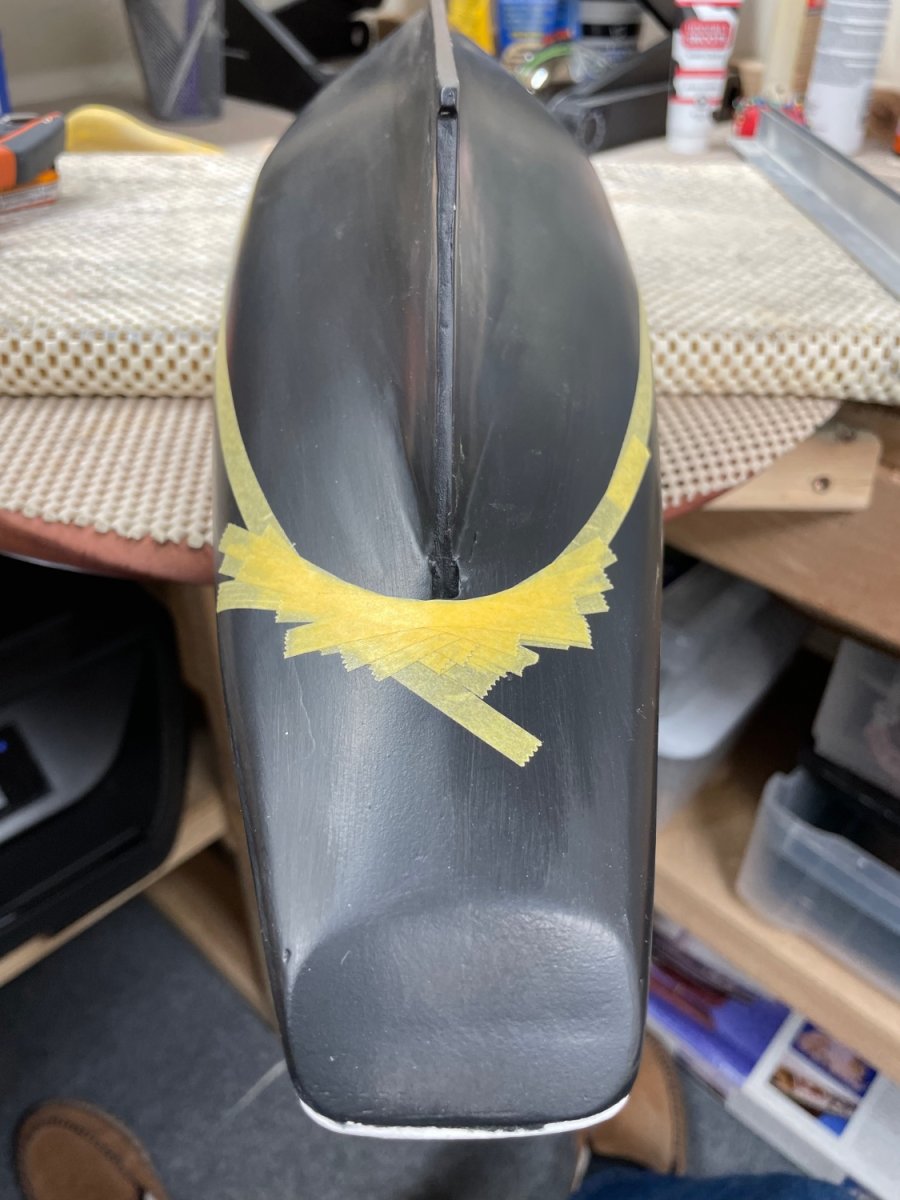
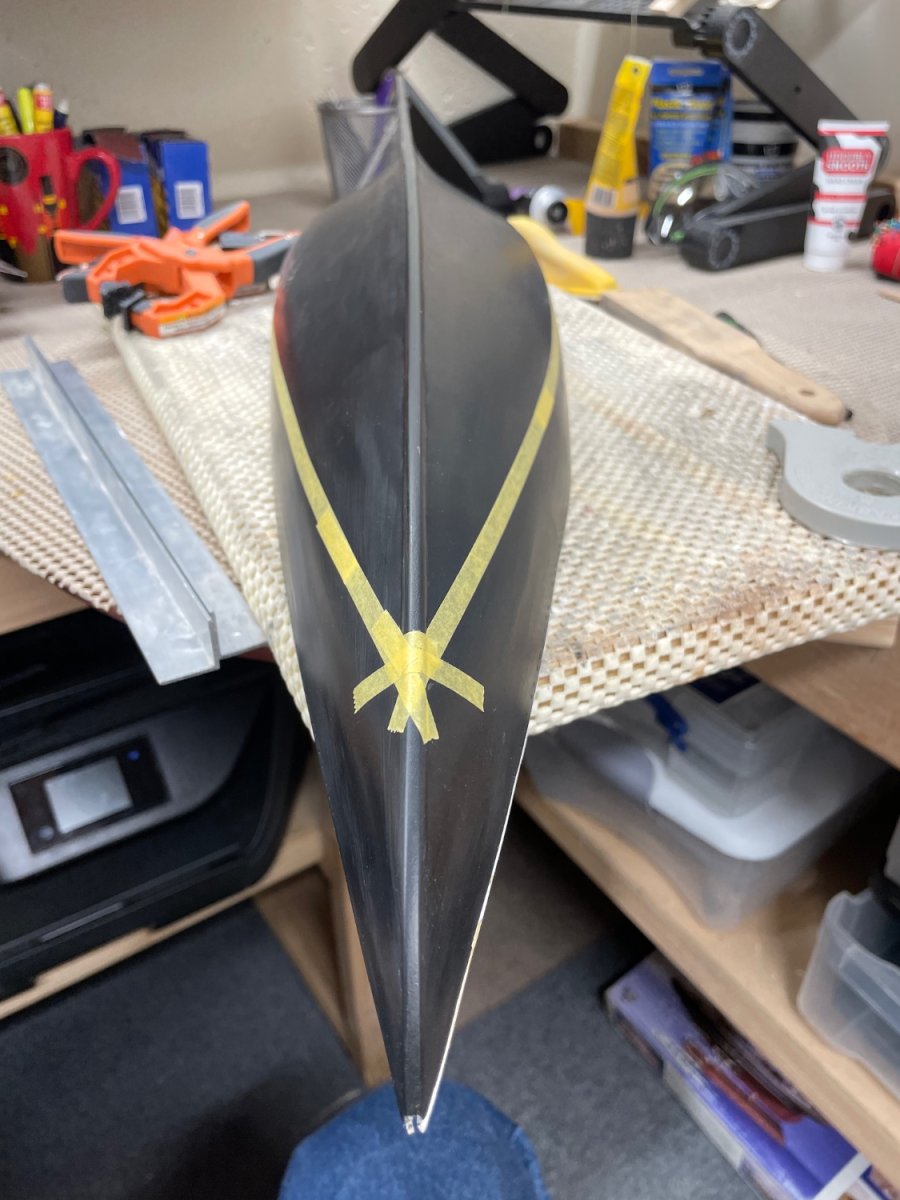
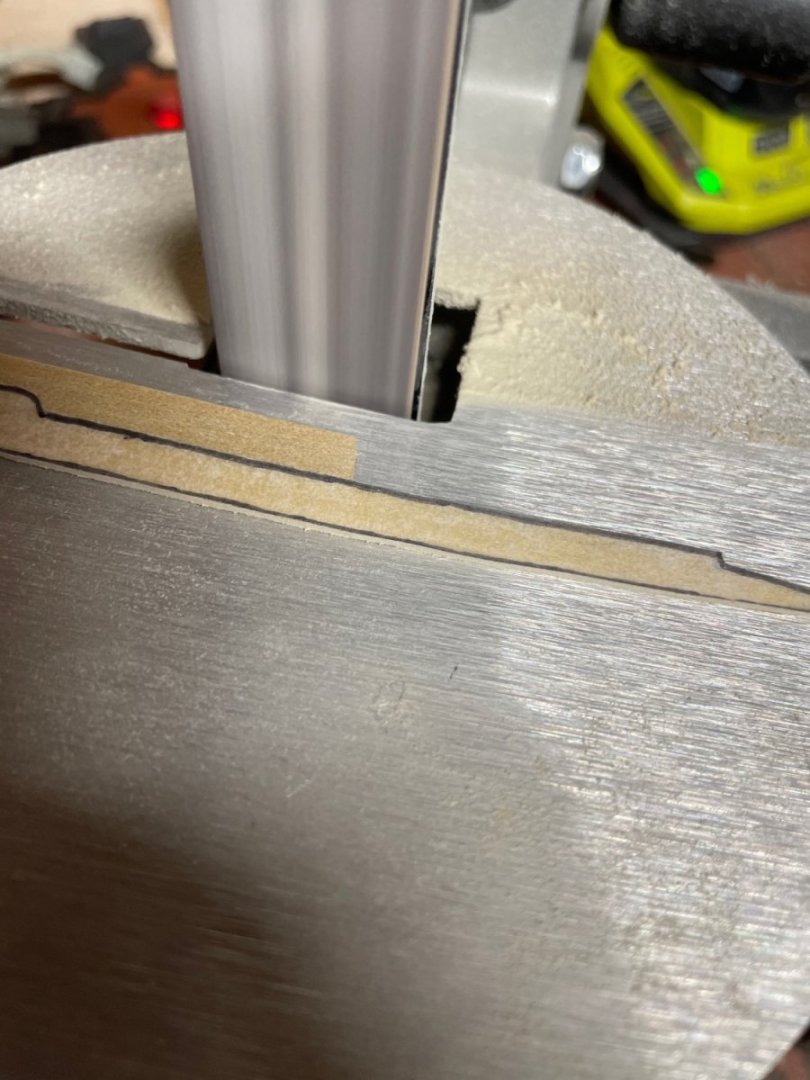
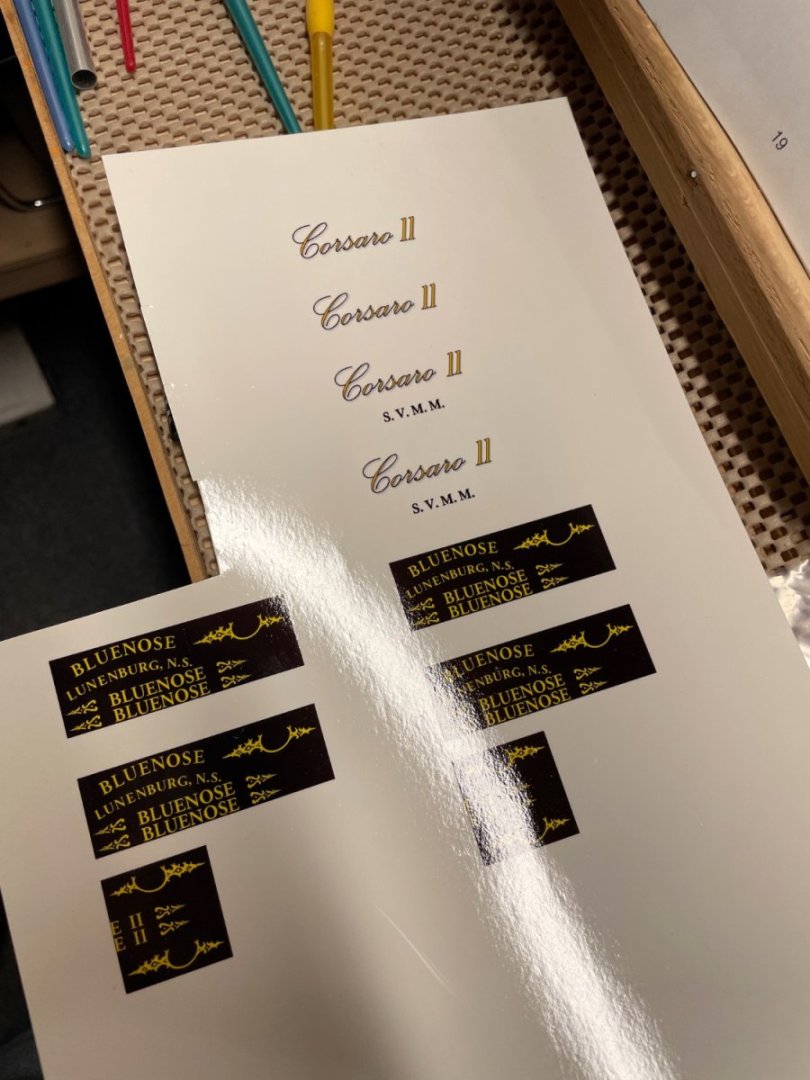
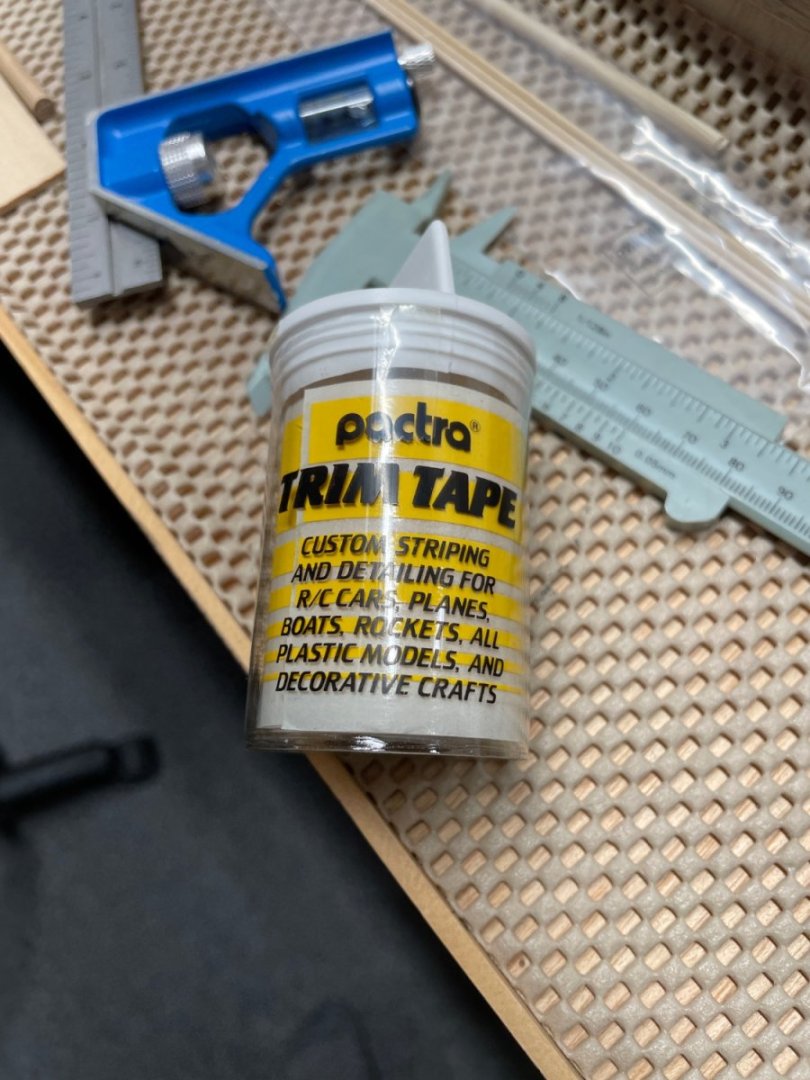
I liked your build as well… I produced my own Decals. I can PM you with the MS Word file and the details. It turns out water slide decals are a lot easier to produce than I thought. If you want to PM your mailing address to me, I’ll mail you my extra copy. John This is the trim tape I used for the stripe.
- 84 replies
-
- 3
-
-
- Corsaro II
- Corel
- (and 1 more)
-
Rick, Excellent idea… There is a 1/24 scale RC of this model on here.
- 84 replies
-
- 2
-
-
- Corsaro II
- Corel
- (and 1 more)
-
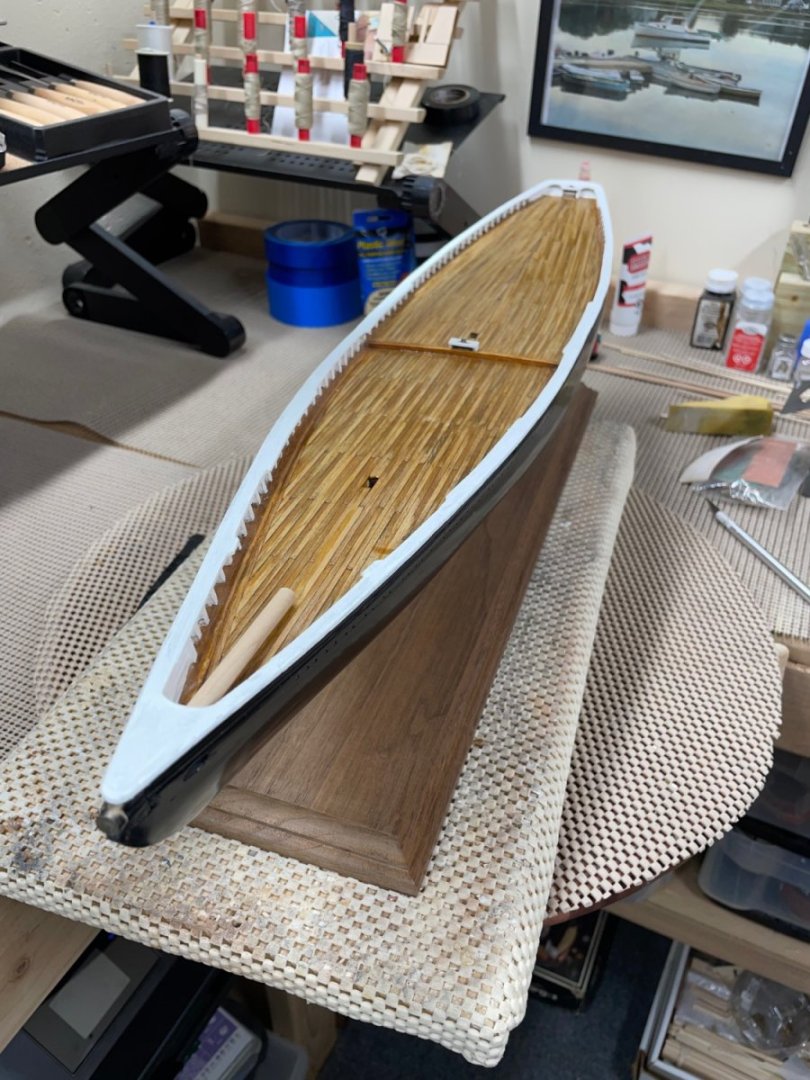
Gord, It has been my experience that most kits require a bit of scratch building. That’s what makes our craft more art than assembly, like plastic models. The MS Bluenose kit gave me quite a bit of trouble regarding the shape of the stern. You are doing a great job getting the framing properly aligned. This stage of your build is critical to getting the shape of the hull correct prior to planking. Pre-cut parts need a lot of shaping to get things right. Keep checking those measurements and fair out those bulkheads before you start planking. Those beautiful lines in her hull are tricky. Nice work so far. As for your decking, you might consider planking rather than veneer. Either way I would stick with the Tight Bond PVA. That’s my 2 cents John
-
Waterline… Progress… more sanding and touch up before a semi gloss clear coat. Cheers 🍻


- 282 replies
-
- 12
-
-
- Bluenose
- Model Shipways
- (and 1 more)
-
Nice work so far… I am building The Bluenose by Model Shipways. I’ll pull up a chair and follow along. Should be interesting. John
-
Welcome aboard…
-
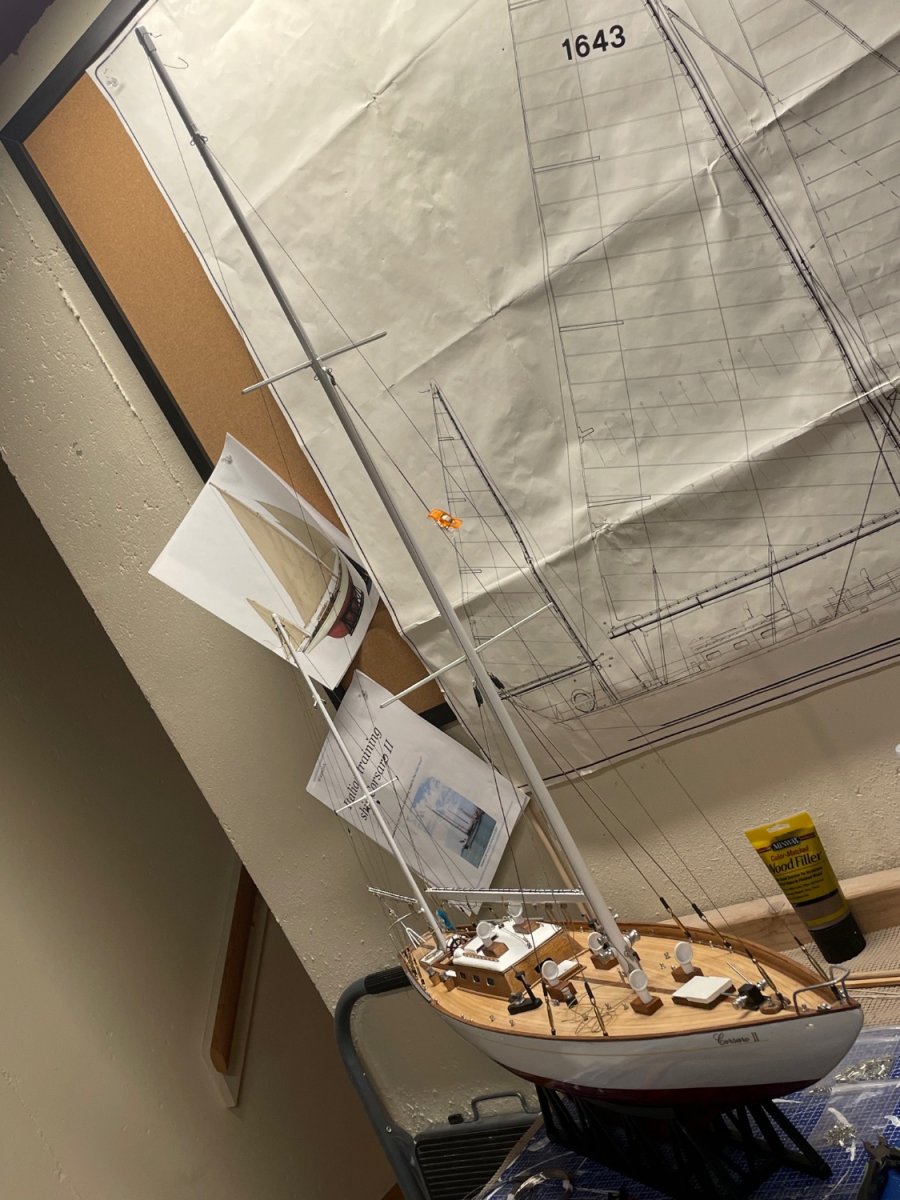
Flying Shrouds completed… Shrouds and stays completed. She is ready for Sails… Cheers 🍻


- 84 replies
-
- 8
-
-
- Corsaro II
- Corel
- (and 1 more)
-
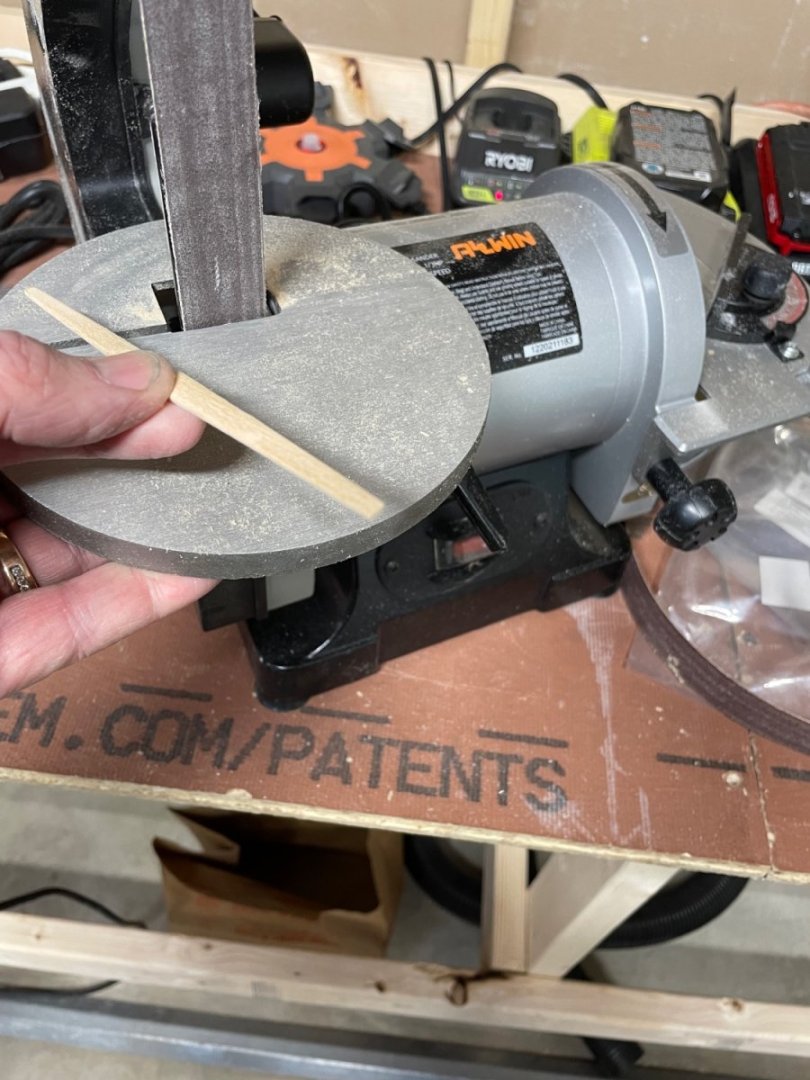
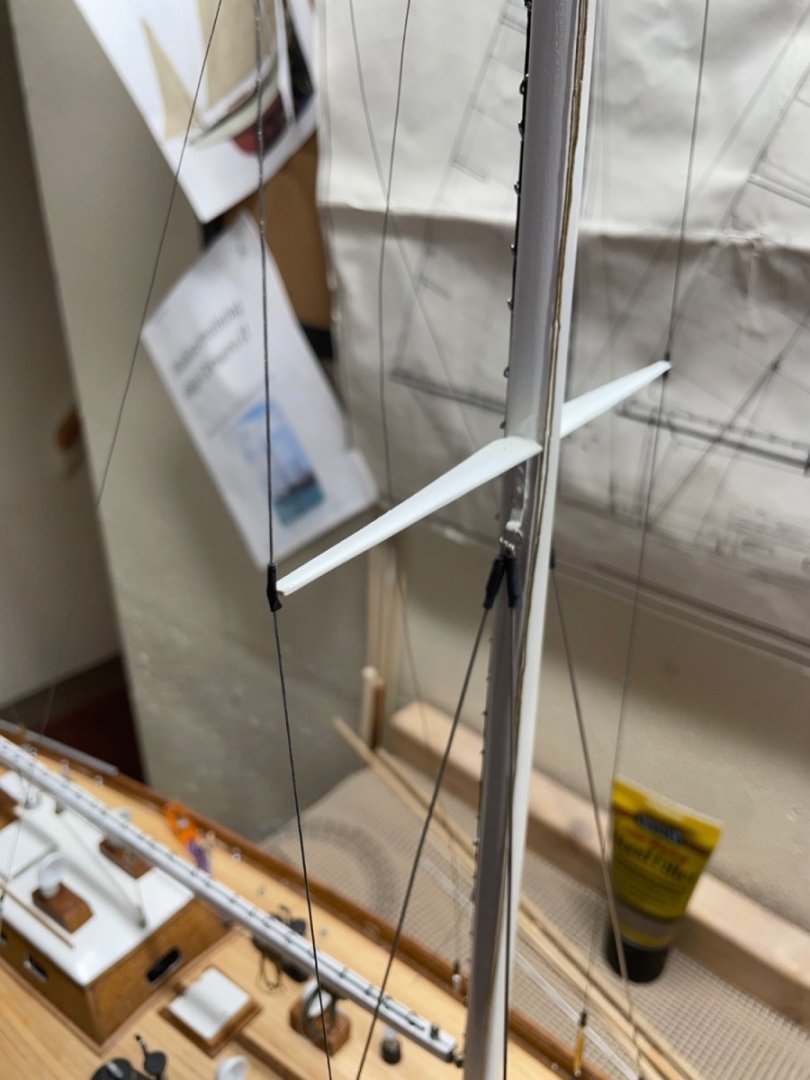
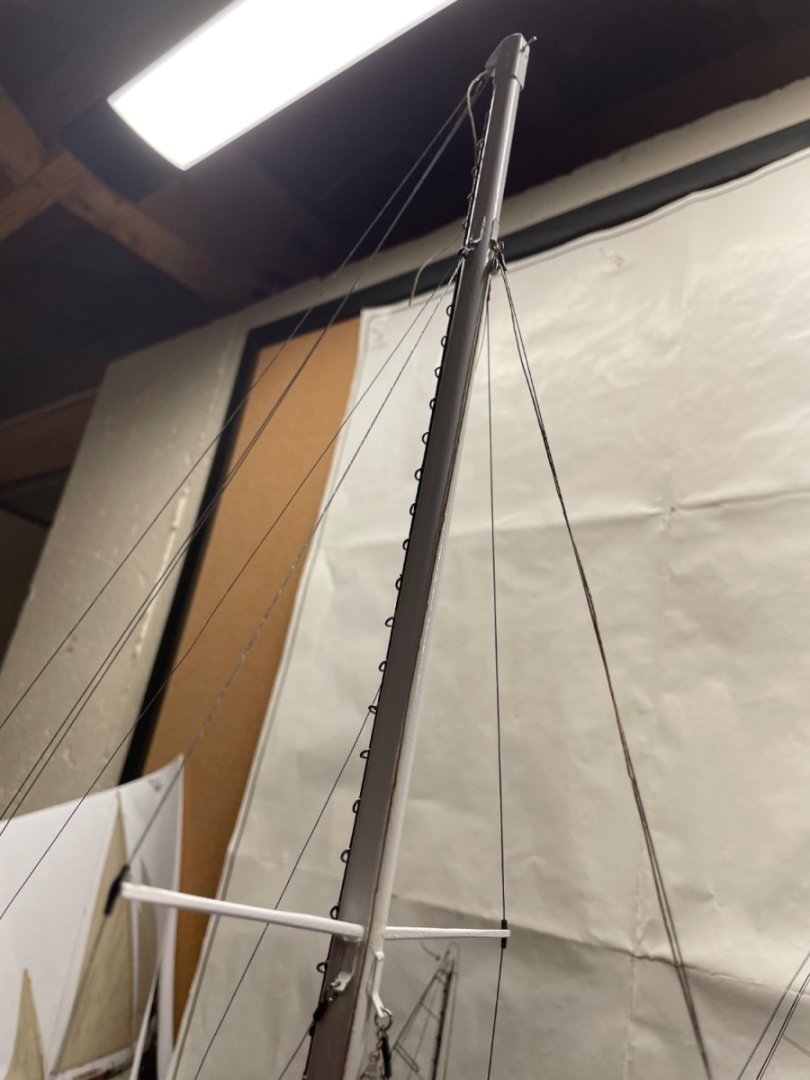
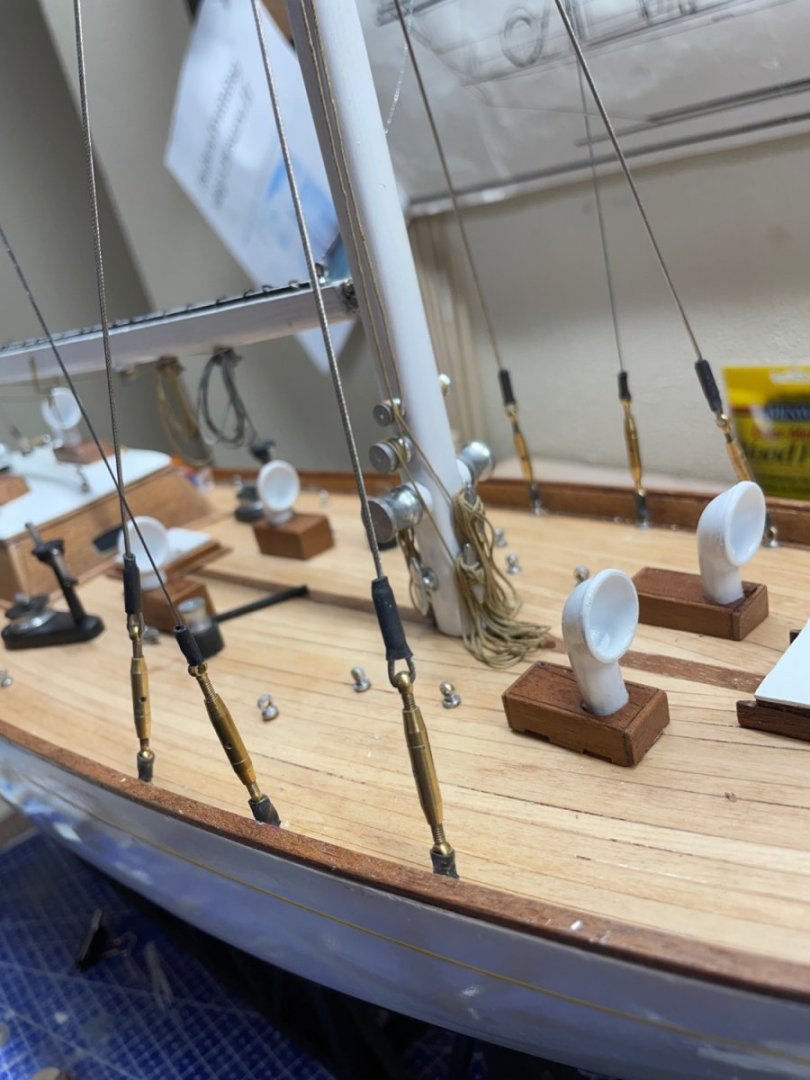
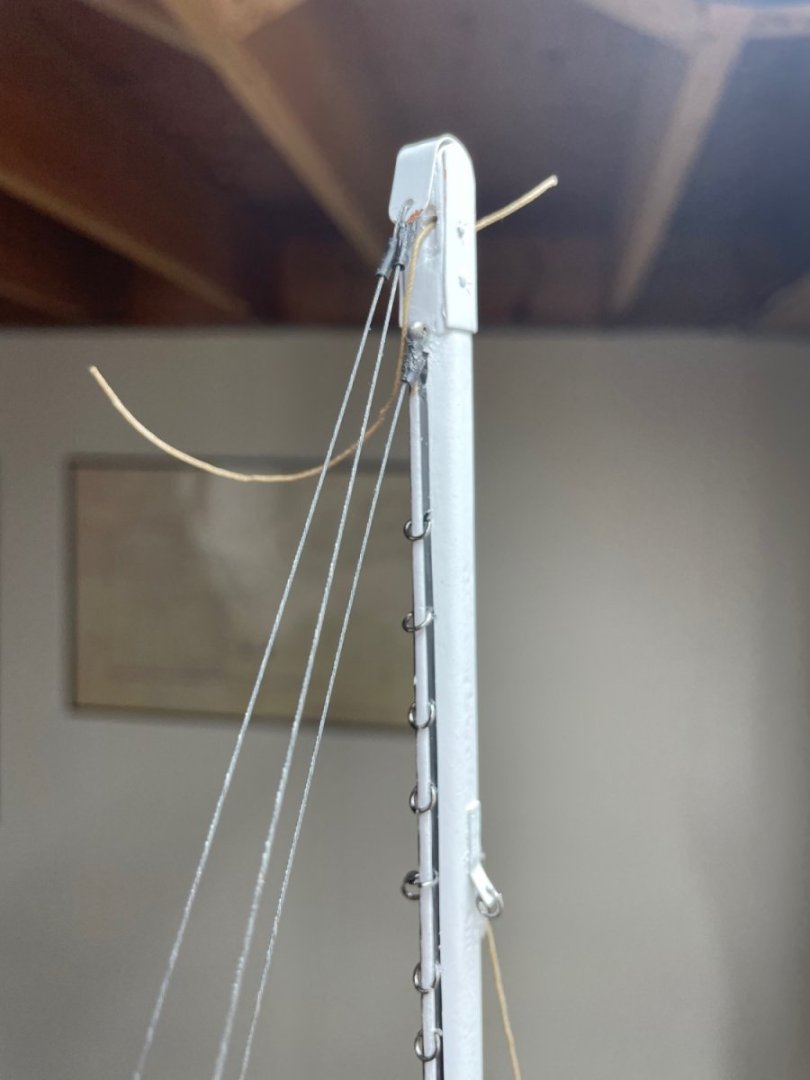
Main Boom Topping Lift… I re-shaped the Spreaders and installed the upper shrouds. Giant Shrouds re-installed. The Upper Shrouds are the turnbuckles placed between the Giant Shrouds. Flying Shrouds (starboard) Two more Flying Shrouds to complete on the Port side and she will be ready for Sails. Cheers 🍻


- 84 replies
-
- 8
-
-
- Corsaro II
- Corel
- (and 1 more)
-
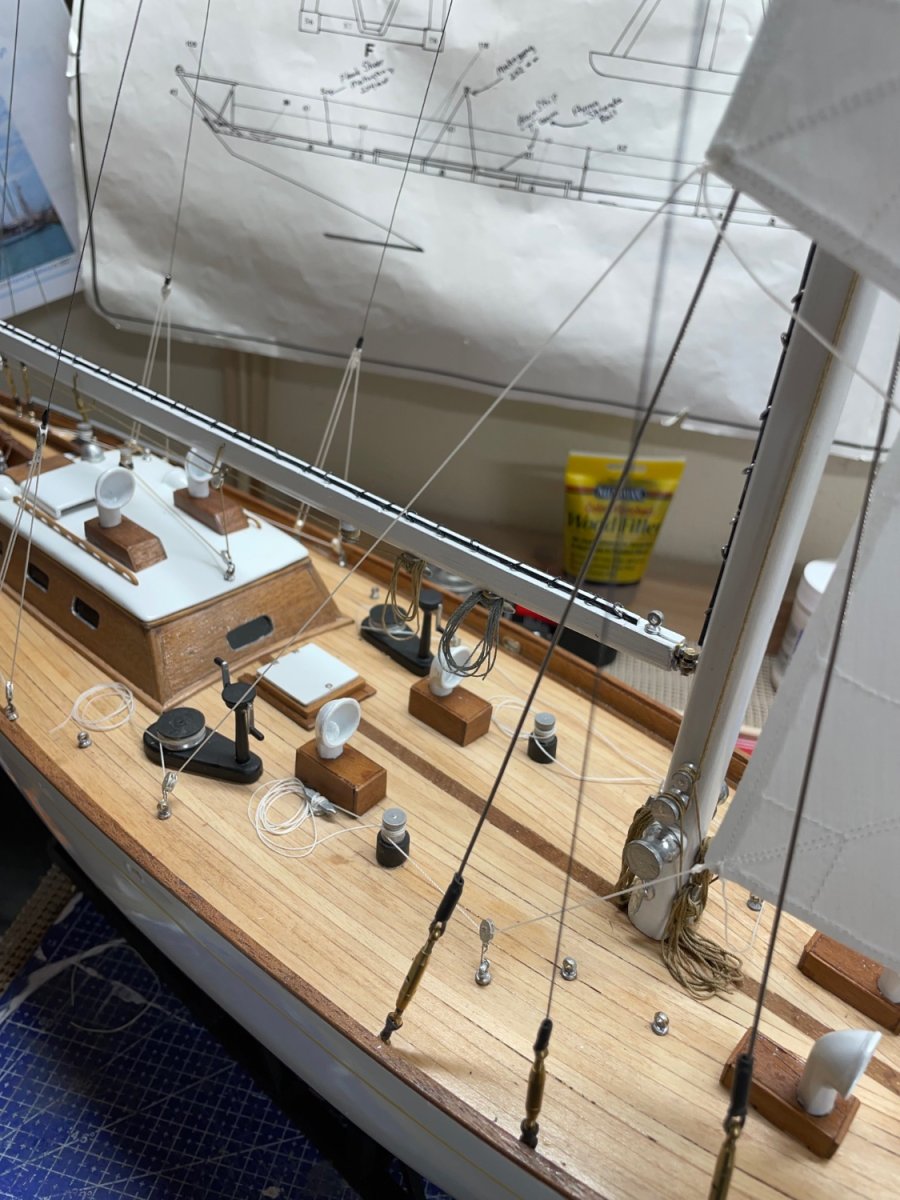
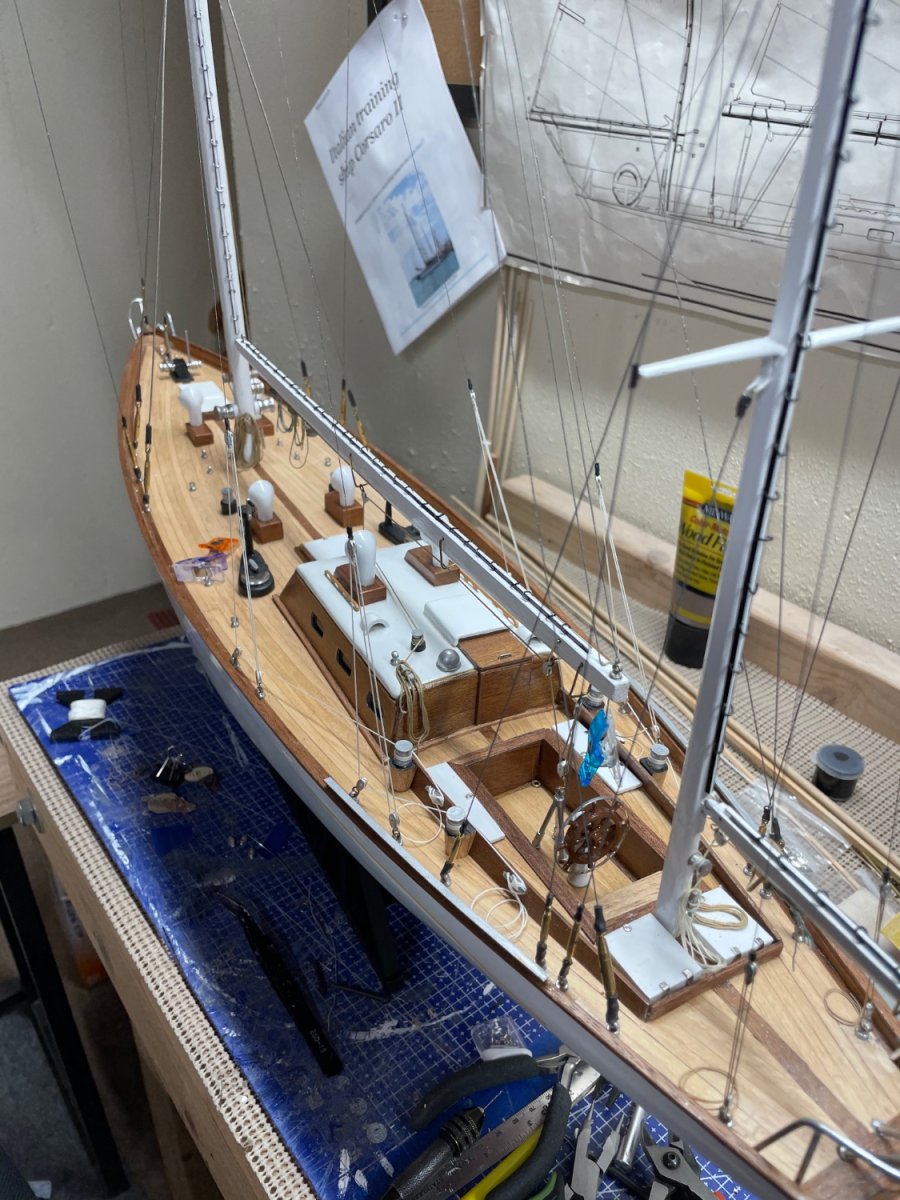
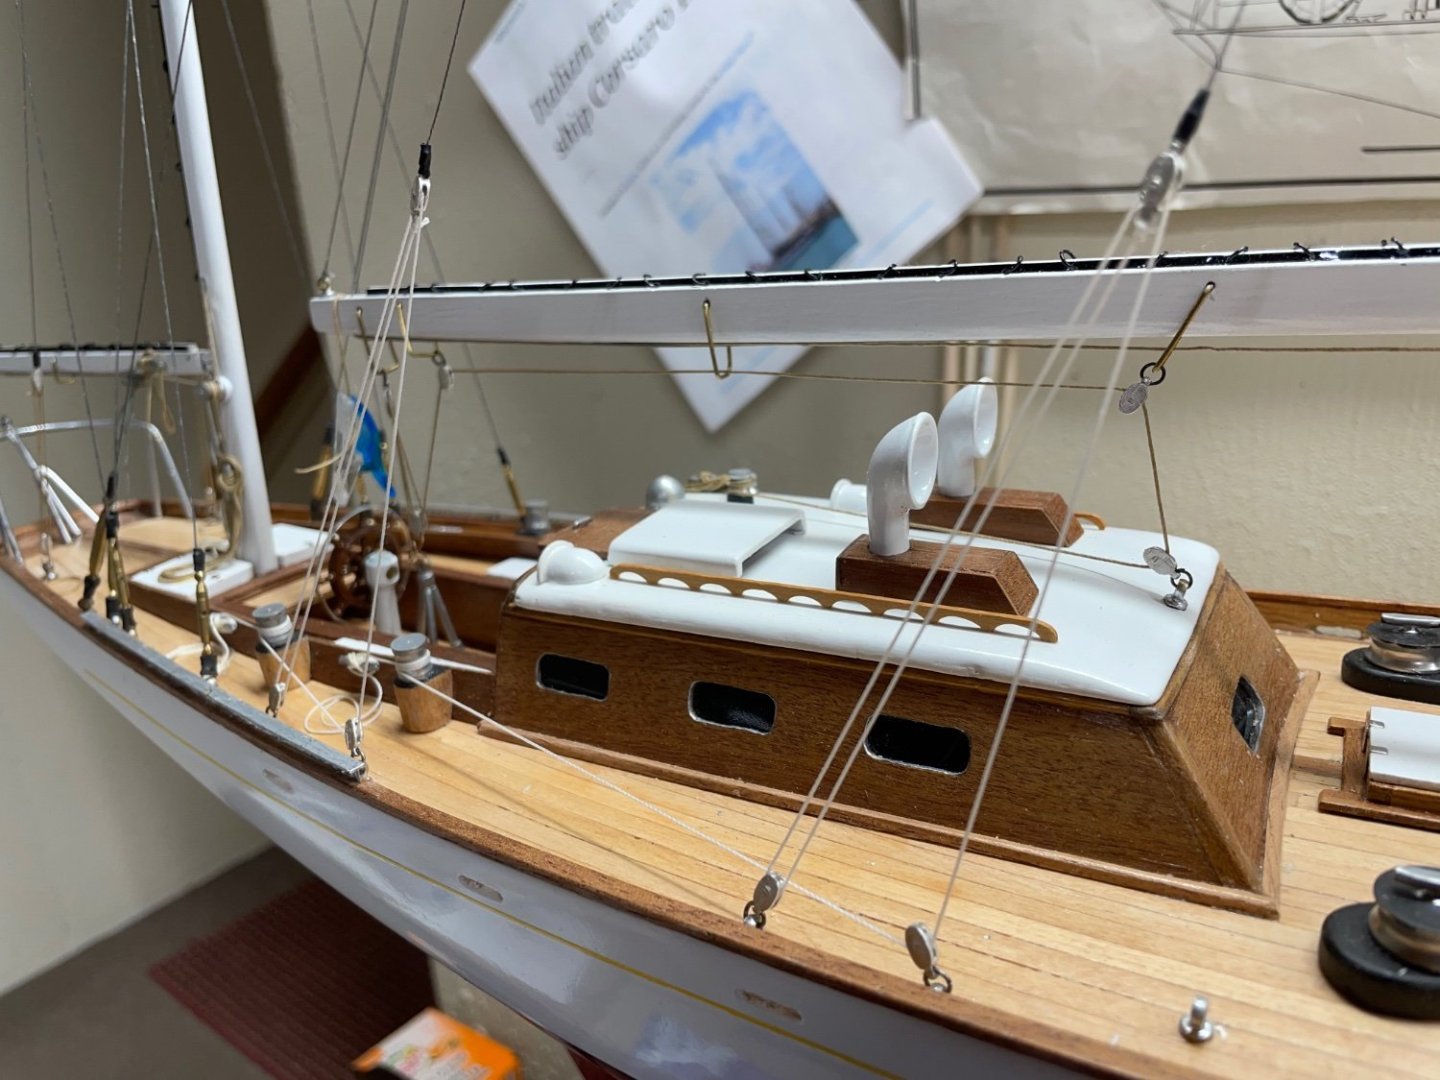
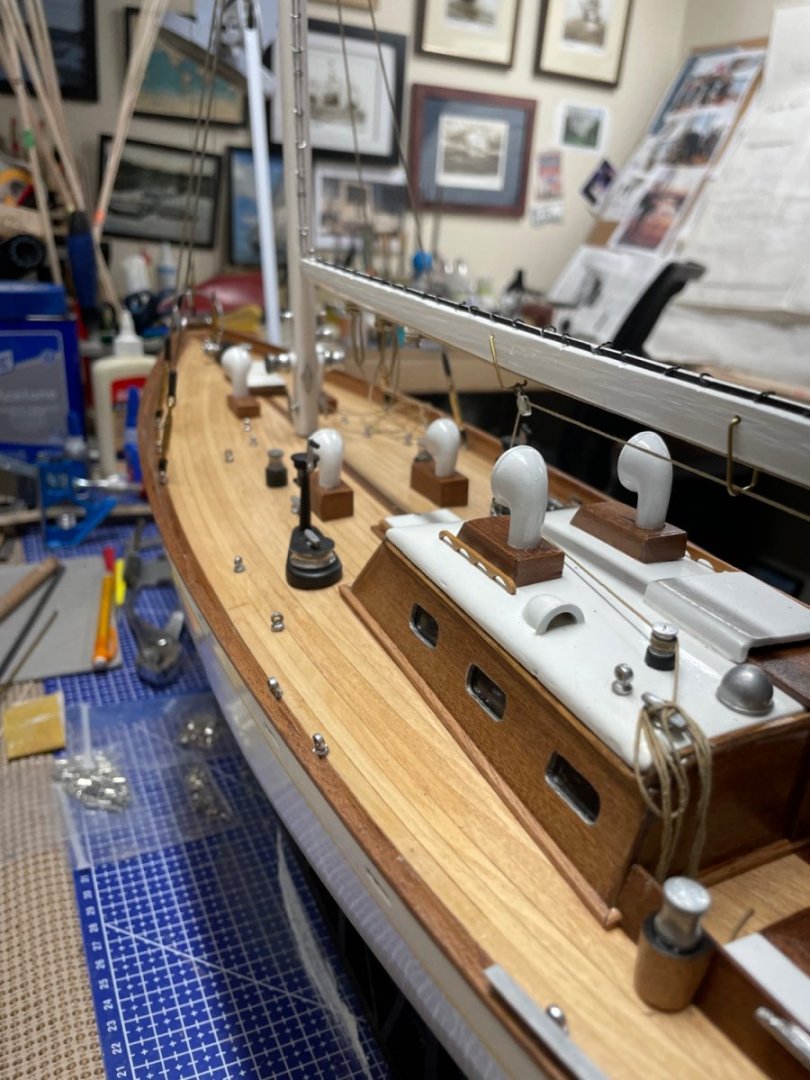
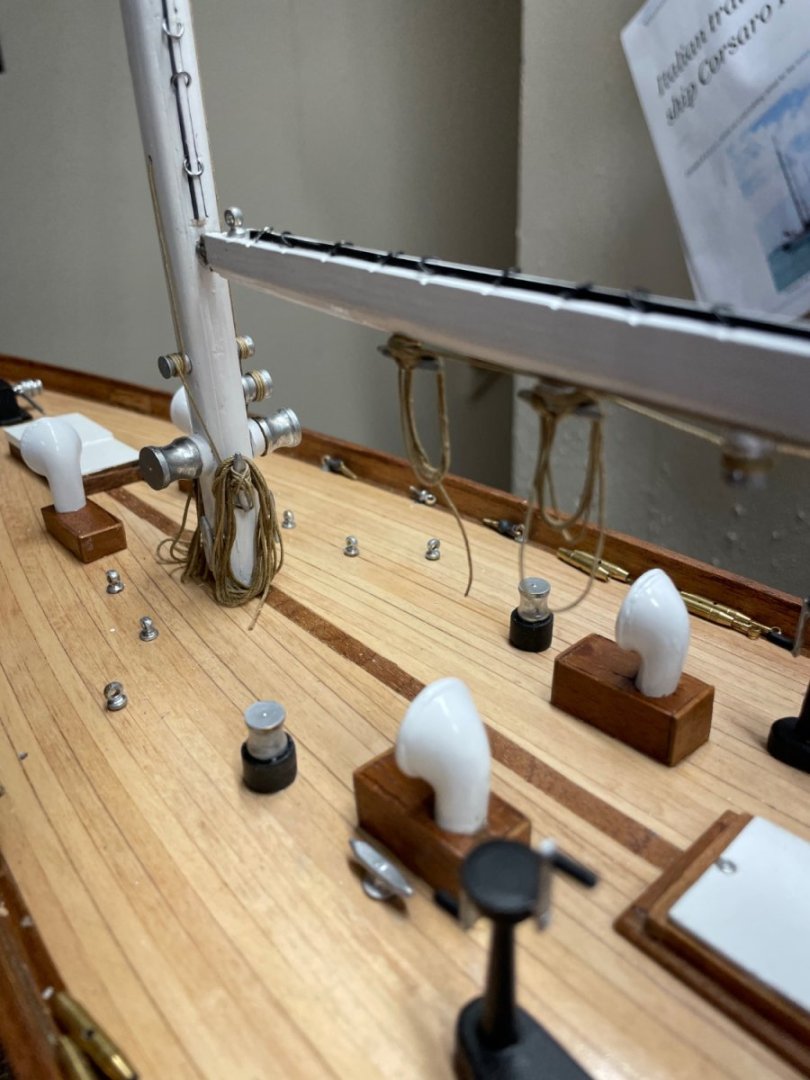
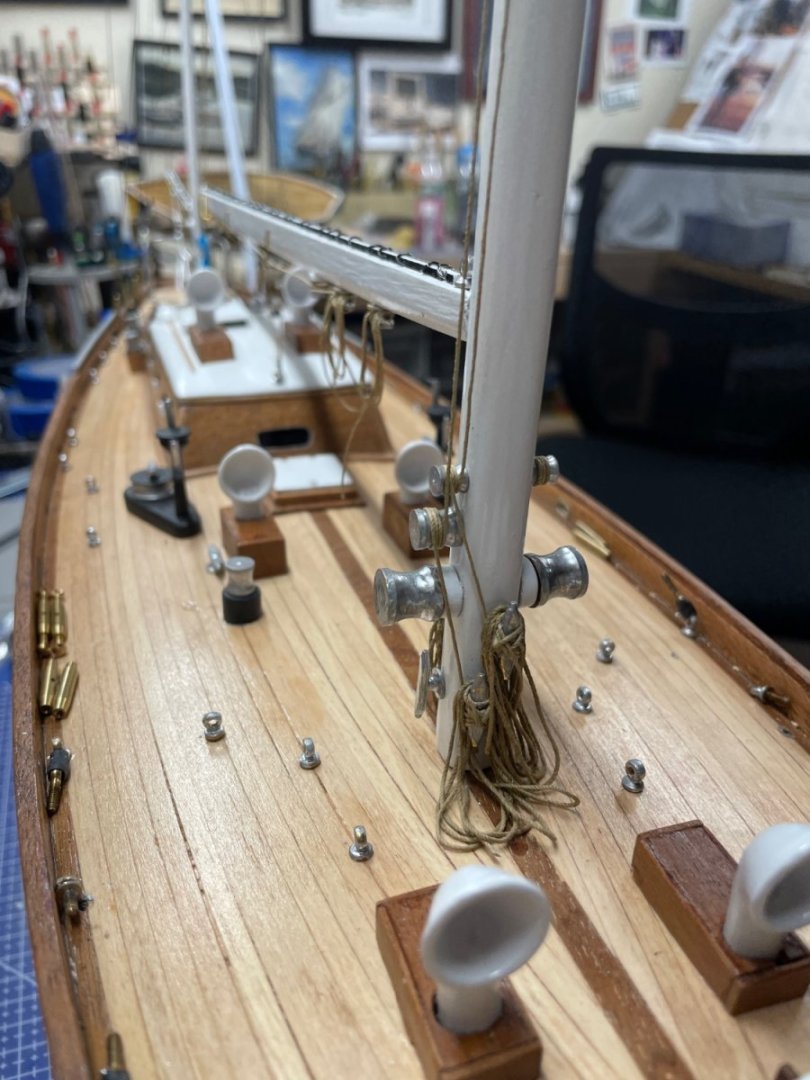
Main Stays installed… Fixed that pesky Main Sheet… Main Little Shrouds installed… Main Halyard tied off with rope coil. Both Jib and Flying Jib Halyards rigged… Note: Giant Shrouds removed as I am re-working the Spreaders to install the Upper Shroud. Cheers 🍻

- 84 replies
-
- 7
-
-
-
- Corsaro II
- Corel
- (and 1 more)