HOLIDAY DONATION DRIVE - SUPPORT MSW - DO YOUR PART TO KEEP THIS GREAT FORUM GOING! (Only 13 donations so far - C'mon guys!)
×


John Ruy
-
Posts
1,566 -
Joined
-
Last visited
Content Type
Profiles
Forums
Gallery
Events
Everything posted by John Ruy
-
 Kevin, Nice work, you got me interested. I’m pulling up a chair to see where this goes. Thanks John
- 444 replies
-
- 2
-

-
- Cutty Sark
- Revell
- (and 2 more)
-
FYI… Here is a link to a gallery post of my Connie 1/96 Revell enhanced with wood decks, rigging blocks/rope and CNC sewn sails from HiSModel.com. I’m not trying to send down the rabbit hole, but if you want to go there? Good luck with you new obsession hope to see a build log on here soon. 👍
-
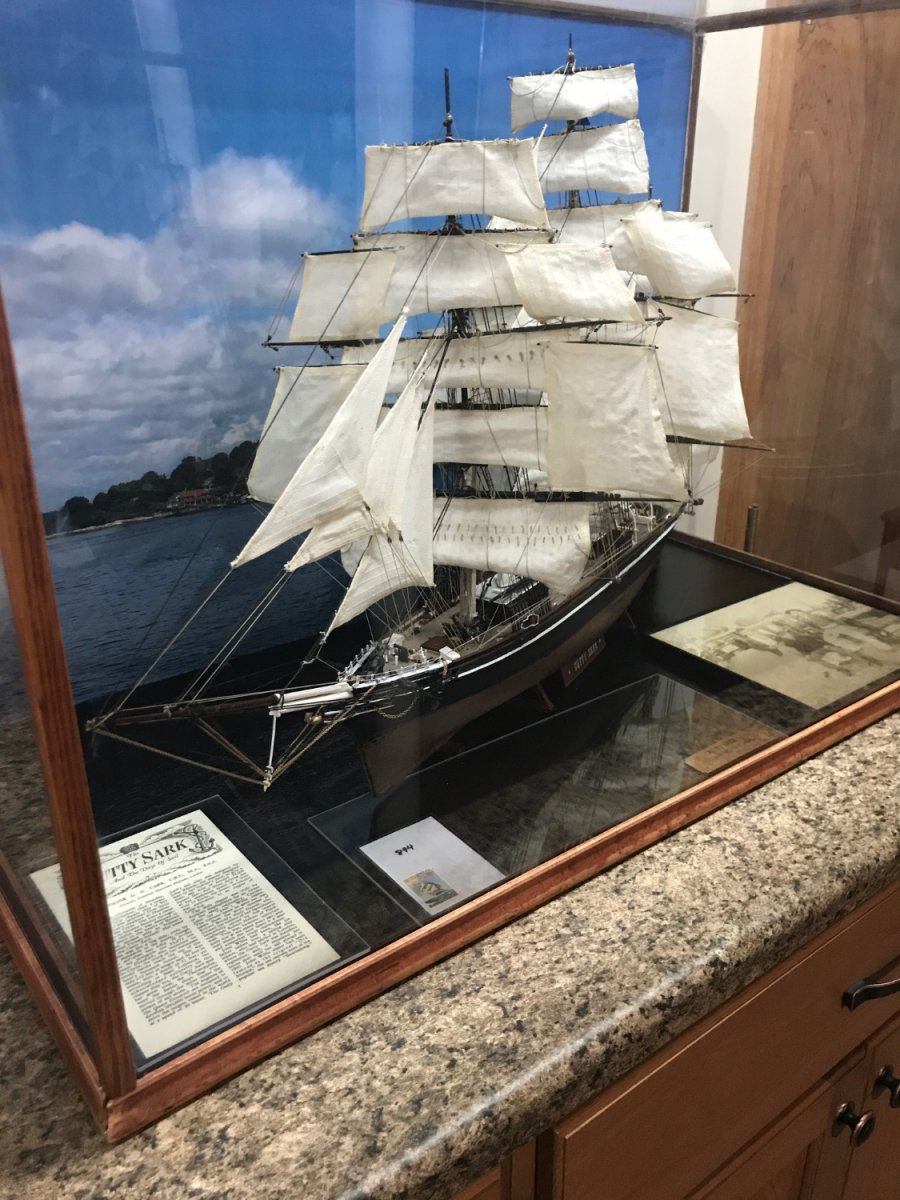
Kevin, Very interesting, The Cutty Sark was my first model in retirement that I attempted to enhance with cloth sails. I then moved on to the USS Constitution by Revell. That’s where I went down the rabbit hole. I found a source for enhancement parts in the Czech Republic. They have everything from Wood decking to wood blocks and cloth sails for your Cutty. You can go nuts. 😆 You might want to give them a look see. https://www.hismodel.com/articles-category-14 Also the Cutty is in a museum in England where you might find some good info. Cheers and welcome aboard. 🍻

-
I pick this photo off the internet when I built my Cutty Sark 5 or 6 years ago. It was a Revell Plastic kit 1/96, but I didn’t go into the detail you are. That was back then. I’ve improved since then. 😎 Note the block on the far left of the photo and the hook 🪝 and rope tied off to the winch. Nice rope coil on the right hand side, as well. Photography didn’t allow for action shots in those days. Ok, everyone smile and don’t move. poof 💥 Good luck with your build. John
-
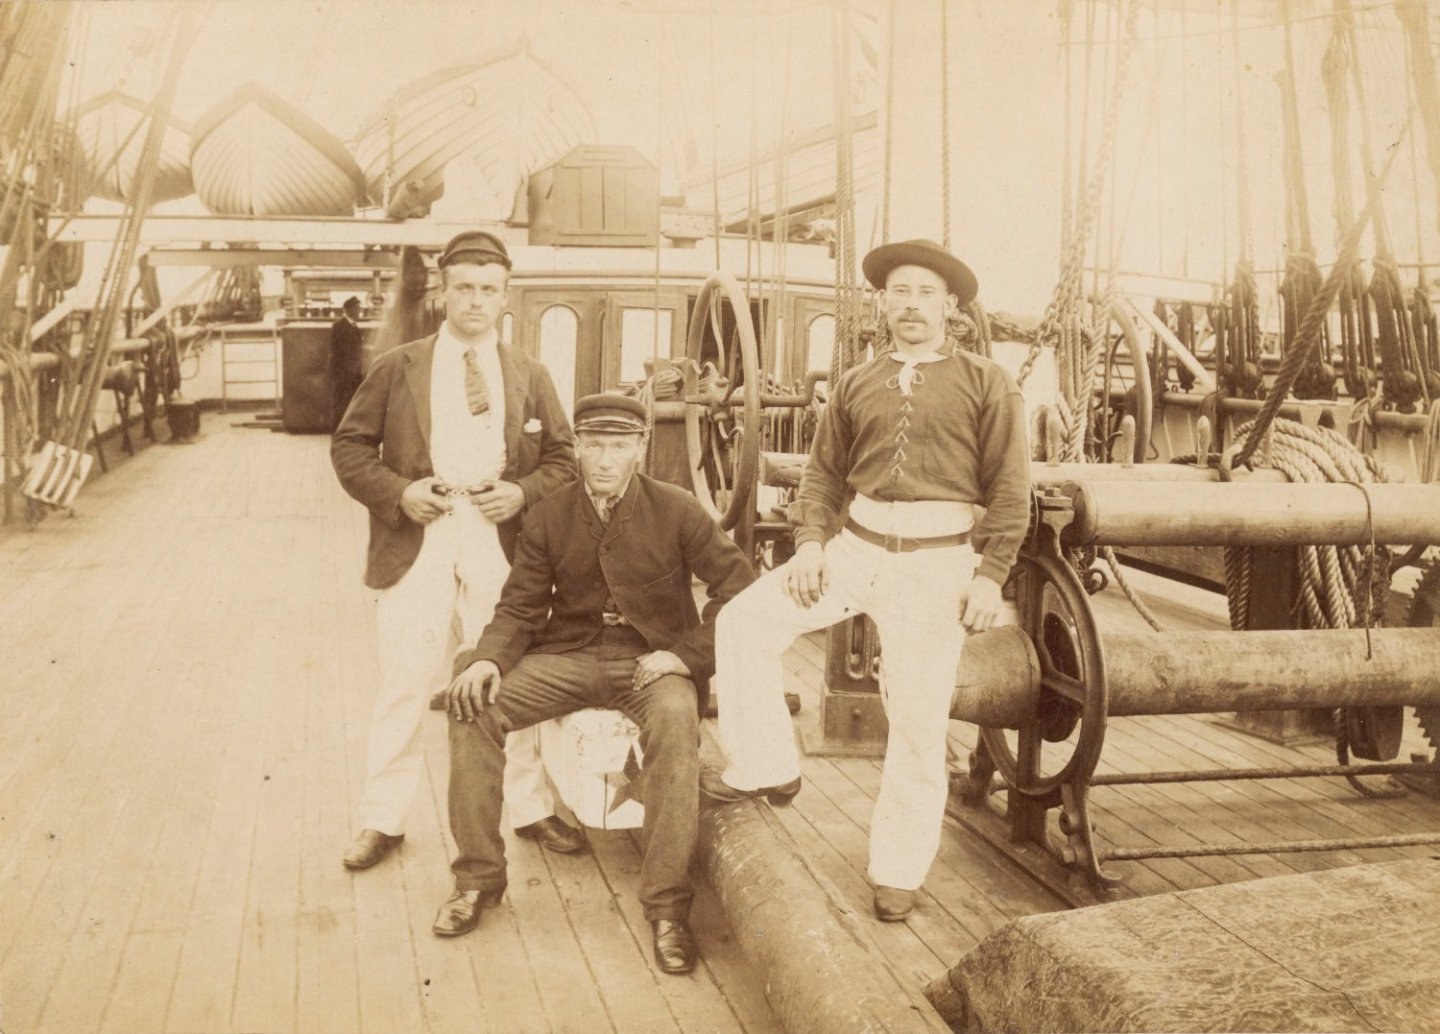
Here is a vintage photo that may be helpful, although these guys aren’t slinging a load. Your winch looks great, very nice detail. 👍
-
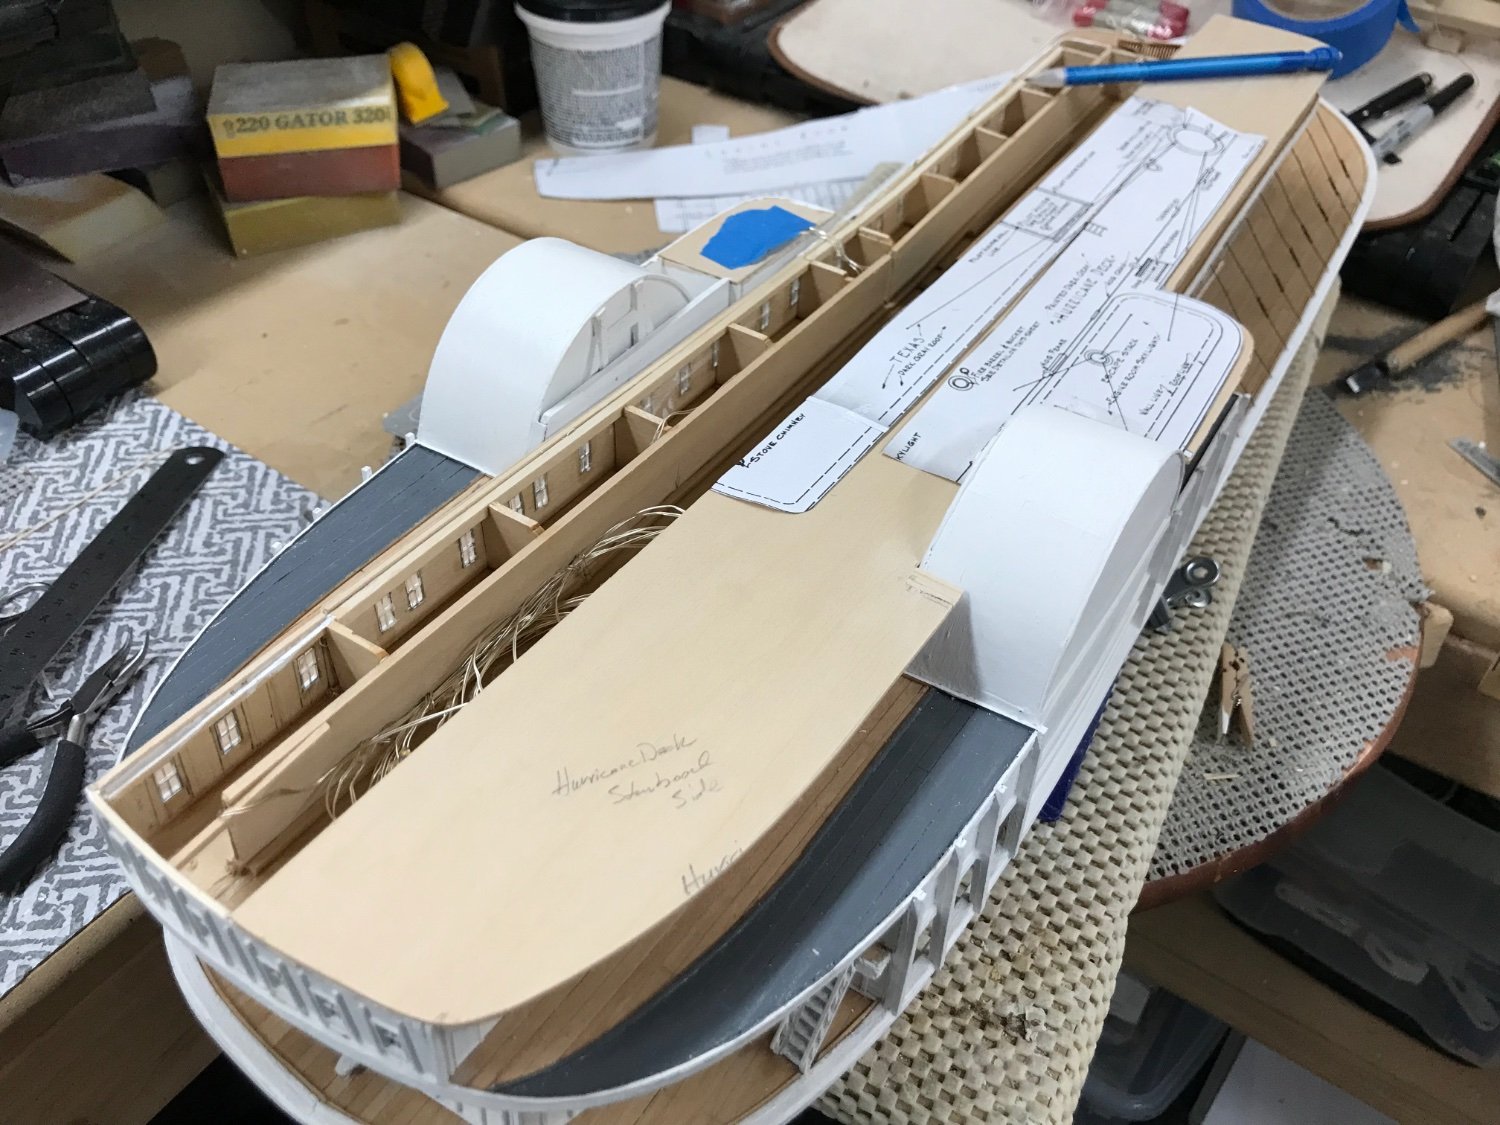
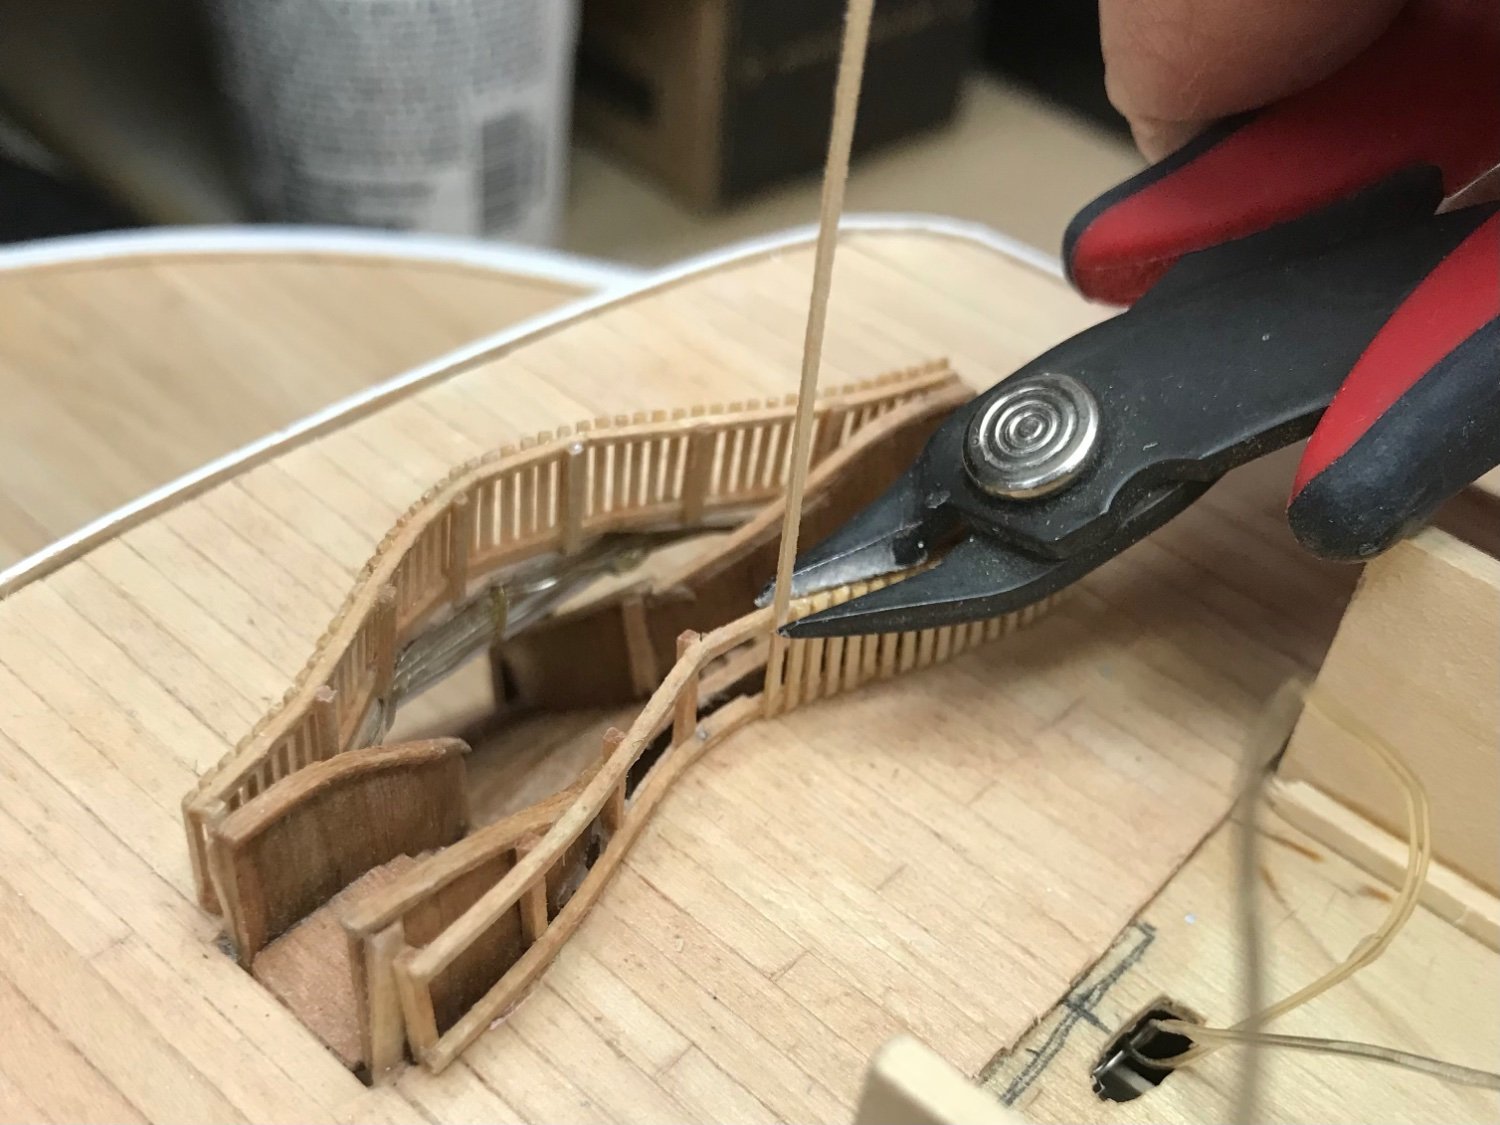
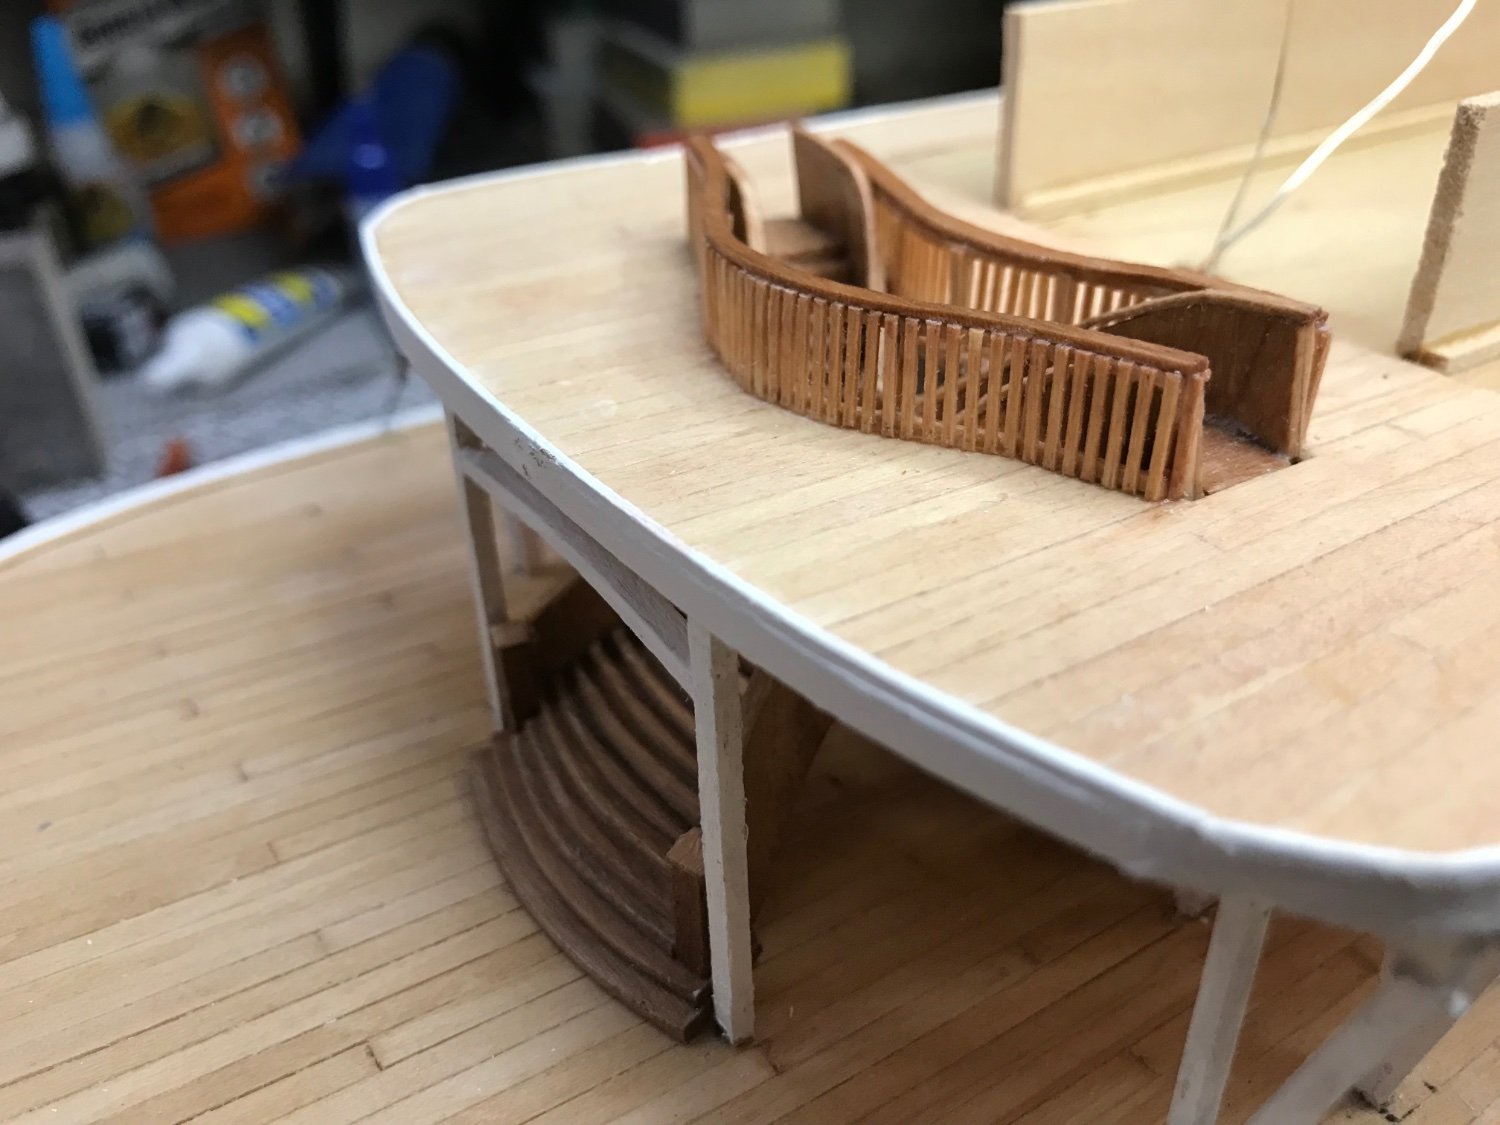
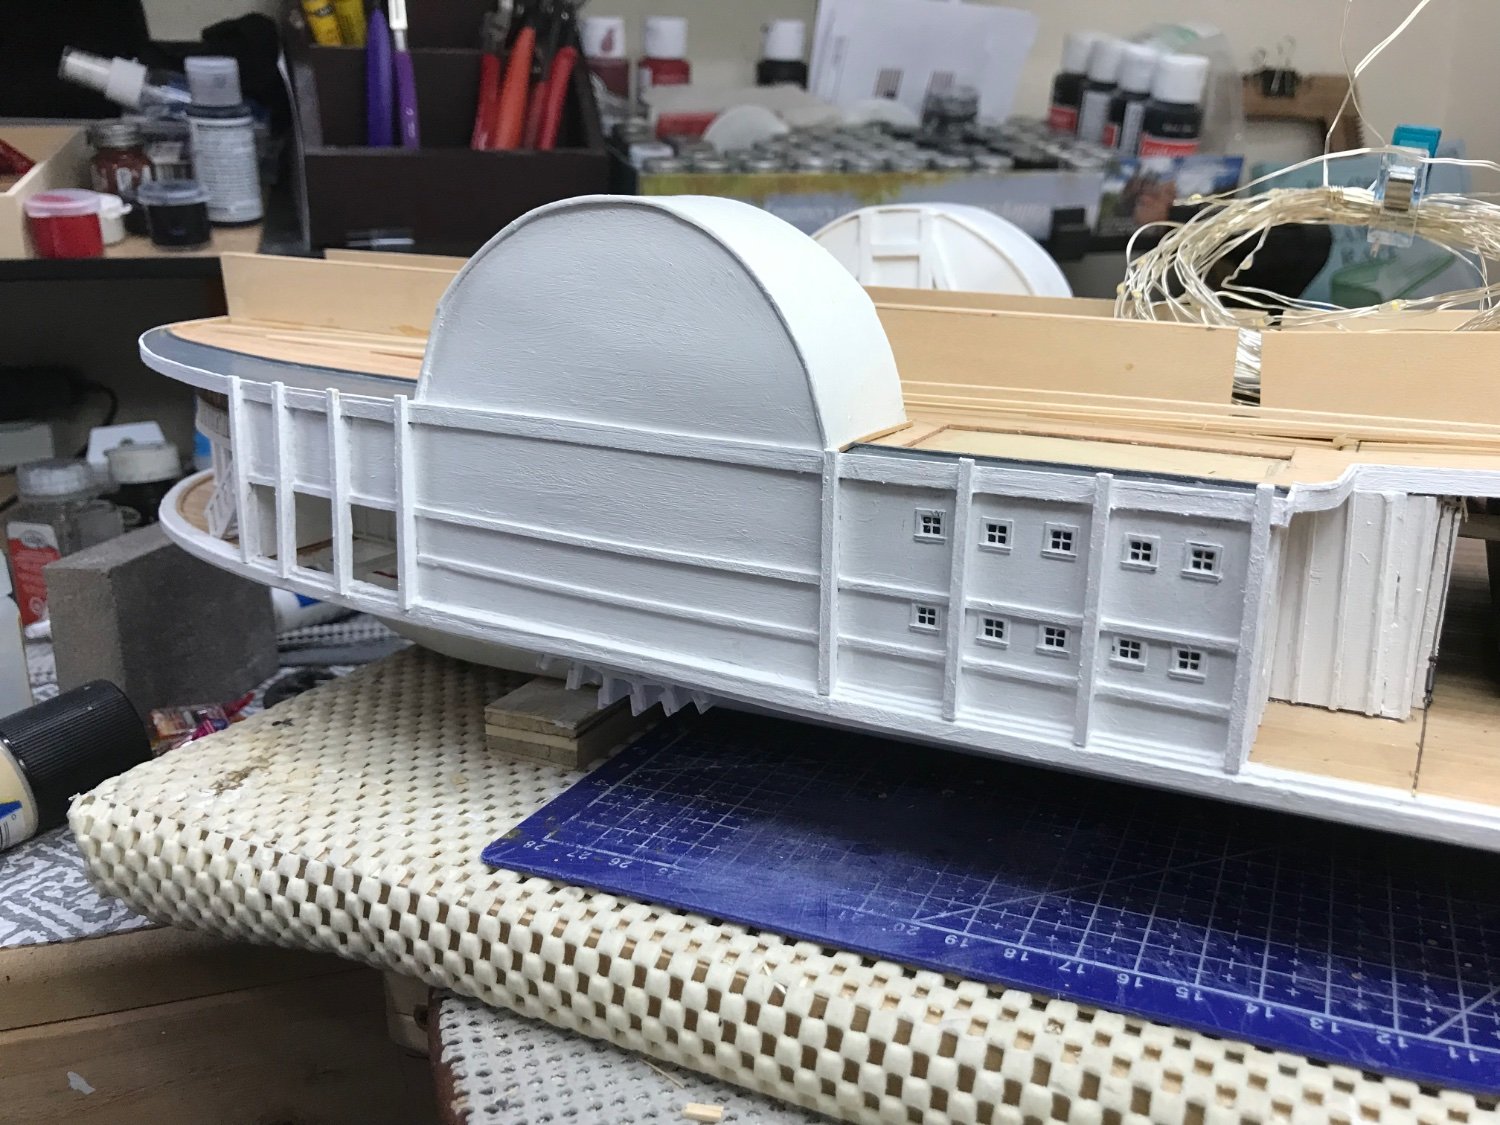
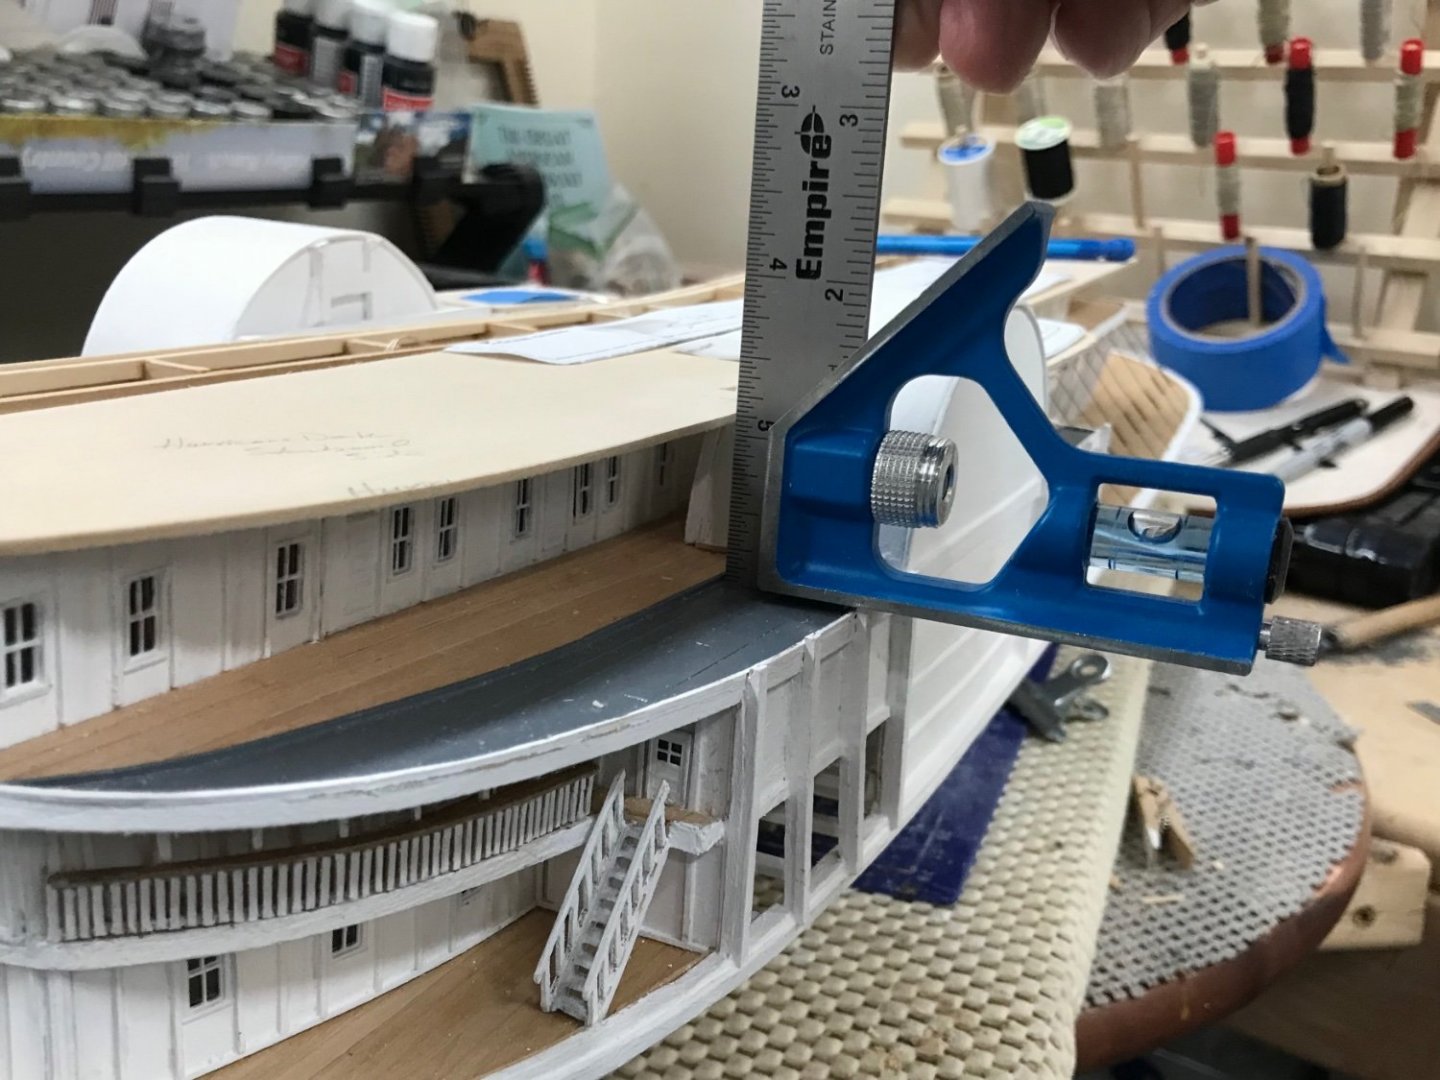
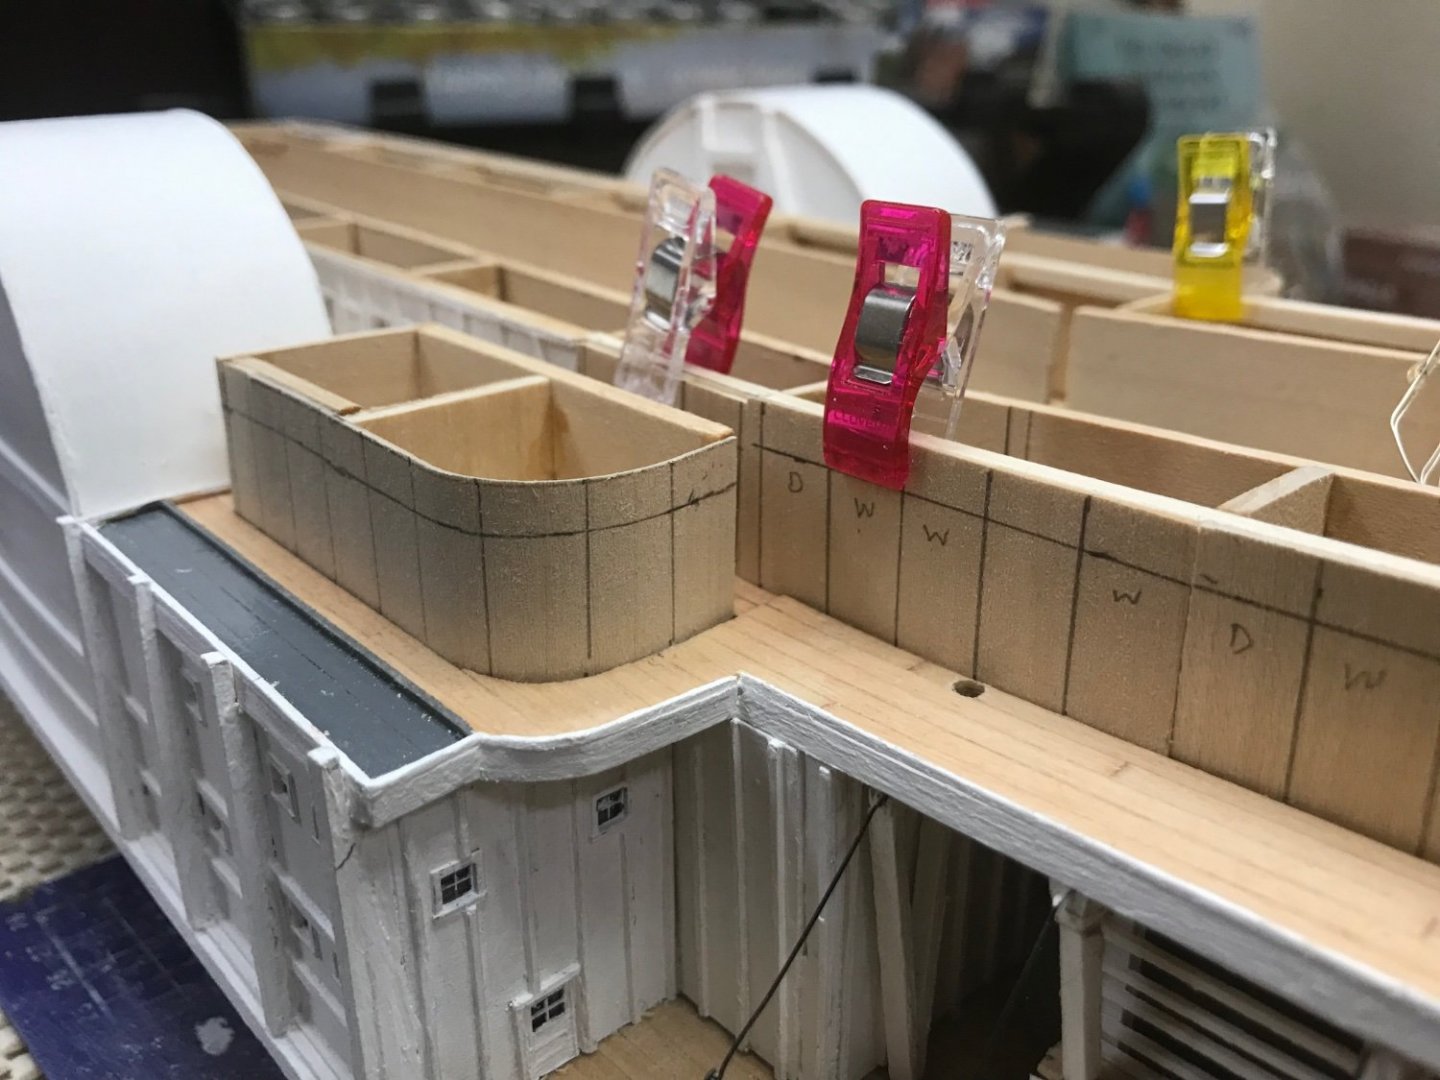
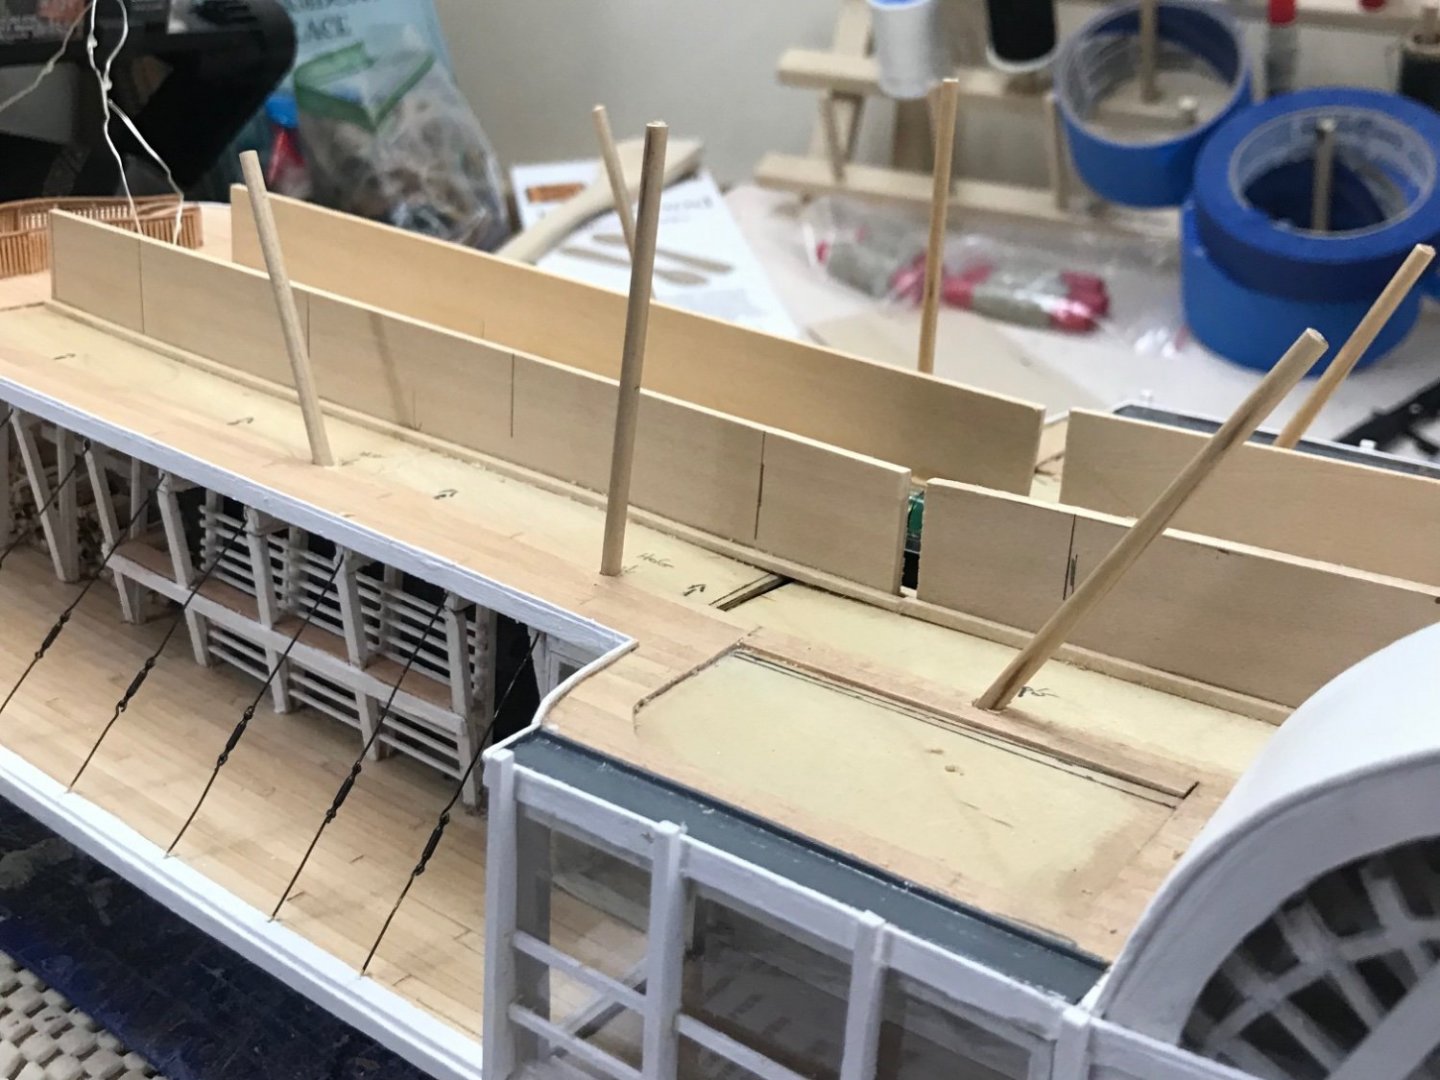
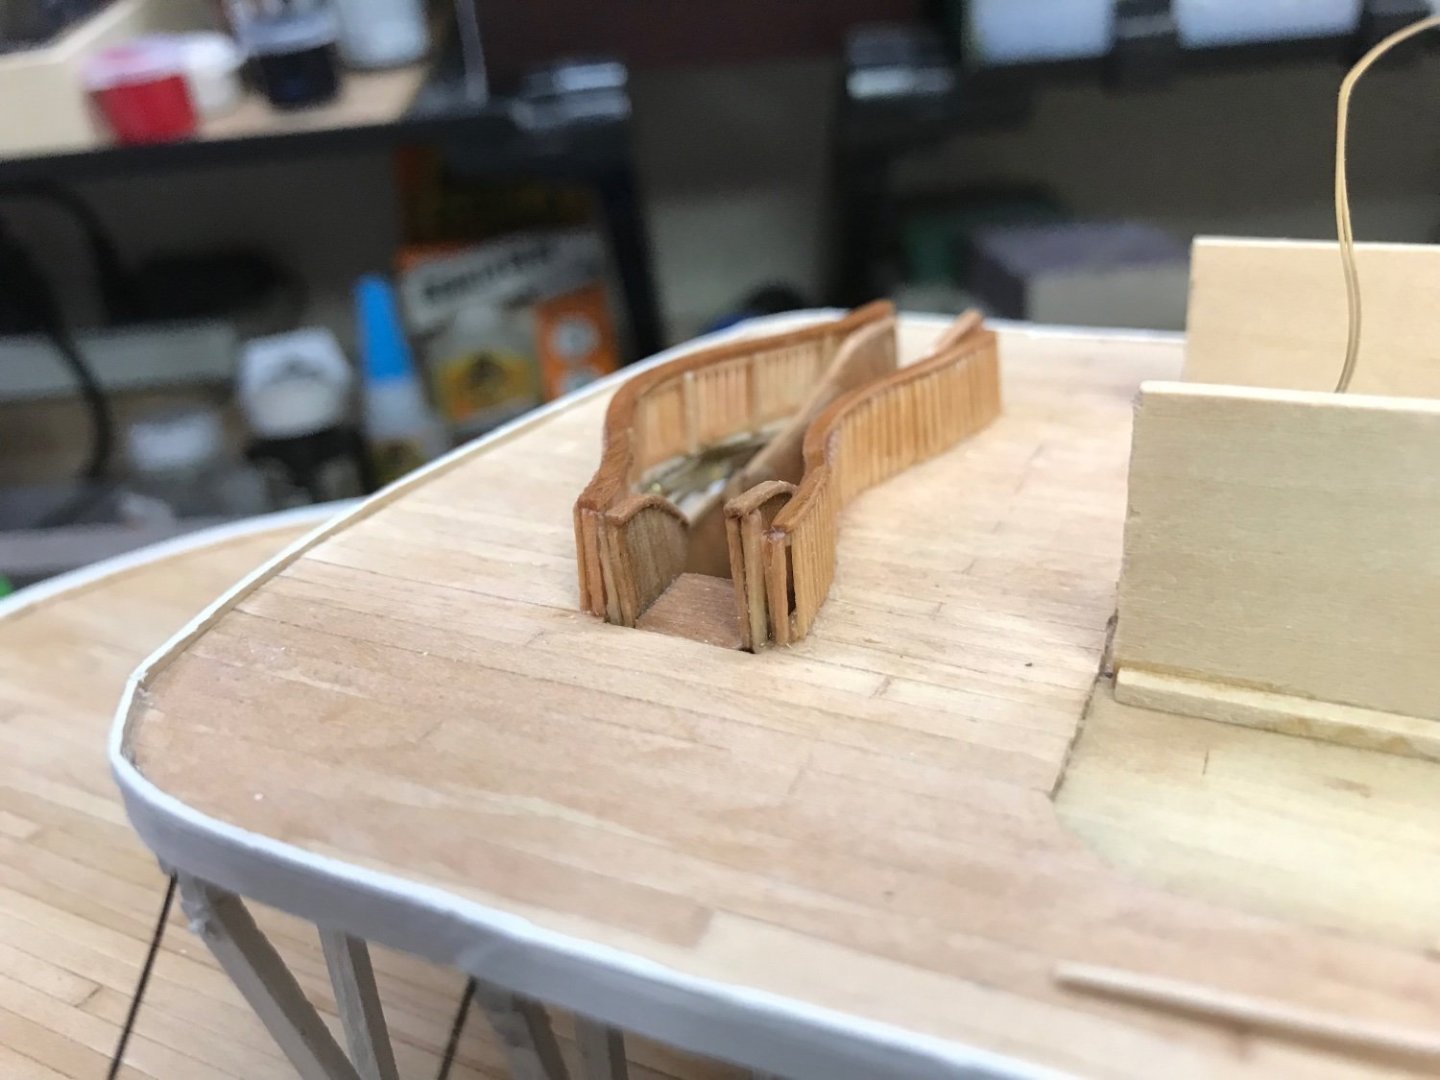
Hurricane sub deck… Copied blue prints to create templates. Trimmed up sub deck to exact fitting for Railing Post. Sub decking fitted ready for installation. Cheers 🍻


- 238 replies
-
- 11
-
-
- Robert E Lee
- steamboat
- (and 3 more)
-
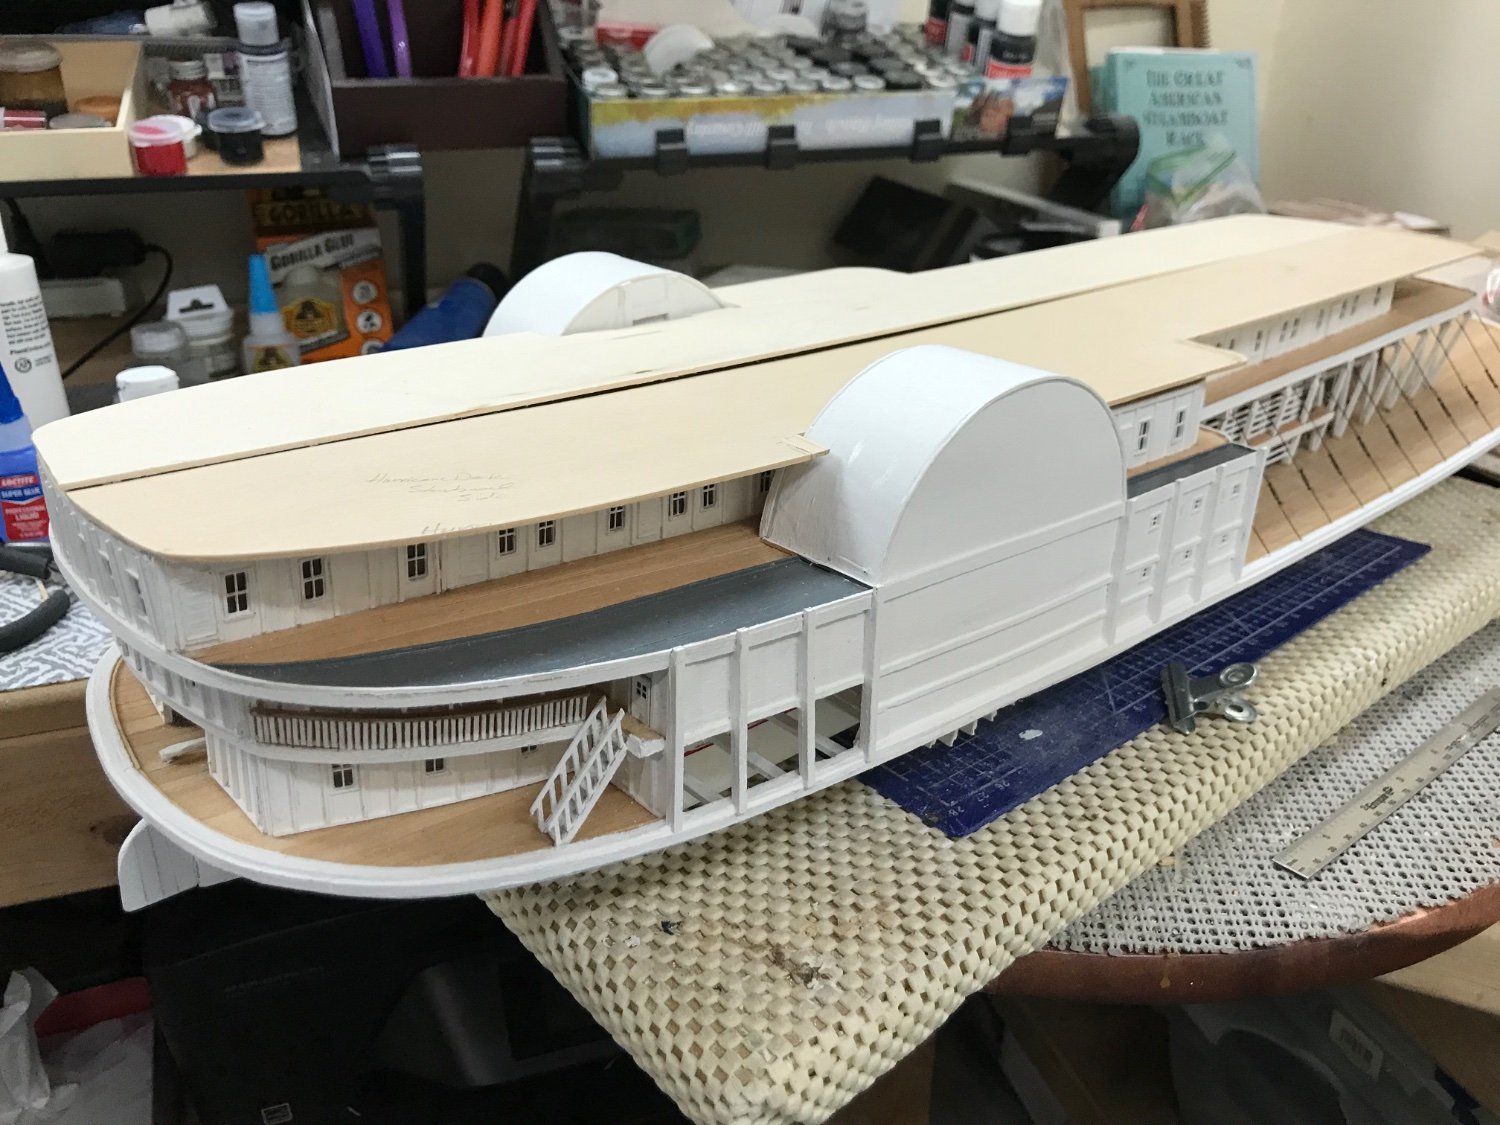
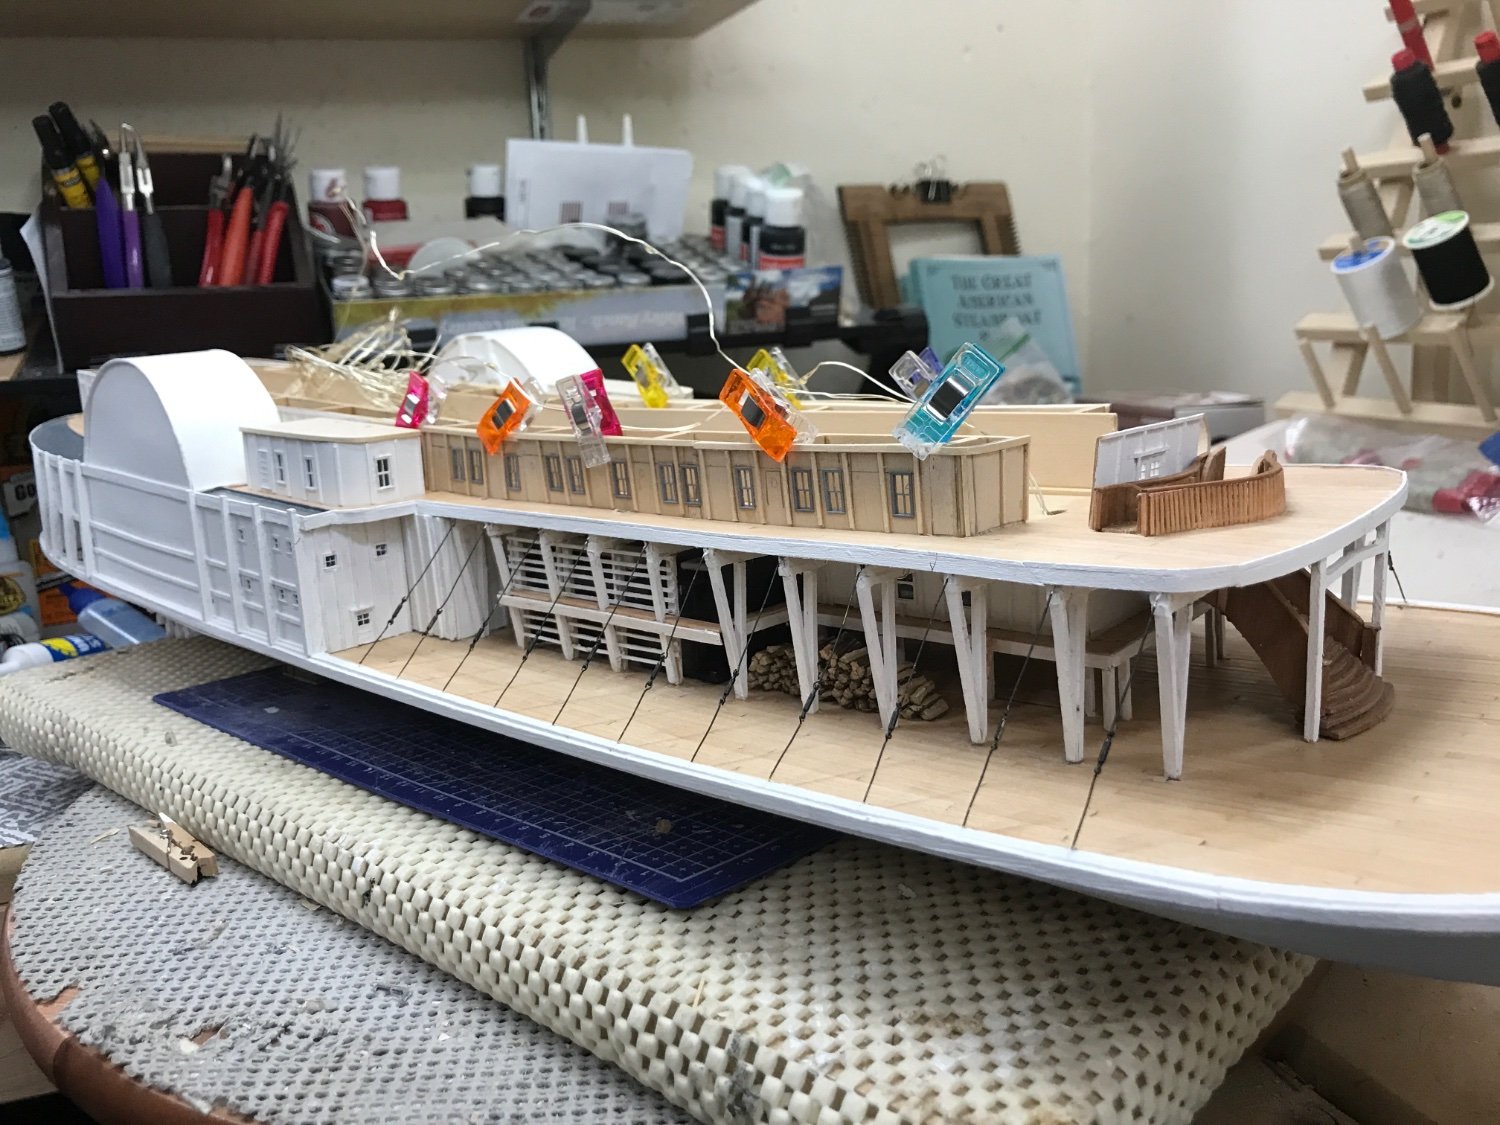
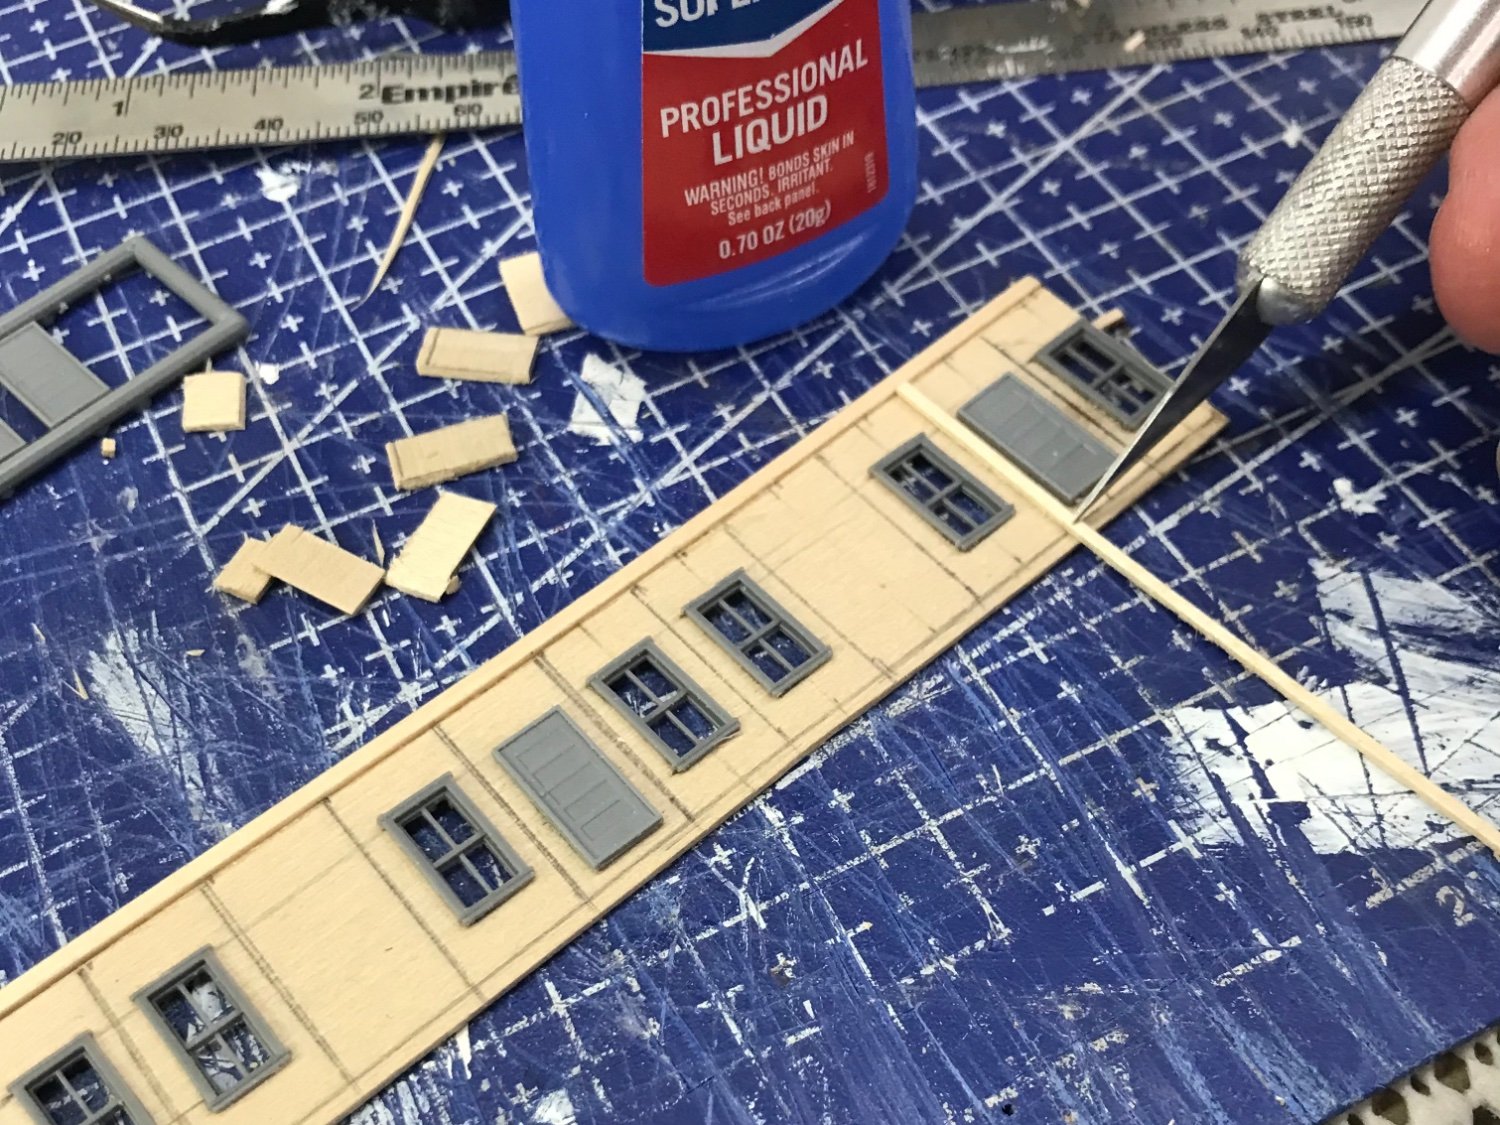
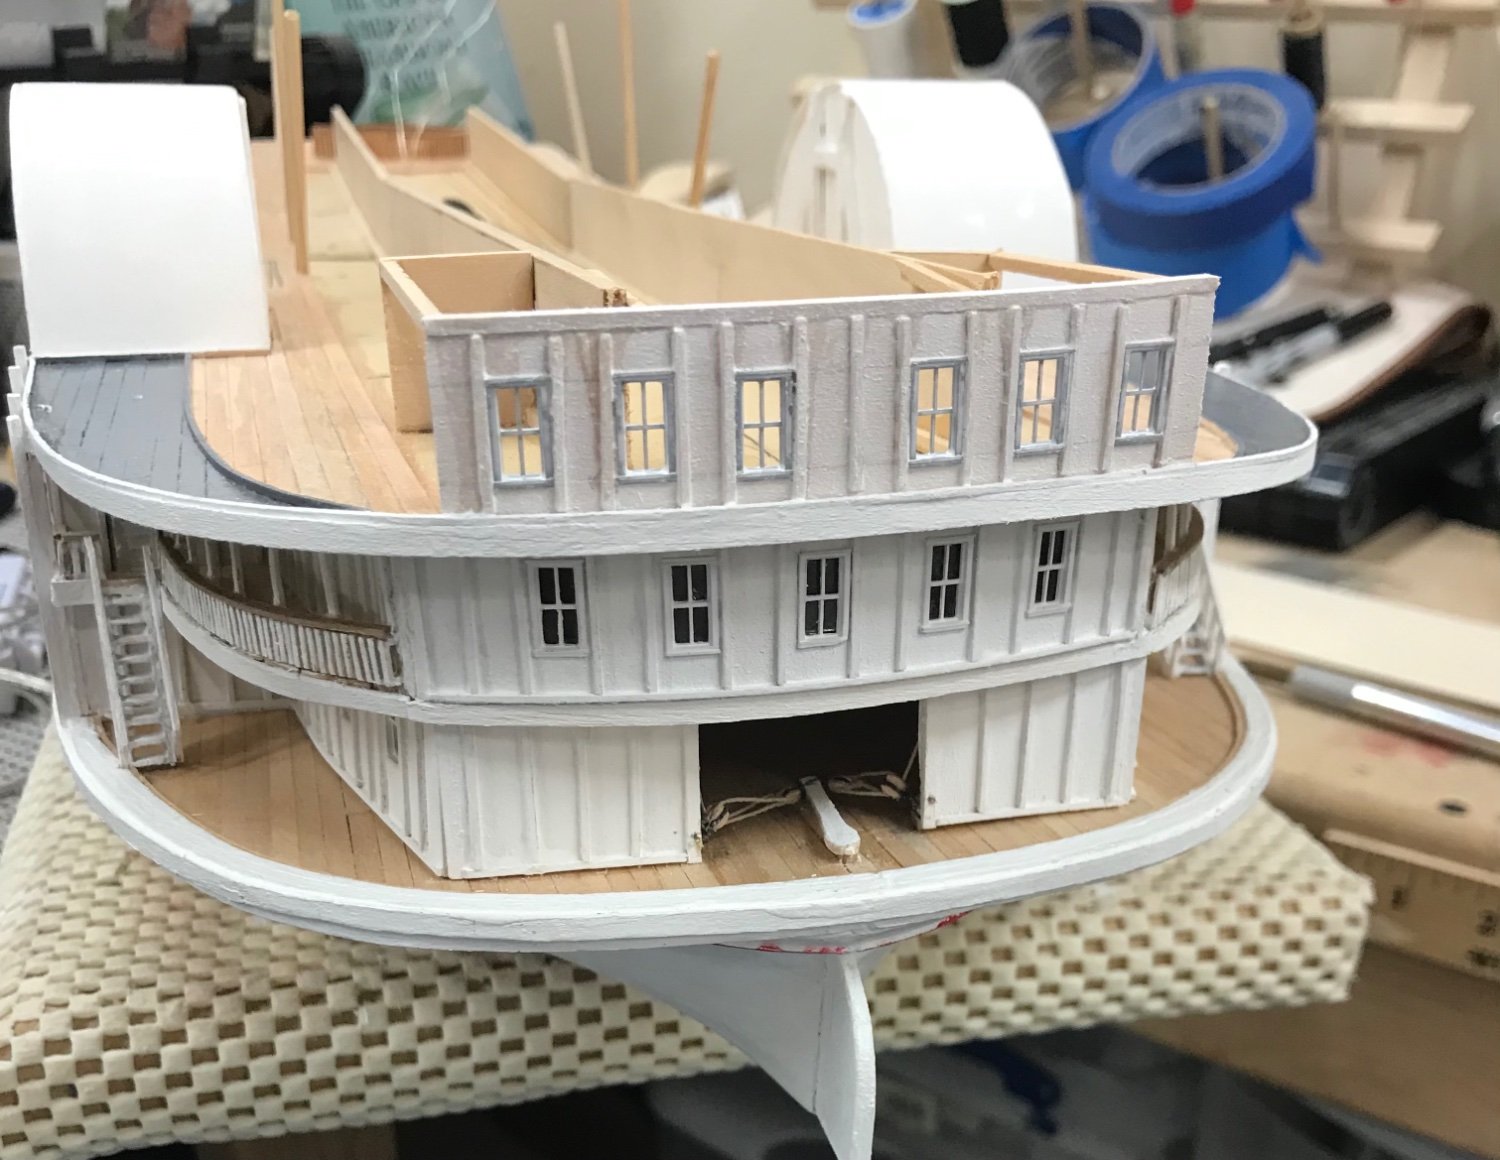
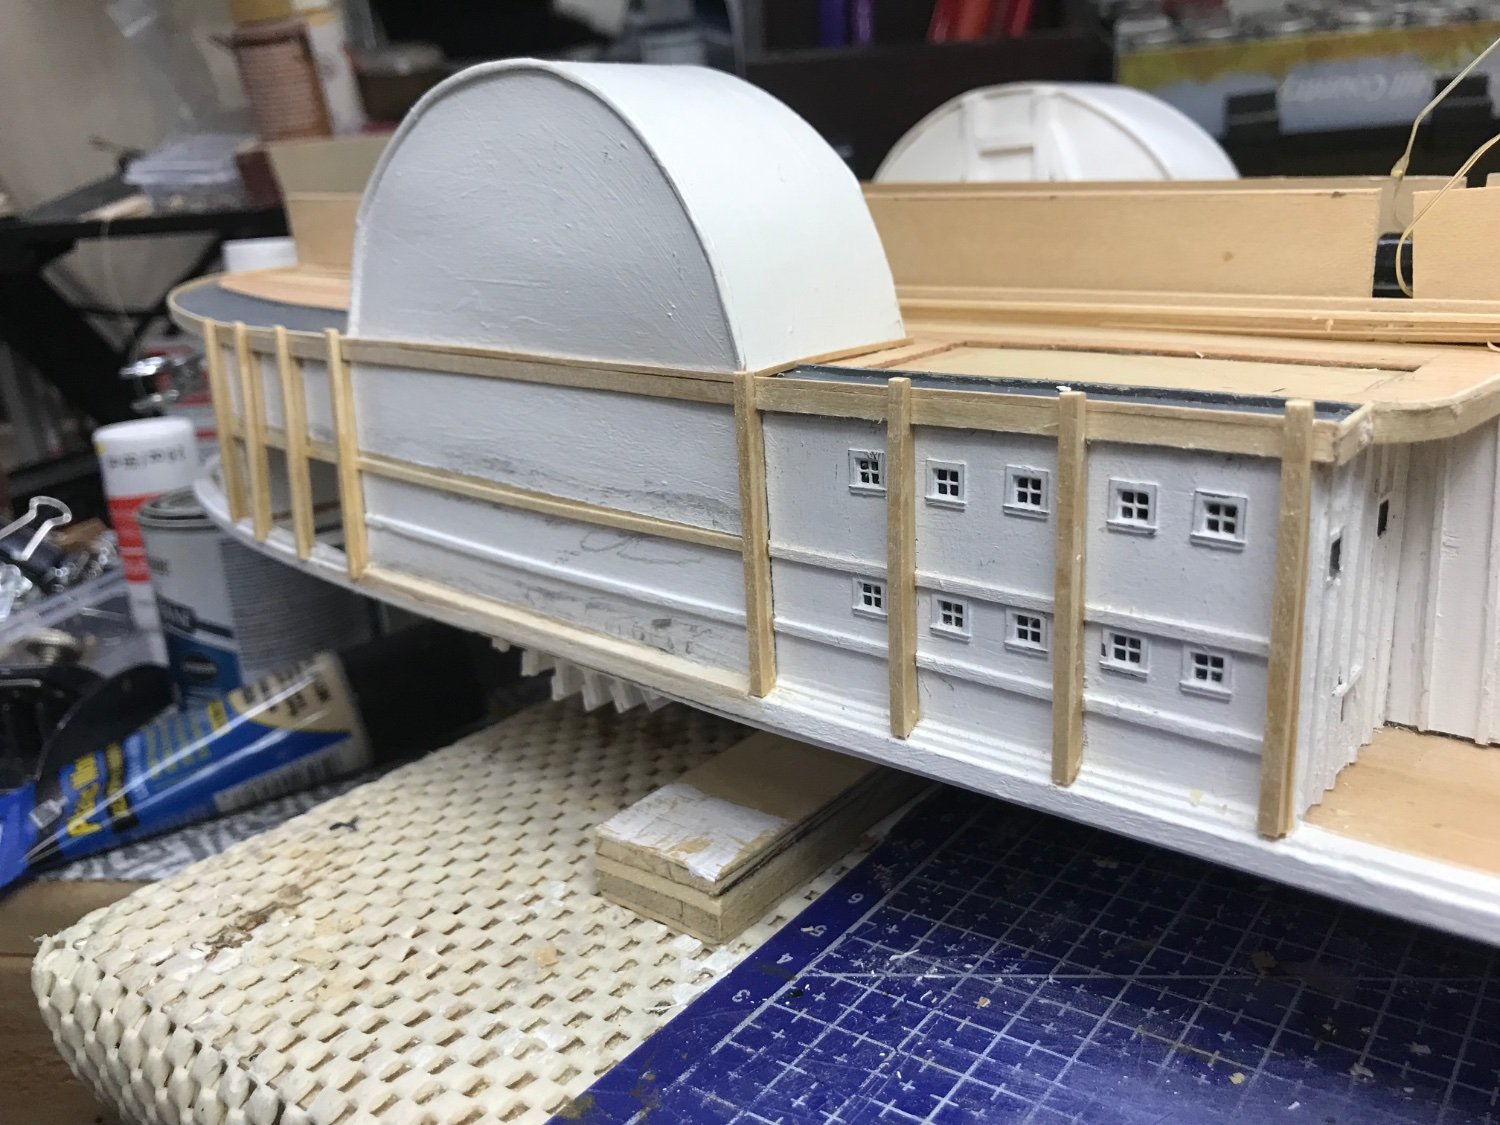
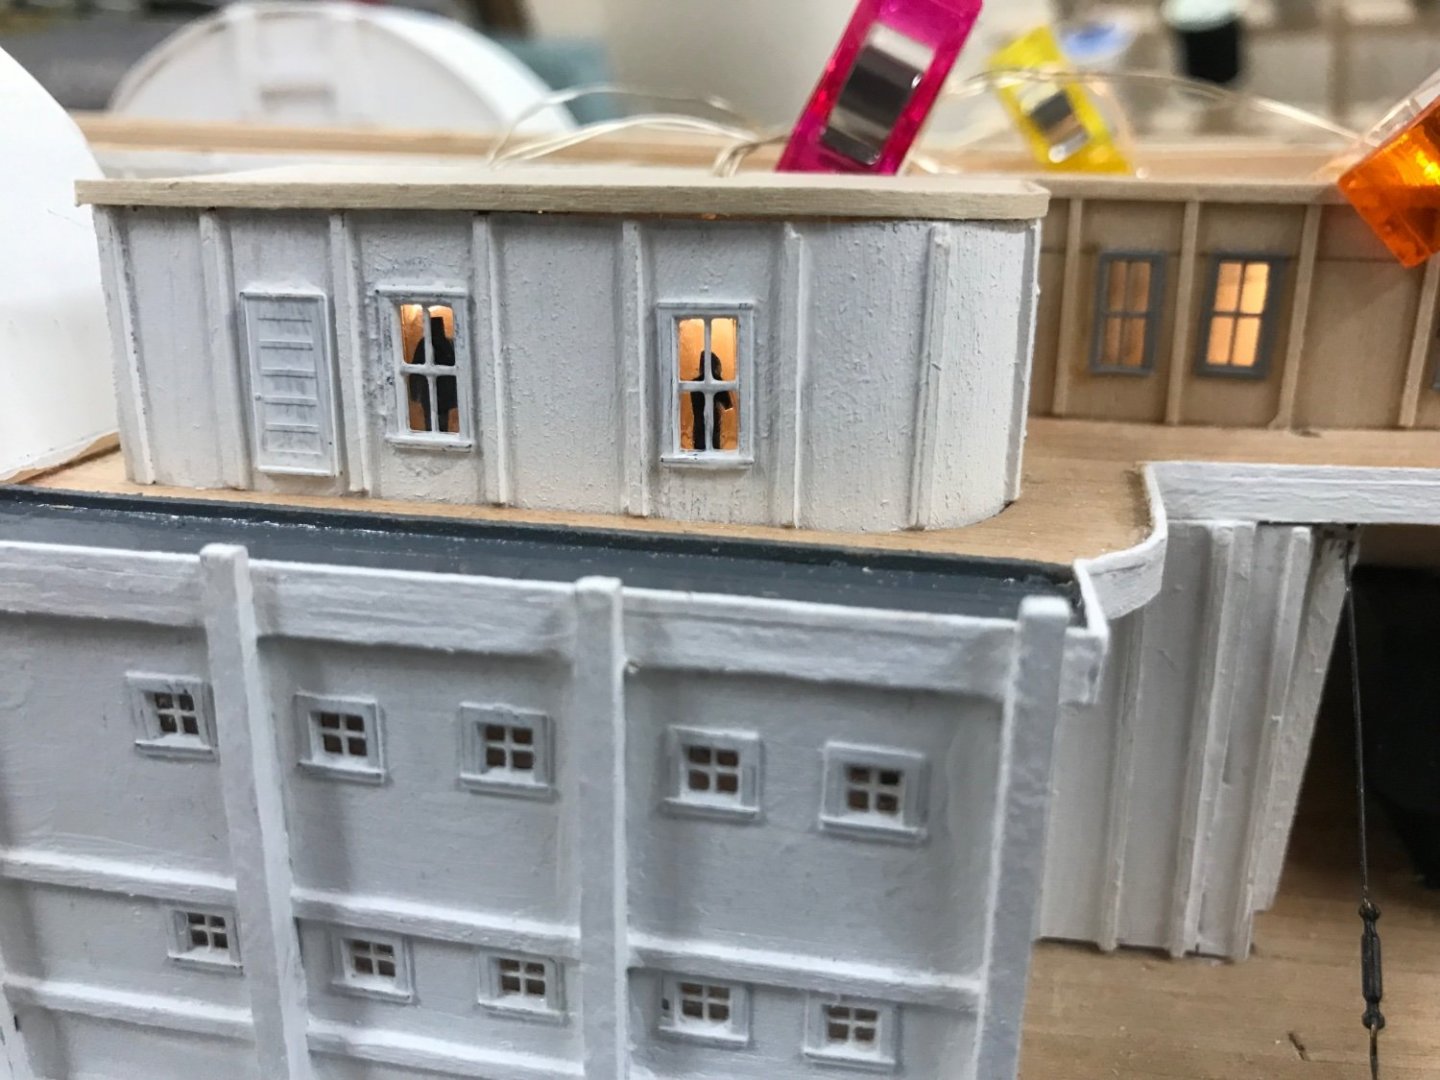
Windows and Doors on the Boiler Deck completed… Ran lighting through the State Rooms. Ready for the Hurricane Deck and Railings. 😎

- 238 replies
-
- 10
-
-
- Robert E Lee
- steamboat
- (and 3 more)
-
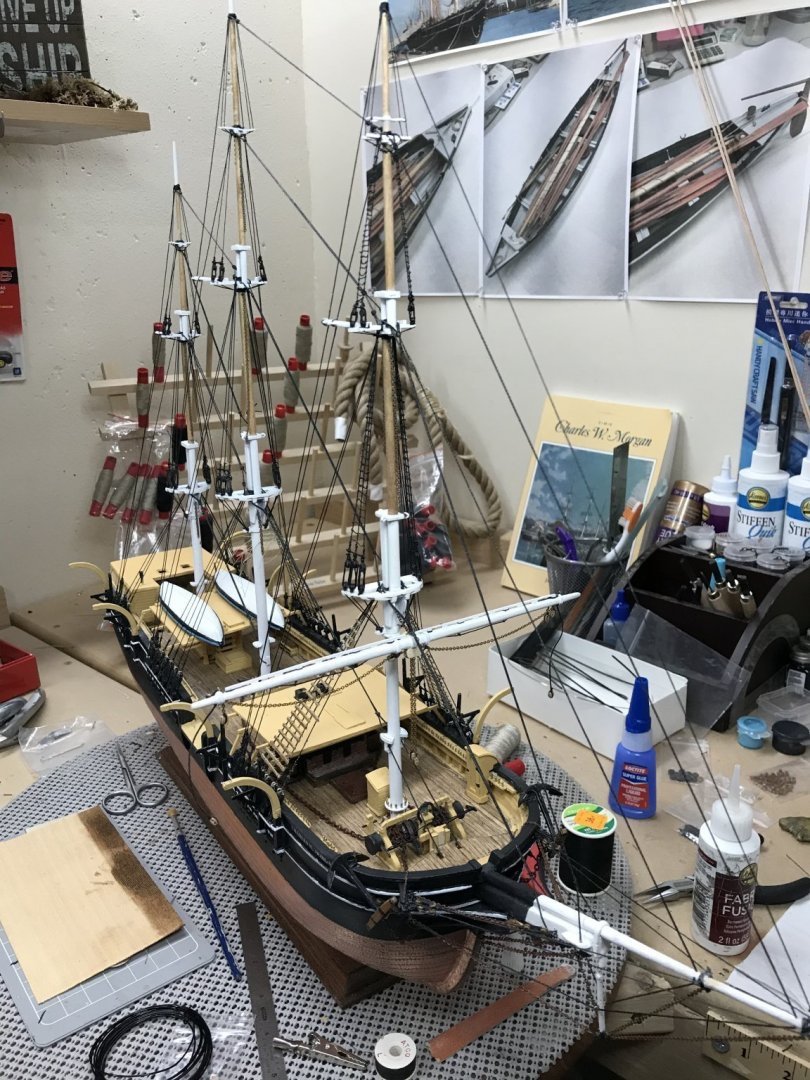
Here is a photo of my CWM with standing rigging completed. The rigging is from Marine Model Companies 1939 Rigging Blueprints. Hope this helps…
- 1 reply
-
- 2
-
-
Thanks Dave, But I introduced myself when I joined, February 2020. 😎
-
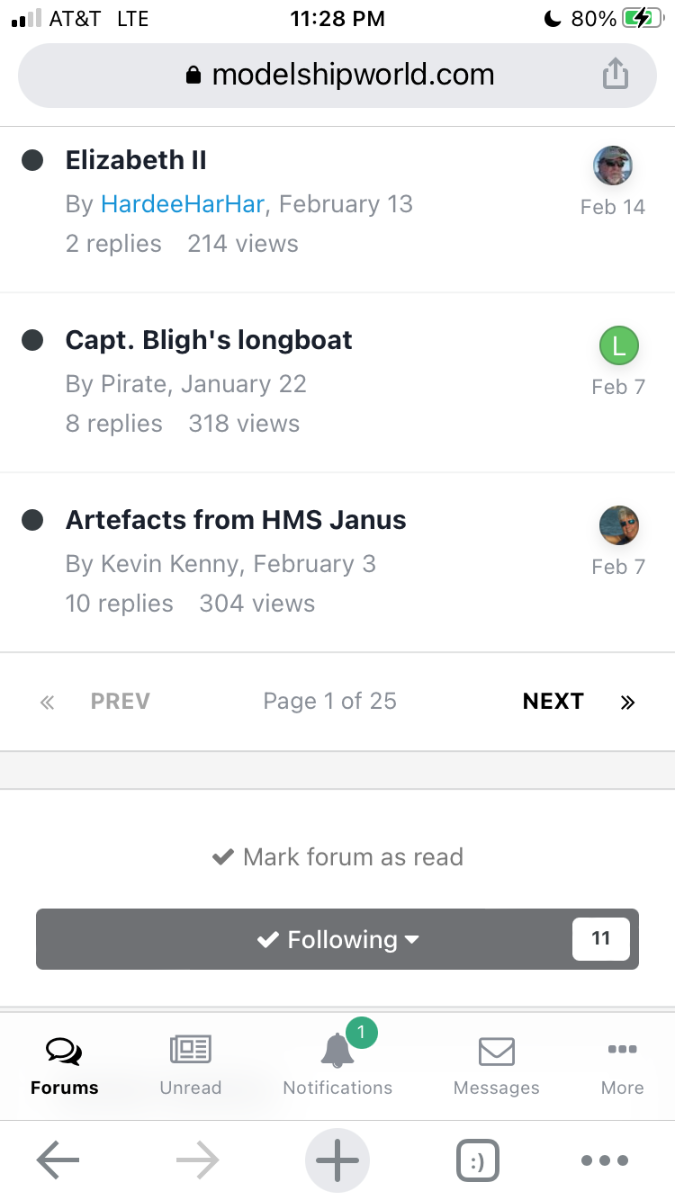
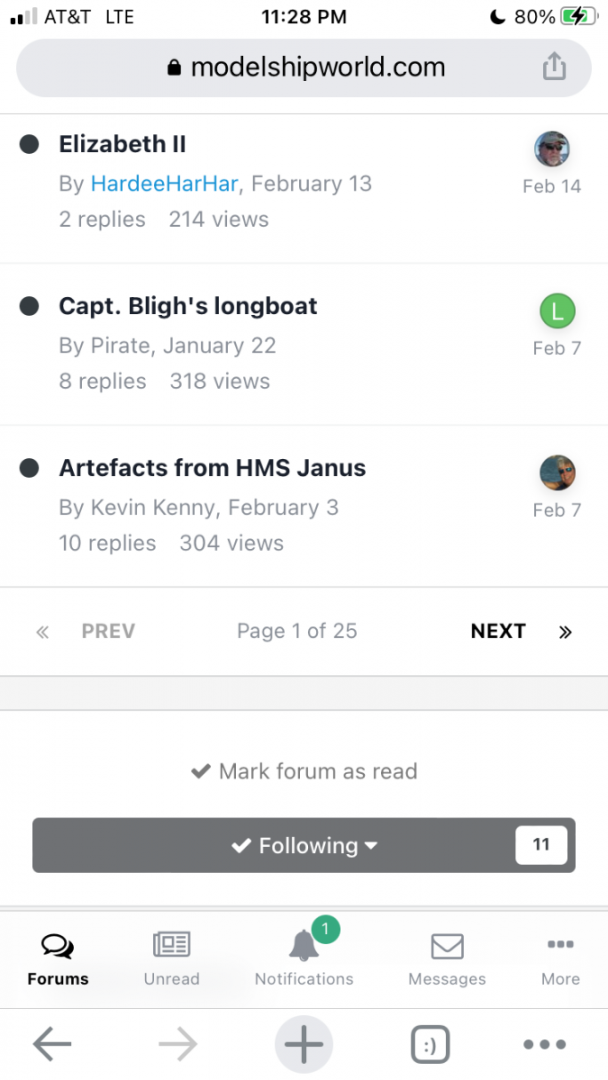
Thanks Gregory… I found the follow button at the bottom of the forum. But that’s because I use an iPhone. My screen doesn’t look like your screen shot.
-
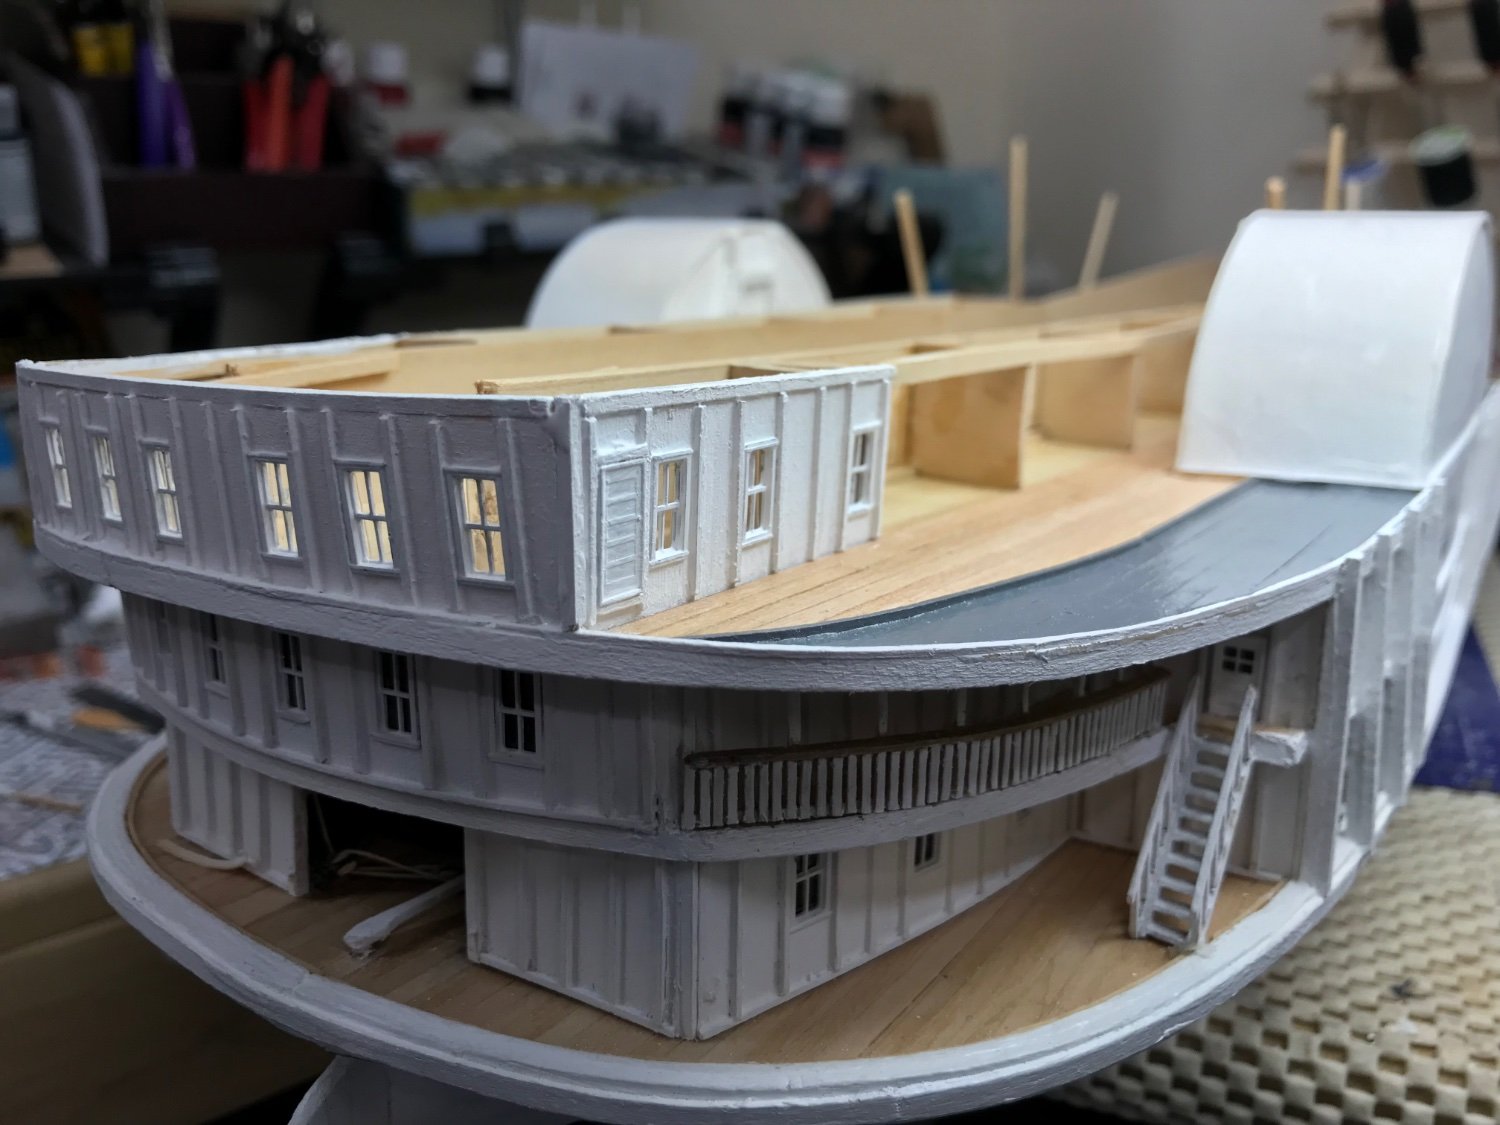
Starboard walls w/windows completed on the Boiler Deck Staterooms. Cheers 🍻

- 238 replies
-
- 7
-
-
- Robert E Lee
- steamboat
- (and 3 more)
-
How do I follow a particular forum without following each individual topic? thanks
-
Very nice! I know it’s early in development, but when might this kit be available for sale. I would like to start saving up my pennies for this beast. 👏 Nice work, Al.
-
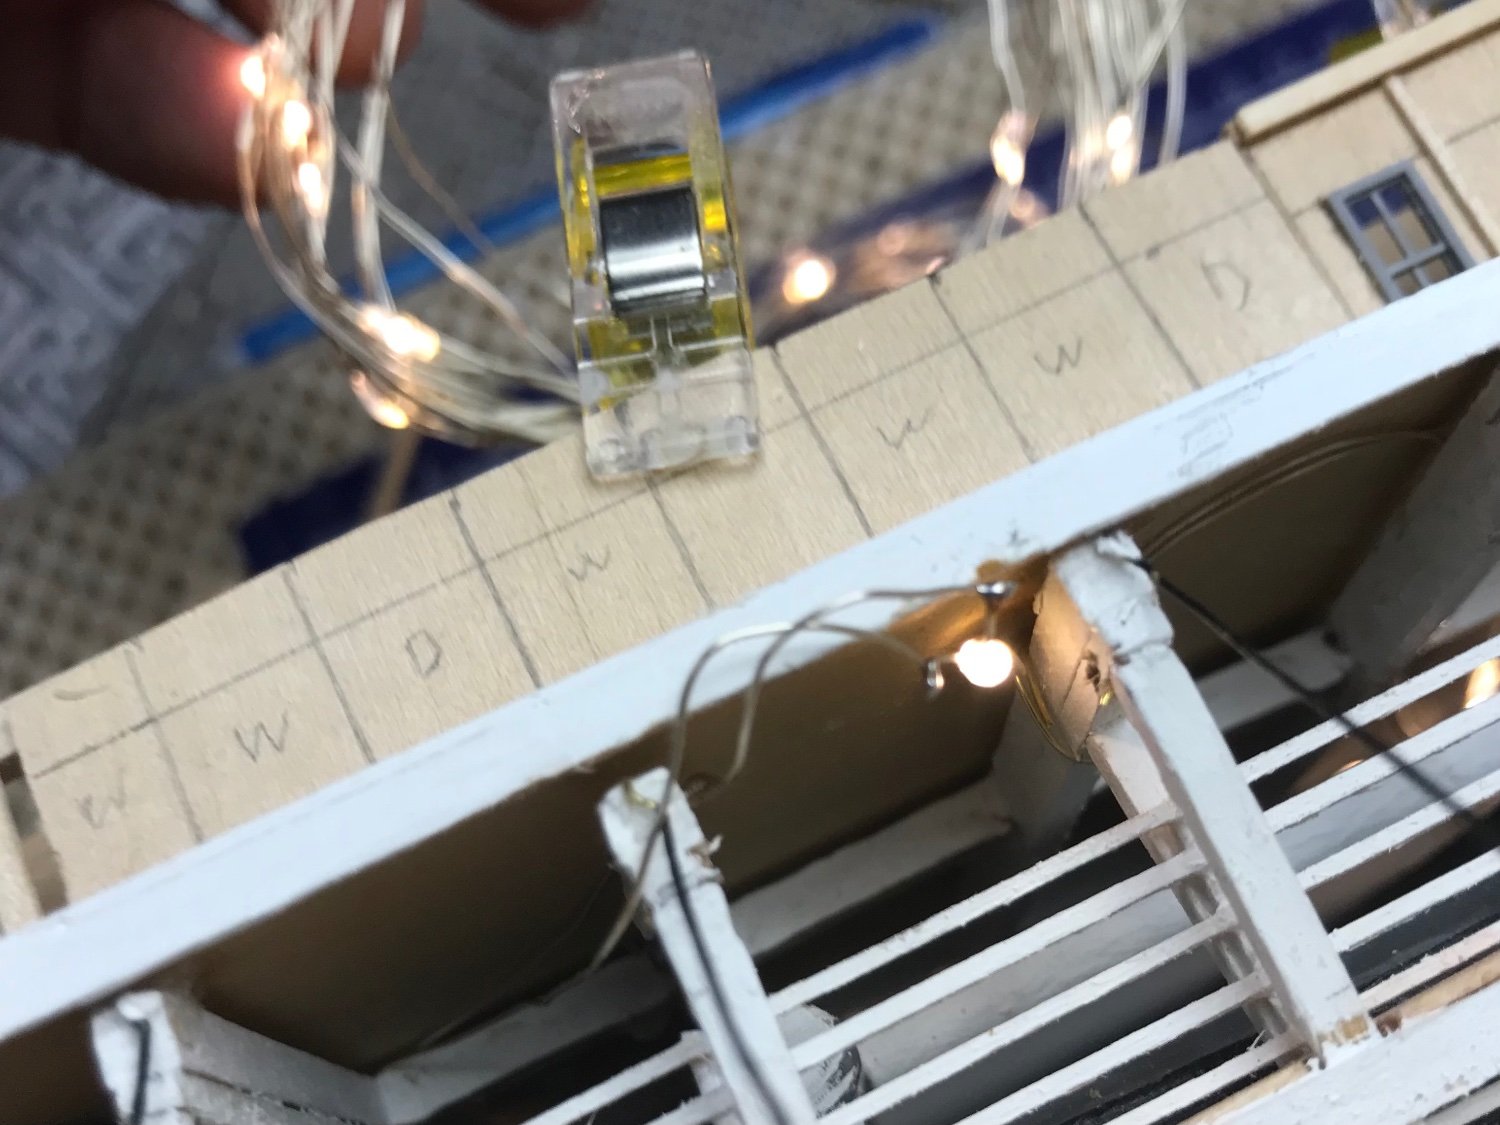
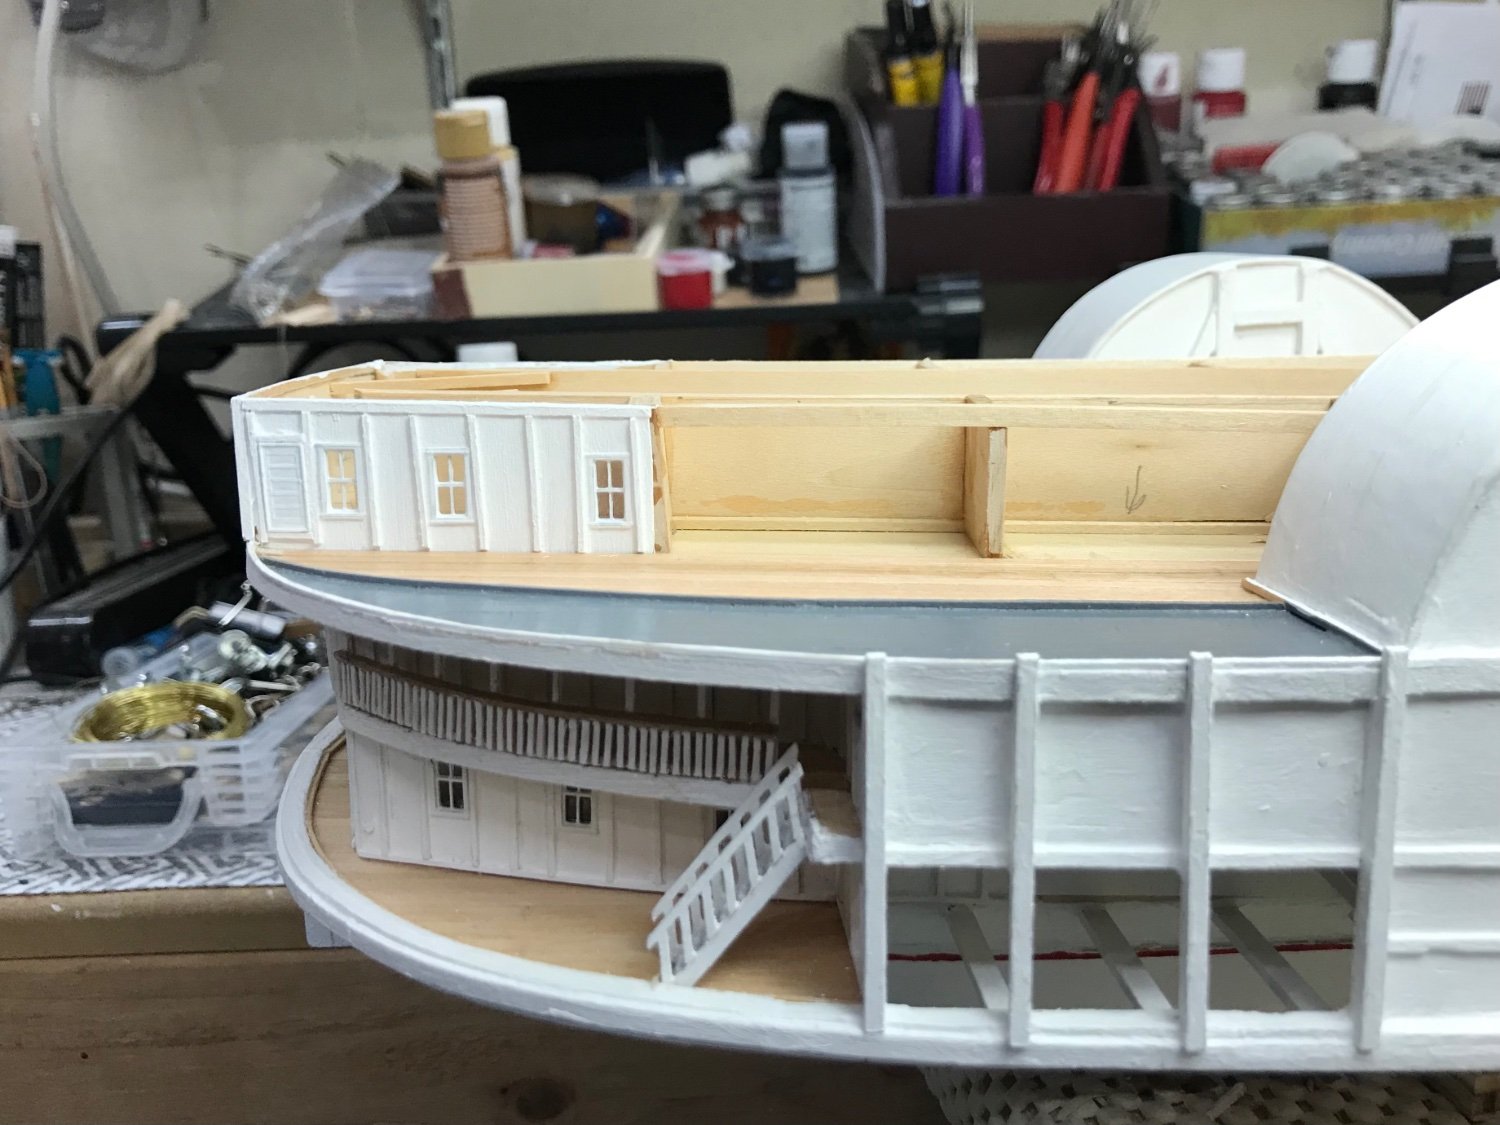
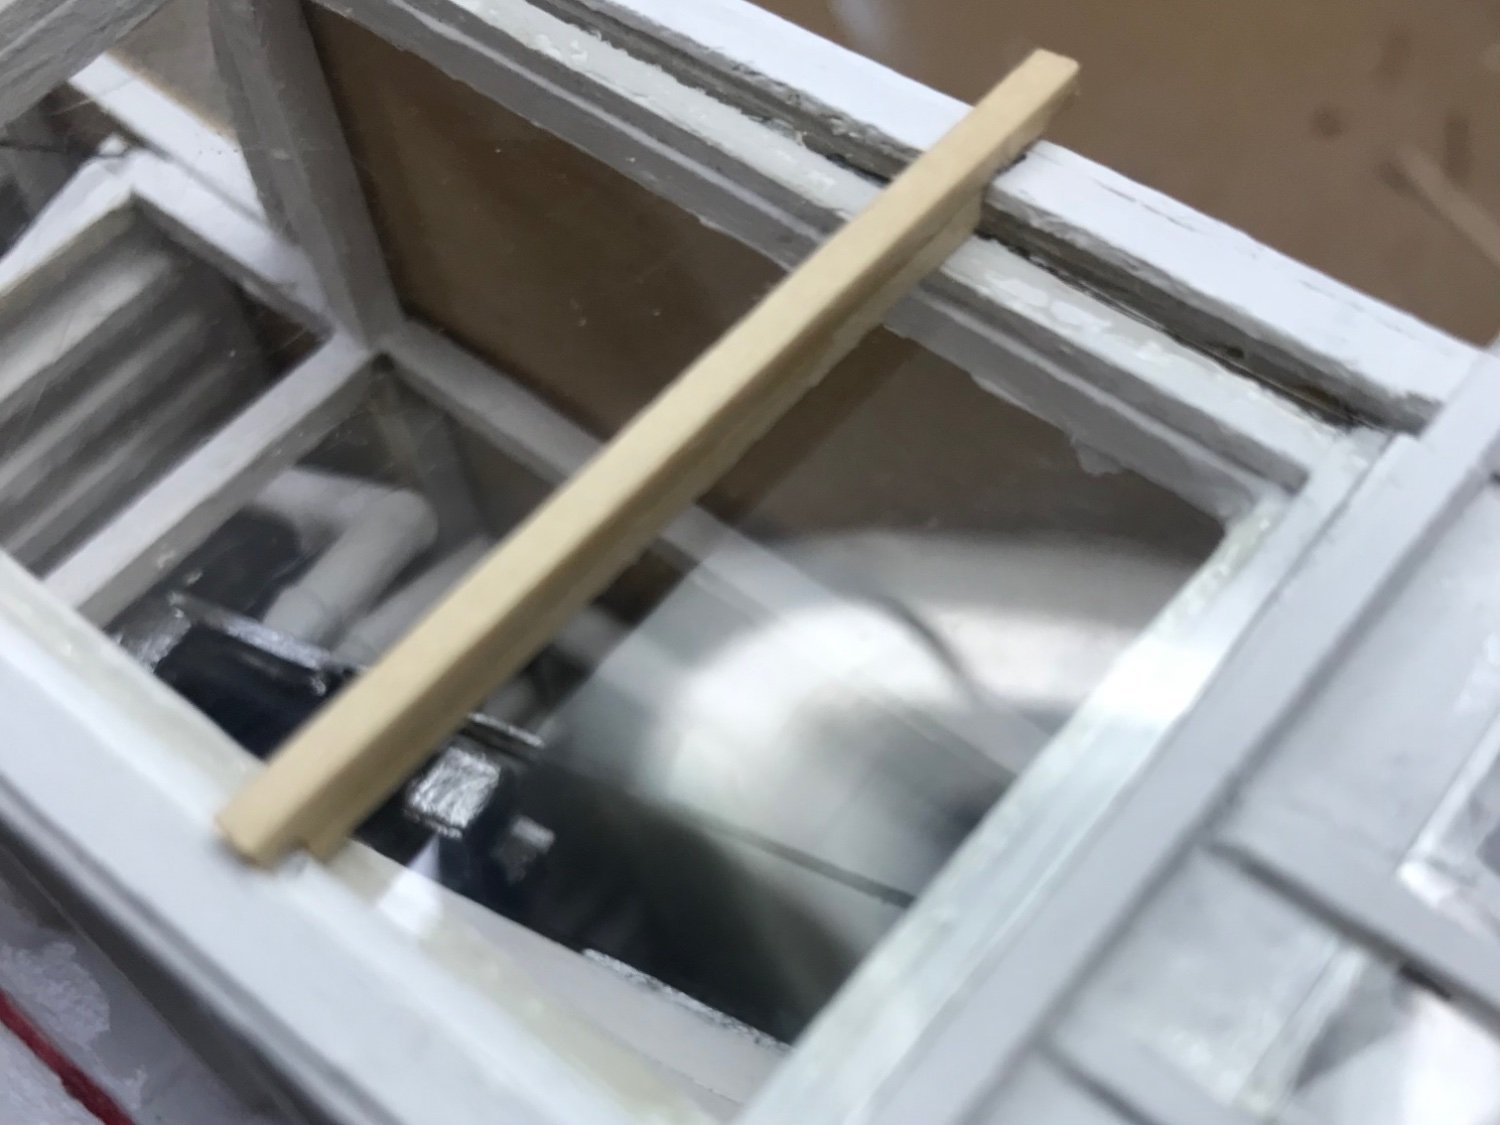
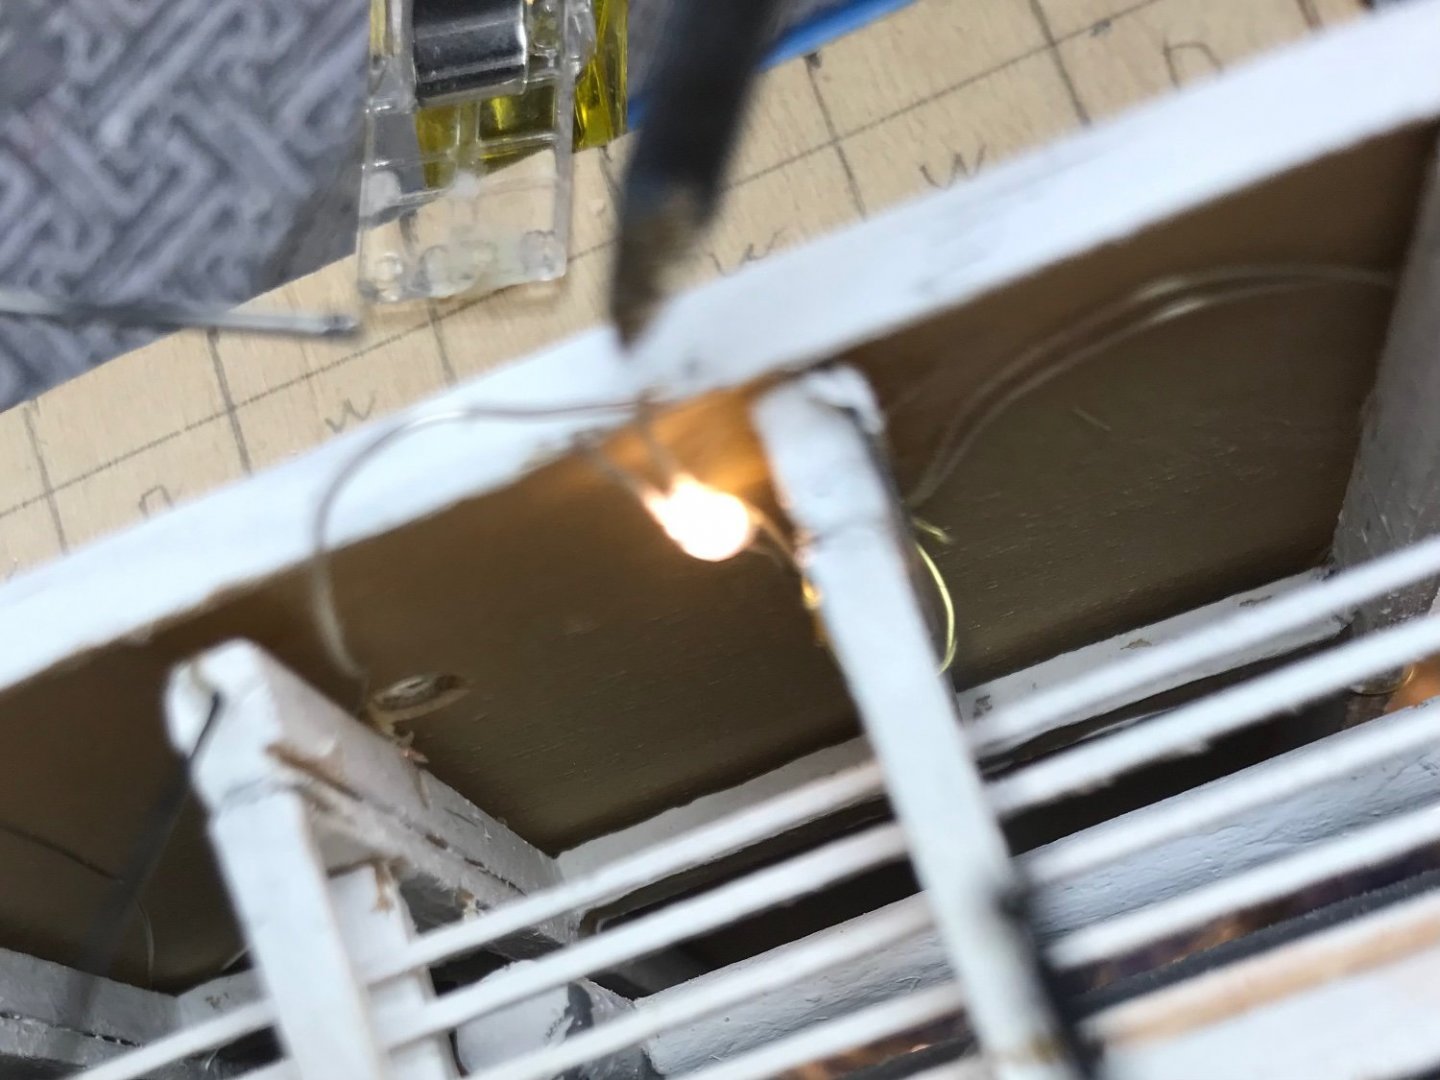
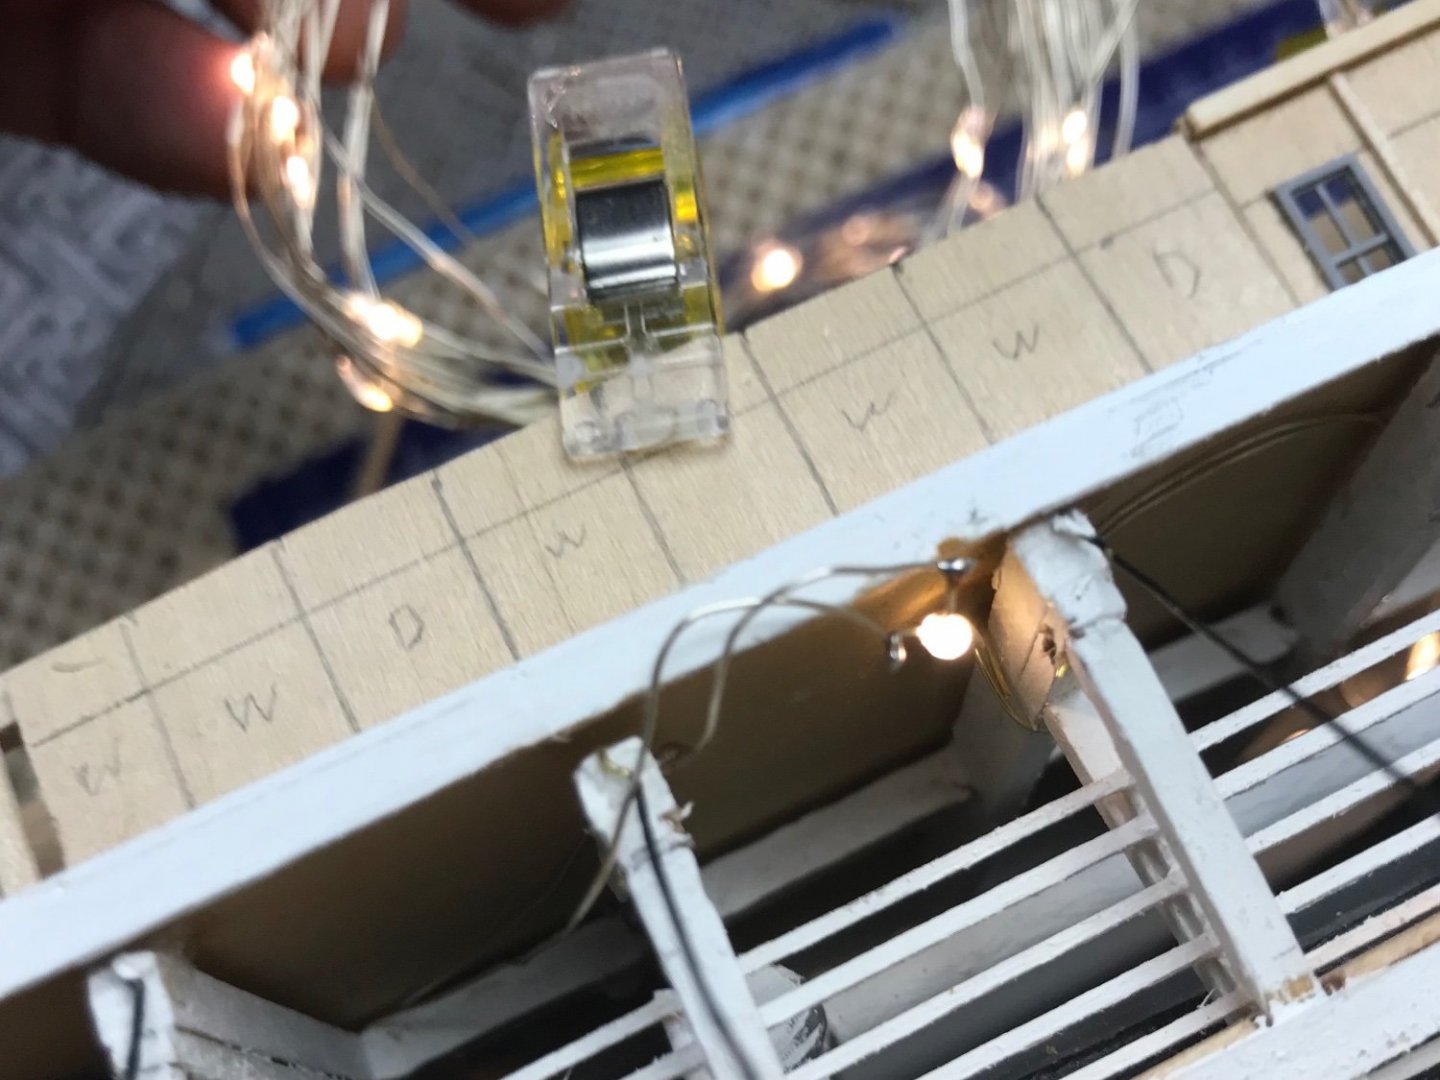
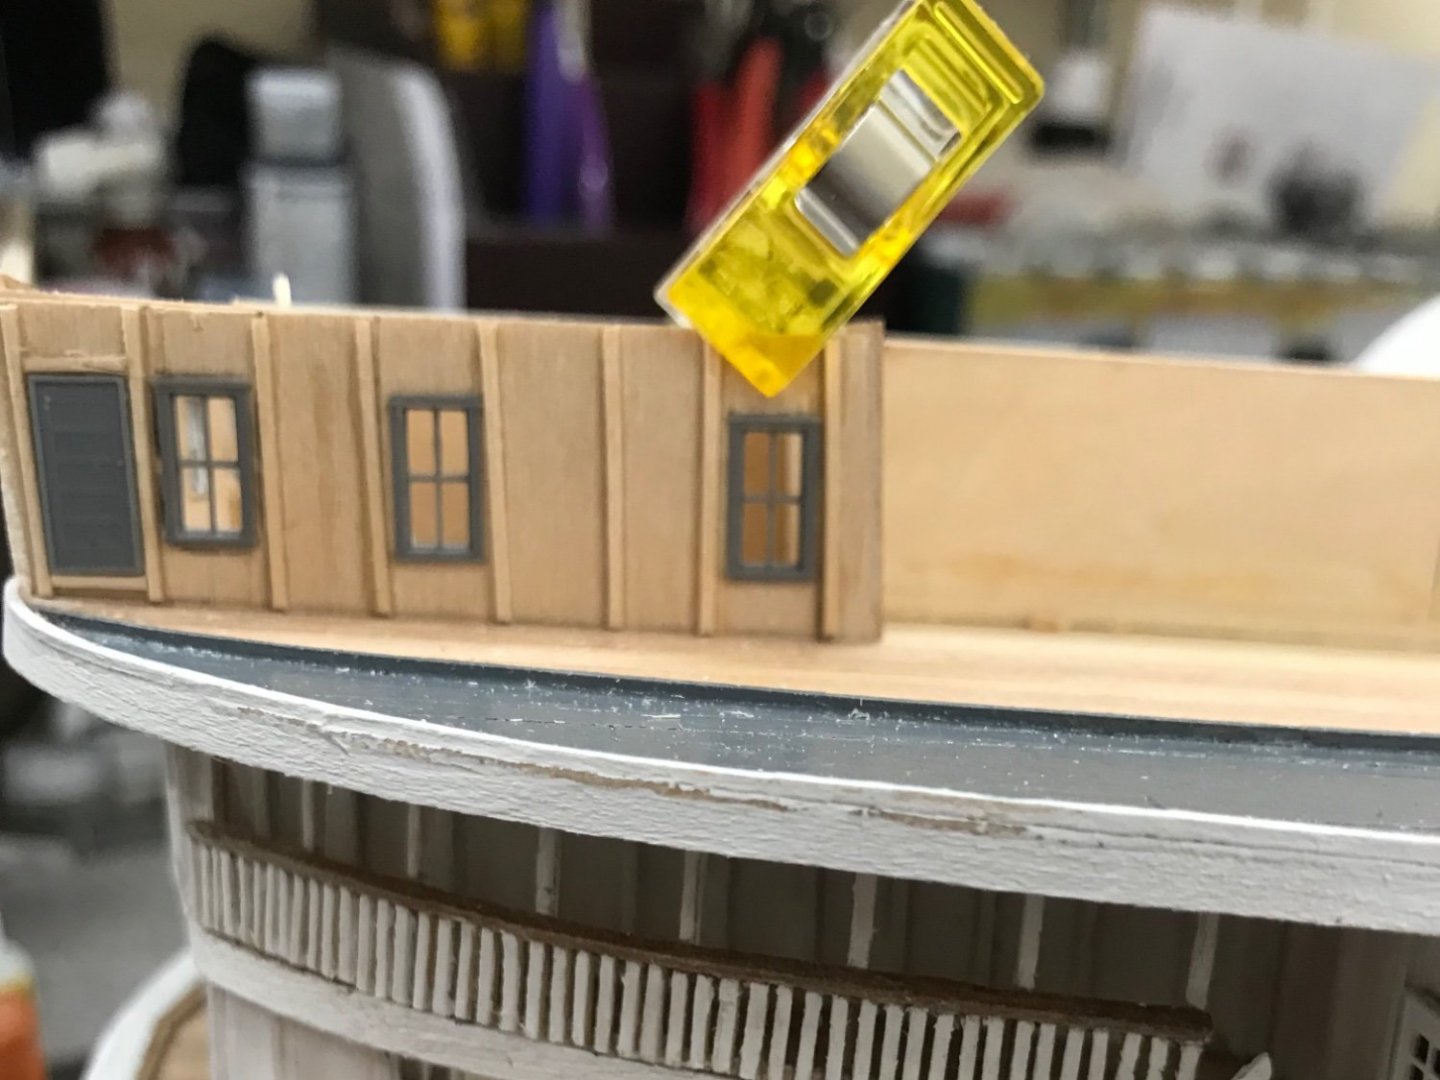
Side Cabins completed… A bit of Micro Electrical work needed to repair where the Carpenters drilled a hole for the Hog Frame. Seems the wiring was cut on the underside of the boiler deck. Fortunately, the electrician was able to affect repairs and construction may resume. 😆 There’s always something… Check out the special effects in the side cabin windows. Back to cutting in Widows… Cheers 🍻
- 238 replies
-
- 7
-
-
- Robert E Lee
- steamboat
- (and 3 more)
-
More walls ready for more windows… Saloon Doors and my first “curved” walls. Onwards to cutting in more windows… Cheers 🍻

- 238 replies
-
- 6
-
-
- Robert E Lee
- steamboat
- (and 3 more)
-
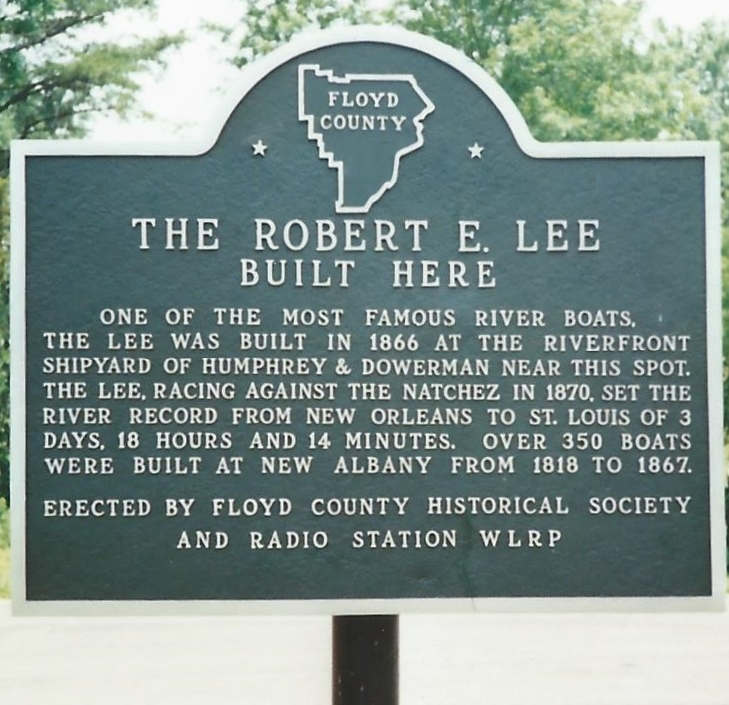
Some Interesting history of the shipyard that built the Robert E Lee. https://fchsin.org/markers/RobertELee/RobertELee.html Enjoy 😉
- 238 replies
-
- 2
-
-
- Robert E Lee
- steamboat
- (and 3 more)
-
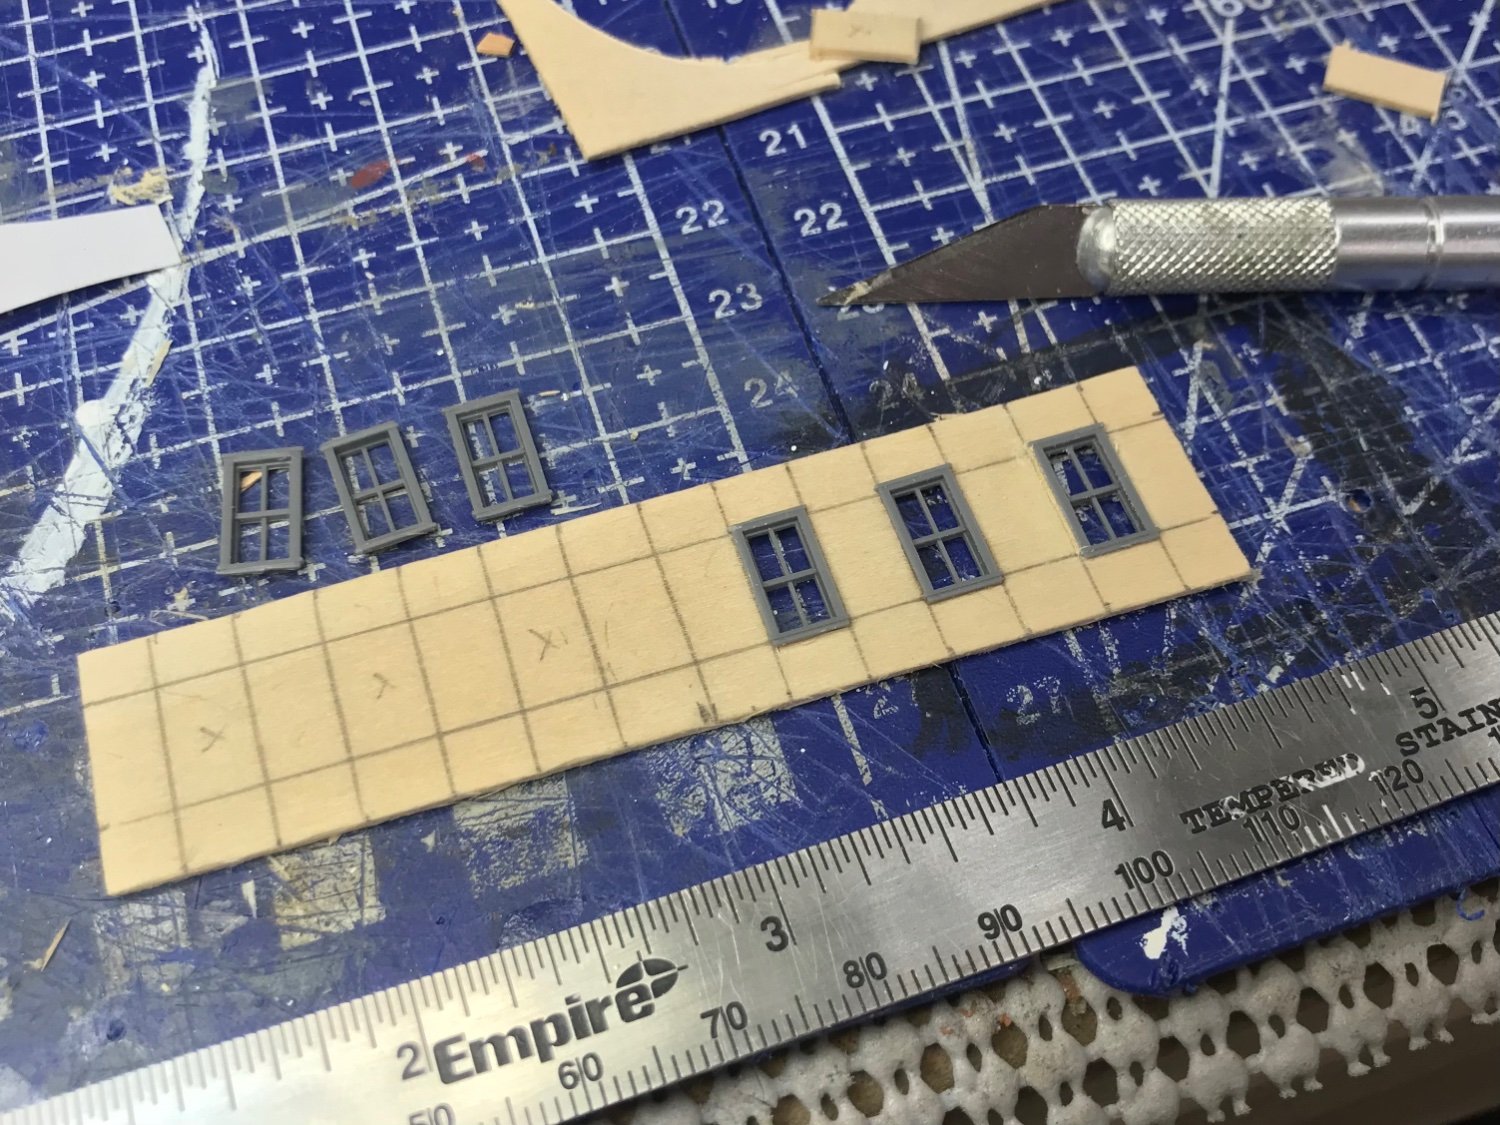
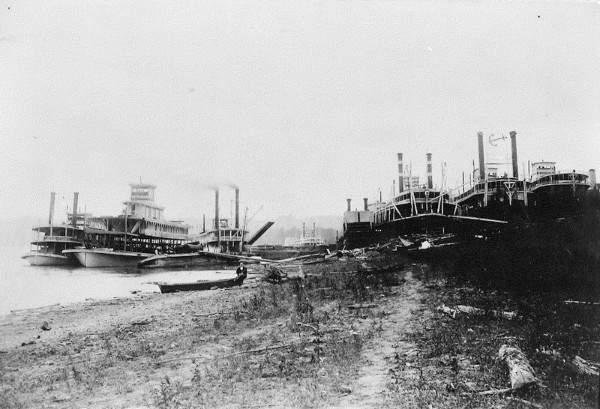
More Windows… … and more framing for more windows. 🤪 Repetition does make for improved carpentry skills. Vintage photo (courtesy Floyd County Library) of the Hey Day of Shipbuilding in New Albany, IN. On the Ohio River bank with 1000s of carpenters and many tons of lumber. Cheers 🍻
- 238 replies
-
- 5
-
-
- Robert E Lee
- steamboat
- (and 3 more)
-
State Room walls… Framing progress… I have a plan now 😆 Boiler Deck Stern State Rooms completed. Cheers 🍻

- 238 replies
-
- 6
-
-
- Robert E Lee
- steamboat
- (and 3 more)
-
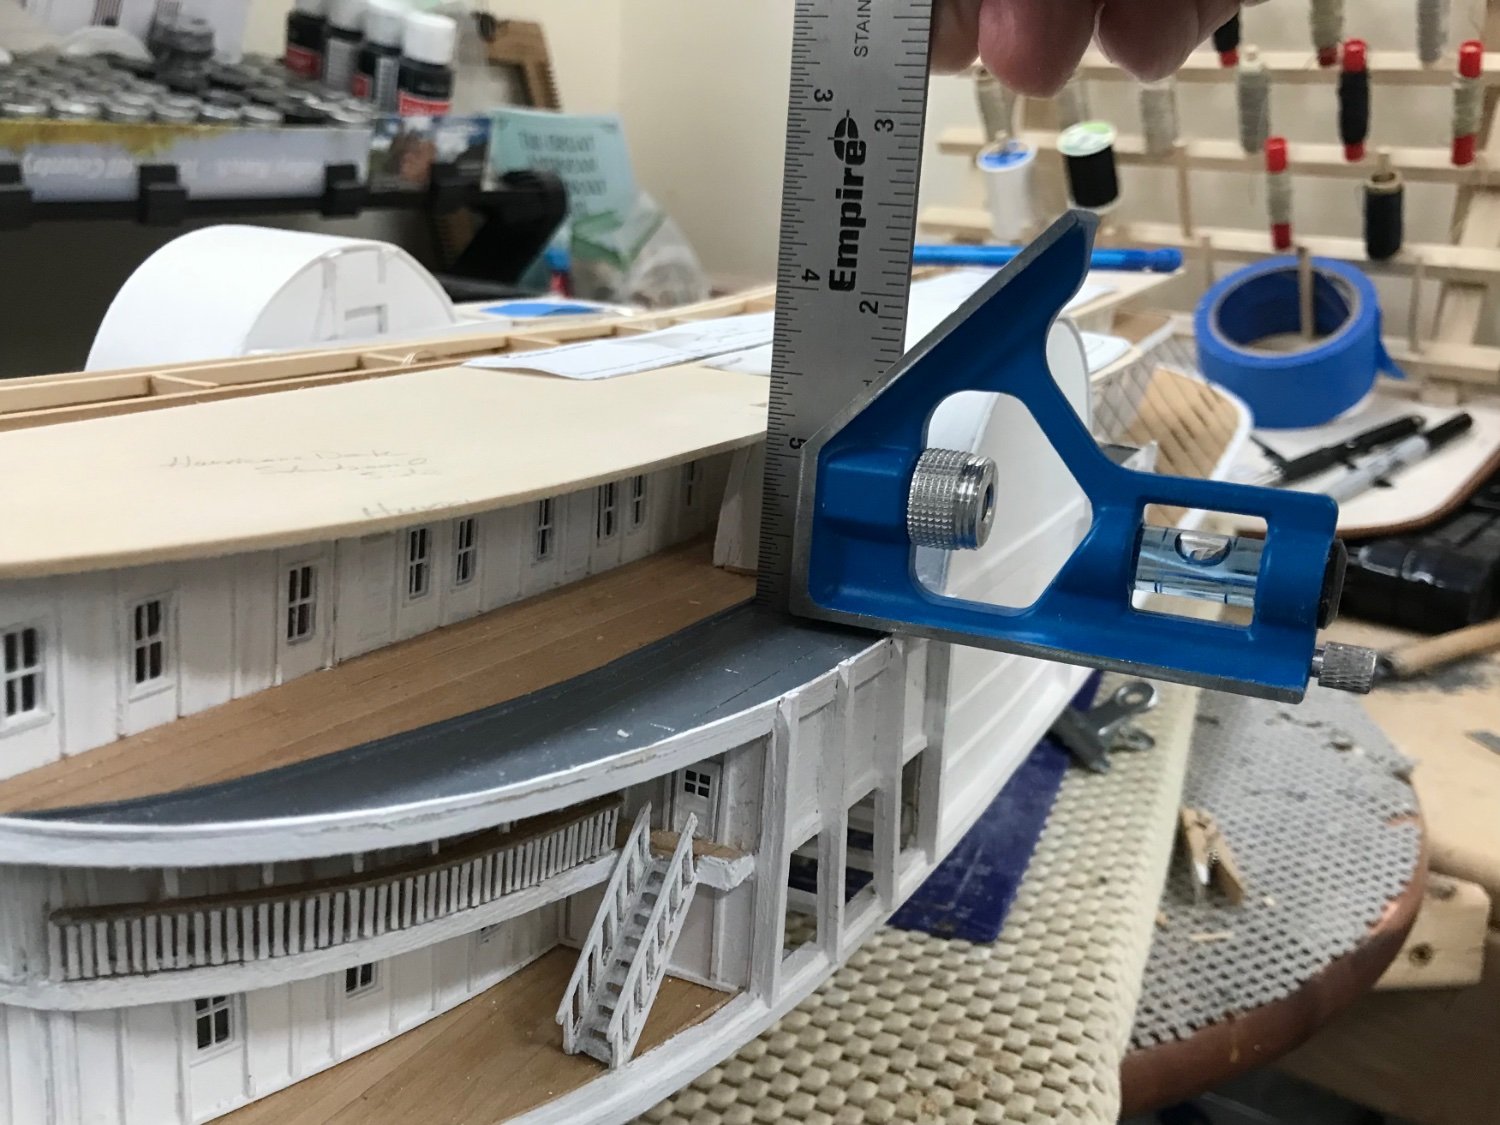
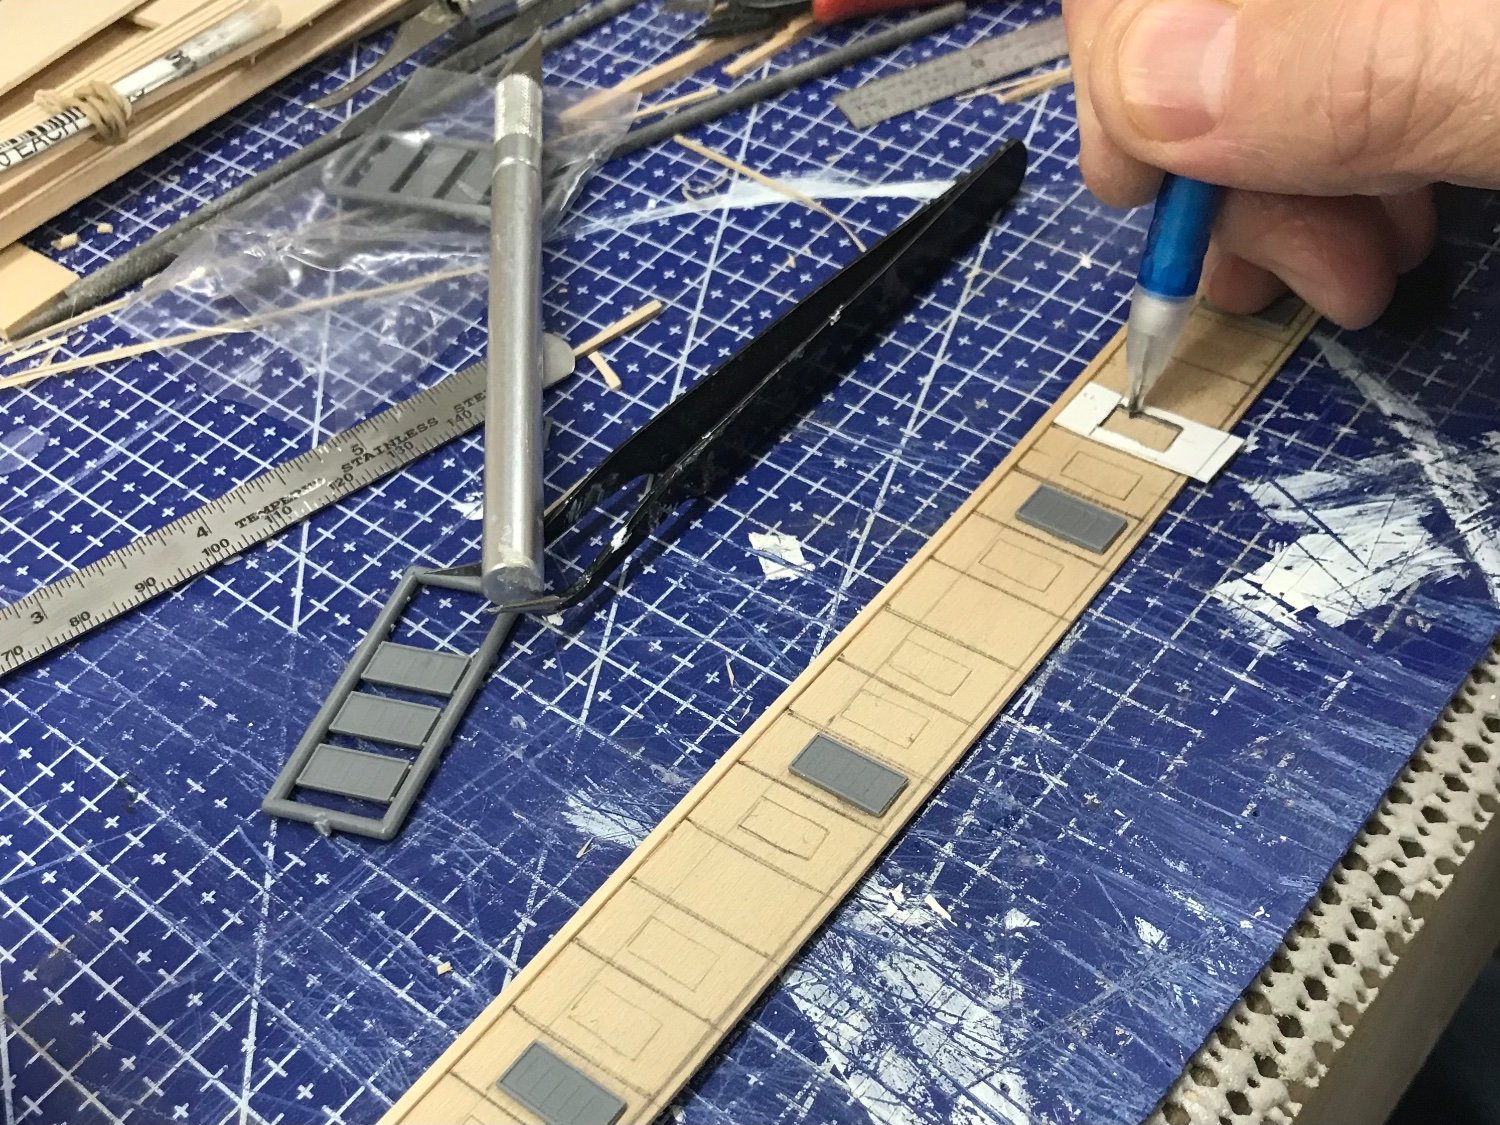
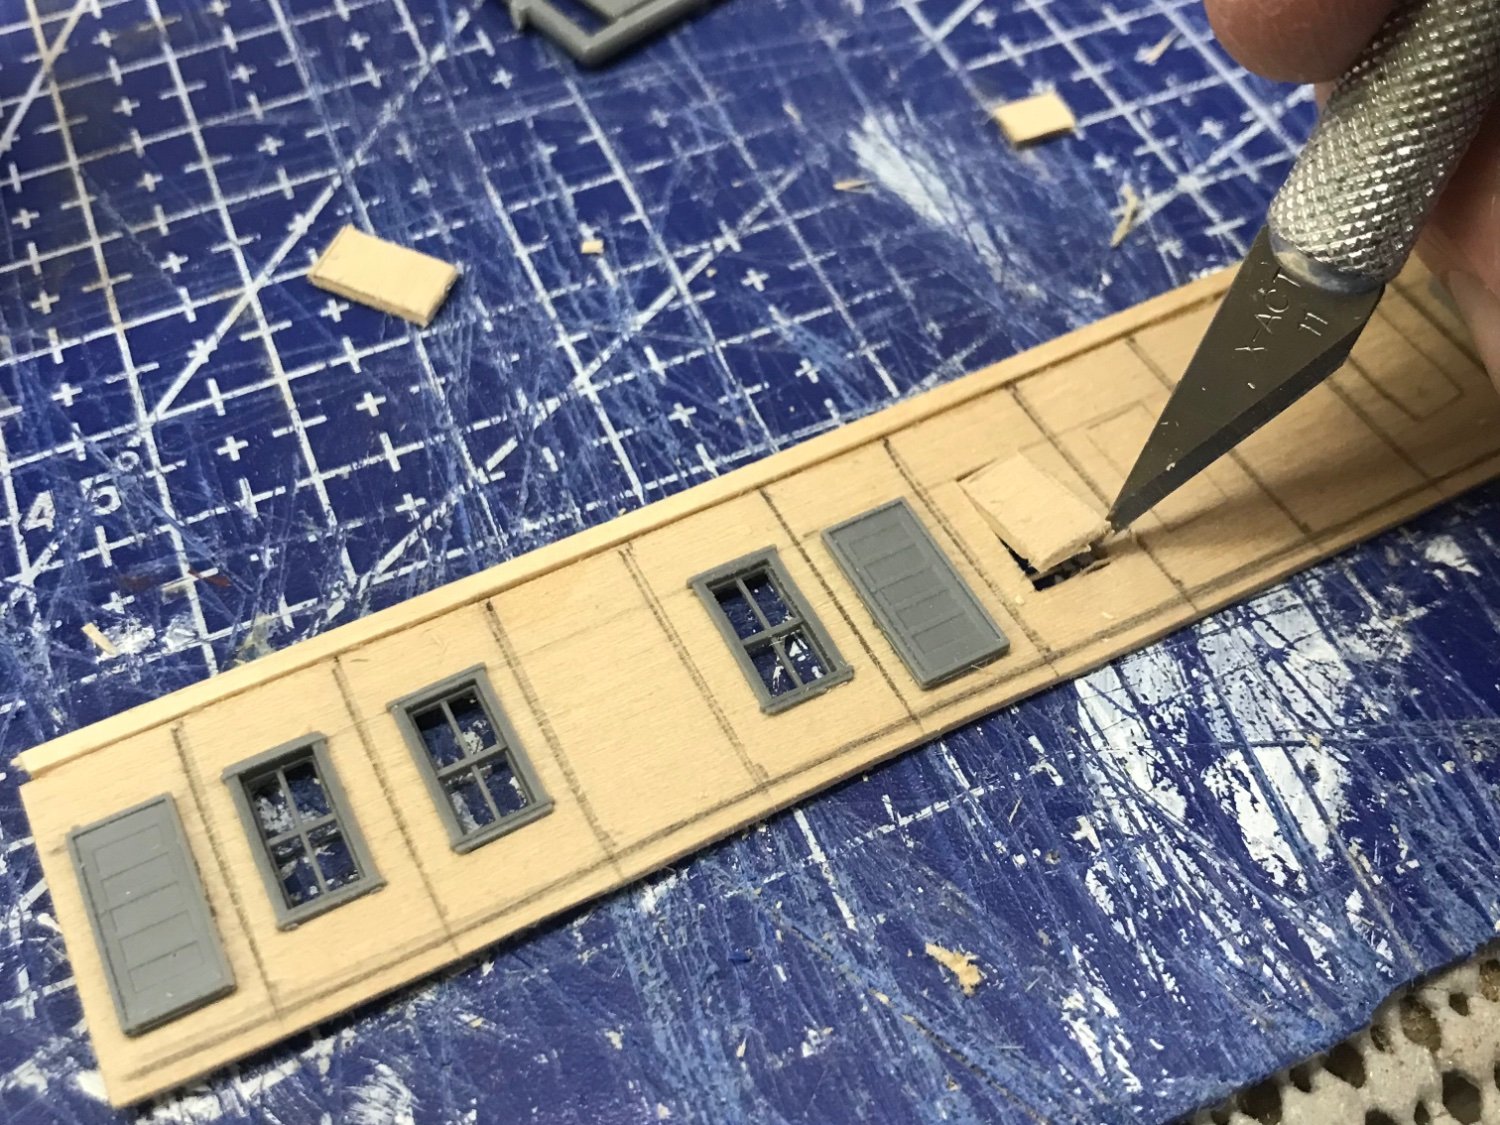
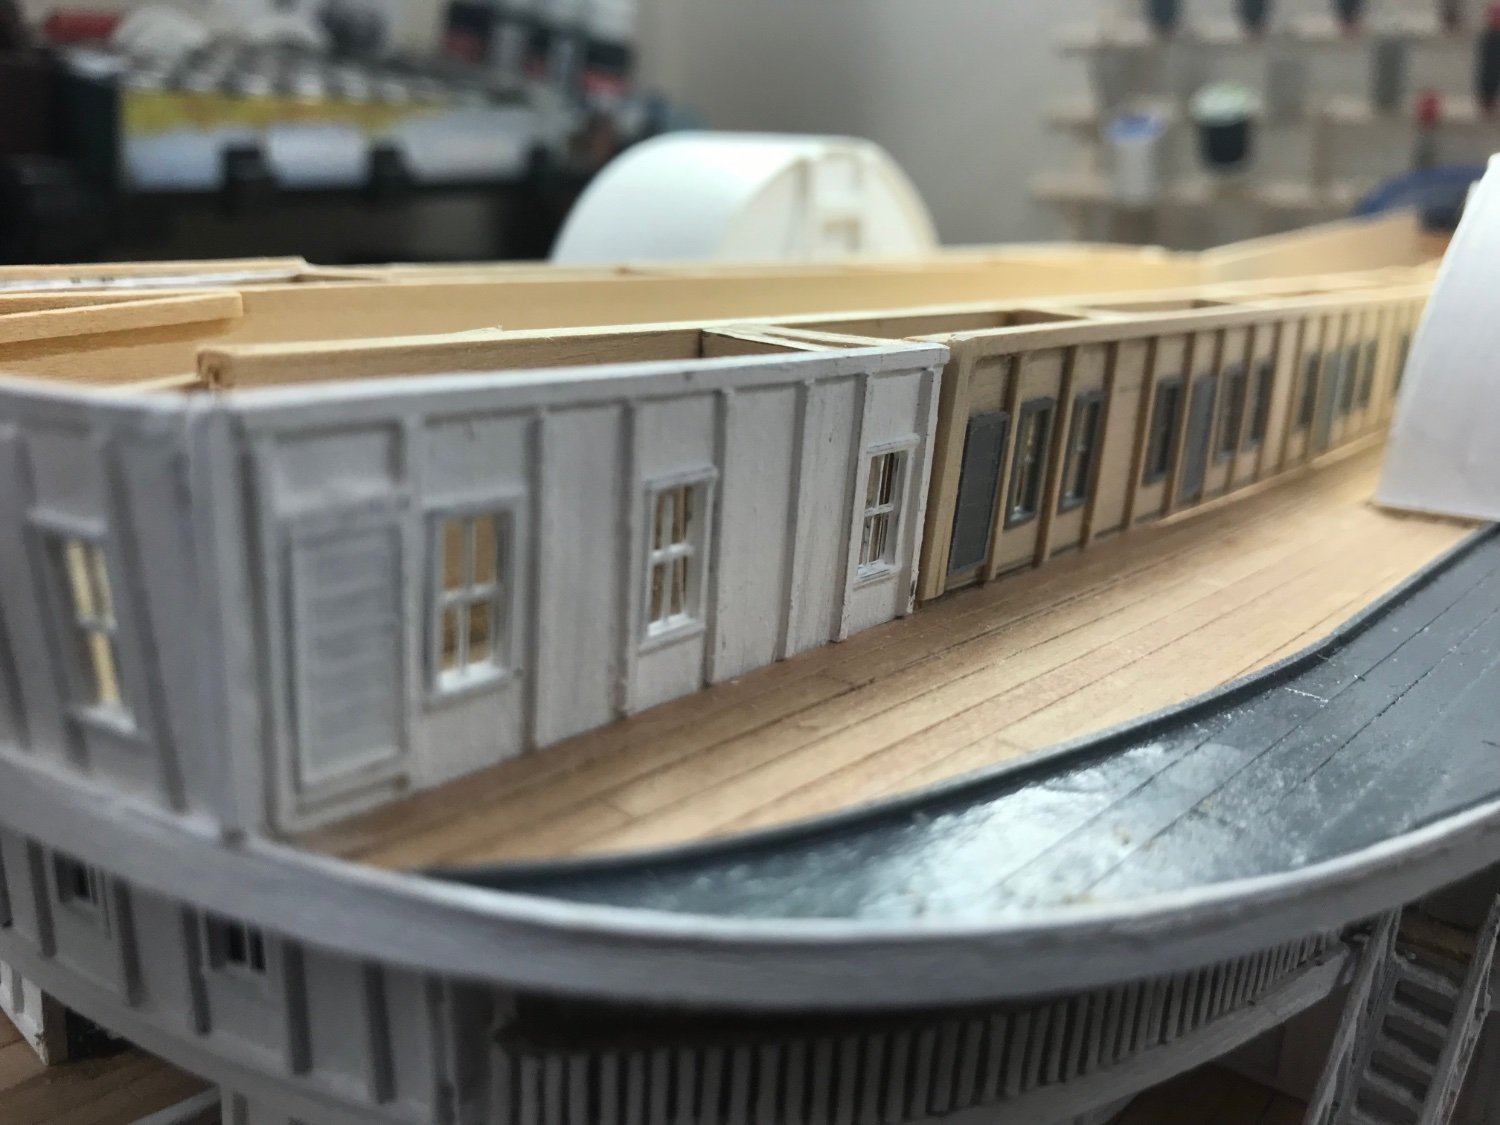
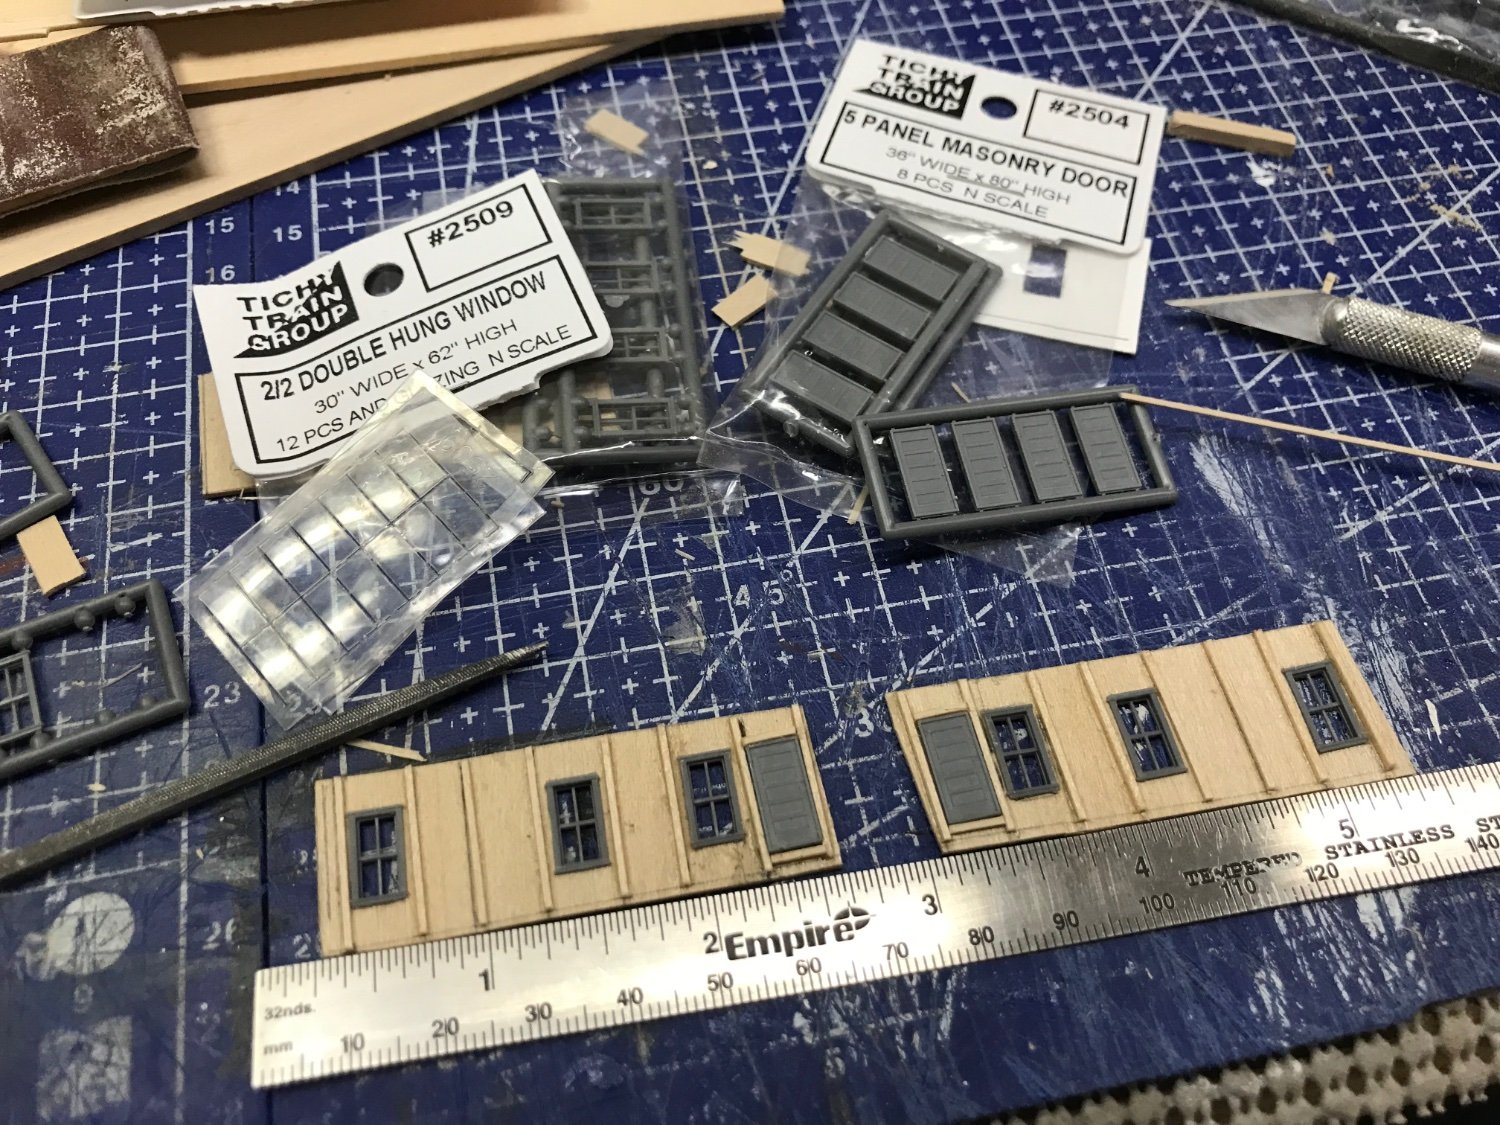
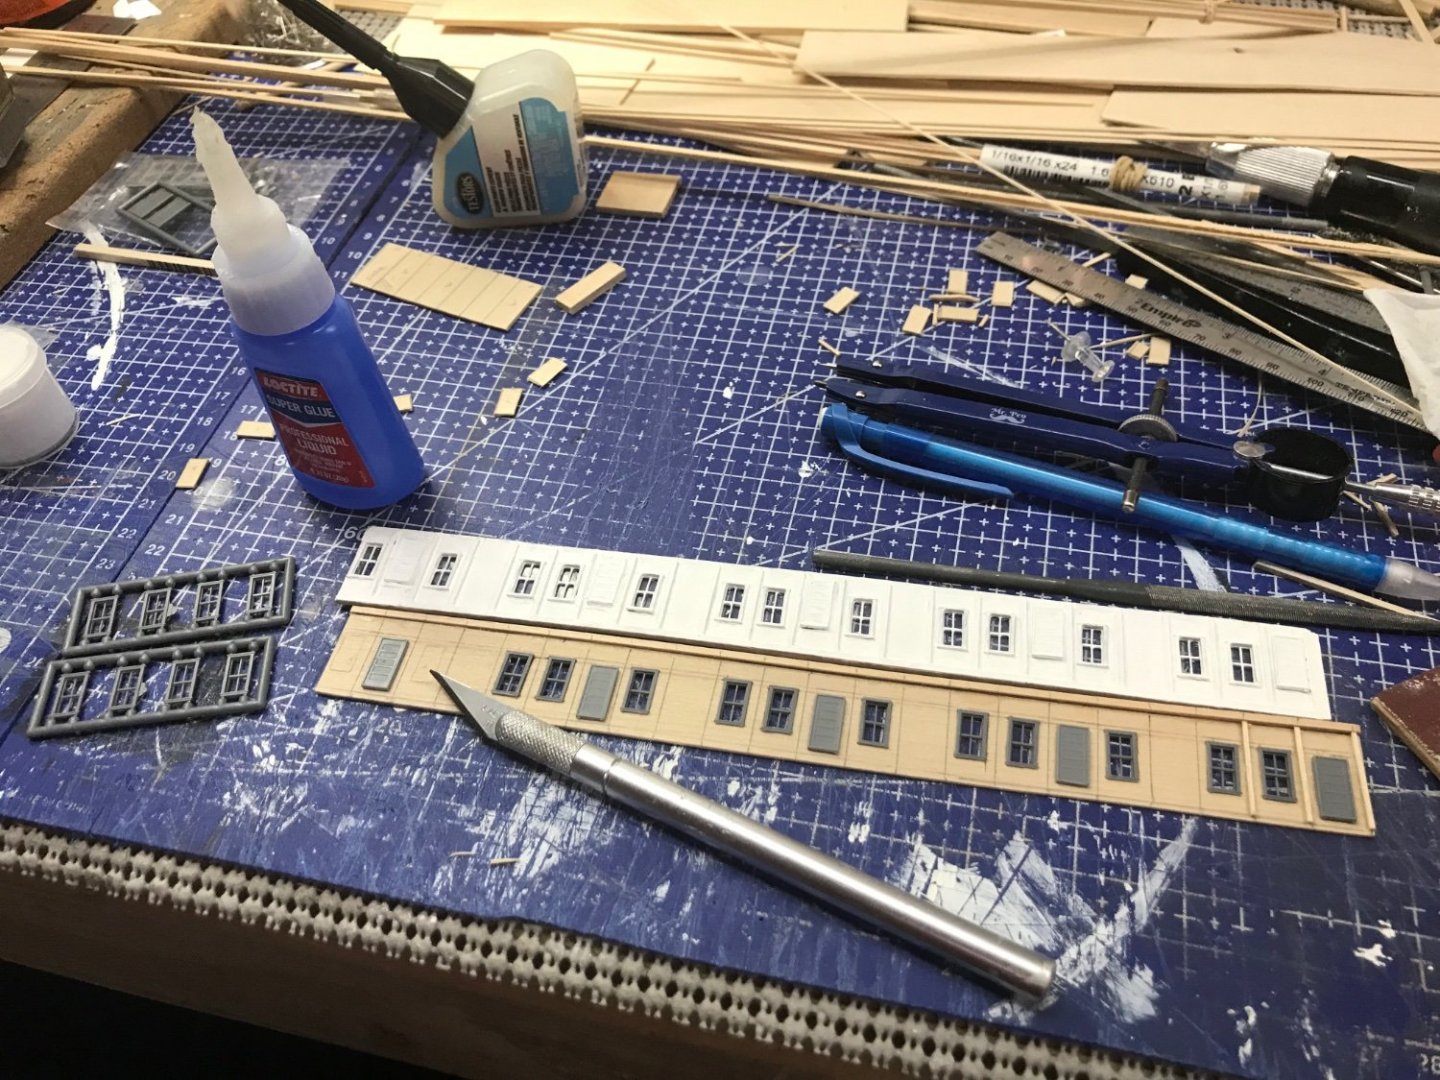
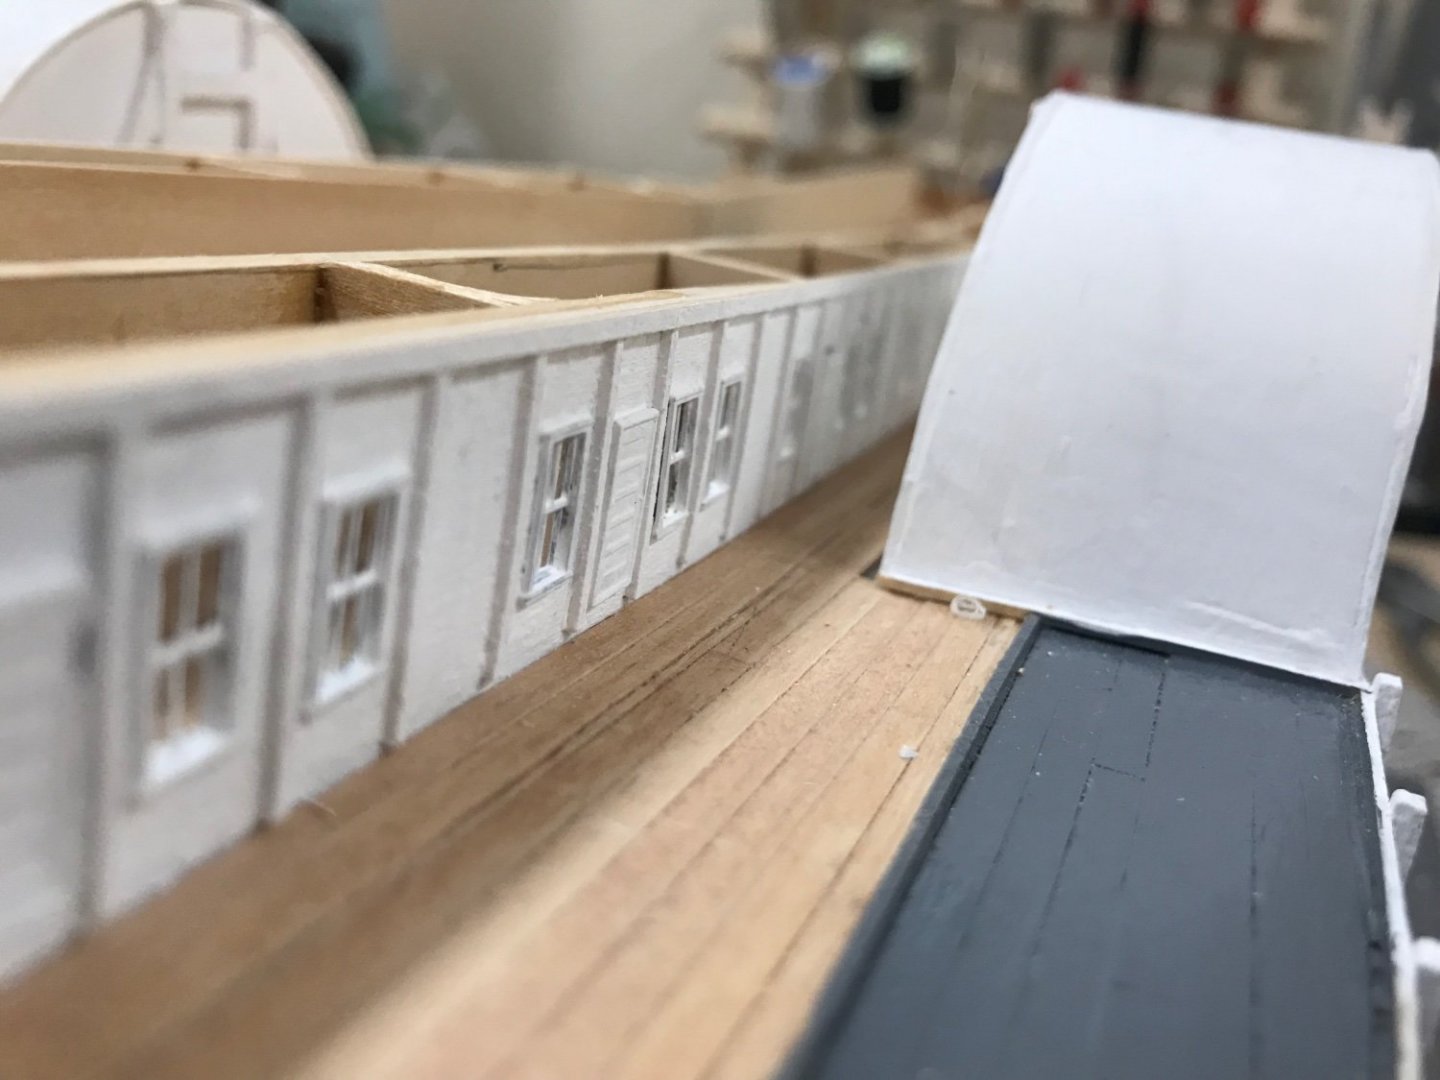
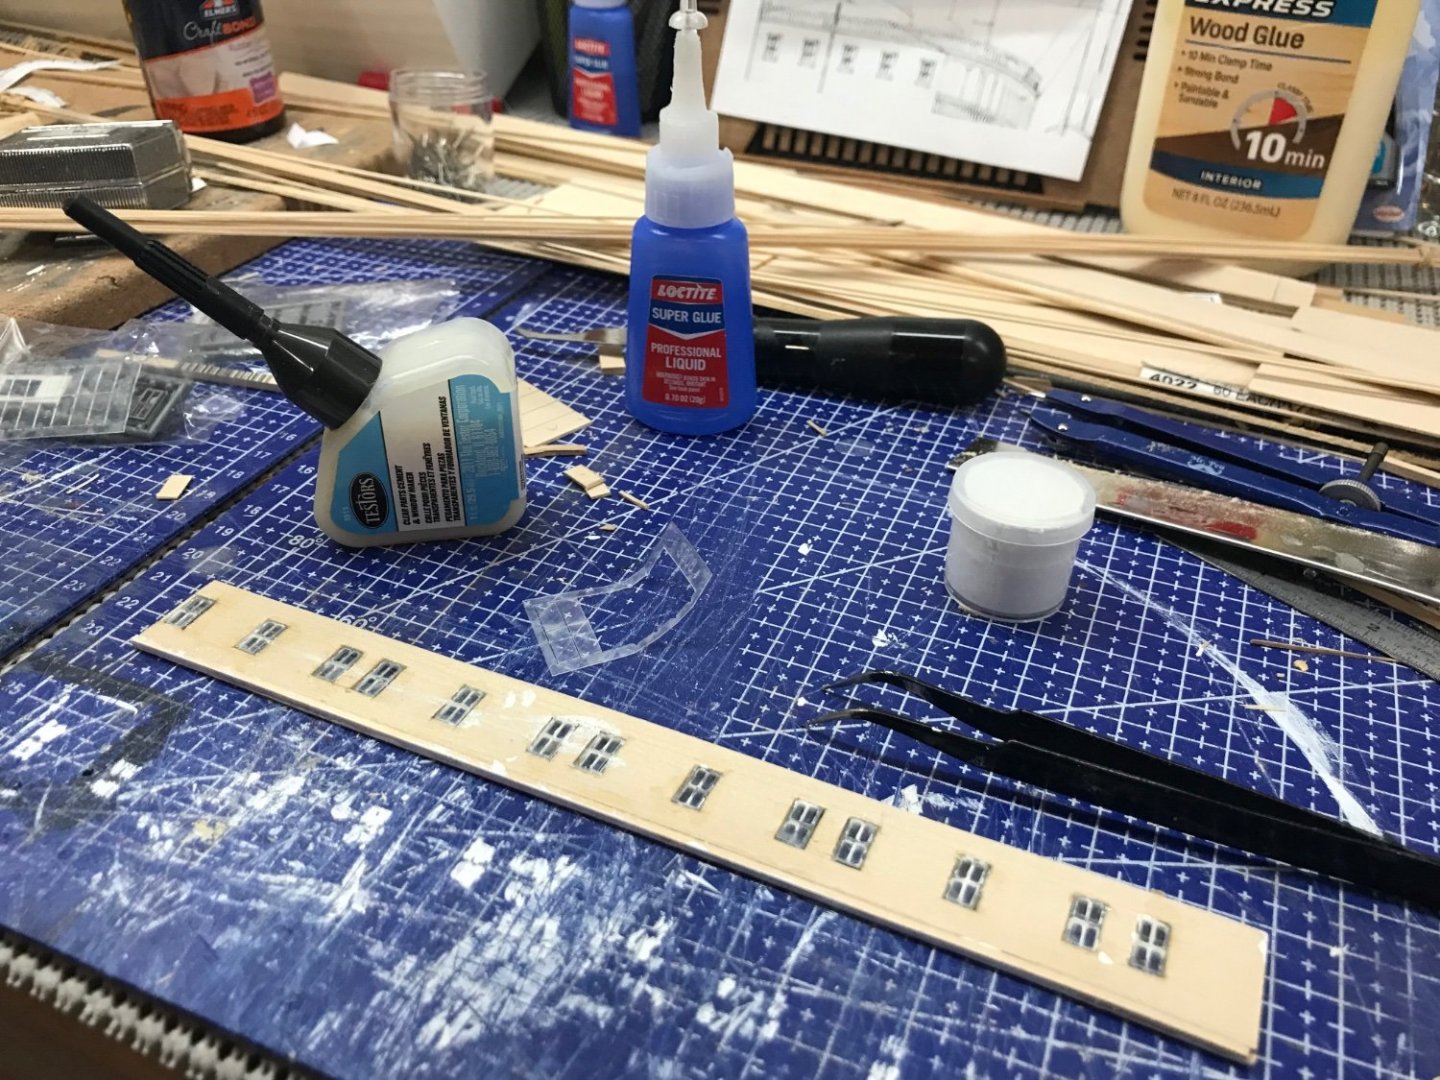
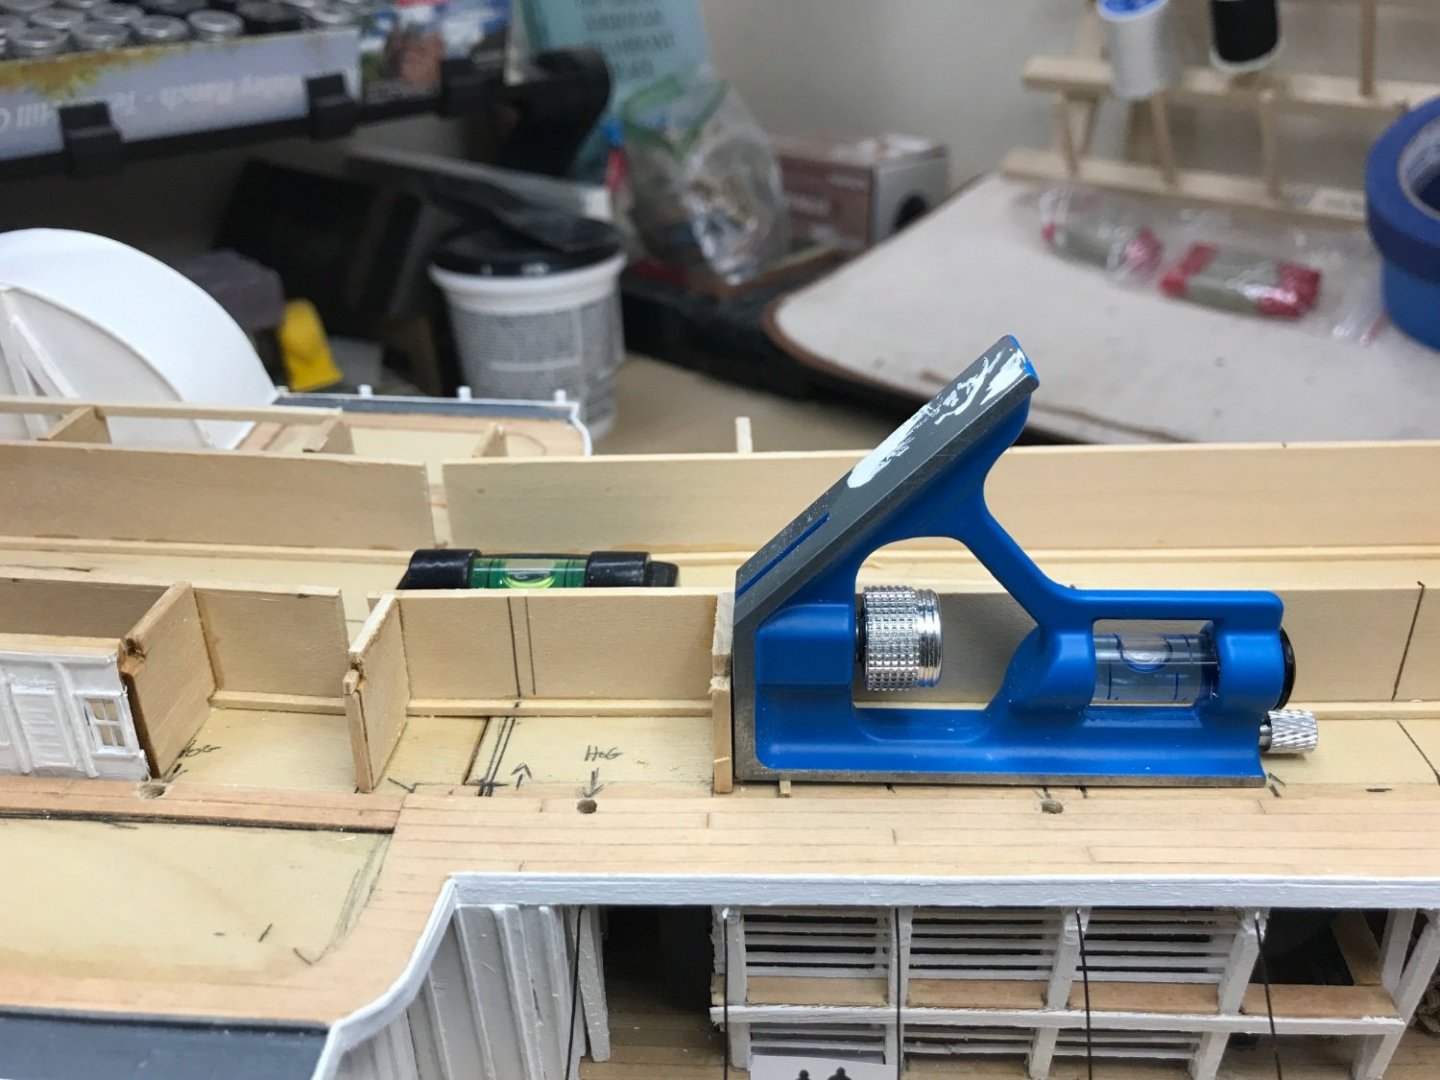
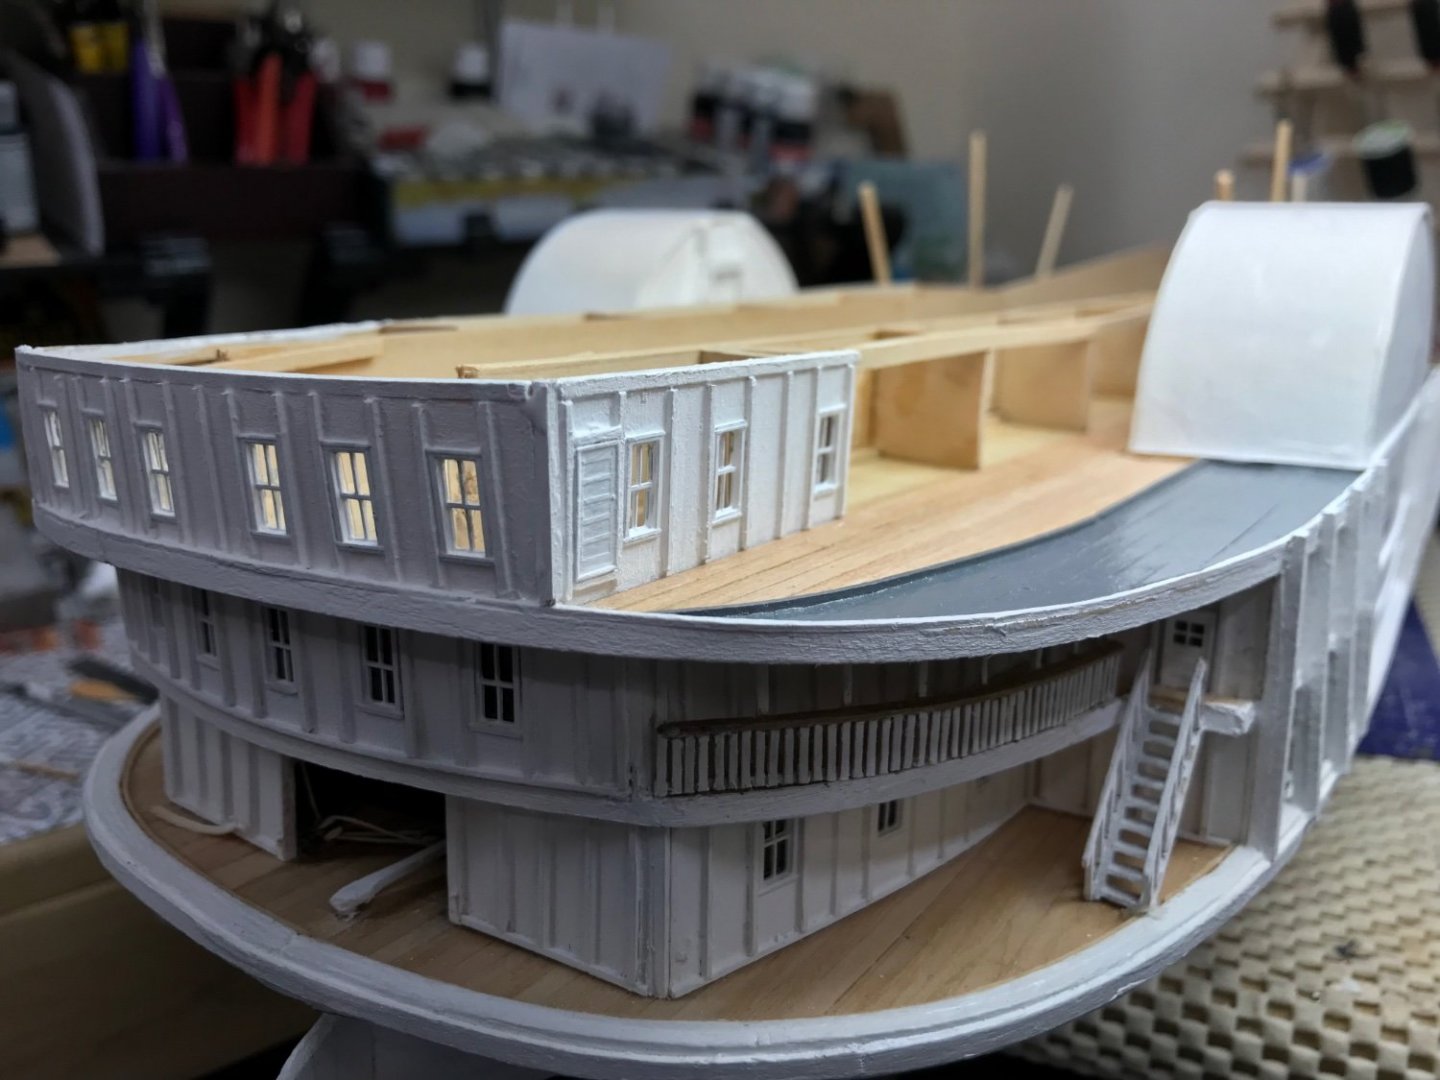
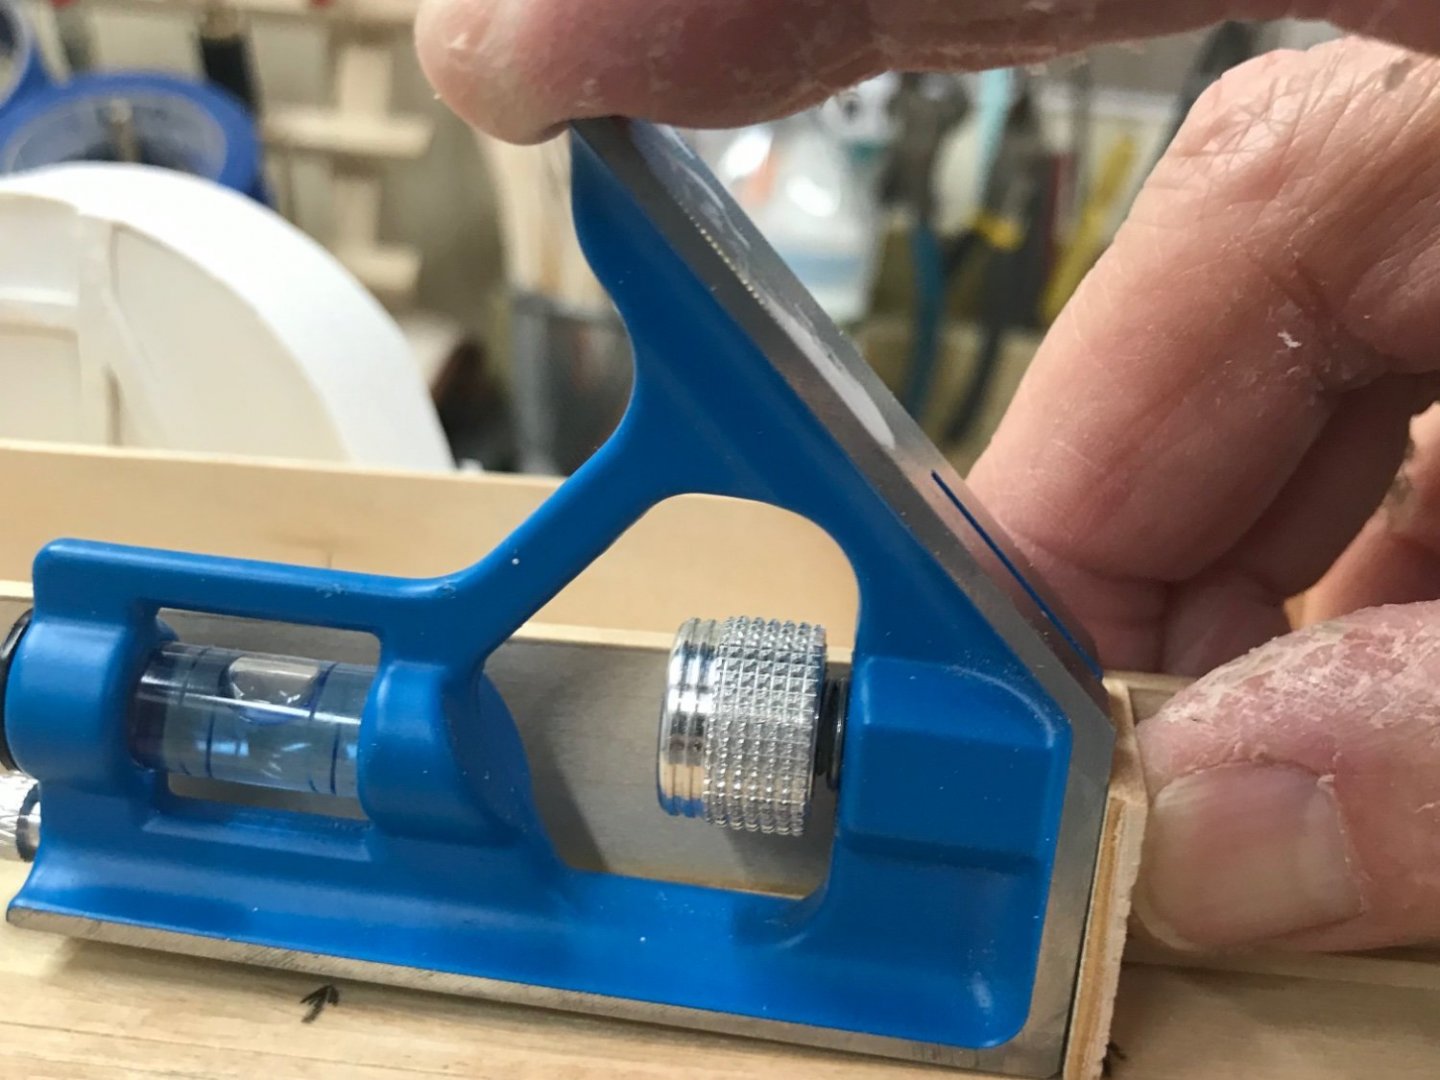
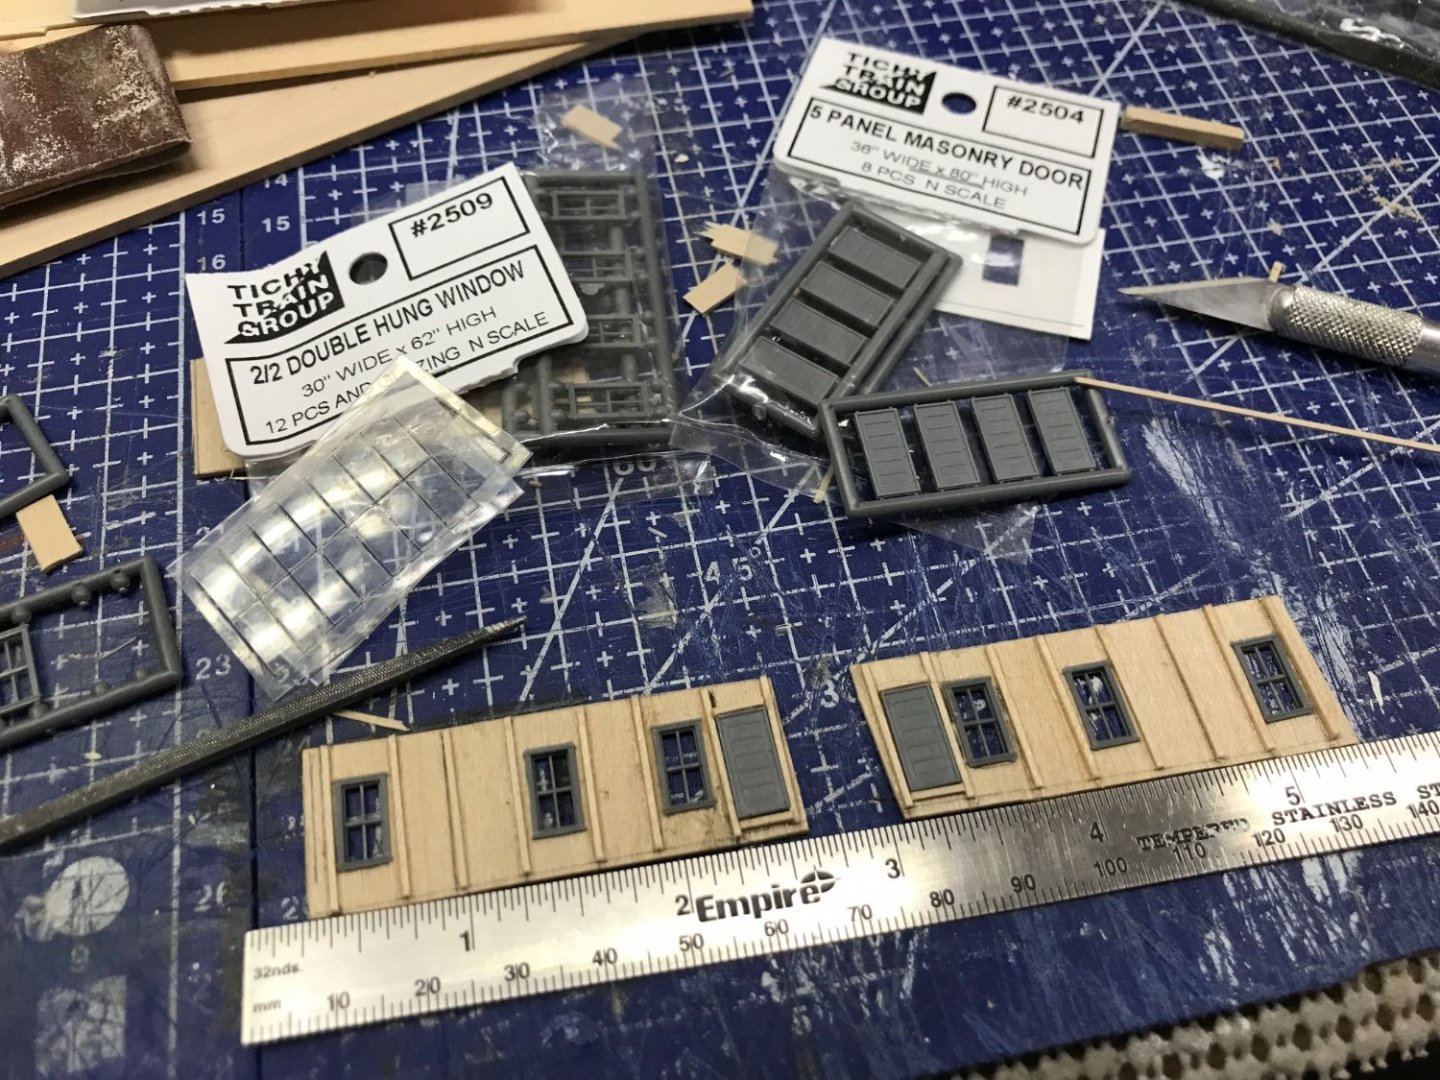
Furnishing the Boiler Deck continues… Assuring wall framing is plumb on a curved deck. Hog Framing placed through the boiler deck. Cutting in the Stern Windows. Stern Windows in place. Windows and Doors for the State Rooms. Only nine more of these walls for this deck. I will paint these and place the glazing in the widows before gluing them in place. Construction is a bit tedious given the window alignment and board and batten siding. Servers hours required for each state room. But that’s what we live for, right. 🤪 Its all about the detail. Cheers 🍻


- 238 replies
-
- 10
-
-
- Robert E Lee
- steamboat
- (and 3 more)
-
Jim and Phil, I’ll be following along on both of your builds. Between the two of you I can save a lot of research time. 🧐 Picked up a Mantua Albatros on eBay, I was very confused about its history until I read your logs. I’ll be watching great interest where you two take this kit. John
-
Completed Railings at the top of the Grand Stairway. Cheers 🍻


- 238 replies
-
- 11
-
-
- Robert E Lee
- steamboat
- (and 3 more)
-
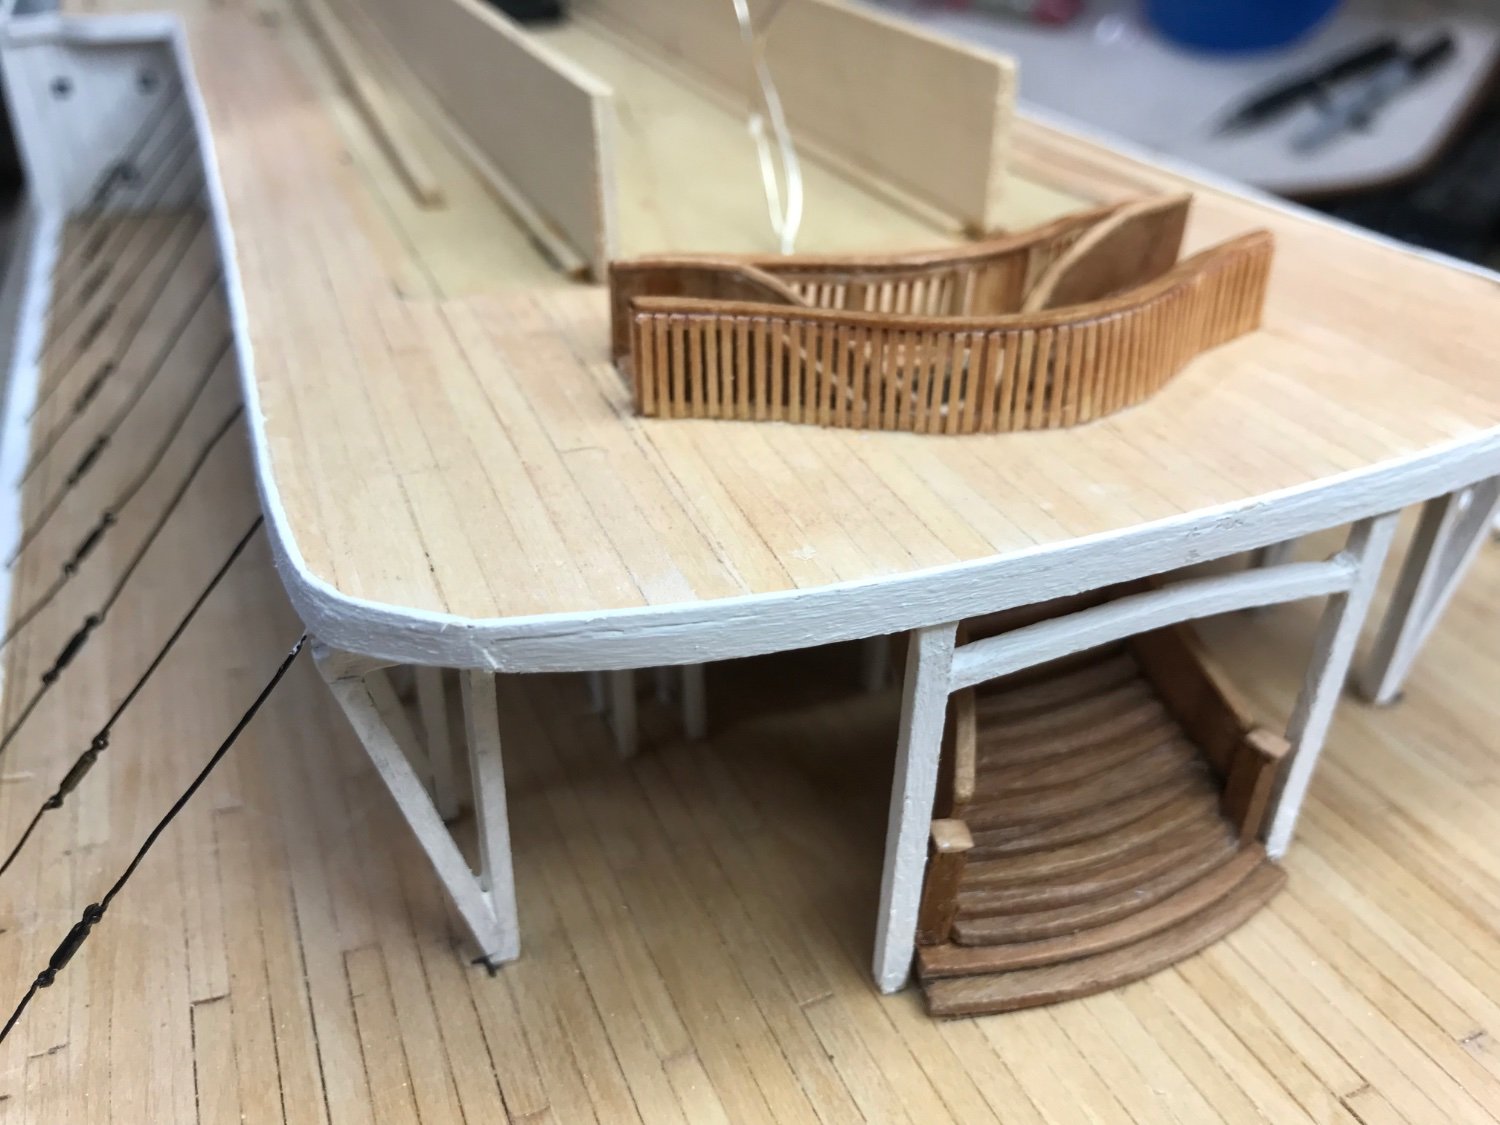
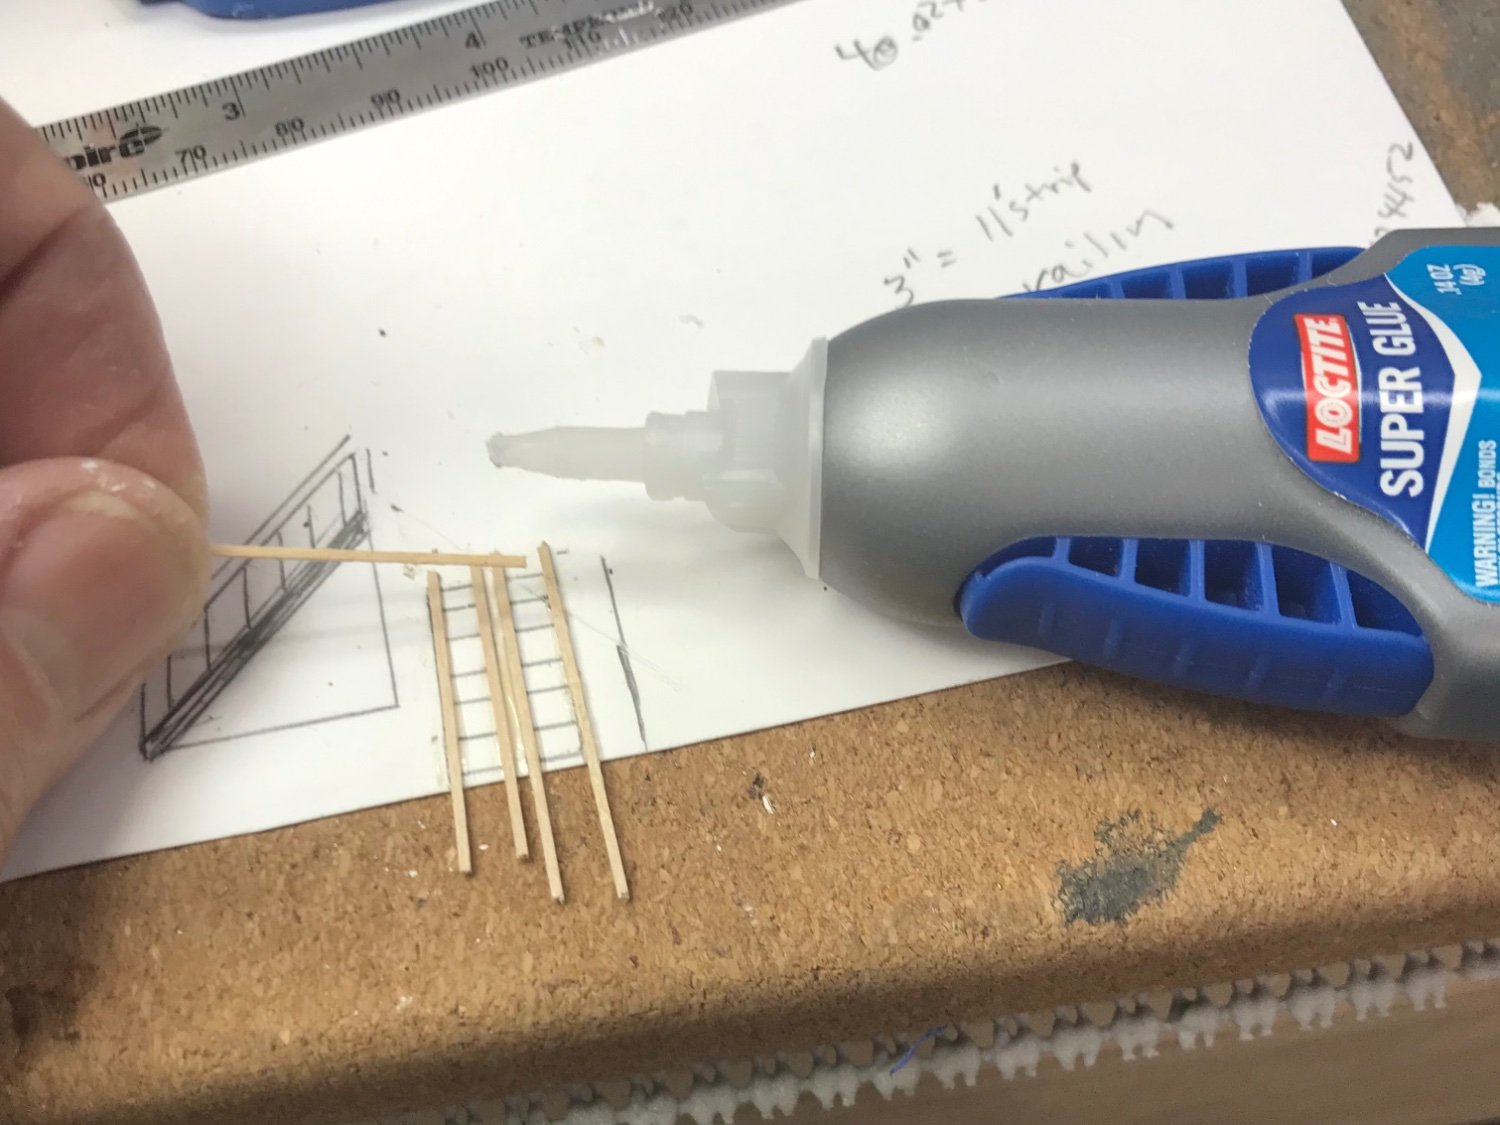
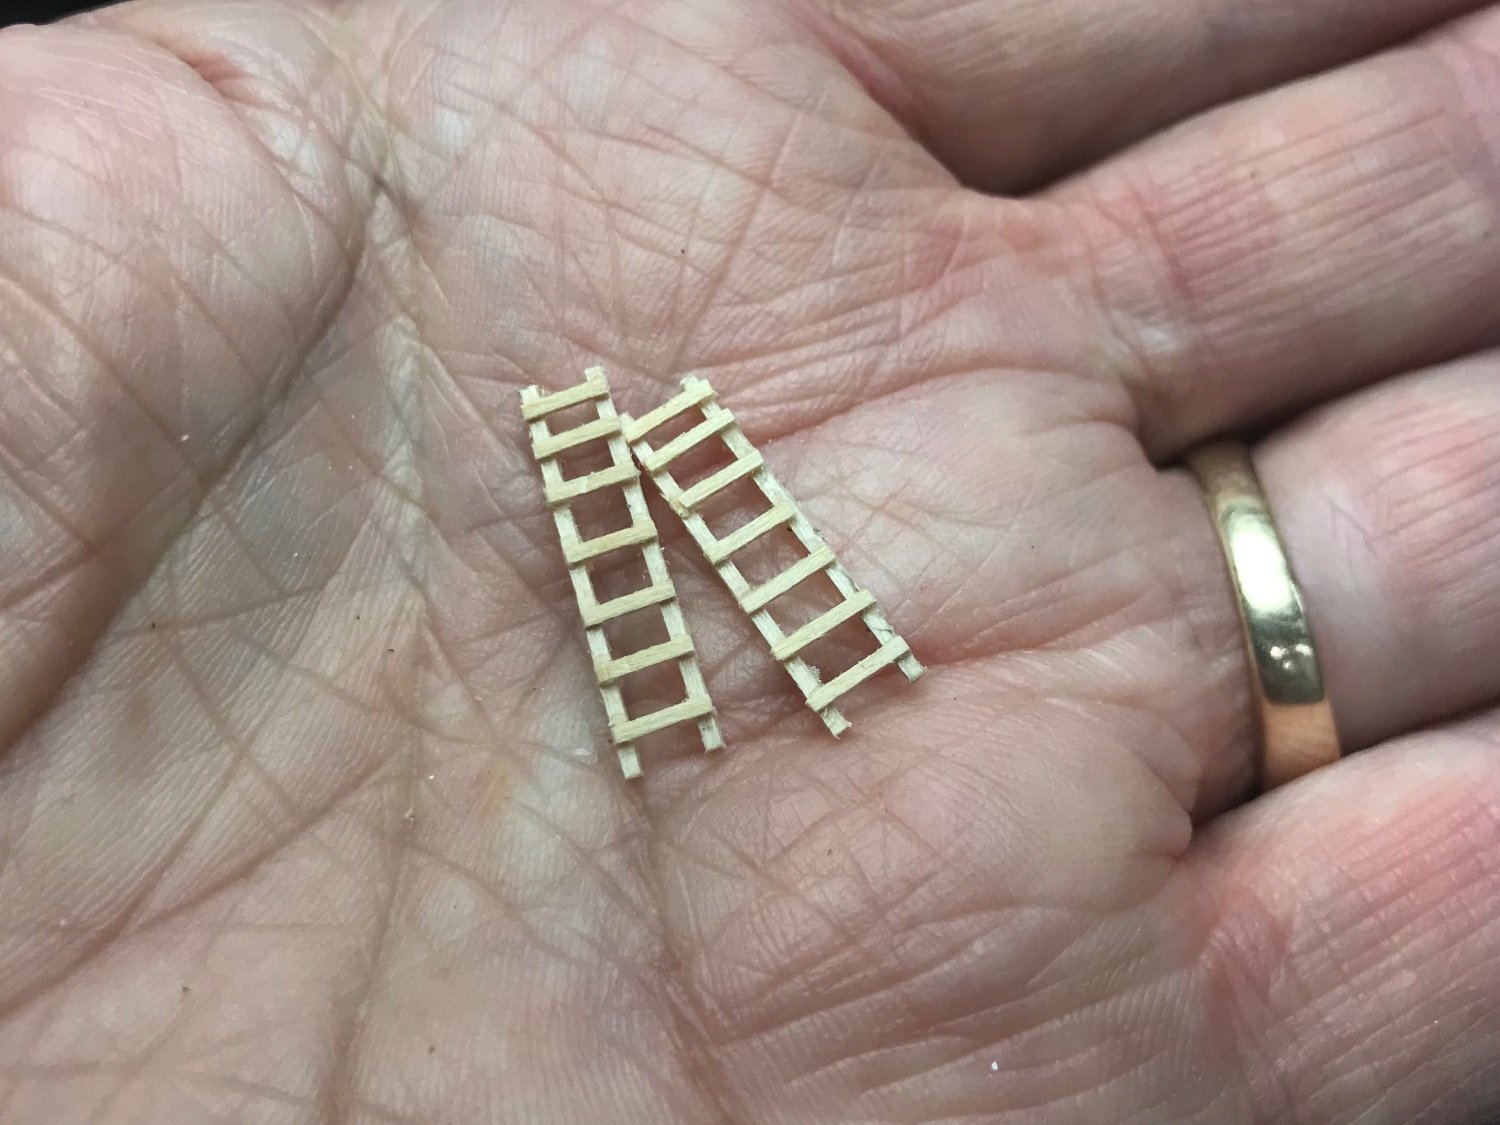
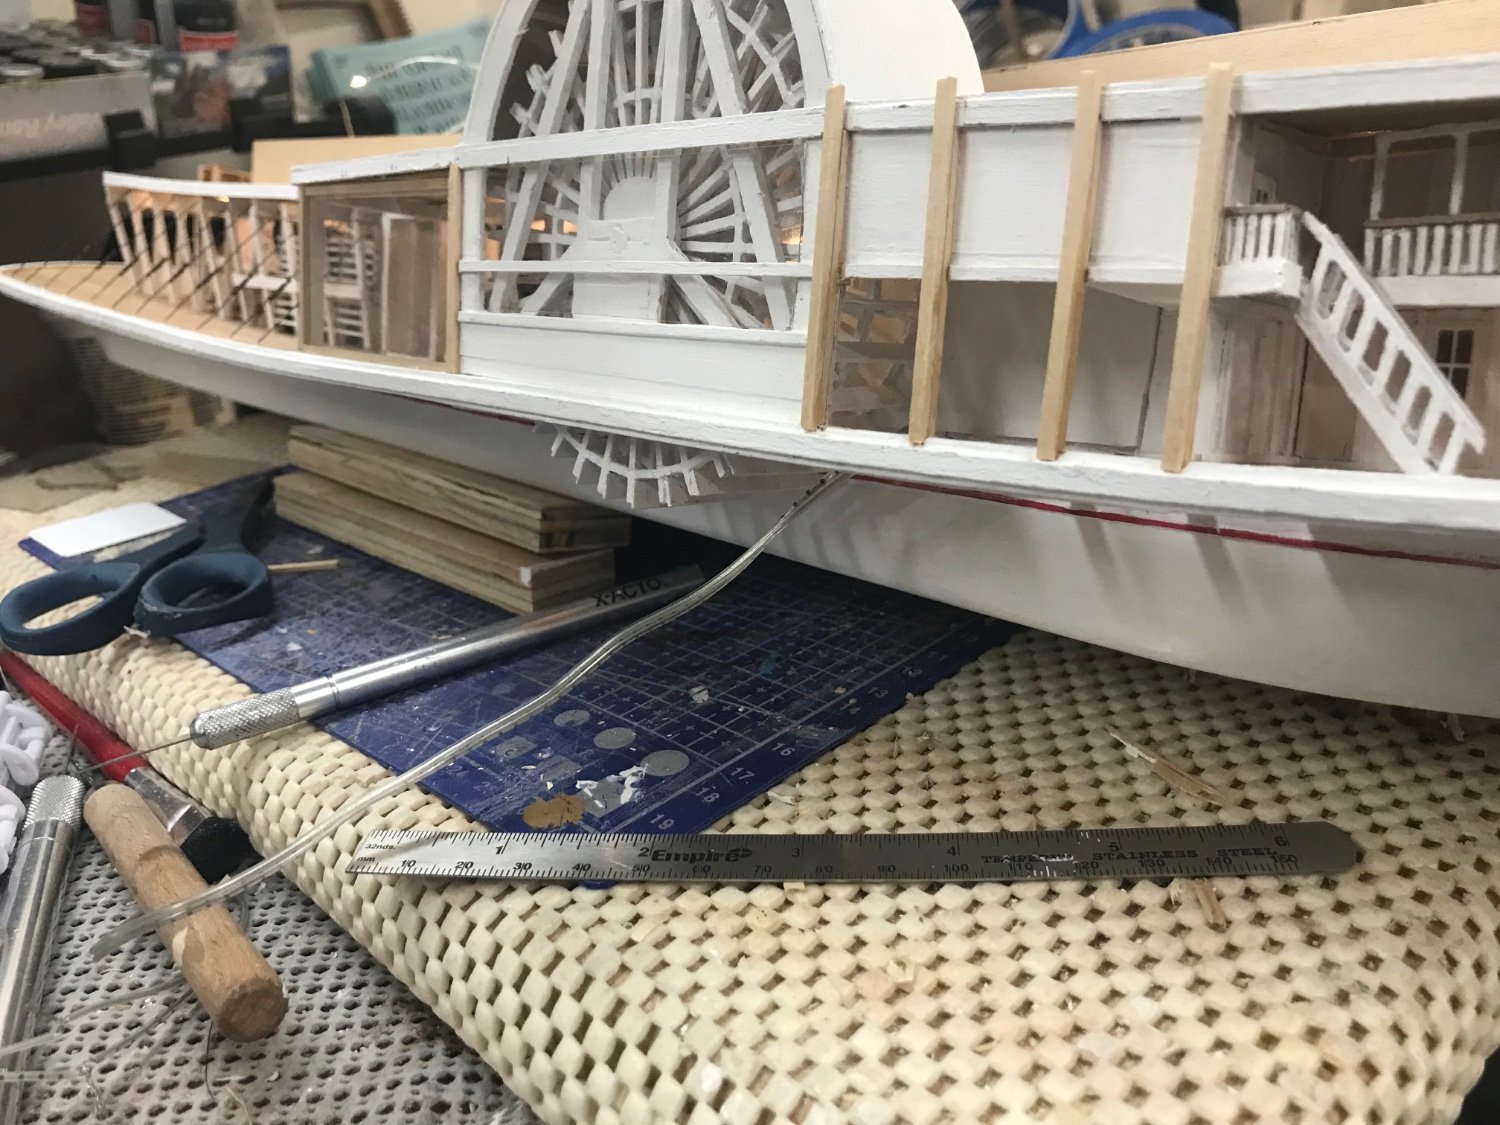
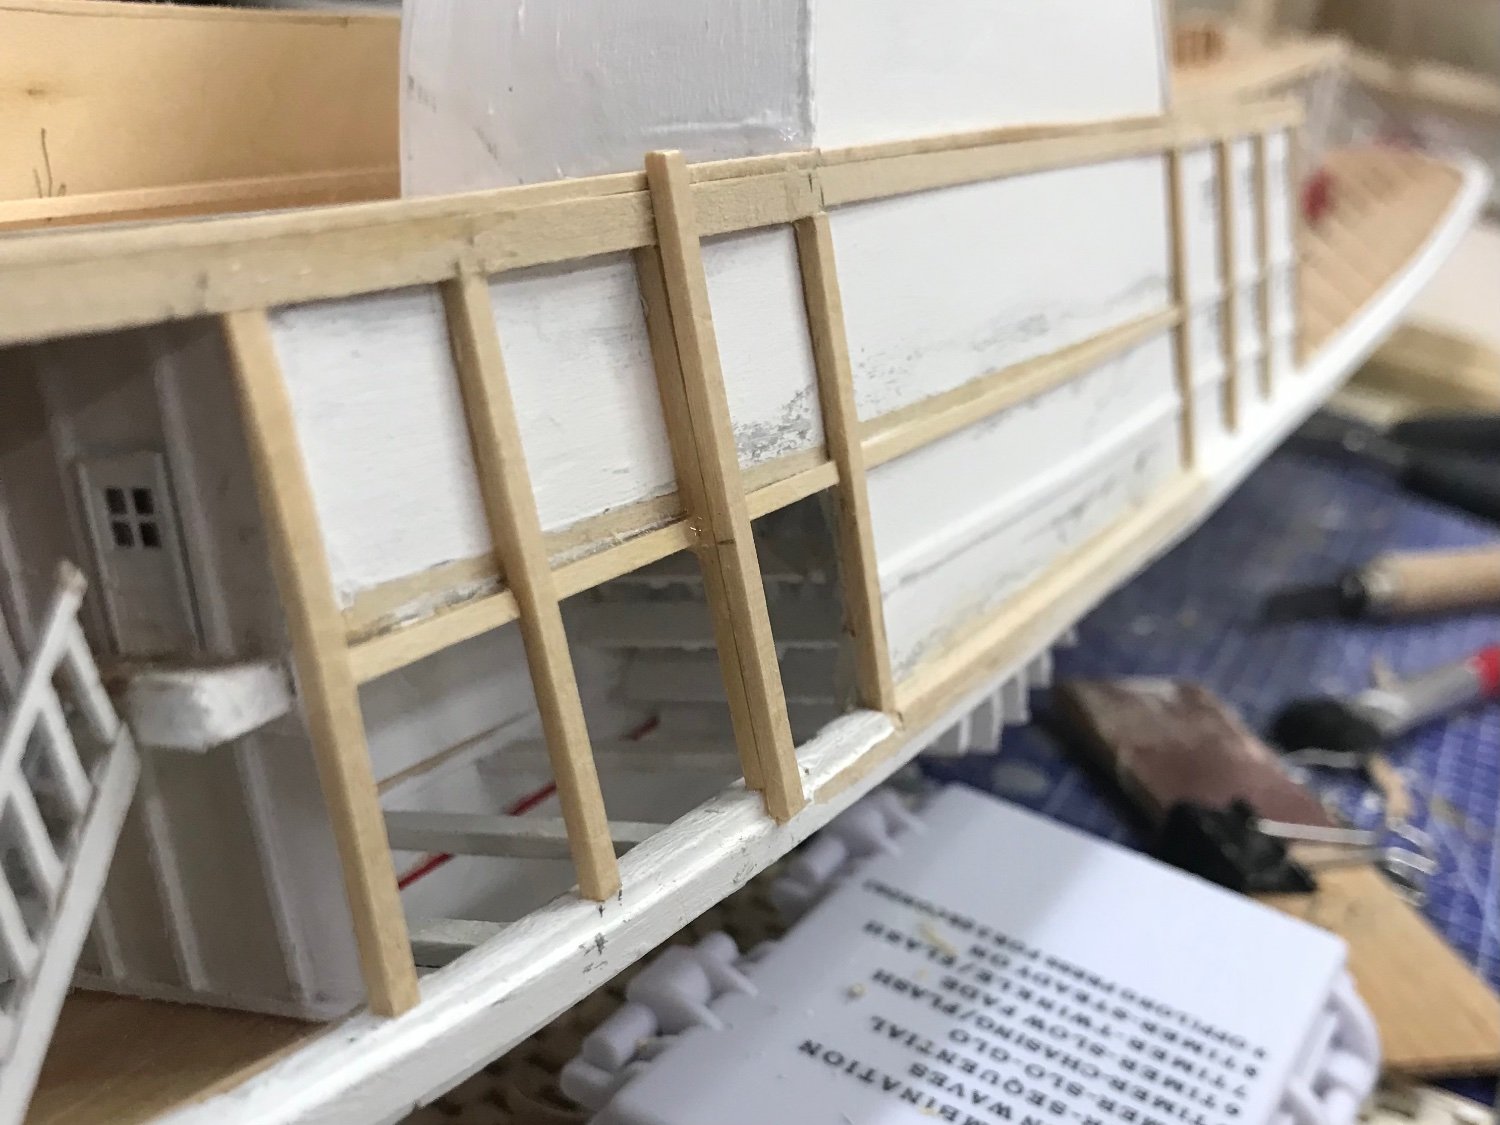
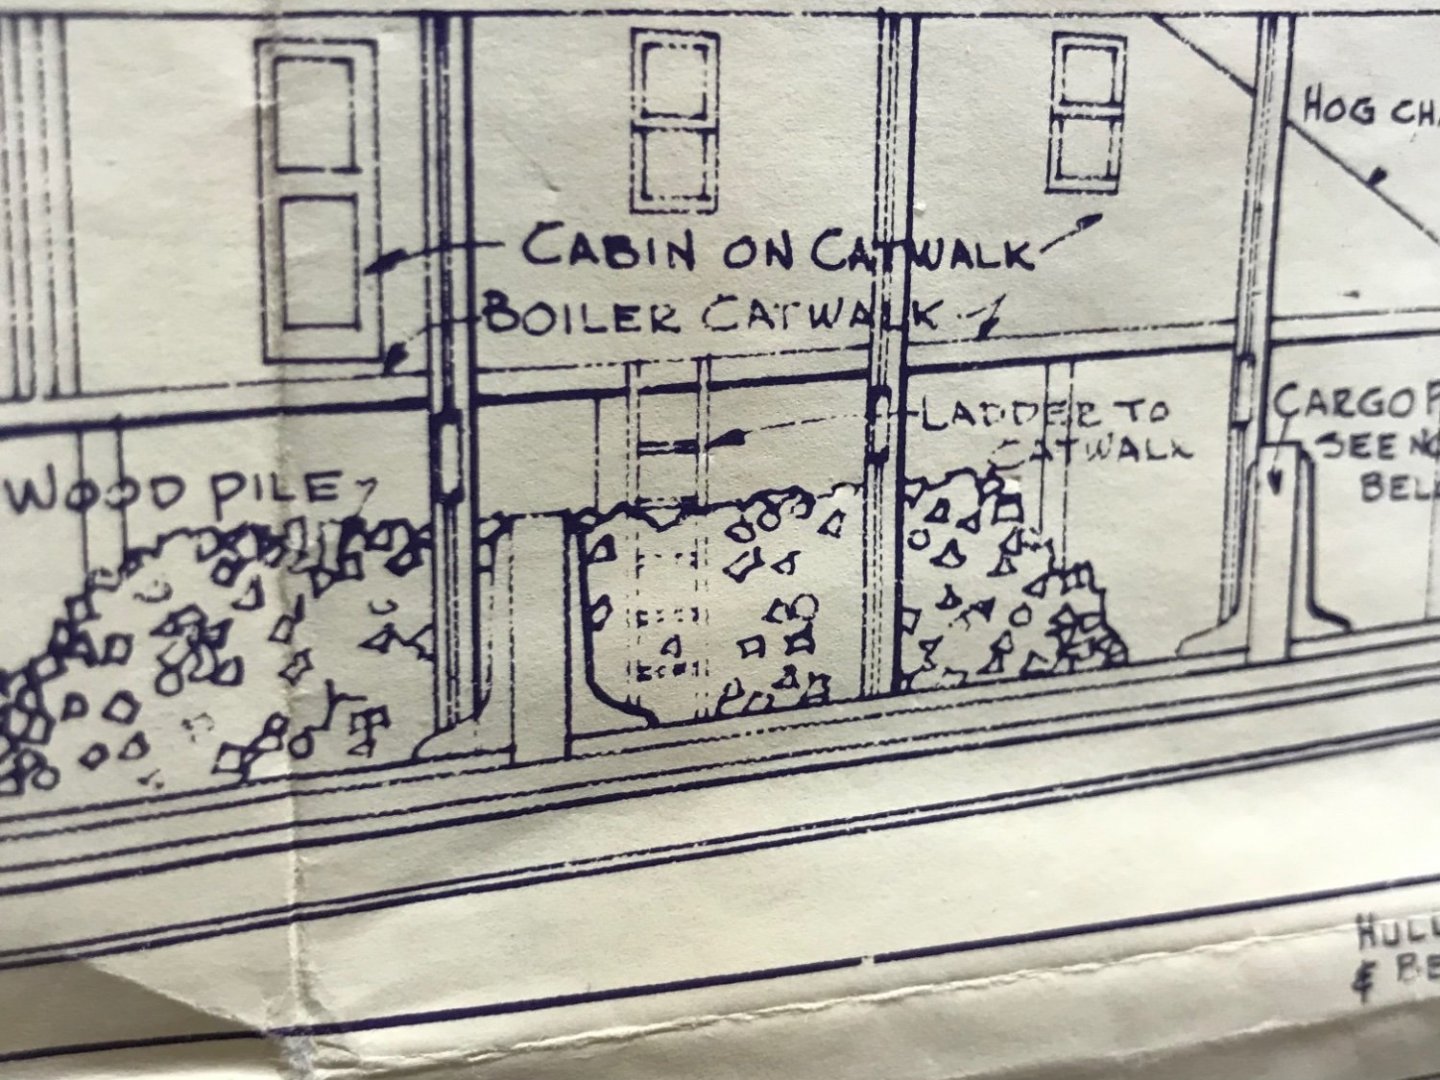
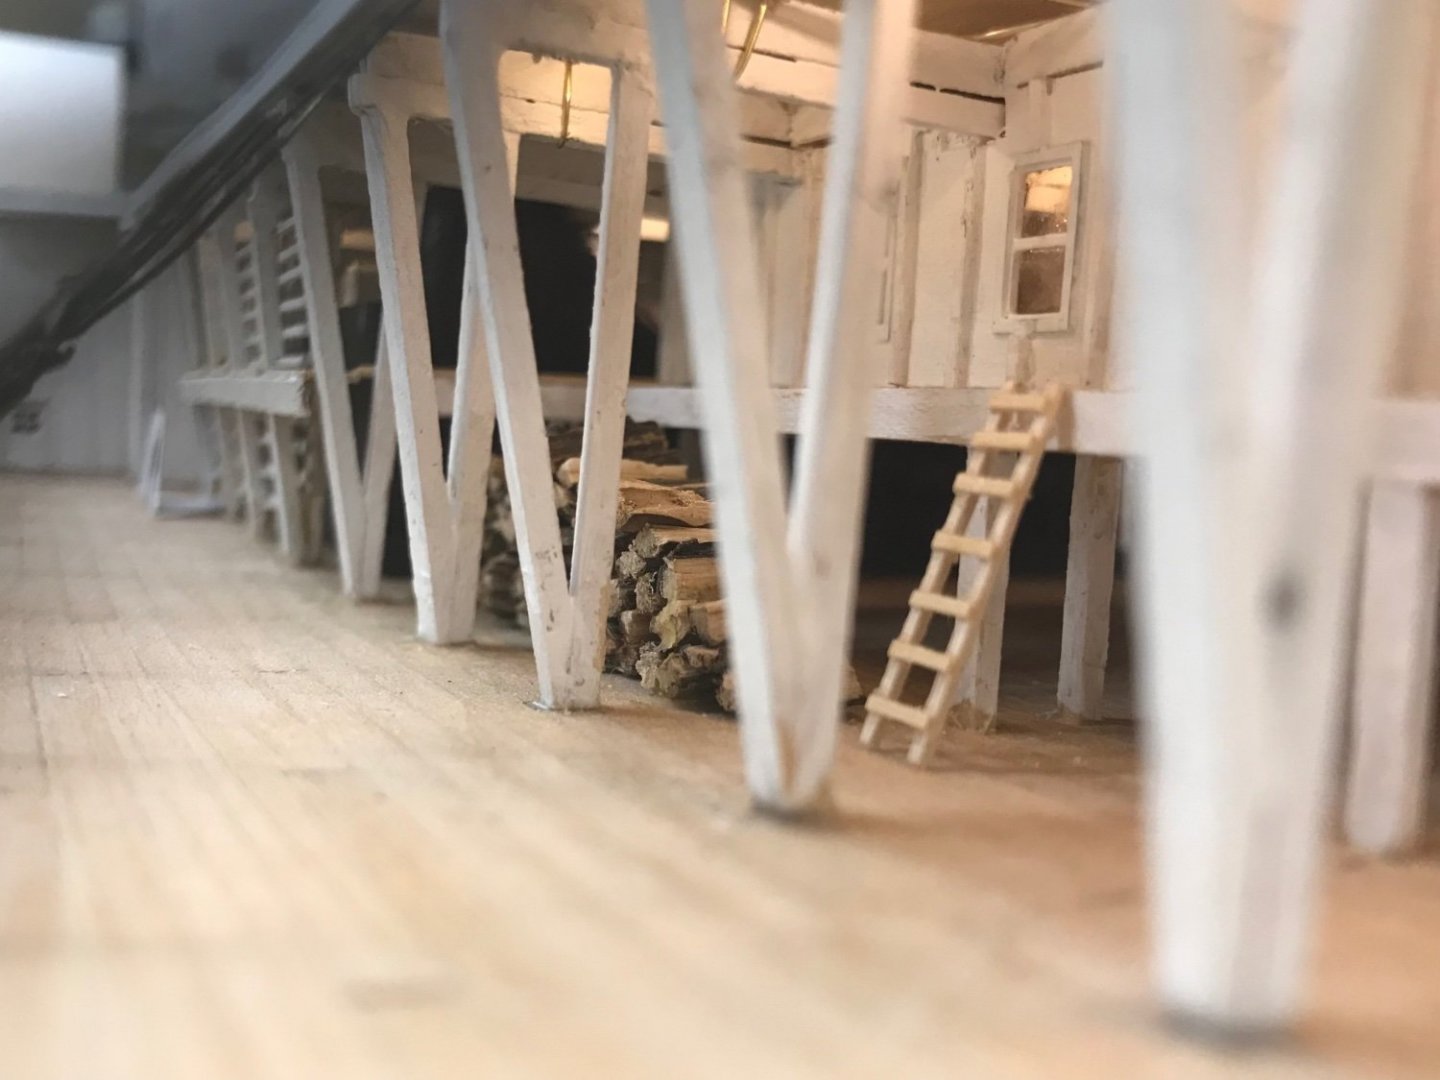
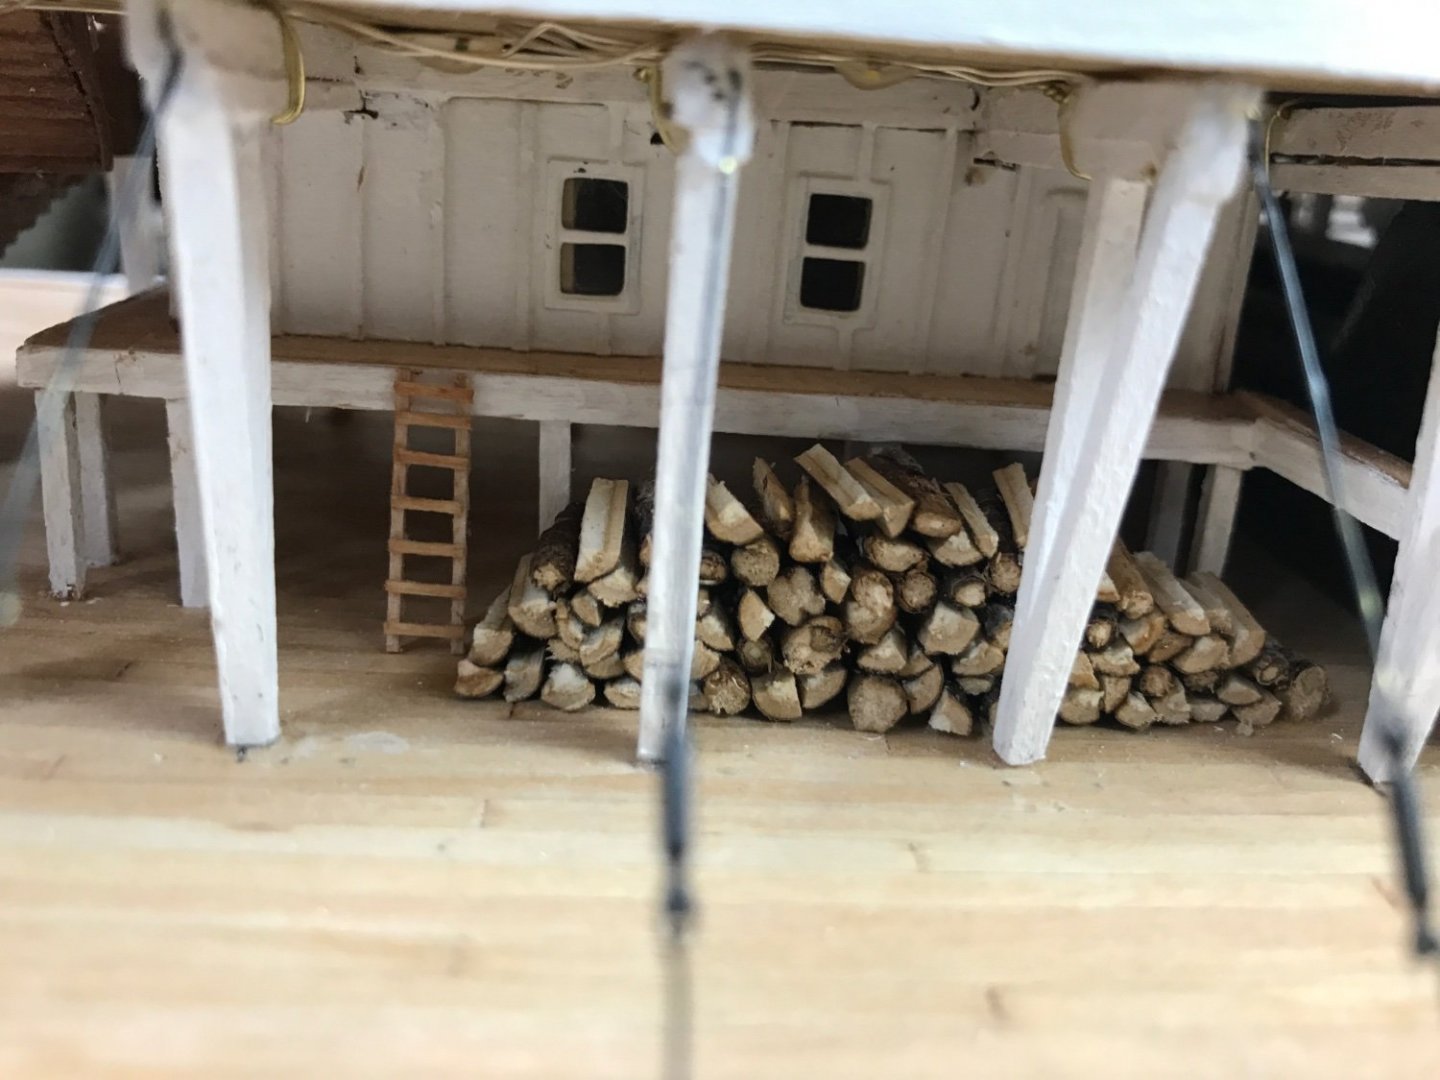
Boiler Cat Walk access… As I was contemplating 🤔 The companion ways and staircases, I realized there was no access to the Boiler Cat Walk or Forward Cabins on the Main Deck. Upon closer inspection of the drawing I found the “ladder” to the cat walk. Very strange this was not in the instructions. Oh wait, there were no instructions. Attention to detail does matter. 🤨 So I conjured up a couple of ladders 🪜 Turns out to be a great little detail next to the wood pile. 😎 Moving on to the Boiler Deck with its Saloon and State Rooms. Of course, we don’t want to forget those Railings… Cheers 🍻


- 238 replies
-
- 7
-
-
- Robert E Lee
- steamboat
- (and 3 more)
-
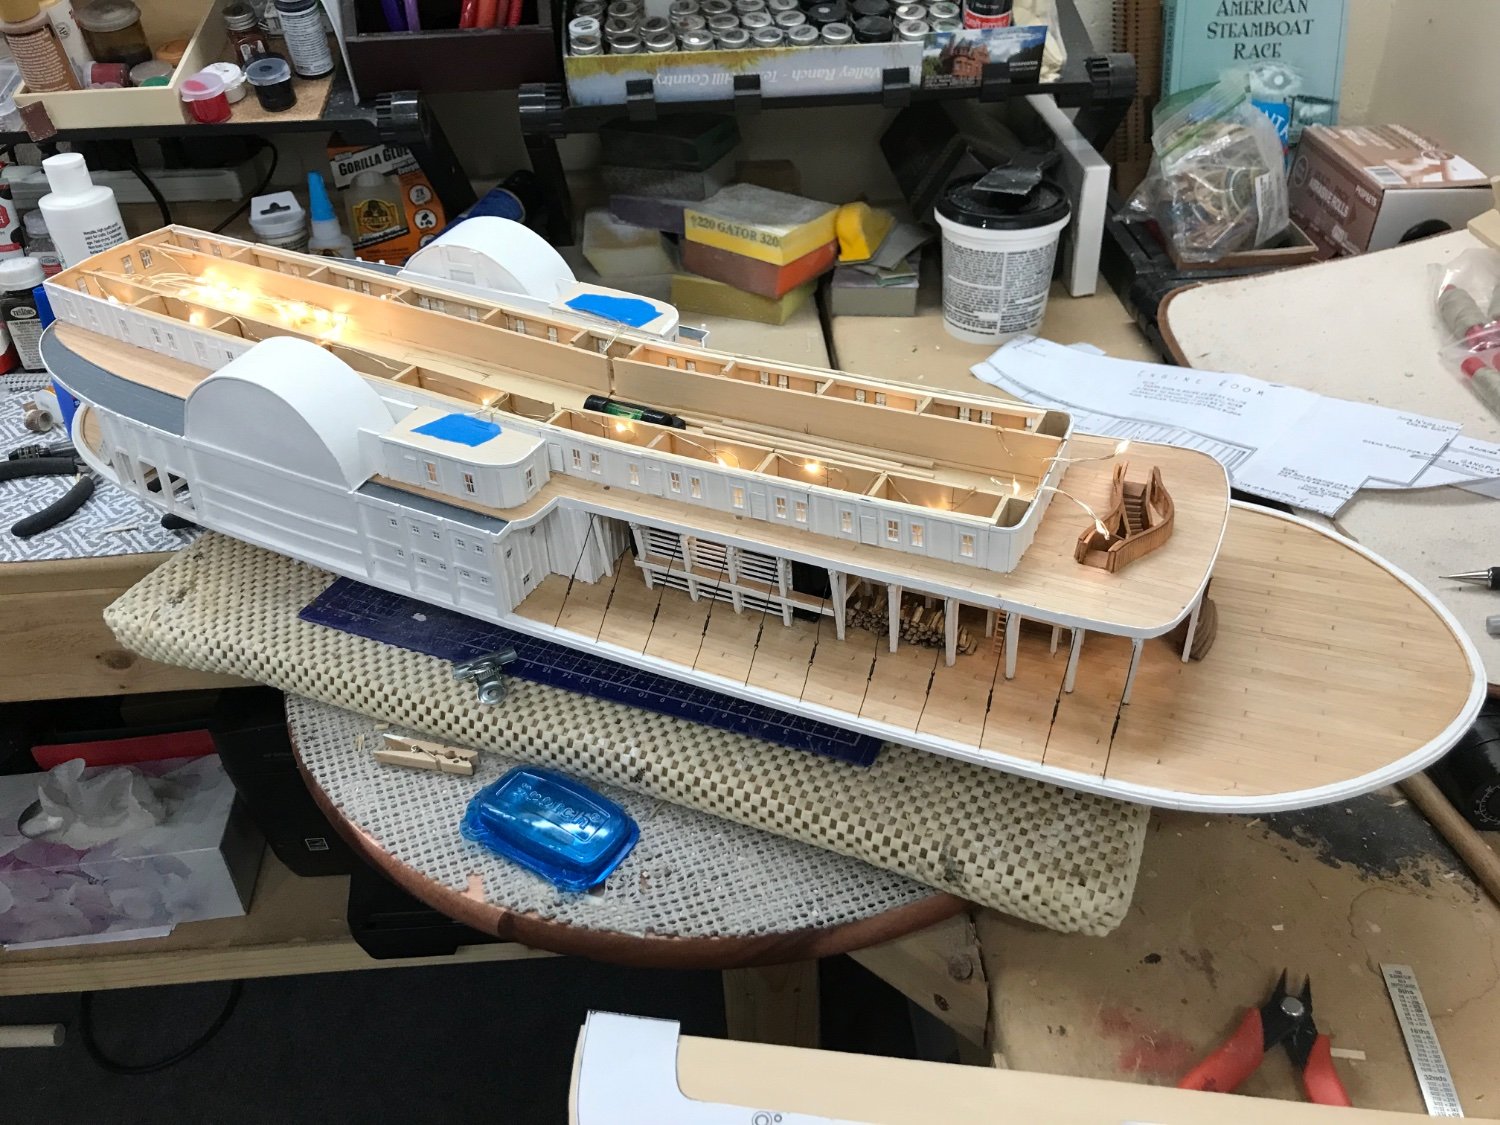
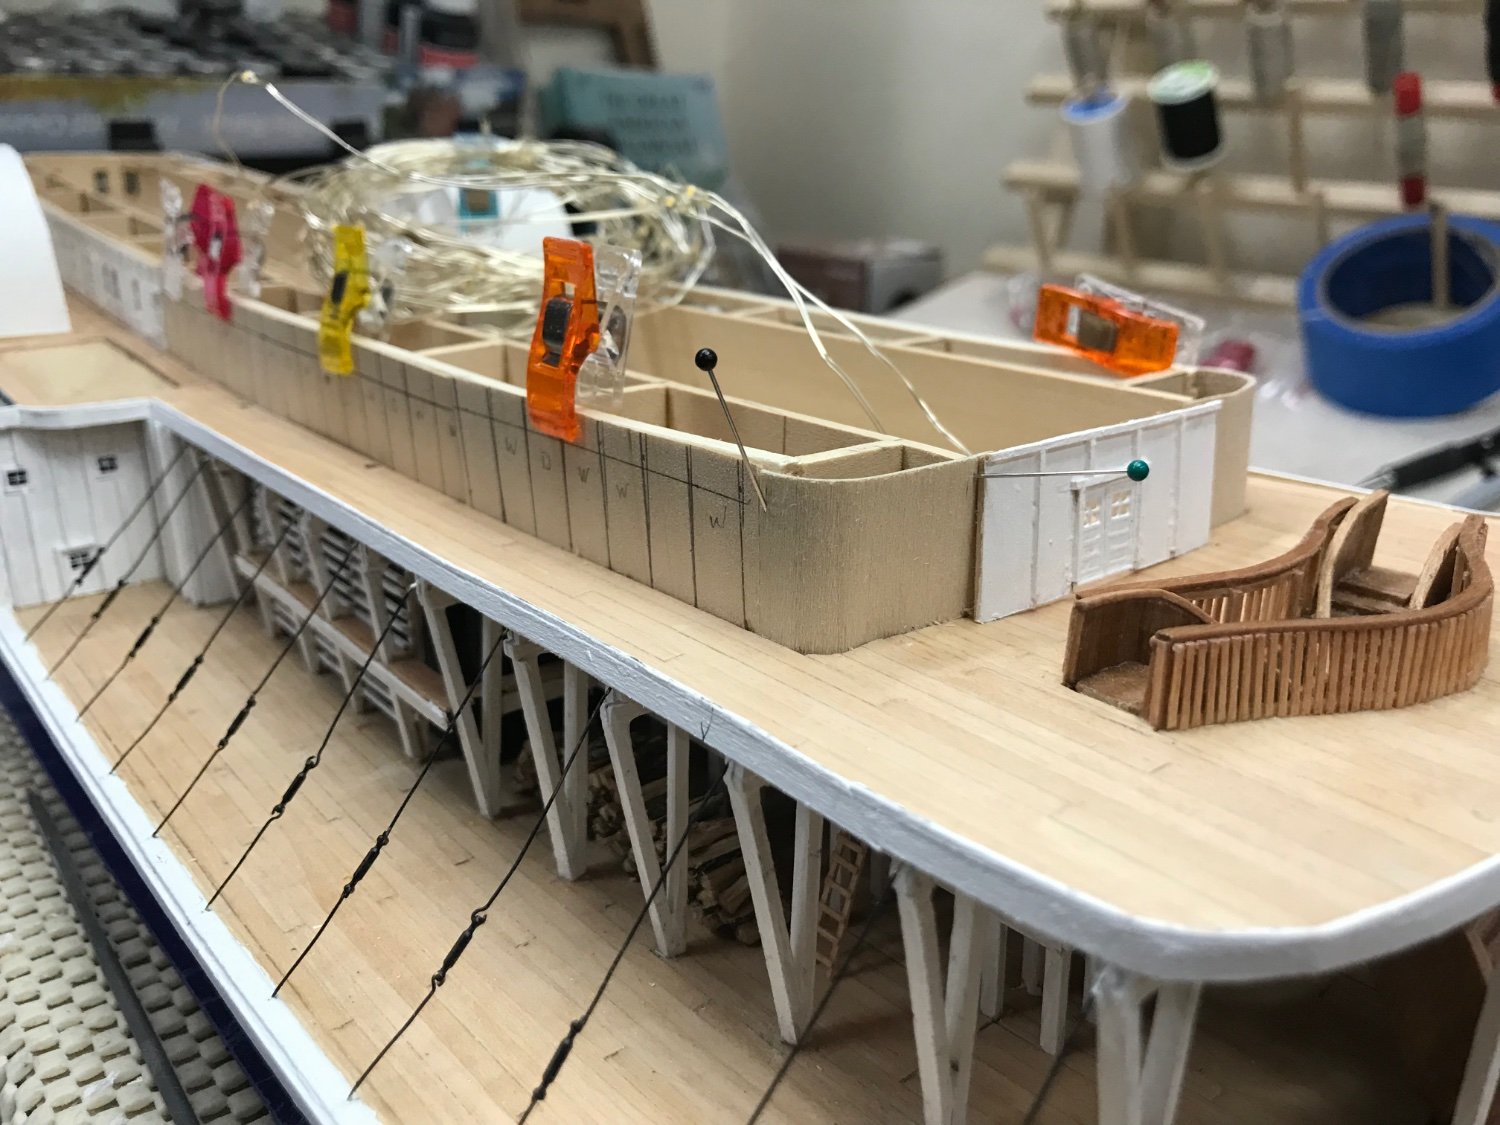
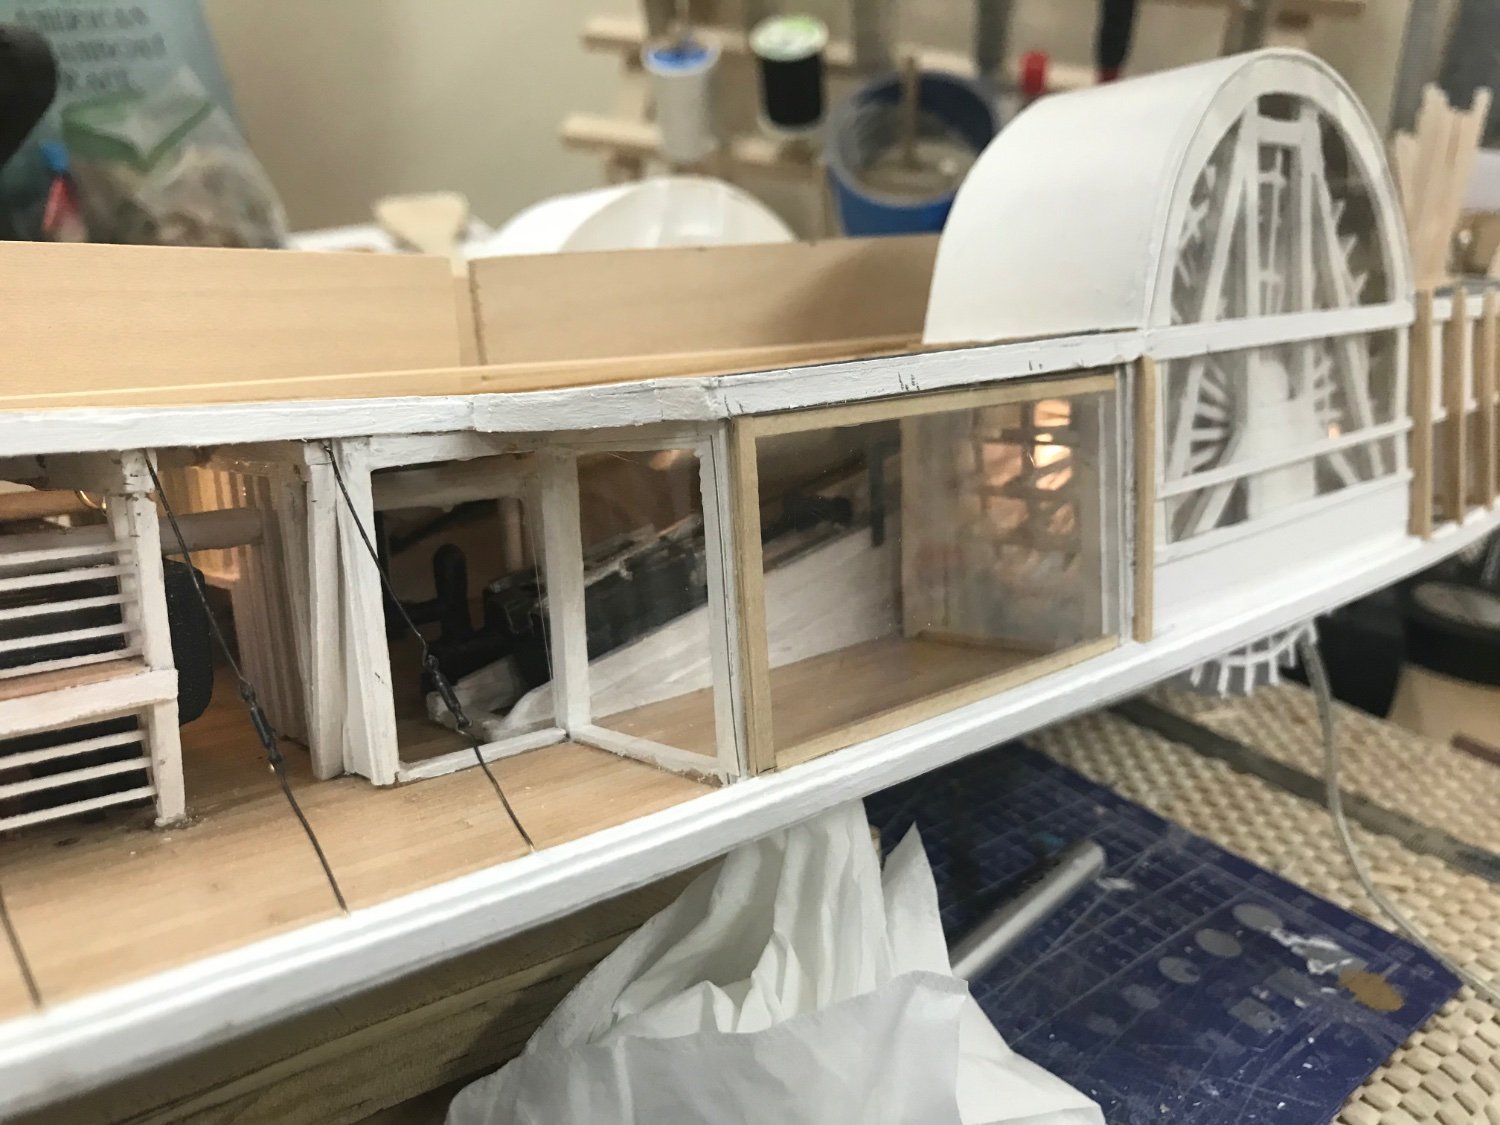
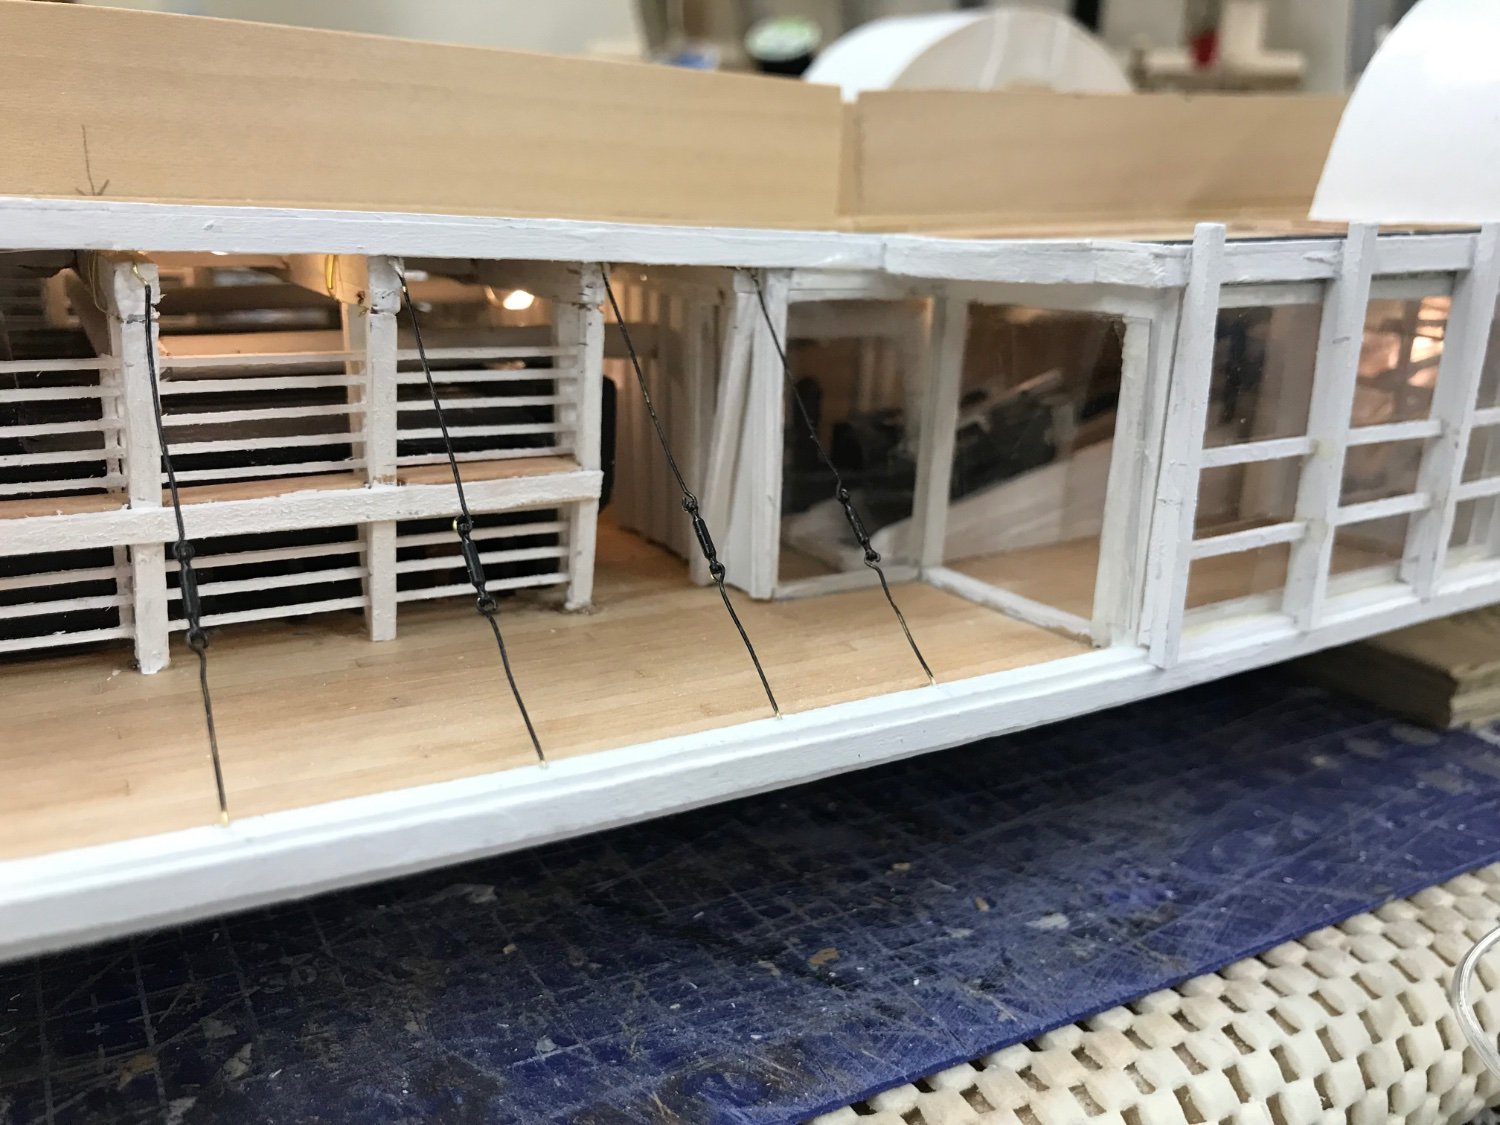
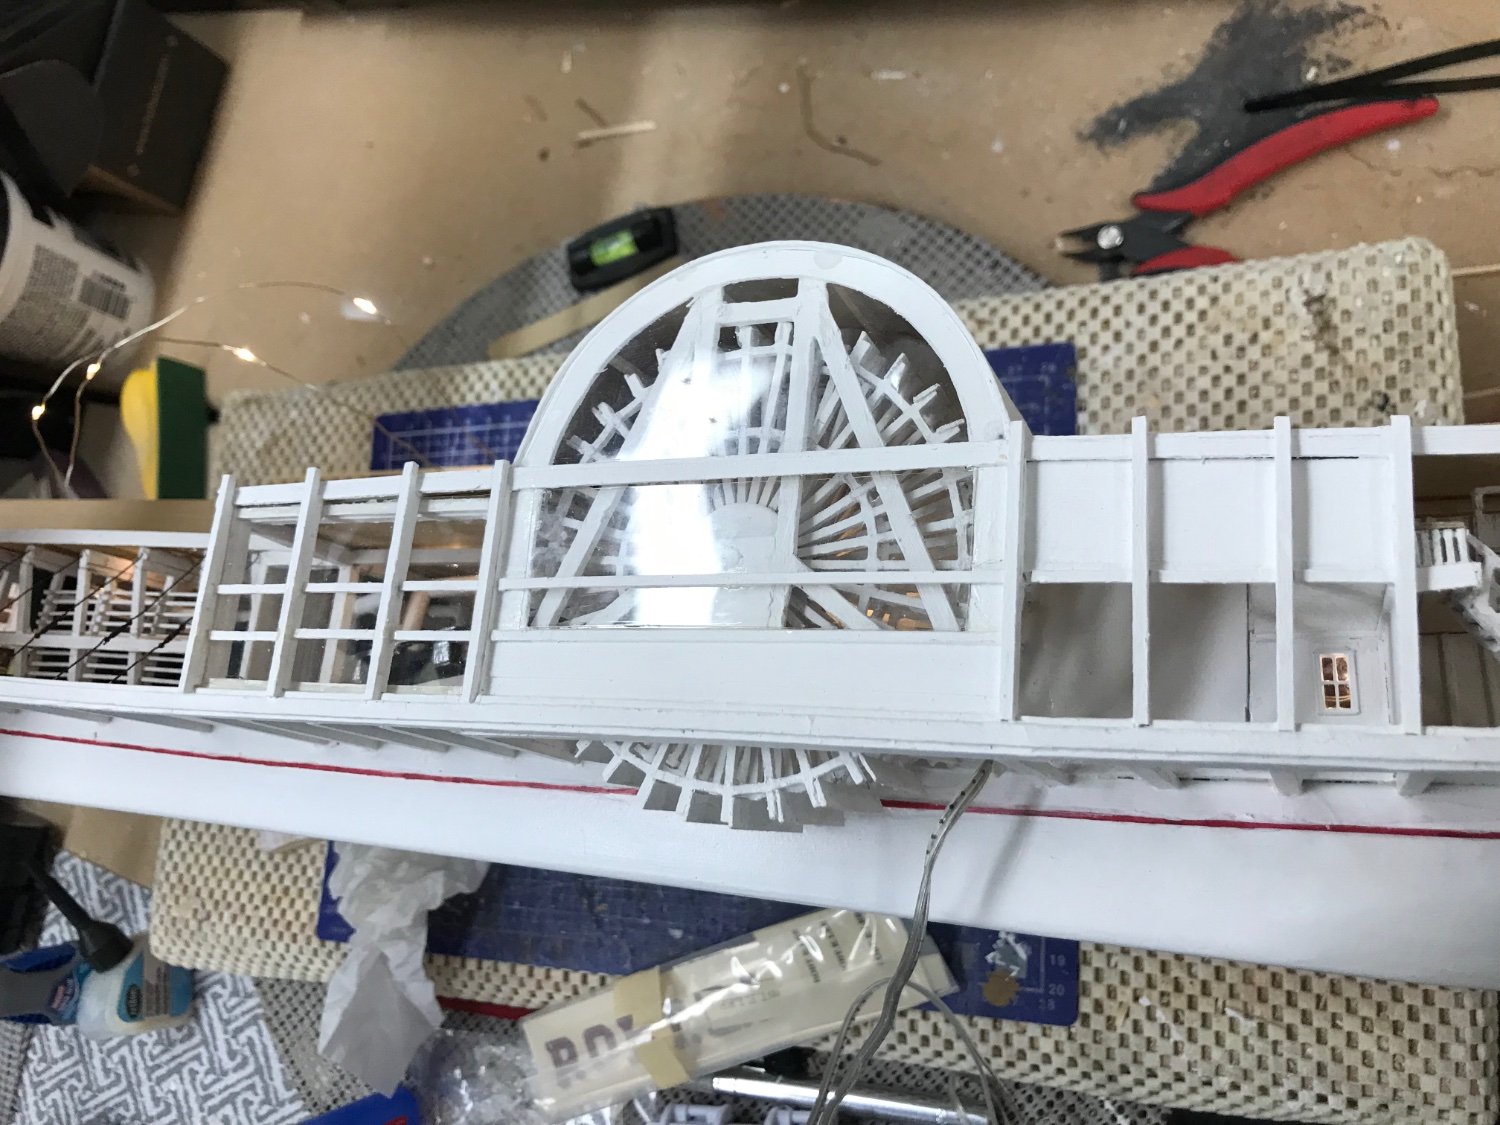
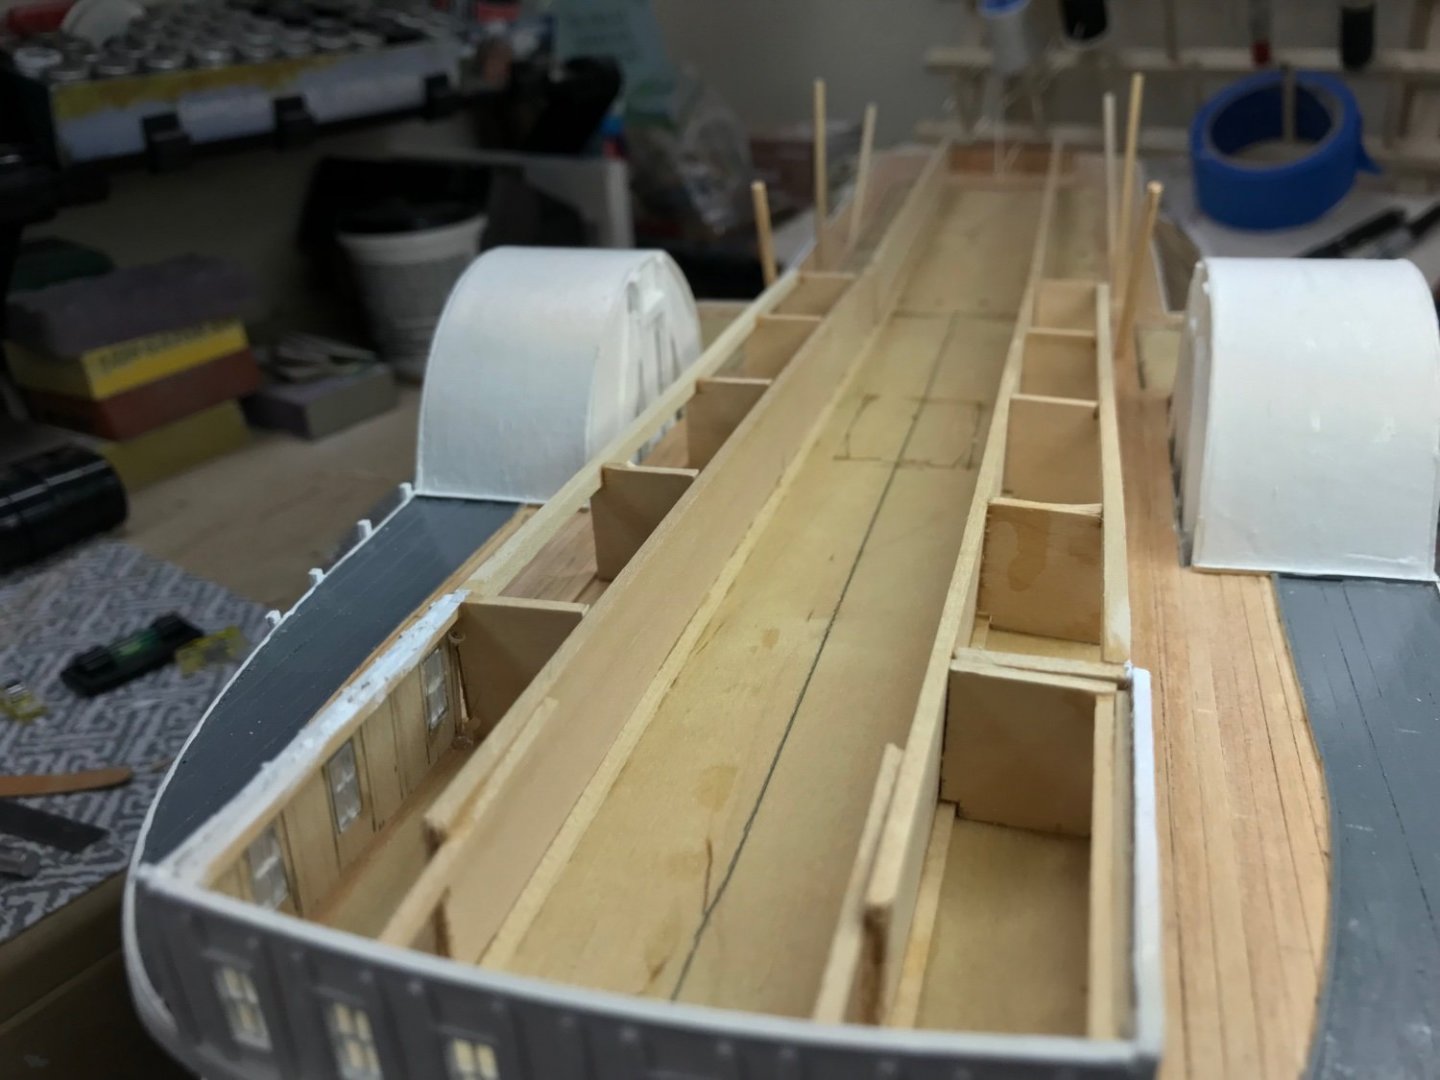
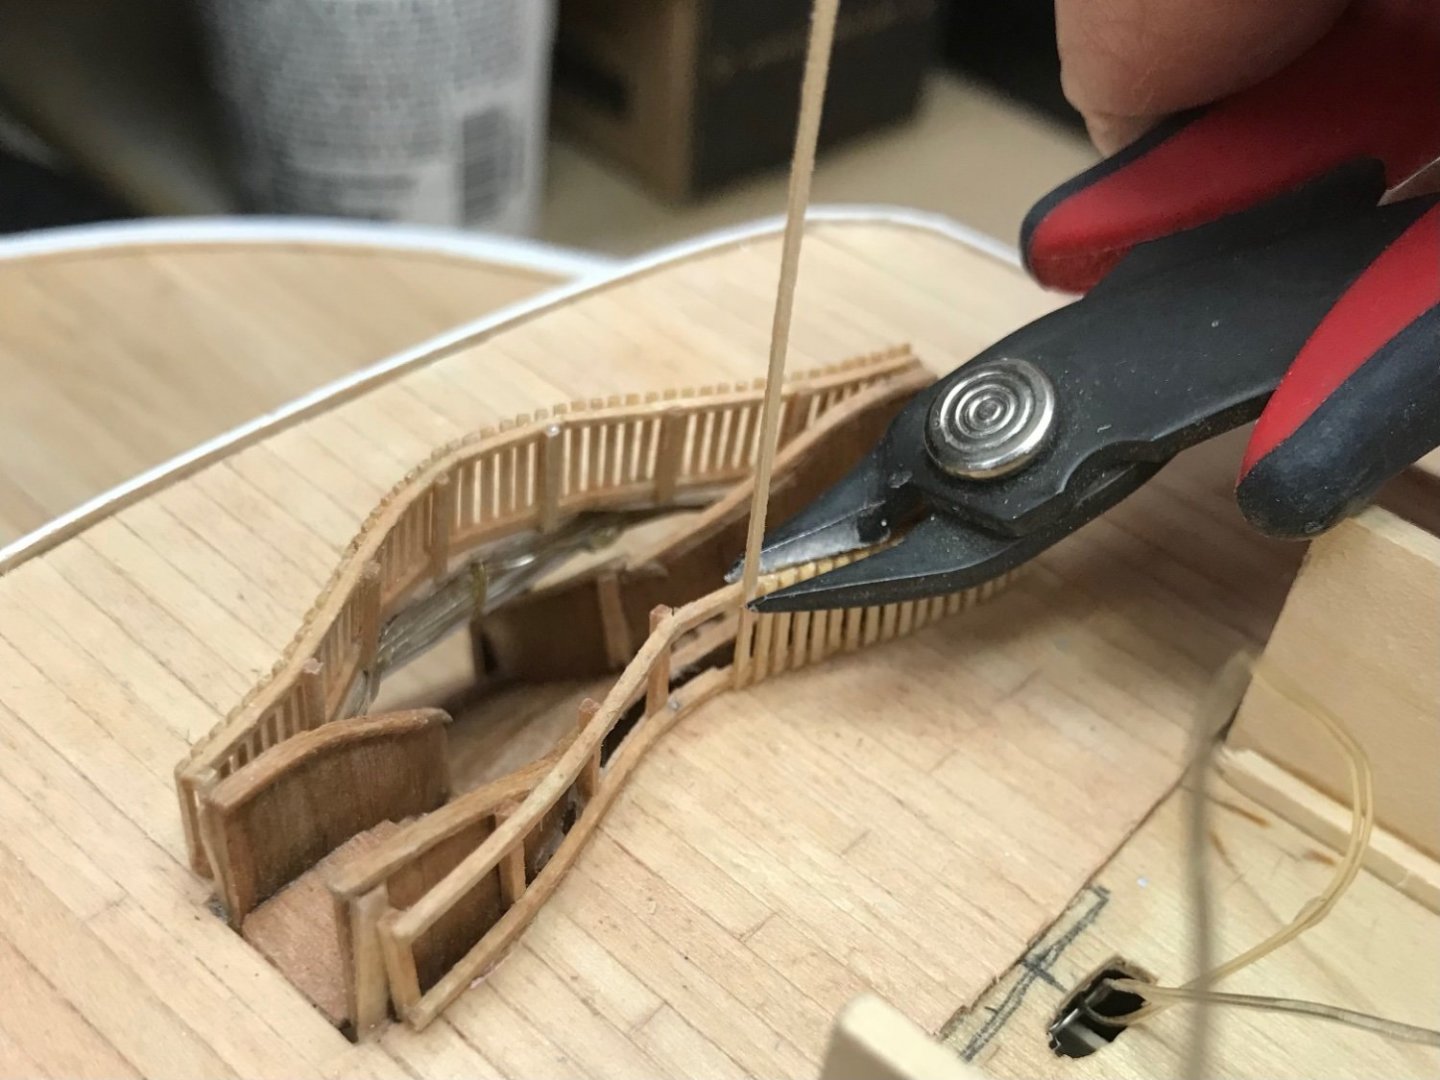
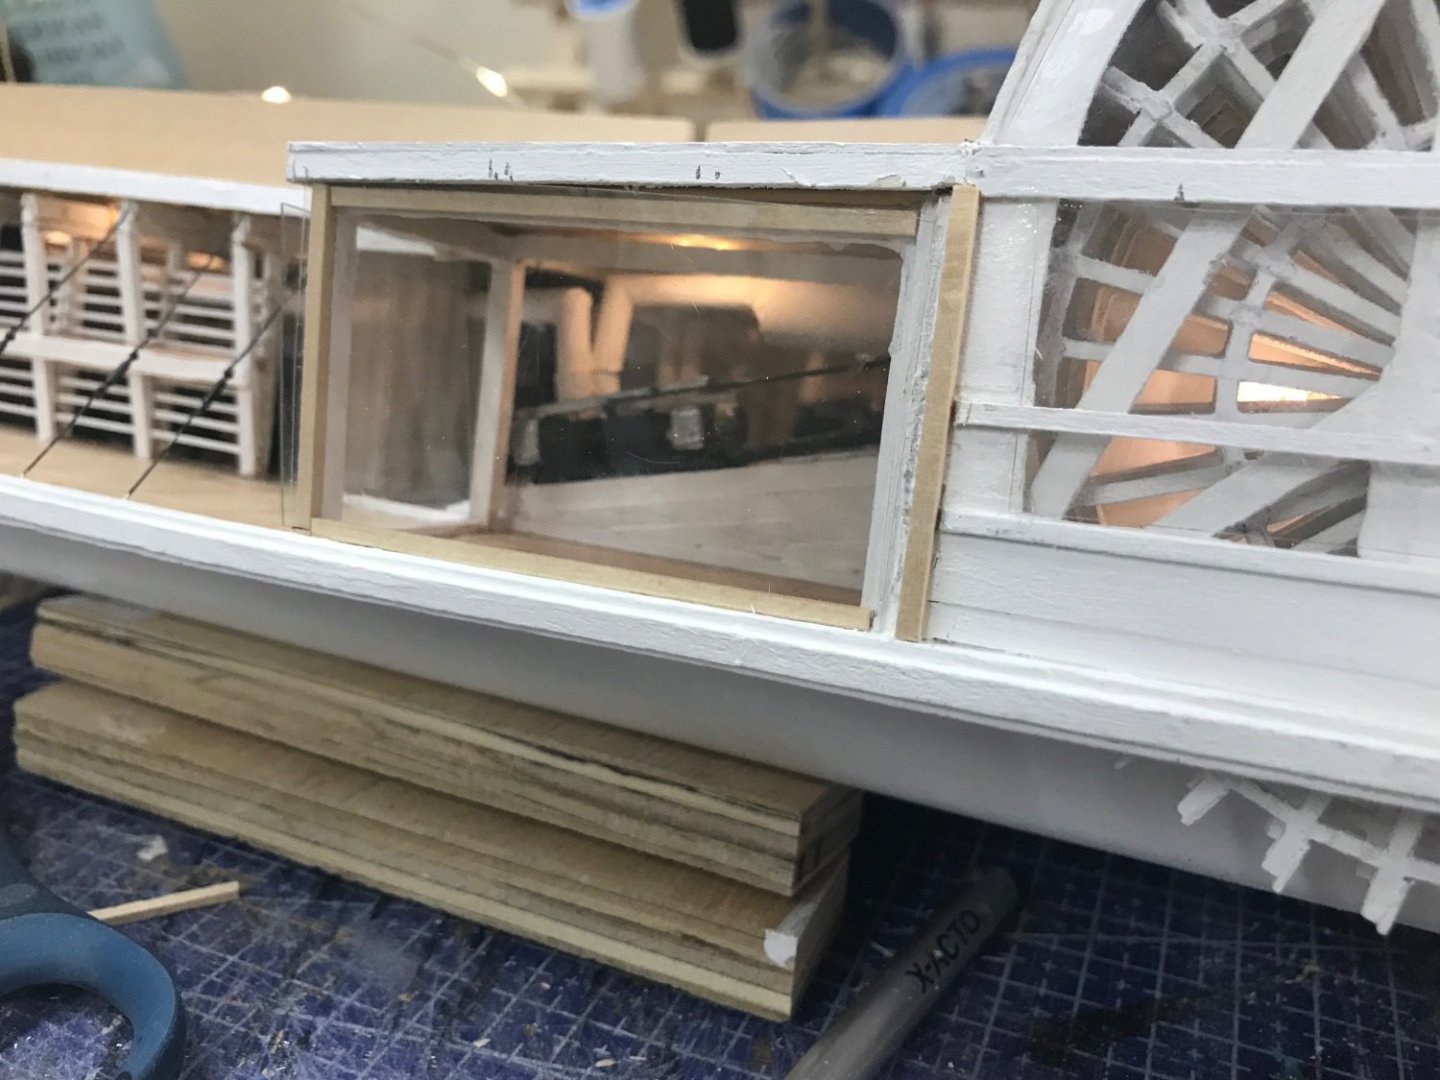
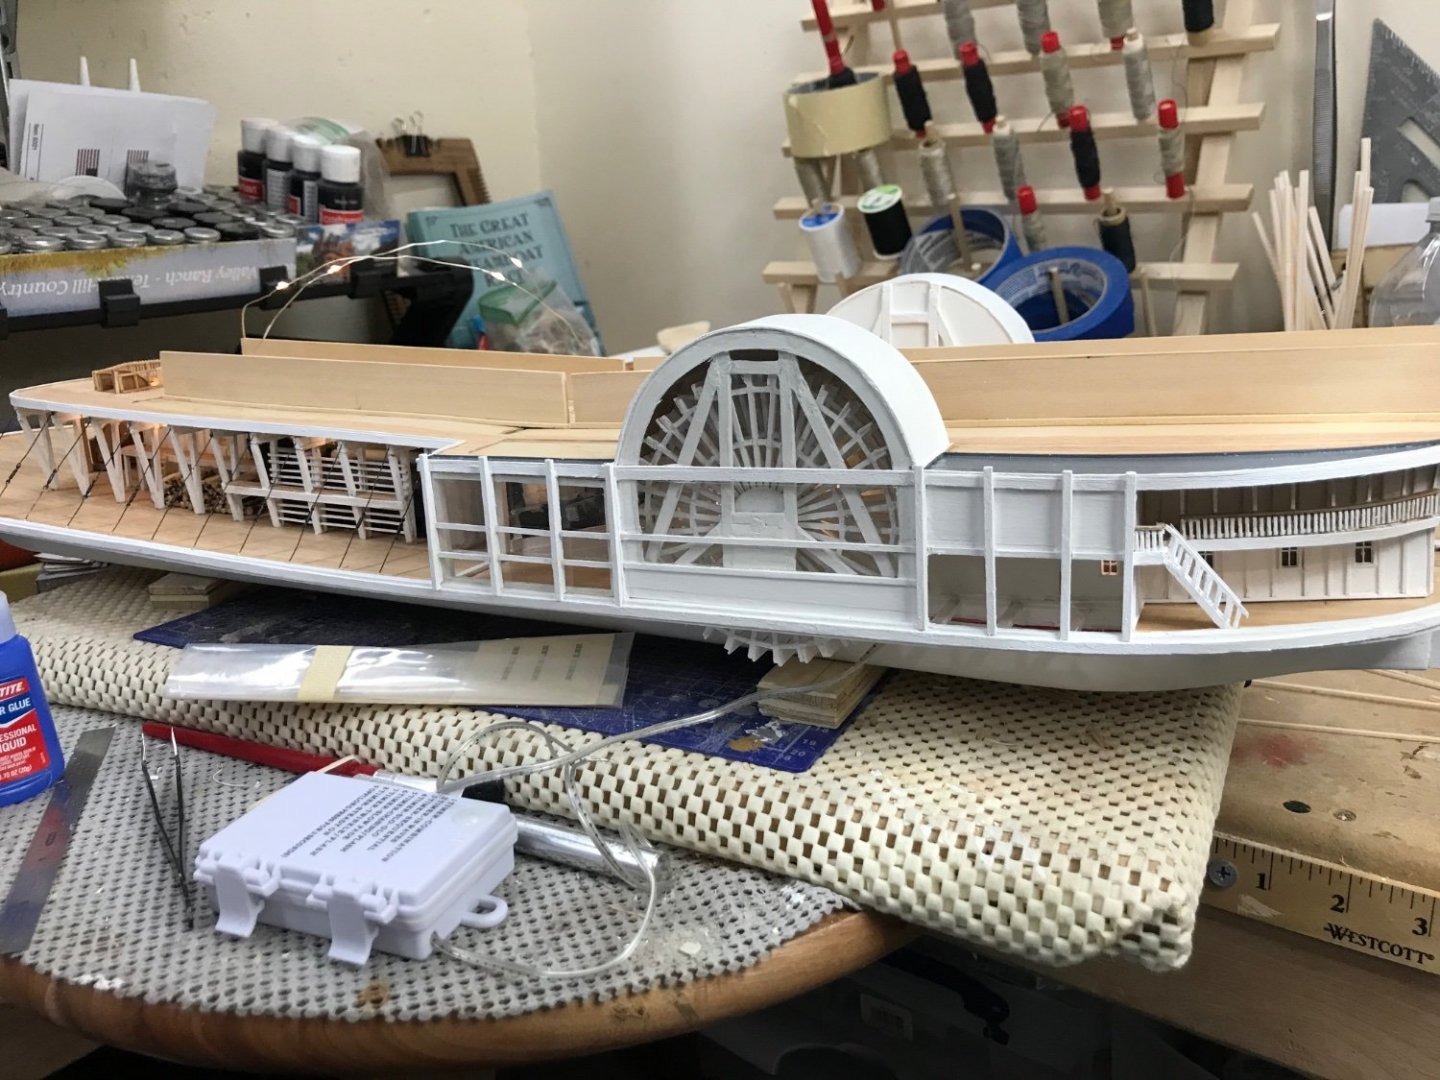
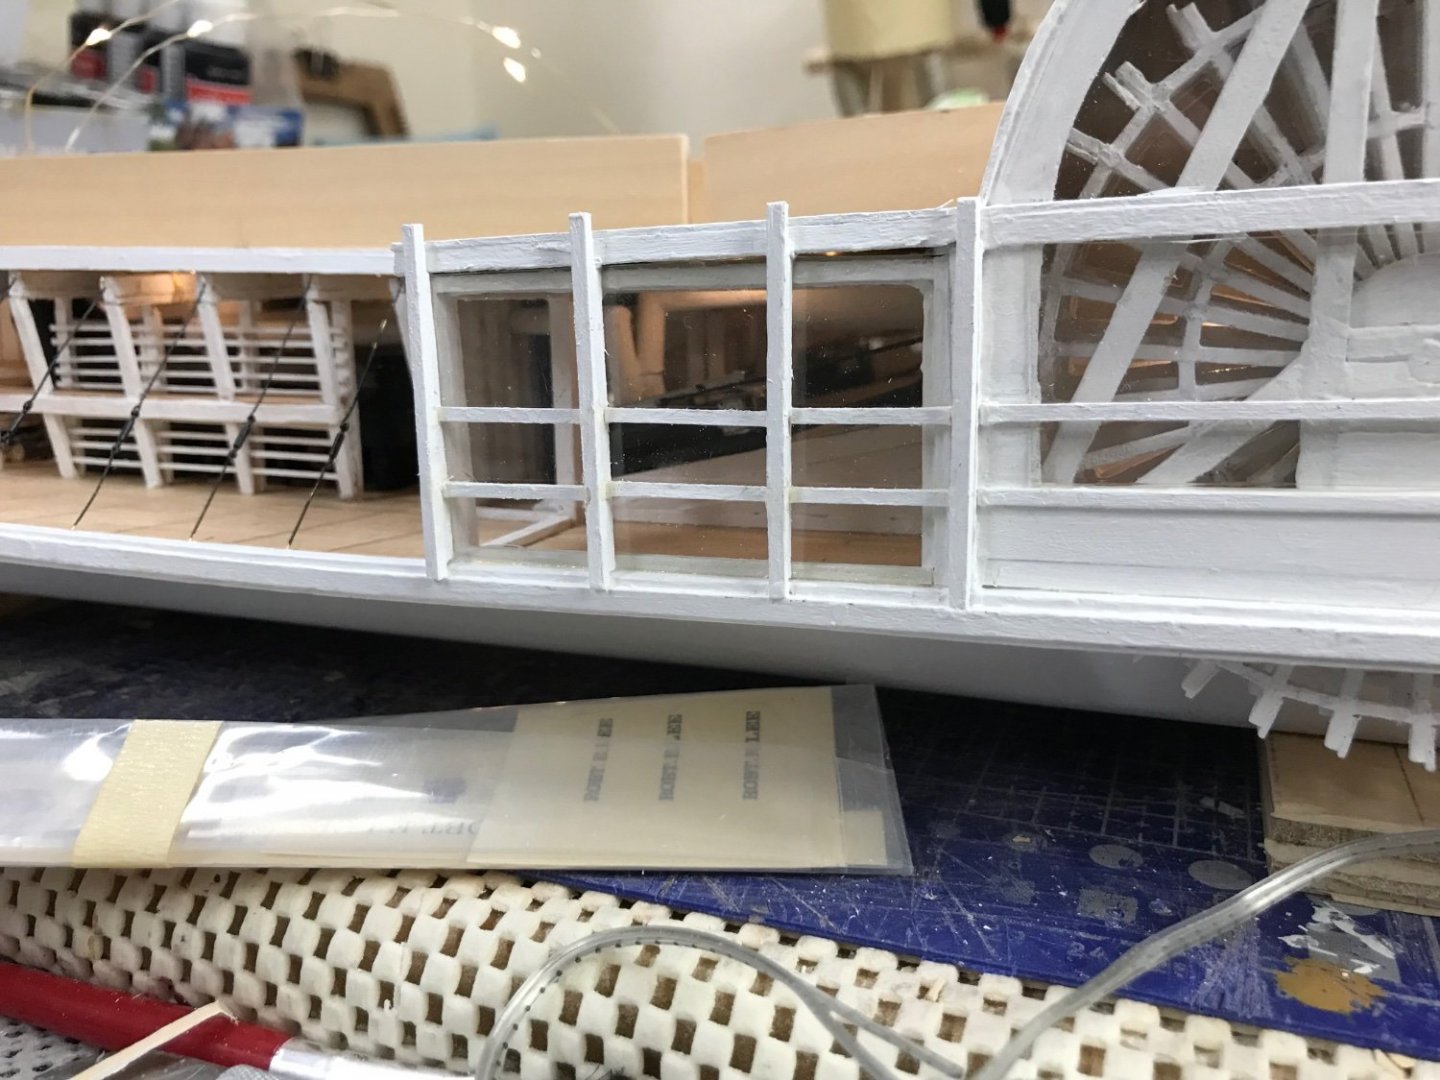
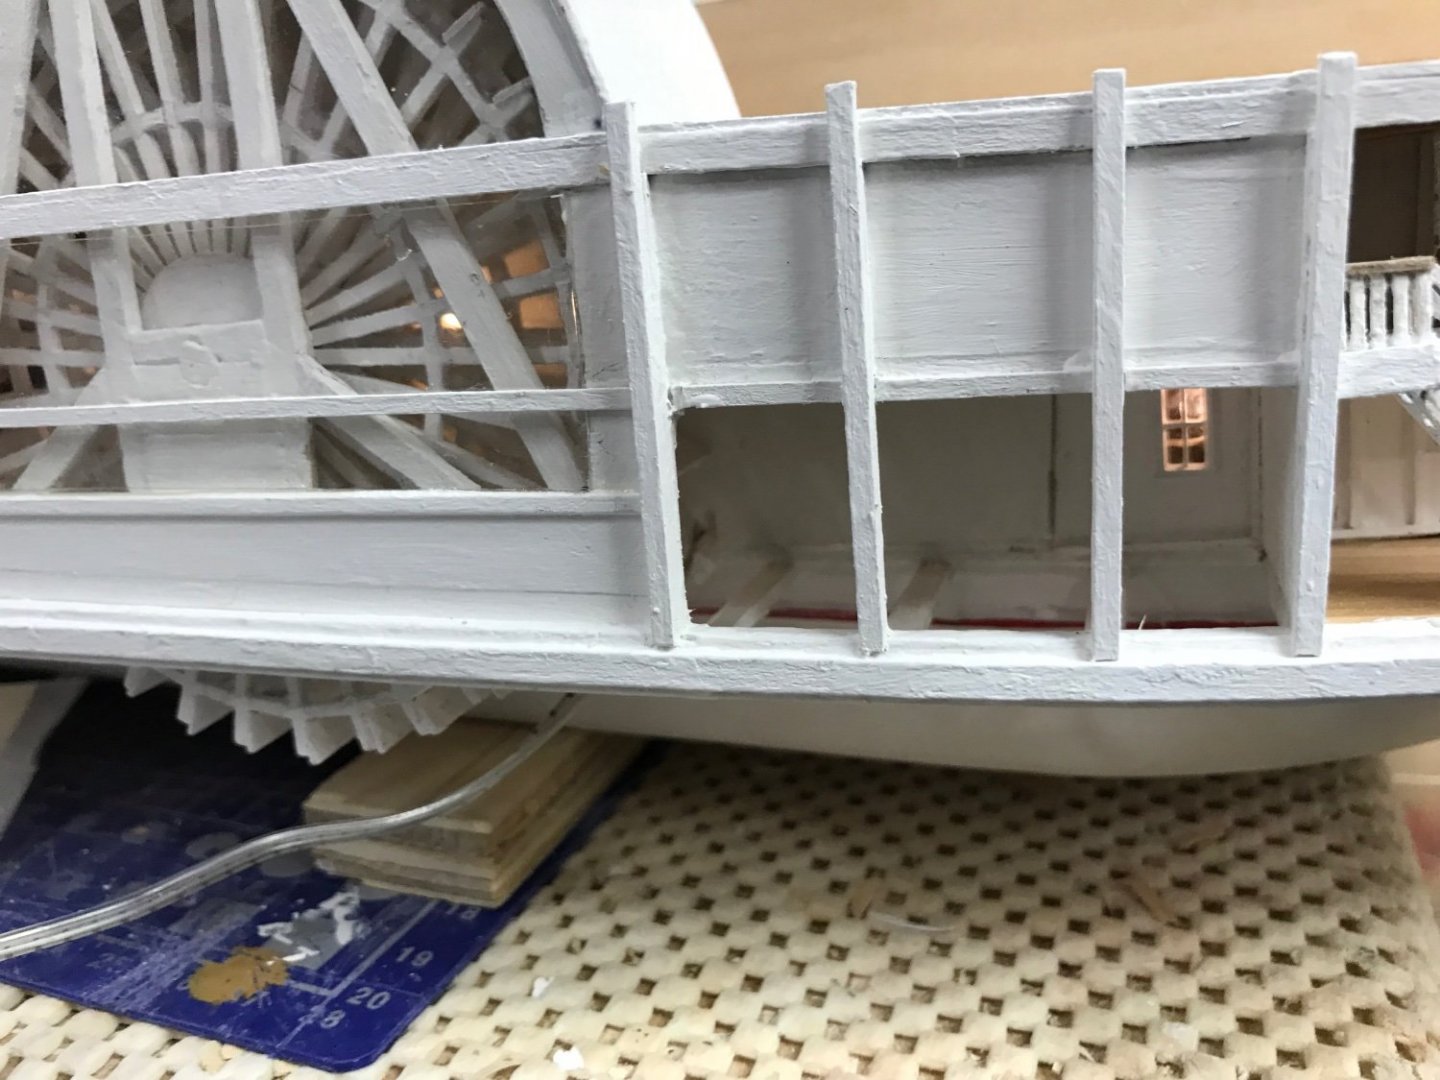
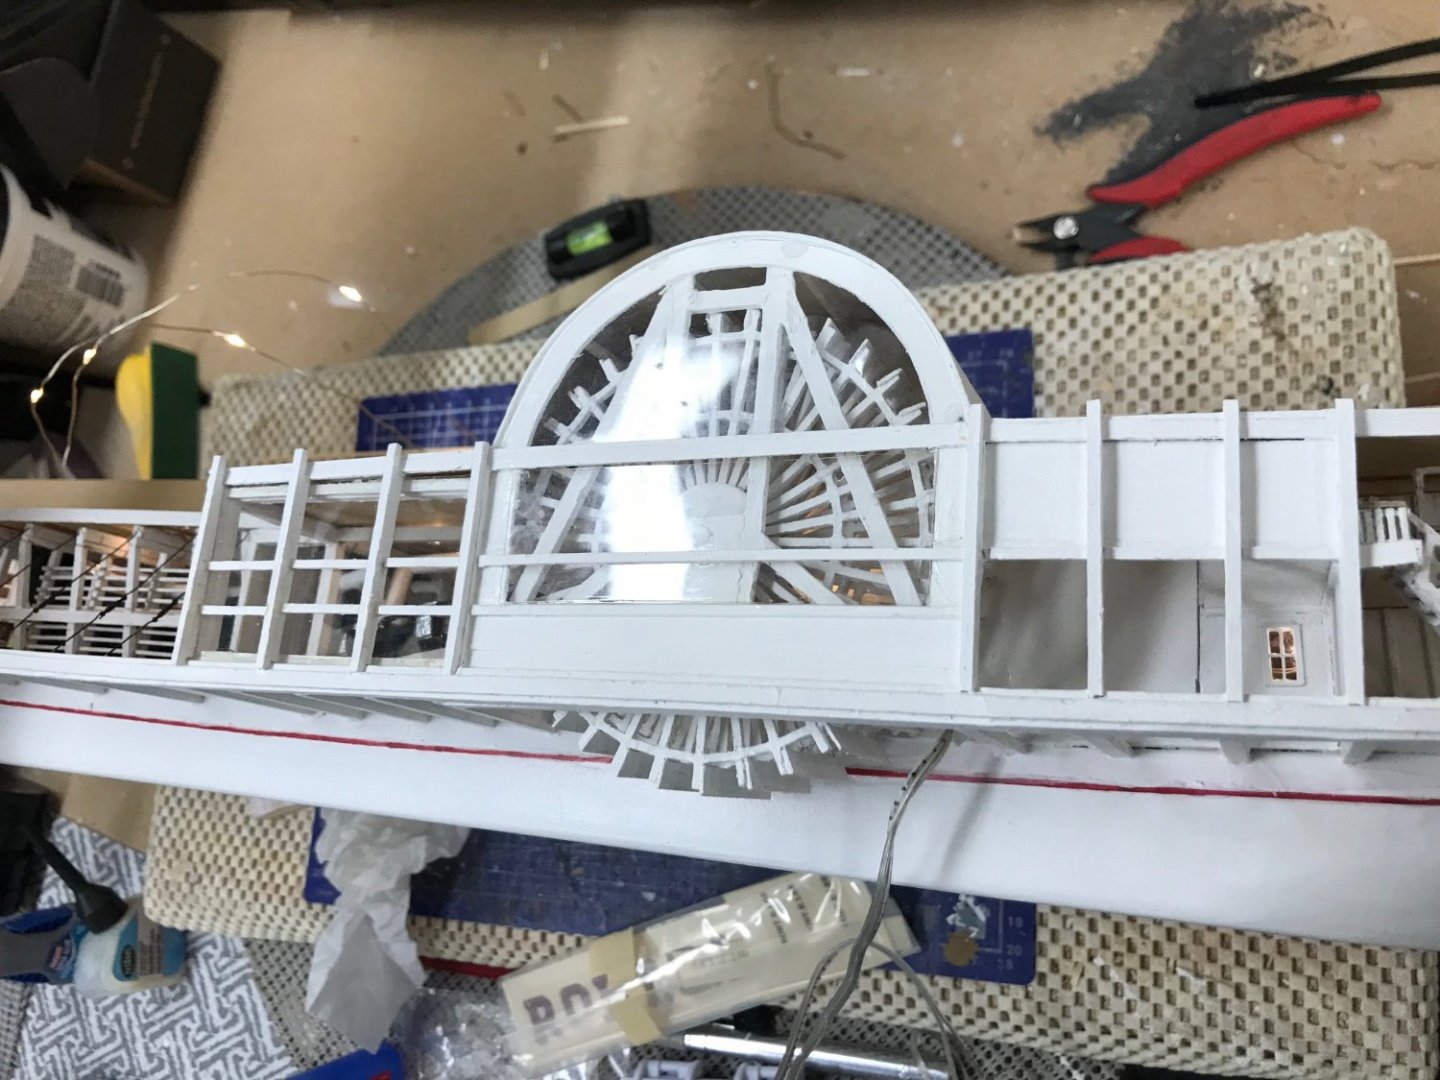
Superstructure framing (port side) As for the port side, I want to leave the Engine Room and Paddle Wheel visible. Created see thru walls with clear plastic, retrieved from the recycle bin ♻️ 😎 port side superstructure framing completed. Visible Engine Room Paddle Wheel structure visible. We will leave a light on for you. 😆


- 238 replies
-
- 5
-
-
- Robert E Lee
- steamboat
- (and 3 more)