HOLIDAY DONATION DRIVE - SUPPORT MSW - DO YOUR PART TO KEEP THIS GREAT FORUM GOING! (Only 75 donations so far out of 49,000 members - C'mon guys!)
×


Bill97
-
Posts
2,708 -
Joined
-
Last visited
Content Type
Profiles
Forums
Gallery
Events
Everything posted by Bill97
-
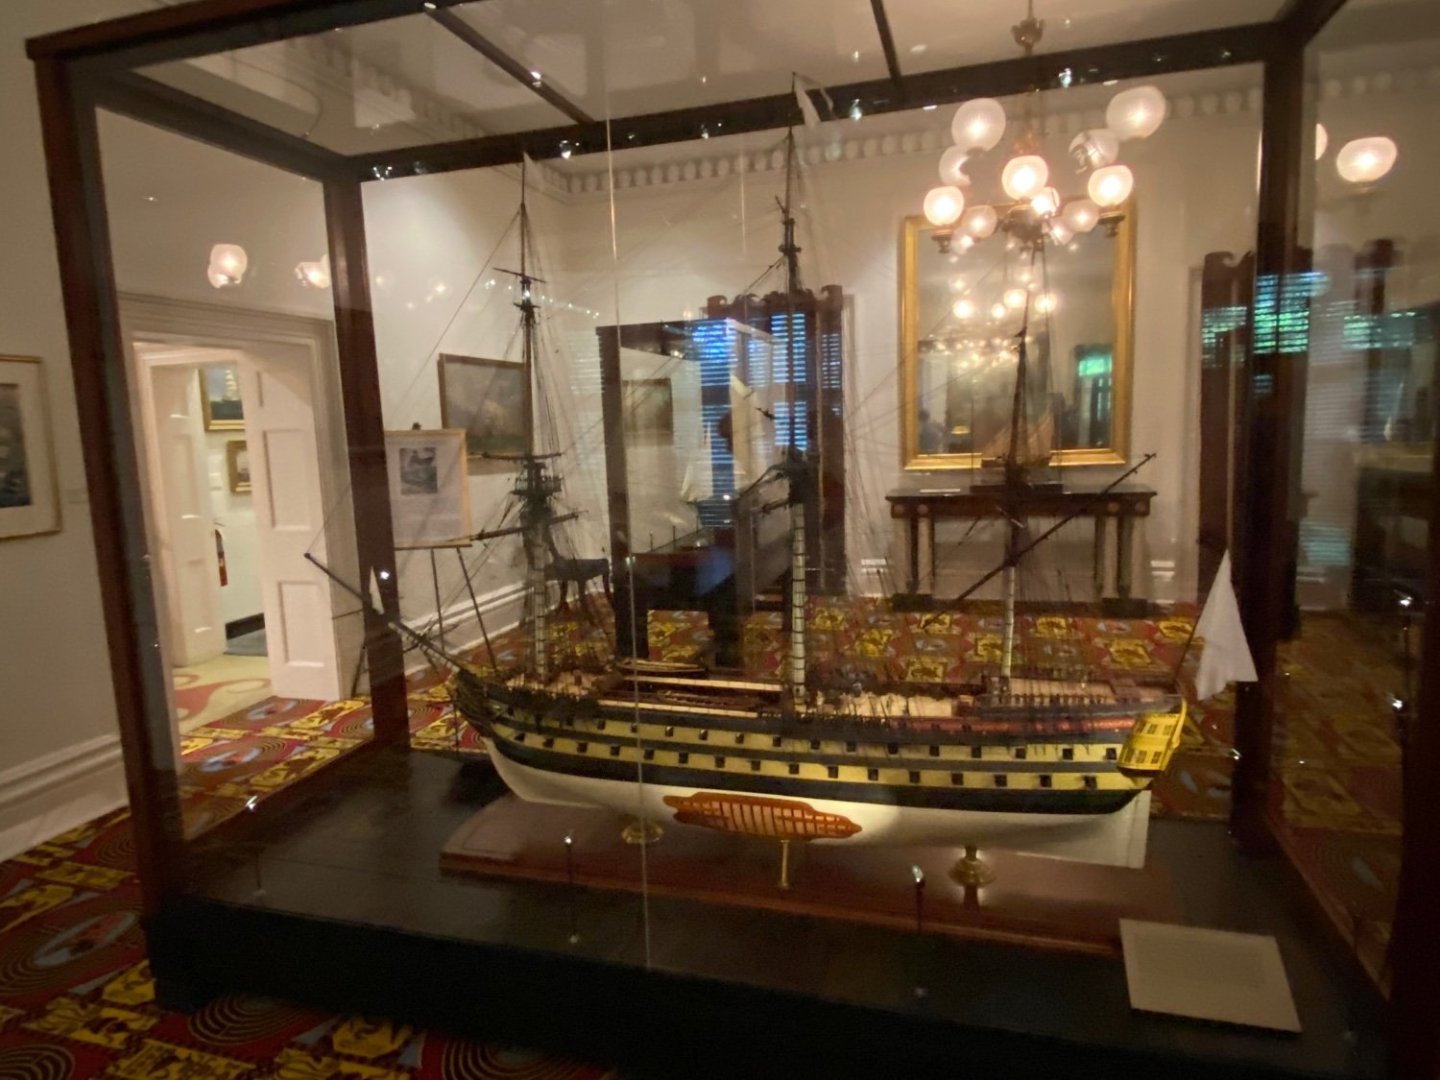
Fantastic Marc. Is this your first Paris trip?
-
I will have to say 2.5mm blocks is about as small as my old eyes and fingers can manipulate! I even had to use a micro drill bit to increase the size of the pre drilled sheave hole so I could push a needle threader through. I am just going to use this size and attempt to position the cannons to where I have a bit of space between the two blocks and have a small portion of the cannon barrel extending out if the hatch. I think this will look alright fully knowing the block scale is just a little off but still somewhat accurately depicts the working of the cannon rigging.
- 1,508 replies
-
- 5
-

-
- Le Soleil Royal
- Heller
- (and 1 more)
-
Question my friends. Would it look odd or inaccurate if I hauled in all the cannons on this deck uniform to where the end of the barrel just protruded out the hatch. All the cannons on the lower decks are hauled all the way out. Would all of the cannons on all the decks been uniformly hauled? I want to haul the visible cannons I am rigging in some to give more distance between the blocks. I will need to break loose and haul-in all the cannons I already have glued. Or if they are going to be particularly hauled in should they be all the way hauled in.?
-
Plastic or Wood models? Your Favorite?
Bill97 replied to Bill97's topic in Modeling tools and Workshop Equipment
Thanks Rob. Your comment “ I always need a trigger or a point of fascination” very much reflects my inspirations as well. Hence my curiosity about a project I may not start until way into 2024. Still happily absorbed by my Heller Soleli Royal. -
Plastic or Wood models? Your Favorite?
Bill97 replied to Bill97's topic in Modeling tools and Workshop Equipment
I think I have made a decision for a long time from now project (it is just my nature)!😊 I am going to build the wood model kit Endeavor. Since the kits are on the expensive end I will need to save my dimes and pennies, birthday, and Christmas gift suggestions. I see here on MSW, and my research, there are 3 predominant producers of this wood model kit. I will make a spread sheet to list the pro and cons of each in order to make my decision. For any of you with experience with any of these kits, or the company in general, I appreciate your opinion. Which would you recommend? Caldercraft-Endeavor Artesania Latina-Endeavor OcCre-Endeavor -
Plastic or Wood models? Your Favorite?
Bill97 replied to Bill97's topic in Modeling tools and Workshop Equipment
Johnny you have given me an idea after I finish my Soleil Royal in a year are so. I built, and gave in a case, both the Revell 1/96 USS Constitution and Cutty Sark. I built both of them right out of the box following the instructions. I have from time to time wished I had built them knowing what I know now. There are some fantastic builds of both here on MSW. I could just build one or the other again bashing it to a much higher skill level, using any extra parts from my current one as needed. So many options for what to do next. I will however for now devote my time and talents to the Soleil Royal. -
Plastic or Wood models? Your Favorite?
Bill97 replied to Bill97's topic in Modeling tools and Workshop Equipment
Snug Harbor I am always interested in seeing what others have done with models I have built. On your recommendation I looked in on Bruma’s Cutty Sark. That is a beautiful job. Kevin-the-Lubber also is doing a fantastic job of 3D printing a Cutty Sark. -
Plastic or Wood models? Your Favorite?
Bill97 replied to Bill97's topic in Modeling tools and Workshop Equipment
Oh no Snug Harbor, I am in no way knocking plastic models. That is what I have always worked with. I have 7 builds here on MSW that I am very proud of, including my completed Airfix Wasa. I love working with plastic models and my work area is completely set up for plastic. I only suggest the wood topic to maybe expand and open up new opportunities. -
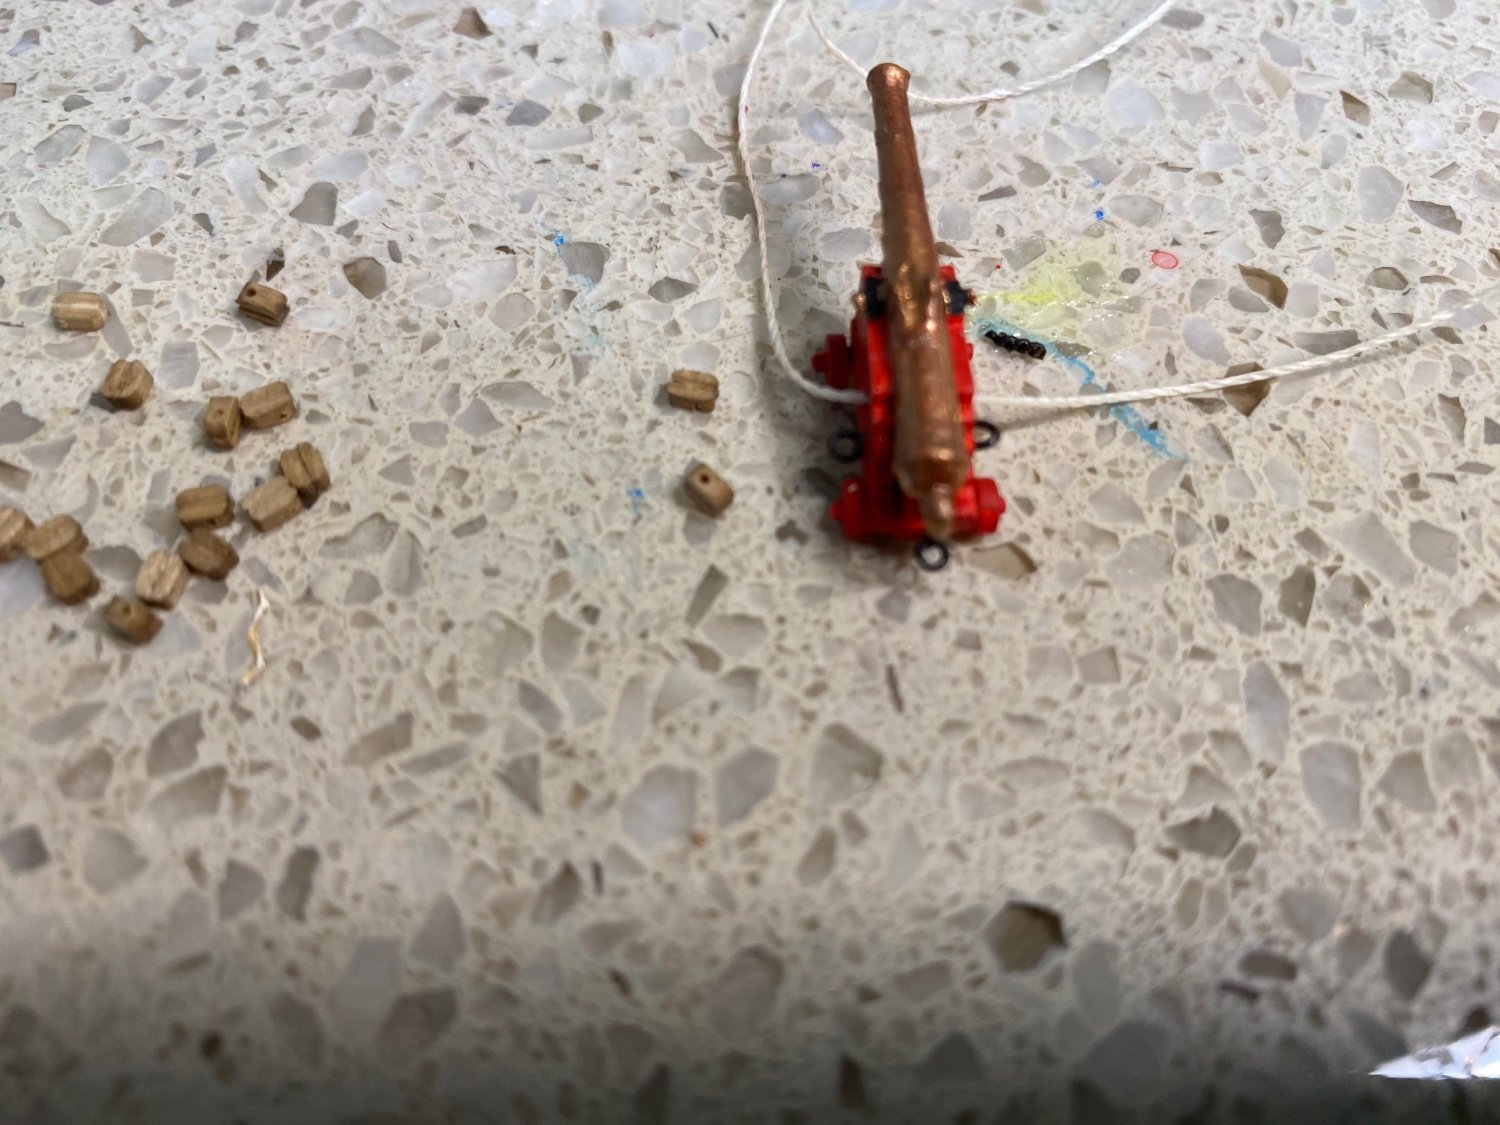
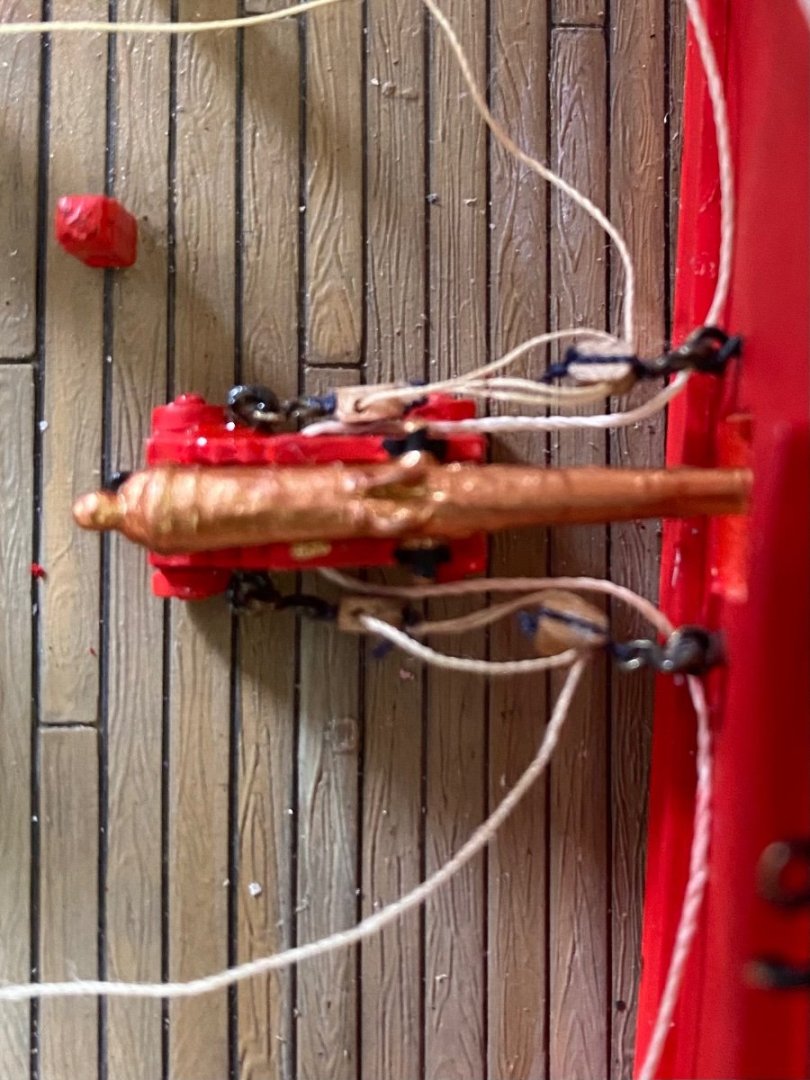
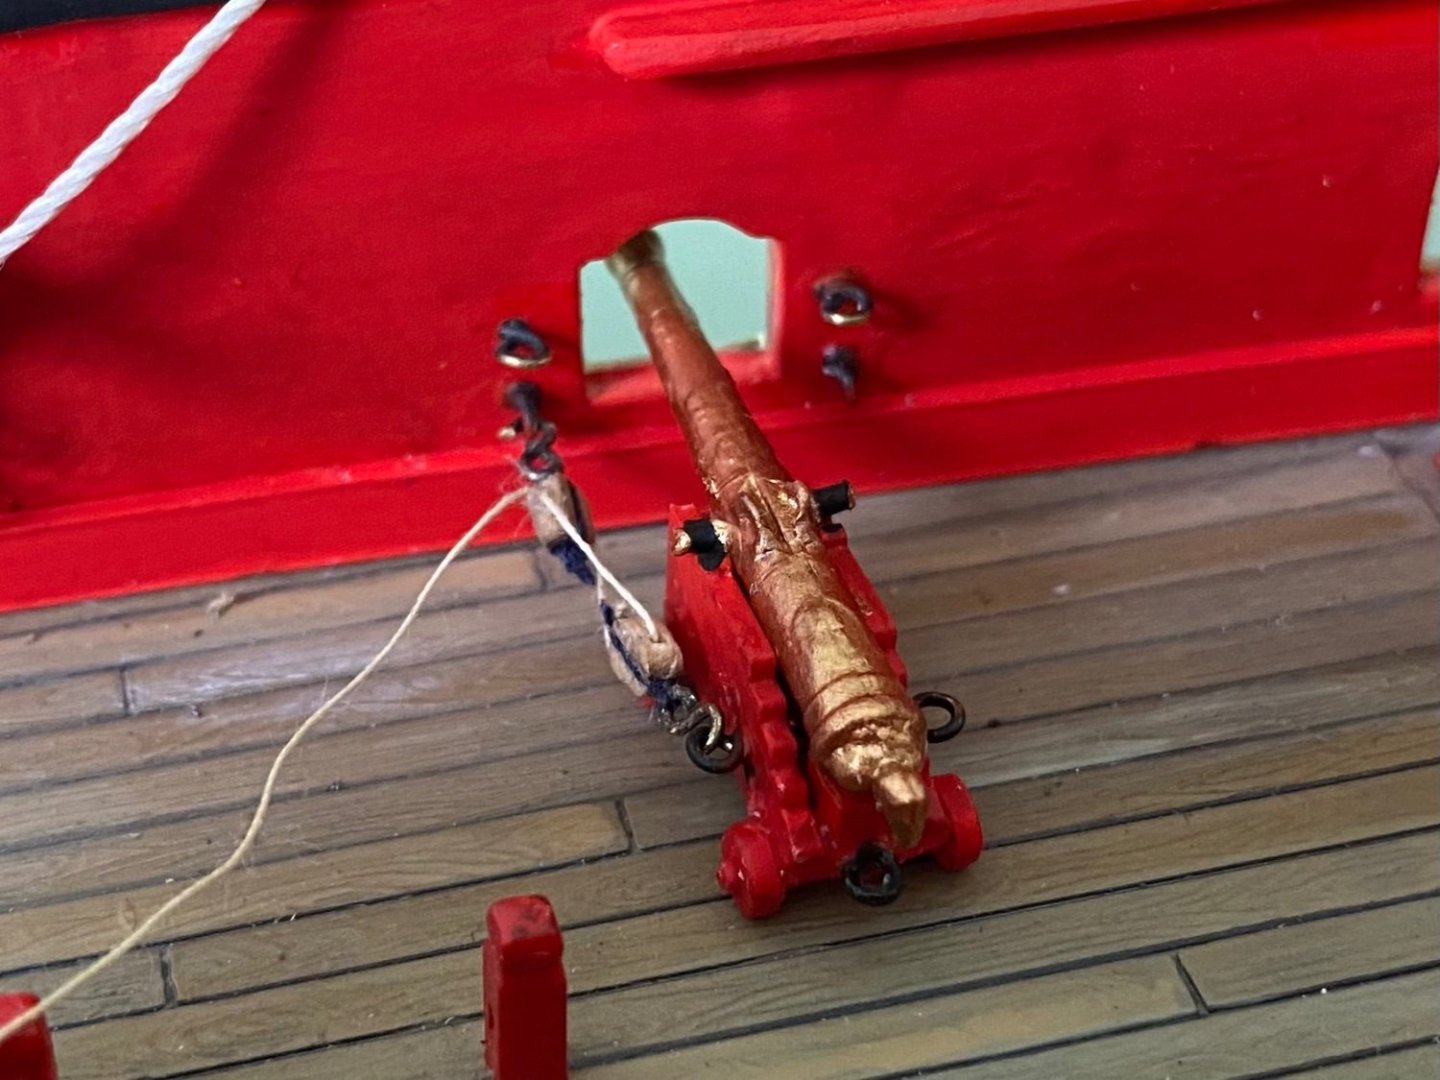
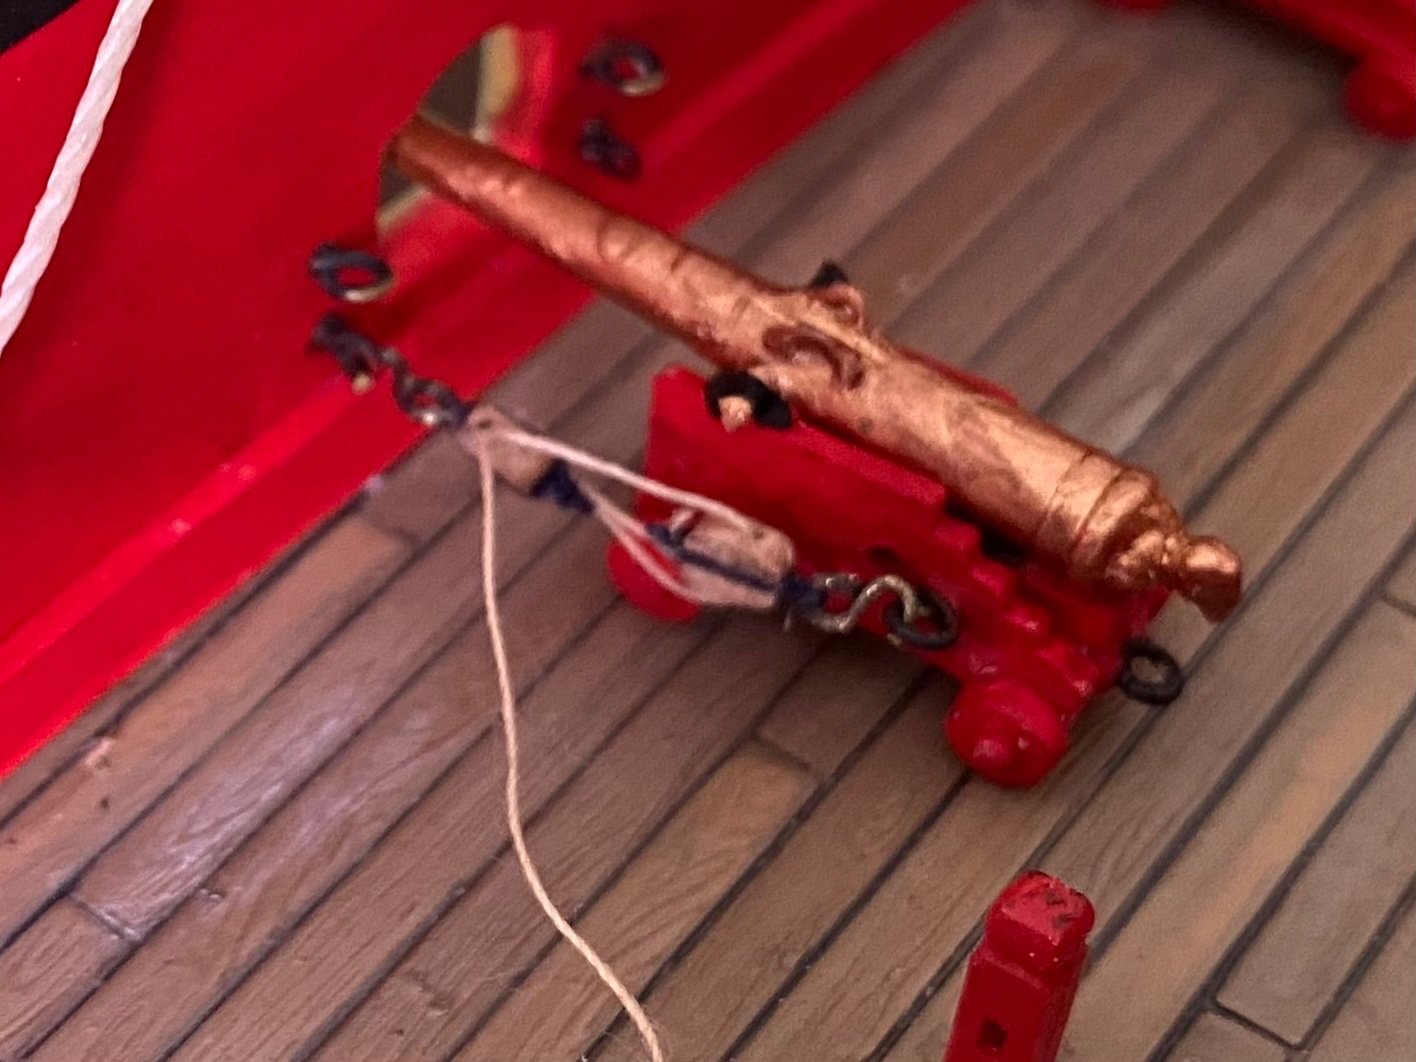
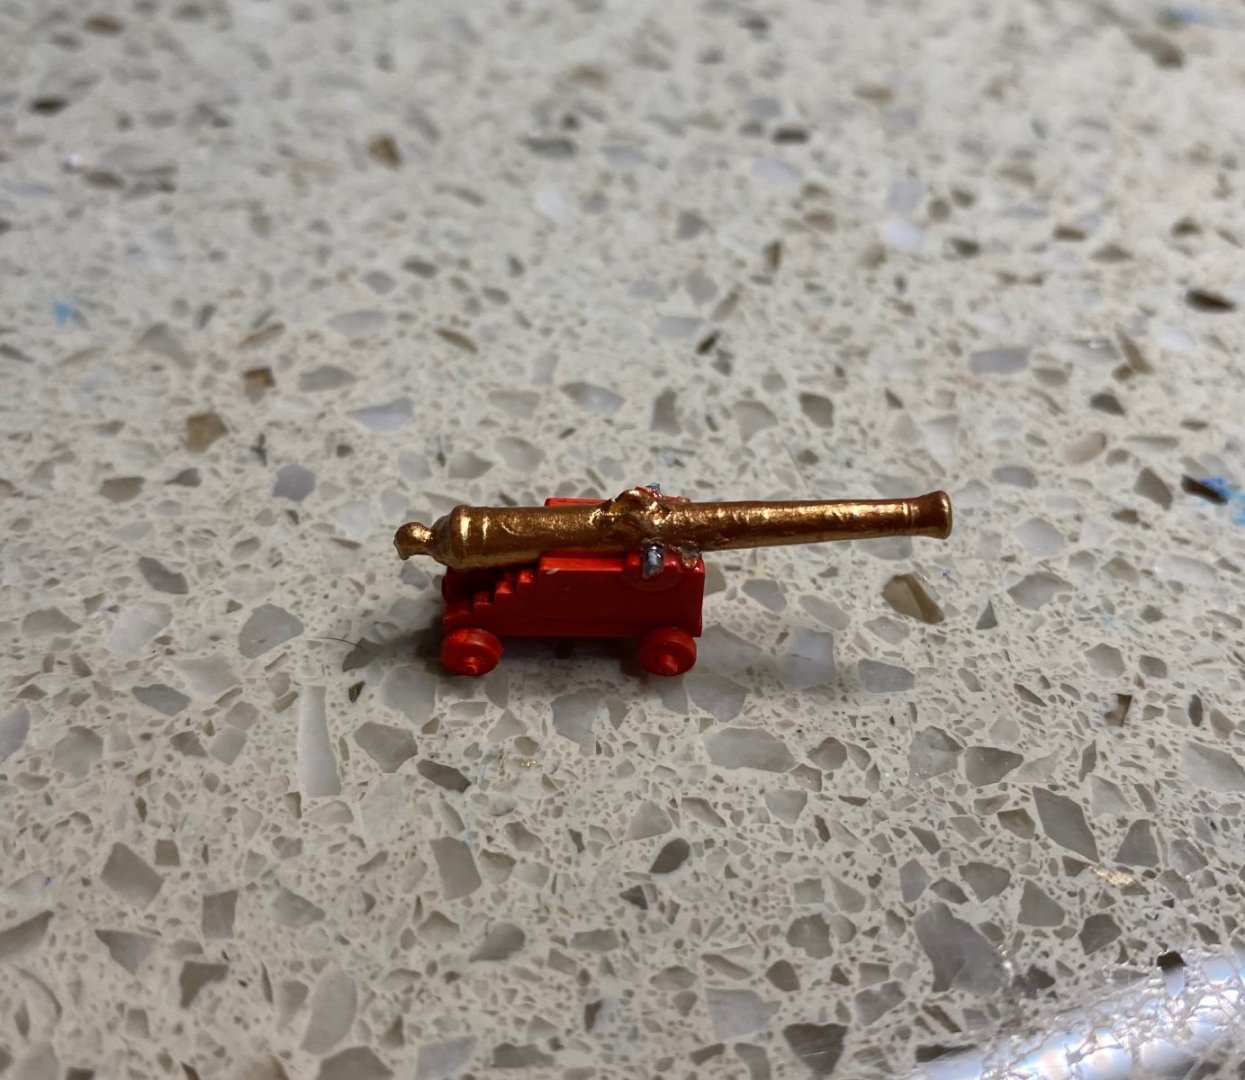
Both prototype out-haul tackles and the breeching rope. Breaching rope not seized yet. Thoughts, recommendations, opinions. This is on just one cannon until I confirm my plan.
- 1,508 replies
-
- 2
-
-
- Le Soleil Royal
- Heller
- (and 1 more)
-
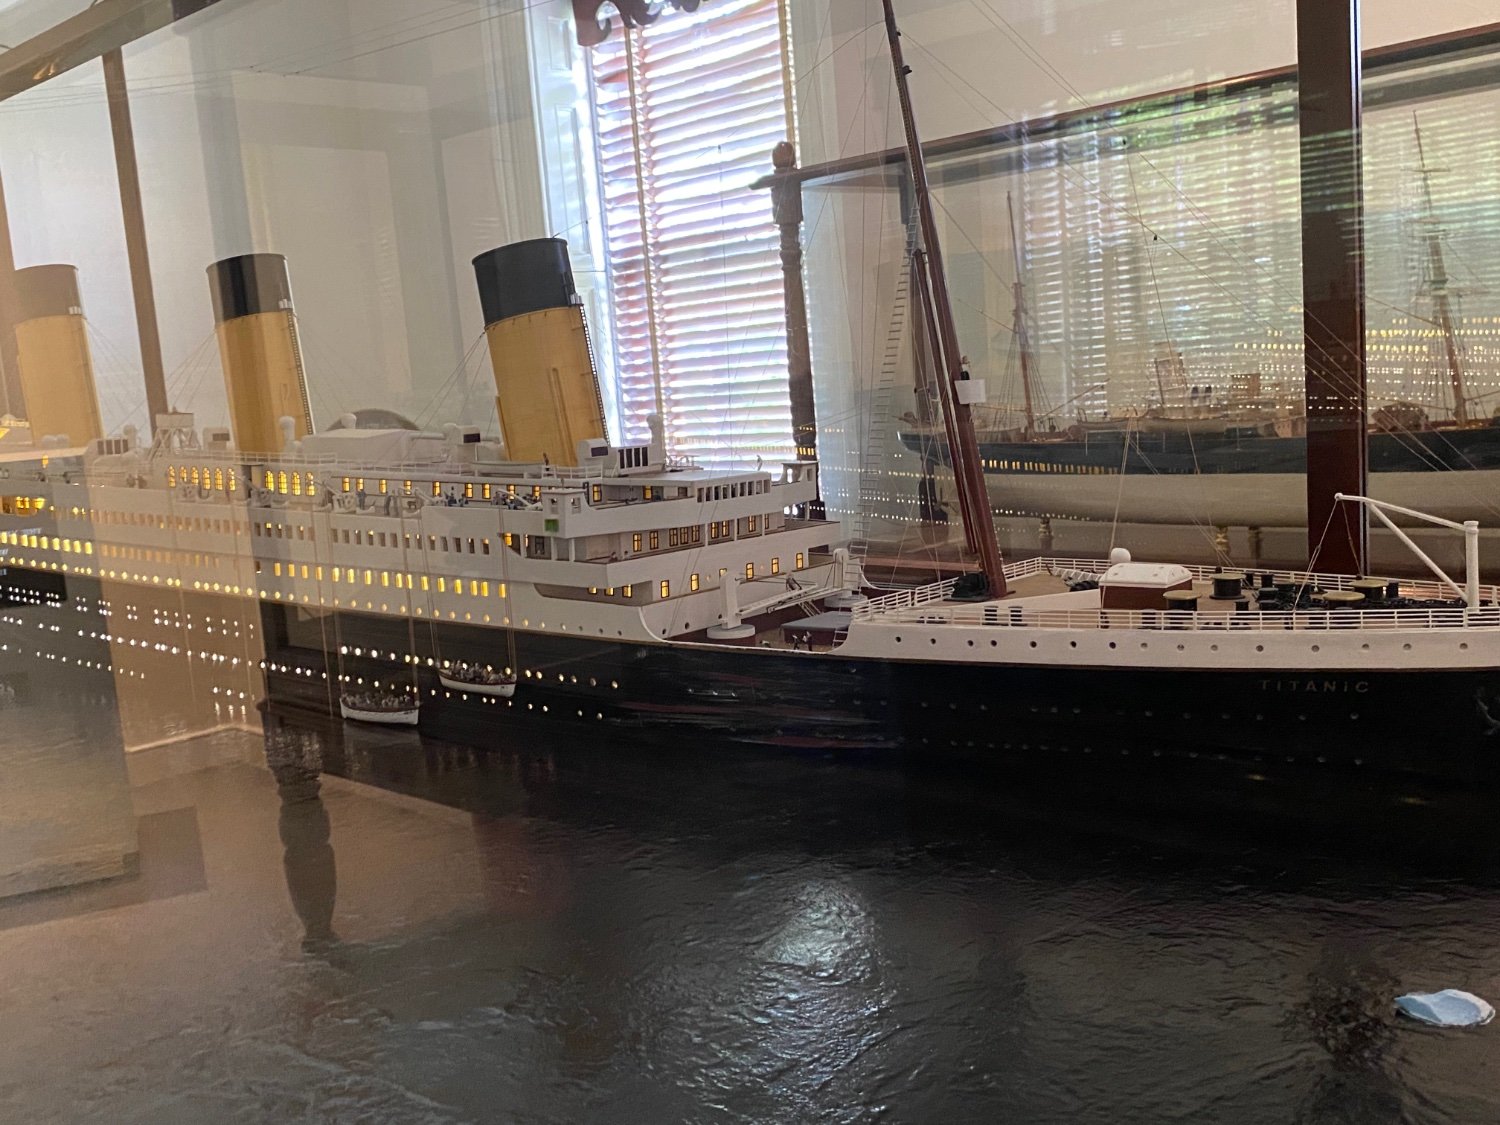
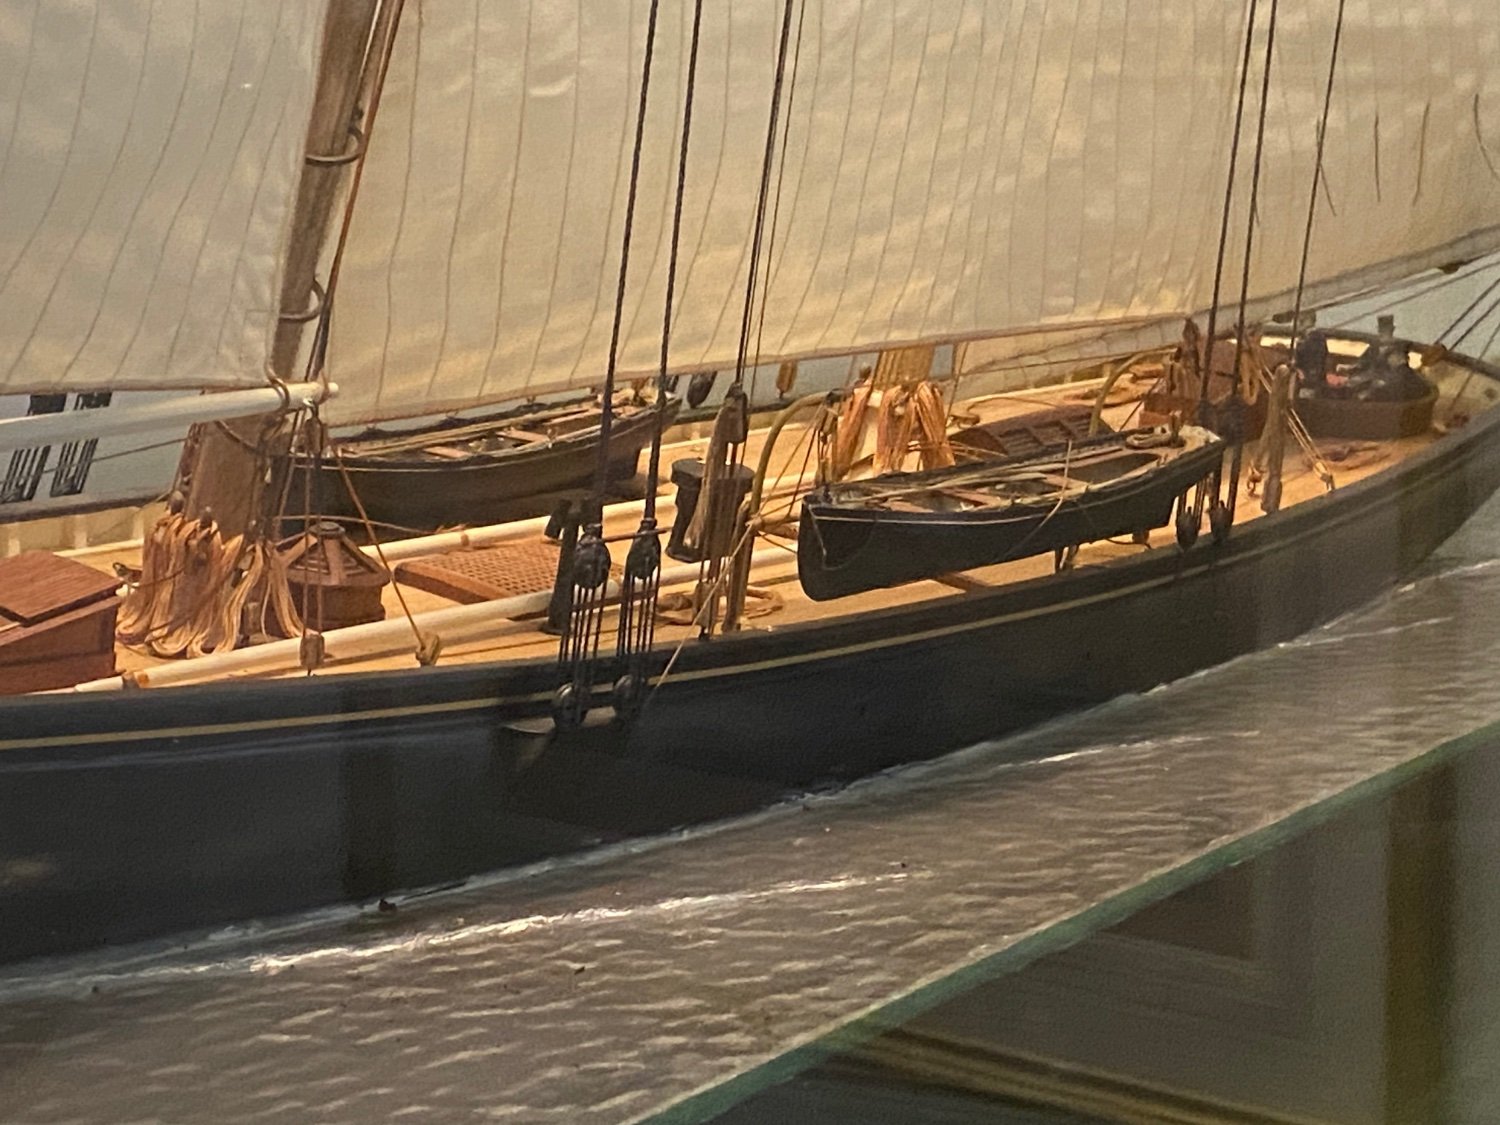
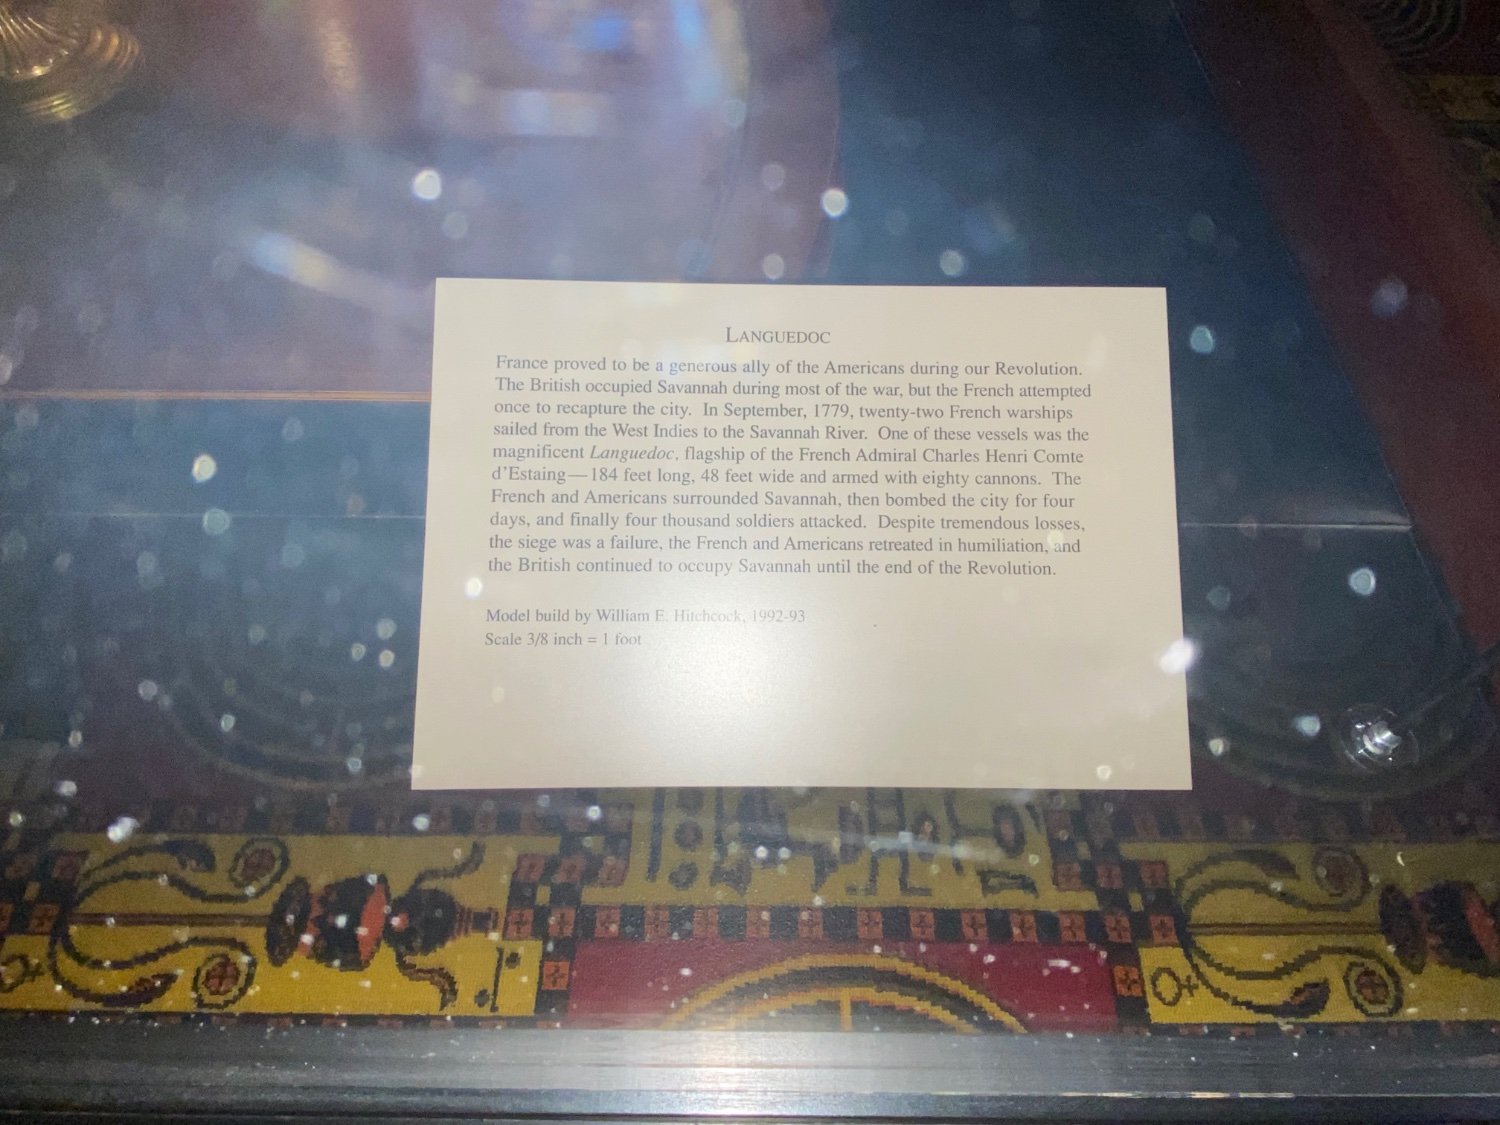
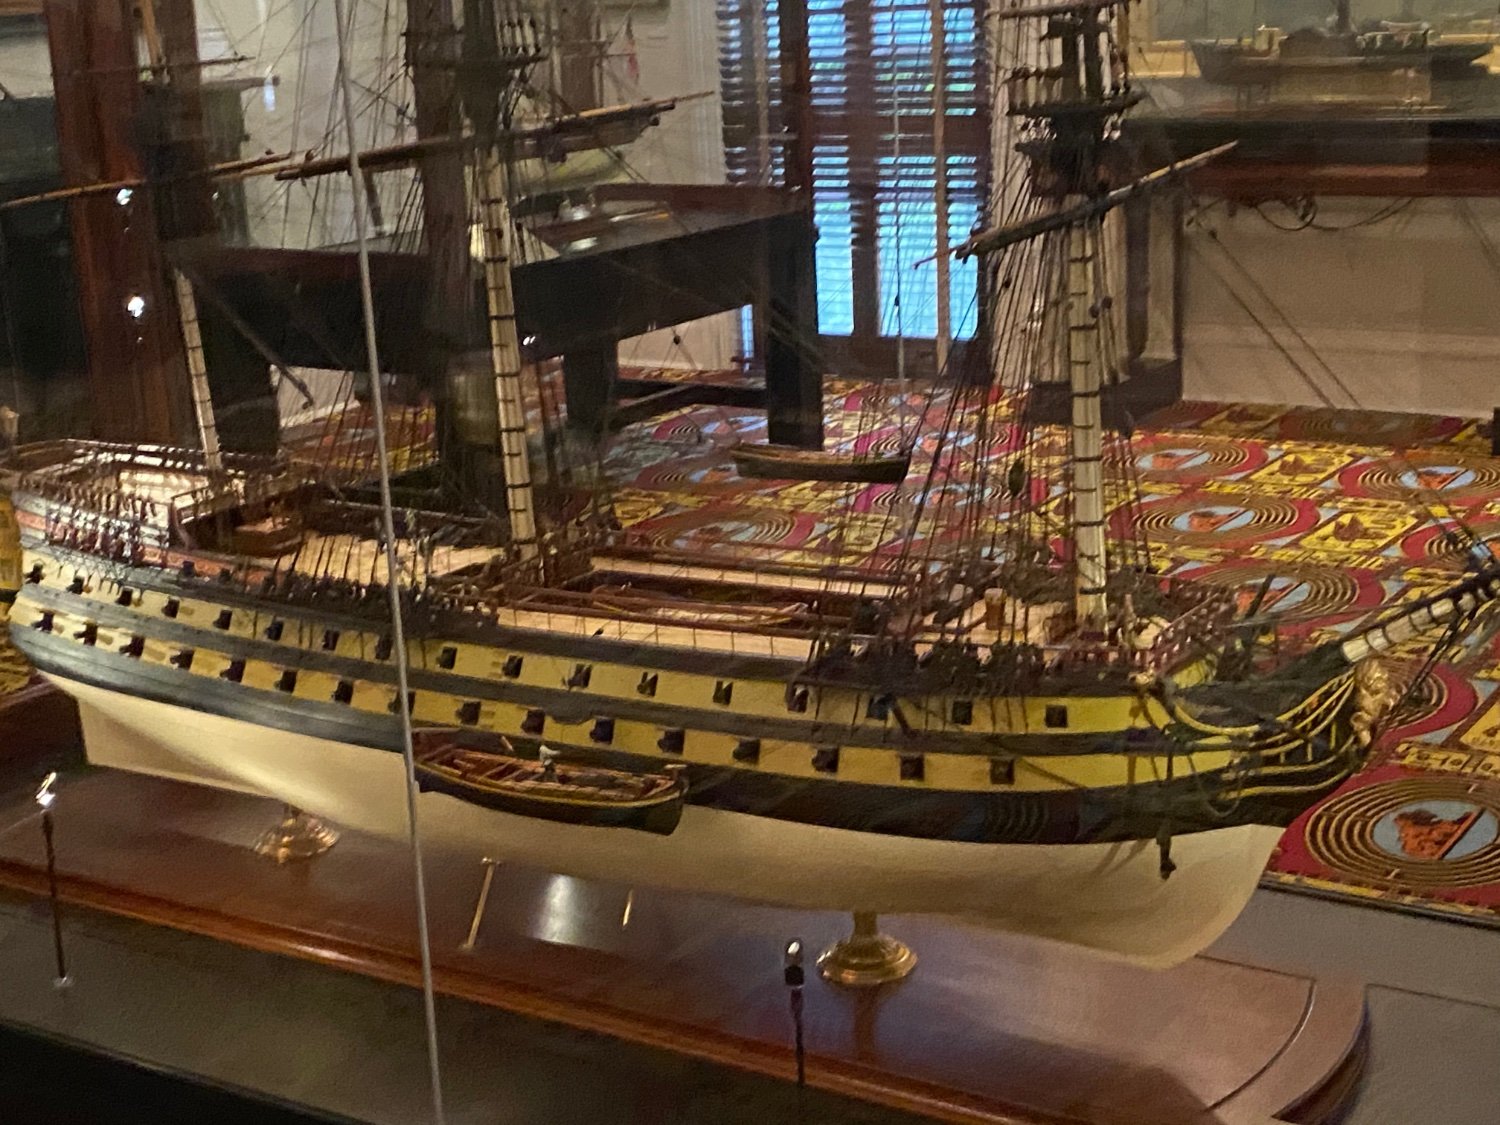
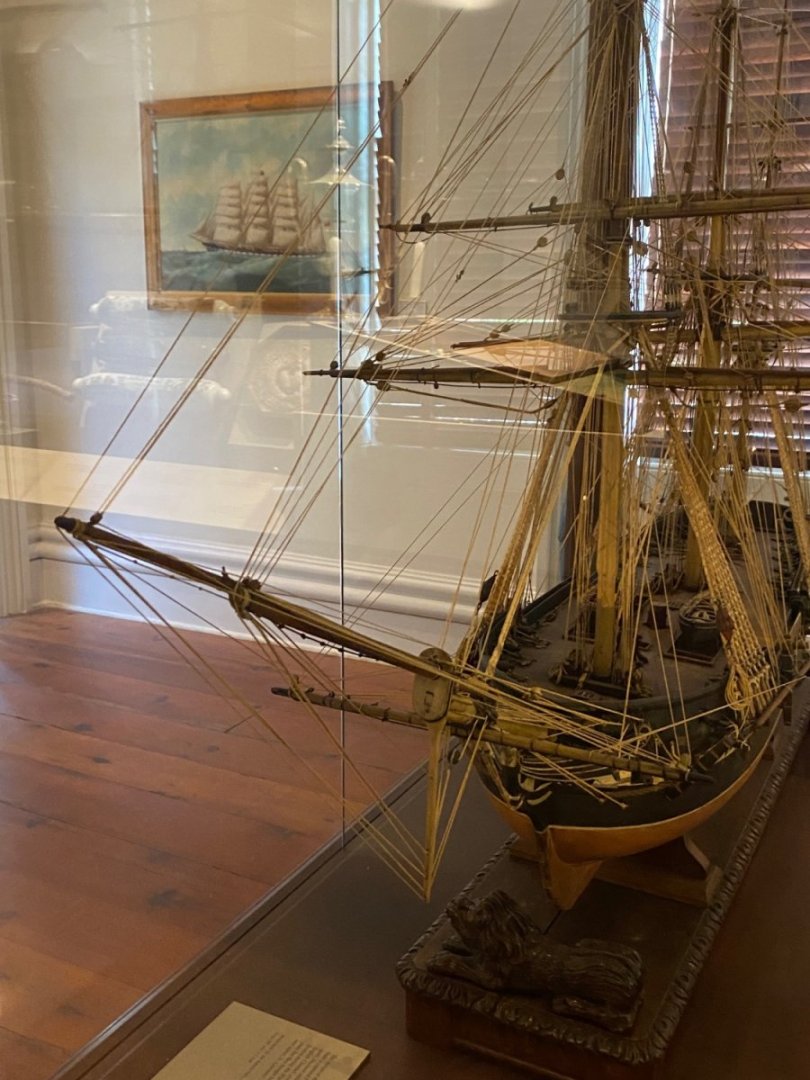
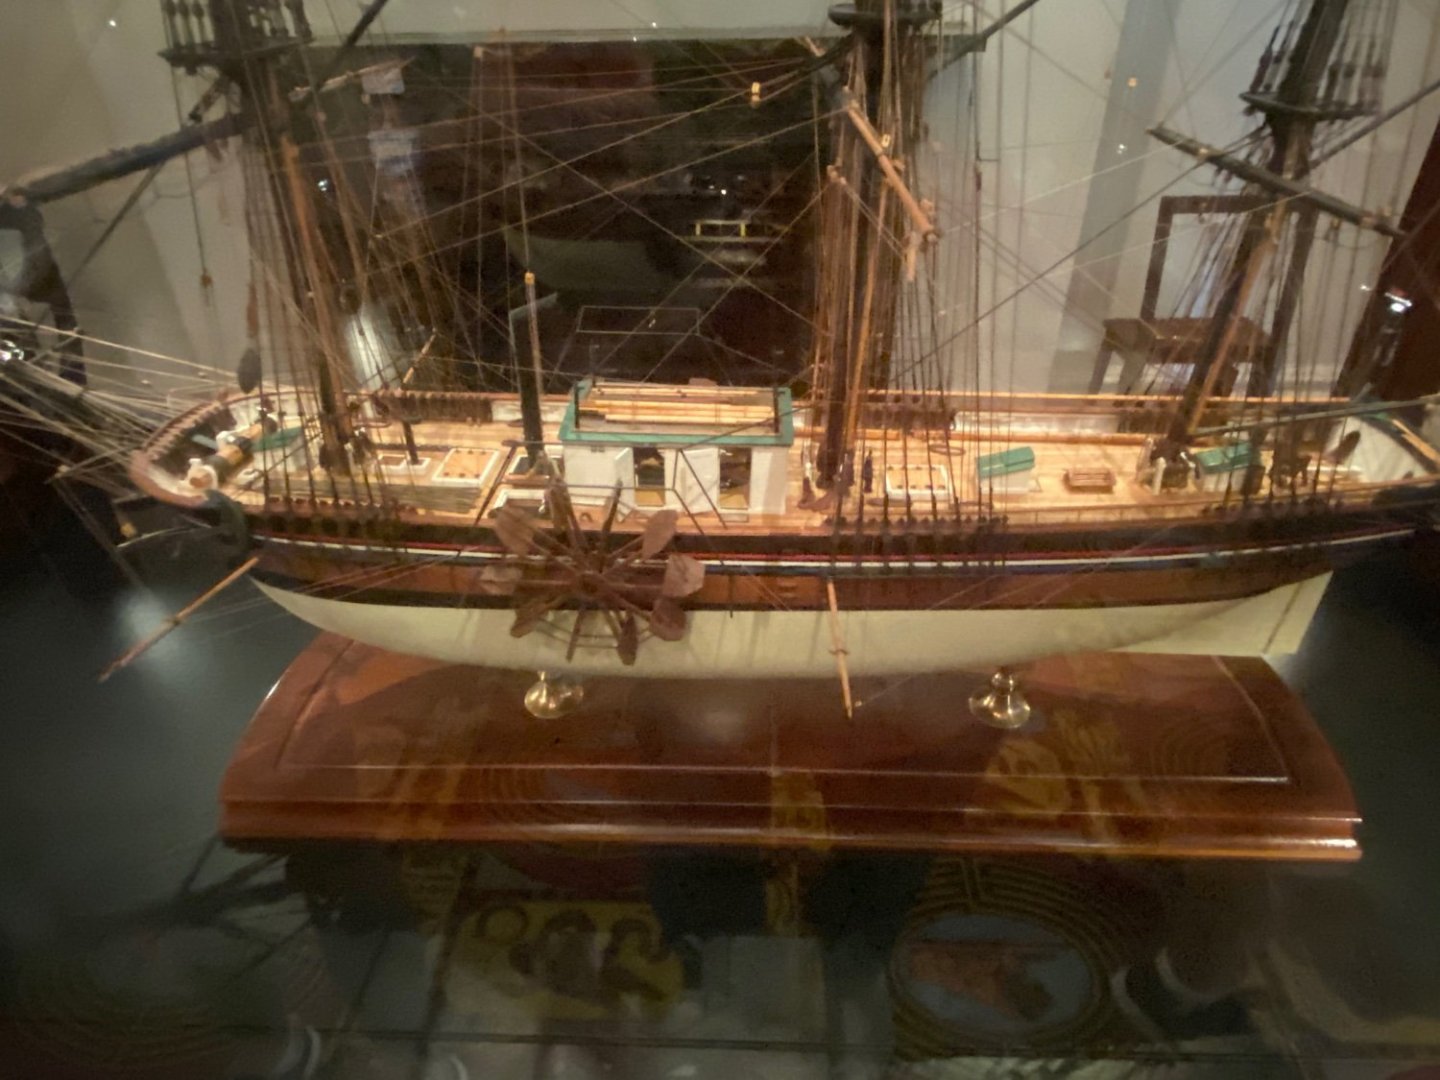
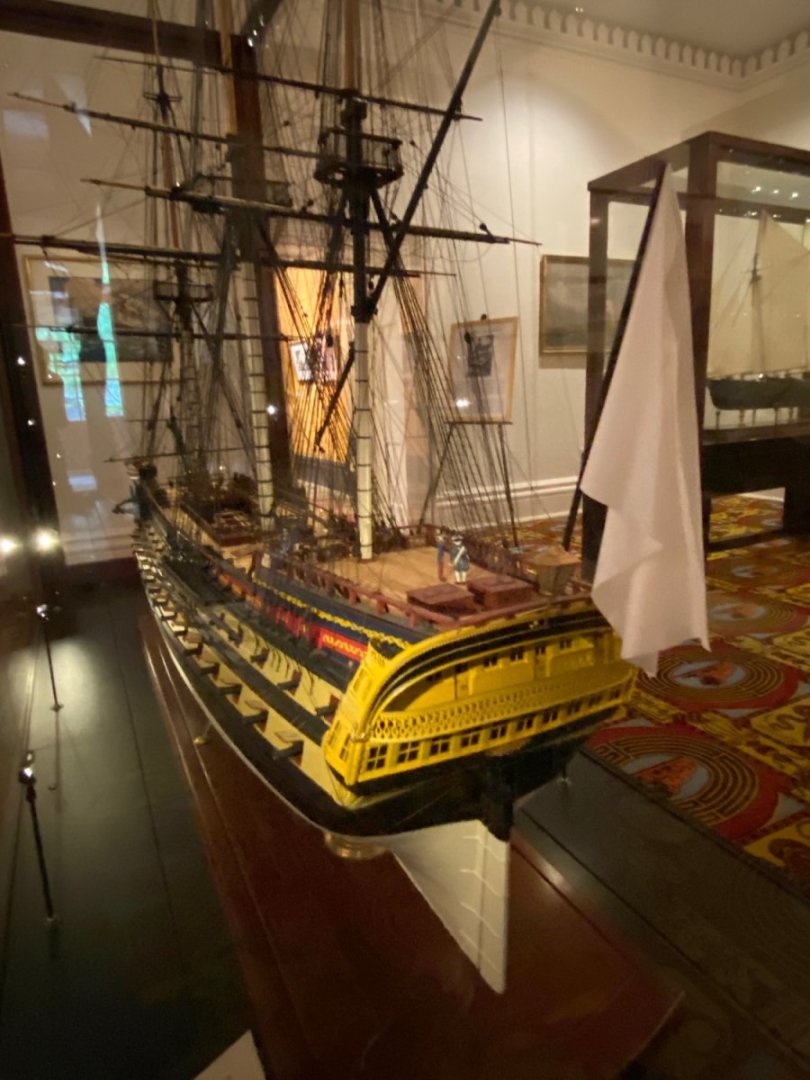
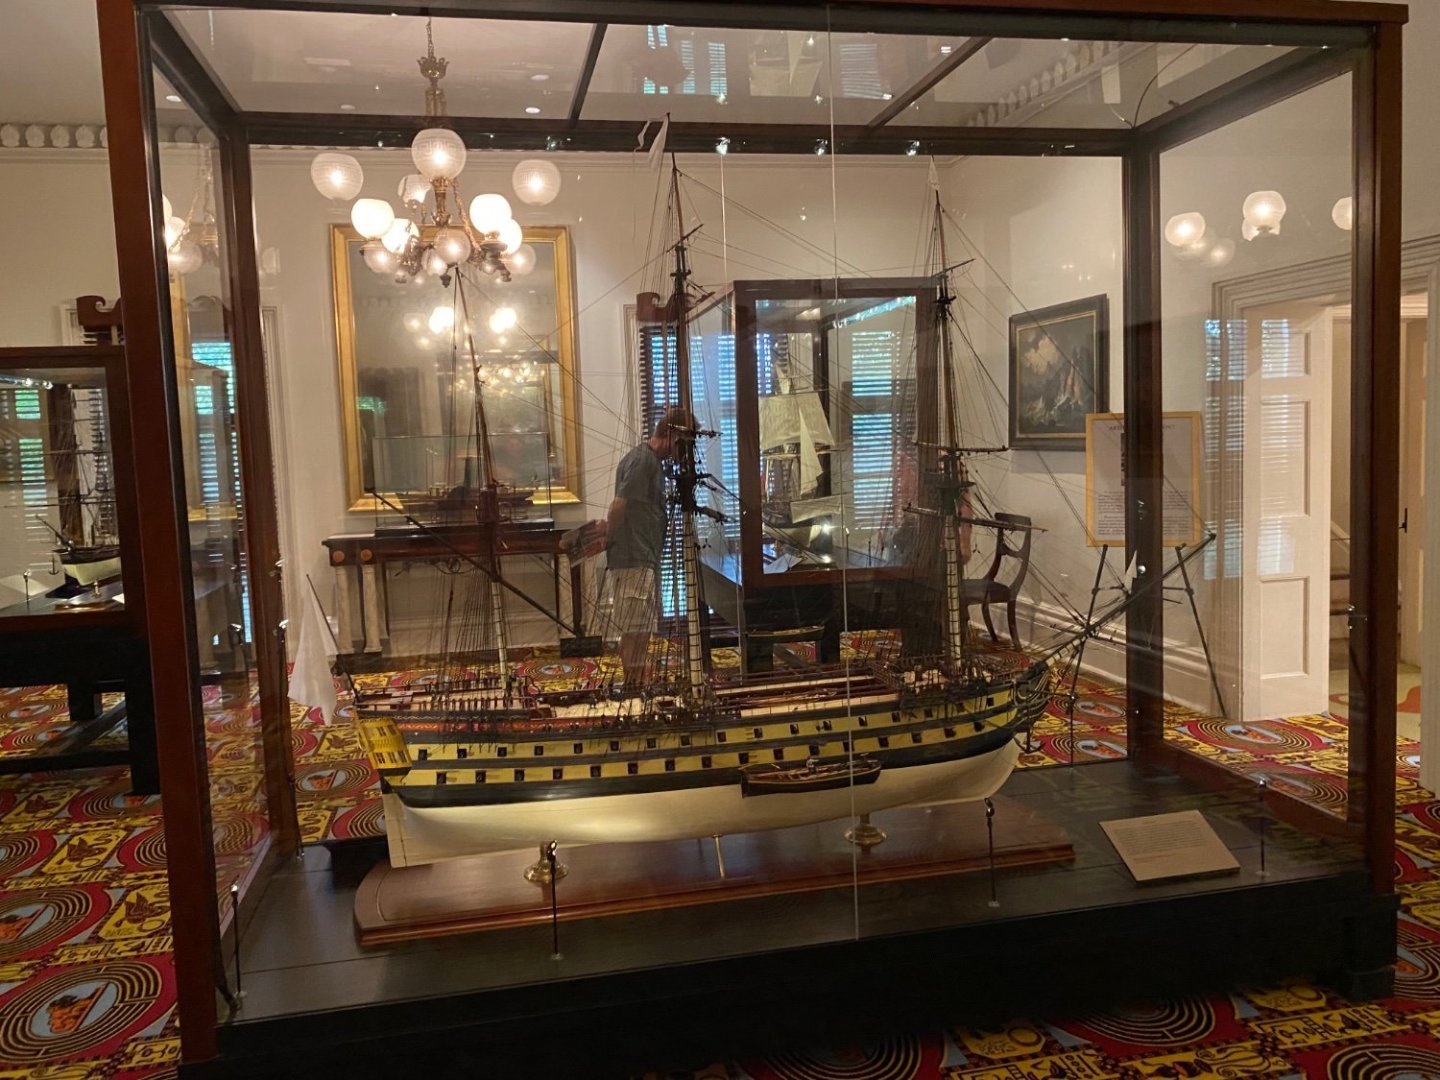
Thanks Marc. Your comments about plastic to wood leads me to believe you saw my topic on MSW about that. Eventhough I have a pretty complete wood working shop most of the tools/machinery is intended for much bigger work, not necessarily micro wood ship work. By the way in the museum photos above I looked at this one particular French ship and thought of you and your interest in French ships and design. The Languedoc. Interesting story. Bill

- 1,508 replies
-
- 2
-
-

-
- Le Soleil Royal
- Heller
- (and 1 more)
-
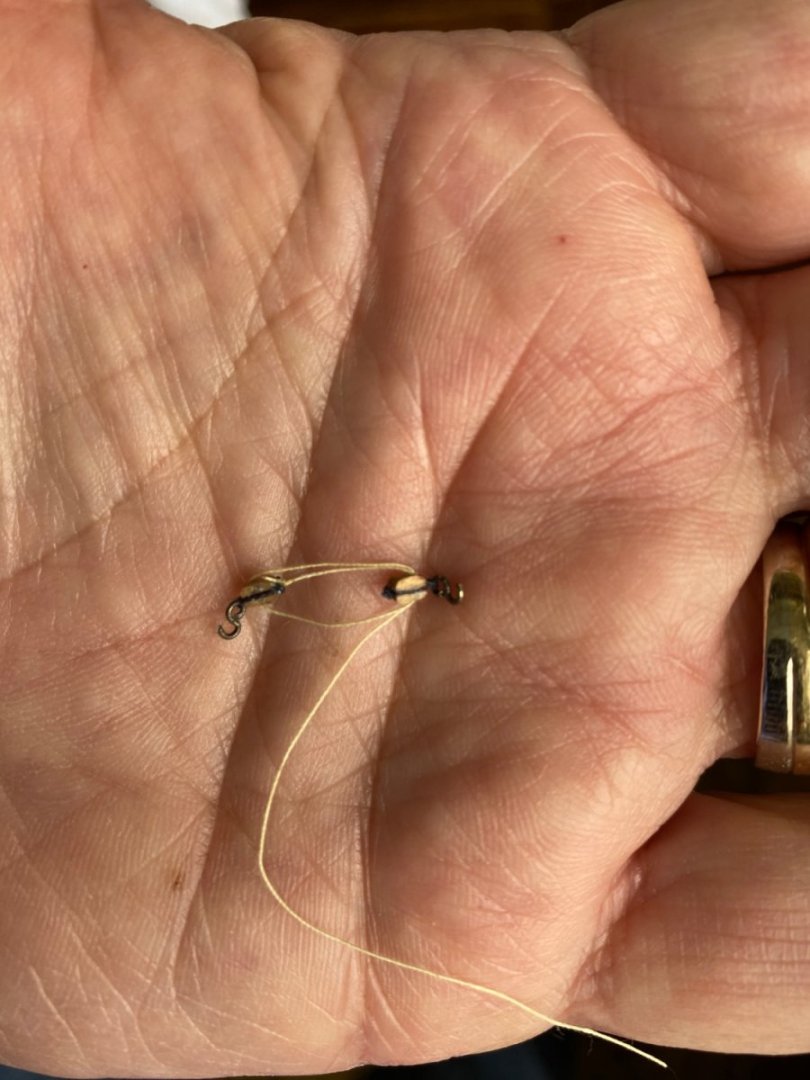
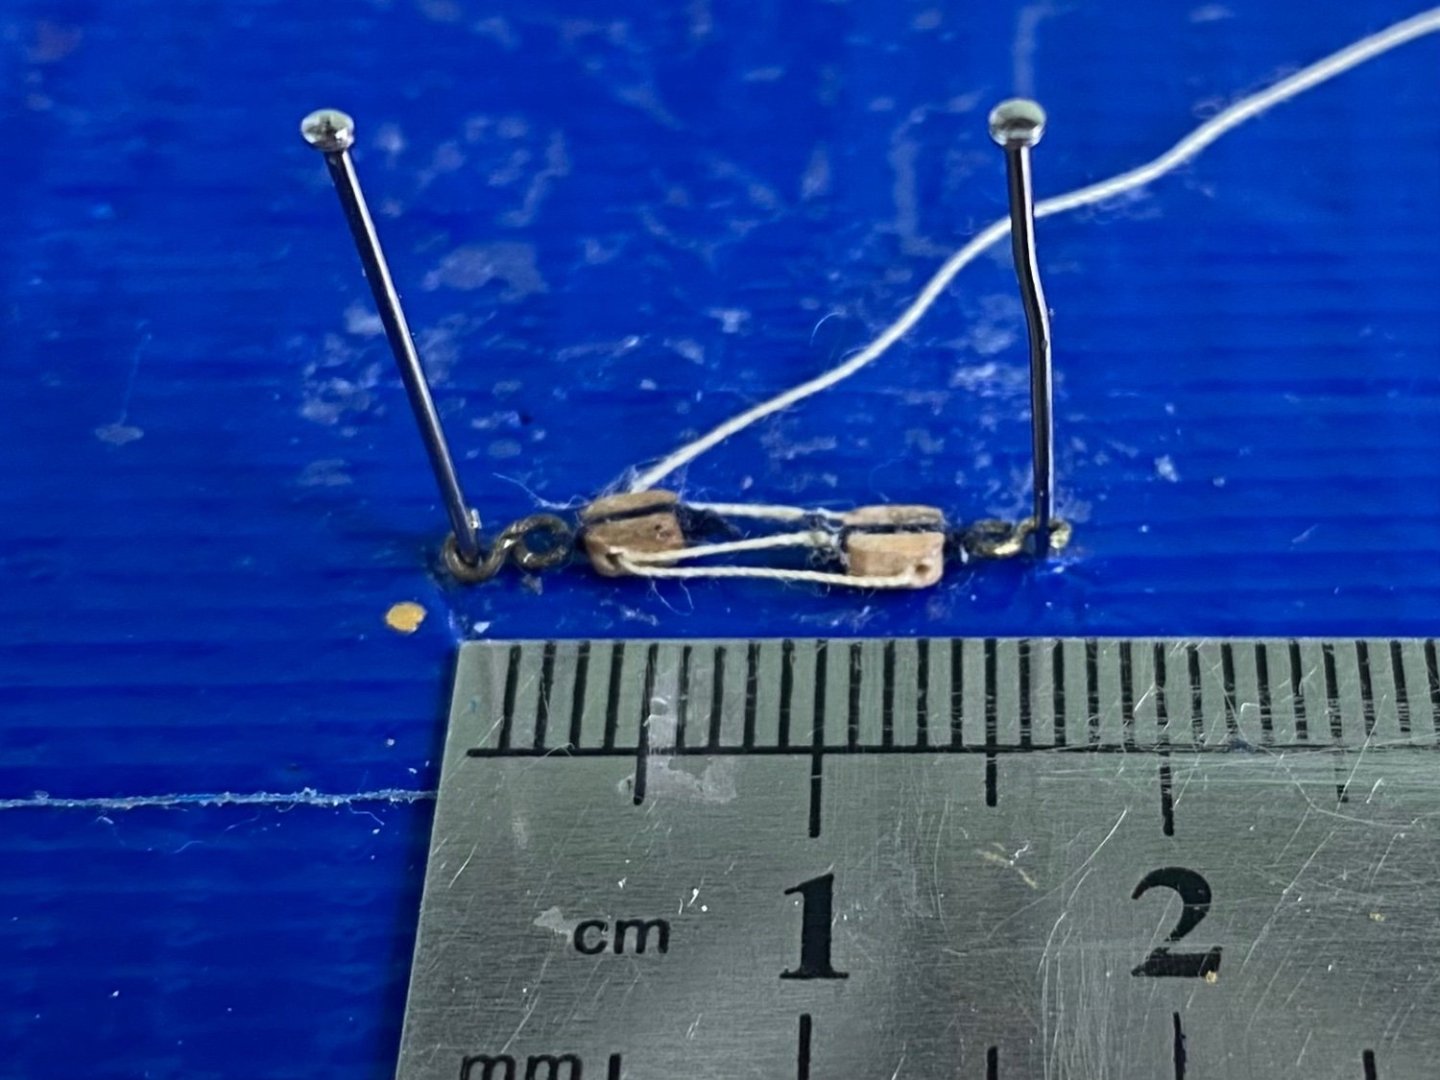
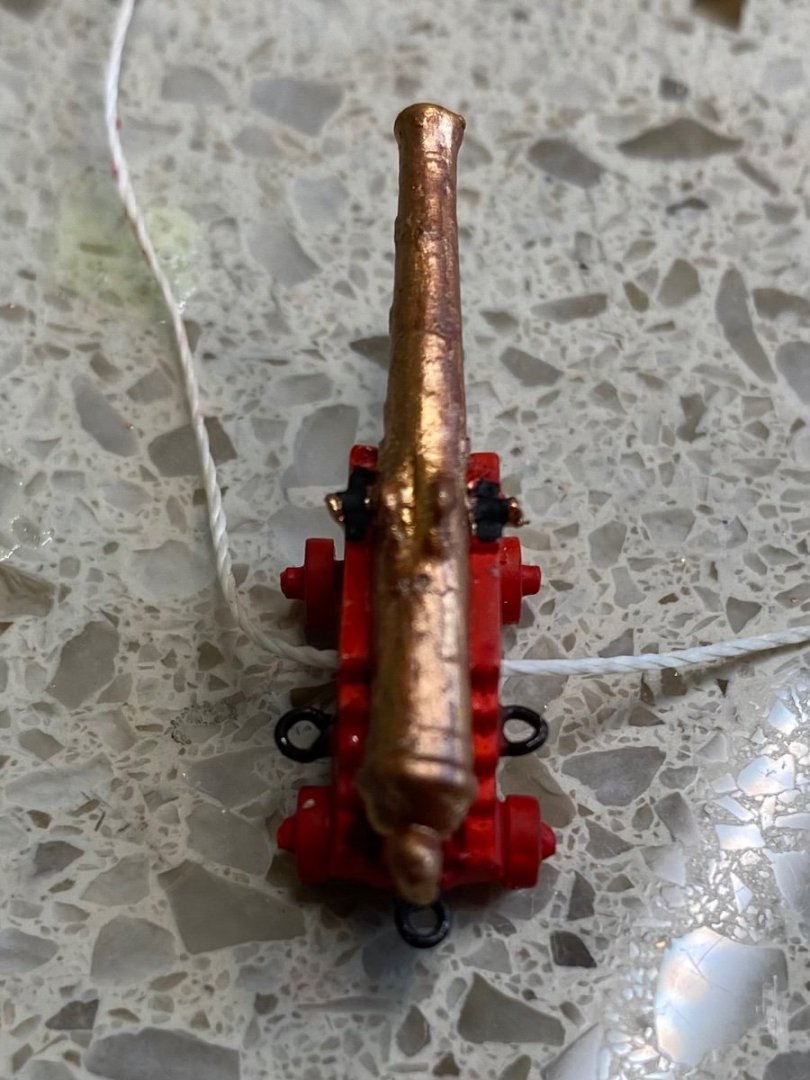
Ok guys here is my first cannon tackle prototype. I am using 2.5mm blocks. I obviously made the hooks from 24 gauge wire and blackened them. I eliminated the becket on the block in an attempt to get as much space between the blocks as possible. If I go with this I think I will need to move the unseen cannons in just a bit to get the ends of the barrels uniform.

- 1,508 replies
-
- 2
-
-
- Le Soleil Royal
- Heller
- (and 1 more)
-
Plastic or Wood models? Your Favorite?
Bill97 replied to Bill97's topic in Modeling tools and Workshop Equipment
Great point shipman. I very much agree with you on the quality that can be put to a plastic model. I love working with plastic models, and feel very comfortable and confident. I am very proud of my HMS Victory and Le Soleil Royal builds, and others, here on MSW. My curiosity is if I have reached the pinnacle in plastic by building these two Heller ships? Are there other plastic models that I am not aware of that provide this much quality and detail. Or would my next step (a long time from now) be to purchase a less detail/difficult plastic model and bash it to a higher standard? I built the Revell 1/96 USS Constitution and Cutty Sark years ago straight out of the box and have them displayed in my “ship room”. Now that I have very much improved my skills I have contemplated maybe purchasing either of them again and then build to the level that others have here on MSW. As I mentioned before I am so far from completion of my Soleli Royal. I am just at deck level. I will be bashing so much as I move into mast, rigging, cannons, etc. I just enjoy this hobby so much my mind is always thinking “what would I like to build next?” That is where the whole wood model idea came in. -
Plastic or Wood models? Your Favorite?
Bill97 replied to Bill97's topic in Modeling tools and Workshop Equipment
Thanks hollowneck. Yes hollowneck as a long time member of MSW with several plastic ship build logs in the index, I know I can rely on fellow MSW friends to provide advice, as they always have. Thanks Johnny, I appreciate your comment about me having skills enough to tackle OcCre wood models. I am assuming you have seen some of my builds here on MSW to make that nice compliment. Is your Wasa build here on MSW? I will check the index. I have a plastic Airfix Wasa build logged. Titebond is very much present in my woodworking shop. I will give a look at the Endurance. -
Plastic or Wood models? Your Favorite?
Bill97 replied to Bill97's topic in Modeling tools and Workshop Equipment
Thanks everyone. All of this is extremely helpful. If and when I do build one it will be a kit not a scratch build. From what you recommend, I assume a Model Expo kit. I will for sure want to get guided experience from the kit instructions. Now that I have completed the Heller HMS Victory and am now working on the Soleil Royal, I thoroughly enjoy the detail work involved, the opportunity for creative bashing, and the long adventure with no actual goal on a calendar for completion. Unless my research is in error, I have not been able to find any other plastic model kits, Heller or any other brand, of this quality, detail, and scale to put on my next project list. If that is the case, I am thinking maybe I might try the experience of a wood kit. -
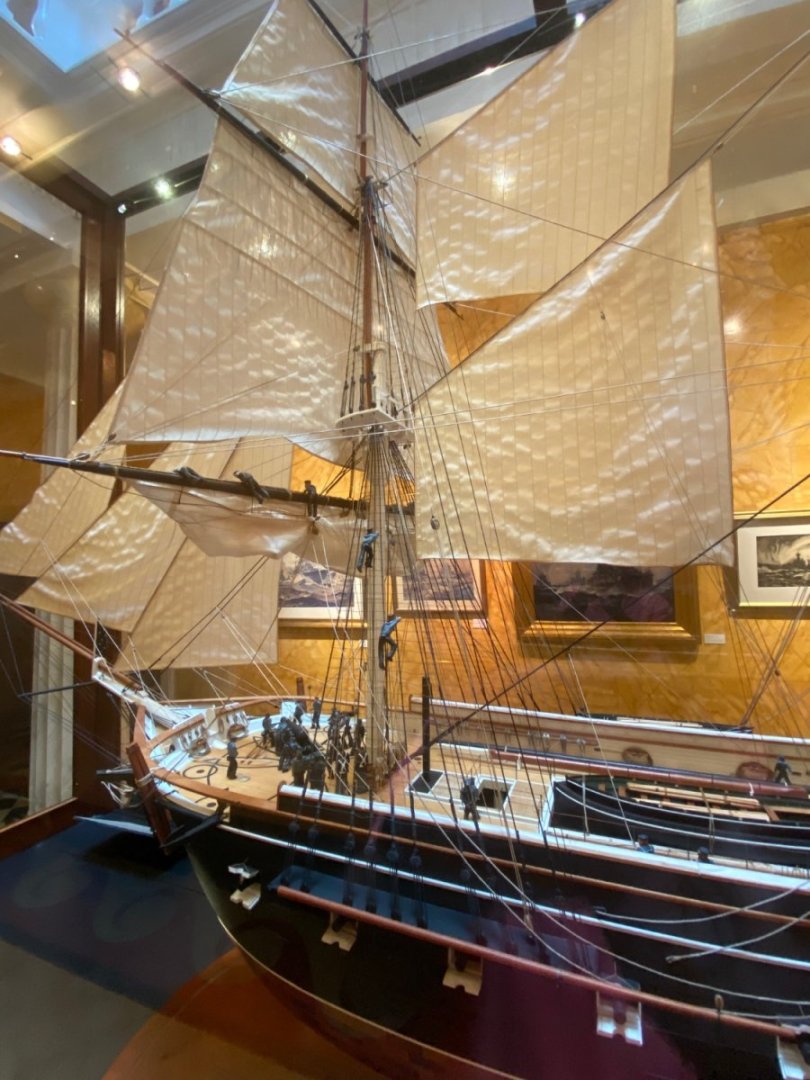
I have always built plastic models and have supplied my work area with all the tools, paints, glues, etc that are needed for plastic models. Last year I completed the Heller 1/100 HMS Victory and have completed several other plastic models prior to the Victory from Revell, Airfix, and others. I am currently working on the Heller 1/100 Le Soleil Royal which I expect will take me still quite some time to complete, possibly another year or more. I am always researching and thinking about what my future project might be. Through MSW I have seen numerous wood models builders are working on but really never considered building one. My thought being that all my tools, equipment, and skills were geared toward plastic models, not wood. I recently visited a maritime museum and discovered all the models of historic ships on display were wooden. It caused me to wonder if I might enjoy building a wood model kit? Through most of my adult life I have built custom furniture so I am confident I have the wood working skills I would need. I am interested/curious from those of you who have built, or are building wood ship kits and maybe have also built plastic models, what are the differences and similarities? Would I need to refit my “shipyard” very much to move from building plastic to wood? I am guessing I may need small electric wood working tools/equipment? Possibly plan to work in a different area due to saw dust? Again I have no idea what to expect if I wanted to approach a wood model kit some day down the road, or just stick with what I know and have honed my skills toward. But let’s just say I did want to get a taste for it to see what I thought. What brand/company do you recommend? What scale is good to work in for the first time? Is there a particular model ship you would recommend? What new tools might I need? Please add any other advice or suggestions. As I mentioned it will be quite a while before I would look to build one. It is just the museum stirred my curiosity.
-
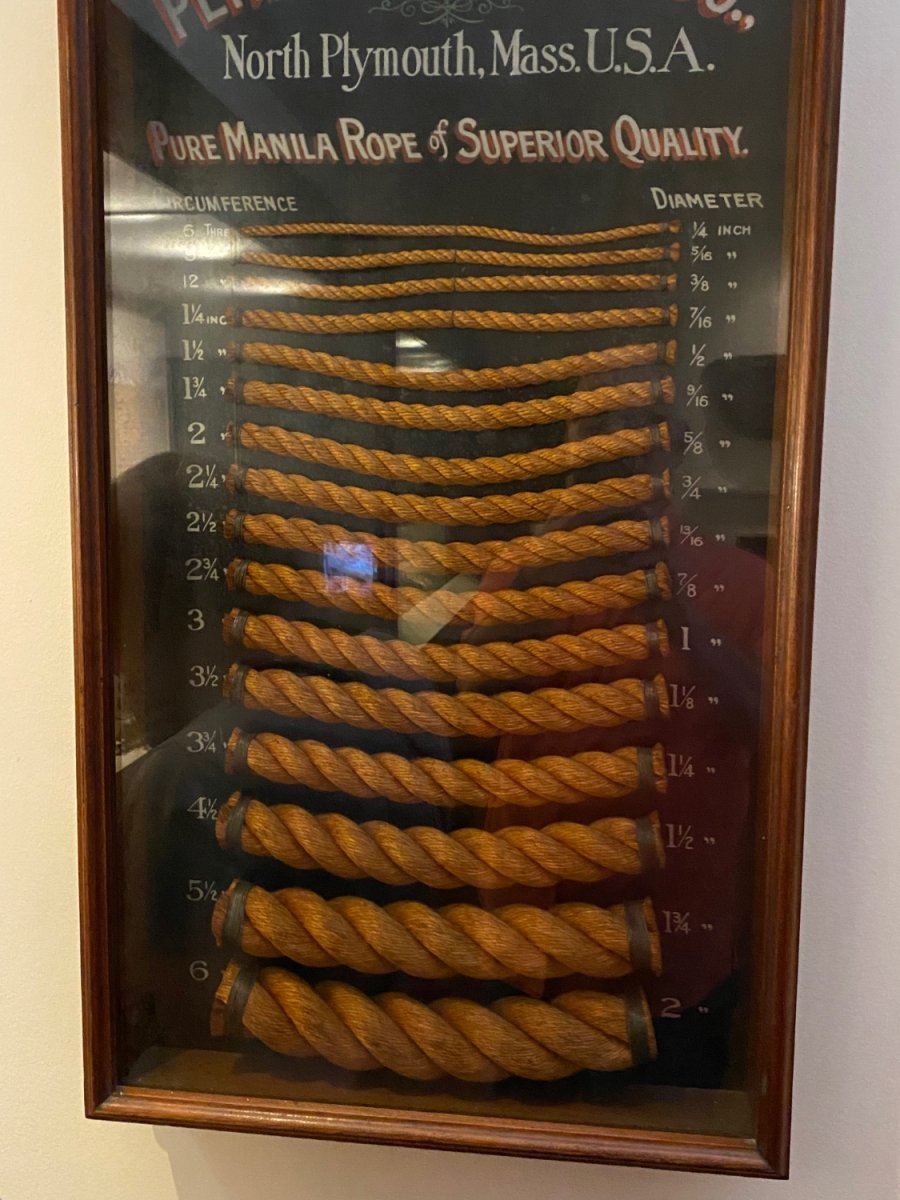
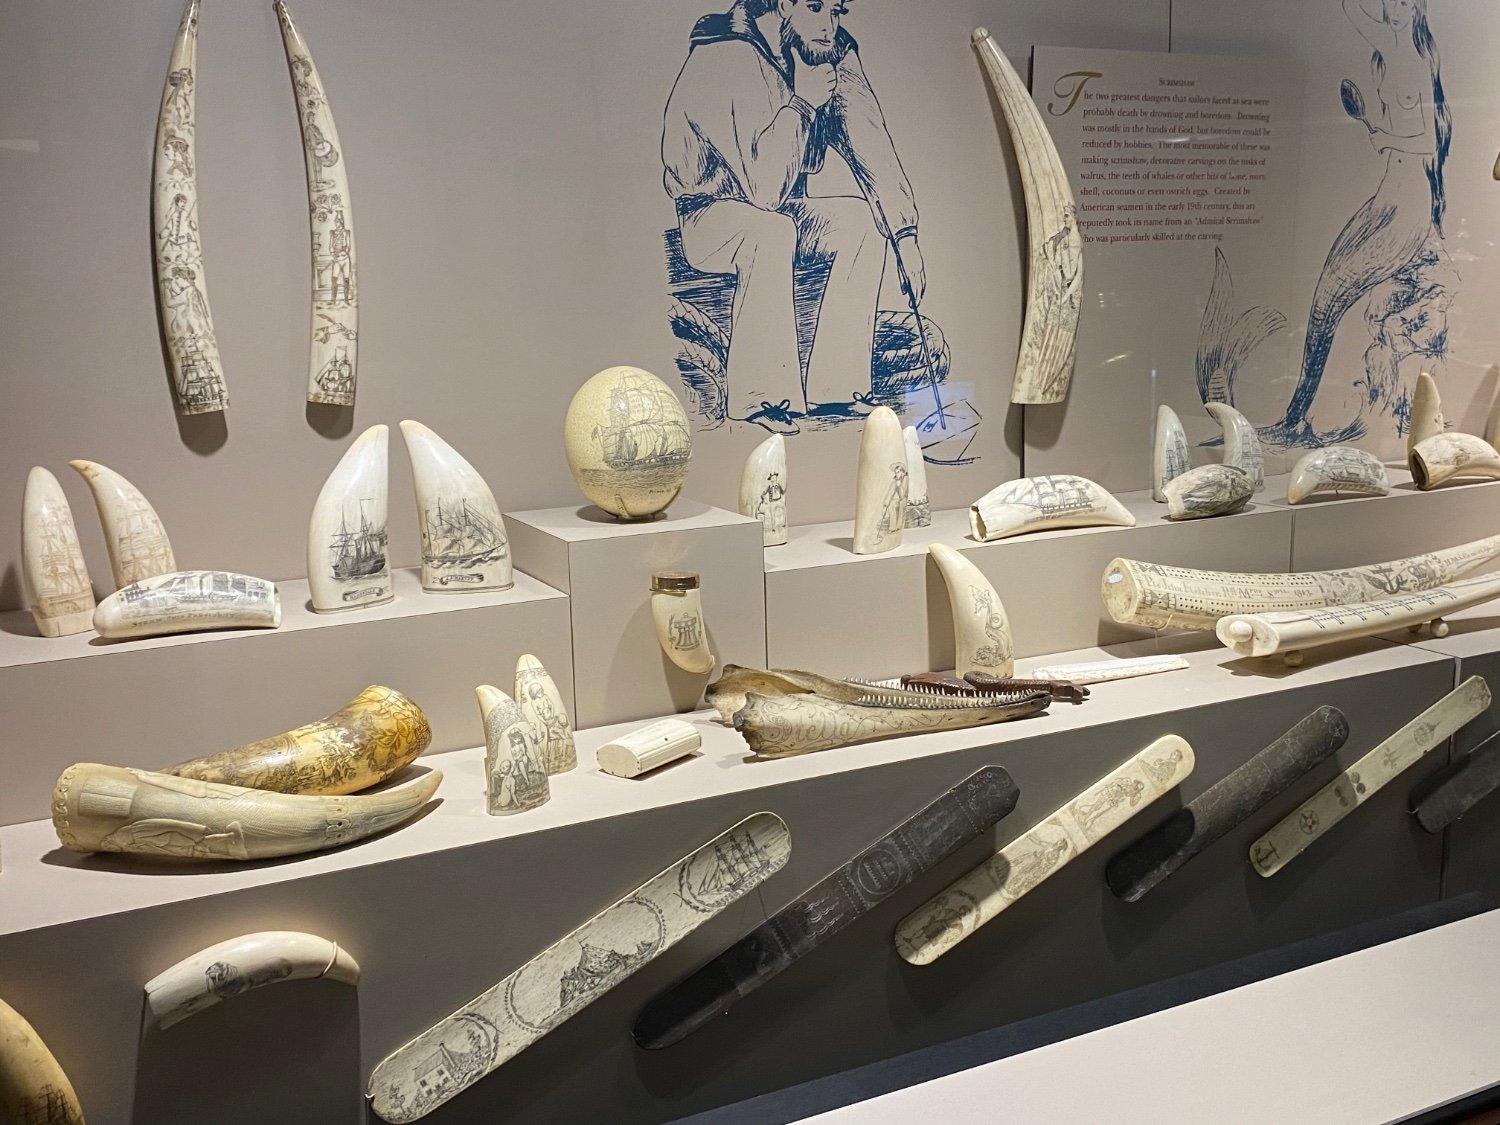
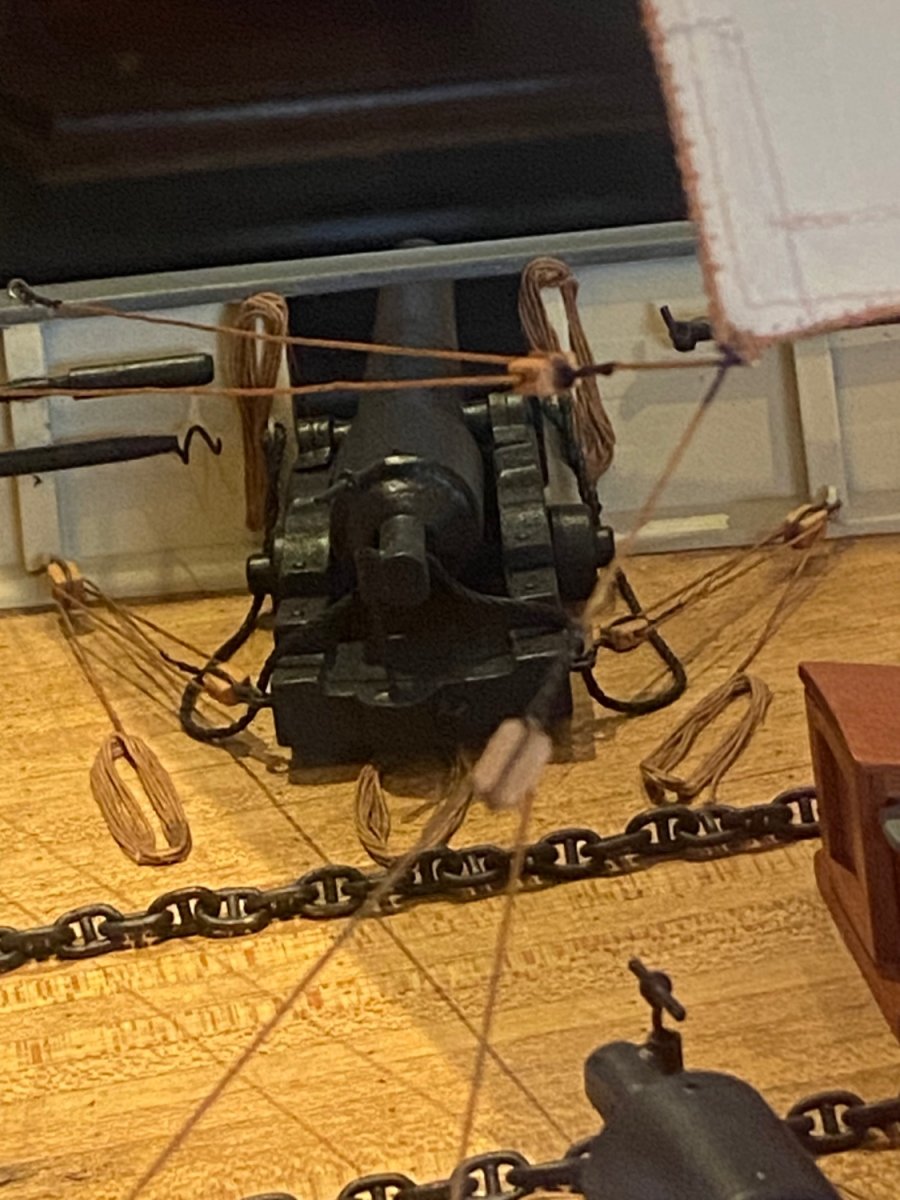
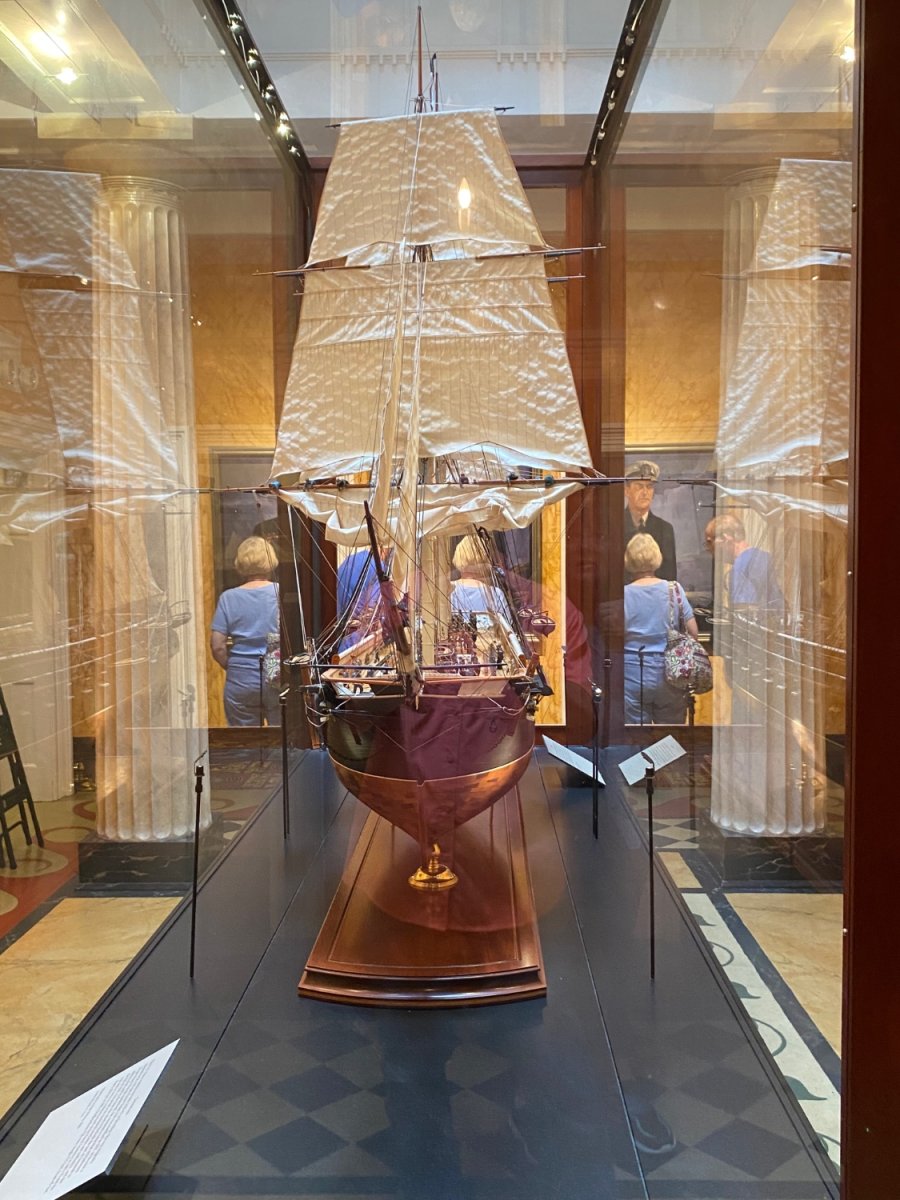
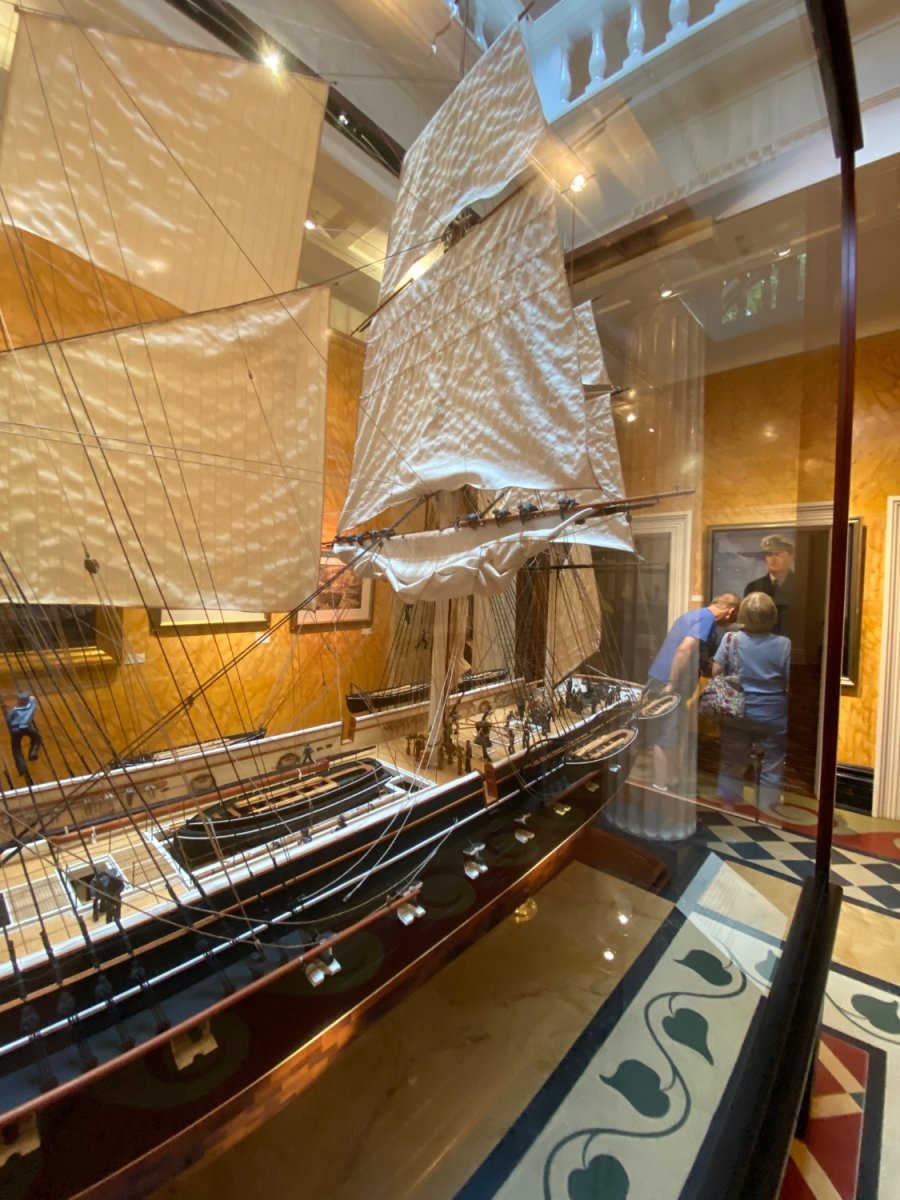
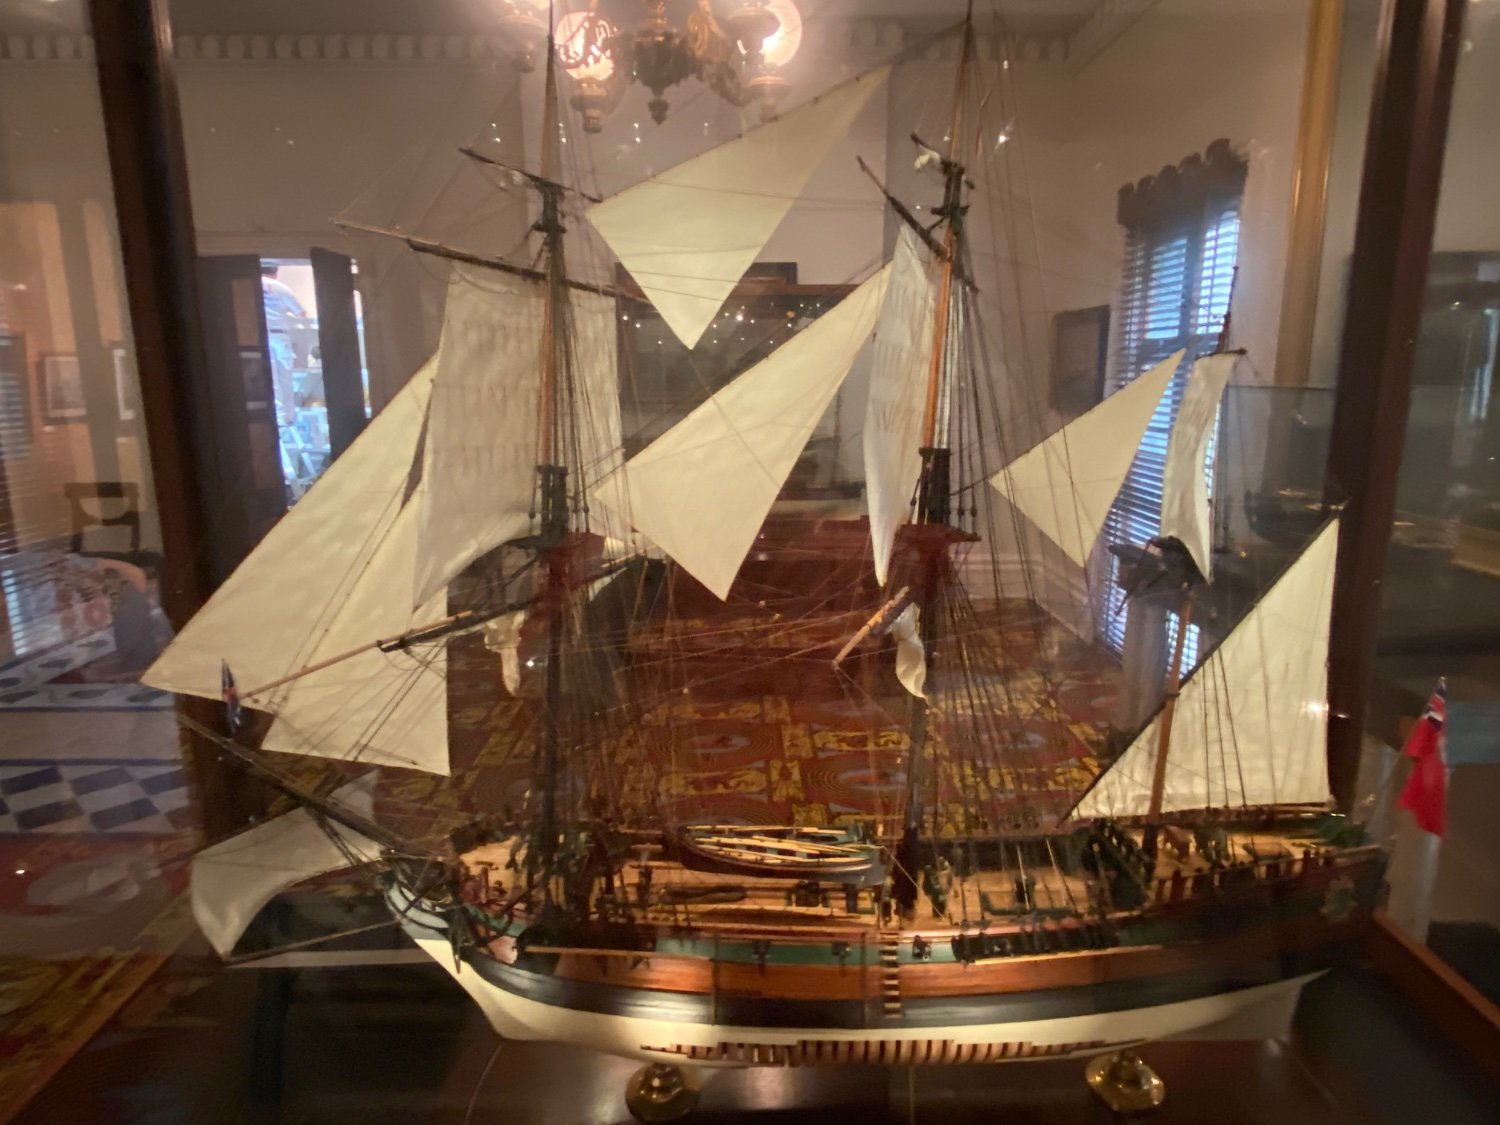
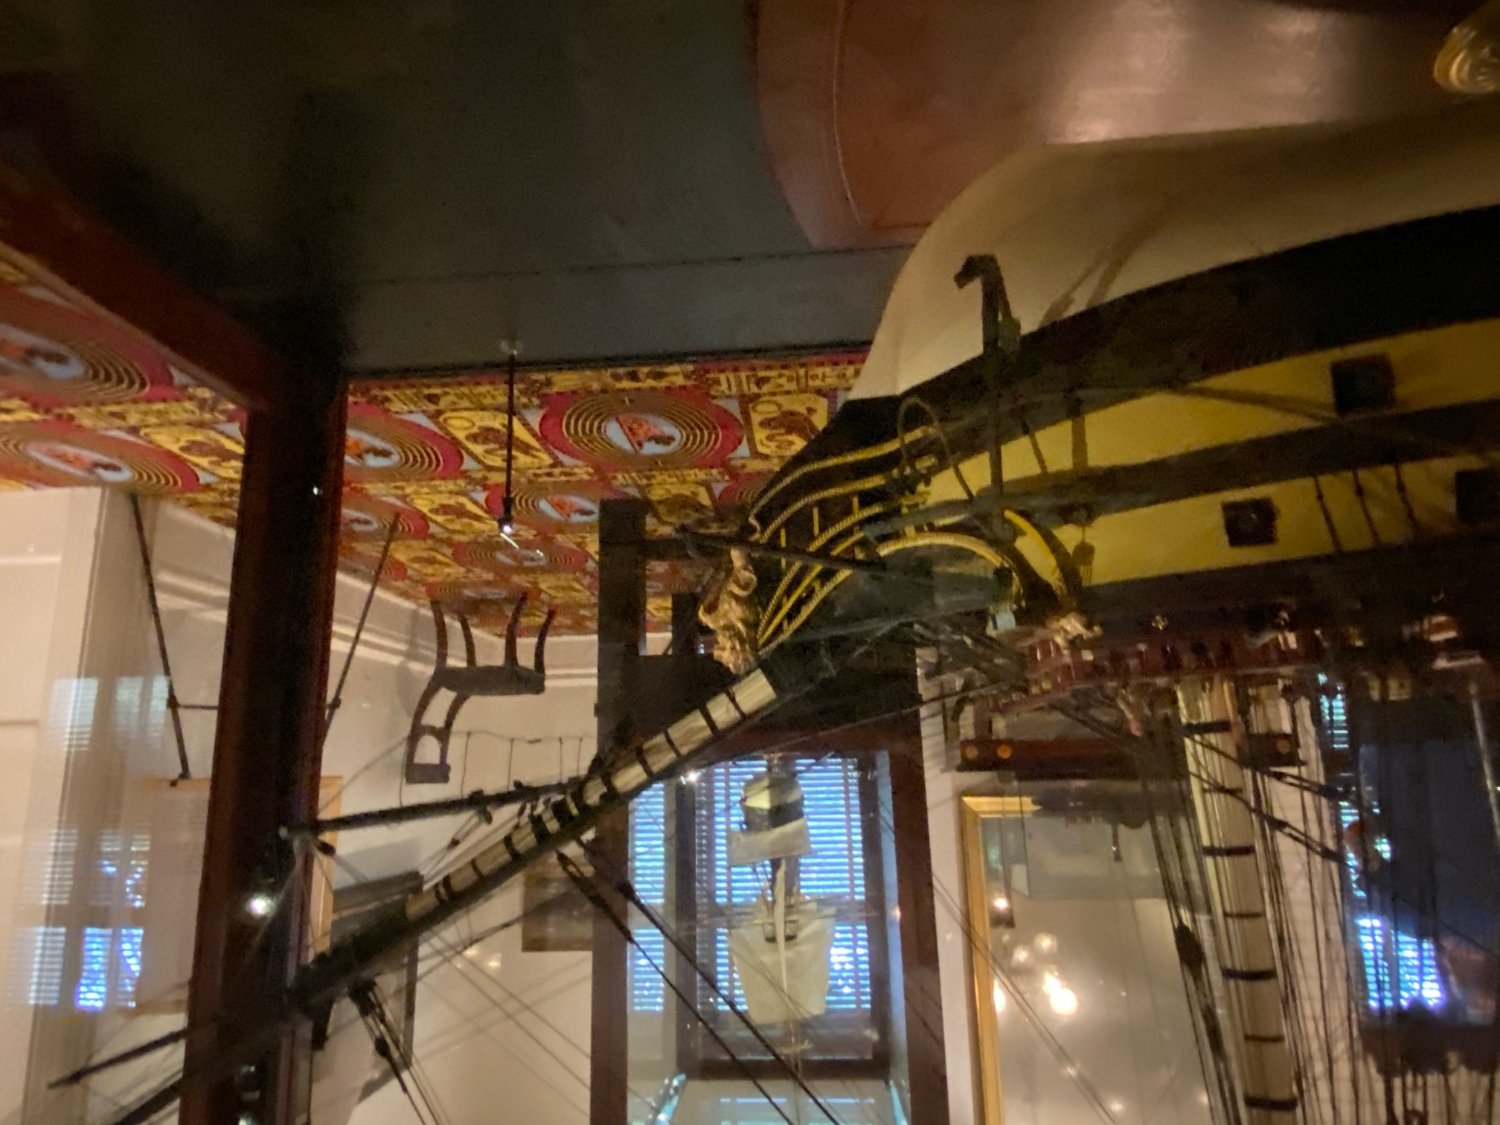
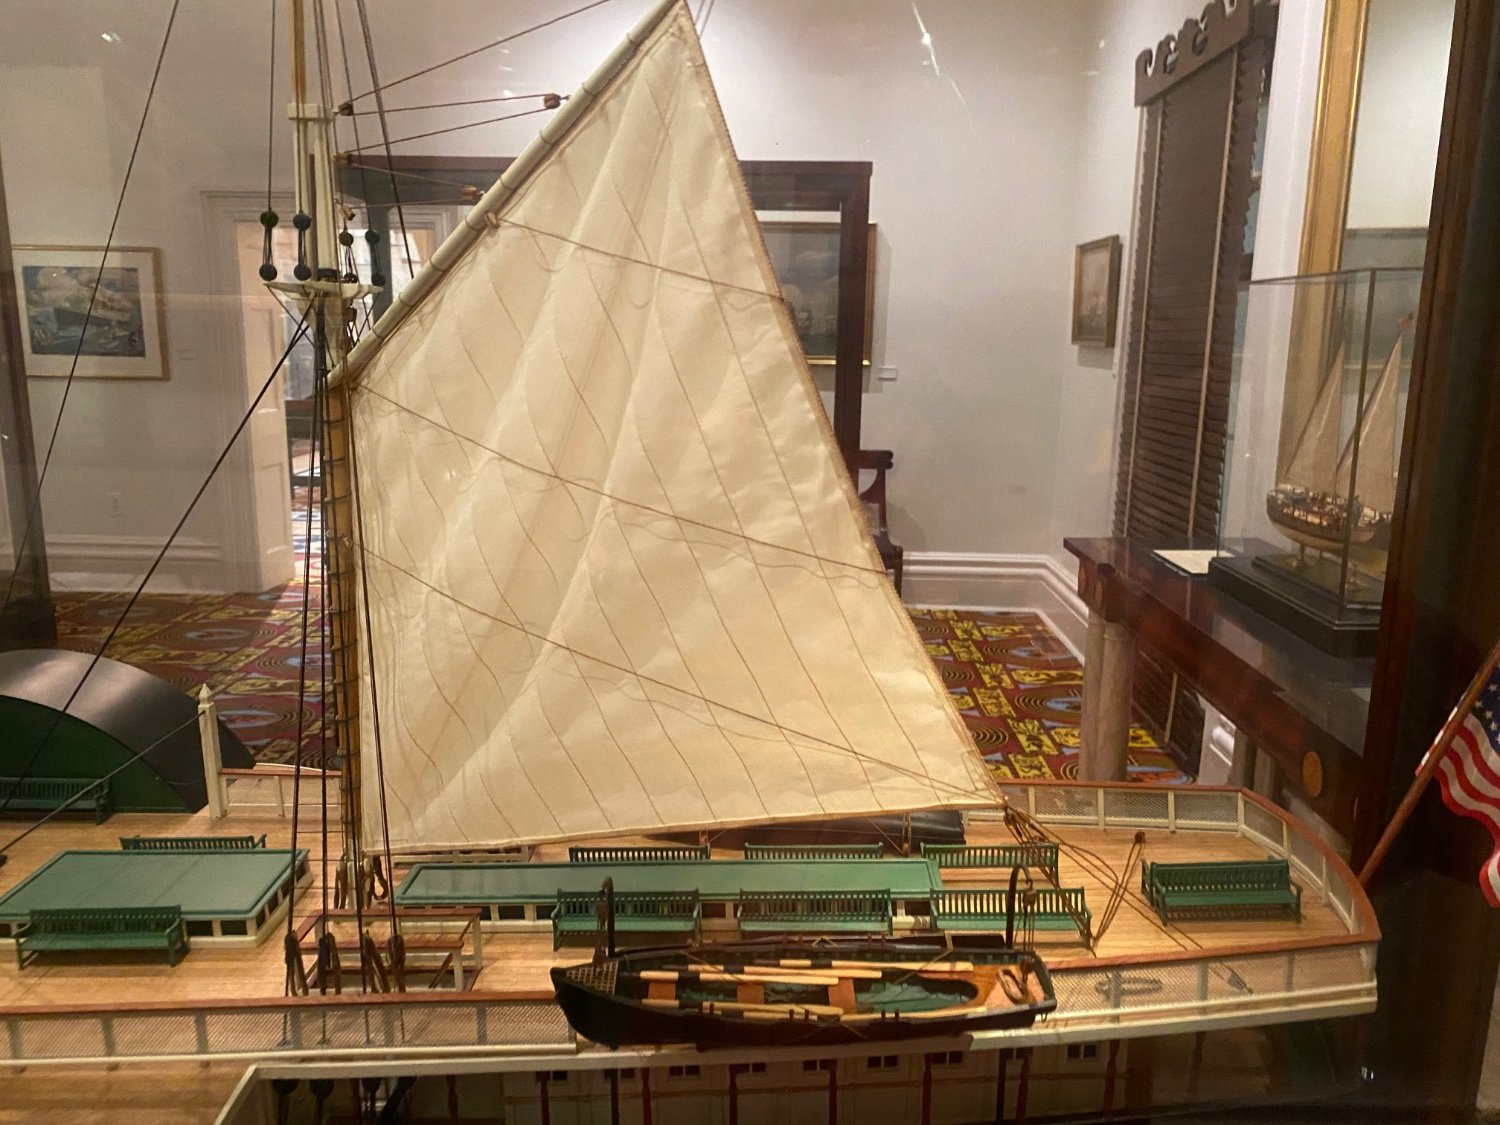
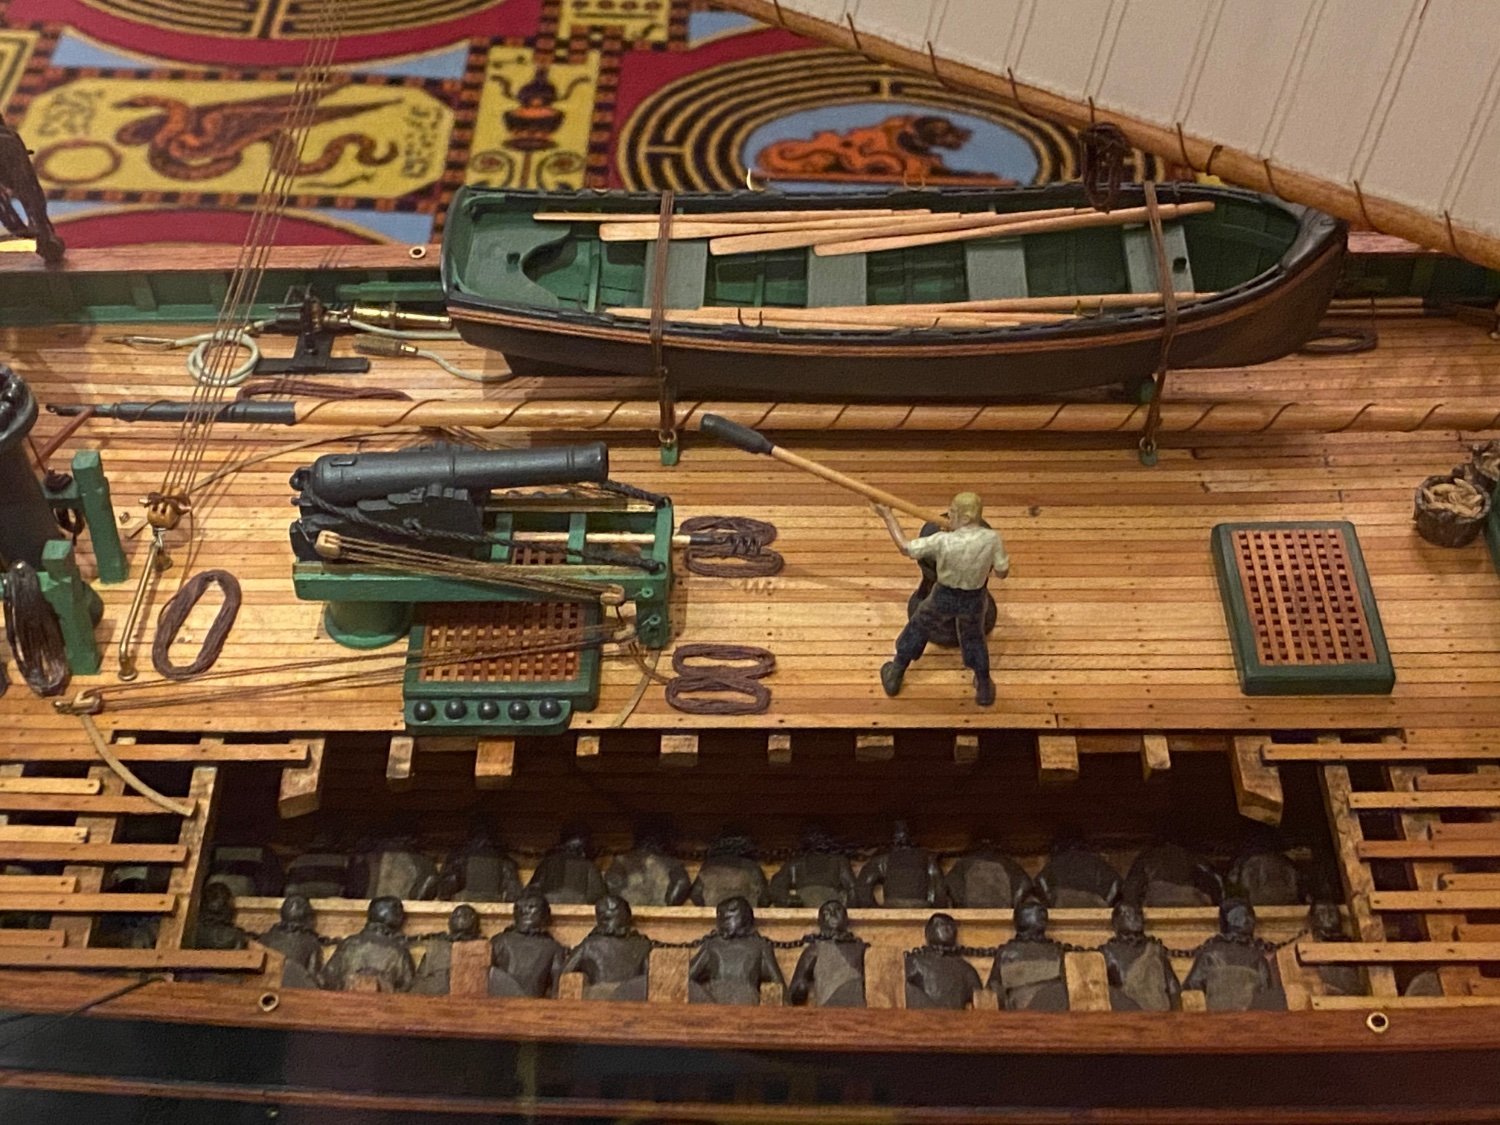
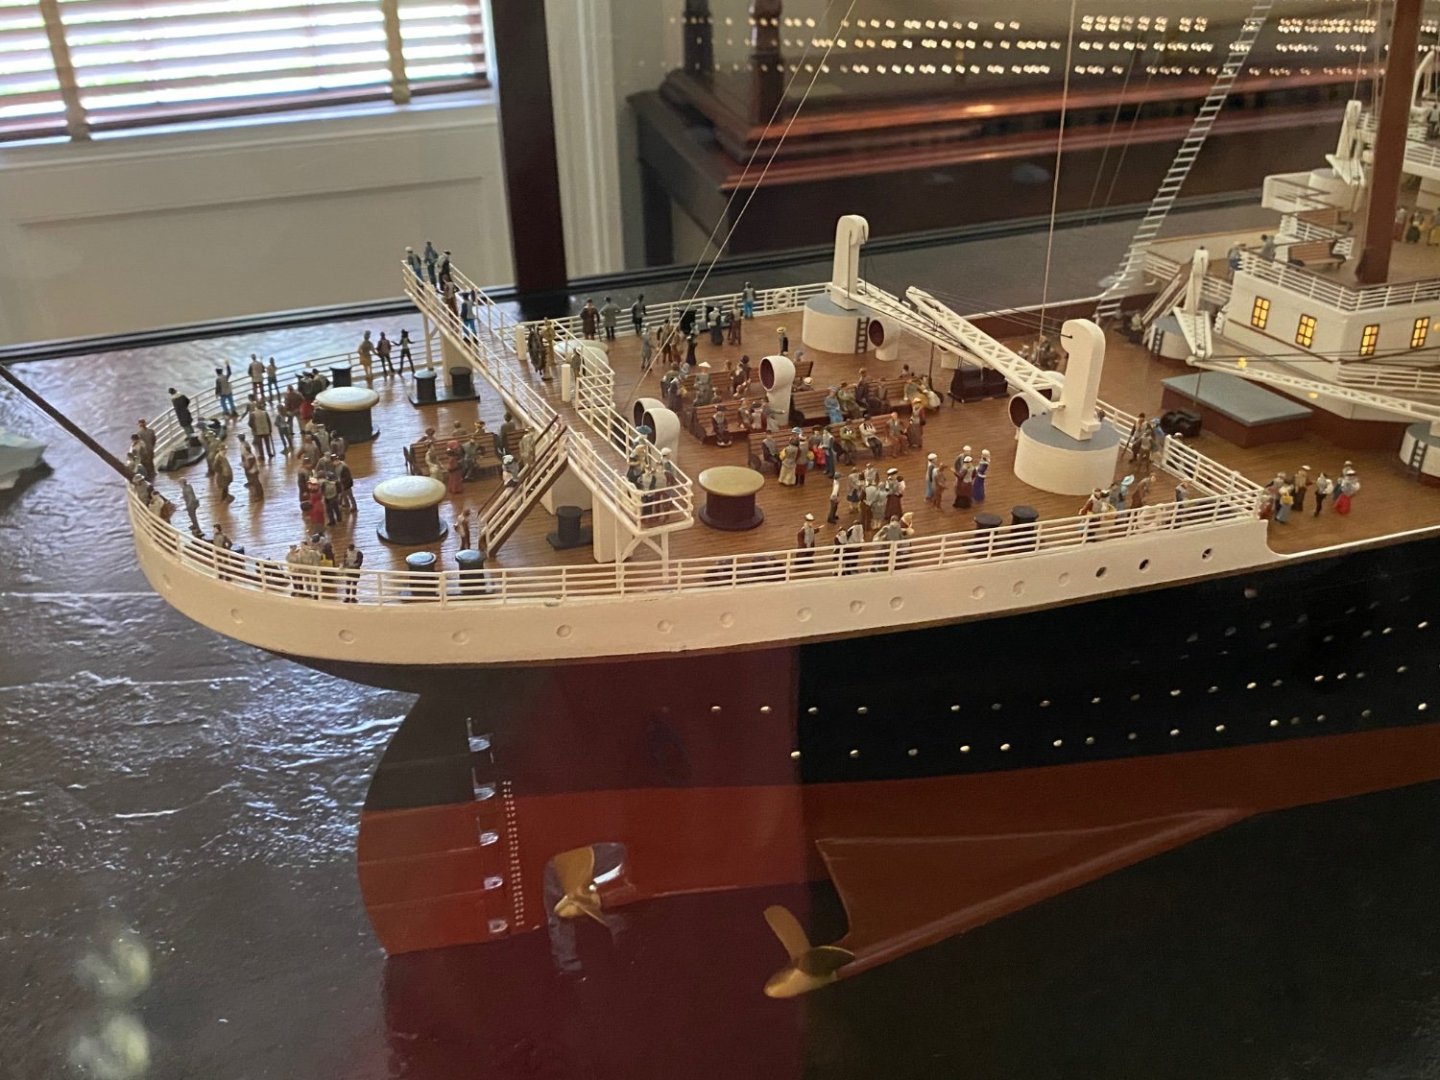
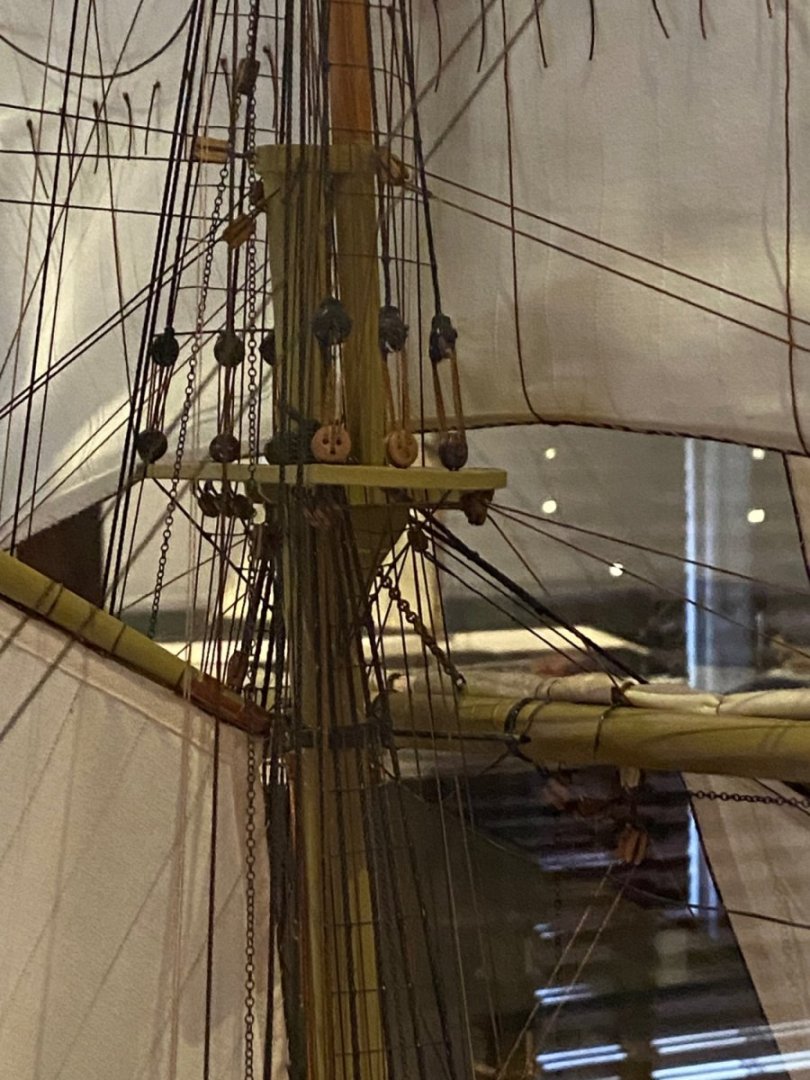
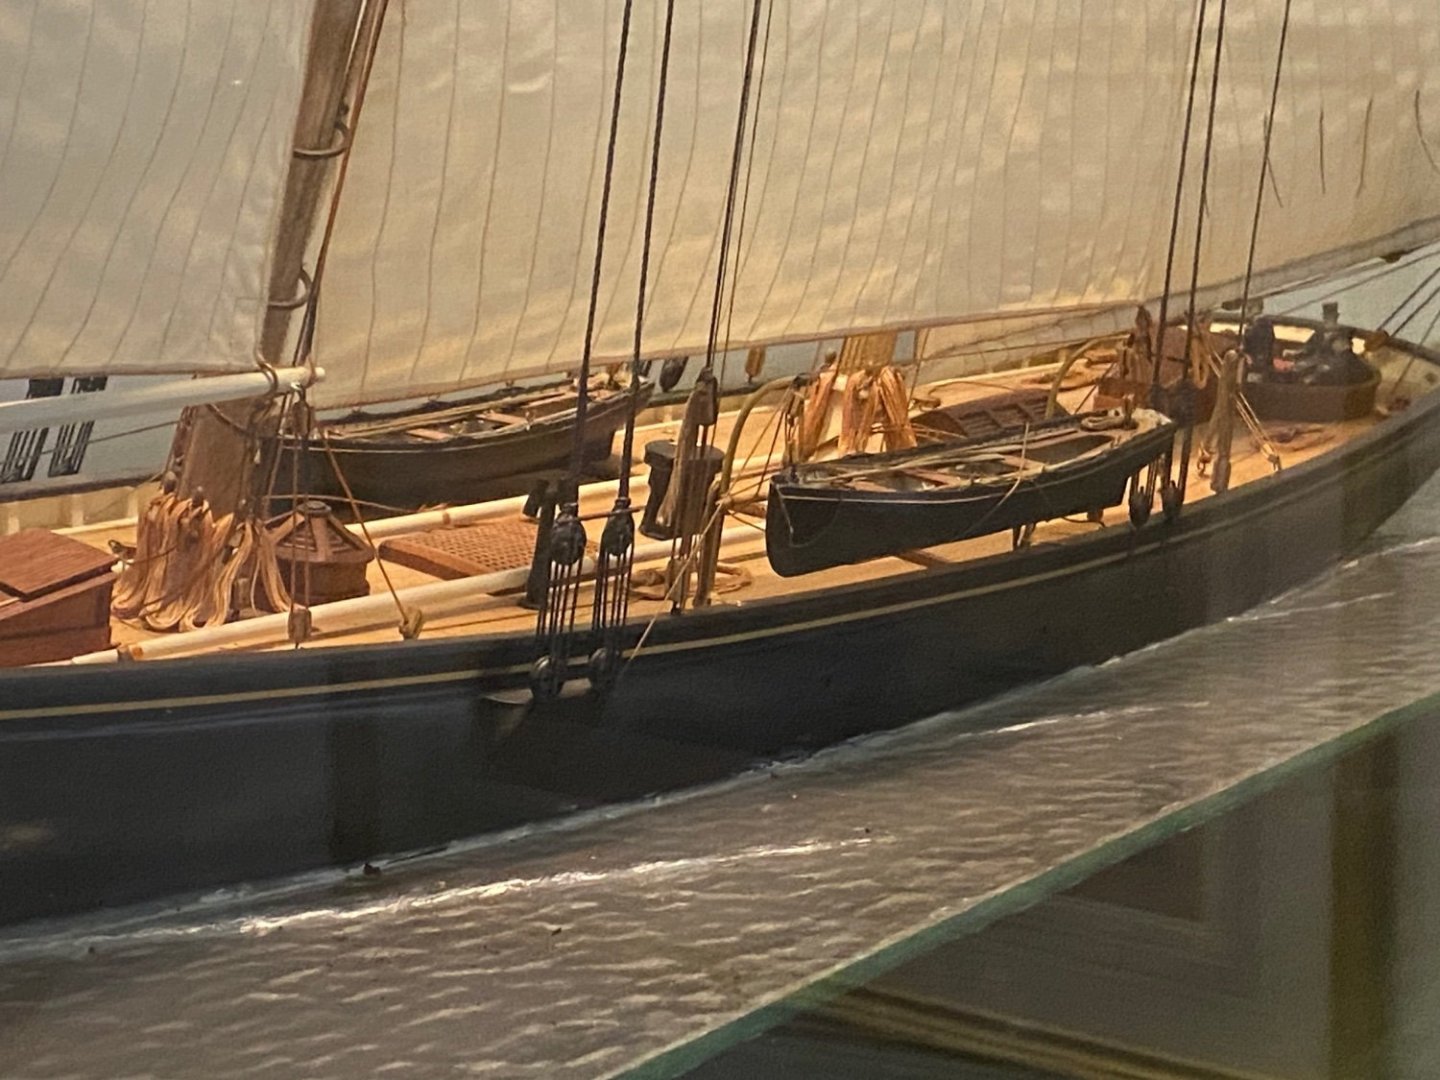
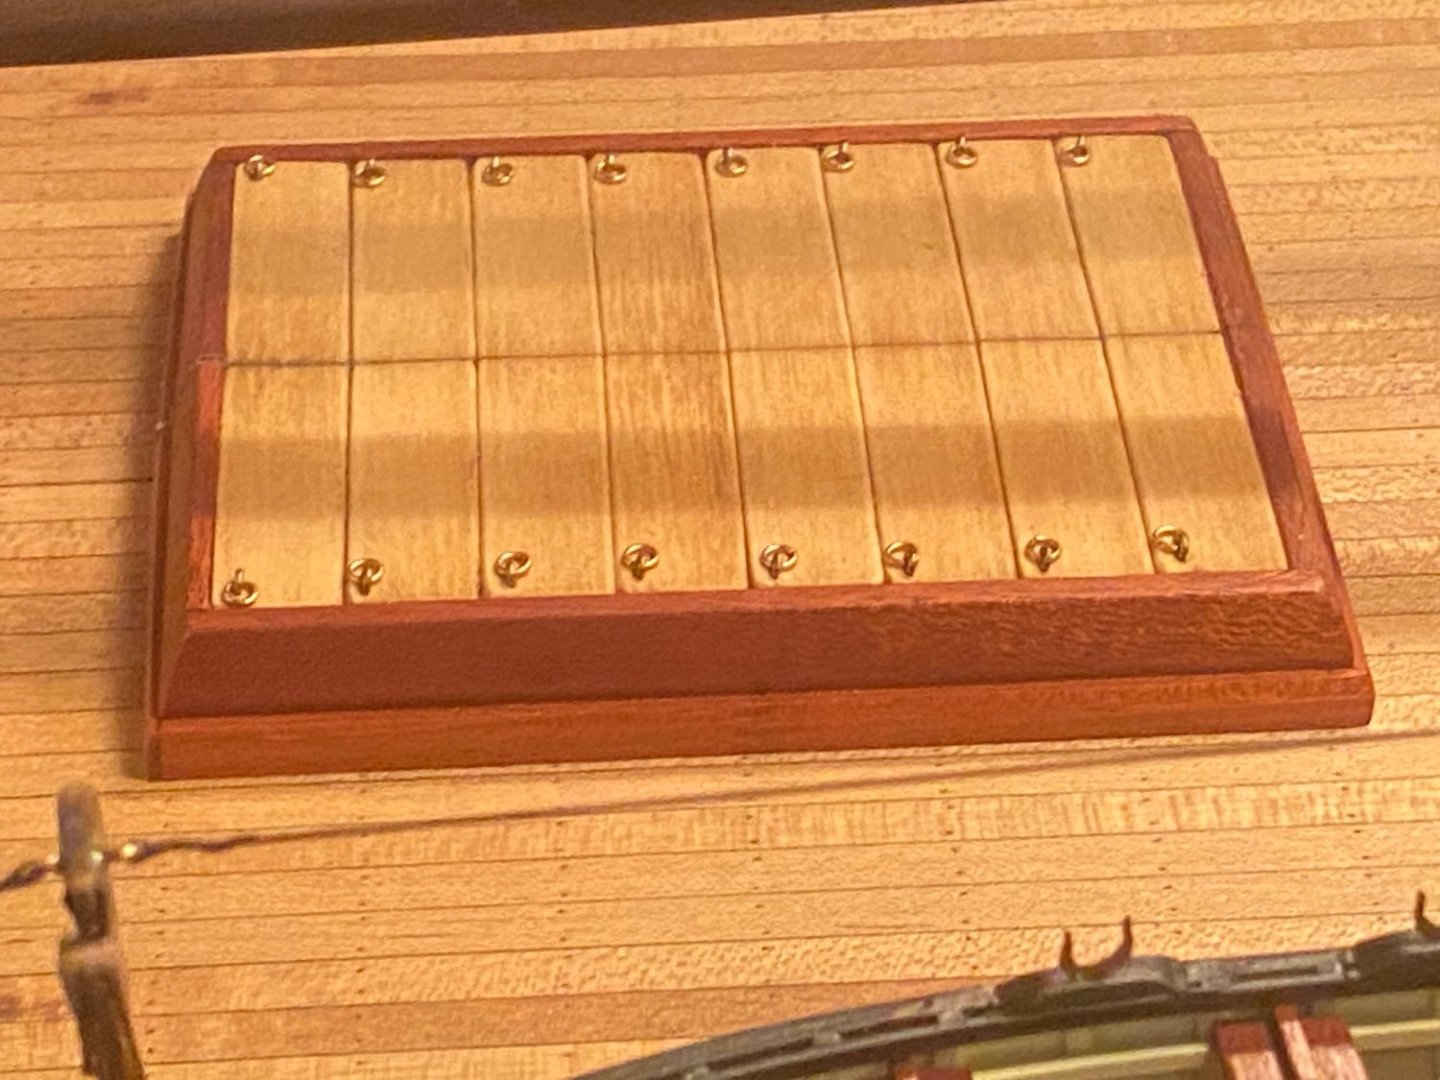
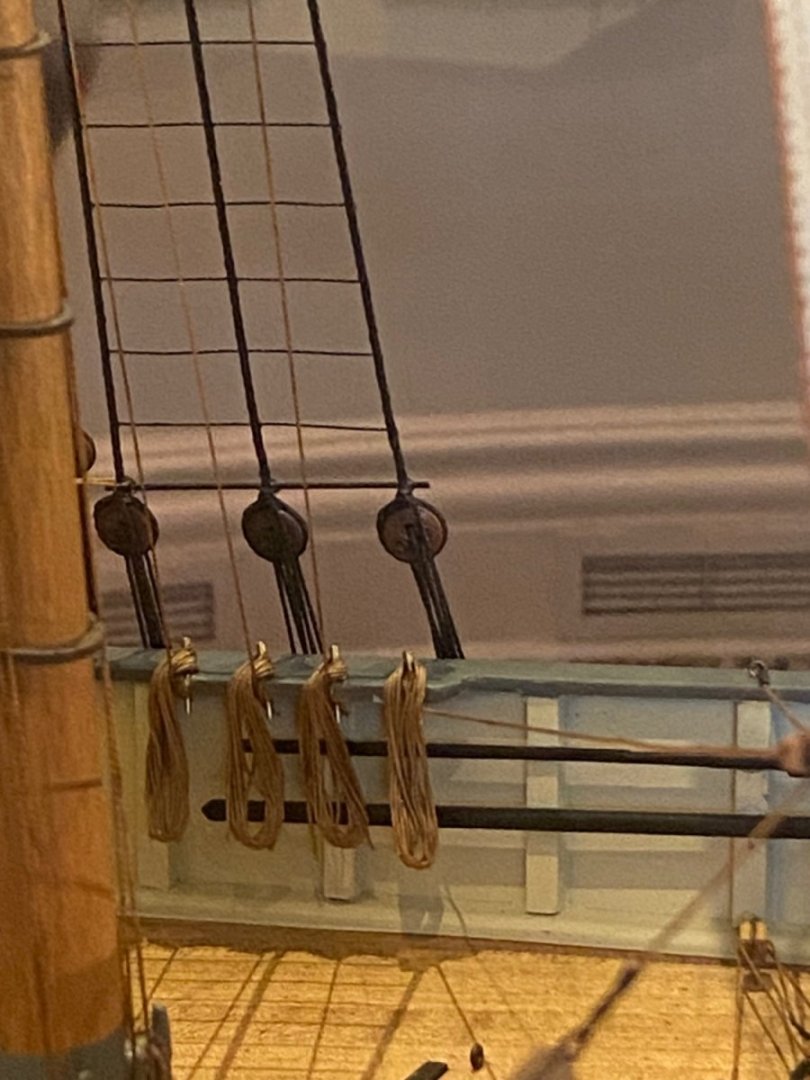
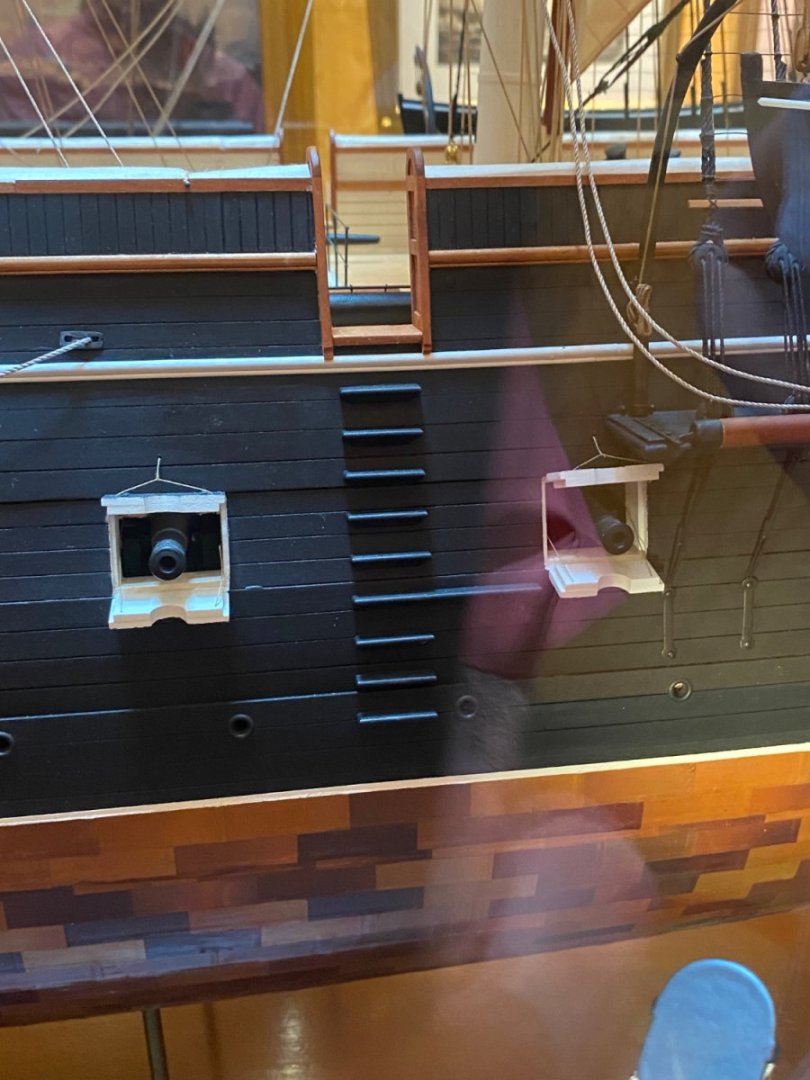
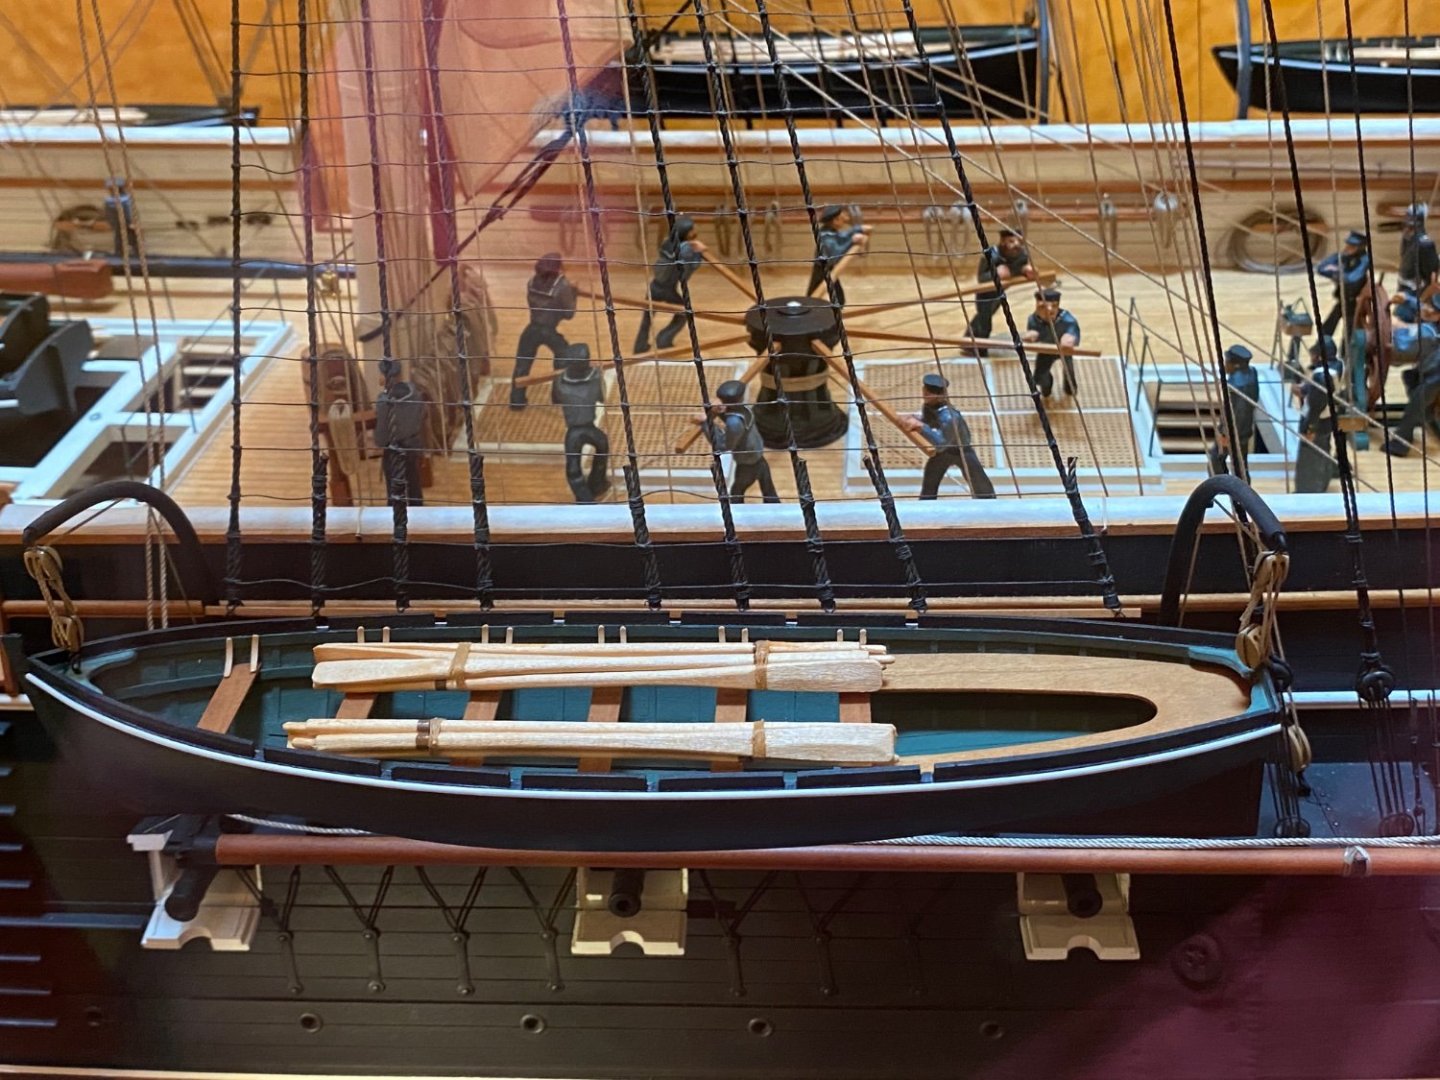
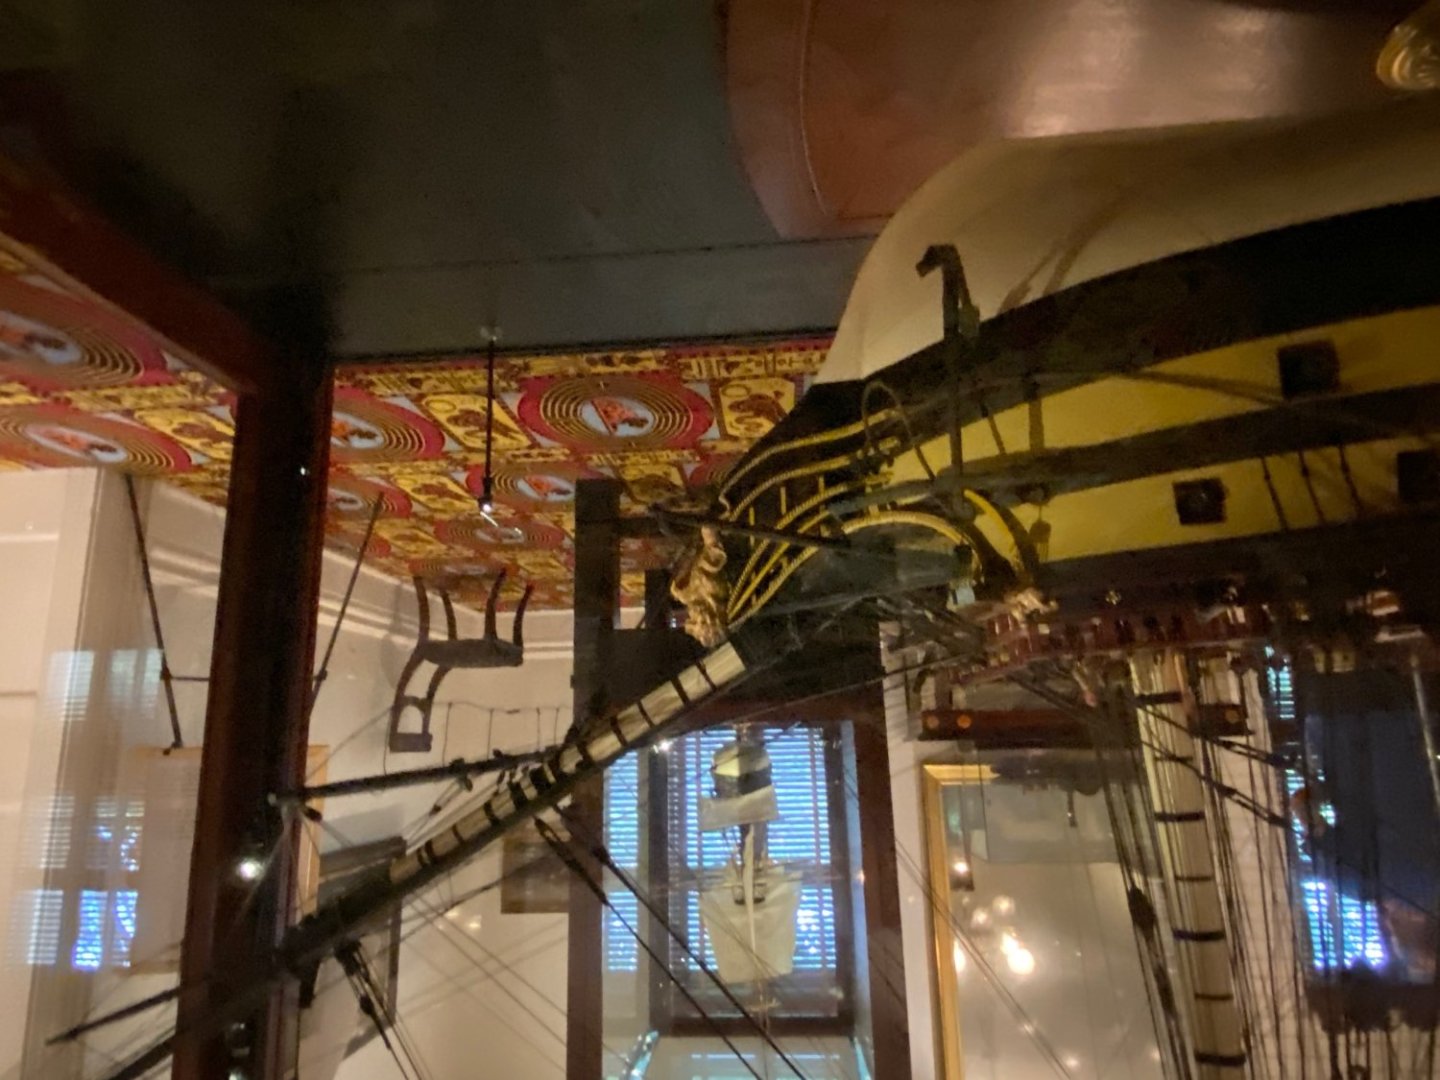
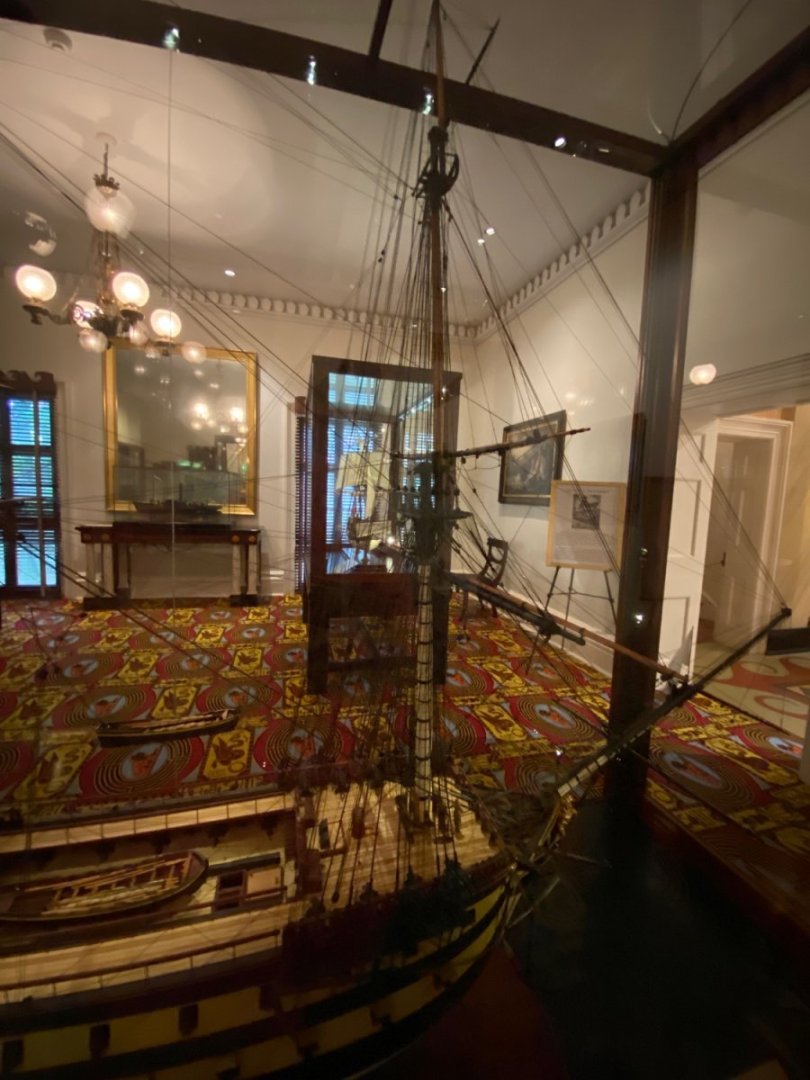
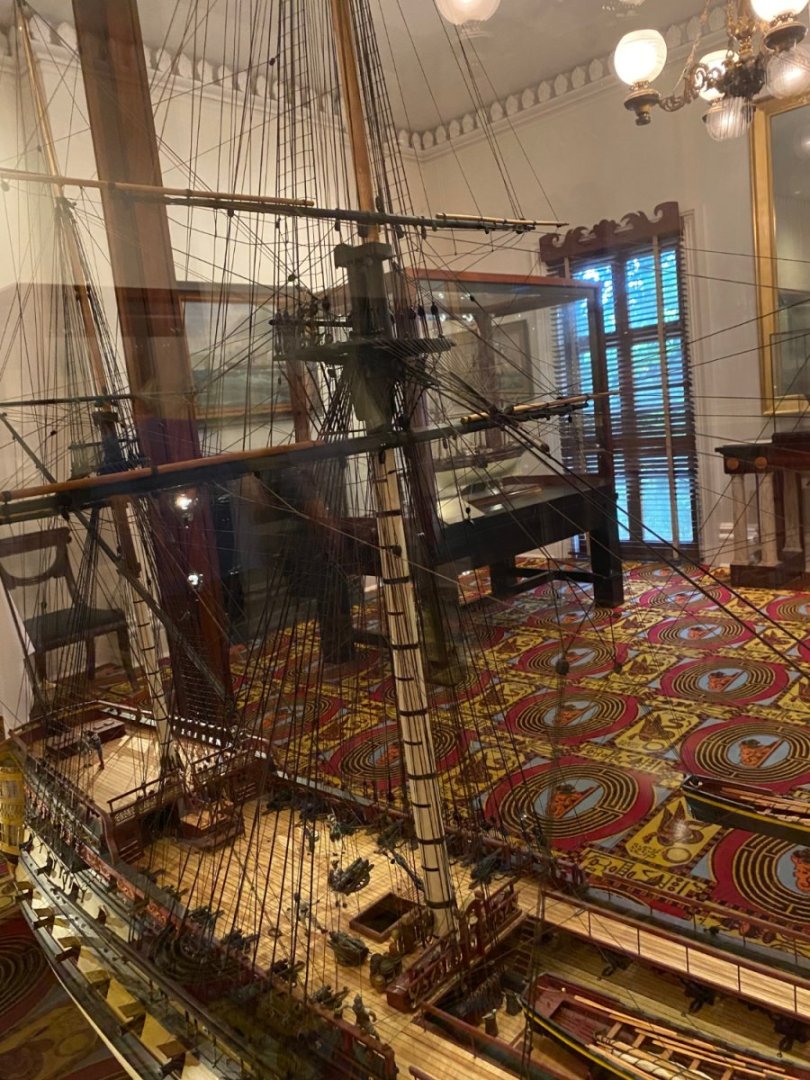
Roamed around in the Maritime Ship Museum in Savannah today. Some absolutely beautiful ships on display there. My wife, more of a history buff, enjoyed reading all the ship biographies. While she read the biography at each case I looked at the construction and rigging, and took photos for my reference use later. Picked up some great tips. Highly recommend this museum if you find yourself sometime in Savanah, GA. One thing I did notice is that all the ship models are wood. I have only built plastic but have wondered if someday I might want to try a wooden model. My concern would how much of my work room tools and supplies would have to be refitted for wood instead of plastic.


- 1,508 replies
-
- 5
-
-
- Le Soleil Royal
- Heller
- (and 1 more)
-
Thanks Henry. Very informative. I am working to create a complete prototype tackle off the ship. At this size I am studying what rigging parts I can eliminate or modify so as to get the most room between the blocks. Possibly eliminate the becket and strop if I can figure out a way to tie the hook and fall directly to the ends of the block. Don’t know how this will look yet. But at 2.5mm and sewing thread I wondered if it will be noticeable. I measured the distance from the eyebolt next to the hatch and the eyebolt in the carriage where I will connect the tackle. Placing the cannon where it looks OK in a run-out position I have 1” of space between the eyebolts. So I need a tackle 1” long from tip of hook to to tip of hook. I was not planning to use all single sheave blocks. I have tons of various size boxwood blocks but no 2.5mm double sheave. As far as I can discover on line there is no such thing. I can move up to a much more expensive block to get a 2.5 mm double sheave but I am hoping I can somehow make a single sheave work for both ends of the tackle. Maybe drill the hole a bit bigger and just run the fall through the same hole twice to finish the tackle. Again it is so small not sure it will be noticeable. Marc I am hopeful I can make these 2.5 work.
-
Thanks Ian.
-
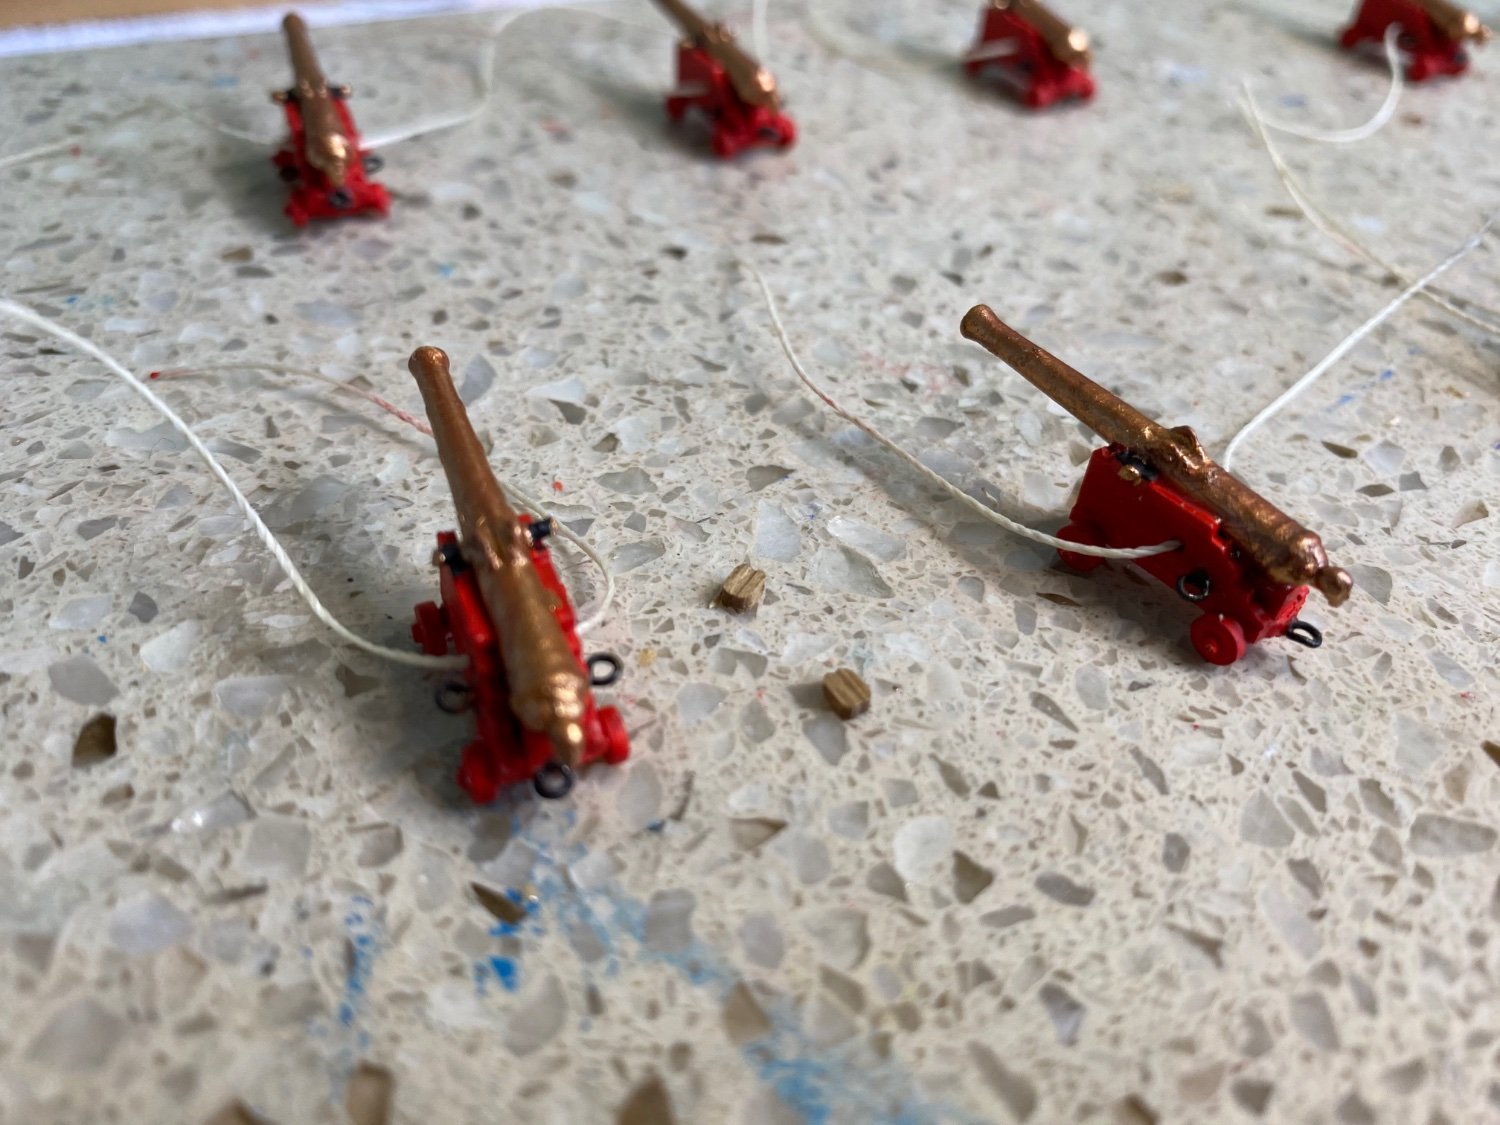
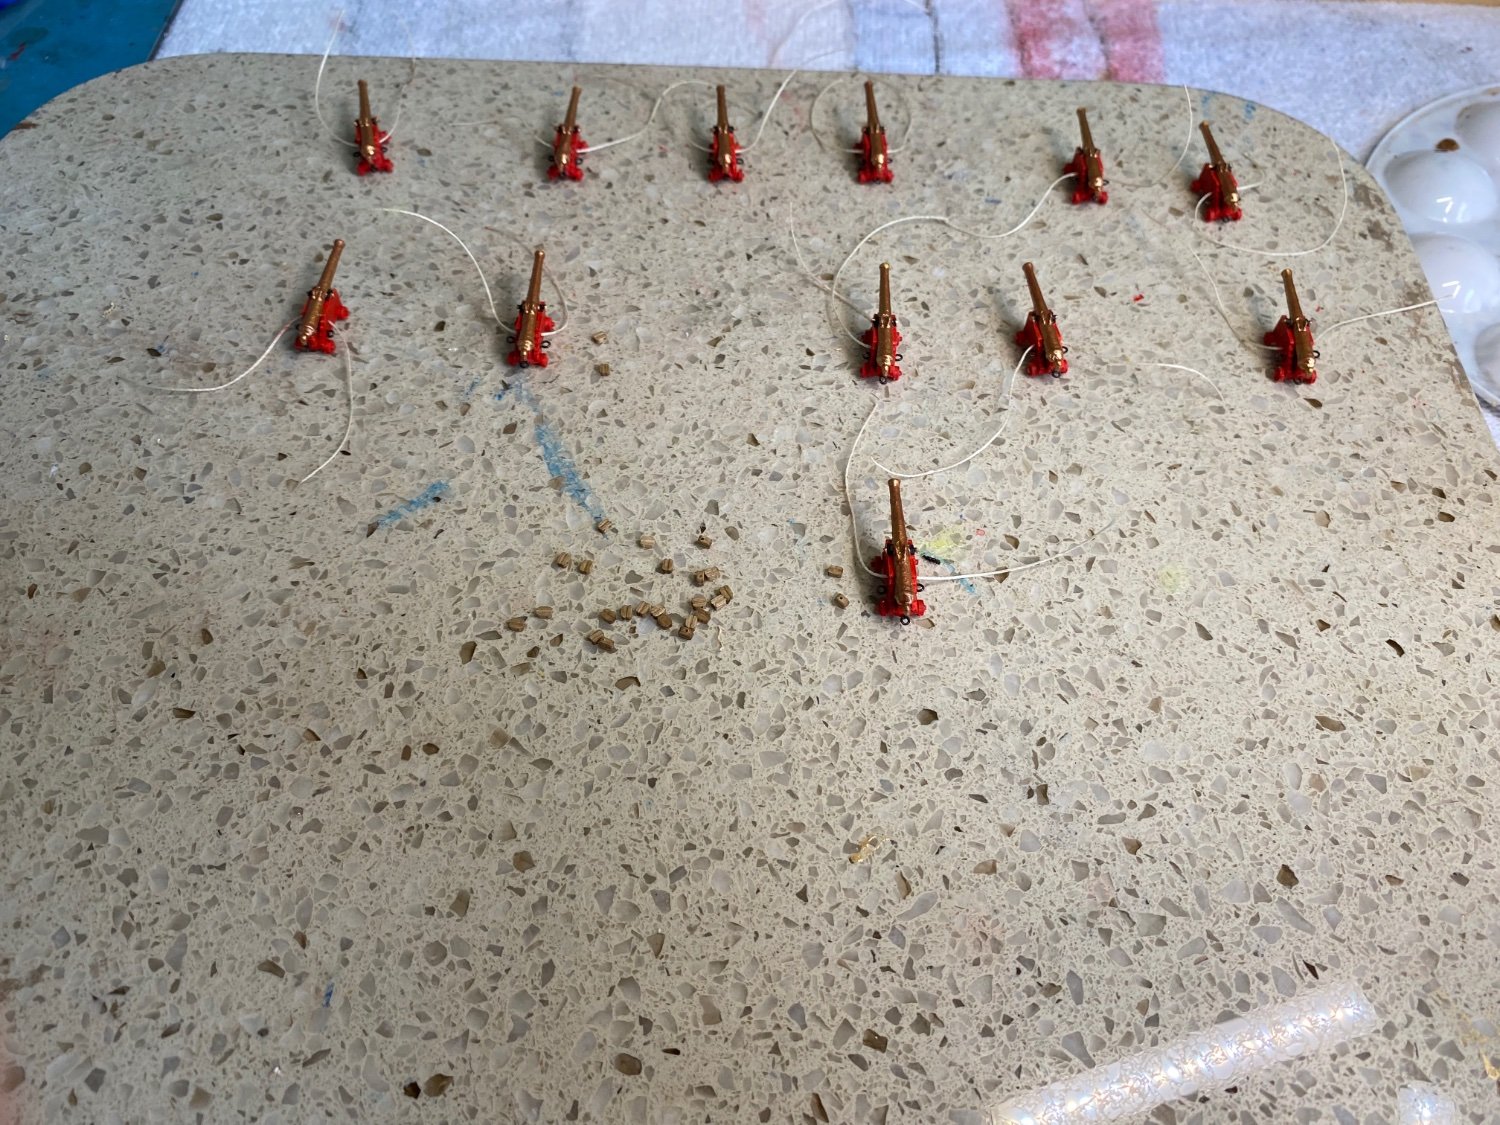
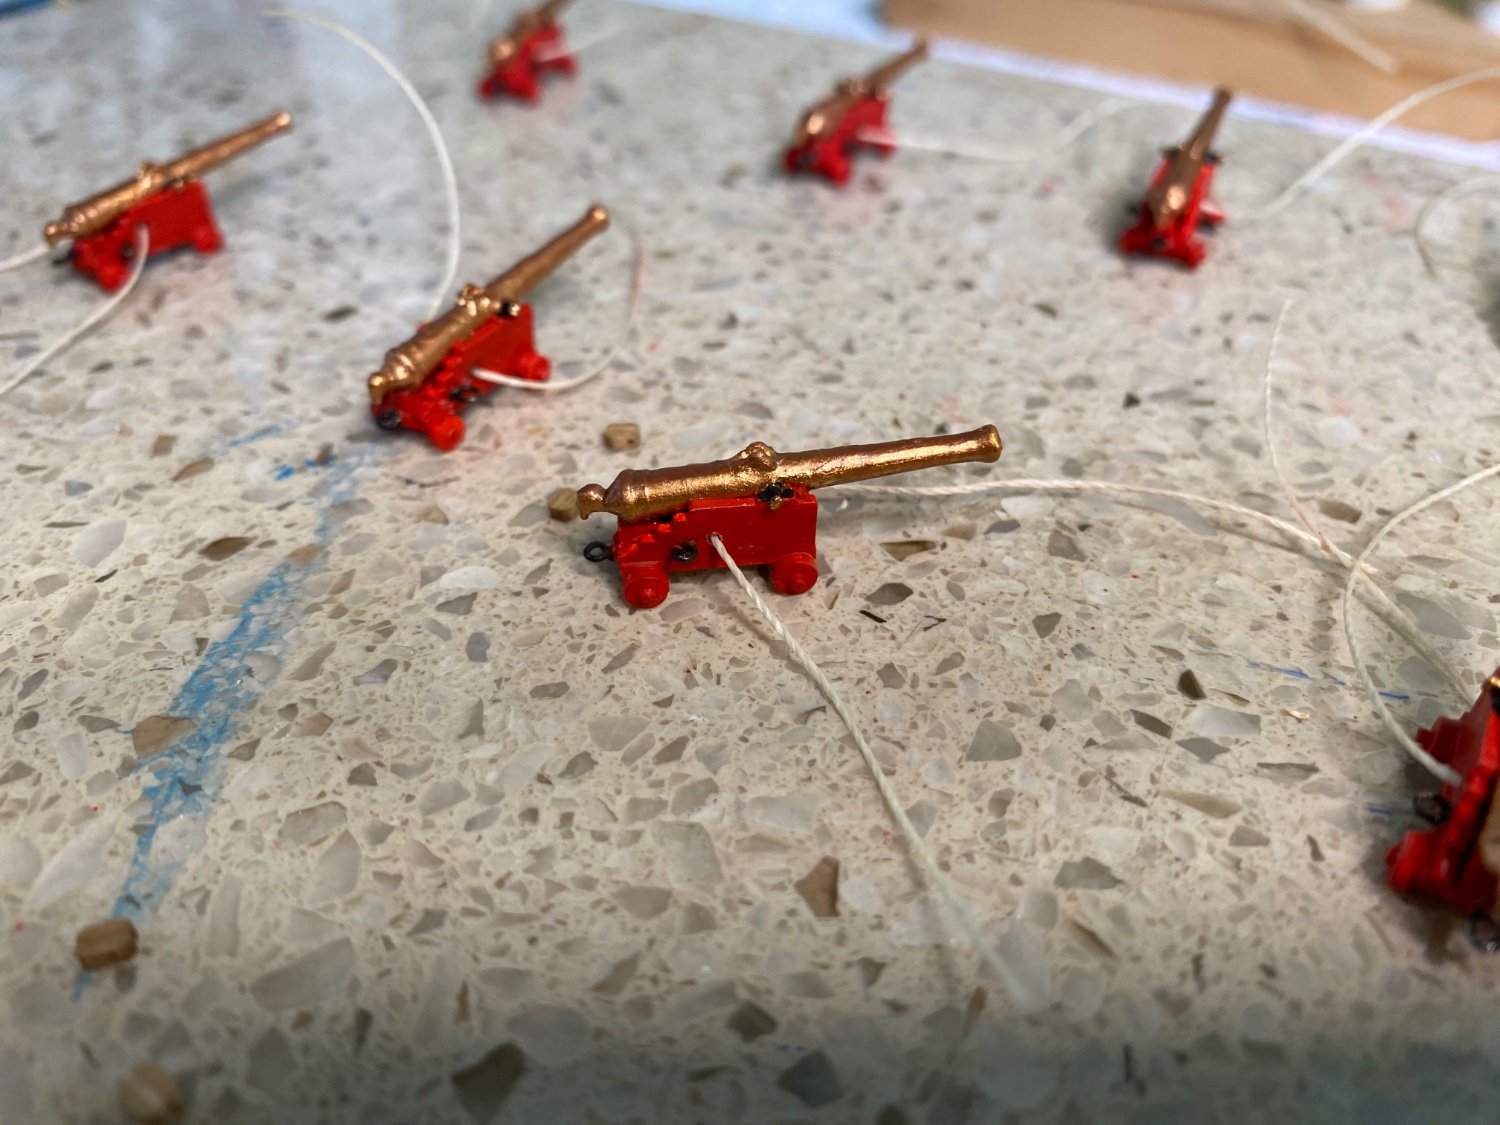
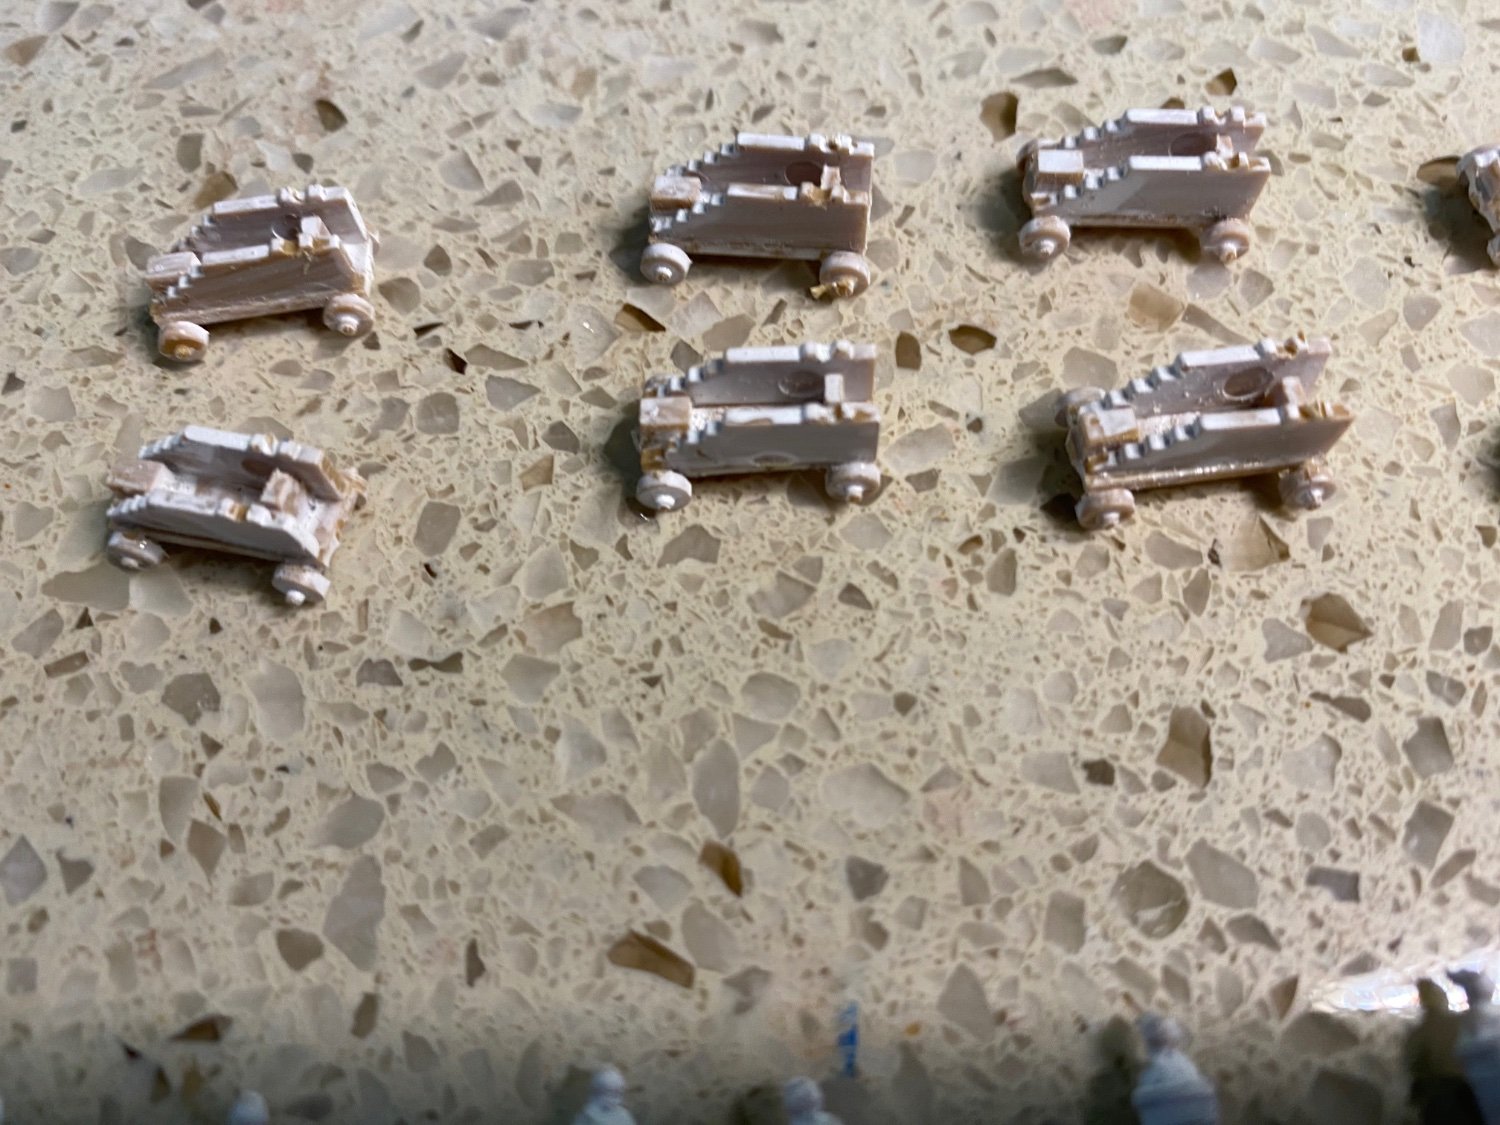
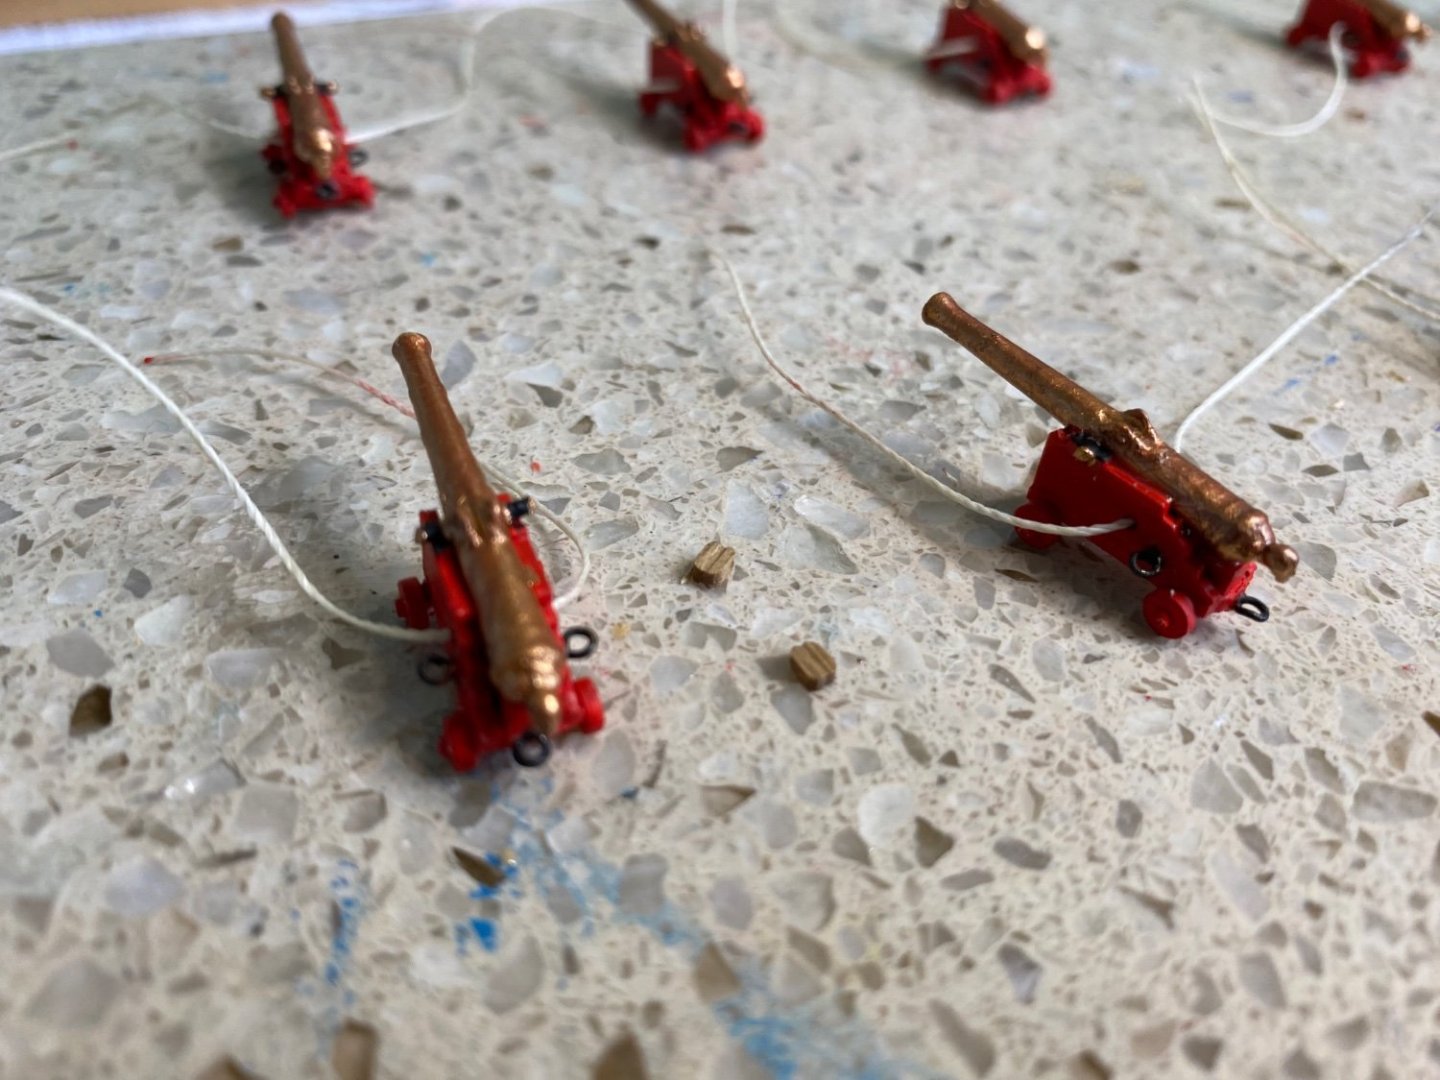
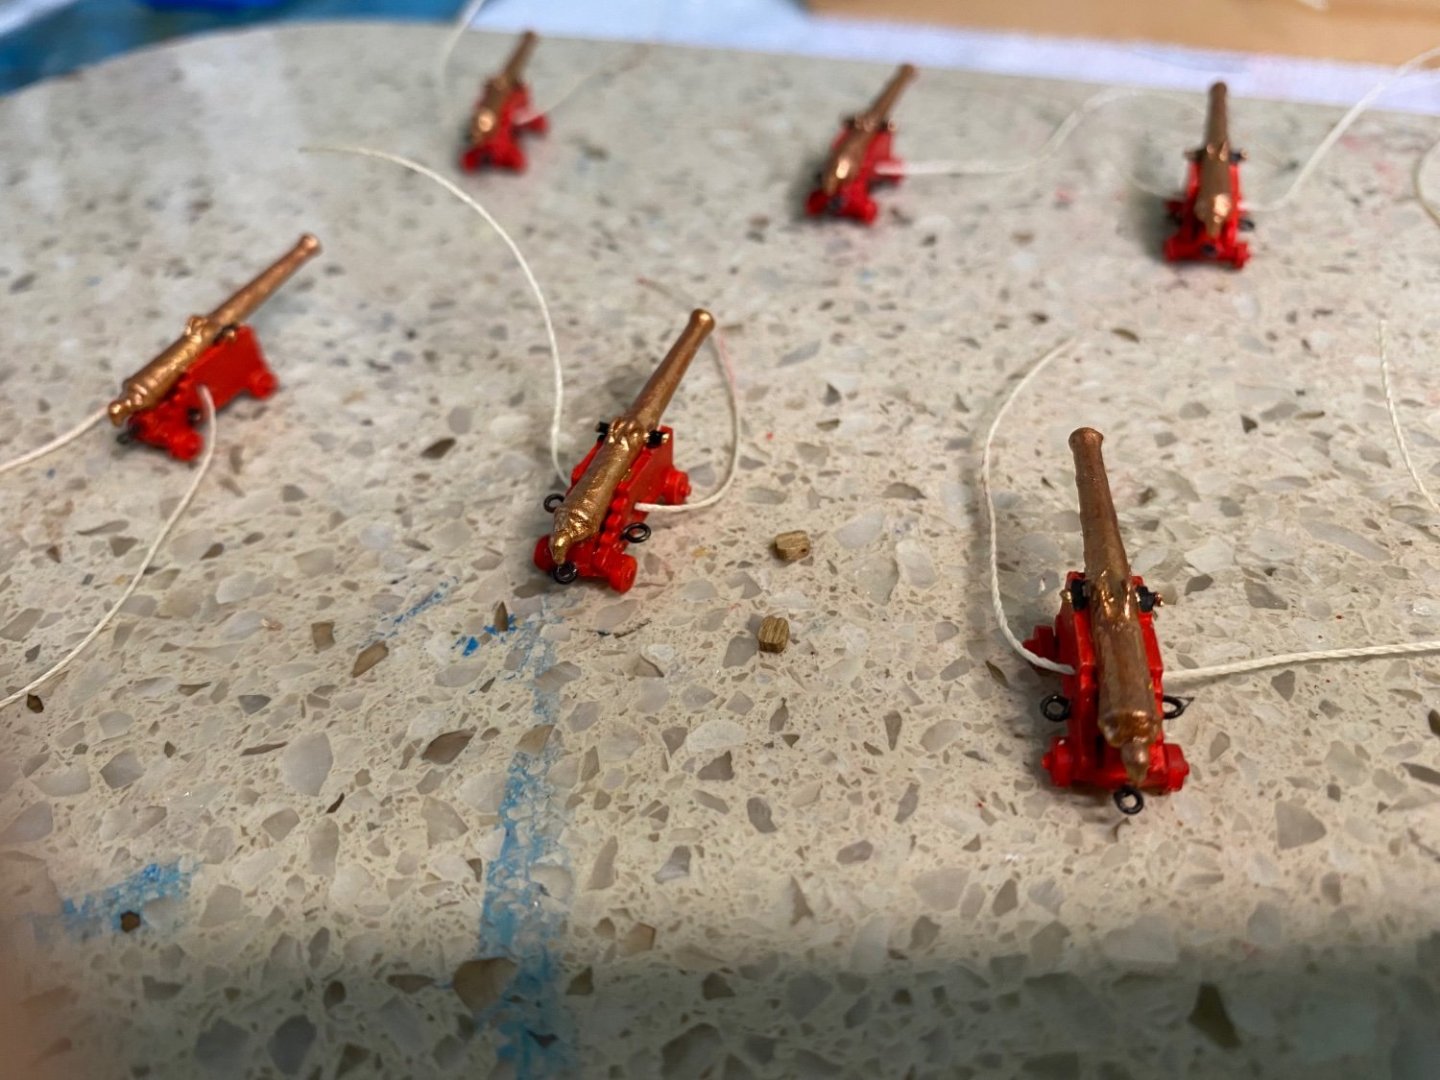
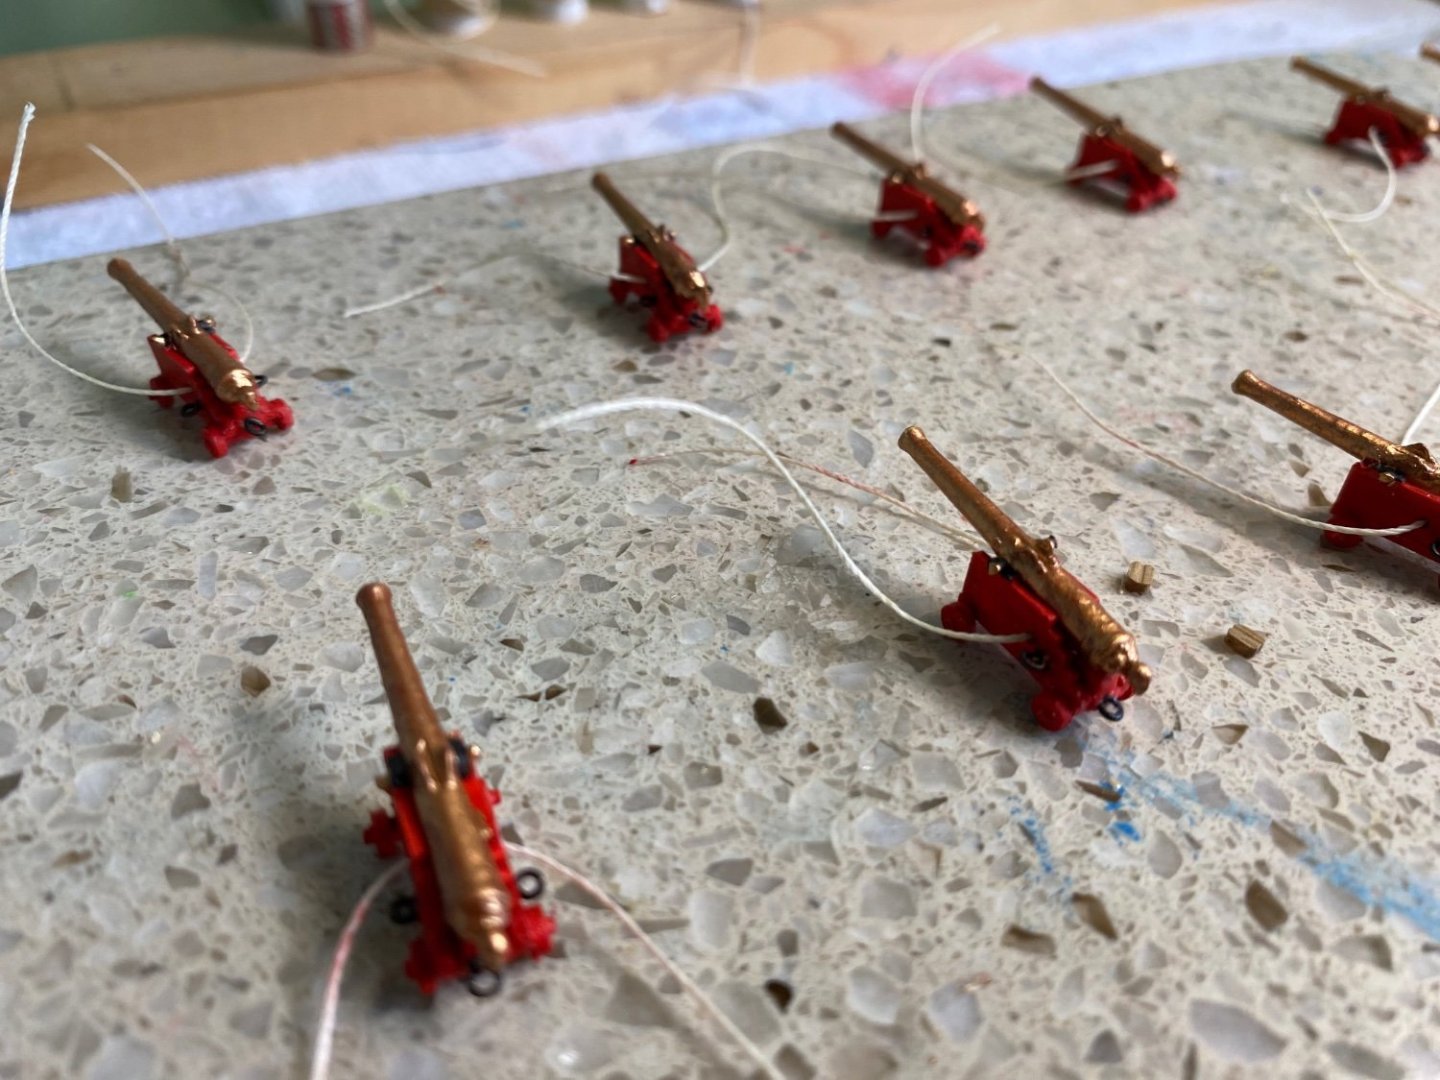
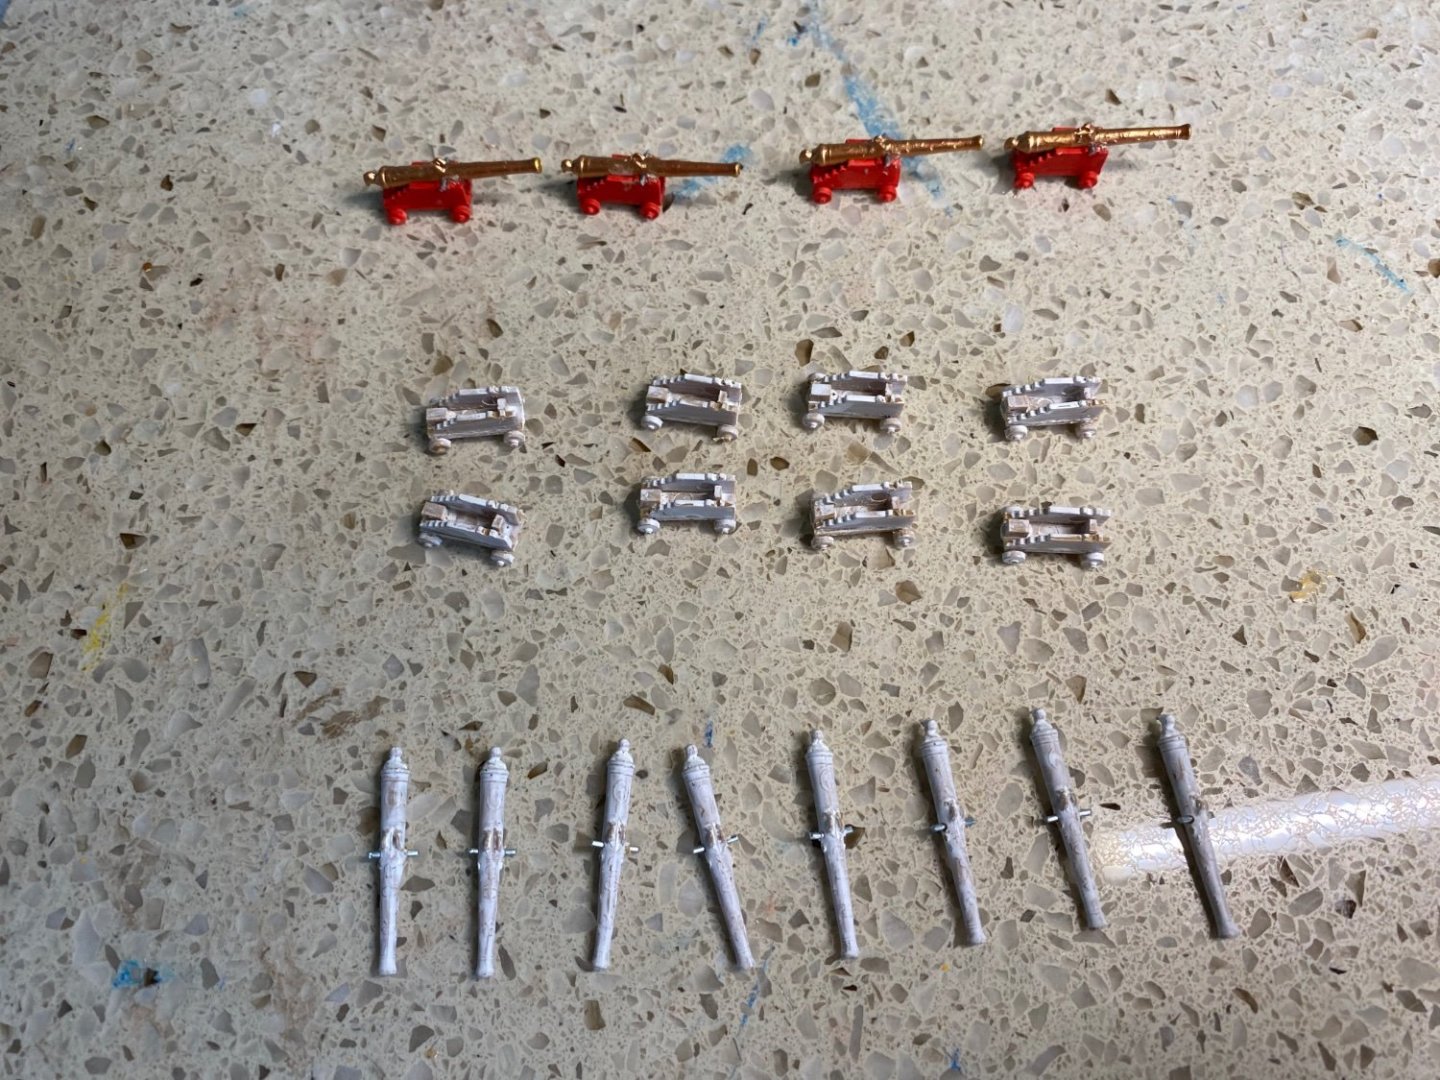
Thanks Henry for your confirmation of my thought. For my clarification could you explain “attachment of the tackle fall to the single block” in your comment? Getting close to understanding mist nautical terms? I could probably guess and/or figure out what you mean. But, I am sure to be correct if you don’t mind explaining. Got the 12 cannons for this next task assembled and painted. Also add the 3 eyebolts to each for hooking the hauls to the carriage. Used a bunch of the brass eyebolts I made and blackened. Also cut lengths of appropriate weight rigging thread for the breeching ropes and ran the ropes through the holes I drilled in the carriages. Now to set these little guys aside and start working on all the other hardware I am going to need to rig the cannons to include tiny hooks and ring bolts. Henry you can see the 2.5 mm blocks against the carriage. Will have to wait to see how much distance I have between the two blocks in the tackle to determine how far I want to run the cannon out. May need to haul them in just a bit to get a pleasing look to the out-haulers. Don’t want the two blocks right up together. Once I get that figured out I can put the eyebolt in the deck at a distance to get a pleasing in hailer length.


- 1,508 replies
-
- 2
-
-
- Le Soleil Royal
- Heller
- (and 1 more)
-
OK Henry I am solidly into your build comments from almost 10 years ago (comment #20 is dated August 2013). The whole section on making your hooks, rings for ring bolts, eyebolts, and carriage bolts is where I am engrossed. Now that I have decided on my cannon position I can begin the process of making all the needed hardware. I think I am confident in how the 3 tackles are rigged. I have 2.5 mm blocks for the tackles. A tiny bit bigger than the 2 mm you used. Should be fun trying to tie tiny hooks to the tiny blocks as you did in your build. Tell me if I am correct in my understanding of your pictures. It appears your breaching rope (which is heavier than the haul tackles) is connected to the eyebolts on each side of the hatch without using hooks. You have 3 eyebolts in each carriage, one each side and one on the back. You used a basic tackle having a single and a double sheeve block with hooks at all 3 locations (2 out-hall and one in-hall). All 3 tackles use hooks at both ends that hook into the various eyebolts either on the cannon carriages, the deck, or the inside of the hull? You used an optional ring boat in the deck for connecting the in-haul tackle. Just using an eyebolt in the deck would work as well for the in-haul tackle. Henry I know this is a lot of analysis but please take this as a compliment to your work that I want to reflect it in my work. Bill
-
So out they all will be!
-
Great Henry. I am starting to learn this nautical stuff! I like both your ‘s and Marc’s suggestion for the cannon positions. With your idea did you have all the cannons on one side hauled in? I currently have the ones fore and aft run out on both sides. Would it look odd to have the center 6 on one side run in while the fore and aft cannons run out? Not sure I want to break loose the cannons already glued in place.
-
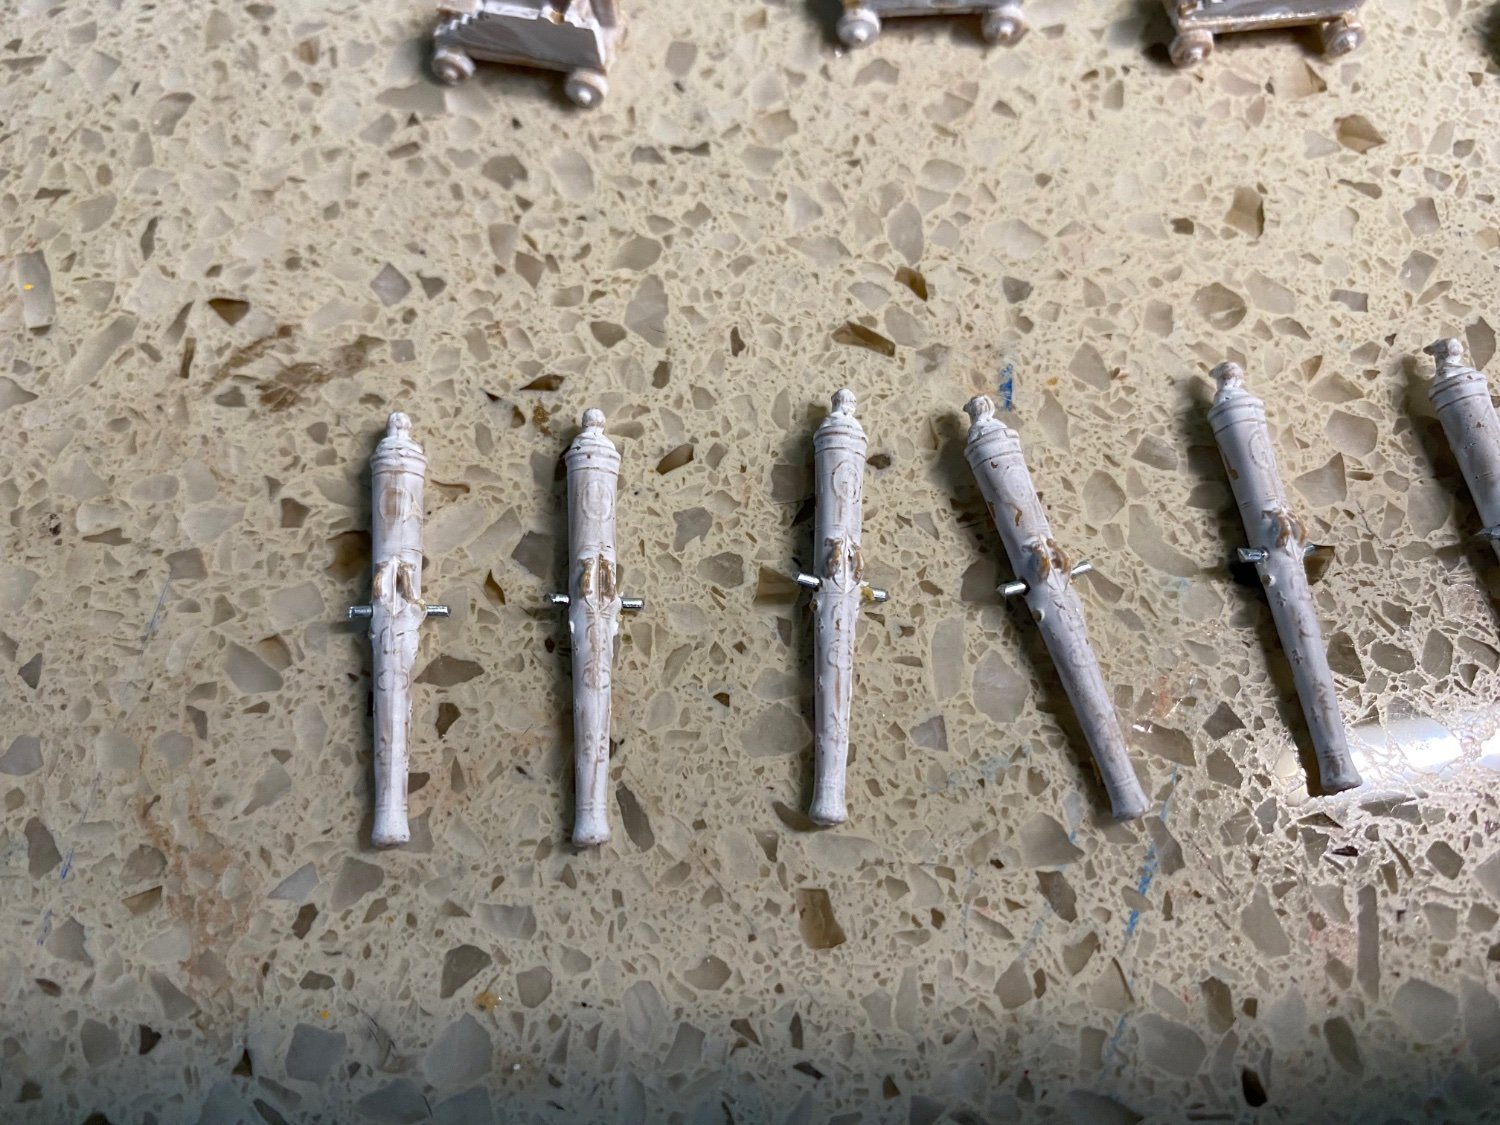
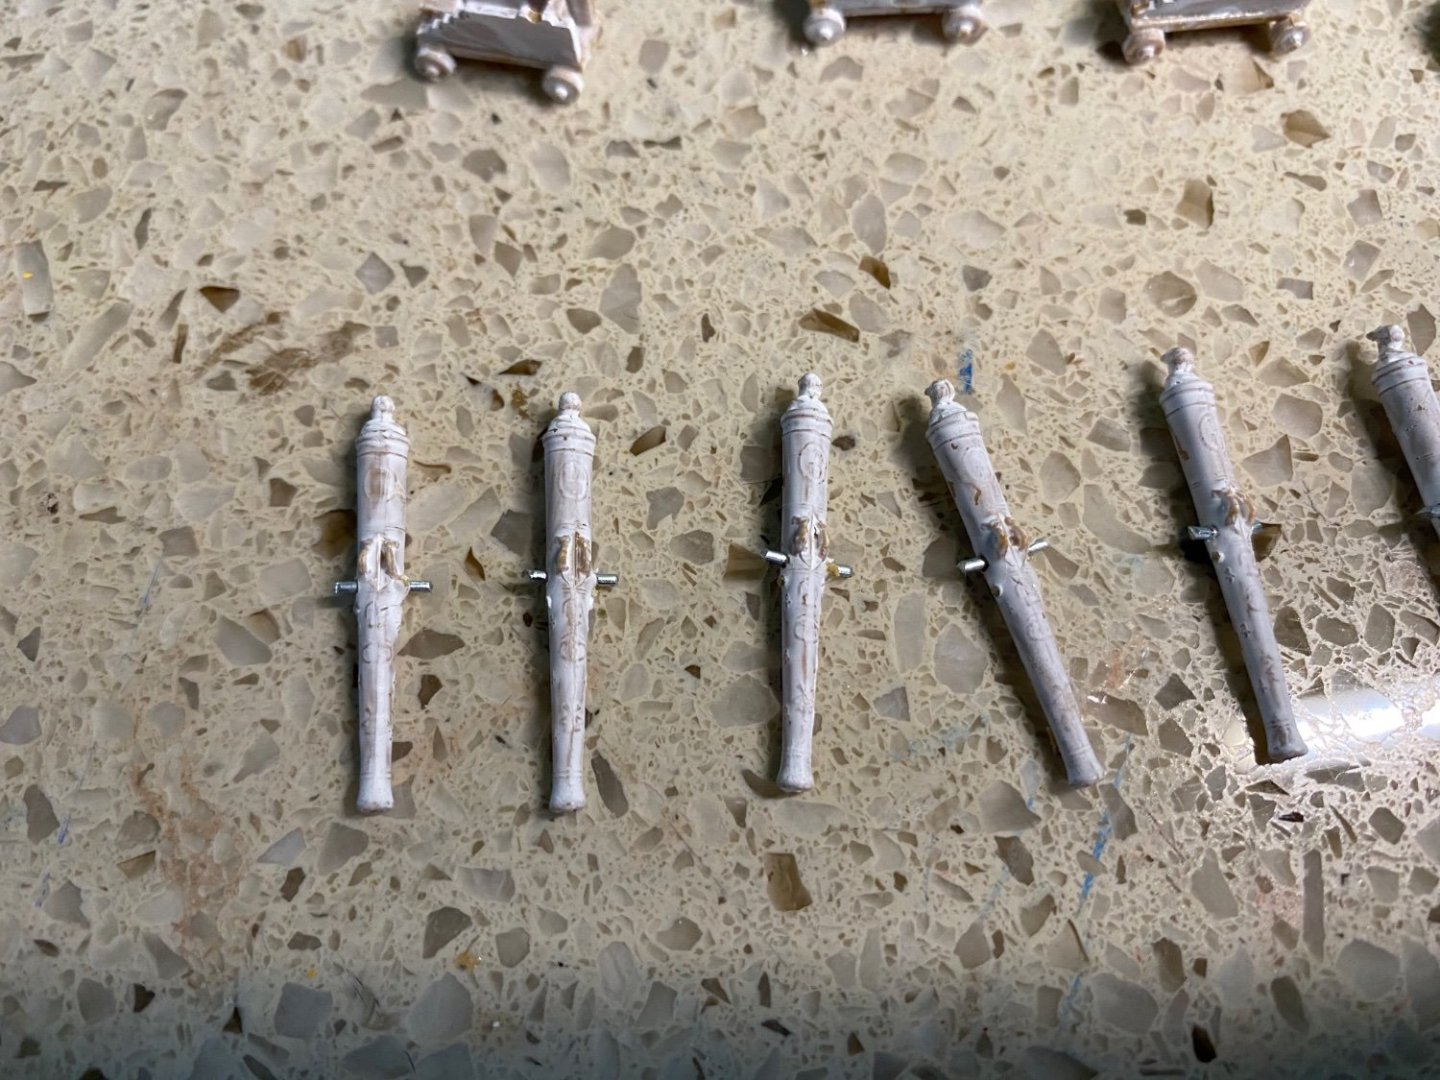
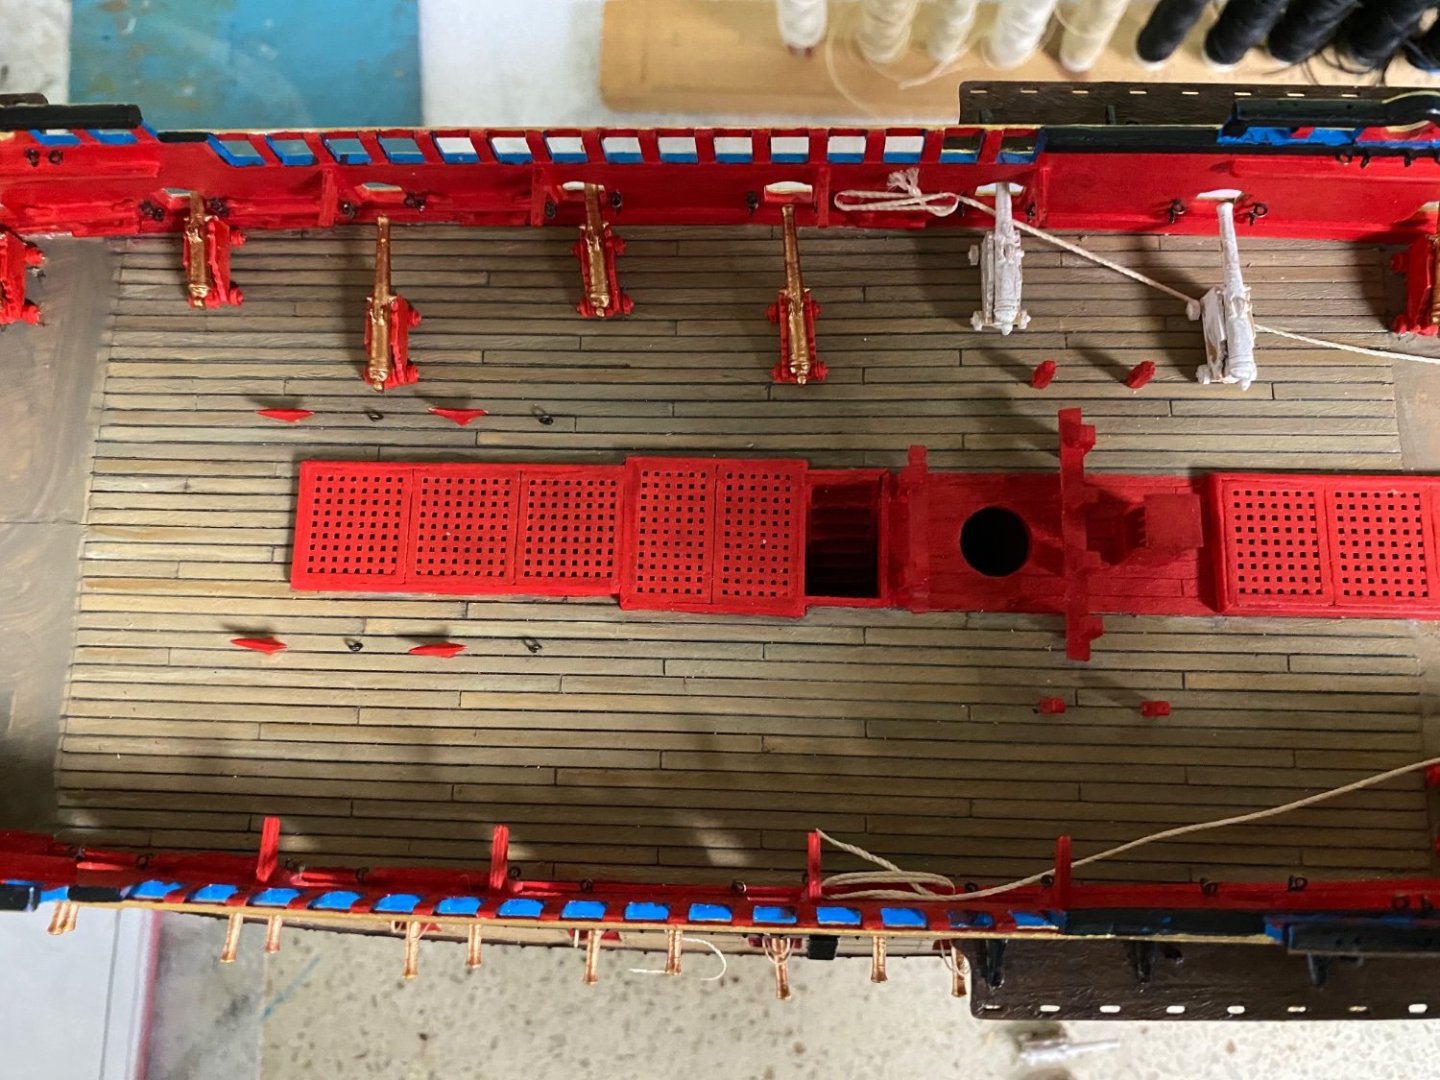
Good idea Marc having one run in and crew working on it. Got the new trunnions in place and the wheels probably placed. The 4 painted cannons in the photo were previously made and painted. When I decided to rig 6 on each side I did not put these in yet. I just needed to move the trunnion on each one.

- 1,508 replies
-
- 1
-
-
- Le Soleil Royal
- Heller
- (and 1 more)
-
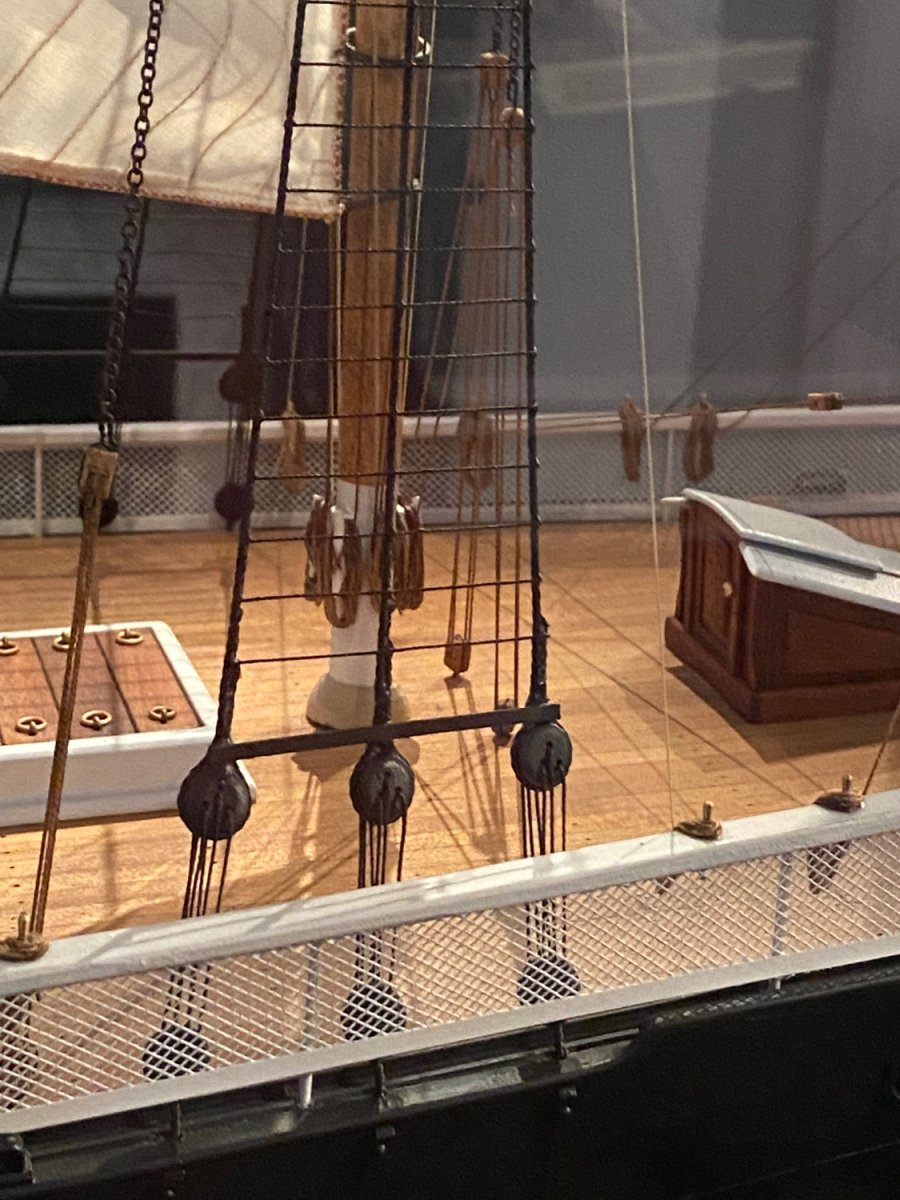
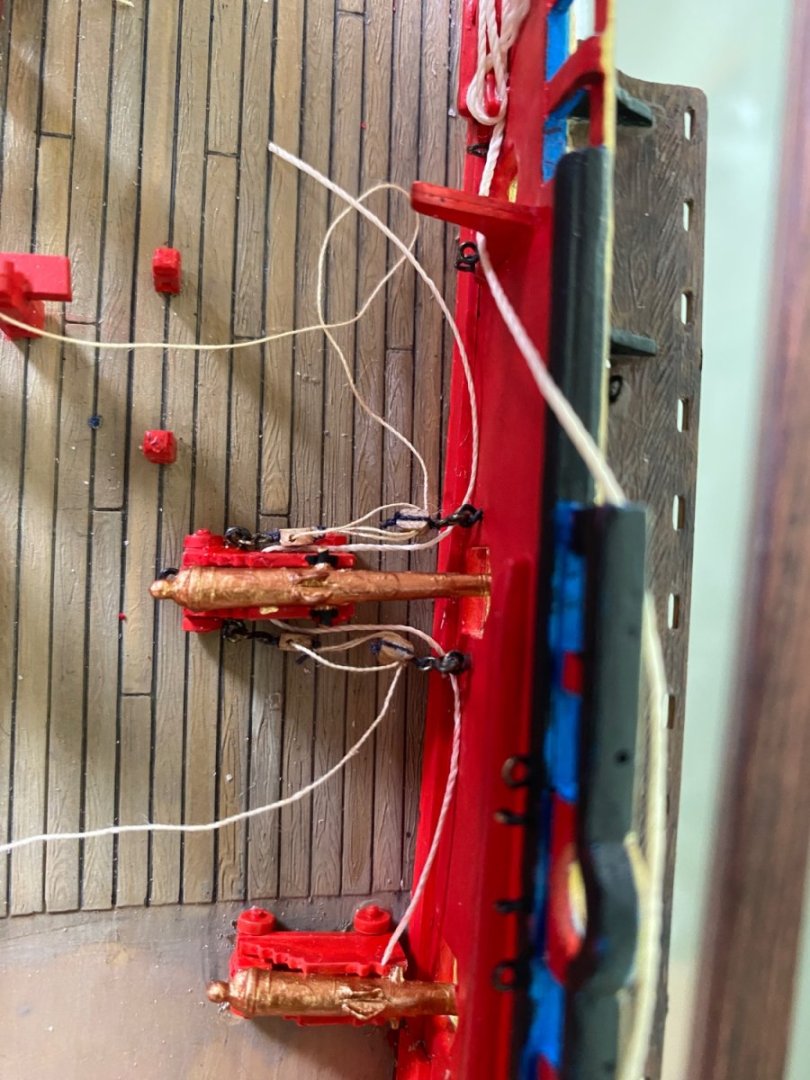
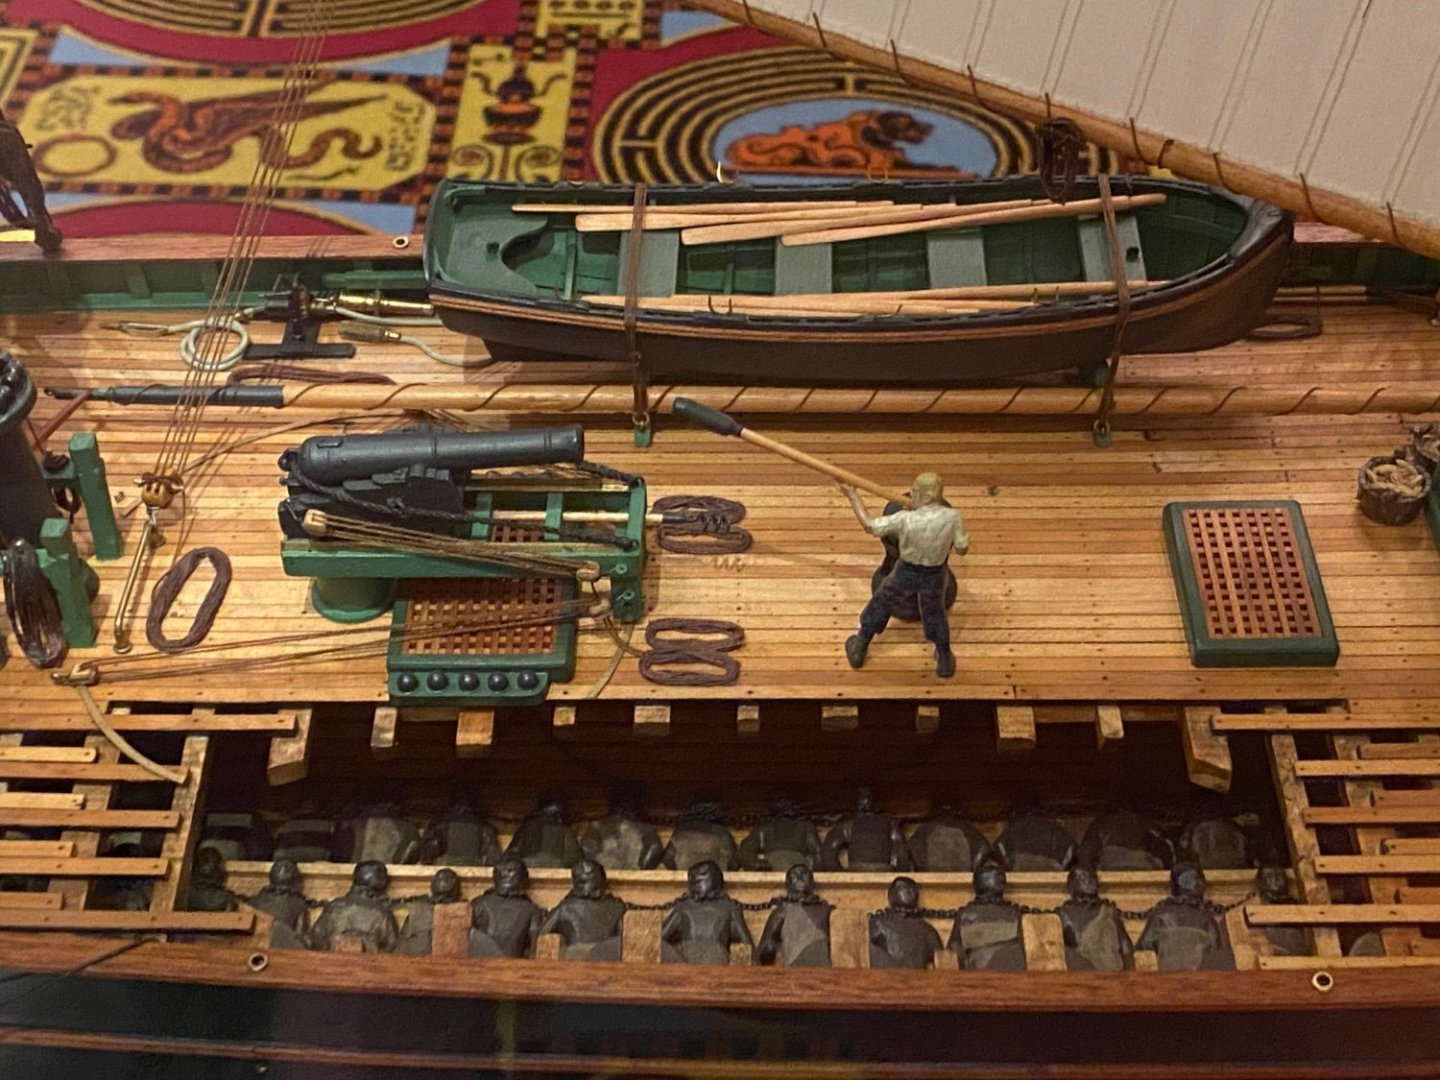
Thanks Henry. Just a bit of nautical terms I am not 100 percent sure if just yet. You mention an in-haul tackle and I assume an out-haul tackle. I am thinking the in-haul is the one tackle on the back end of the carriage and the out-haul are the ones on each side? The breeching rope is the one that passes through the holes you drilled in the sides of the carriage? It appears to be a bit heavier thread than the size you used for the tackles? Would the breeching rope lay slack when the cannon is run out? I am guessing it should be long enough for the cannon to be run in and fairly taut at that position but hang loose when run out? This next question is simply a visual interest question so you, or others, can comment if you think this would have ever been the case. All the cannons fore and aft that I put in yesterday will not be seen except for the end of the barrel sticking out if the hatch opening. They are all run out and glued in place just like the ones on the lower decks. For these 12 I am going to put in and rig I am wondering if it would have been appropriate for some to be run in and some run out. For simple visual interest I wondered if a zig-zag pattern ( something like the photo) would be completely not authentic since all the other are run out? This would show the rigging concept/purpose a bit more.
-
Henry I am looking very closely at the section of your build that pertains to rigging your cannons. I see where Daniel advised there was only one tackle on the rear of these cannons. Looking closely at the pictures you included, it appears you used 6 small blocks on each cannon. A single and a double sheeve block on each side and a single and double on the back. So 3 single sheeve and 3 double sheeve blocks for each cannon? The smallest blocks I can get is 2.5 mm but I think they will work OK. I decided it appears rigging the cannon off the ship is probably easier. Then just glue it in place, attach to eyebolts already in UB, and tighten the threads. I will be rigging 12 cannons at this stage so any advice would be greatly appreciated.