HOLIDAY DONATION DRIVE - SUPPORT MSW - DO YOUR PART TO KEEP THIS GREAT FORUM GOING!
×


Bill97
-
Posts
2,704 -
Joined
-
Last visited
Content Type
Profiles
Forums
Gallery
Events
Everything posted by Bill97
-
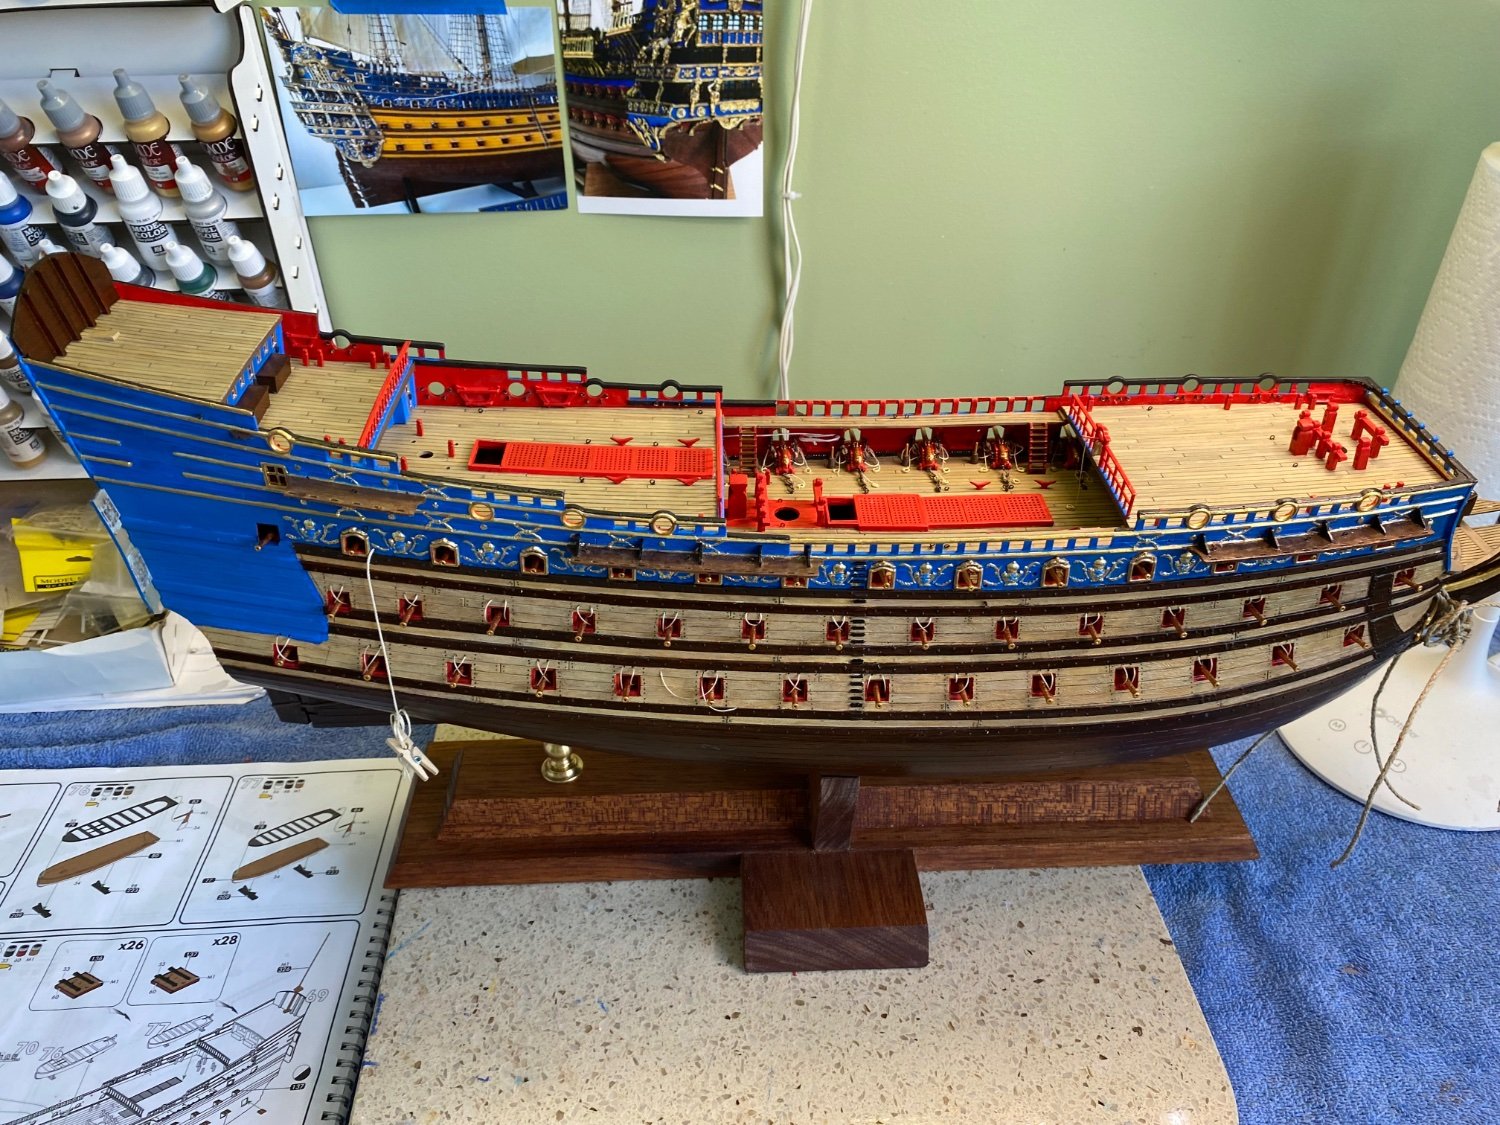
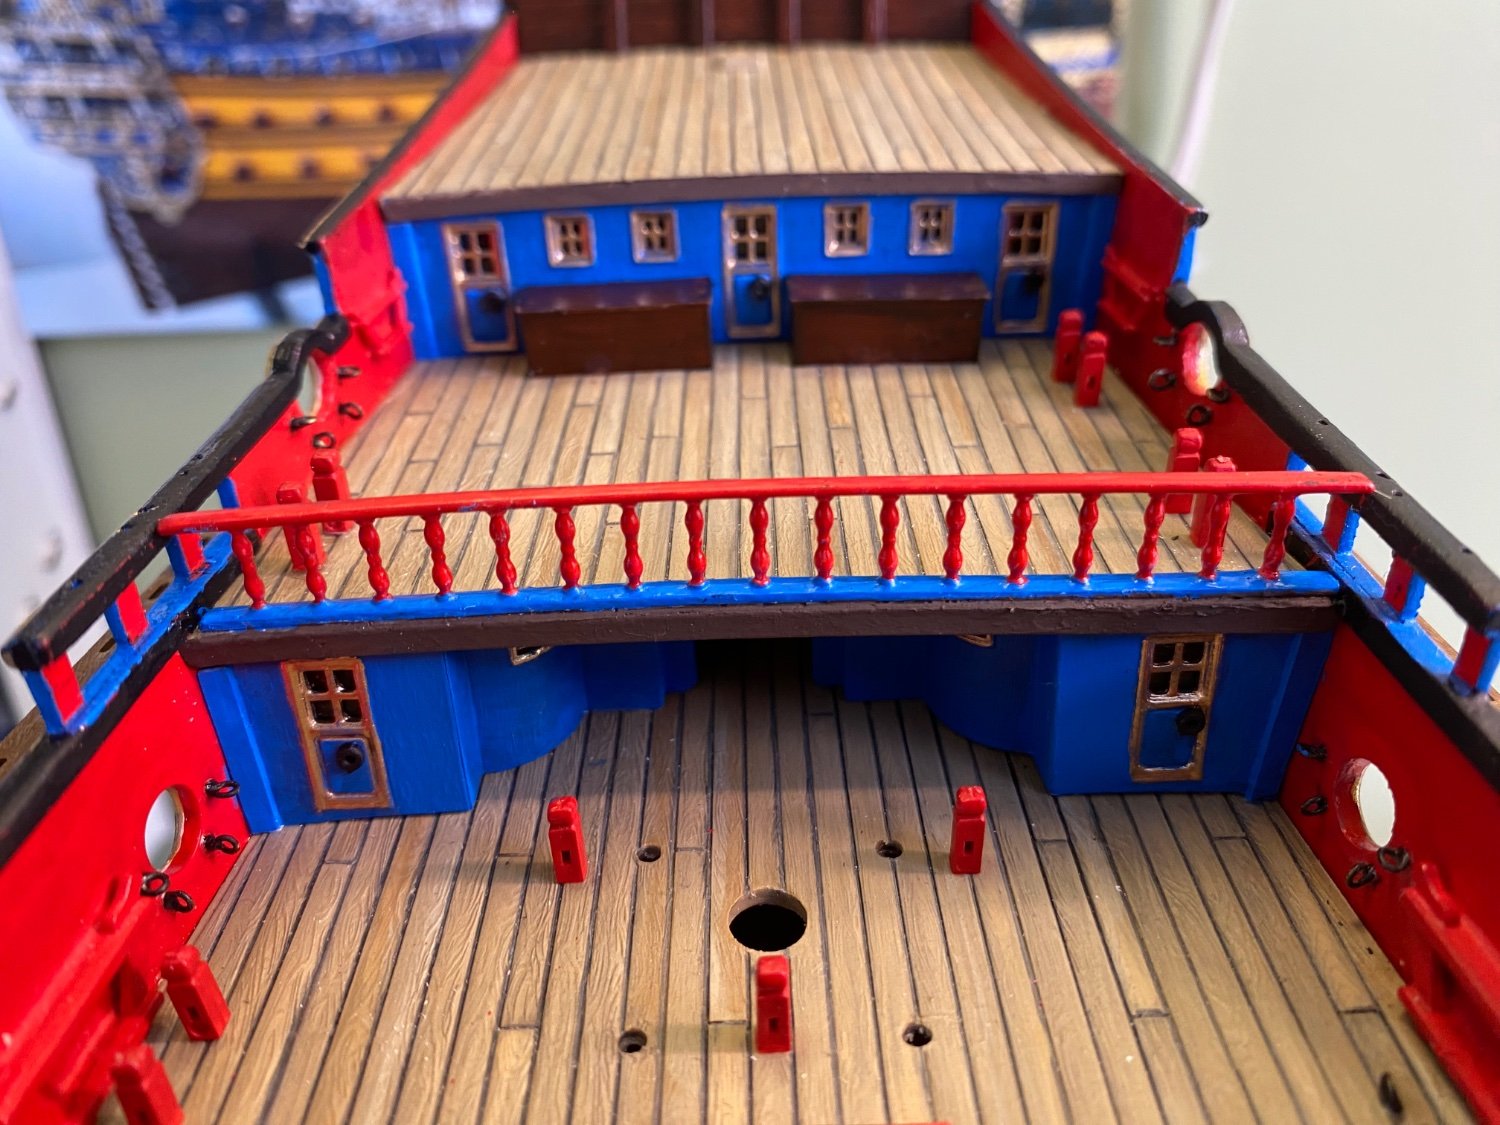
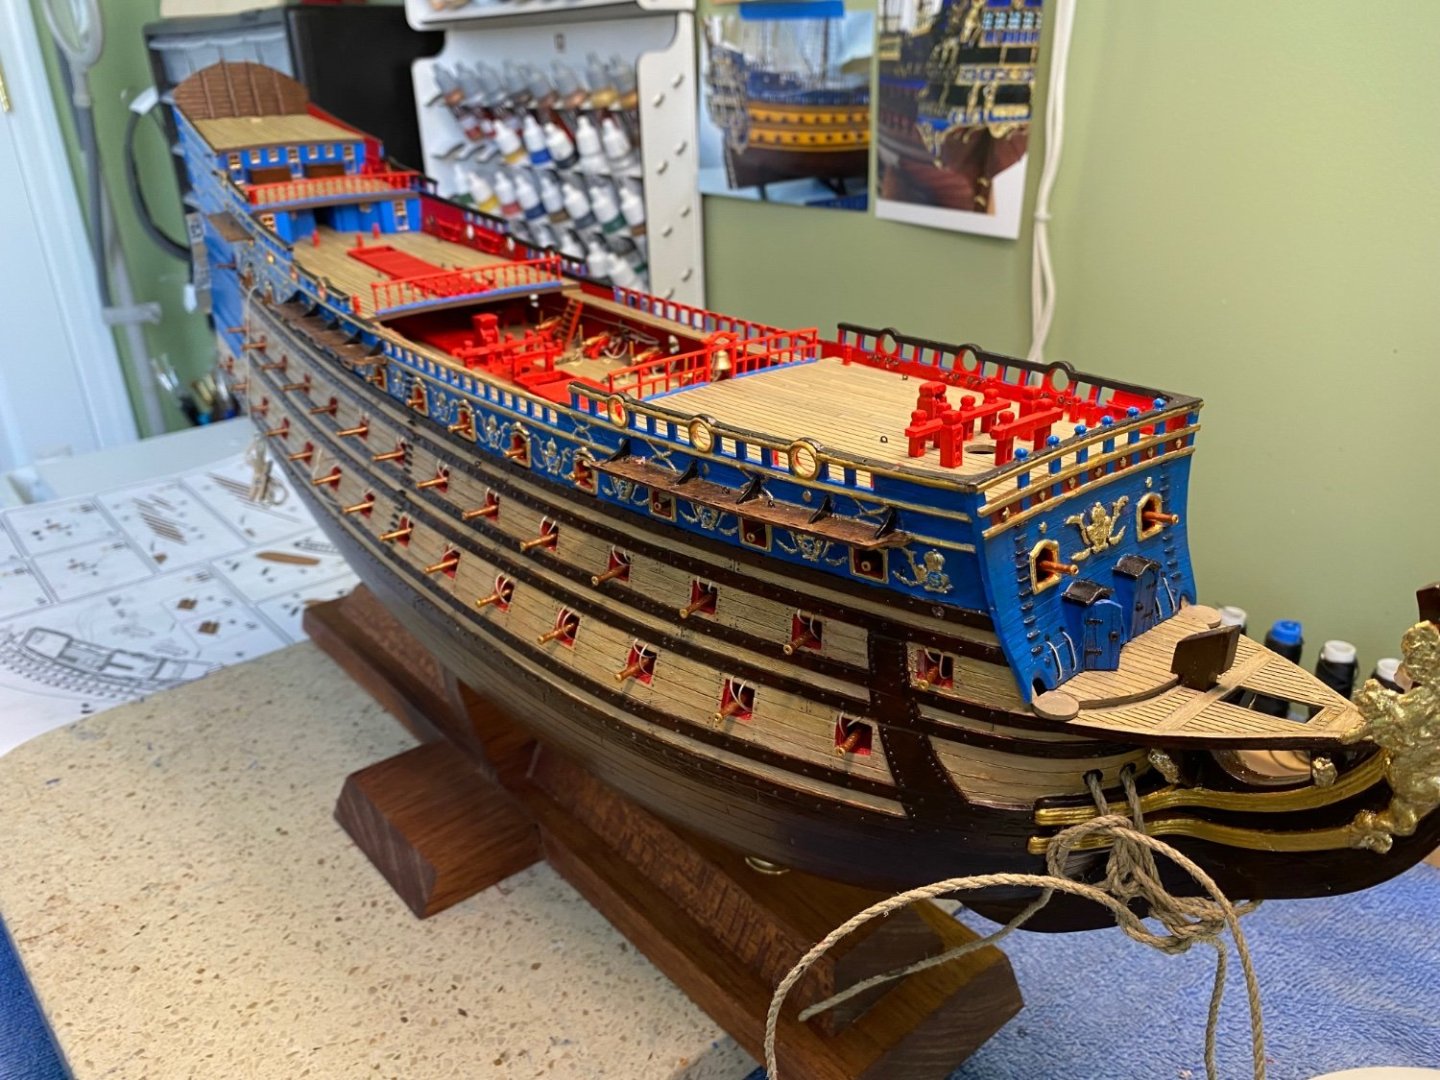
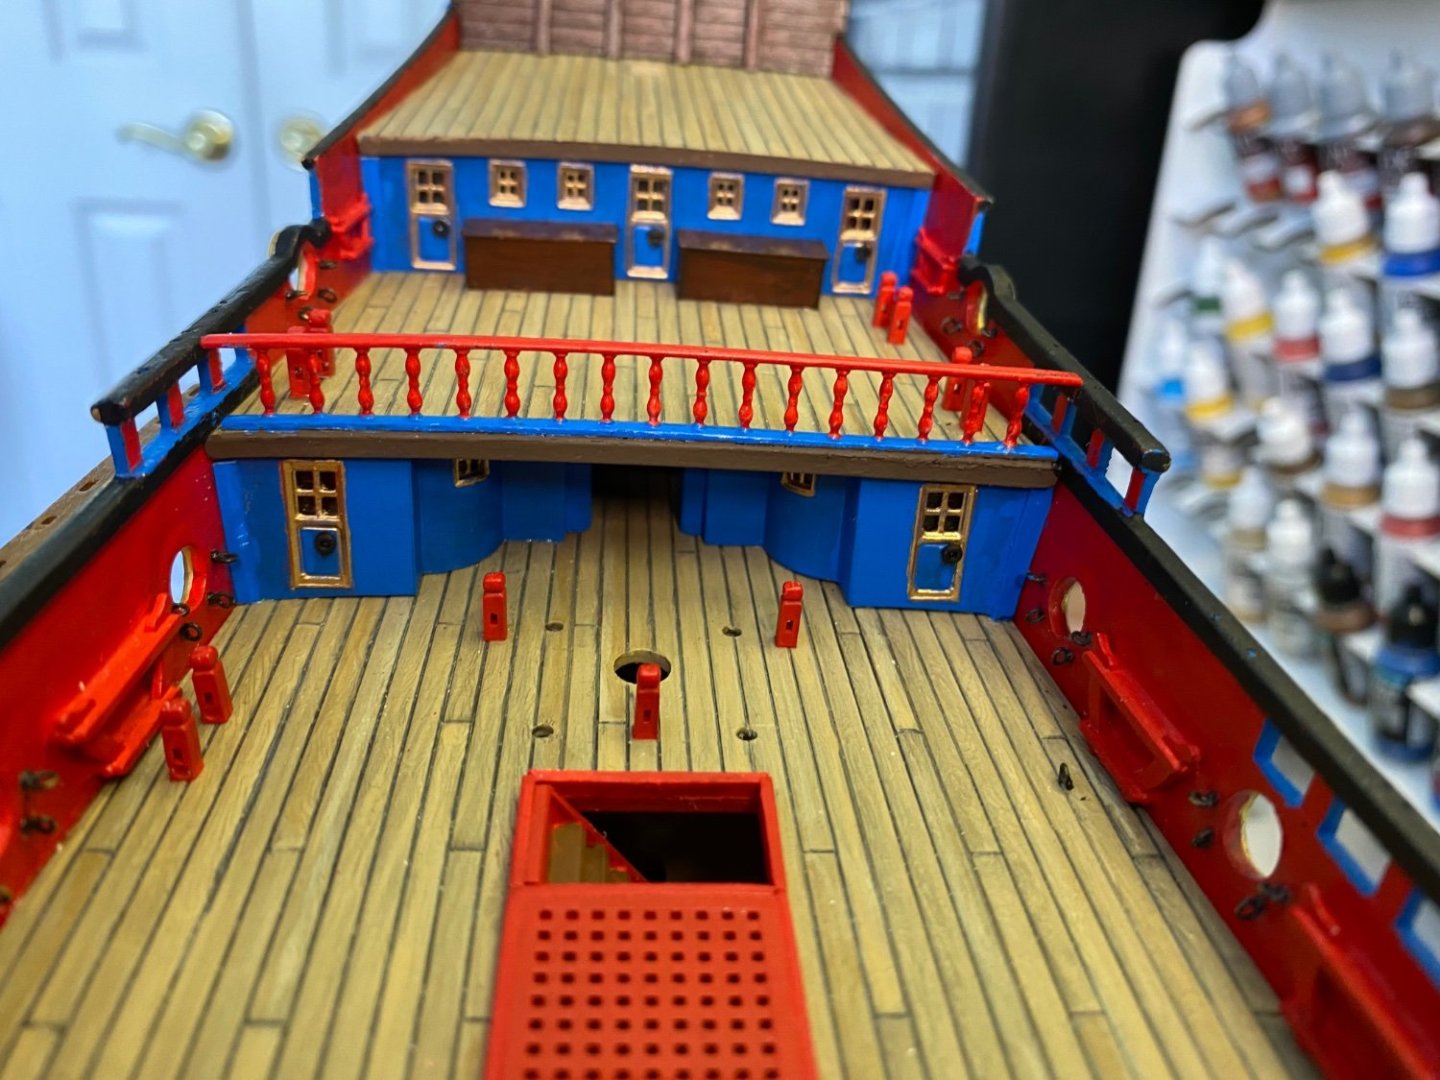
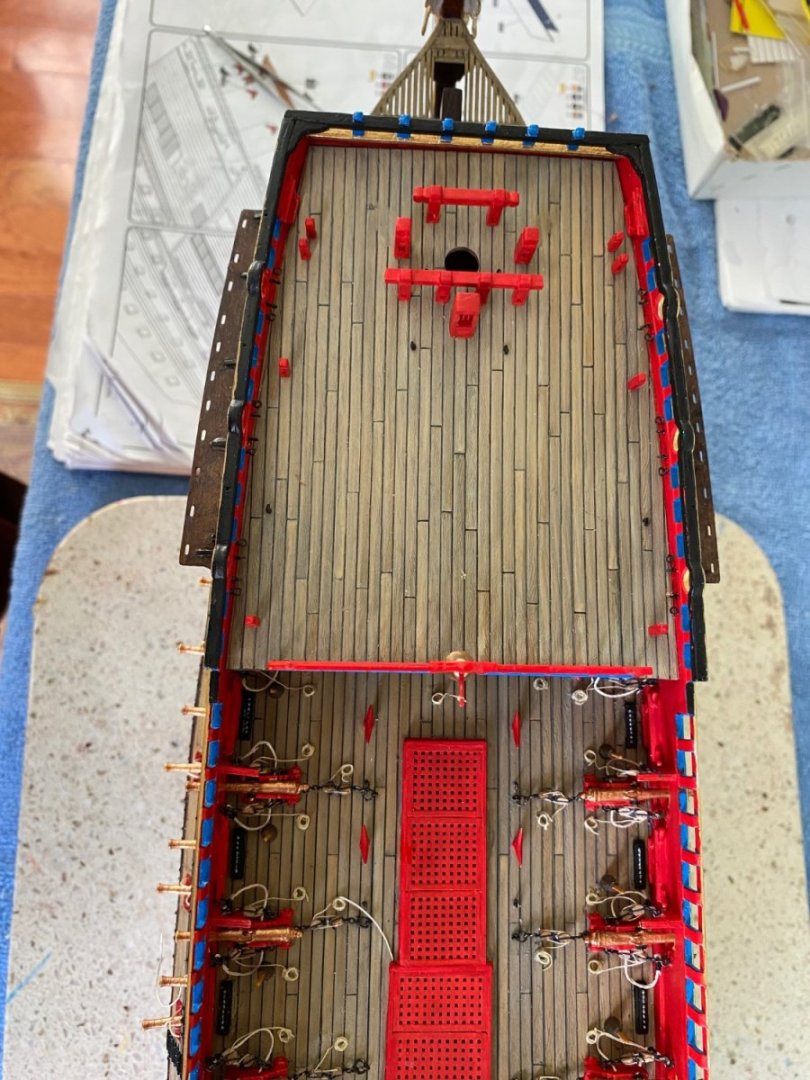
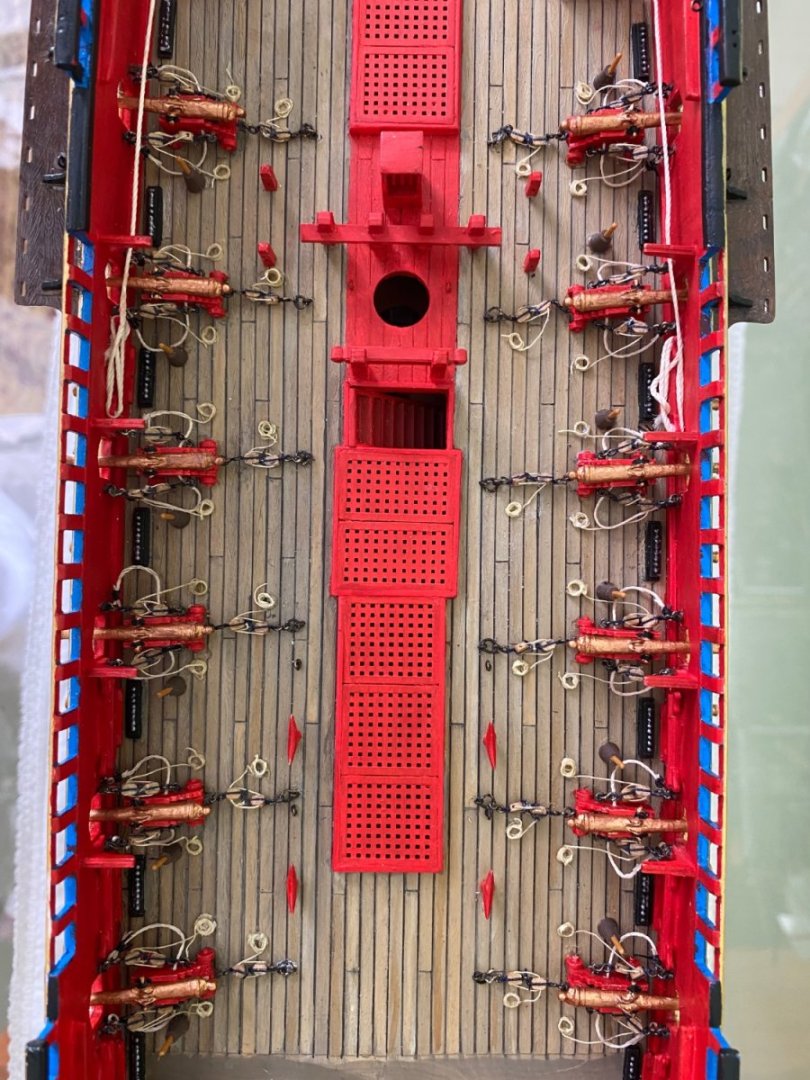
Gentlemen all the decks are in place! At each side of the cabin fronts I added a strip of thin Evergreen as trim to cover the small space between the cabin faces and the bulwark. I think it gives a more finished look. I am pleased with it so far. Looks like I am now moving toward some more tedious work with the small cannons and the gun barrel hatches. Marc I am studying your hatch cover enhancements and considering giving that a try.


- 1,508 replies
-
- 4
-

-
- Le Soleil Royal
- Heller
- (and 1 more)
-
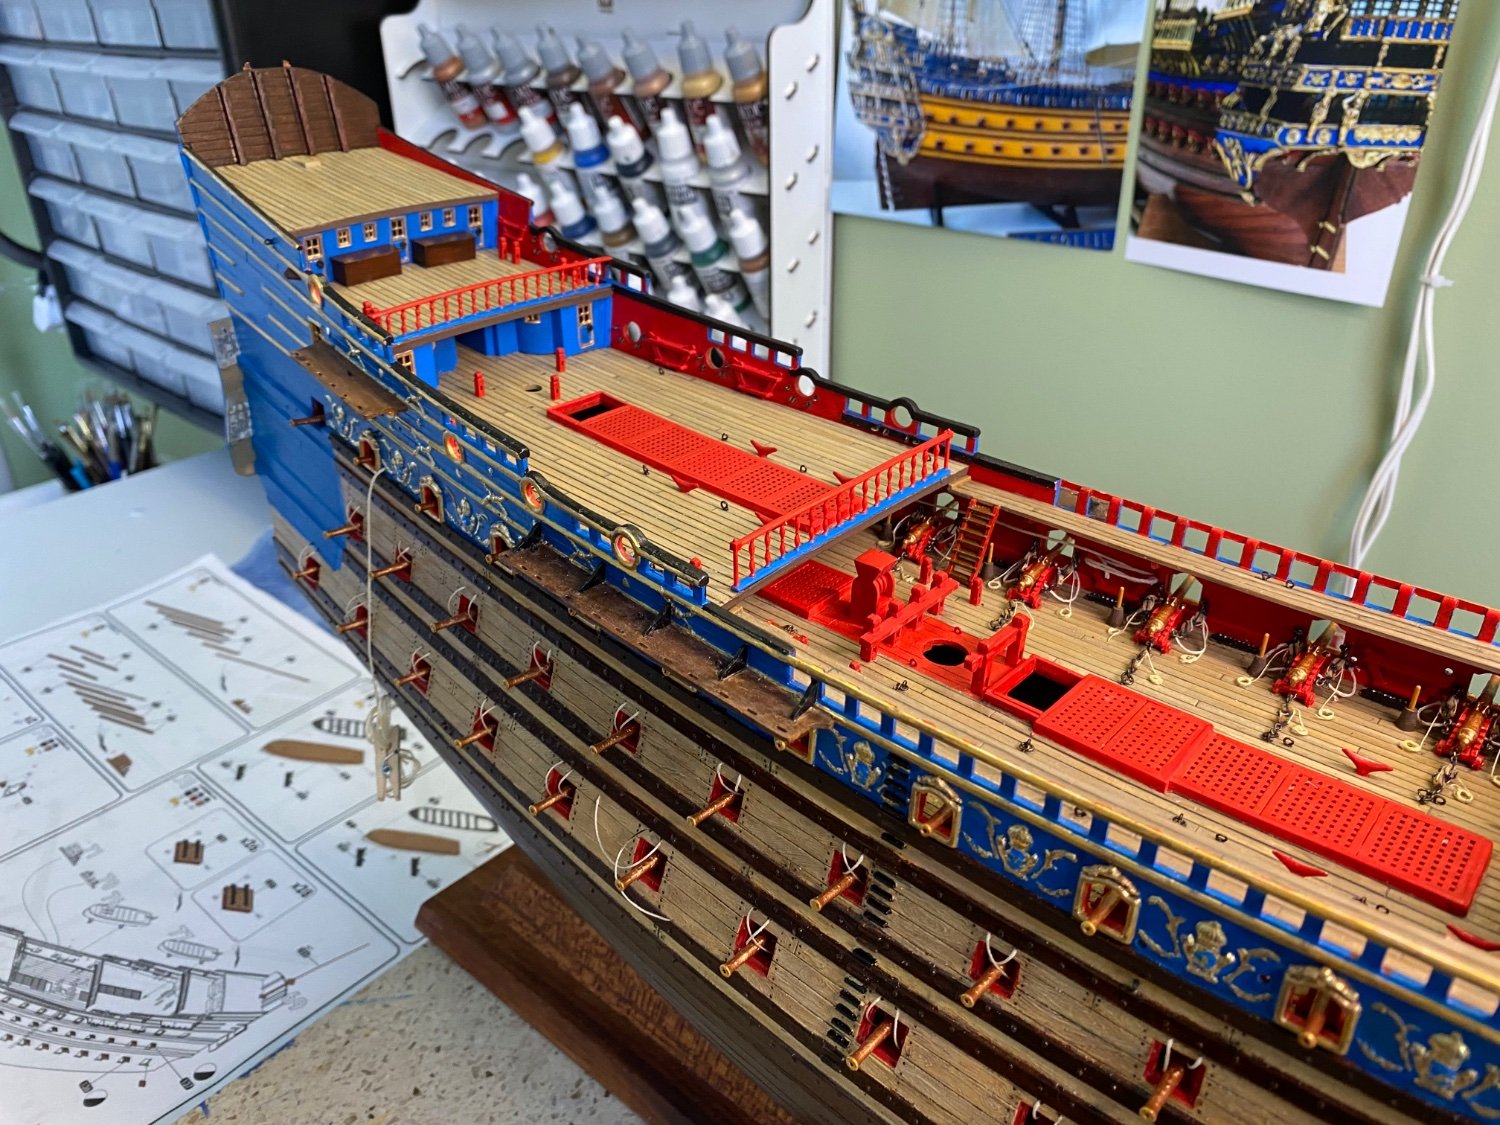
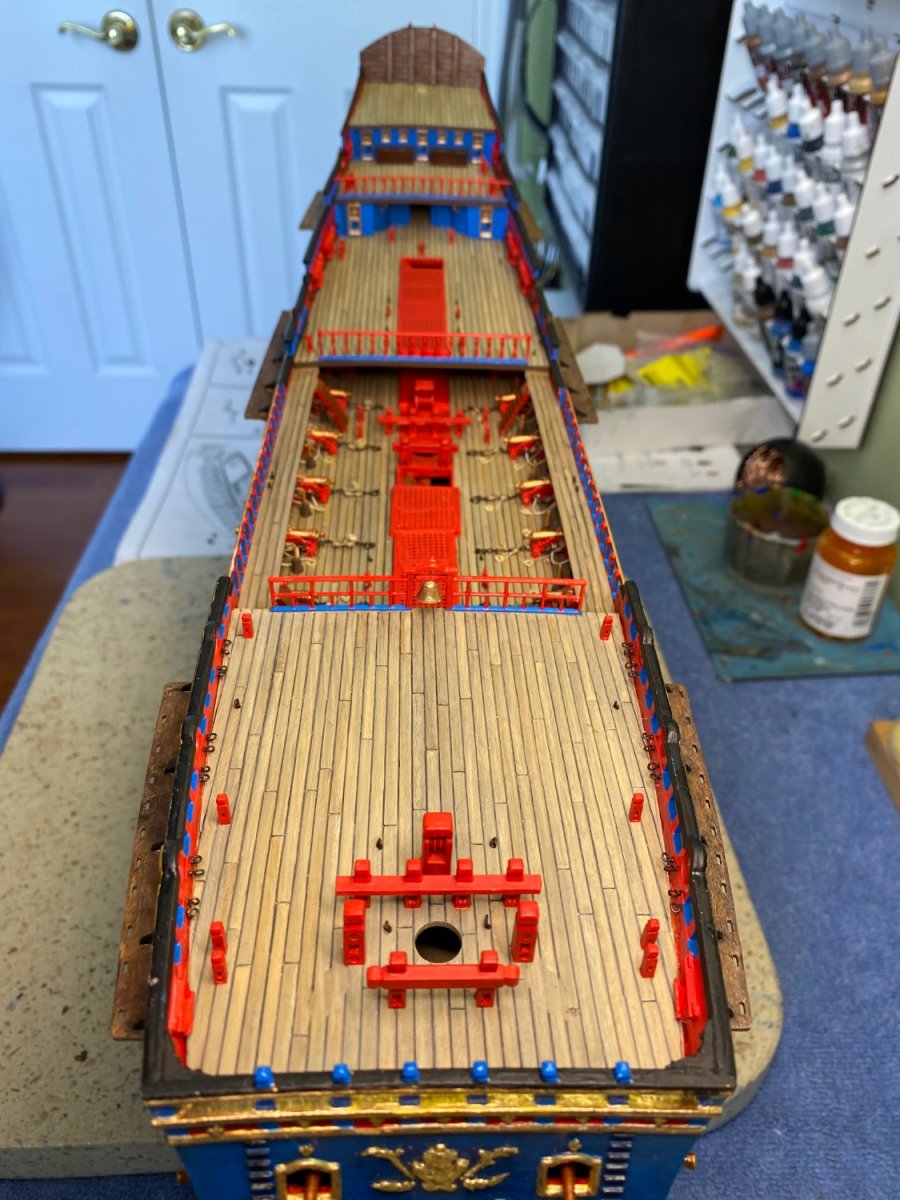
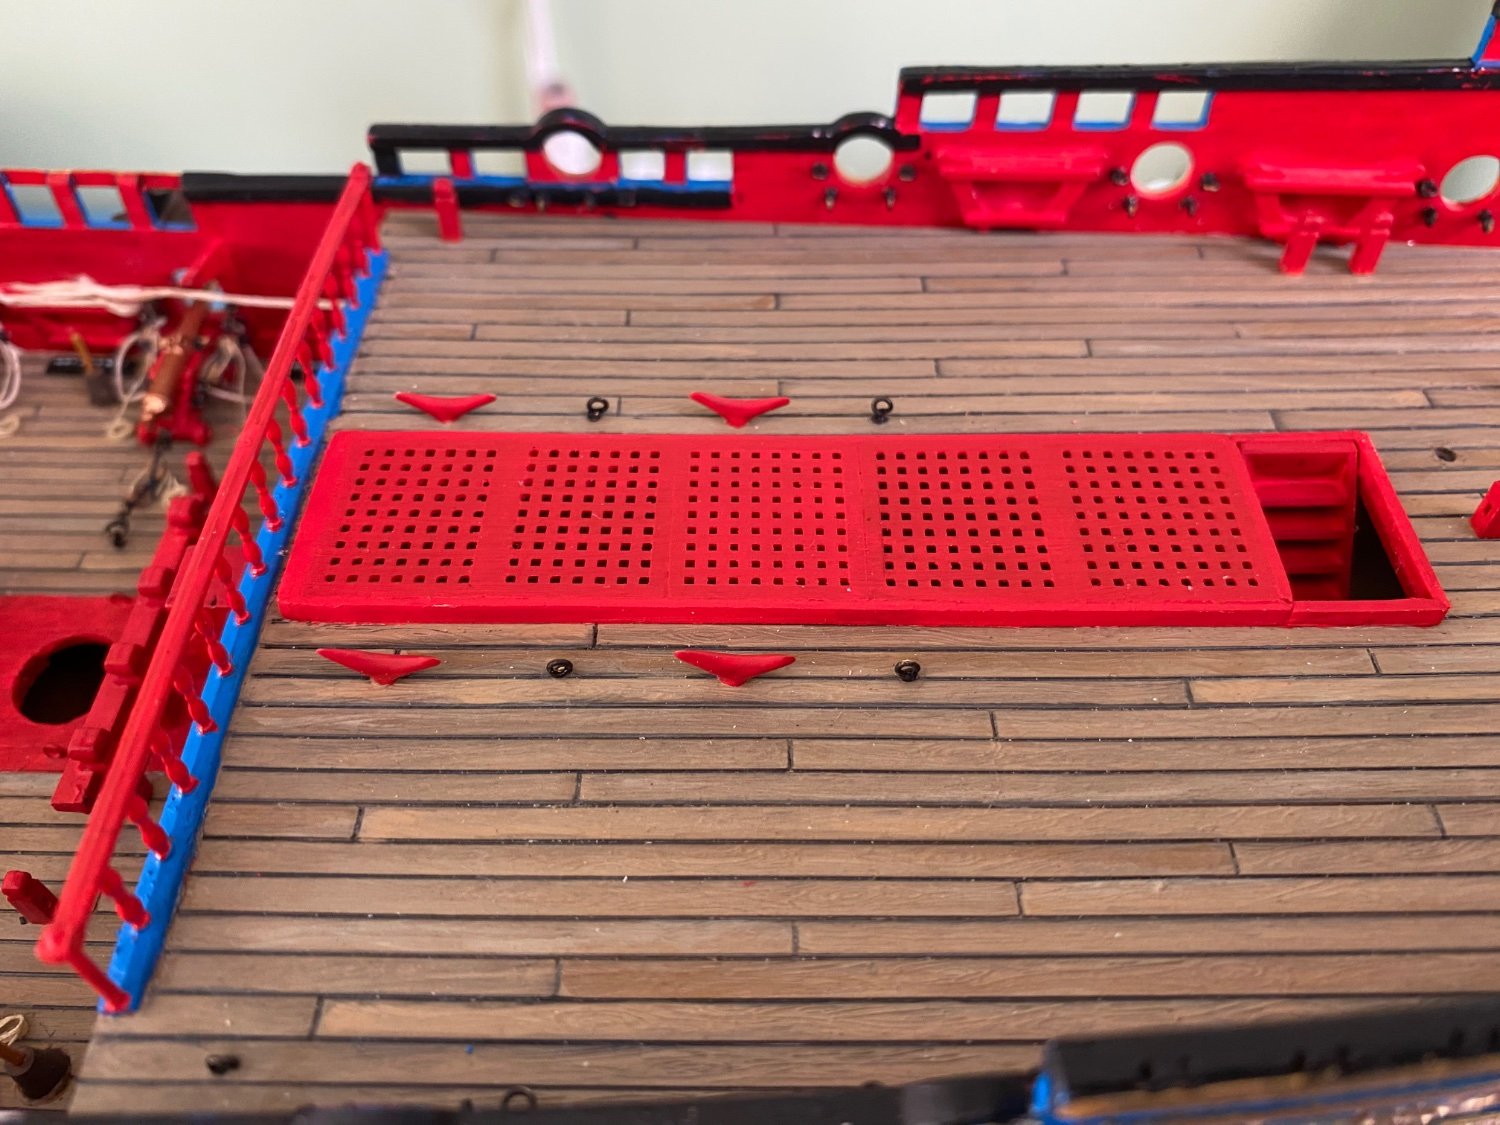
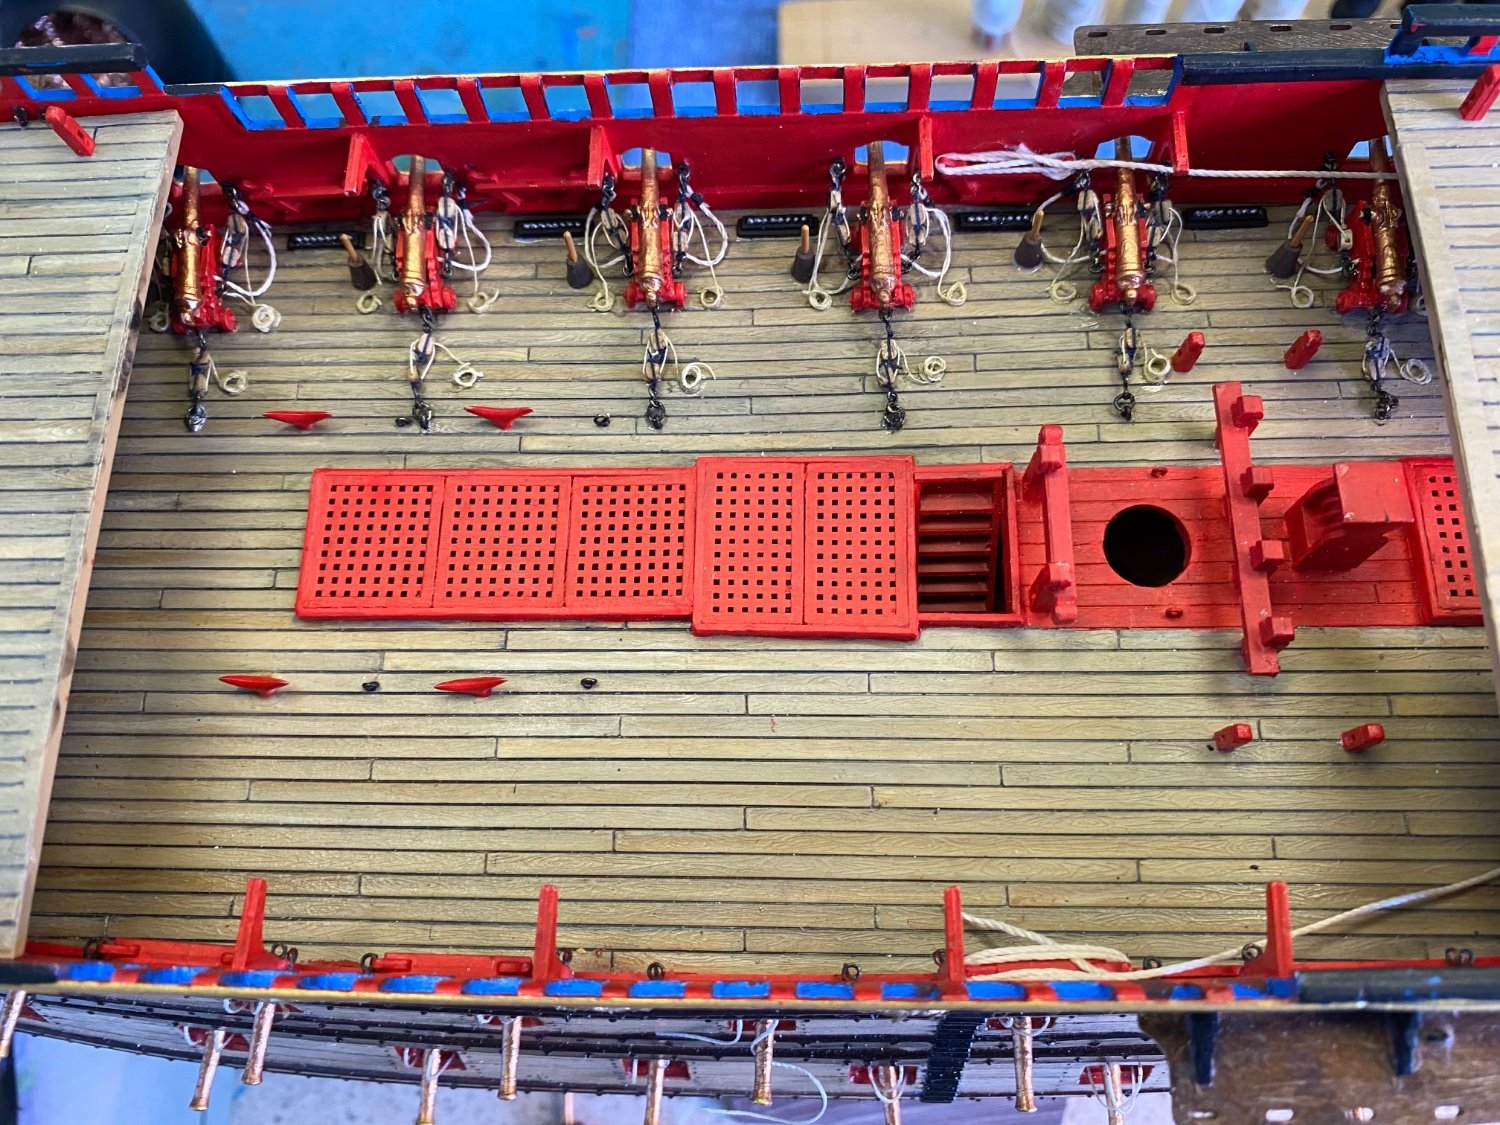
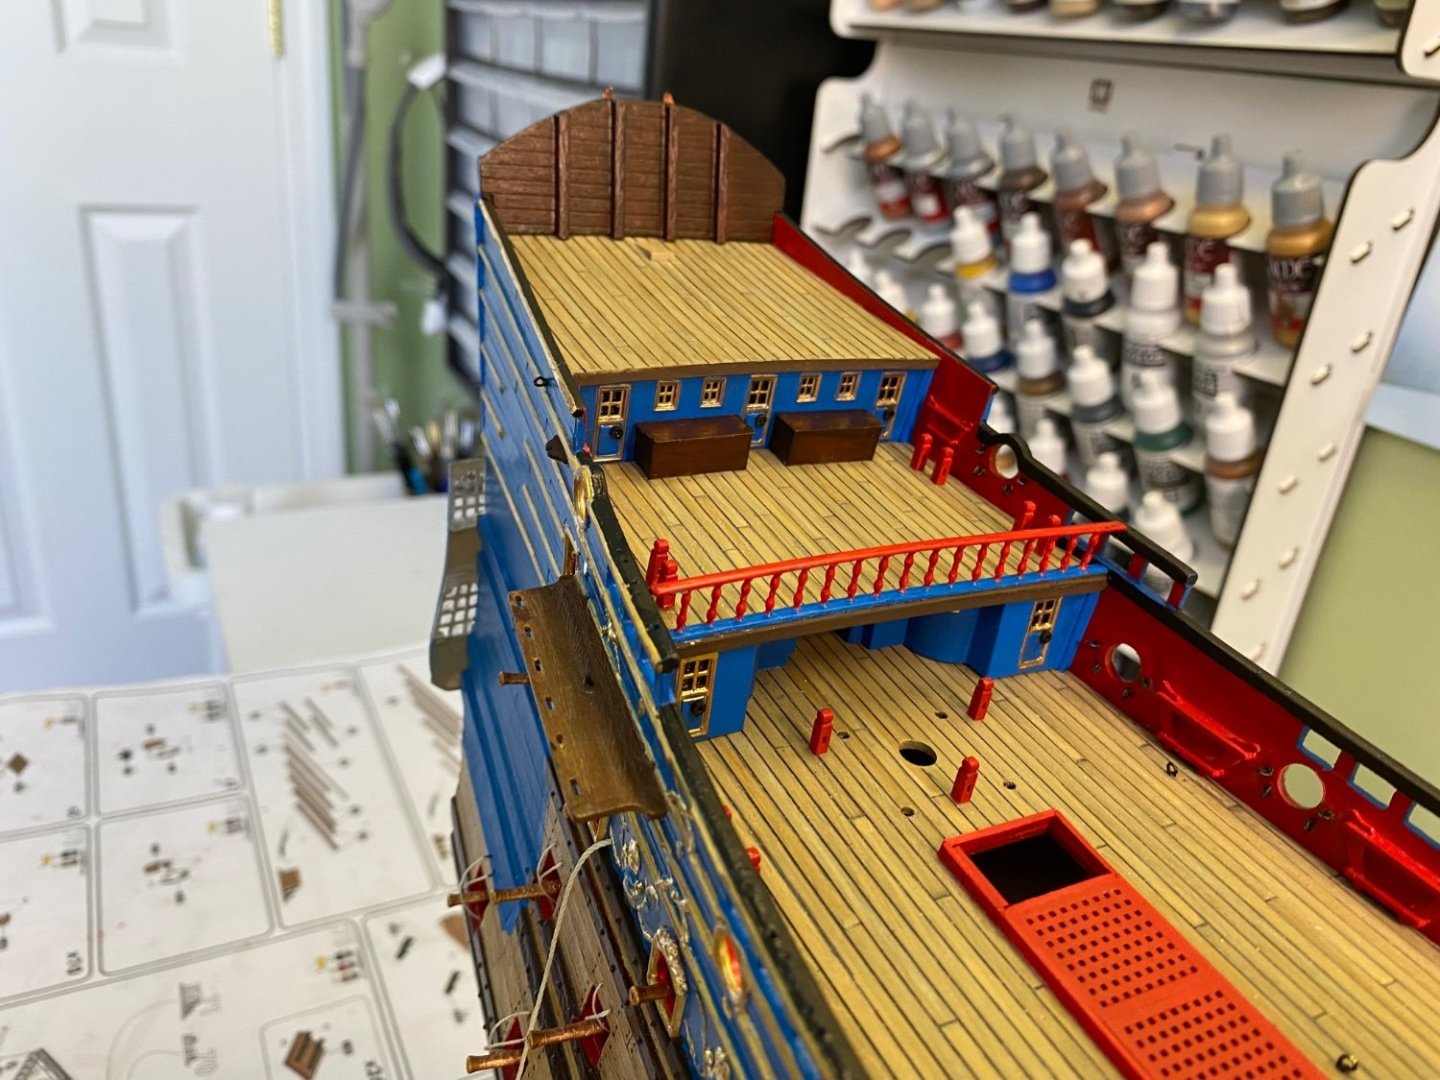
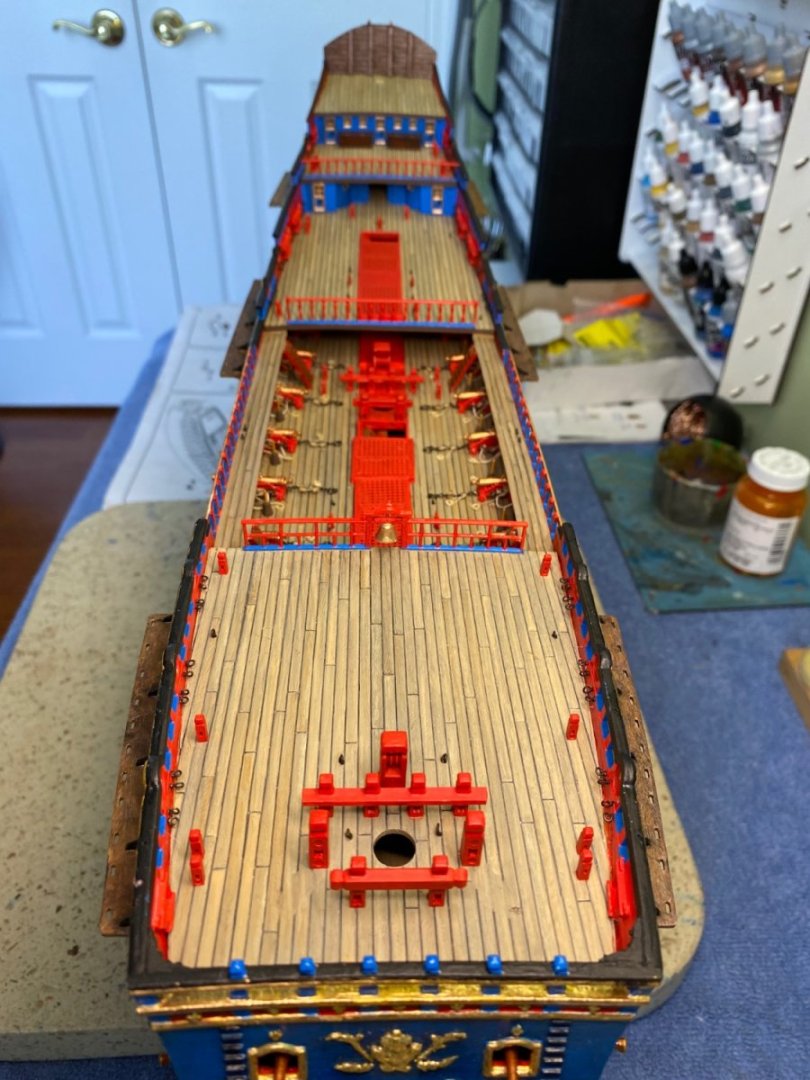
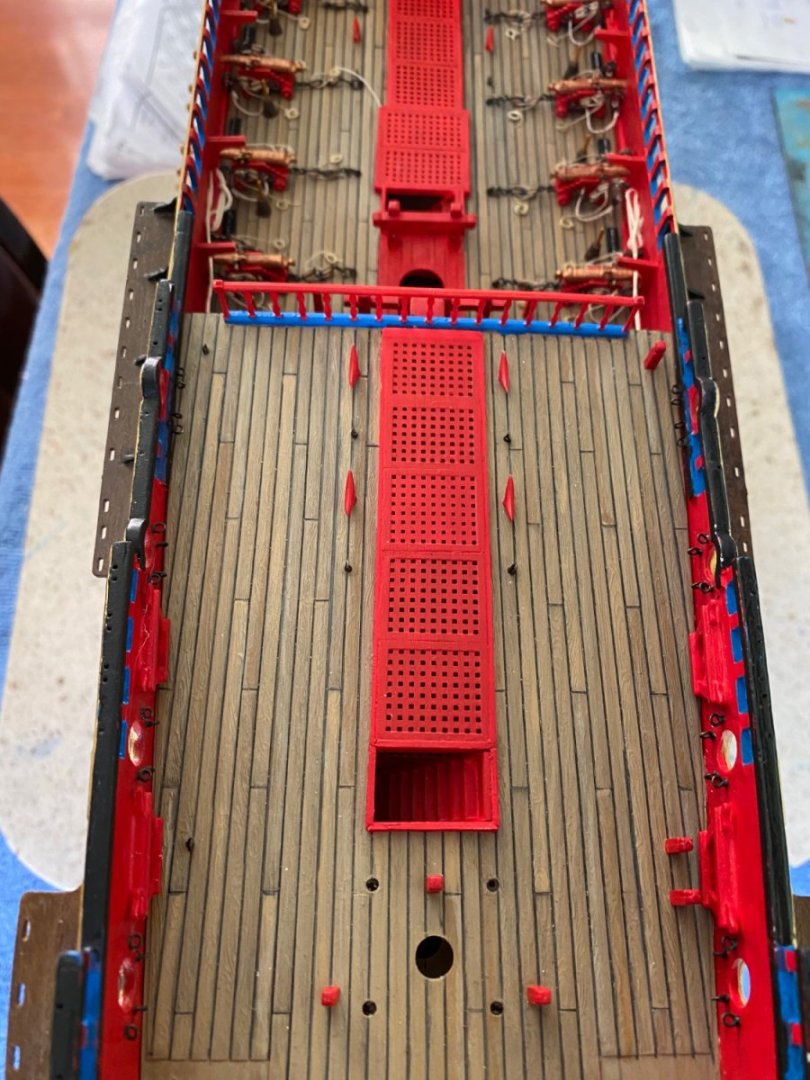
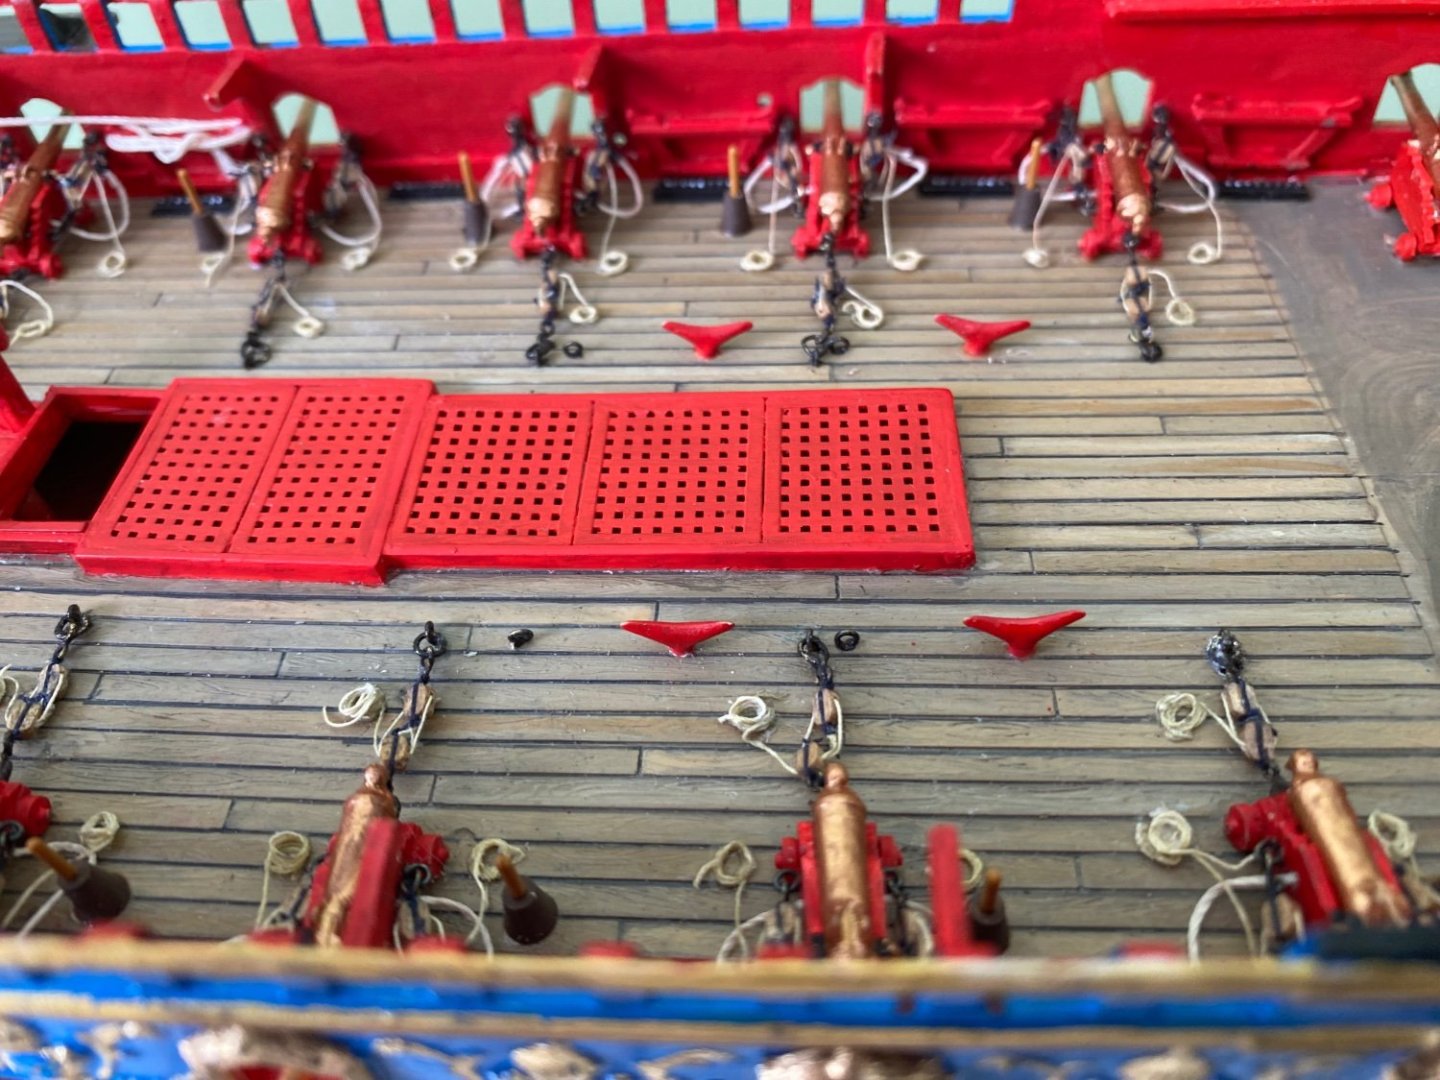
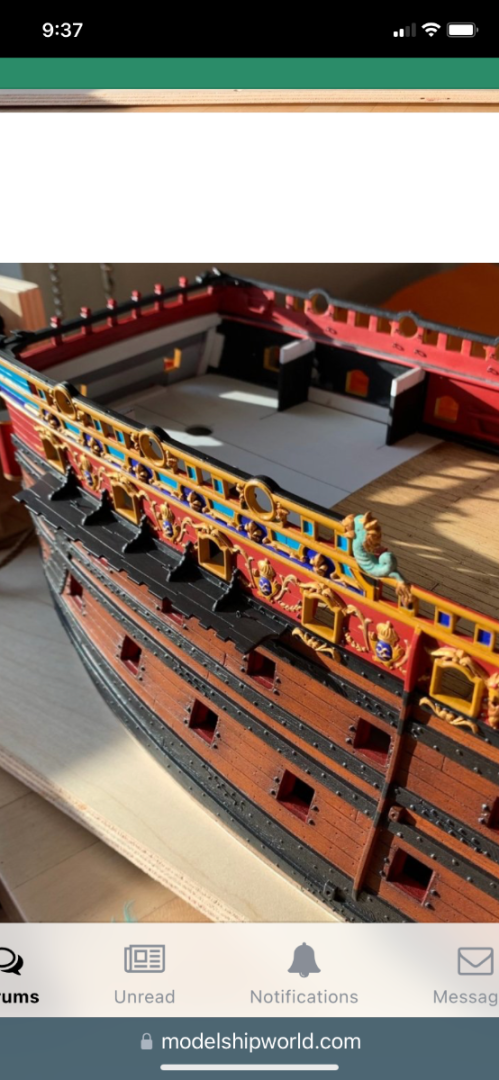
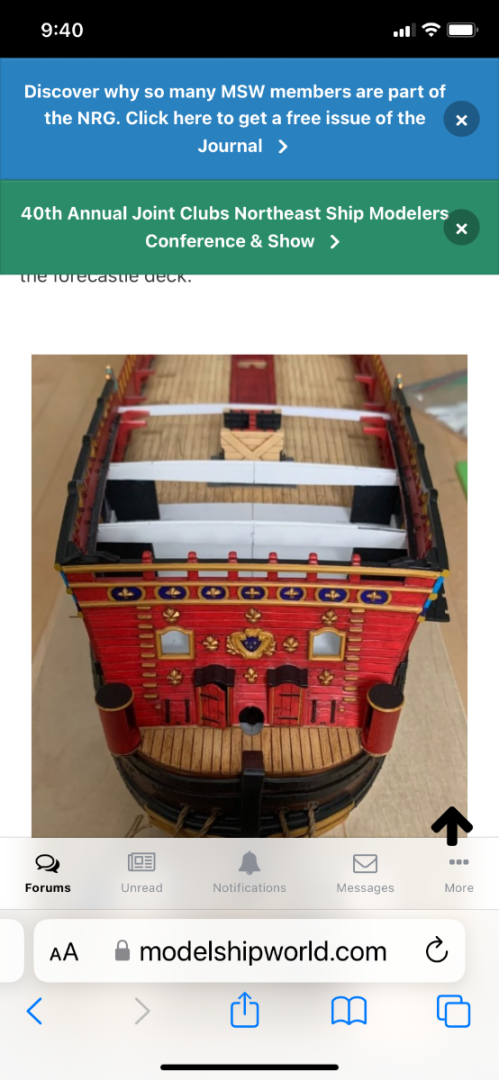
Added the Forecastle deck and the same level deck at the aft of the ship. Is it also called forecastle, I don’t remember? Raised the hatch grates just as I did in the deck below. Decided to paint the bottom member of the two railings blue. I think it adds a bit of pop to the decks


- 1,508 replies
-
- 3
-
-
- Le Soleil Royal
- Heller
- (and 1 more)
-
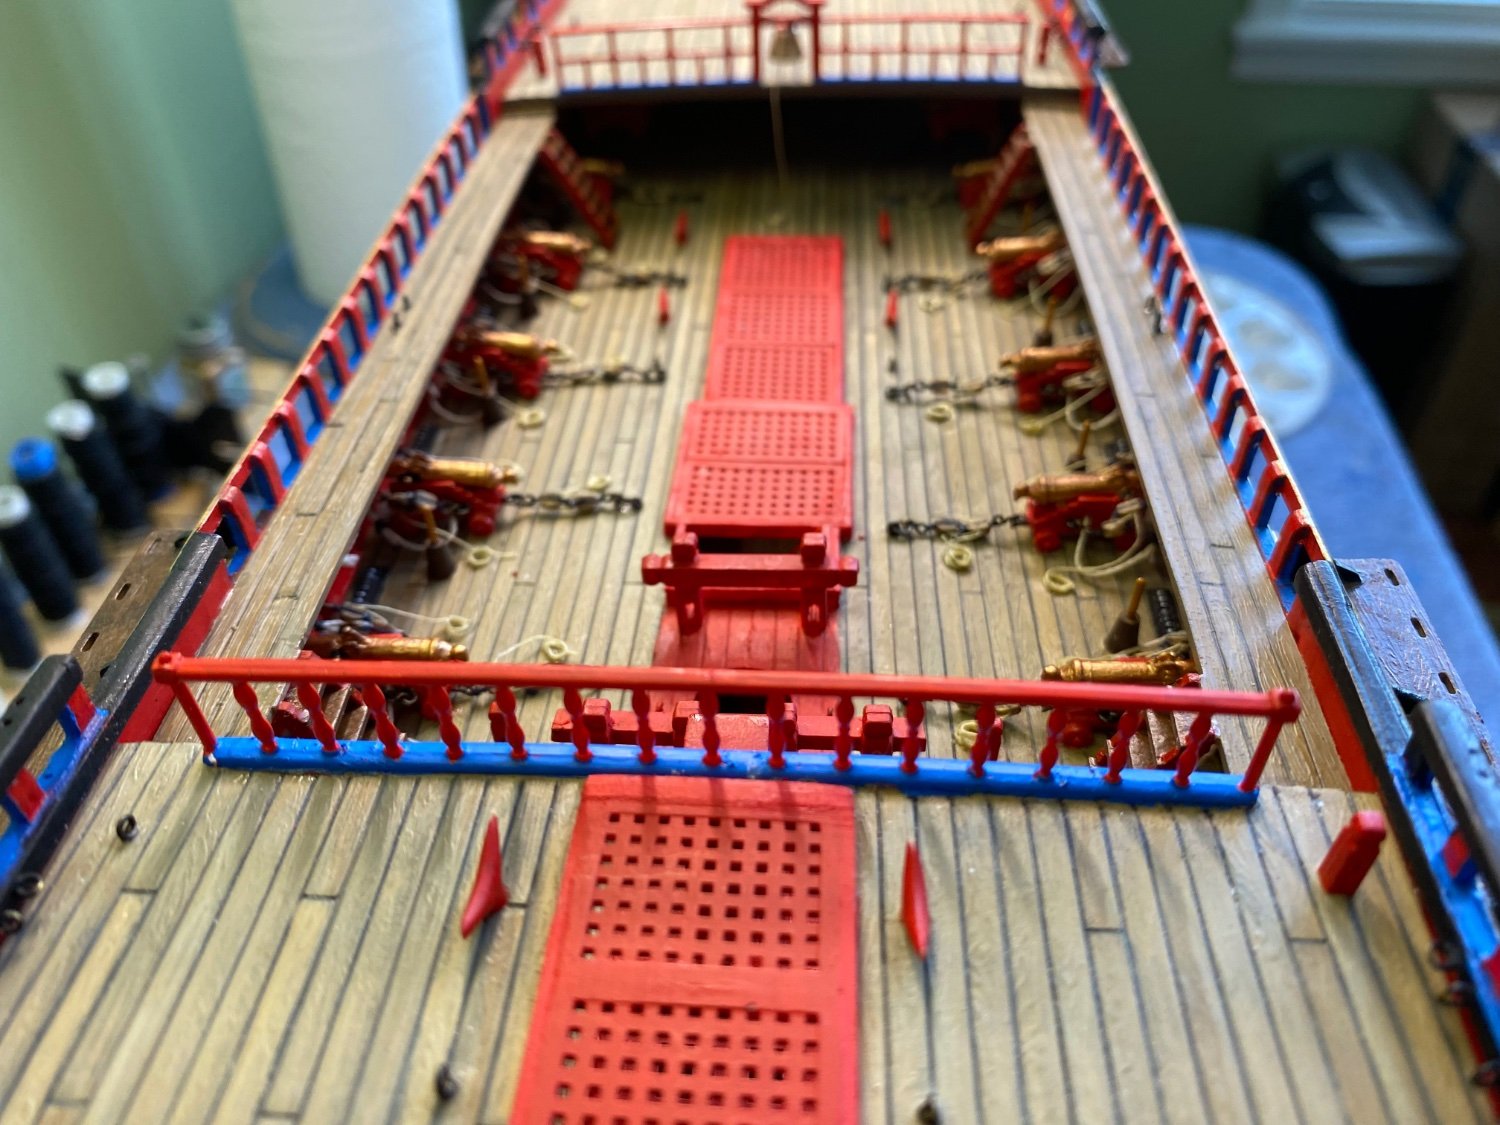
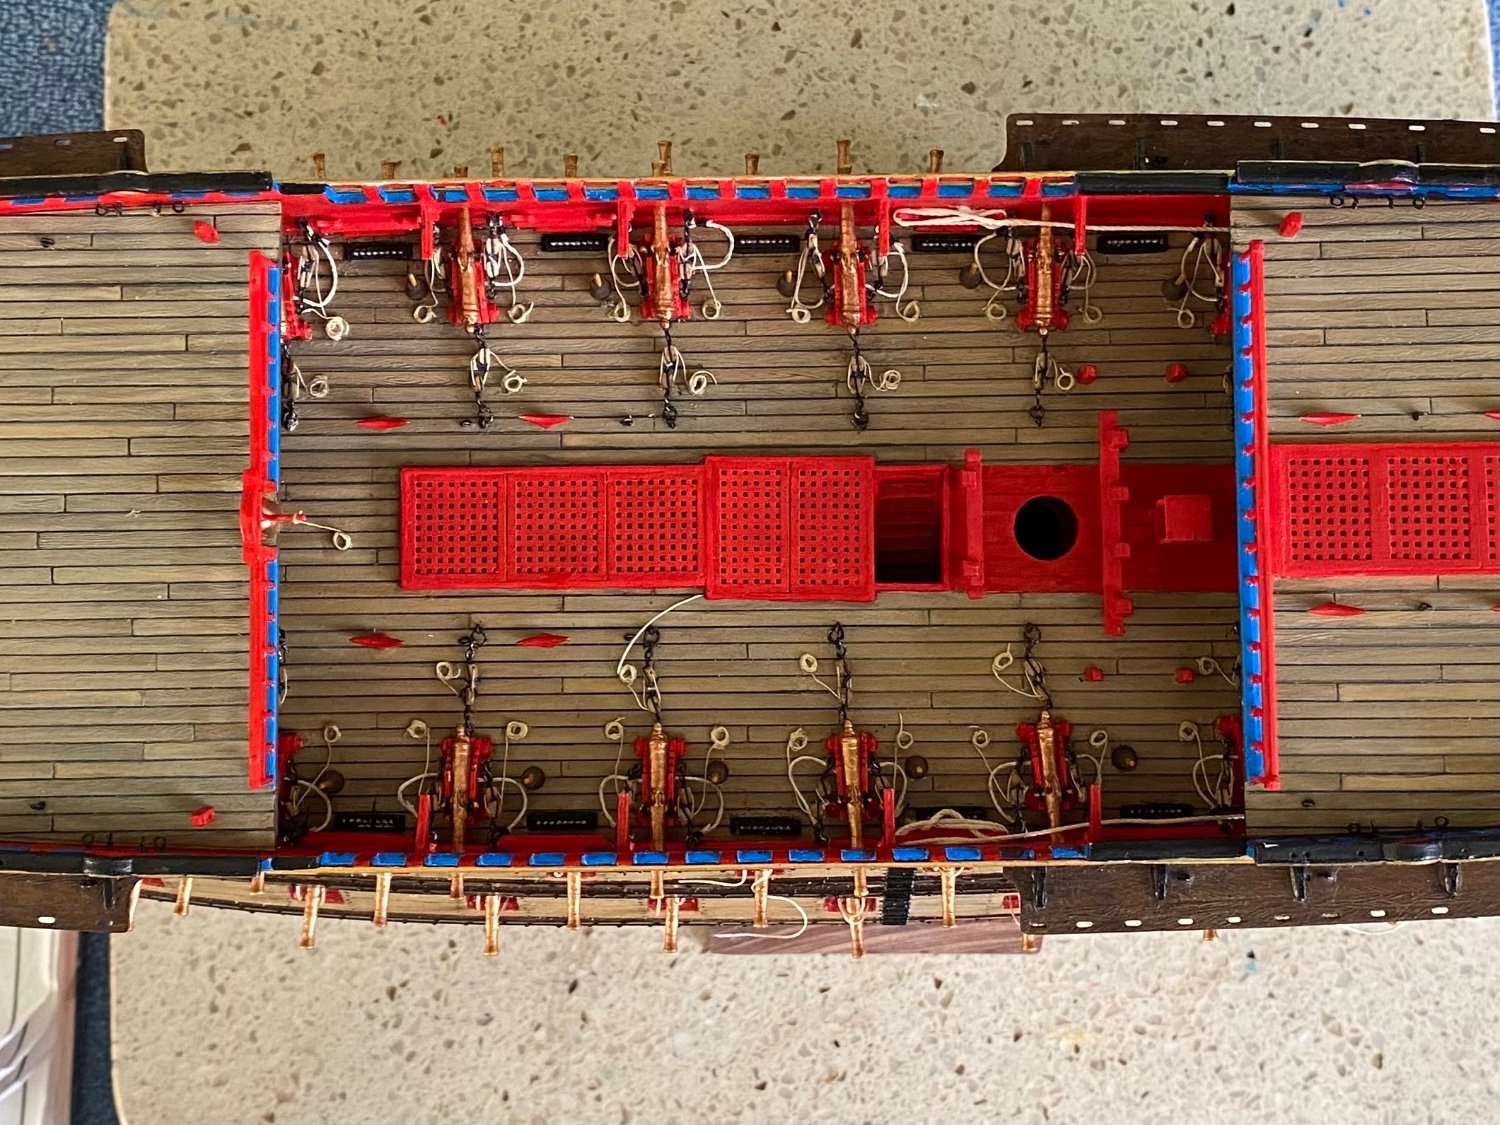
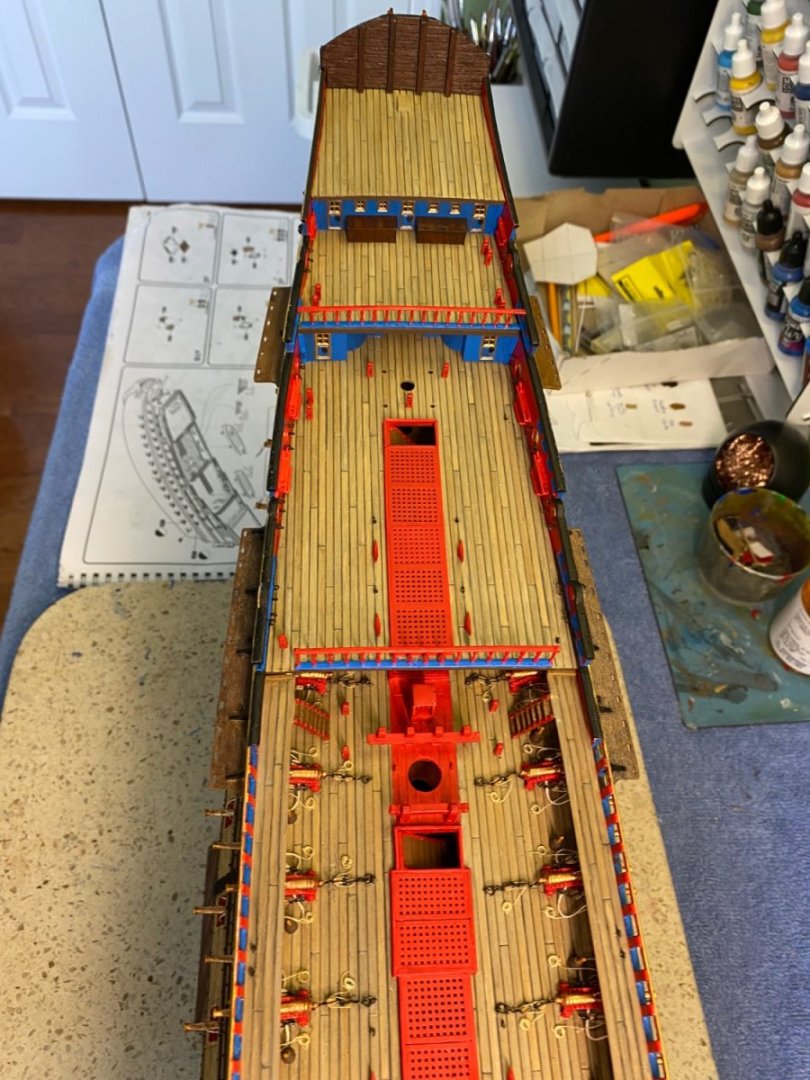
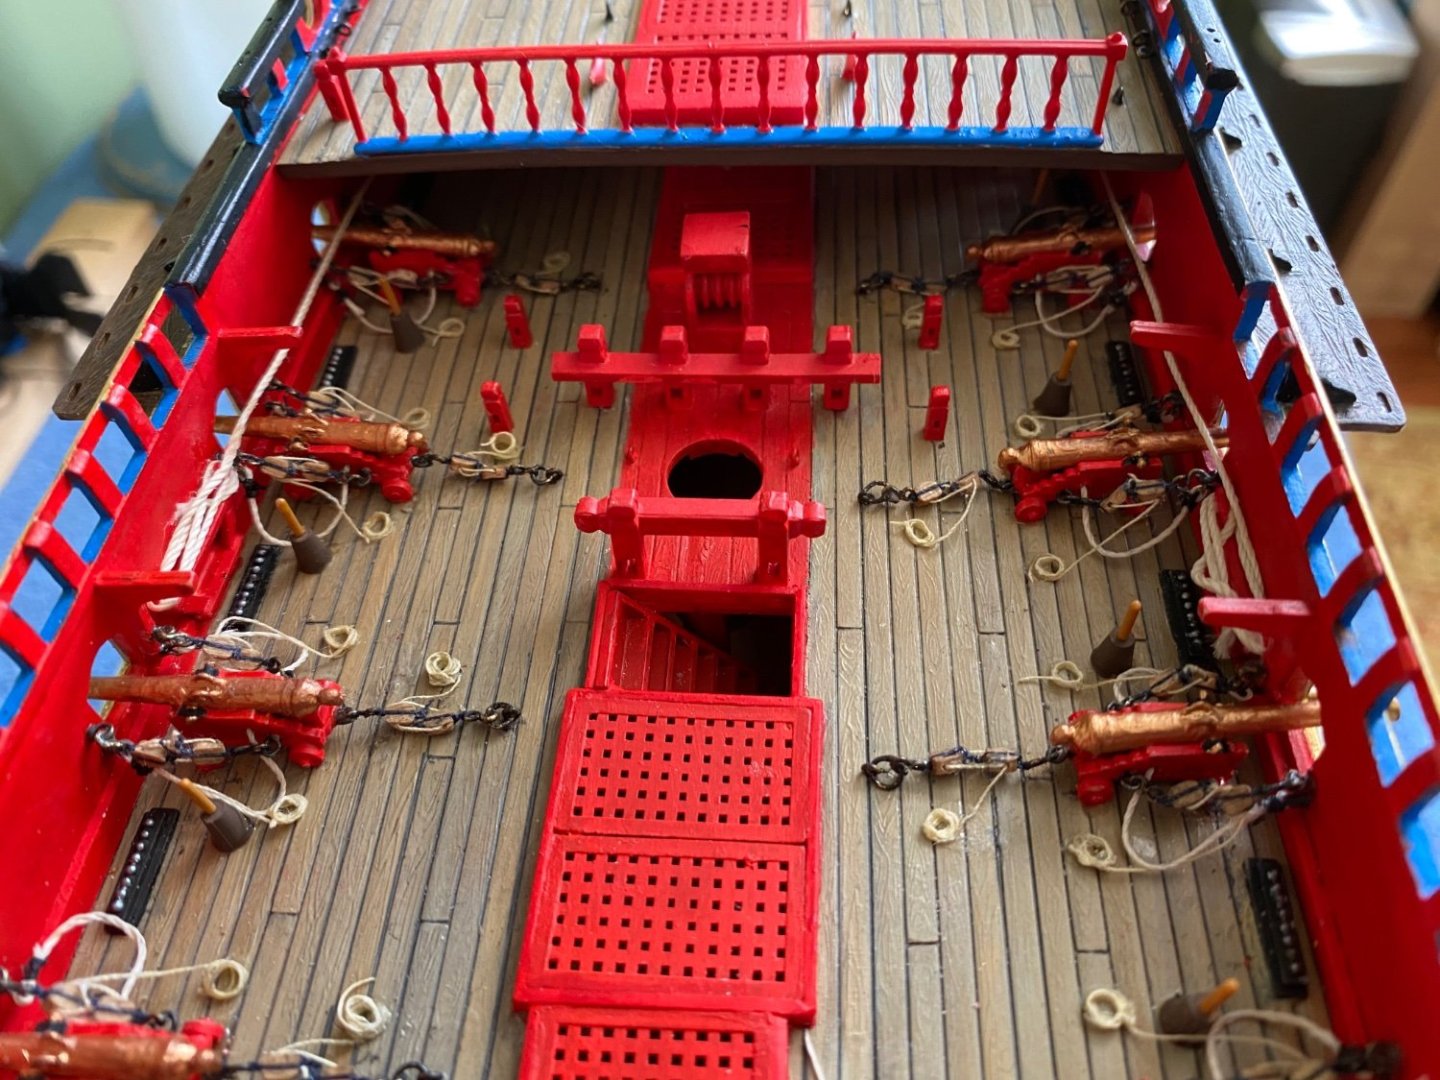
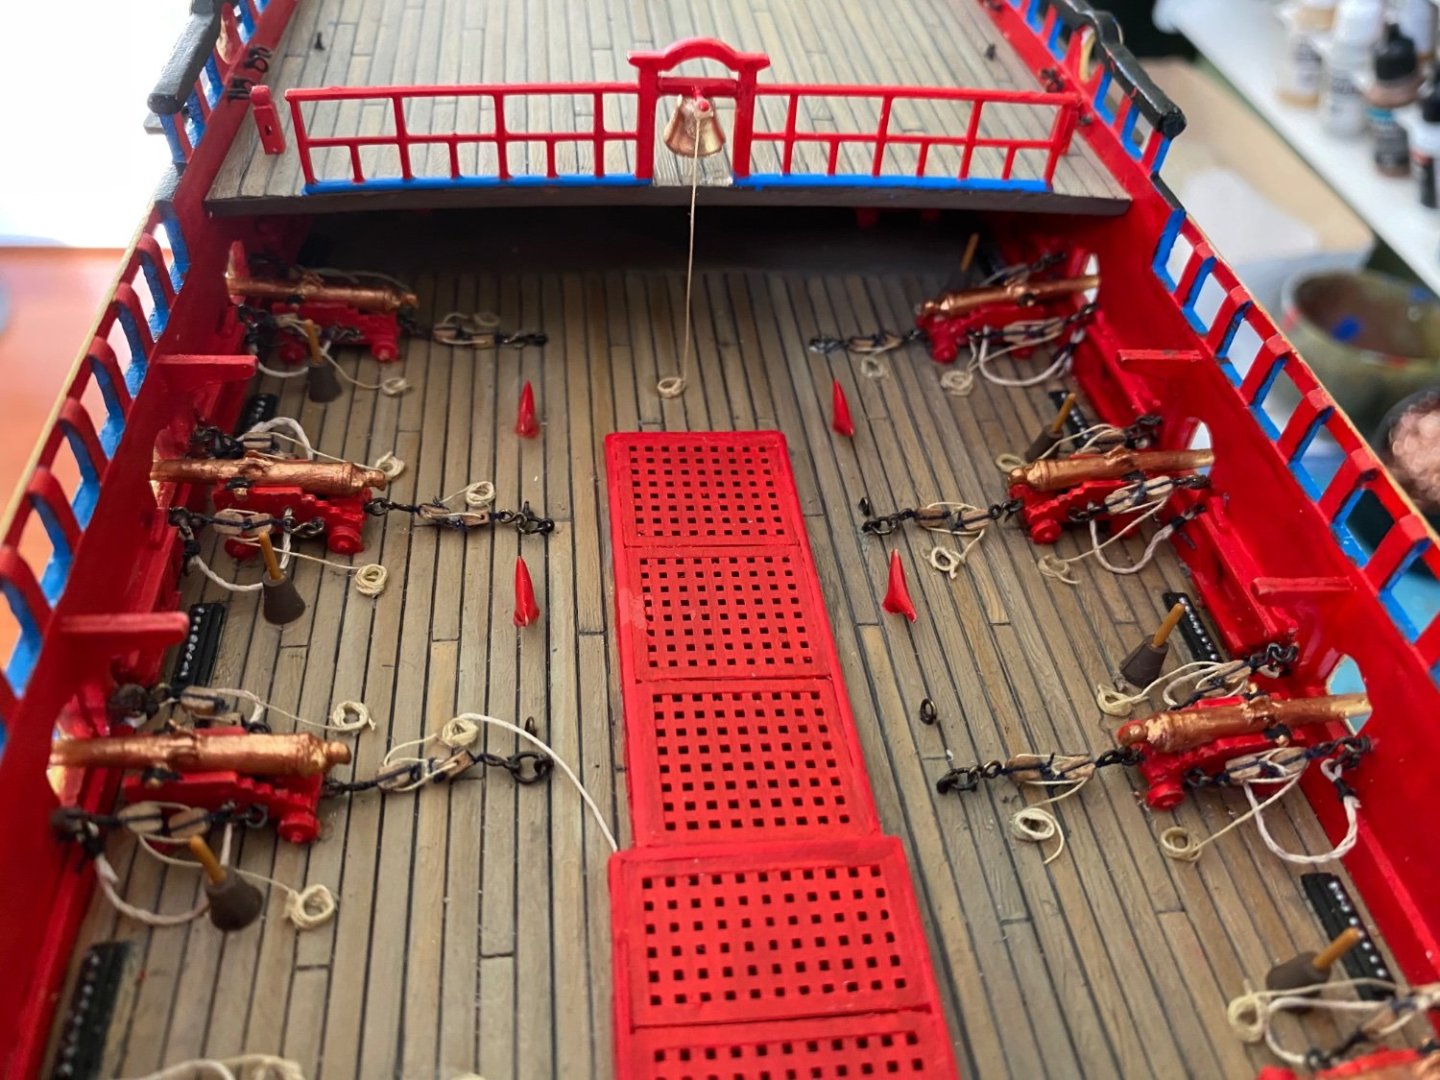
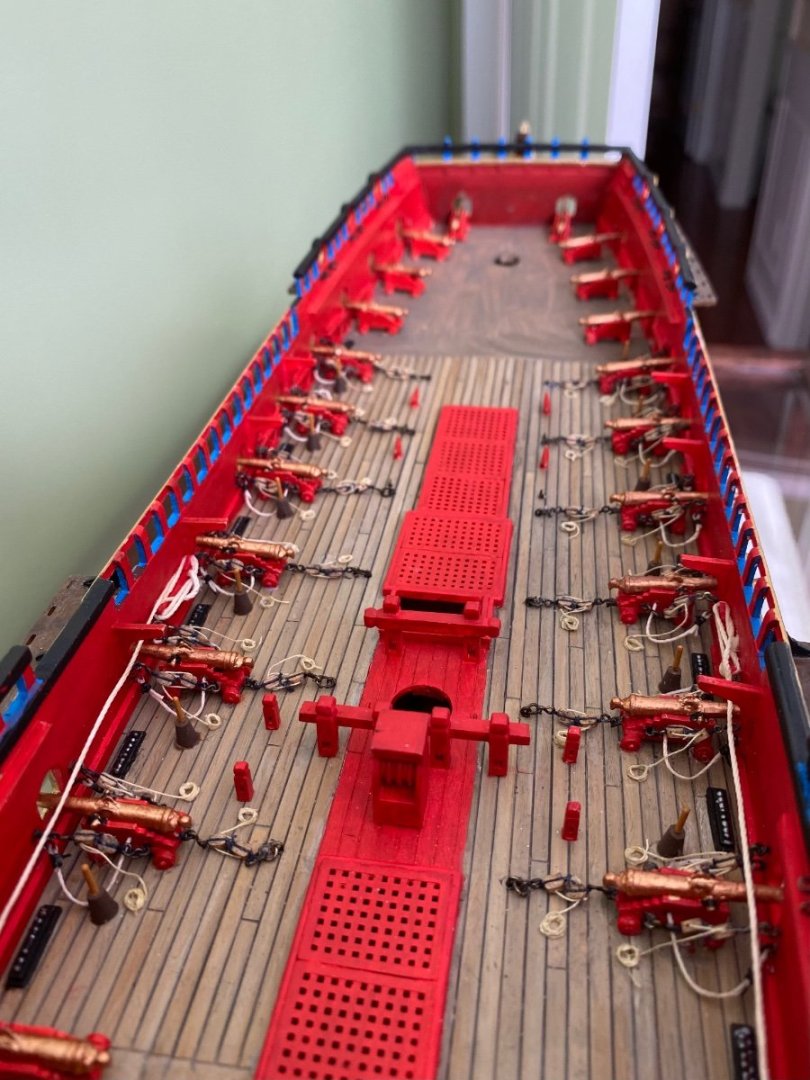
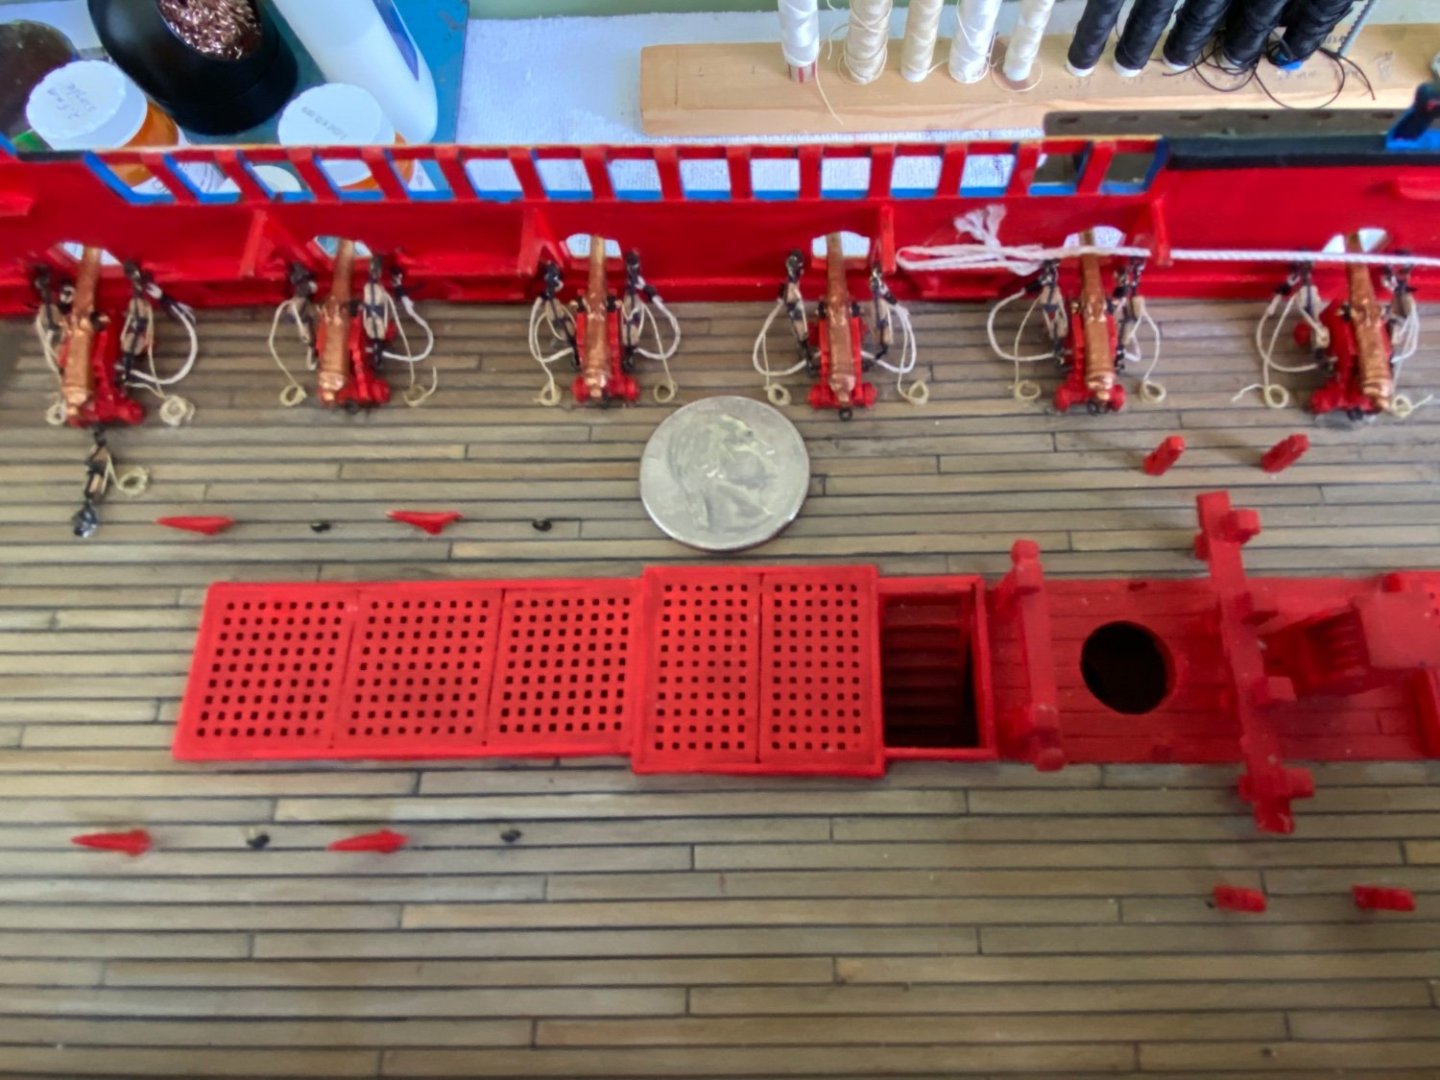
Finished installing all 12 show cannons on this deck. Got them rigged with the in and out haulers and the breeching rope. As we have all noted 2.5mm blocks are just a tiny bit too big. Would have liked a bit more space between them. But it does illustrate how the hauls work. This was definitely time consuming. I know there are 16 more show smaller cannons on the upper decks. I may venture into maybe looking at some 2mm blocks for them, not sure.

- 1,508 replies
-
- 4
-
-
- Le Soleil Royal
- Heller
- (and 1 more)
-
I know this is an artistic decision but I am curious what is more appropriate. I am painting the rails that go at the edges of the different decks as I proceed verticle. In some builds I see builders have painted the balusters red along with the top and bottom rails (everything red). In other builds I have seen the top and bottom rails red and the balusters gold, are some other color. That combination makes for a nice visual contrast but may be completely inaccurate.
-
Marc I so so very well understand and commend you for your care and effort! I did not know you were on a European cruise. I just thought you flew to Paris on a trip with your dad. A really interesting thing one of the counselors we had when my mom went through this said in response to us saying she is not herself today was “Oh no, she is being herself, just herself at a different time and place!” I have always remembered that. Sometimes it helped, and sometimes not. Thanks for your reply about the gussets and beams. Safe and joyful journey my friend. Bill
- 1,508 replies
-
- 1
-

-
- Le Soleil Royal
- Heller
- (and 1 more)
-
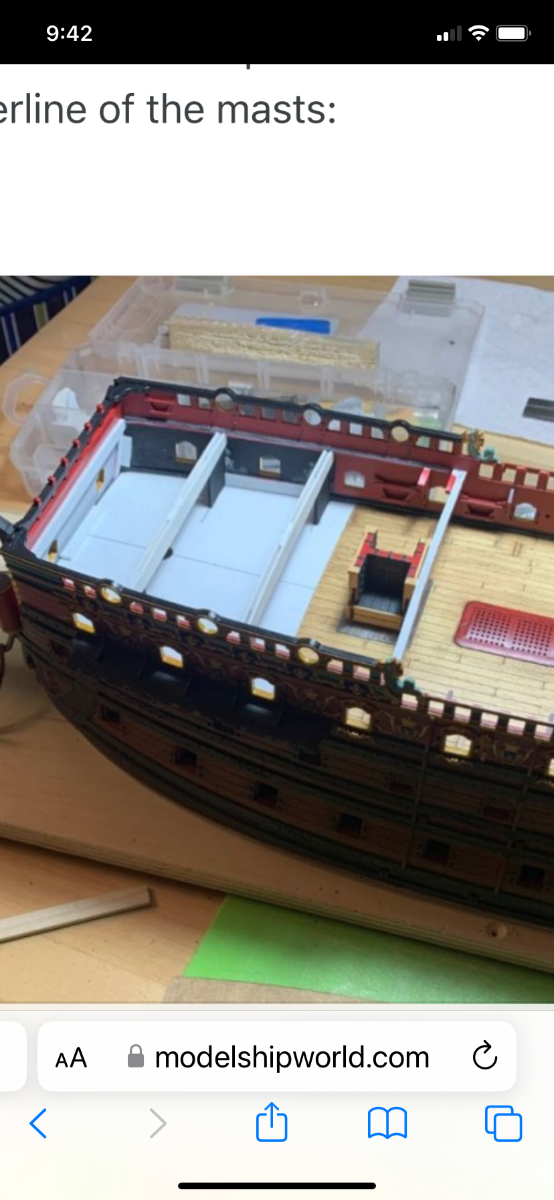
Marc I hope all is going well with your trip to Paris with your dad. Will look forward to sharing bits with us on your return. I am interested in something you did during your build and wonderful you would mind to share a little of your thought process as to why you did it? I am finishing up the installation and rigging of the show cannons. When I take a break from that I am looking ahead to my next task. That is going to be installing the forecastle deck and the corresponding deck (whatever it is called) at the aft end of the ship. I see in your build you added some pieces you made to this task. You have additional knees, beams, and what I think you called gussets? Was this because you created a new decks for this application? Wondering if this is something you recommend? I am of course using the deck sections included with the kit. They seem satisfactory as far as stiffness.

- 1,508 replies
-
- 1
-
-
- Le Soleil Royal
- Heller
- (and 1 more)
-
Merci. 😊
-
Completed rigging the he 6 show cannons n the starboard side. The 2.5mm blocks are a bit crowded but the display does show the working of the in and out hauls. Not perfect but I am satisfied.
- 1,508 replies
-
- 2
-
-

-
- Le Soleil Royal
- Heller
- (and 1 more)
-
Plastic or Wood models? Your Favorite?
Bill97 replied to Bill97's topic in Modeling tools and Workshop Equipment
Alex I have to admit that does sound like an adventure I would enjoy working with someone else on. At least a two person job, me as the second hand to someone that new exactly what they were doing. And in their shop. No room to work on such a project in my little home. -
Plastic or Wood models? Your Favorite?
Bill97 replied to Bill97's topic in Modeling tools and Workshop Equipment
YYes I do mtaylor. It is a Robert Taylor in the index that is working on the OcCre Endeavor. I apologize for the mix up. 😊 -
Good afternoon. I am giving some thought to building the wood model Endeavor. I have built several very detailed plastic models and have the logs here on MSW. The Heller HMS Victory and Le Soleil Royal are just two. Both of which took or will take a couple years to complete. I have decided I want to attempt a wood model and really like the Endeavor. For some reason I am really drawn to the OcCre version. Before I make such a huge purchase I am curious what you he builders if this model think and recommend. Would you mind to share your general review? It would be greatly appreciated.
-
Plastic or Wood models? Your Favorite?
Bill97 replied to Bill97's topic in Modeling tools and Workshop Equipment
mtaylor I have been reading through your OcCre Endeavor build. You are doing a great job with it. What is your opinion of it? I am sort of leaning toward the OcCre Endeavor. -
Henry I like your coils draped over the cannons. I first attempted that but mine came no where close to looking like your’s. I know one of the problems was that I was trying to do it with the extra length of the falls I had already threaded through the forward block. You were wise enough to make them off the ship. Marc I am glad for you and your dad that he is enjoying the trip. Best of luck on your quest of the Gilded Ghost.
- 1,508 replies
-
- 1
-
-
- Le Soleil Royal
- Heller
- (and 1 more)
-
Plastic or Wood models? Your Favorite?
Bill97 replied to Bill97's topic in Modeling tools and Workshop Equipment
Thanks gentlemen for your comments. All this feedback will go into my long range decision making. Roger I am not sure if I have reached a plateau on plastic or not. I may be blind to what is still out there I am not aware of. Having built the Heller HMS Victory, which took me nearly 2 full years to complete working easily 25-30 hours a week on it, and now 4 months into the Heller Le Soleil Royal, I am fascinated by the detail I can work with at this scale. I know Revell and other manufacturers have ship models in the 1/96 scale, which are great as well. I have built their USS Constitution and Cutty Sark. But they were not as detailed and fewer parts. Of course with the skills I have gained I could also purchase another model of this scale and bash it to a much higher level. So many options for future tasks. I am starting to get the feeling that maybe the Endeavor may be a big jump for my first wood model. -
Thanks Marc. Just going to have to live with the out of scale blocks. How is it going in Paris?
-
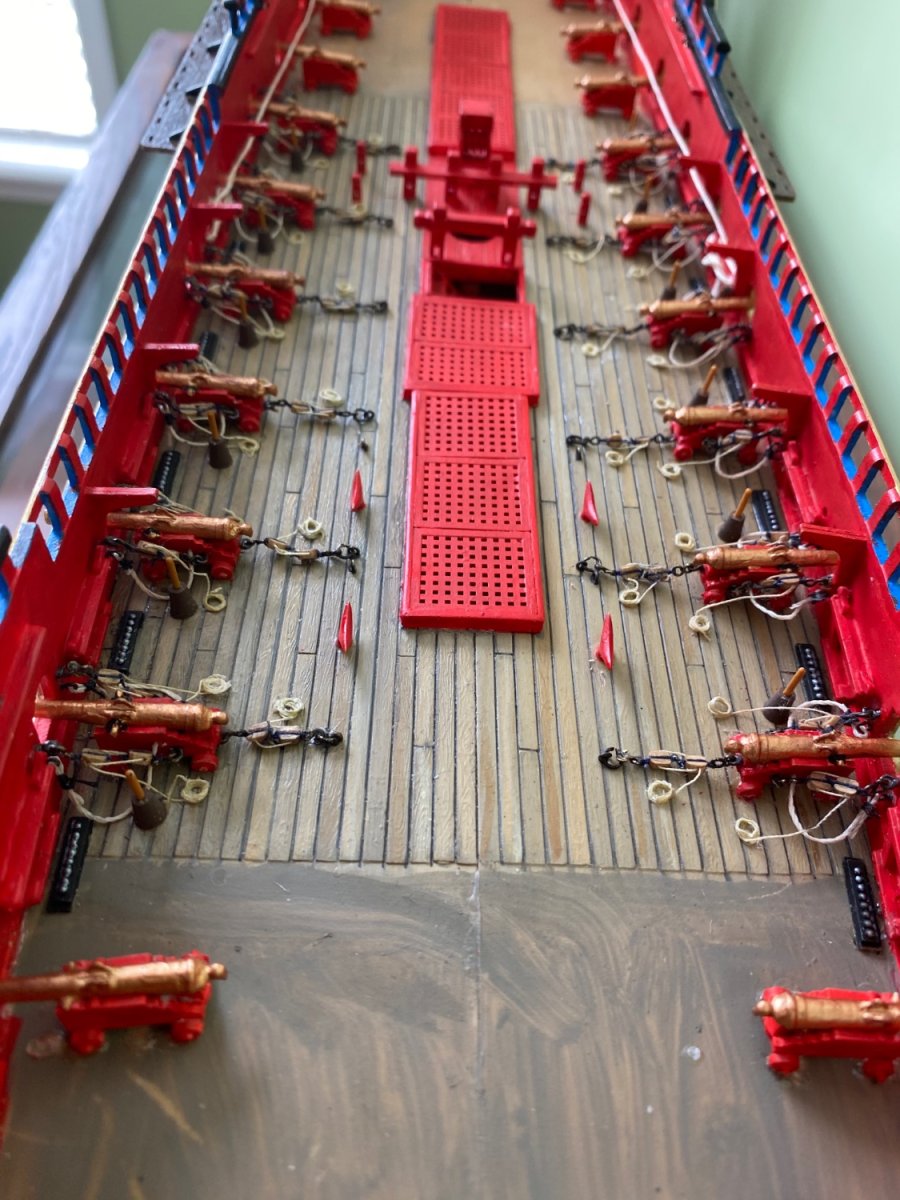
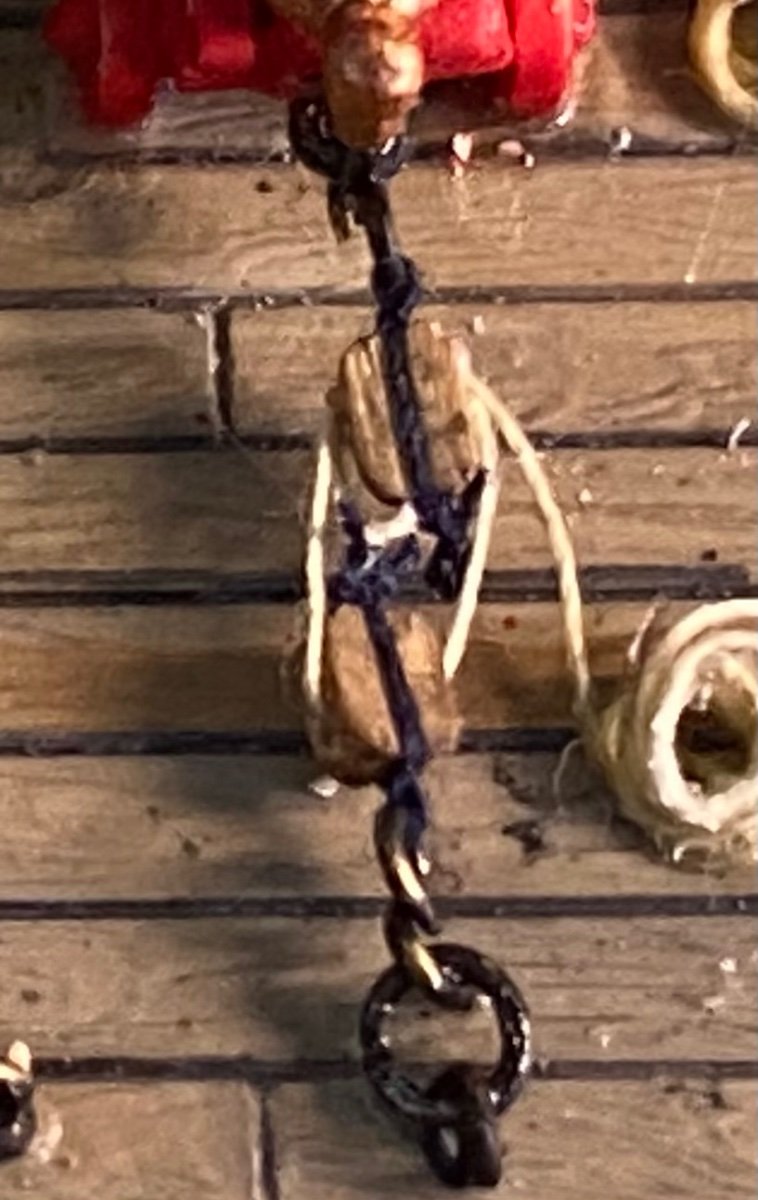
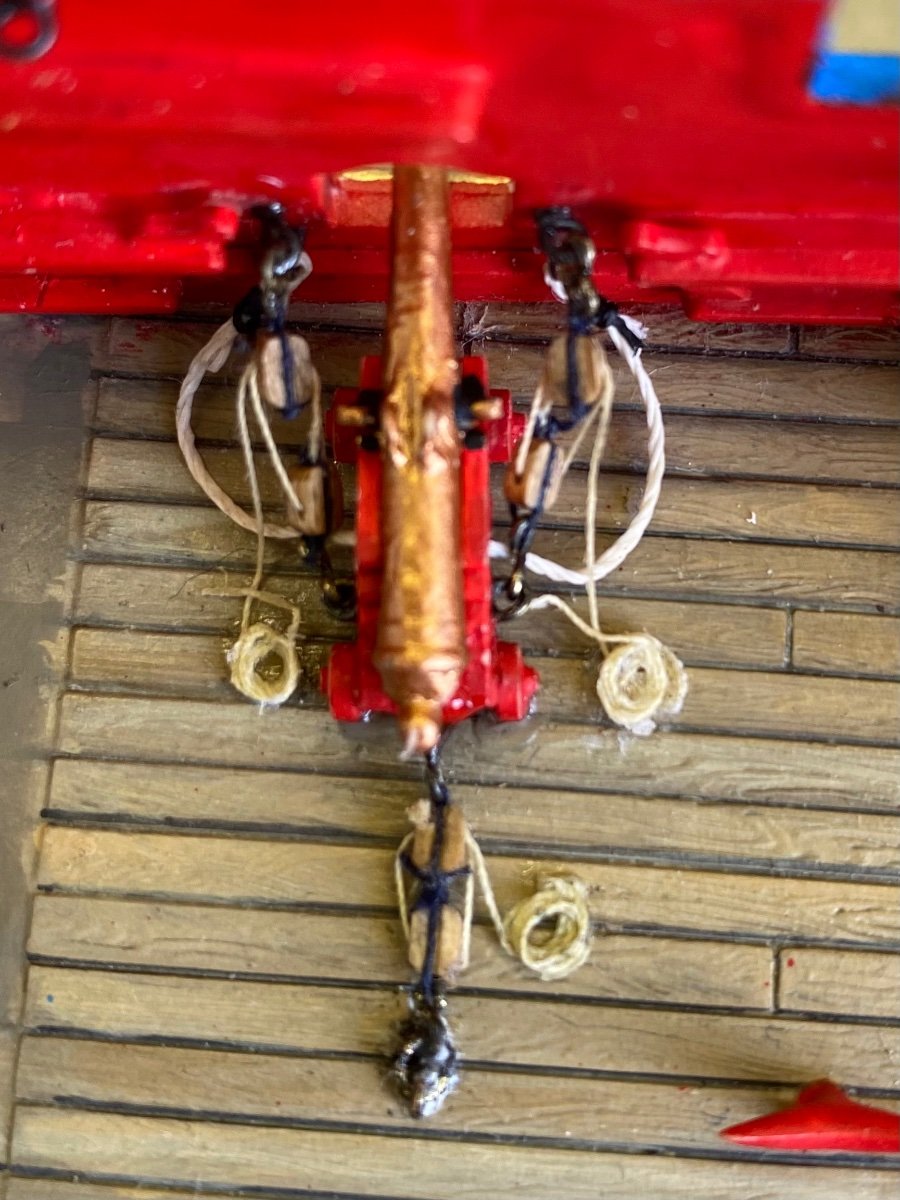
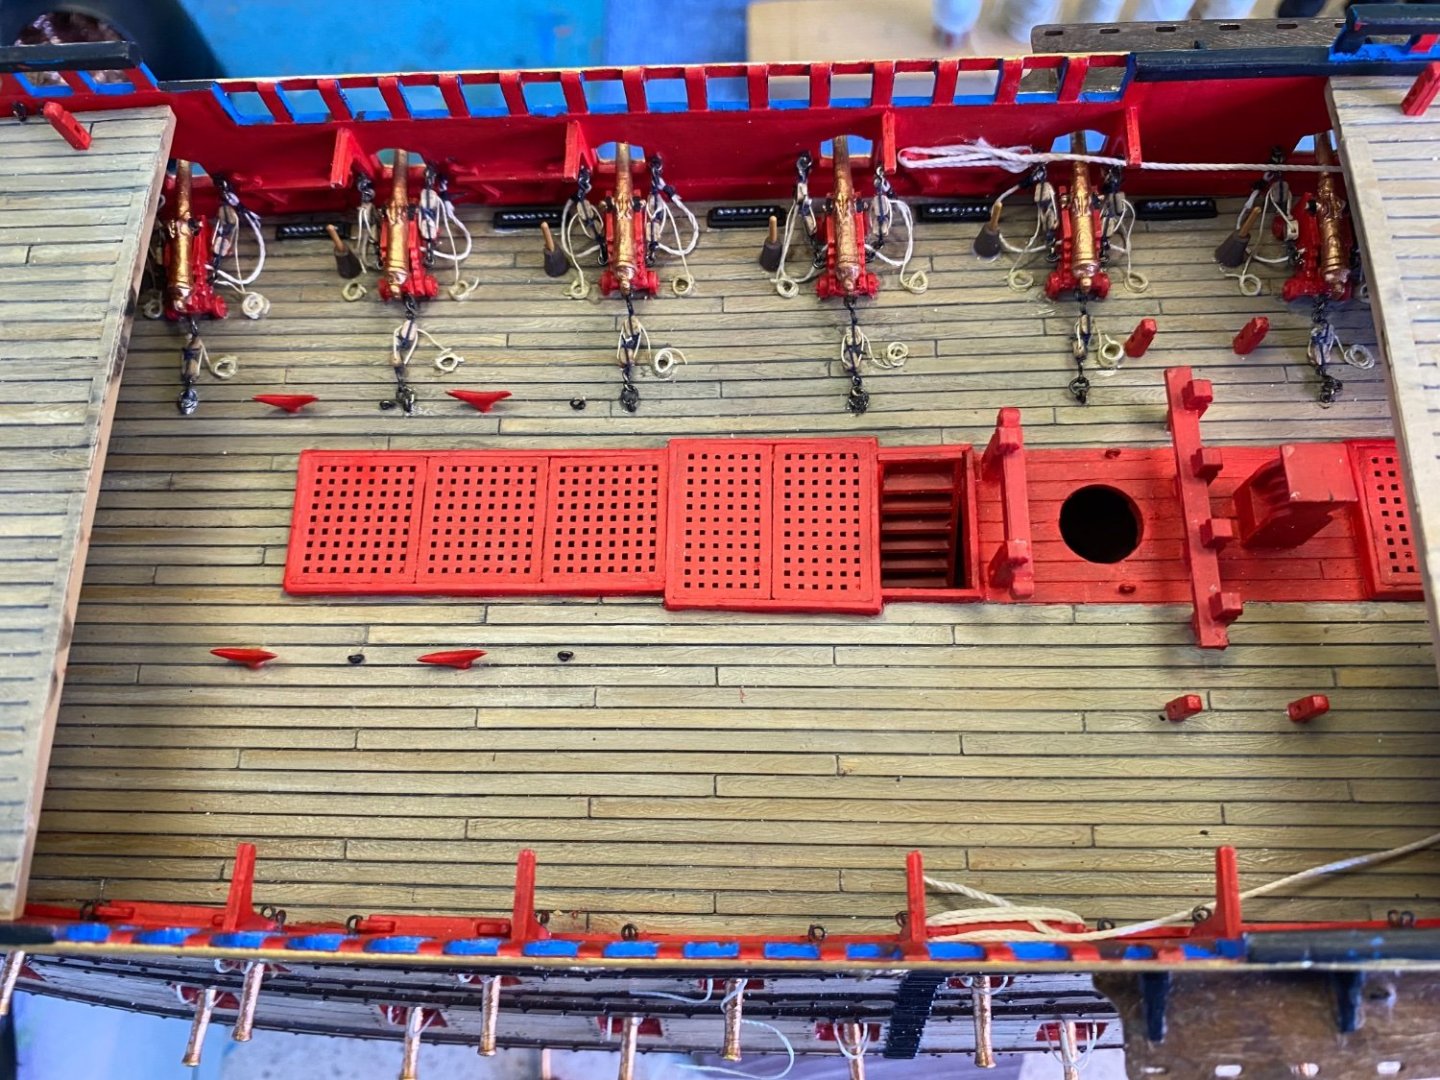
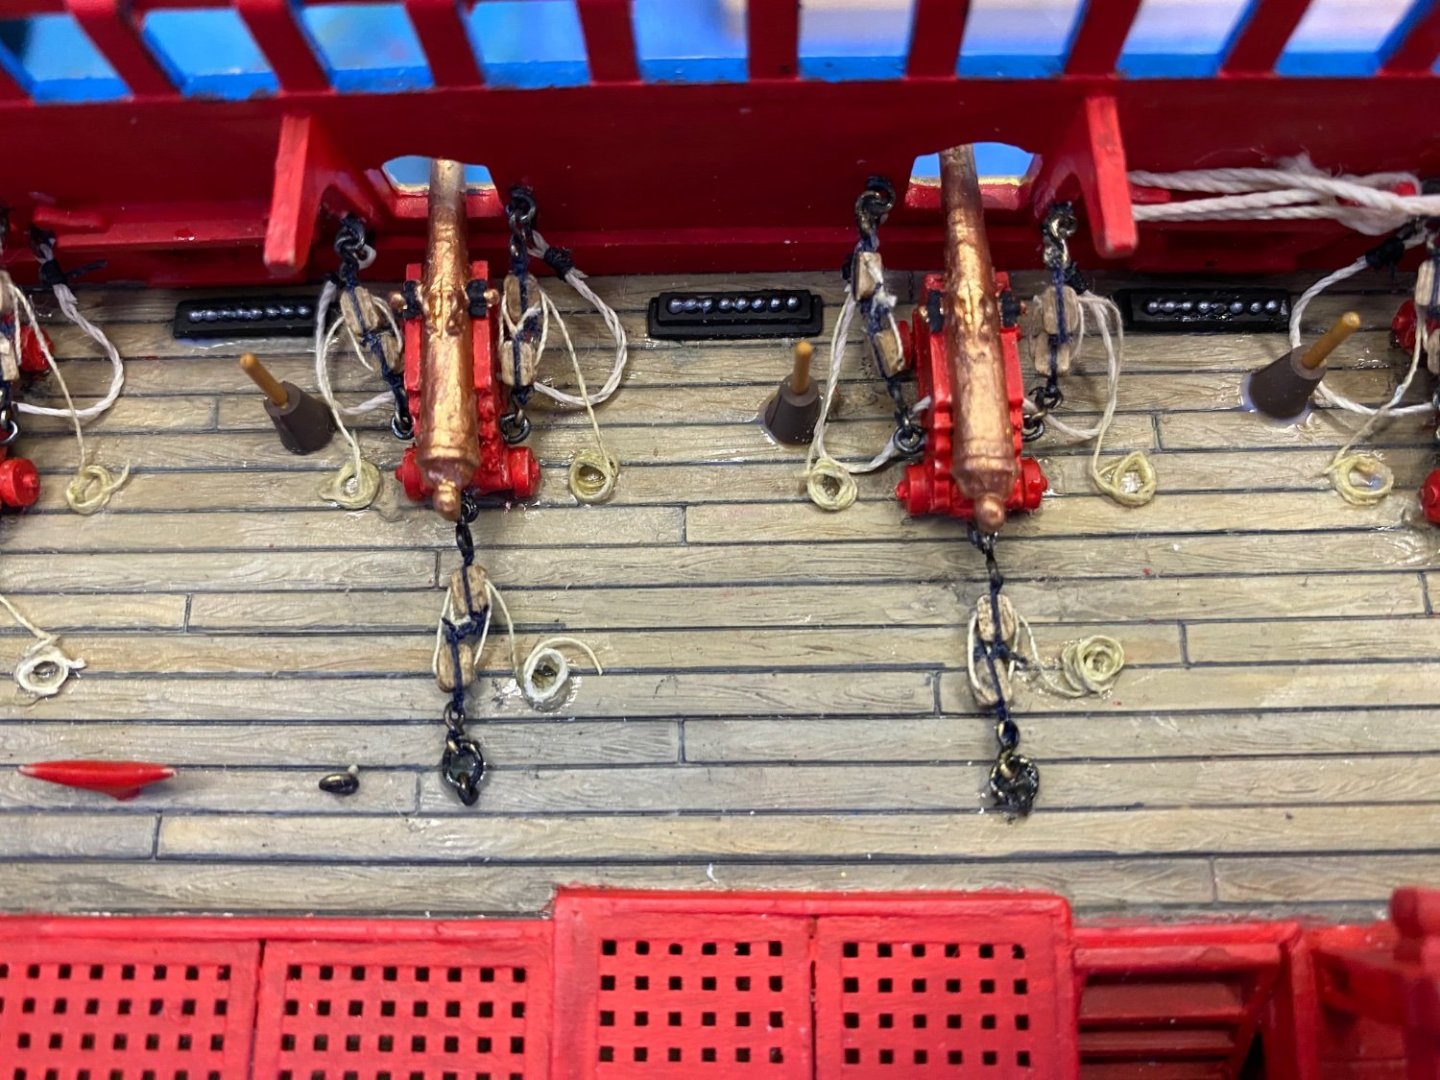
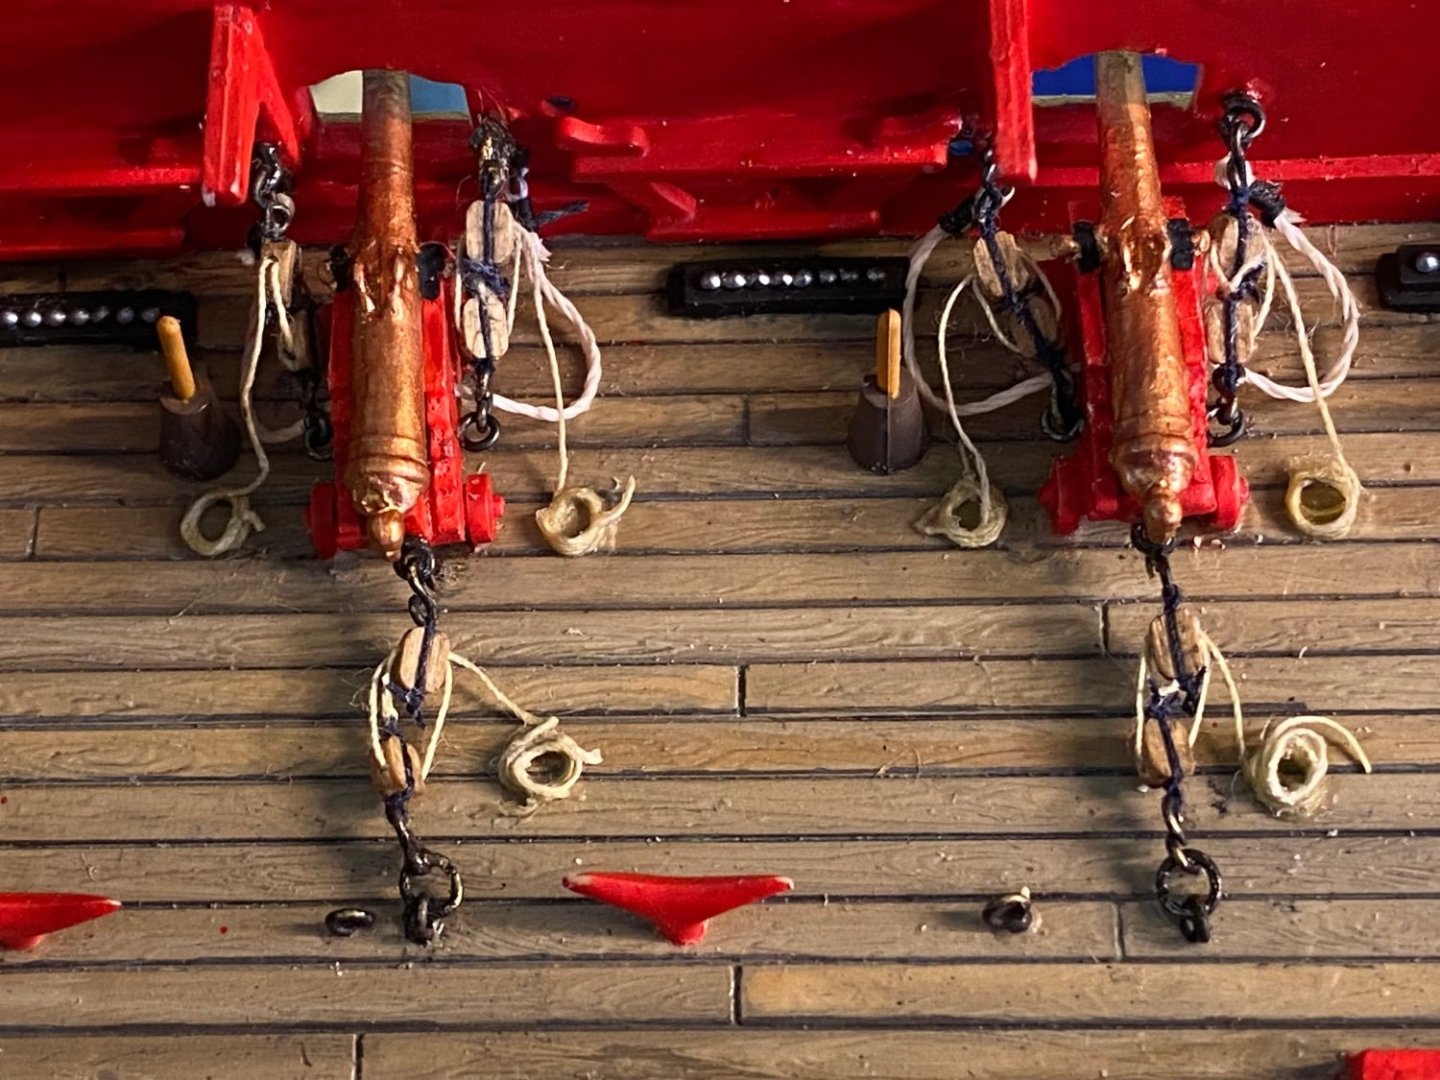
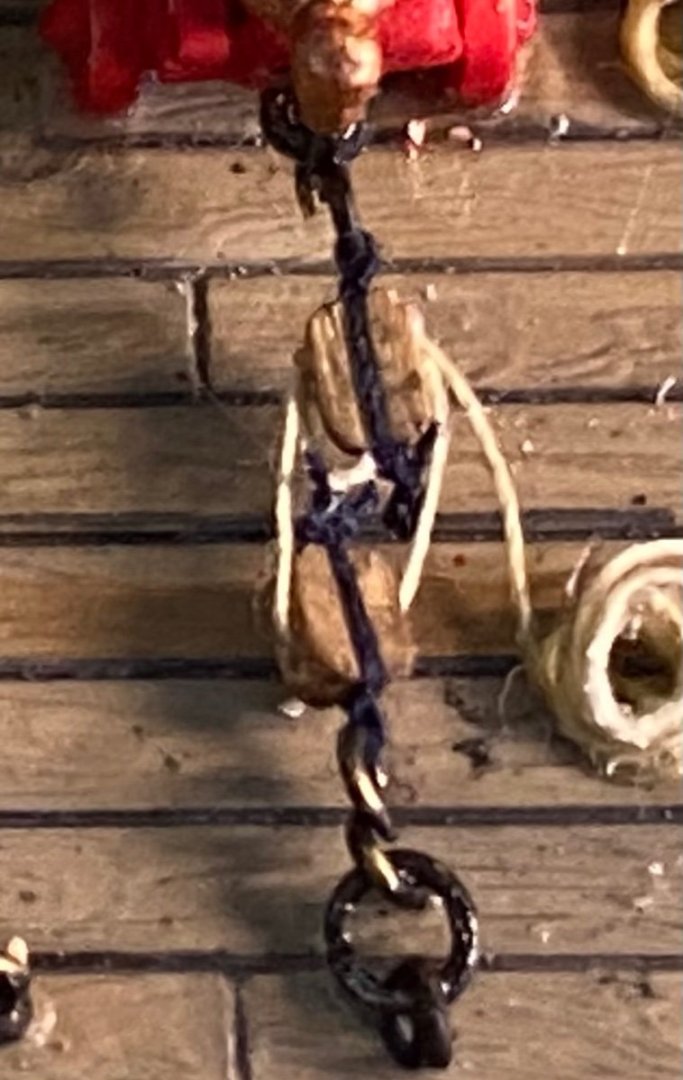
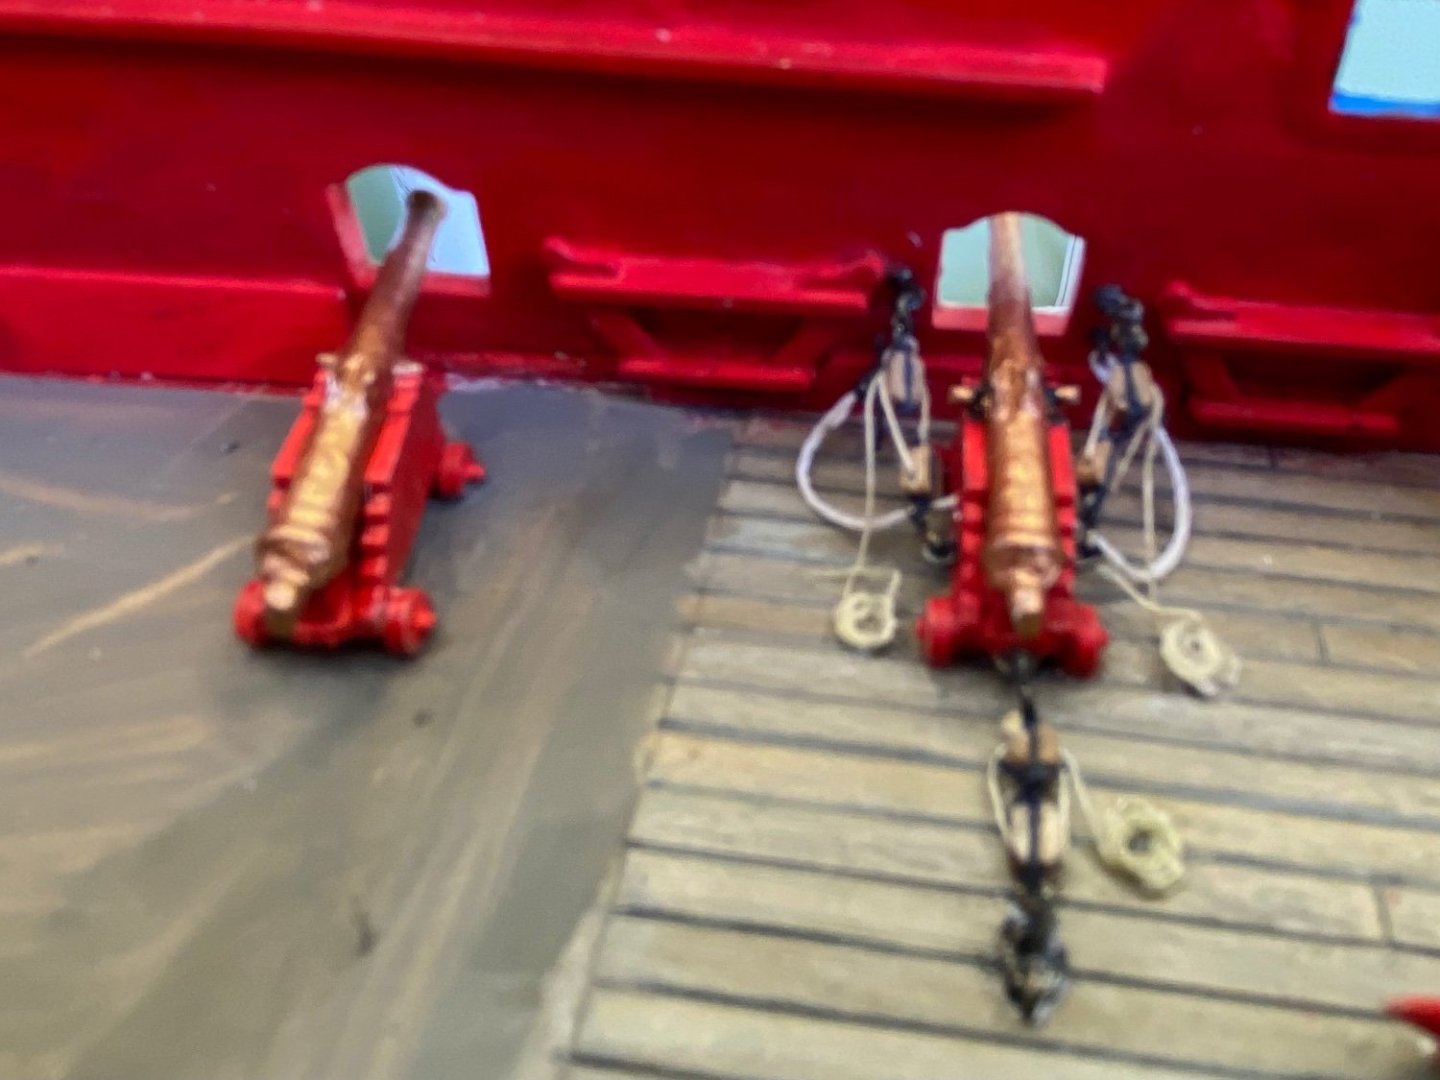
Getting the cannons on my he starboard side rigged. Knowing that the 2.5mm blocks are just a slight bit to large, but living with them anyway, I set up the in-hauler and two out-haulers. I sort of divided the difference to get a bit of cannon barrel extended out the hatch and a small bit between the blocks on the haulers. I know it is not to scale but it does reflect the concept and operation. I have also added the breeching rope. I decided to go with the falls of the tackles rolled in coils and laying on the deck instead of draped across the rear of the barrel. Five on starboard side still need their in-hauler. Then move to the port side.

- 1,508 replies
-
- 5
-
-
-
- Le Soleil Royal
- Heller
- (and 1 more)
-
Plastic or Wood models? Your Favorite?
Bill97 replied to Bill97's topic in Modeling tools and Workshop Equipment
Thanks aliluke. That is great advice to consider. What really stands out to me in your comment is the use of tools in plastic versus wood. My entire building area tool set is totally geared toward plastic. I also have an excellent airbrush and hundreds of Vellajo paints which I enjoy using. If I understand you correctly, and please correct me if I am wrong, I would not use all this stuff very much, especially my airbrush and paints? I have plenty of time before I would ever start one (will be working on my Soleil Royal way into next year probably). I understand I can find the building instructions to some of the wooden models on line. Would be a great idea to read through one to see what I think of the building process, and if I feel confident in my skills to complete it. -
Fantastic Marc. Is this your first Paris trip?
-
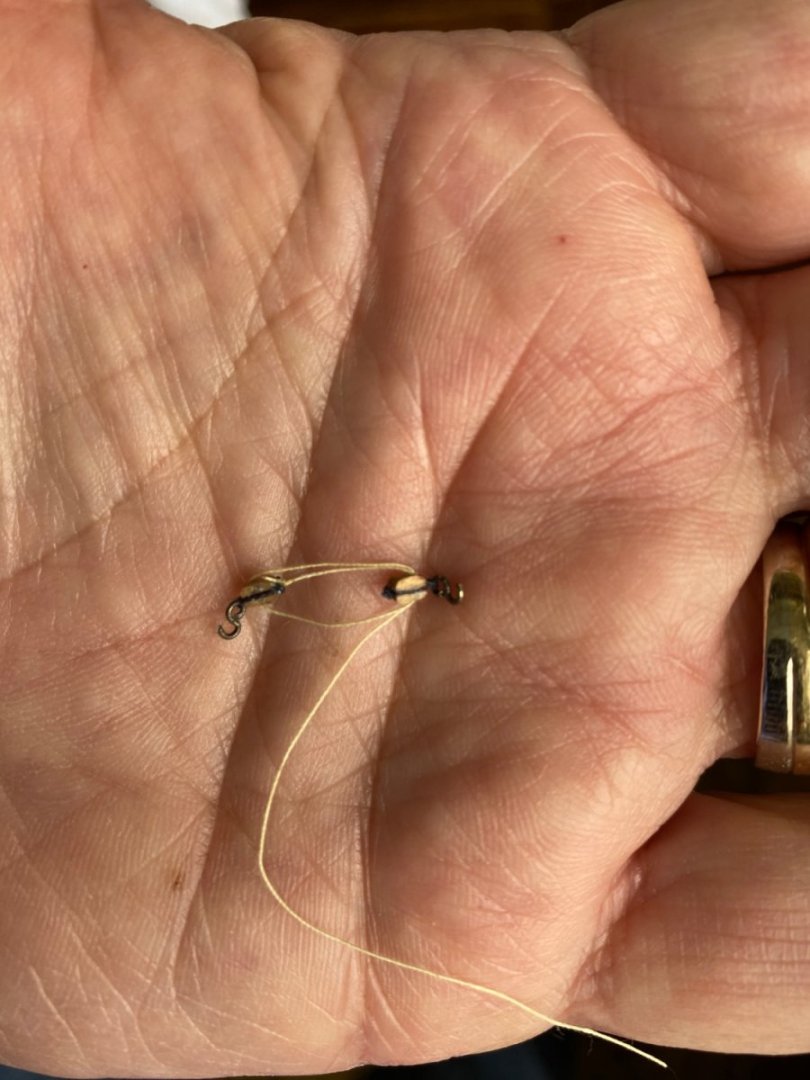
I will have to say 2.5mm blocks is about as small as my old eyes and fingers can manipulate! I even had to use a micro drill bit to increase the size of the pre drilled sheave hole so I could push a needle threader through. I am just going to use this size and attempt to position the cannons to where I have a bit of space between the two blocks and have a small portion of the cannon barrel extending out if the hatch. I think this will look alright fully knowing the block scale is just a little off but still somewhat accurately depicts the working of the cannon rigging.
- 1,508 replies
-
- 5
-
-
- Le Soleil Royal
- Heller
- (and 1 more)
-
Question my friends. Would it look odd or inaccurate if I hauled in all the cannons on this deck uniform to where the end of the barrel just protruded out the hatch. All the cannons on the lower decks are hauled all the way out. Would all of the cannons on all the decks been uniformly hauled? I want to haul the visible cannons I am rigging in some to give more distance between the blocks. I will need to break loose and haul-in all the cannons I already have glued. Or if they are going to be particularly hauled in should they be all the way hauled in.?
-
Plastic or Wood models? Your Favorite?
Bill97 replied to Bill97's topic in Modeling tools and Workshop Equipment
Thanks Rob. Your comment “ I always need a trigger or a point of fascination” very much reflects my inspirations as well. Hence my curiosity about a project I may not start until way into 2024. Still happily absorbed by my Heller Soleli Royal.