HOLIDAY DONATION DRIVE - SUPPORT MSW - DO YOUR PART TO KEEP THIS GREAT FORUM GOING!
×


Bill97
-
Posts
2,704 -
Joined
-
Last visited
Content Type
Profiles
Forums
Gallery
Events
Everything posted by Bill97
-
No Marc I have already done it but when I was reading through your build again to pick up other thoughts I ran across that section again and wondered if I made mine to thick. I checked back and in my comment #280 you do clearly say the thickness you used and I am confident I followed your advice. Will need to stop by the “ship yard” and measure mine again this morning. I seem to remember gluing a .020 and a .010 together since I did not have .030. I think I am good. I was thinking the other day you should publish your blog with an index once you finish. Would be a valuable asset. 😊
- 1,508 replies
-
- 1
-

-
- Le Soleil Royal
- Heller
- (and 1 more)
-
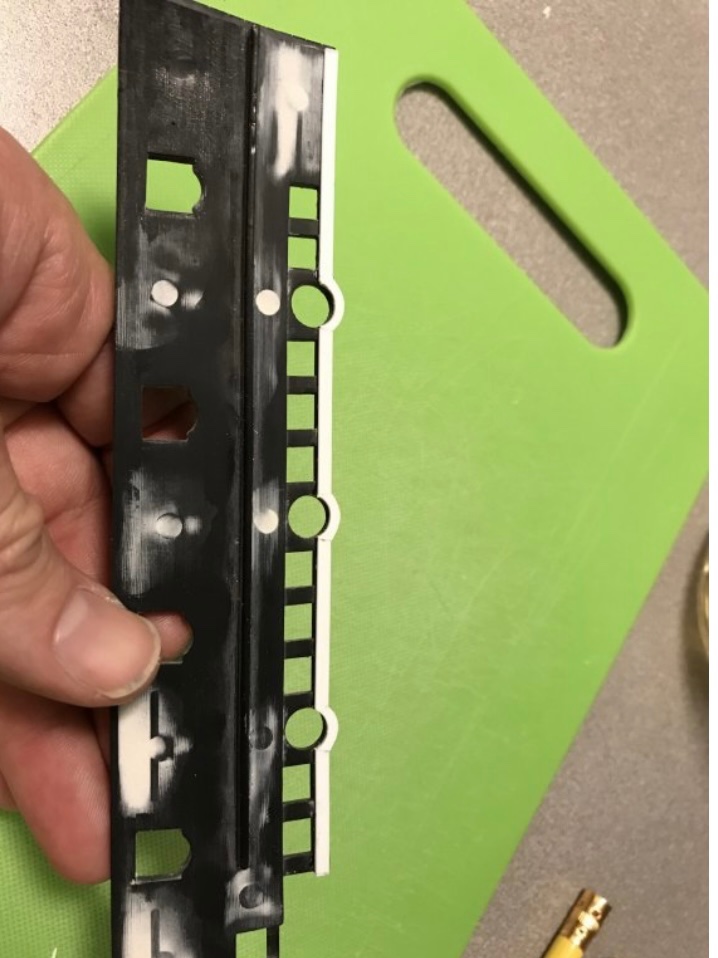
Next, I decided to thicken the cap rail by a heavy 1/32”, in order to give the rails better scale. As they are, they only scale up to about 6-7”, without including the rounded exterior moulding. Marc reading way back in your build in the section about making thickening the cap rails you say by a heavy 1/32”. In the photos you included in the comments the white styrene looks about twice that thickness, maybe 1/16”?

- 1,508 replies
-
- 1
-

-
- Le Soleil Royal
- Heller
- (and 1 more)
-
Kirill4 any of these will work.
-
Thanks Marc for your advice. Don’t tell anyone but I had to google what cyma curves and cartouche are 🤔.
- 1,508 replies
-
- 2
-

-
- Le Soleil Royal
- Heller
- (and 1 more)
-
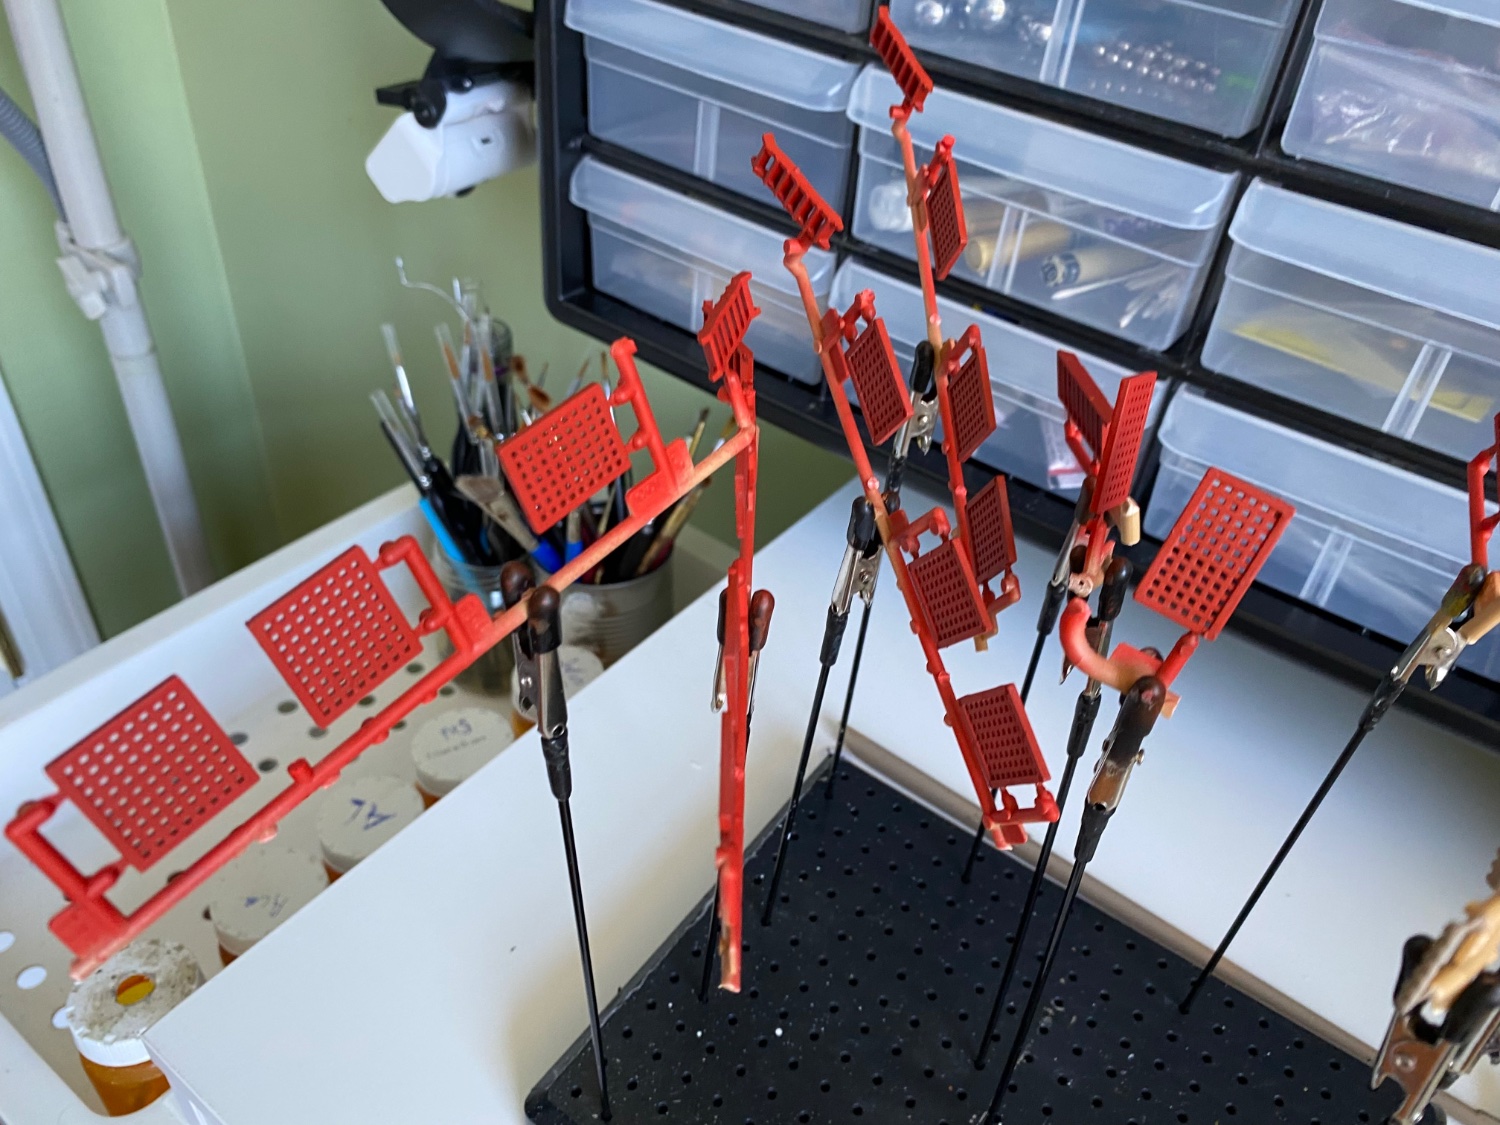
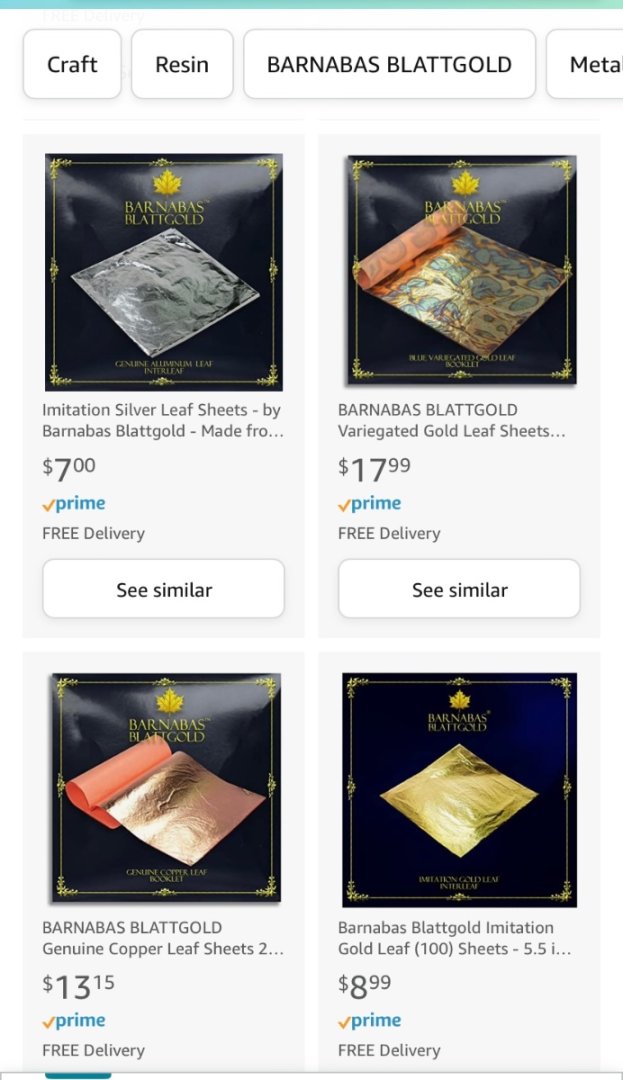
Kirill4 I use gold leaf.
-
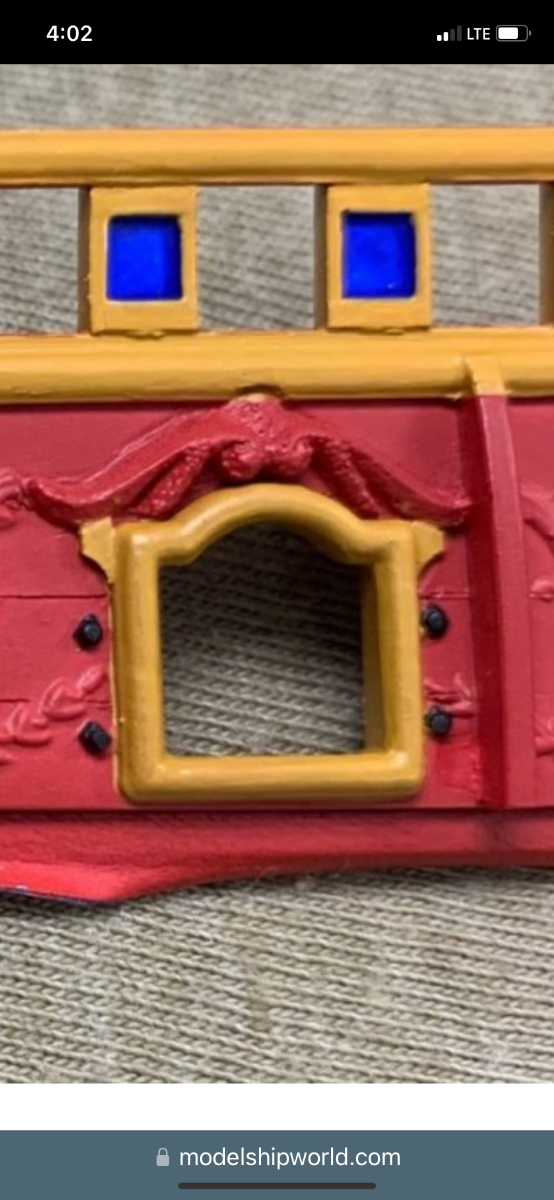
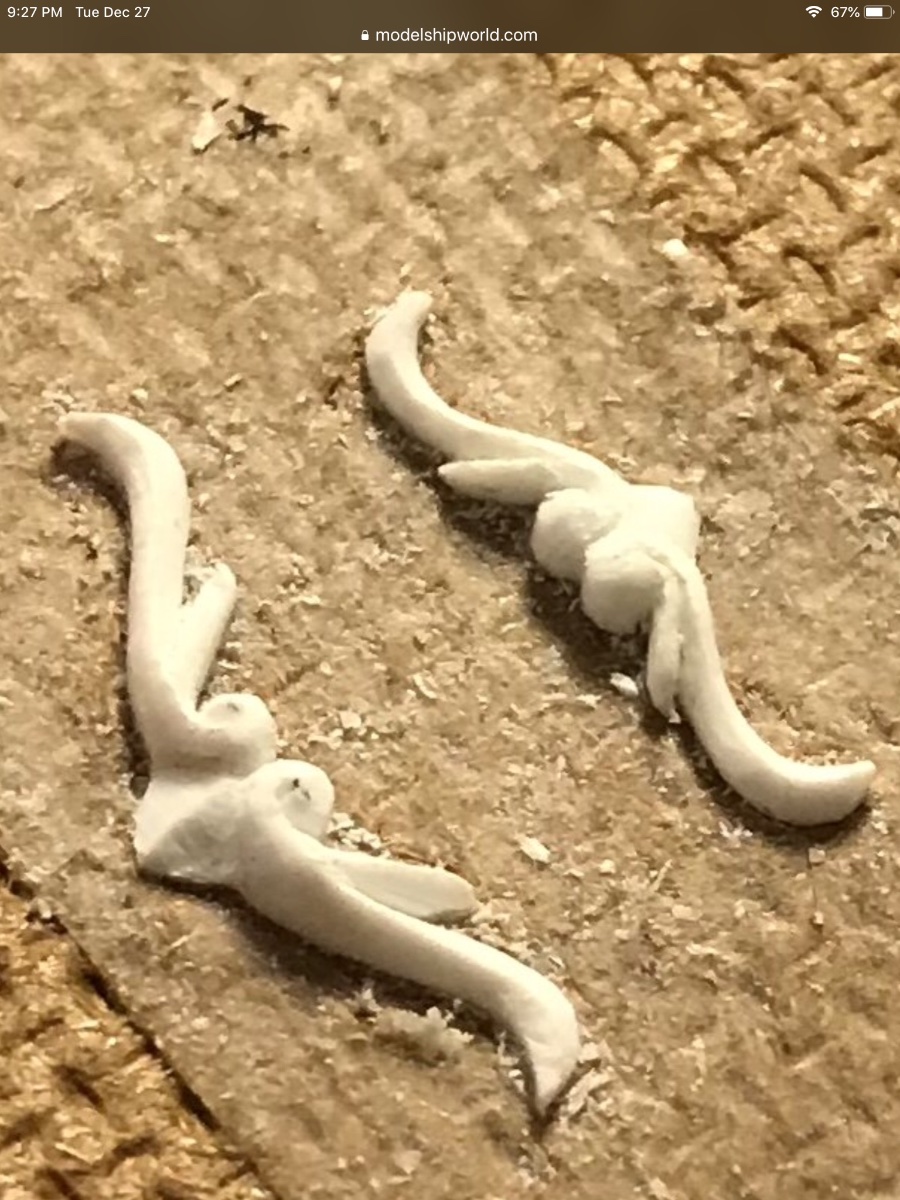
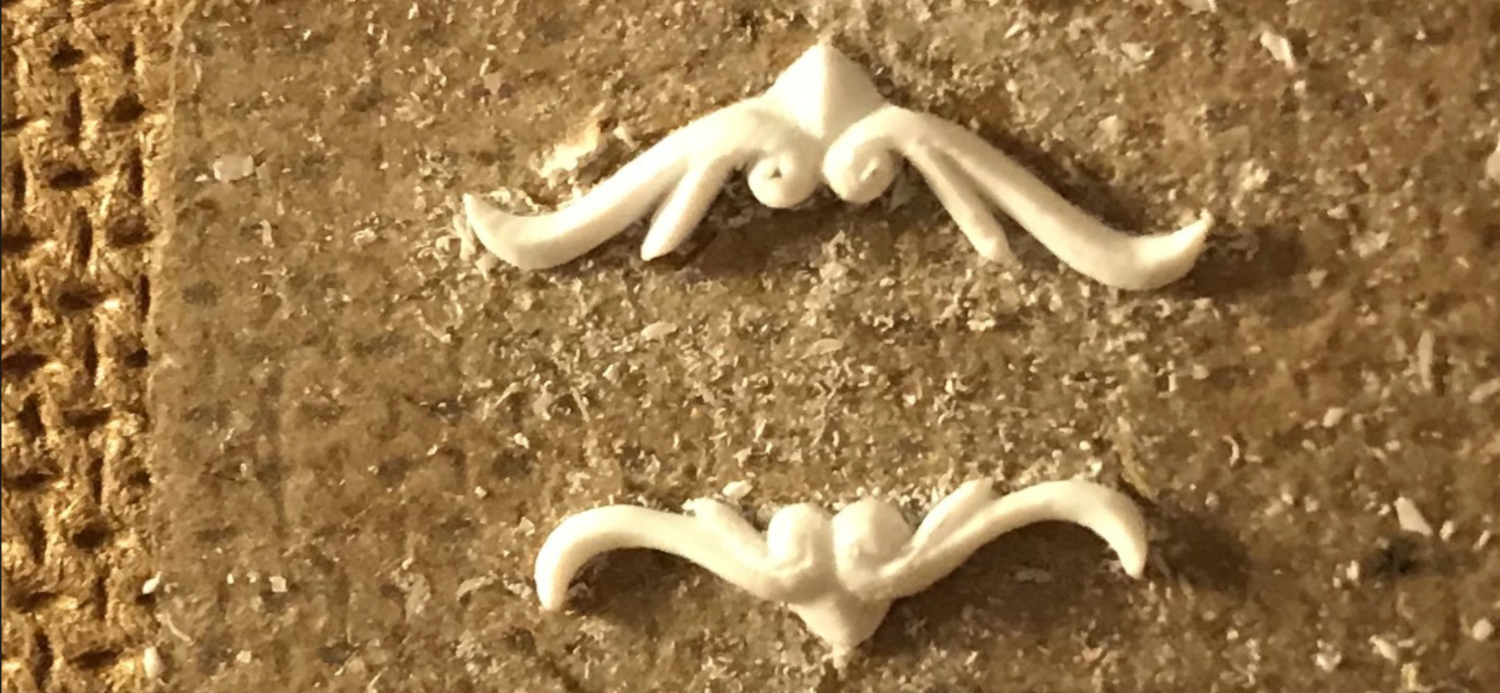
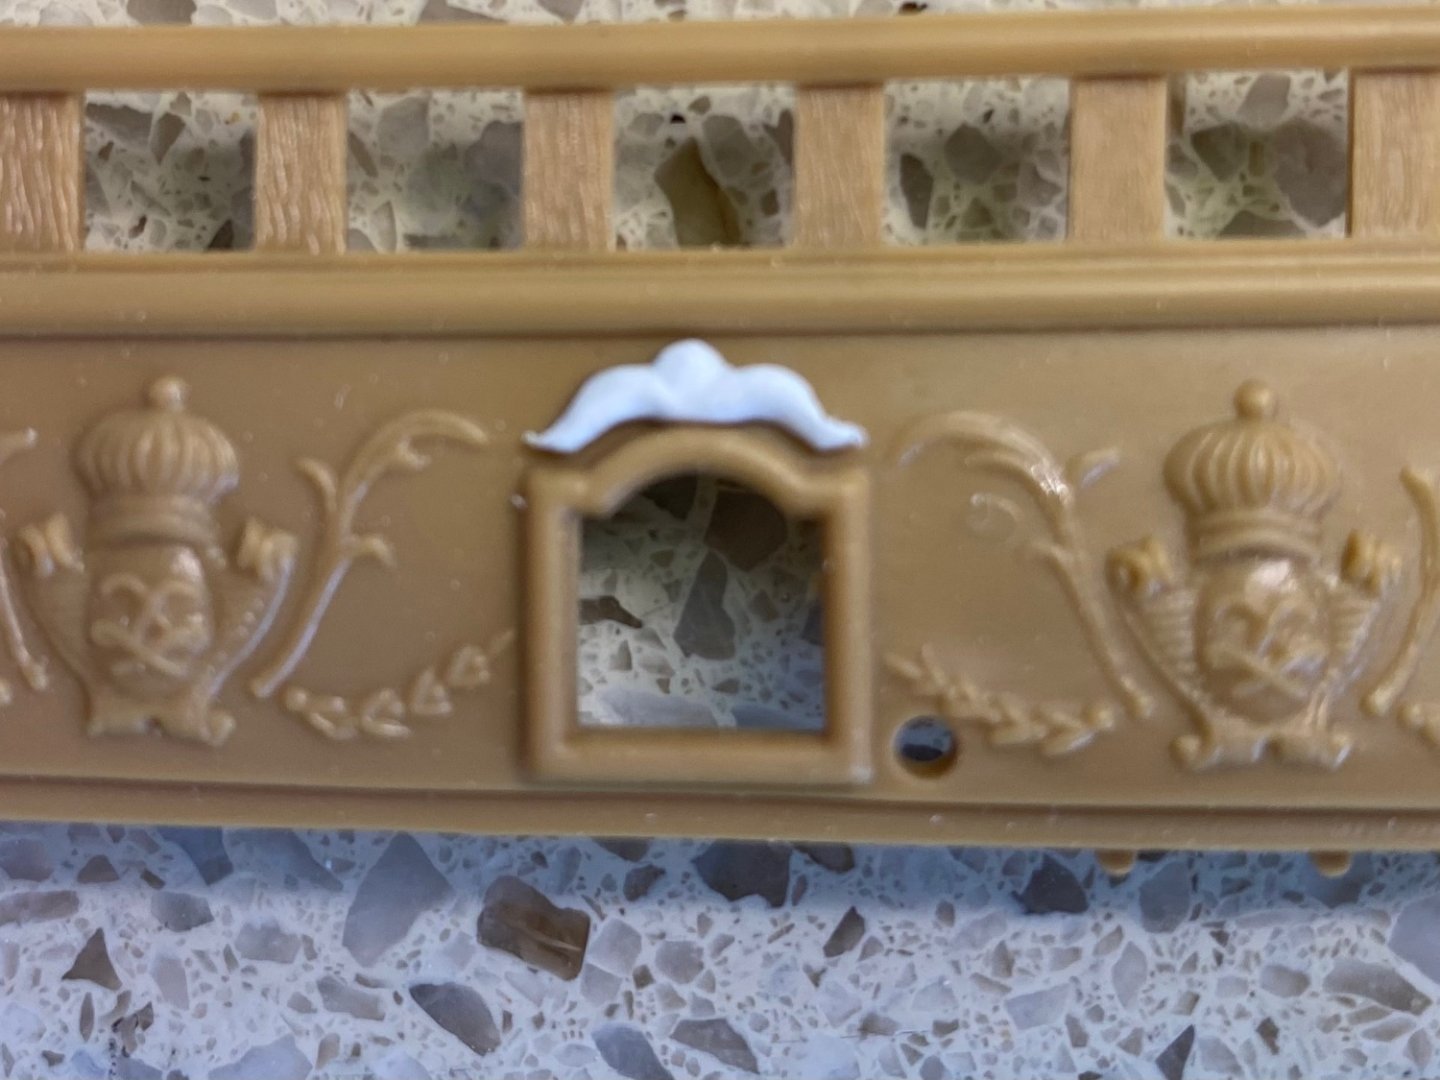
Guys does this enhancement look to big by scale? This is our first close to being there prototype. I, and granddaughter, did not make wider than the opening because I did not want it to blend in with the molded enhancements already between the hatches. Marc I have no idea how you got yours so small. I am thinking this still may be a bit heavy. Or would you be almost satisfied?

-
Thanks Henry. That Easy Mold works great. Glad I saw it in your build.
-
Veszett I don’t know if she would move to Budapest but I will check with her 😀.
- 1,508 replies
-
- 2
-
-
- Le Soleil Royal
- Heller
- (and 1 more)
-
Thanks my friends. I knew I could do better. My first cast was just too thick.
-
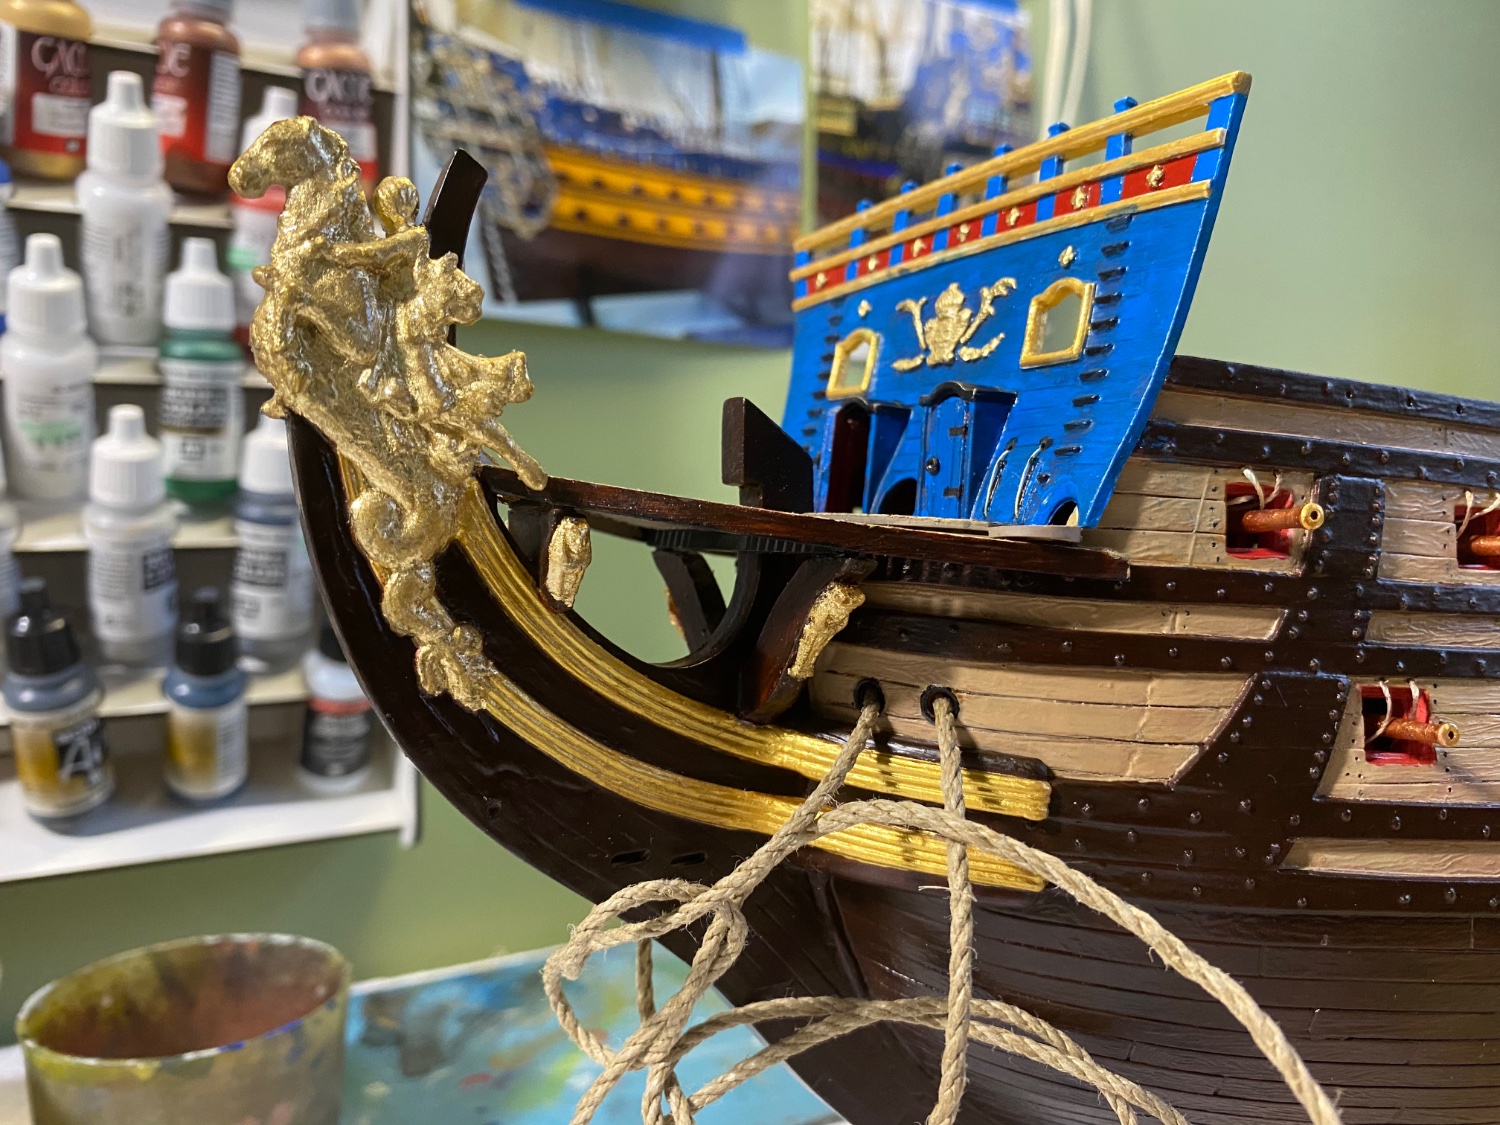
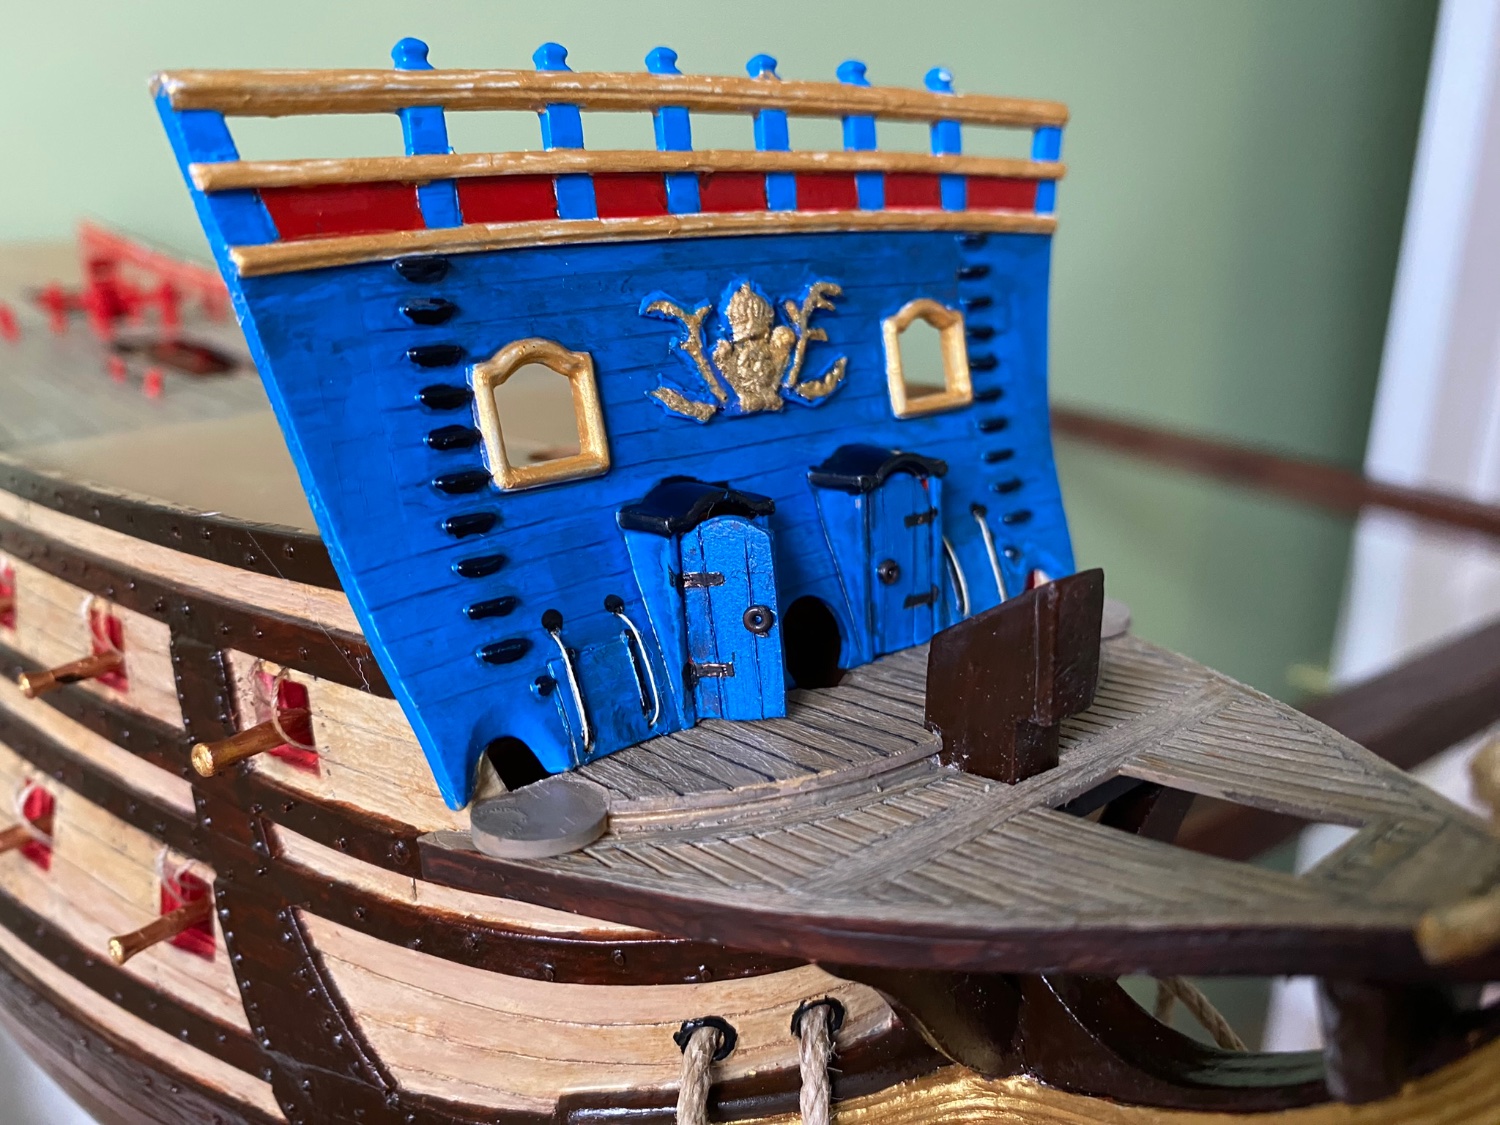
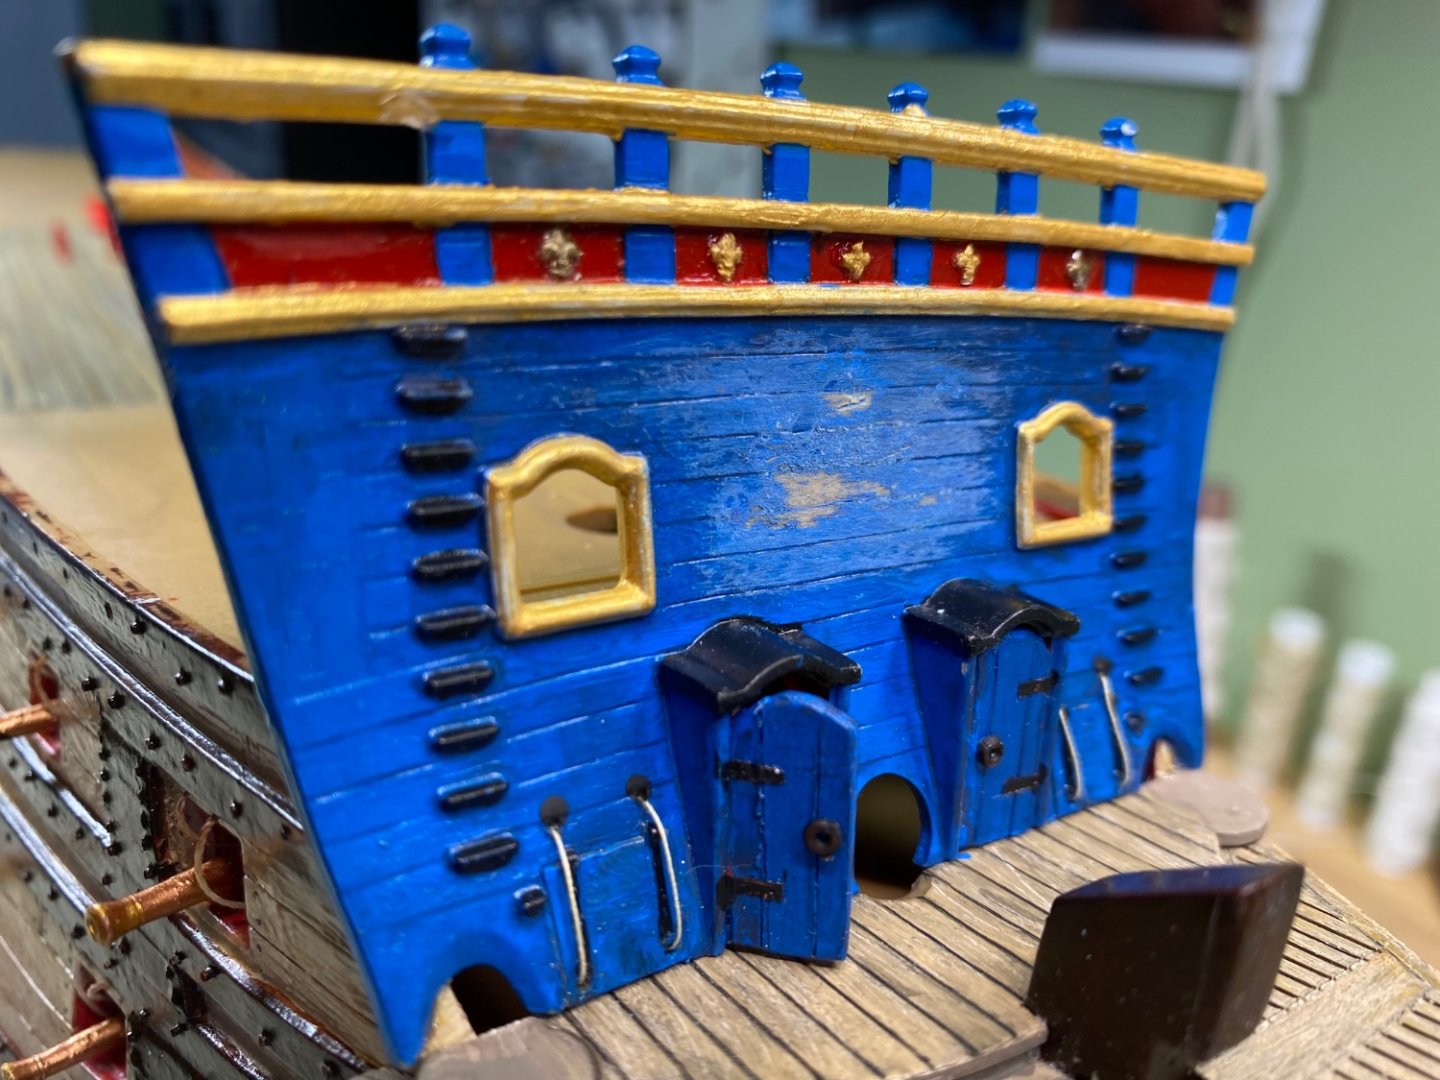
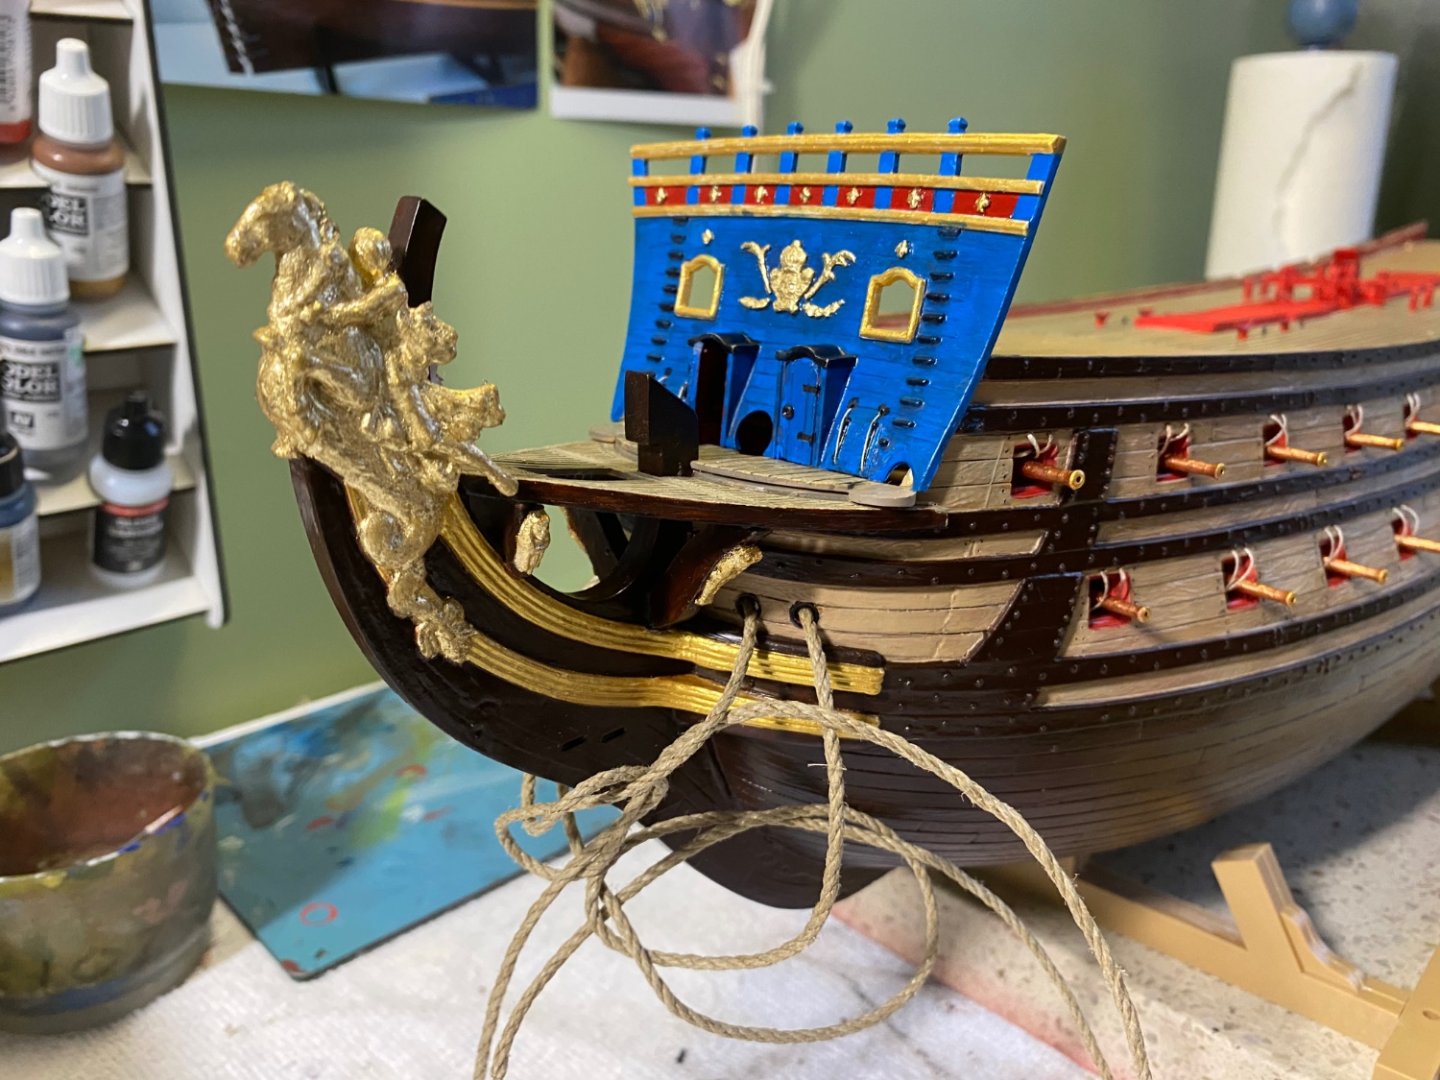
You guys are a bad influence on me, or probably more honestly a good influence. As I continue to look at your work it encourages me to do my best work. Either because I am impressed with your work and want to emulate it, or I expect a scolding from you guys if I half step task and don’t do it to the standard you know I can. 😀 At any rate the more I looked at the enhancement I cast and put on the beakhead bulkhead the less satisfied I was with it. So I removed the unsatisfactory piece, sanded and repainted the area under it, cast a better new one, and attached it, and added gold leaf. I think it looks better than the first go round. Also added tiny fluer-de-leies above the middle rail and above the doors.


- 1,508 replies
-
- 4
-
-

-
- Le Soleil Royal
- Heller
- (and 1 more)
-
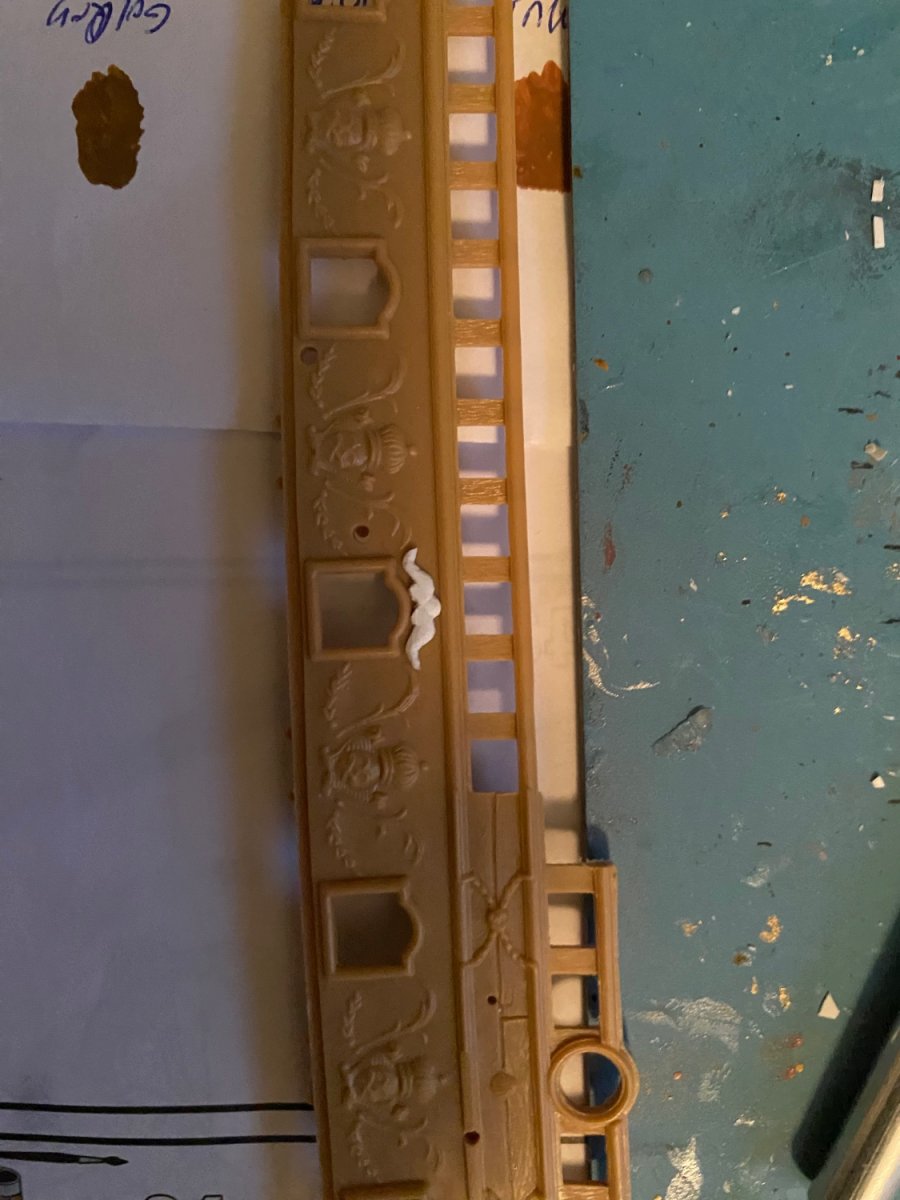
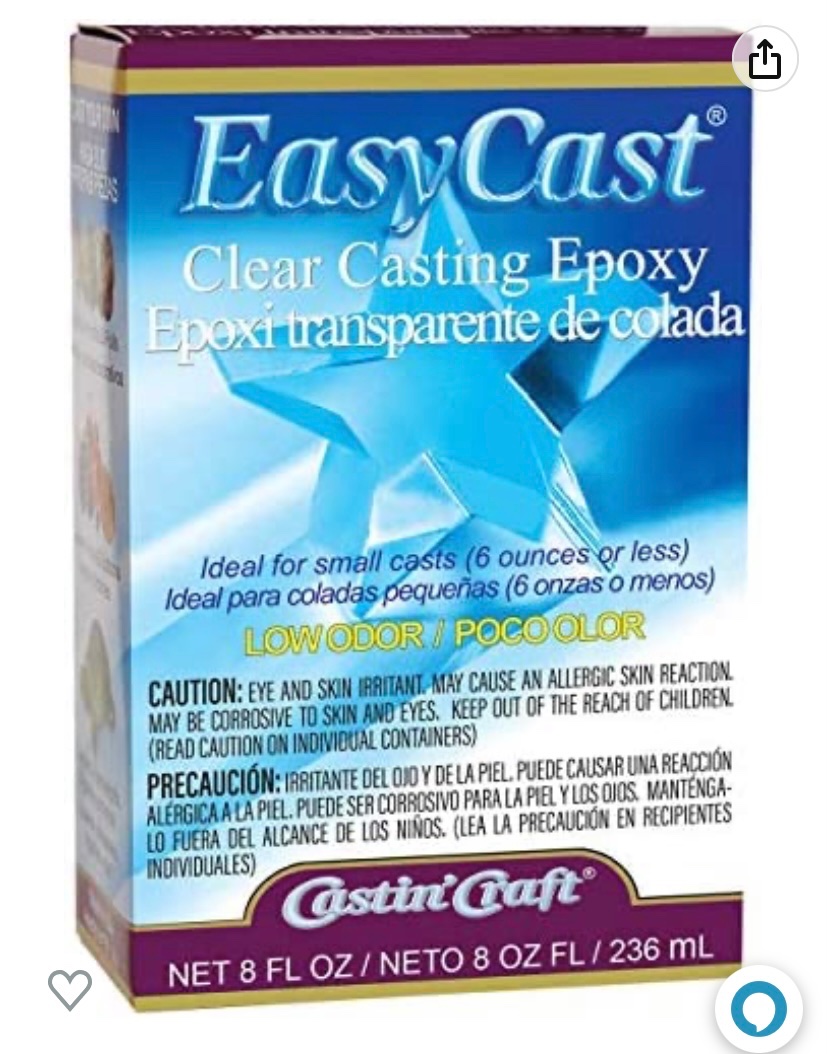
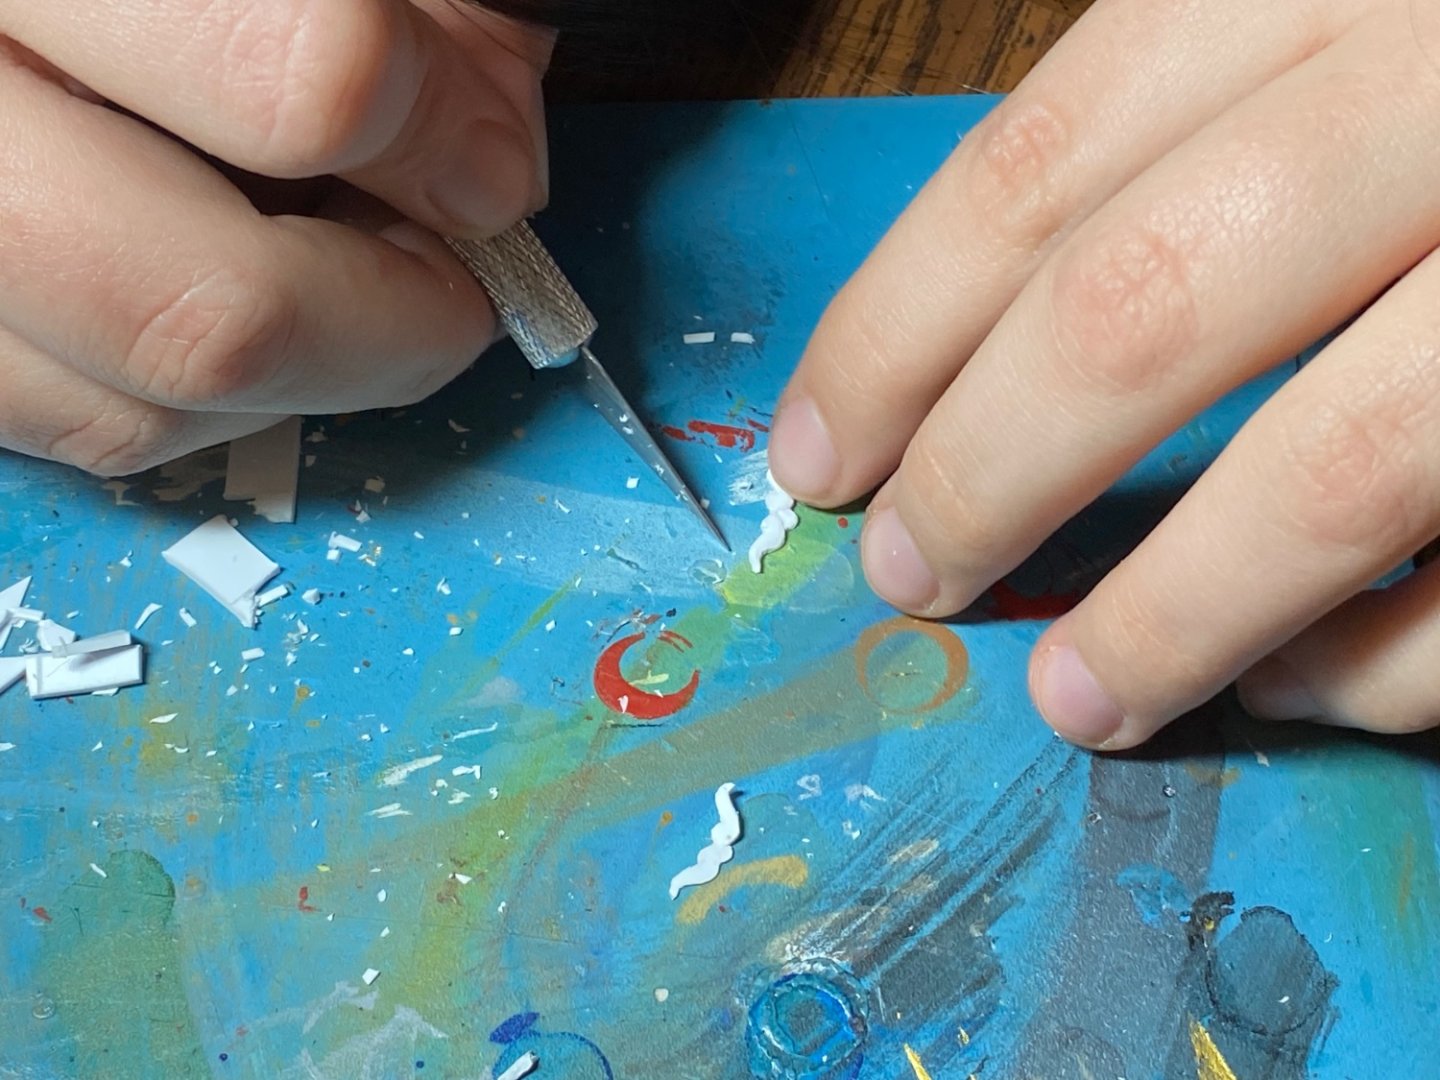
Kirill4 I use these two products I purchase online. Both use two separate components mixed together. One forms a clay like mixture I press the carved piece into to make the mold. The other product makes a resin like substance I pour into the mold. It sets up in 24 hours. Then I remove it from the mold and trim off any remaining excess. Then they are ready to attach to model.

-
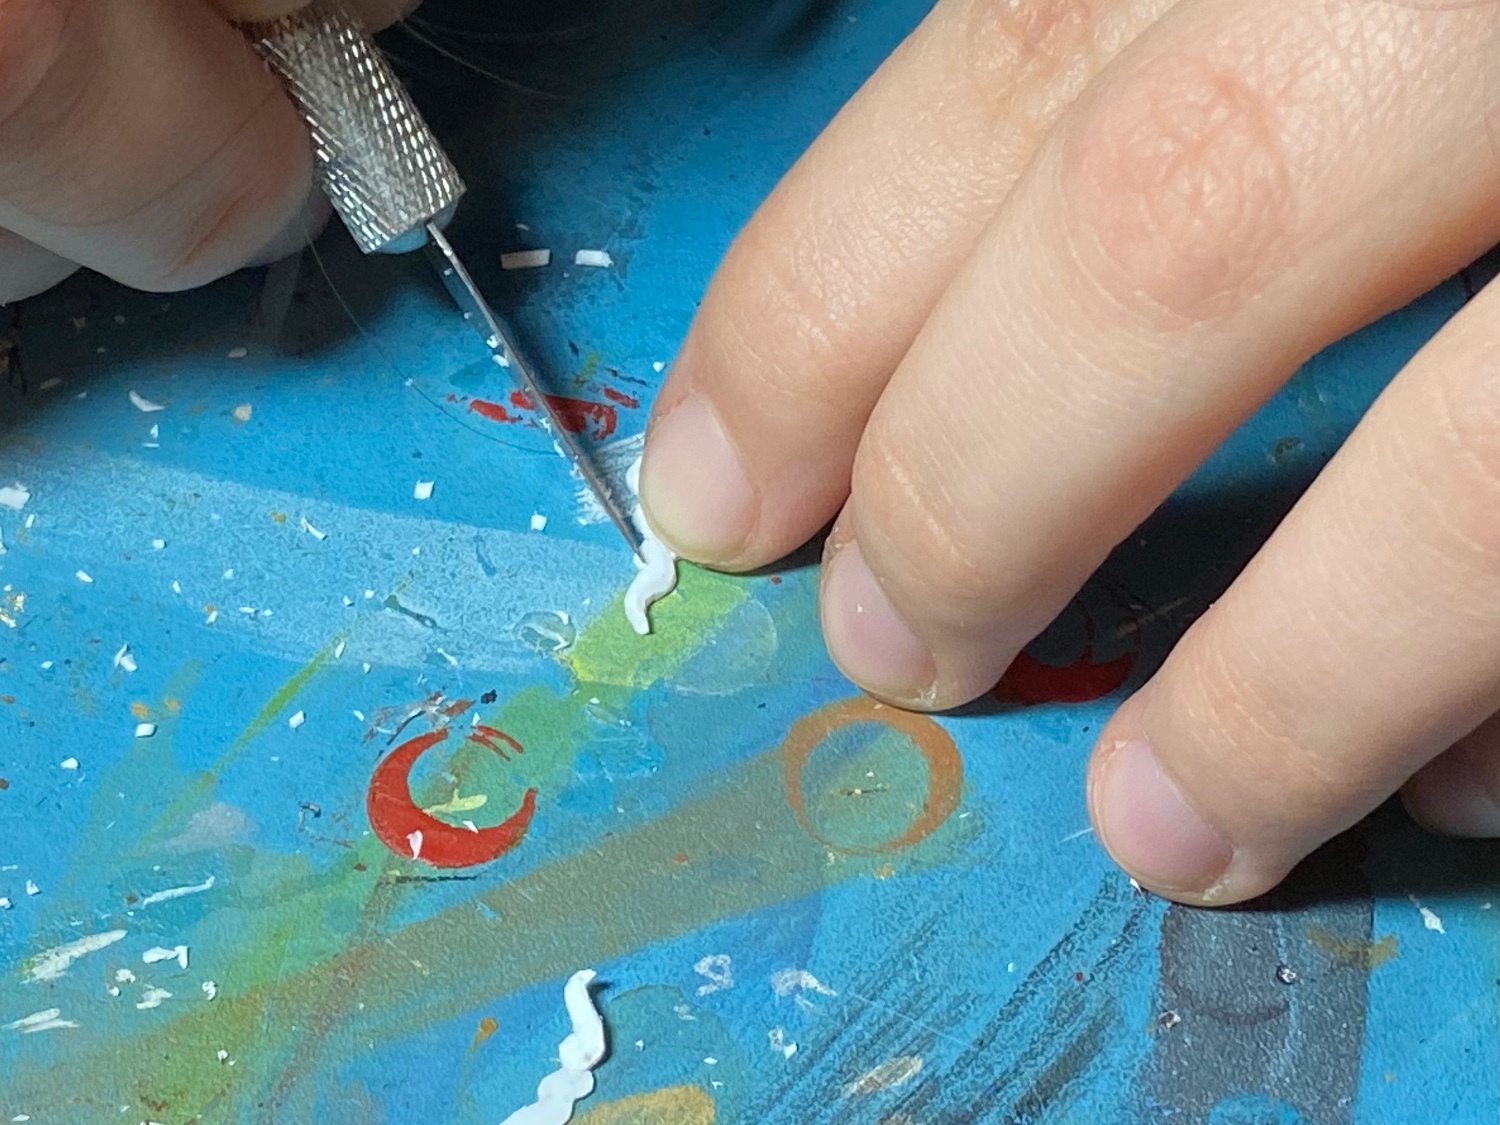
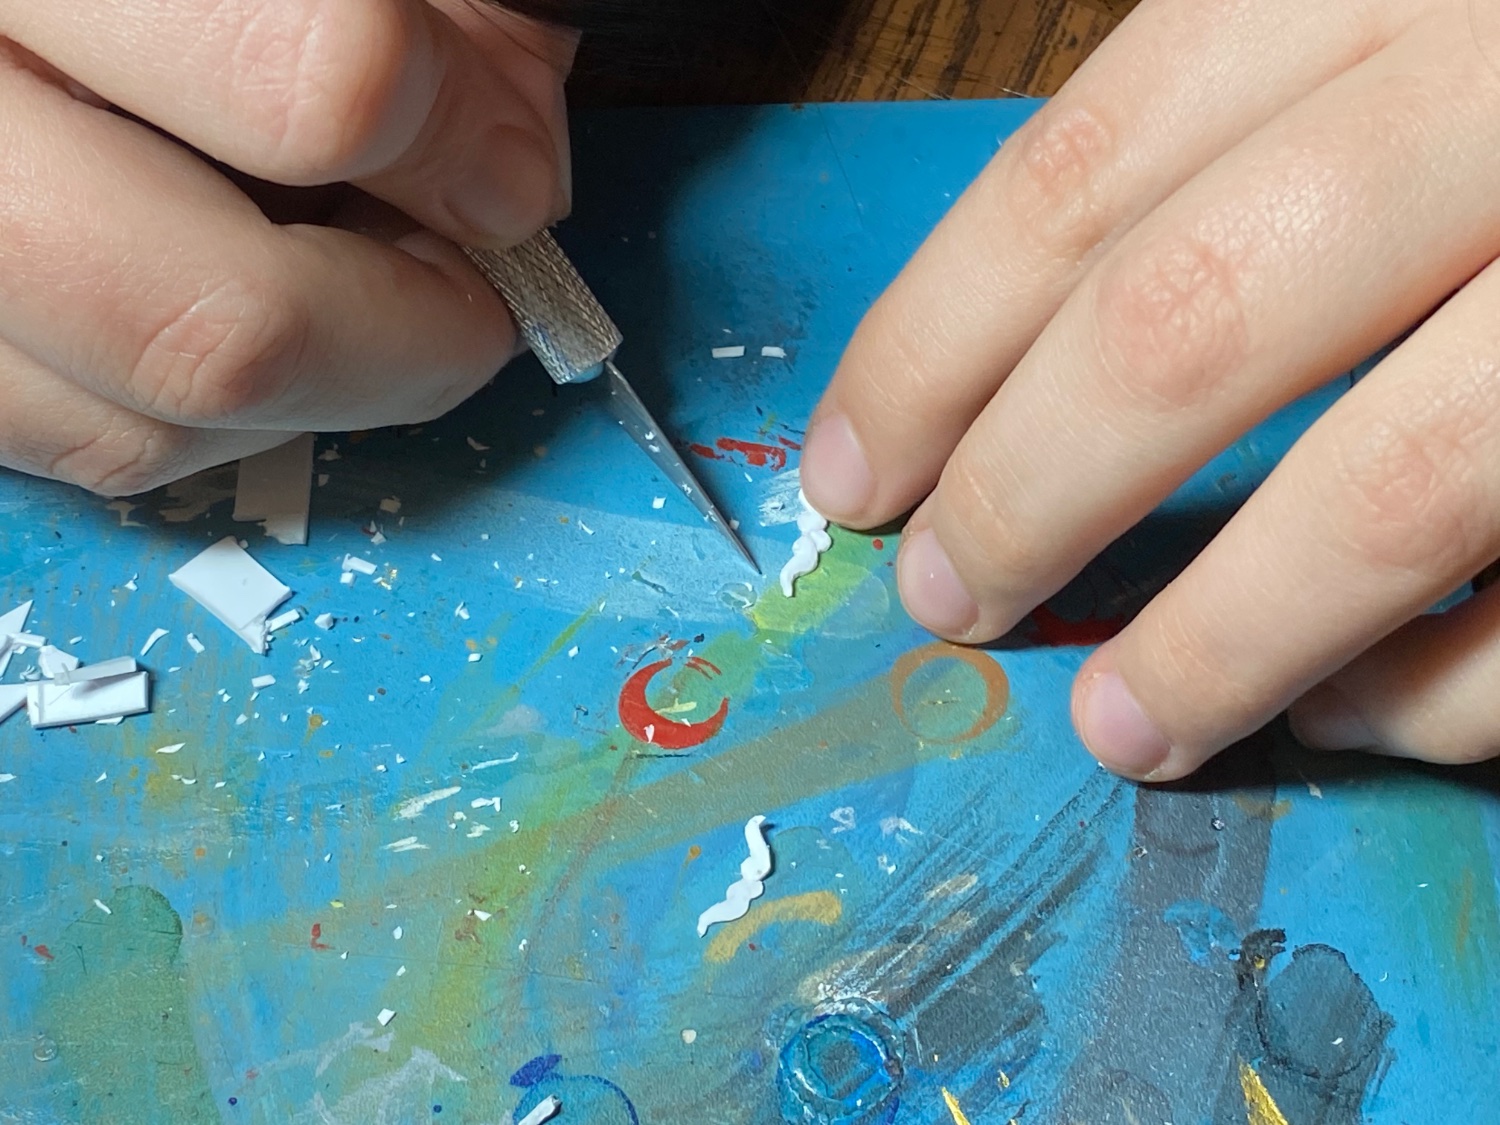
Kirill4 yes she is just going to sculpt one to the exact shape we want than I will make a mold of it from which I will cast numerous copies.
-
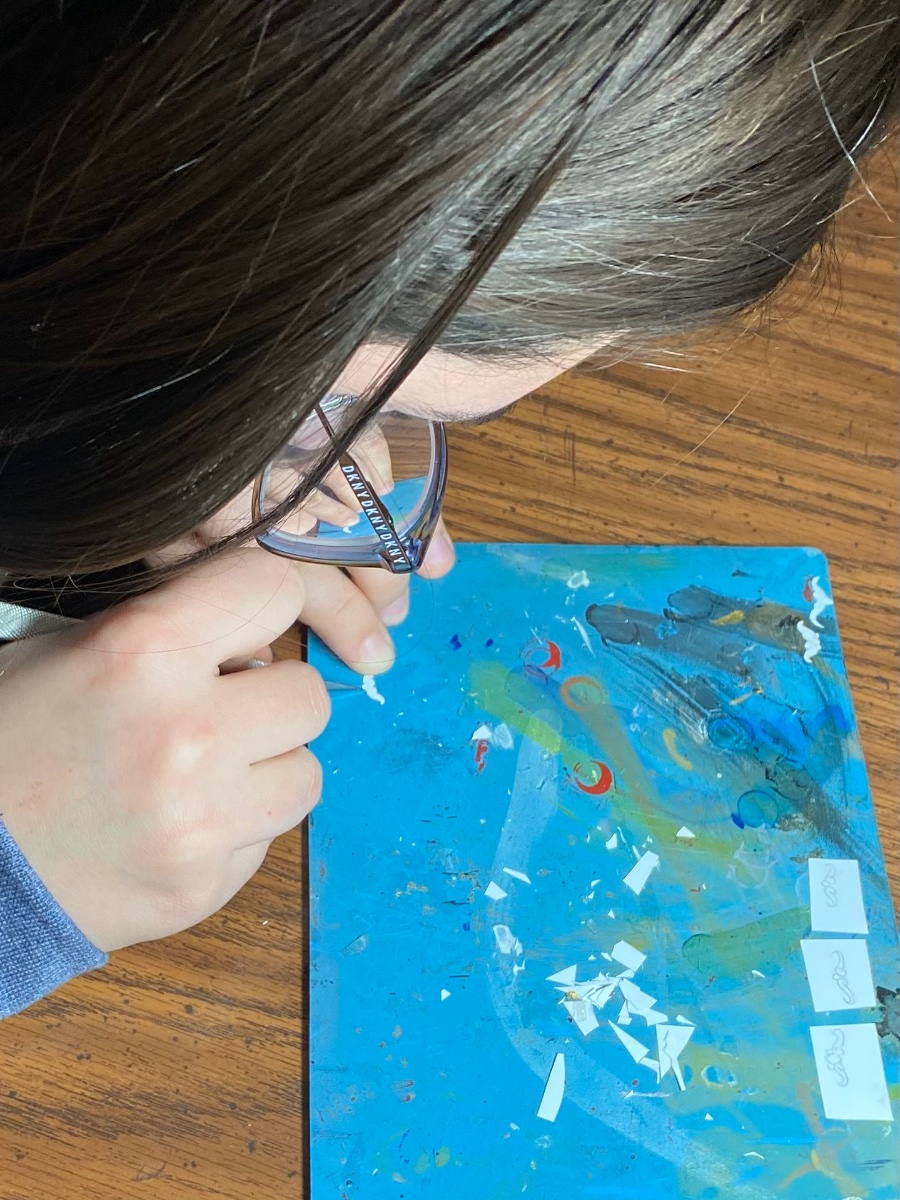
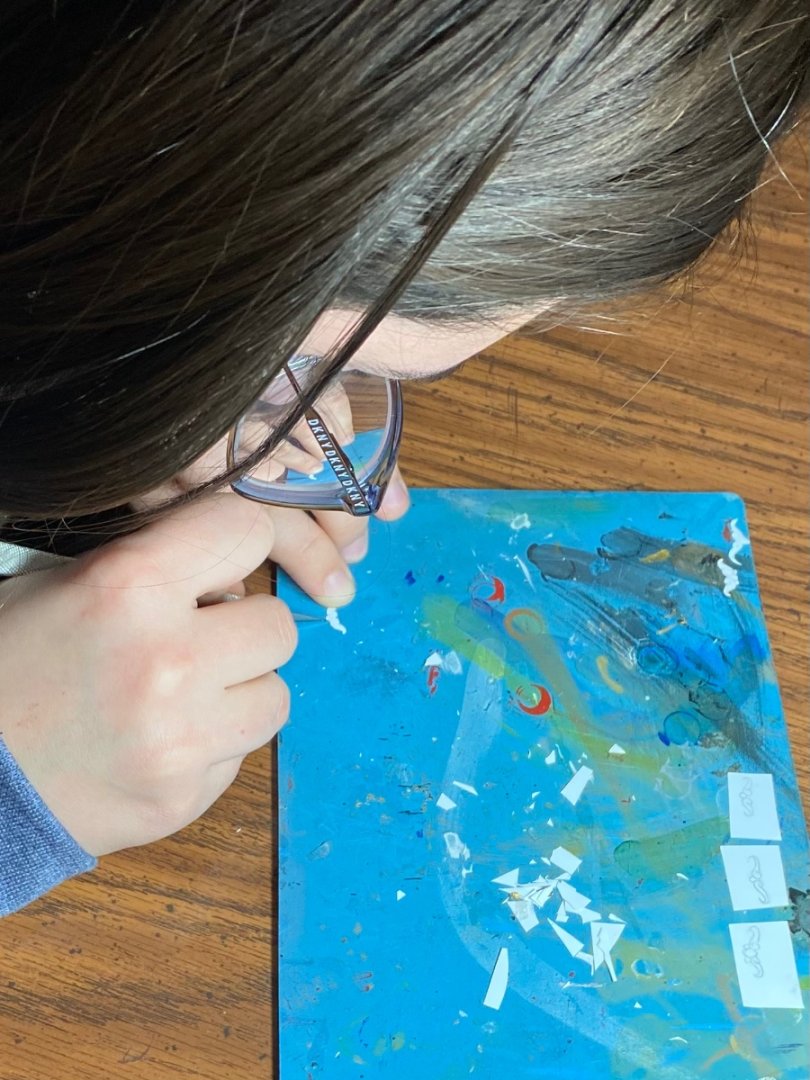
Yes Marc she is in fact majoring in art as a freshman at a university here in Louisville. Working in all the different mediums. Doing really well. I put her to work carving my enhancements.
- 1,508 replies
-
- 1
-
-
- Le Soleil Royal
- Heller
- (and 1 more)
-
She is getting close. She does not get dinner at Papaw’s until it is perfect! 😊

- 1,508 replies
-
- 3
-
-
-
- Le Soleil Royal
- Heller
- (and 1 more)
-
University art student granddaughter working on my hatch enhancement prototypes.

- 1,508 replies
-
- 3
-
-
-
- Le Soleil Royal
- Heller
- (and 1 more)
-
Never mind Marc my question about the Evergreen thickness for the port engagements. I reread your comment post and see you said 1/16.
-
Great advice guys. I am going to give it a try. I am not a defeatist but if I can not get them to look nearly as good as yours Marc I will abandon the idea and go with the bulwarks as every other builder has. I really like the extra touch it adds, and I will gold leaf them as I plan to do the other ornamentation on the upper bulwark. Marc do you remember the Evergreen thickness you worked with? The great thing is that I only need to get one really good carving, or two if I do the bottom piece as well, because I will then use it to mold and case all my pieces. I know once I get into this carving my progress will be slow so my post will be less frequent but I hope to keep you guys up to date on my progress. Along the way as I am working on these are there other bashings to the UBs you like? I already added the Evergreen along the top rail. I know I could still do the skids on the hull and UB and that is something I could also tinker with. I really like them as well. However I am really pleased with my hull paint job, and like the carvings we discussed here, if the skid fit to the hull was not perfect I think the addition of them might look elementary and possibly ruin how nice it looks.
-
Ok Marc with that complete it is time to turn my full attention to the upper bulwarks. I am ant to try my hand at the upper and lower ornaments you made for the gun ports. This will take time to get the carvings just right and then cast them. Any advice you could share will be gladly appreciated.


- 1,508 replies
-
- 2
-
-
- Le Soleil Royal
- Heller
- (and 1 more)
-
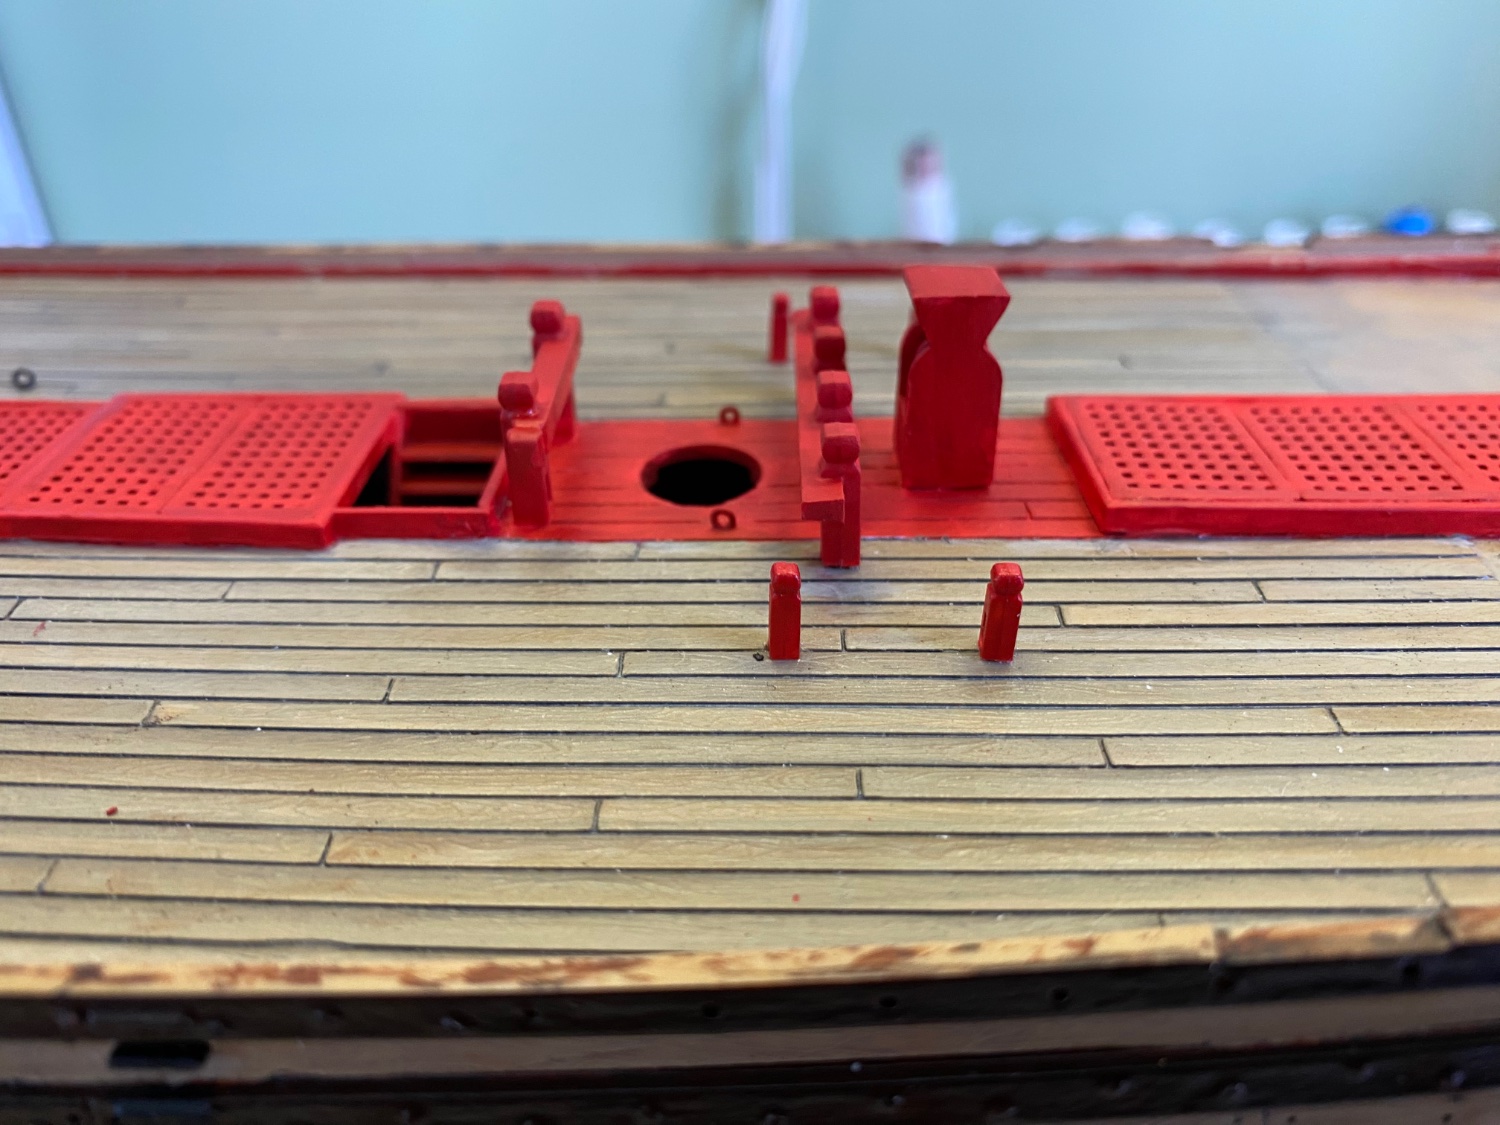
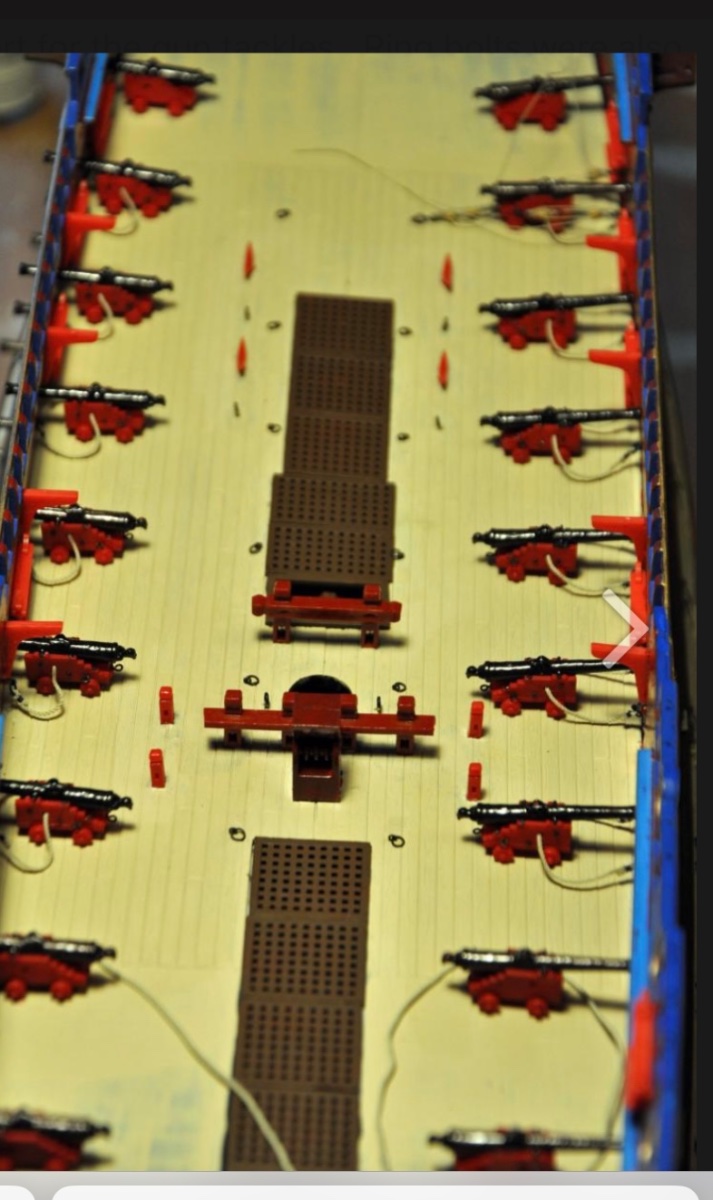
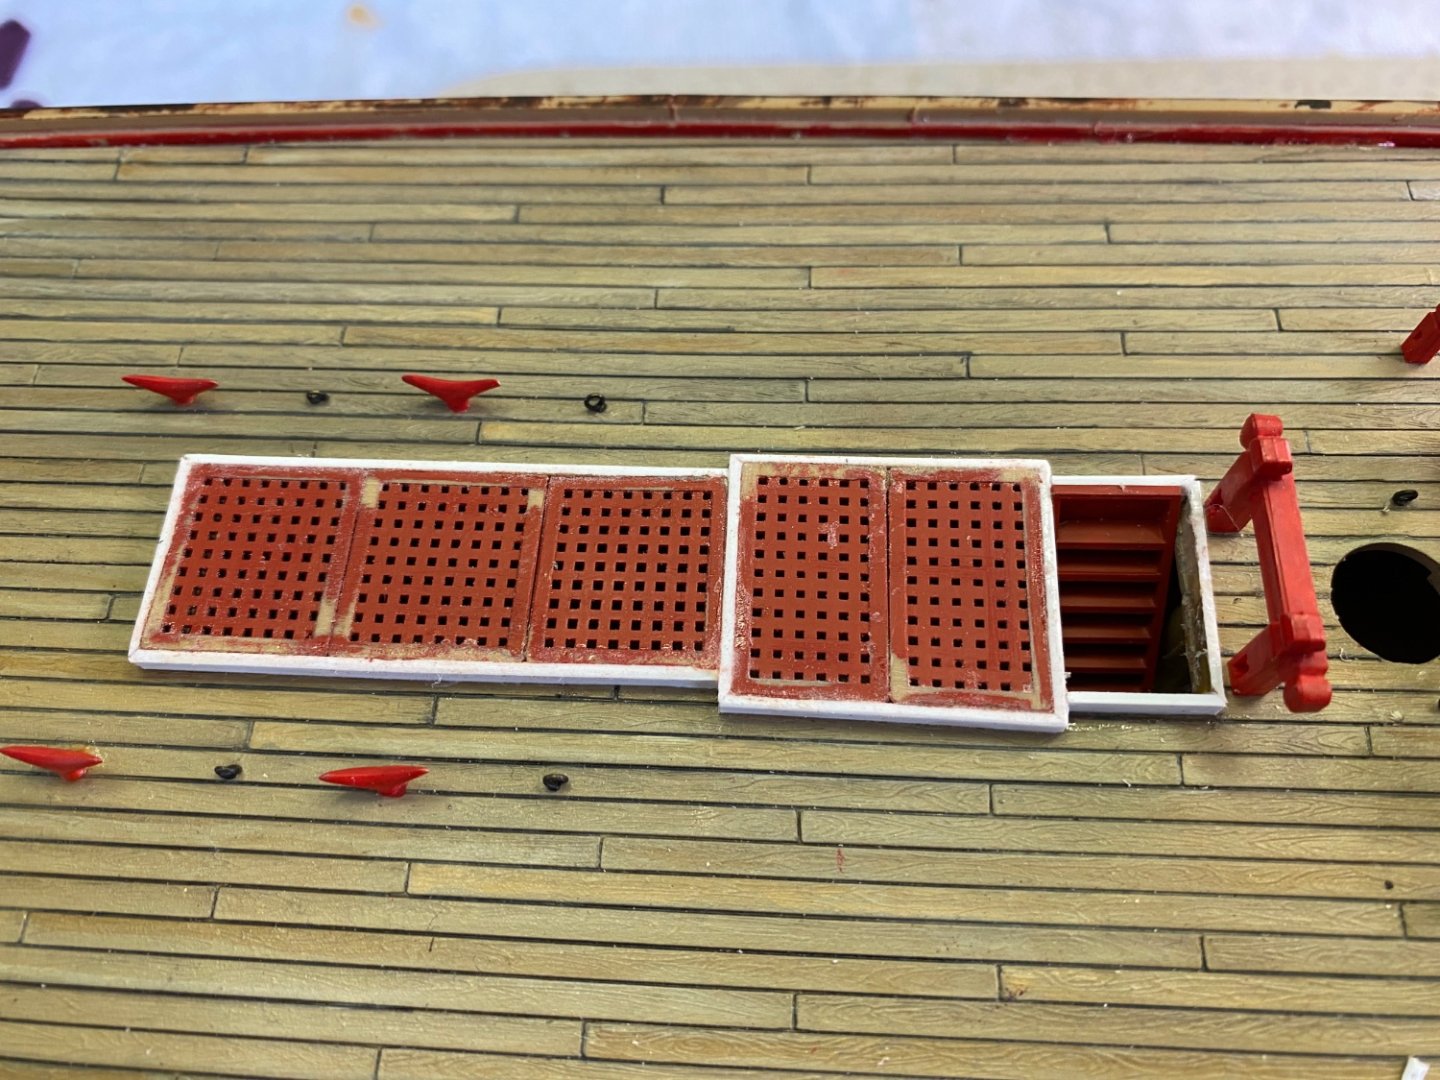
I just used one ladder and glued it to the grate coaming I put in. I did not cut off the bottom two steps as the instructions directed so it was perfectly long enough. I have it glued to the starboard side since I plan to display the finished ship showing the port side. That way you will see the step not the hole in the deck.

- 1,508 replies
-
- 1
-
-
- Le Soleil Royal
- Heller
- (and 1 more)
-
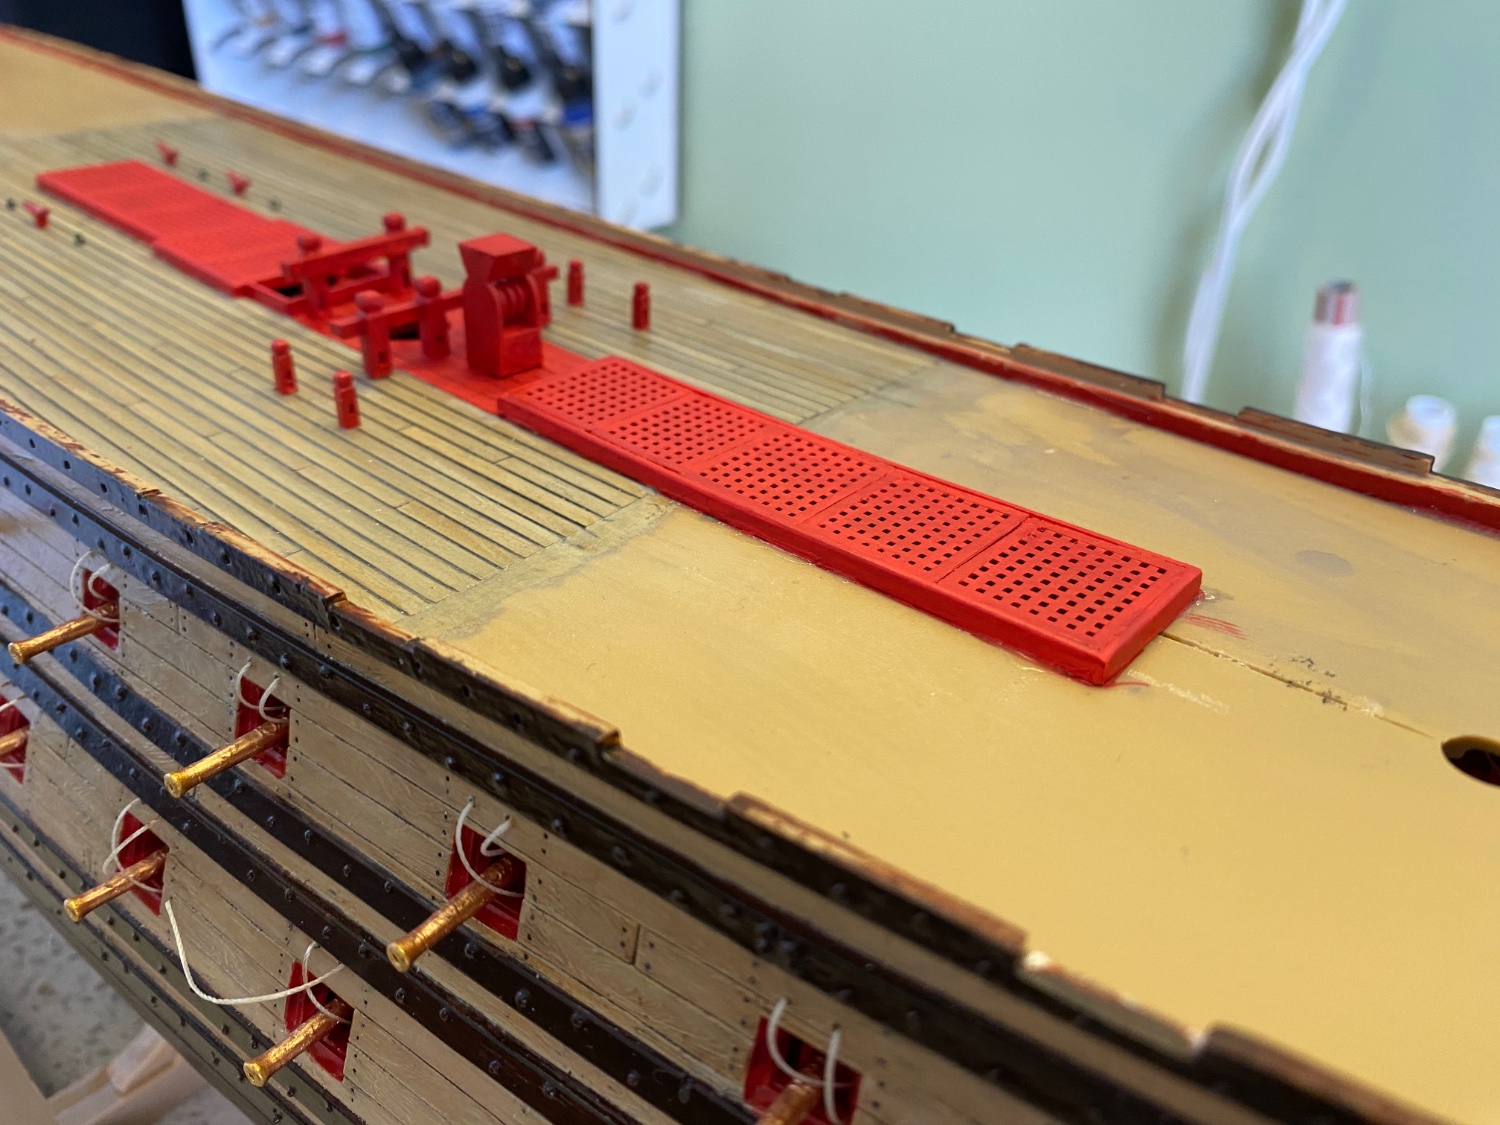
Thanks Ian and Marc. Marc I plan to paint the whole stripe down the center red as you did. Ian I must do some very careful masking of my deck so as not to mess it up with red overspray when I airbrush the red stripe! Wish me luck! Will share my result tomorrow.
-
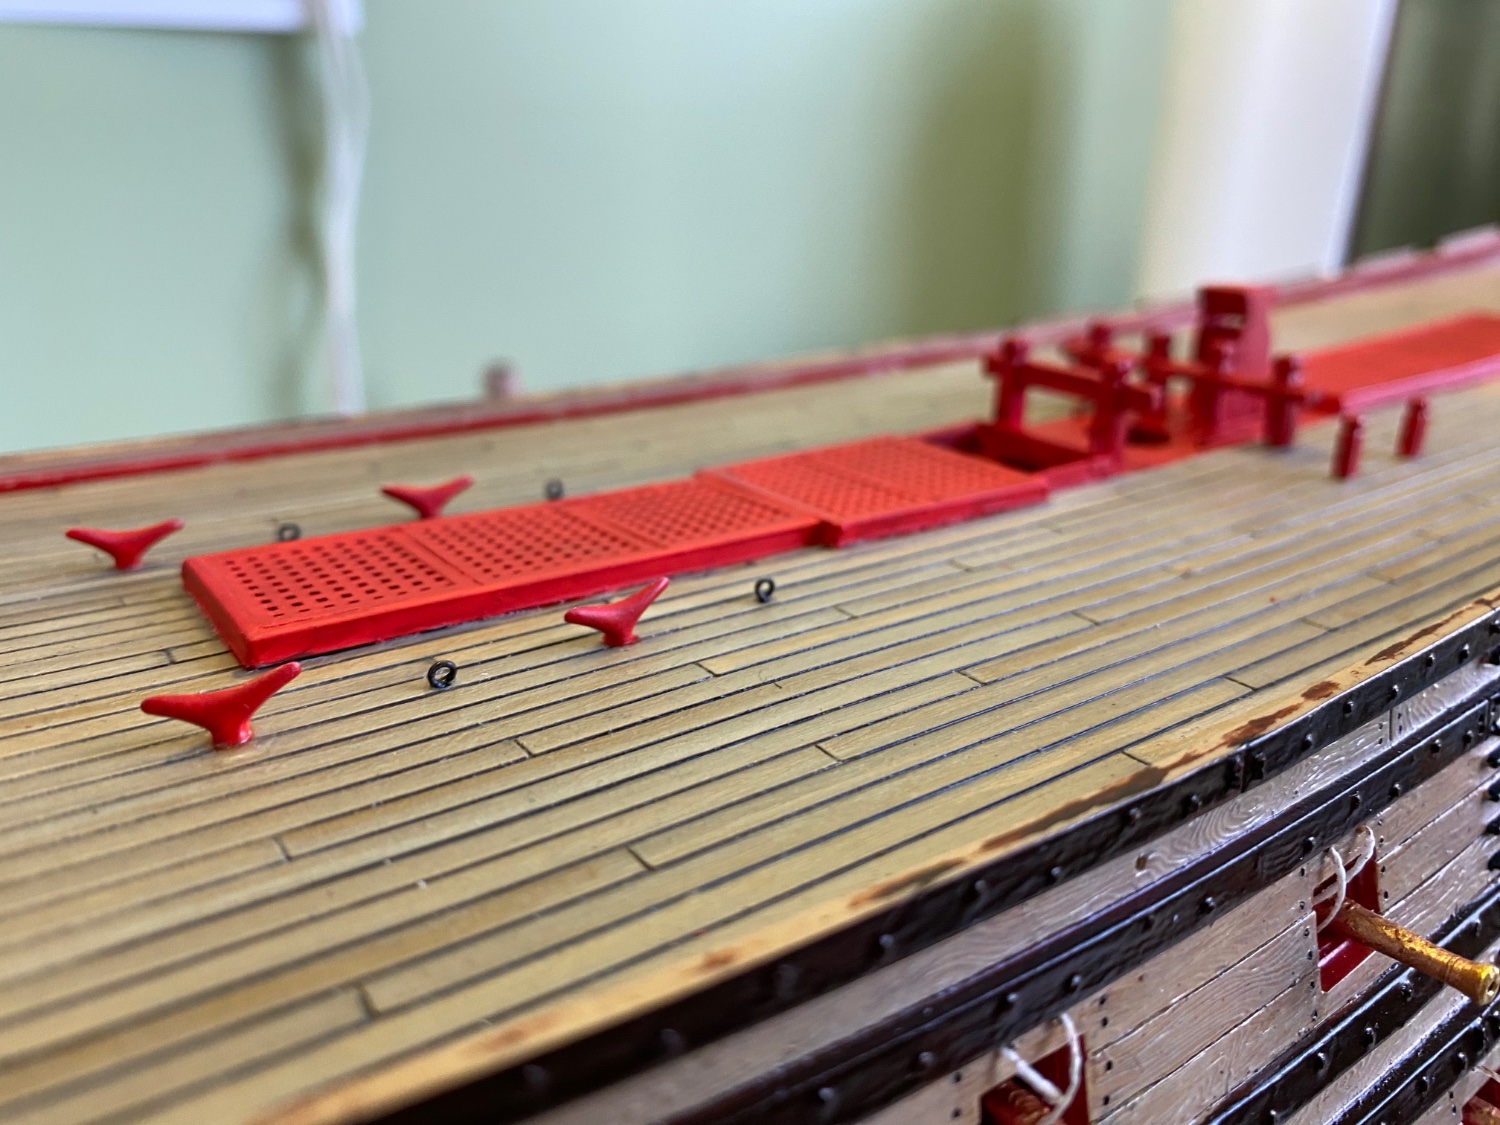
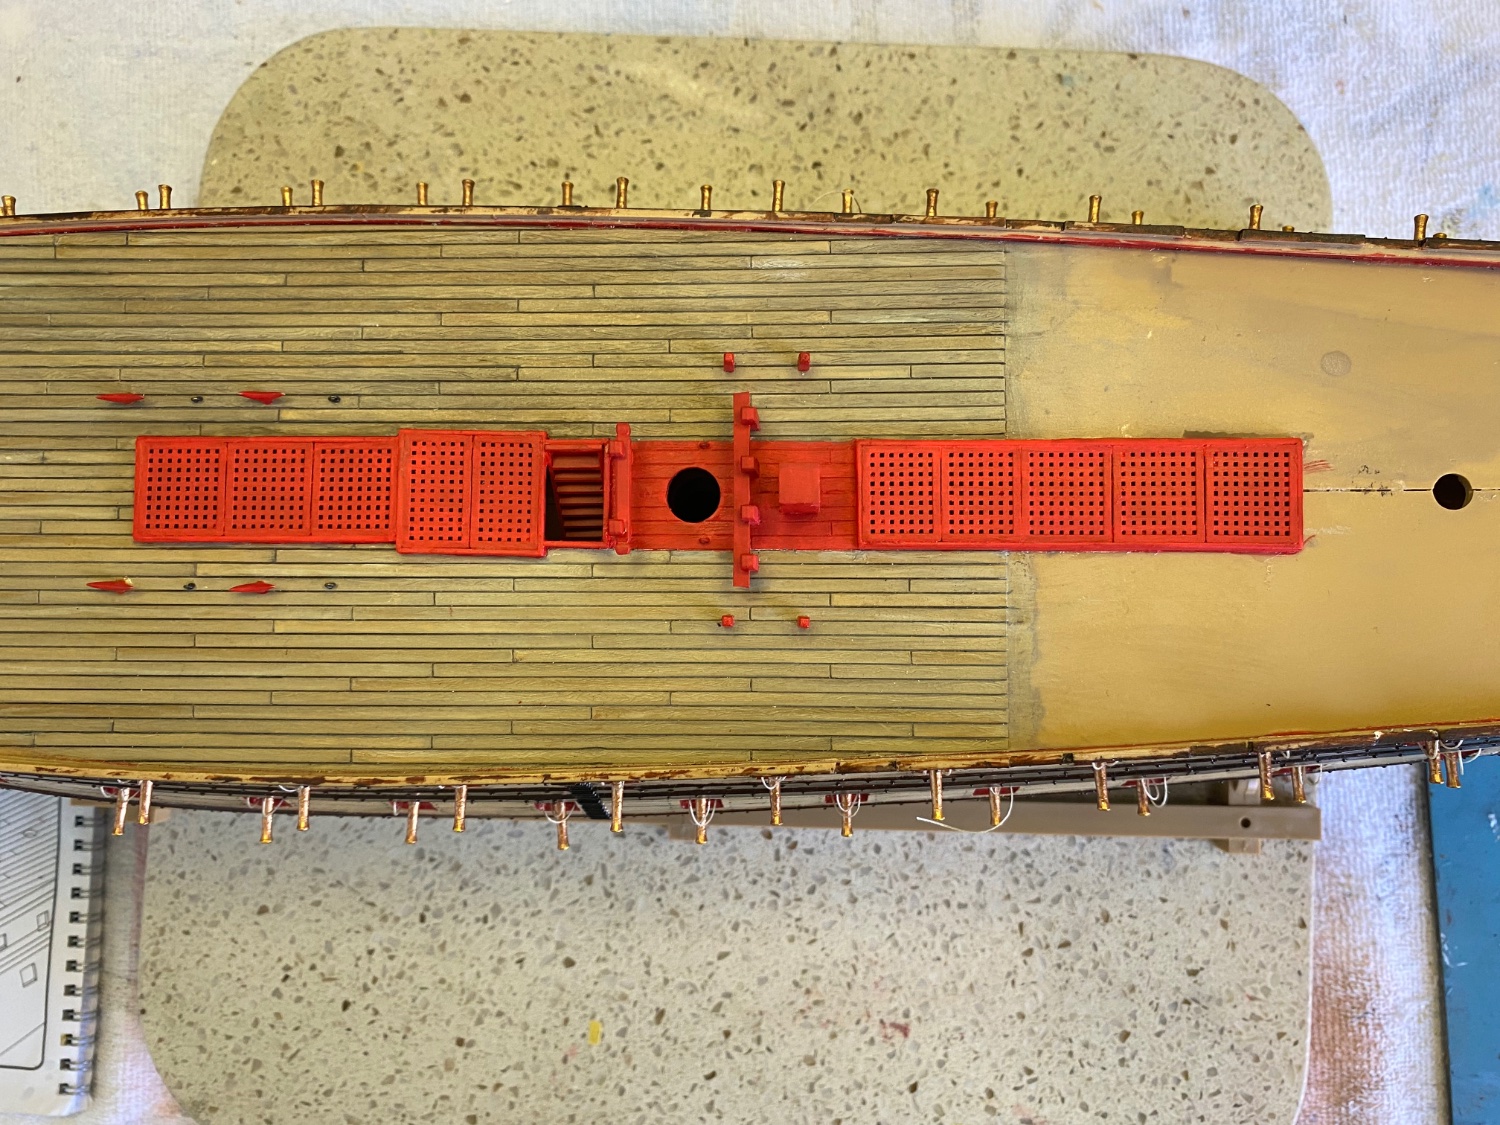
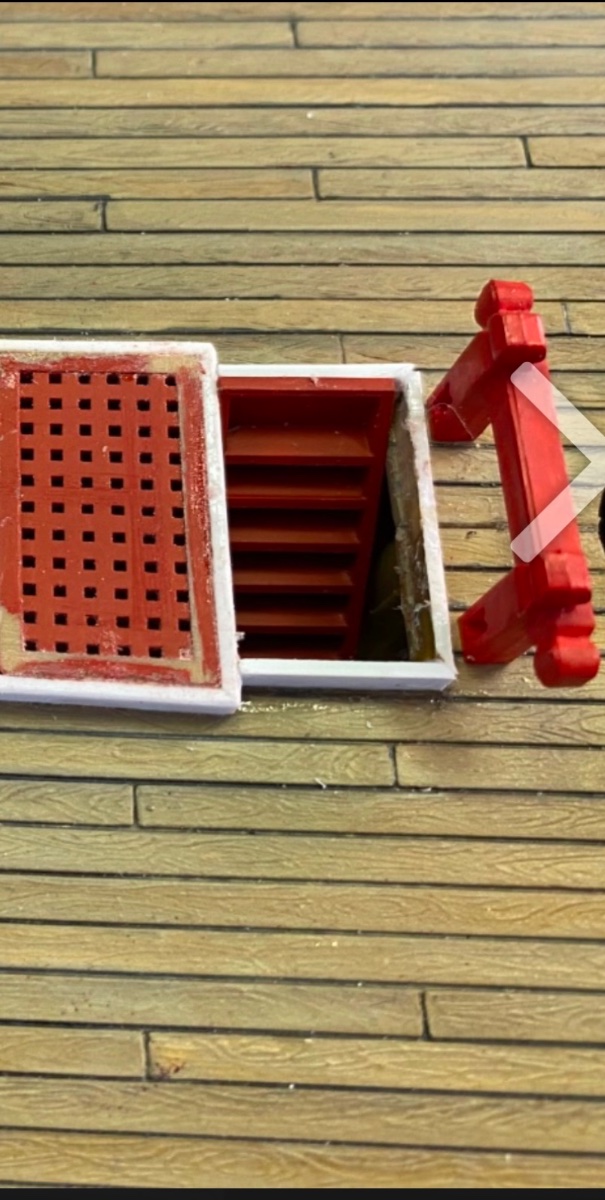
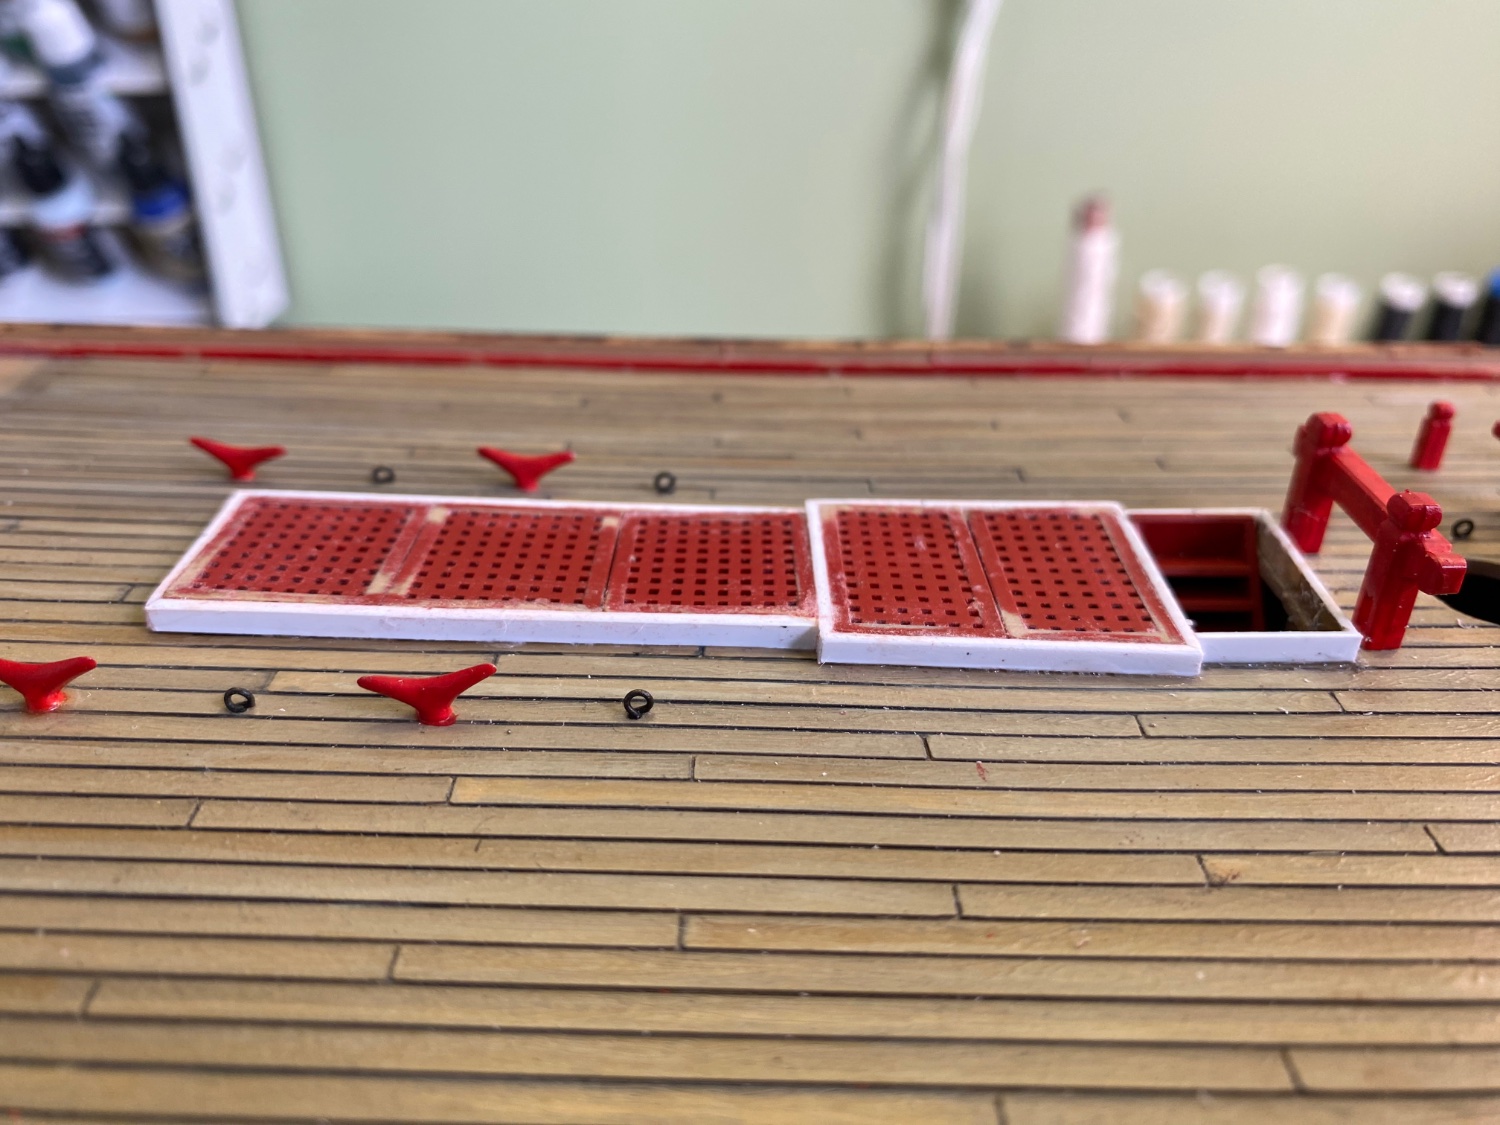
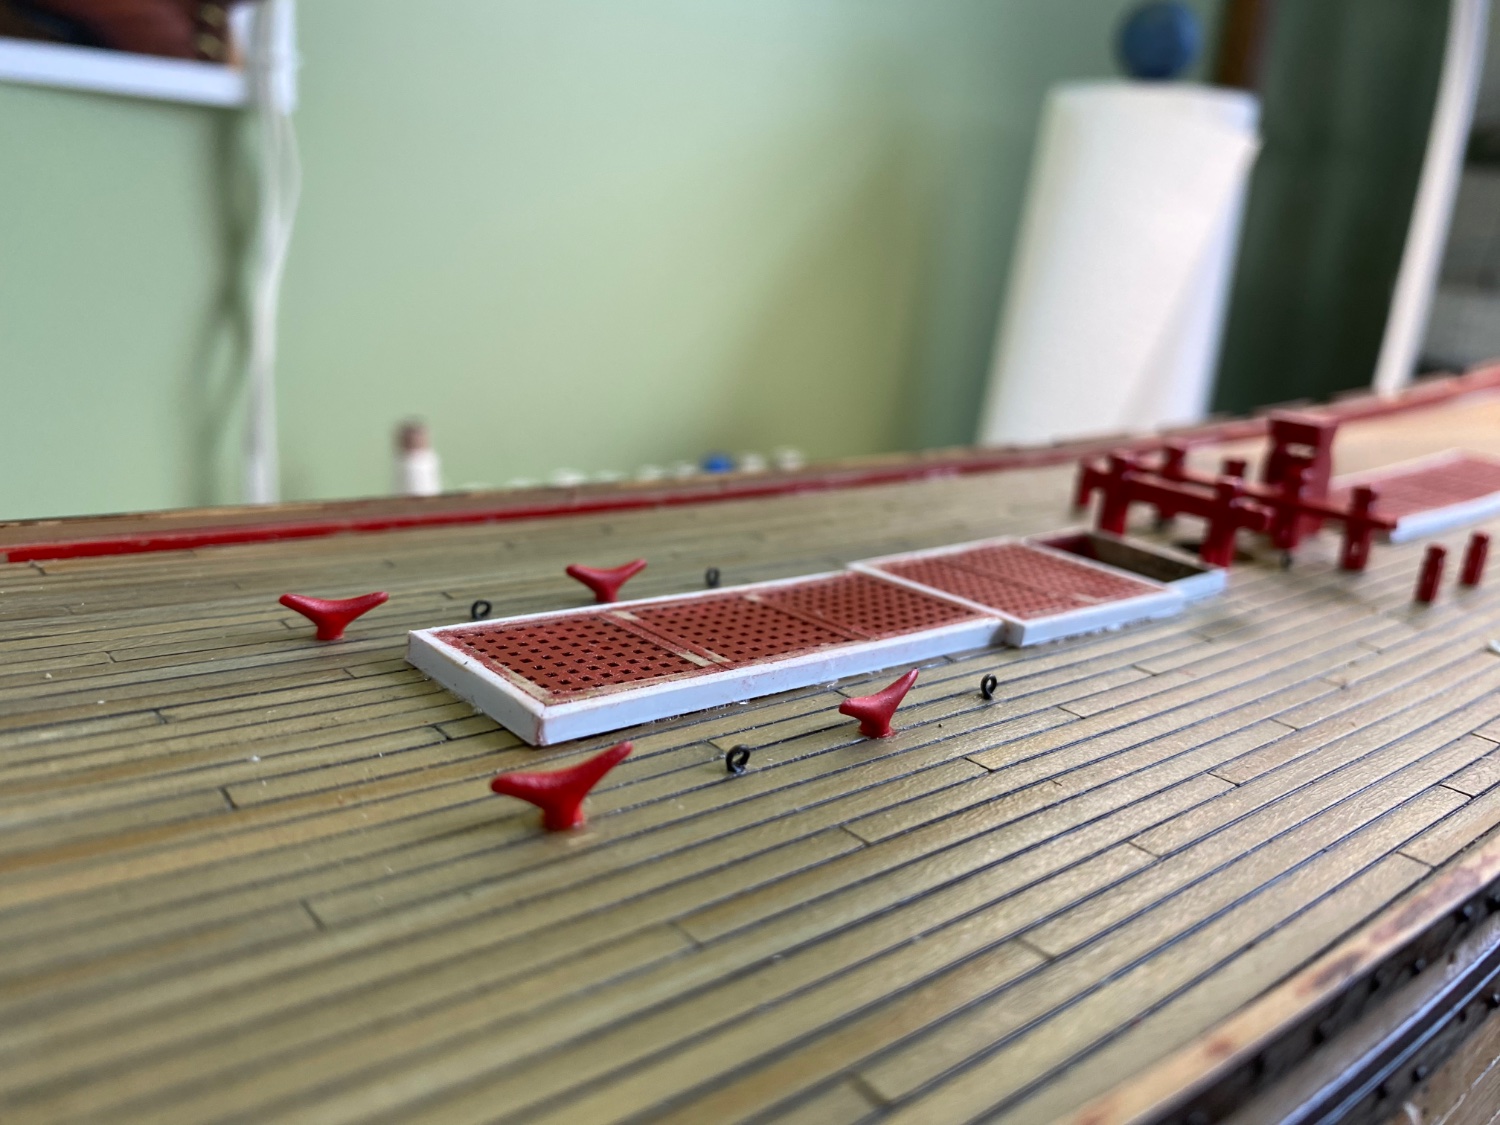
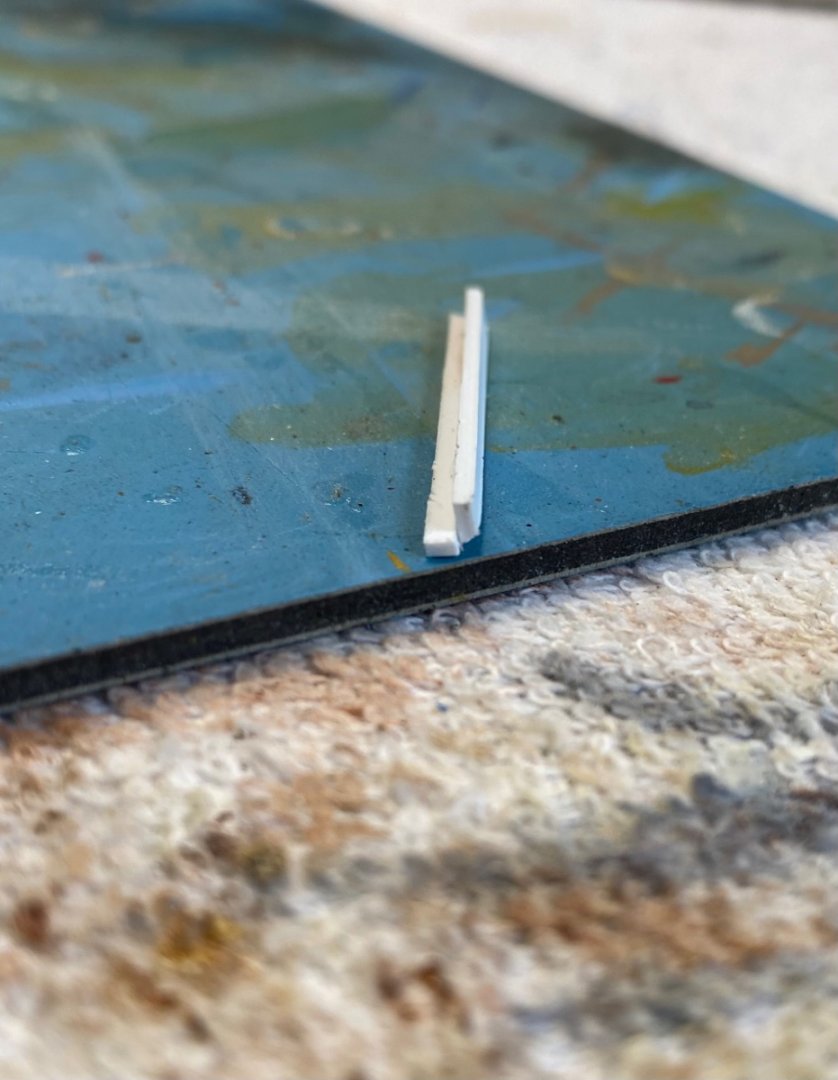
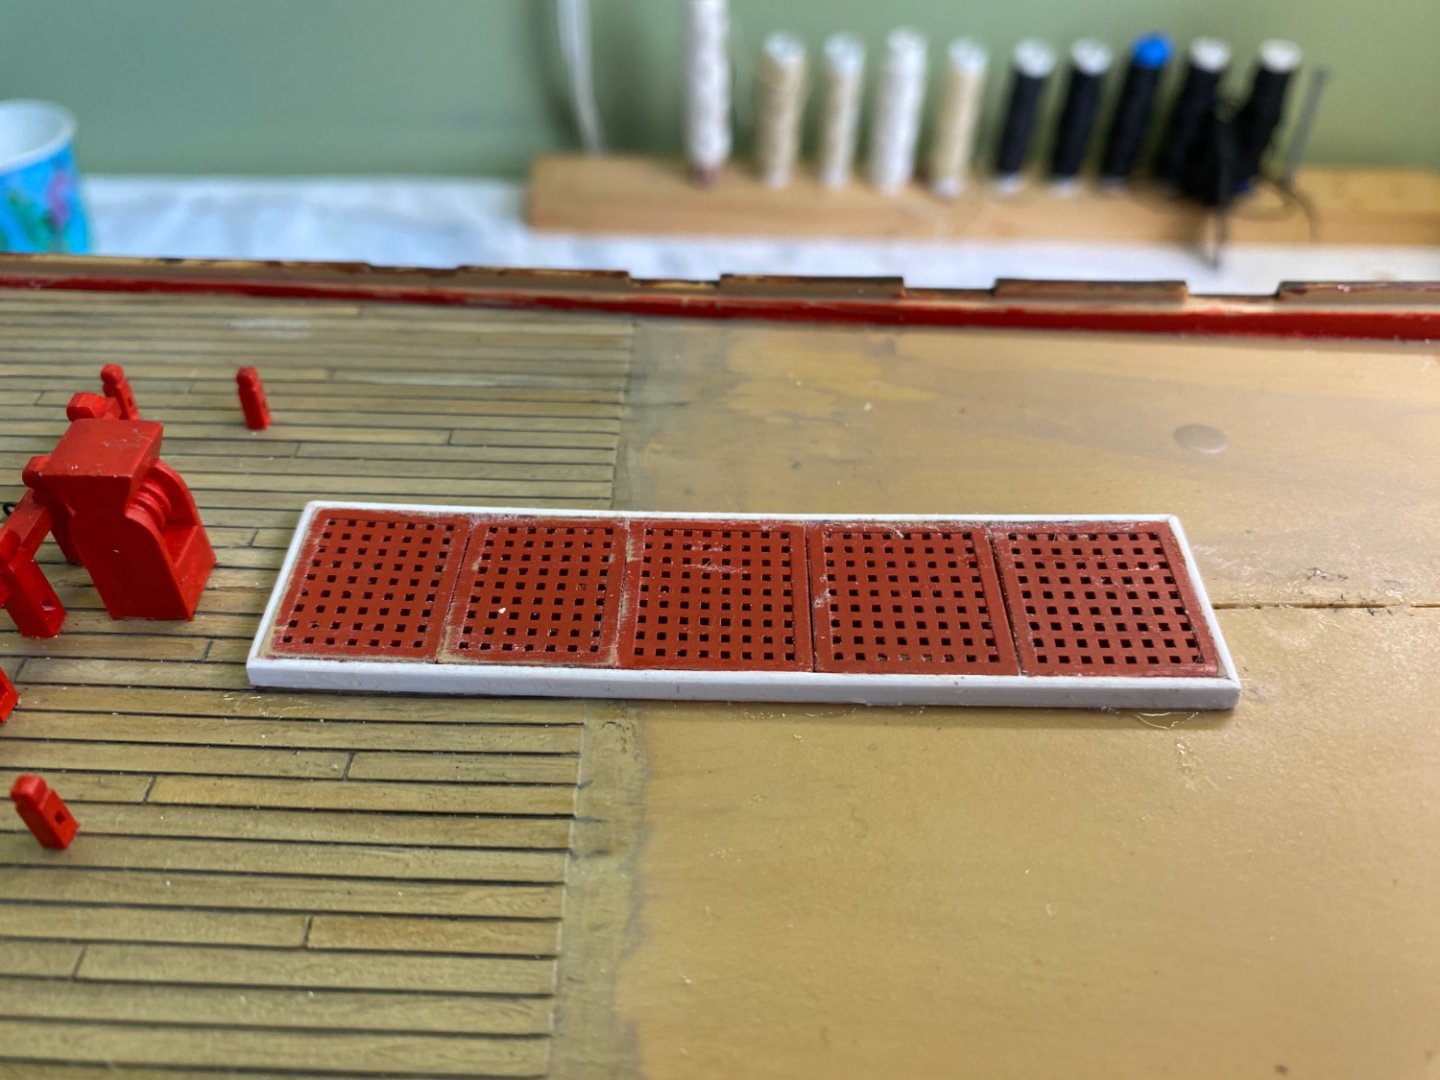
Right, wrong, or indifferent I decided to raise my grates off the deck level. I cut 2mm wide strips of .02 Evergreen and then added an additional strip along the bottom of each a distance down to equal the thickn as if the grate. Then with this stock material I framed in each hatch. I then glued in the grates setting on the tiny ledge. For the forward hatch I modified the idea to use the side of one Evergreen frame piece to border both the long and short grates. I also took artistic license and modified the ladder installation. I only installed one ladder and it reached the top of the Evergreen frame by not cutting off the bottom two steps as the instruction directed. Now a little touch up sanding and painting and it should be good.


- 1,508 replies
-
- 2
-
-
- Le Soleil Royal
- Heller
- (and 1 more)
-
Thanks Henry. I looked through your build for a picture. I can see that yours are raised a bit. It looks lovely me maybe the thickness of a grate? I seem to remember that now about the Constitution. I am curious if my Constitution model has the grate displayed that way. Will have to check.

- 1,508 replies
-
- 1
-
-
- Le Soleil Royal
- Heller
- (and 1 more)
-
I know I am asking monotonous questions about simple steps but this one really seems odd. In the steps where I put in the grates the instructions show the ladder coming up from the deck below through the hatch opening. However in these instructions, different from other model ships, it shows the ladders put together like a step ladder with the apex of the step ladder in the center of the opening, rather than two separate ladders leading up to the edge of the hatch opening. Is this correct?