HOLIDAY DONATION DRIVE - SUPPORT MSW - DO YOUR PART TO KEEP THIS GREAT FORUM GOING!
×


Bill97
-
Posts
2,704 -
Joined
-
Last visited
Content Type
Profiles
Forums
Gallery
Events
Everything posted by Bill97
-
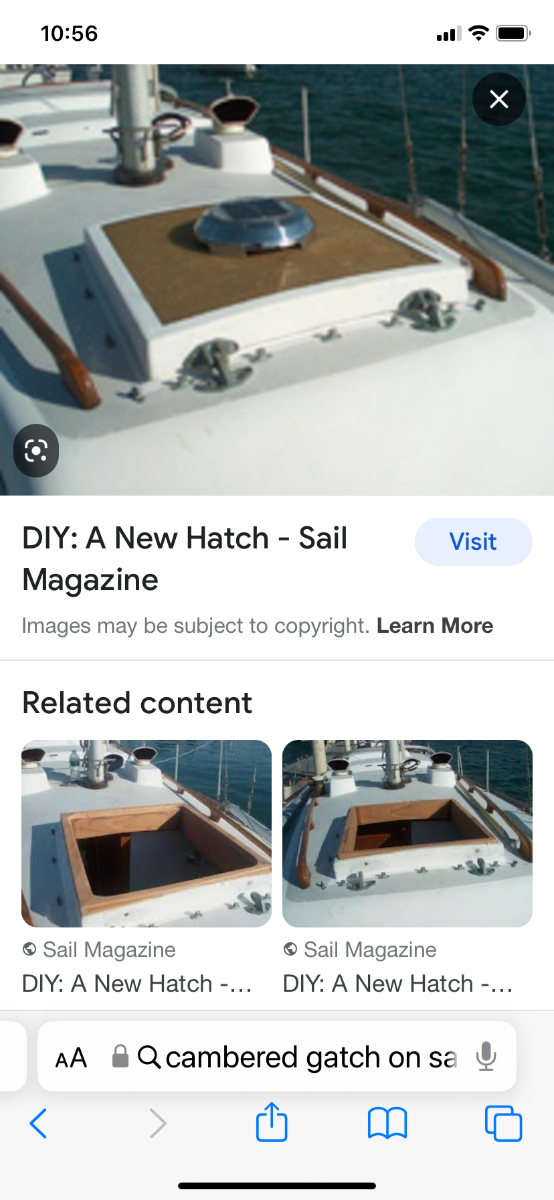
Oh OK Ian I did misunderstand what cambered meant. When I googled the term I got the attached picture and an explanation that the hatches were cambered to raise them above deck level so water on the deck would not run down through the hatch to the lower deck. That is the idea of what I thought I was trying to accomplish.

- 1,508 replies
-
- 1
-

-
- Le Soleil Royal
- Heller
- (and 1 more)
-
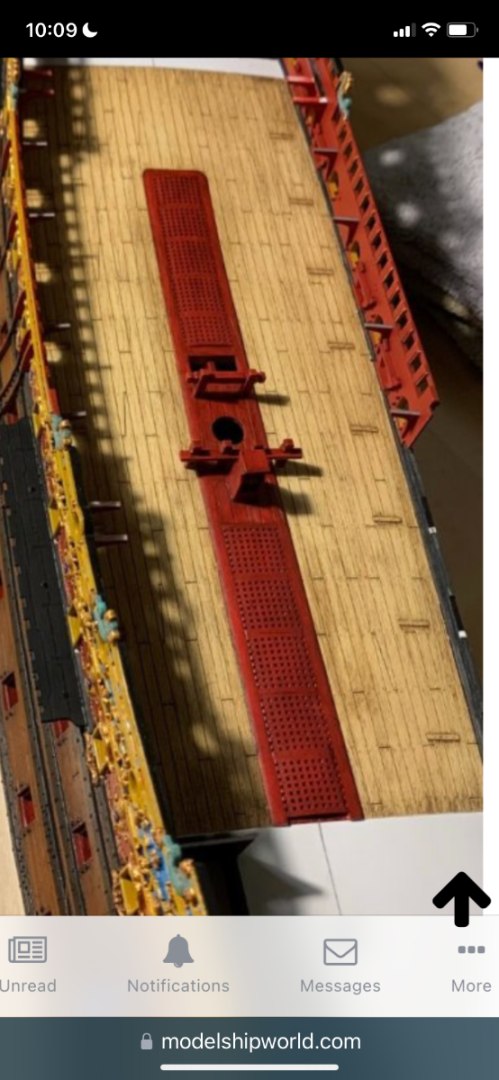
Marc I guess I may be confused as well. Looking at your picture I see that your grates are raised higher than the deck surface. I understood this meant the grates were cambered (raised higher than the deck surface). From the description of what you said you did to accomplish the height of the grate, I understood that you simply stacked two matching grates. Thereby making the grate cambered. It also appeared in your photo as if you made a basic frame that the grates set in since they are not even with the deck surface. I assumed the edges/sides of the grates would not have been exposed. So with that assumption as to how it should look I will as going to make a frame of Evergreen, maybe 2 mm high, to go around the hatch in the deck. Then mount the grates flush with the top of the Evergreen. This would make the grates 2 mm above the deck and framed in. Thereby making my grates cambered. Or Marc, as I expect from your confusion above, are you thinking “no no no Bill that is completely wrong and not what I meant!”😀
-
Very interesting Marc. I want to paint mine red as well and since your research verified its accuracy I will proceed happily. I will also make coamings from Evergreen to raise the grates and paint them red. Would you care to recommend the to scale height for my coamings? My online research said they were about 4”high. Does that seem correct? At 1/100 scale that would about 1mm or nearly the thickness of the grate. So double the thickness above the surface of the deck would be fairly accurate? Or am I completely wrong on my height calculations?
-
With the beakhead bulkhead in place now, I am working on completing the steps that pertain to items on the deck. Once that is done I plan to set the ship aside on a shelf and spend quite a bit of time working on the upper bulwarks off the ship. The grates that cover the hatches in the deck is part of my next step. Marc and Henry, I of course looked through your build, as well as others, for inspiration. I was mainly looking for ideas for the color to paint my grates. The instructions designate a light brown color. Marc I see that you painted your’s red as well as the decking that runs the length. I like that. What was your thoughts in doing that? It also looks as if you may have raised the grates. Did you or am I just mistaking the picture?
- 1,508 replies
-
- 3
-
-
- Le Soleil Royal
- Heller
- (and 1 more)
-
That is nice. Maybe your future grandkids will call you PawPaw. Looking at how mine spell my nick name and how they pronounce it, it should be spelled PapPaw! Never noticed that until you wrote PawPaw. 😊
- 1,508 replies
-
- 1
-
-
- Le Soleil Royal
- Heller
- (and 1 more)
-
Same here on sports schedules, but mine is grandsons. Four involved in basketball, indoor soccer, and archery. Schedule posted on refrigerator so I can keep up with it. So far none appear to conflict so I expect “papaw” will be there to support the each of them at whatever their sport is! Life is good here as well.
- 1,508 replies
-
- 1
-
-
- Le Soleil Royal
- Heller
- (and 1 more)
-
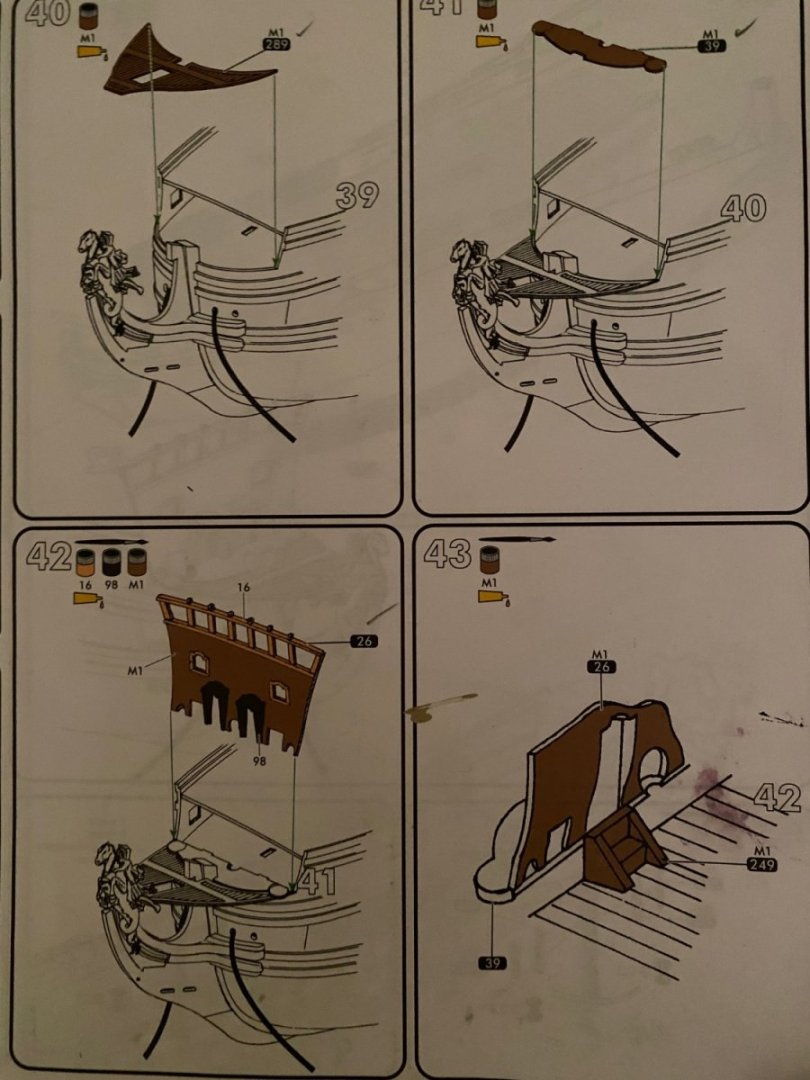
Oh OK Marc. Now I understand. There would be two sets of steps. One for each door. I was misreading the picture as showing one step in the center behind the beakhead bulkhead. Now that I understand I see it is too late. Not sure how differently Heller could have shown this step step 😊. I was reading it as if you did it after step 42, and that the steps were on the next deck up. Oh well. Live and learn. Thanks again. Hope all is going well for you in Manhattan.
- 1,508 replies
-
- 1
-
-
- Le Soleil Royal
- Heller
- (and 1 more)
-
Marc do you have a photo of yours in place? I am still scratching my head. I am thinking the step looks like it sets on the middle deck and up against the back of the beakhead bulkhead, but there is no opening that the steps lead to. Then will this ultimately be covered by the forecastle deck?
- 1,508 replies
-
- 1
-
-
- Le Soleil Royal
- Heller
- (and 1 more)
-
Do any of you understand what step #43 is instructing me to do? After I completed step #42 I don’t have an area at the beakhead that looks anything like this or area to put the steps. 🤔
-
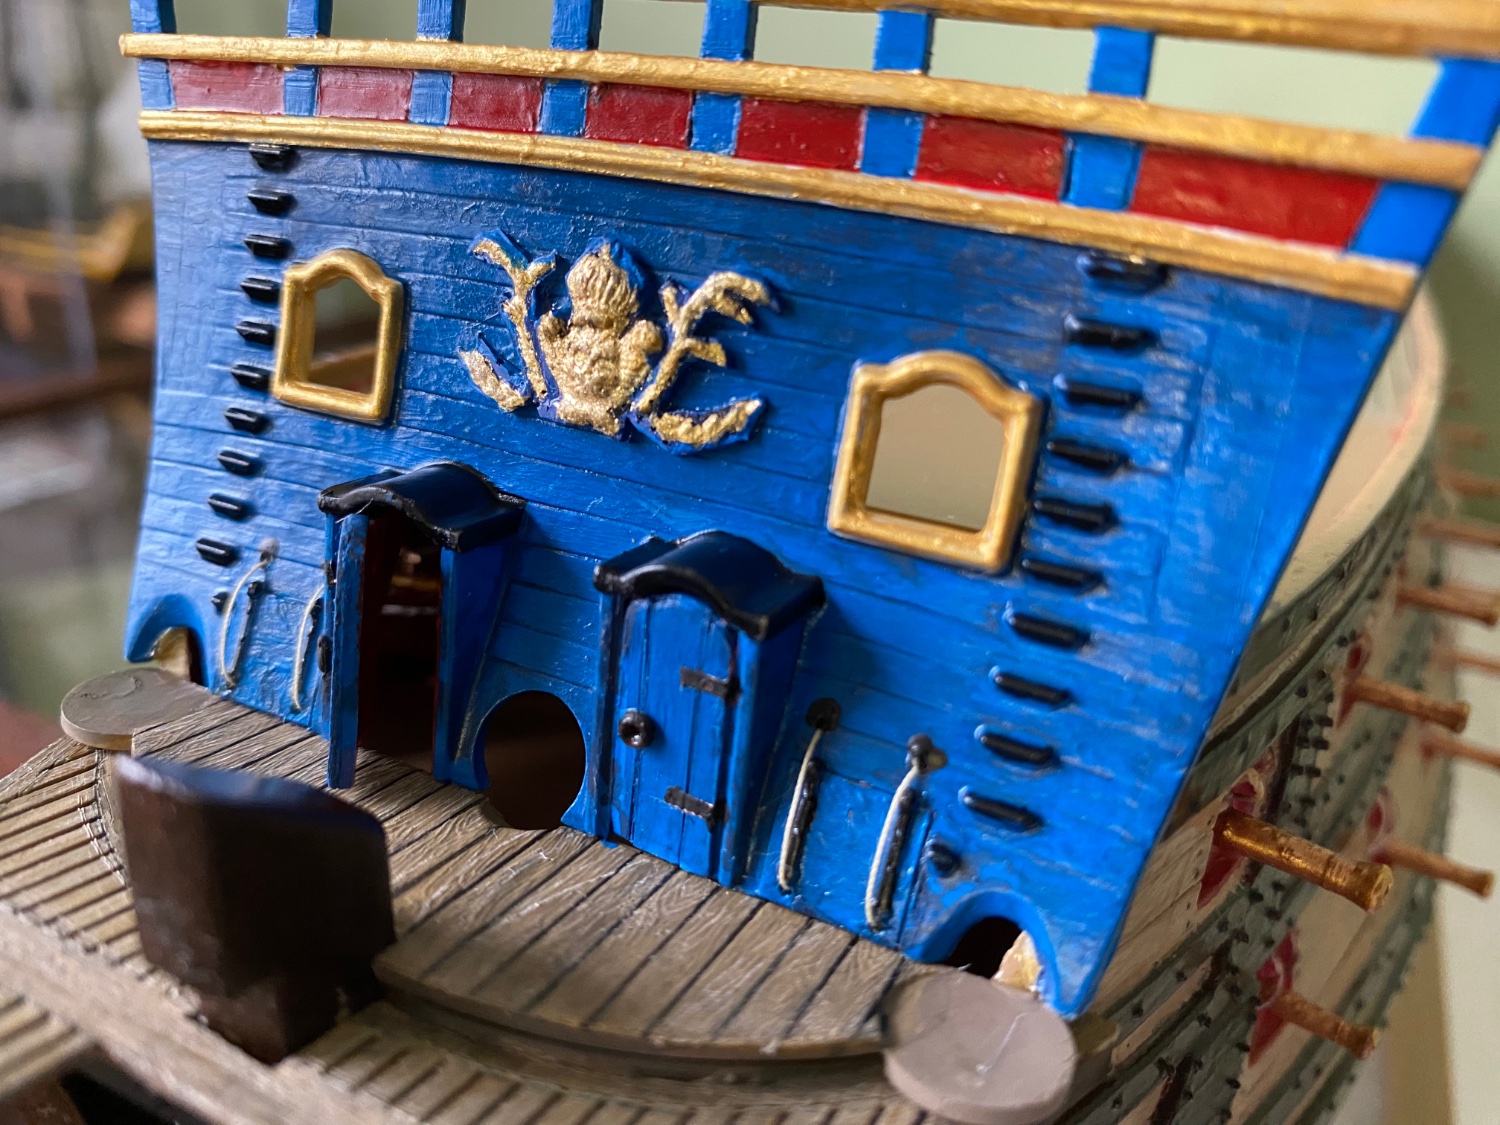
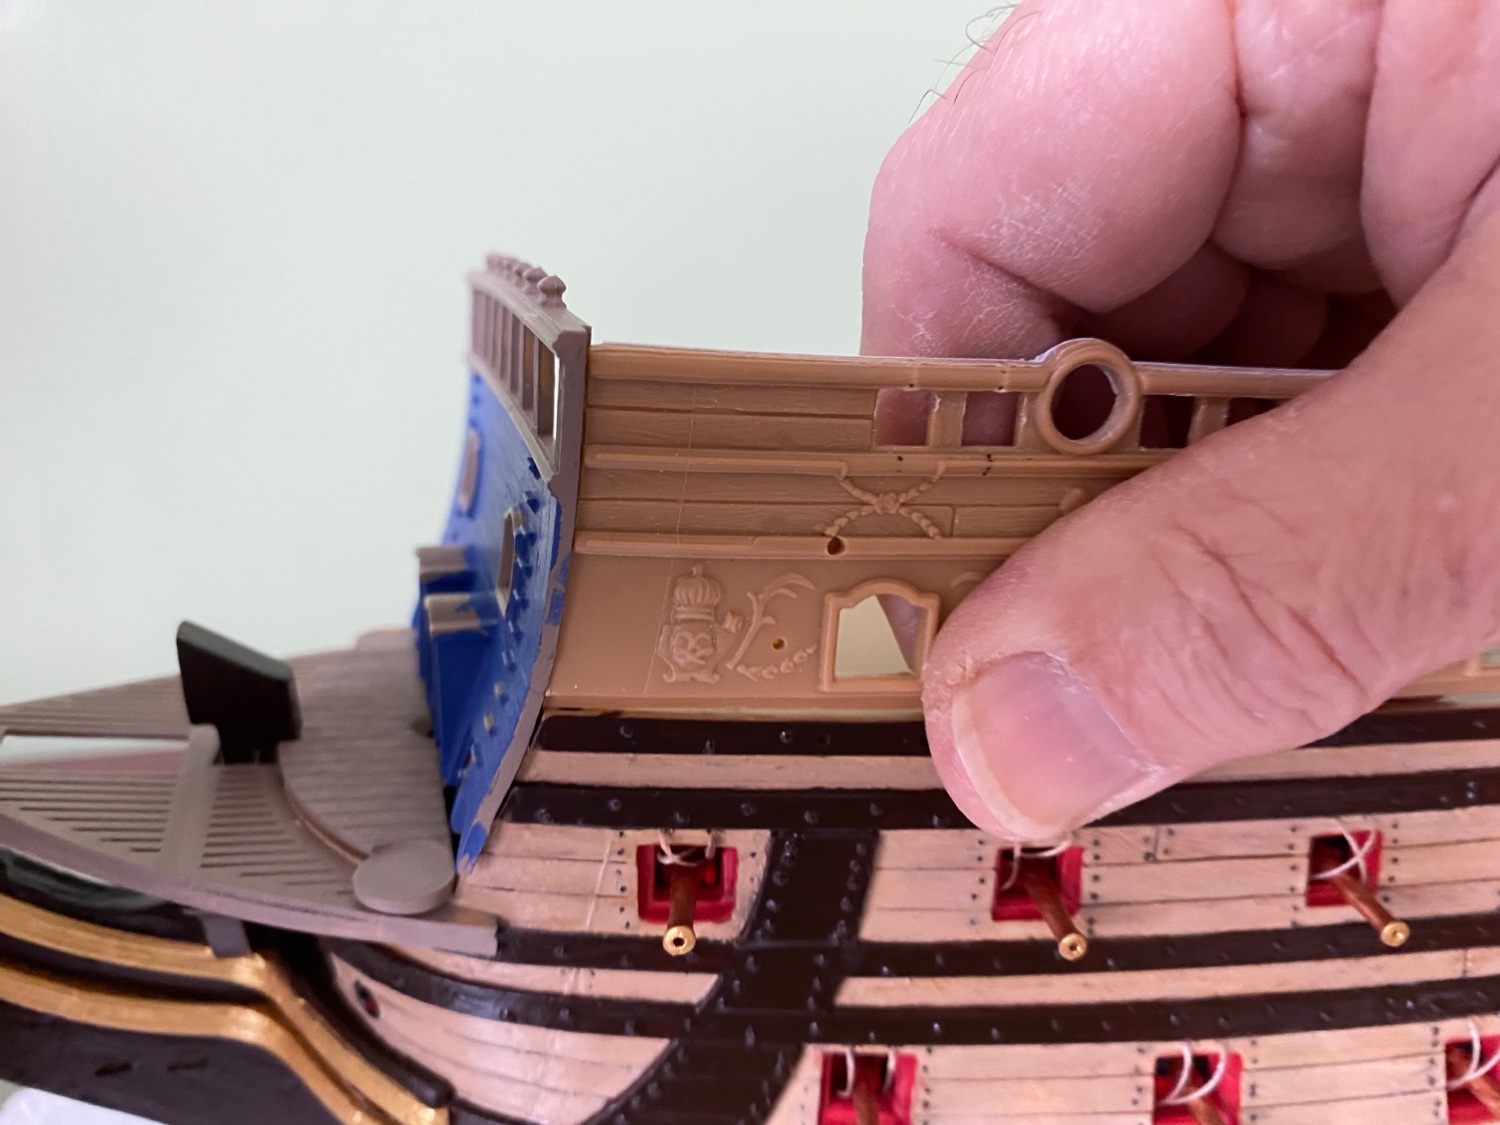
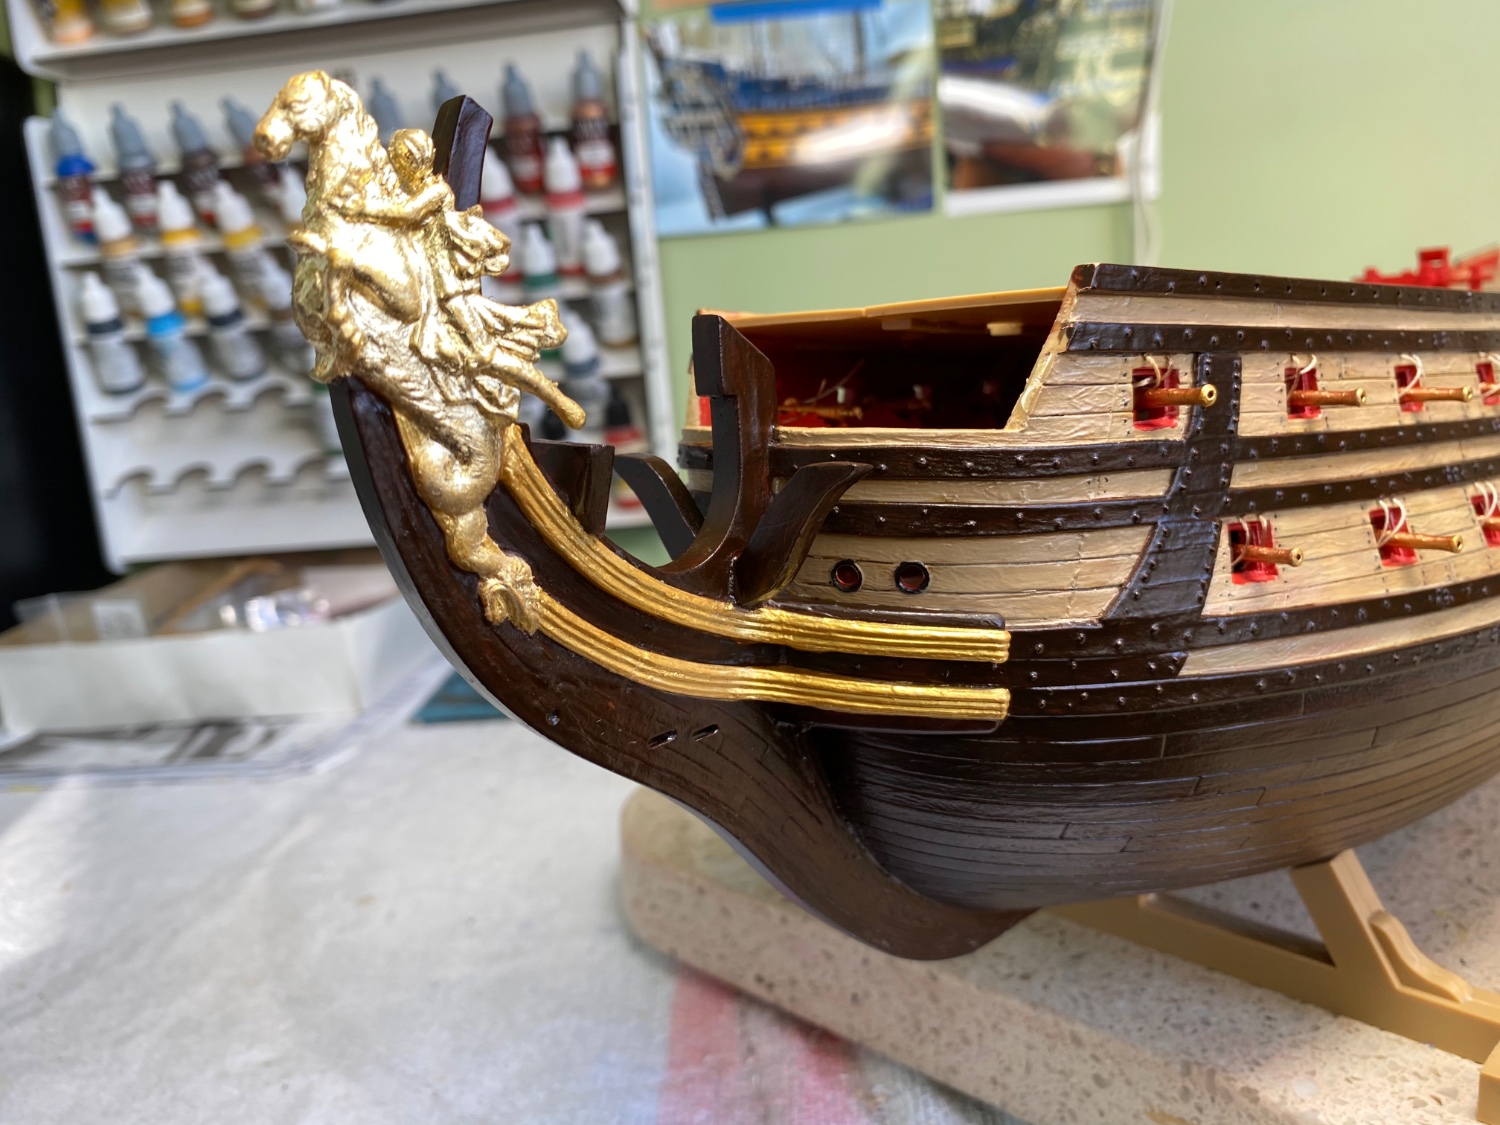
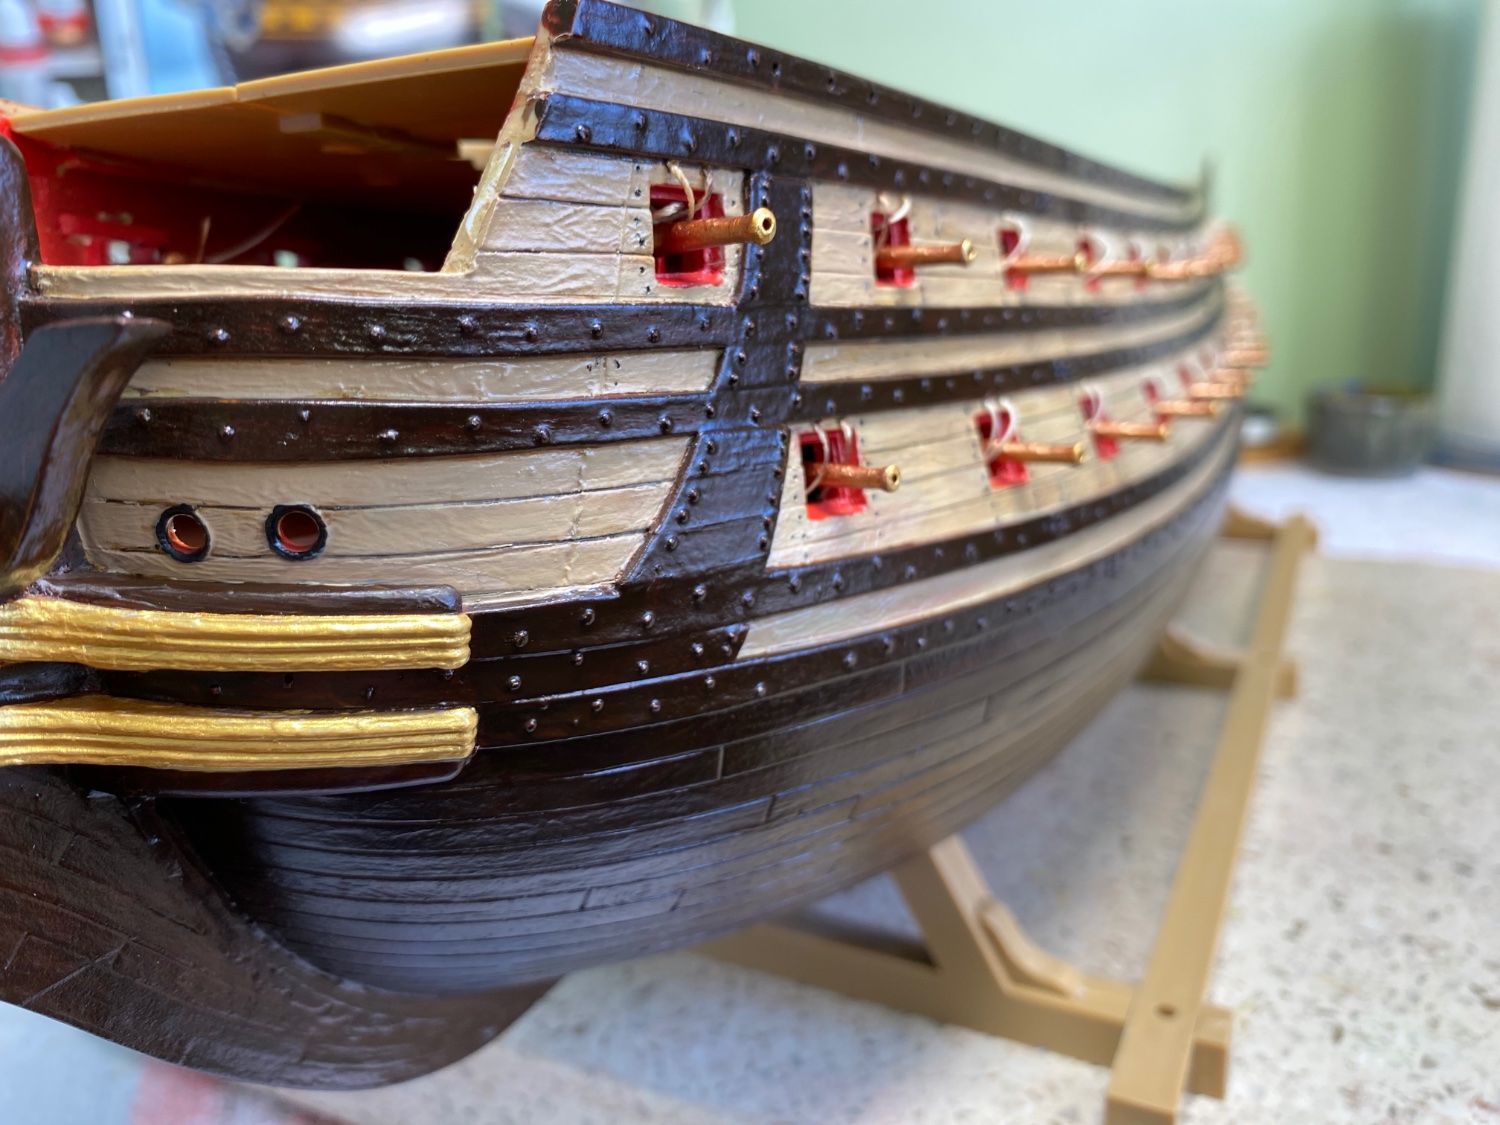
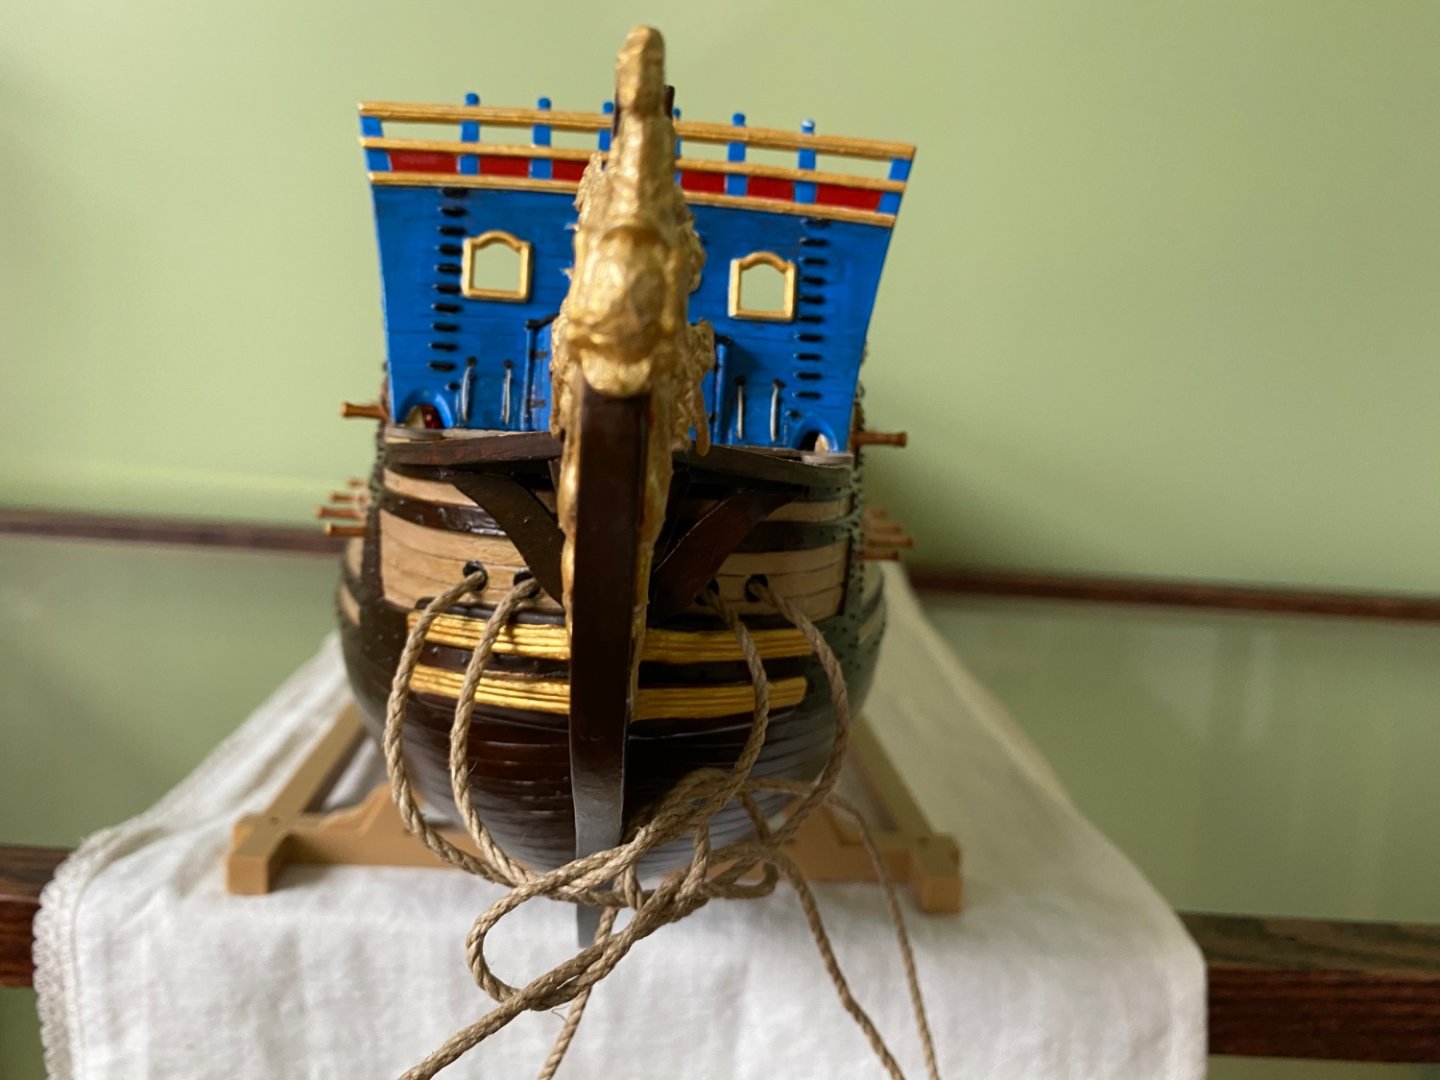
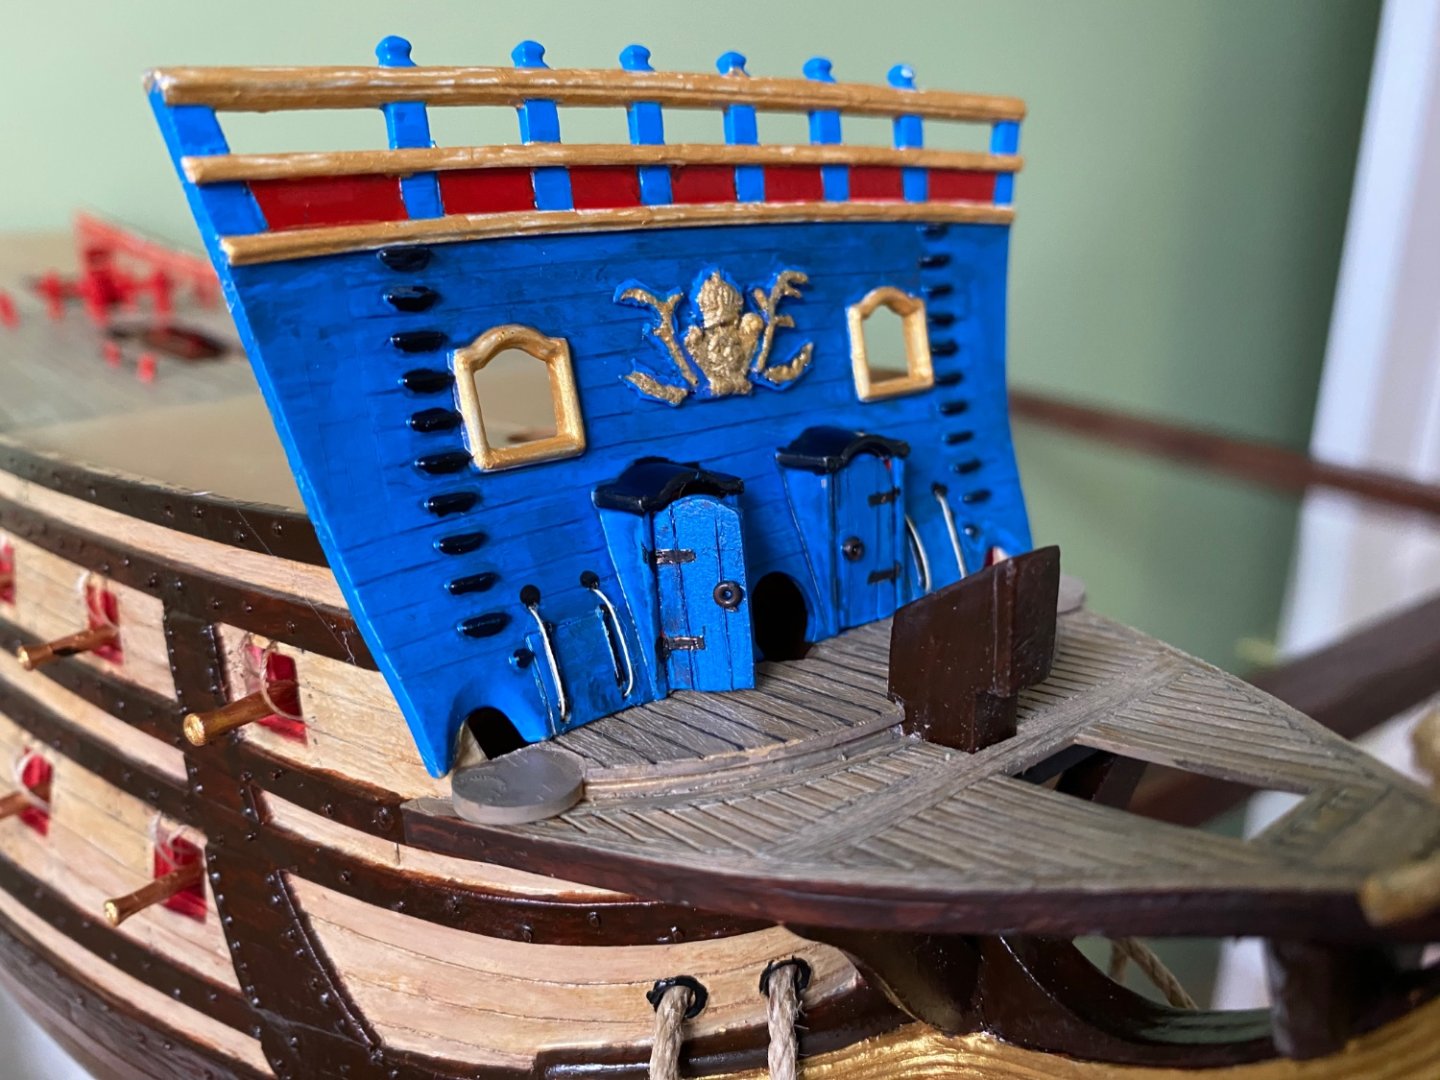
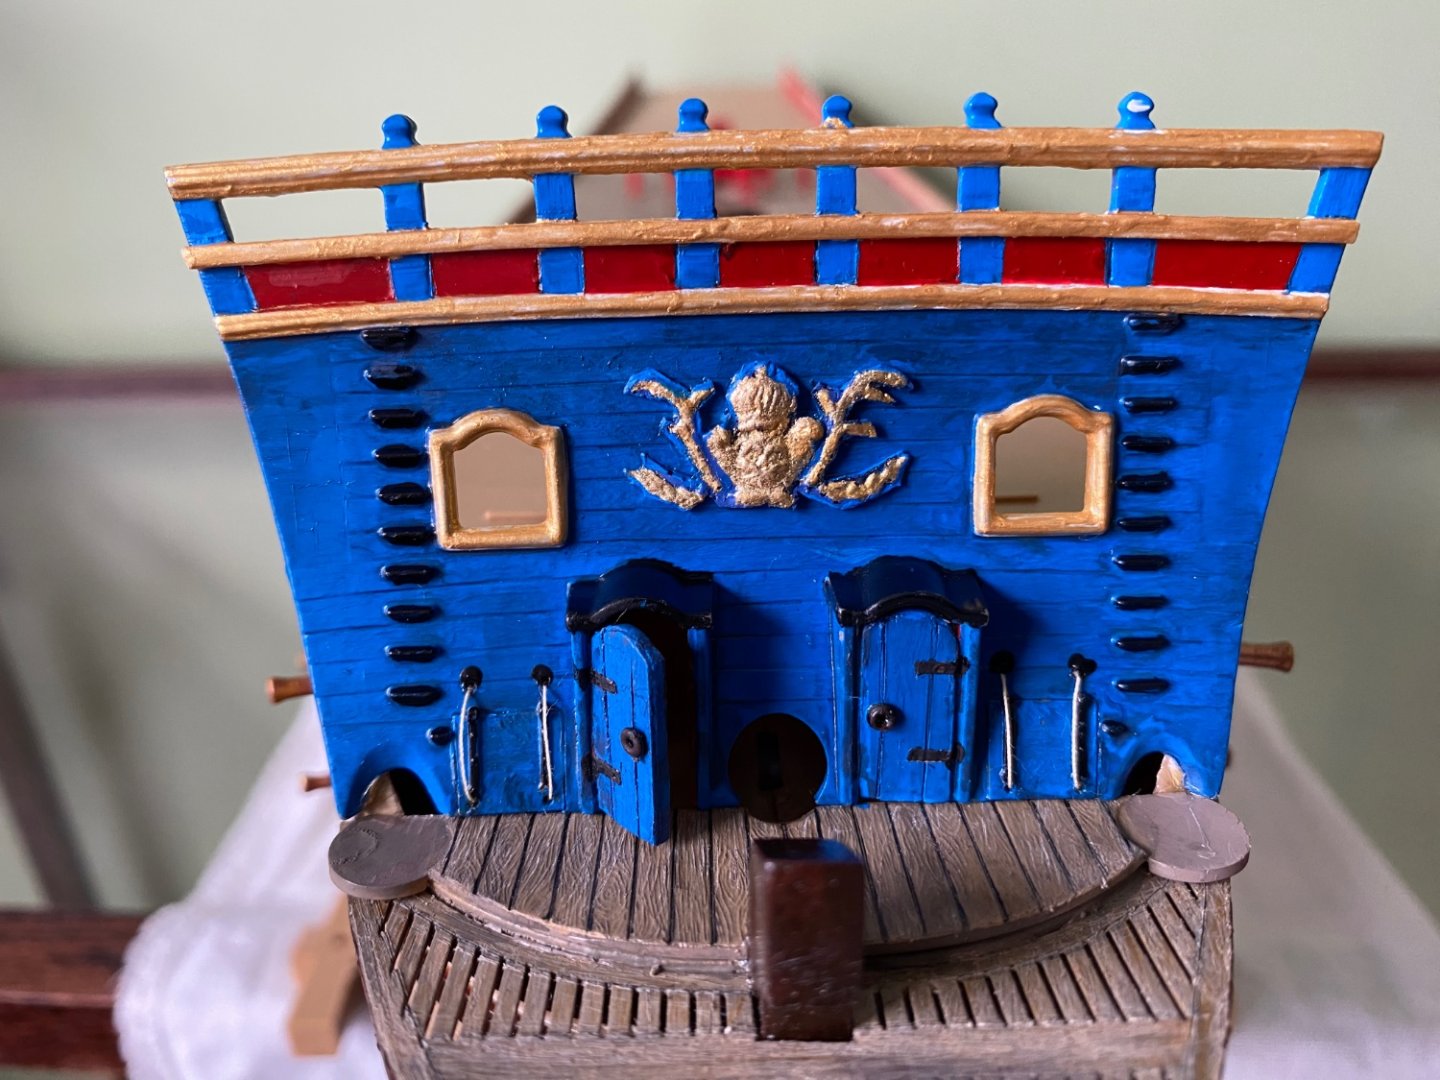
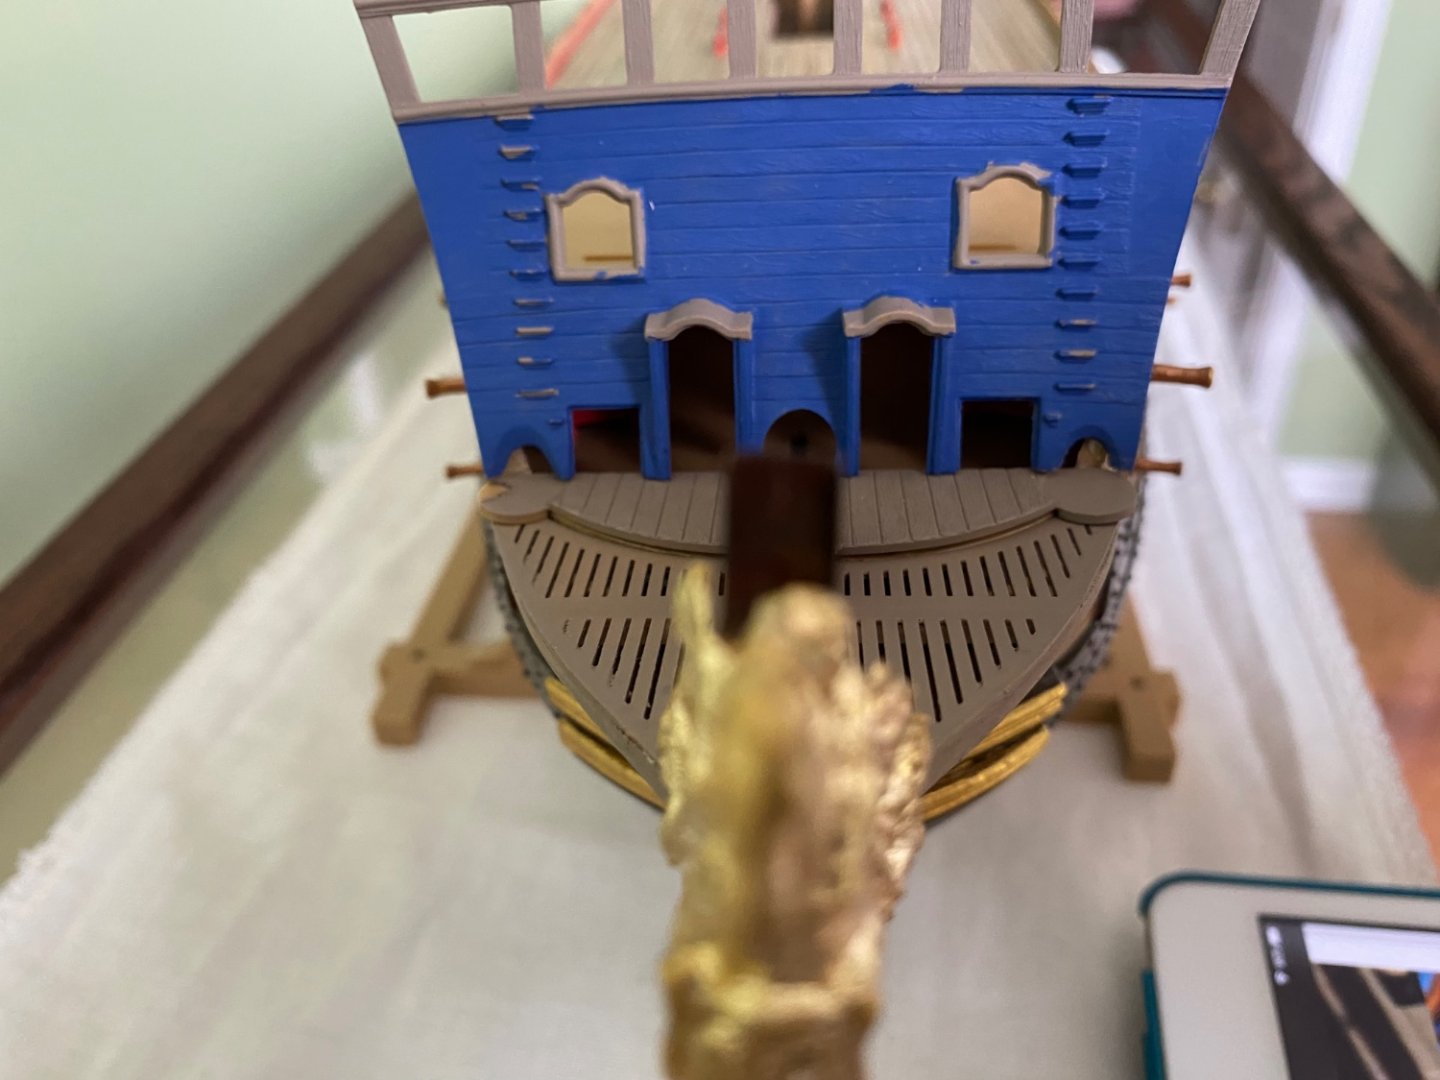
Beakhead bulkhead finished and attached! Made he doors and used some left over pieces from other builds to fabricate hinges and handles. Seems to be a pretty good fit. Added a second anchor rope for possible use later. If not needed it is easier to take out than put in later. The two gun decks are now closed at the bow. Debated long and hard about adding LED candle lighting to the two gun decks while I still had access, but ultimately decided not to. So I closed her up.


- 1,508 replies
-
- 4
-
-
- Le Soleil Royal
- Heller
- (and 1 more)
-
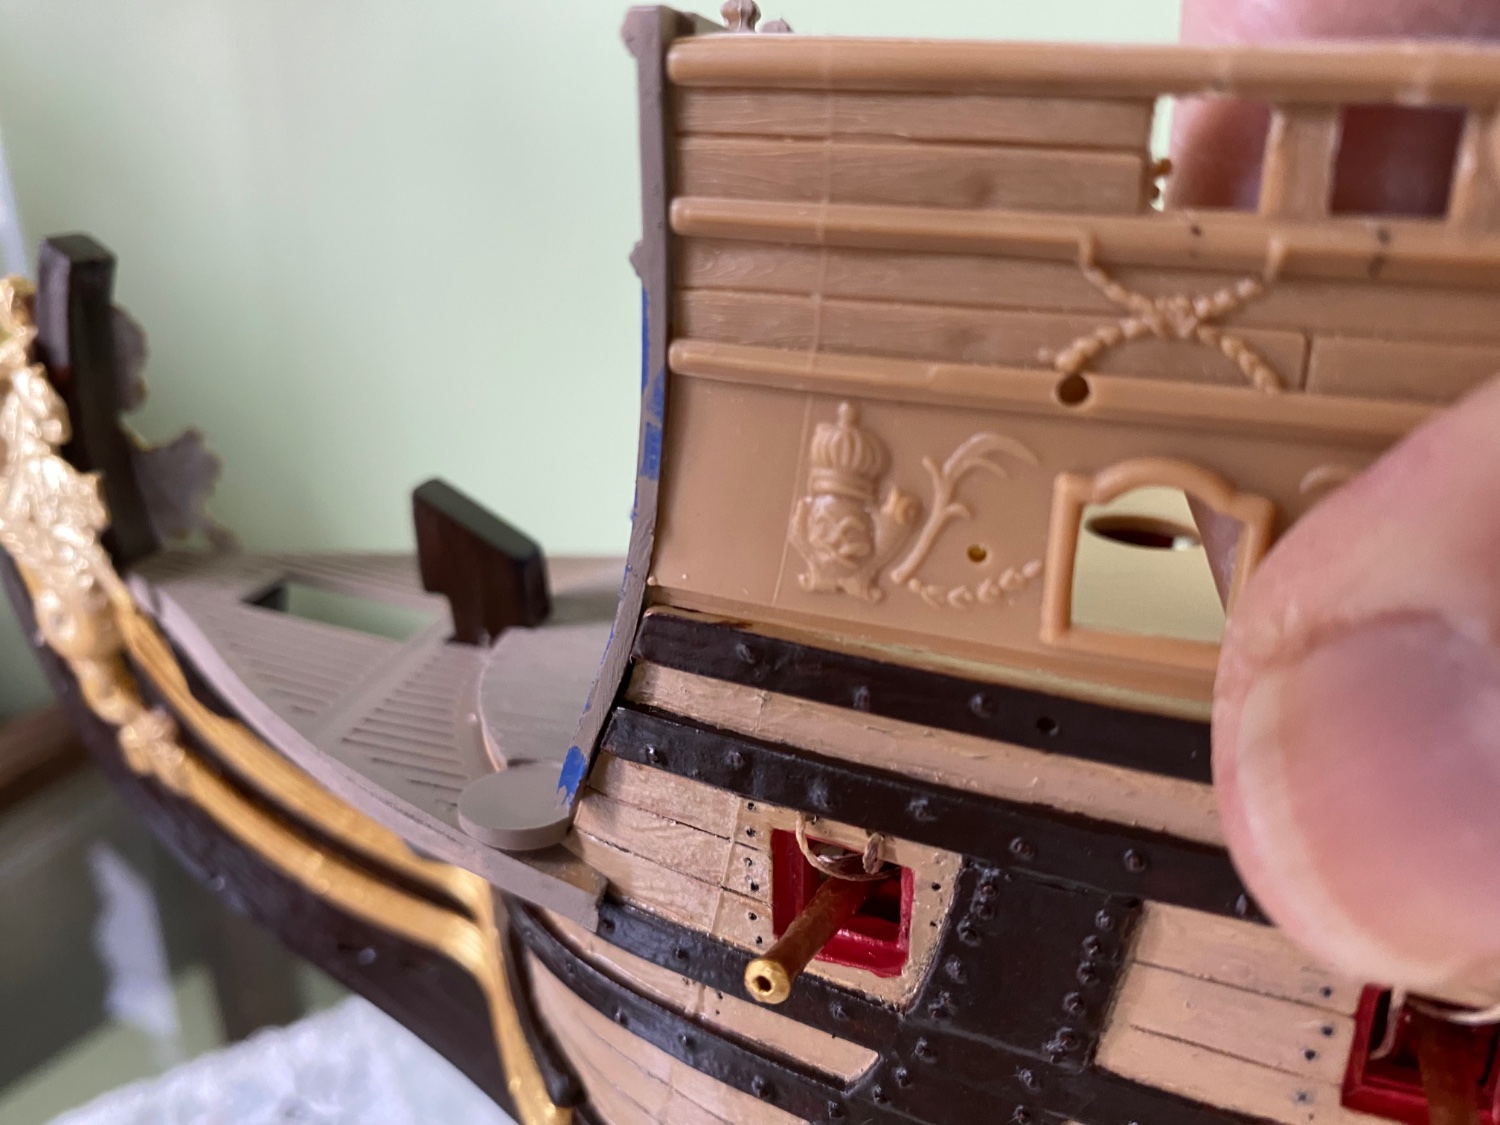
Thanks Henry. It is interesting about the casting. I made a cast of the same thing that you did for the area we filled in between the knees. Yours appears to be narrow enough that it nicely fits with a small bit of space on each side. My casting of the same ornament actually touches both knees. It looks way to crowded. I have the two knees mounted correctly so I am not sure why mine are slightly closer together than yours. Going to have to pick some other ornament to cast to go in that space.
-
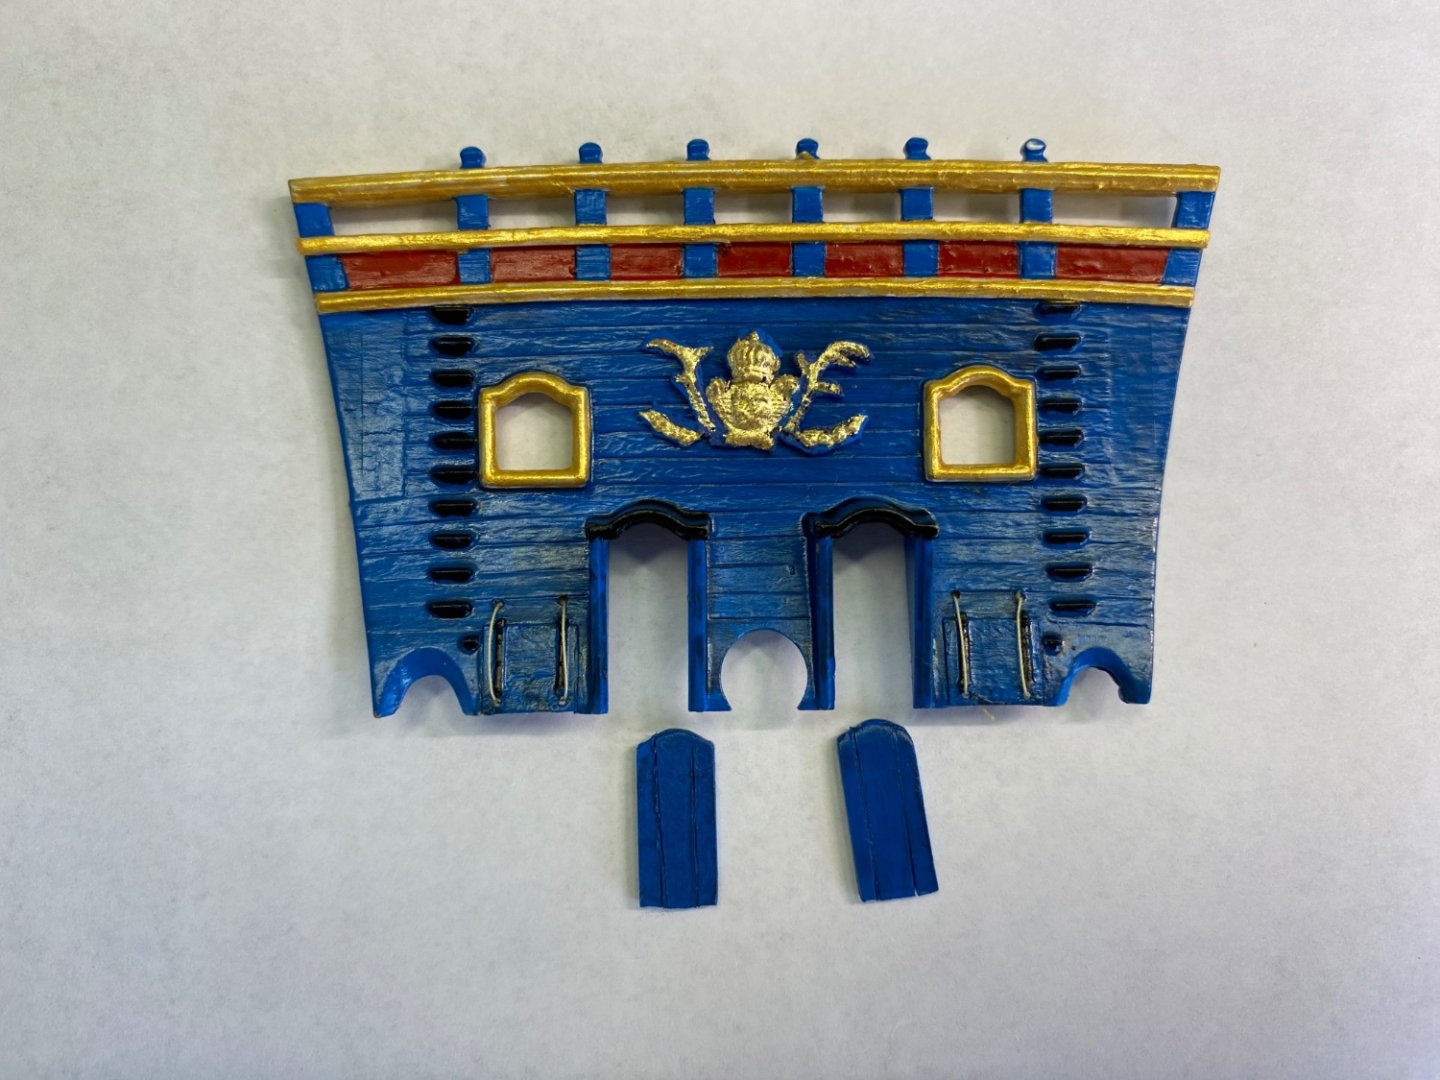
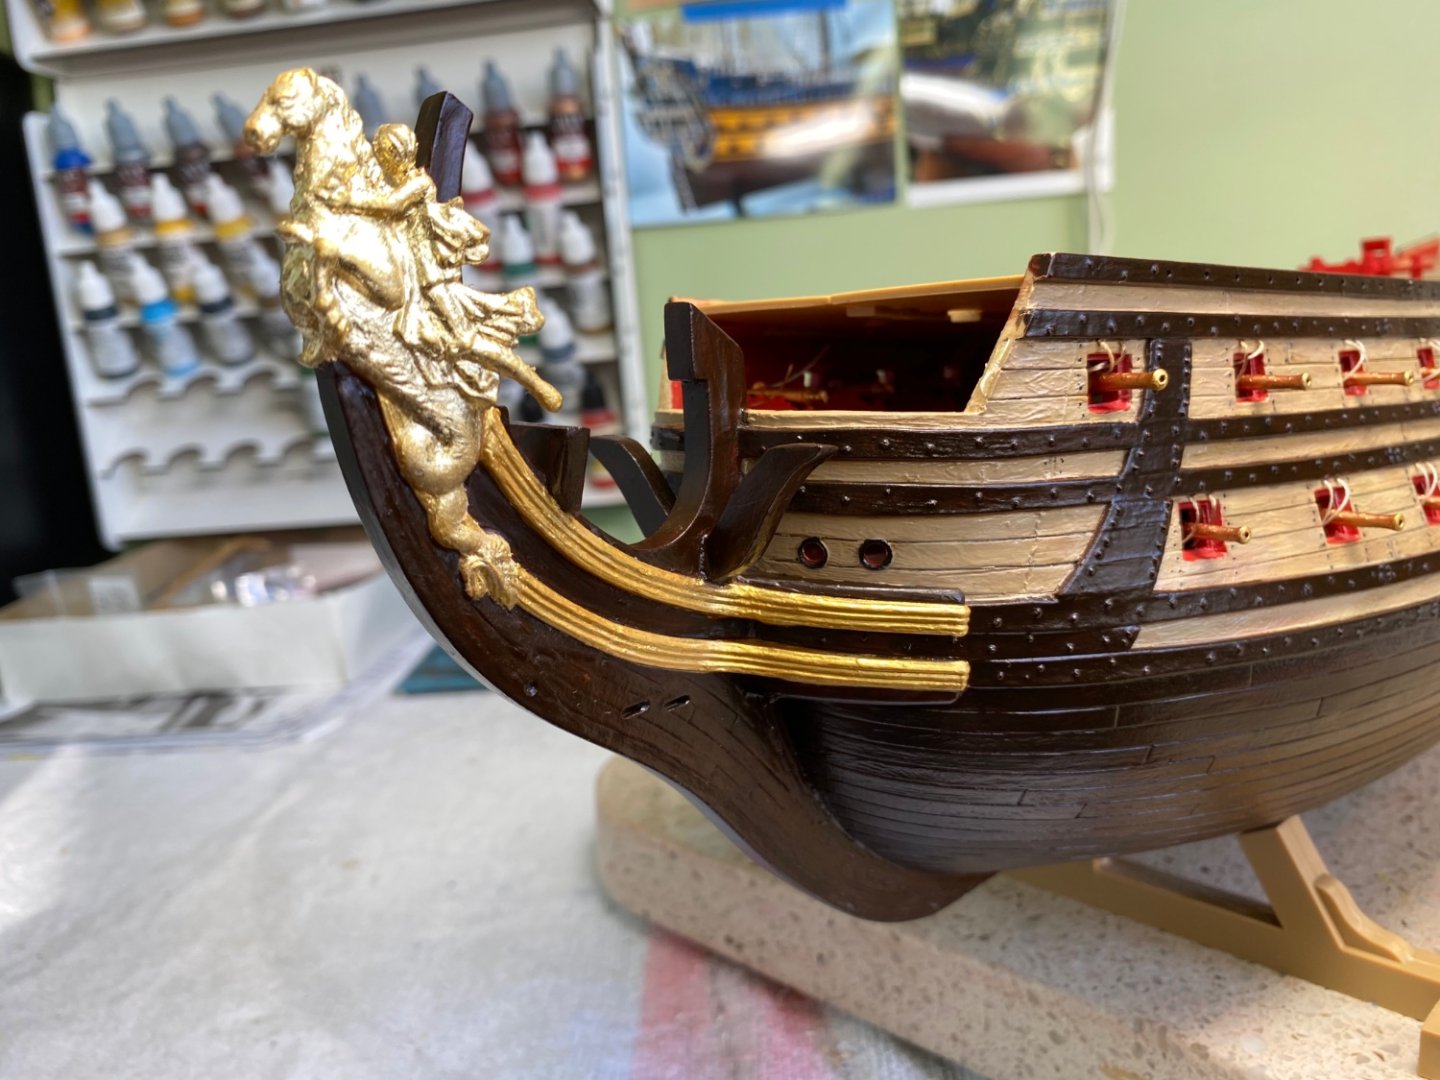
Still need to make the door hardware and then attach my doors. I have tiny fleur-de-lies made to go below the middle rail but am waiting to attach them. They are gold leafed and I don’t want to damage them during construction. My ornament is just setting between the hatches. Not glued in place yet. You may notice it is a bit crooked.
- 1,508 replies
-
- 3
-
-
- Le Soleil Royal
- Heller
- (and 1 more)
-
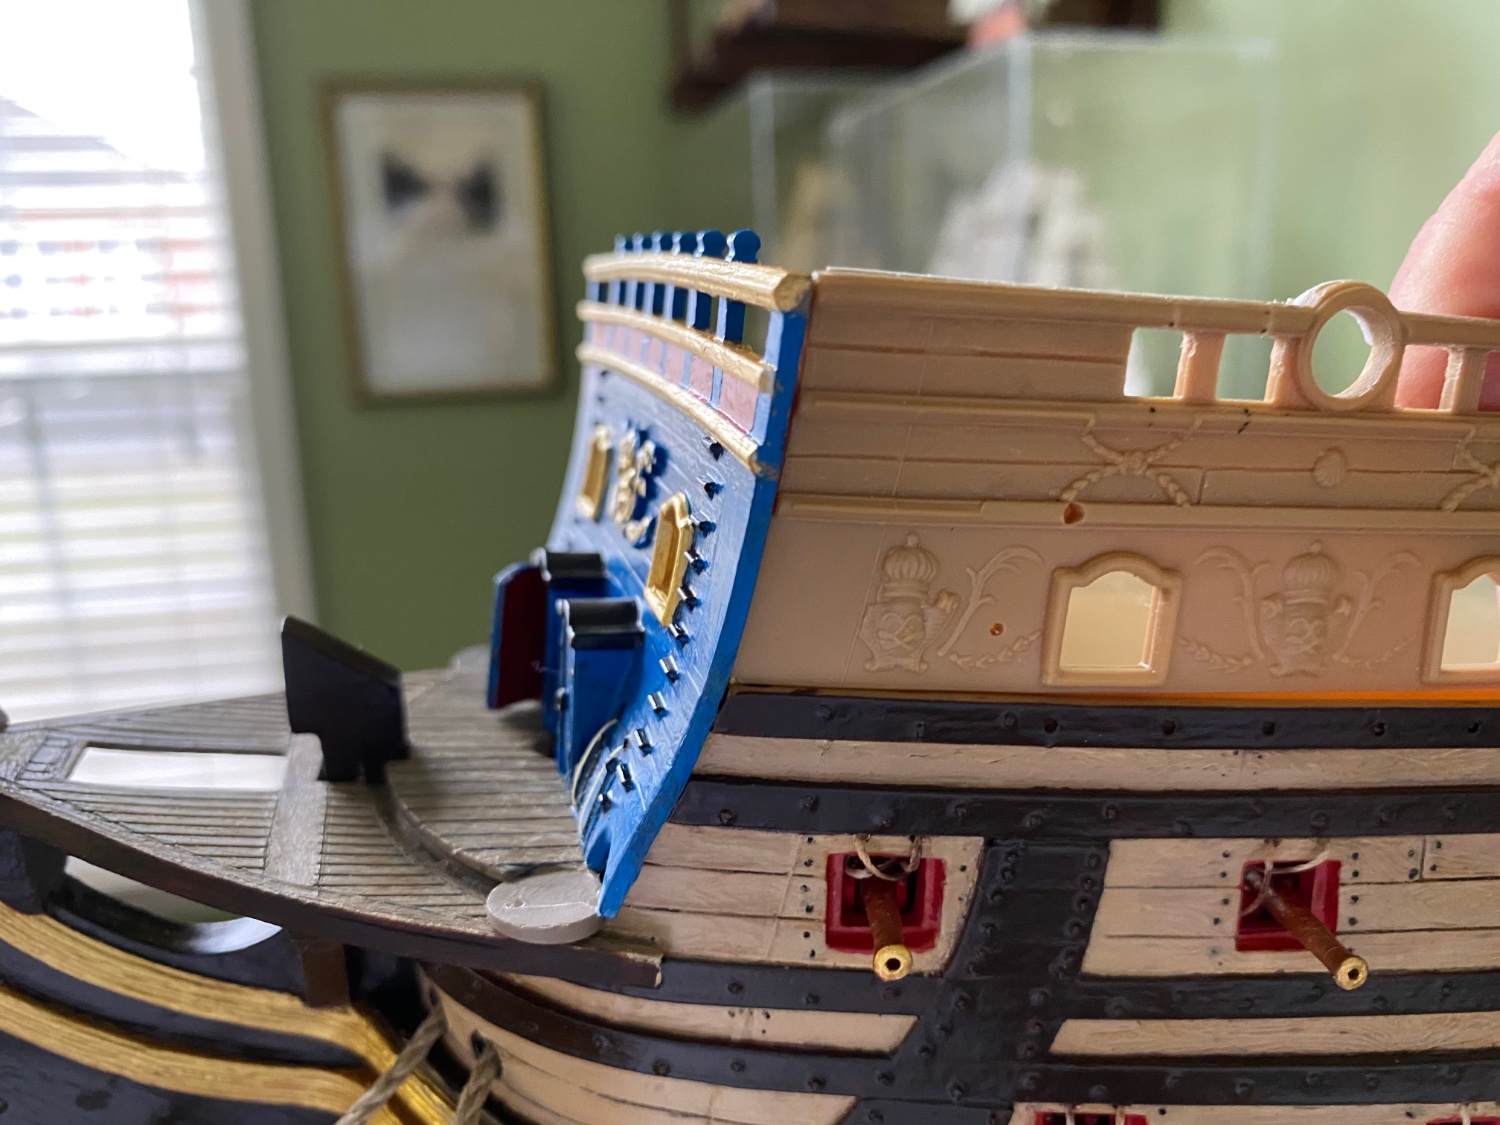
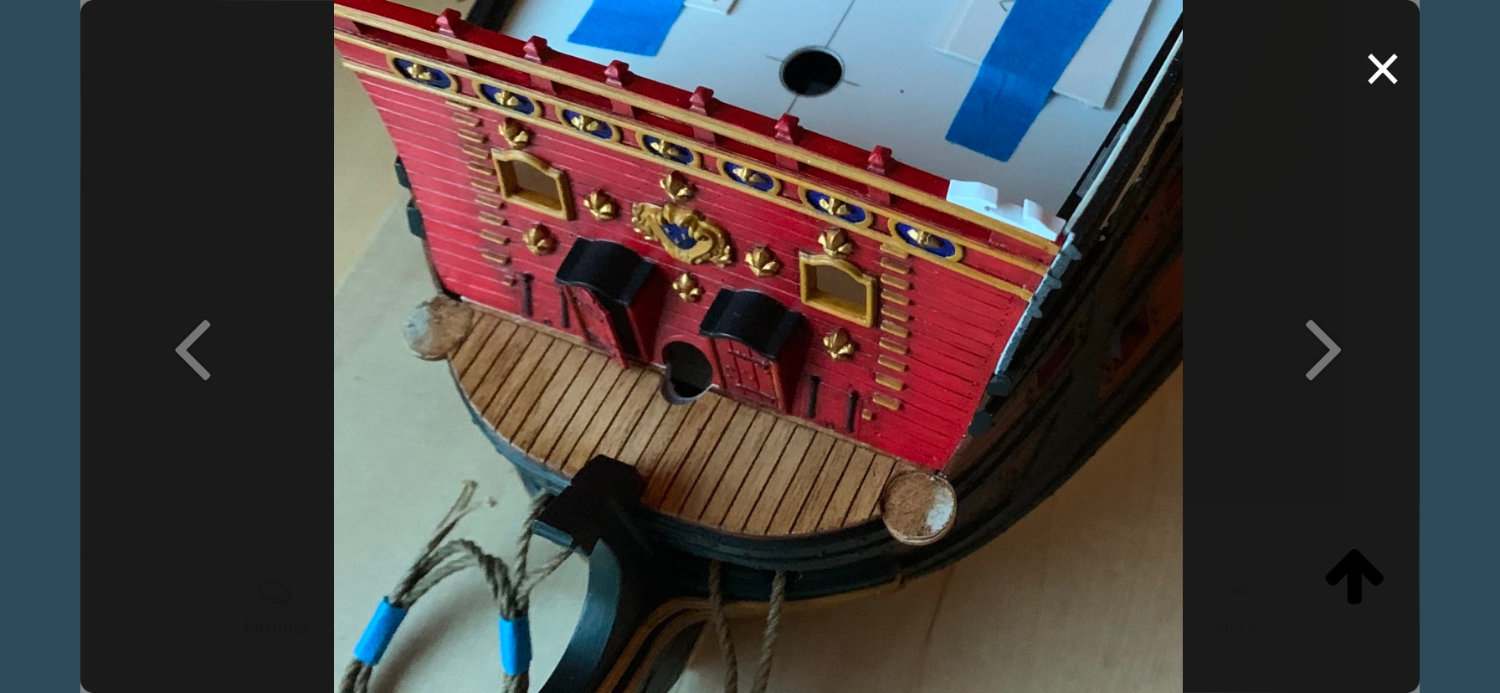
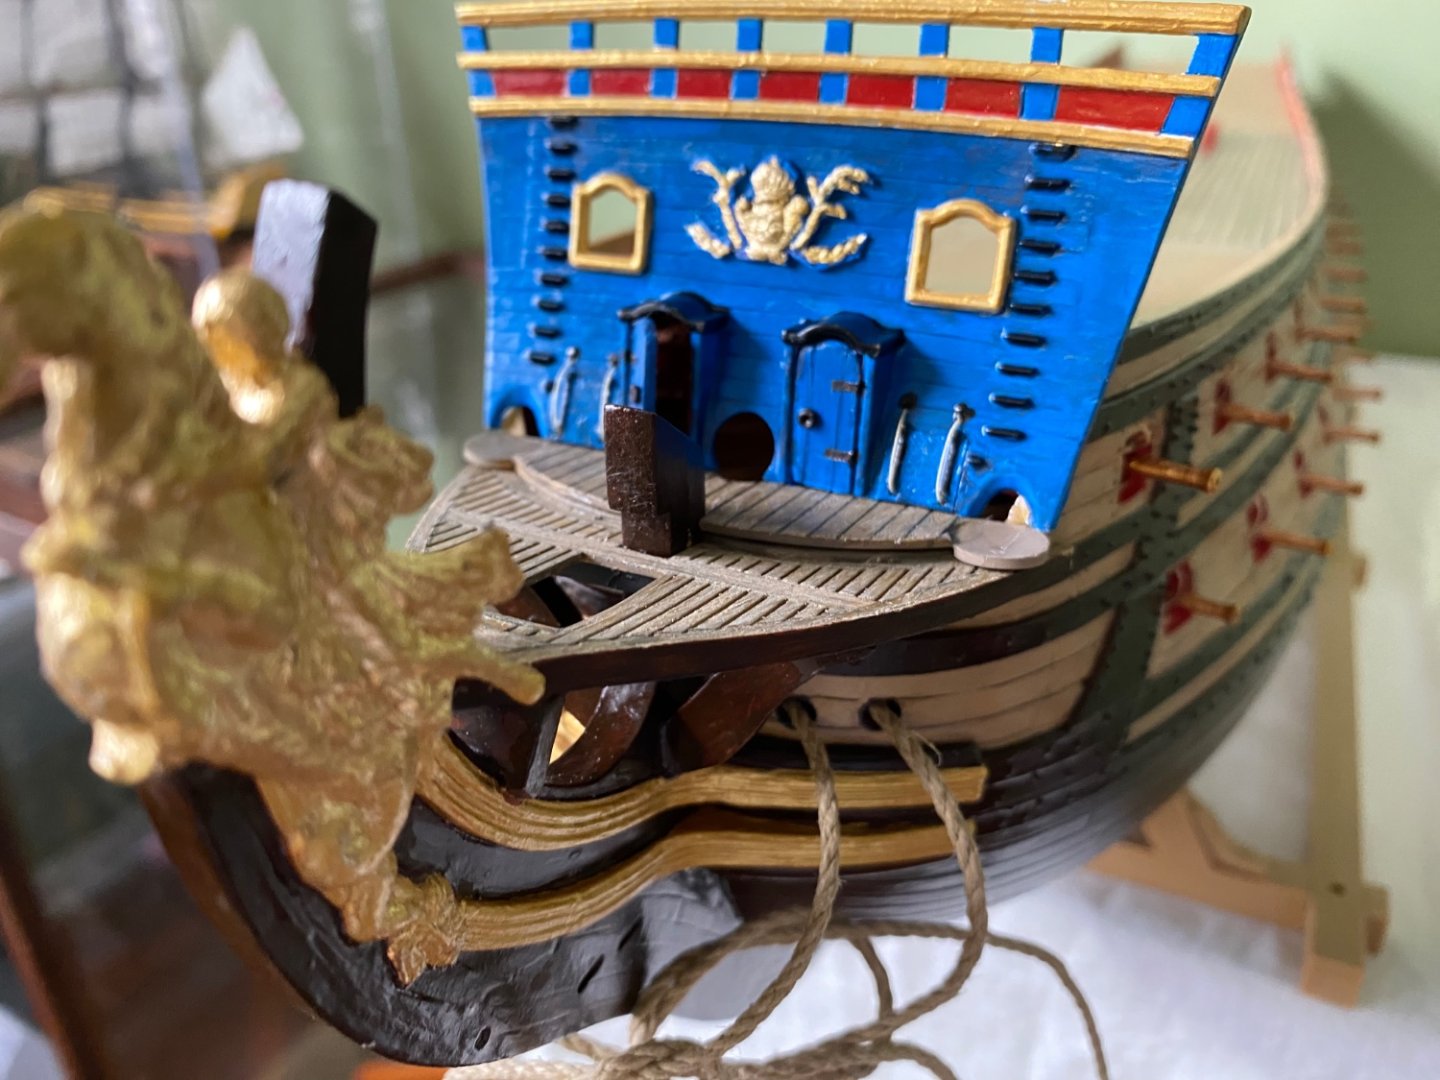
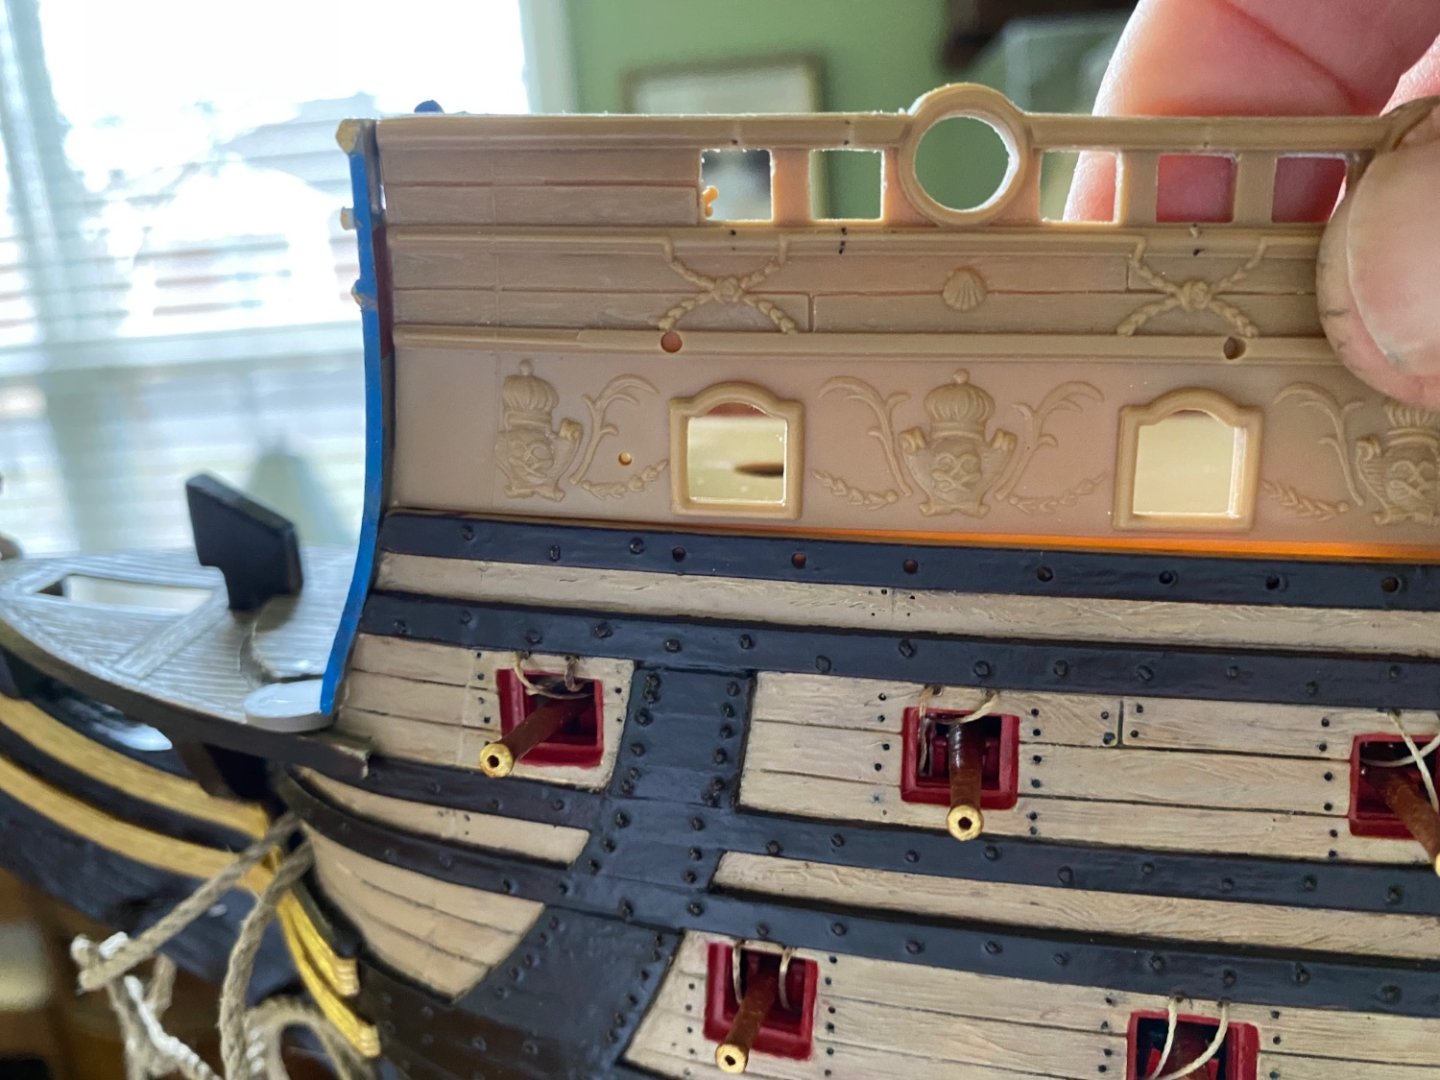
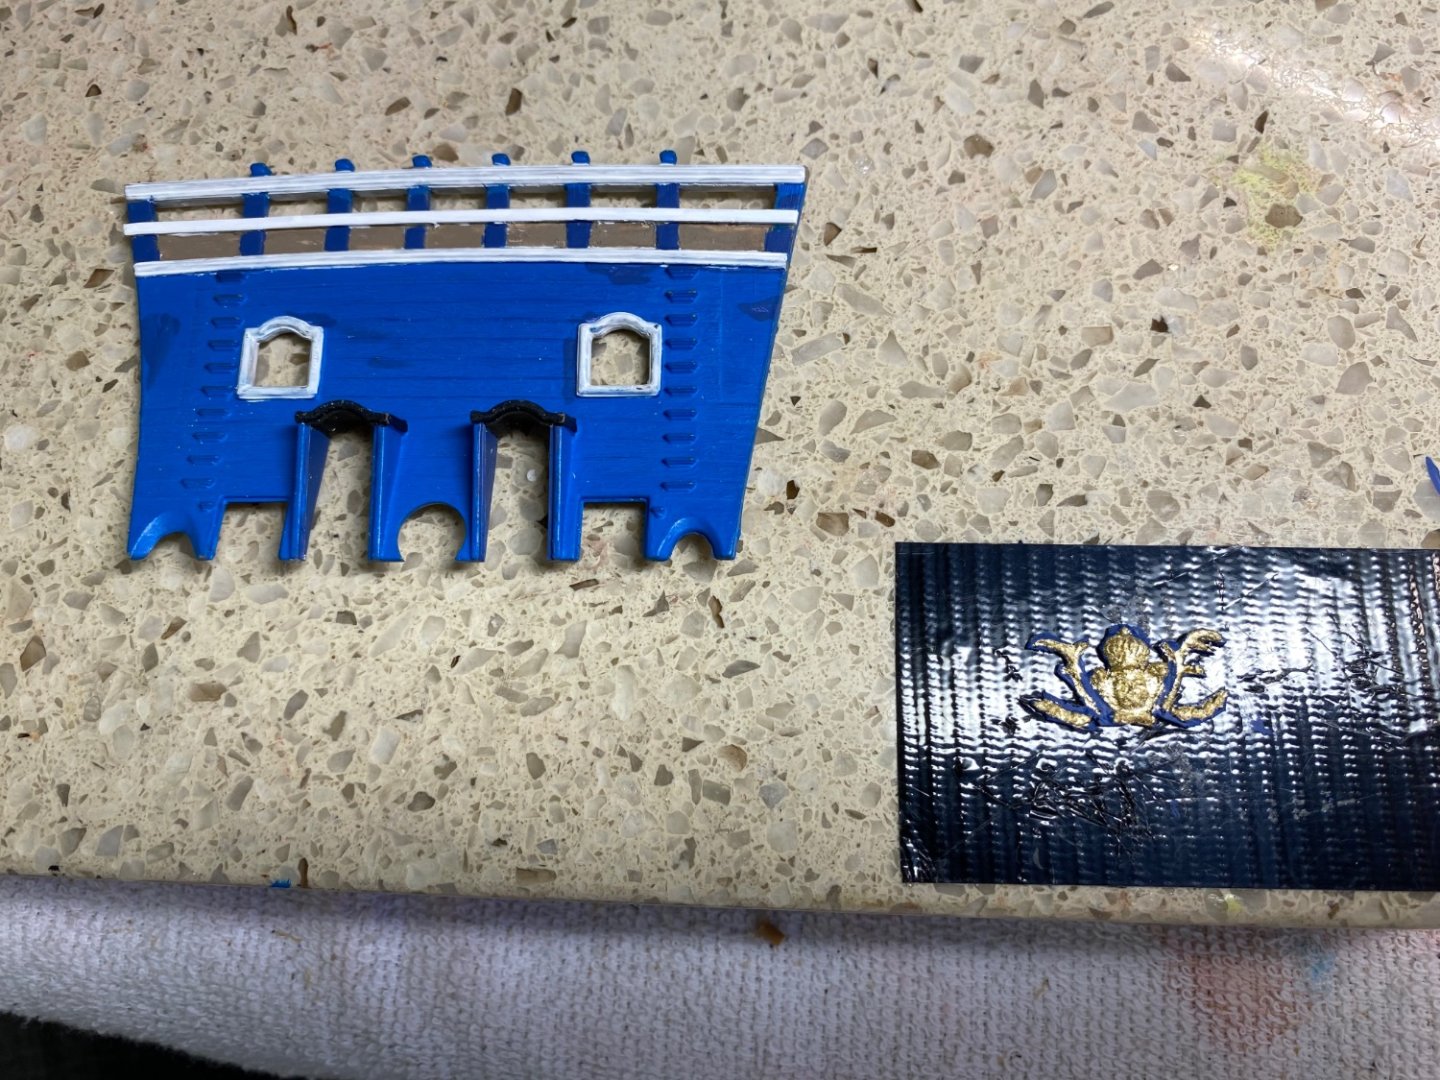
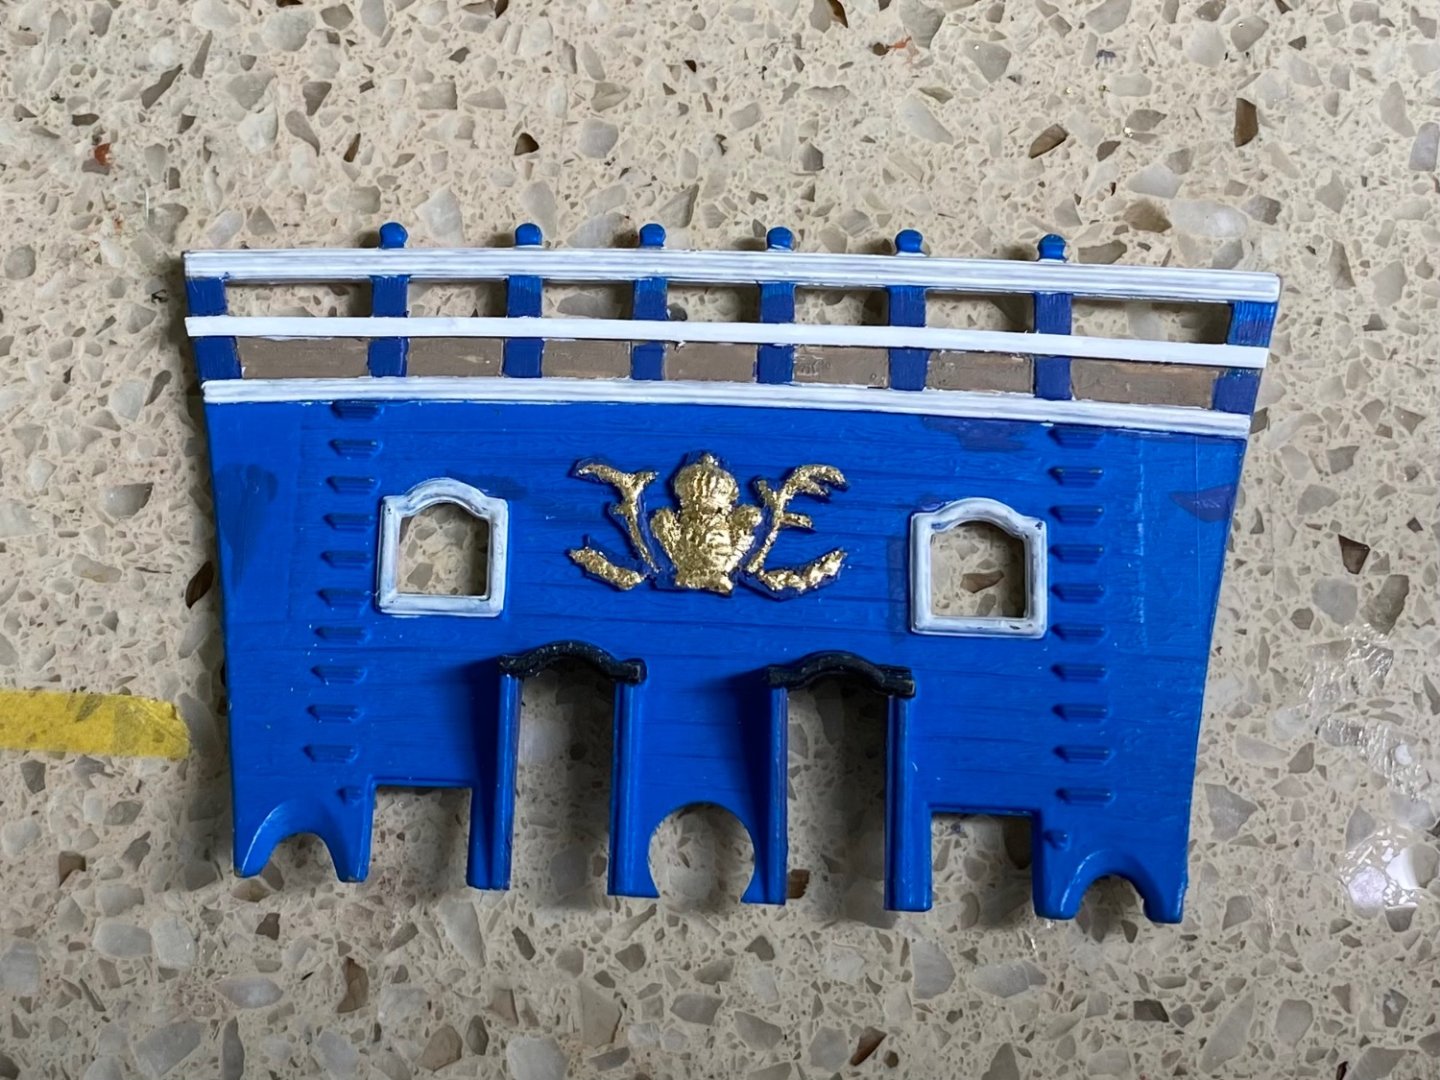
Marc I went with your idea of the second rail. Wife’s recommendation😊! Followed your process. My upper bulwarks and beakhead are going to be blue so I have started with a blue and ndercoat. Will do the reverse of your’s and paint the sections below the middle rail red and adorn each with a gold leafed fleur-de-lies. Also made a casting of the ornament (I know it has a name) and gold leafed it to go between the gun ports after painting is finished. I am curious about something. Did you guys make your own doors? I checked and there is not a molded part included with the kit.
- 1,508 replies
-
- 4
-
-

-
- Le Soleil Royal
- Heller
- (and 1 more)
-
Marc looking at your’s closely that is fairly close to what thought you did. Will add that to my list of fun things to tinker with. I have selected a few ornaments to cast a mold of to place between the gun ports. Will see how they come out. The first one I am experimenting with is the one on the UB between the gunports. Will see how it comes out.

- 1,508 replies
-
- 1
-
-
- Le Soleil Royal
- Heller
- (and 1 more)
-
Thanks Marc. You have gained another admirer of your work. I showed the photo of your beakhead bulkhead to my wife and asked her opinion of possible added ornamentation I might do to mine, showing her several things I could cast a mold of on the plastic pieces. She immediately said she liked the additional rail you added between the top and bottom rail land the seven ornaments you included under the middle rail. Now I am studying your photograph to see how you did it.

-
Stop the presses Marc! I am dry fitting the parts Marc and as usual I check your’s and Henry’s builds for comparison. I immediately noticed that in a photo from your build you have the beakhead bulkhead mounted inside the hull halves. Henry has his mounted to the face of the hull halves which is exactly how mine fits. Is yours this way because you increased the width of the hull. No way mine will squeeze inside the hull.


- 1,508 replies
-
- 2
-
-
- Le Soleil Royal
- Heller
- (and 1 more)
-
Thanks again Marc. My general plan was to work on painting and detailing the 6 pieces that make up the upper part (beakhead bulkhead, upper bulwarks, and stern plate before gluing them onto the hull. Do I understand you correctly that you recommend painting and detailing the beakhead bulkhead and gluing it in place first, as the instructions say, before doing anything with the upper bulwarks? I am anxious to get back to the “ship yard” to tinker with the gold leaf in the figure head.
-
No Marc I have not. It does have a textured surface. Will the t-shirt idea smooth it out? Will try it. On another note, I think I asked this before but can’t find it in my blog. I am starting to work with the upper bulwarks. Do you recommend gluing the two halves together and finishing the seam (putty and sanding) before painting and working on the ornamentation?
- 1,508 replies
-
- 1
-
-
- Le Soleil Royal
- Heller
- (and 1 more)
-
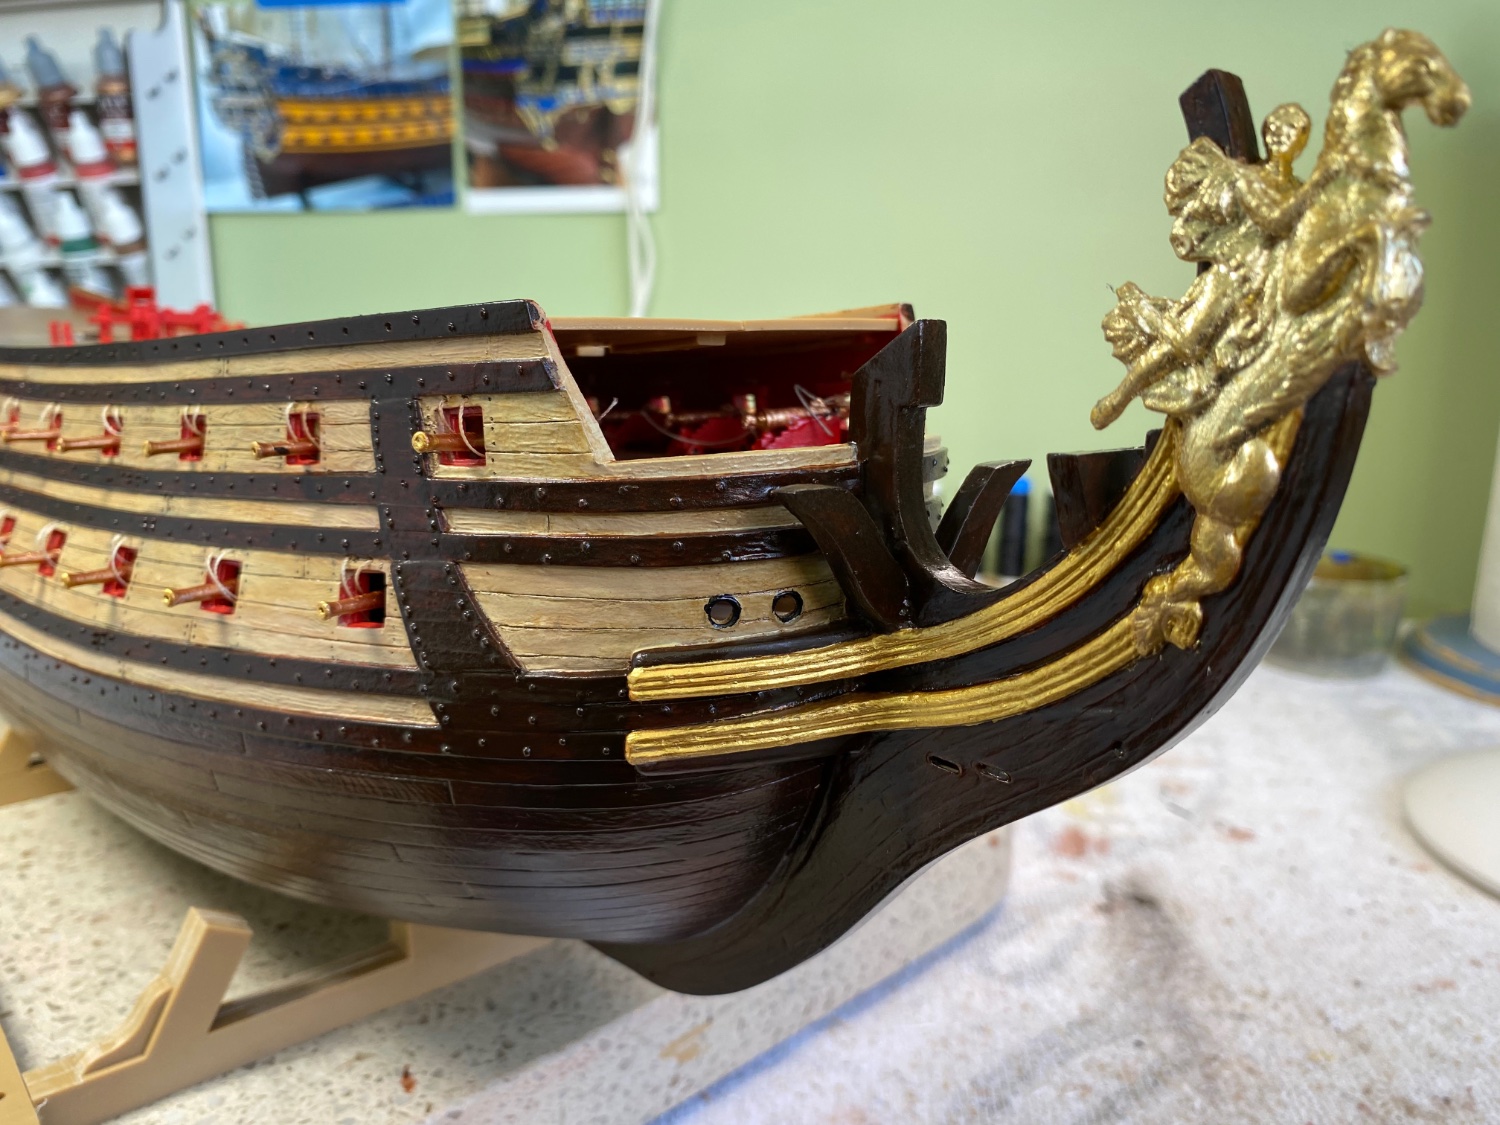
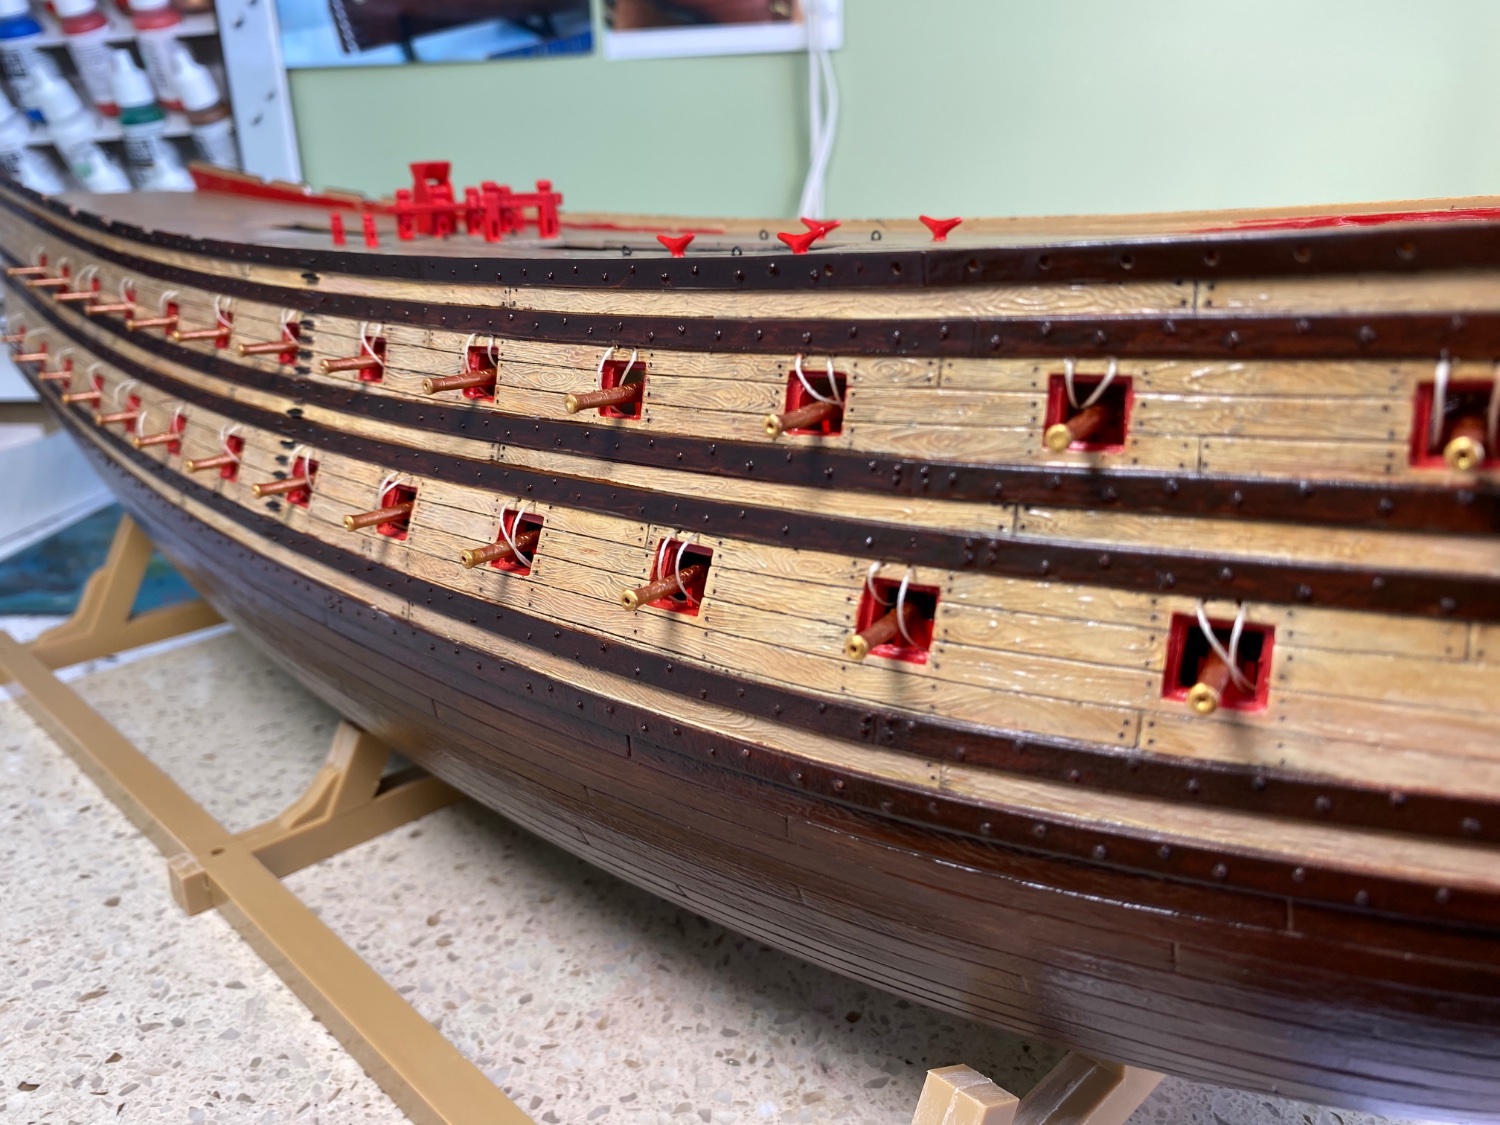
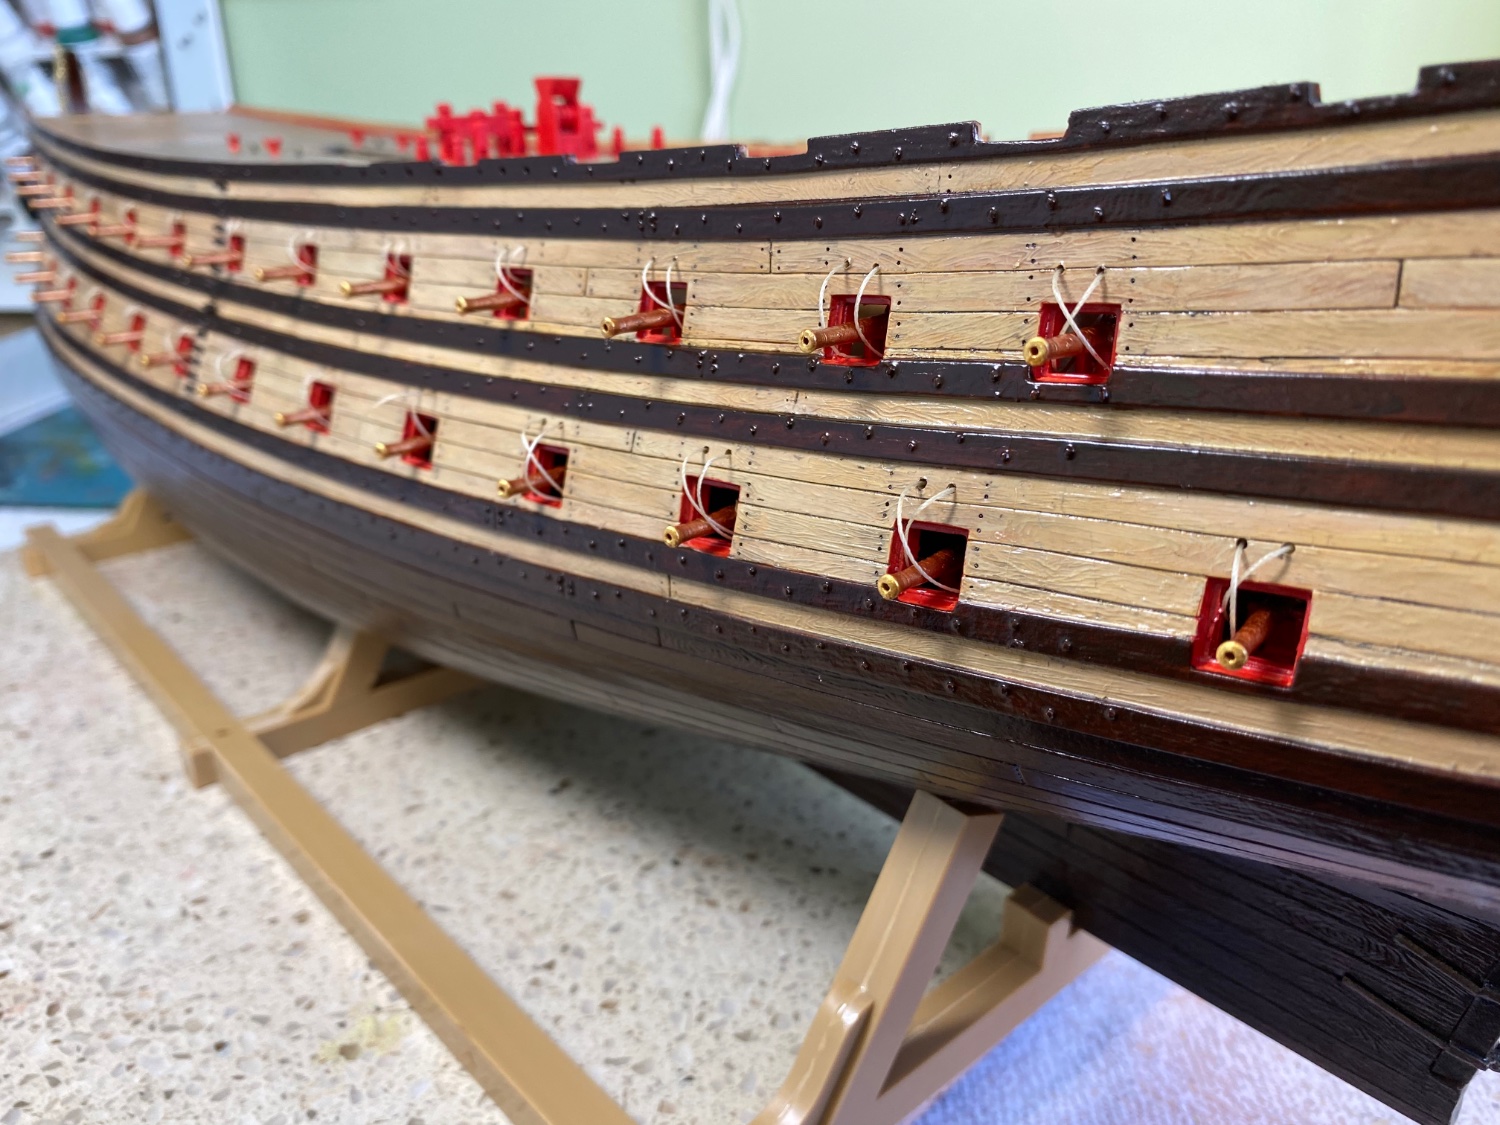
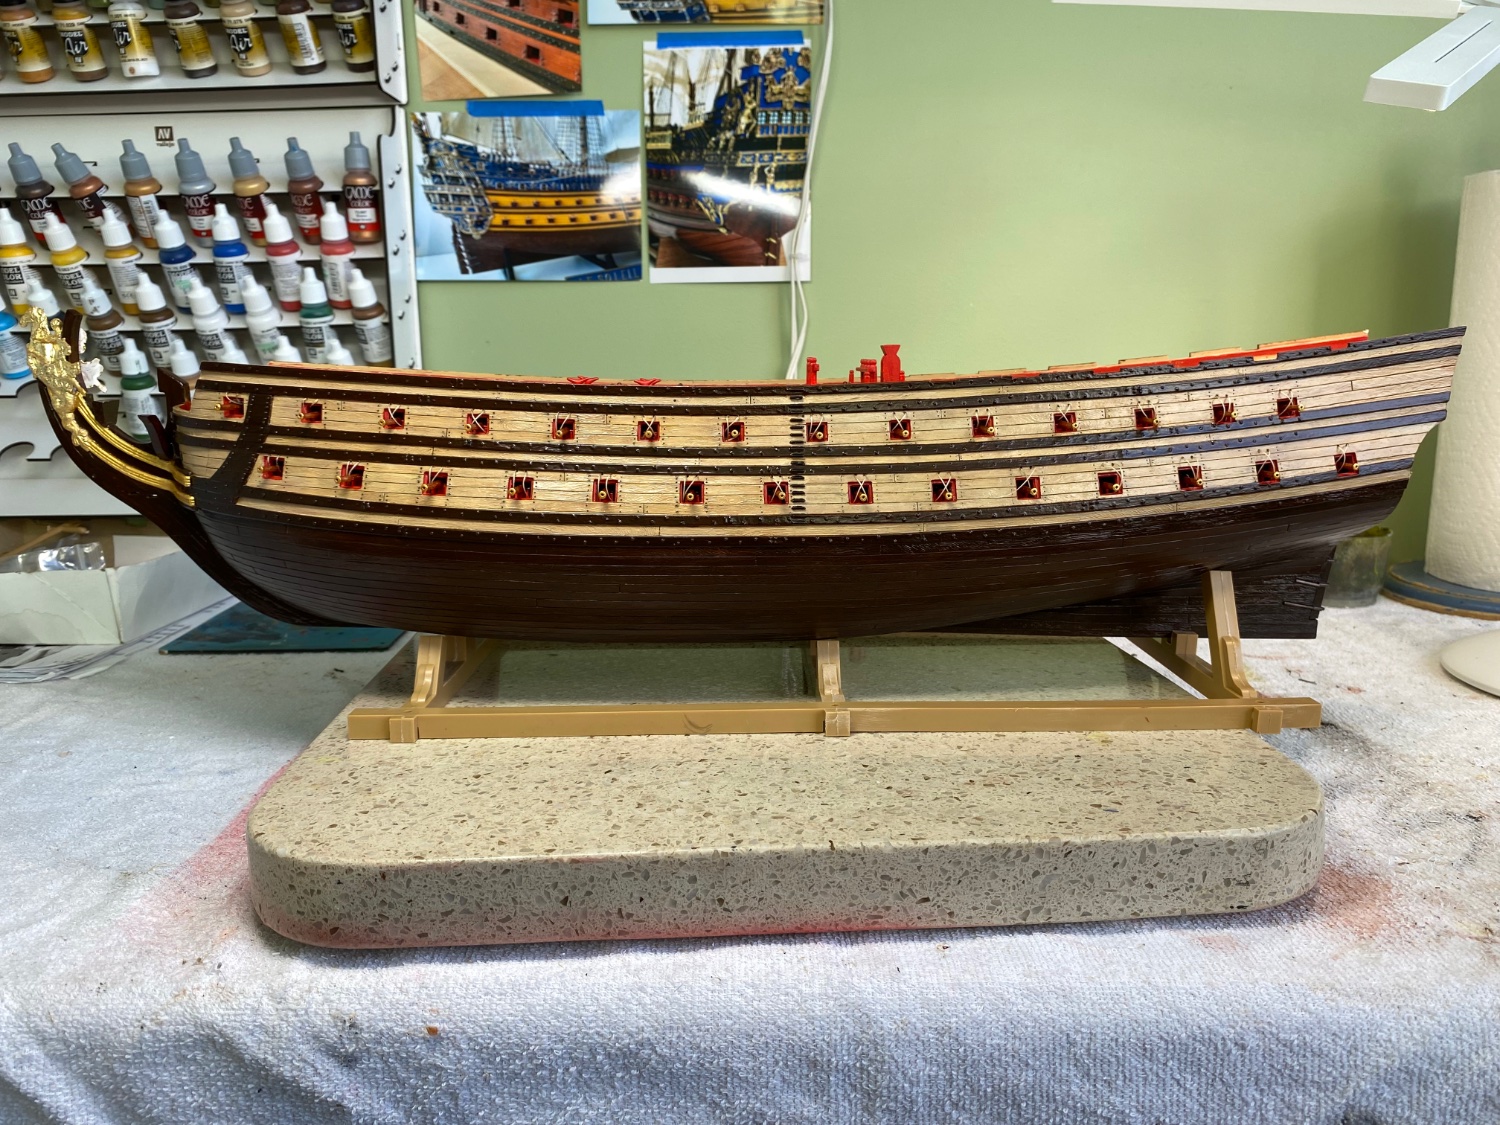
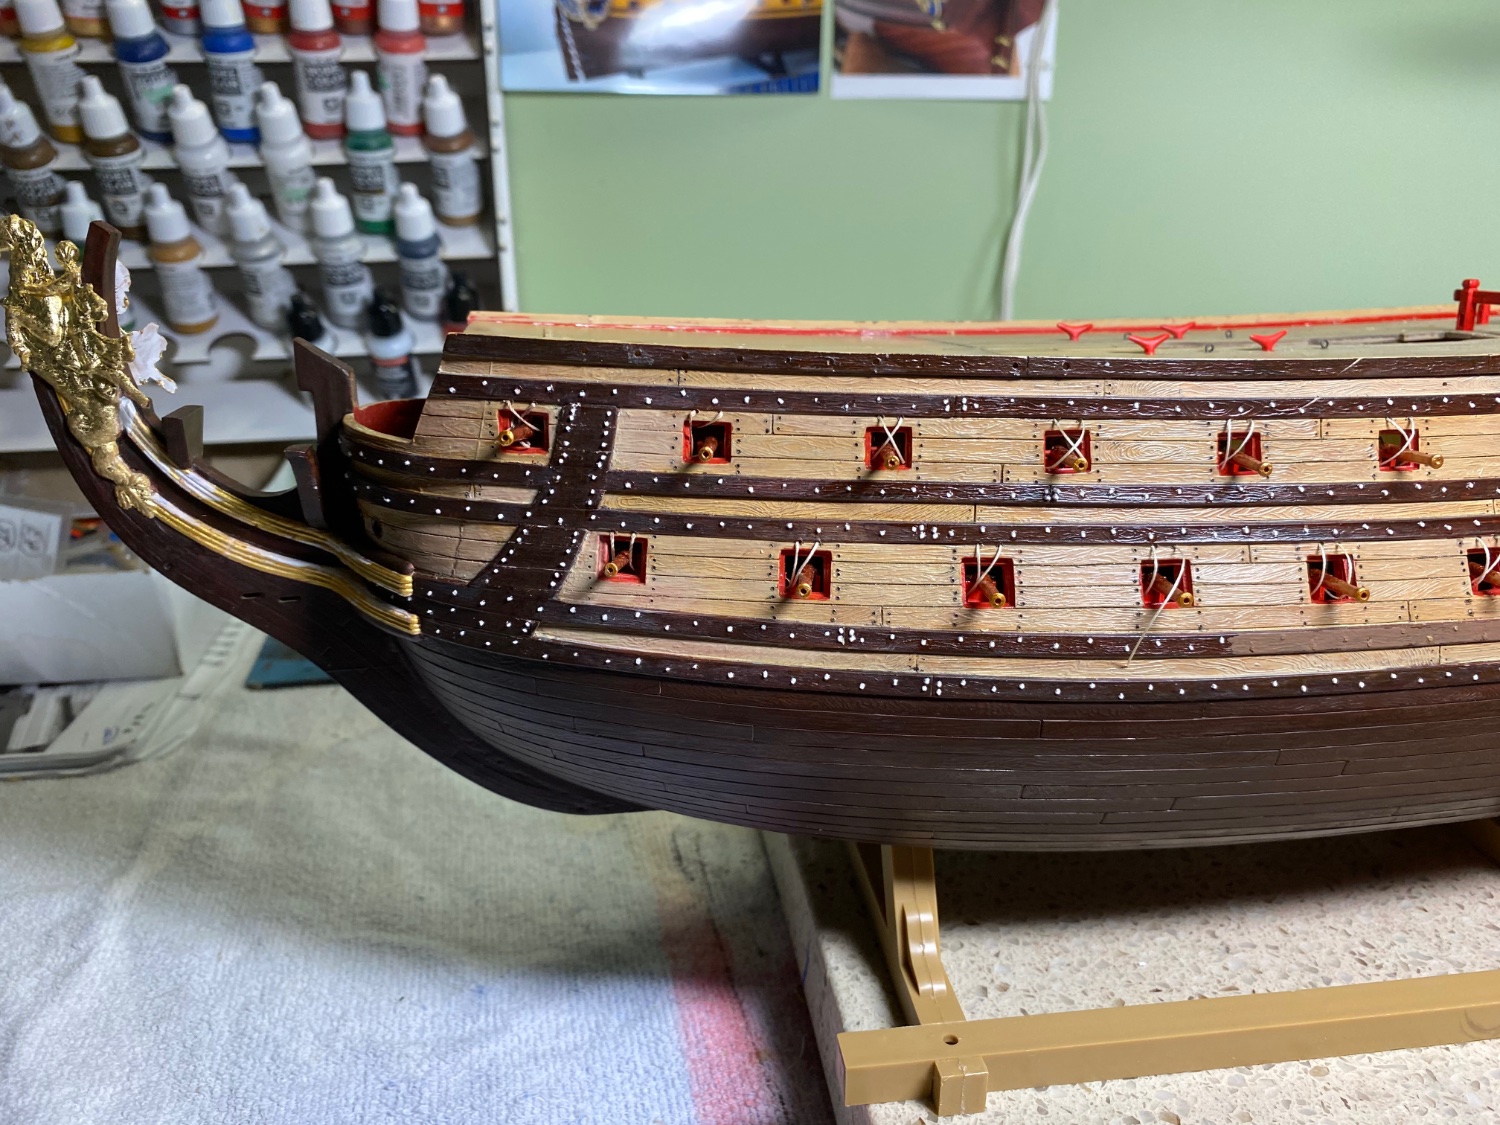
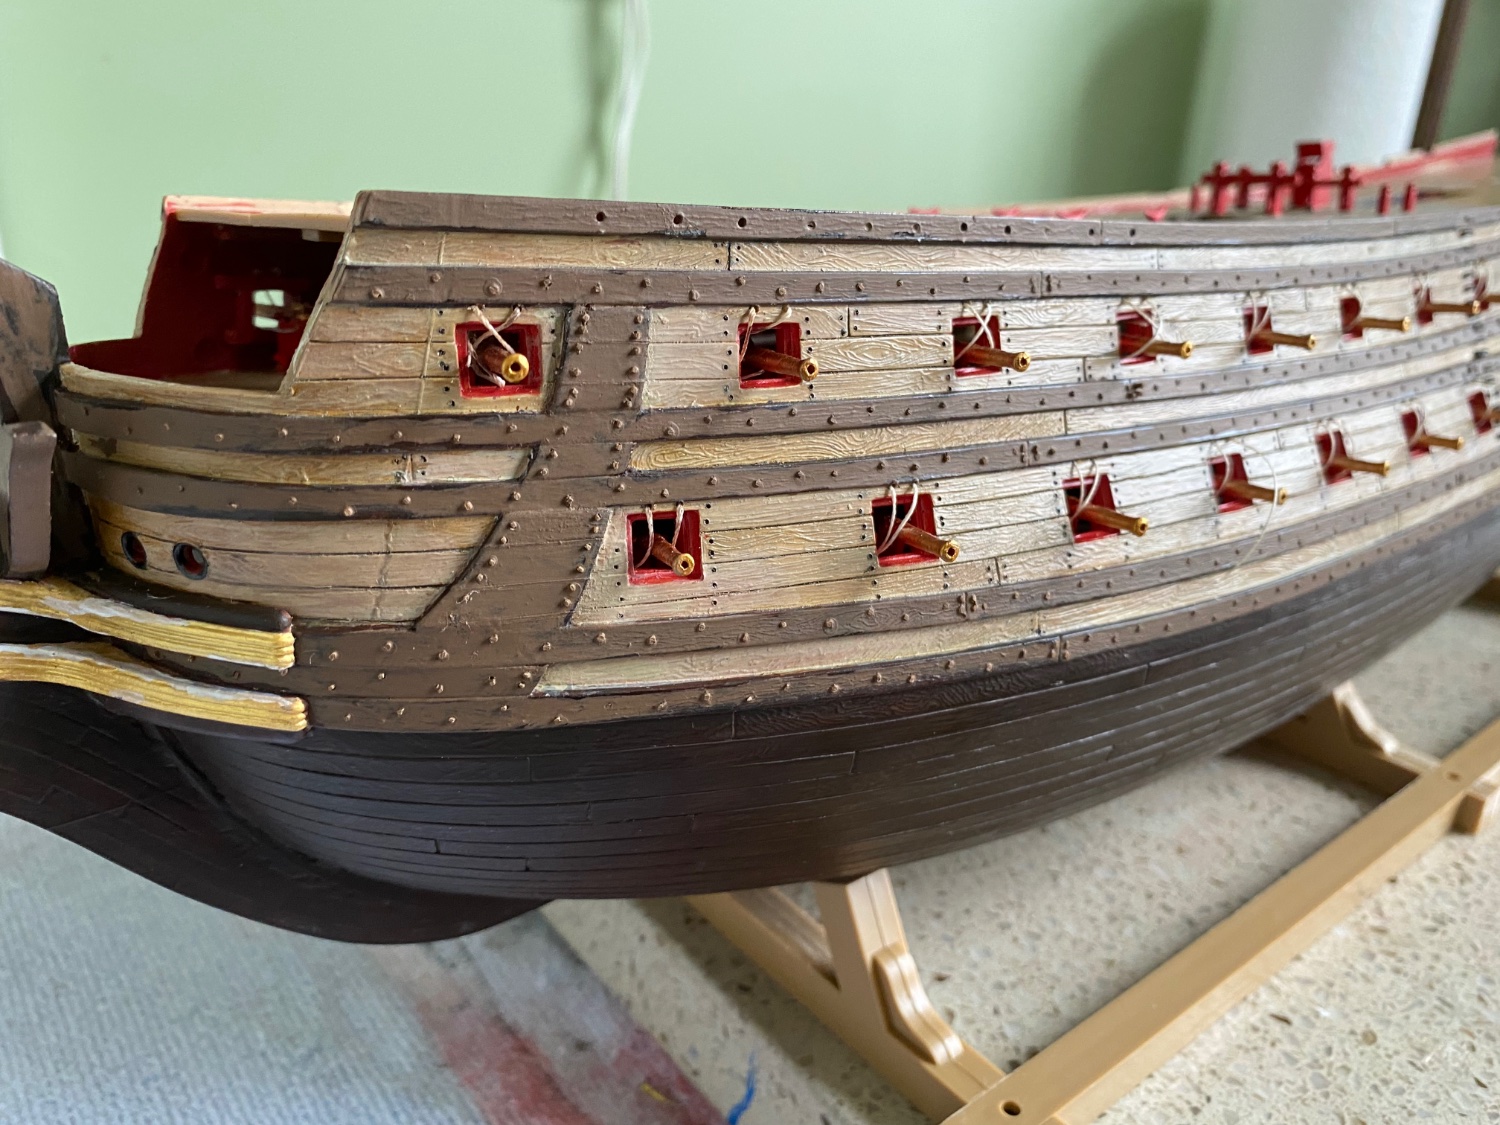
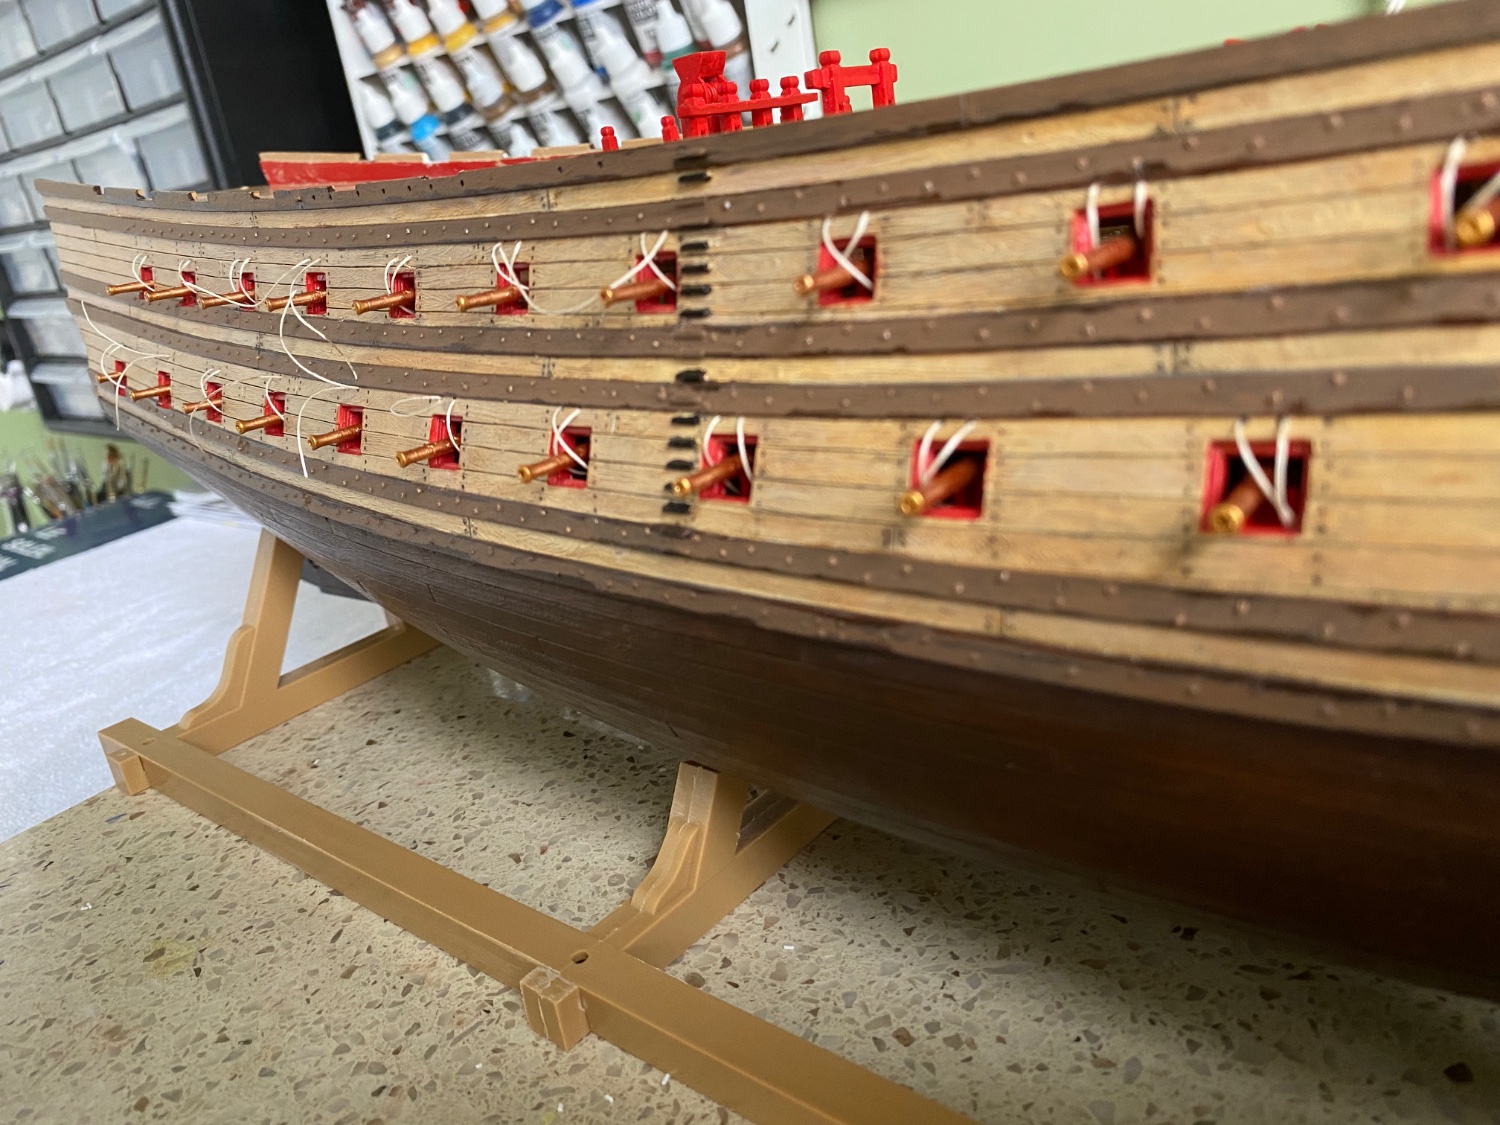
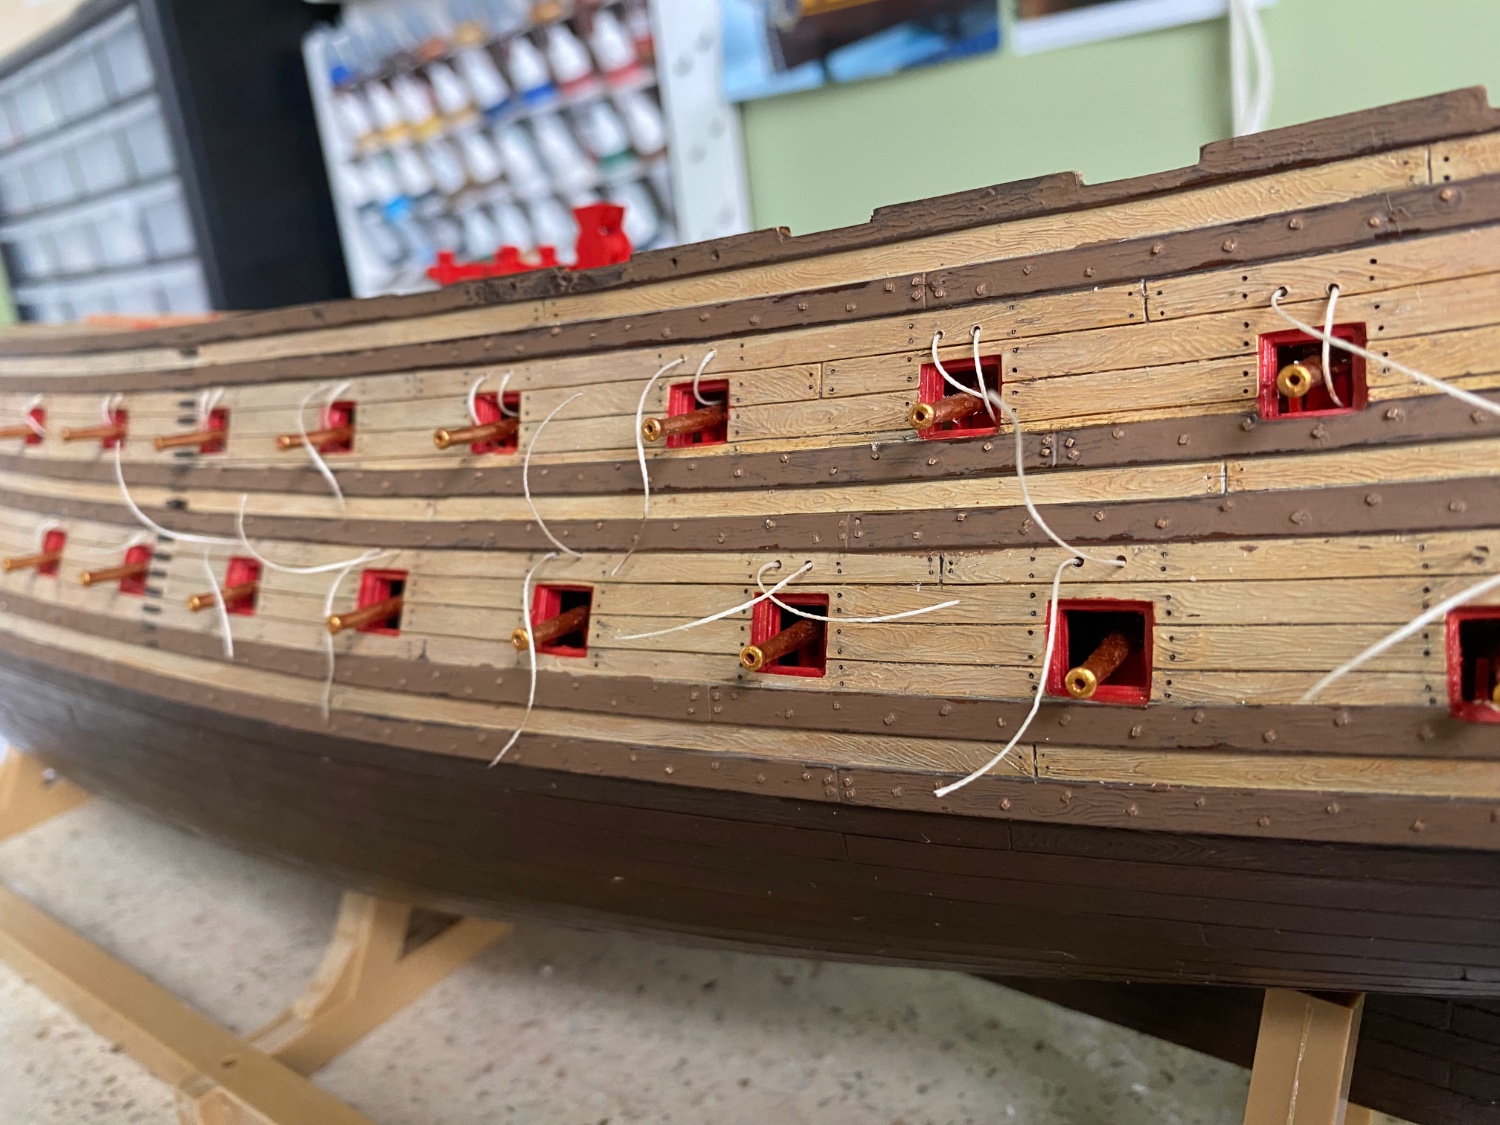
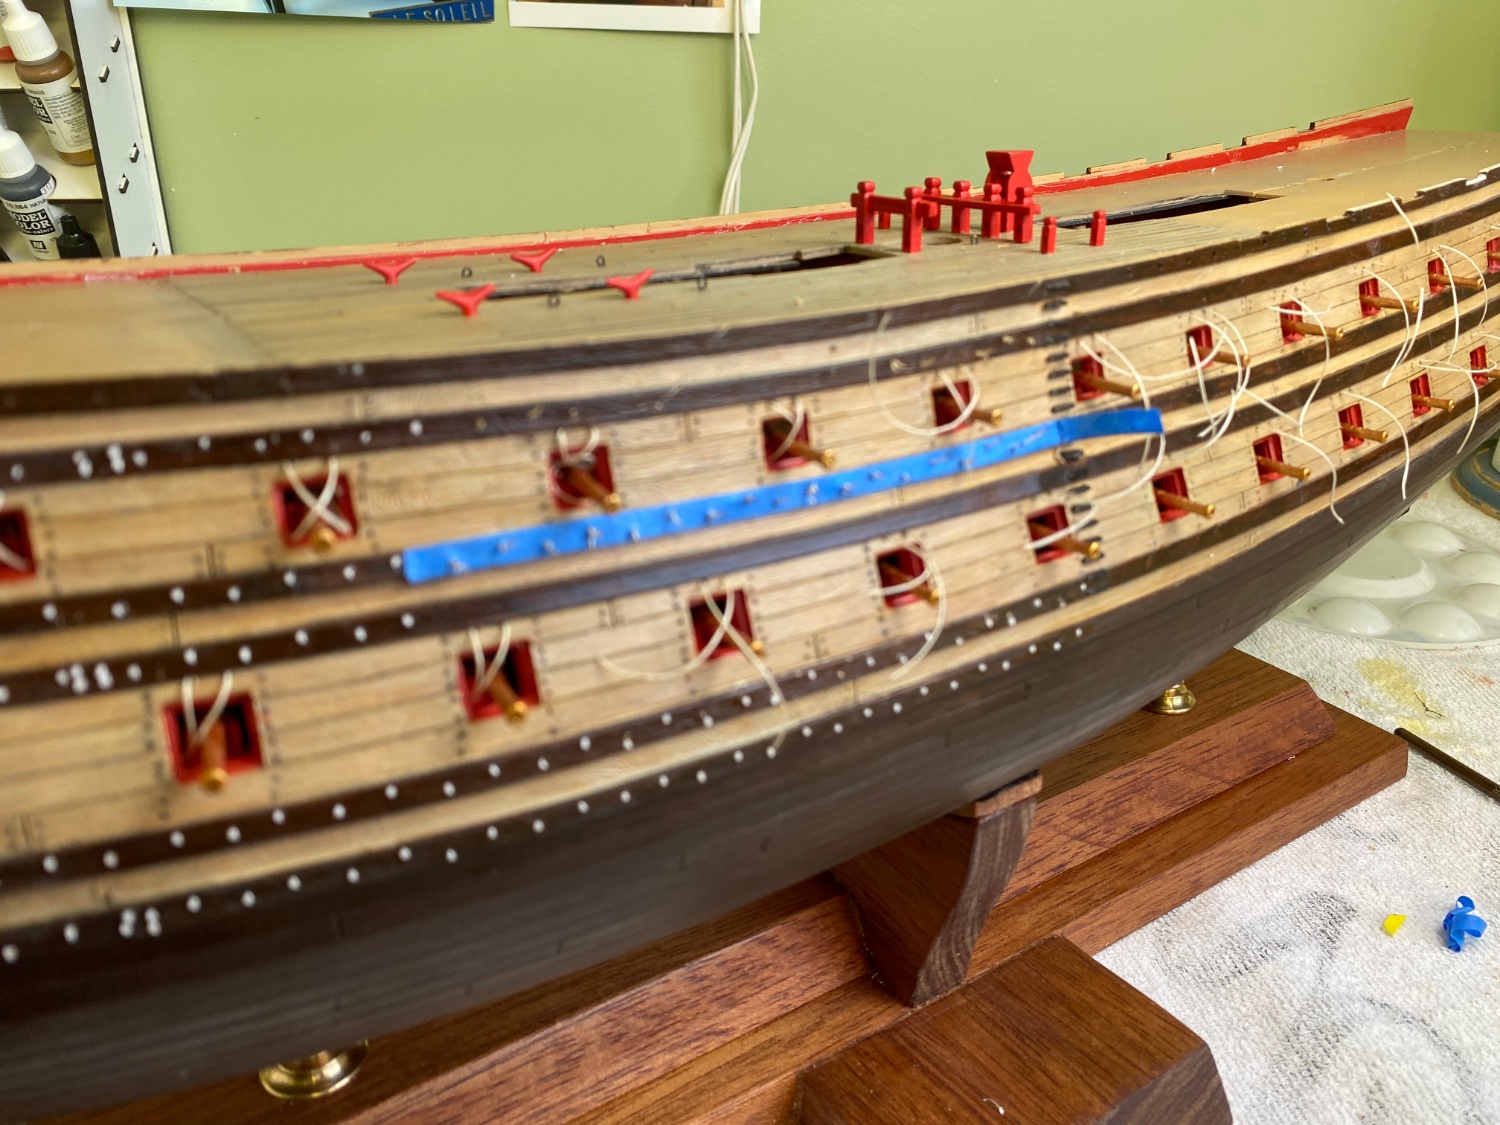
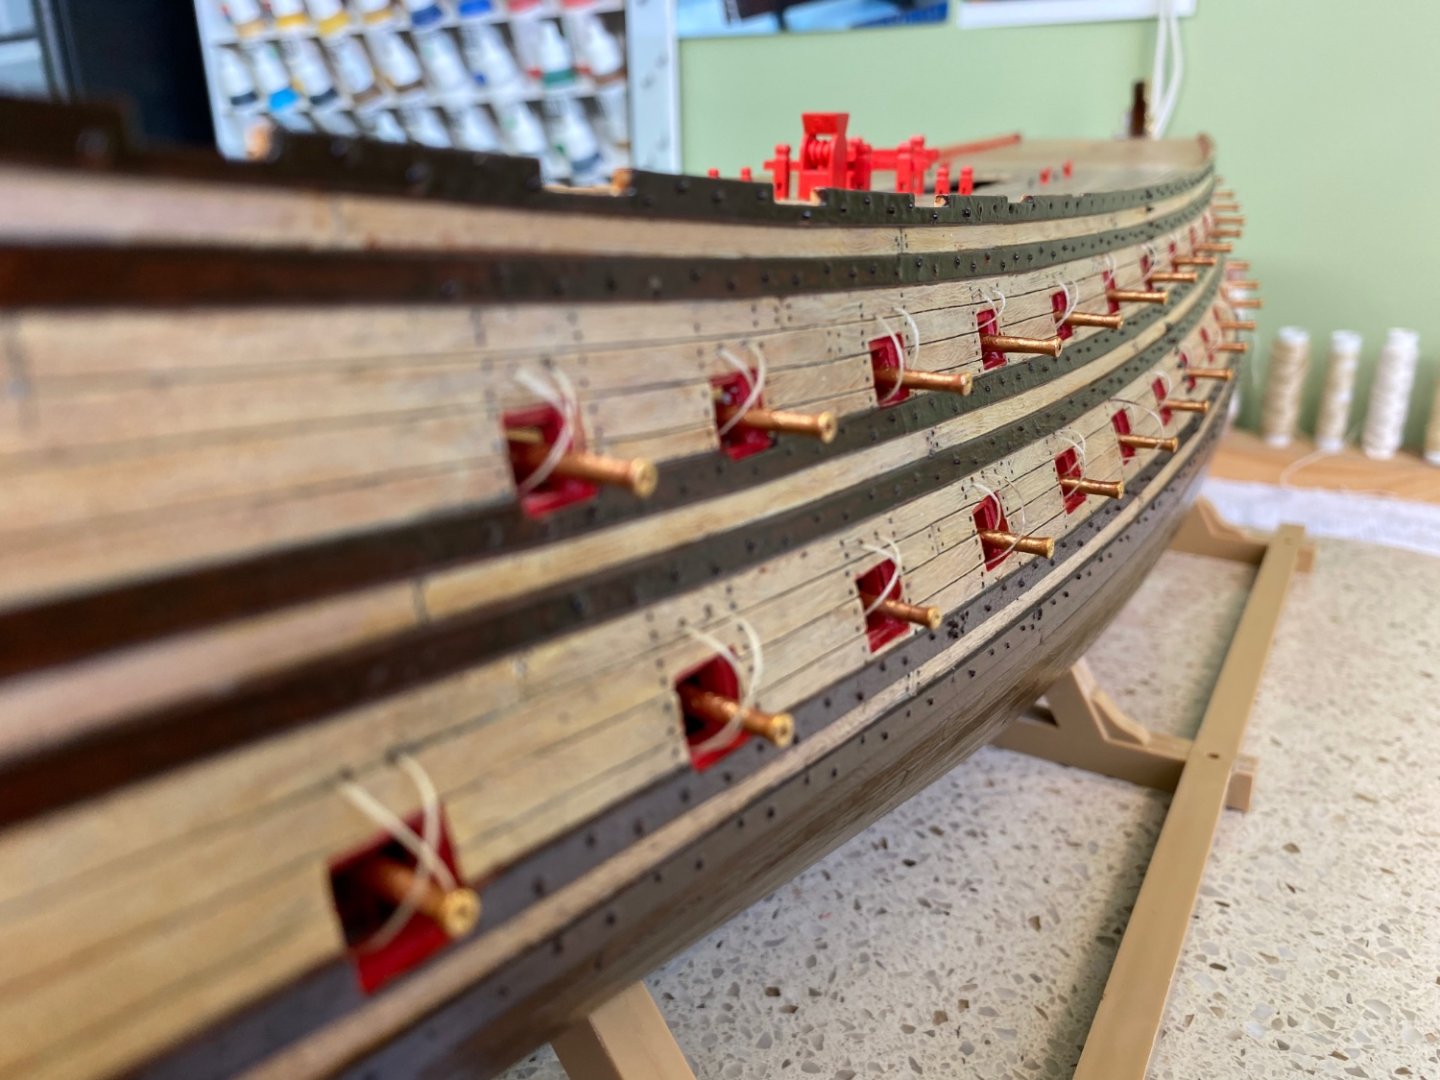
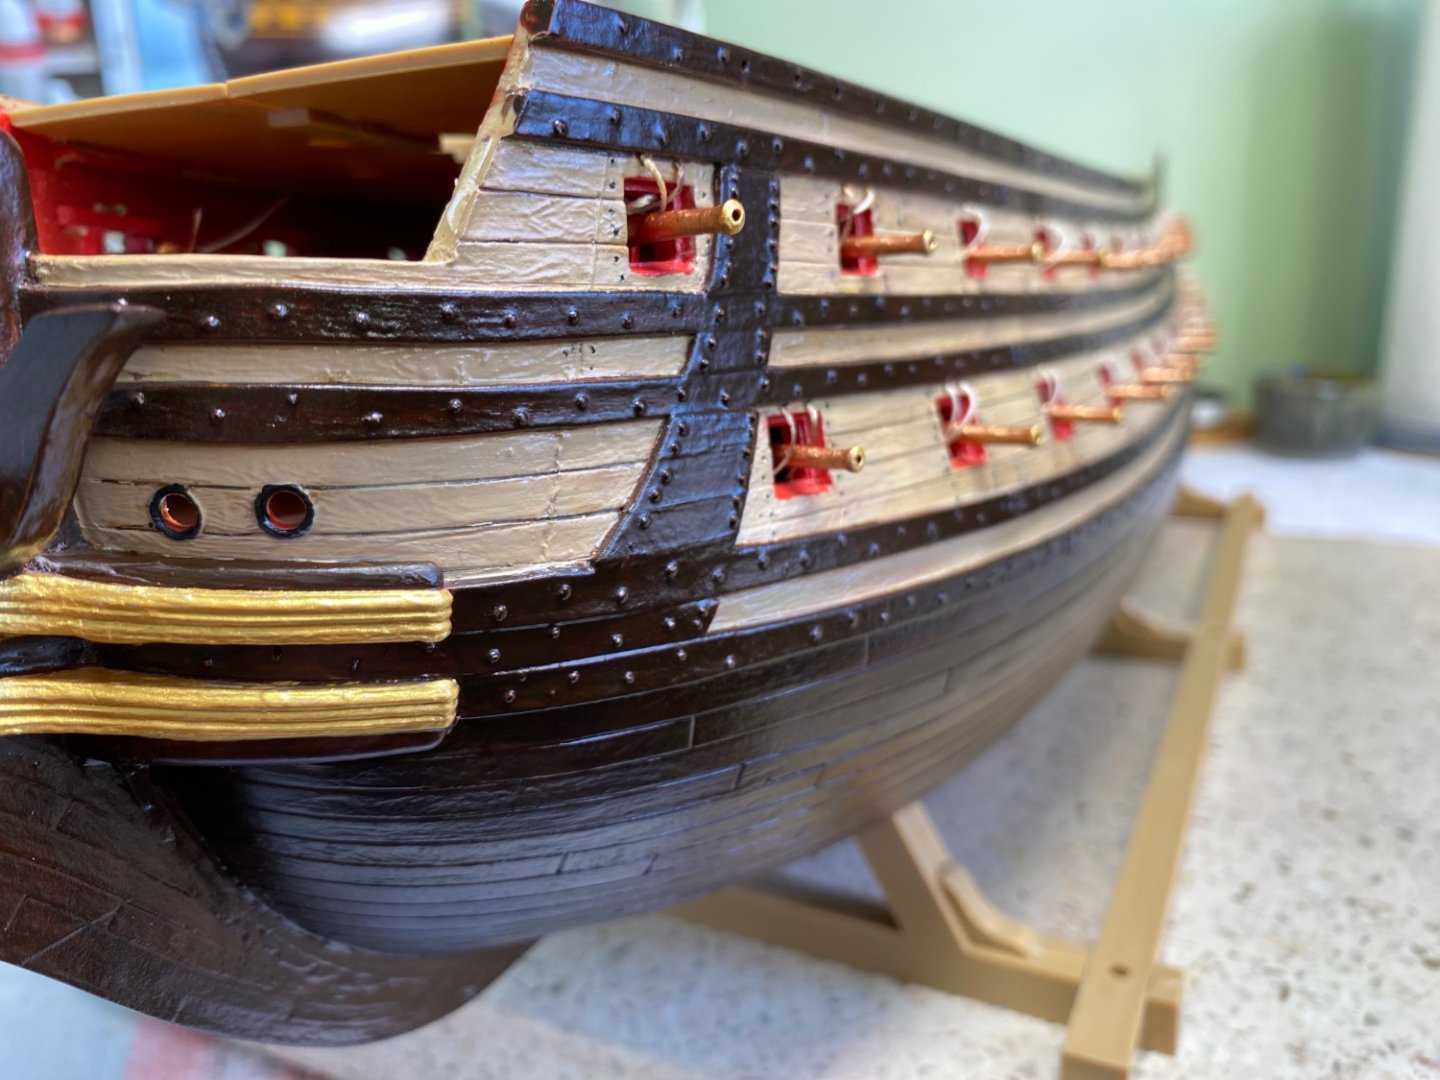
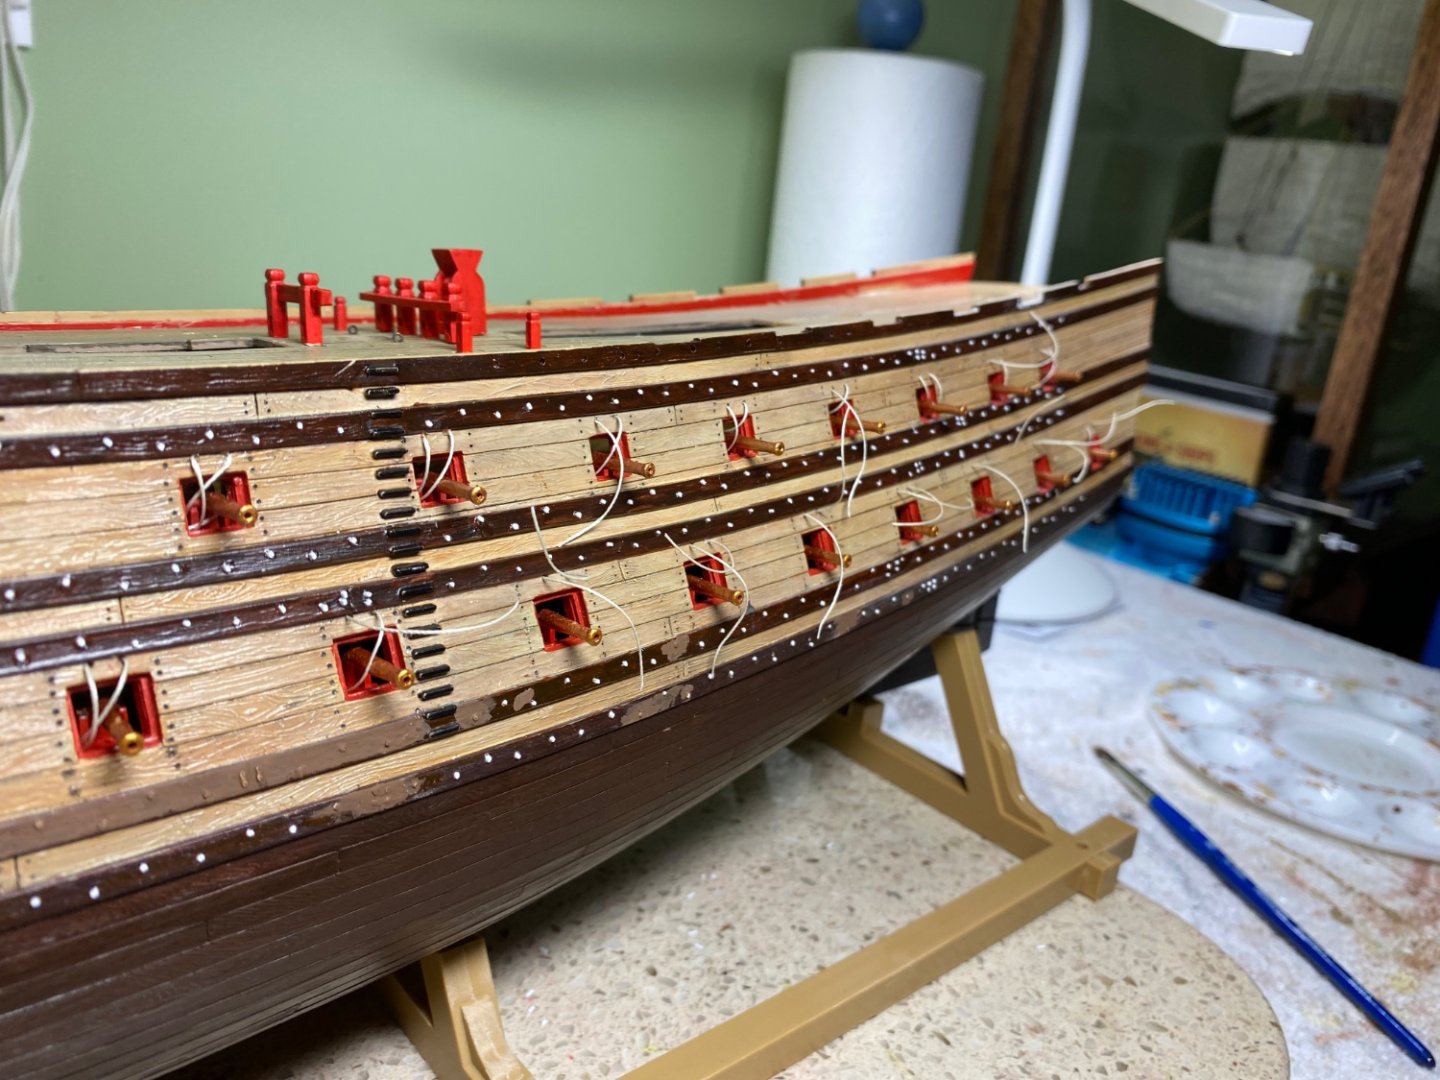
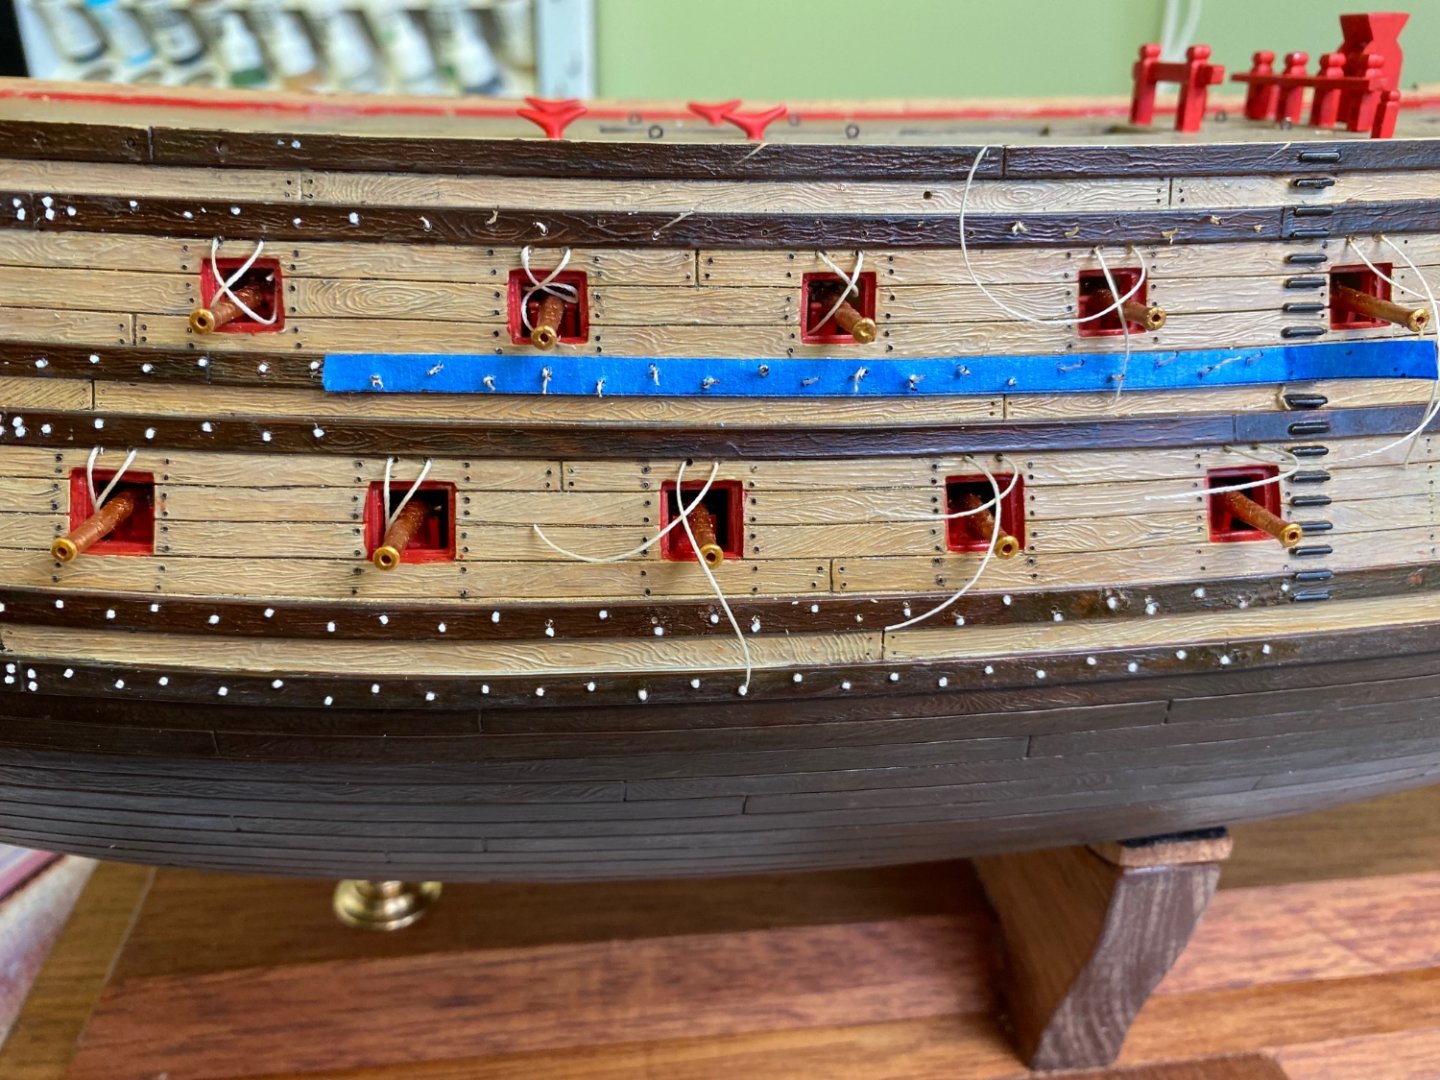
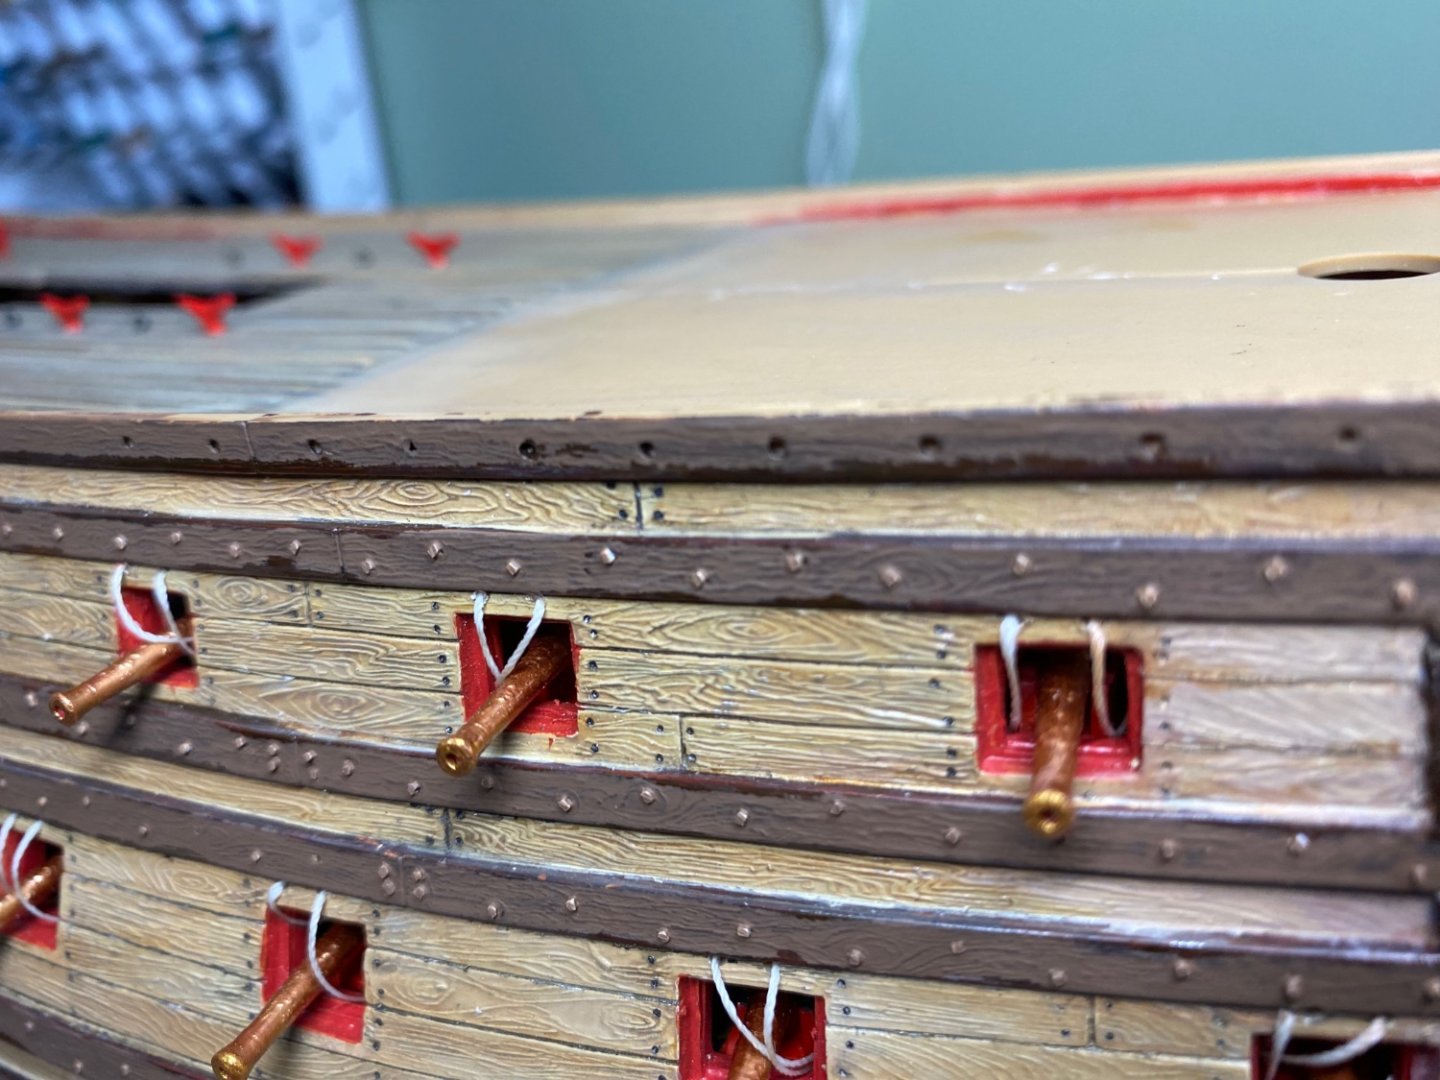
OK after several days of working on the bolts in the wales I have them finished and all the paint touch up done as well. I think I am pleased!


- 1,508 replies
-
- 5
-
-
-
- Le Soleil Royal
- Heller
- (and 1 more)
-
Thanks Ian. Happy New Year too you as well!
-
Thanks Marc. So I have one more wale to do.
-
Got the bolts in the wales on port and starboard sides, and a coat of surface primer. I took the hull off the base I made until I am completely done with the hull including touch up painting. Did not want to risk messing up my mahogany base. Marc what pattern did you use for the top wale that connects with the upper bulwarks? I noticed there are some molded holes (half way through) about 1/2” apart along the wale.


- 1,508 replies
-
- 2
-
-
-
- Le Soleil Royal
- Heller
- (and 1 more)
-
Marc a lot of people are getting wet in Time Square!😬
-
My same thoughts Marc about Time Square when I watched it on TV. I will be spending the weekend safely in as well.
- 1,508 replies
-
- 1
-
-
- Le Soleil Royal
- Heller
- (and 1 more)