HOLIDAY DONATION DRIVE - SUPPORT MSW - DO YOUR PART TO KEEP THIS GREAT FORUM GOING!
×


Bill97
-
Posts
2,704 -
Joined
-
Last visited
Content Type
Profiles
Forums
Gallery
Events
Everything posted by Bill97
-
Happy New Year my friend. Will you be hanging out in Times Square? If so, I will pick you out in the crowd on TV. 😀 Glad you do not live in Buffalo? Wow that is a lot of snow!
- 1,508 replies
-
- 1
-

-
- Le Soleil Royal
- Heller
- (and 1 more)
-
Thanks so much Marc. This is all so helpful. Time is the biggest commodity I have to work with, and that is something I need to convince my self of. Honestly Marc I often remind myself there is no hurry, and when I do it is like taking a deep relaxing breath. In retrospect I think when I was building my HMS Victory I sometimes caught myself feeling I needed to get something accomplished so I could post an update here on MSW. In reading your’s and Henry’s builds I see where you sometimes would go a month or more between posts. I guess my thoughts may have been if I go very long without a post other MSW members might think I gave up on the build and no longer follow. Thereby me losing my great sources of advice.
-
Marc I have pages 16 and 17 of your blog hermetically sealed in my brain. That is the section of your blog where you get deep into the carving, molding, and attaching the dolphins and whatever the nautical name is for the pieces above and below the gun hatches. I am fascinated by this and very much want to try to replicate it. It appears to me the most intense part of this task will be the actual carving of the pieces out of styrene. Attaching the carving to a block, making the mold, casting the piece, and then finalizing it for attaching it to the ship all starts with a good carving. Again another task/project for the future of my build. I already have my products for molding and casting. Curious if you remember the thickness of the styrene you used and any other advice you could share. It appears to me that once I get the bolts in the wales and any other refinements on the hull, I am going to be setting the hull on a shelf out of the way and concentrating a lot of time making beautiful upper wales. Which I am really looking forward to.
- 1,508 replies
-
- 1
-

-
- Le Soleil Royal
- Heller
- (and 1 more)
-
Henry and Marc I hope you guys consider it a compliment when I tell you that your builds of the SR are now my primary go to references. I love both of your builds and garner so much information and great new ideas from both. In the end (years from now) the overall physical shape of my SR will more resemble your’s Henry since I am obviously not doing the complete hull modifications that you did Marc. But I am taking so many great ideas from both as you can witness as I move along. I got the idea to fill the area between the knees with a solid piece and then to garnish it with molded ornaments from Henry. Now I am wanting to use that mold process to make the ornamentation that will go above and below the gun hatches as Marc did. And of course Marc your mind numbing wale bolts and anchor protection area (forget what it is called). Henry your rigging pieces are impressive and make me anxious to experiment with making them, like the brass tube thimbles I asked you about yesterday. I often teased with Ian that I was going to add his name to my HMS Victory name plate as a co-builder! I will for sure include the both of you as co-builders of my SR! 😊
- 1,508 replies
-
- 2
-
-
-
- Le Soleil Royal
- Heller
- (and 1 more)
-
Thanks Henry. I am glad to have all this advance knowledge of techniques to practice and master way in advance of needing it. While building my Victory I pretty much learned on the fly as I came to an idea or task.
-
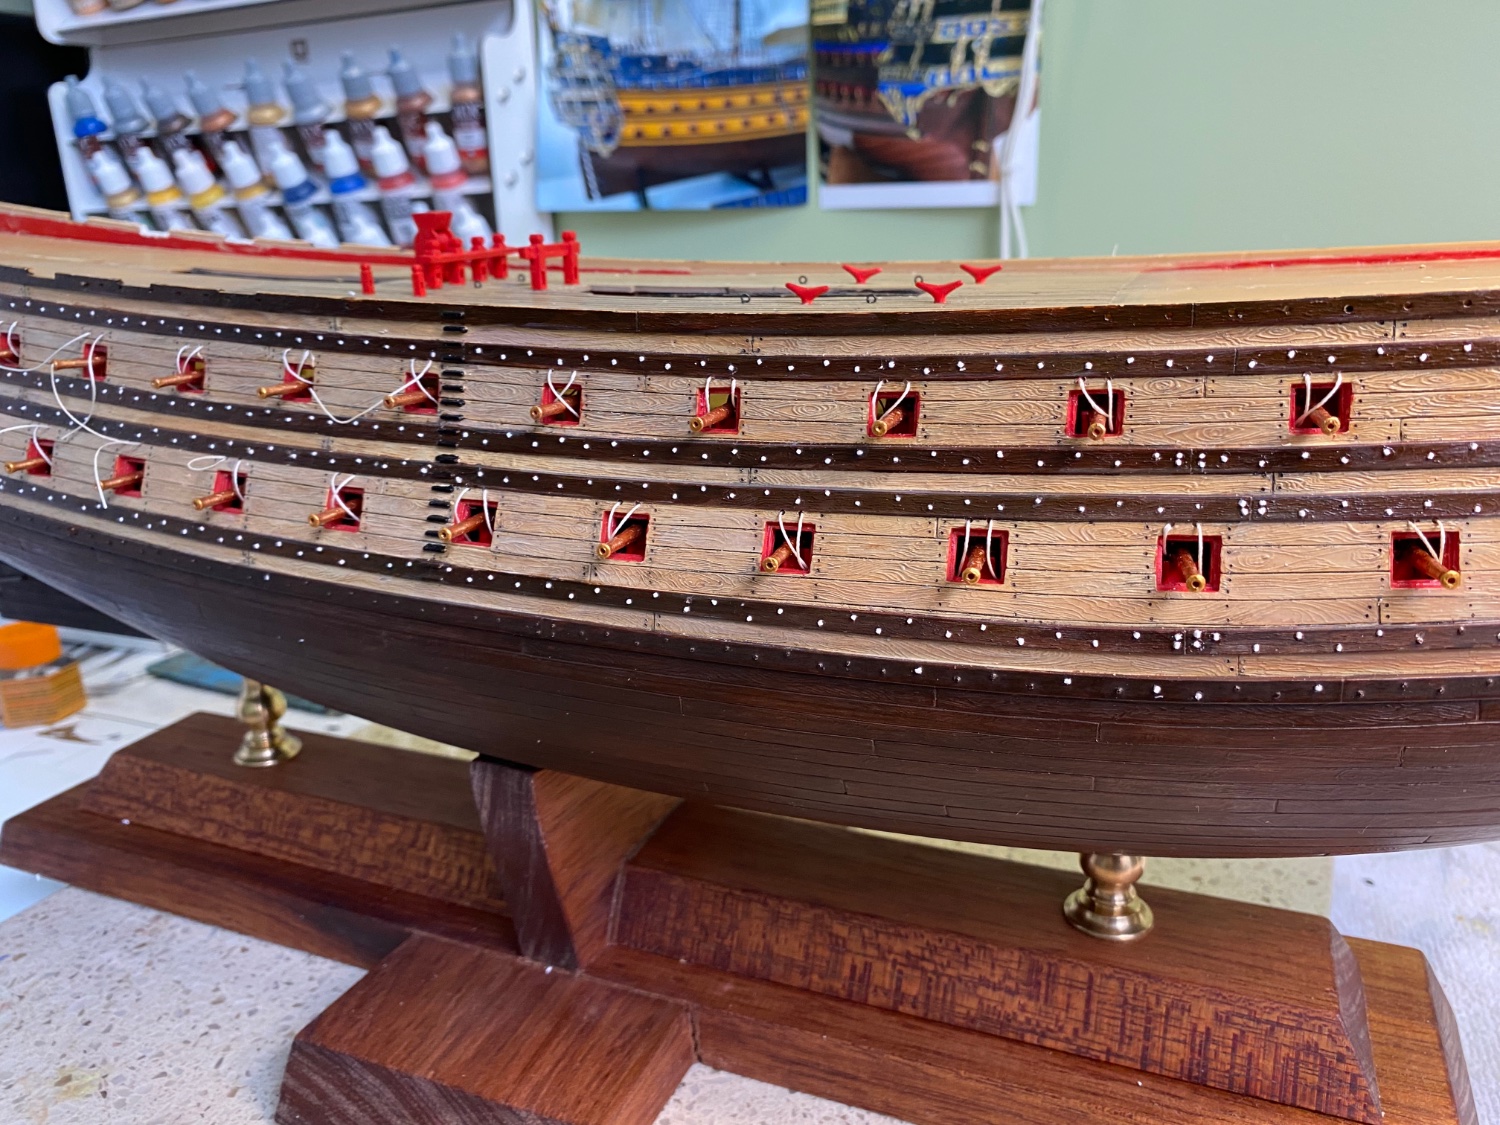
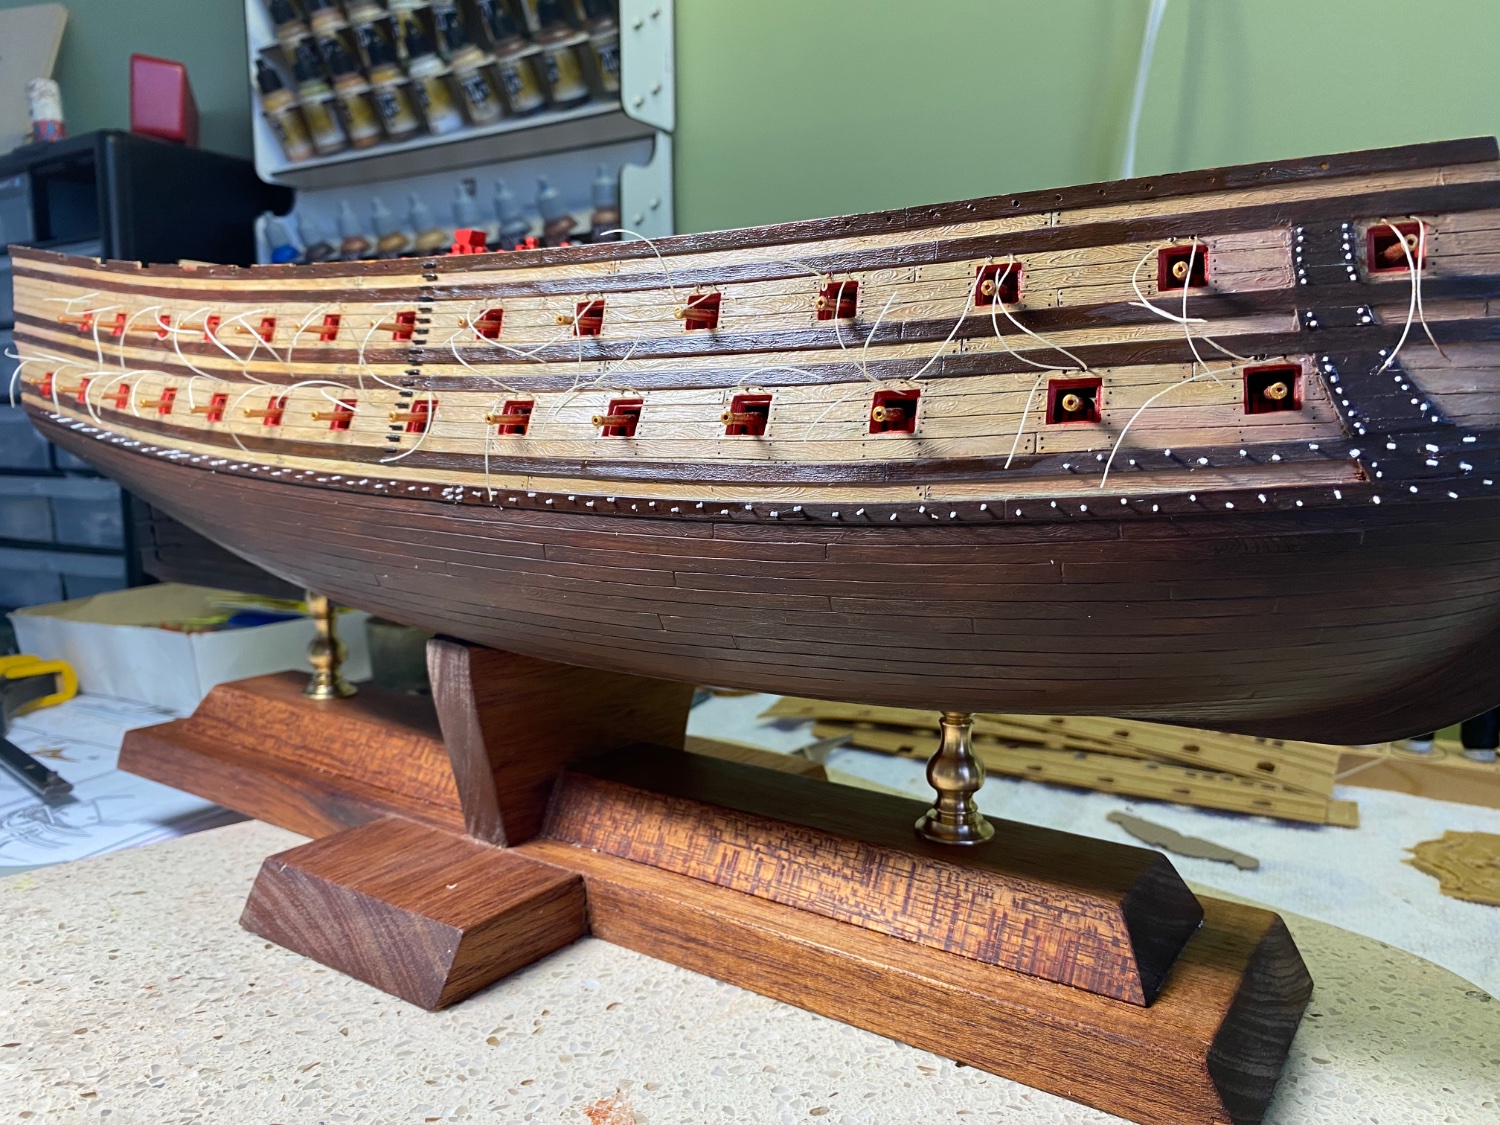
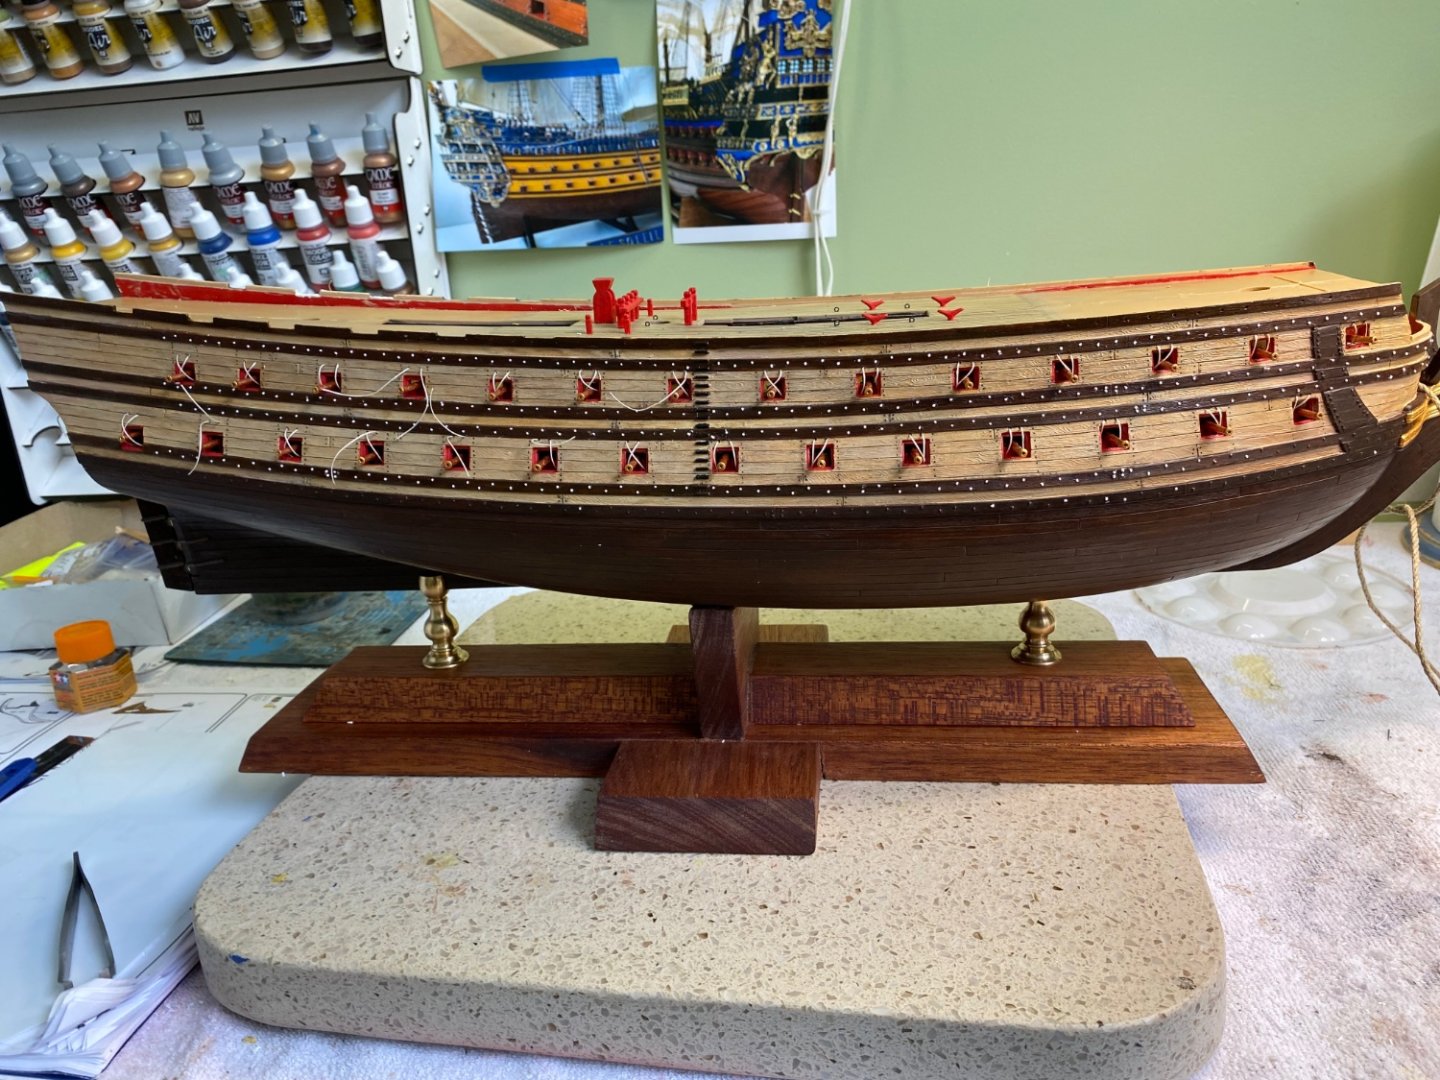
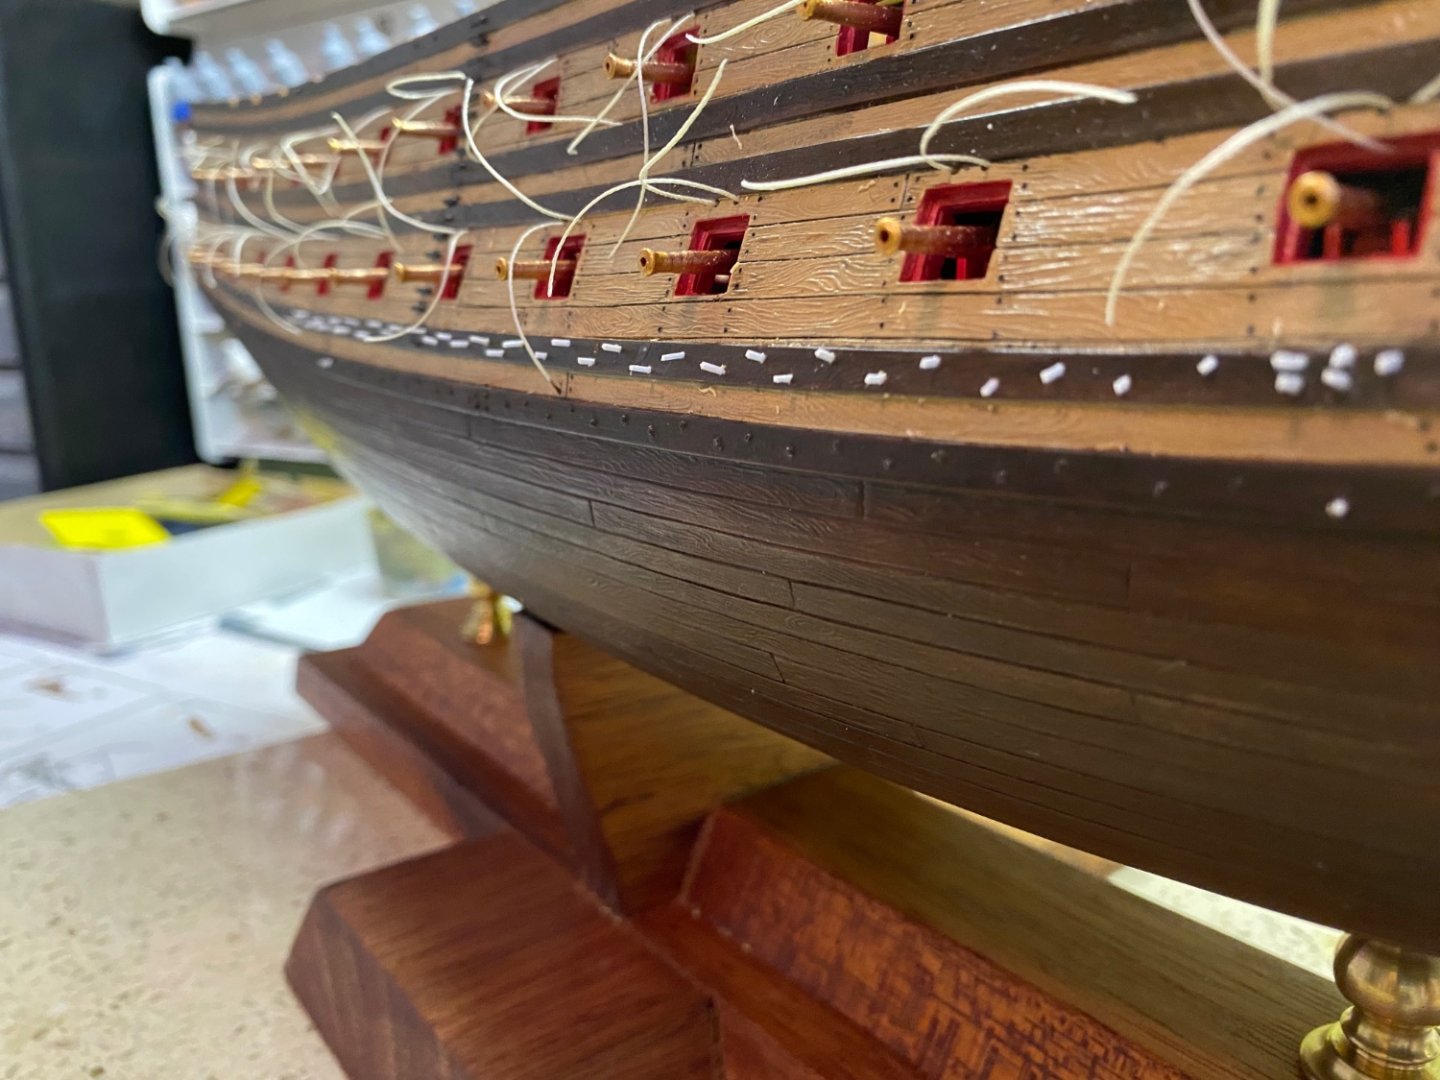
Starboard side wale bolts almost complete. Still need top wale. Of course still need painting. Then around to the port side.

- 1,508 replies
-
- 5
-
-
- Le Soleil Royal
- Heller
- (and 1 more)
-
Henry this is just a curiosity about your building process. When you are making something new like this thimble do you make them as you need them or just make a bunch at one time? I know you make your eyebolts and other similar hardware in bunches, as I do. But these thimbles appear to be time consuming and delicate. I guess there is really know way in advance to know how many you will need for your rigging.
-
Something new for me to experiment with! 😊
-
Henry every time I read through a portion of your blog I stumble on a new thing or idea that impresses me! Kind of like a kid looking through a toy store catalog 😊. Back in 2018 you have a post showing how you made thimbles using a slice of a tiny brass tube. That is fascinating and I really like it. What made you decide to go that route over a wood thimble? It also appears you left it brass instead of blackening it. Something I also like. What was your thought there. Really like the idea of using them for the stirrups. Bill
-
Kevin that is a nice pickup of your new Olympus. Should really make your micro photography come alive.
-
Thanks guys. How cold are you today? Here in Louisville we are starting the morning at -5 degrees! Not going anywhere today, except maybe to the shipyard for a while 😀.
-
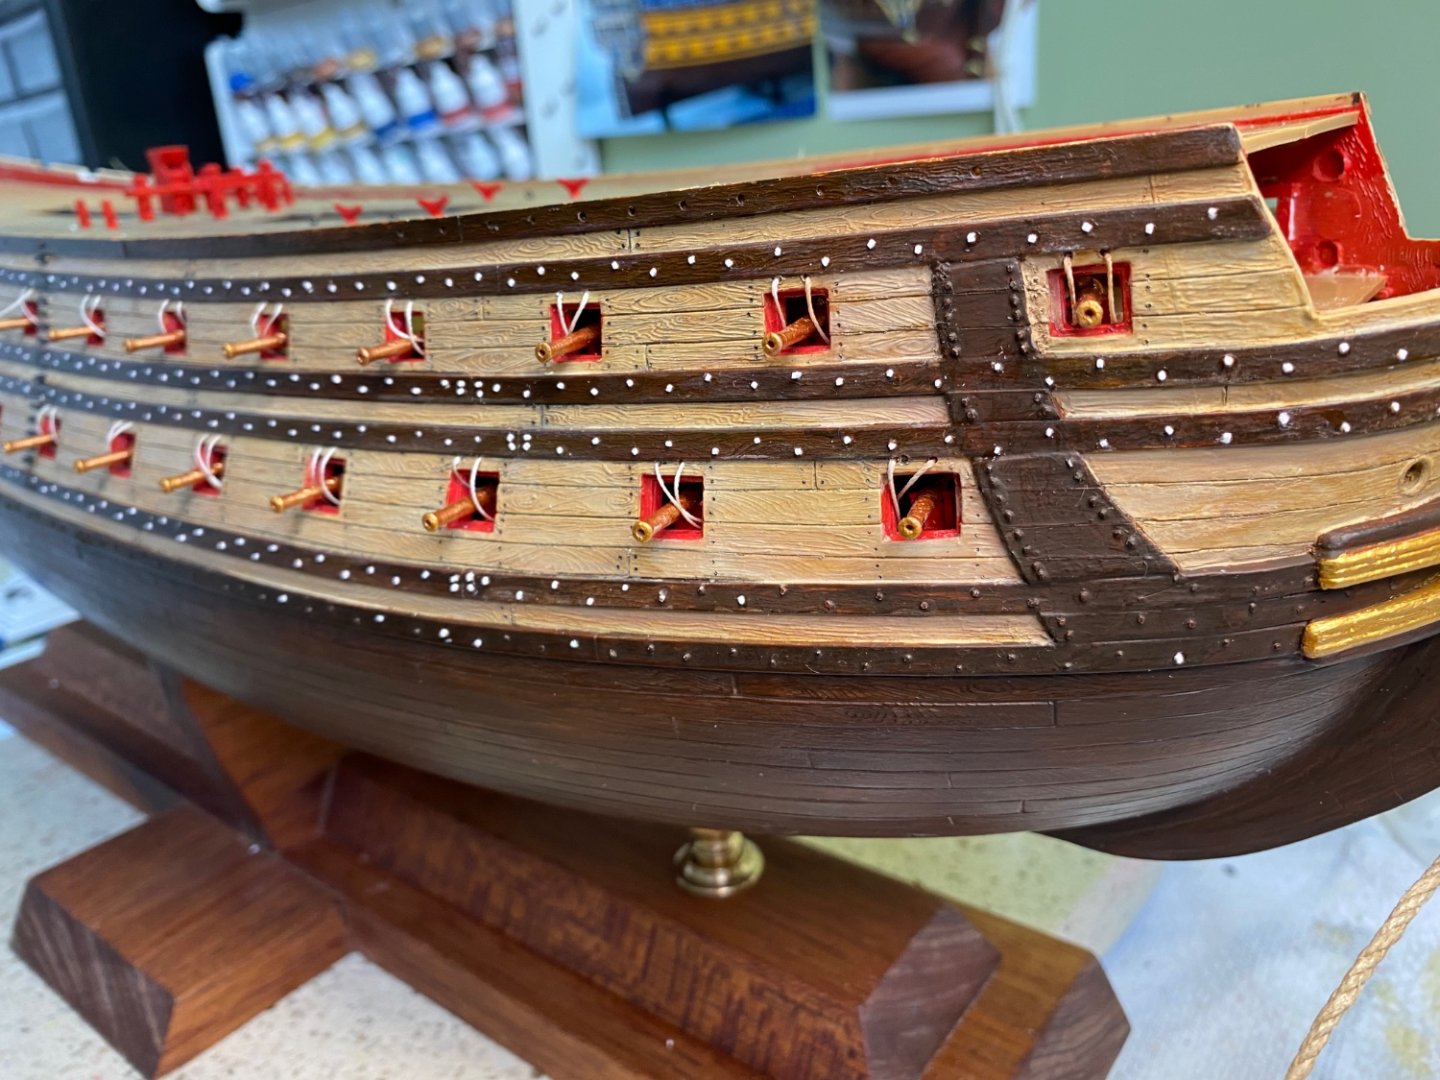
Pssst! 🤫 Don’t tell my wife I snuck into the ship yard when I was supposed to be doing other Christmas prep chores. I installed my new appropriate anchor rope, trimmed all the bolts on the lower wale even, gave that wale a coat of paint, and started adding the bolts to the second wale. I accidentally cut a few bolts on the lower wale flush with the wale so had to replace them. Now to quickly get back to what I was supposed to be doing!


- 1,508 replies
-
- 6
-
-
- Le Soleil Royal
- Heller
- (and 1 more)
-
Like most everyone else my time in the “boat yard” over the next several days will be quite limited. So much to do and get done for Christmas! Hope to find a little time here and there but we will see. All you guys have a Merry Christmas and safe New Year. Will get back after them bolts in 2023! 😊
- 1,508 replies
-
- 2
-
-
-
- Le Soleil Royal
- Heller
- (and 1 more)
-
Thanks Marc.
-
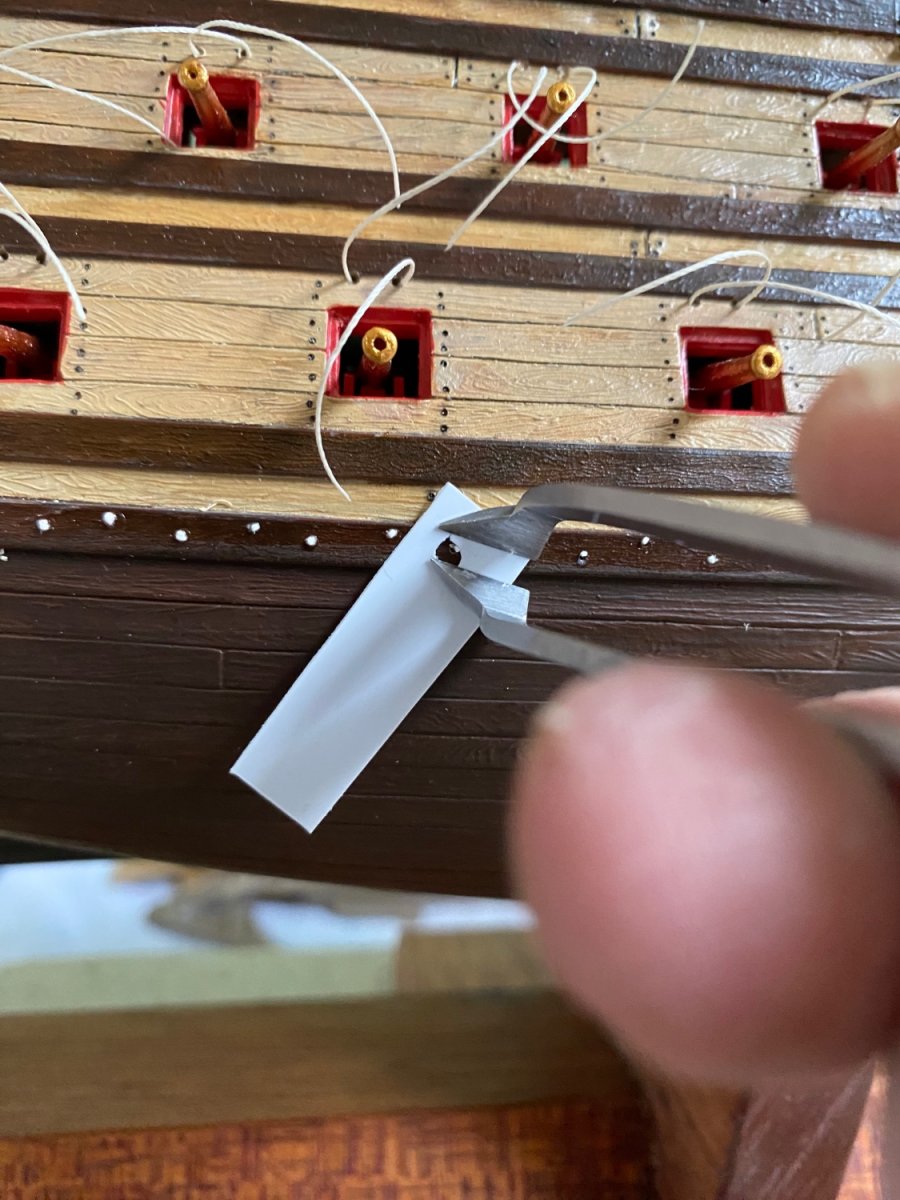
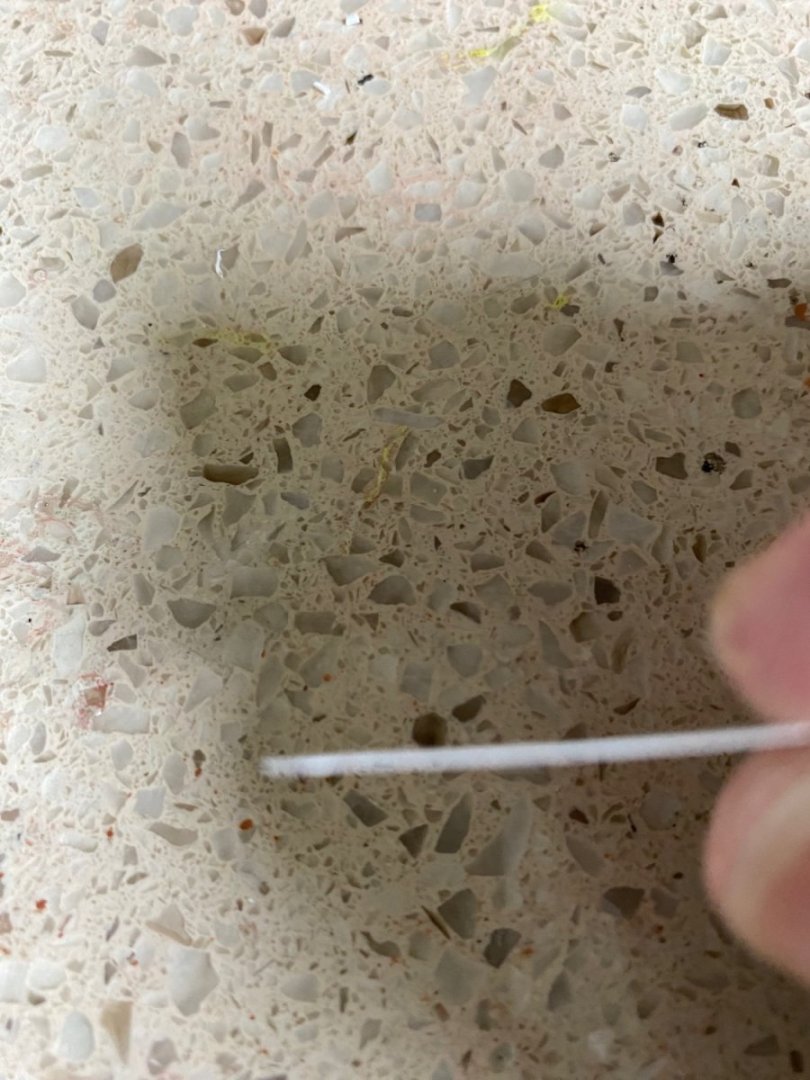
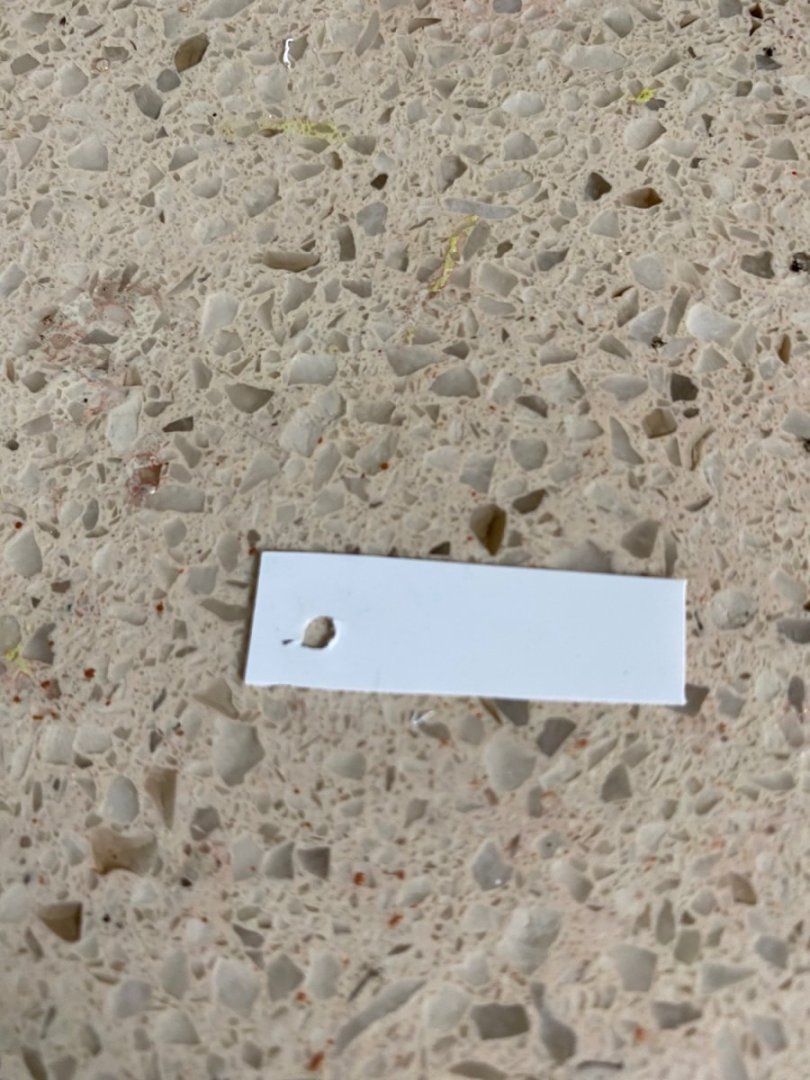
This is the process I am using to get them cut uniformly. I cut a piece of .01 mm evergreen and drilled a hole in it. I then place the hole over the “bolt” and press my clipper up to the evergreen and clip off the bolt. This gives me a uniform .01 mm bolt. I also tried a .02 mm piece of Evergreen as the shield getting a .02mm bolt. You mentioned 1/64” which is .015 mm. Was not sure if I should go up to .02 mm or down to .01 mm bolt.

-
Marc I notice in the photos, I assume those are from Herbert, that he spaced the bolts on the wales differently than you did and I have started doing. He has a pair together, then moves down the wale for another pair, and so on. You and I have a constant pattern of top of alternating top bottom bolts.
-
Marc that is what I will try for. Thanks This is a pretty nice step back. Glad I decided to do it.
- 1,508 replies
-
- 1
-
-
- Le Soleil Royal
- Heller
- (and 1 more)
-
I plan to clip them pretty short. Just enough to resemble a bolt head. Above Ian references you melting the ends. I thought you said something about that as well. I looked back in your blog to the comments from Dan and you. Around comment 236 or so. You and talk about clipping them off and using an emmory board but I don’t find anything about heat. Did I miss that somewhere? One suggestion, which might speed up the bolting process a bit - drill shallow holes with an 0.022" bit, dip the end of your 0.020" rod into some glue and insert into the hole, clip close with cuticle nippers. No need to cut such small discs off the rod and try to apply them individually. I've just been experimenting with Dan's suggestion for the through bolting, and it really works like a charm! There is no excess glue and you can emmory board them to height immediately.
-
Yes. That will be a bit later. Right now Marc it is your fault my eyes or crossing! 😀

- 1,508 replies
-
- 6
-
-
- Le Soleil Royal
- Heller
- (and 1 more)
-
Clipped styrene ends. Not to difficult a process. Probably commit to doing the wales.

- 1,508 replies
-
- 2
-
-
- Le Soleil Royal
- Heller
- (and 1 more)
-
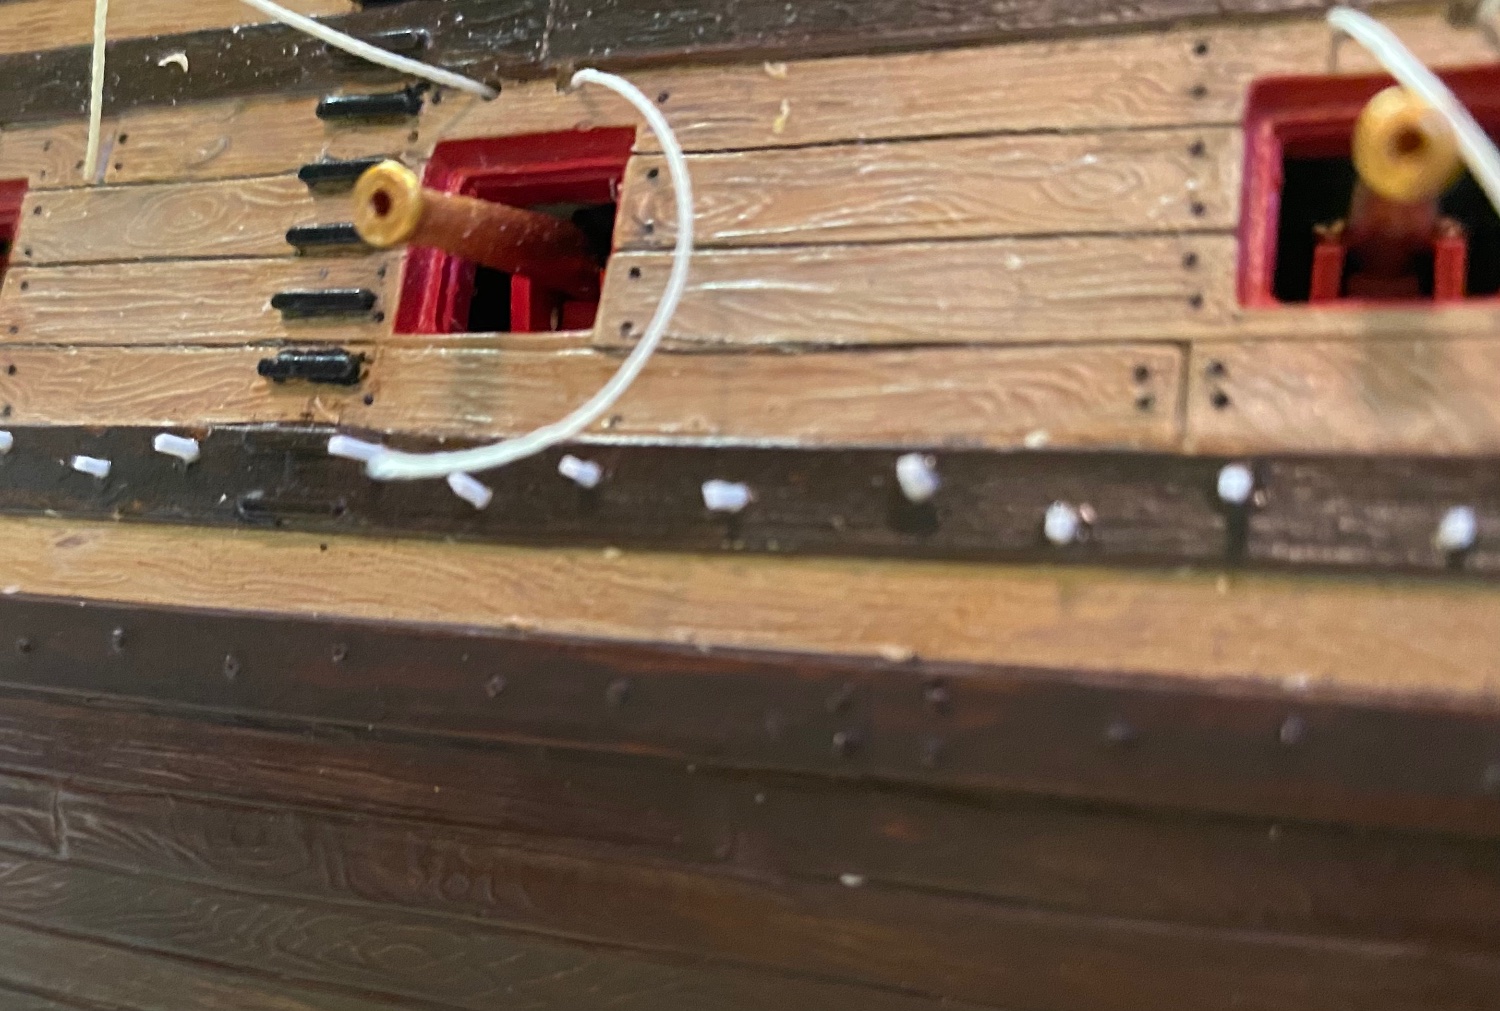
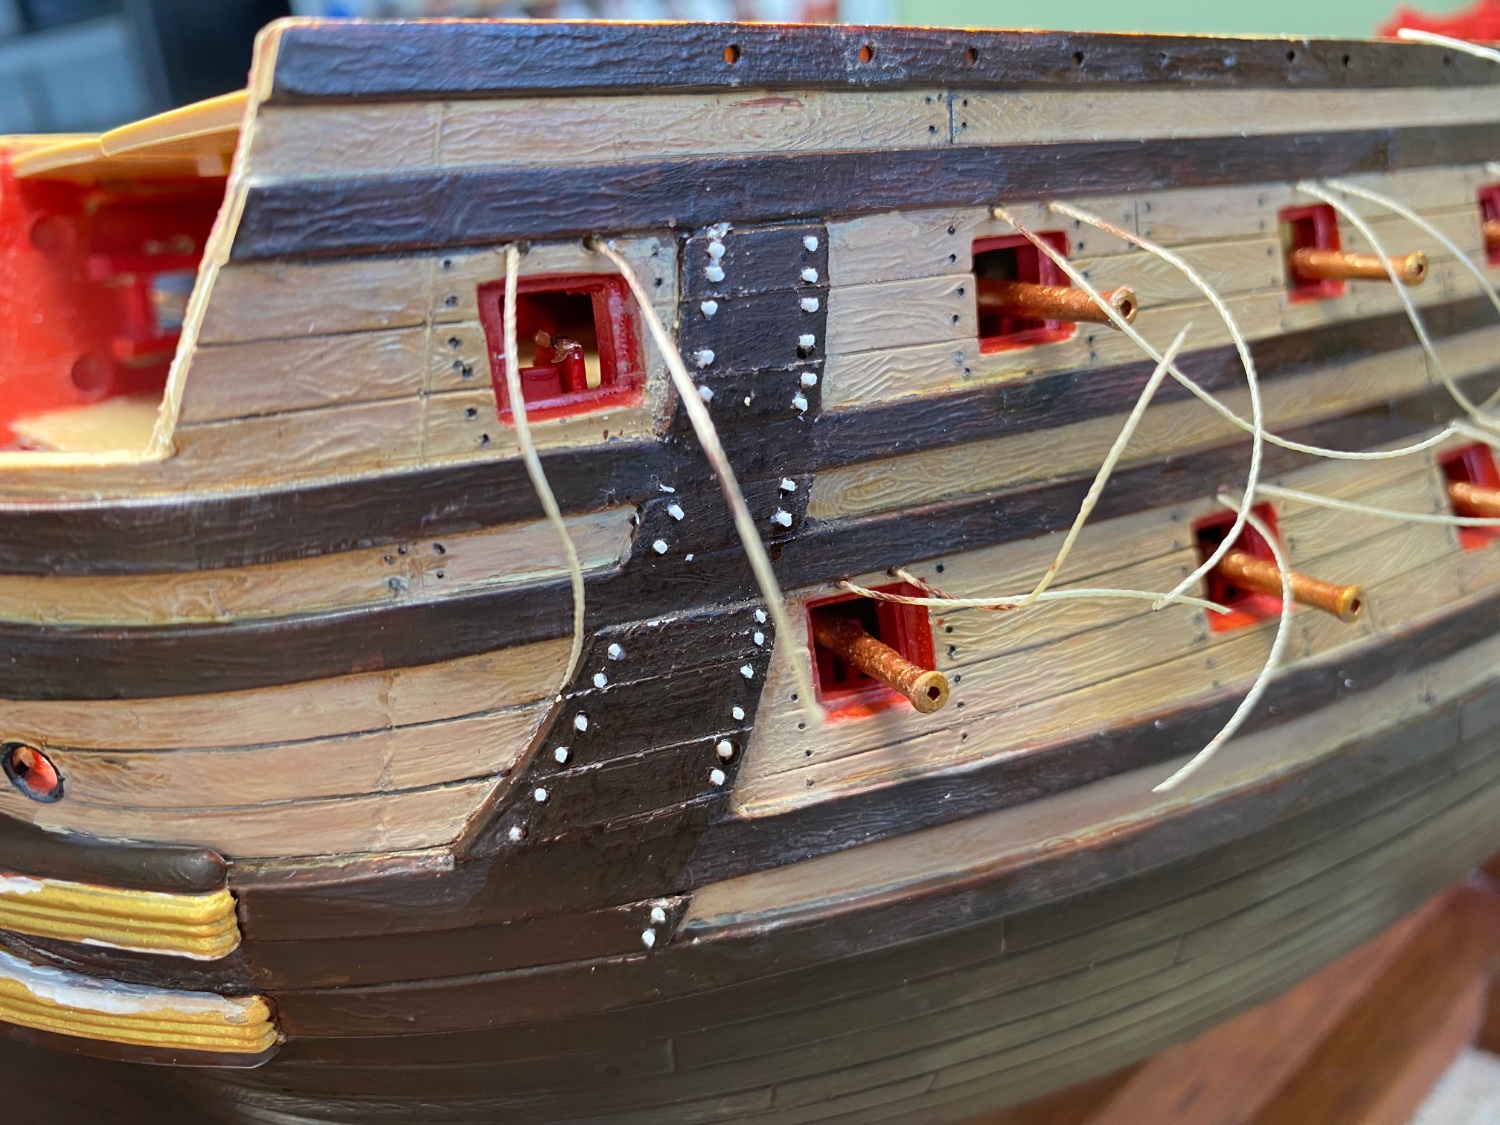
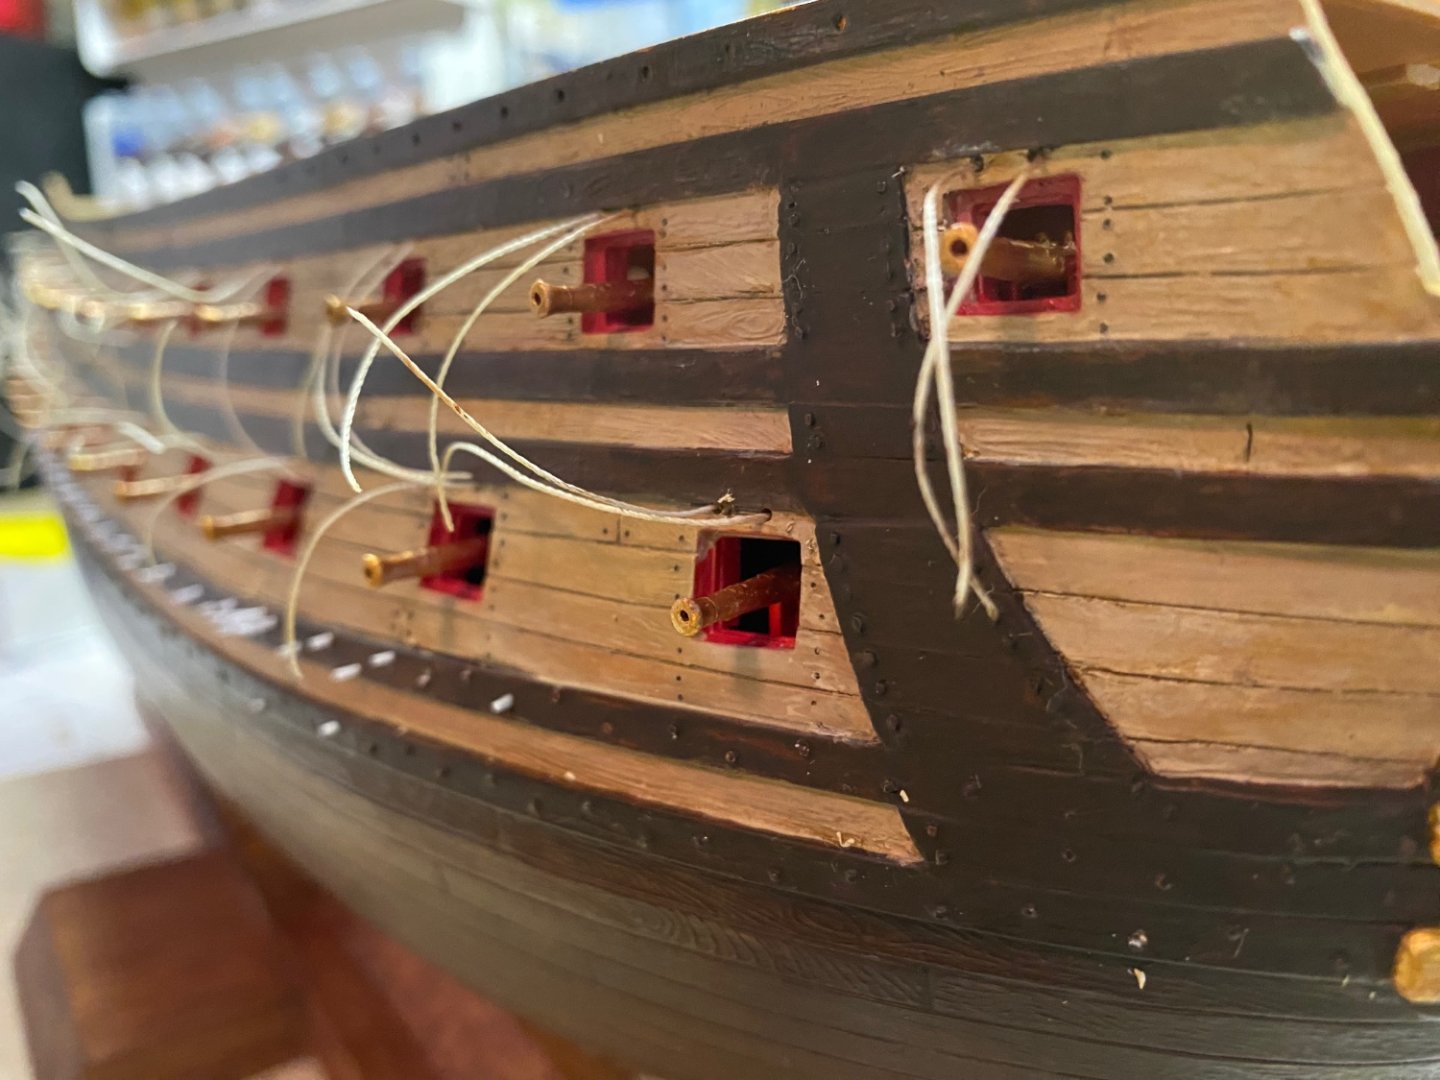
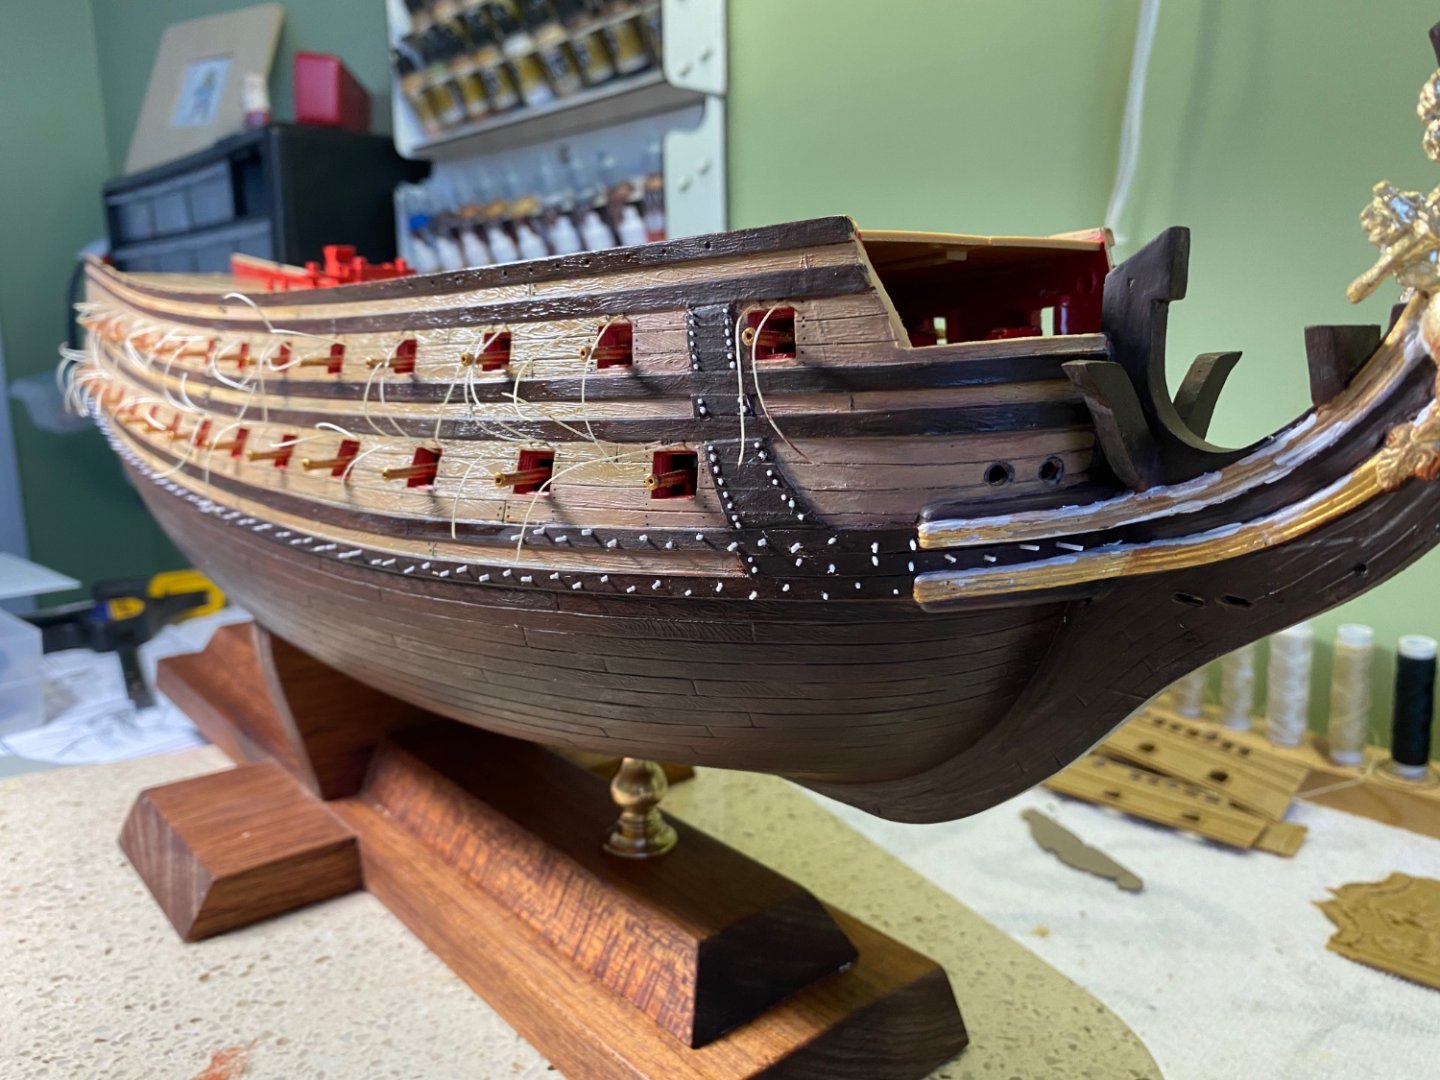
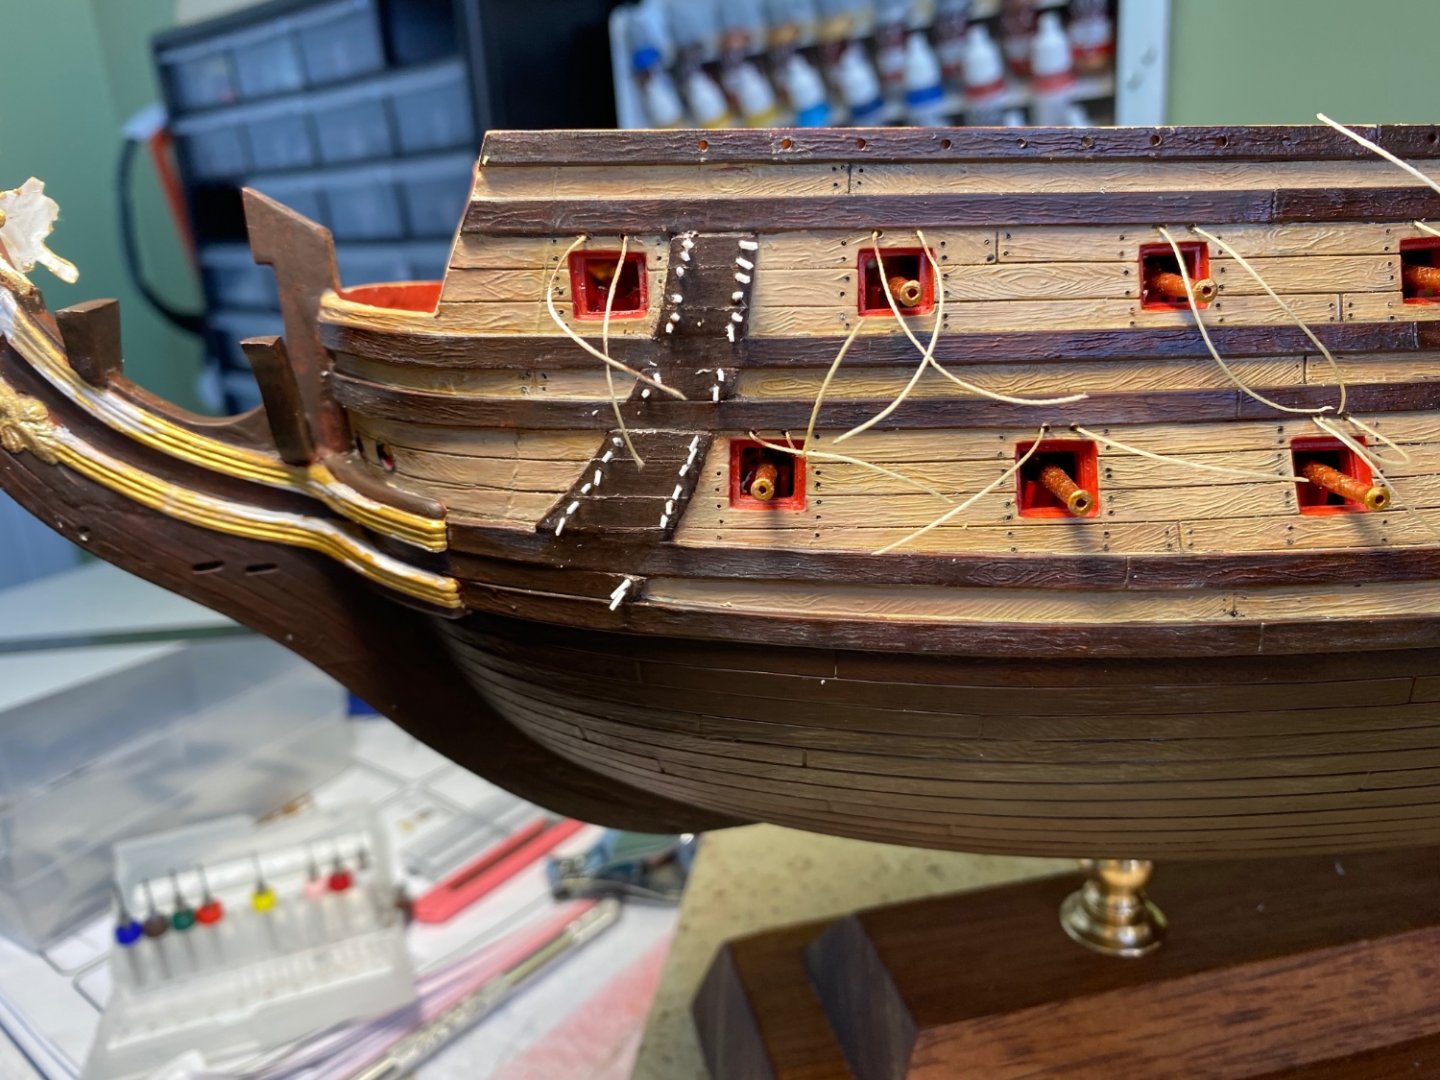
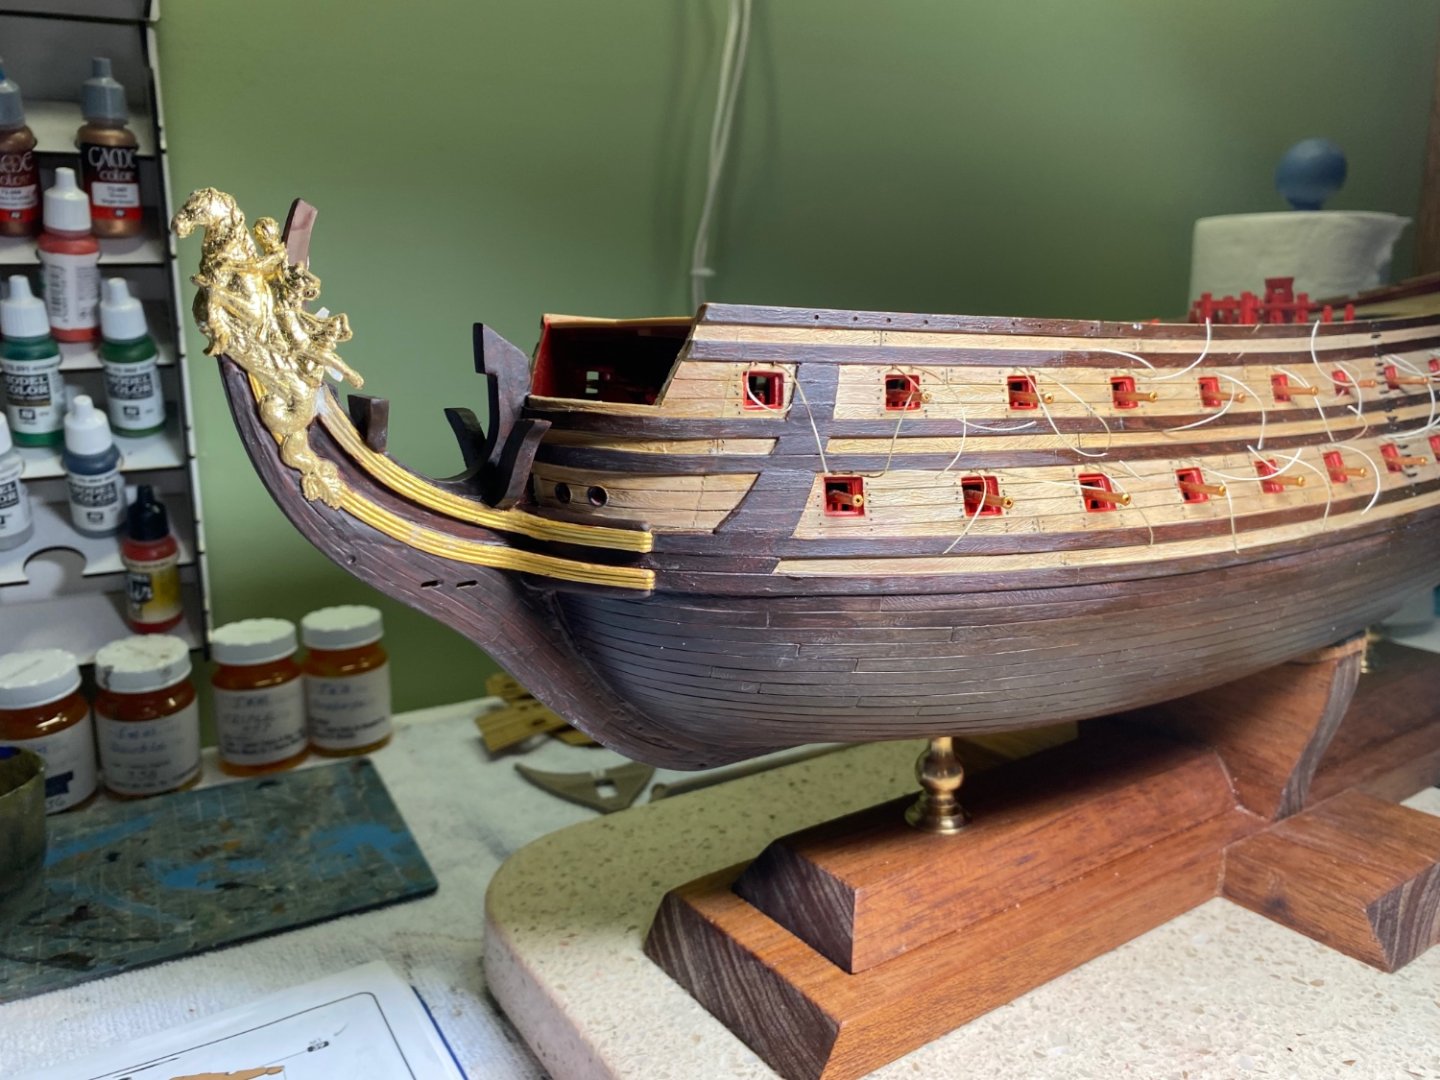
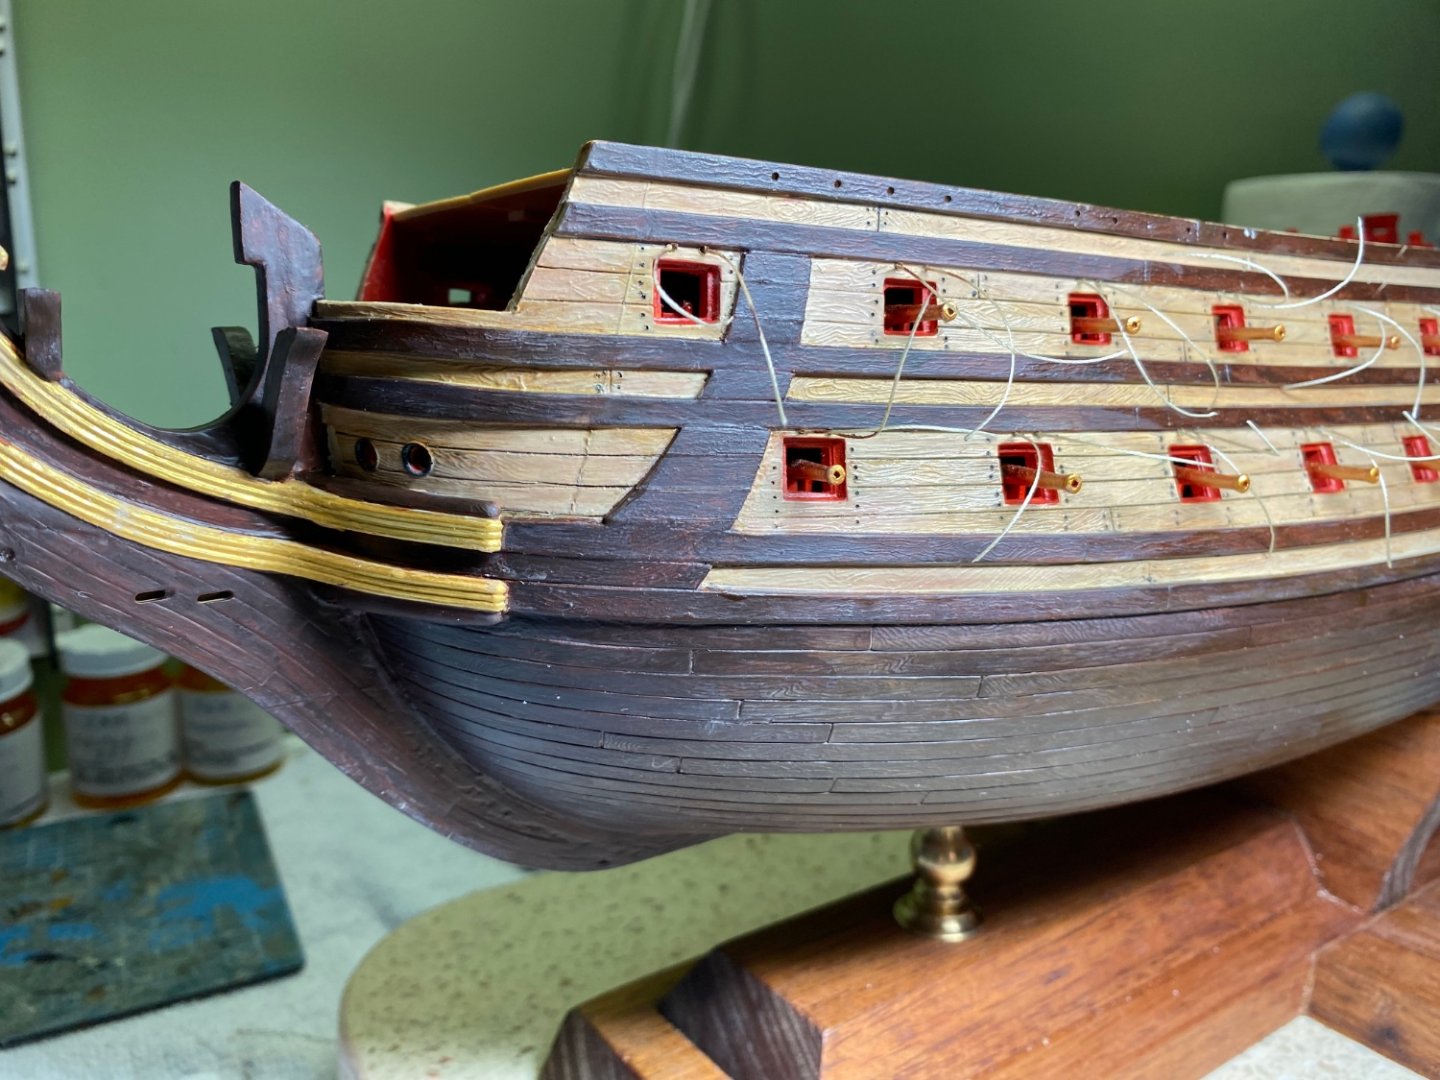
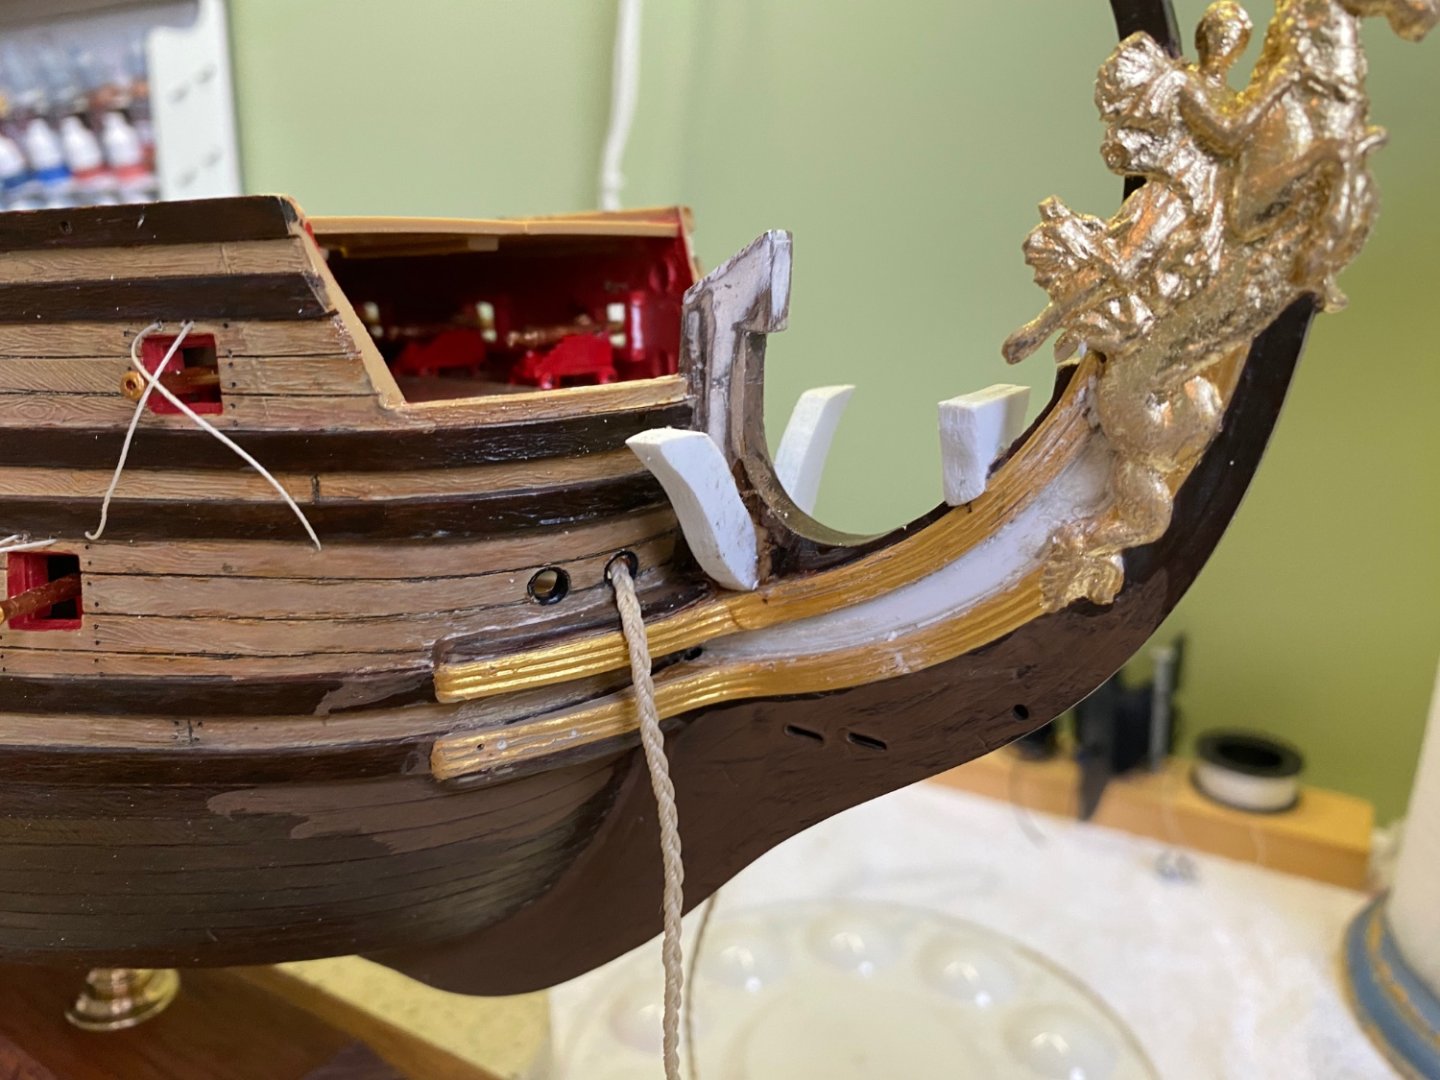
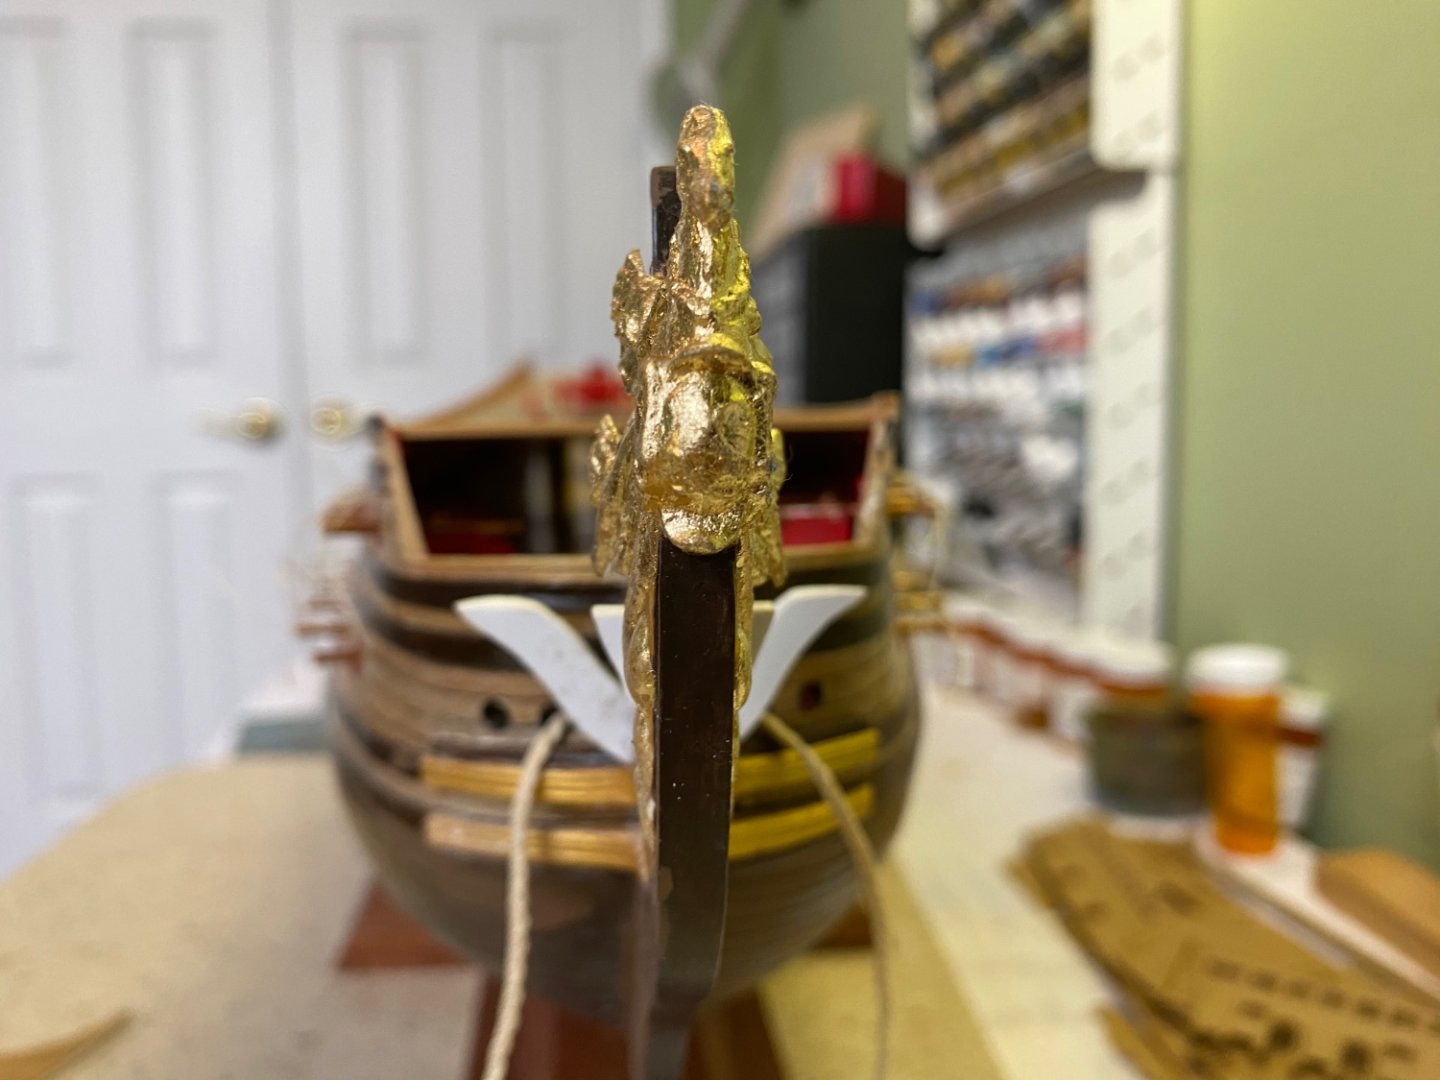
What do you think Marc? I added the anchor lining to both the port and starboard sides. Now I am using .02 mm styrene strips placed in .02 mm drilled holes to form the bolts. Once the glue drys I will clip the styrene strips close to the lining (not flush). Paint the ends sticking out and hopefully resemble bolts. If this works out I will probably do the same the lengths of the wales. I will have quite a bit of paint touch up to do and maybe re gold leaf the figure head. You may notice a cannon barrel missing from the top left hatch. As we all know, they are susceptible to getting knocked loose. Luckily it was on the deck still open on the ends.

- 1,508 replies
-
- 5
-
-

-
- Le Soleil Royal
- Heller
- (and 1 more)
-
I have my 1/100 scale converter on my phone I refer to often. 😊 You would think this old brain could do that calculation without help. Nope!
-
Yes Marc I believe I am having a complete change of mind set about my build speed. There is truly some kind eye opening when I realize I do not have to build at this pace. It is really kind of exciting to think about going back and adding “pop”! The best feeling about it is that I am not going back thinking “oh no look at this screw up I have to some how fix”. This is going to be a pleasant go back and add pop detail to a model that looks perfectly fine as is, but will improve greatly with the added attention. I did find in your blog the part about using .02 evergreen to make the bolts.
- 1,508 replies
-
- 1
-
-
- Le Soleil Royal
- Heller
- (and 1 more)
-
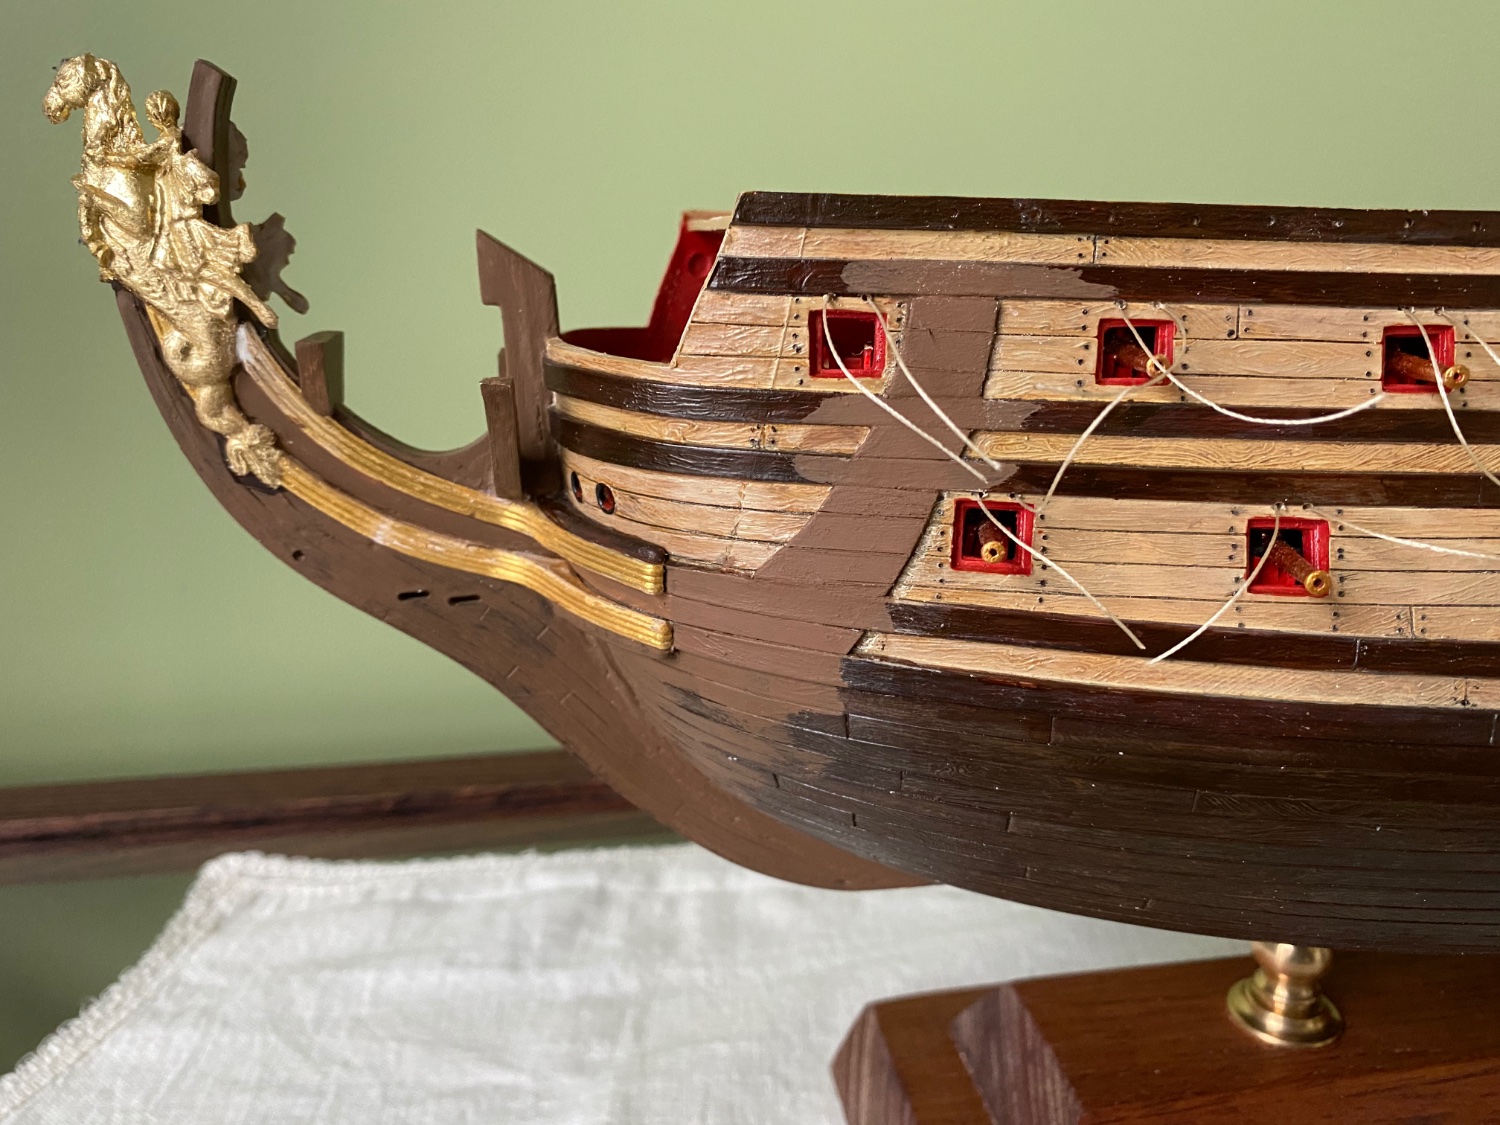
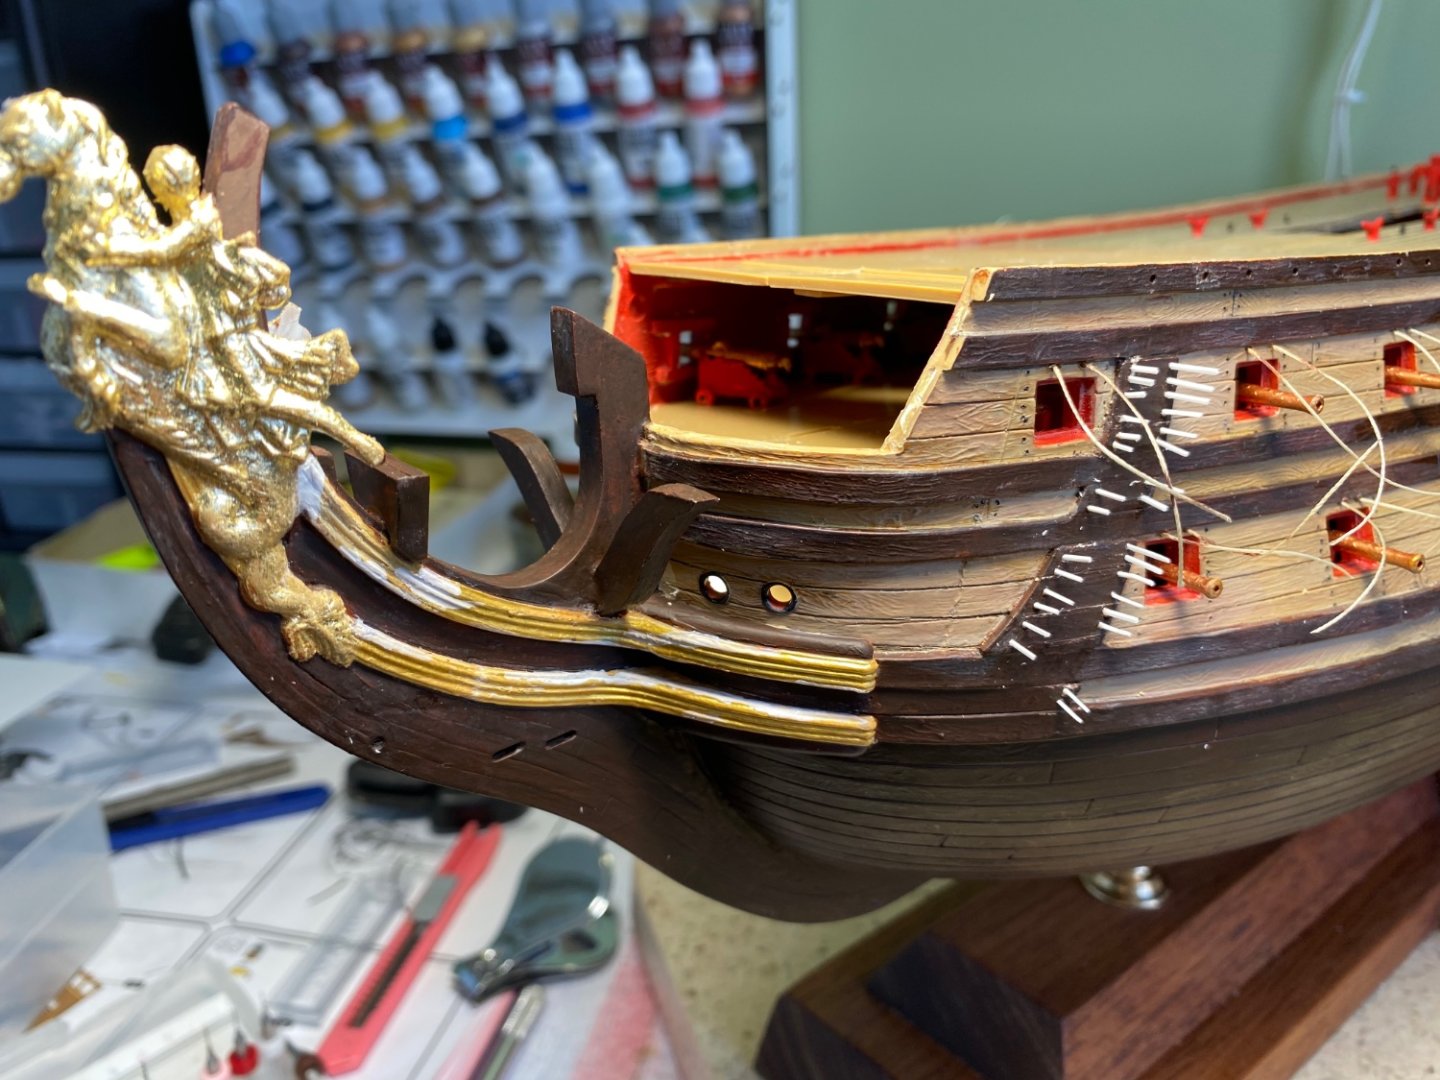
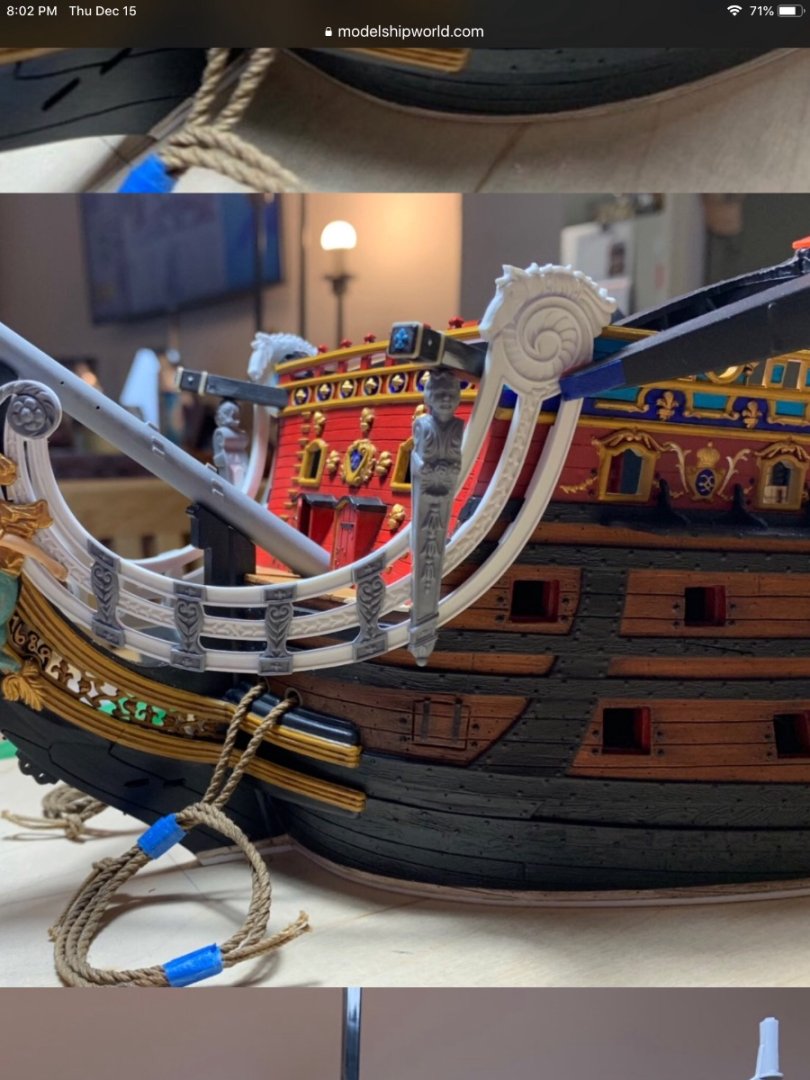
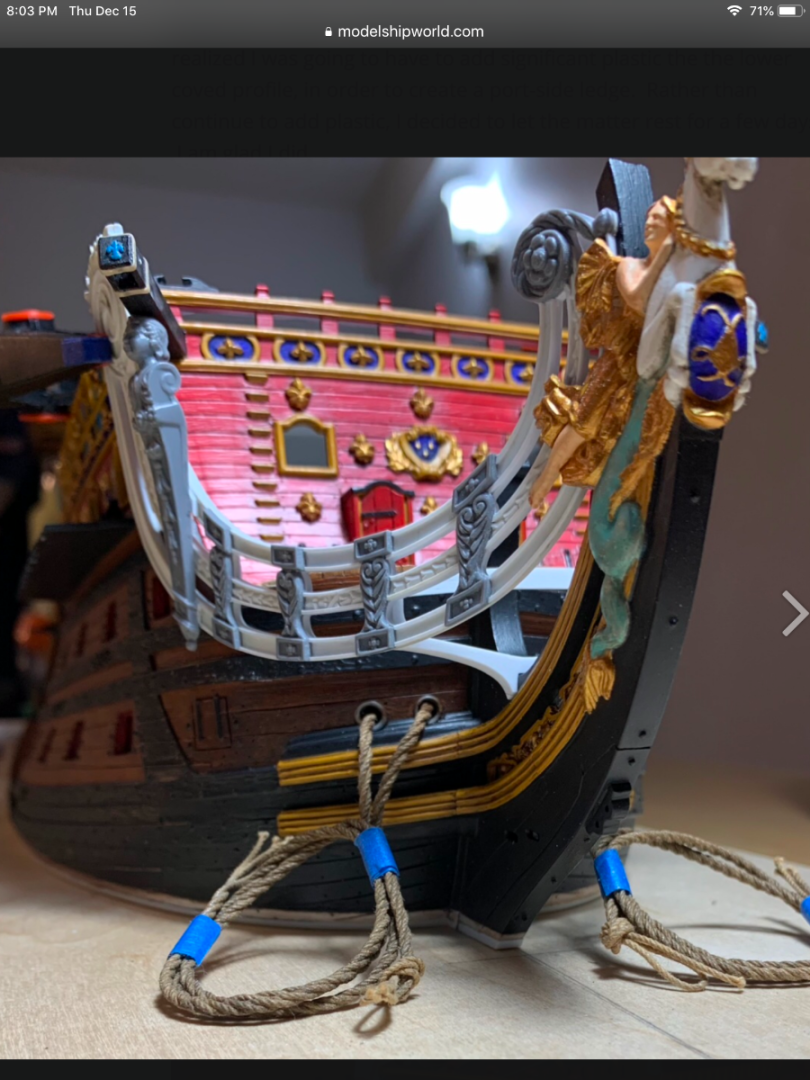
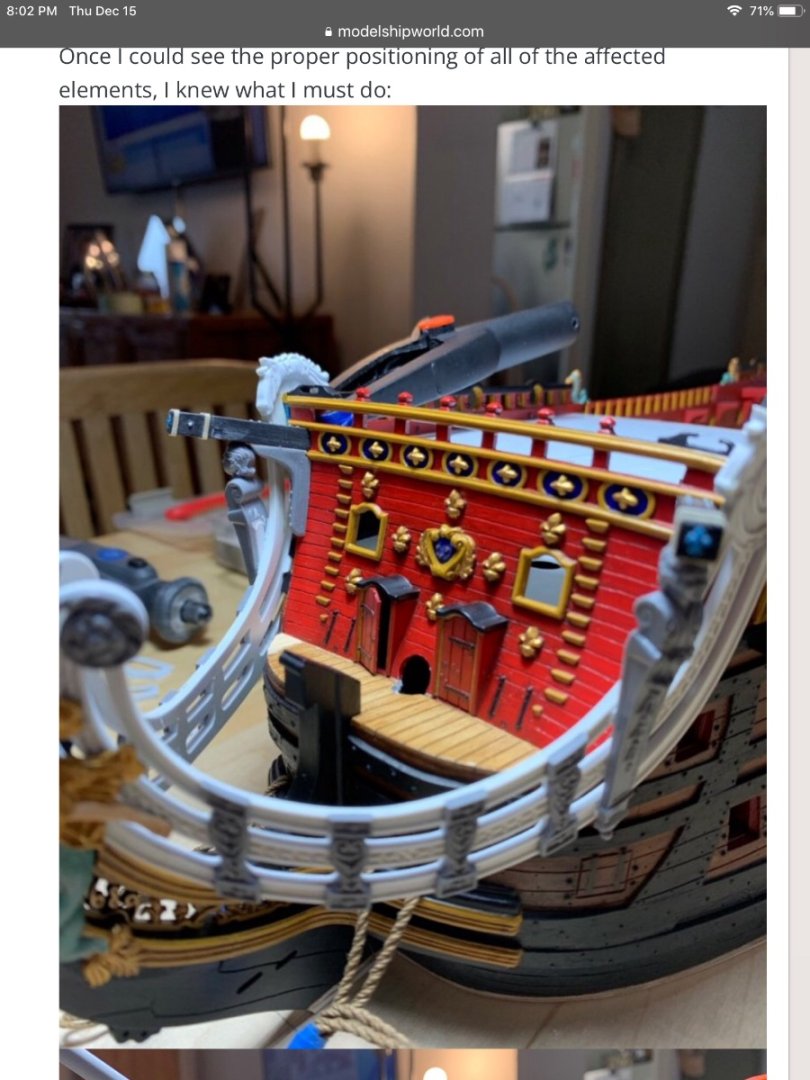
Marc whenever I read through your build I have to stop and look at your beautiful paint job. These three of the bow area caught my attention this evening. This is a true work of art my friend. I am so hopeful if I am patient I can come close to what you have done. Looking at them gives me second thoughts about adding the anchor lining while I still have a chance. I really like the way that looks. I may even go back and read through the early pages to find your process for making the bolt heads, especially on the wales. I remember reading that somewhere in your blog. I notice you have ropes in both holes on each side instead of just the two inside ones as shown in the Heller instructions.?
- 1,508 replies
-
- 1
-
-
- Le Soleil Royal
- Heller
- (and 1 more)
-
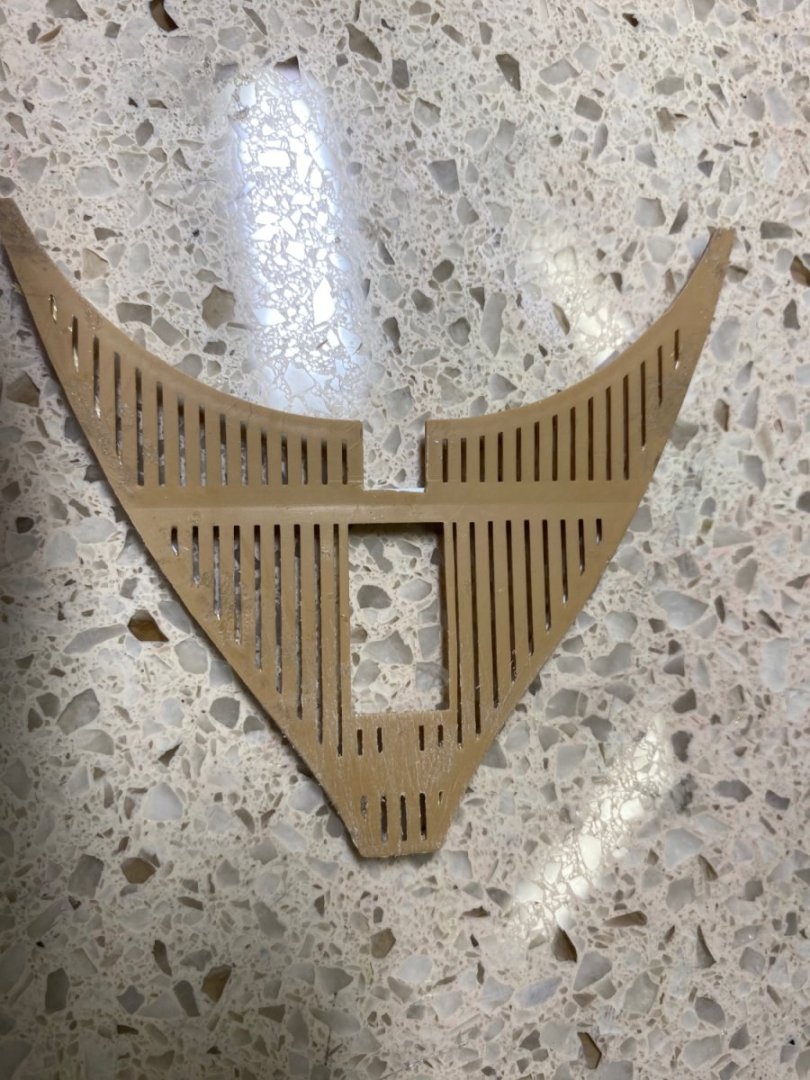
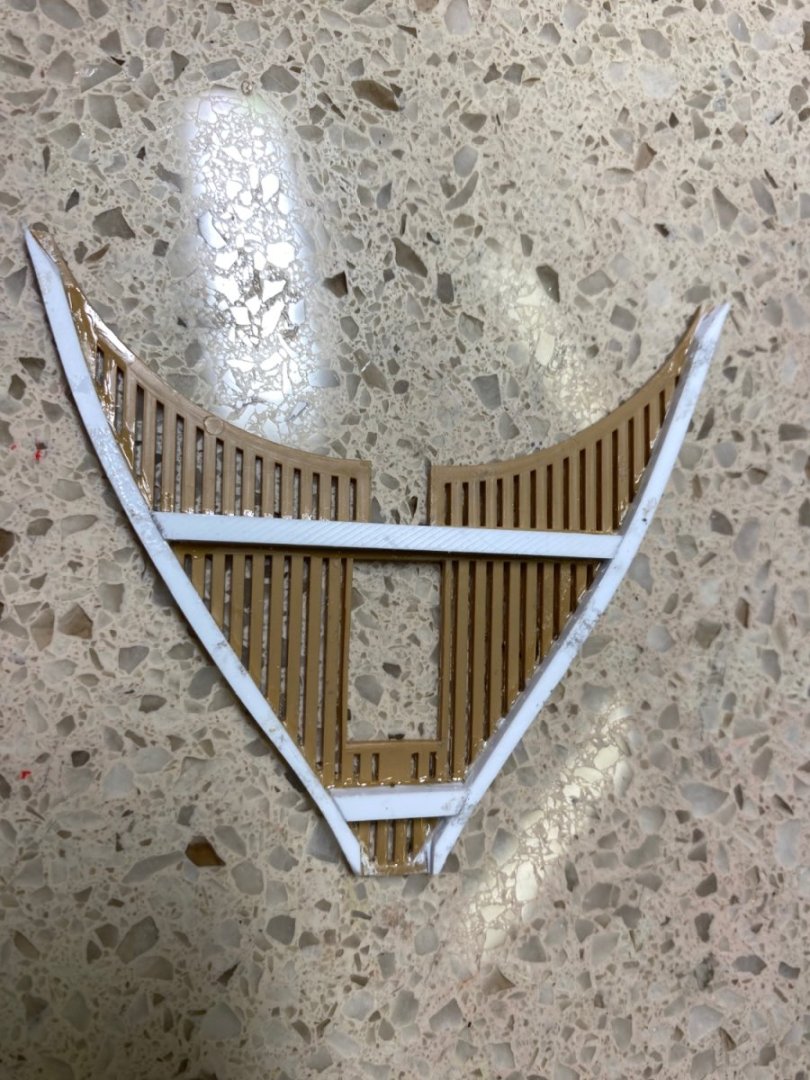
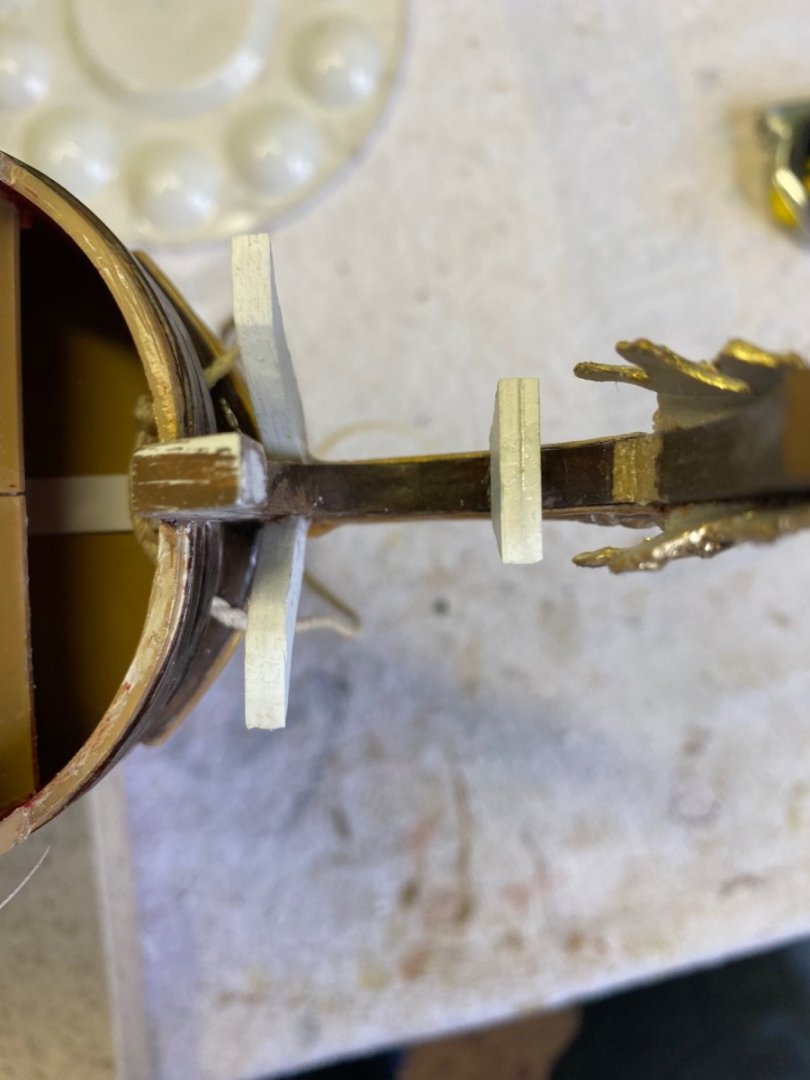
Henry I ordered some 2mm rope. Will switch it out when I get it. Luckily the decks are still open at the front so I can easily switch it out. In other news I adapted your support timbers at the knees but changed it up a little. I noticed that the piece supported by the timbers was molded to reflect two beams that the decking layer on. I added evergreen along the sides to give it a little more weight similar to the top edge of the UB. With that in mind, and my construction knowledge, I reasoned the beams needed to be supported by timbers. Timbers support the beam, the beam supports the decking. So I went with two sets of support timbers, one set at each beam. As you did, I made them wide enough to later accept some molded ornamentation.
- 1,508 replies
-
- 3
-
-
- Le Soleil Royal
- Heller
- (and 1 more)