Bill97
-
Posts
2,723 -
Joined
-
Last visited
Content Type
Profiles
Forums
Gallery
Events
Everything posted by Bill97
-
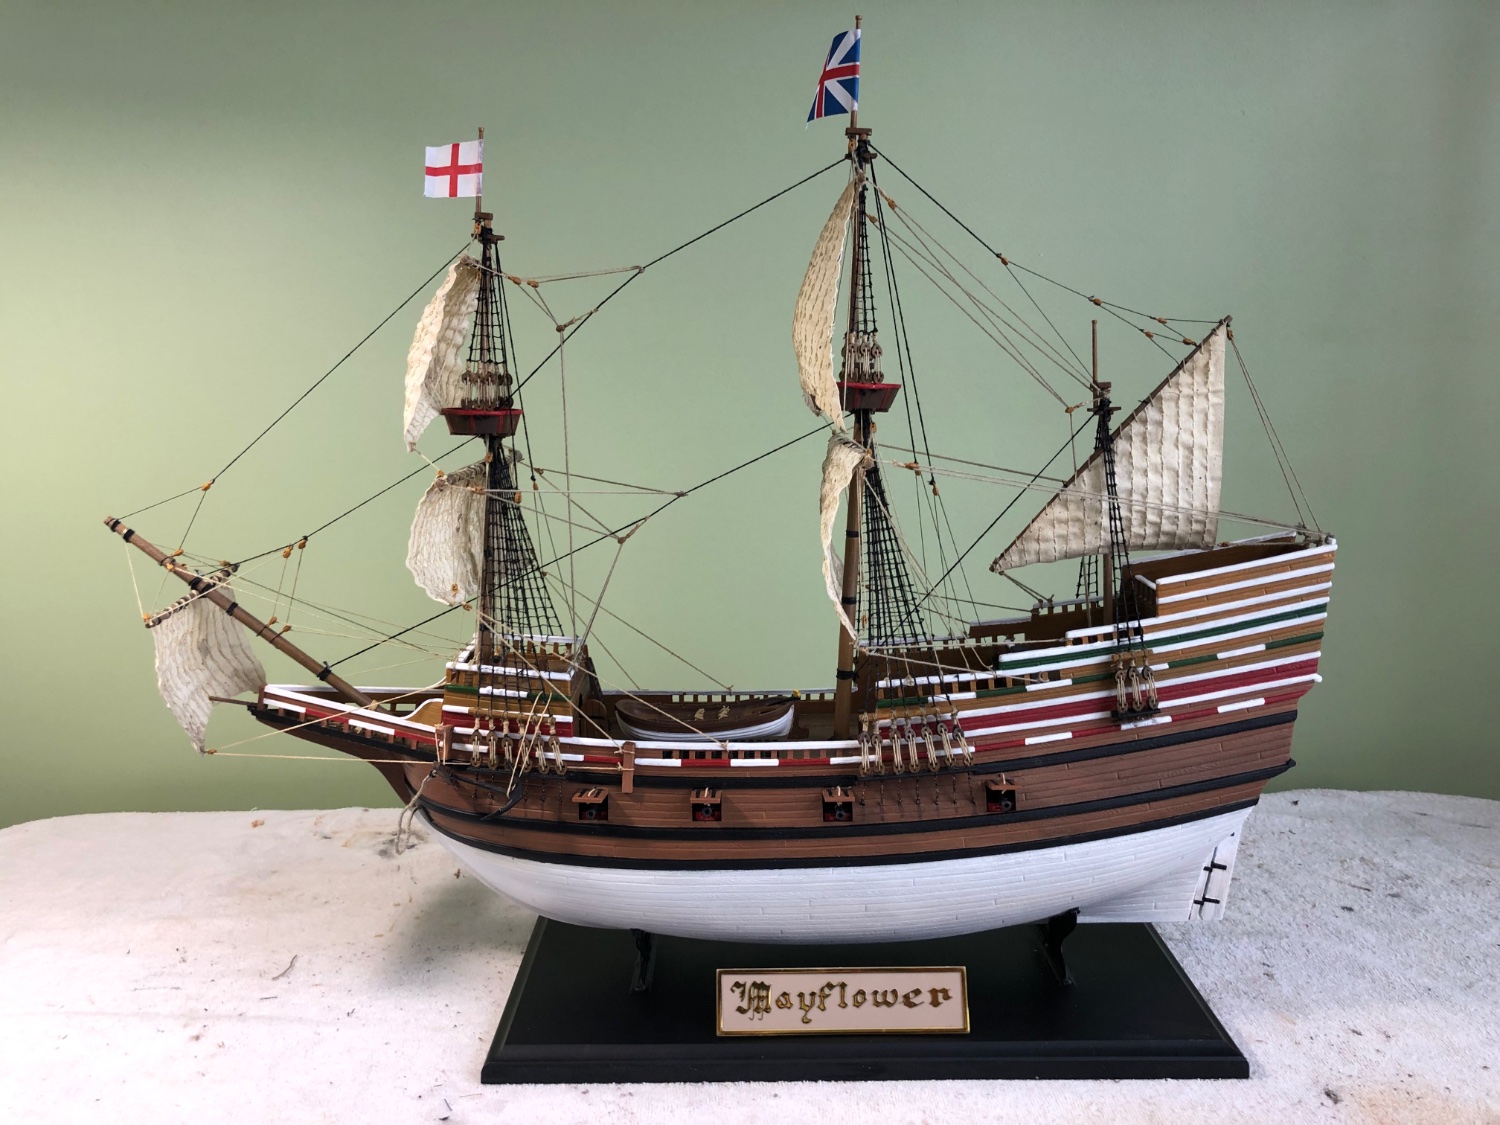
Thanks Ian. My Mayflower has a white bottom as was the practice at the time. I like it but I also like the wood color like the other photo I included here. I forget who’s ship it is. From what you are saying white would be the more authentic.


- 1,508 replies
-
- 2
-

-
- Le Soleil Royal
- Heller
- (and 1 more)
-
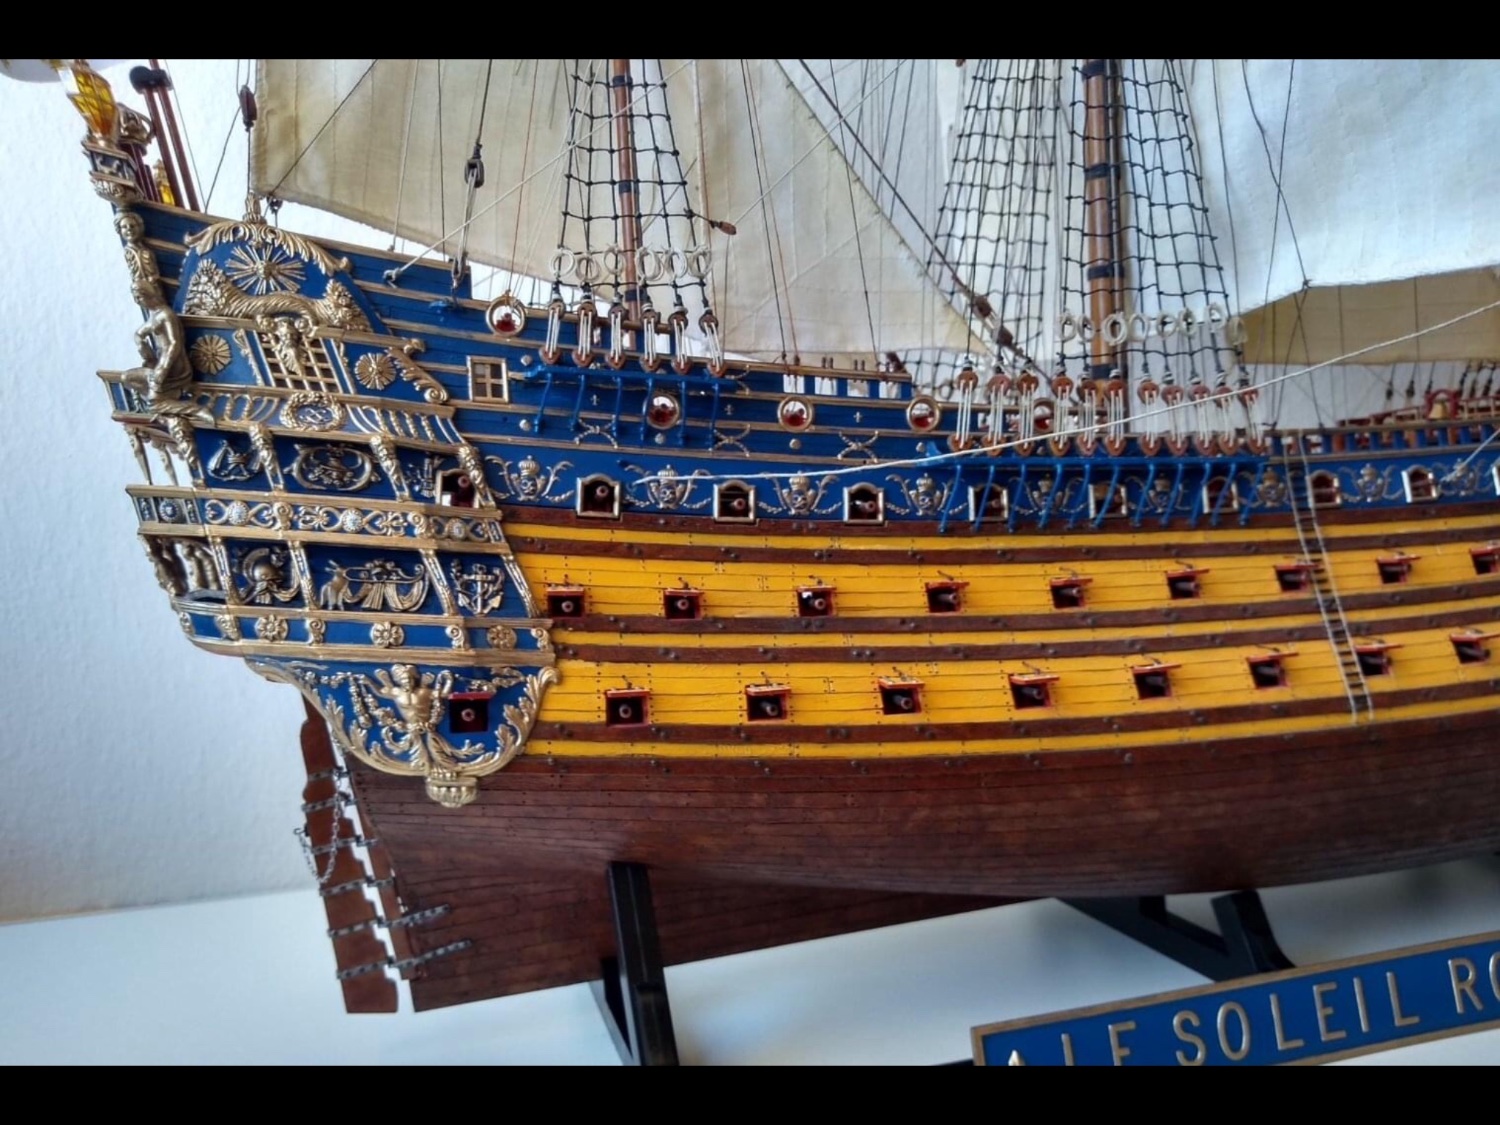
You may have noticed I do a lot of prebuild planning and thinking. I often pause taking a step because I want to know all the options of how something can be done or how something should be done. Try to avoid looking back and thinking “wow, I wish I would have done that differently”. That of course is the mixed blessing of MSW. I learn so much from all my friends but then get stuck in analysis paralysis. With that in mind I have two questions for you guys. One very much comes under the heading It’s your ship do it as you want. The other is a technical question. 1. I see here on MSW and other places the bottom of the SR hull painted white. I also see it in other photos as total wood color. The Heller box shows a white bottom. I can not decide which way to go. I like both. Should I assume to be authentic it needs to be white? 2. I am going to make my own chains as we discussed above. I have already purchased my brass wire and I have a soldering iron ( don’t want to use a torch for different reasons). My technical question is about the best solder to use. I read there is silver solder, lead free solder, high melt point, low melt point, etc. want to do a lot of practice before making my chains. What solder should I get?
- 1,508 replies
-
- 1
-
-
- Le Soleil Royal
- Heller
- (and 1 more)
-
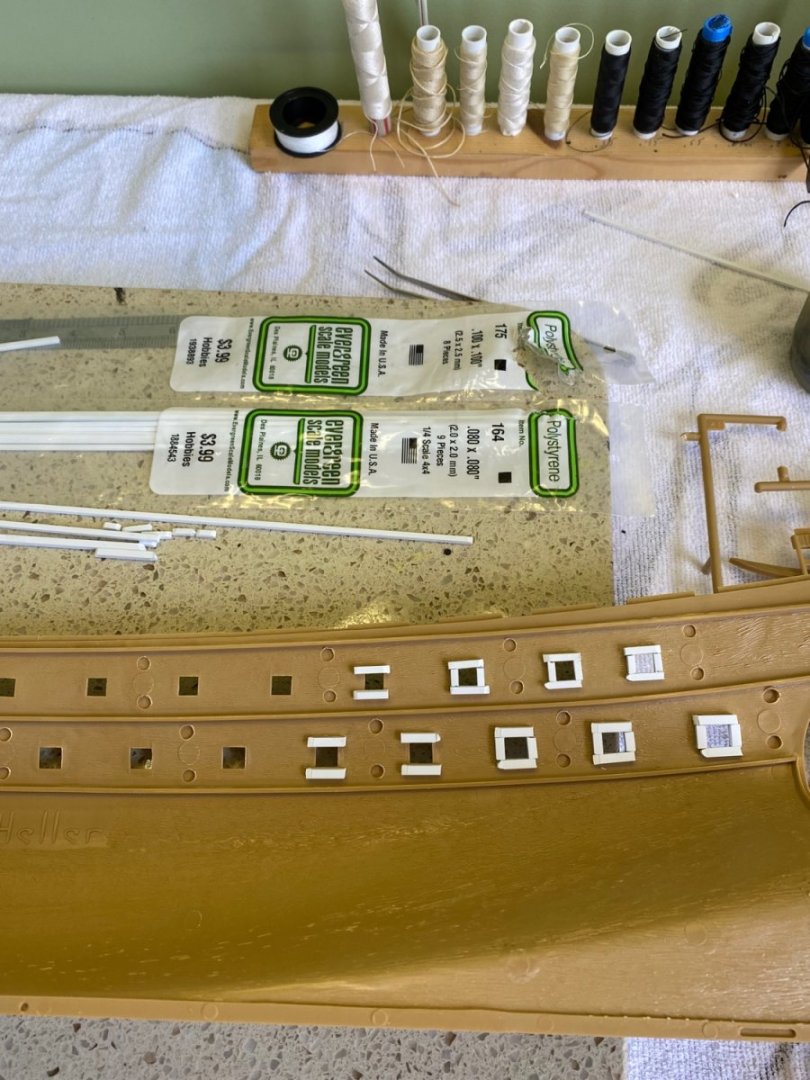
Beginning to scratch the surface on my Soleil Royal build. A little trick I learned while building my Victory is to use Evergreen to frame the inside of the gun ports. When finished and painted it gives the illusion of the hull being thicker when looking in the gun ports. The hull wall would be thicker on the lower decks and gradually becoming thinner as you move to the upper most deck so I am using 2.5 x 2.5 mm for the lower deck and 2.0 x 2.0 mm for the next level. Both these decks will be covered by the deck above so the frames will not show.

- 1,508 replies
-
- 5
-
-
- Le Soleil Royal
- Heller
- (and 1 more)
-
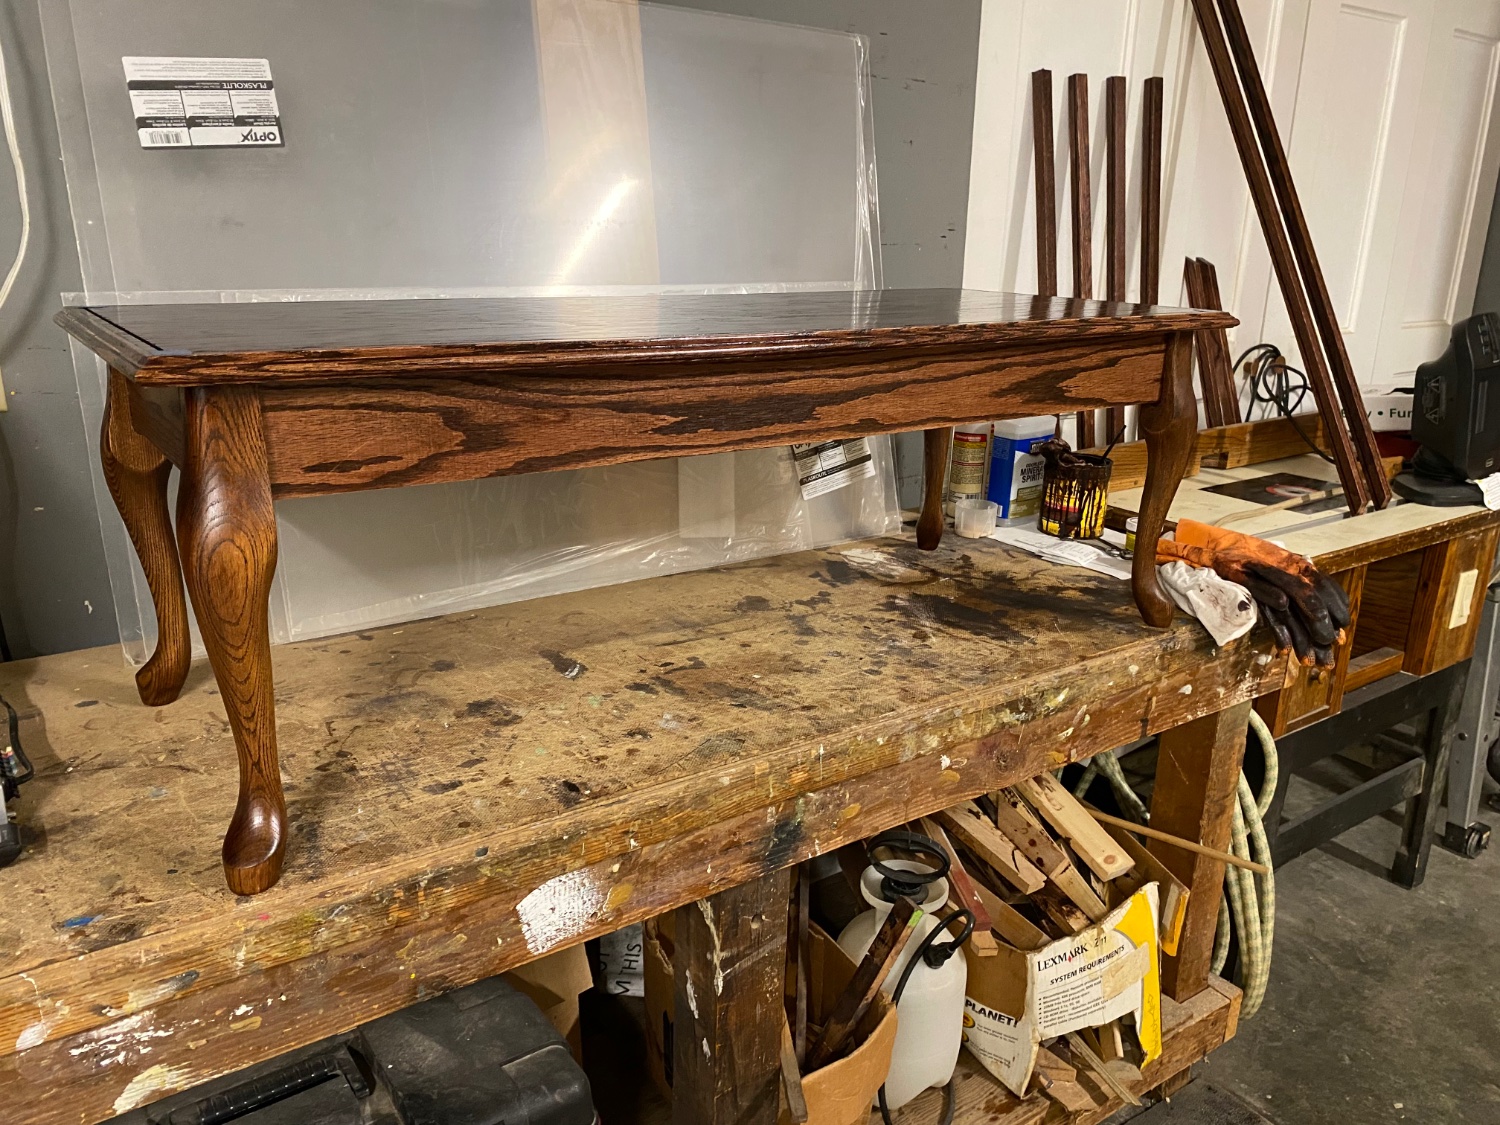
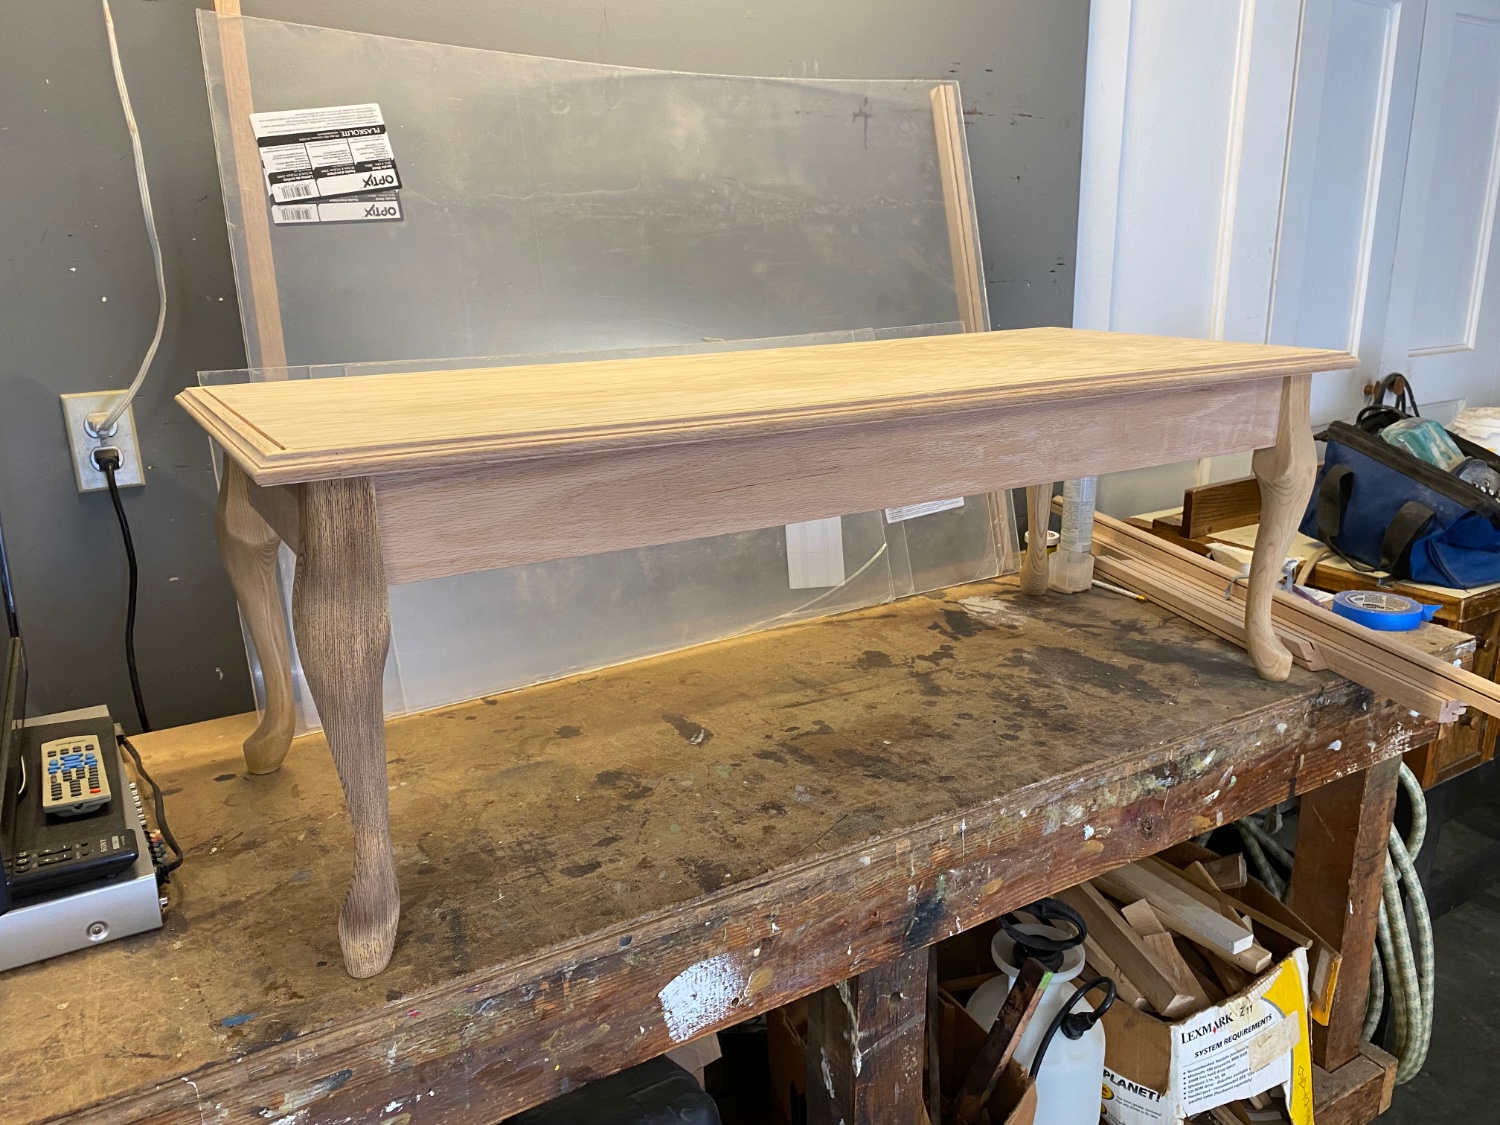
Base and framing parts for Victory case completed. Now to start assembly and she will have a permanent protected home.

-
Thanks Michael. Thats perfect. Appreciate it. Bill
- 1,508 replies
-
- 1
-
-
- Le Soleil Royal
- Heller
- (and 1 more)
-
Marc following up on a previous question, what size wood deadeyes did you use? I know it will be quite some time before I need them but I am putting together my shopping list. I have some wood deadeyes as I mentioned, but want to make sure I use the size most correct. Thanks
- 1,508 replies
-
- 1
-
-
- Le Soleil Royal
- Heller
- (and 1 more)
-
Kevin I have not checked on your Cutty Sark build for a while. You are doing some fantastic work. Really enjoyed what Burma contributed. Wouldn’t it be fantastic if we all had the ability to meet in a big model ship building room where we could easily share, talk and help each other. What a great bunch of international friends we all seem to be.
- 444 replies
-
- 3
-
-
- Cutty Sark
- Revell
- (and 2 more)
-
That helps a lot Michael. Painting some parts first is genius. Thanks
- 1,508 replies
-
- 2
-
-
- Le Soleil Royal
- Heller
- (and 1 more)
-
Thanks Michael. Would appreciate that whenever you can. I have done gold leaf many years ago but could certainly use a refresher. I have the gold leaf, sizing, brushes, and varnish. I am looking over the pieces now as I text. Trying to decide which way is best, paint the entire piece the desired color then gold leaf the tiny ornamentation, or gold leaf the entire piece then paint the desired color around all the ornamentation. I am leaning more toward the first option since I use acrylics and not sure they would cover the gold leaf effectively. Would not want to have to do several coats all around the tiny ornamentation. Kpnuts did gold leaf on his SR build using the option of full gold leaf then paint. His looks good.
-
Oh OK Marc thanks. Already started reading through it. Hey Kevin, saw your post. Thanks for following. Yes Daniel has a topic on making chain plates. I have it along with a couple others showing how to make chains bookmarked. I ordered the .5 mm brass wire Daniel uses.
- 1,508 replies
-
- 1
-
-
- Le Soleil Royal
- Heller
- (and 1 more)
-
Thanks Marc. I must be doing something wrong when I look at the index. Where did you get the link? When I went to the index for that ship this is what I find. I don’t see one by 72Nova.

- 1,508 replies
-
- 1
-
-
- Le Soleil Royal
- Heller
- (and 1 more)
-
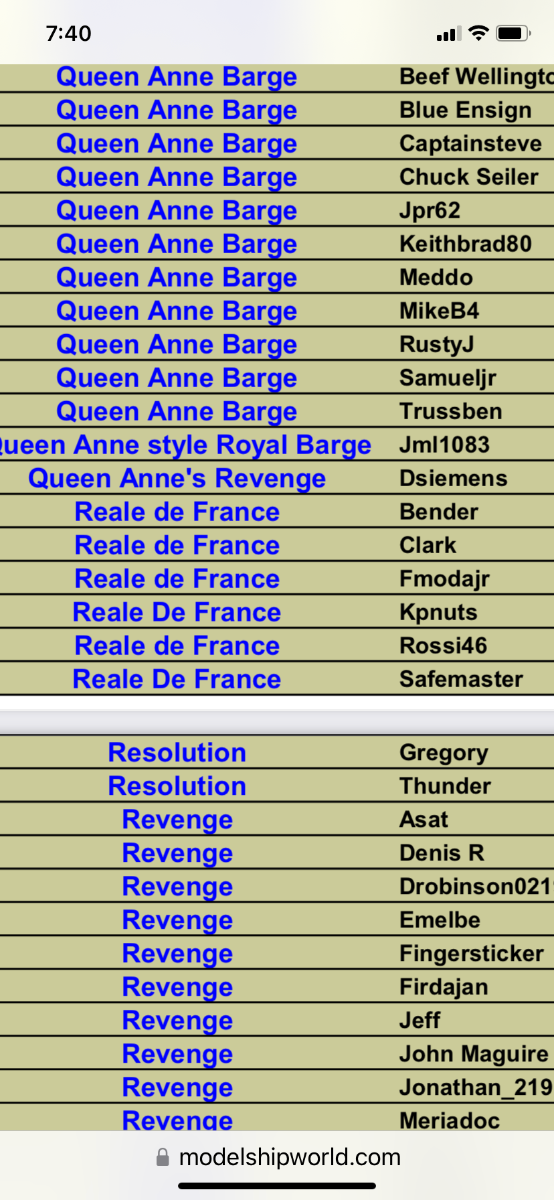
Thanks Marc. I will do that. Are you referencing Reale de France. I looked at the index and did not see one built by that name?
-
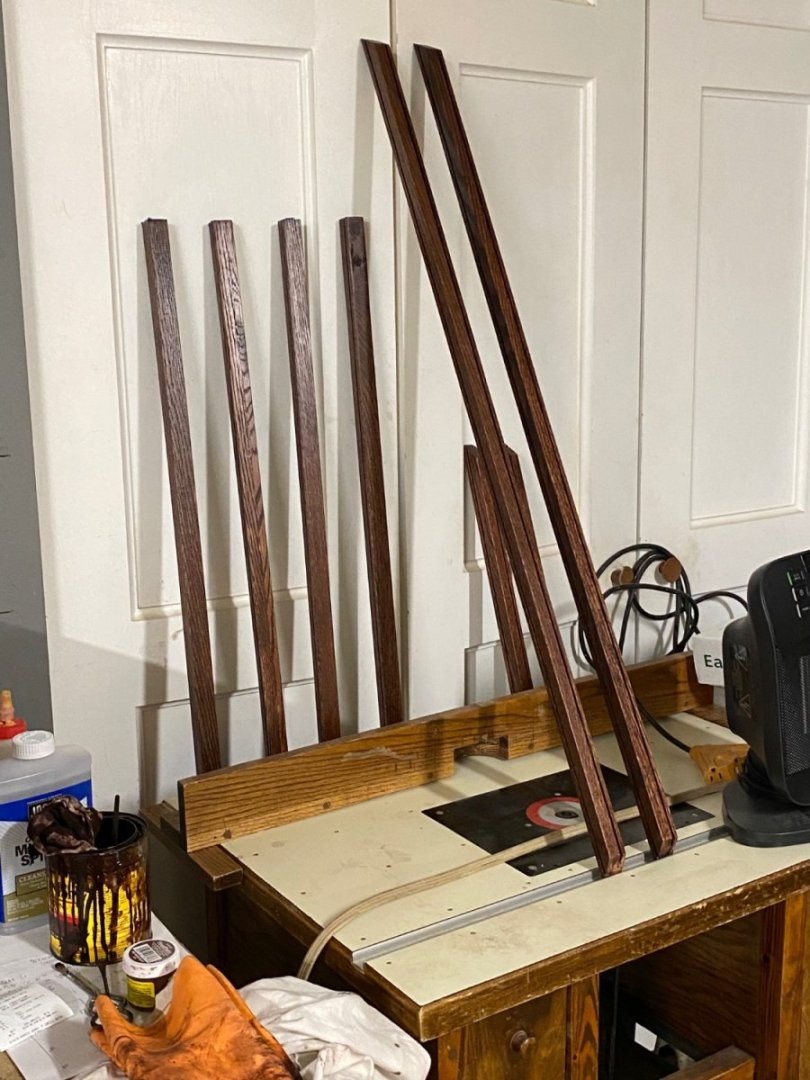
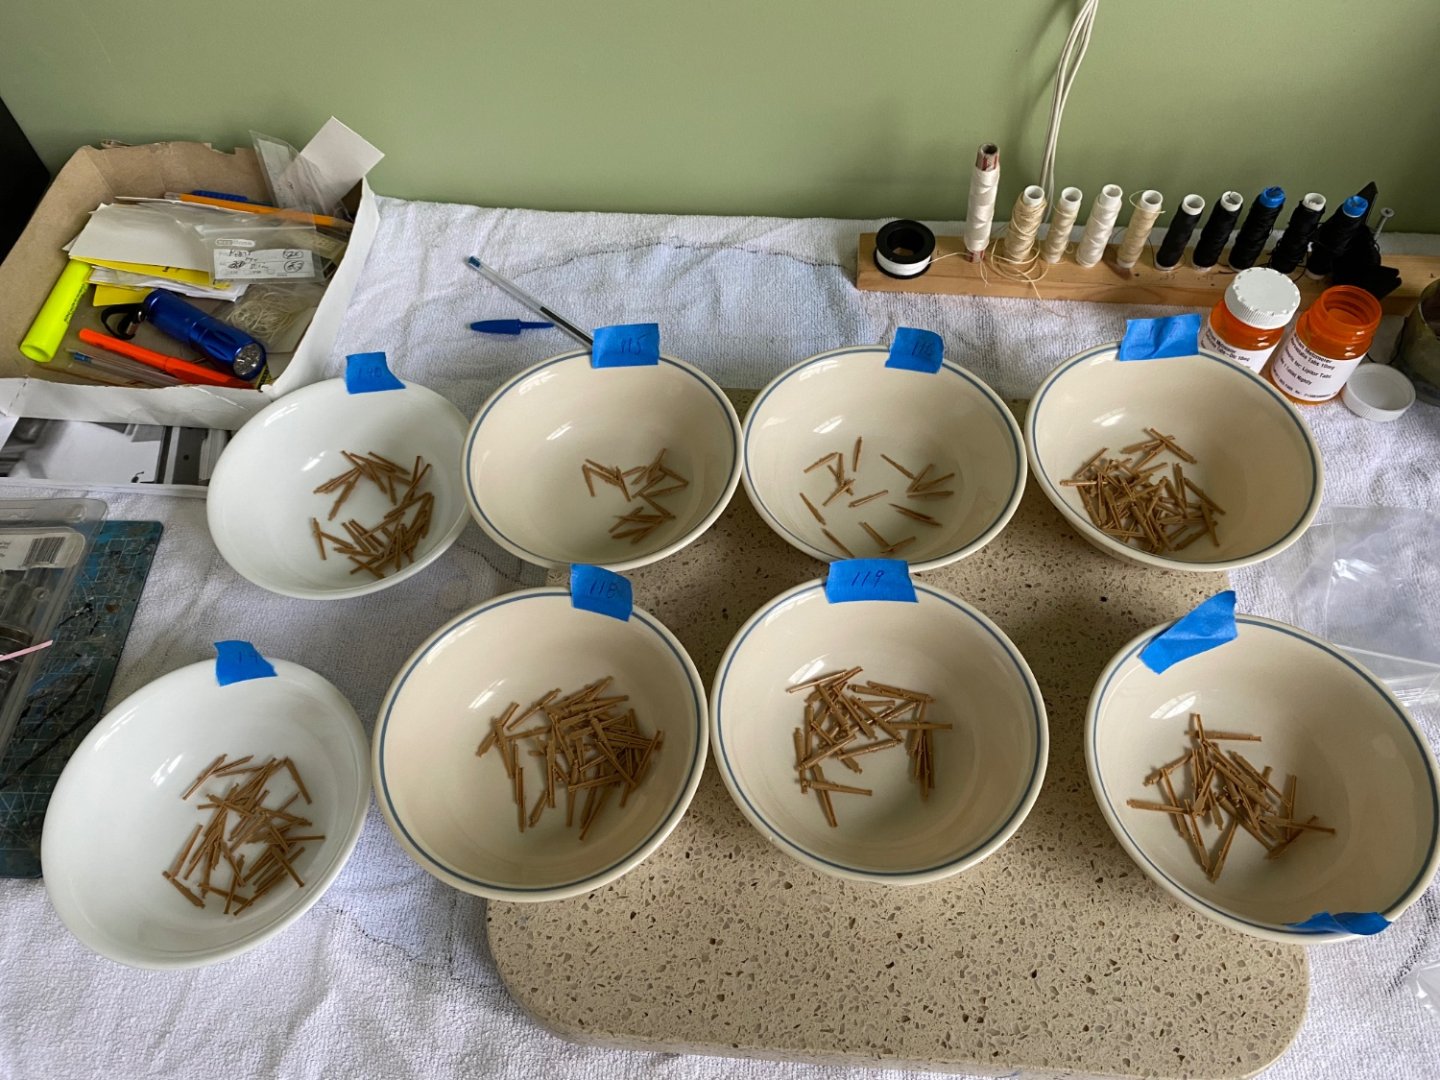
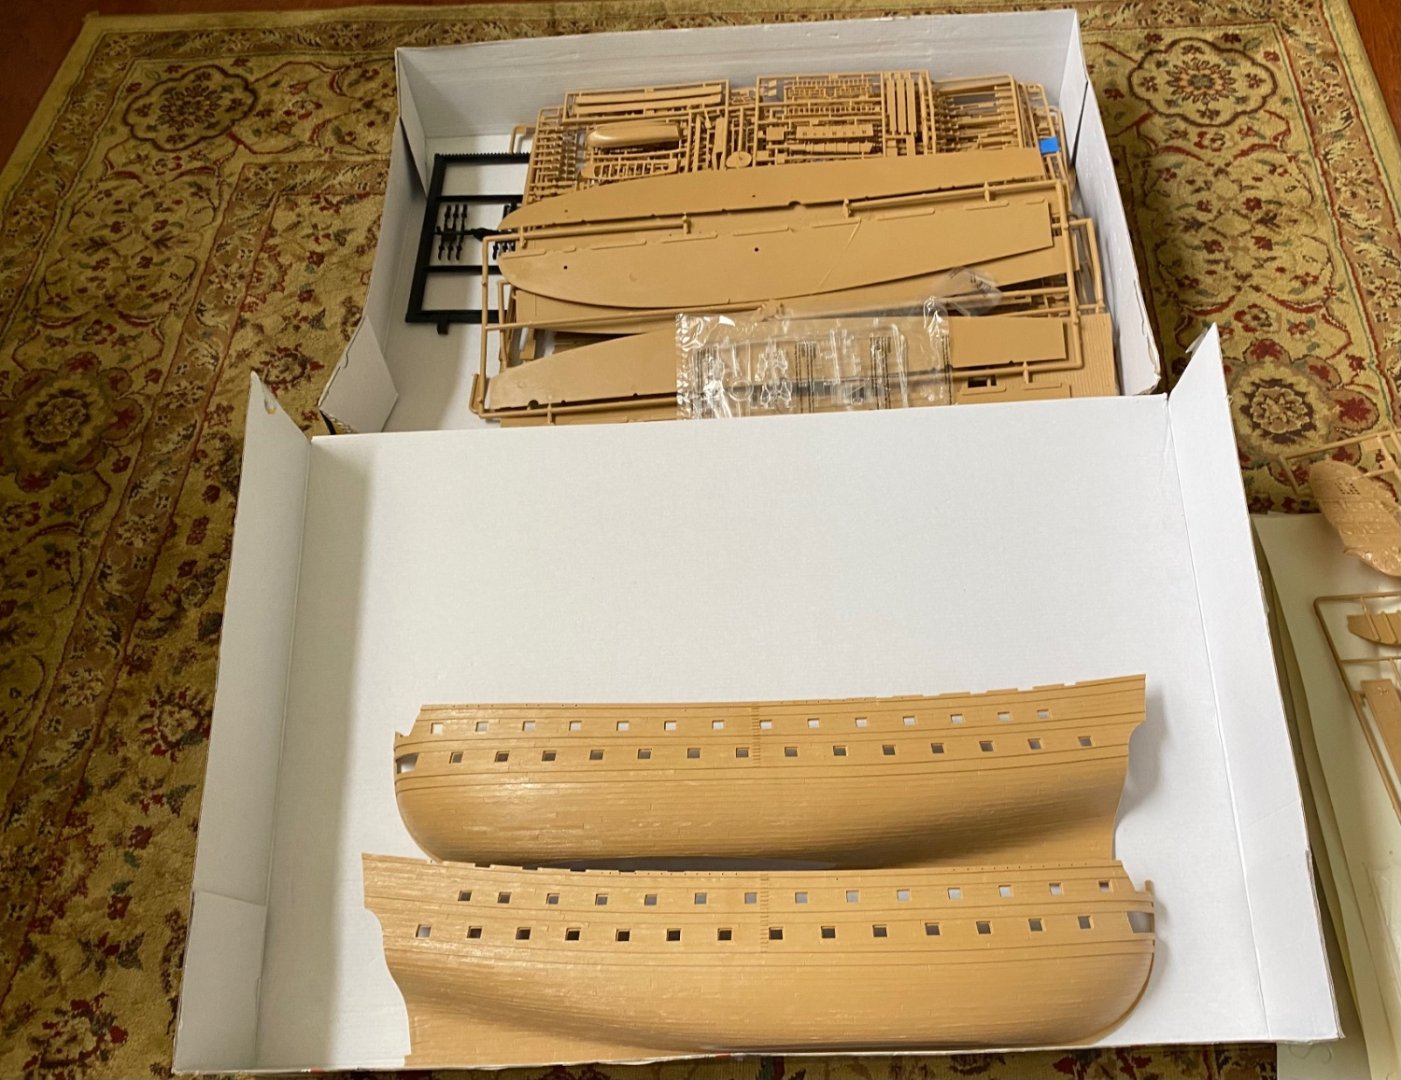
Marc I actually ordered 24 gauge brass wire. It measures close to the .5 mm Daniel for 1/100 scale. Will see how it fits my deadeyes when I get it. Now to get smart on soldering brass wire. Daniel and Popeye each have a nice instruction section on making the chains. Today while waiting on the stain to dry on my Victory display case parts I am digging into my SR box. Anxious to get started painting and gold leafing some parts. Also separated on the cannon barrel halves to put in little zip lock bags.

- 1,508 replies
-
- 4
-
-
- Le Soleil Royal
- Heller
- (and 1 more)
-
Welcome Mexspur. Will have to Google Maps to see where Punta Sam is. Been to a number of cities along the Pacific coast of Mexico and spent some time in London.
-
Mexspur you don’t give any hints on your profile page. I have no idea. Give a hint. 😀
-
Hello Rokket! Thanks for your comment. I like to check to see where the MSW members that comment live. I absolutely love Australia! Only been to Sydney and surrounding areas. Long flight from where I live but would jump at the chance anytime 😊.
-
I will do that mtaylor. I had not investigated the parts in the kit that closely yet. I was not expecting there to be something to represent the chains in the kit. Will have to check.
-
Daniel I am doing some research to see if I can lean to make my own chain plates for my Heller Soleil Royal. I was fortunate to have your brass etched chains for my HMS Victory so when I found your chain plate topic here on MSW I knew it would be just what I was looking for. It will be quite a while before I will be needing to rig deadeyes so I should have plenty of time to practice. I am curious how you determine the length of each chain link? I think the loop around the deadeye is standard for all the deadeyes? But then what do you do to determine the link size from the deadeye to the hull?
-
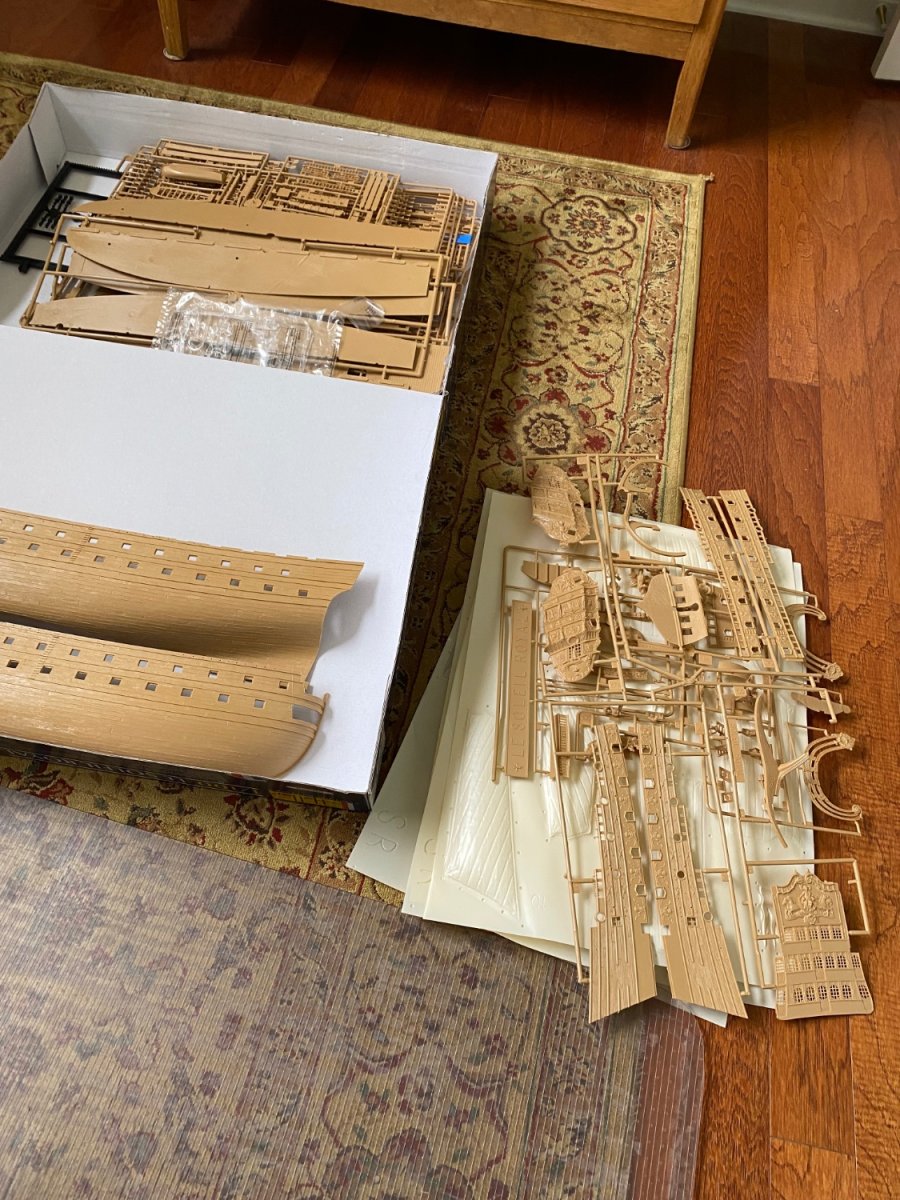
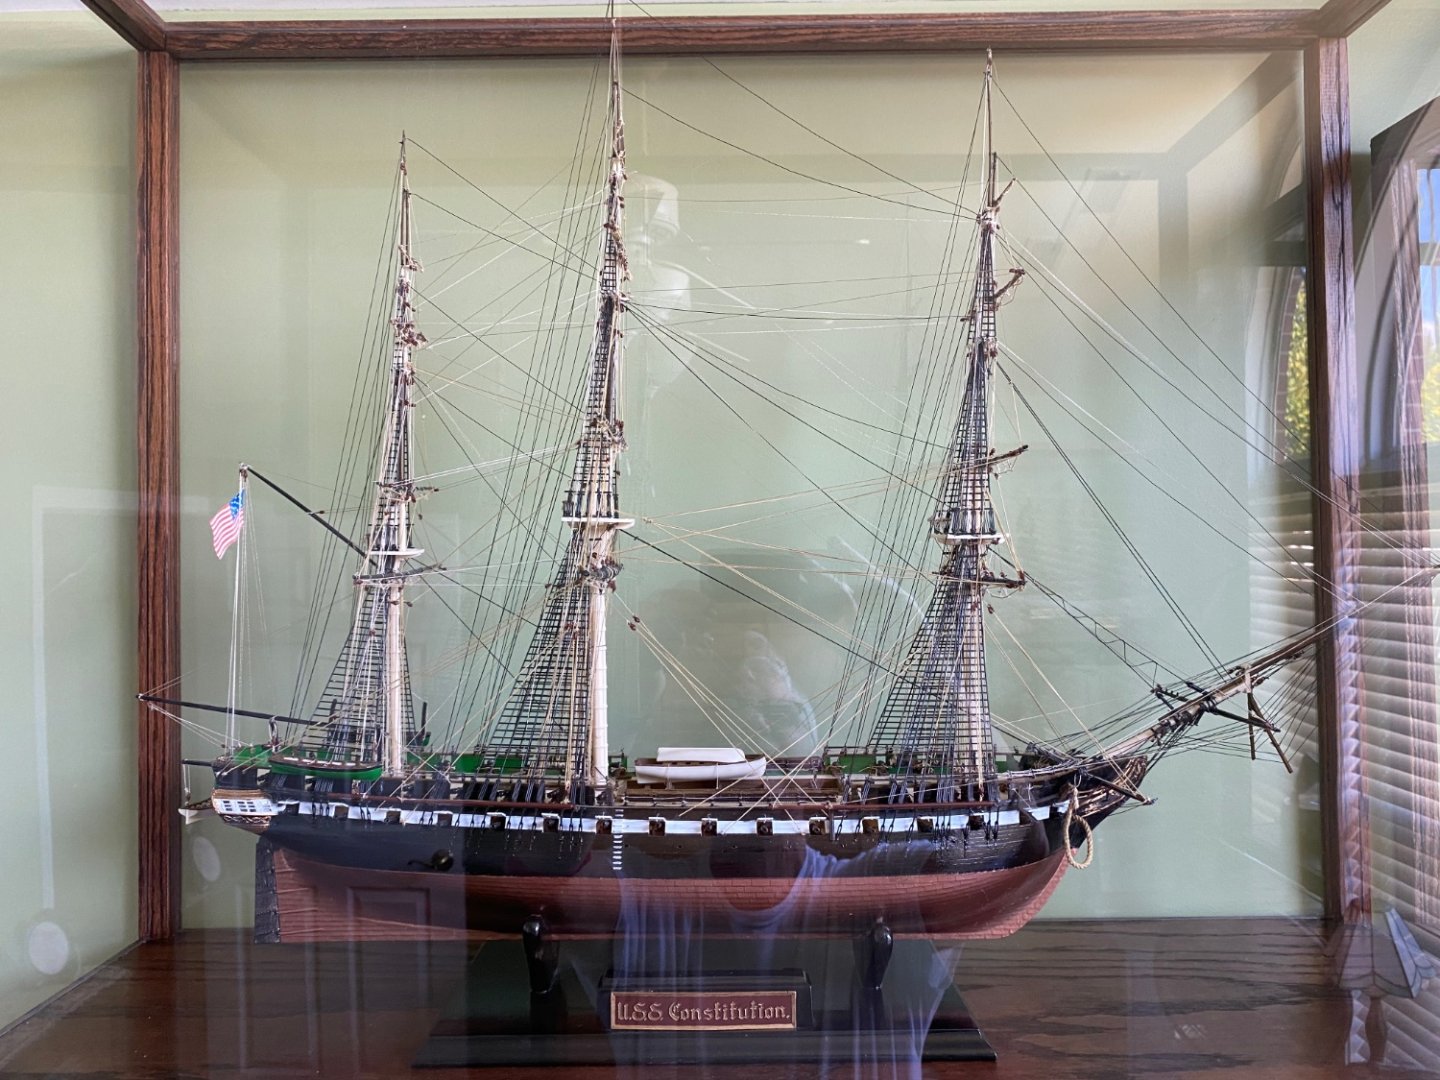
Something I found amazing was my reaction to my USS Constitution when I opened it’s case to kidnap the crew for my Victory. I built it several years ago before I honed my skills much, strictly out of the box. I did very little painting on it except for the hull. Deck, masts, blocks, etc are out of the box plastic color. Rigging was extensive even though I had very little knowledge of what all the lines did. Just attached a thread from here to there as I understood the directions to say. From a distance it still looks good but up close now I see how elementary of a job I did. I am thinking if I continue this hobby and build ships of the quality of my Victory, and hopefully my SR, I am going to have to free up some space my donating my older models. But like I said I have a couple years before I need to worry about that.
-
Yeah Ian. This is the same case design I just added a coffee table base so I can move it around. May try to convince the wife it needs to be on the living room. I am running out of wall space in ship room. Of course I won’t need more space now until after I complete my SR in a year or two.
-
Got it gentlemen. Thanks. Studying making my own as you guys suggested. What size/gauge wire do you use? I am thinking 5mm/4 gauge maybe. If I want to solder the joints what type wire should I use?
- 1,508 replies
-
- 1
-
-
- Le Soleil Royal
- Heller
- (and 1 more)
-
“What you are aiming for is what you see on the Frolich model of L’Ambiteaux:” Marc in the photo you attached the chain looks like a solid rod attached at the deadeye and one chain link at the bottom where it attaches at the hull instead of several chain links going from the deadeye to my he hull. Am I seeing it correct
- 1,508 replies
-
- 1
-
-
- Le Soleil Royal
- Heller
- (and 1 more)
-
Thanks Kevin I really appreciate that. Hey my friend you contributed quite a bit as well, including many of your 3D blocks are included throughout the ship! 😊
-
JeffT I started a new topic on a new build but it is not showing up in the index. MSW members are posting to it. Can you tell if I did something wrong? This is the topic. Le Soleil Royal by Bill97 - Heller - 1/100