HOLIDAY DONATION DRIVE - SUPPORT MSW - DO YOUR PART TO KEEP THIS GREAT FORUM GOING!
×


Bill97
-
Posts
2,704 -
Joined
-
Last visited
Content Type
Profiles
Forums
Gallery
Events
Everything posted by Bill97
-
Hey John I continue to read and follow your build along with Marc’s, Popeye2sea‘s, Ian and several others. If you have by chance ventured over to my build you see I am very early n my build. At this point getting my hull together and painting it and starting the painting of my cannons is where I am. I know as I add the decks I will be putting in the cannons and rigging only the ones that will be seen. Did you just rig those or all the cannons on every deck? Since adding and rigging the cannons will be in my near future I have read over that section of your blog several times. I see that you struggled getting the right size blocks for the rigging. What is the final decision you made on the blocks and rigging tackles? If you have time and would not mind I would greatly appreciate if you would post a photo of one of your rigged guns and tell me the block sizes and rigging tackle.
-
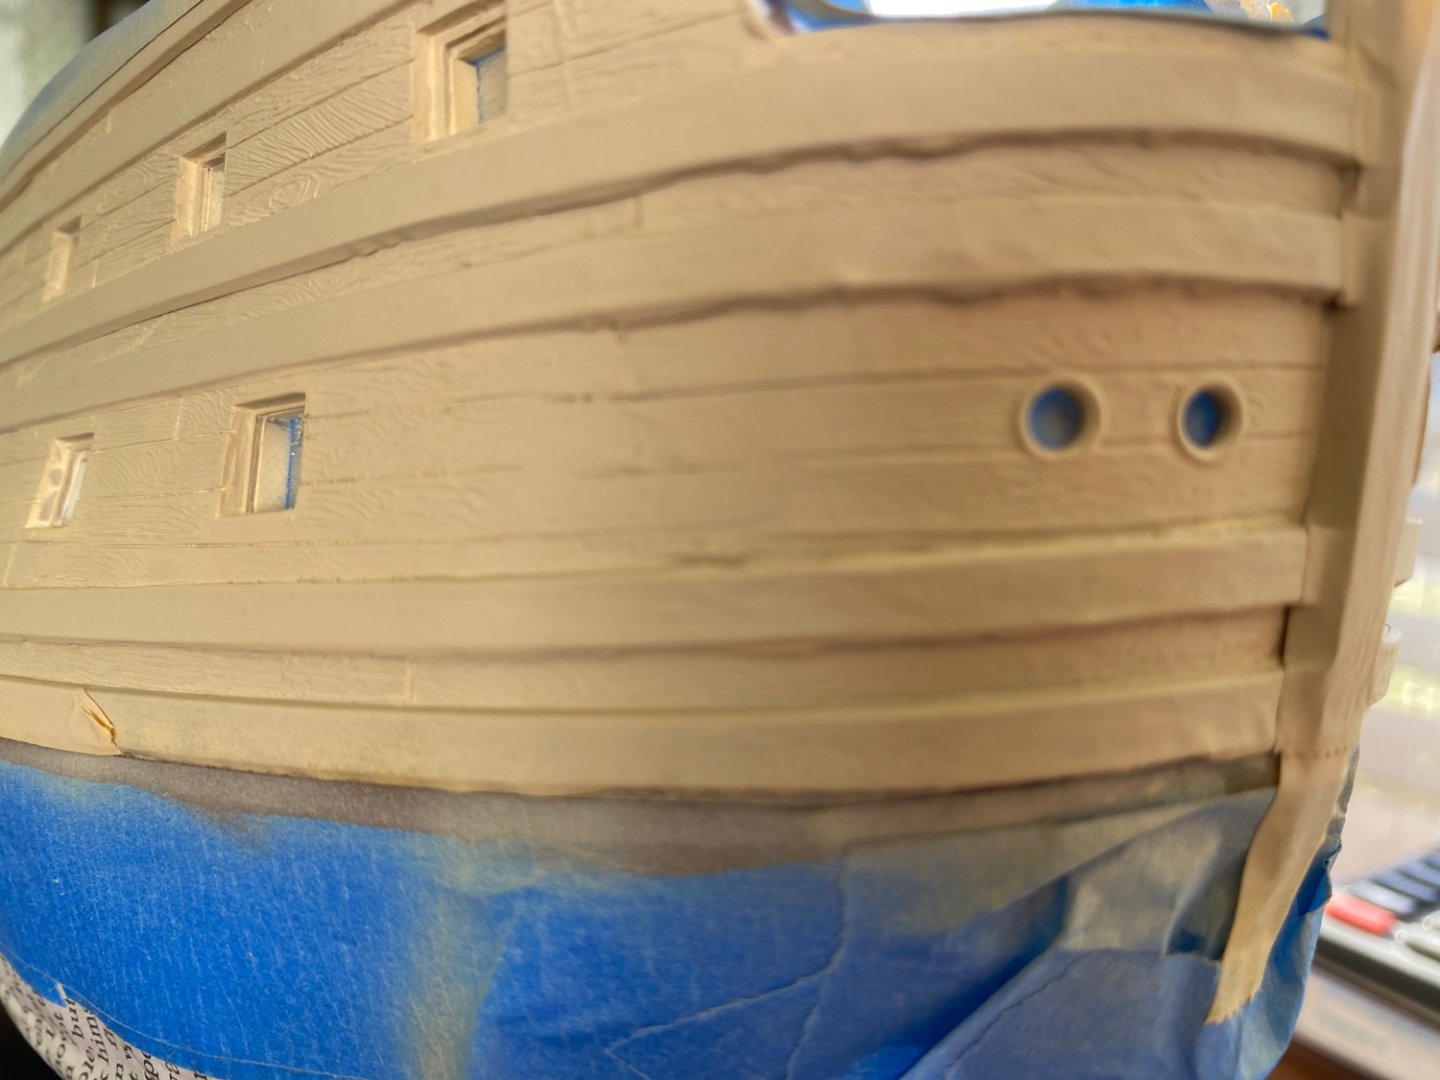
Thanks Marc I will do that. I wondered what those two raised lines were far and why they were there? Your directions on using the filler and then re-scribing the plank seam is actually what I initially did. I ended up having just the slightest difference in the two levels so that is way I used my fine grit file to get it smooth and level. That caused me to loose the molded wood gran. Now that I have the airbrush painting done I can remove all the masking. After that I will be devoting a lot of time to further hull hand painting. That will give me ample time to fine tune the hawser joint. You are right about the distress wash showing the joint. I may reevaluate that part of my plan.
- 1,508 replies
-
- 2
-

-
- Le Soleil Royal
- Heller
- (and 1 more)
-
Thanks Marc. You think the hawsers look OK with a little more refinement?
-
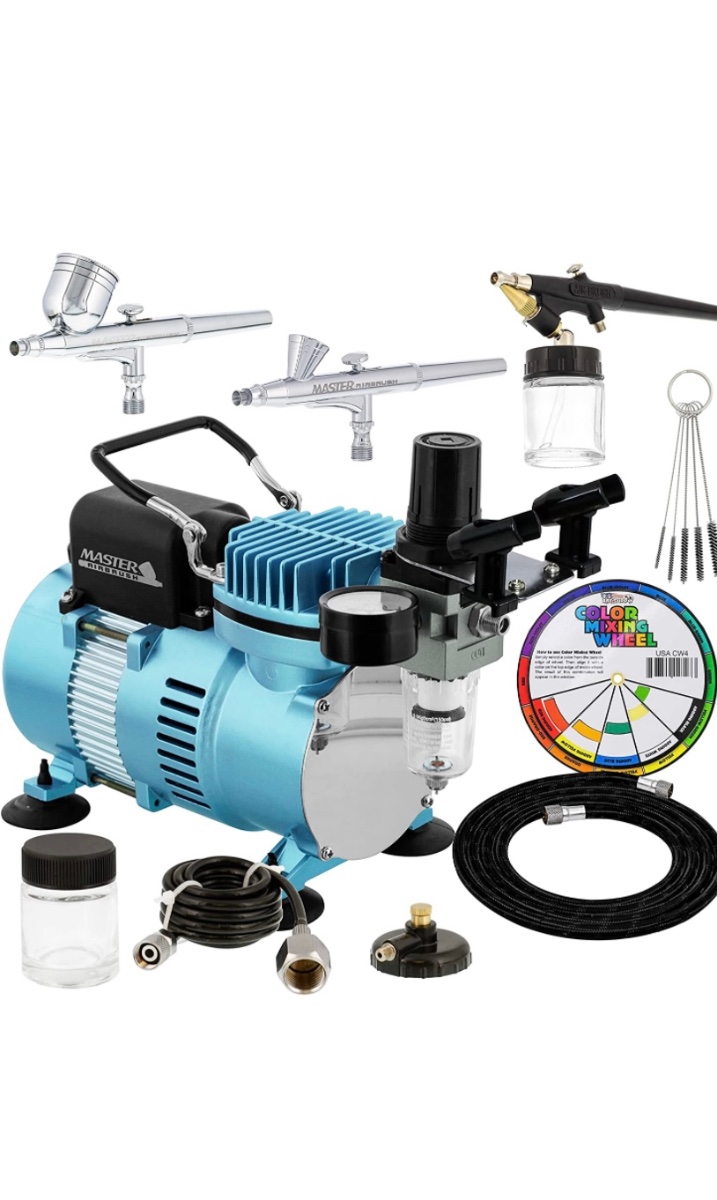
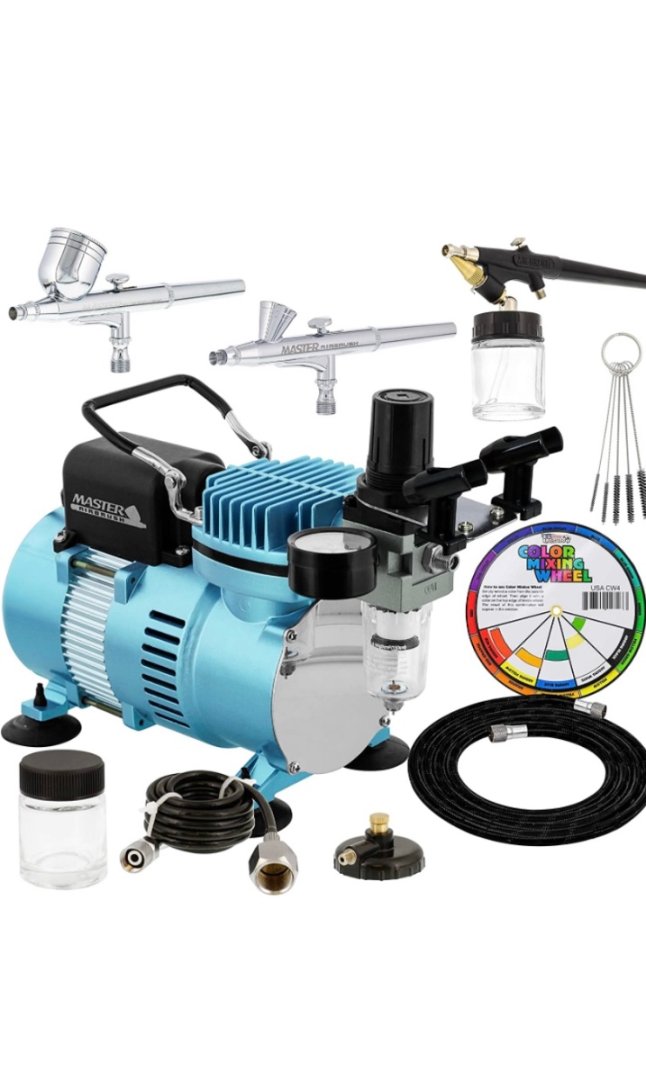
This is my setup except I don’t have 3 different airbrush’s.
- 1,508 replies
-
- 1
-
-
- Le Soleil Royal
- Heller
- (and 1 more)
-
Yes Ian I did on the decks, black and ochre stripes, masts, and several other things. Enjoy using it. In the photo all the black cap paint bottles are for air brush.

-
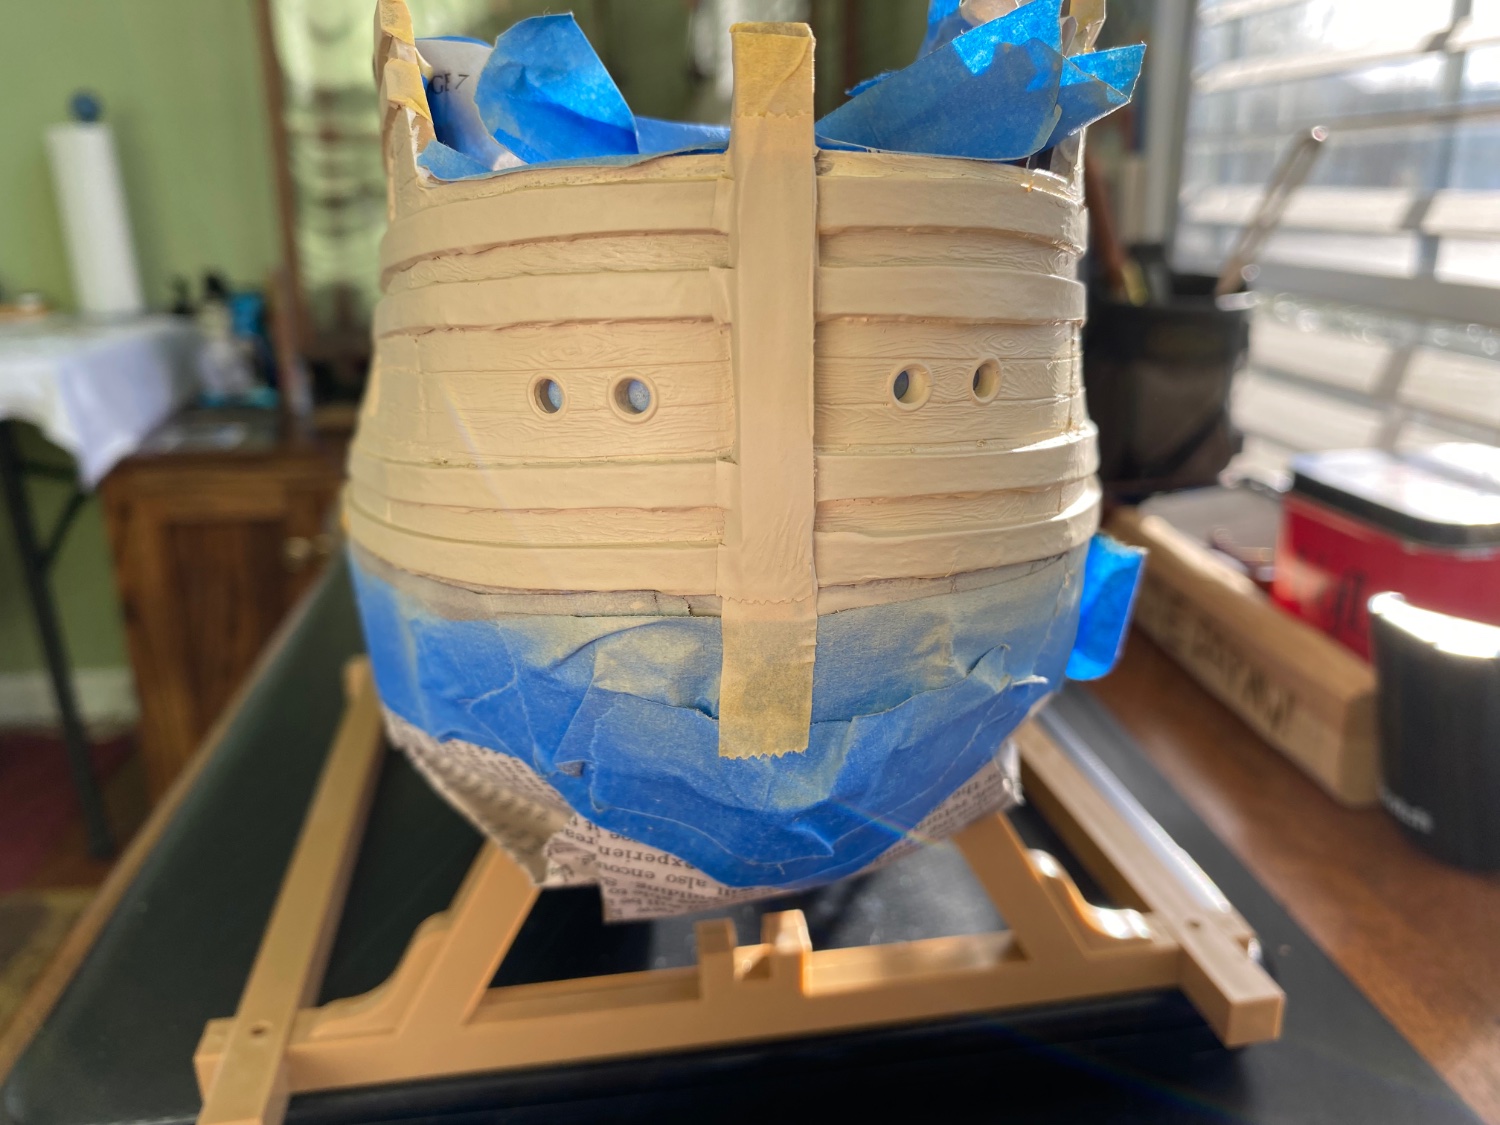
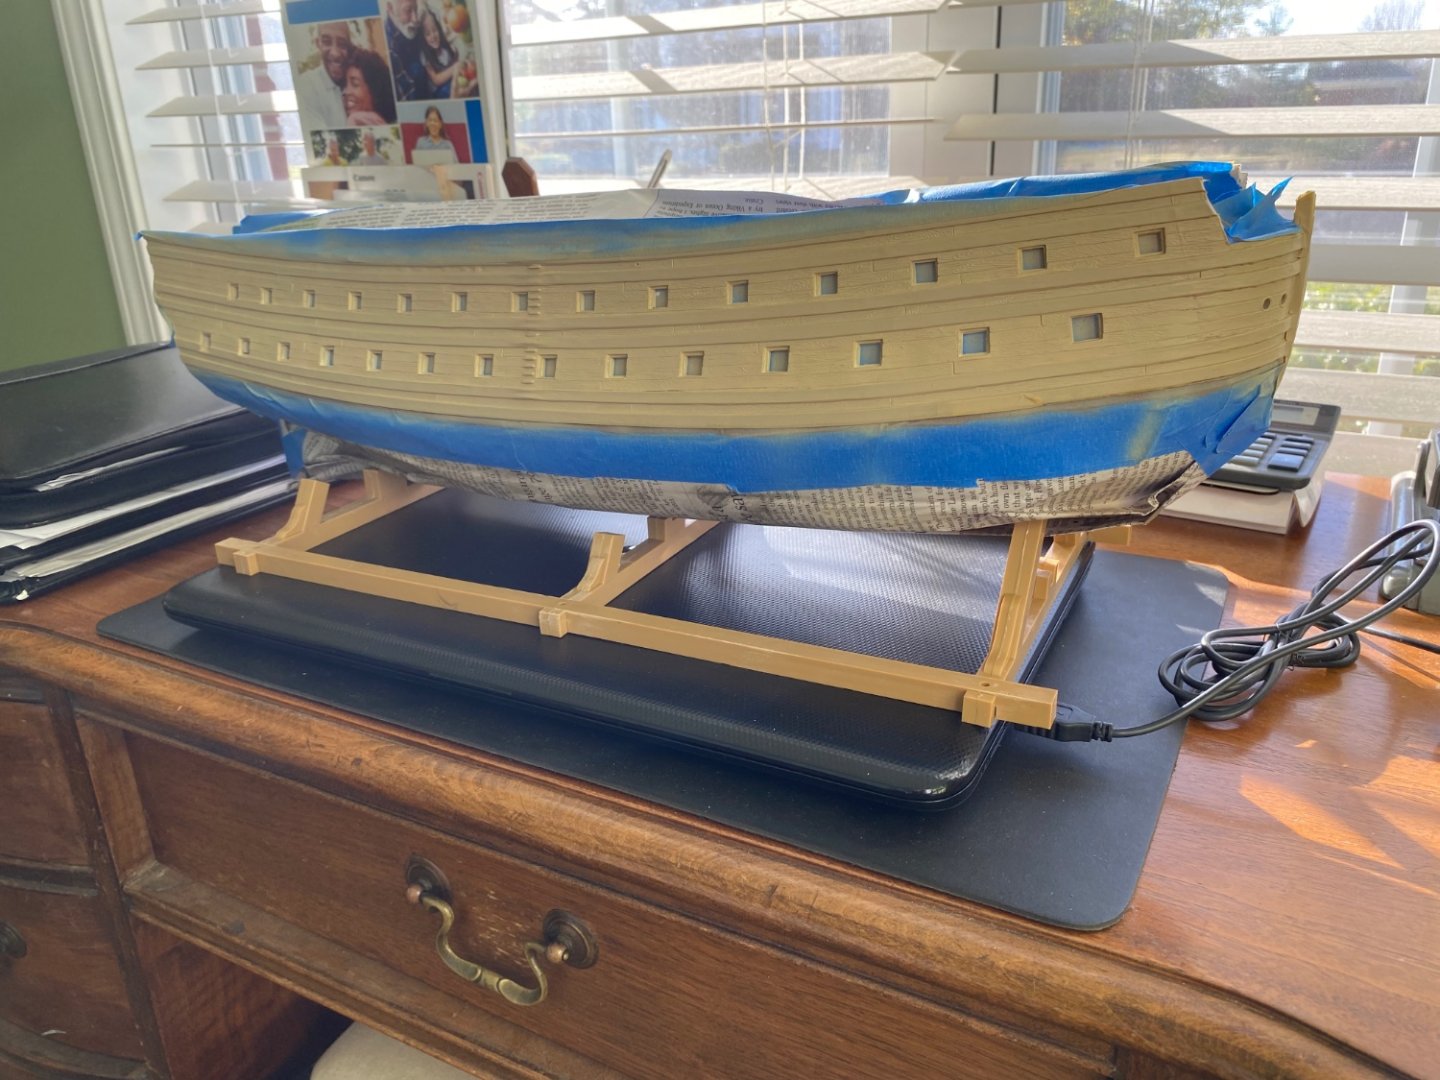
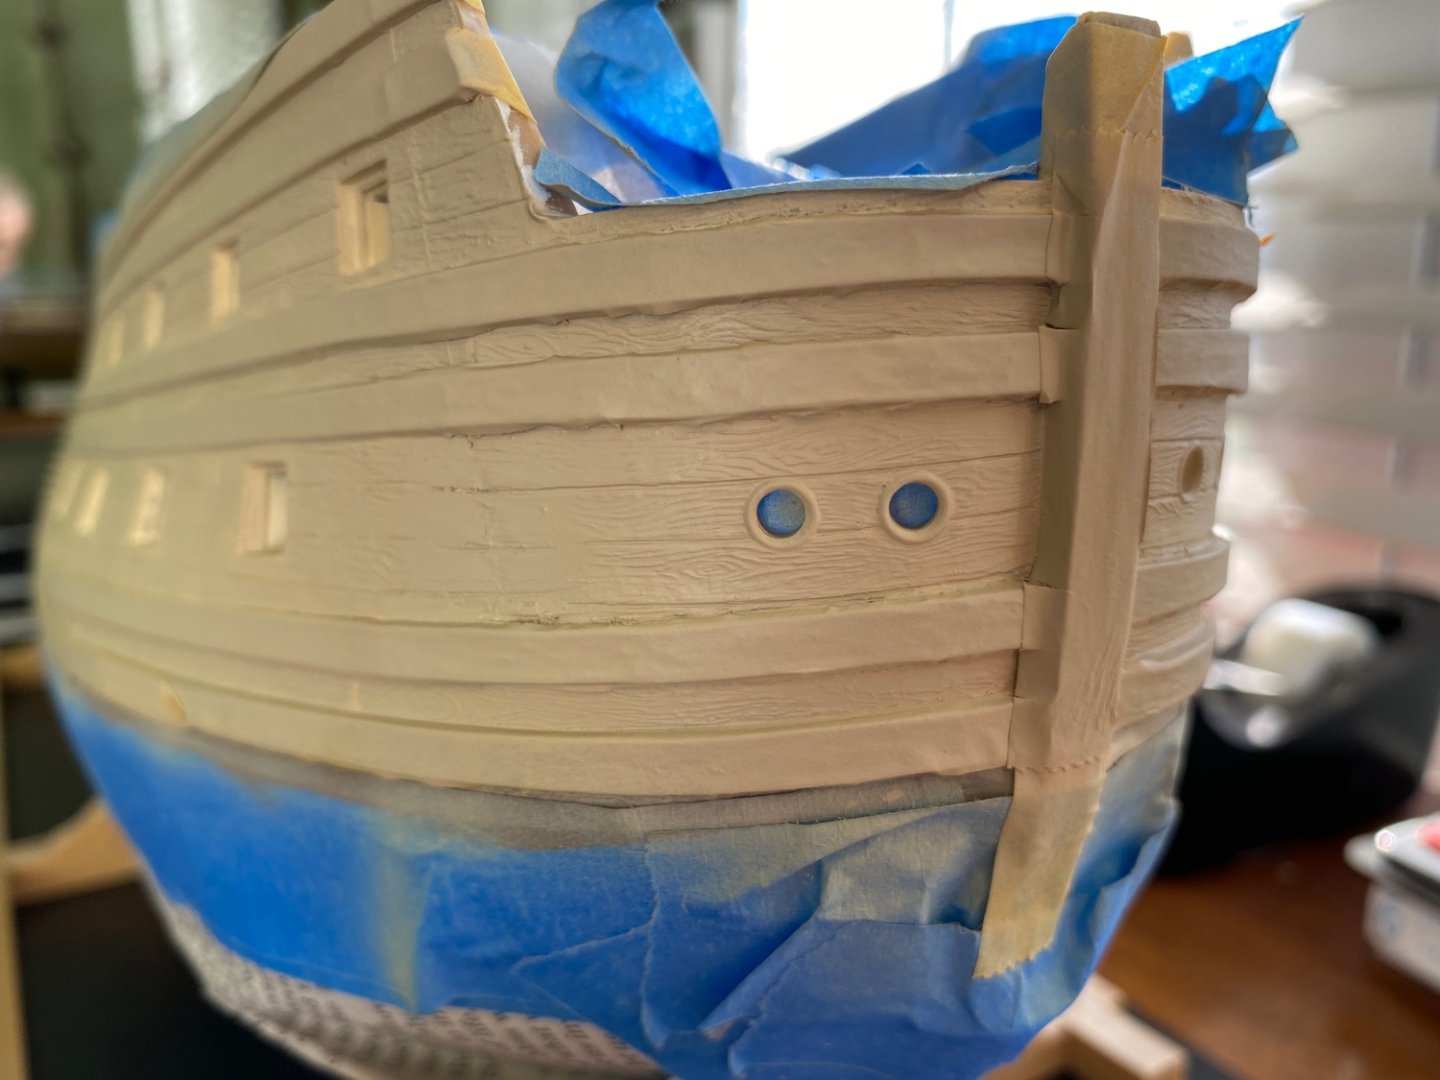
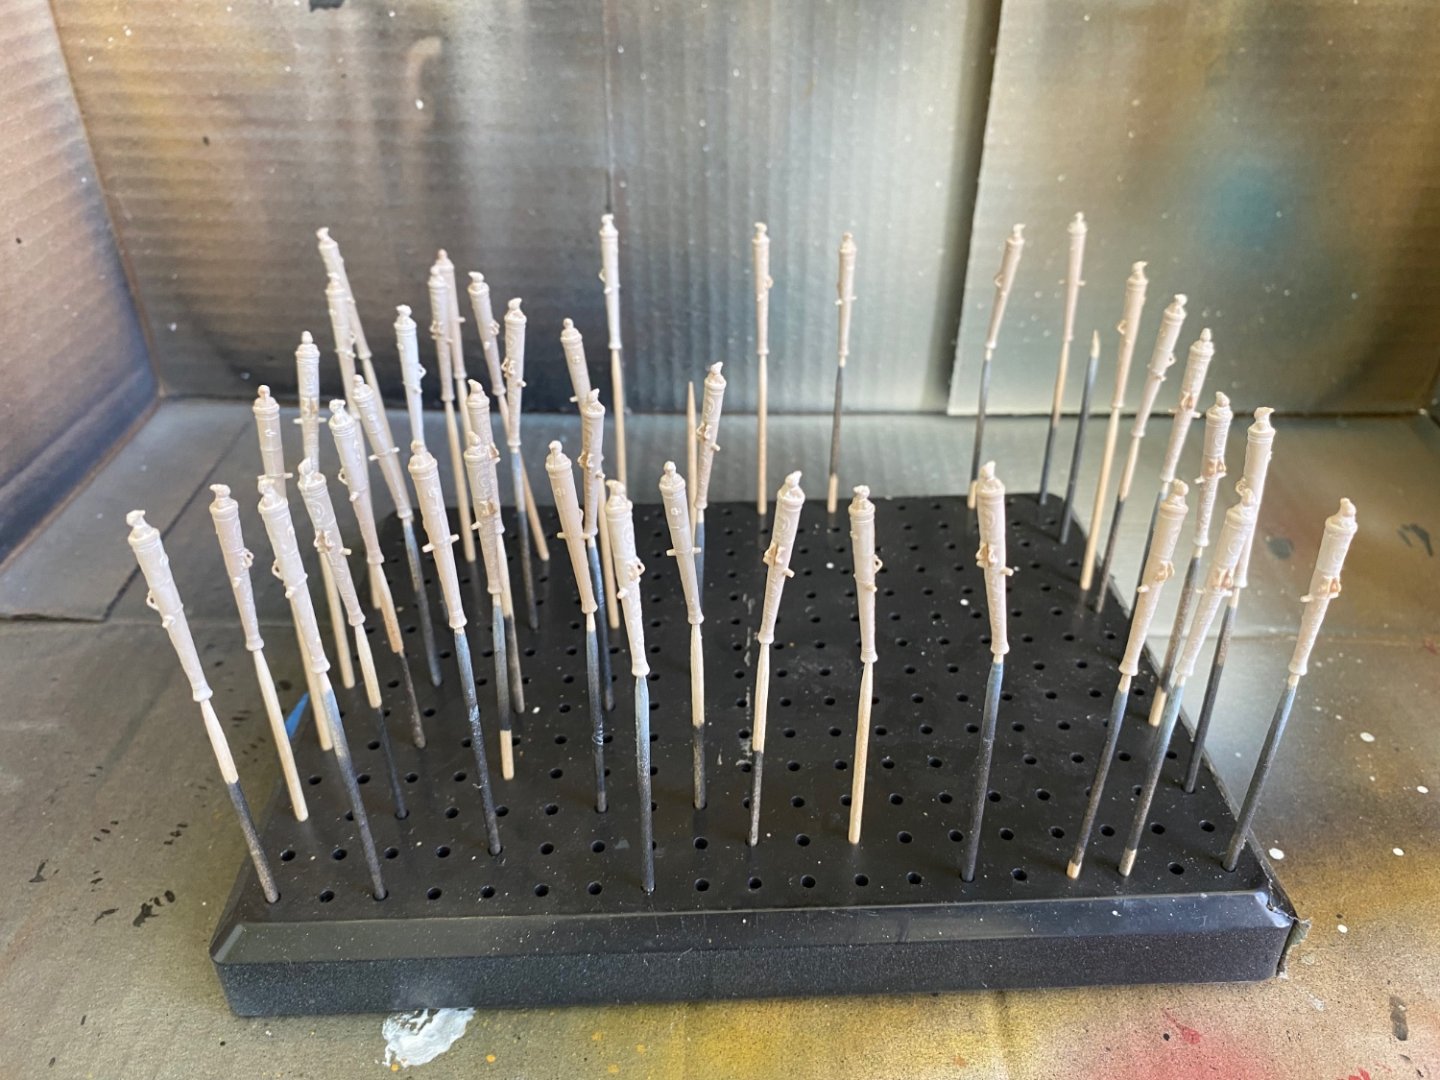
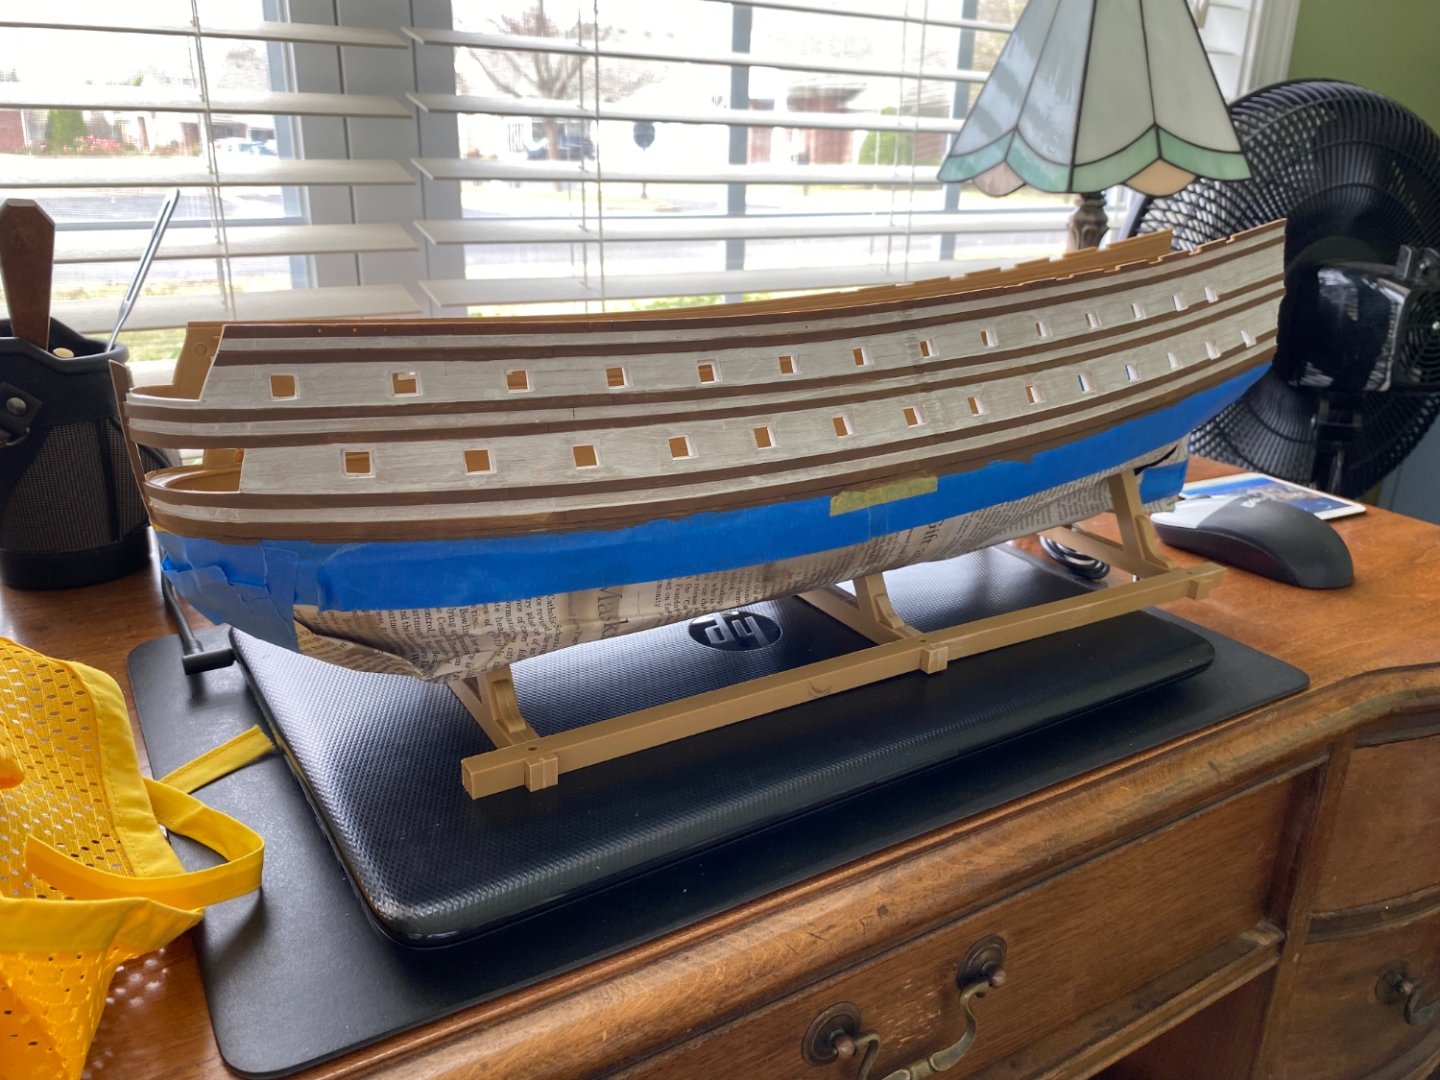
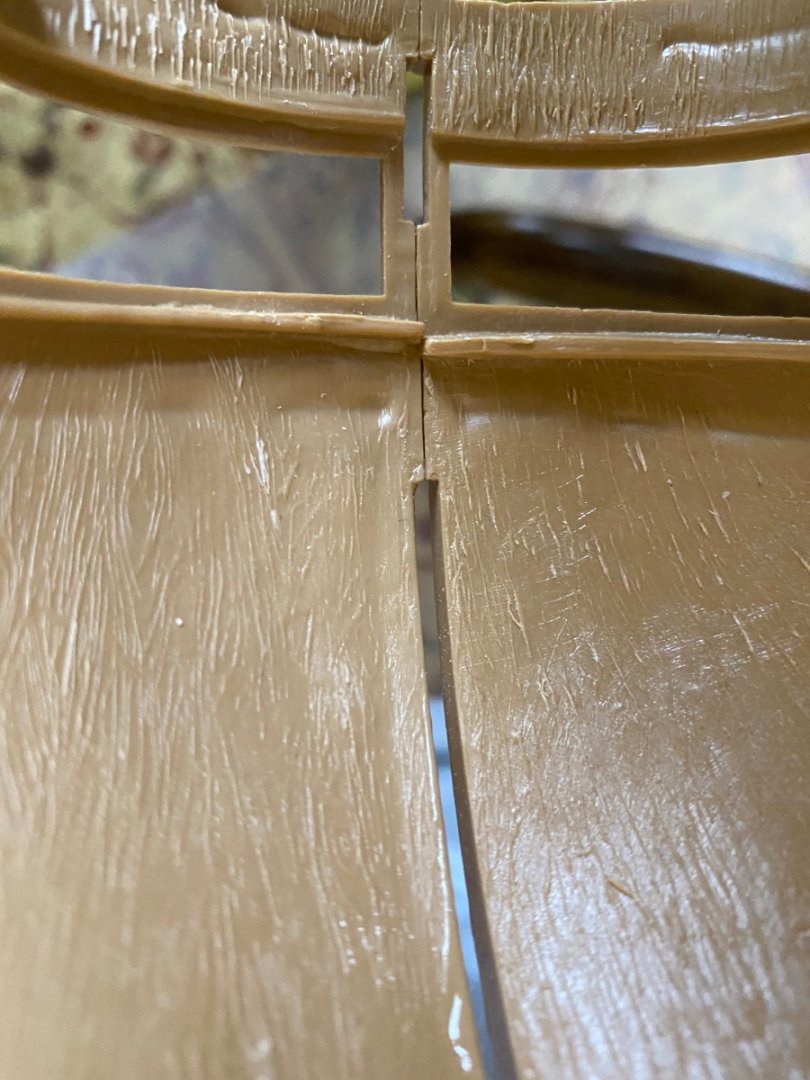
Got some prep and painting done today. After a good bit of color judging I decided on the color for the stripes down the side of the ship. Once I was done spending a ridiculous amount of time masking the hull I was able to airbrush the stripes. I tried to figure out a way to mask the interior of each of the gunports because I will be hand painting them red and did not want to many coats of paint in the gunports. I discovered on my Victory that several coats of paint in the gunports cause me to loose sharpness of the edges. May sand them a little inside before I paint the red. Also worked on the hawser pieces and got them installed. The edges are flush with the surround areas of the hull. I did a light bit of work with a fine file to smooth the edges where the pieces joined. Unfortunately as a result I lost the molded wood grain there at the joint. I took some 60 grit sandpaper and drug it a couple times over the area hoping to recreate a little grain. I thought it looked OK but after I airbrushed the area the grain does not stand out very much. Probably do a little dry brush of a weathering color and hopefully that will blend pretty well. We will see. Also worked on the first set of cannon barrels. Glued the halves together, smoothed the seams, and airbrushed them a surface primer. I intend to paint all the barrels bronze so I had to test my Vallejo bronze Game Color over several different color surface primers to see which gave me my desired look. Ultimately I went with a white surface primer

- 1,508 replies
-
- 5
-
-

-
- Le Soleil Royal
- Heller
- (and 1 more)
-
Gooday Rokket, you are very welcome. How are things in Australia today?
-
Oh sure Marc! I plan that. I was just practicing my first attempt at soldering my brass wire. Never soldered anything before except copper pipes in a plumbing situation. Daniel has a great tutorial here on MSW showing how to set up the pins.
- 1,508 replies
-
- 3
-
-
- Le Soleil Royal
- Heller
- (and 1 more)
-
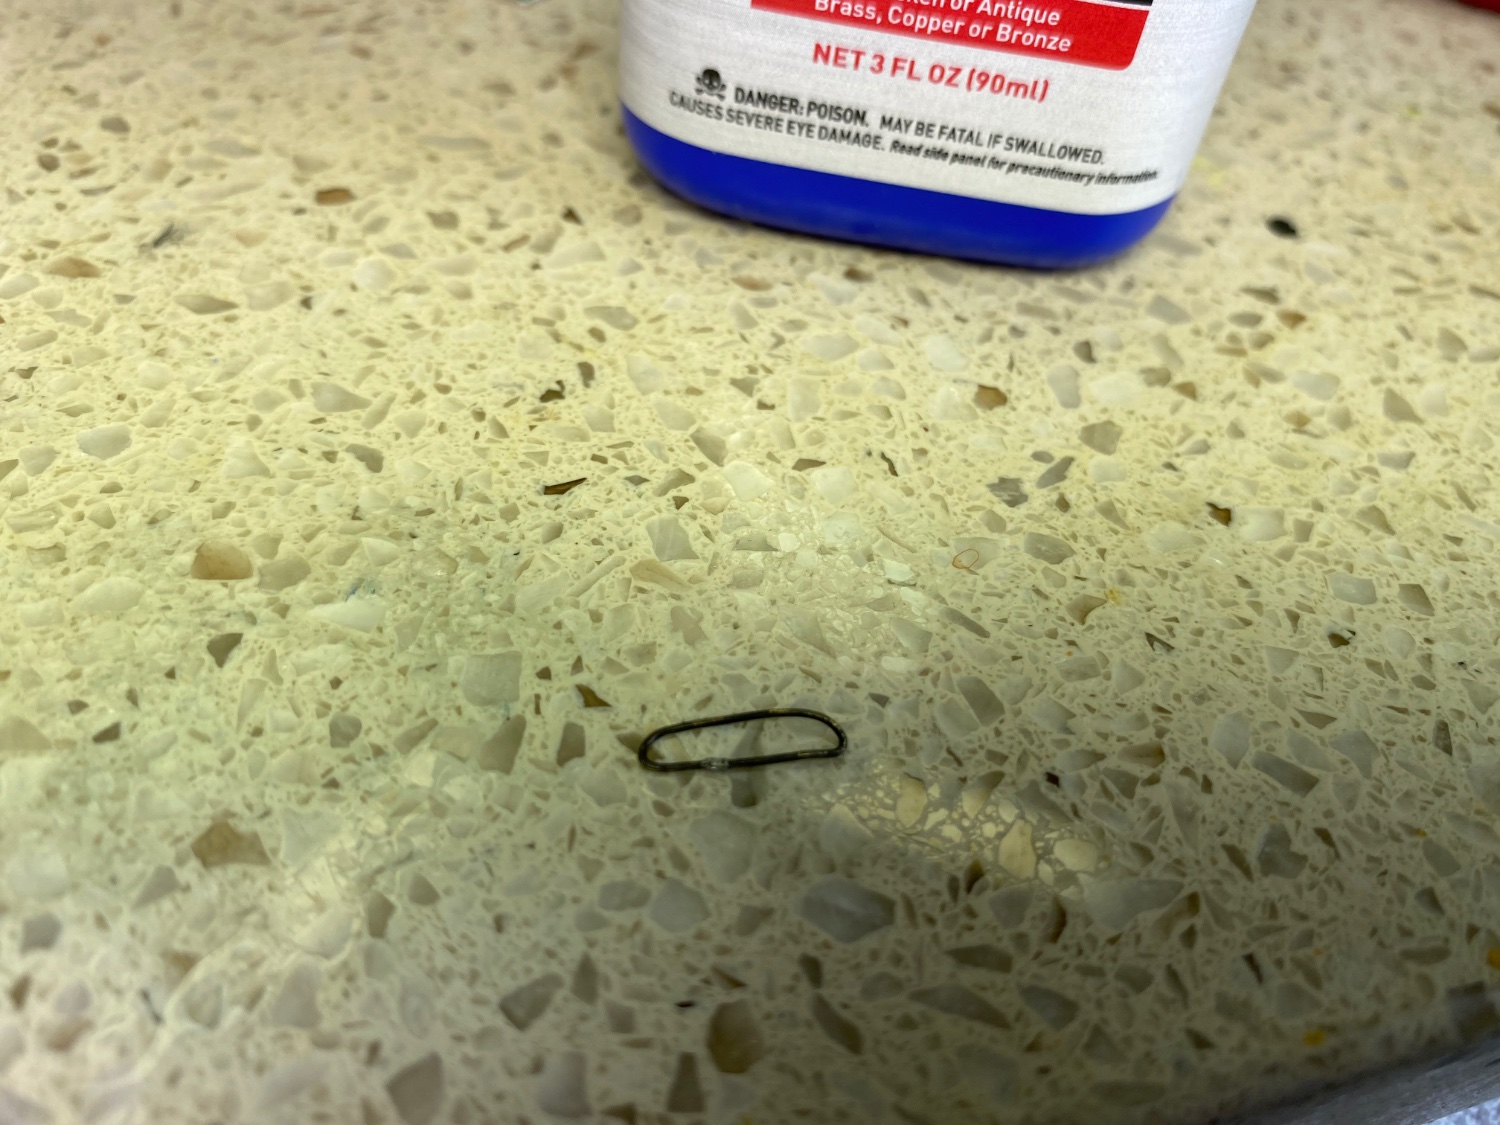
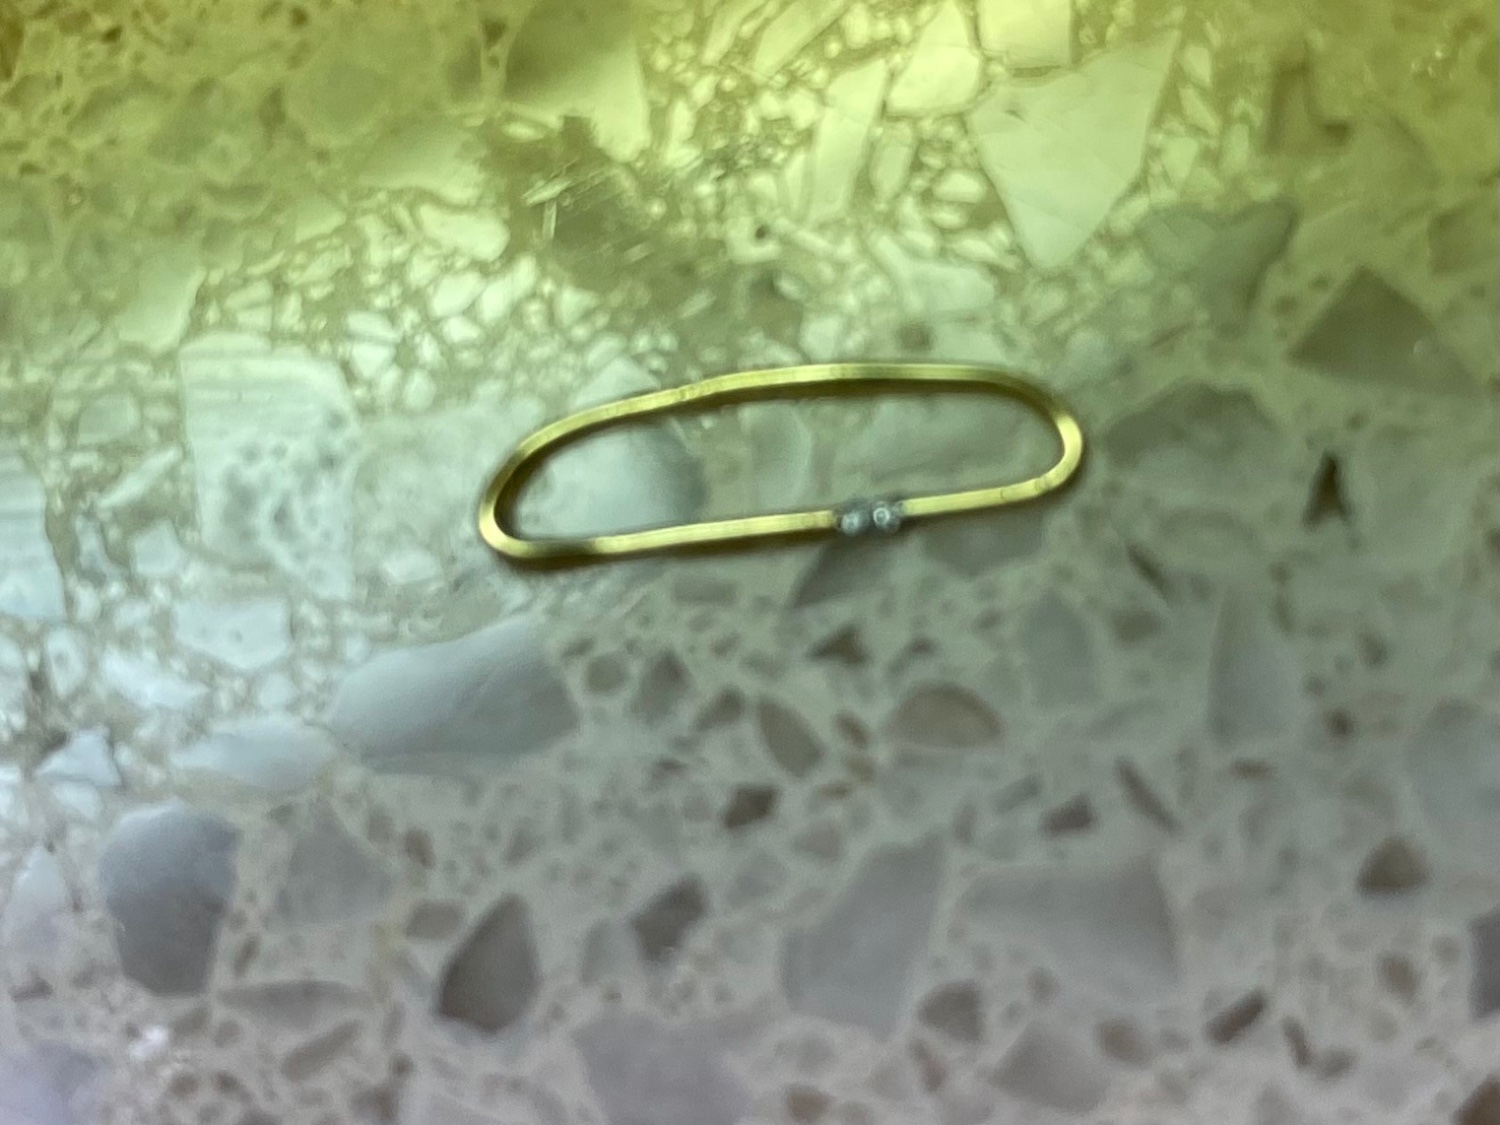
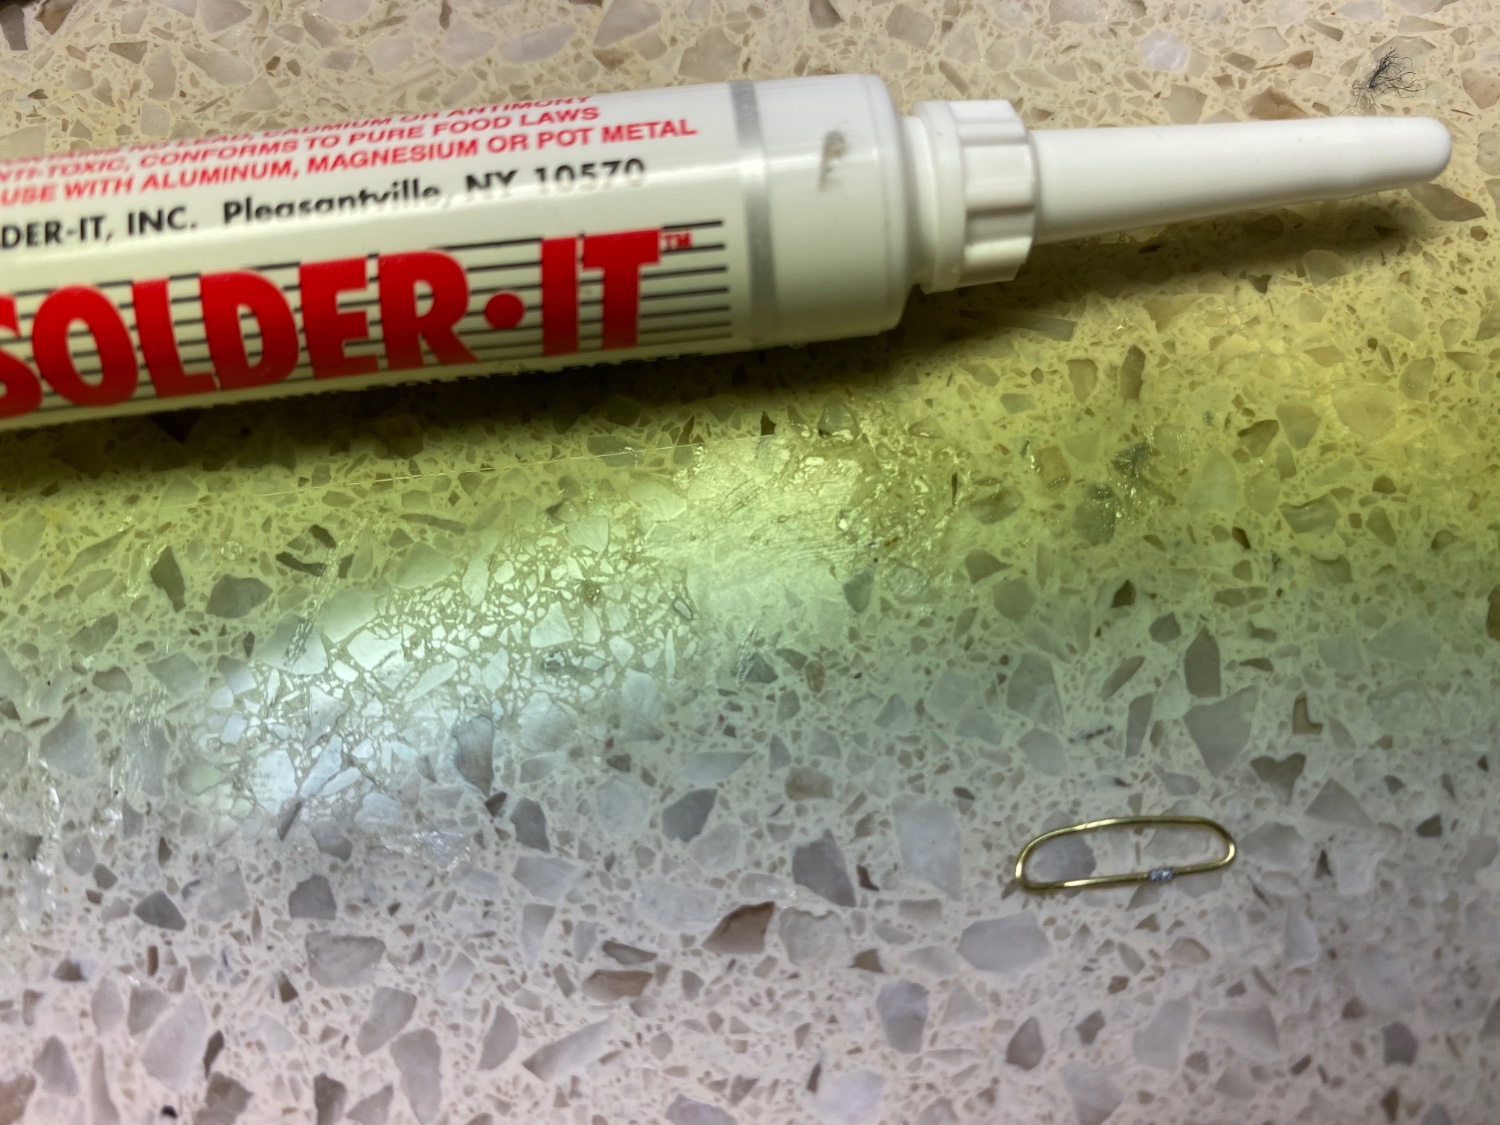
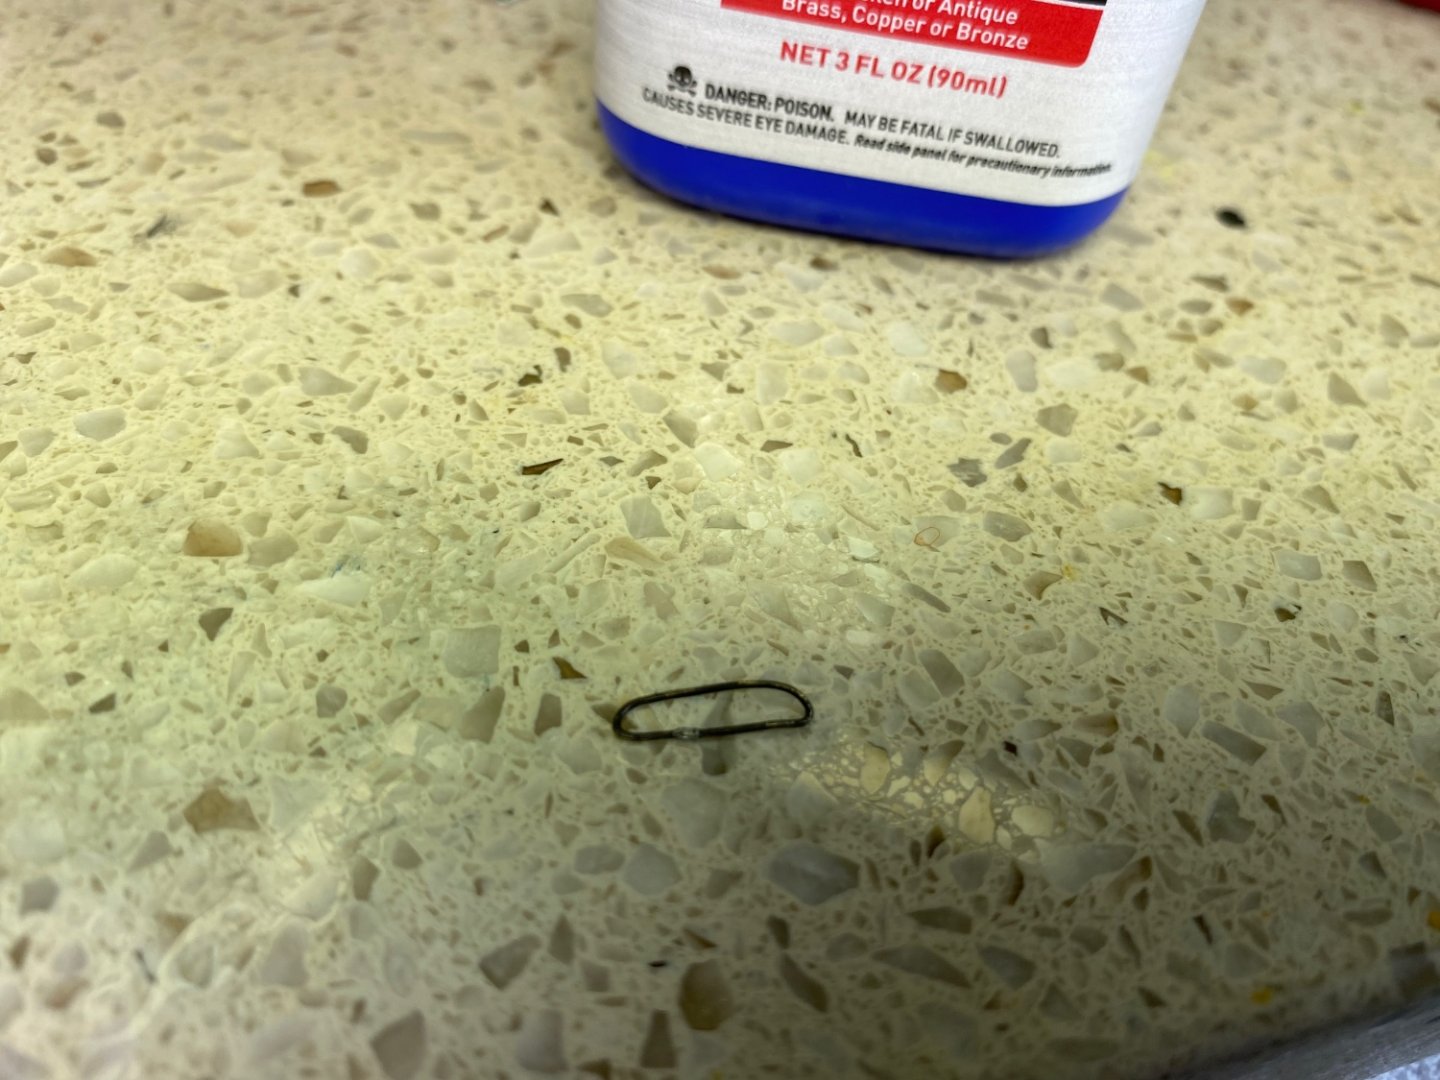
I did it! Thanks Allan and Dr PR. Using your recommendations for products to use and steps I pulled off my first “rough” chain link. That Soldetr-It works fantastic as does the Brass Black. A good bit more practice and I should be ready when it comes time to make my chain plates. Thanks again Bill


-
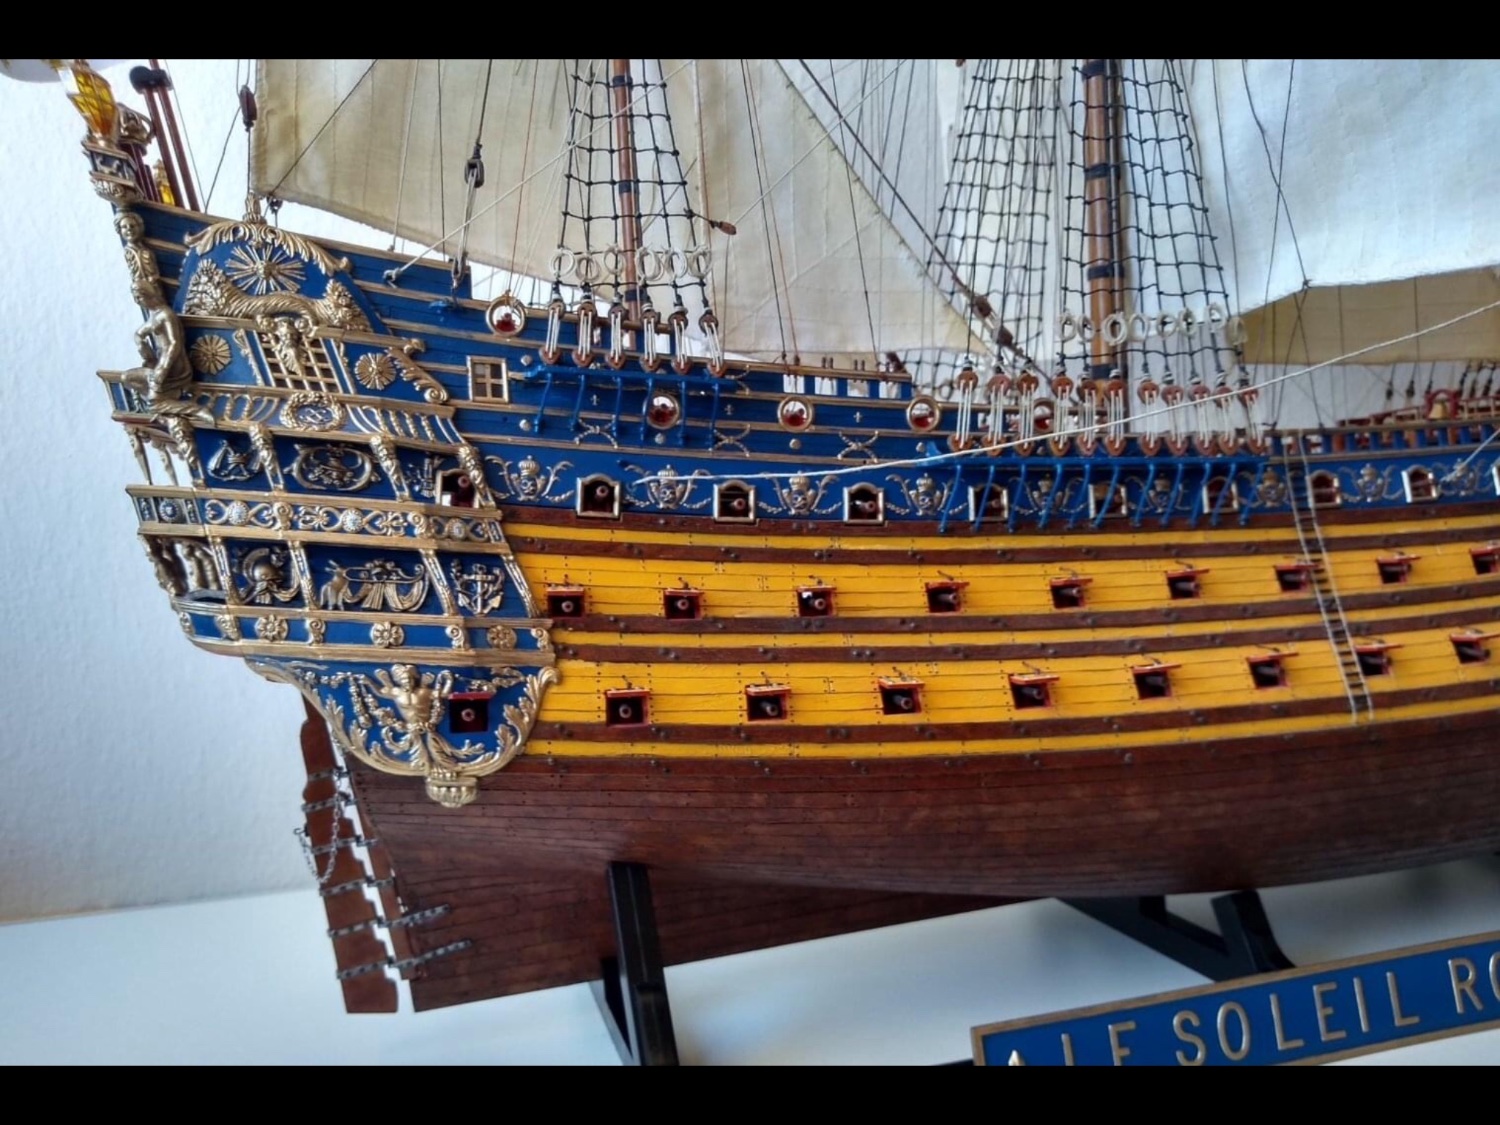
Thanks guys. Really appreciate your kind comments. I consider compliments from you guys as special. I think of you as very accomplished builders. I am just a young Jedi learning from the Obi-wan Kenobe(s) of the model ship would! 😊 Masked the already painted bottom of the hull and primed the upper portion with a white and brown Vellajo surface primer. The second picture is the color scheme I have decided on. I like it a lot and hope I can come close to how nice it looks. If I remember correctly this photo may be one of your’s, not sure. I have so many SR photos saved on my phone. I also spent a little time today practicing making my own chain plates. Cut some small pieces of .05 mm brass wire and practiced a little soldering and blackening. First time to try it. Opened up a whole new world of stuff I can do!


- 1,508 replies
-
- 3
-
-
- Le Soleil Royal
- Heller
- (and 1 more)
-
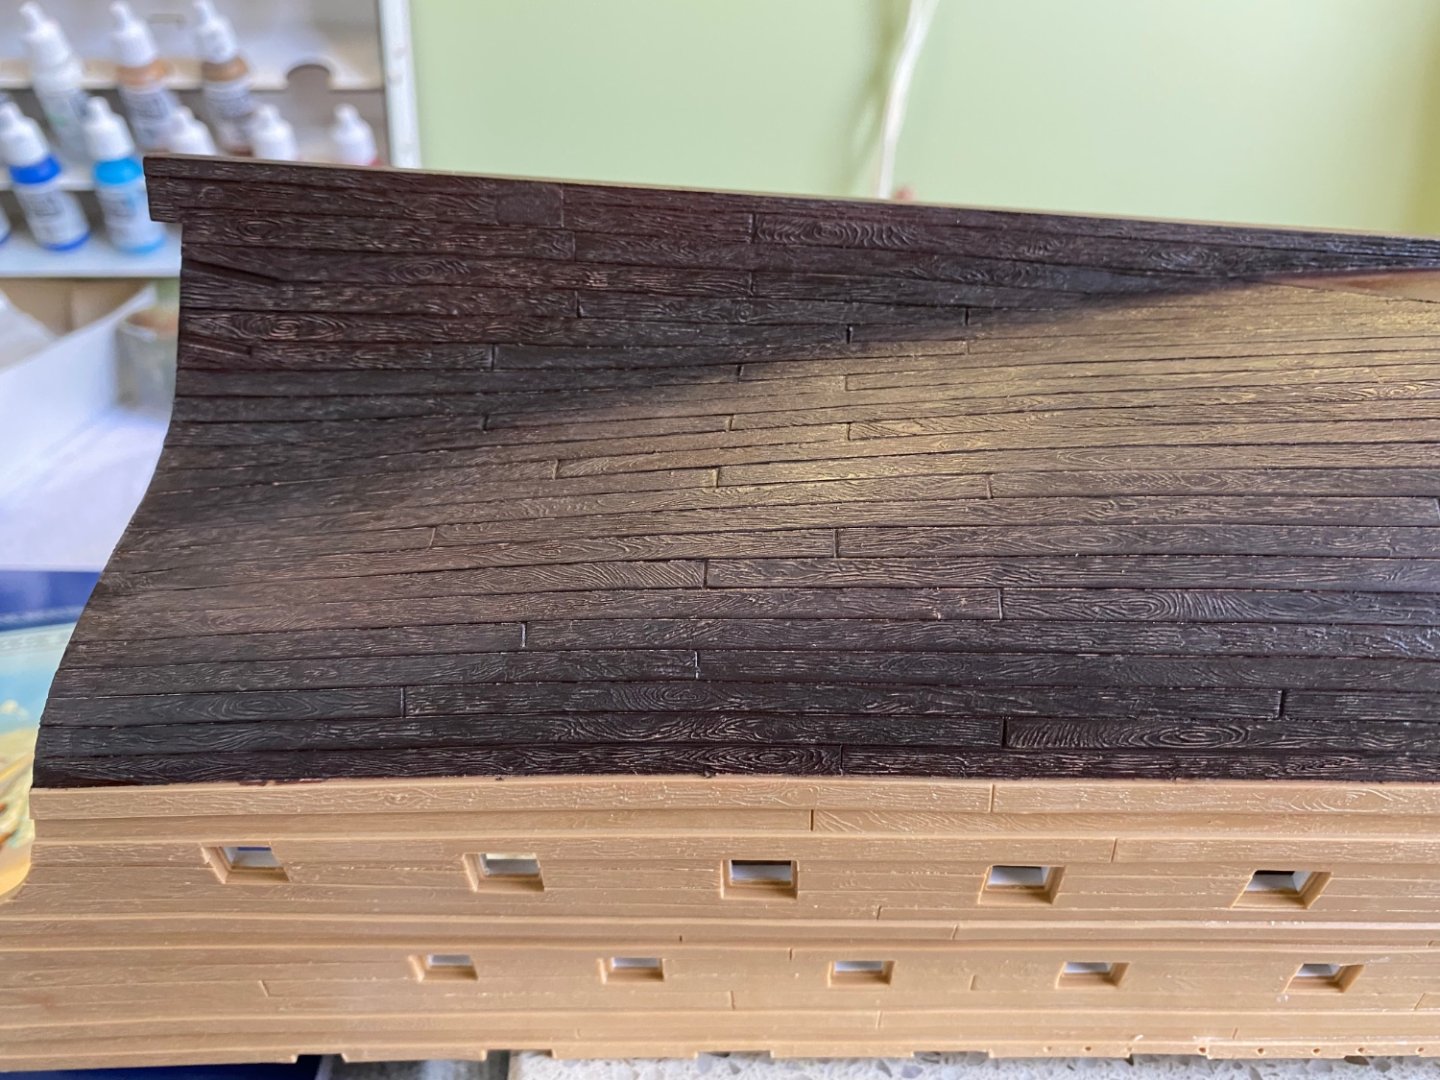
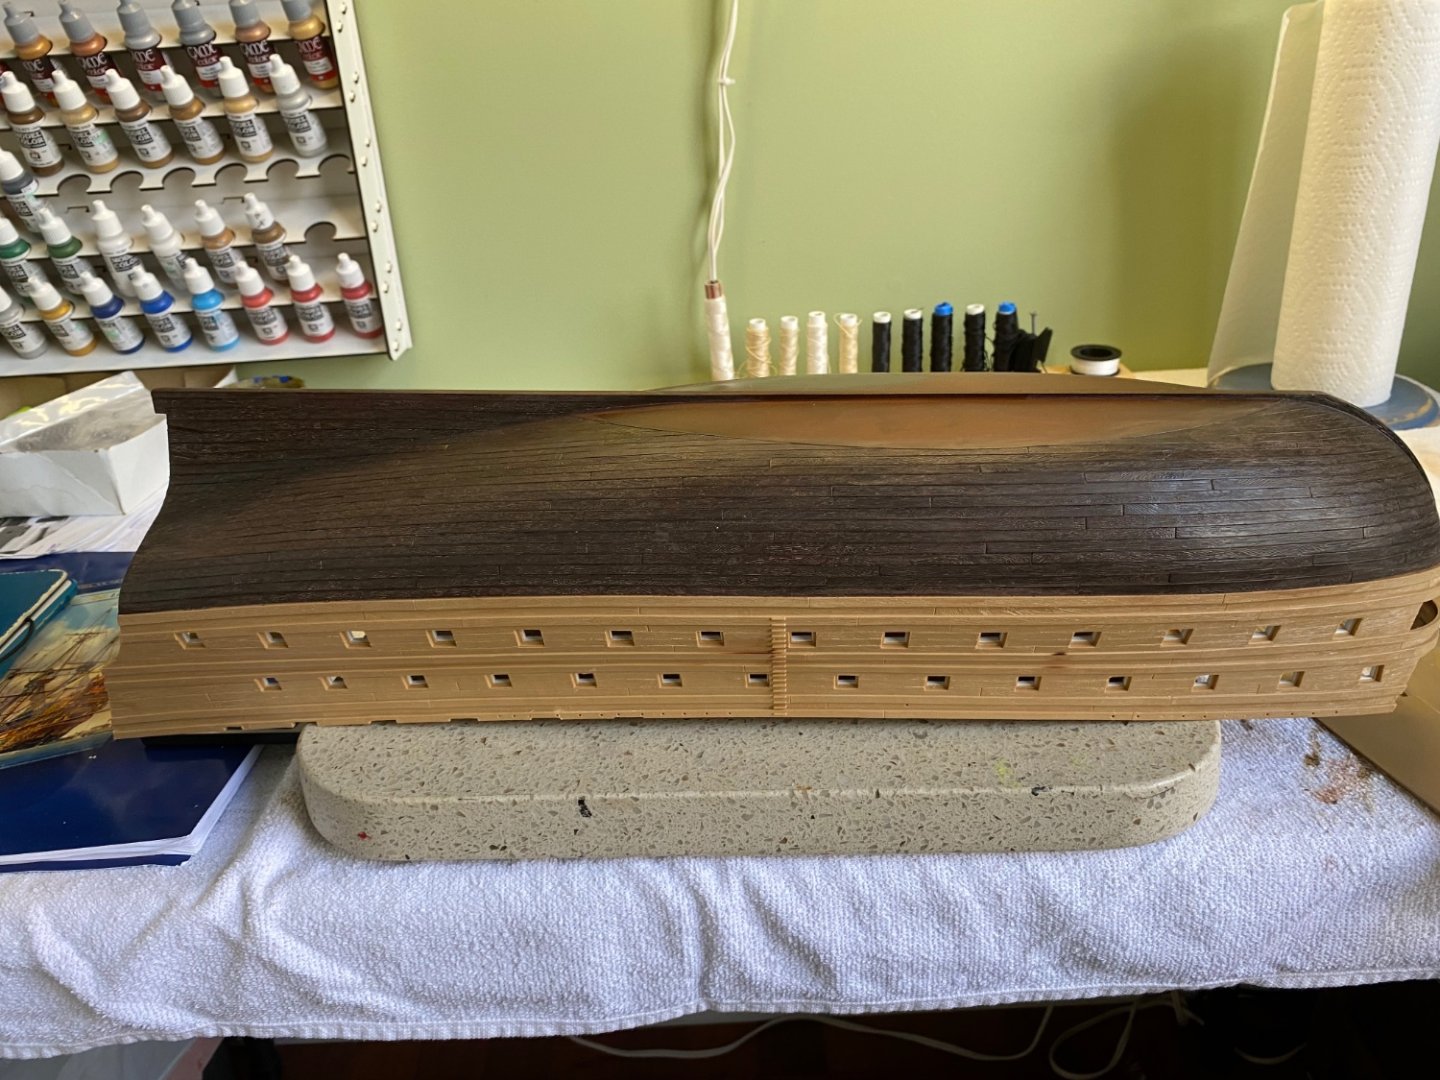
Been quiet for a few days. Not a lot to report. A lot has been done. It just doesn’t look like a lot to report. I removed the water line Heller molded into the hull and painted the lower section up to the wale. Decided not to go with the white bottom but instead went with a dark weathered wood grain look. While surface primer and paint layers were drying I used the time to assemble all the cannon barrels. They still need a bit of sanding along the seams then primer and painting. My current plan is to paint them bronze with some aging and highlights. Today I am working on preparing the upper part of the hull for painting.

- 1,508 replies
-
- 5
-
-
- Le Soleil Royal
- Heller
- (and 1 more)
-
Thanks Dr PR. I am only going to be soldering the tiny joint where two pieces of brass wire touch together to make chain links. Exactly what Daniel did in the first part of this topic. Wont be soldering any larger joints. Anything different in your above instructions for this specific soldering task? I will be blackening the links.
-
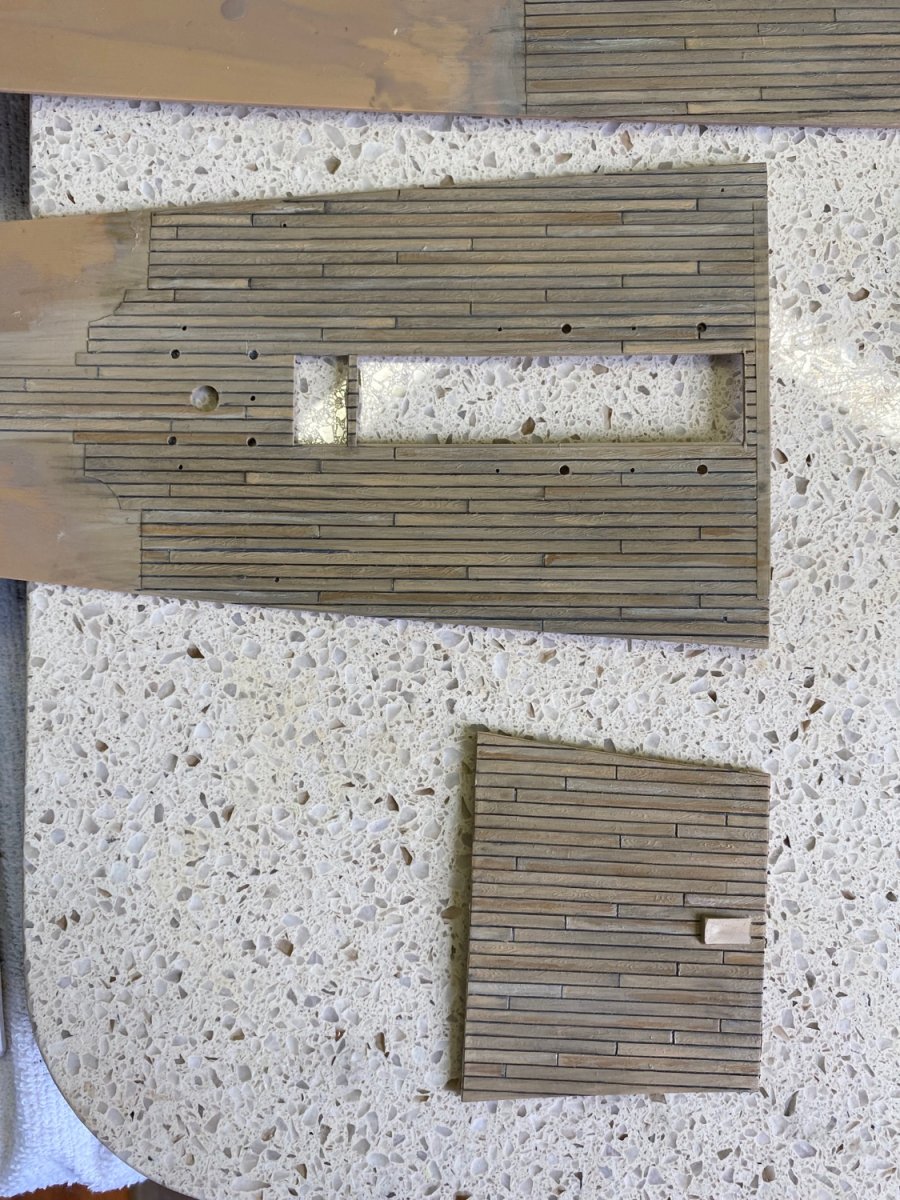
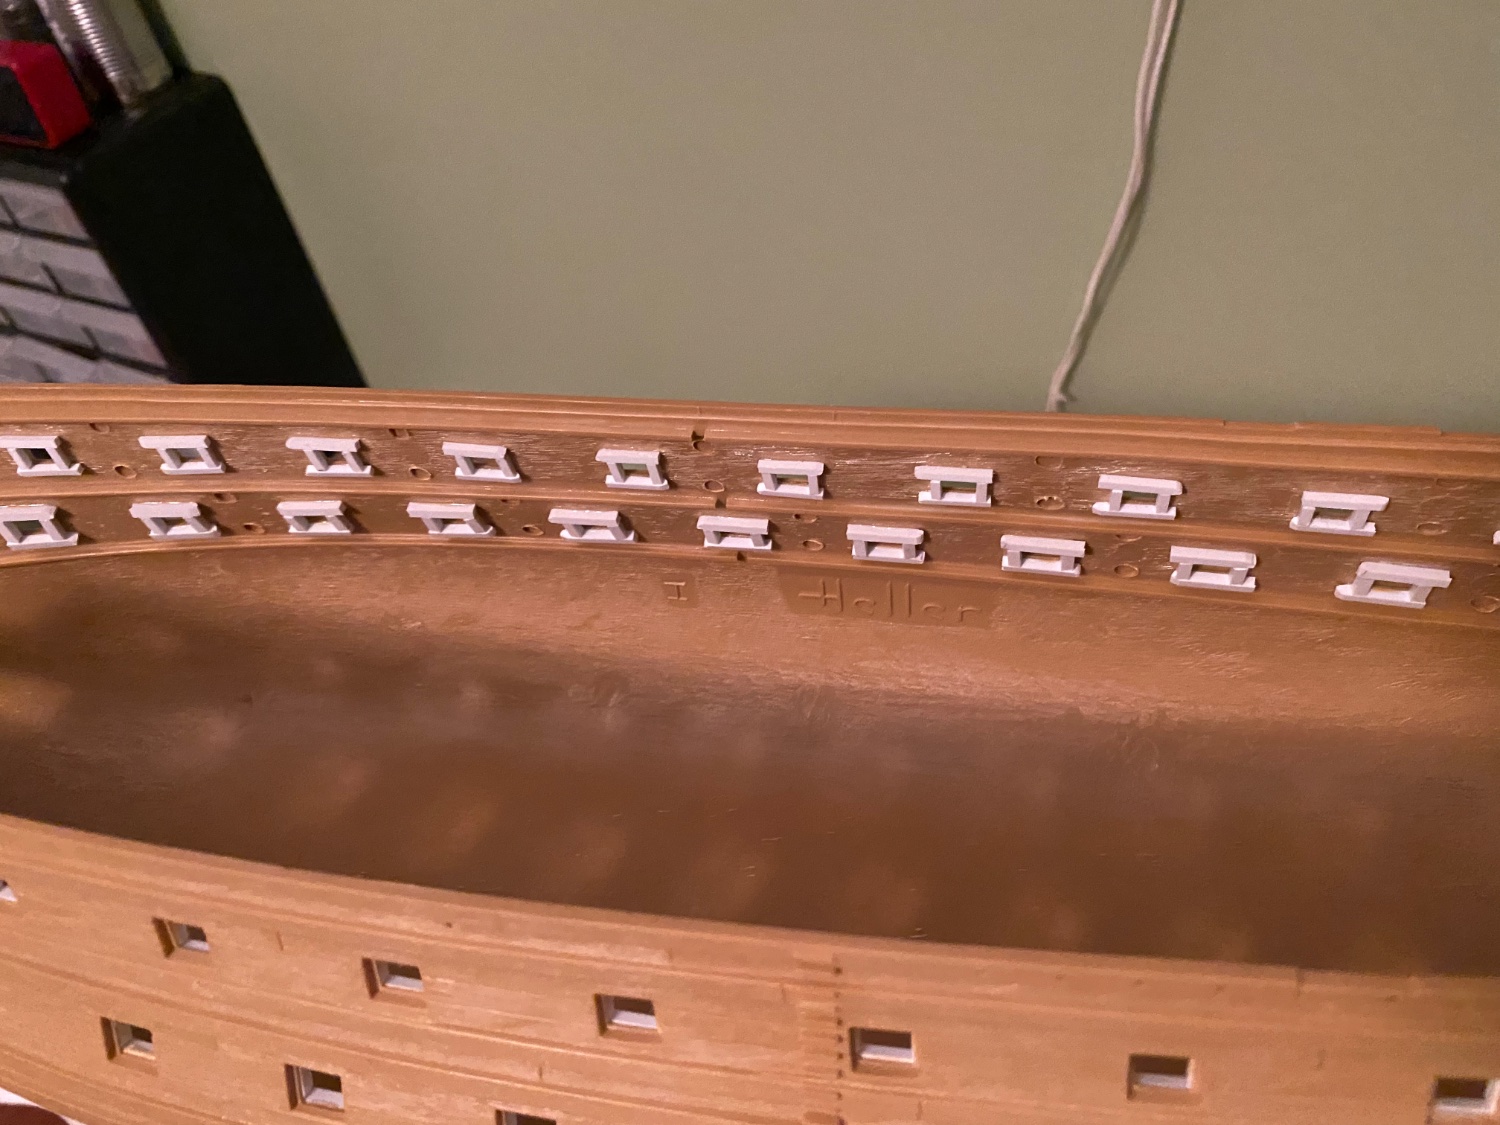
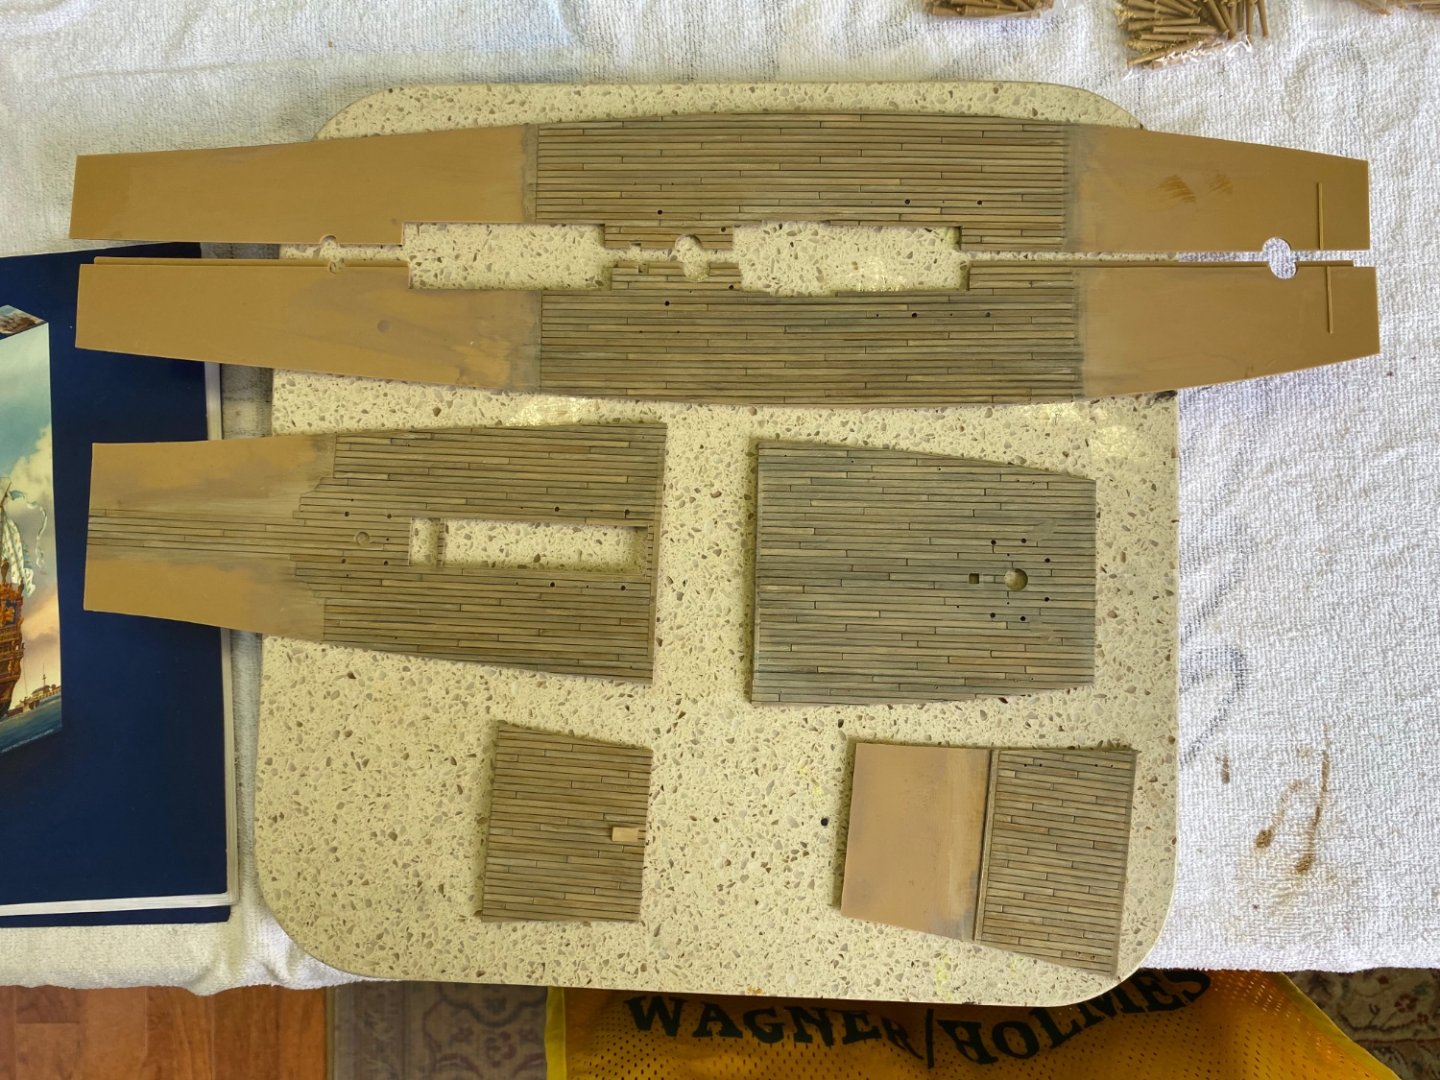
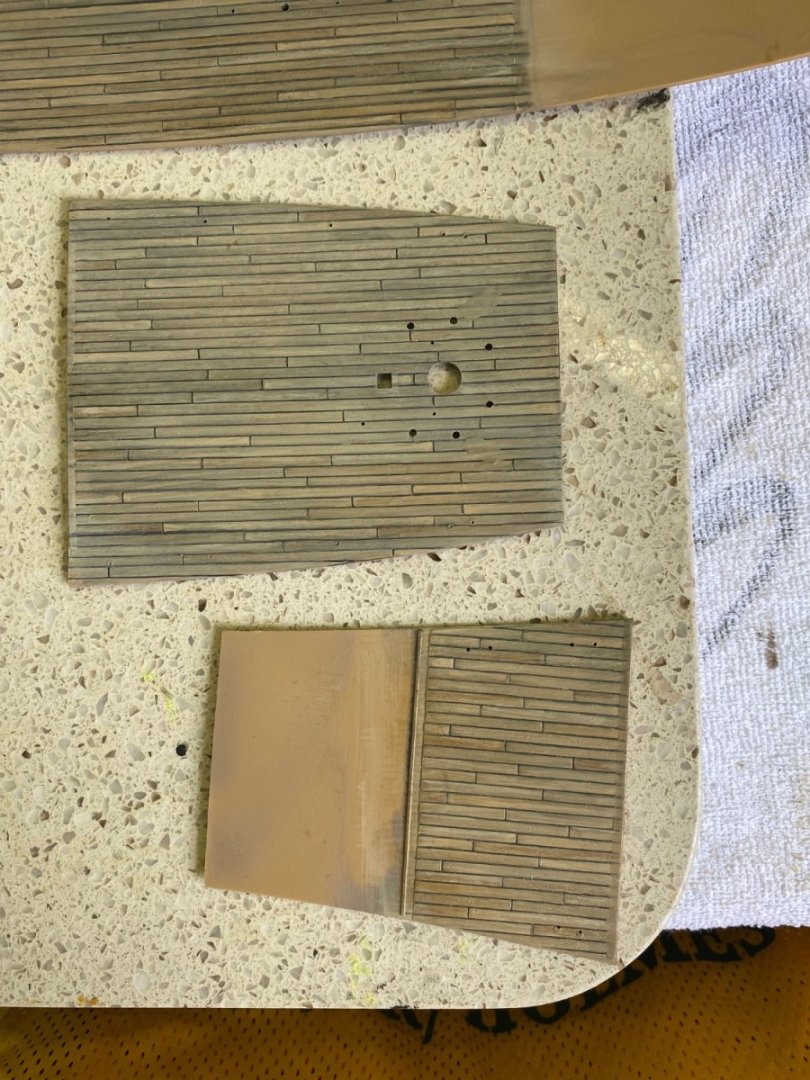
Deck sections painted. I went with a newer wood look for a change. Did an old wood look in the Victory.

- 1,508 replies
-
- 6
-
-
-
- Le Soleil Royal
- Heller
- (and 1 more)
-
OK Allan I got my Solder-It and my soldering iron. I am practicing a little and am wondering after I putt a small bit of Solder-It on the joint do I then touch the small bit with the soldering iron tip or only to the wire near the solder to heat the wire enough to make the solder melt?
-
Thanks Marc. Will keep you updated on my progress.
- 1,508 replies
-
- 1
-
-
- Le Soleil Royal
- Heller
- (and 1 more)
-
So Marc do I understand you correctly that your goal, and mine should be, was to make it look as if the hawser pieces are not separate pieces? Once glued in the surface should be smooth to include filling the crack all the way around and extending the board planking lines across the seam? We knew I was gluing my halves together to soon! Maybe I can still pull this off. How did you do the bolting of the wales? I like that.
- 1,508 replies
-
- 1
-
-
- Le Soleil Royal
- Heller
- (and 1 more)
-
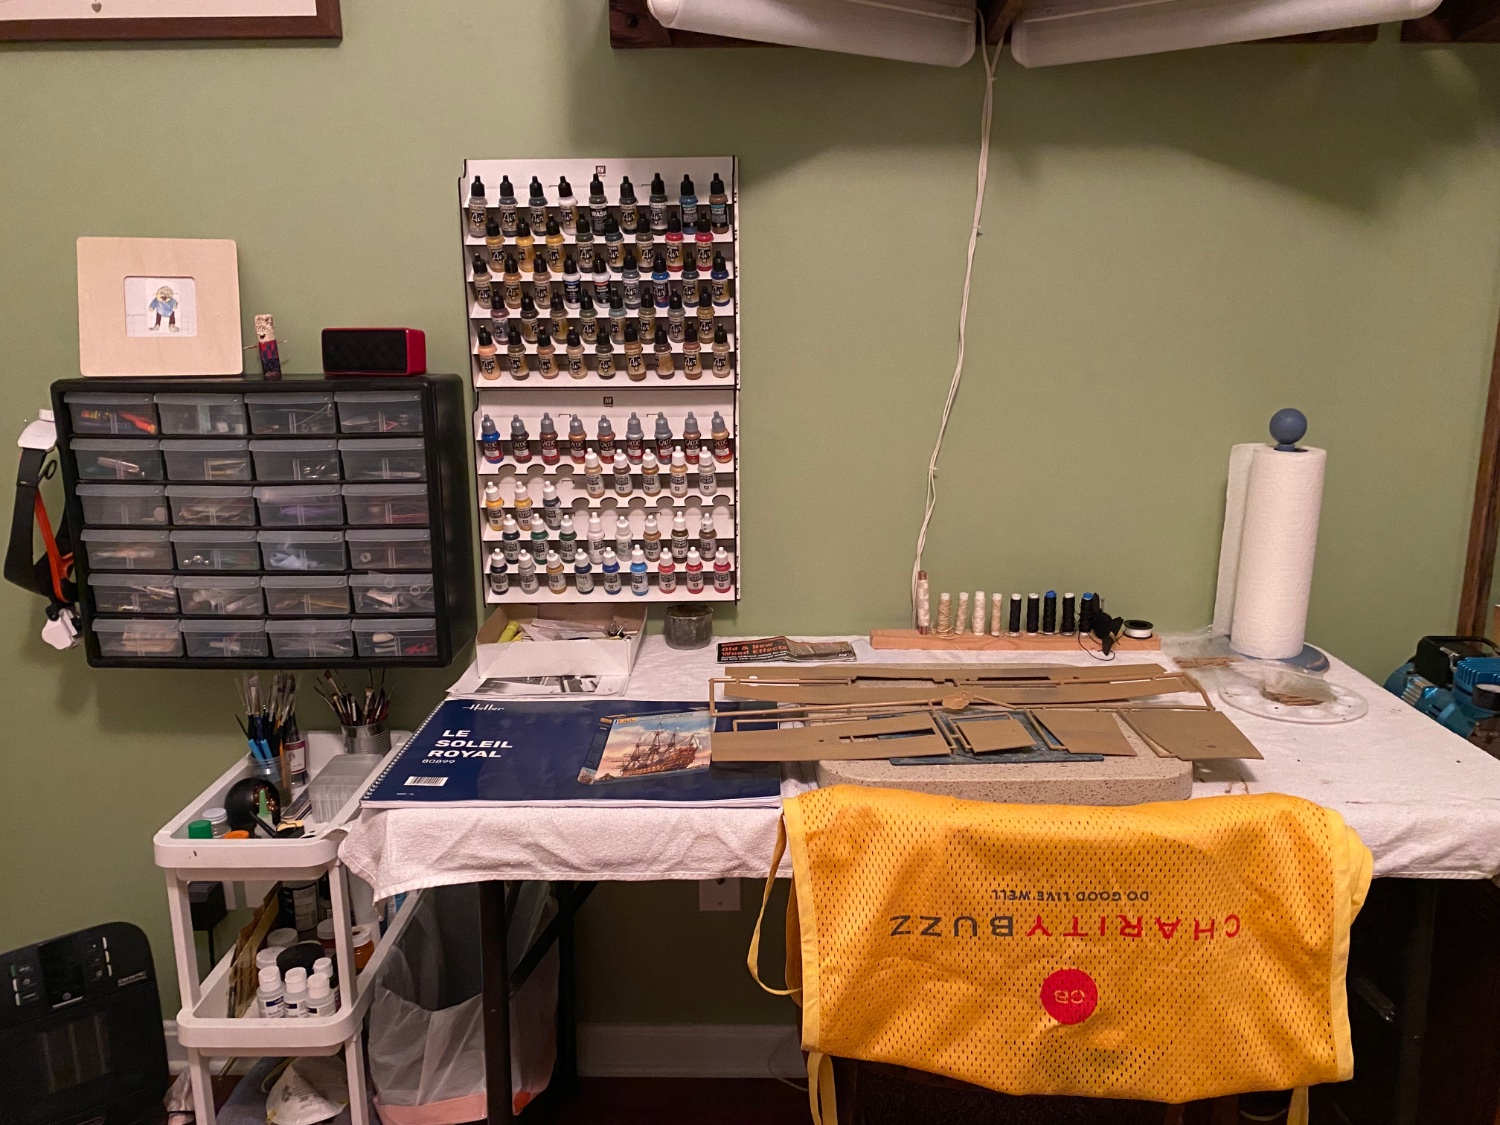
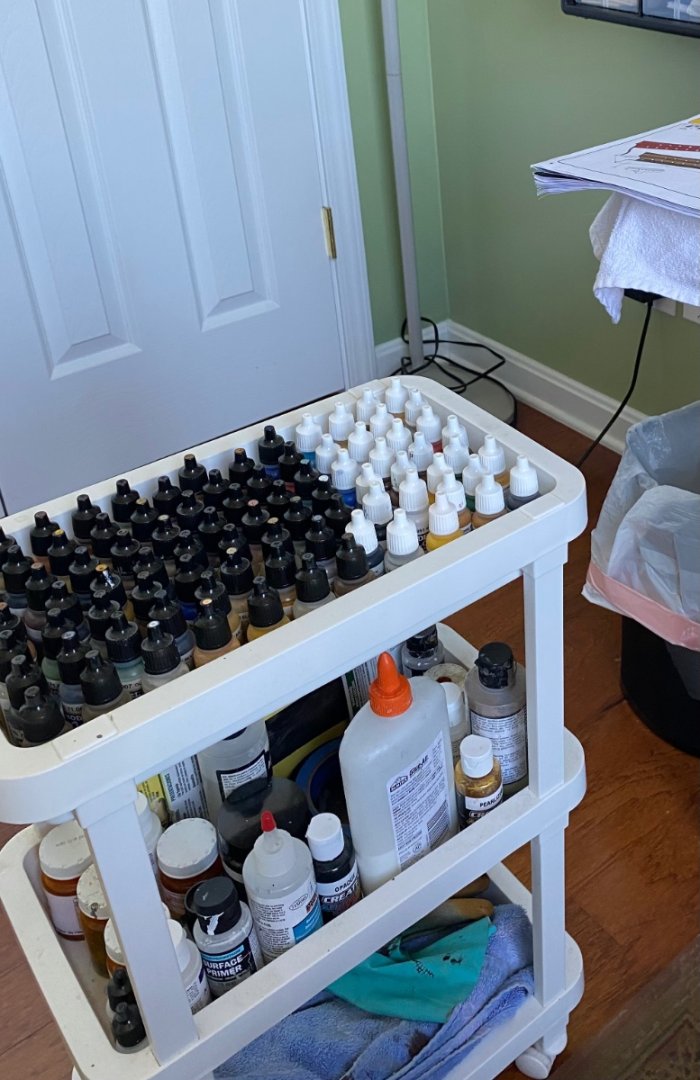
Finally got my ship yard in order! I use Vallejo acrylics and have tried putting a drop of paint on the top of the cap to identify the color. That has not worked and the whole time I was building the Victory I would spend countless minutes picking up and putting down paint bottles looking for my desired color. I found that frustrating as you can imagine. Once I decided enough is enough I found these Great wall hanging Vallejo paint racks. I organized my paints by airbrush paints and brush paints, and my color groups. I was surprised to see the number of duplicates I have. Apparently when I got different sets as gifts, are whatever, there were frequently colors included I already had. All the duplicates went into my storage cabinet for possible later use. Pictures below are after and before.

- 1,508 replies
-
- 3
-
-
- Le Soleil Royal
- Heller
- (and 1 more)
-
Thanks Marc. I will certainly read over this several times to make sure I understand. Appreciate it.
- 1,508 replies
-
- 1
-
-
- Le Soleil Royal
- Heller
- (and 1 more)
-
Great catch Marc. Dry fitting a scrap piece of thin Evergreen shows me I will definitely need to add it after I put in the hawser inserts.

- 1,508 replies
-
- 1
-
-
- Le Soleil Royal
- Heller
- (and 1 more)
-
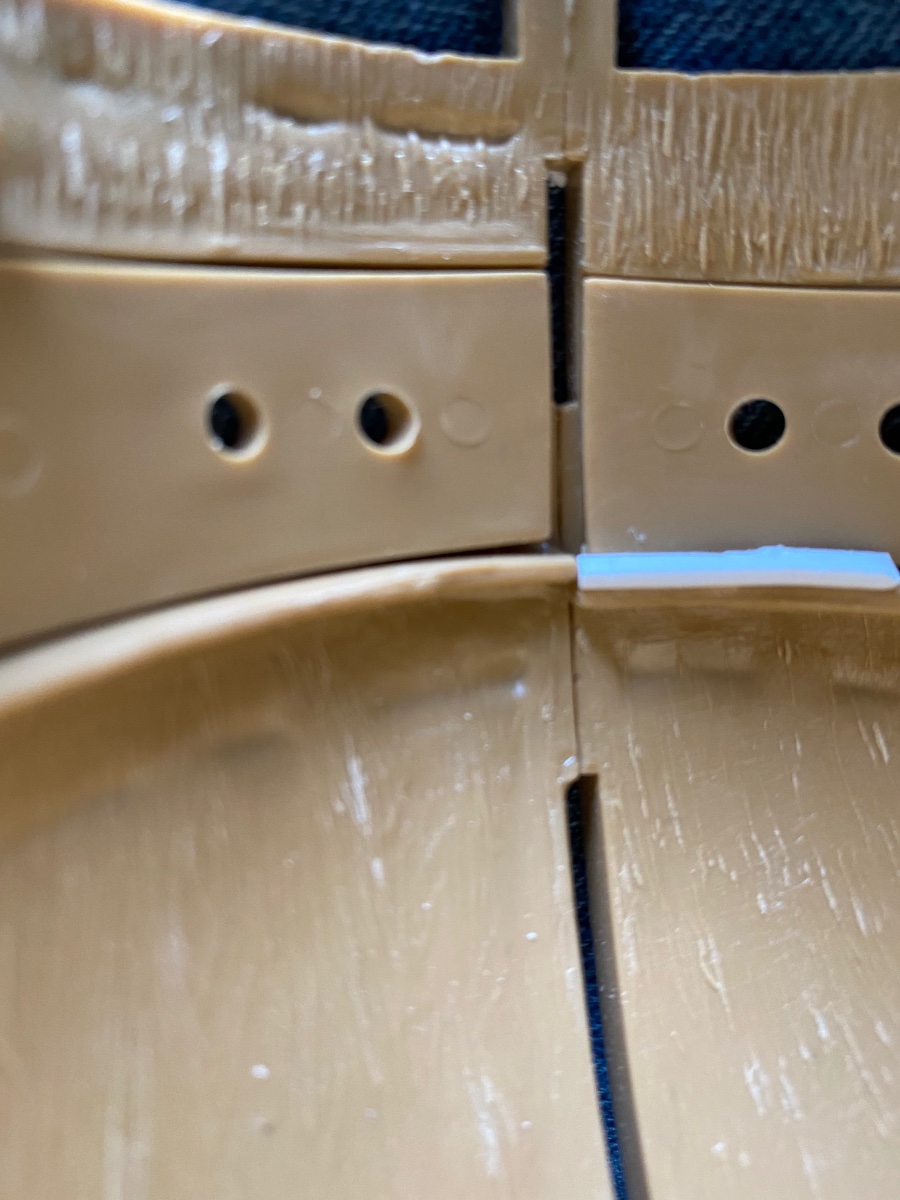
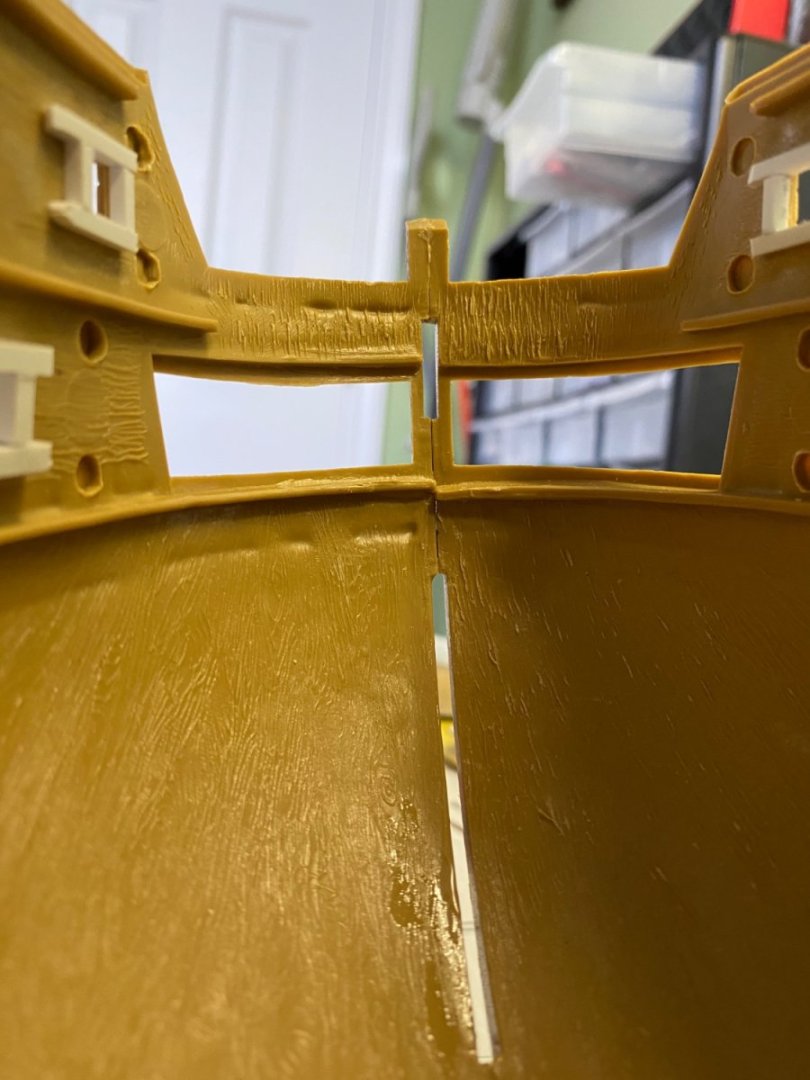
Now this morning when I took the clamps off I did notice a small mold issue I think hunk I can correct. At the bow, even though everything is lined up pretty good, the deck support is a little lower on the starboard side. The top and the openings are lined up correctly. I just think the mold is off. I can probably just add a small piece of Evergreen to get it level.
- 1,508 replies
-
- 2
-
-
- Le Soleil Royal
- Heller
- (and 1 more)
-
That is a nice touch Marc. Is that stick Evergreen? How did you get the little curved section? I am pretty much going to follow the building process per the Heller instructions and bash here and there as I go along. Heller does not have me add the upper bulwarks for a while yet. I have a long period of painting my hull and decks coming up now! Then the cannons! Oh those mutinous cannons. I may go back and forth between the cannons and doing the gold leaf on the upper bulwarks and stern. I am thinking of bronze for all my cannons. I really like the color with the ship colors. Probably not authentic but still looks good.
- 1,508 replies
-
- 1
-
-
- Le Soleil Royal
- Heller
- (and 1 more)
-
No Marc. Mine is perfectly straight along the keel. Oh no Ian! I already have it glued together. Tell me again what you are talking about. Maybe I can still try to do it with halves together.


- 1,508 replies
-
- 1
-
-
- Le Soleil Royal
- Heller
- (and 1 more)
-
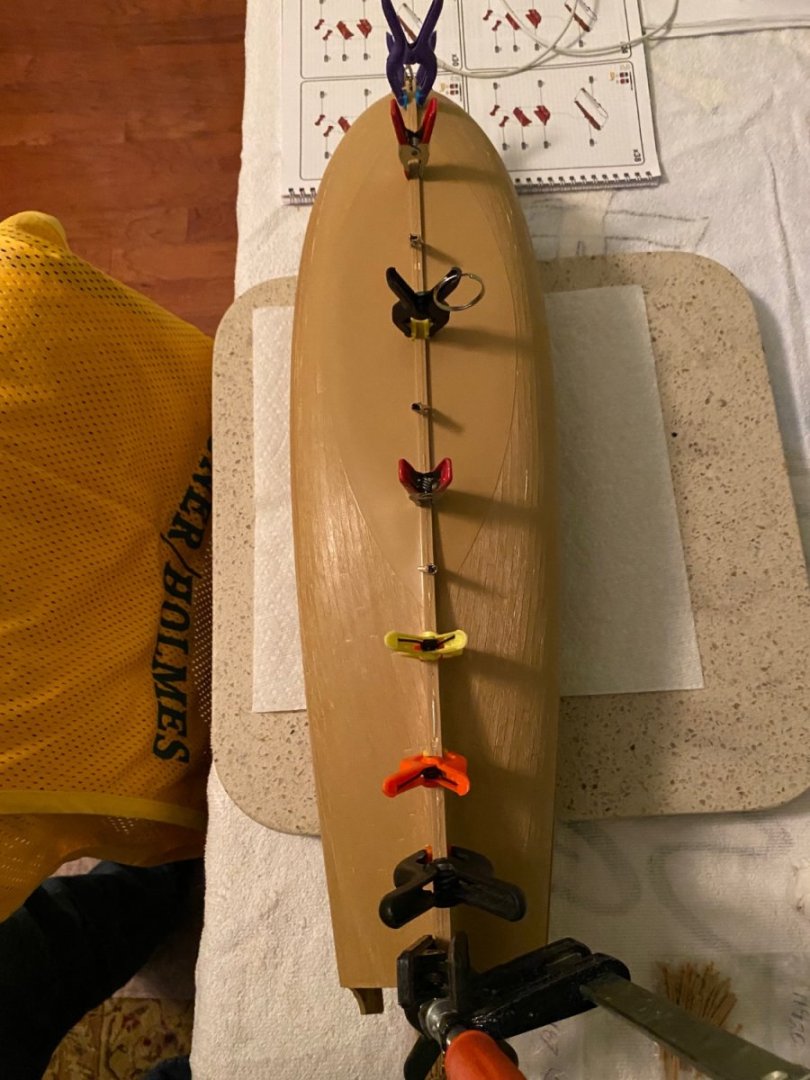
I am going to airbrush so I plan to glue the halves together, putty and sand the joint along the keel, sand fc some of the wood grain, then prime and paint. Now that I have the gun ports framed on the inside I should be good to glue the halves together.
-
Opinion question here. Do you put your two hull halves together before priming and painting, after priming but before painting, or prime and paint both after gluing halves together?
- 1,508 replies
-
- 1
-
-
- Le Soleil Royal
- Heller
- (and 1 more)
-
Thanks my friend.