HOLIDAY DONATION DRIVE - SUPPORT MSW - DO YOUR PART TO KEEP THIS GREAT FORUM GOING!
×


Bill97
-
Posts
2,704 -
Joined
-
Last visited
Content Type
Profiles
Forums
Gallery
Events
Everything posted by Bill97
-
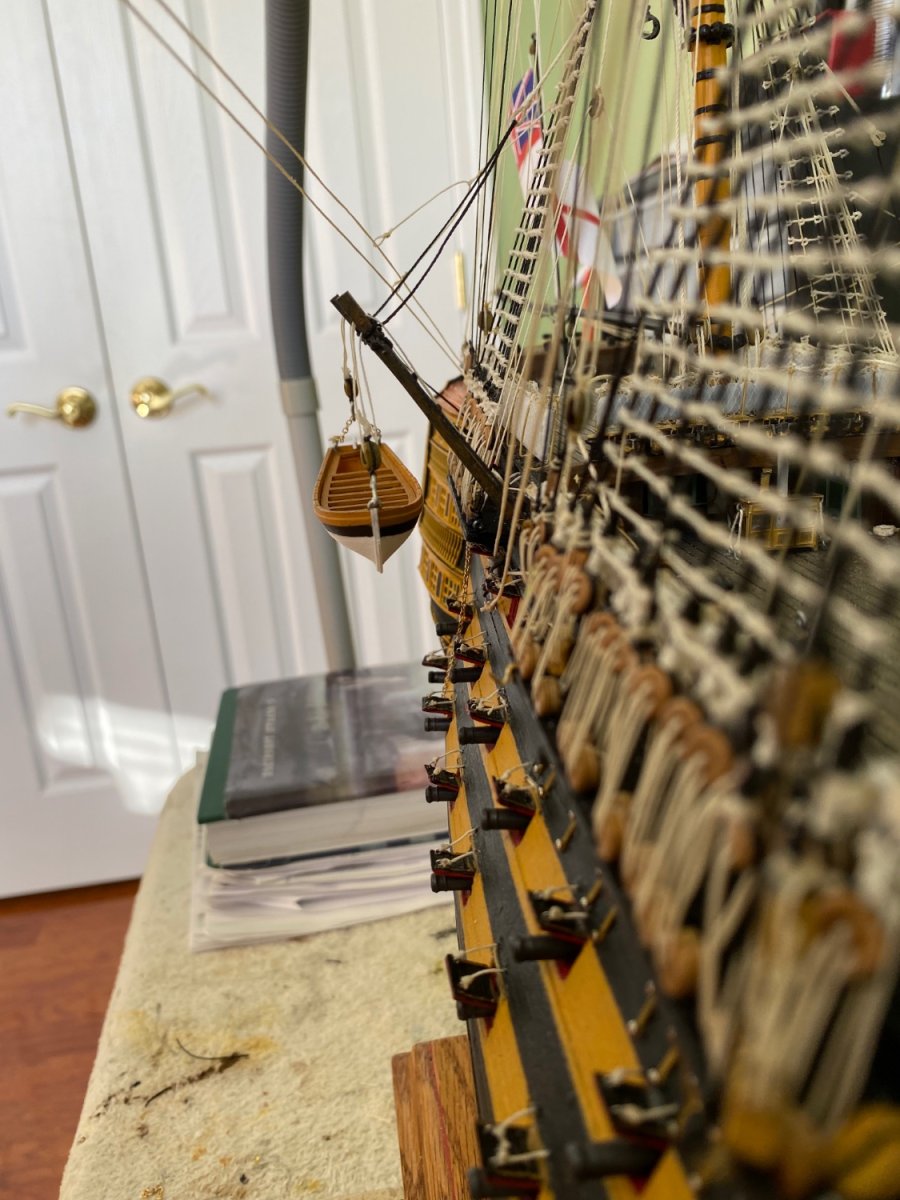
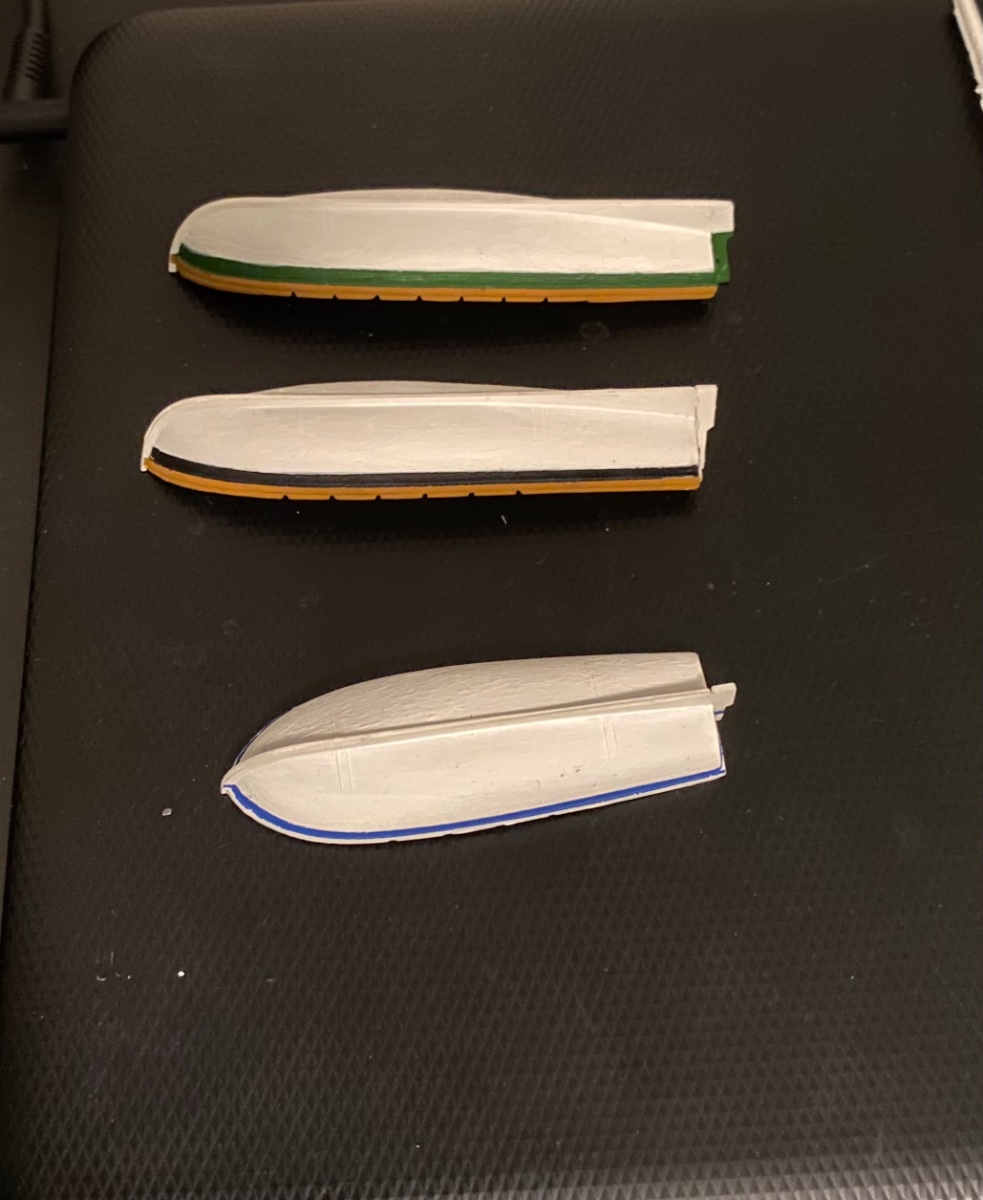
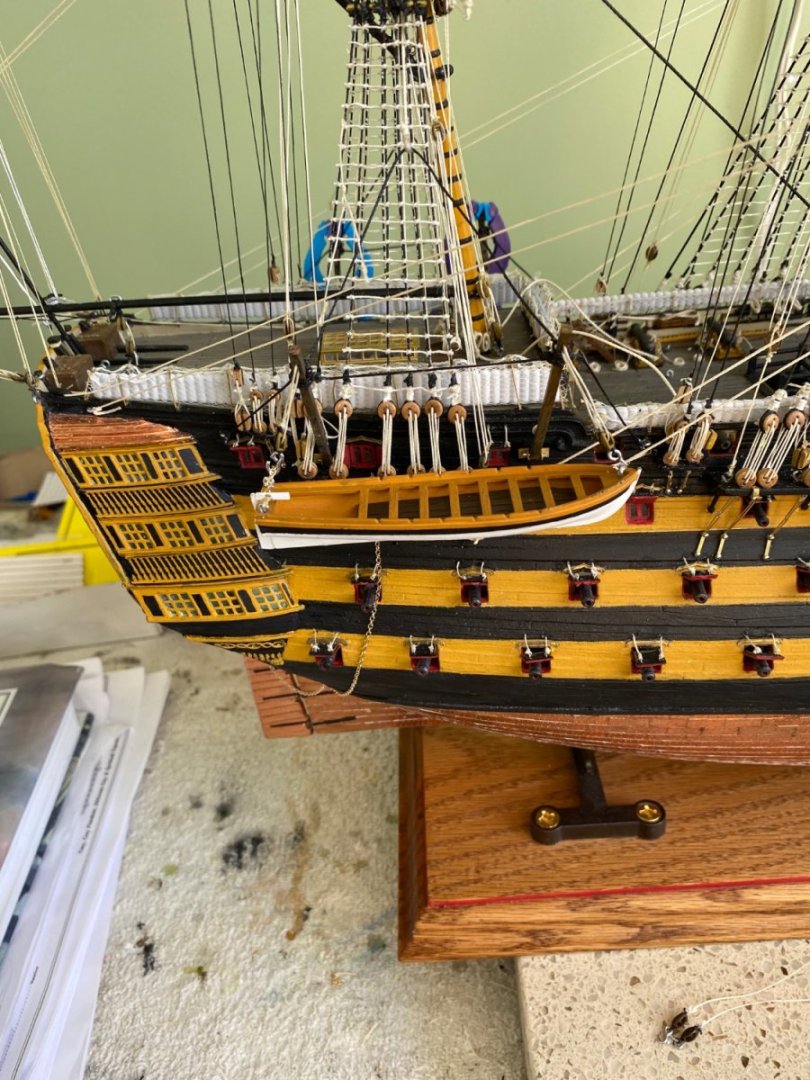
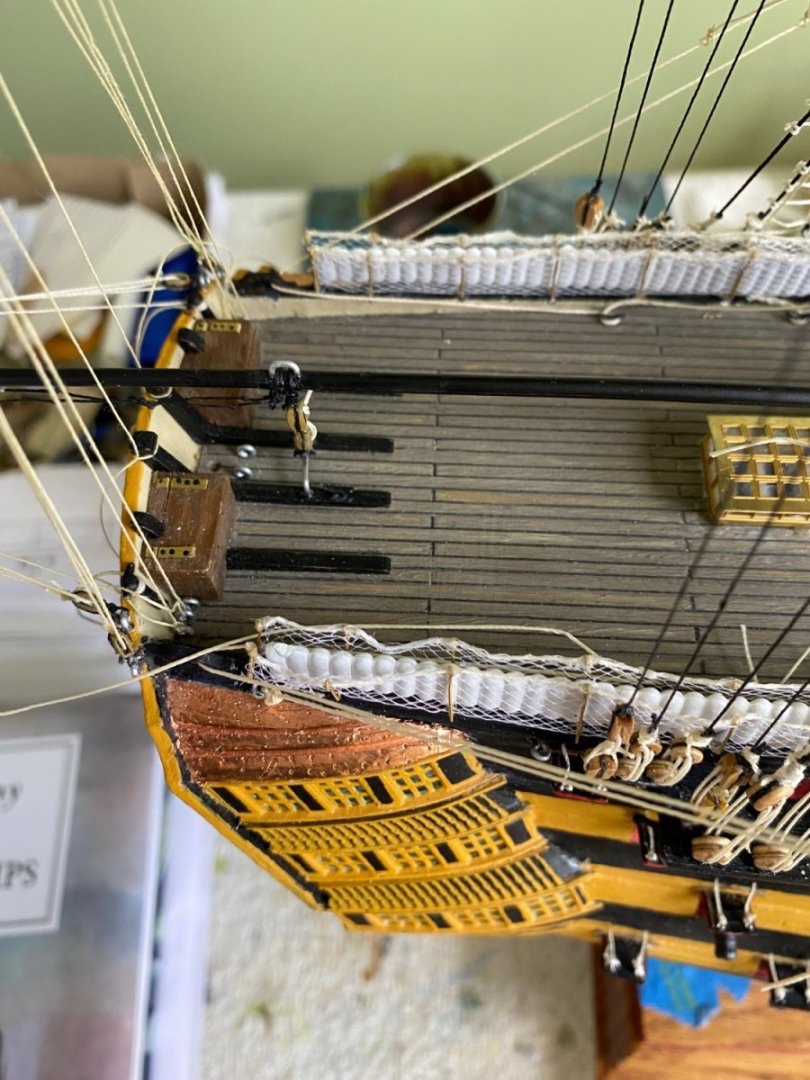
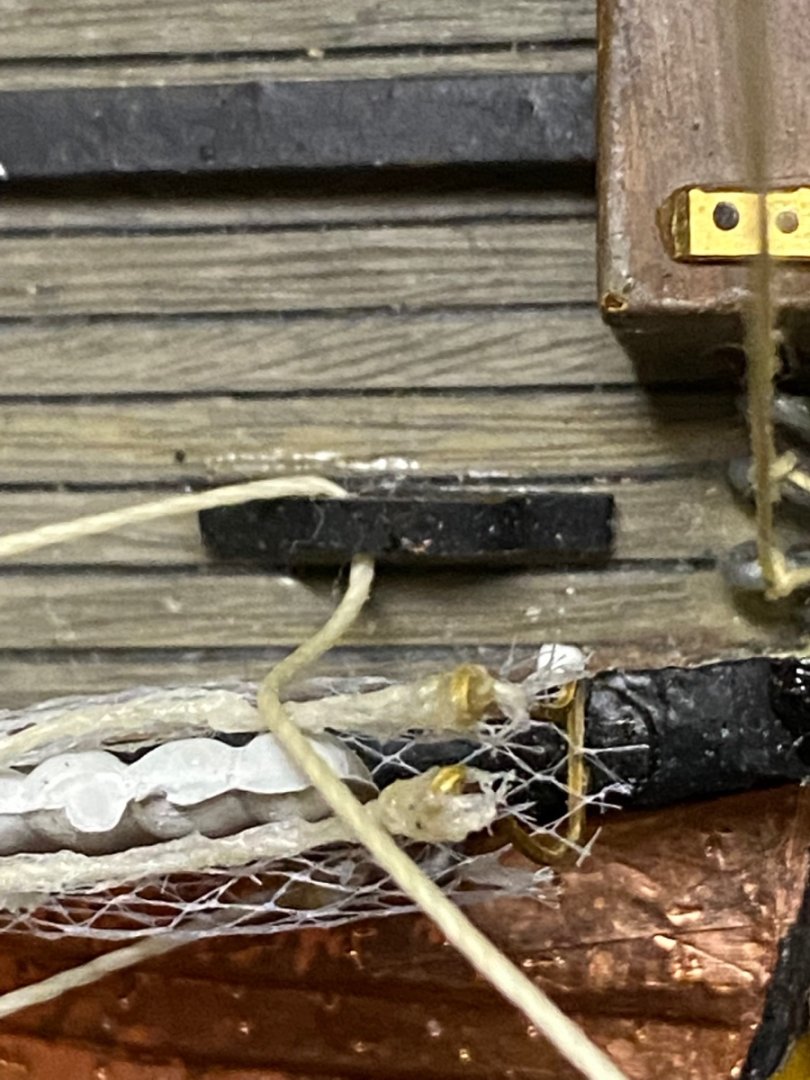
Got the rudder chain attached at the mizzen channel and the first boat hung from the starboard davits. I made a block with a hook attached to a long haliard to hang the boat from and reeve through the davit to the cleat. I have no doubt I did not do the next part correct but I could not come up with a better idea. I have the hook attached to the block at the end of he haliard that hangs from the davit. So I debated what to do with the boat so I could suspend it from the hooks. I decided to put an eyebolt in the bow of the boat that I could put one of the hooks through. I thought of doing the same at the stern but realized an eyebolt in the center of the stern would have interfered with the rudder handle. Ultimately I put an eyebolt in the corners of the stern and attached a chain that will go over the hook. Once I get my USS Constitution down out of its case I will borrow the ore sets from the Constitution boats and put them in the Victory boats.


-
Ian you are a little to humble. I don’t know who else on MSW has had a hurricane named after them! 😀 Will look to see if I can find your description.
-
I guess you are right Dave. I think I will pretend Admiral Nelson offered the crew better paying jobs and they jumped ship! 😊 Got to think about my excuse for the stolen boat or two. My honesty always comes out 😀 Next I am going to hang boats on the davit haliards and then move to the anchors. Got to look for some good pictures that show how the anchors are rigged. Then I finally have to get back to painting the lanterns and my crew.
-
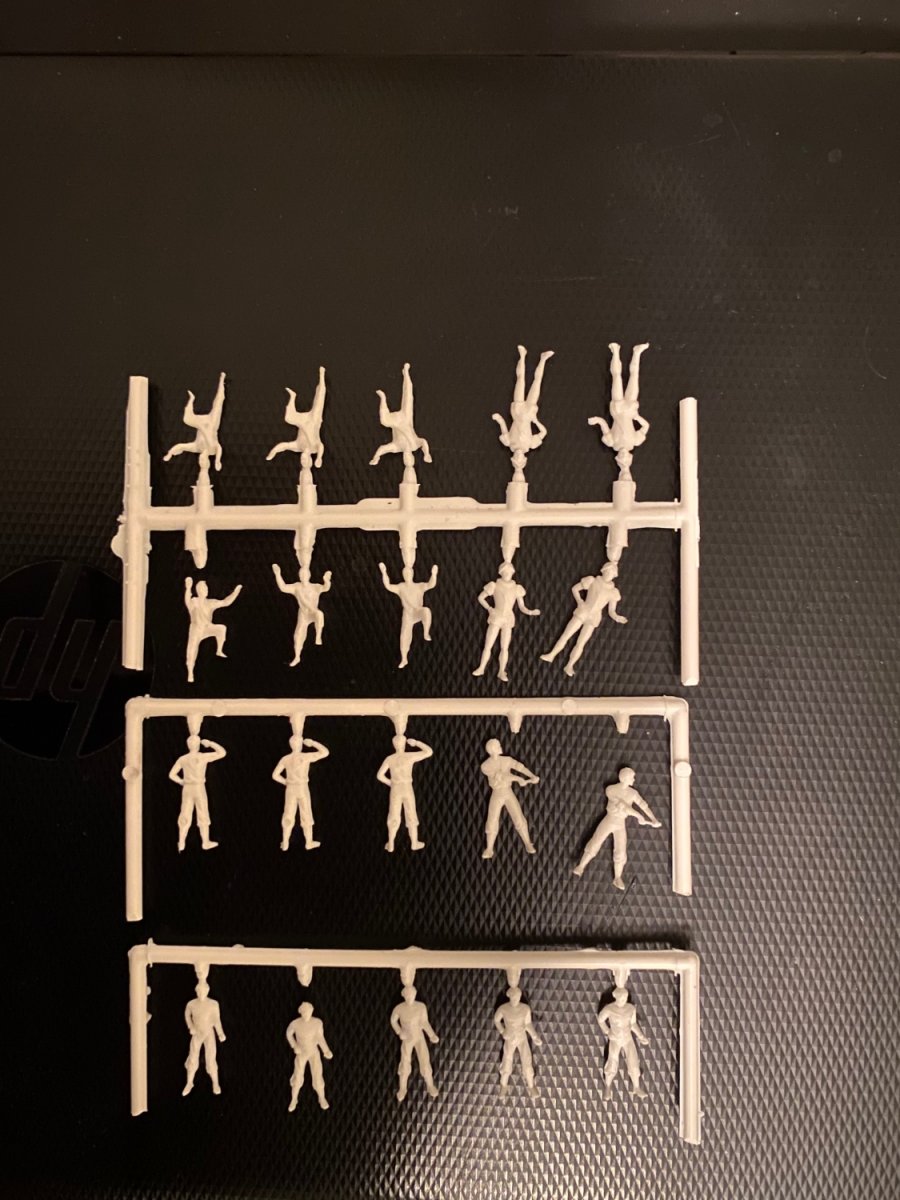
Thank you Kevin. I think part of the reason has been that I am retired an able to work as much or as little as I want. My wife says she is happy for me that I have a hobby that I am so passionate about and does not mind if some days I spend hours in the shipyard. 😀 I am also quite sure I have gained time immeasurably from you, and my many other friends here on MSW, who have done the vast time consuming research and willingly passed it on. It is easy for me to just ask a question when I am stuck or confused about something and usually have my answer in a day or two. Those going before me probably spent many days researching the answer. And of course I can’t forget get Ian who has the Longridge book memorized! 😊 But back to my ship. After reading a number of recent post I am thinking of doing something that I don’t know if it is a ship building sin or not! 😳 I am thinking about raiding a previous built ship from years ago for some of its crew and a boat or two! My Revell 1/96 USS Constitution is in a display case high on a wall where the deck is above eye level. The only person that knows there are crewmen standing on the deck is me. Also I am the only person that knows there are several boats on that deck as well. My Victory display case will be below eye level so if I was to raid those items they would be very much on display in my Victory case. Is it considered forbidden to raid a previous build? 😊
-
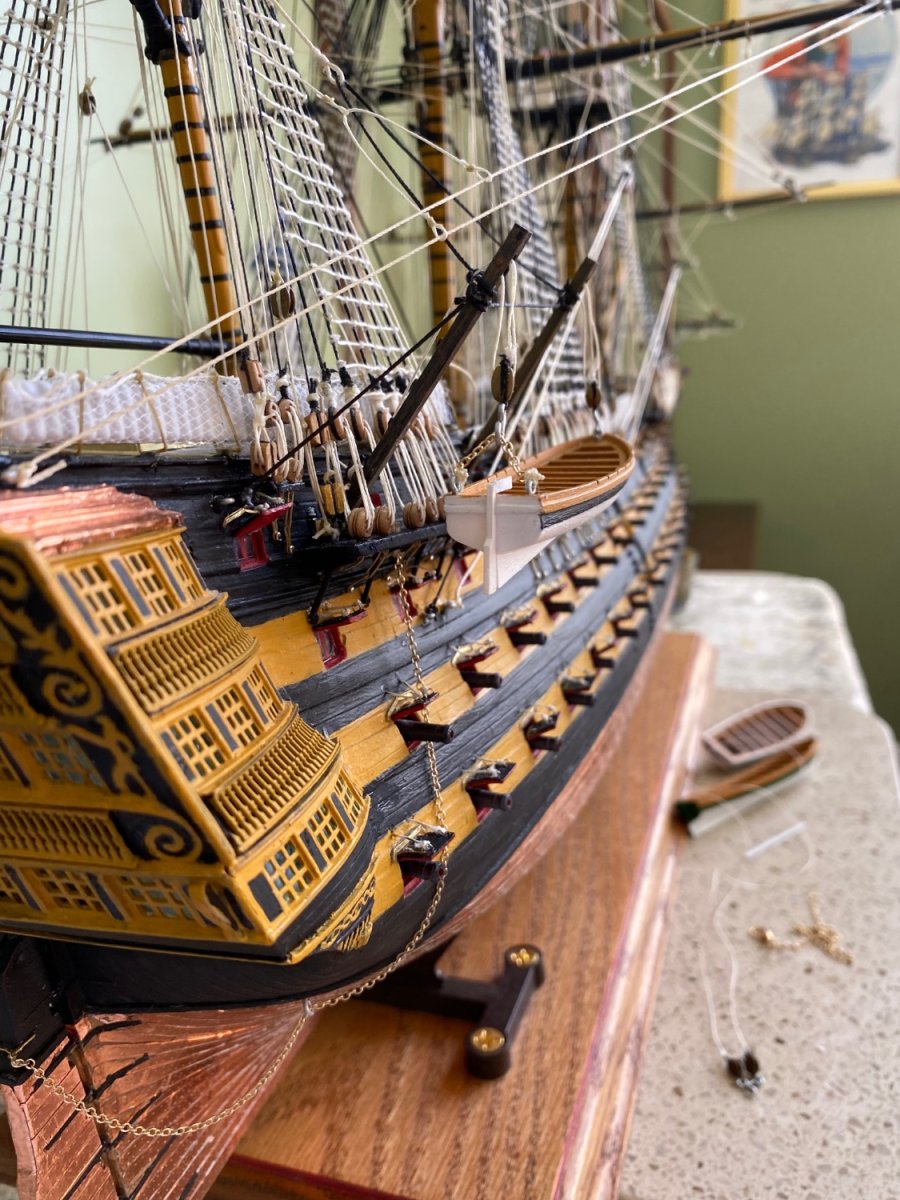
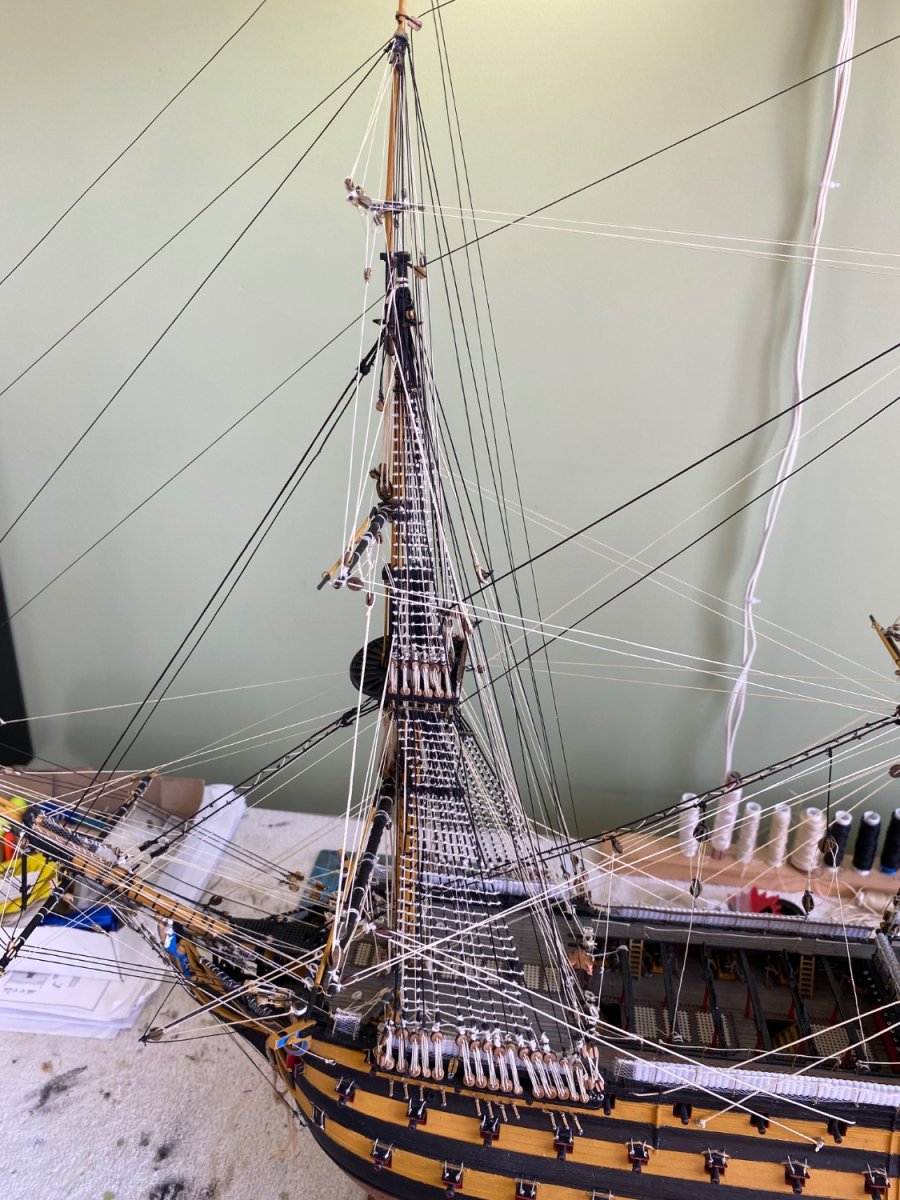
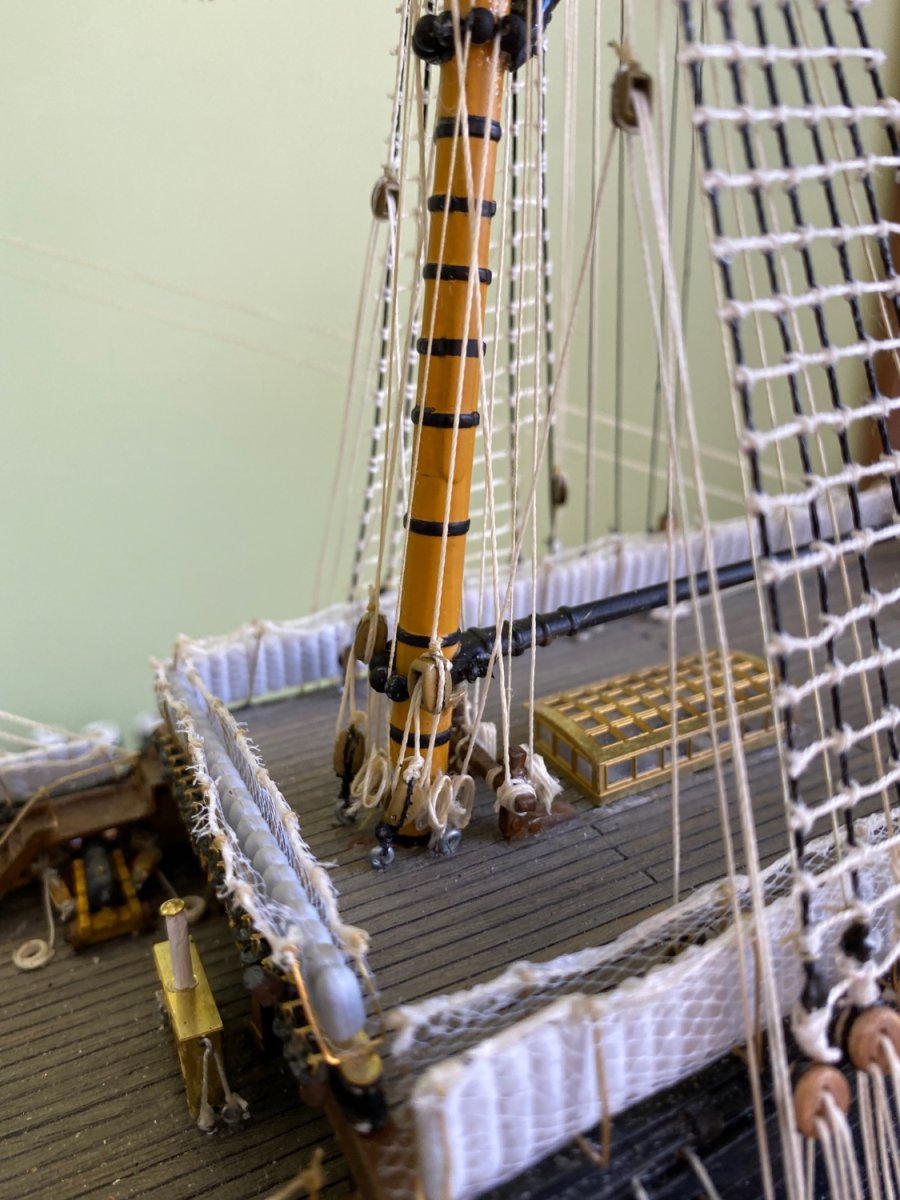
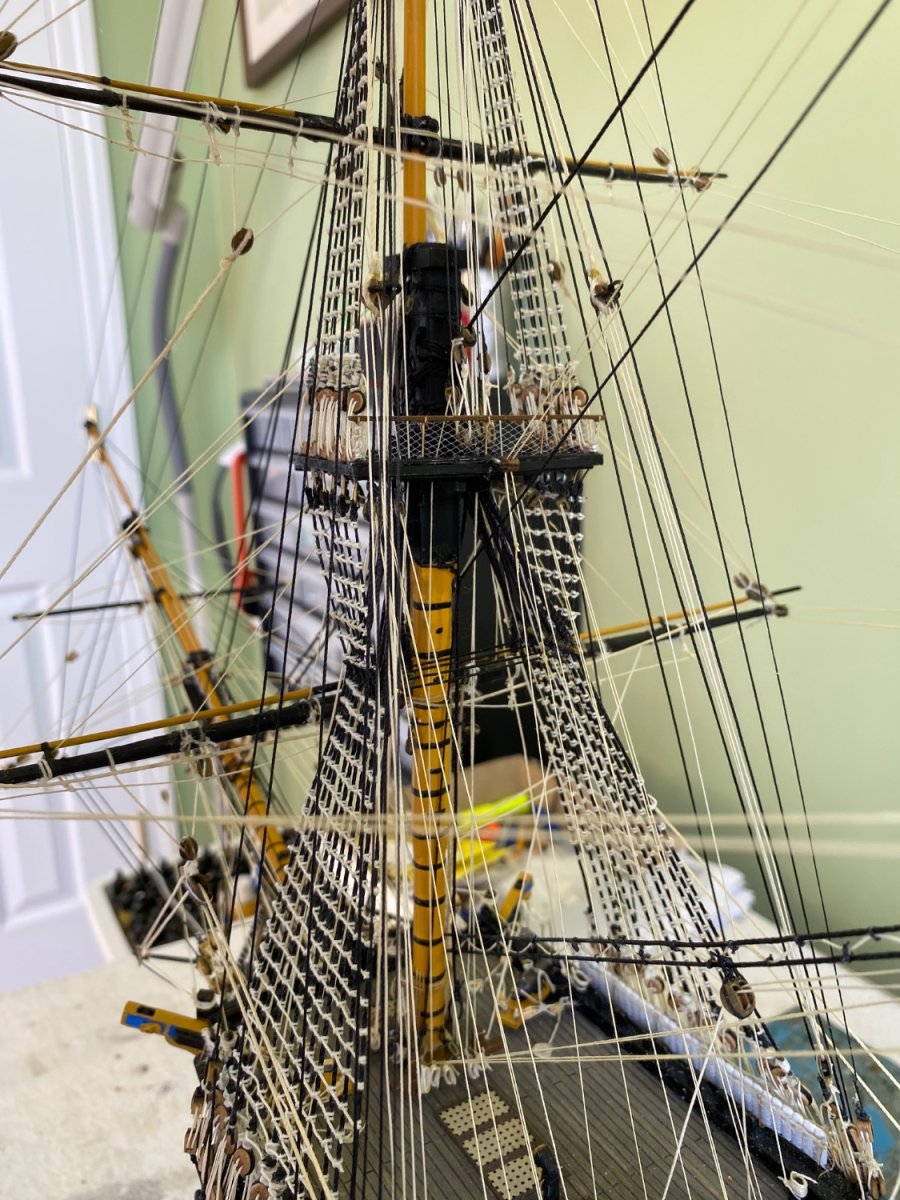
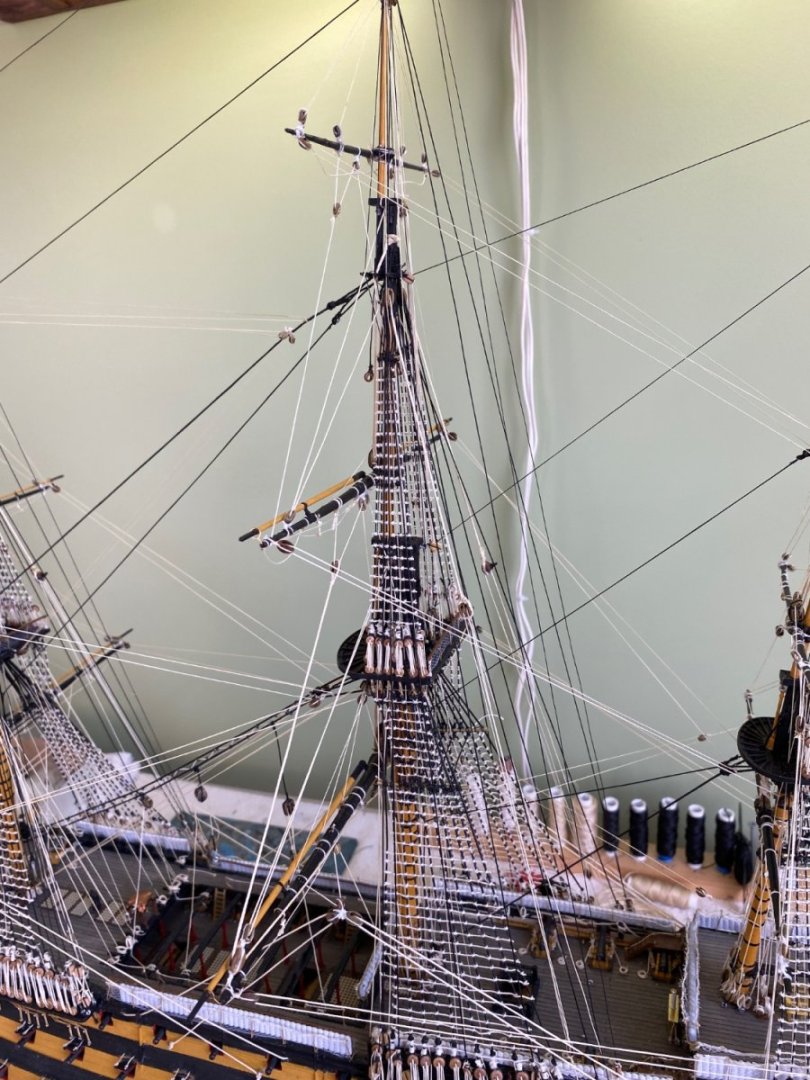
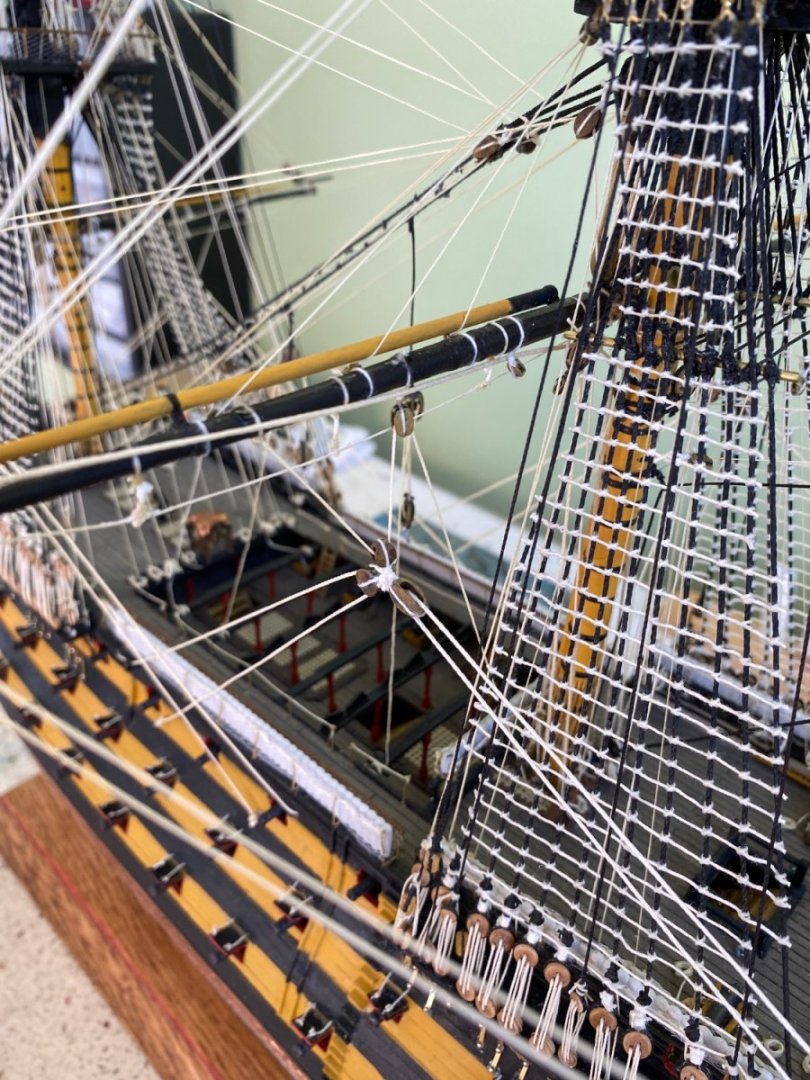
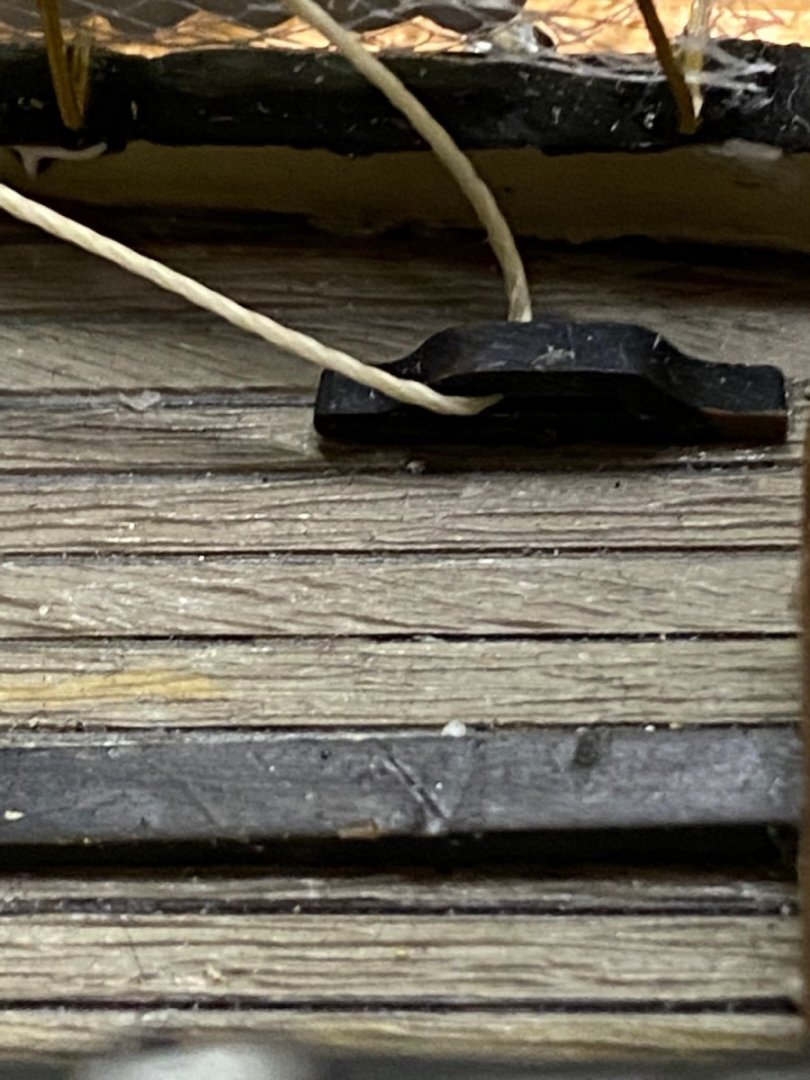
Worked on the davits today. I have the brass etched hinges from Daniel. To make a better fit with Daniel’s hinges I drilled out the end of the davit and inserted a strong wire the right gauge to fit the hole in the hinge. I then used a bit of CA glue to hold the wire in the drilled out hole. I bent the little brass hinges and glued them to the hull in the appropriate spots. After spending 30-45 minutes on my hands and knees looking for one of the tiny brass hinges that decided to go airborne I glued it in place along with the others. I sandwiched the davits between pairs of hinges with the wire in the hole of the little hinge making a perfect little hinge. Before I put the davits in place I added a cleat at the base of each to later accept the haliard. I rigged the davits in accordance with Longridge. I will later add the haliard that reeves through the end of each davit and include a block and hook to accept the boats. One thing I noticed during the rigging is the back part triangle shape jackstay topping lift runs very close to the main yard brace, almost touching it. I could not find anything I was doing wrong so I can only assume this is correct.

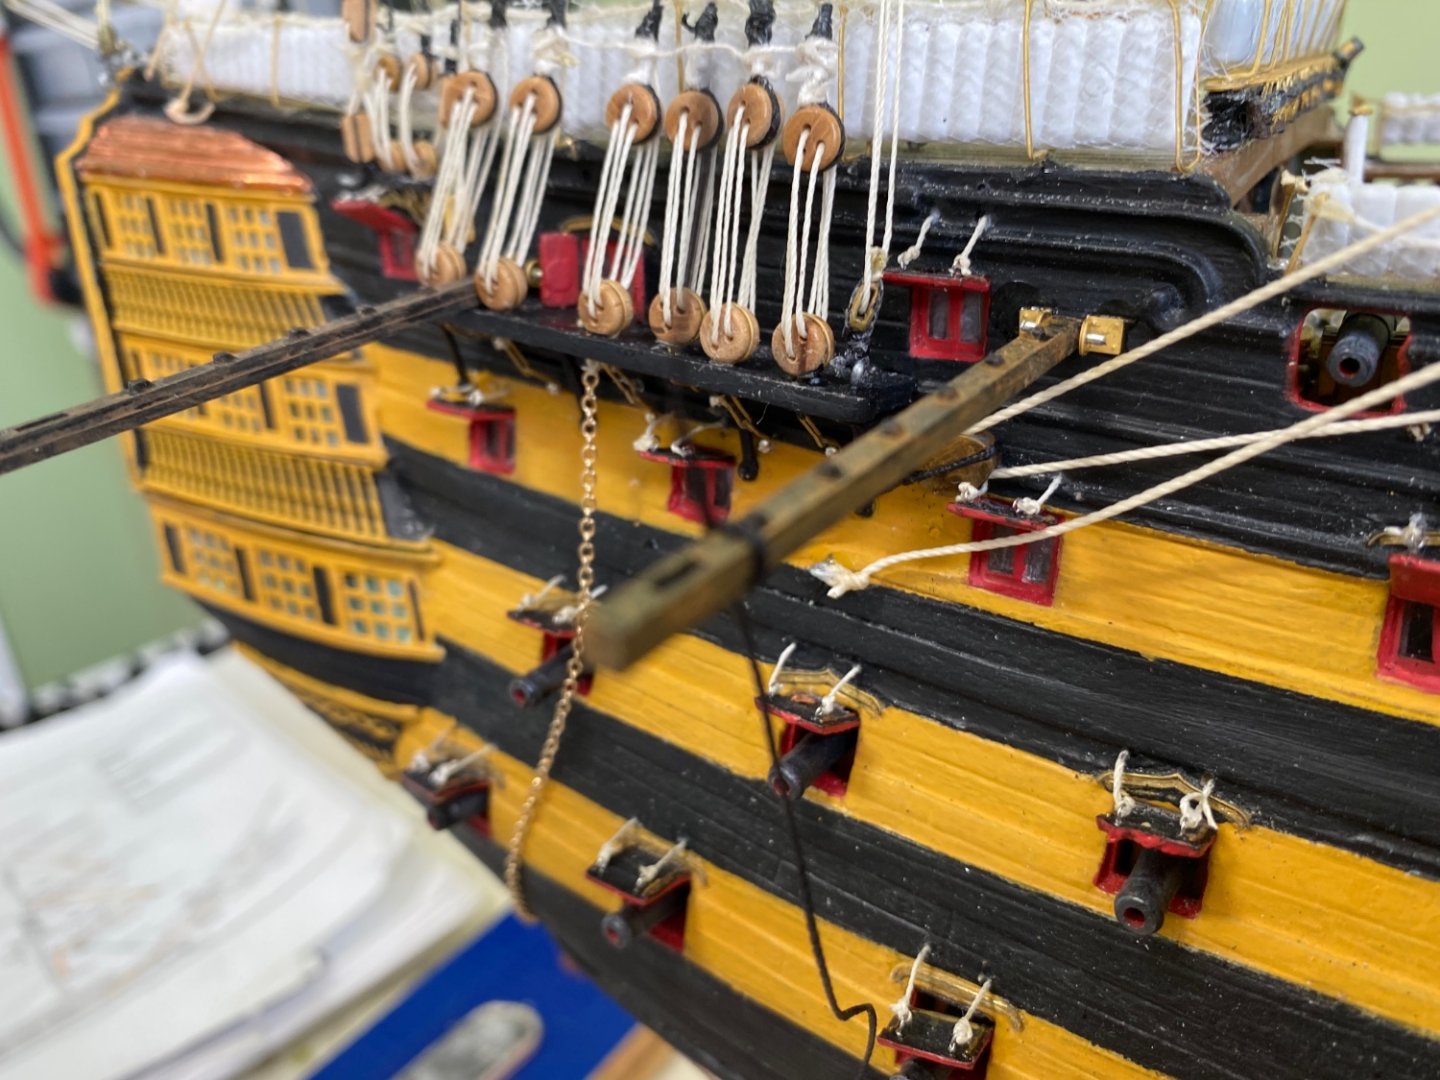
-
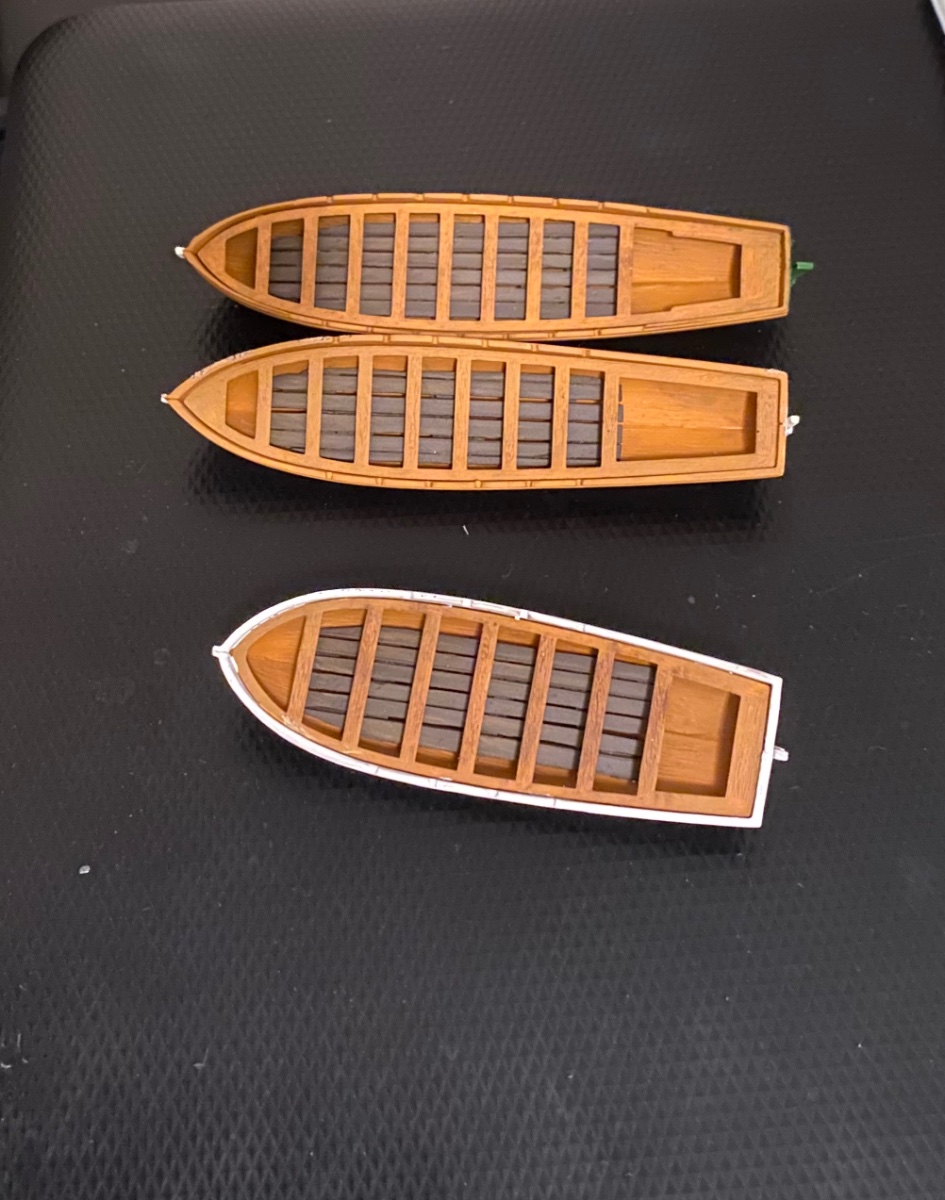
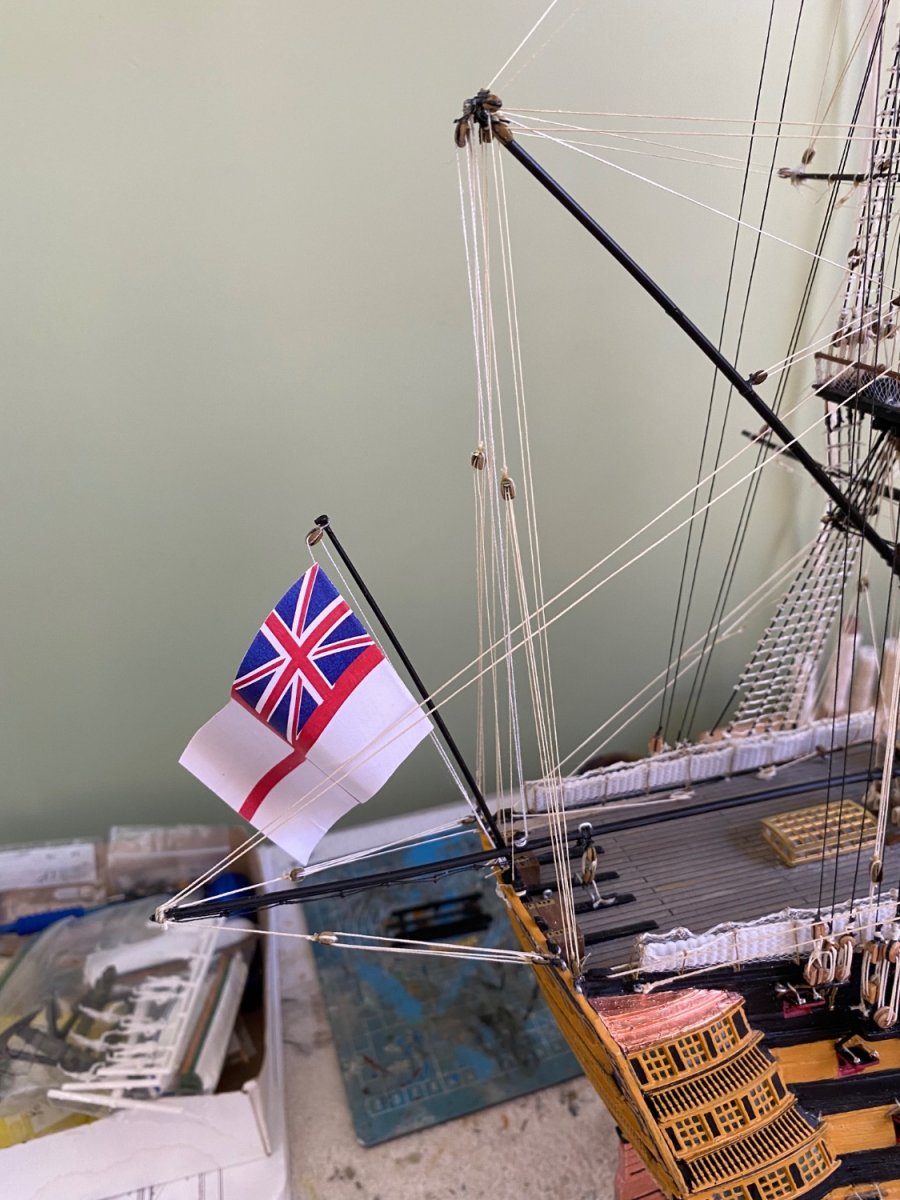
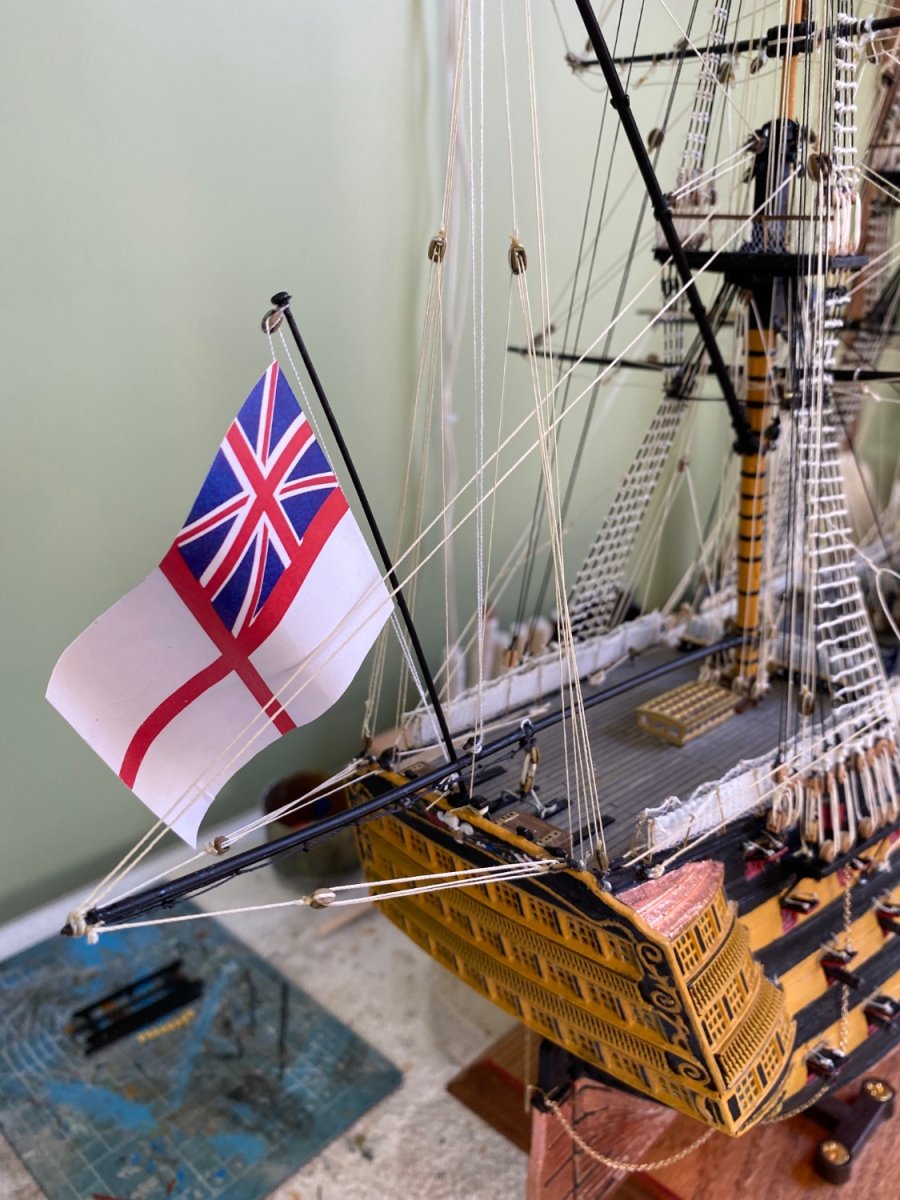
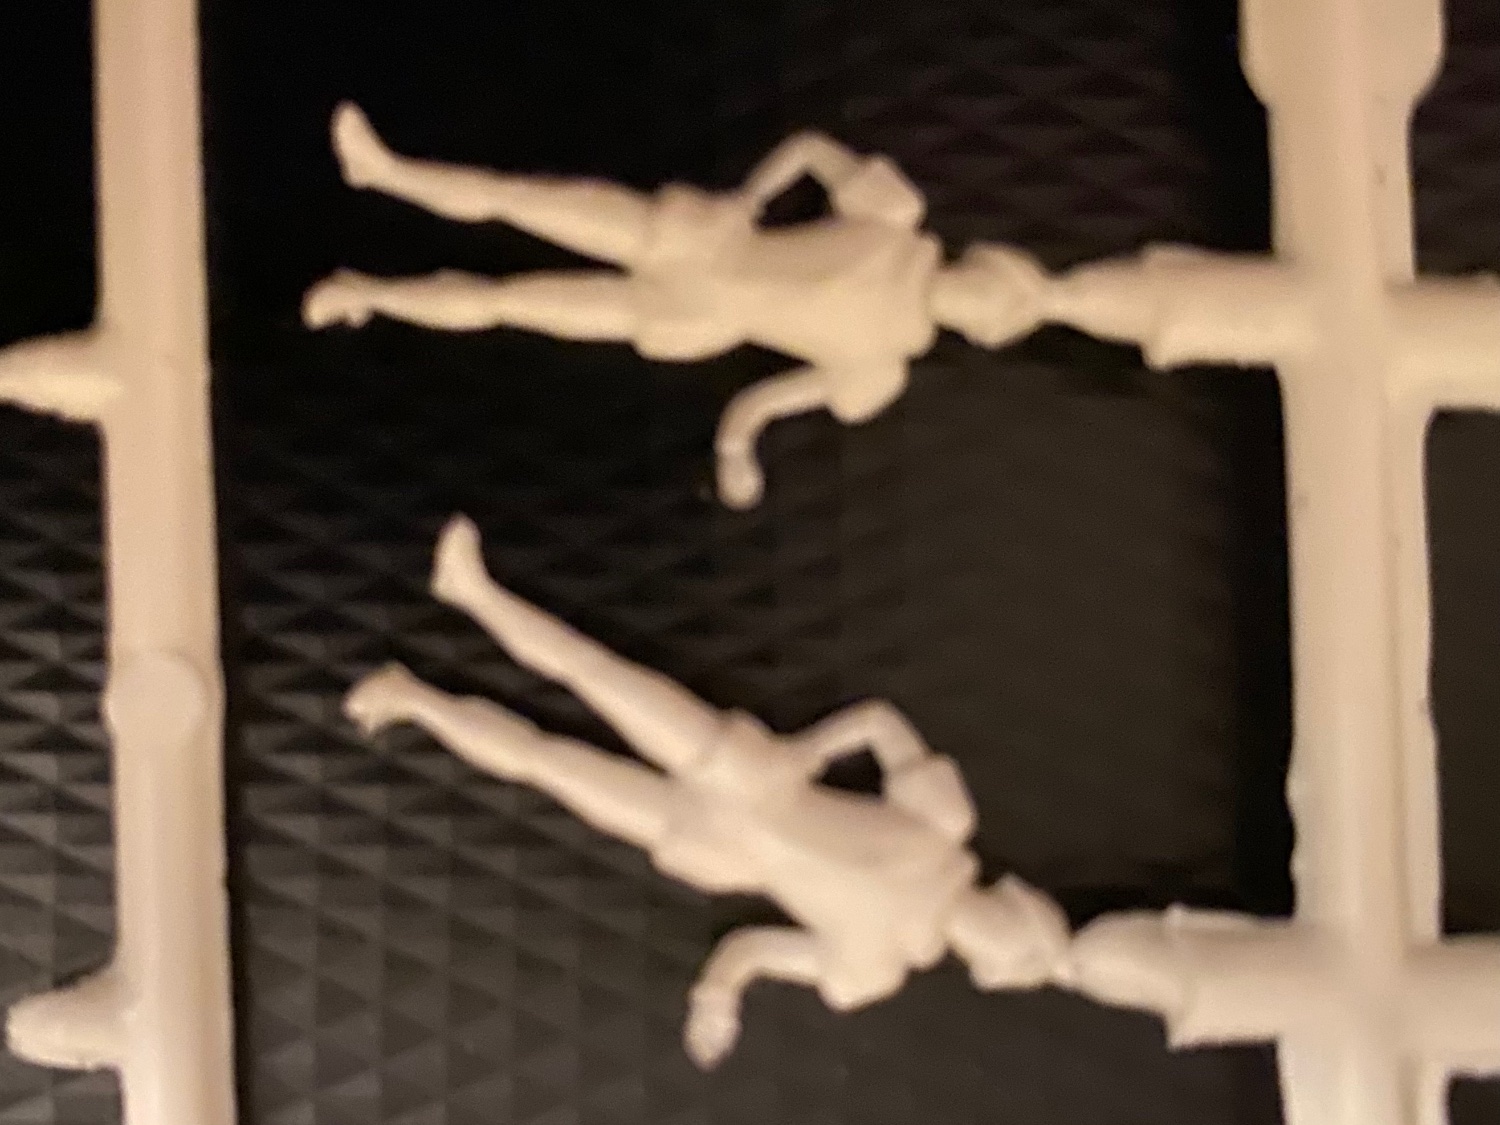
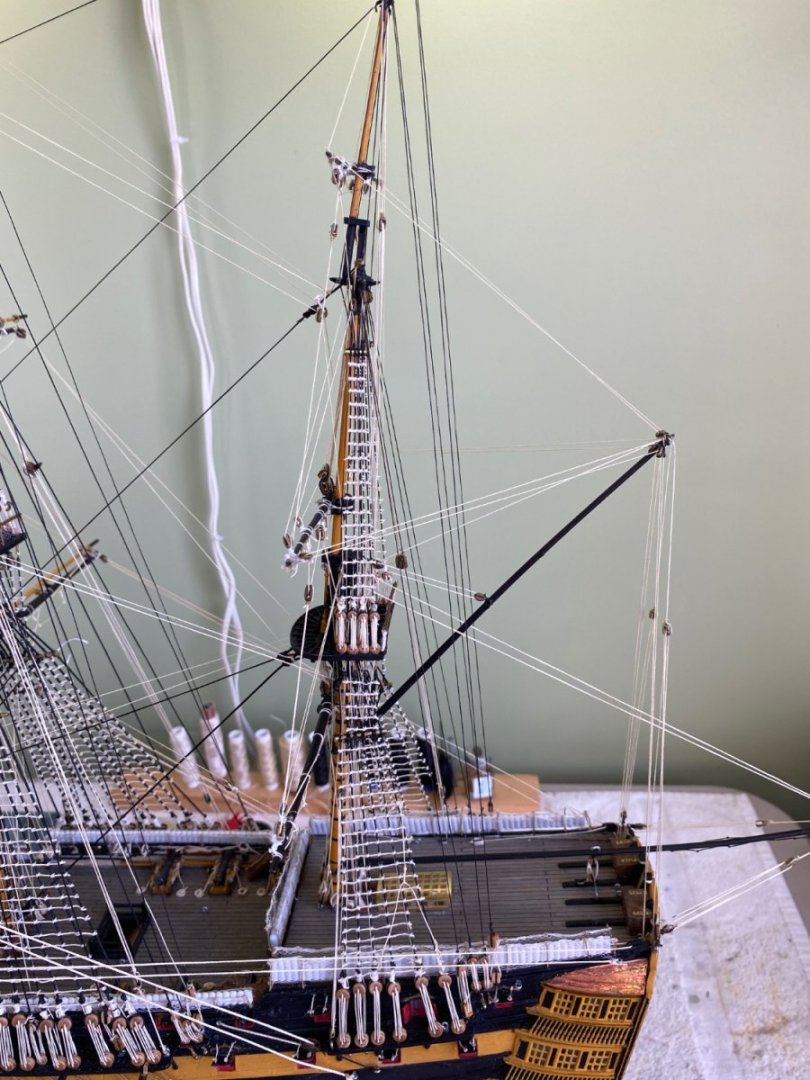
Got the Ensign staff installed to include a pulley and haliard for raising and lowering. Also have the block and haliard on the gaff and boom even though not being used. Heller provided a satisfactory high quality paper ensign so I used it on the staff and rolled a bit of curl in it to represent a little wind. No Ian I unfortunately only have the three boats Heller provided. I suppose I will put one on each davit and decide what to do with the third. If I stumble on additional boats in the future I may add more. I included the assortment of 1/96 Revell crewmen I am going to use. A couple have in uniforms not of the period and will require some modifications. I am studying the operation of the davits. I think I understand (maybe) the rigging but I am curious about the haliard that reeves through the end and down to the double block with the hook. Does it just belay to a cleat or something at the bottom of the davit? Did the crewmen climb out on it to raise the boats?


-
Thanks Ian. I also forgot to list a big job I still have on the To Do list. I have to attach the davits with Daniel’s etched connection pieces, then rig them, and then put on the three boats.
-
Your are right Ian on painting those lanterns! I have started them but not at the part of the tiny frame work of the “glass”. I also have Daniel’s brass etched support for them I need to study. Bob Cleek was very helpful with his explanation of the ensign staff. So I can accomplish that. I need to come up with an ensign to fly. I also still need to hang the four anchors. Way back when I started this as a young man 😊 I followed Daniel’s advise and moved the shoe that the anchor hangs on a bit further back from where Heller had it molded. Now I guess I just refer to pictures to see how all four anchors are hung. I also still need to connect the other ends of the chains that are currently attached to the rudder. It looks as if they attach somewhere in and around the mizzenmast channel. The studsails yards that are hung on the mainmast channel are on the to do list as well. Then I have a handful of crewman to paint. They are 1/96 scale from a previous Revell model. I forget which one. The scale is slightly different but I don’t think enough to be glaringly obvious. Most of them are crew looking. None of them are molded in a way I could simulate Admiral Nelson in full dress gear, especially the head gear. Then lastly a general cleanup and painting touch up. After that she should be ready for the display case I still need to build. I will need to decide which direction to have her face in the display case so I can decide which side of the base to put the name plate on. So so still a bit of work to go. 😊
-
Never mind Bob. I reread your comment and explanation and now see you clearly answered my question. Thanks again. Bill
-
Thanks Bob that helps explain. So when the ship was sailing the staff was taken down and the driver boom was able to pivot as needed. So should I still have the haliard rigged between the gaff and boom but just not have the ensign on it. Have it instead on the staff?
-
Ian I got a notification that you commented after my last question but it did not post. Could you resend your comment?
-
Ok gentlemen now that I completed the rigging I am moving on to some additional parts of the ship. As usual I already have a question and confusion. 1. Figure 180 page 255 of Longridge shows a 7” block for the ensign signal haliards at the end of the driver gaff. Where is the other end of this haliard connected? 2. The Heller kit came with a flag pole of sorts that is mounted on the back. You see the bottom of it in Longridge’s Plan No 2. This makes me wonder do the driver gaff and driver boom on an actual ship rotate left or right around the mizzenmast, or are they designed to just move up and down the mast? I can’t see how the boom could move left or right with this flagpole plan n the way.
-
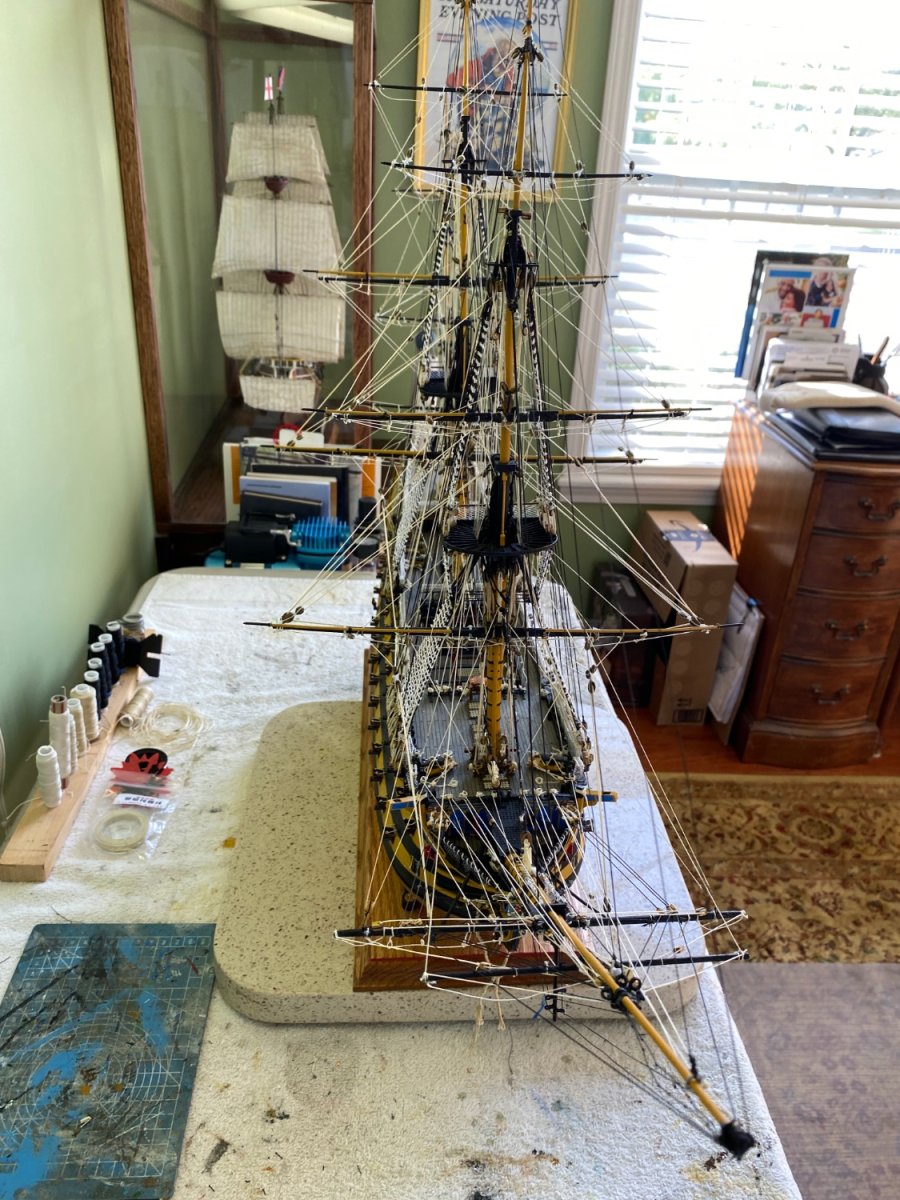
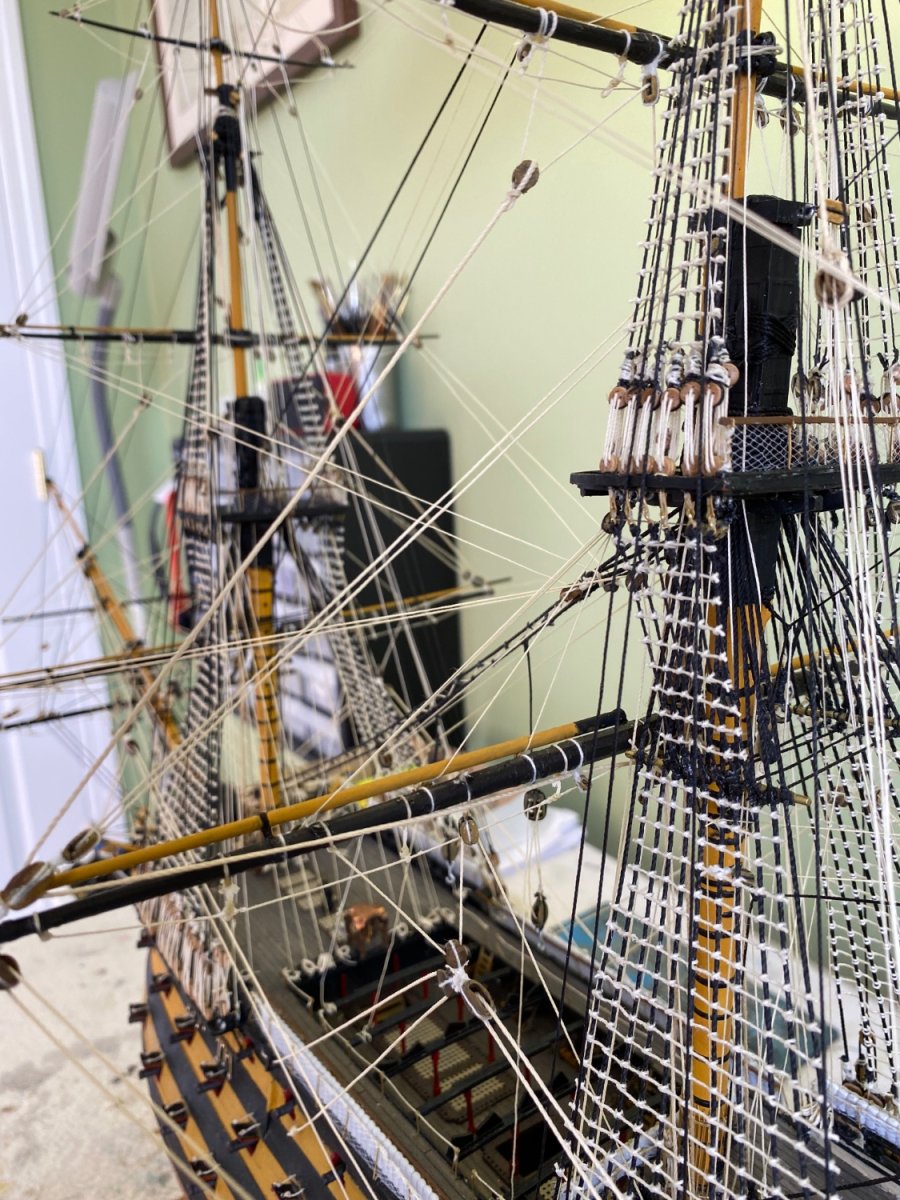
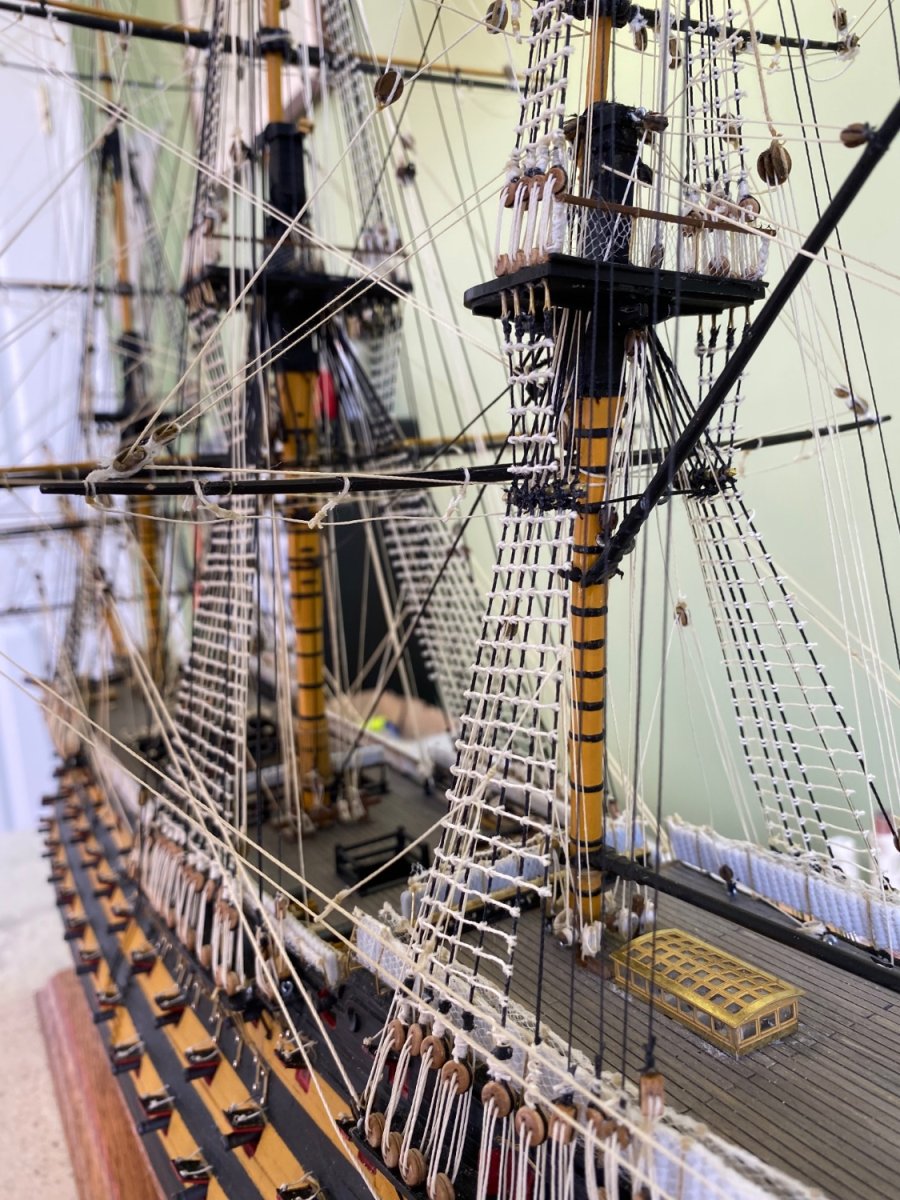
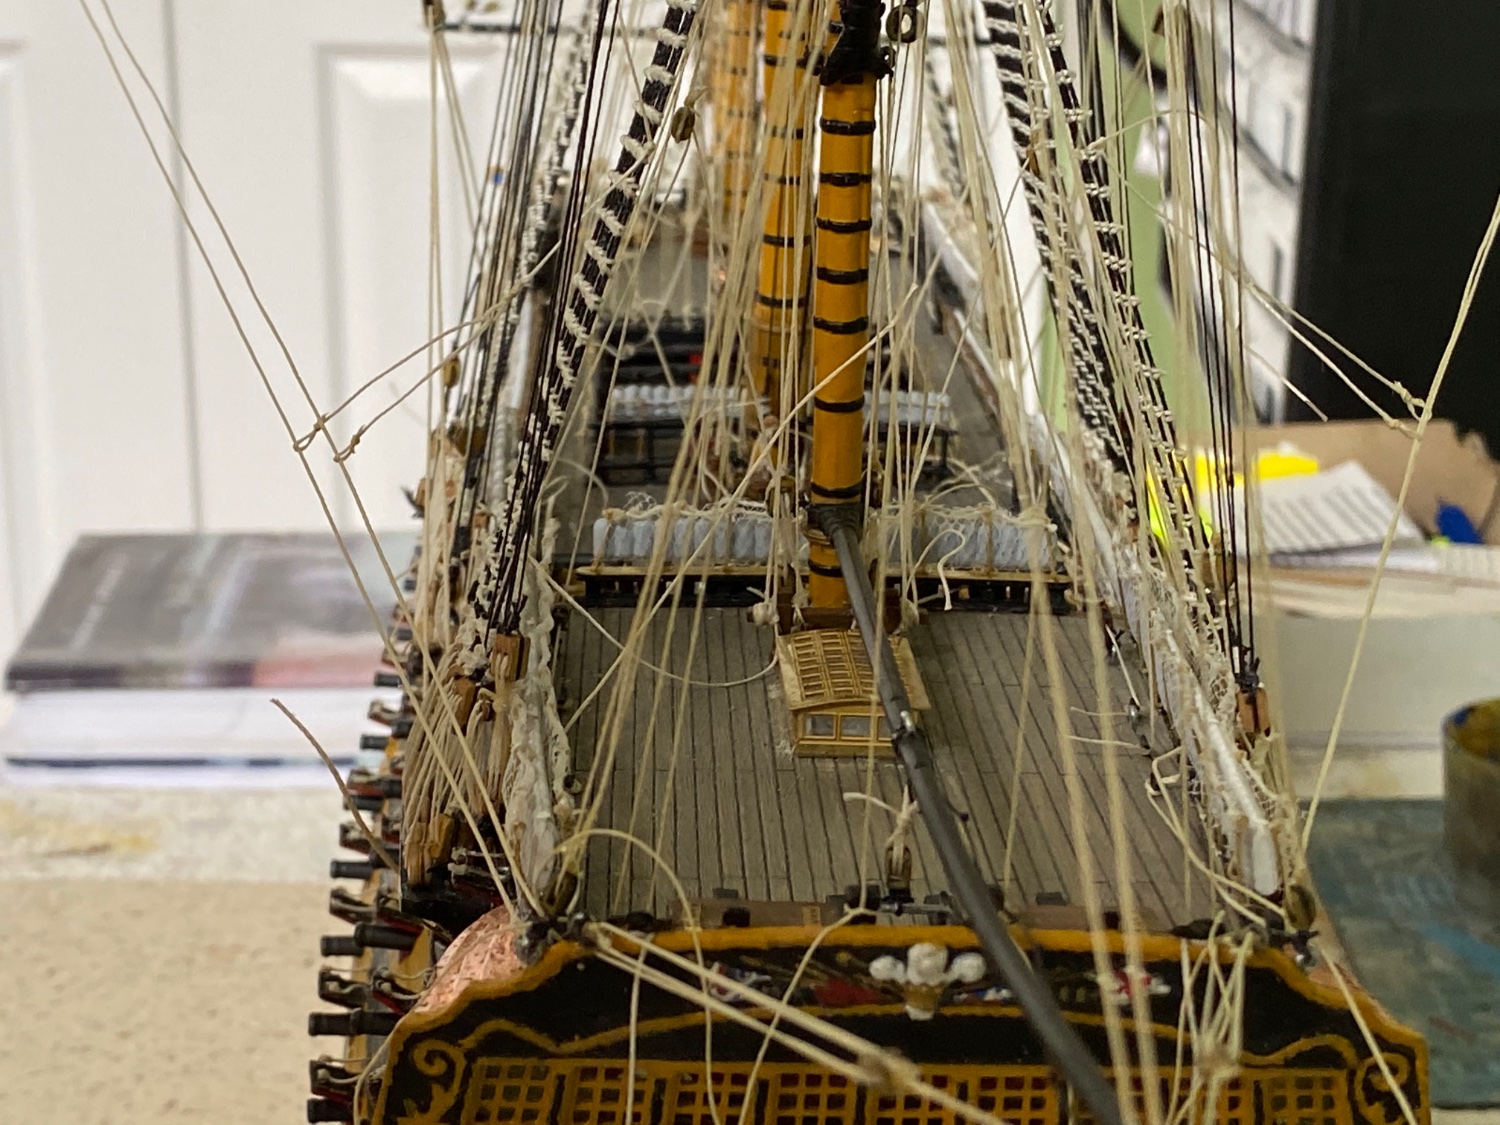
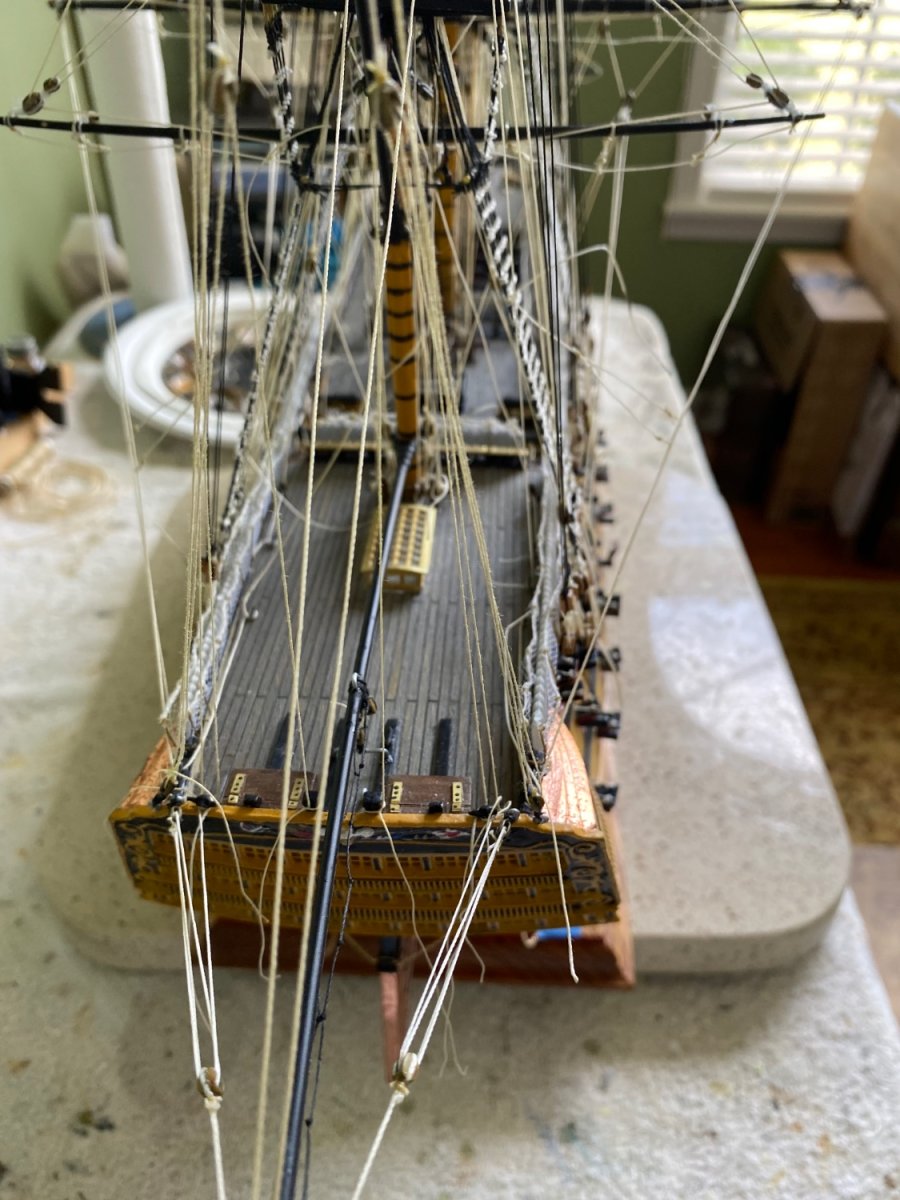
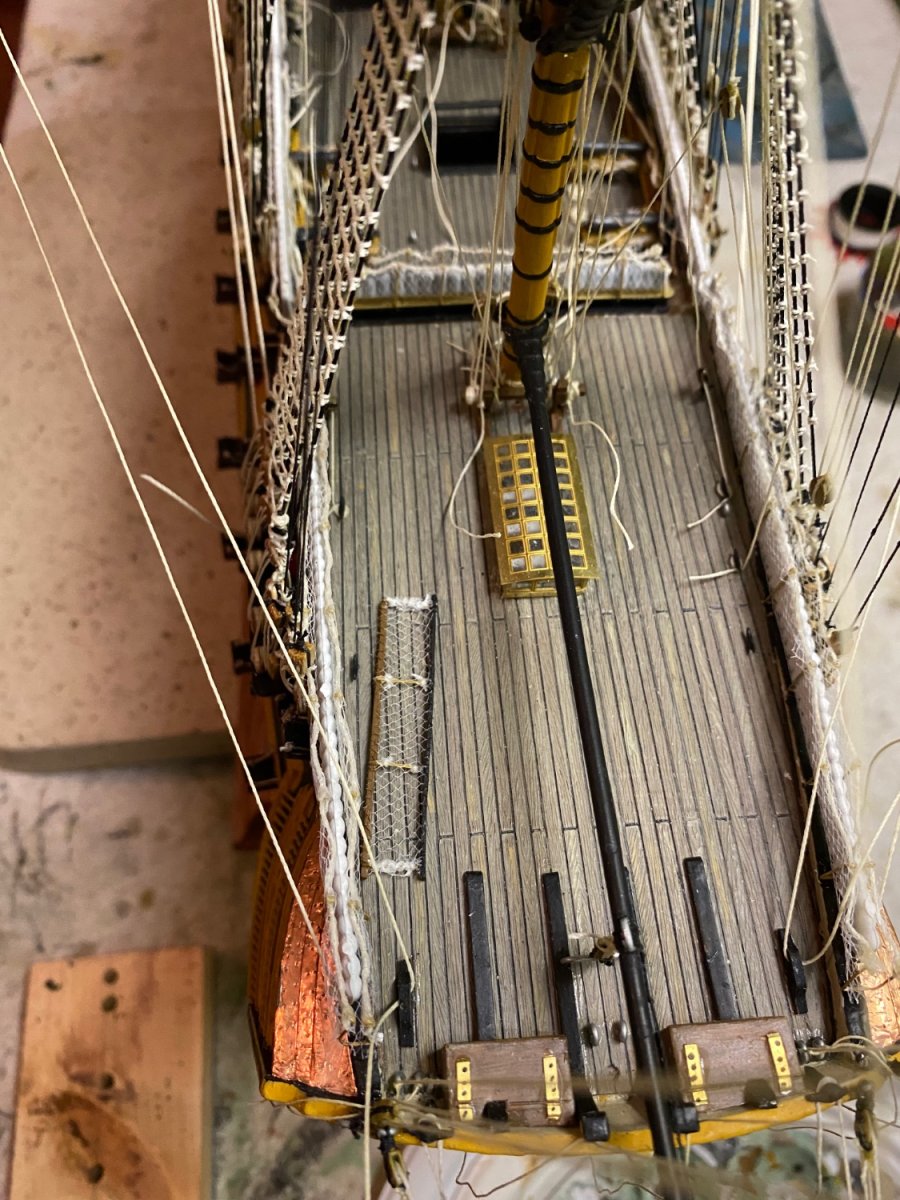
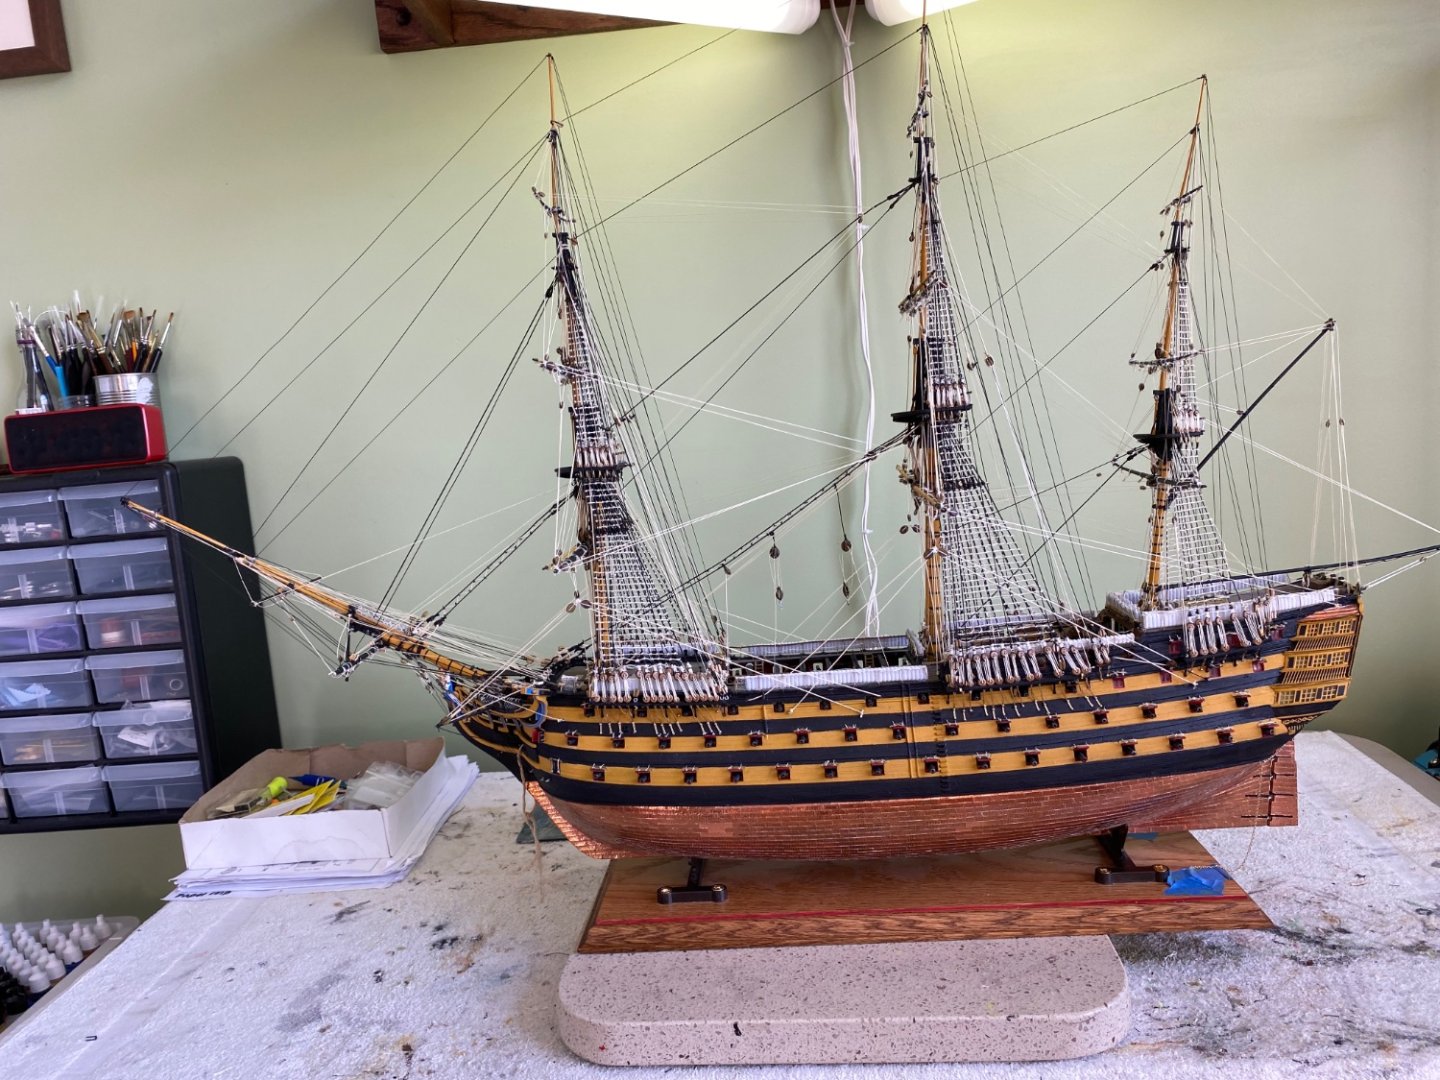
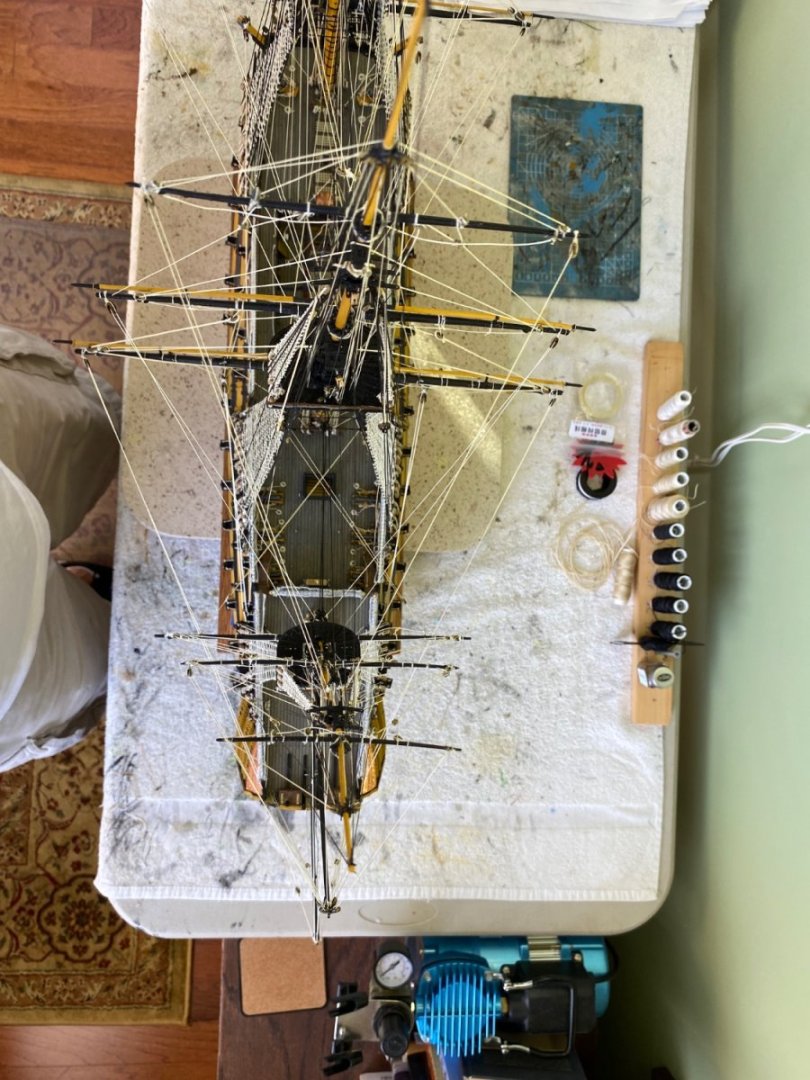
Gentlemen I am happy and relieved to say all the rigging on my HMS Victory is finished to include adding coils at each of the belay points!


-
Kevin I am almost done with the rigging! A little bit here and there, trim off excess thread at belay points, and add all the rope coils. After that i got to paint 😳and attach the lanterns, put on the anchors, and lastly the davits and boats. I am heading to the finish line!
-
Ian is this the photo you are talking about and what looks kind of frapped on the port side?
-
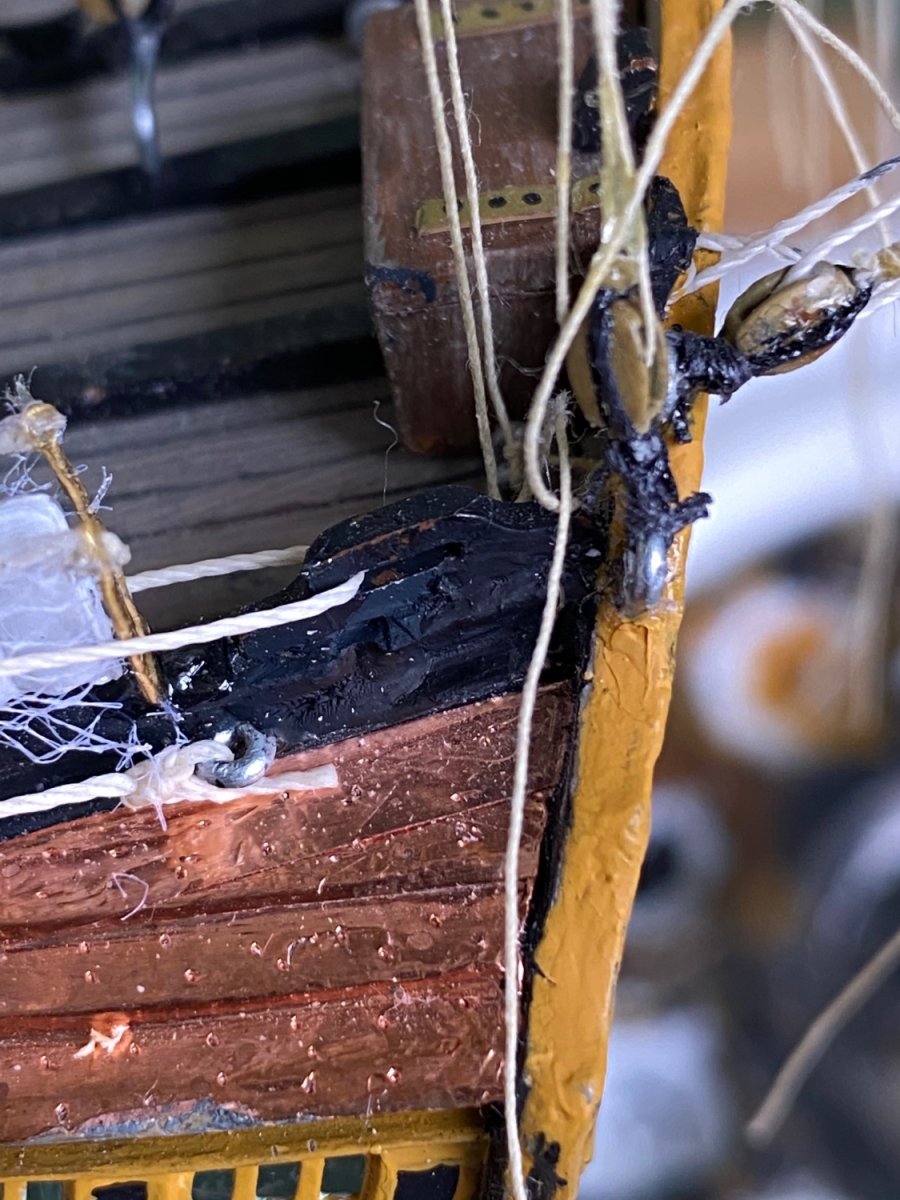
Oh oh Ian I will have to investigate exactly what you are talking about with the driver sheet. What do you mean by frapped? I was able to fix the screw up with the snatch blocks. Surly I can correct what you are talking about.
-
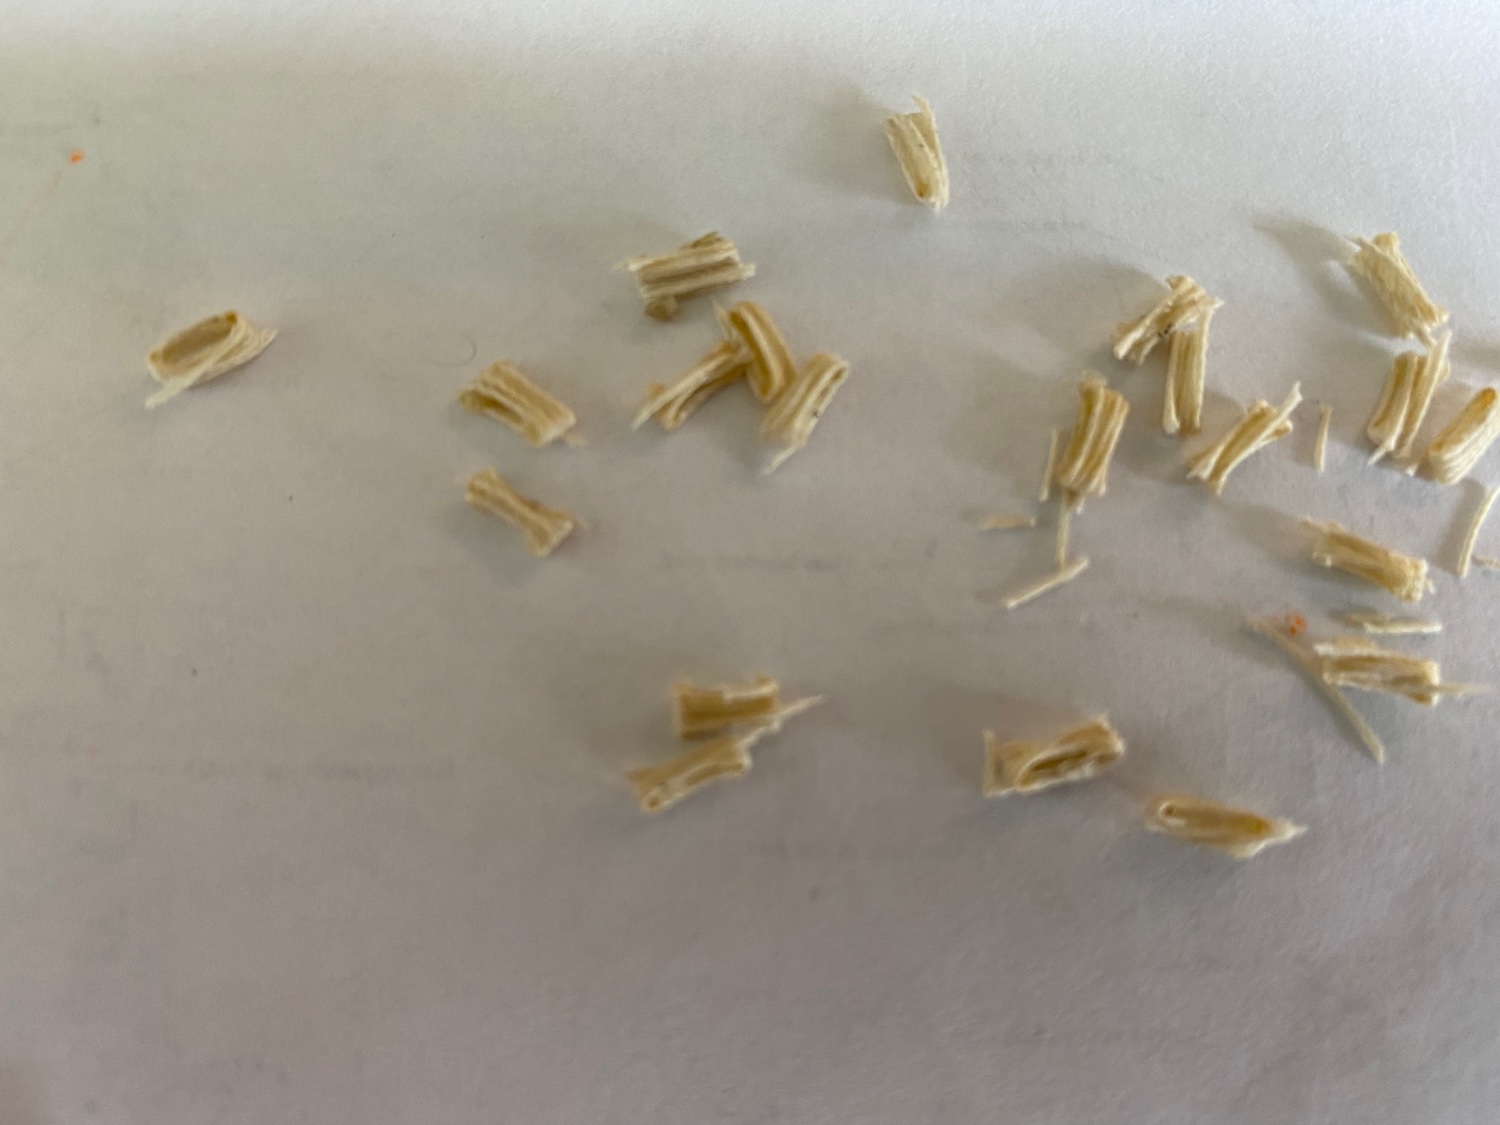
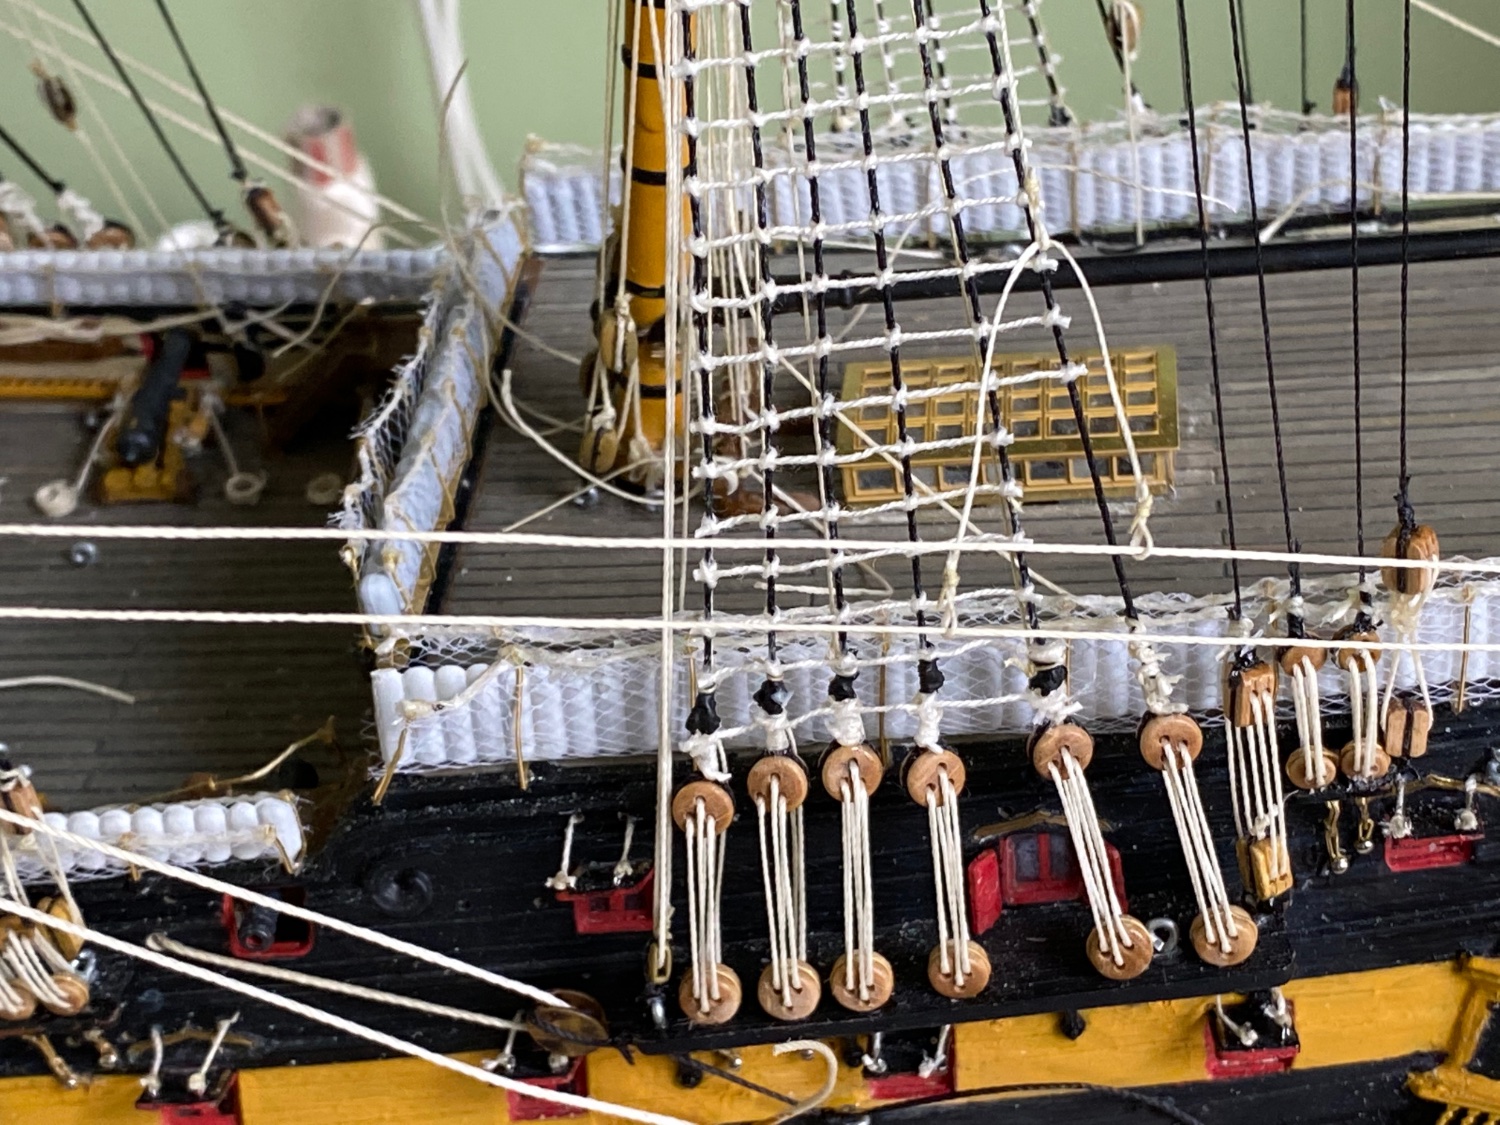
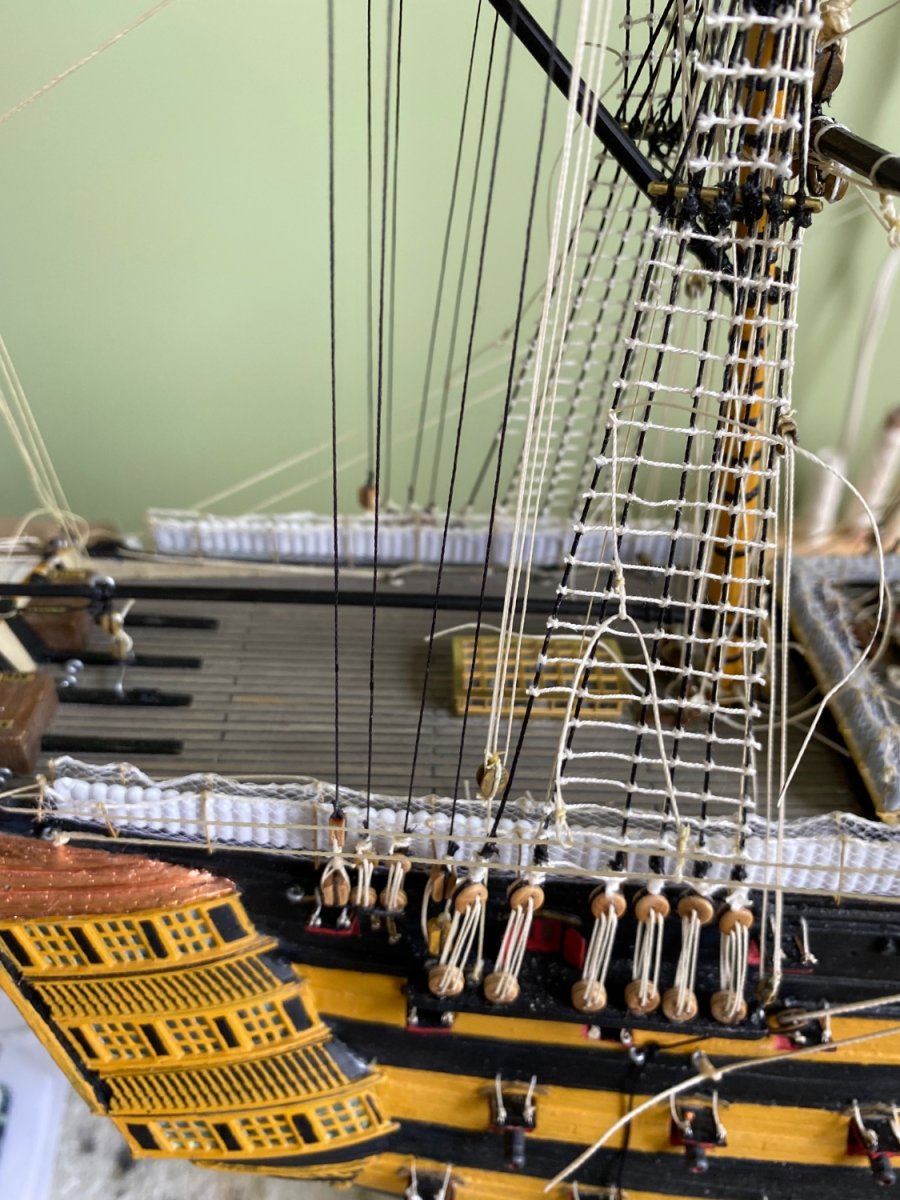
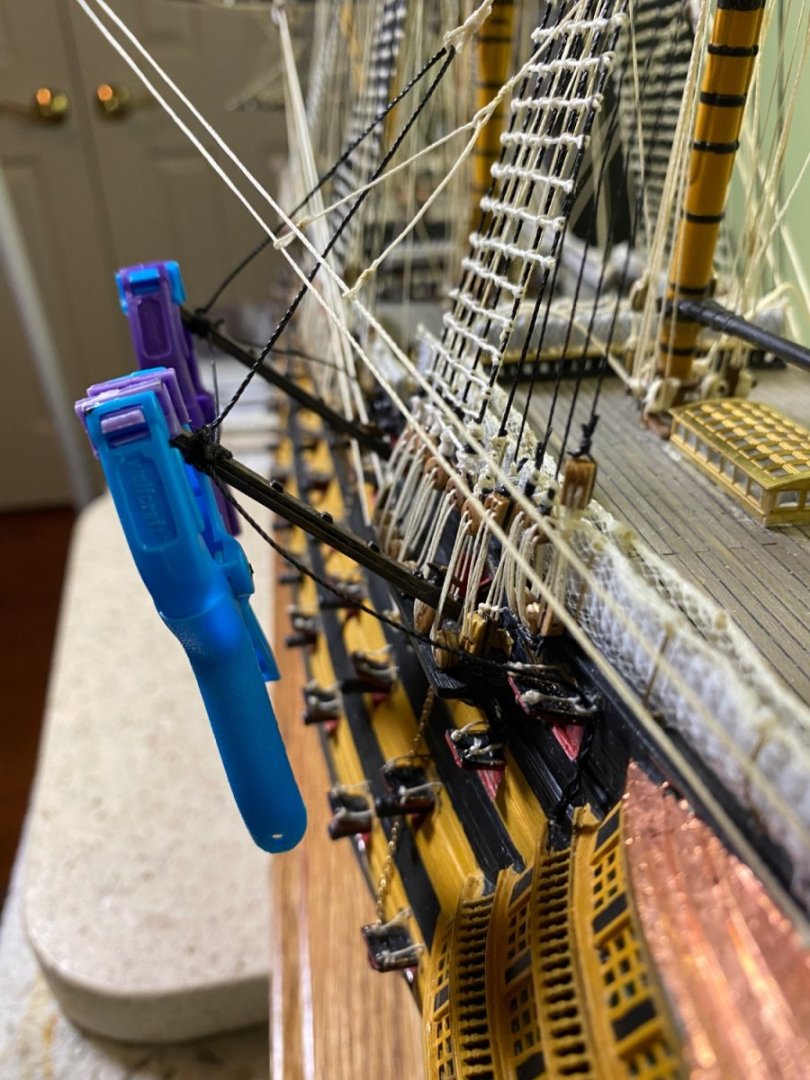
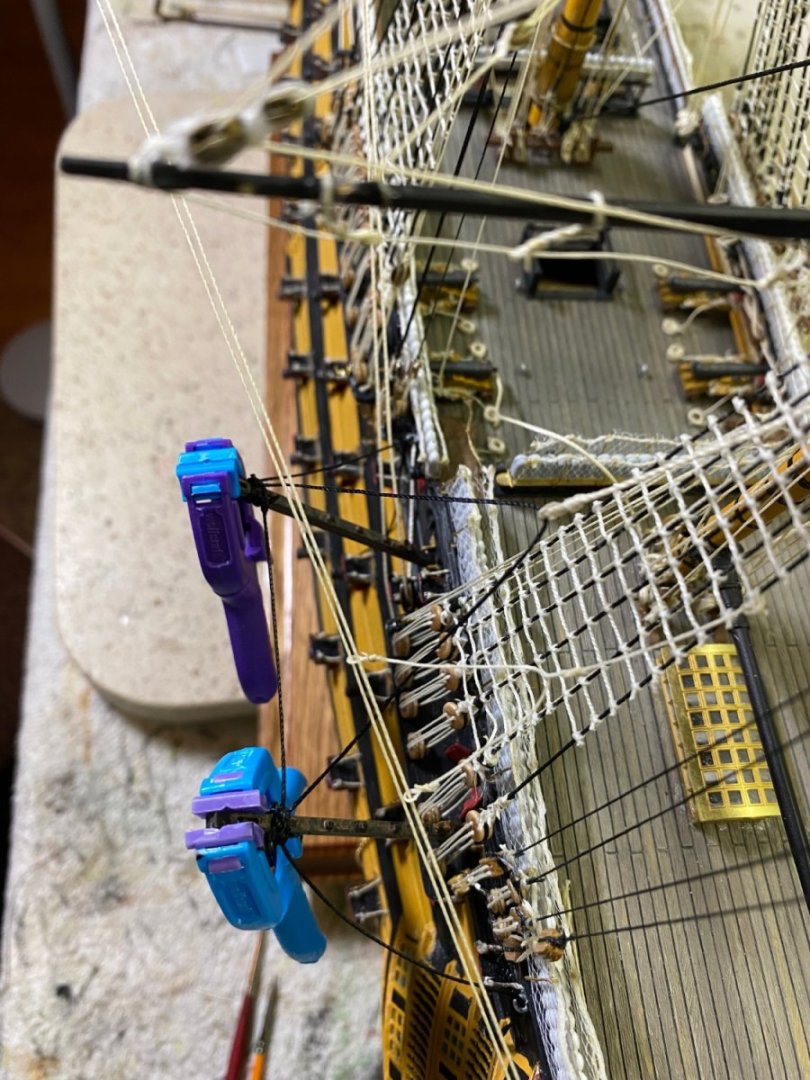
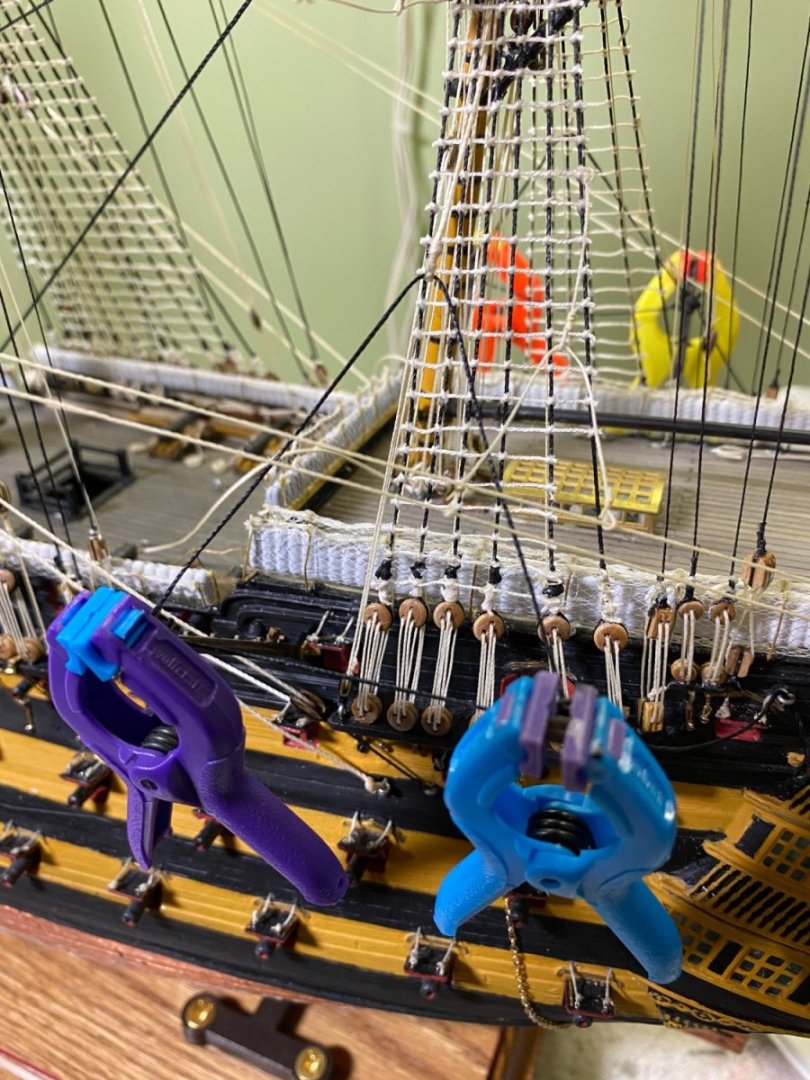
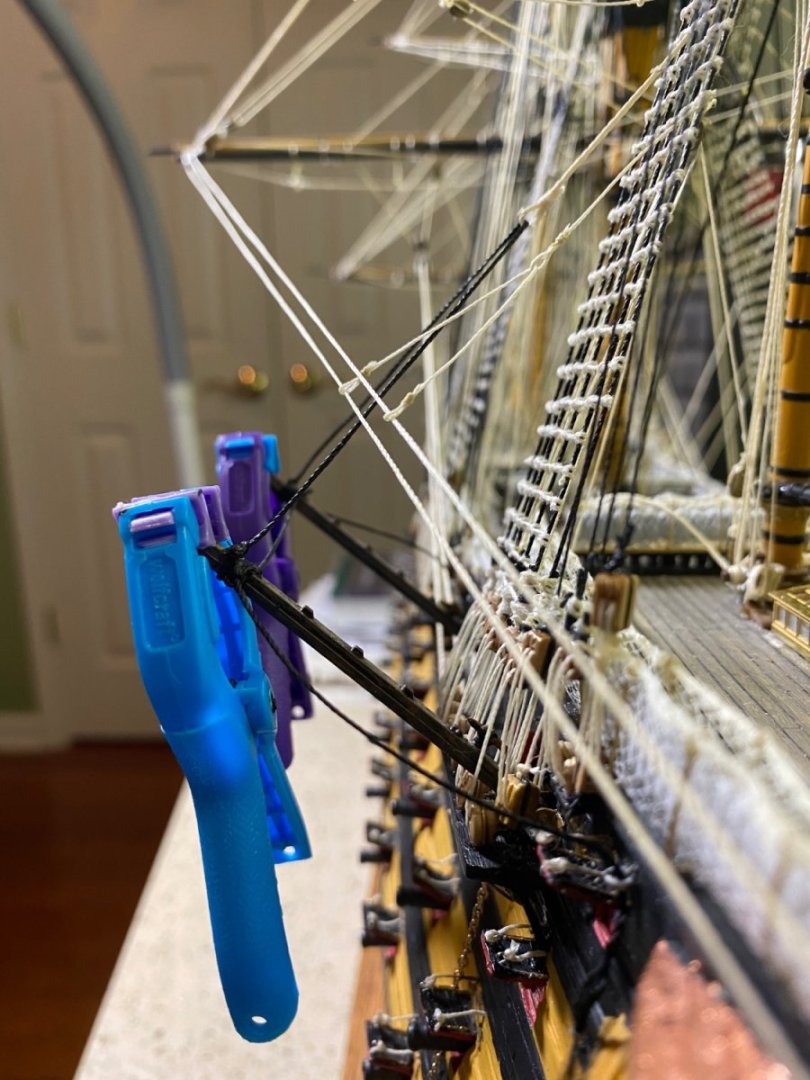
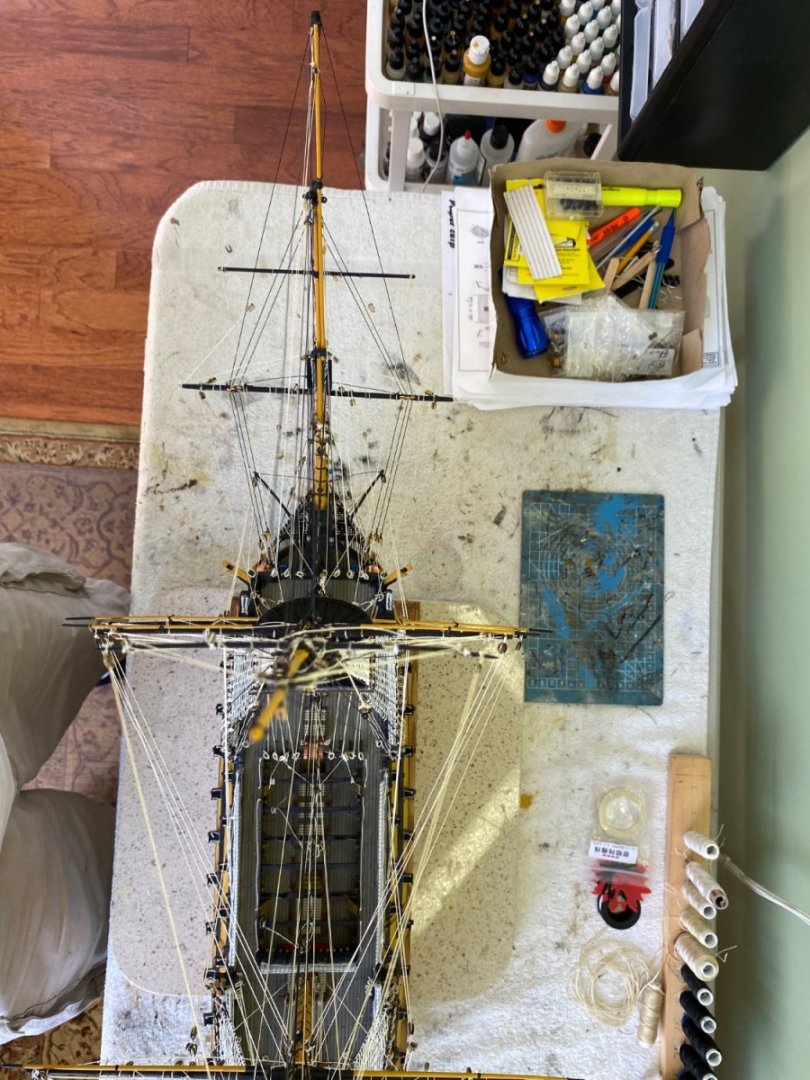
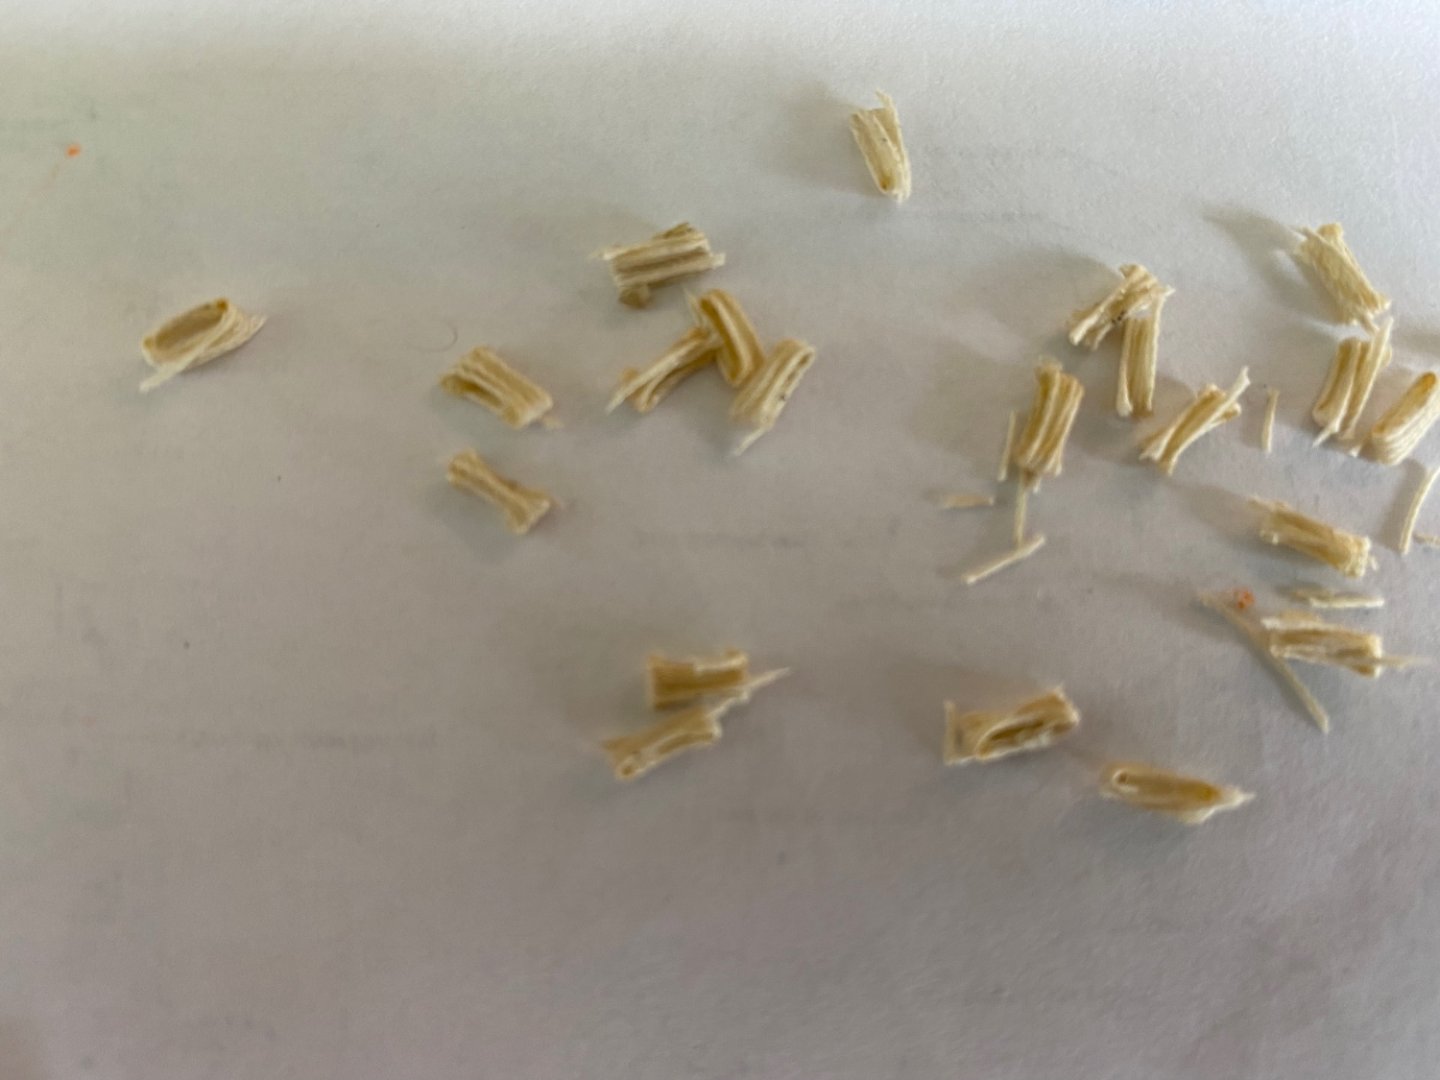
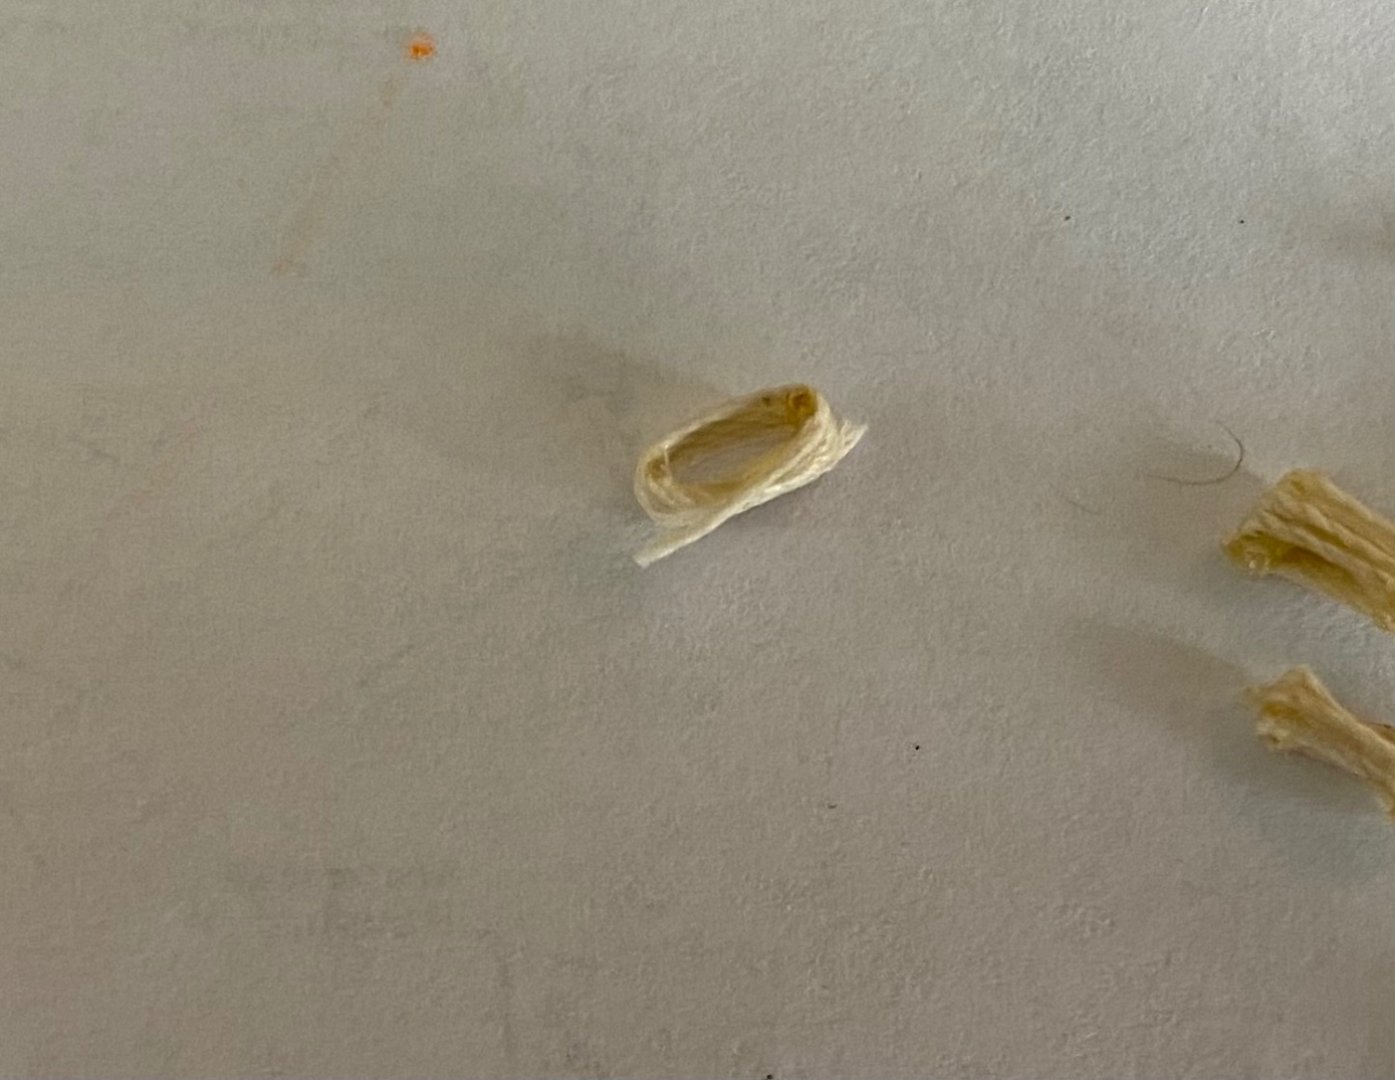
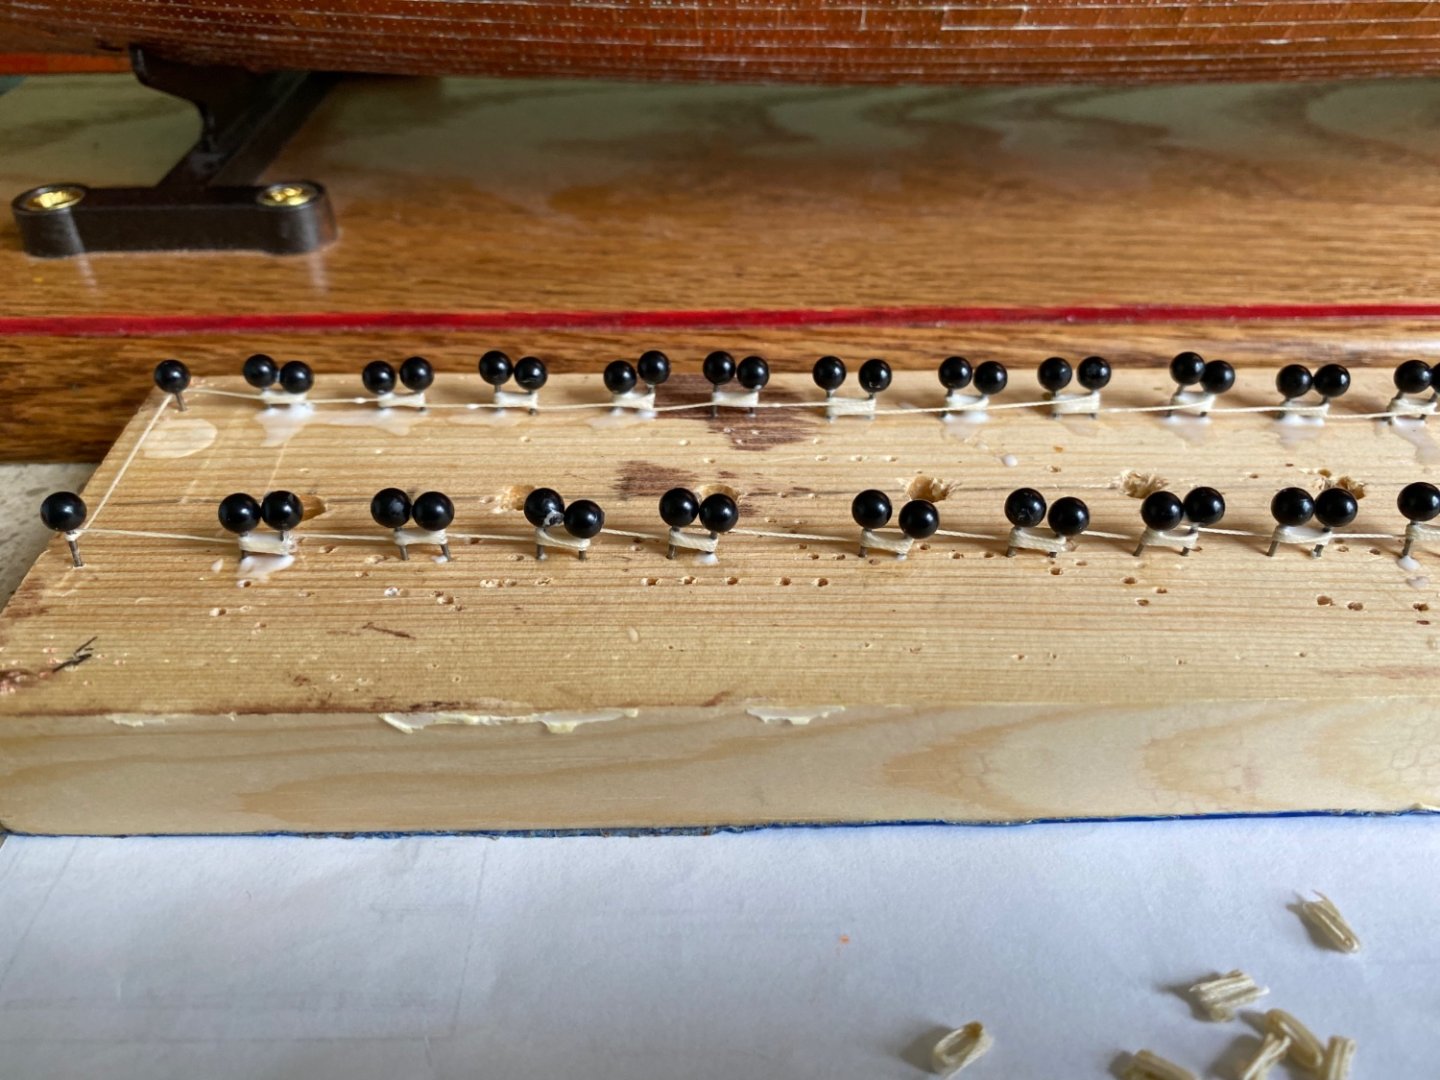
Taking a break from rigging and doing a bit of piddling. Decided to work on making a bunch of rope coils to hang at all the belay points. I use a bunch of push pins spaced 3/8” apart, wrap my my appropriate thread around 3 or 4 times and then coat with white glue. Once dry I cut them apart to make little coils I will later glue at each point.
-
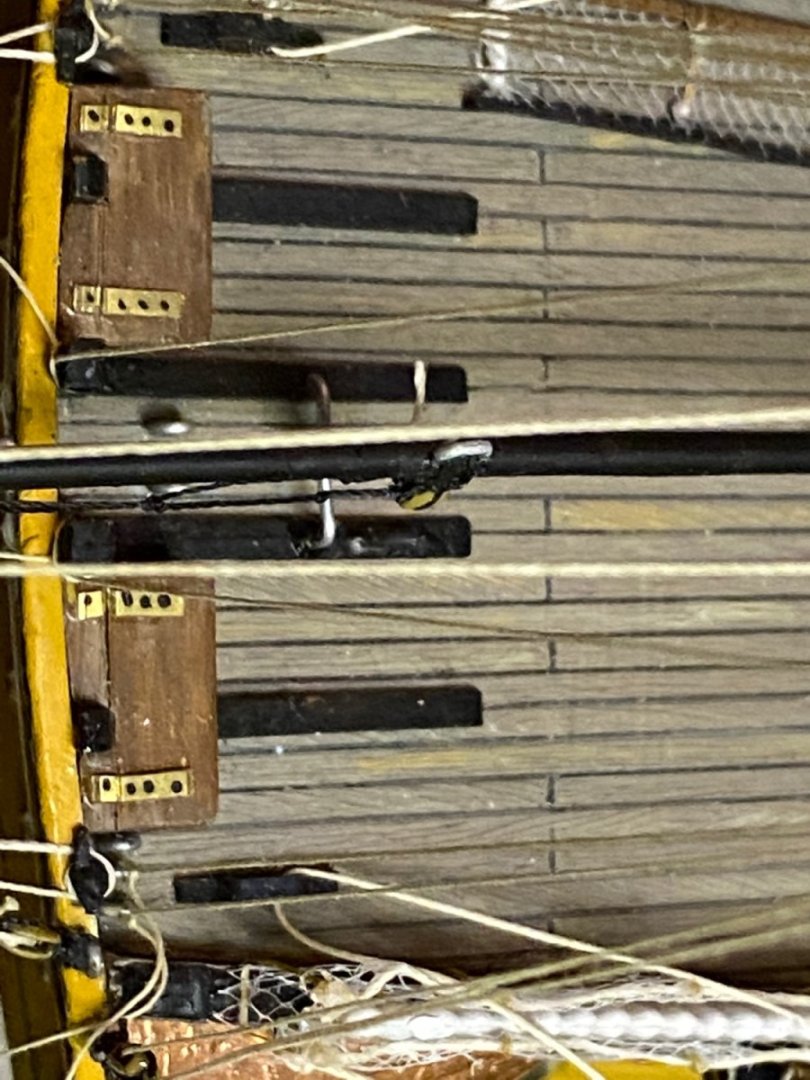
Ok Ian all the corrections made. Snatch blocks removed from the deck and repositioned on the bulwark. Hammock crane moved forward just a bit. Had to cut off one hammock. Netting reattached. Deck paint touched up. Lizards made and attached to mizzen shroud. Main brace reeved through lizard, block on yard, snatch block, and reeved to cleat. I have not permanently tied the brace or lizard yet. Wanted to ask if brace should be slack as shown in Longridge’s Plan 7 or taut?


-
So Ian you are telling me those items I have glued to the deck need to be on the bulwark? Ok let’s see if I can gently remove them without to much damage to them or my deck! Then put them where they should be and touch up my deck paint. I will let you know how this goes 😊.
-
Ok Ian. Great. I have those installed. The way I understood the instructions as that the brace was to reeve through a block then belay to that fitting. So the brace just goes directly to the snatch block from the block on the end of the yard as I have temporarily done in the photos?

-
Yes Ian I still have some work to do on the main brace. The lizards still need to be added and a “snatch block” (if I can figure out what that is 😊) at the aft end poop gunwale on each side at to reeve it through enroute to the large cleat on the deck.