


Bill97
-
Posts
2,636 -
Joined
-
Last visited
Content Type
Profiles
Forums
Gallery
Events
Posts posted by Bill97
-
-
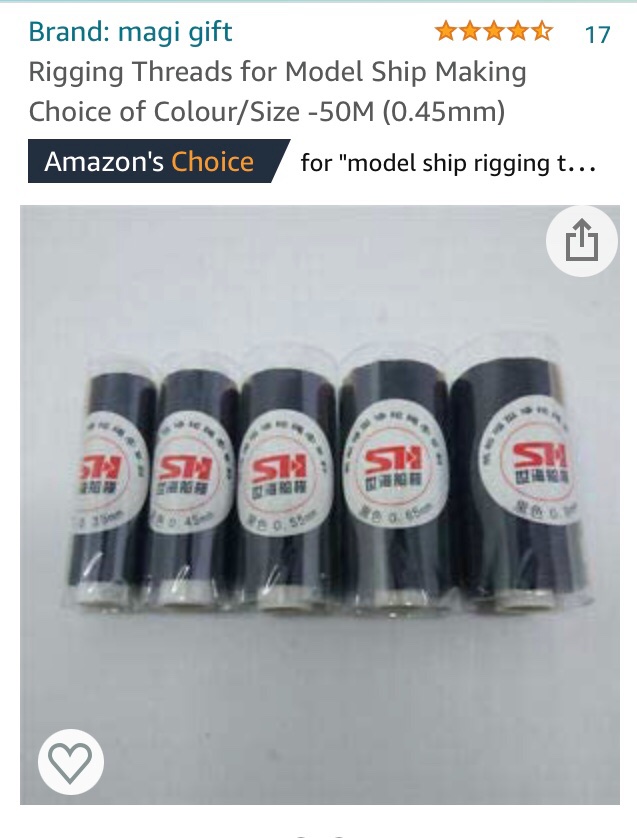
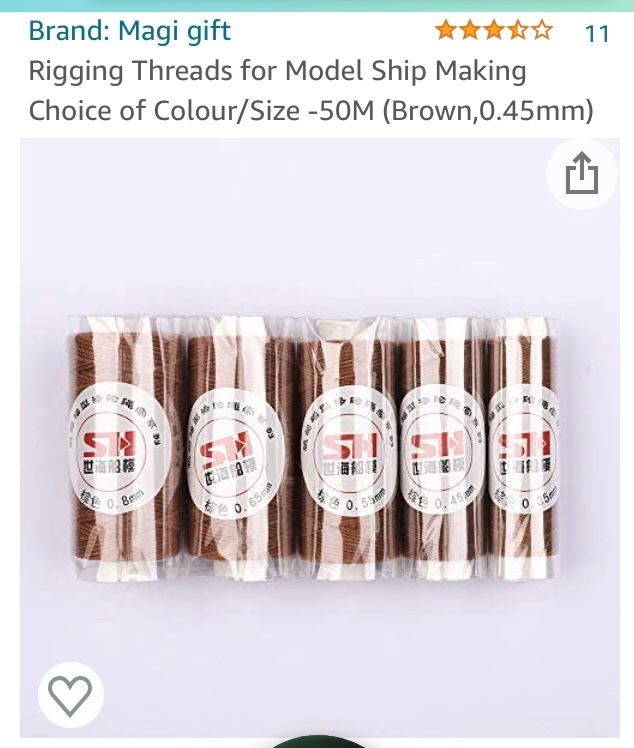
Ok guys after I started the post I decided to just buy model ship rigging thread. I initially was only able to find a color called Coke Brown. So I ordered several sizes of that color. After the order I continued to search because I was not sure about using that color for standing rigging. I was eventually able to find black so I ordered several sizes and canceled the order for the coke brown. I am currently working on the Wasa and after I complete it will begin my long awaited tackle of the Heller HMS Victory. These are the two builds I have ordered the thread for. Now after reading several of your replies I am wondering if I should have stuck with the coke brown instead of switching my order to black.
-
The most recent kits I have purchased come with only white line for rigging. The instructions say to soak the line in tea to achieve the desired color. Instead of doing this I plan to just purchase different sizes of rigging thread from hobby supply shop. However the tea recommendation made me wonder if the dark brown color (almost Coke like) is actually more accurate than the black I have used on previous builds for standing rigging? I can purchase either dark brown or black. I am thinking the dark brown standing rigging could be visually interesting.
- mtaylor and thibaultron
-
 2
2
-
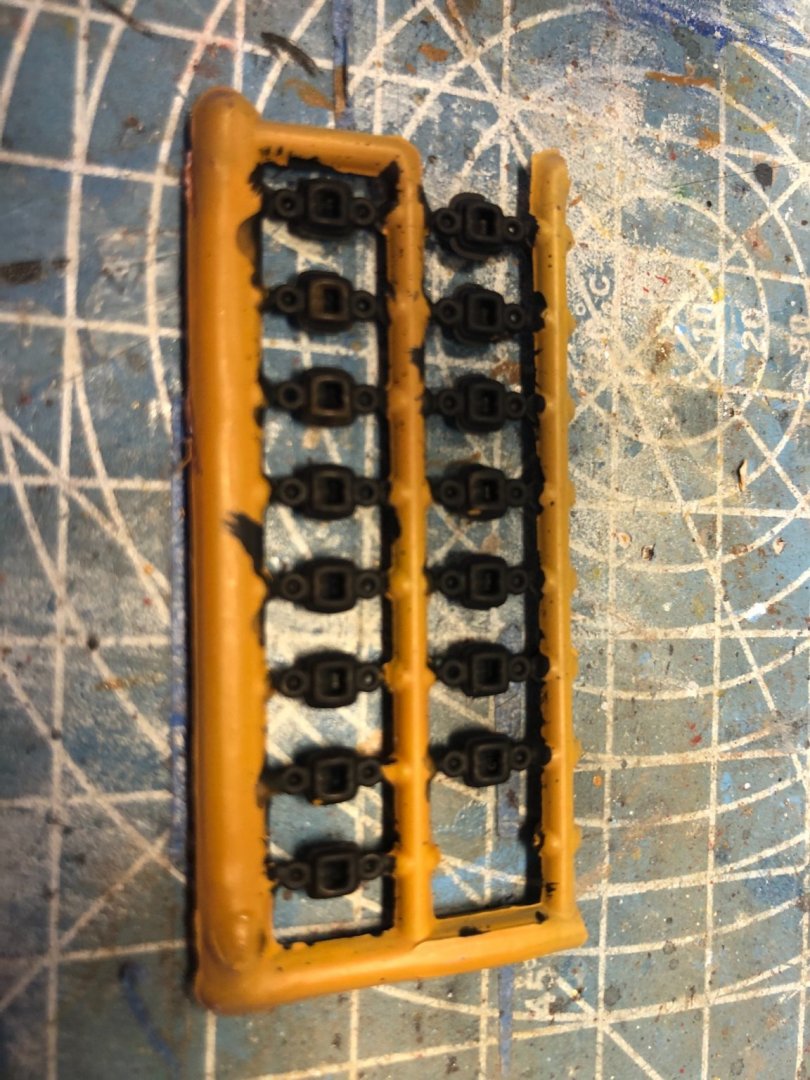
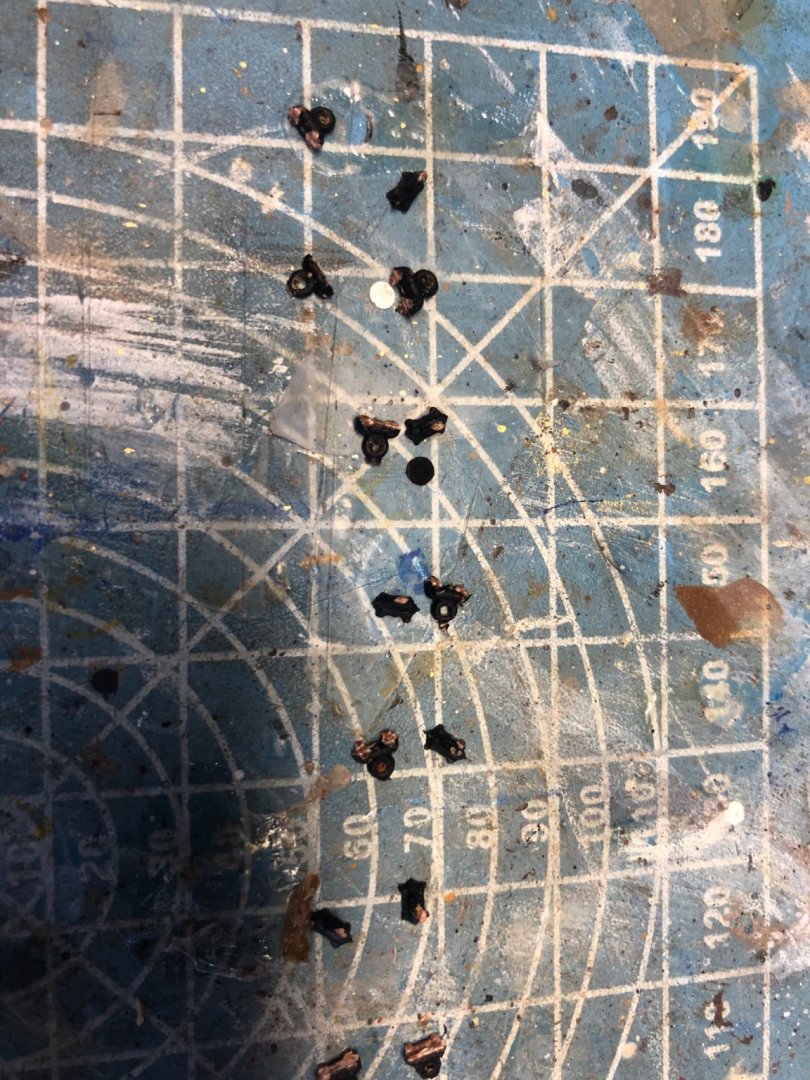
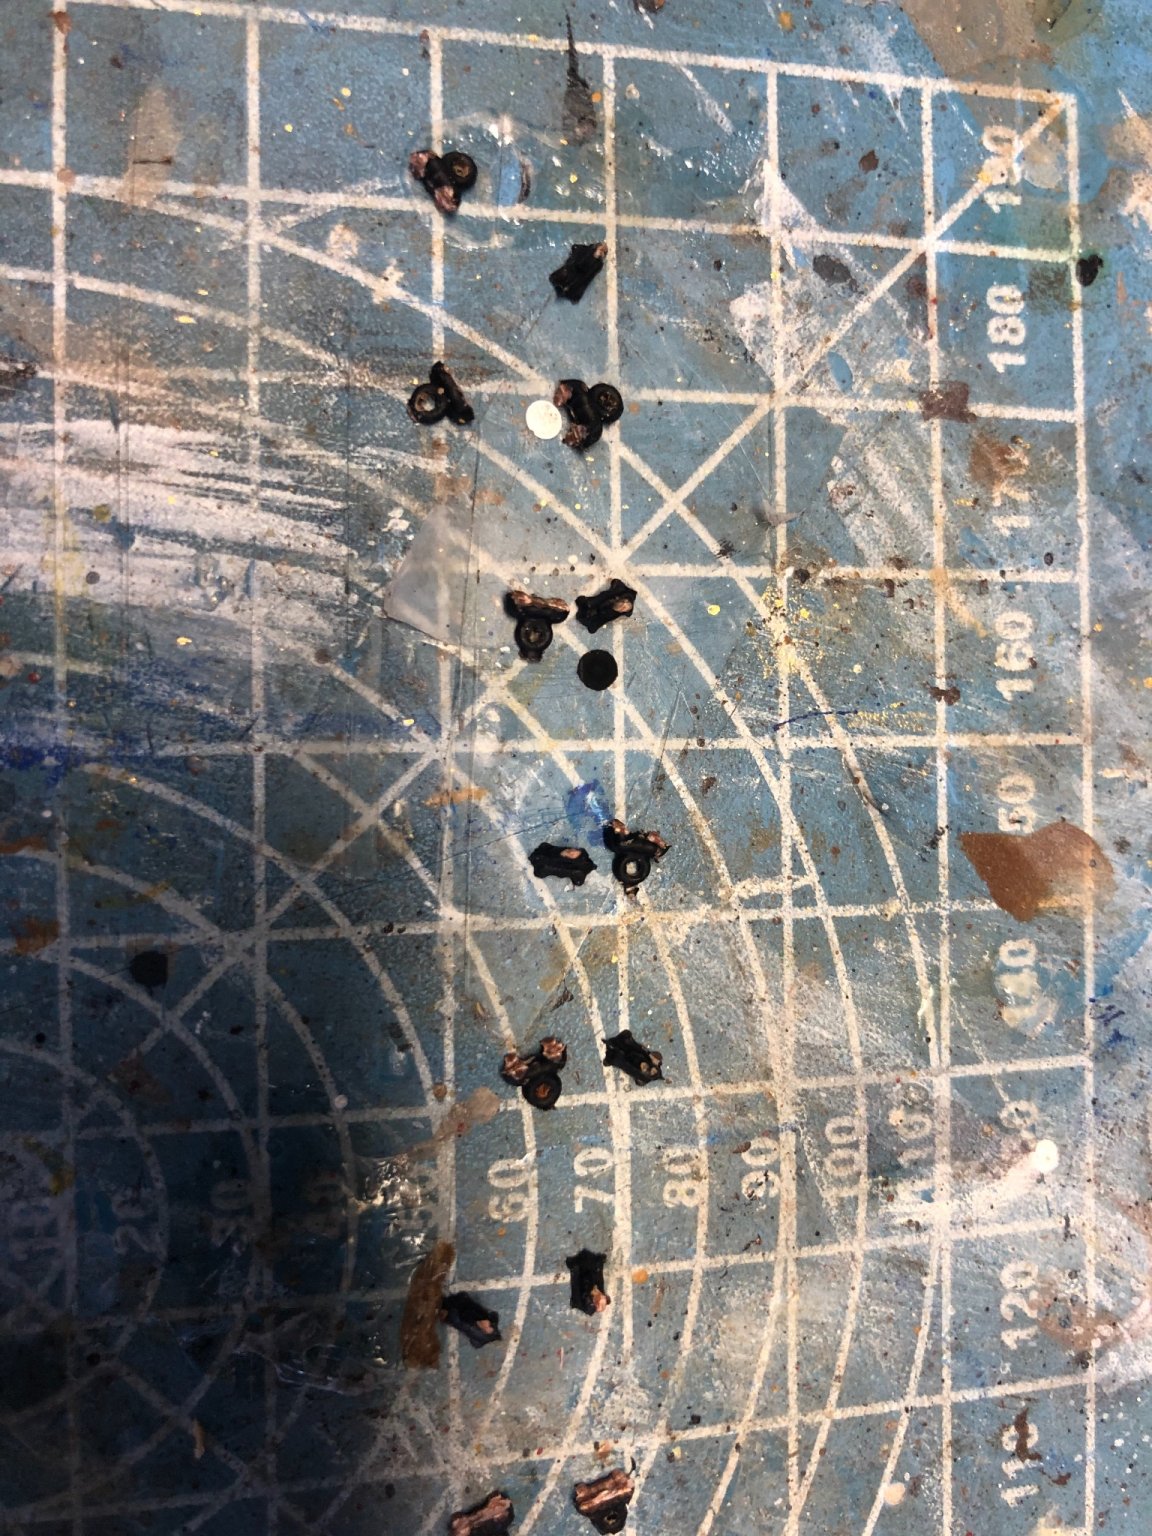
In the category “Don’t throw away left over parts” I was able to come up with a solution for my shroud deadeyes. I had some leftover deadeye molded pieces from a similar scale ship I previously built. I simply cut off the top deadeyes, sanded them a little, and then glued them to the back of the top deadeyes that are part of the Wasa kit. This then provides the needed little grove to wrap the shroud around and then do the seizing.


-
Thanks Kirill4 for idea. Let me say again how incredible your models look. Beautiful job.
-
Thanks Michael and Kirill4. I will just fabricate a small piece to add to the top deadeye to make it look like the old YoYo toy, patch the little center hole that is already there, and paint them a little more realistic. They are somewhat fragile and a few of the little straight pieces that represent the chains are missing or were blended into the flack and lost during trimming. Will need to add those as well. May cut them all off and just add actual very small chain.
Michael I am still fascinated by your cannon hatch door ropes. So what do you think you will do on the outside? Will it be similar with a second eye bolt on the other side? -
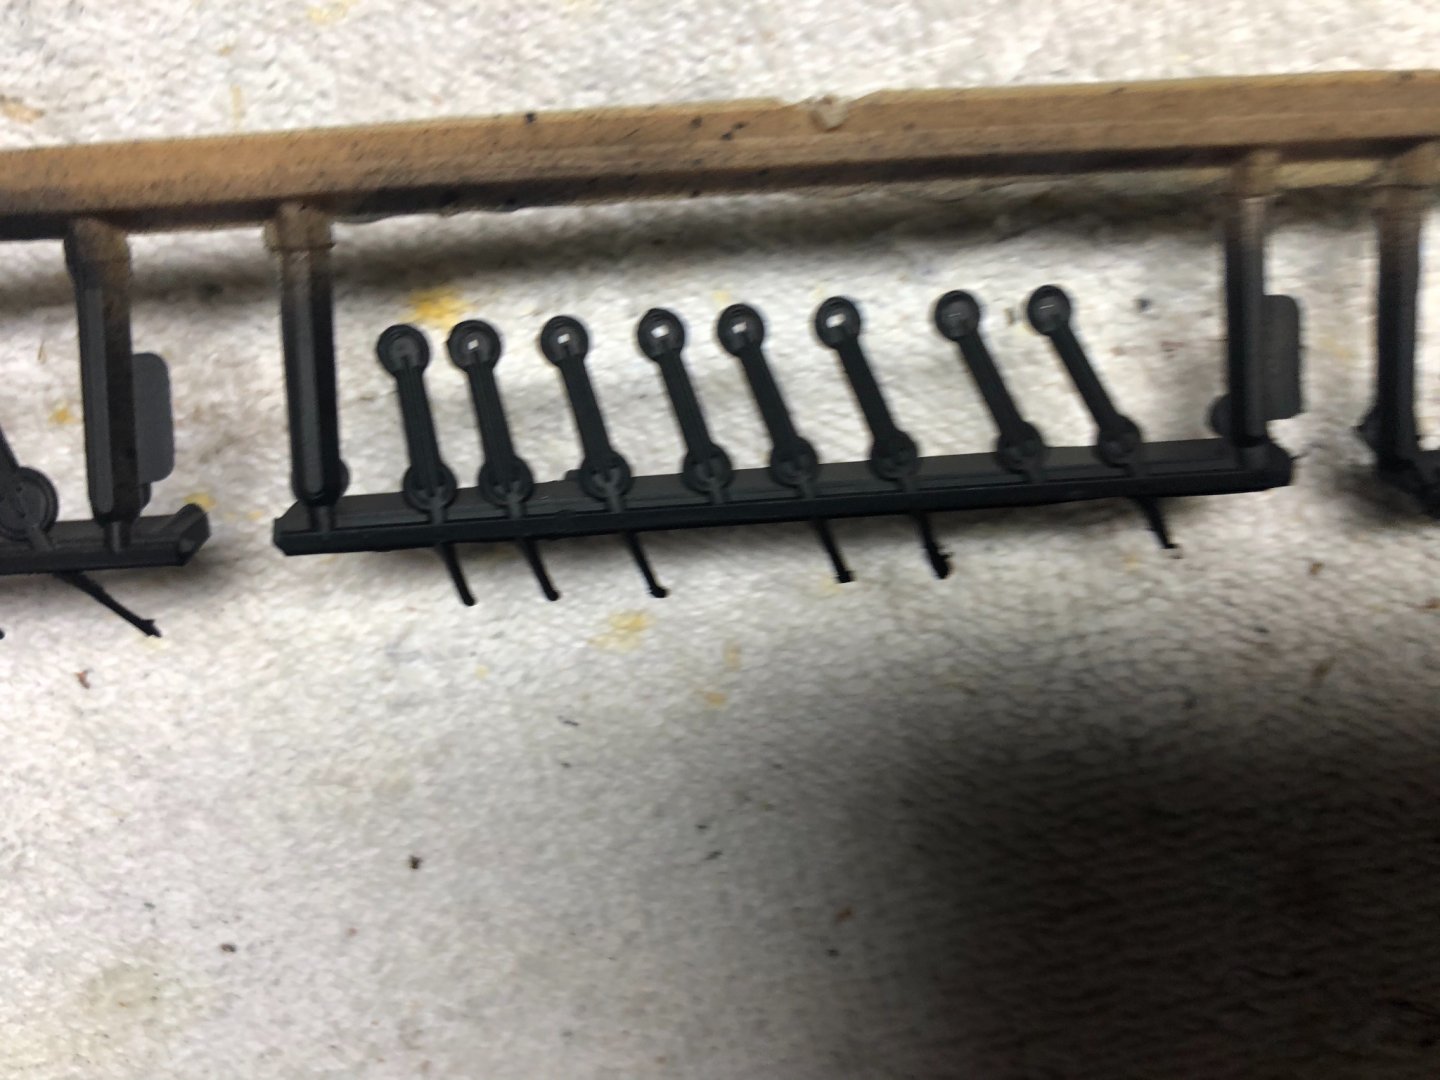
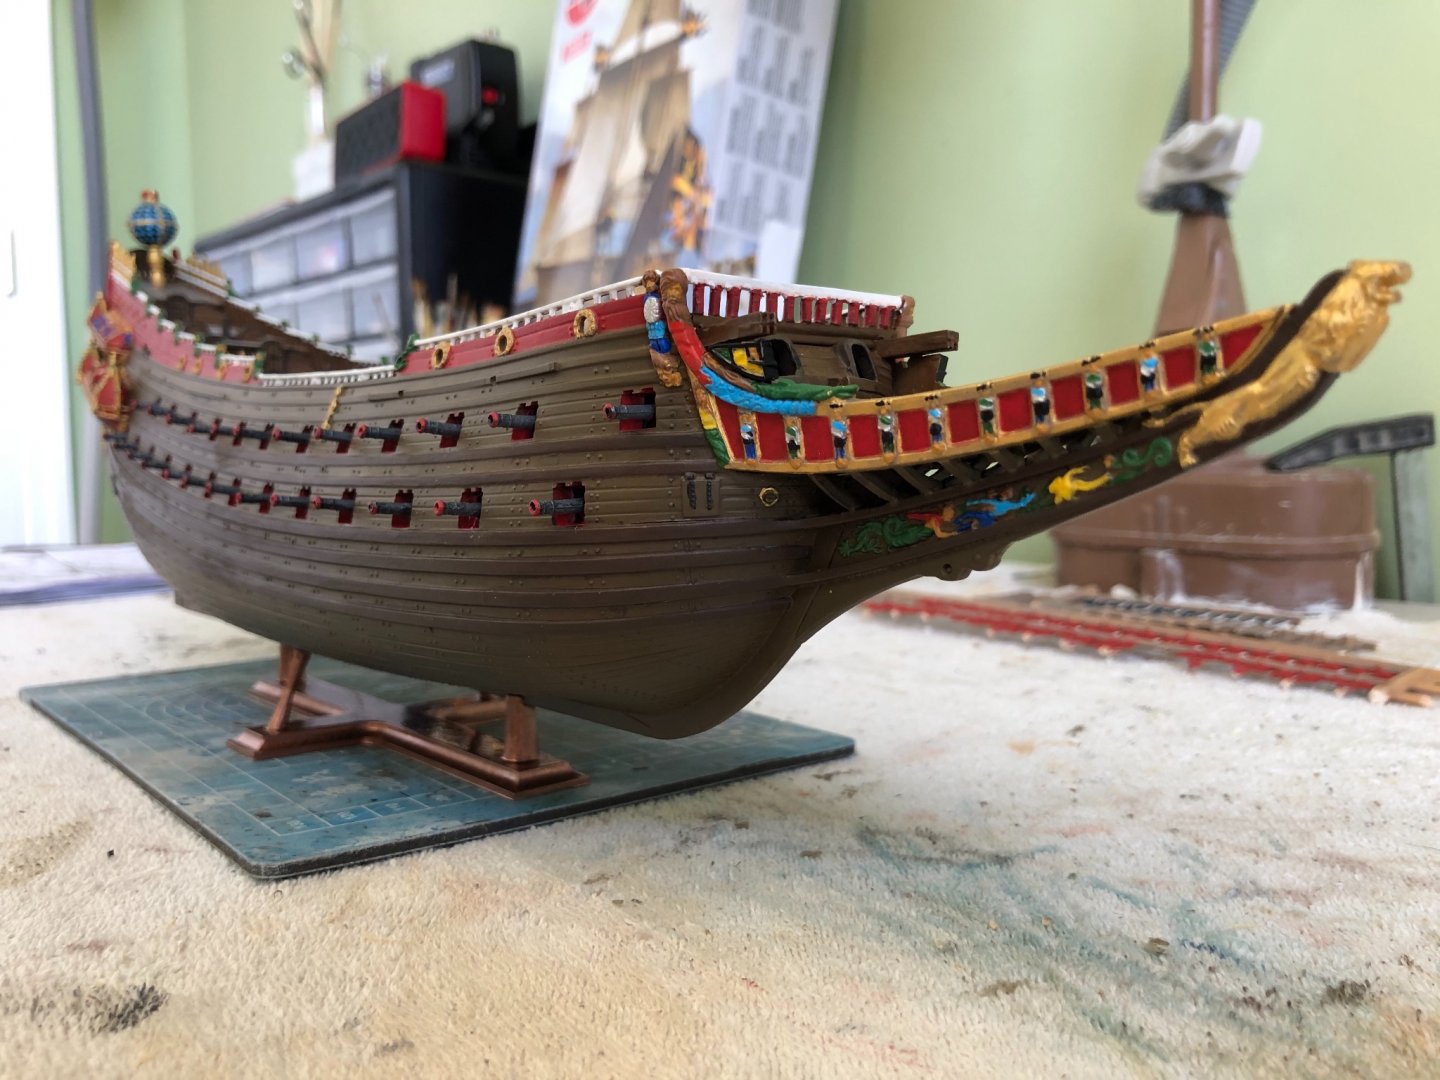
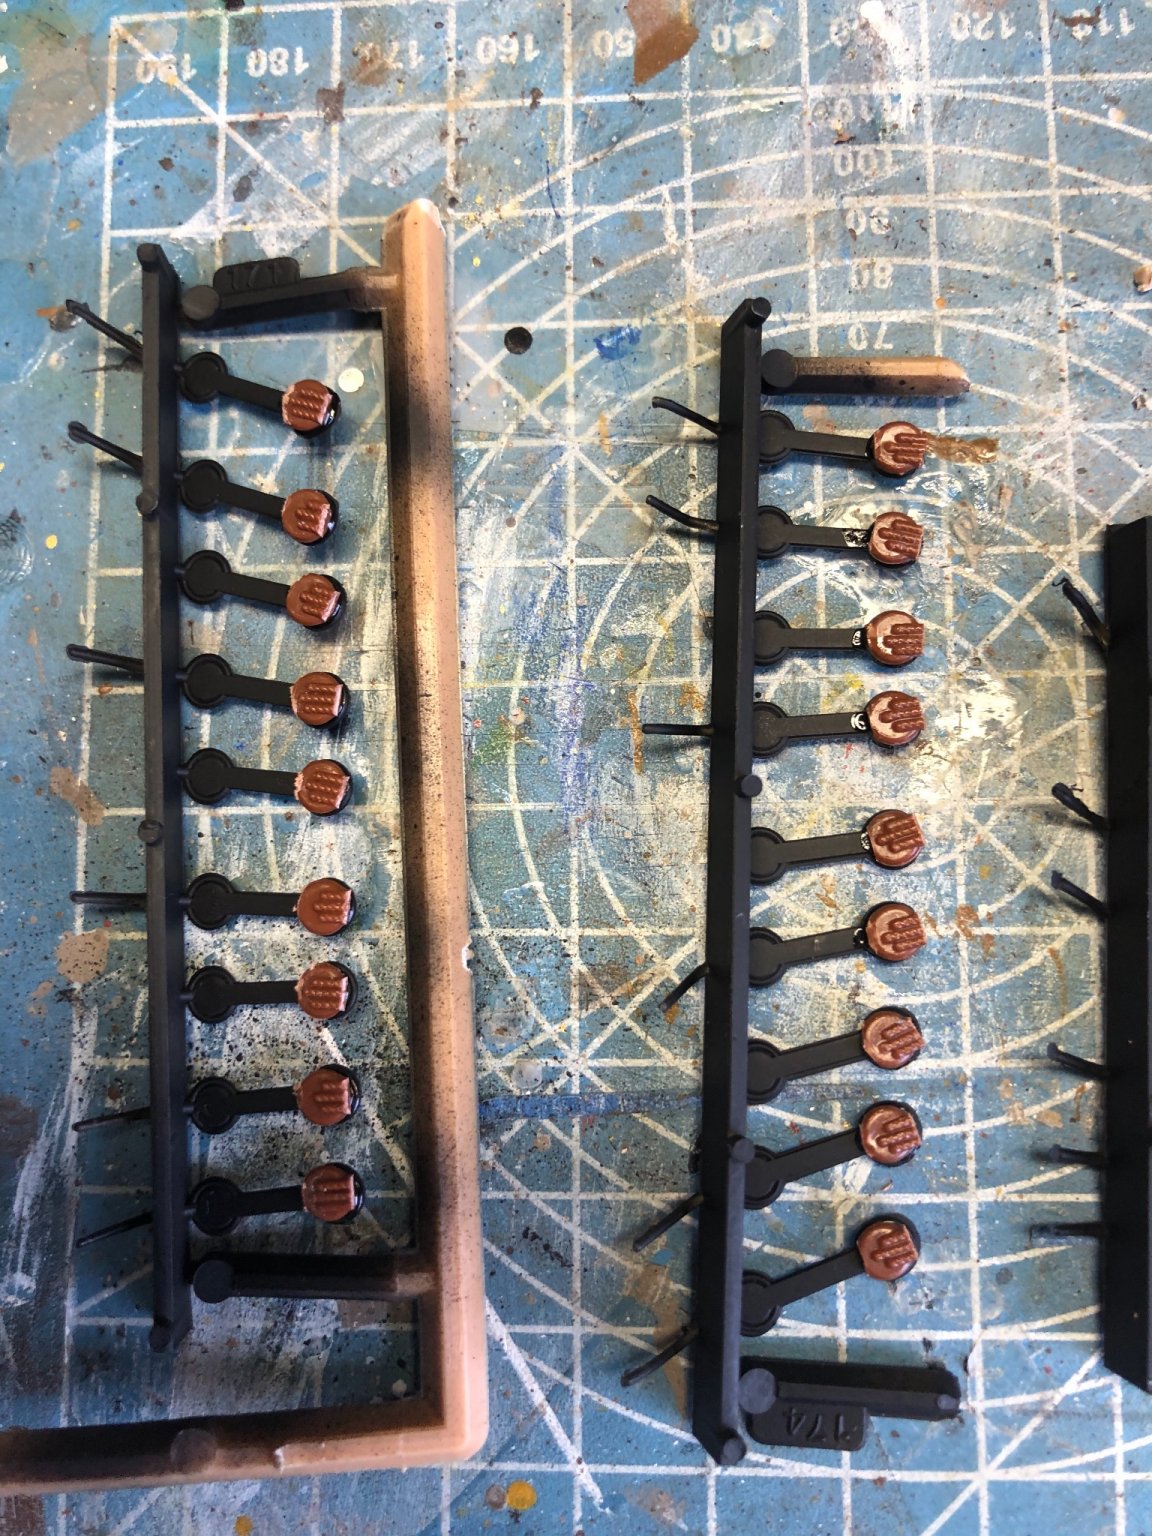
Meant to add this photo of upper mast deadeyes to show how small they are.
- GrandpaPhil and Baker
-
2
-
Thanks Michael. That looks pretty good. How did it work out on the hinge side? Does the wire go all the way through? I guess you will drill holes in the hull above the hatches for the other end of the thread?I am really glad you have this kit at the same time. Enjoy discussing aspects of it with you. Very few Airfix Wasa builds on MSW. Hope I am not drawing you away from your other build to much.
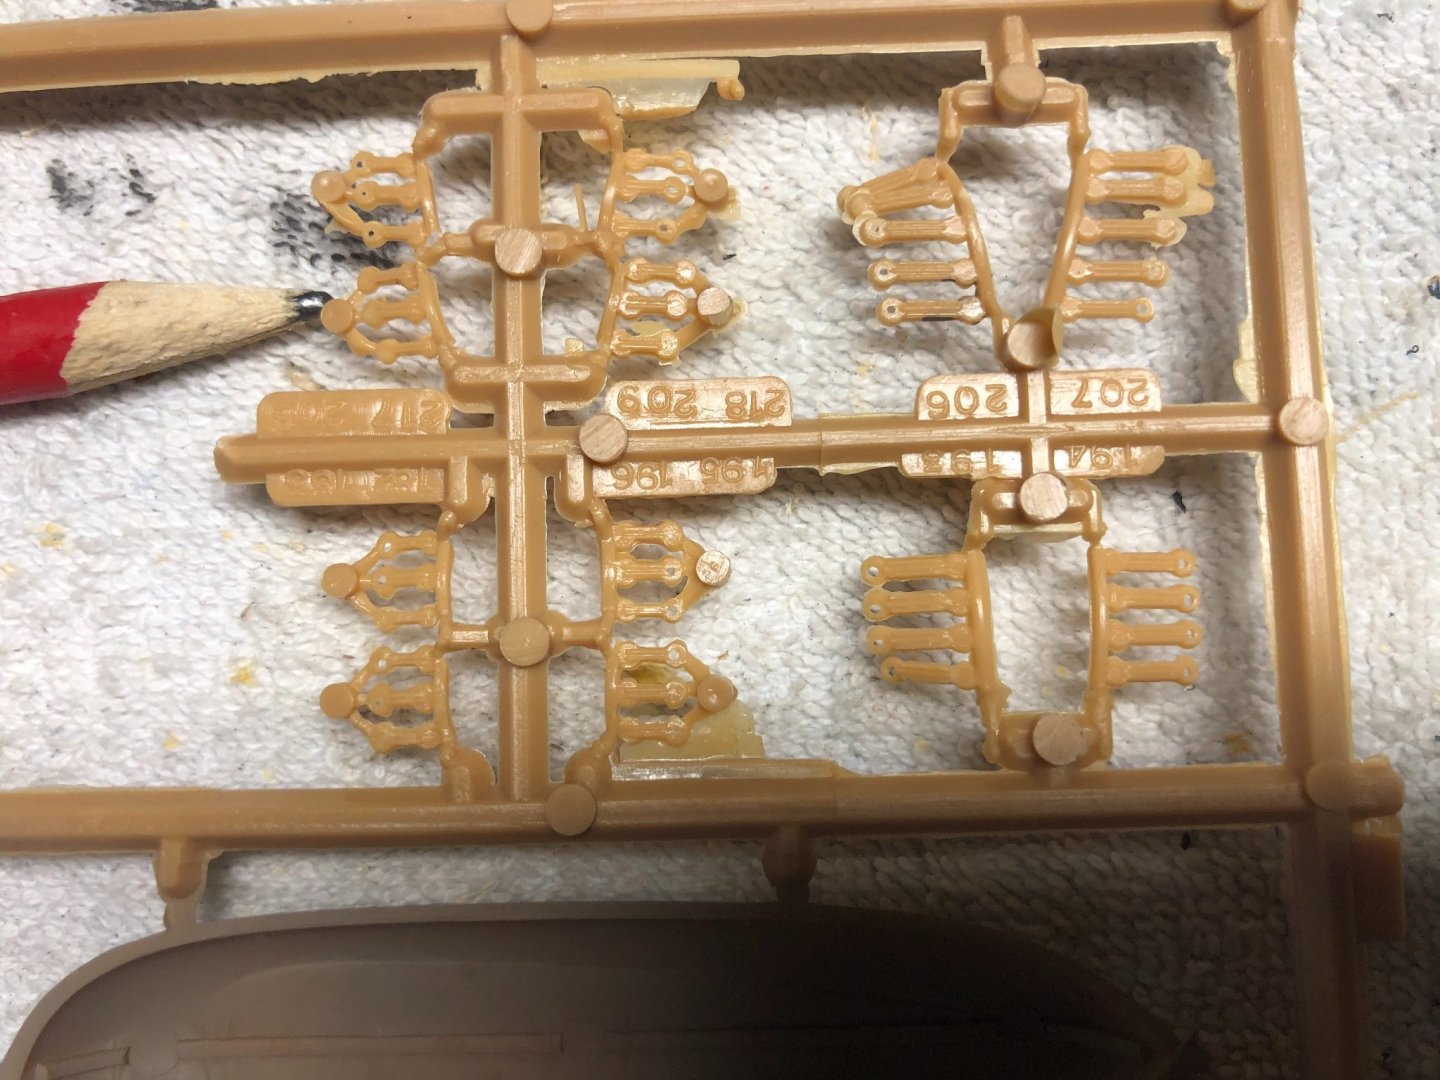
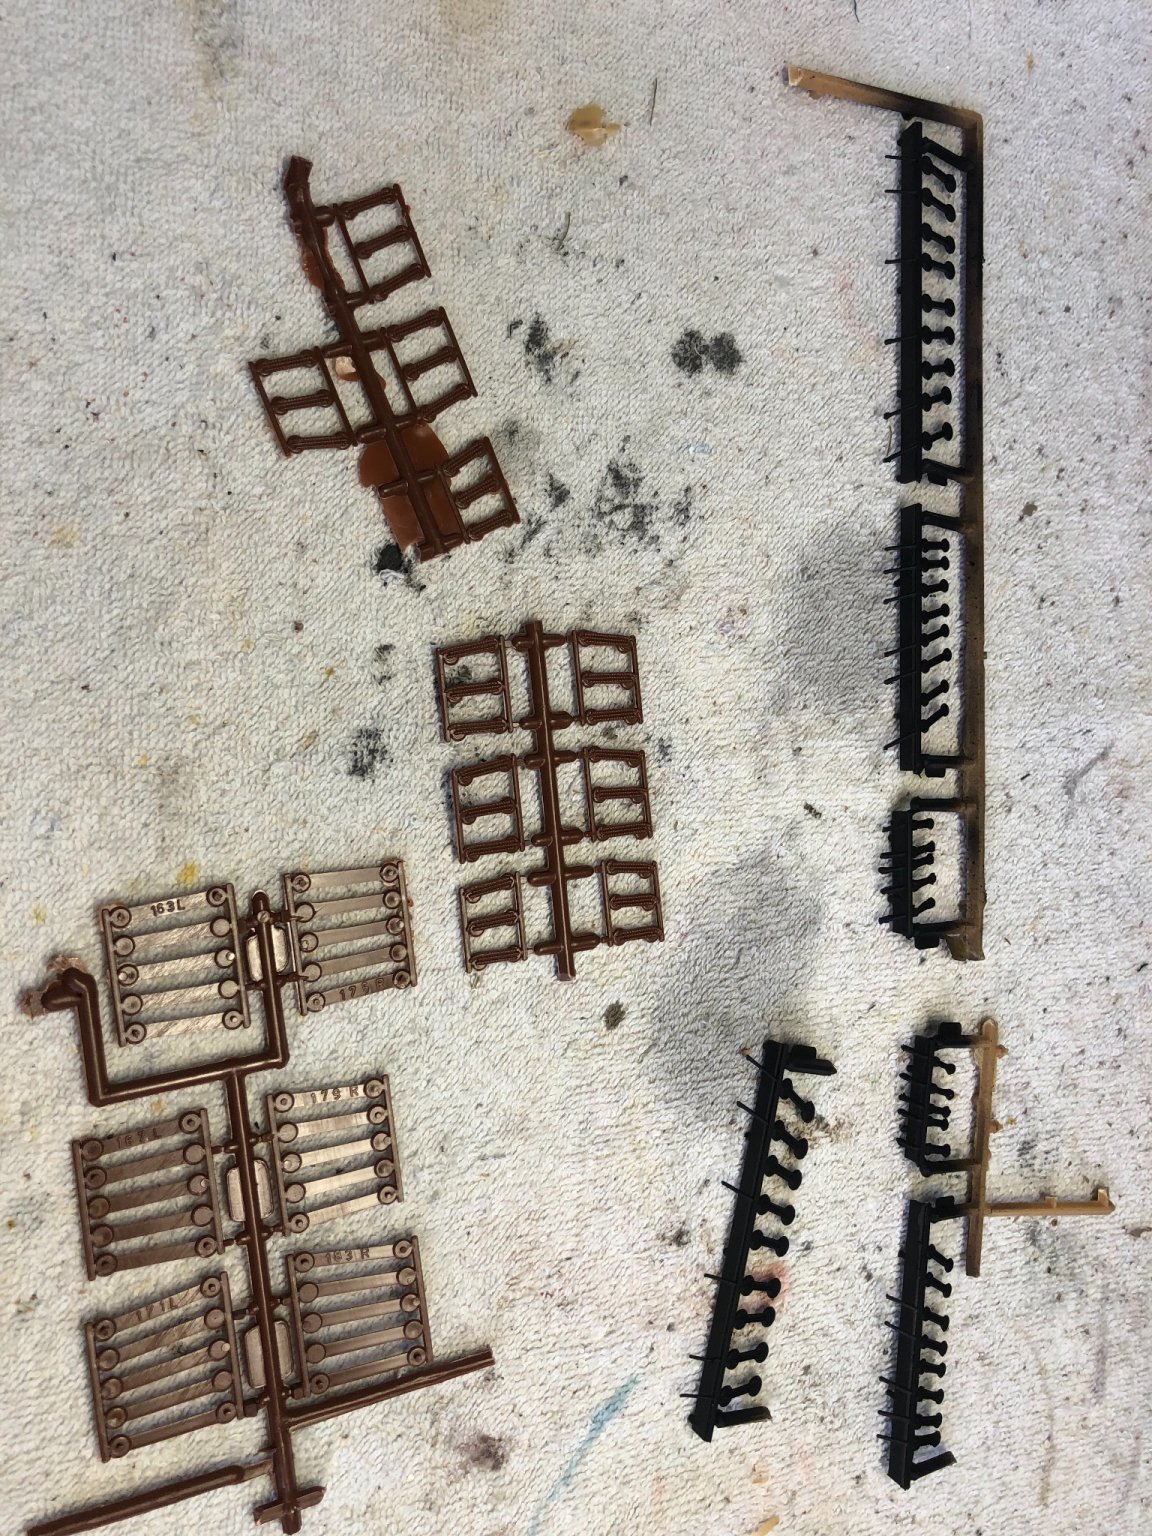
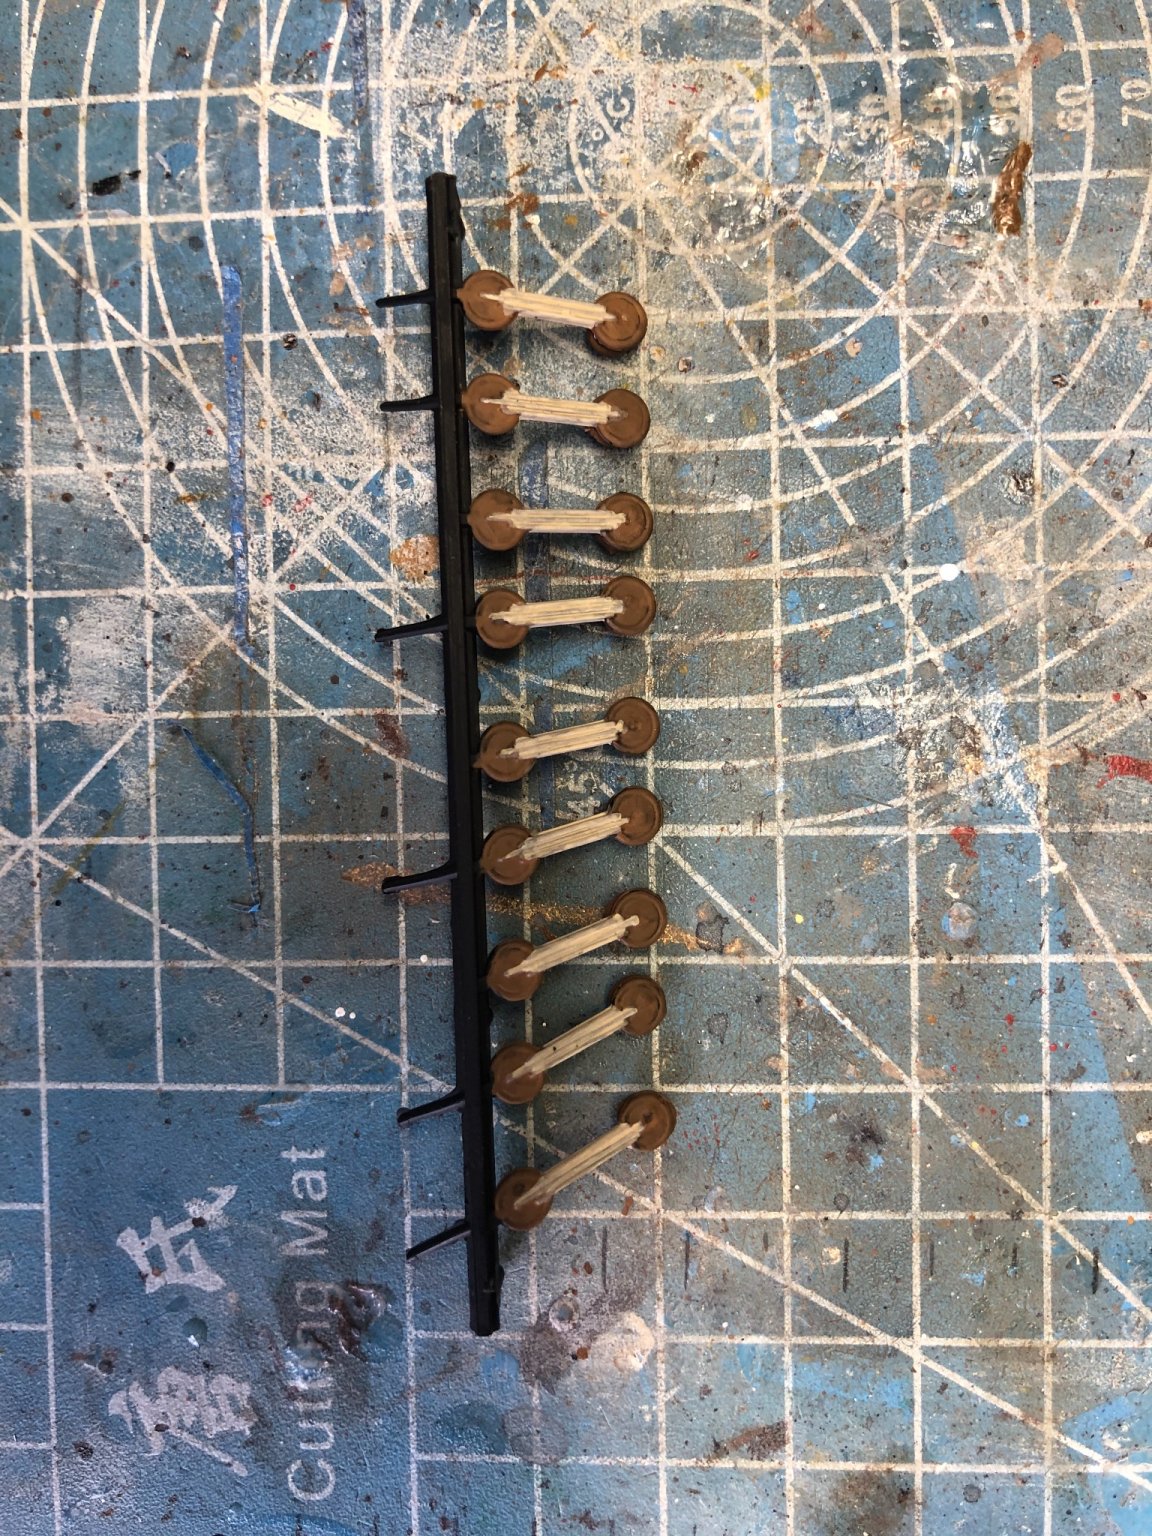
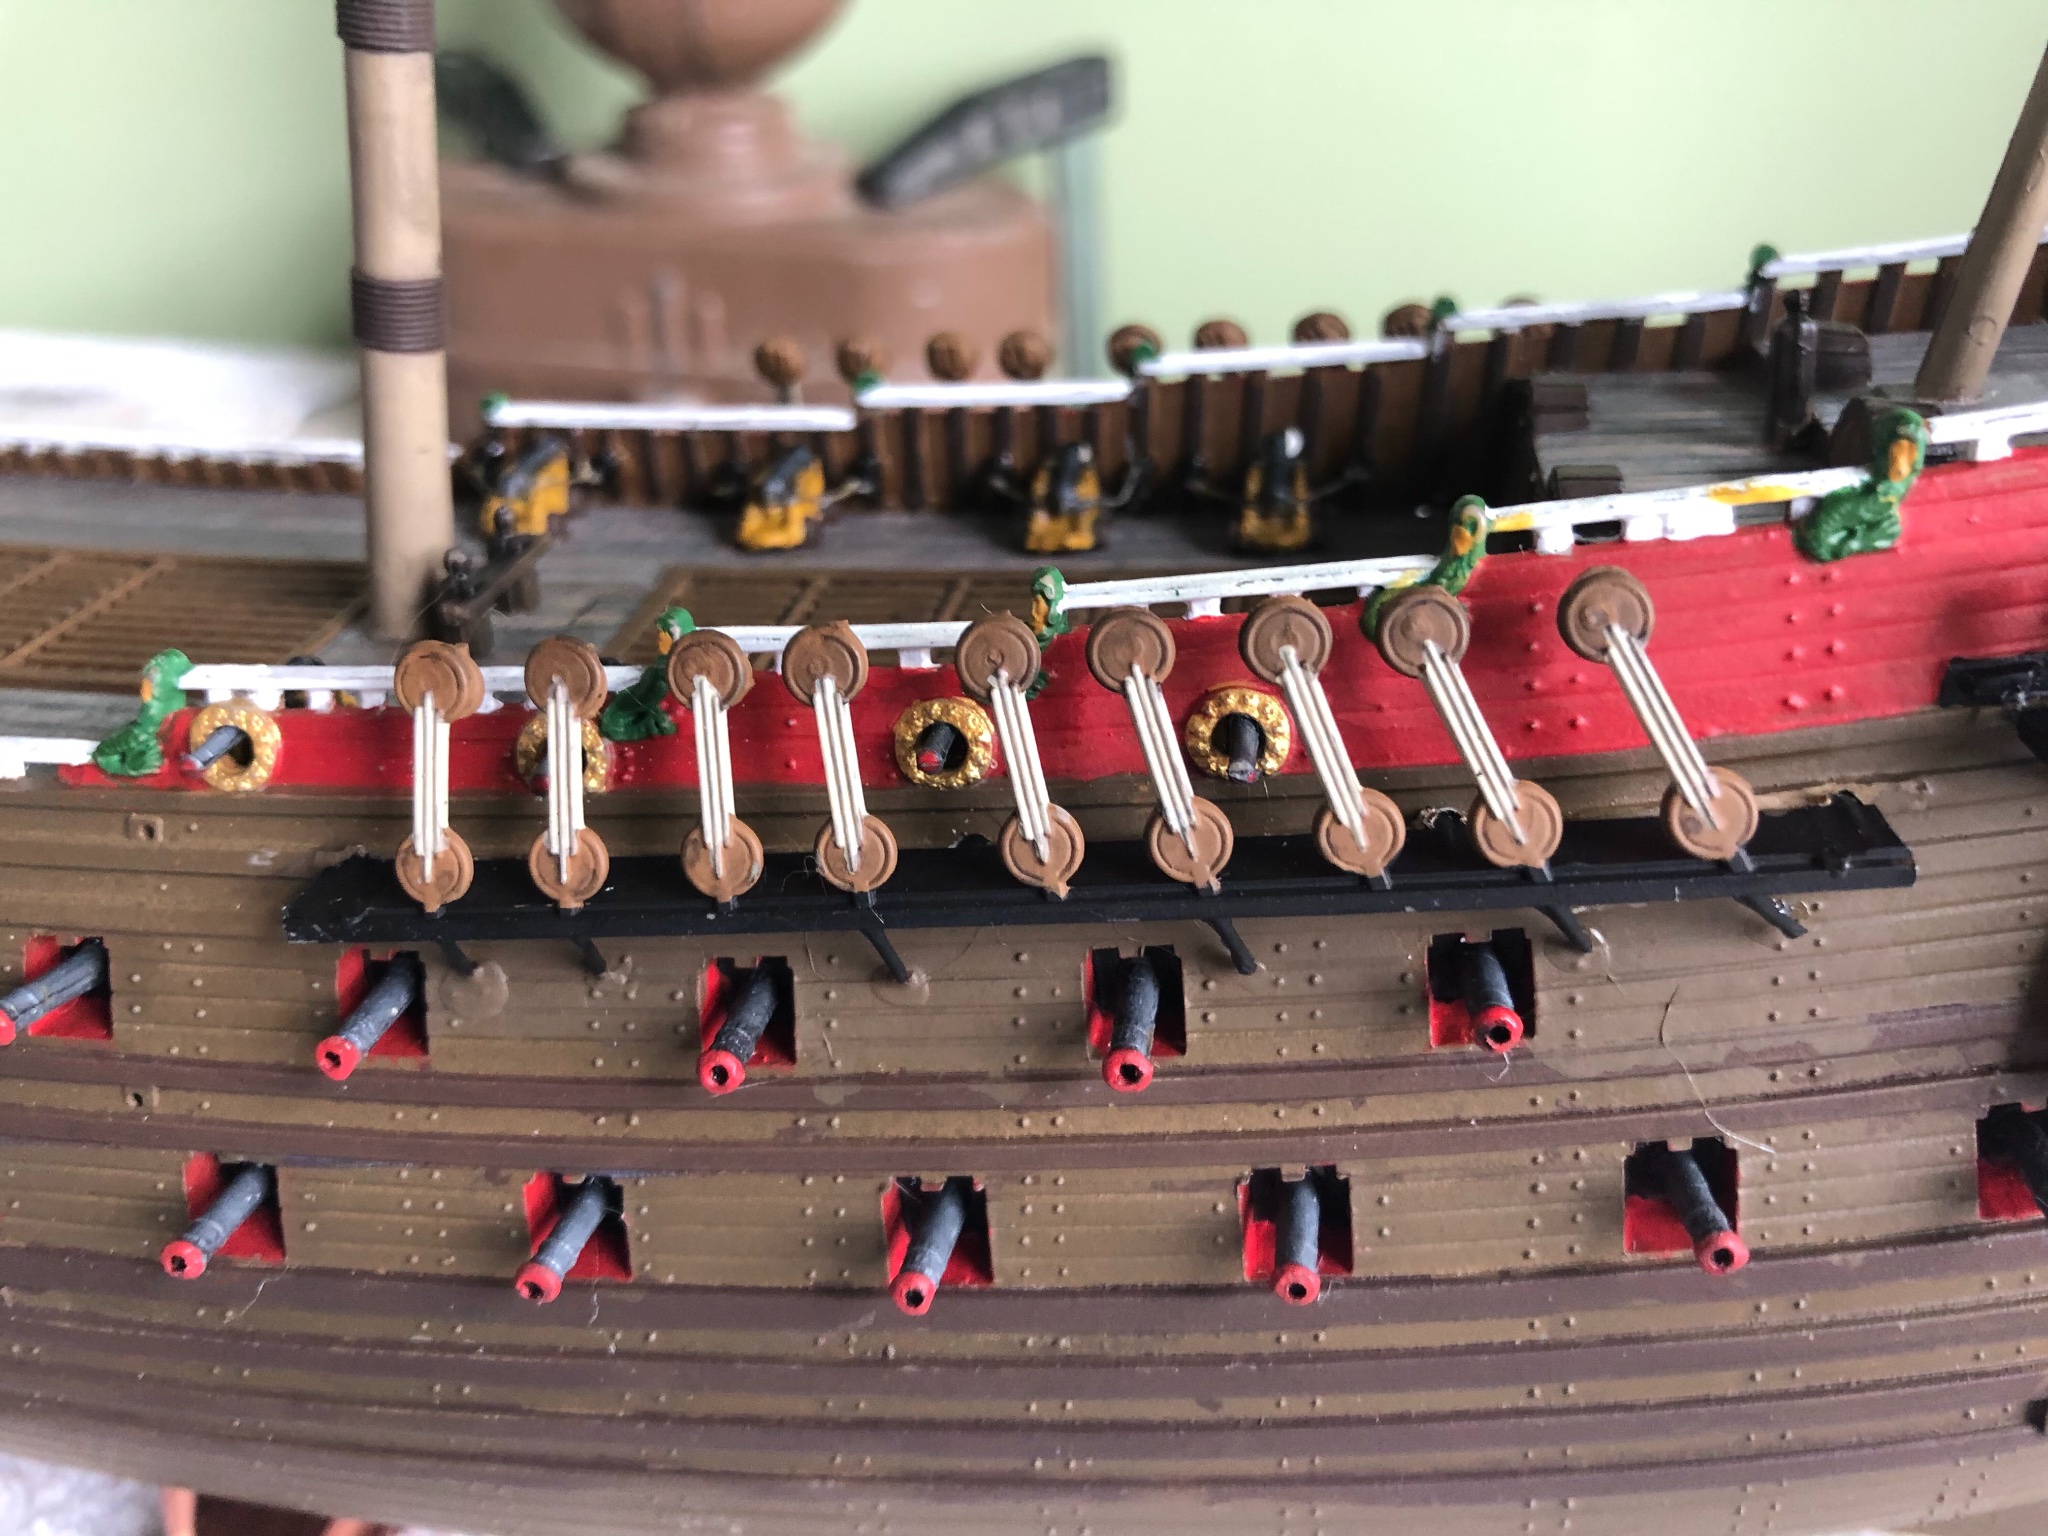
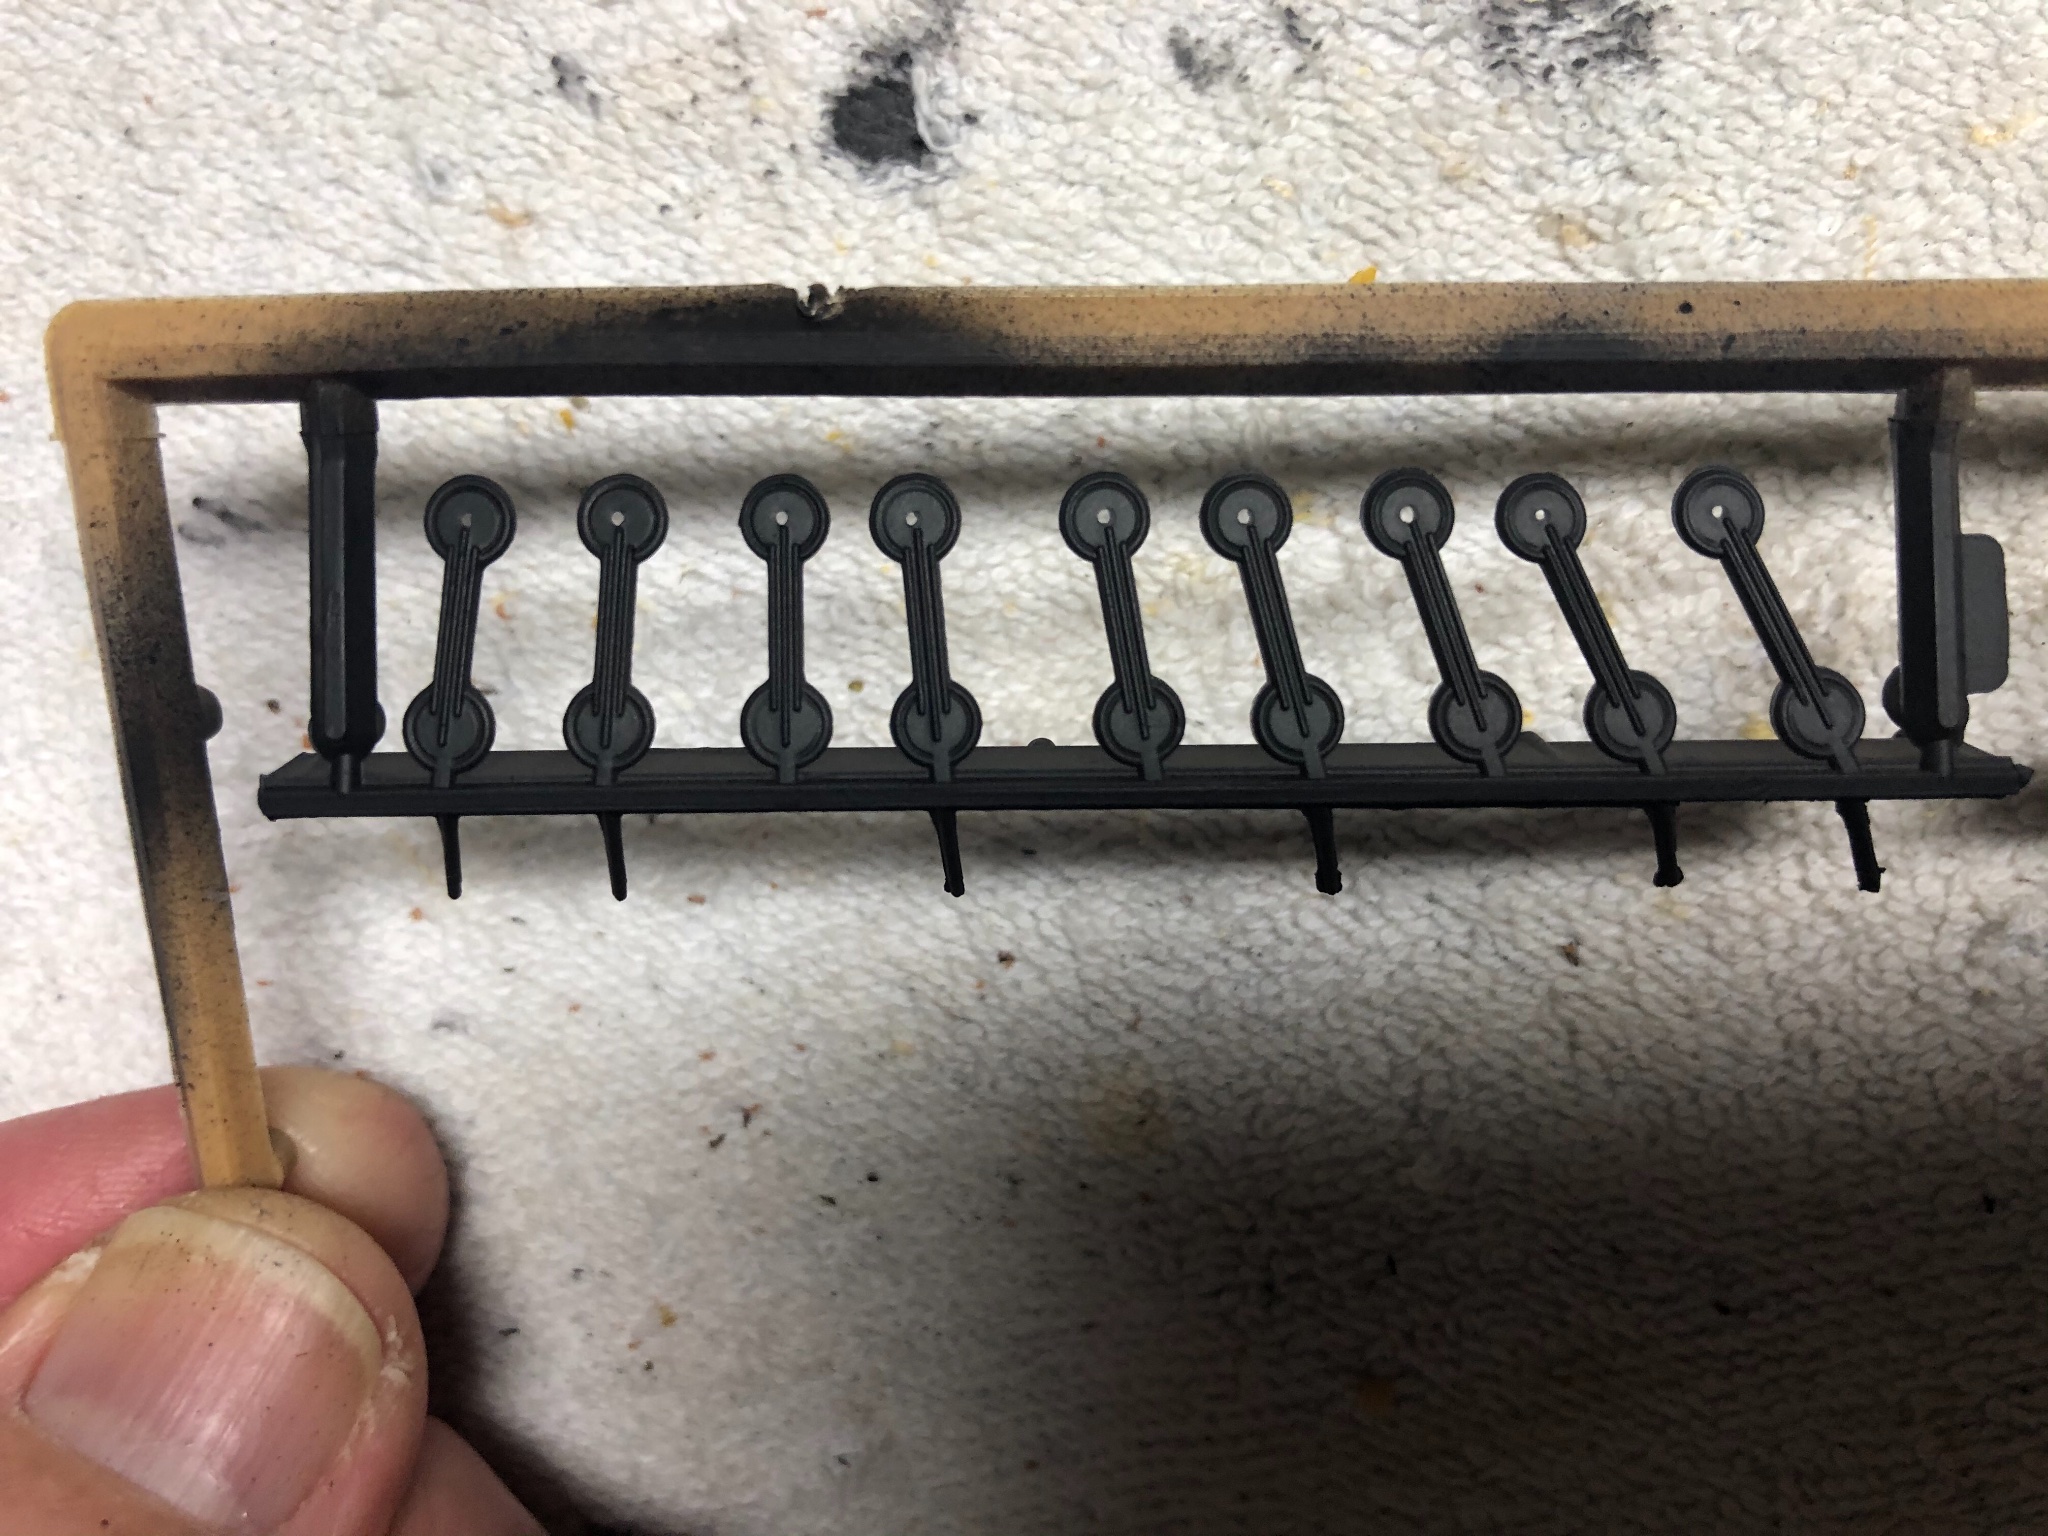
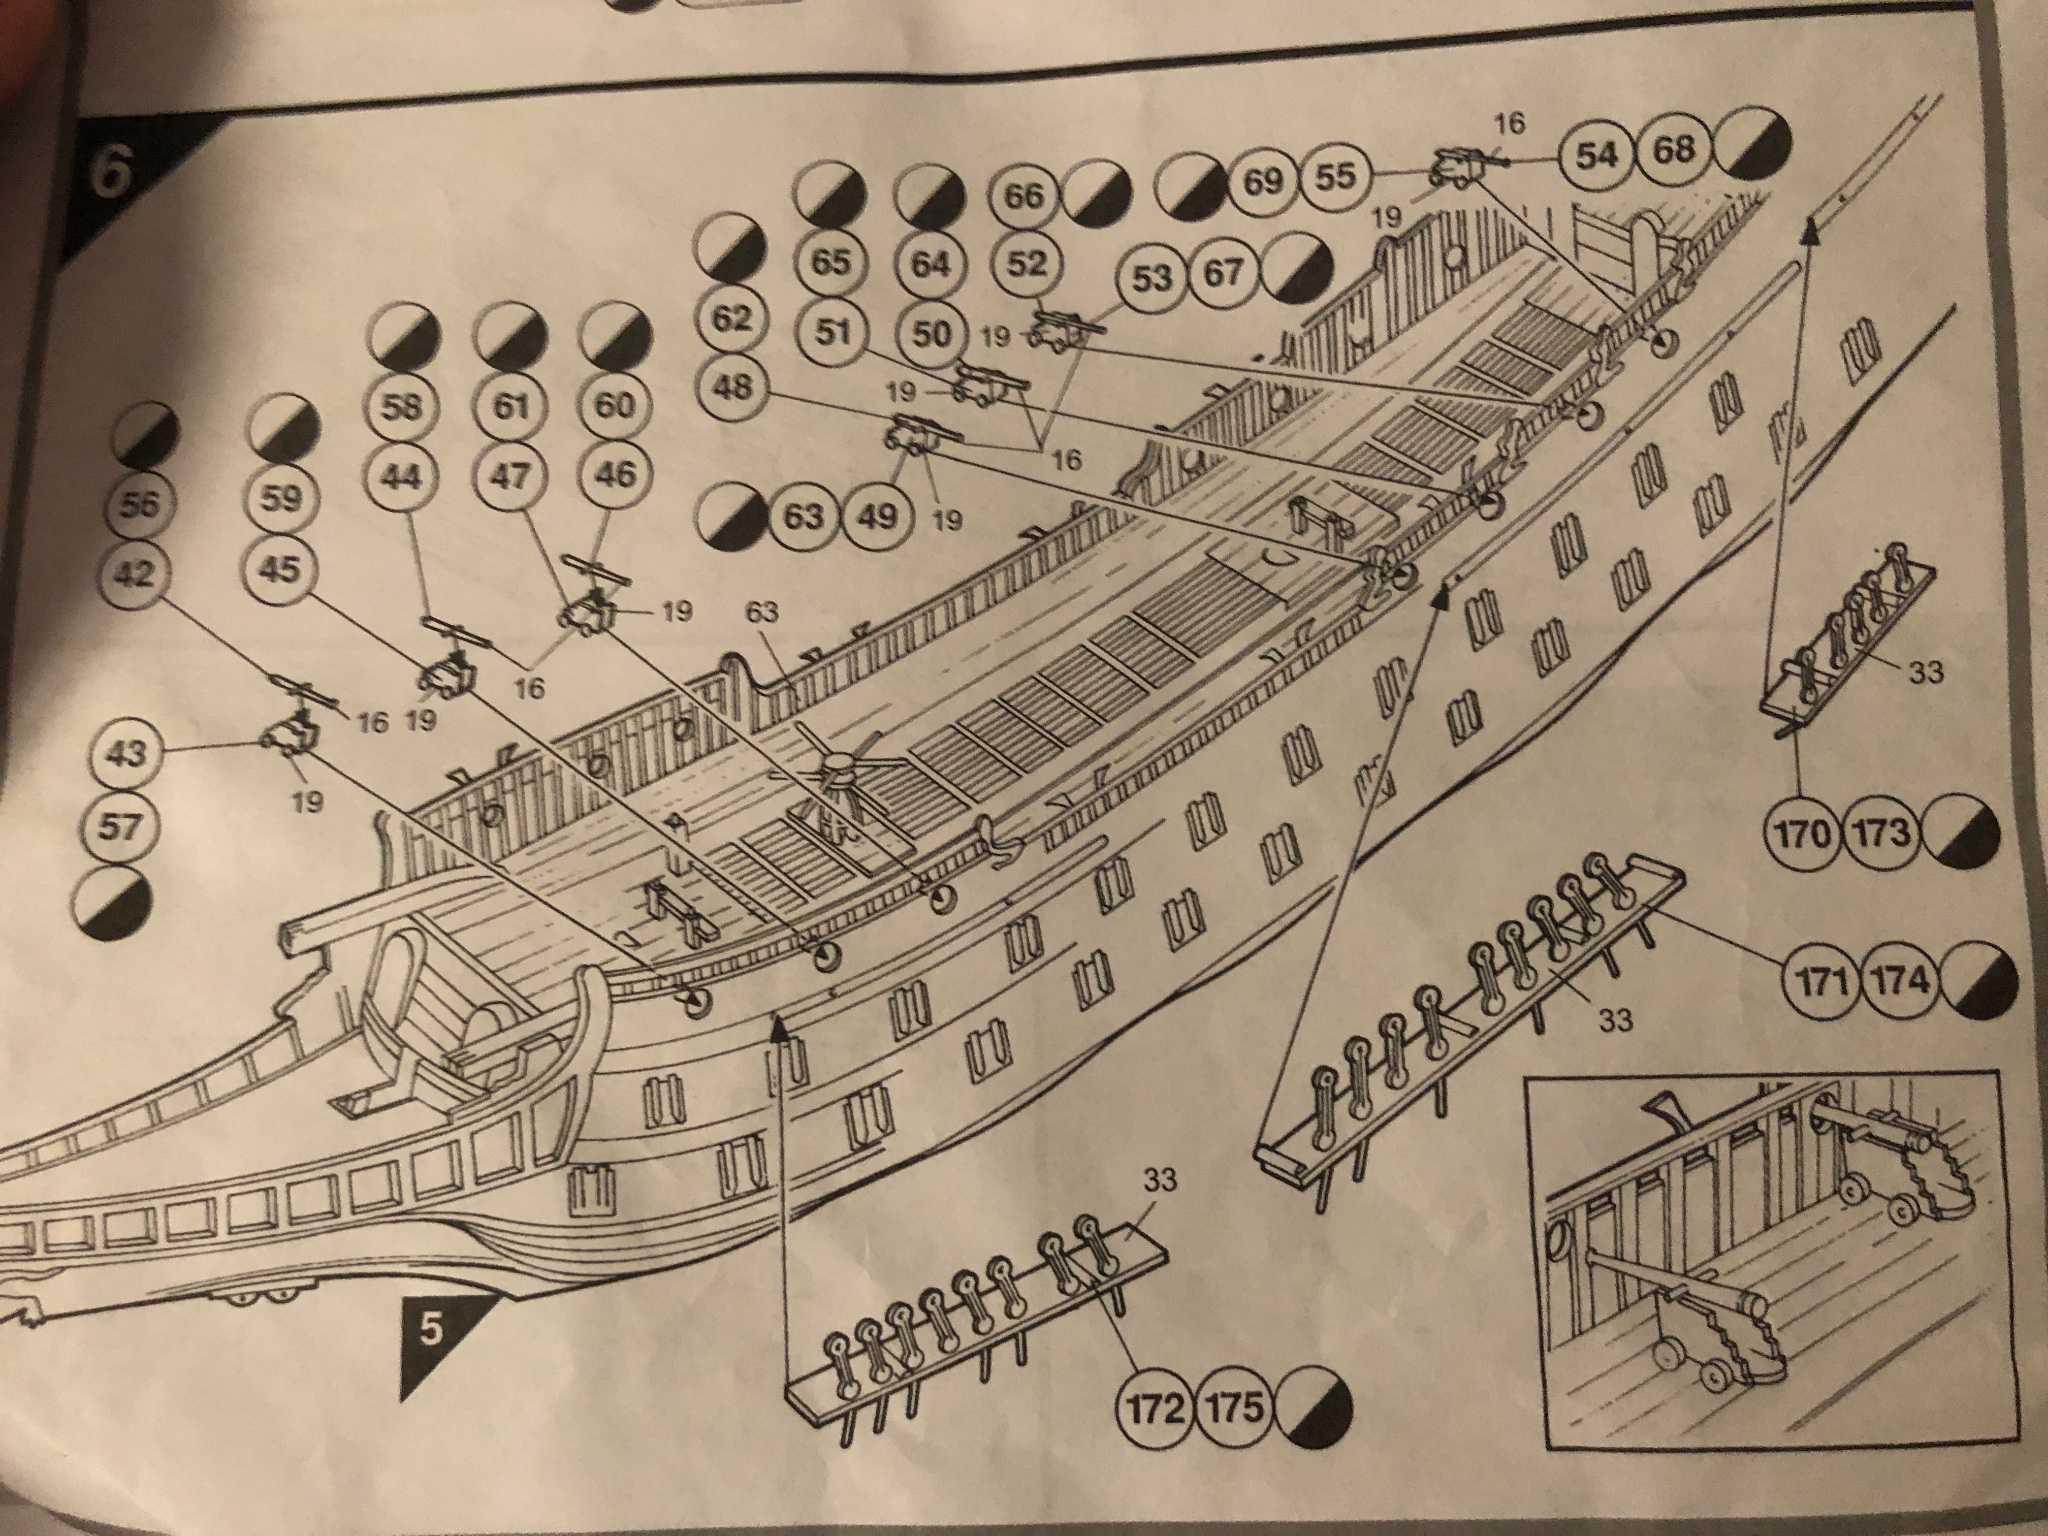
I got all the upper deck cannons rigged with the repurposed blocks. They look OK.Looking ahead to the next step in the instructions I came across my next head scratcher. Step 6 shows attaching the deadeye chain plate pieces #171-175. I had not yet decided if I was going to use the included molded deadeye chain plate pieces for attaching the shrouds or cut them off and use wooden deadeyes. This kit does require making your own shrouds and ratlines but includes the premolded deadeye configurations. I thought about just painting these pieces to look more realistic but it appears as if the idea is to run the end of a shroud through a small hole in the center of the top fake deadeye. I originally thought there would be a piece that would glue to the back of the top fake deadeye creating a grove that the shroud would wrap around and be seized, but there is not. So if we use these the shroud line will pass through the front or back and out the other side and then be seized. Not sure if this will be obvious once finished. If I decide to discard the fake deadeyes and use wooden ones there is a problem with the units for the upper mast shrouds. The plastic fake ones are so extremely small (parts #194-196, 206-209, and 217-218). Not sure deadeyes this small can be found.


-
Michael I plan to wait until near the end of my build to put the hatch doors on. I know my luck and sometimes clumsy hand movements I would probably knock 10-15 of those little guys off during rigging. So I am going to wait till rigging is done to put in the hatch doors. So maybe by then you may show me your idea
-
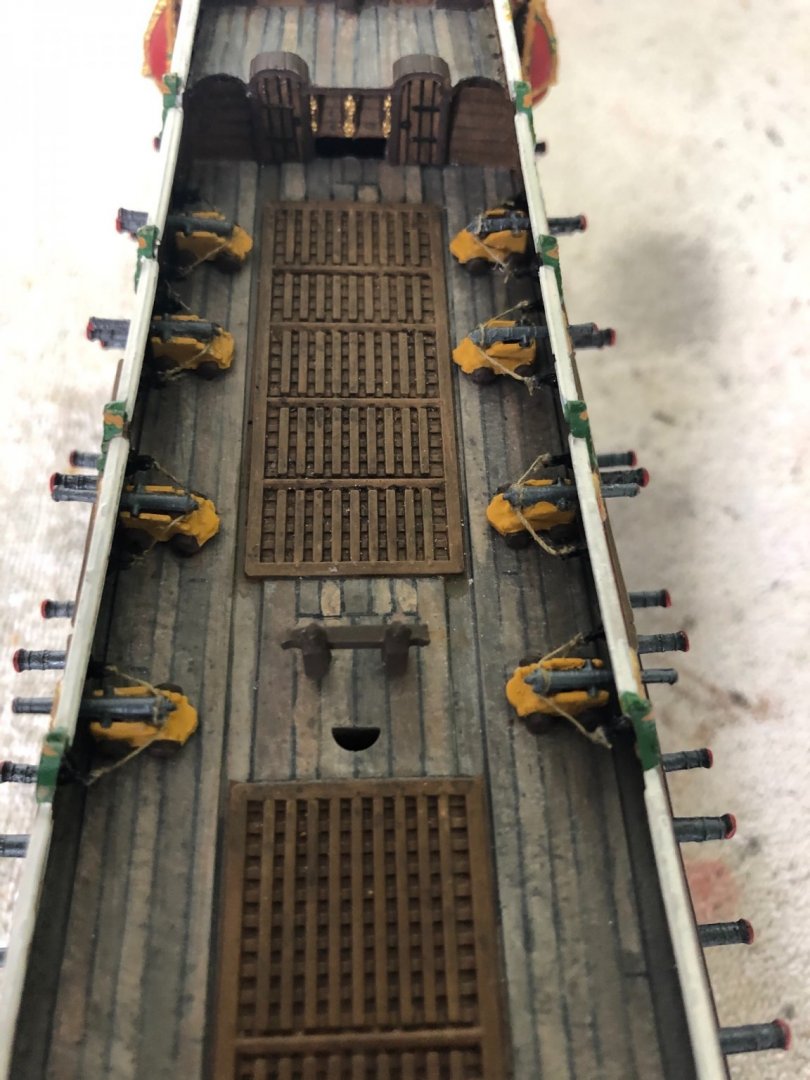
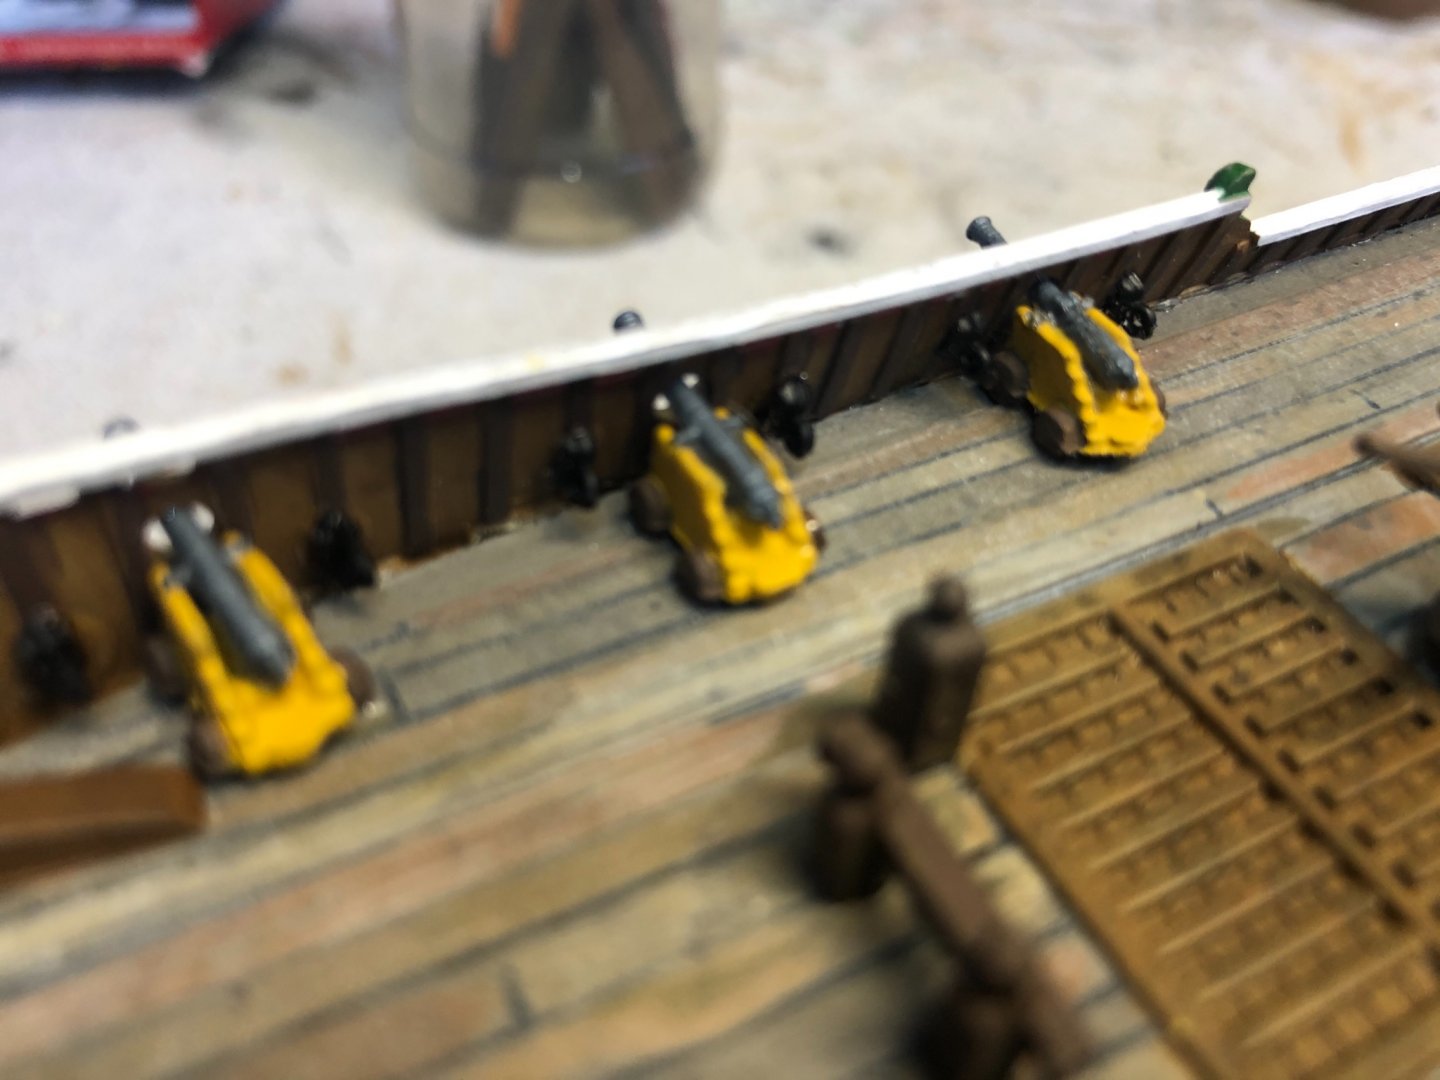
Thanks Michael. I am going to be anxious to follow your build once you start to see how you venture through. I am still trying to decide if I should attempt putting ropes on the cannon hatch doors. Would need to drill a small hole for thread to go through. Very little room at this scale without hitting the gilded lion head. Could try to put a tiny eyebolt on outside (side with painted hinges) to tie thread too. Look at them and tell me what you think.
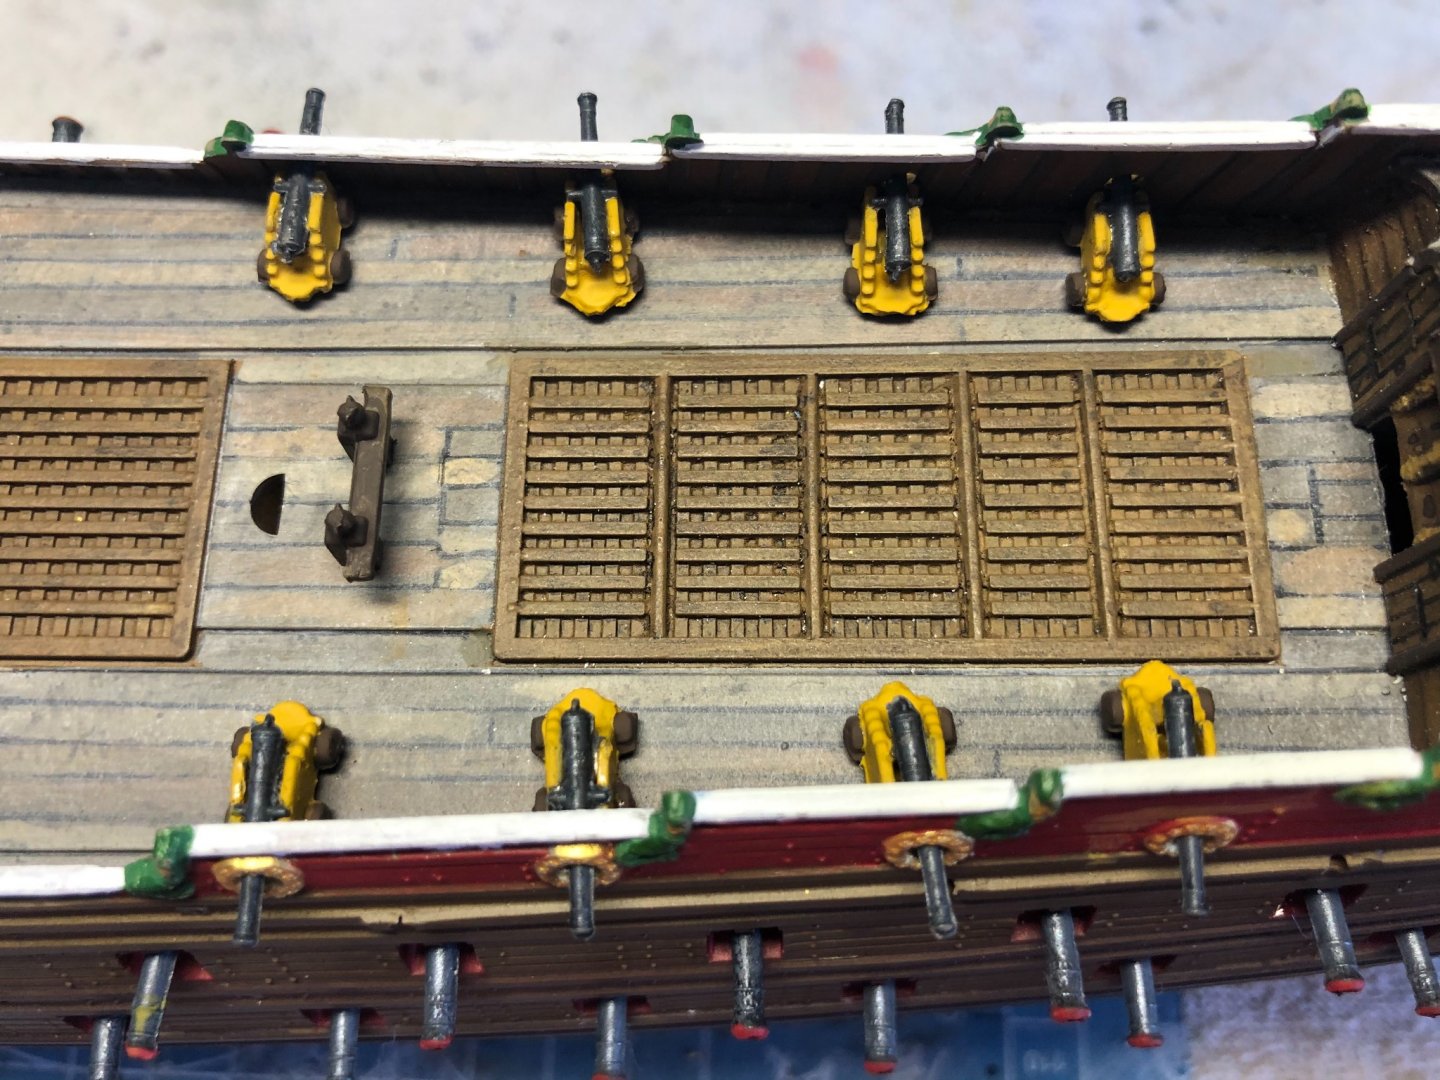
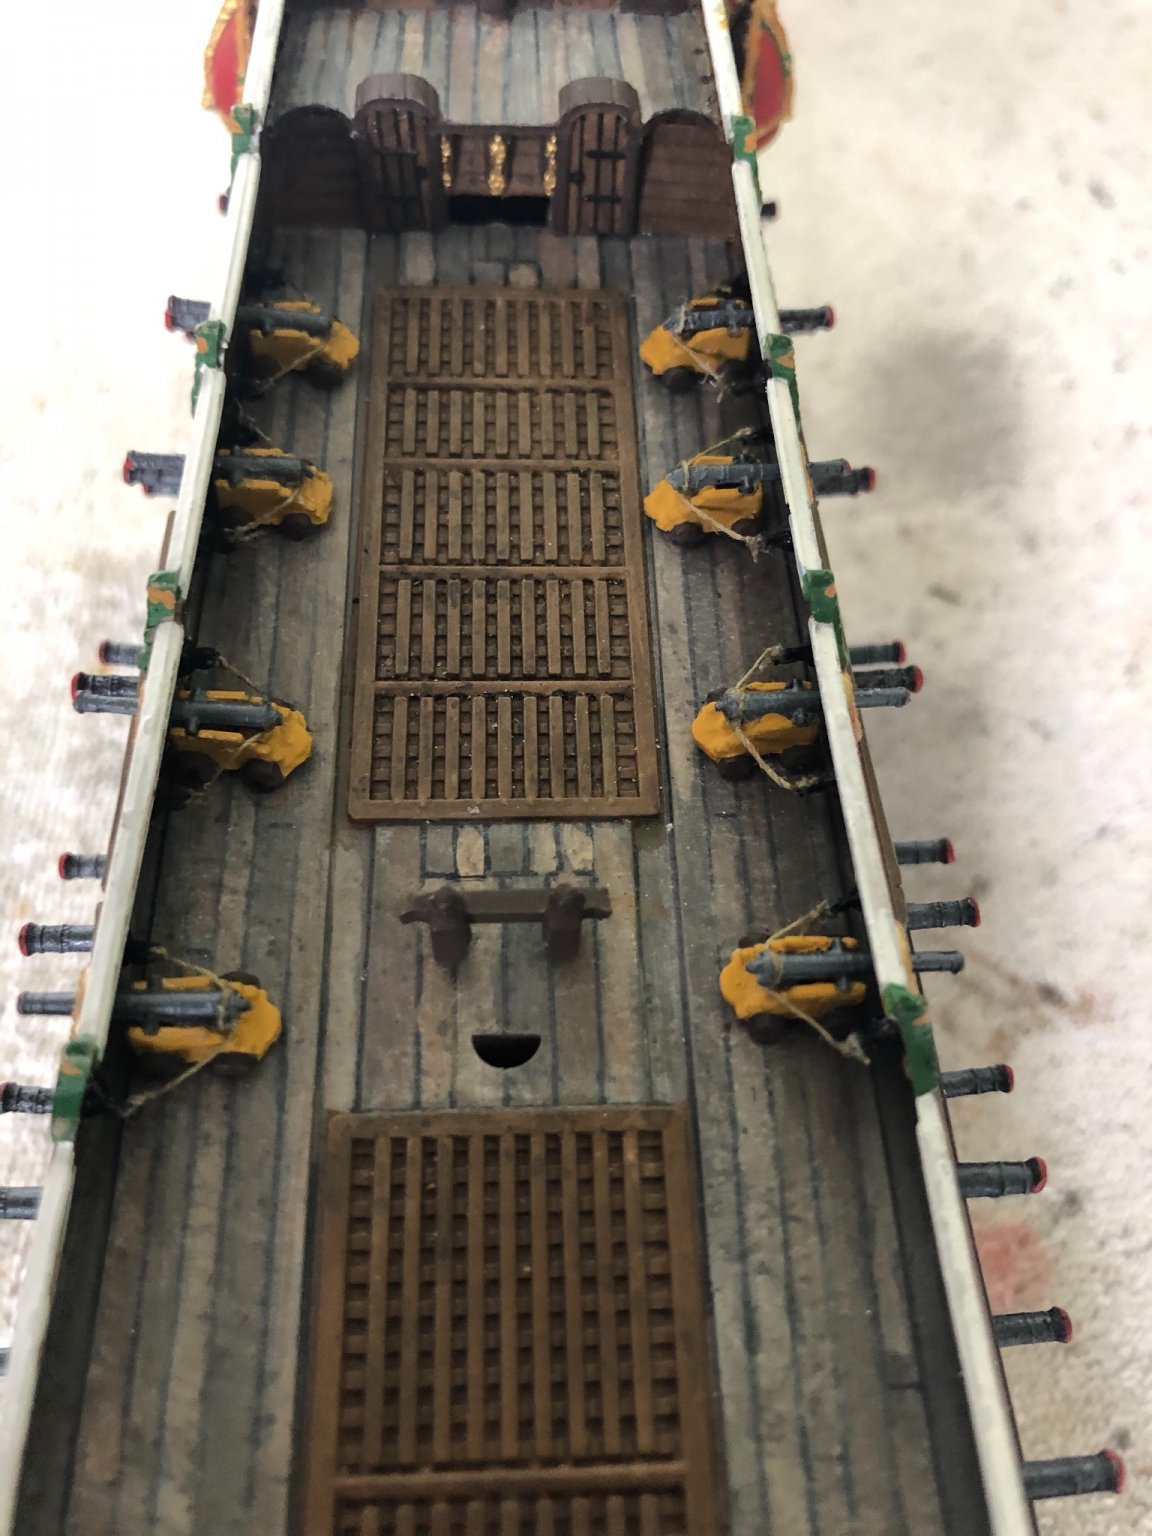
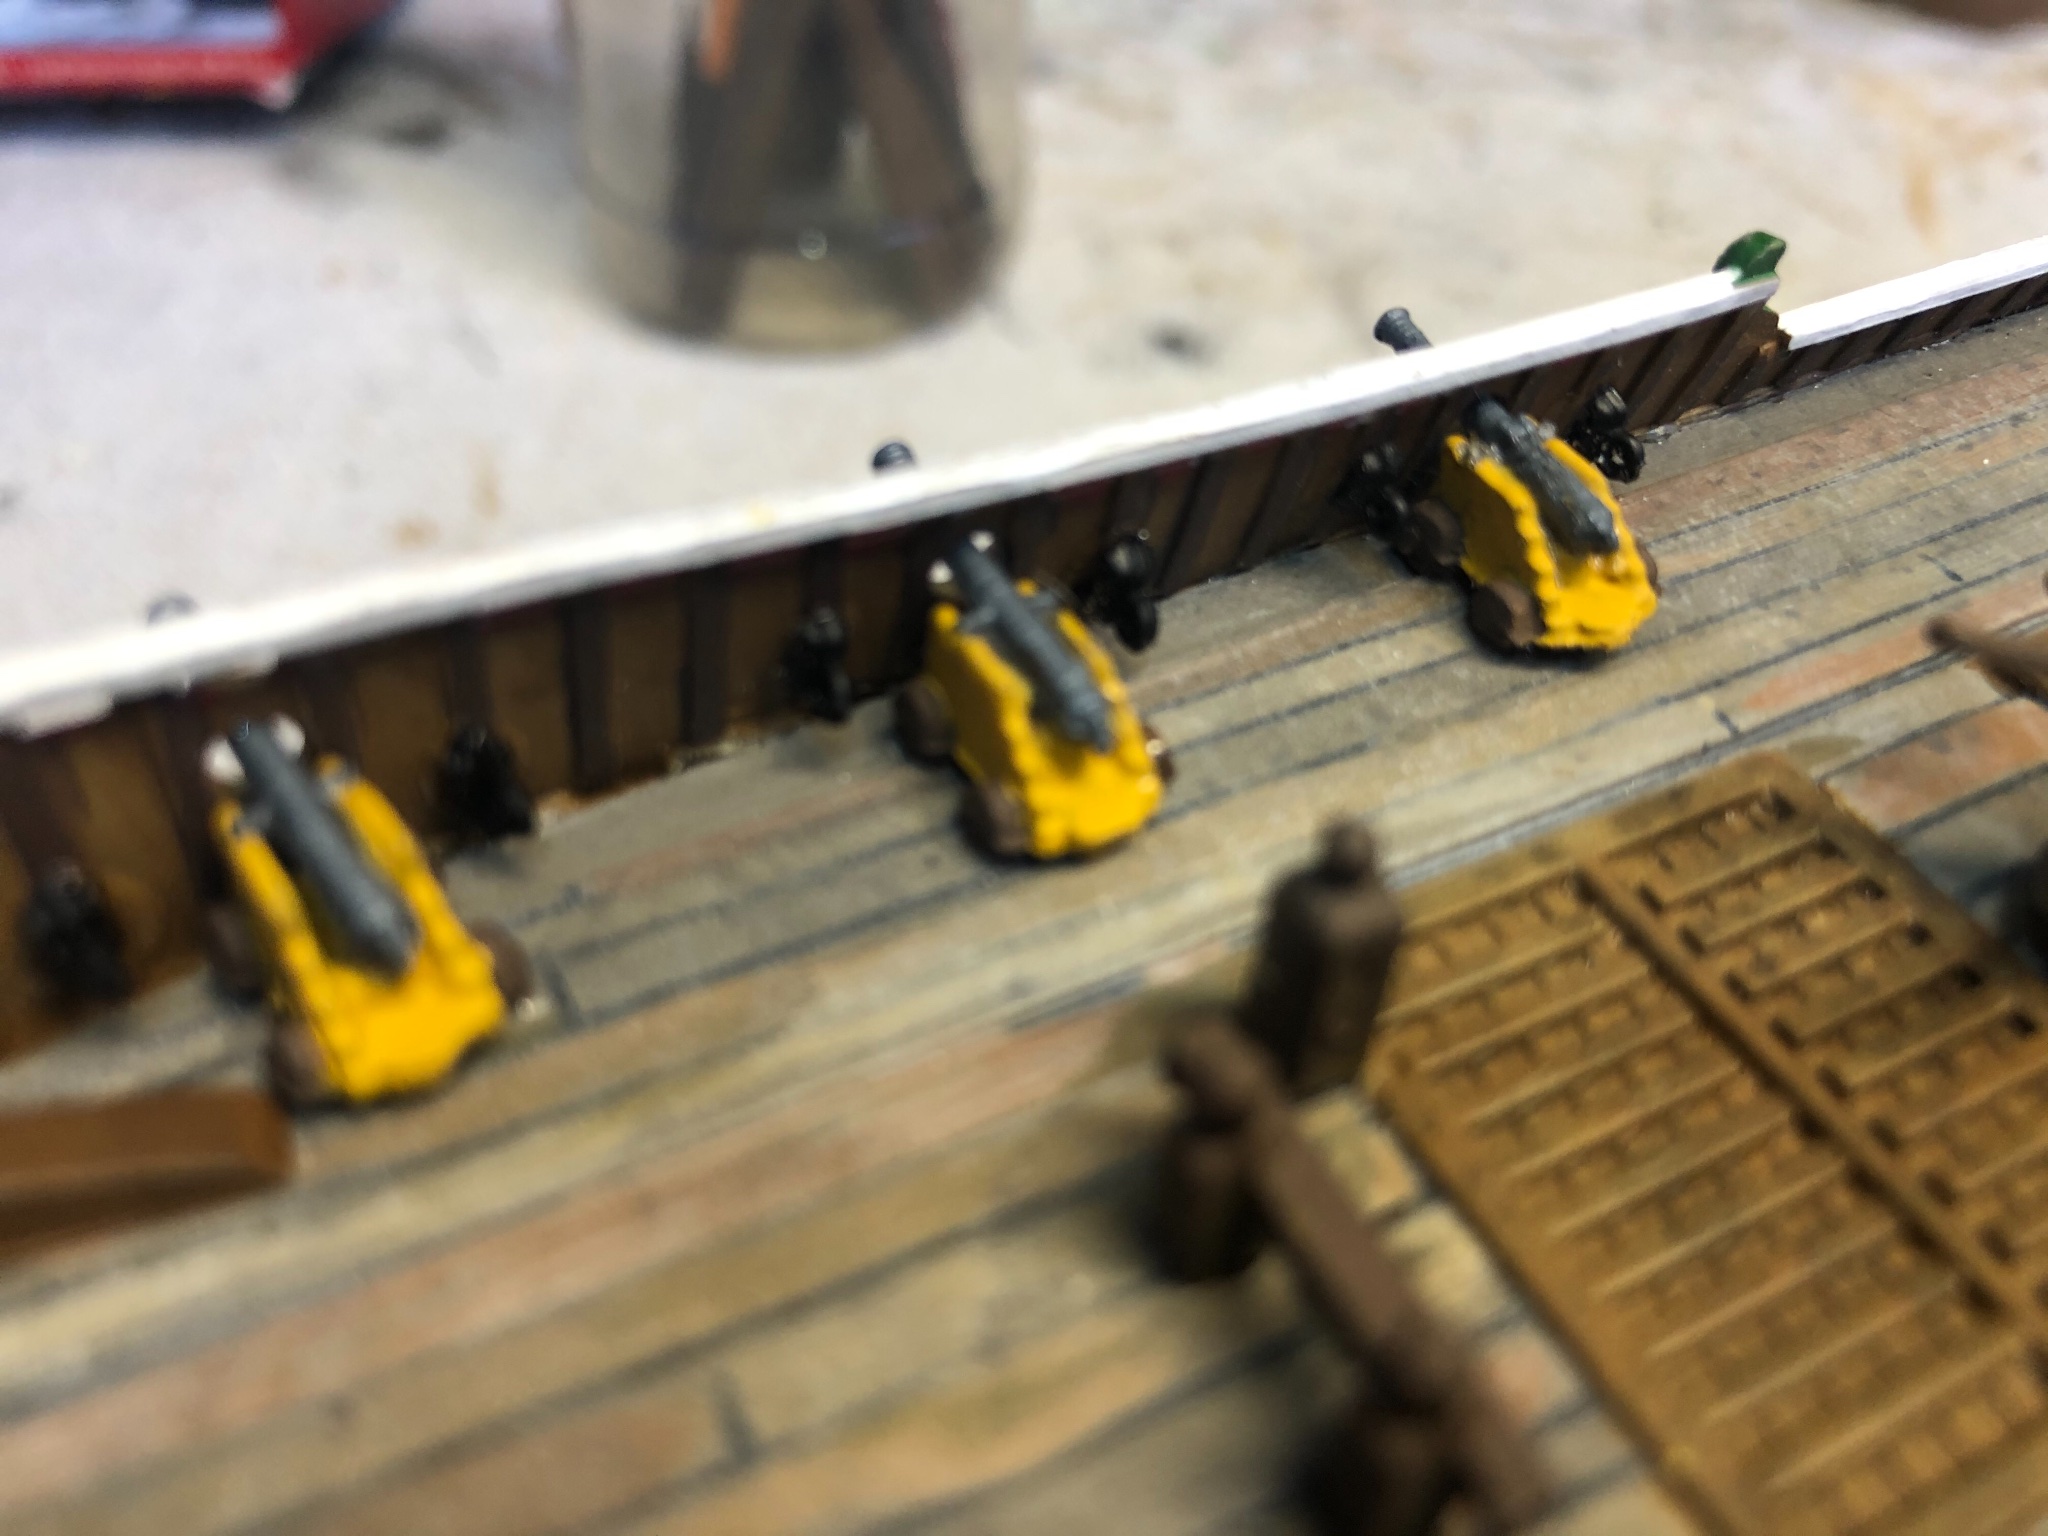
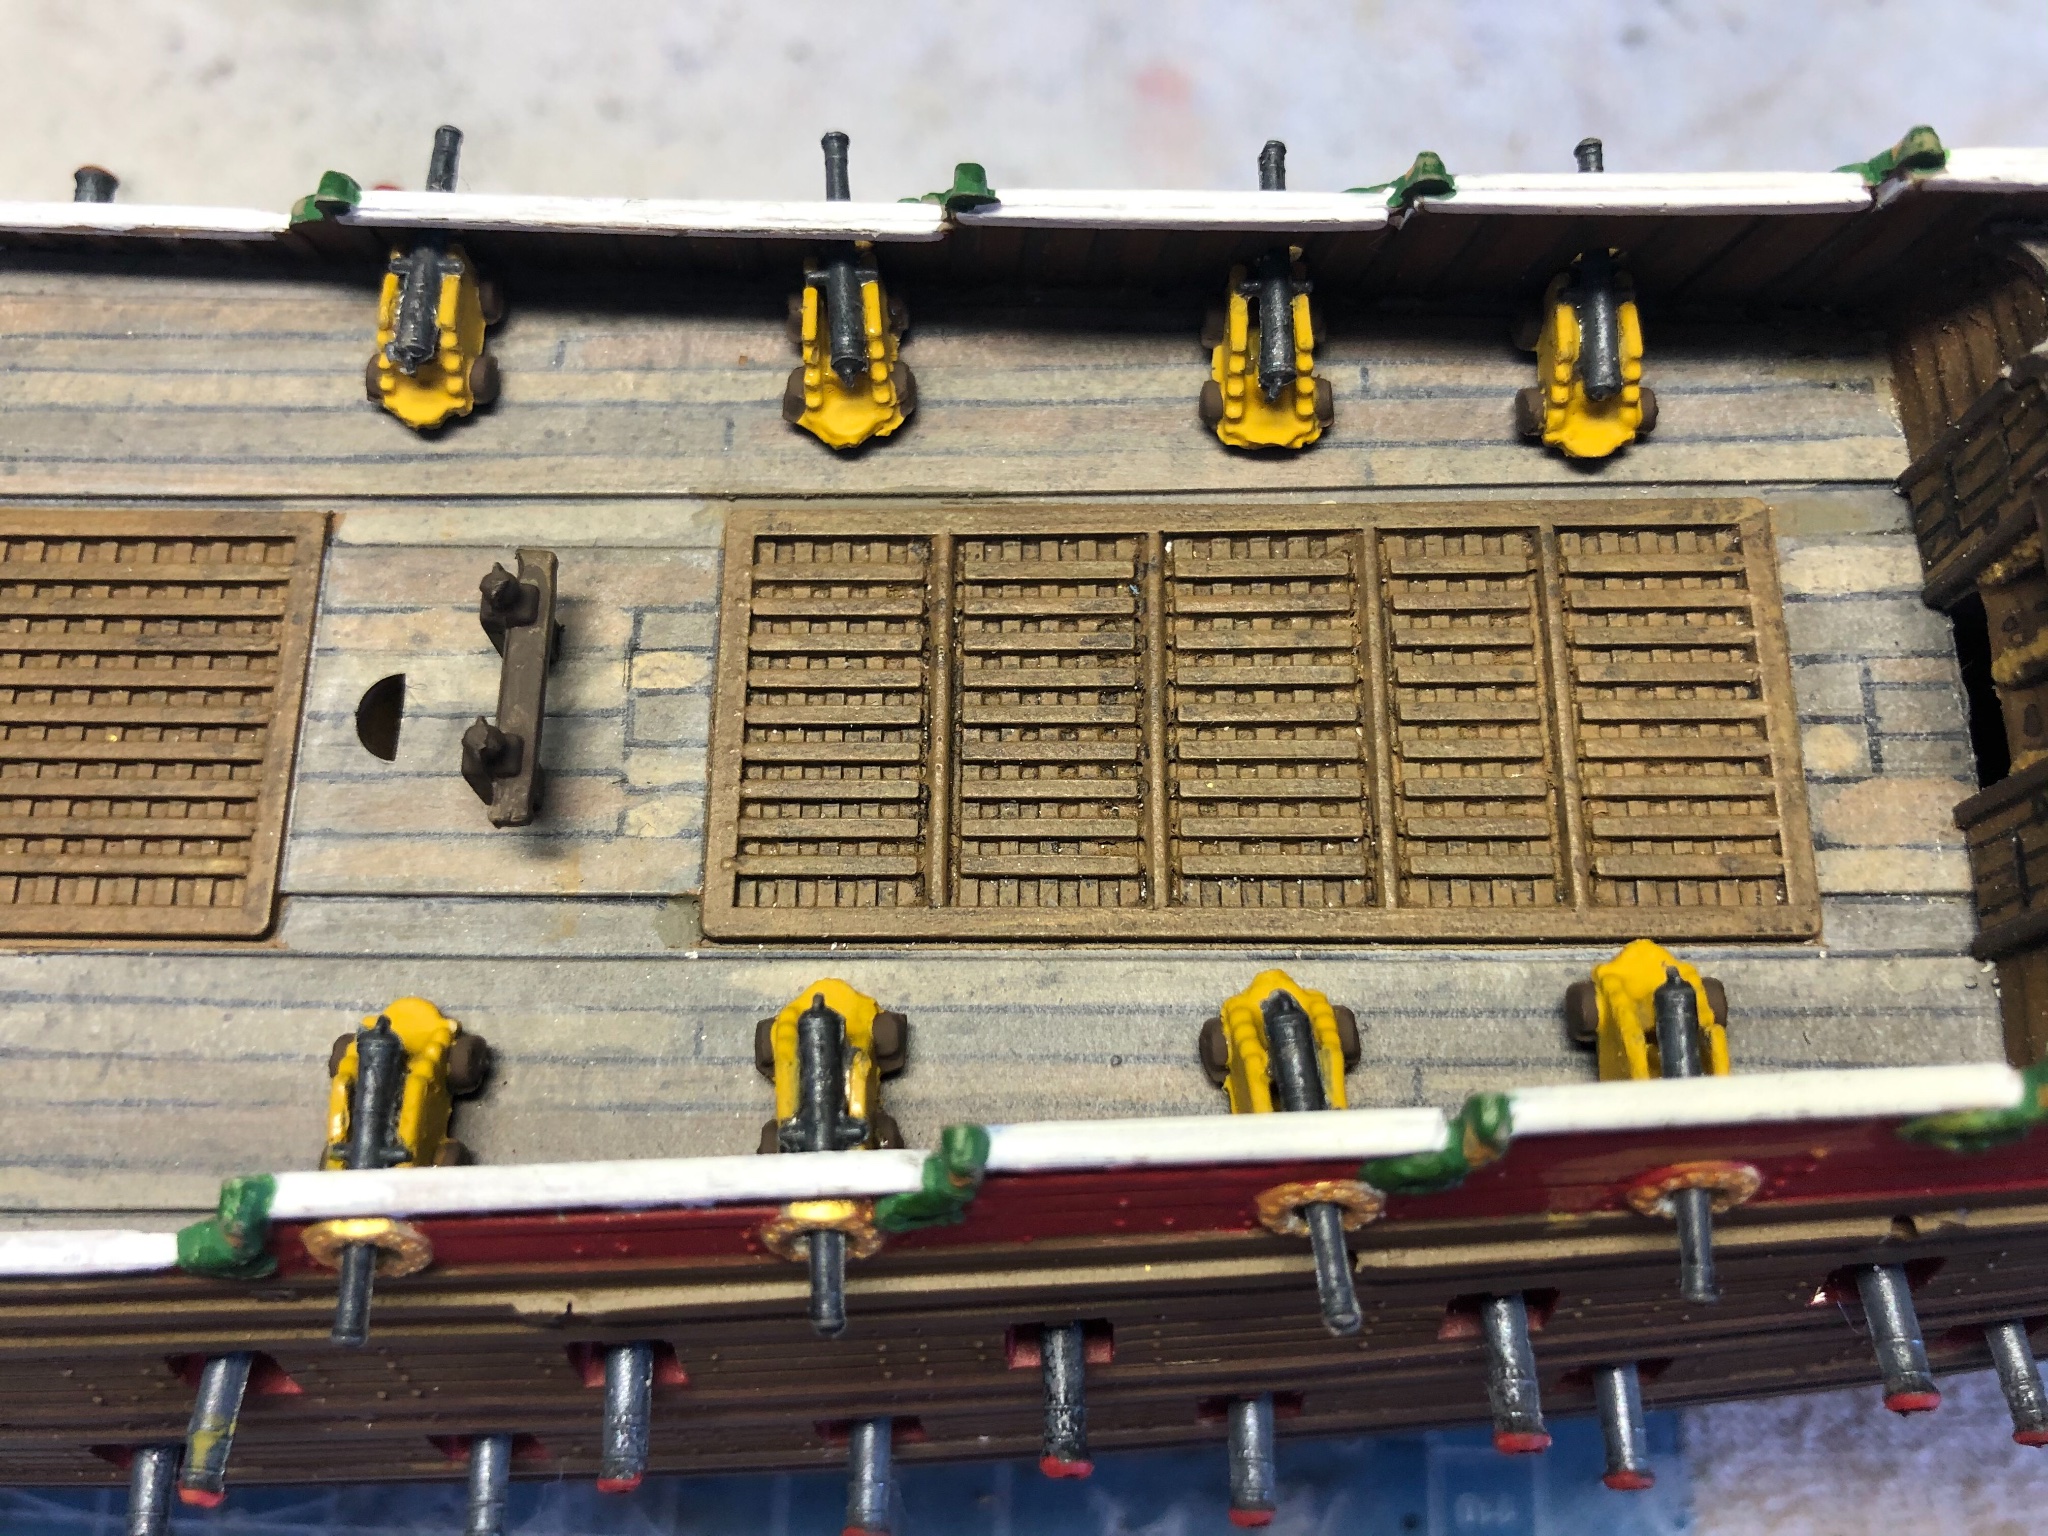
Baskerbosse I looked at several other builds on MSW to see what color other builders went with for cannon carriages. The instructions suggested the same red as other parts. Some used red, others a weathered wood color, and others a couple other colors. Not necessarily after complete authenticity I decided to go with yellow ochre to add a little visual interest.
-
Ok I improvised a little. I like to use left over parts from previous builds of similar scale. I found some blocks of a similar scale I had in left over parts. I clipped the ends off each end to end up with eye bolts with a small bit of plastic on the back for a glue surface. I made these and glued them to the inside of the hull wall on each side of each cannon. Once the glue drys and can rig the cannons. Probably not a perfect replication of how it was but close enough for me.
-
Hubac. What would you do at this scale?
-
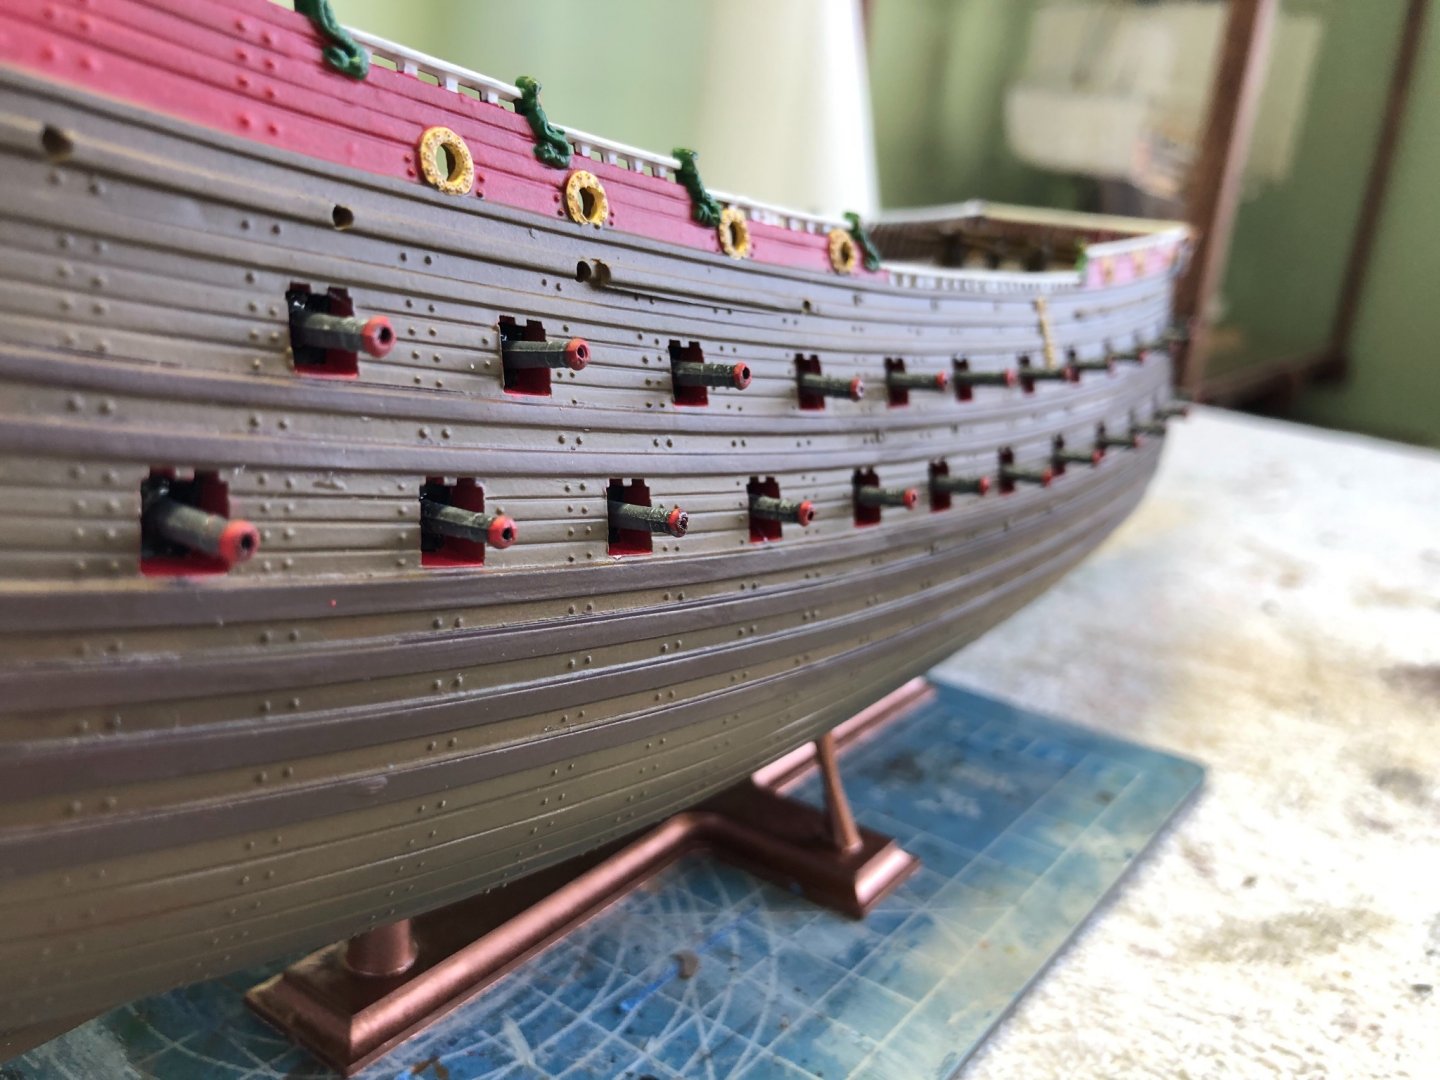
Ok now I have a decision to make. This will be a modification to the model instructions if I try to carry it out. There are 14 cannons on the upper deck. The model did not include eyes on either the the cannon bases or the inside side of the ship to lash the cannons. The instructions just have me glue them in place with no rigging. Also there are 50 cannon port doors on the lower decks. The instructions also do not have them rigged with ropes to open and close. Just glued in some position of open or closed. If I decide to add his rigging I will need to add my own rings and eyes and drill the necessary holes. Again the model is 1/144 scale. What to do?
-
Thanks Hubac. Appreciate the compliment.
-
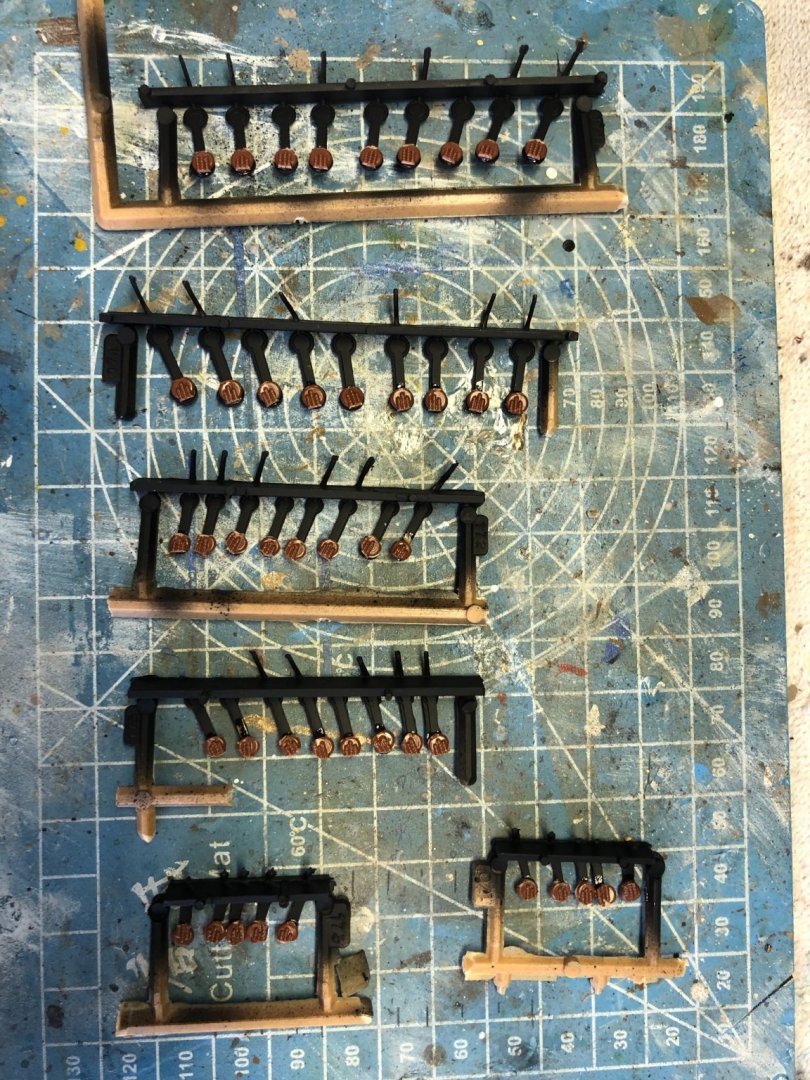
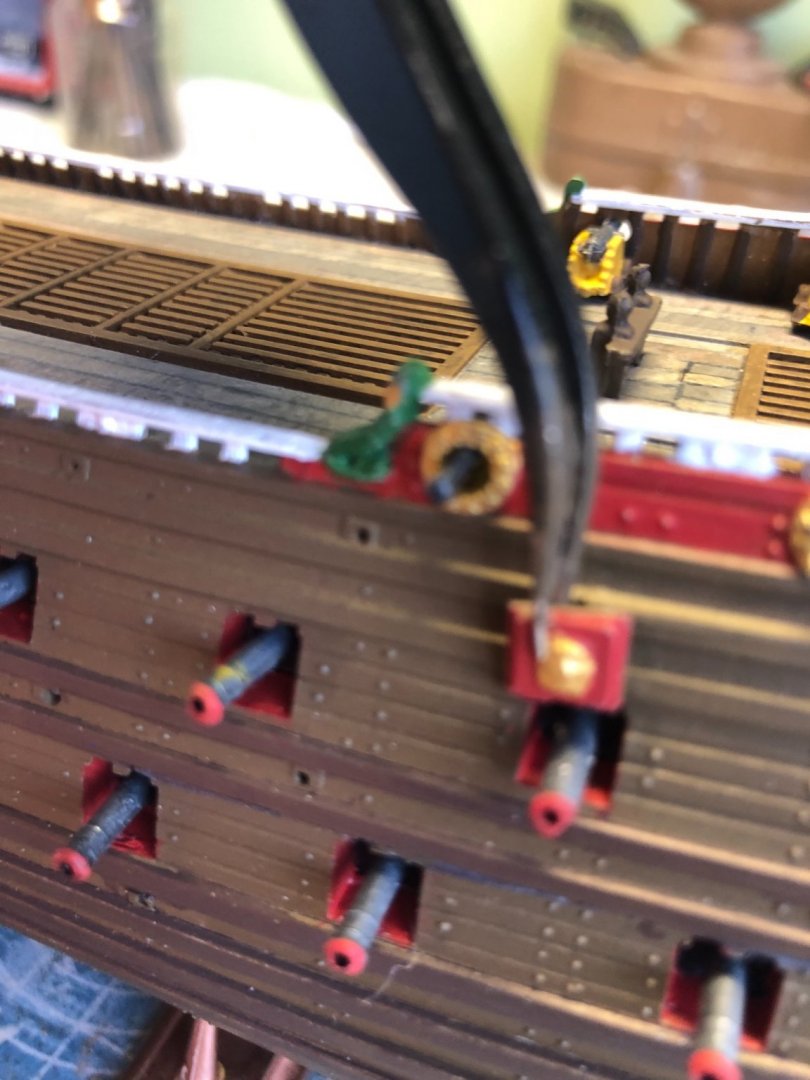
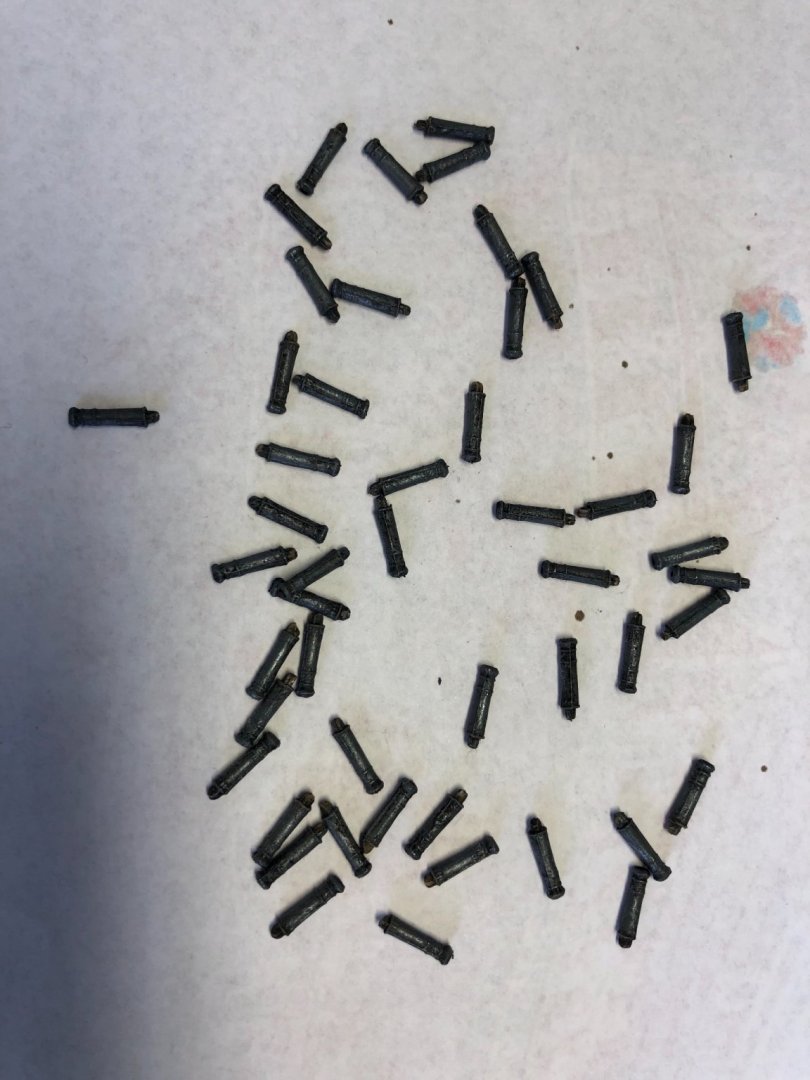
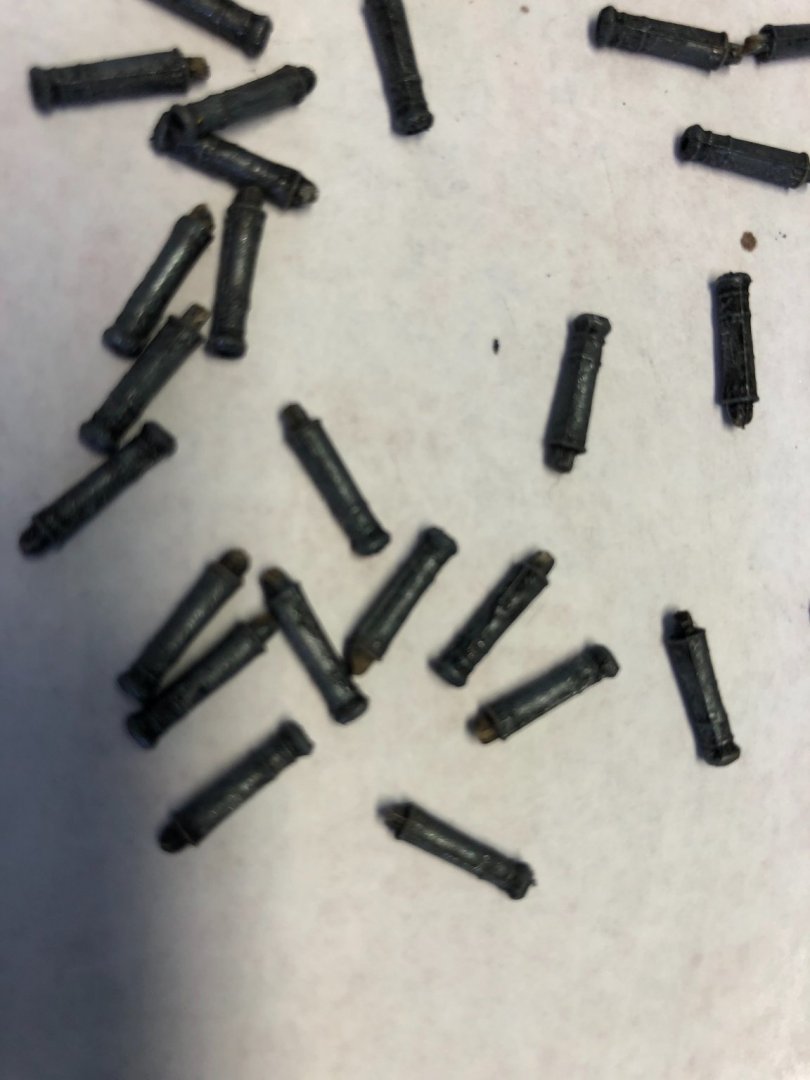
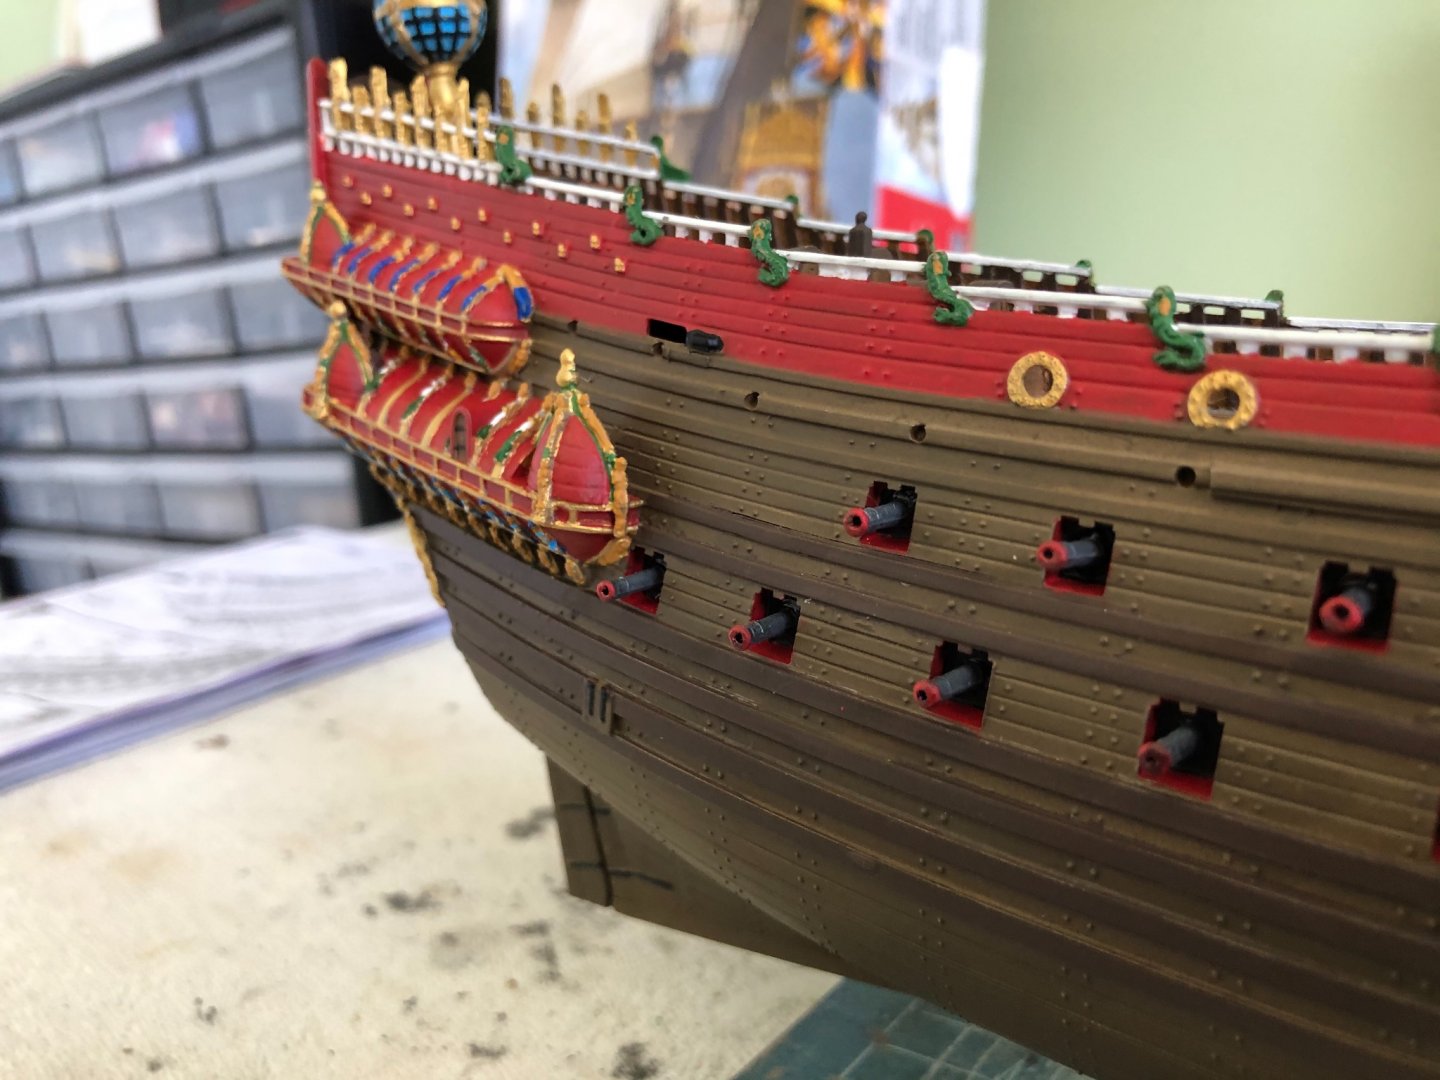
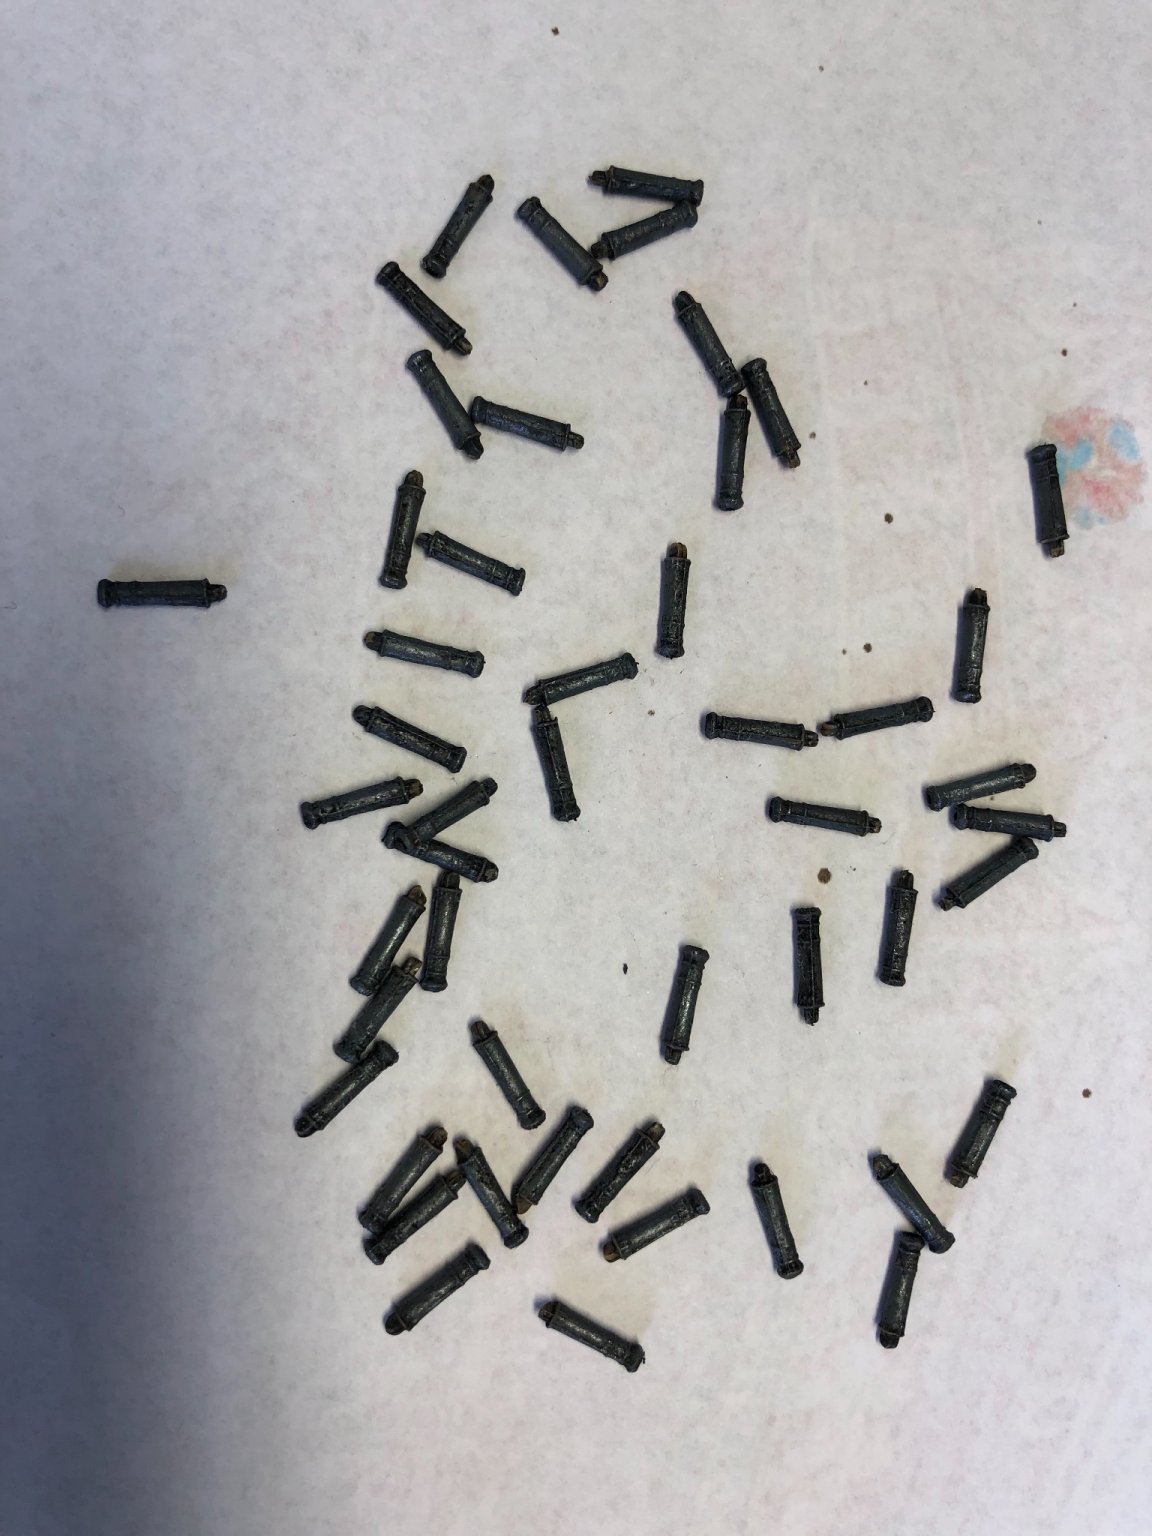
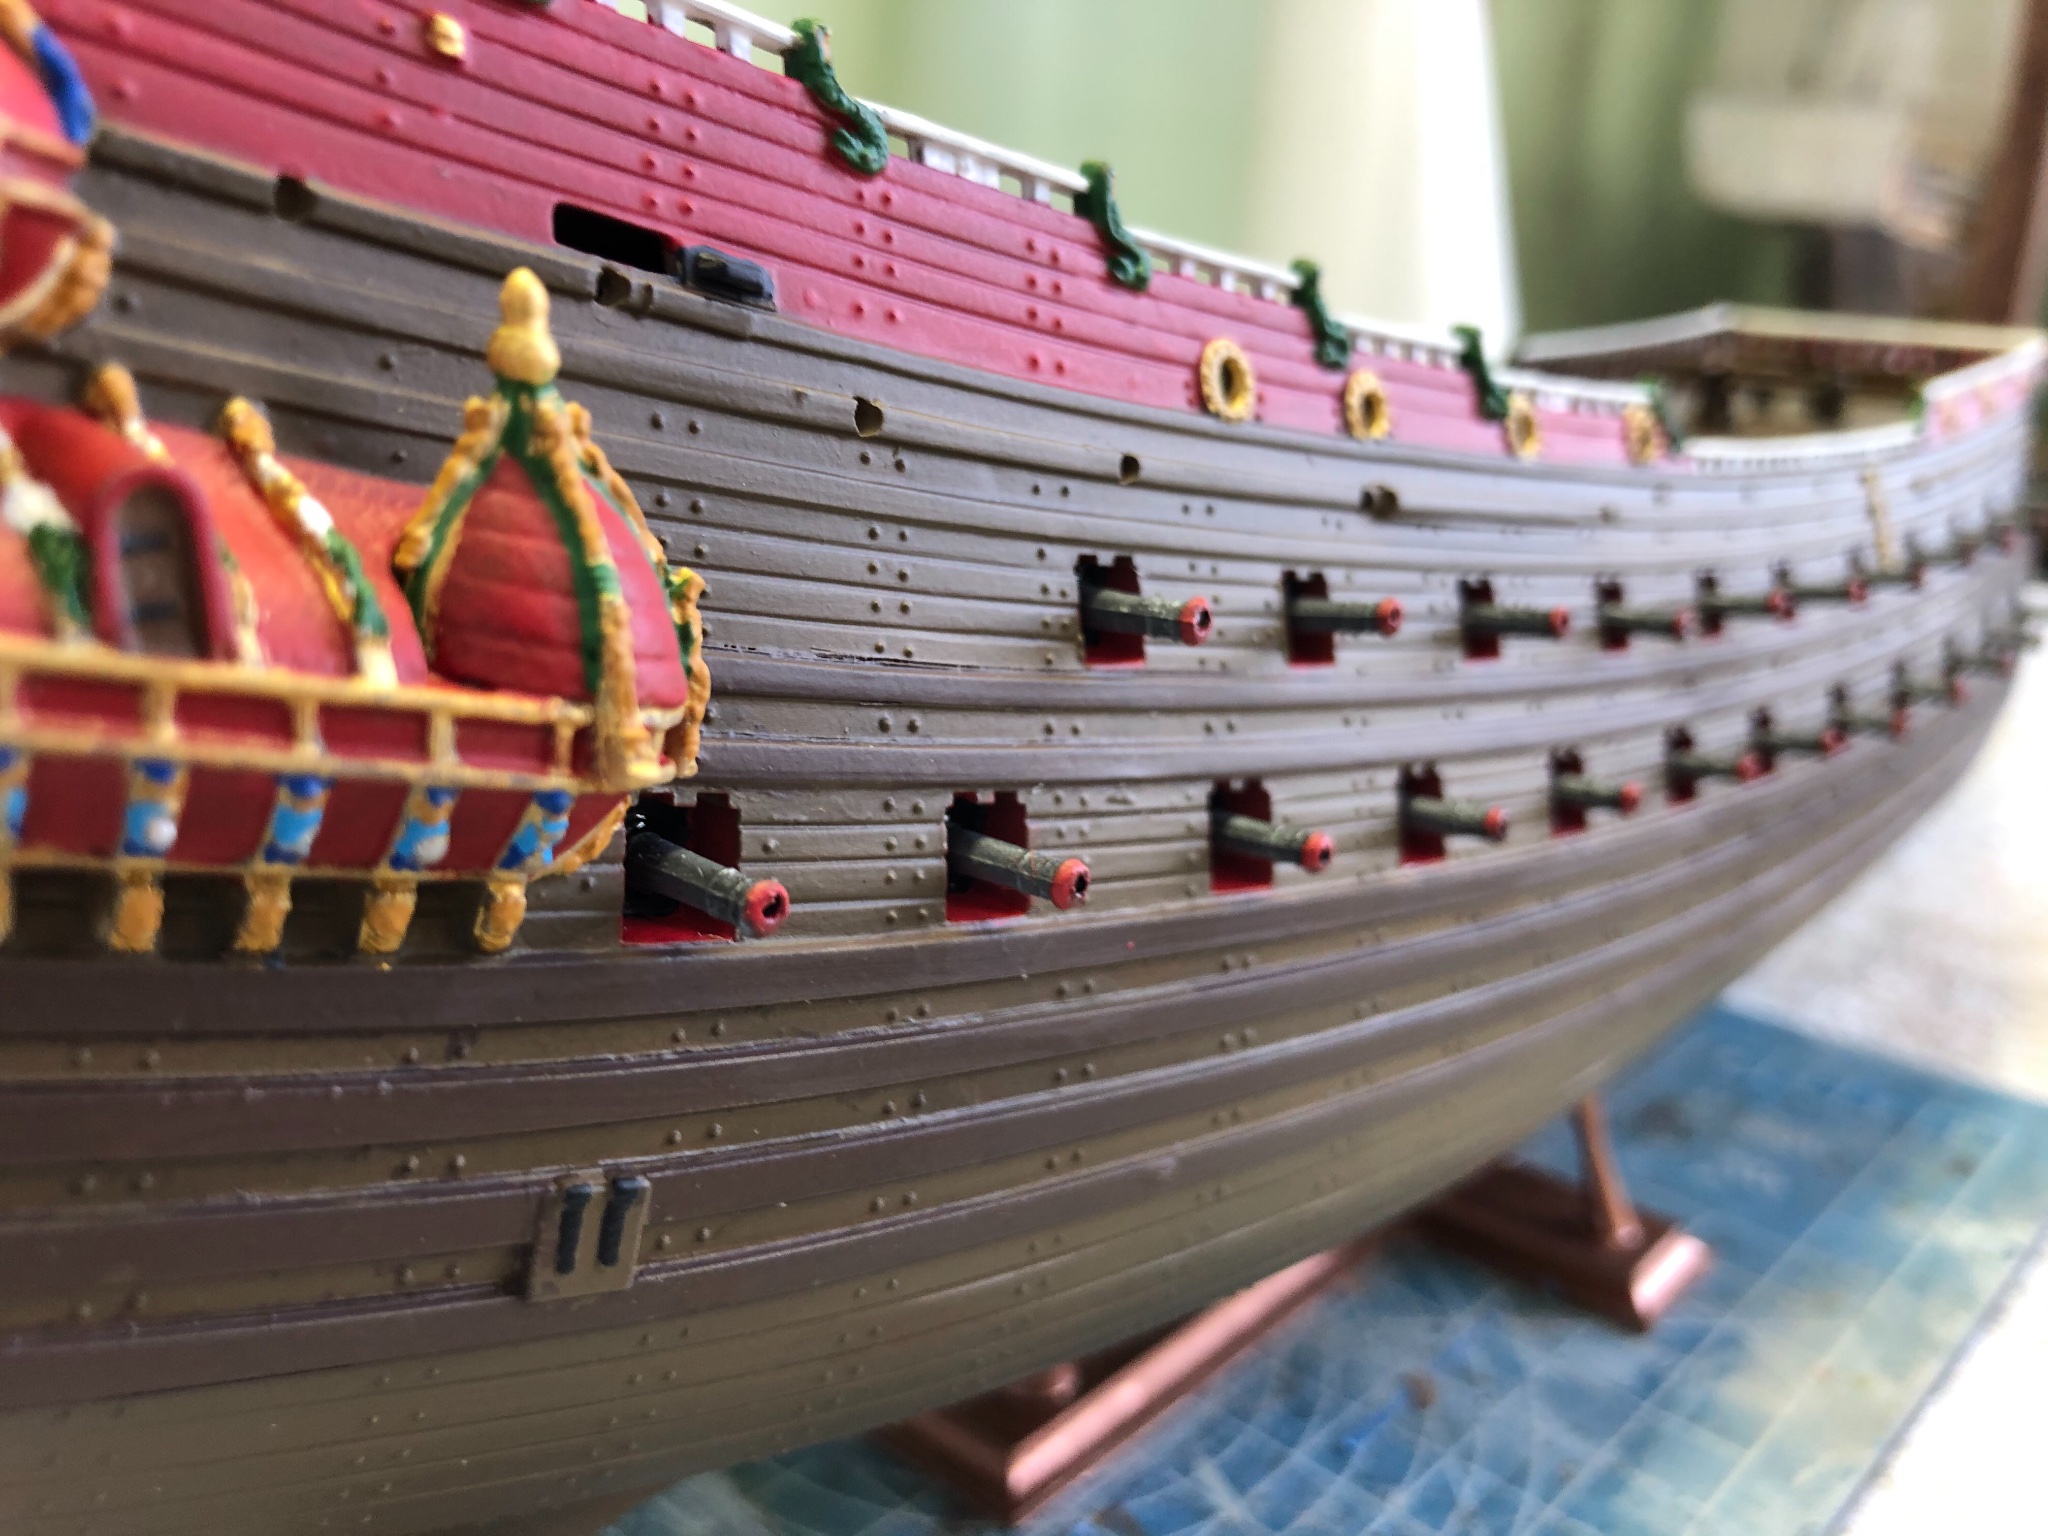
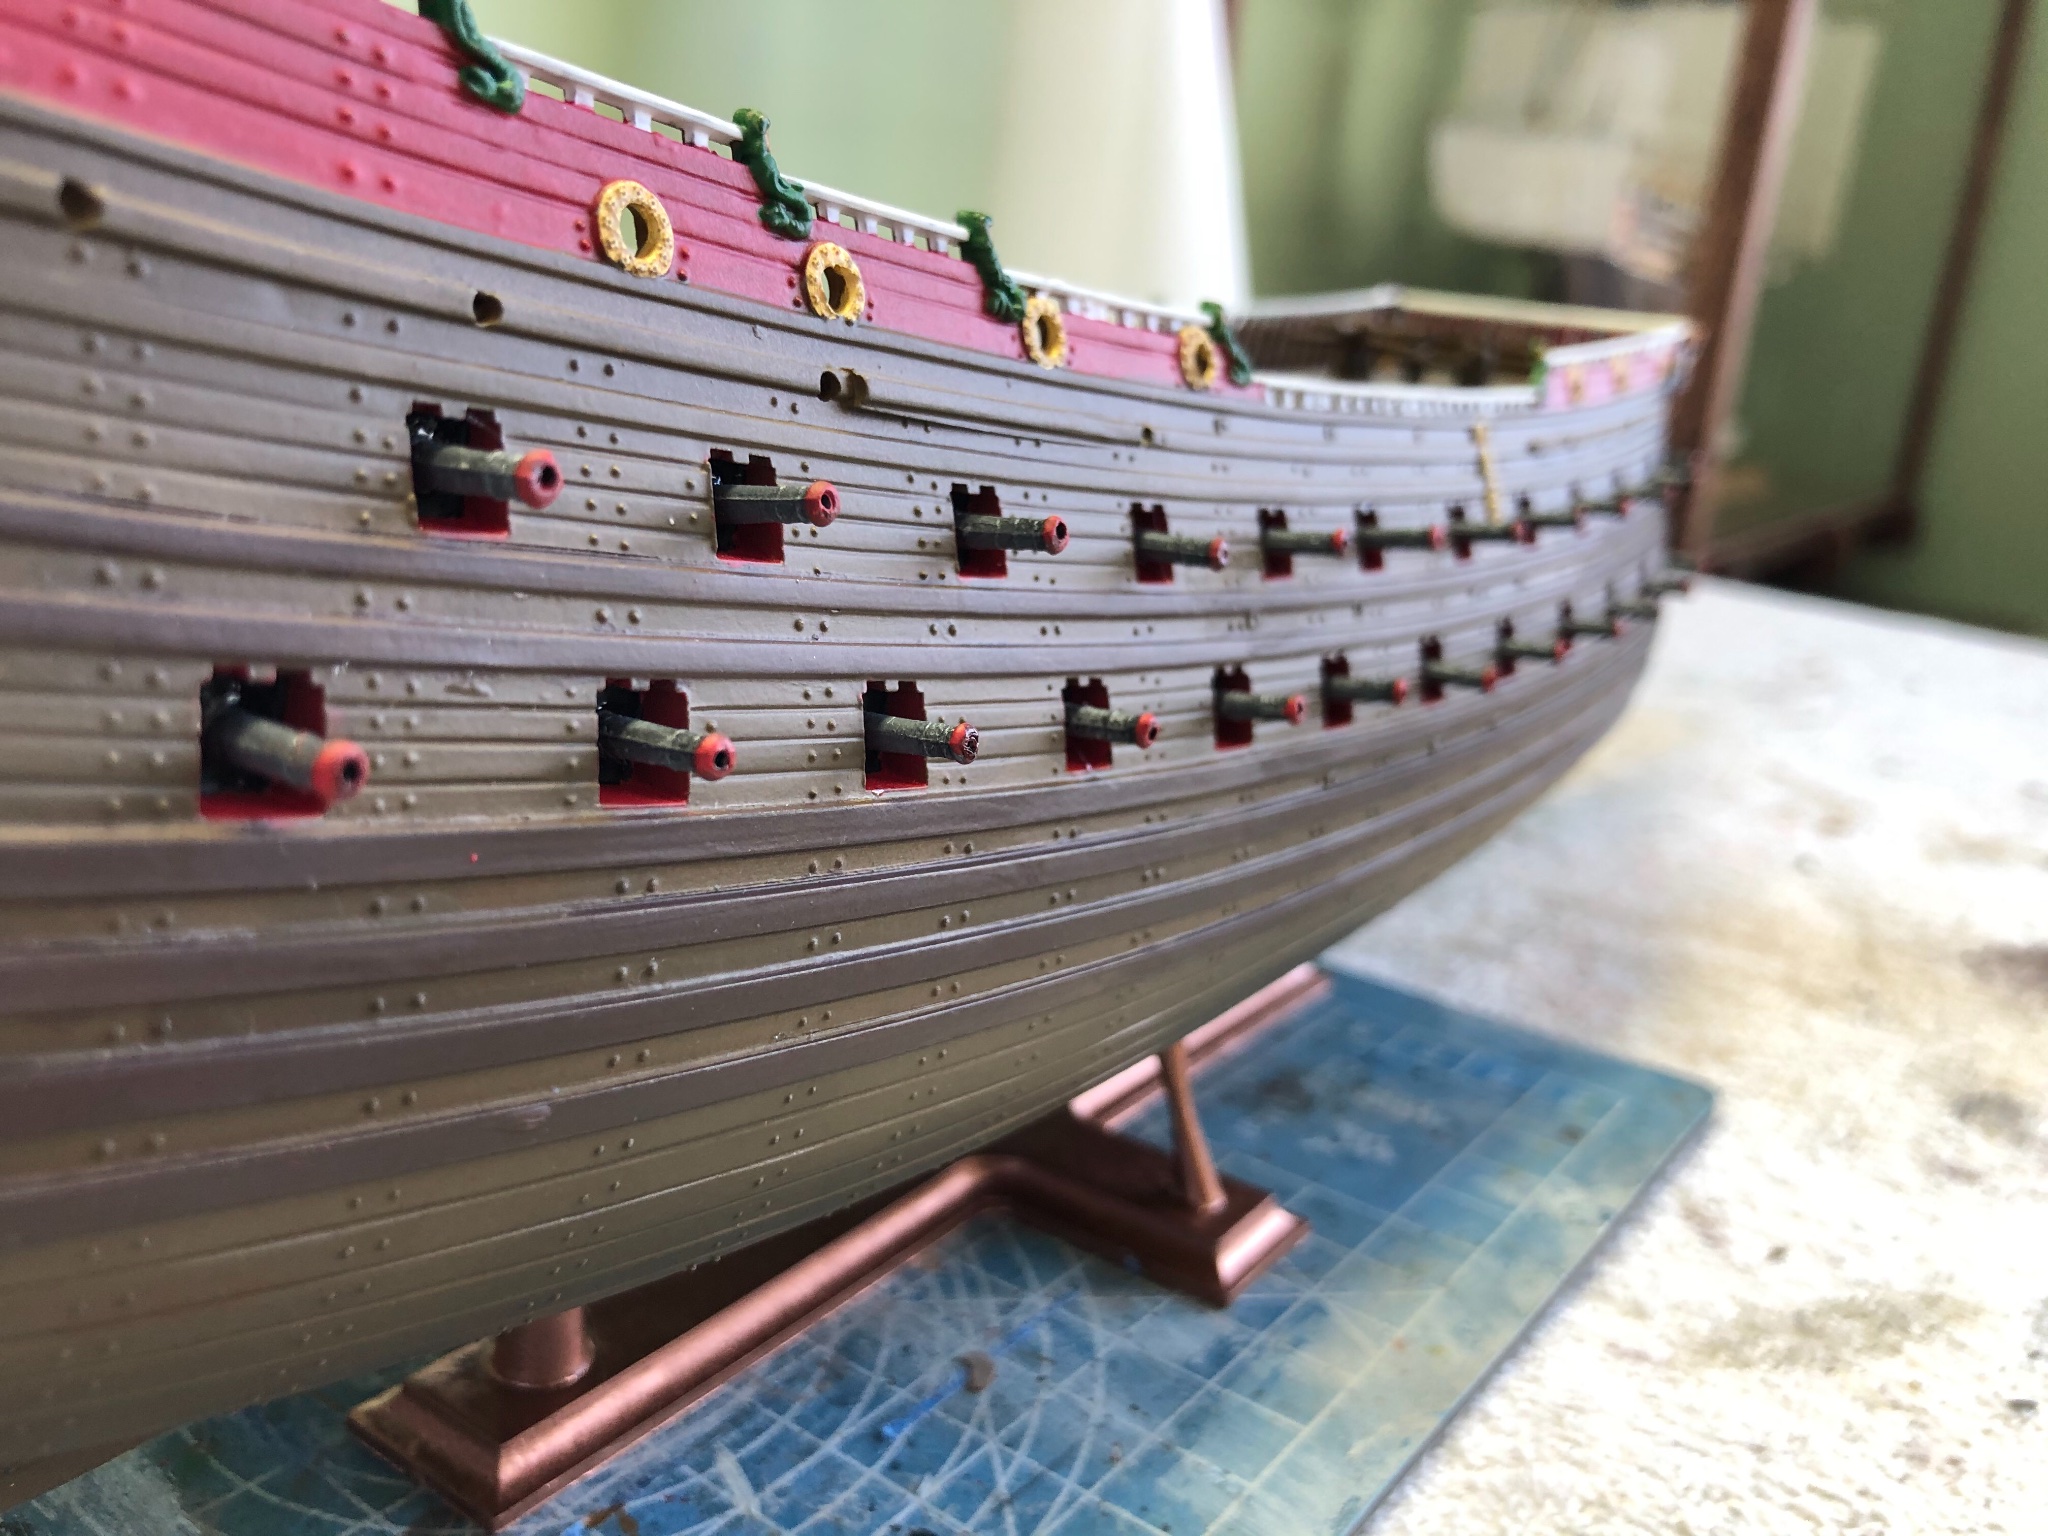
Cannon barrels today. Fifty of them little guys about 3/8” long. Painted with a 50/50 mixture of silver and sea gray. Then rubbed with a black wash. Drilled a tiny hole in the front end of each to add a sense of depth. Painted the ends red a put a tiny touch of black in the previously drilled hole. Then mounted them in the two lower decks. Still need to paint the hatch covers which have lion heads on the inside and mount them. My understanding is that the lion heads were intended to frighten the enemy when all cannon ports were open.

-
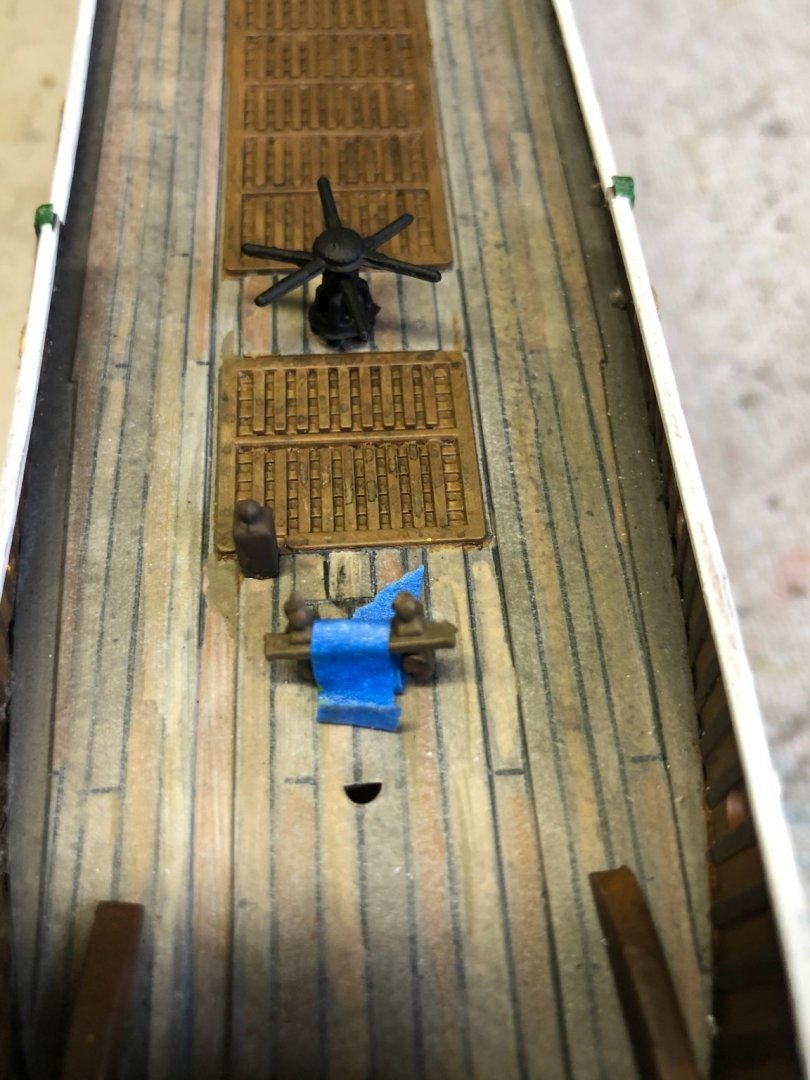
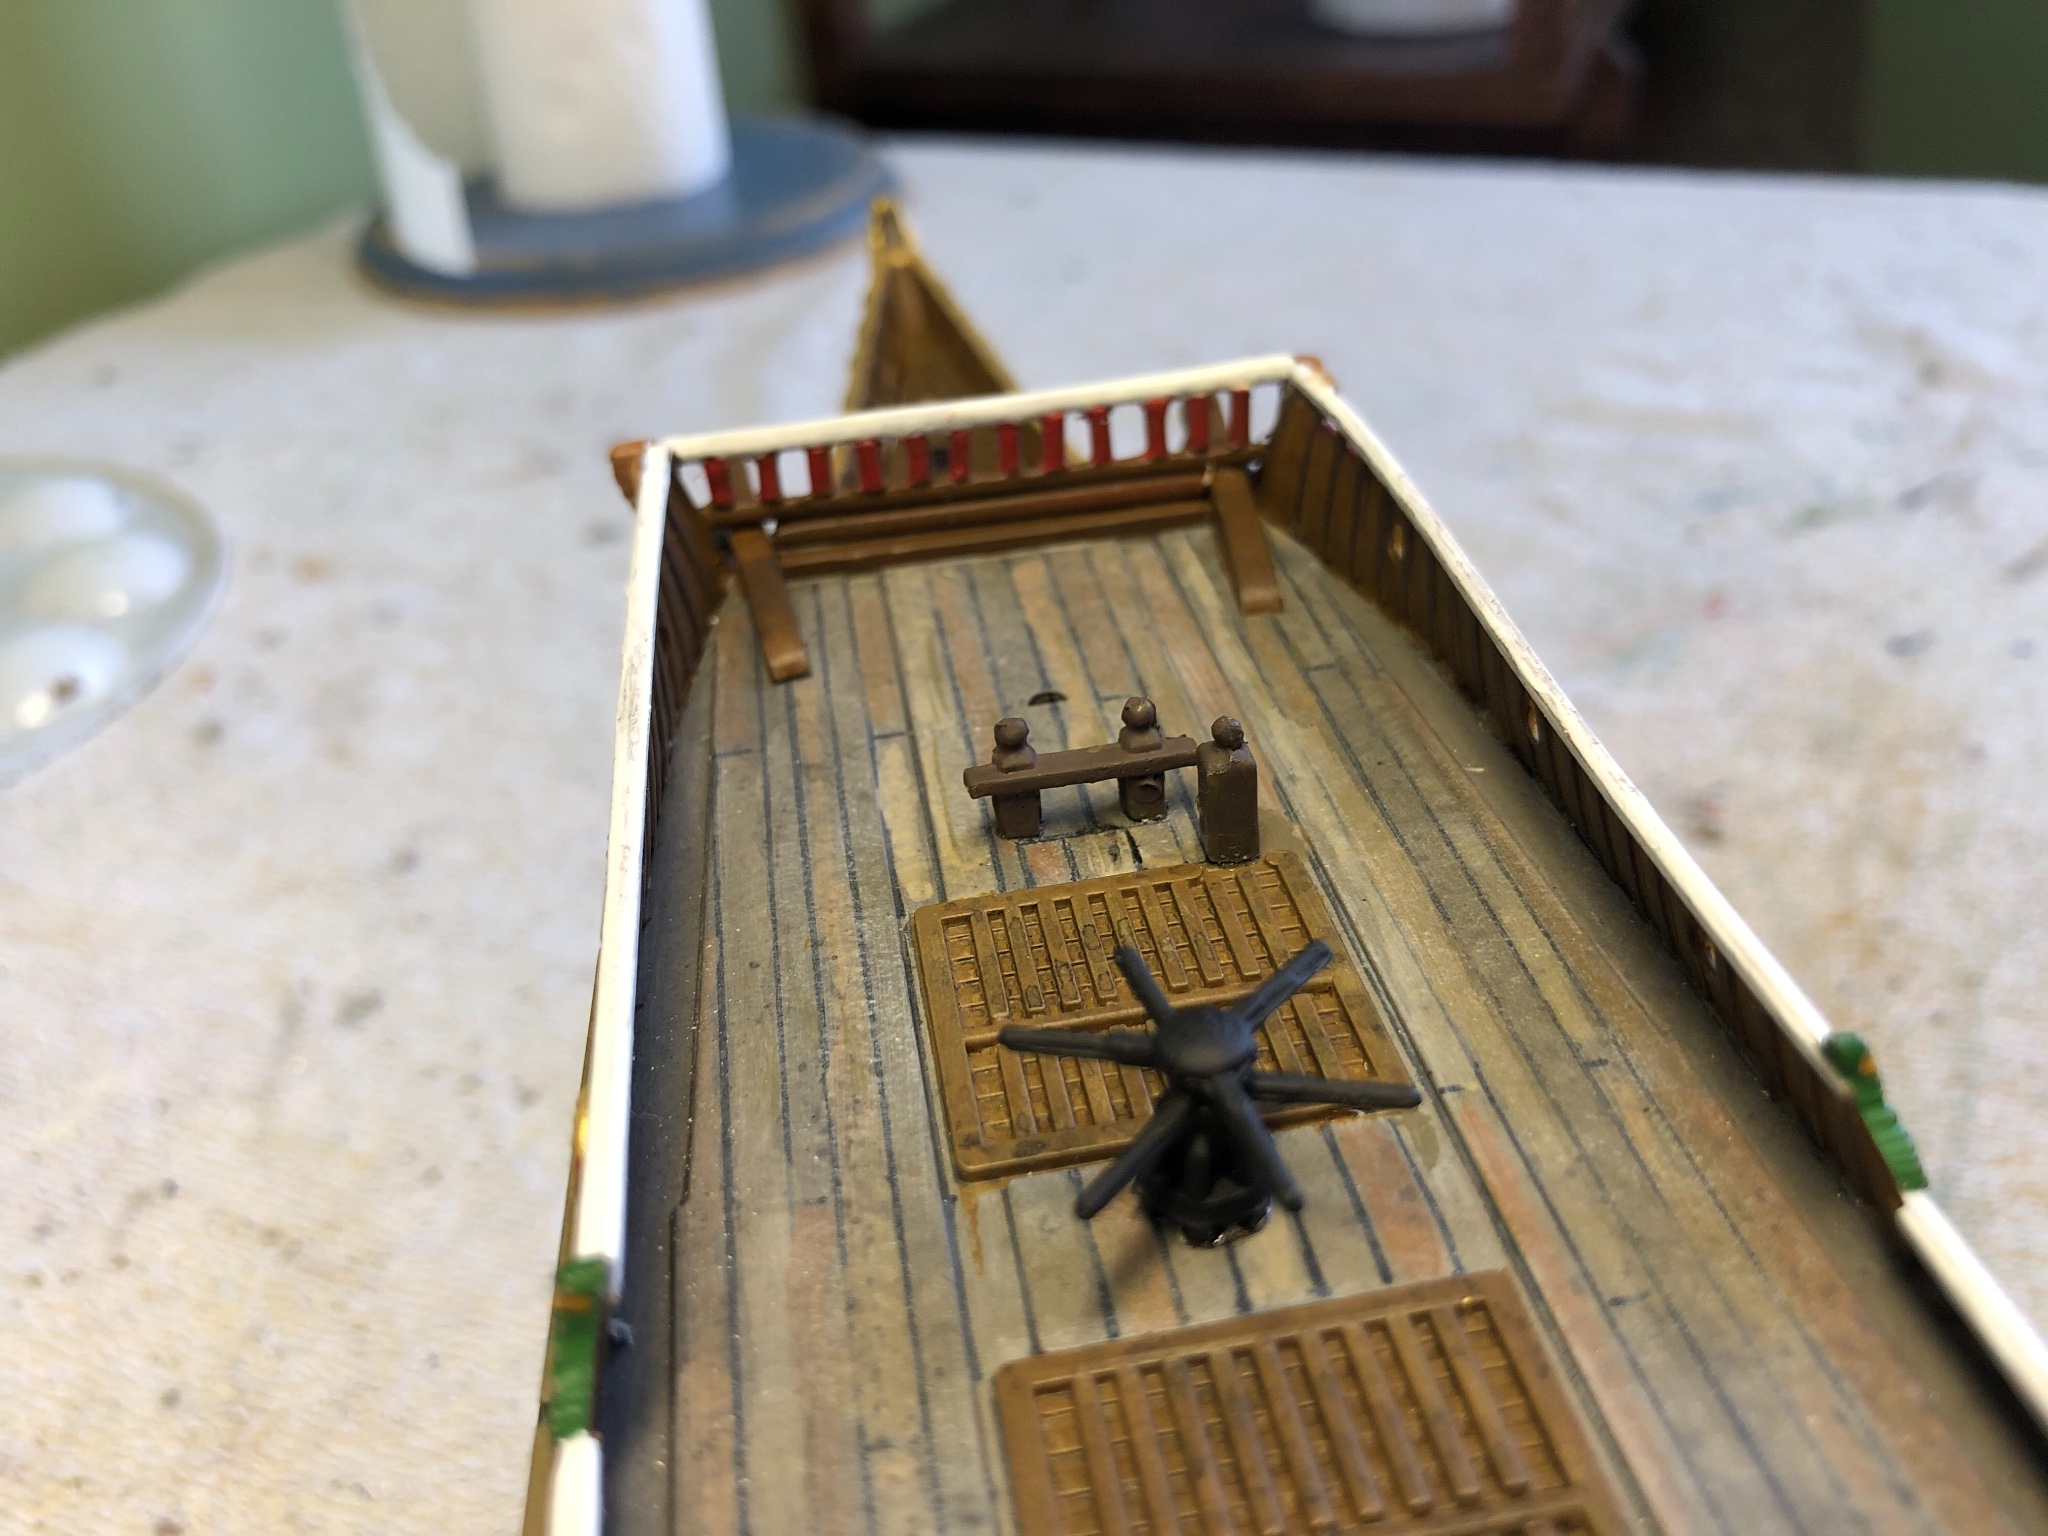
Thanks Backer. That is exactly how I have it. Think I may change the color of my capstan after seeing this photo. My instructions have it painted black. I think wood finish is more authentic.

- GrandpaPhil and Baker
-
2
-
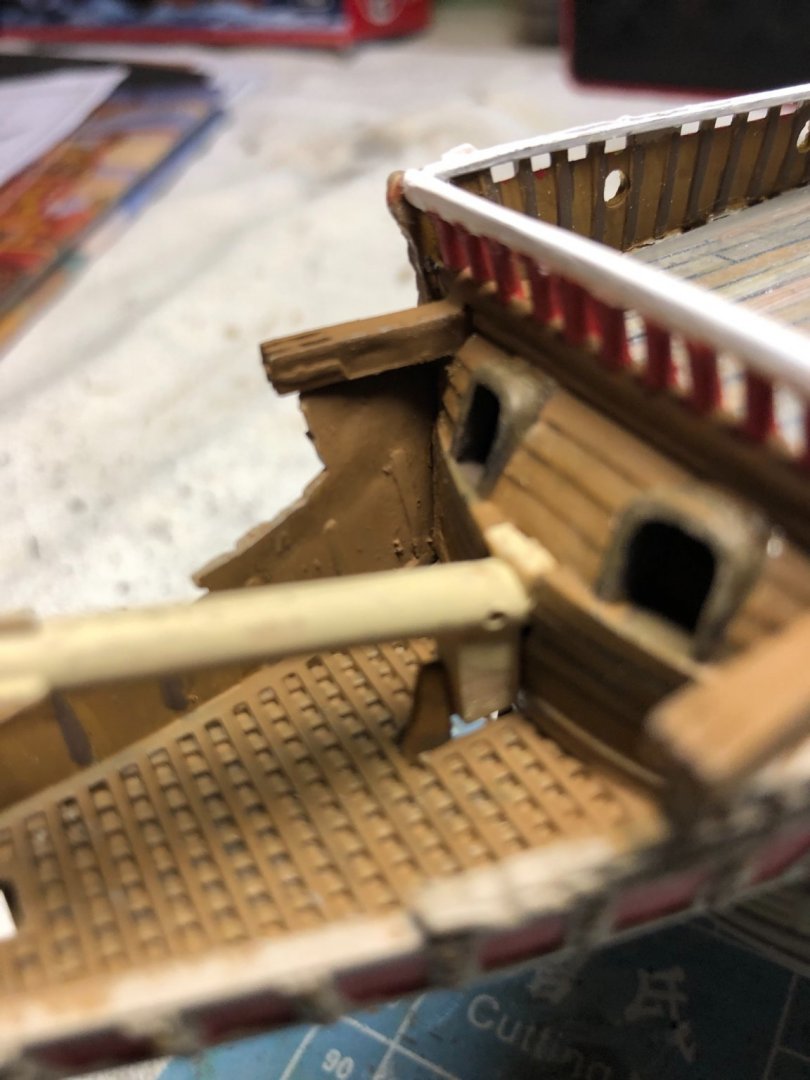
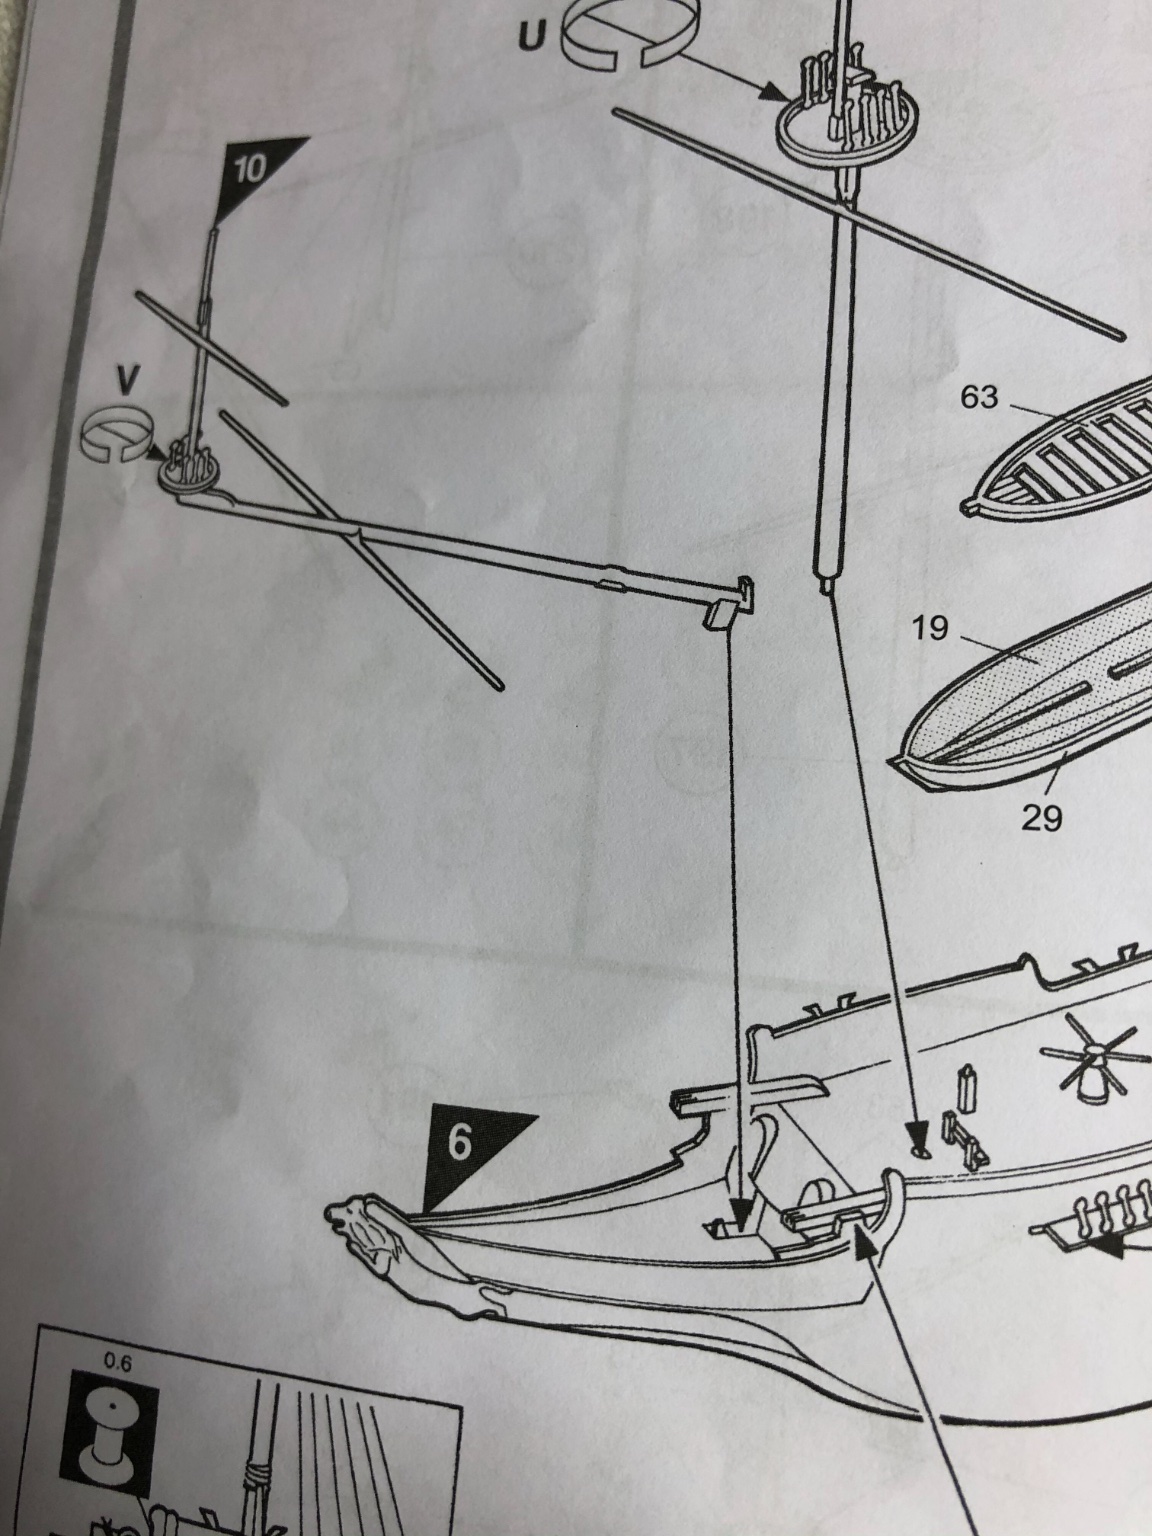
Bolin looking at the illustration from the museum it looks like the knight is in the right place.
-
Oh and Charles Green I have no idea what that real low hatch at the stern was far. I would expect that it further added to the sinking of the ship if water was able to get in right at the water line!
-
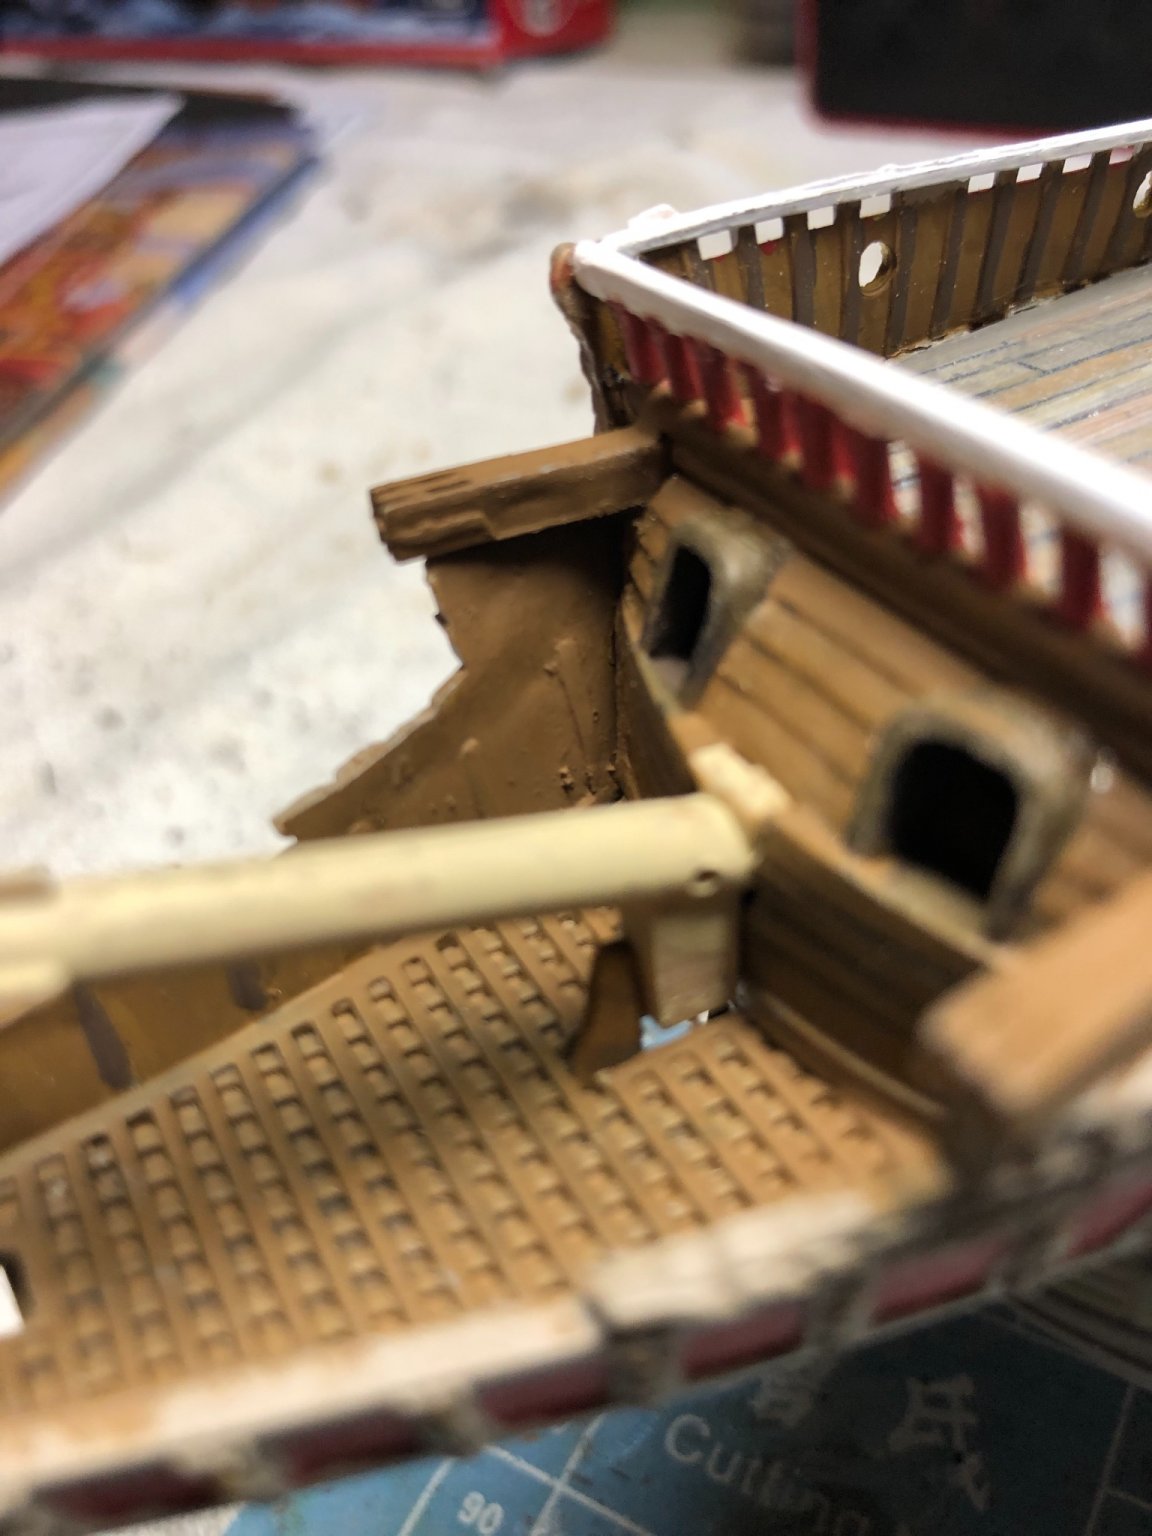
Thanks Bolin, Michael, kirill4. Bolin the pictures I posted on Mar 12th were actually photos of other builders ships when I was trying to figure out the front rail. Did not think to look back at them for position of the fore bitts. Perfect. Now I know where it goes. Does where I have held with a little piece of blue tape seem correct? Now looking back at those same photos I do not see the knight that the instructions had me install at the right front corner of the hatch. Piece #20 in the instructions I posted. I put it where it said and where the pre drilled hole in the deck. I guess it is correct?
- Ian_Grant and GrandpaPhil
-
2
-
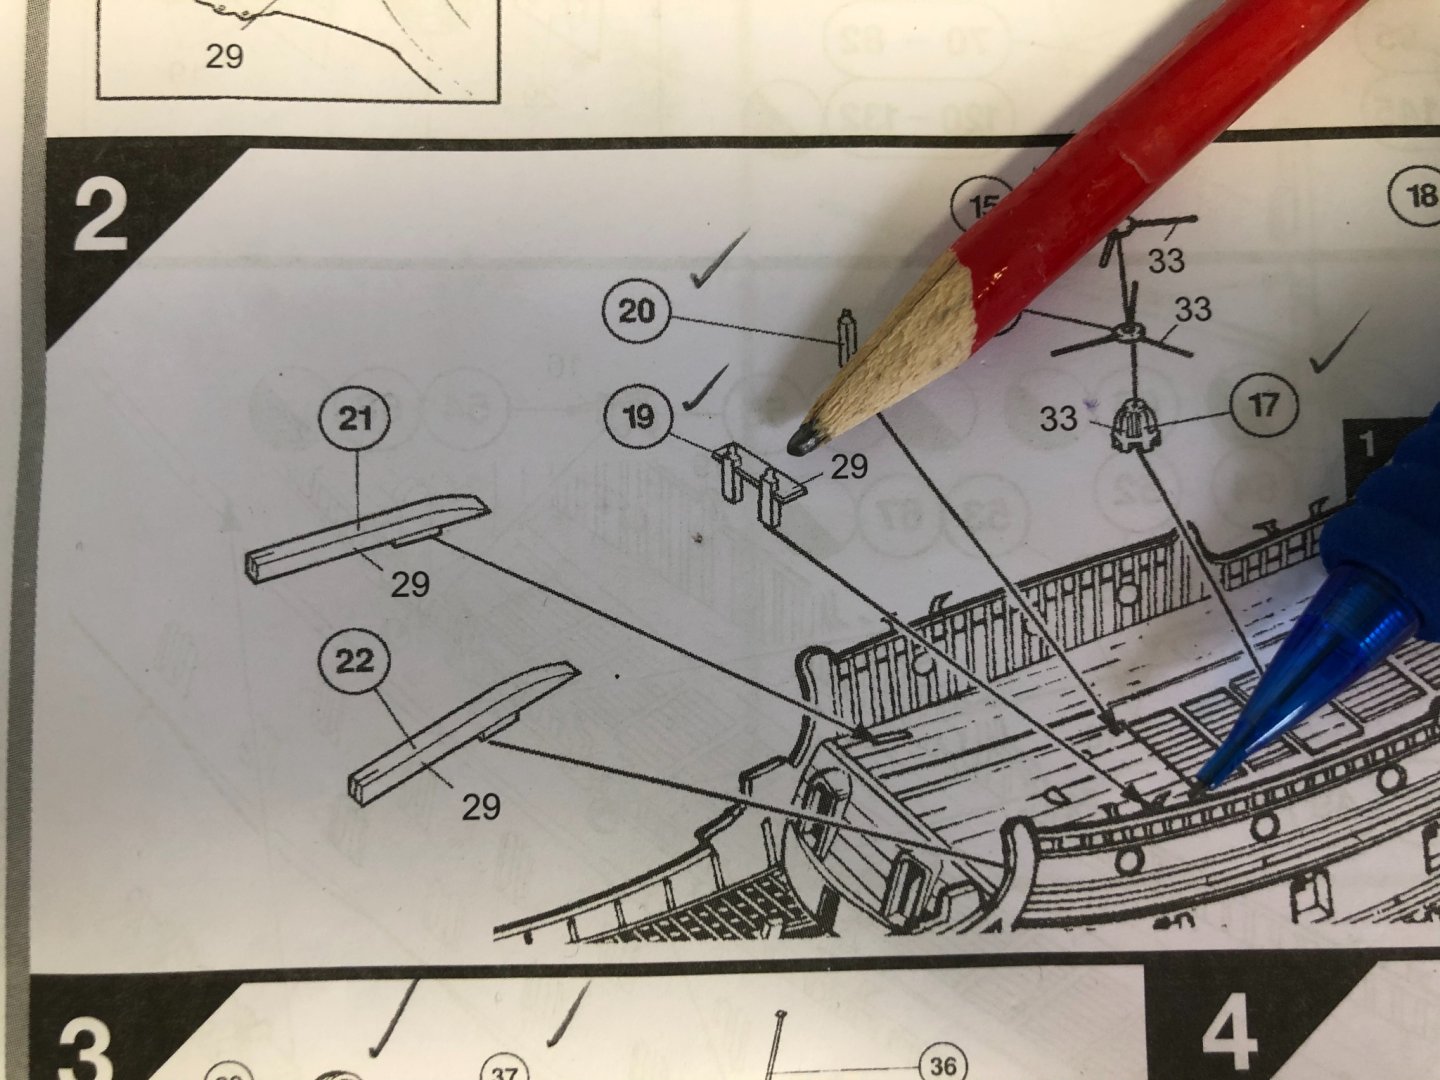
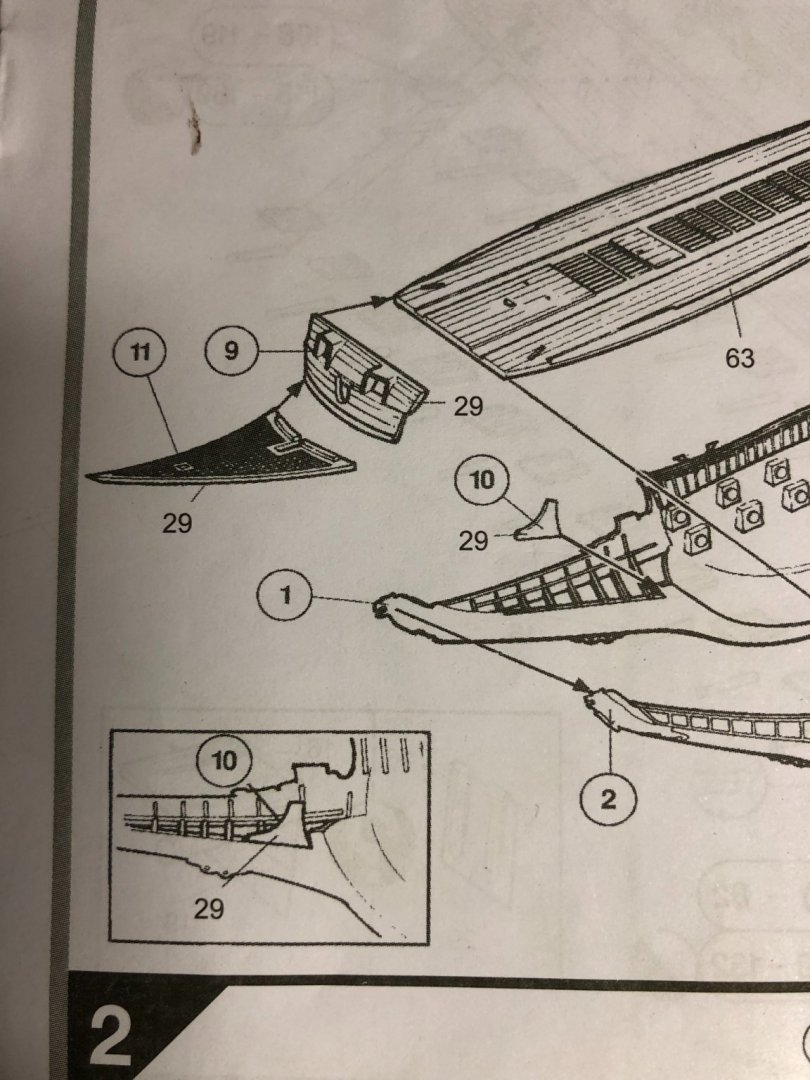
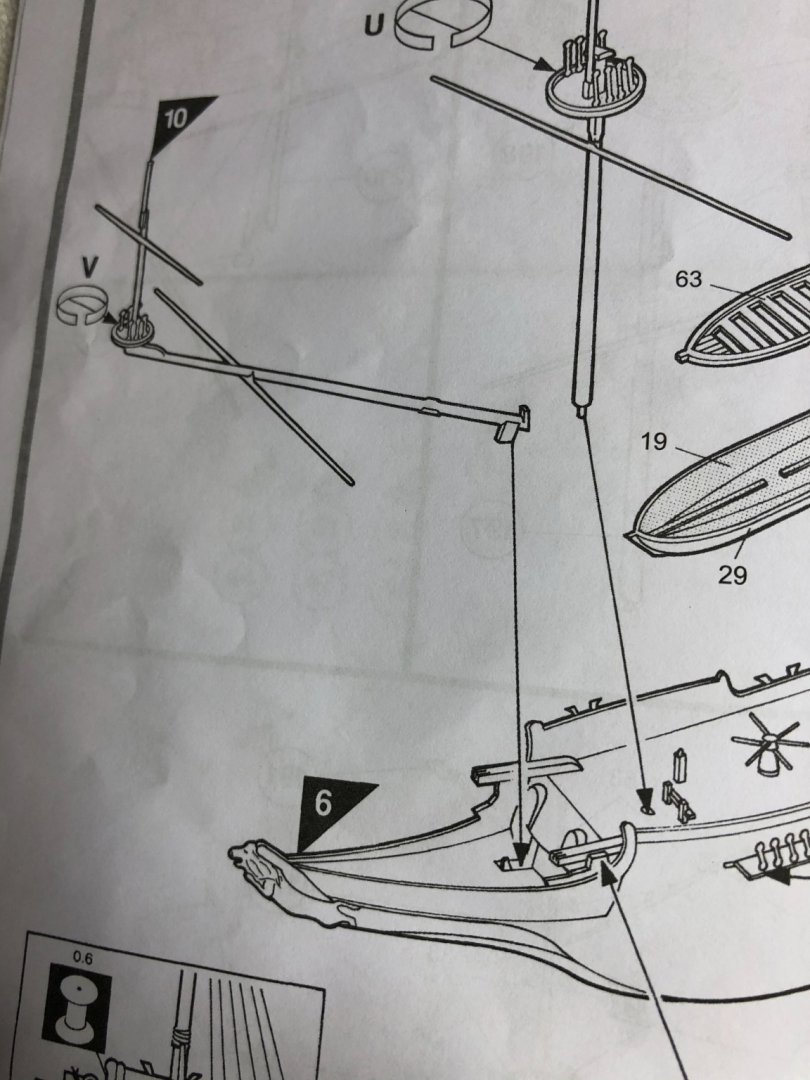
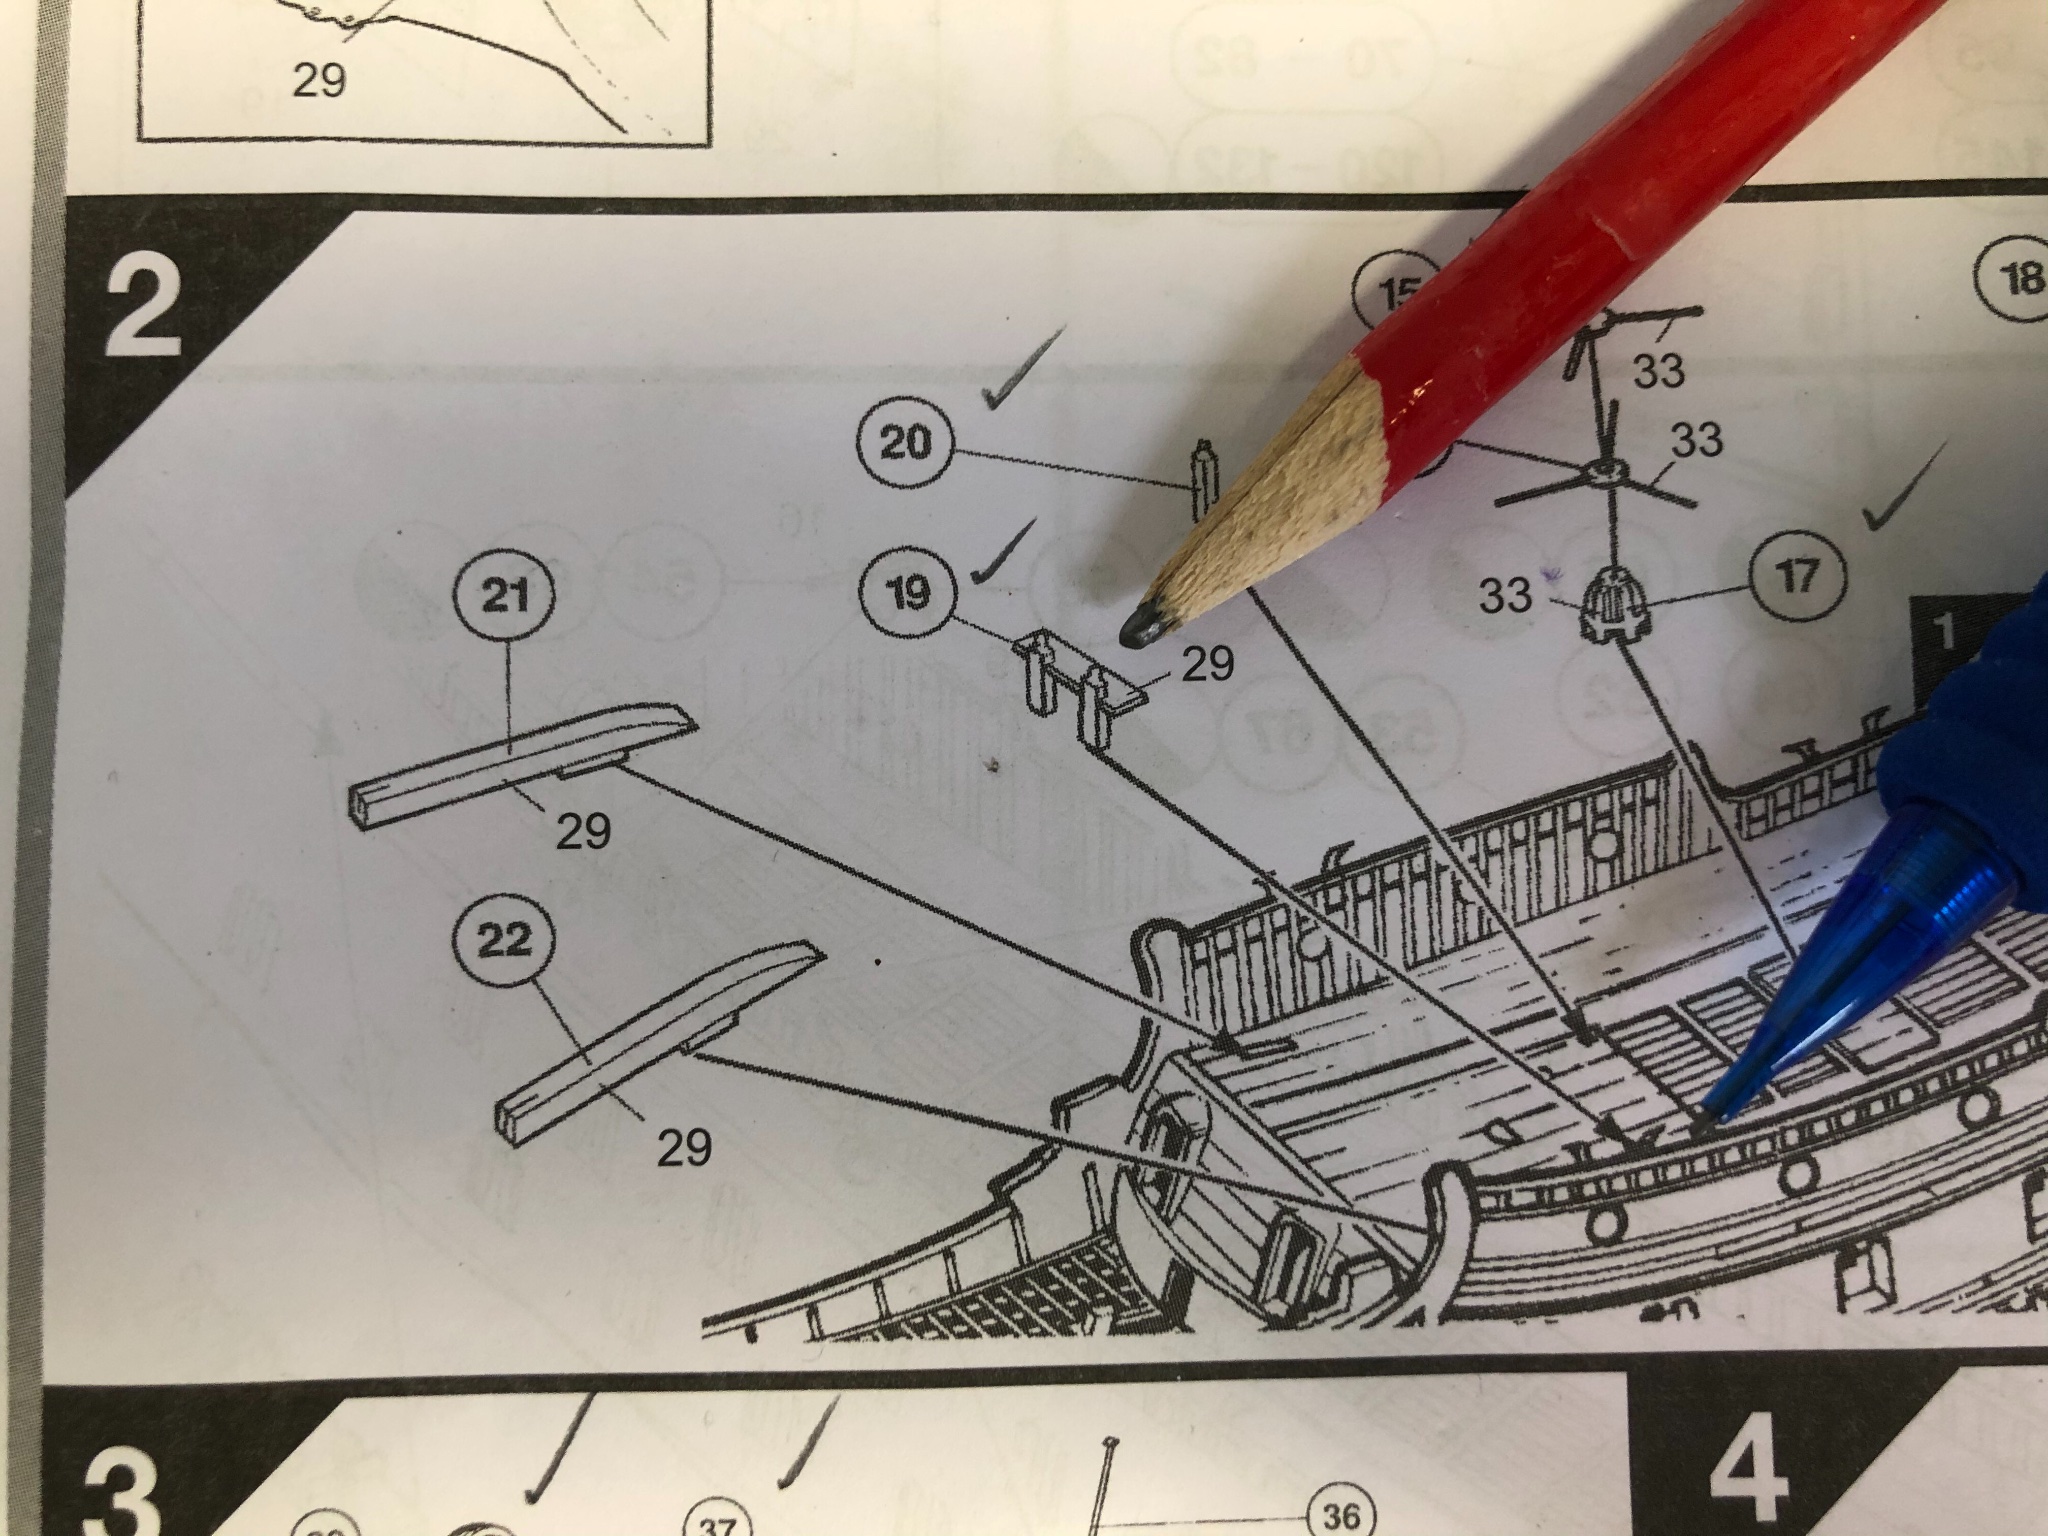
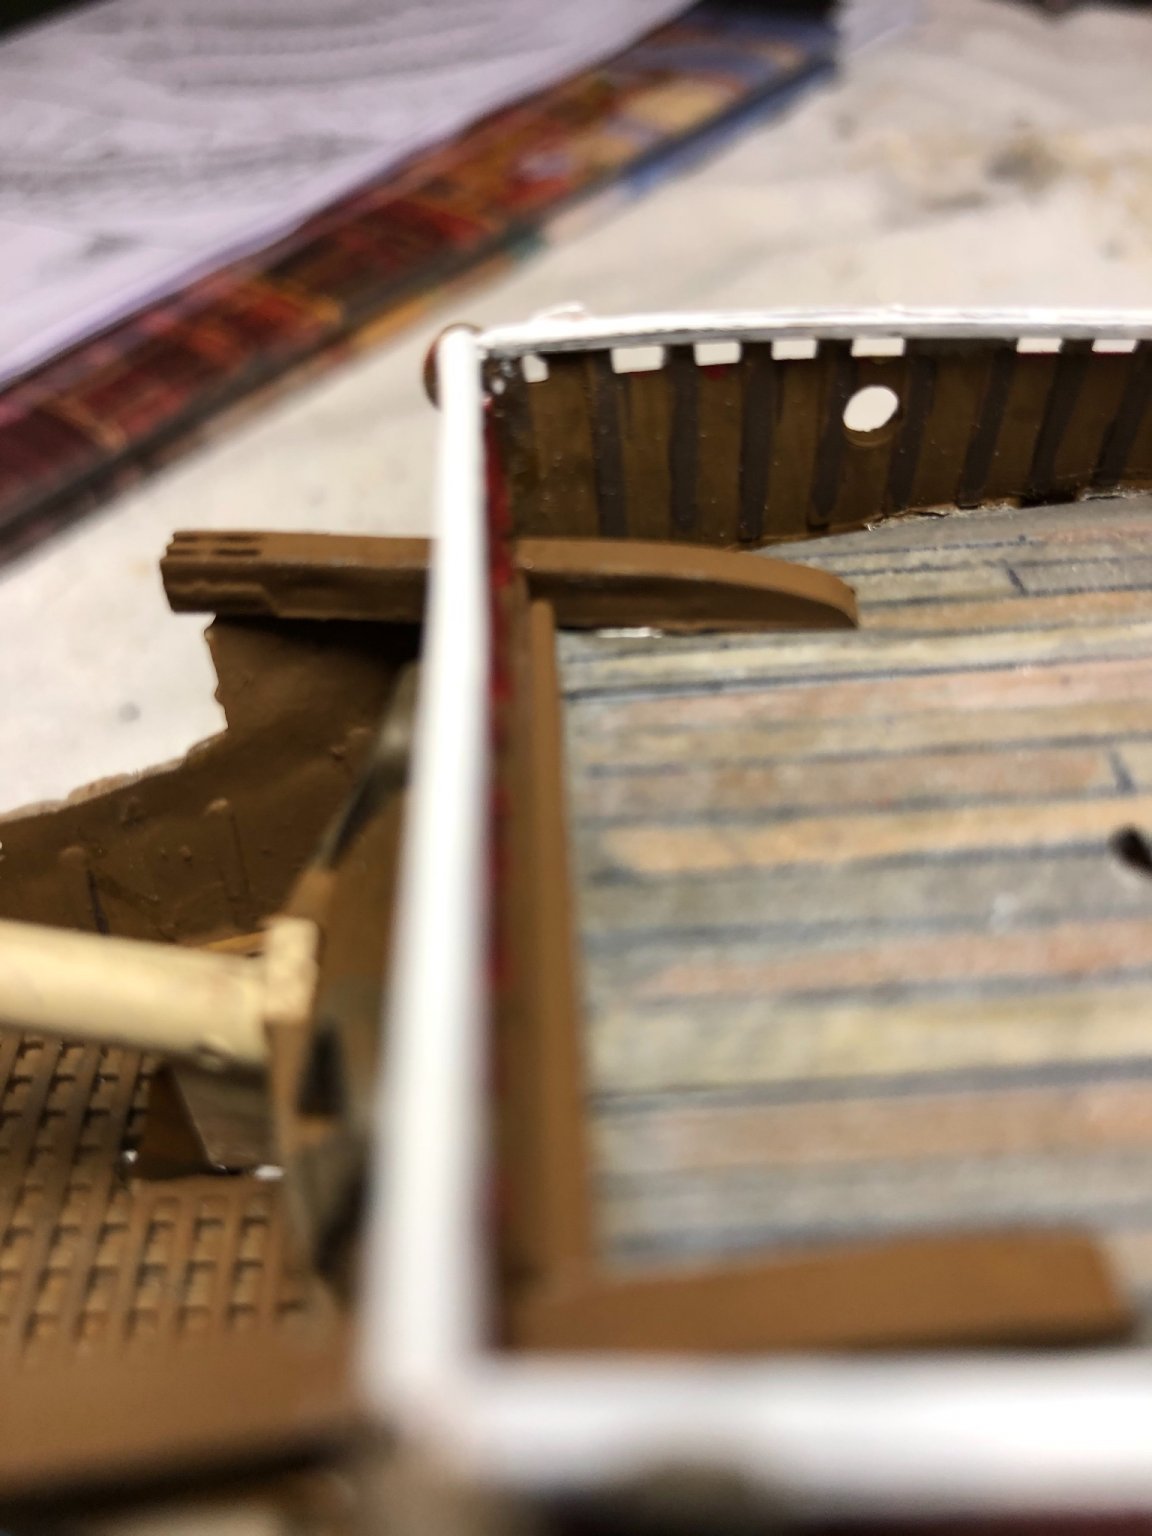
Michael D, wonder if you would mind checking something for me with your kit and instructions? Again, I know you have not started your Wasa yet but consider me the forward scout finding things in advance of you getting there 😊.
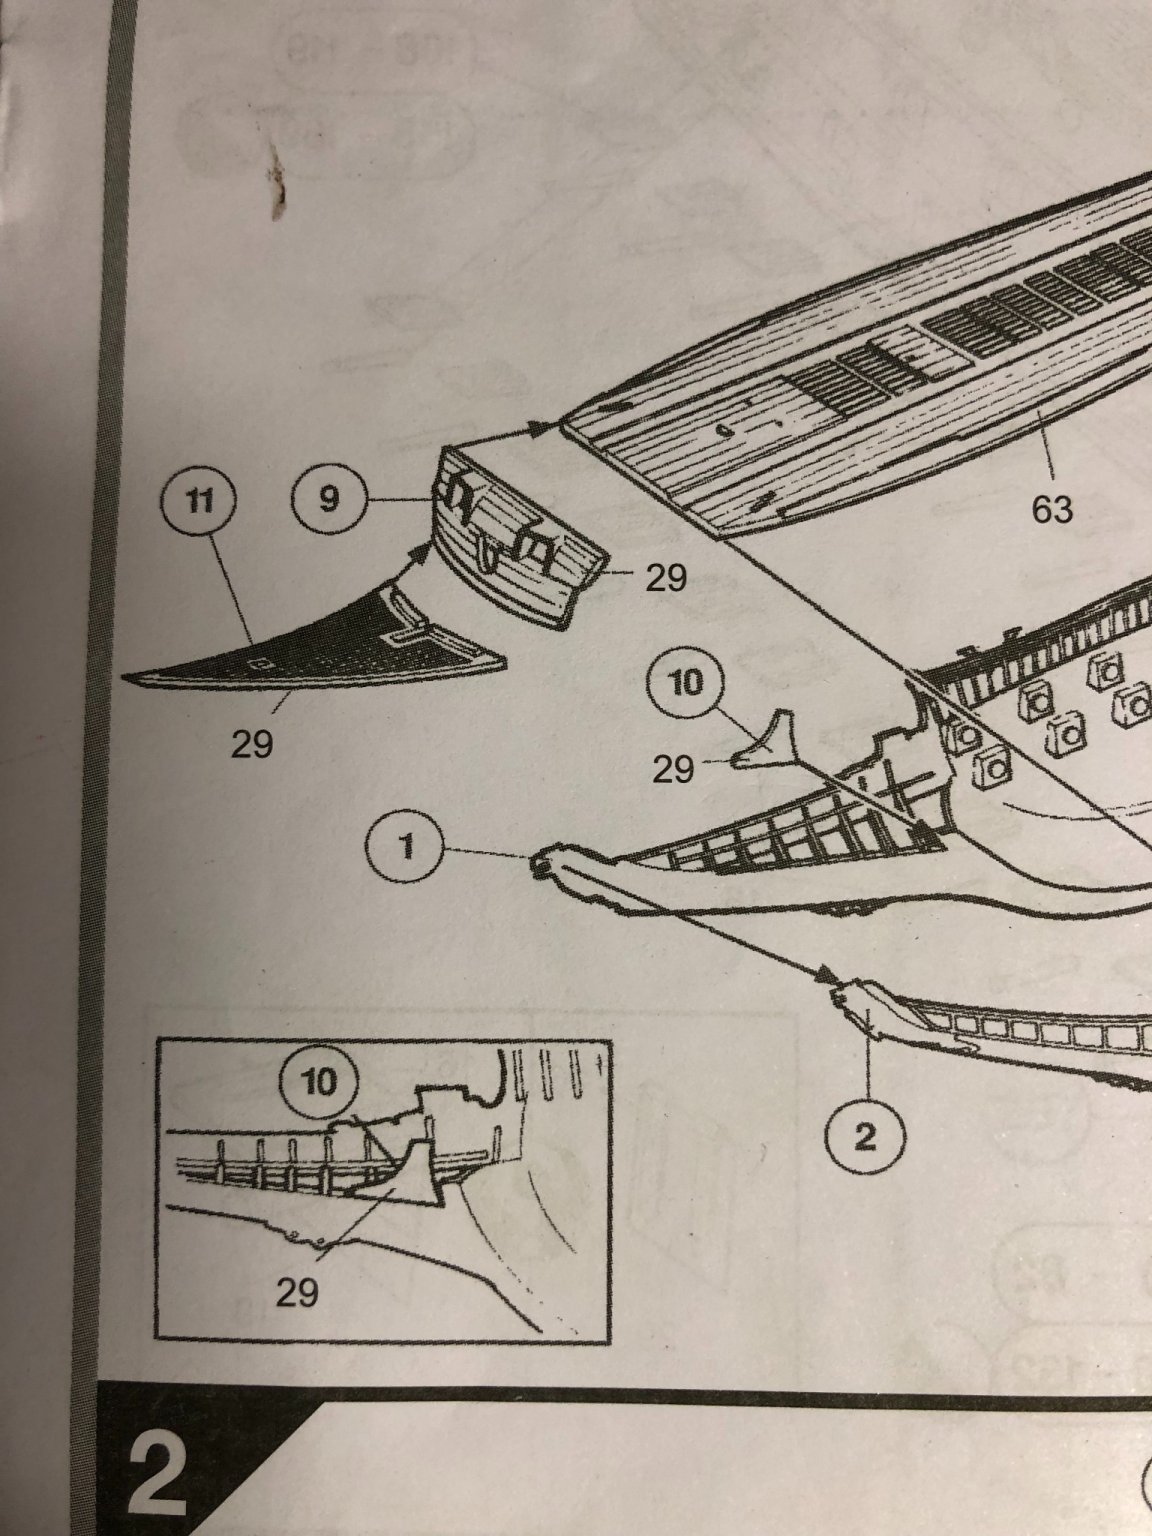
Look at Step 2. In the picture I attached I have a pencil pointing to piece #19 at the front of the ship and a second pencil pointing to the general area where that piece is supposedly to go. On the deck that came with my kit there are predrilled holes for all the other pieces shown (20, 17, 18, 16, etc). However there are no predrilled holes for this piece #19 in the area the arrow is pointing. Is that the same on your’s? If so, where do you think we should drill to place it?
-
Thanks Hubac. Had no idea what it is.
-
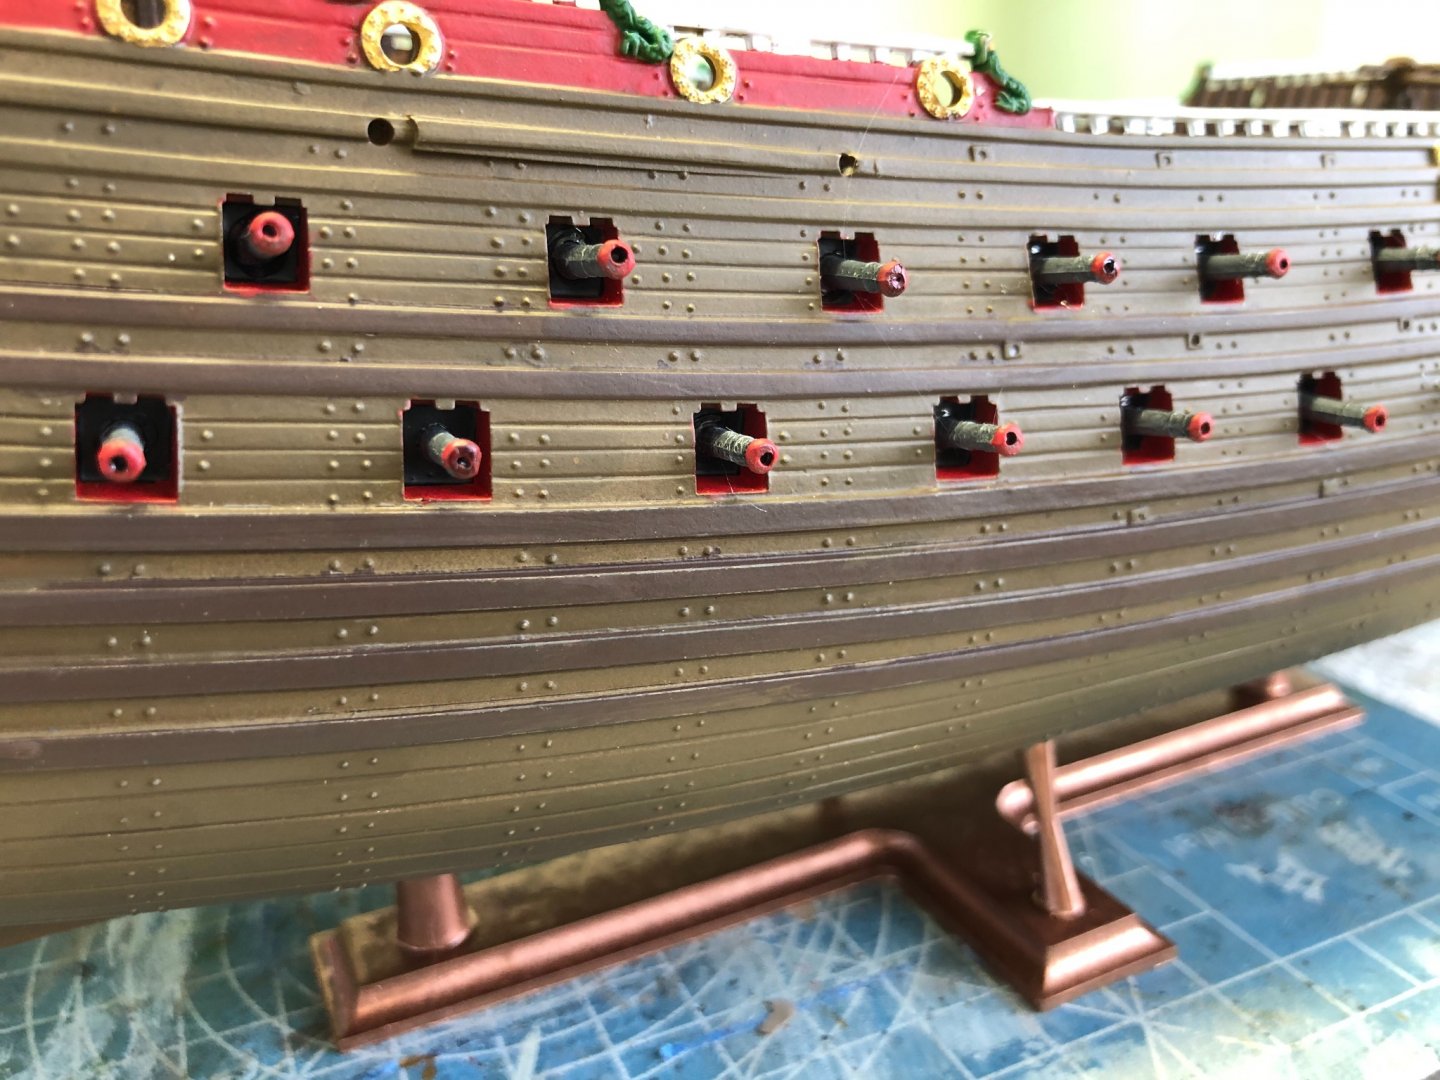
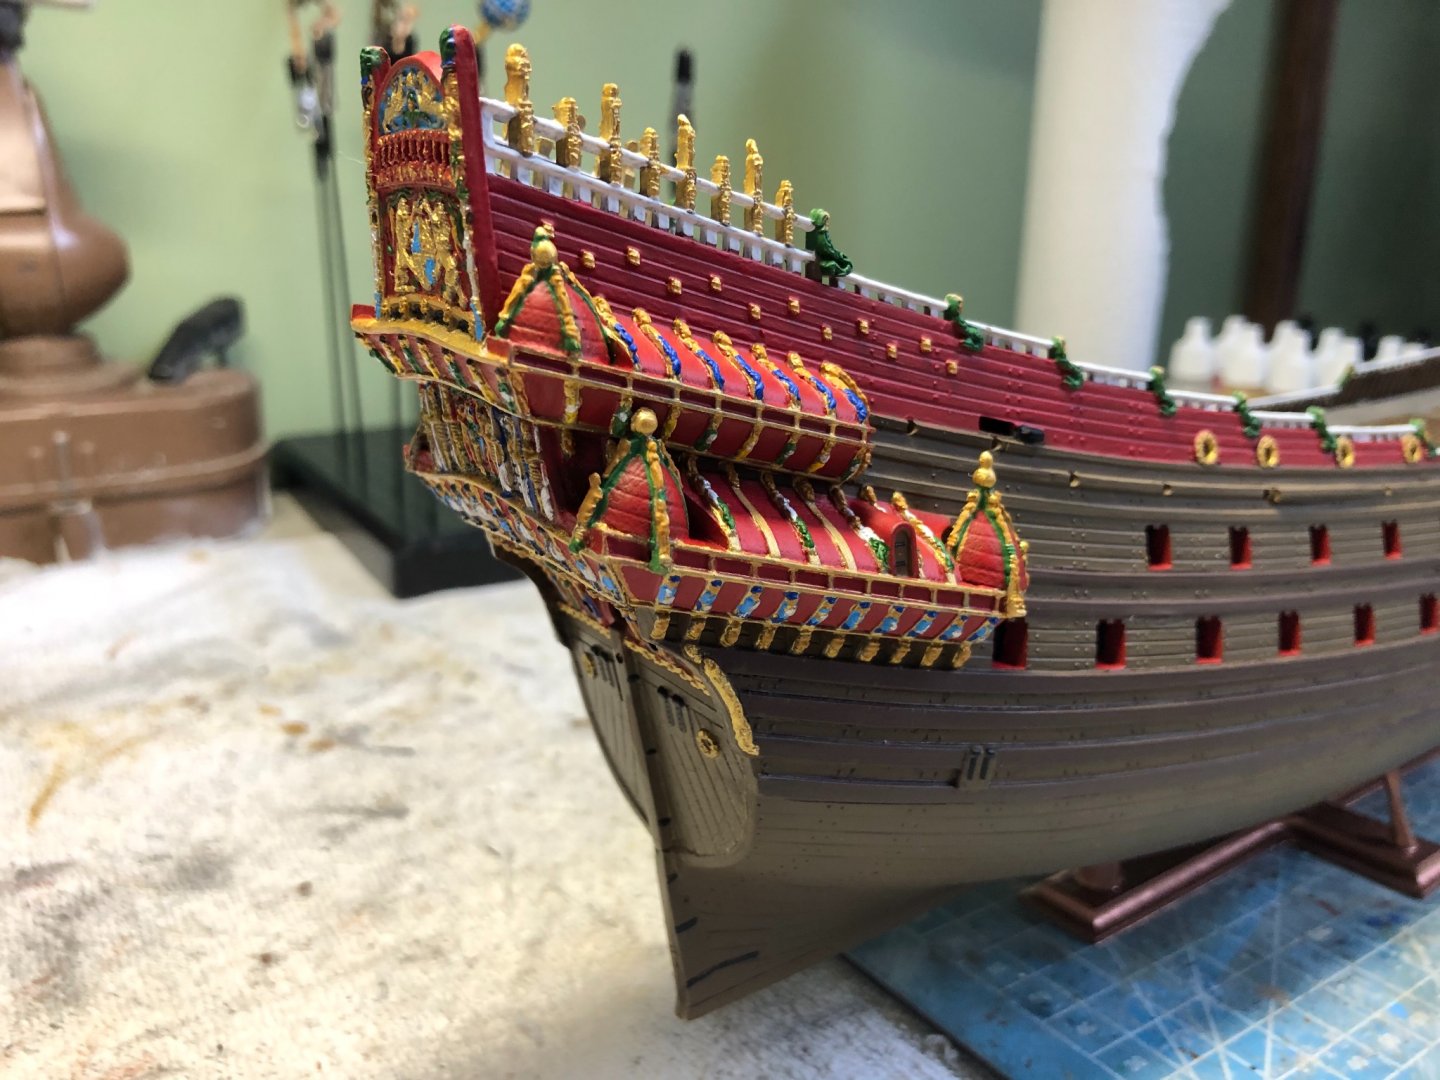
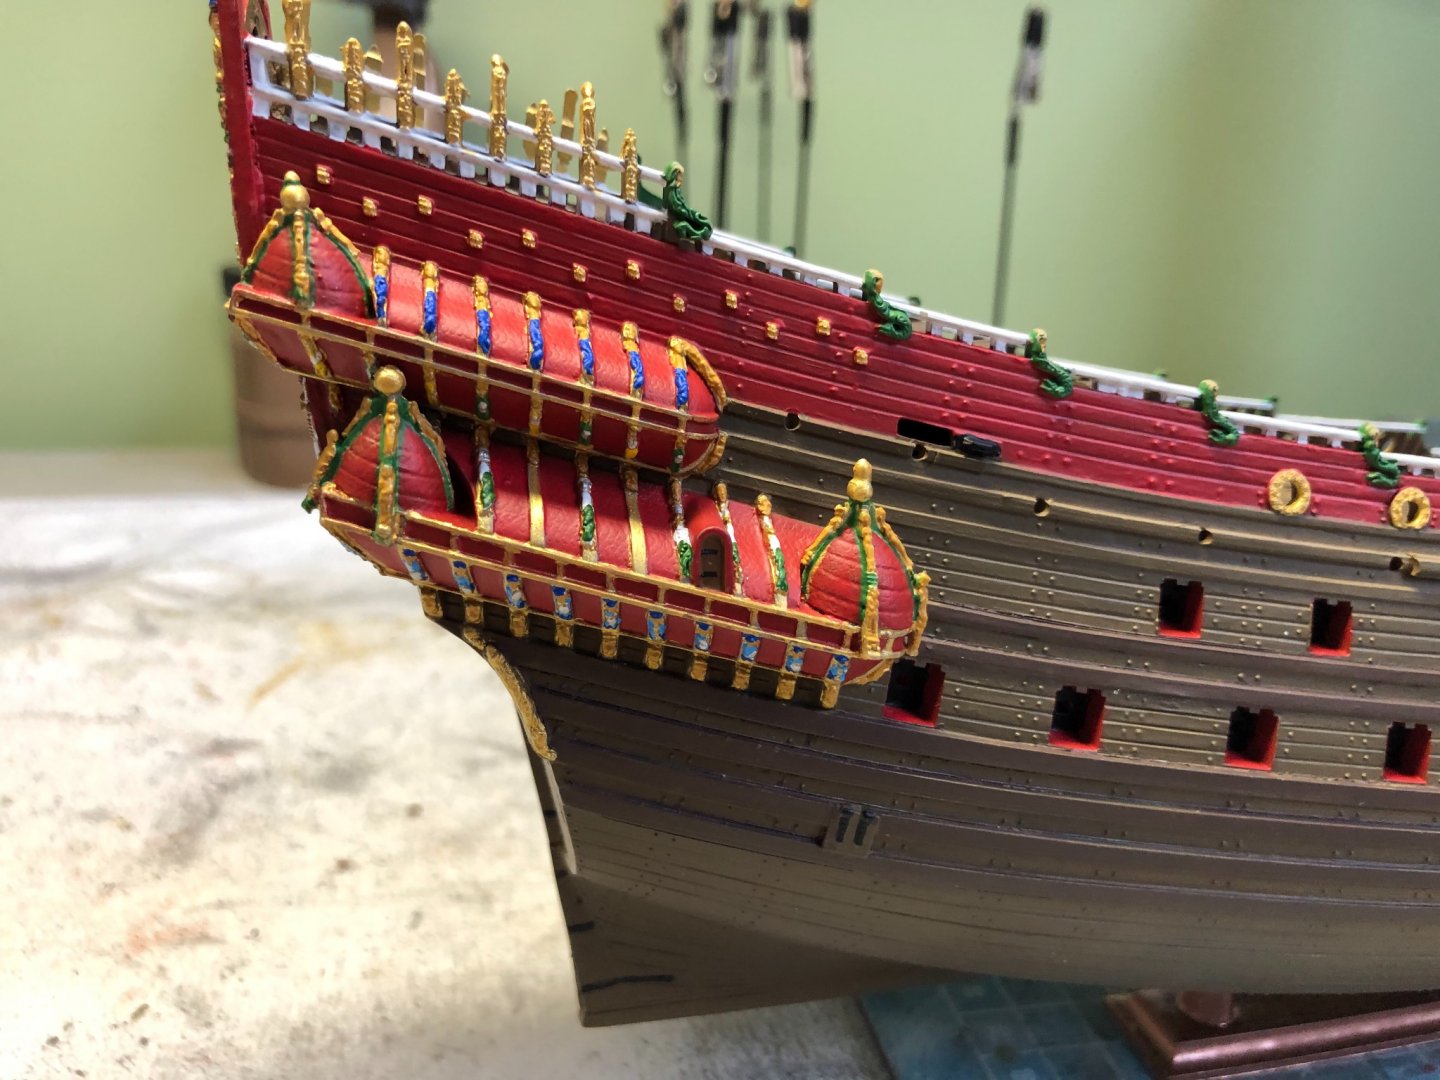
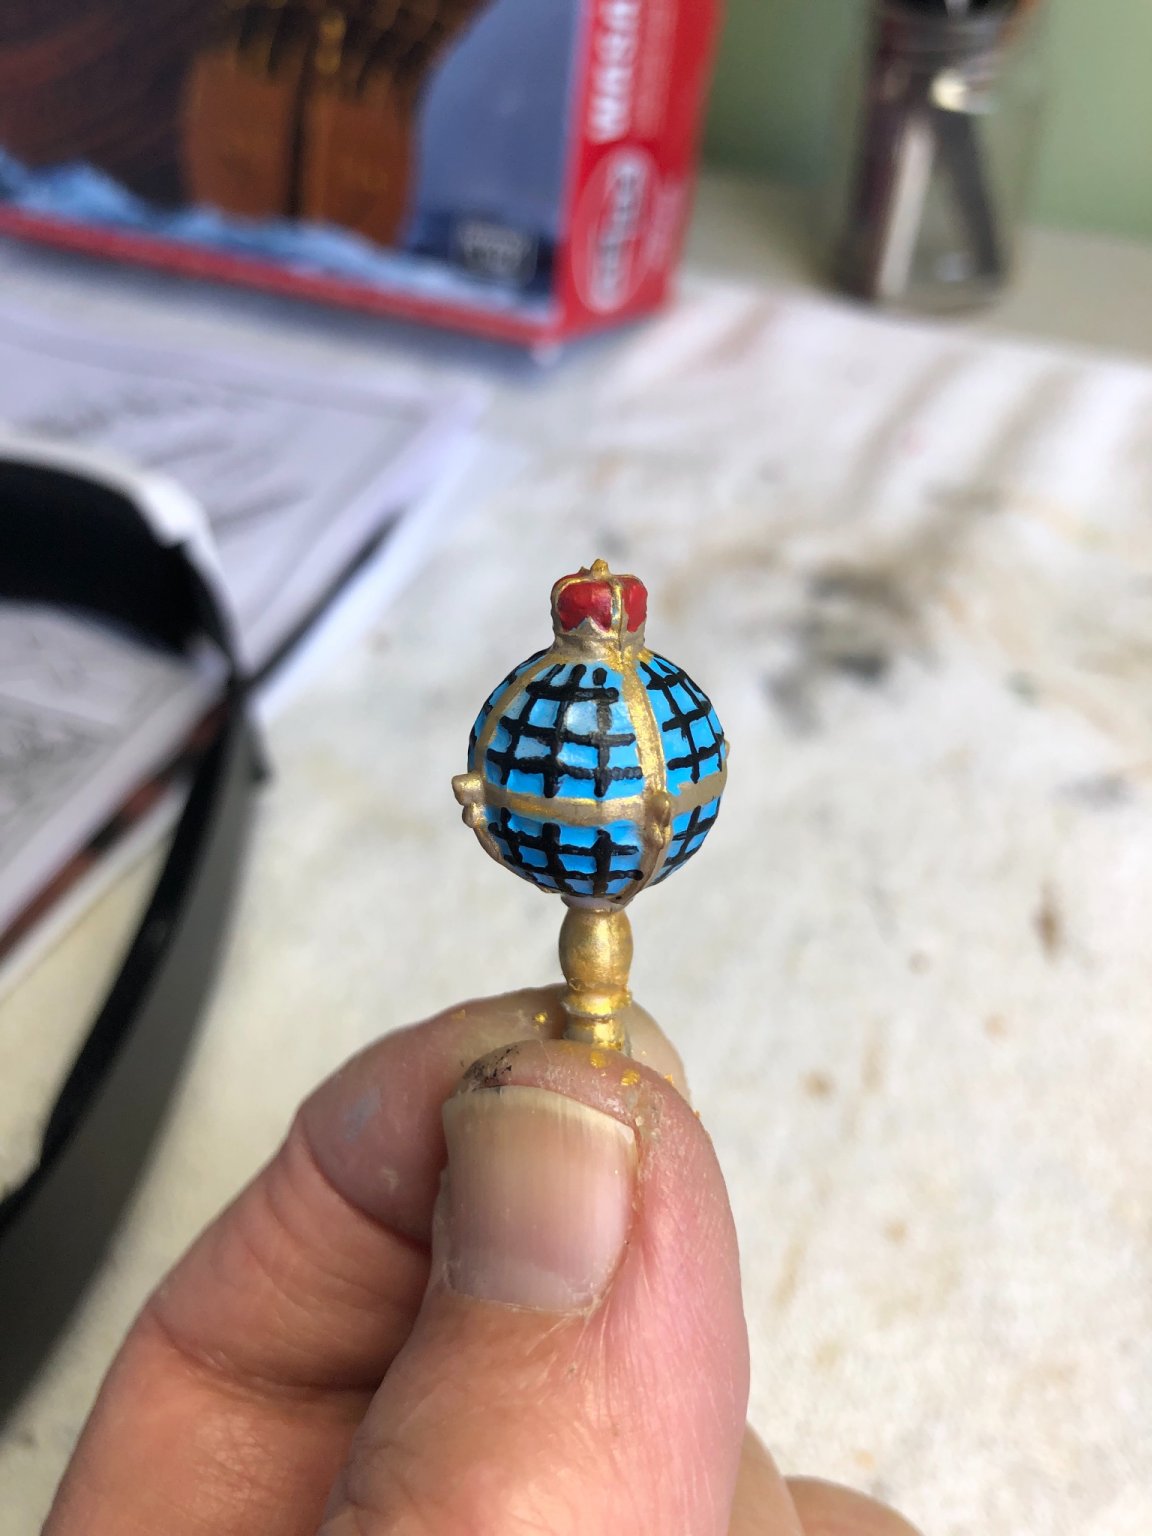
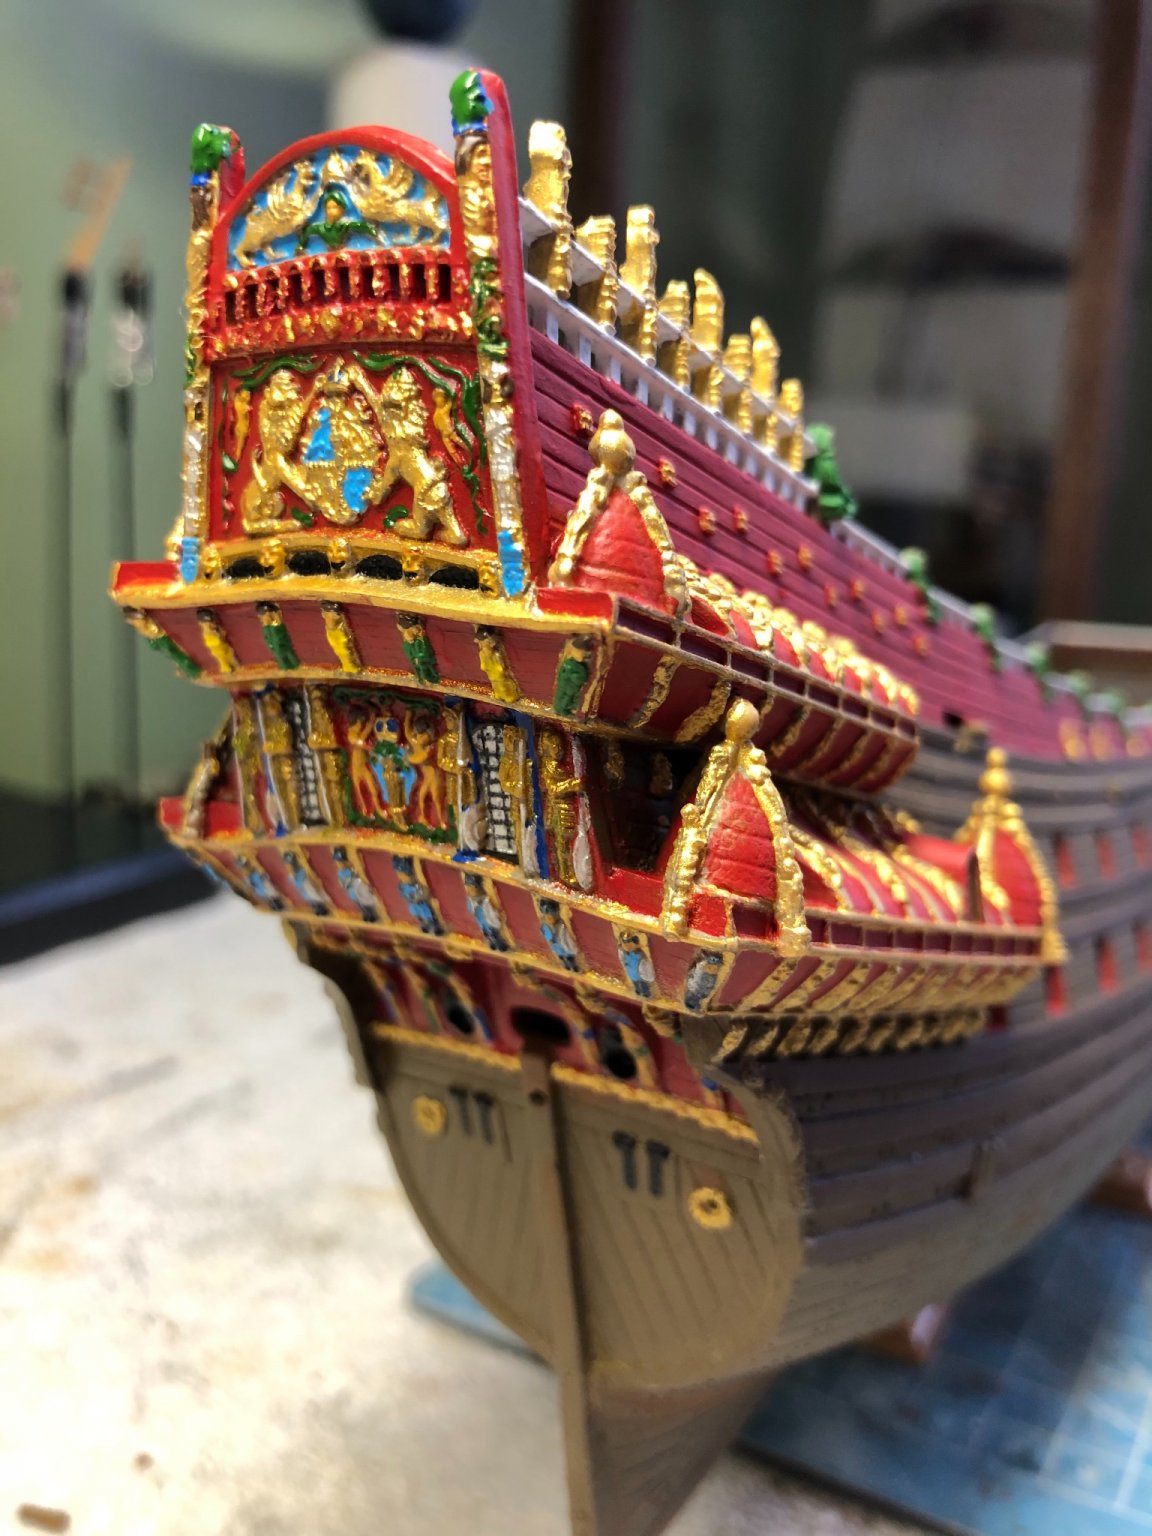
Finished the back section on the starboard side! Now the full starboard side is complete! I left some of the ornamentation solid gold. Woo Hoo! Also got the little globe shaped thing painted (whatever it is). Now on to the port side and what comes next.


-
Not sure Michael. Will be curious to see what you ultimately do with yours. I will mainly be anxious to see if you discover I did anything wrong and that your’s actually fits perfectly. Will not be surprised.
-
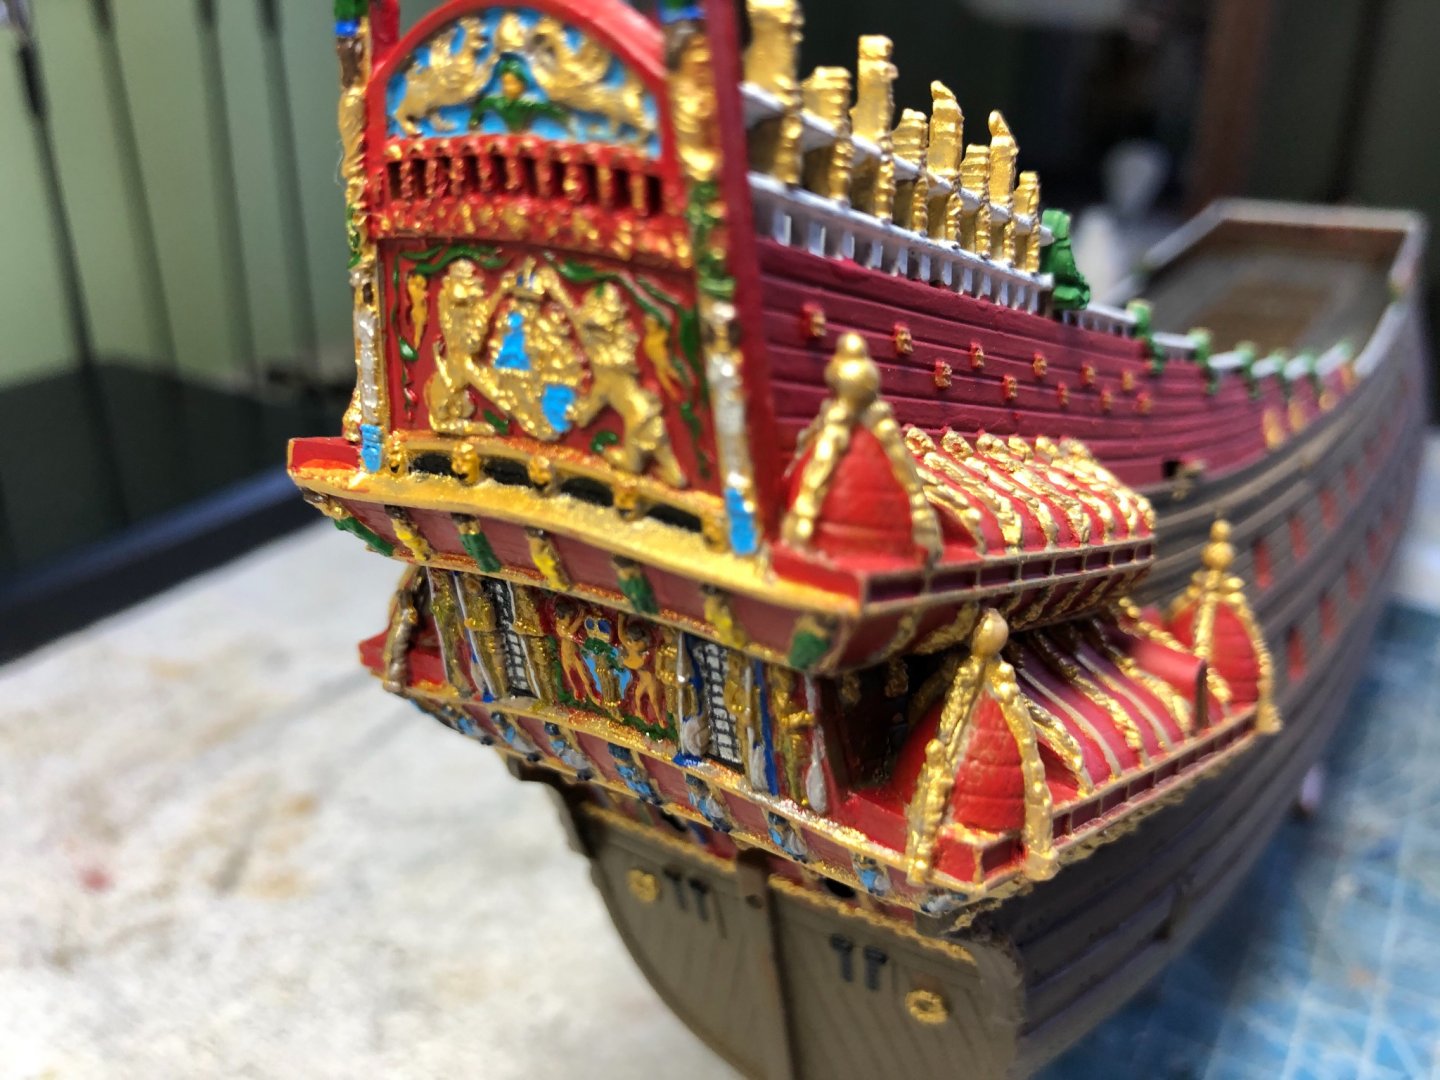
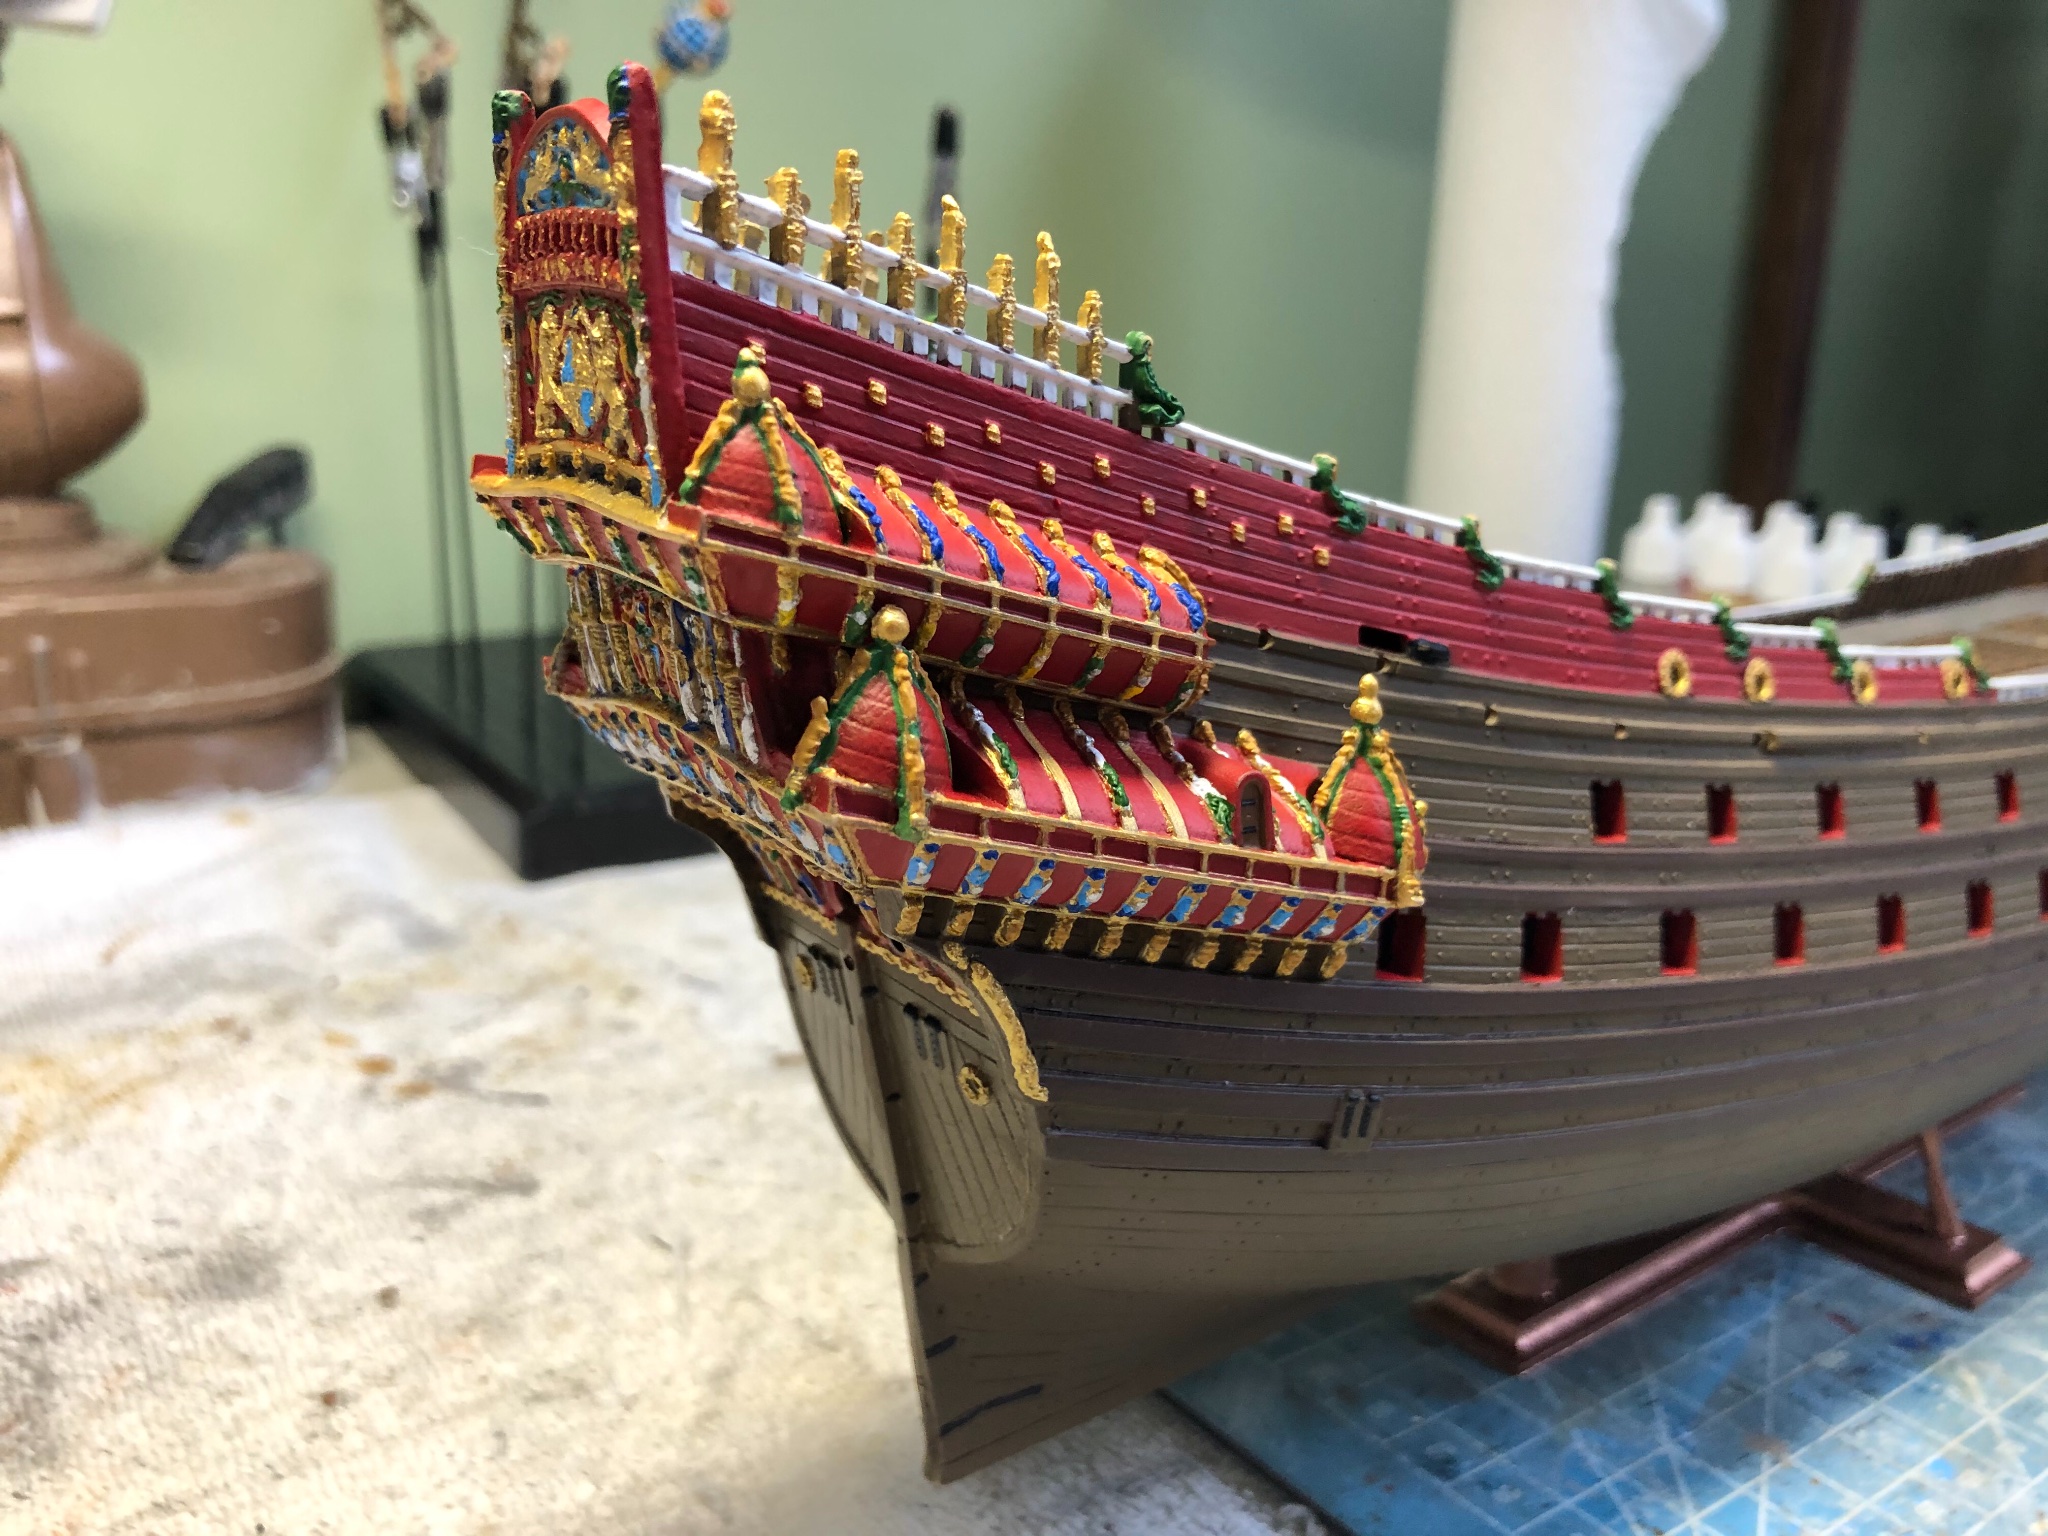
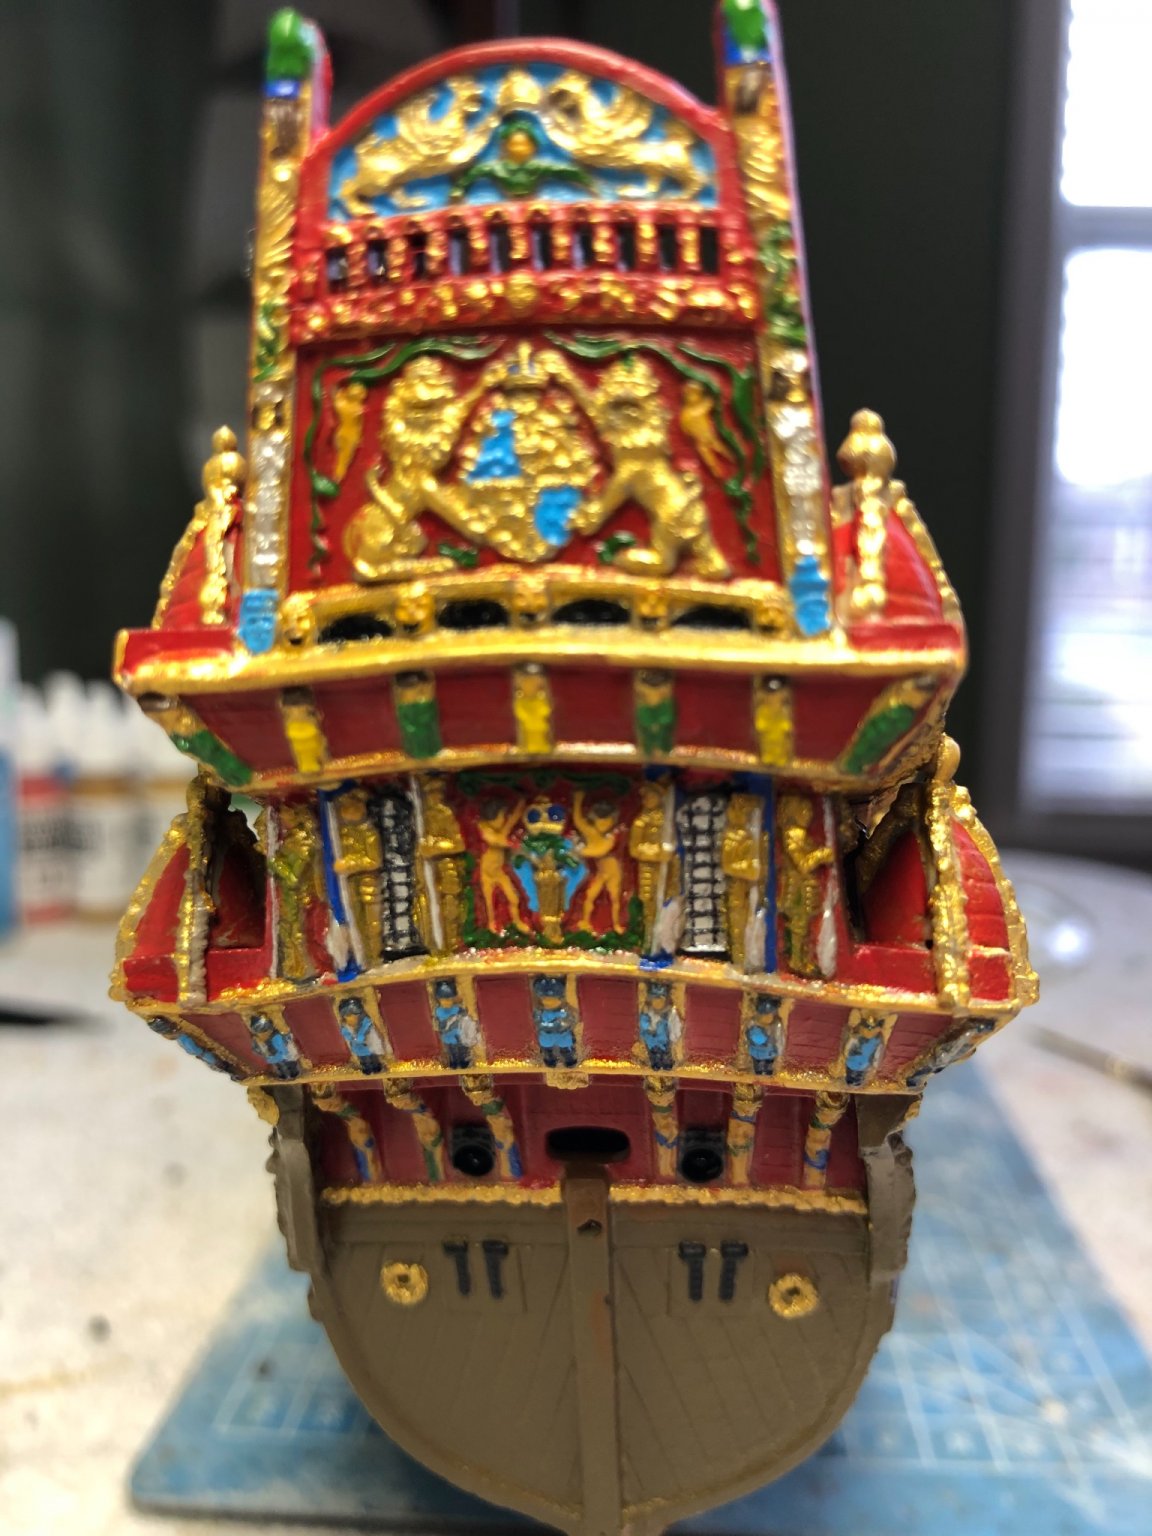
After many hours over a magnifying lamp, and a few bourbons to steady my hand, I finished the stern of my Wasa. Still have the port and starboard sides to detail over the gold but the back is done. Glad I went with polychromatic!


- GrandpaPhil, kirill4, Jeff T and 2 others
-
5
-
Forgot to add the photos before I hit submit. To much bourbon last night. 🥃
Photos are not in order of my explanation but are all there.


- Baker and GrandpaPhil
-
2


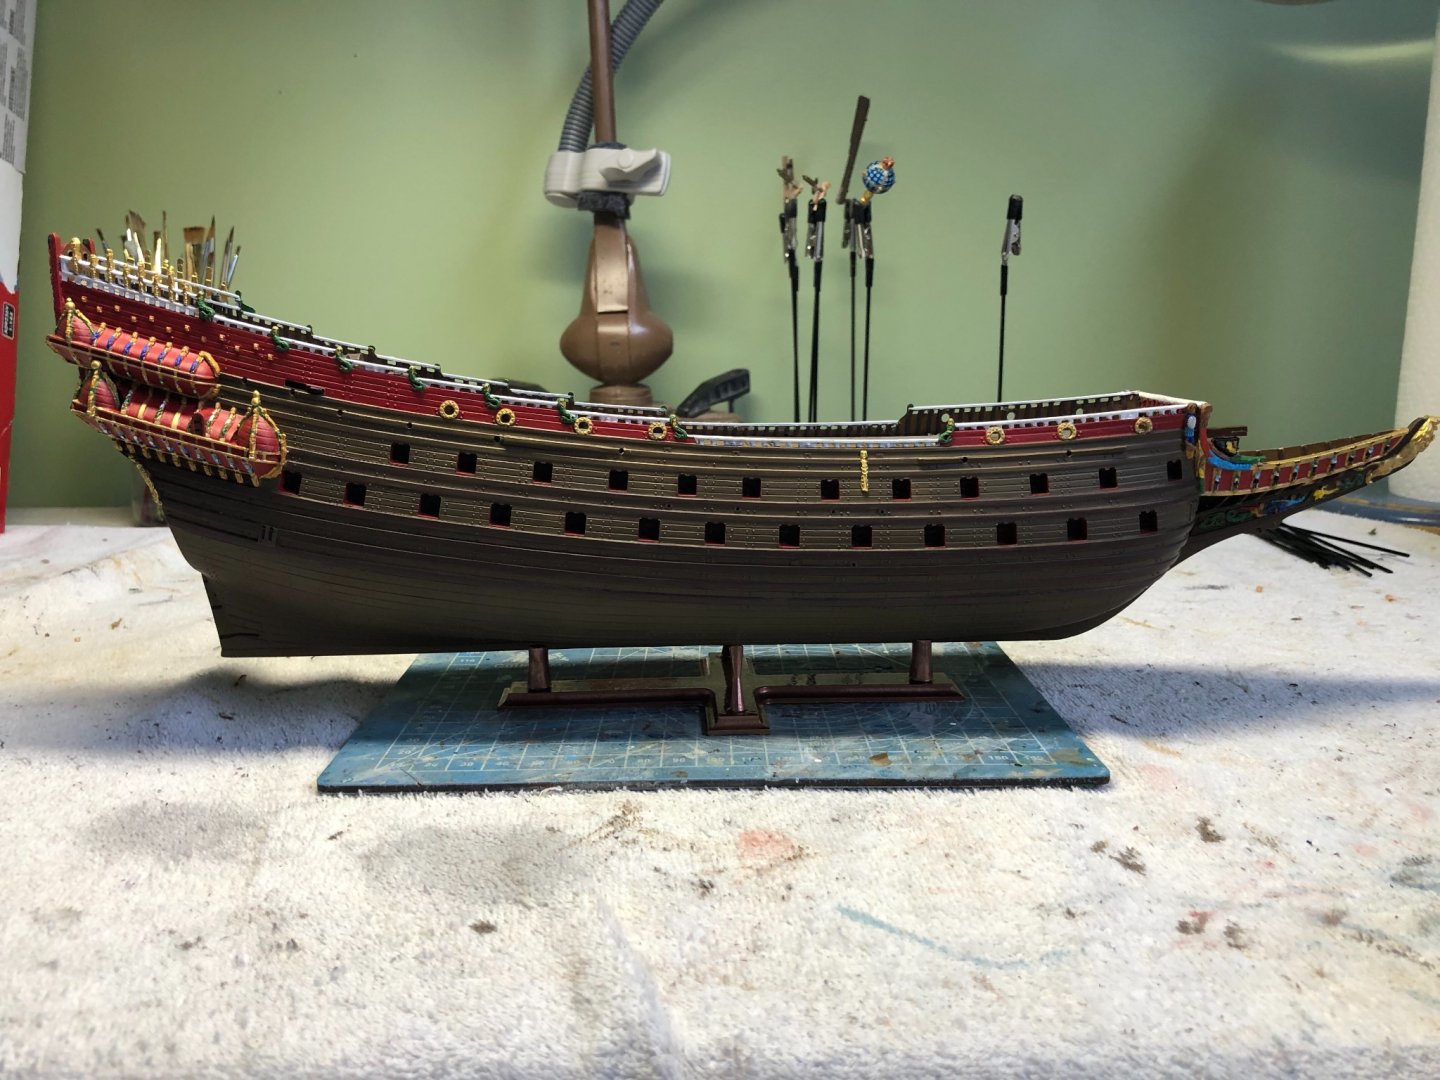
Wasa by Bill97 - FINISHED - Airfix - 1/144
in - Kit build logs for subjects built from 1501 - 1750
Posted
Looking ahead to shrouds, standing and running rigging I am aware that this kit came with only white thread. There is a suggestion to soak the white thread in tea to obtain desired color. I am going to purchase thread on line in various sizes instead. I have a light tan color thread for the running rigging but need thread for the standing rigging. I automatically looked for black like I have used on all my other builds. I found black but also found one called coke brown. That got me wondering if Airfix suggested soaking in tea is a coke brown more accurate than black for standing rigging? I ordered various sizes of the black and will get it soon but now wonder if I should have gone with the brown?