


Hennie
-
Posts
232 -
Joined
-
Last visited
Content Type
Profiles
Forums
Gallery
Events
Posts posted by Hennie
-
-
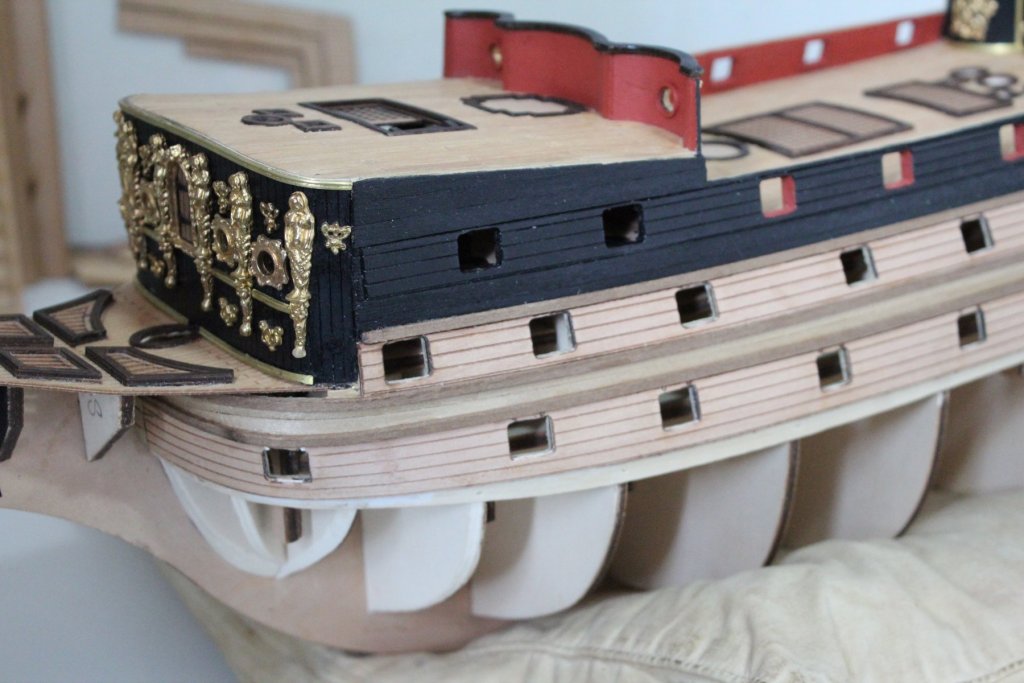
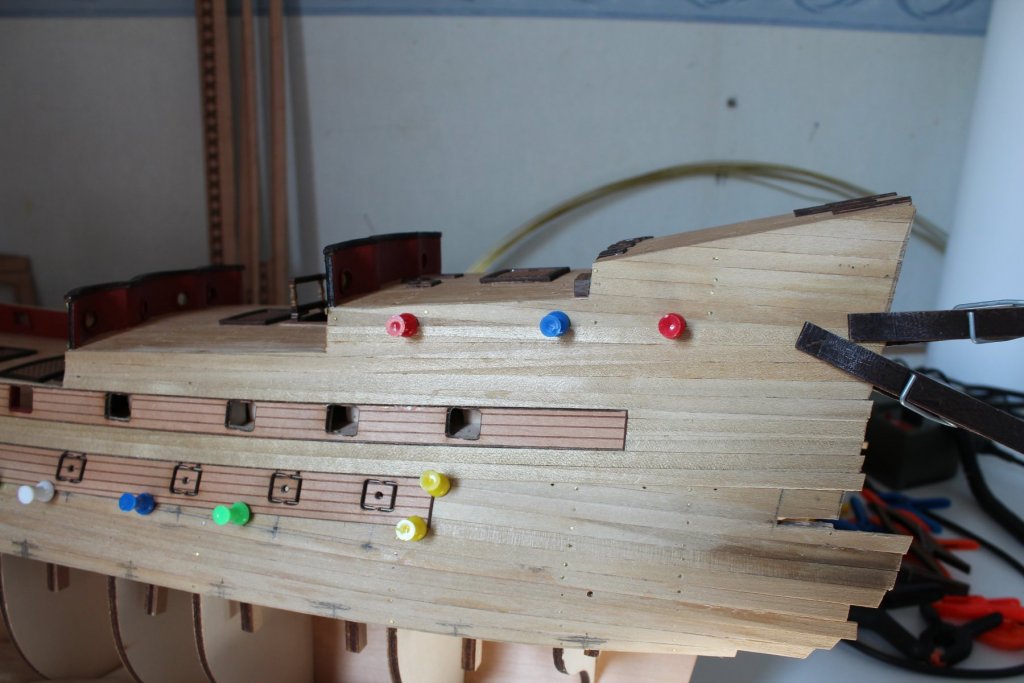
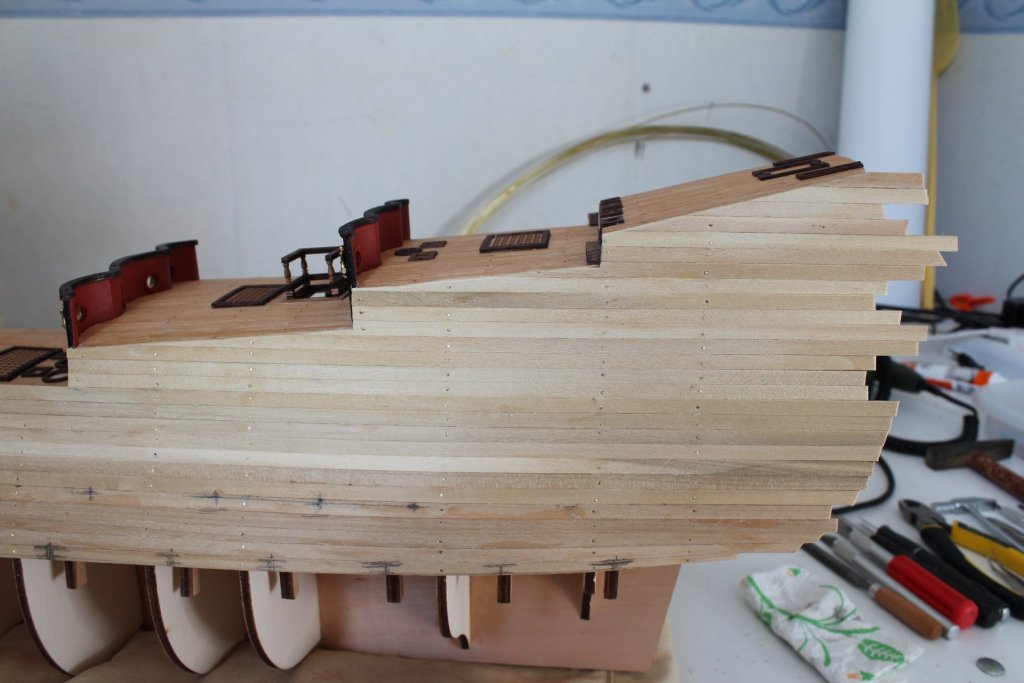
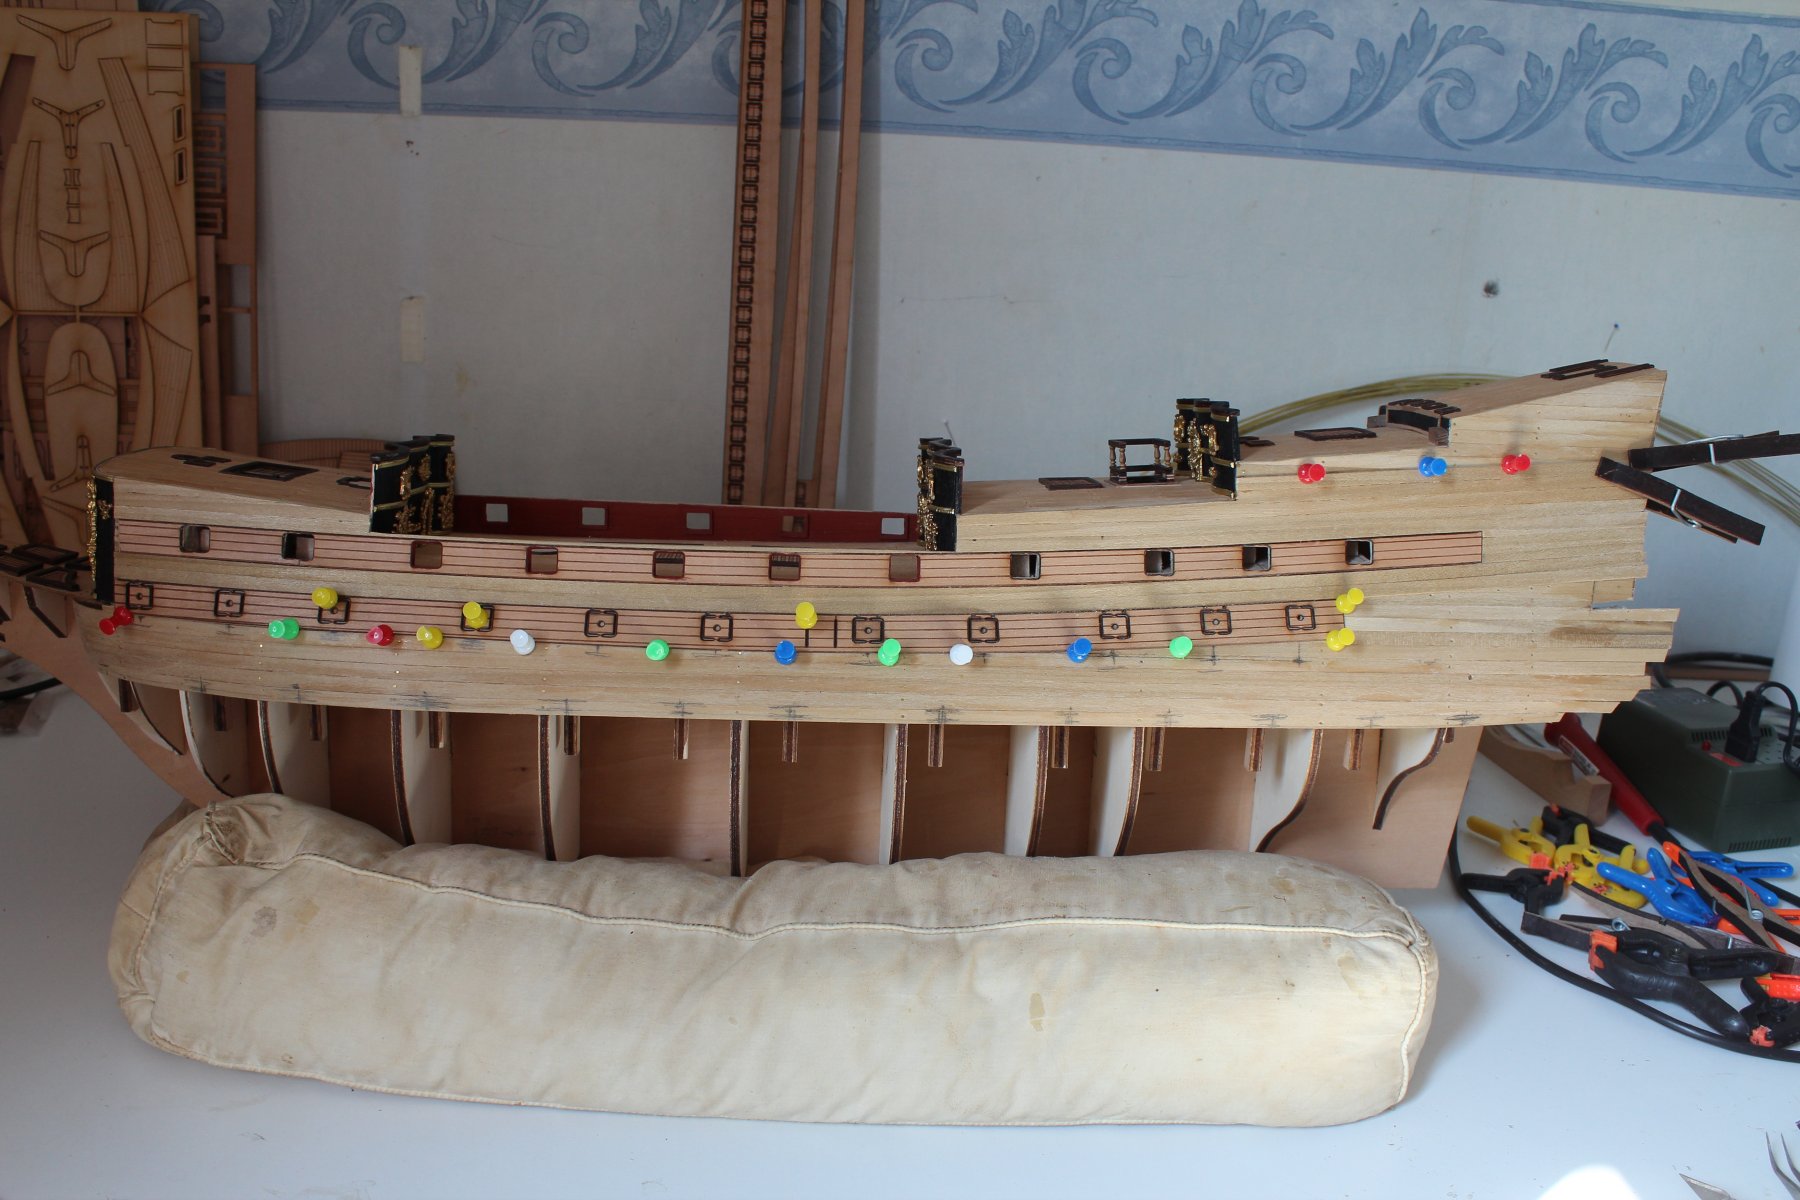
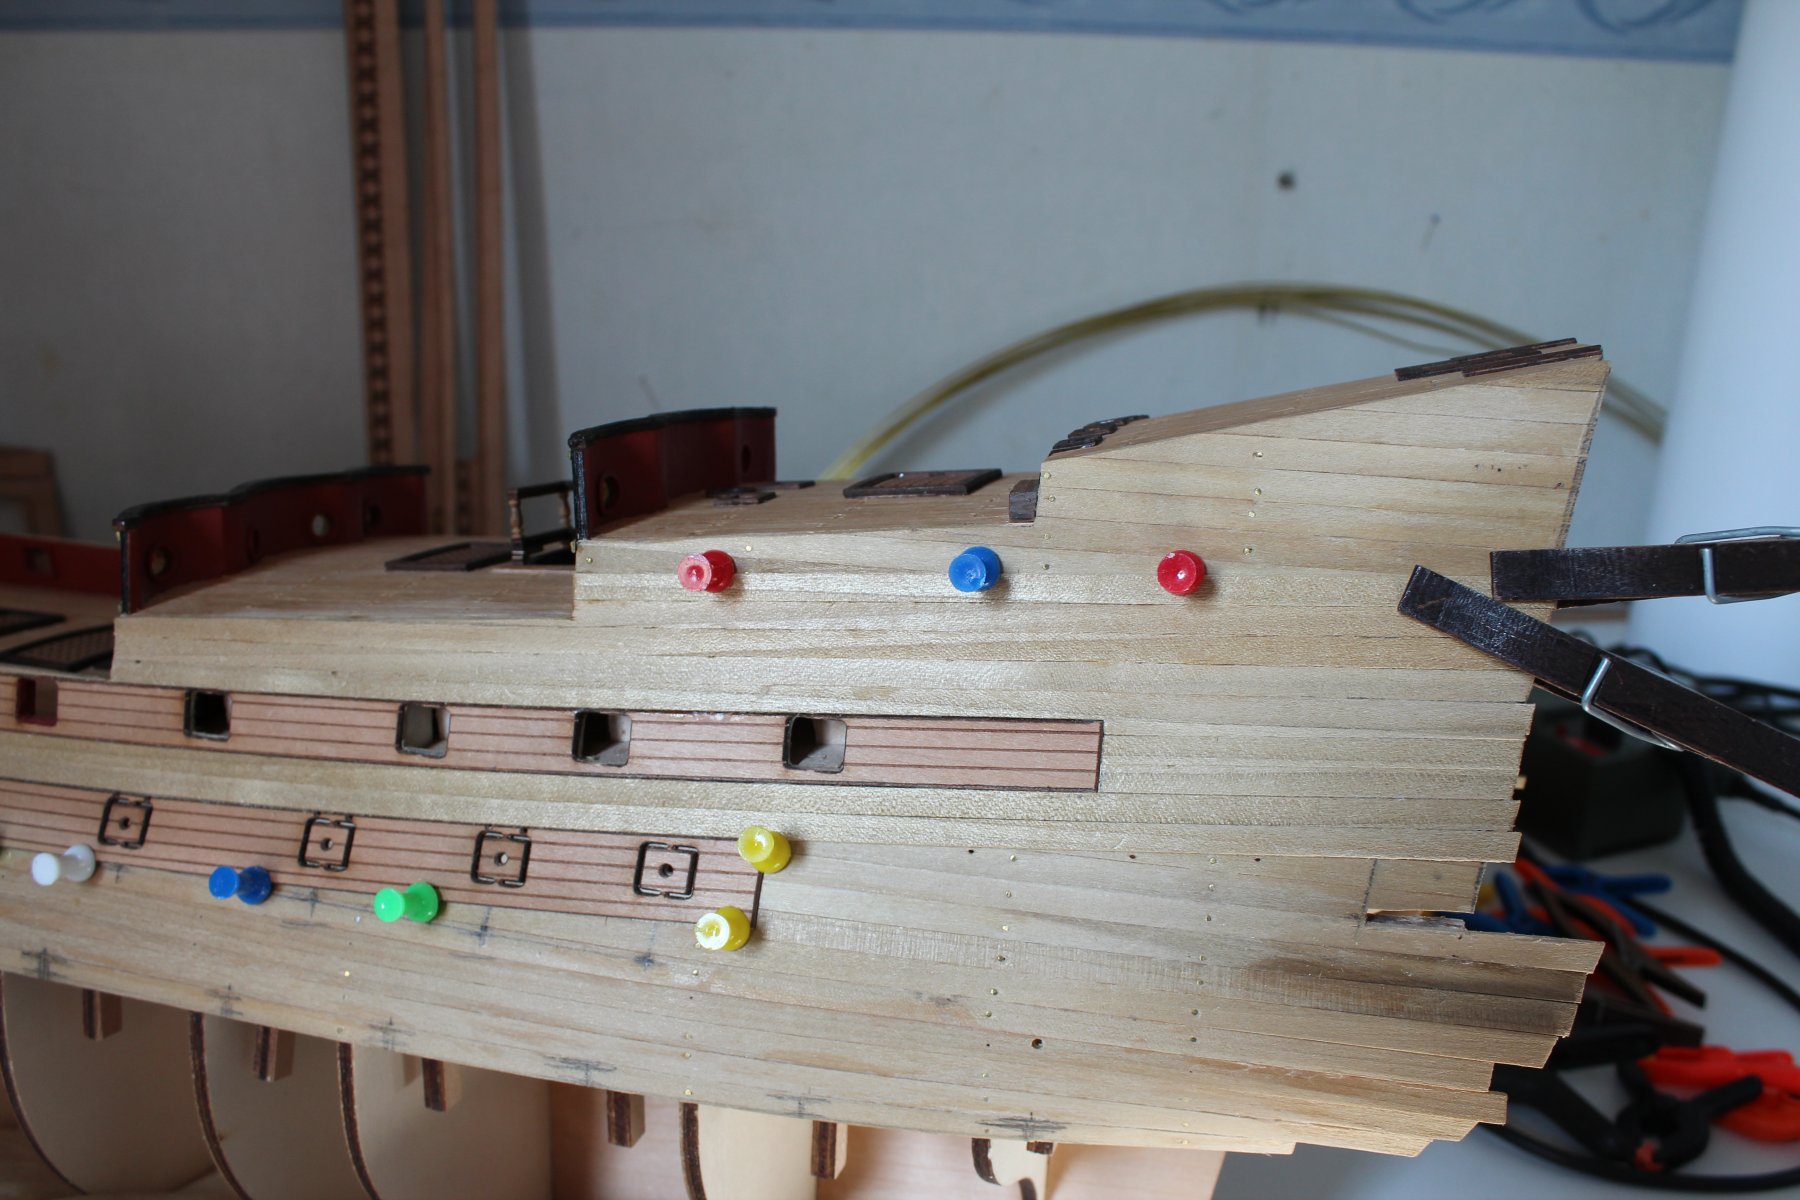
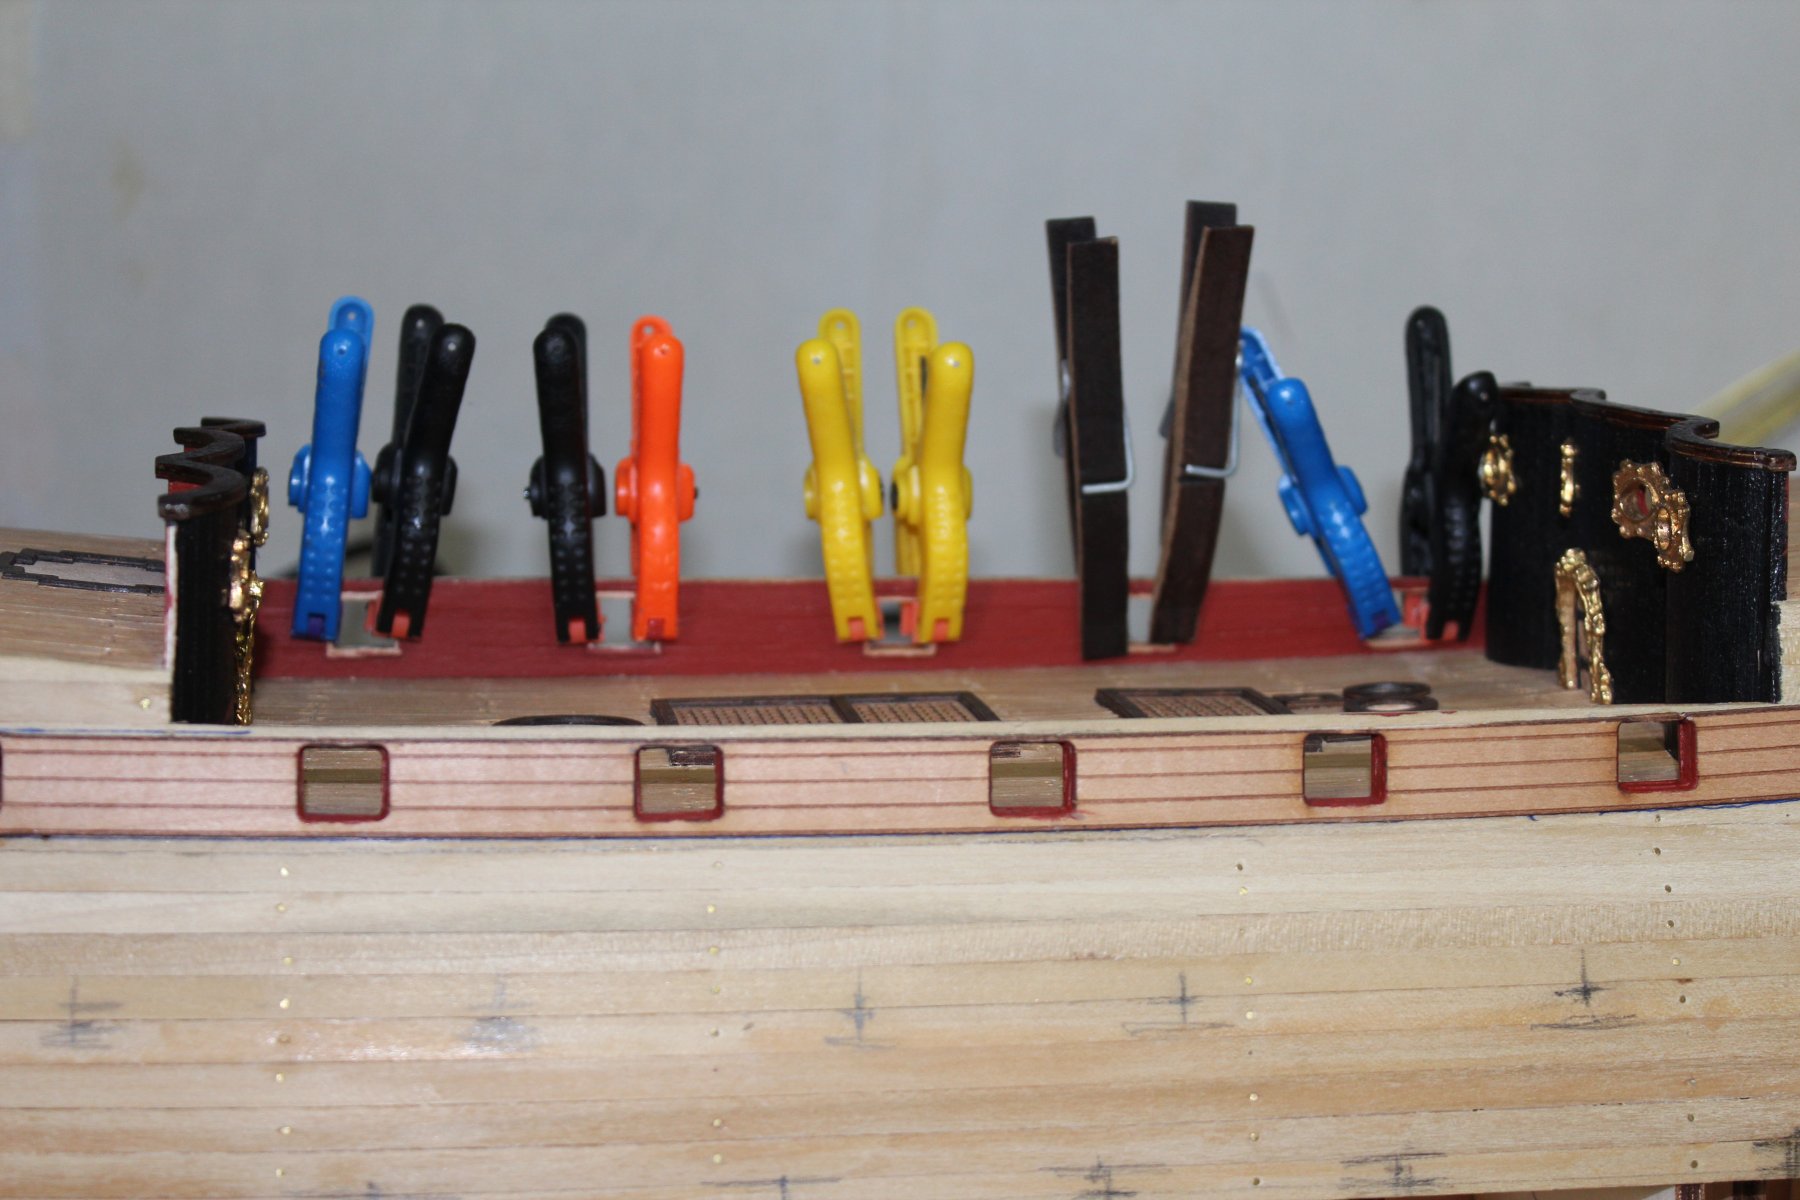
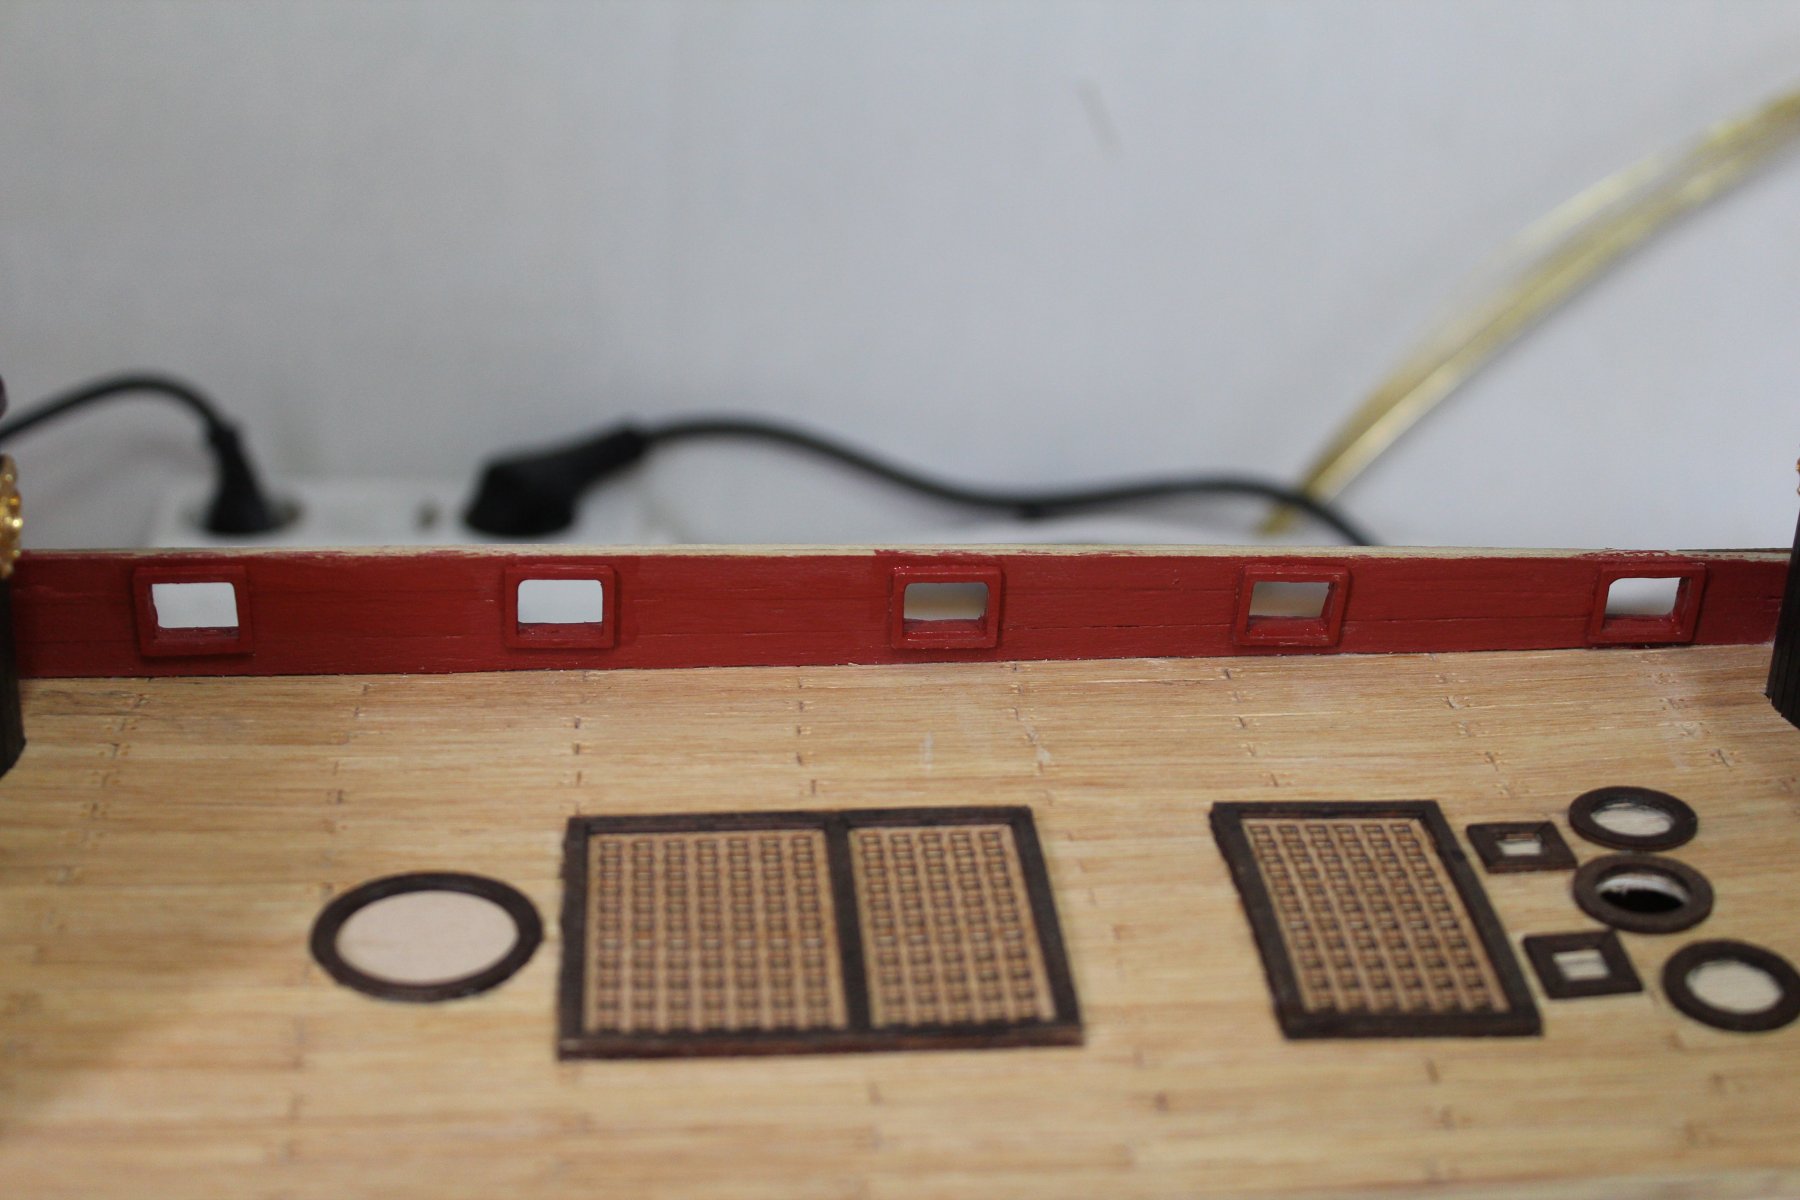
Weekly update: I finished the top side of the hull on the port side. This means the partial double planking, cutting the canon ports and painting the top of the hull black. And again several mistakes on the plans. On the drawings you can see that they put the prefab gunport strips on the wrong side!! All the strips of the port side do only fit on the star board side and vv.. So be carefull and take a good look on the plans.

-
-
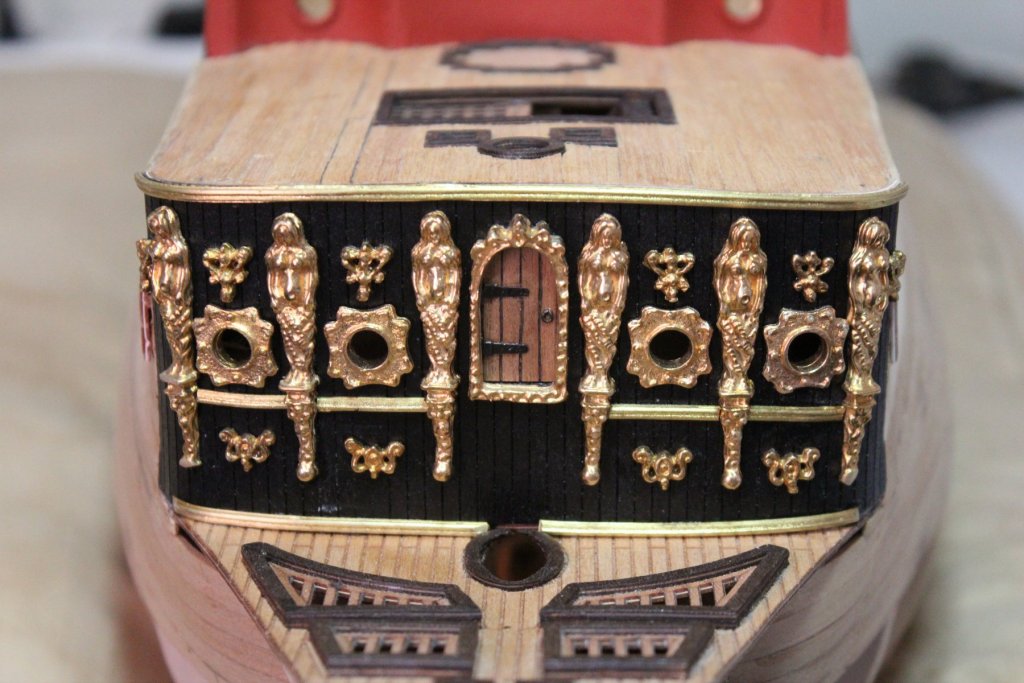
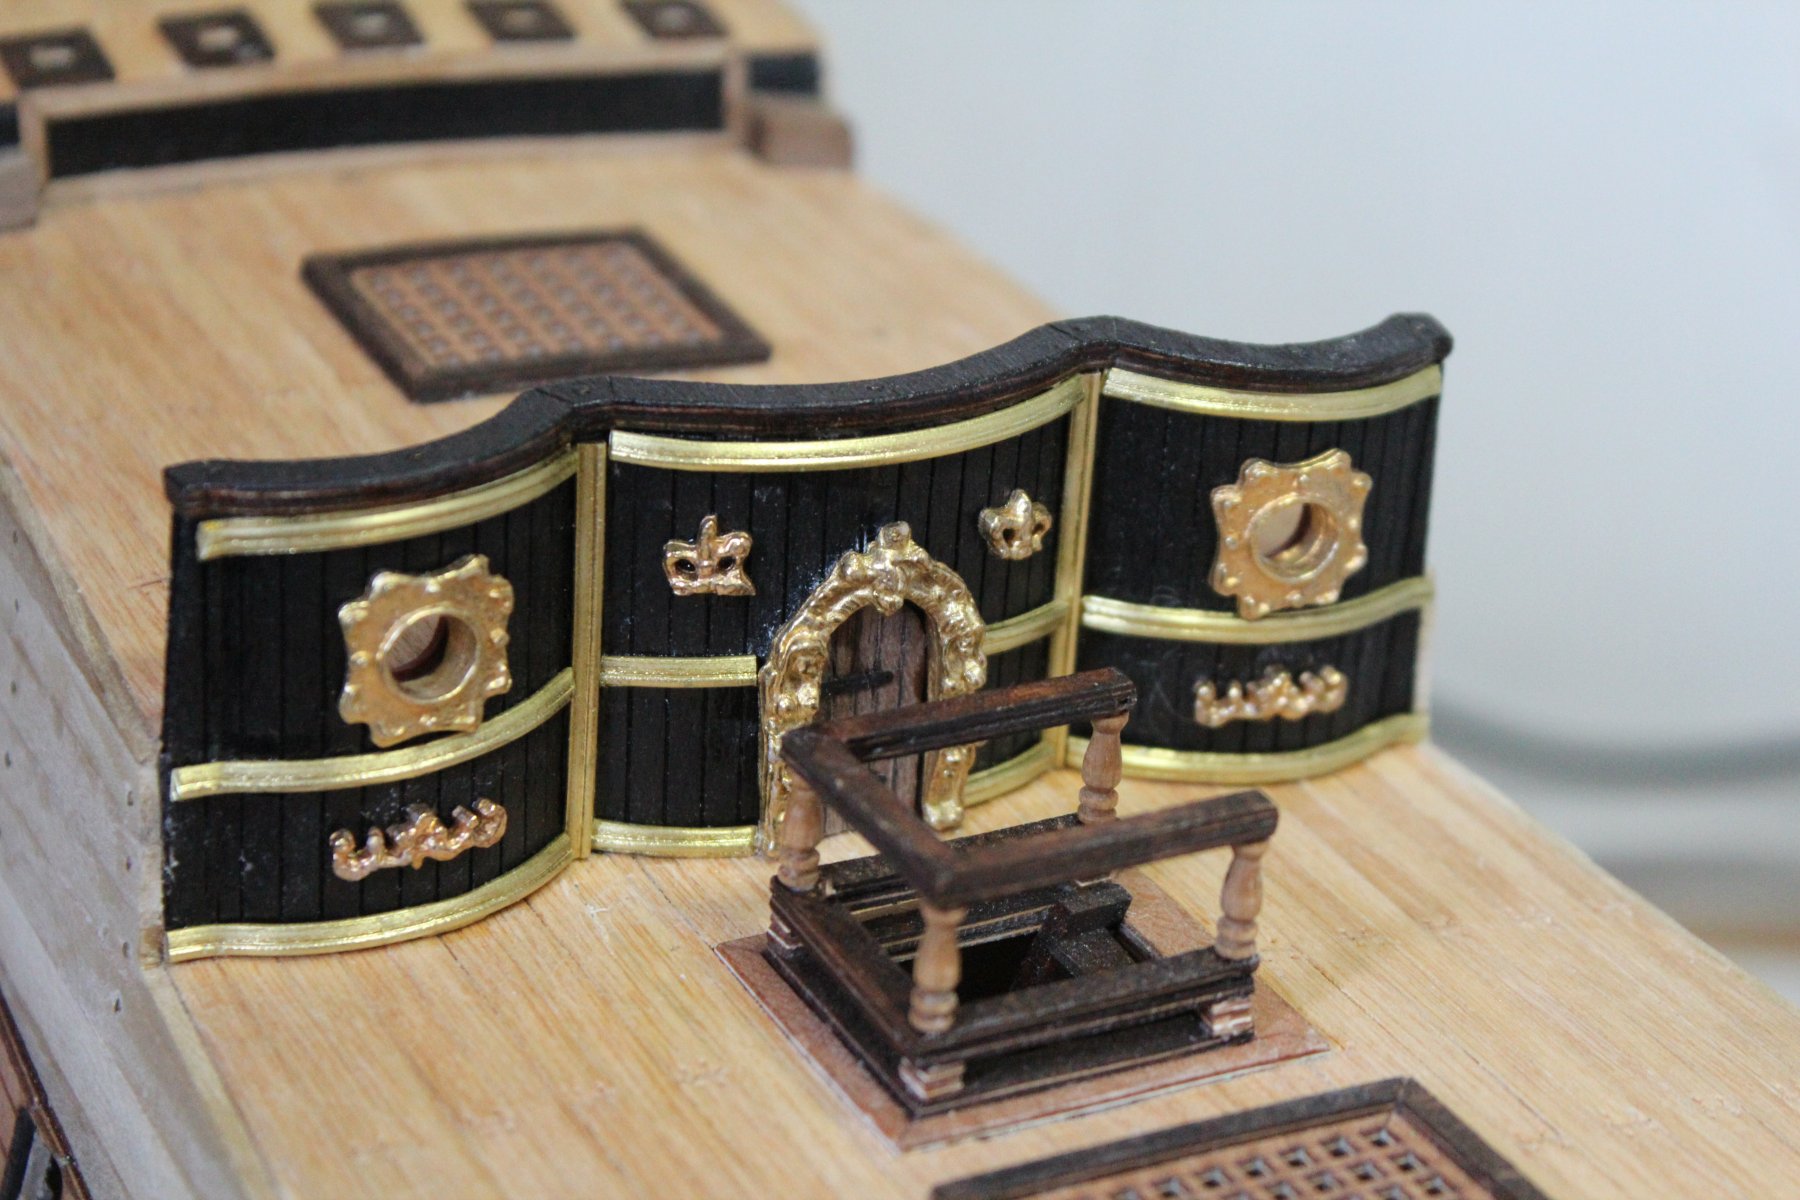
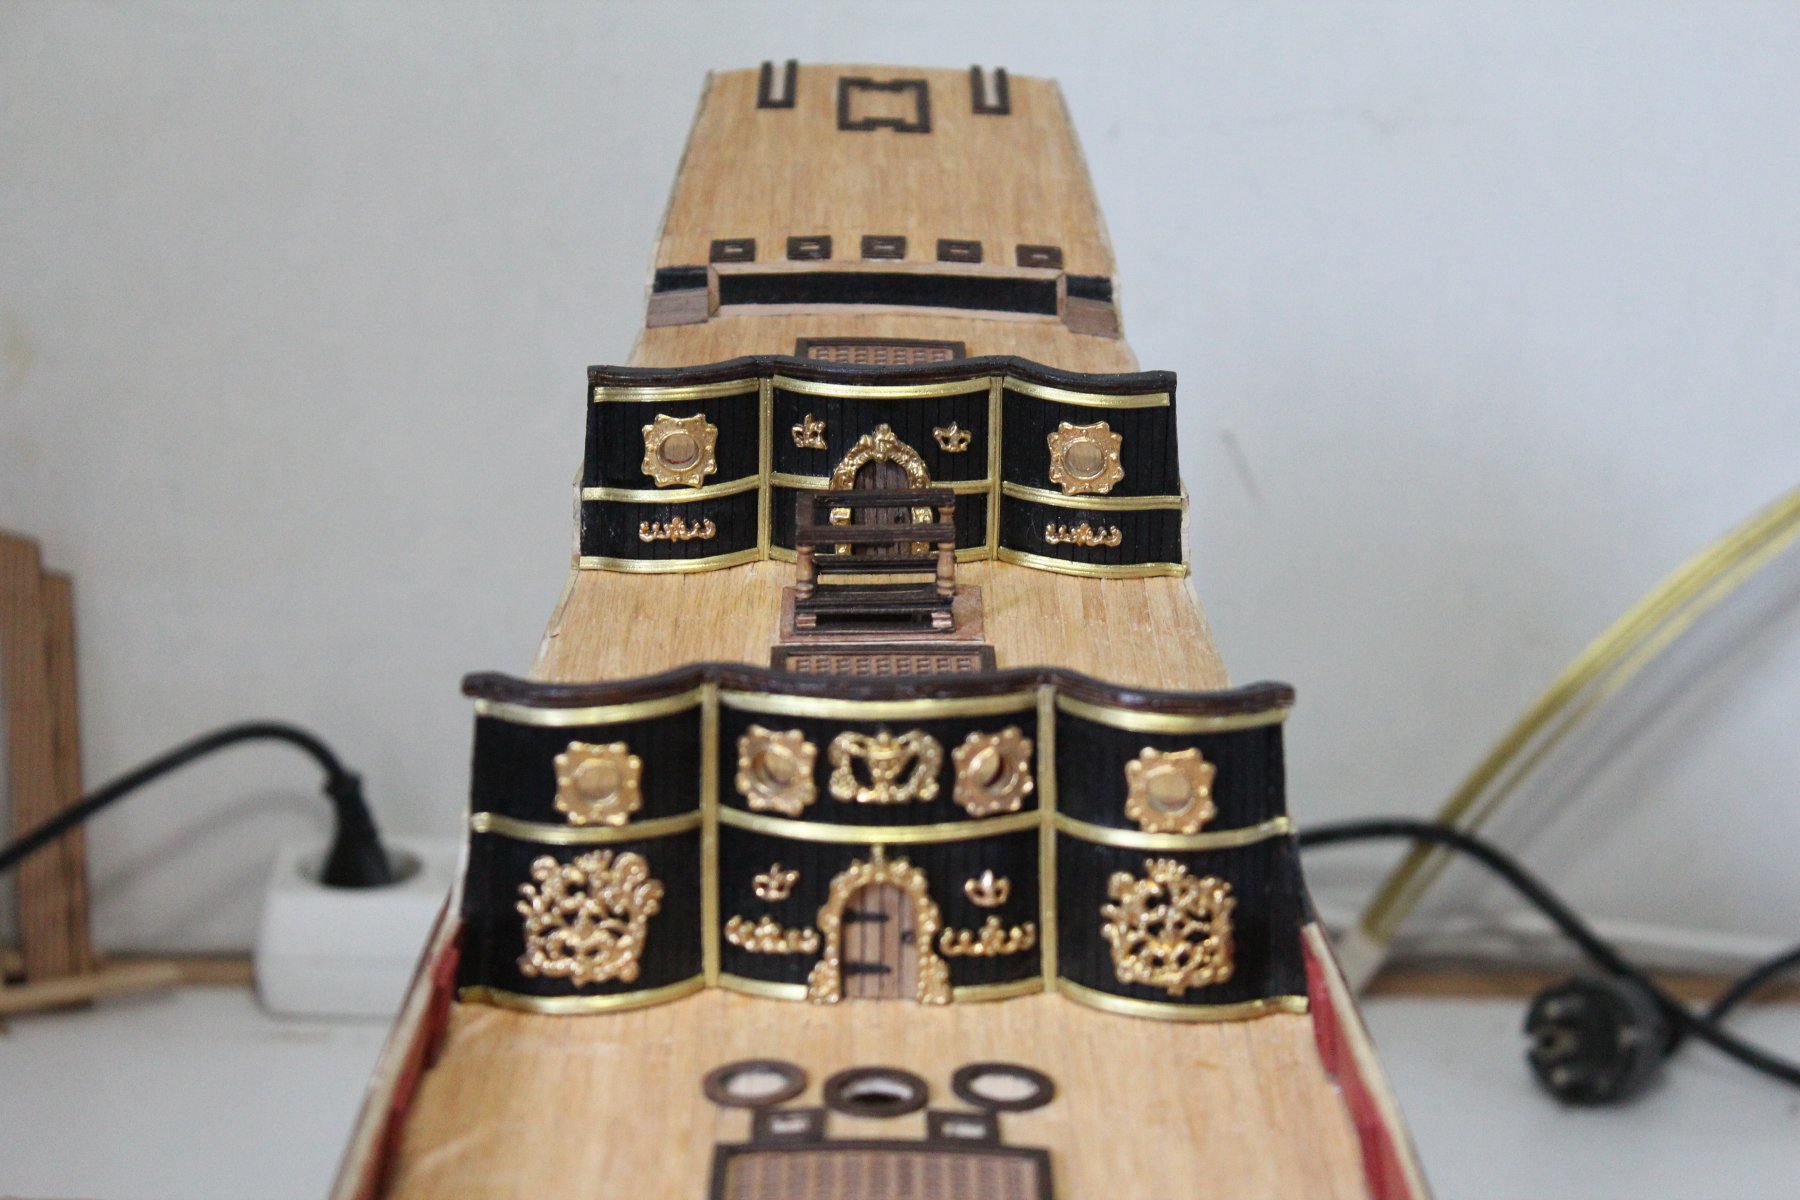
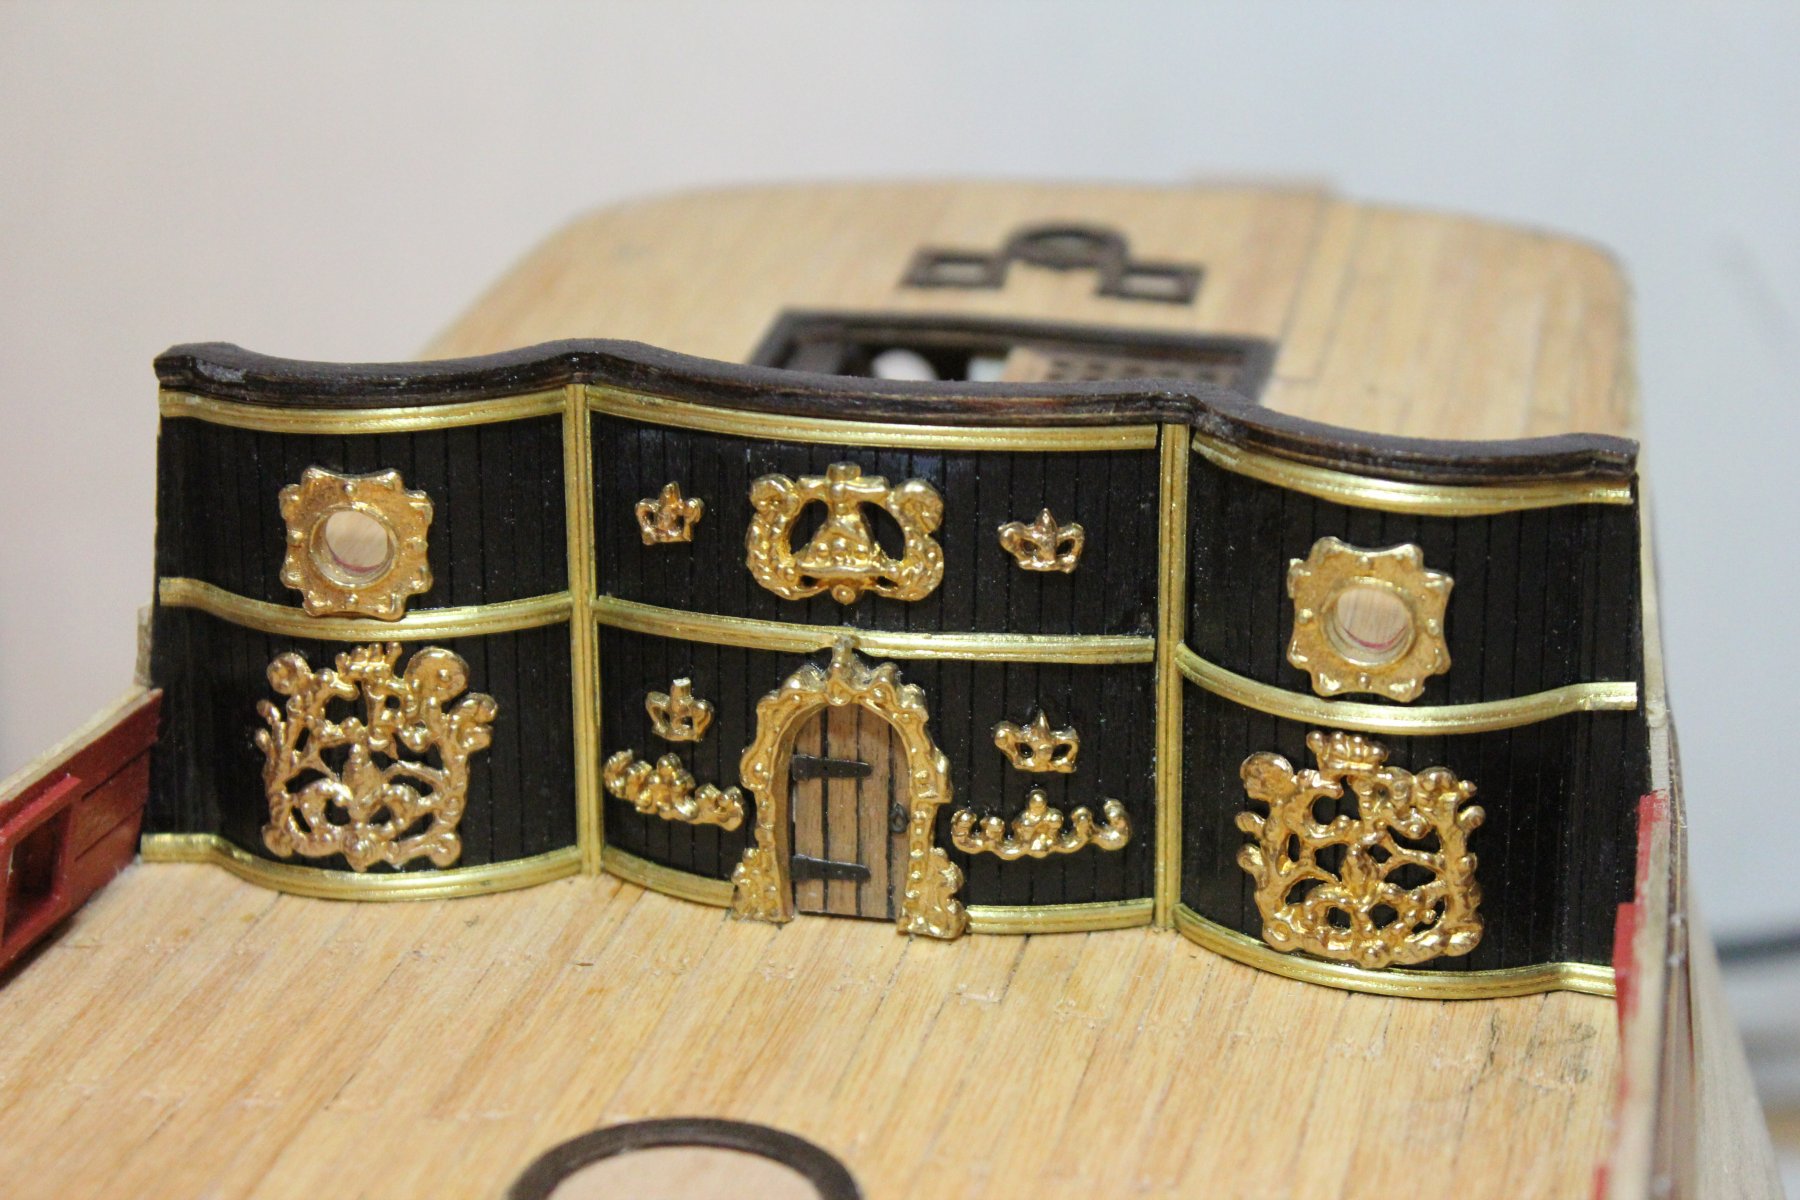
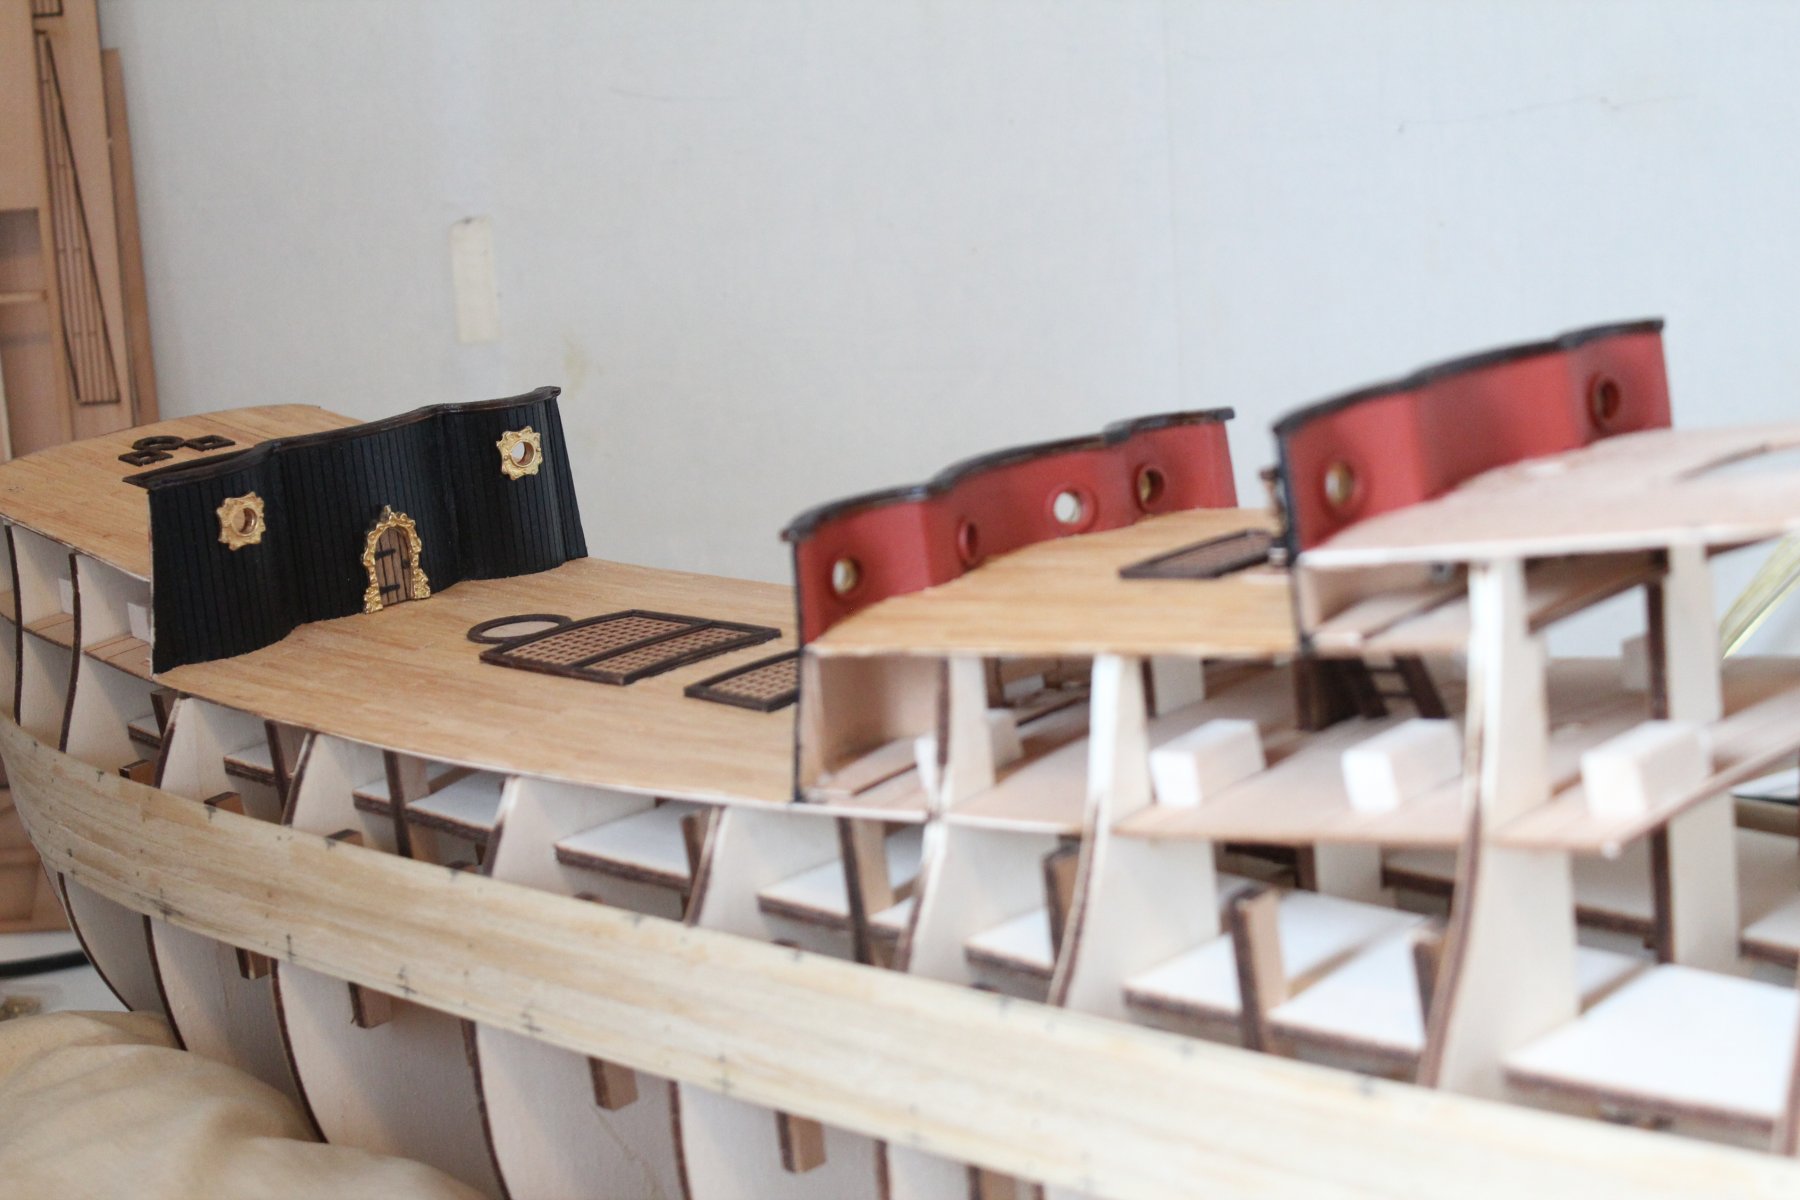
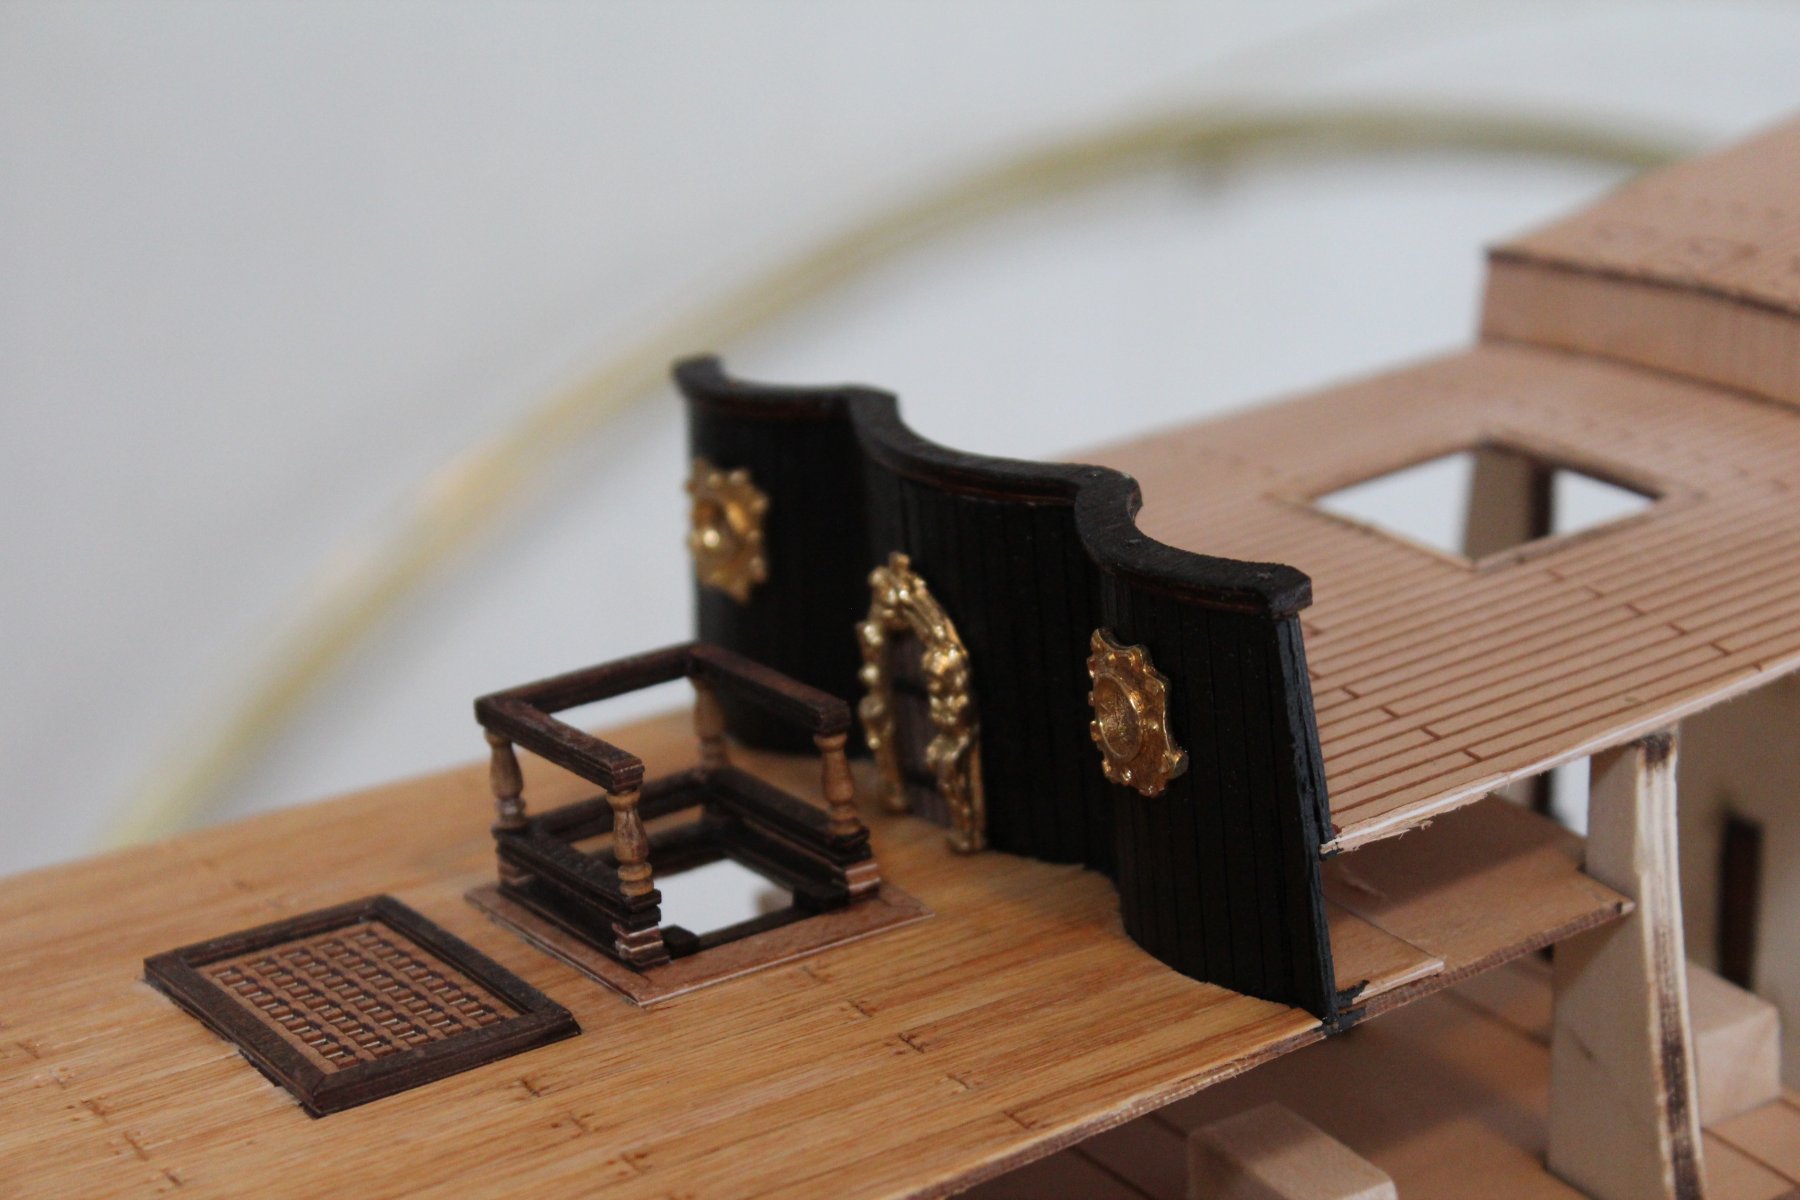
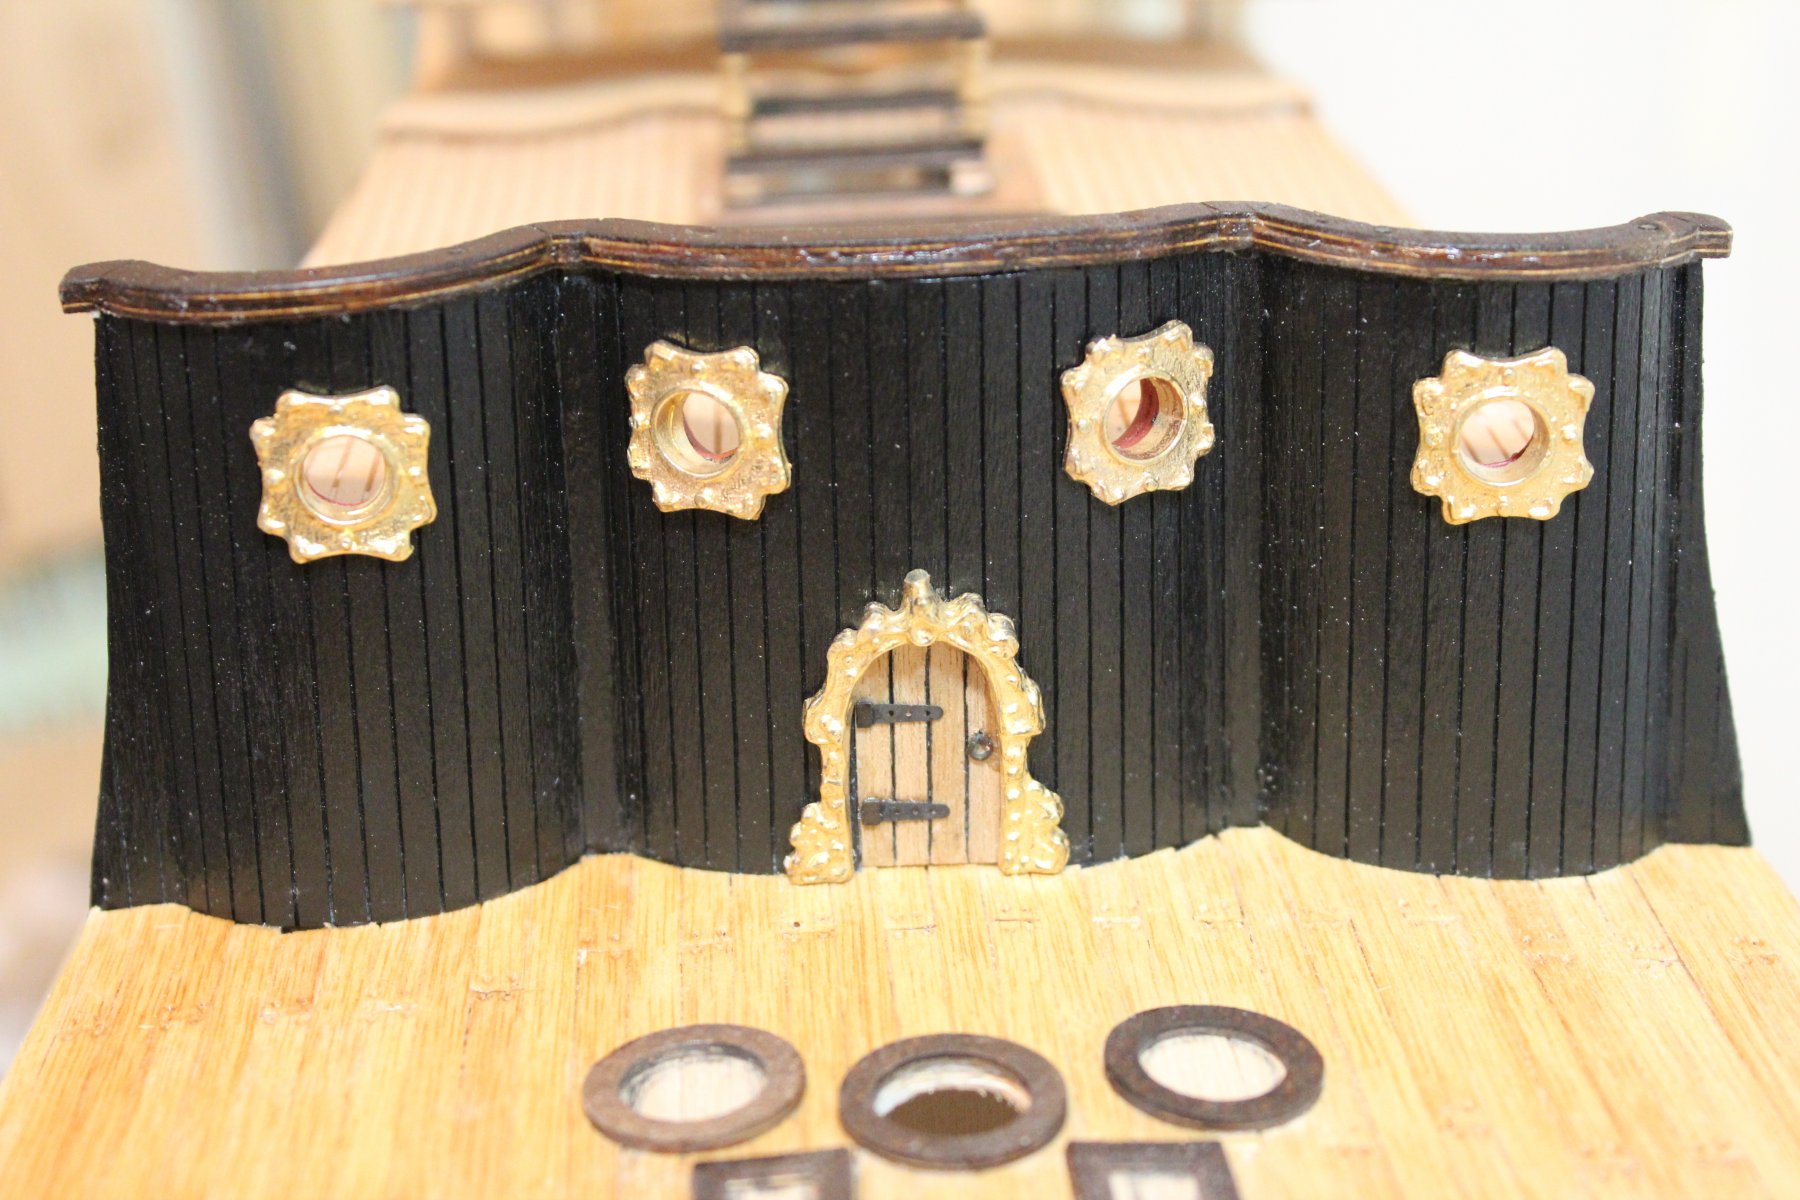
And a weekly update again:
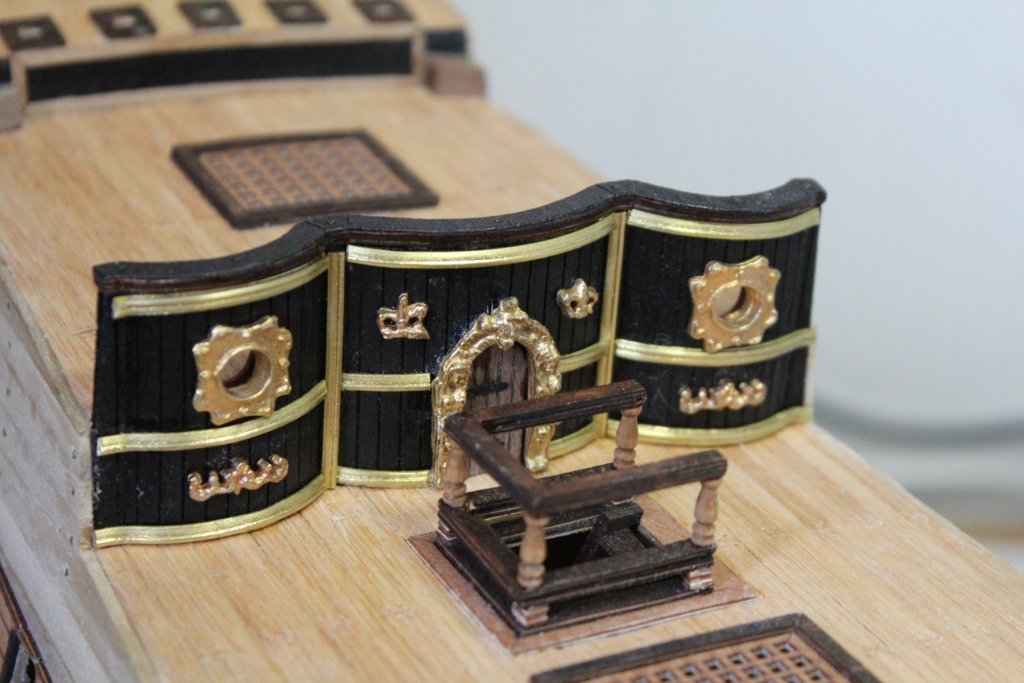
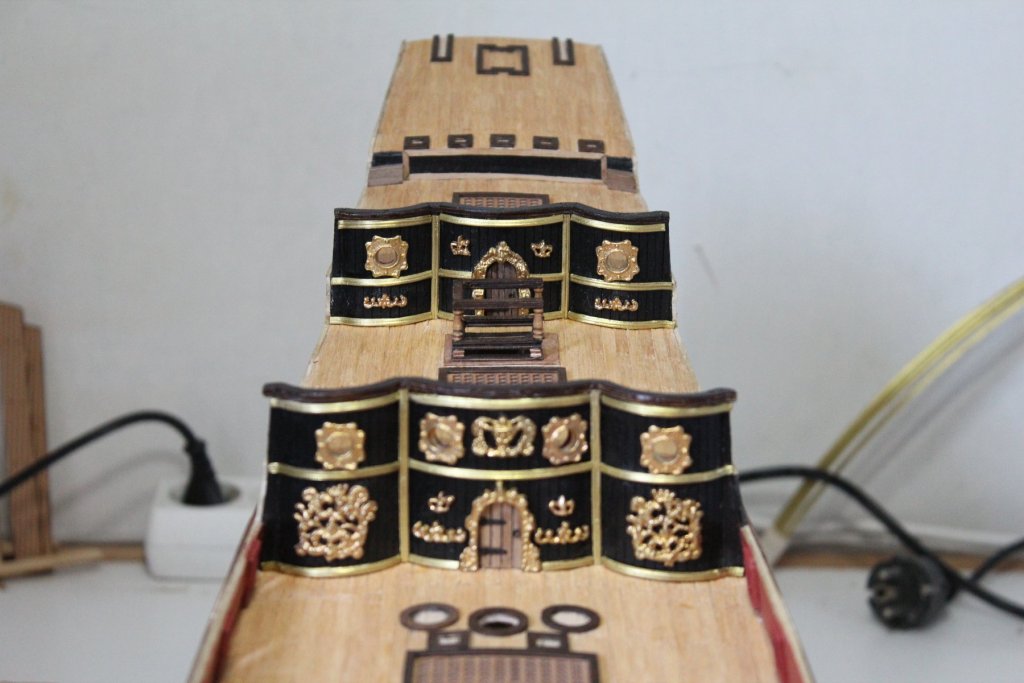
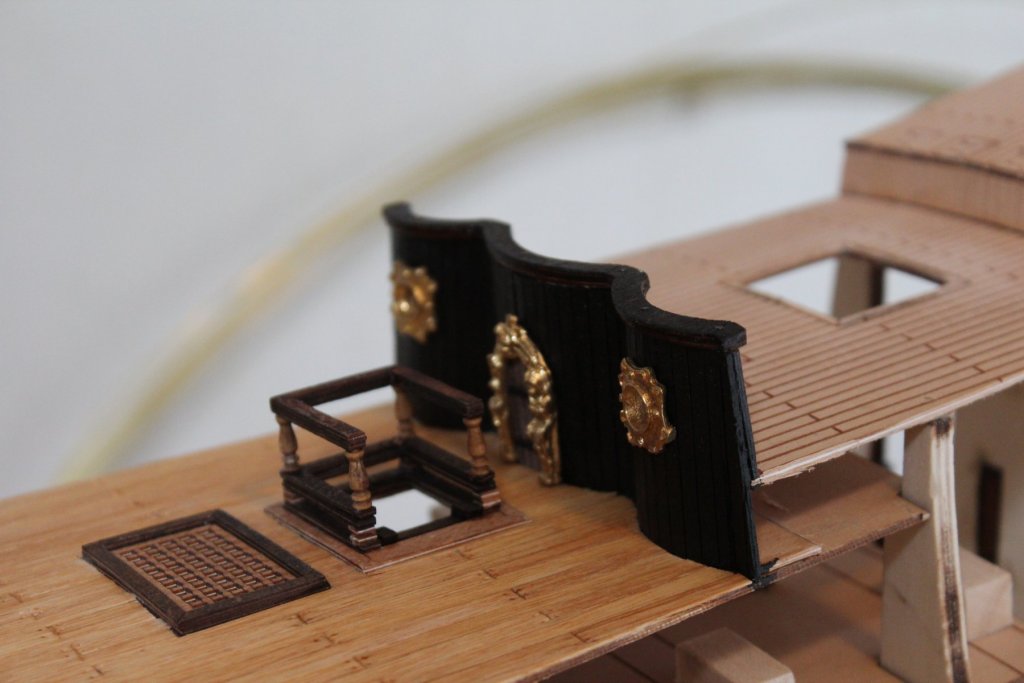
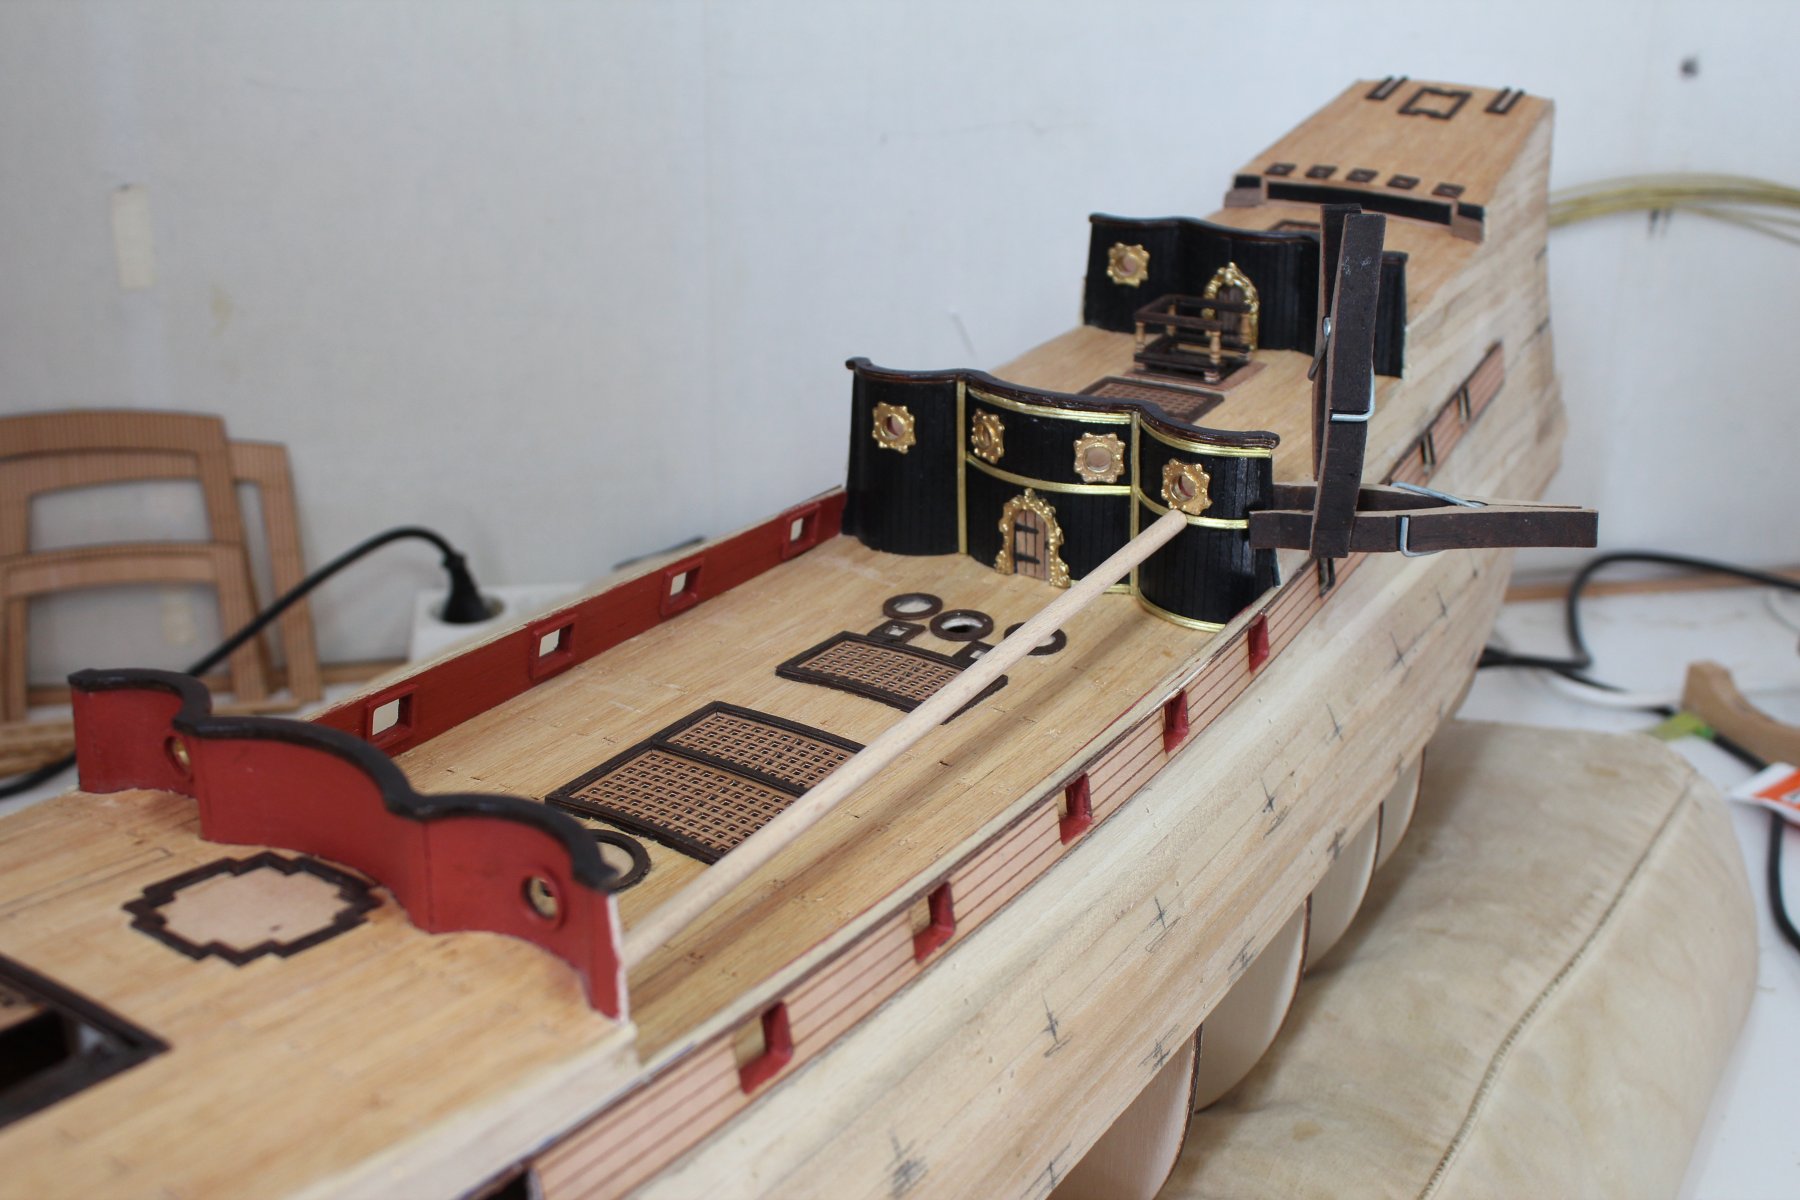
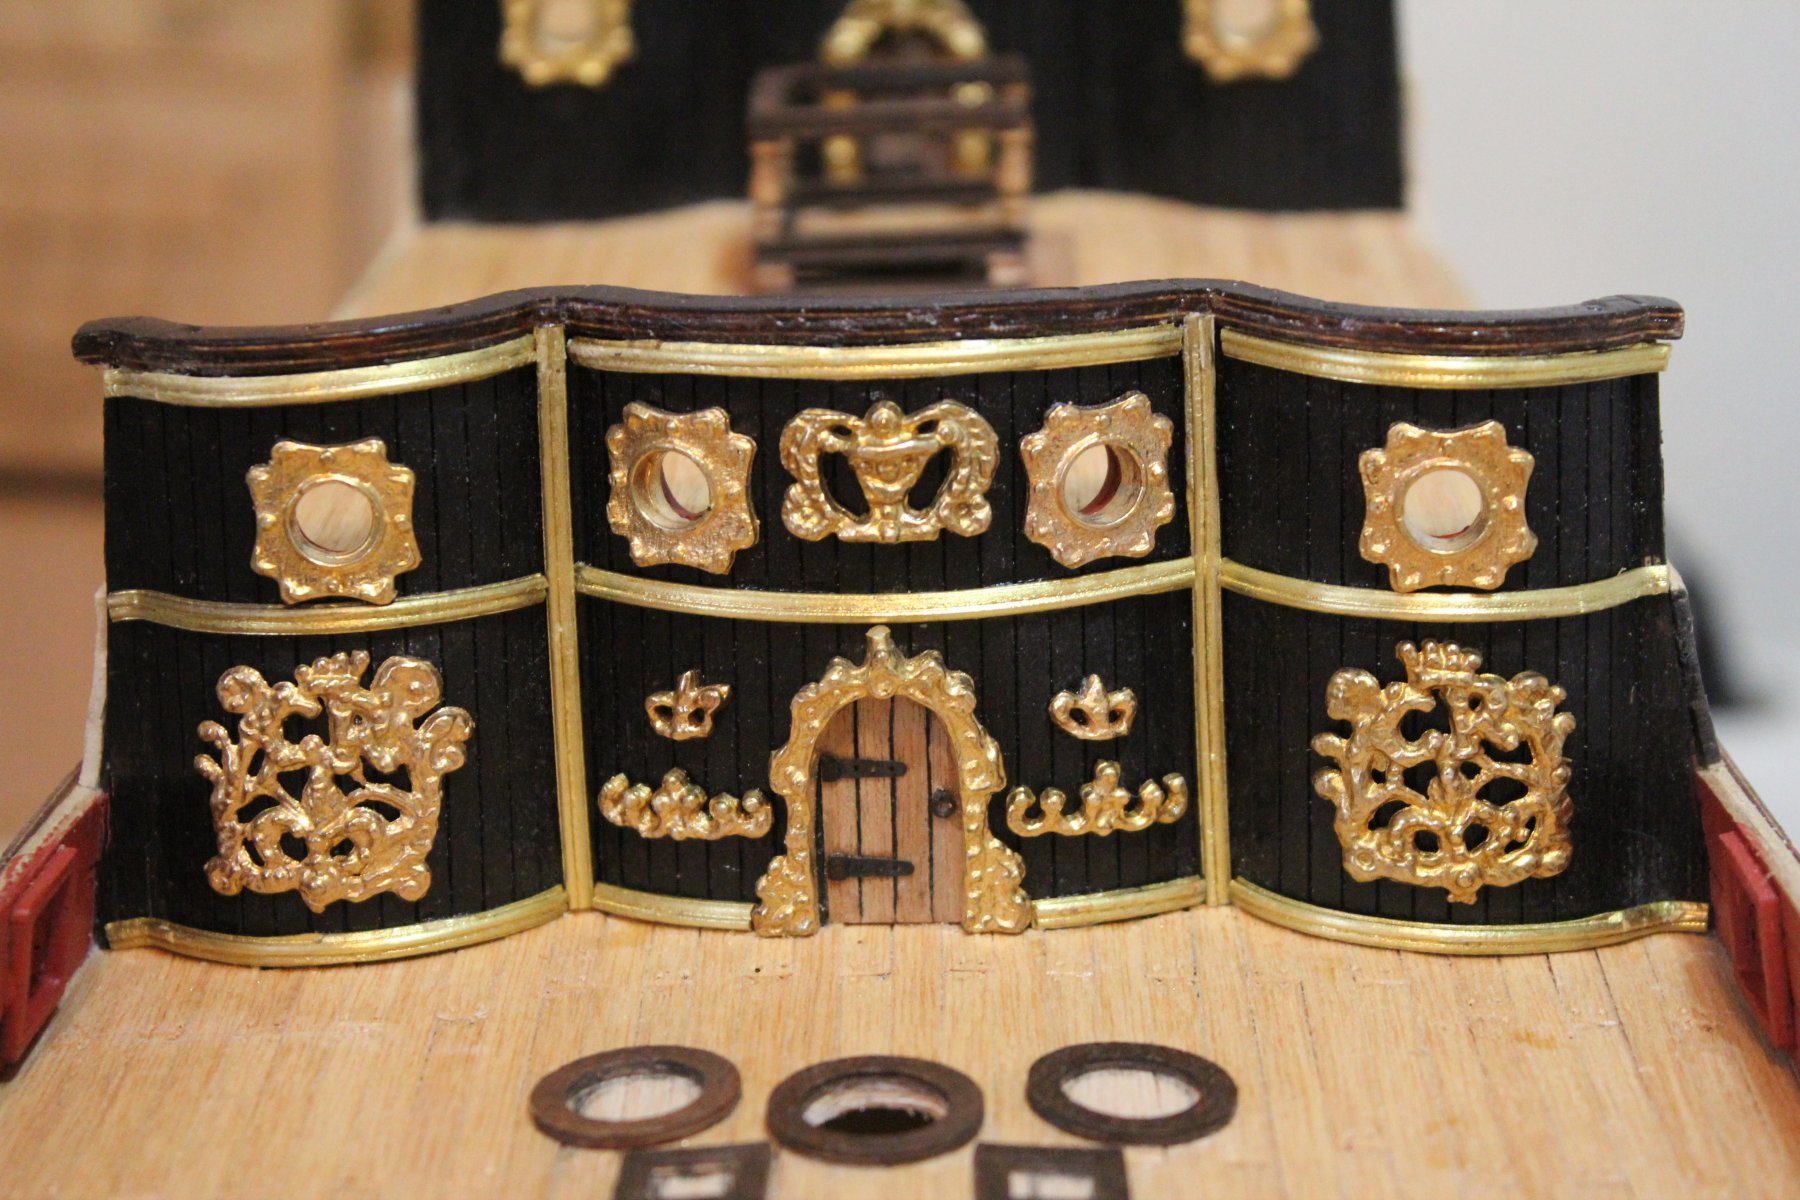
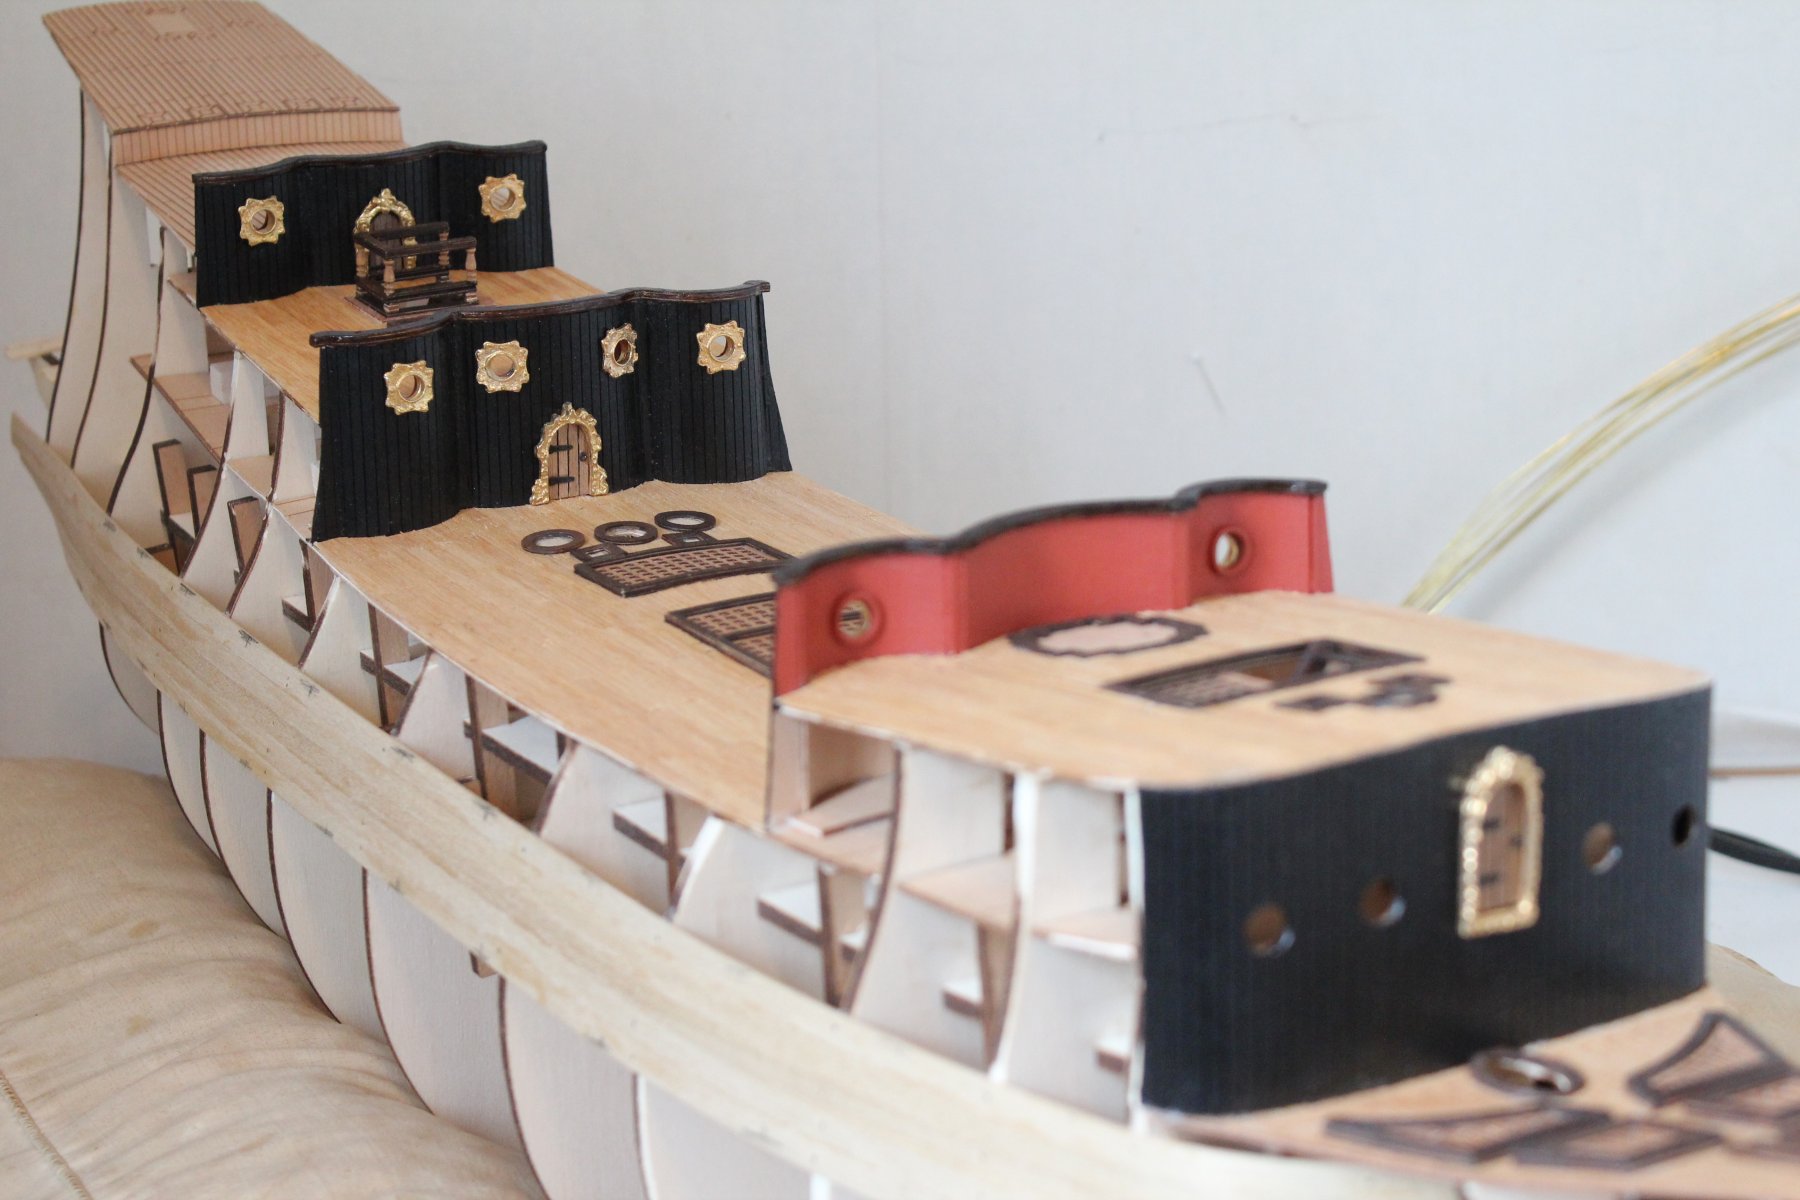
I finished the decorations on the deck patitions and it looks ok to me. Its very shiny all and I like that
 .
.
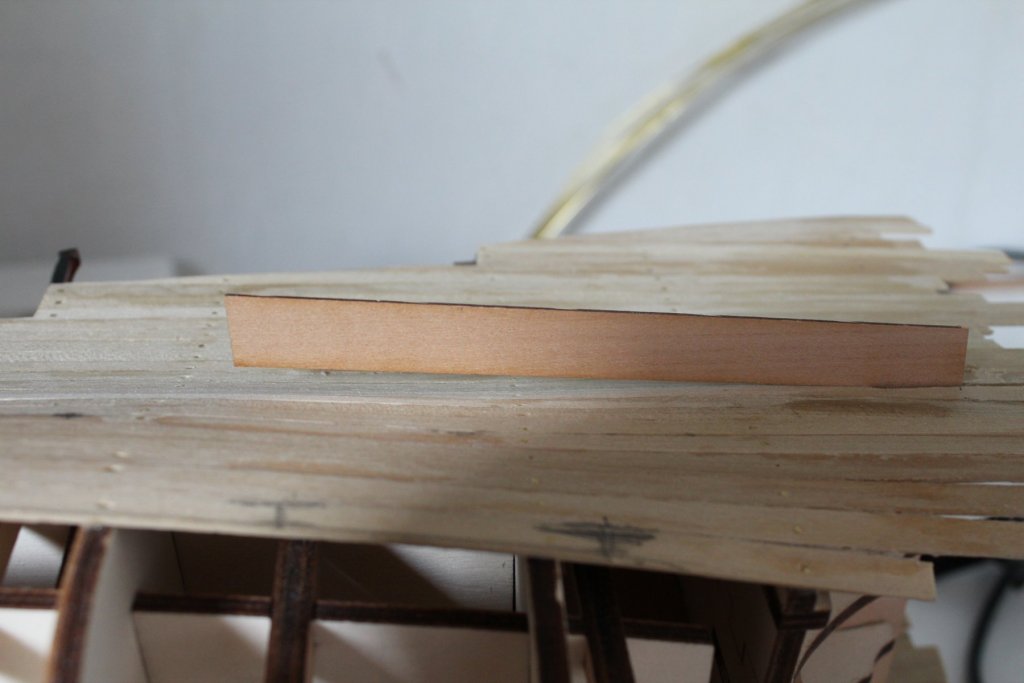
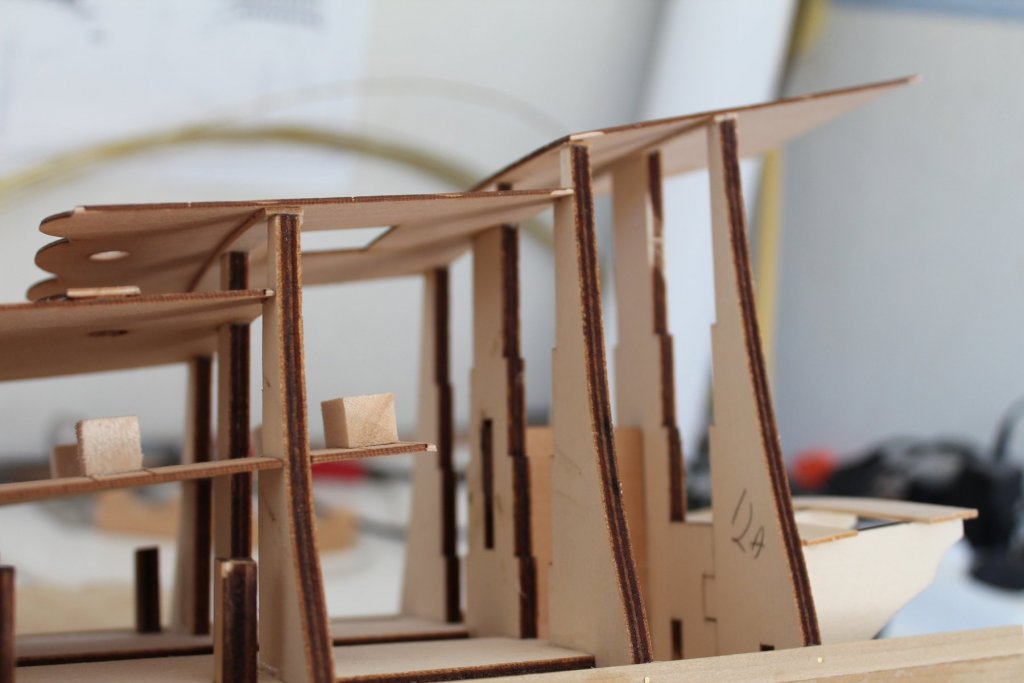
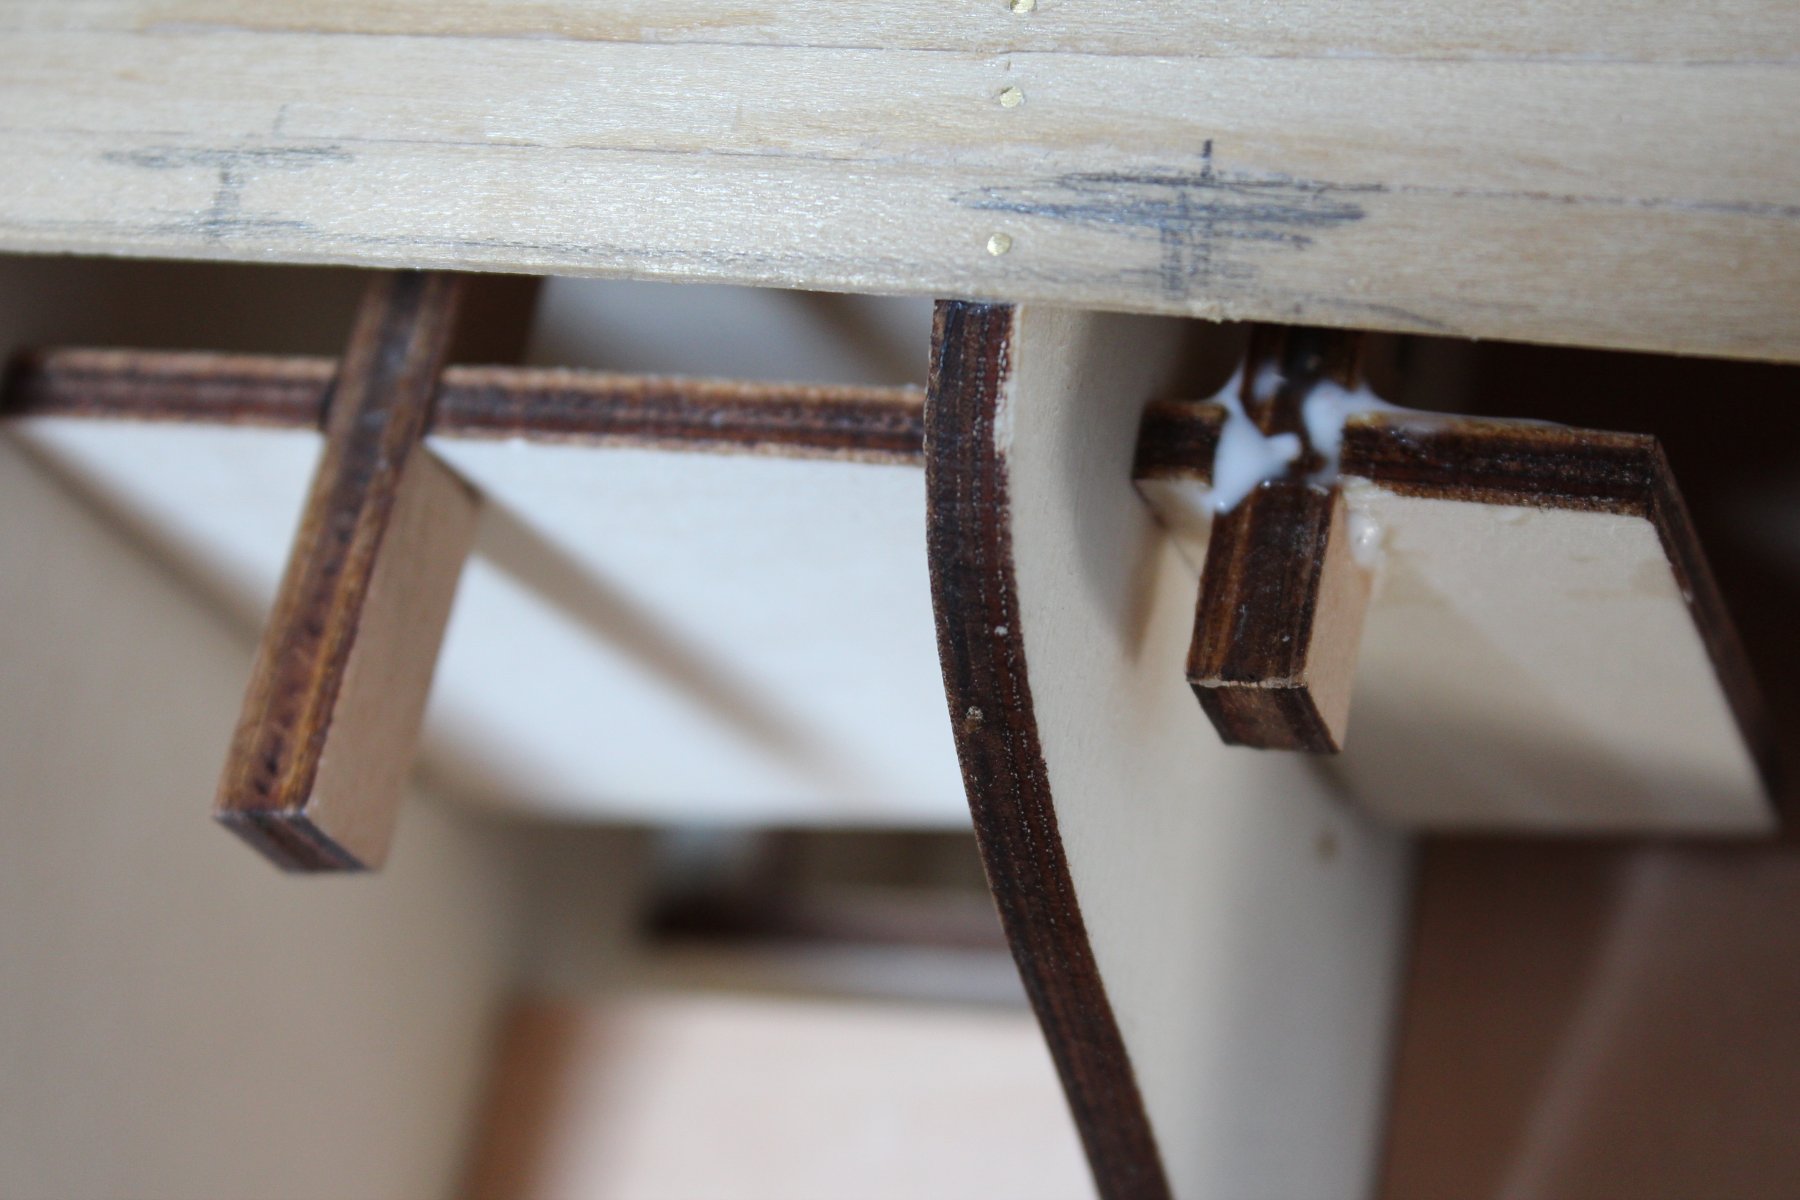
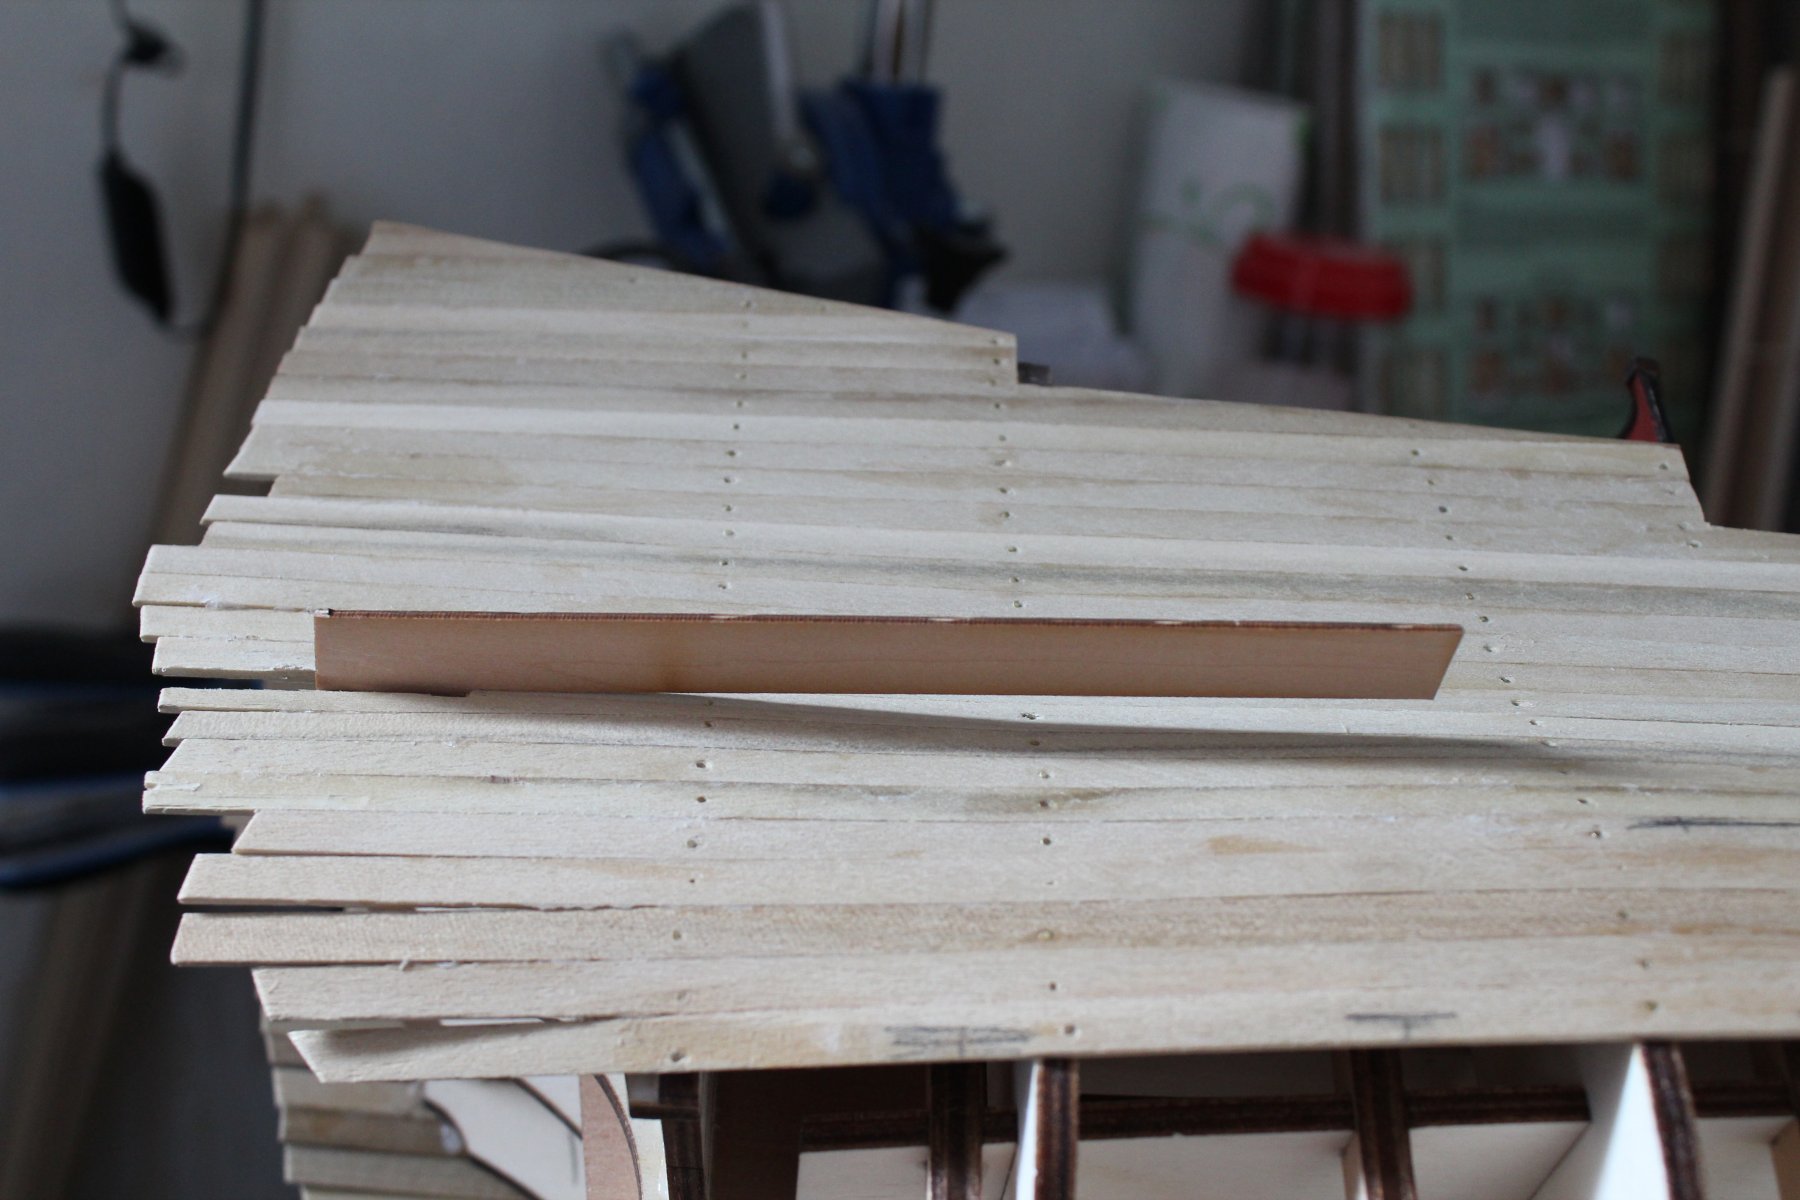
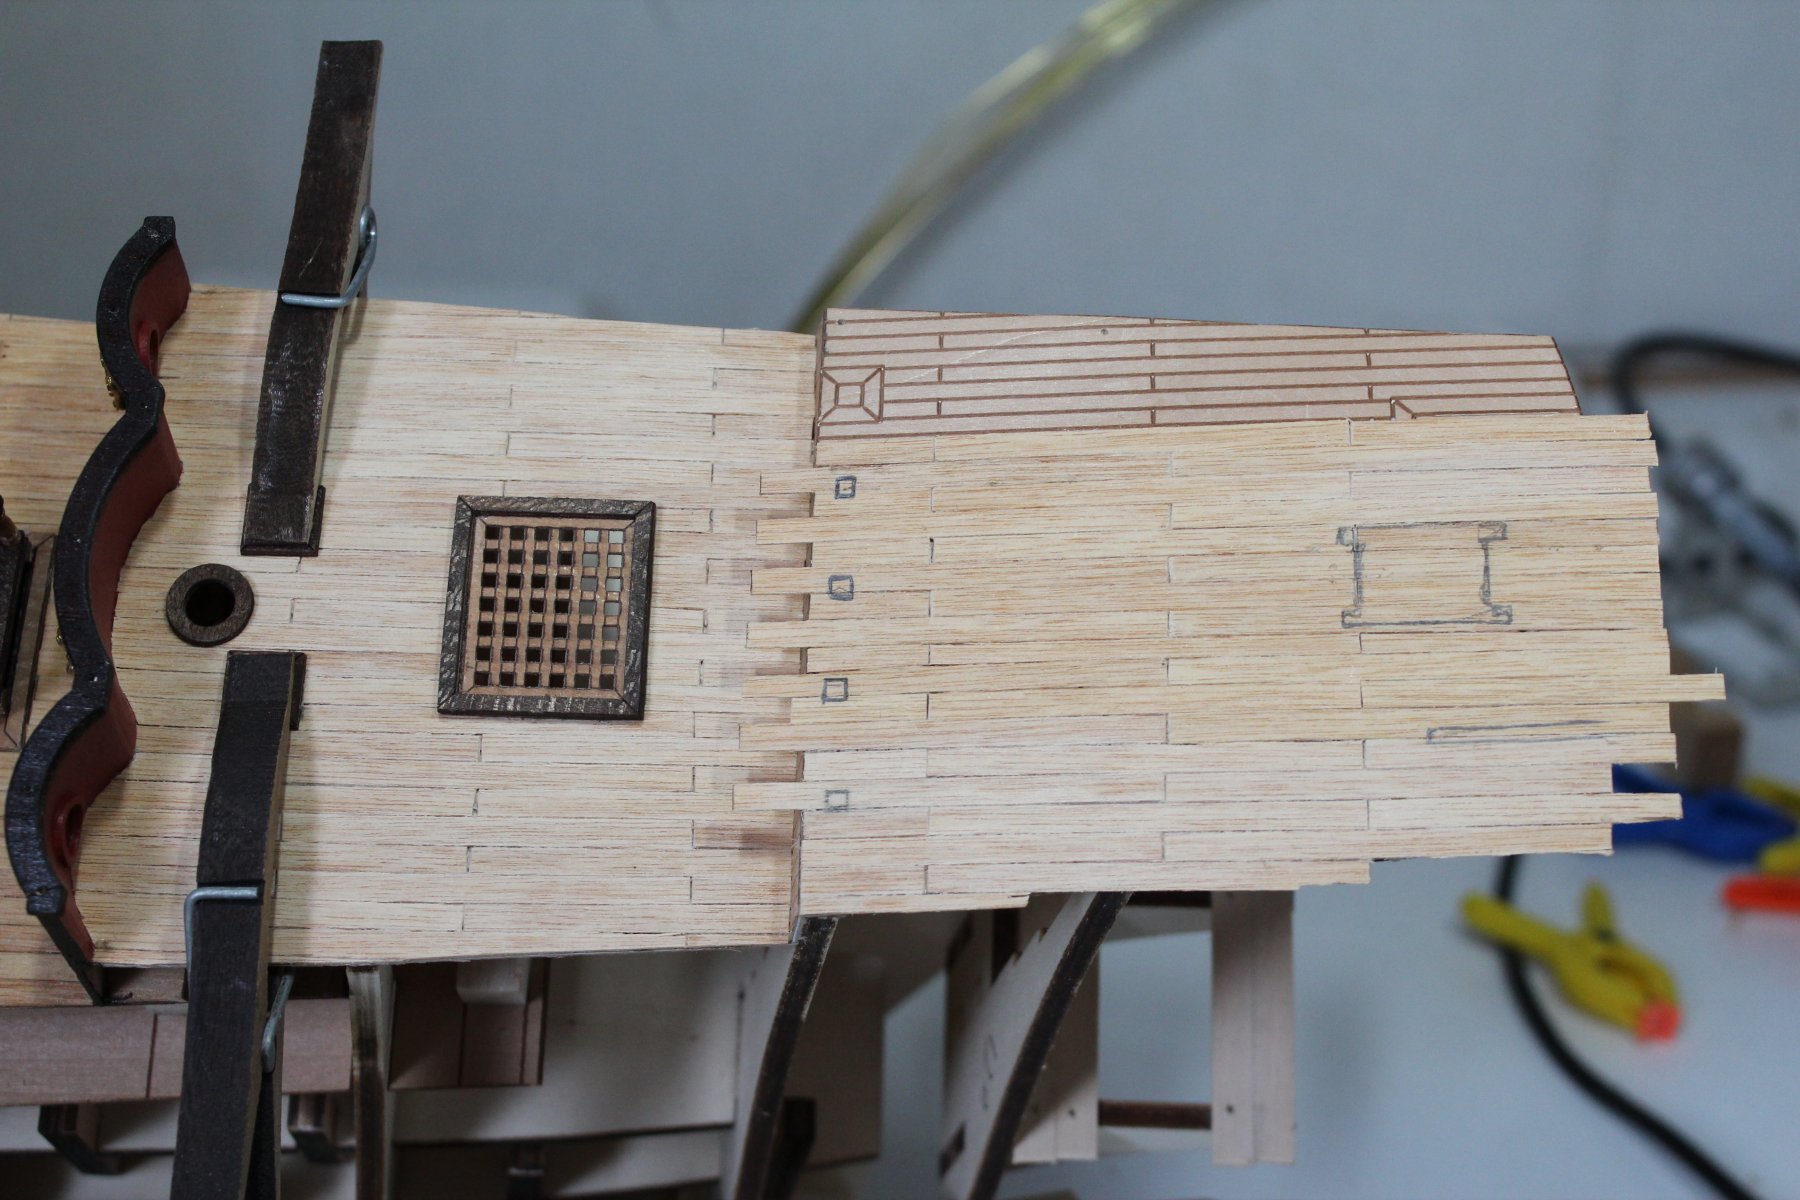
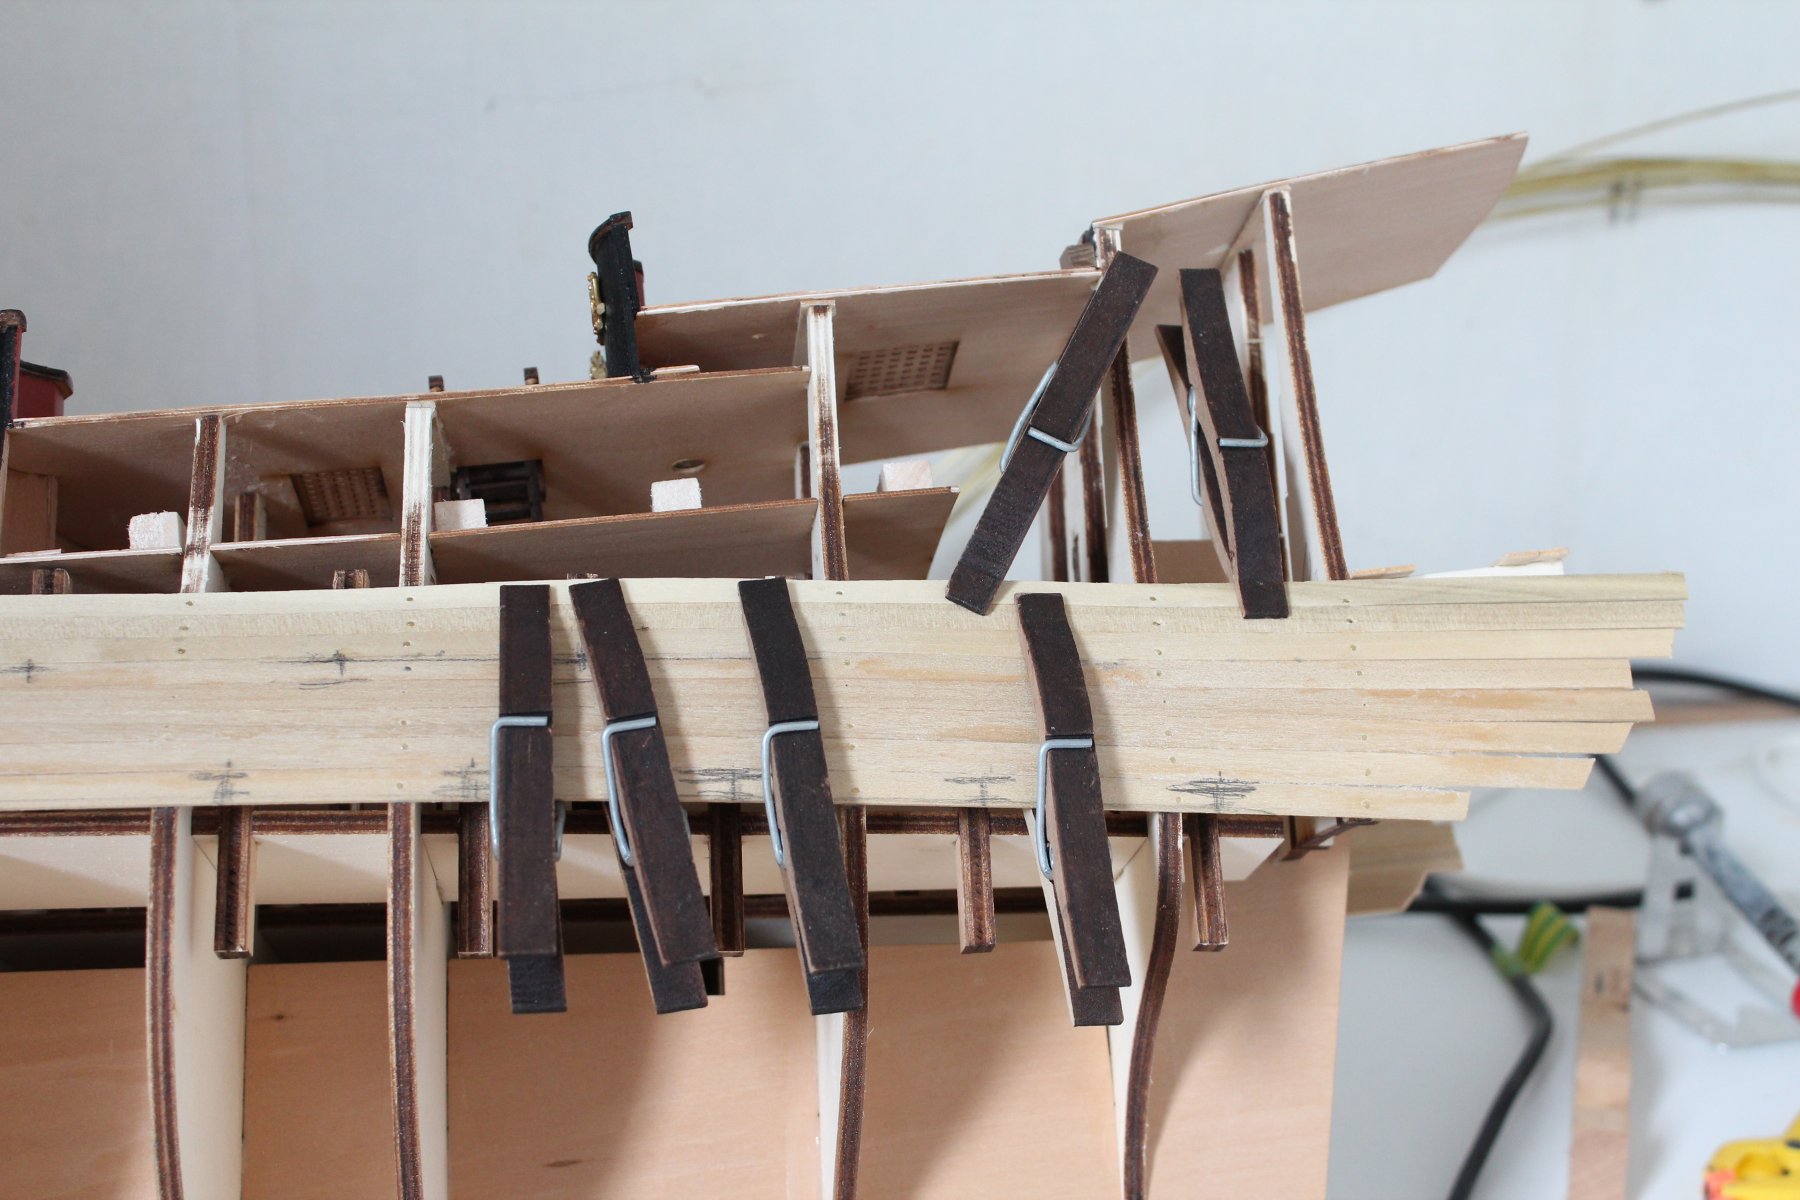
I started with the second row of canon ports on the port side. I also started with the second planking on the port side. I used 2 planks 1x6mm between first and second row. Now the second row follows nicely the first row in line. I had to raise that last peace of wood for the third row canon, otherwise it wouldn't fix (picture).


- popeye the sailor, Sjors, Piet and 1 other
-
 4
4
-
-
-
@Jason:
First: silly questions don't exist, we say here in Holland
")
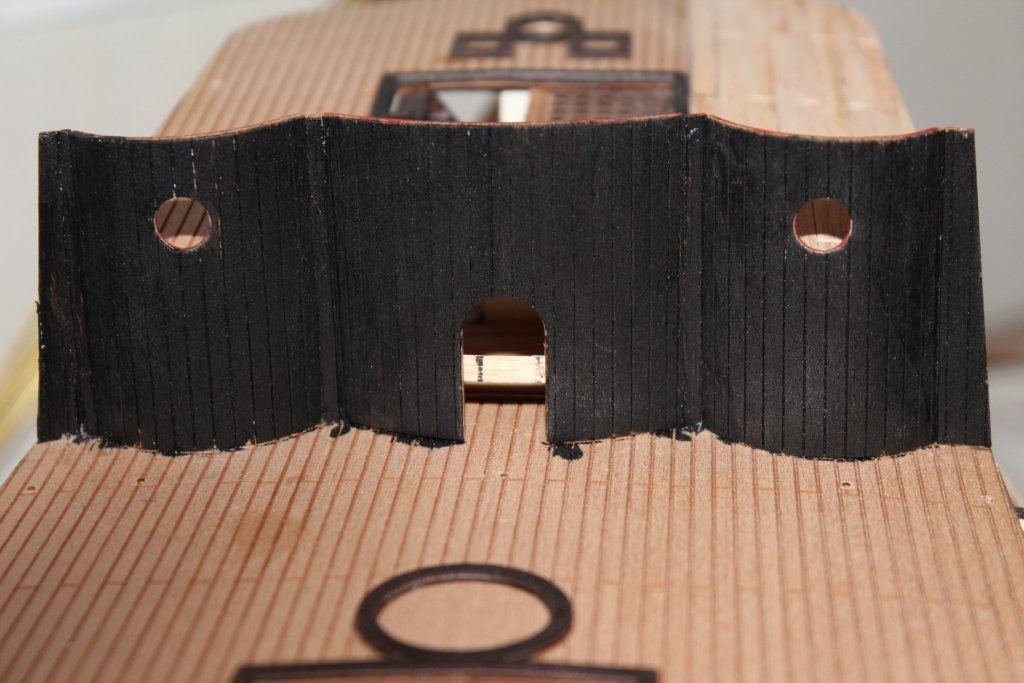
Yes, like you mentioned, these "special" bulwarks are fixed later on.
Hennie
- popeye the sailor and Piet
-
2
-
@Donn
Thank you Donn, and about your question: you fix these prefab wooden strips temperaly on the hull. Than you cut out the gun ports and after that you can mark there positions on the hull. But beware..... I found out that the prefab positions of the gun ports DON'T correspondent with the prefab positions of the balsa blocks, hidden behind the plancks!! These 12 blocks are needed to fix 12 canons. So before closing the topside of the hull, don't forget marking the position of the blocks on the outside of the hull. I forgot this and had to do some modifications. But it's ok now
@Sjors
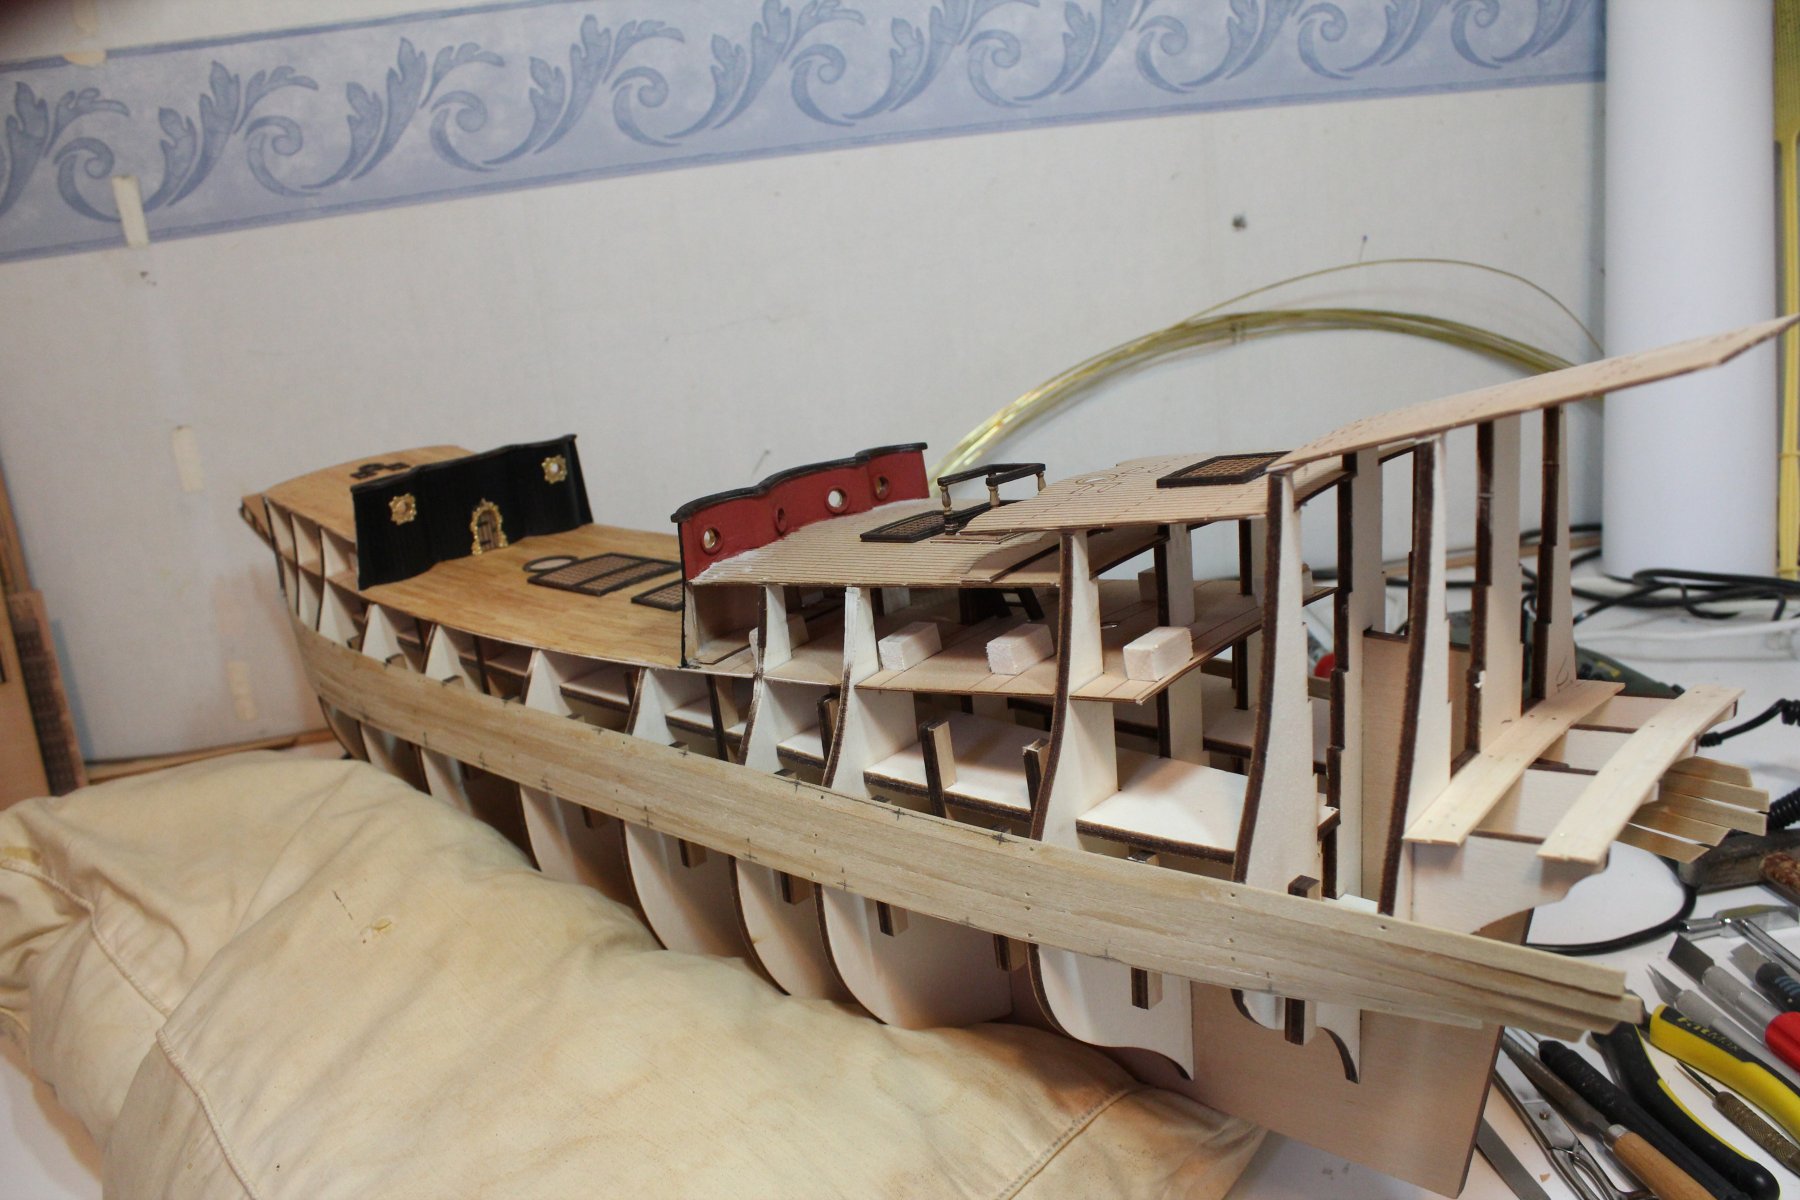
I am following exactly the manual. I red the whole manual and it looks, it make sence this way. Anyway... doing it this way, I won't forget anything
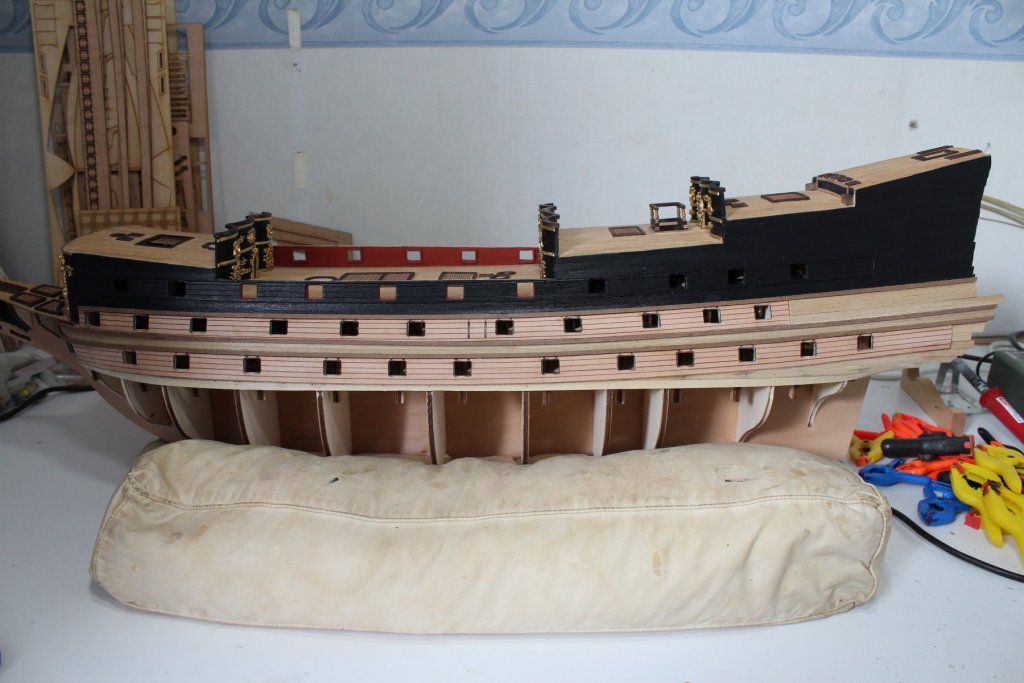
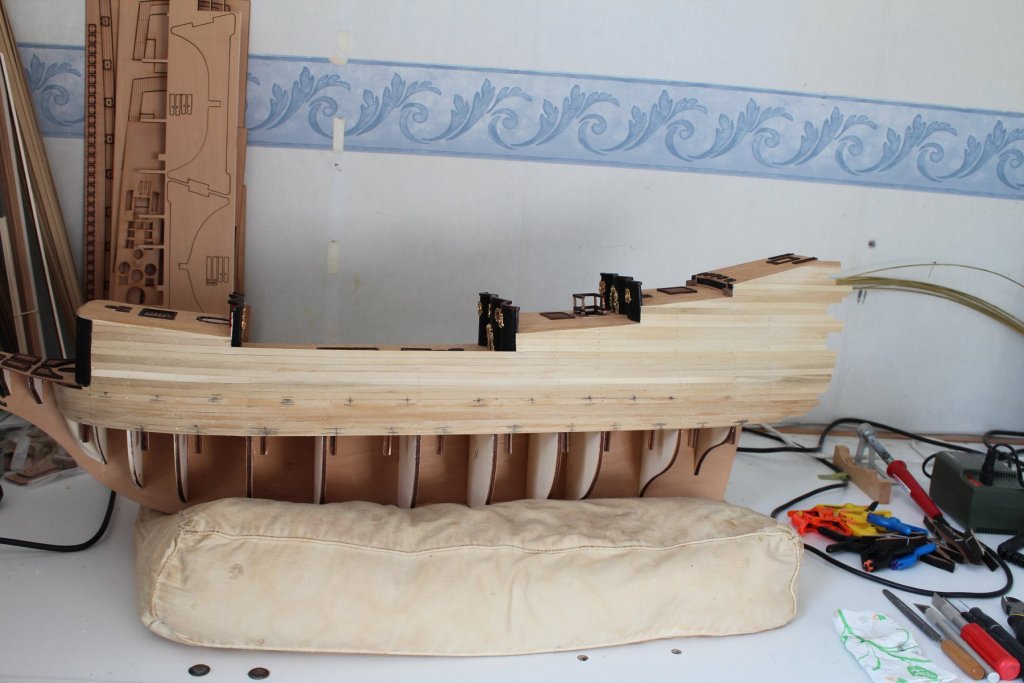
And about turning my ship upside down to plank the bottom: I use a pillow and.... what you can't see.........On many places on the inside I used wooden planks 5x5mm to give it all more strenght.
Hennie
-
-
-
-
Thx Edwin
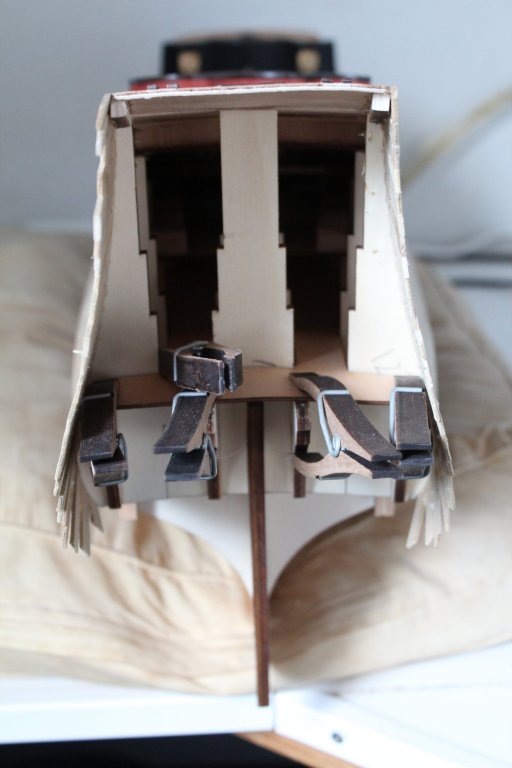
And a small update....
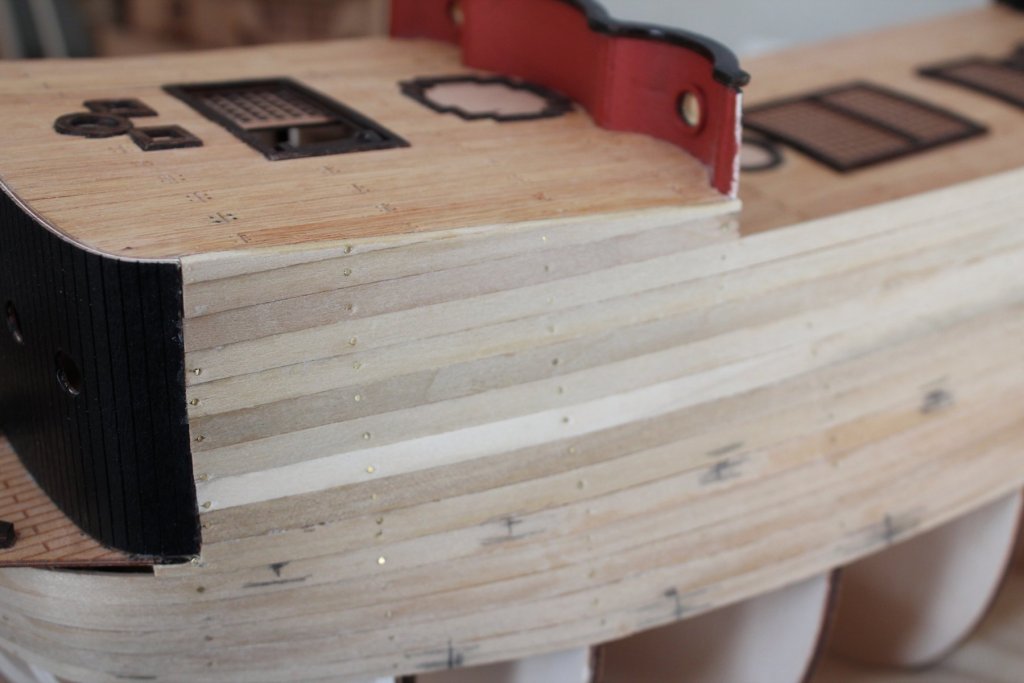
I did some planking at the starboard side.
I also tried a piece of the galery and as you can see on the picture: it doesn't fit at all
 , so another modification has to be done....
Strange, because on the inside of the hull this fits perfect. Doesn't make sense at all.... Well, I will fix this later. I will start with the gunports now.

- popeye the sailor, Sjors, Piet and 1 other
-
4
-
@Sjors: thx.
How was your Saturday in Luik? Was the car big enough to get it all back to Bleiswijk?@Edwin: thx
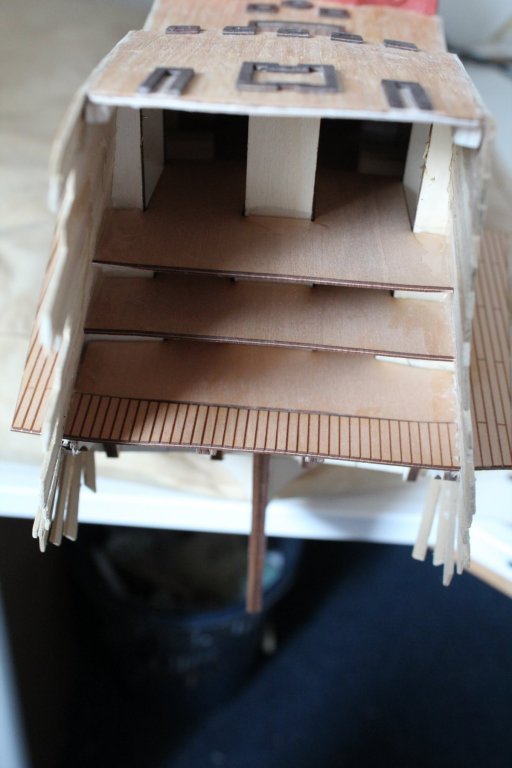
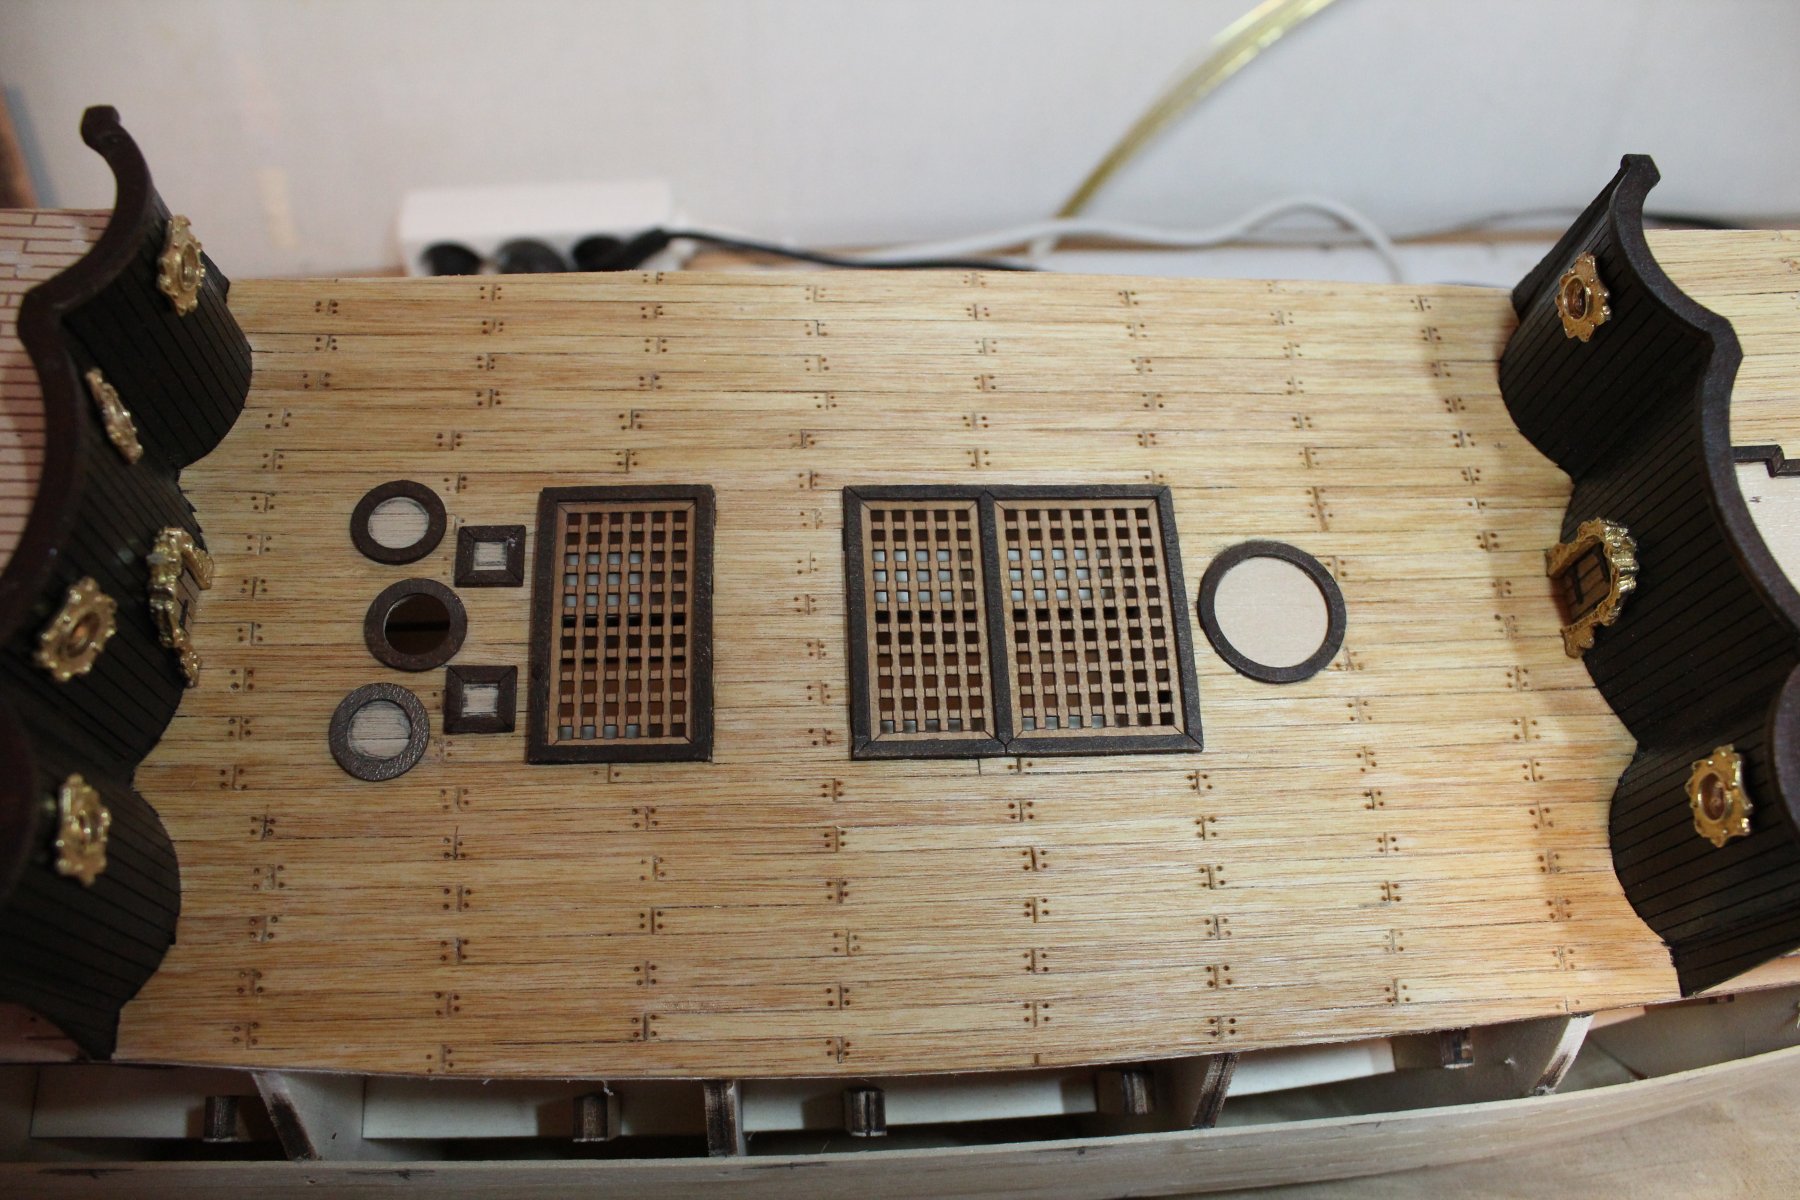
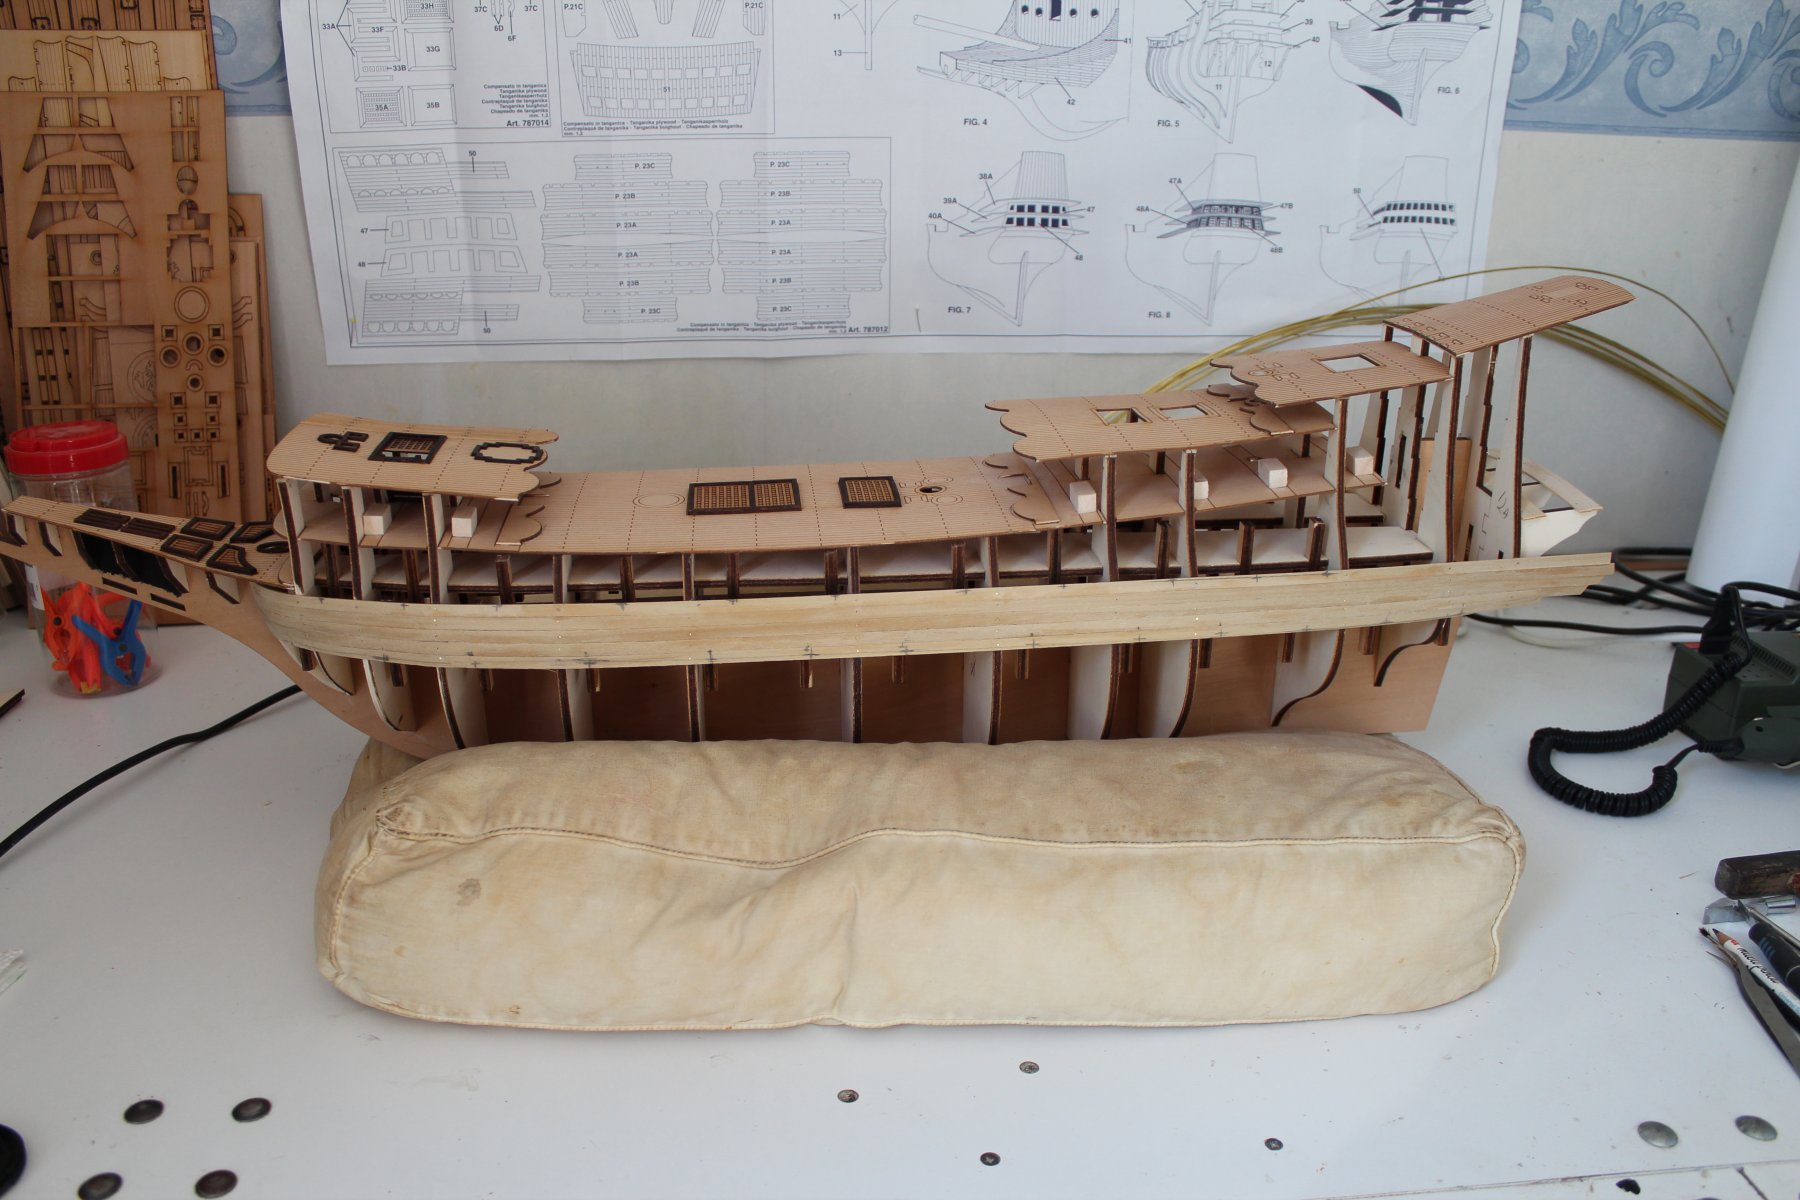
And now my weekly update:
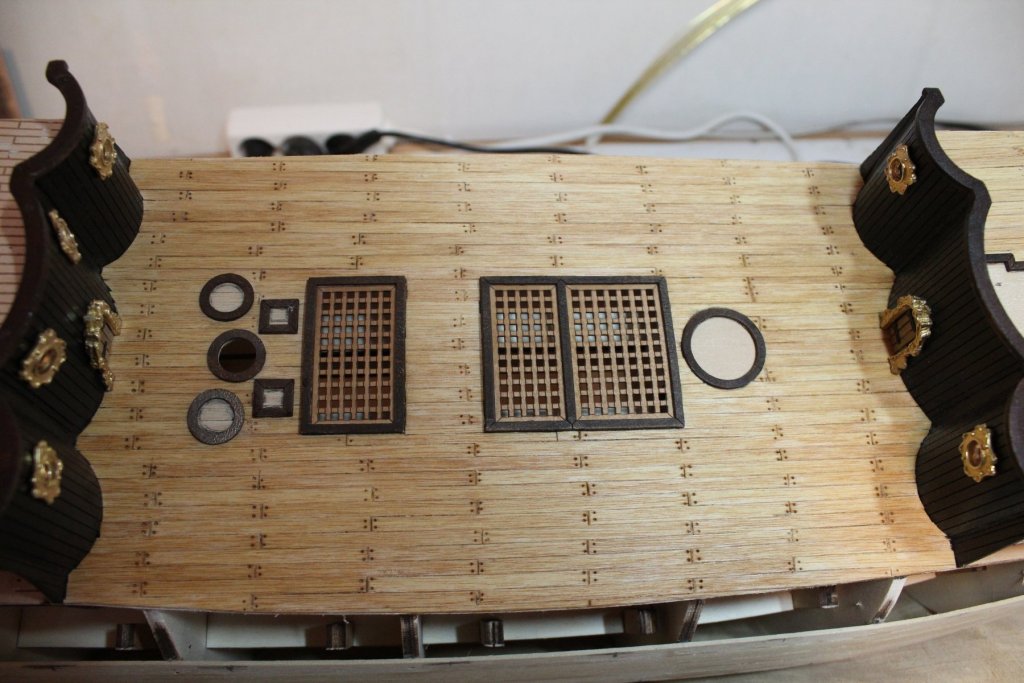
As you can see, I finished planking the decks. Quit satisfied how it looks now with all the decks done.
Just started planking the upper side of the hull...


- coxswain, BLACK VIKING, edmay and 3 others
-
6
-
-
@Piet: thx, tow more decks to go..........
Time for an update. I finished planking the next deck. Also had to do many redo's.
I was used working with Caldercraft, where everything fits perfect..., but ok, after the redo's it looks ok to me.
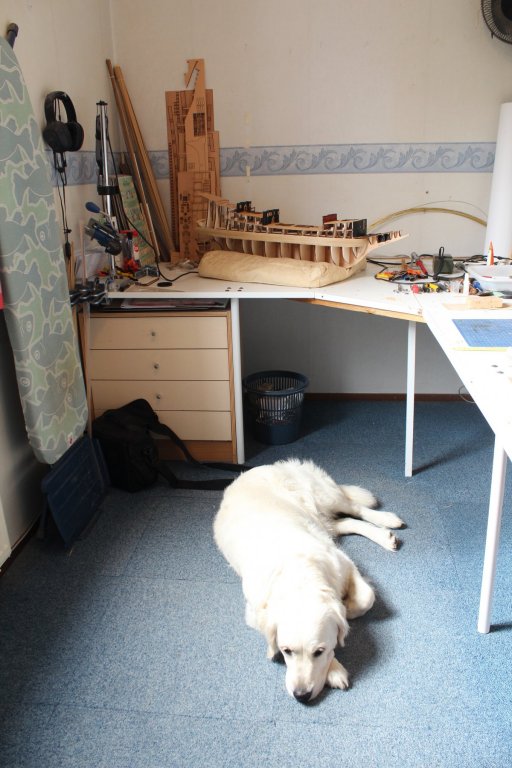
And as you can see, when I am building, Sansa - my dog- is always supporting me
.

-
Glad you got enough inspiration to start building again
Your Santrin looks great!
I know what you mean by redo's, last 2 weeks I am doing nothing else
Hennie
-
@Popeye: thx my friend
And time for the weekly update..
I finished the planking of the lower gundeck. I am satisfied how it looks. Three more decks to go....


- edmay, Sjors, zoly99sask and 4 others
-
7
-
@Piet: Its more complicated. With my electric tablesaw I sawed 10 planks at one time, so I had 160 planks 6.3 cm long. After that it was looking for planks with the same wide. Next time I will only saw planks with the same wide.
Hennie
- Piet and popeye the sailor
-
2
-
@Sjors, thx and no, the deck was already sanded and as you can see, on the left top of the deck the planks already sanded away. They are just 0.5mm thick.
Hennie
- Piet, Sjors, popeye the sailor and 1 other
-
4
-
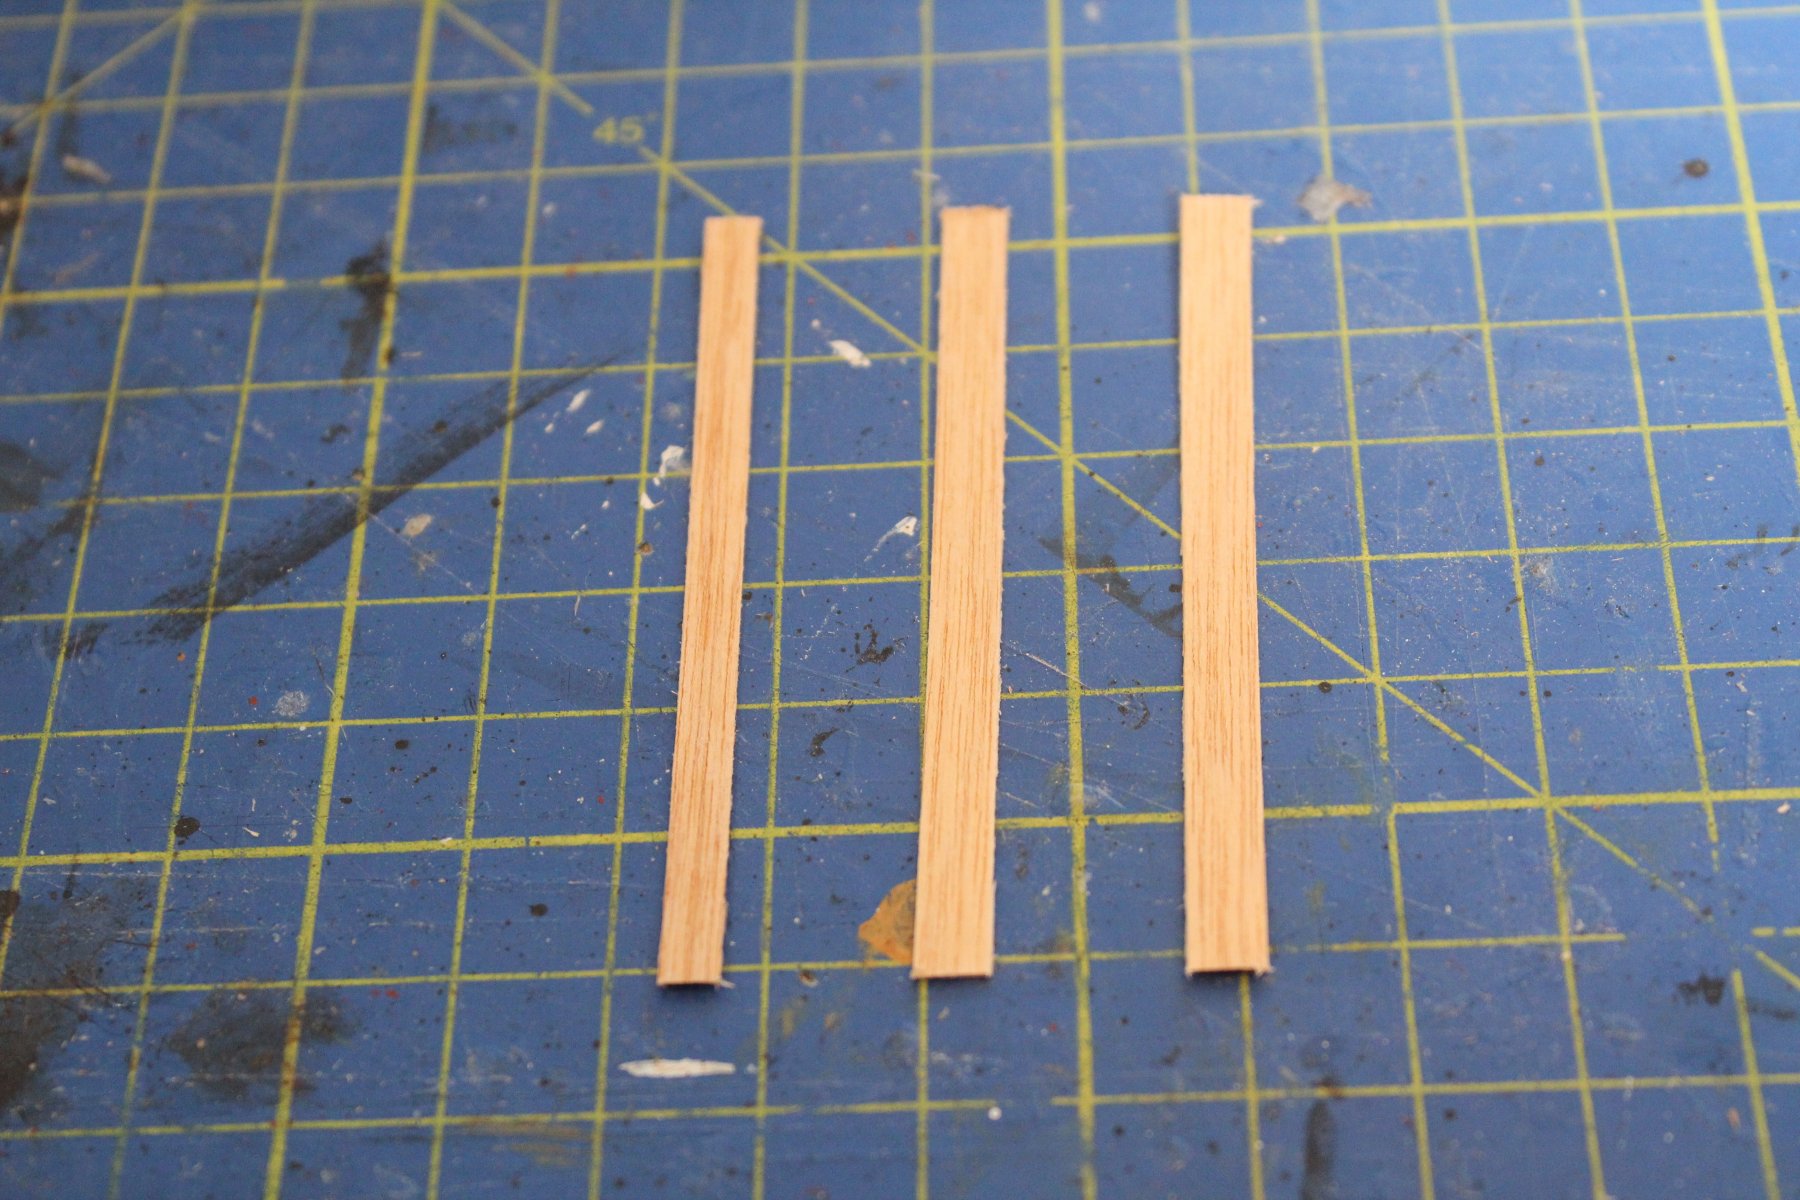
And here is my weekly update again.
Planking the decks will take much more time as I thought in the first place. Though the strips are from Caldercraft, the sizes are all different
. They go from 3.2mm up to 4.8mm as you can see on the picture.

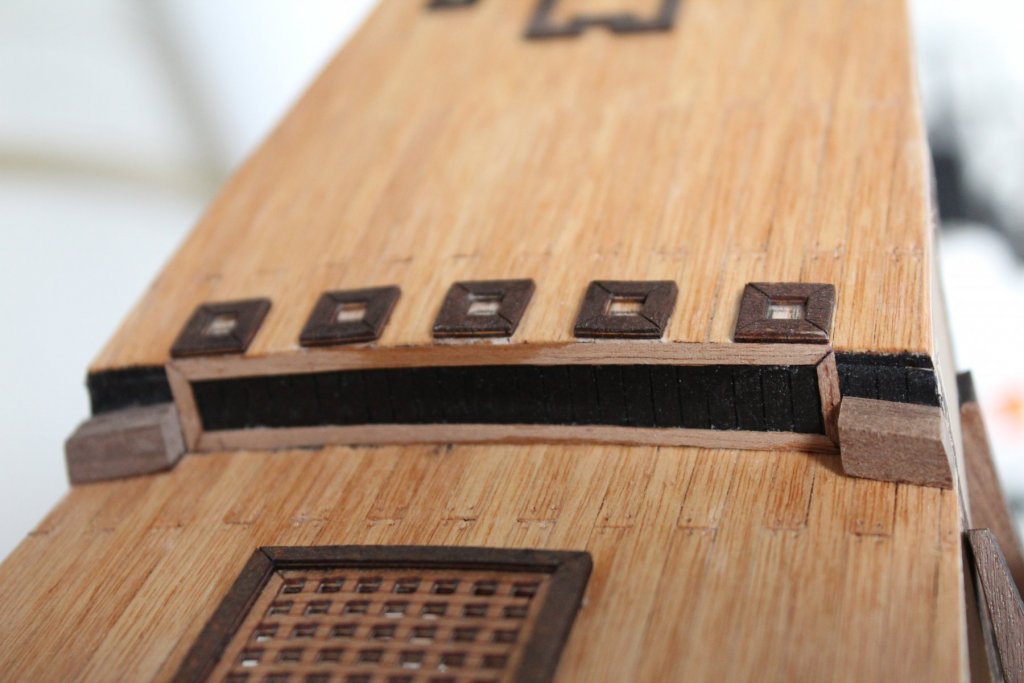
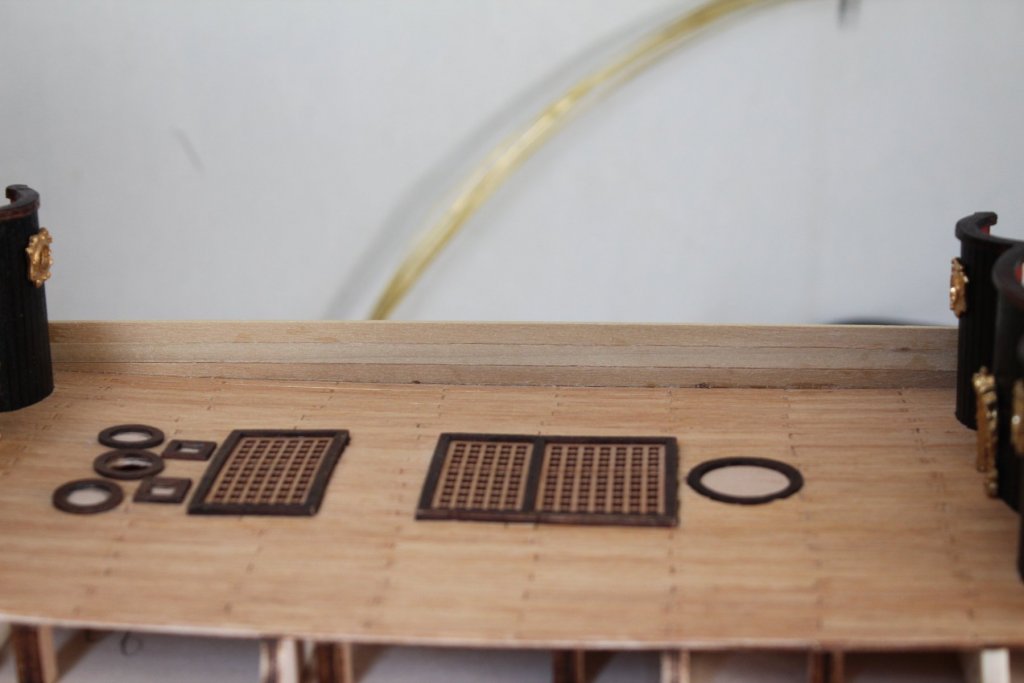
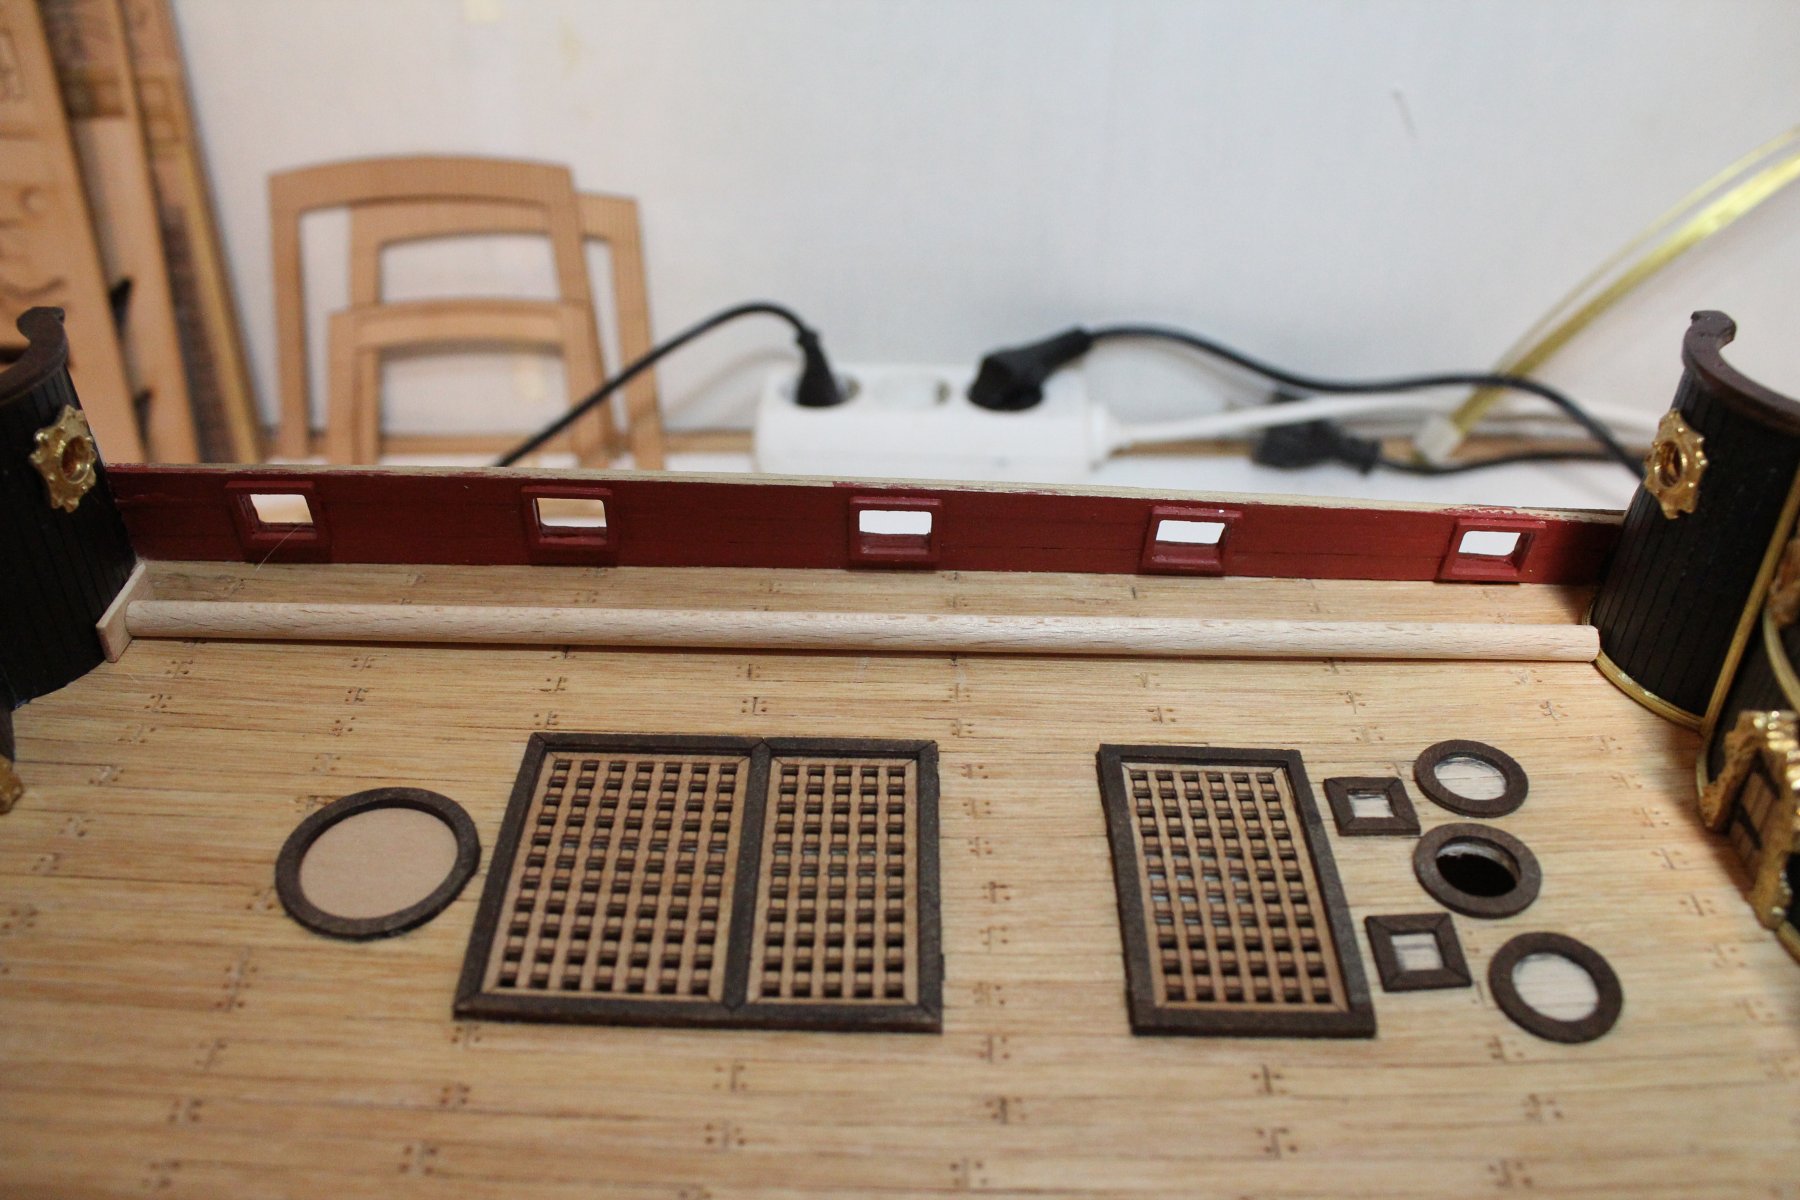
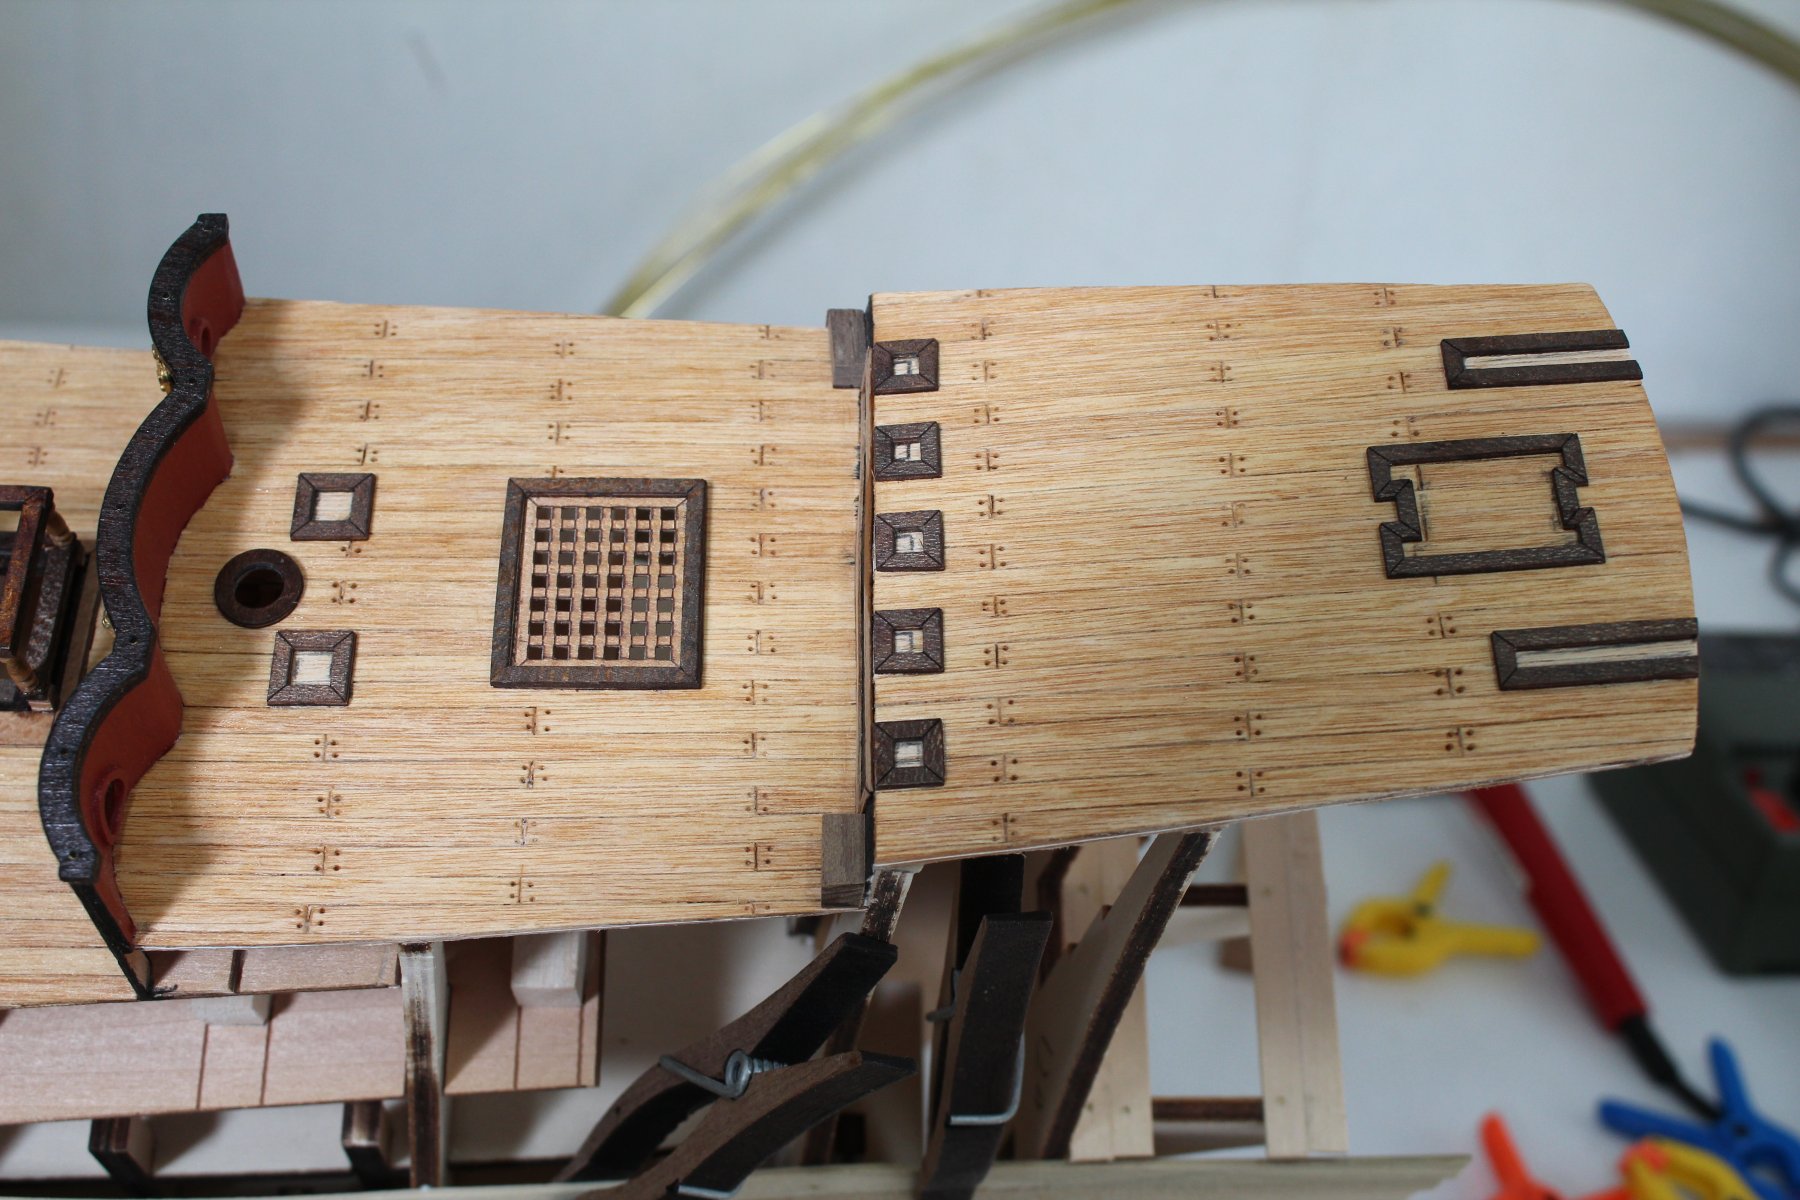
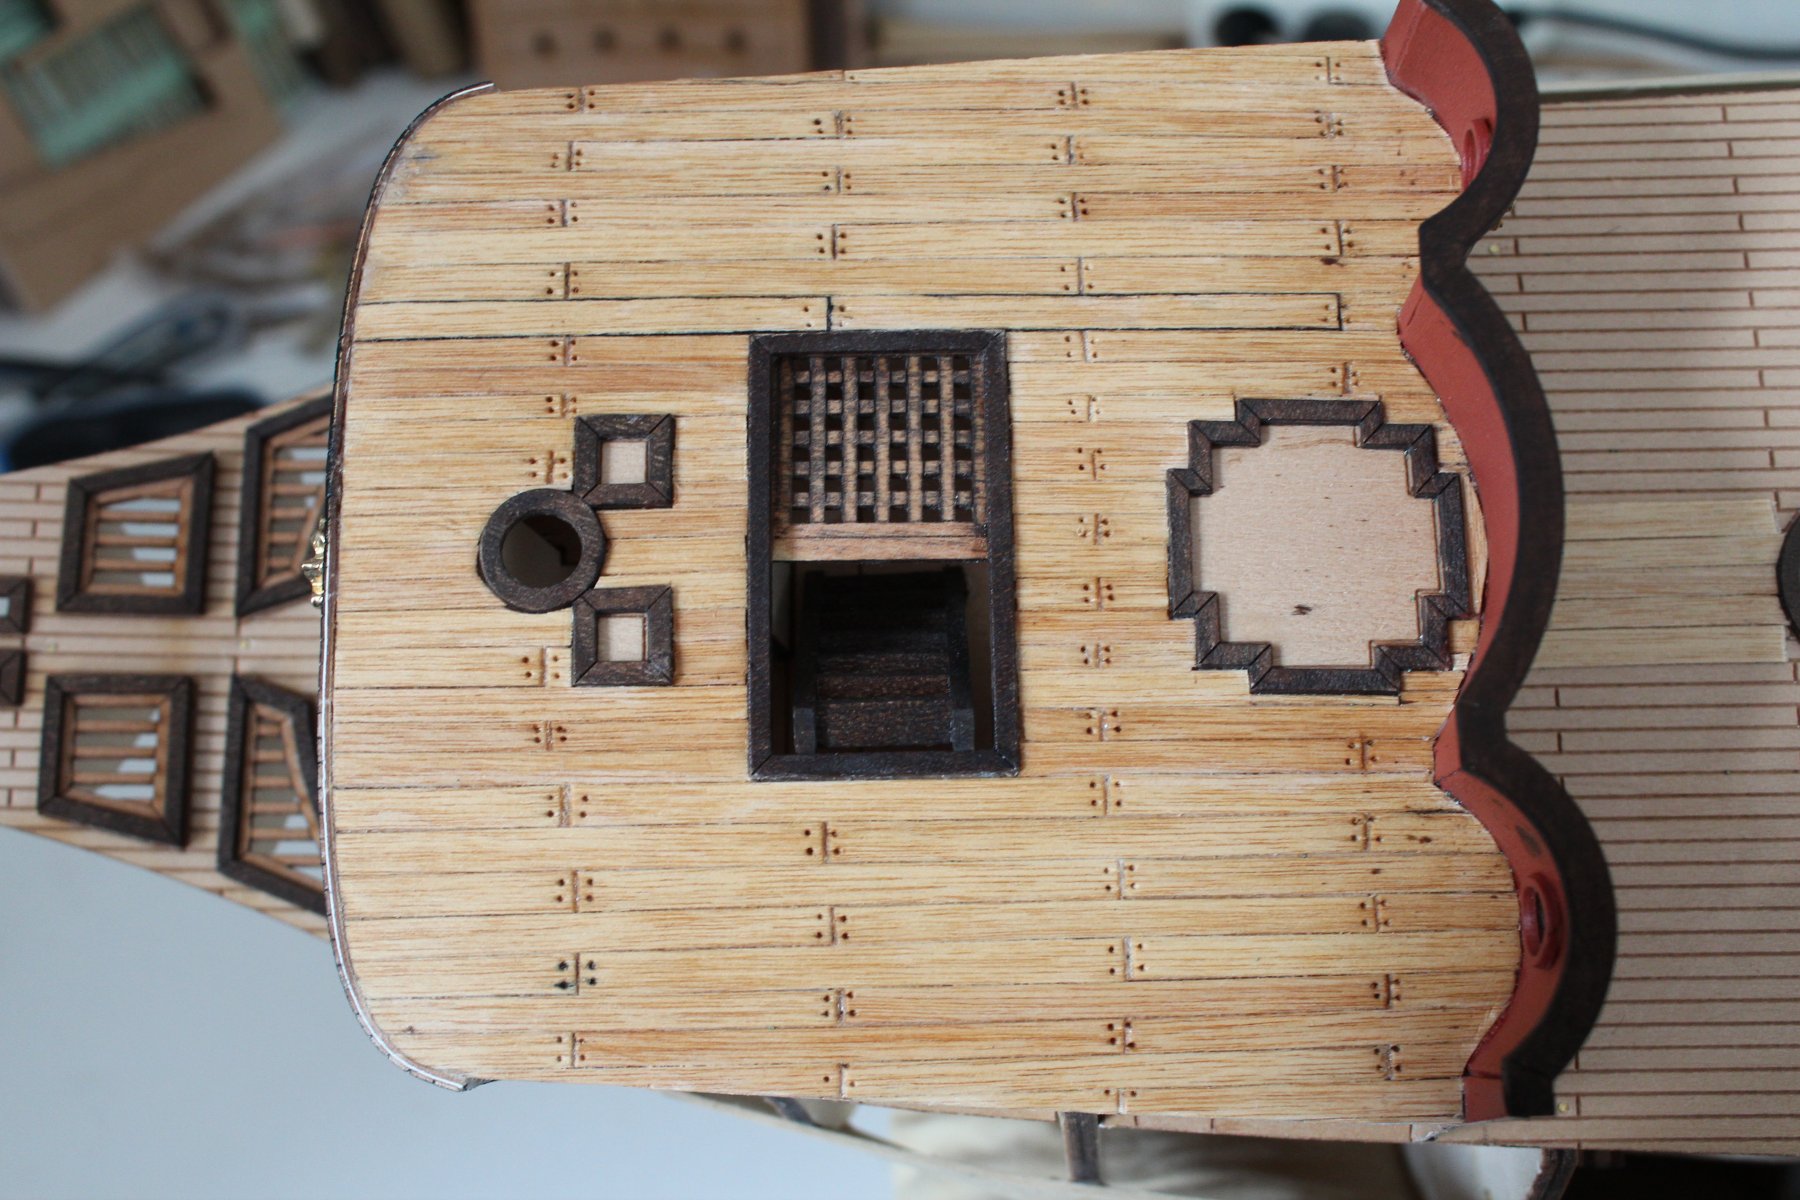
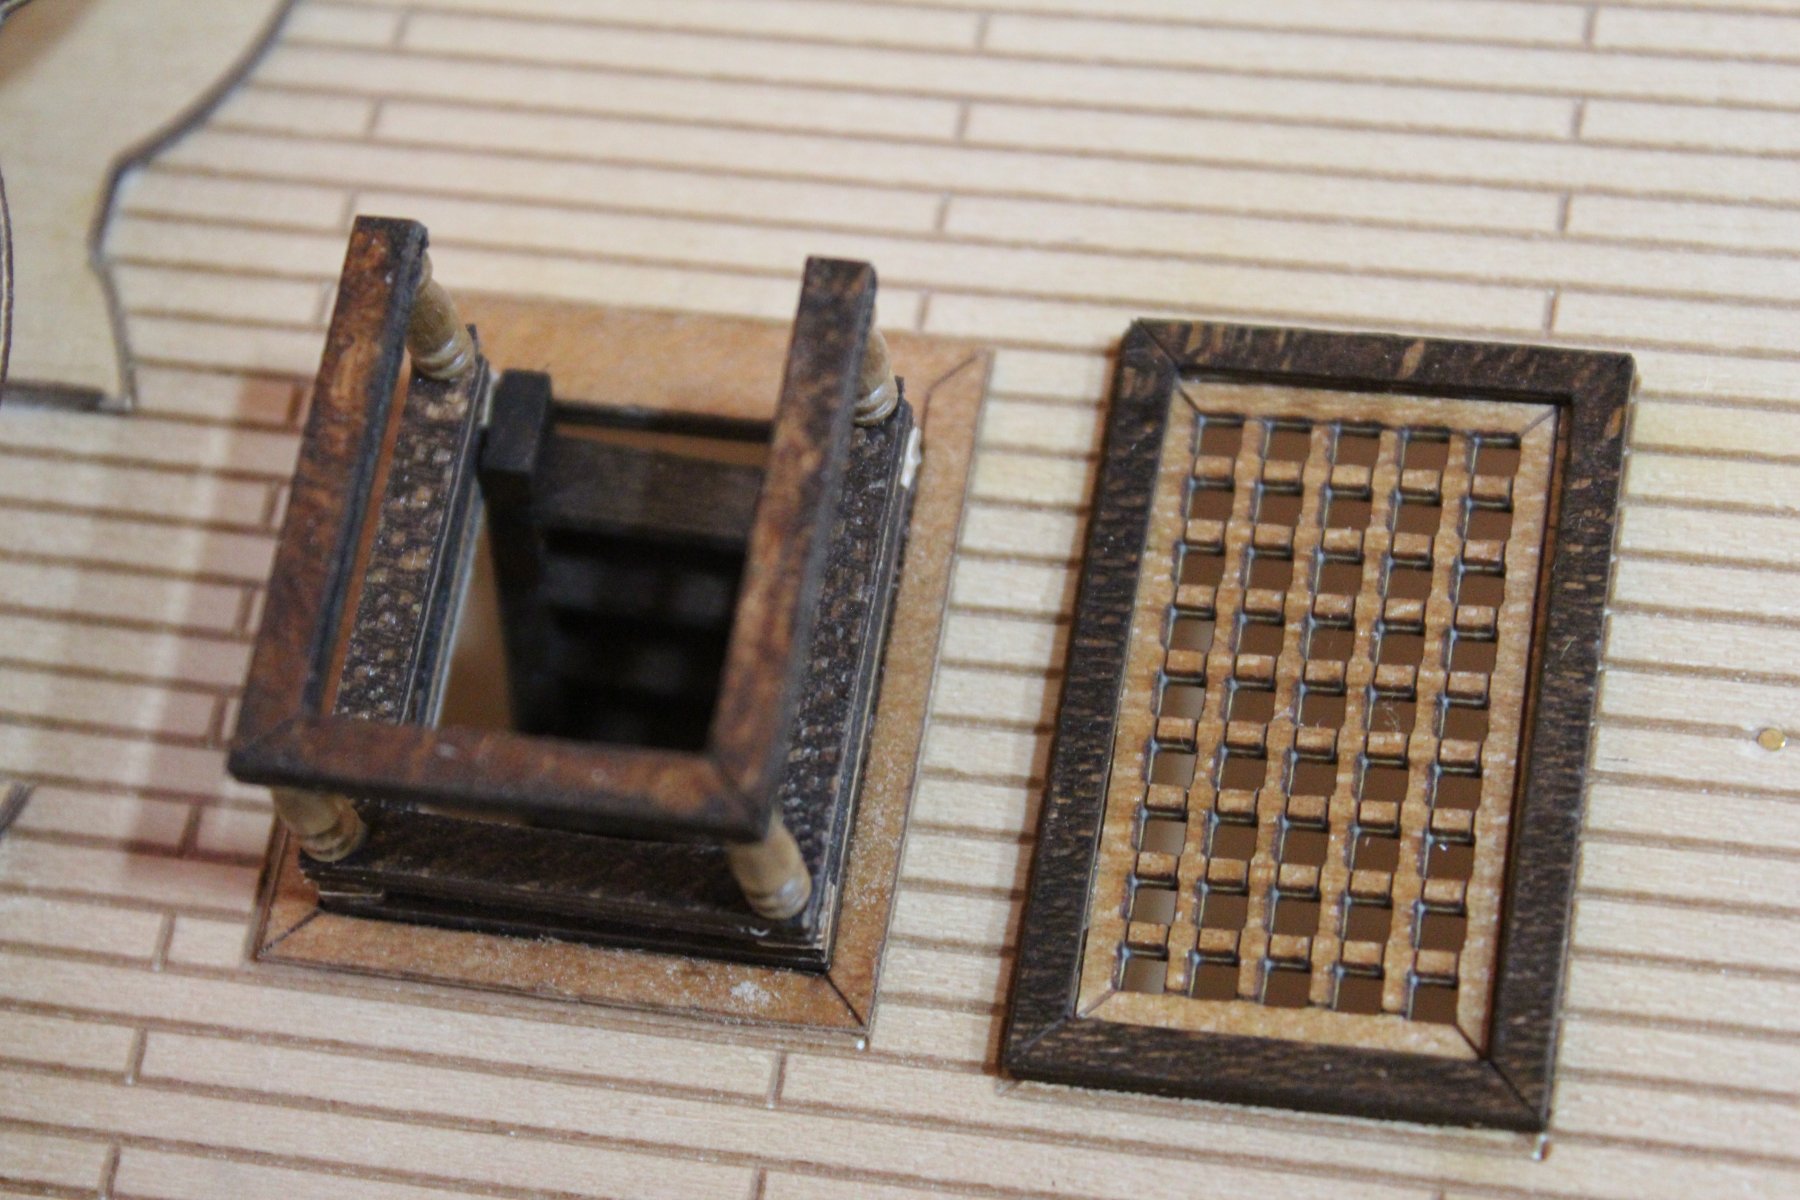
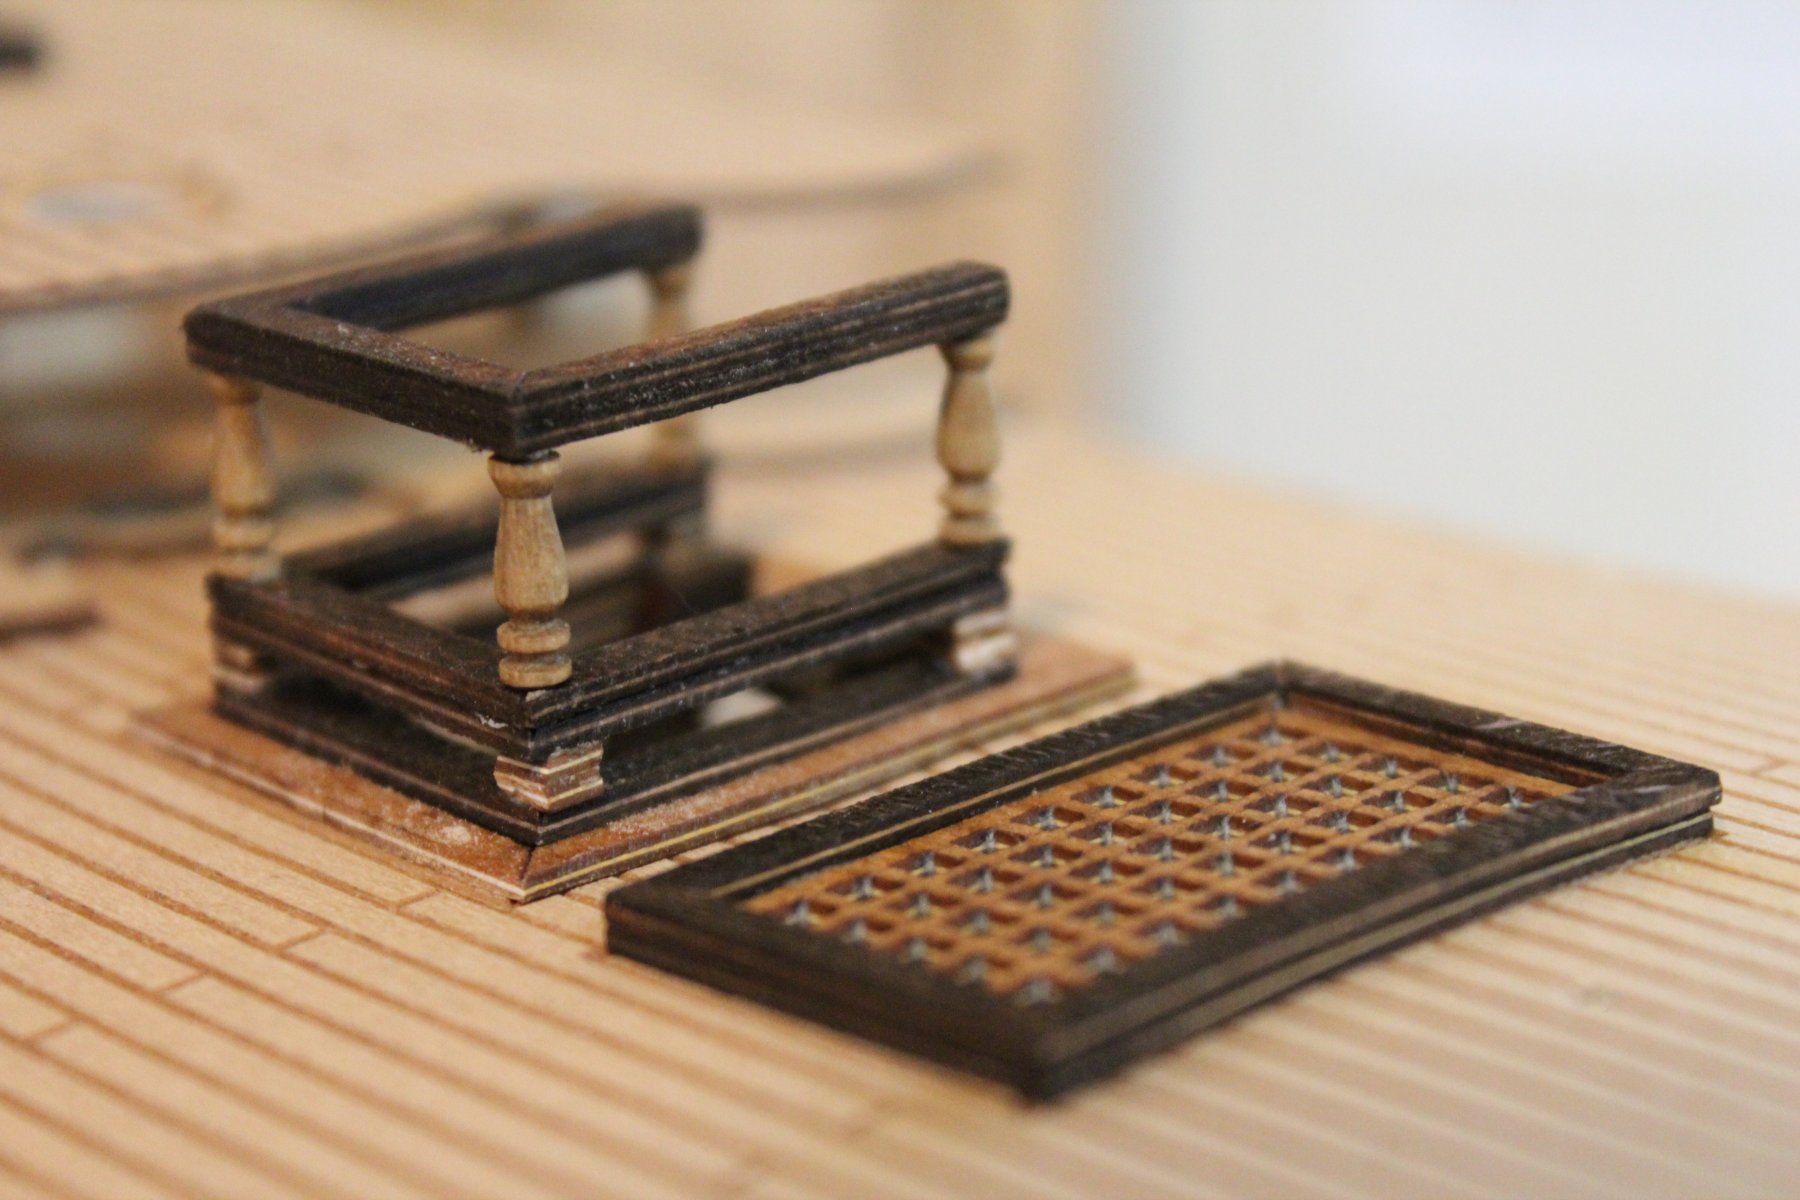
I used a dart and hammer to make little holes in the strips. After using Artesania-oil, it gives a nice (nail)effect.

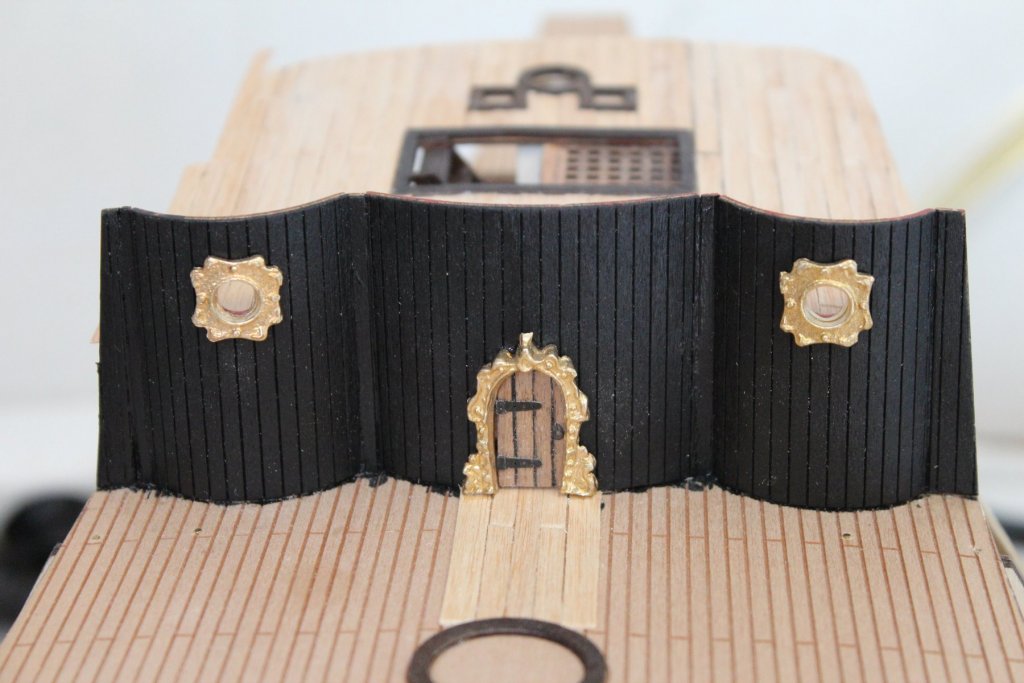

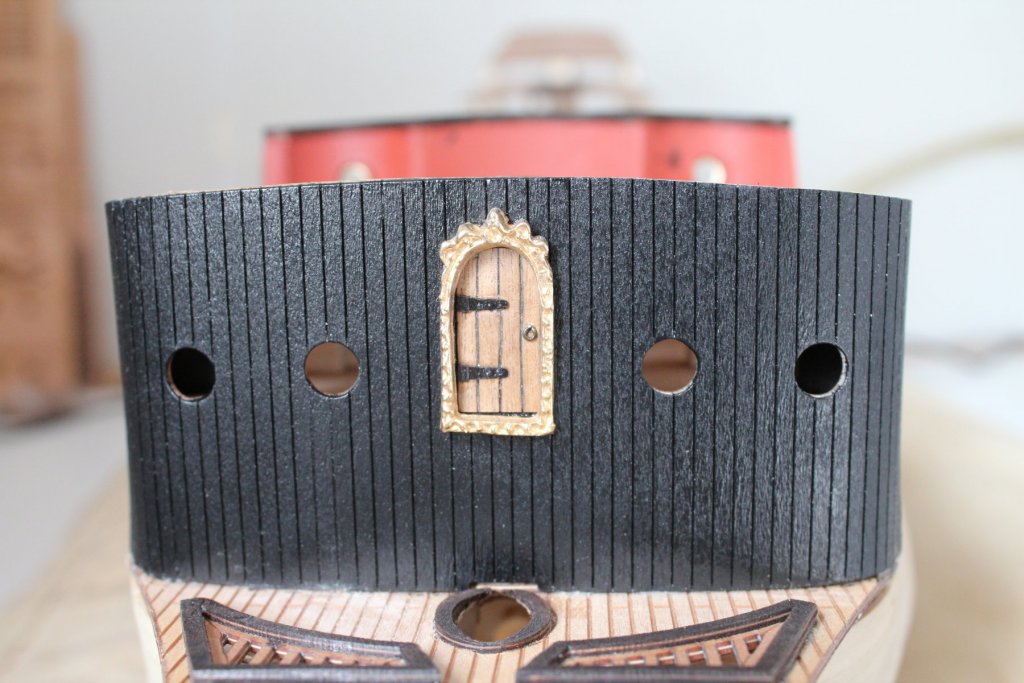
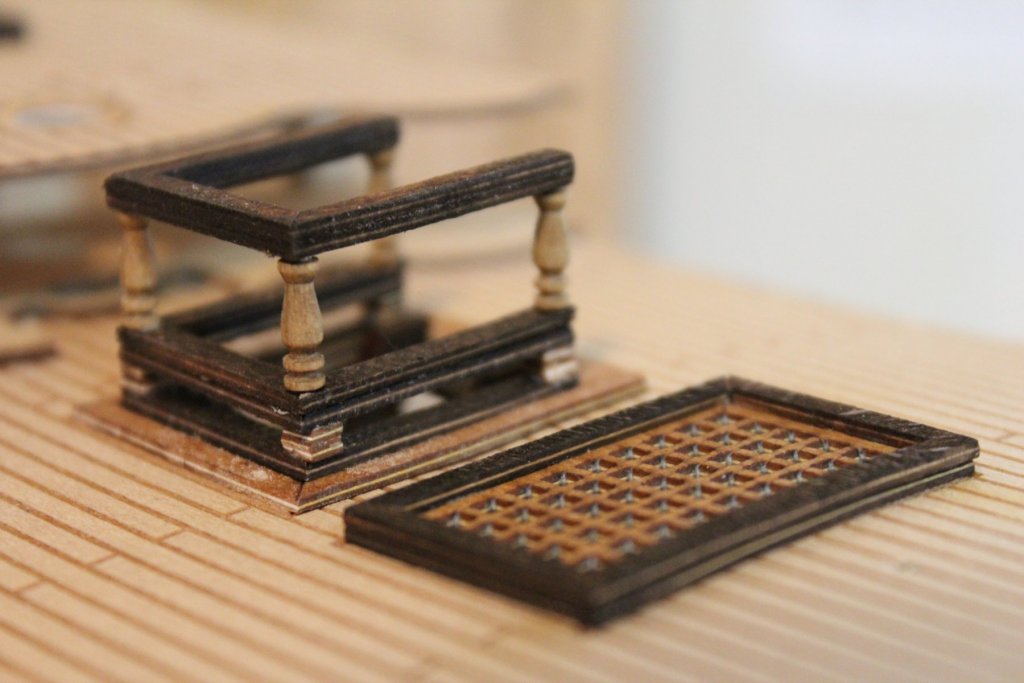
I also made some doors, we all want our privacy, do we.....
Looking at my ship now, I am quit satisfied how it goes so far. Had to do several modifications to get it all fit and as I see it, many mods will follow. But its part of this hobby...
Hennie
-
@Julie, Well, at least we both like big ships
@Sjors, how was your holyday my friend. I saw it was HOT overthere (just like it was here). I am working slow??? Well Sjors, like we say here: traag maar gestaag..........
Hennie
- Piet, BLACK VIKING and Sjors
-
3
-
@Edwin,
.....produce a masterpiece... Thx for the trust you have in me
And I think you mean that you participated in the four days march from Nijmegen or as we call it "de vierdaagse van Nijmegen). well, respect my friend And of course the weekly update:
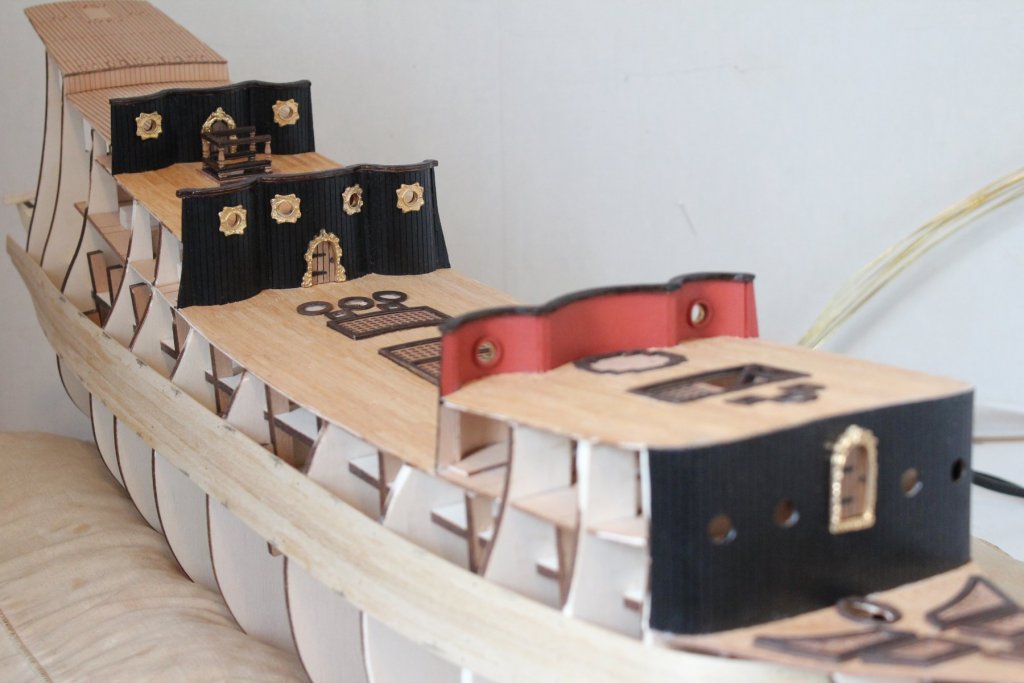
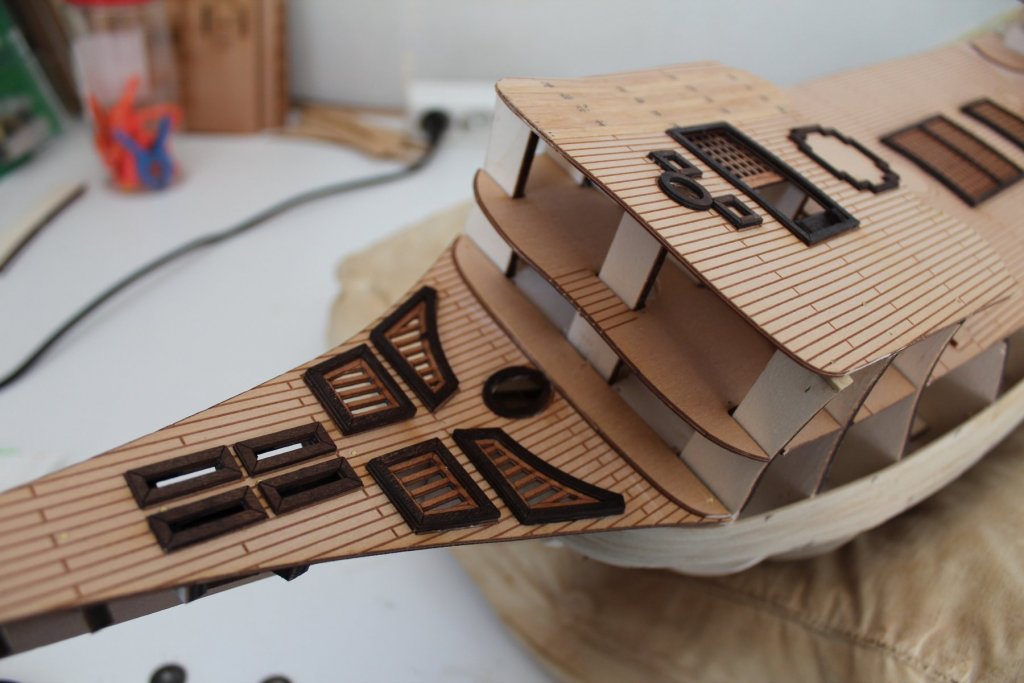
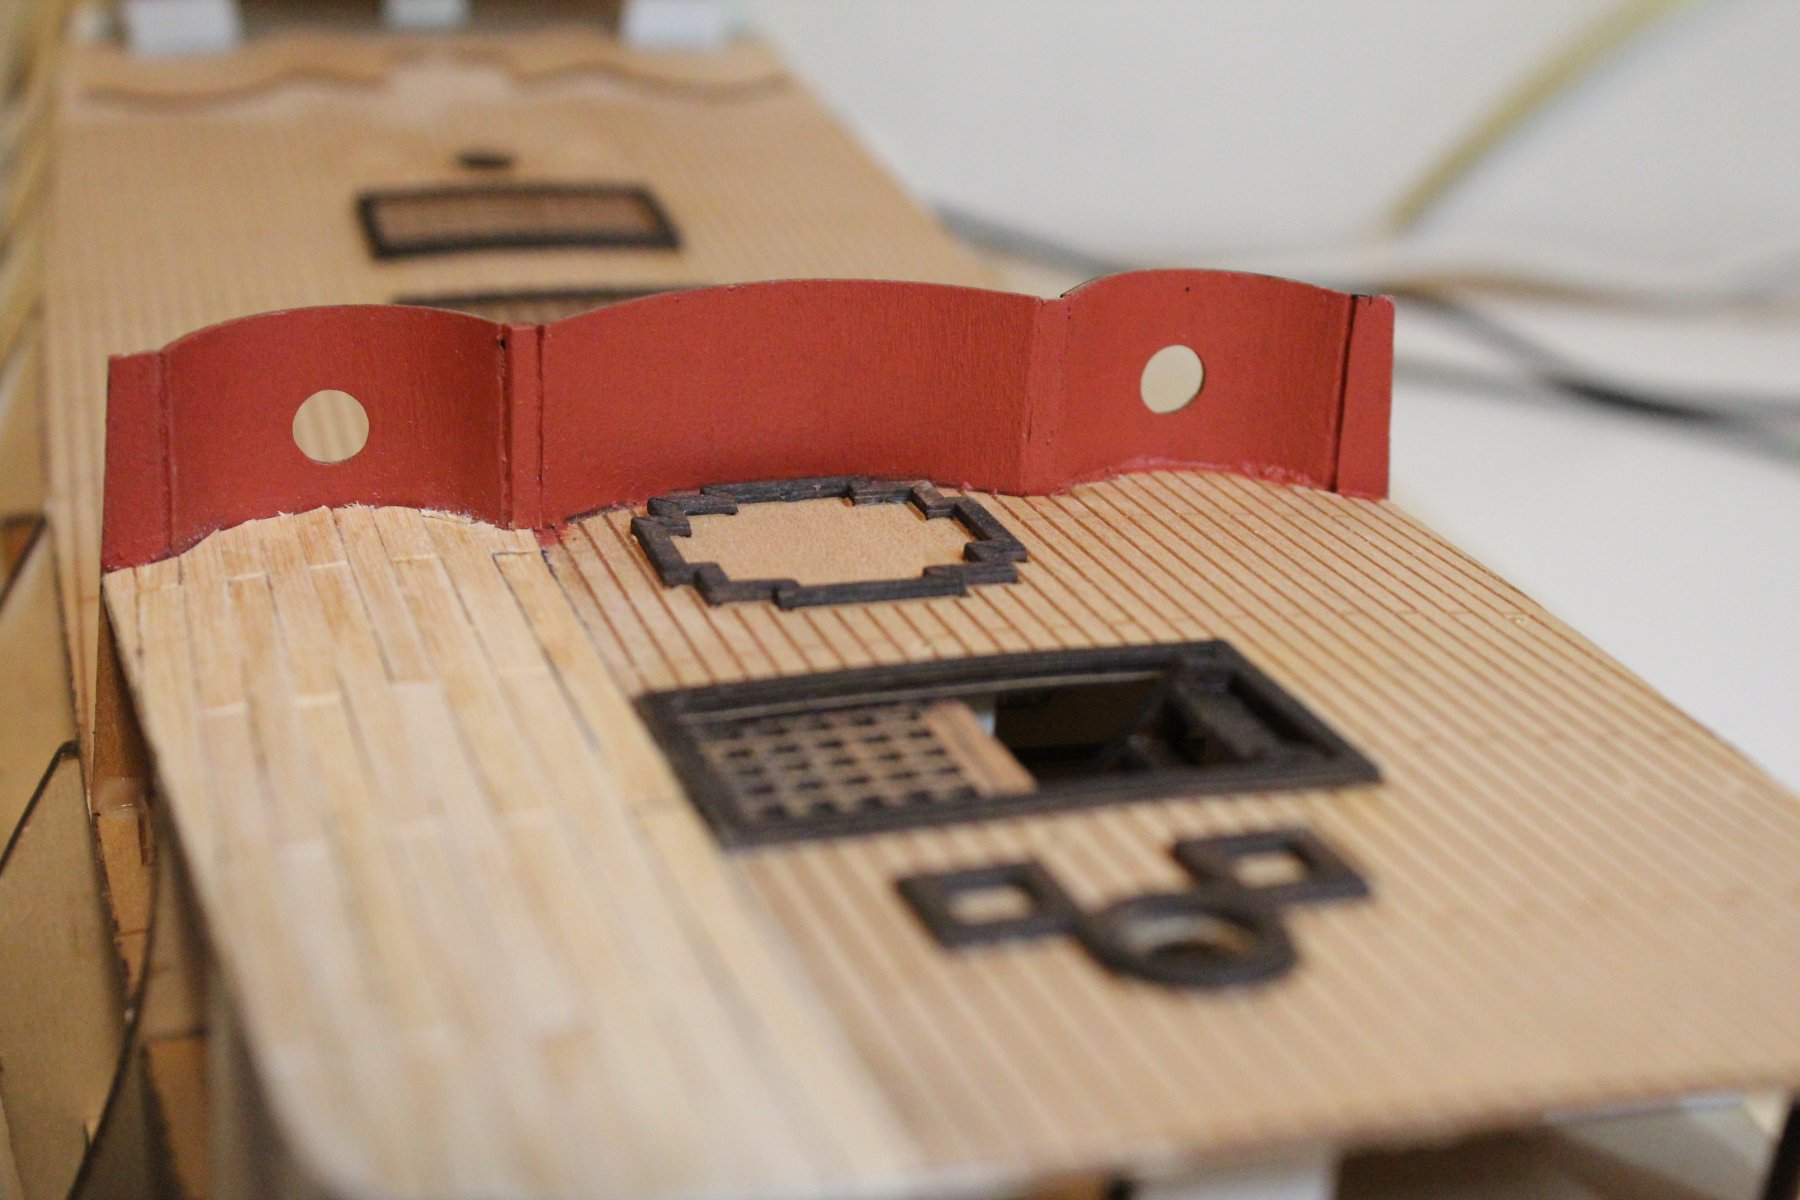
I removed the woodstrips from the deck in front. I was not quit satisfied with it. Allready replaced it. Only have to put the pins on it....
I also had to do some modifications. So I had to lower the frontside of the frontdeck because I found out that that piece of wood that coveres the front, wasn't high enough.
And I did some painting. The black paint I will polish and then a second black coating. But that's for next week....
Gr.
Hennie


- Barbossa, BLACK VIKING, Piet and 6 others
-
9
-
-
@Maddog
Of course you can
. You are more than welcomeHennie
- Piet, popeye the sailor and edmay
-
3
-
@Edwin: thx and as you say, I have all the time in the world. I want to be busy with this ship for at least several years
And a small update:
Put some peaces on the decks. For the colour, I used walnut wood stain and Artesania oil. Till now everything fits pretty well. I tried with round timber if the holes for the bowsprit and the masts were in the right place and they did


Sovereign of the Seas by Hennie - Sergal - 1:78
in - Kit build logs for subjects built from 1501 - 1750
Posted
@ Martin and @Jim: thank you both for your very kind words")
Hennie