marsalv
-
Posts
620 -
Joined
-
Last visited
Content Type
Profiles
Forums
Gallery
Events
Everything posted by marsalv
-
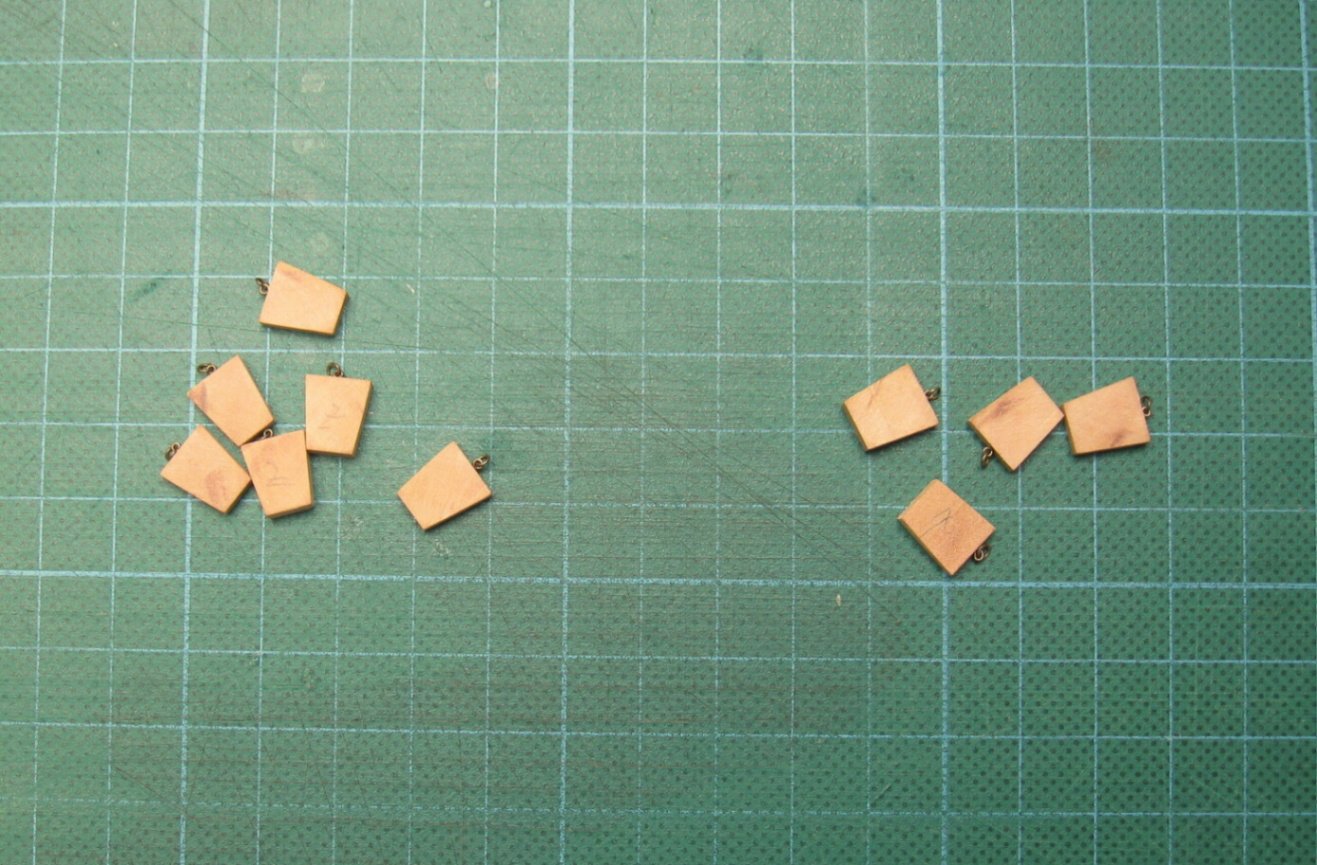
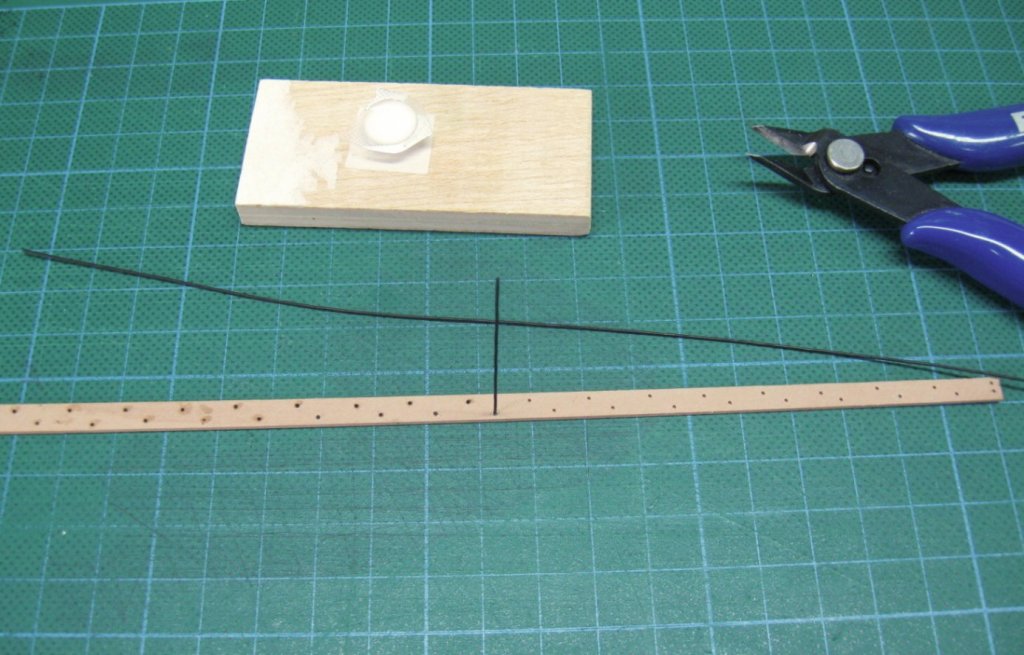
Thanks Johann😊. Planking is finally done. Now I am going to glue about 6500 pcs of "bolts".

- 589 replies
-
- 36
-

-
- le gros ventre
- cargo
- (and 1 more)
-
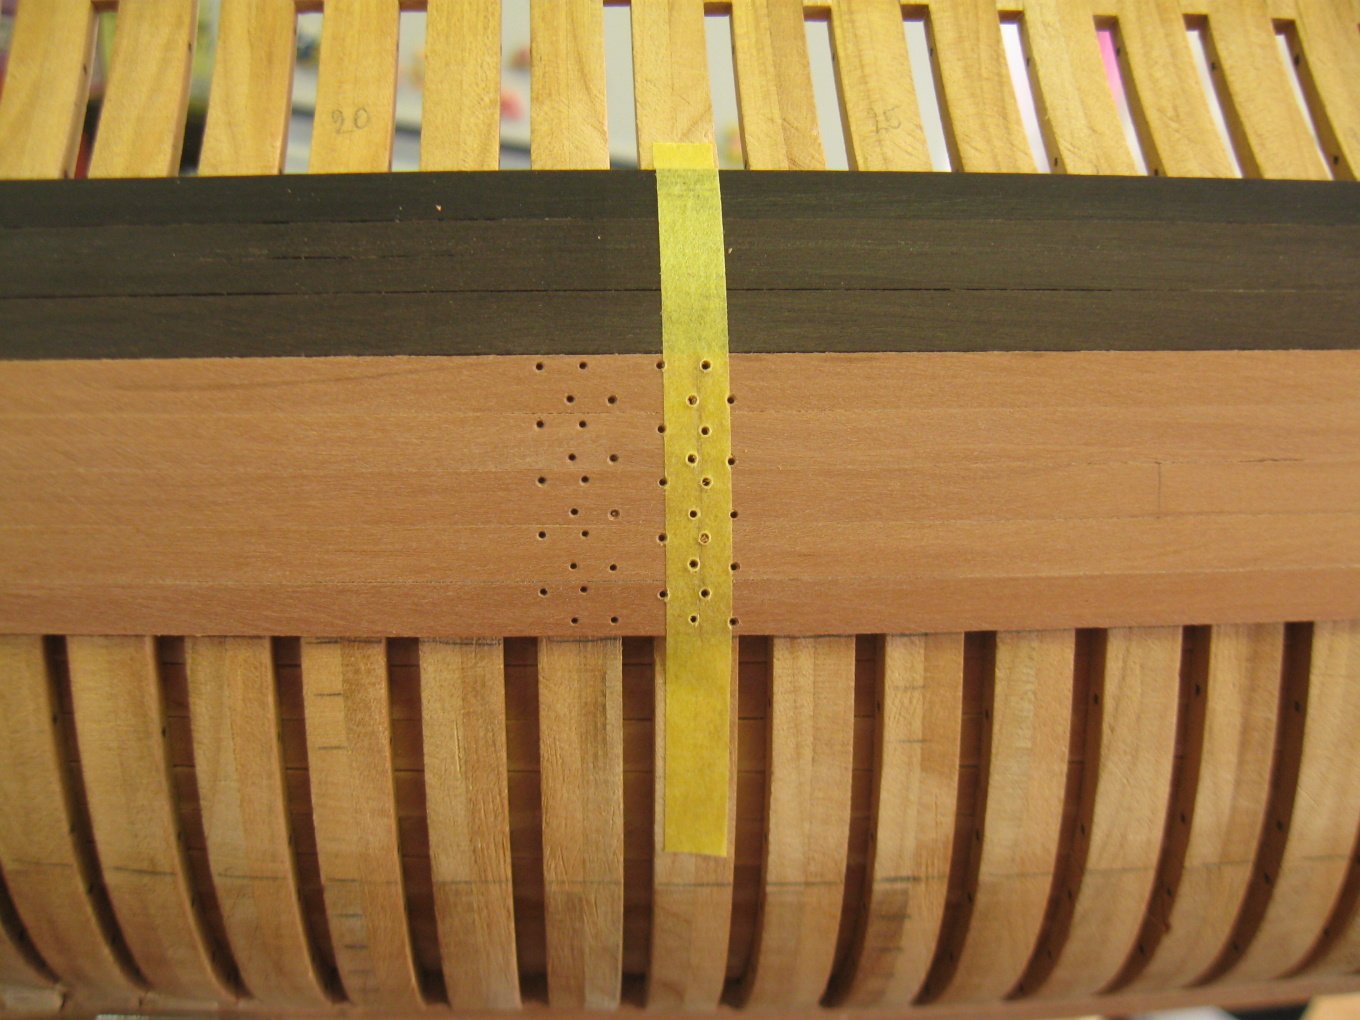
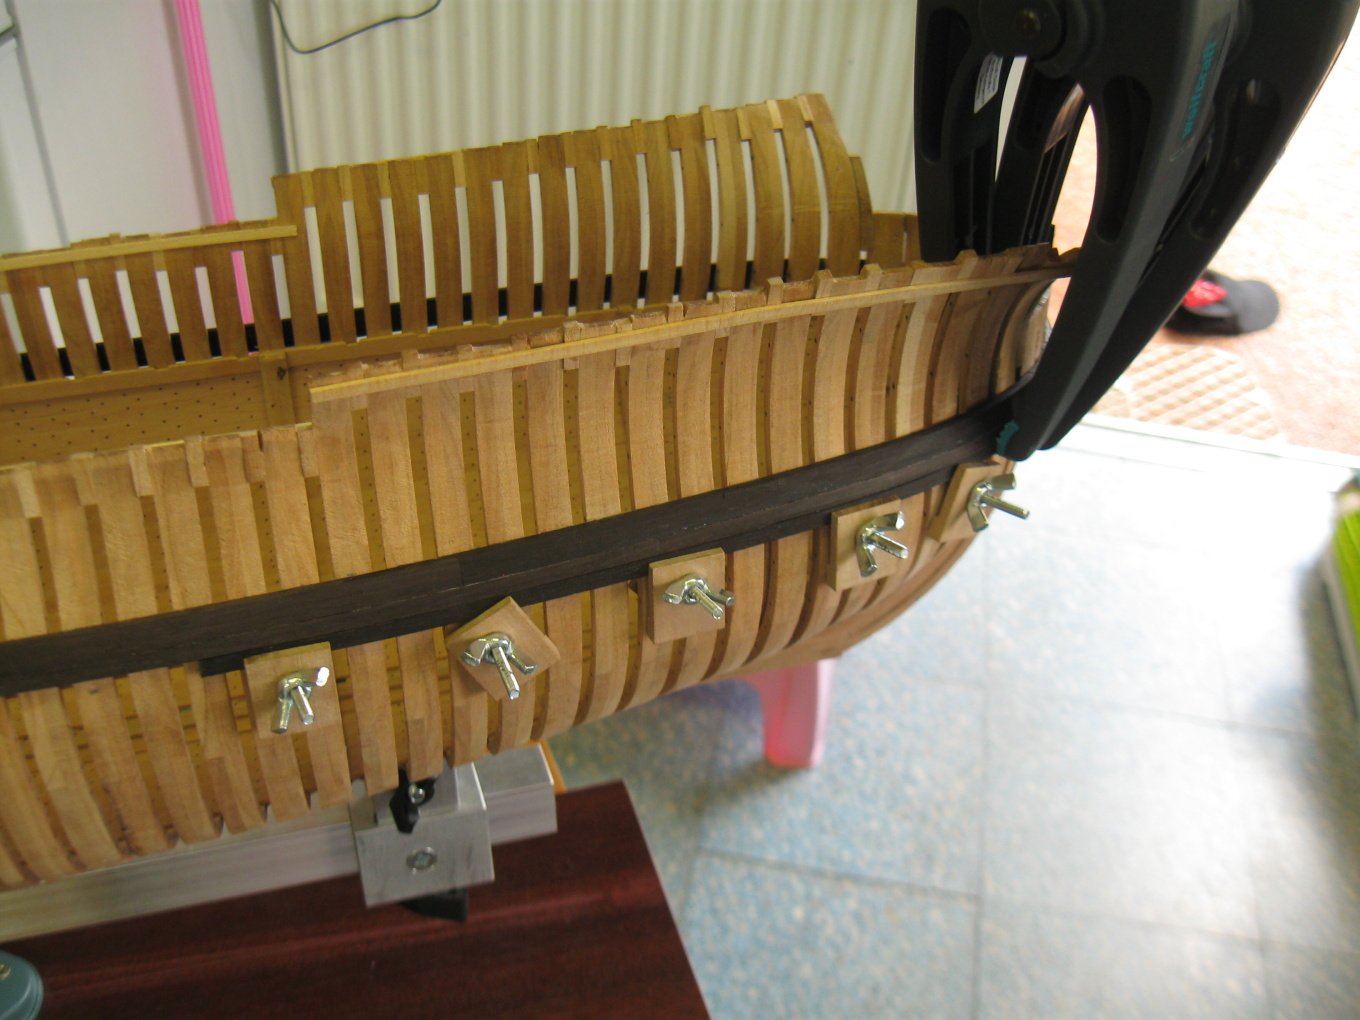
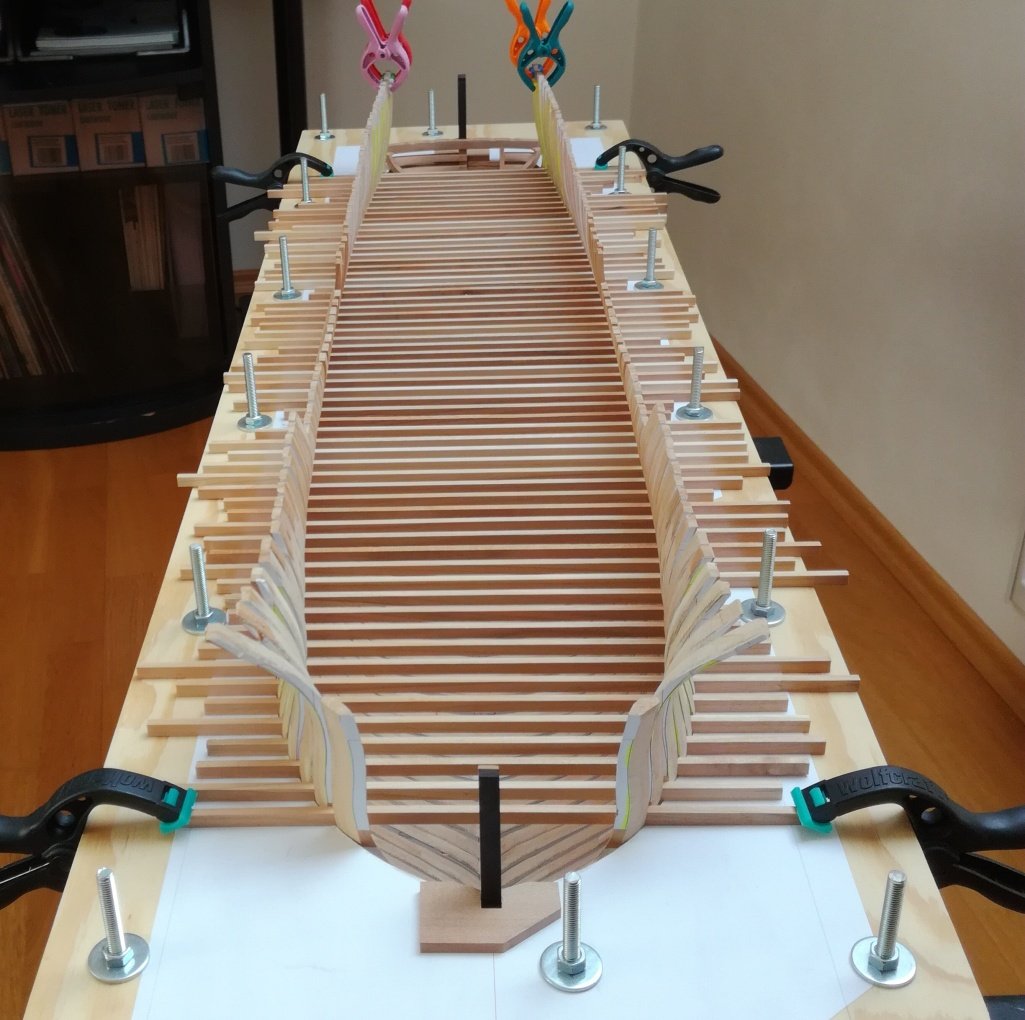
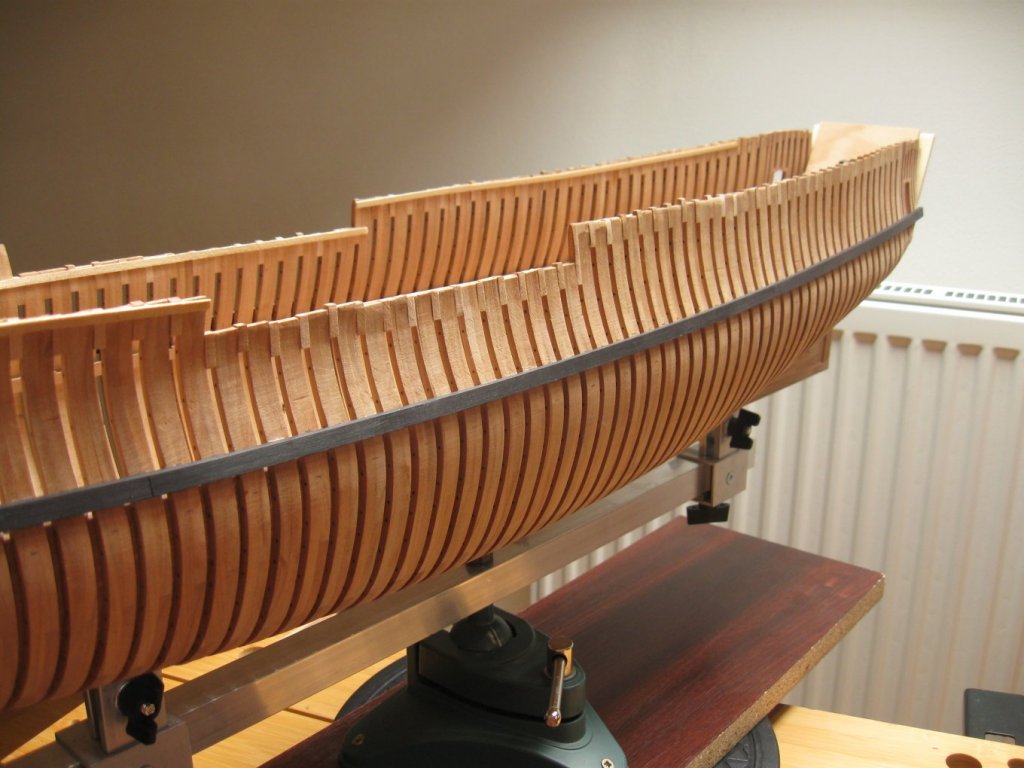
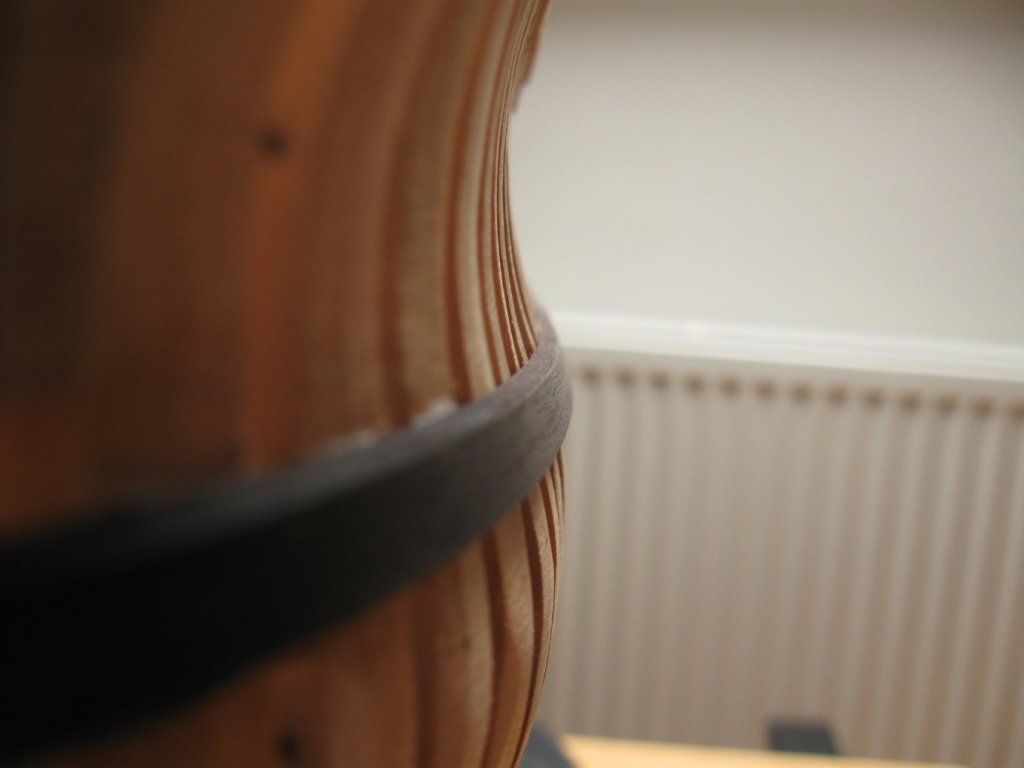
To Michel Bérnard: the yellow band is standard masking tape (Revell or Tamiya) - see the picture. Next ten strakes is done, it remains last 10 strakes.


- 589 replies
-
- 32
-
-
- le gros ventre
- cargo
- (and 1 more)
-
First five strakes are in place, now only the remaining twenty.


- 589 replies
-
- 28
-
-
- le gros ventre
- cargo
- (and 1 more)
-
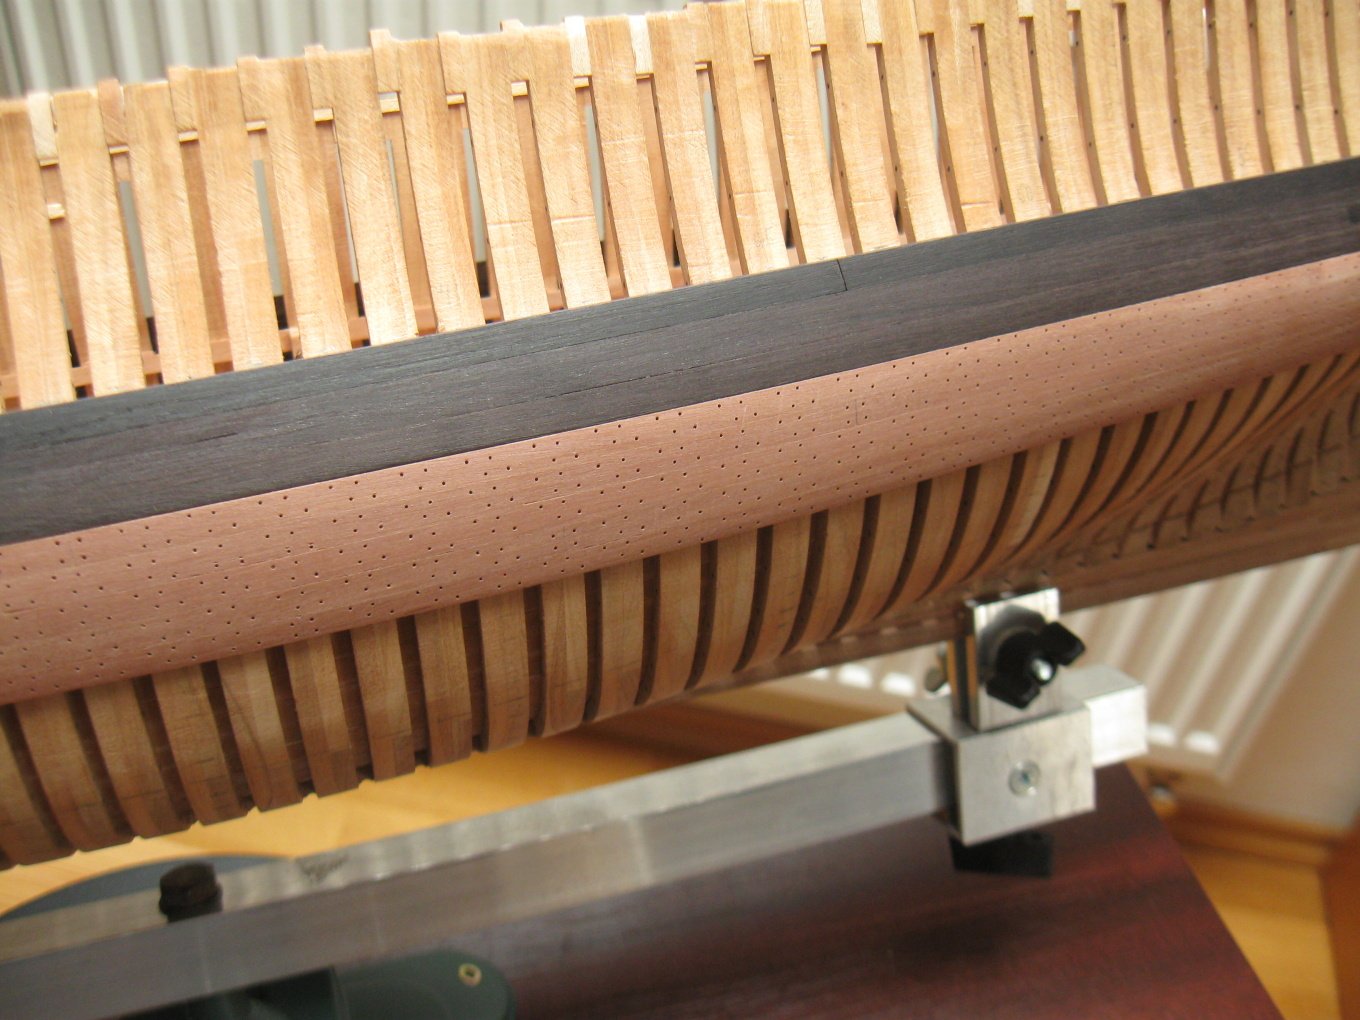
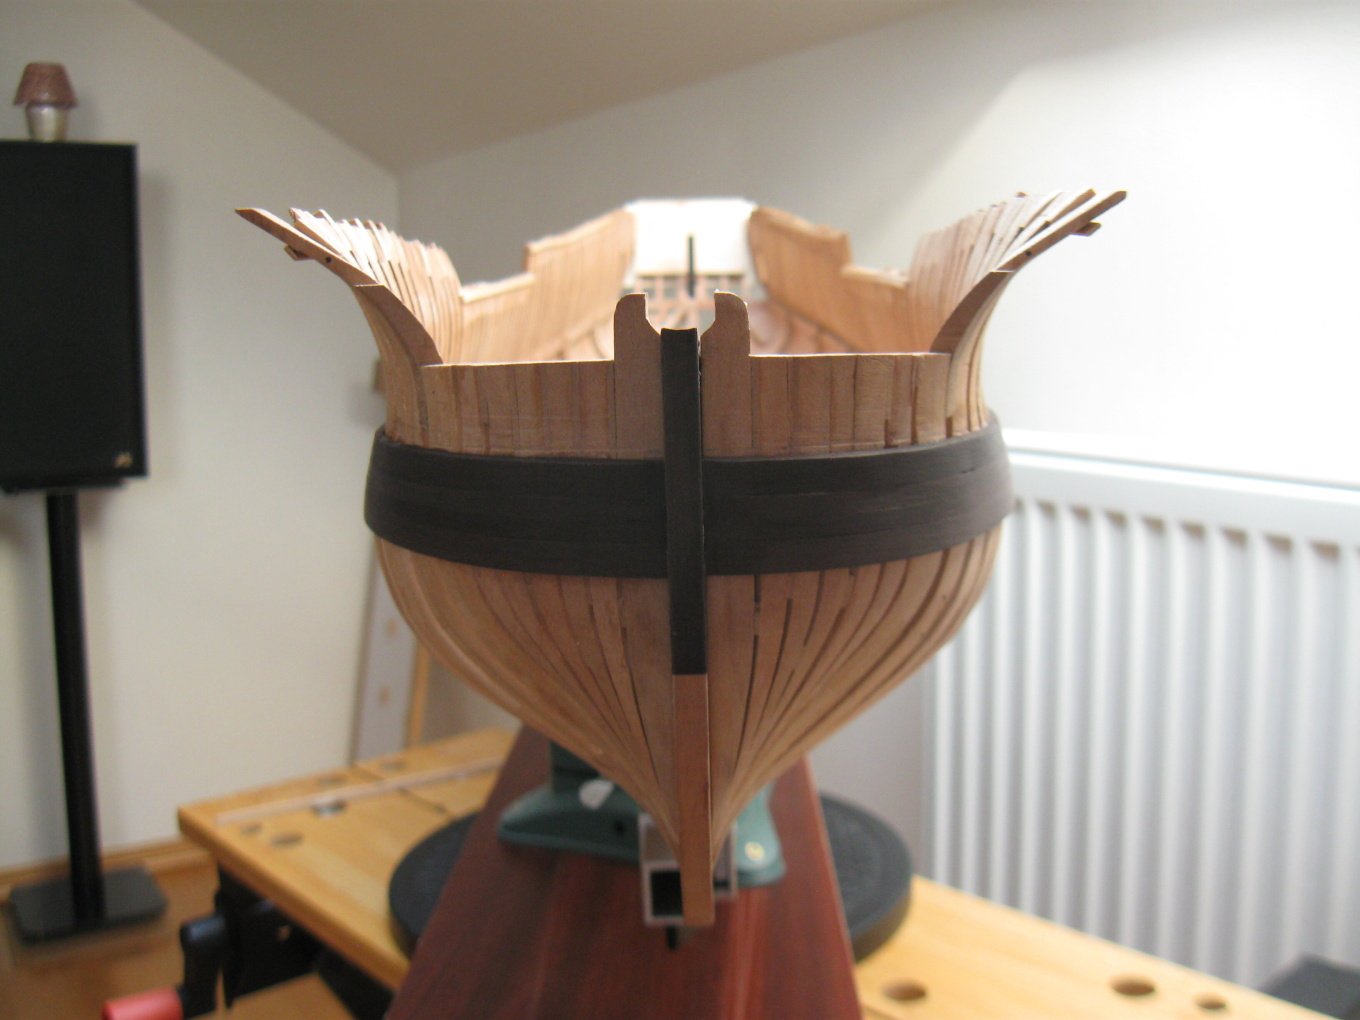
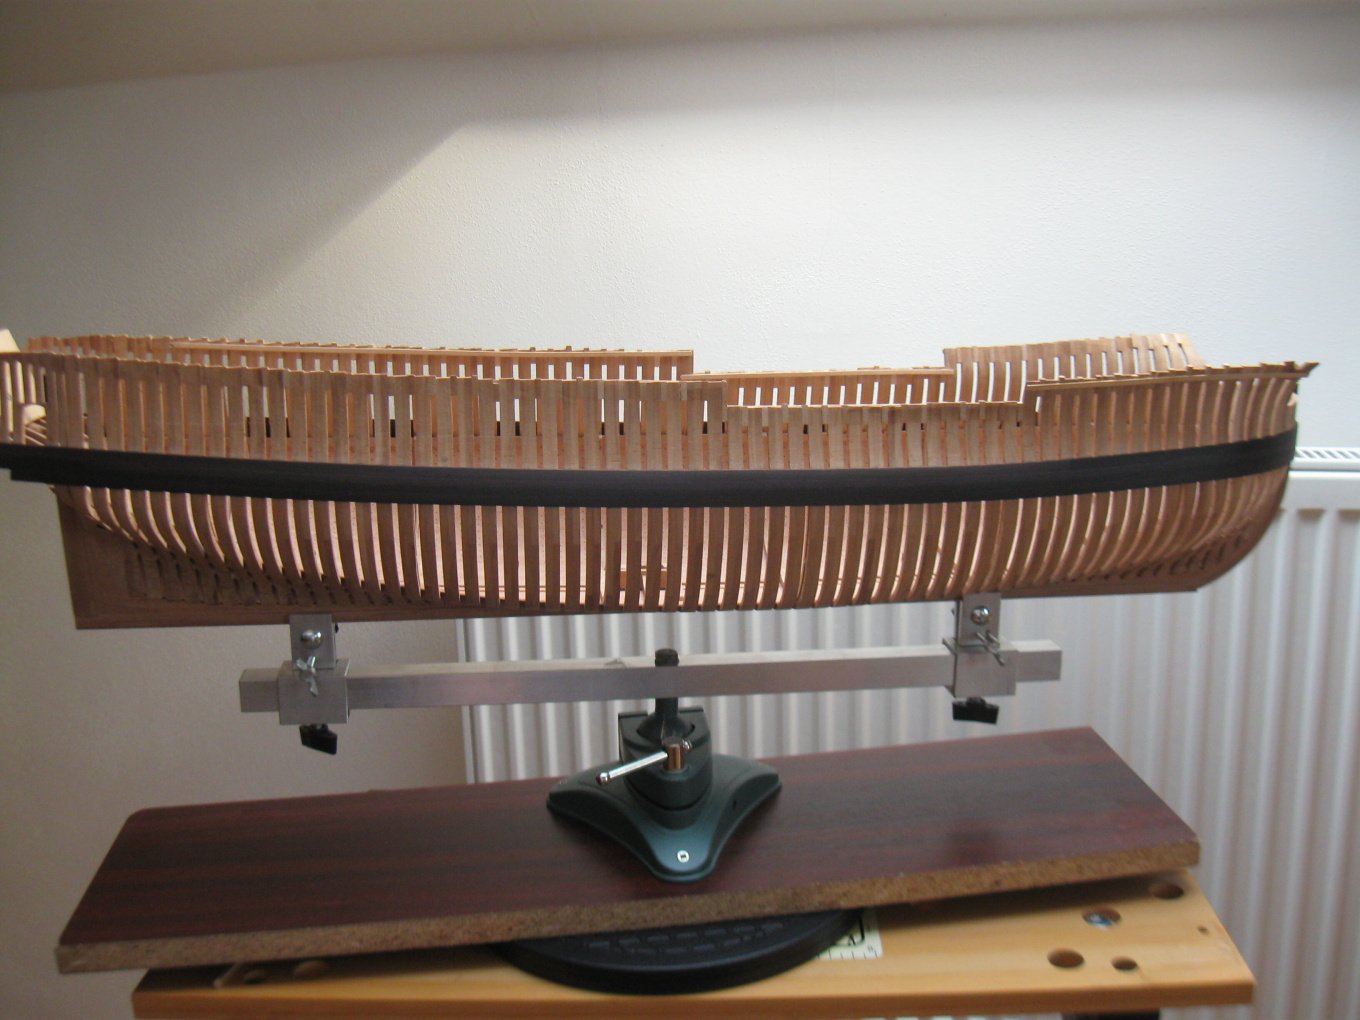
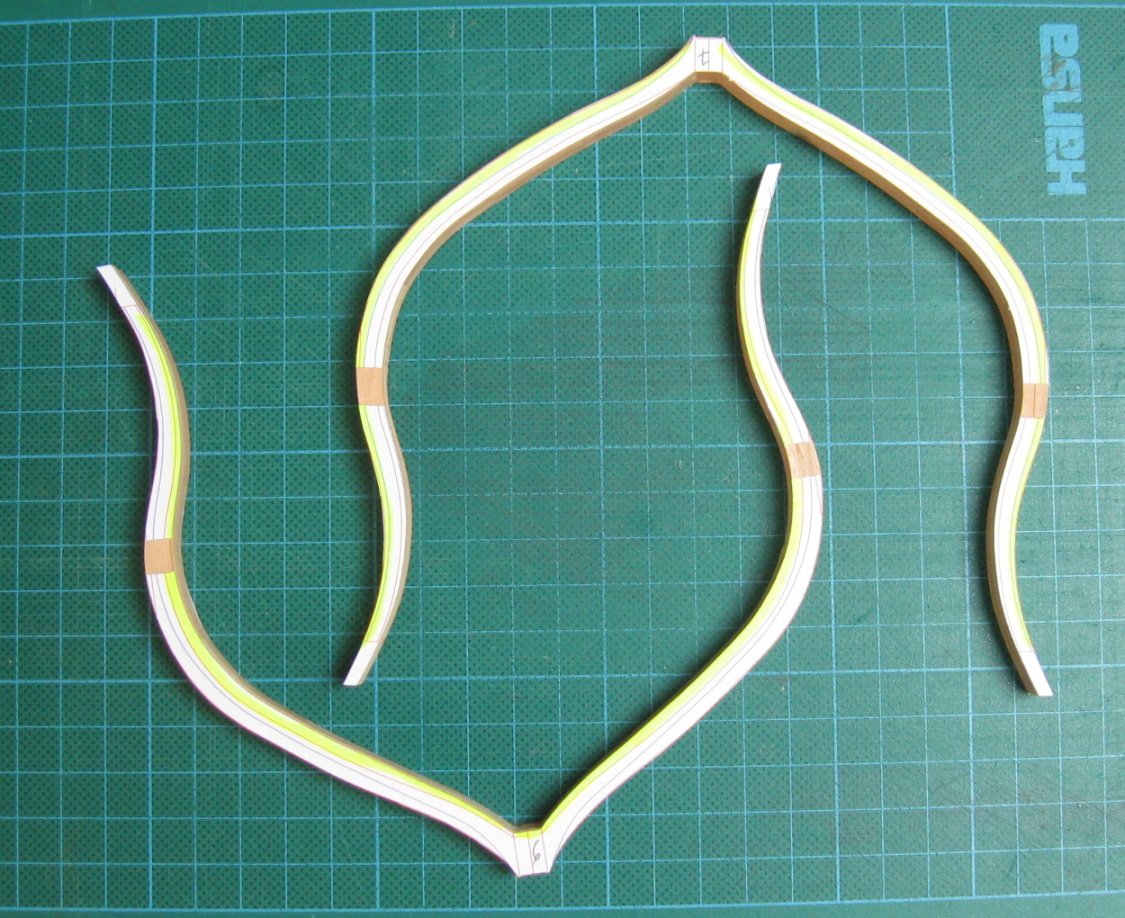
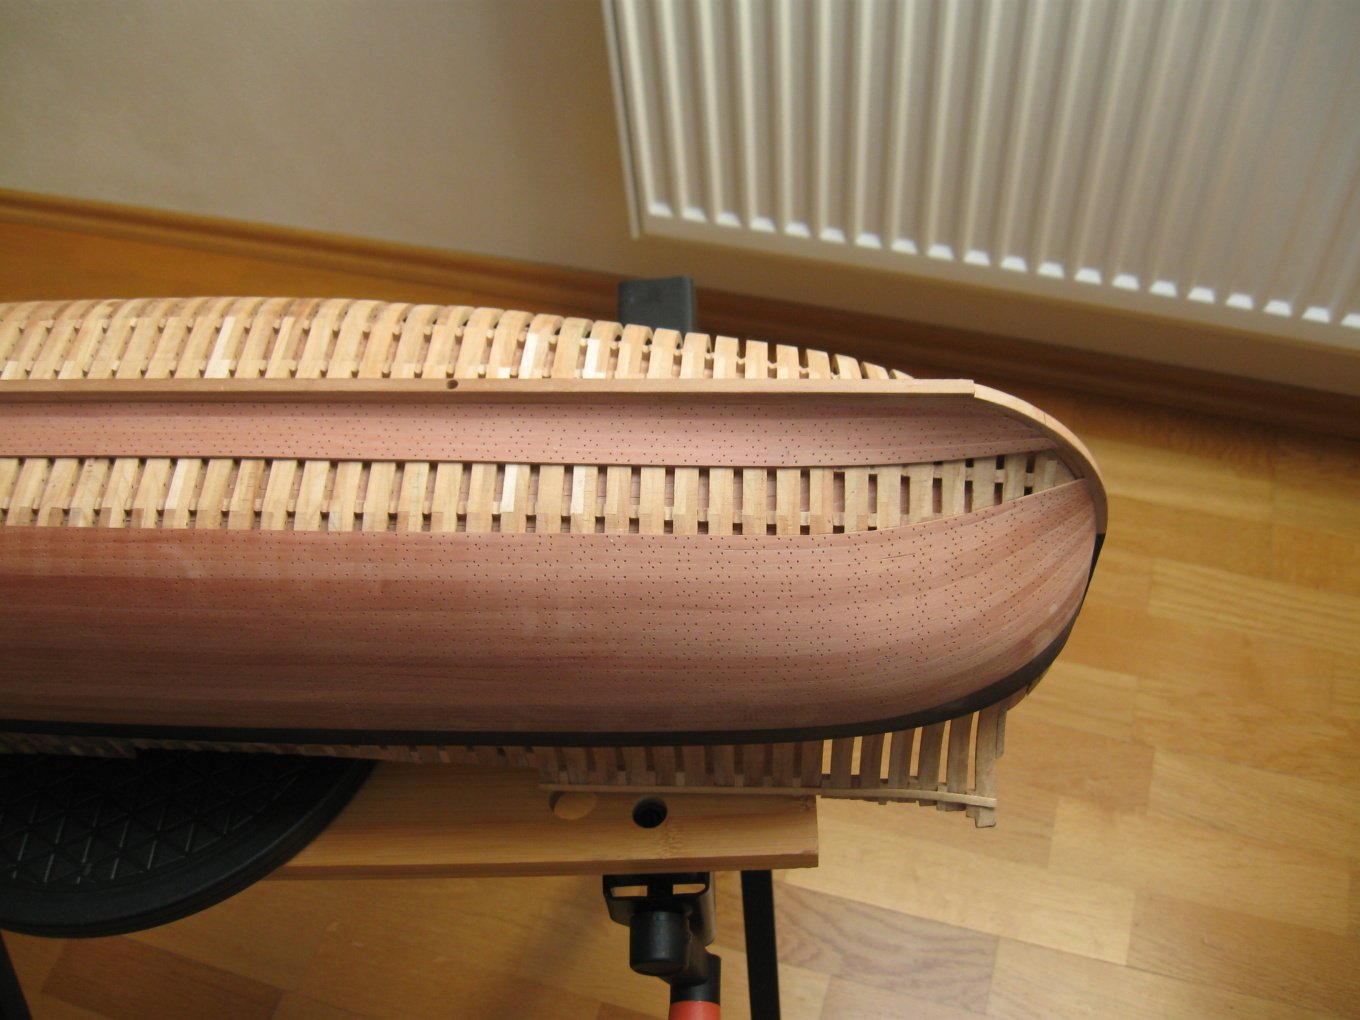
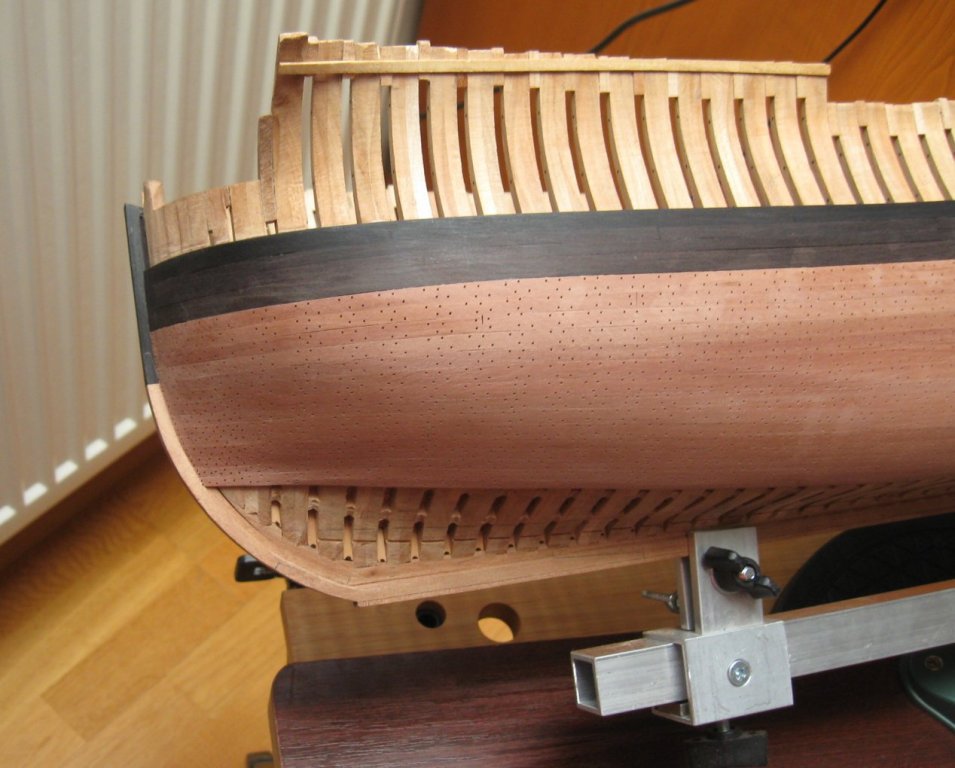
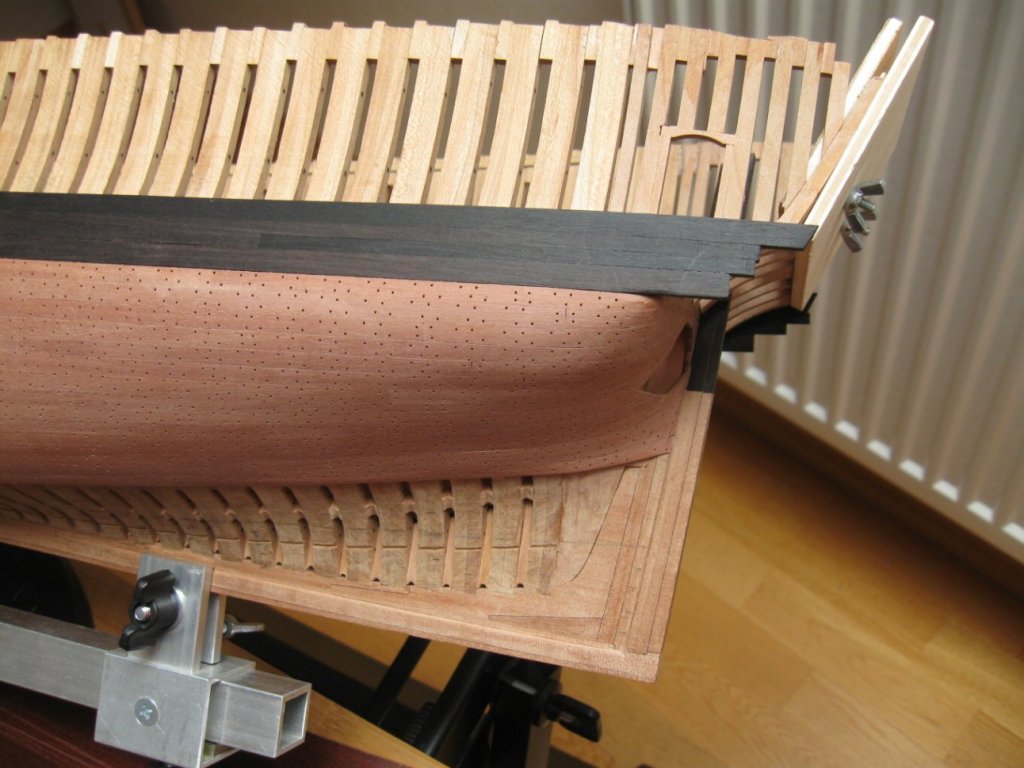
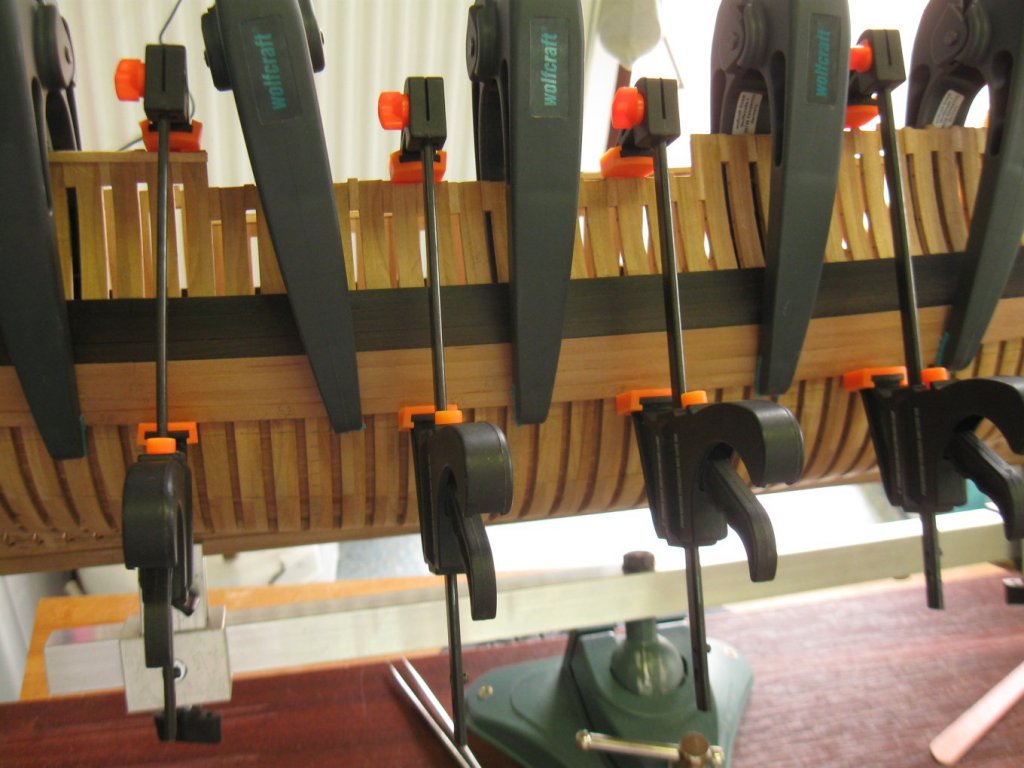
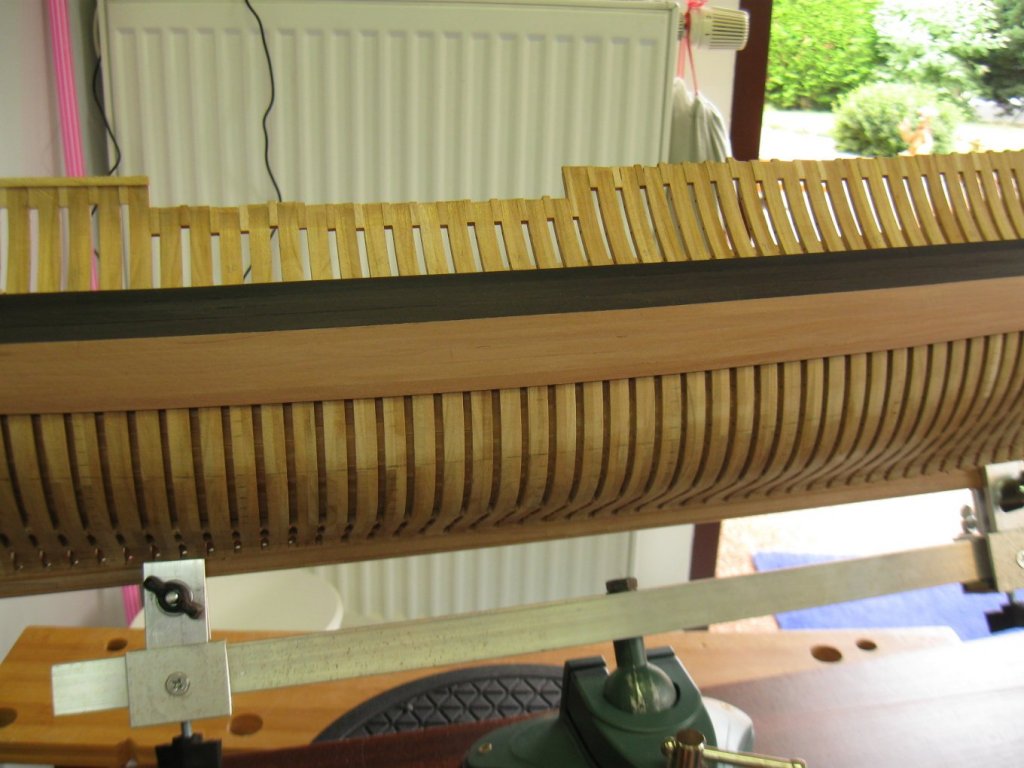
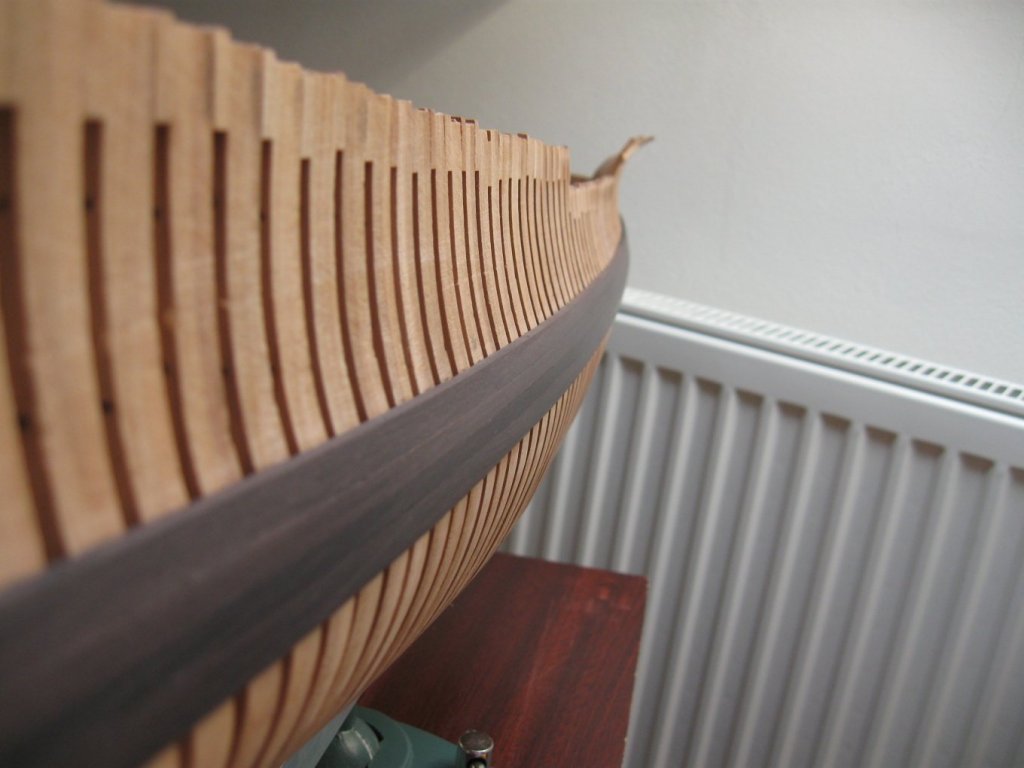
Installation of wales which are made from "black" hornbeam.


- 589 replies
-
- 37
-
-
- le gros ventre
- cargo
- (and 1 more)
-
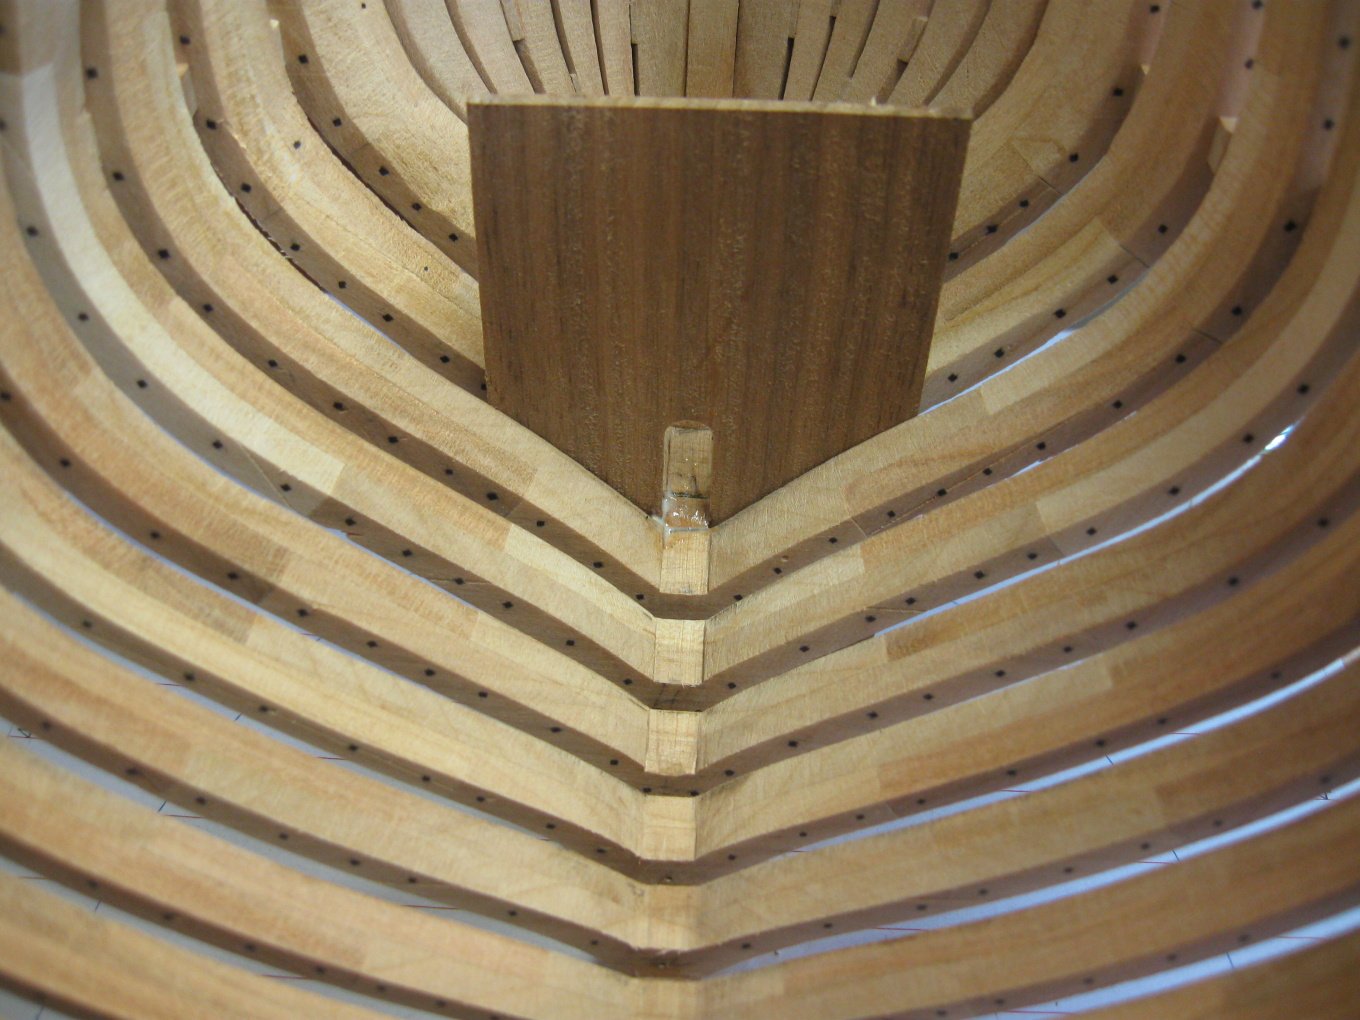
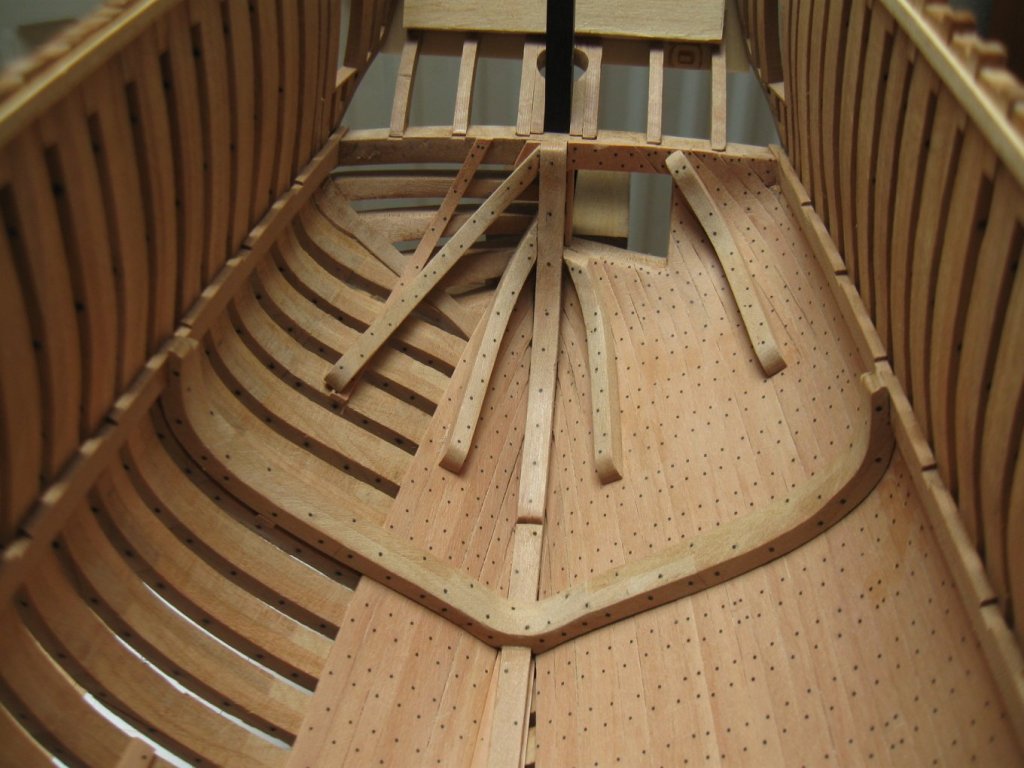
Thank you guys😉. I added some parts inside the hull - limber strake, sleepers and breast hooks. Now is the right time for wales installation.

- 589 replies
-
- 27
-
-
- le gros ventre
- cargo
- (and 1 more)
-
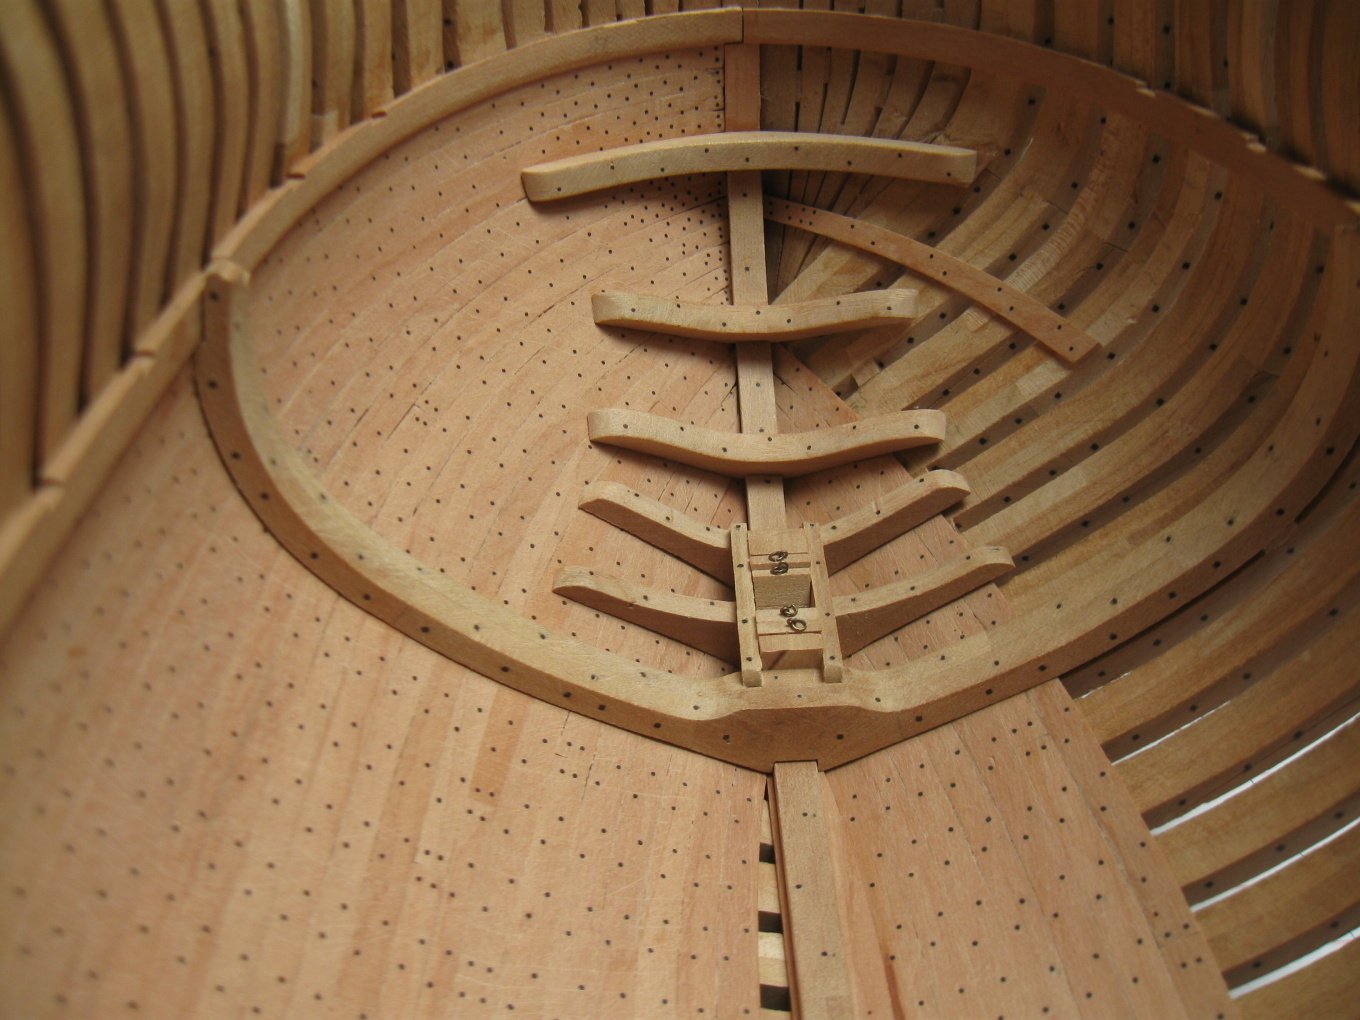
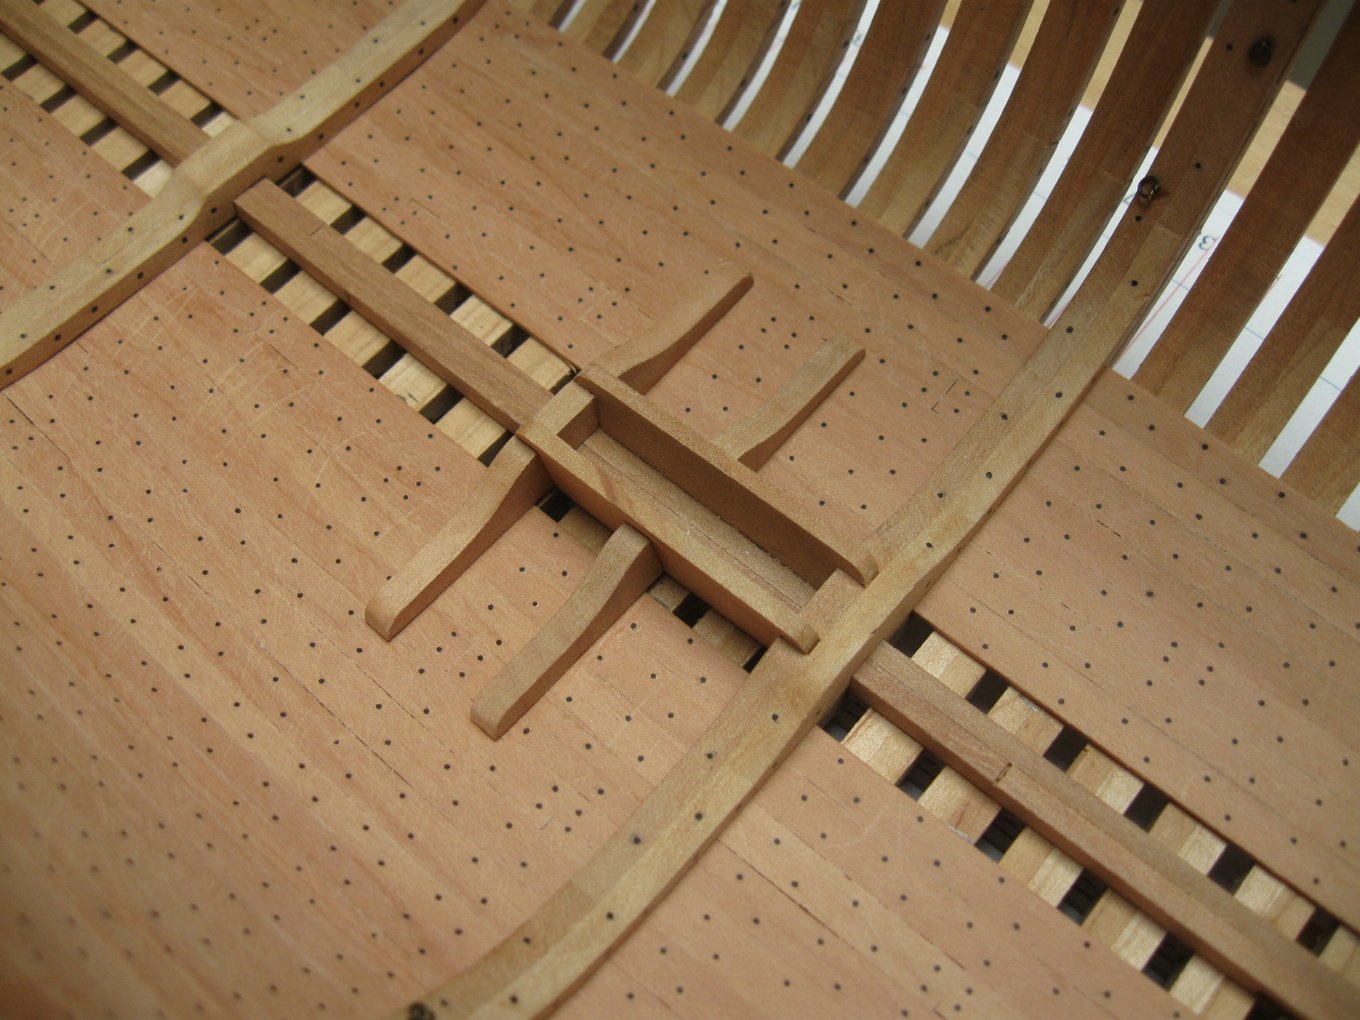
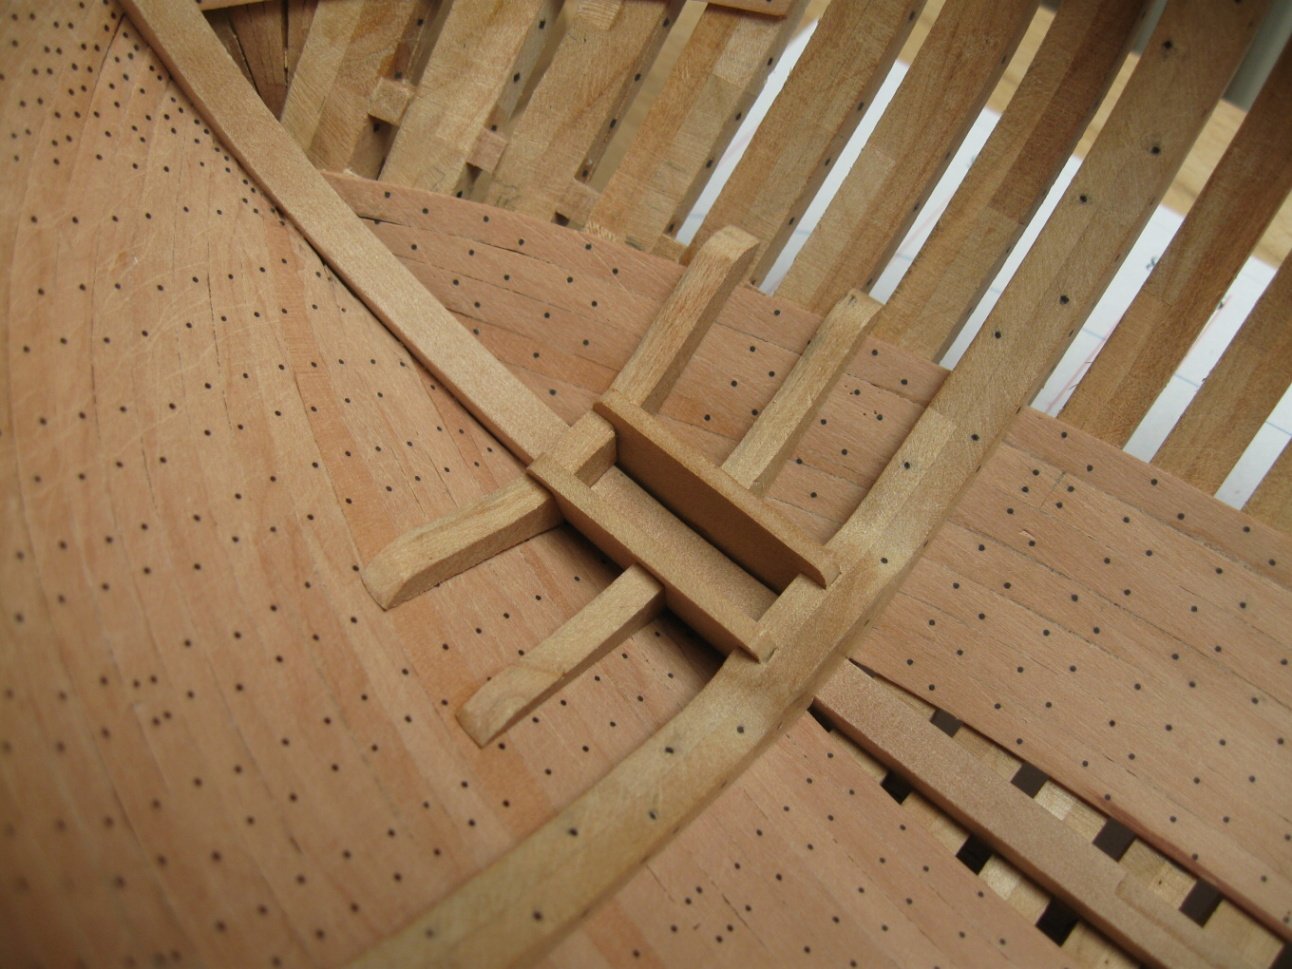
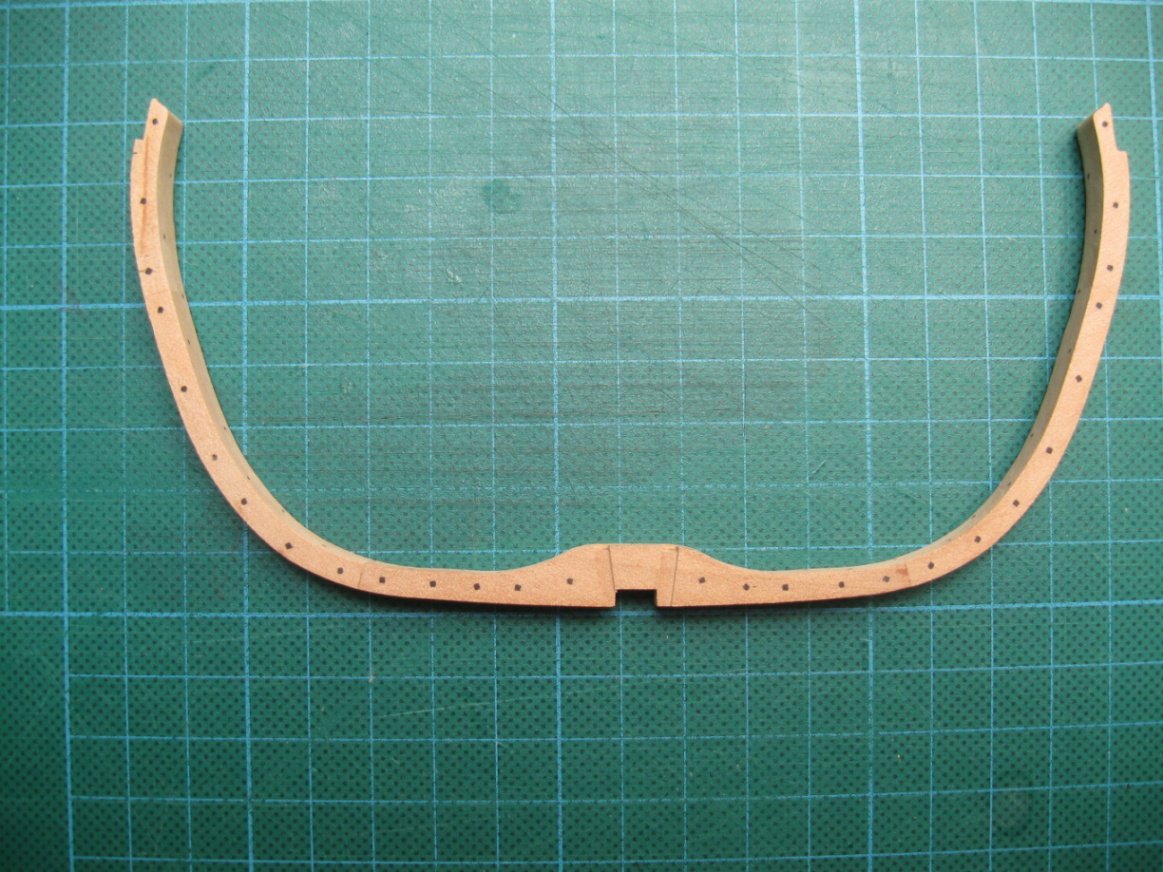
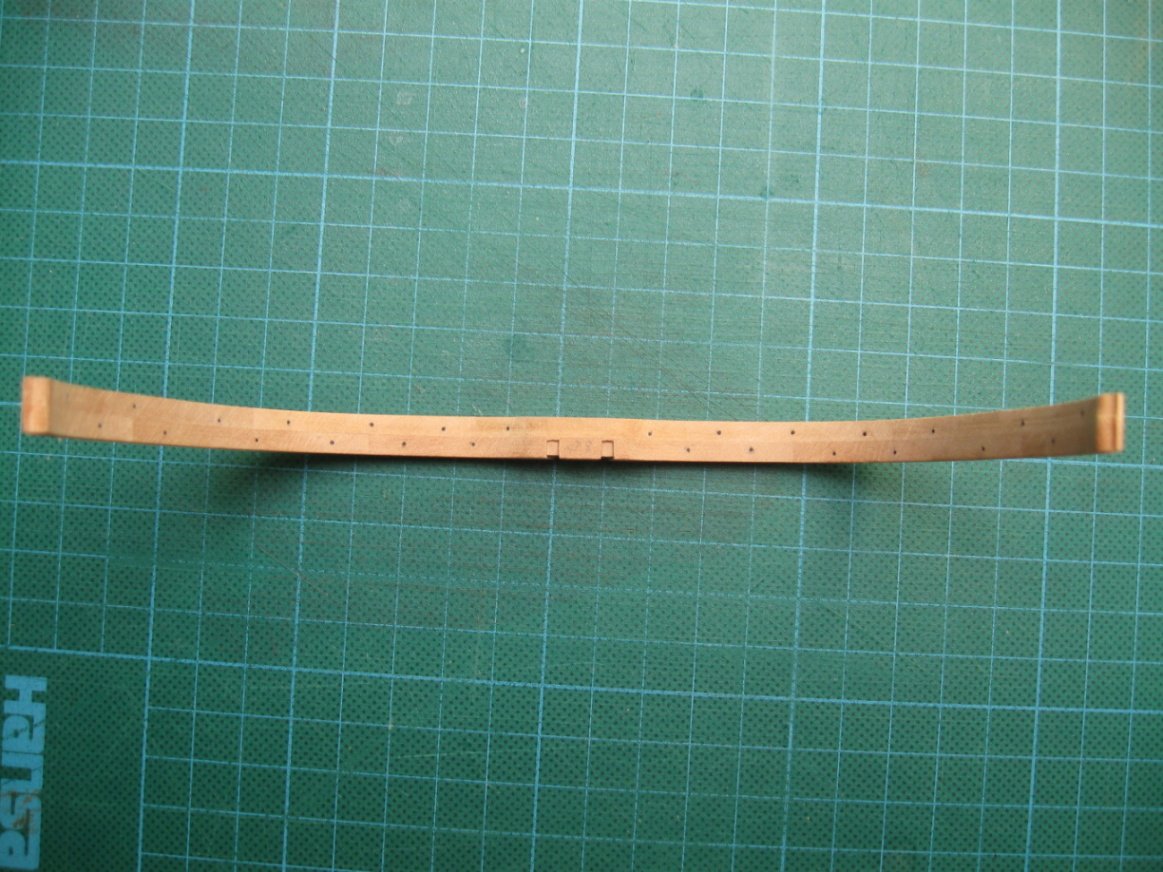
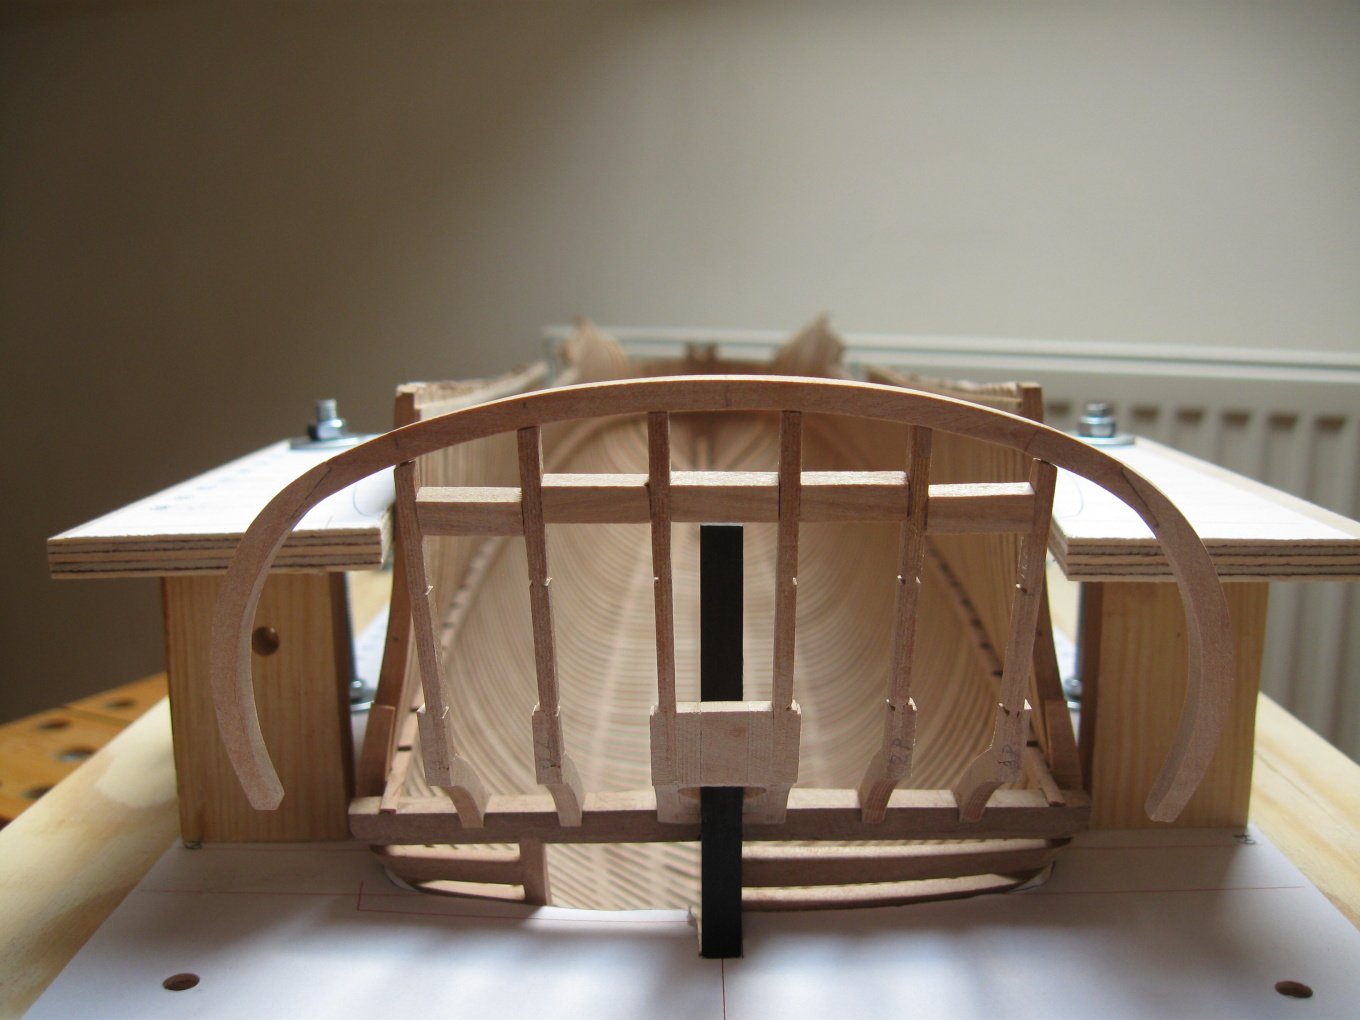
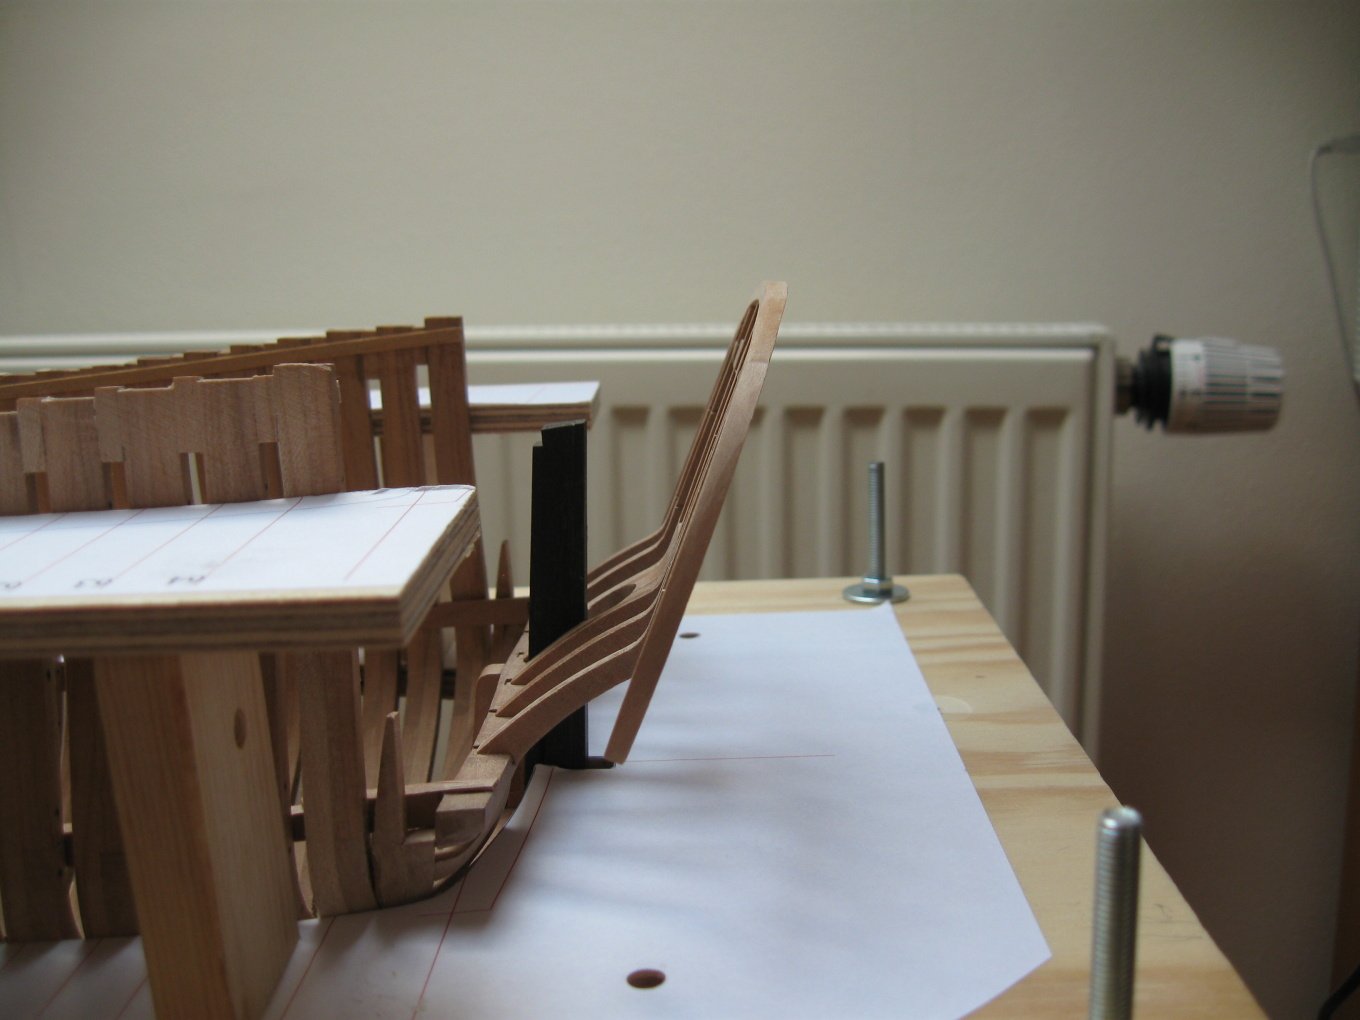
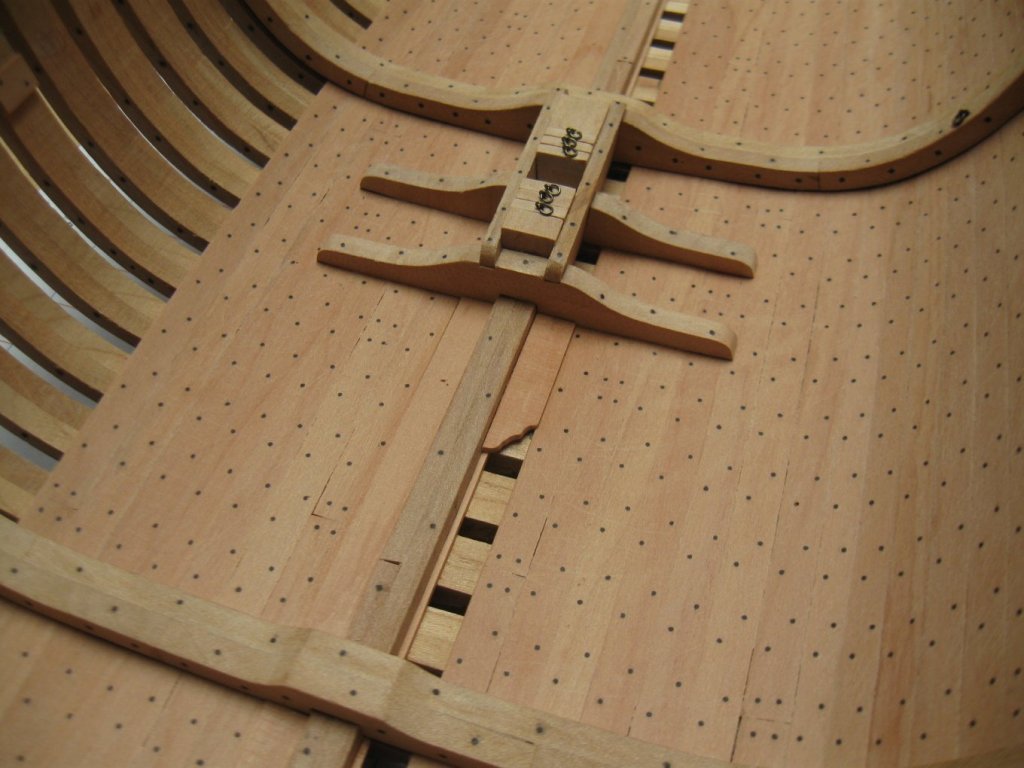
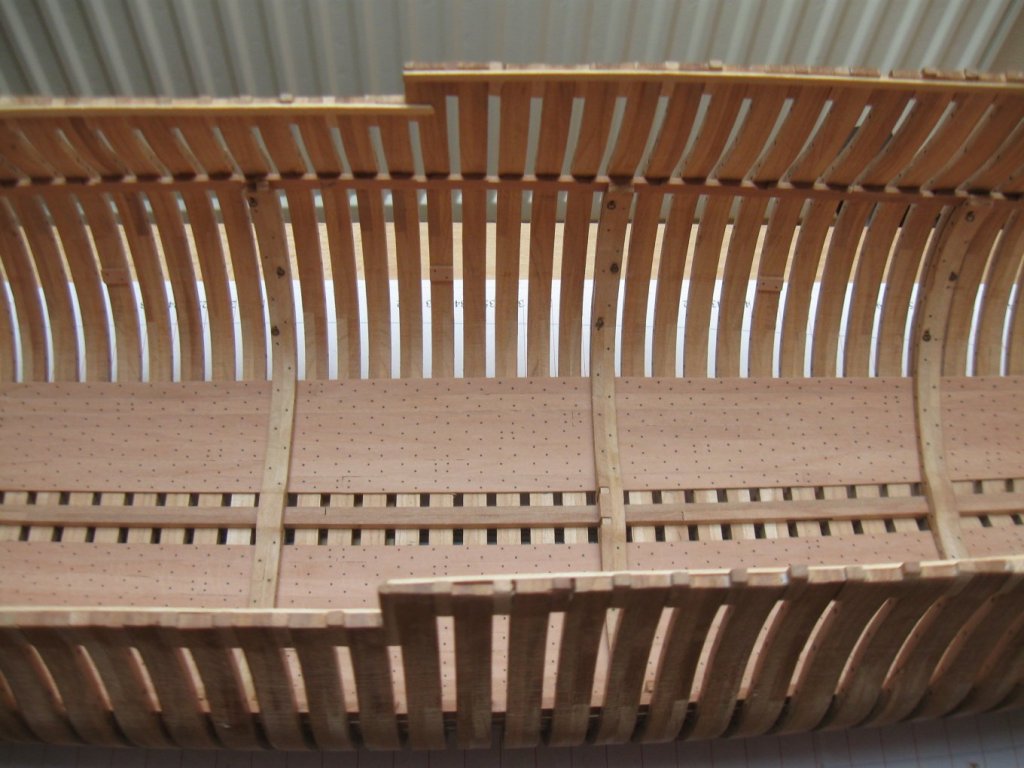
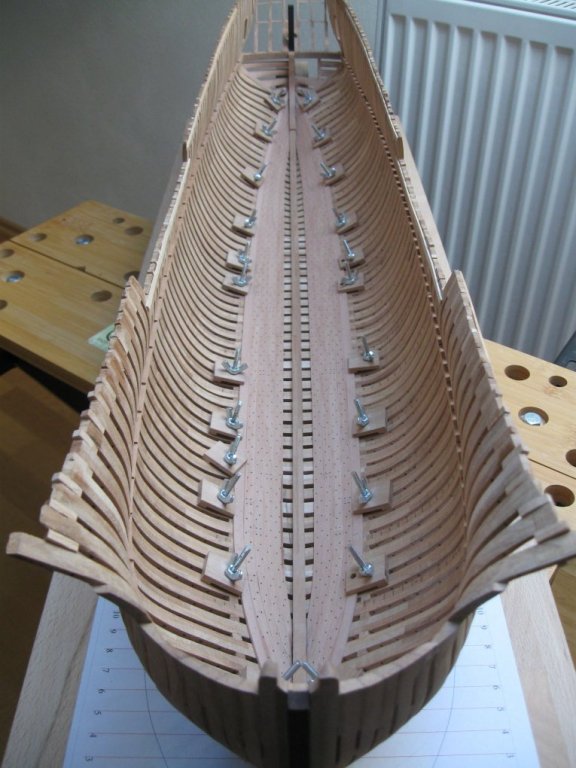
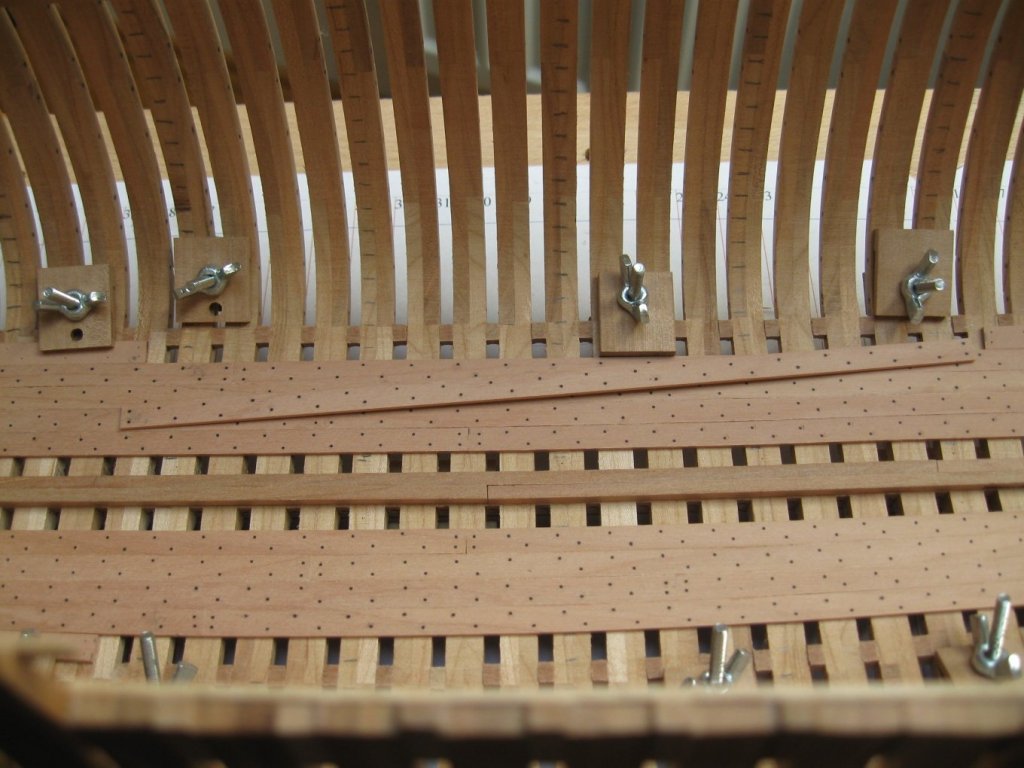
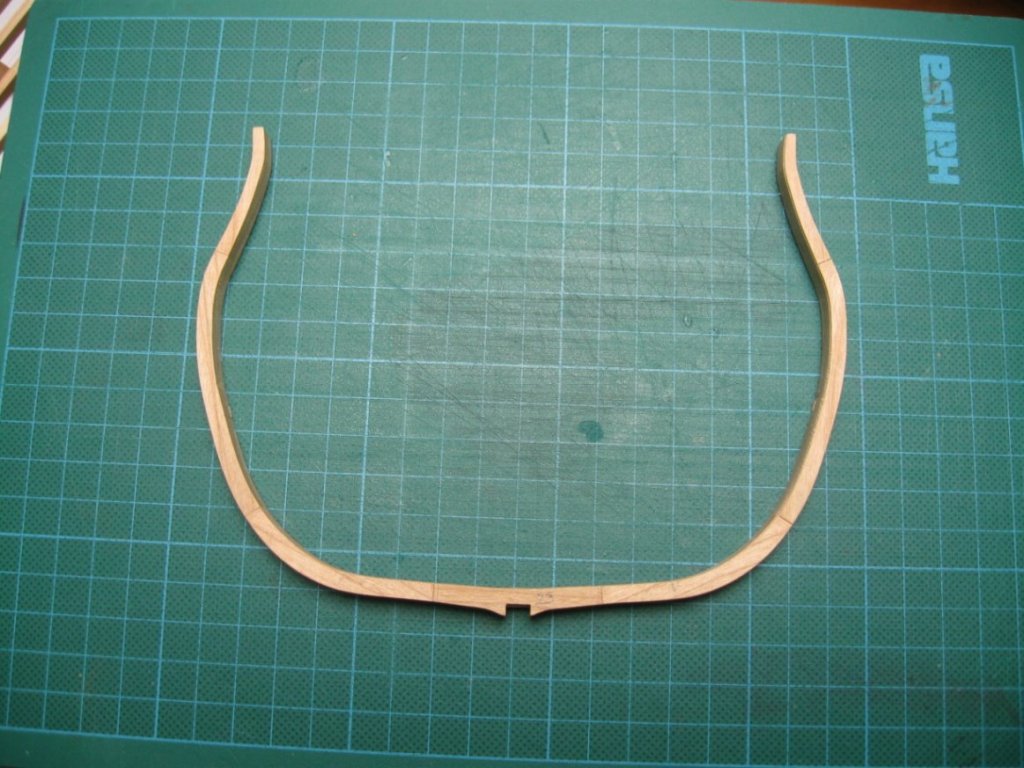
Riders - these parts was made in the same way as the frames.


- 589 replies
-
- 29
-
-
- le gros ventre
- cargo
- (and 1 more)
-
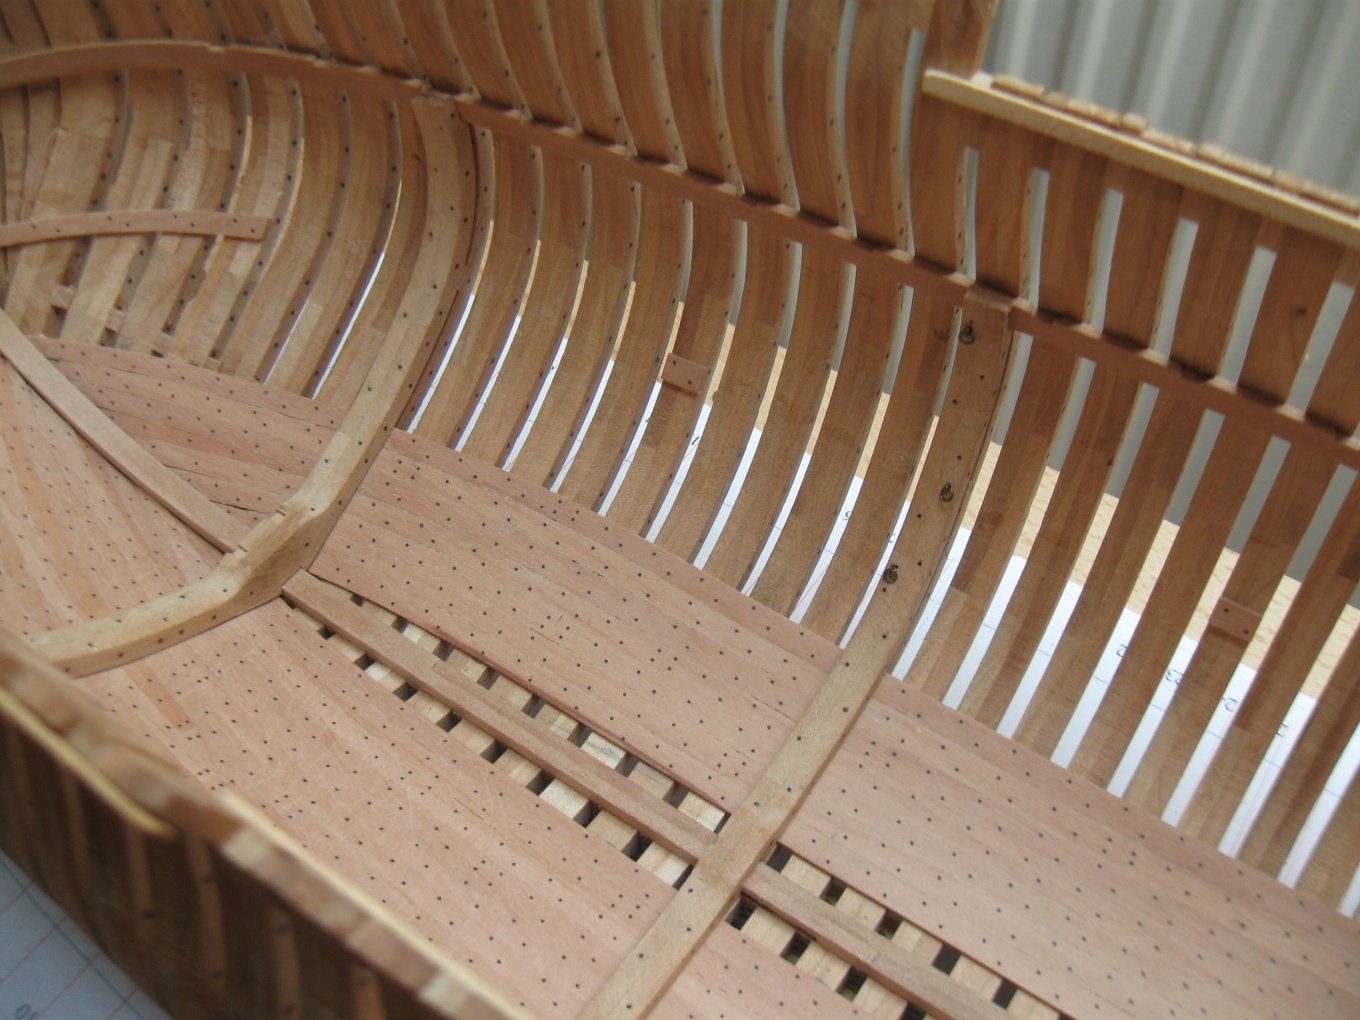
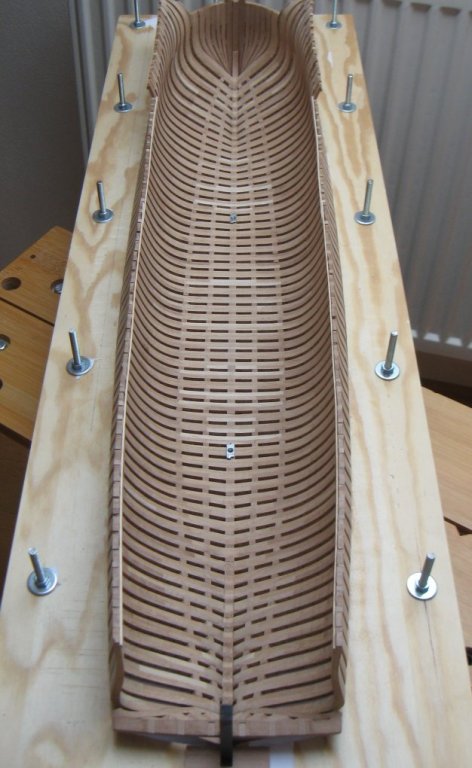
Thank you guys, your words pleased me😉. The ceiling is finally done. I will continue with riders and mast steps.


- 589 replies
-
- 34
-
-
- le gros ventre
- cargo
- (and 1 more)
-
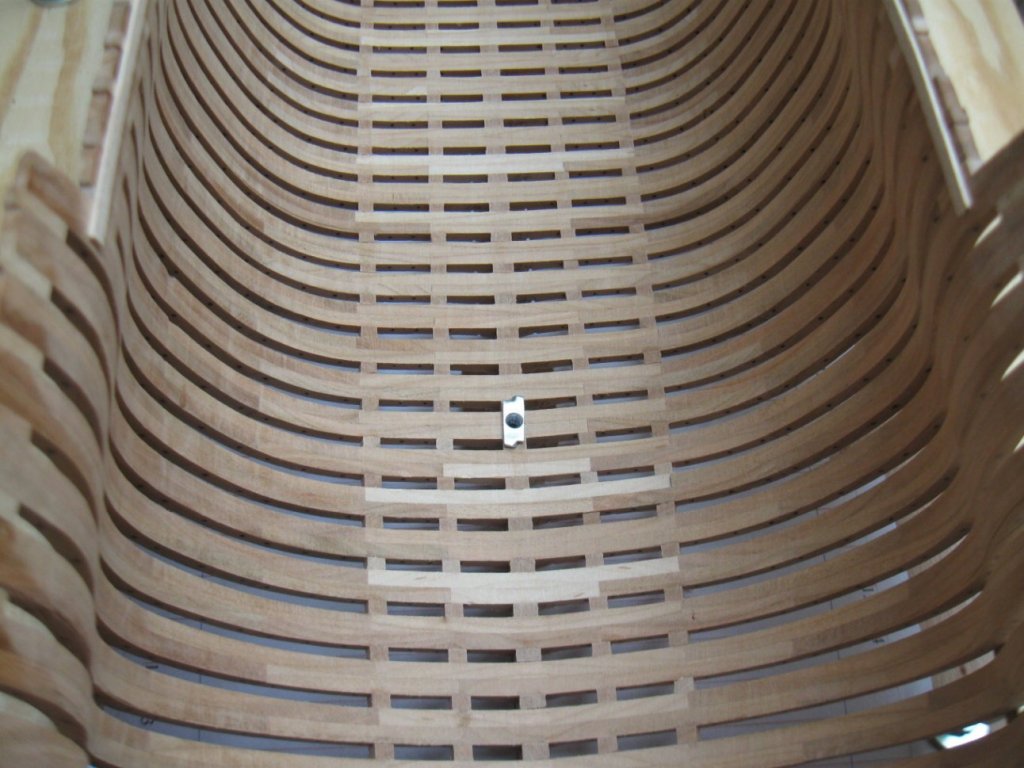
I started work on ceiling, it will be a long and slow work 😟.


- 589 replies
-
- 35
-
-
- le gros ventre
- cargo
- (and 1 more)
-
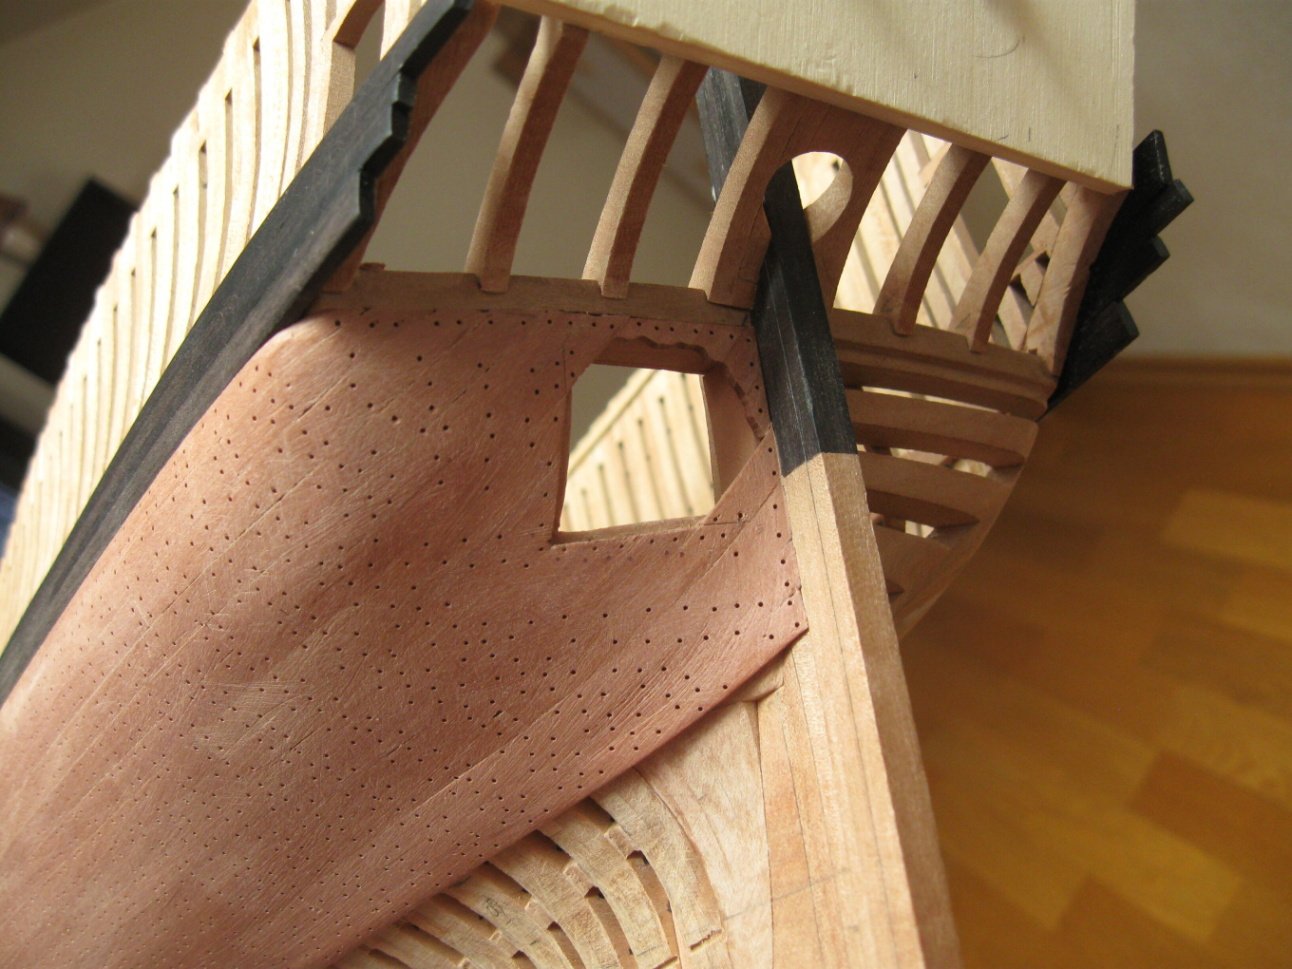
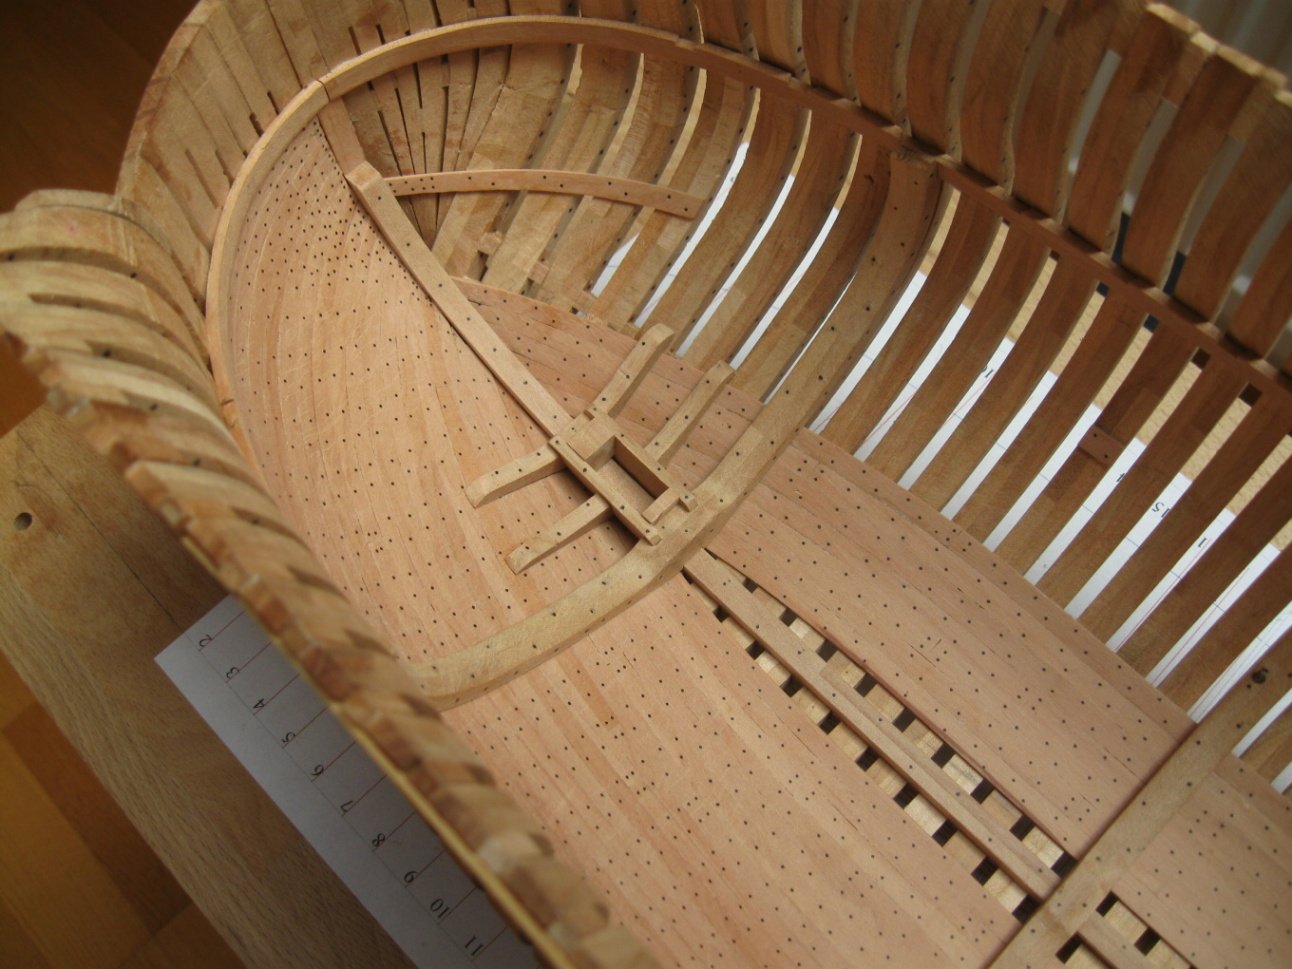
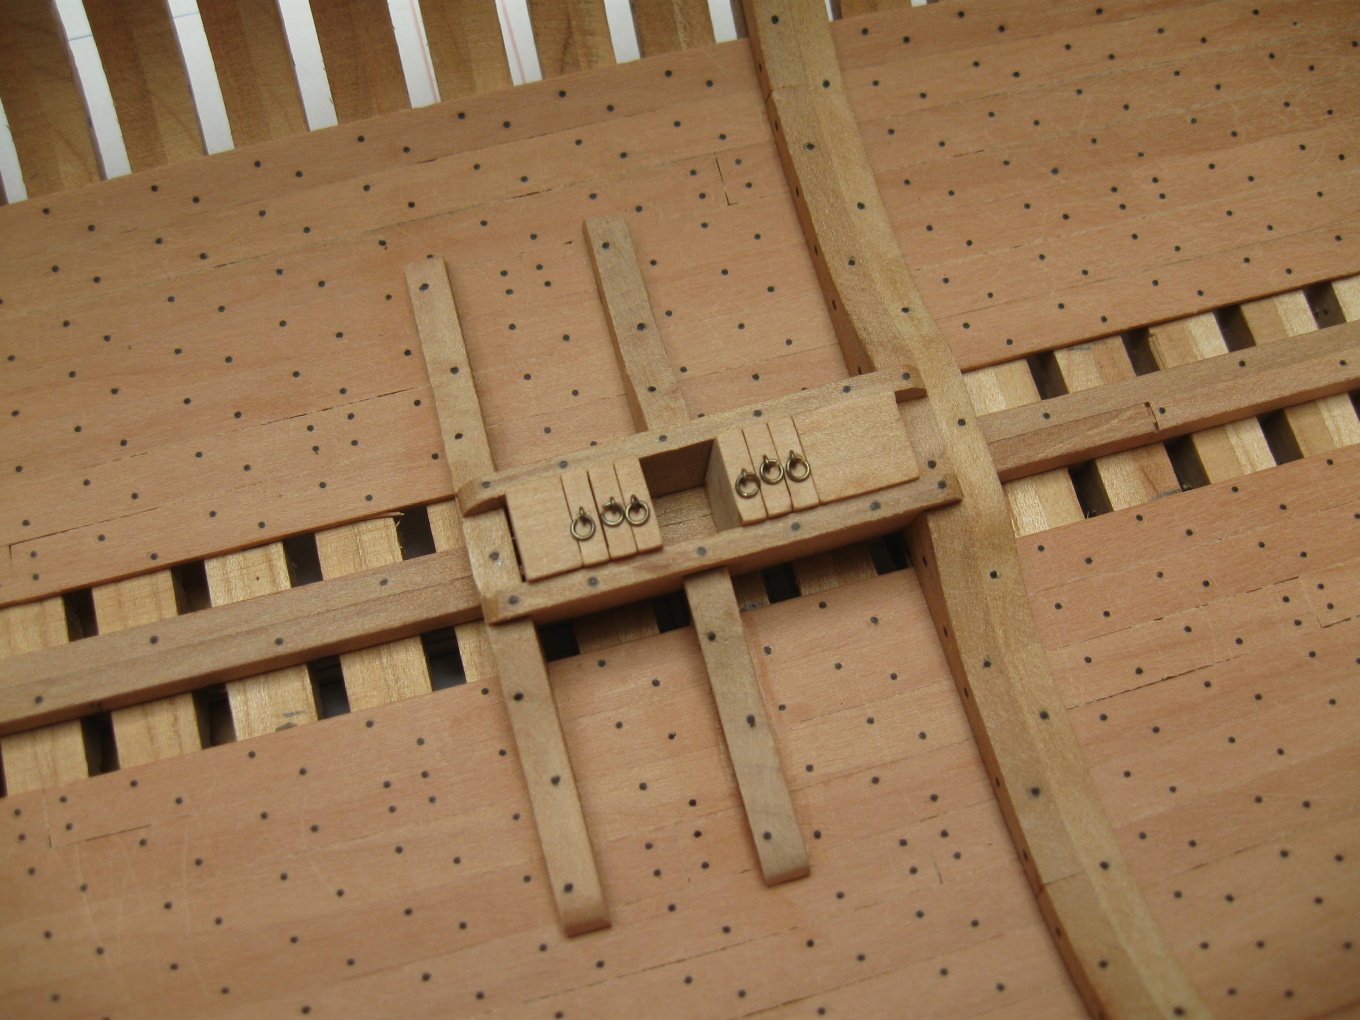
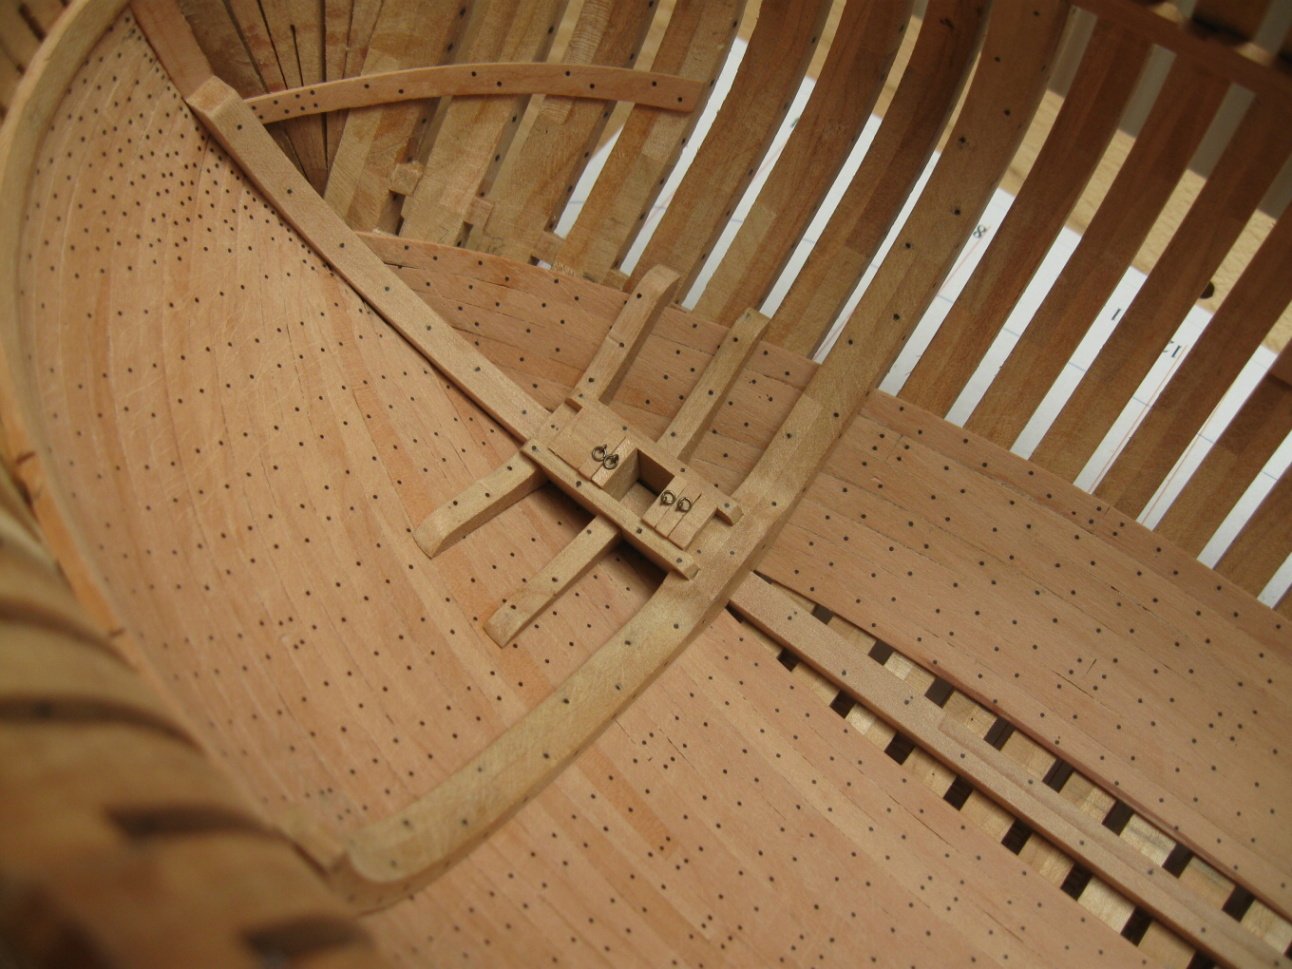
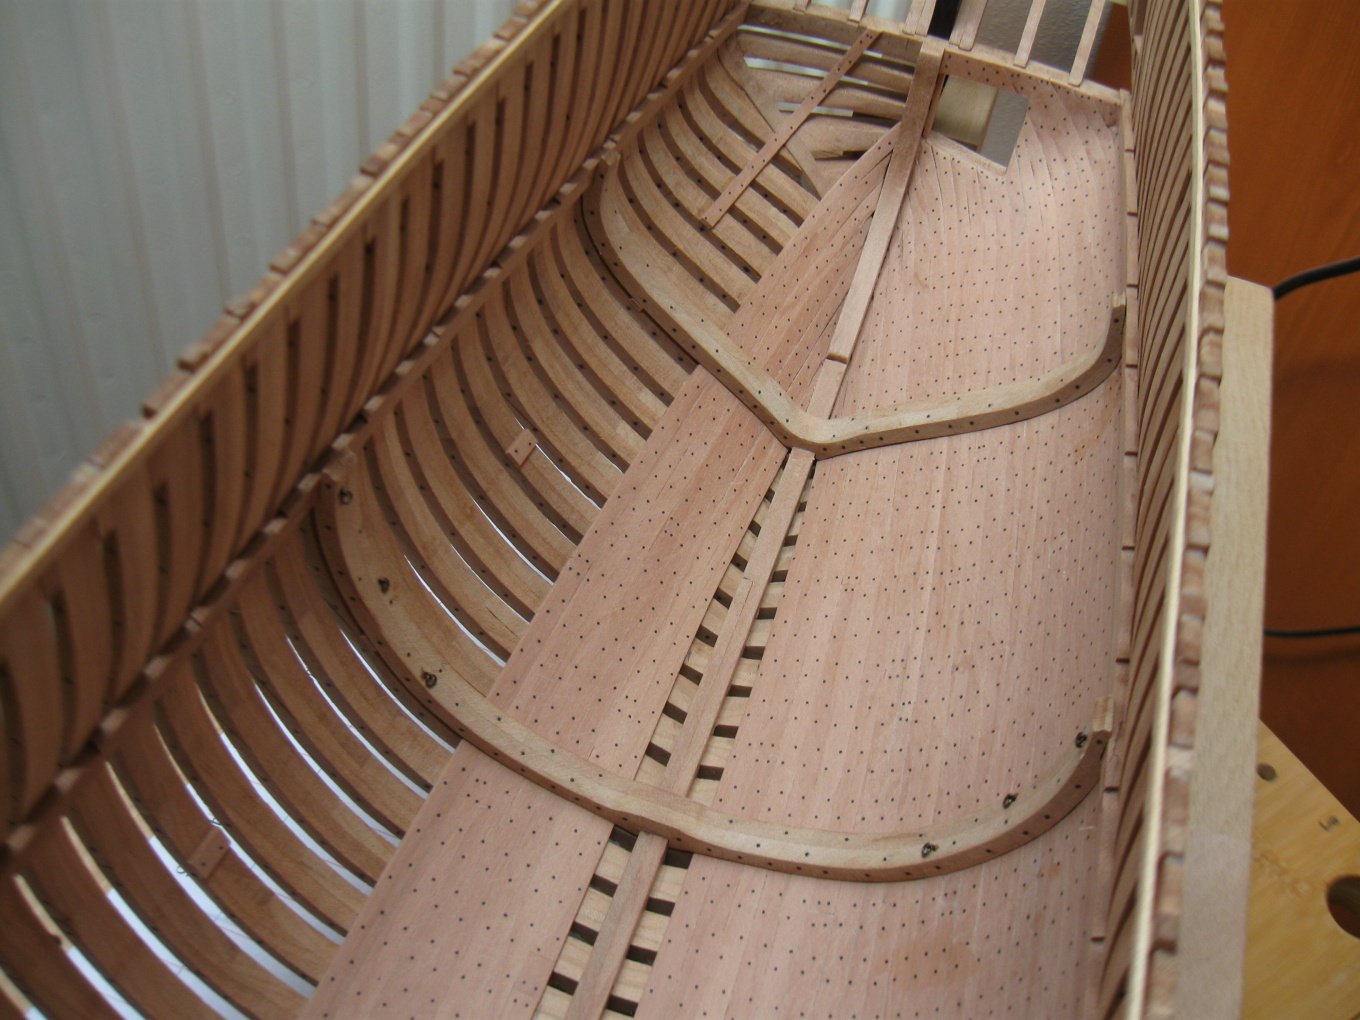
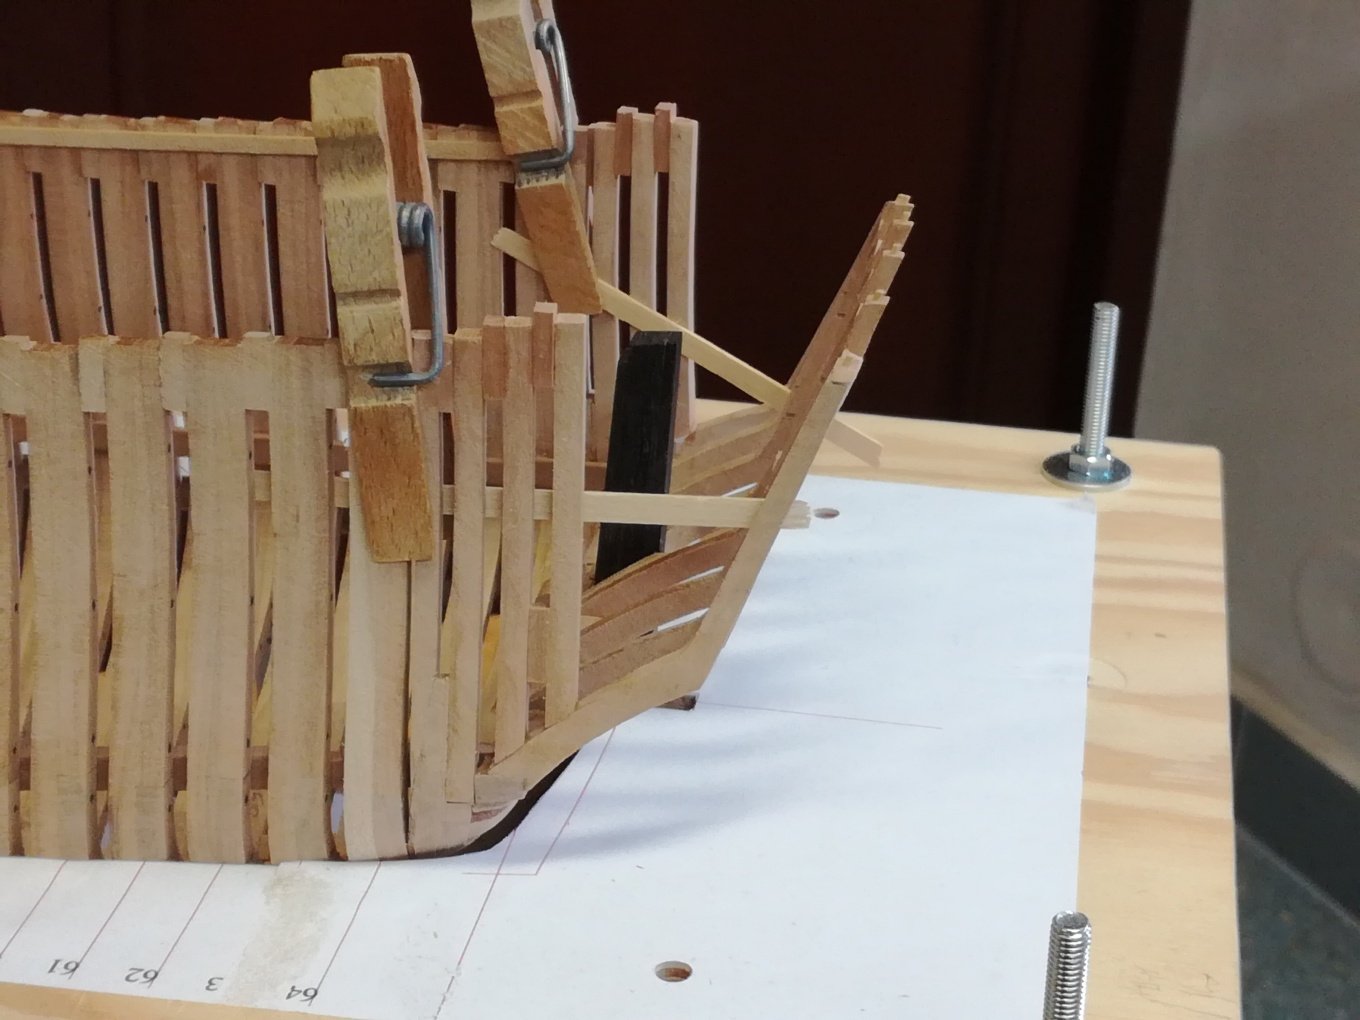
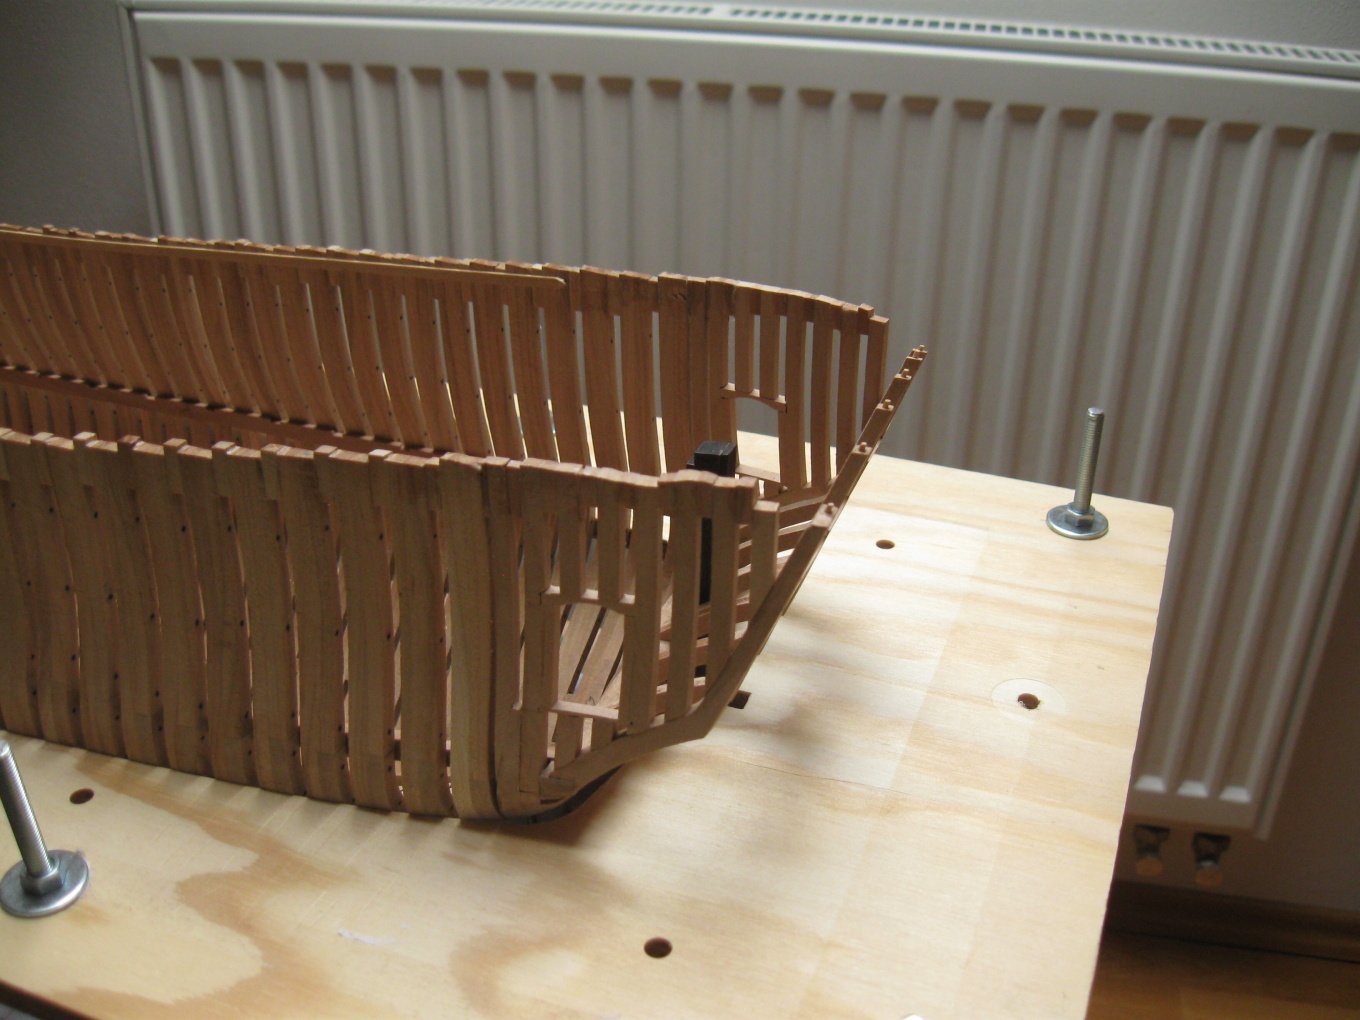
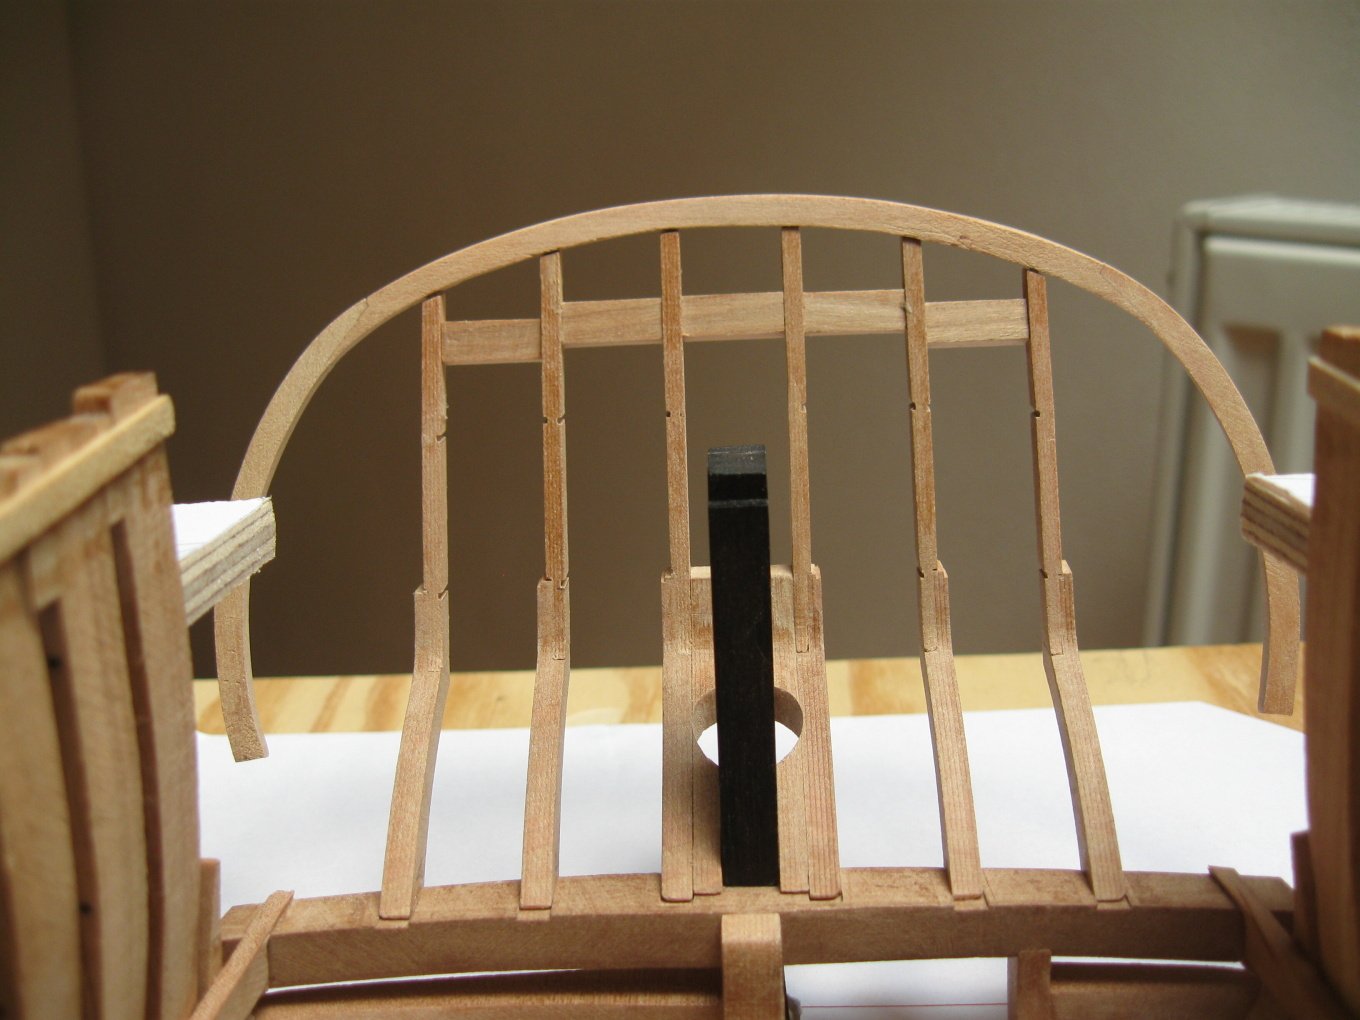
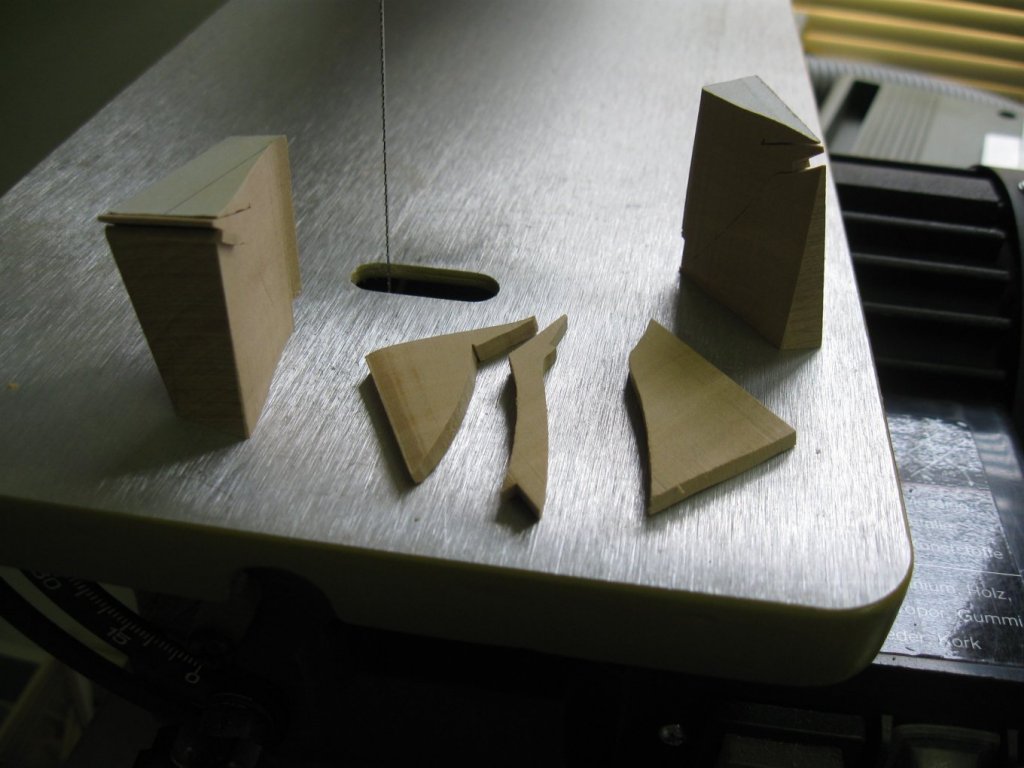
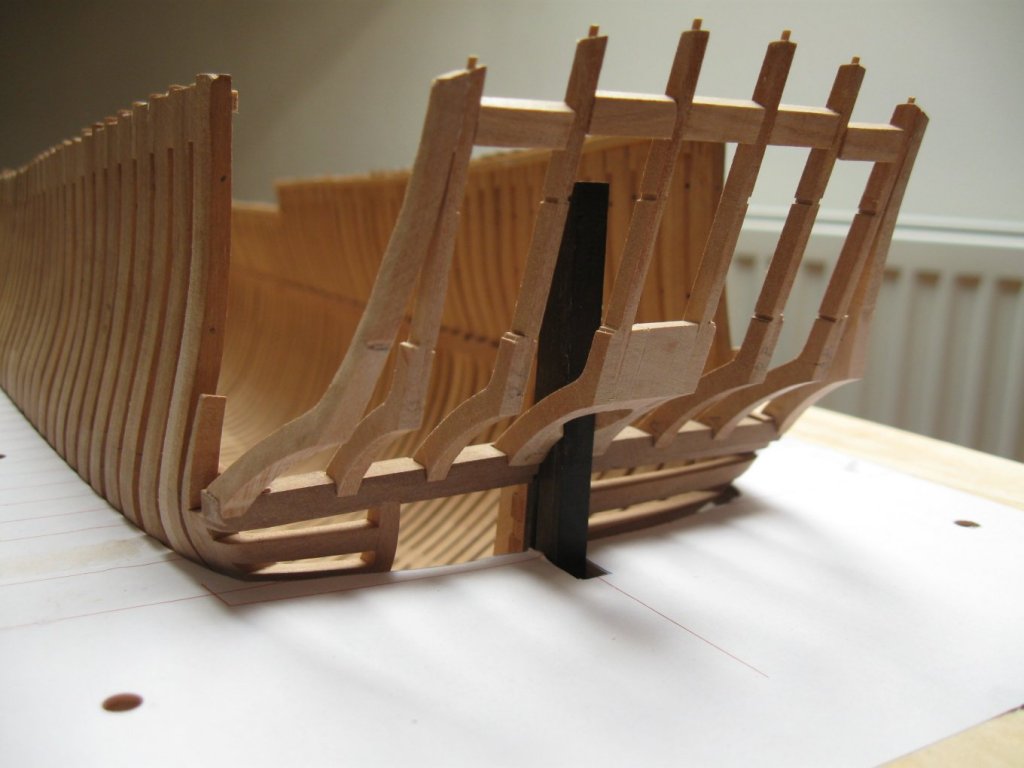
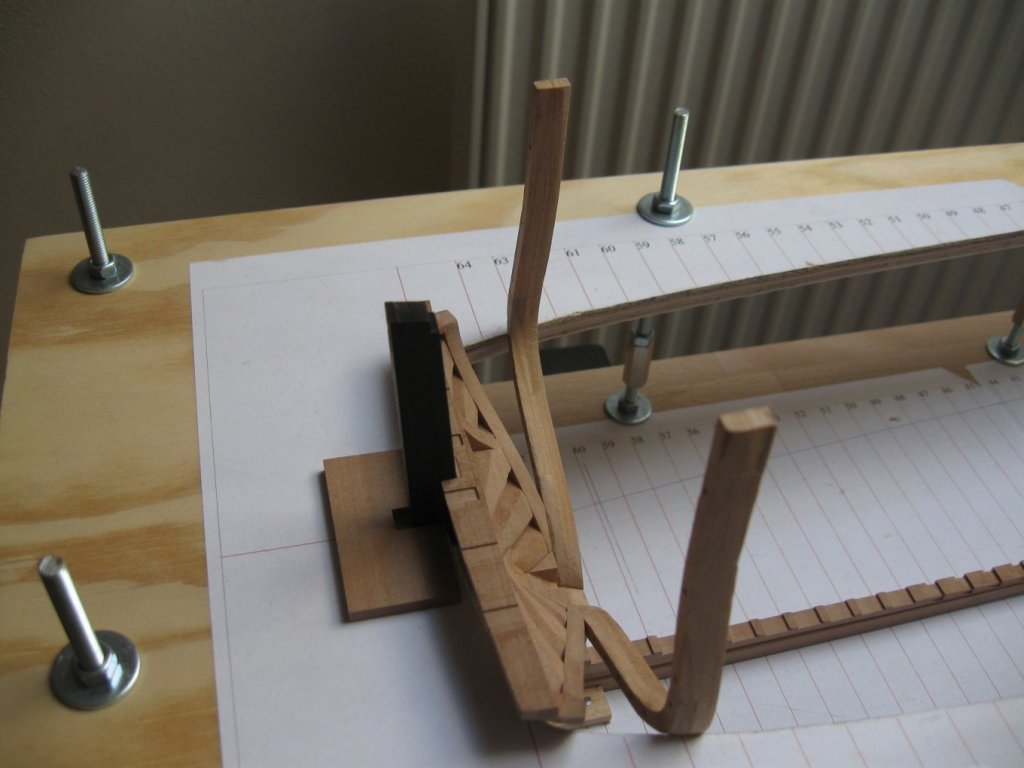
Thank you guys for the kind words😉. Rest of filling frames is added (with the door opening). Because I managed to break one of the counter timbers, I ruther stuck immediately the window battens.


- 589 replies
-
- 30
-
-
- le gros ventre
- cargo
- (and 1 more)
-
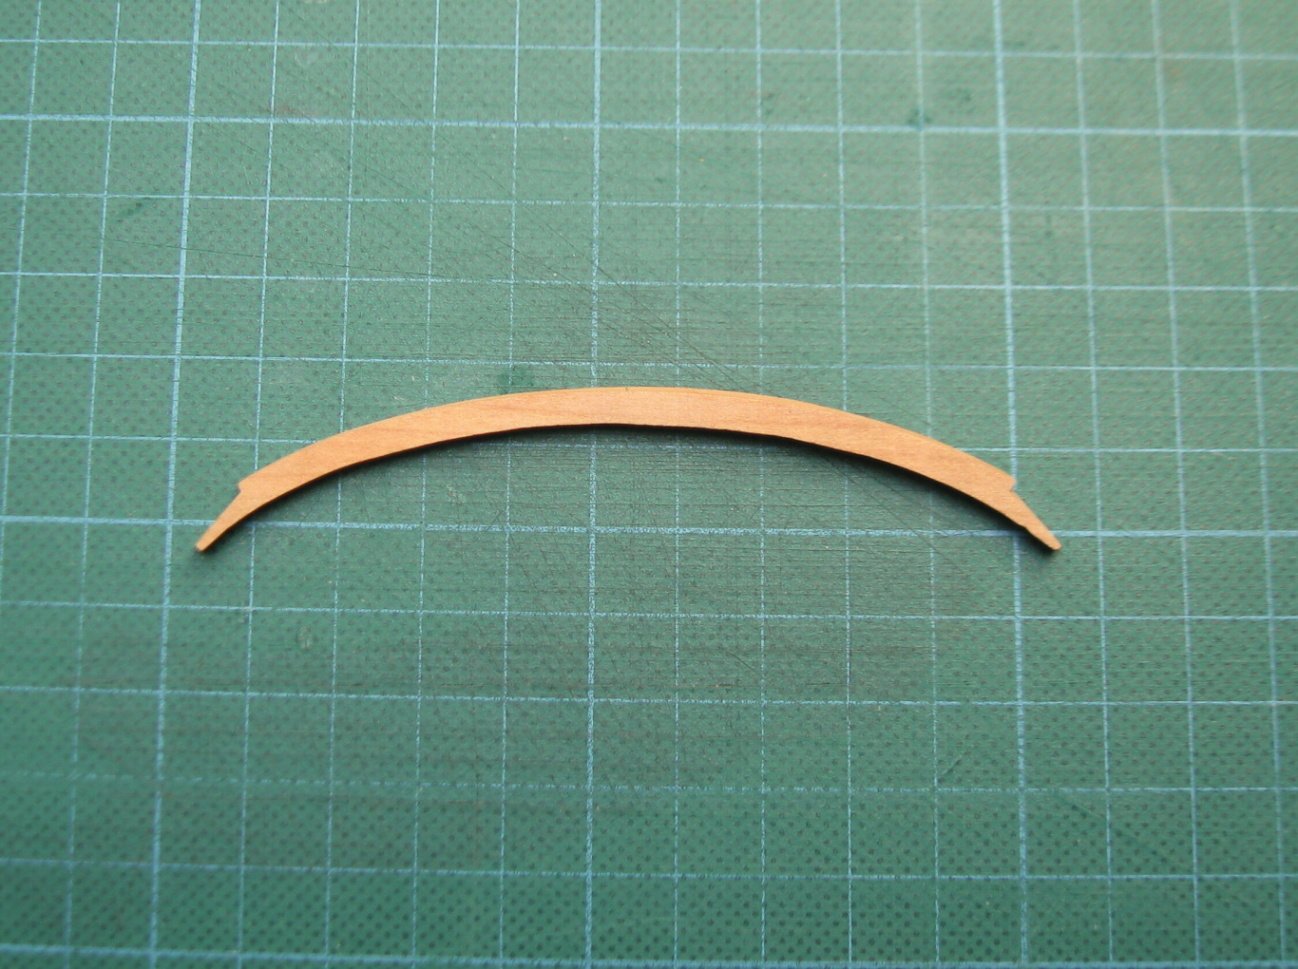
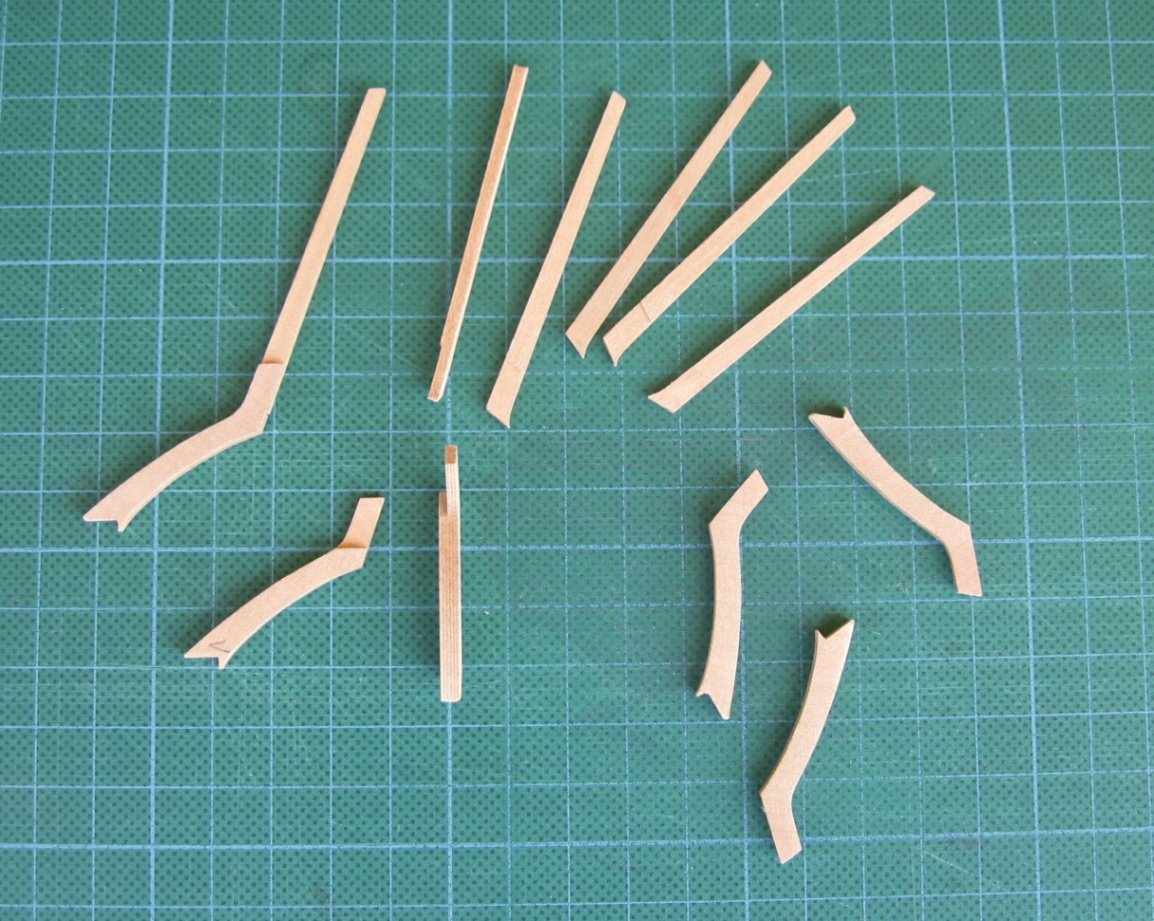
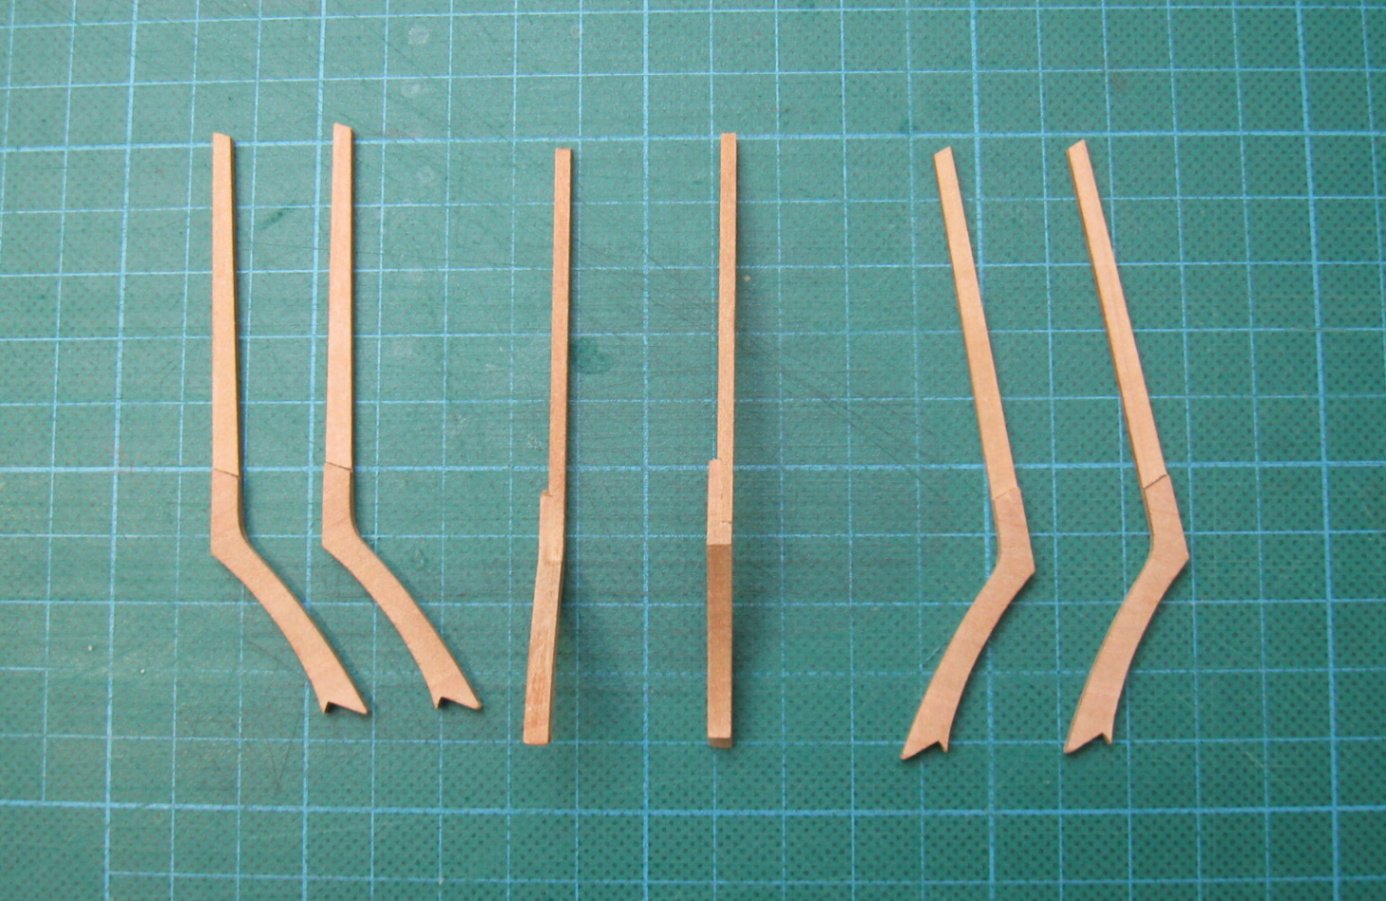
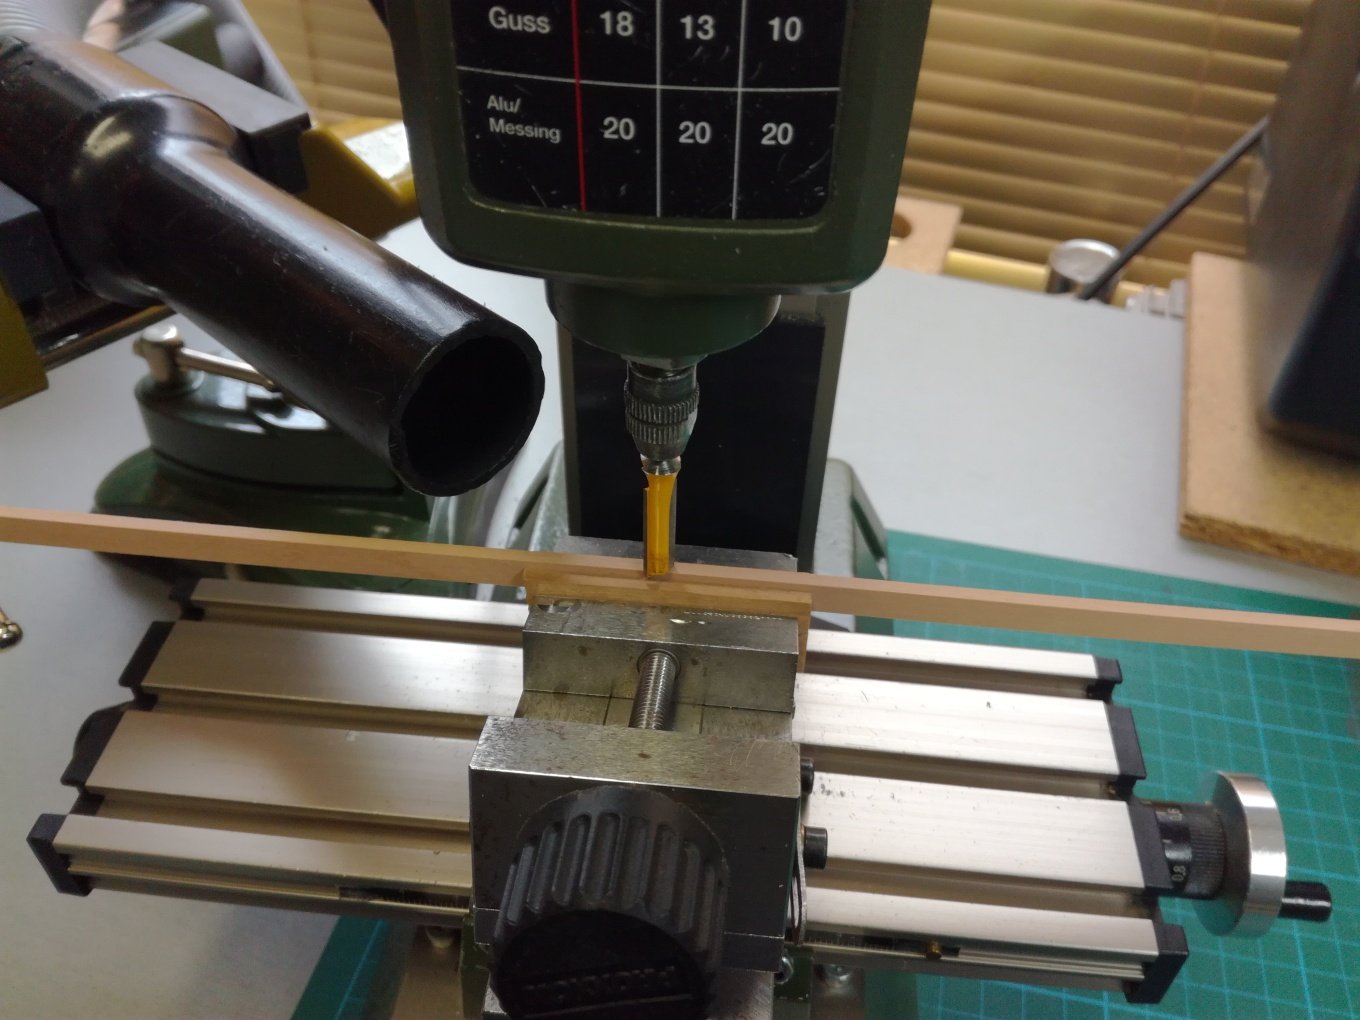
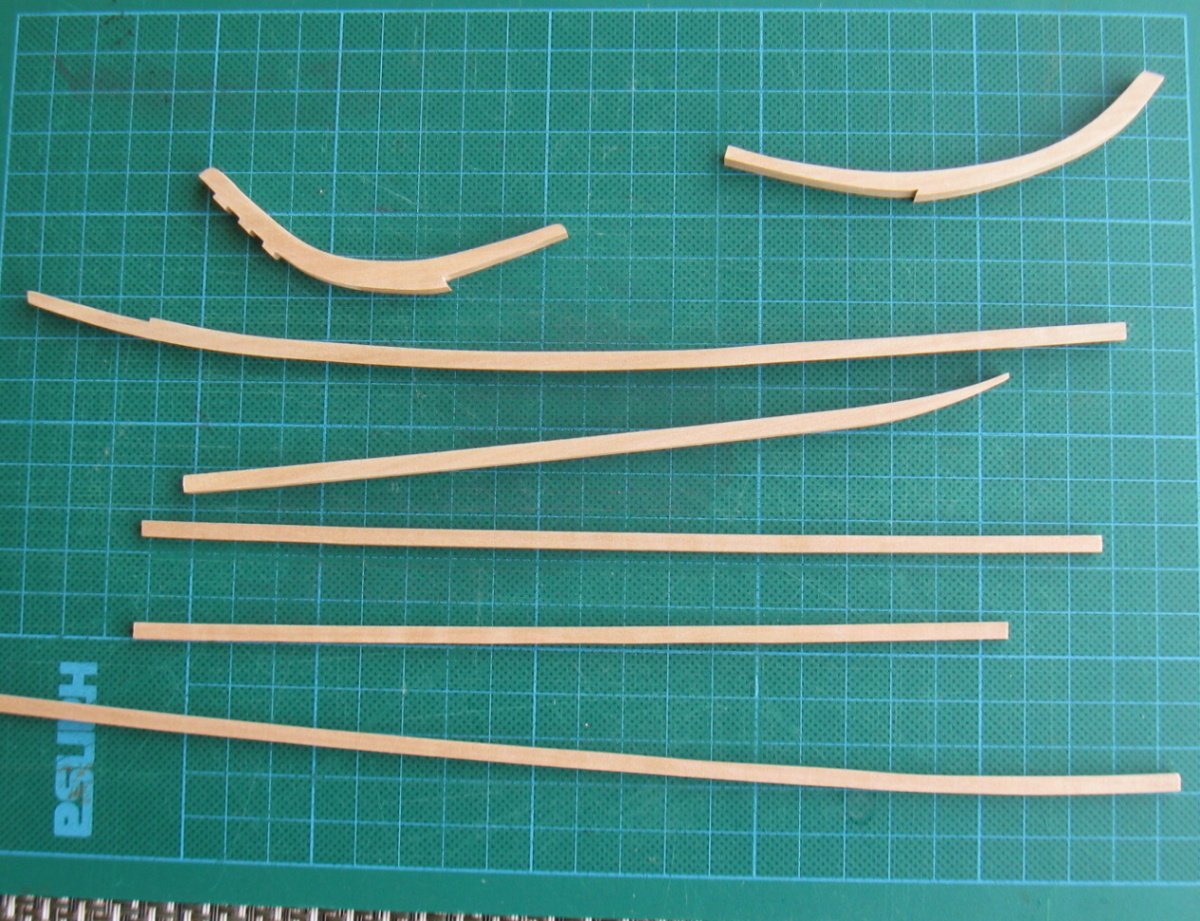
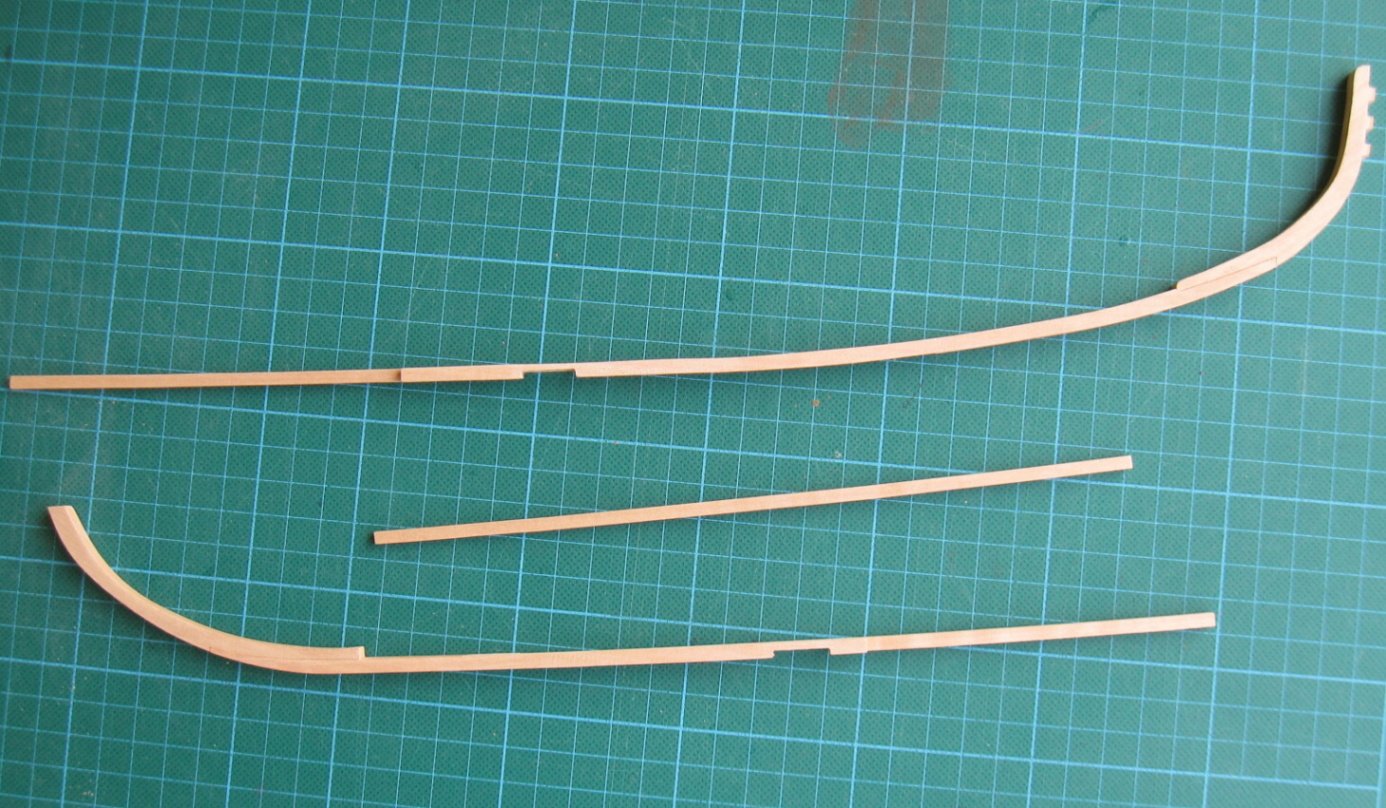
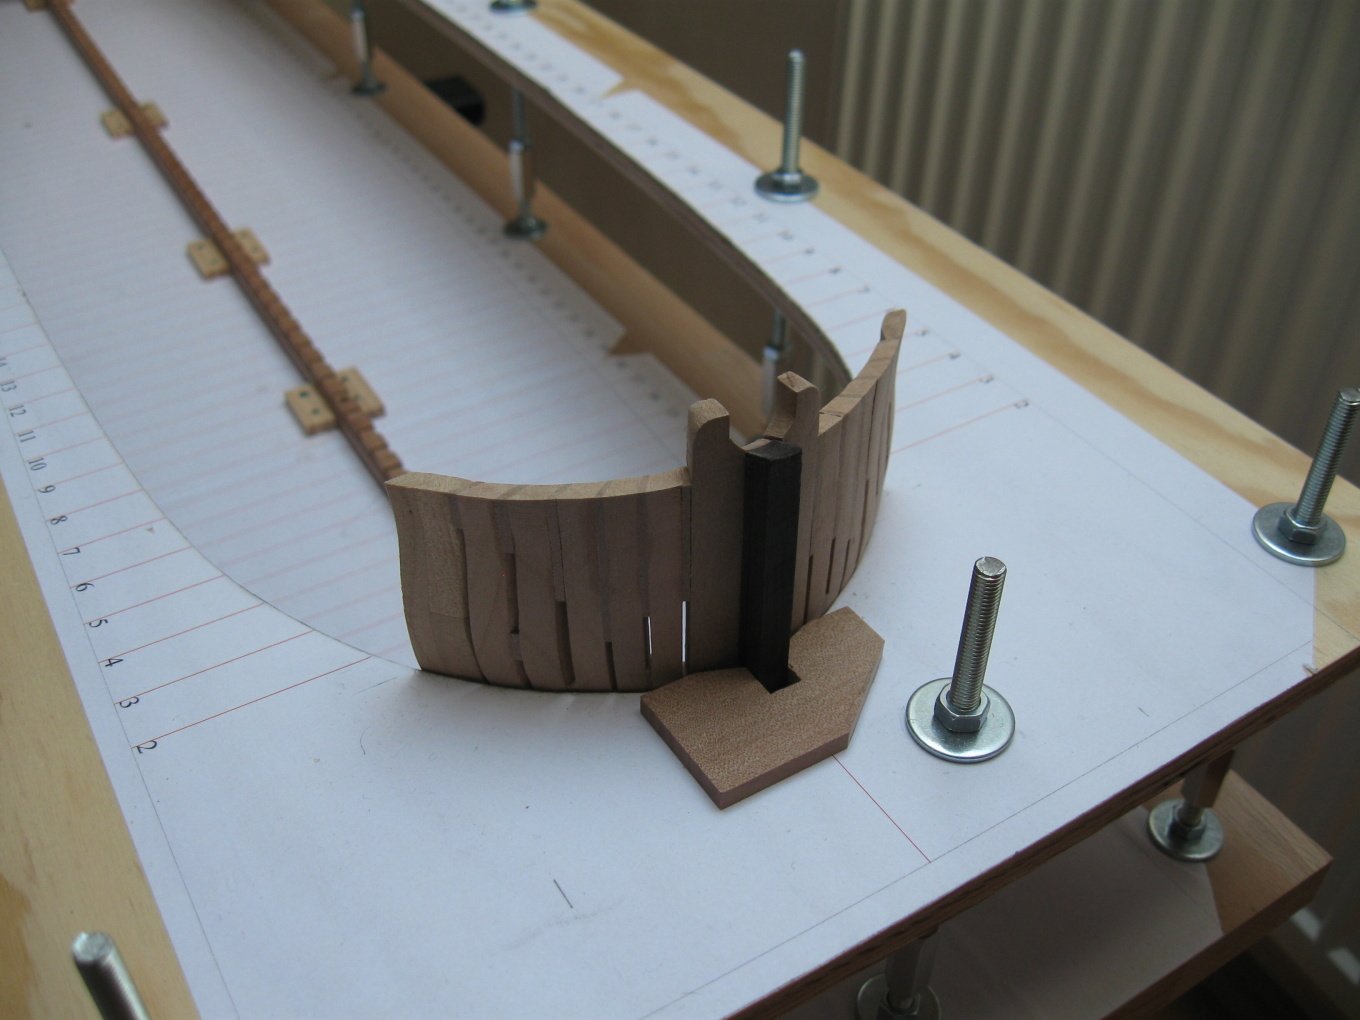
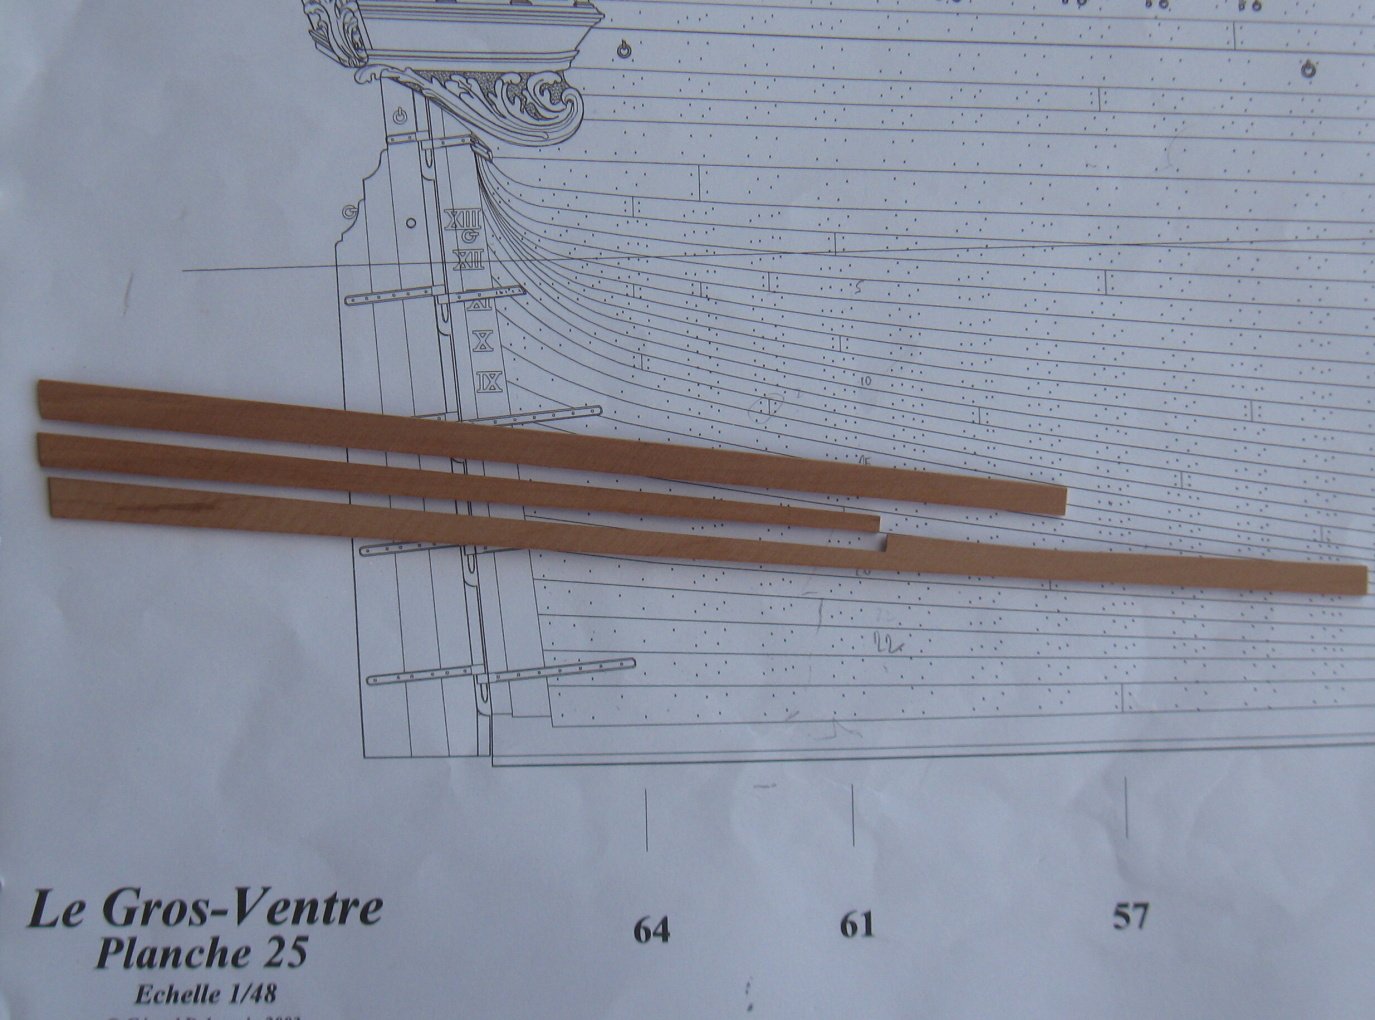
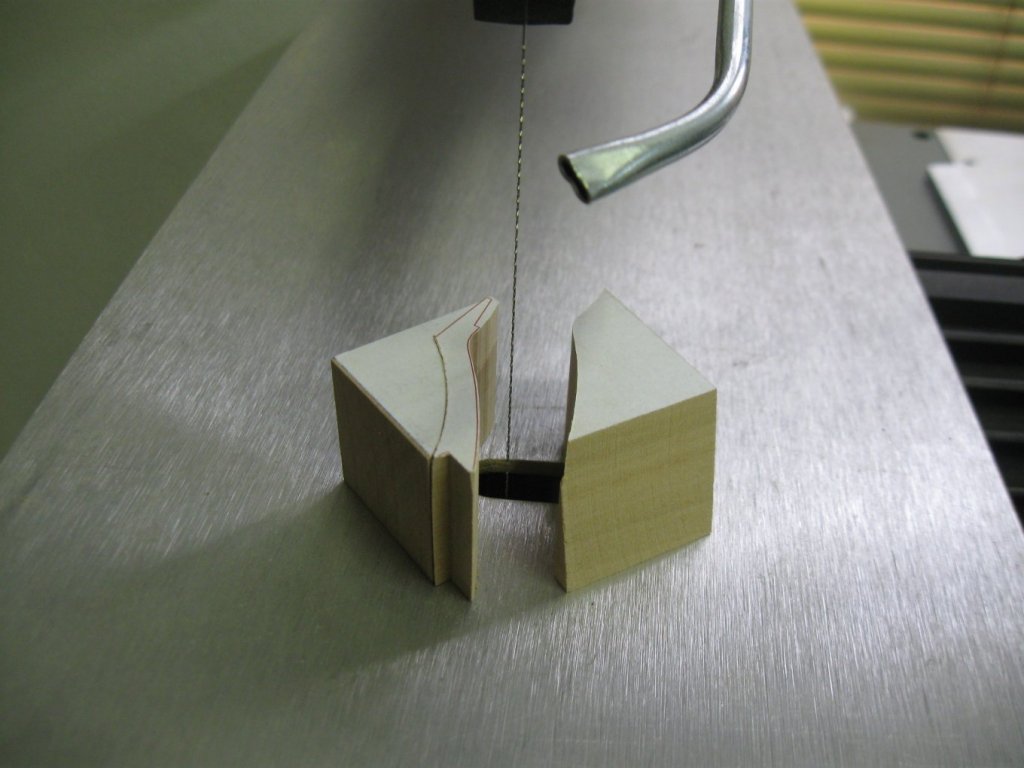
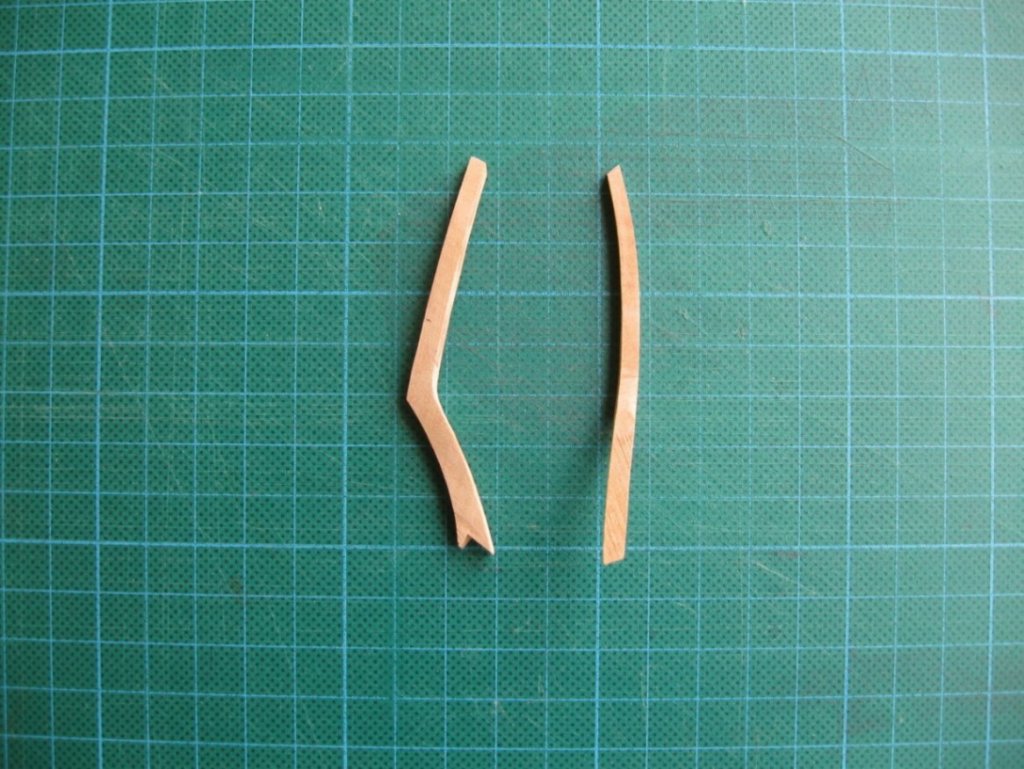
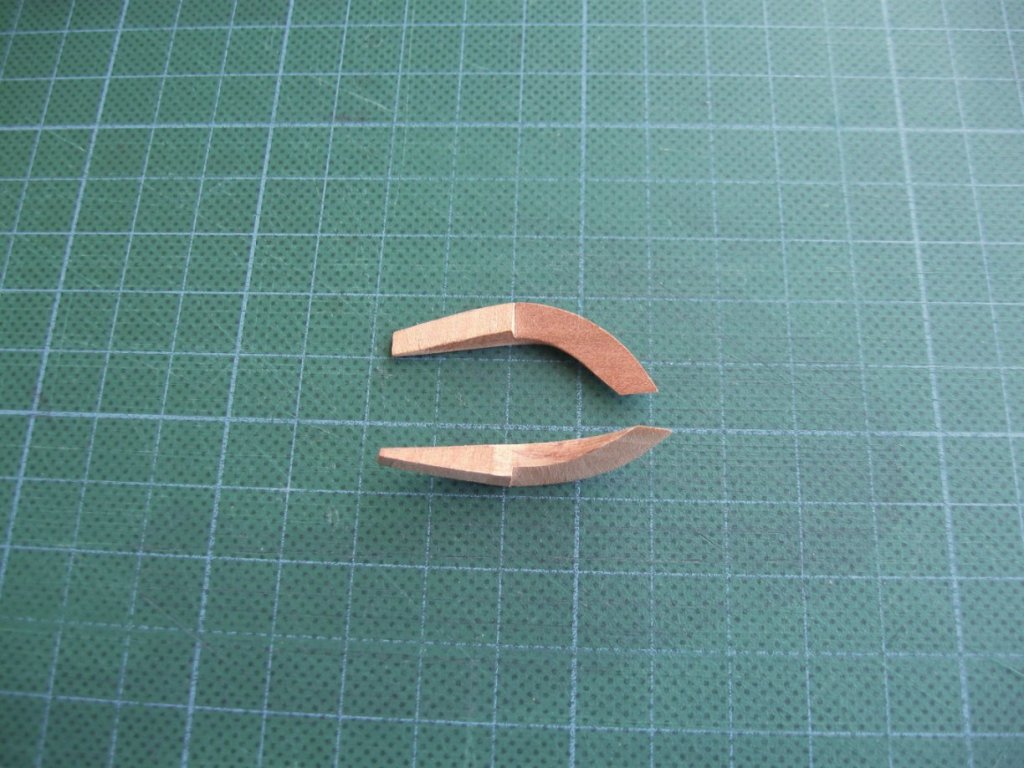
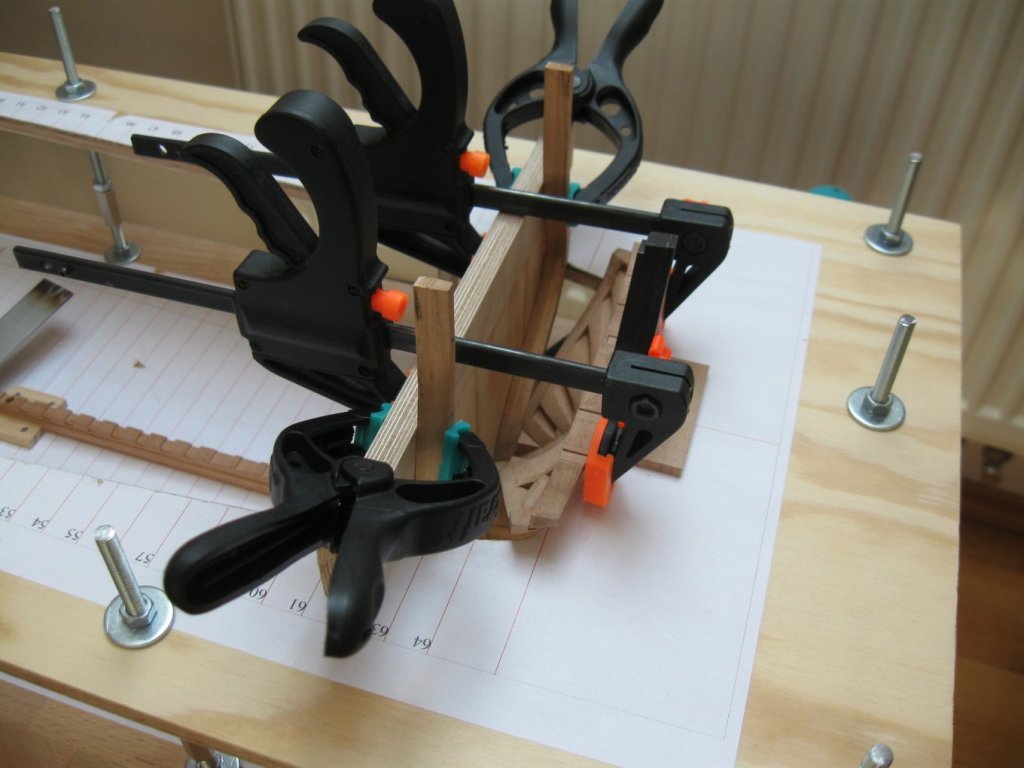
Thank you druxey. I am very happy every time I finish a complicated piece. But then comes another one, no less complicated. And so on. For example next pieces - outer counter timbers.


- 589 replies
-
- 33
-
-
- le gros ventre
- cargo
- (and 1 more)
-
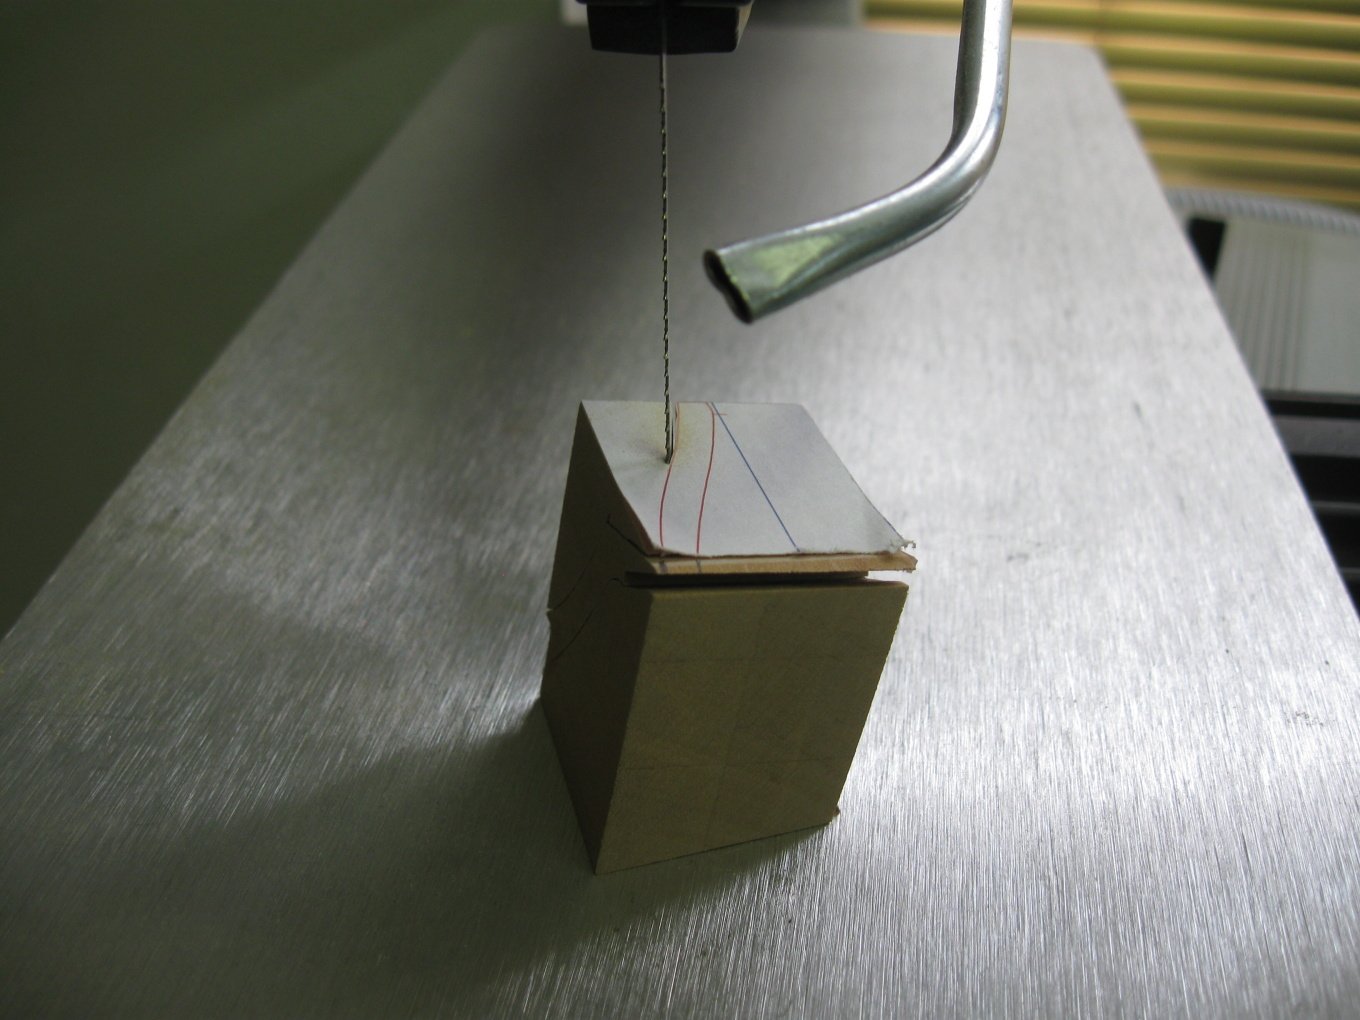
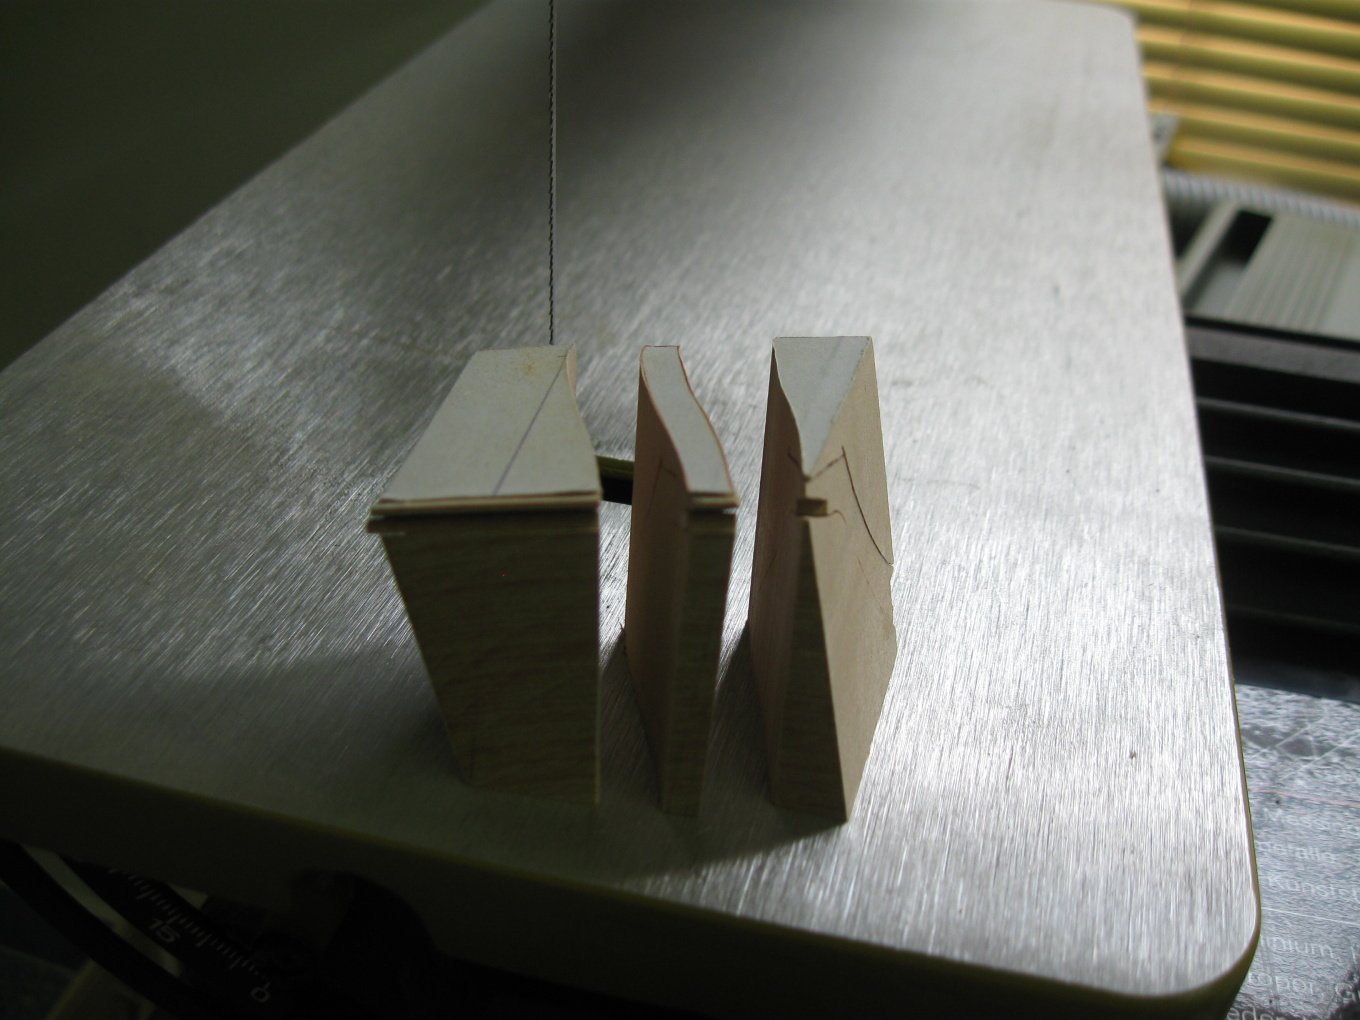
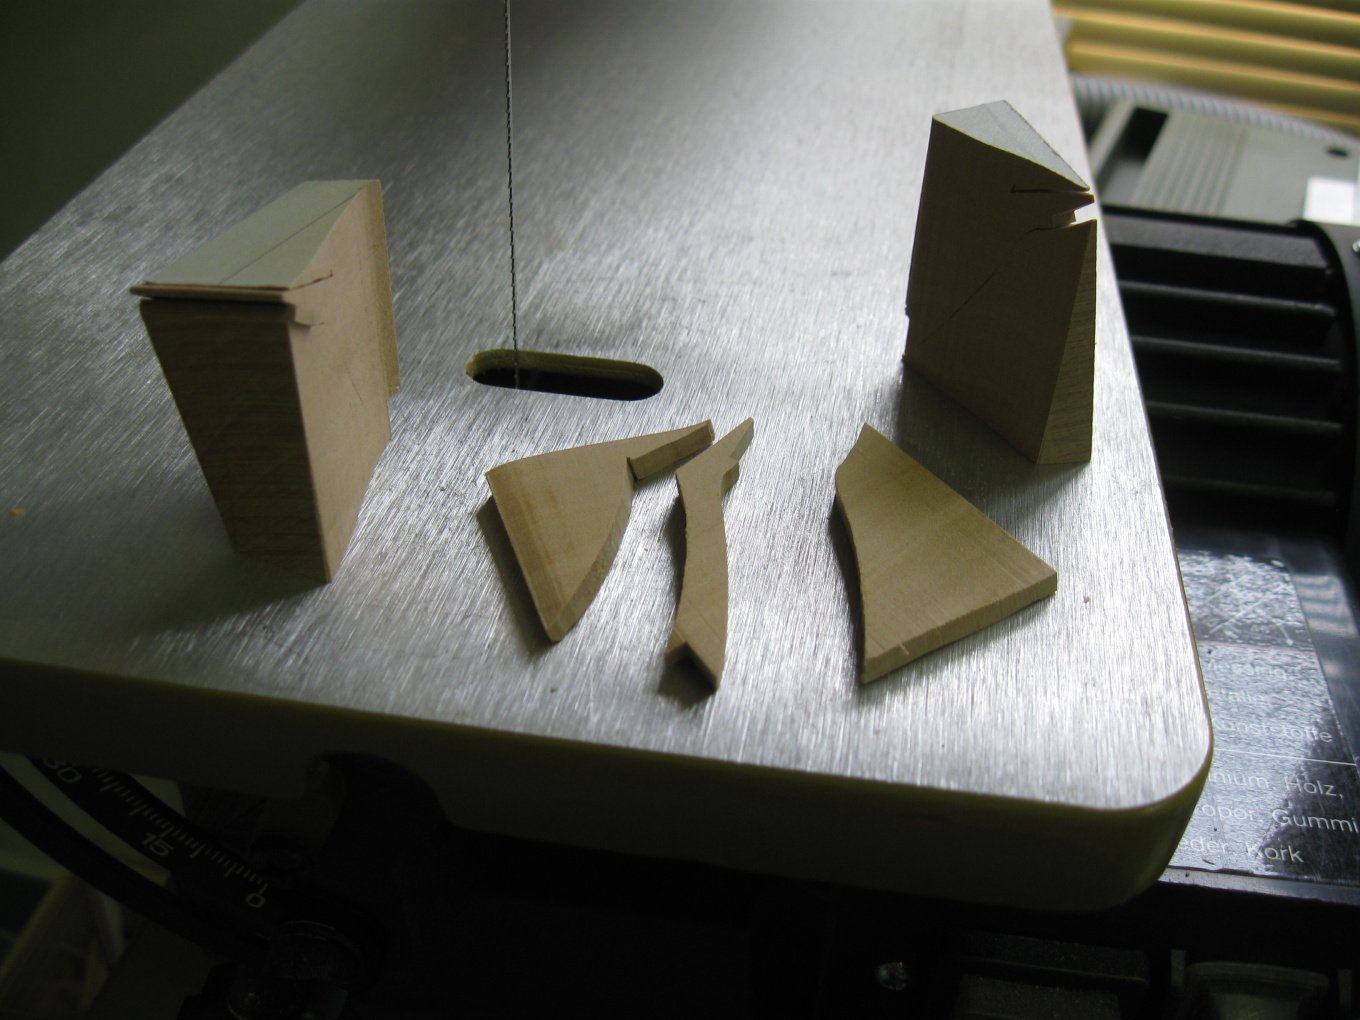
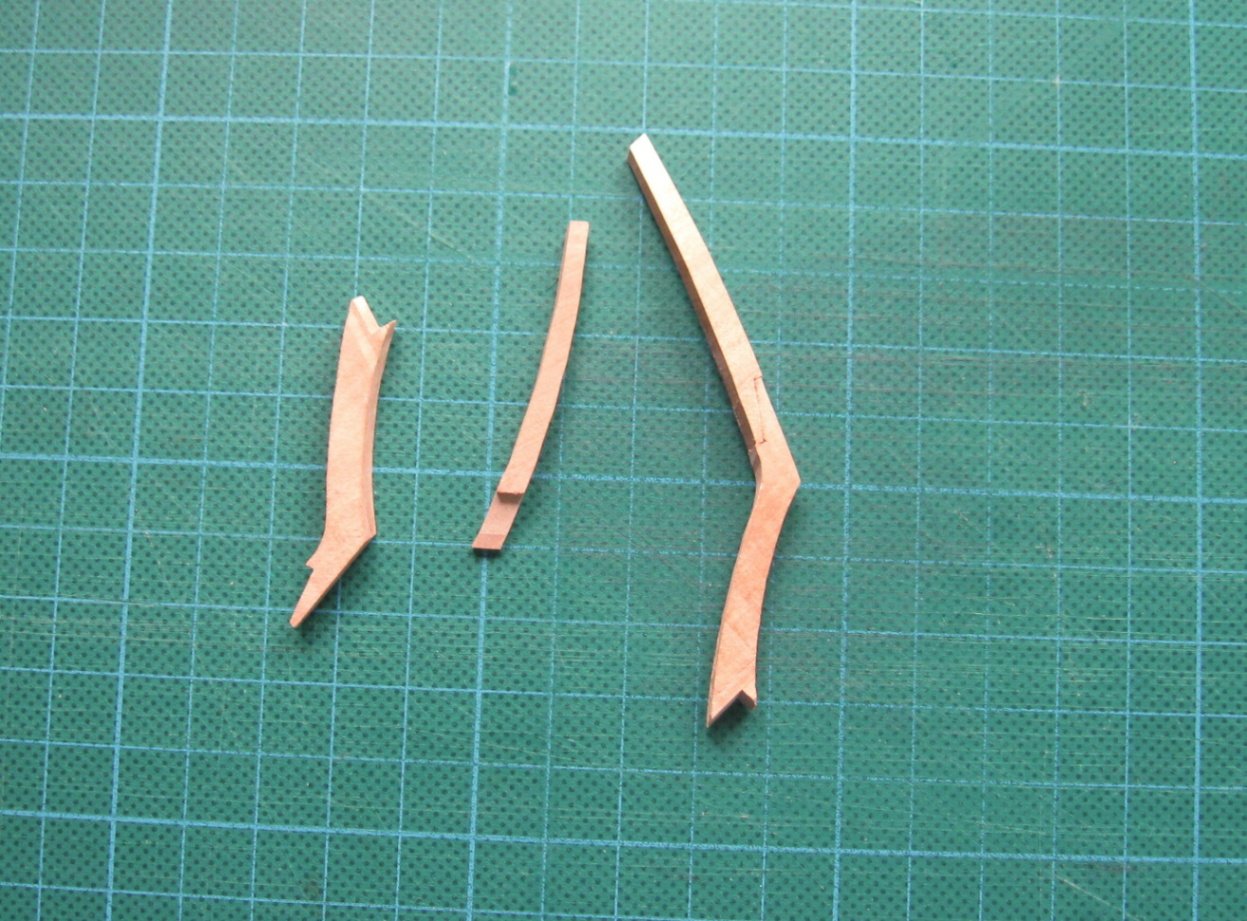
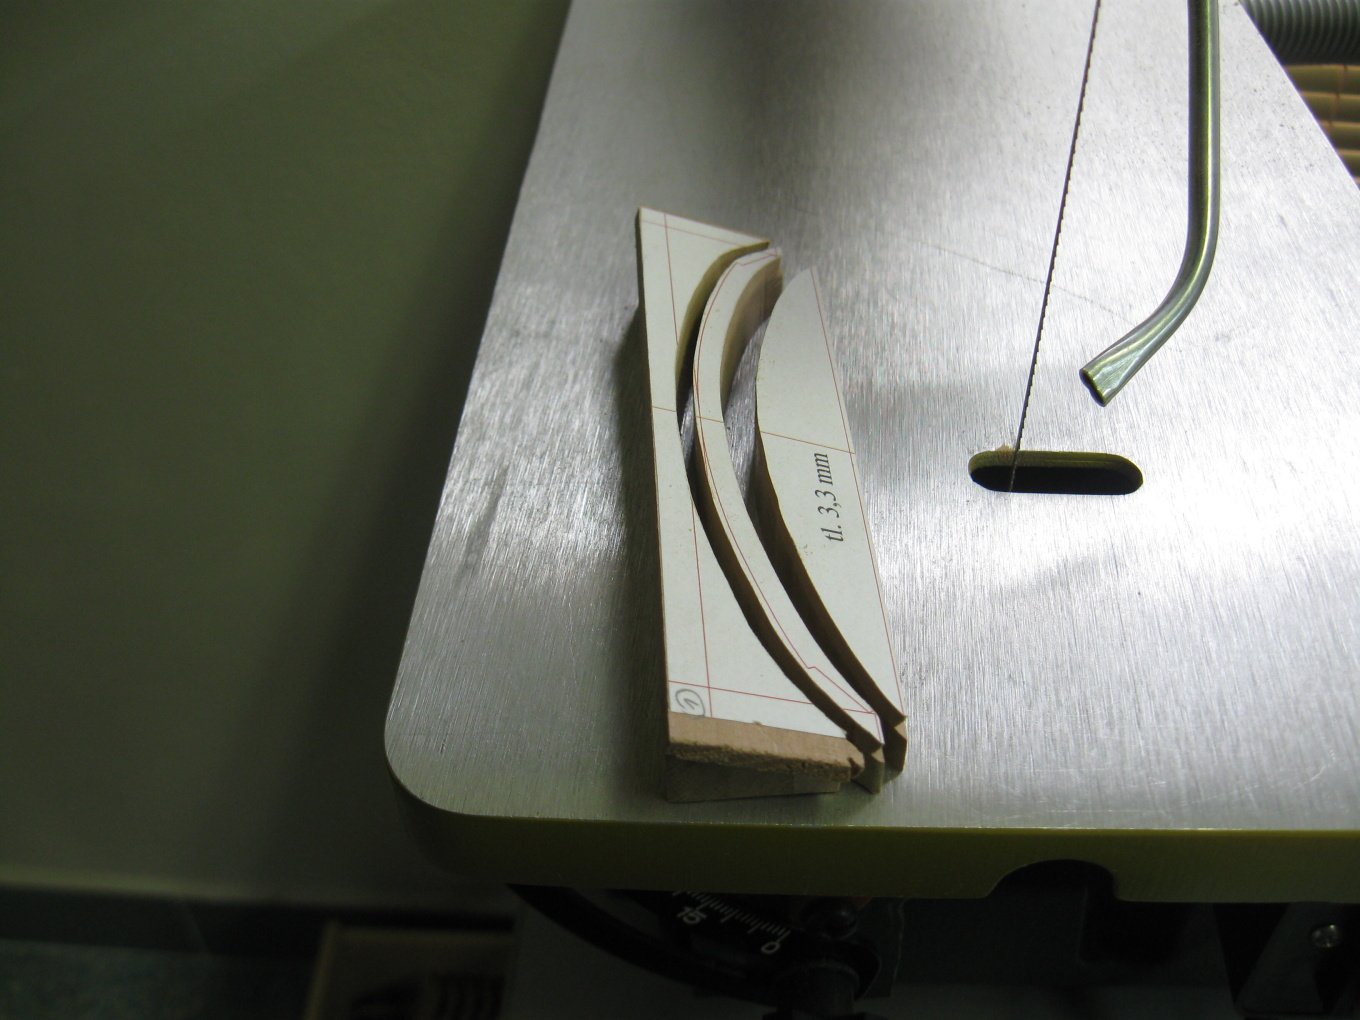
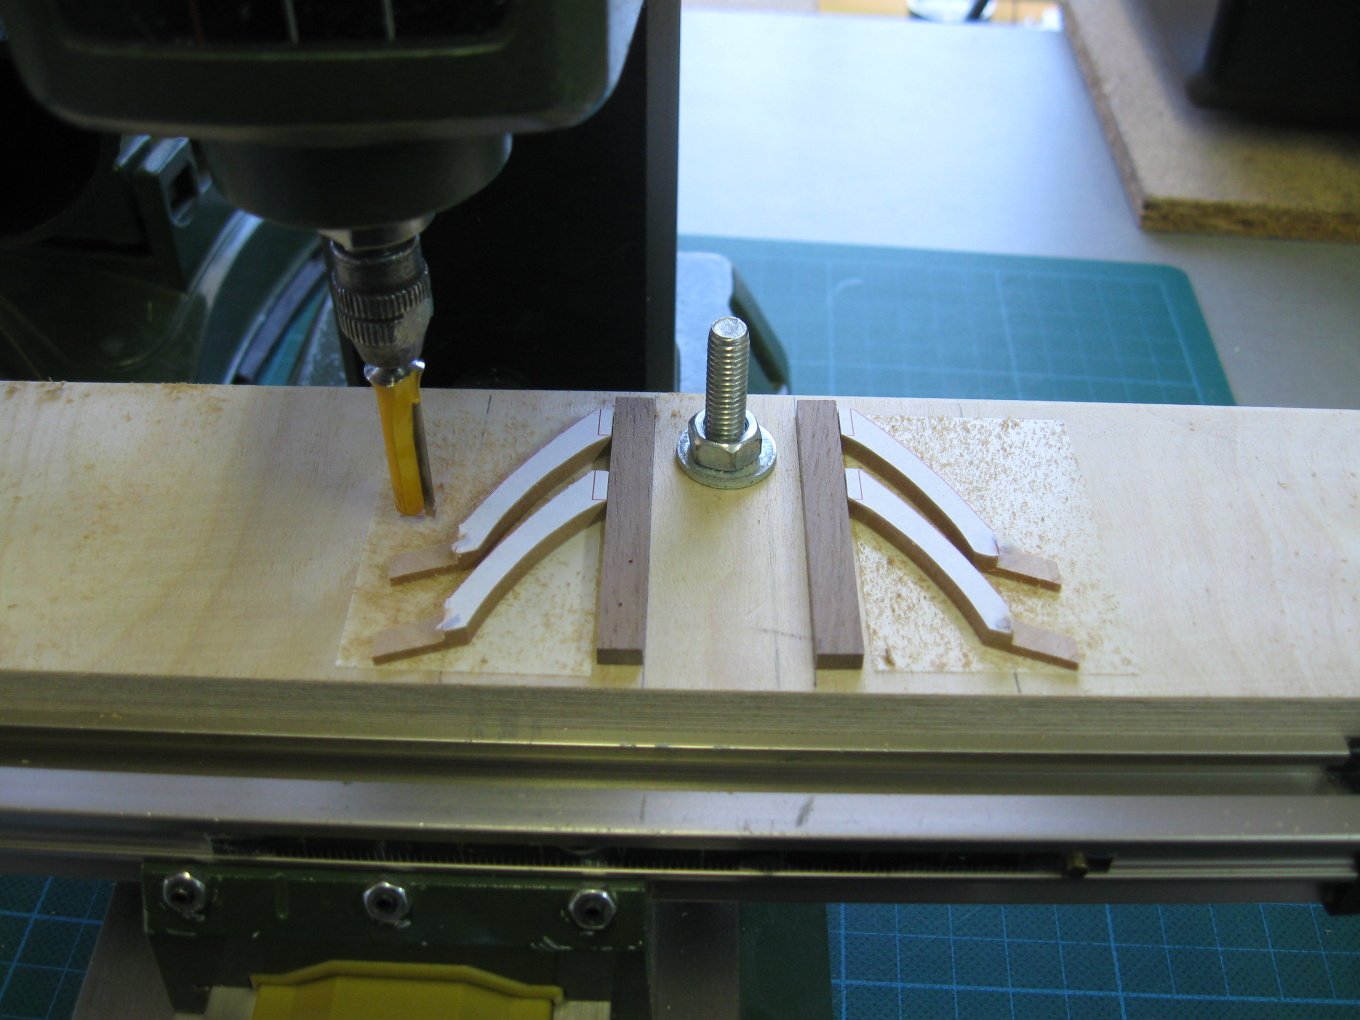
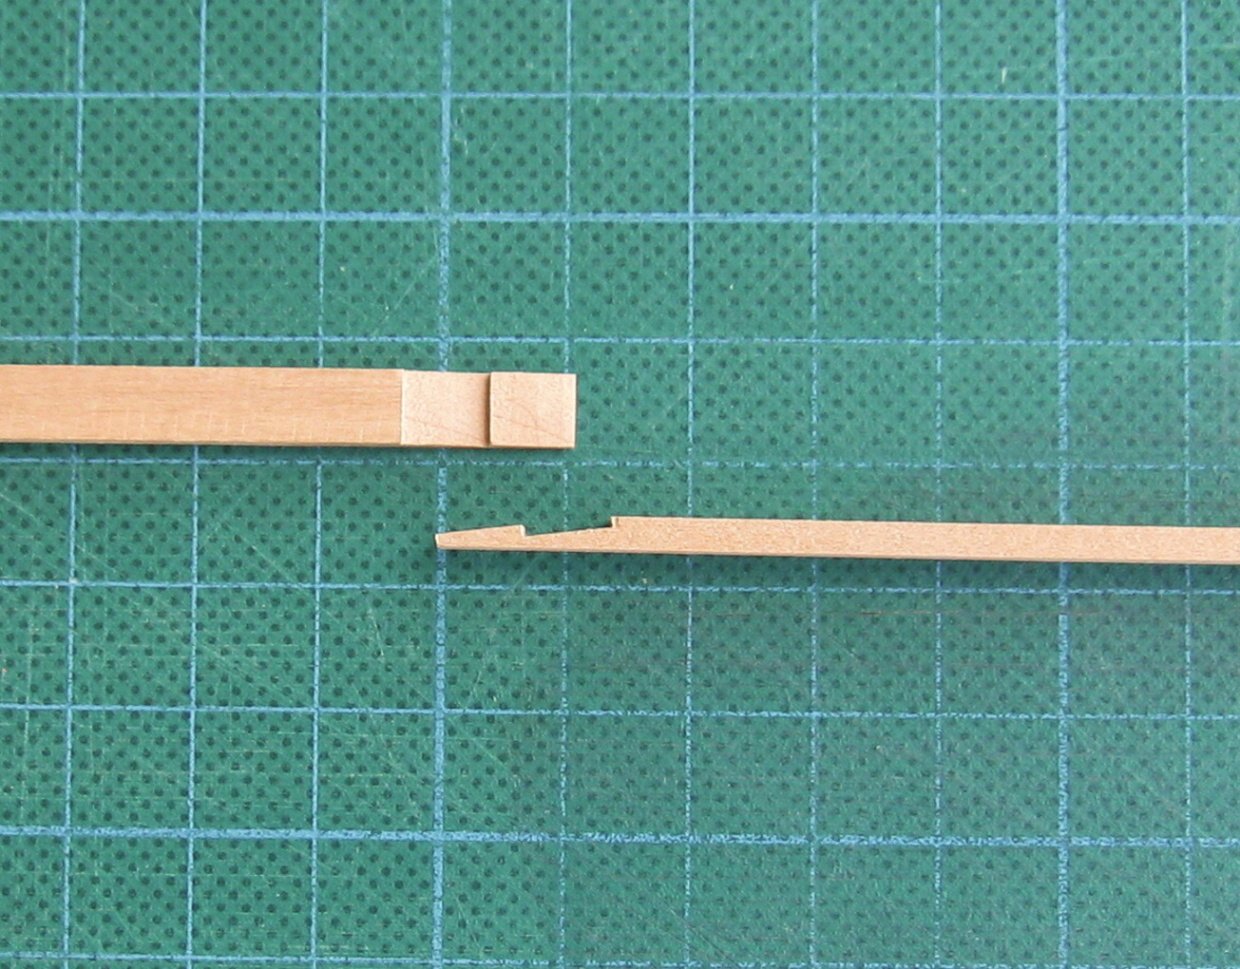
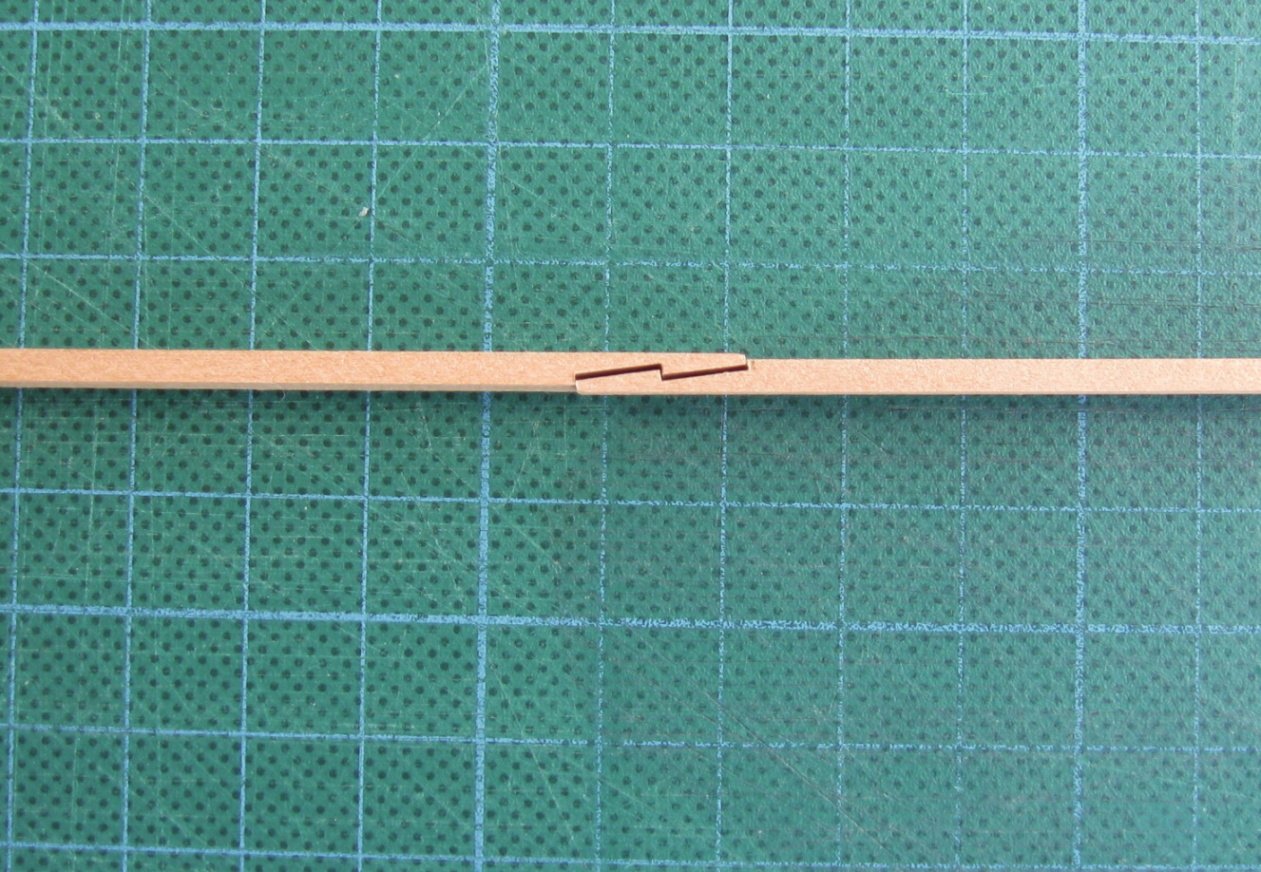
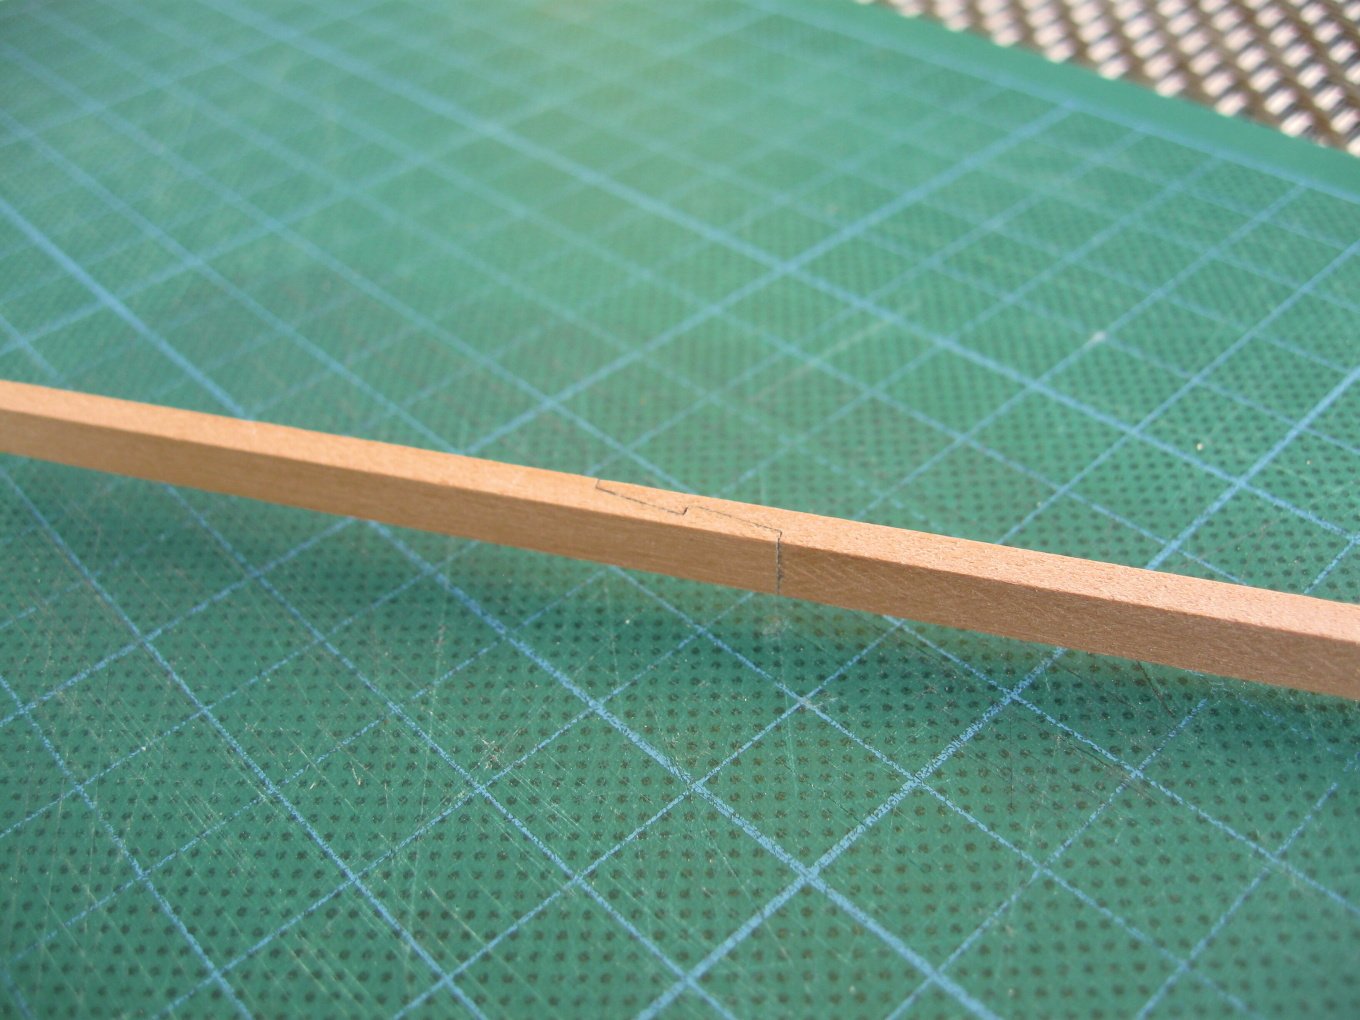
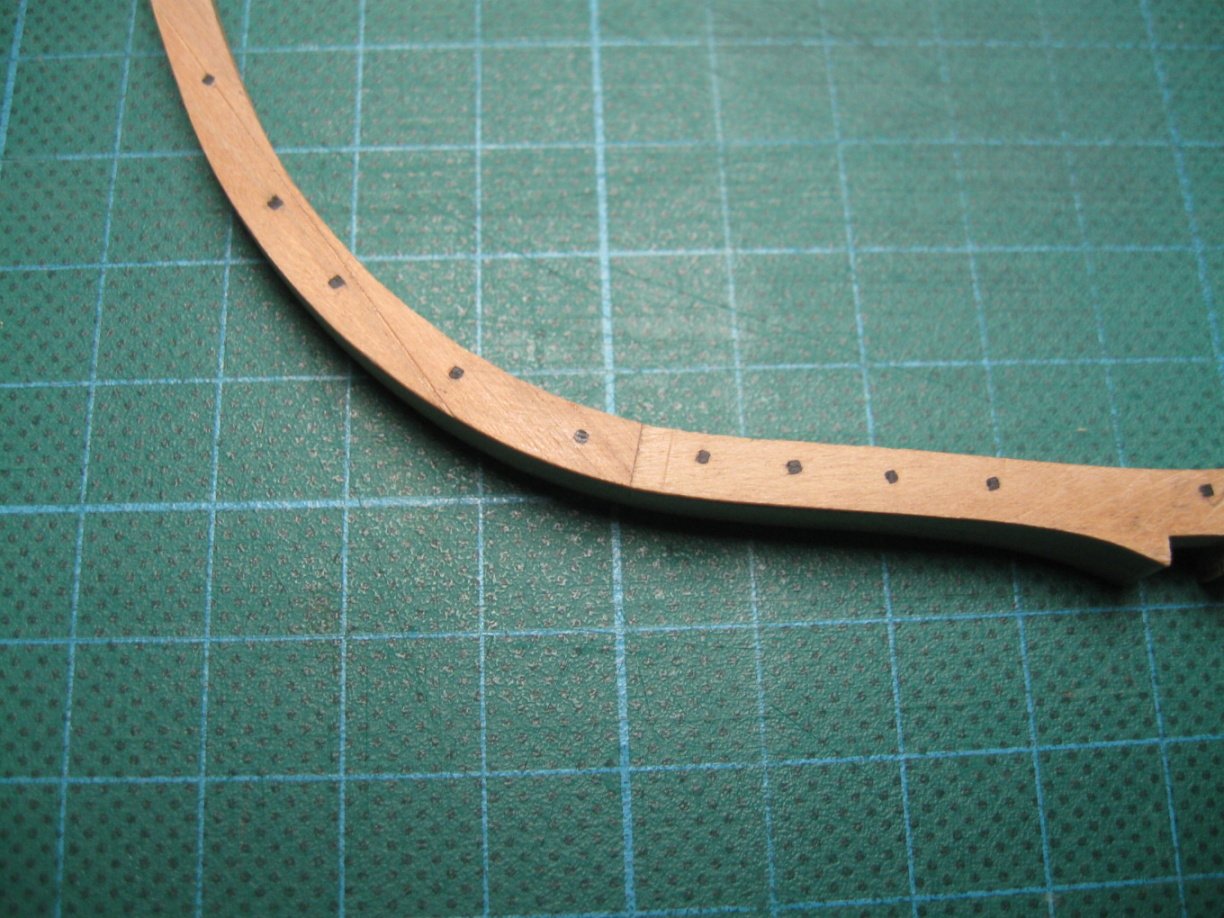
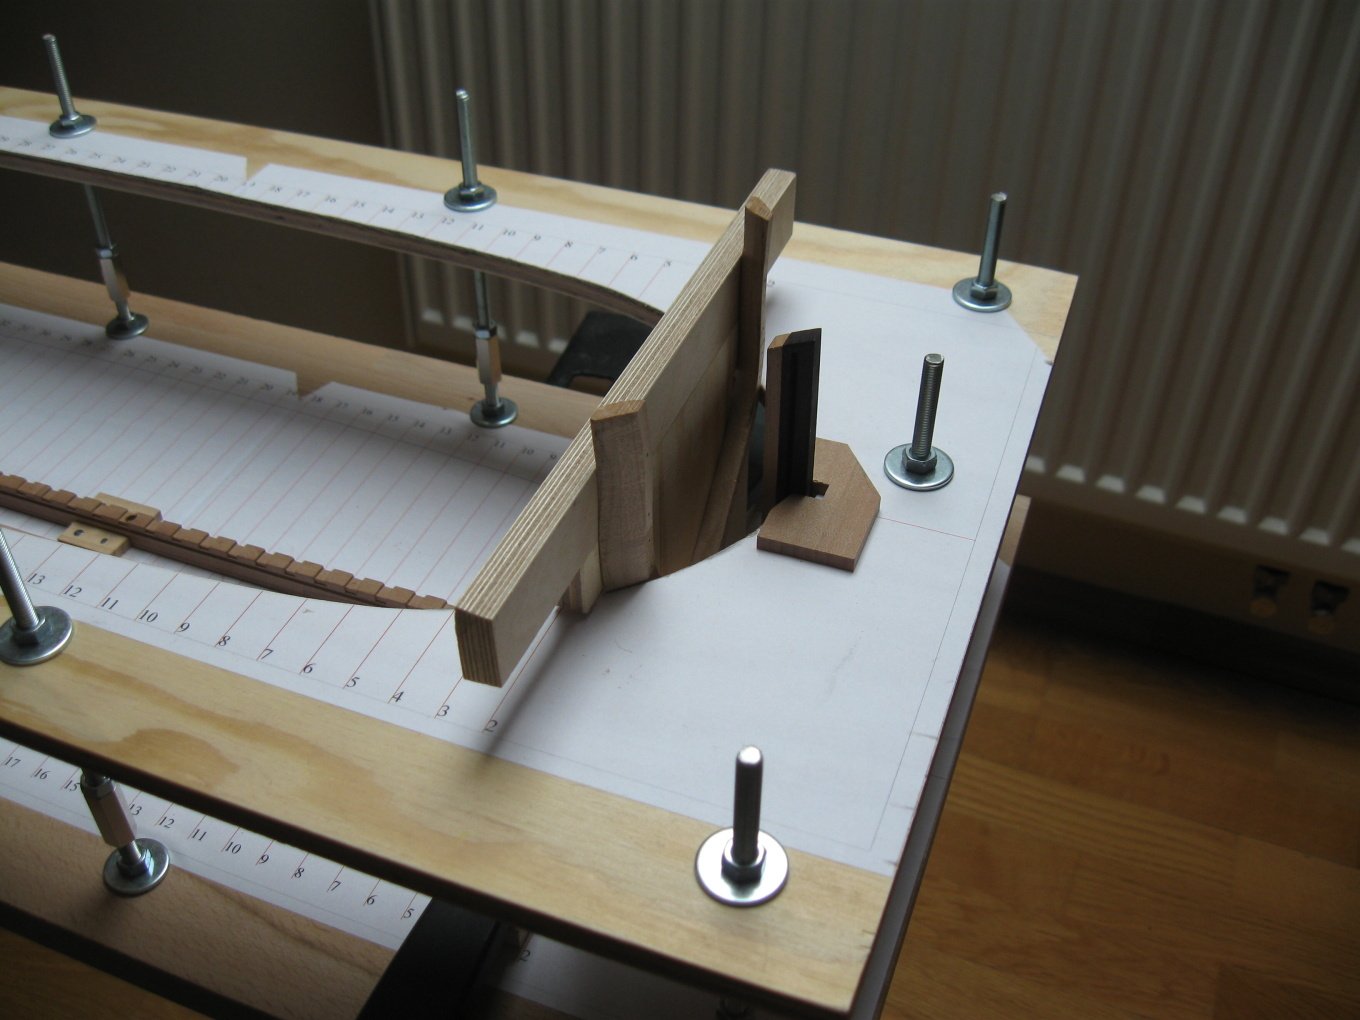
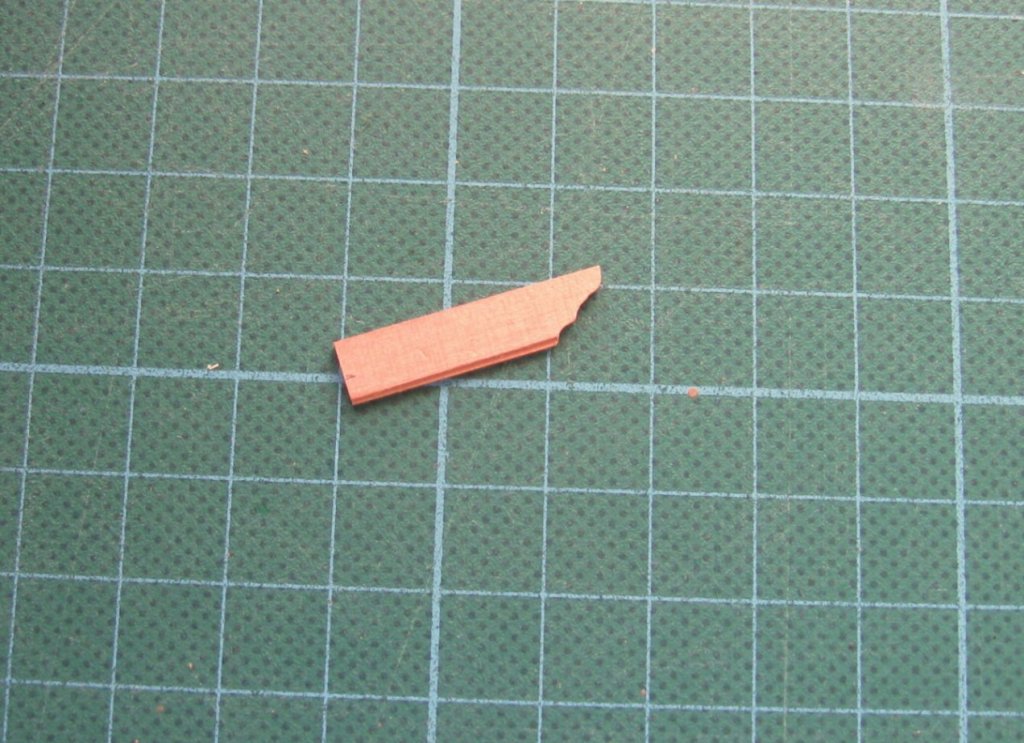
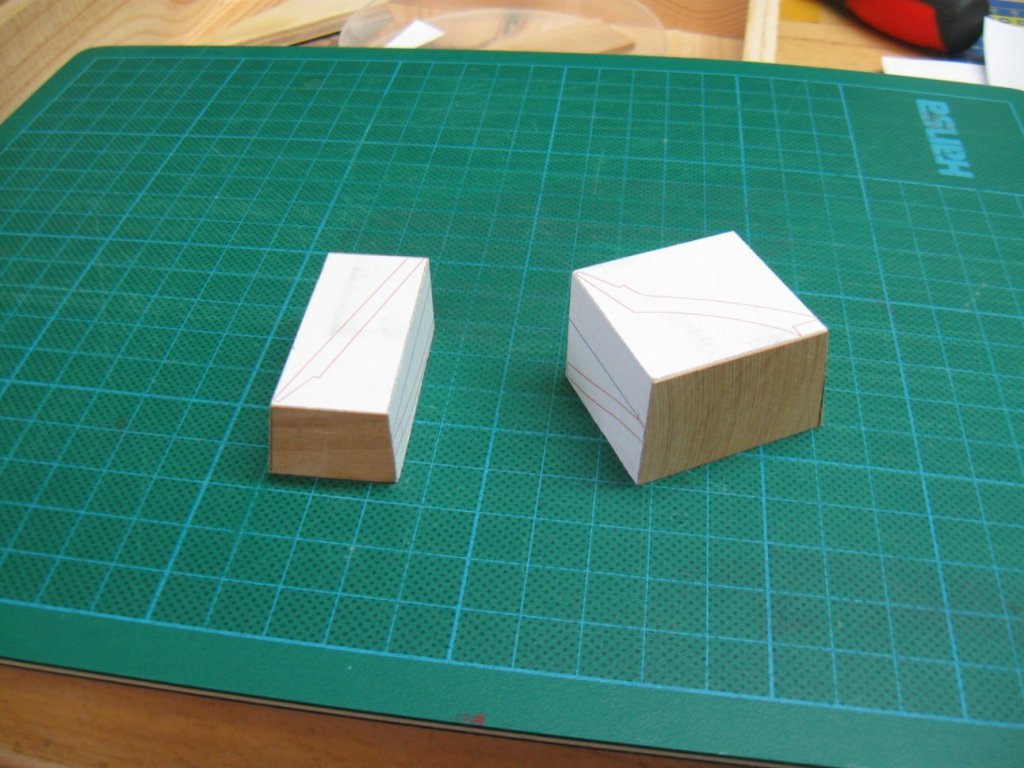
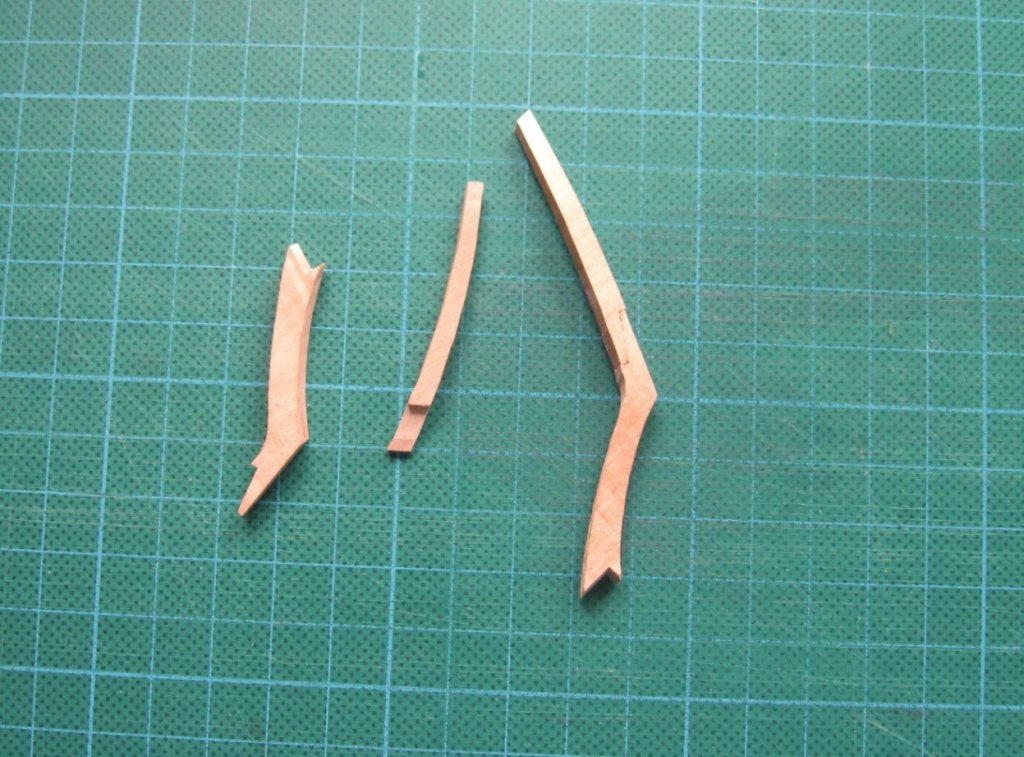
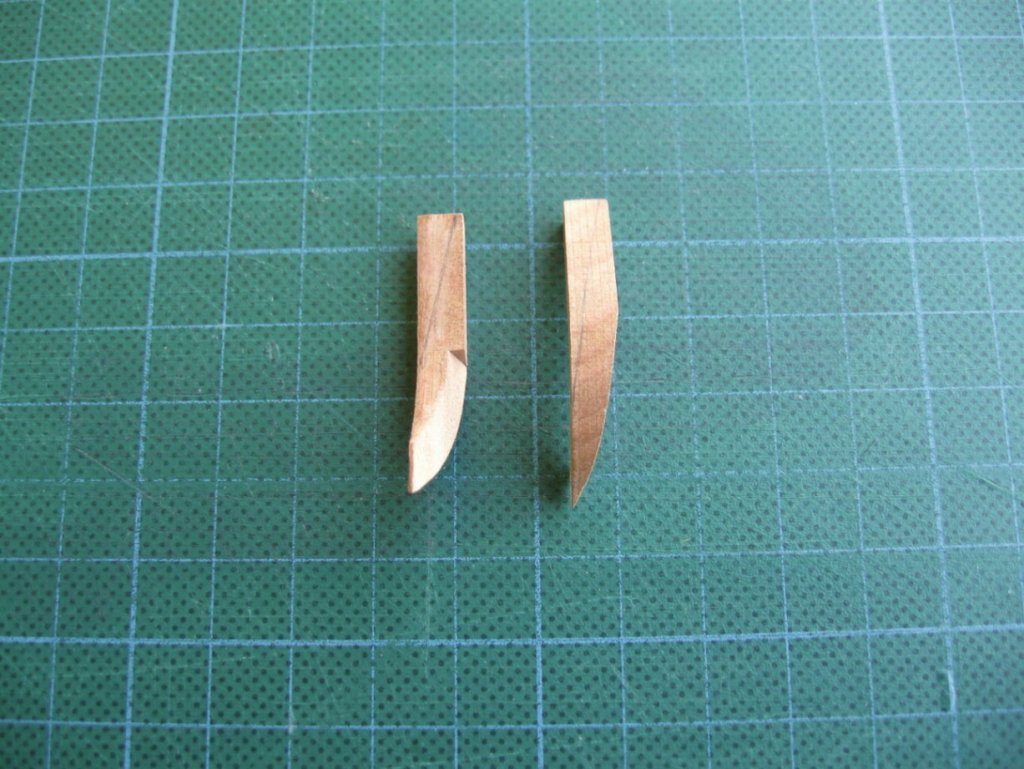
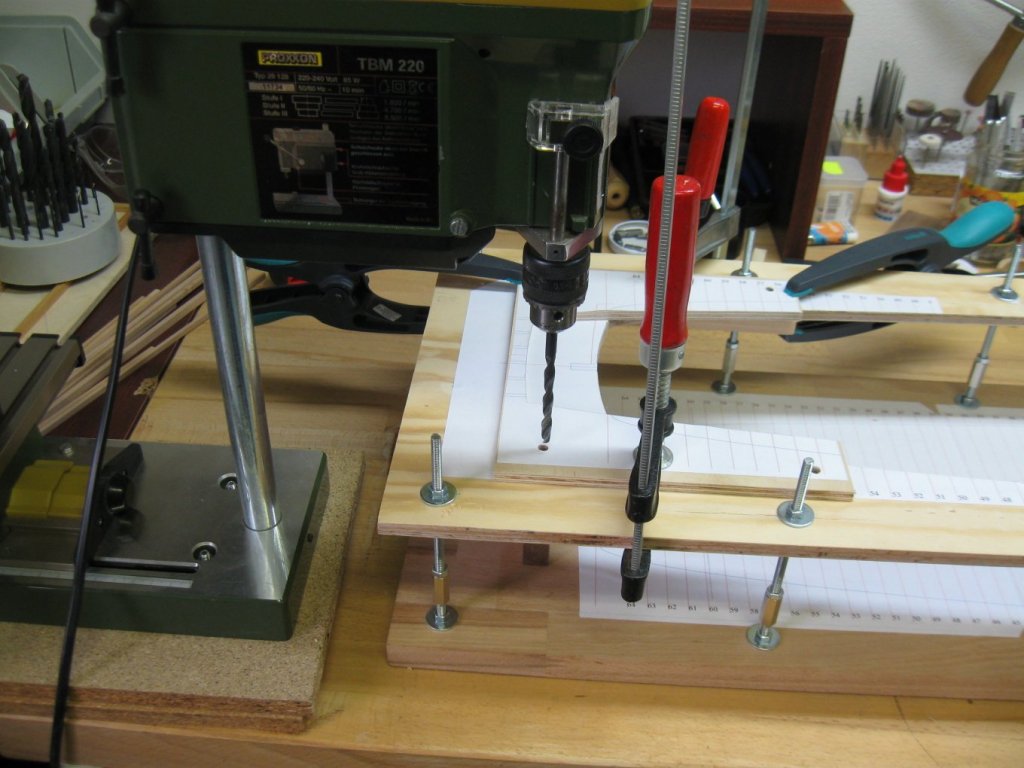
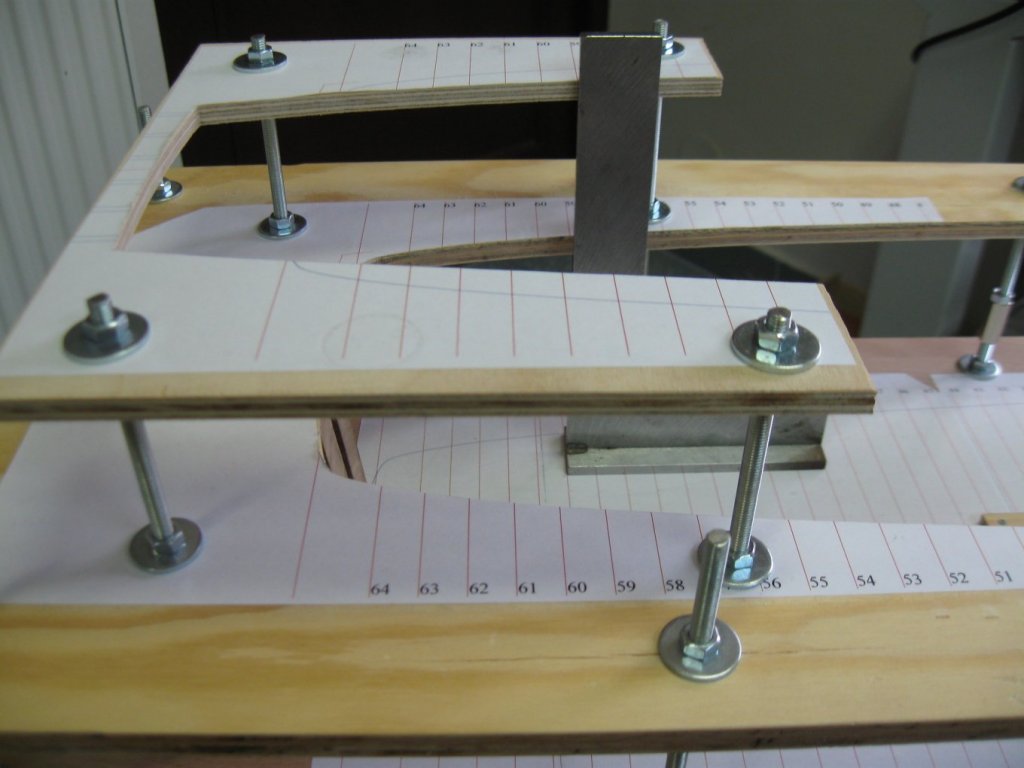
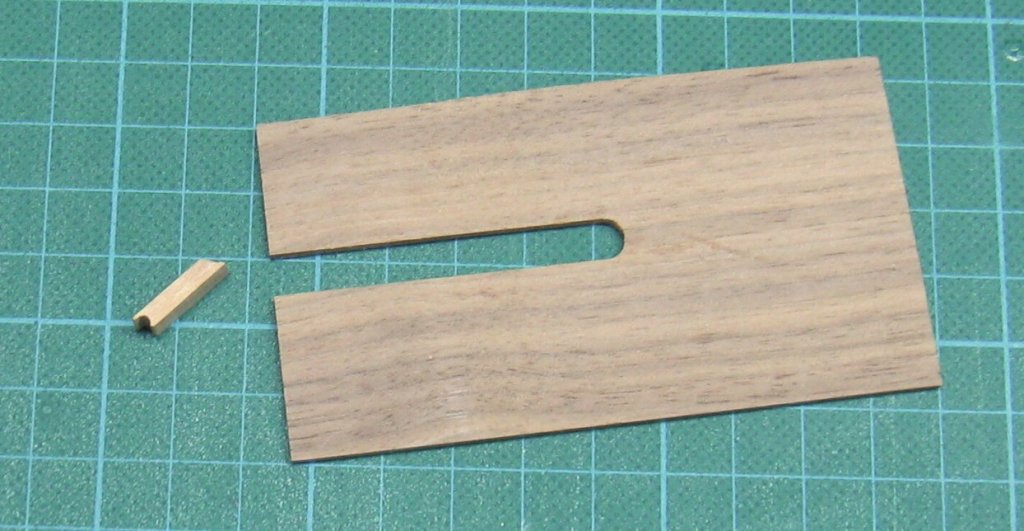
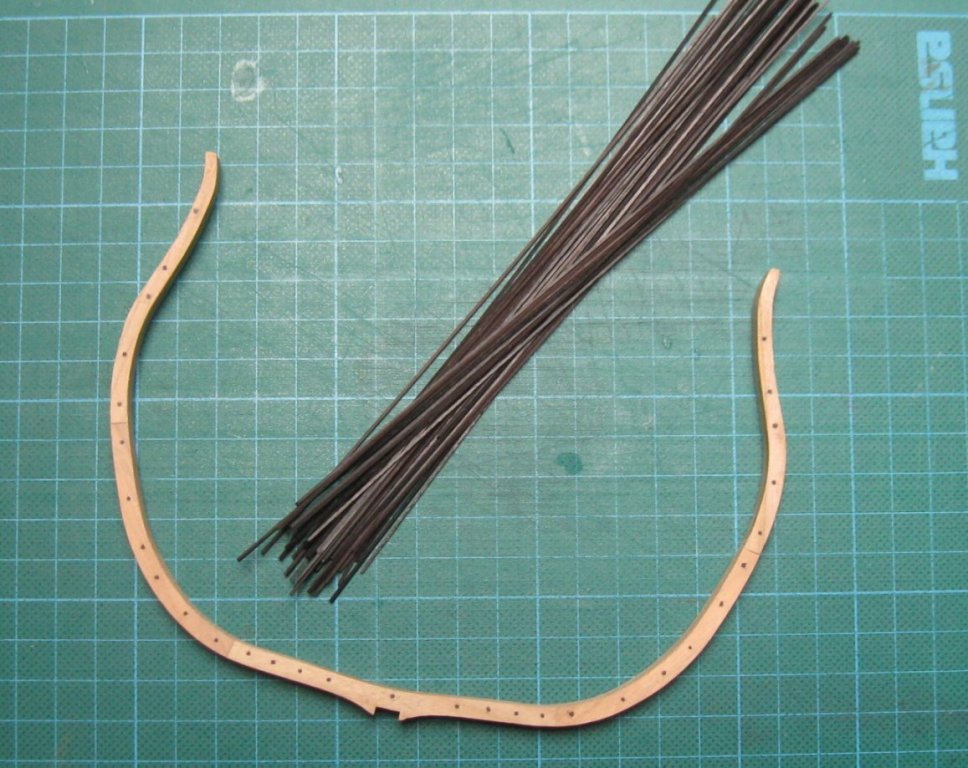
I made a small but rather complicated part - part 10 from the plate 8, an extension of the building bord for installation of counter timbers.

- 589 replies
-
- 30
-
-
- le gros ventre
- cargo
- (and 1 more)
-
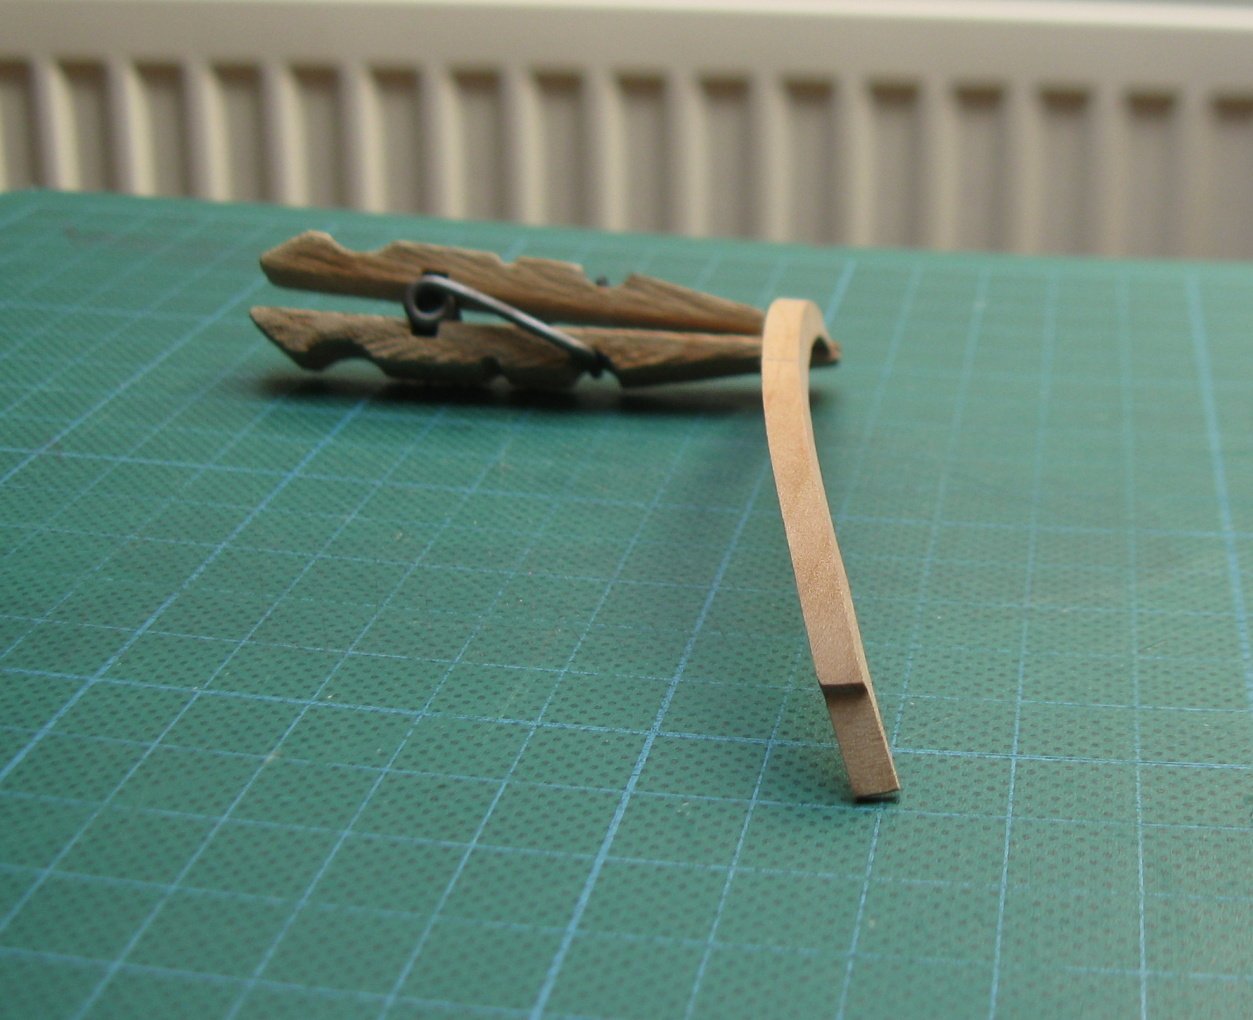
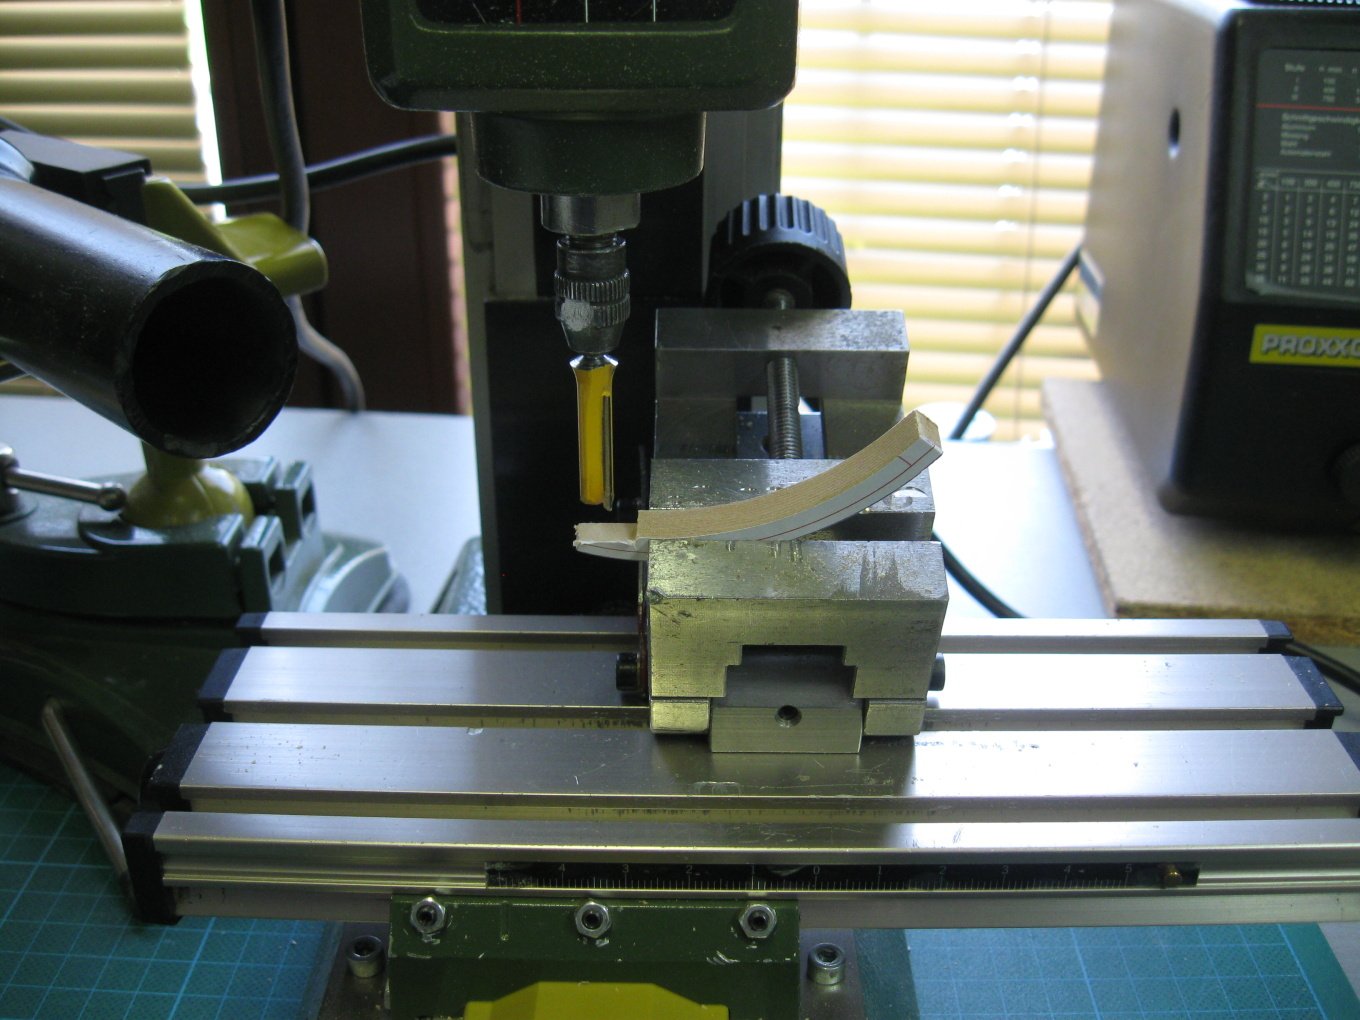
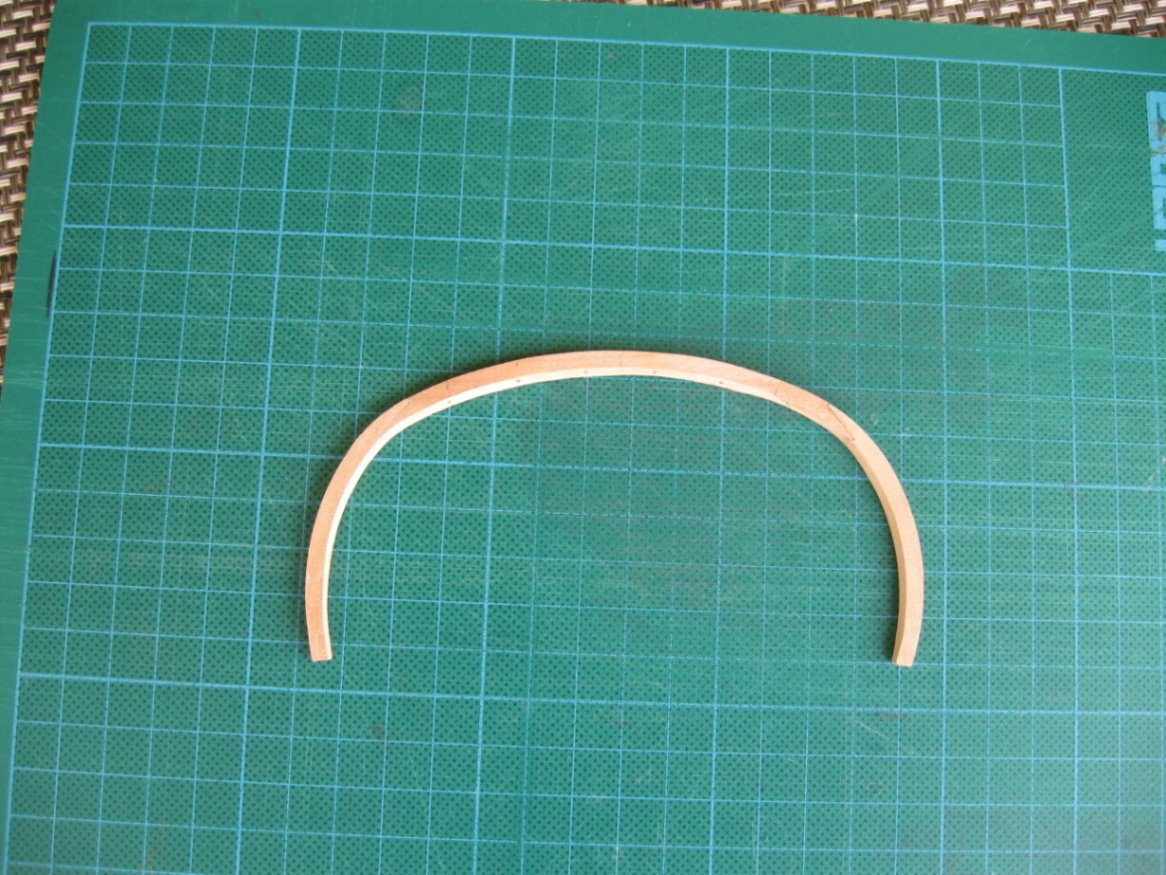
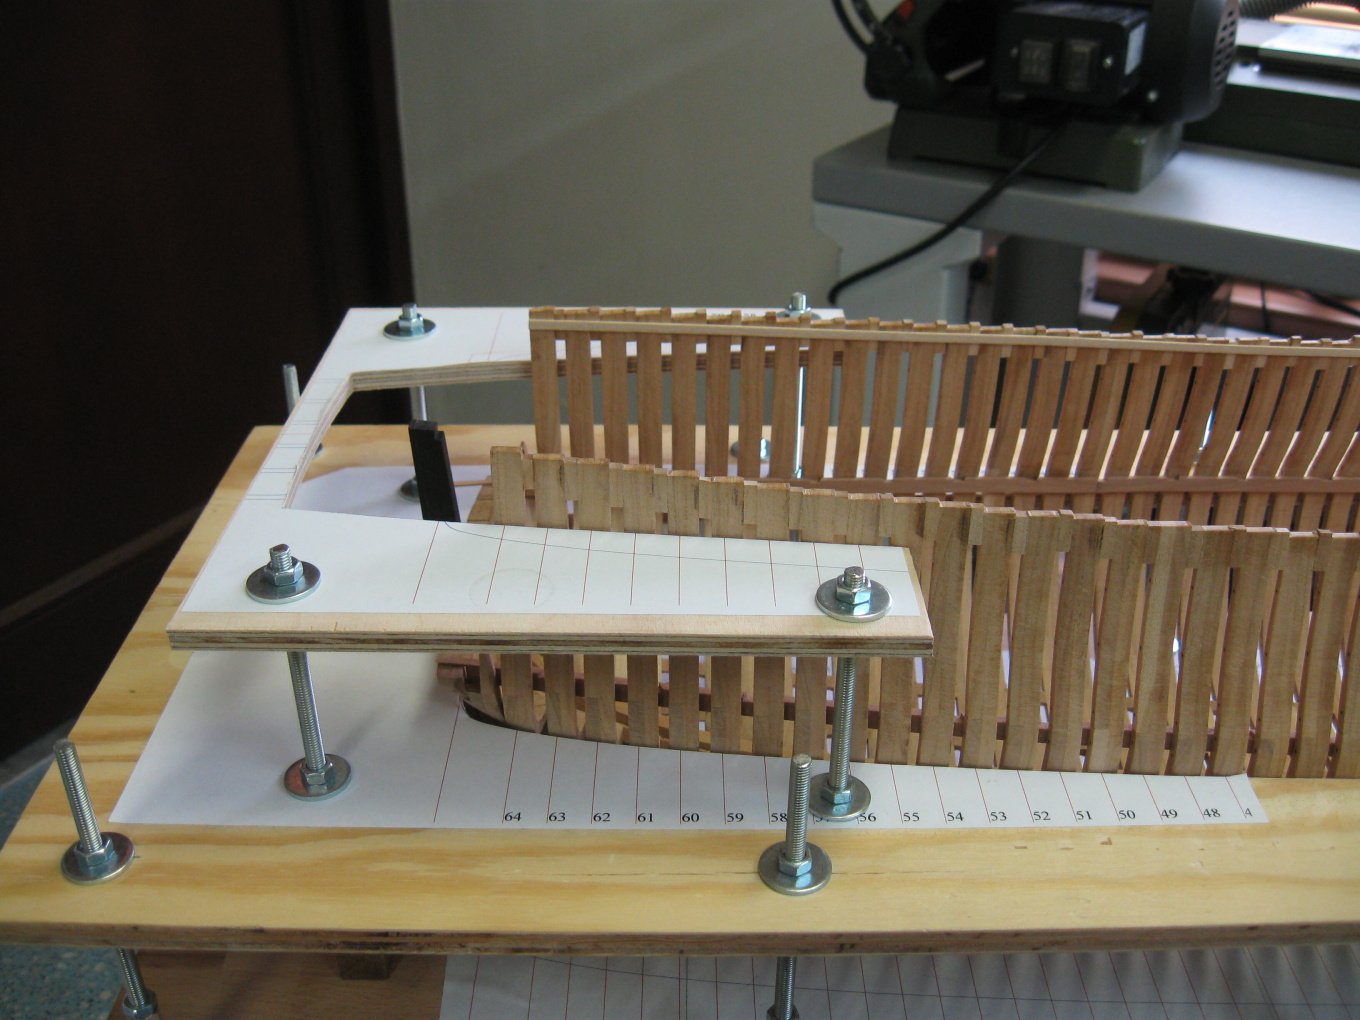
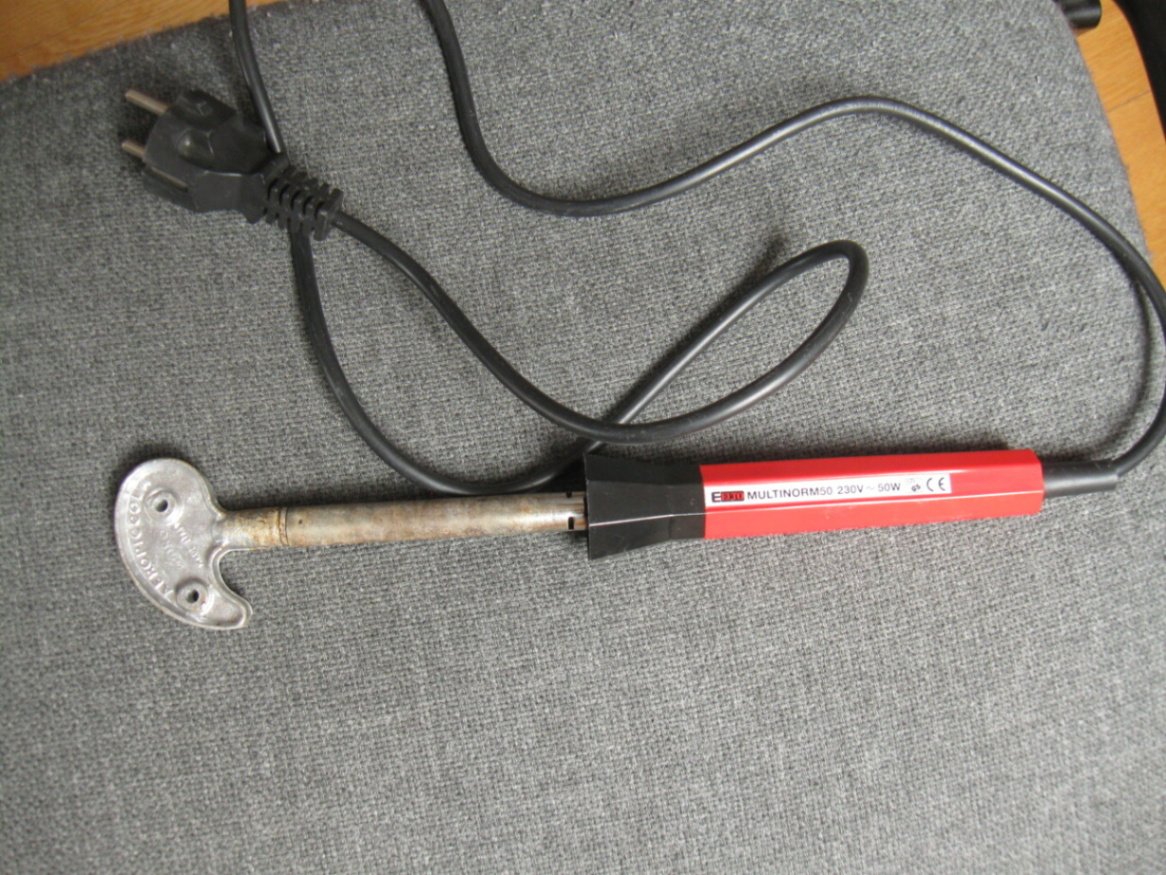
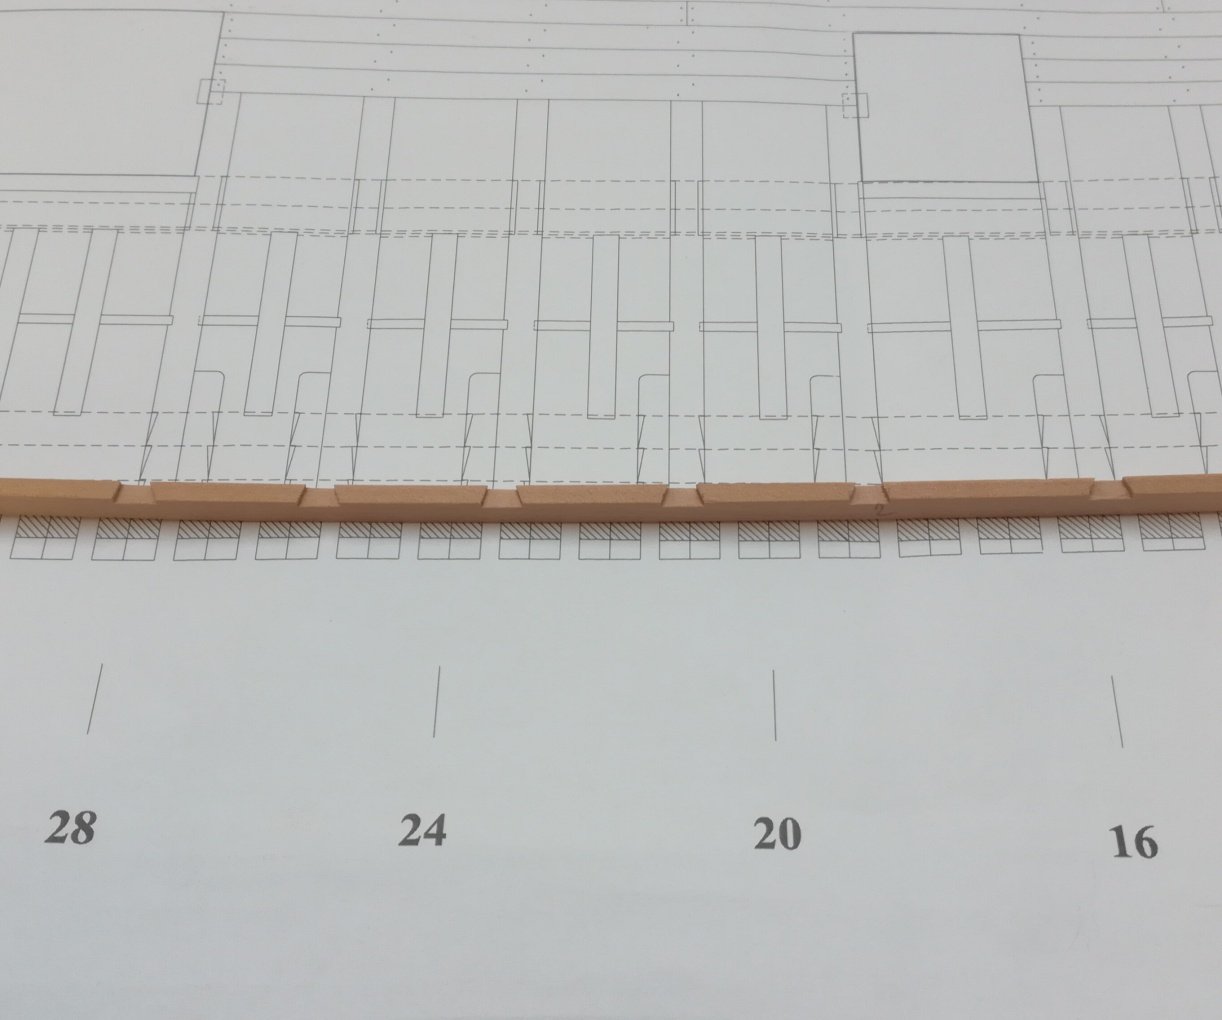
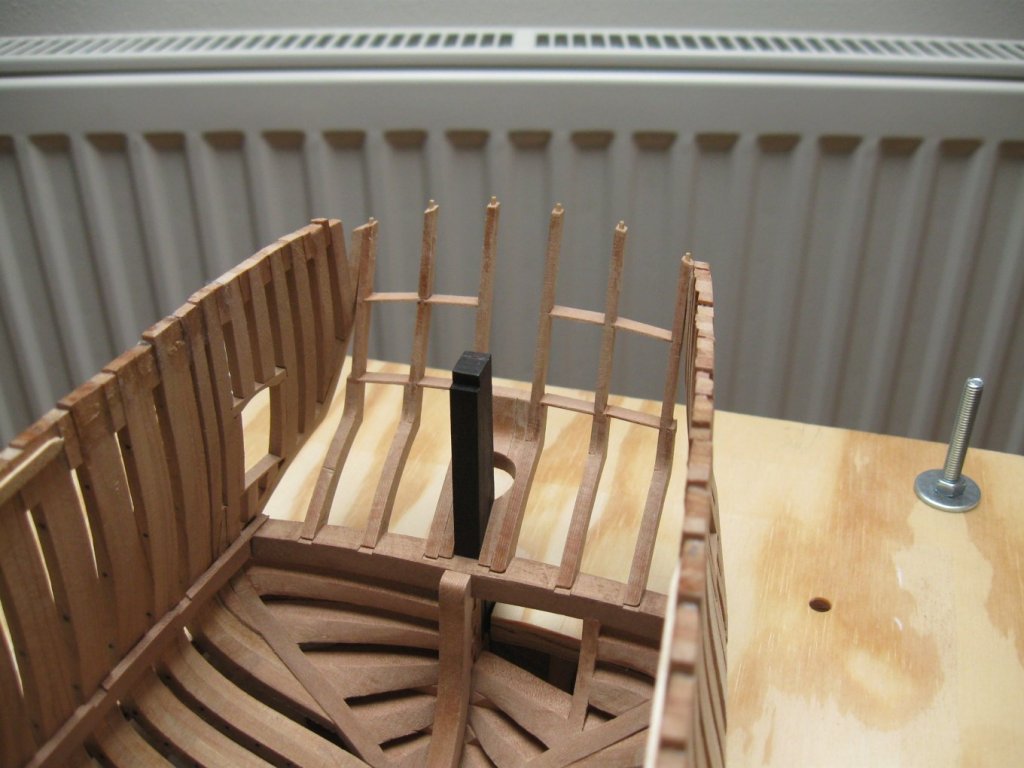
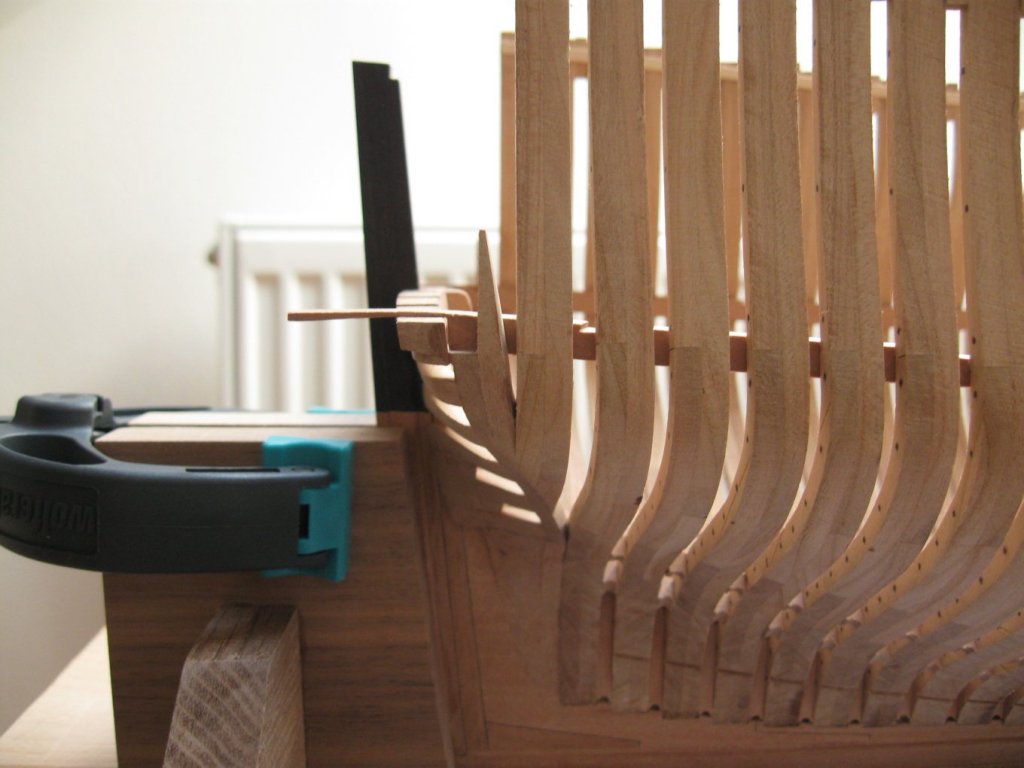
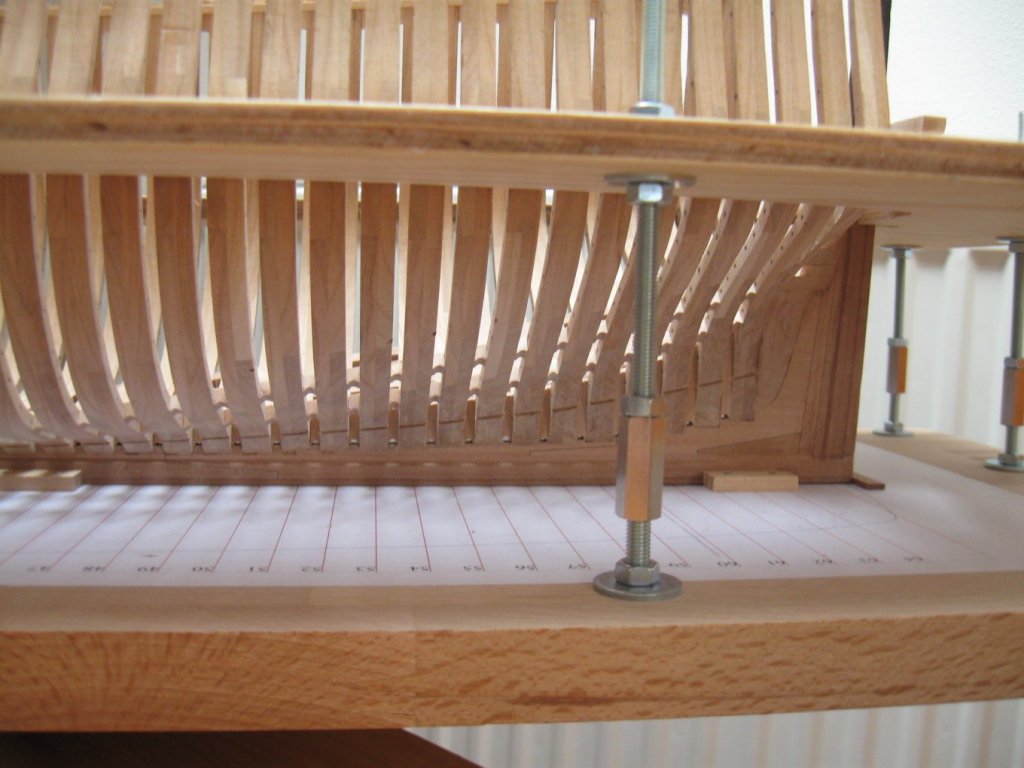
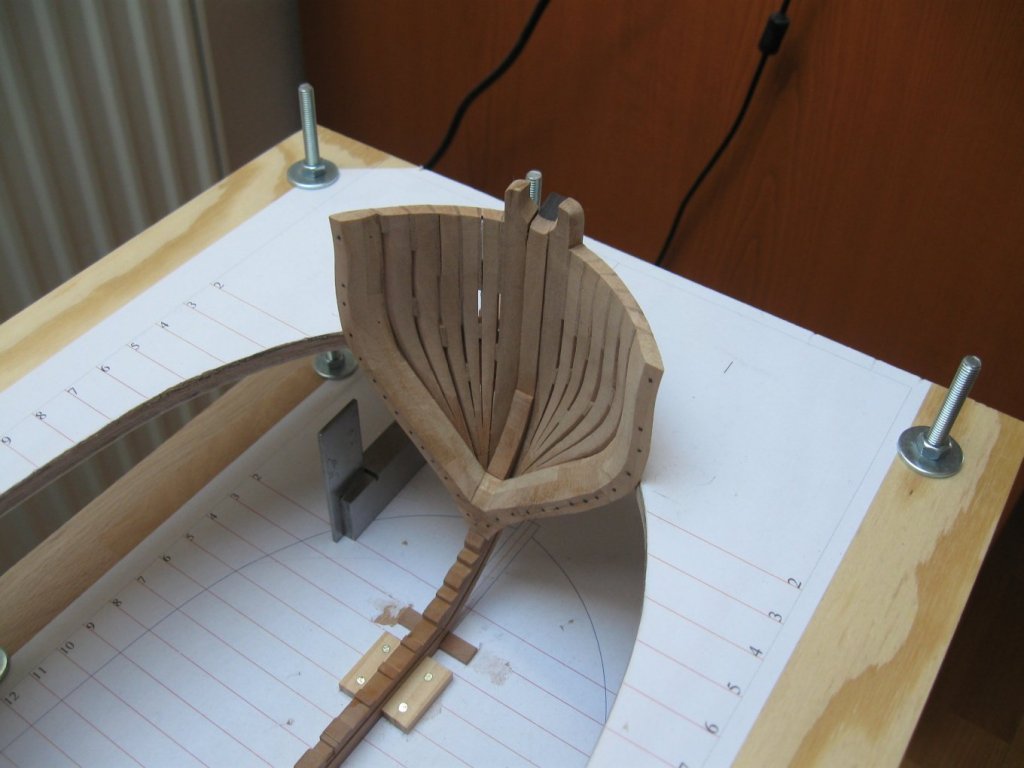
Hi Dowmer, deck clamps are made from pear wood. I use the old bender (first picture) for wood bending. Not the shaped end, but the heating tube to which I place a water-soaked cloth. Steam from the water heats the wood and makes the bending easier. The deck clamps are attached to the hull. Now I am going to finish the stern.


- 589 replies
-
- 27
-
-
- le gros ventre
- cargo
- (and 1 more)
-
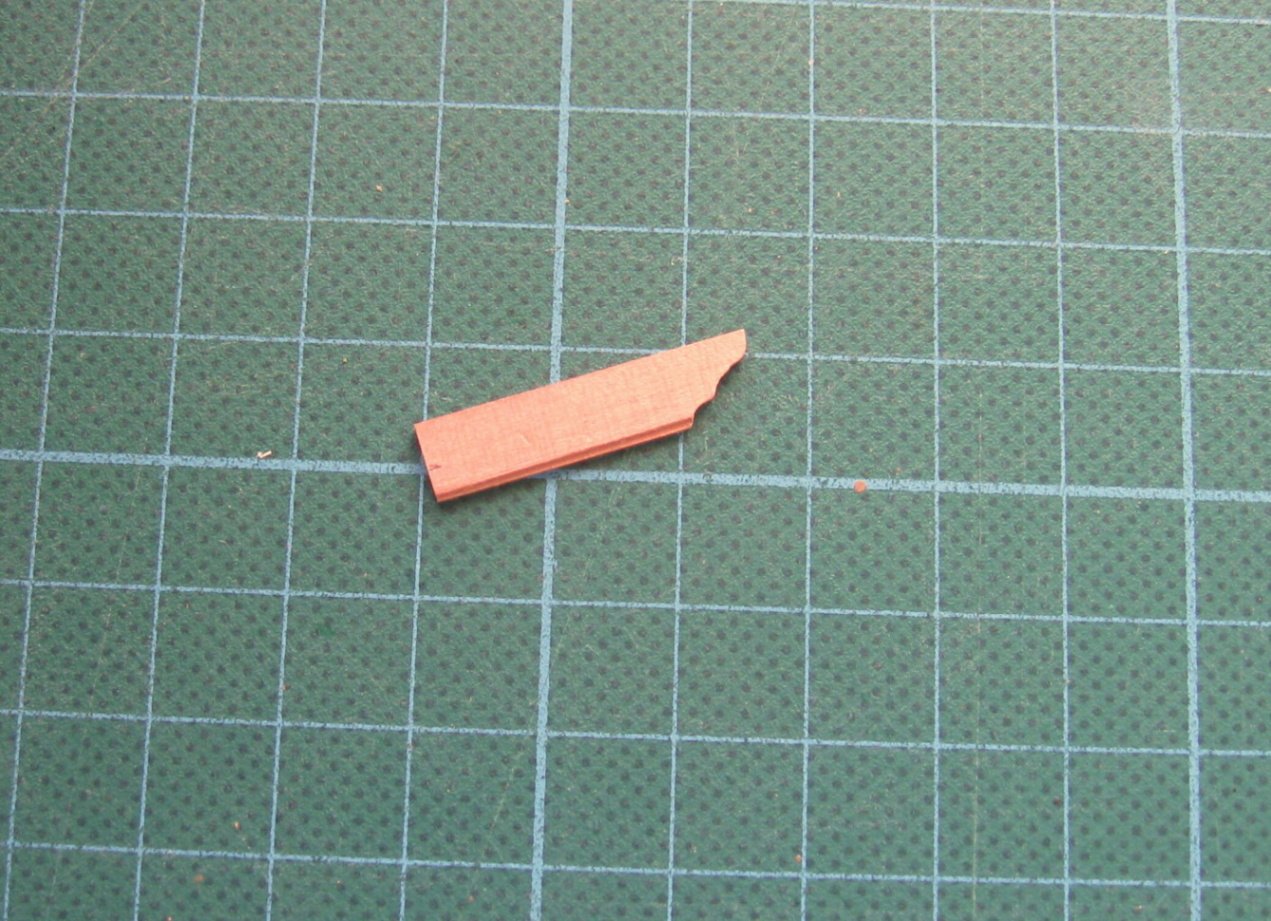
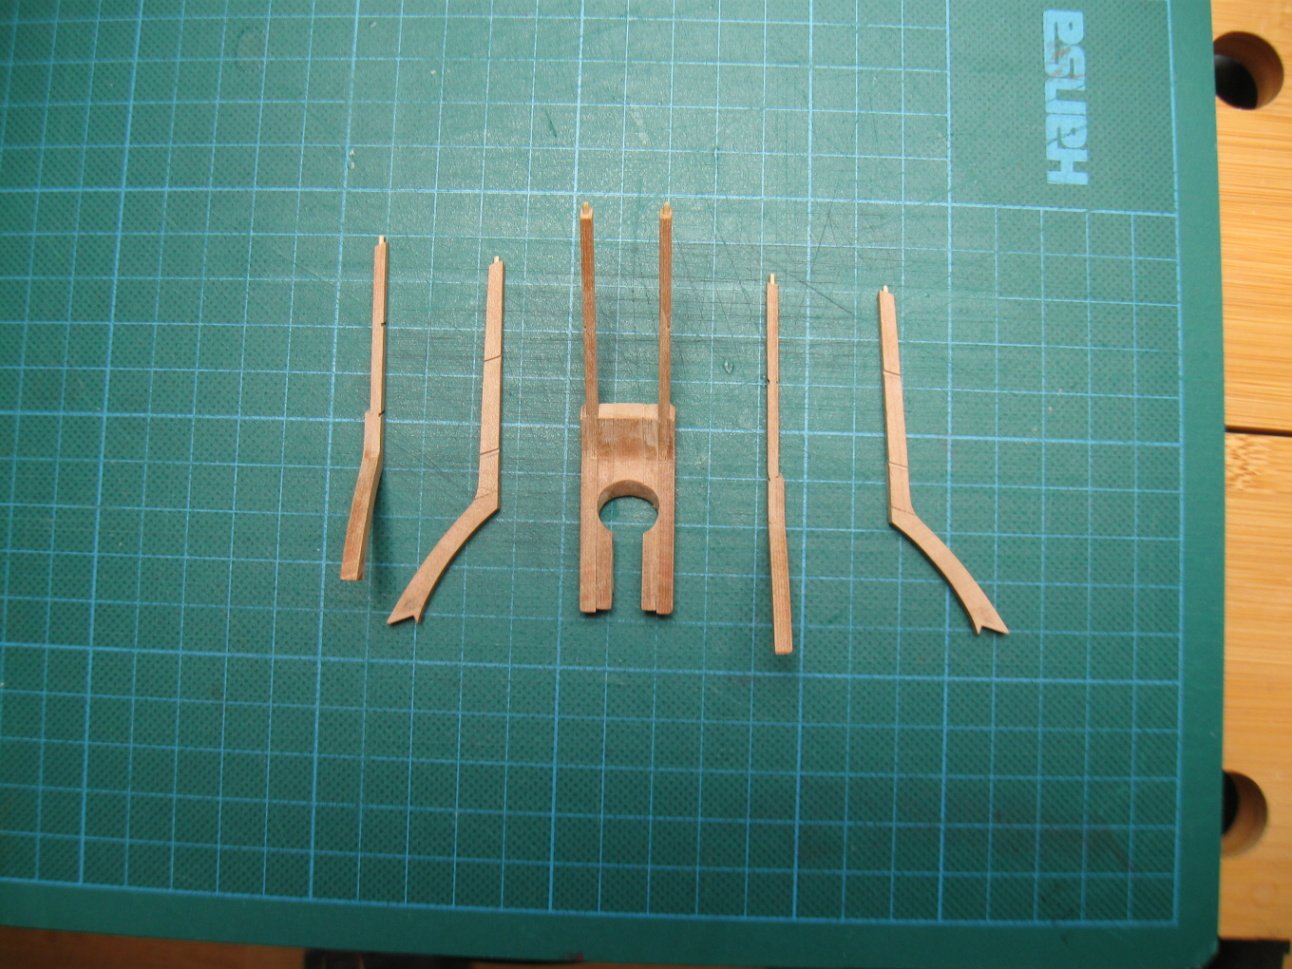
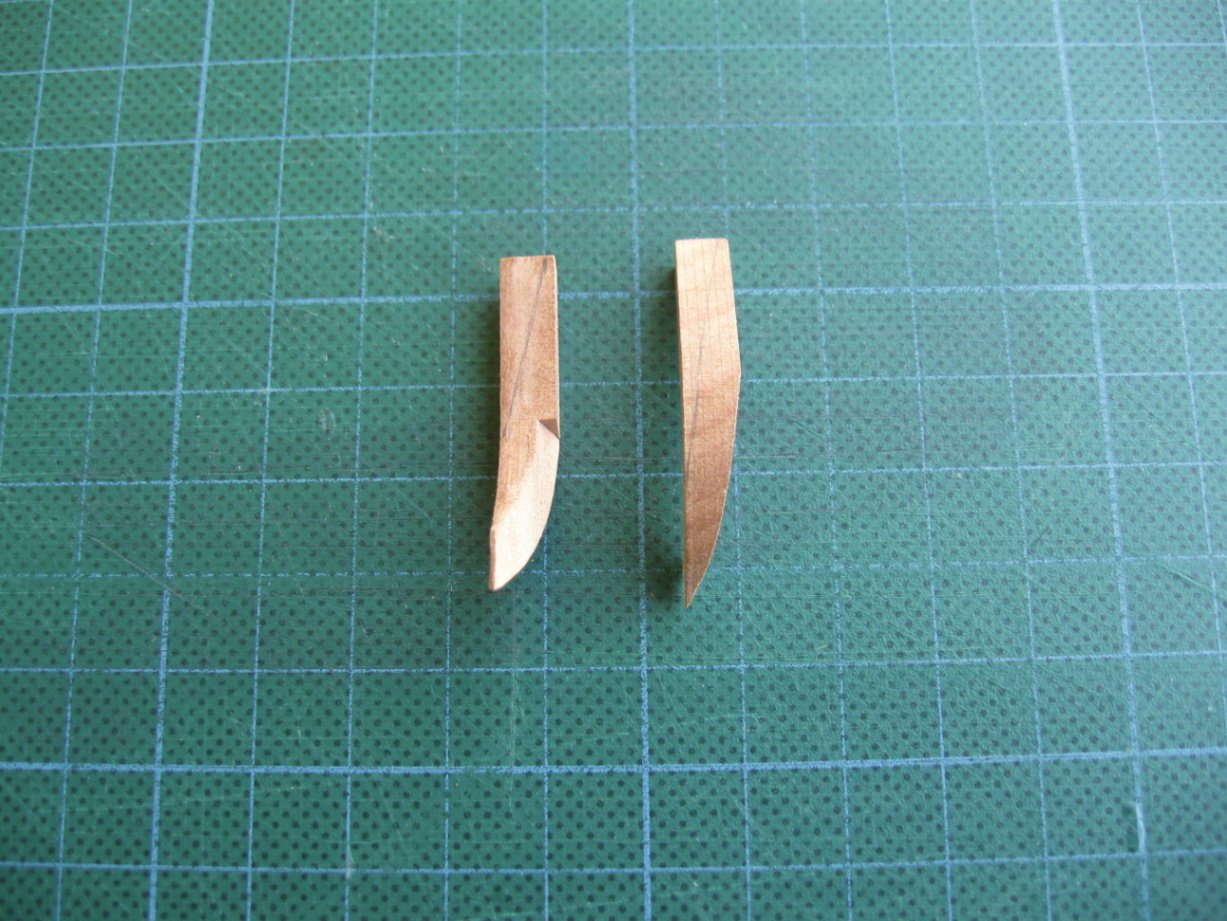
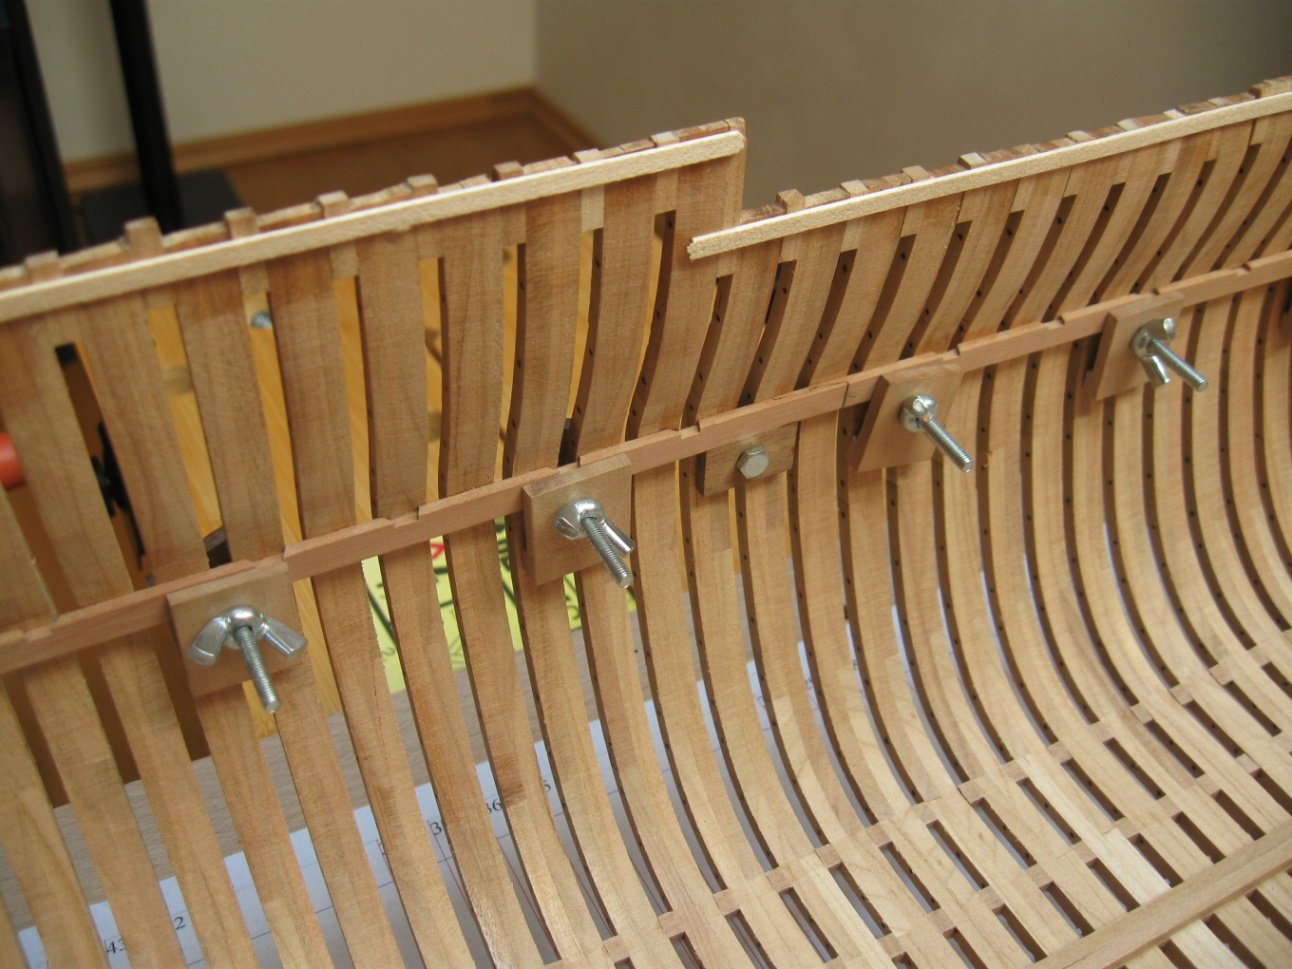
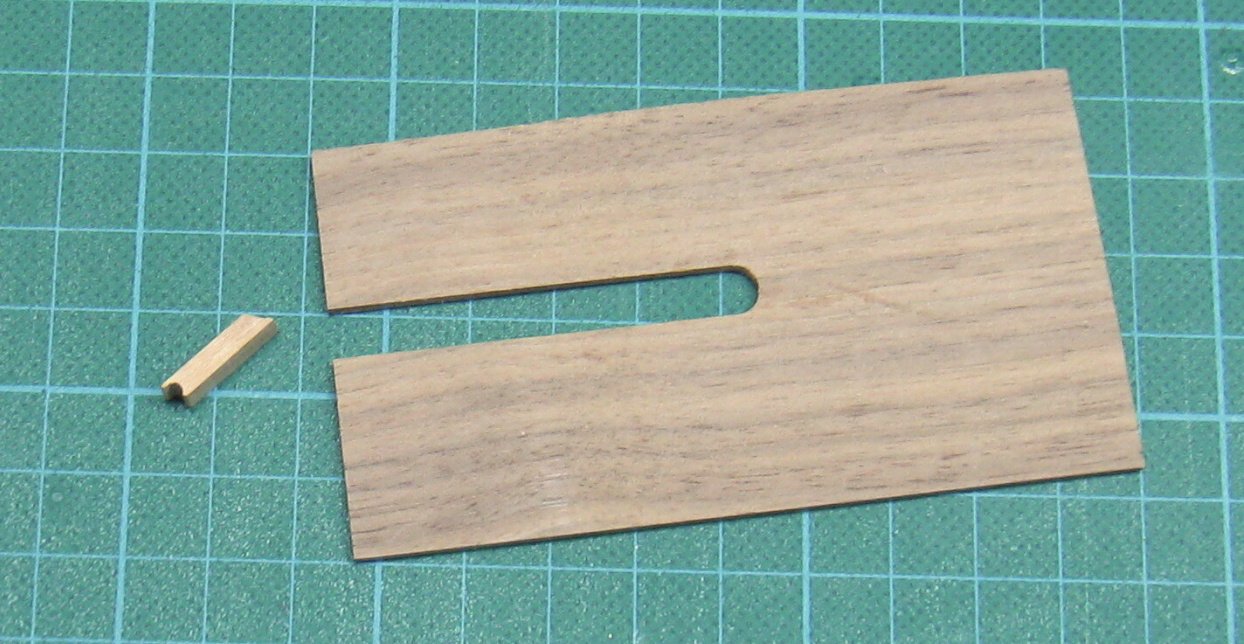
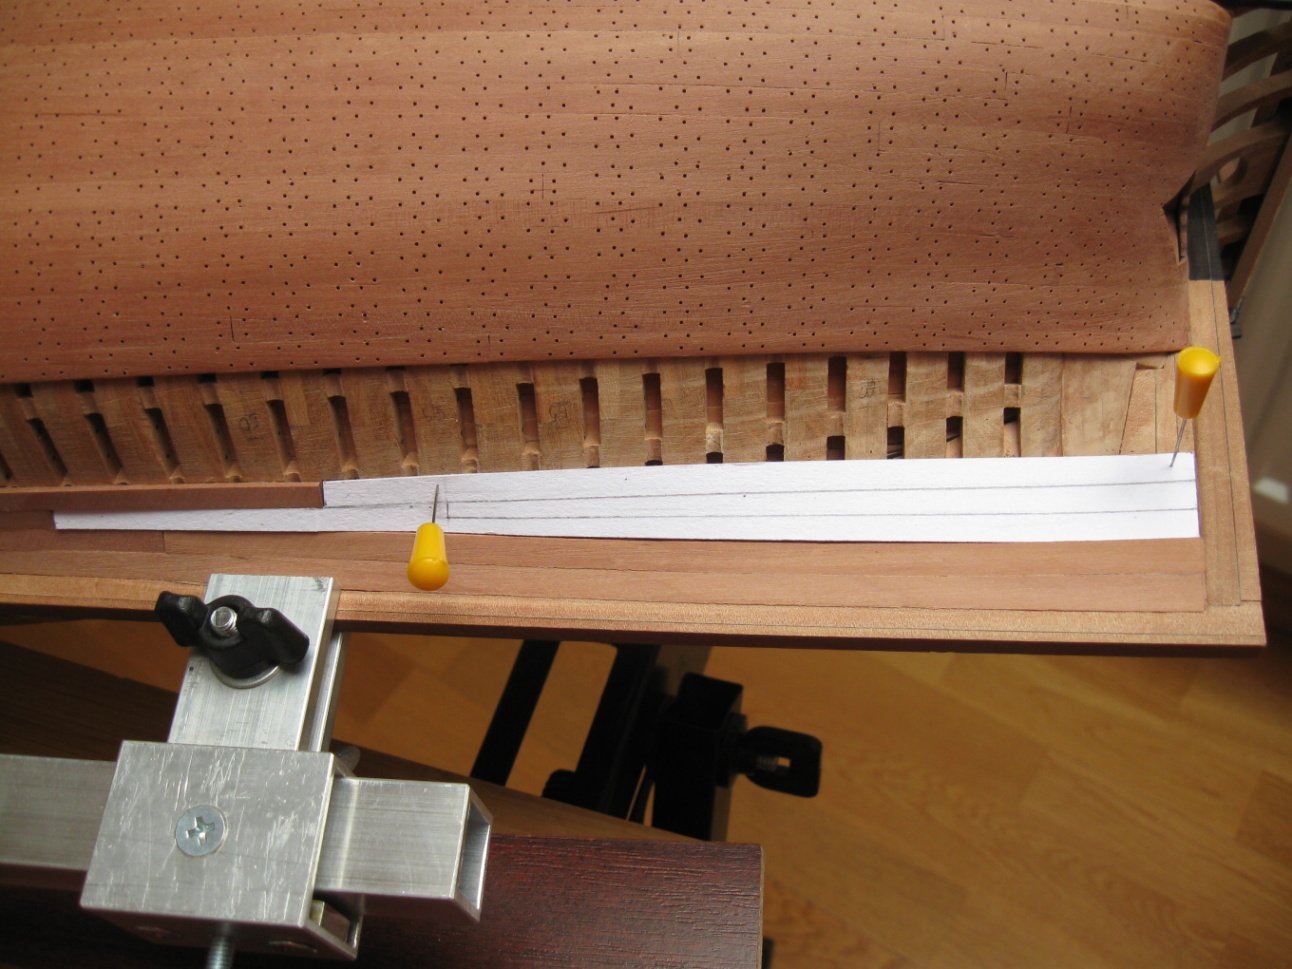
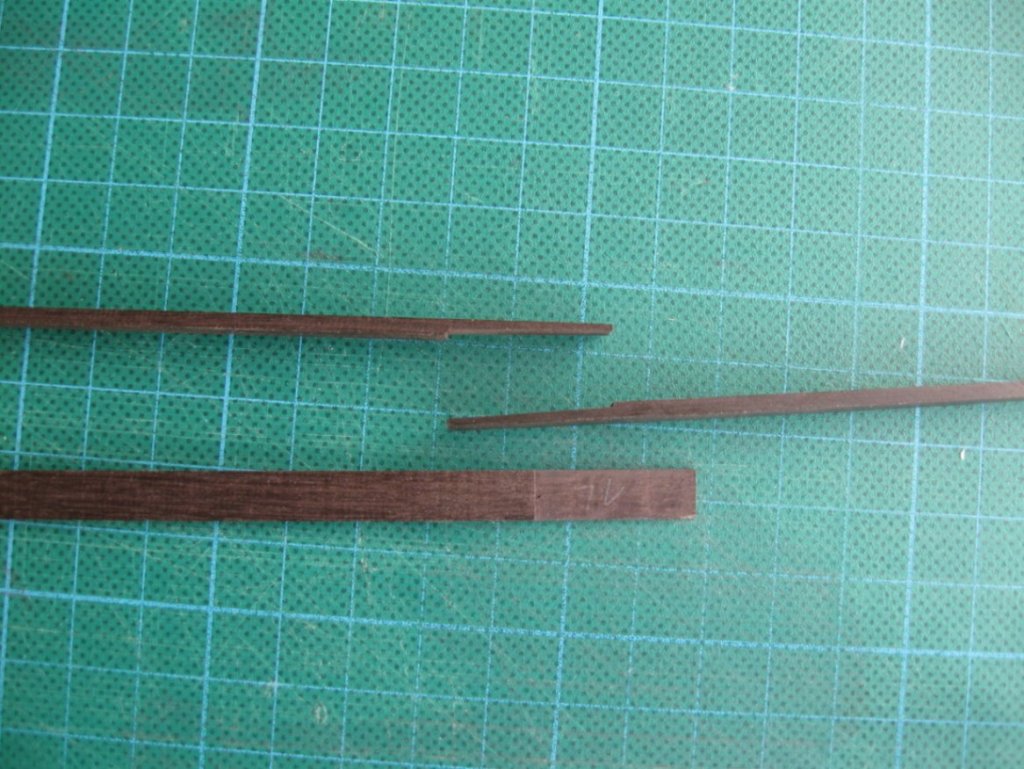
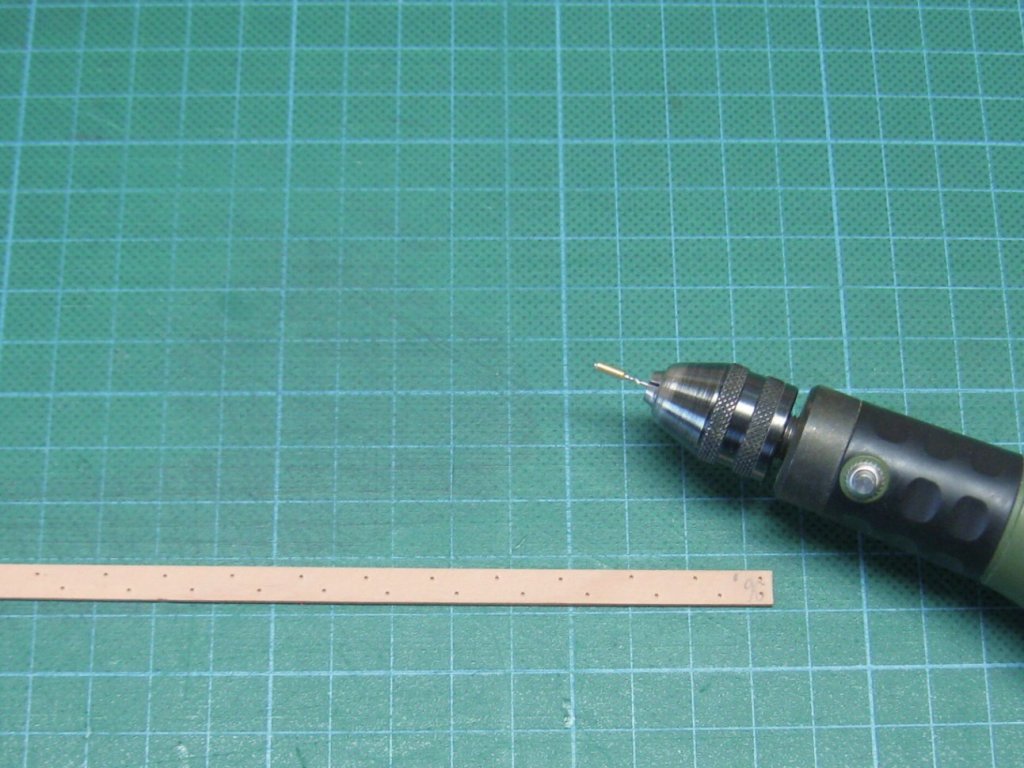
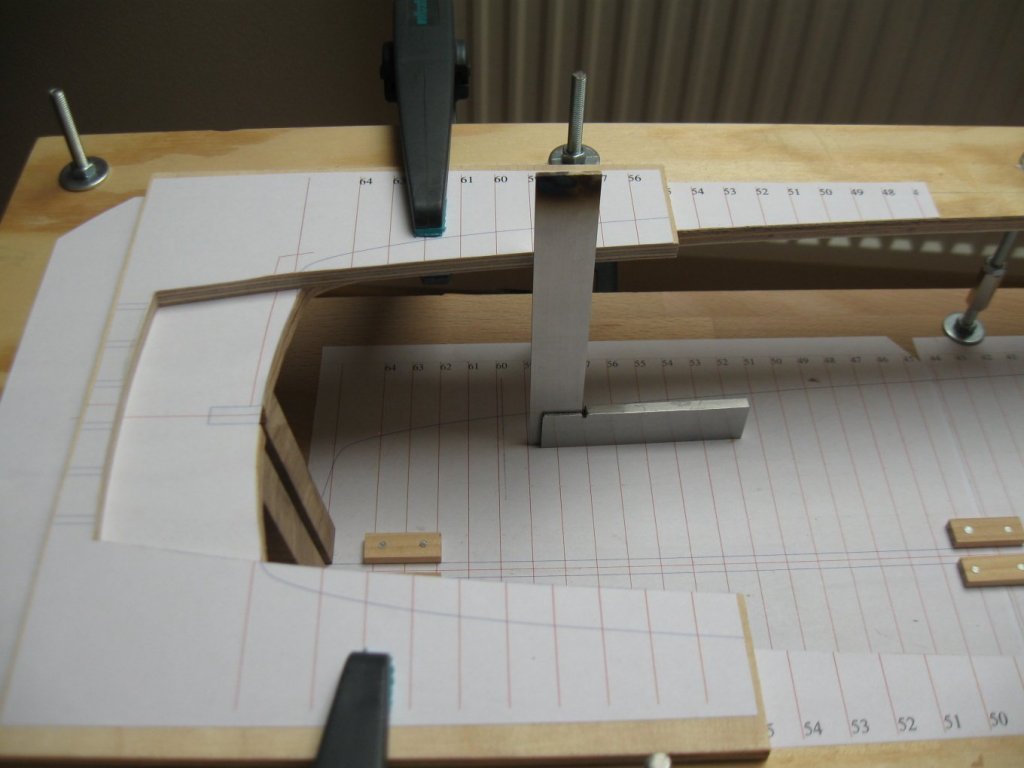
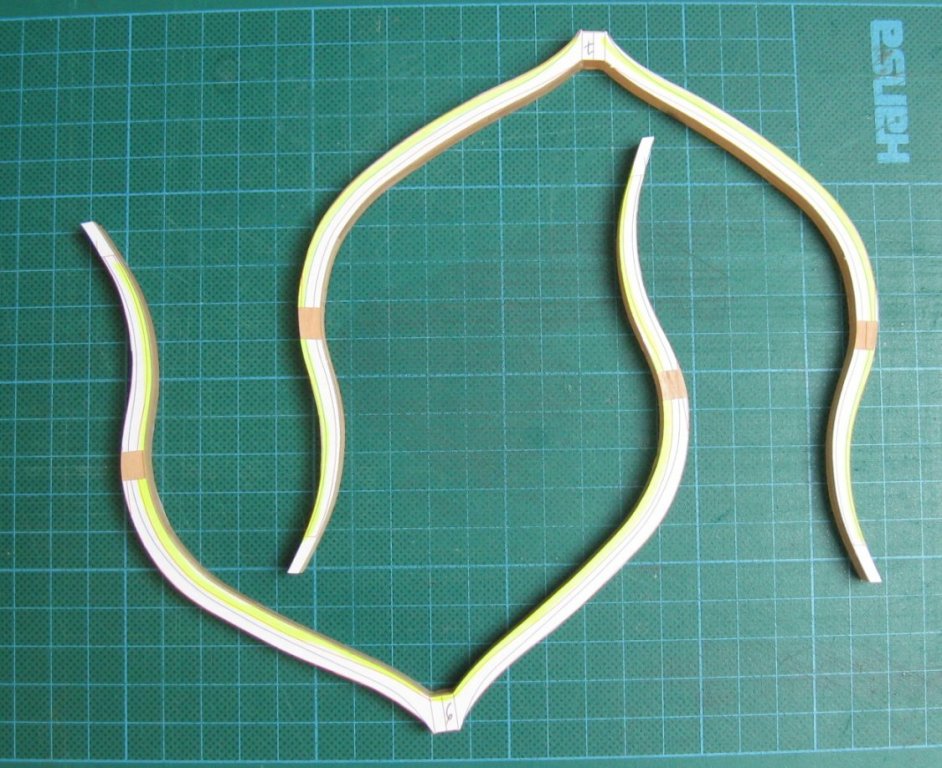
To PeteB - you basically answered yourself - see picture.
- 589 replies
-
- 8
-
-
- le gros ventre
- cargo
- (and 1 more)
-
ancre Le Gros Ventre by ChrisLBren - 1/36
marsalv replied to ChrisLBren's topic in - Build logs for subjects built 1751 - 1800
Hi Chris, nice to see you here with your Le Gros Ventre log. You decided to built the model in the large scale as me, I will watch with pleasure your progress. Vladimir -
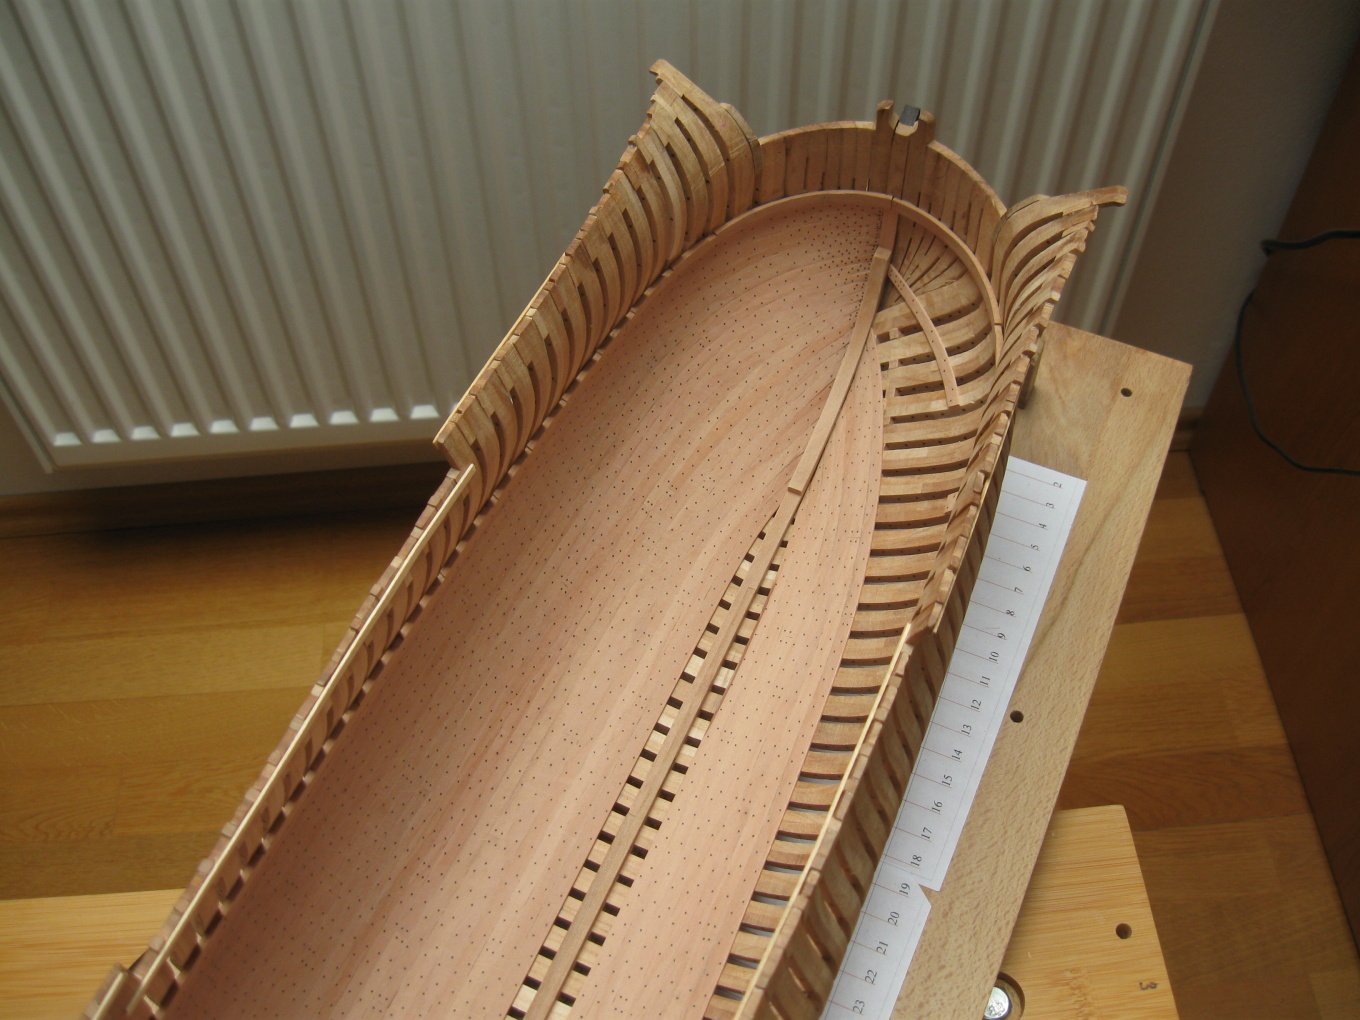
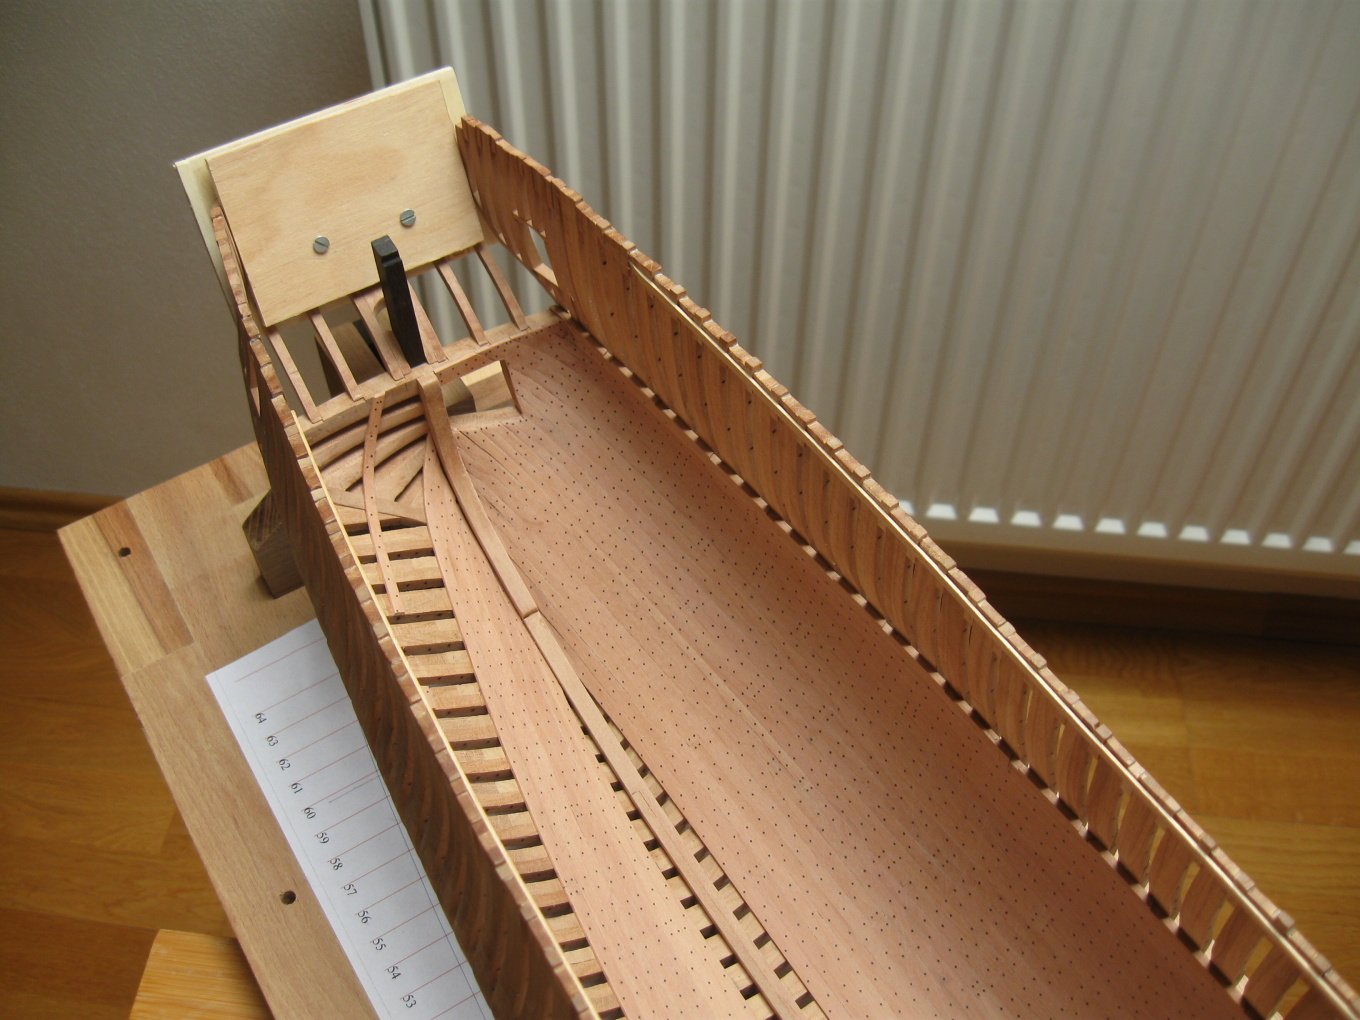
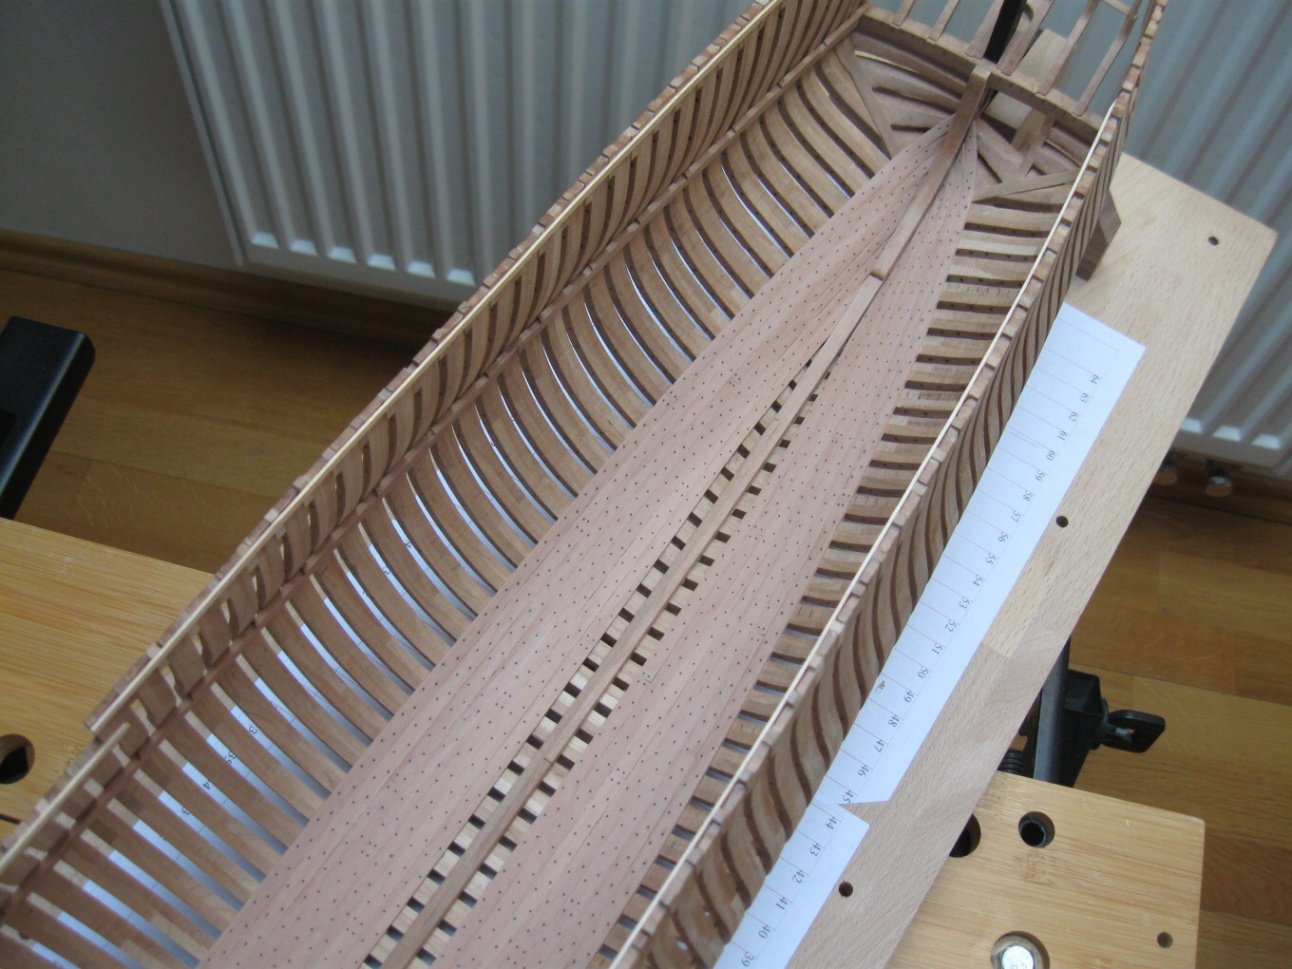
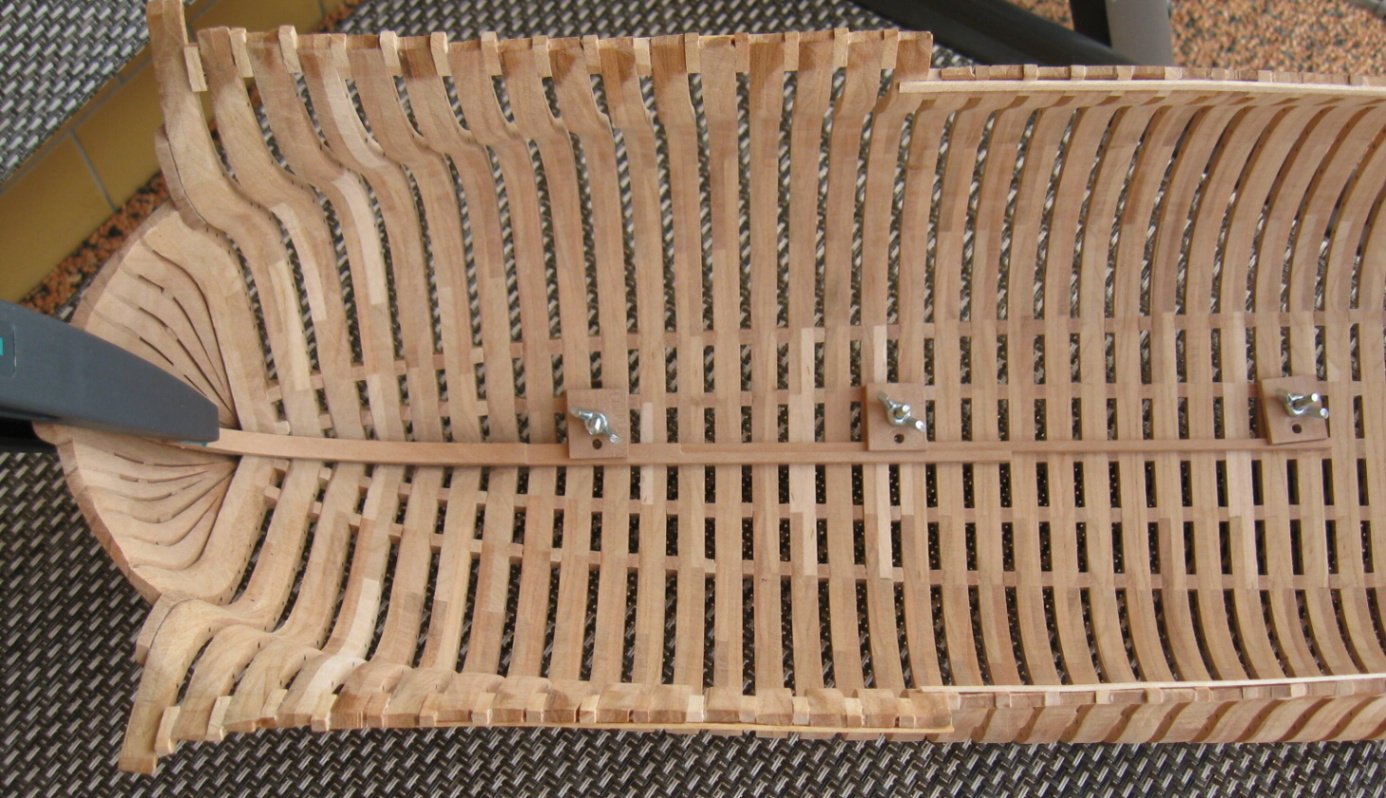
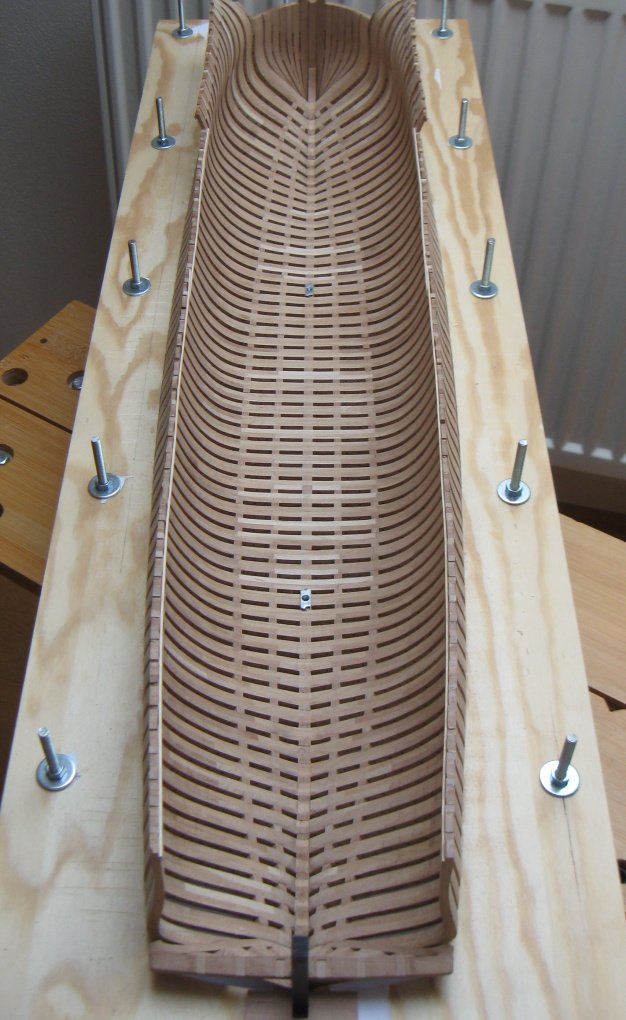
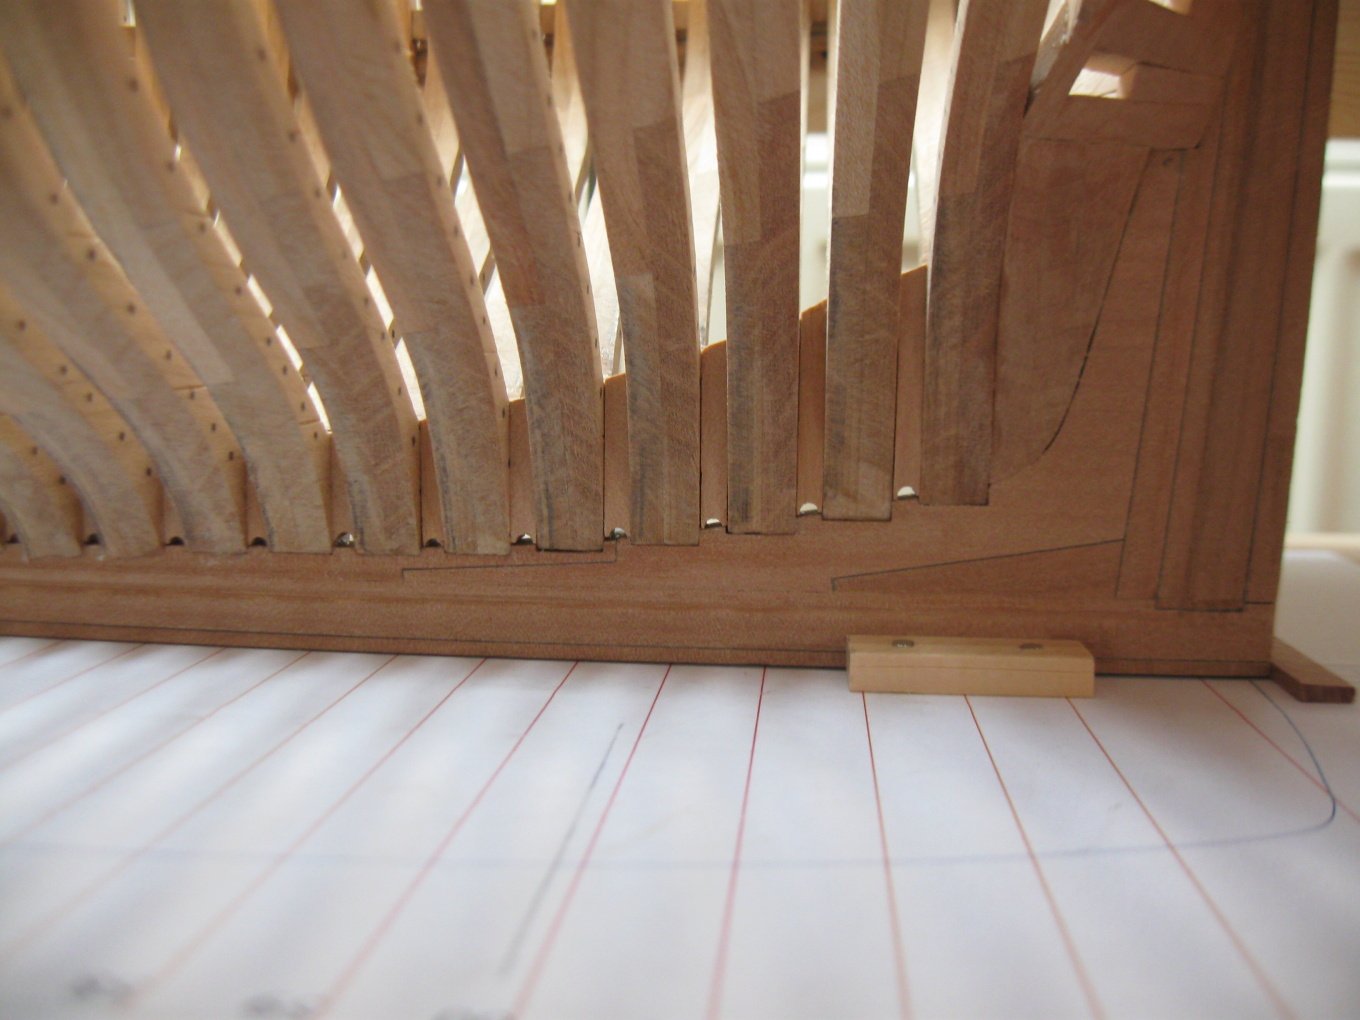
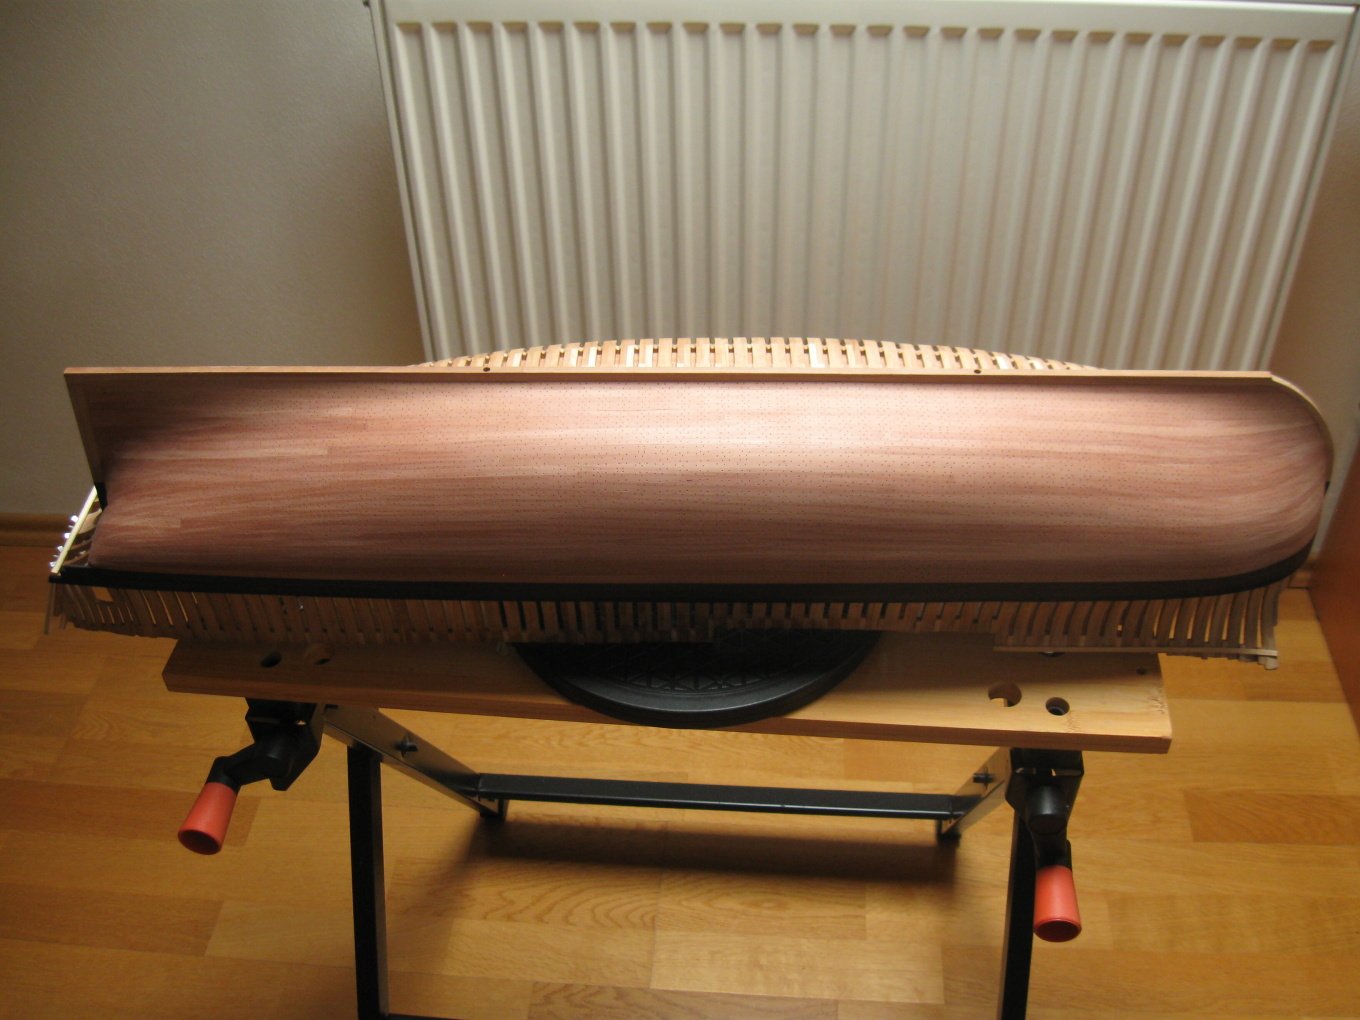
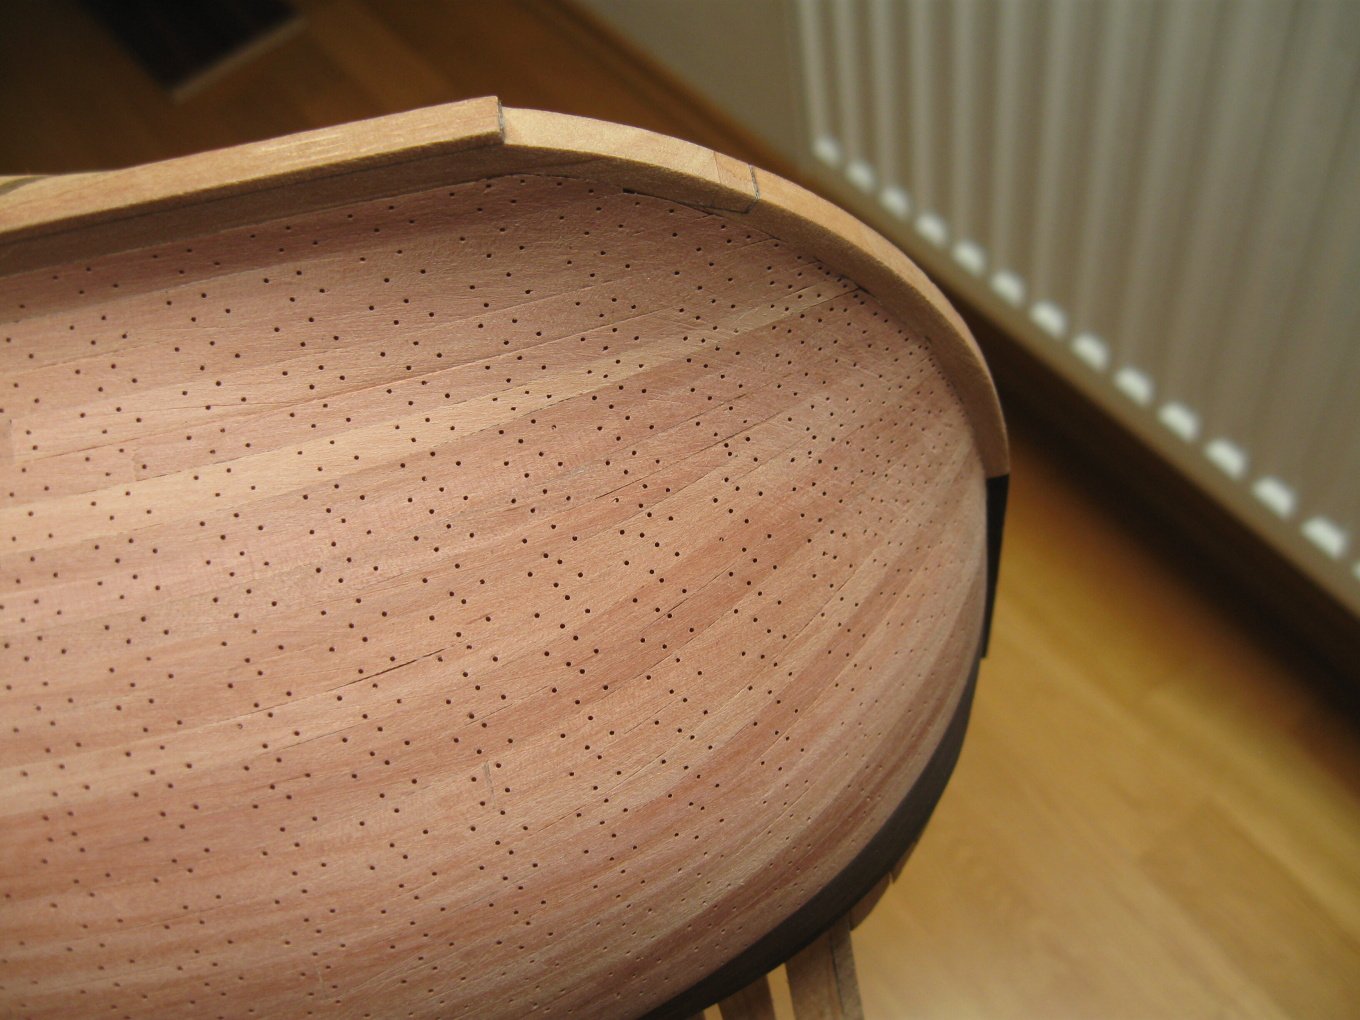
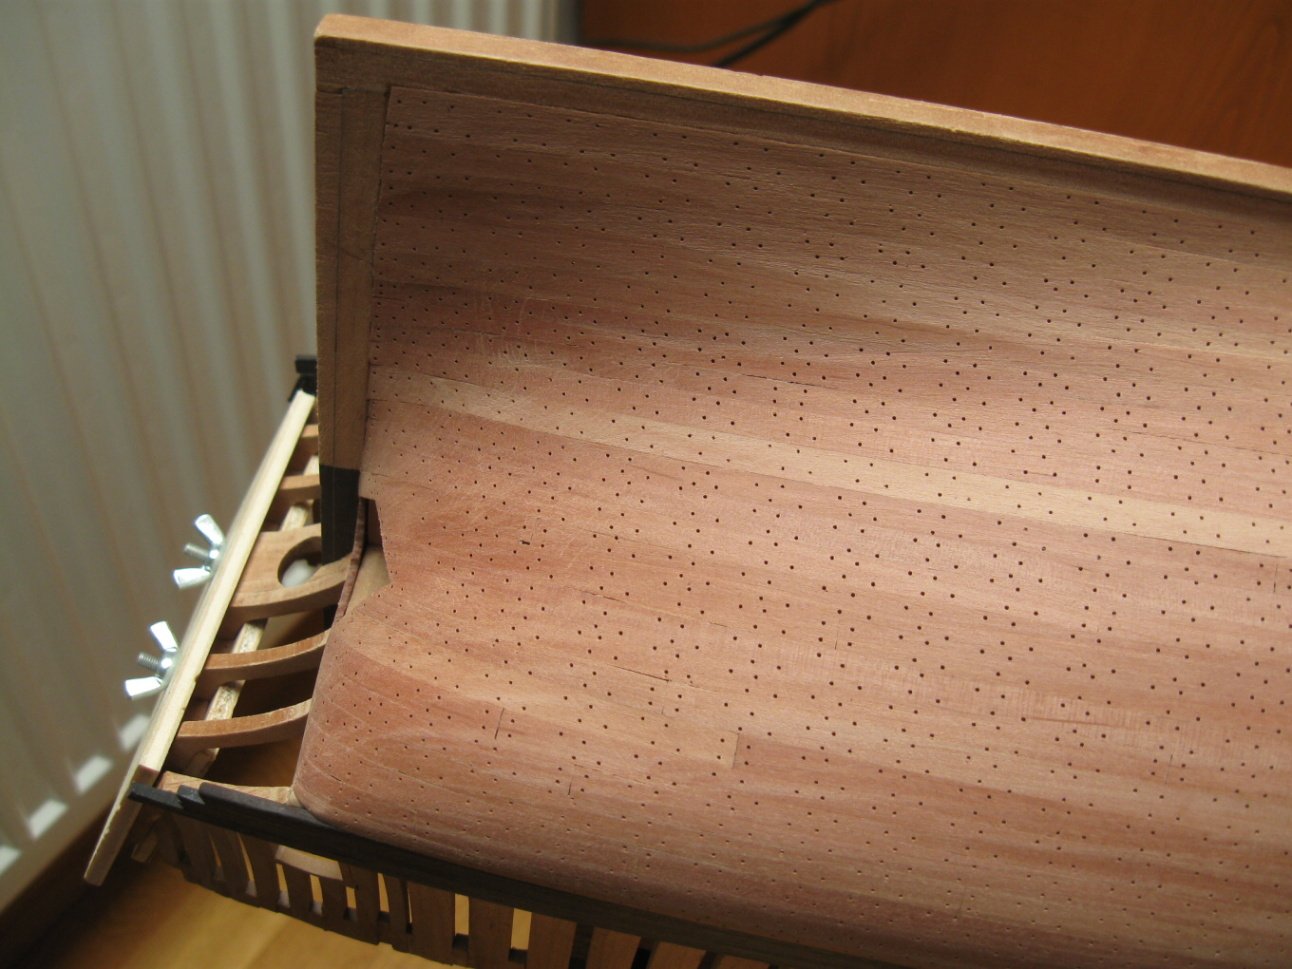
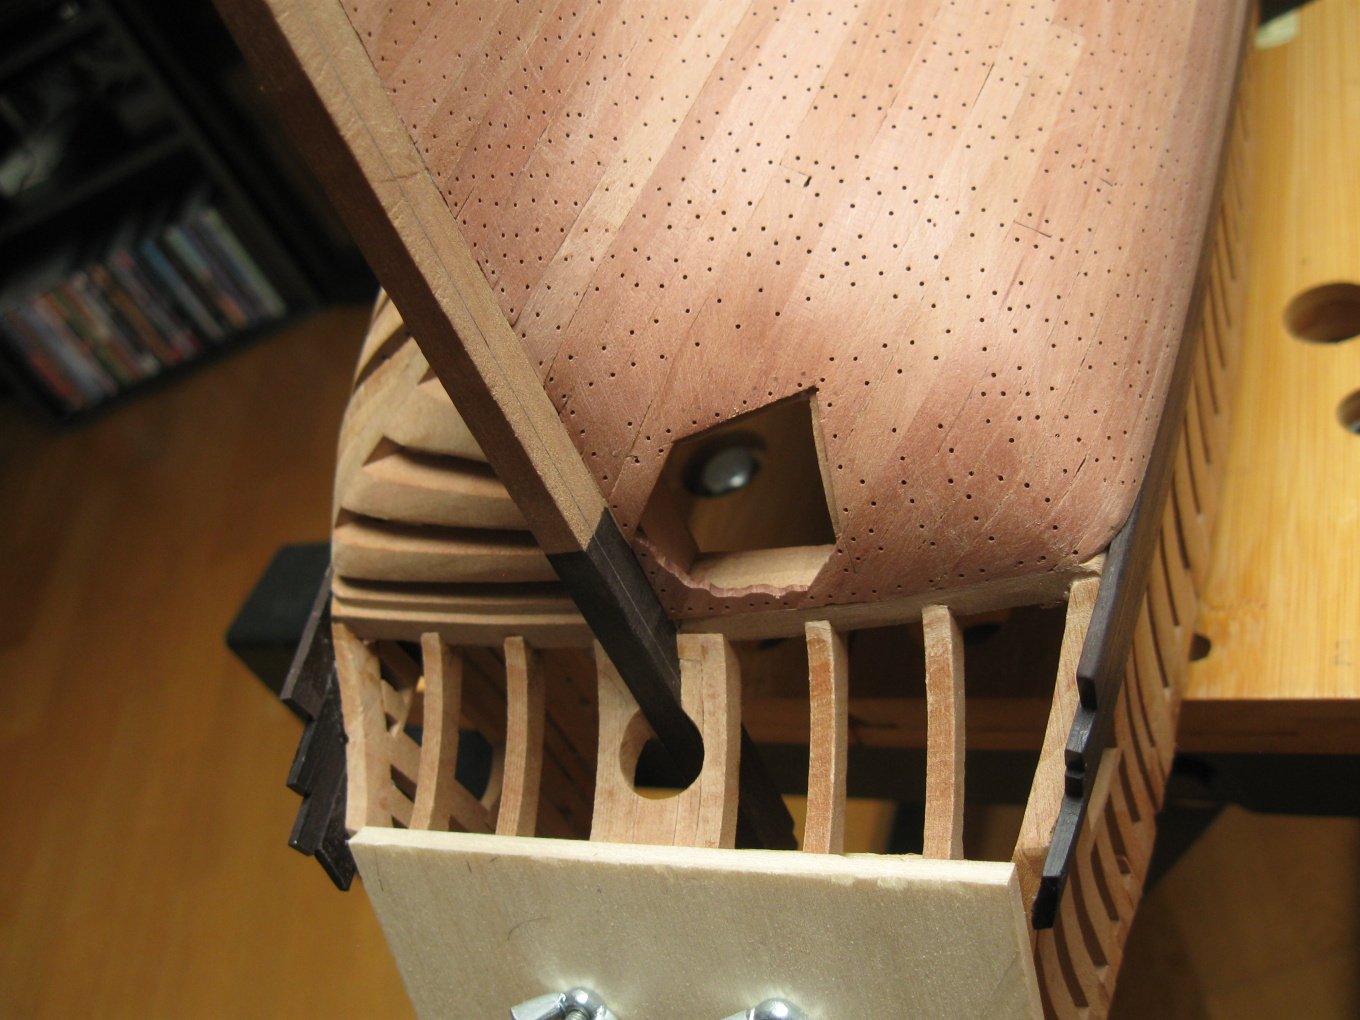
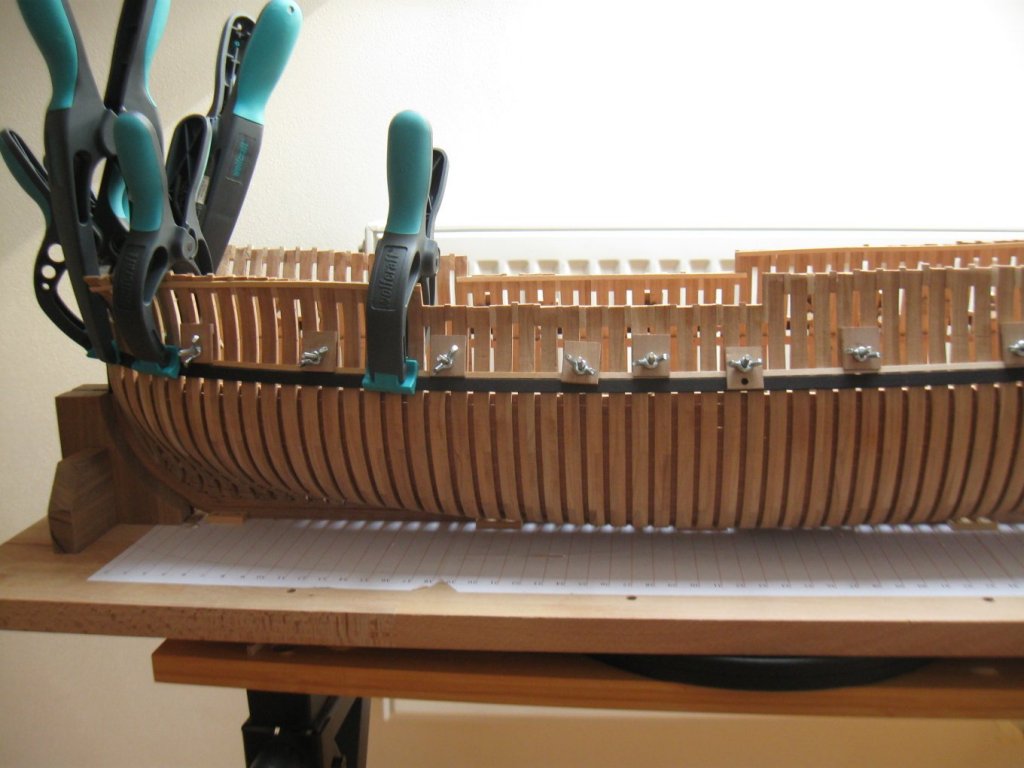
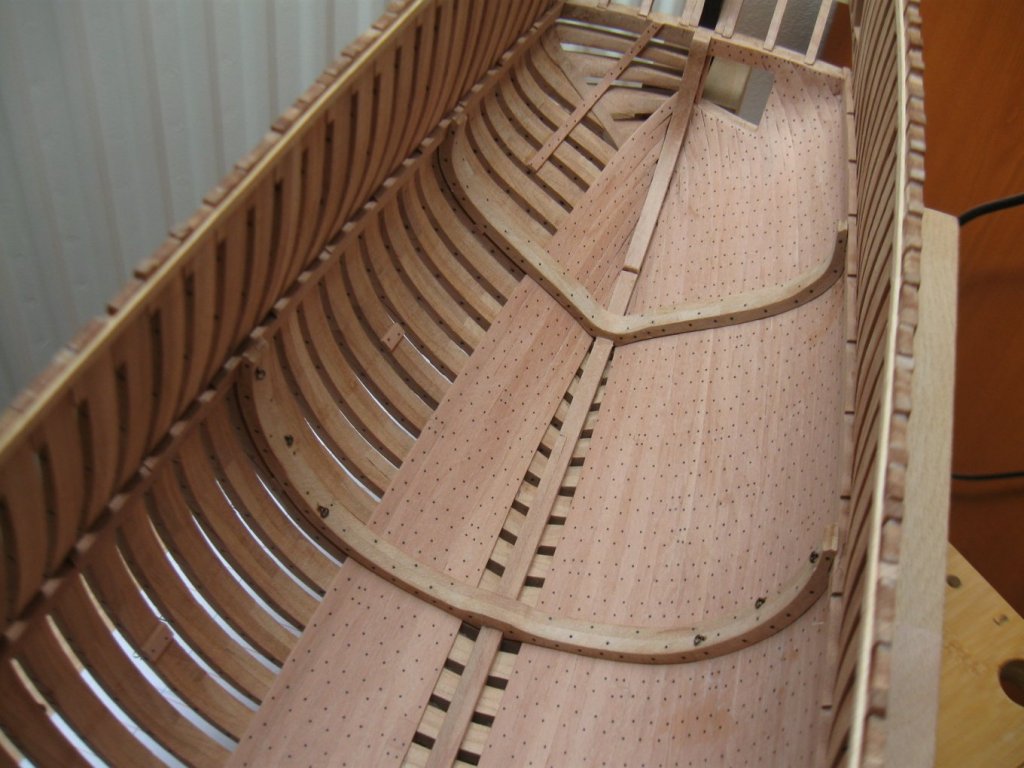
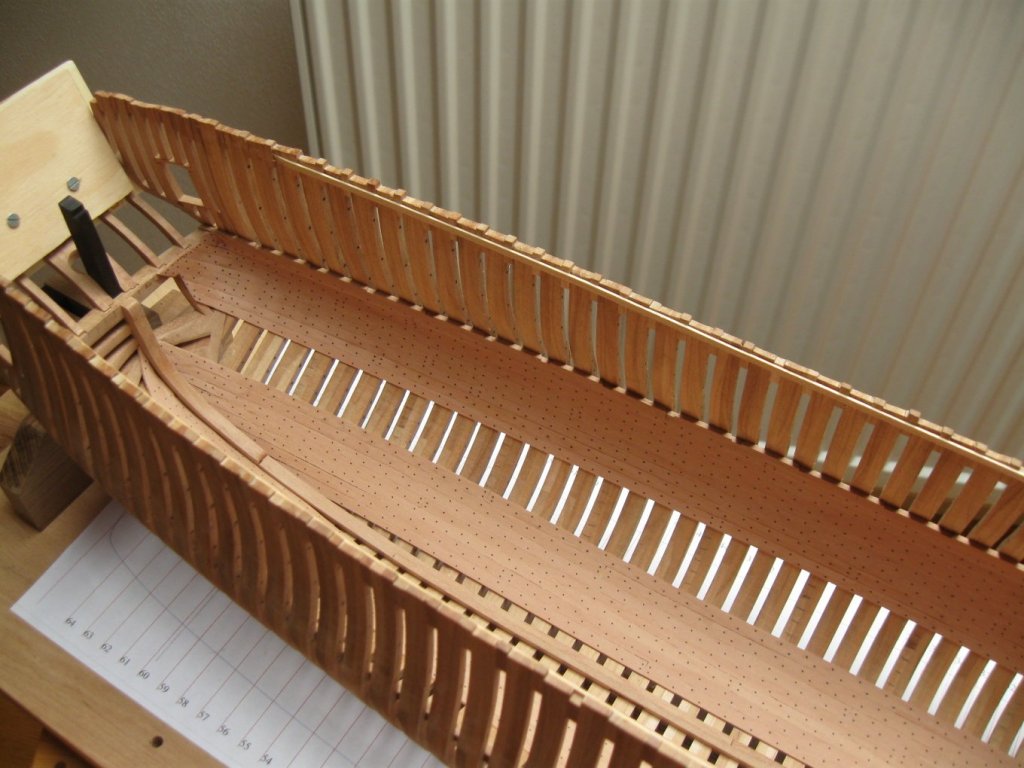
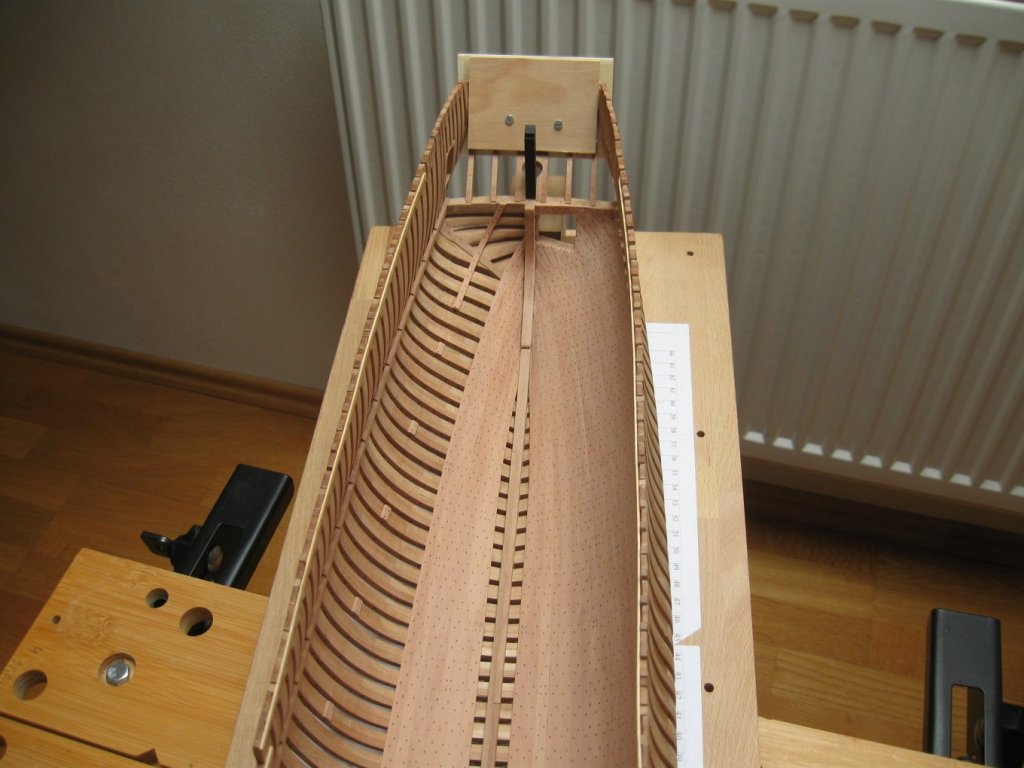
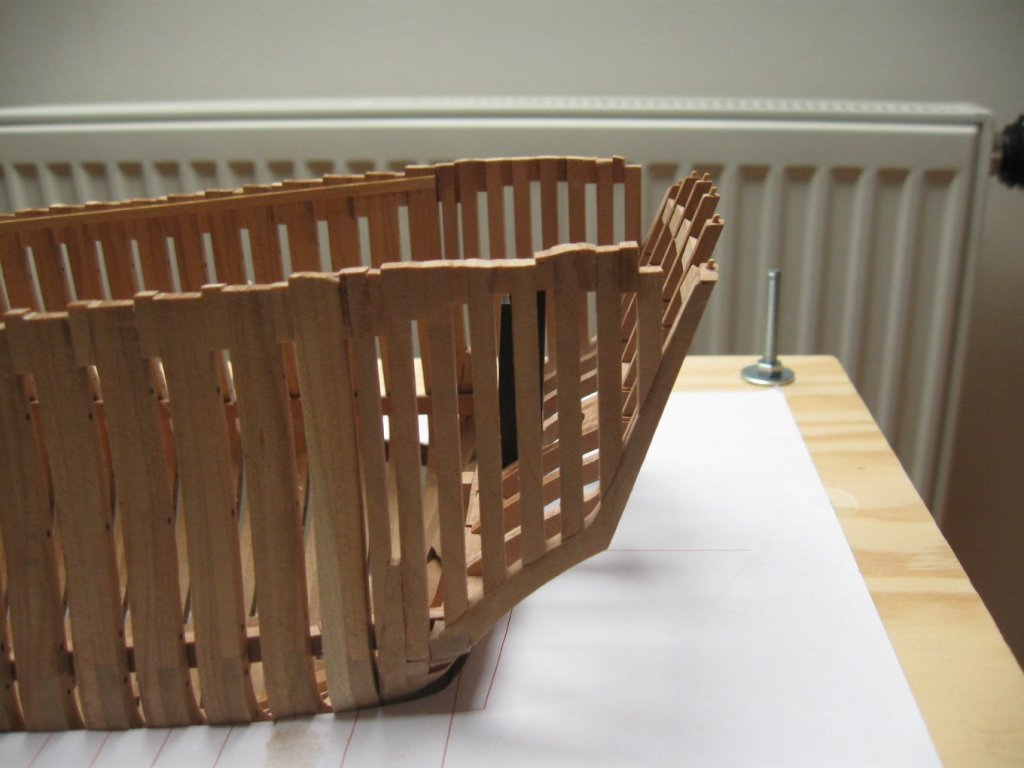
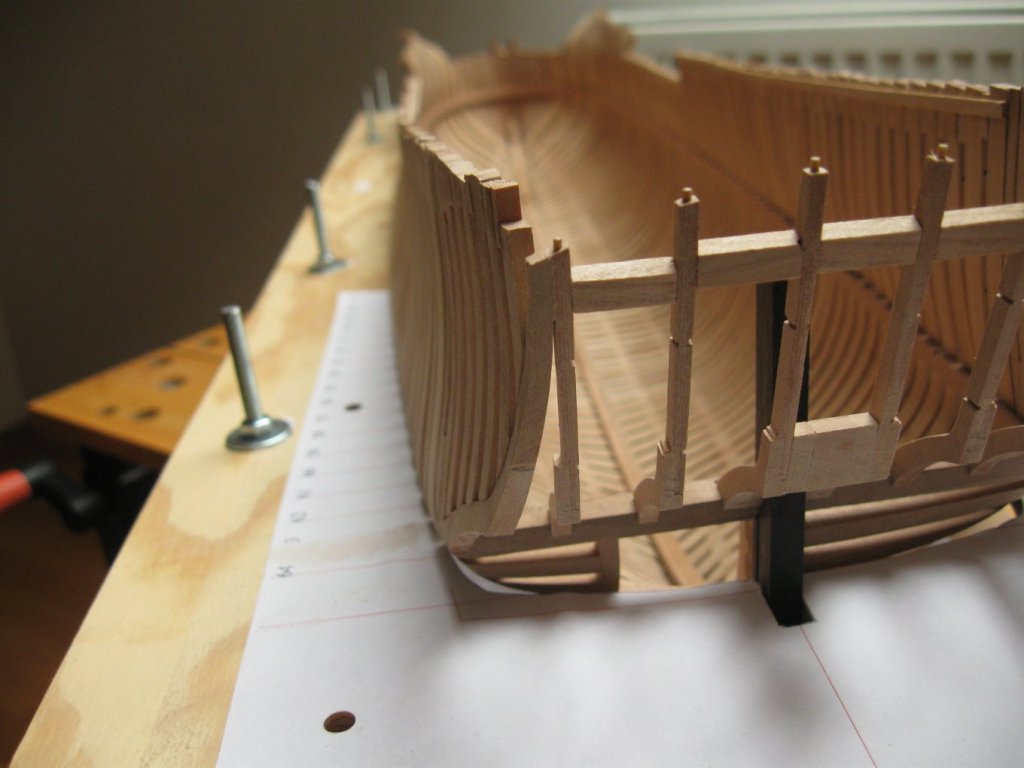
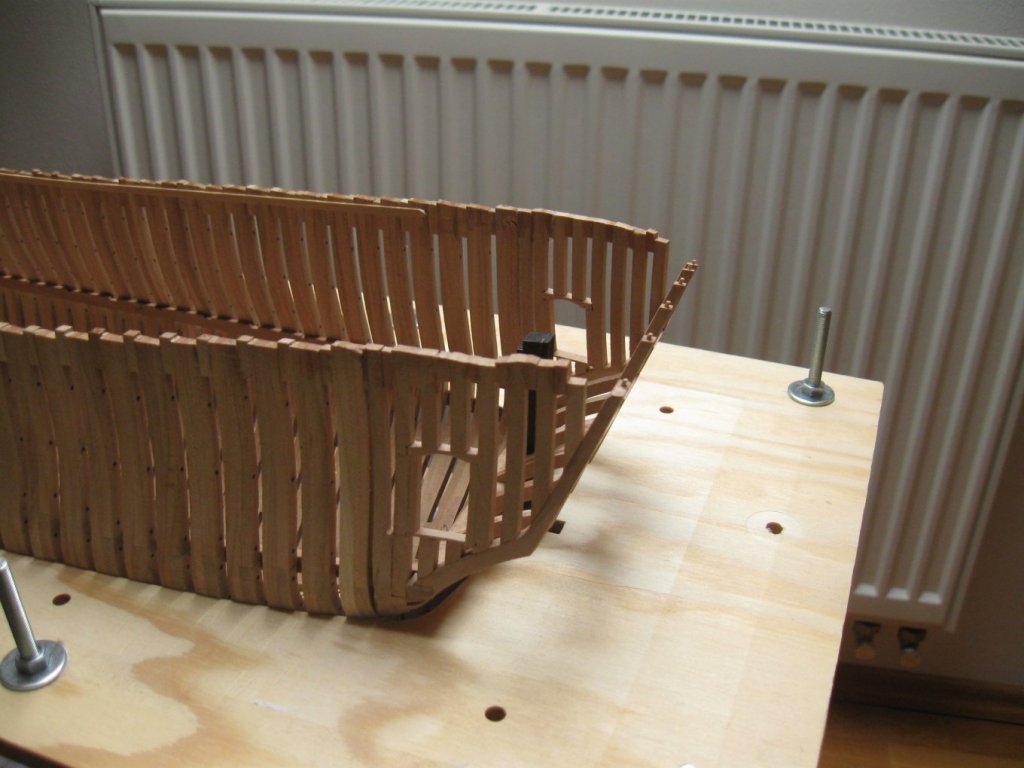
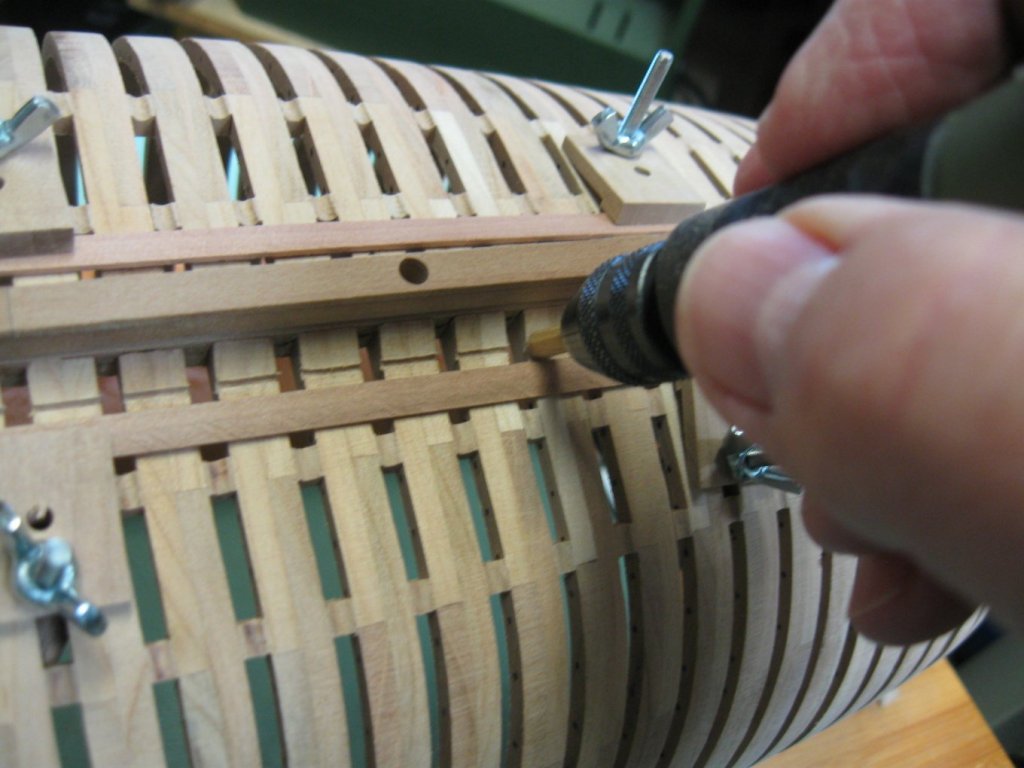
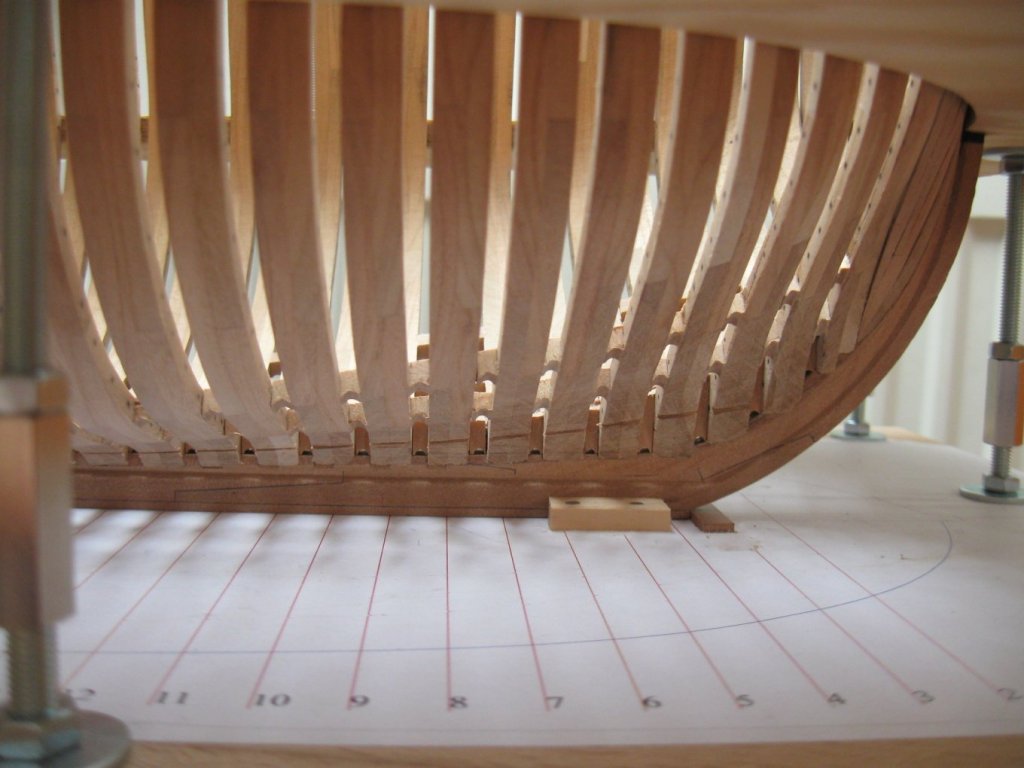
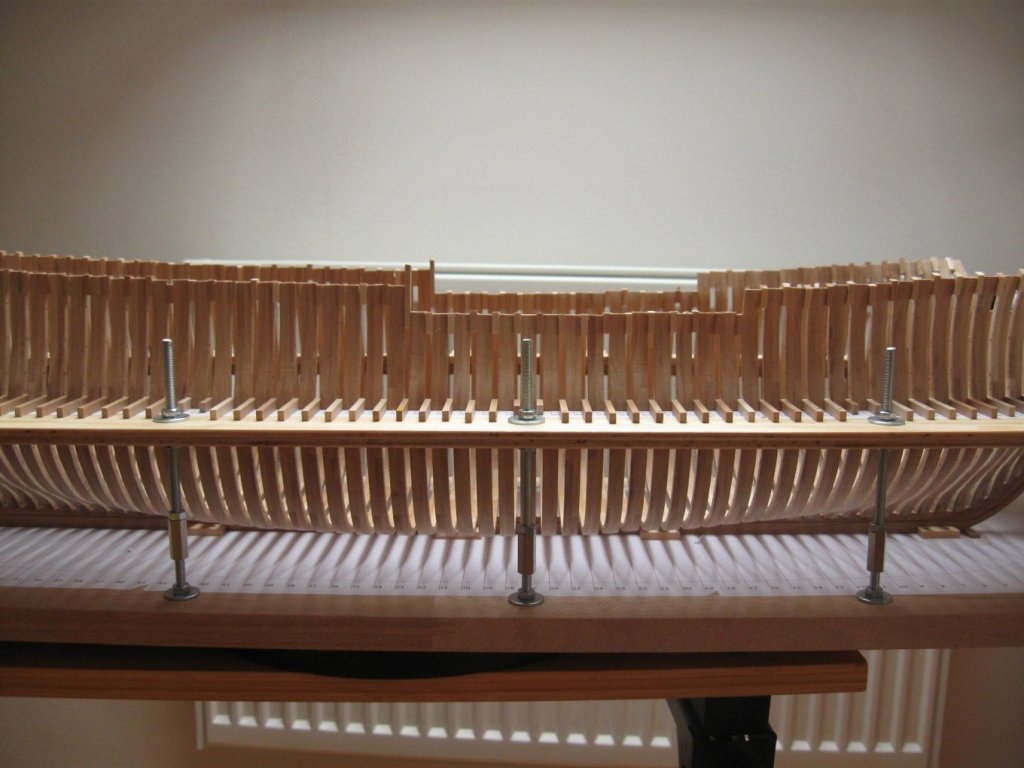
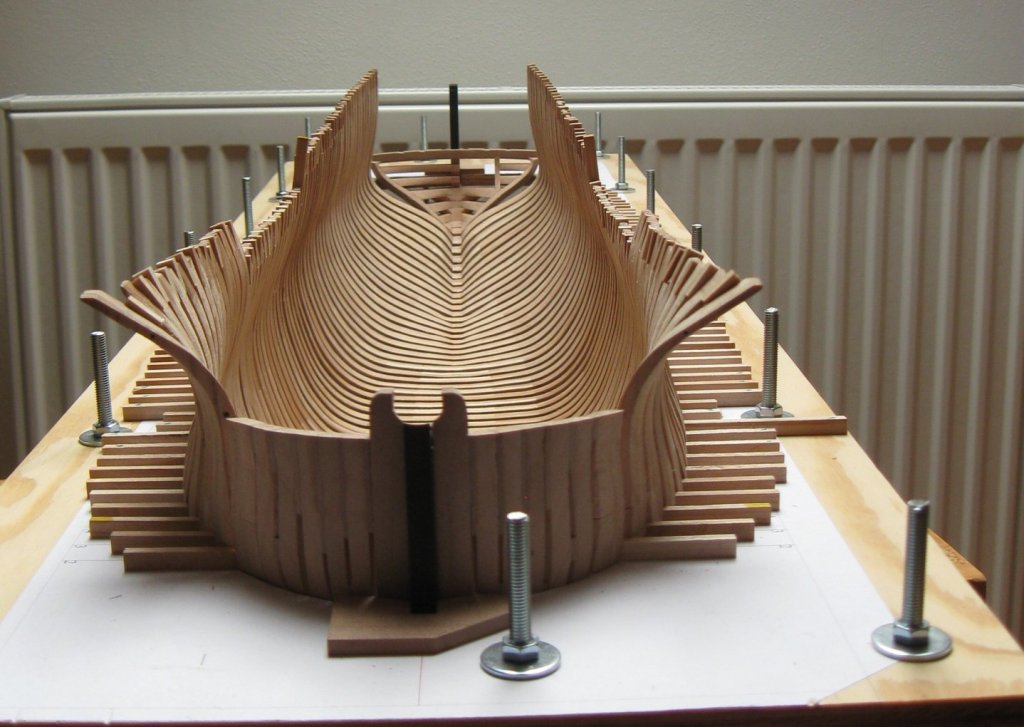
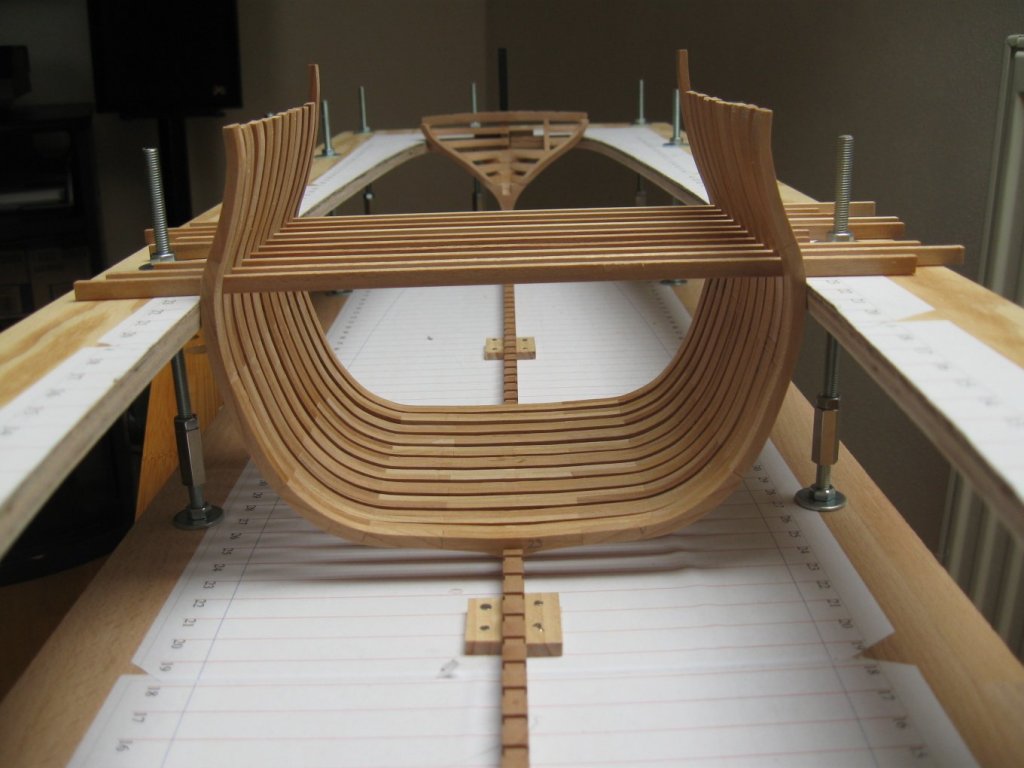
Thank you guys. Chris - I will propably build the ship without adding the extra gun ports. So rest of filling keys is added, the groove for bilge water is made, the whole hull is sanded and prepared fot the next task.


- 589 replies
-
- 38
-
-
- le gros ventre
- cargo
- (and 1 more)
-
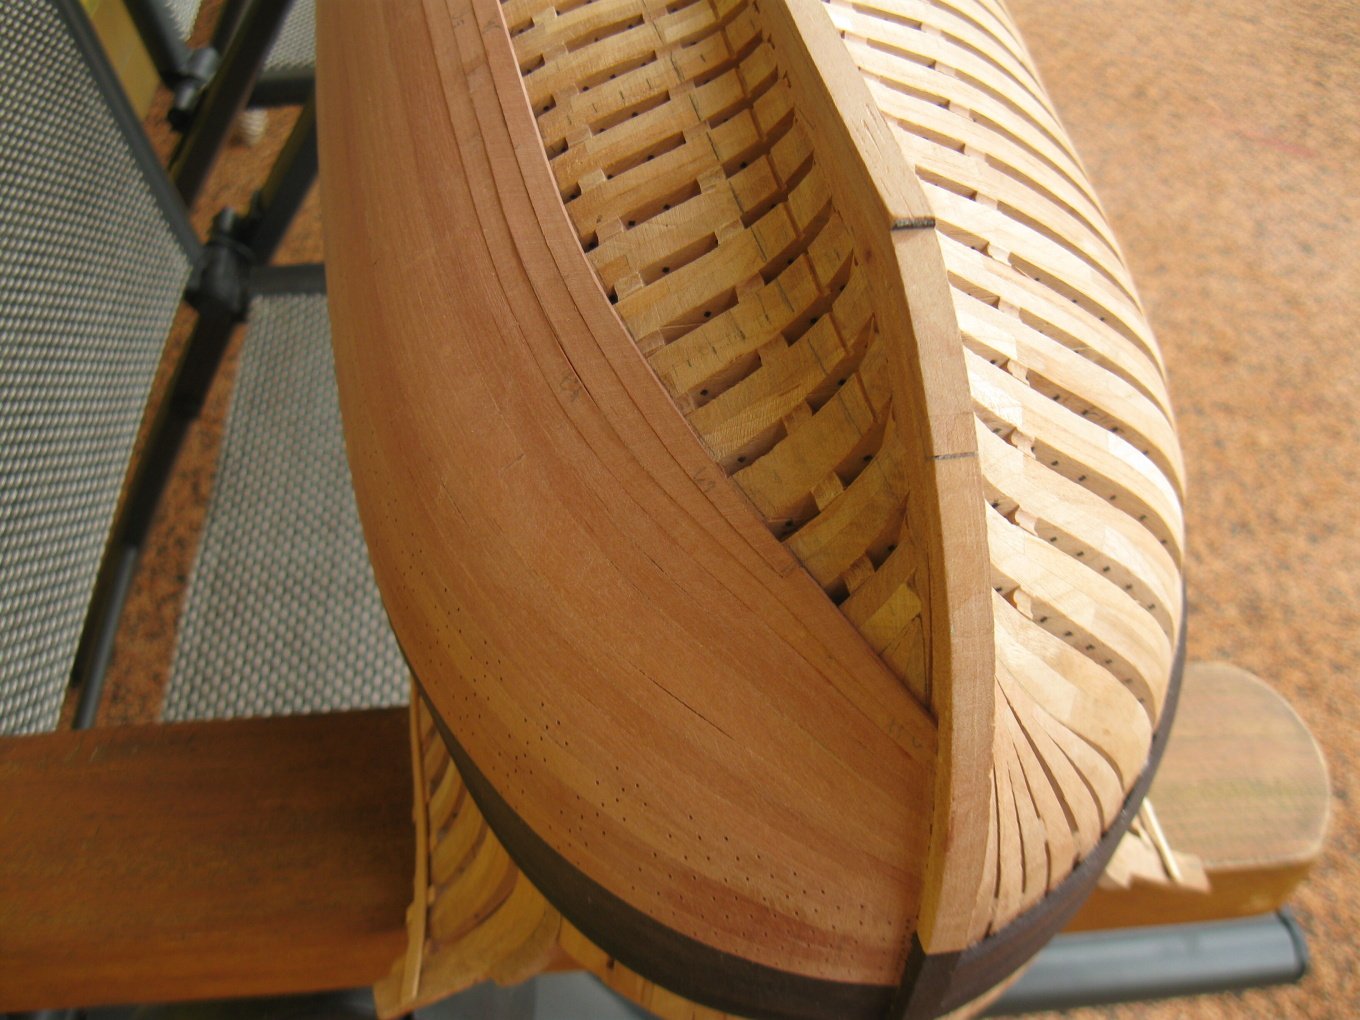
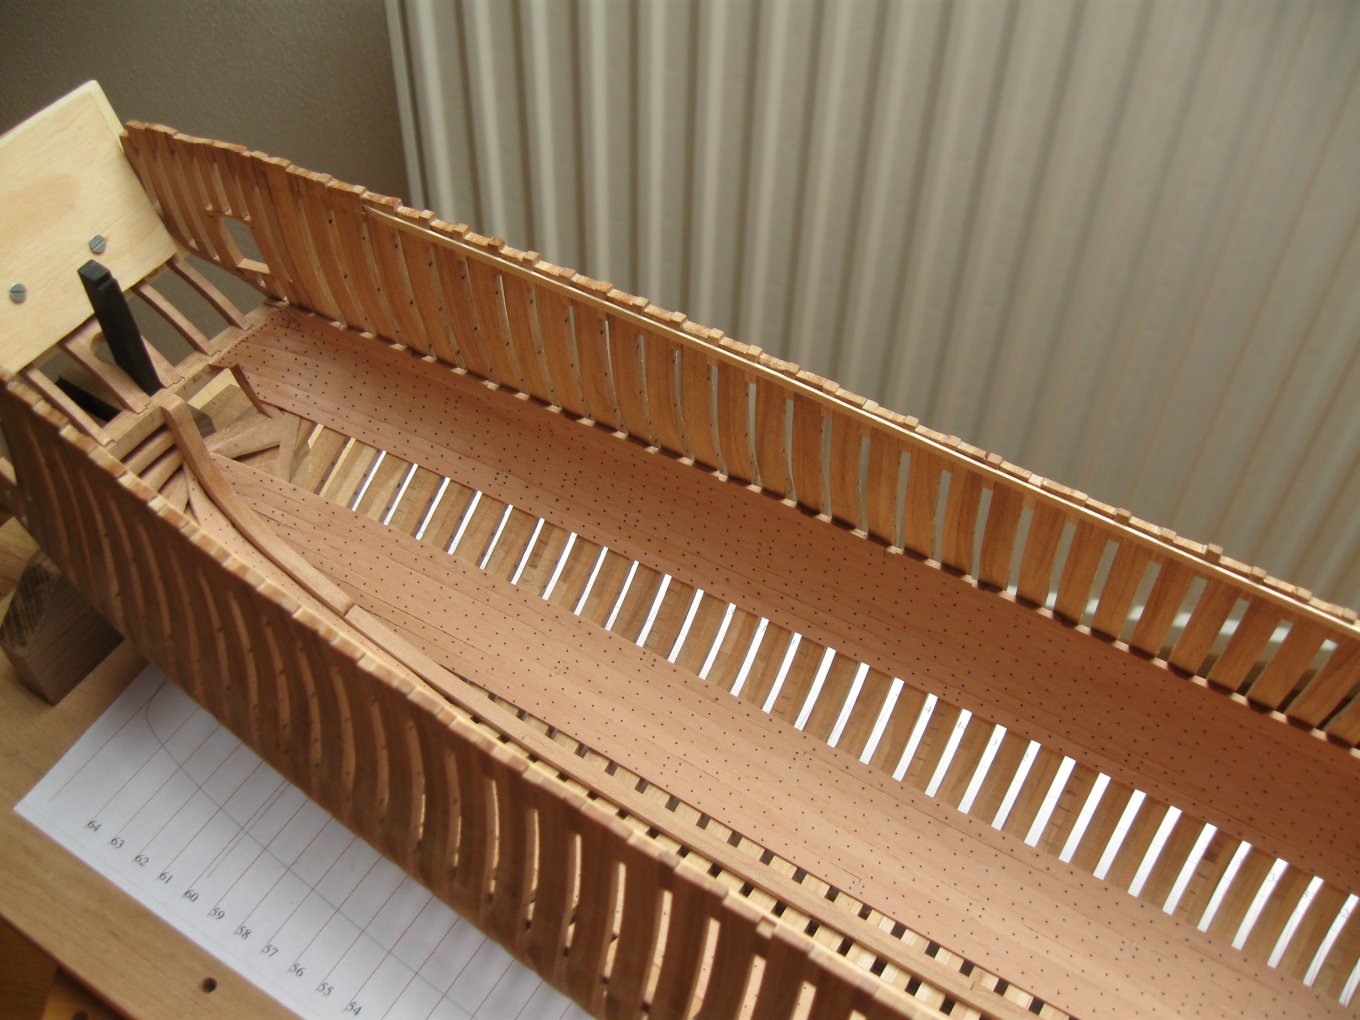
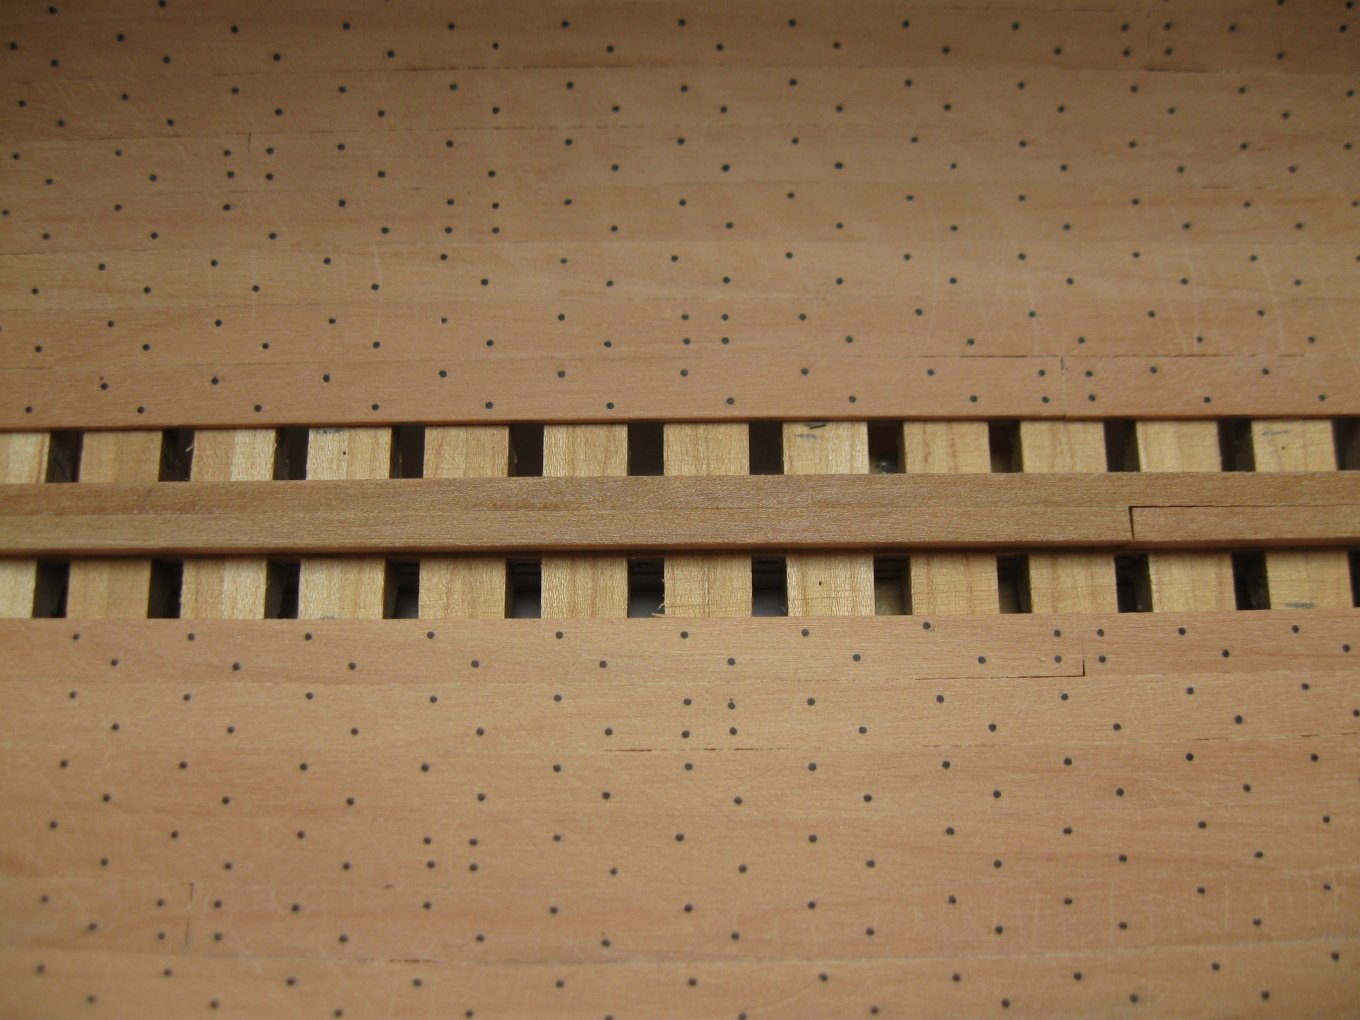
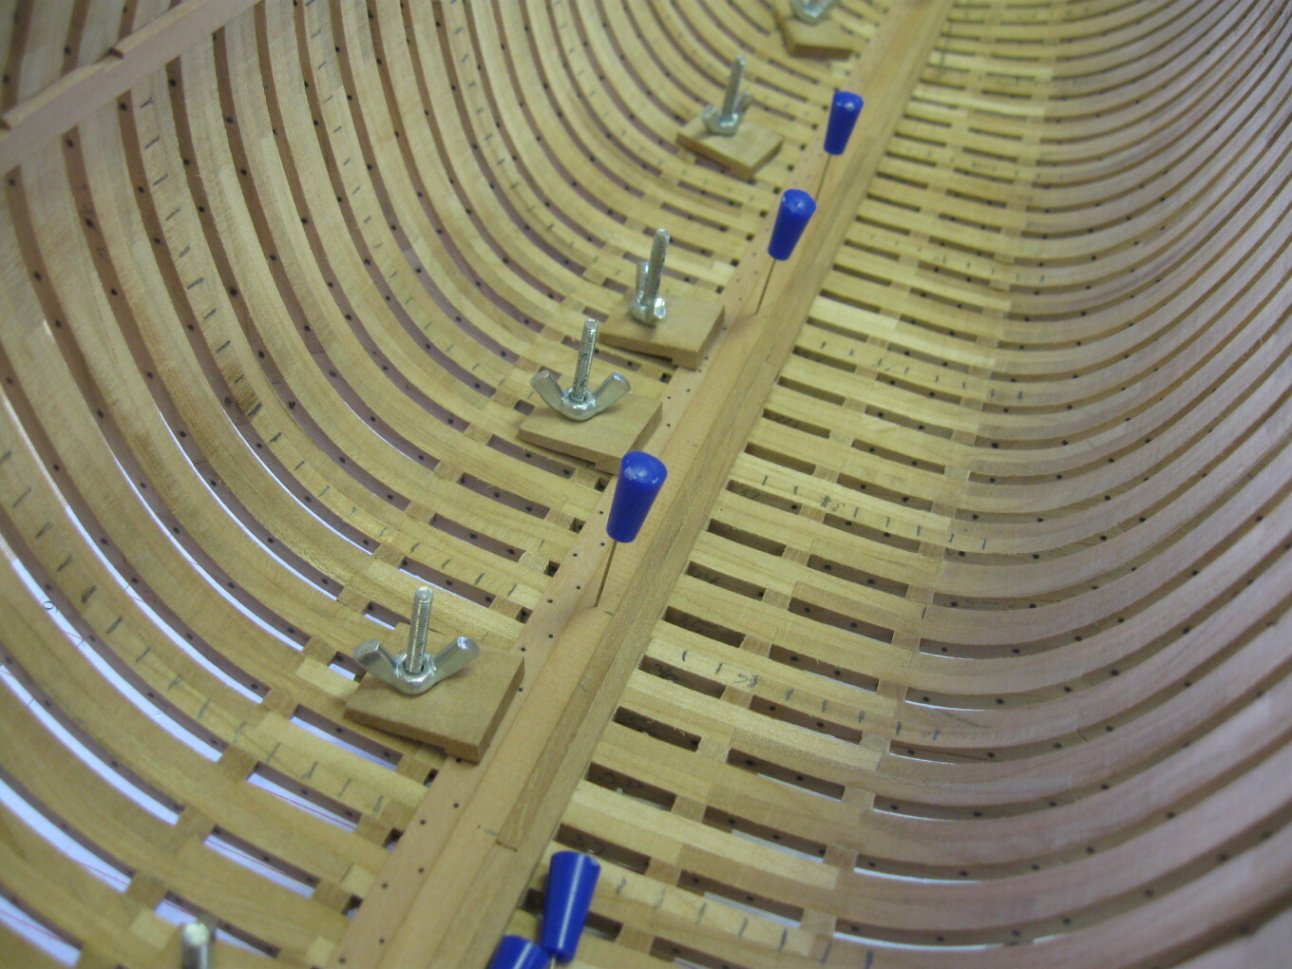
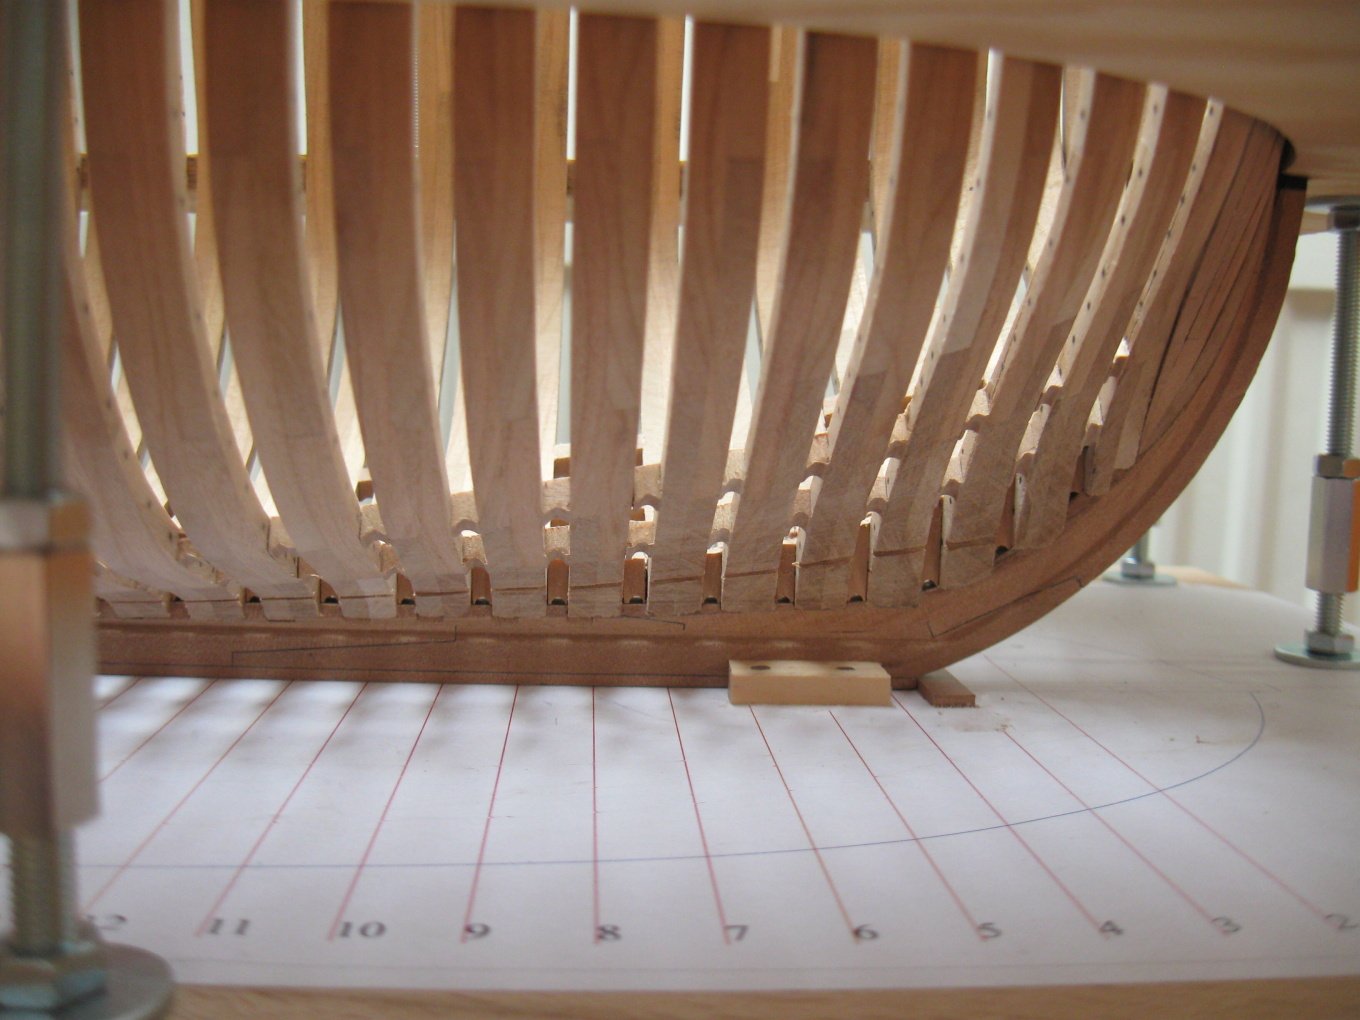
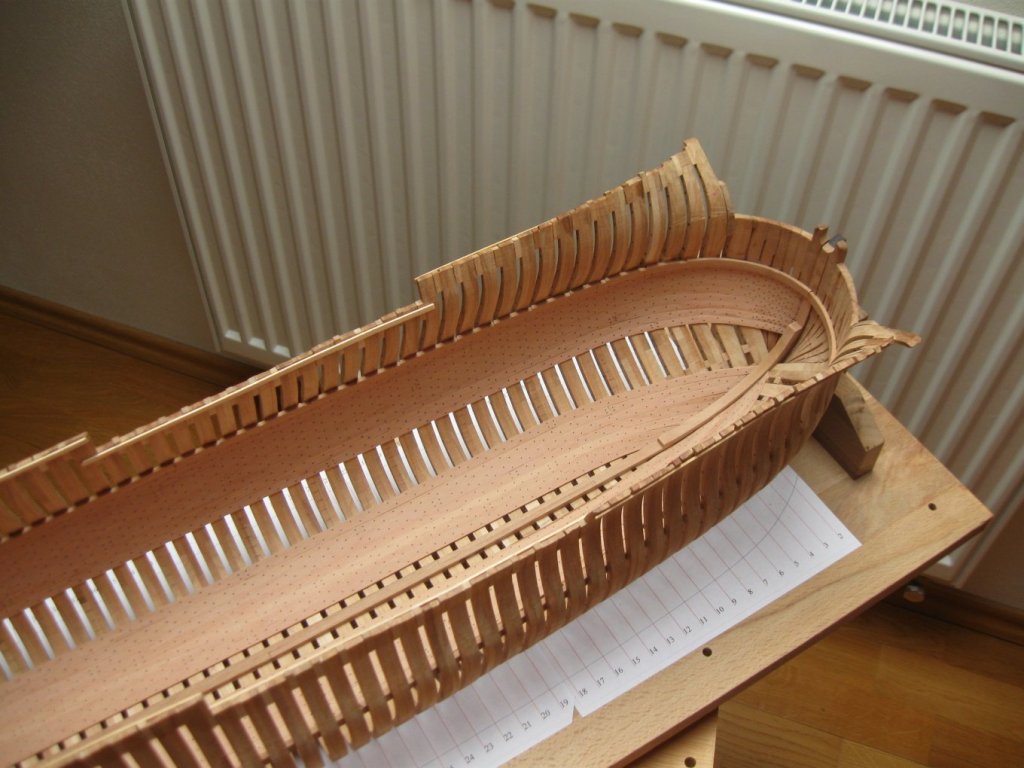
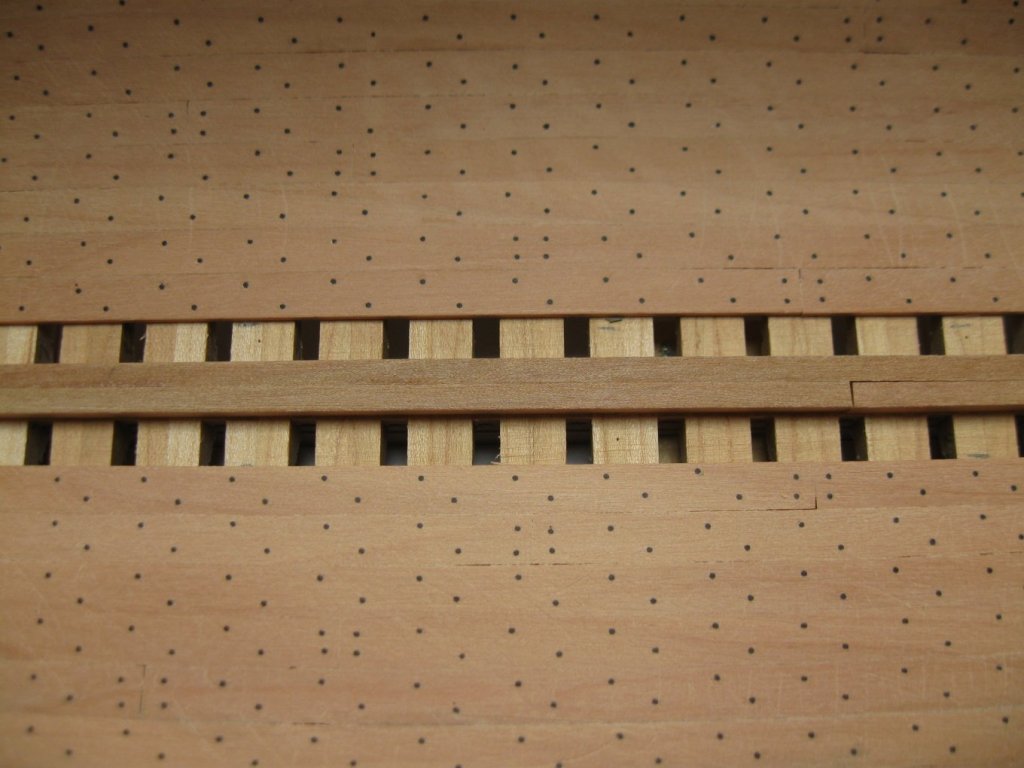
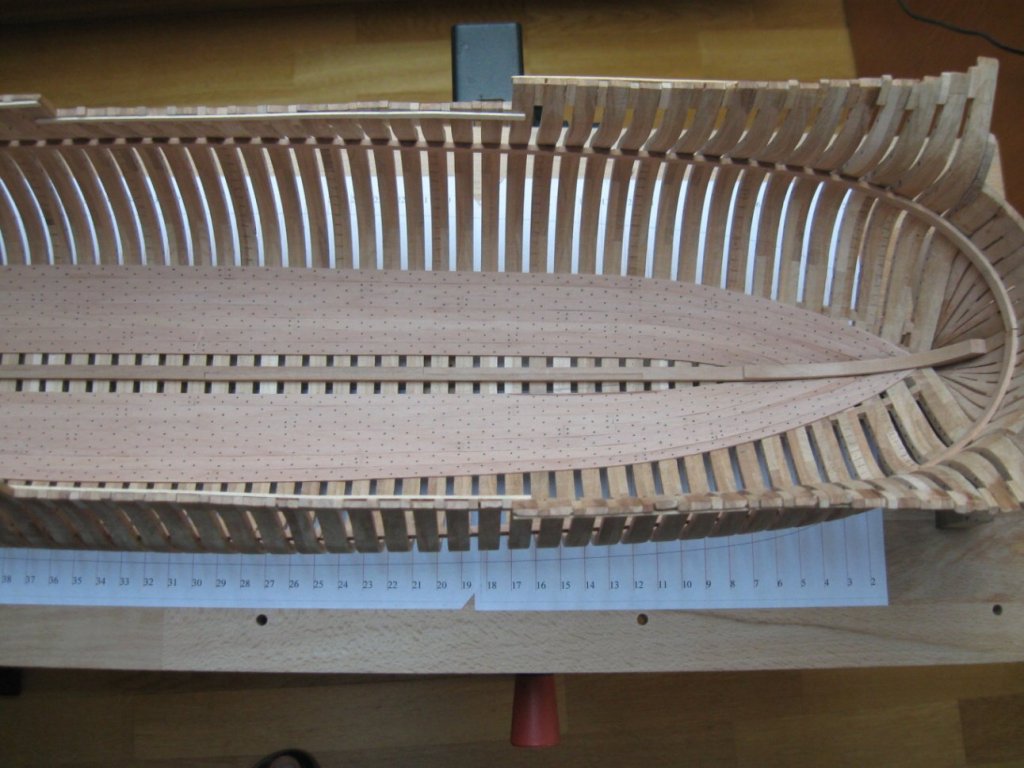
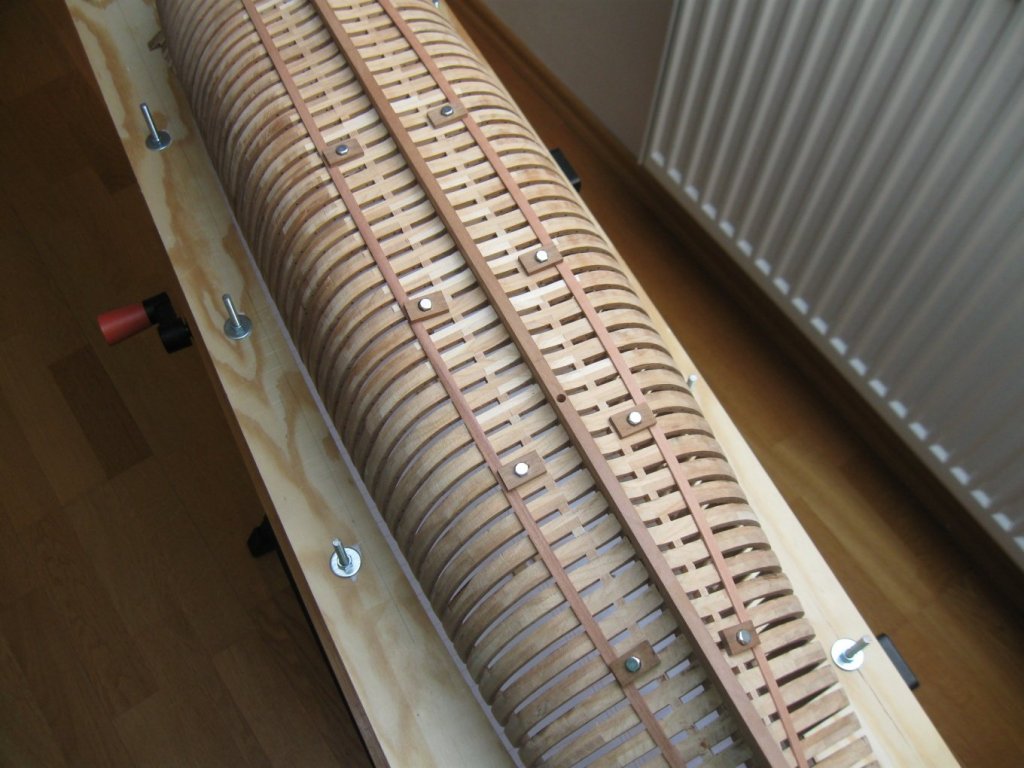
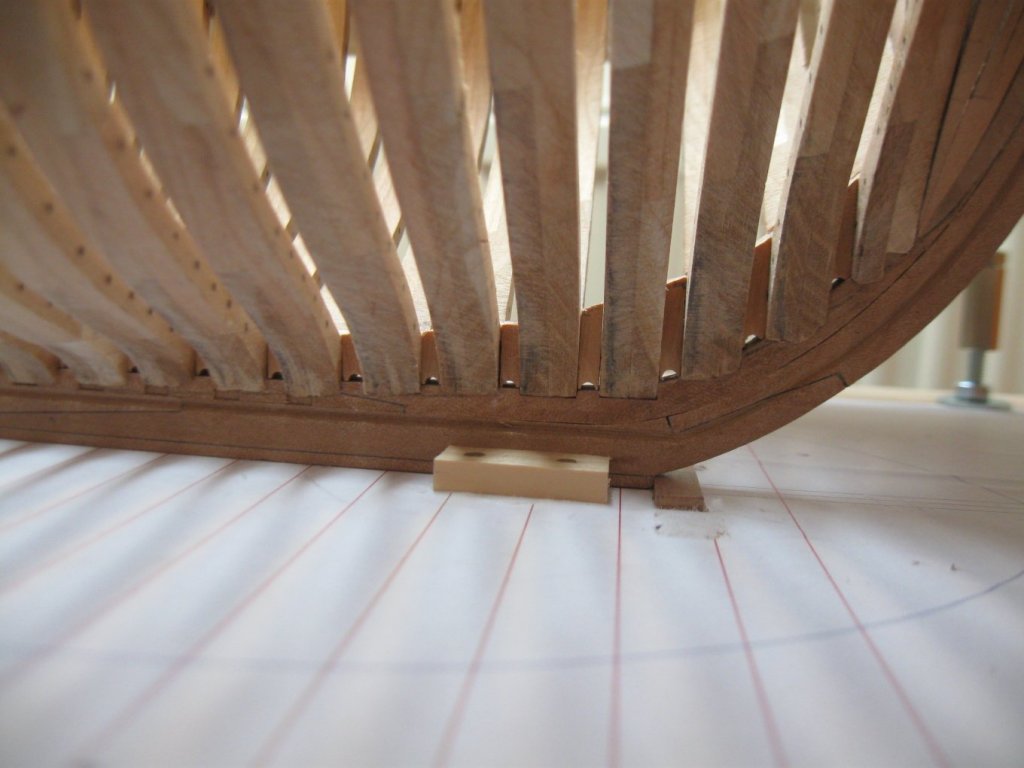
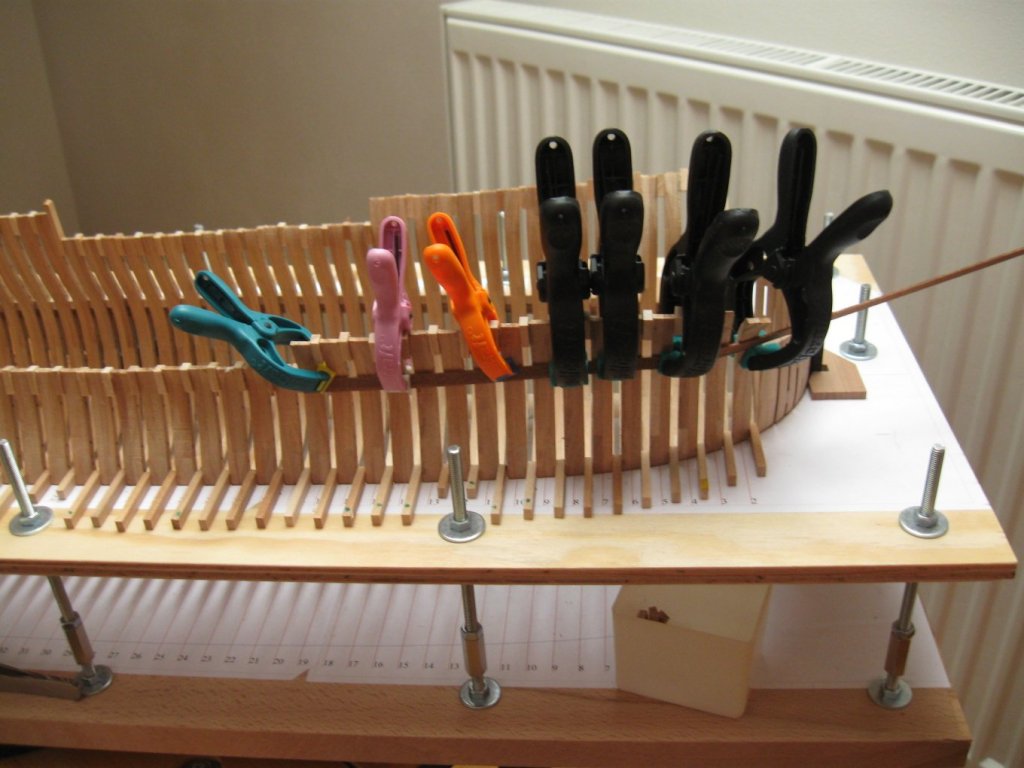
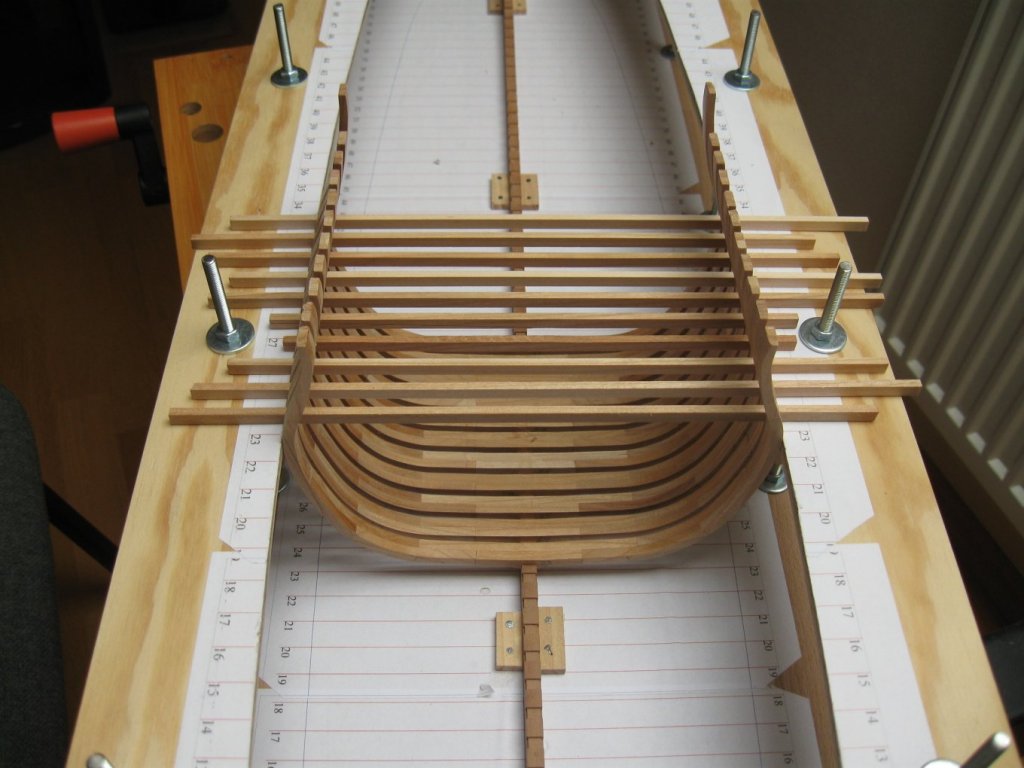
The inner part of the hull is sanded, so I started to instal the filling keys between the frames.


- 589 replies
-
- 34
-
-
- le gros ventre
- cargo
- (and 1 more)
-
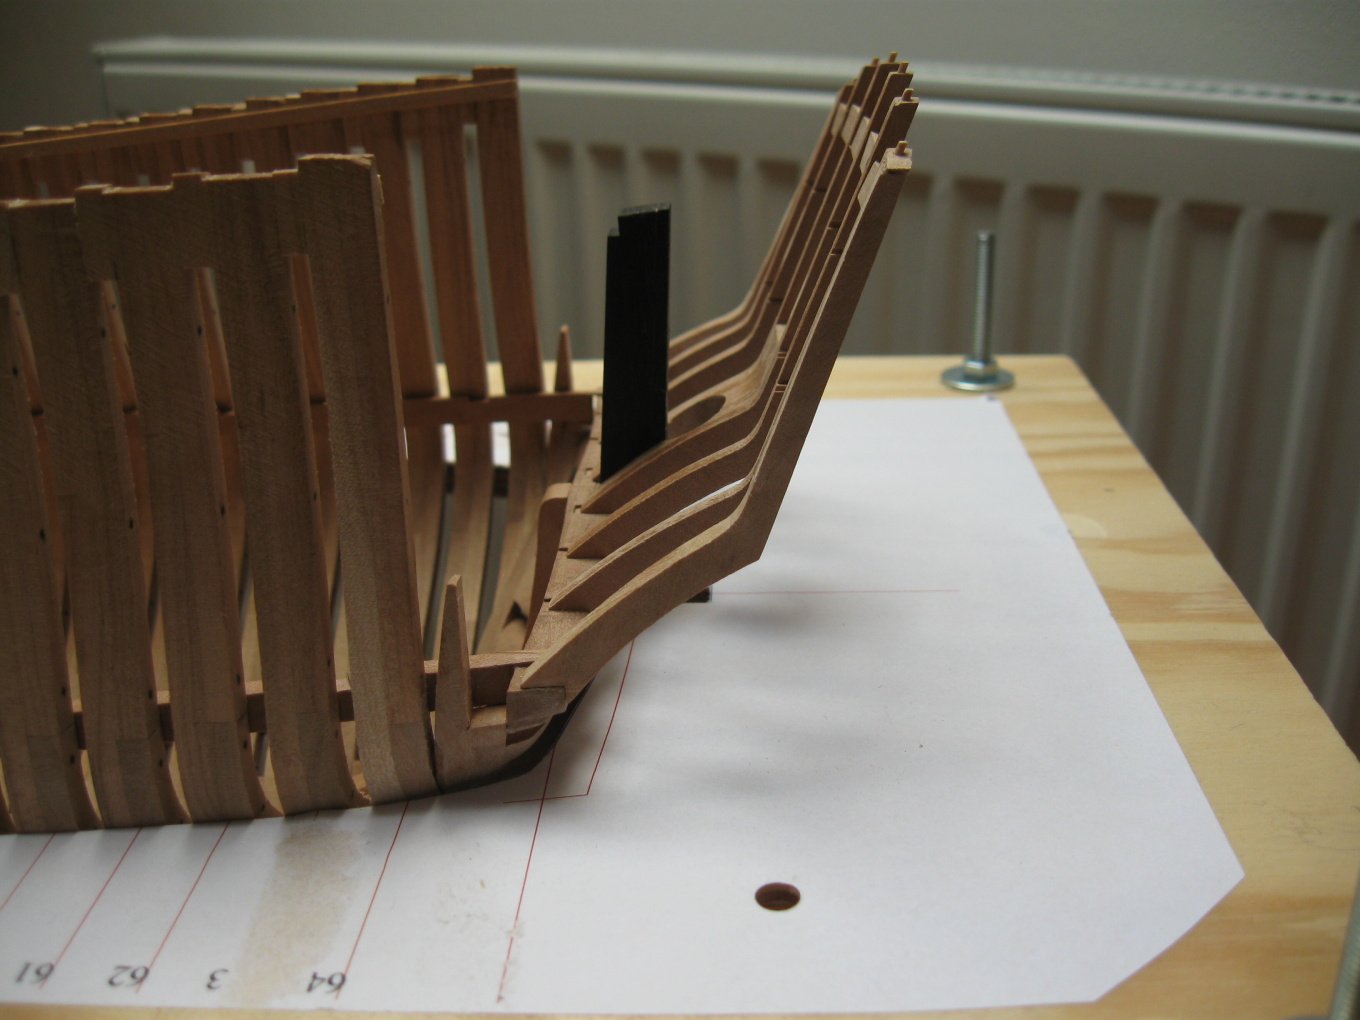
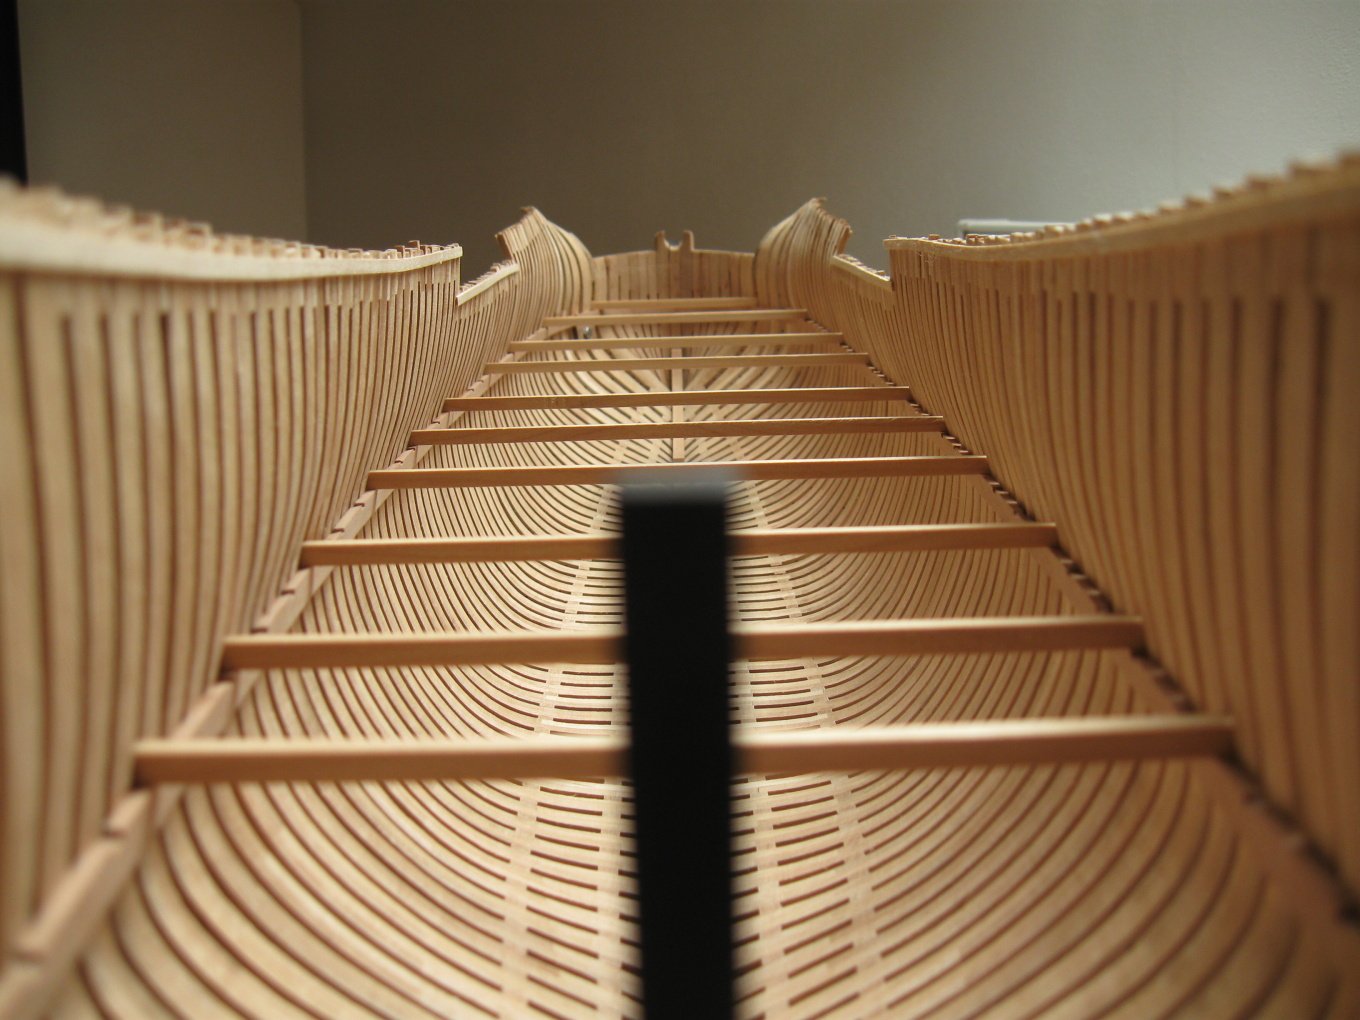
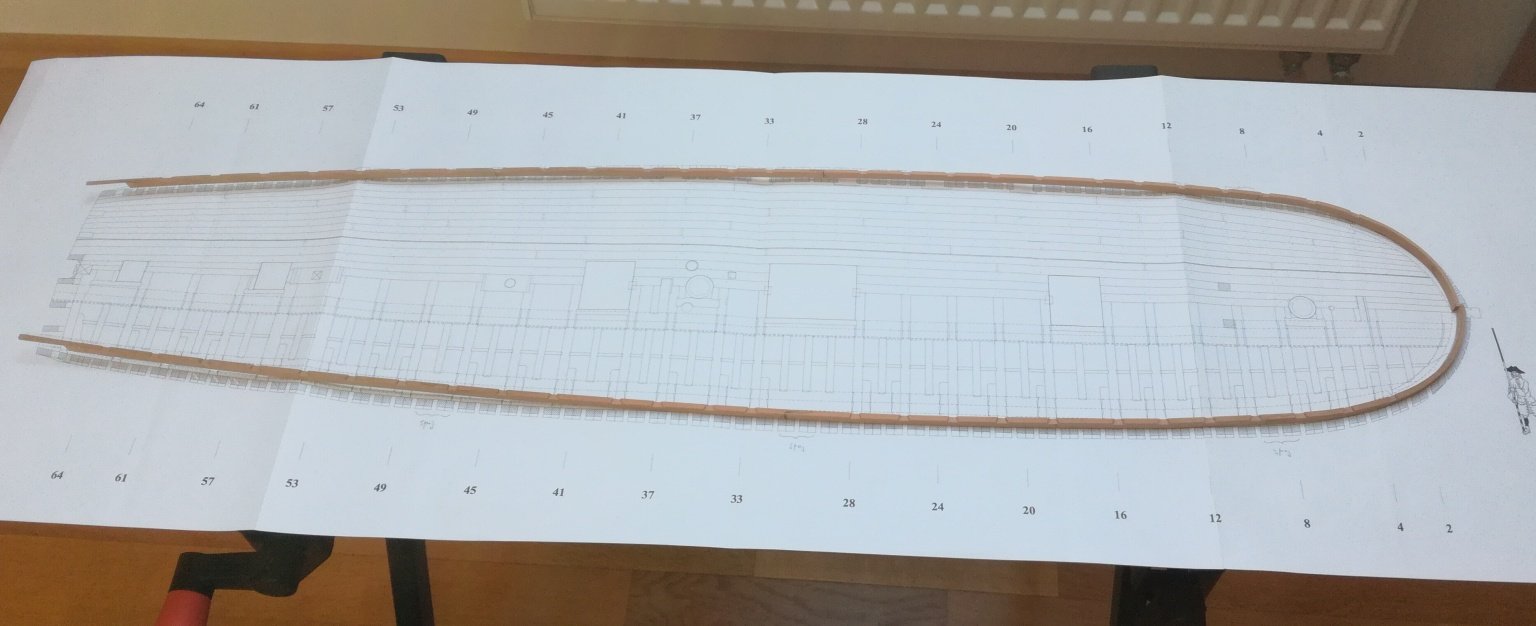
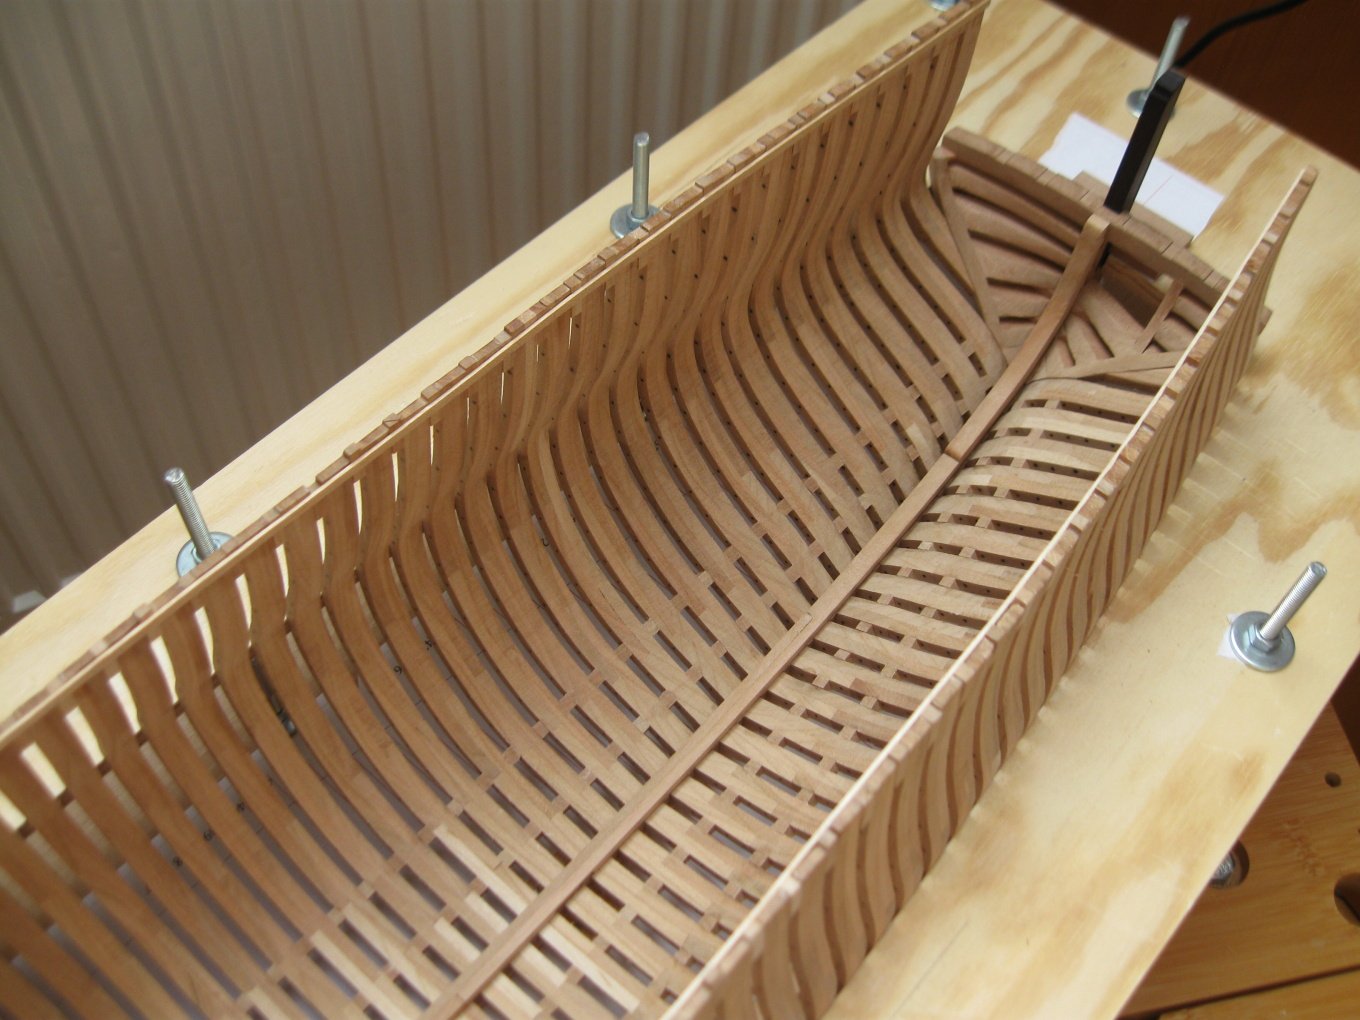
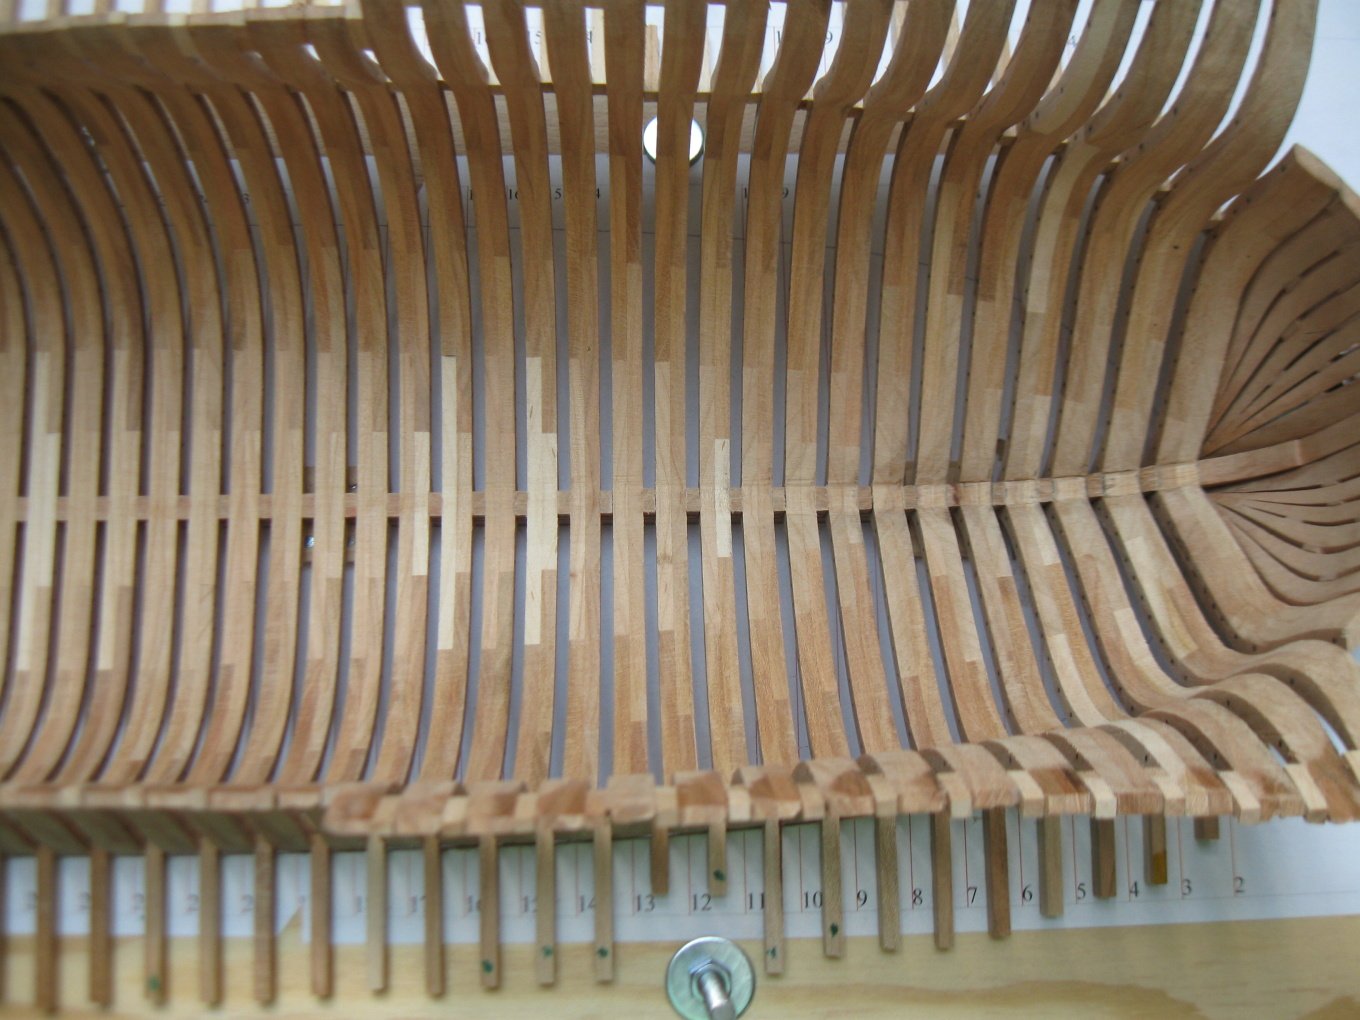
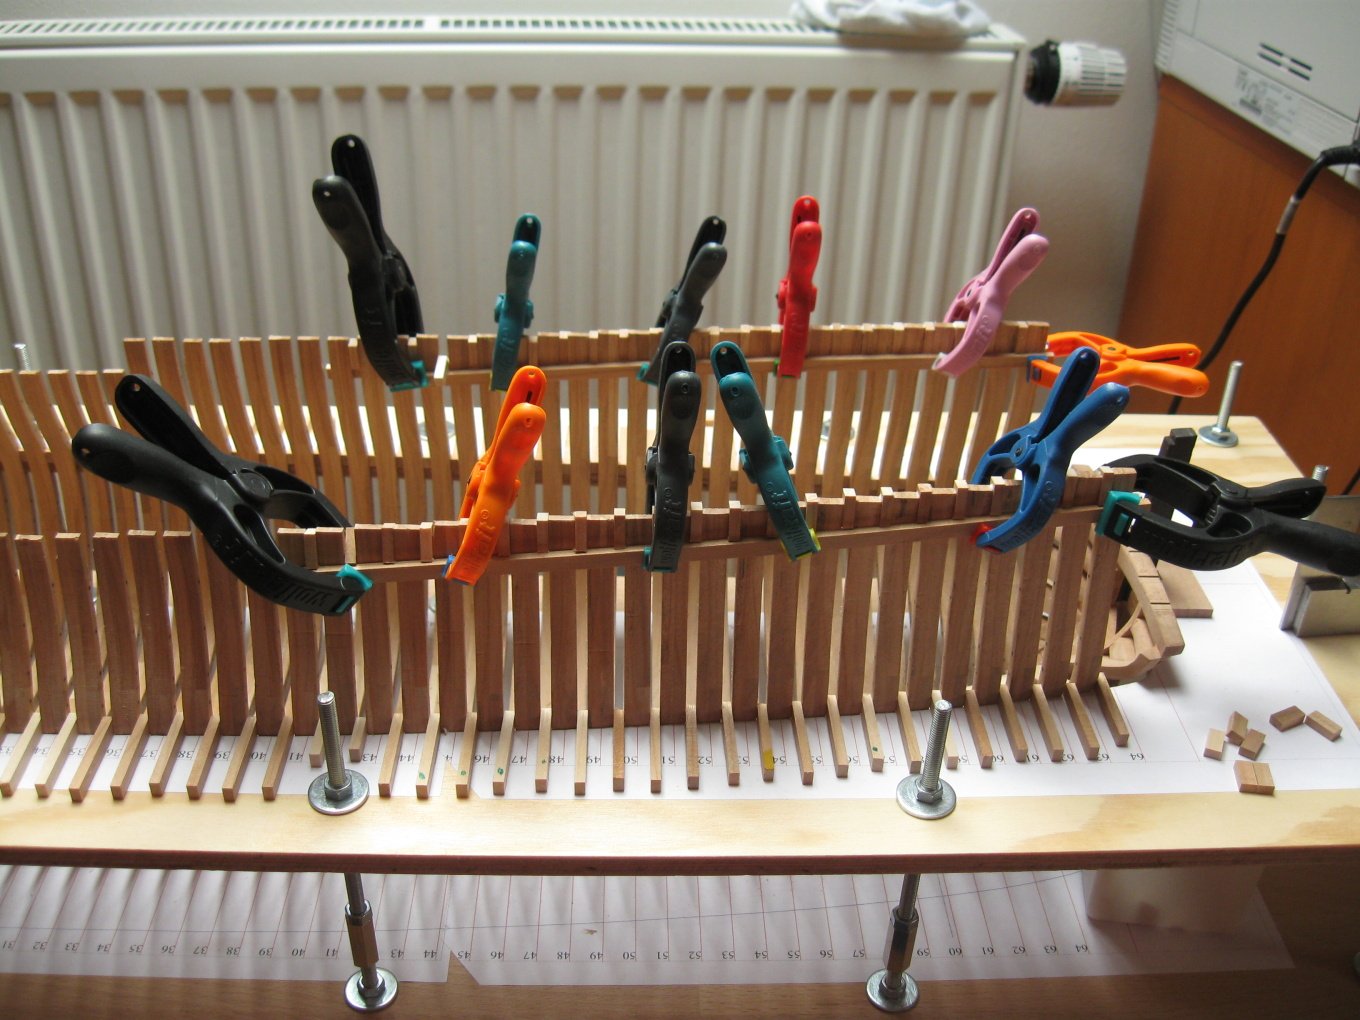
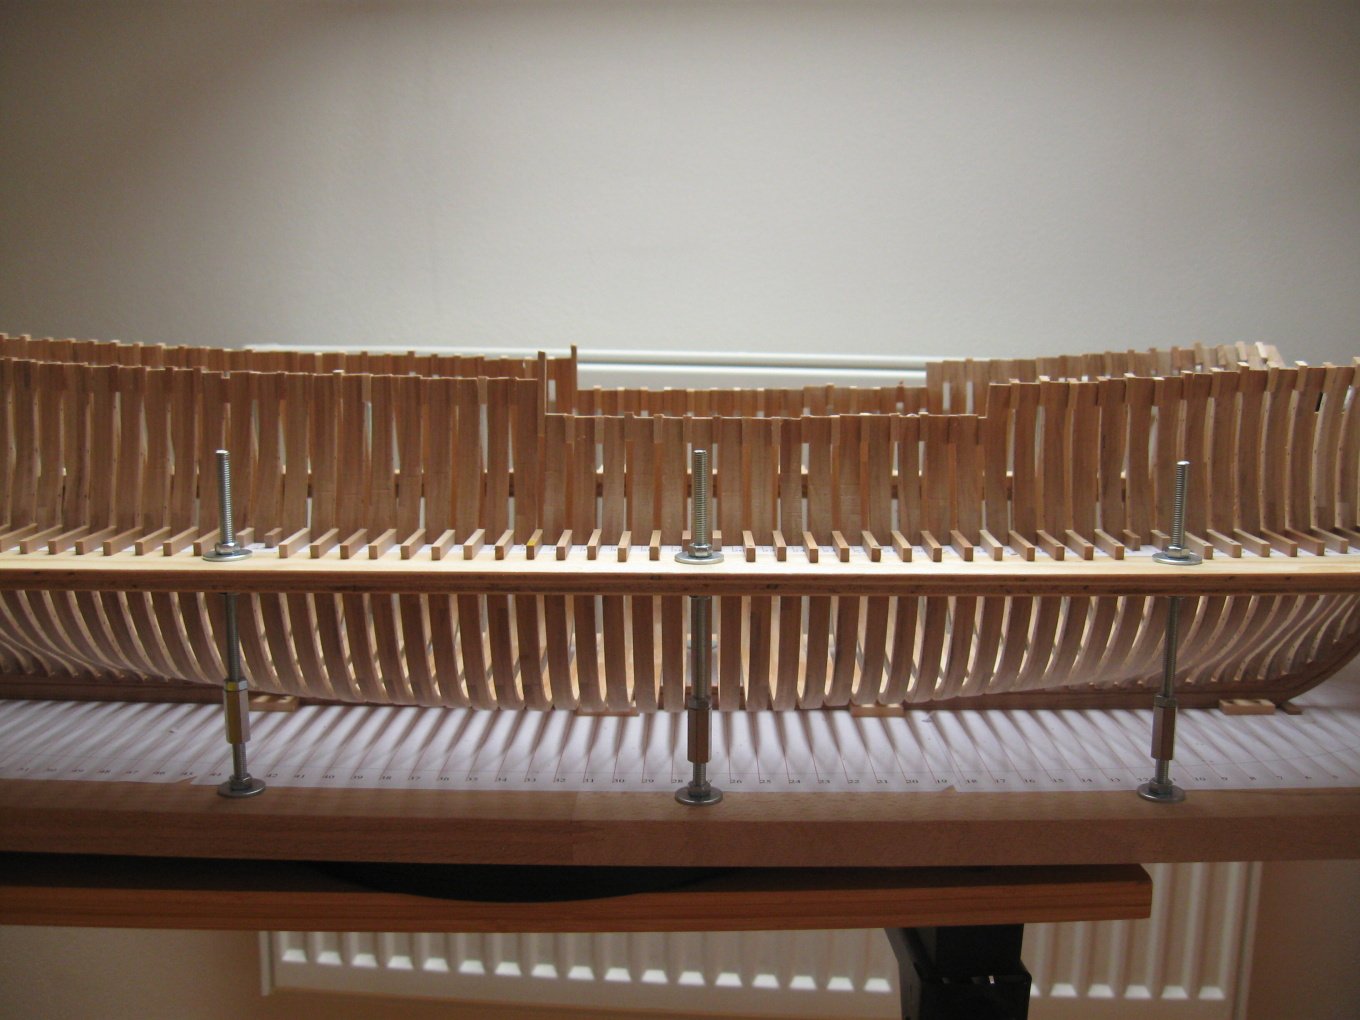
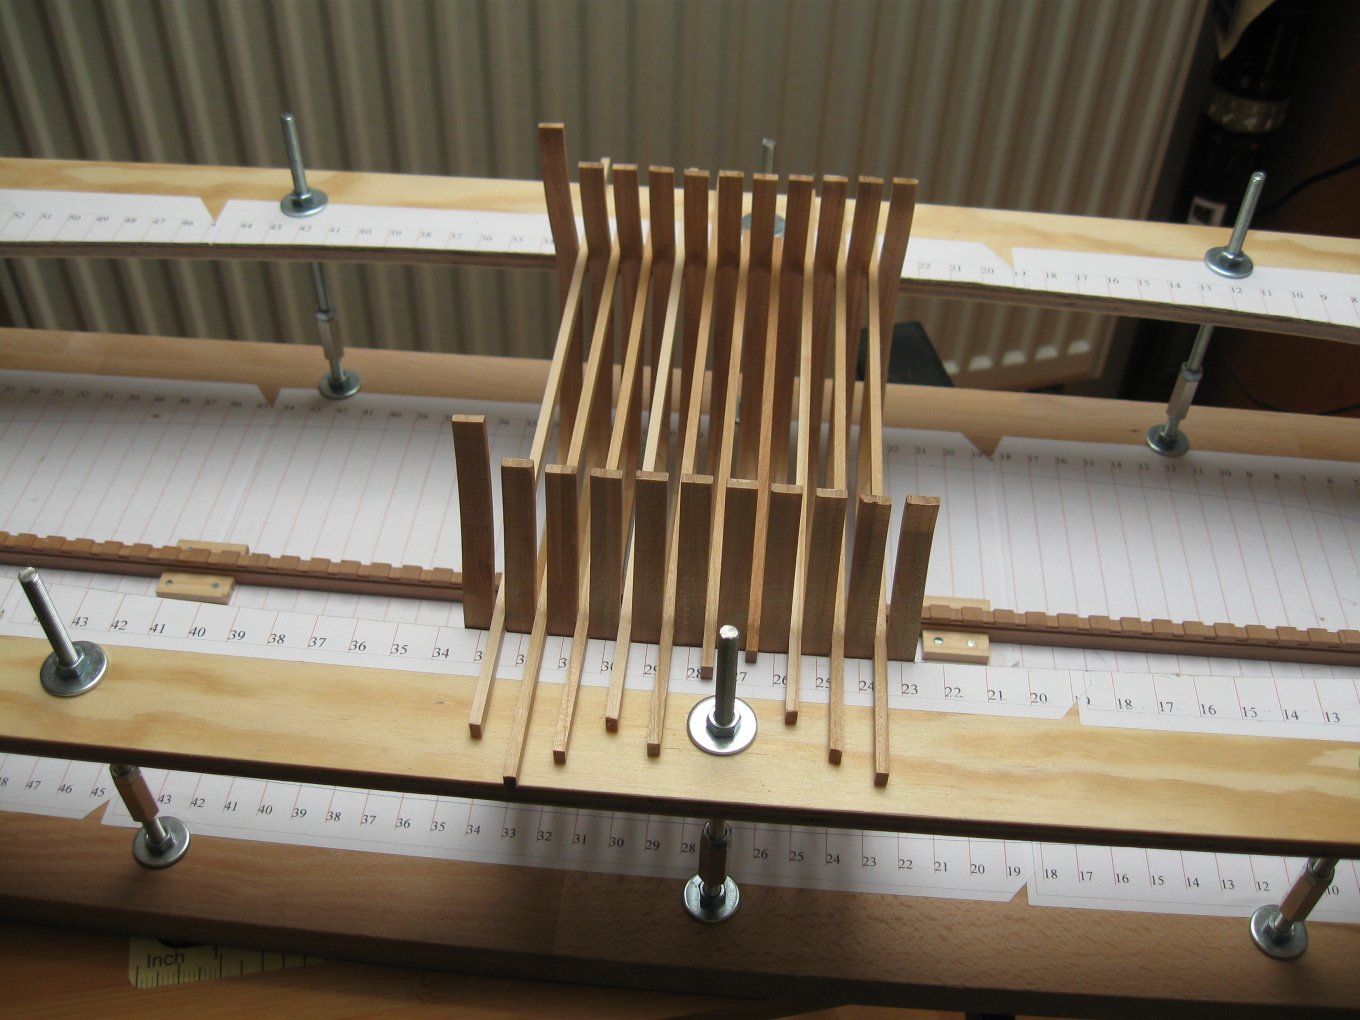
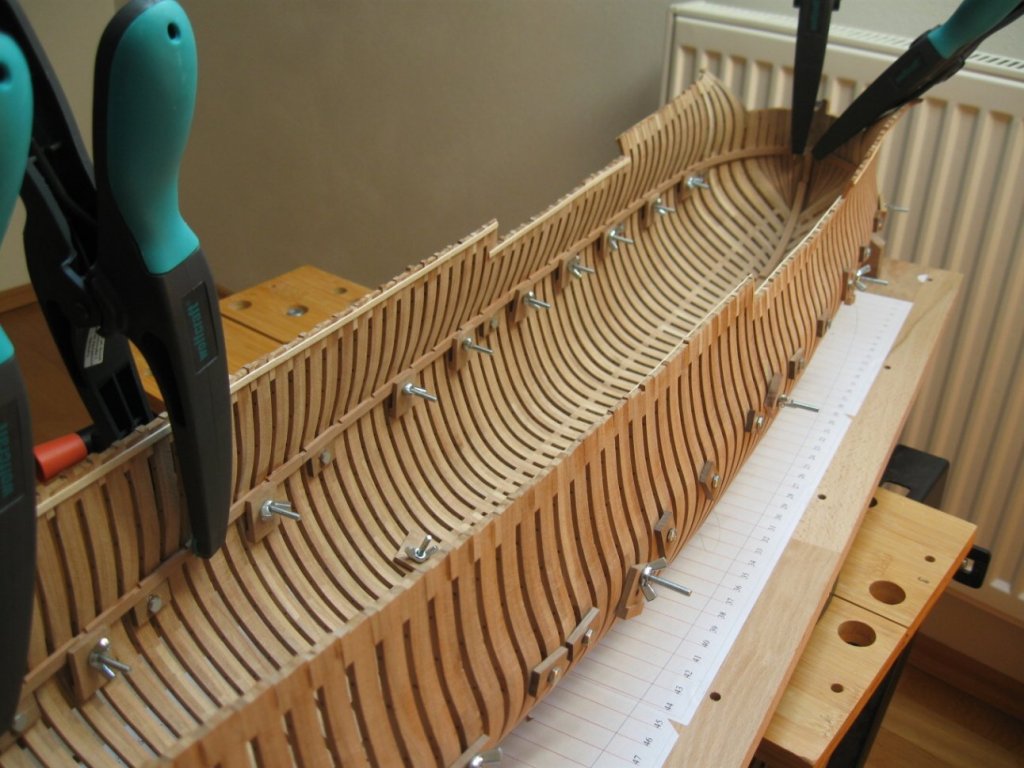
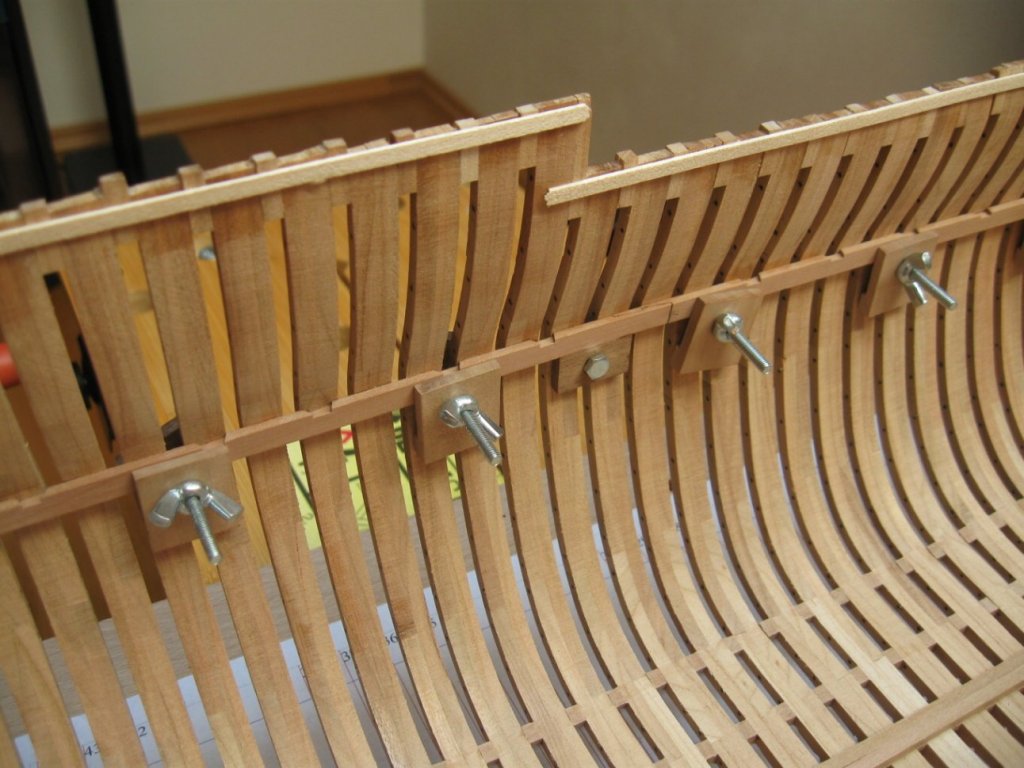
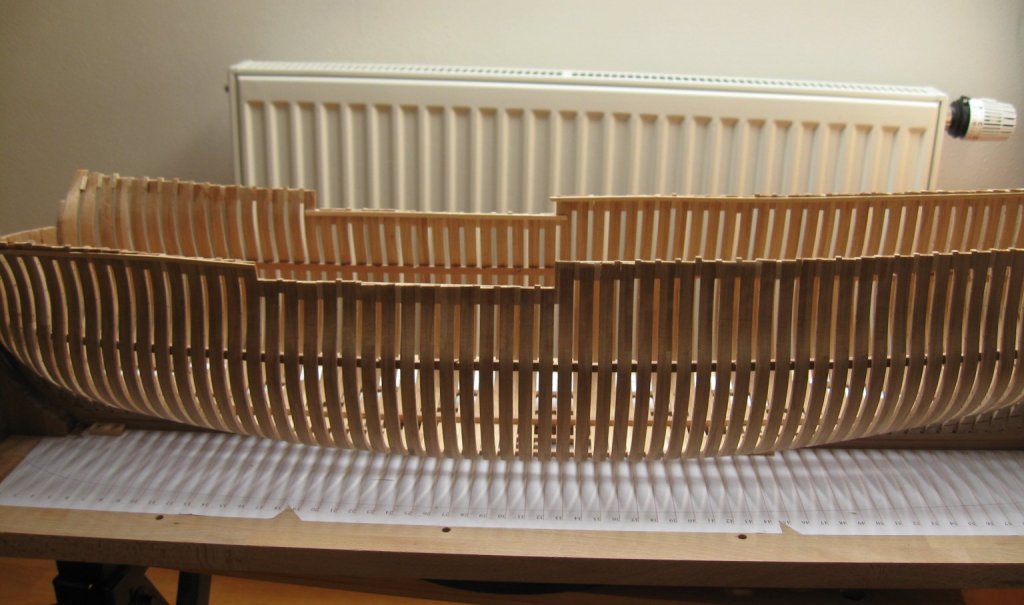
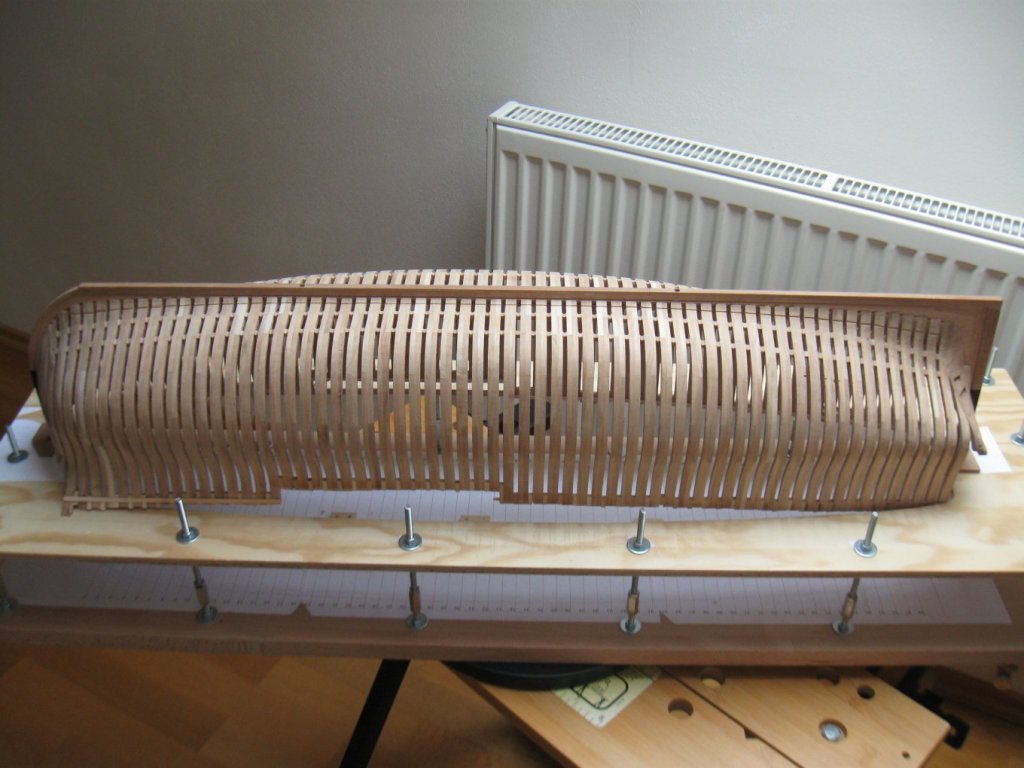
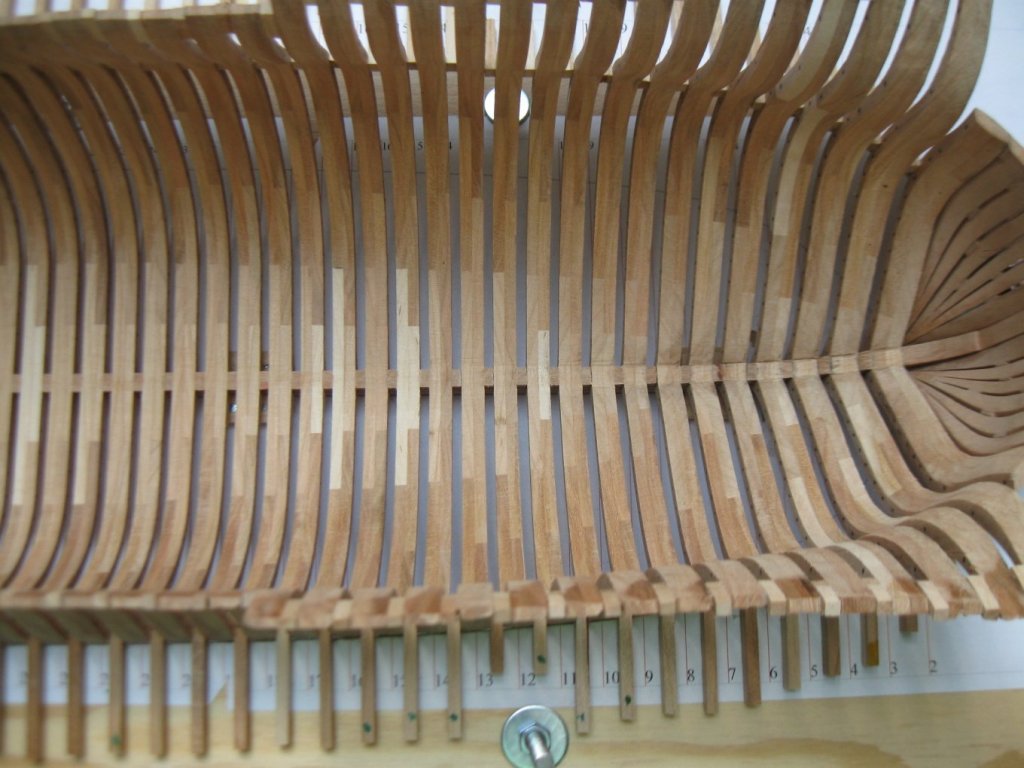
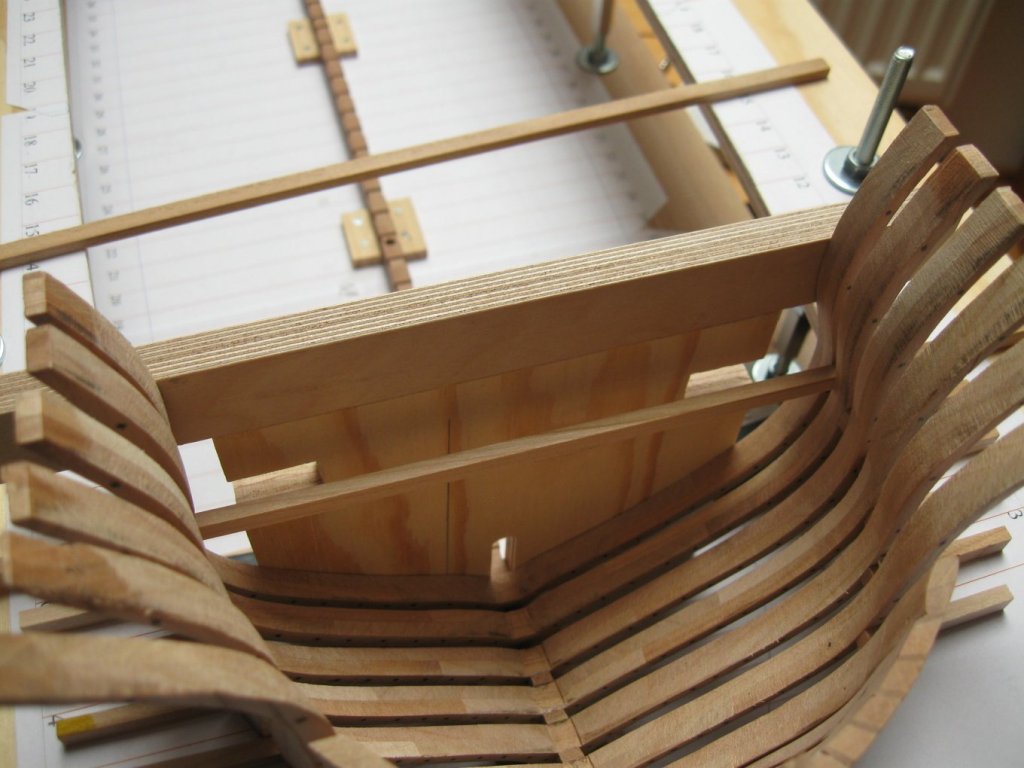
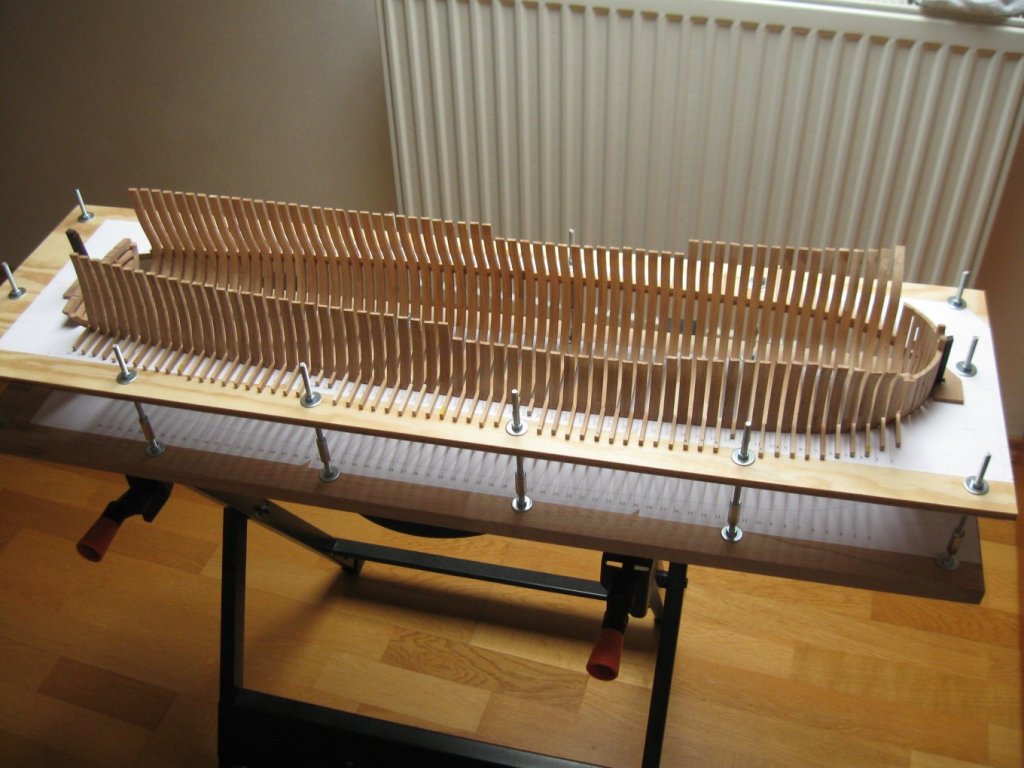
All frames are glued to the keel, now is time to sand the inner part of the hull.


- 589 replies
-
- 40
-
-
- le gros ventre
- cargo
- (and 1 more)
-
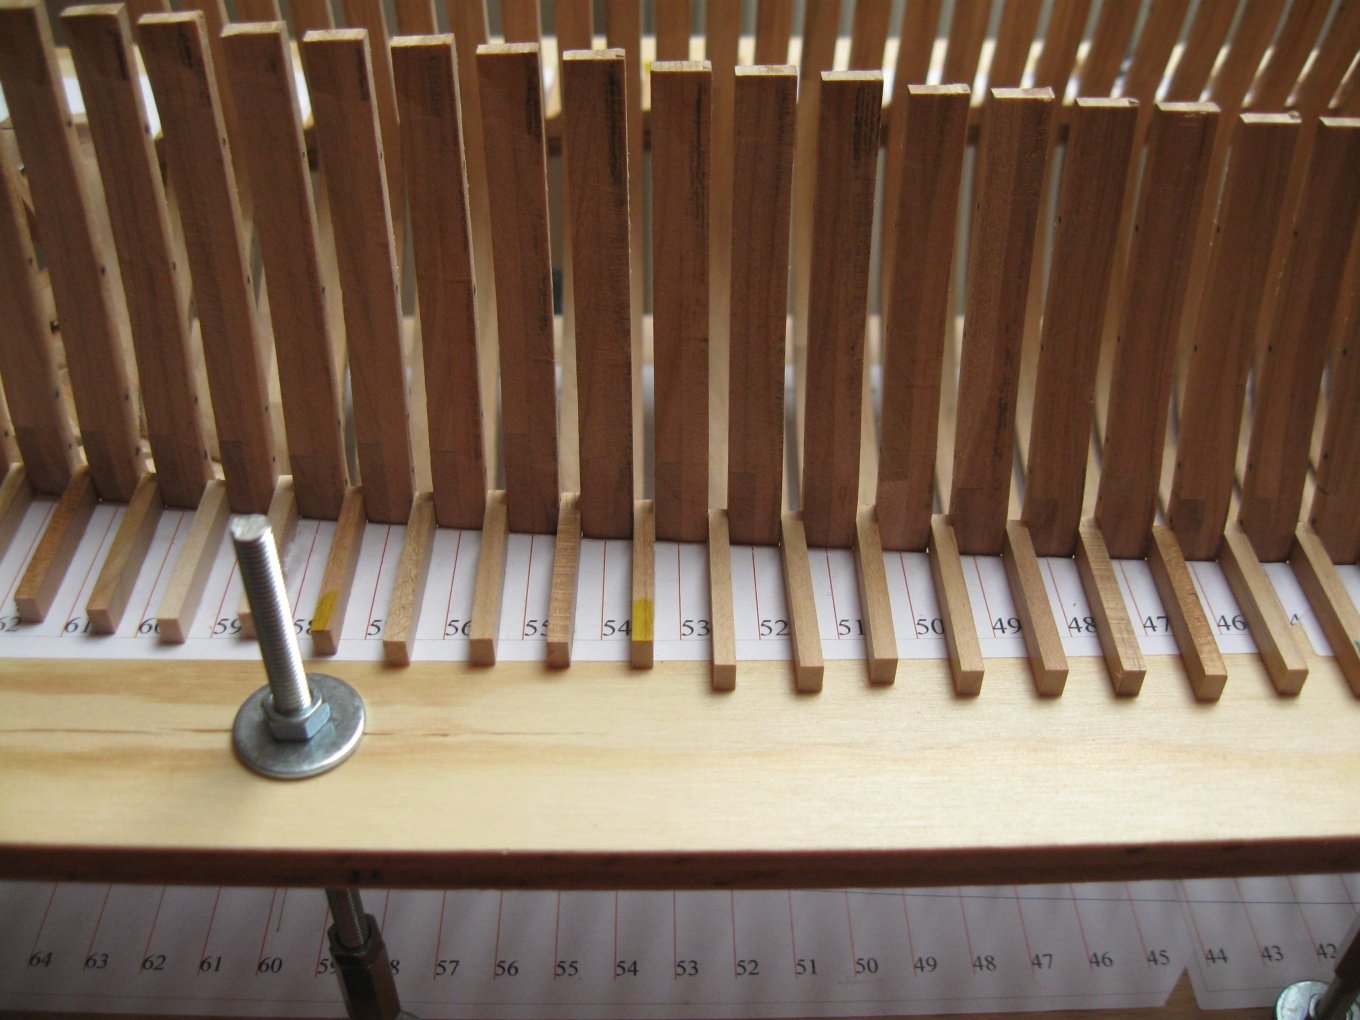
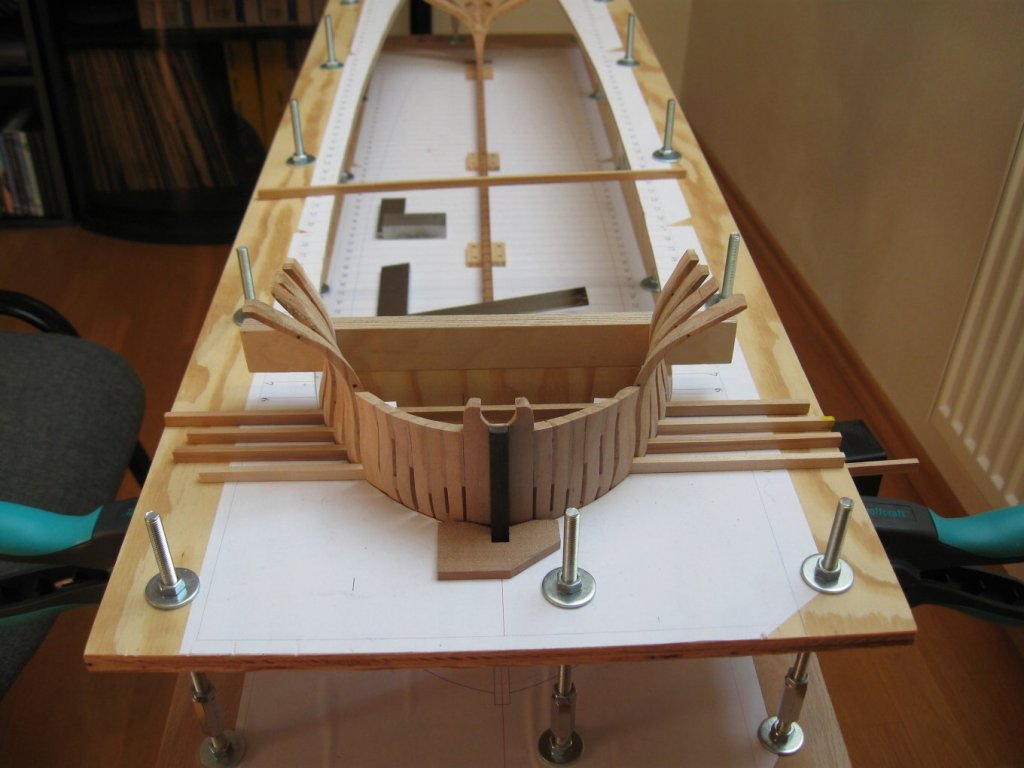
Thank you guys😉. I began with bolting of the individual frames, first aft and first front frames are glued now to the keel.


- 589 replies
-
- 36
-
-
- le gros ventre
- cargo
- (and 1 more)
-
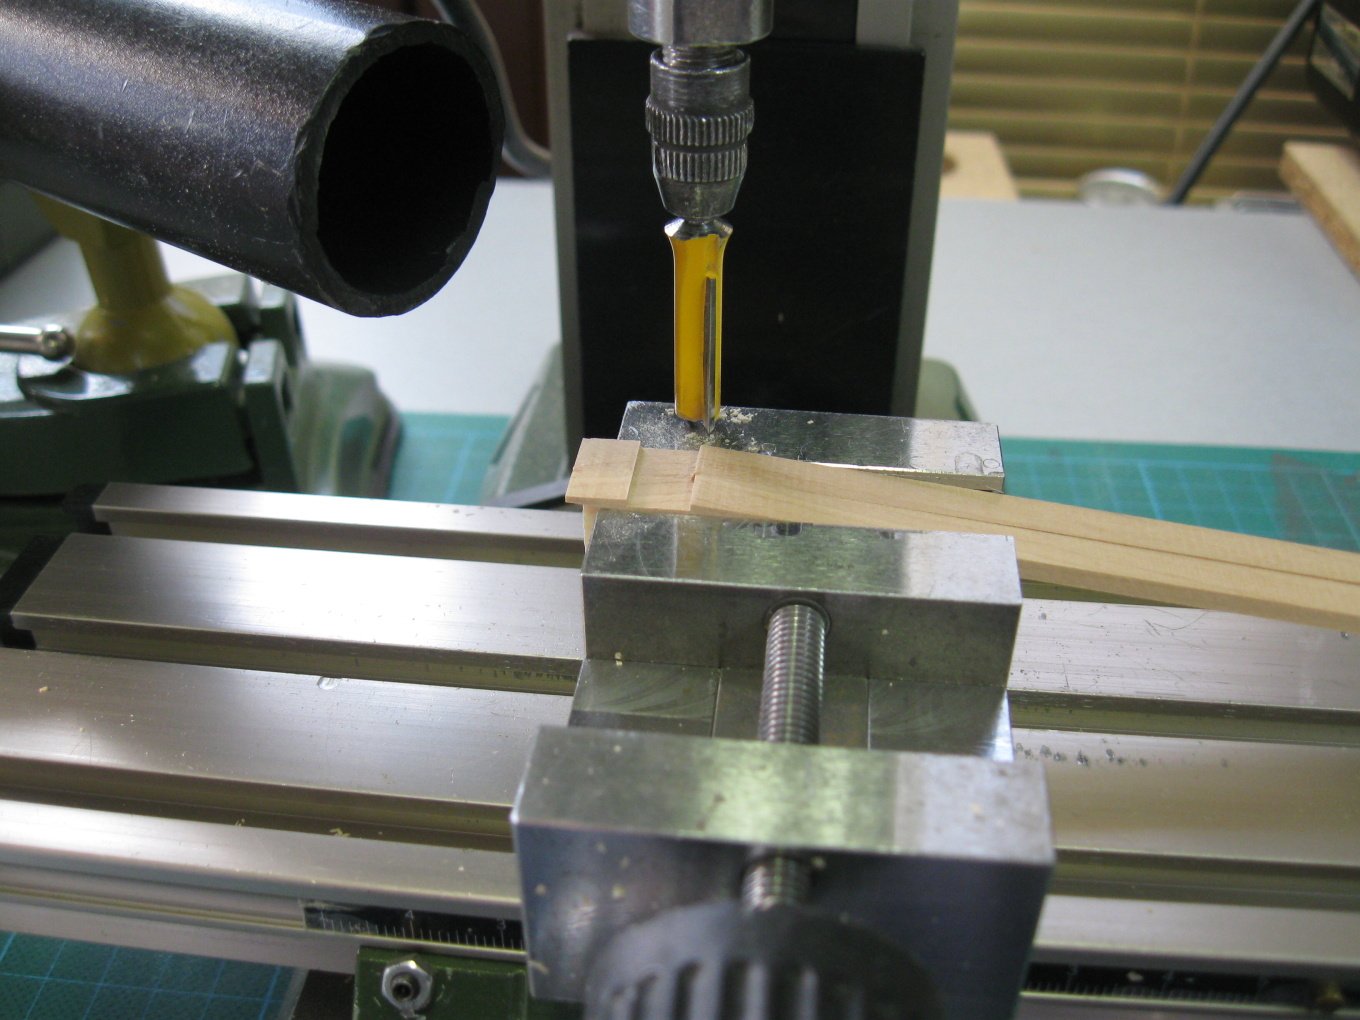
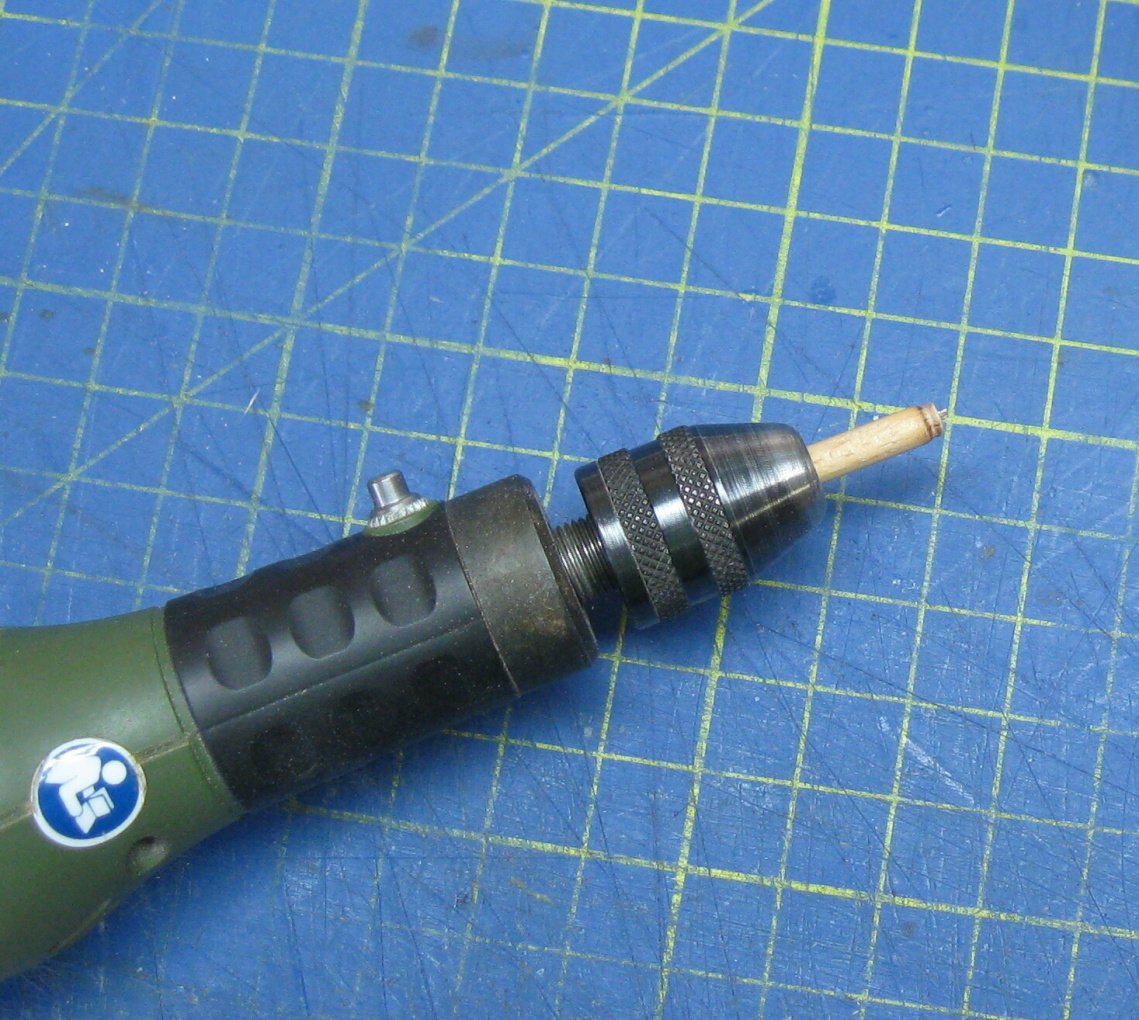
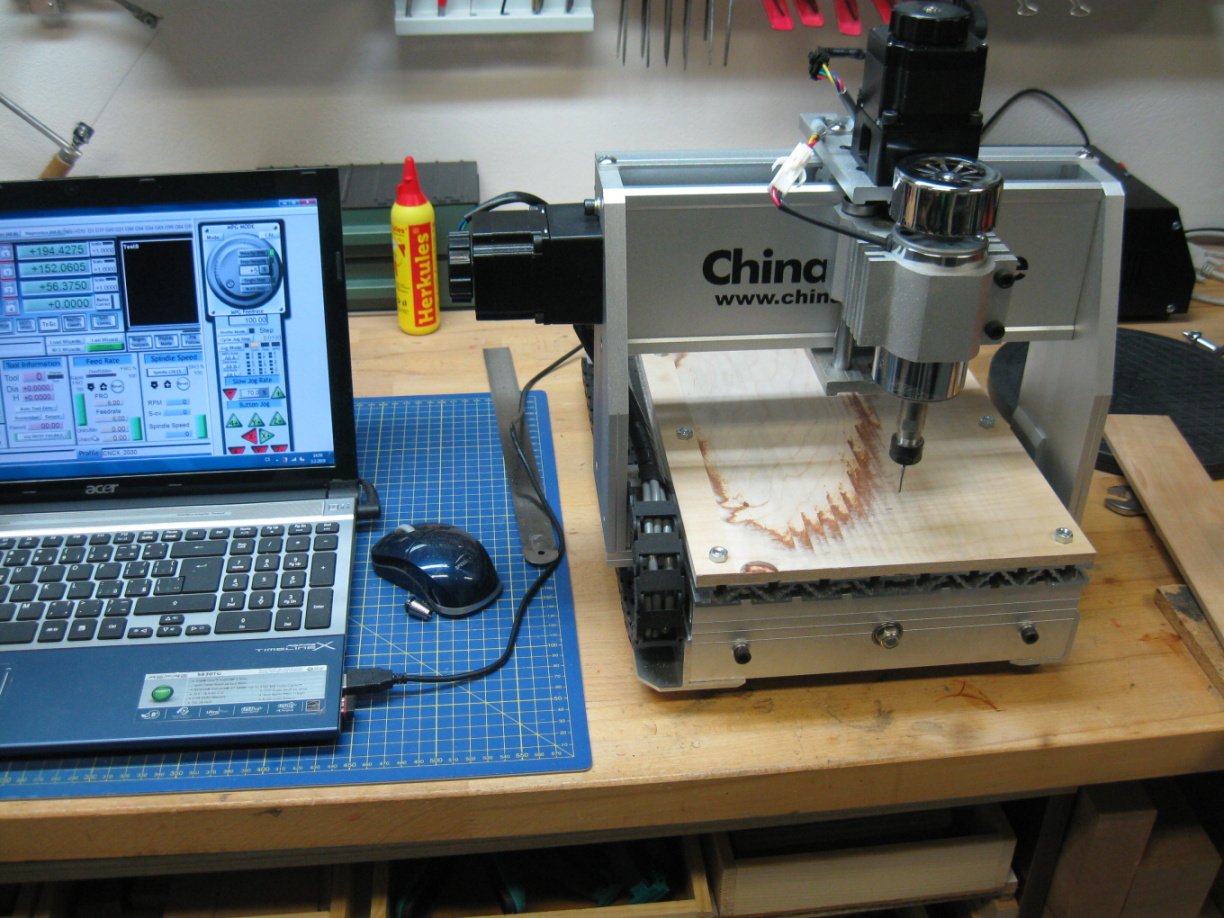
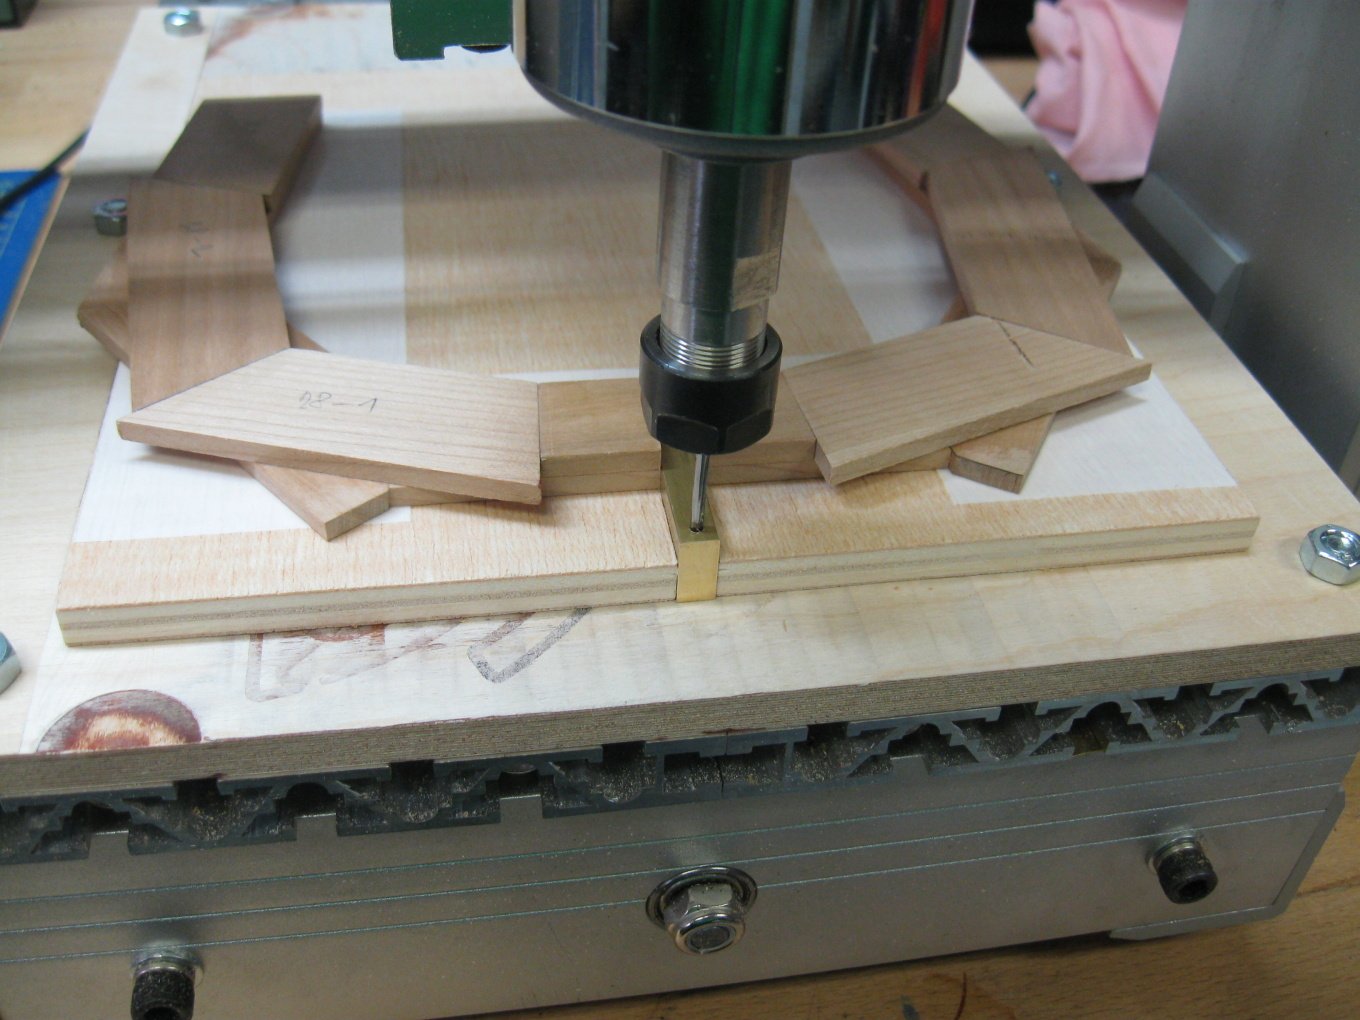
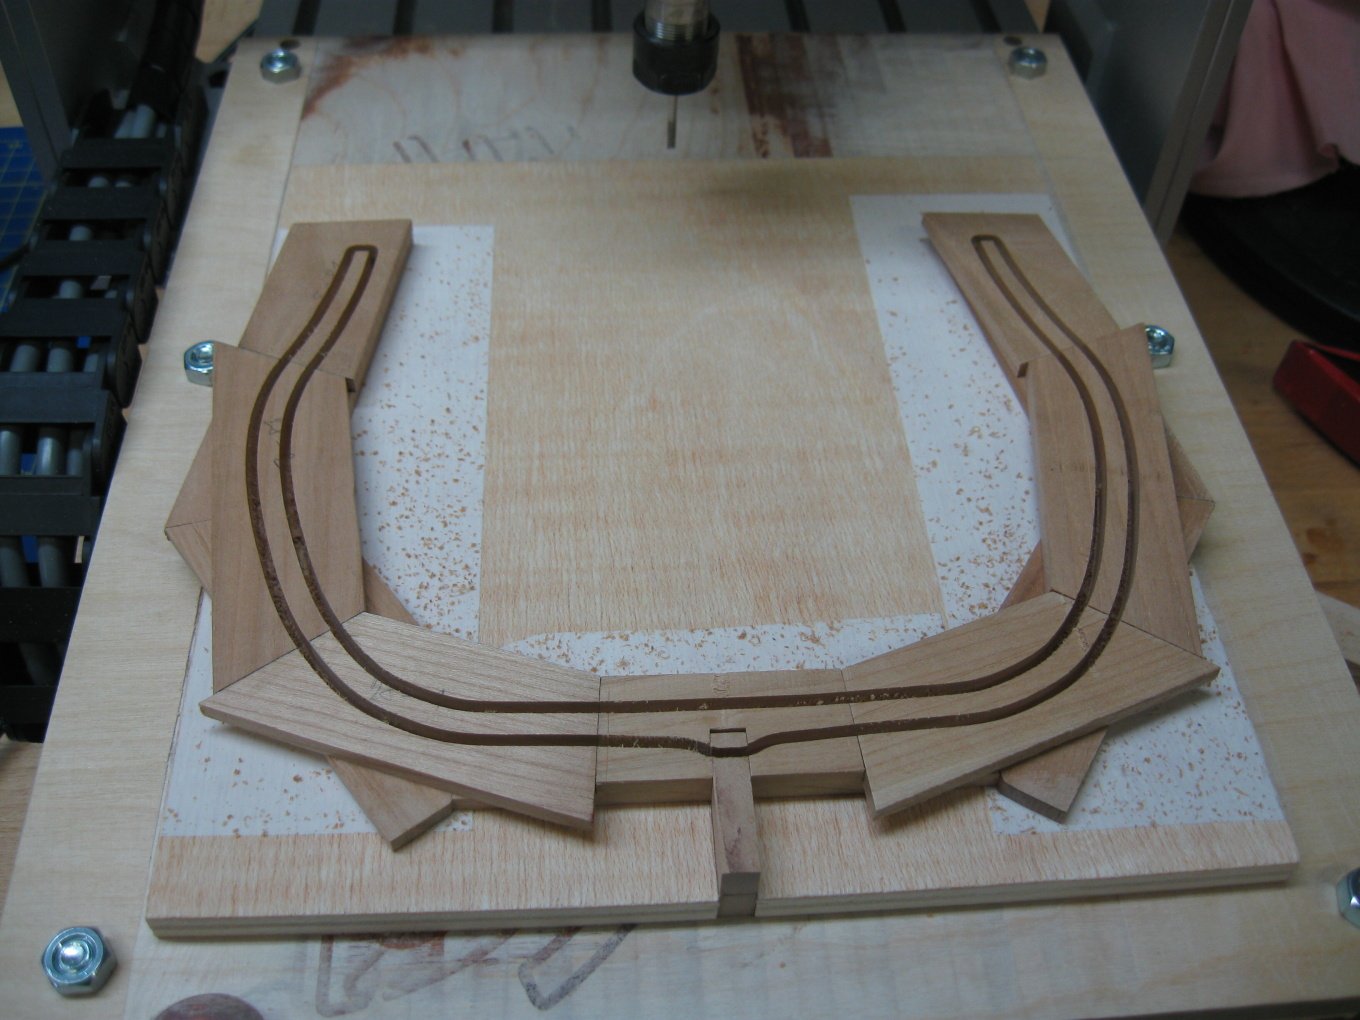
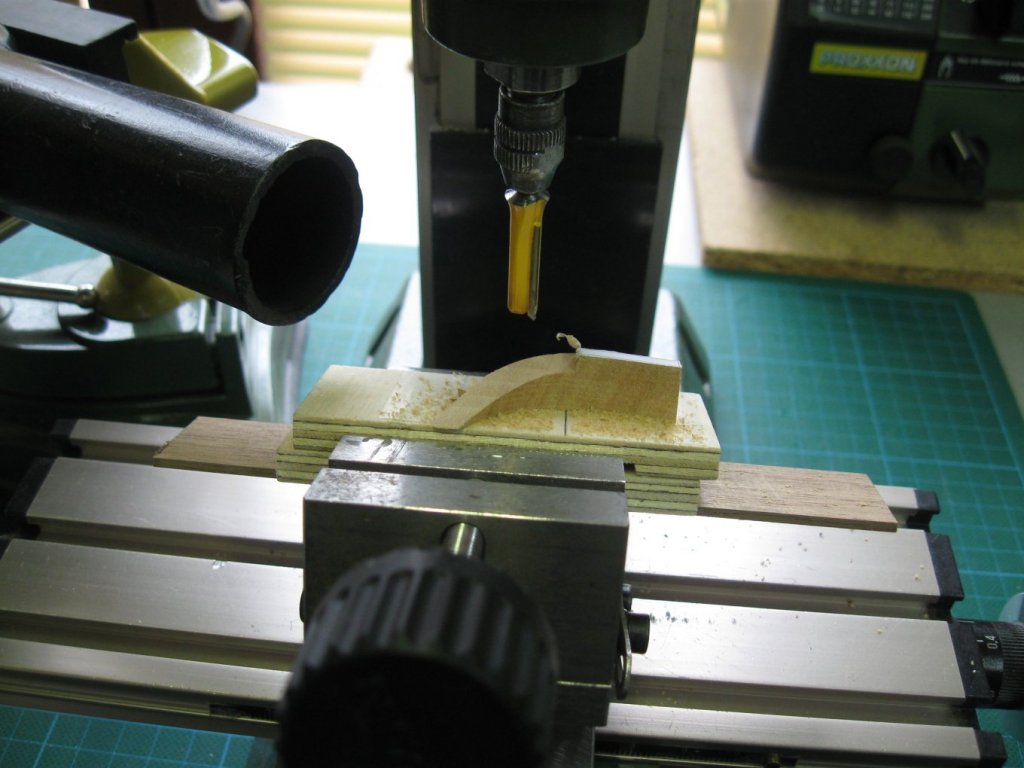
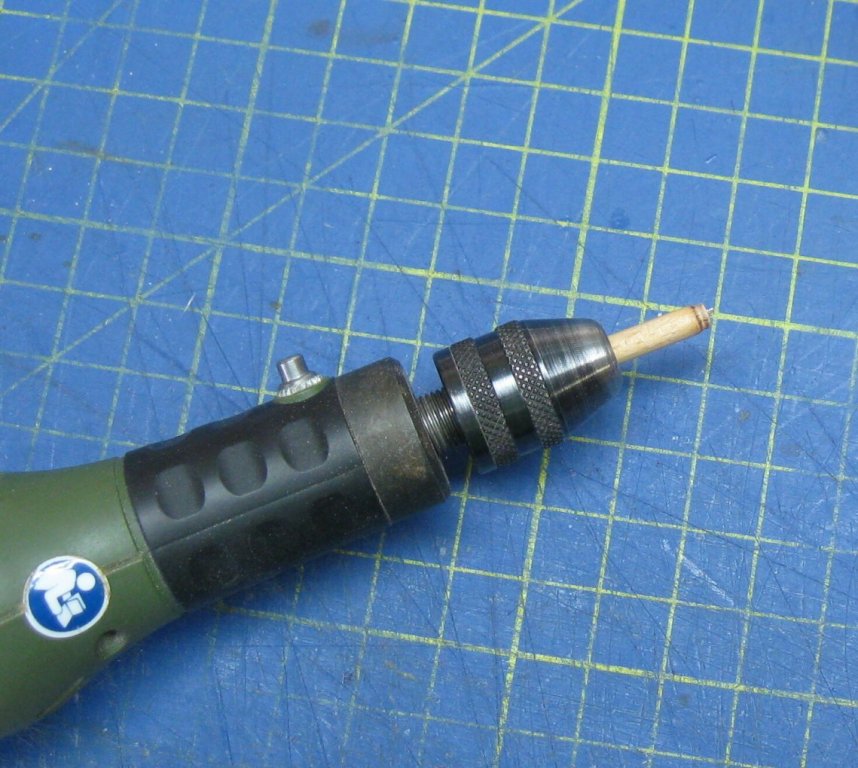
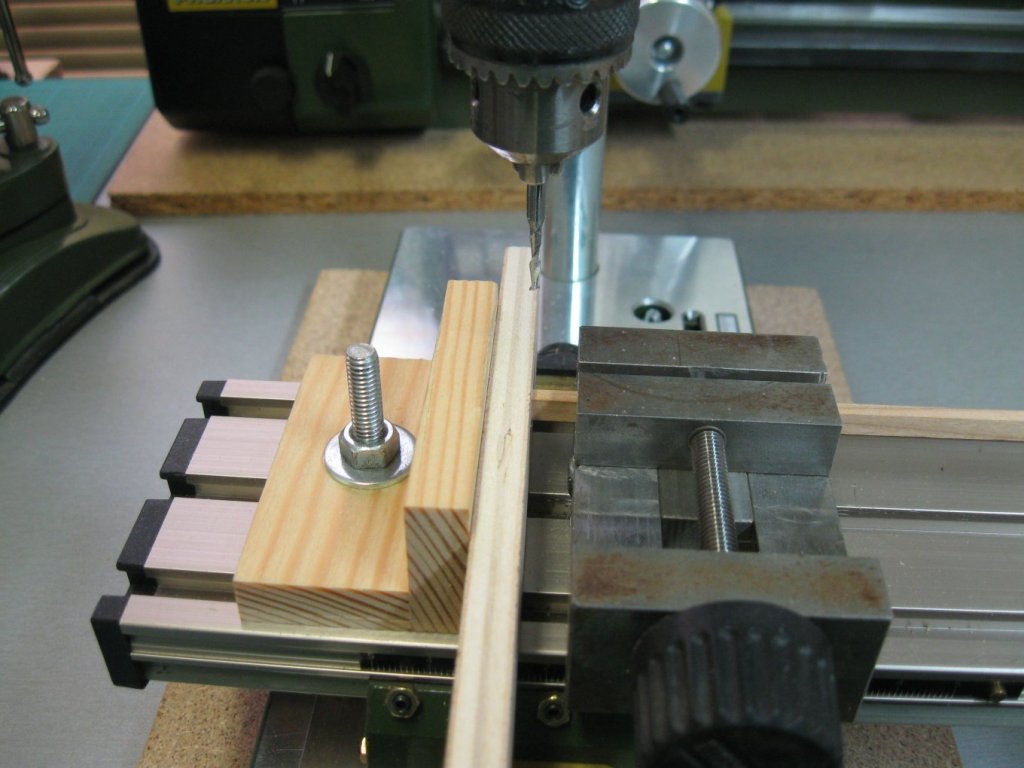
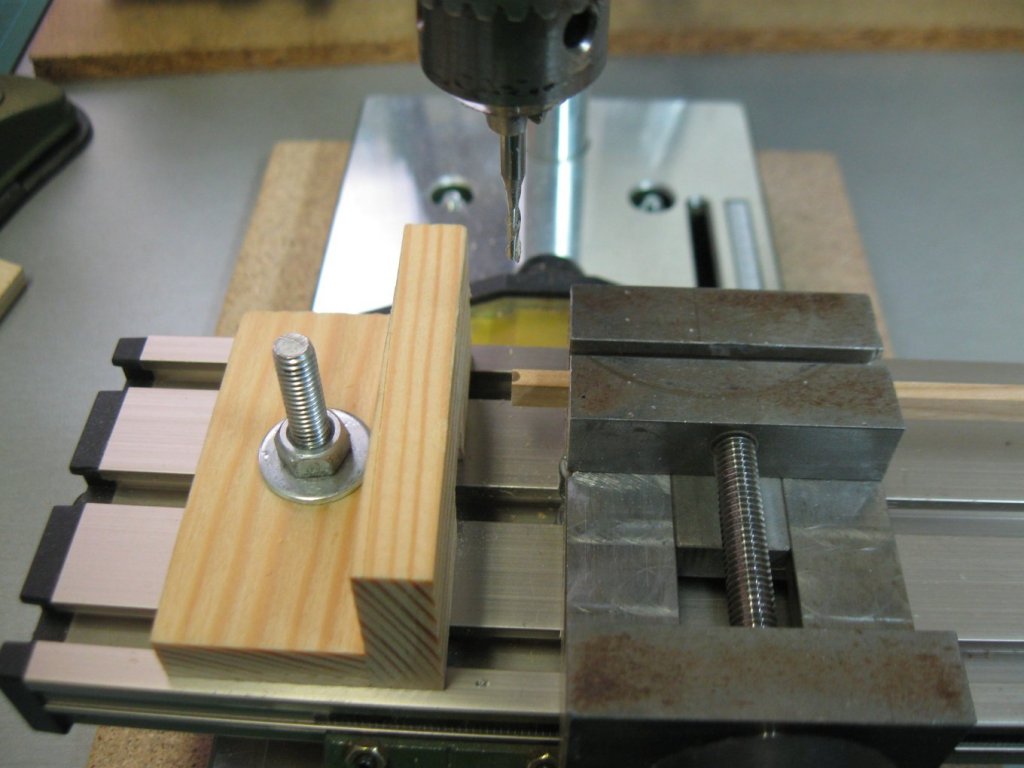
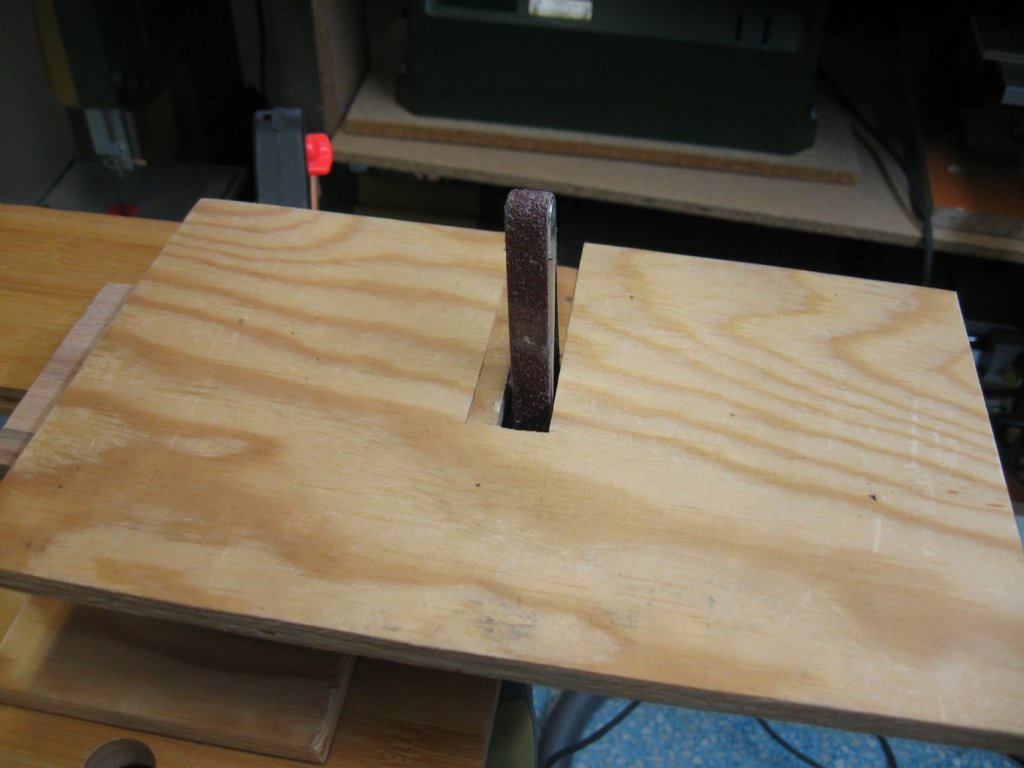
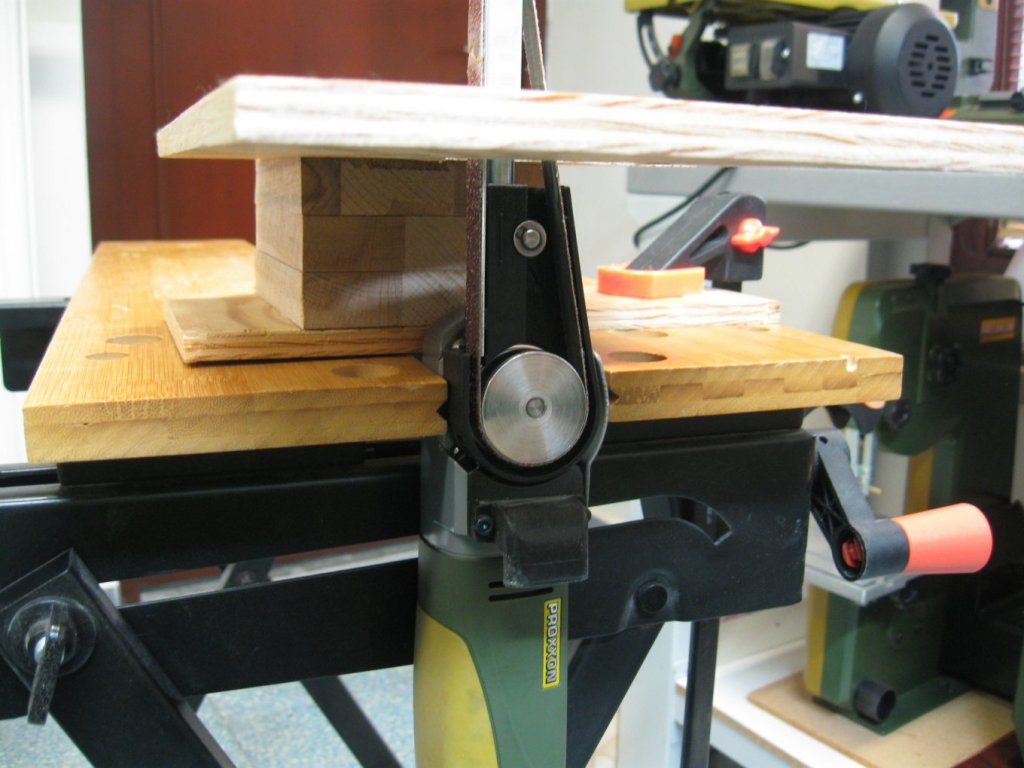
To Dirk - I bought this machine from one Czech company - https://cnc.inshop.cz/cnc-frezky-a-routery/mala-modelarska-cnc-frezka-pro-gravirovani-a-ryti. This company is co-owned with one man from German and milling maschines are made in China under inspection people from German. So I hope the quality of production will also be under tight control. Milling speed is in my case cca 15-20 mm/s, time required for one frame production is aprox. 7 minutes (milling maschine makes 10 passes). Beveling was done in two phases, rough sanding was made with help of Proxxon maschines, fine sanding was made manually with sanding paper glued on the wooden sticks. Beveled frames are temporarily situated on the keel.

- 589 replies
-
- 41
-
-
- le gros ventre
- cargo
- (and 1 more)
-
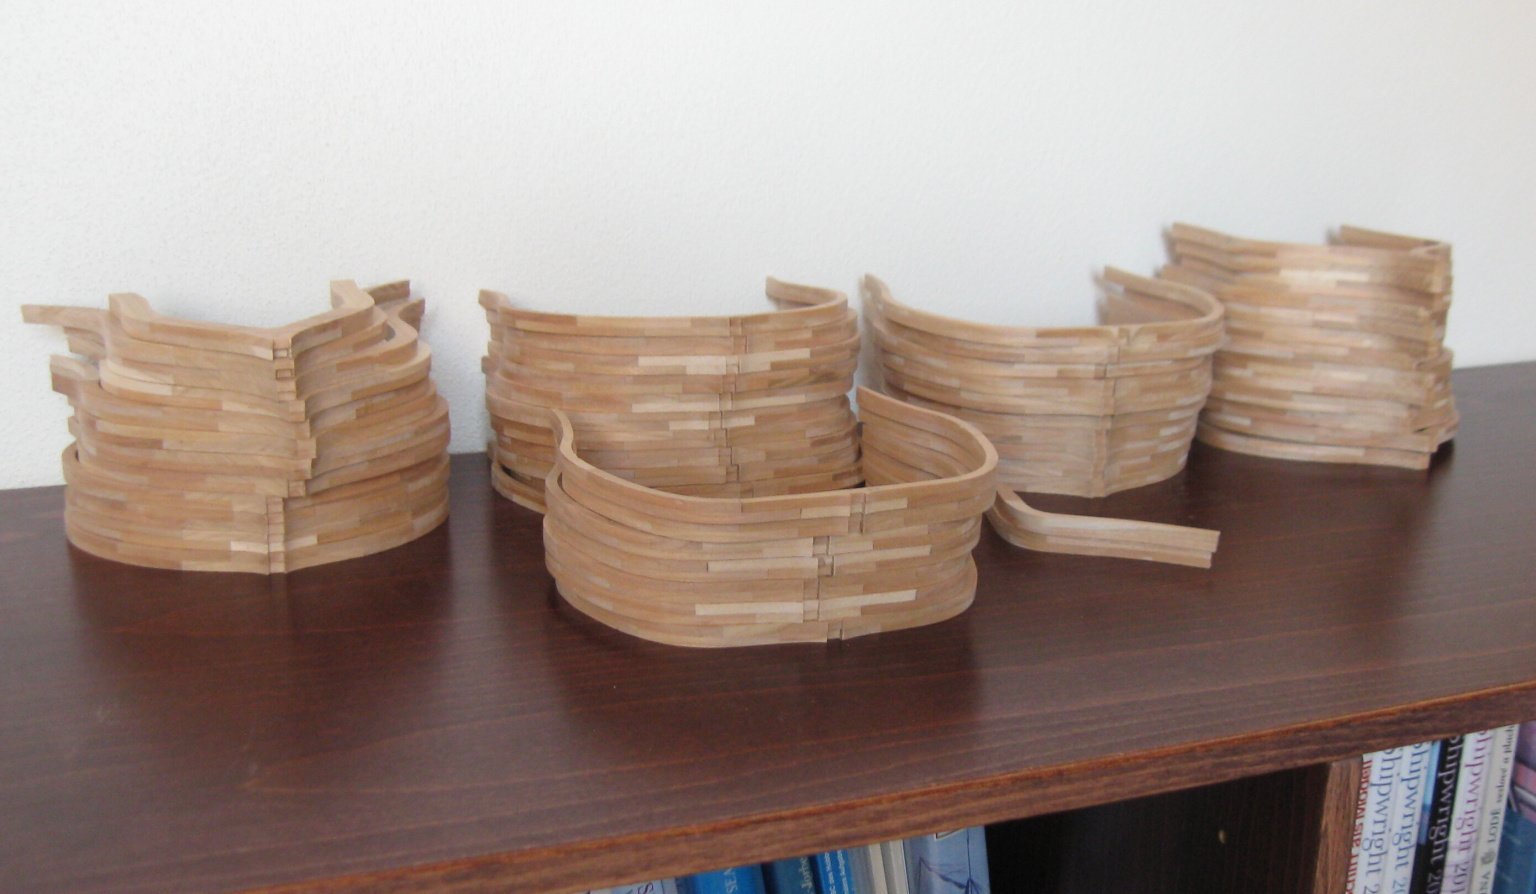
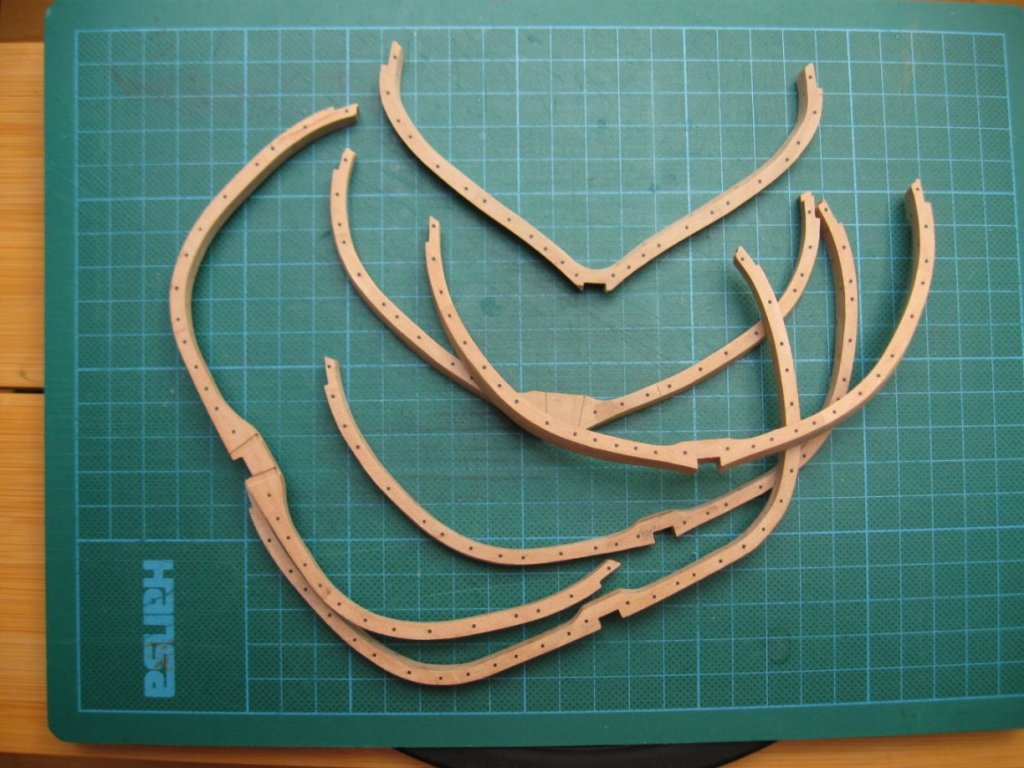
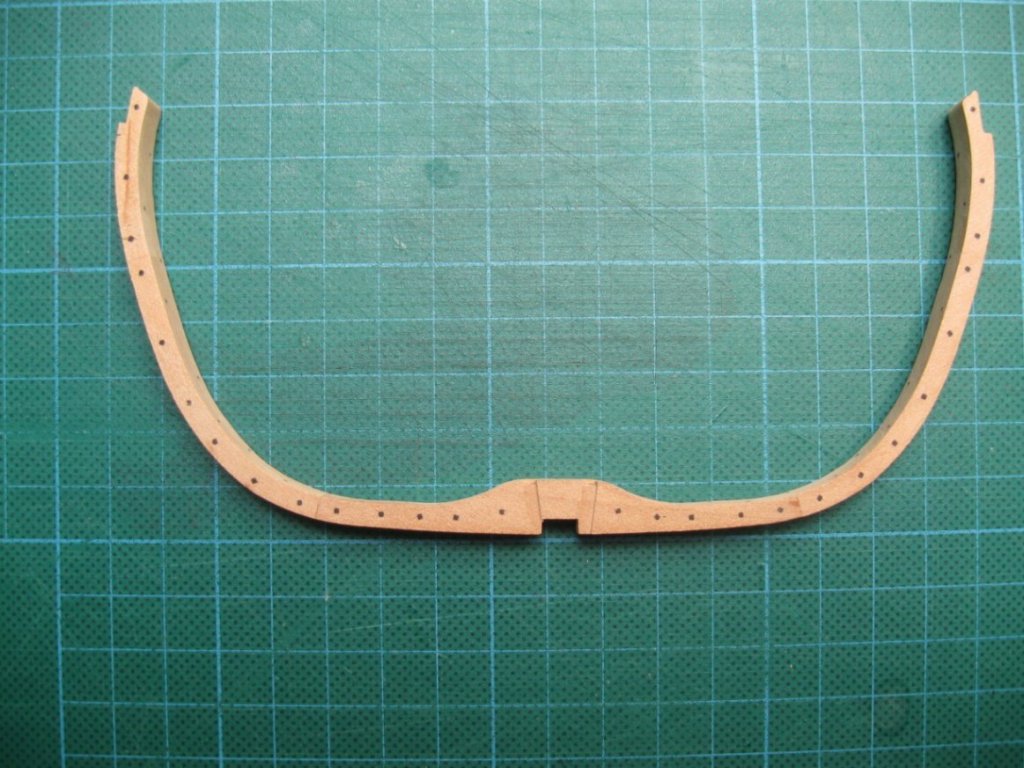
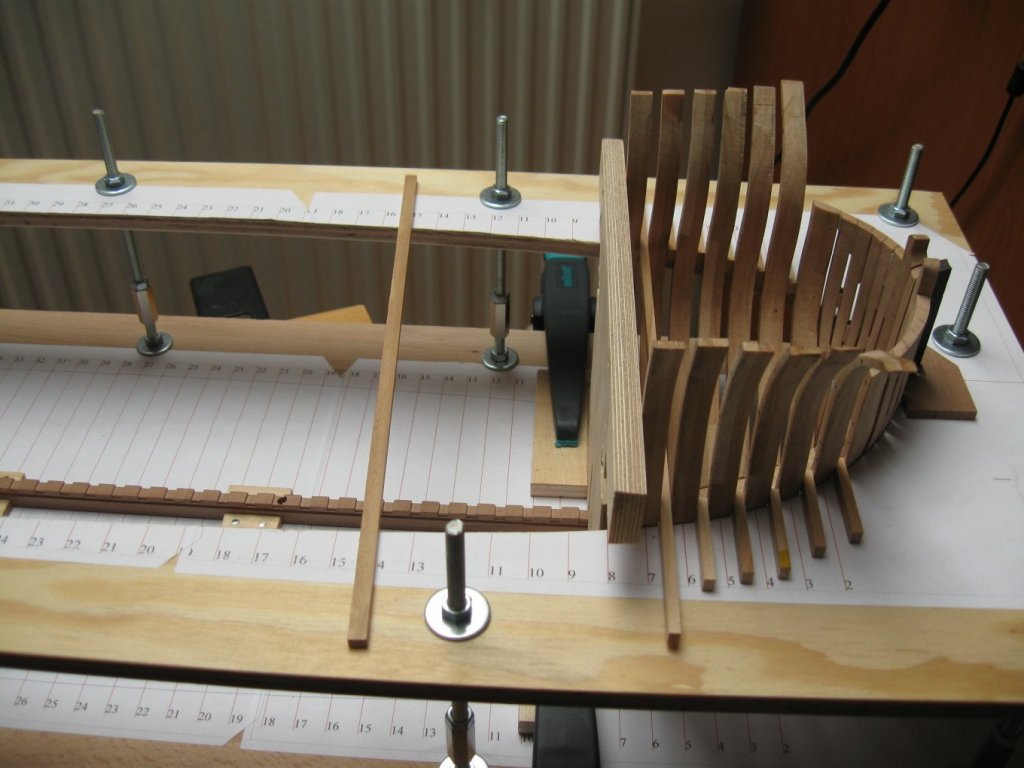
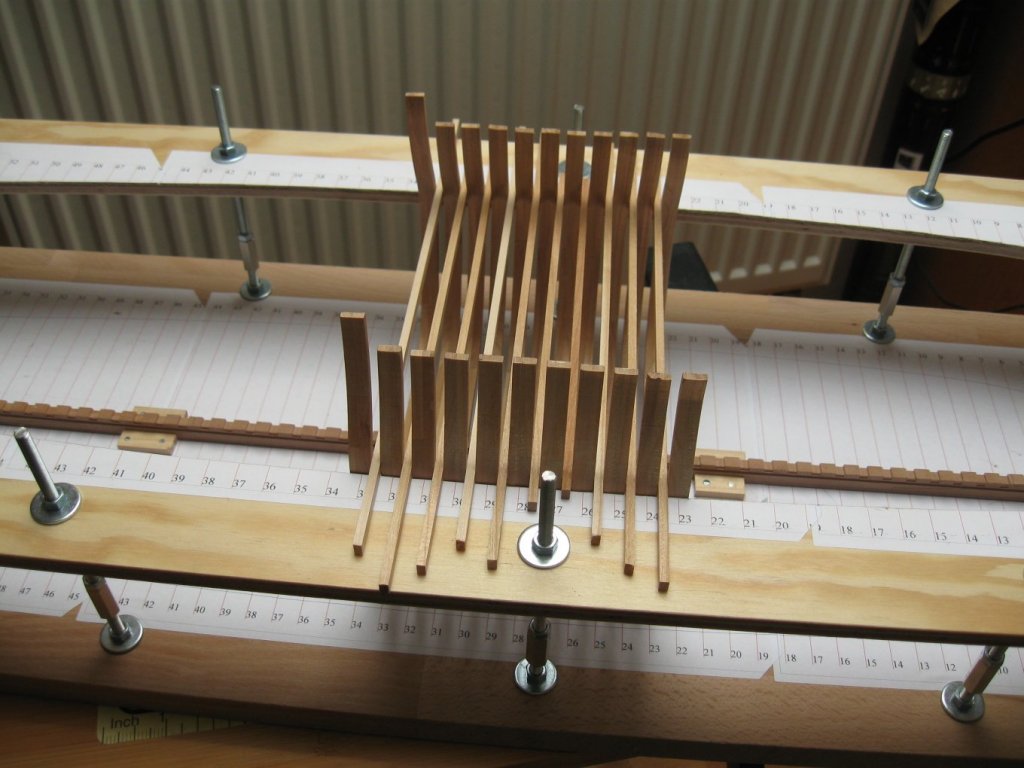
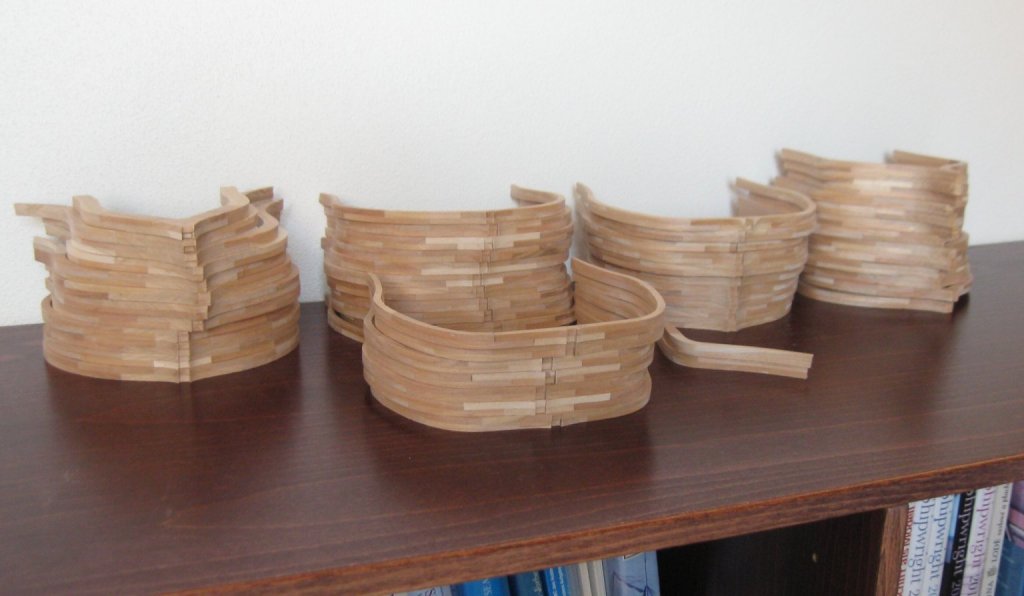
I bought a "good helper" for producing of the frames. I have lost more than three months because I have found an untrustworthy supplier and I have had to look for another one but I am still satisfied with the result. The frames are ready for the beveling.


- 589 replies
-
- 22
-
-

-
- le gros ventre
- cargo
- (and 1 more)