
HOLIDAY DONATION DRIVE - SUPPORT MSW - DO YOUR PART TO KEEP THIS GREAT FORUM GOING! (Only 20 donations so far - C'mon guys!)
×


jct
-
Posts
1,519 -
Joined
-
Last visited
Content Type
Profiles
Forums
Gallery
Events
Everything posted by jct
-
Thanks Wallace and welcome Dave...the link is below and there should be no copyright issues, these are a 1/72 you'll have to scale them up to your preferred size plans
-
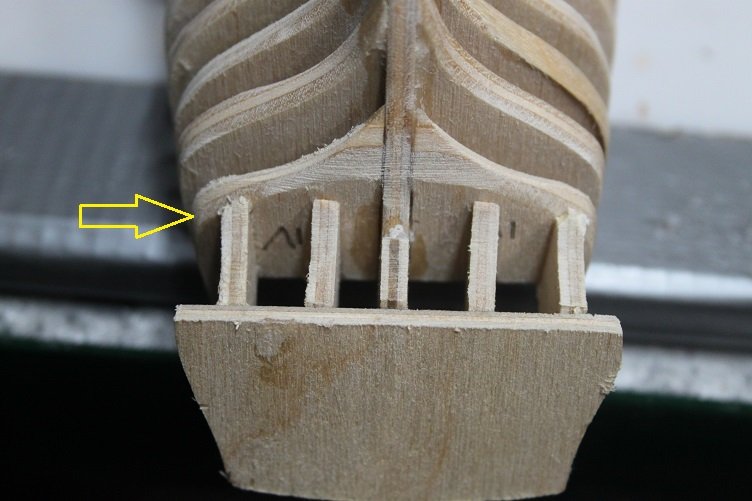
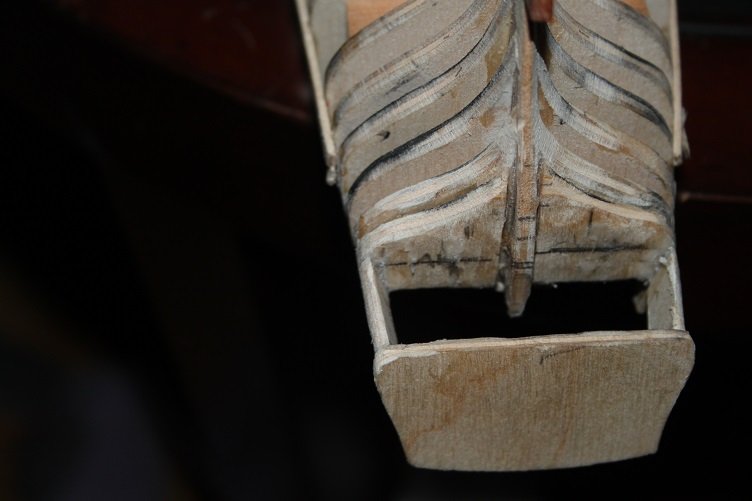
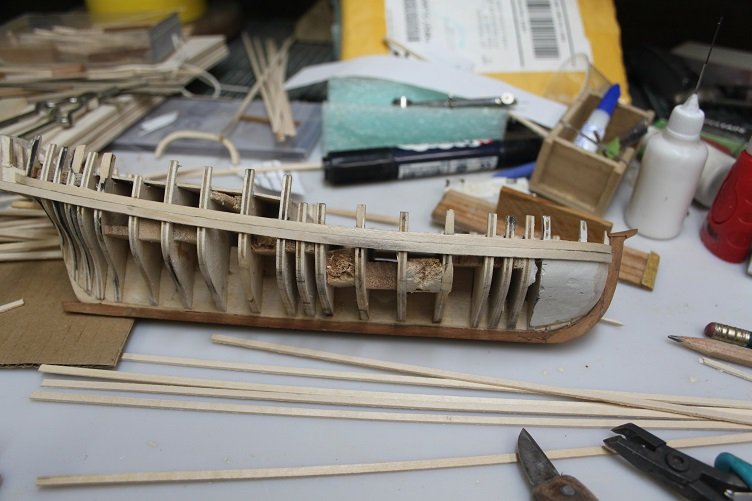
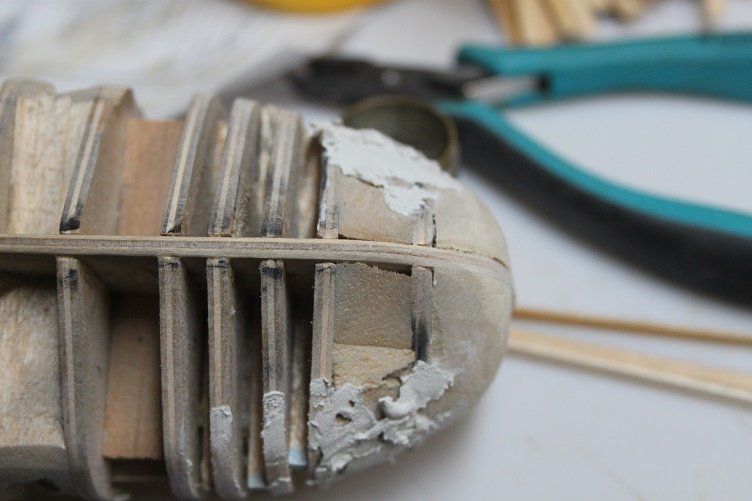
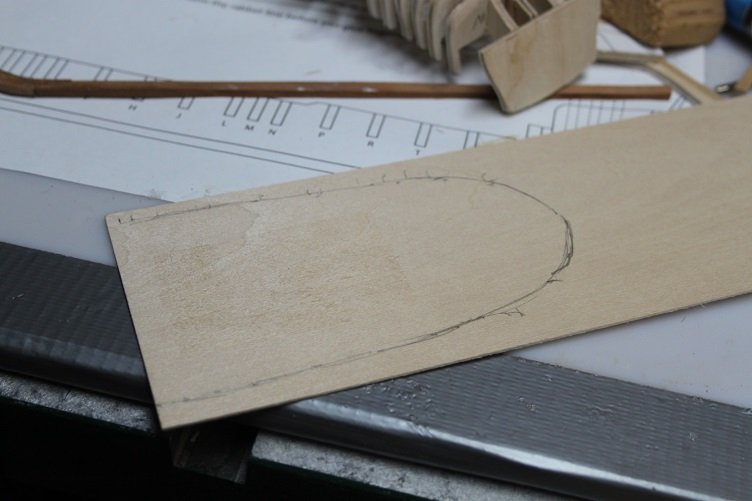
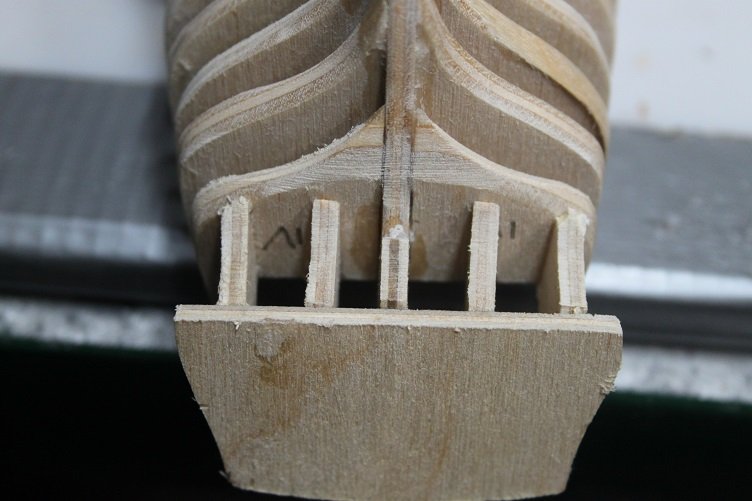
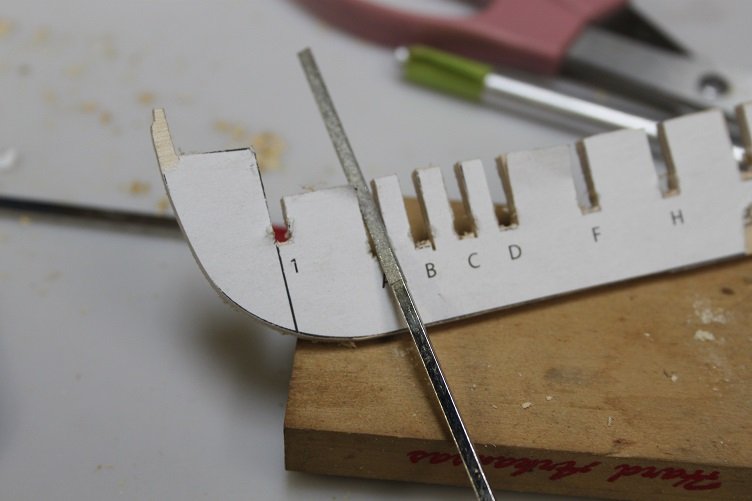
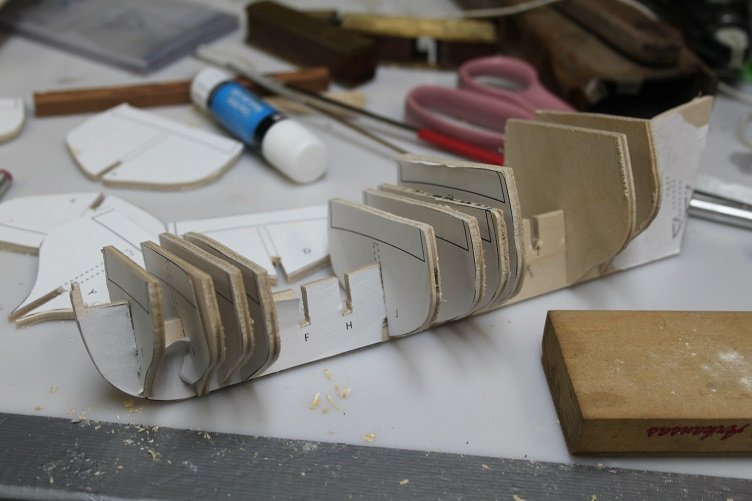
A short update...I'm currently reworking the transom, I misinterpreted the plans and what was intended to be a filler I added as an additional bulkhead... didn't notice anything until I started to lay out the planking, nothing flowed at the stern, here the filler has been re-positioned... and in this view, you can see how the flow of strakes will go now. well that's all for now, pretty typical of most of my builds...one step fwd and two back...
-
Nice fix Denis...putty and paint are my friends too...😋
-
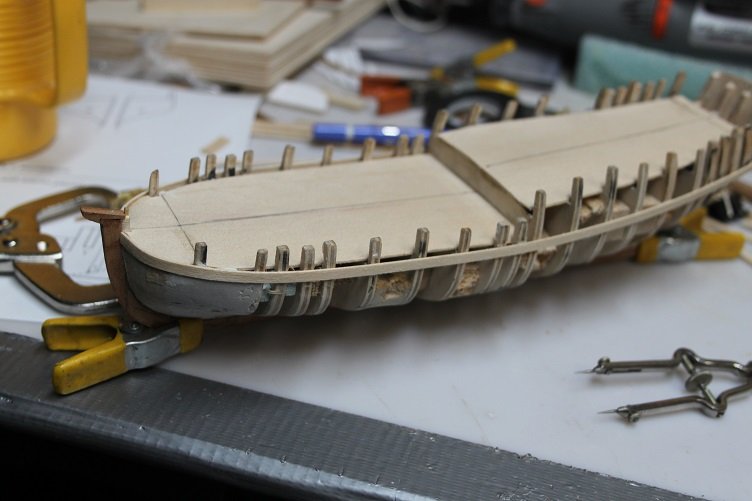
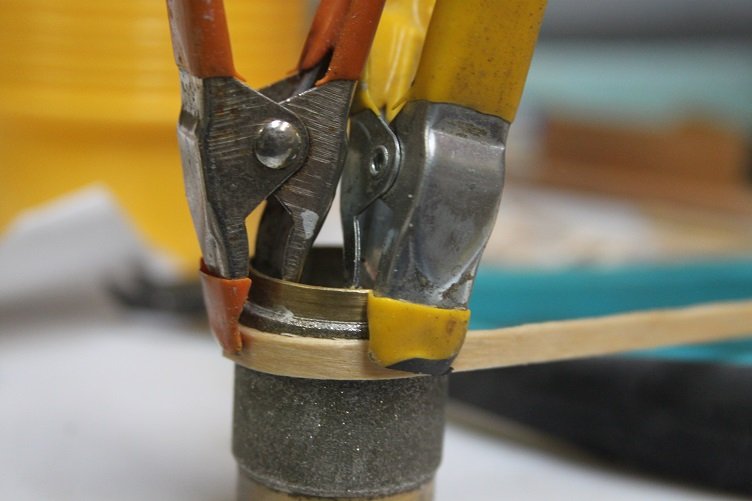
Thanks to all for the likes and comments...much appreciated The keel is repaired, still at a lose as to how it got broken in the first place...I cut the original keel at an approximate 45 degree angle and cut the patch to match, glued it in with pva and trimmed and sanded when dry...simple fix but aggravating to have to do and finally started to plank...got the first two strakes in place next will be the garboard then I think I'm gonna jump to the stern planking, that section will be have some guess work involved as there is no definitive stern drawings to go by , gonna do some interweb searching to see what others have done
- 184 replies
-
- 11
-

-
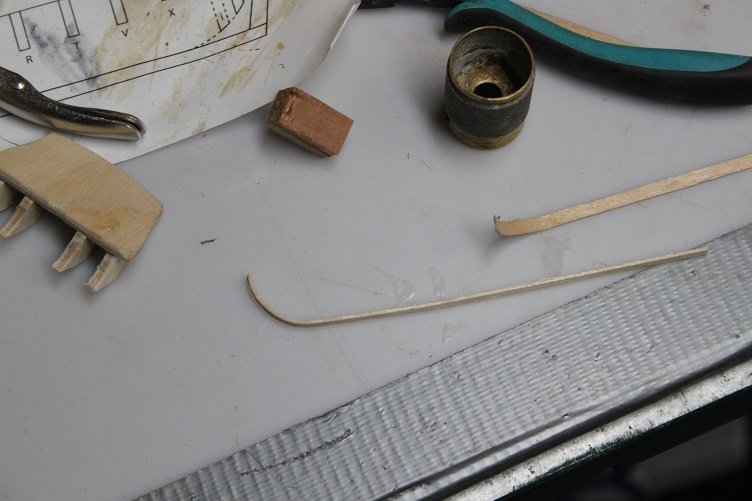
Small update but no pics...a small disaster, went down to the shop and found that the keel was snapped at the last peg I had installed...no clue how that happened, all was on the worktable where I left it...never worked on the hull yesterday? Anyway, I'll post pics of the repair tomorrow. Should have all the planking stock sanded out tomorrow, it is all re-swan. Thanks for the likes and comments
-
Hey Denis, Sorry t hear about your tooths...hopefully the new ones are working for you. I'll be following along
-
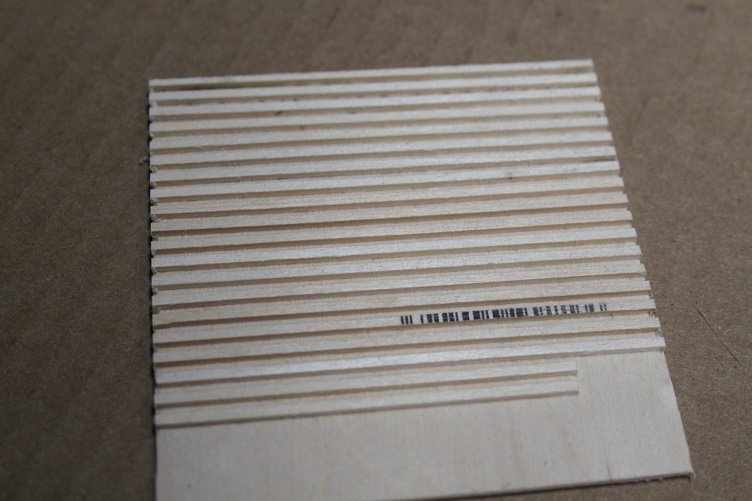
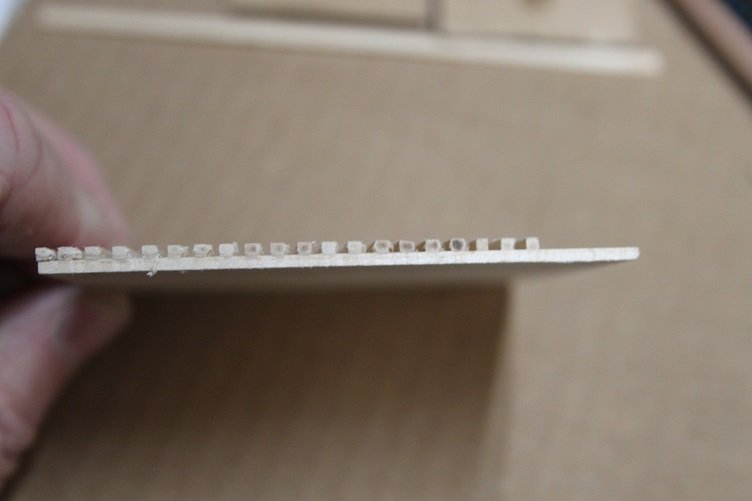
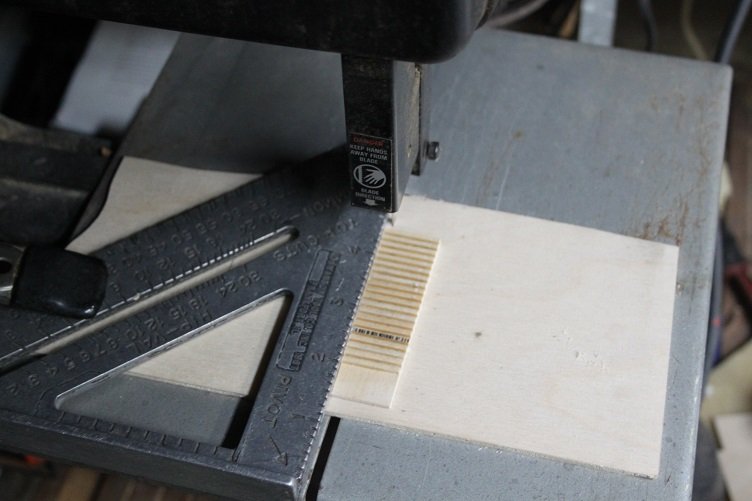
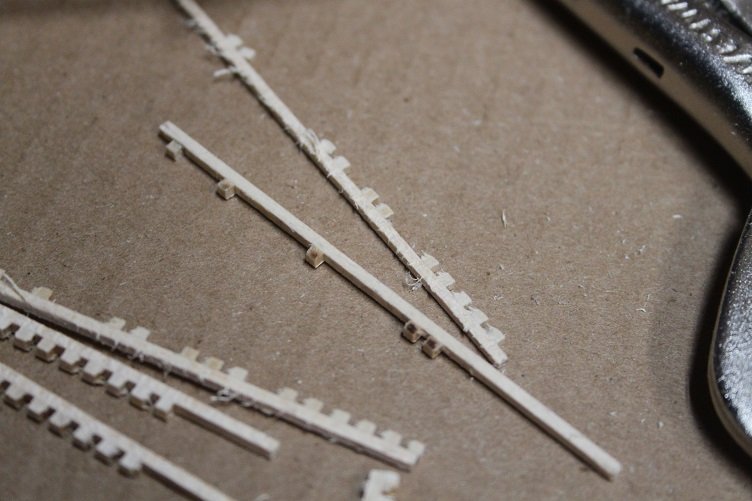
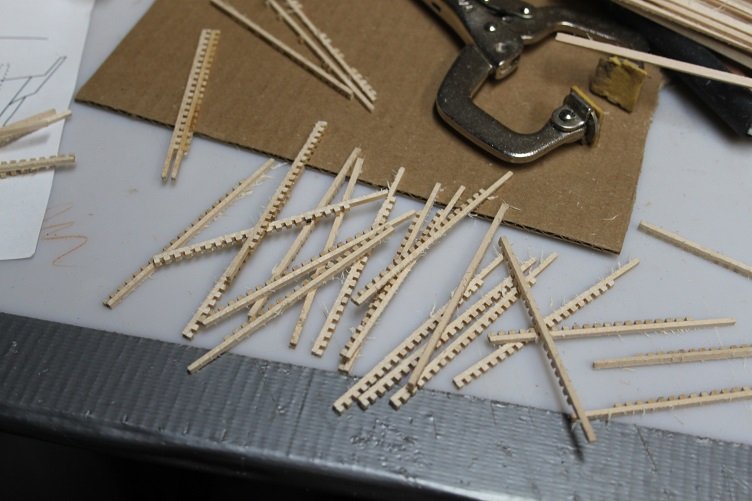
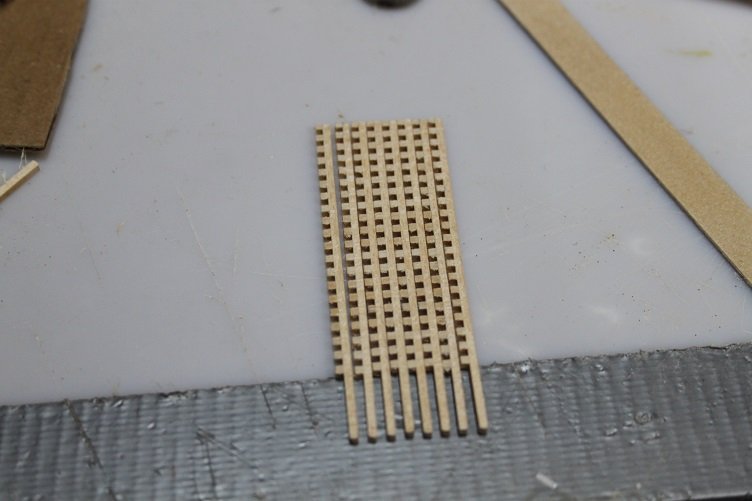
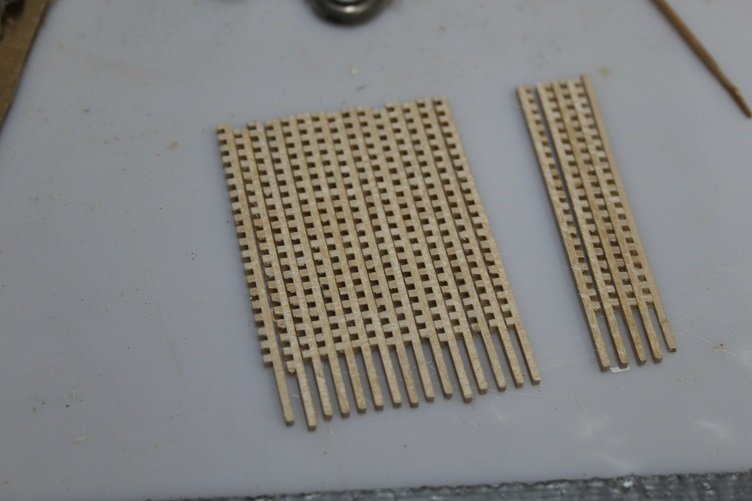
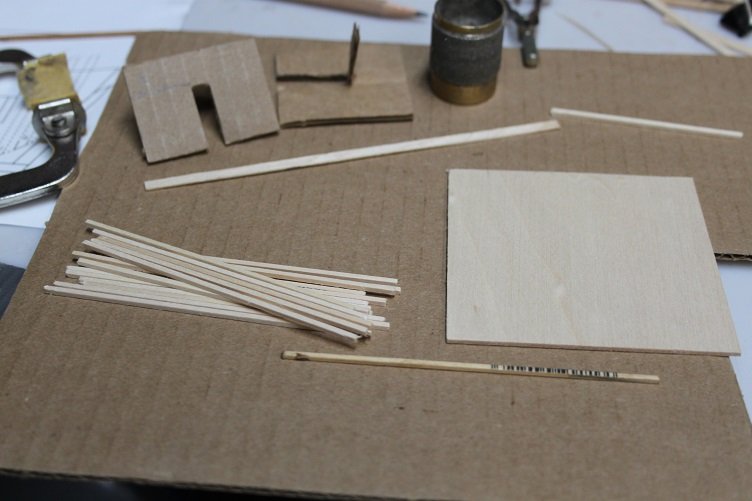
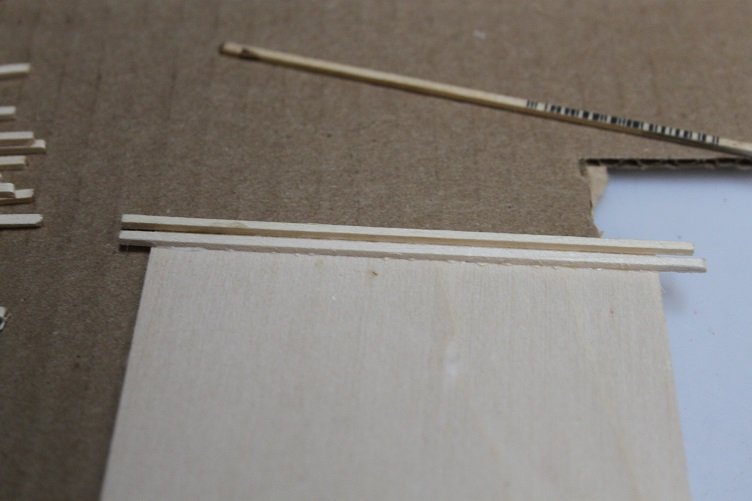
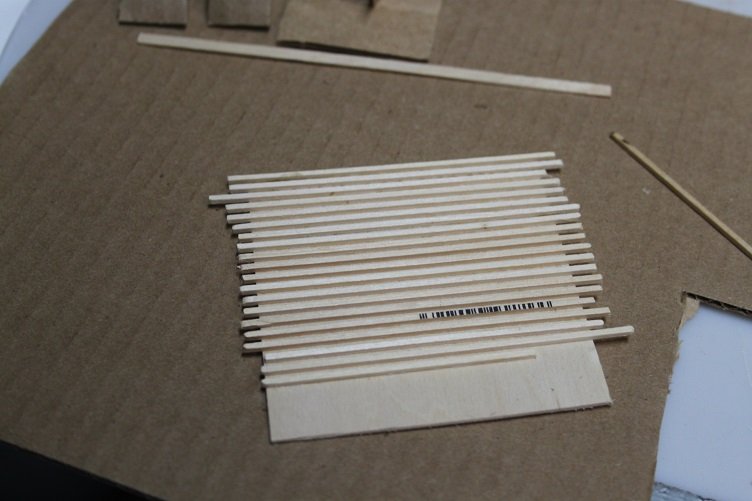
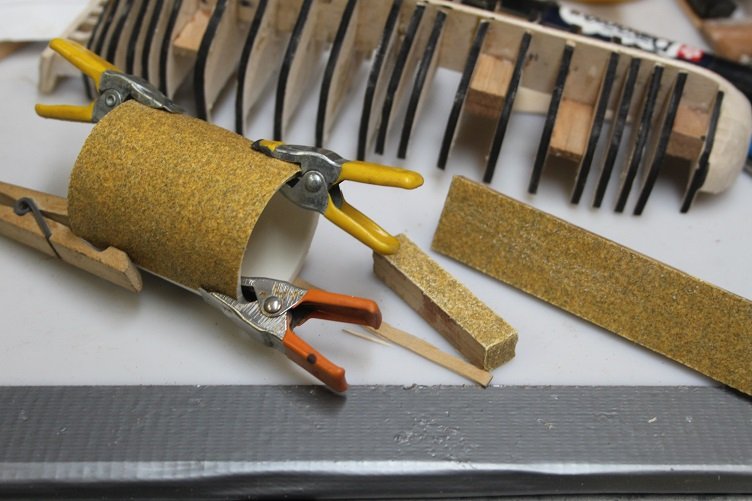
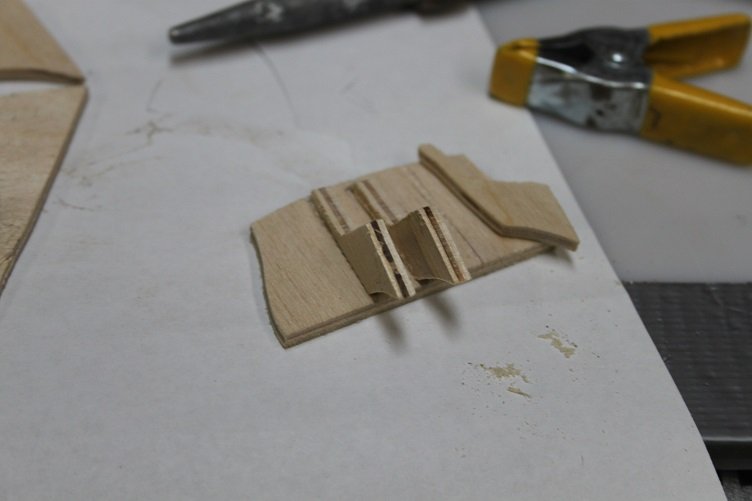
Hello all, thx for the likes. The latest update...I had a bit of trouble with the birch I was using to plank...the planks bent great with the grain but would not take a bend laterally, I tried water, heat, heat and water all to no avail, I could not get the line of the wales to lay correctly...so I have switched to basswood. The hull has been striped clean and the first line of the wales run, but nothing to see yet...so no photos. I have to prepare the new planking stock so planking will be a few days off. In the interim I decided try my hand at scratching out the grate stock, I started with a 1/16 sheet and 1/16 X 1/16 strips...that is a little over-scale but still has a good look. one of the strips is a little longer and has been waxed, it is in the foreground in the pic above, using a needle applicator wood glue was carefully applied to one side of a strip, that was adhered to the edge of the sheet...the spacer put in place and the next strip glued down... this continues until all the strips are glued down... at this point I coated everything with diluted white glue...which did not work out so well, the bond proved to be to weak for the ride through the saw... so I coated the entire assembly with full strength wood glue, a thin coat applied with a brush, after drying more test cuts were made... which turned out satisfactory, so after cutting and sanding them out here is the finished result pretty happy with the way the grate stock turned out That's it for today
-
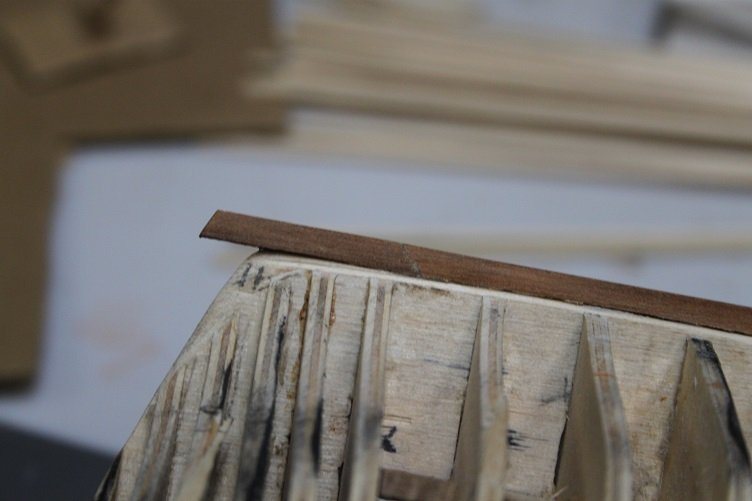
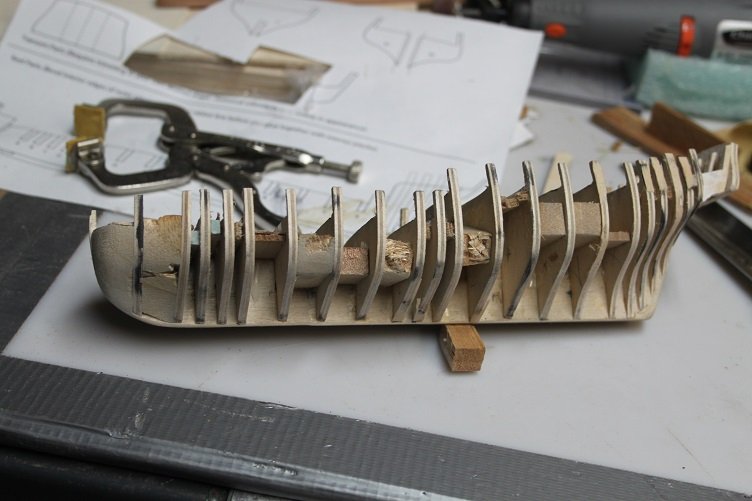
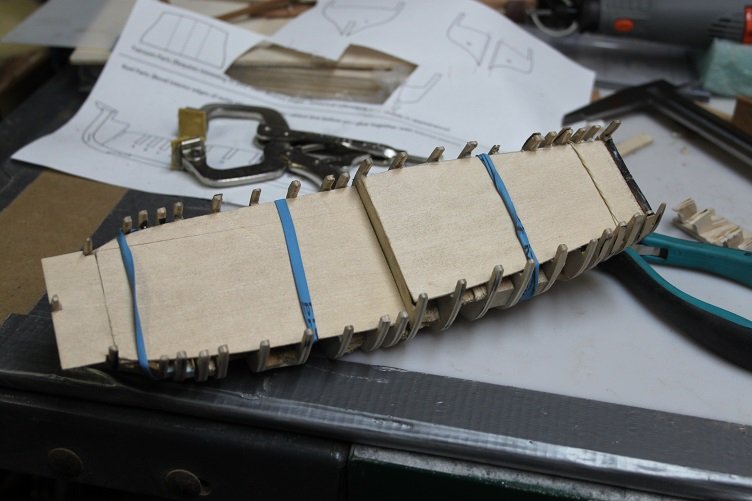
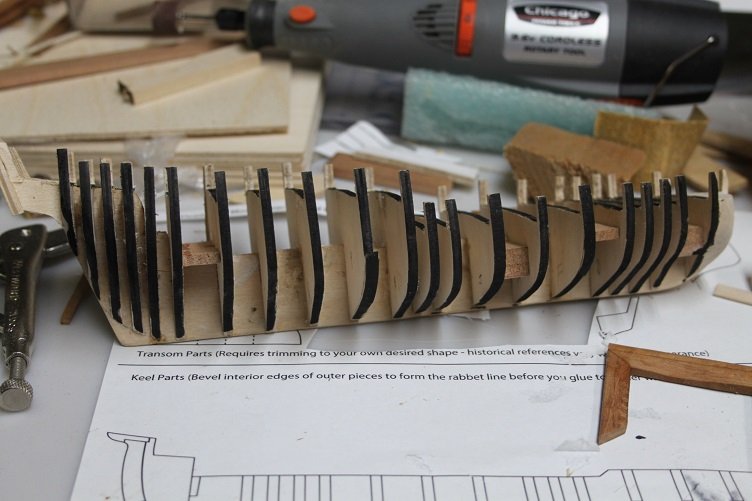
Thanks to all for the likes and comments, The hull fairing is complete you can see all the ugly bracing in this shot, it don't look good but it has been effective in stiffening the hull, it is very solid at this point, proceeded to add the false decks You'll notice the transom has been removed, I had done 5 evenly spaced timbers...which means I had a timber square in the path of the rudder...certainly glad I noticed it now, would have been a real pita latter it was during this phase that i noticed an issue, there is a concavity between the first and second bulkheads that will cause problems during planking so some fill was called for... at this point it will be fill/sand, repeat until I get it where it needs to be,I want to single plank this hull so I'm taking as much care as I can to insure it's smooth at this stage Since I've got to wait for fill to dry I decided to test the planking to see haw flexible it is, I'm using clear birch... bent around a 3/4 inch with no issues and looks good when removed... Well that's all I got for now, next stp is to get the bow where it needs to be so the planking can commence THX again
-
Thanks again for the likes. Started to fairing of the bulkheads but found there was more flex in them then I liked, so they have all been reinforced with miscellaneous scraps of various softwoods from the scrap pile no pics today maybe tomorrow
-
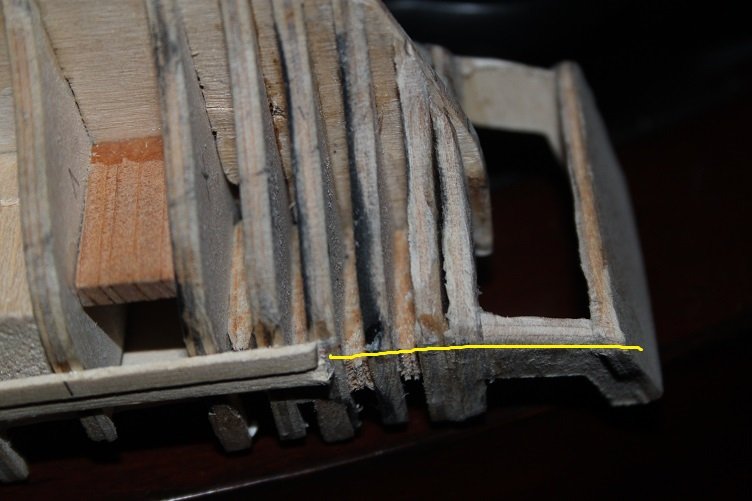
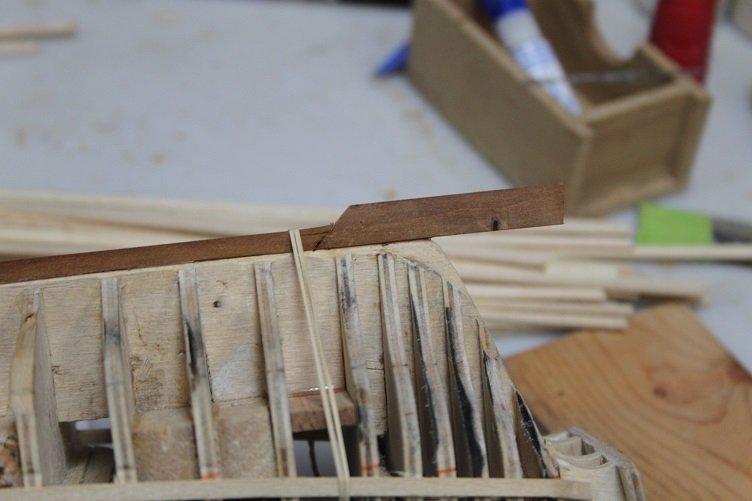
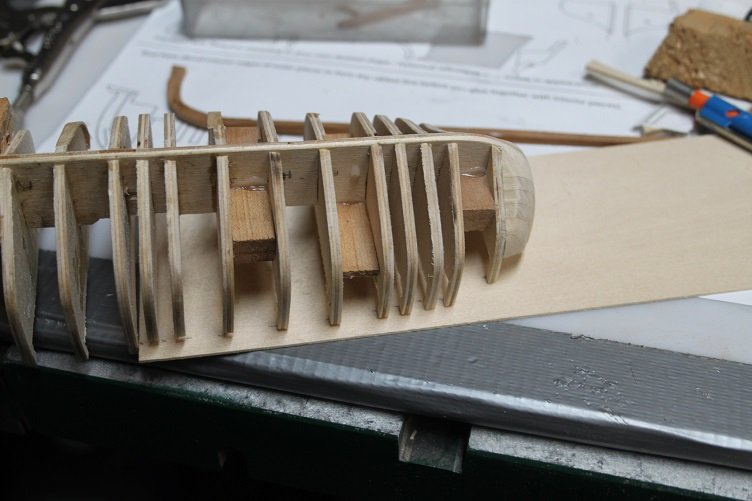
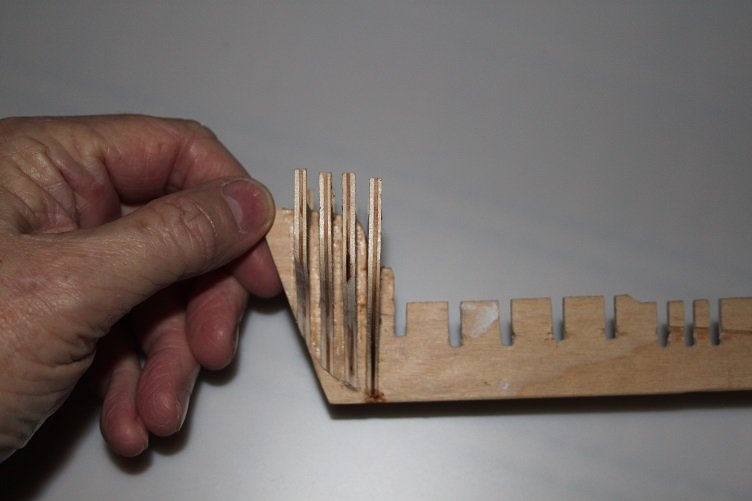
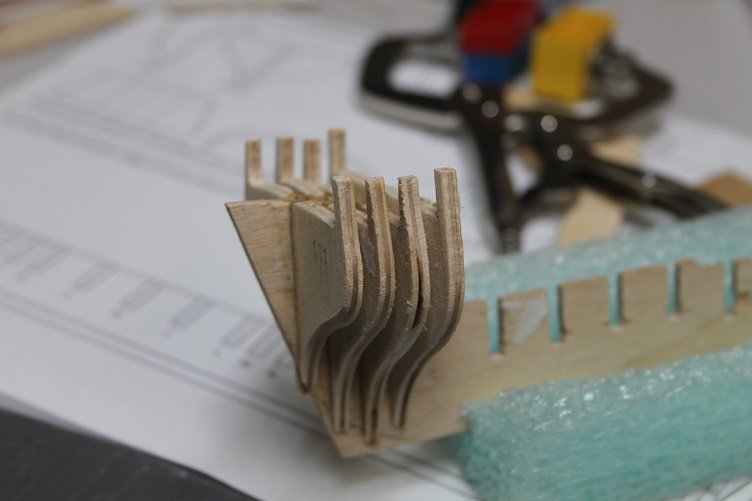
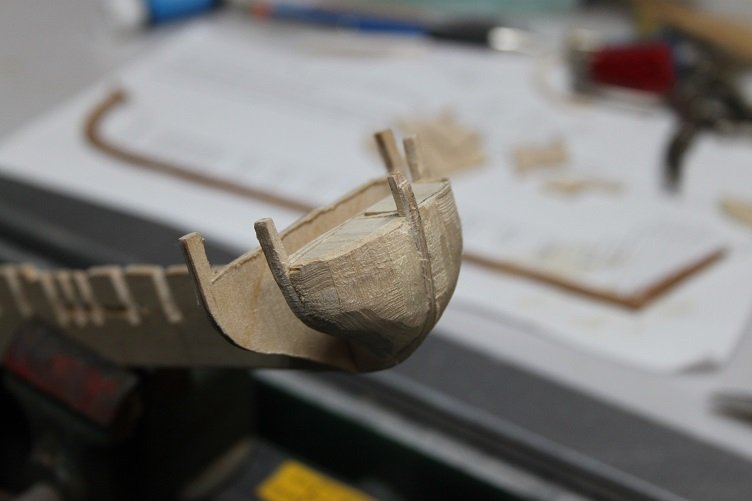
Thanks for the likes Made a little progress today... The plans I have only show 3 stern timber frames, didn't seem like enough and the book Colonial Schooner, 1763-75 shows at least 5...so I cut and added two more which makes a lot more sense, moved on to making and fitting the false deck, I've no plans for it so I just set the framework upside down on 1/32 material and rough sketched around it then just cut and fit a little at a time...took a while but got them there. move on to the keel...the scarfs keep separating while I was try to sand it so I decided to peg them hoping that solves the issue. The framework is roughed and should be ready for final fairing, so I started prepping some tools and the frames are marked for fairing... Hoping to find some time this weekend to fair the frames, but we will see, important family business to attend to

- 184 replies
-
- 11
-
-
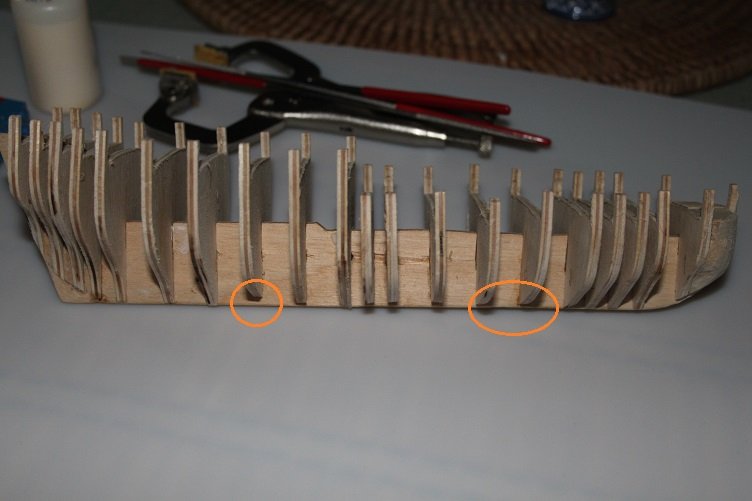
Hi Chuck, I'm using Titebond III permanent waterproof wood glue, since it is waterproof I just figured the soak technique wouldn't work...I'll try later today and post the results, and thanks for taking the time to comment Thanks to both Chris and Chuck for pointing out the error and suggesting a solution, soaking in iso worked very well I was able to easily remove the offending bulkhead and deepen the slots and reinstalled and got all the rest installed as well...there are a few that will require some material to the lower surfaces to flush out but the top and side profiles are good to go well that's it for today, thanks to all
-
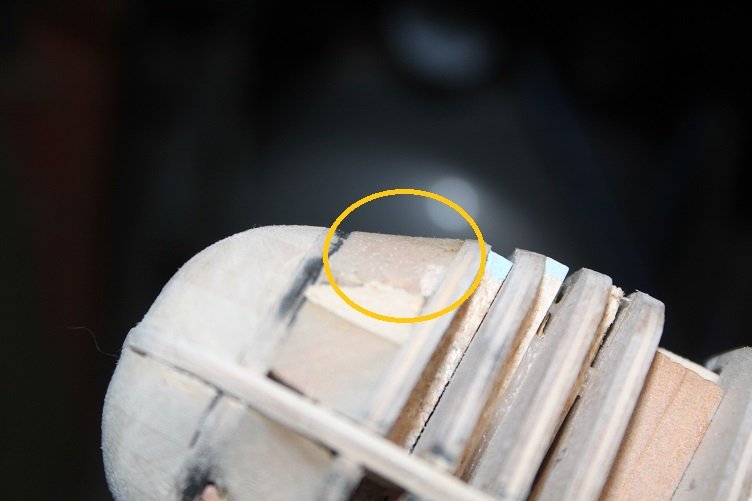
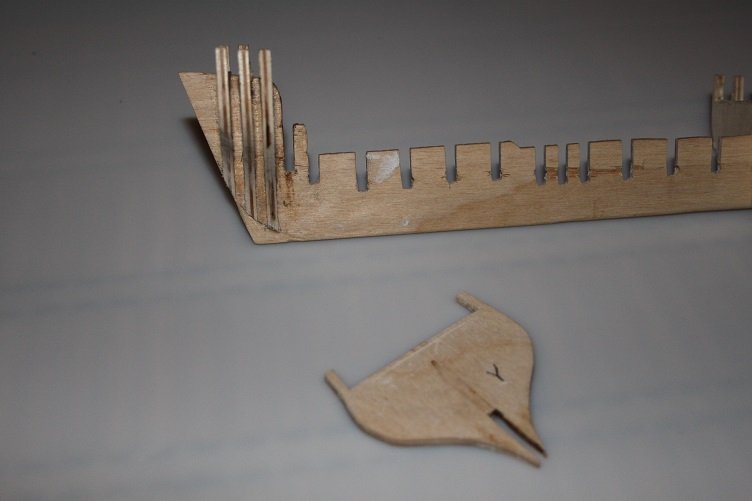
Thx Chris...good eye, I just double checked and it is 1/8 to high, about a scale foot!! It would have been a real issue if uncorrected and is going to call for some judicious surgery, I may resort to cutting the bulkhead out and making a new one
-
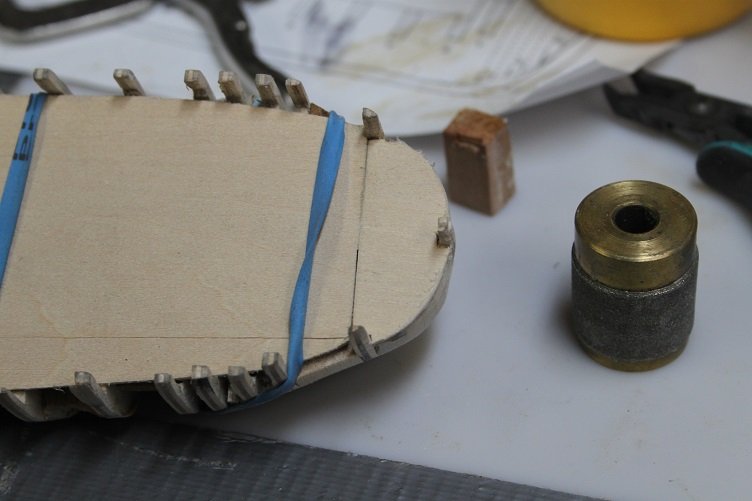
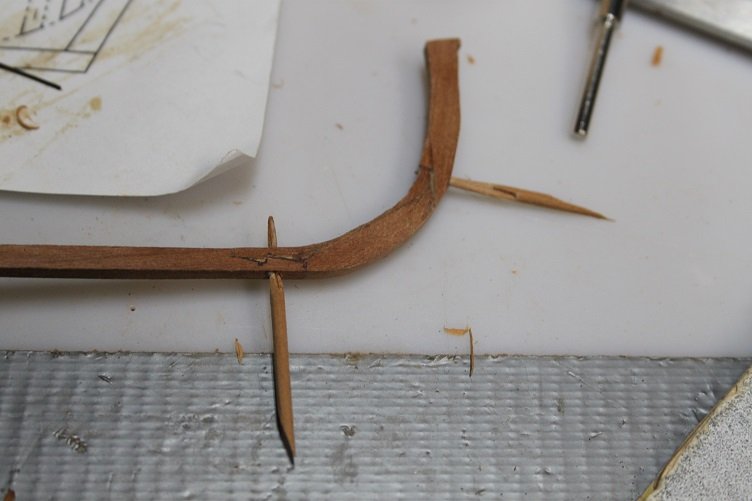
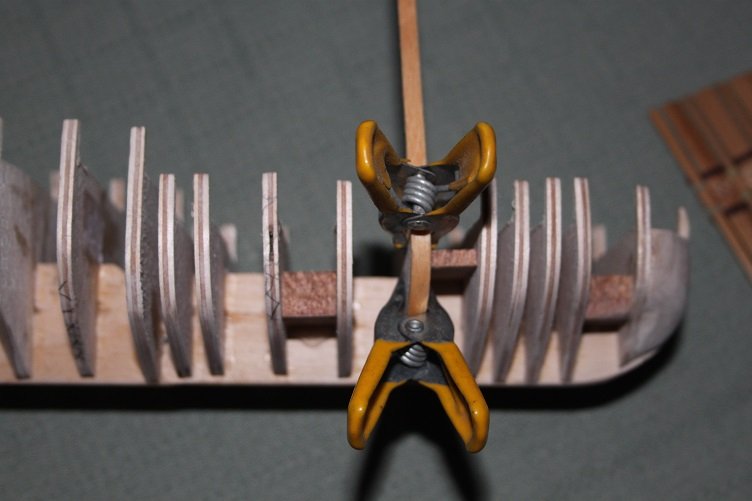
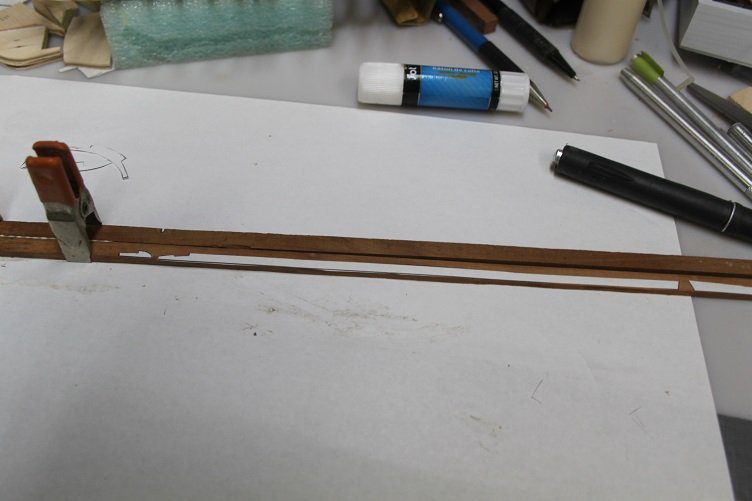
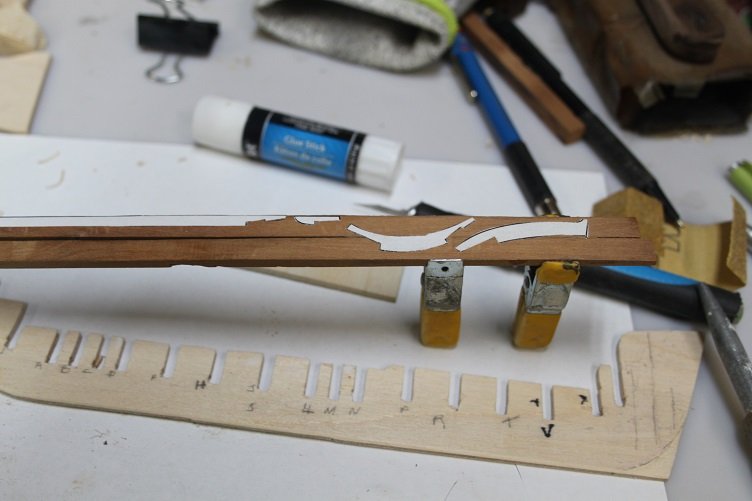
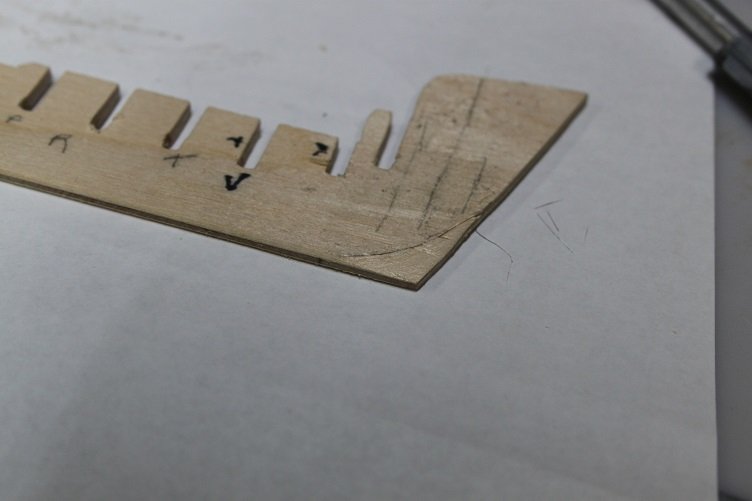
THX for the likes...got more done today The bulkheads have been final fitted and are ready for glue-up. I milled up some cherry to use for the keel and glued the pattern pieces like I did with the bulkheads while all that dried the bearding line was carved into the stern deadwood Time to glue the bulkheads, I started at the aft end as 4 of the 5 bulkheads are halves and are just edge glued to the frame, I first set the first full bulkhead in place the aft bulkheads are close together so I made some spacers from scrap plywood, they have been paste waxed to prevent glue from sticking you can see how this worked out in the next couple pics and here's a shot of the completed stern frame work while that dried i went back to the trim work, this time the stern trim then finished the keel still needs final sanding and shaping, and got the bow filler blocks in place and roughed out, these are just laminated box wood from the spares box that's it for today, thanks again


- 184 replies
-
- 11
-
-
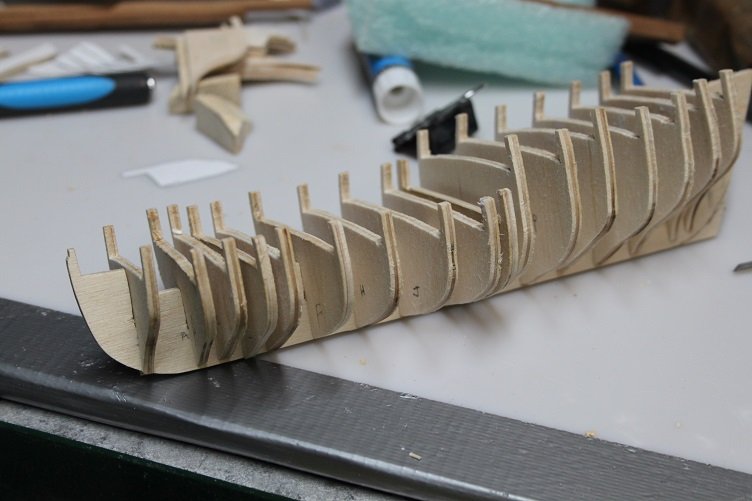
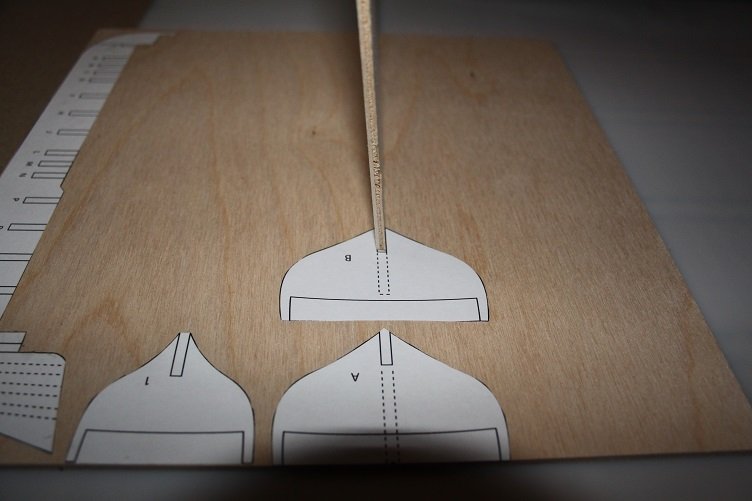
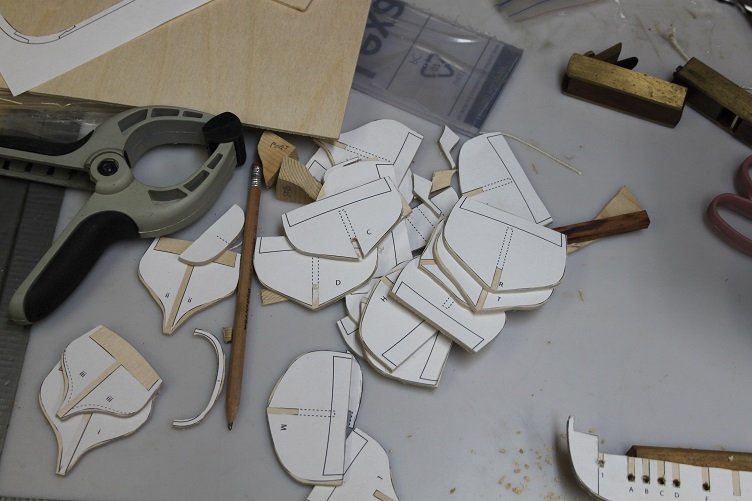
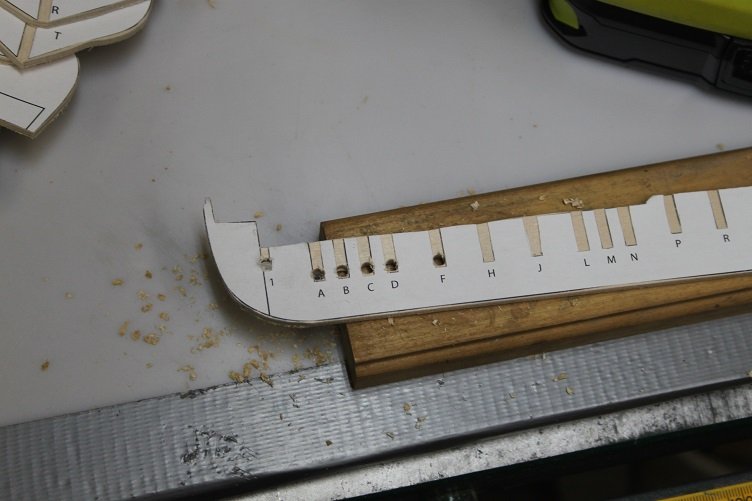
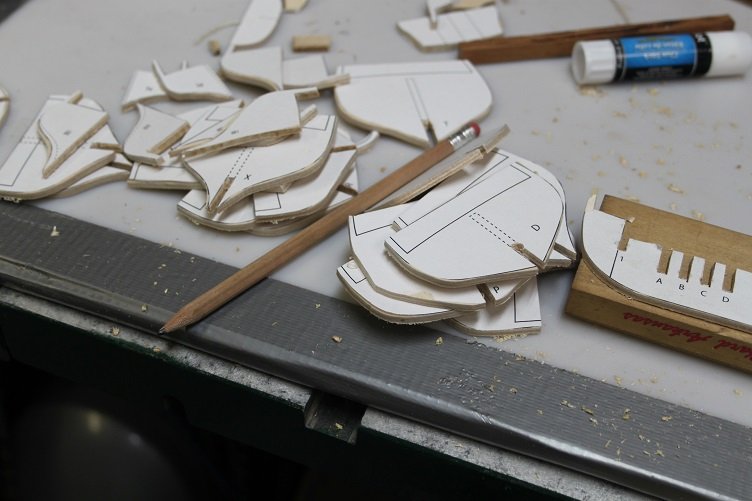
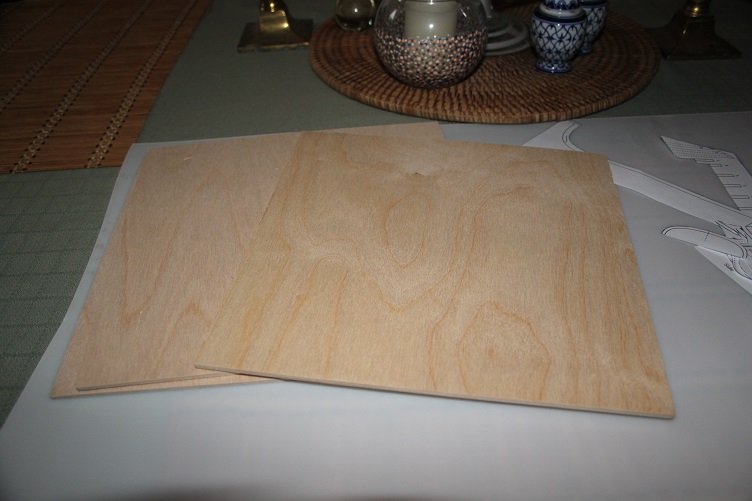
Made some progress today, here is a shot of the 3 mm Baltic birch ply that will make up the backbone of the build nice stuff, b-bb grade, I cut out the bulkhead and keel patterns and positioned them to make the most of the ply and minimize waste, the pattern pieces were adhered with a glue stick I wanted to double check my plan resize calculations, you can see here they are pretty close after everything was laid down, all the parts went on a ride through the band-saw once the rough cuts were made I used a 3 mm drill on the top of each slot rather then nibbling away on the band saw, all that was required to complete the rough slot were 2 parallel cuts completed rough work files were used to finish the fit of each piece and here is where she stands...still more bulkheads to file/fit and all the parts need finish shaping, the topside cuts will be made using the same technique once the fit to the false keel is fine tuned. That's all for now thanks for looking in and thanks for the likes
- 184 replies
-
- 14
-
-
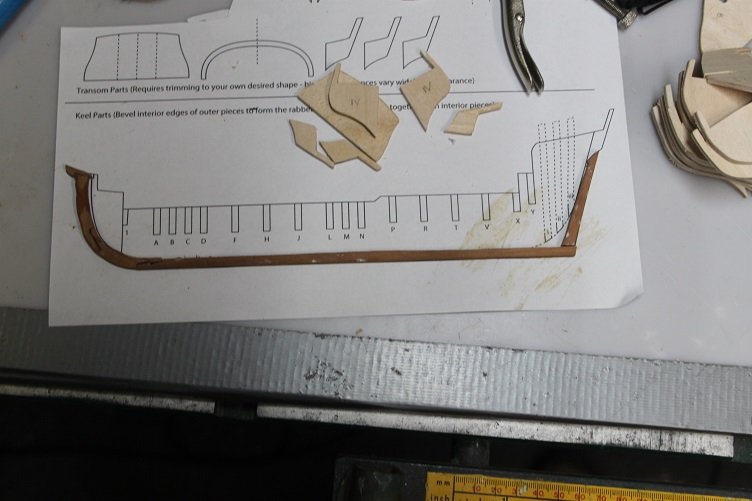
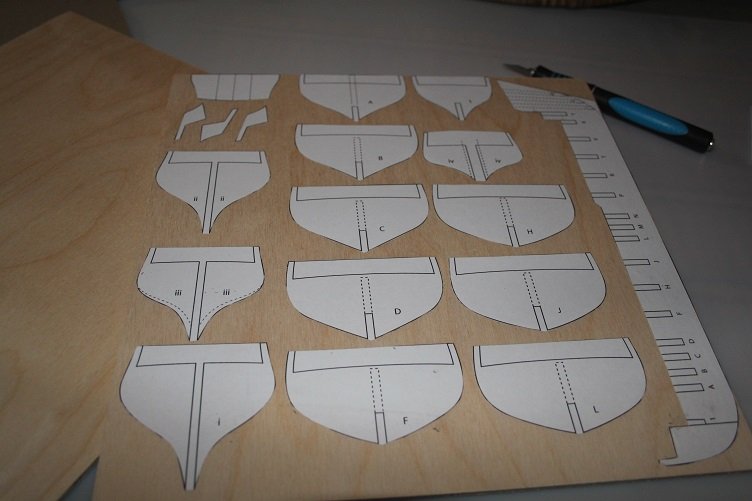
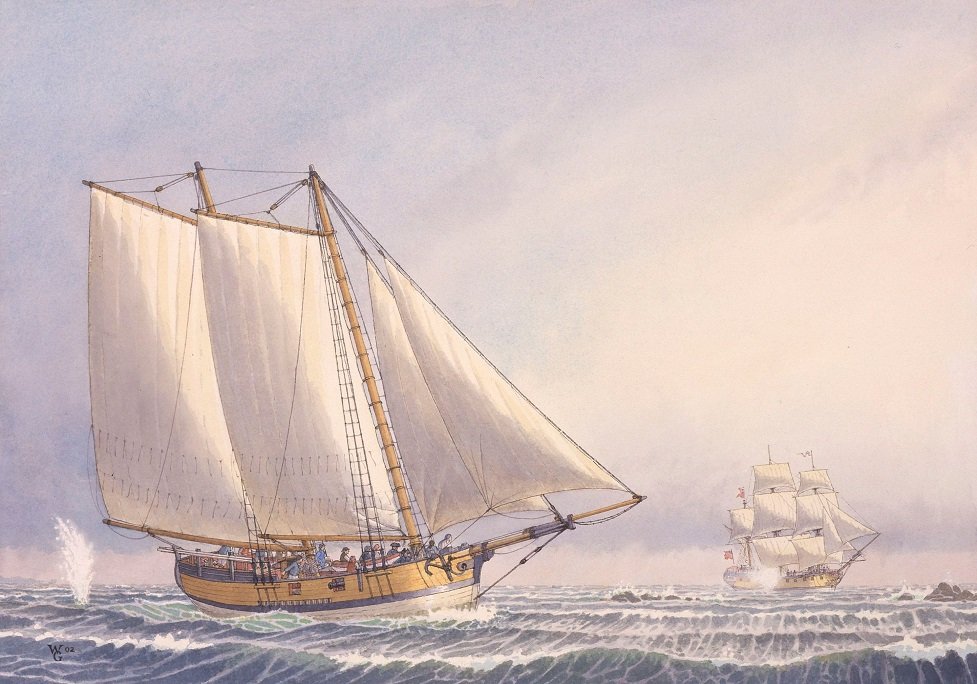
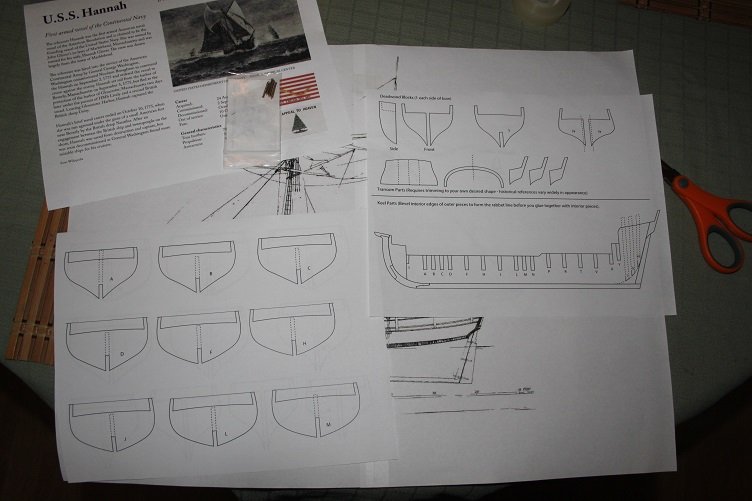
OK well here we go...this is going to be my first attempt at a mostly scratch built ship project, I've purchased rigging blocks and cannon barrels, but everything else will be scratch. I've decided to start small both in scale and ship by doing the Colonial Schooner Hannah, she will be laid up as POB. The bulkhead and false keel plans were provided by Highwingpilot over on www.modelshipbuilder.com (thanks to all there), but I have reduced them from 1/72 scale down to 1/96. I've found some other internet copies of Harold Hahn's plans and have a copy of his book Colonial Schooner, 1763-75 on order, I'm hoping to glen many details from it. So far all I've completed is the reduction and printing of the plans, but here are a couple paintings of the Hanna, love the action in the first one, wish it was color...

- 184 replies
-
- 10
-
-
Really looking good Sam