jct
-
Posts
1,519 -
Joined
-
Last visited
Content Type
Profiles
Forums
Gallery
Events
Everything posted by jct
-
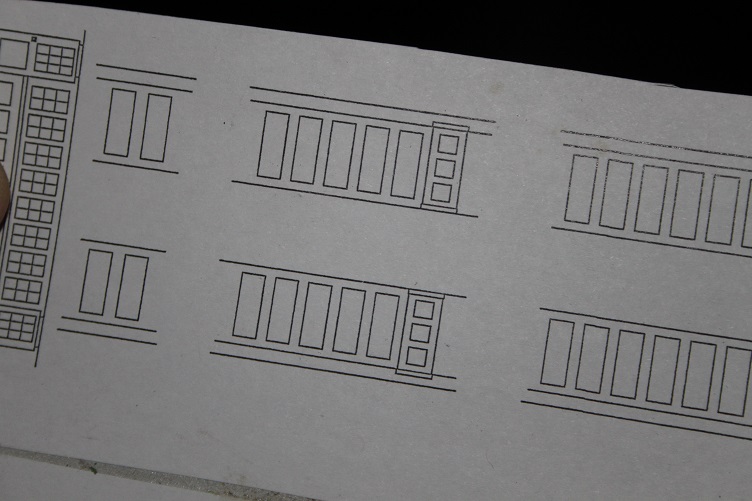
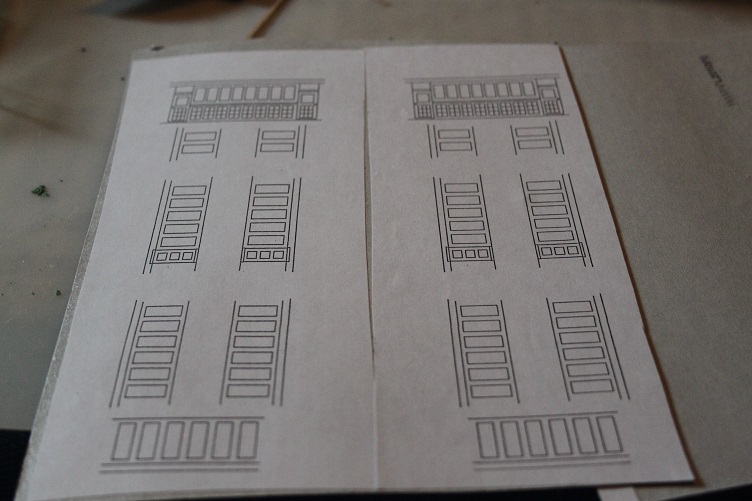
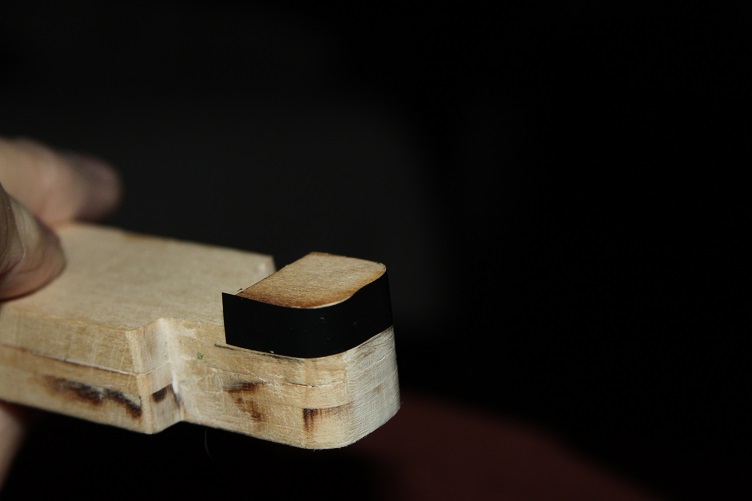
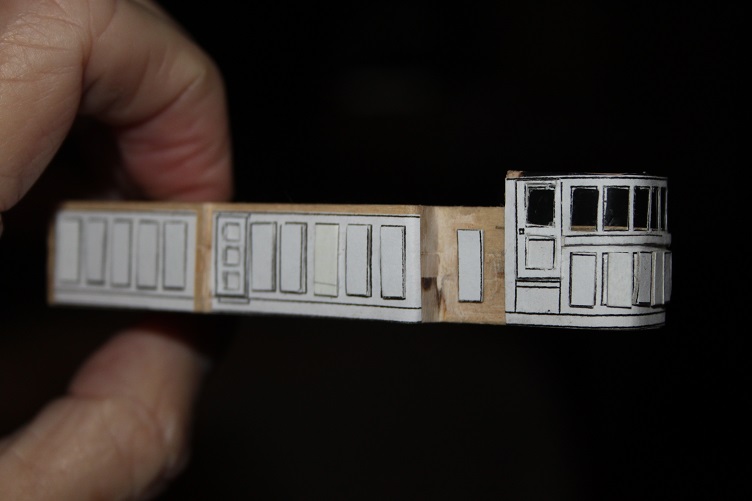
Good day and happy holidays to all, Another update... Like others that have worked on this kit I was somewhat disappointed that all that was provided for the pilot house was a paper sheet, so looking to add a bit more character I copied the sheets and glued a couple to thick card stock. The idea was to create thicker material that I could cut and apply to the base template to simulate raised wood panels, for the doors I used slightly thinner material and cut the panels trying to represent a recessed panel. Windows were simulated with floppy disk stock, the windows will be masked off and everything airbrushed white to start...not sure where it will progress form there. Took time and made a tape template for the decking material as well, THX for your time and attention Pics follow

- 258 replies
-
- 6
-

-
- harriet lane
- model shipways
- (and 1 more)
-
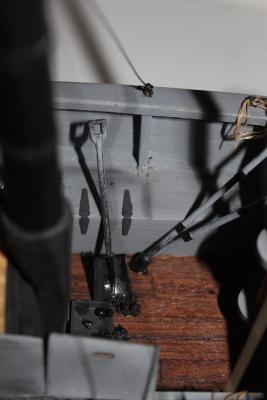
A few updates...after reading a few other HL build logs, I was prompted to check the height of the cannons in reference to the bulwarks, as others had discovered I too found mine were to low, so extensions were in order. My thanks to those who saw fit to mention this in their logs, saved me a bunch of issues down the road. I turned to my spares box again and found some 1/16 X 1/32 strips and glued and clamped them to the existing bulwarks..,at the aft end the strip was soaked in hot water and bent and tacked down with cryo glue, that was followed by more wood filler and sanding Pics follow


- 258 replies
-
- 6
-
-
- harriet lane
- model shipways
- (and 1 more)
-
Thanks Pete and Popeye...Pete your Newsboy looks outstanding, I'll look for your build log to follow along...thx Denis...good to be back, been itching to get started since the weather turned
- 258 replies
-
- 3
-
-
- harriet lane
- model shipways
- (and 1 more)
-
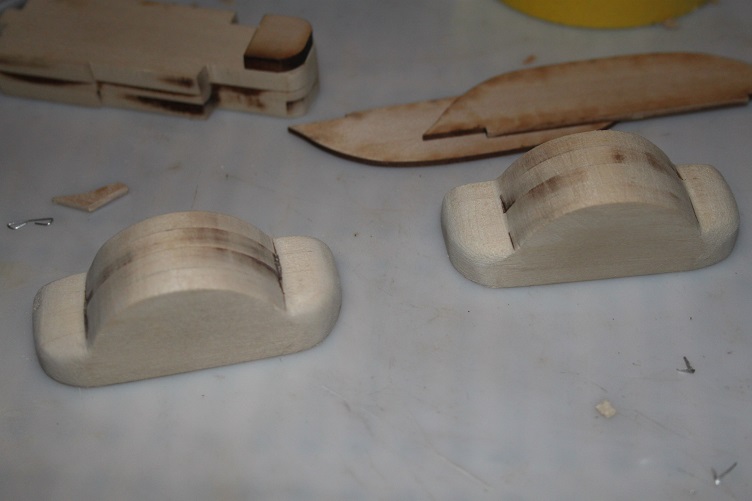
some additional pics...mounted the keel and stem and stern posts, still have to make the rudder, and started shaping the paddle-wheel housings, nothing new or exciting...just sanding
- 258 replies
-
- 5
-
-
- harriet lane
- model shipways
- (and 1 more)
-
Thanks for all the likes and kind comments, I'll have more updates tomorrow...thanks again
- 258 replies
-
- 2
-
-
- harriet lane
- model shipways
- (and 1 more)
-
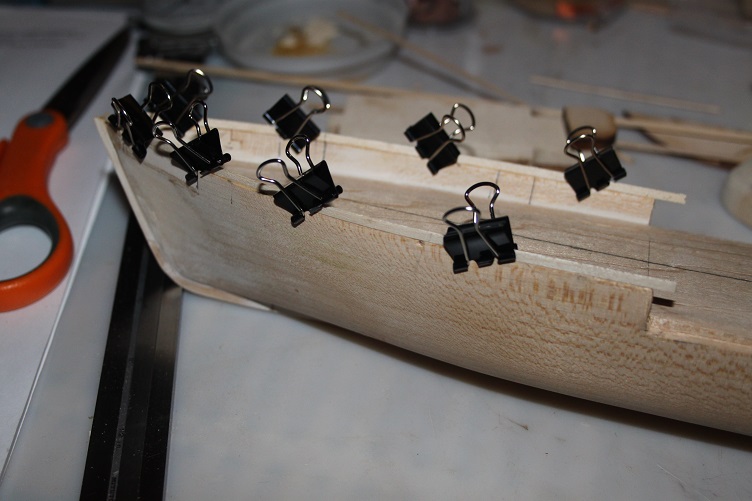
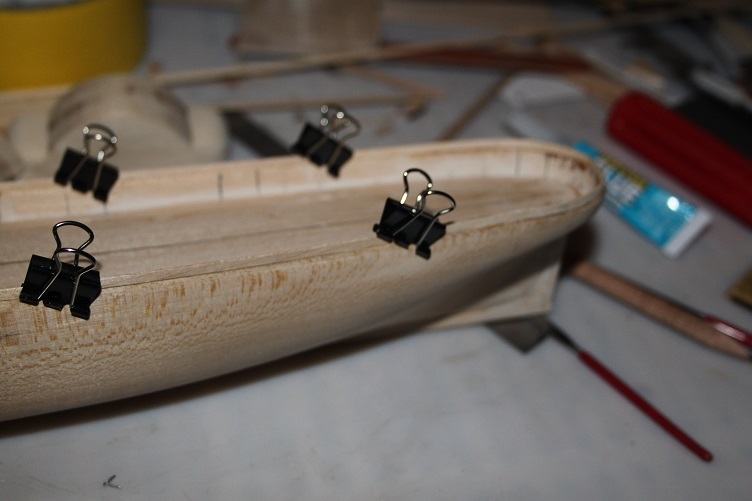
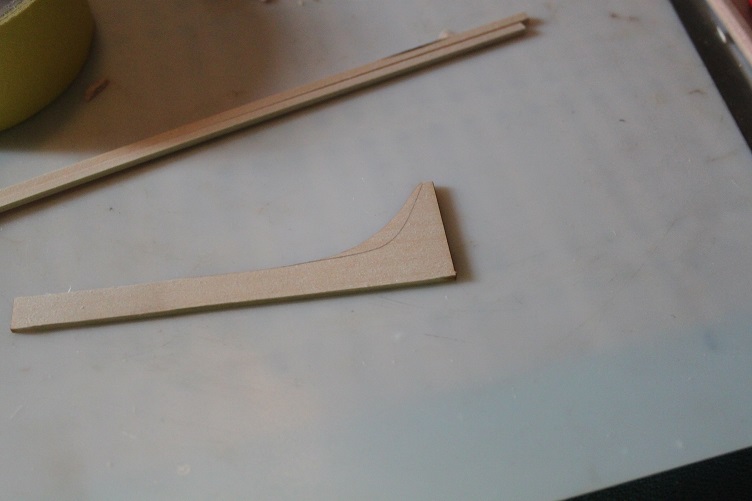
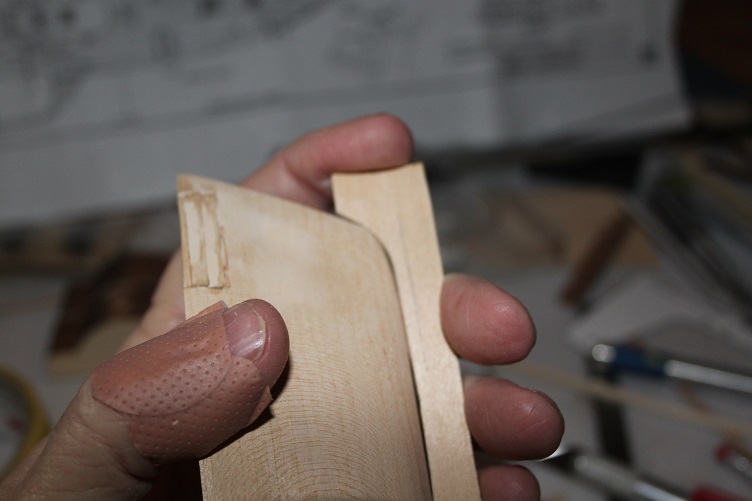
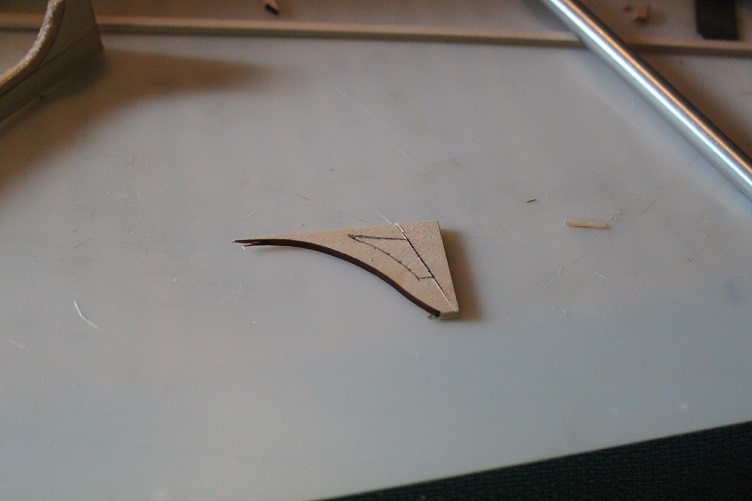
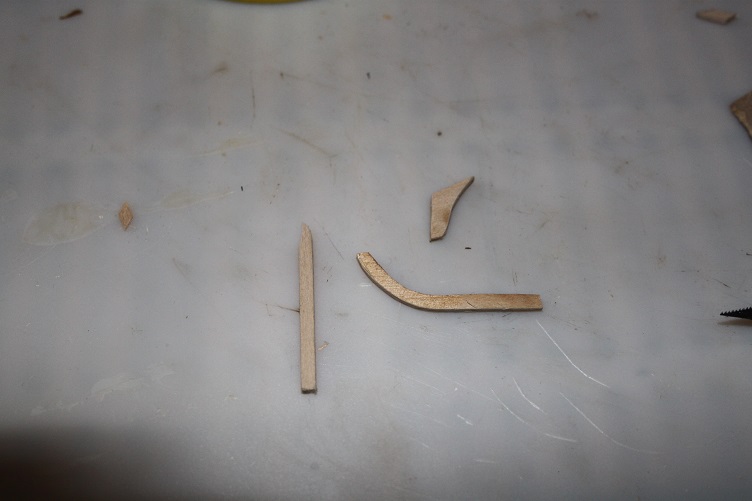
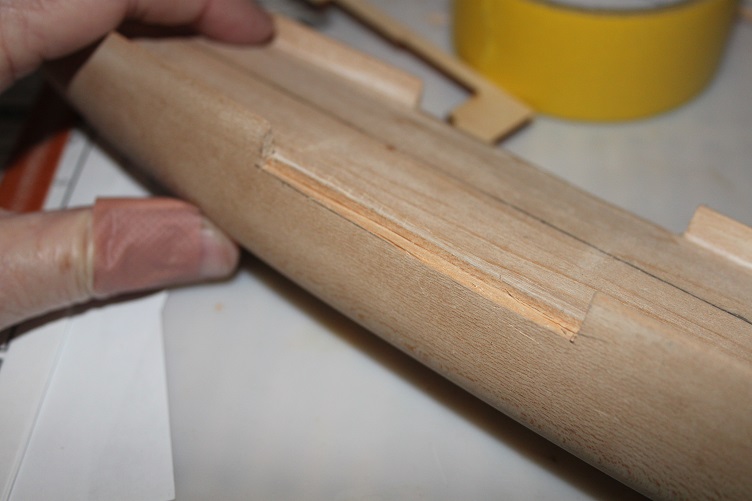
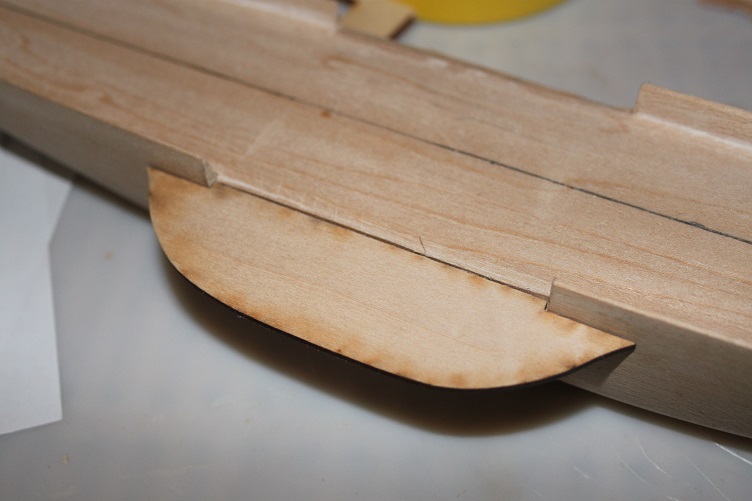
Hello all, A little more progress, started working on the stem and stern post, the lower curved cut water and the figure head perch, these were all made from scrap stock from the laser cut parts, so be sure to hold on to them they come in handy. I used the pieces the sponsons are cut from as it is the thickness needed. The perch shape was transferred from the plans by setting the material underneath and poking through with a sharp needle, then just connect the dots Also got the bulwarks cut for the sponsons, I wanted them to sit flush with the main deck when mounted so once the section of rail was removed I traced the depth and inset onto the hull and cut a rabbit for them to sit in... Pics follow
- 258 replies
-
- 7
-
-
- harriet lane
- model shipways
- (and 1 more)
-
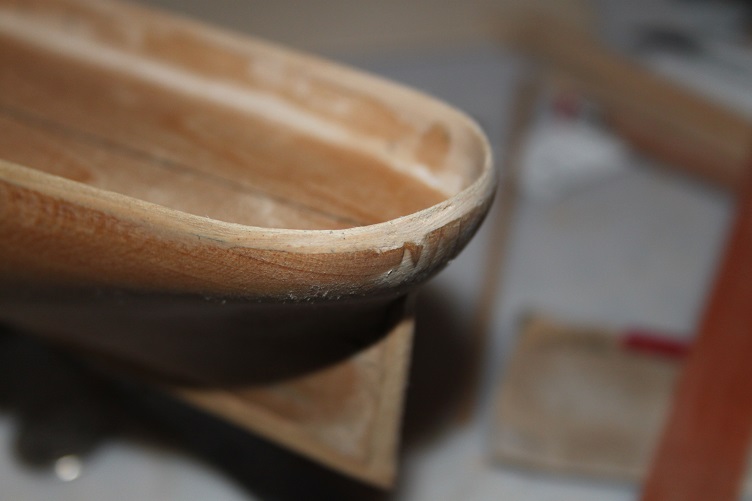
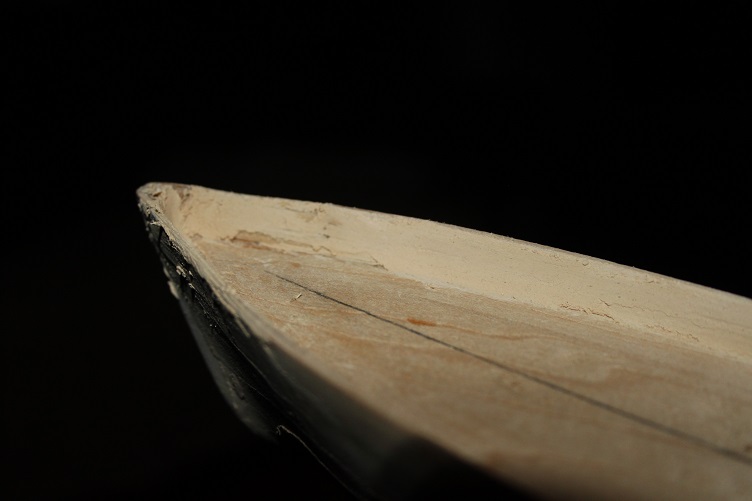
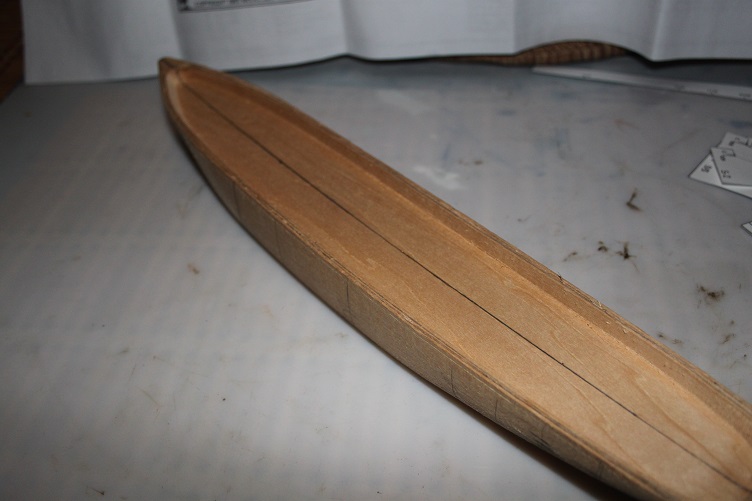
Completed the repair of the bow and thinning the bulwarks, just a lot of sanding and putty work
- 258 replies
-
- 7
-
-
- harriet lane
- model shipways
- (and 1 more)
-
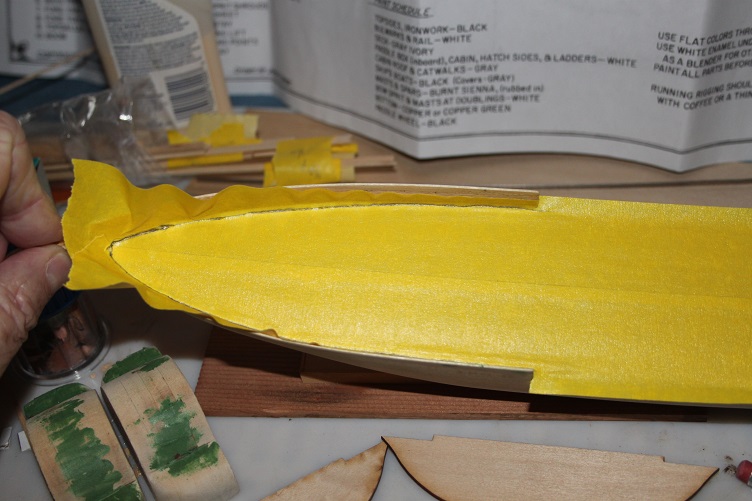
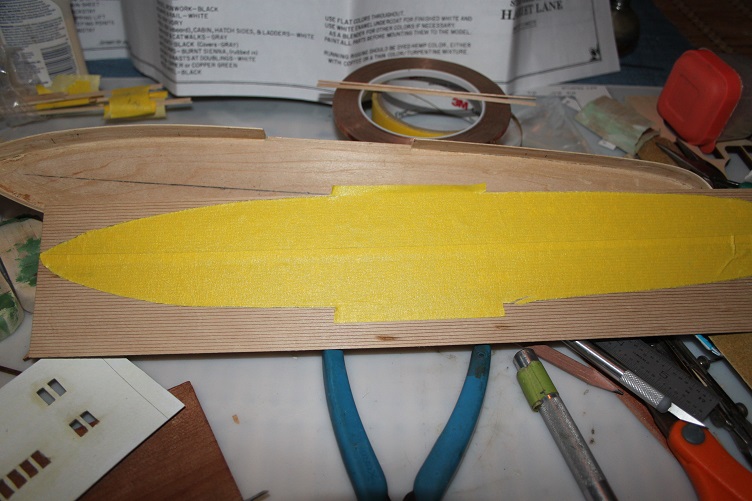
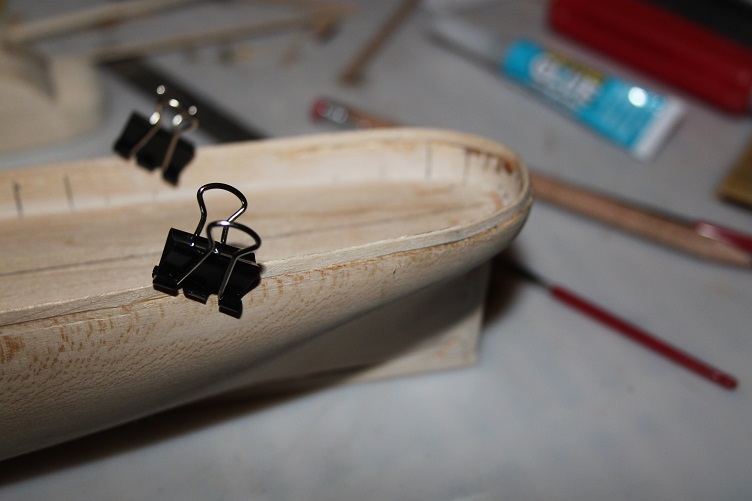
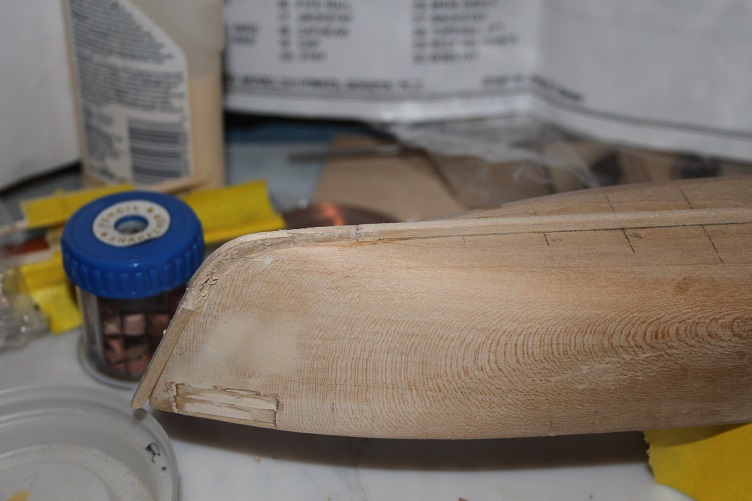
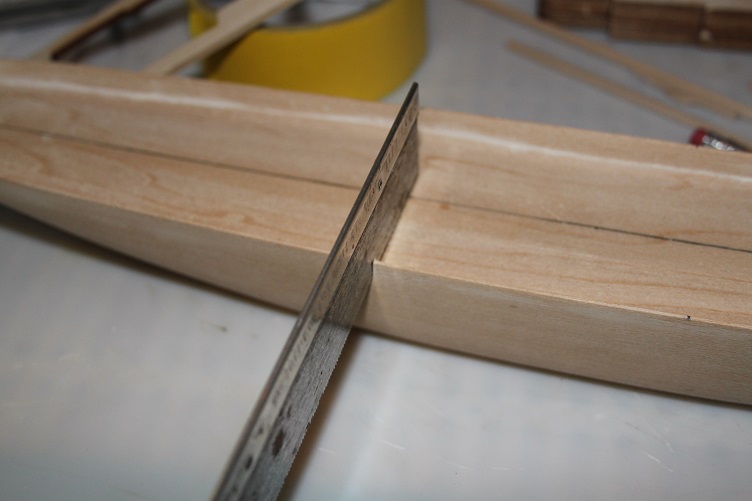
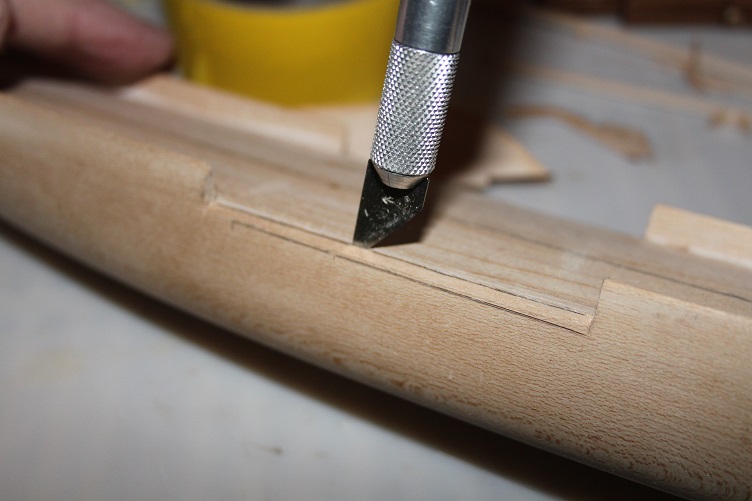
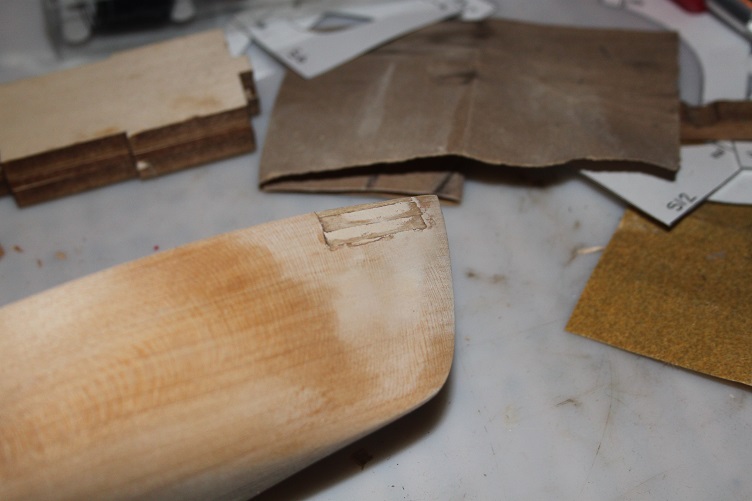
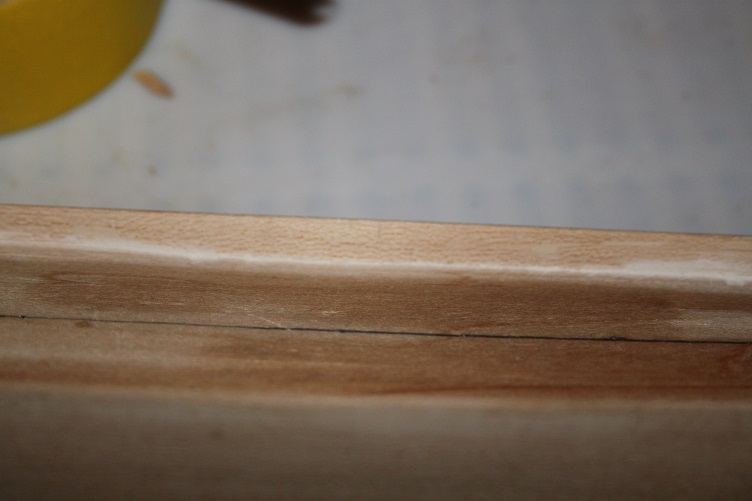
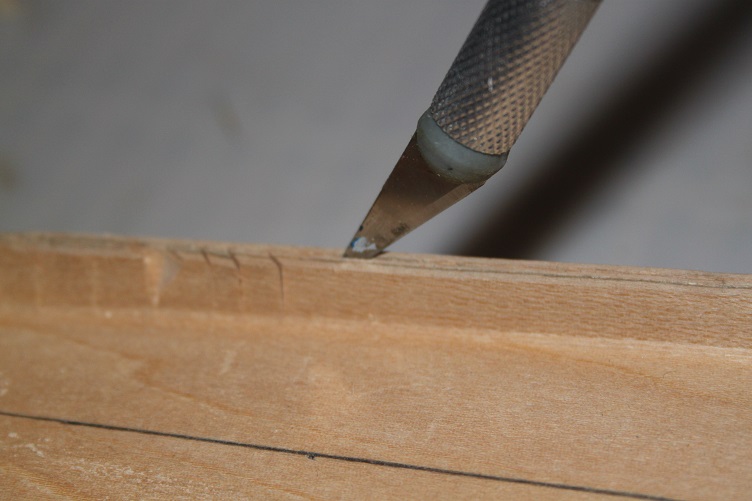
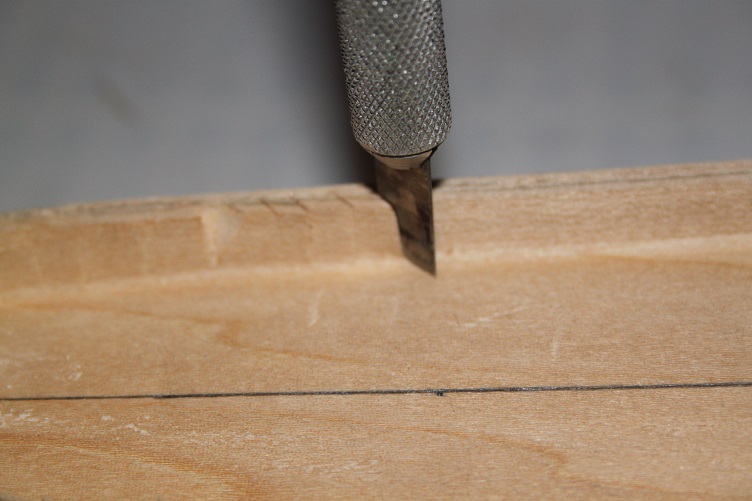
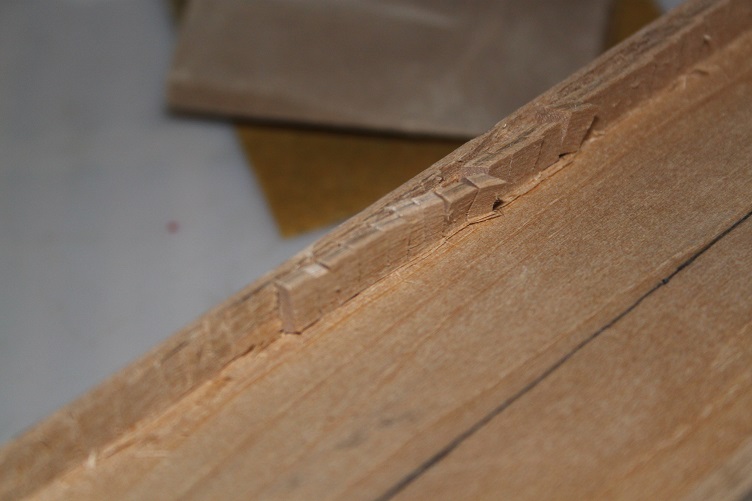
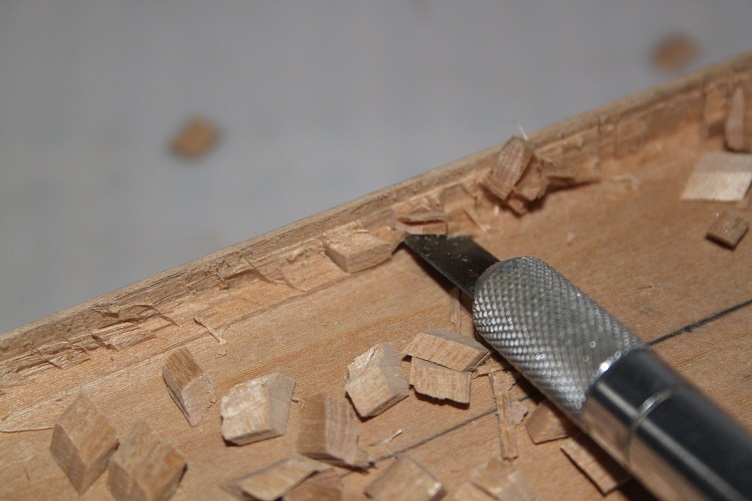
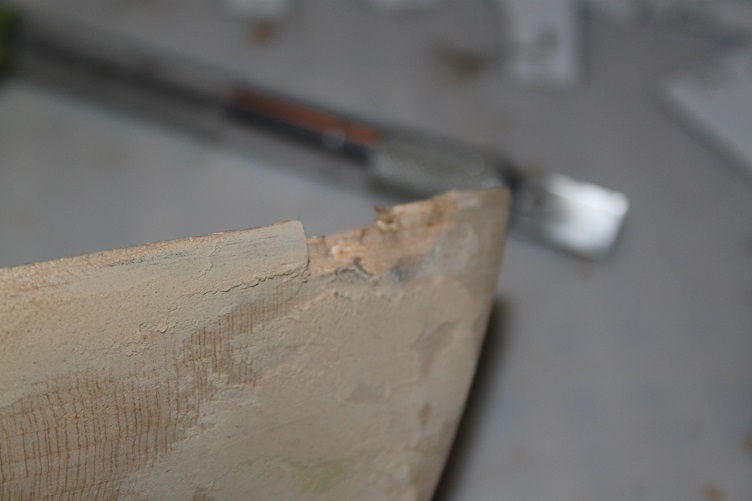
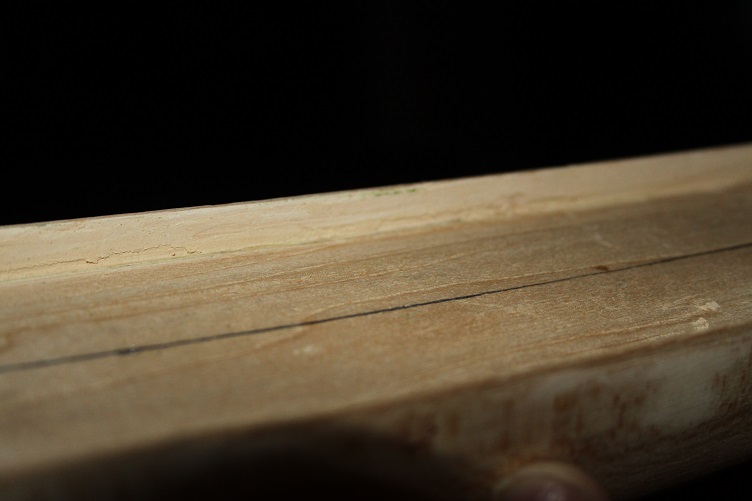
Spent some time working the hull and thinning the bulwarks... I initially tried to thin these the way the plans suggest but found that the material was to fragile and wanted to break out at almost every cut. So I adopted the technique described below... first thing was to score the scribe line with a sharp #11, I continued to make light passes until I was about half way through, then with a very sharp chisel blade I made a series of diagonal cuts, taking care to stay inside the cut-line and going all the way to the deck. Using the same chisel blade the excess was removed with a horizontal cut parallel to the deck, One thing to remember is to angle the cuts plunge cuts outboard when working the bow and stern sections, as the hull flairs out slightly at those areas. I got a little to horizontal up at the bow and broke a section away. This was repaired by cutting a couple pieces of planking from the spares box and cutting the breakout square, the pieces were the set with cryo glue and puttied over. The hull now has its final coat of wood putty drying, prior to priming, I hope to get the final sanding done tomorrow and will post pics of the result. As always thanks for your attention Pics follow:


- 258 replies
-
- 7
-
-
- harriet lane
- model shipways
- (and 1 more)
-
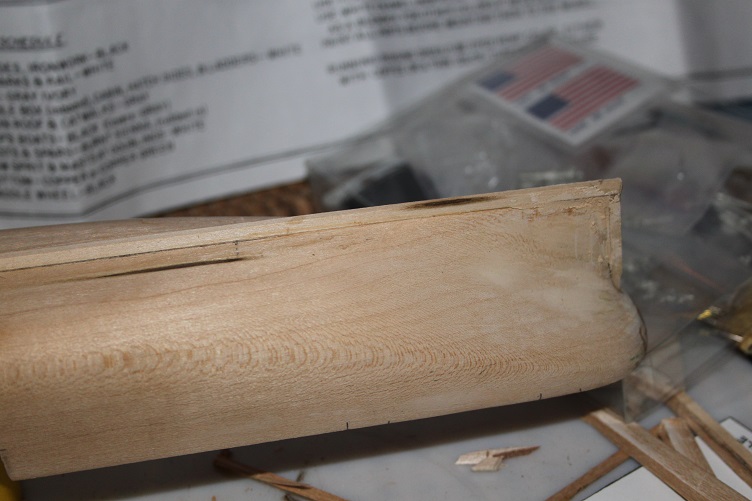
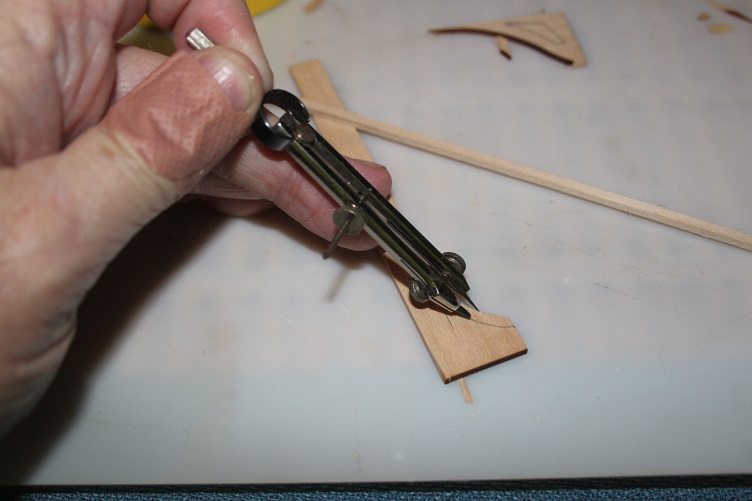
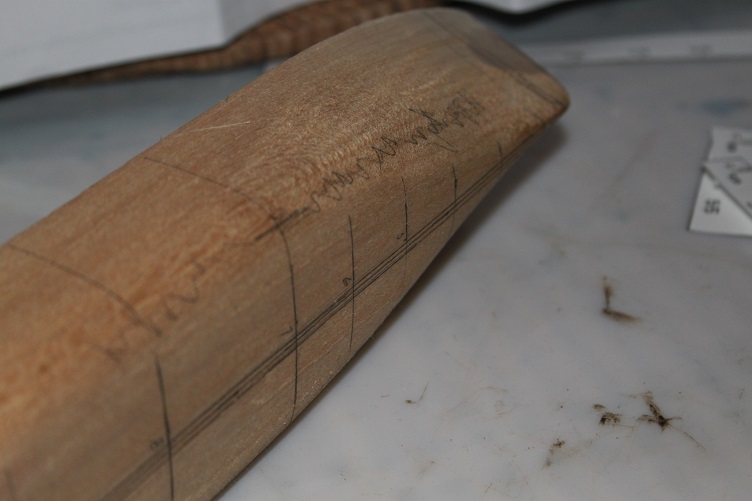
Hello All, After a summer hiatus I'm back to the table with a new build. The Harriet Lane from Model Shipways, I've always been intrigued by these type of vessel with the mixture of paddle power and sails, not really sure how practical they were but they look cool on the shelf! Other builders here have done a fine job of inventorying the kit so I'll skip that and get right into the build. This kit is a solid hull, a first for me, and after cutting out the kit provide templates the hull was marked out at the appropriate sections and the center line established. I was surprised and pleased to see how close the rough hull was to the actual templates. At this time I marked out the high spots where material will be removed and also set the bulwark width using a compass, as I've described in my other builds. Next steps will be to get the rough hull into finished shape and dimension and thin the bulwarks down. Pics follow, as always thanks for your time and attention J

- 258 replies
-
- 11
-
-
- harriet lane
- model shipways
- (and 1 more)
-
Steve, Very Sorry to hear of Suzie's health problems, cant imagine what you're going through...as Sam said we'll be here J
- 569 replies
-
- 2
-
-
- shenandoah
- corel
- (and 1 more)
-
LOL...sorry to confuse you Charlene, I too am looking forward the the series, I think our respective favorites may be meeting up, just hoping mine can turn the table on Jerry's this season! obtw I've loved following the Bounty build...kinda cool the way you guys are tag teaming it J
-
Hi Charlene, Sorry to hear of Jerry's health issues, please extend my best wishes to him and pass along this message GO PENS
-
Hey Popeye...based on what I've learned she never carried a name or number, in fact she was lost on her first mission, the sinking of the iron clad Albemarle..
- 105 replies
-
- 2
-
-
- picket boat
- model shipways
- (and 1 more)
-
Looks good Pop...how close are you to the big finish
-
Hey Sam...sounds like a lovely weekend!! :P Your Enterprise is look very nice though
-
Hi Mike, Just found your log, I think you're doing fine for your first time out...I also struggled with the plans and the stern fillers, that coupled with breaking timber heads is what has my Niagara build on hiatus...keep up the good work J
- 843 replies
-
- 3
-
-
- niagara
- model shipways
- (and 2 more)
-
Thx Tim...your build served as excellent inspiration Thx Sam, not sure just yet, it may sit for awhile...there are a couple of scratch projects I have plans for, but what ever the next build is you can bet I'll start a log
- 105 replies
-
- 2
-
-
- picket boat
- model shipways
- (and 1 more)
-
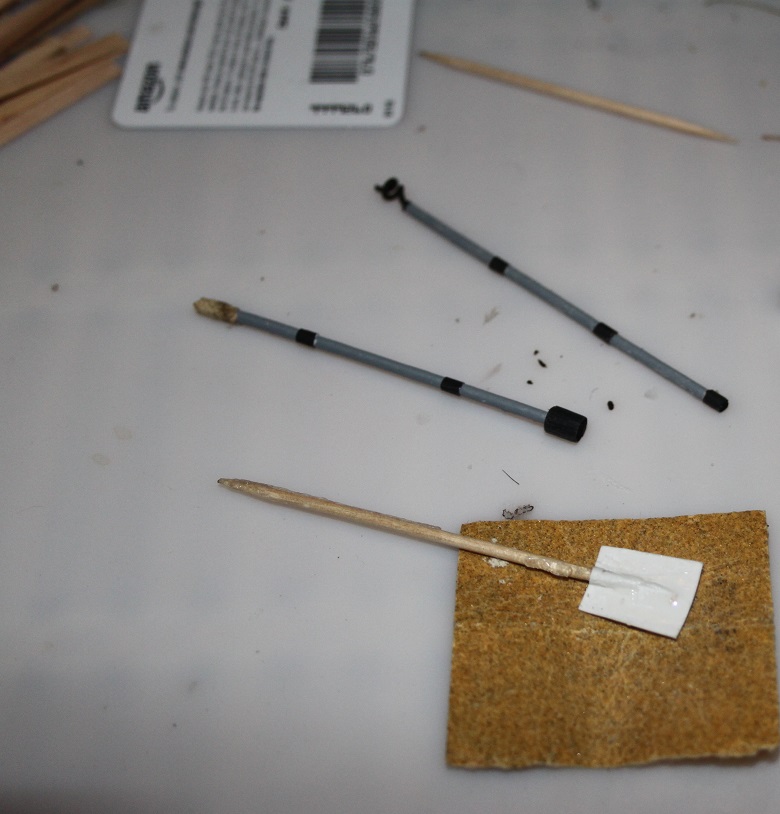
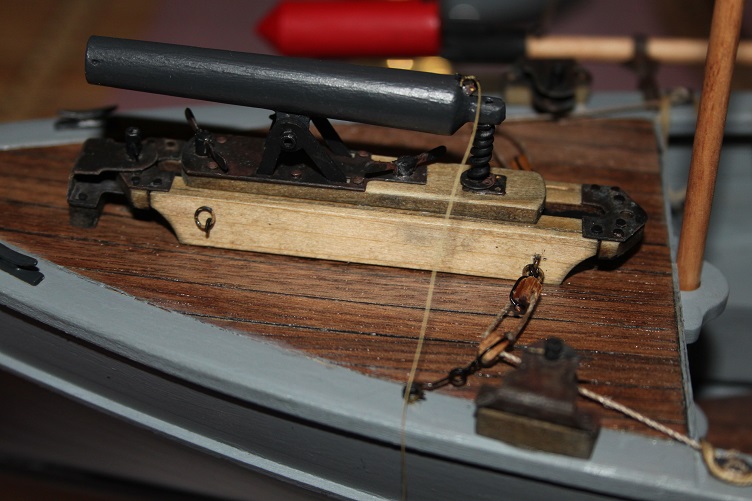
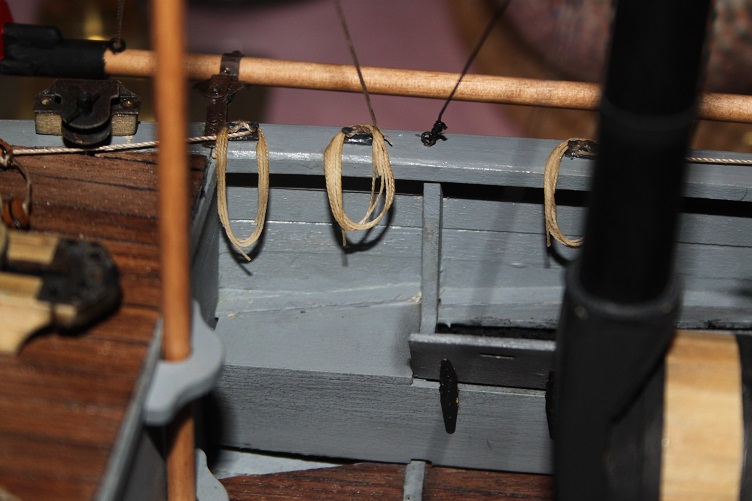
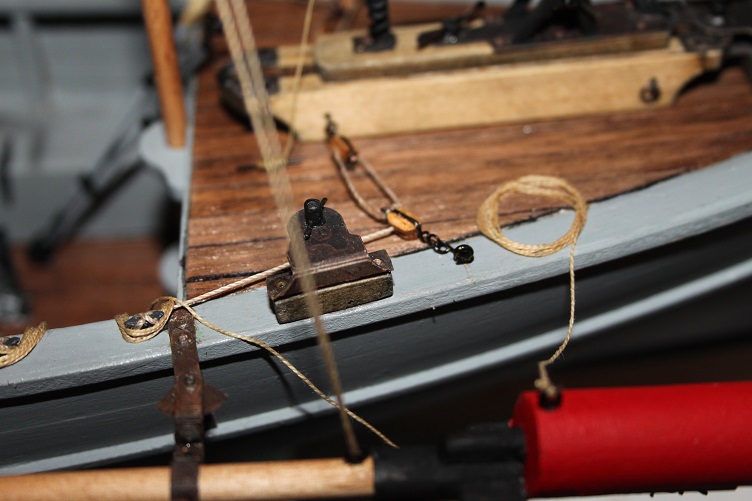
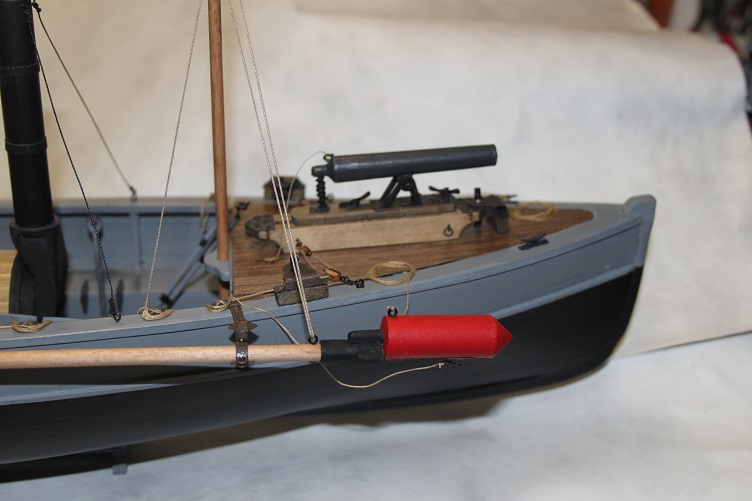
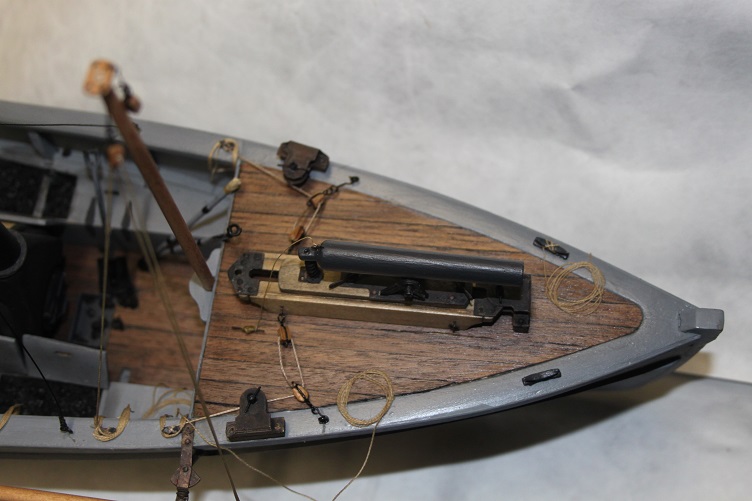
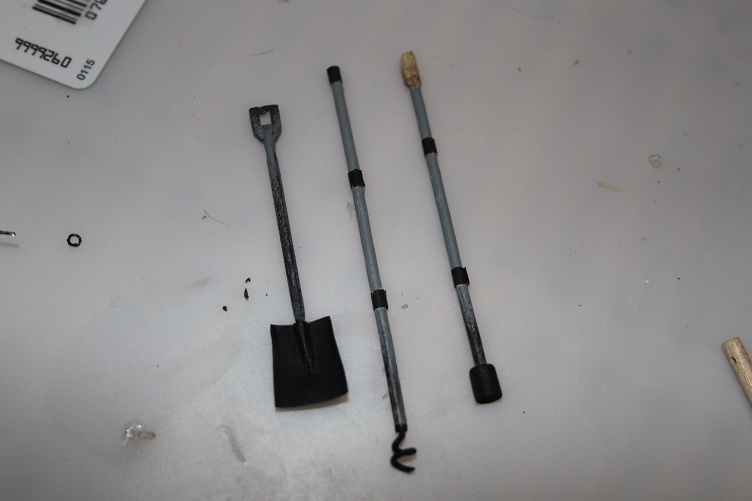
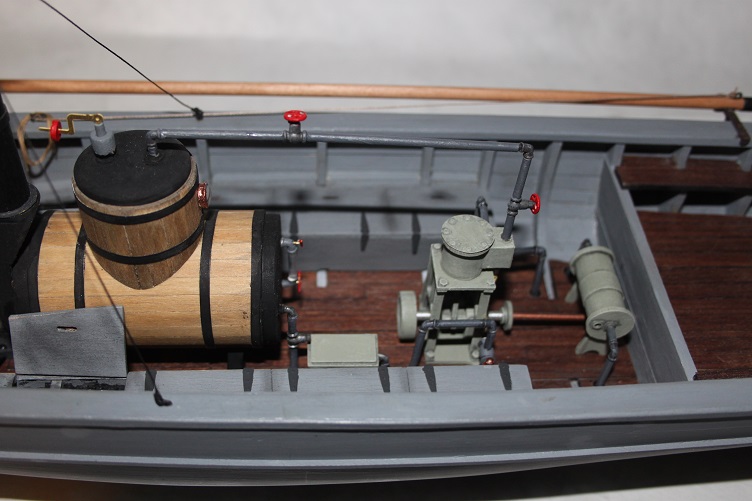
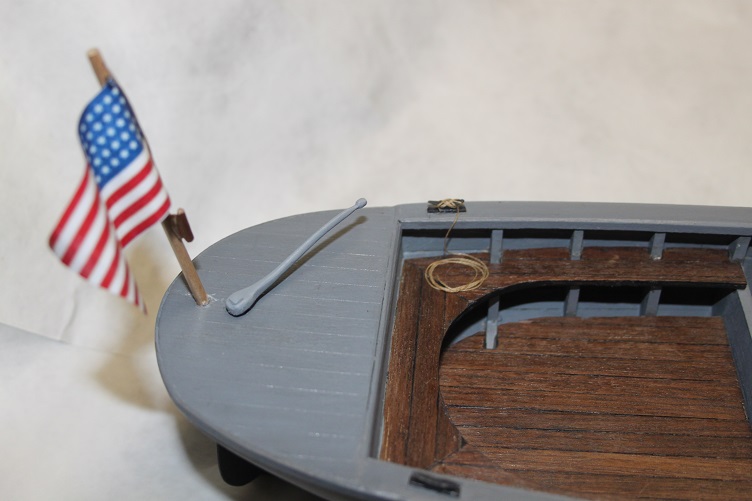
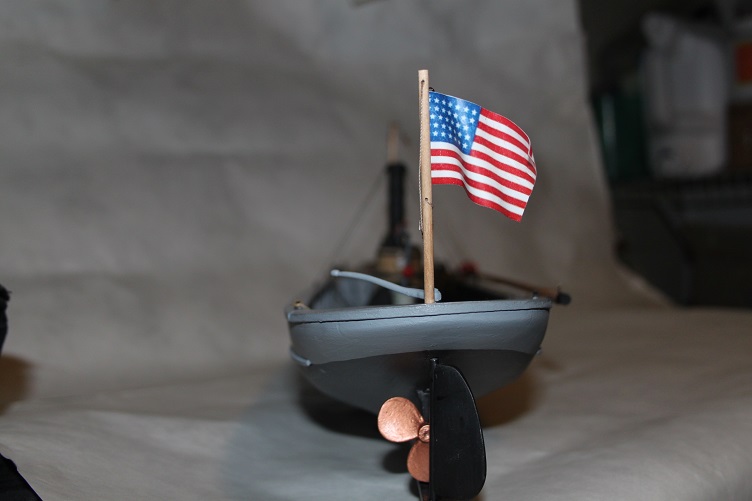
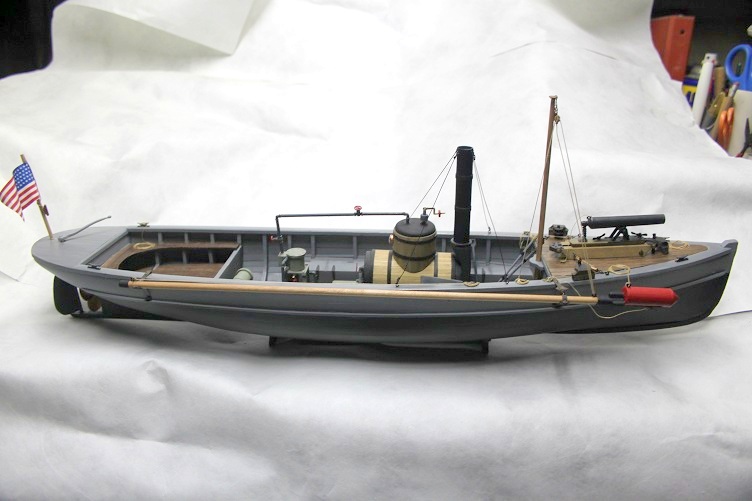
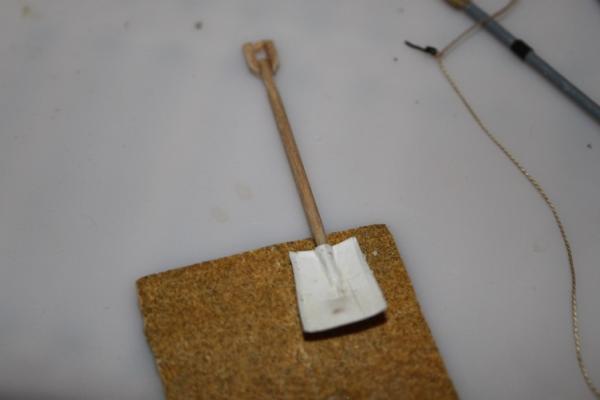
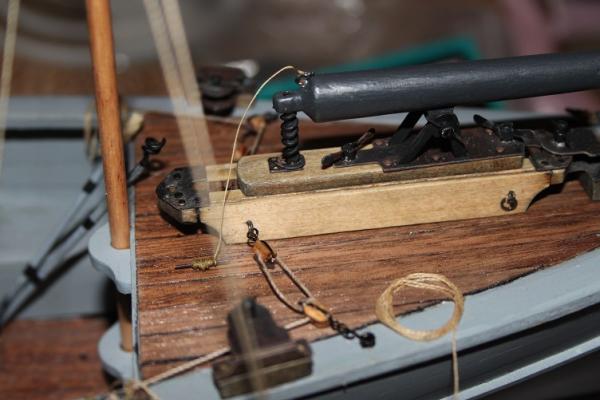
Hello again, Another update...the final one as the Picket is complete. After I got he spar mounted and rigged I was looking at the boat and it looked to me like something was missing...so I decided to make some detail items that would have been aboard. With the open coal bins the most natural would be a shovel, so I cut a small piece of card and soaked it in diluted white glue it was then pressed on the end of a round toothpick to get the shaping started, when it dried it was moistened and folded to the final shape. I also thought it would be appropriate to add a few thing the howitzer would require...so I scratched a worm and sponge/rammer. These started as sections of round toothpick glued up to the correct length and then adding the details, the sponge is a small piece of natural sponge trimmed and glued on, the ram end is wraps of tape. The worm is a spiral of wire. All were then painted and weathered. I also added an ensign staff and flag, the flag was found on line and printed it was shaped while the glue was still wet, so it looks like there is a breeze. The rigging was done per the plans with the exception of the torpedo staff forward mounting ring, this I ran up through the block on the hoisting mast, I saw this configuration in an on-line article about spar torpedoes. Well that's about it, I want to thank you all for following along and lending support and encouragement. Thanks as well for all the kind comments and likes, much appreciated. Pics follow: A few tools for the crew loaded aboard Gun details some rigging bow shots views amidships


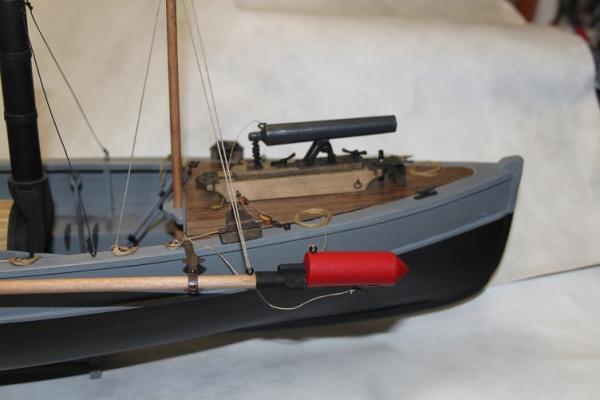
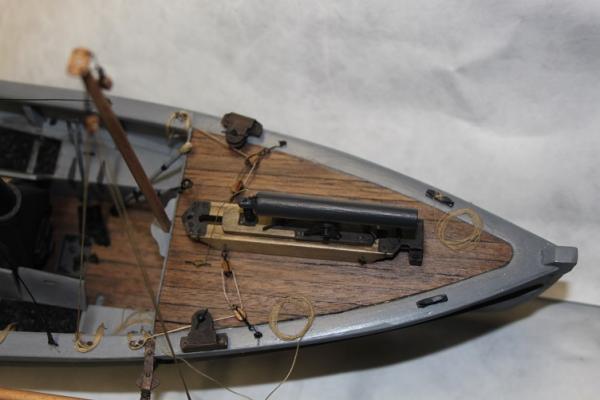


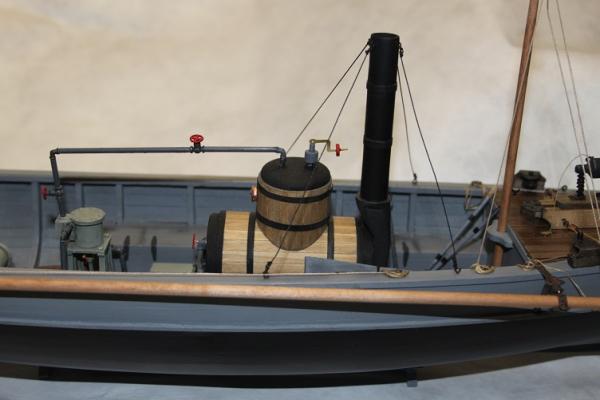
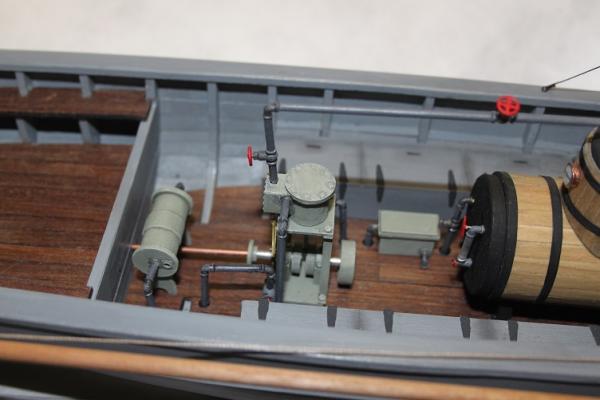

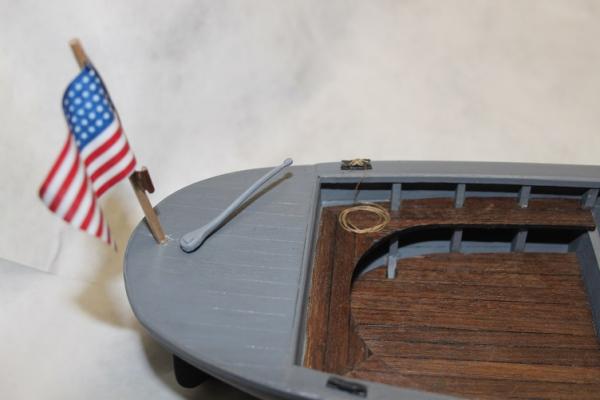
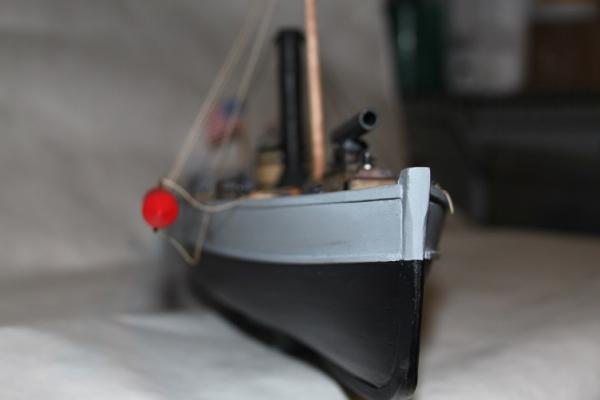
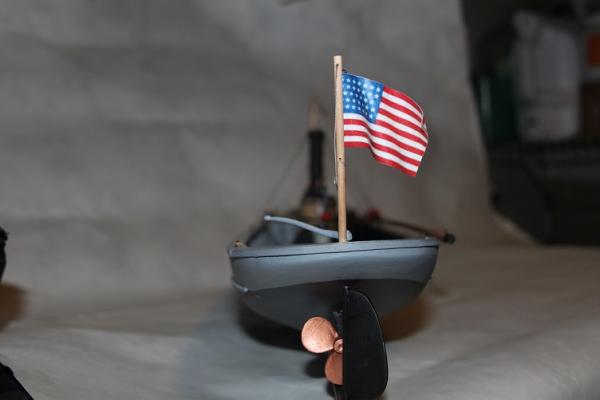
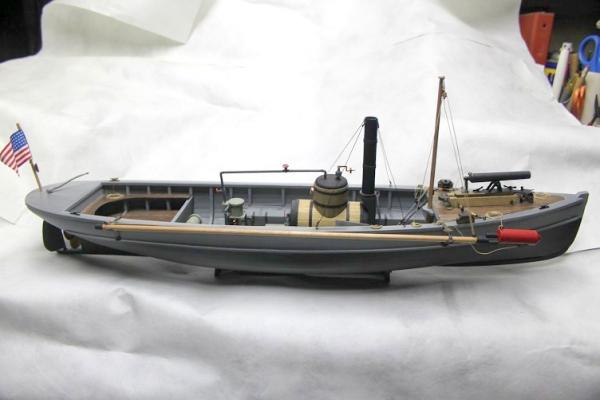
- 105 replies
-
- 16
-
-
- picket boat
- model shipways
- (and 1 more)
-
Nice recovery Scott, looks like you're moving forward Great idea Tom, one of the reasons my Niagara is parked...got tired of gluing them back!!