ERS Rich
-
Posts
772 -
Joined
-
Last visited
6 Followers


Recent Profile Visitors
4,775 profile views


-
 KARAVOKIRIS reacted to a post in a topic:
HM Brig Badger by ERS Rich - Caldercraft - 1/64
KARAVOKIRIS reacted to a post in a topic:
HM Brig Badger by ERS Rich - Caldercraft - 1/64
-
KARAVOKIRIS reacted to a post in a topic:
HM Brig Badger by ERS Rich - Caldercraft - 1/64
-
KARAVOKIRIS reacted to a post in a topic:
HM Brig Badger by ERS Rich - Caldercraft - 1/64
-
KARAVOKIRIS reacted to a post in a topic:
HM Brig Badger by ERS Rich - Caldercraft - 1/64
-
KARAVOKIRIS reacted to a post in a topic:
HM Brig Badger by ERS Rich - Caldercraft - 1/64
-
KARAVOKIRIS reacted to a post in a topic:
HM Brig Badger by ERS Rich - Caldercraft - 1/64
-
KARAVOKIRIS reacted to a post in a topic:
HM Brig Badger by ERS Rich - Caldercraft - 1/64
-
KARAVOKIRIS reacted to a post in a topic:
HM Brig Badger by ERS Rich - Caldercraft - 1/64
-
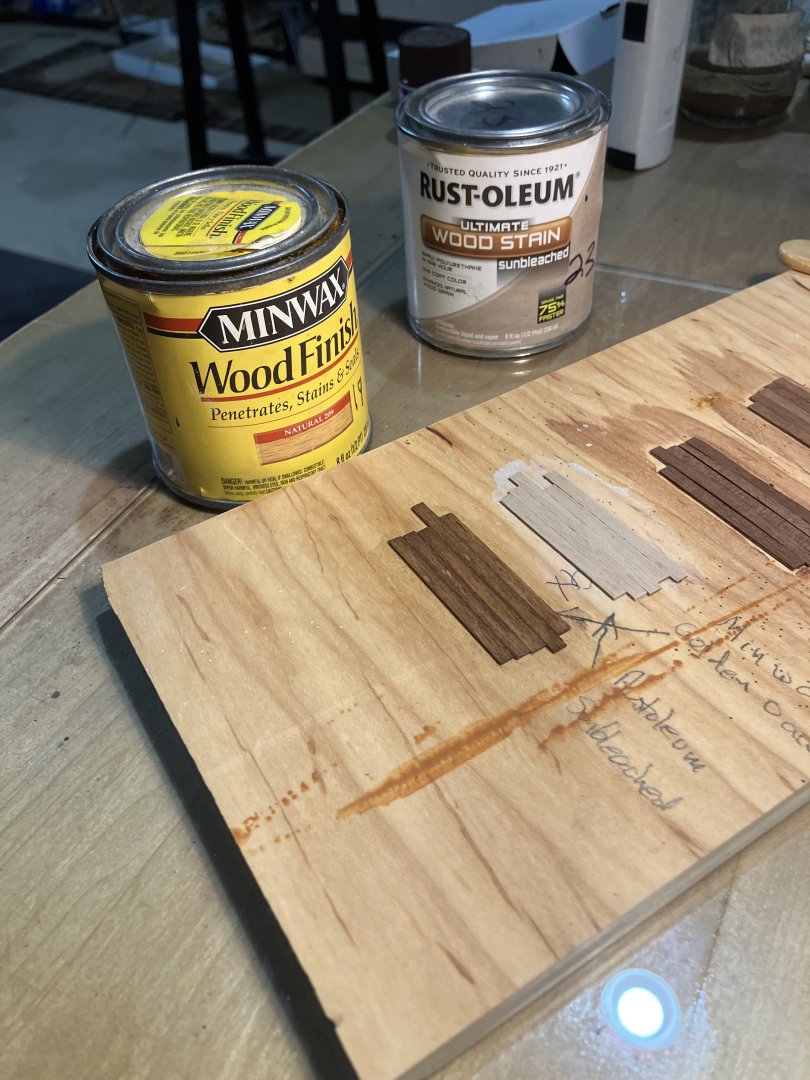
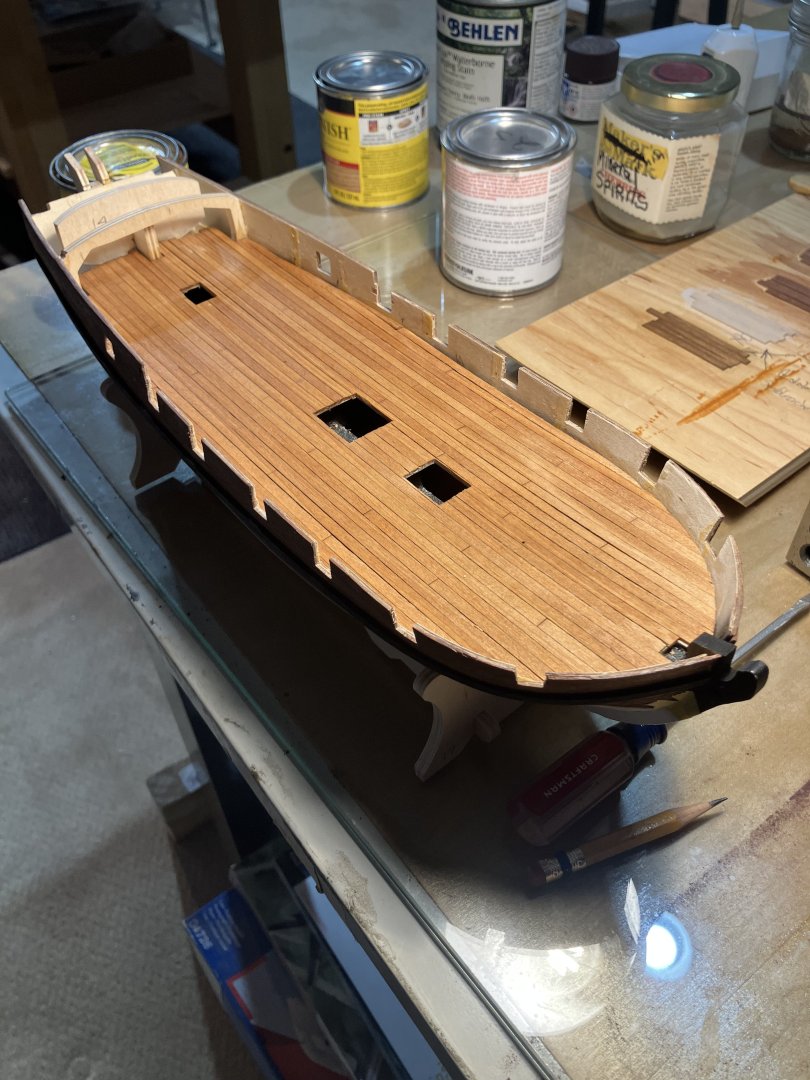
 Planking and Finishing the Gun Deck Planking the deck was straight forward. In the past I would cut the stripwood into scale lengths, this time I followed the Tip in the instructions and used a single strip and scored the butt joints. The work went much faster. Next I made up some board samples and tried Rustoleum Sunbleach and Minwax Golden Oak. In the end decided on Minwax Natural. Nice results….
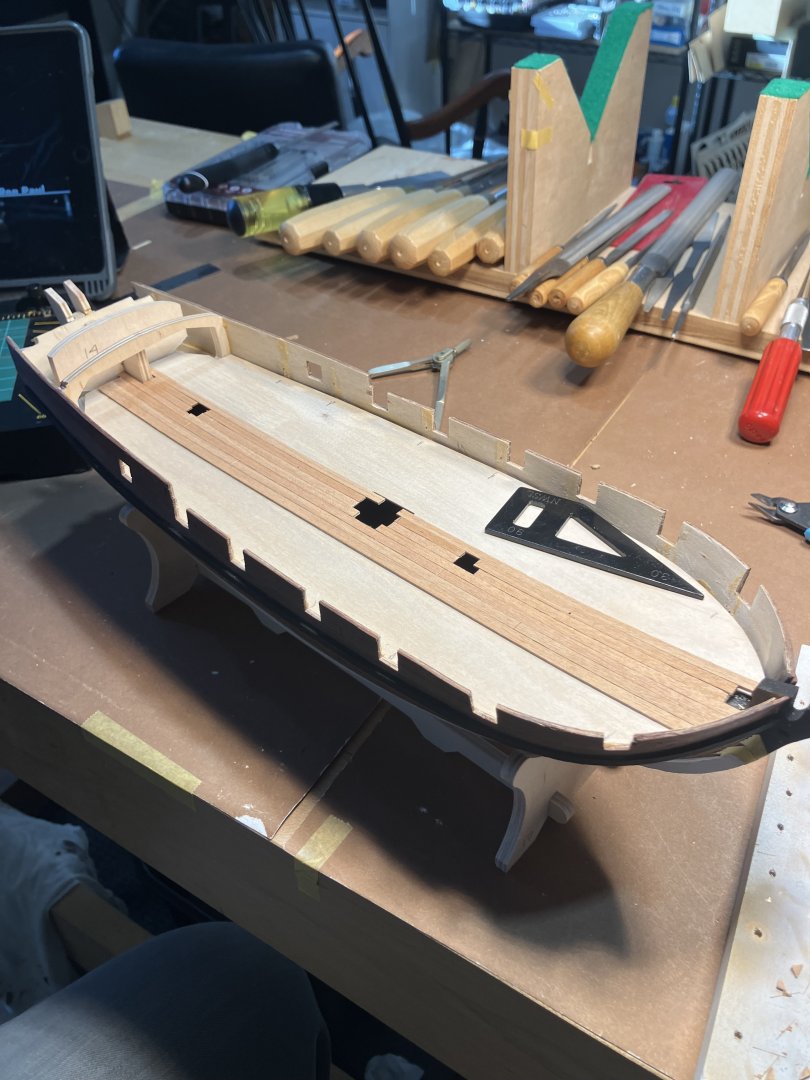

-
Installing the Gun Deck Before installing make sure the height from the top of the frames outboard to the top of the bulwark are consistent. I used a “story board”, a plank with a pencil line where the line is the distance from the highest frame to the top of the bulwark. Make up 2 boards one for forward of the Captains cabin, one for aft. In my case there were several frames that needed shims at the outboard end because I was too aggressive when cutting the frame stubs. Next the deck was installed with Titebond across the frame tops, and CA at the outboard ends.

-
Opening the Gun Ports Strategy is to drill holes down center of the port, then saw down through the holes, nip the planking with the flush cutter, finally clean up with files. Wood is very brittle so saw and file from outside in. Holes drilled. Ports cleaned up.


-
Looks great, safe travels
-
ERS Rich reacted to a post in a topic:
HMS Beagle by vvvjames - OcCre - 1:60 - Second Build
-
In which offense is taken (or, "hey! I resemble that remark")
ERS Rich replied to Cena's topic in New member Introductions
Welcome! The question is spend many, many years building one huge model? Or build many, many, models over that same time? With Shipbuilding, like everything else in life, practice leads to success. Good luck with your project! -
 ERS Rich reacted to a post in a topic:
HMS Victory 1805 by kiwiron - Caldercraft - 1:72
ERS Rich reacted to a post in a topic:
HMS Victory 1805 by kiwiron - Caldercraft - 1:72
-
ERS Rich reacted to a post in a topic:
HMS Victory 1805 by kiwiron - Caldercraft - 1:72
-
Nice job, your ship is coming along nicely, careful hull planking is time well spent. Condolences on your loss. -Rich
-
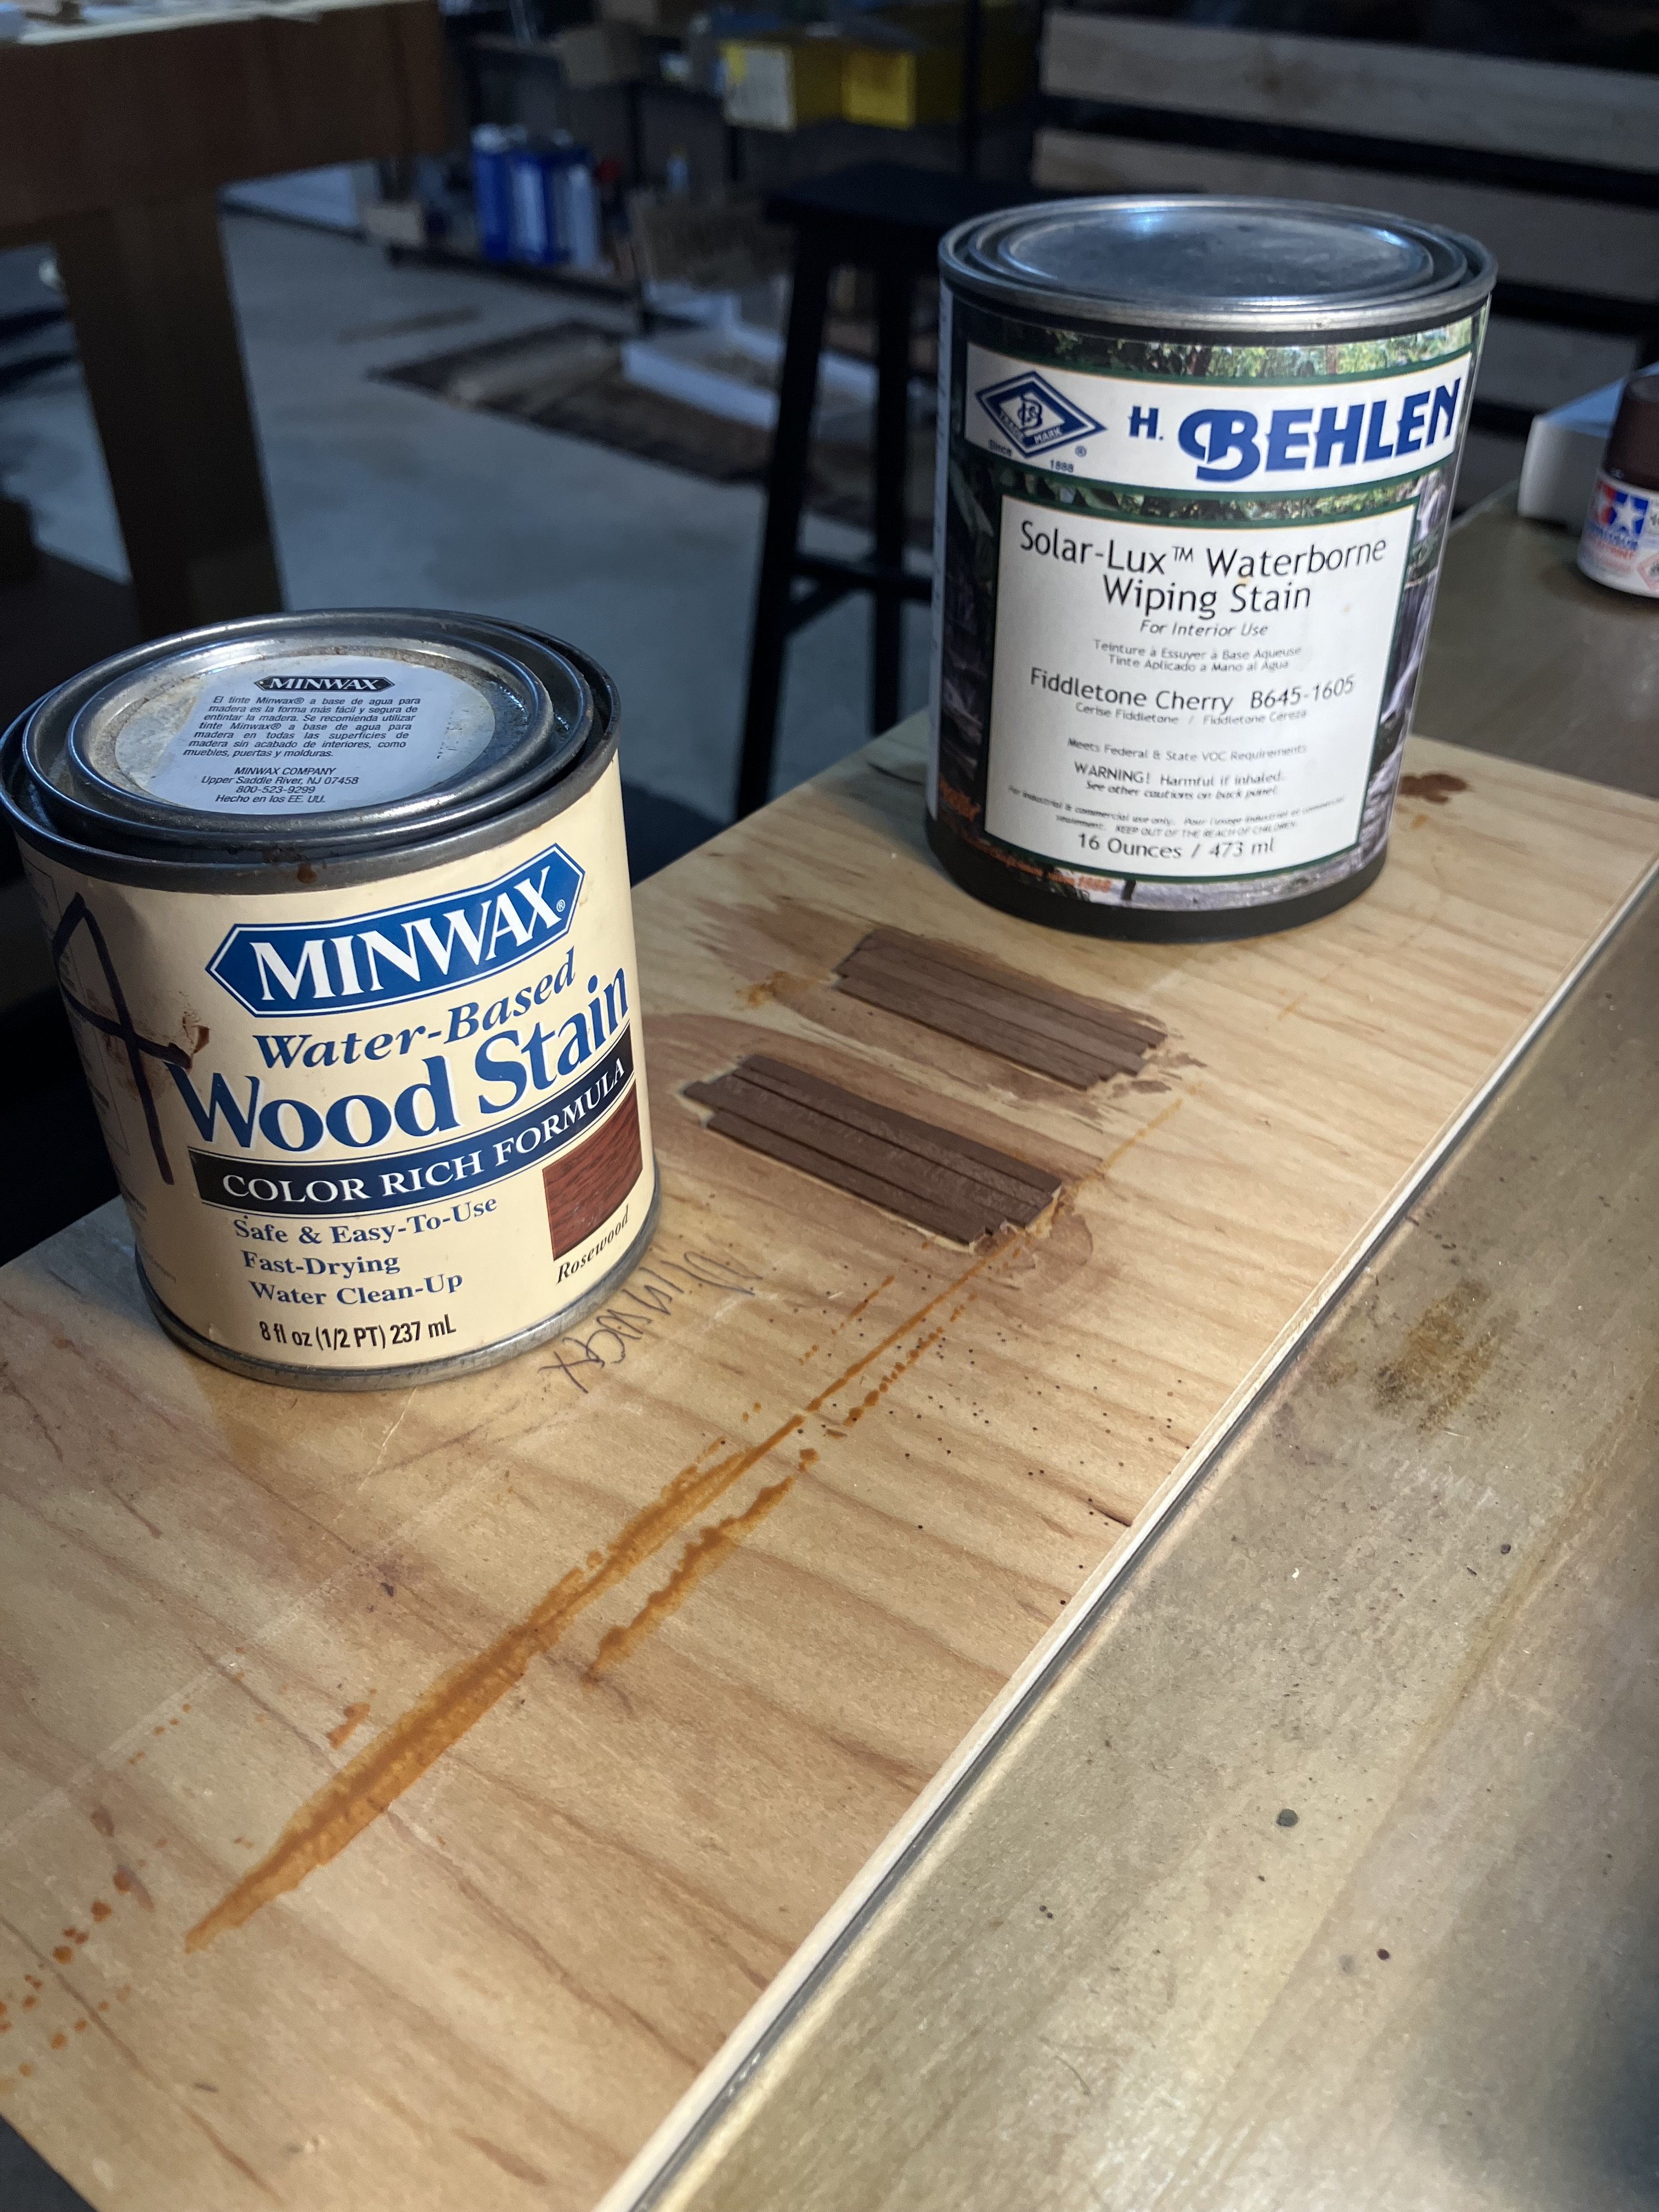
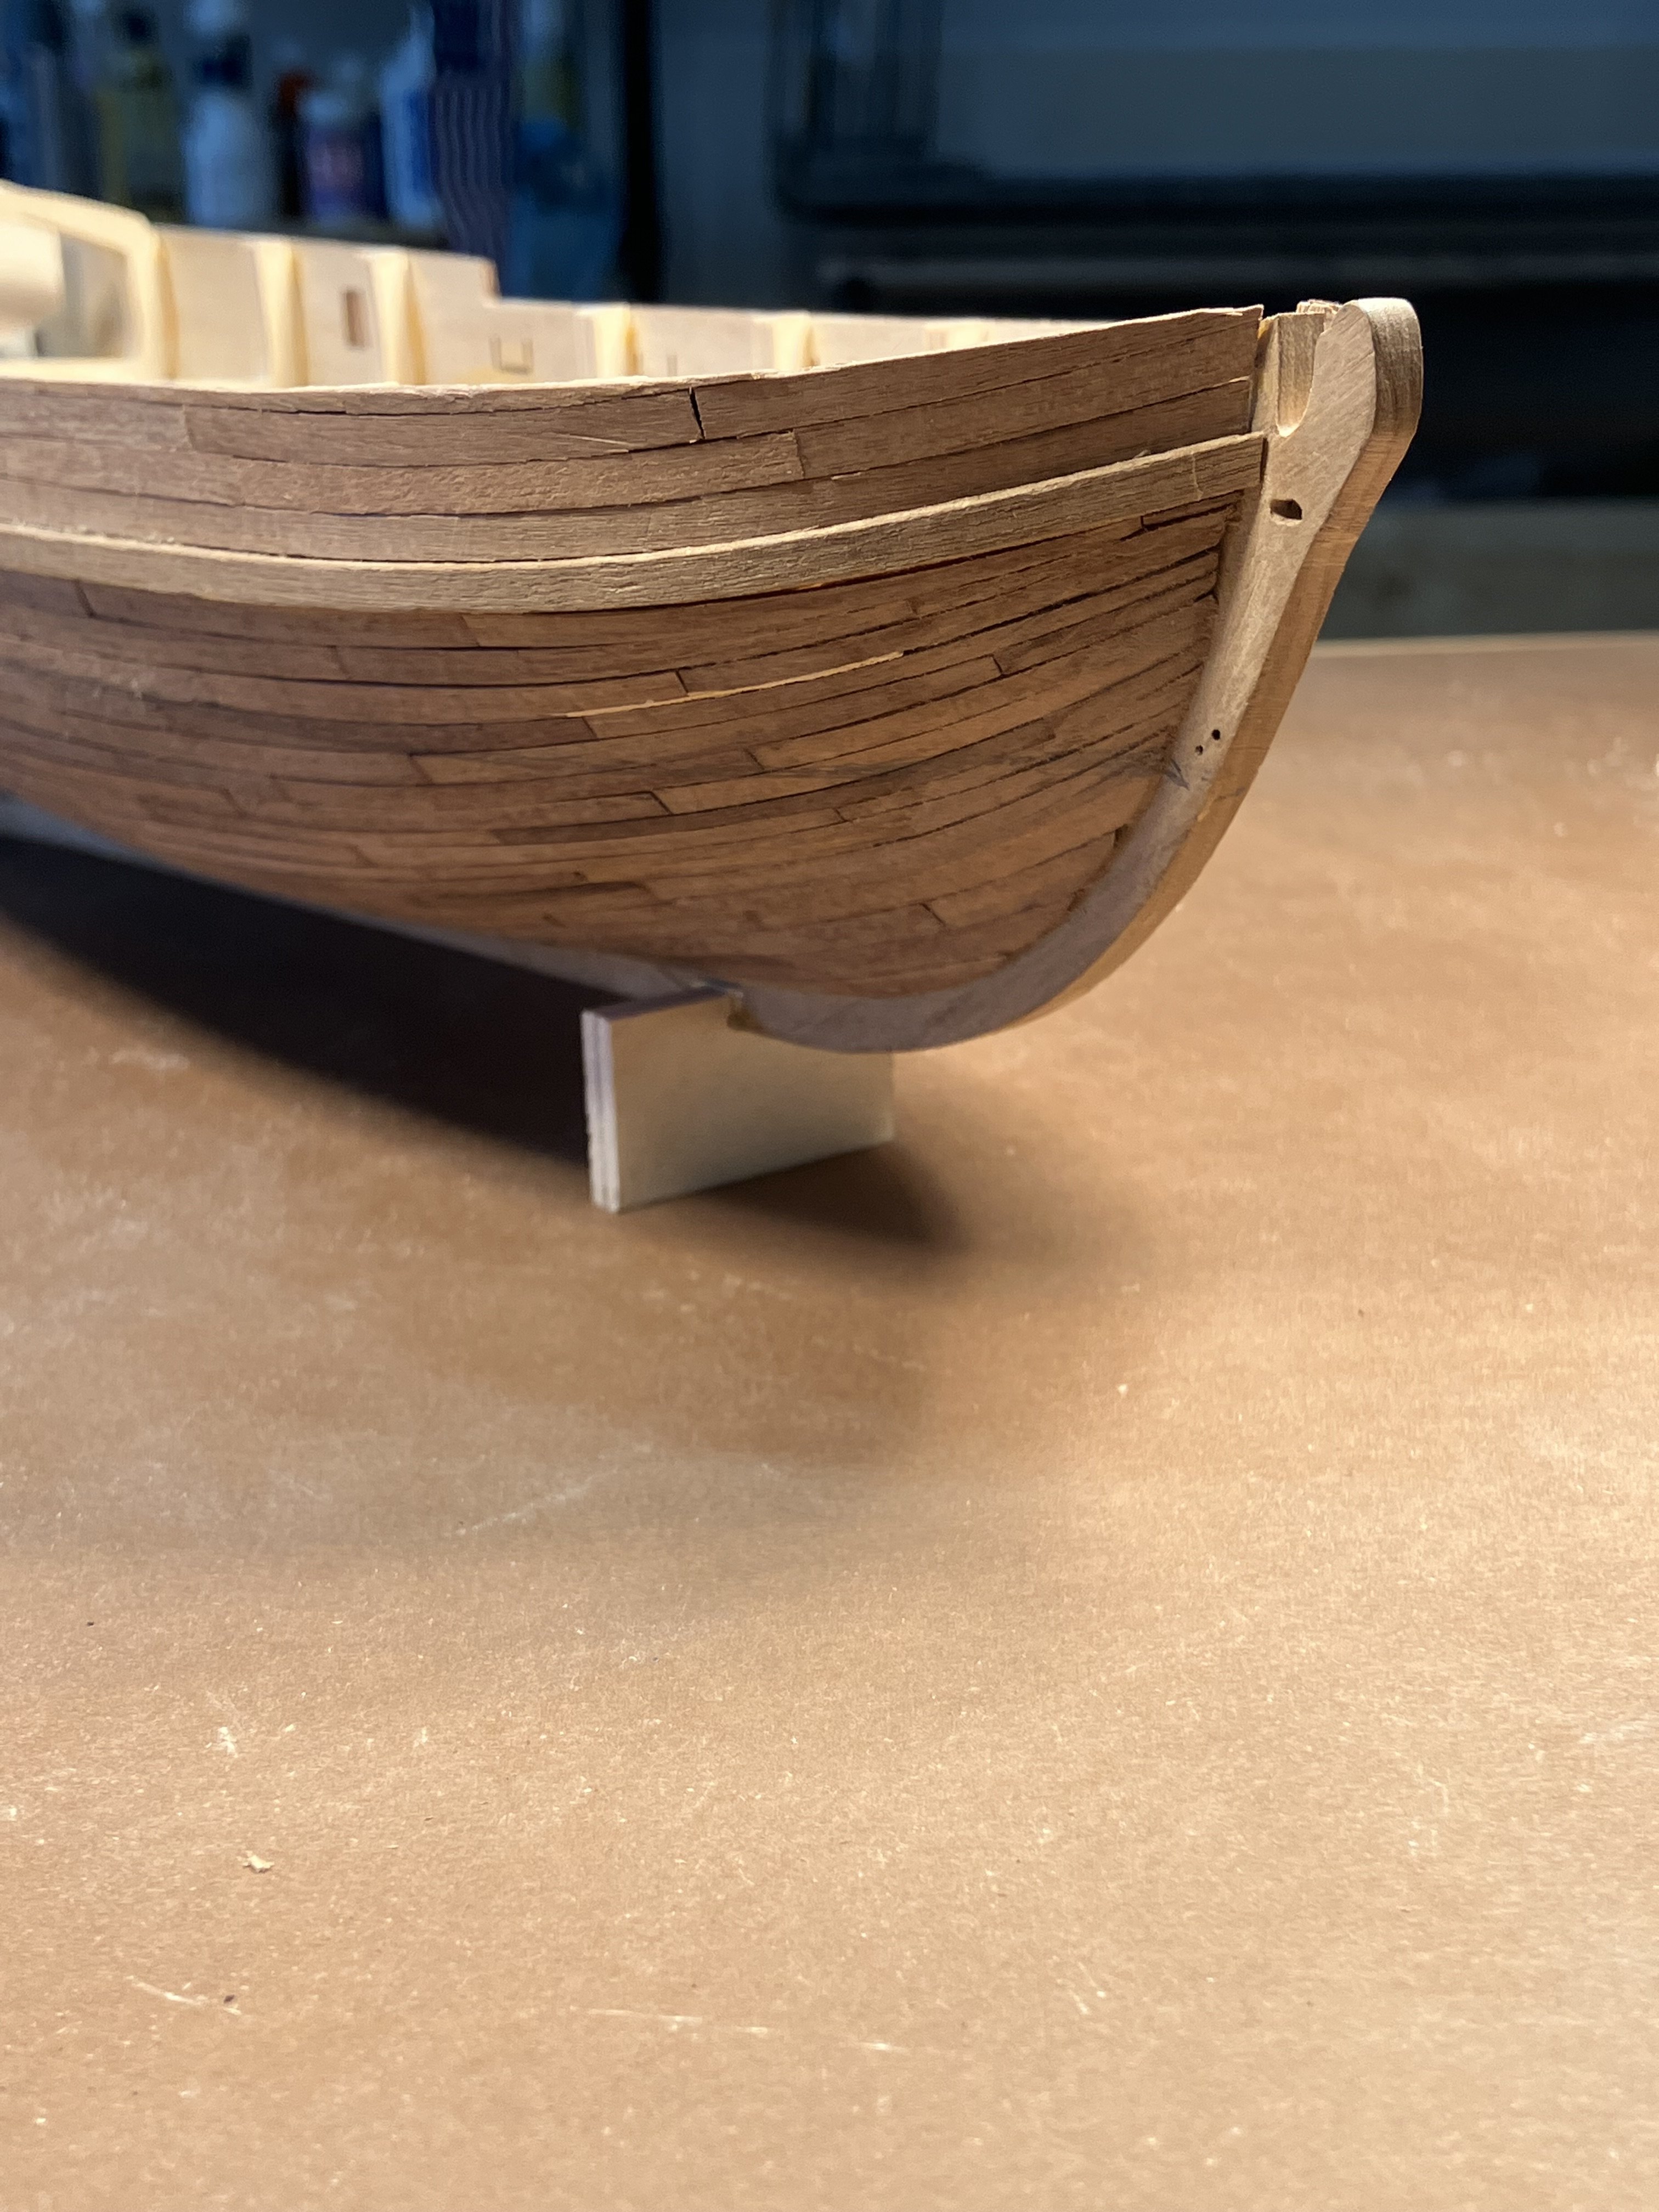
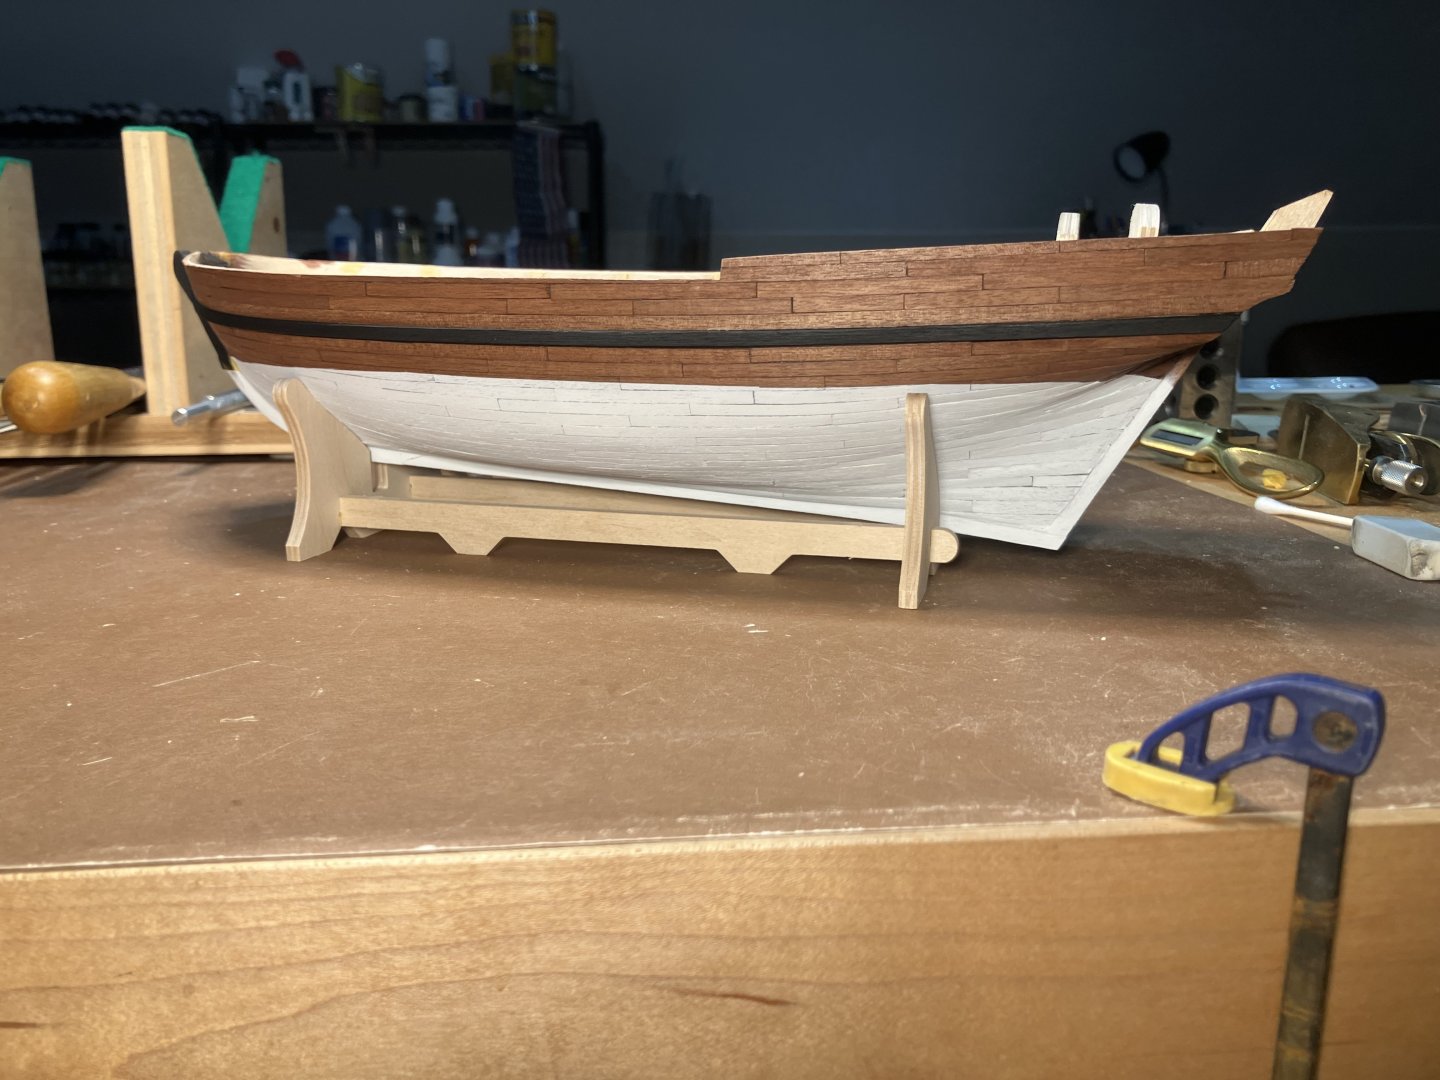
Outer Hull Finish Made up a couple of plank samples on a board and tried 2 water-based stains. Go with water-based rather than oil since acrylics will be painted over the stain. Selected Minax Rosewood, it left a slightly better sheen. Brushed and flooded Hull with stain, let soak for a few minutes and wiped down with a cotton T shirt. Let dry overnight. Wood takes the stain very well. First masked the Waterline and above, and painted the lower hull Vallejo Air, Flat White, let dry overnight. Then masked and painted Wale and Upper Stem Tamiya Flat Black XF-1. Paasche Talon Airbrush #3 tip for White, #2 for Black, 25psi.

-
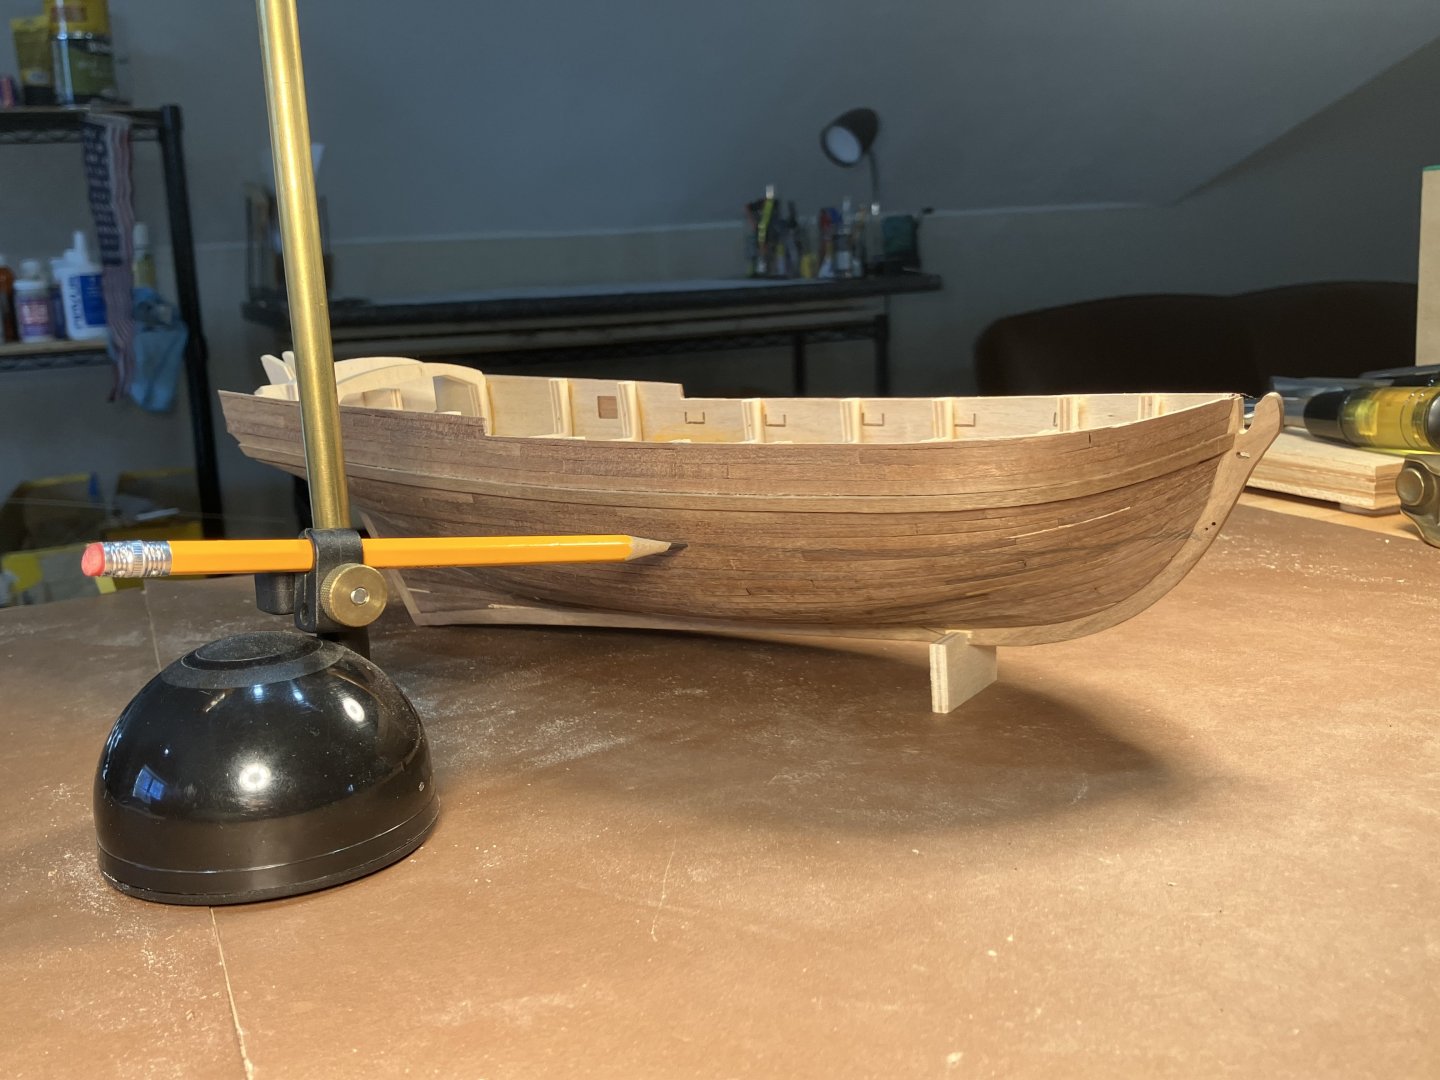
Planking Above the Wale & Marking the Waterline Planking above the Wale was unremarkable. As before installed the planks and worked the edges with a file. Trimmed upper strake, protruding above the gunport pattern, flush with the pattern. Also worked the plank ends meeting the stem into a smooth curve. Some small openings between the edges will be filled with Minwax filler. Finally marked the Waterline. The kit has a handy piece that fits on the keel to raise the bow to the appropriate height.

-
Ahoy! Good luck with your project! -Rich
-
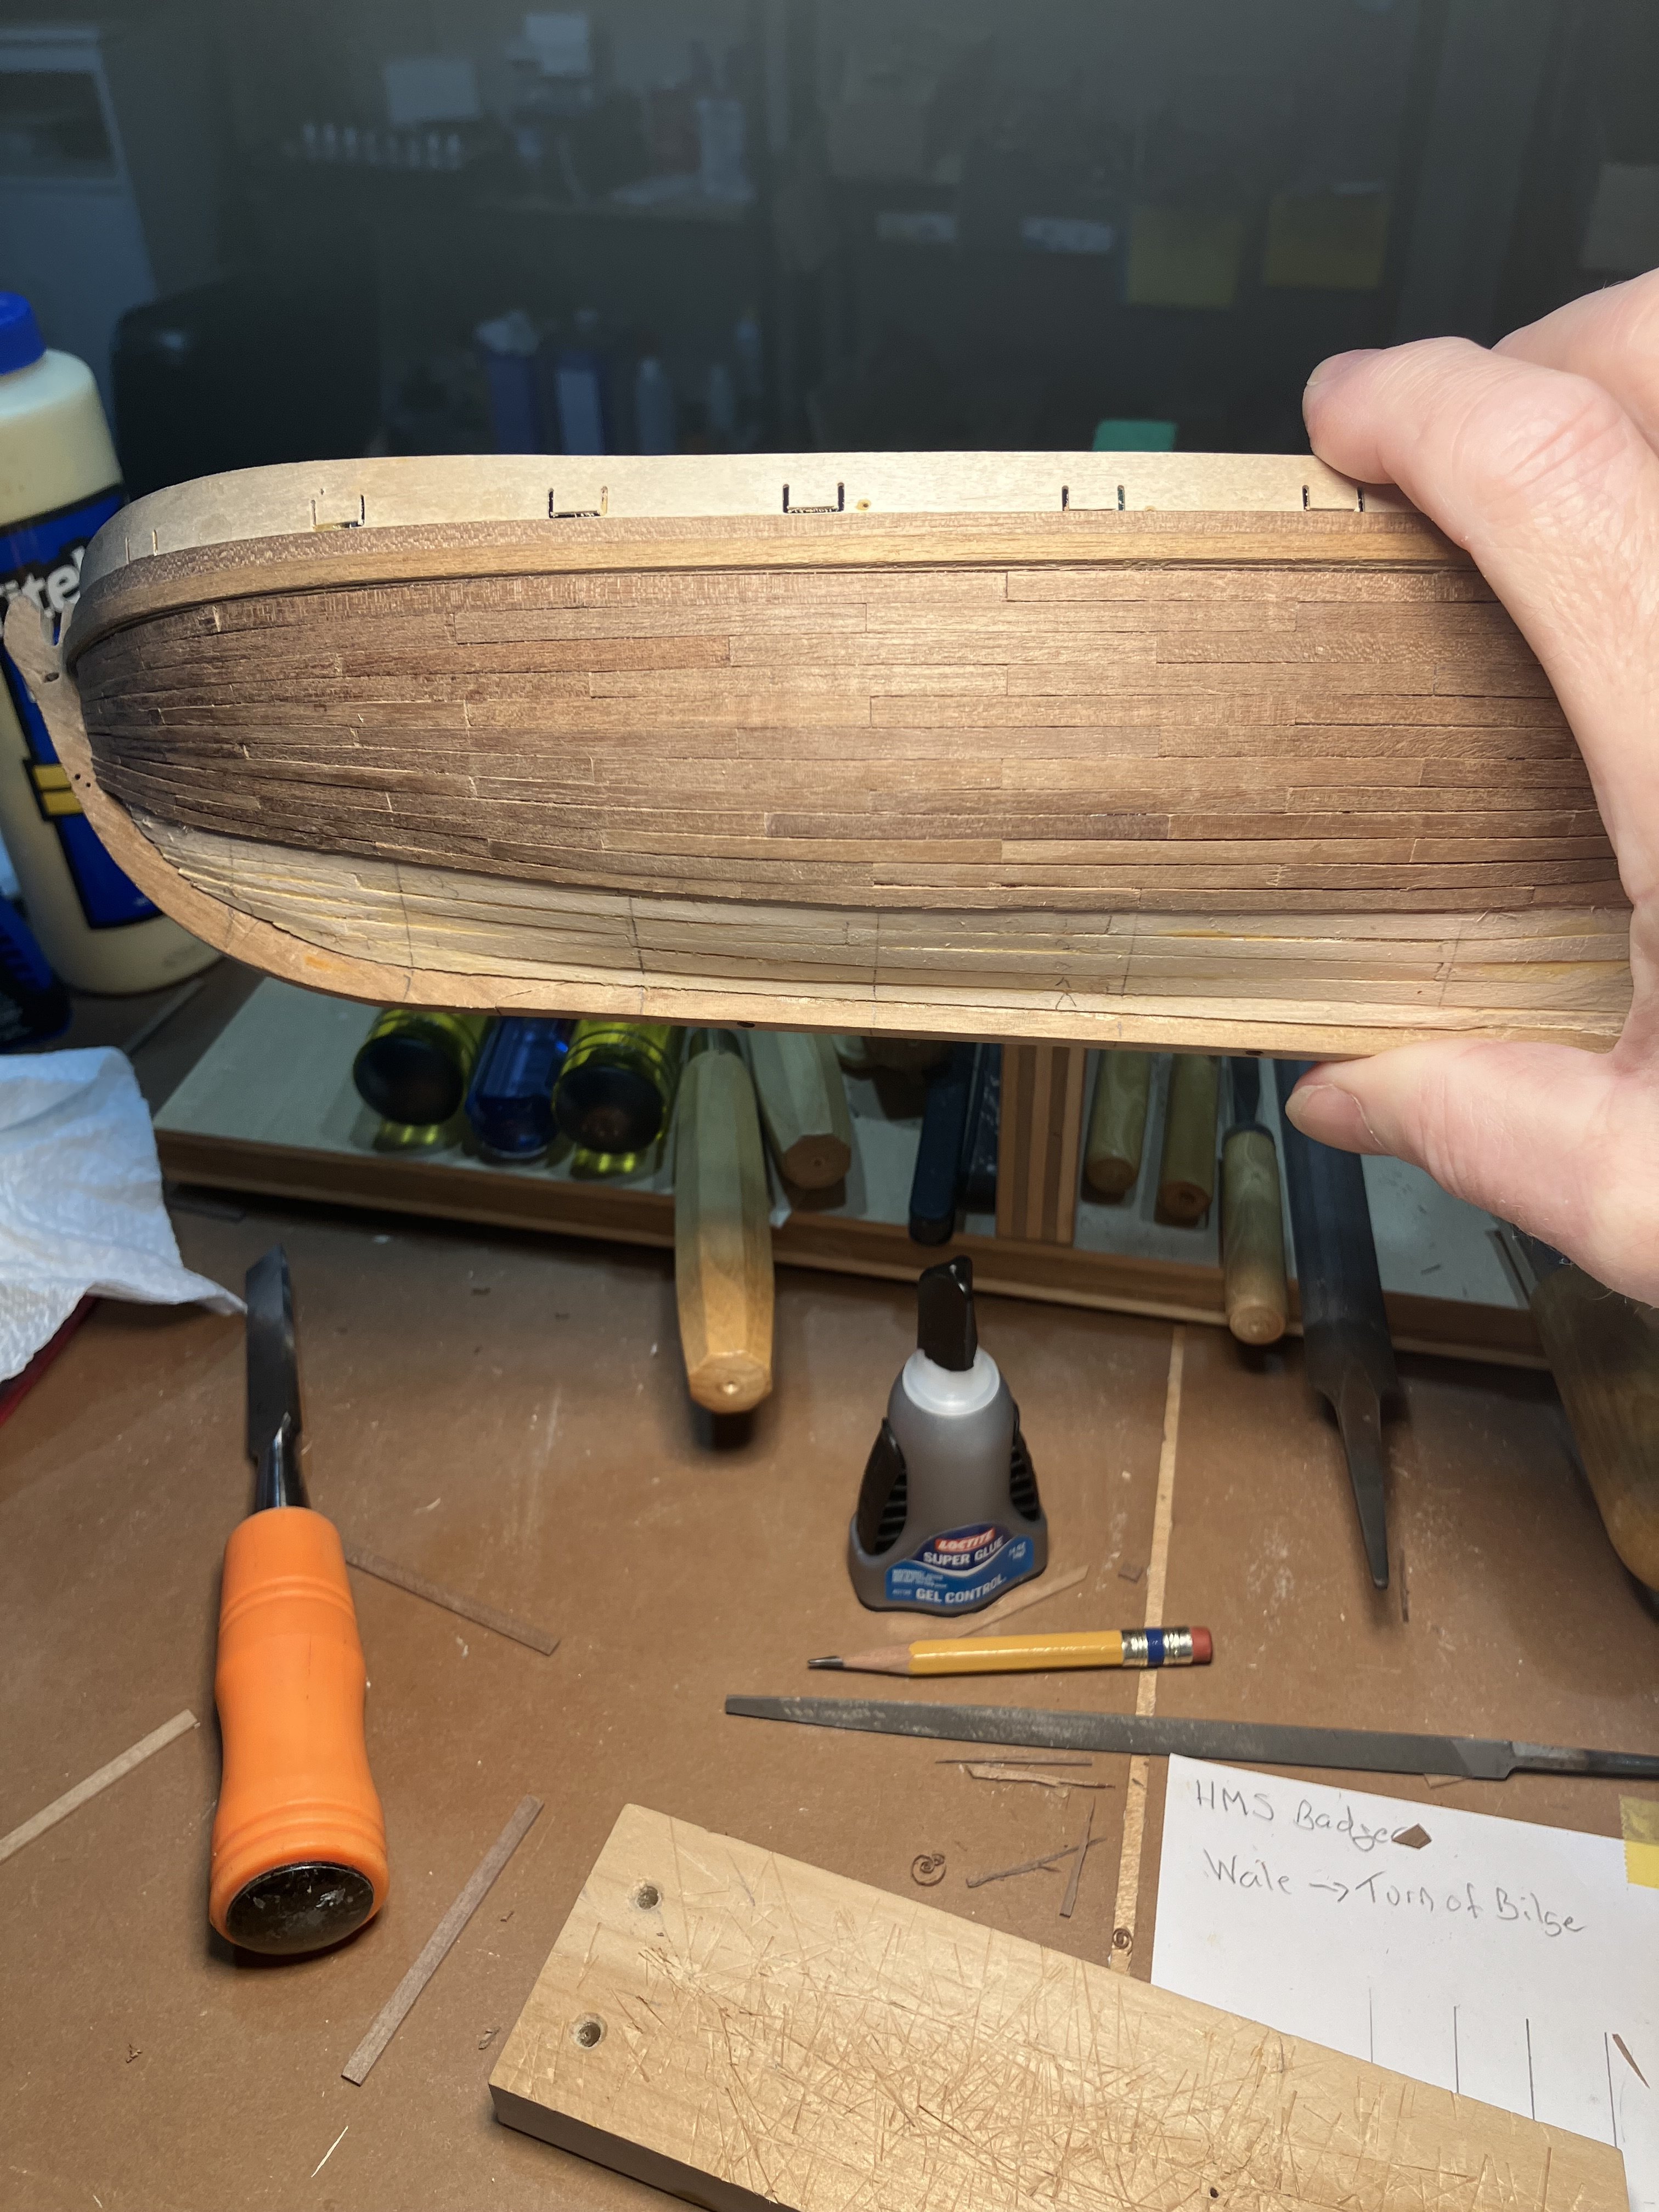
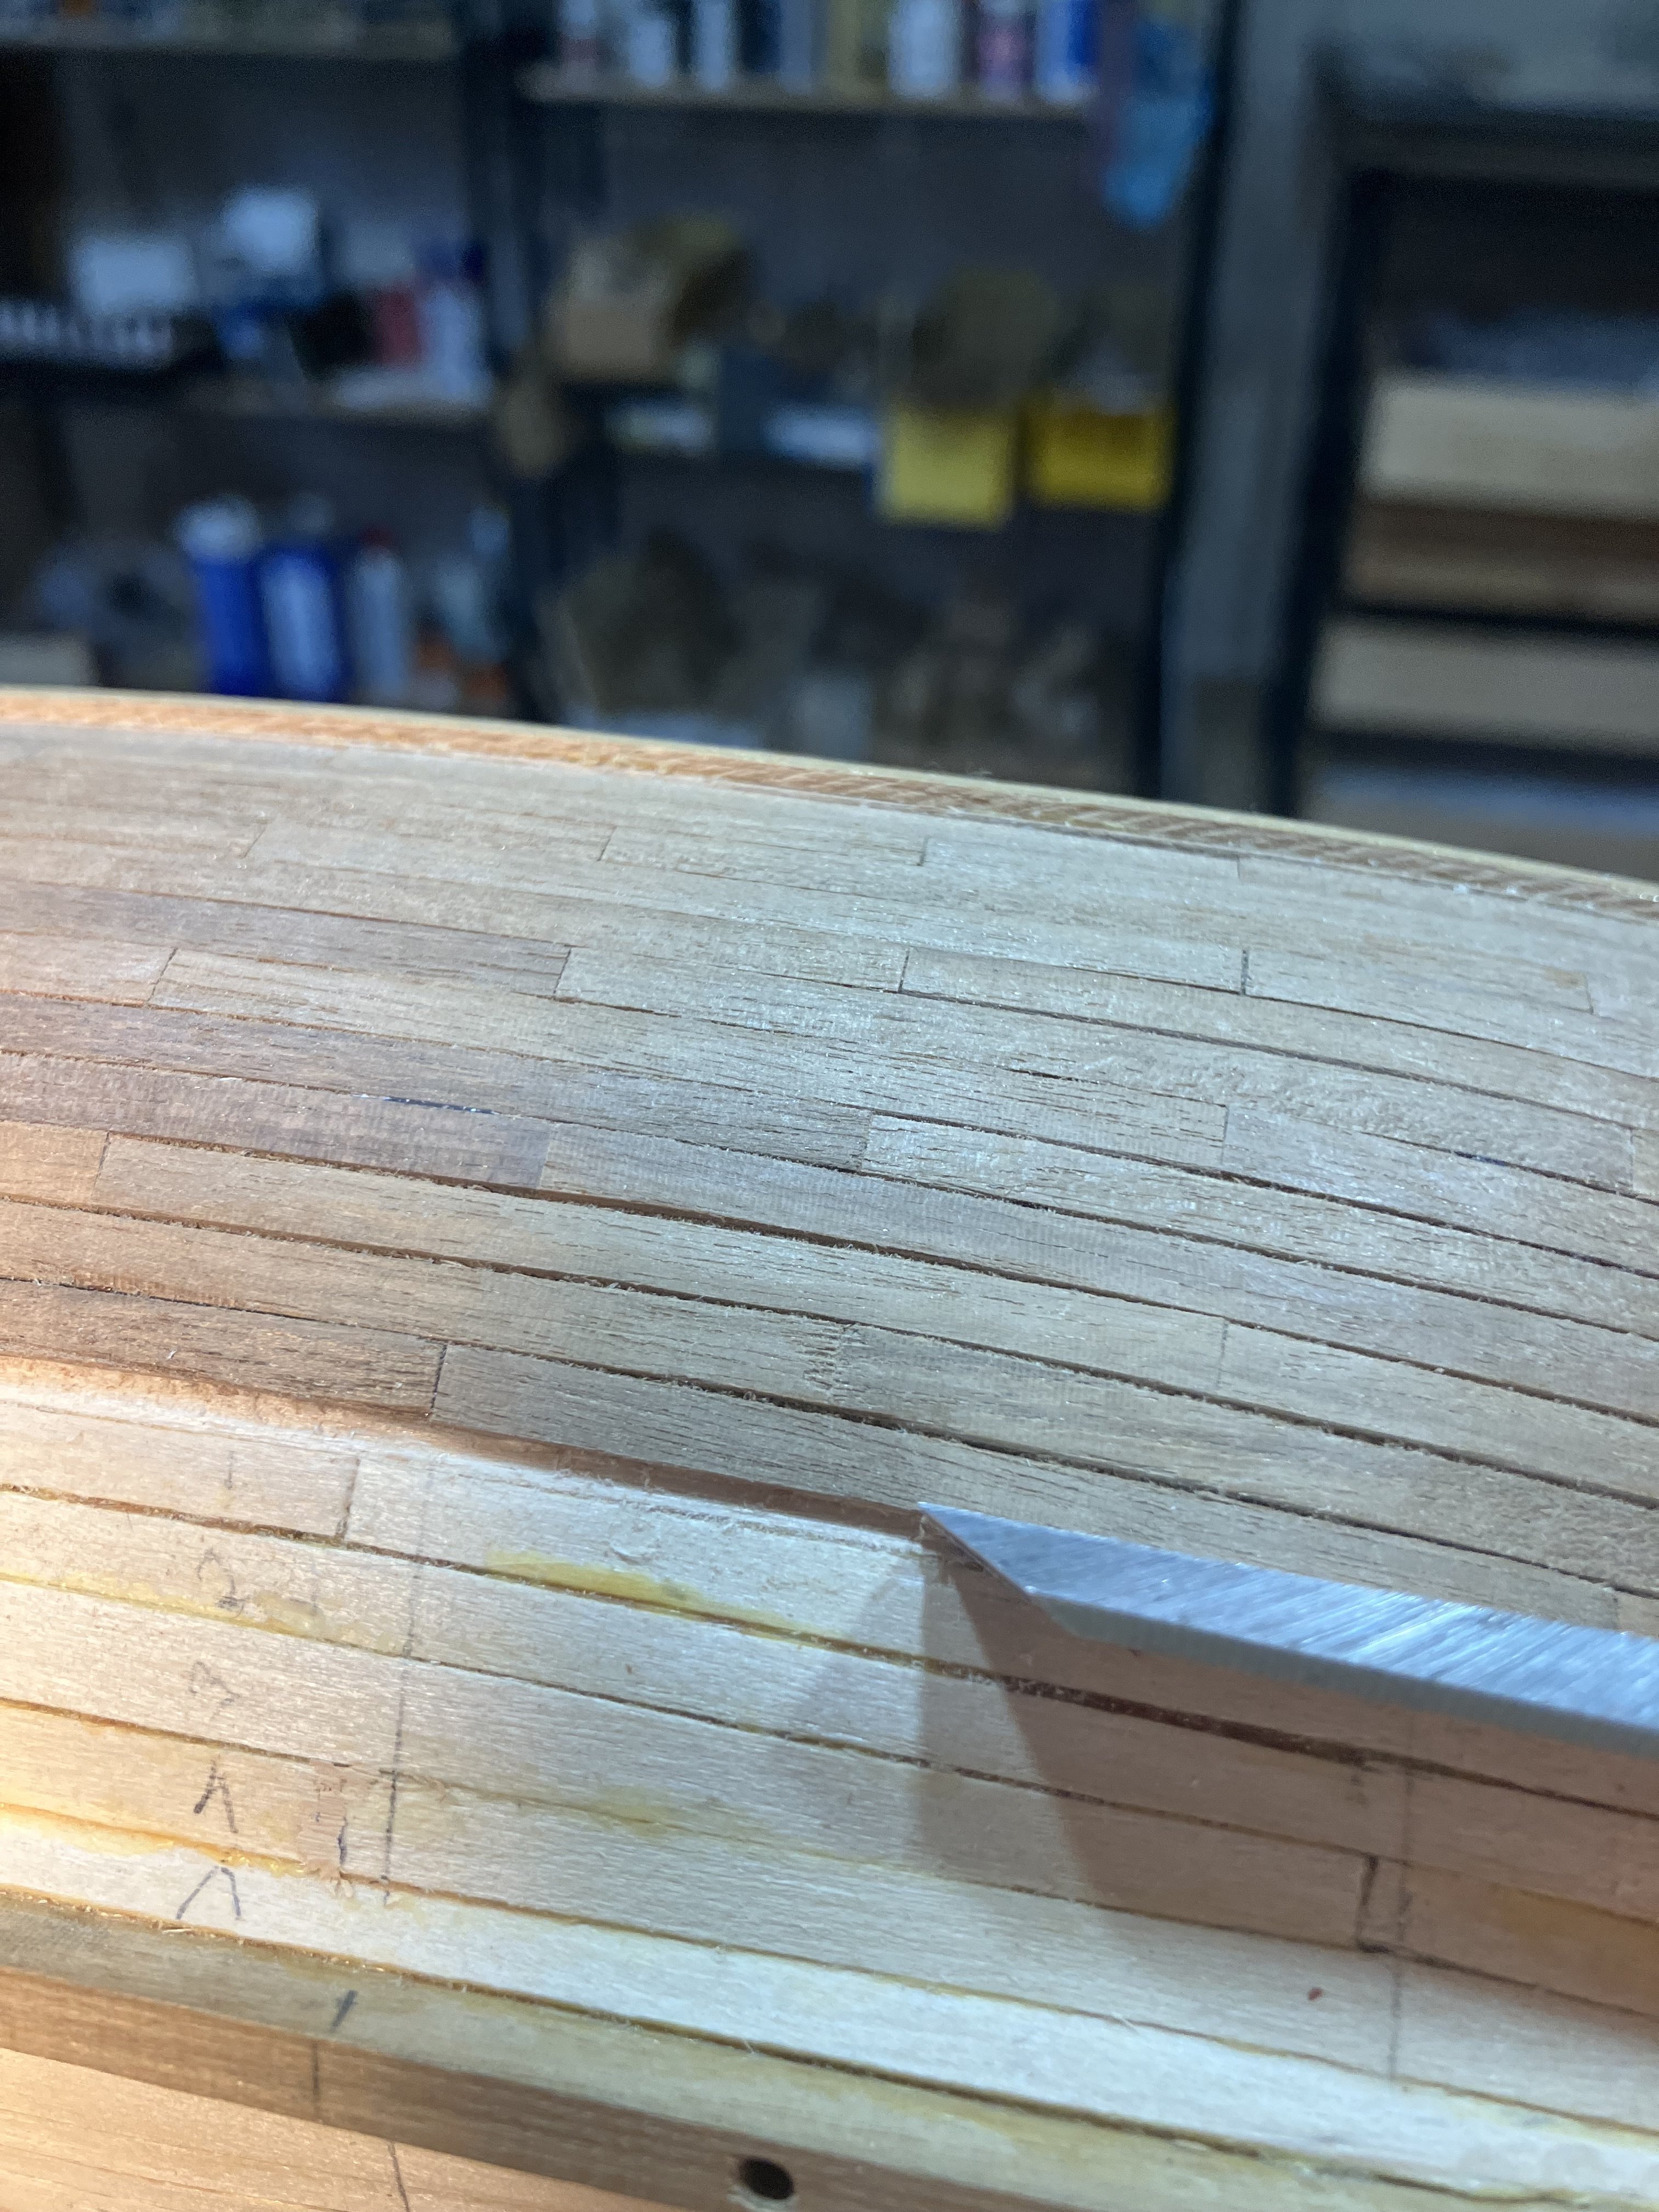
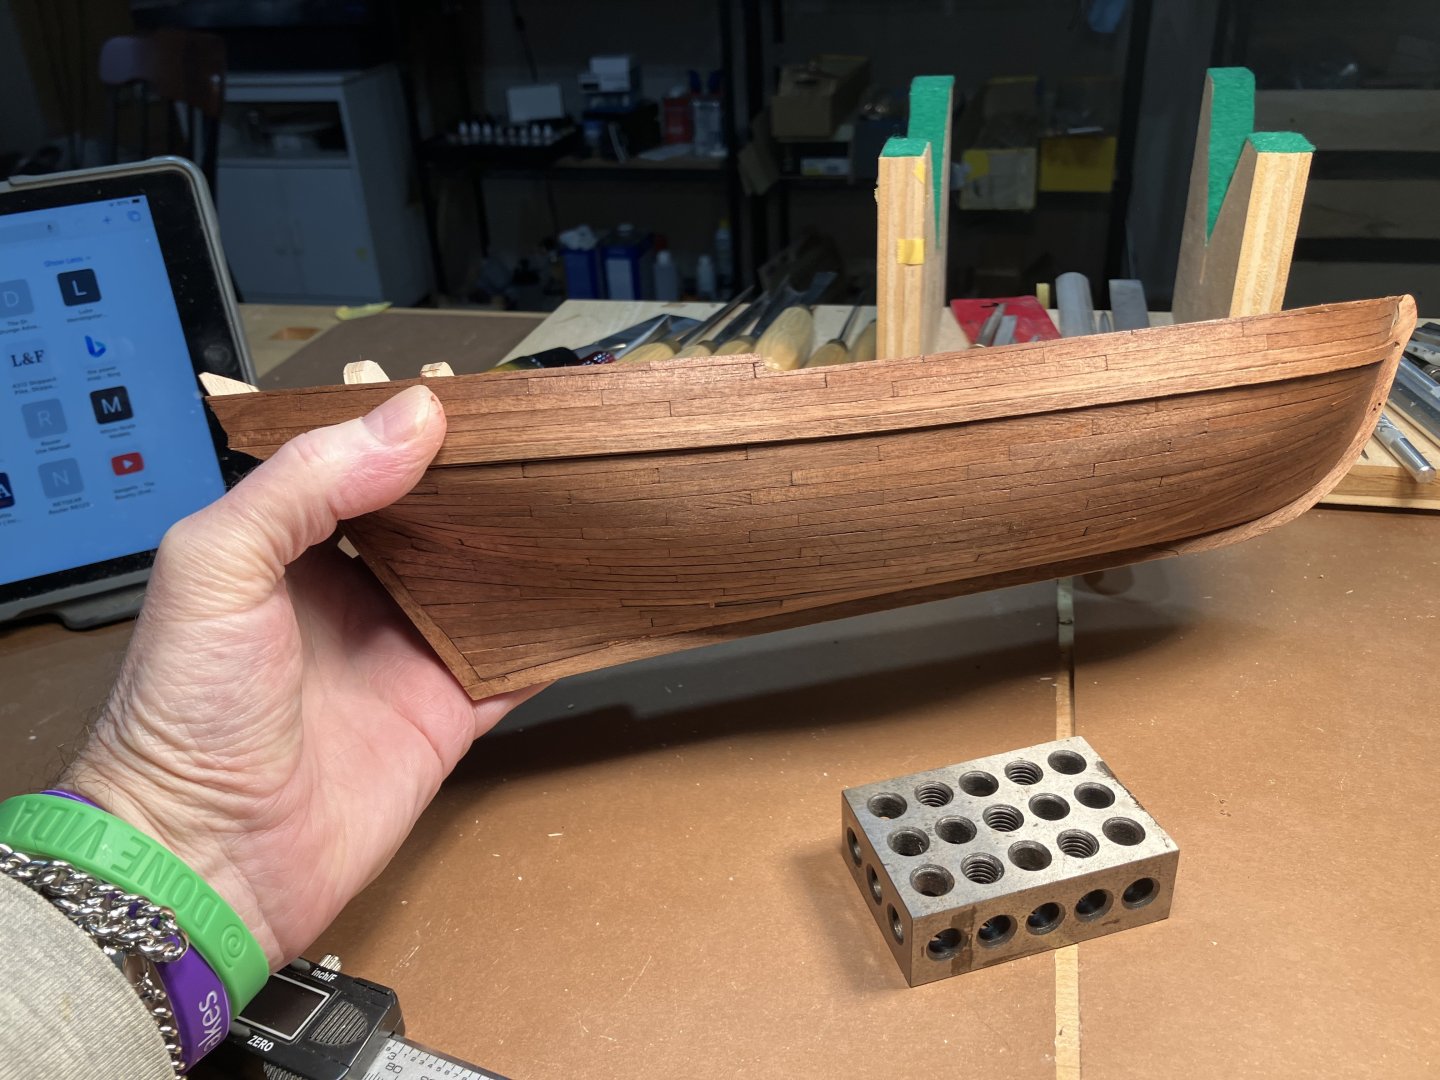
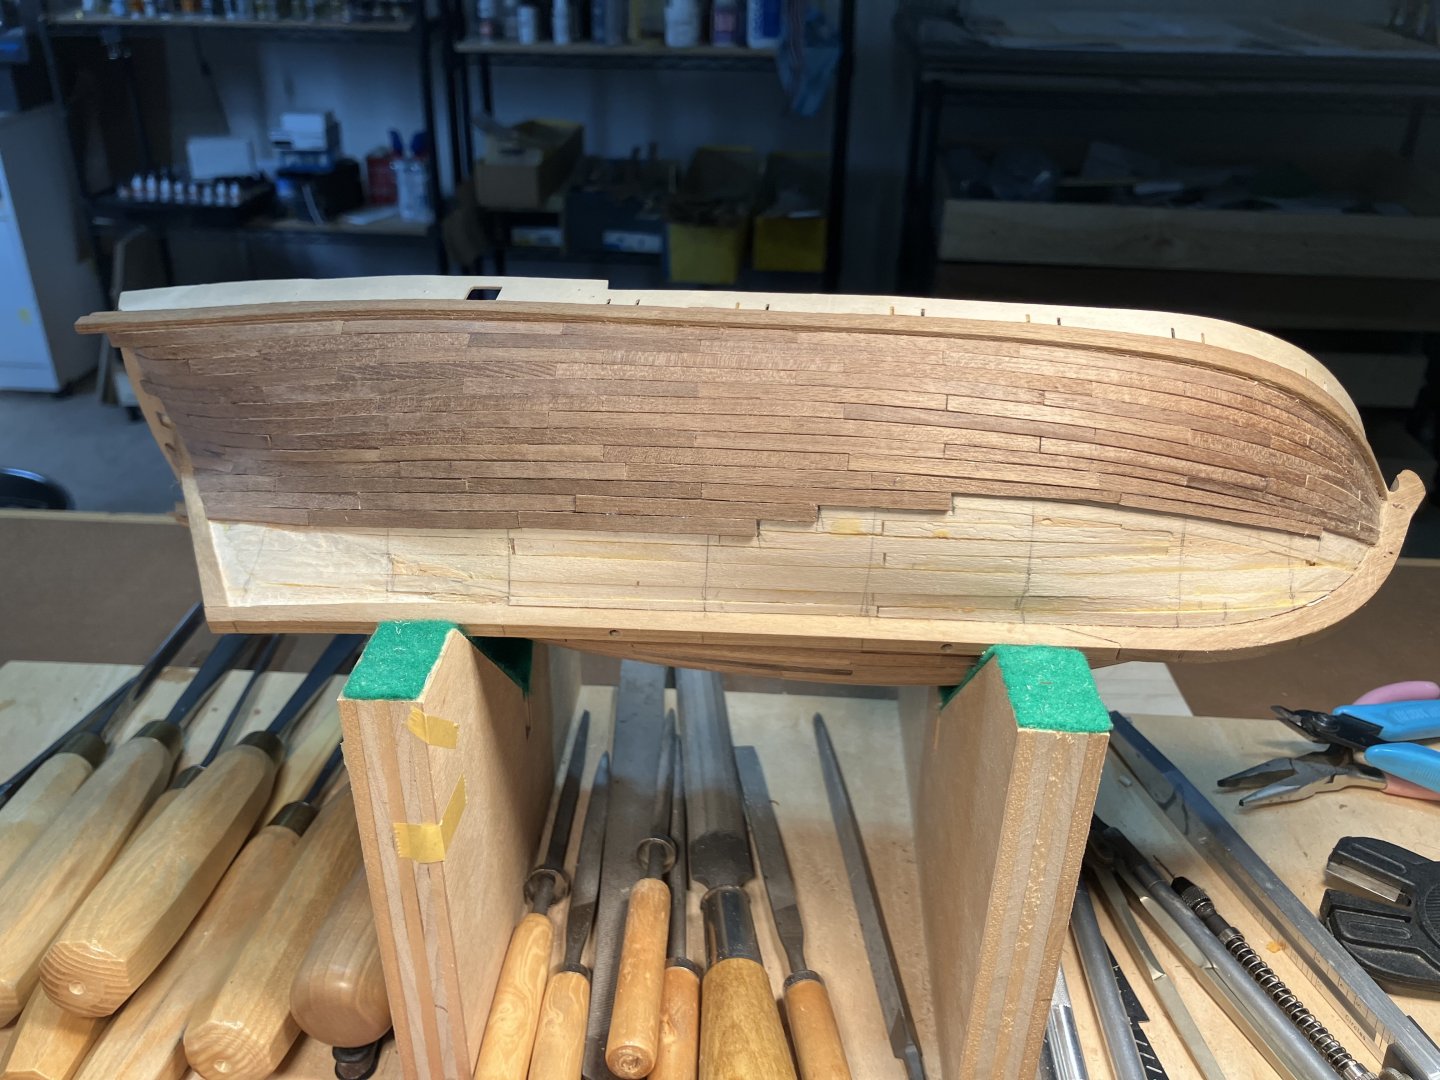
Second Planking Notes Wood strip widths and thickness vary greatly. Next time I’ll run them through the Byrnes saw to get consistent 4mm width. This is hardwood, so if there is chipping (tearout) cutting the plank edge, with the chisel in one direction, try cutting in the opposite direction.
-
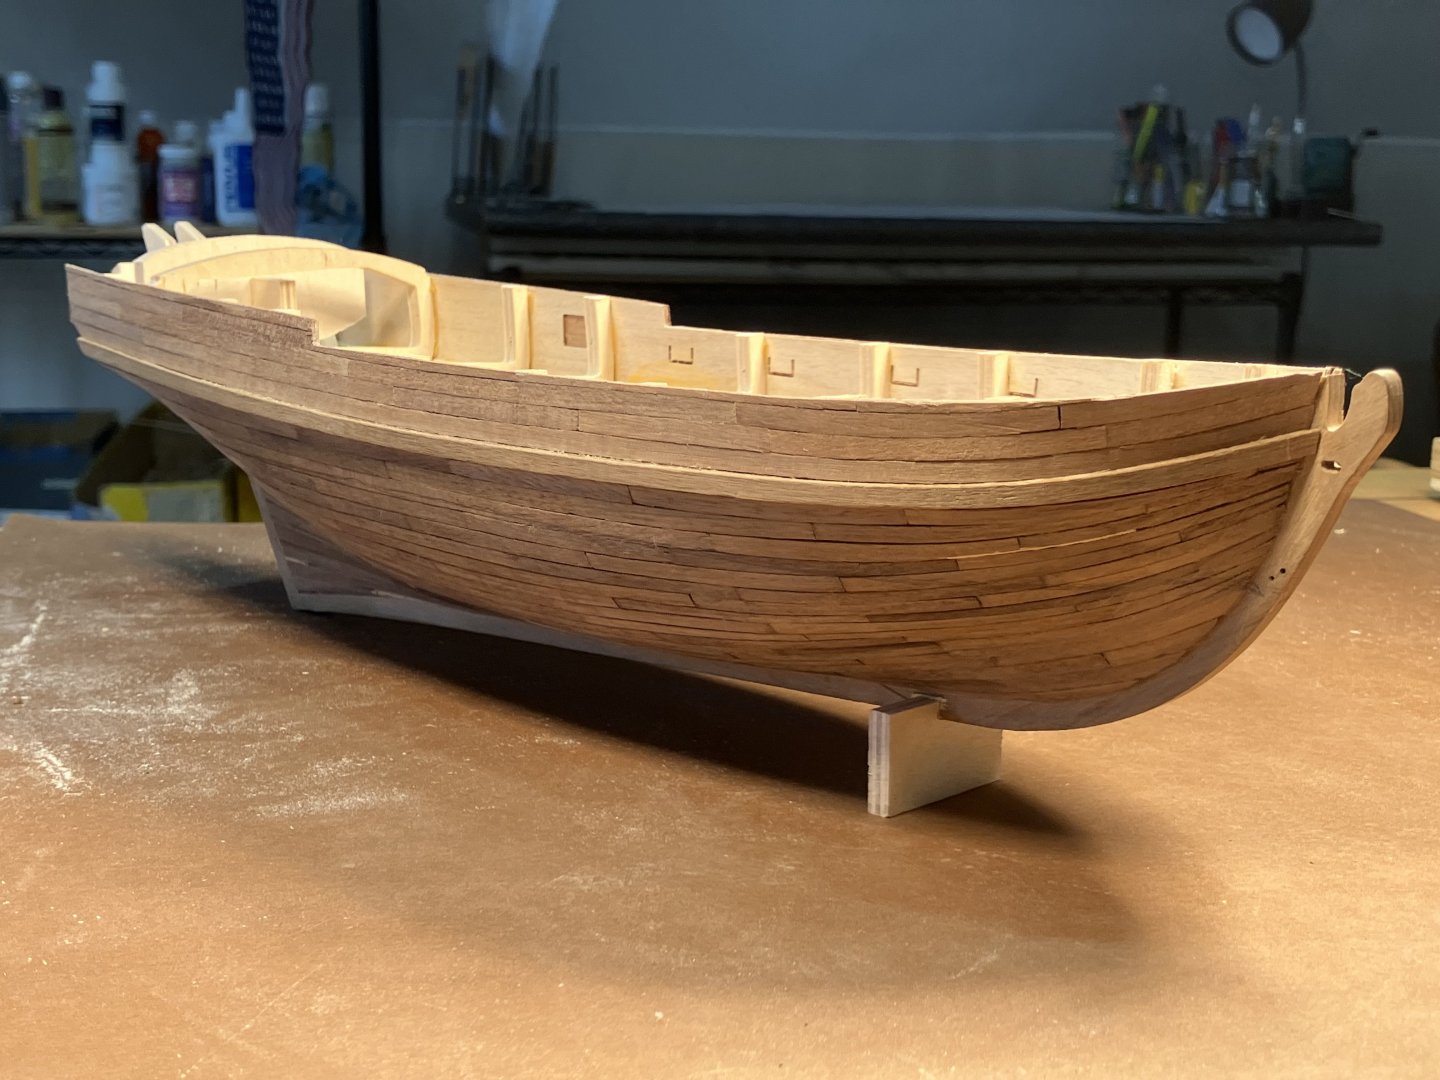
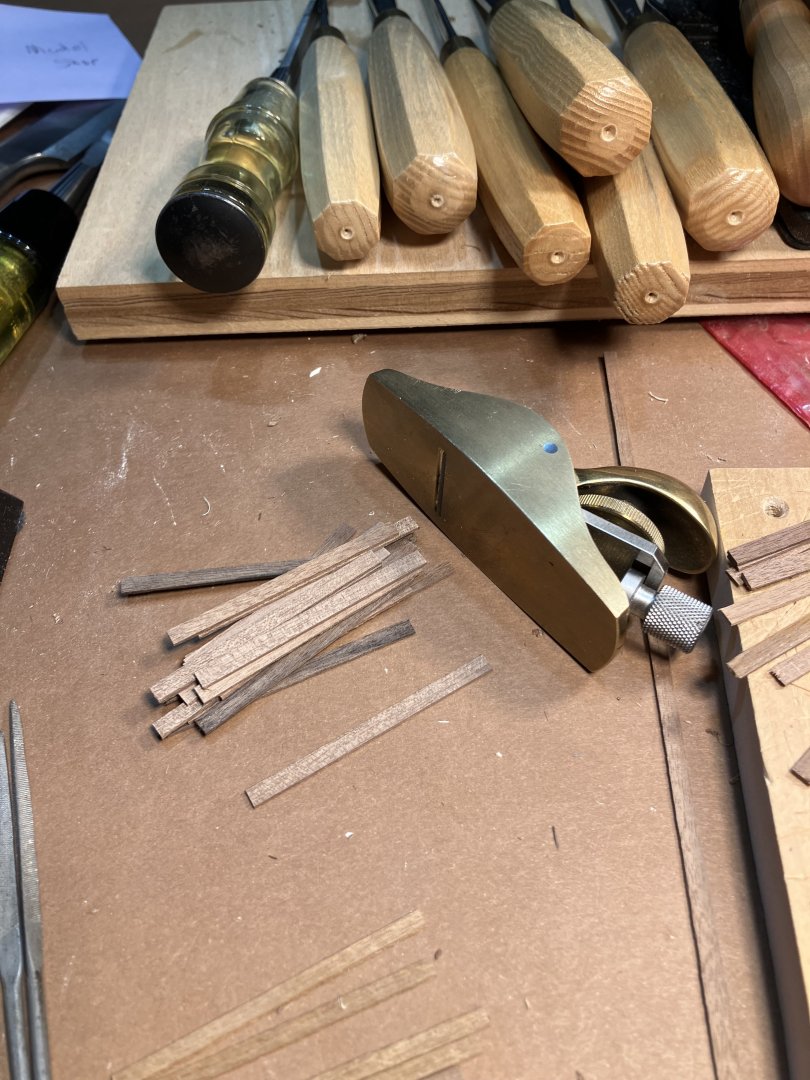
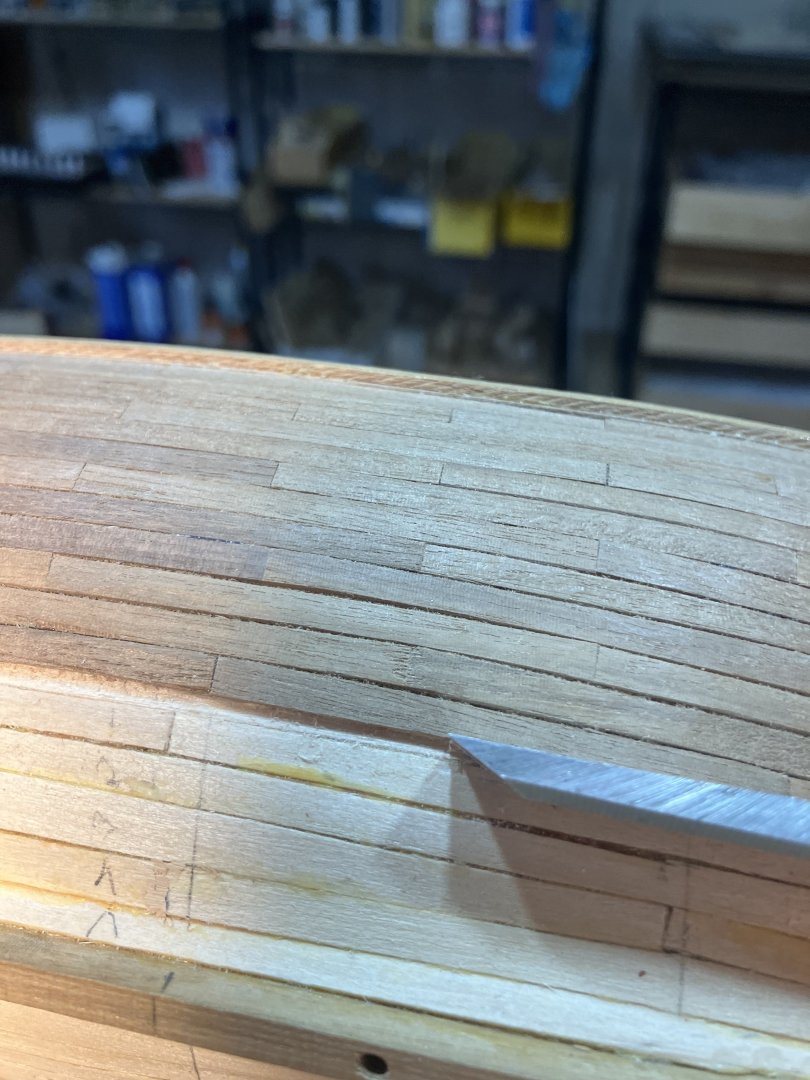
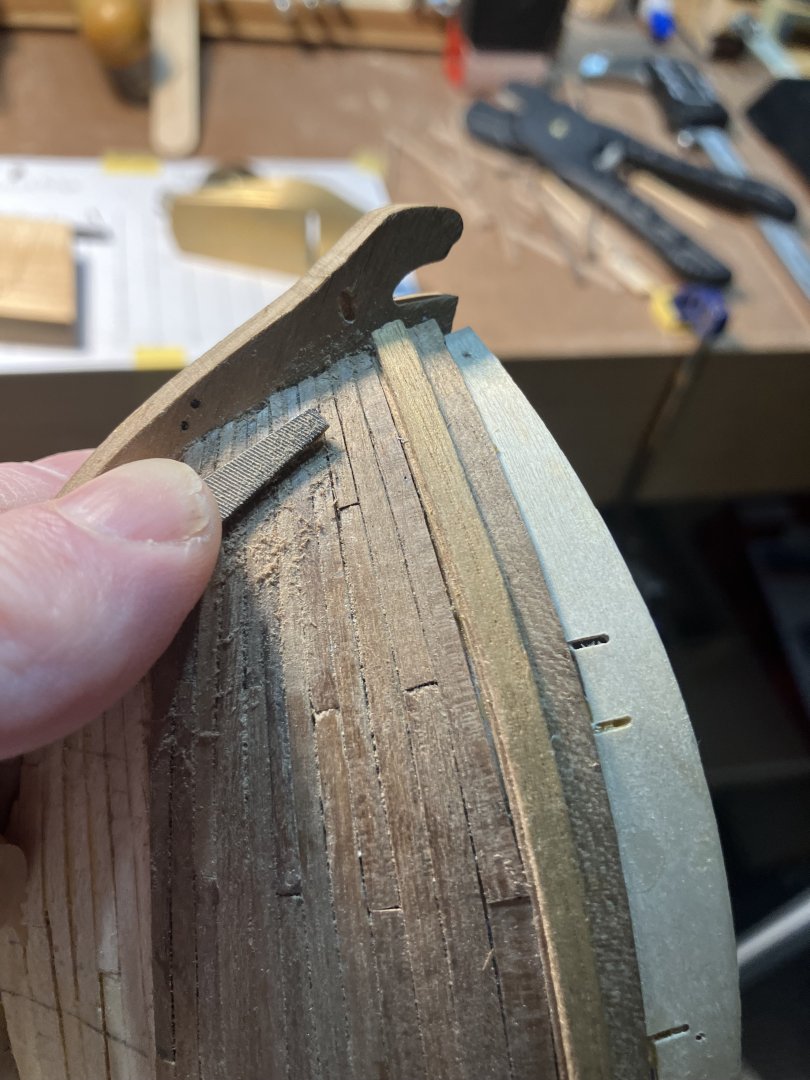
Second Planking Many ways to do this. Even after many hulls I still find this a challenge. My method is place the plank, mark where it overlaps the adjacent strake, taper with hand plane. I use dots of Titebond and 3m gel CA to install the planks. First cut the strips into 2 1/4” lengths to represent 12’ boards in 3/16” scale. Taper planks with the hand plane. Going along Check that the strakes follow the necessary curve, basically from the middle sweep up fore and aft. Use stealers aft, and drop strakes forward, as necessary. Use a sharp chisel and remove high spots along the edge to form smooth curve. Work the planks with a file to smooth edges, and high and low spots

-
Getting Started: From Dollhouses to the USS Constitution
ERS Rich replied to Jasennord's topic in New member Introductions
Welcome aboard and good luck with your projects. -Rich -
Congrats for completing your ship. Best of luck to you and your family in the New Year.
-
Welcome and greetings from Boston, USA. Good luck with your projects and enjoy your journey. Always around if you have a question. -Rich
-
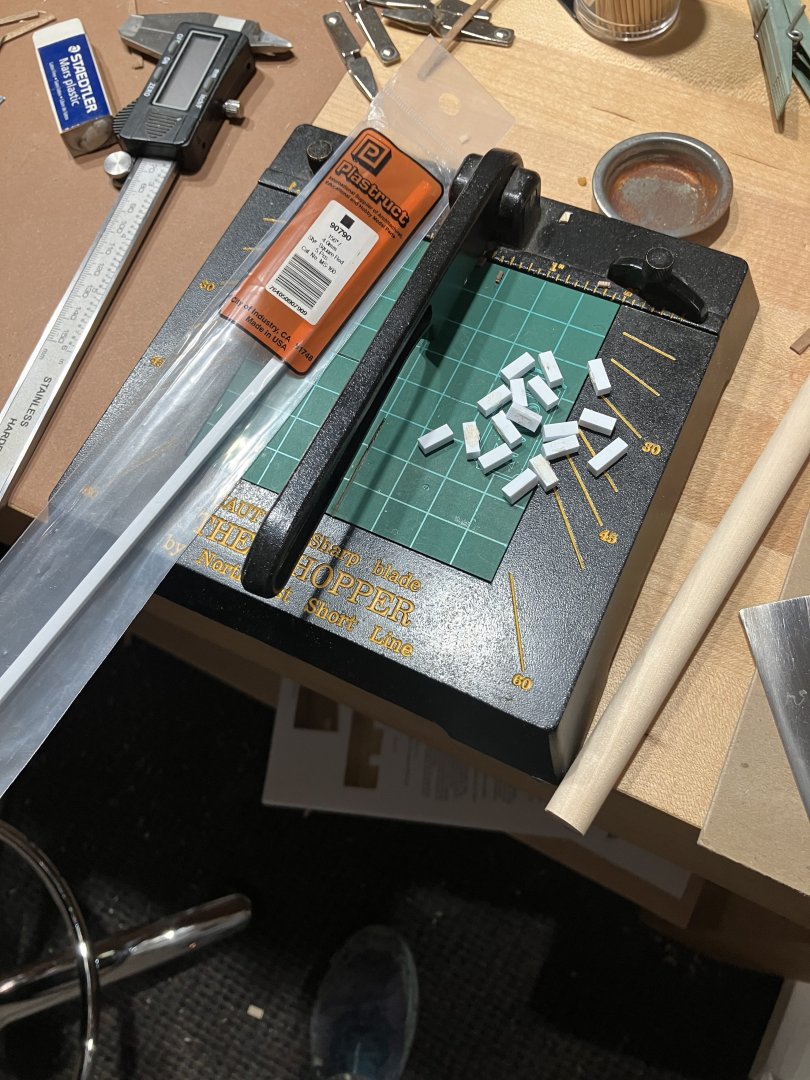
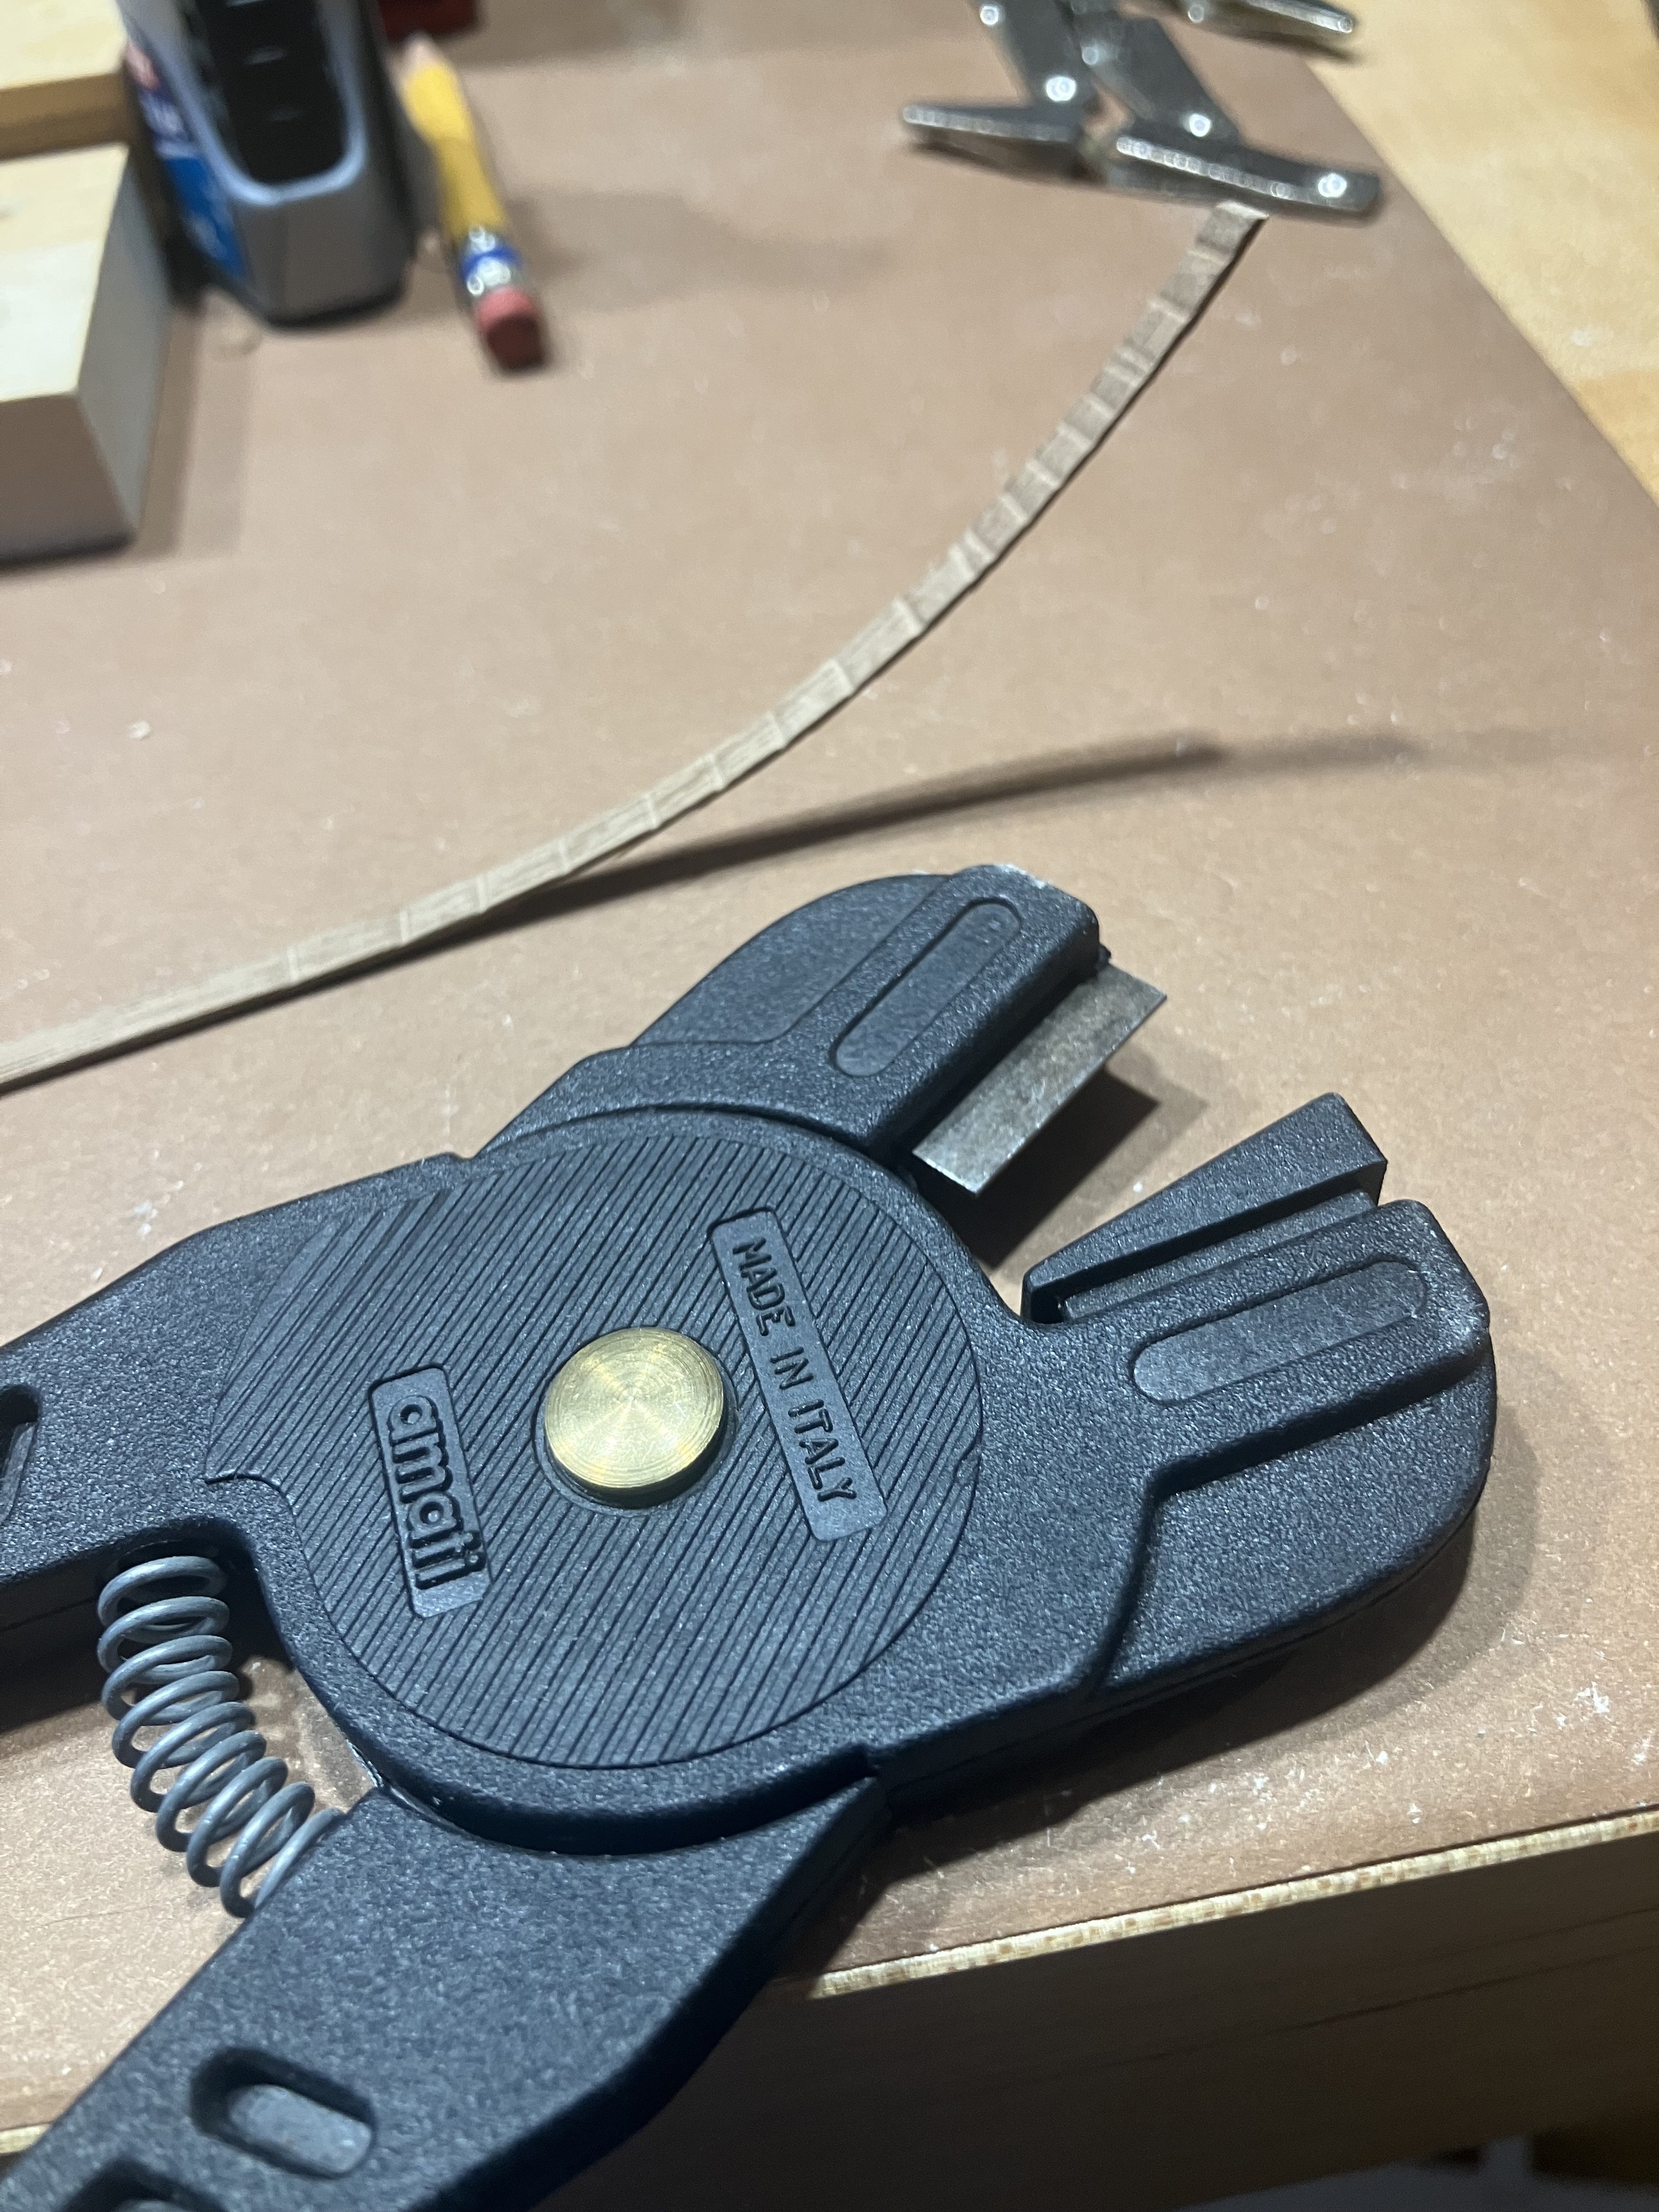
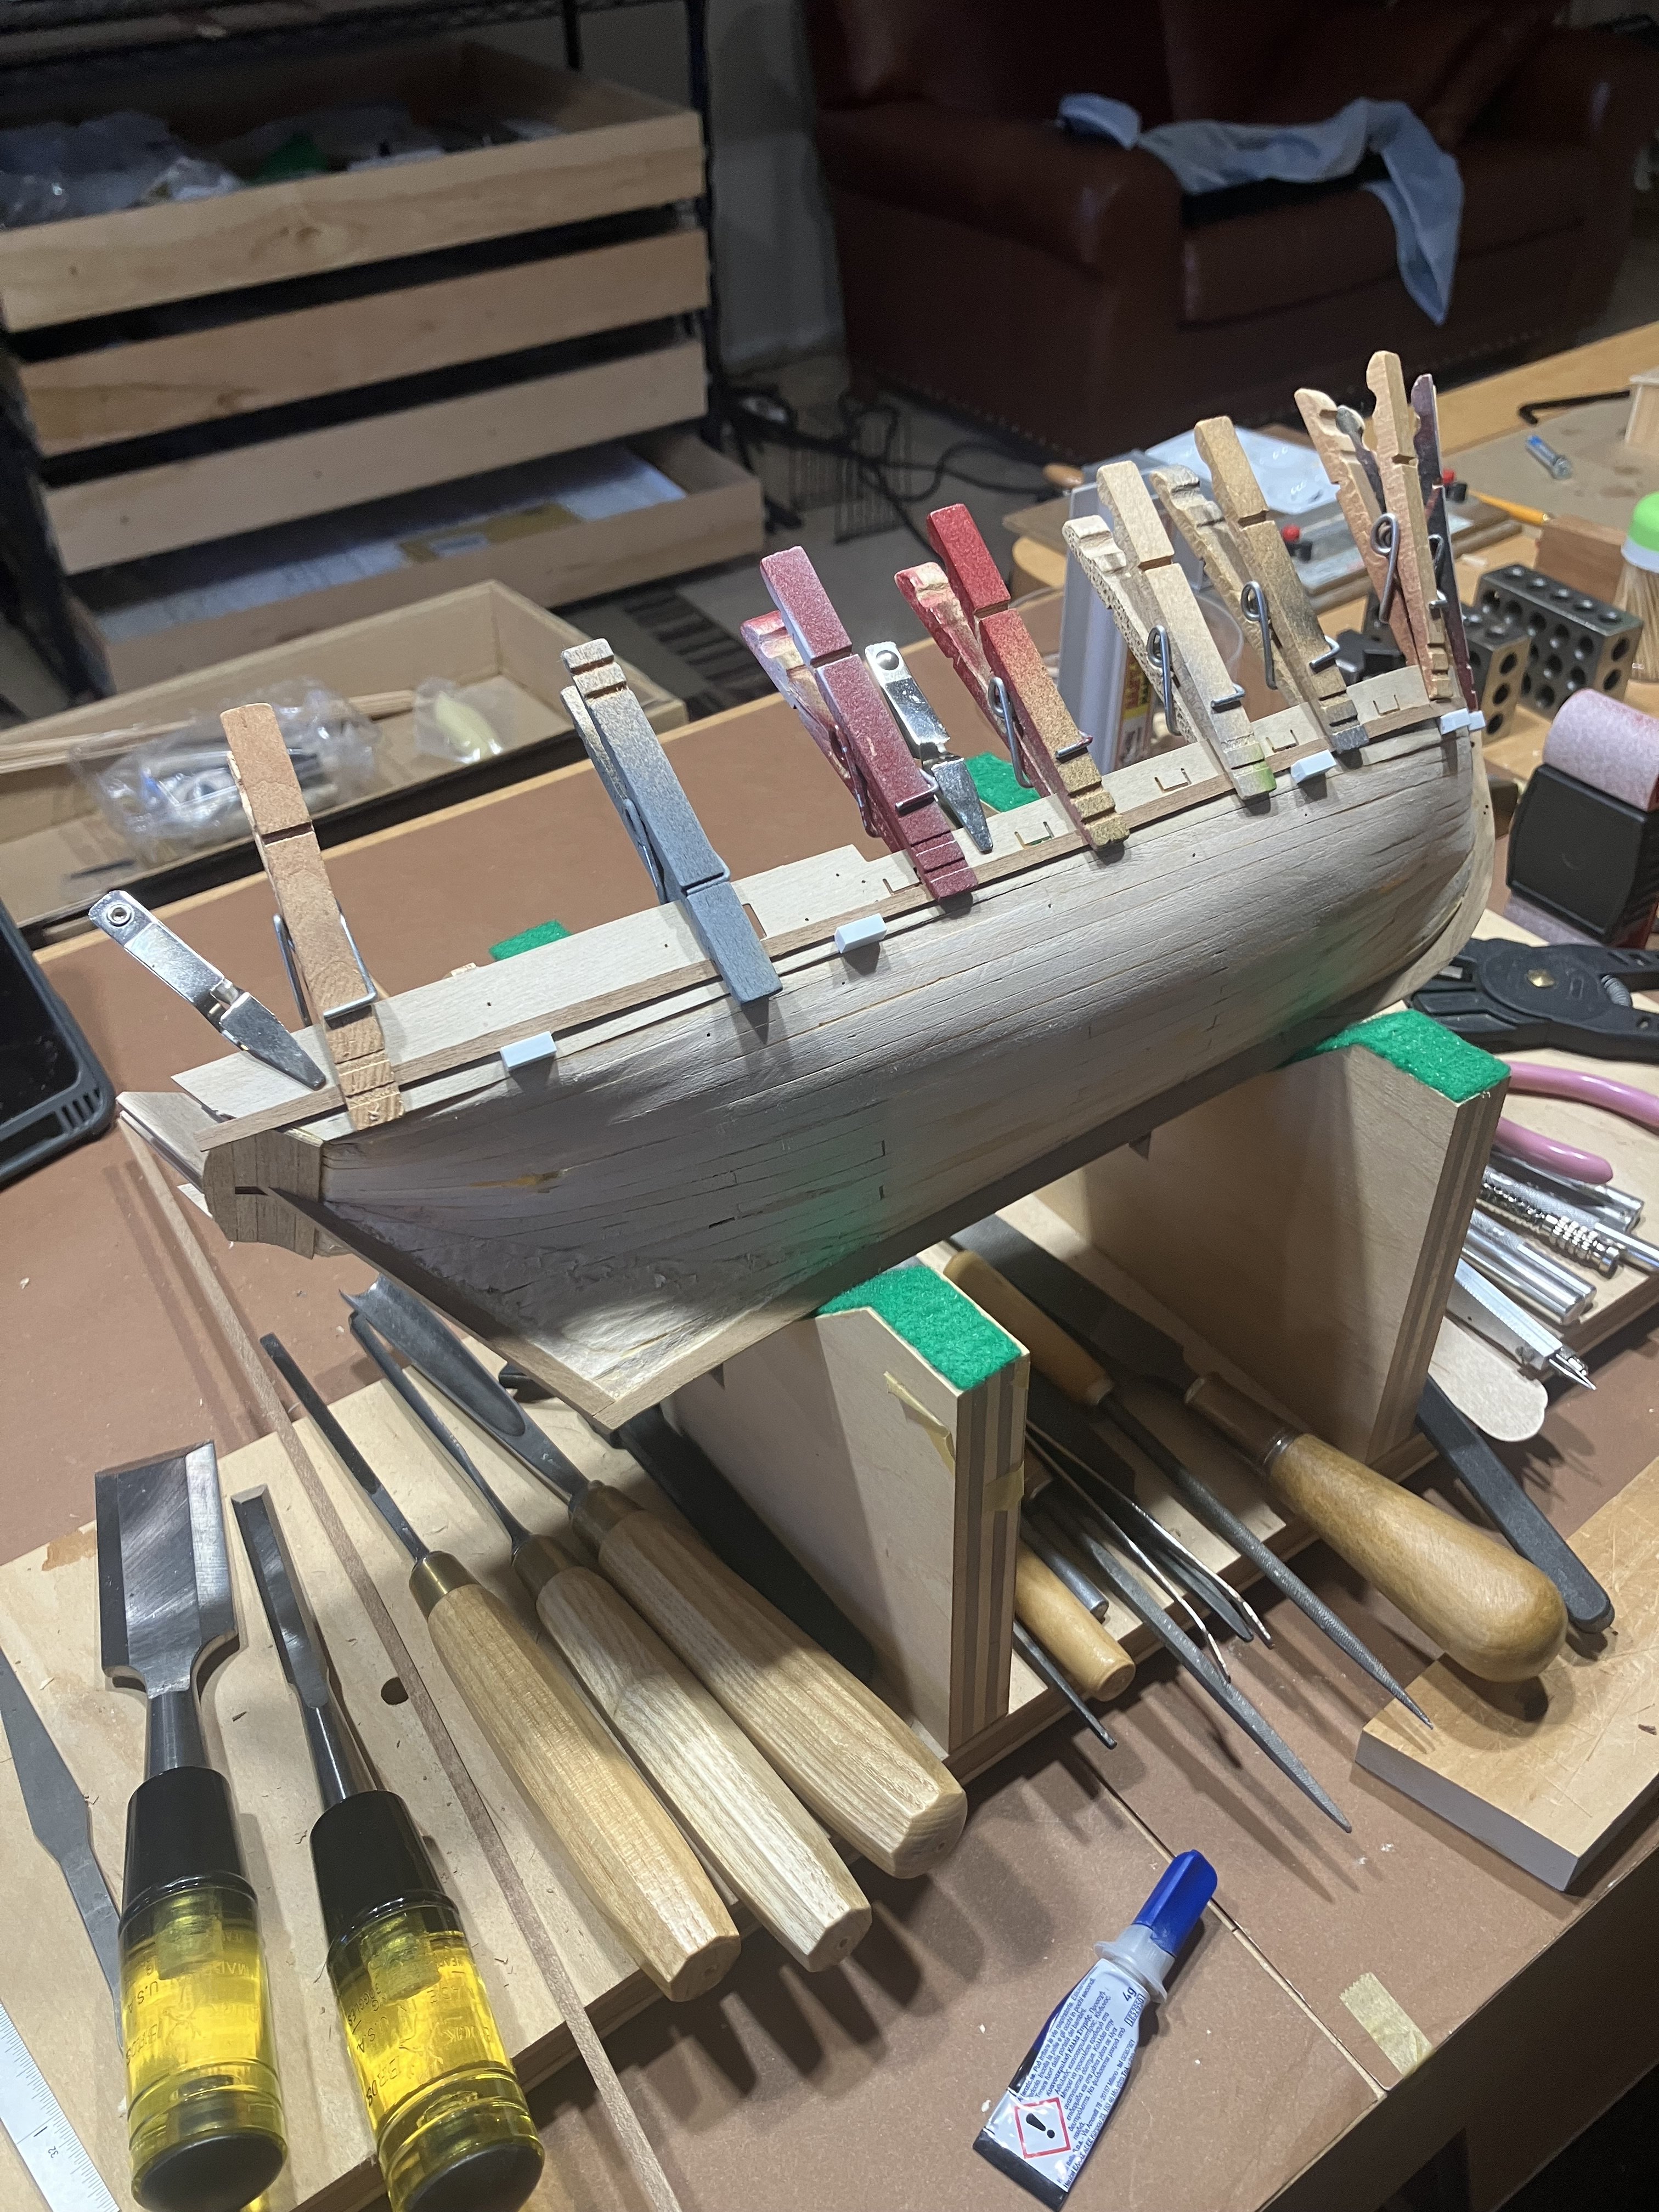
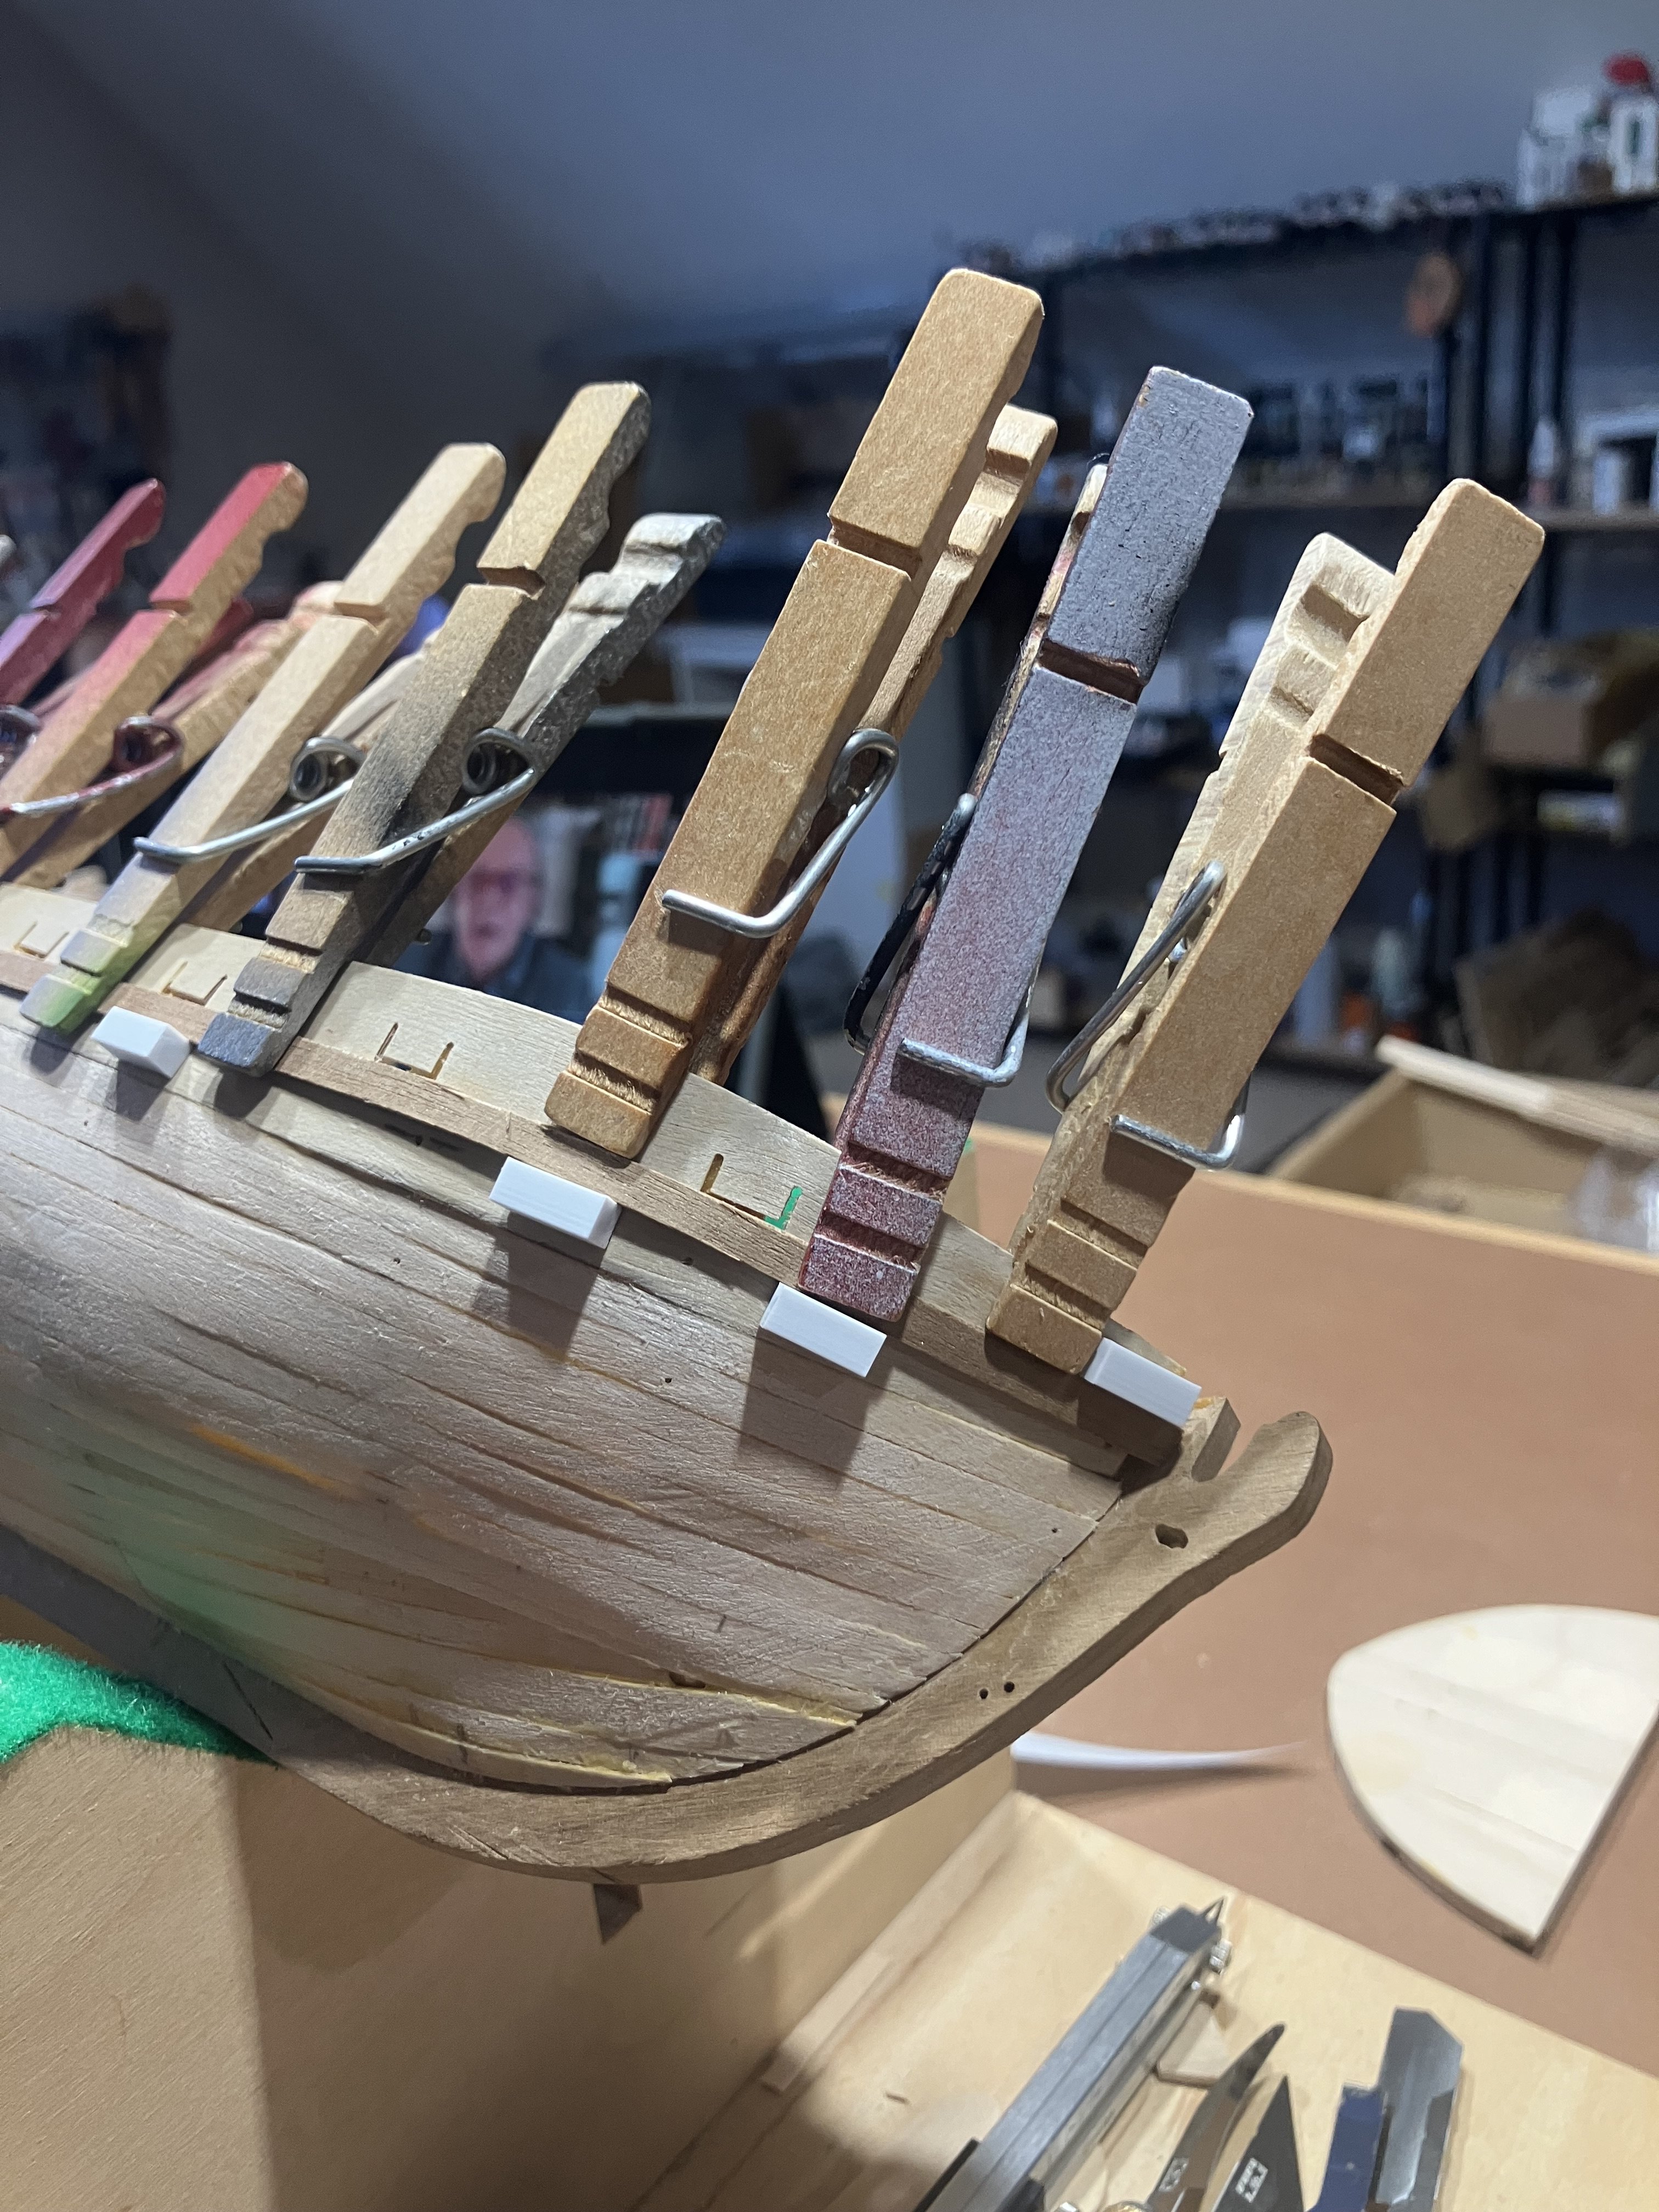
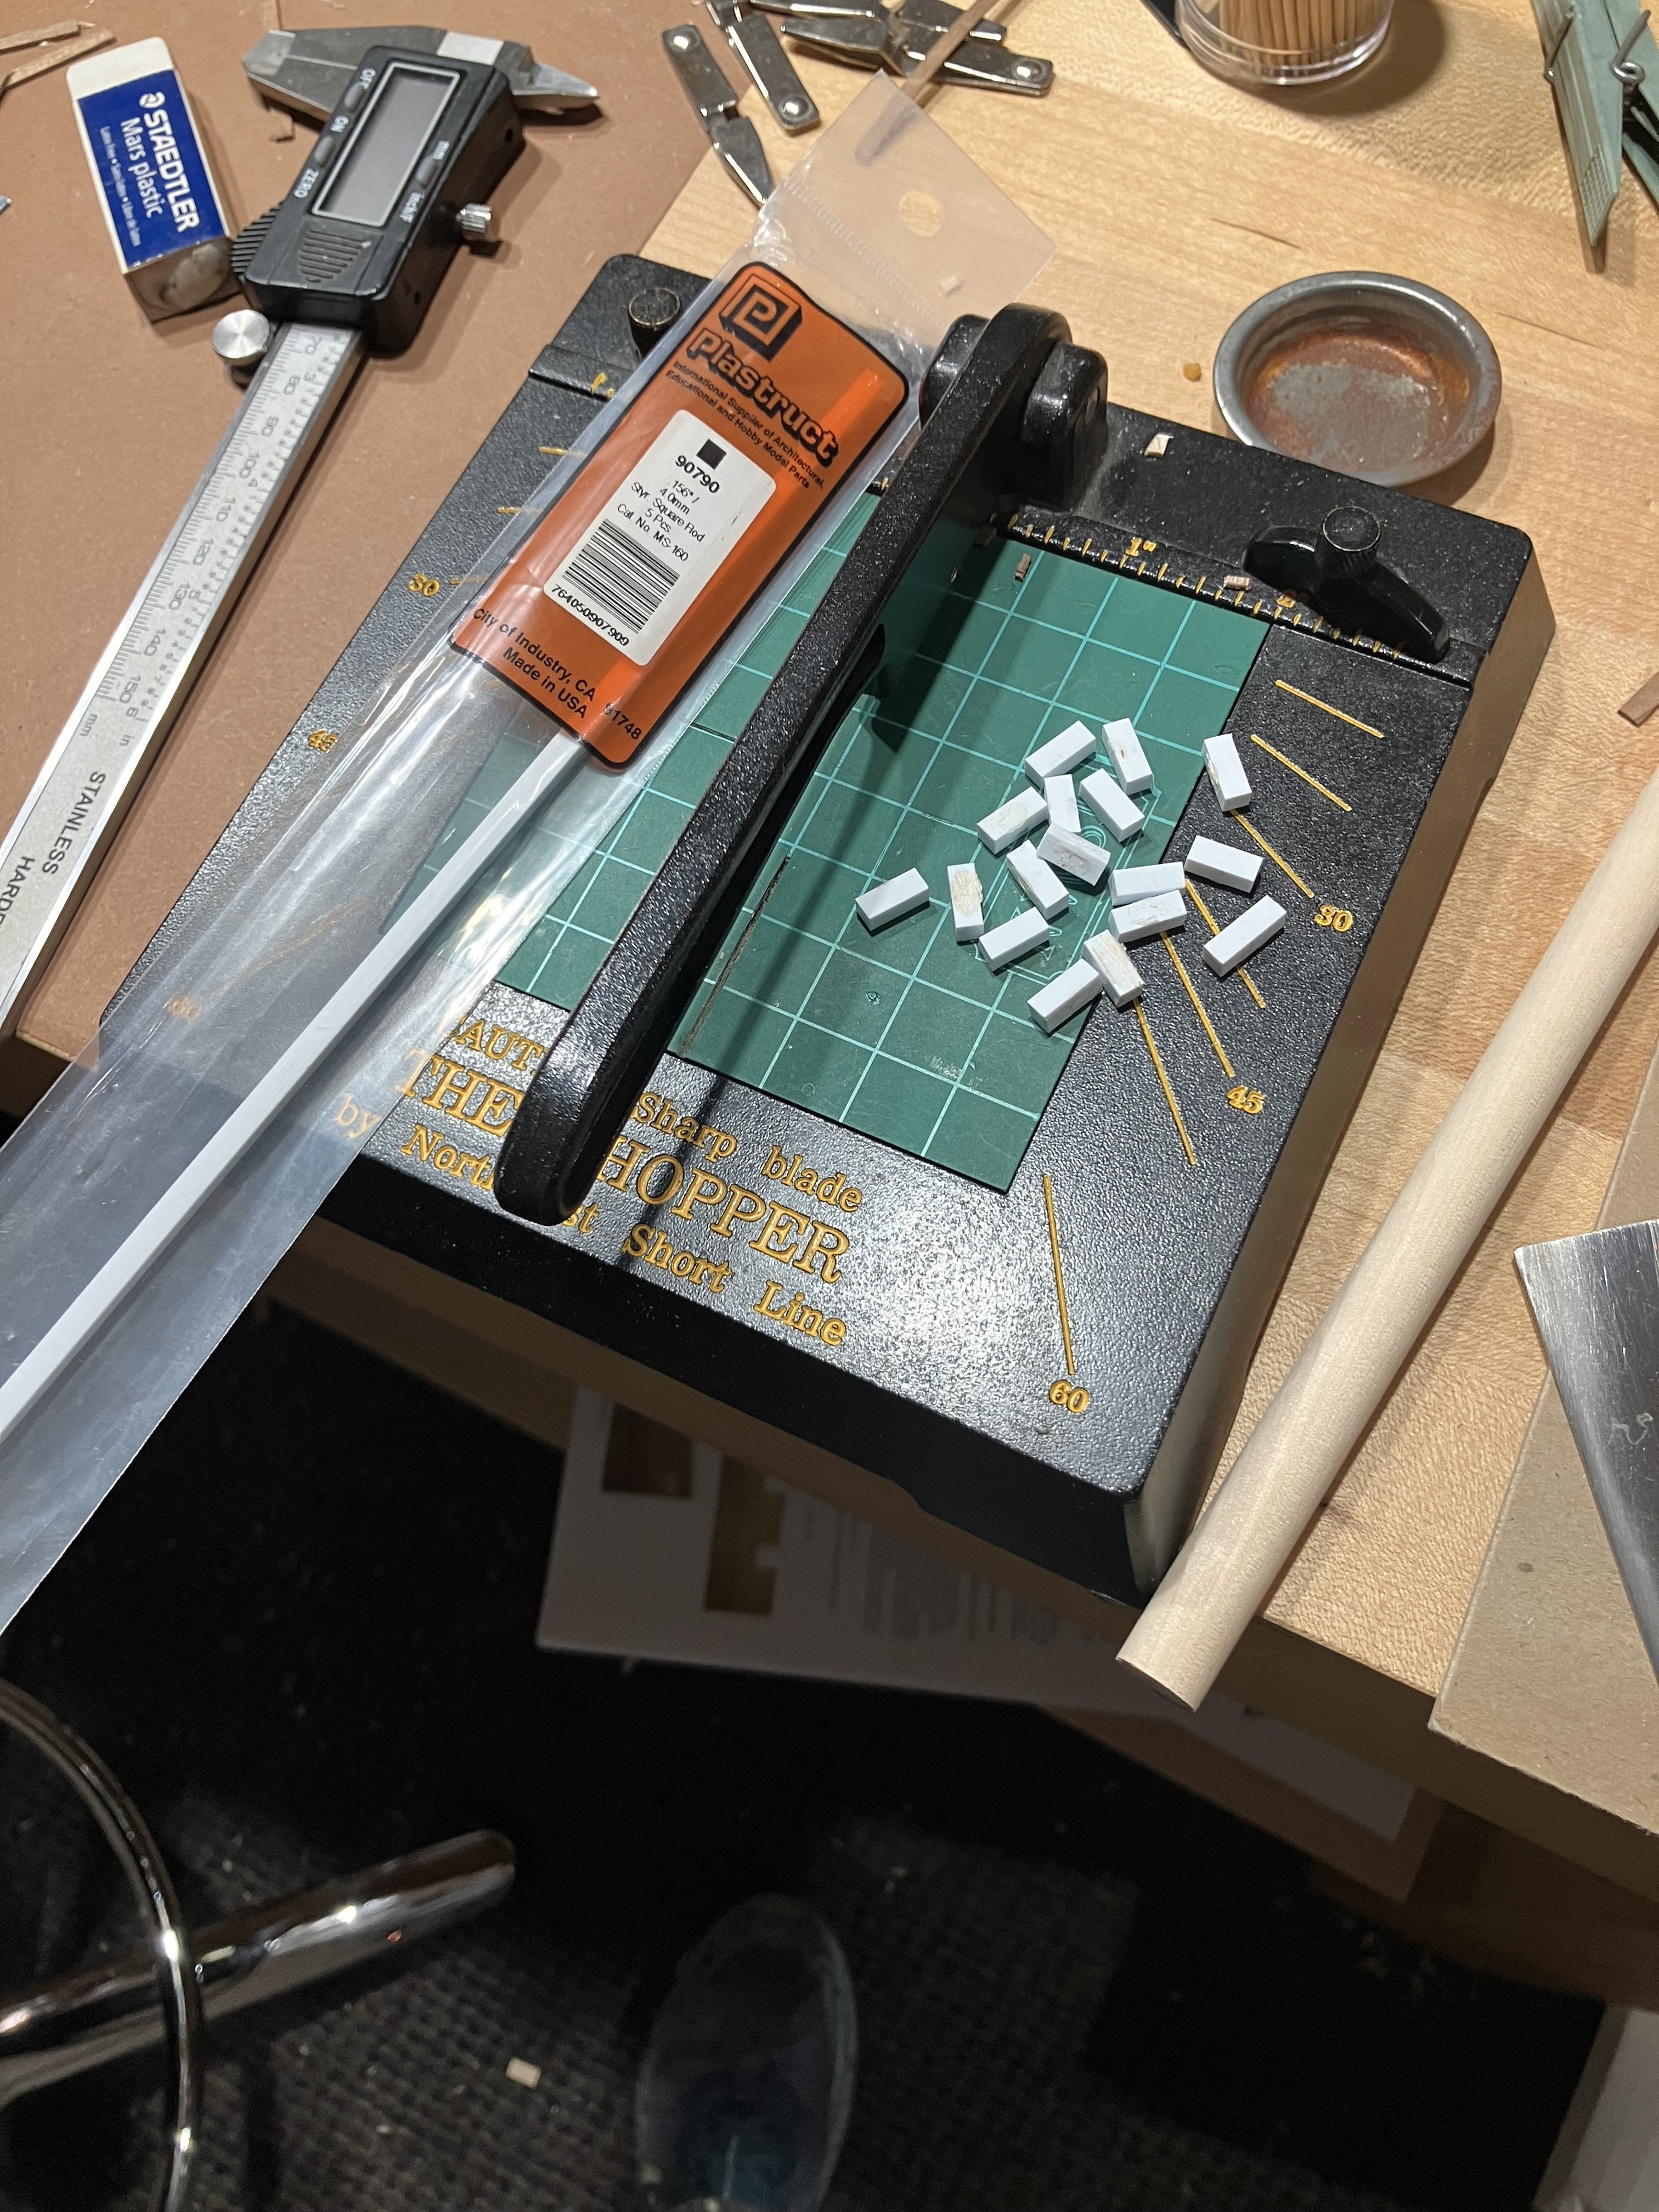
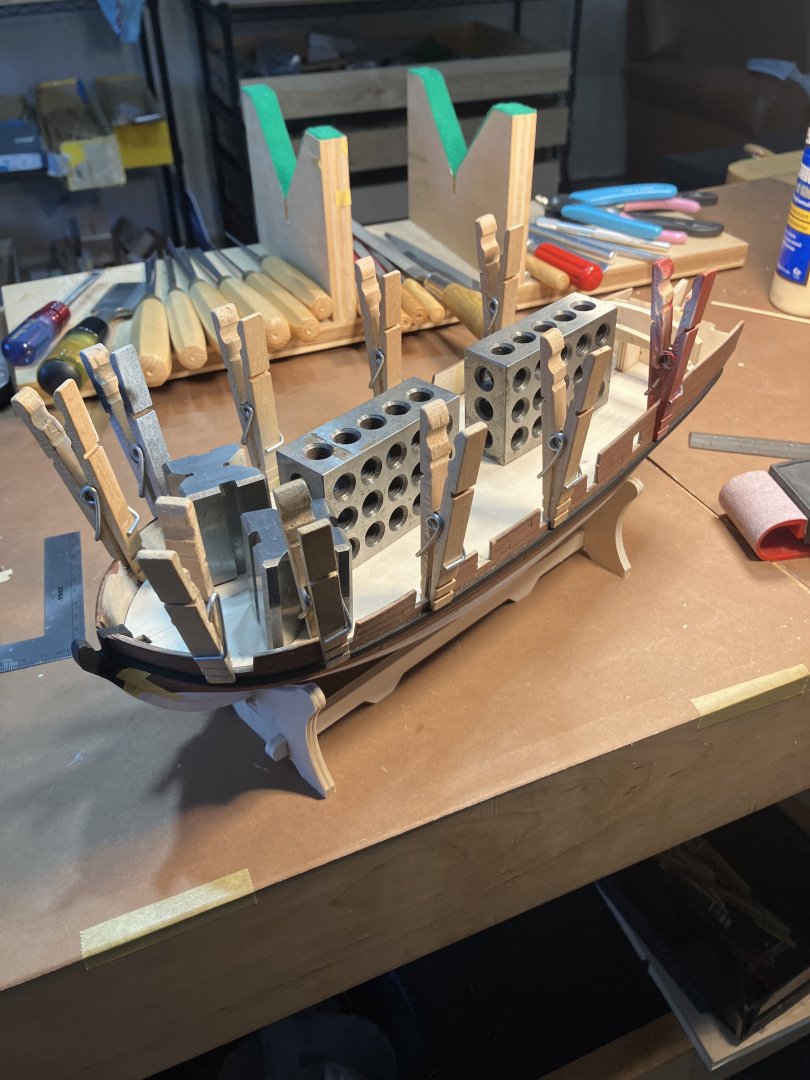
Installing the Wales Installing Wales is difficult because they need to be precisely positioned so both sides mirror each other. Here is a way to do it simply. Tip: paint the Wale after installing and before hull planking, to save on masking tape. Start with a full length plank, cut it to fit along the Stem Lost. A tool like this can be used to form the curve, it’s quicker and saves time compared to soaking. Make up a set of blocks, here I use 4 x 4 mm Plastrut. Next position the Wale in the exact location and secure with cloths pins, and take a break. Come back and make sure everything us right. Then install the blocks along the Wale edge with a dab of CA. Now the Wale can be removed, glue applied, reinstalled to the exact position, and clamped. After the glue dries, use a pair of pliers, and snap off the blocks.