-
Posts
1,957 -
Joined
-
Last visited
Content Type
Profiles
Forums
Gallery
Events
Everything posted by Glen McGuire
-
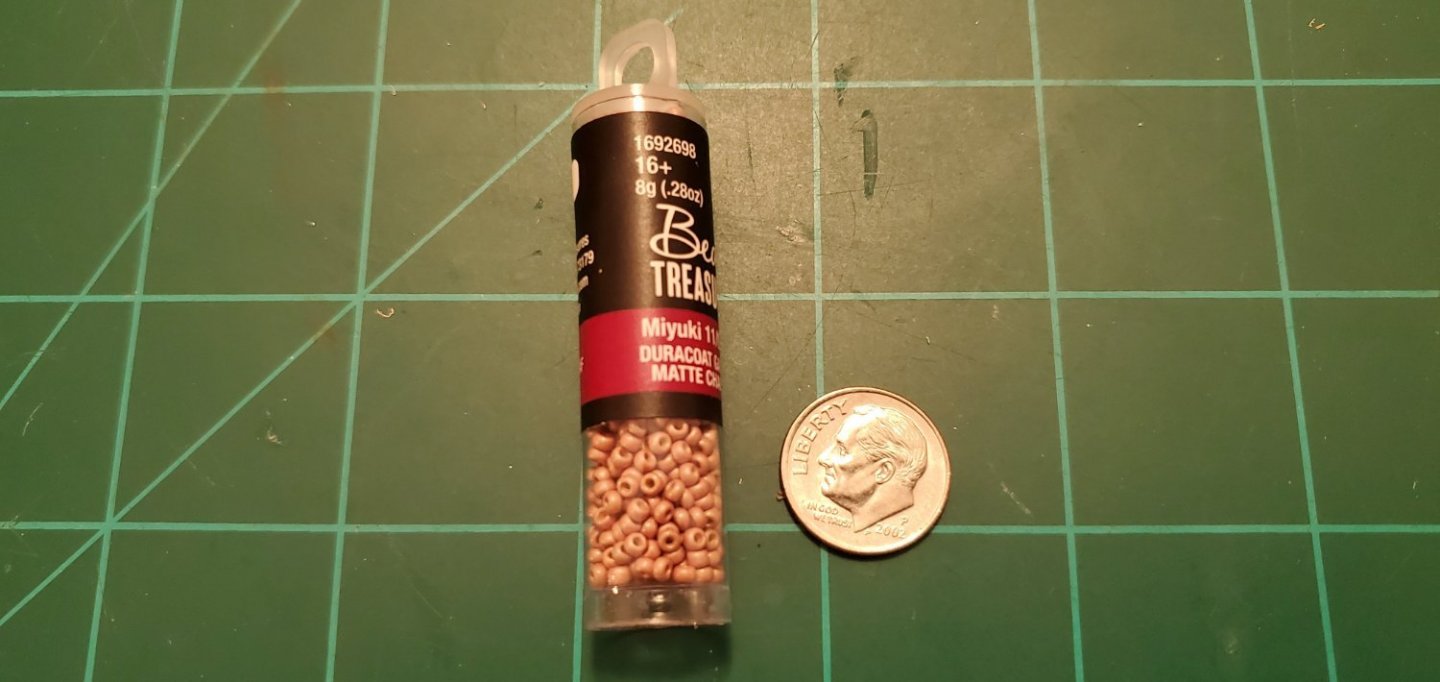
Keith and Mike, thank you very much for your thoughts and ideas. Keith - my beads look to be the same size as the ones in your picture, so I'm good there. Your etched eyelets look like they might be good for the posts that hold up the railing. How sturdy are they? Unfortunately, I would need 40-50 of them. Mike - you make a good point about the rail surviving the insertion process. The rails on your 1/350 and 1/700 ships look perfect, but given my fiasco on the Morgan when I snapped the foremast, I would probably choose something that is sturdier but out of scale rather than risk another break inside the bottle. I also tried stripping some RJ45 networking cable to get to the small strands of copper wire. The strands are about the same size as my fly-fishing thread so they are very thin and a pretty good scale. But they are so flimsy, it’s impossible to get them to hold a straight line like I would need for the rail. I also tried stripping twisty ties to get at the wire but had the same problem. So back to Mike’s point, I may have to balance scale vs durability.
-
Well, Ian, if I was really good at this stuff I'd be tying knots instead of wimping out and gluing them on! 😵
-
Agreed, Keith. And it will look even meatier when painted white. That is an interesting idea. I actually bought the smallest beads I could find when I was building the Morgan thinking I could use them for deadeyes (didn't work out though). I'm going to play around with them and see how it looks.
-
You know, Keith, I was wondering about that. Thanks for the correction! Now I gotta find some gray cotton somewhere or figure out how to make white cotton gray. Hmmmm again.
-
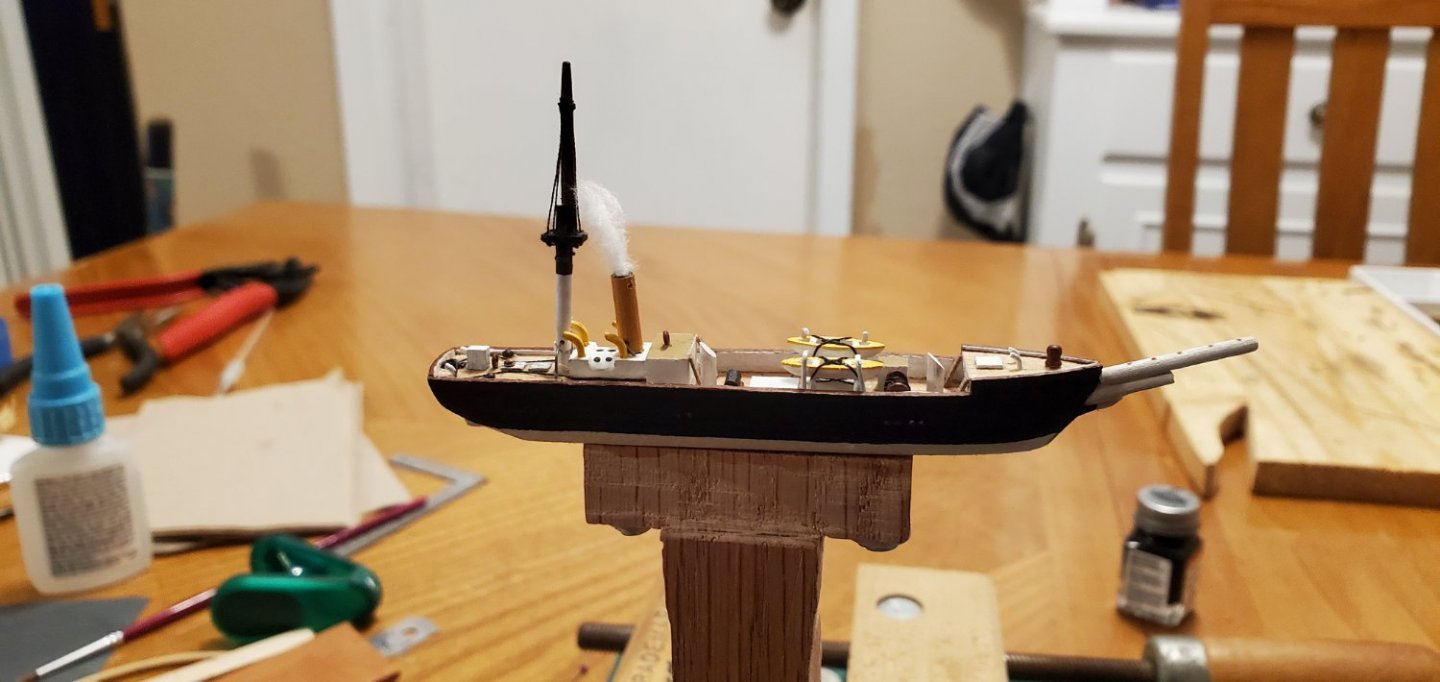
I finished the weekend by playing around with how to satisfy my son’s demand that smoke must be shown rising from the smokestack. I took a small piece of music wire and painted it white. Then I pulled some cotton fragments off of a q-tip, glued it to the wire, and stuck the wire inside the smokestack. It’s just for practice now, but if it can survive the bottle squeeze, it just might look ok. Or maybe I can somehow drop it in the smokestack after the ship is inside the bottle. Hmmmm. TBD.
-
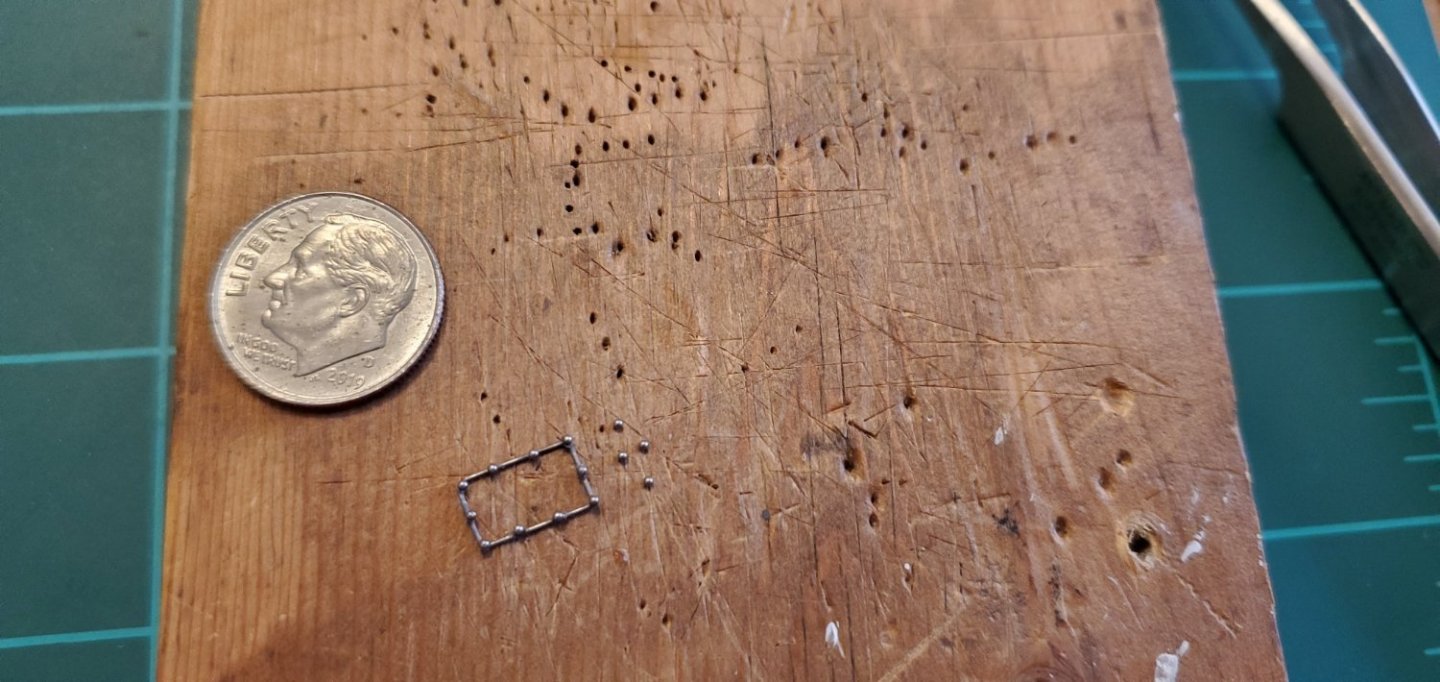
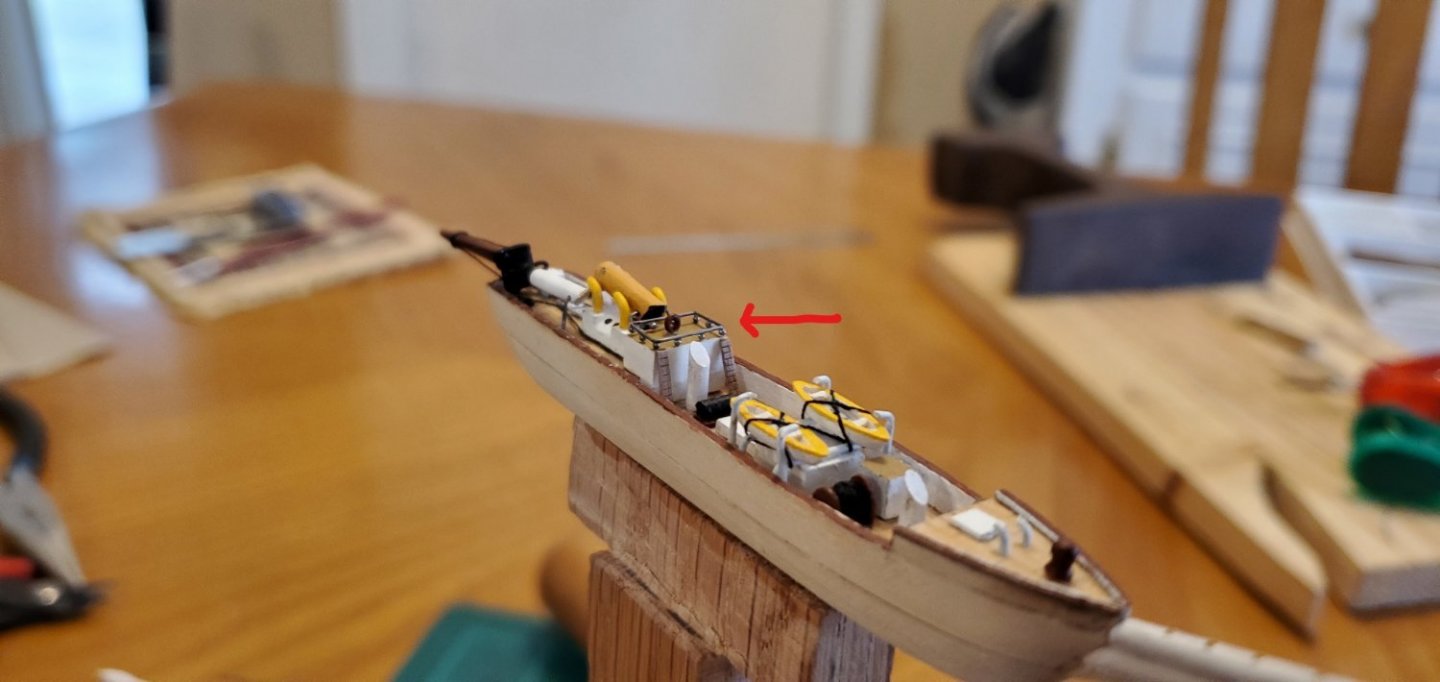
I’m getting a little out of order here but I keep thinking about how I’m going to do the rails that go around the ship and on top of the chart room. I think the rails are a distinctive feature and I want to do a decent job on them. My soldering iron broke, so while waiting for a new one to arrive (does anyone ever go to the store anymore?) I tried something a bit different. I’ve got a bunch of leftover .5mm ball bearings that I used for cannonballs on the Hannah. So I wondered how they would look as posts for the rail. I did a little test run on the railing around the chart room just gluing them to the thin music wire. What do you think?
-
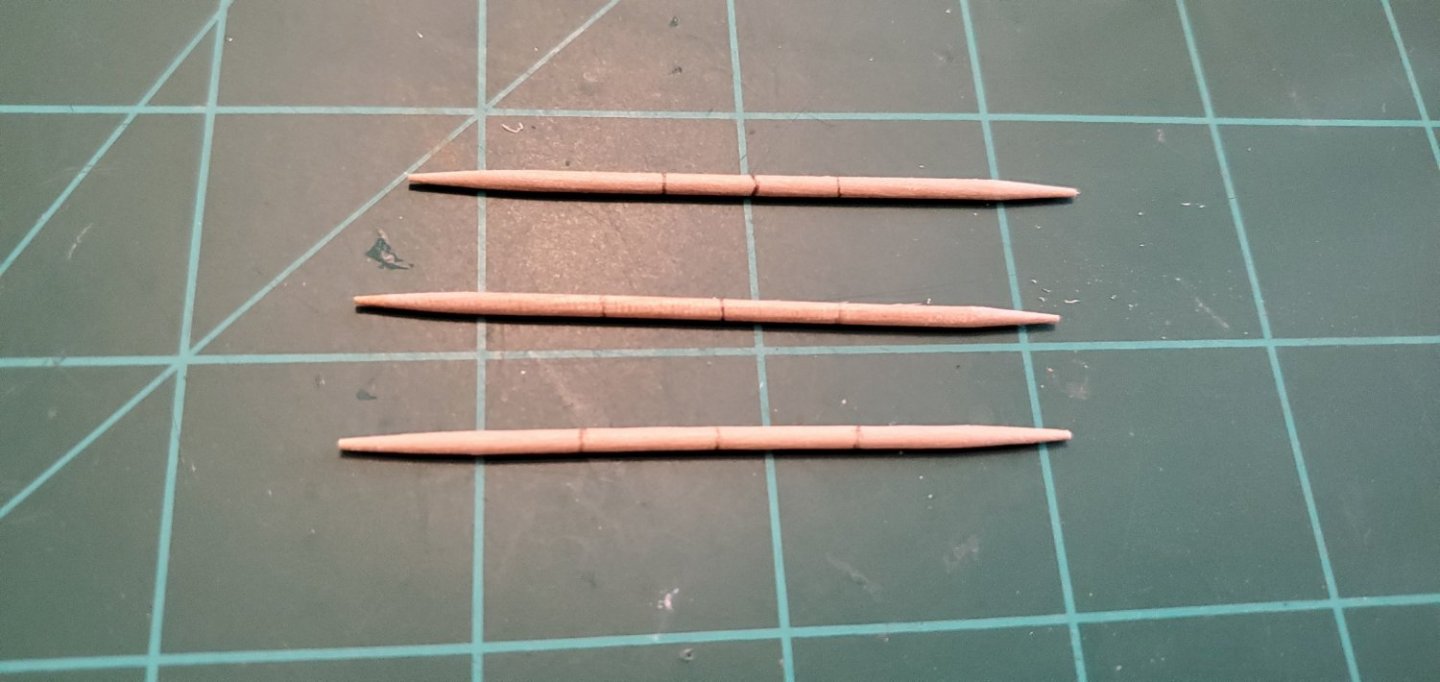
Next were the foremast yards. Pretty basic stuff here. I used 3 toothpicks and put them on the drill-lathe to taper them down to size.
-
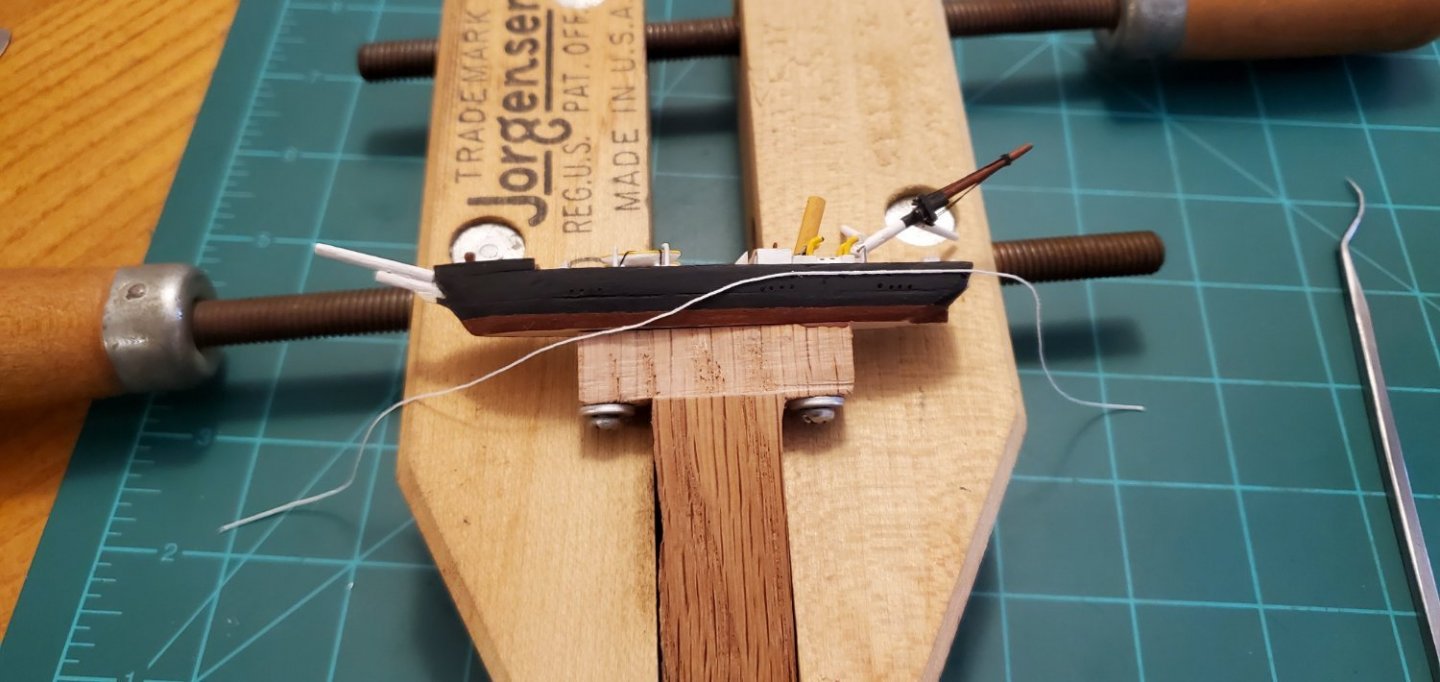
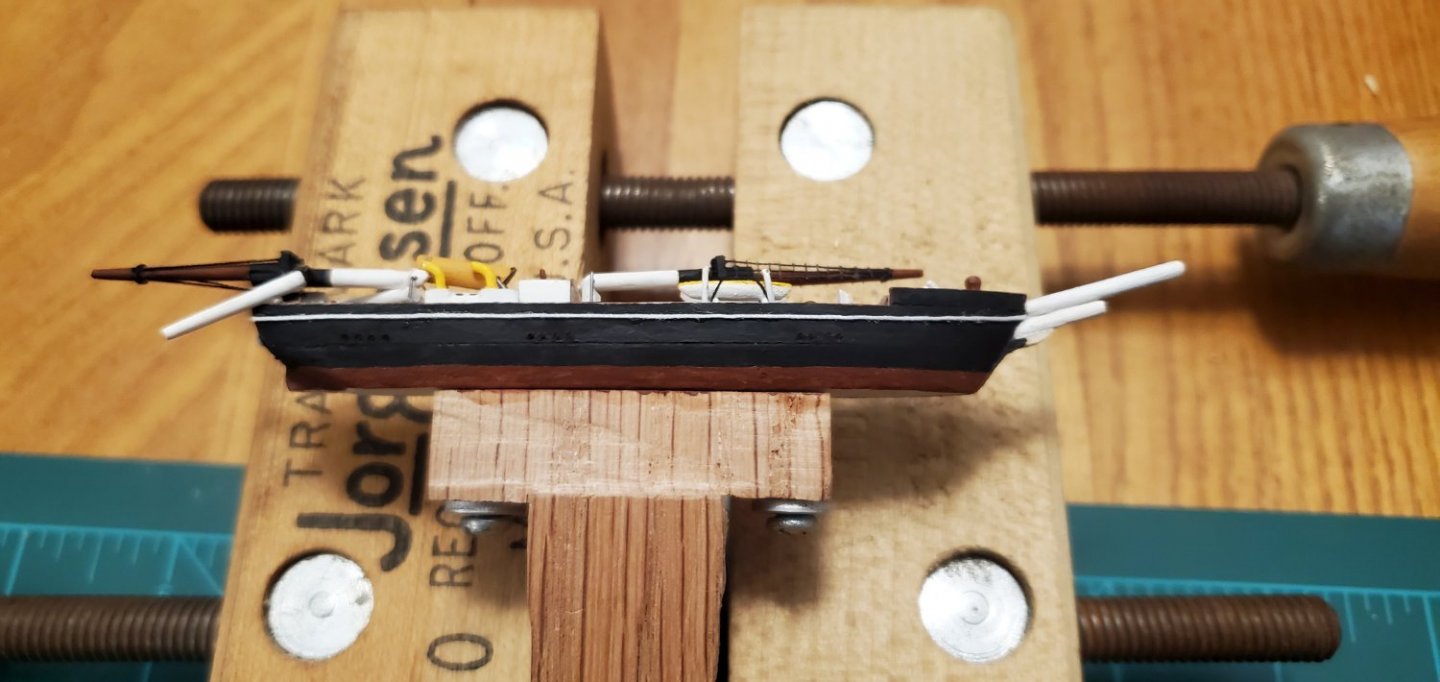
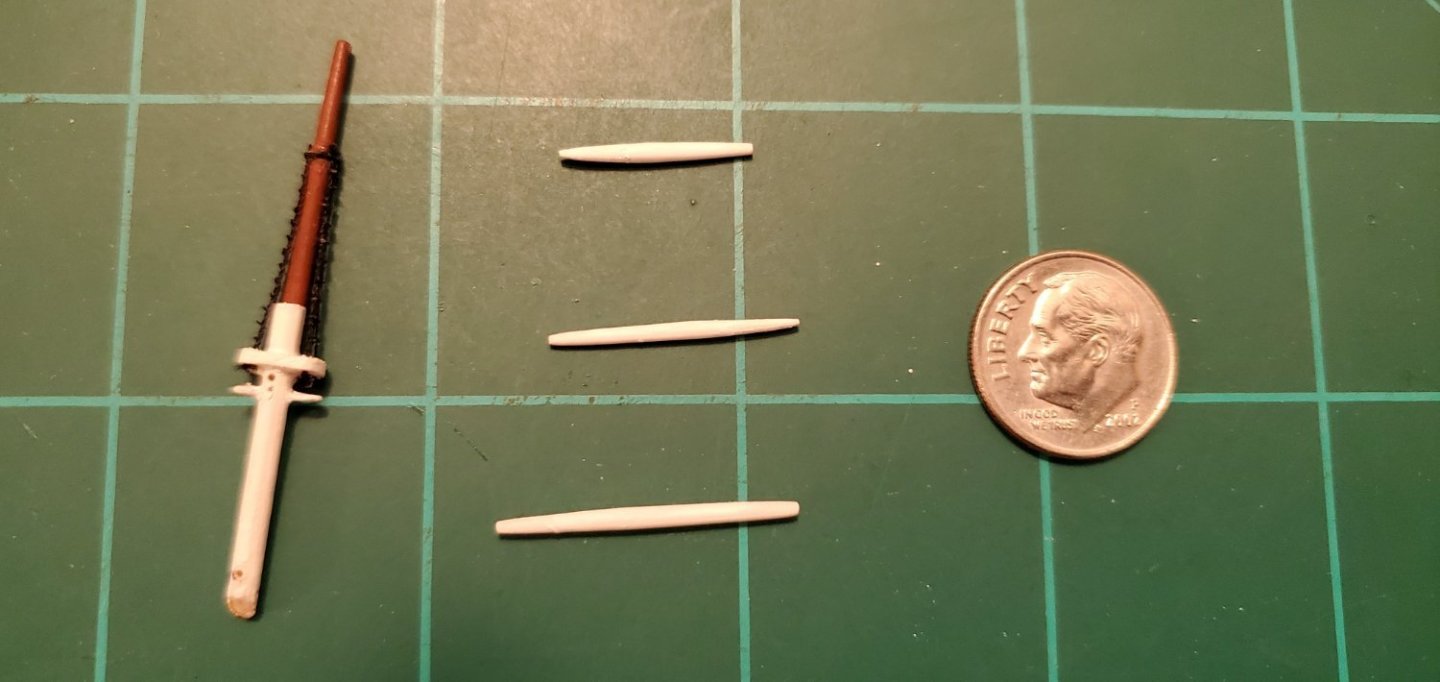
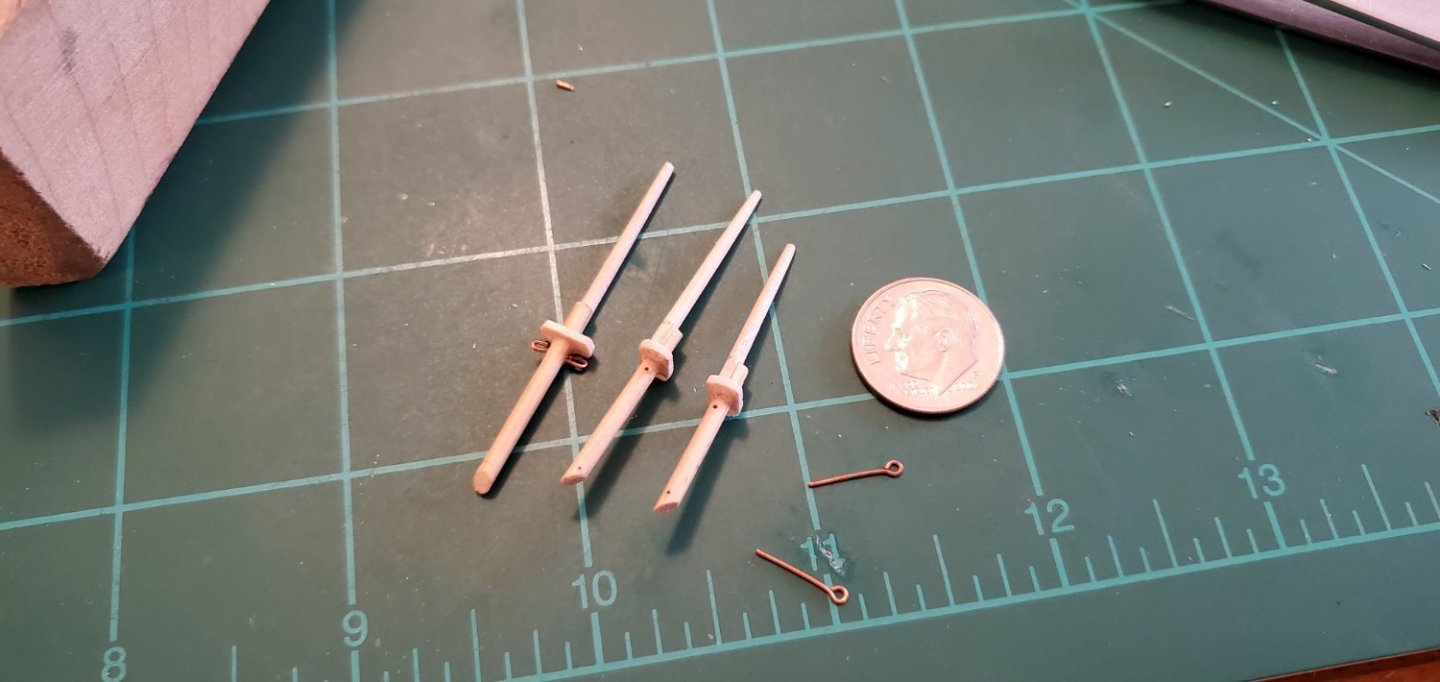
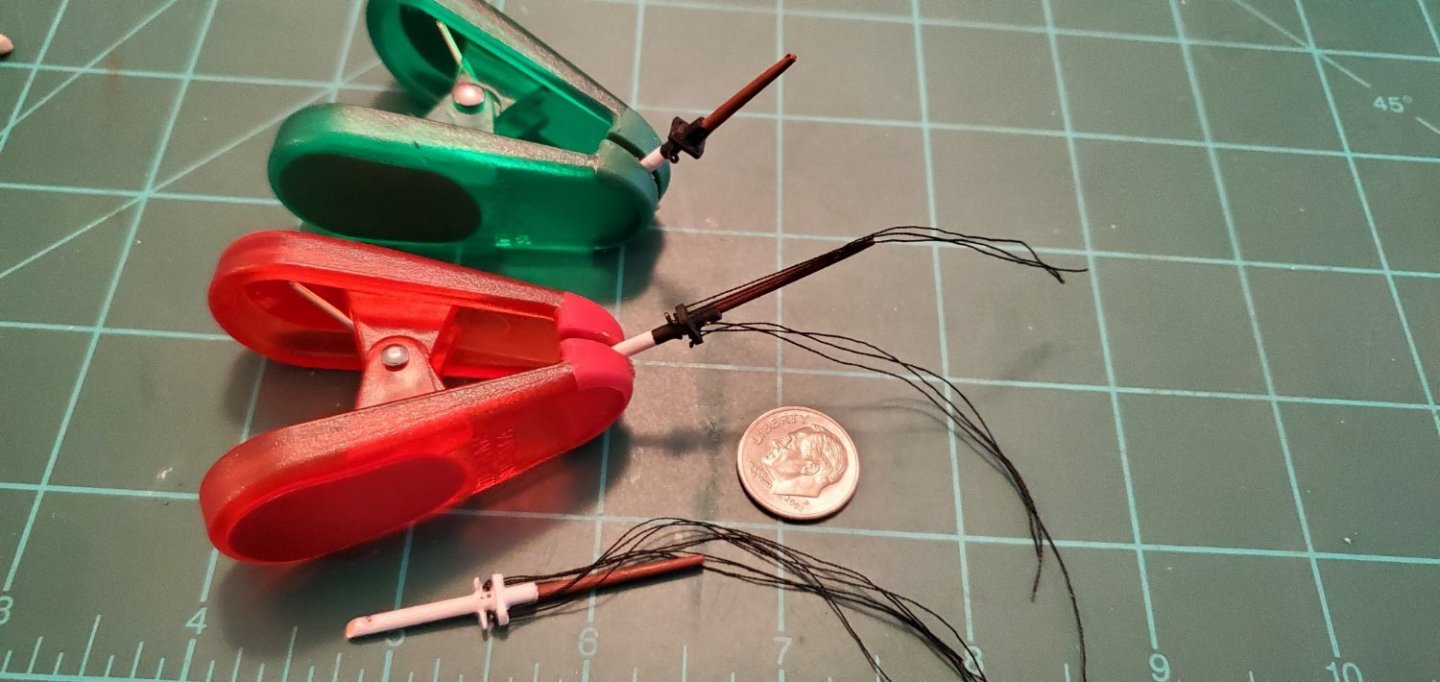
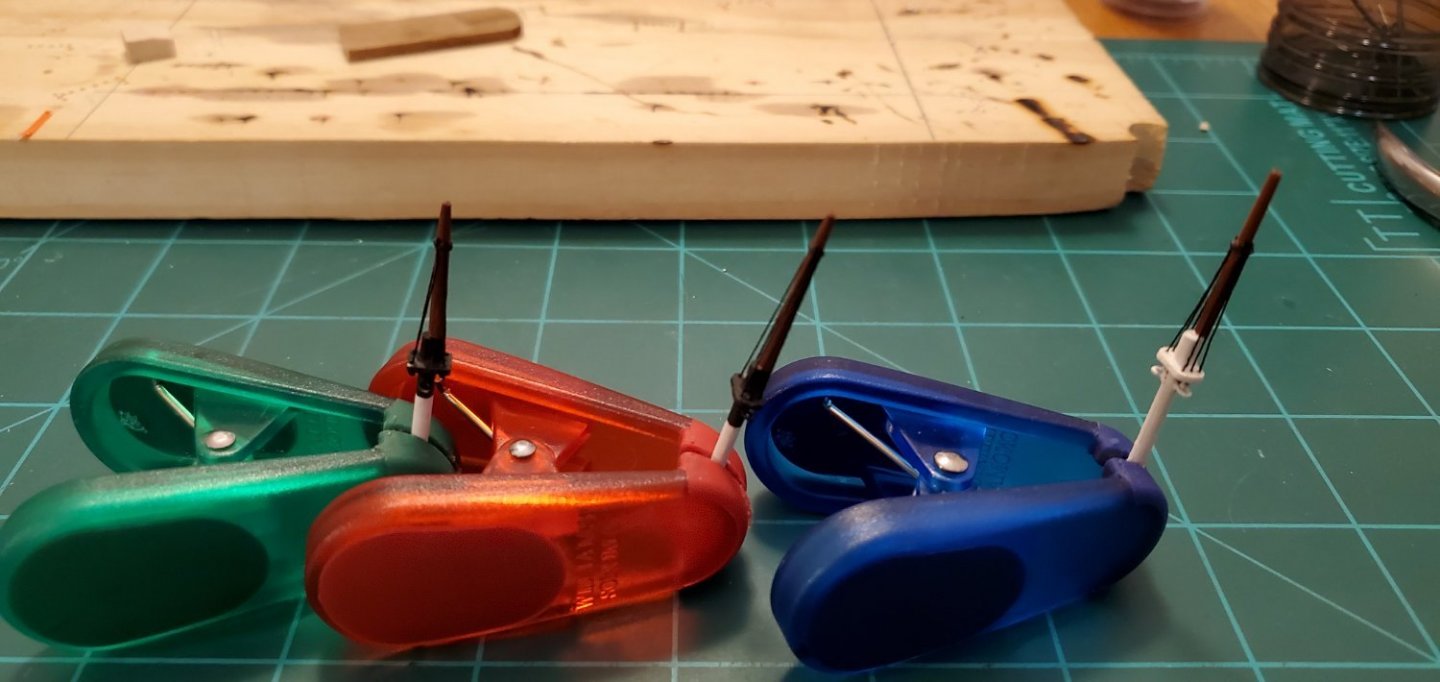
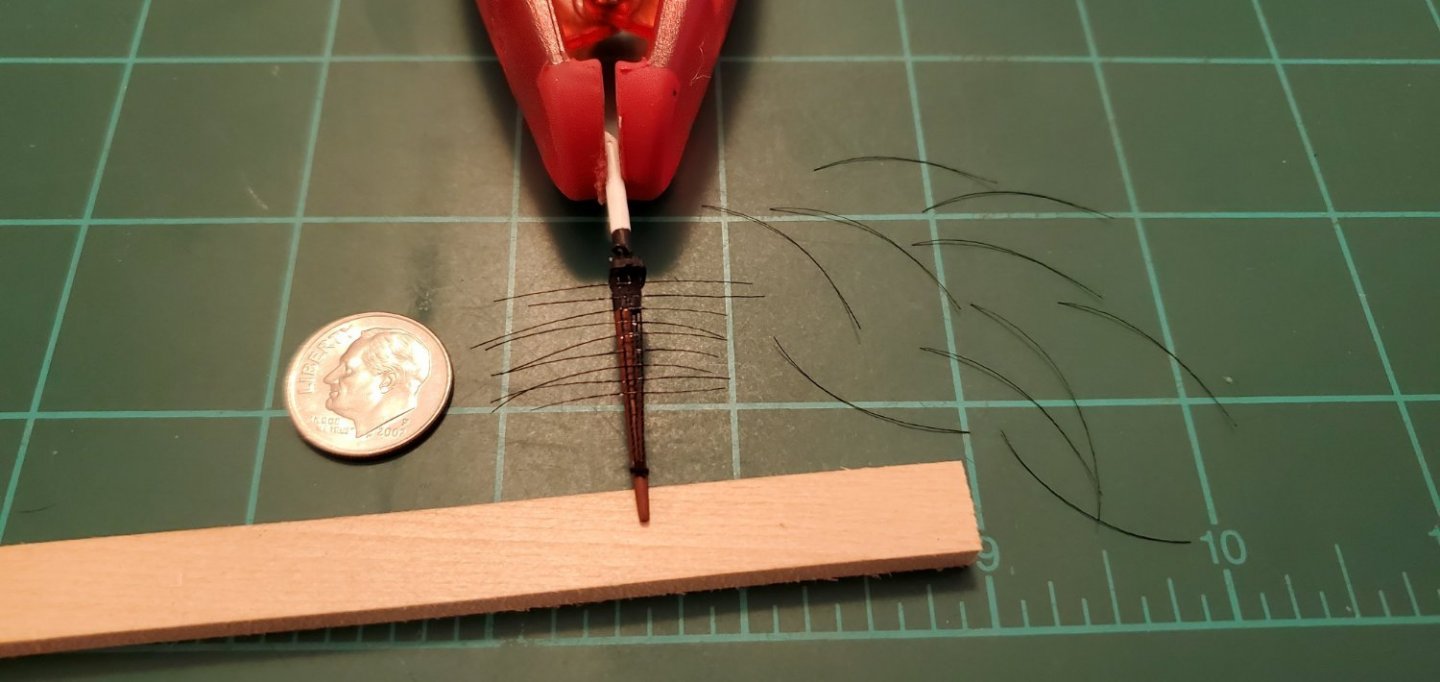
It was a dreary weather weekend in Austin so that meant plenty of time to work on the ship. Trying to figure out what to do next, I decided on the masts. I’m using wooden handles from long q-tips which are a bit thicker than regular toothpicks. I had 3 leftover tiny eyebolts from the Amati Hannah kit and used them as anchors for securing the upper end of the lower shrouds just below the tops. When I did the Morgan last time, I made the mistake of stepping the masts before installing the upper shrouds and ratlines. Not this time! Much easier doing it on the bench. The ratlines are fly fishing thread (Uni-thread 8/0 72D) glued onto the shrouds with Aleene’s fabric glue, then ends clipped close with cuticle clippers.
-
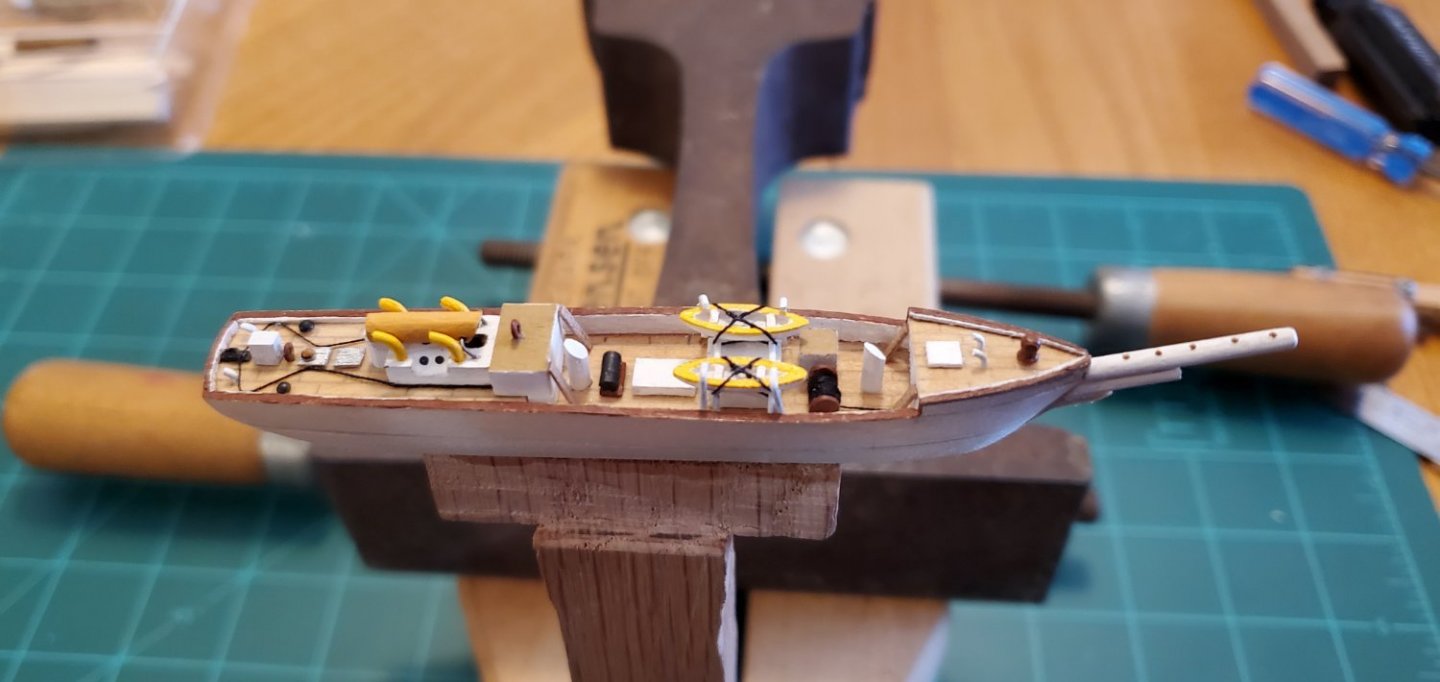
And, all the fittings in place. My deck is pretty crowded but apparently nothing like the real Aurora when it left Australia loaded with all the gear for the expedition. That included 38 dogs, radio masts, timbers and boards to build shelters, an airplane-tractor contraption, sledges, food, fuel and other misc equipment. As the ship left port, Mawson commented, “The piles of loose gear presented an indescribable scene of chaos. The deck was so encumbered that only at rare times was it visible.” That's actually a pretty good description of my kitchen table when I'm working on one of these ships.
-
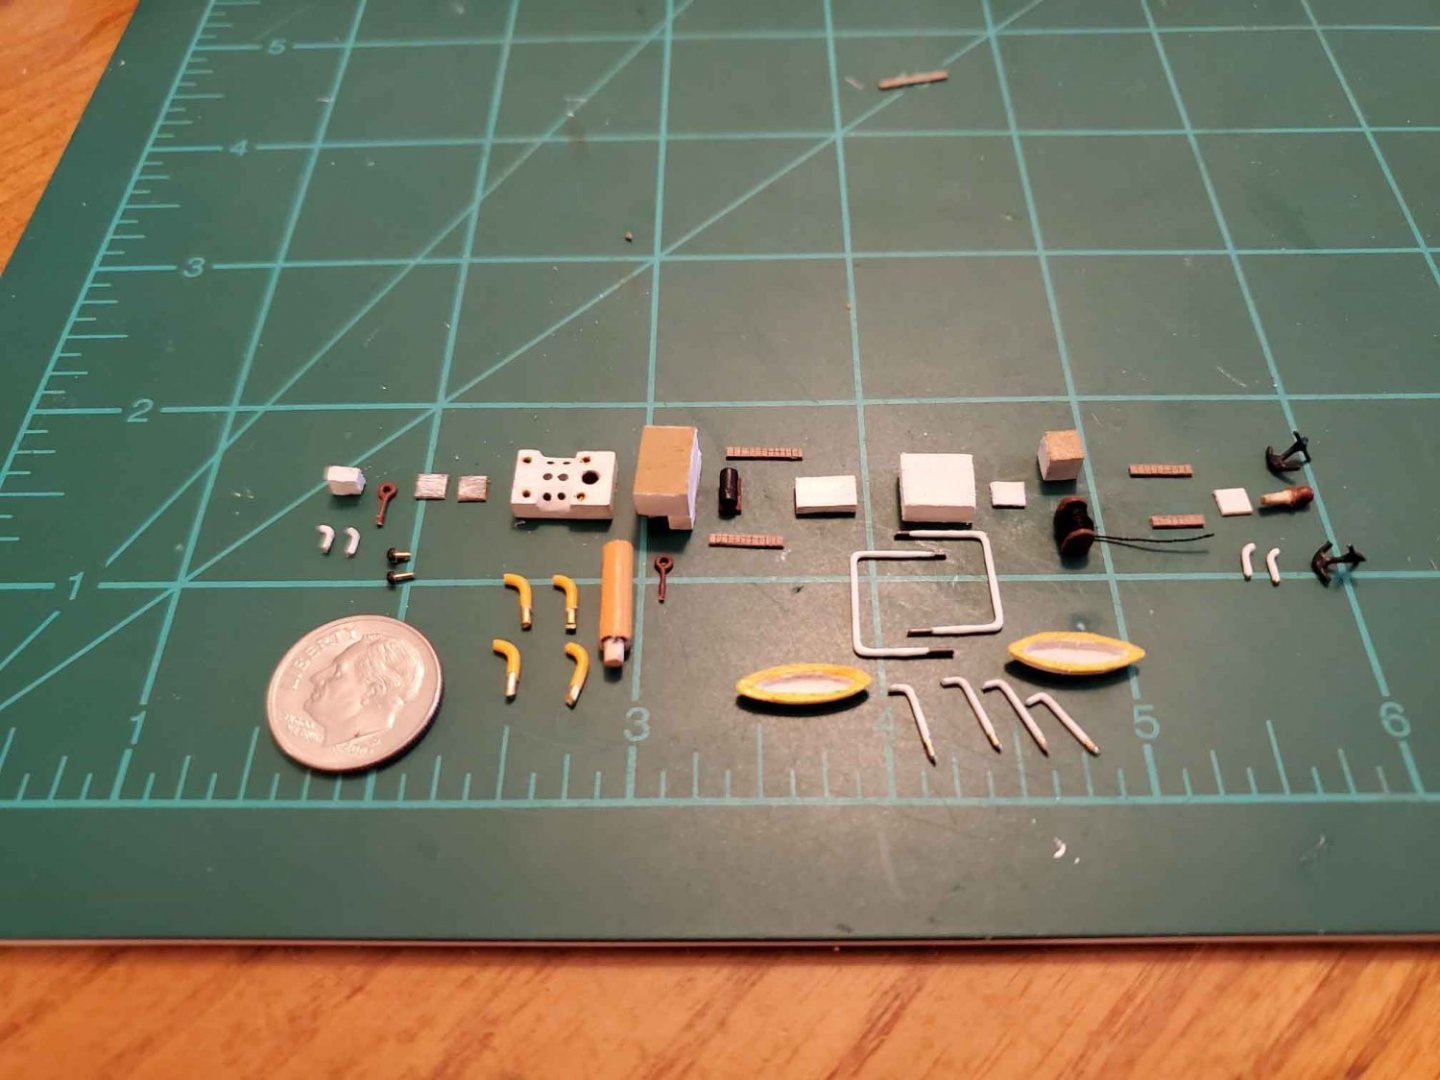
Another term added to my ship building vocabulary! Completed the deck fittings. Left to right: companion way #1, vent pipes, wheel #1 (small eye bolt), bollards (heads of brass nails), sky lights, engine room with yellow vent pipes and smokestack, chart room, wheel #2, small winch, stairs to chart room, main hatch, galley, whale boats with supports and davits, fore hatch, companion way #2, large winch, stairs to forecastle, forecastle hatch, more vent pipes, capstan (leftover belay pin from CSS Alabama kit), and anchors.
-
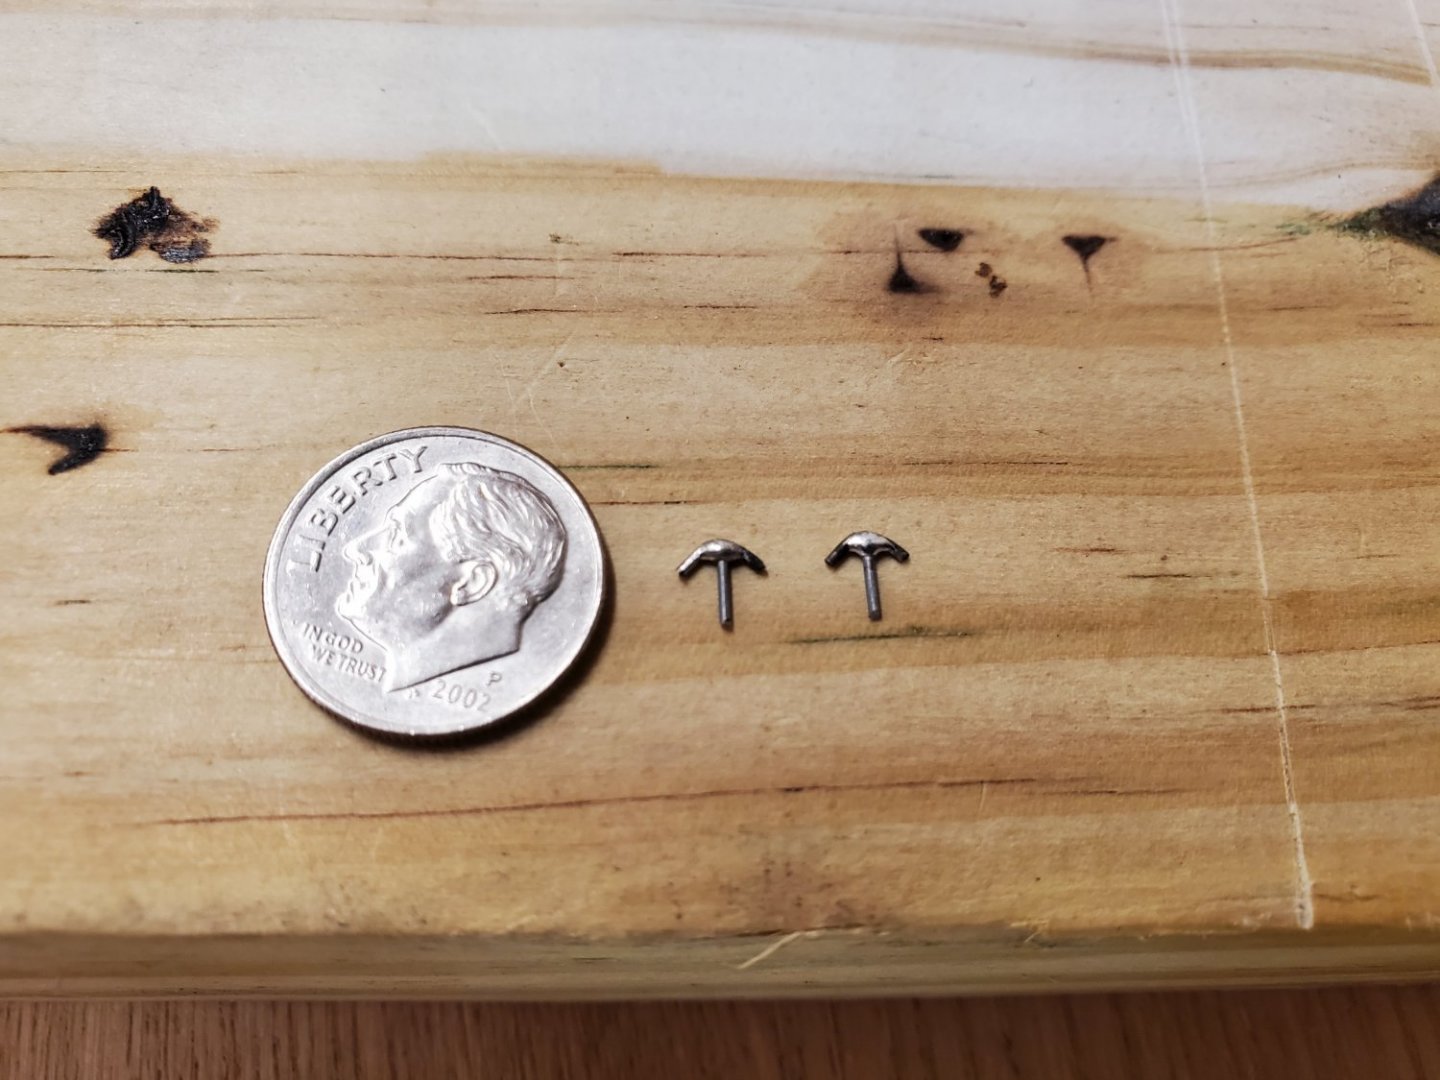
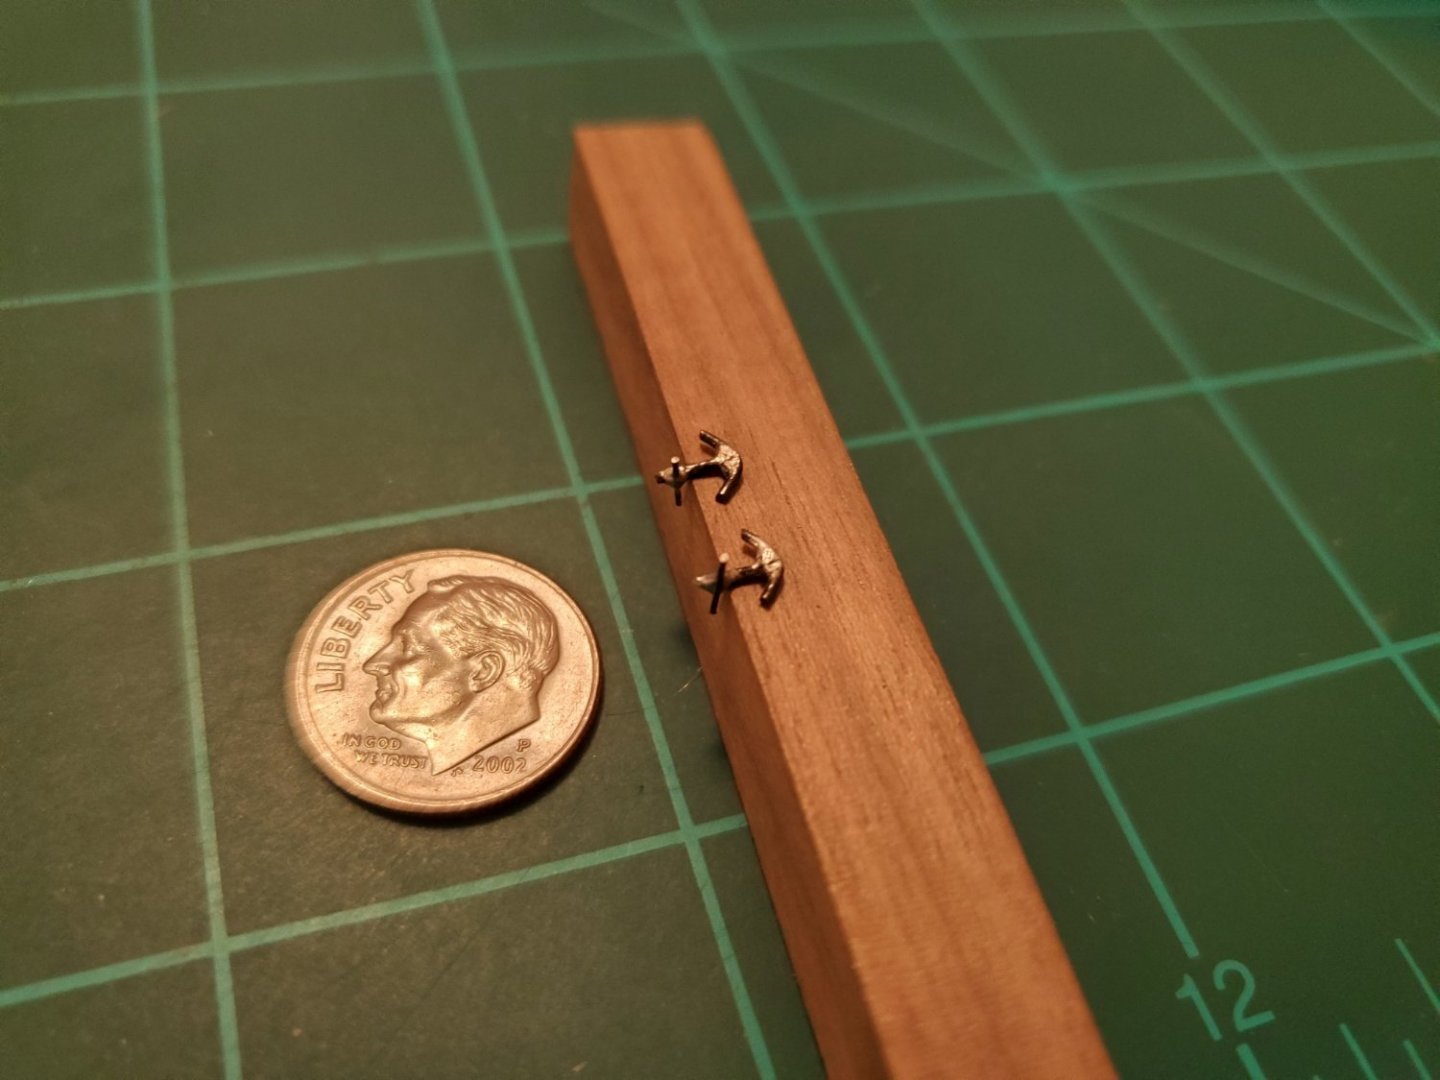
Thank you, Keith and Pat. The worst part was that I kept dropping the little parts of the anchor on the floor and then I could not find them. I can't tell you how much time I wasted searching! I finally ended up dragging a magnet over the floor each time I dropped a piece to find it. 😵
-
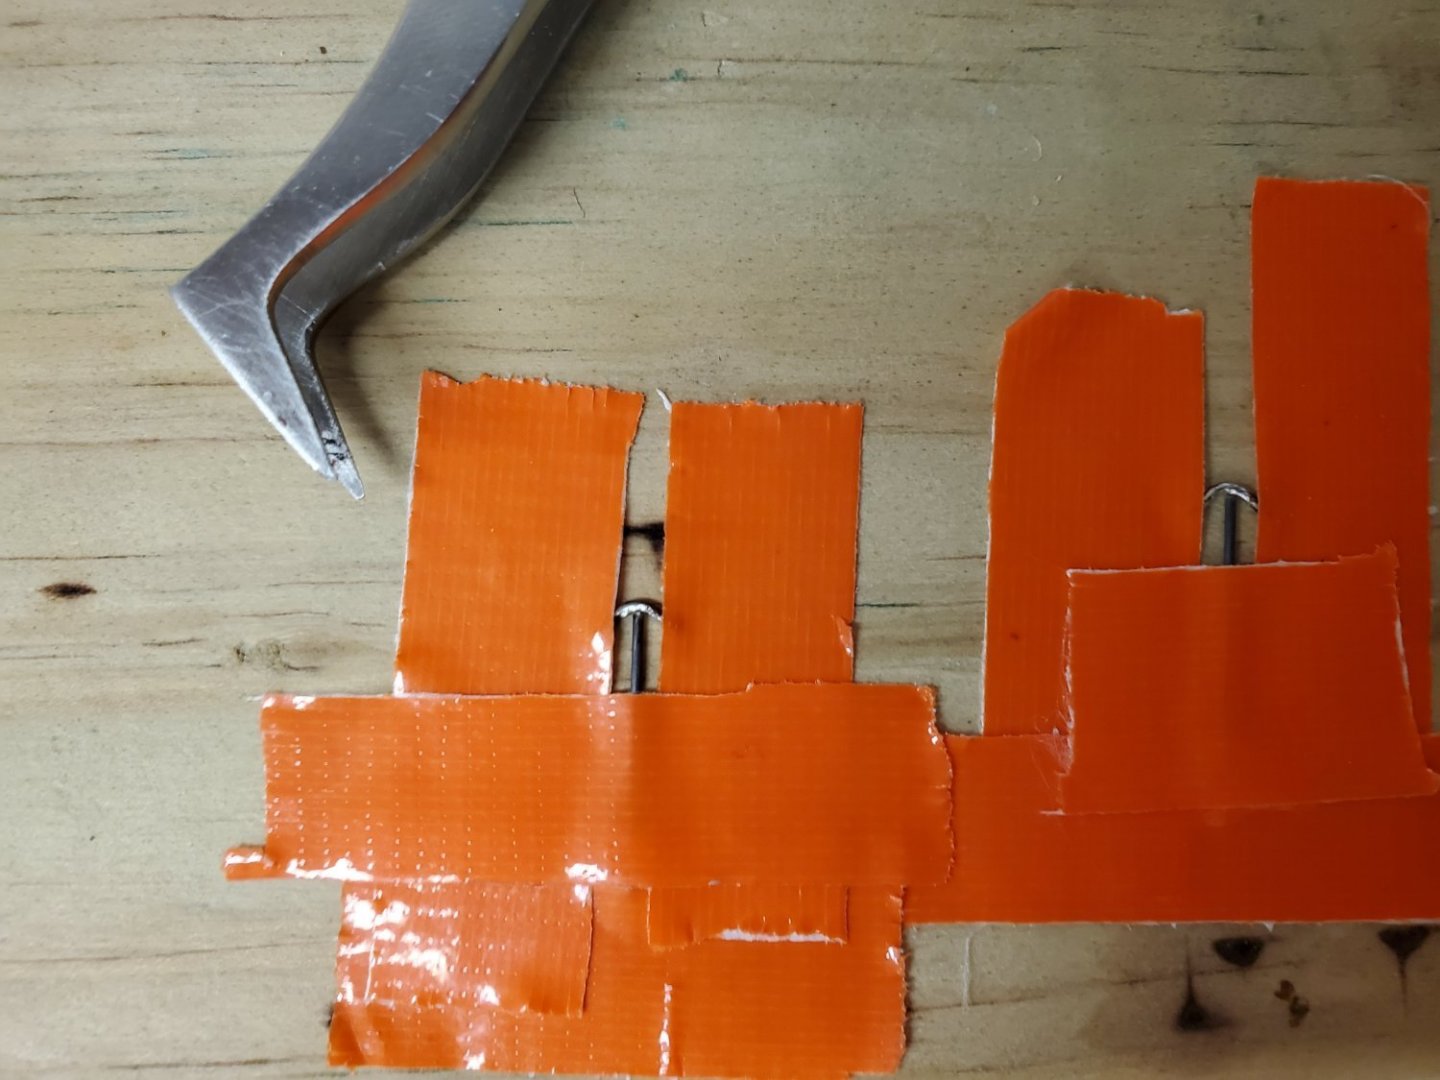
Time for the deck fittings. First up is the anchors. For the Morgan ship last time, I made anchors by filing down leftover photo-etch sprues. They came out ok I guess, but I wanted to try and do better this time. I thought music wire would be good for anchors at this size. Unfortunately, that requires soldering and I’ve never been good at it. The only thing I’ve really tried to solder before were copper wires to fix electronic things and those always came out ugly. So, I’ve been taking some soldering classes at Youtube U. The music wire is the smallest diameter I could find at Hobby Lobby - .015”. The challenge was holding the tiny pieces in the exact position while applying the solder. I ended up finding yet another use for duct tape as you can see in the first pic.
-
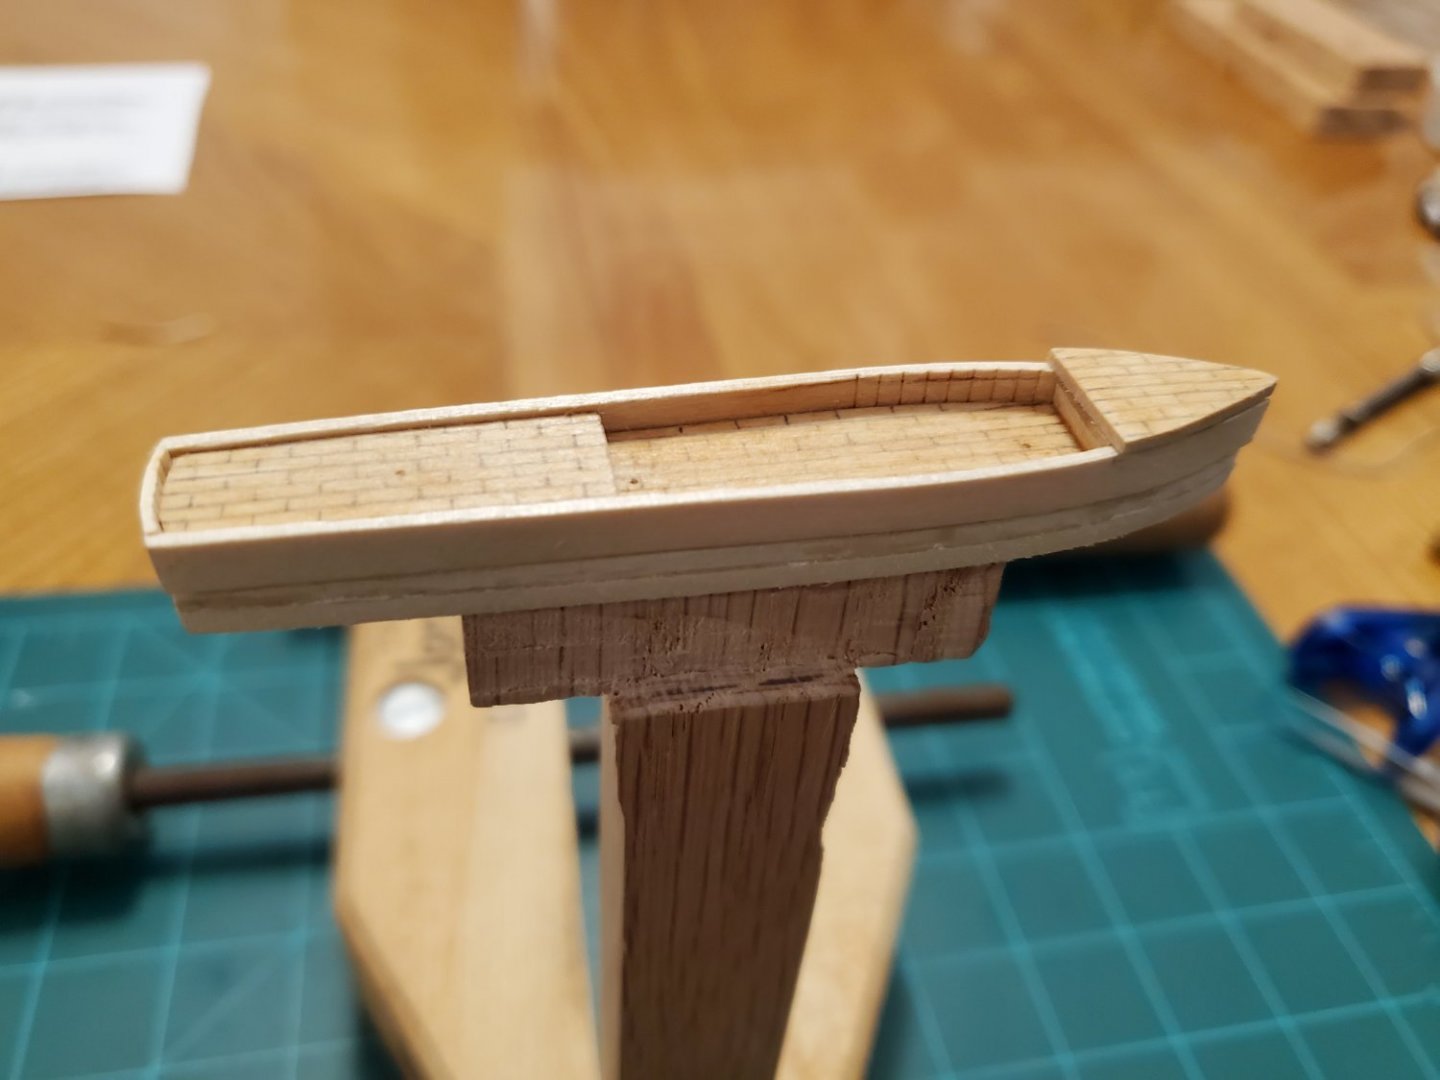
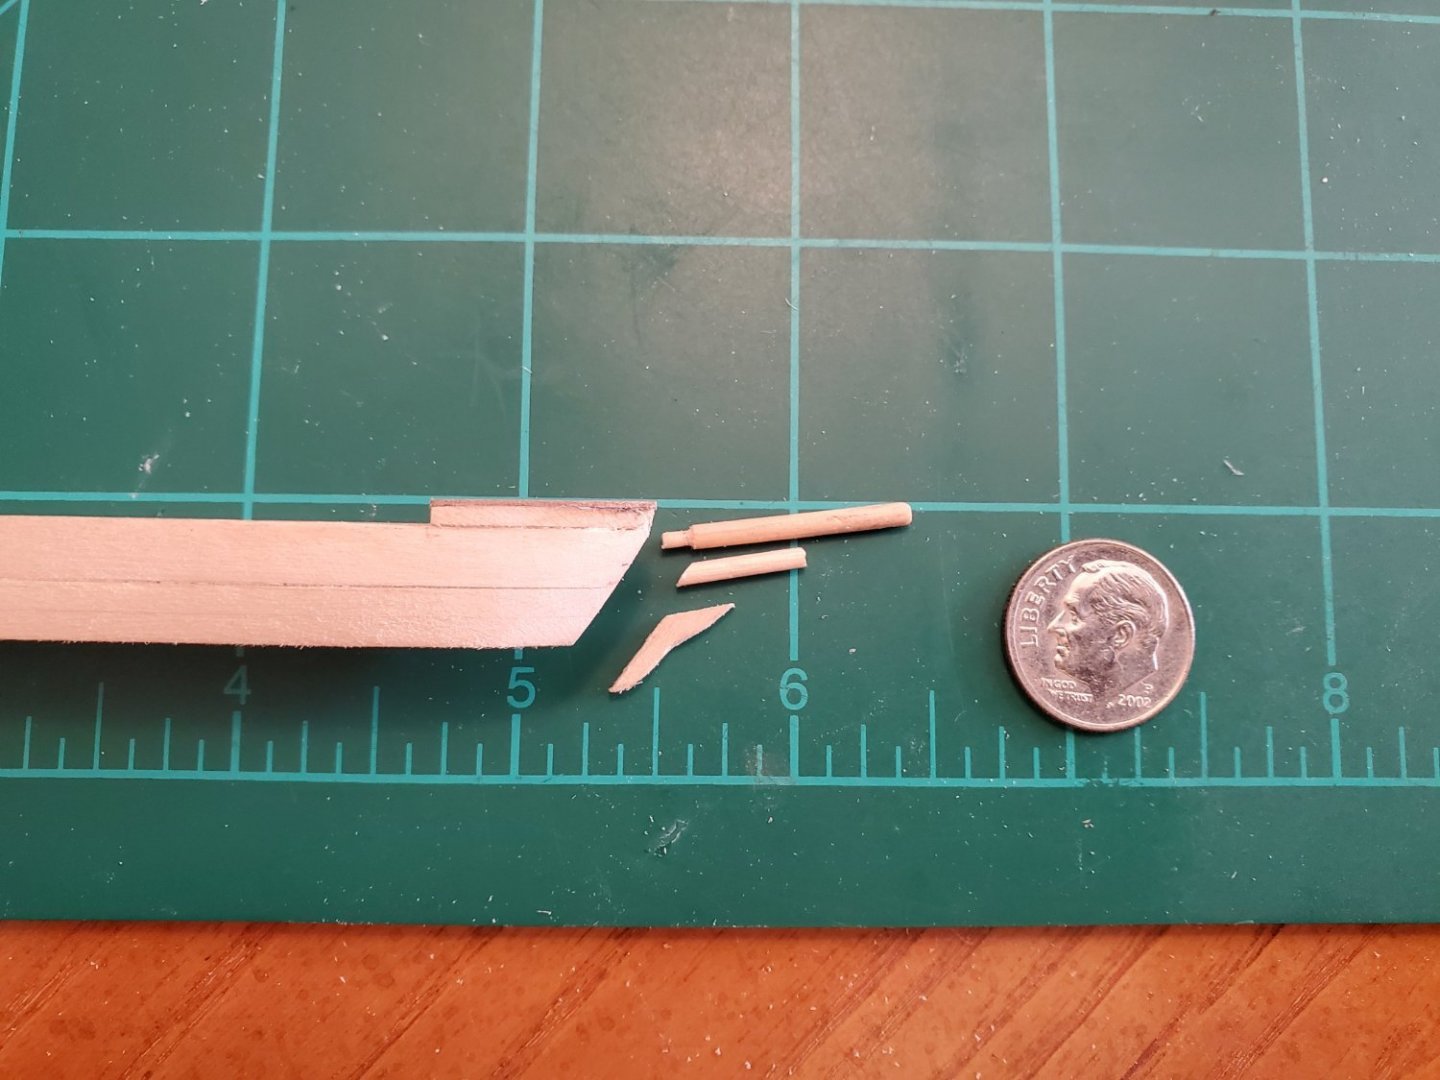
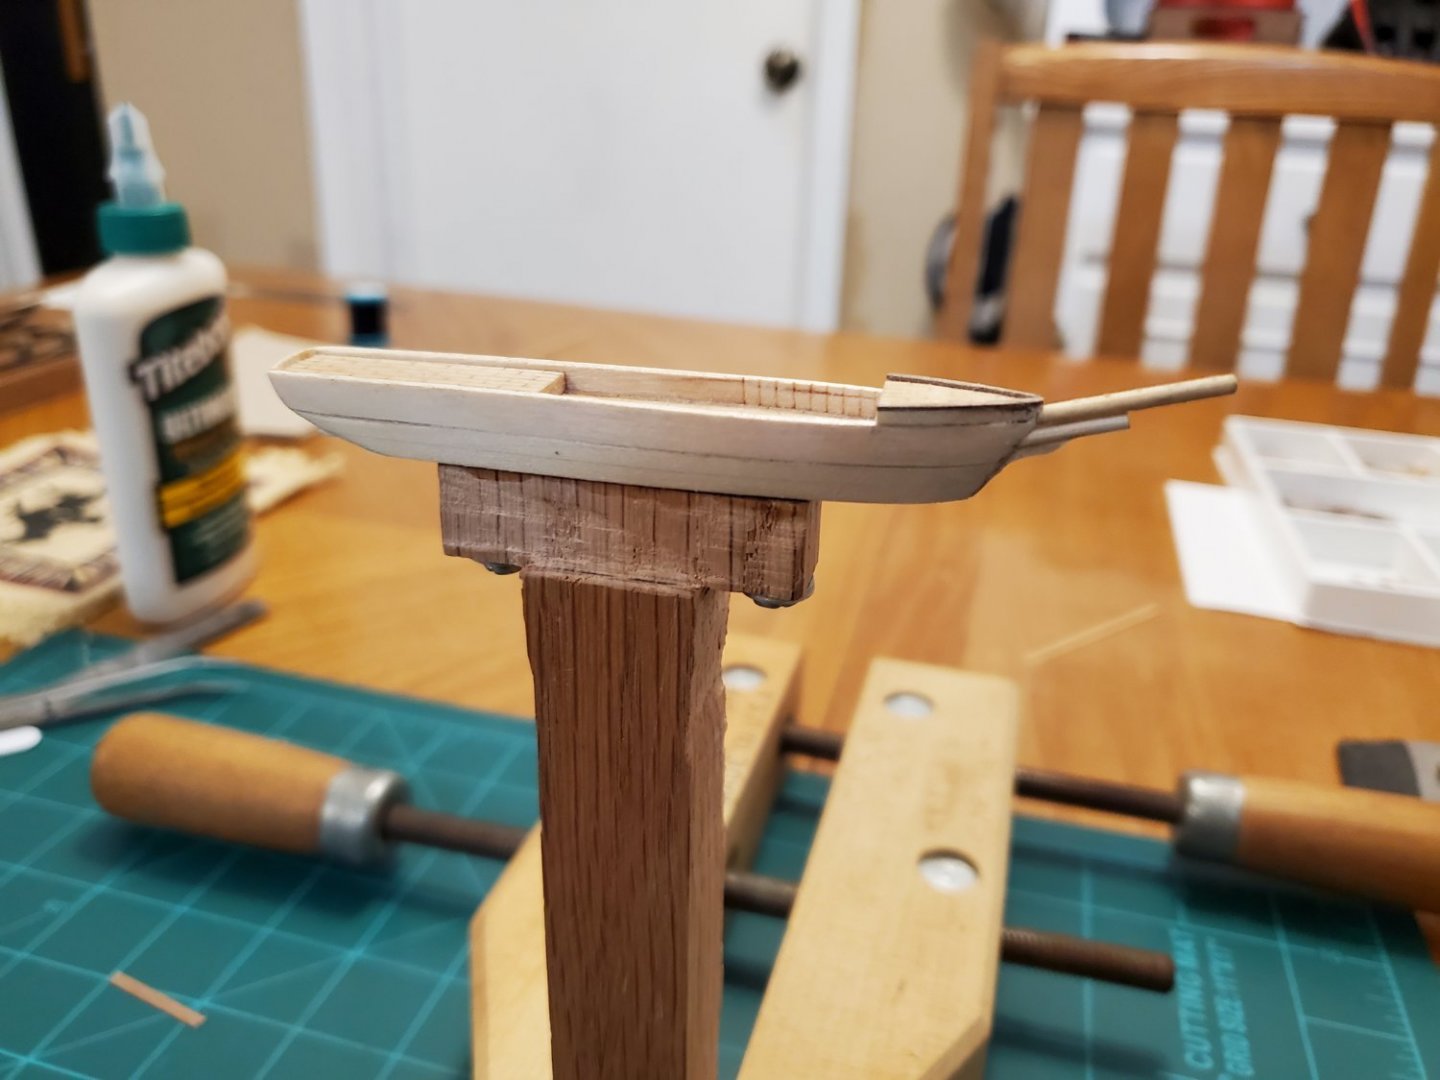
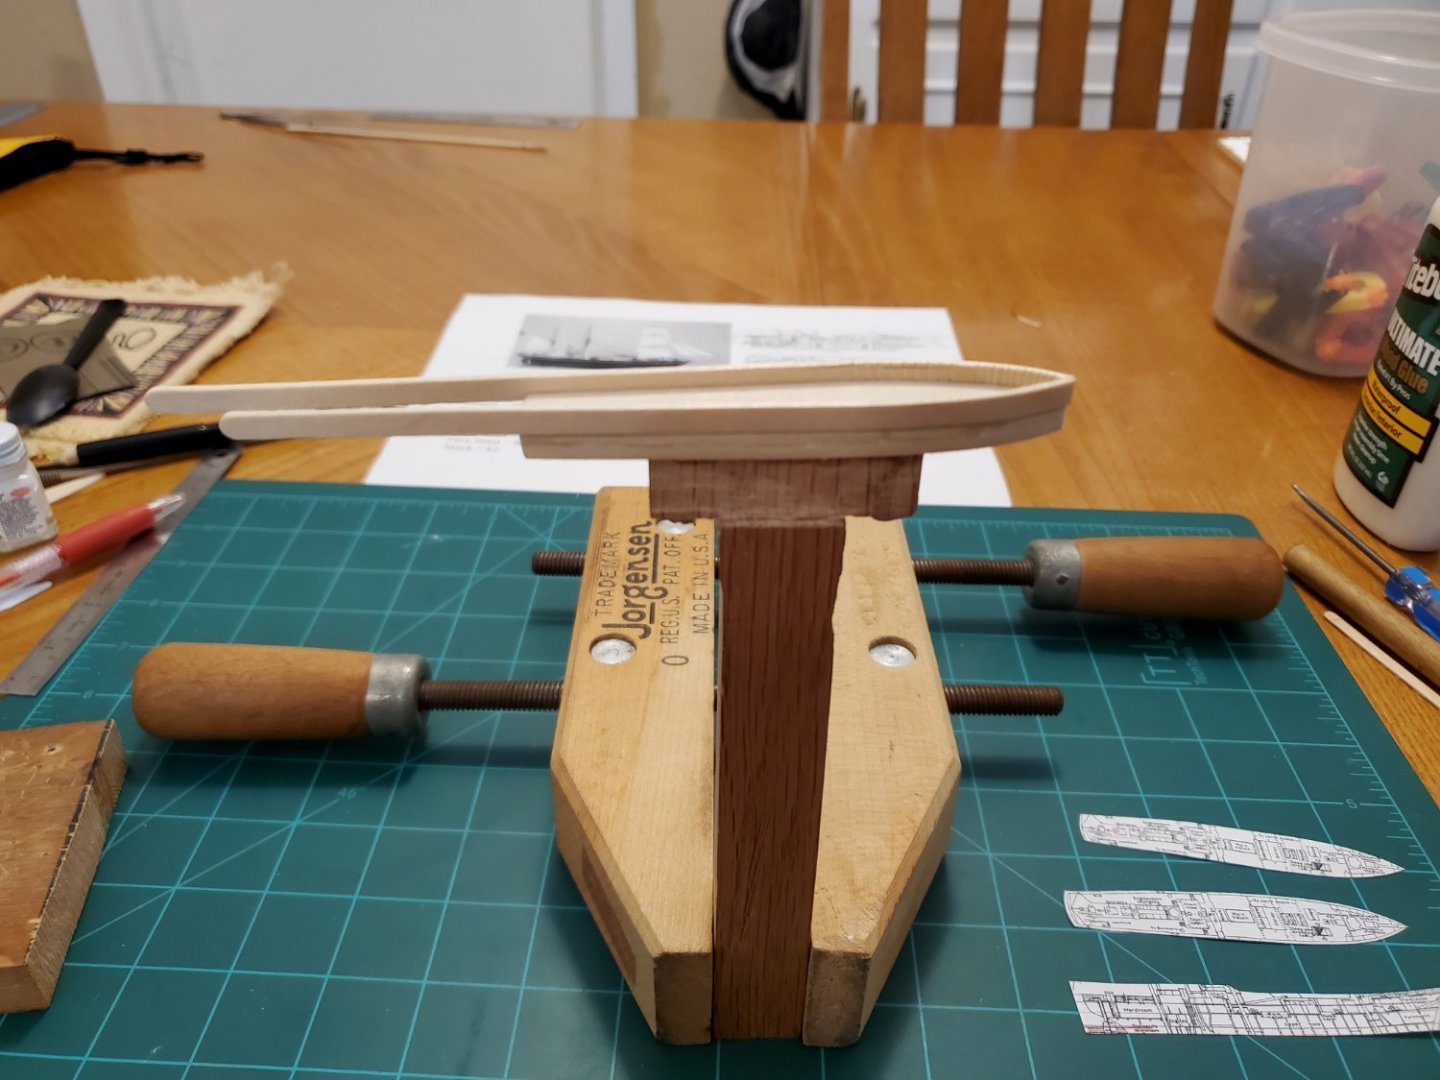
The deck has 3 levels – a tall forecastle, a lower main deck, and an extended, medium height deck in the stern. The stern deck seems too long to call it a poop deck so I’m not sure what the proper name for it would be. I also added the bowsprit and knee and then sanded everything down.
-
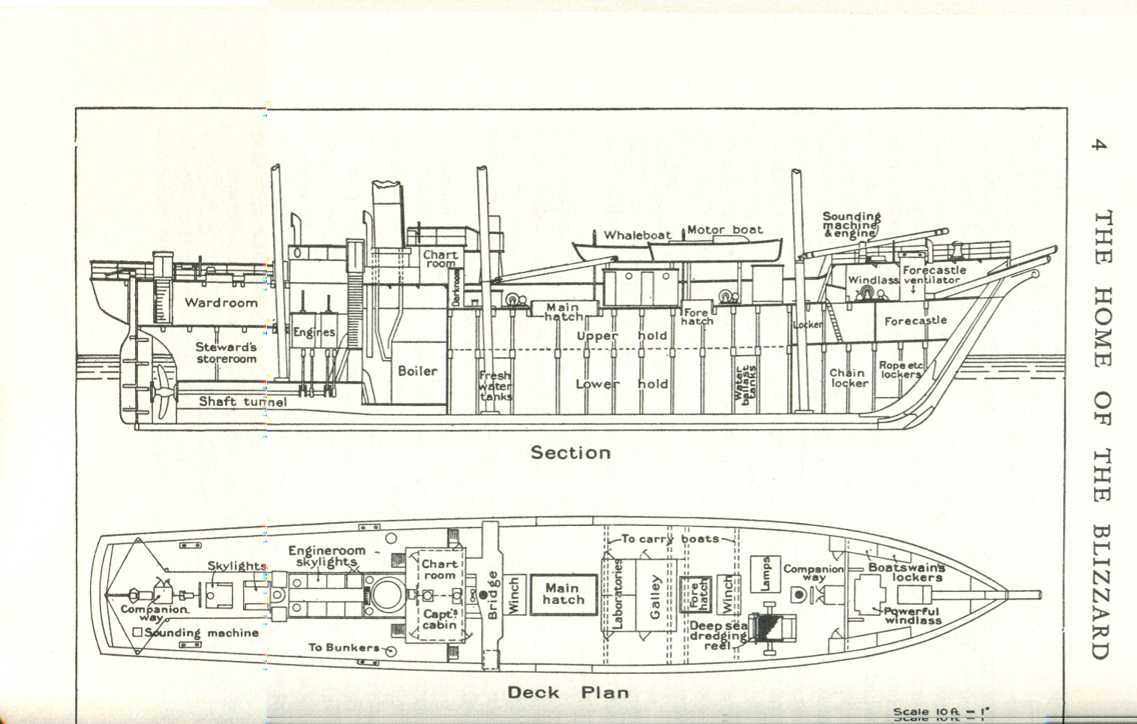
Mawson’s book “The Home of the Blizzard” has some good information about the Aurora including a nice cross-section and deck plan below. It also has an interesting description of why they chose a wooden vessel rather than a steel one. “The construction of wood imparts a certain elasticity which is of great advantage in easing the shock of impacts with floating ice. The ordinary steel ship would be ripped on its first contact with the ice. Another device to obviate the shock and assist in foraging through the pack-ice is to have a cut-away bow. Thus, instead of presenting to the ice a vertical face, which would immediately arrest the ship and possible cause damage on account of the sudden stress of the blow, a sloping, over-hanging bow is adopted. This arrangement enables the bow to rise over the impediment, with a gradual slackening of speed. The immense weight put upon the ice crushes it and the ship settles down, moving ahead and gathering speed to meet the next obstacle.” “The hull was made of stout oak planks, sheathed with greenheart and lined with fir. The bow, fashioned on cut-away lines, was a mass of solid wood, armoured with steel plates. The heavy side frames were braced and stiffened by two tiers of horizontal oak beams.” For my Aurora, I’m using laminated strips of basswood rather than oak, greenheart, and fir! I’m also using coffee stirrers for bulwarks.
-
Thanks, Keith. I'm still not sure what I'm going to do with the stovepipe, the engine room, and the vent pipes. That deck looks awful busy in the pictures. And now my son told me I must have smoke coming out of the stovepipe. I thanked him for adding more complexity to something that's probably already over my head! But I've gotta get the hull built before I start worrying too much about the deck fittings.
-
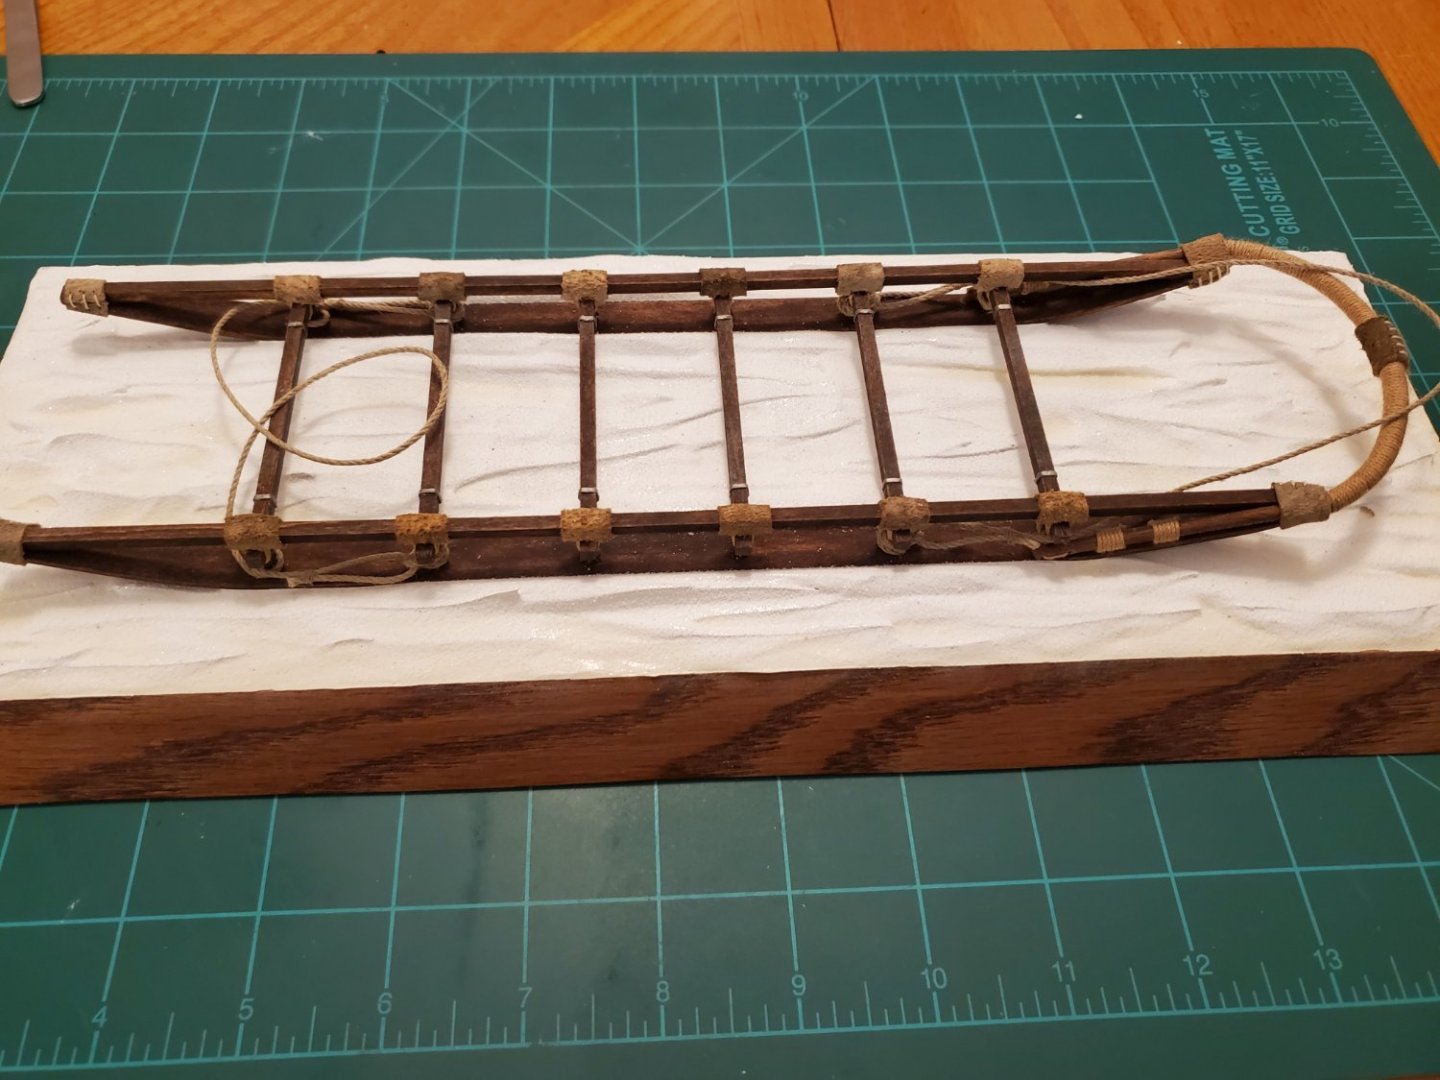
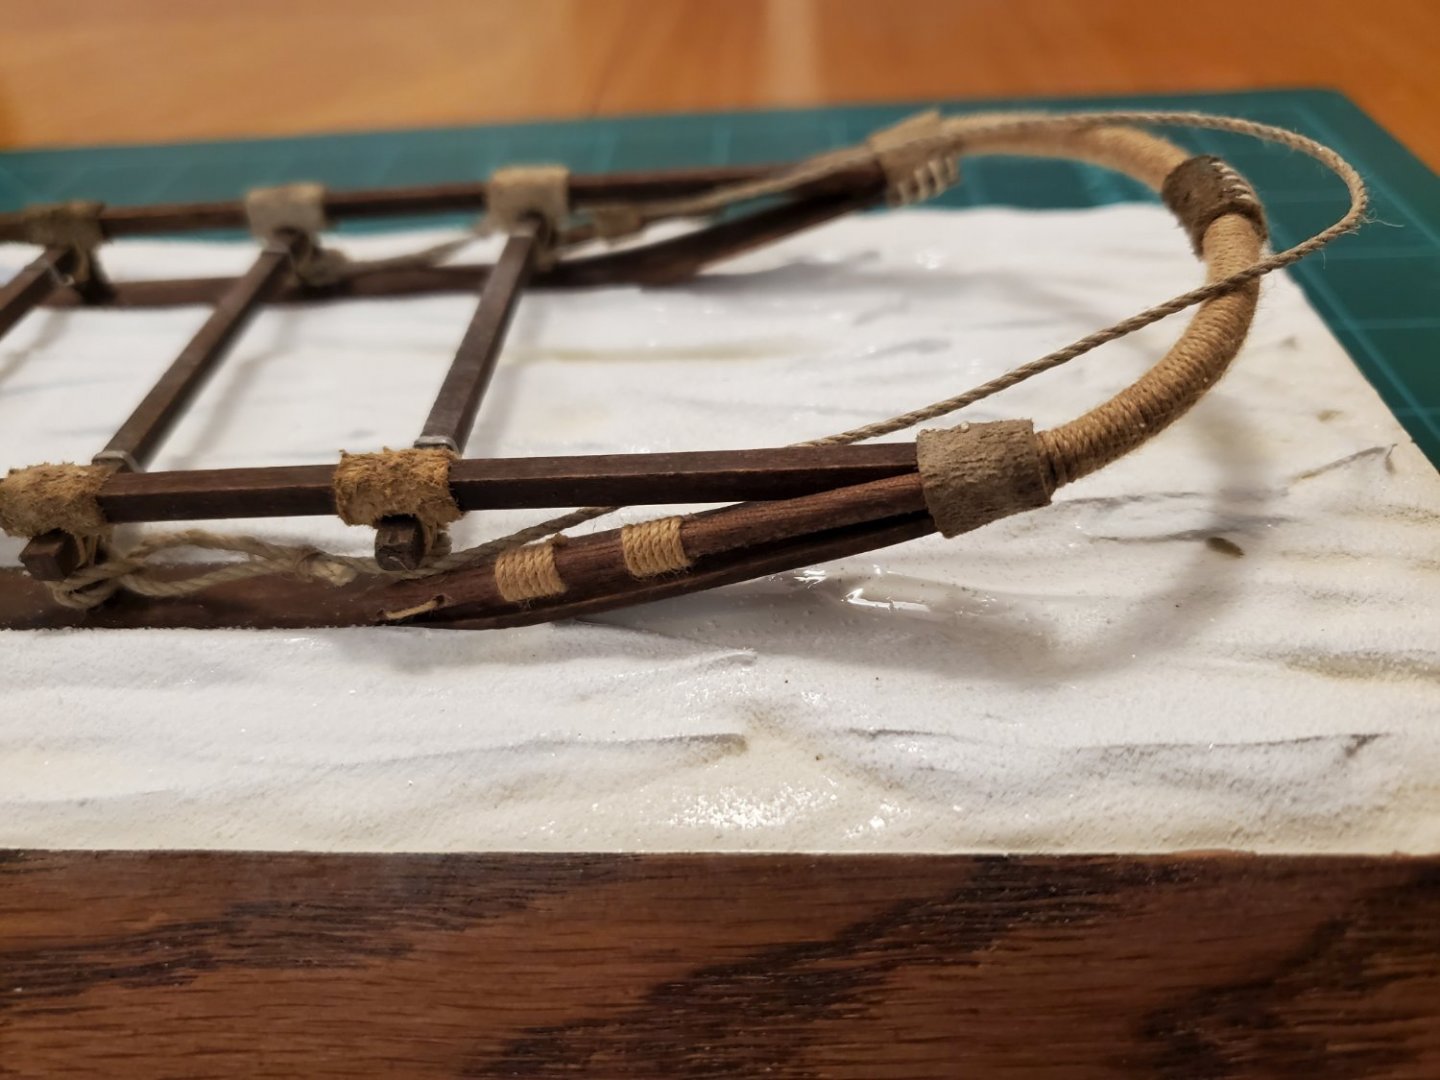
Back to work after a nice Christmas break. For the base, I did not want the sledge to just sit on a block of wood, I wanted it resting on snow/ice. One of the difficulties the explorers encountered in Antarctica was that the terrain was not smooth. It was mostly sastrugi, which is hard, wind-blown ridges of snow and ice. See 1st pic below. So I did my best to give the base a flavor of sastrugi. I used acrylic paint (consistency of cake icing), smoothed it on the base with a spatula, drew ridges in it with a spoon, then sprinkled white sand on top to give it a rougher looking surface texture. OK. The display is complete and it’s finally time to start building the ship!
-
Beautiful work, Grant. Curious as to what you did with all those cool reindeer you made earlier?
-
Merry Christmas and best wishes to everyone for a wonderful holiday season! It's been a real blessing to have discovered this forum and be able to learn so much from so many amazing people!
-
Thanks, Keith. I know you've got a ton of experience with these steam and sail ships so if you see me screwing something up, be sure and let me know!
-
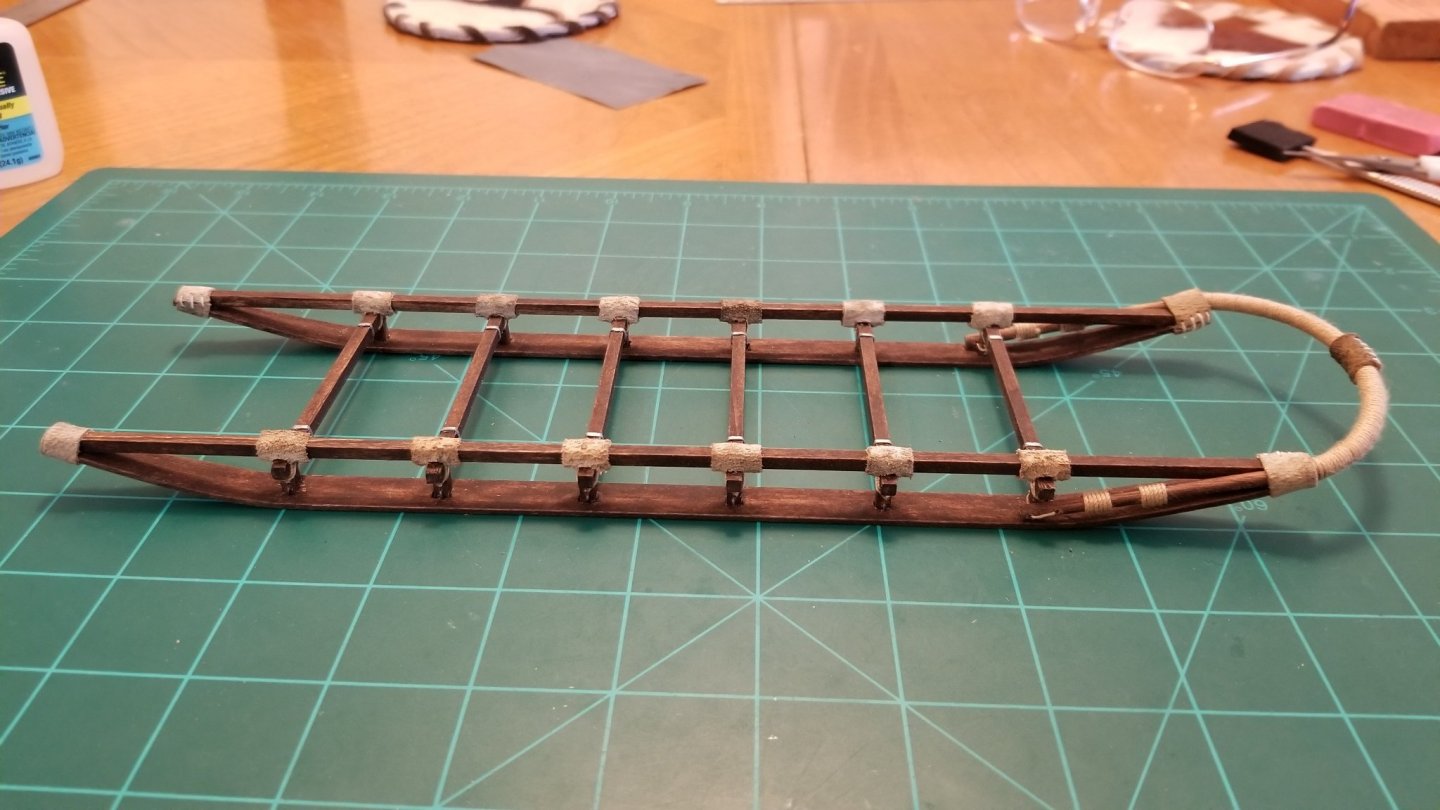
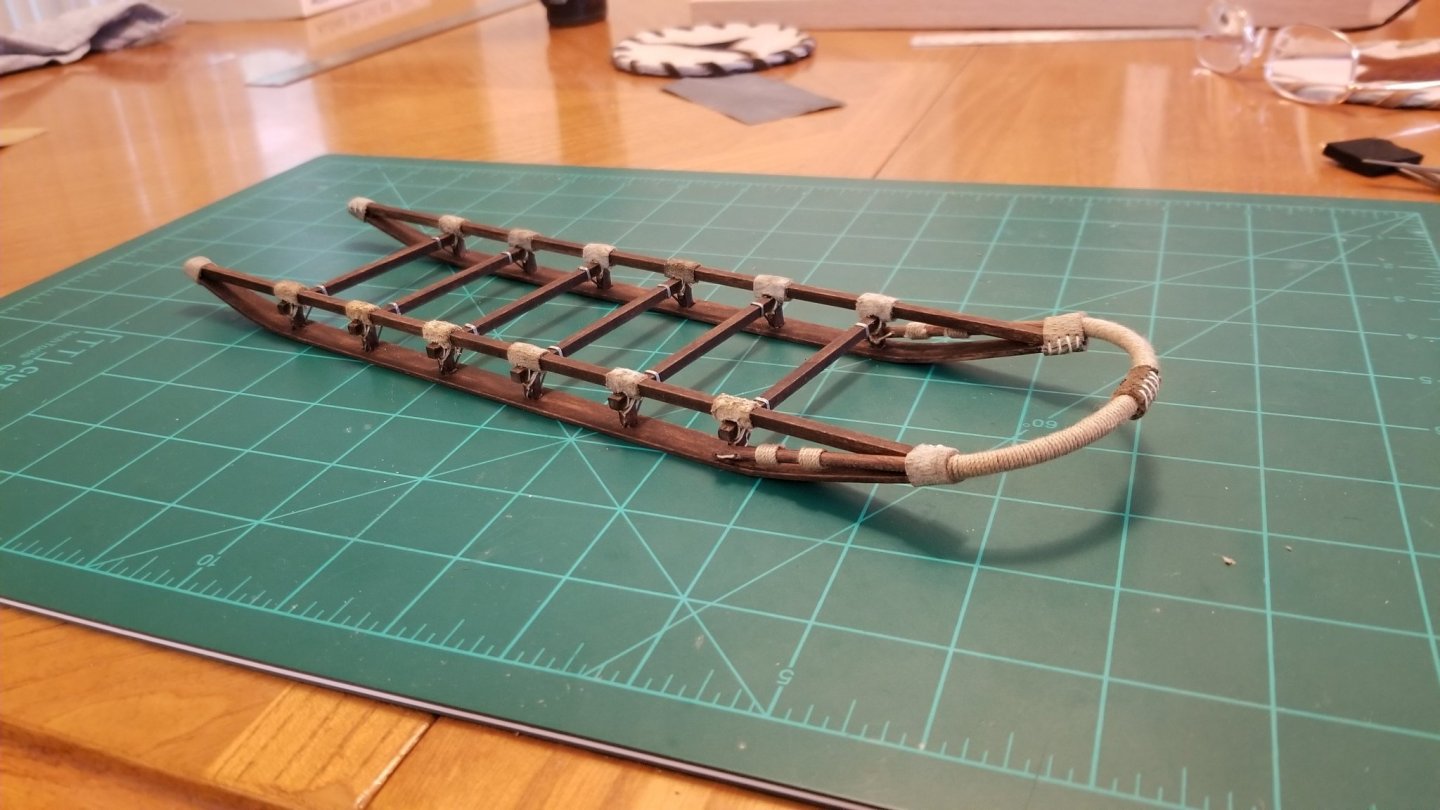
And here's the finished sledge with the exception of the pull ropes on each end. I've got to order some 1.5mm cordage for that. Everything in my small stockpile of leftovers is either too fat or too thin for what I need.
-
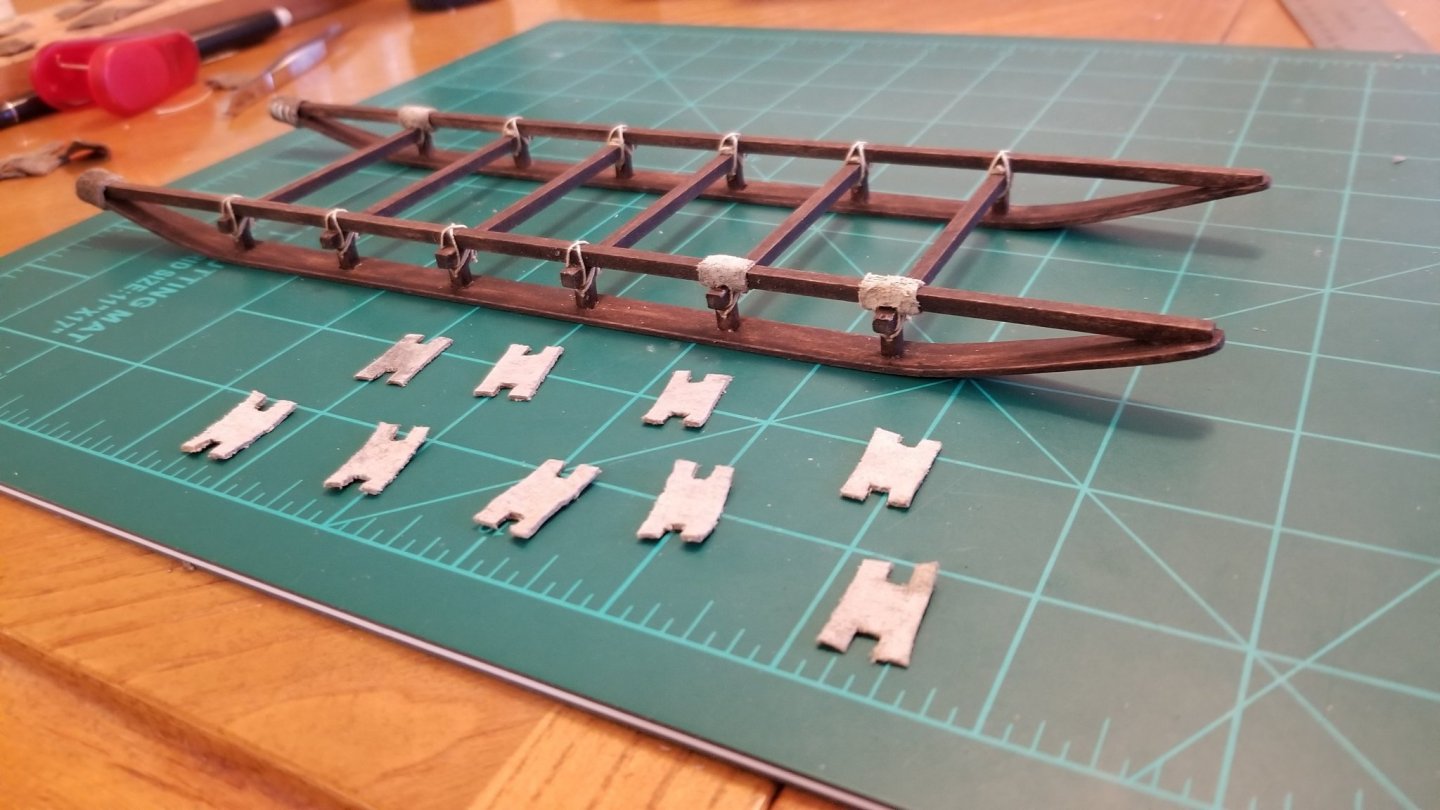
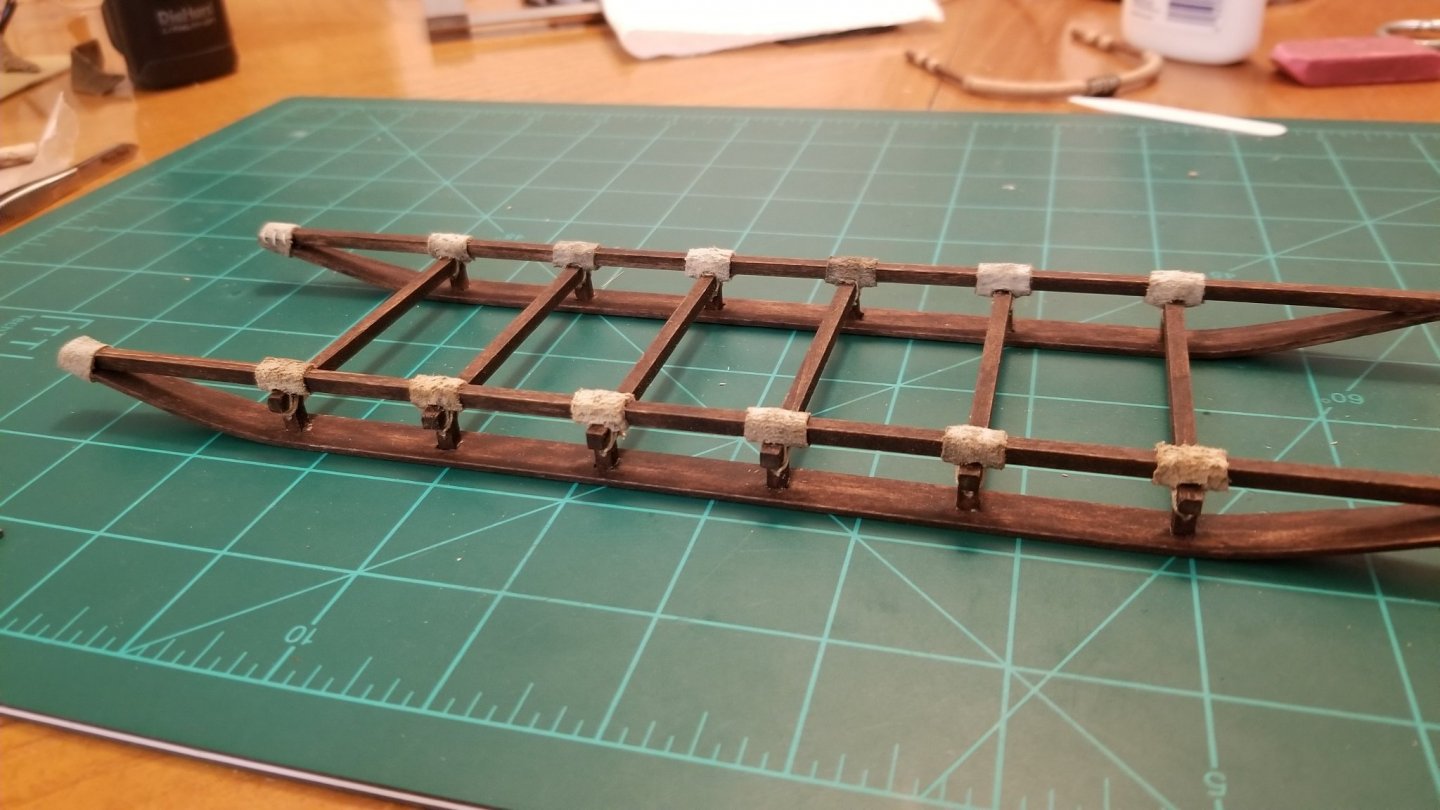
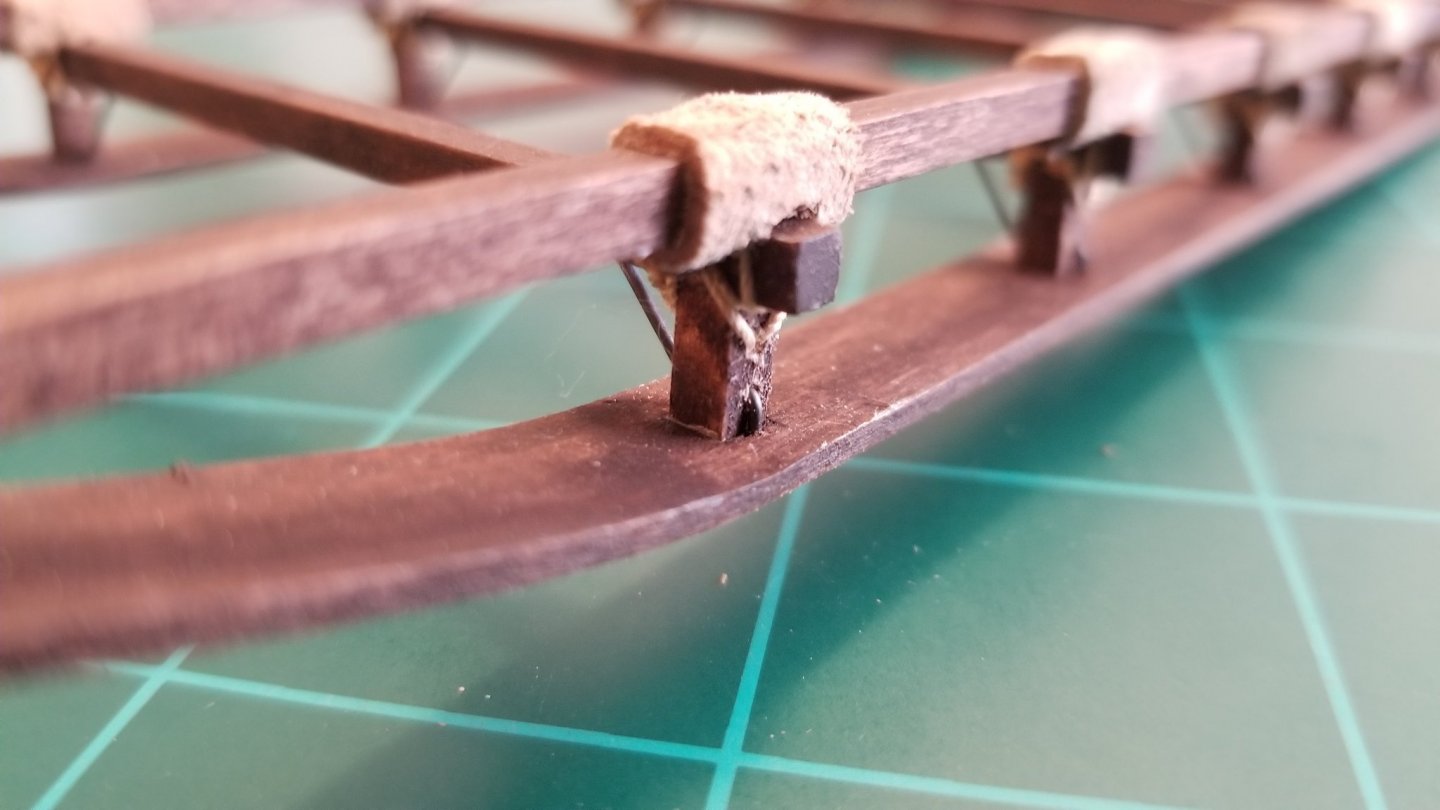
Continuing with the finer details of the sledge…The original looks like it has leather or rawhide wraps around each joint. I cut up the palm of an old leather glove for my joint wraps. The original has angled metal braces that support each cross slat as well as small metal pins that secure each support post to the runners. I used the thinnest piano wire I’ve got for those. The original also has 2 thin metal straps around each cross slat. I used leftover photo-etched sprues and painted them a steel gray.
About us
Modelshipworld - Advancing Ship Modeling through Research
SSL Secured
Your security is important for us so this Website is SSL-Secured
NRG Mailing Address
Nautical Research Guild
237 South Lincoln Street
Westmont IL, 60559-1917
Model Ship World ® and the MSW logo are Registered Trademarks, and belong to the Nautical Research Guild (United States Patent and Trademark Office: No. 6,929,264 & No. 6,929,274, registered Dec. 20, 2022)
Helpful Links
About the NRG
If you enjoy building ship models that are historically accurate as well as beautiful, then The Nautical Research Guild (NRG) is just right for you.
The Guild is a non-profit educational organization whose mission is to “Advance Ship Modeling Through Research”. We provide support to our members in their efforts to raise the quality of their model ships.
The Nautical Research Guild has published our world-renowned quarterly magazine, The Nautical Research Journal, since 1955. The pages of the Journal are full of articles by accomplished ship modelers who show you how they create those exquisite details on their models, and by maritime historians who show you the correct details to build. The Journal is available in both print and digital editions. Go to the NRG web site (www.thenrg.org) to download a complimentary digital copy of the Journal. The NRG also publishes plan sets, books and compilations of back issues of the Journal and the former Ships in Scale and Model Ship Builder magazines.


