Gregory
-
Posts
3,168 -
Joined
-
Last visited
Content Type
Profiles
Forums
Gallery
Events
Everything posted by Gregory
-
Take a match to it ( not too close ). If it's poly it will melt, if it's natural fiber it will burn.
-
If you look at my Resolution build you will see that the Corel kit is based on the lines of Ferret. Corel forgoes the gammoning and rigs the bowsprit much like what is found on the later cutters. I have yet to see any ship similar to this. The Corel kit has many features that deviate from actual practice, so there is no good reason to assume their treatment of the bowsprit is based on good evidence. While the contemporary lines of Ferret says the ship is a cutter rigged sloop, I believe this relates more to the mast placement and sail arrangement and doesn’t account for a moveable bowsprit like found on cutters. PS FWIW The gammoning you see in the Chapelle drawing is based on educated conjecture and not the drawings he references.
-

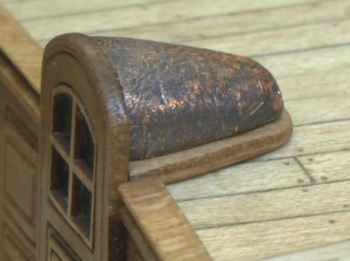
Laser cannon bracket
Gregory replied to mediocremodeler's topic in CAD and 3D Modelling/Drafting Plans with Software
As I said above, just the process of making a cable out of several ropes would have resulted in the opposite twist. I answered my own question in that regard. I suppose the choice of one over the other, would be size.. -
Laser cannon bracket
Gregory replied to mediocremodeler's topic in CAD and 3D Modelling/Drafting Plans with Software
With some thought, because a cable would have been laid up from ropes, it would have had the opposite twist of the ropes. -
Laser cannon bracket
Gregory replied to mediocremodeler's topic in CAD and 3D Modelling/Drafting Plans with Software
Any idea how the lay of the rope affects the use/handling of the rope? -
Laser cannon bracket
Gregory replied to mediocremodeler's topic in CAD and 3D Modelling/Drafting Plans with Software
Since you have a laser, have you considered making pieces like these: ... and laying battens in the slots? Your laser cut gratings do look good as they are. Nice square holes. Some lasers don't do that very well at these small sizes.
-
Autodesk Fusion 360 is free for hobbyists, non-commercial use. It's a little hard to find where they say it is free, but it is still there.
-
Have you tried Fusion 360 free version for your curve problem?
-
Have you looked at DrPR’s stuff? Could there be cleats in the shrouds?
-
Warship identified off Florida coast 3 centuries after it sank
Gregory replied to Gregory's topic in Nautical/Naval History
From what I can Google, 9 pounder cannon ( which may have been what they were alluding to ) was upwards of 2,200 LBS.. -
Sort of interesting news story. Wreck was found in 1993 but archeologists are now taking a closer look. 50-gun frigate HMS Tyger Now, get this quote from the article: Really.
- 5 replies
-
- 10
-

-

-
Well said.. The biggest challenge is deciding which knot to use in order to “model” the look of actual practice.
-
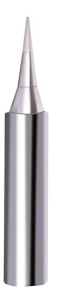
Heater for sealing the end of rigging rope.
Gregory replied to DaveBaxt's topic in Modeling tools and Workshop Equipment
@wefalck Great idea but challenging at our level. Think “curling iron “ with a .5mm tip. Polyester melts at about 250c. Perhaps some shaped tweezer-like tools with insulated handles that you keep in a small heated cauldron, then you use the tools and return to the heat source as needed. -
Chuck if I may offer another suggestion for coppering the cupola. I used copper leaf and put the part in a bag with some boiled egg to get the patina. I don't doubt that you would get a finer finish than I did with this approach should you try it. My patina is probably a bit harsh.
-
Heater for sealing the end of rigging rope.
Gregory replied to DaveBaxt's topic in Modeling tools and Workshop Equipment
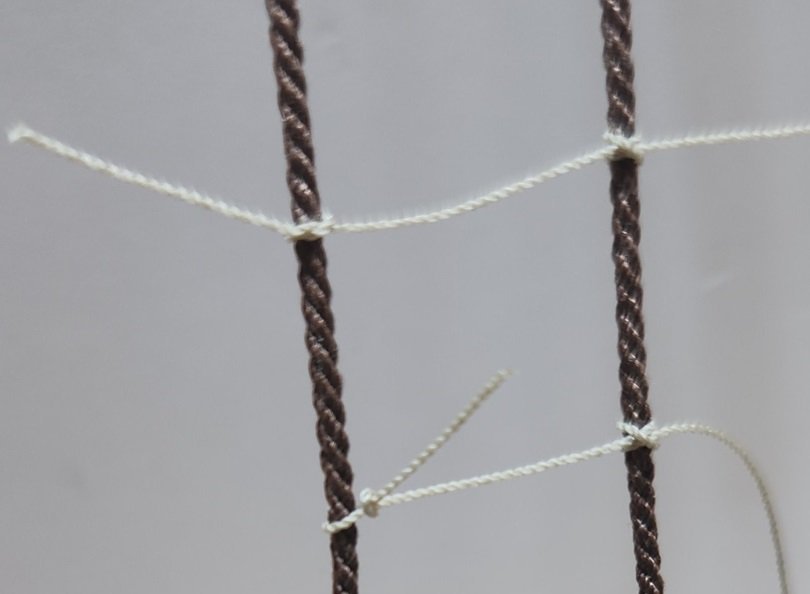
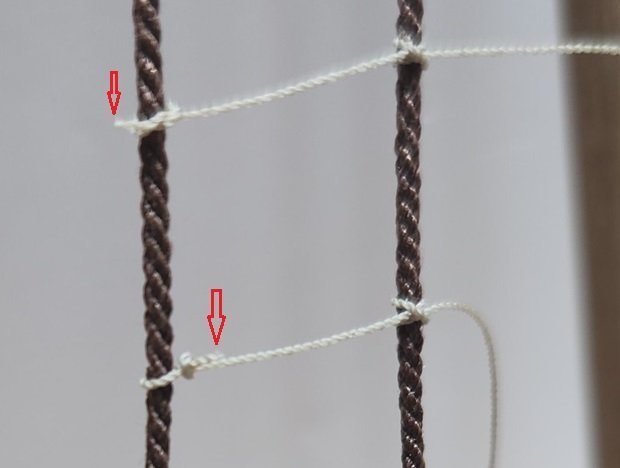
Sorry Dave, I got sidetracked and forgot about getting you some info on what I use. I use this soldering iron from Amazon. ..and a tip like this. It has a little dial for adjusting the temp fromm 200 to 450 C.. I use about 350 on the polyester thread/rope. A little lower might work. I would set it as low as you can and still have it melt. Too hot and it really discolors the rope. Here are a couple of different knots I made on my ratline practice jig. The excess snipped off with a little nib left behind. that bottom knot is not as small as I would like, but I was just putting together a quick demo. Here is after I melted the nib with my iron. There can be some dark discoloration, but you can minimize that by setting the iron as low as you can while still getting melt. Also, cut the nib as close as you can while leaving something to melt. If the nib is too big you end up with a blob that detracts from the knot. Needless to say, you have to be really careful not to melt any other rigging. Don't ask how I know this.. This method is good for almost any place where you want to minimize a loose end sticking out if you haven't managed to hide it in some other way.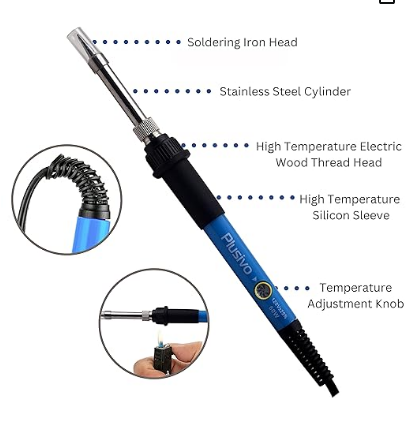

-
That was always my method till I acquired that little heat gun, and it doesn't leave any soot..😁
-
I'm guessing you are talking about these little clamps that are about 2 inches x 1/2 inch. If something else, let me know. I would go with this 1/2" shrink tubing.. I don't think a hair dryer will cut it. I have one of these little Mini Heat Guns, only $13, and it will melt plastic. I have found it useful and convenient for a lot of little jobs. Let me know if you have something else in mind.


-
Heater for sealing the end of rigging rope.
Gregory replied to DaveBaxt's topic in Modeling tools and Workshop Equipment
Dave, I have used a small soldering iron with a needle-like tip to get rid of the little nib on knots. This is with polyester rope. Doesn’t work for cotton for the reason Allan mentioned. The soldering iron has a temp control. I set it for about 300F. I can dig up some pics if you are interested. -
Put shrink wrap tubing on the ends of those clamps. Wont come off.
-
I'm going to miss your belaying pins. Will have to talk Chuck into making some as good as your..
-
Do you think parchment paper ( for cooking ) might work better than wax paper?
-
Just so everyone remembers what Mike is looking for:
-
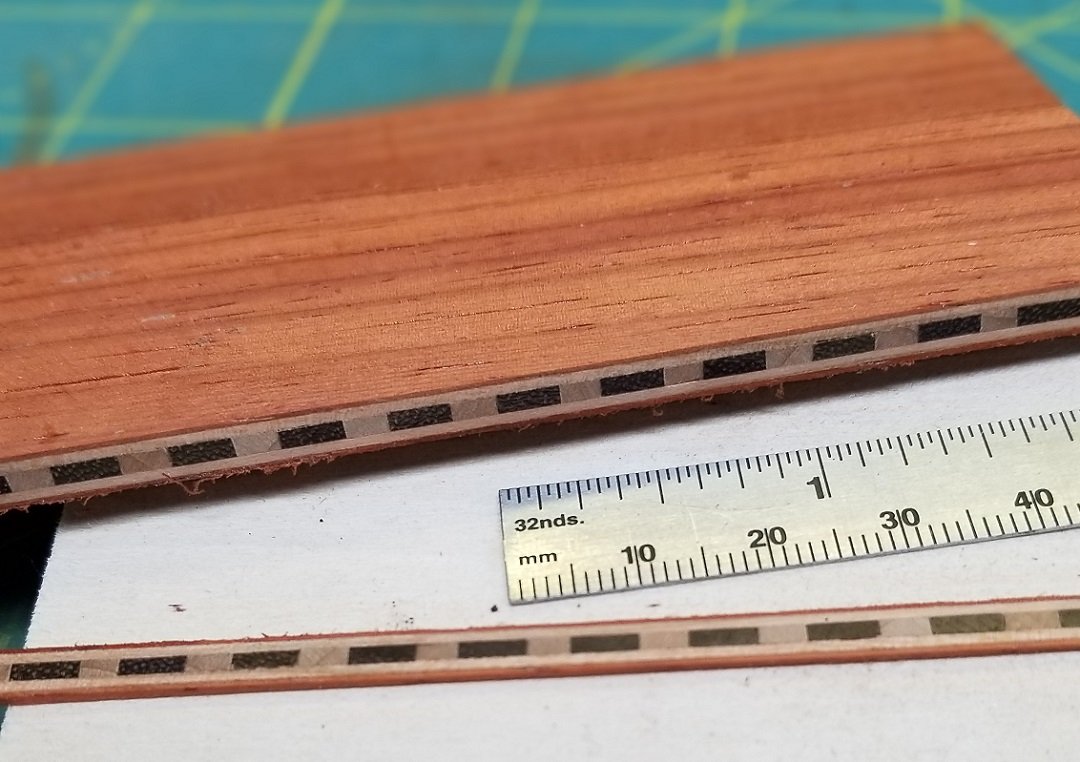
I've done some stuff close to .5mm on my Proxxon, so I would be surprised if the Byrnes wouldn't do close to that. Of course the blade would be the important factor. That slice is about 1mm before I did any sanding. This is a wood sandwich I made to do some inlay work. Mahogany, ebony and boxwood. A nice even coat of yellow PVA and plenty of clamping. Never had any separation when sawing.
- 422 replies
-
- 2
-
-
- Vanguard Models
- Sphinx
- (and 1 more)
-
Do you have small table saw? You could glue square stock together then slice of strips as thin as your saw will allow..
- 422 replies
-
- 1
-
-
- Vanguard Models
- Sphinx
- (and 1 more)