

Robp1025
-
Posts
259 -
Joined
-
Last visited
Content Type
Profiles
Forums
Gallery
Events
Posts posted by Robp1025
-
-
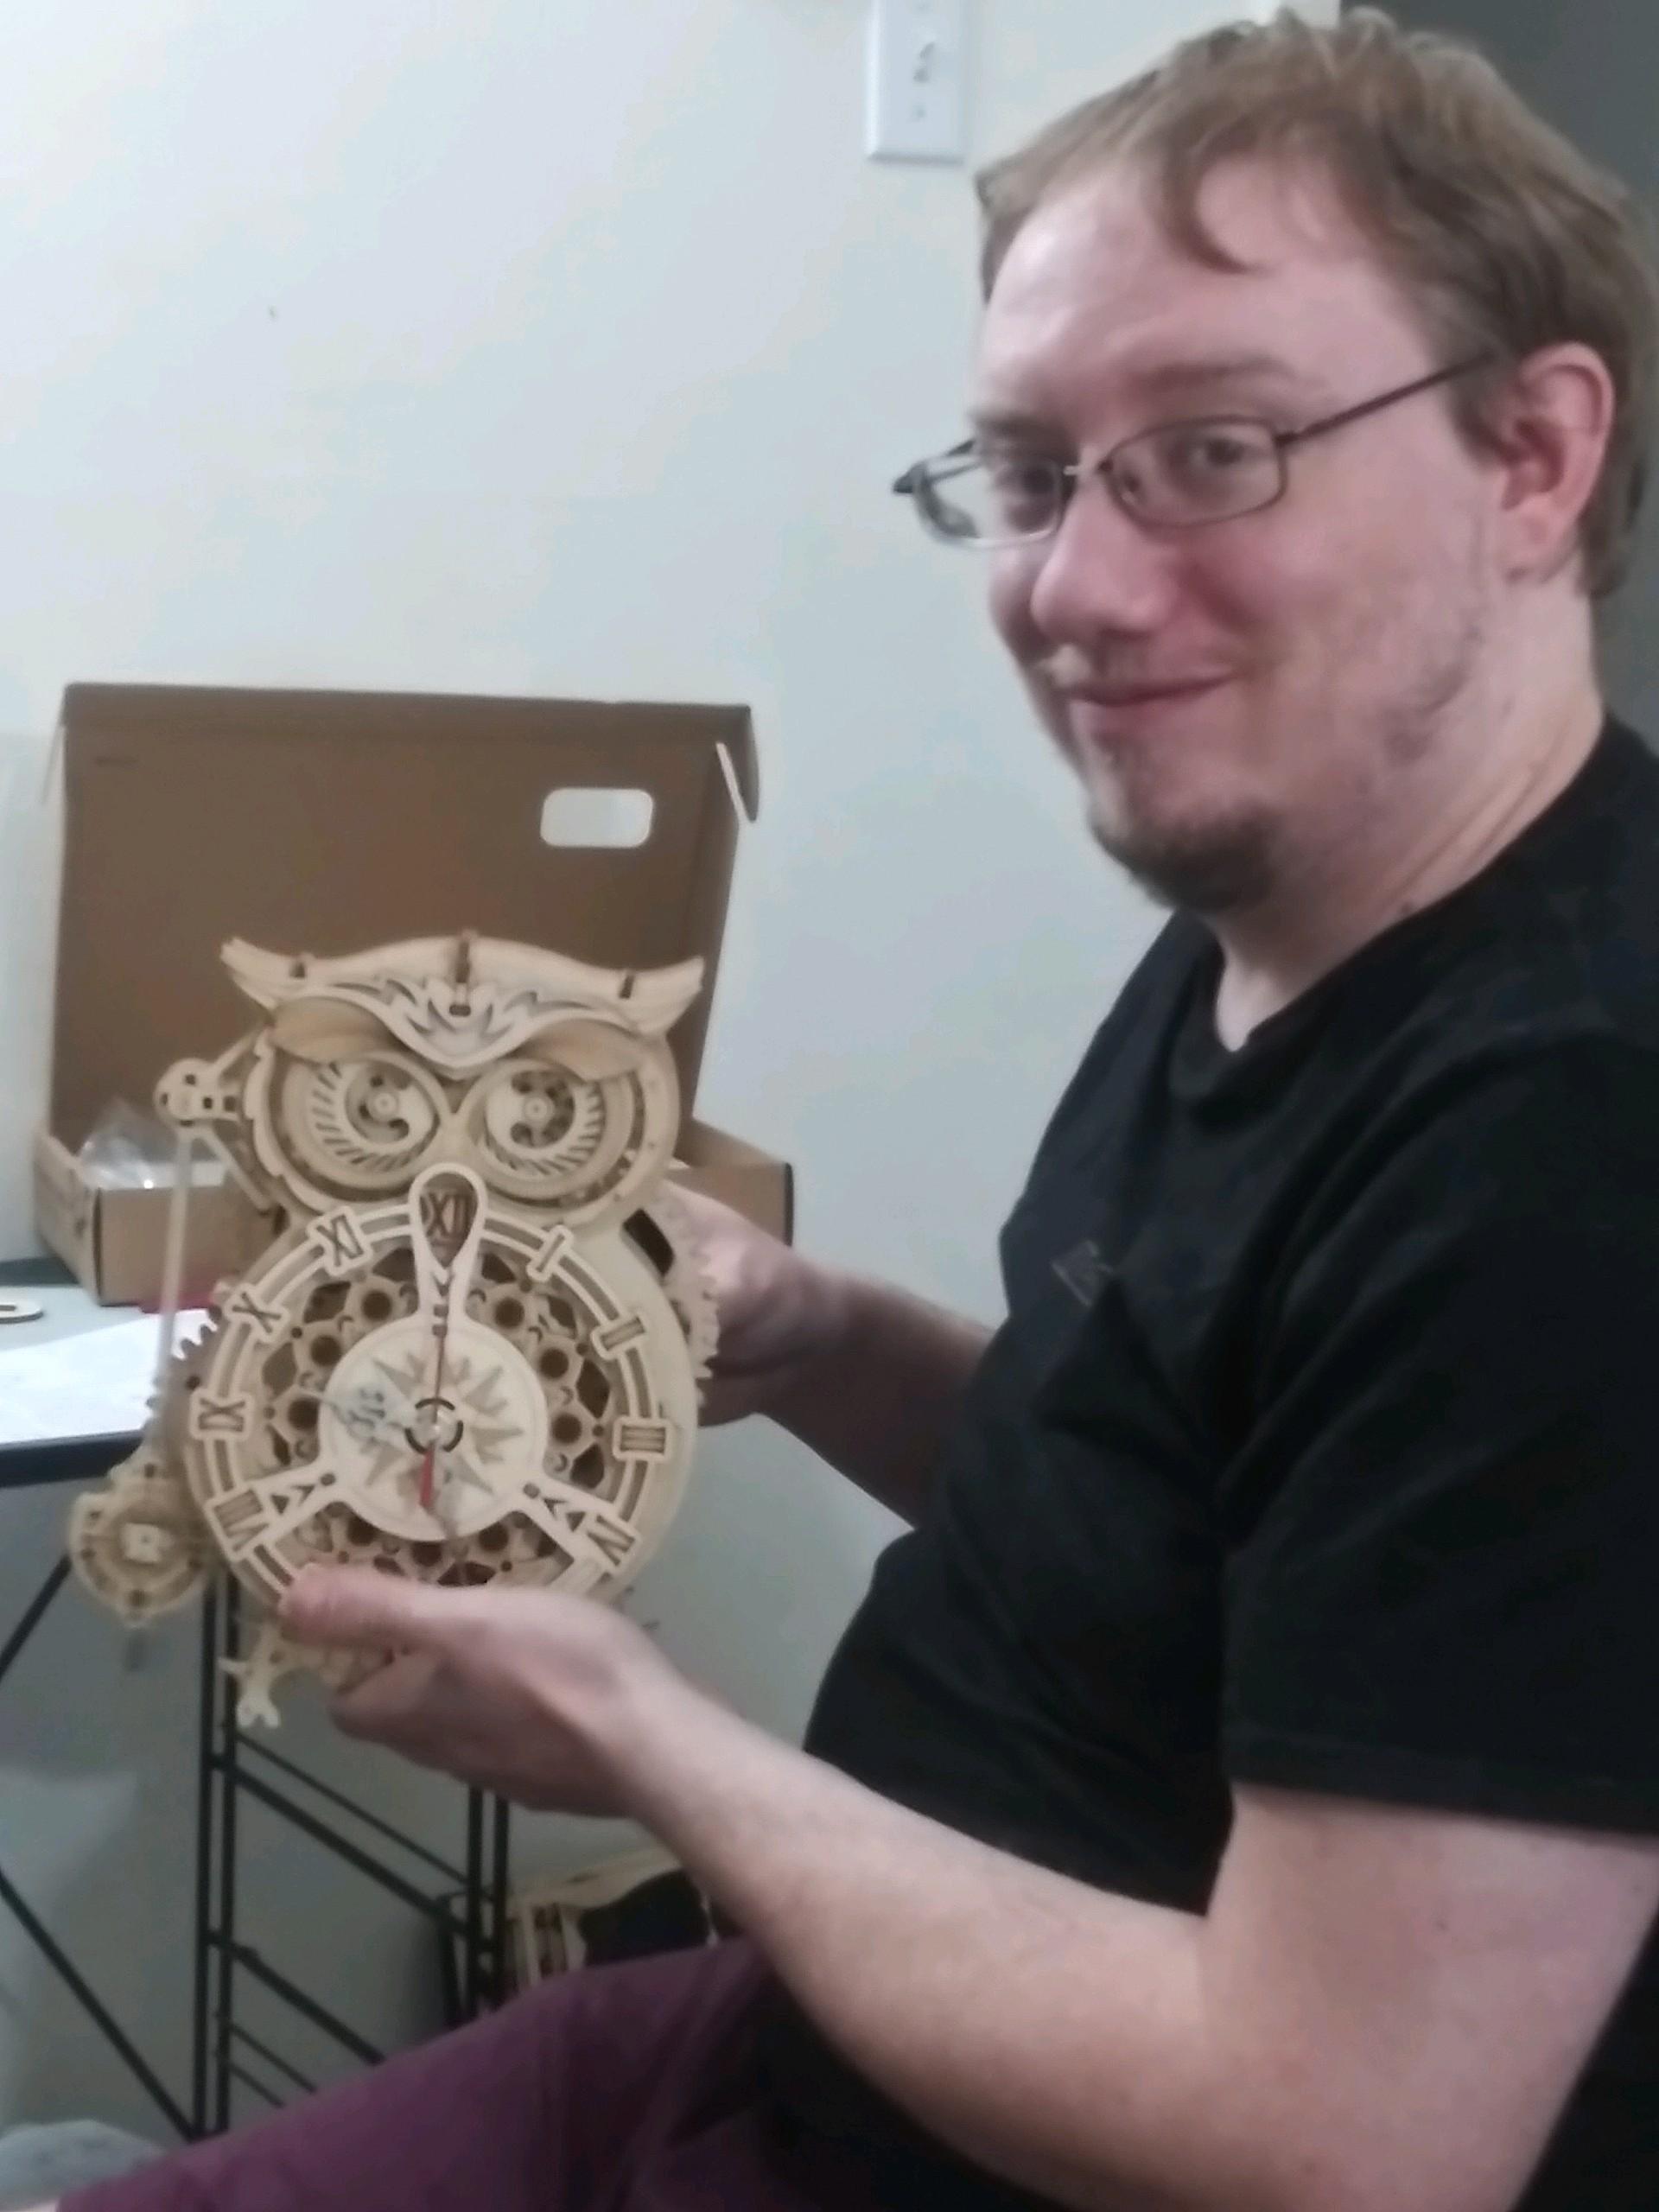
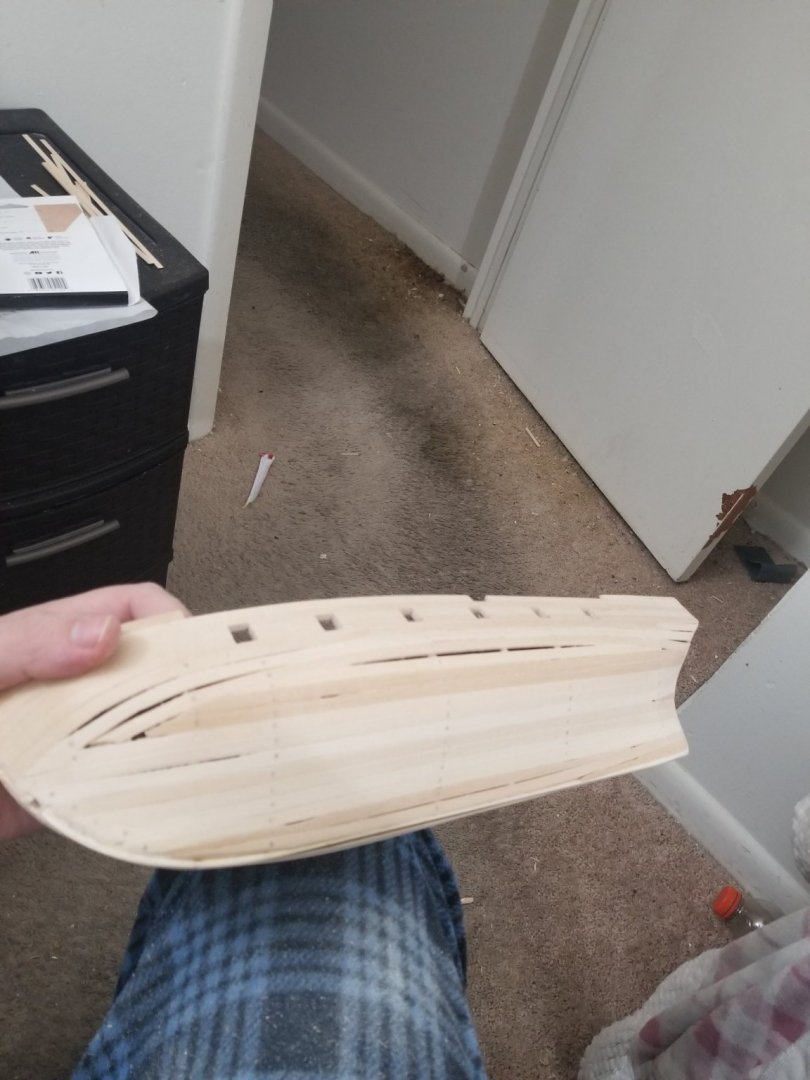
It really is lol I should have gotten a picture of what I found Keith. Had to fix the rubbing stakes cause they literally pulled off two of them. But it's a one time thing cause I took a nap and didn't put my ship in the other room like I usually do. I love them though and would to get a picture with them with it when its finished but I think they would be too scared of it.
- Keith Black, Penfold, Cathead and 1 other
-
 4
4
-
-
So needs some trimming down a little but actually not to hard after....(serious newb moment and showing the lack of knowledge) I learned what CA actually was...yep didn't know the glory of this stuff till tonight when I found some. I feel so much better about doing detail work with this stuff and some medical tweezers that work amazingly even though I still need to get my clenching tweezers.
Sorry for the ramble but yea here we go with the pictures instead if words because well actions (or pictures) speak louder than words lol.


- Cathead, Dean77, Dale Hallier and 3 others
-
6
-
12 minutes ago, LucienL said:
Ah man, I guess if you did want to do it you could glue another 5 mm plank just below it, that would give you the same thickness but the spacing might not be right. It does cause some potential difficulties with the false quarter galleys (little metal window things at the back) so just be aware of that if you are going to do it. I ended up making the quarter galleys out of wood with some extra material so I could get them to be the right shape.
I'll sit on it I think and see how things go. I appreciate the warning about future issues as well.
-
1 hour ago, LucienL said:
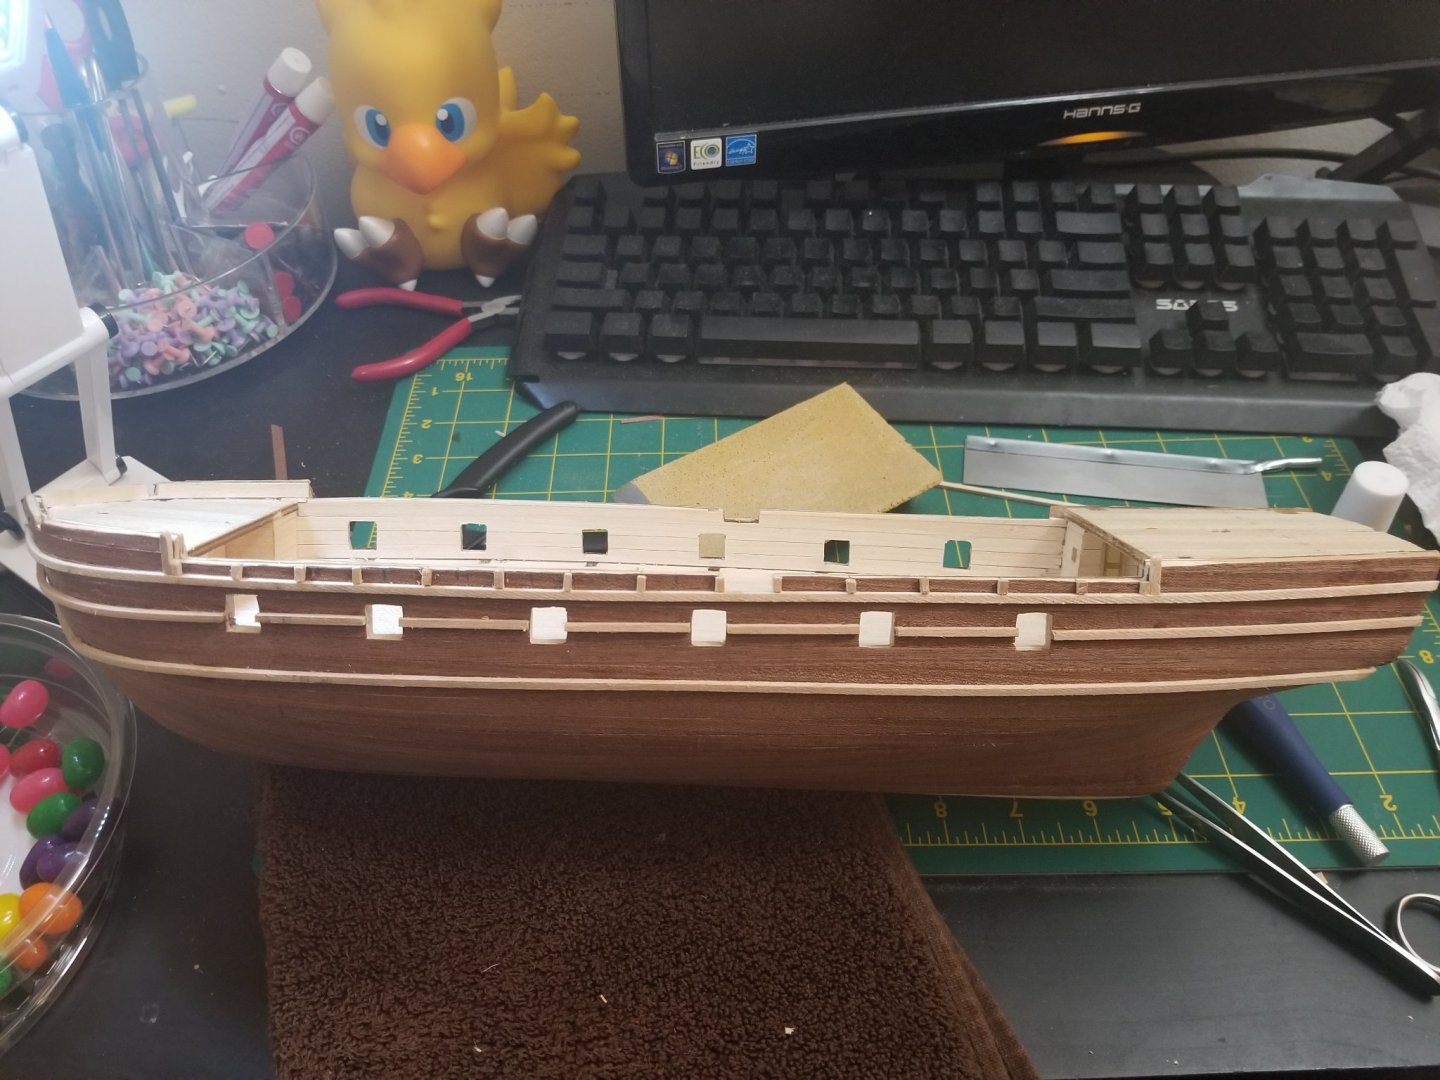
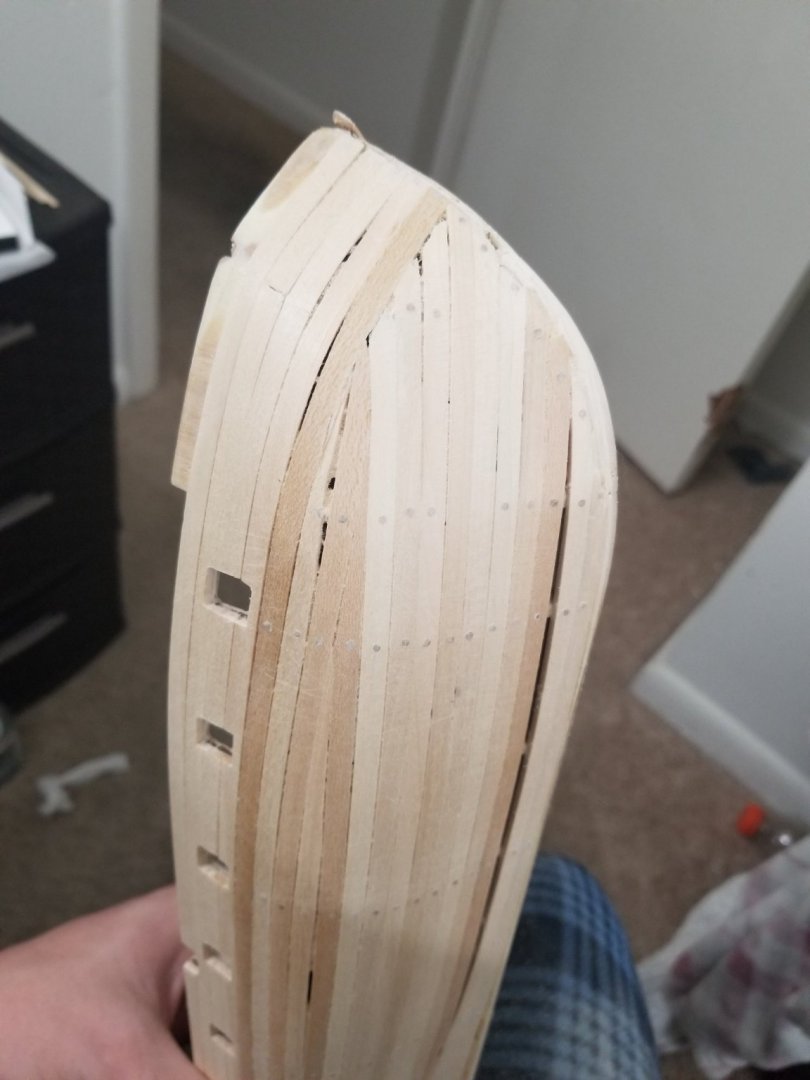
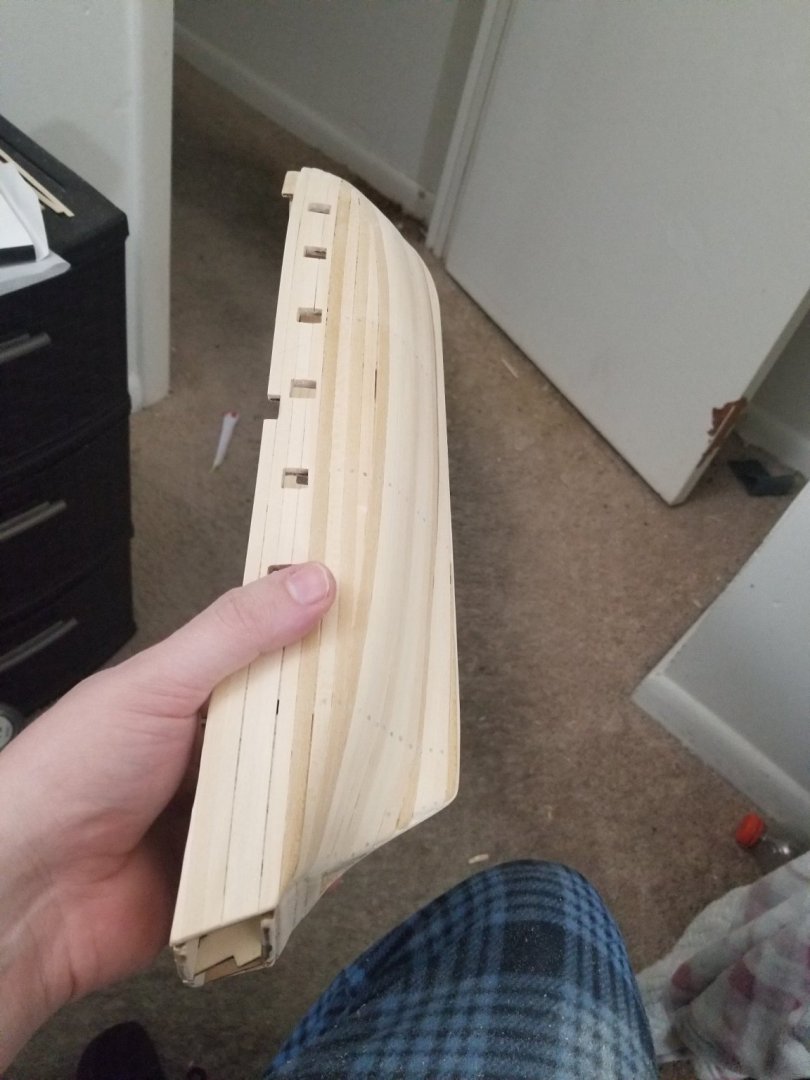
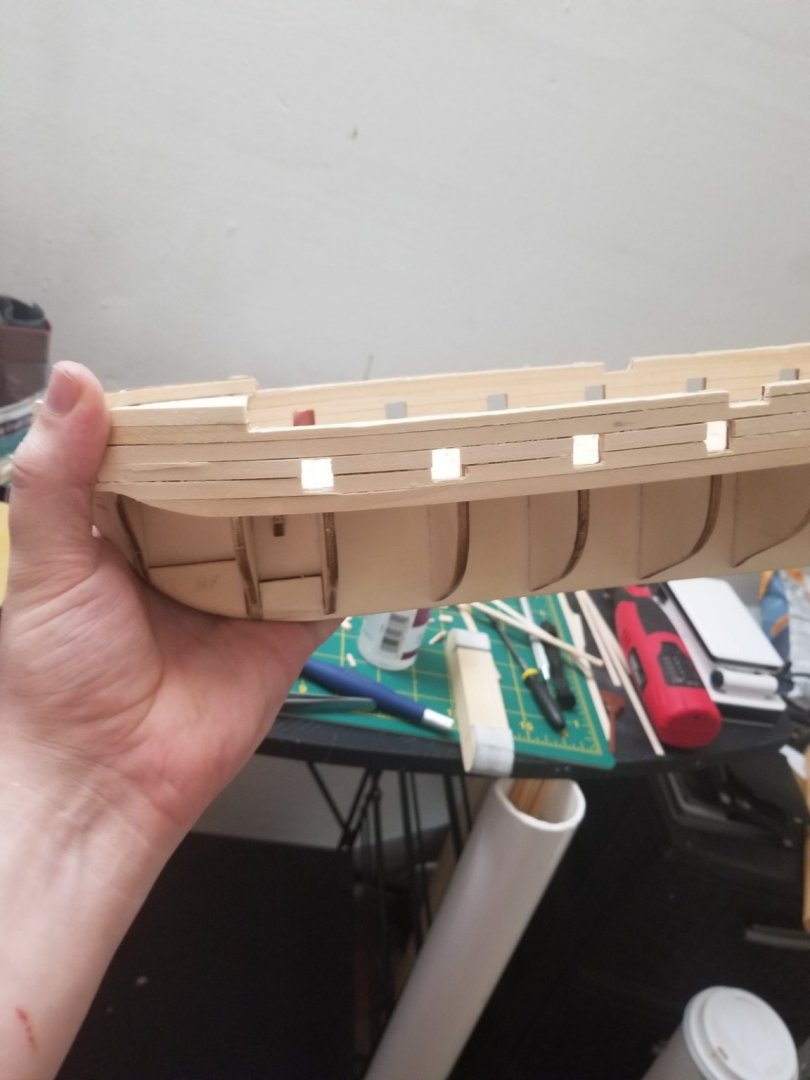
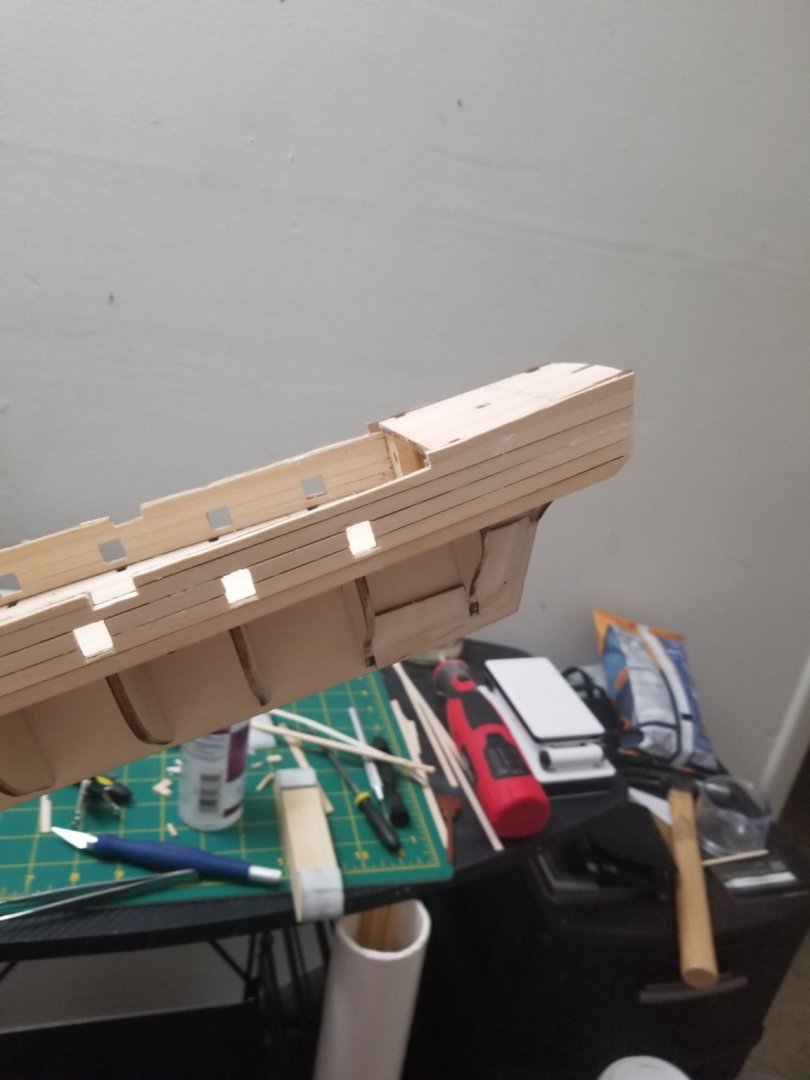
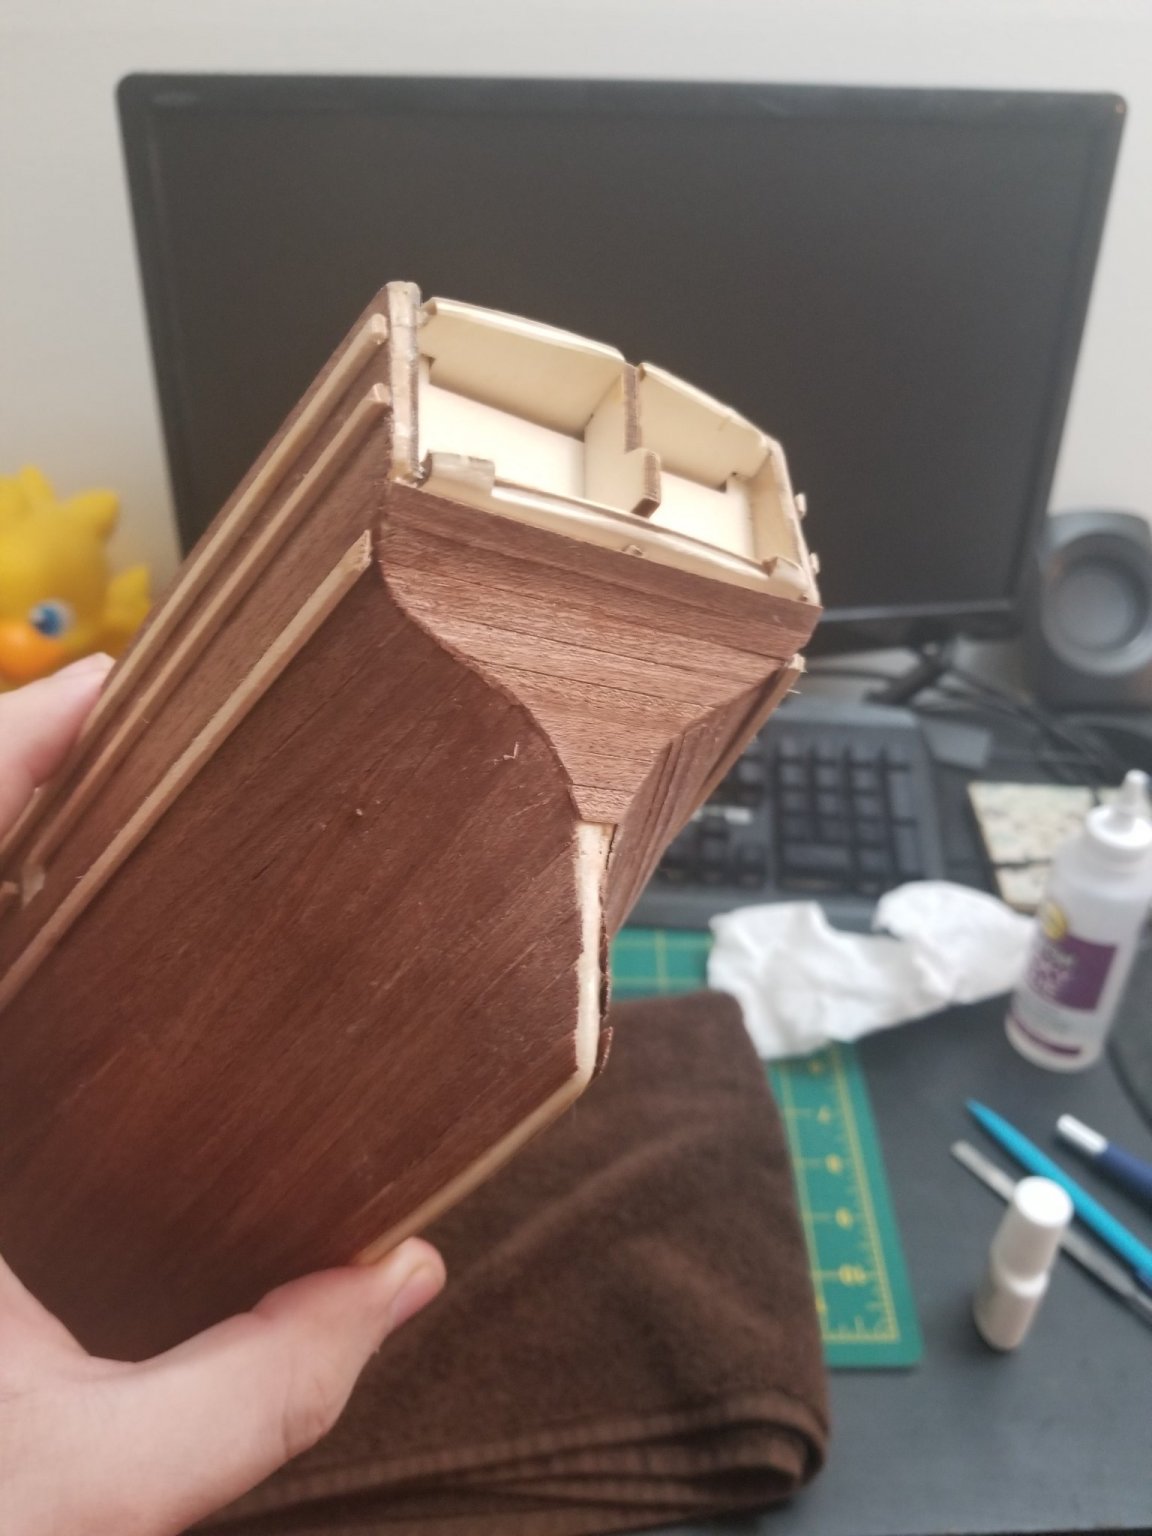
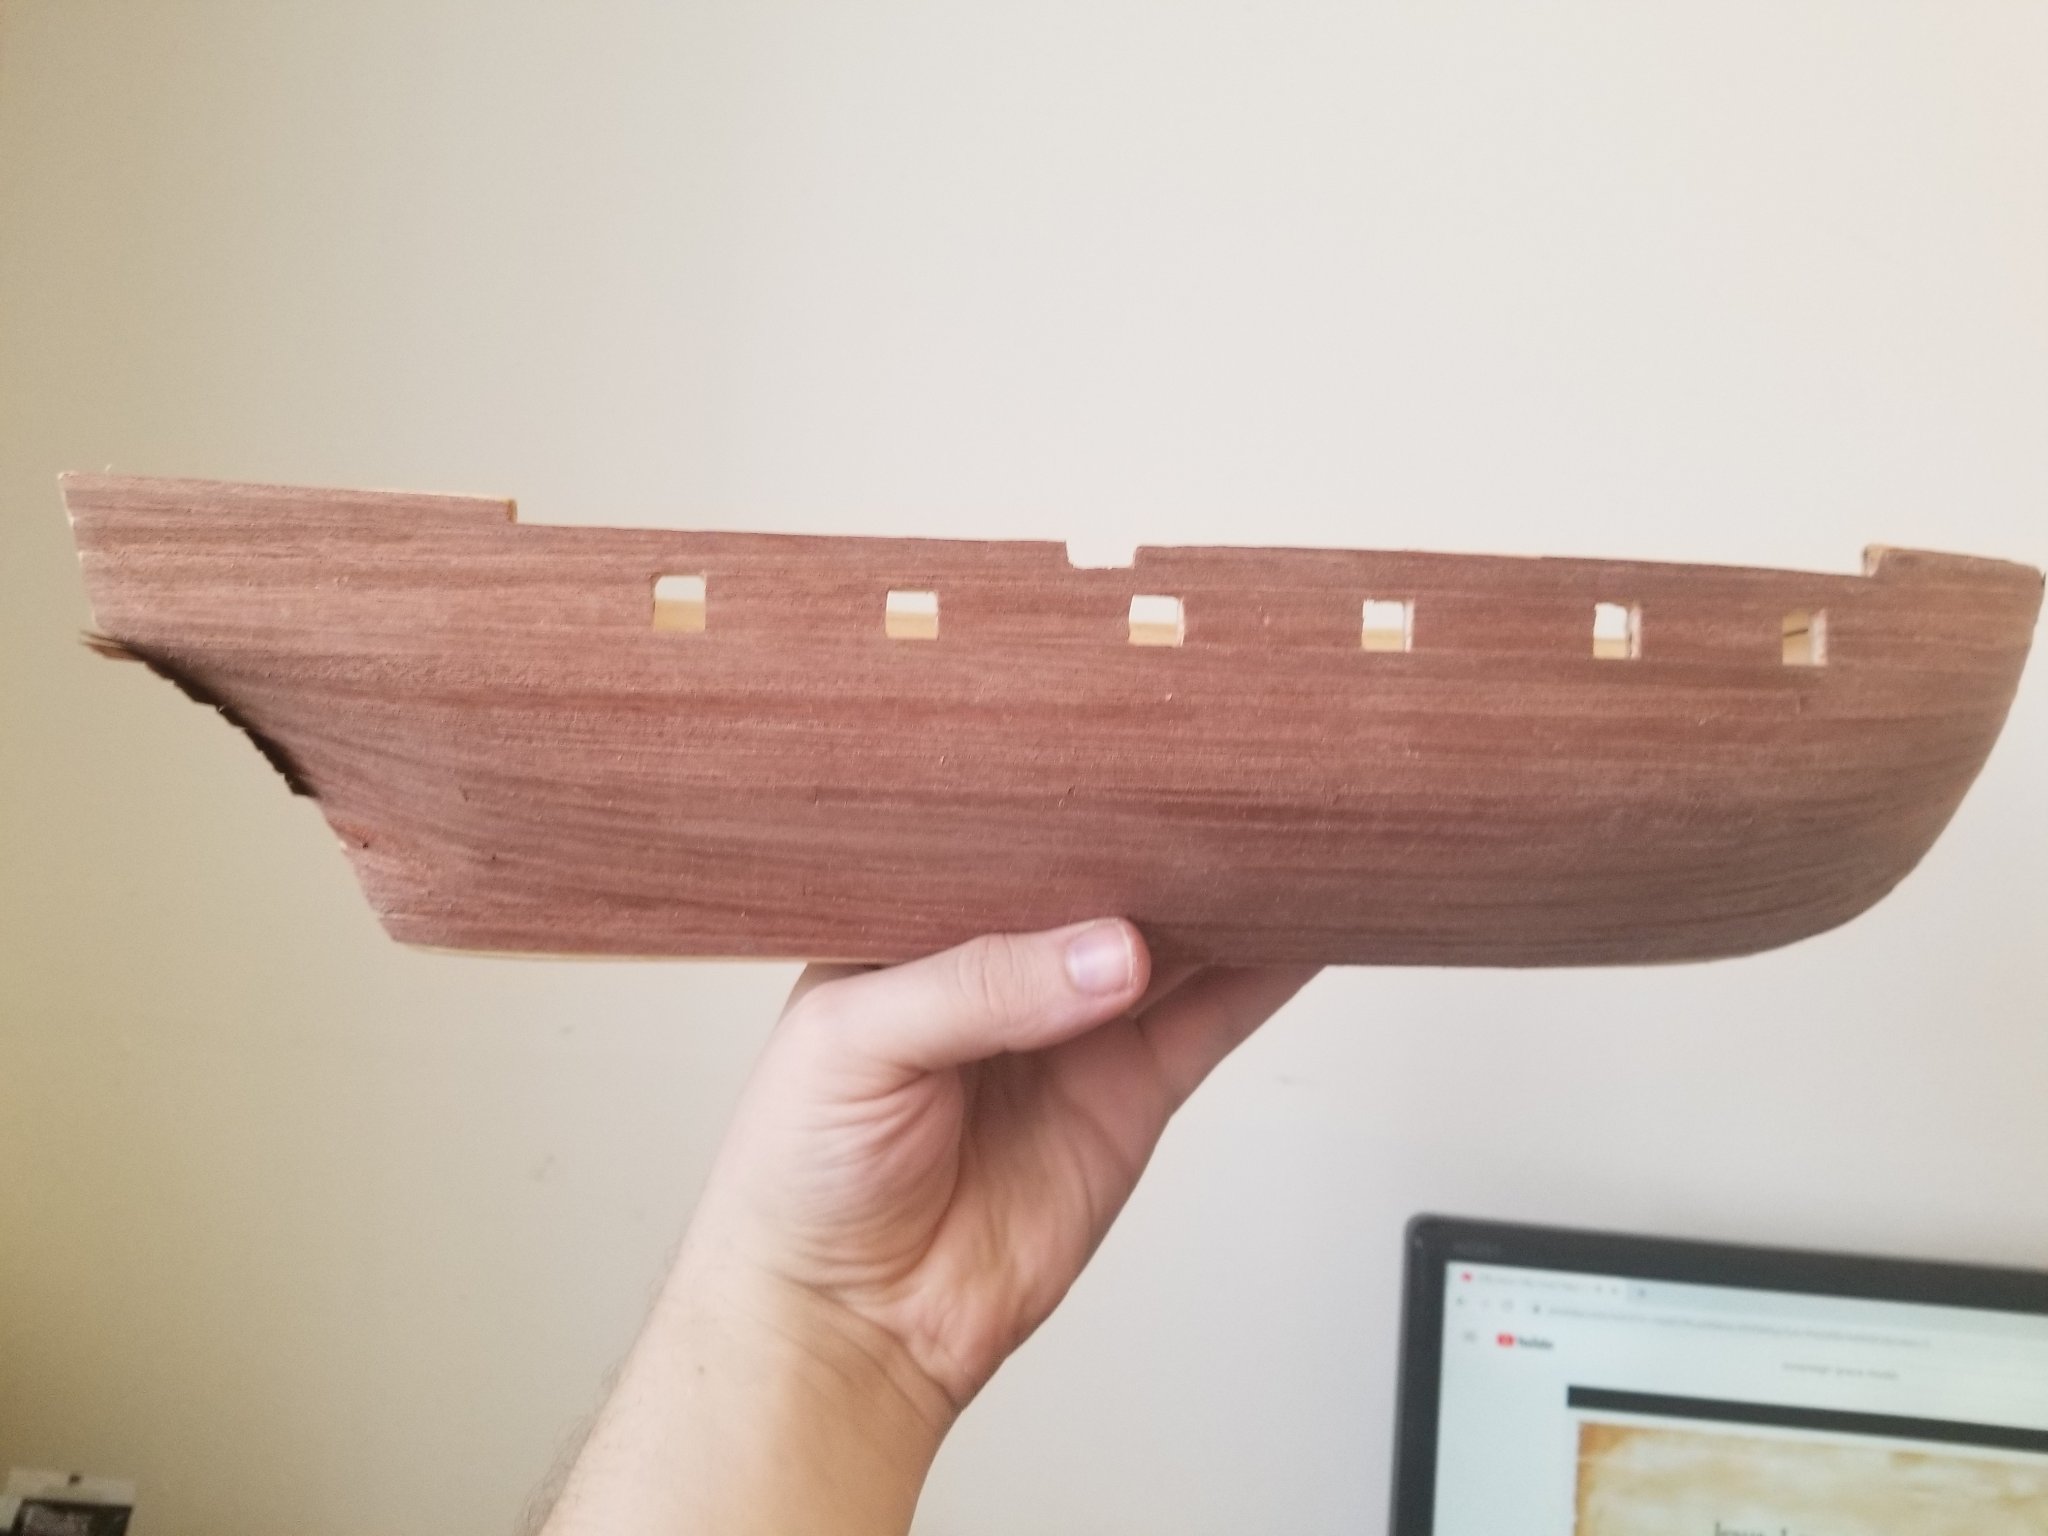
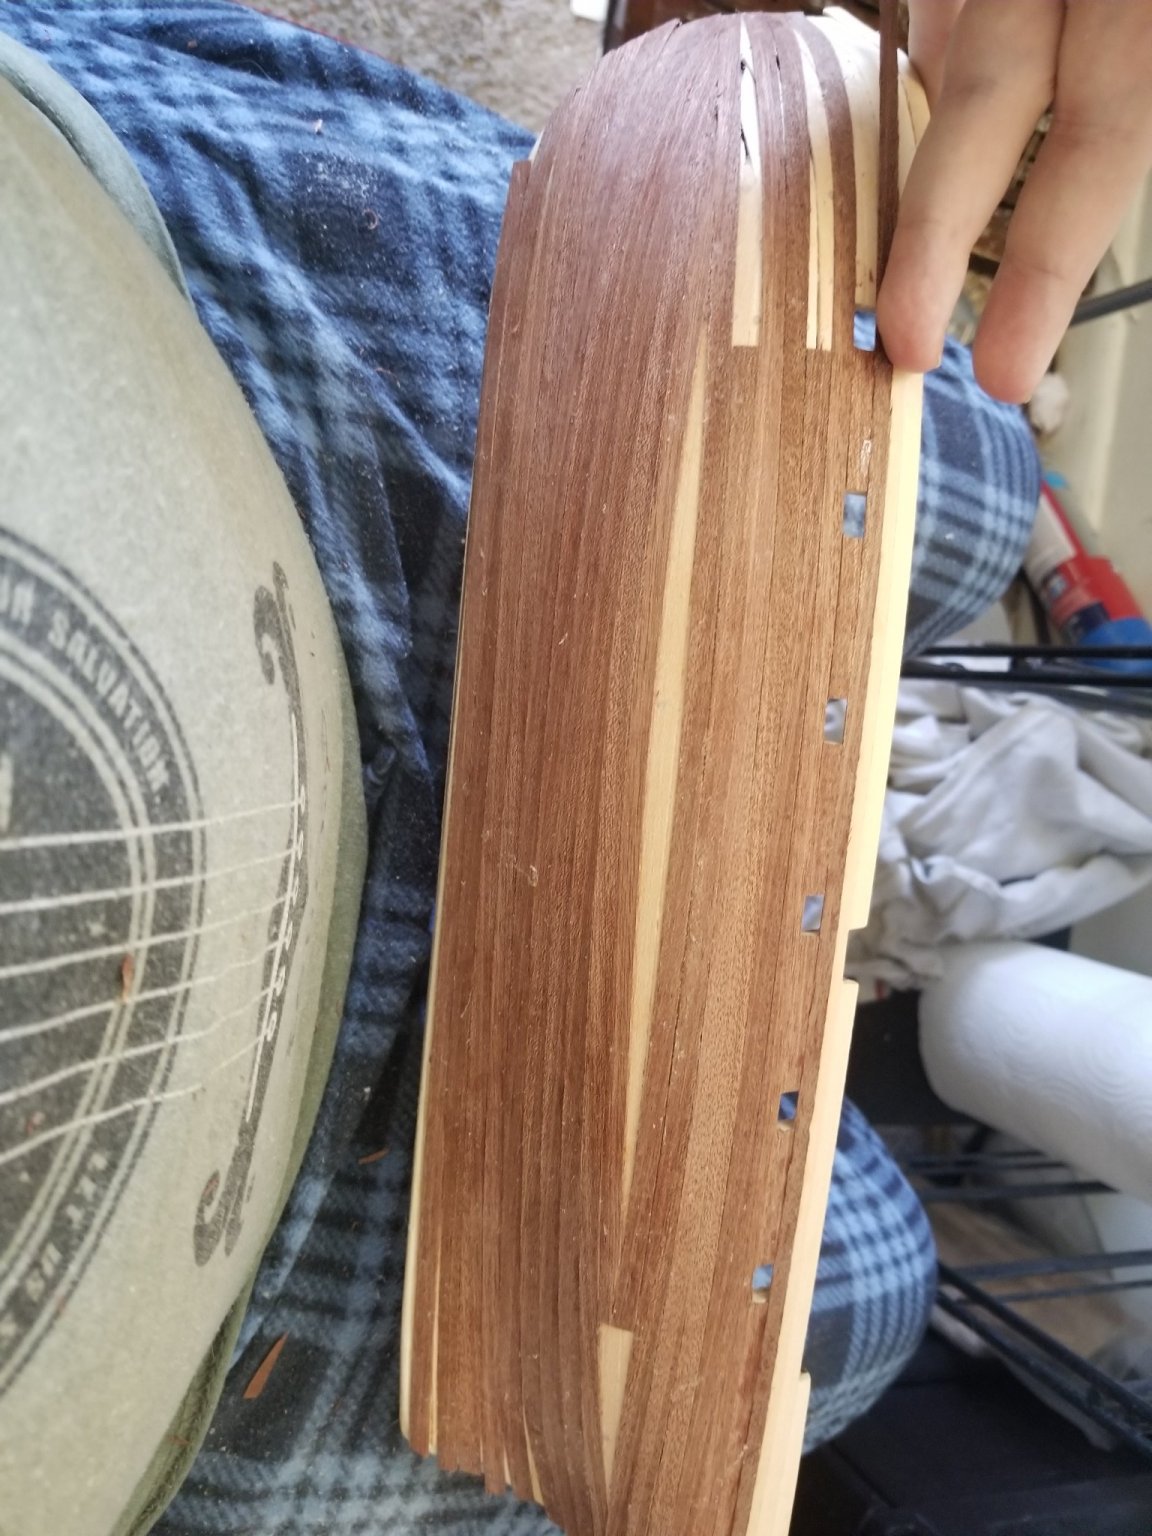
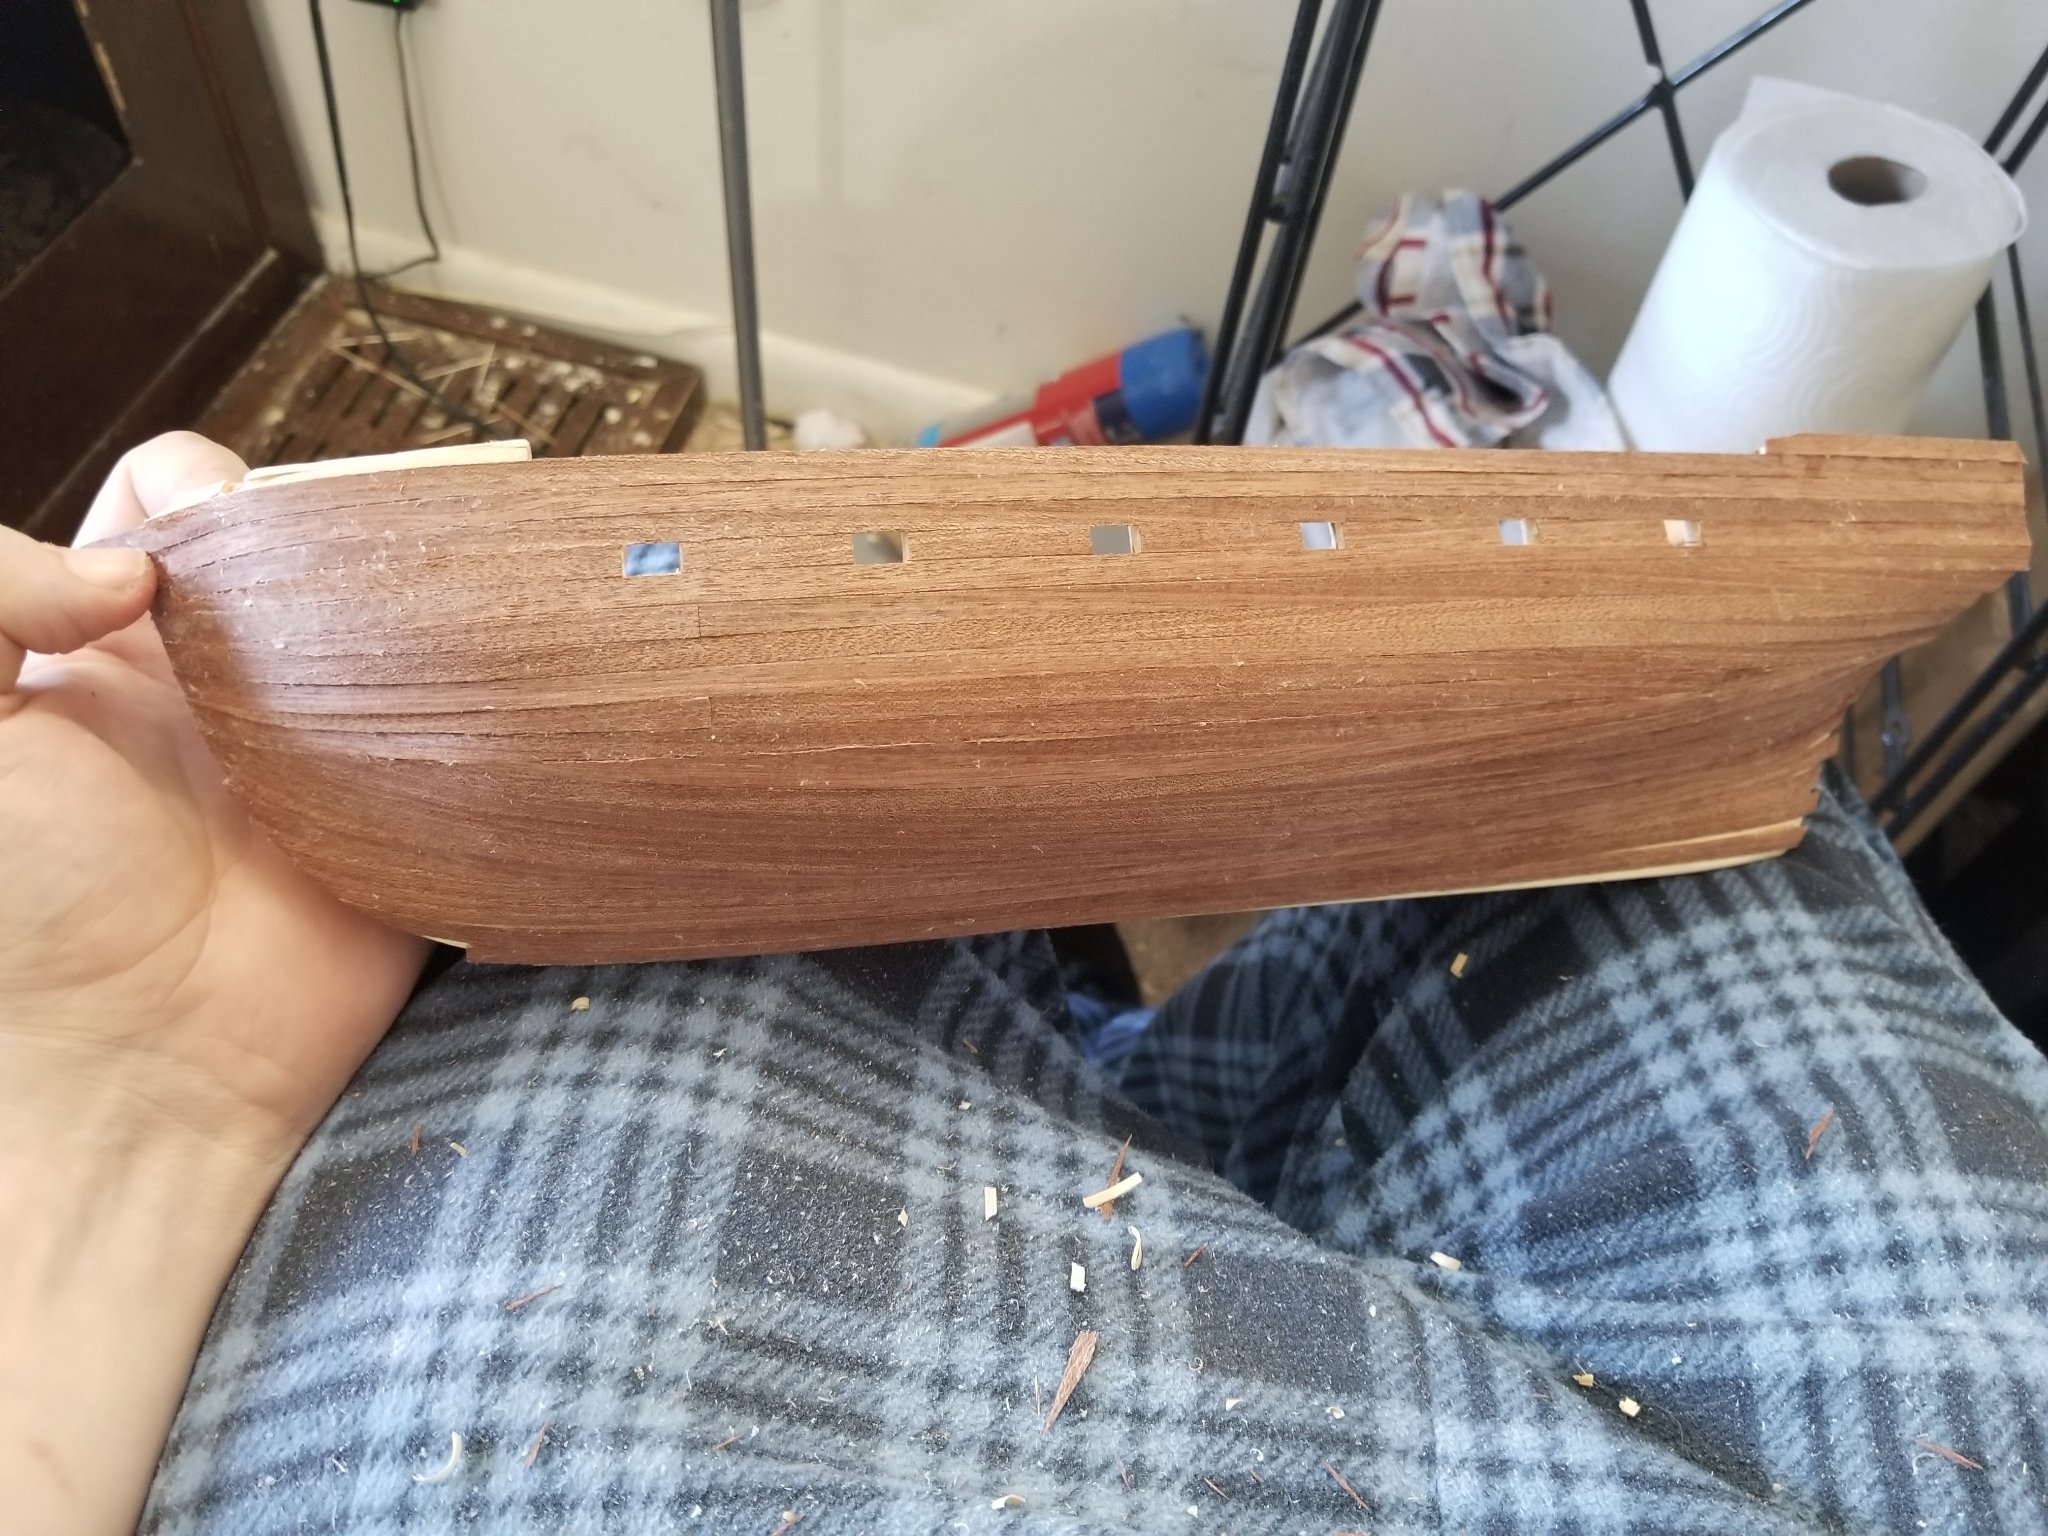
The rubbing strakes went on with no dramas, but there is a small issue with the kit here. There shouldn’t be a third rubbing strake at the water line. According to the anatomy of the ship and most other sources I can find, there should be a thicker wale around here. I had some trouble getting the scale right, but a 7mm plank looks about right.

At first, I tried to do 2 5mm planks to do the wales, but this was way too thick and looked wrong and one of them had to be removed. I used CA glue, which I regret now, and it was a bit messy. Some of the planking came up but could be glued back down. I remember being very frustrated at the time but it would all be painted and the actual damage was very minor.
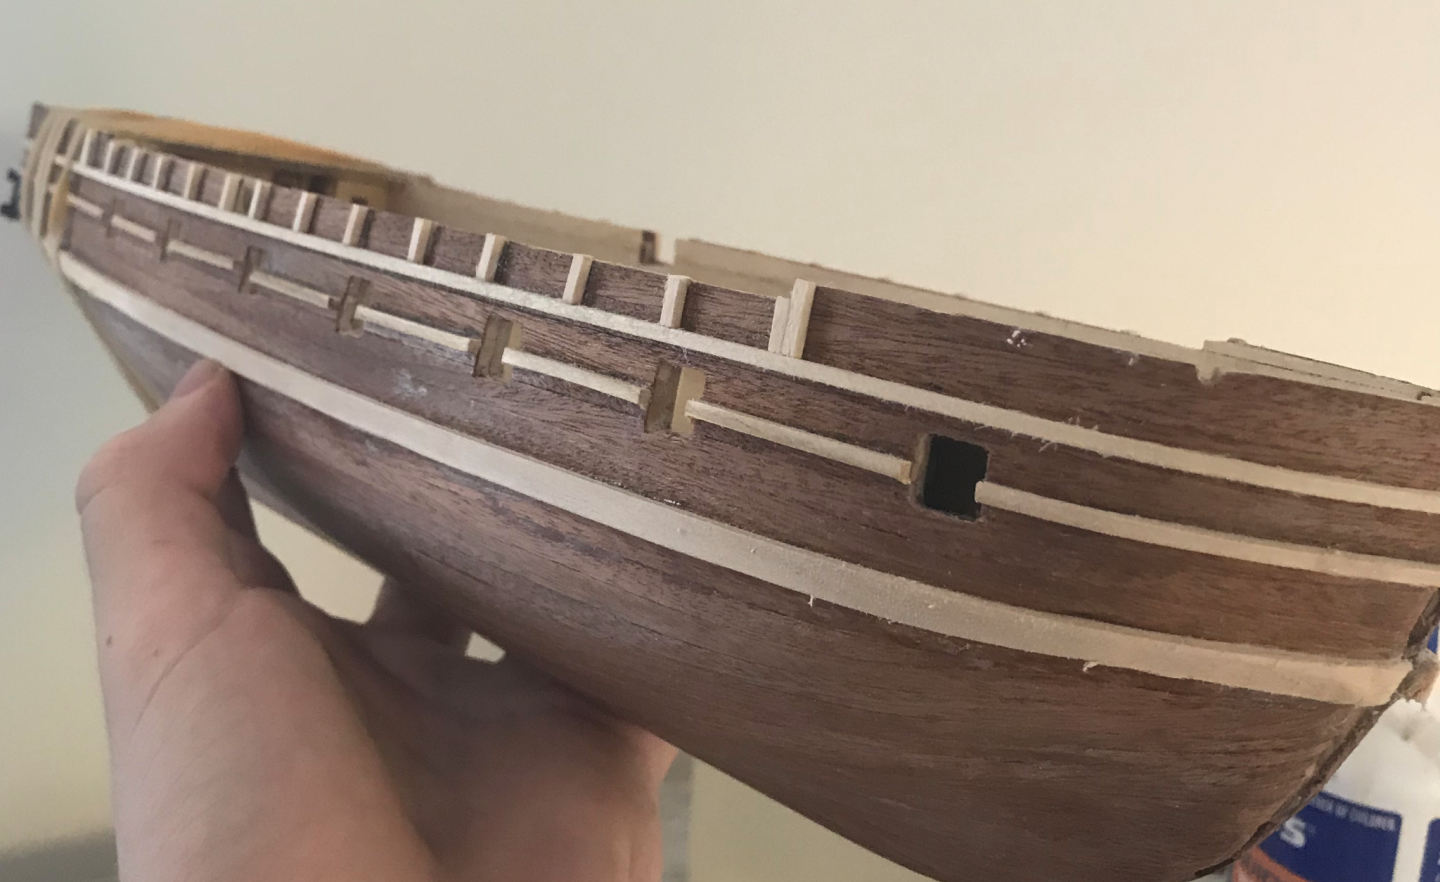
The hammock rail reinforcements were fun though, just a bit of work to get them to line up and be spaced properly.
After looking at this for a while, I came to the realisation that the wales were too thin and the spacing between the bottom of the gunports and the wales was too wide. I then added a 2 mm strip just above it and that looked pretty much bang on
Also, I did the anchor wales, which was tricky to get the same on each side. What I ended up doing is shaping the pieces off the boat and then lining them up to get them to look right. Then I just used one side as a template for the other to get them to look exactly the same.
Dang it lol you were on the same part as me and I just glued down the third rubbing stack so I cant switch it out without losing my planking. Yours looks really good with that thick wale.
-
2 hours ago, Pete D said:
Looks like you're making excellent progress .
Yea I'm chugging along it's a lot of fun and I have no kids just me and my wife so I spend nights with her and day building. We both been sick though so had a lot of extra time else I wouldn't even be planking yet lol.
- Keith Black and Cathead
-
2
-
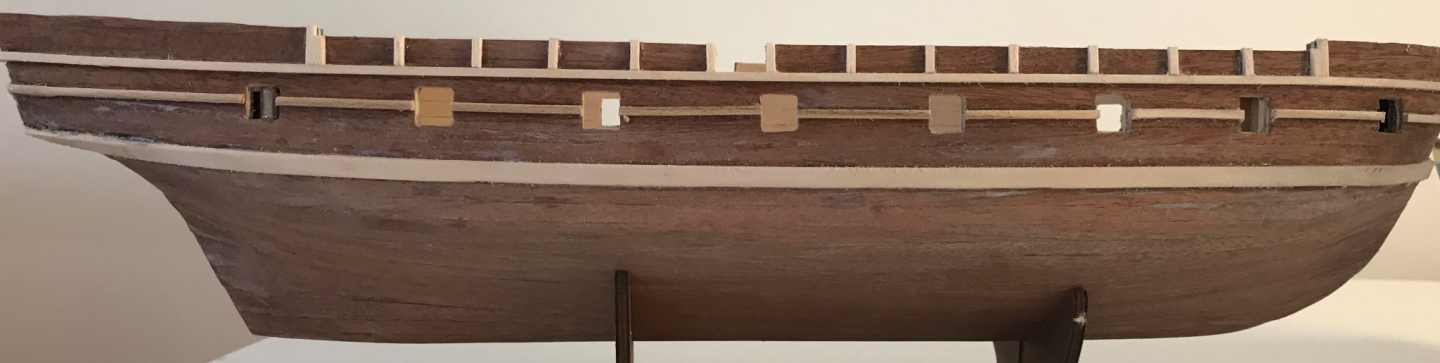
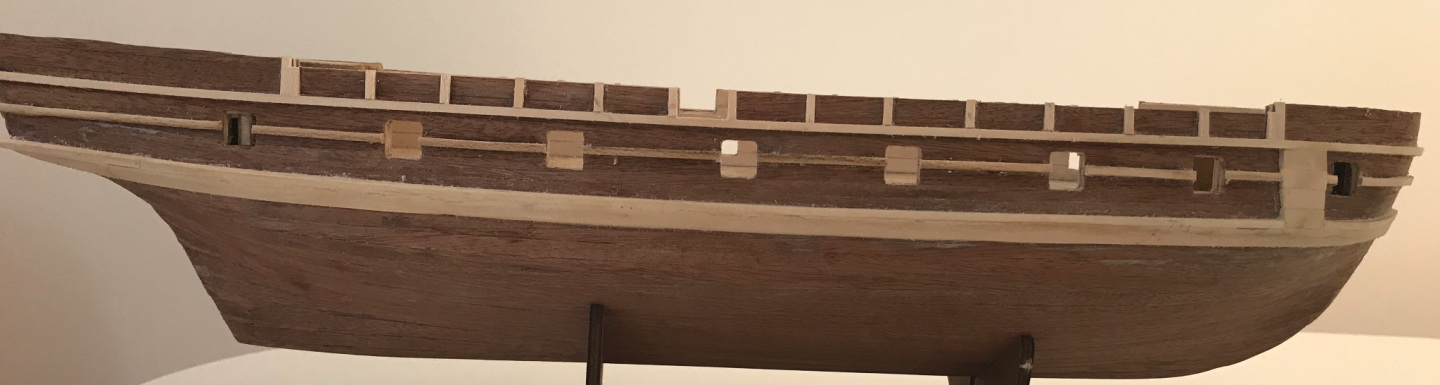
Got the other side done now to get some final things on and start working on painting. I'm gonna stick with natural wood and the black and white and a polyurethane on the deck.

- Keith Black, Dean77, Cathead and 1 other
-
4
-
22 hours ago, Cathead said:
Great progress. It's amazing how much some final sanding will do to really make a hull look nice.
Yep and it makes the work on the second planking so much easier because I took the time to really detail and get the right shape and have it even. I'm excited to keep going on it every day I pick it up.
- Cathead and Keith Black
-
2
-
13 hours ago, LucienL said:
Hey Maliba, there's a lot more to building a real ship. I'm really enjoying being able to go into the history of this little boat. The beagle is definitely a very relaxing and satisfying build!
Yea I hope to do the ship some justice and if you have any tips to help with the realism of this ship I'd love to hear and try them on mine. I cant really do the copper though cause I'm limited on resources and equipment.
-
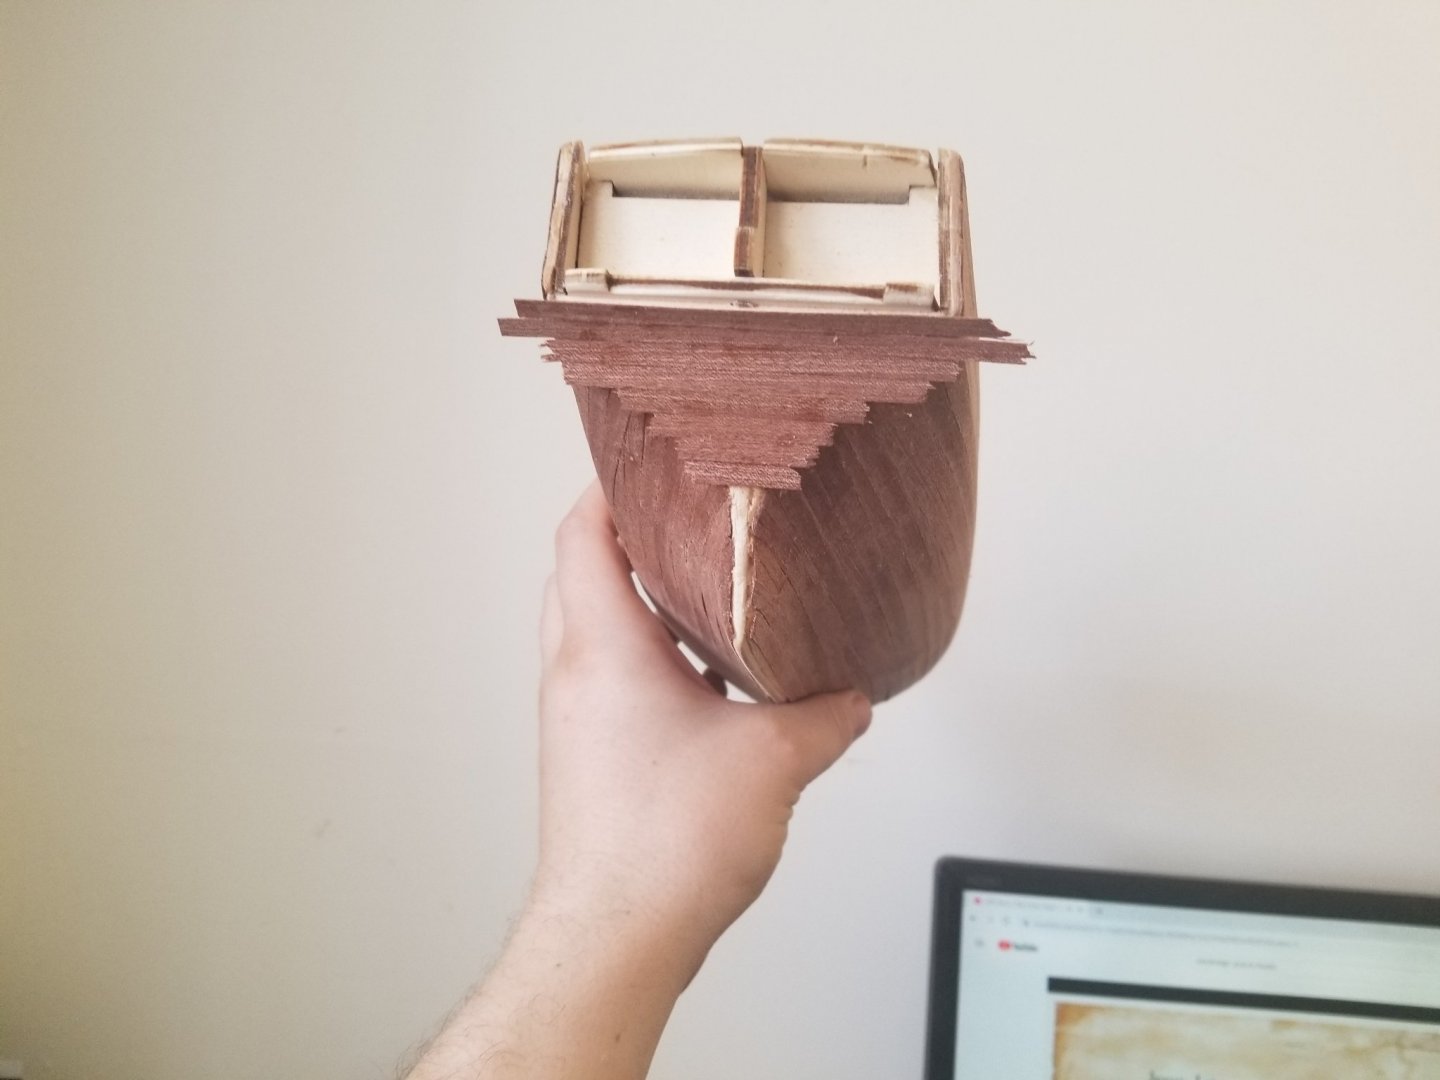
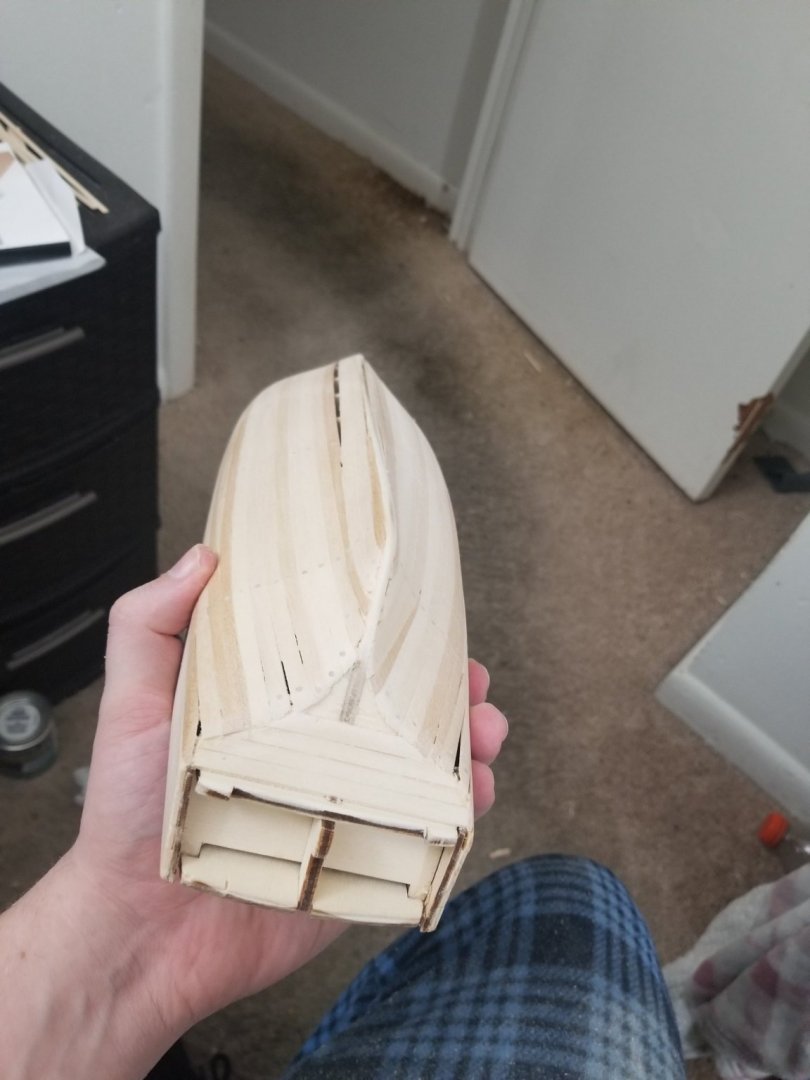
So after some trial and error I decided to do the second layer more like the directions suggest.
And still needing some detail and sanding a little but this is one side almost done.

- Dean77, Cathead, Keith Black and 1 other
-
4
-
8 hours ago, Dean77 said:
Looks fantastic, great job on the first layer of planking, must have been a big decision to strip it back and start again! But so worth it!
I'm part way through building the Beagle. Which, like yourself, is also my first model ship.
Yea it was not an easy decision. I did a full day of just trying to do repair and work around and it just looked so disgusting. Even though it would have been covered it would have been so hard to do the second layer and it would look so disgusting.
- Dean77 and Keith Black
-
2
-
This is a great build so far your actually right where I am on my build!! This is my first real ship build and I'm finding it pretty relaxing. My next build I'll probably do a lot more research and really go for realism.
-
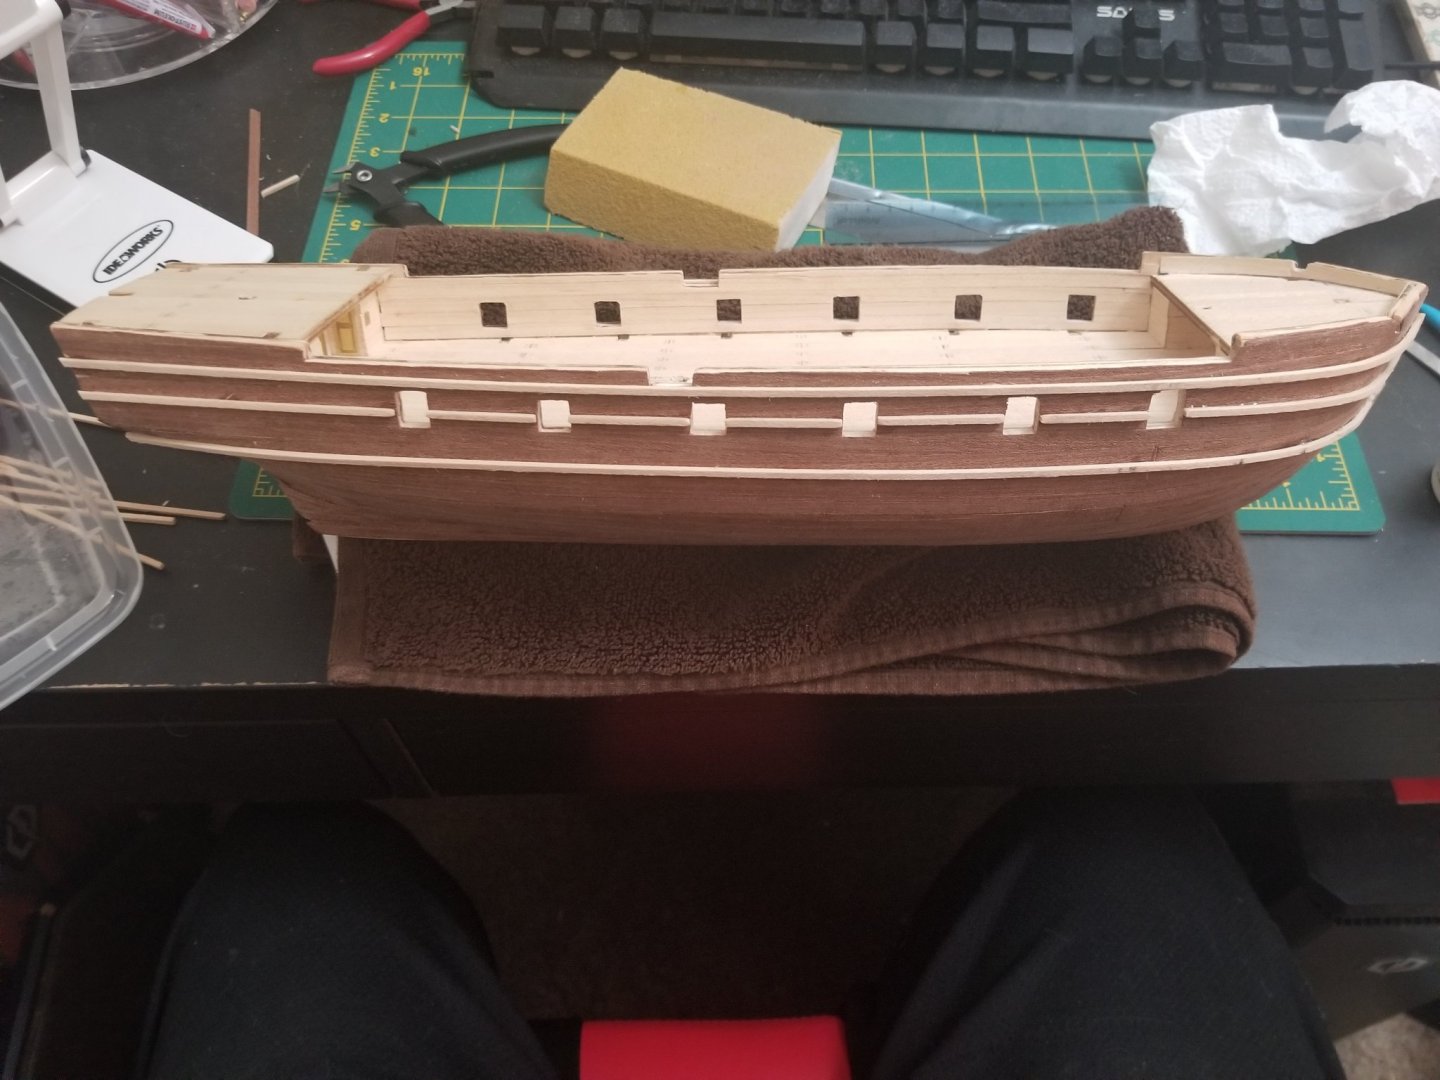
Alright so here we are finally sanded and shaped and corrected how I want it for it's nice and super easy second planking. Shouldn't take me any time at all cause I put so much time into the foundation.

- Cathead, Keith Black and Dean77
-
3
-
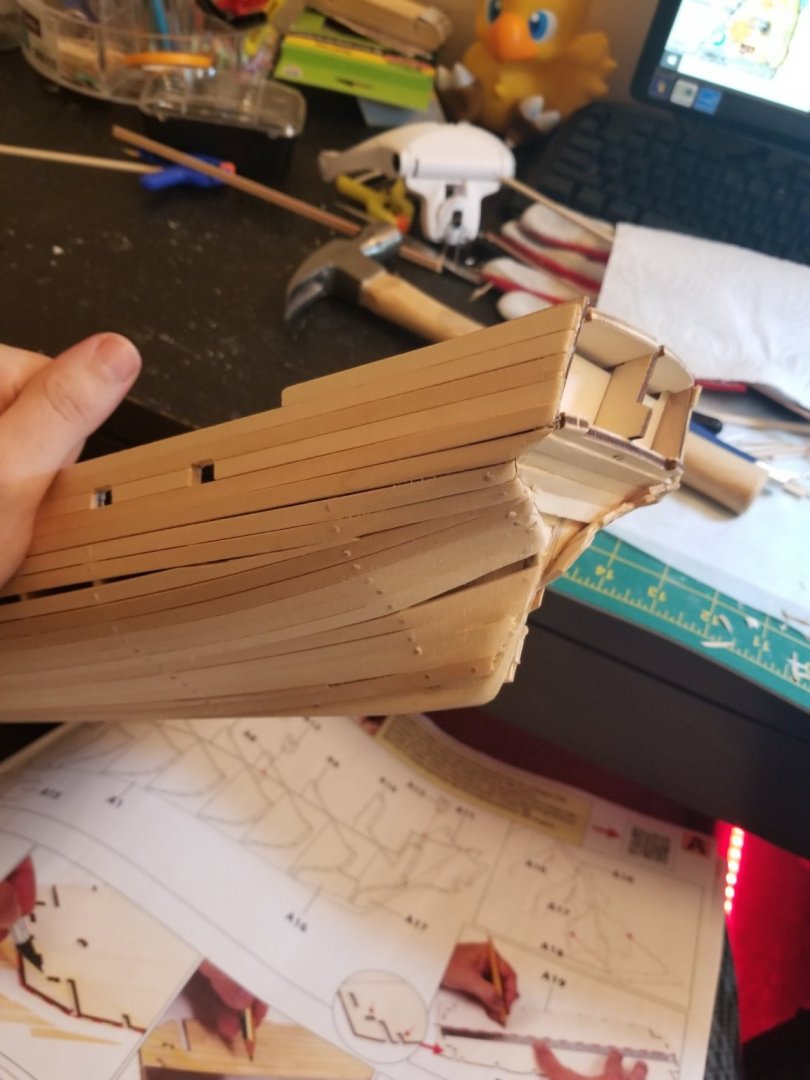
So I tore all the planking off.... the blocks were a no go so yea its why I haven't posted. But now I'm pretty much back to where I was except I'm planked all the way around and have one side sanded

- Cathead, Keith Black and Dean77
-
3
-
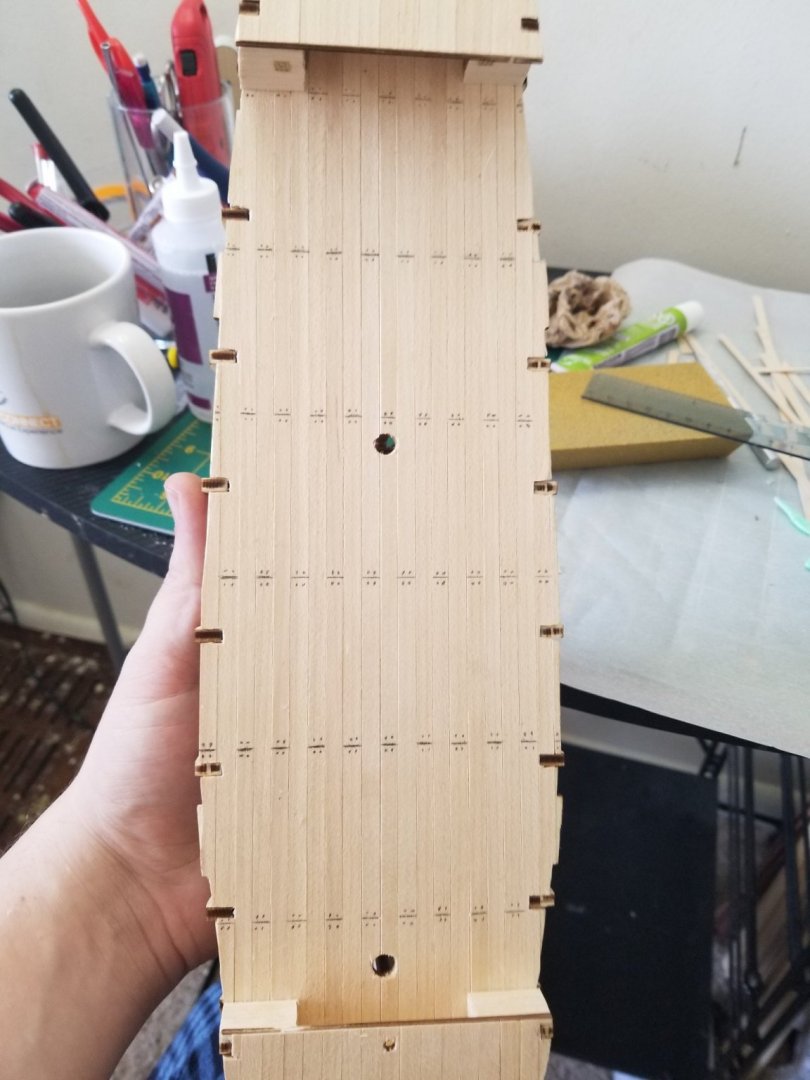
Almost finished this tedious process but it's going better now that I got the toothpicks lol. Some of the ends of the planks split cause I had to figure out the drill size but I got it situated so now its smooth sailing.
- Cathead and Keith Black
-
2
-
2 minutes ago, Cathead said:
Are you talking about the extra material between bulkheads near the keel, fore and aft? The remaining surface likely will help with plank adherence, even if it feels like a waste.
Also, slow gentle pressure is definitely another key to bending planks!
Yes this is definitely something I learned while doing this. Thank you for all the help!!
- Keith Black and Pete D
-
2
-
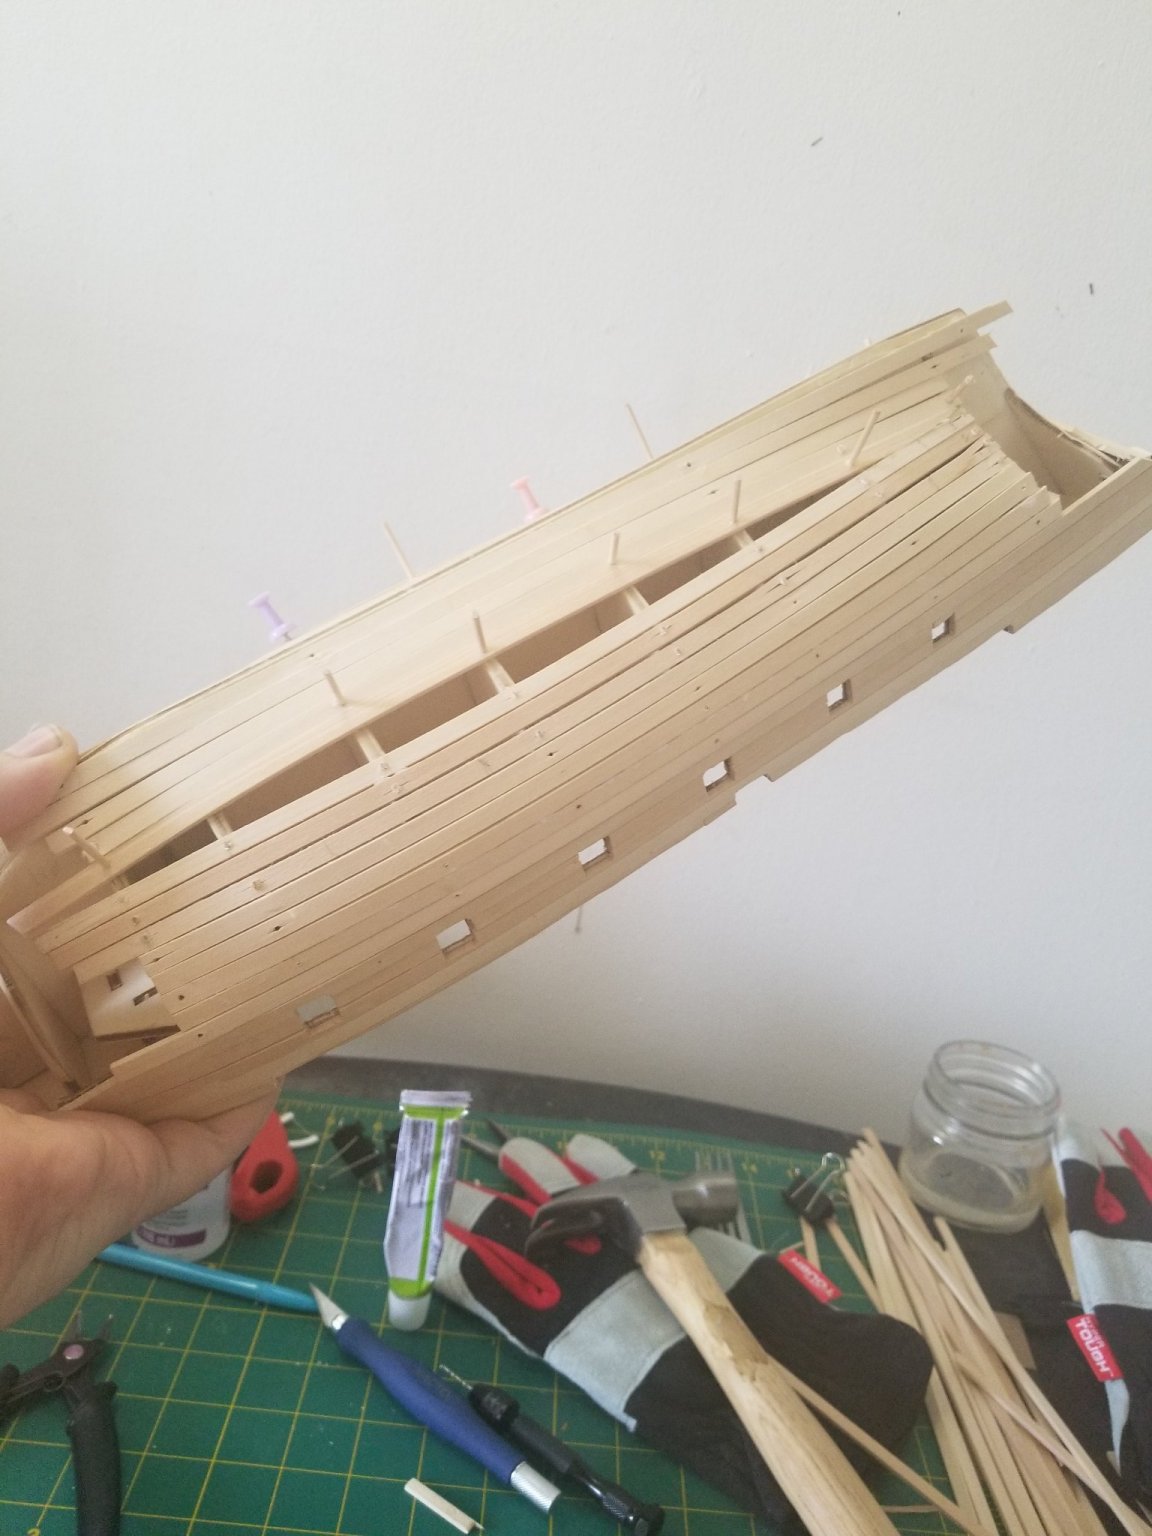
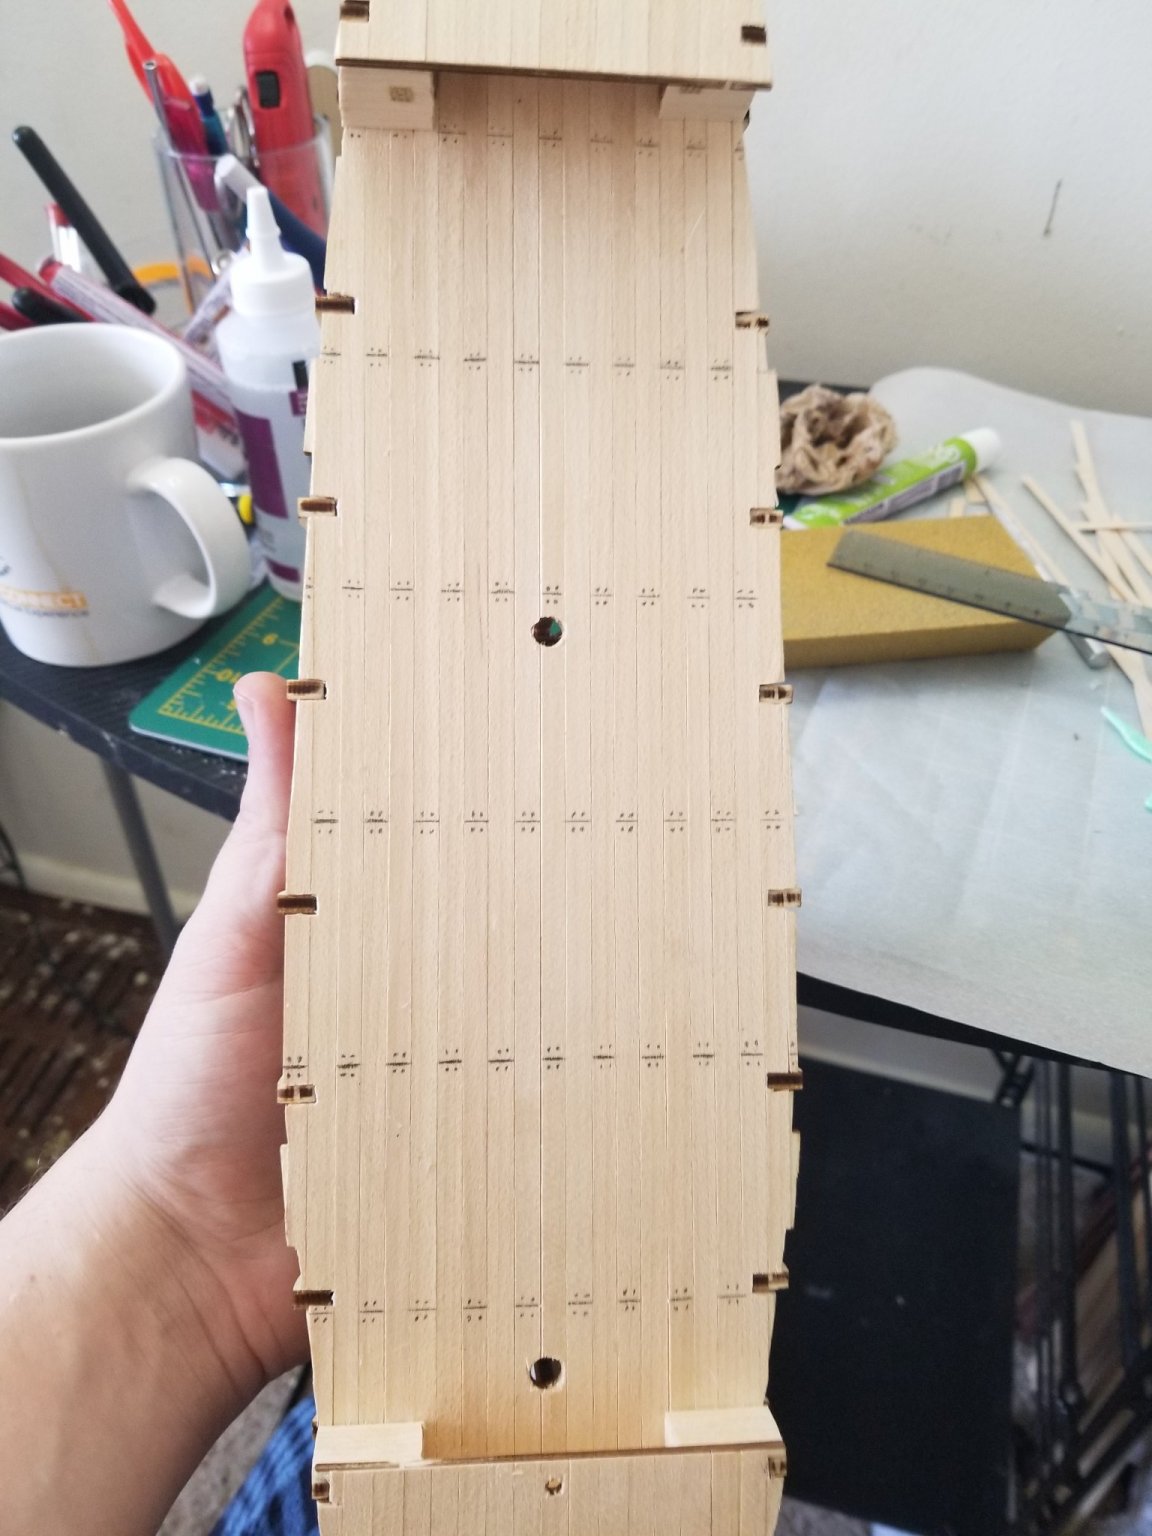
14 more planks to go and then build up the blocks then on to second layer
- Keith Black and Cathead
-
2
-
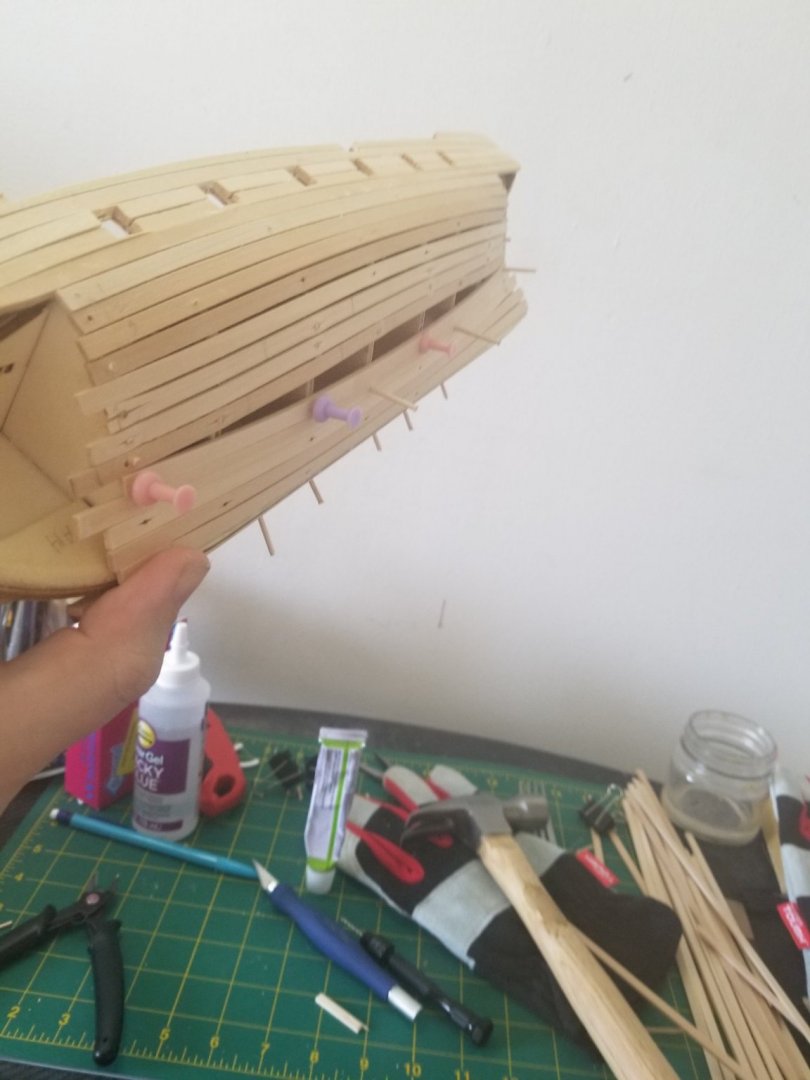
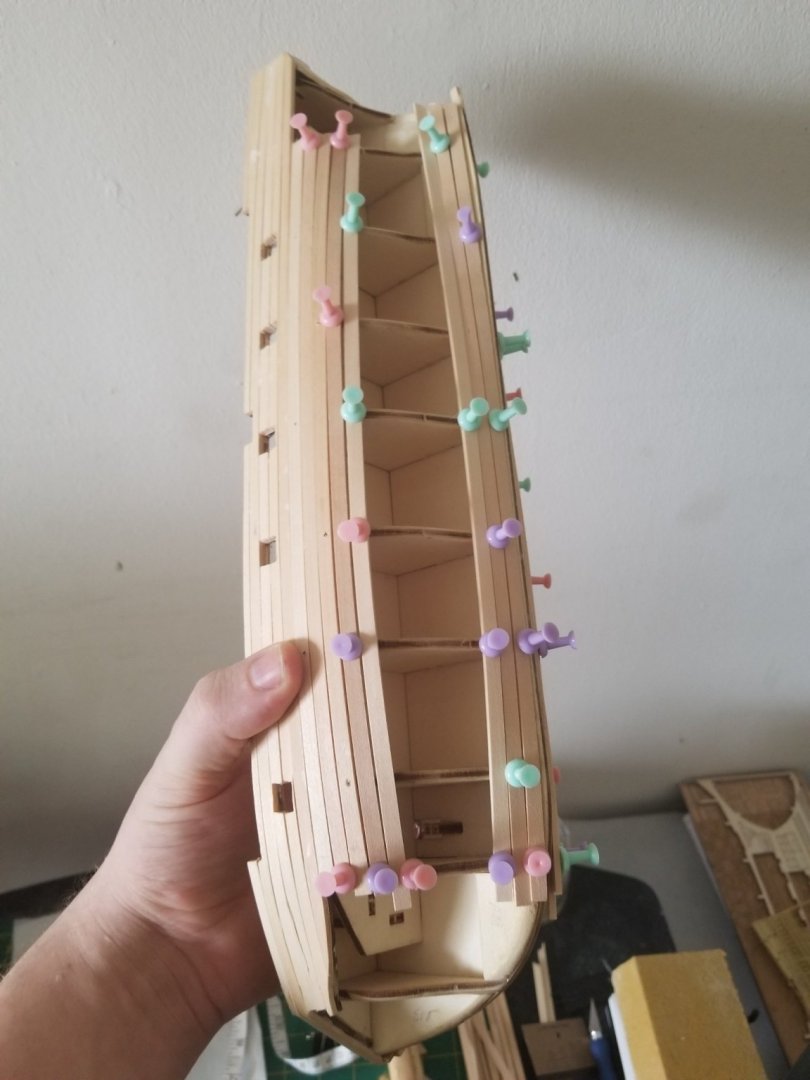
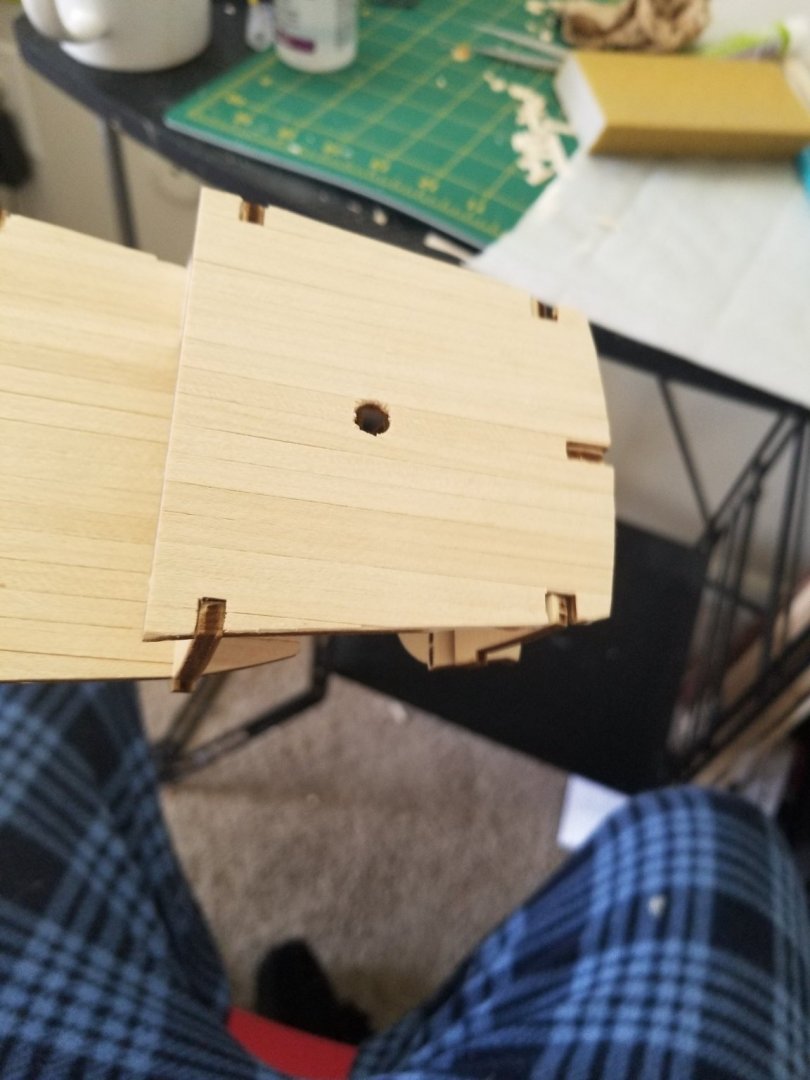
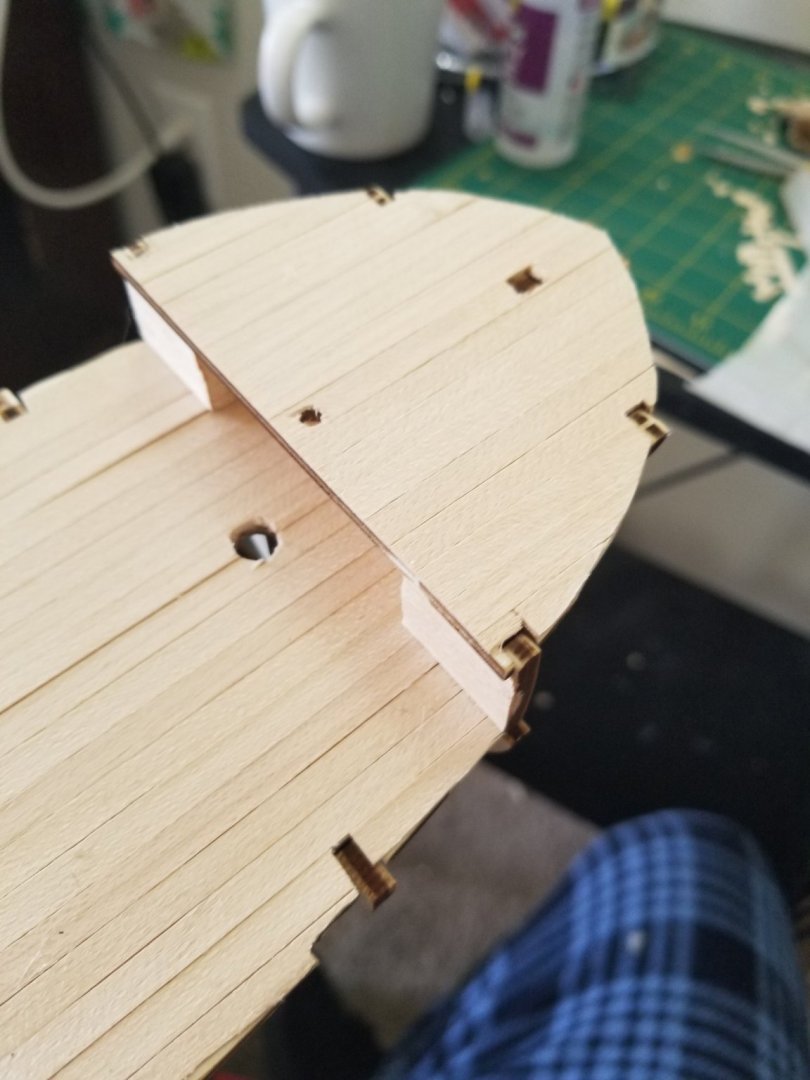
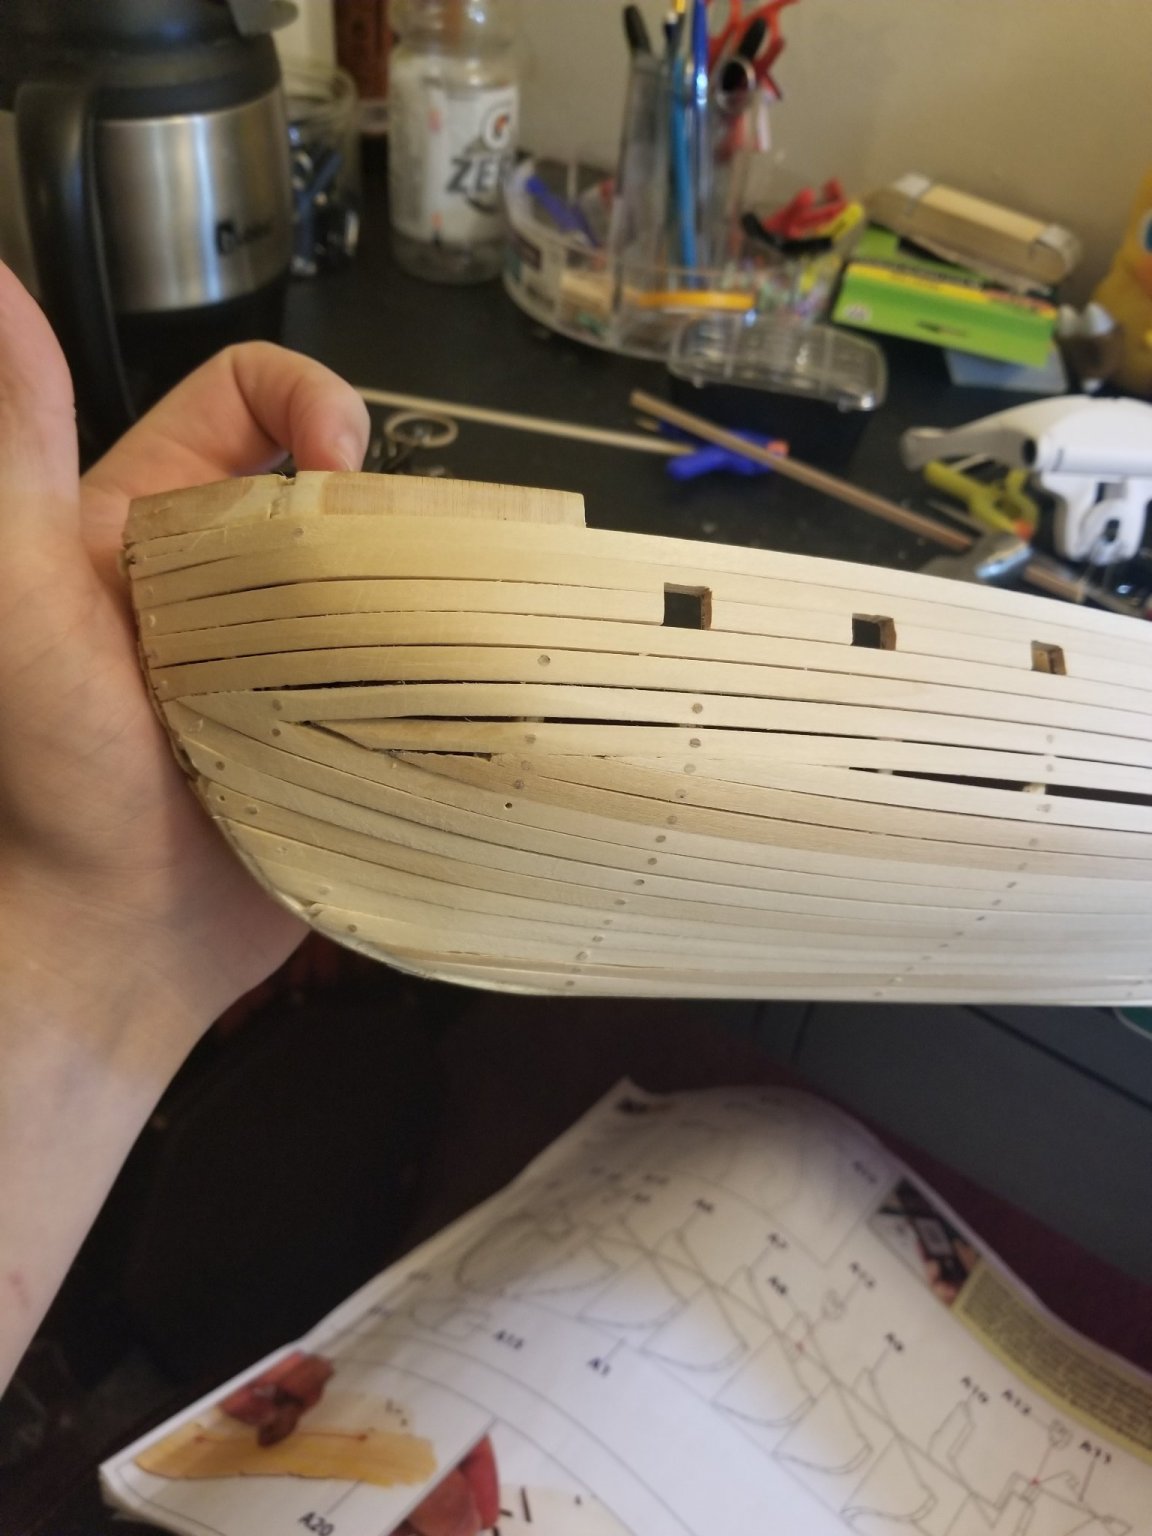
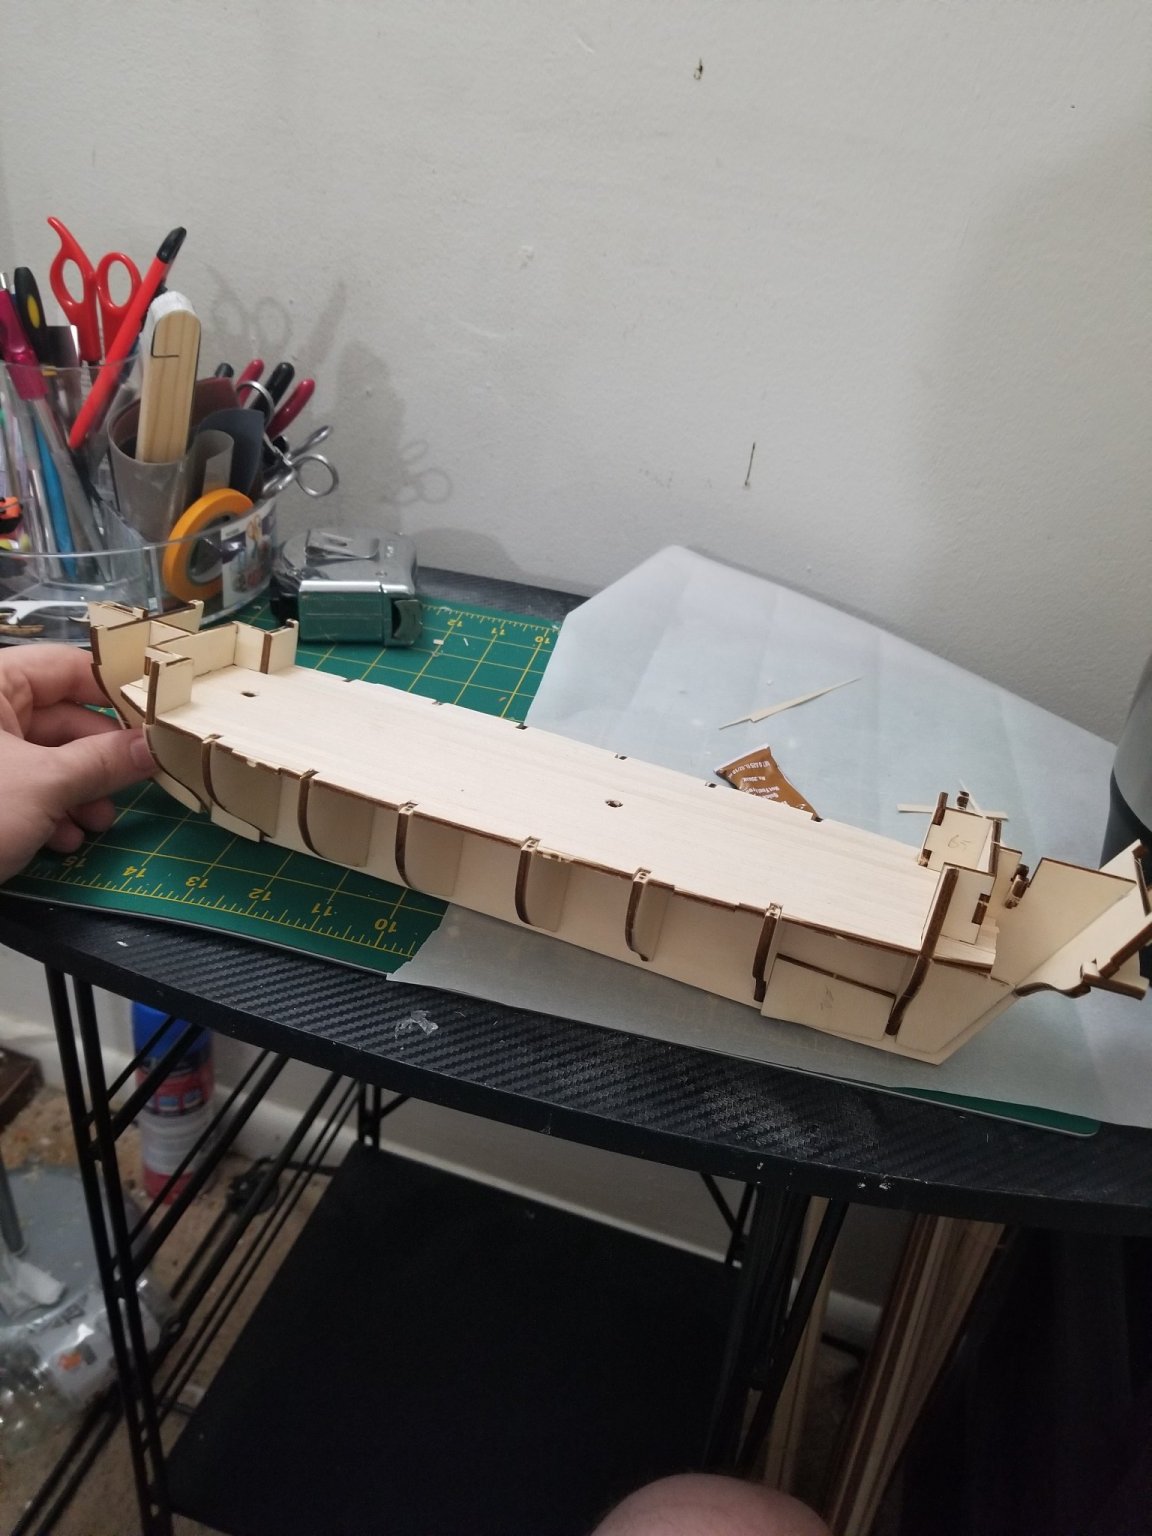
Process is going steady and to not fight the wood I'm doing balsa bricks for the front and back under the .5 mm planks so I dont have to worry too much about planking.
Side note. Why do they give the reinforcements for the front and back then have you take away 2/3 of it in prepping for the planks. It's almost pointless to put it on because it's not really helping me plank more than making more work.

-
I am using hot water but I was just to quick to just push the part in place. I have to be slower with getting it in place and then tacking it down. I've started planking and that's what I've come to realize so it's going better. I'm just too strong for my own good 😢
- Keith Black and Cathead
-
2
-
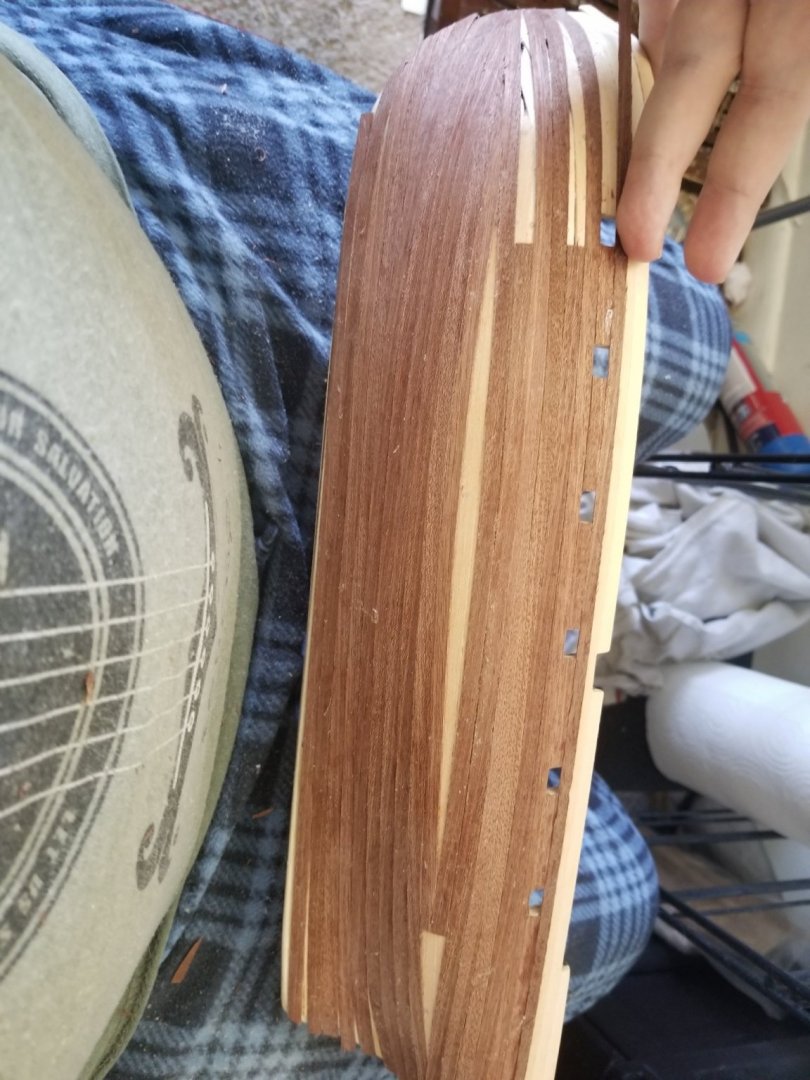
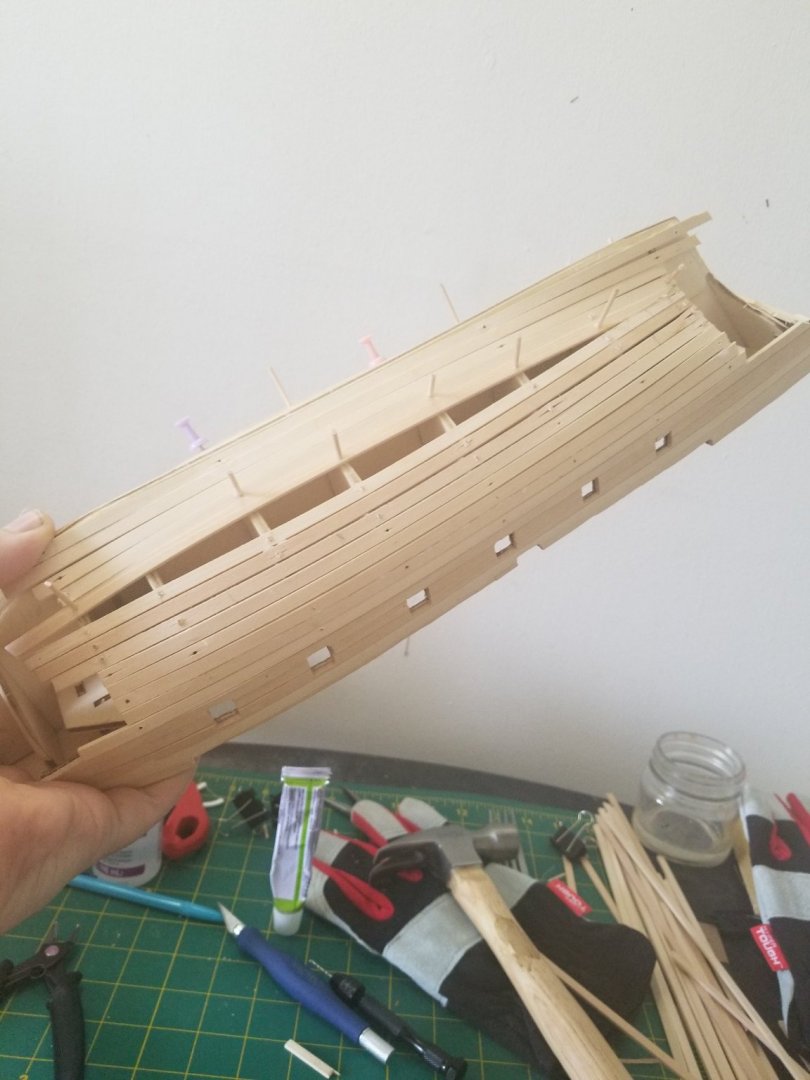
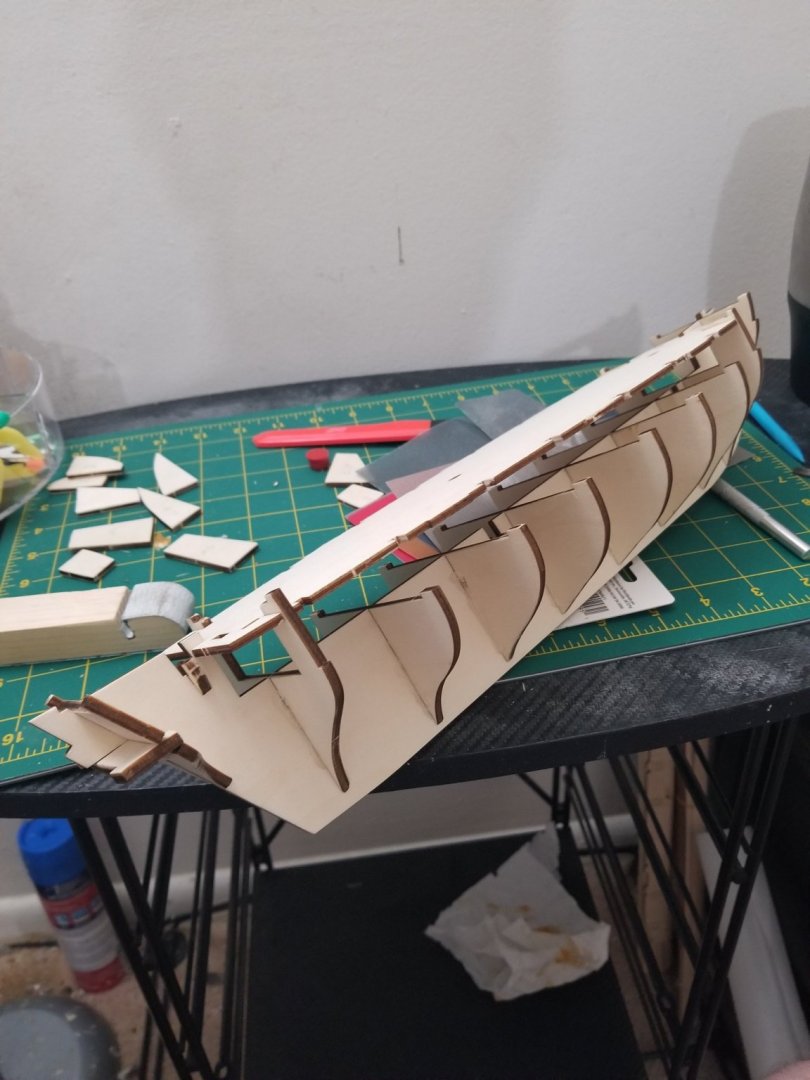
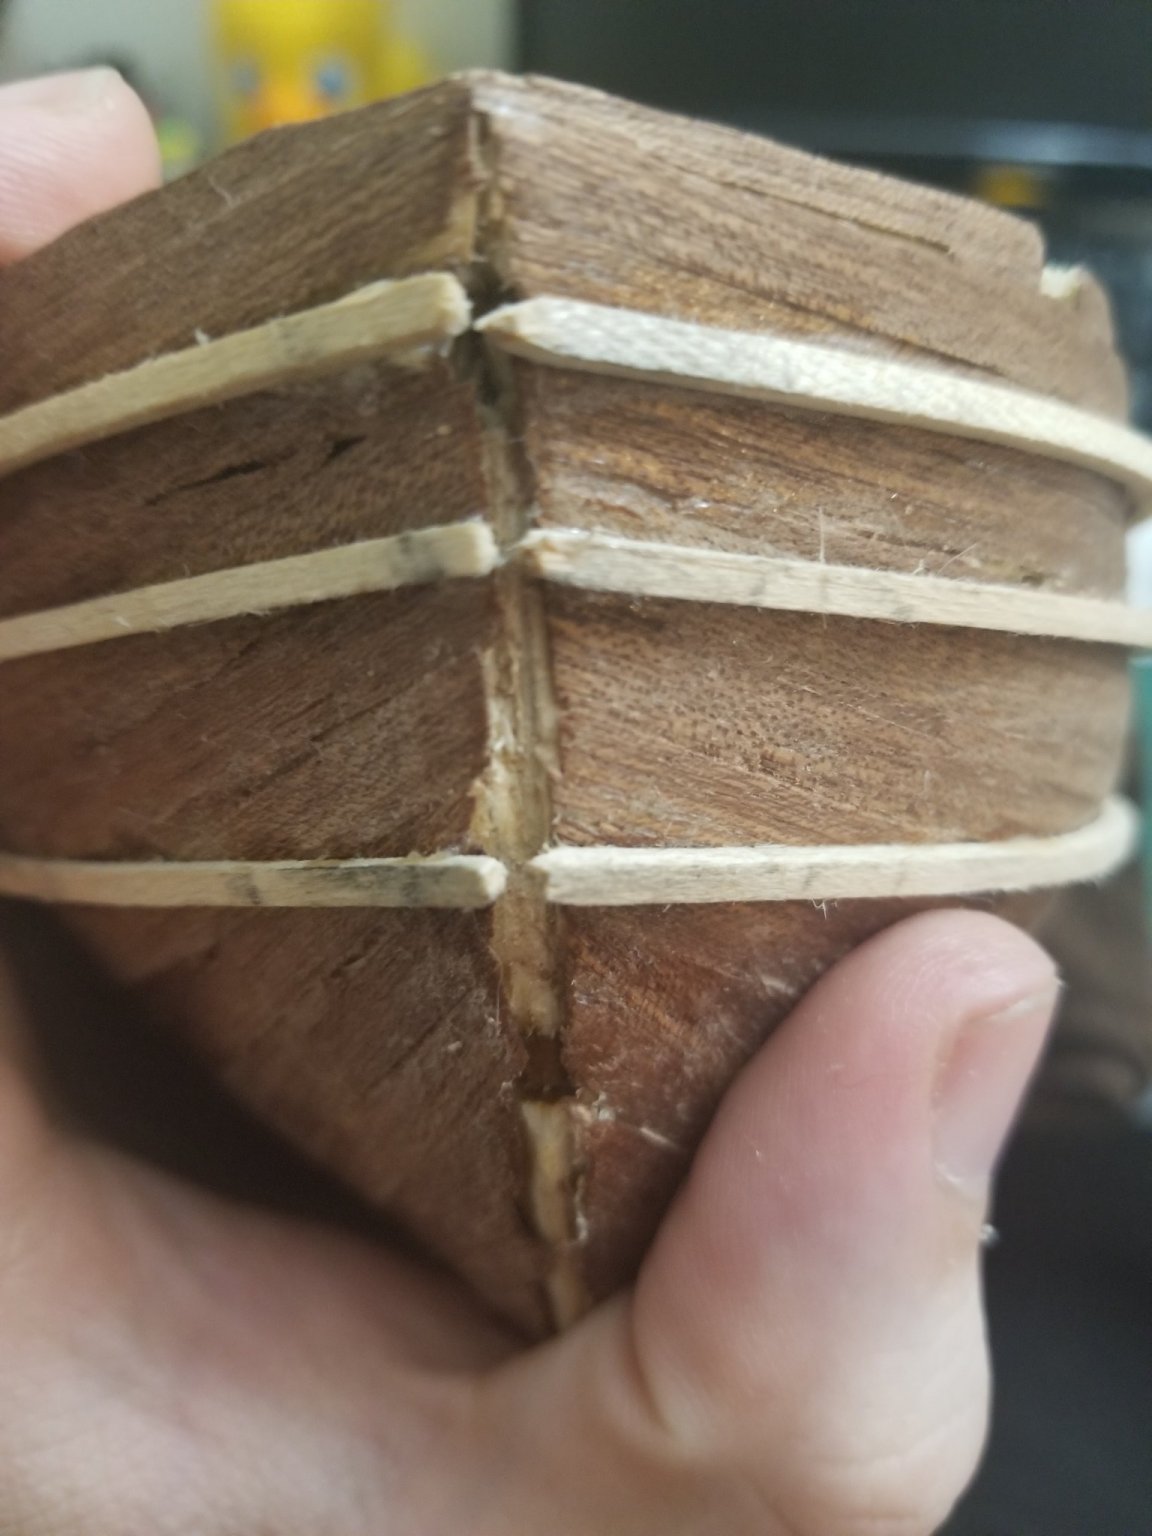
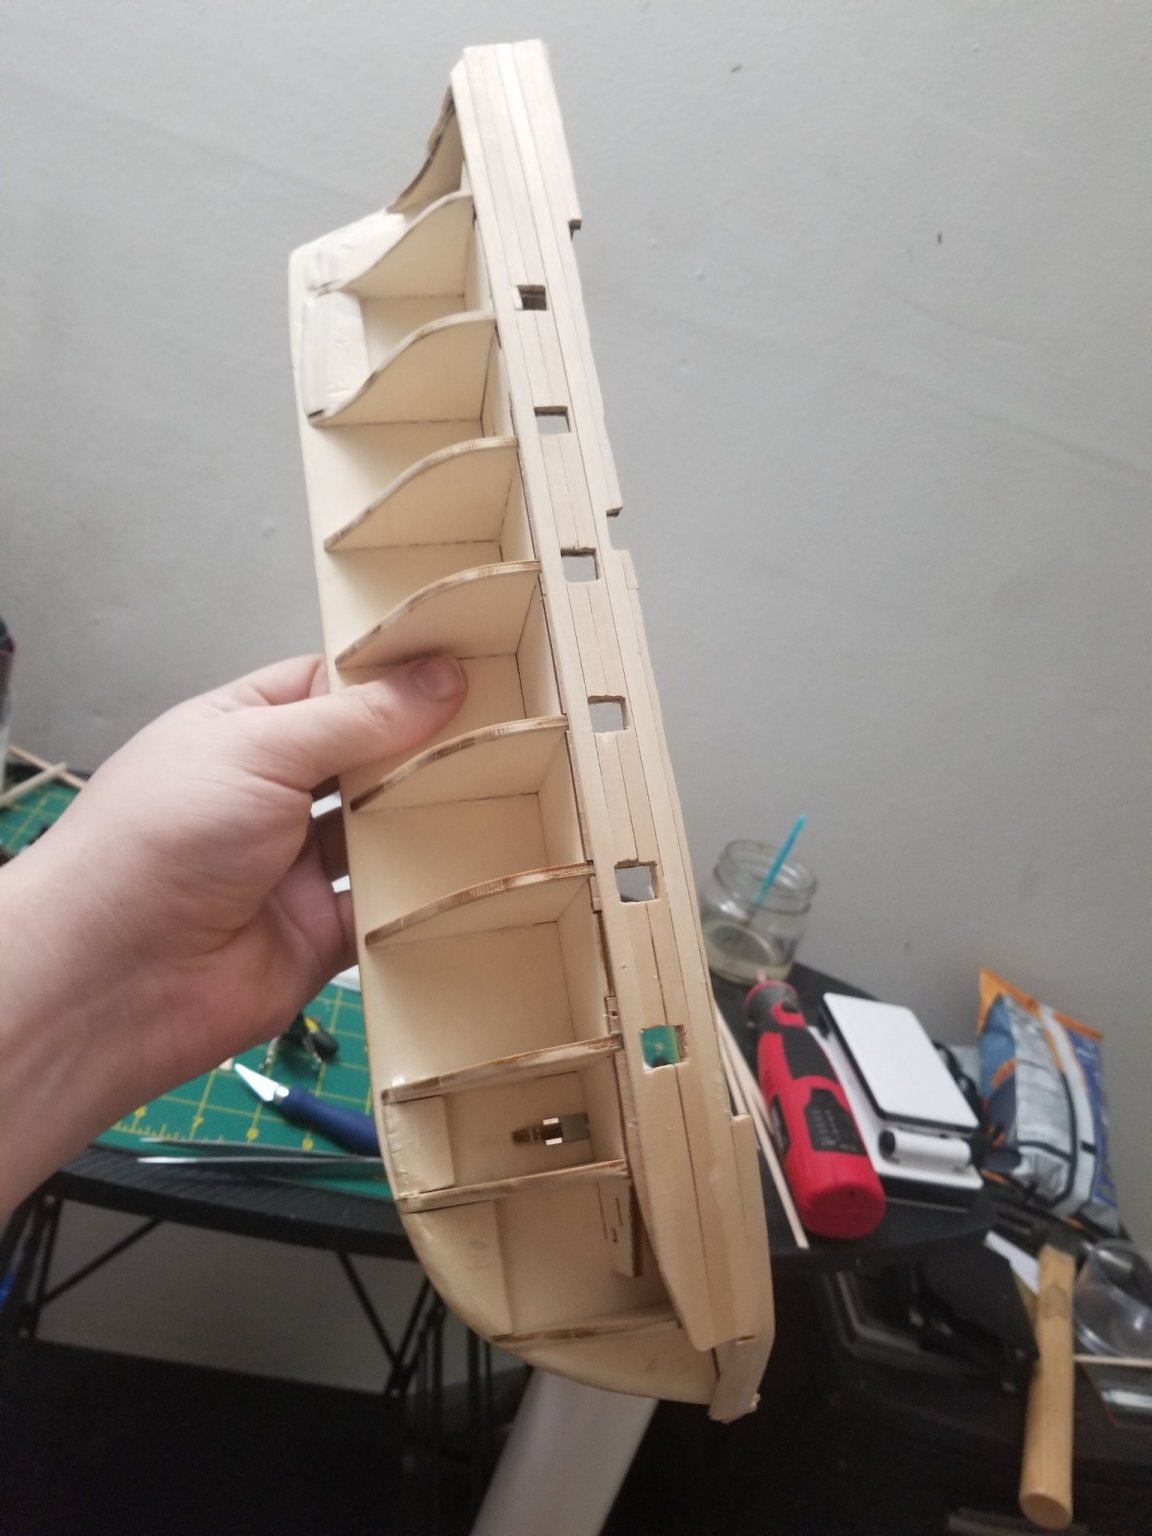
So I broke my first piece even though i soaked the piece pretty good. Either way i think i might start building a planking jig outta nails to bend pieces then I'll transfer them to the model especially for the more fragile pieces next time. But it's coming along and move steadily. Got all the sanding and prep done and now it's time to plank which will take some time so this build will slow down for a couple days atleast.

This is where my broken piece was so I planked and glued everything. Then I planked and am now letting the glue settle on the fixed piece.

- Keith Black and Cathead
-
2
-
9 hours ago, Cathead said:
Nice start! Your opening line was a bit vague, I assume you mean this is an actual OcCre kit and you built a Chinese kit before this?
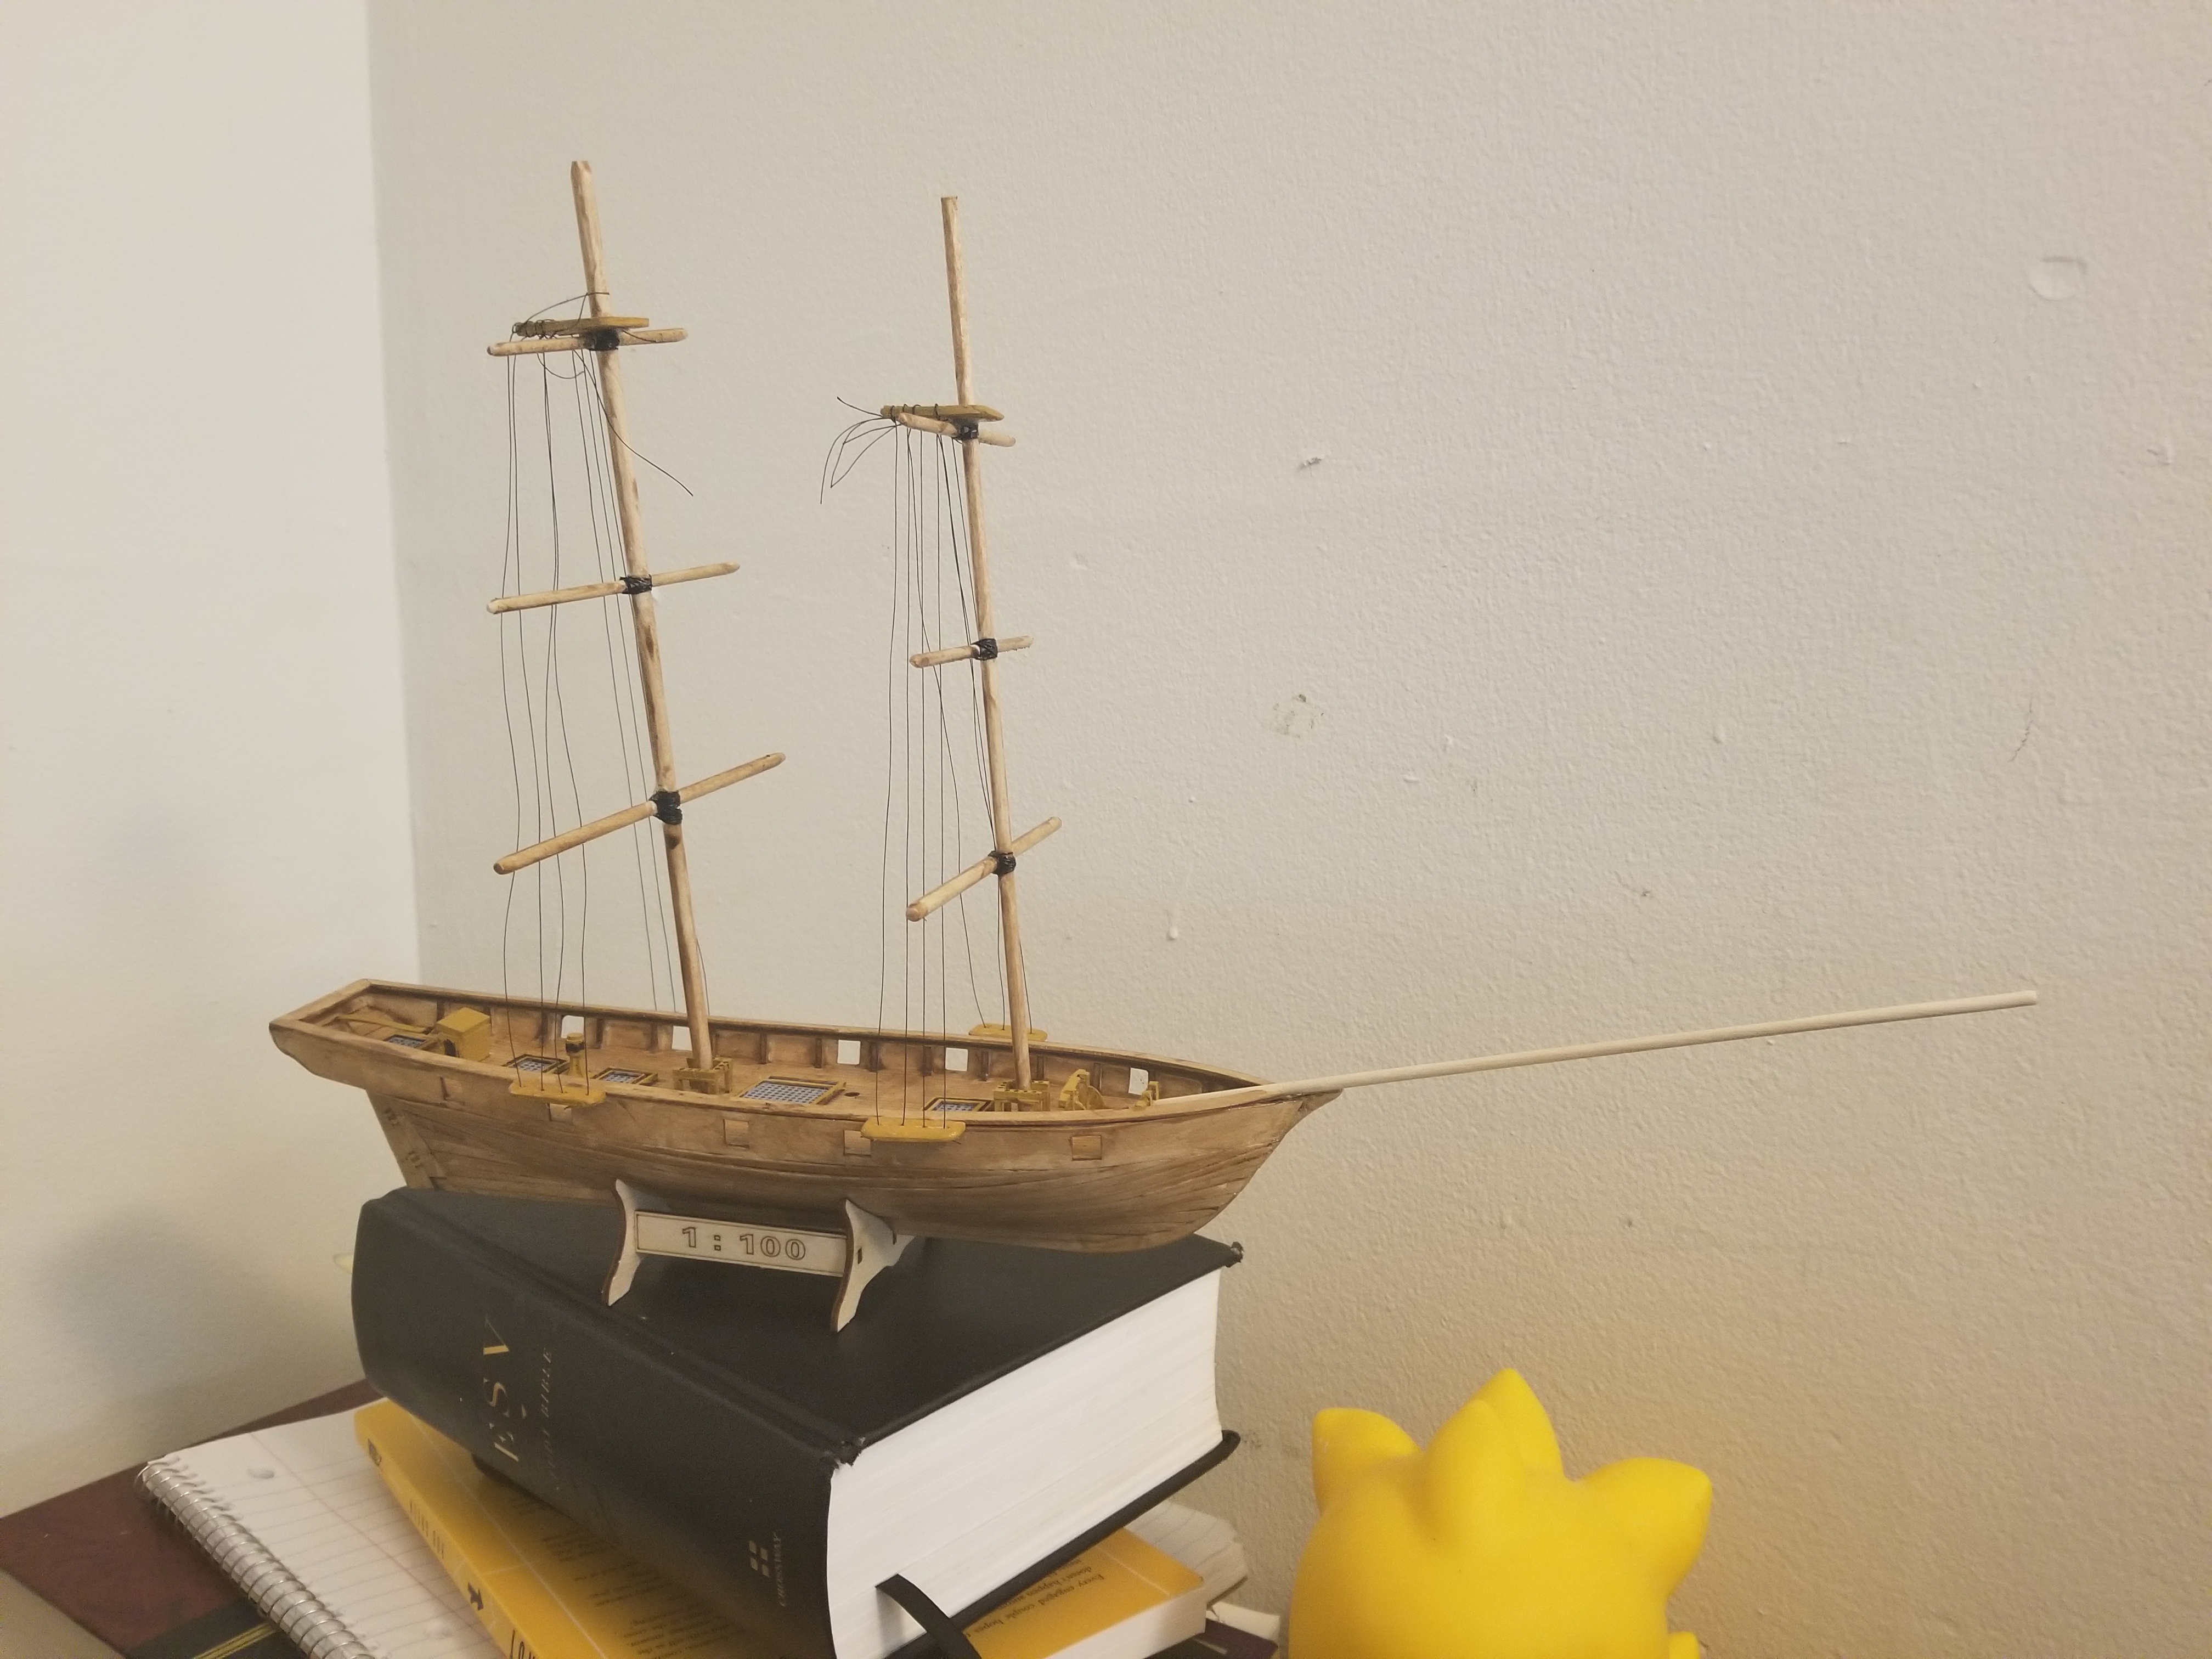
Yes so this is the OcCre kit. I wanted to make sure I was still into models by doing the cheap Chinese kit before I invested some real money into a kit like this one.
The picture below this is the chinese kit I started doing then stop because I got lost with the rigging and didn't know enough to be confident to do it. I'll probably finish it after I do this kit.

-
Got something done before work.
- uncarina, faragocito, Cathead and 1 other
-
4
-
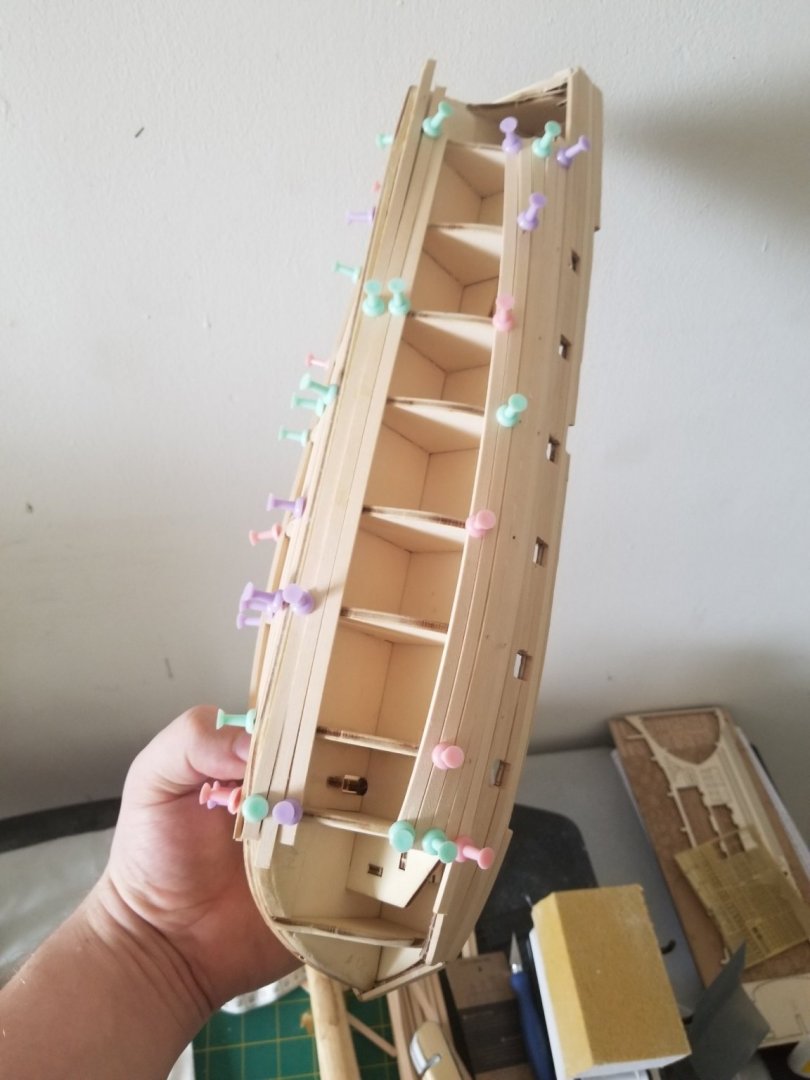
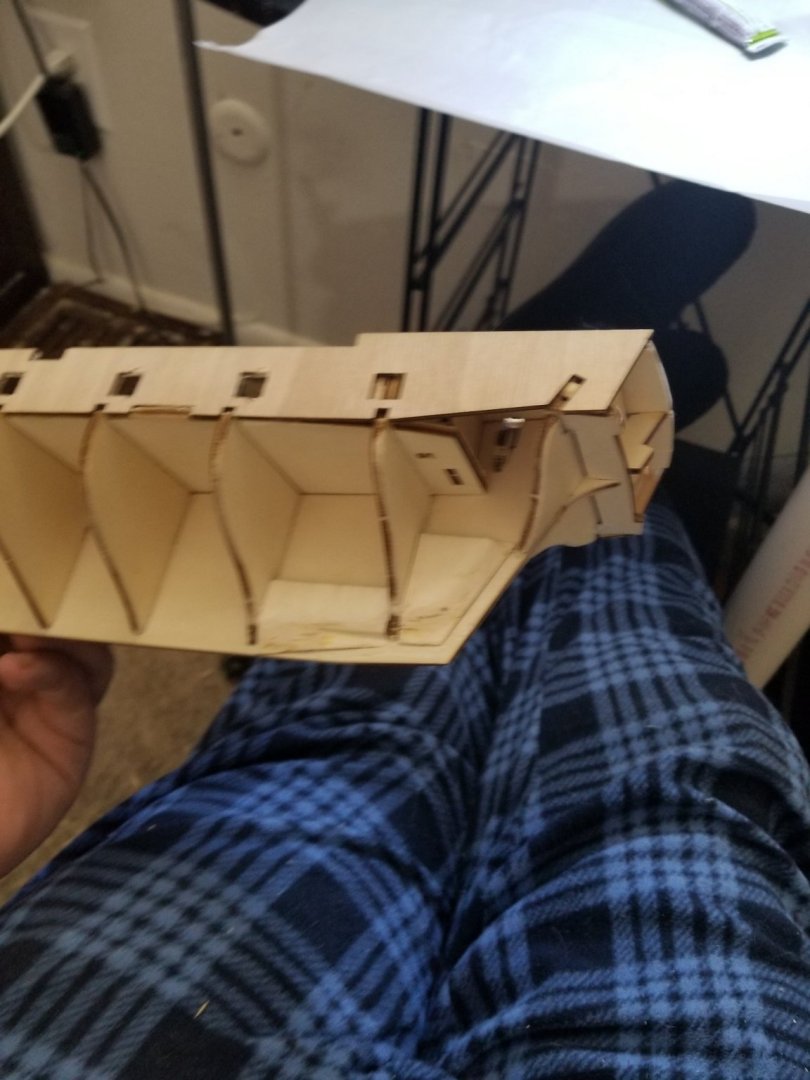
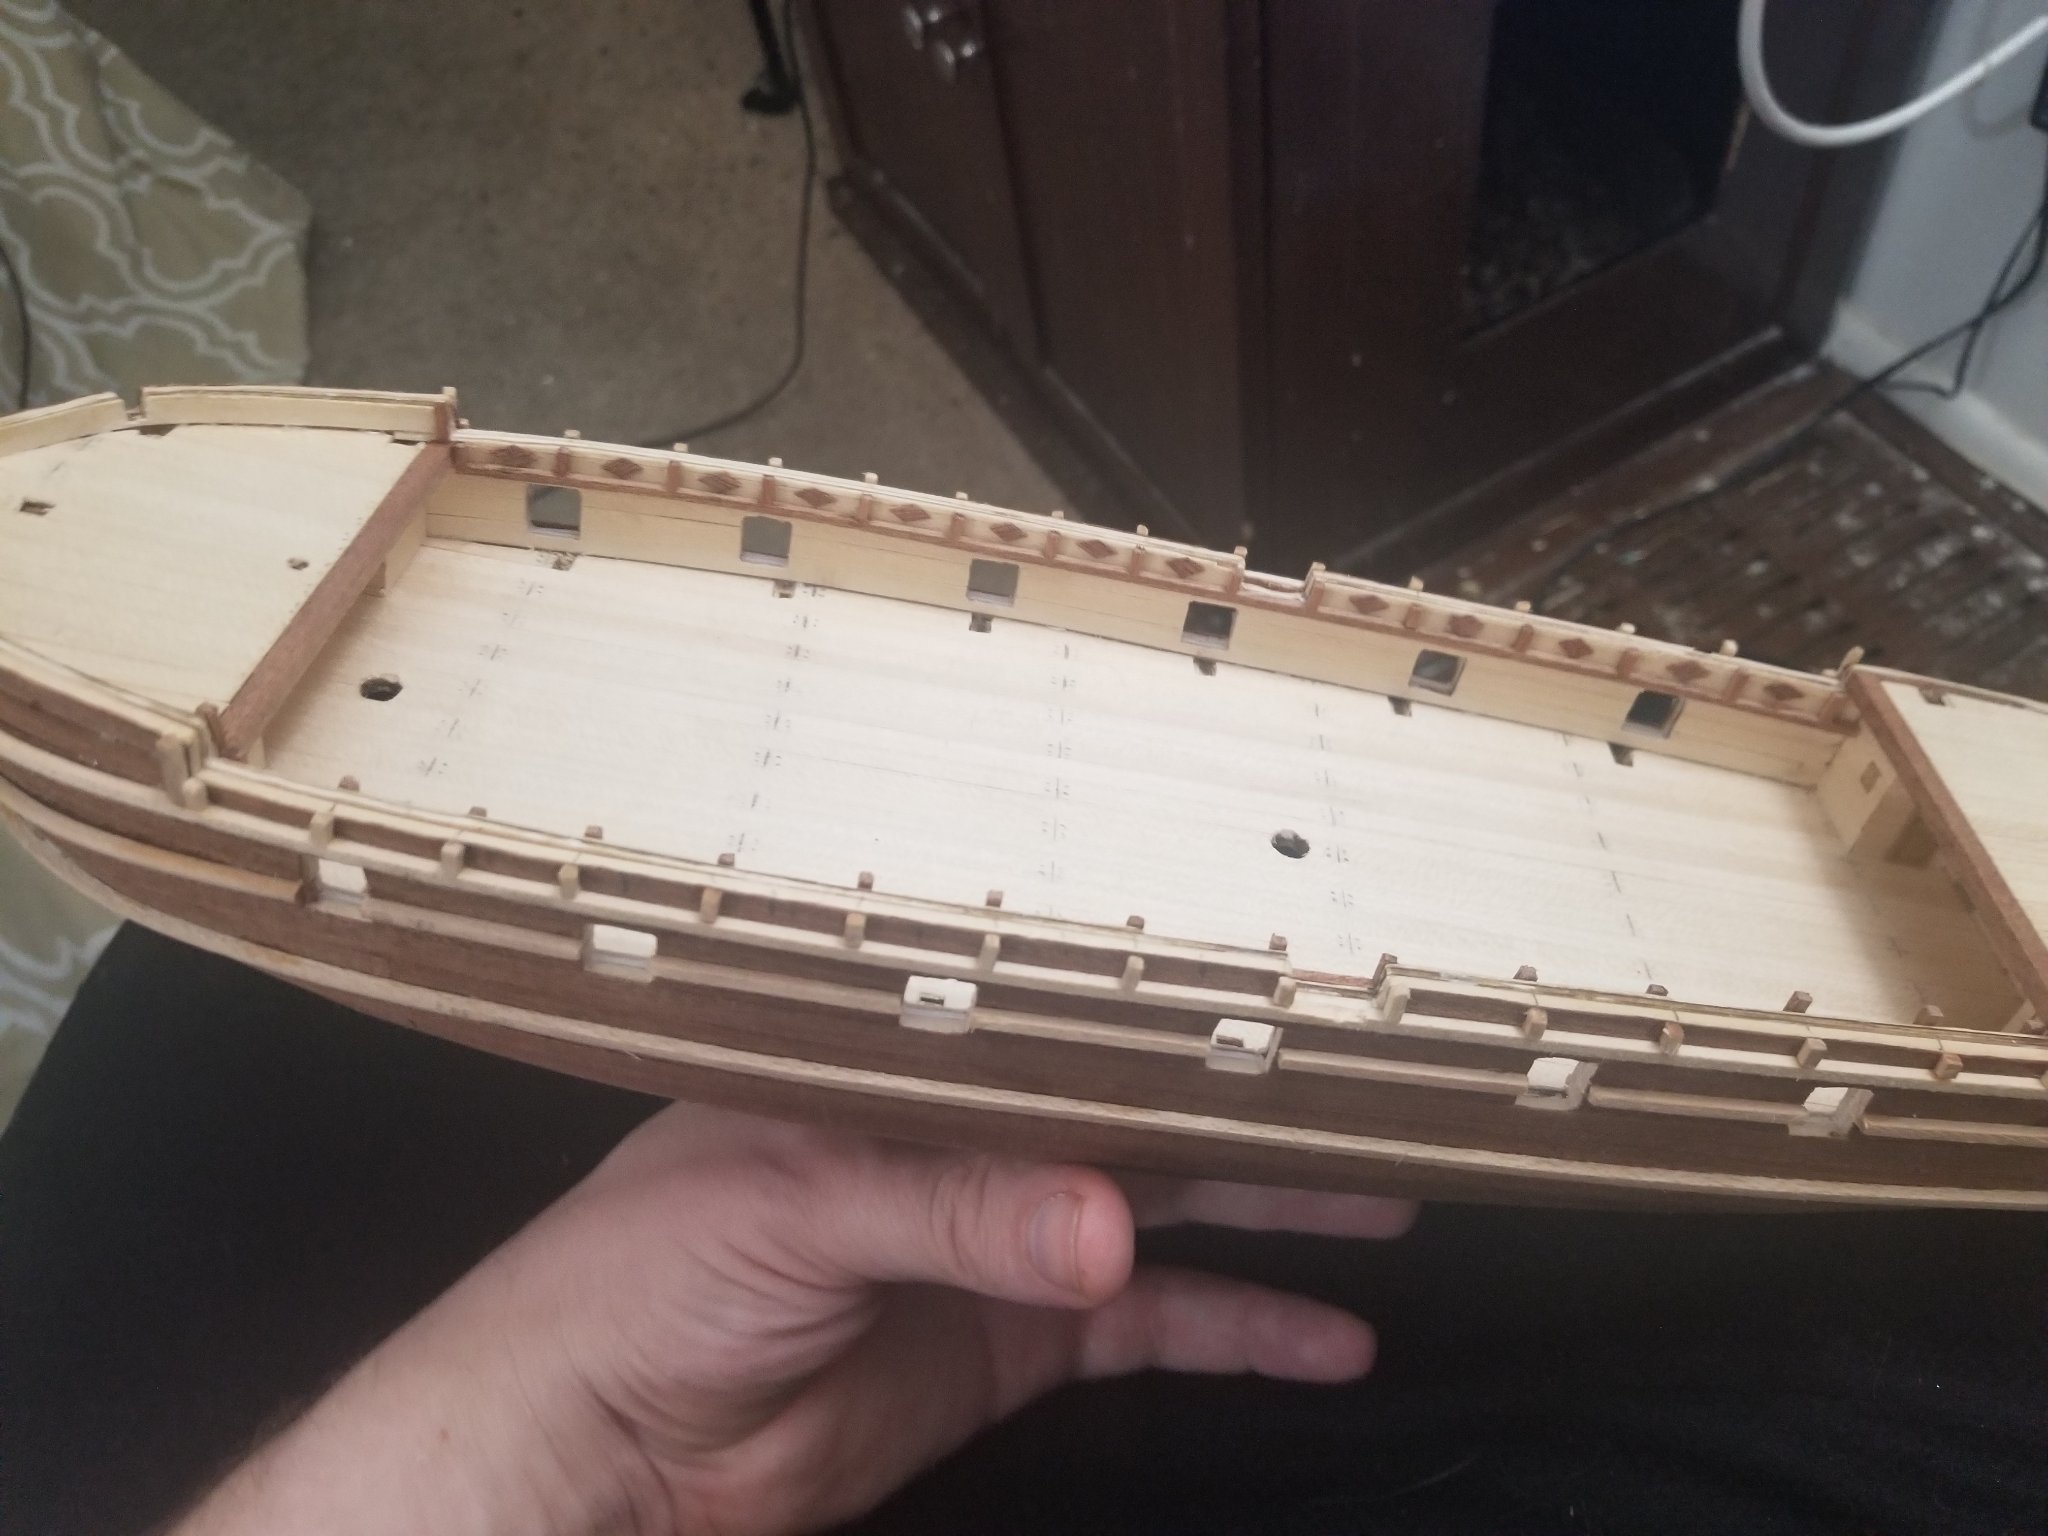
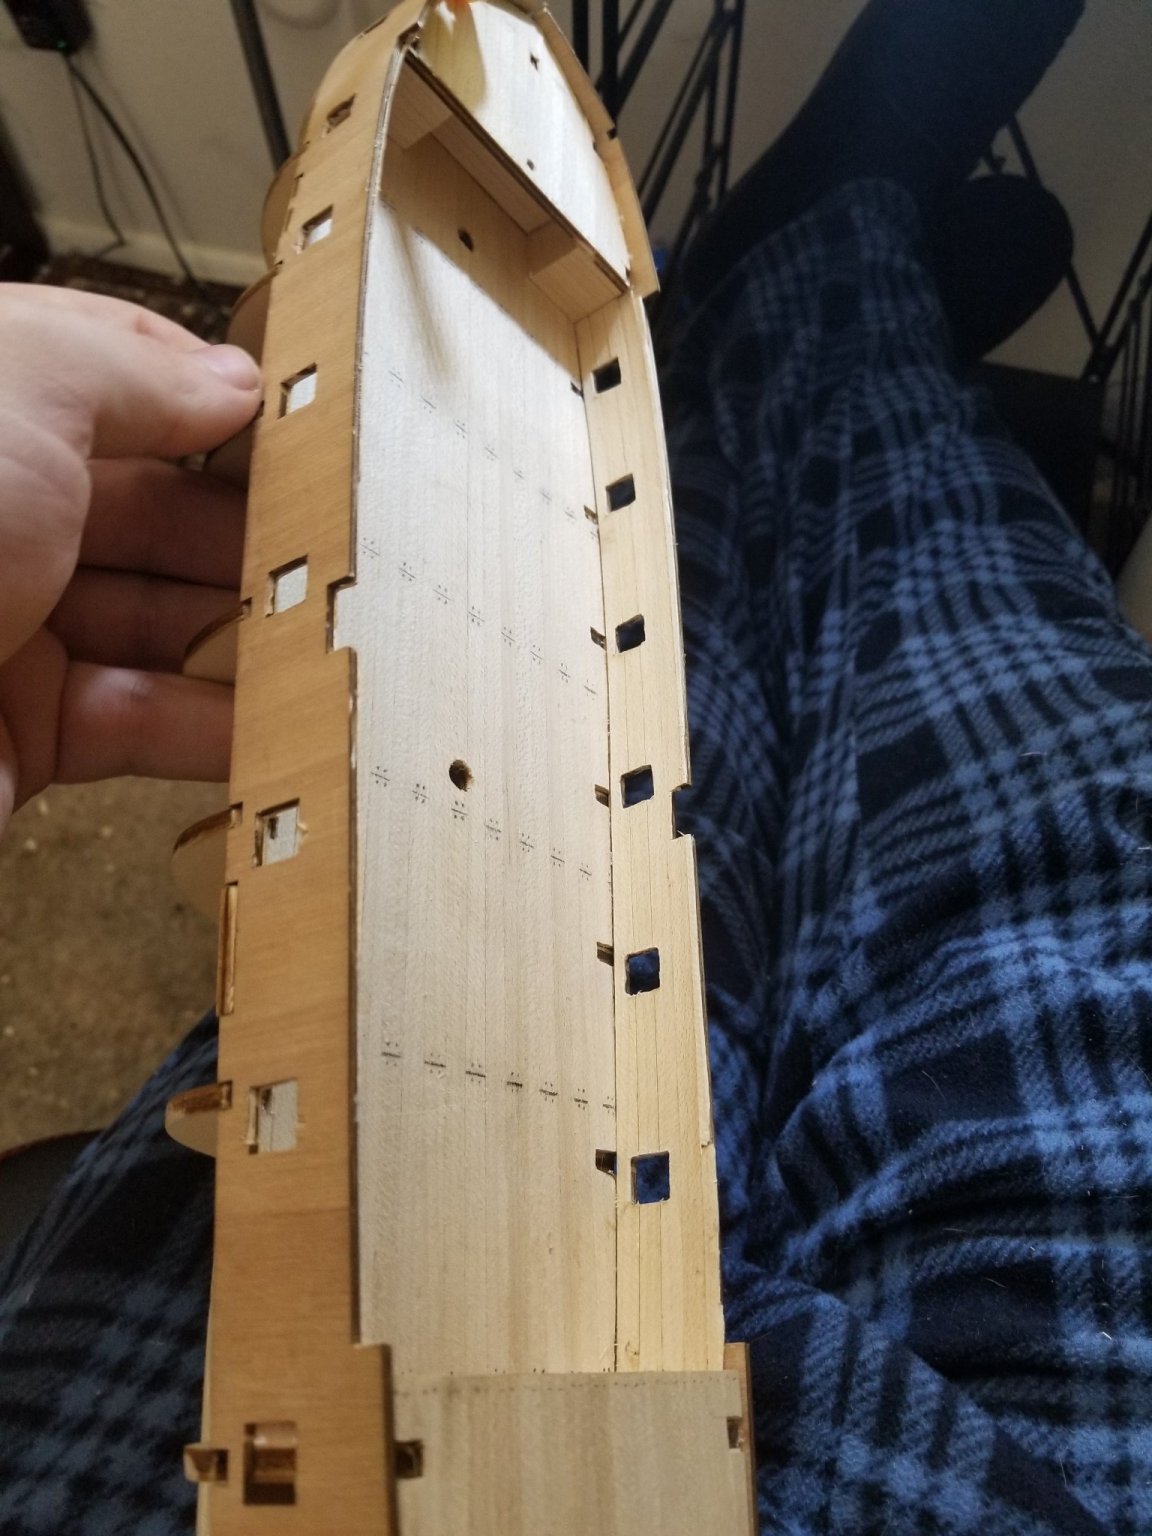
So I got the rest of the deck done now time to detail and stain and sand

- Dean77, Cathead and Keith Black
-
3
-
So made some progress yesterday. The planking of the deck was actually kind nice and a fun little thing to do. And I had to soak the main piece holding the ribs and dry it out straight because it was about a cm bent so I wanted to start off right.

- Keith Black, Cathead, Dean77 and 2 others
-
5


HMS Beagle by Robp1025 - OcCre - 1:60
in - Kit build logs for subjects built from 1801 - 1850
Posted
This is two of my birds. They are my girls and they aren't the suspected culprits because the one is in the nest sitting on some eggs and the other two are in the cage and cant get a good pic and they are taking a nap.