

Robp1025
-
Posts
259 -
Joined
-
Last visited
Content Type
Profiles
Forums
Gallery
Events
Posts posted by Robp1025
-
-
8 hours ago, Techtonic said:
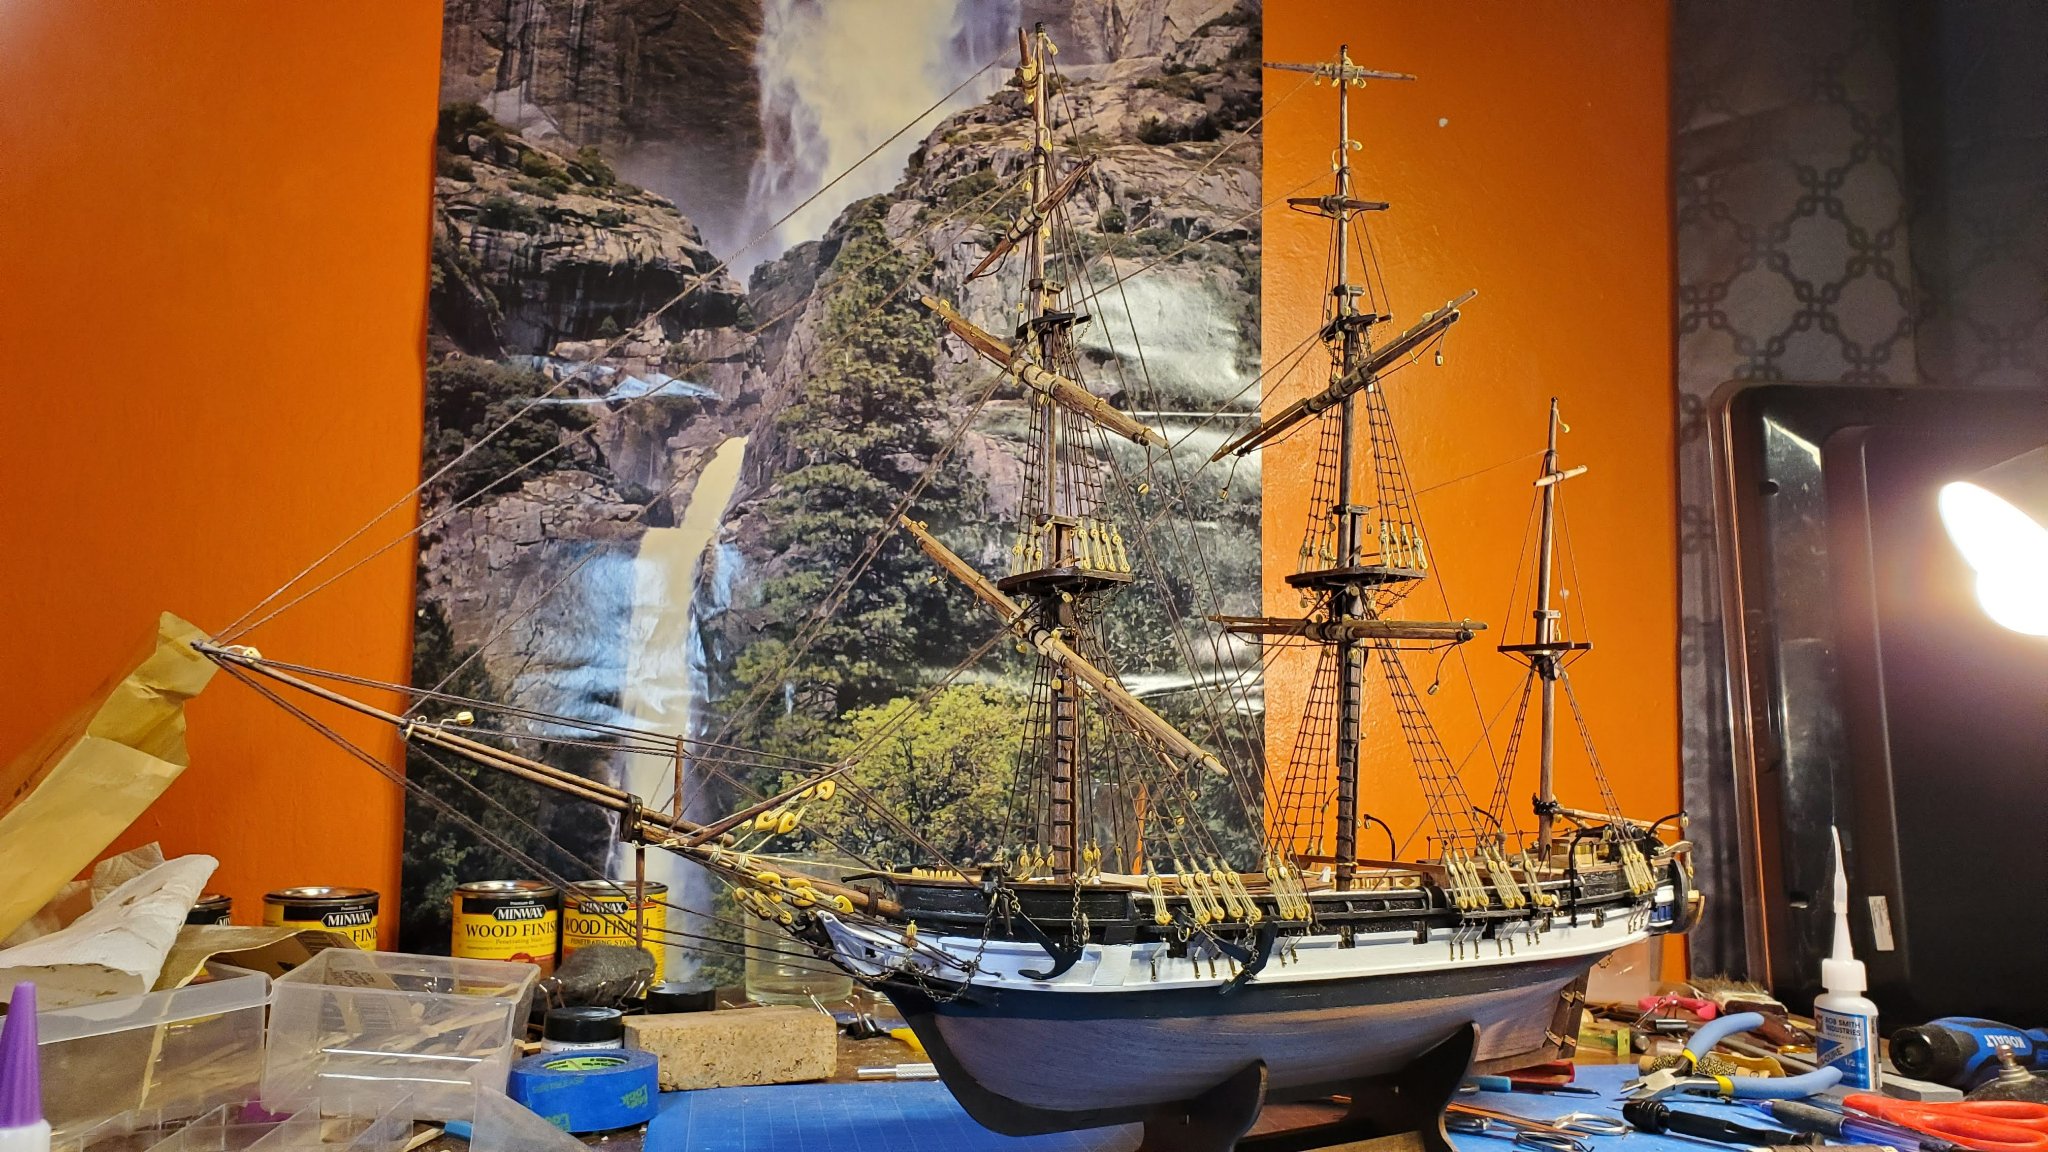
Finished the anchors and most of the says, just got the a couple left to do on the main and mizzen masts.


So here's a cautionary tale... About 5 weeks ago I came down with a cold, but one that just wouldn't go away. Each day it got a little better or a little worse, but always there. Every day a congested runny nose, sometimes a cough. Had a COVID test - not that. After 5 weeks of suffering it finally clicked that this all started when I got to the build steps that used more CA glue. After some googling I found that CA glue fumes can cause exactly these symptoms in some people!
What made the problem worse is that some days I felt so bad I took the day off work - so what did I do when stuck at home - work on the boat of coarse!
So now I've installed a small desk fan that I'll use when I'm gluing - hopefully that'll fix the problem.
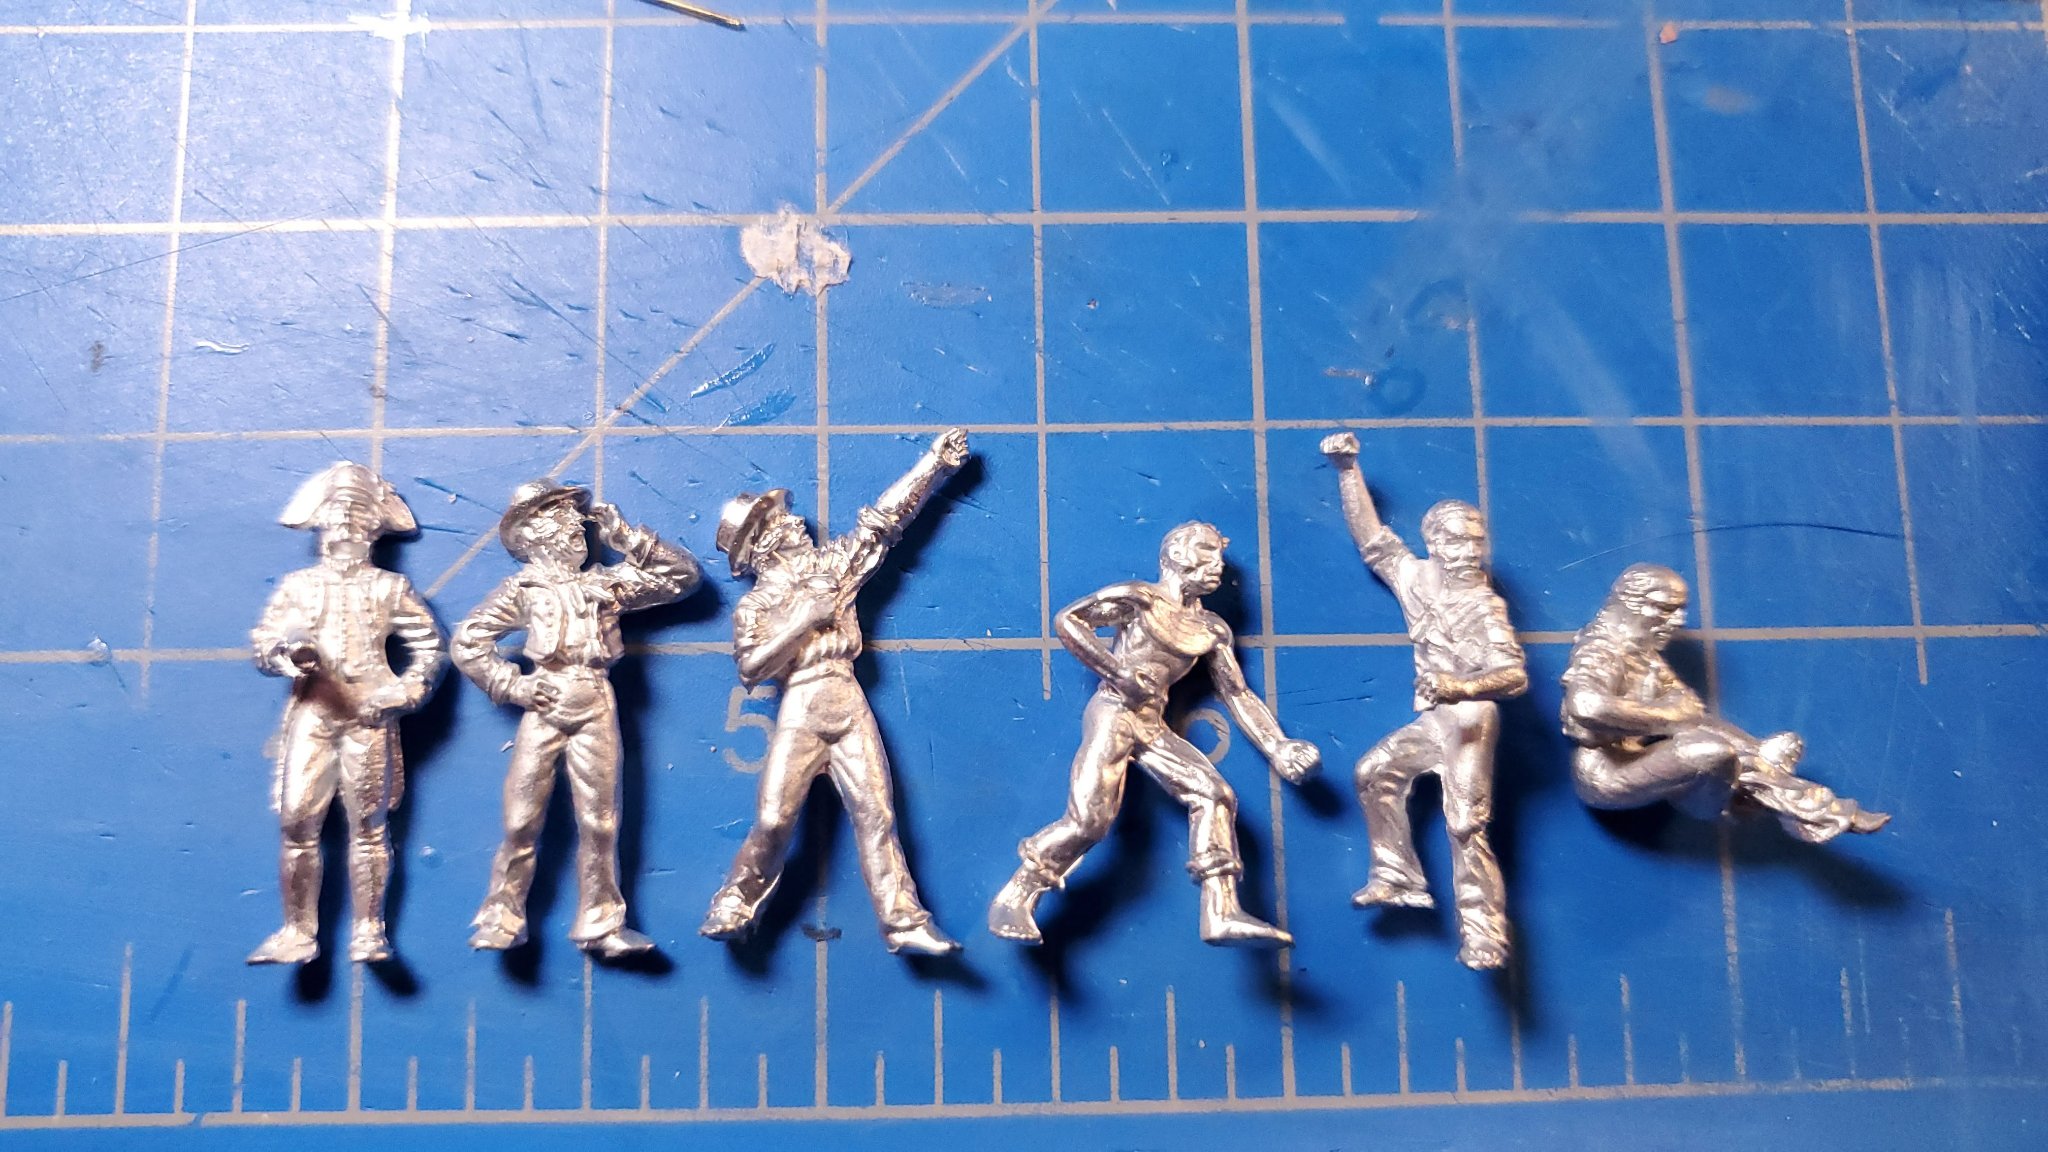
To give my nose a rest today I switched to task that didn't involve any gluing. I recently ordered these guys to crew my ship:

I thought they might add a bit of life to the ship and also add a sense of scale. These are Amati 25mm figures which are about the right size for 1:60 scale. works out to 1.5m or 5 feet, which given people were generally shorter back then is not too far out. I bought them here https://www.agesofsail.com/ecommerce/figures/25mm-sailors.html
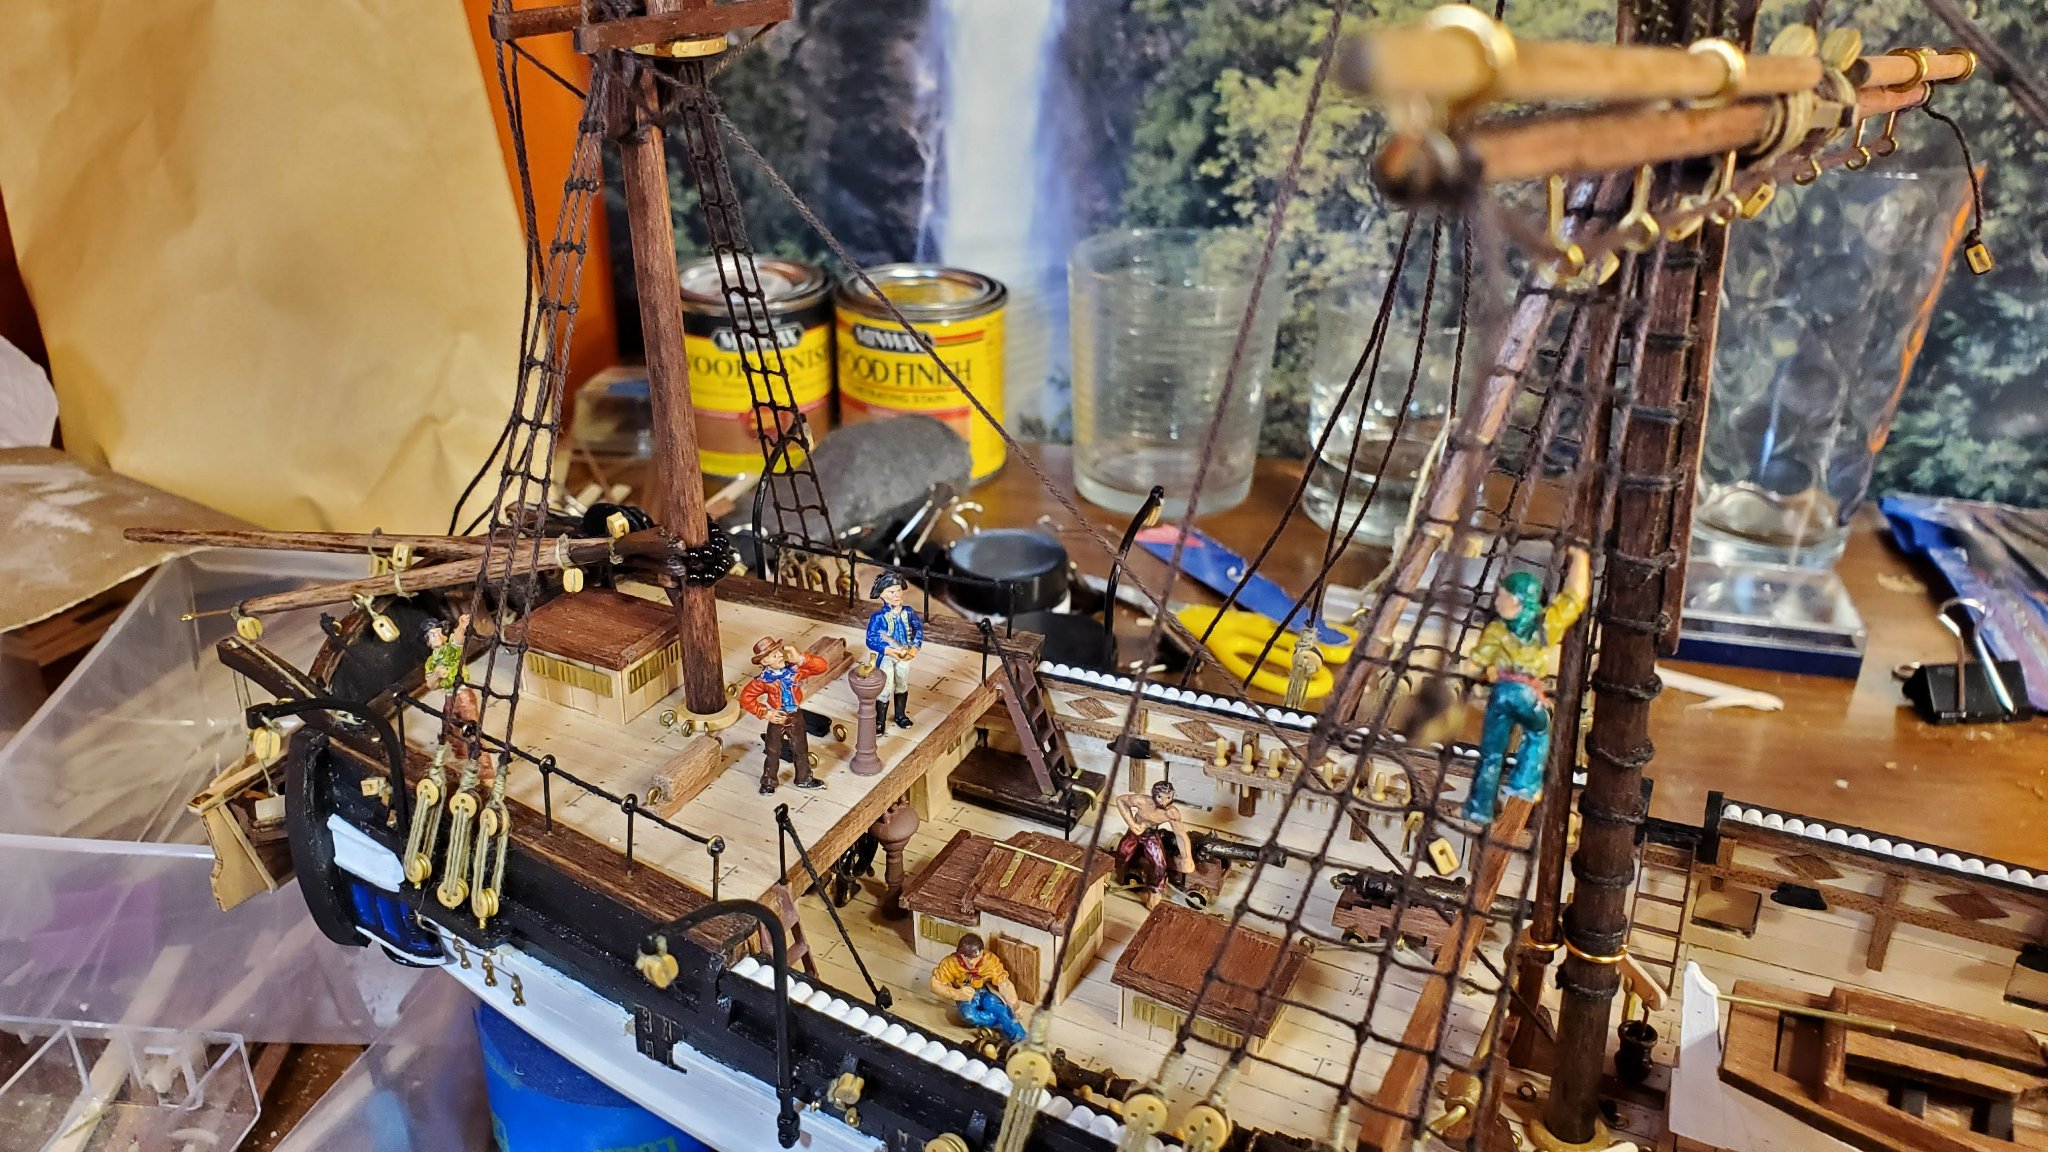
Today after about 4 hours of experimentation with acrylic paints these got transformed to this:

This was my first ever attempt at painting miniature figures. They're not perfect but I'm pretty happy with how they came out. We have of course Charles Darwin and Captain Robert Fitzroy in the middle, surrounded by various grunts.
This shot shows them placed in the ship. I won't glue them in till the very end but this gives a good idea of what they might look like.

I will for sure keep that in mind about the cold symptoms. That's crazy that it can do that to you with something so simple as CA.
Also I love the addition of the little men. It really brings the ship to life. Like its telling a tale and not just existing.
-
8 hours ago, Keith Black said:
Sorry, Rob. If I only knew how to read ...... "So starting on the bowsprit gonna see how this goes because I never made this big of a hole in the hull before"
You have to drill the hole for the bowsprit. Start with a tiny hole and work your way up to the finished hole size.
Yea that's my going plan. Will take it nice and slow that is for sure
-
5 hours ago, LucienL said:
The instructions on this one lack a bit of foresight. It would be easier to have cut the planking to leave a hole, which could then be widened to allow the bowsprit to fit in. There is a hole in the false keel where it is supposed to go. They don't really tell you that though. Good luck! The bowsprit on the Beagle is quite impressive and will add a lot
I'm excited for this part. It for sure will be interesting to say the least. I cant wait to see the true size of this ship!!
-
1 hour ago, Keith Black said:
Rob, the mast holes are already drilled aren't they? Making the mast is a fun task, I hope you enjoy it.
For mounting the bowsprit it's not atleast when I was building I didn't see any but maybe I was suppose to leave something?? I'm not sure but either way.
-
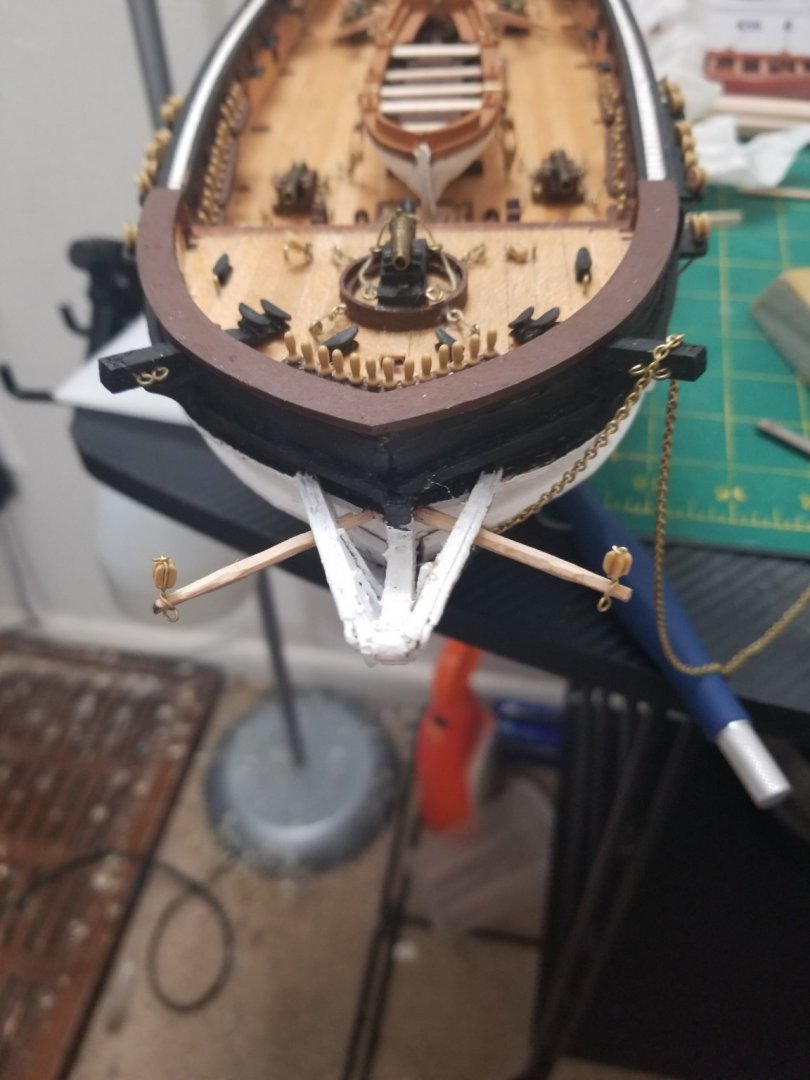
So starting on the bowsprit gonna see how this goes because I never made this big of a hole in the hull before

-
@Cathead I love the knowledge snippet!! I had my suspicions but I was so busy recently I haven't done much research and went with my best description.
@Pete D that for sure is something I'm concerned about when it comes to rigging. I know damage will come and it isn't too hard to fix I would say. As long as I dont drop it and cause a huge issue...*knocks on wood profusely*
- Cathead and Keith Black
-
 2
2
-
Welcome my friend!! I'm from the philly region too. Glad to see someone else local and maybe we can help each other out
- nehemiah, Keith Black, mtaylor and 1 other
-
4
-
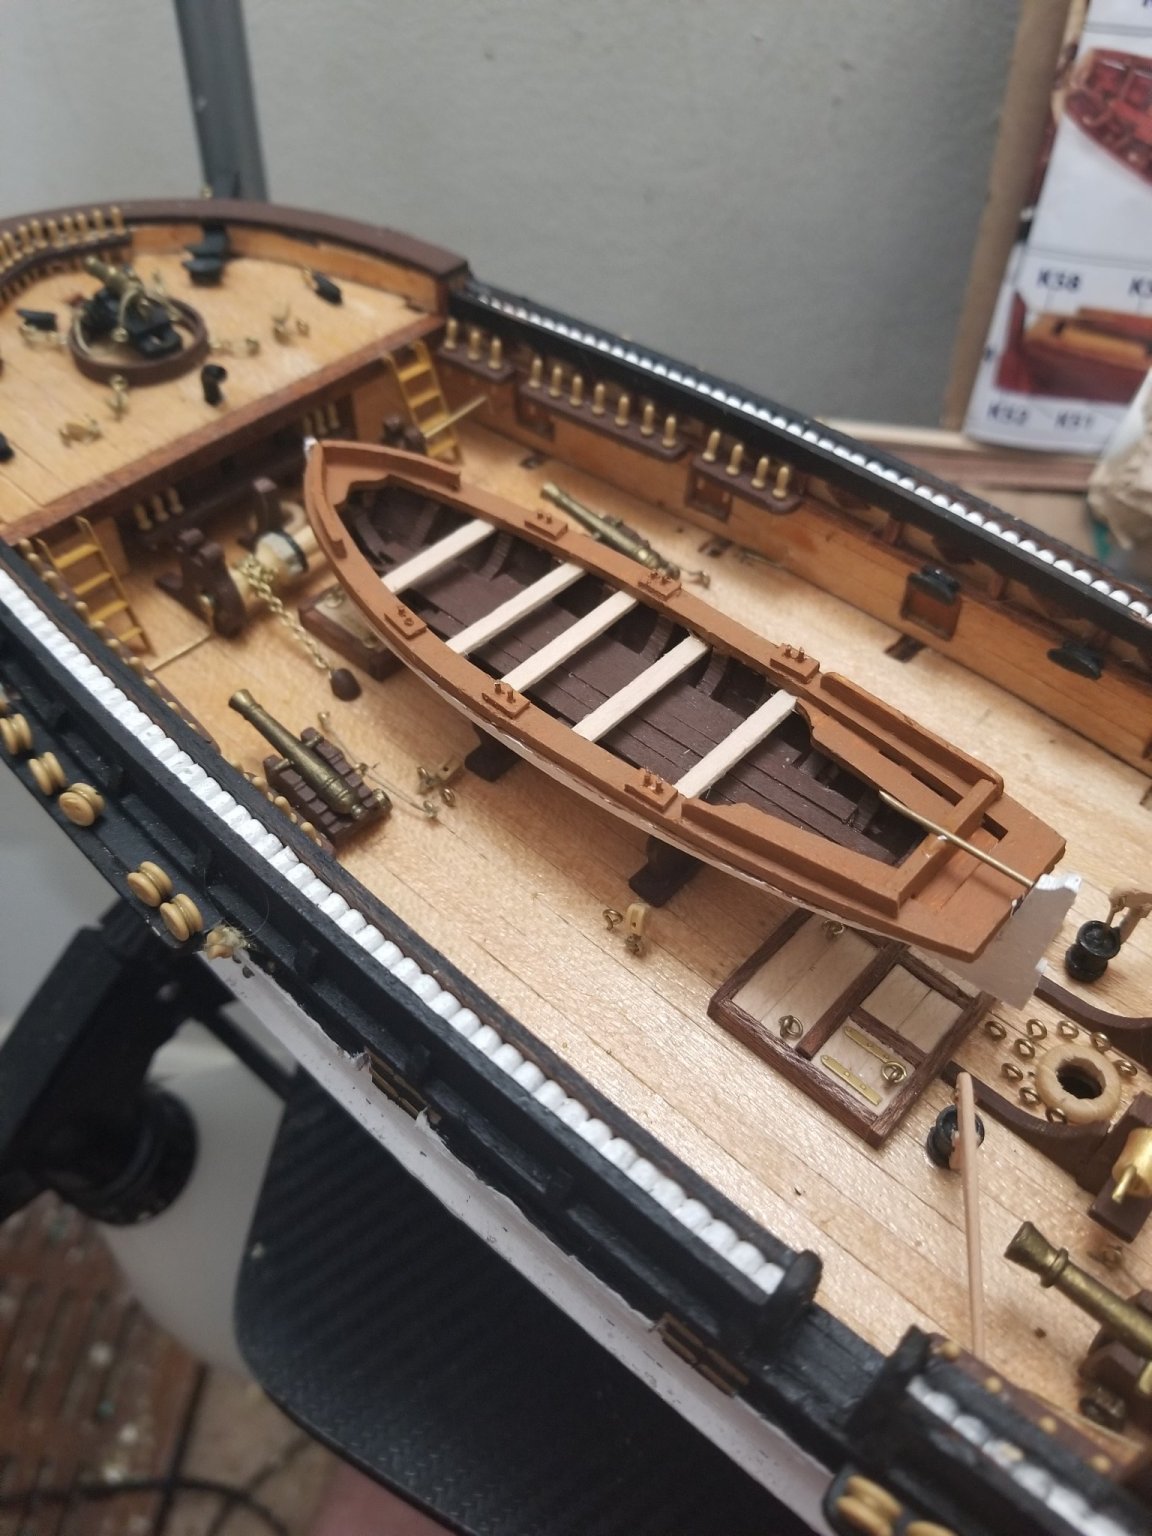
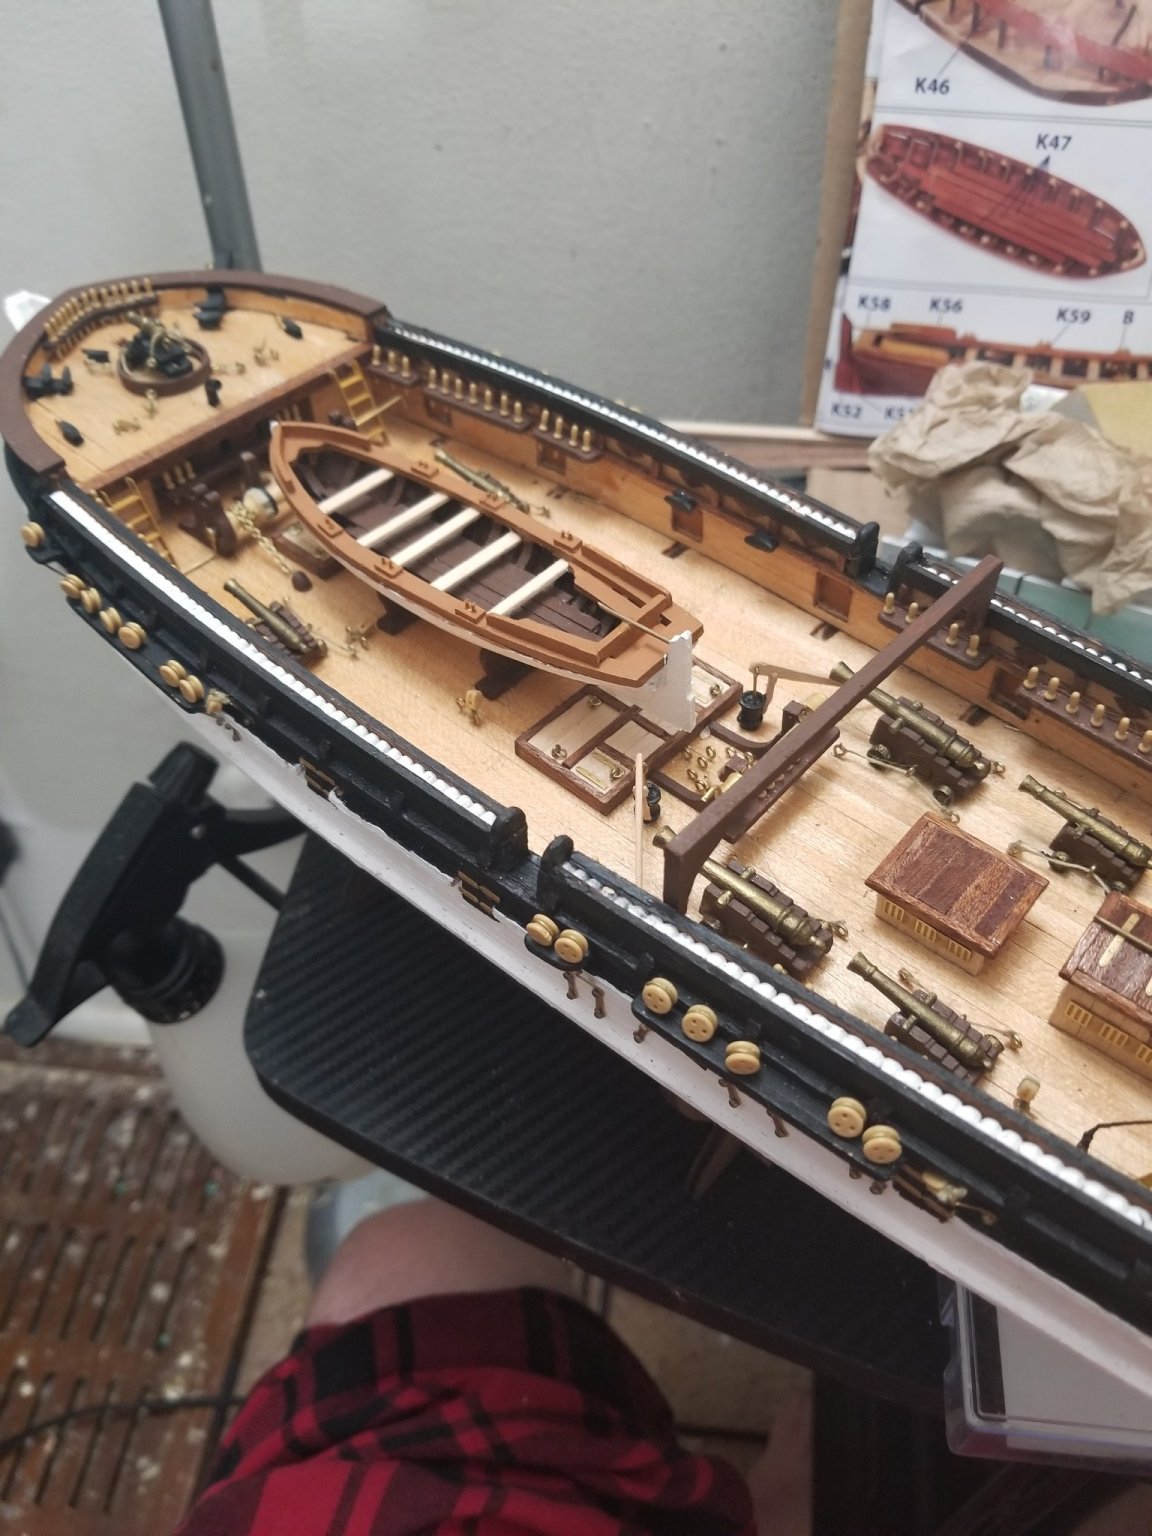
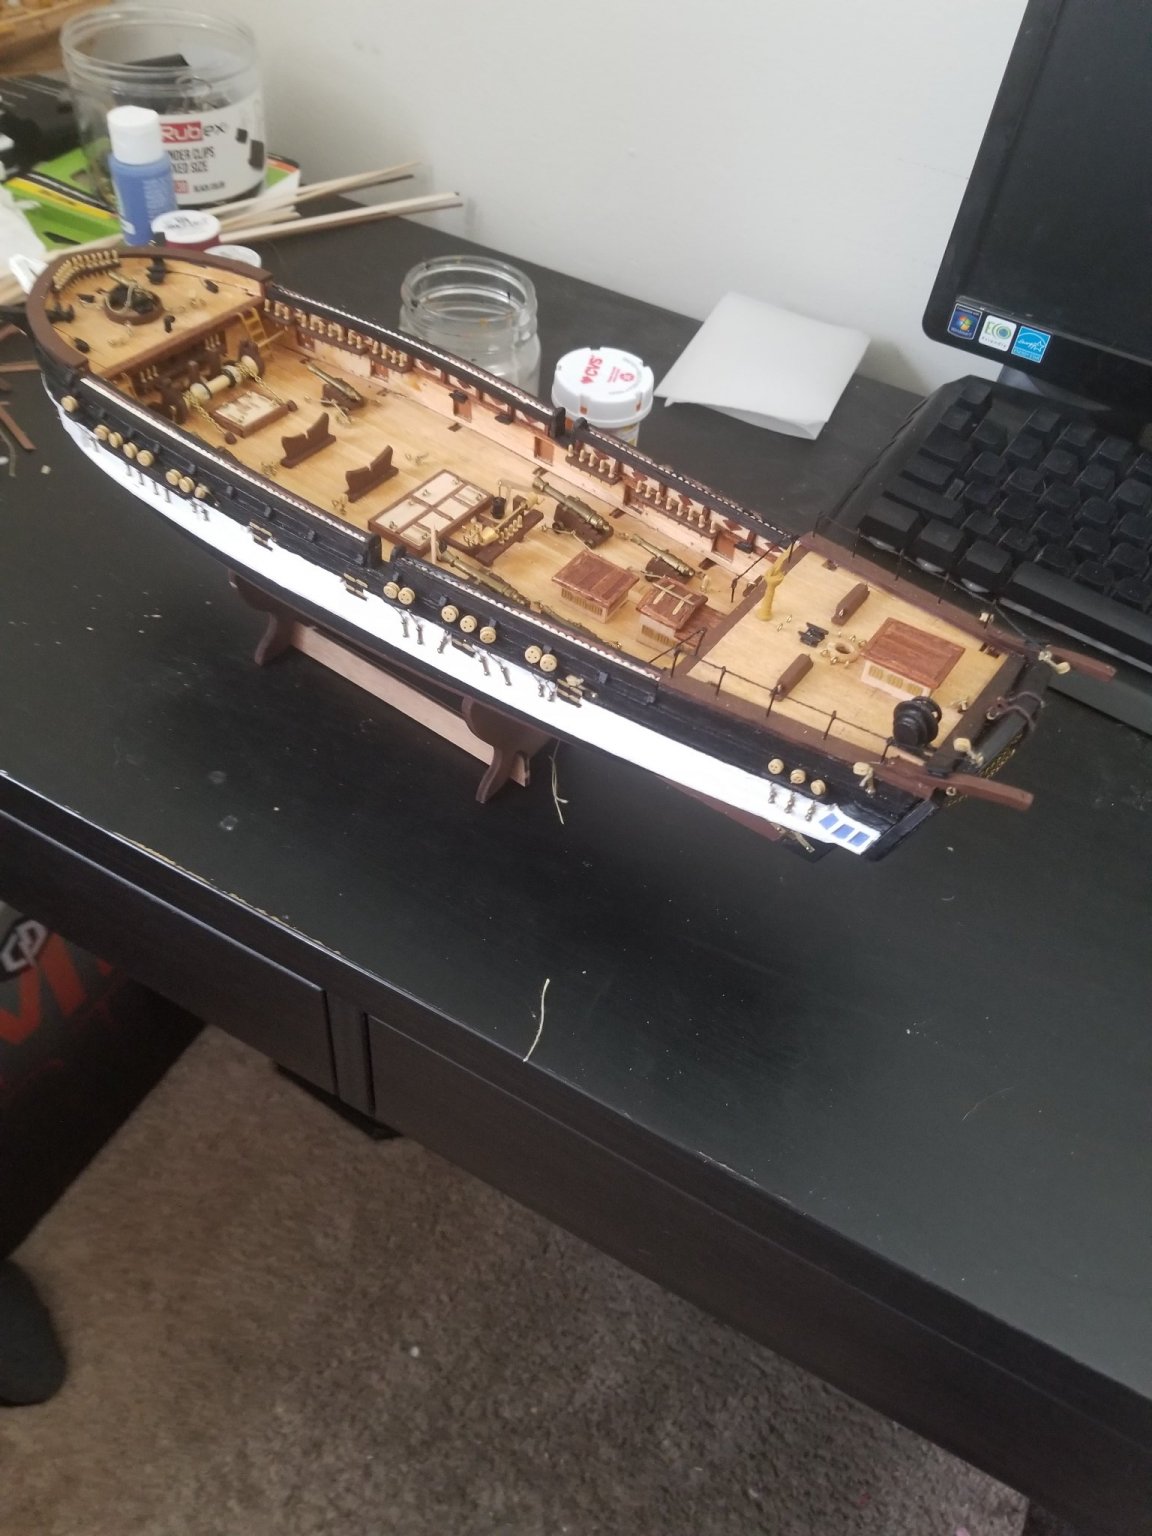
So I decided to put the life boats down and get some of the rest of the decorations done so got these all done and finished the life boat in the center.
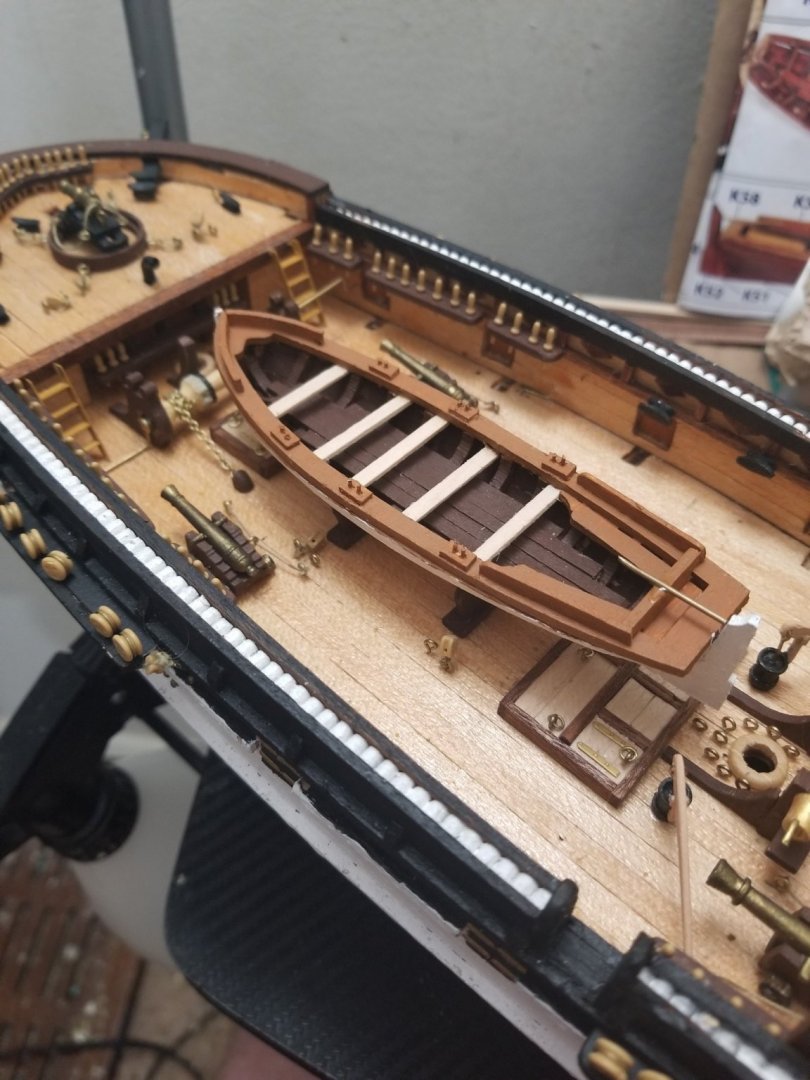

This is really quite an enjoyable build tbh. I'm for sure happy with the way the rope that is tieing down the life boat came out.

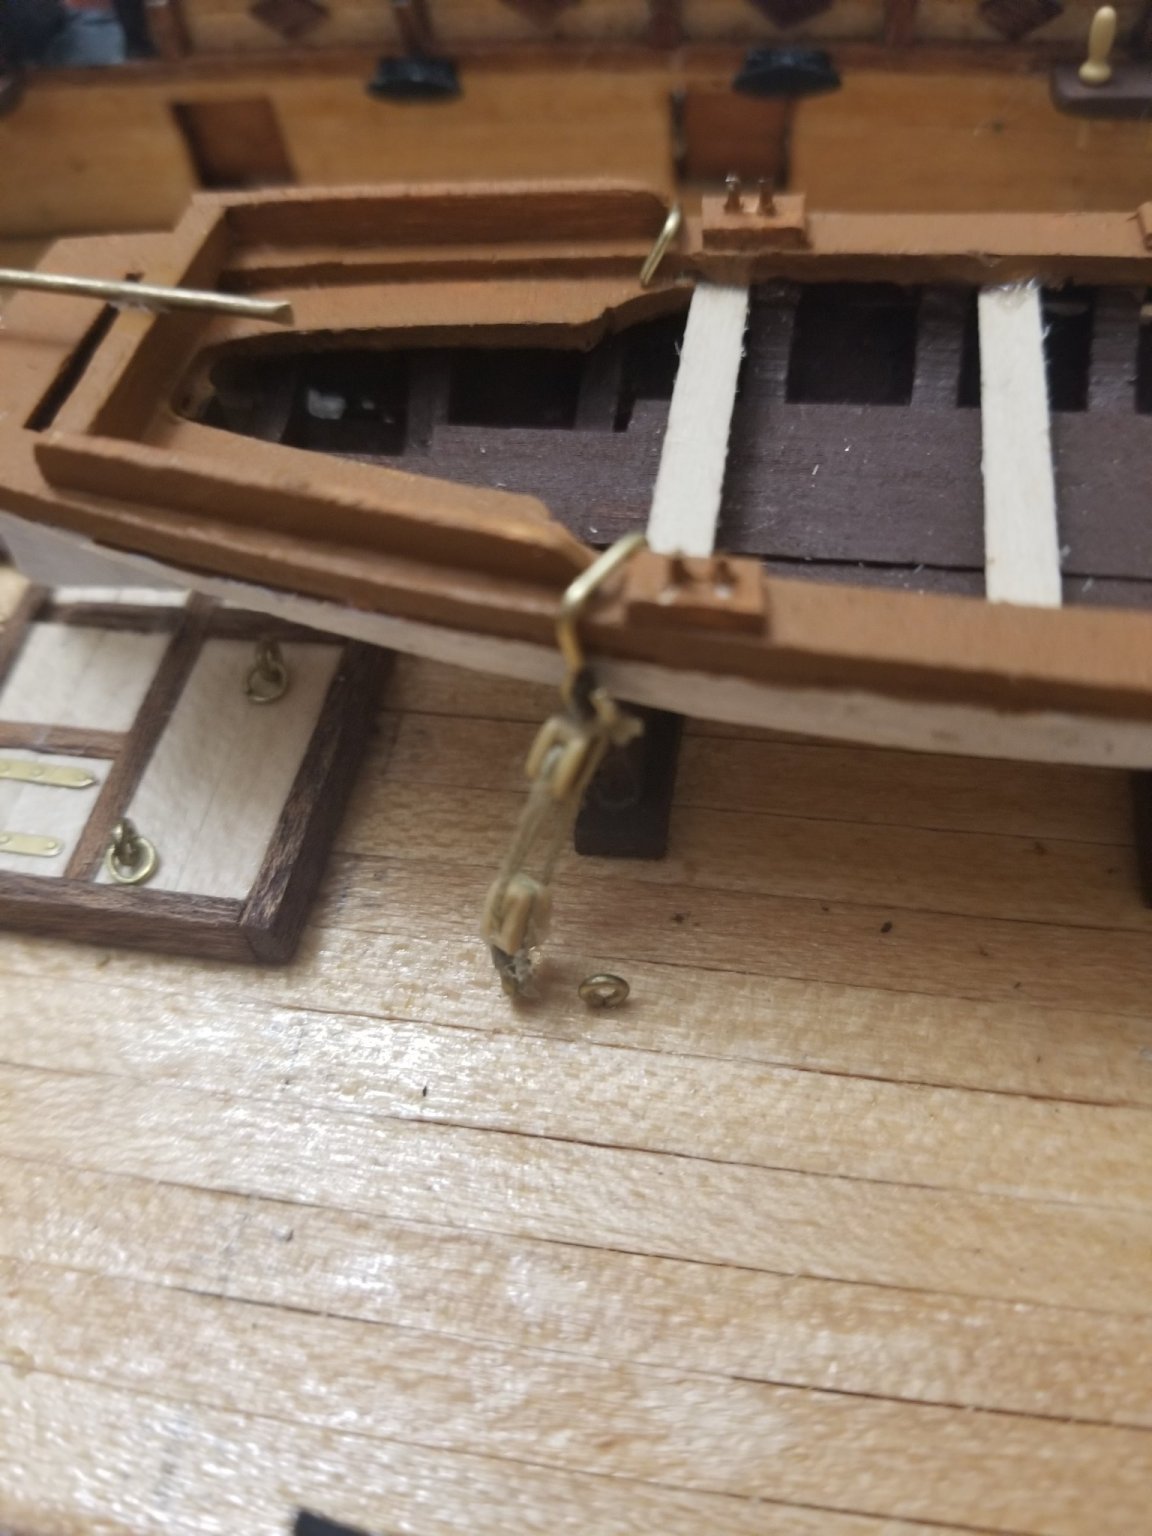
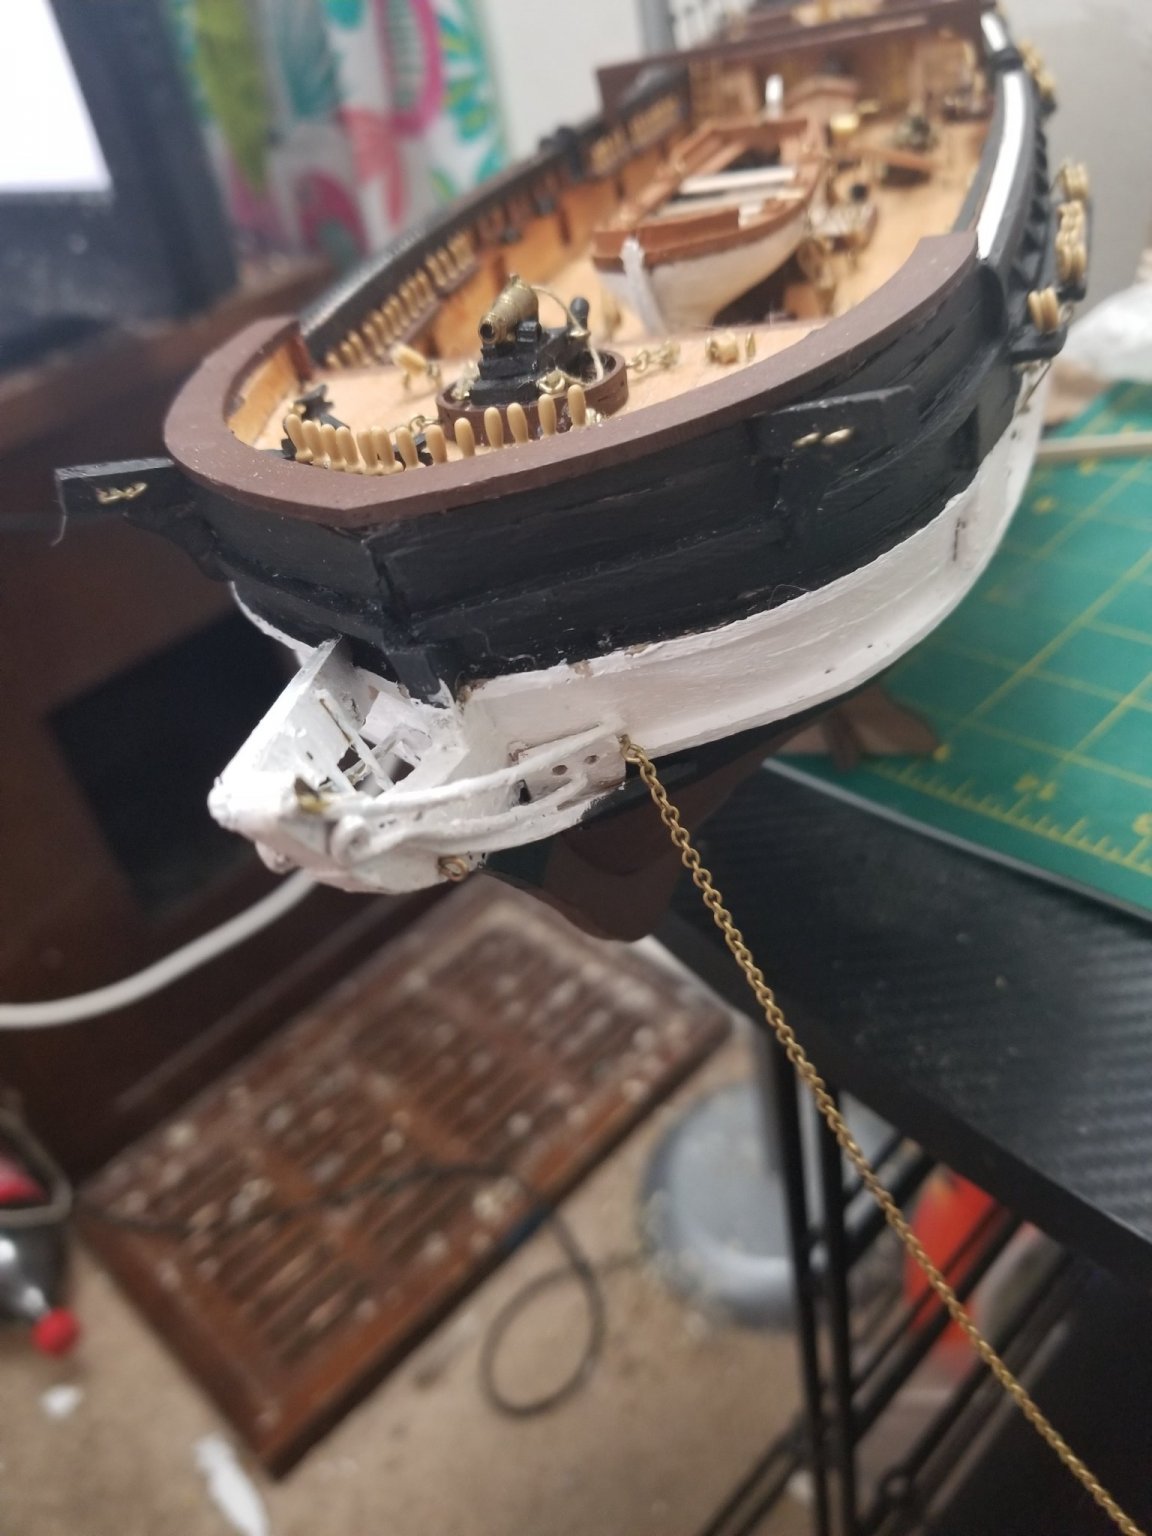
Once that was done I broke my first part of the ship....

Patched it pretty quick but I need to finish the outfittings here then I'll touch the paint up.
- Keith Black, Dean77 and Cathead
-
3
-
45 minutes ago, Techtonic said:
I would have a good look and see how much 1x5 limewood you have. It's mixed in with the 5mm sycamore veneer which makes it hard to spot. My kit came with three 2 foot lengths of it. The only place it is used is on the long cheeks of the fore and main masts (e.g. mt69), so you actually only need less than a foot of it.
It would be much easier to split the 1x5 into two 1x2.5 than it would to try and trim down the 2x5 (I assume you meant 2x5 not 2x4) limewood that was used for the main hull first planking.
Talking of shortages, and since you will be coming on to the masts soon - be warned that there is only just enough of the 3mm, 4mm and 5mm dowels. I ended up with just a few very short offcuts of each of these leftover by the time I'd finished the masts/yards/booms. If you make any mistakes and have to scrap a piece then you may run out. There is, however, plenty of spare 6mm dowel. I ended up with two unused full rods of it. So I guess at a pinch you could whittle this down to whatever radius you need.
I actually purchase spare 3 4 and 5mm dowels already in anticipation of this because wether I had enough or not I knew I would make mistakes. I think I might have enough if it's only needing a foot worth of the 1x5. Thank for the heads up I really do appreciate it!
-
6 hours ago, Keith Black said:
Sorry Rob, I don't understand?
So looks like the kit is notorious for being short on certain parts like the 1mm brass and now the 1mm by 3mm planks for the life boats. I'm gonna have to fashion the 2 mm by 4 mm I think to get enough materials because I have about 15 extra of those @Techtonic
-
So has anyone else that has done this kit run out of 1x3 tilo because I am having that issue atm and trying to see if it will look ok with something substituted in
-
I'll keep my eye out for it @Cathead
-
2 hours ago, Cathead said:
If you end up doing more projects like this, you might consider an inexpensive planking iron. These apply heat to planks, helping them bend easily and quickly. It speeds up the process quite a bit and can eliminate or lower the need for awkward clamping and waiting for drying. That being said, tiny boats are tricky no matter what and easily can be maddening.
I plan on doing many more ships. I really do find this extremely enjoyable. Like I said in my post, this is the first time I got to the "i dont want to deal with this" kind of attitude. It's been so enjoyable and so much better than video games I cant imagine why I didn't try it soon to be honest.
- Cathead and Keith Black
-
2
-
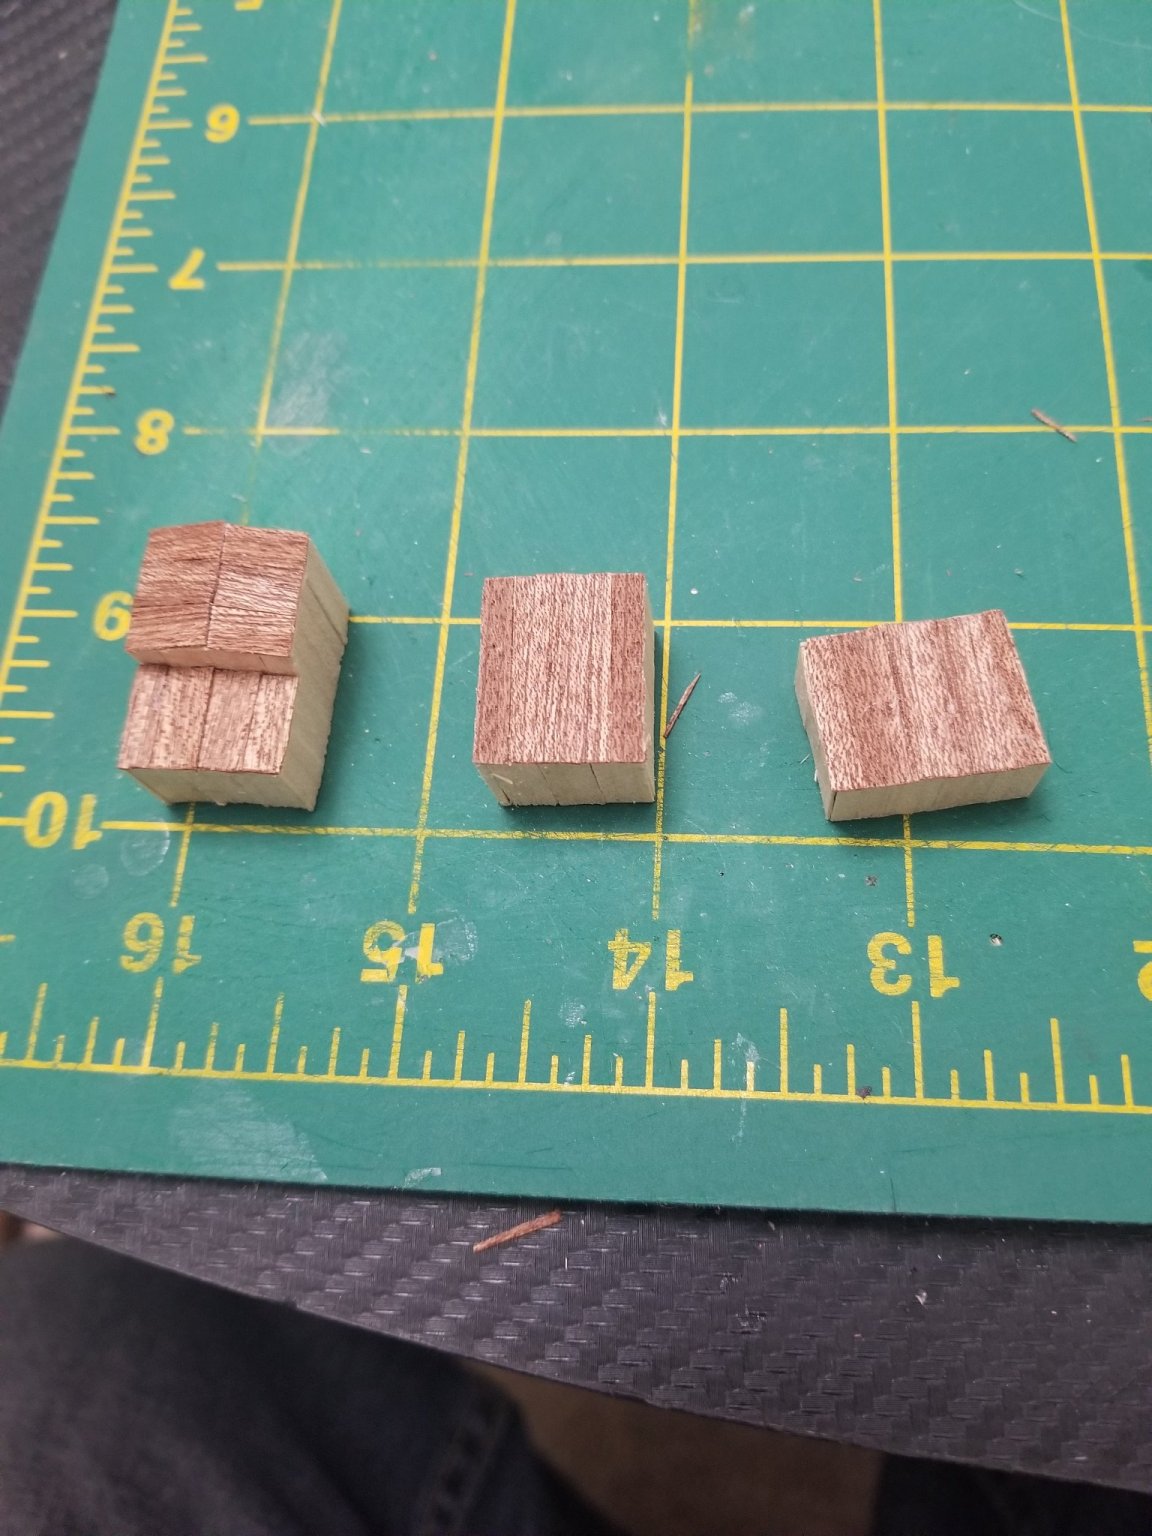
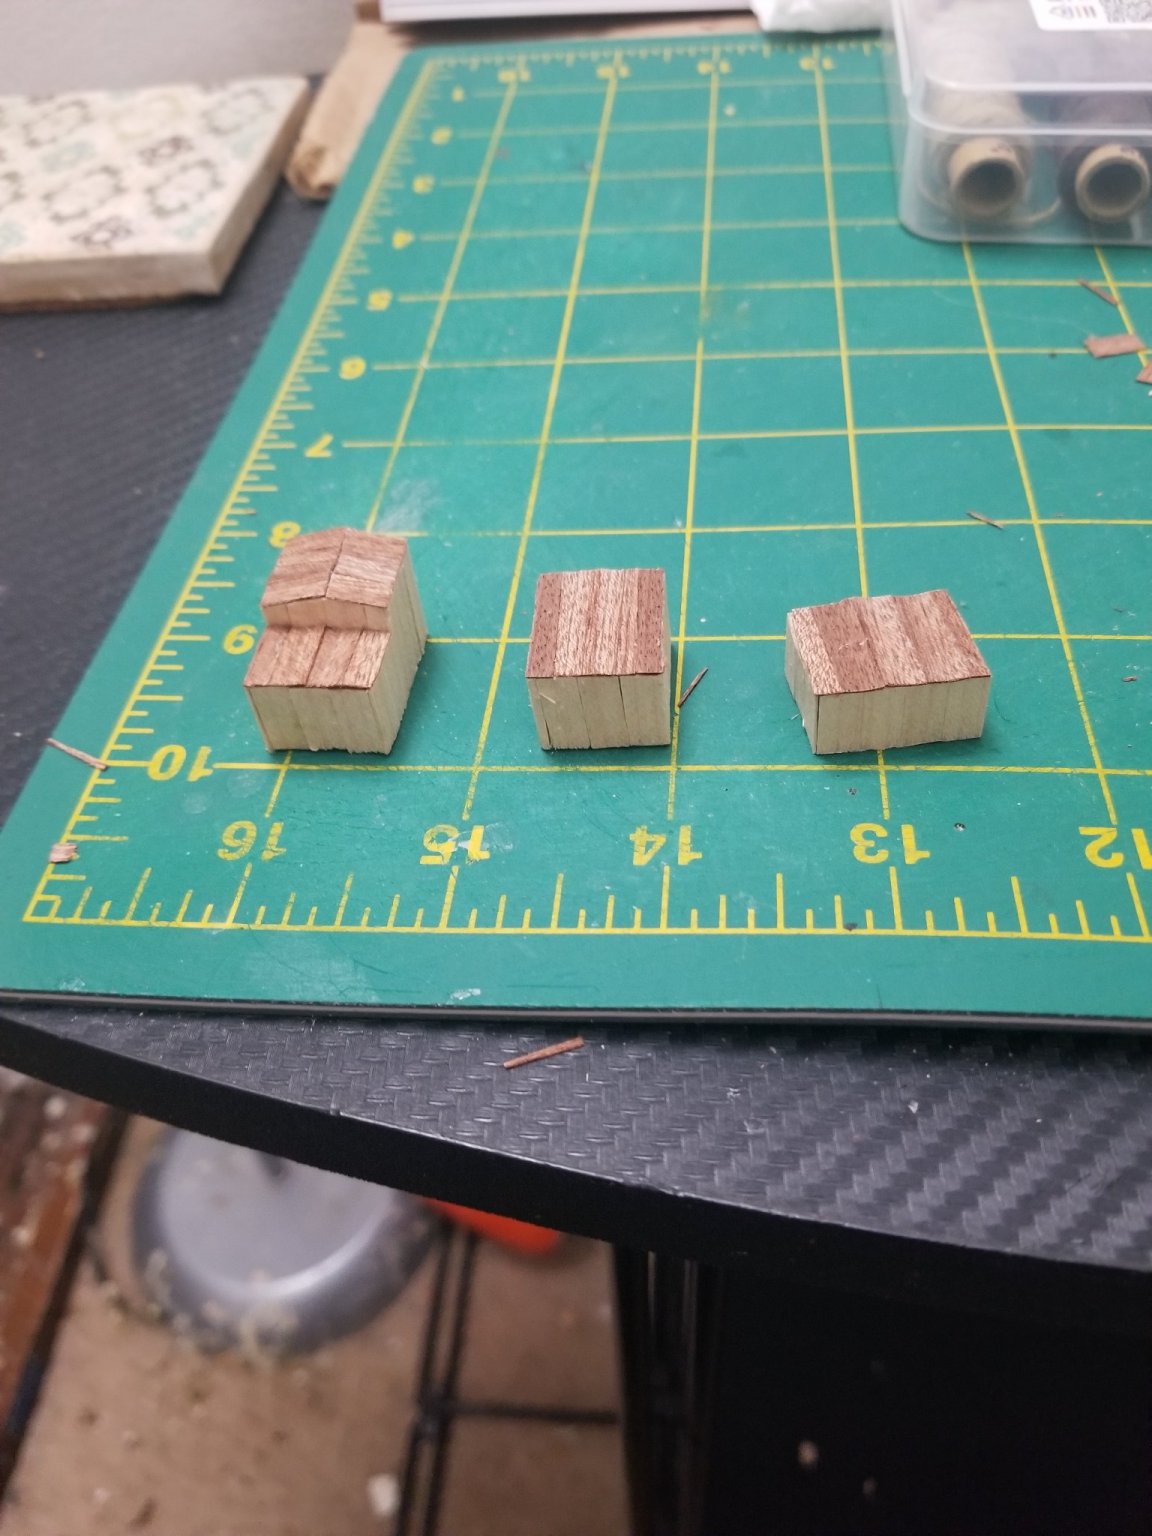
So update because work has been a bit a rough so it's been slow working but it's been working alright. Got the deck fittings on

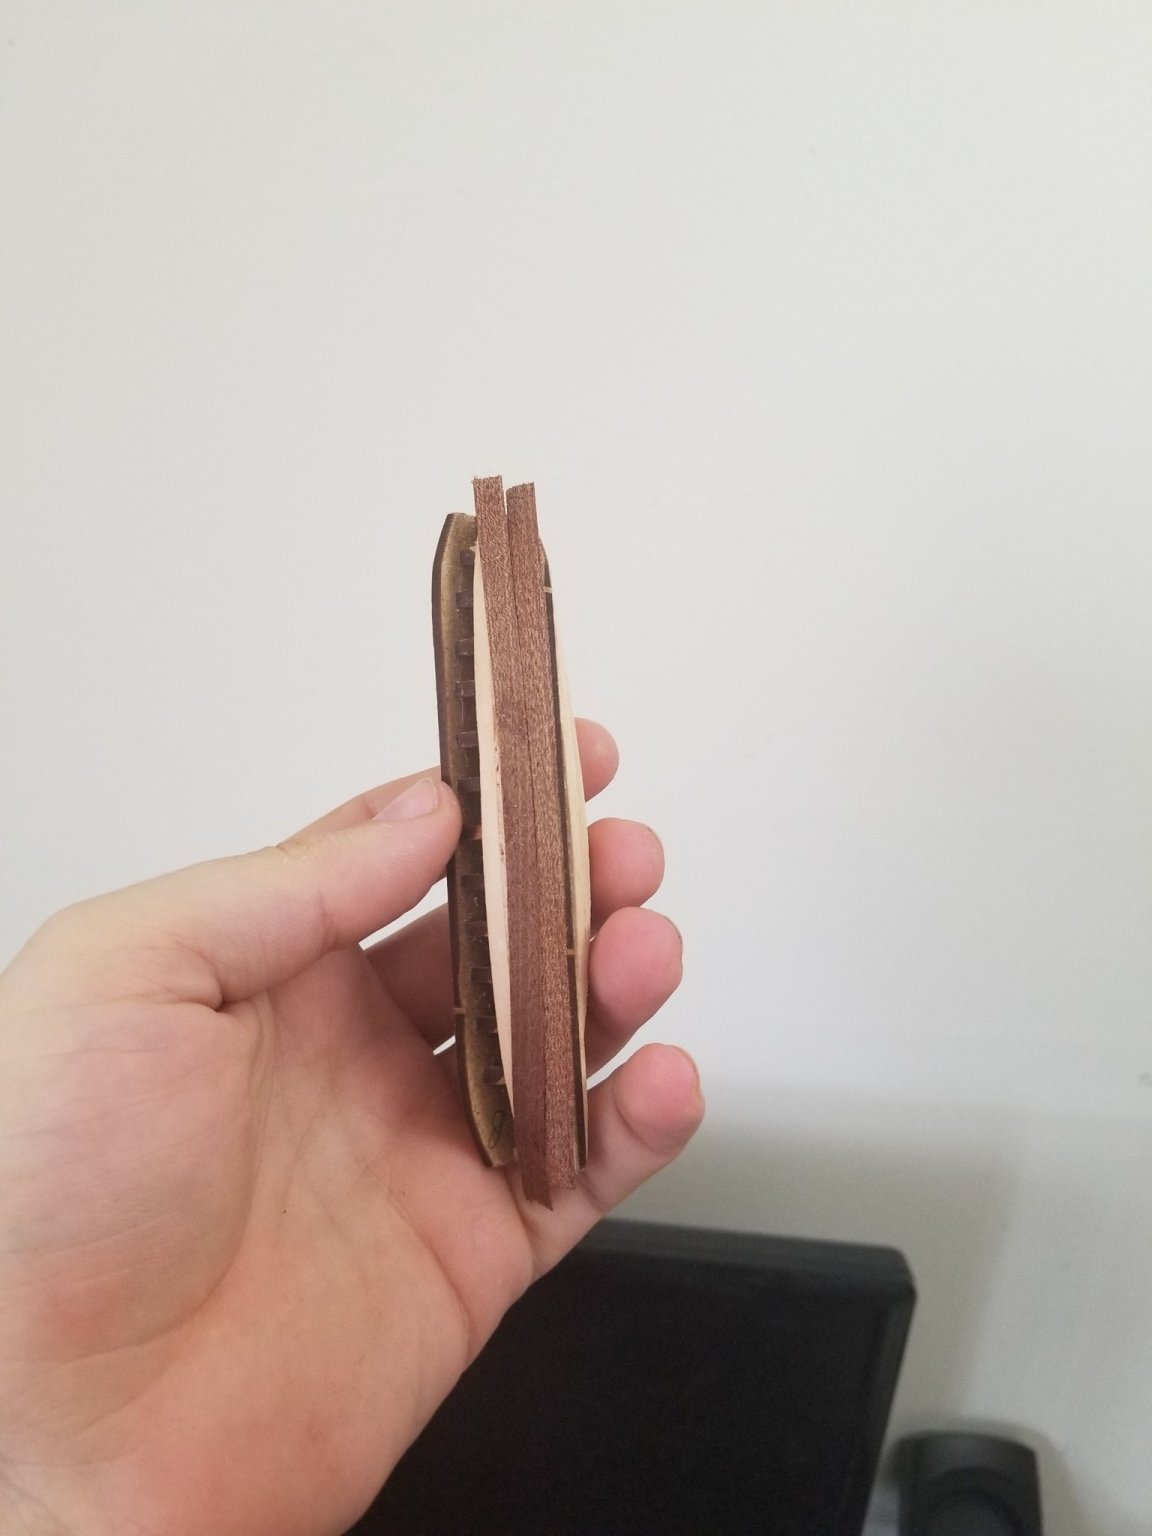
Now onto the life boats which created my first "I really dont want to deal with moment" lol.
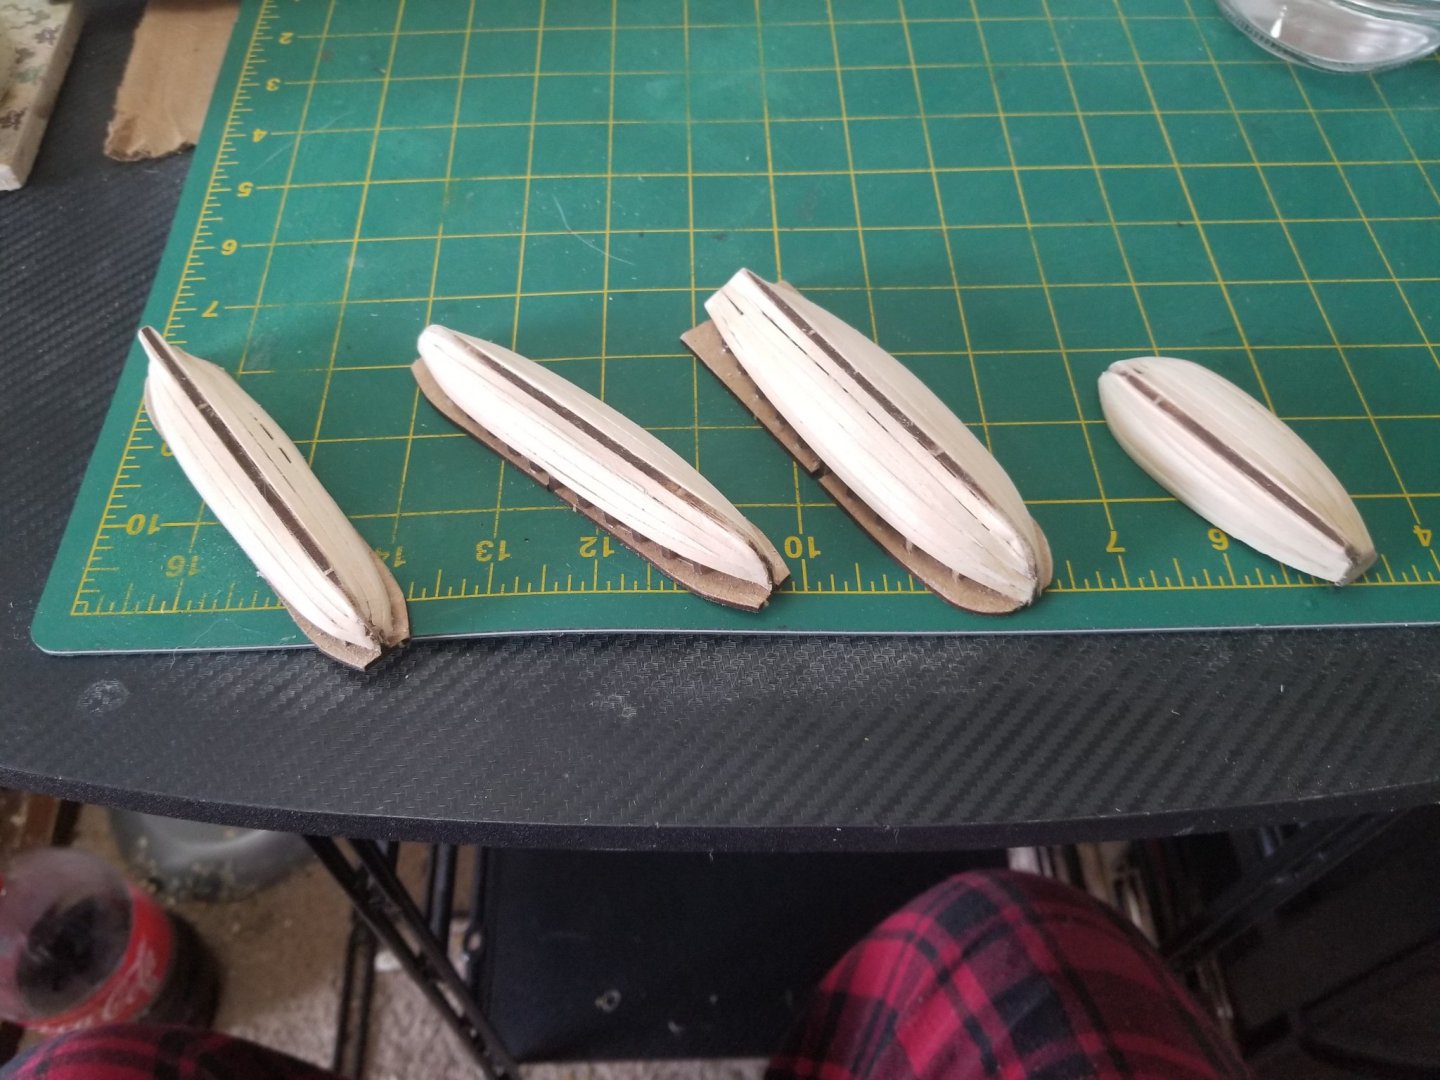
Planking these guys were a pain truth be told just because not being able to tack them down I didn't have a good way to keep the planks in place once I wet them. I ended up glueing them while they were wet and just holding the planks in place with my fingers when my plastic clamps weren't staying in place. I got stuck only doing a couple planks per day because it was such a pain I had to take a break else i would rush and the glue wouldn't harden enough. But they are sanded and ok but not what I want. I'm gonna use filler on the one boat that is in the middle and do the paint job on it.

The other three I'm gonna double plank with the walnut to get it a cleaner look then varnish and next time im gonna make some jig to be able to let the planks fully bend then glue them on after.
- LucienL, Dean77, Keith Black and 1 other
-
4
-
It's coming along great for sure!! Cant wait to see what progress you make next weekend.
-
1 hour ago, Chuck Seiler said:
Do you want to make a model of a big ship or a big model? SYREN Ship Model Company (MSW Sponsor) offers a semi scratch kit of HMS WINCHELSEA. It is a frigate but pencils in at 38 inches. Quality is top notch and instructions are very clear. Several build logs on the site as well as kit designer, Chuck Pasarro.
The kit is offered in chapters. You only by the material required for the chapter you are working on at the time. Check it out.
I actually thought of this as well. The only issue is that I dont have any mill or bigger tools else I would. I would love to try a semi from scratch build. As for your first question I would love to be able to do a bigger ship with details and all. Love the designs and the intricate designs on some of the fancier ships
- Canute and Chuck Seiler
-
2
-
-
-
5 hours ago, Cathead said:
You say "eventually", implying not any time soon, so why not just start saving for the model now and buy it when you're actually ready to build it? Why try to find credit for something you can't afford and aren't sure you'll even use? Way too many people buy and hoard kits they don't end up getting around to for various reasons, which is such a waste. If you save up first, you don't lose the money if the kit never happens for some reason. It'll still be available when you're ready, likely even on the secondary market from someone who bought it and never built it. If you can afford, say, $100/mo for 10 months on Paypal (plus whatever interest they charge you), why can't you afford $100/mo into a bank for the same period of time with no extra costs? The key here being "eventually" since that implies you can wait.
Also, asking a retailer for a payment plan if they don't offer one is likely to just be a pain. There's a reason it's not common, having to accept and track many payments (and/or shipments) is a lot more work for the retailer, especially small ones. Maybe someone would be nice and work with you, but it's an inconvenient ask.
So a little background on me is my wife is disabled. I'm the sole income for the house and emergencies happen far more than I want to admit. So savings have been a thing I cant really make because I've saved before. And then down payment for surgery is 500 plus need to get different groceries or the car goes down. It's a lot harder then if it was just me but god gave an amazing woman I love to death and would never abandon for anything.
I'm always a person that plans ahead for when the time comes. While I'm not purchasing the kit now I will have the knowledge for when its time to purchase. So this post is more for information then an immediate need for a kit. I do understand where your coming from though with ppl hoarding kits and it isn't right for people to put so much money out for something that they wont complete.
I really do like the idea of the pack from OcCre though so you could purchase as you build so if the kit does fall off where you cant do it your not wasting all the money on it. Would love to find others like that.
-
7 hours ago, BenD said:
https://www.model-space.com/gb/build-the-san-felipe.html
This link is from Model-space. The kit comes in a payment plan type thing, They sent a portion of the kit every month.
If I order from the UK website do they ship over seas? The US part of the site is out of stock.
-
I want to get one of the bigger models like the San Felipe for when I feel I can eventually do the model. I want it but I'm having a hard time finding it with any kind of payment plan involved. I dont really have 1000 dollars laying around and I'm not the most well to do when it comes to income. Is there anywhere besides like PayPal credit and crapbay (my name for ebay) where its possible to get plans like that where I pay a certain per month?.
-
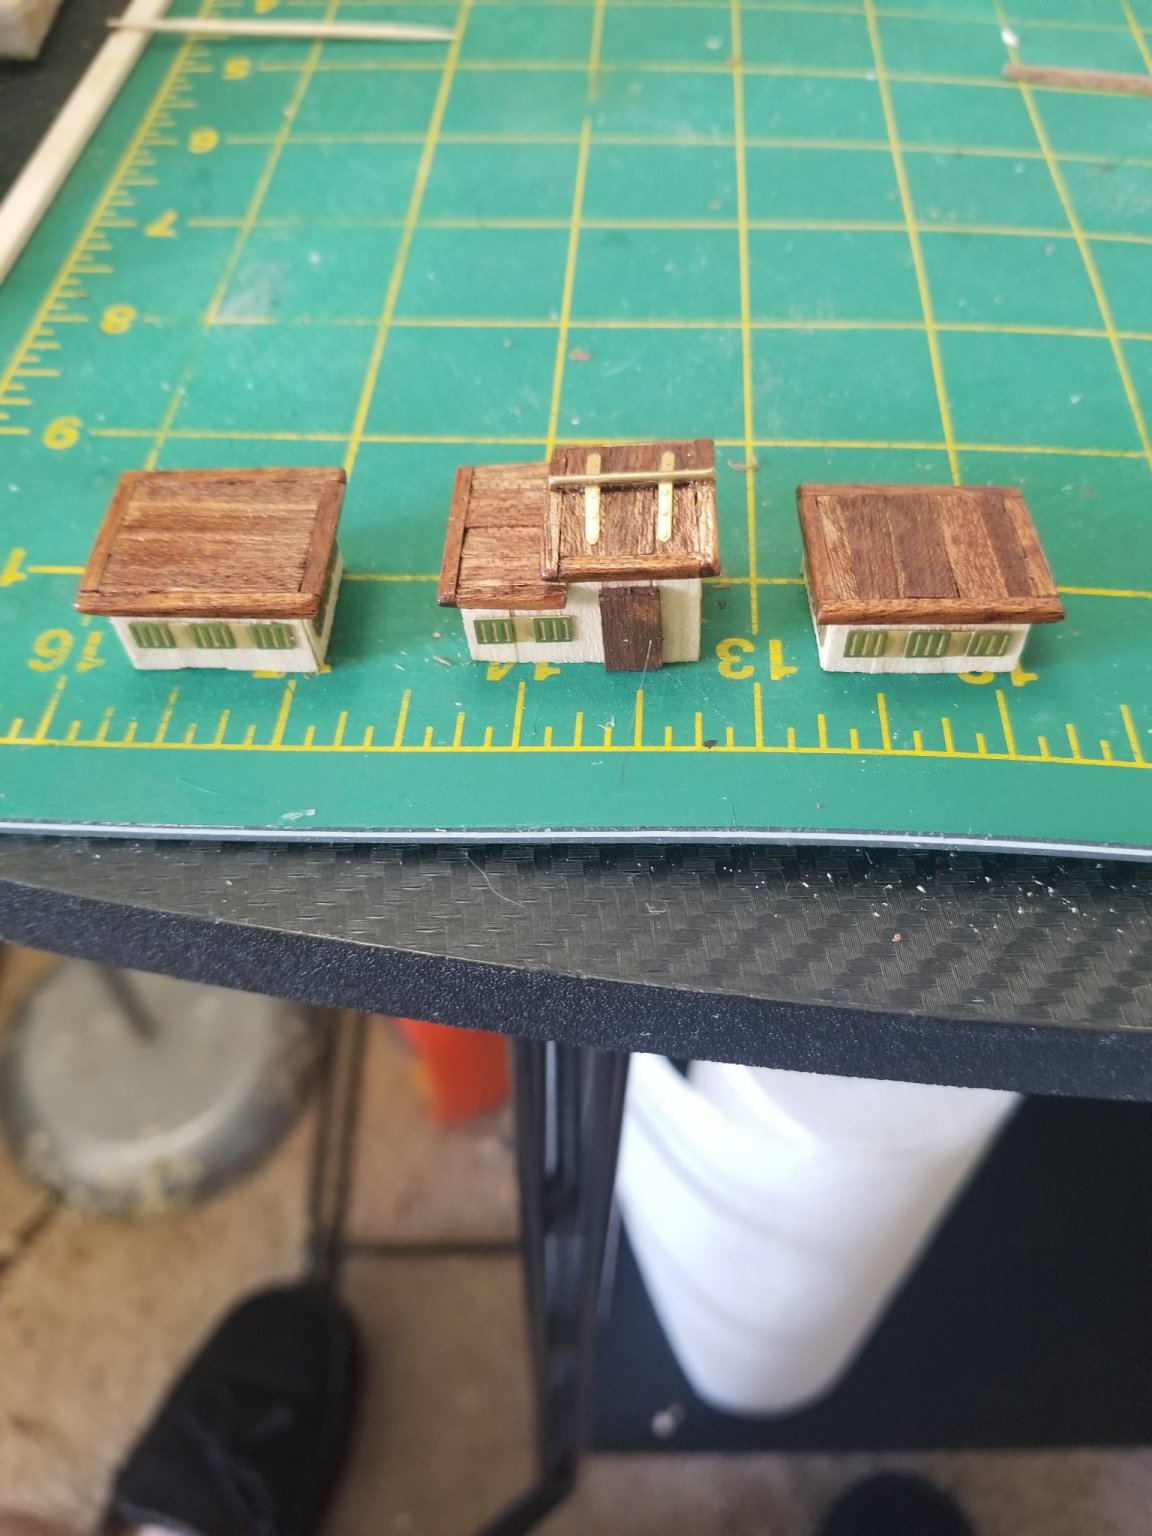
Got my deck houses done which came out pretty nice.

-
So got the pumps finished up and got the deck house and such started slower on work days but still chugging along for sure.

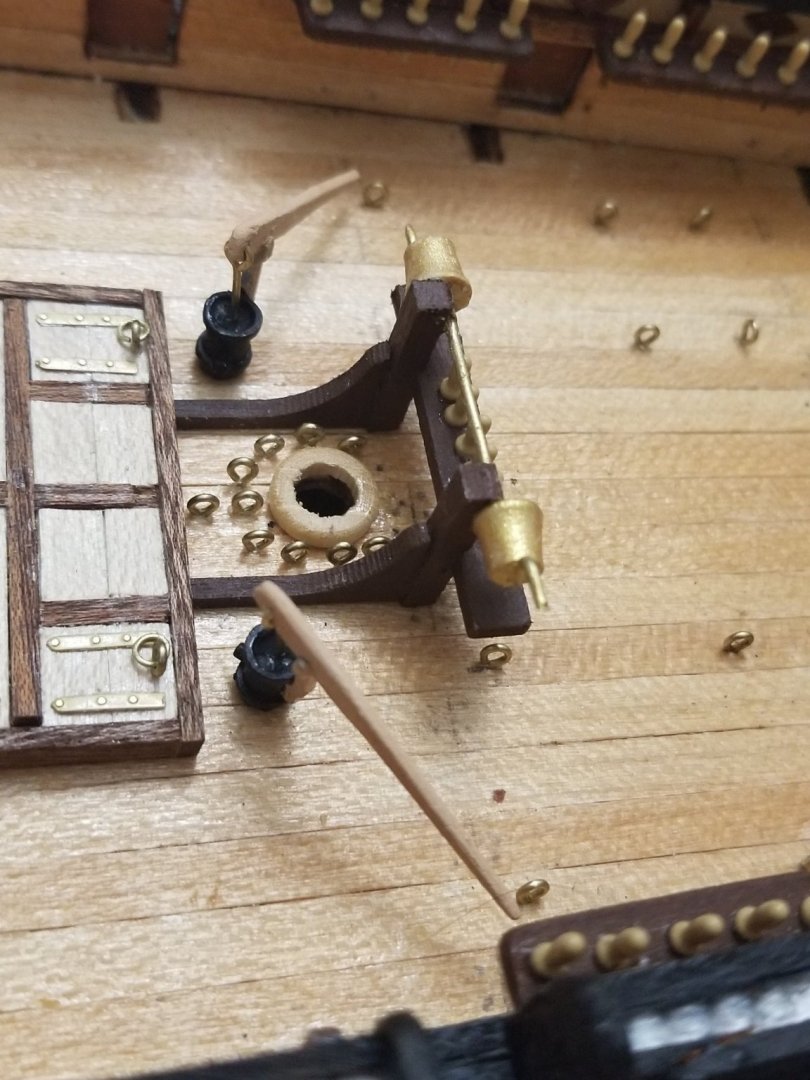
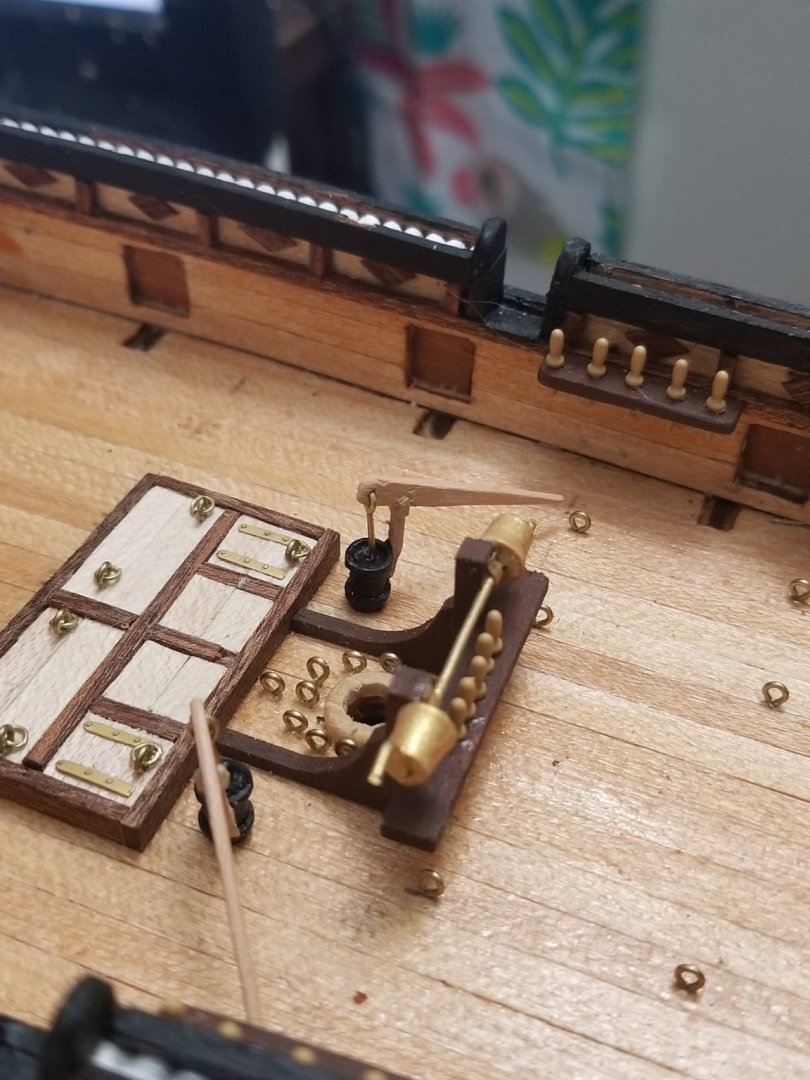


next will be finishing these up then going to start the smaller boats.
- Cathead, Dean77, Keith Black and 1 other
-
4
-
21 minutes ago, Keith Black said:
I use wire to strop blocks, for me it's a lot easier. I use black annealed wire (or you can also use brass wire) below is a photo of the 24 GA wire I use, they also make it in 28 GA which I think is too small for your build.
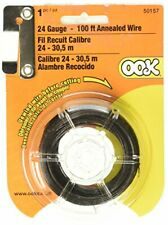
Well I got the making the hook part that isn't terrible difficult. I'm looking at the bottom of the block for the gun tackle there is a separate loop the string is first tied onto. That's what I was referring to not being on the blocks.


HMS Beagle by Robp1025 - OcCre - 1:60
in - Kit build logs for subjects built from 1801 - 1850
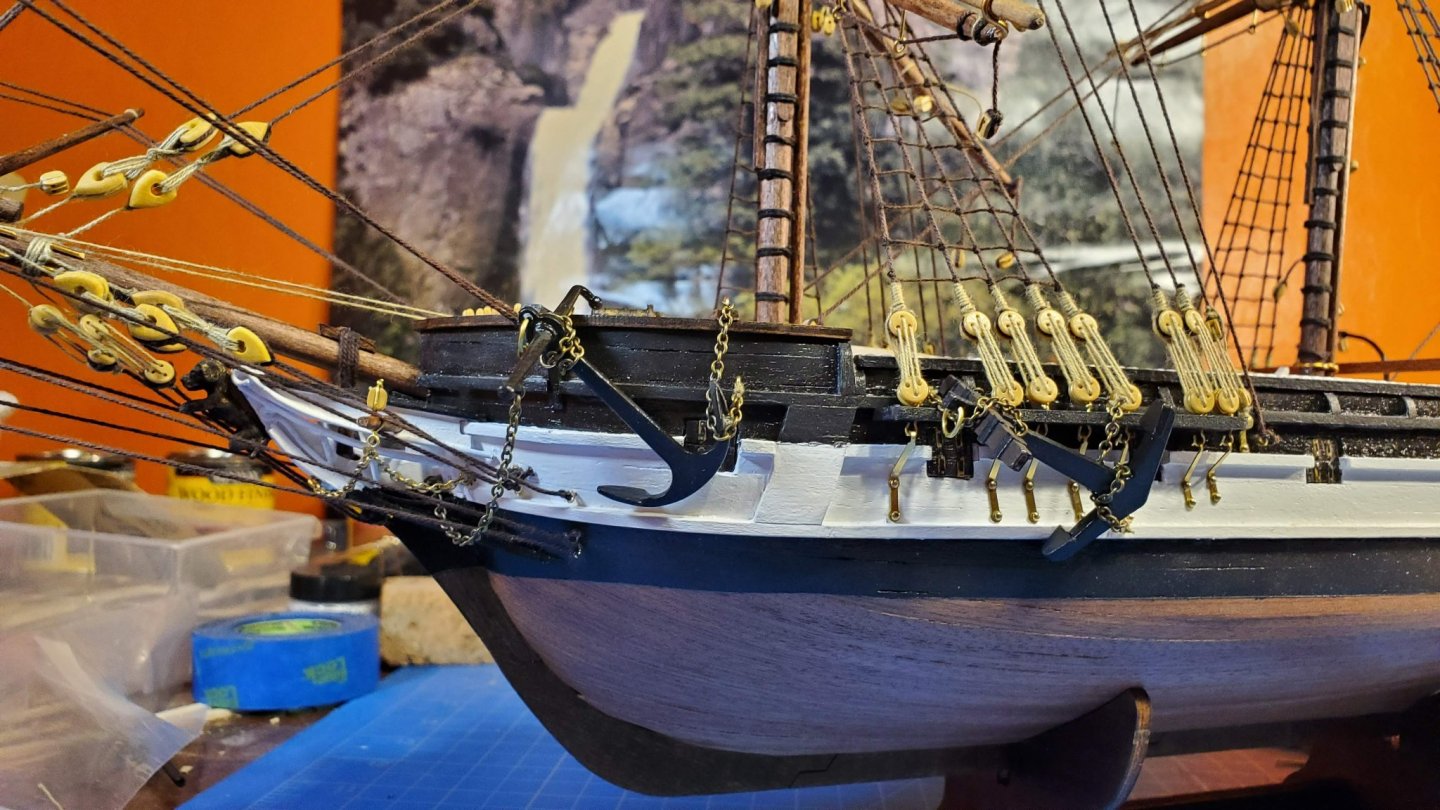
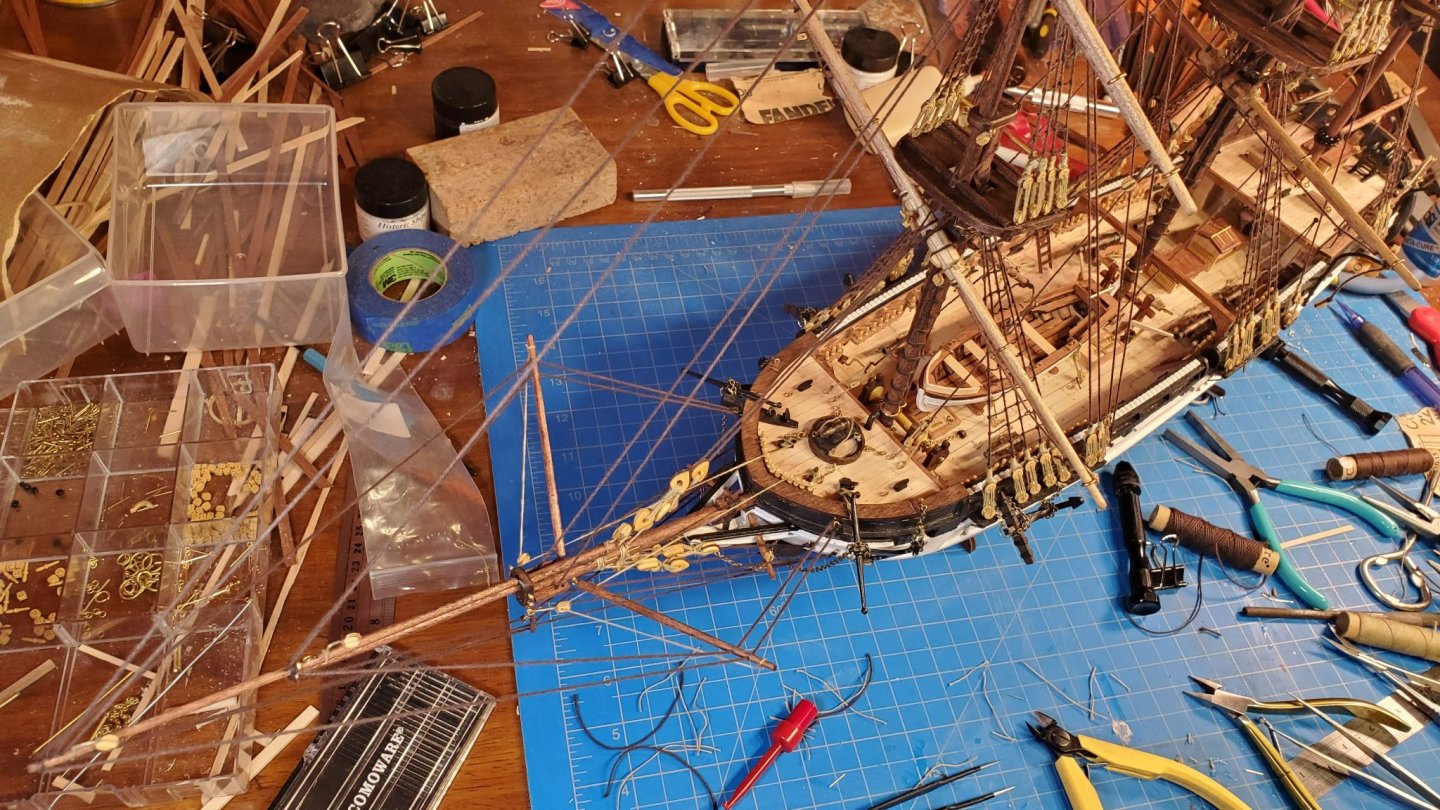
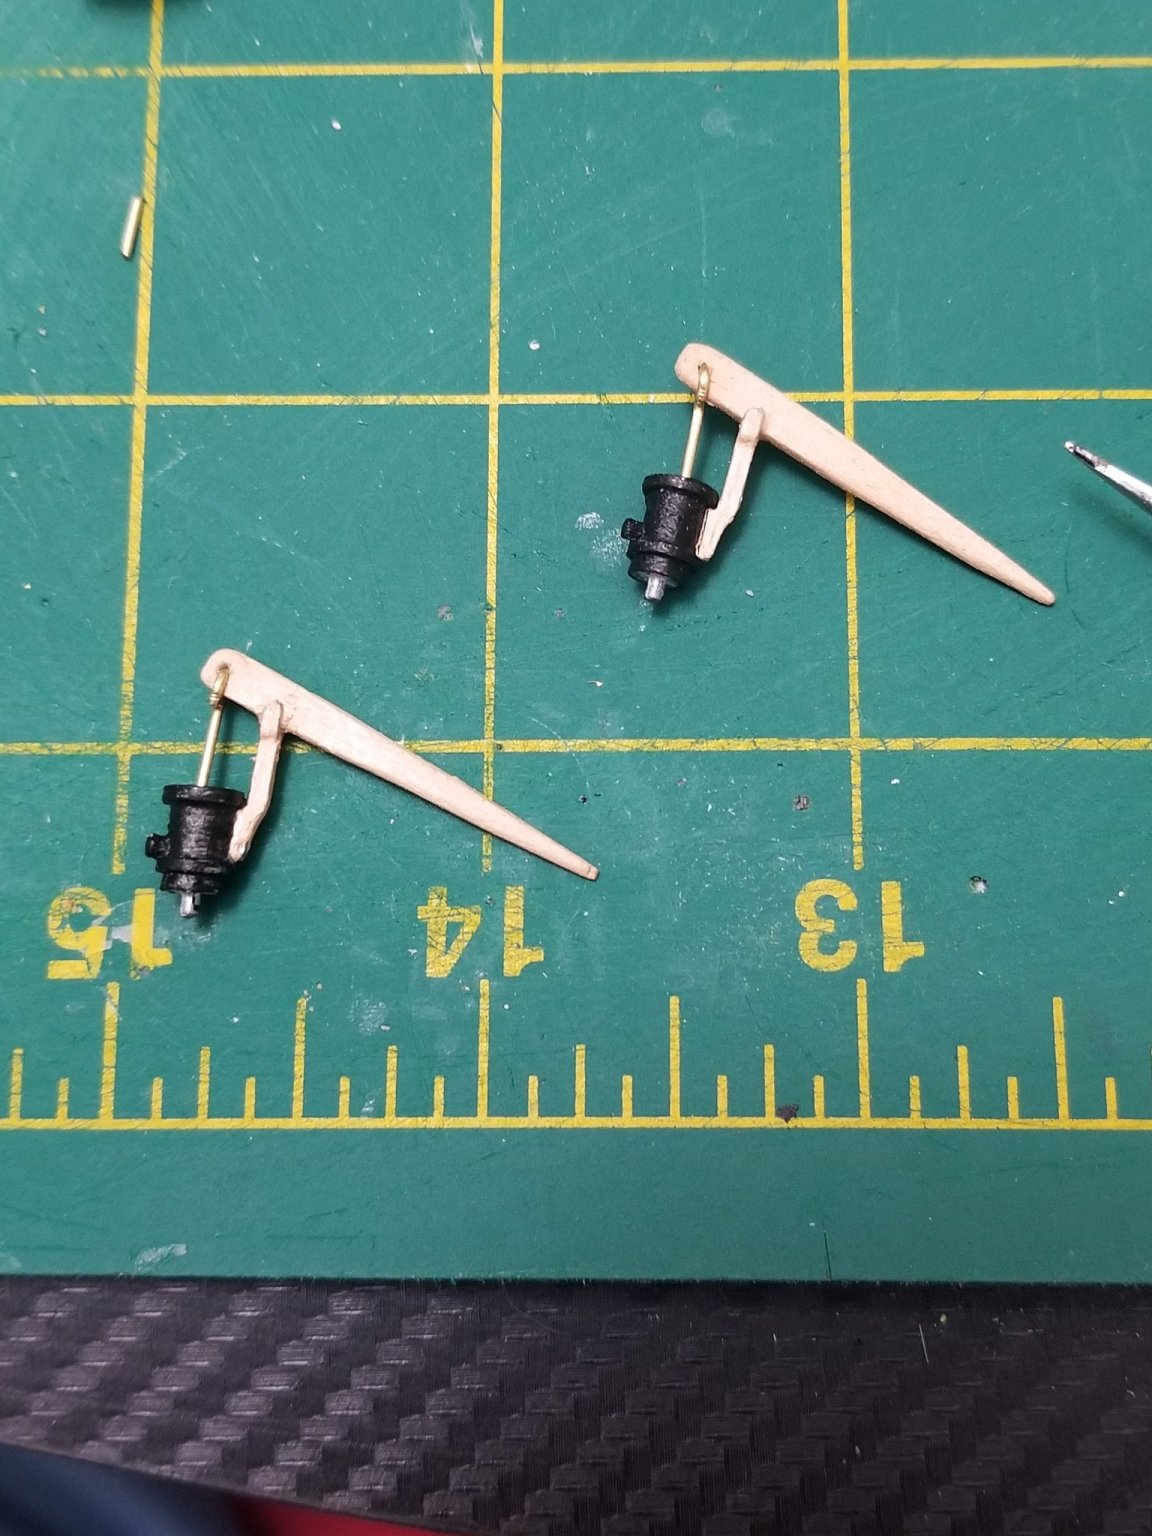
Posted
It's been quite a past couple of days.... yea this isn't too much progress but its progress non the less. Got the bowsprit stained and all the blocks tied and ready to be mounted. These next couple of days will be much better progress.