

Robp1025
-
Posts
259 -
Joined
-
Last visited
Content Type
Profiles
Forums
Gallery
Events
Posts posted by Robp1025
-
-
This is looking amazing my friend!! Cant wait to get there myself.
-
So ending my day with these pictures. Thank you all for the likes and comments and I appreciate you guys taging along. The journey is only really getting started but each day with new victories makes it all the more worth it.


- Dean77, Keith Black and Cathead
-
 3
3
-
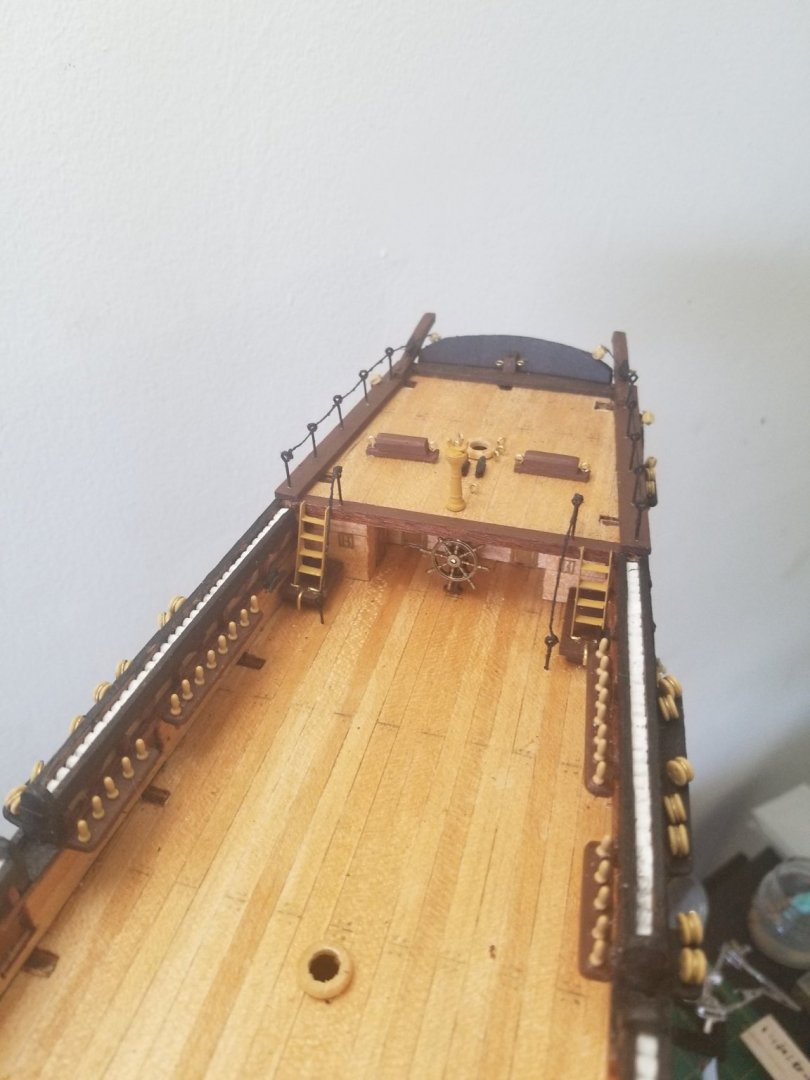
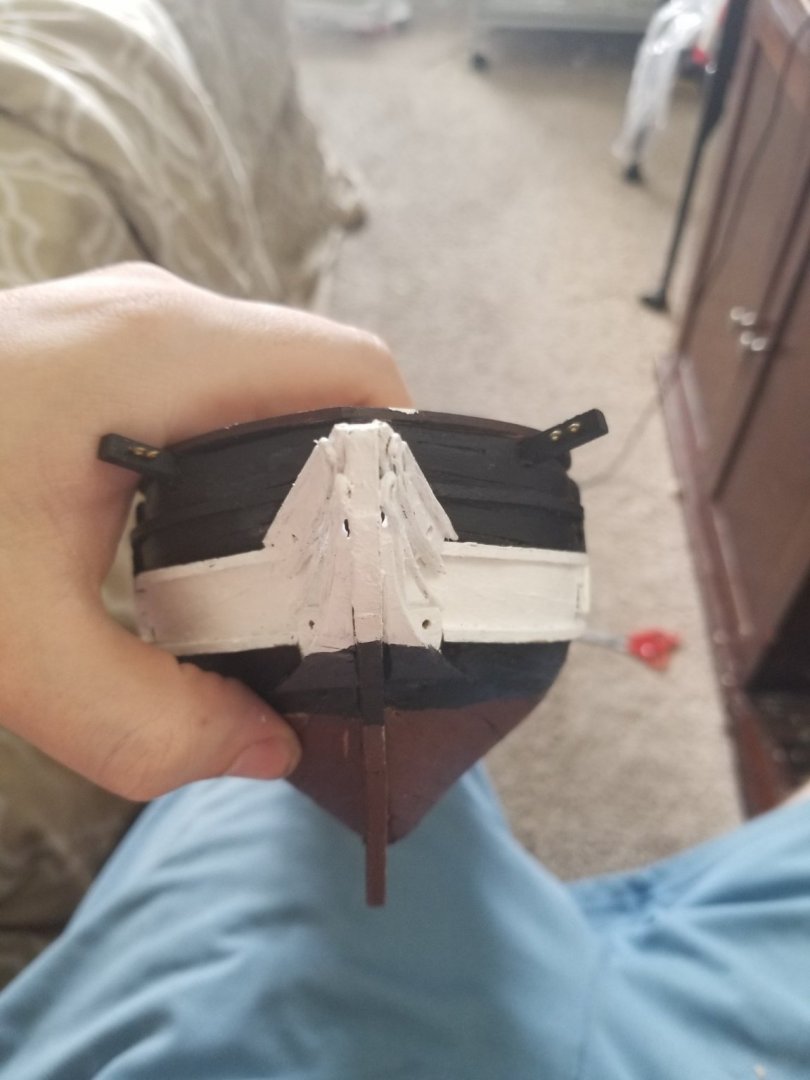
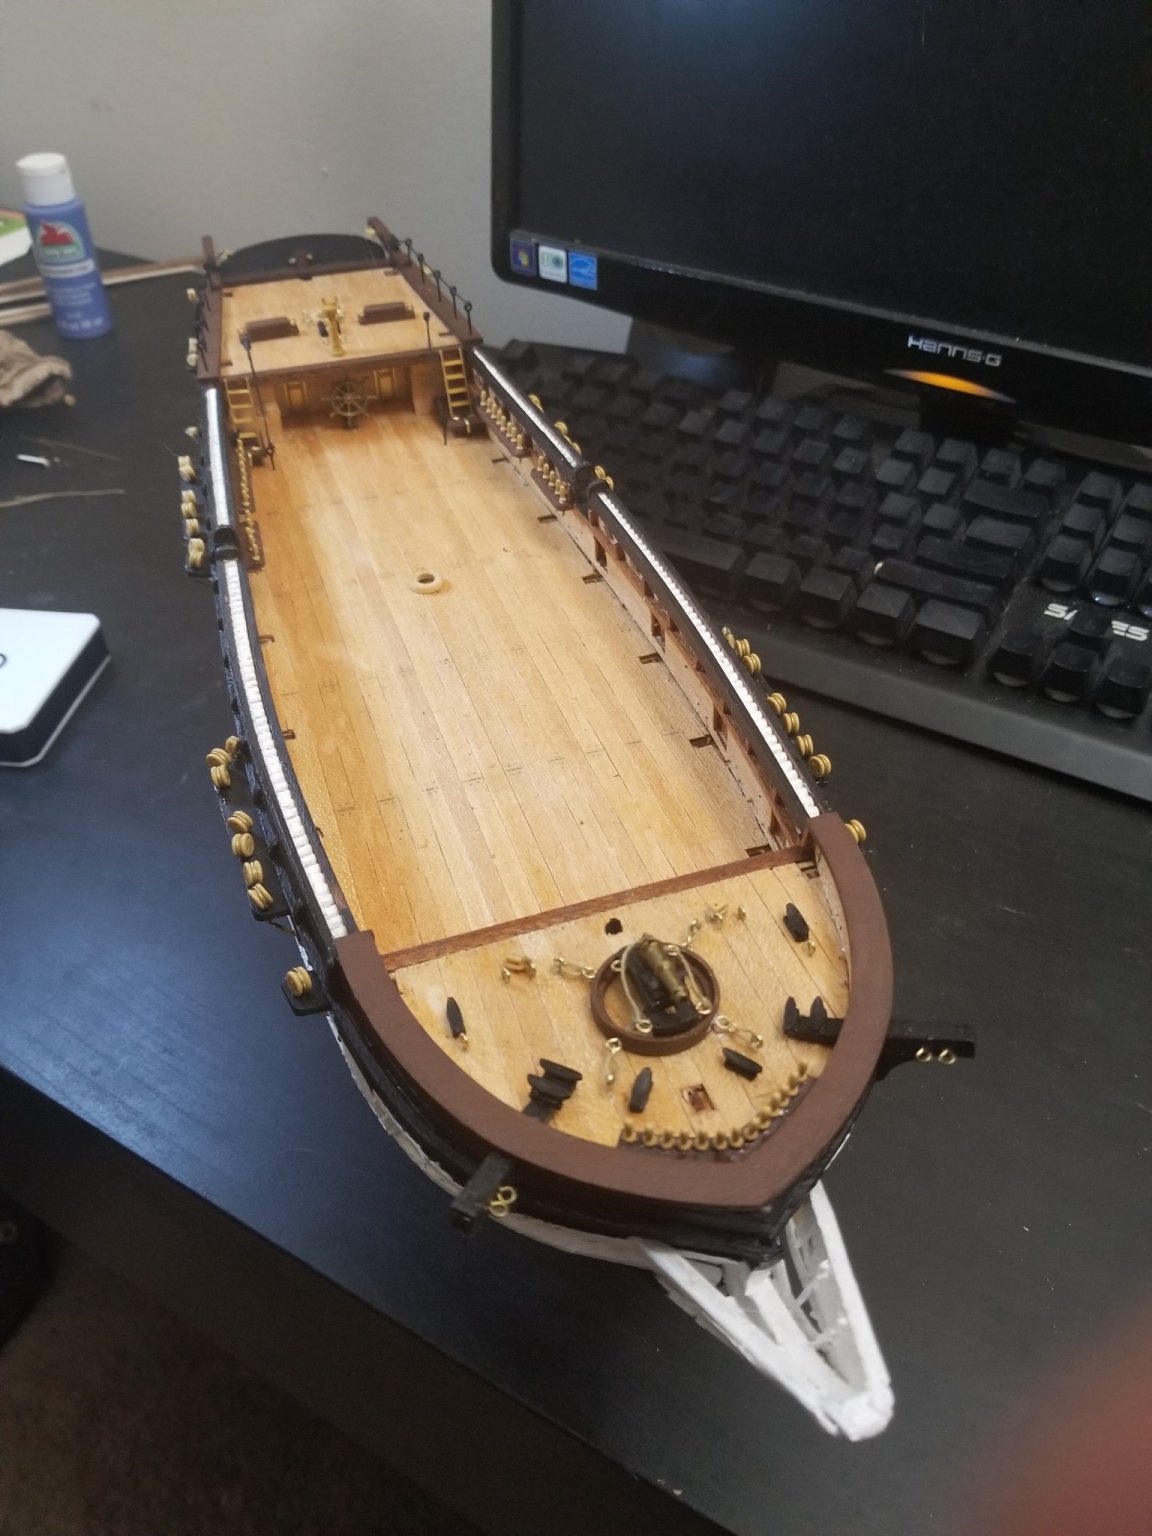
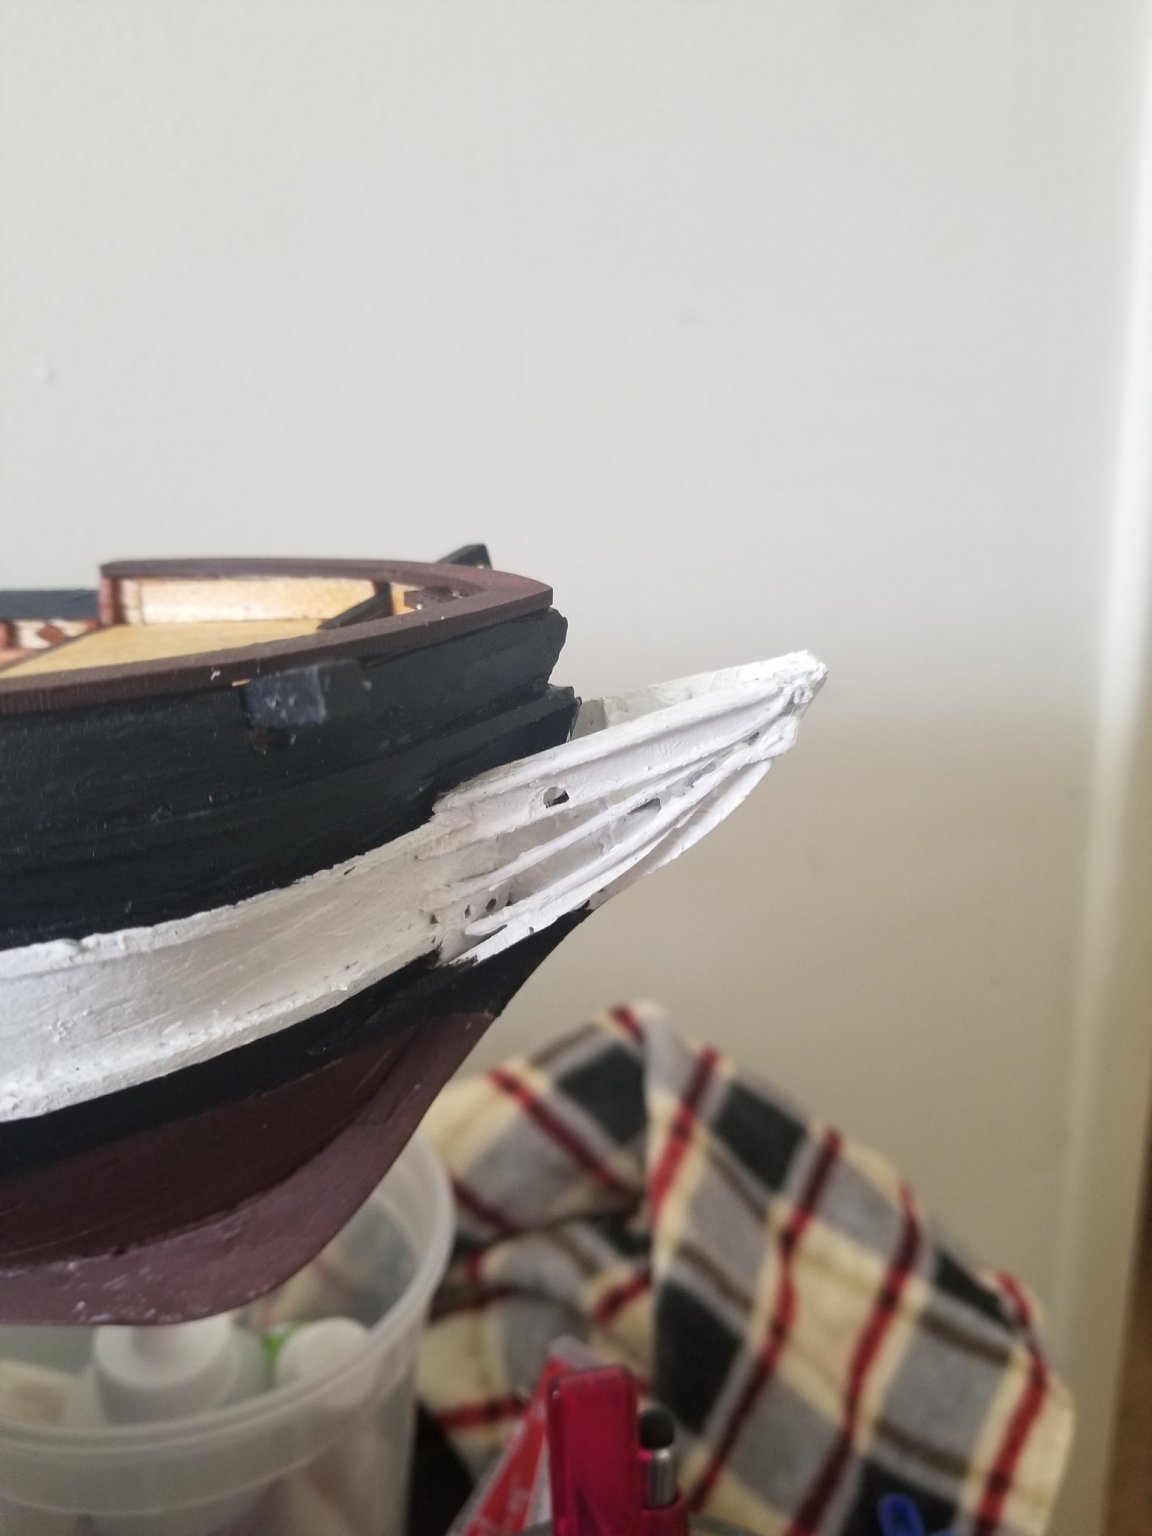
Alright so stern is now situated and painted. I'm getting super excited now because it's starting to really come together. Time to turn my attention to the bow and get some more of this ship together.
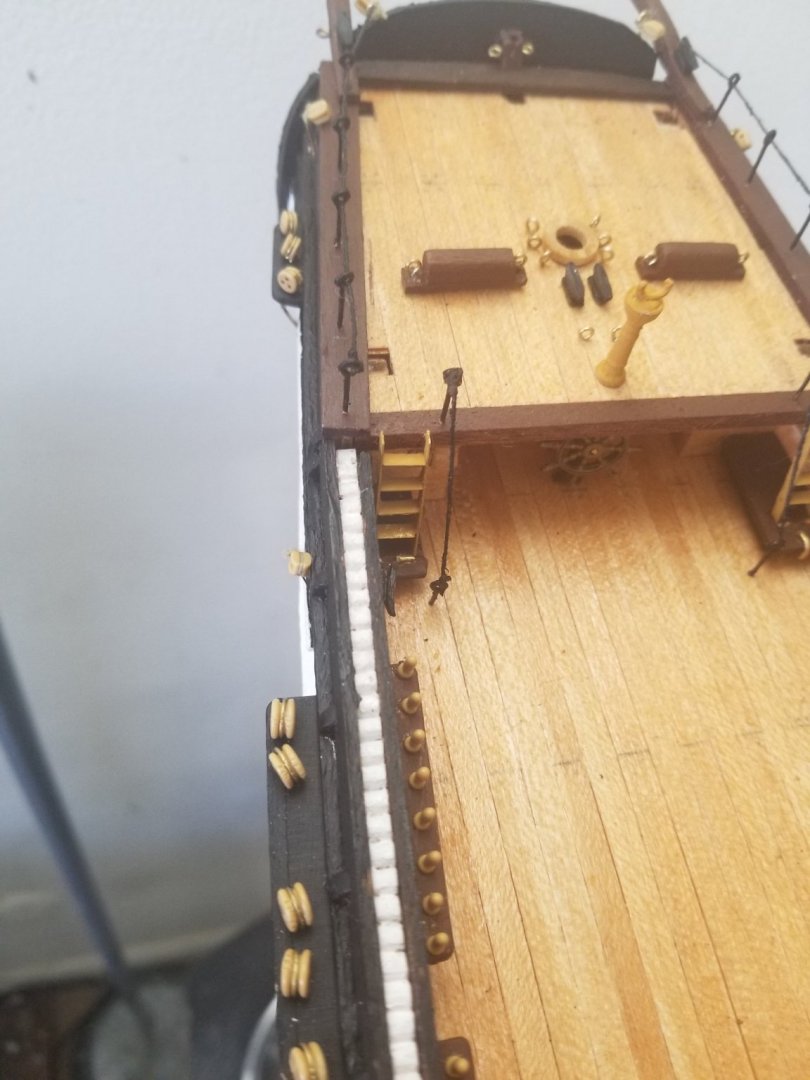
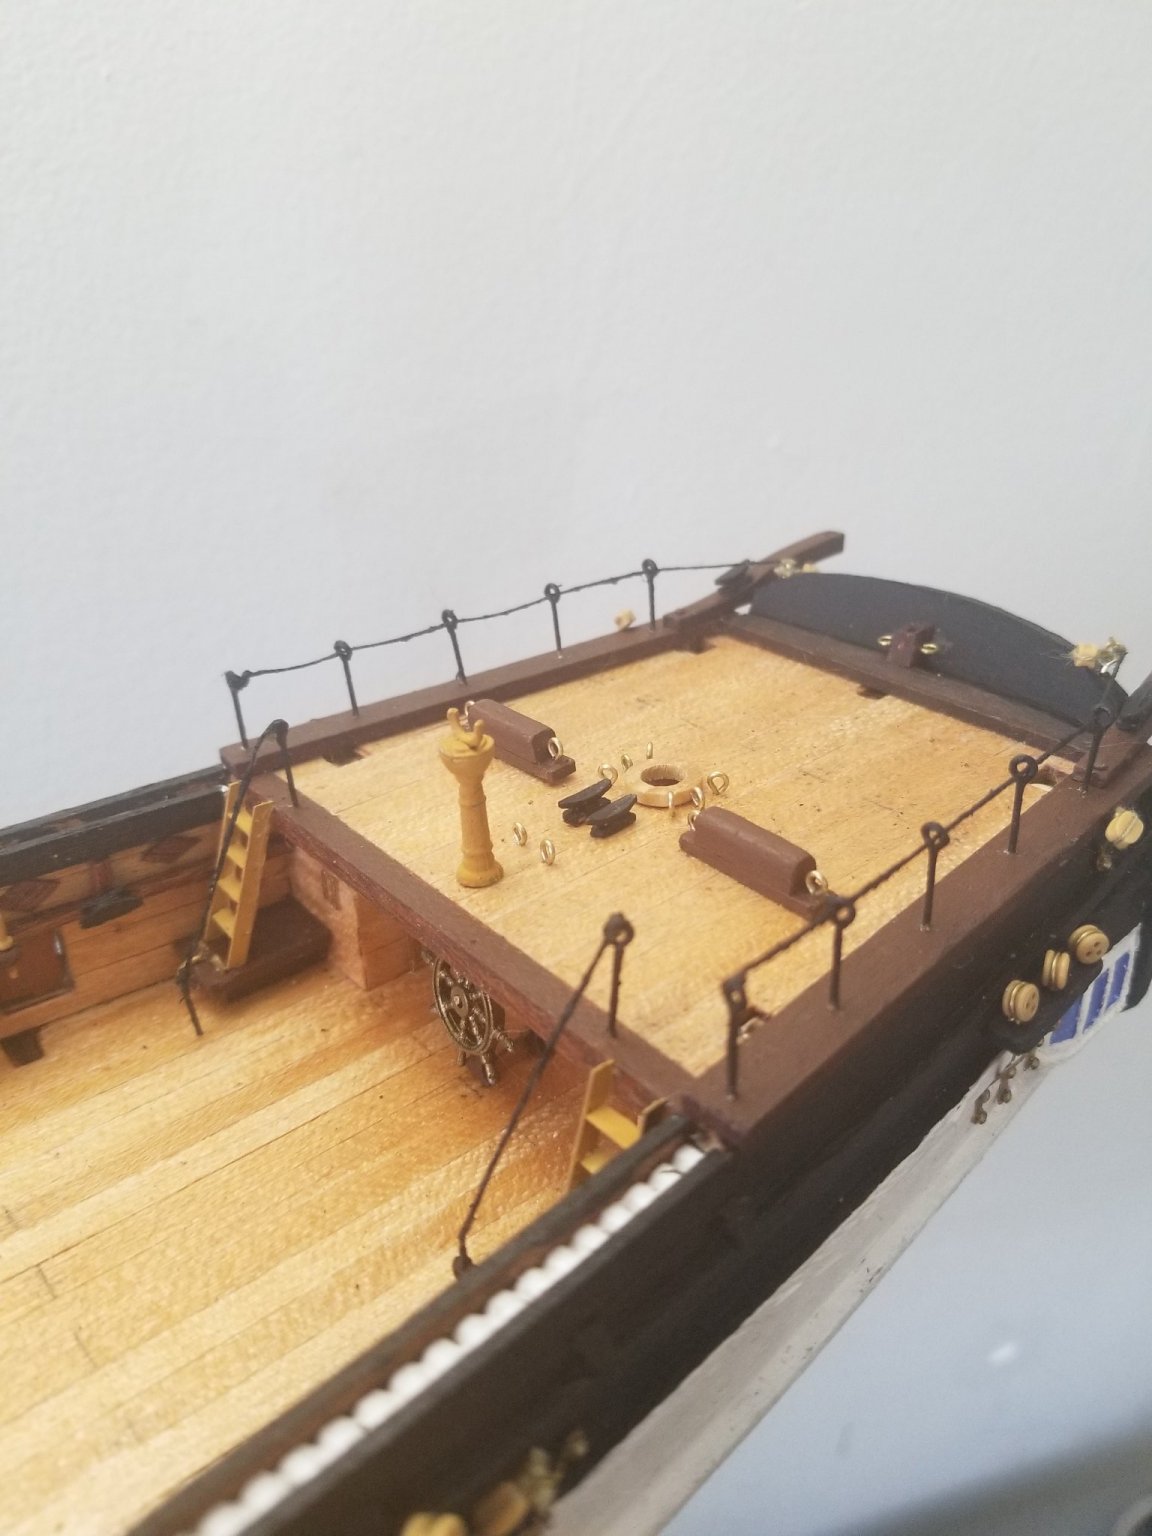
One "modification" sort of was the placement of the rope ladder up the stairs.
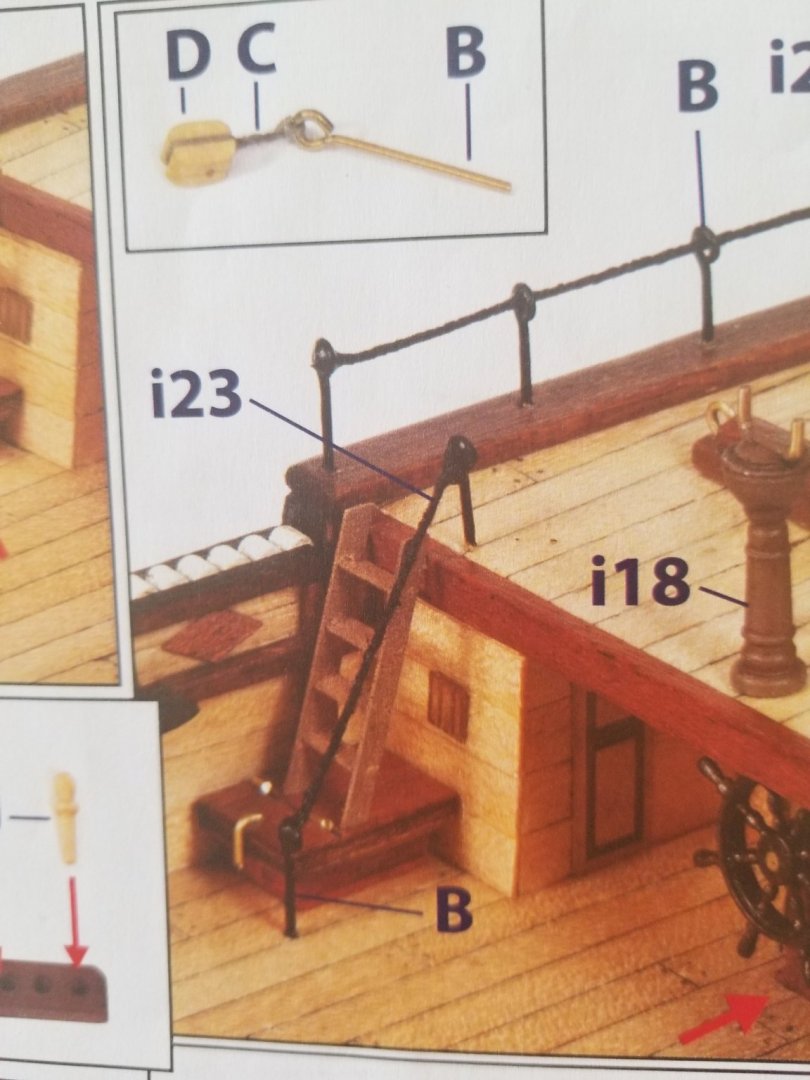
I didn't like how the instructions wanted it to end up so close to the deck.
I made it be a little more realistic where its higher so it looks like an actual rope banister.

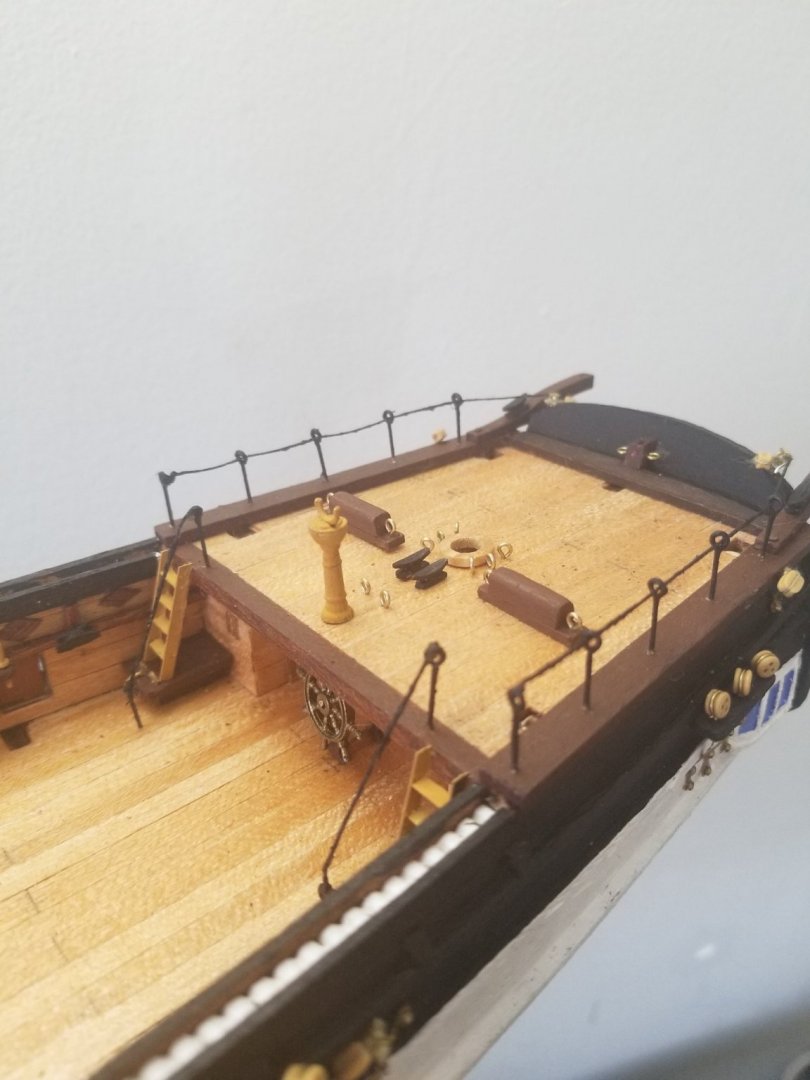
And this is a high up view of the stern I think it's coming out great and I'm very happy with how I feel I'm getting a lot of the details to look.
and some close up photos so yea this is really kind of exciting for me and sorry if this seems stupid but it's my first model so I'm like back to my childhood when I was doing my models in my living room of my parents house.
- Keith Black, Dean77, Pete D and 1 other
-
4
-
15 minutes ago, Keith Black said:
Pat, Brian, and Gary, thank you for your words of support and a sincere thank you to all for the likes.
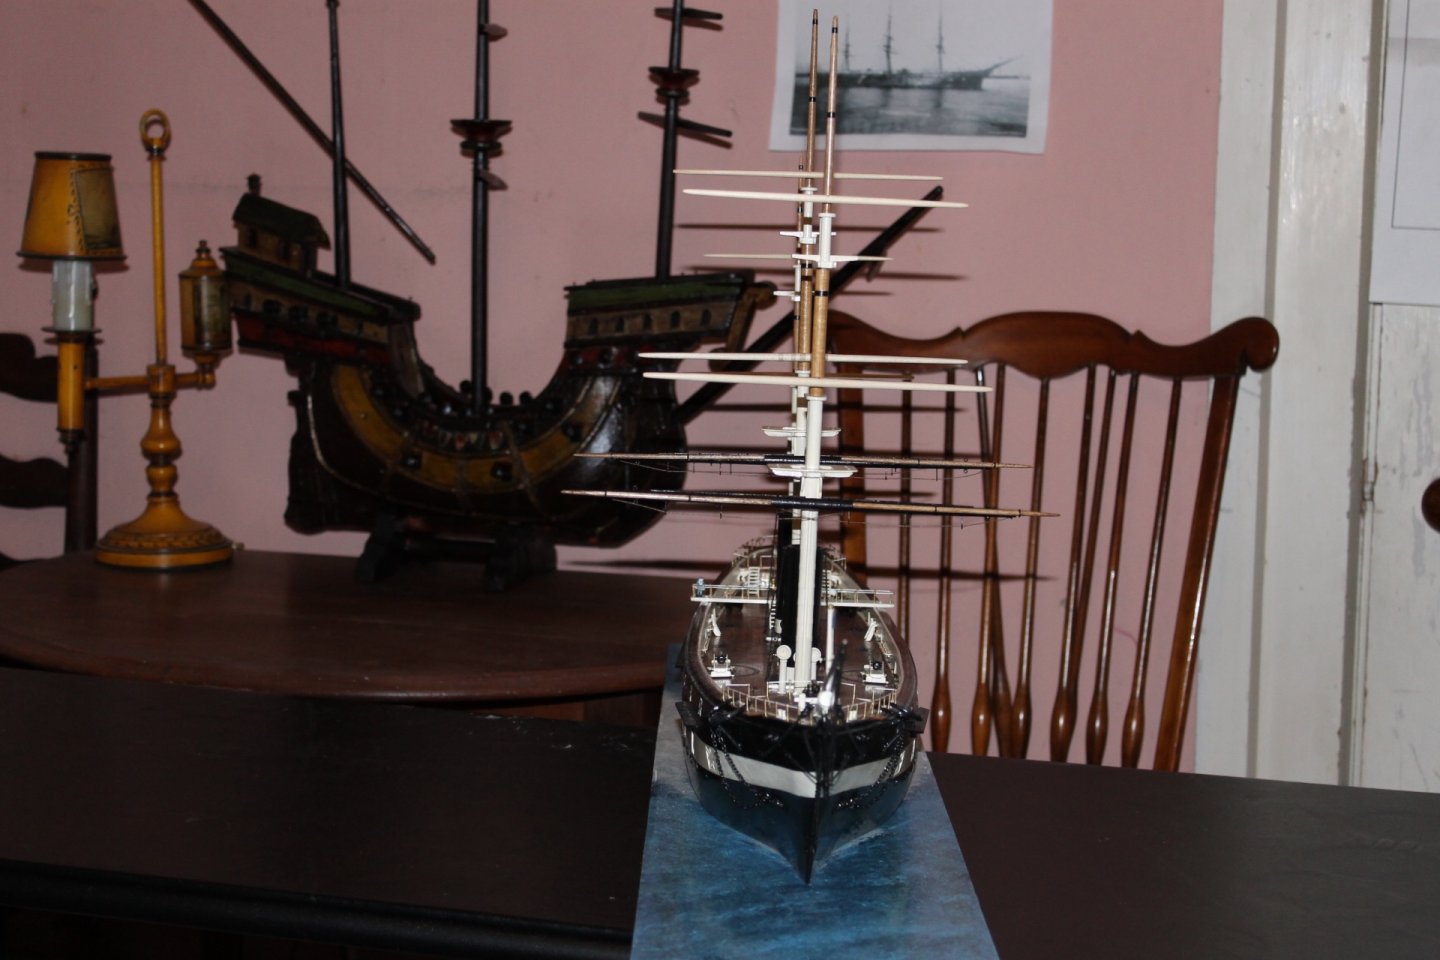
These two photos show my impatience to see the mast with all the spars attached even though the six are raw without their bits and paint. I've envisioned this moment for such a long time it's almost surreal to finally see this stage close to completion. Nothing is jumping out at me screaming "stop the presses" so it's on to getting the six tidied up. I promise better photos when the six spars are rigged and hung.
Just caught up on this build. I love the attention to detail and the focus on authenticity. I hope one day I can be as diligent and knowledgable as you are with these ships.
- Keith Black, FriedClams, mtaylor and 3 others
-
5
-
 1
1
-
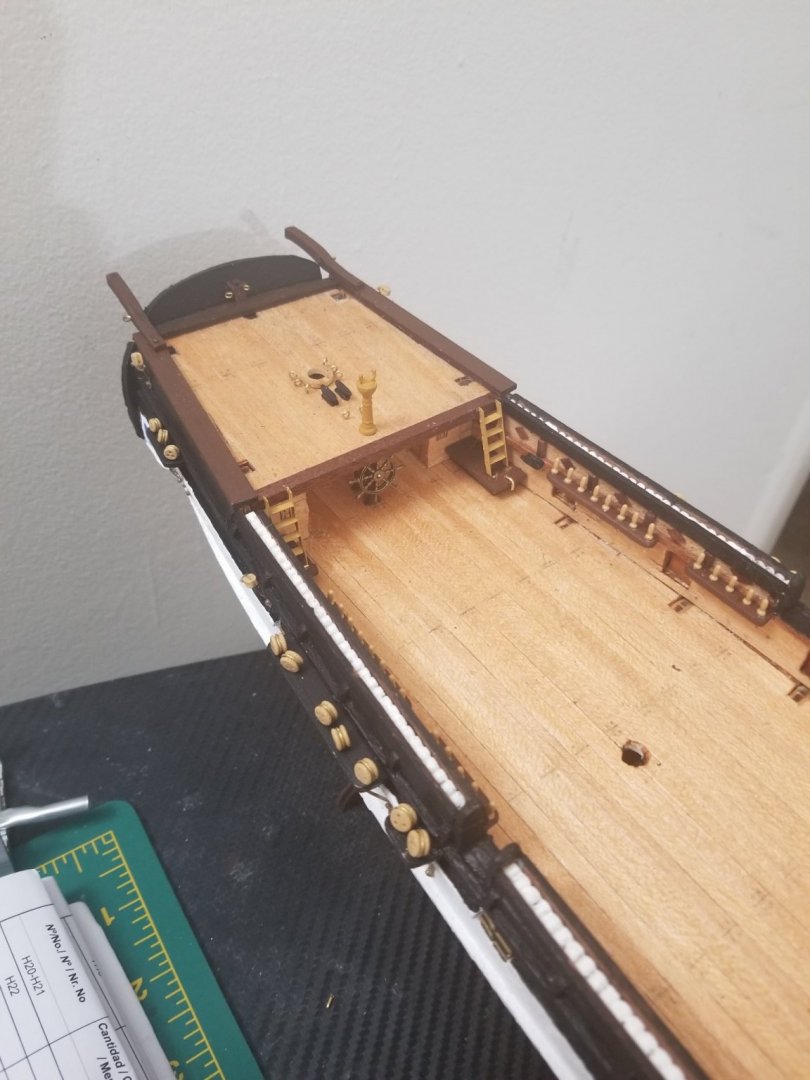
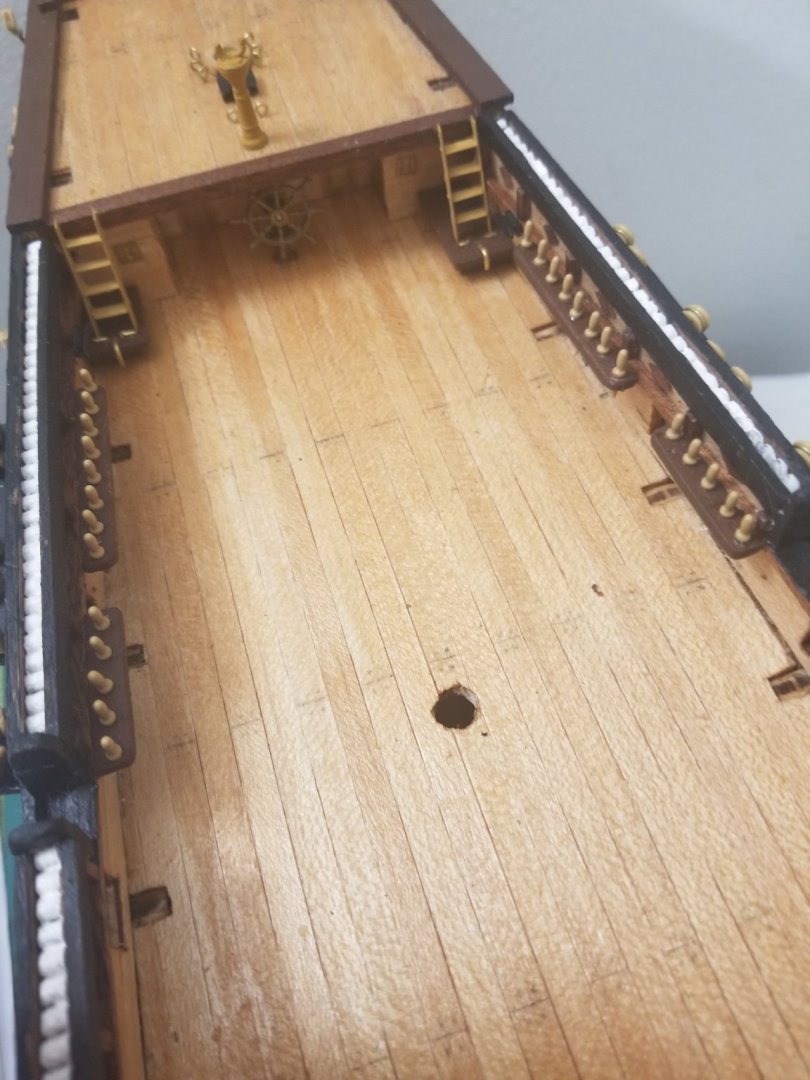
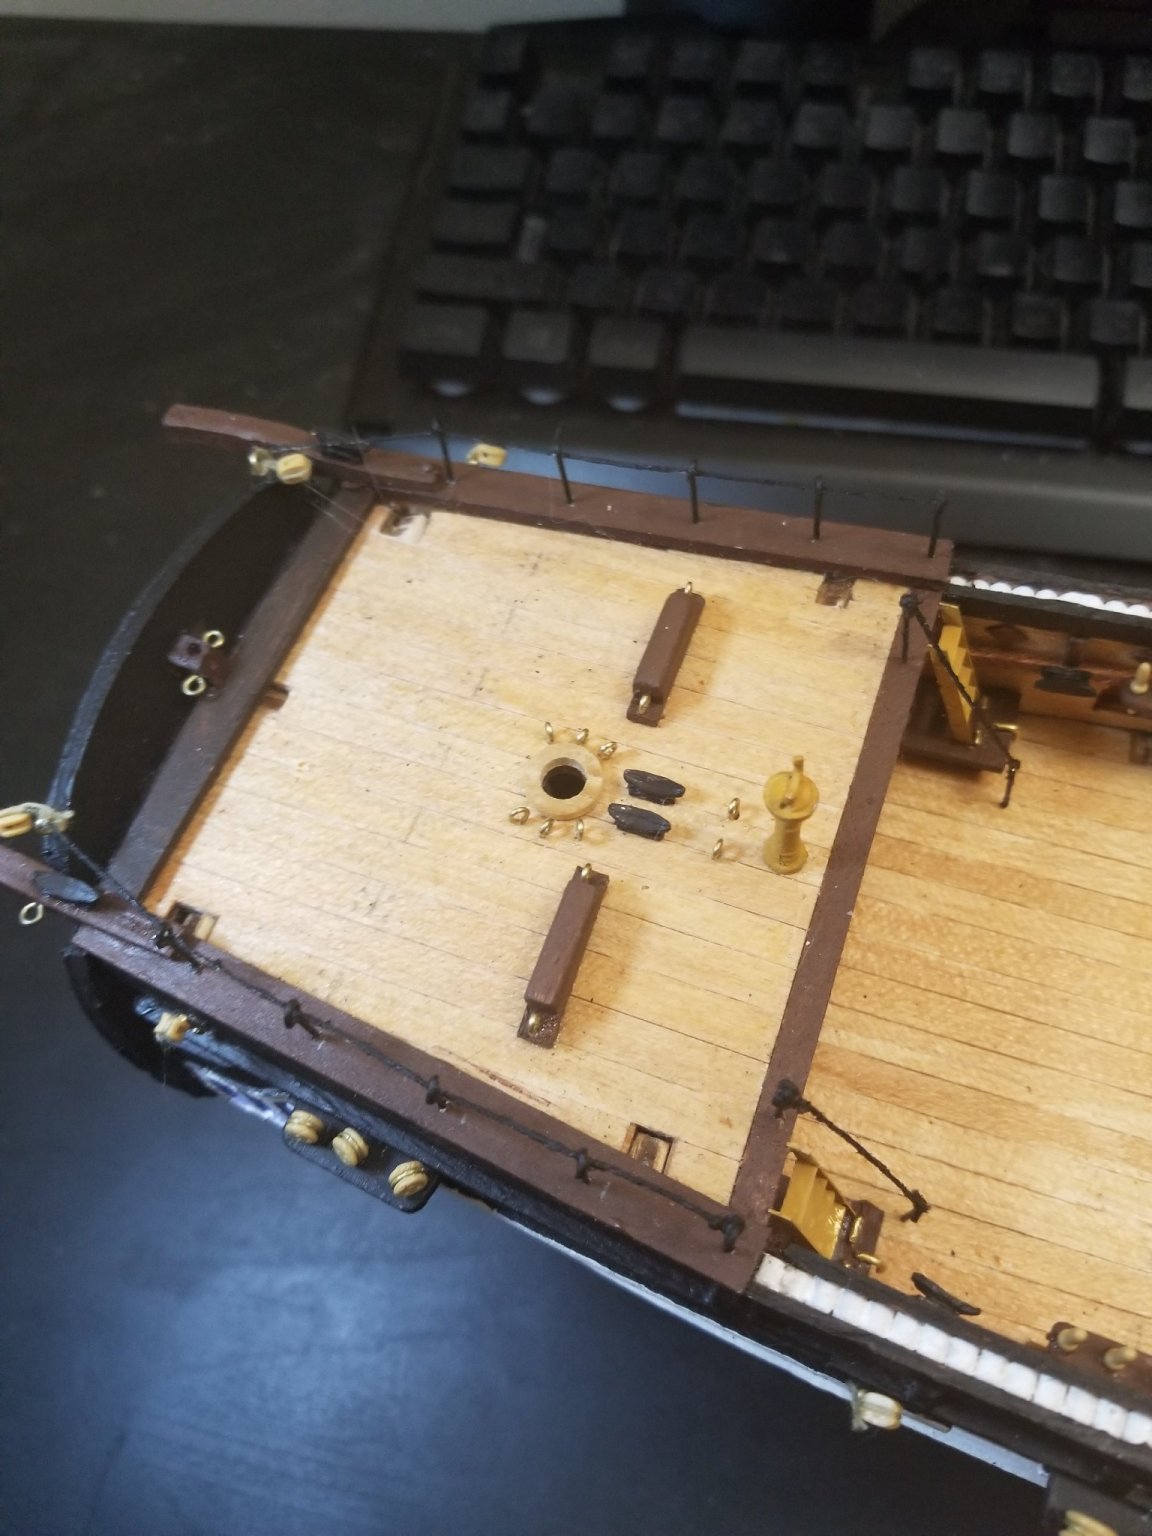
Got details done and the pin racks and wheel it was a slow day today though. However it's not a race but a marathon and I will finish 😁😁


- maddog33, Keith Black, Pete D and 1 other
-
4
-
41 minutes ago, LucienL said:
Also, AOTS has ropes tying off to anchor points at the base of the foremast. These are not present in the kit, so the lack of these could be contributing to how crowded the pin rack behind the windlass appears to be. If there’s space you could add some eyebolts around the fore mast (similar to the main mast) to tie off some of the ropes.
Cool I'm thinking I might add two eye hooks as a safety measure incase things get crowded. It's better to be safe than sorry I would say maybe @Pete D might have some insight cause he is on rigging atm
-
And then Anatomy has 10 slots needed. So I'm trying to make sure I have enough there and obviously right now, looking at the instructions, there isn't enough. I've read that the rigging on this ship is really tricky because its confusing so I want to make sure it's right the first time
-
32 minutes ago, LucienL said:
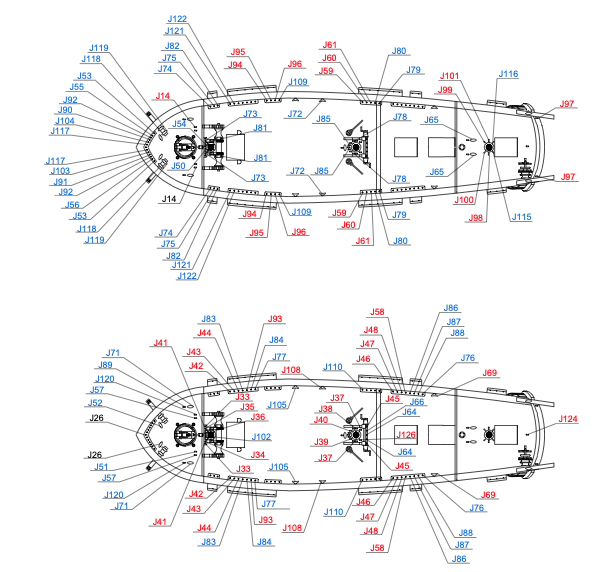

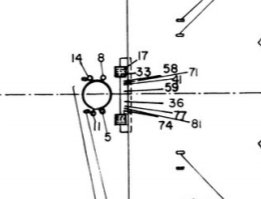
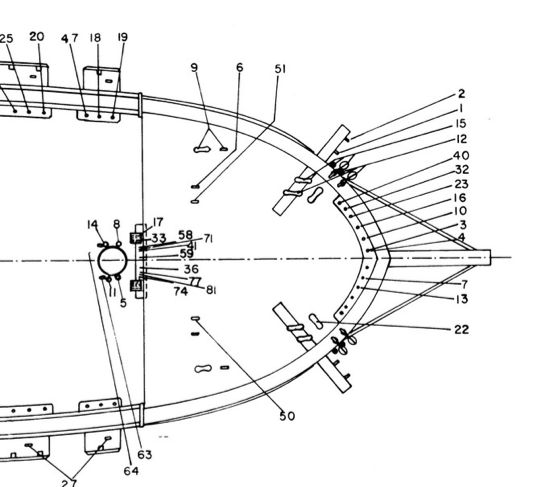
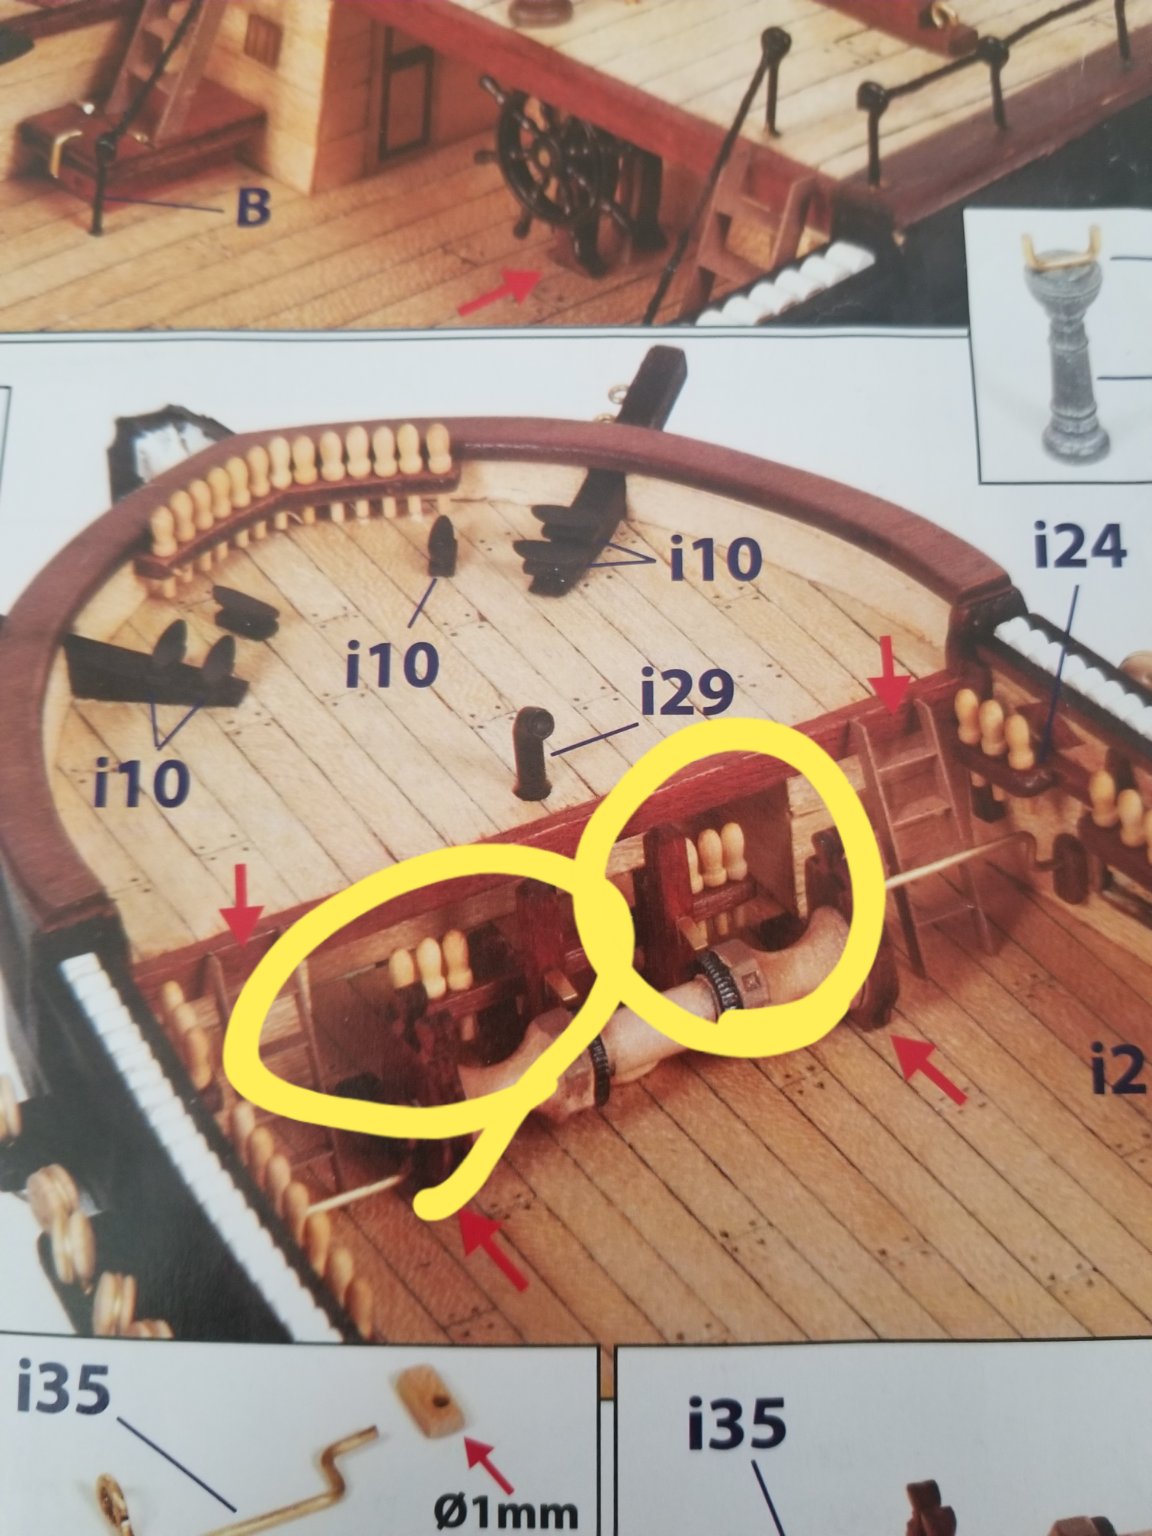
In both anatomy of the ship and the OcCre instructions, rigging needs to be tied off there, so you need something to do that with. It could have been pin racks and they just haven't included it in the diagram. Have a look at figure I4/1 in anatomy of the ship, something has to go behind the windlass that is definitely not shown in the anatomy of the ship diagram. It might be hidden by the mast in this diagram, I think that the pin rack should go in the middle of the two posts running behind the mast.
The rigging page of the instructions has it right, I think the photo instructions are probably wrong, there should be two pins on the sides of the posts and two between, that should give you the correct dimensions
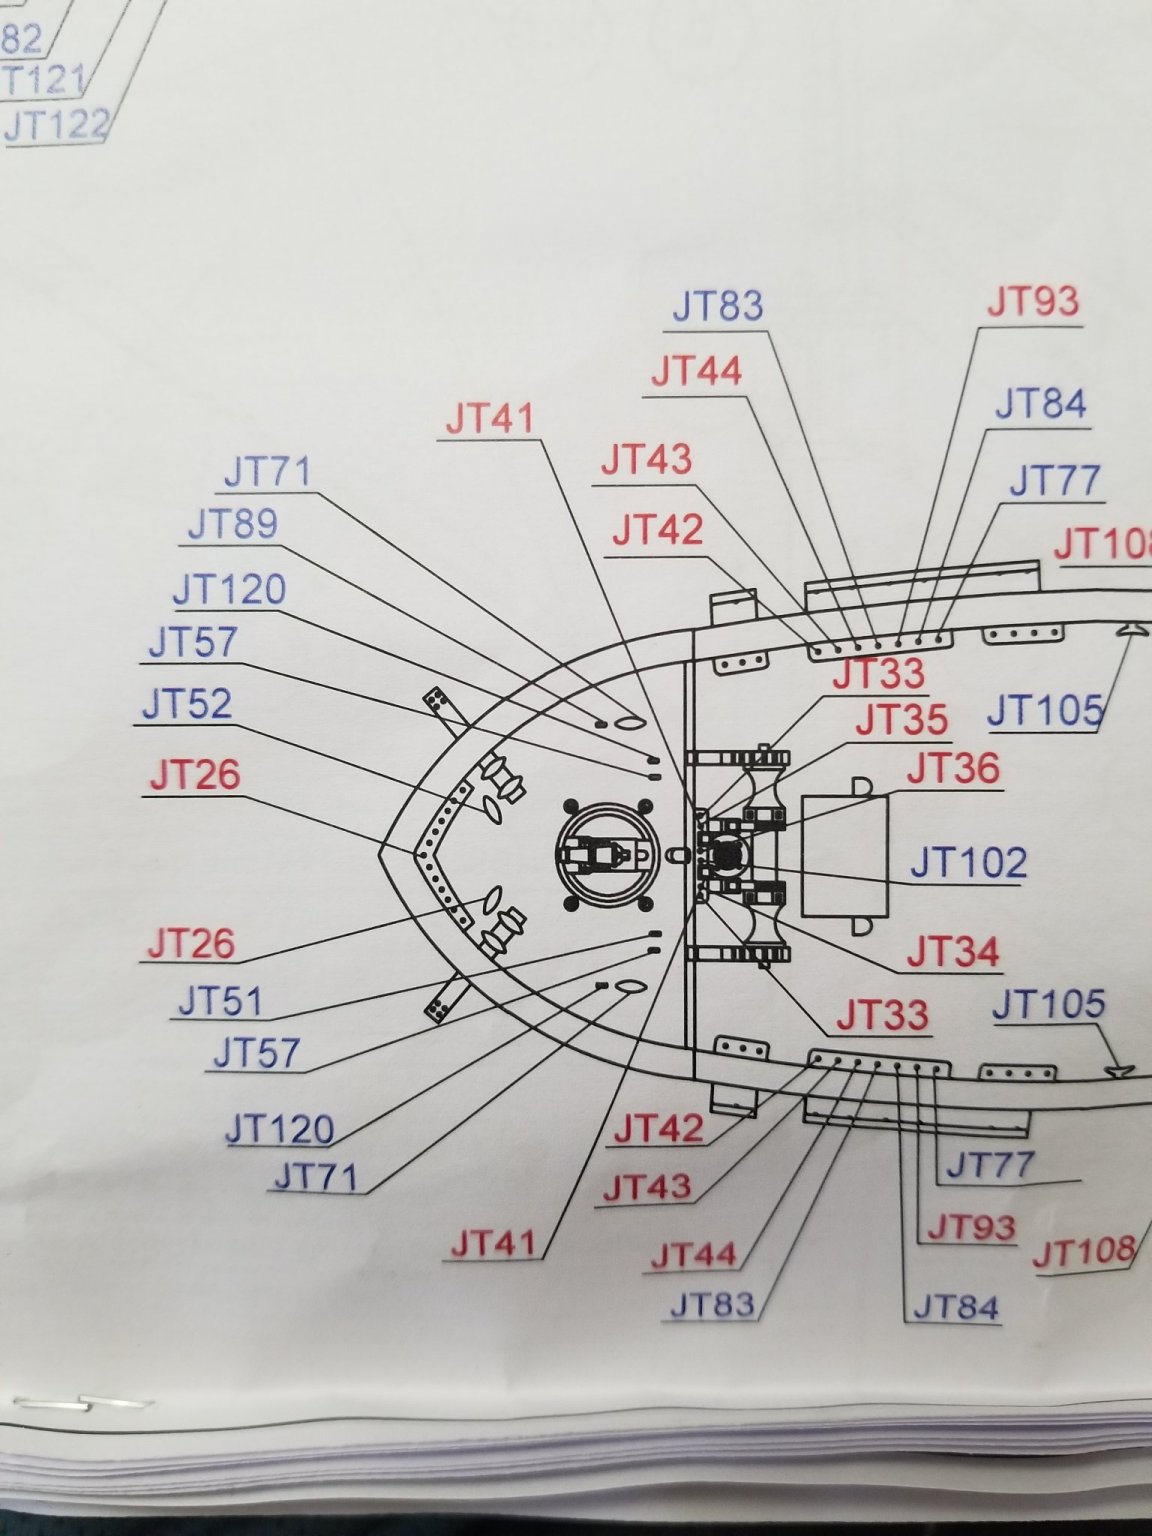
So it looks like there is 8 tie offs behind the windlass by those instructions. Jt102 jt34 jt33 jt41 jt41 jt 35 jt36 and another jt33. So should we have that many pins in the rail?

Or am I looking at the wrong one?
-
1 hour ago, Keith Black said:
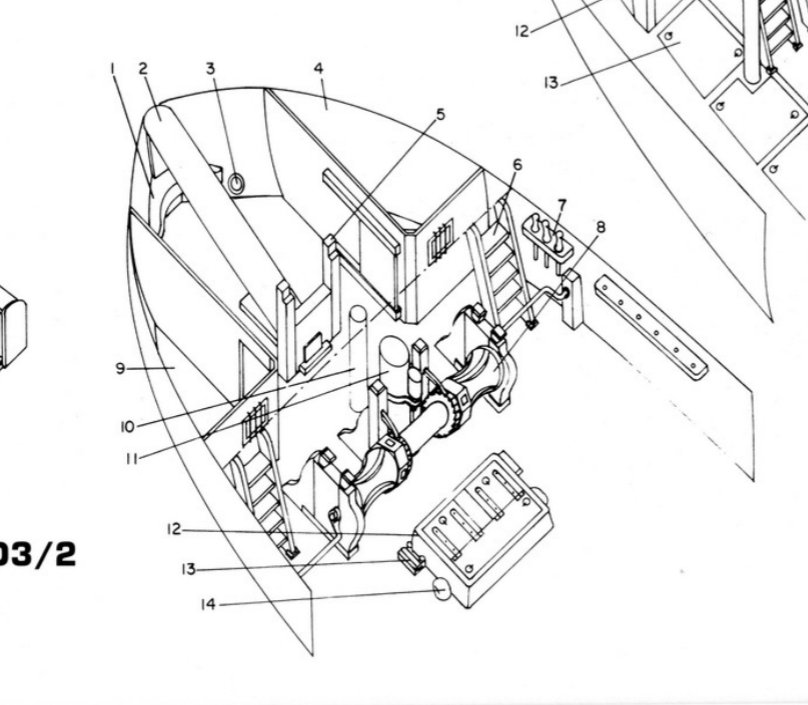
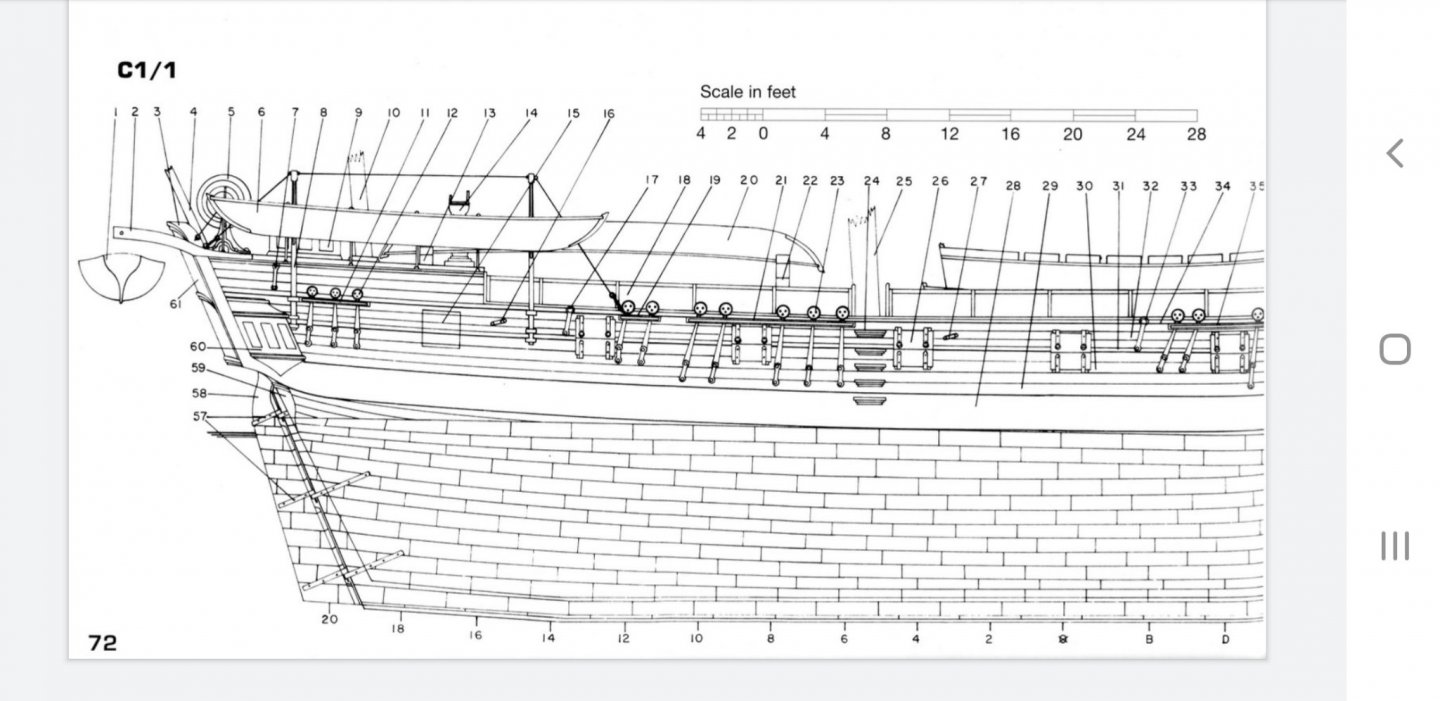
In figure 13/2 inboard of the ladders it looks like a window, maybe? or pin rails?, it's hard to tell by the drawing. Obviously OcCre interpreted them as being pin rails.
Those are windows that I have already installed. I think OcCre added the pin rails as a personal flare maybe.
-
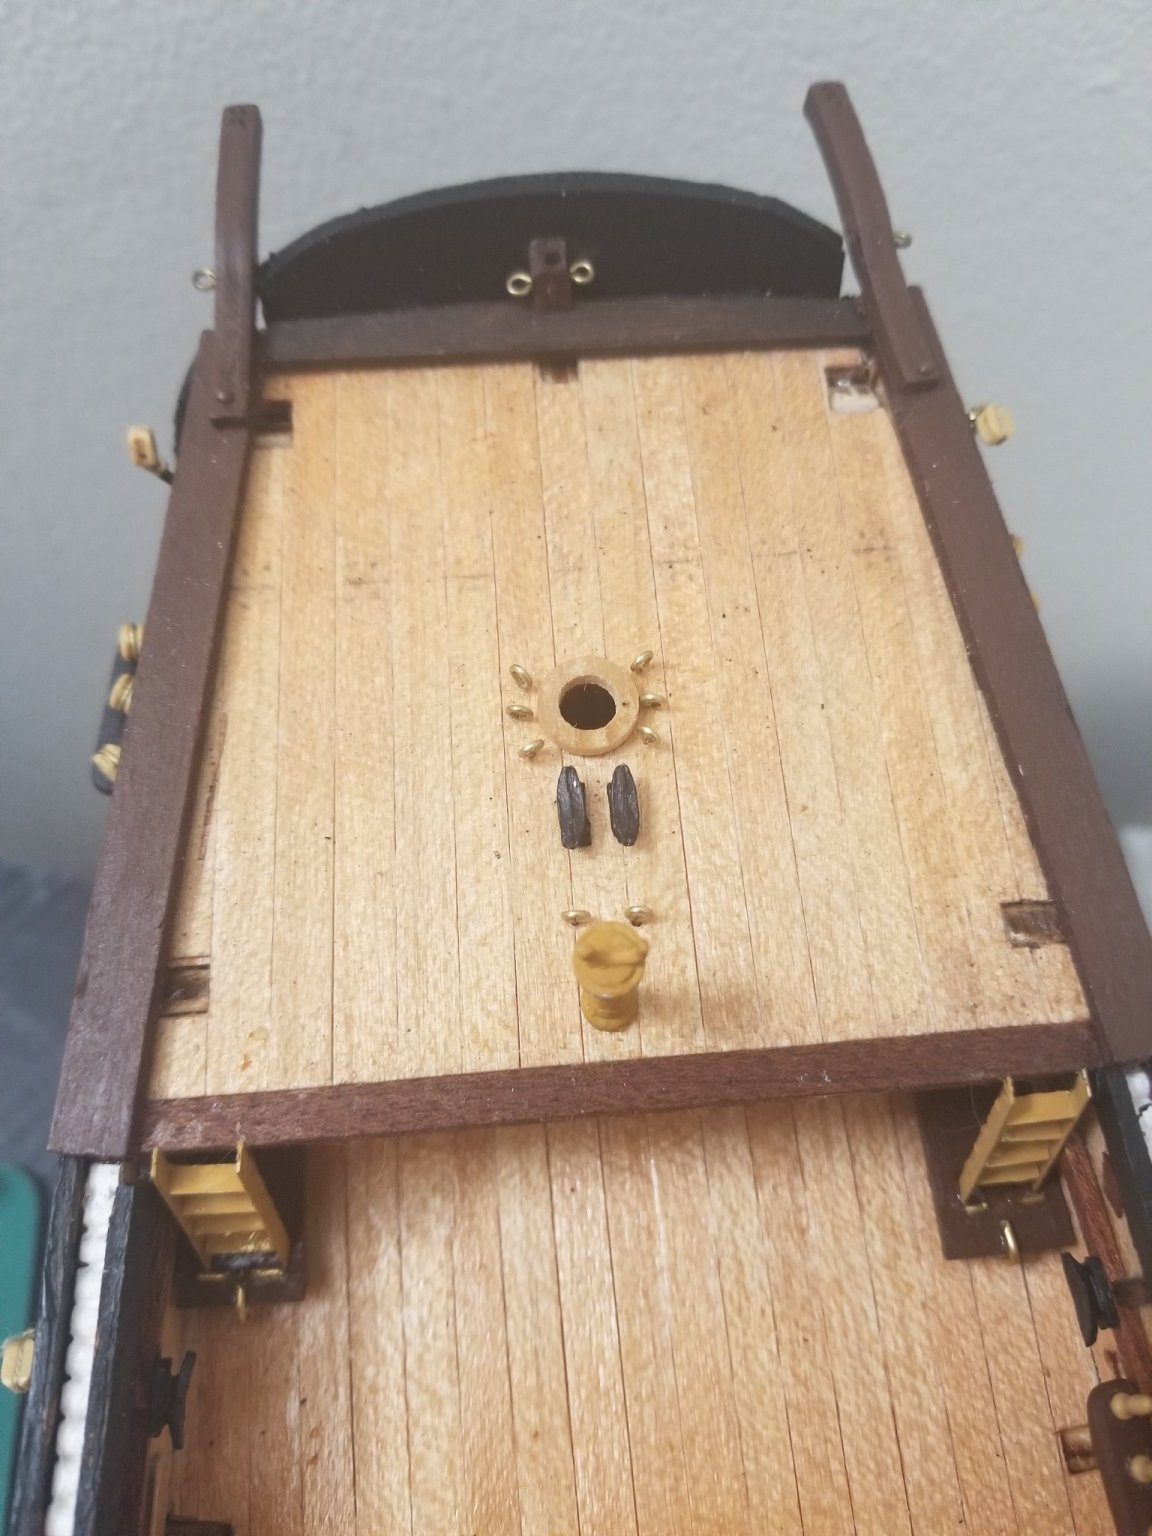
So I have a question. In the instructions I'm seeing two pin rails directly behind the windlass

But in the Anatomy of the Beagle there is no mention. Is this a historical accuracy error in the model or miss interpretation in the book?

-
Welcome to the fun house my friend!!
- mtaylor, Keith Black and JeffT
-
3
-
2 hours ago, Cathead said:
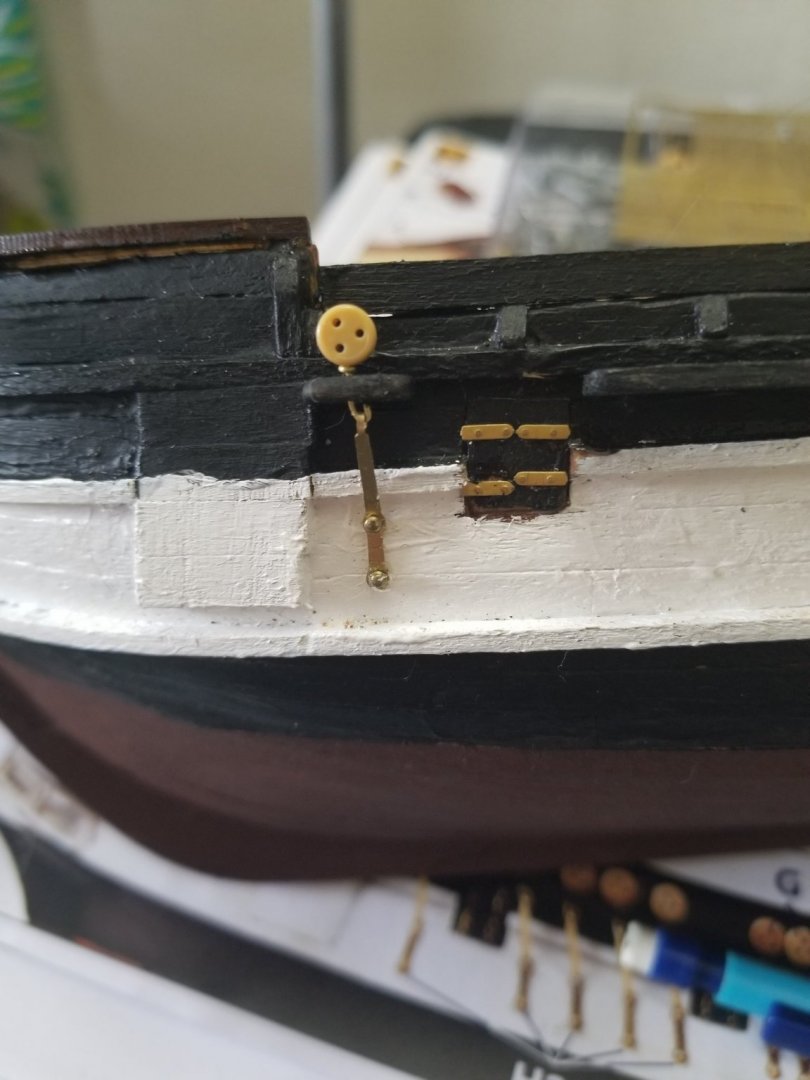
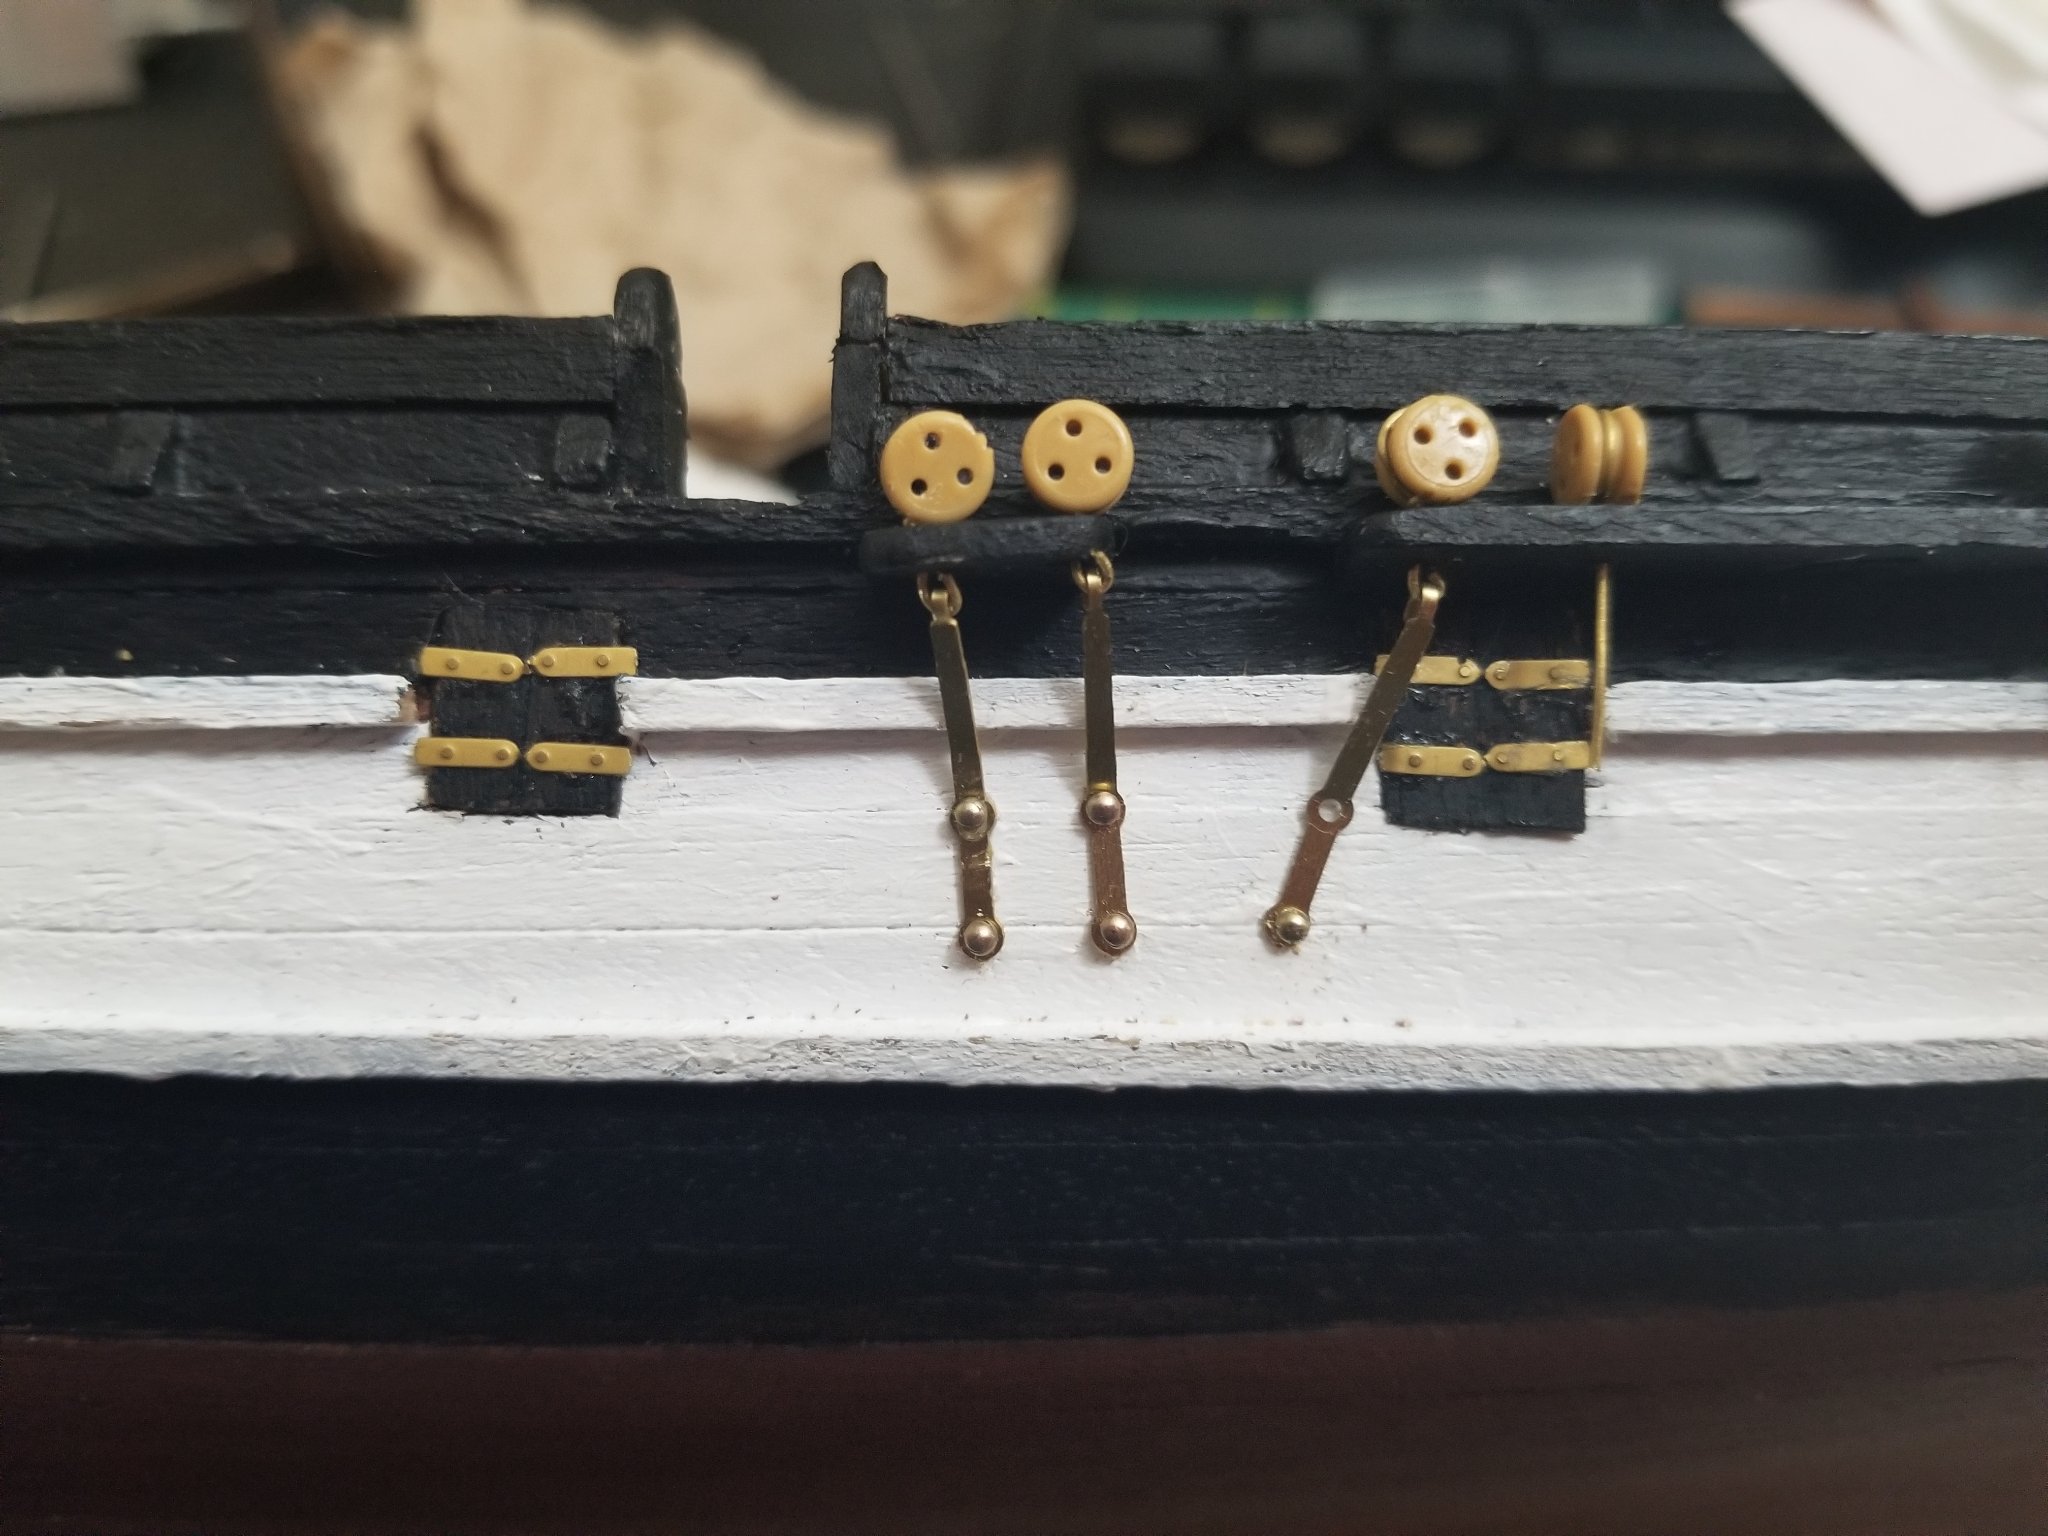
Another detail you might consider, look closely at the deadeyes in the drawings given previously. Deadeyes are always rigged in the same orientation, with the point of the triangle of holes facing down for the lower deadeye and up for the upper one. They should "face away" from each other in a matched pair, like two triangles pointing away from each other. This is not only "right", it will also make the rigging easier and cleaner. Not sure if this is easy for you to fix or not, but wanted to point it out. Sorry I'm just catching up now, may be too late.
One other small note, it's "wale" rather than "whale" when referring to that part of the ship. Not being a nit-picker, just pointing it out since you're enjoying learning from this build and using correct terminology is part of the fun and experience. It can also make it easier for others to help you!
Keep up the good work!
Thank you and yes I dont mind. I'm using my cellphone so it auto corrects it a lot so I'm having to force it to use the correct terms cause it's not in its library. I've actually gone into the book "anatomy of the ship" for the Beagle to try and learn terms as I'm talking. And there is some ability to fix the deadeyes pretty easy.
-
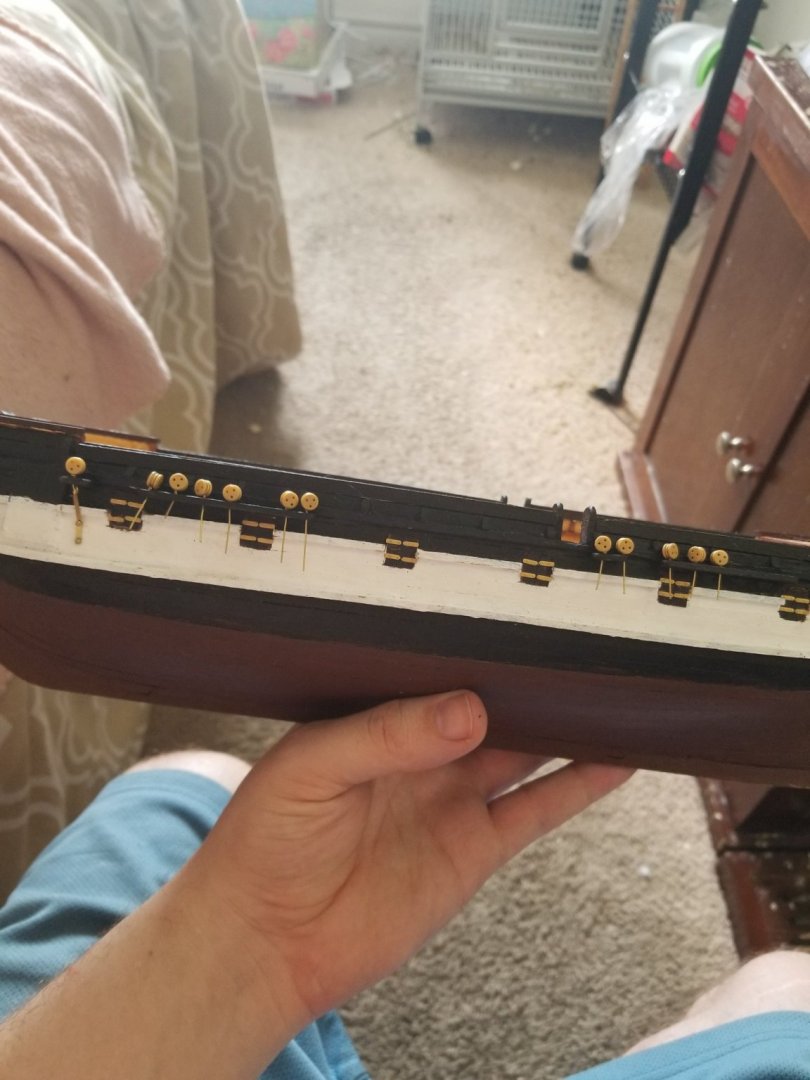
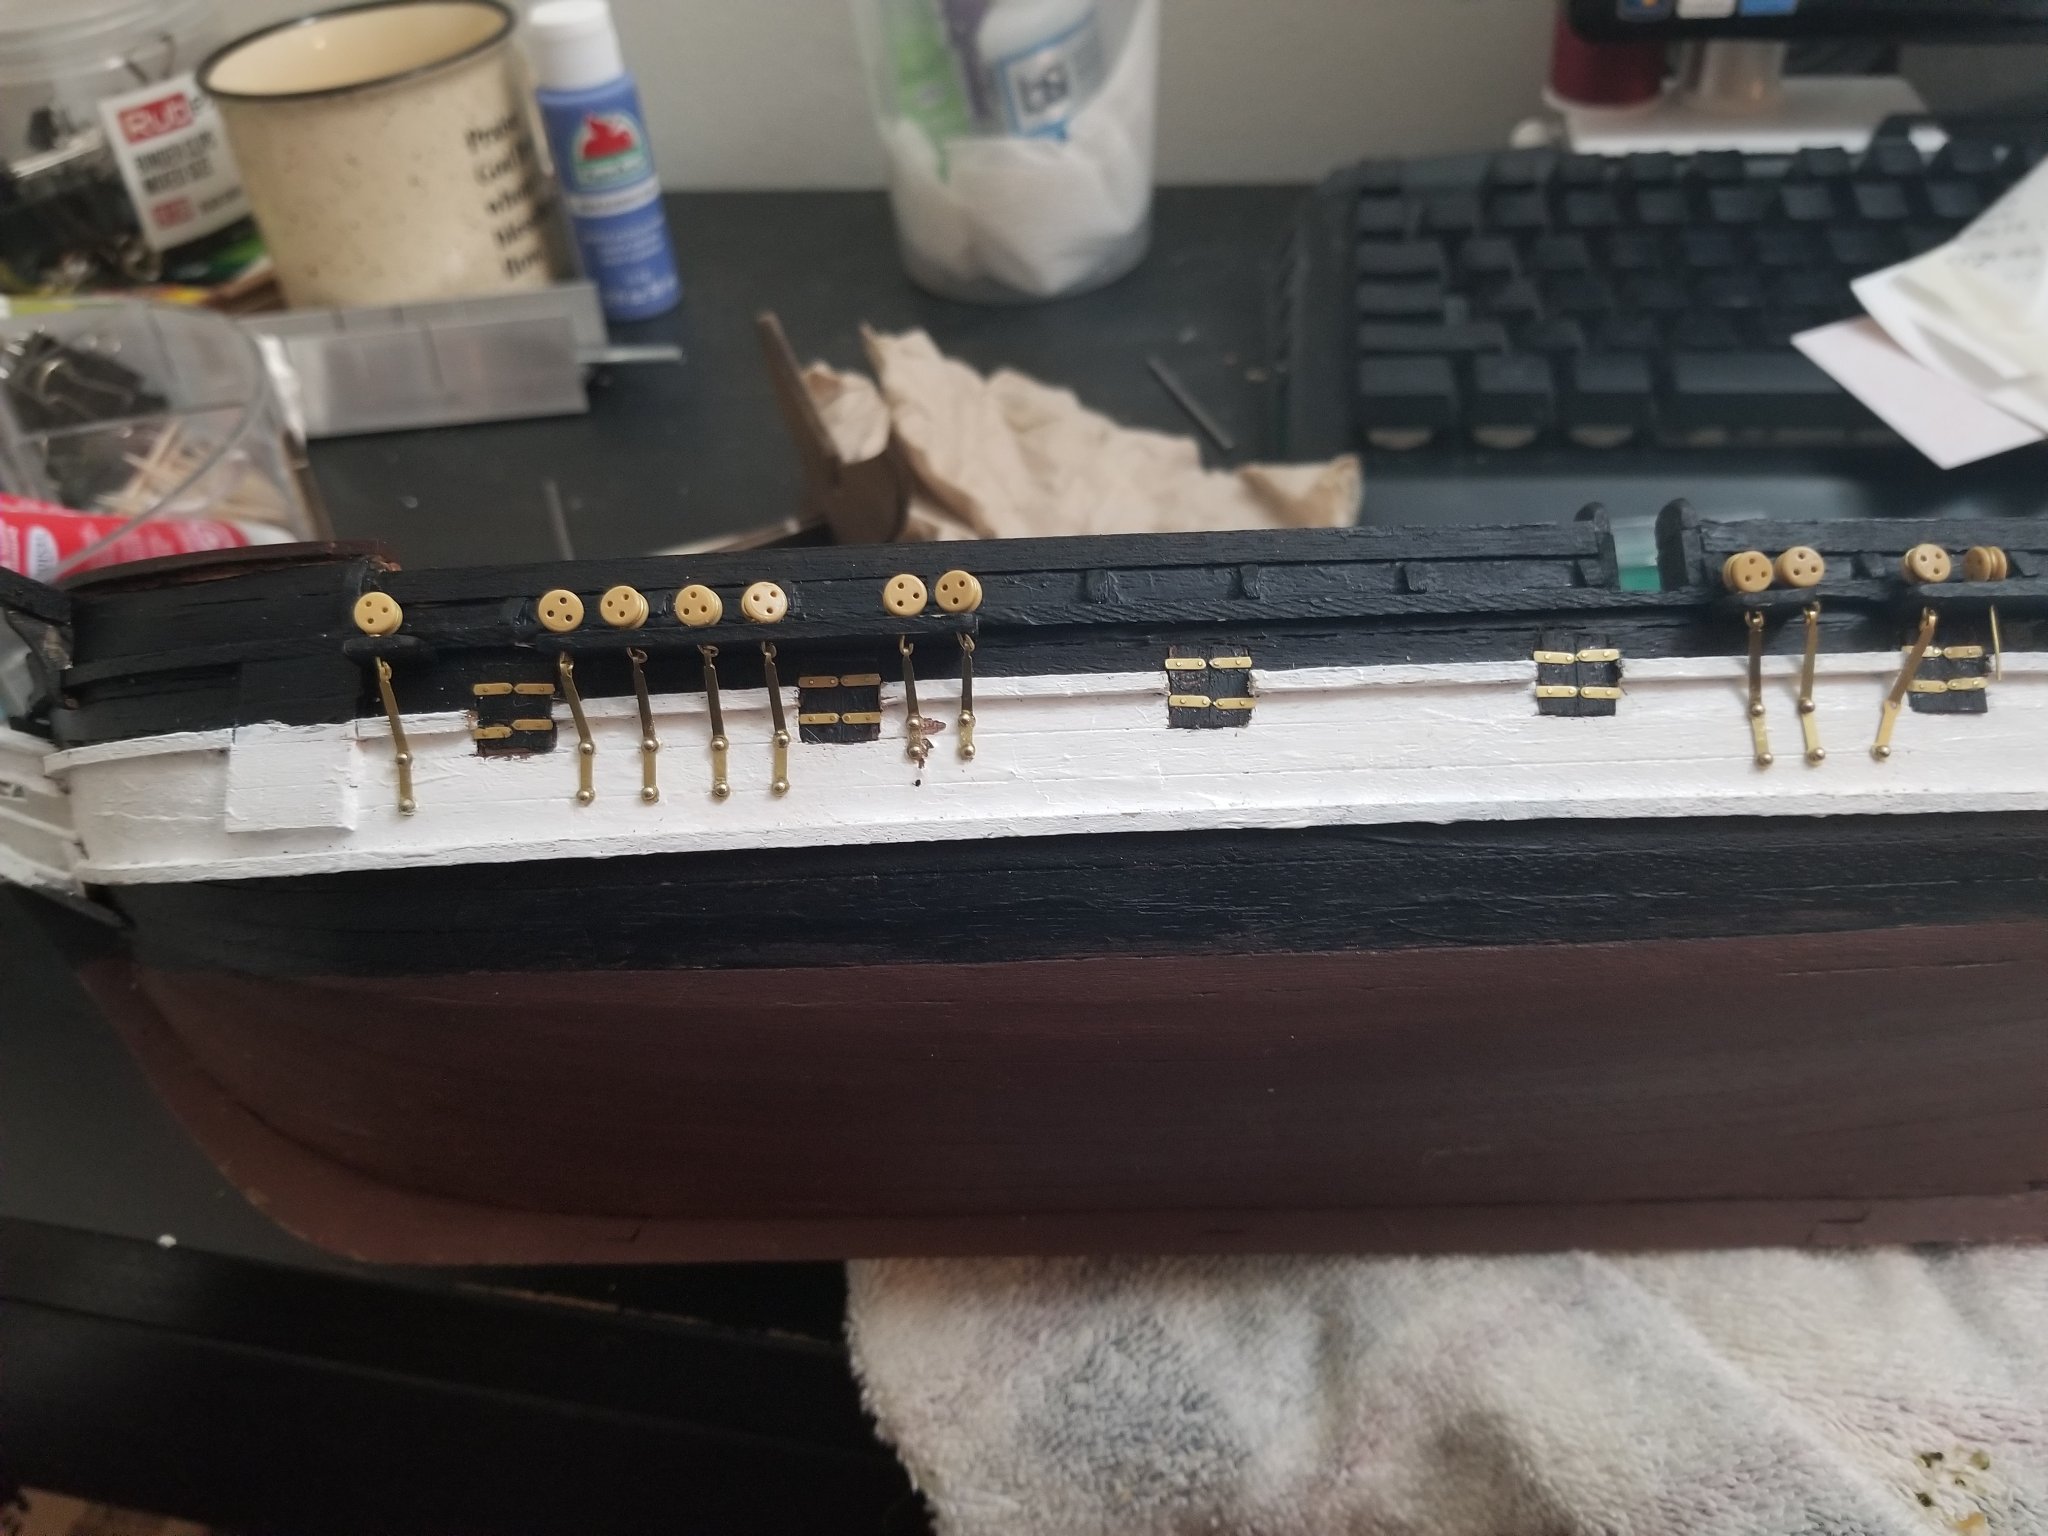
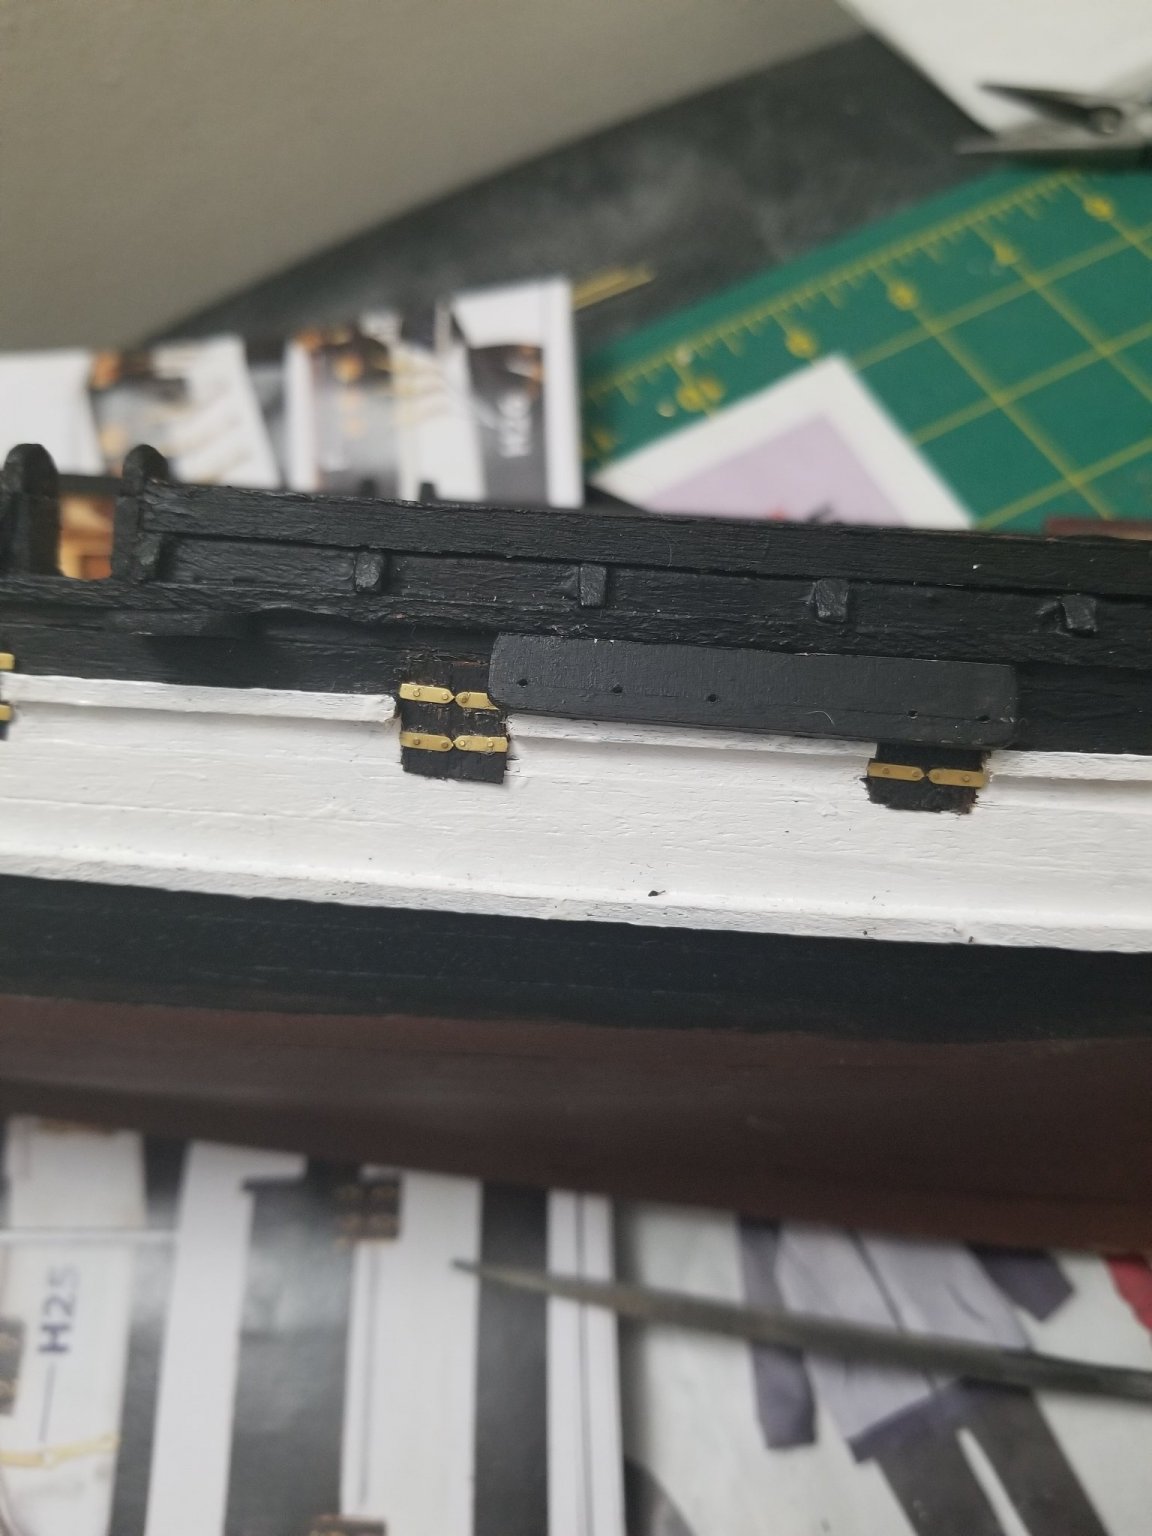
Got the other side of the ship deadeyes straps done and then did some of the small detail pieces. Gonna push through page I and see where I can get to with the rest of my vacation.
- Dean77 and Keith Black
-
2
-
6 hours ago, Keith Black said:
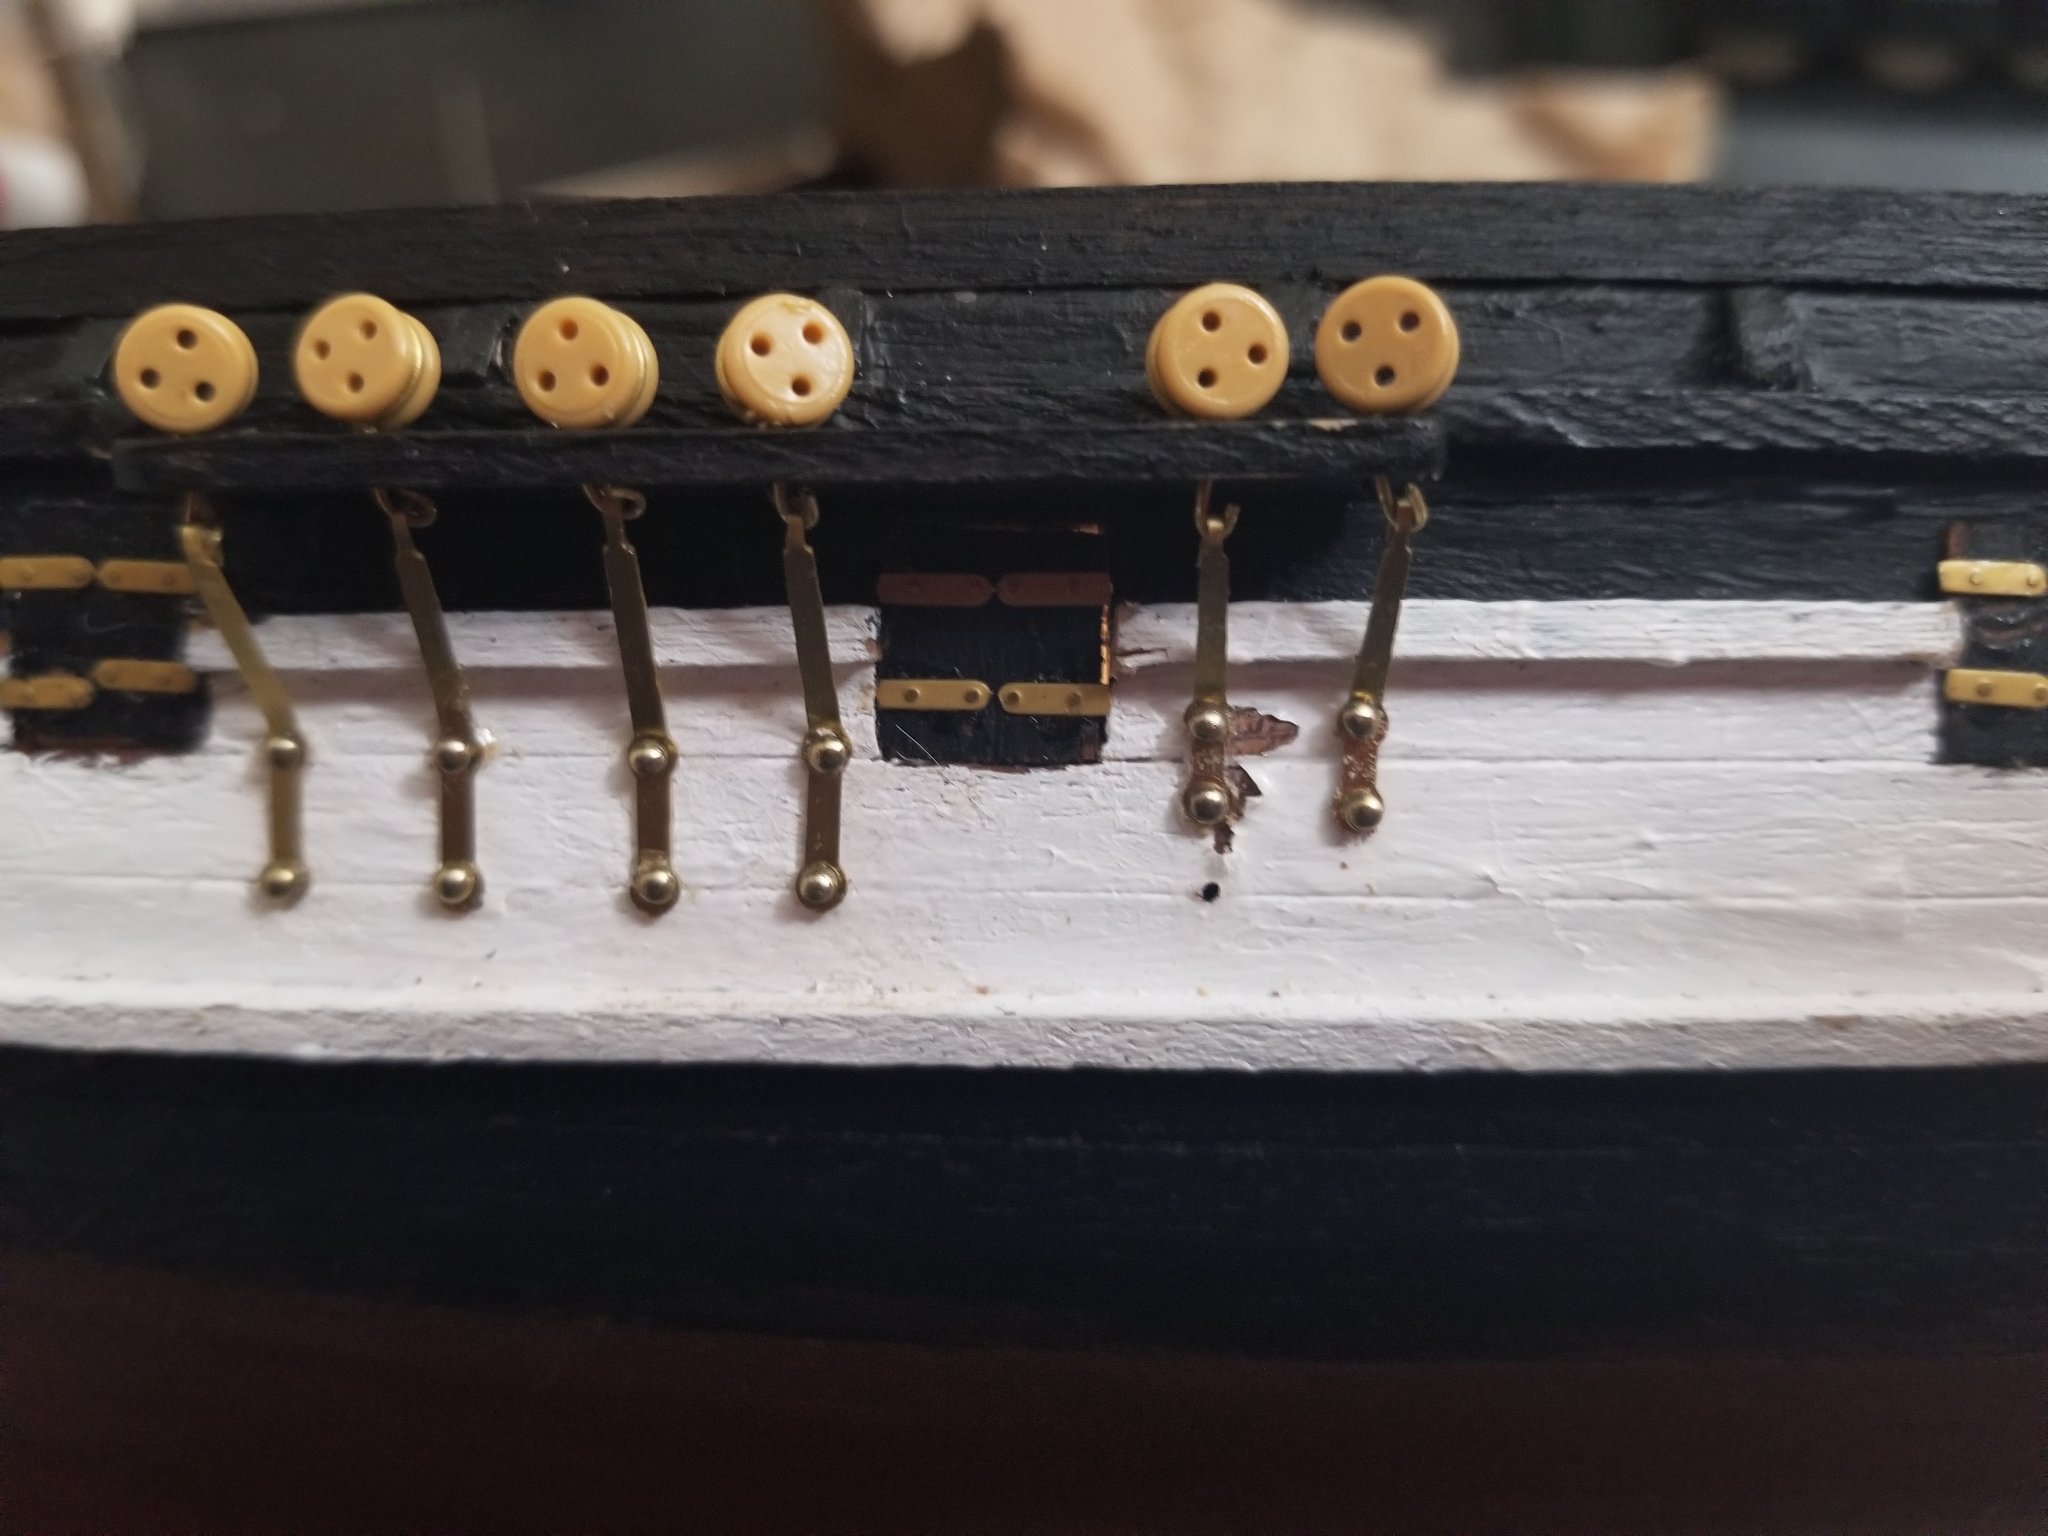
Maliba, FYI. Notice In the illustration above, notice how the deadeye straps toward the stern run at an angle like so, / and gradually become straight up and down like so, I the closer the shrouds and straps get to the mast? See illustration below. This allows the pull/load of the shroud lines to be aligned with the straps. It's a very small detail but something you need to be aware of for future builds.

Ok so it's a gradual progression not having all of them straight. So I have only done one side of my ship should I follow this sequence for the other side you think or should I make sure to do it right in the next build just for uniformity in this particular build?
@Techtonic @LucienL I appreciate your guys feedback and answers. I wish i would have figured this out sooner but now it's my inexperience that's coming through and lack of research. I'm thankful though to learn and get help from all you guys!!
- Pete D and Keith Black
-
2
-
@LucienL I have a question I just downloaded the anatomy of the ship for the Beagle and I was looking through the diagrams and the OcCre instructions aren't the same as the book.
Should I be switching the the 5 slot and the two slot to make it correct? Or is the OcCre correct?
-
-
2 hours ago, Dean77 said:
Thank you, you are doing a cracking job on your Beagle too!
It's good to take it slowly and to think things through, I've found when I rush ahead and don't look at the next few steps that is when I make the mistakes.
Amen to that.
-
44 minutes ago, Pete D said:
You should have enough of the brass , its the 1mm diam that they were short on . Looking great so far
Ok that's good to know and I still have 15 cm of 1mm brass so I might just make it with that. Yours is looking amazing too btw.
- Pete D and Keith Black
-
2
-
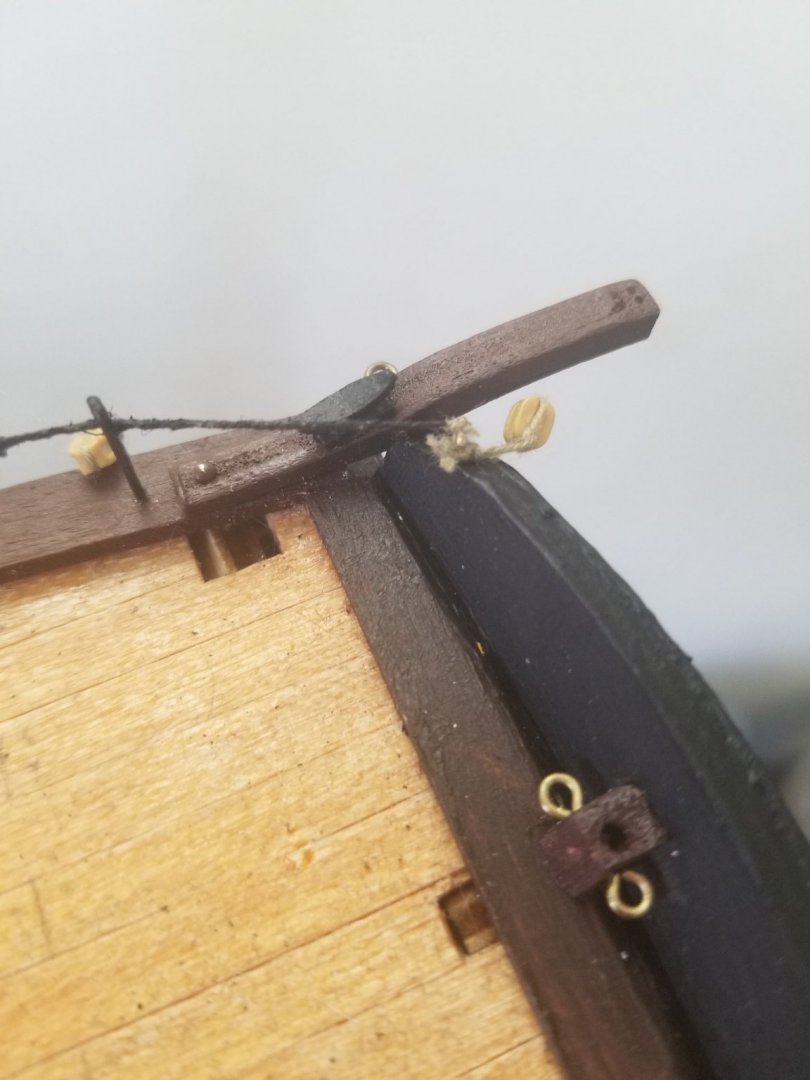
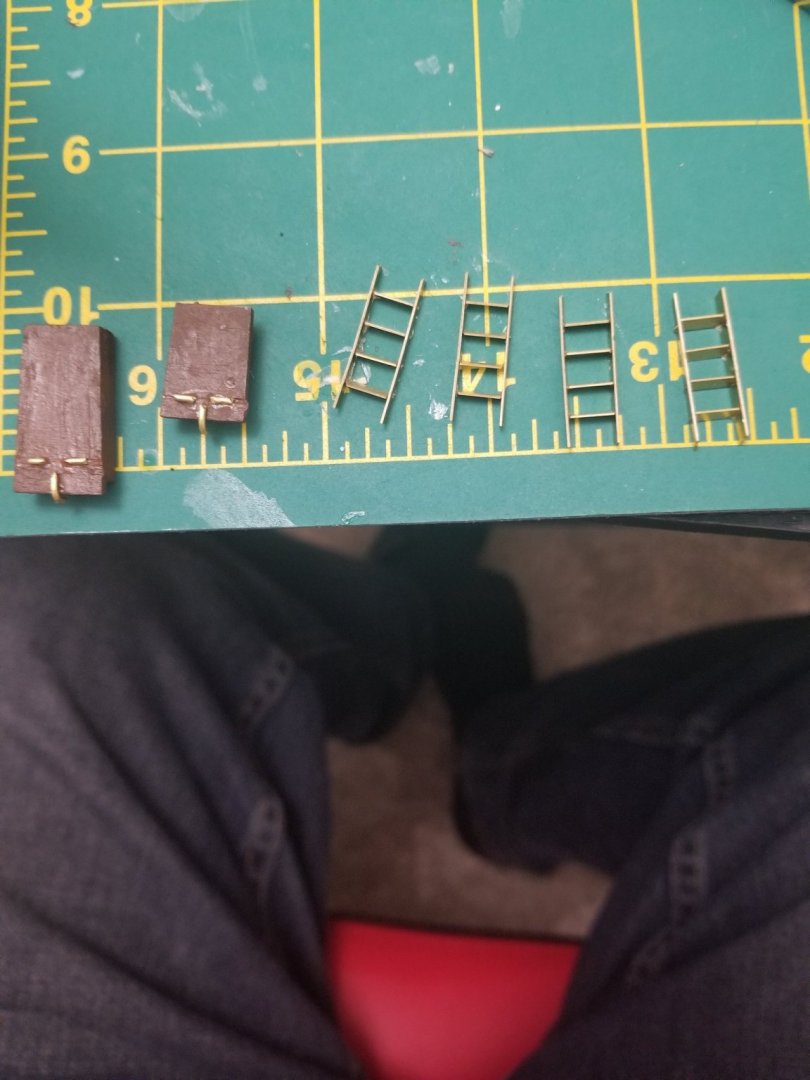
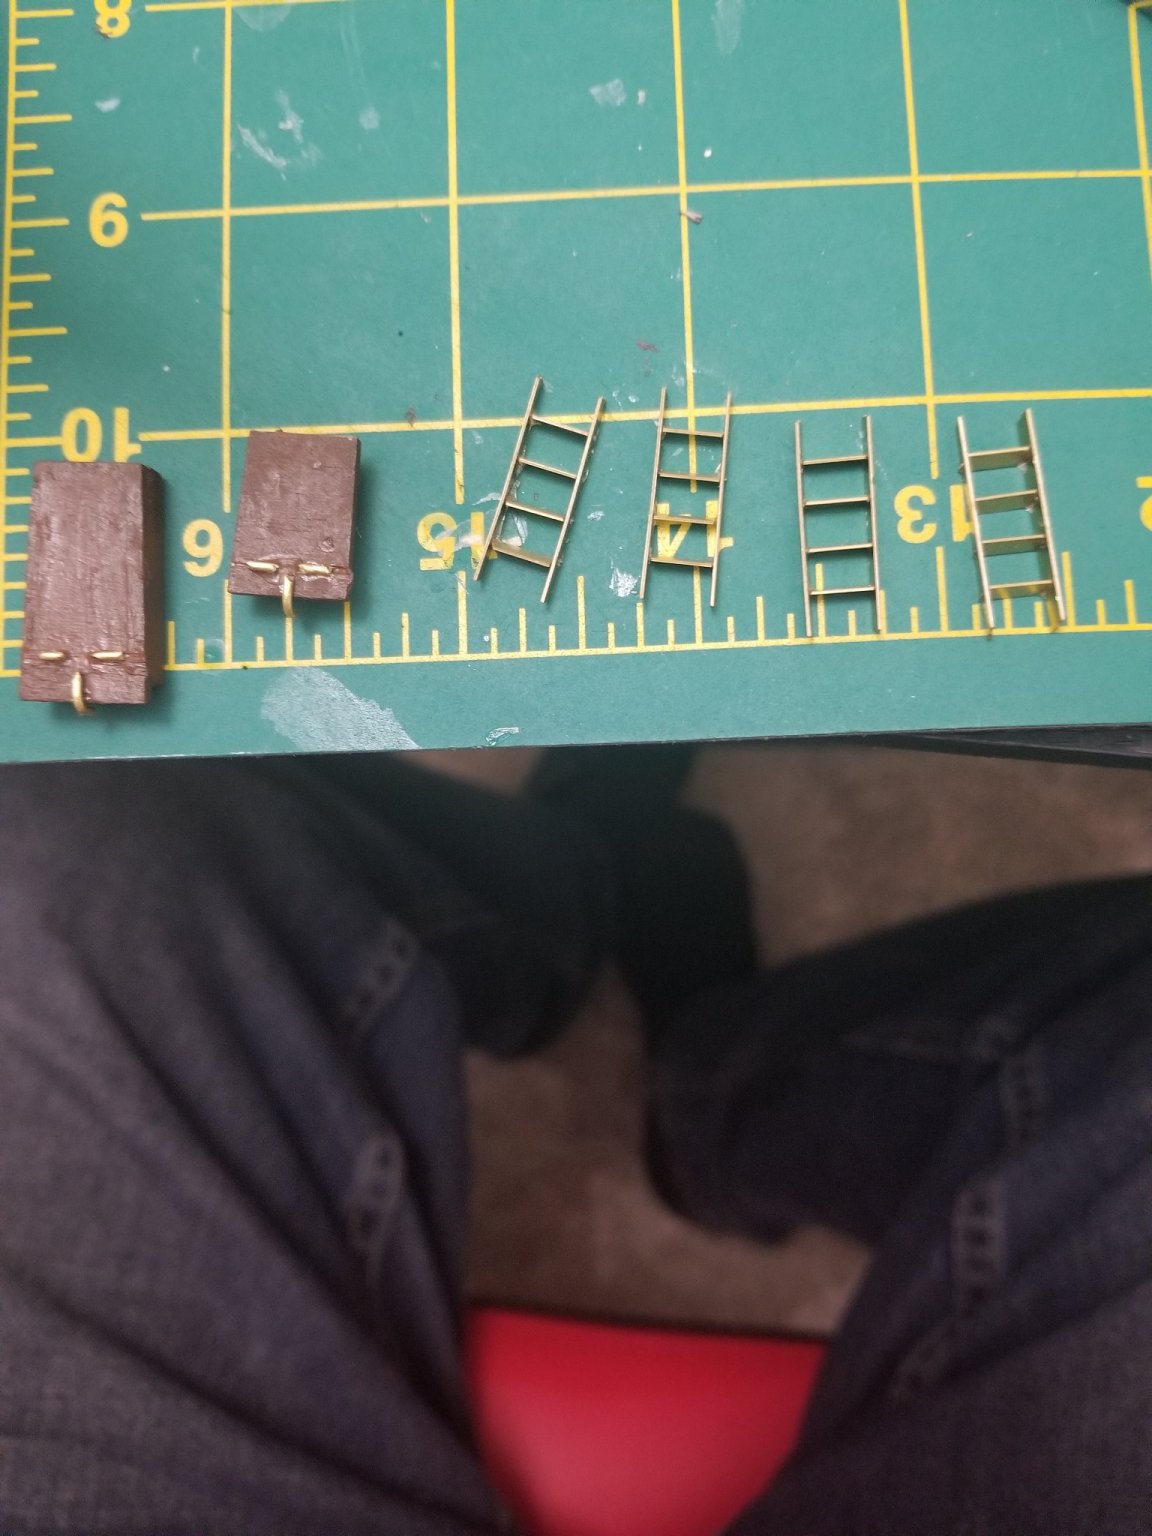
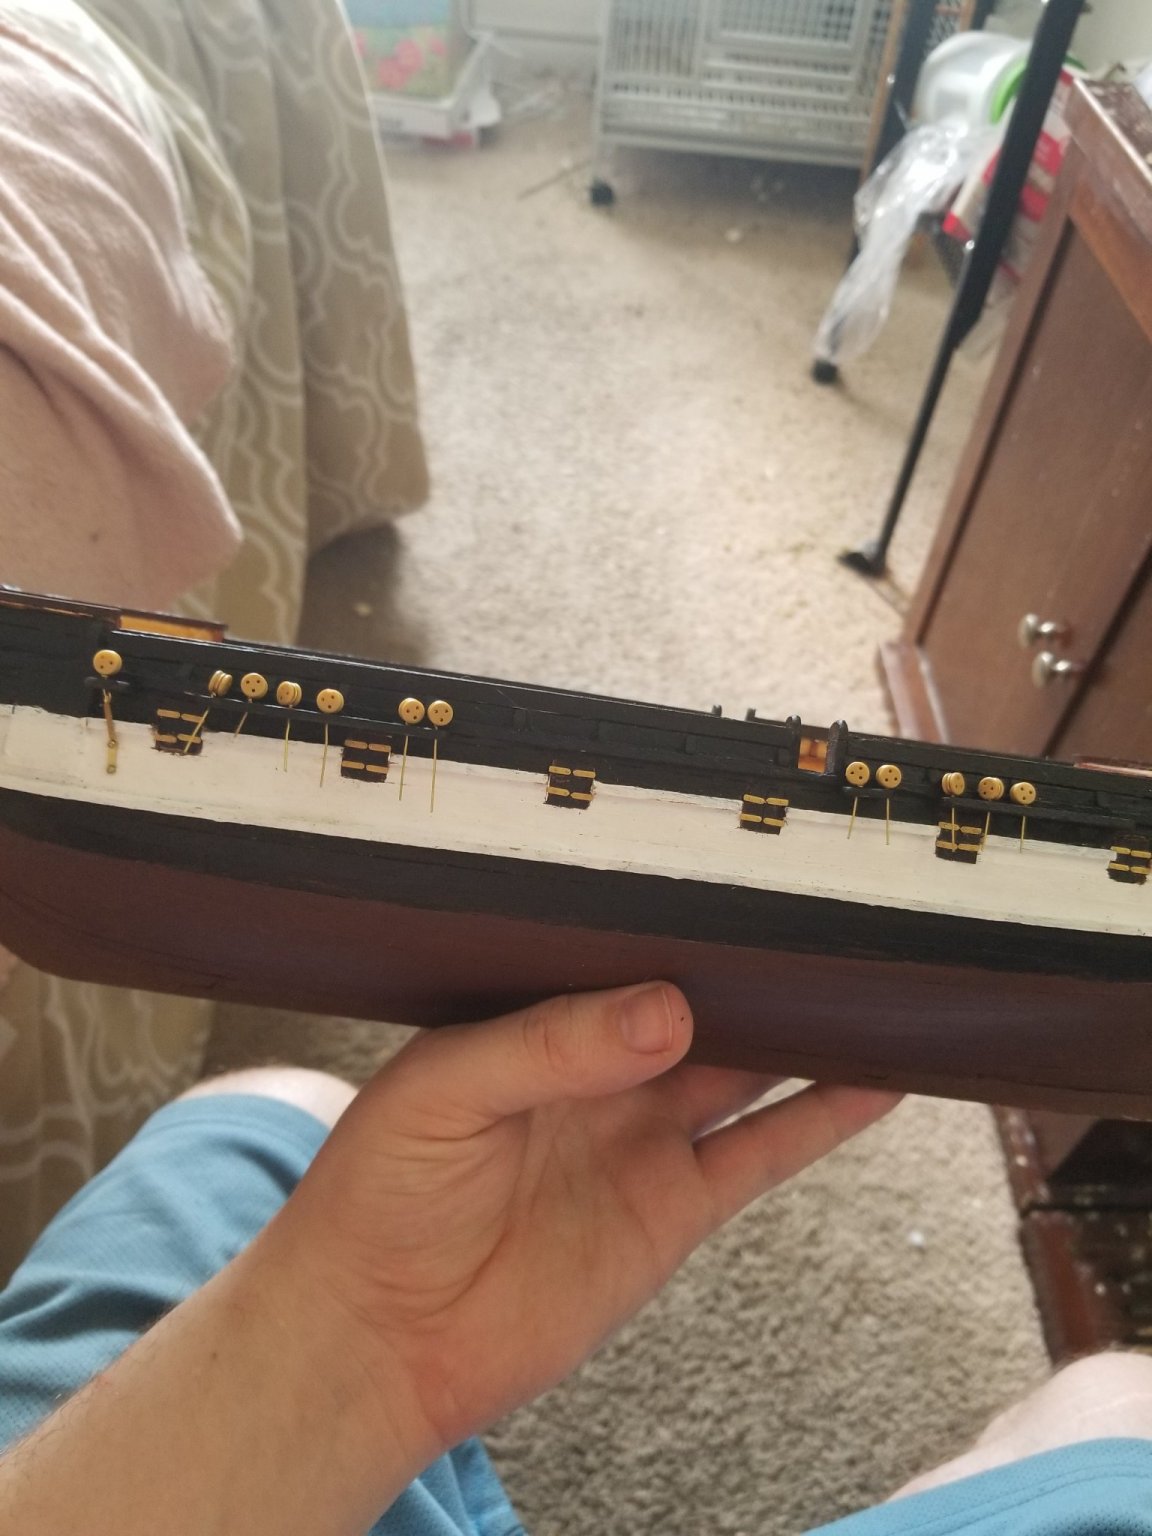
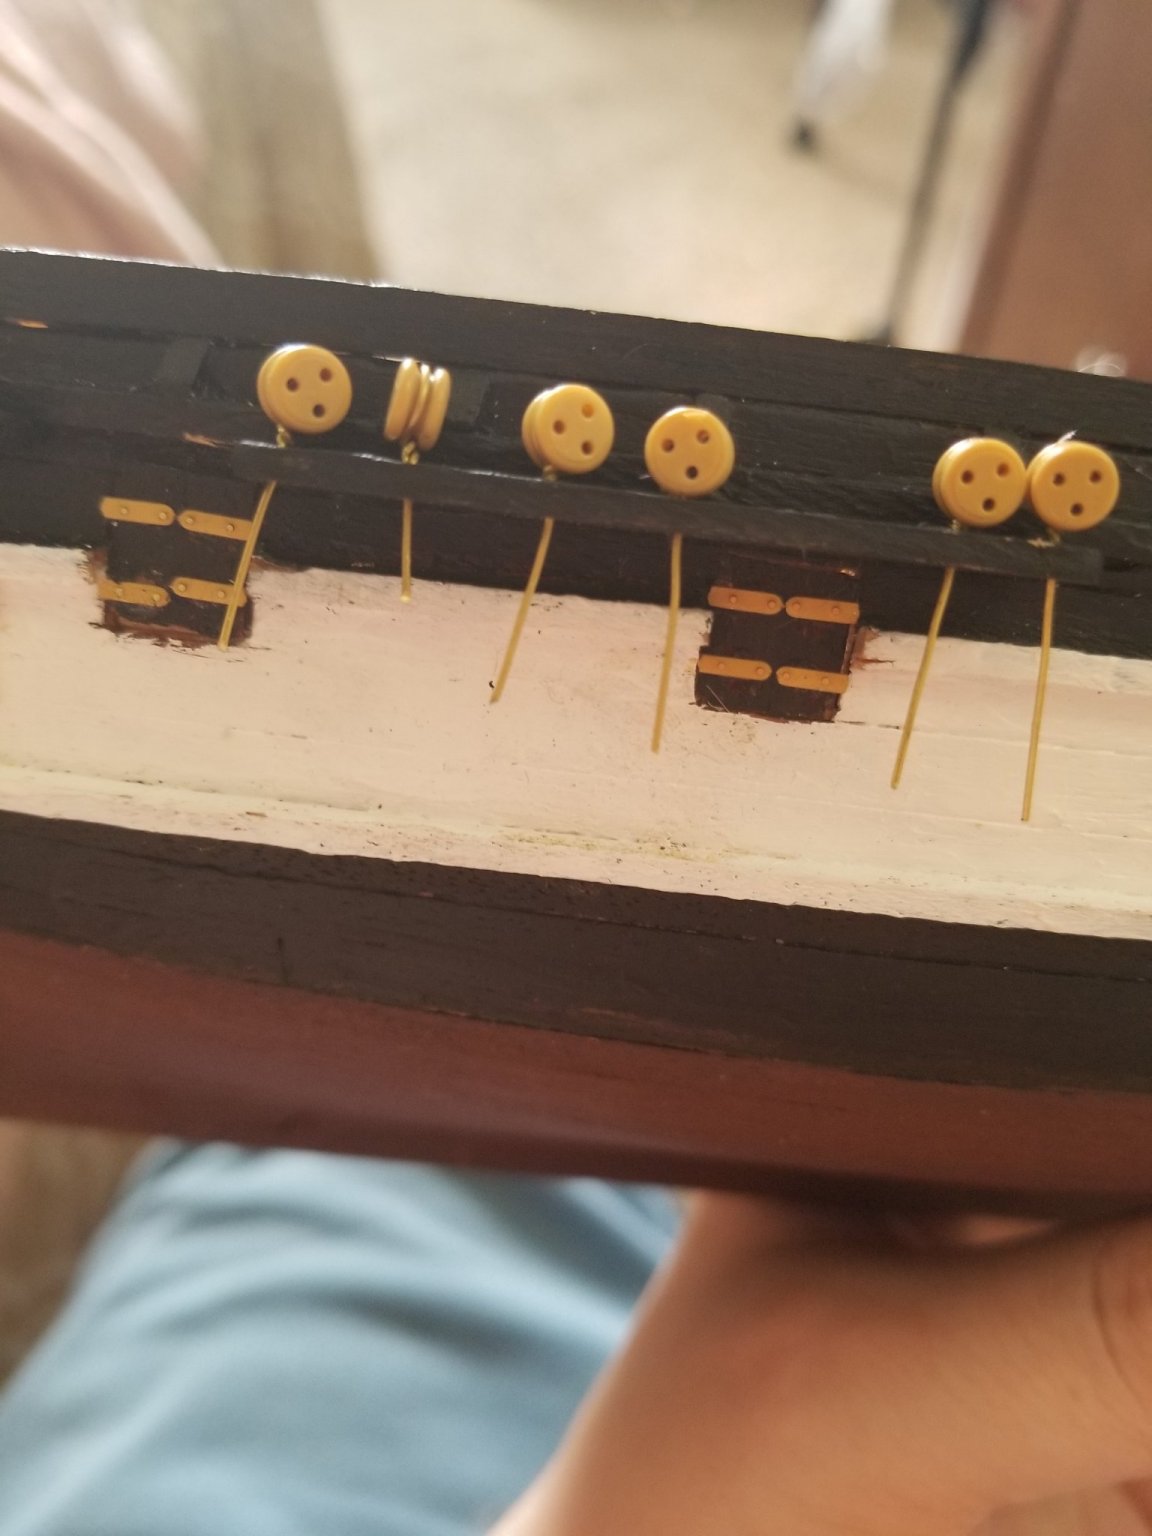
So started work on the dead eyes and the finished product will be cleaner as per the first "test" assembly. Except now looking at the photo I'm realizing it's not as clean as I want...welp I can fix that lol.
 So them popping up like that will be tucked into the whales so it's all clean fits.
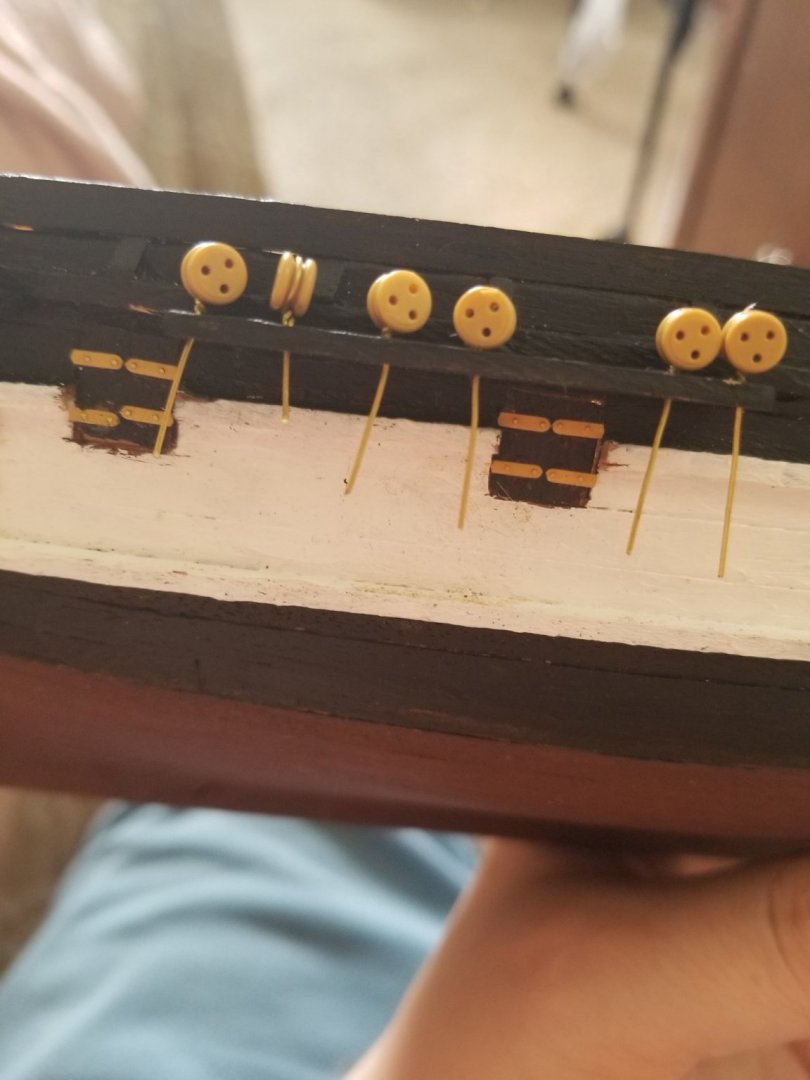
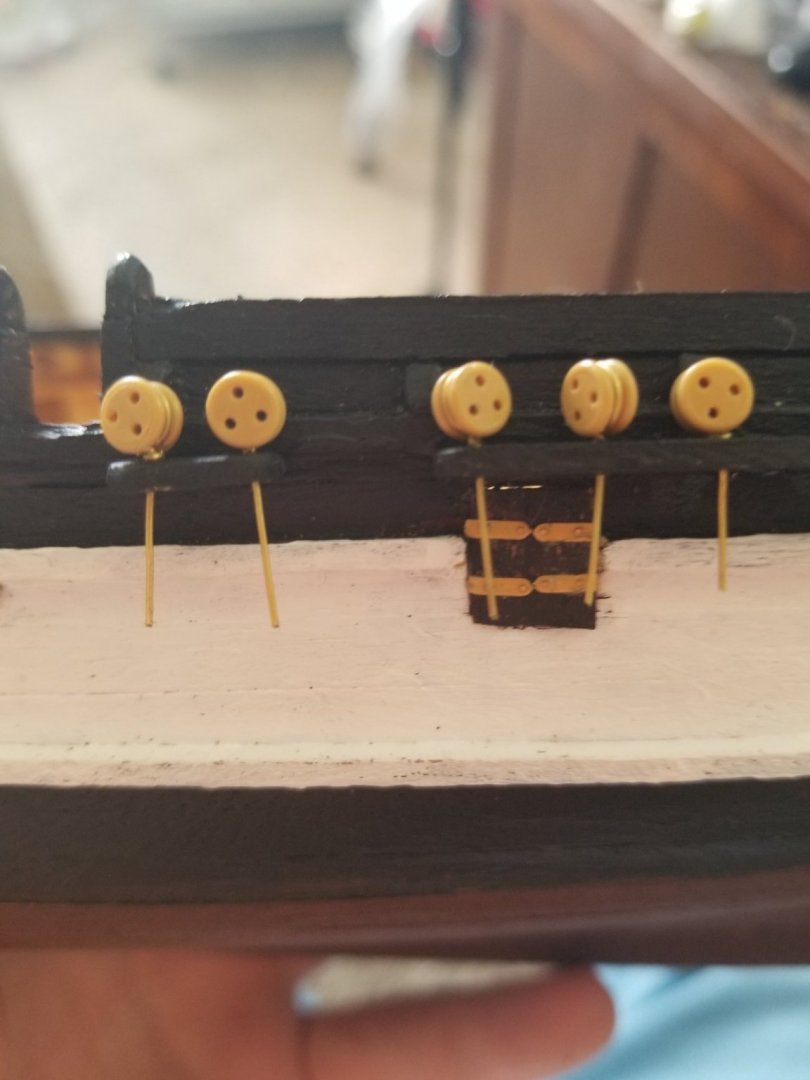
I'm feeling like I'm wasting brass though with such long stems. (I'm a conservationist and hate waste 😵😵). I also do not have a extensive amount of back up supplies so there is that too which I'm trying to work on. Anyways yea going well and when I showed my wife she made the comment that it looks like cute lollipops. Felt like I should share that to see if I get any laughs.
-
Ok yea that's what I meant just never saw anyone use the tape so was interested.
-
Nice fixes for sure!! The upper deck is nice as well is that how the kit comes with no false deck under the planking?
-
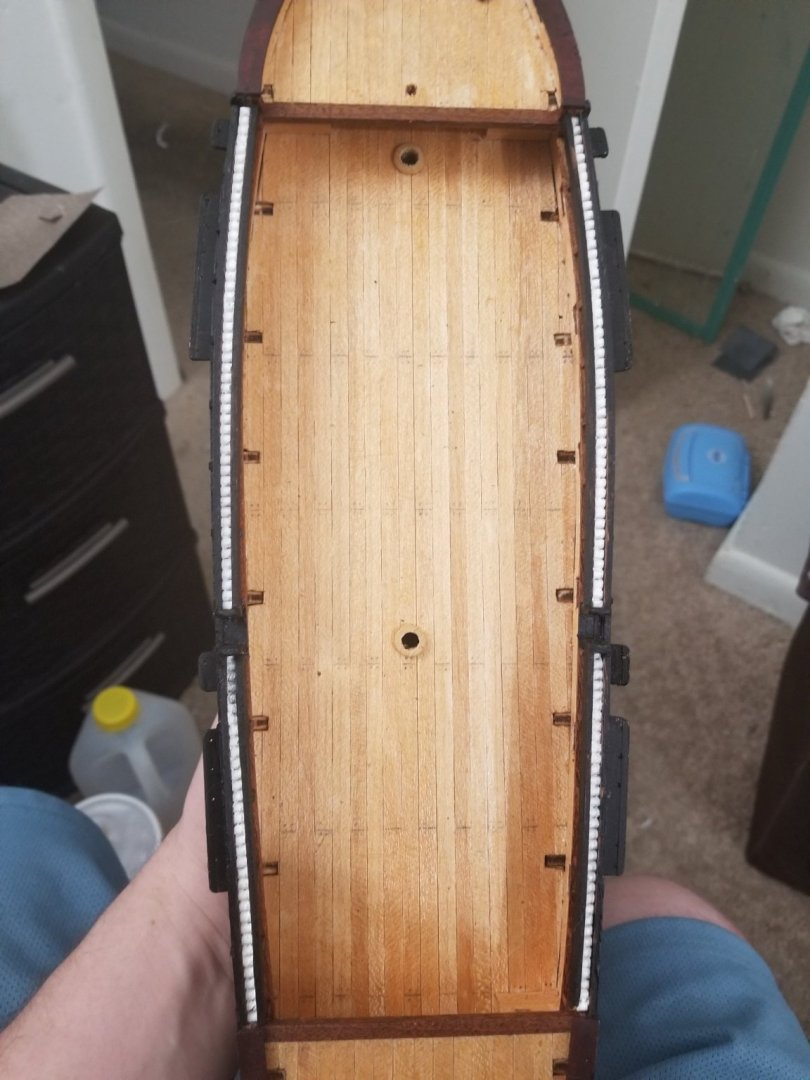
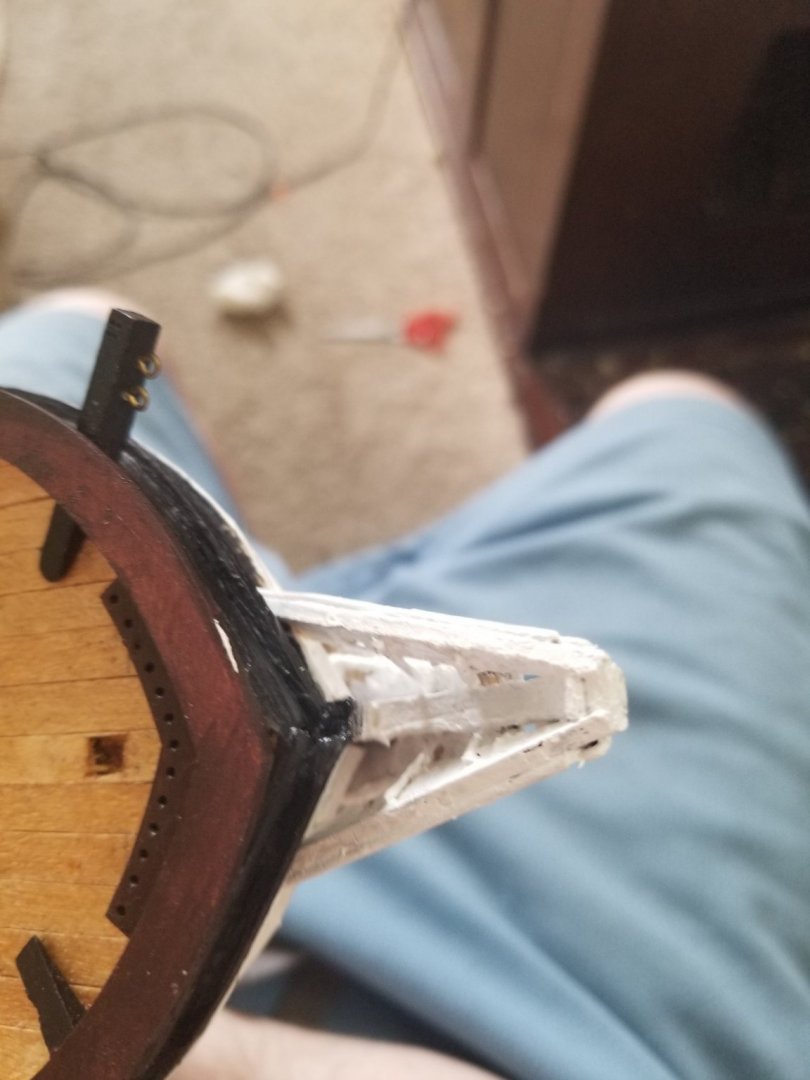
Finished up the whales so tomorrow will be deadeyes and brass work.

- Keith Black, Dean77, Cathead and 1 other
-
4
-
42 minutes ago, Keith Black said:
Are you using acrylic paint, what type are you using?
Yea I'm using acrylic paint
-
Yea I noticed it is pretty chunky I might try to see if there is a thinner version of white i can get and will work on metal as well as wood.

- Cathead and Keith Black
-
2


HMS Beagle by Robp1025 - OcCre - 1:60
in - Kit build logs for subjects built from 1801 - 1850
Posted
That's awesome to hear some real life experience. It makes sense to have to do that when on ships and there is no other options.