

Robp1025
-
Posts
259 -
Joined
-
Last visited
Content Type
Profiles
Forums
Gallery
Events
Posts posted by Robp1025
-
-
Looks interesting so I'm gonna pull a chair up and watch how this progresses. I'm wanting to eventually do a victory but A: surely don't have the financial ability to get it B: my Beagle build is my first ship and I like to take steps not leaps lol.
-
20 hours ago, Techtonic said:
One final thought for the day. I think the guy that created the model for the instructions messed up when installing part H20. I believe it is installed upside down which is why you end up with the odd splaying of the chains around the gun port. So I believe the group of three deadeyes should be fore of the gun port and the group of two should be aft, with the gap being inline with the gun port. It's too late for me to fix on mine but if I were to build again I would definitely correct this.
As per the front picture of the model done correct you are right that the 2 slot is suppose to be first then the 5 slot. I'll look out for it as I'm getting close to that point.

-
Glad to have you on the site
- Keith Black and lraymo
-
 2
2
-
5 minutes ago, lraymo said:
Uh oh. I just posted my build log, but i put it in the wrong place! (I put it in the "Scratch" forum, but I should've put it in the "Kit" forum!)
Since I'm just starting, I'm going to delete it and start it again in the right place!
It happens my friend and welcome to the fun!!
- Keith Black, lraymo, Ryland Craze and 2 others
-
5
-
1 hour ago, Techtonic said:
Good rescue on throwing out the originals! If you haven't glued the gun ports in yet you might want to rotate them 90 deg. The hinges should be vertical.
And just realized this but I would have to craft all brand new ones in order to turn them 90 degrees.....so looks like I'm going to be having to live with this mistake because it took me way more time then I want to admit to do those doors. It could be much worse and the doors, compared to the dry fit without the second planking on them, came out extremely nice.
I'll chalk it up to being my first actual full model and learn from the mistake. I'm finding myself more and more double checking pictures and measurements before placing more and more but I think I lost my patience with this part truth be told lol.
-
So got the gunports fashioned and fitted. Slow progress cause work has been too crazy

- Cathead, Keith Black and Pete D
-
3
-
It's looking great and I am going to have the same issue with the work space. I'm going between two rooms depending on where me and my wife are currently spending time (she is disabled and depending upon her body and how it's going is whether we are in the bedroom or living room). I am trying to make some good progress but the details on my ship are new territory for me so slowing down significantly trying to get it right the first time.
-
-
So I'm trying to put some ideas together of my next boat I should do. While yes I have some time until I'm done my HMS Beagle, I do need to plan in advance for my ships because of the investment it incures. I've been trying to see if there is any pirate ships that have kits but it turns out most dont have kits. I dont have the tools to do a from scratch build and I'm still new so we wont go that route yet.
Pretty much what I know is I want to do a bigger kind of ship like a Galleon not a schooner or a fishing boat. Also with some link towards music or a famous artist to pull historical appeal to the project would be nice as well.
I look forward to some ideas and I do like a challenge. I dont shy away from projects even with harder difficulties because I learn quick and enjoy the challenge.
-
Slow progress for a full day available to build. But here is some final things I finished up today. Also come to find out the middle parts of the gunports that I threw out are needed for next step soooooo yea lol. That will be tomorrow for sure.


- Keith Black, Pete D, Dean77 and 1 other
-
4
-
For all those who are following be care full because IP page does not match the design in page G so pick which one works for you and shape it using which ever page you choose.
- Cathead, Pete D, Keith Black and 2 others
-
5
-
Some more work done on the details and I'm feeling good about them. Couple of coats of pain on the metal but it's not really as bad as I thought it would be.


- Keith Black, Pete D and Cathead
-
3
-
1 hour ago, Penfold said:
I know just how you feel about drilling holes in the hull you’ve lovingly got to the point you have. I felt just same on my Bluenose 2.
If I have any advice on this it’s not to rush this, but do take your time and make sure you adopt a ‘measure twice, cut once’ approach, and do get pin vise if you don’t already have one.
So confession is that I originally had it open and first planking I was like "if this is open I dont want to see the inside of the ship". So, not looking further that there is gunport covers, my special self decided to keep it closed as a "cosmetic" look. Yep not the best idea.
Also I have a pin vise and I love it to death lol. And thank you for your kind words about my build so far!!
- Keith Black and Cathead
-
2
-
-
4 hours ago, Cathead said:
Sorry for the late response. I would have advised painting straight across, which you ended up choosing, so no worries there.
As for the missing gunport, my favorite way to do that is to mark out the square and drill small holes just inside the boundary, essentially perforating the wood. This makes it easier to use a small knife or saw to cut out the port. The reason to ensure the holes are just inside, not right along the line, is that you'll end up with an uneven cut no matter how careful you are, so you can use a file or sandpaper to finish it out to the right size.
You could also try to simulate a closed gunport lid by using a file to scribe the boundary into the wood, then adding hinges and other details, maybe even a very thin piece over it.
You're making good progress and should be proud of your work so far.
Thank you for the advice!! I'm gonna do the false gunport just to make sure I dont drill where there is no gunport. (I dont trust myself and want to make sure I do it right)
I'm very proud and happy how things are turning out. It's also for enjoyment so it's easier to be ok with mistakes because I do find this relaxing and enjoyable. I also find getting closer and closer to the finished product is a big driving factor because I want to see what I'm fully capable of.
- Cathead and Keith Black
-
2
-
Welcome and looks awesome so far!!
- mtaylor, Edwardkenway and Keith Black
-
3
-
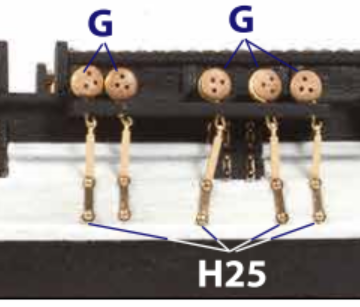
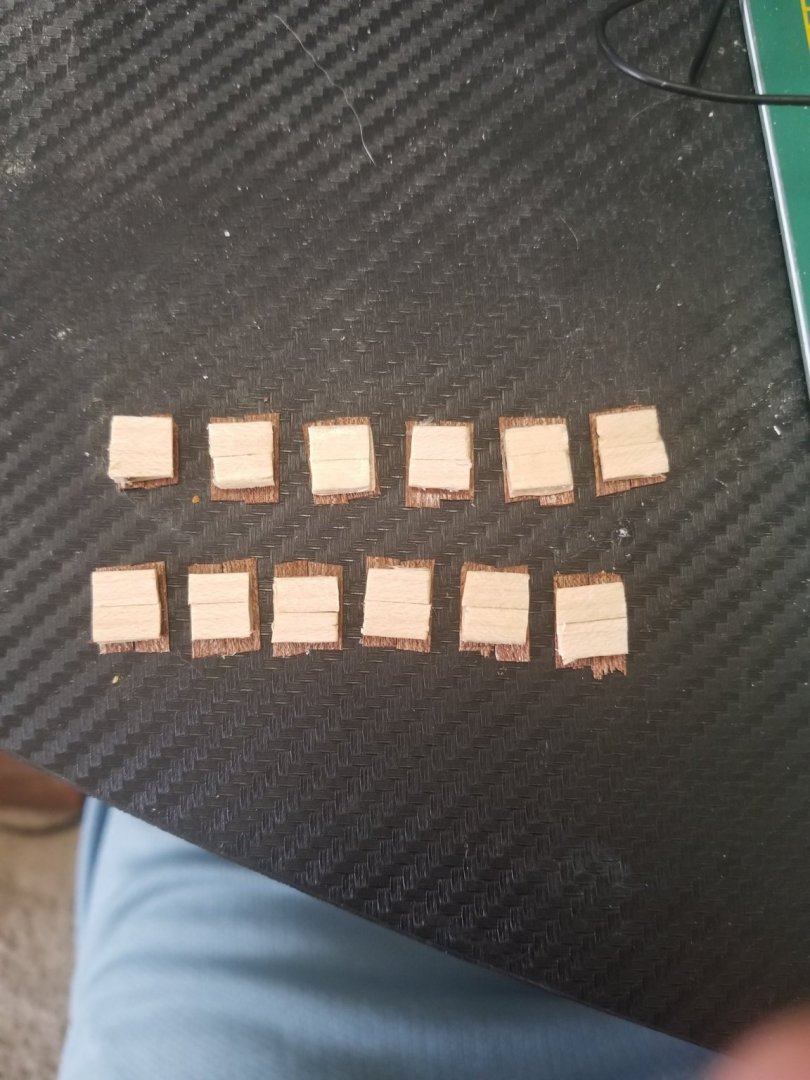
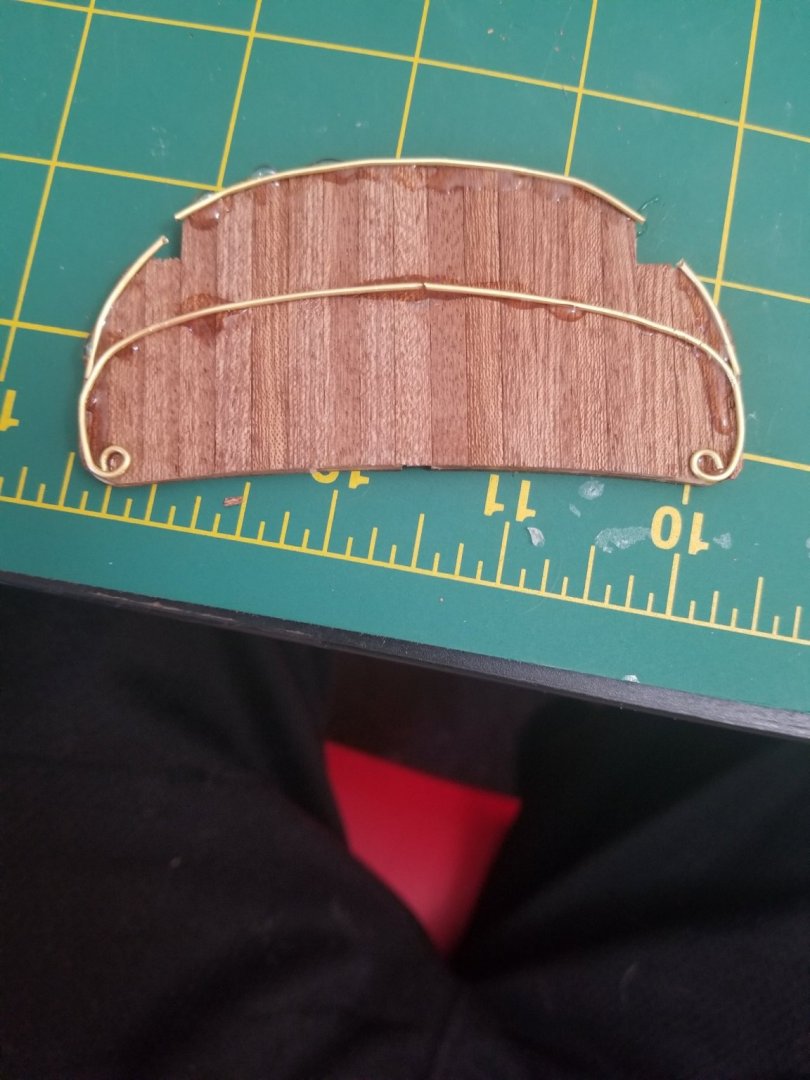
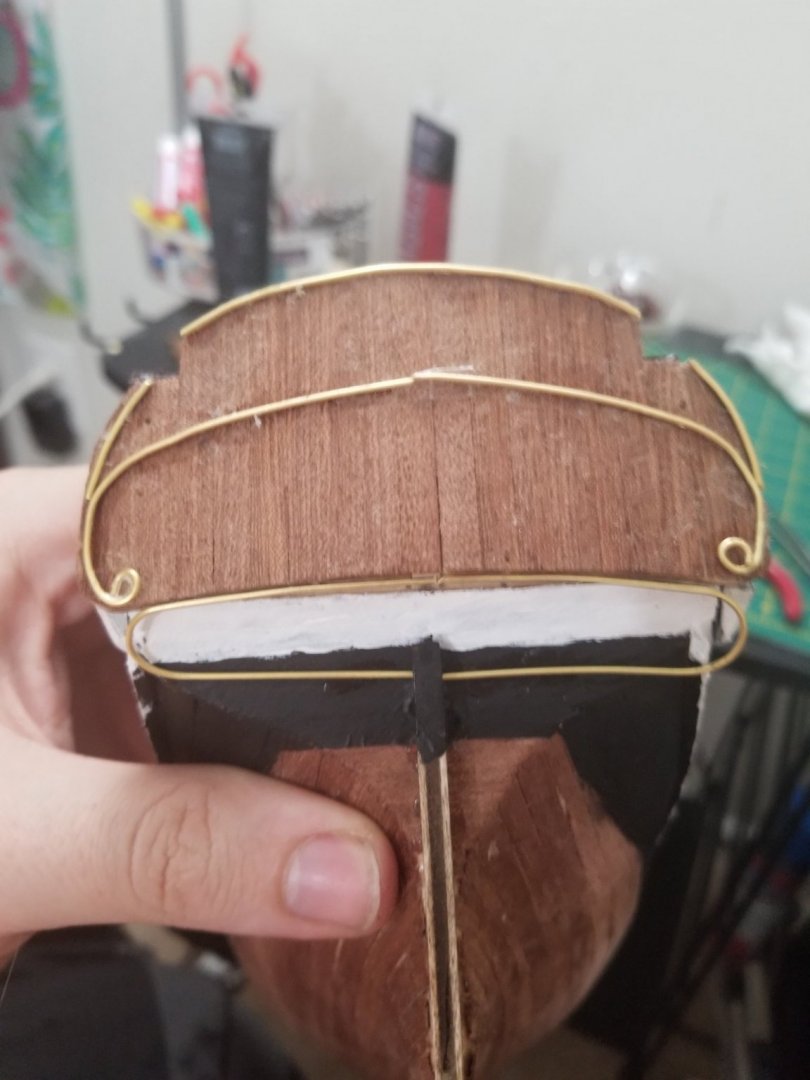
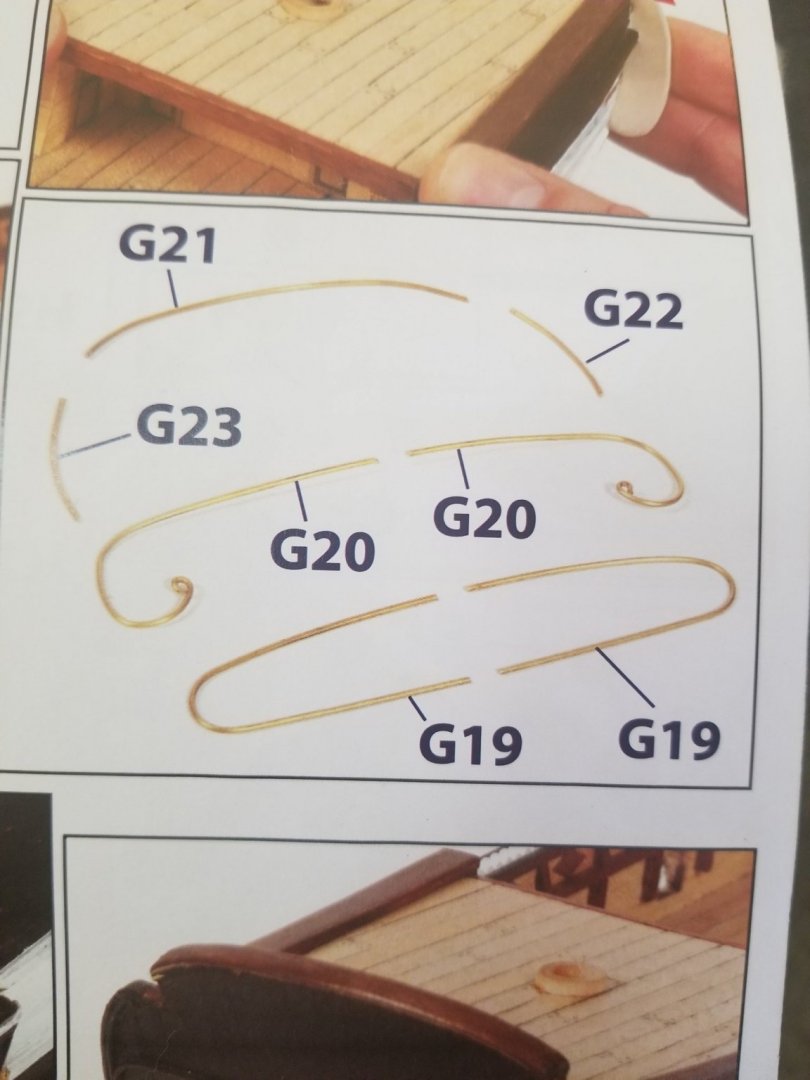
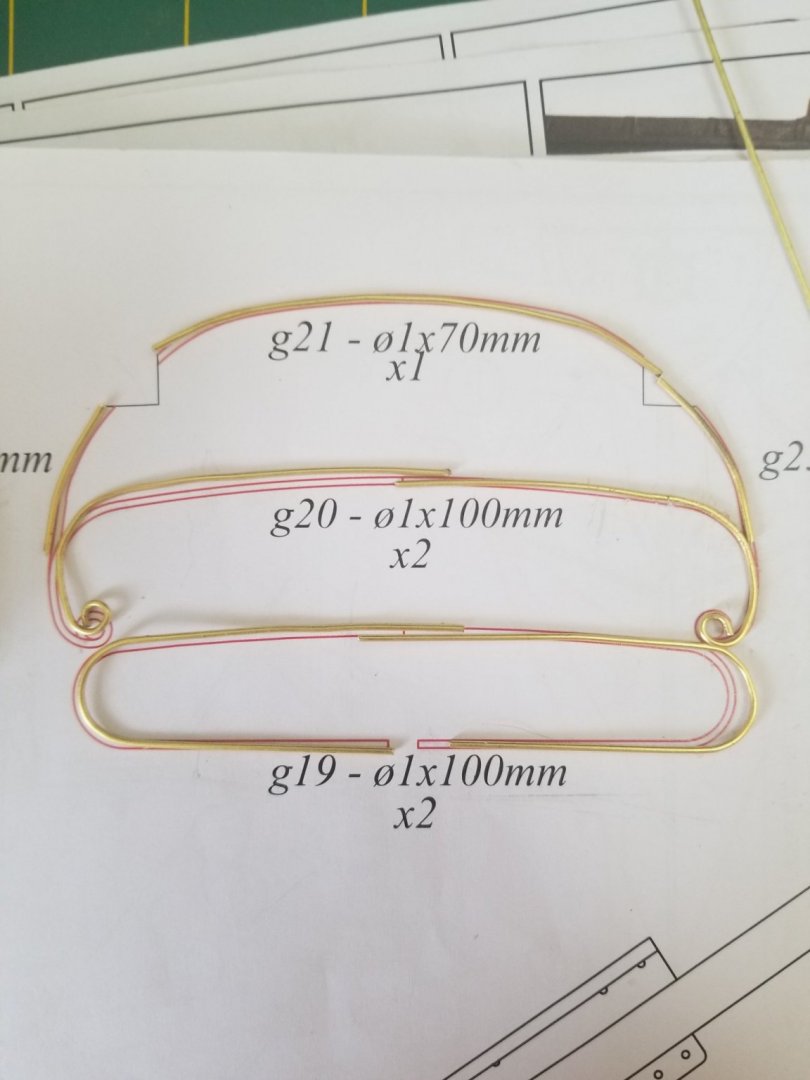
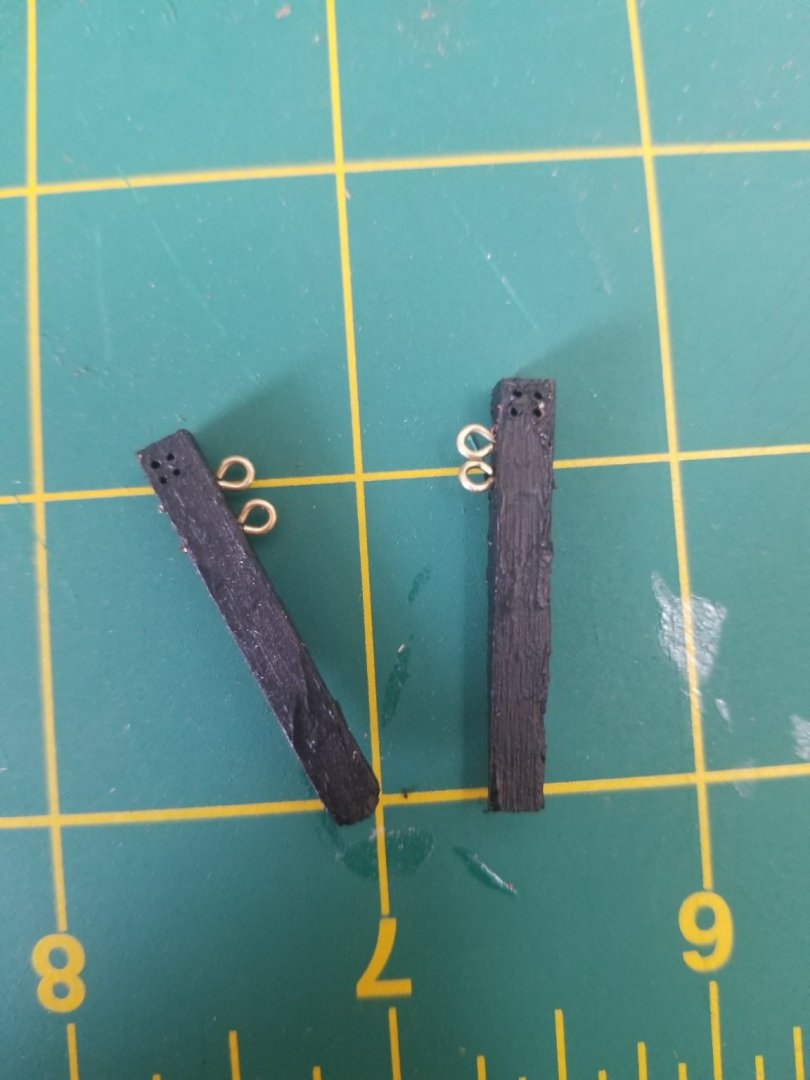
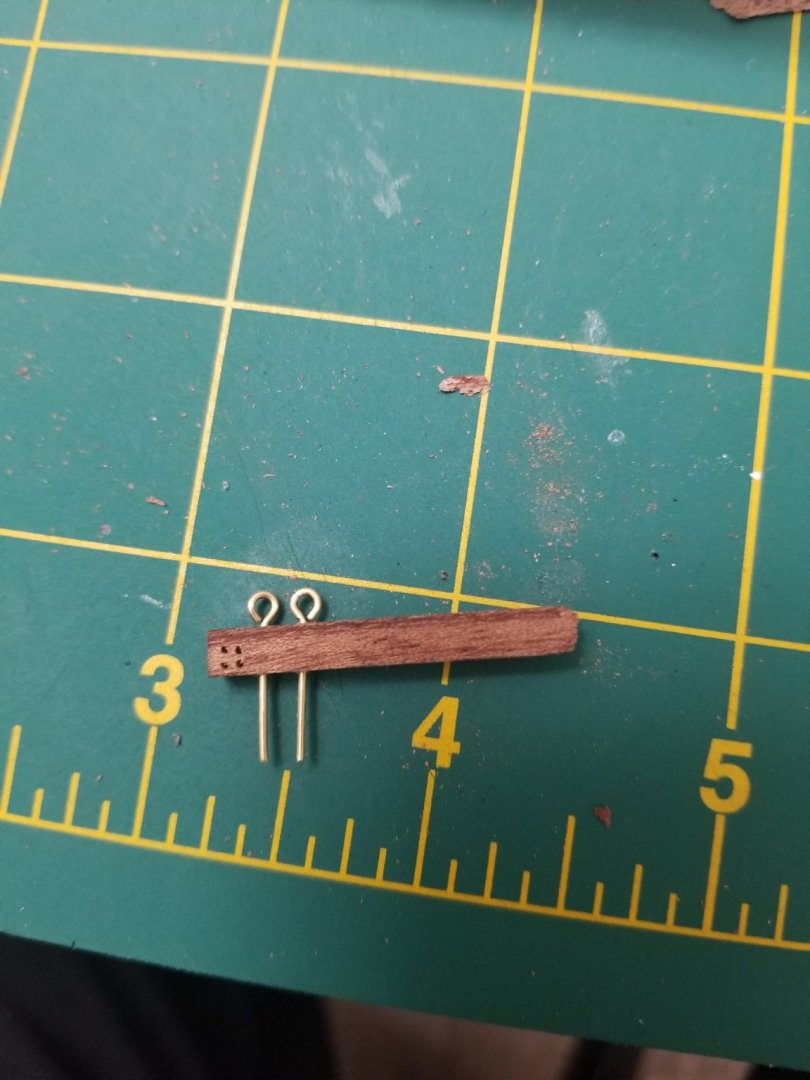
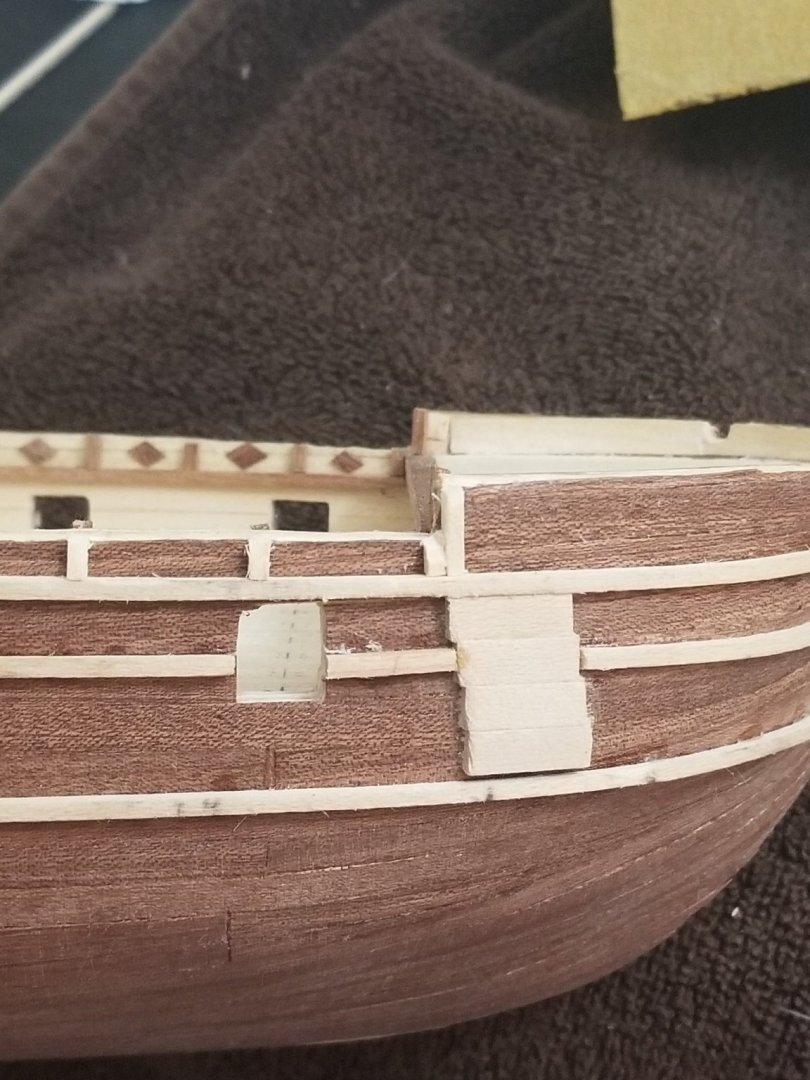
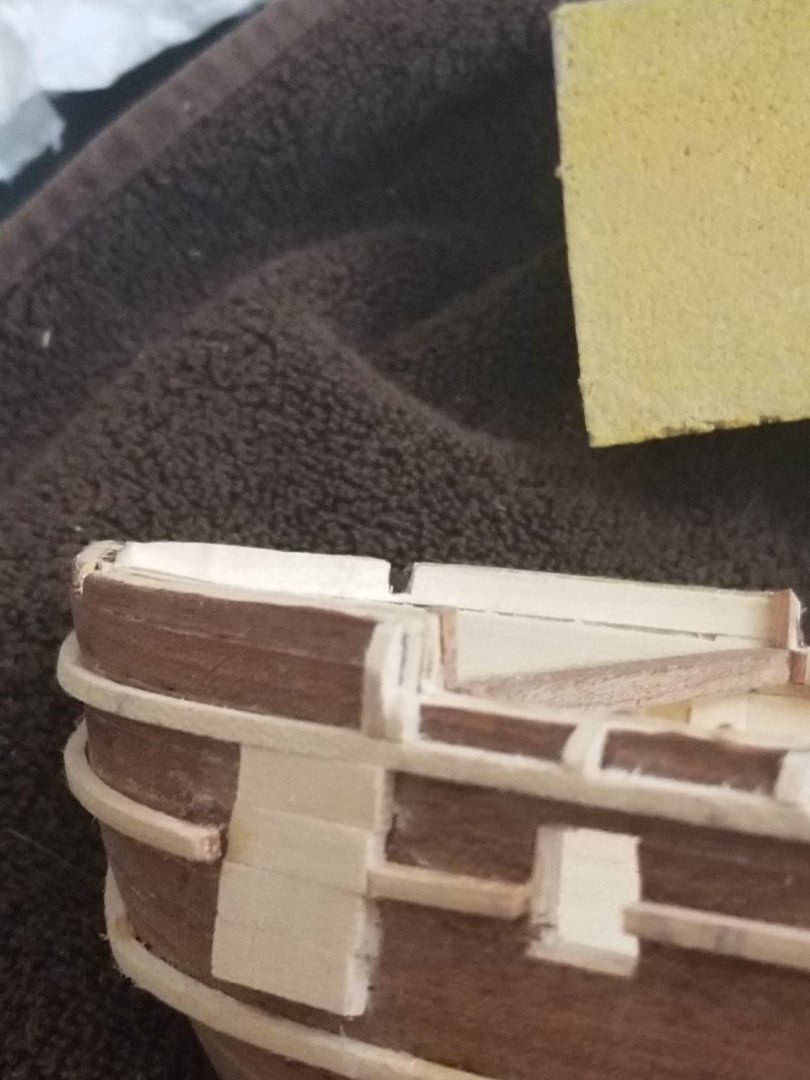
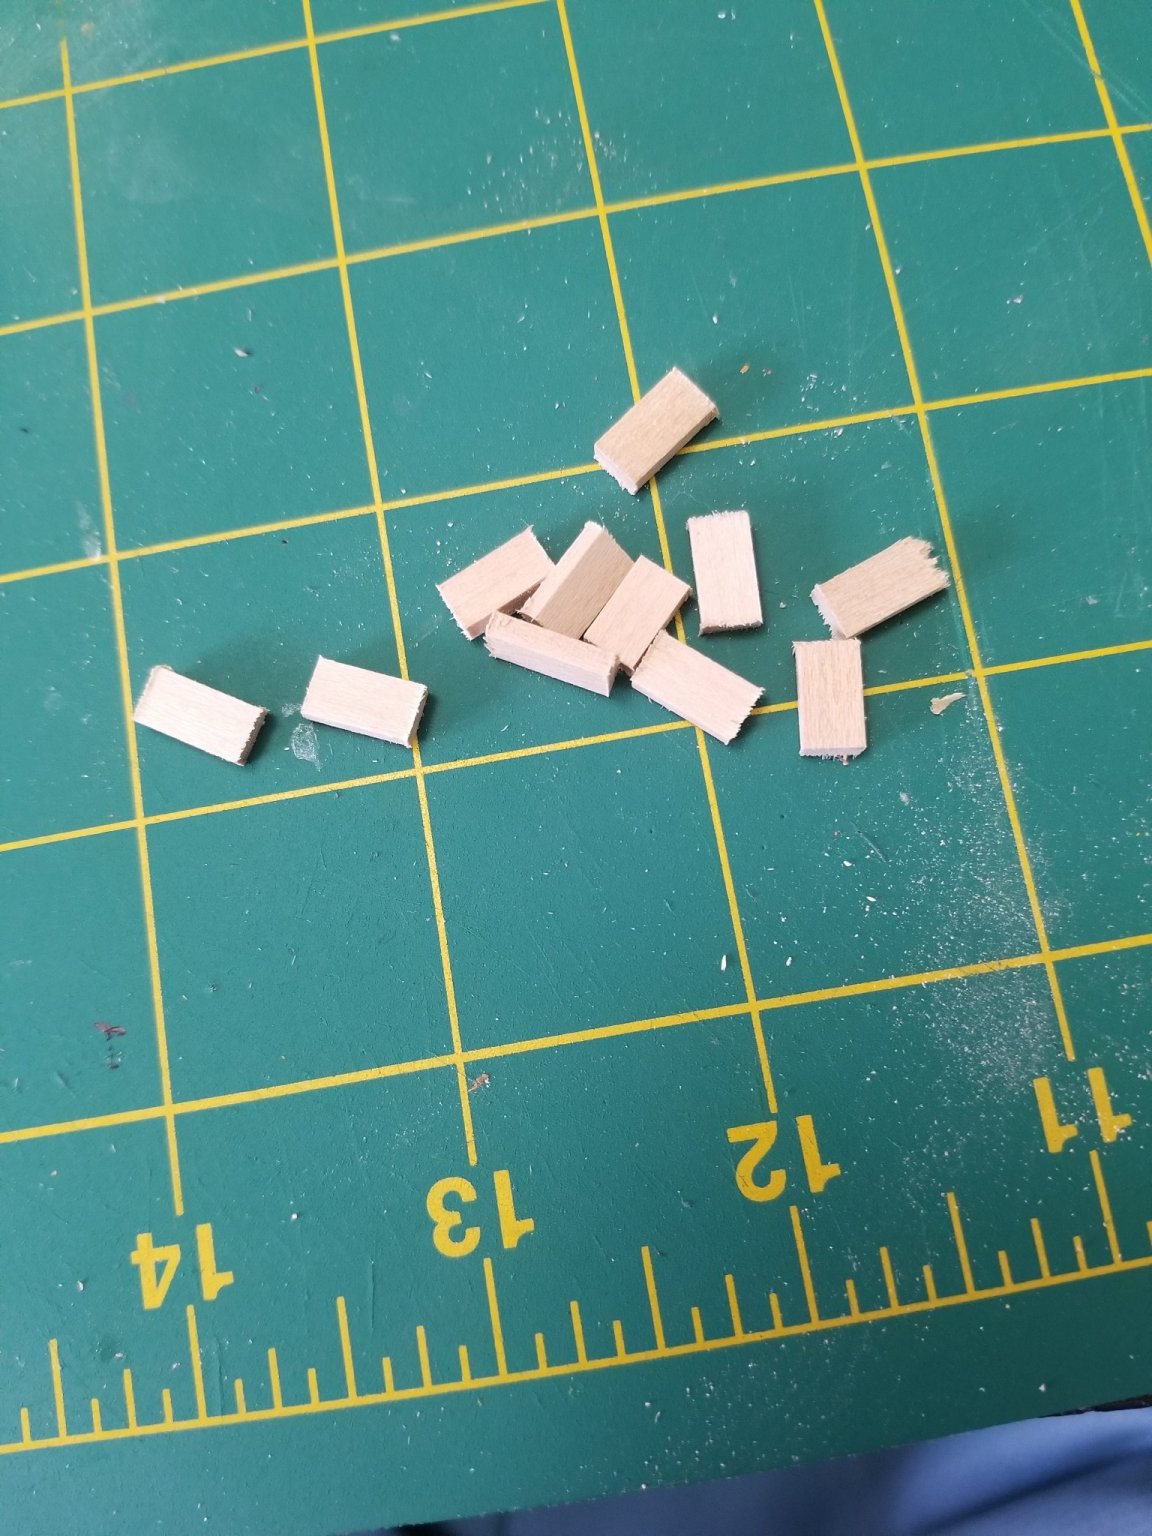
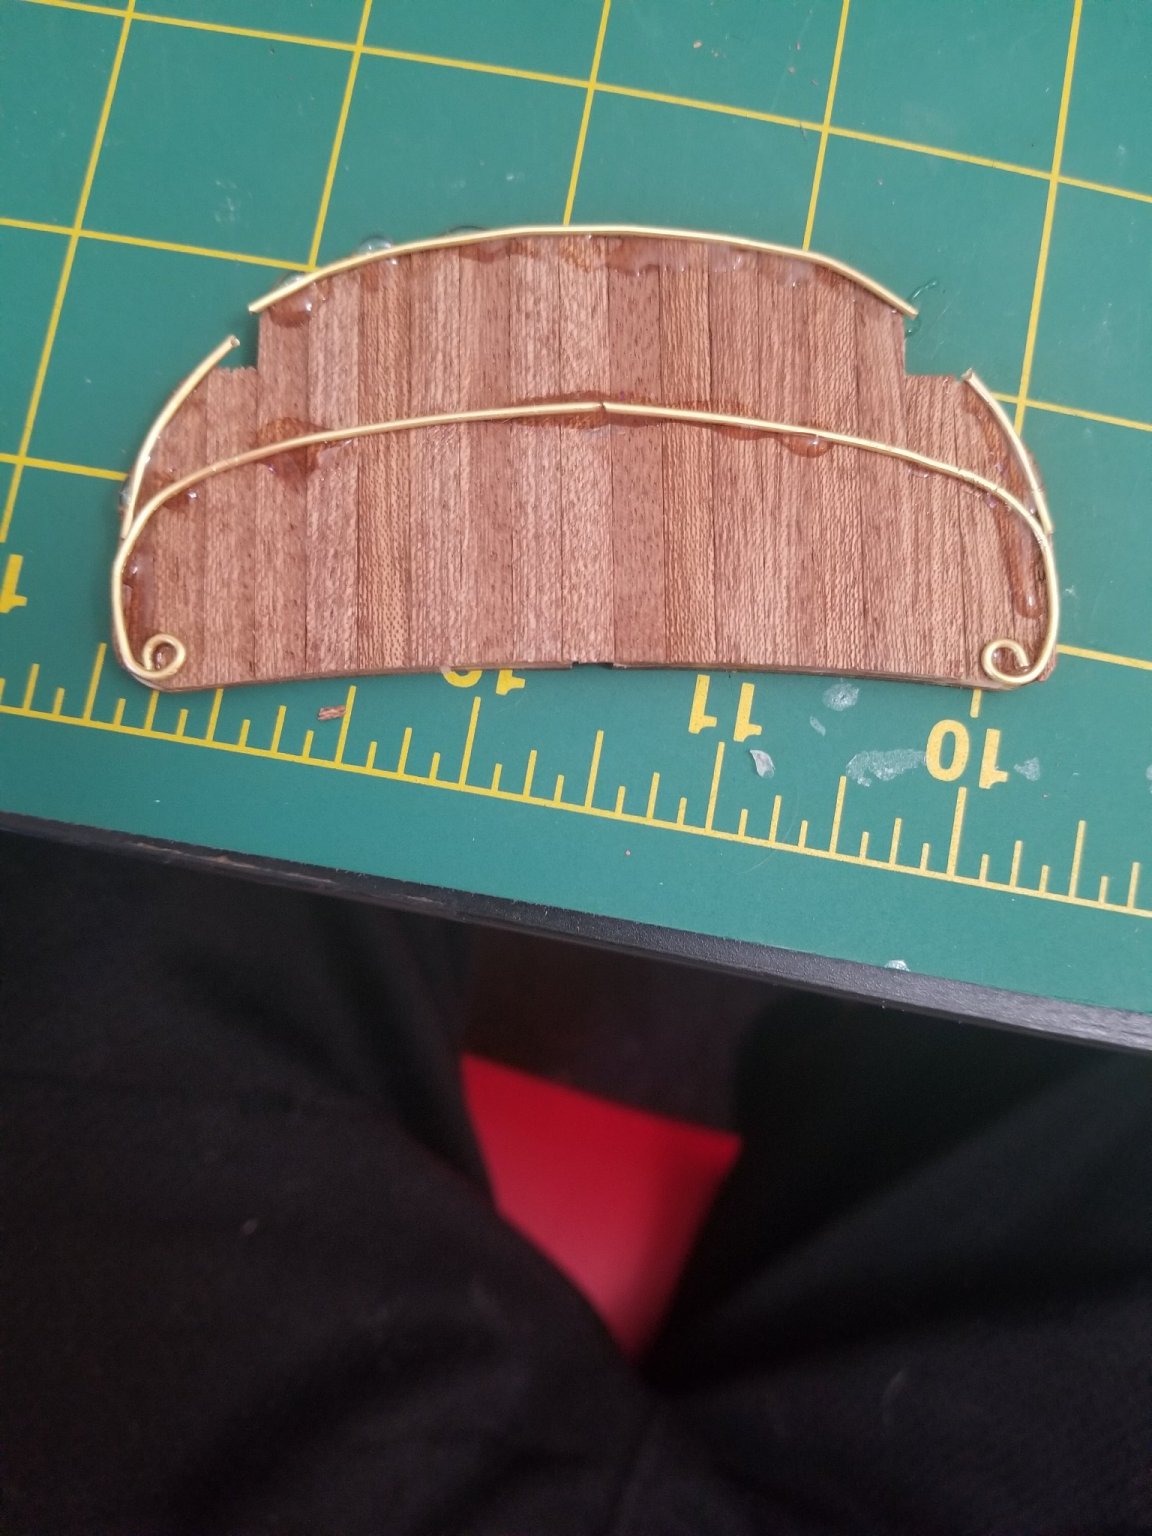
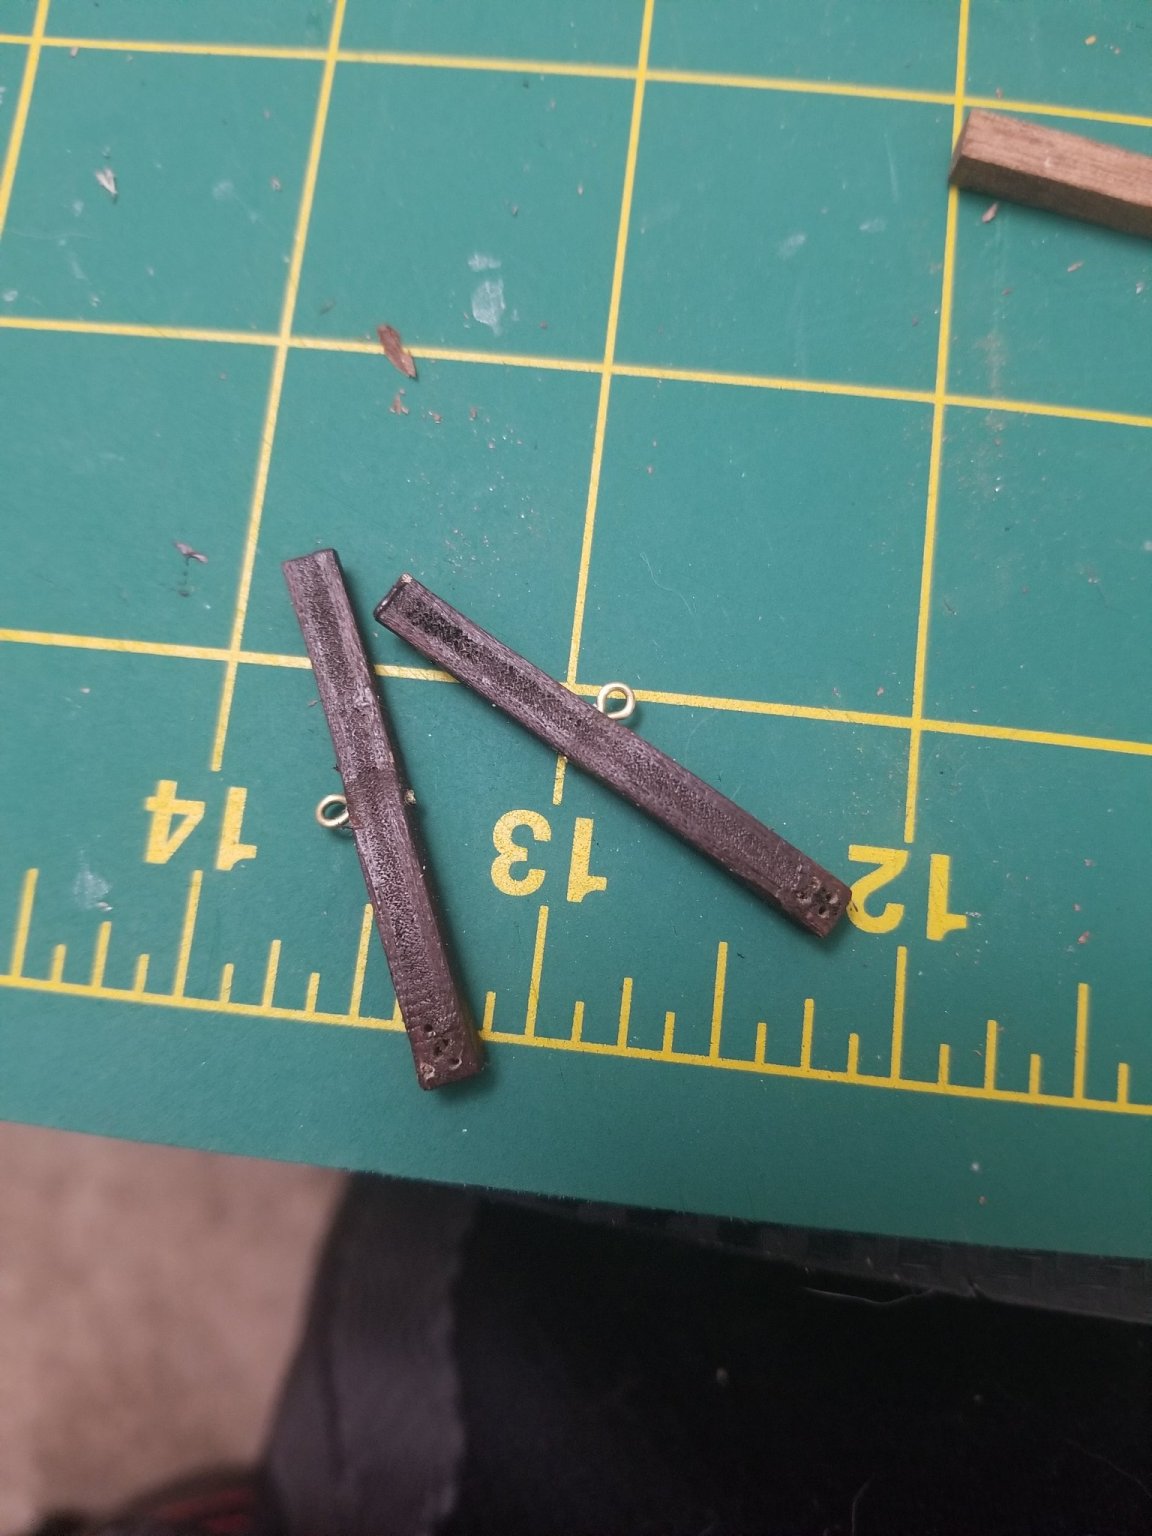
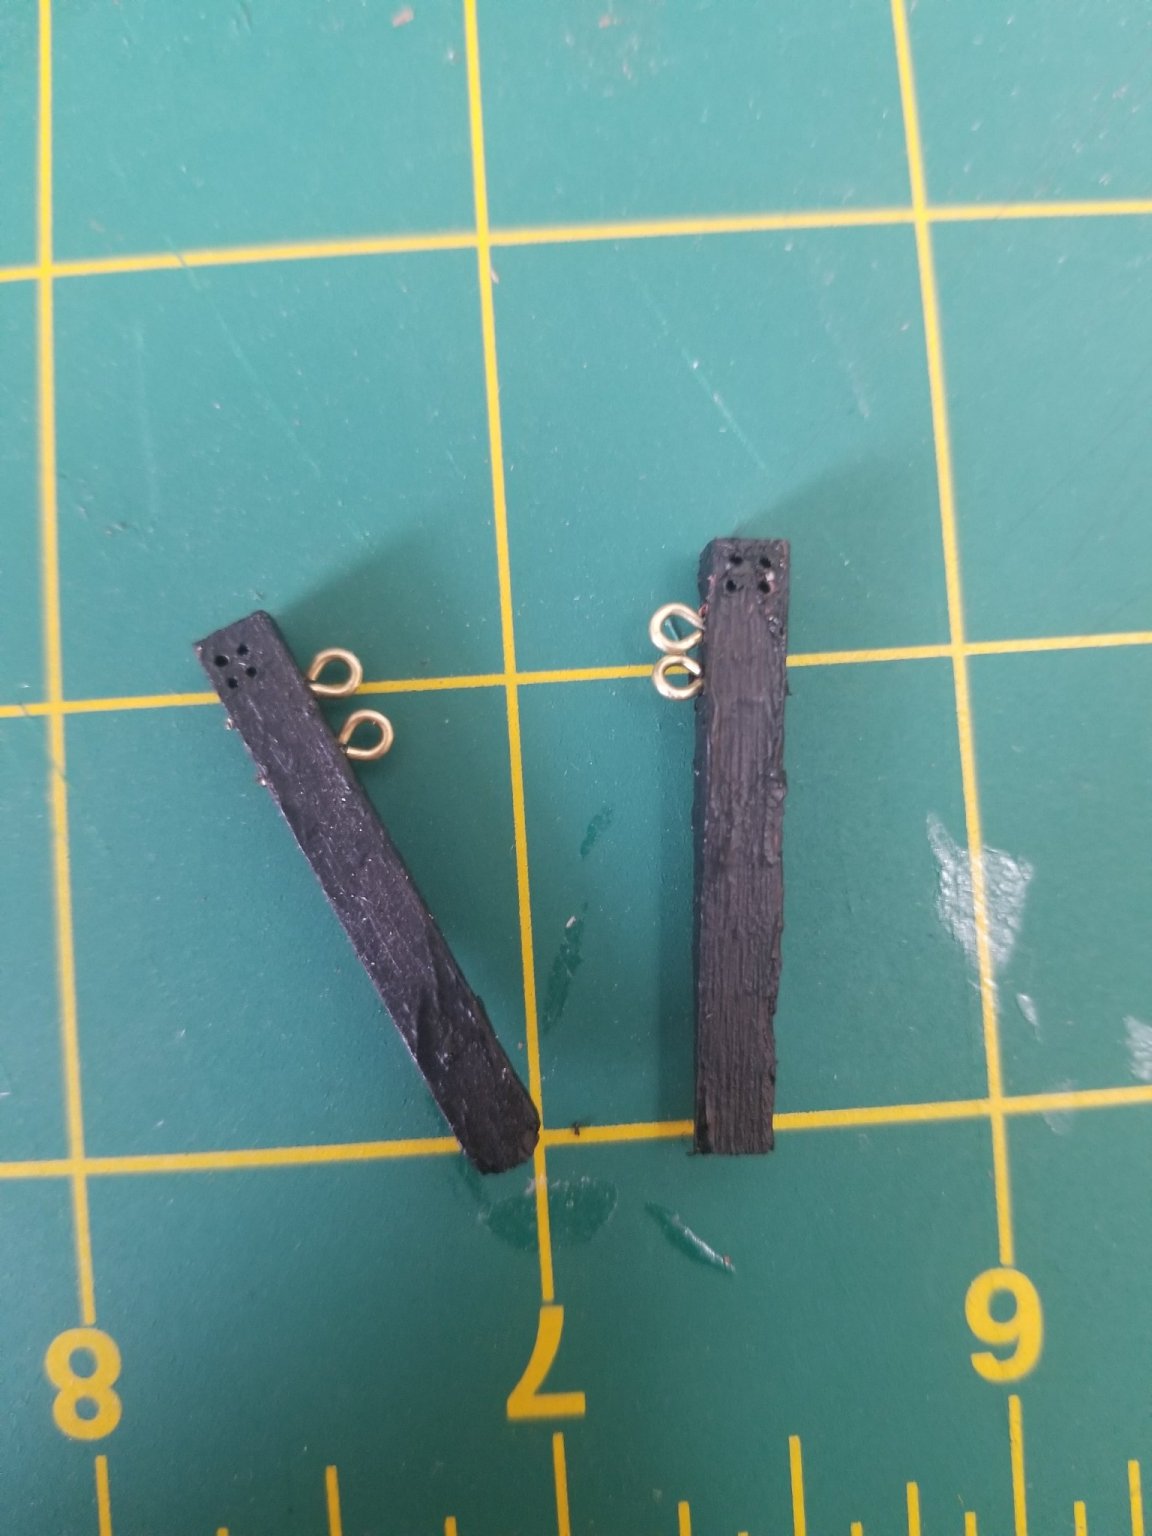
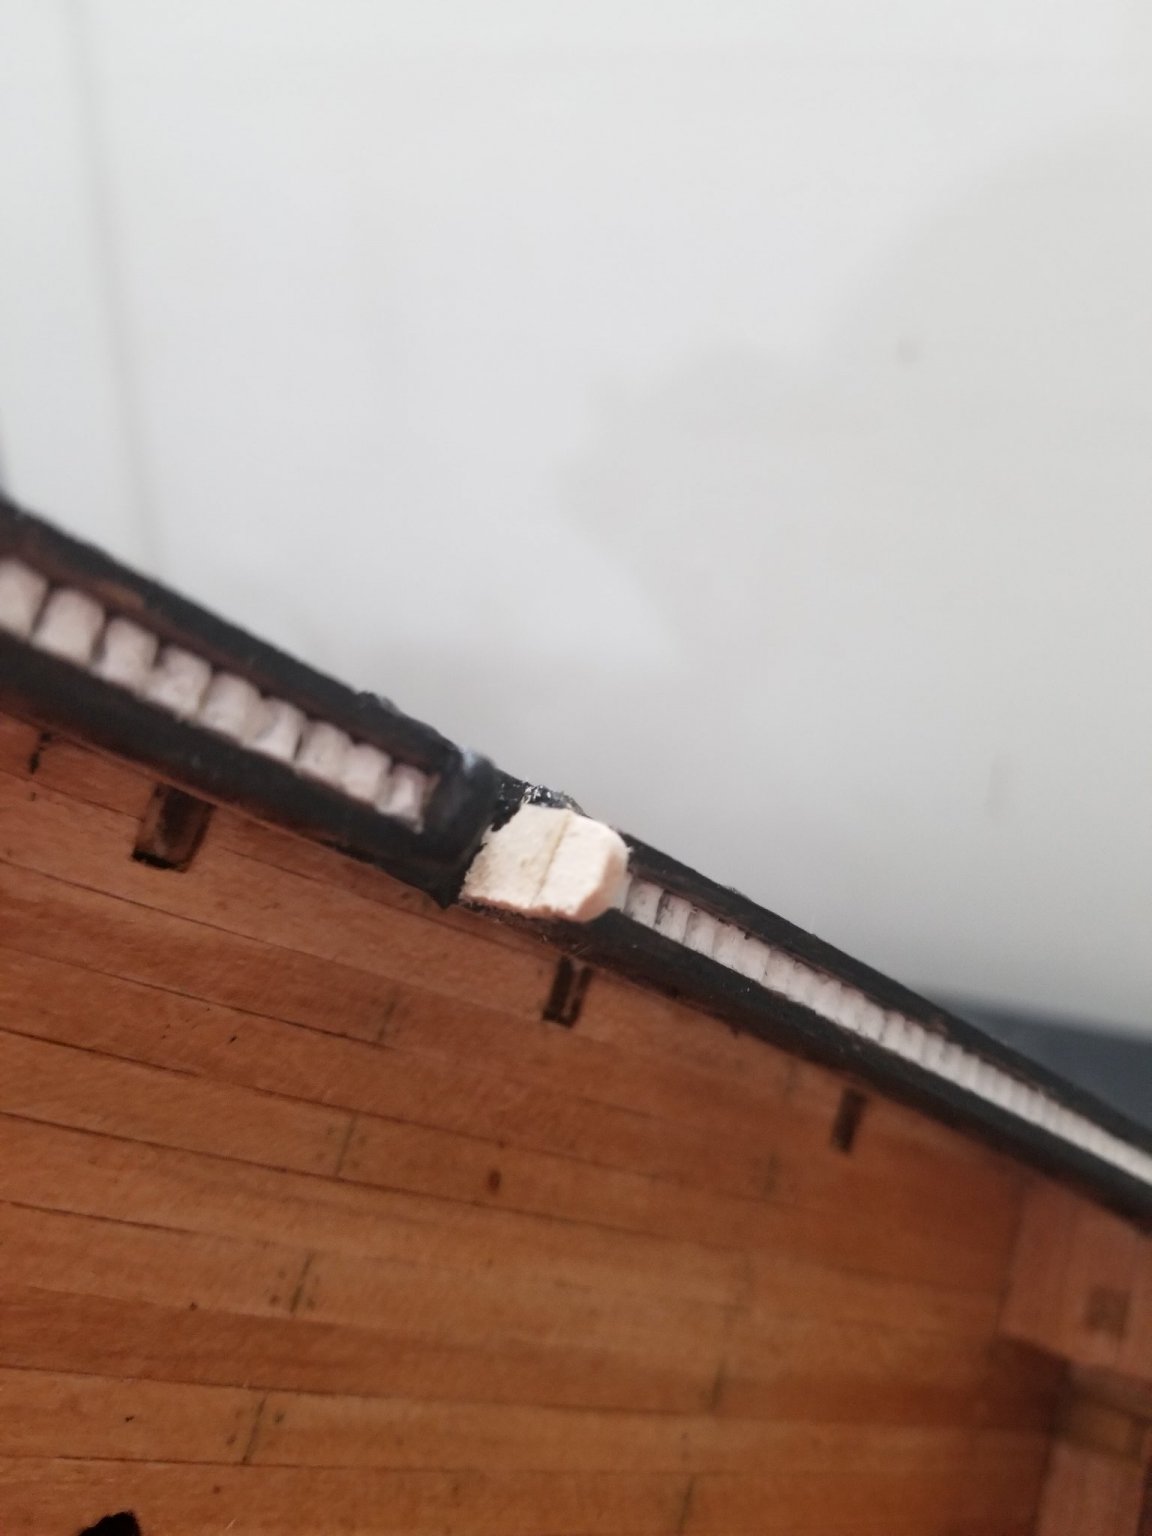
Starting to get some of the smaller pieces made now and working through page G of the instructions.
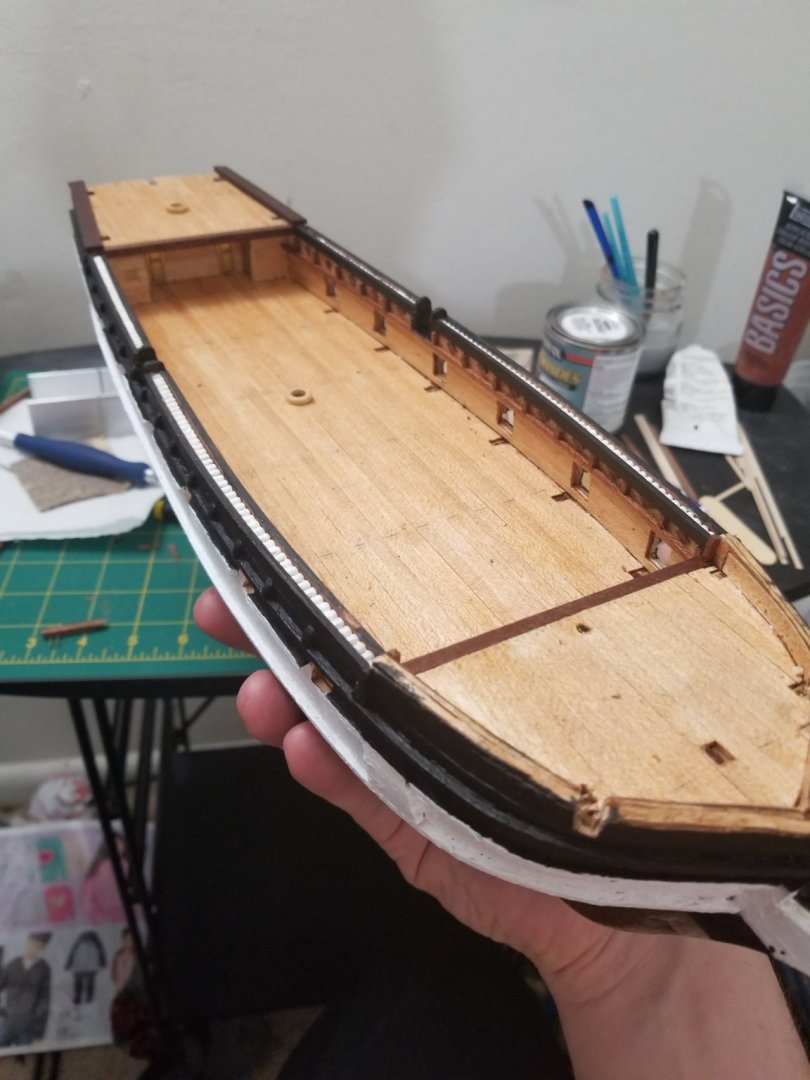
This is where the real challenge begins for me as it's my first model so molding the wires and drilling correct holes is a skill improved by practice not by reading. Making parts from the wood provided and not just using pre cut blocks is tricky as well but I look forward to every obstacle as an opportunity. So here are a couple pictures from today.


- Cathead, Dean77, Keith Black and 1 other
-
4
-
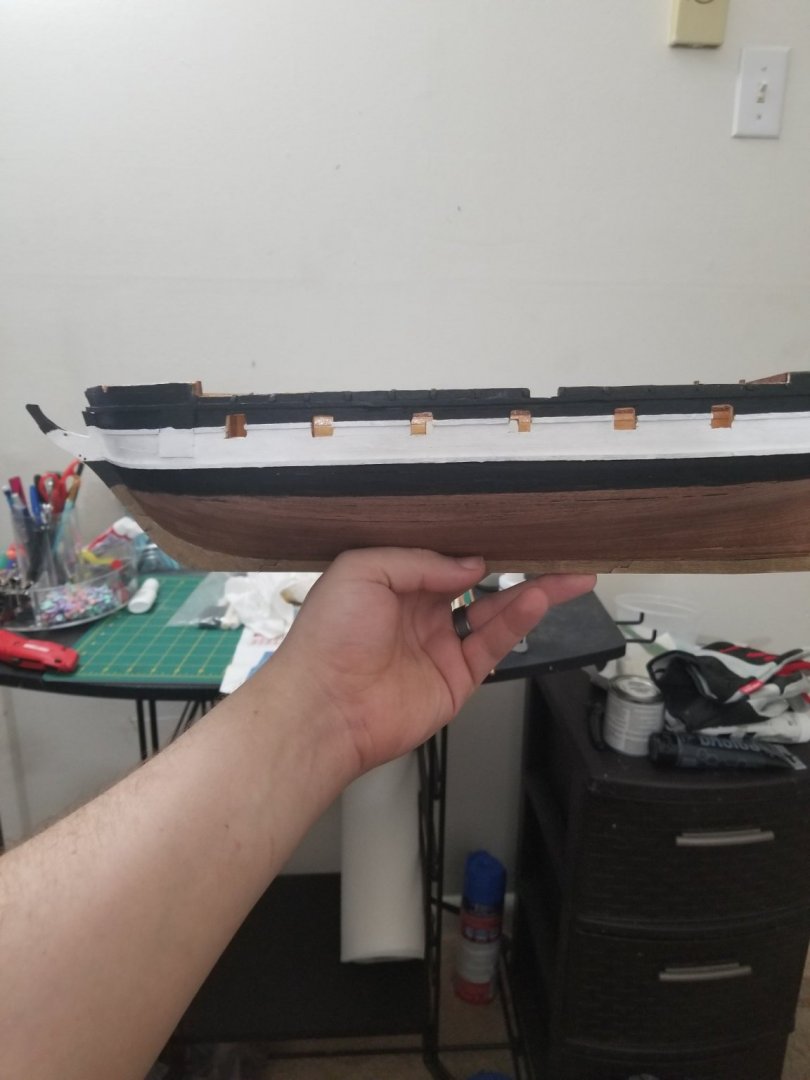
So I went with my gut and changed the painting to the straight line across. Going to work on the small items of the hull now that this is out of the way and repaired.
- Pete D, Dean77, Dale Hallier and 2 others
-
5
-
4 hours ago, Keith Black said:
Maliba, I'm not sure it wouldn't look better if the entire hull were painted.
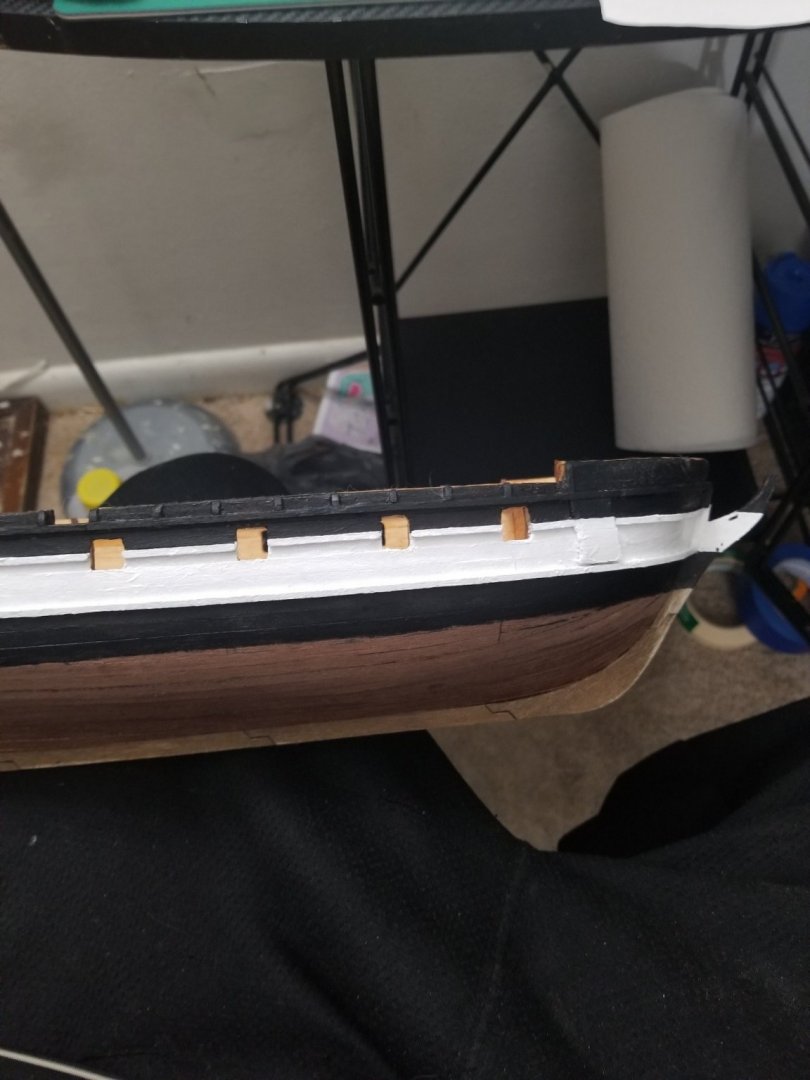
No not the entire hull. If you look in my side profile picture you will see the black follows the curvature of the ship. While the instructions say for it to be a straight line across. That's what I'm contemplating.
-
So today was keel and paint day I'm trying to decide if I'll keep the paint as low as I did because I followed the curve because I felt it looked better but I'm not sure how I feel. Would love your guys opinion on it. I feel it went really well and the second coat you dont even seen the wood underneath at all.
-
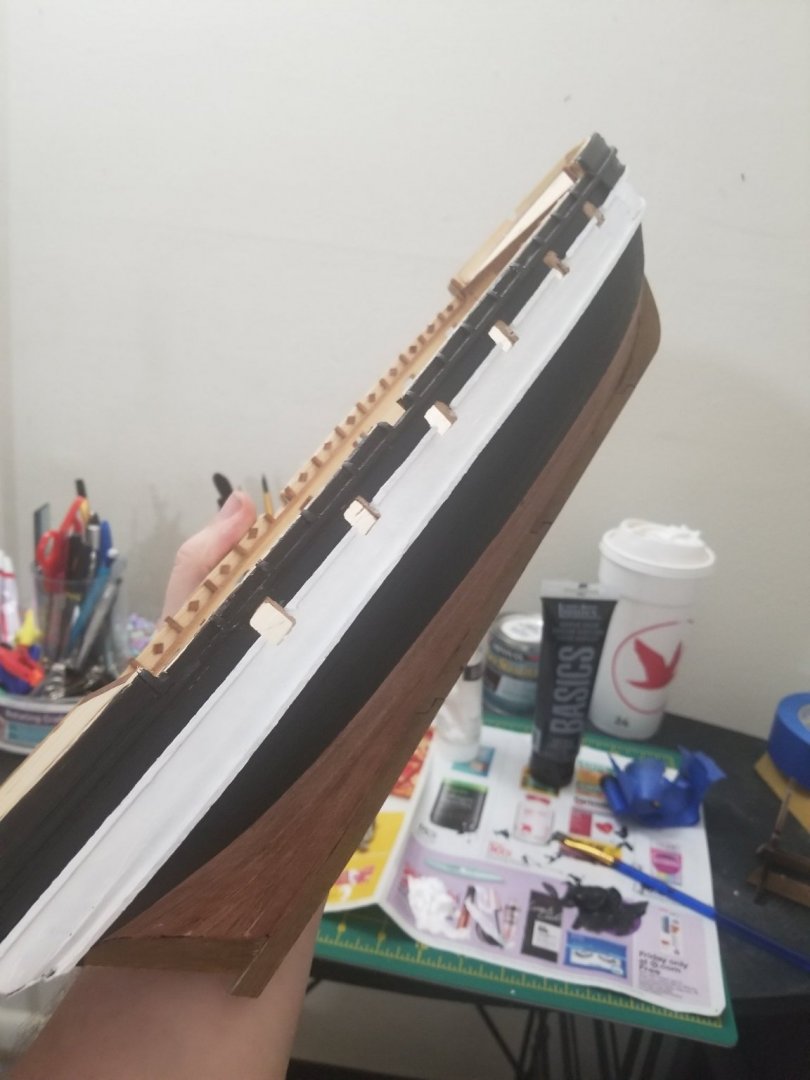
So only some minor progress today got the diamonds all finished up and the sides filed down and got the 4 planks on the front end of each side.
Question I have is I made a mistake and I can live with it if need be cause I dont want to cut blind into this model. I missed cutting out the front most window on each side and seeing as it doesn't get used for anything it might be fine. Or do you guys have any suggestions on how to get the window cut out without making a bigger mess for myself in the end.

- Pete D, Cathead and Keith Black
-
3
-
6 minutes ago, Old Collingwood said:
Thanks mate 🙂
OC.
I'm just starting my building hobby and working on my first build, HMS Beagle just trying to plan for the future. I dont have enough knowledge to manipulate a kit or do one from scratch. I think I'll just chalk it up as a hope down the road to get to that point eventually. Your build looks amazing though so I'll definitely keep it close for when that time comes.
- Old Collingwood and mtaylor
-
2
-
Thank you guys
- Kevin, mtaylor and Old Collingwood
-
3
-
Is there any 1:60 model kit for the black pearl from the pirates movies? I know it seems kind of childish but I like the movies and would like something to make that is not plastic and small.


HMS Beagle by Robp1025 - OcCre - 1:60
in - Kit build logs for subjects built from 1801 - 1850
Posted
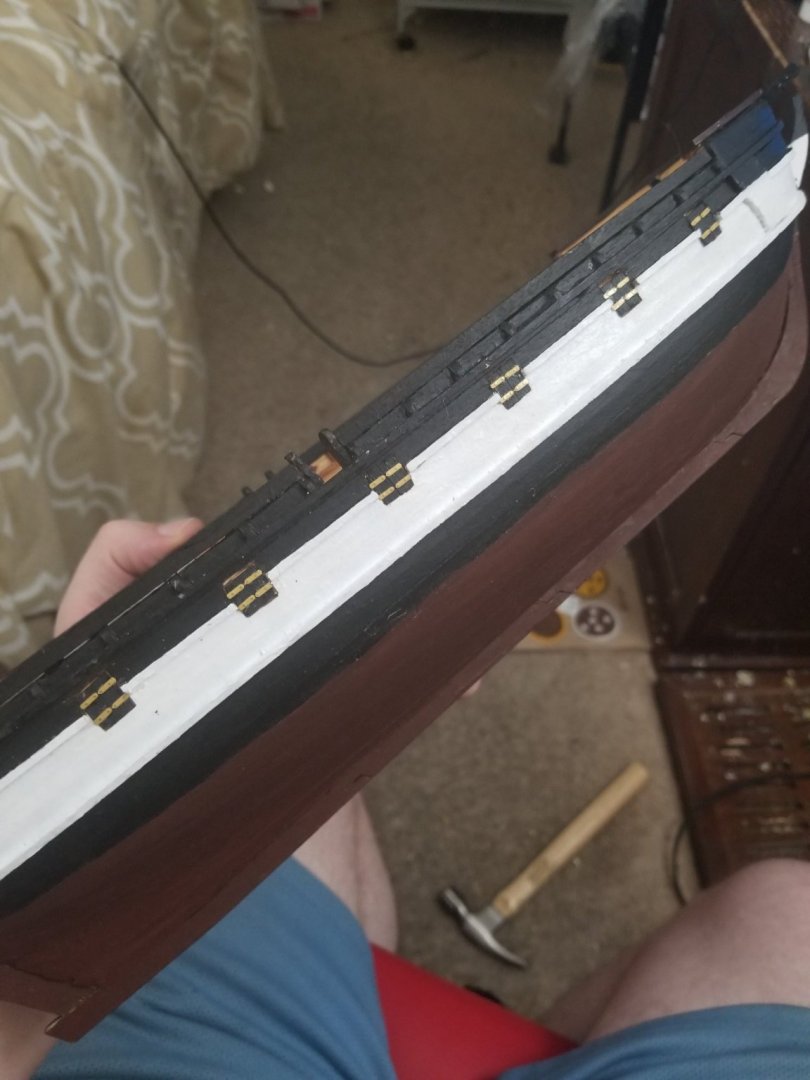
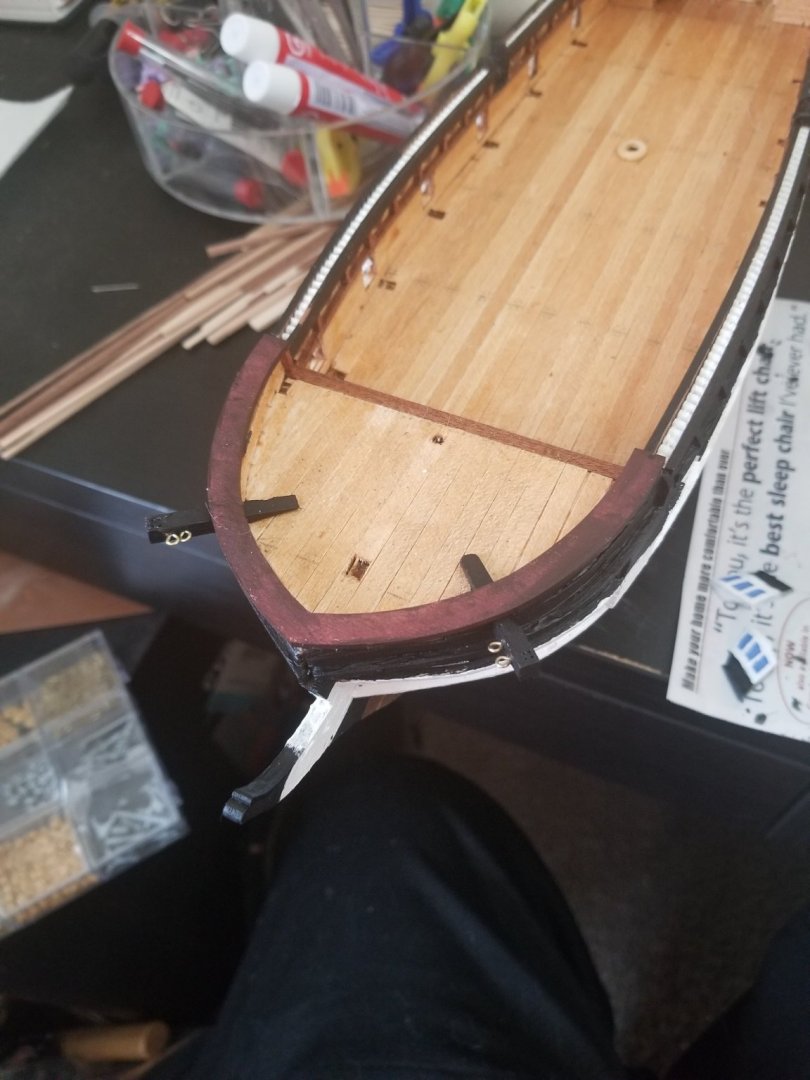
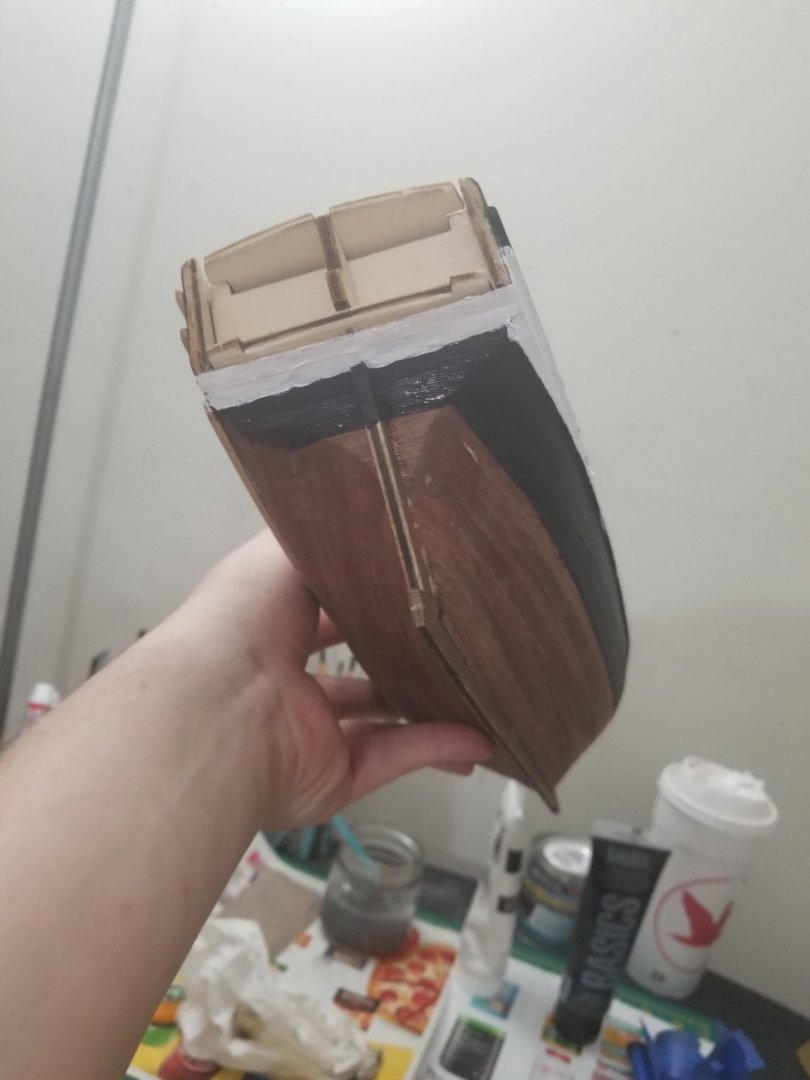
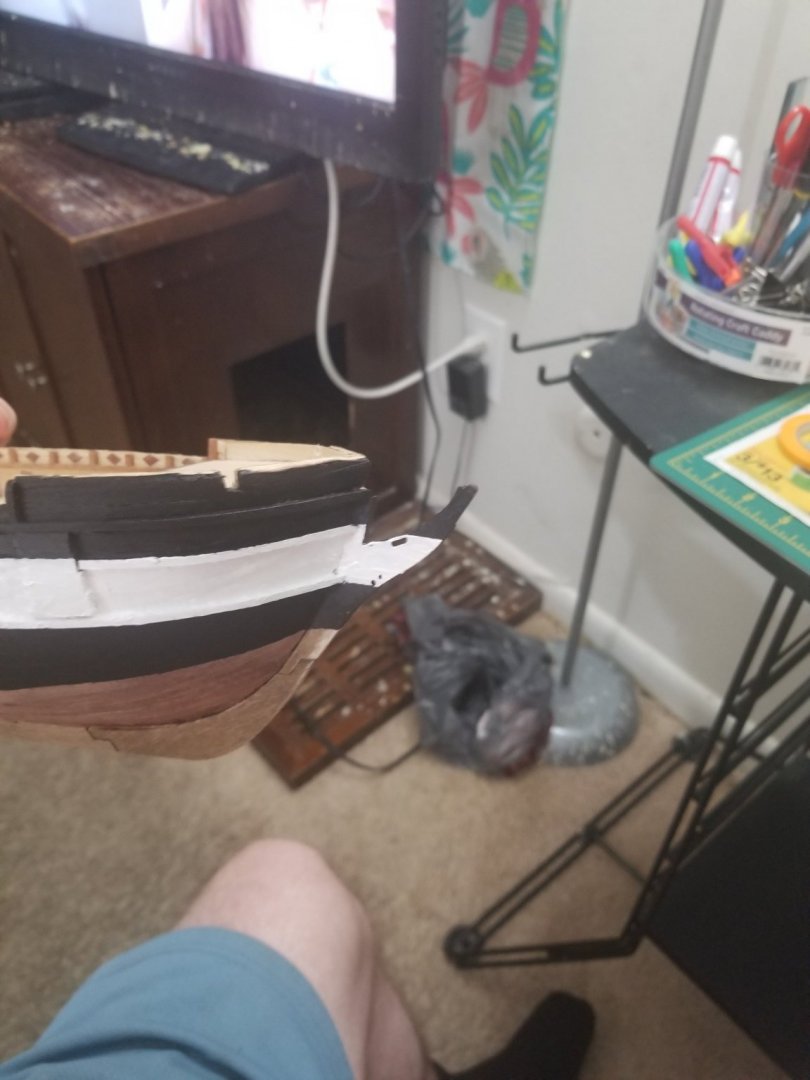
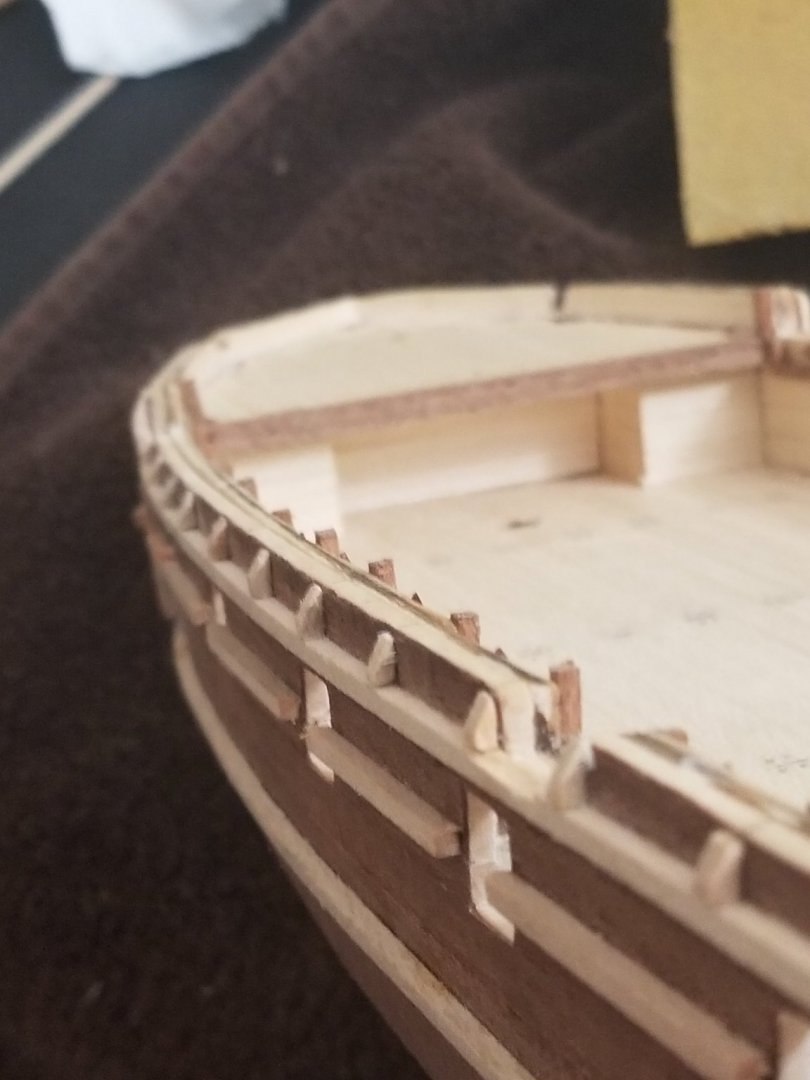
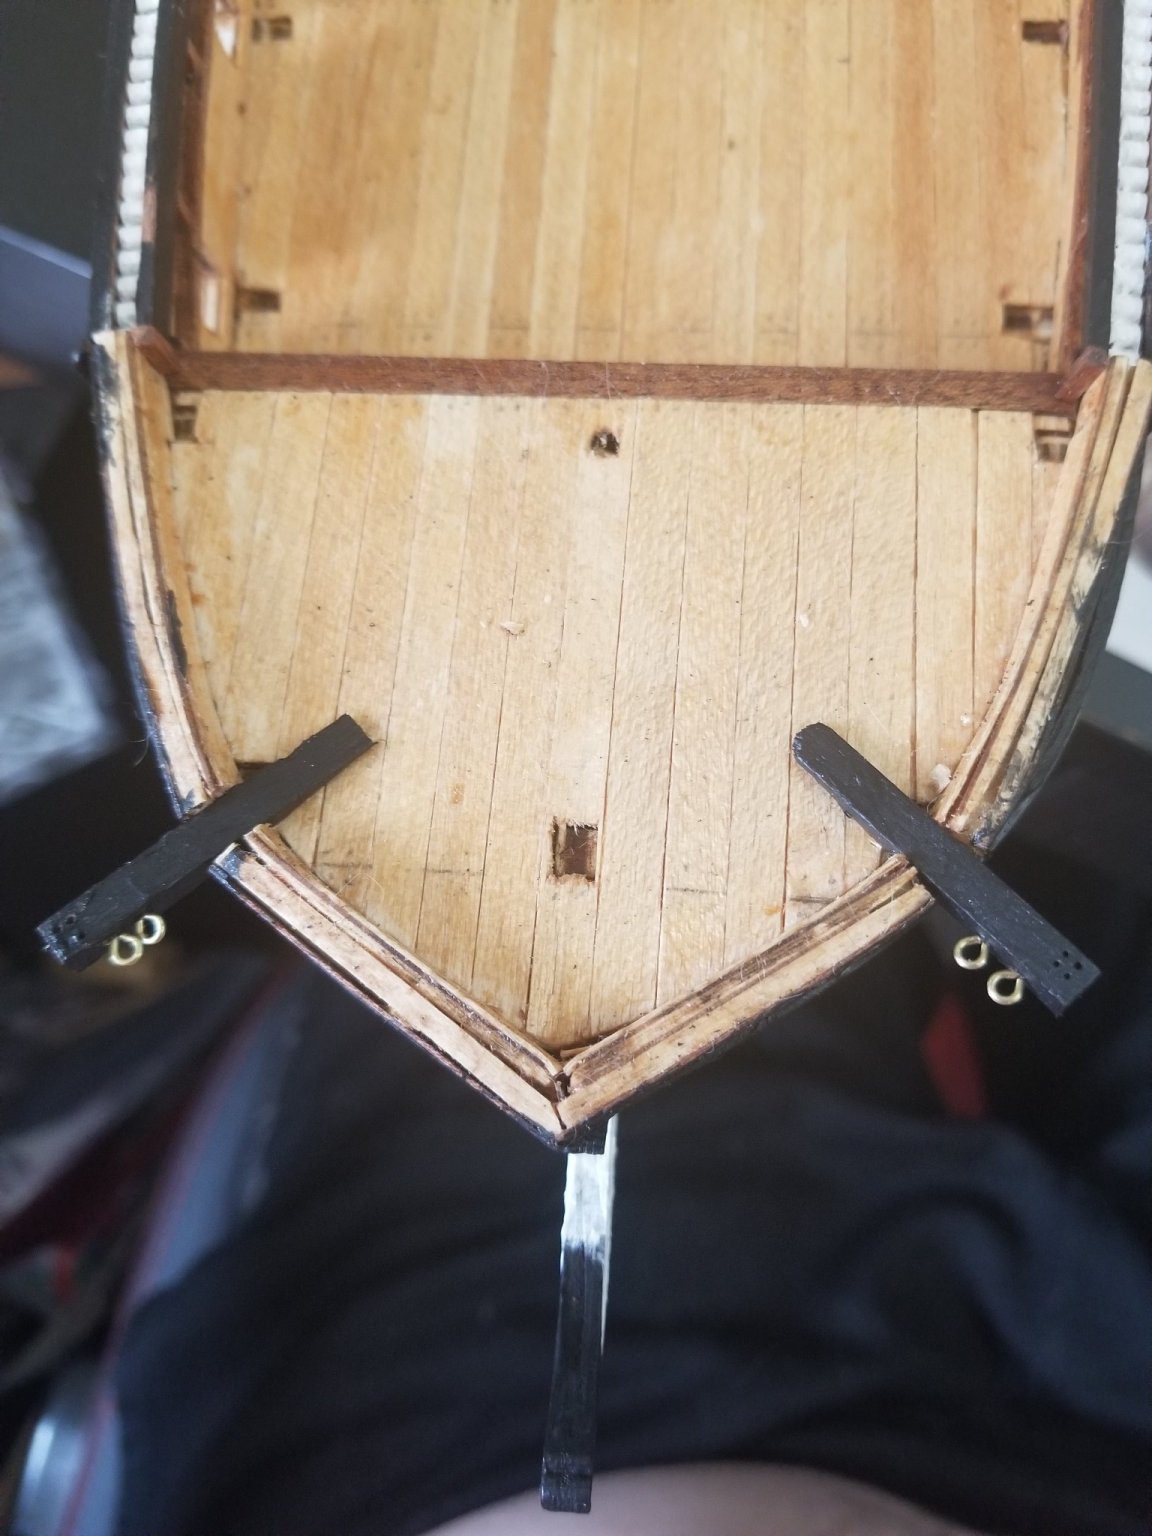
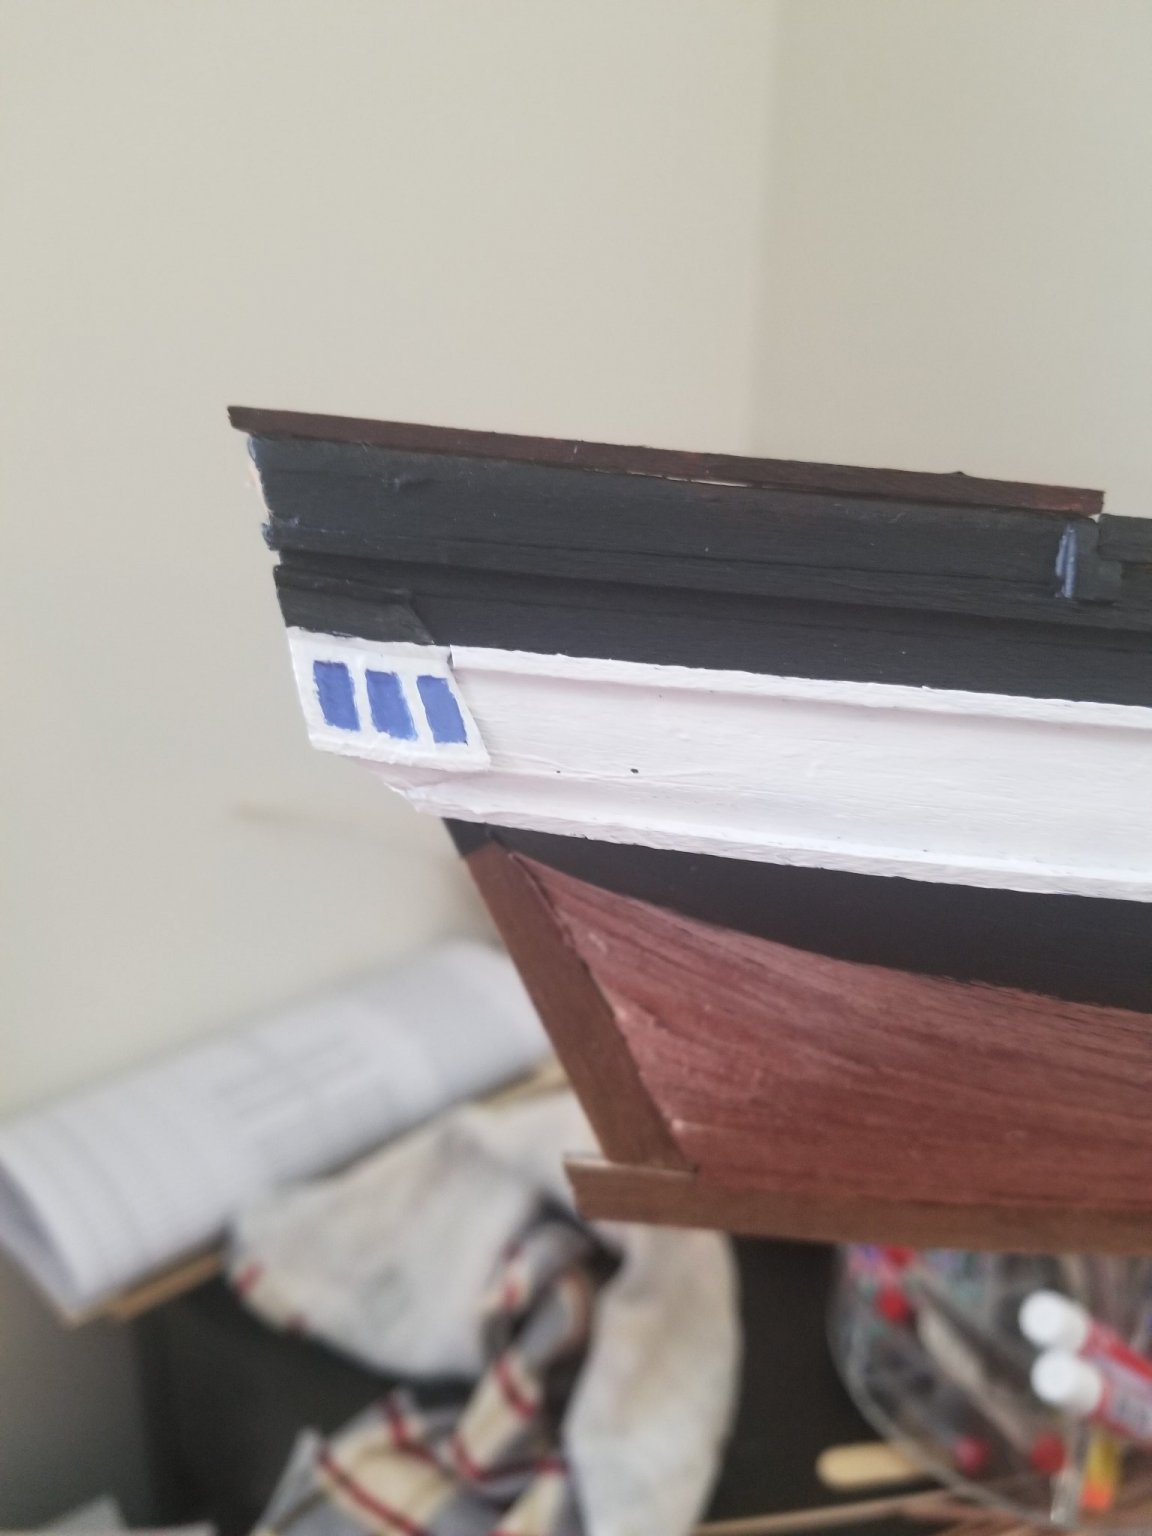
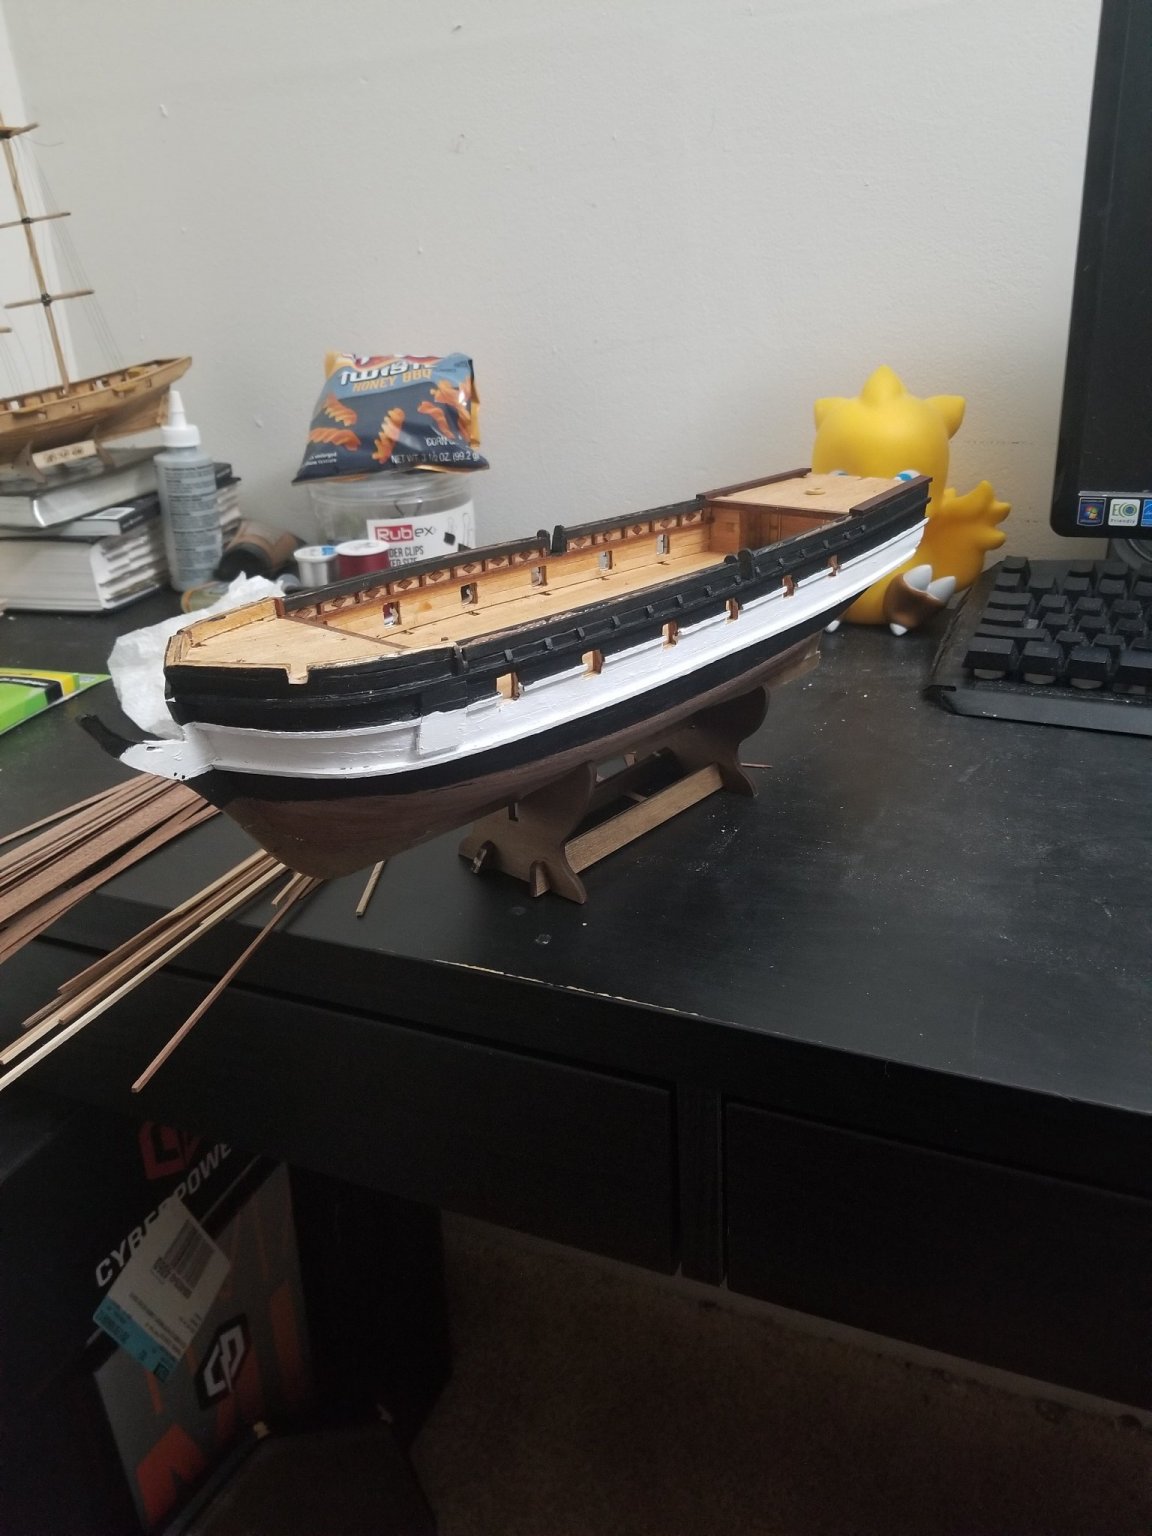
Getting some details situated and the bow done.