HOLIDAY DONATION DRIVE - SUPPORT MSW - DO YOUR PART TO KEEP THIS GREAT FORUM GOING! (Only 13 donations so far - C'mon guys!)
×

Robp1025
-
Posts
259 -
Joined
-
Last visited
Content Type
Profiles
Forums
Gallery
Events
Everything posted by Robp1025
-
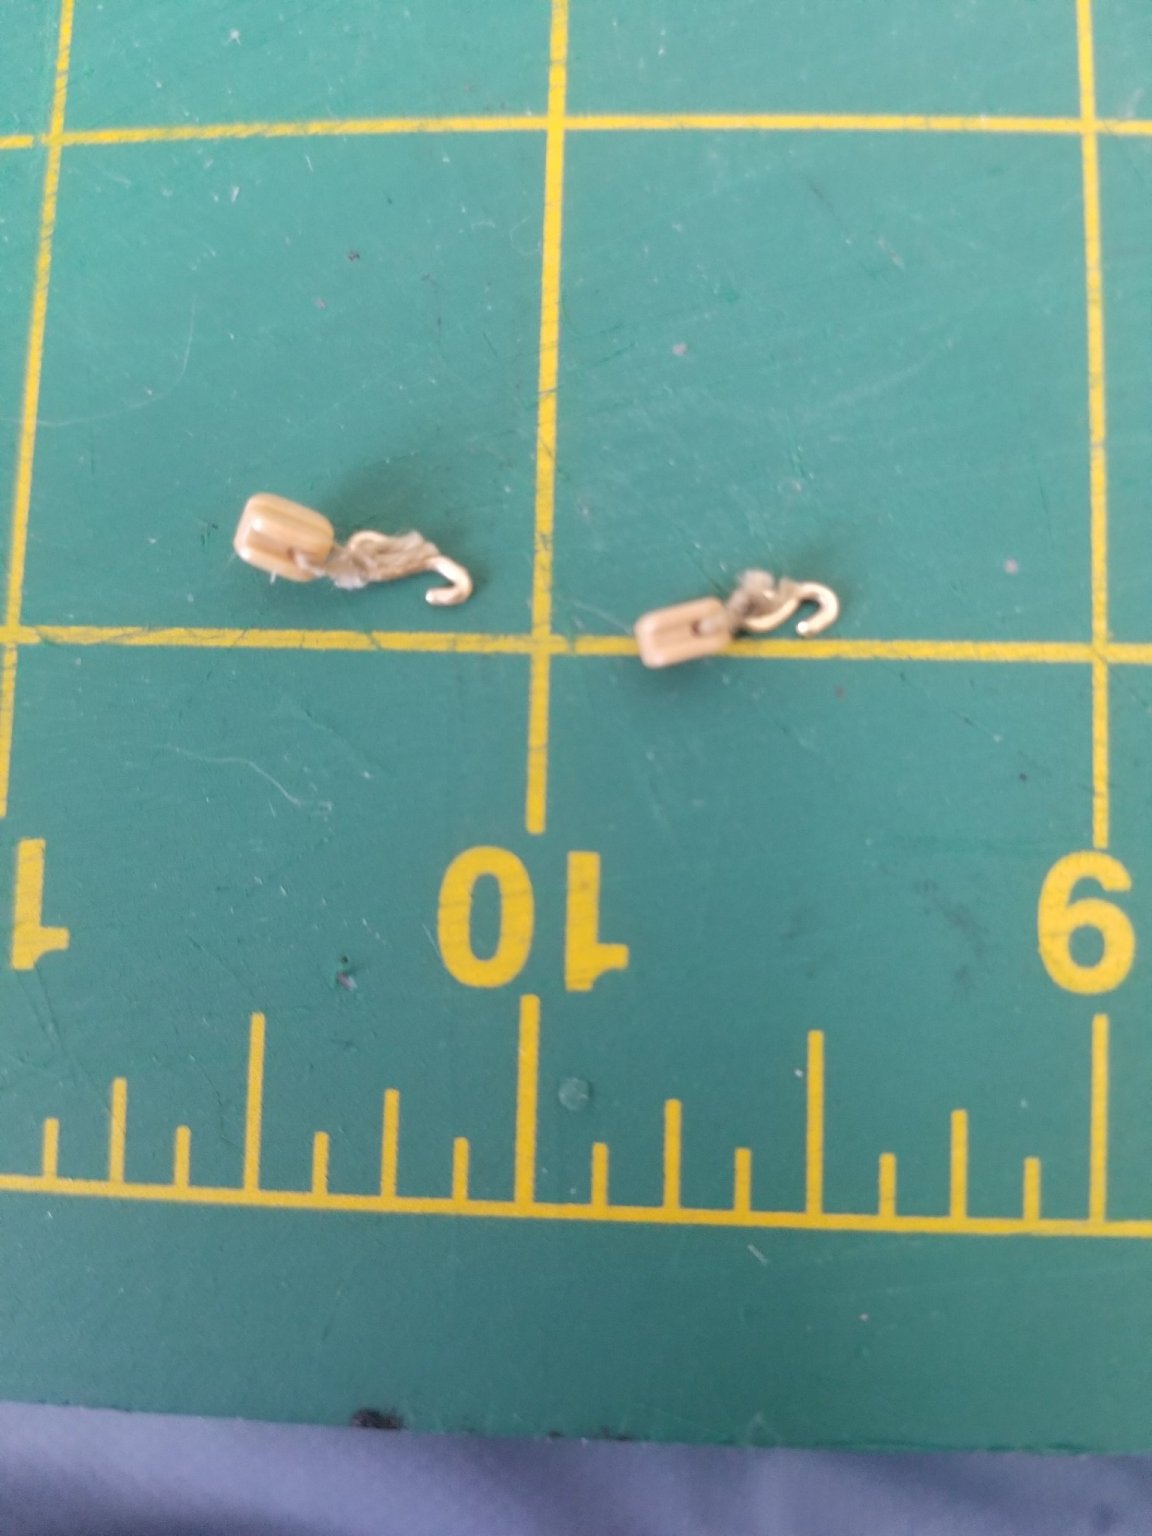
Wait there is a hook that is suppose to be on the inside part? Cause none of these blocks I have has tht.. hmmmmm I'll try to find these. It really does help a lot more thank you.
-
Hrmmmm that sucks alright well I'll need to wait till next week if I want to go this route 😕 I'll try to push ahead and mount the cannons once I have all the pieces with correct scale but I want to mount these right. It's part of learning and I want to learn not just breeze through.
-
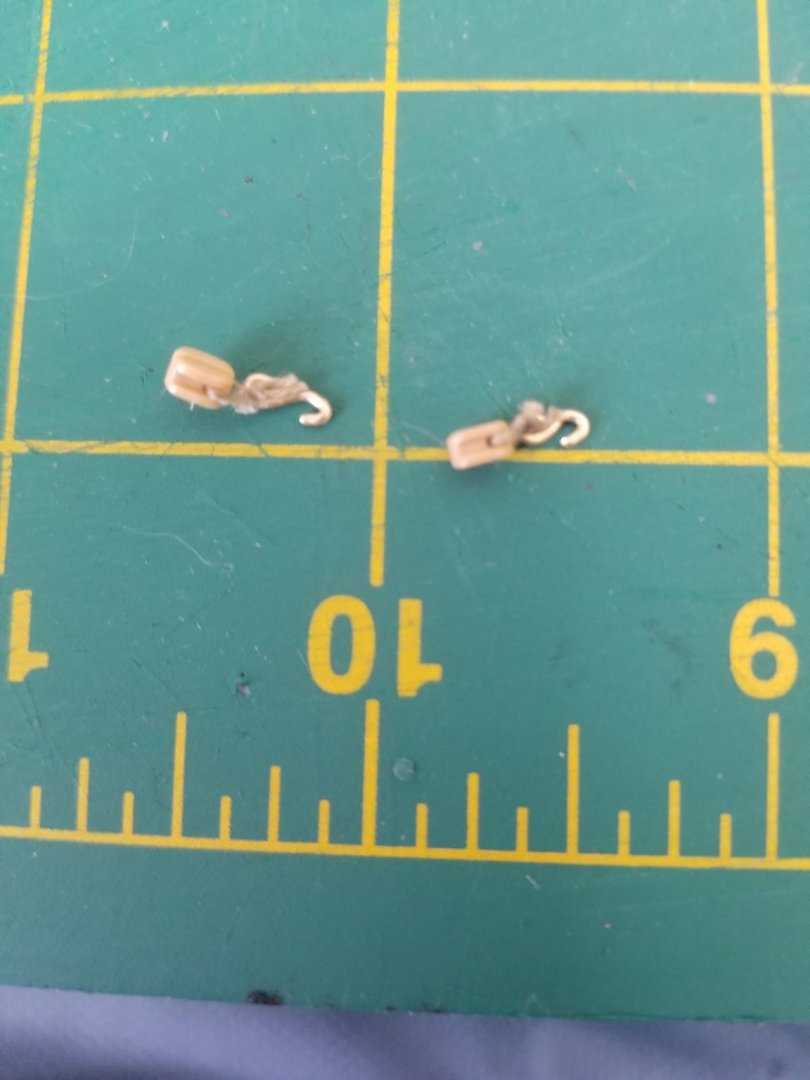
So this is my attempt at the connecting two single sheaves to use for tacking down the cannon. I'm going to have to put pins a lot farther from the cannons but it looks nice. What do you guys think? Do I need to possibly not worry about it and order smaller single sheaves because it looks too big? Also is there a good knot to use when trying to work with connecting the two sheaves with a loop of string? Tried to look it up with no luck.
-
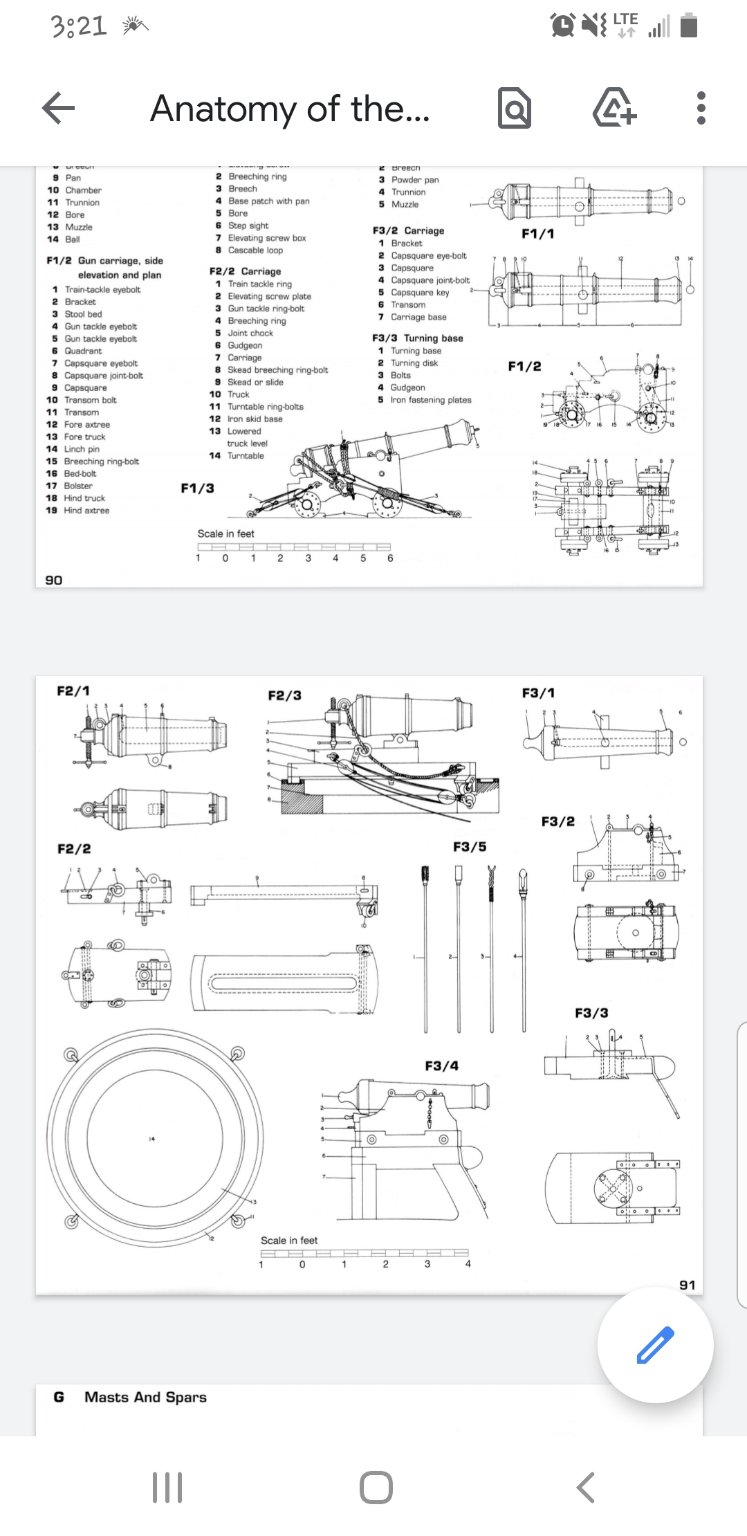
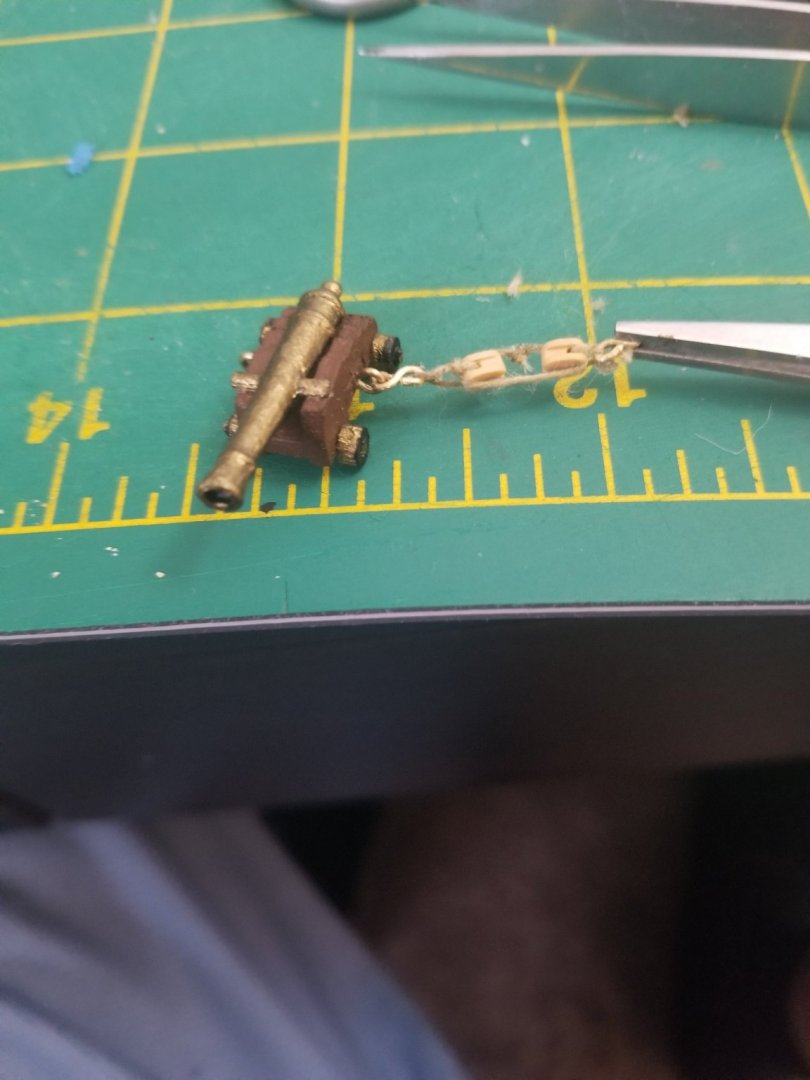
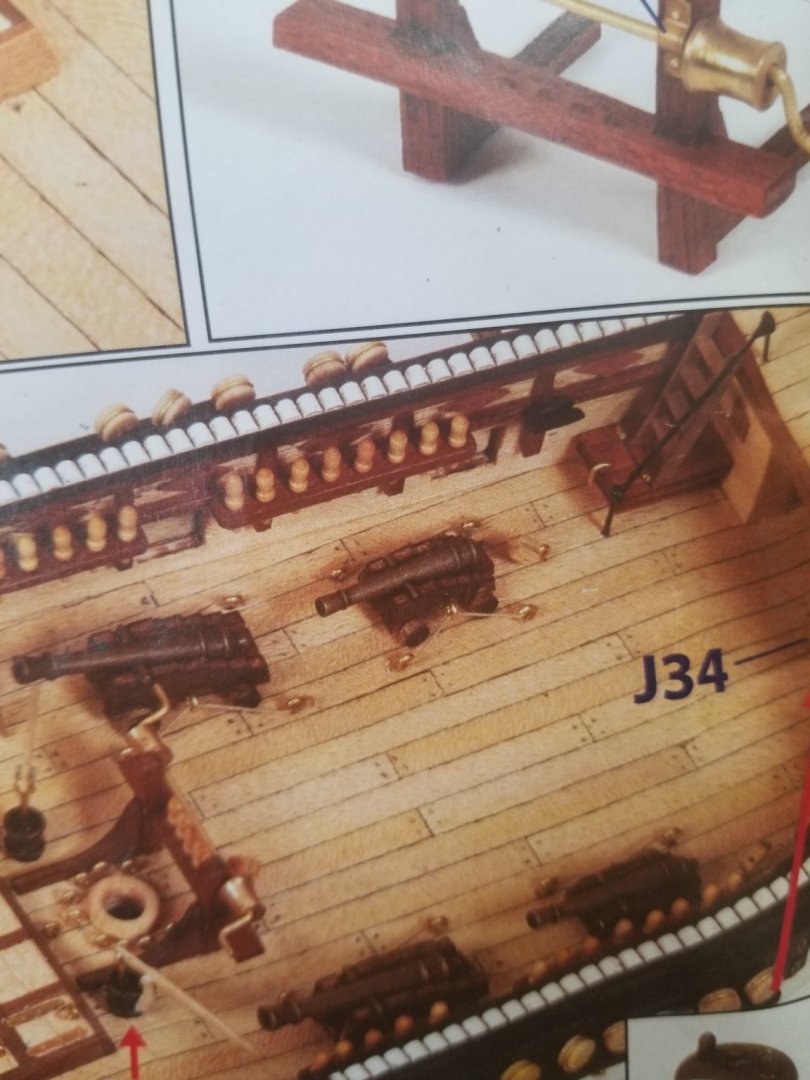
I would like to make an addendum because well I'm an idiot sometimes. But now I need to fix the foremost cannon slightly as per these new developments. I wont be able to make that one 100% but I'll be using the single loops on the cannons on the deck to make it as real as I can. @LucienL if this is accurate I would love to hear incase the book is a little off.
-
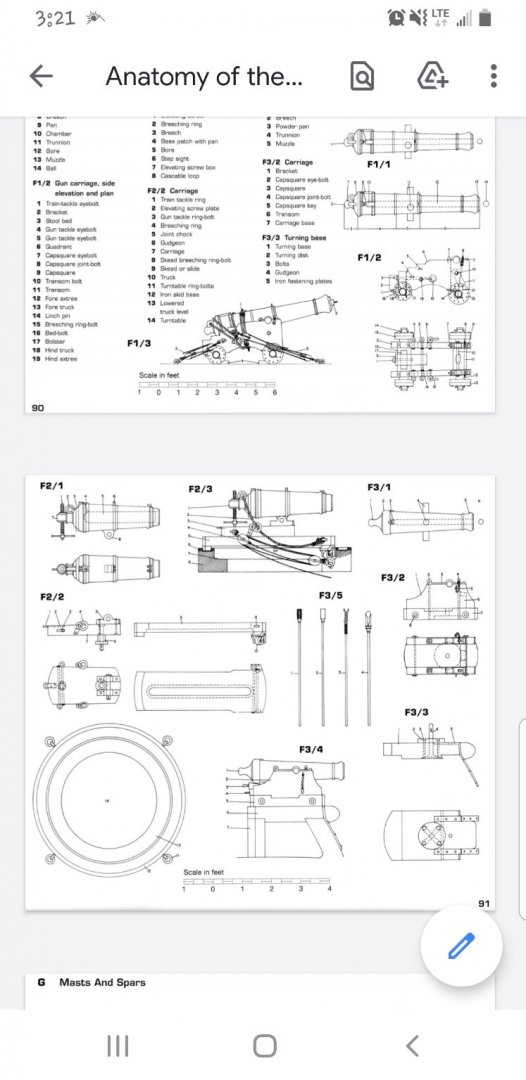
So think towards more realism how would the cannons actually be tied down? Would there be slack on the ropes? And how would it be arranged if there was? Because I dont think that the way the instructions have it is how it was done. I didn't see anything in the AOTS book that I down loaded. (anatomy of the ship) @LucienL I know your more knowledgeable on the beagle them I and all I read is that they actually removed a good bunch of the cannons since it's a surveyor's ship. Anyone else's opinion would be appreciated too
-
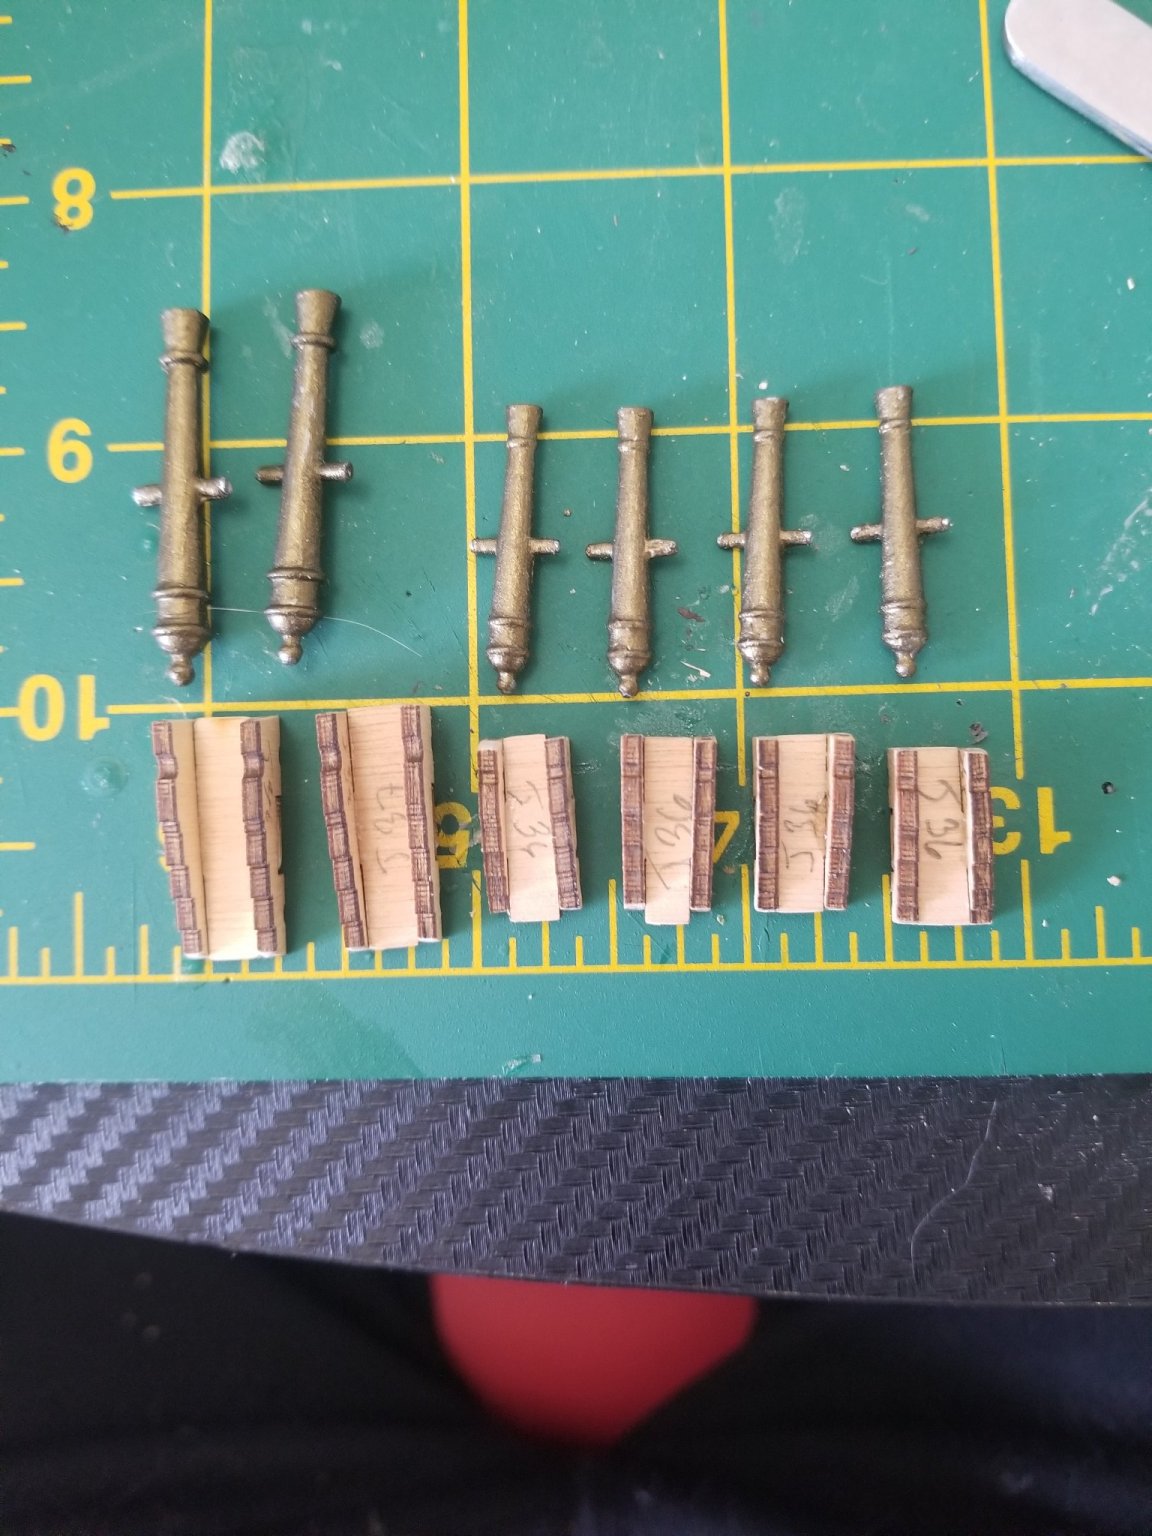
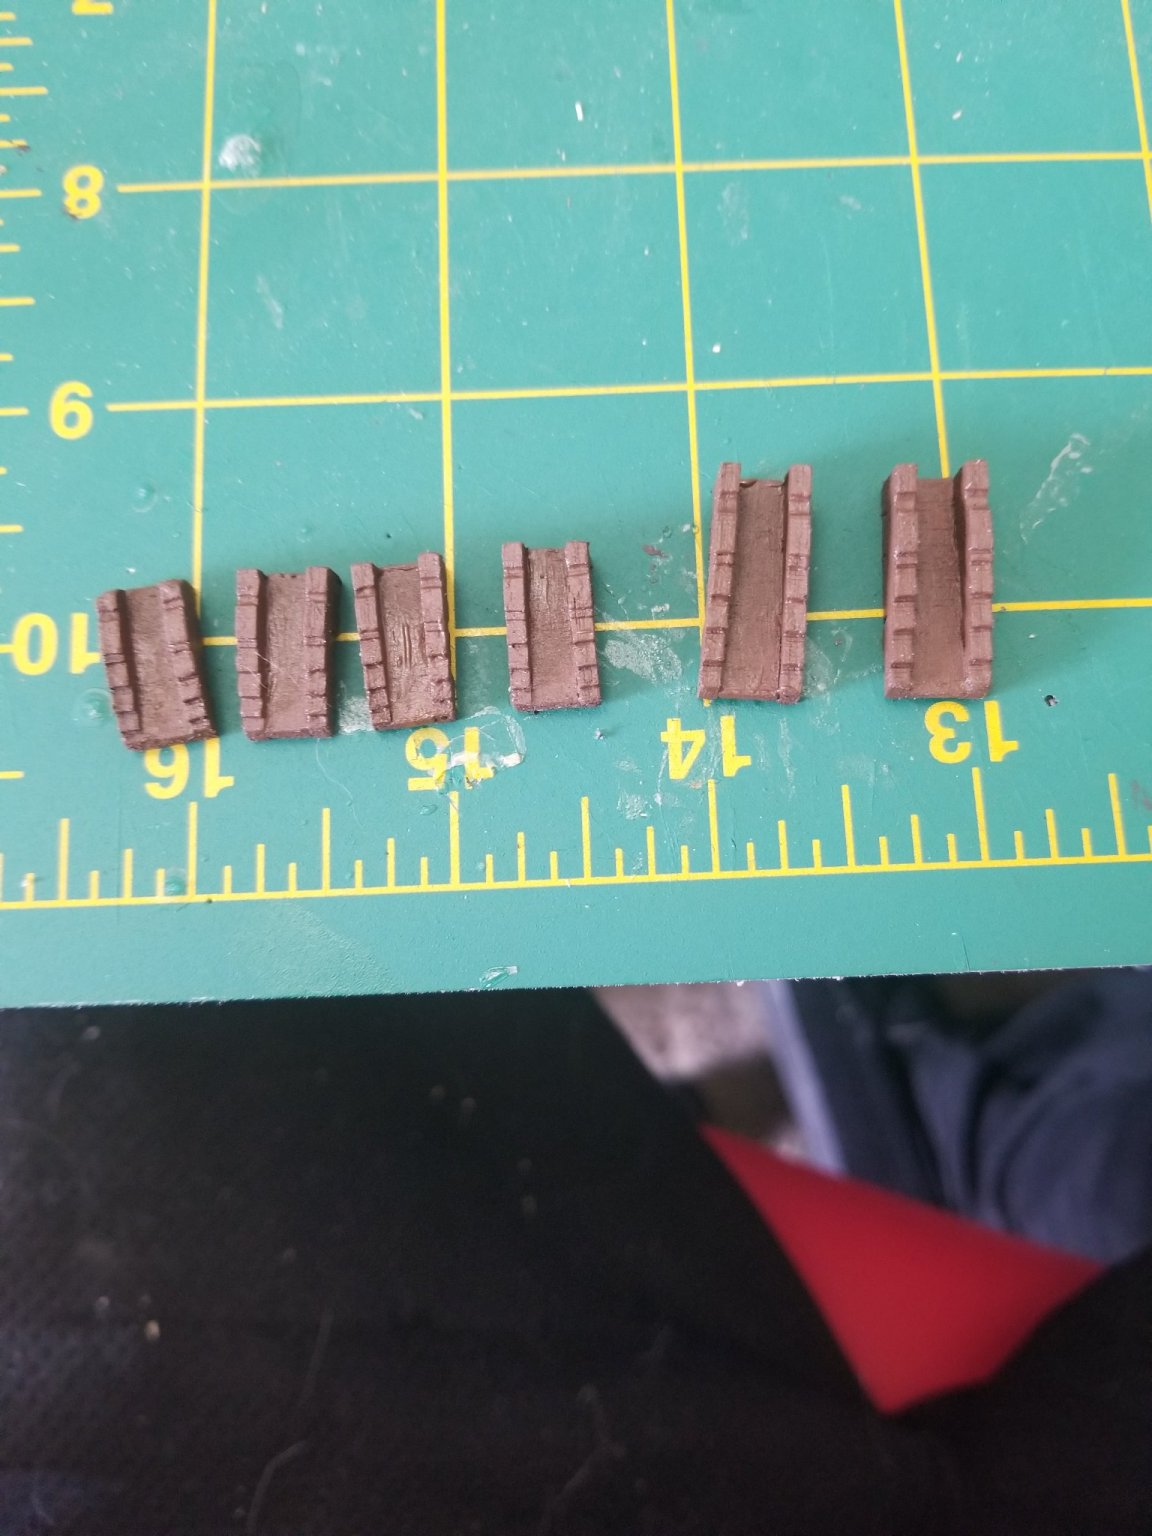
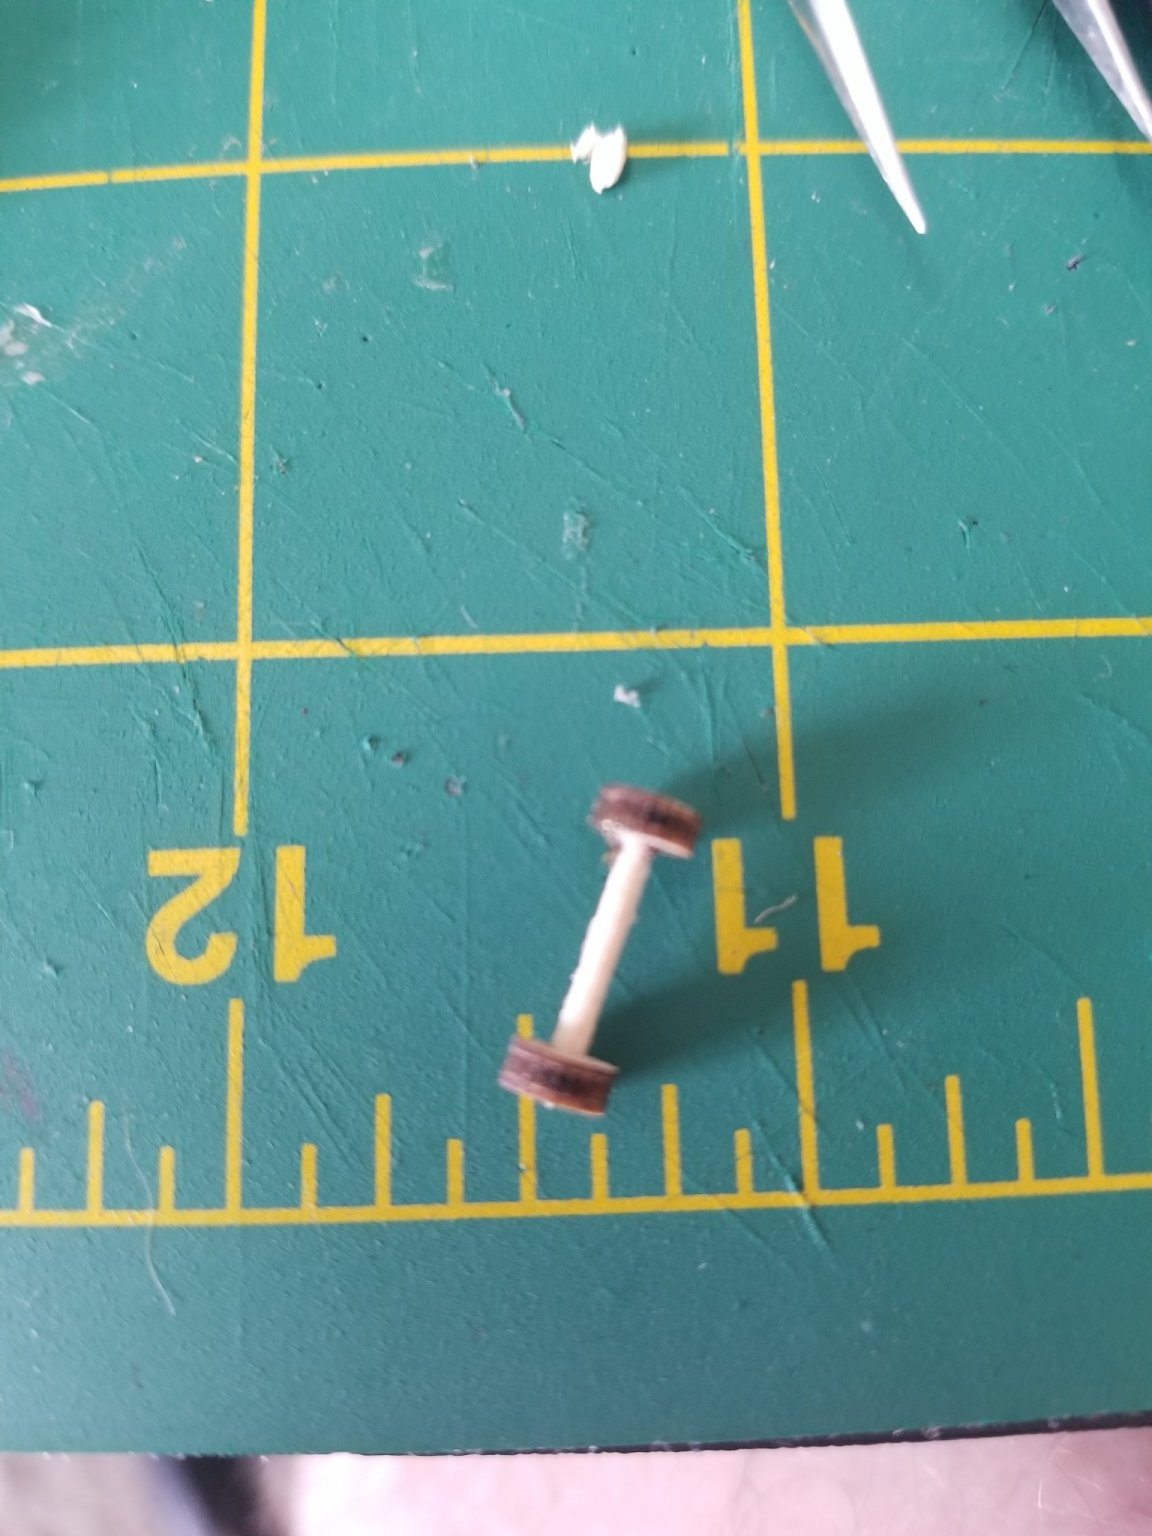
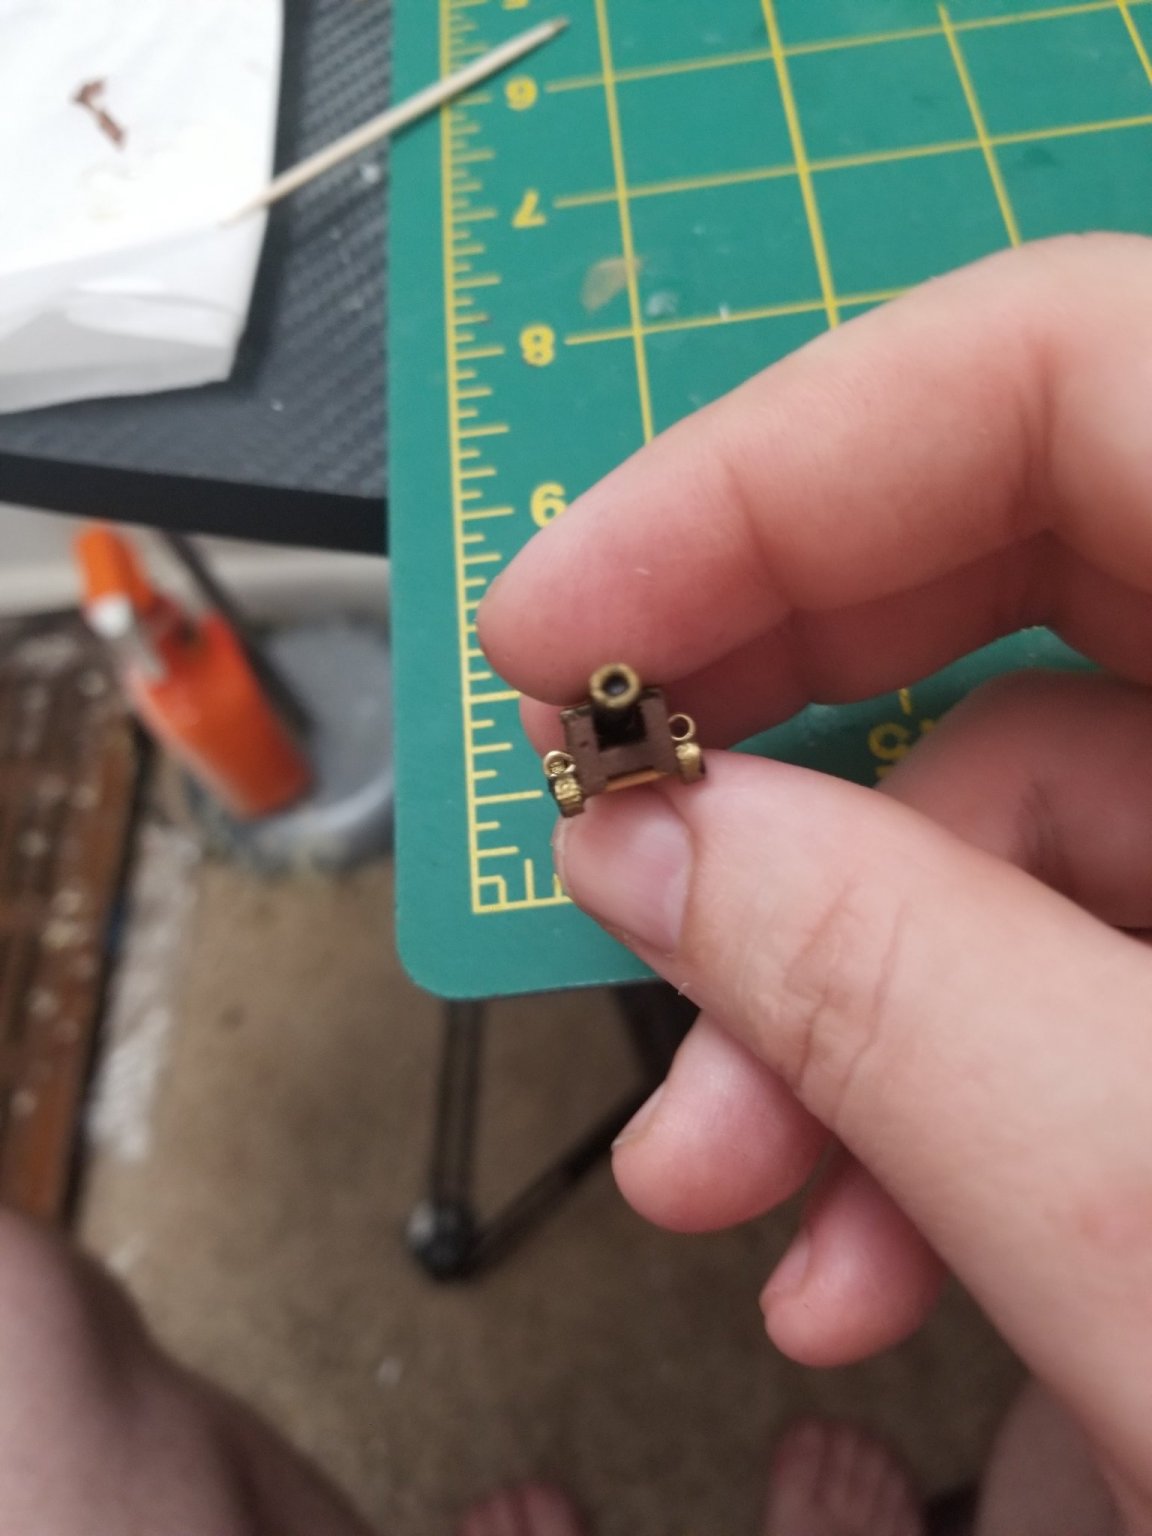
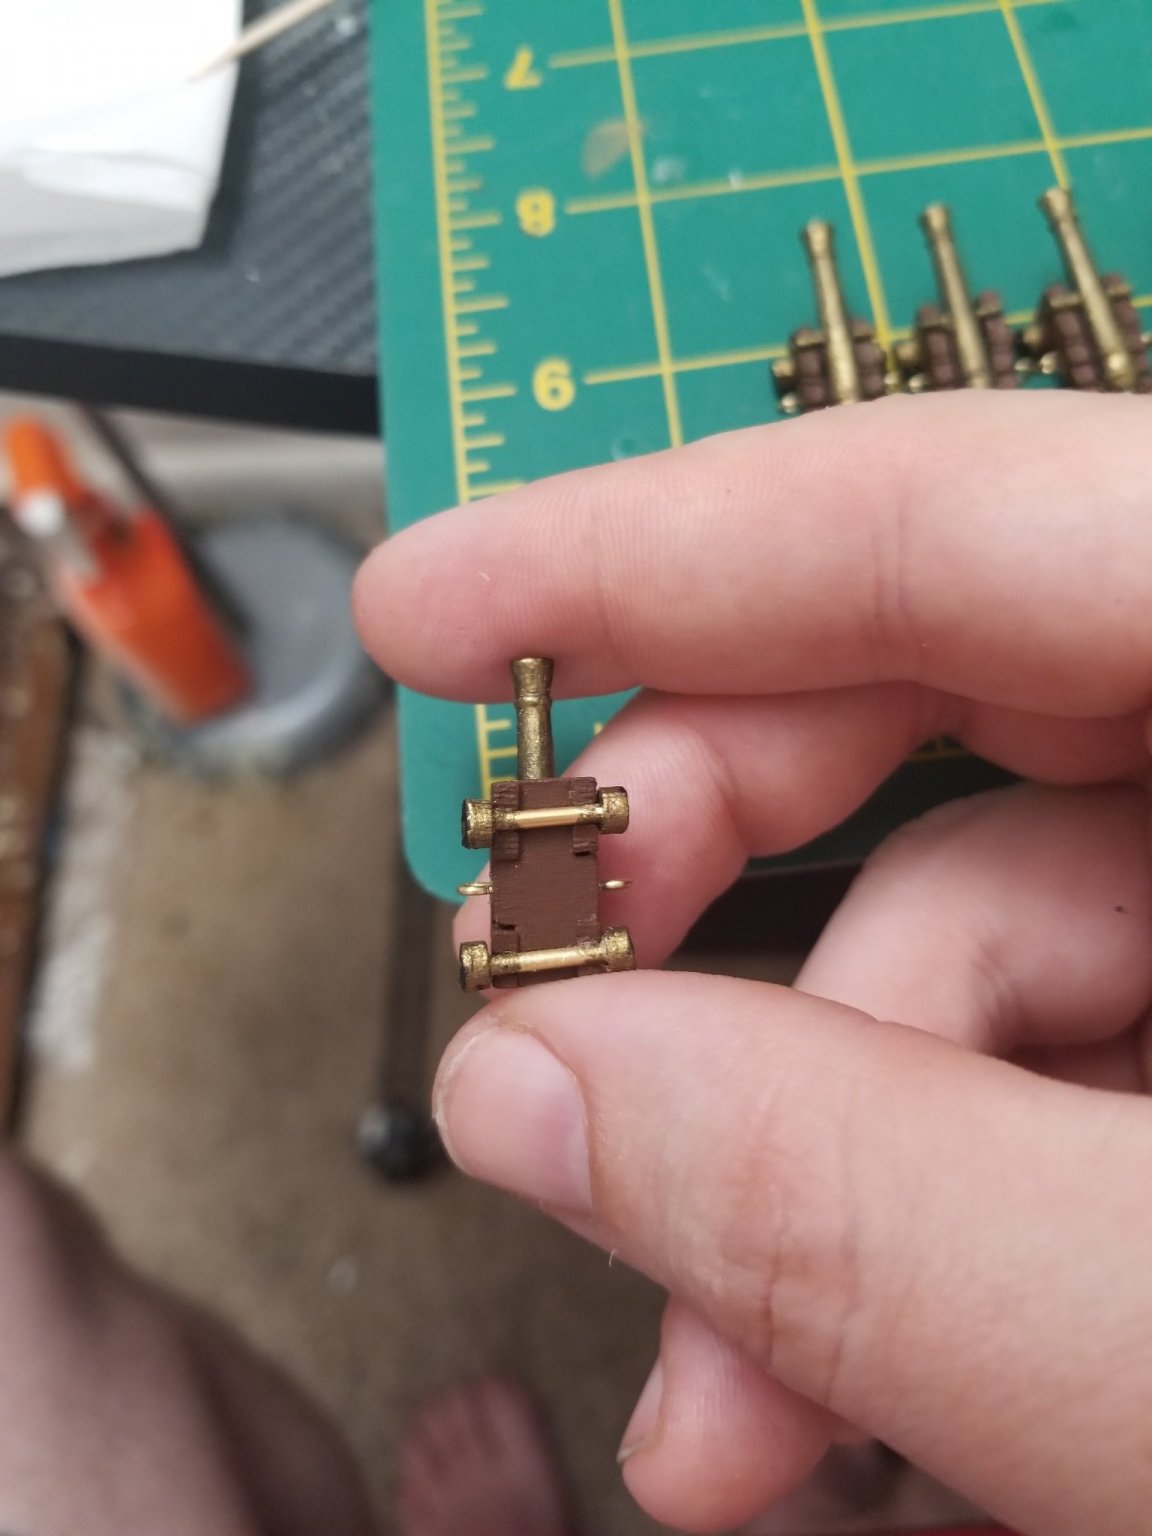
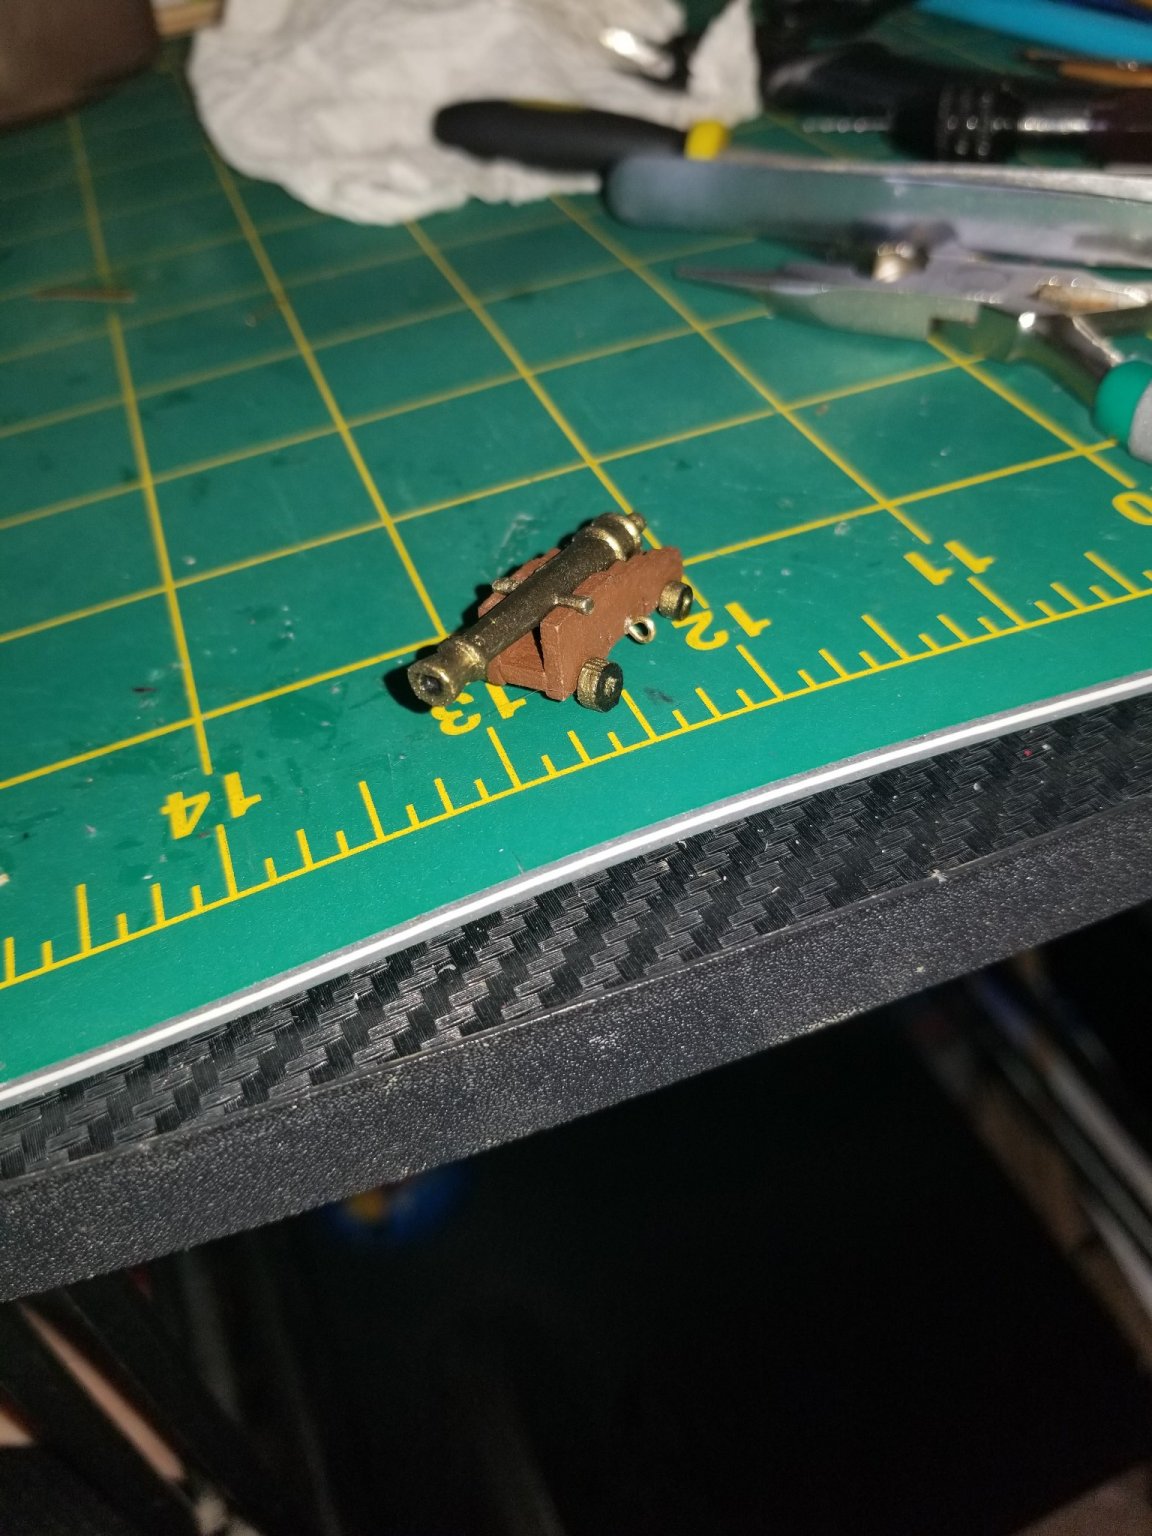
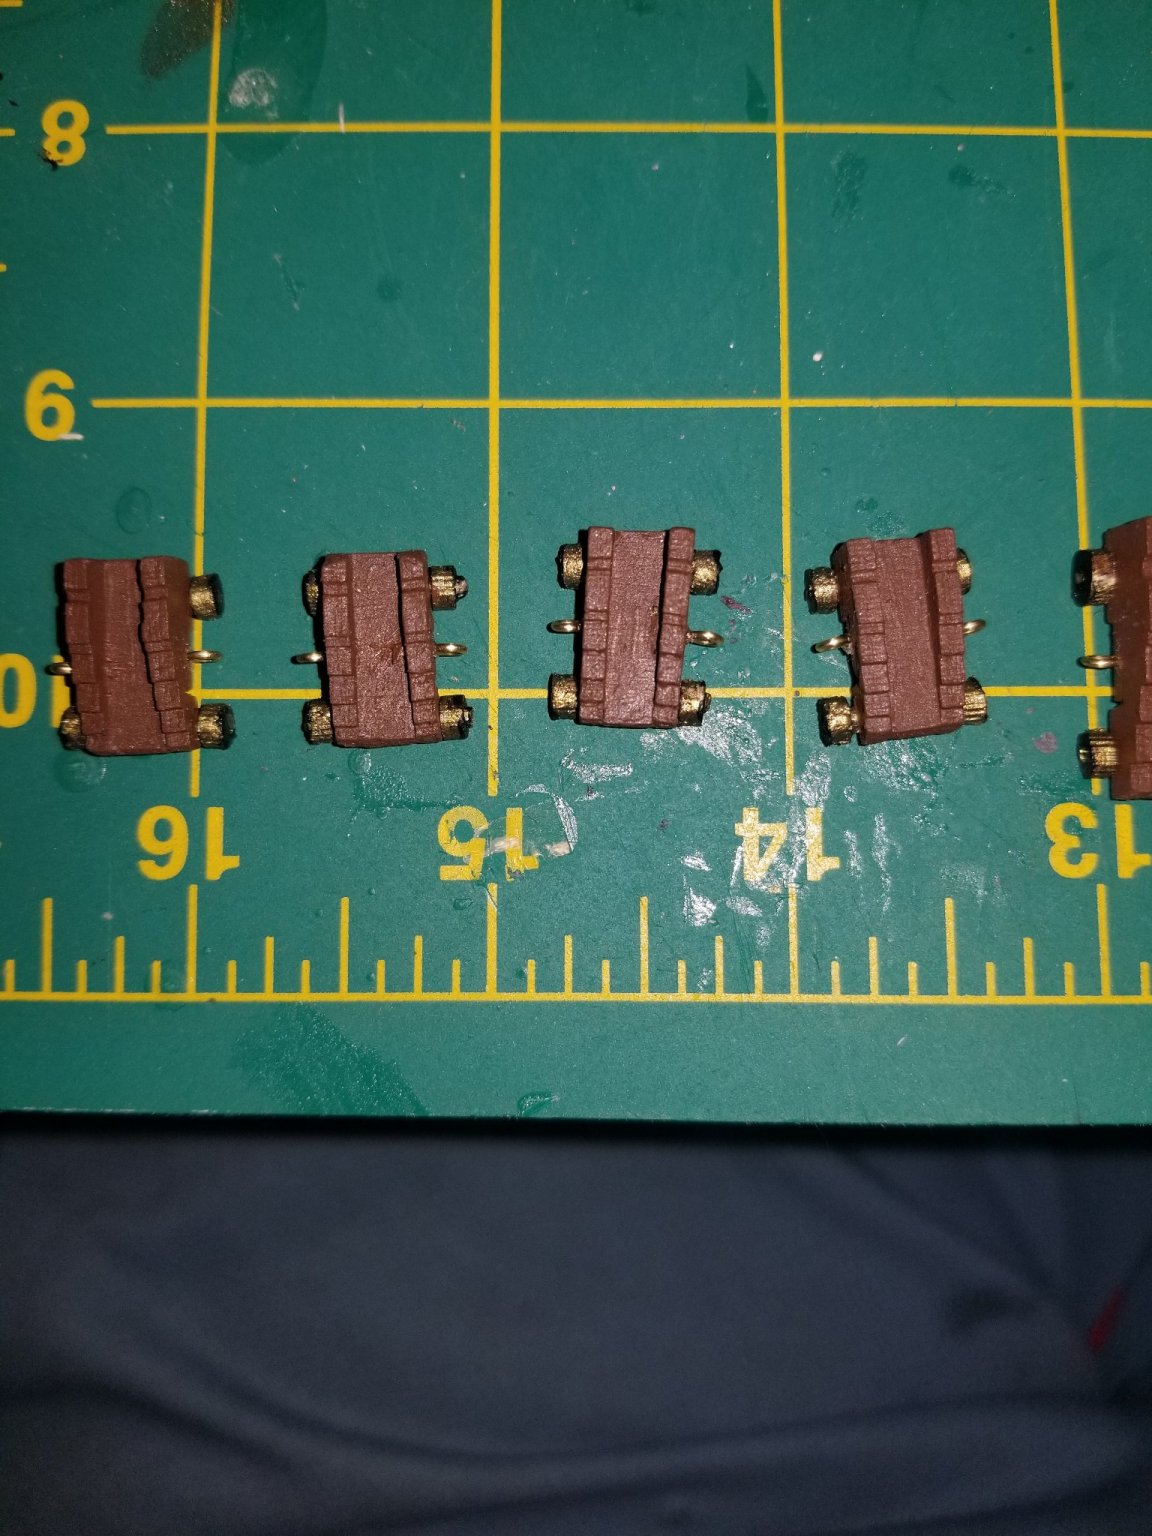
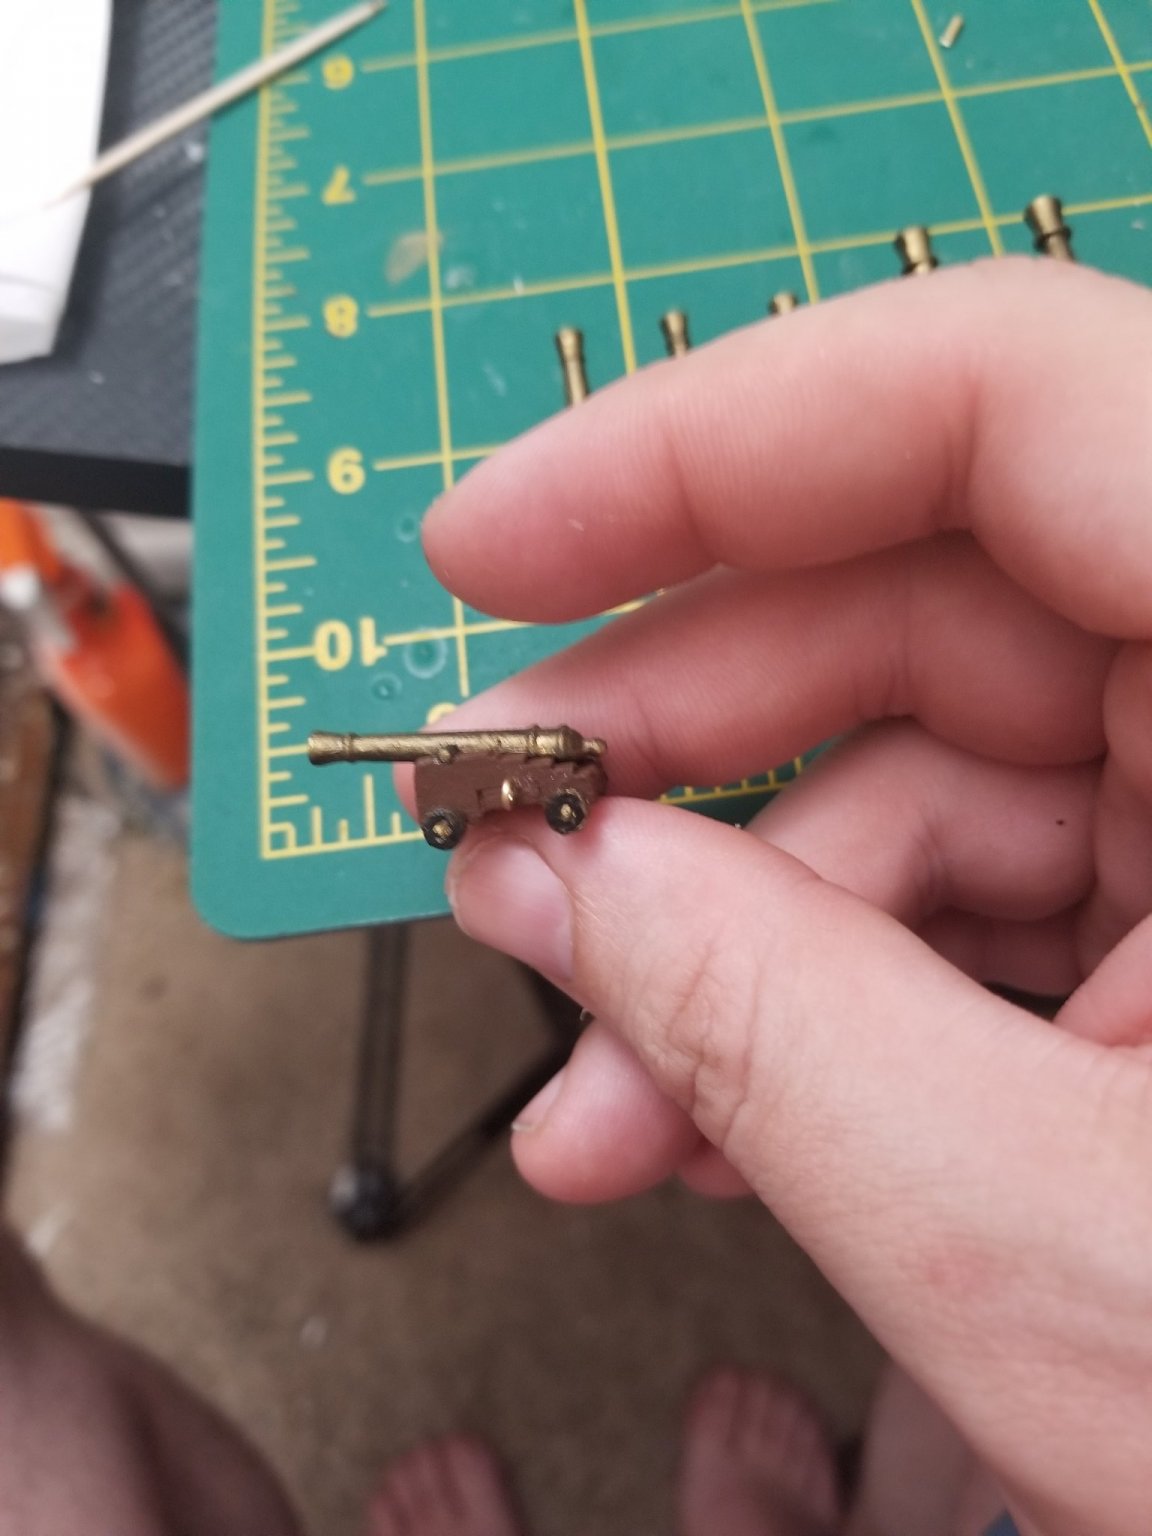
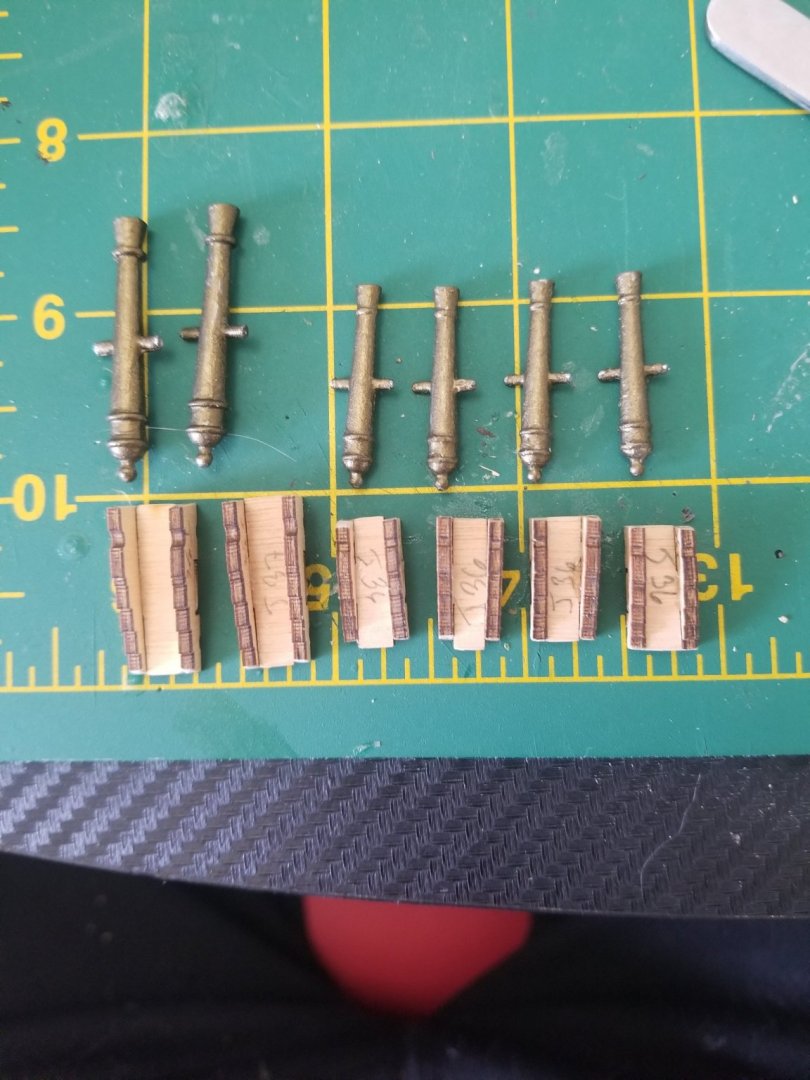
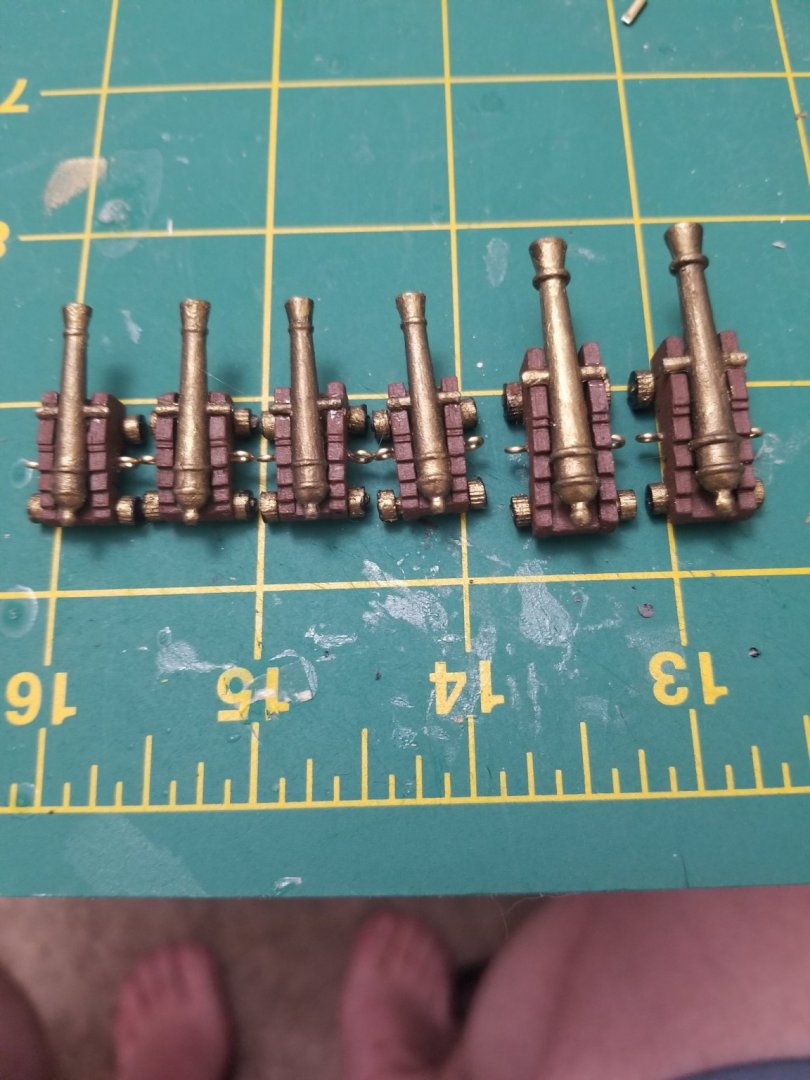
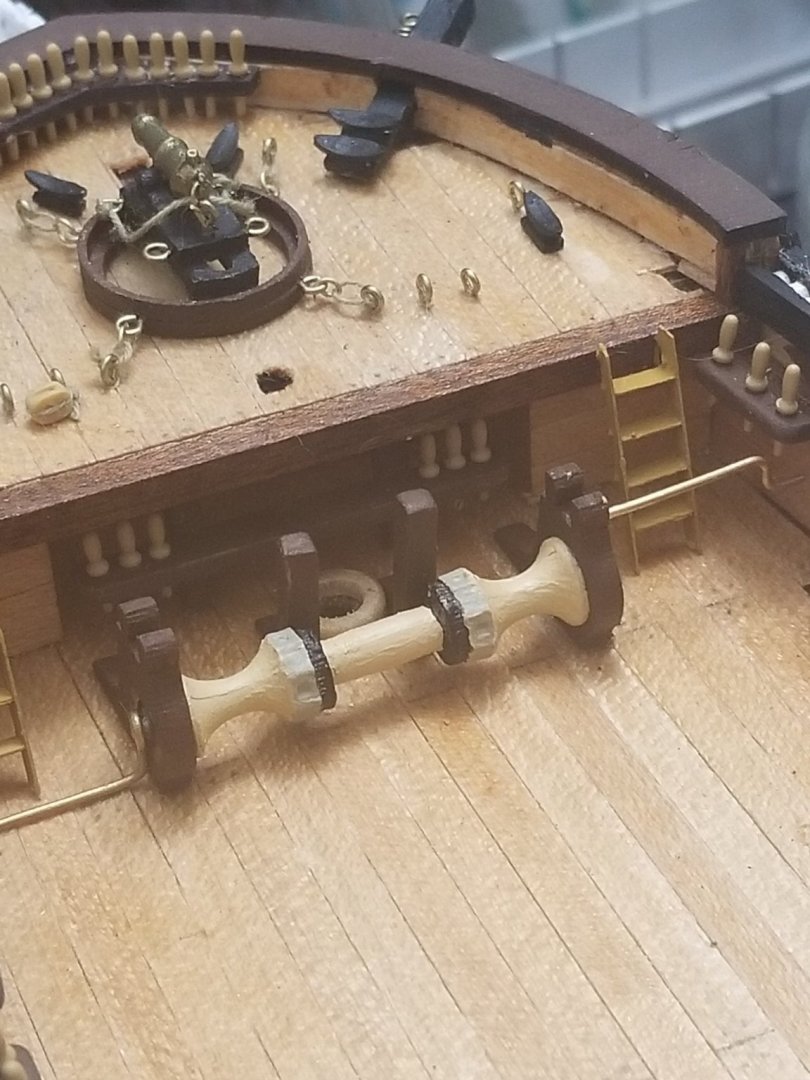
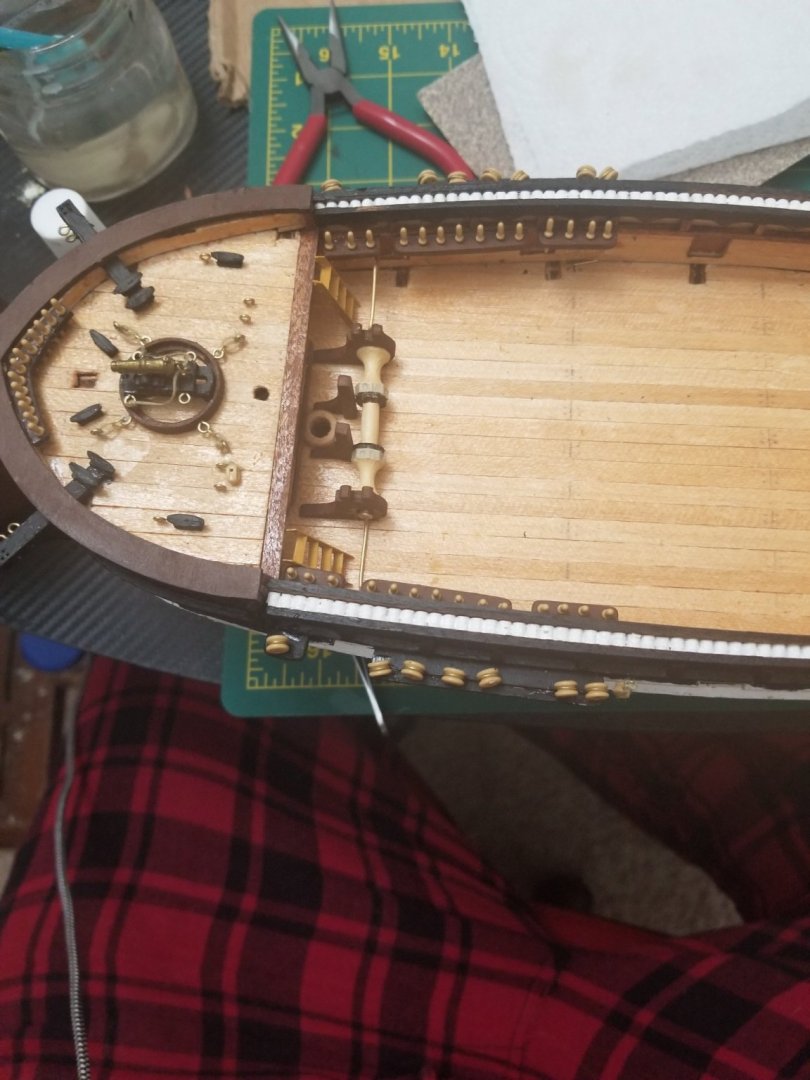
Alright so we got cannons done. That was fun and got quicker as I kept going. Started with getting the bases built and the cannons painted with a blackened brass color. Then its onto painting the bases its color and getting them ready for the next steps. Did some measurements and found out that I dont have enough 1.5mm cause i used some on the stern ornaments to try and save on 1mm brass. So i did some whittling of spare dowels i have already purchased to make some spare axels. Now after painting and some detail of showing the axel in the wheel instead of just making it pure black (dont have pictures of this step) then I assembled the first cannon. After being happy with the turn out I did the other 5 and here we are.


-
It means the super fricken small lines on a ruler and it's such a pain to measure with them. Makes me want to pull my hair out one piece at a time.
-
It has its ups and downs currently working on cannons and had to make some of the wheels axels from dowels and I feel more achieved and that I have a better fit with it being crafted by hand instead of just given to me.
-
It truly is a good system I try to use it when ever I can. Especially with dealing with the small details metric measurements work so much better than 1/16 and 1/32 inches
-
I appreciate the clarification and what ever it's called the United States need to not try and always be different lol.
-
I've grown fond of metric but it's hard to find things in the US that isn't in imperial lol. My kit only came with 6 brass 1mm rods so you might have gotten more probably. You need about 8 pieces in total as far as I can tell so you should be more then fine with 30cm.
-
Unfortunately even with me being frugal I still ran out of 1mm brass. Its inevitable so if you dont have any available I would order it now before you get to page J where you will definitely run out. Also had the same issue with the paint looking clumpy and someone suggested watering down the acrylics so help it be more smooth and clean looking.
-
Good I'm glad you fixed it so it was rigged right.
-
So got some smaller pieces going and installed which is nice. Got my brass rods in the mail which took much longer than I wanted. So just got a couple photos but still want to make sure you are all updated. Hopefully you all are wanting to see the small updates but if you want it a little more spread out I can do that. I can also do more pictures so you can see more steps. Let me know so I can make this more interesting.
-
That's some good advice I didn't know if CA dried in the air if its puddle since I never tried it. What do you do just dip the tool in then apply it to spot or is there a chamber that's filled?
-
I love this build. I just caught up through it and the carving of the eagle was very fascinating. I cant wait to see how this build progresses for sure!!
-
Welcome to the fun and exciting world we all live in.
-
Your quite welcome my friend 🙂🙂
-
Might be a good idea. I can always make any brass out of wood and paint it to try and make it look as real as I can. Thank you for the idea!!!
-
I'm not too super knowledgeable about doing models but my vote would be to get the copper and hull itself done before doing fittings for the main deck. That way your not fighting with fragile pieces and possibly messing something up with your moving the hull around to get all the copper on.
-
Yea its gonna be an experience cause I need to find somewhere that ships out sheets and idk how I'm gonna cut it. I need to do some research cause like the ladders I only have enough for one ladder. It's all I could save lol I do have some pieces though so it's not all bad.
-
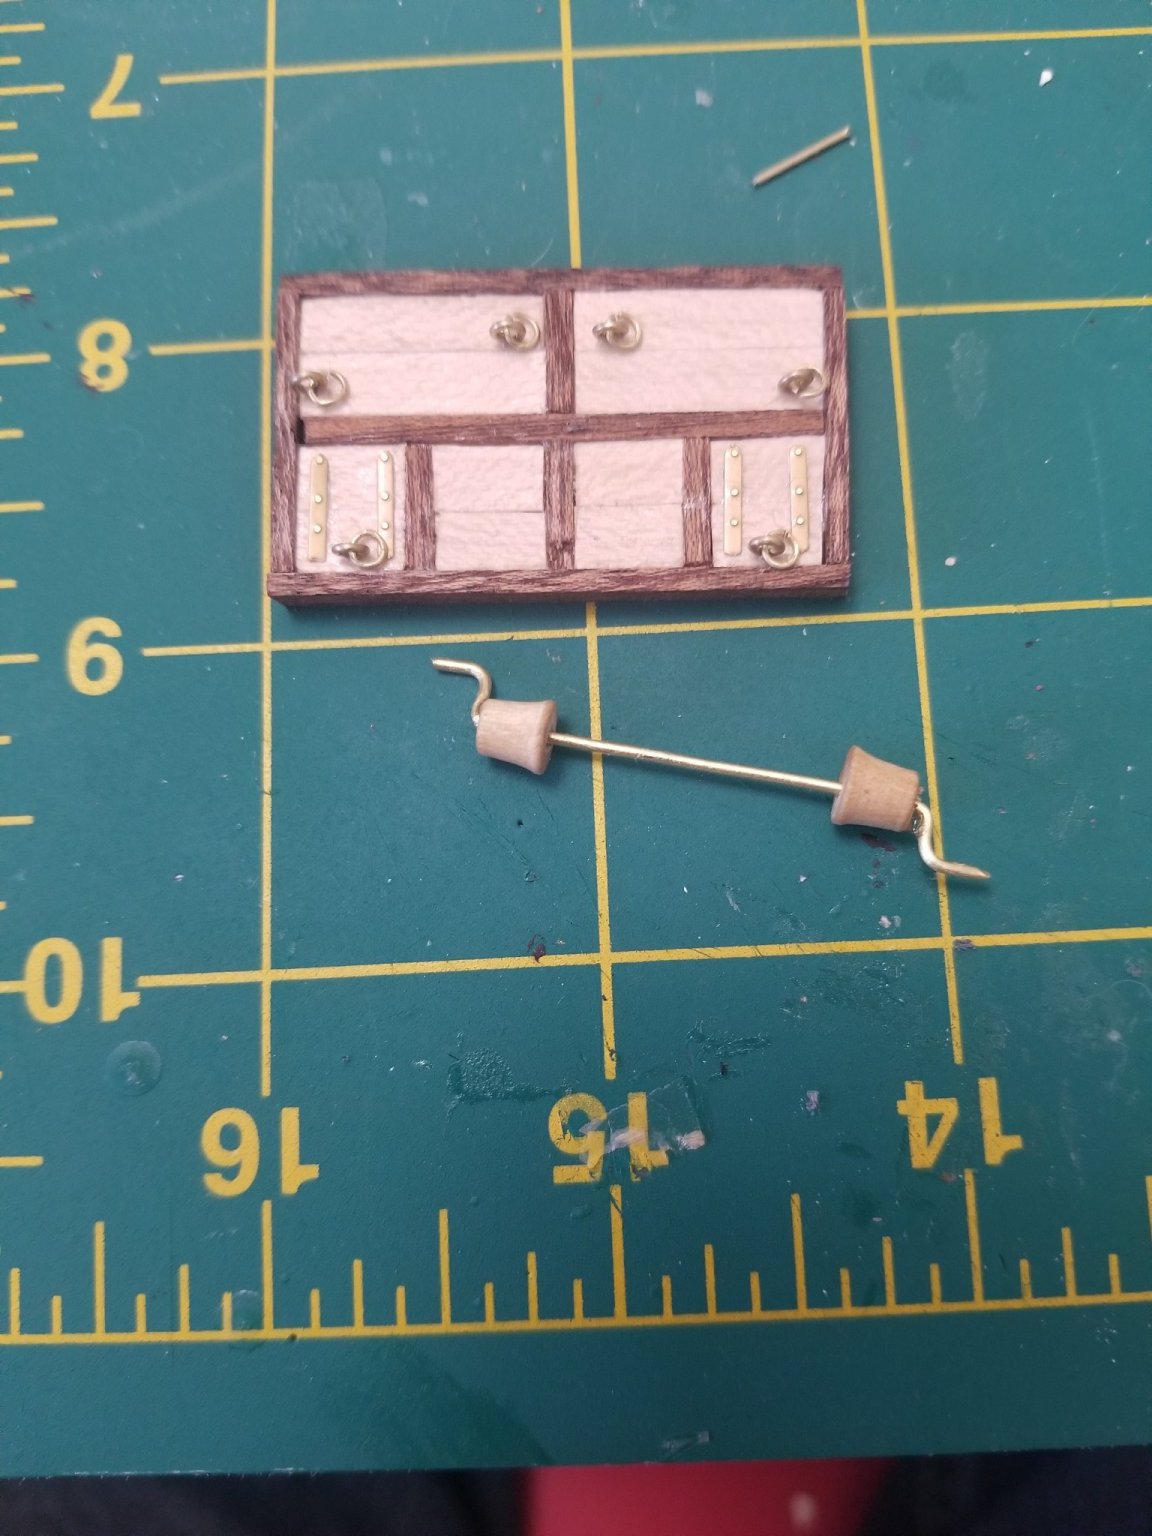
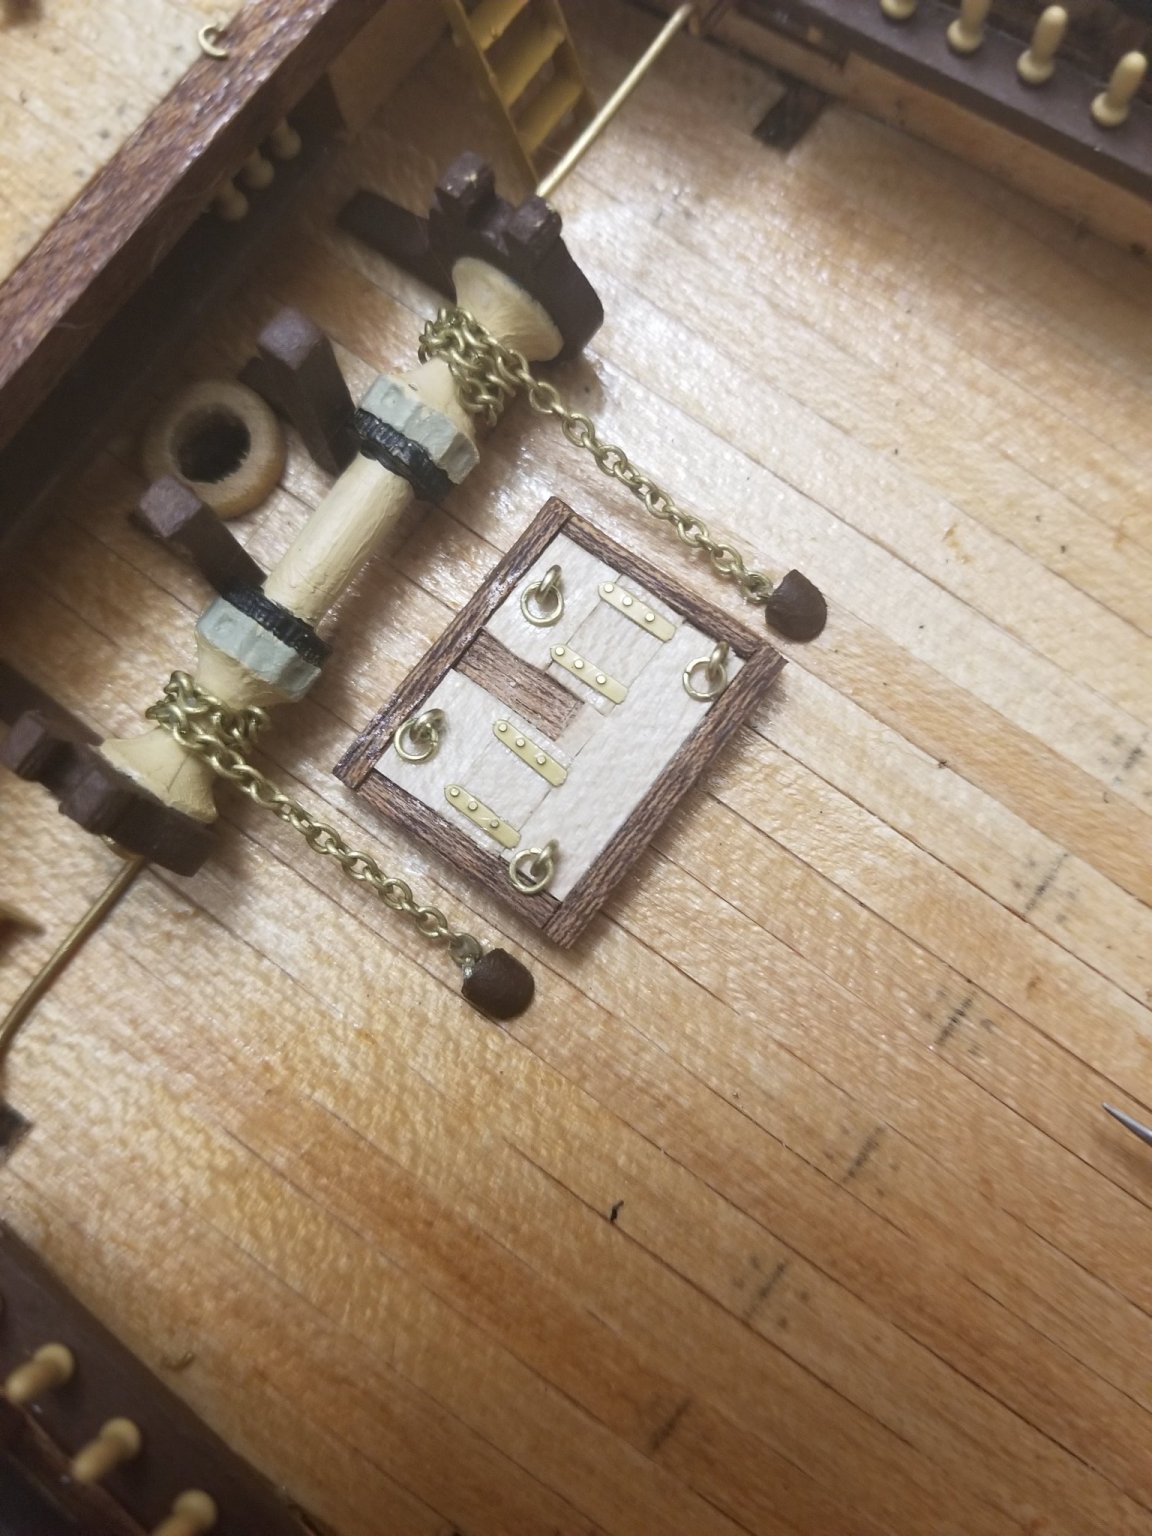
Got atleast the chain and this first part on the page done.

-
Sounds good just wanted an idea might be better to just stick with kits for now. If I did join in I would be getting laser cut pieces for sure. Hopefully if my luck changes a little I'll join in on the fun.
-
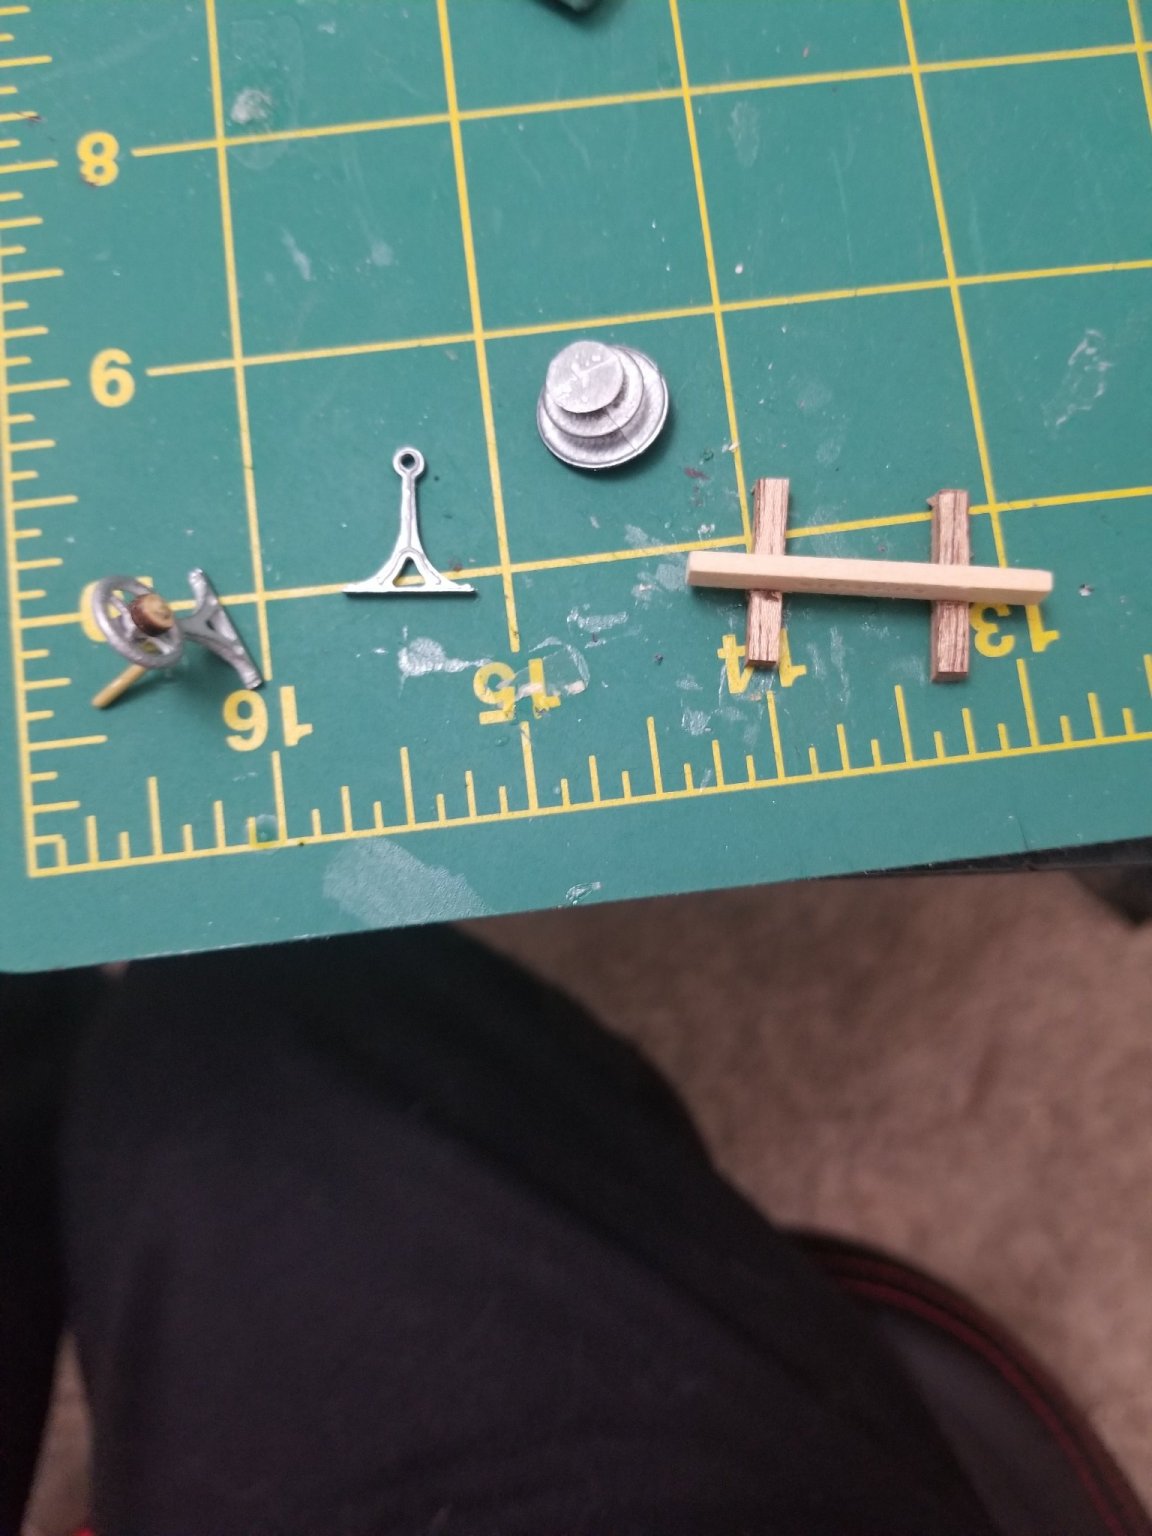
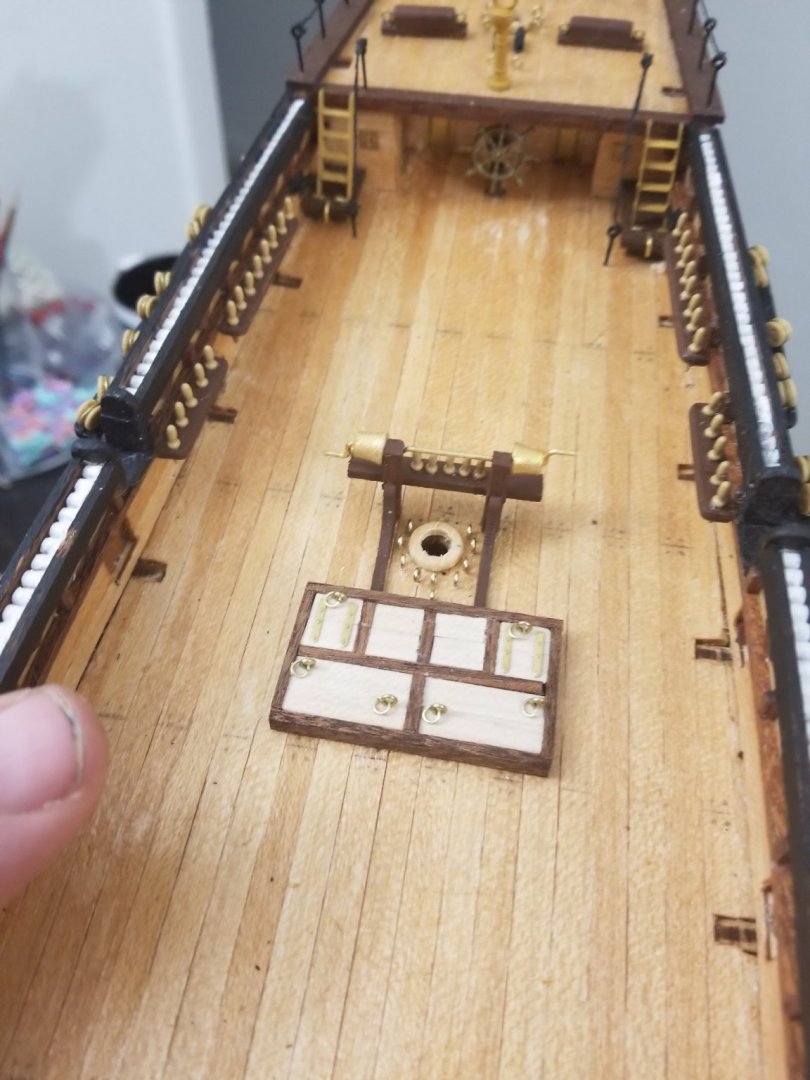
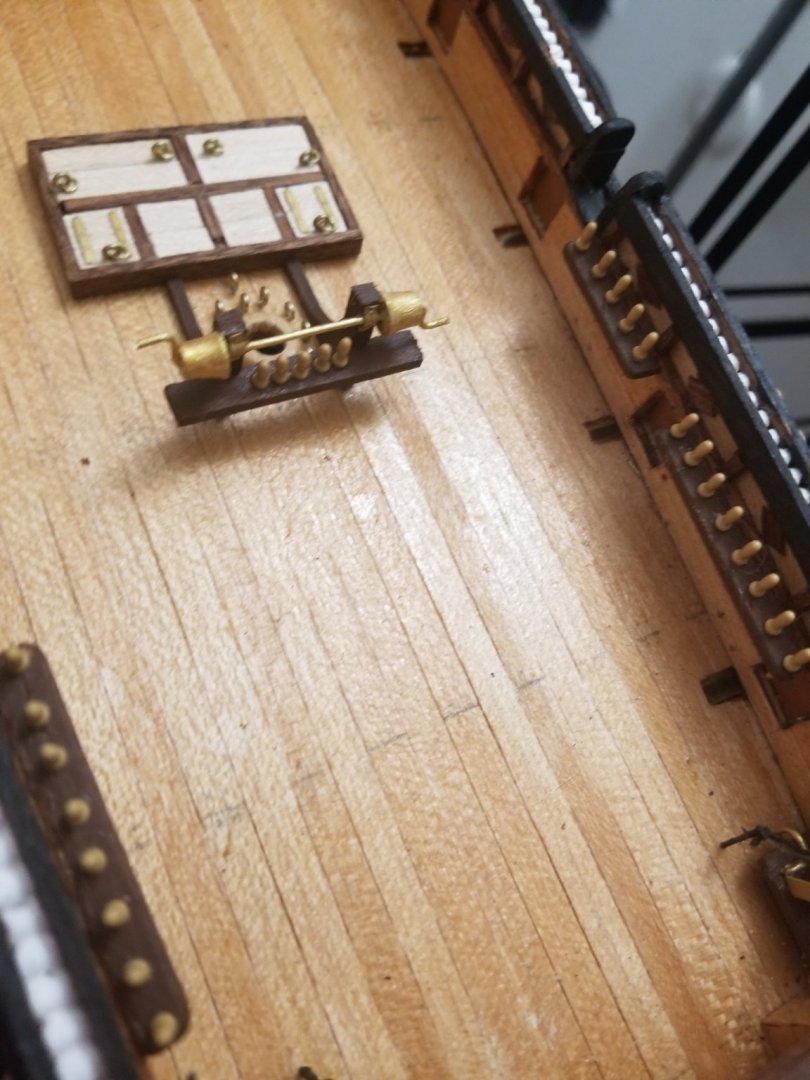
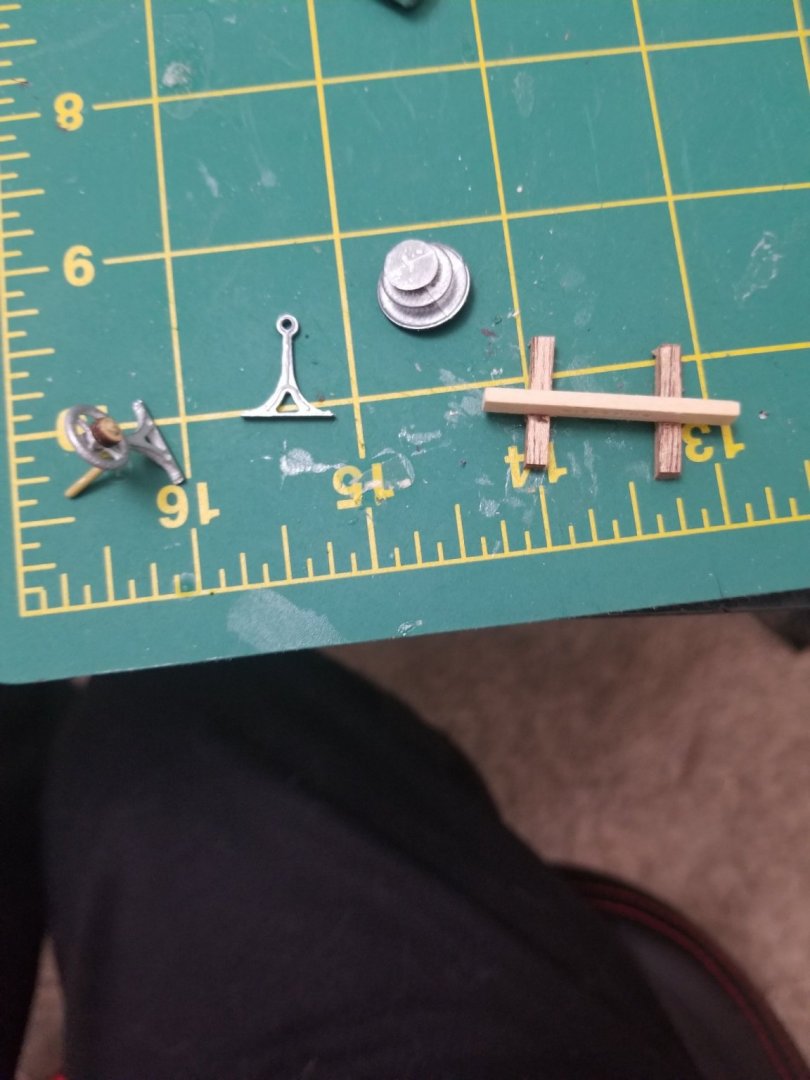
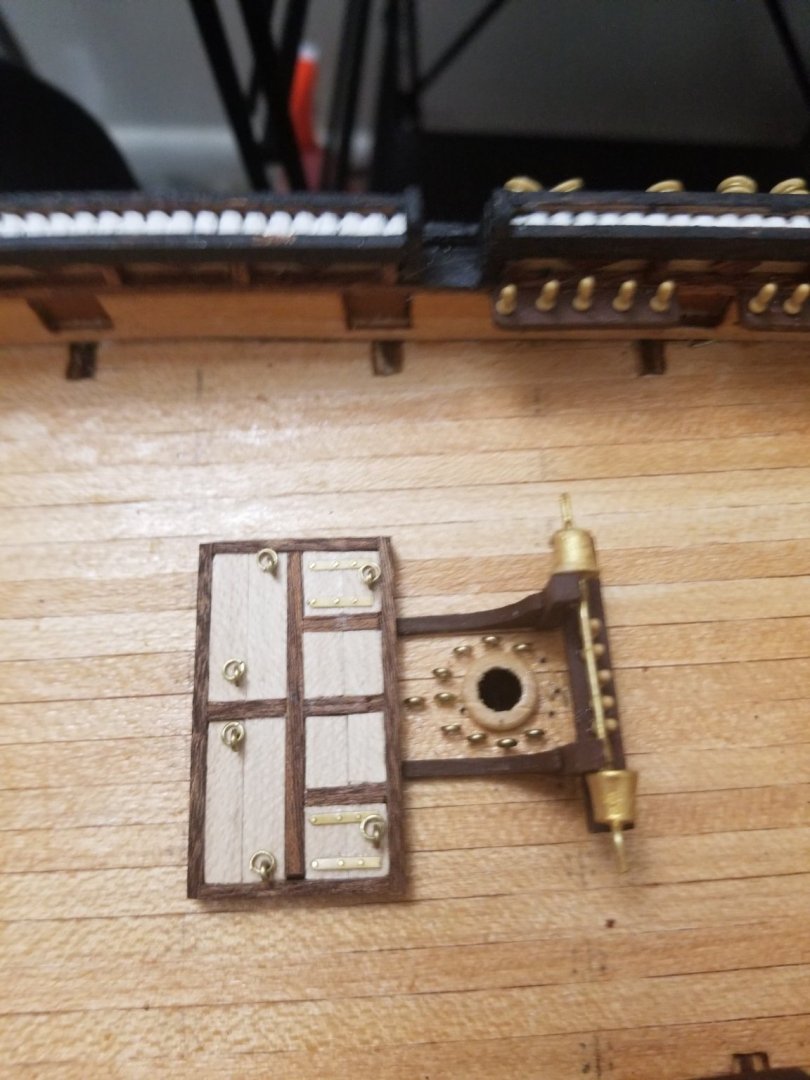
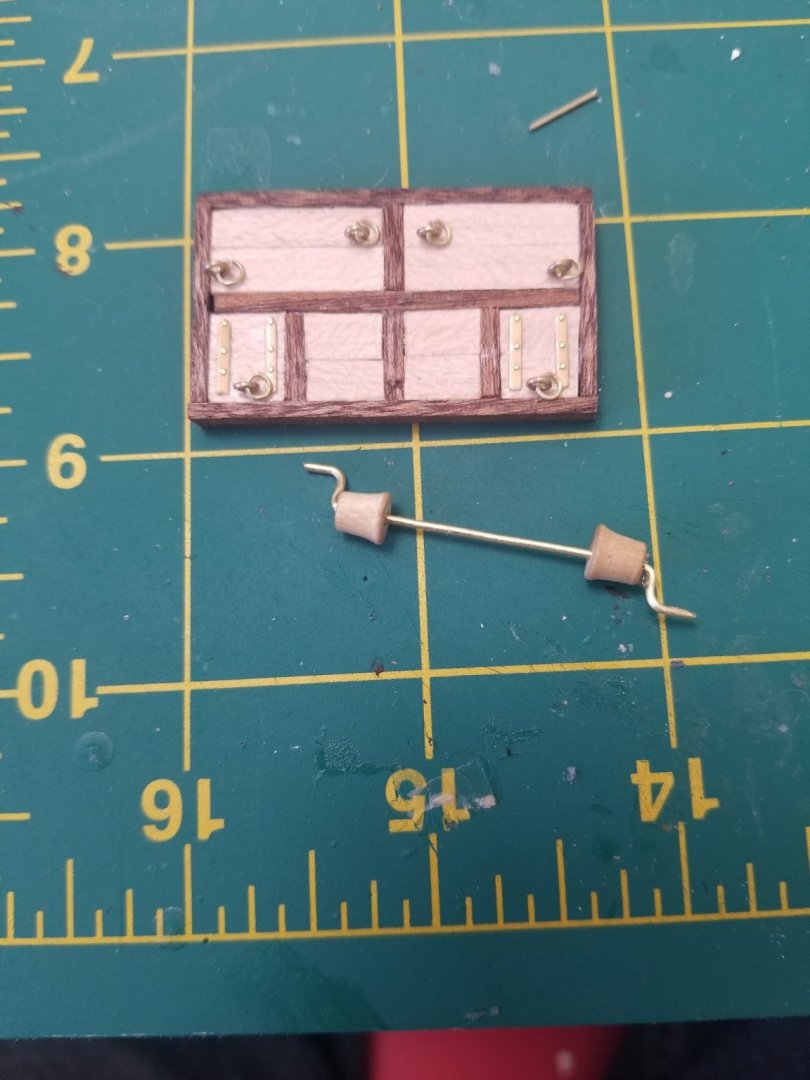
Well some stupid crap happened and well a bunch of the brass got ruined and bent up. A lot of the pieces got lost because I work in an area with a carpet and well I cant find crap lol. So looks like some of the brass details will have to get hand made. So while I try to find either a replacement brass etched sheet or a super thin brass spare segment I can use to make stuff I'm gonna have to hold on on doing those pieces and fit them on once I get them. But here is what we look like with the windlass and the finish of page I. it's not looking bad though I feel atleast.
-
How feasible would it be to do a scratch build with no power tools...me and my wife are in an apartment so space is tight for any power tools (unless there is a small and less loud version of atleast a mill that someone has a link too) just thinking for future. I feel like this project would be the perfect way to get my chops wet when it comes to scratch builds. I dont see a house in the next 5 years of my life because it's my income only and wife is disabled. I would love to do atleast one of these builds though at some point.