Robp1025
Members-
Posts
259 -
Joined
-
Last visited
Content Type
Profiles
Forums
Gallery
Events
Everything posted by Robp1025
-
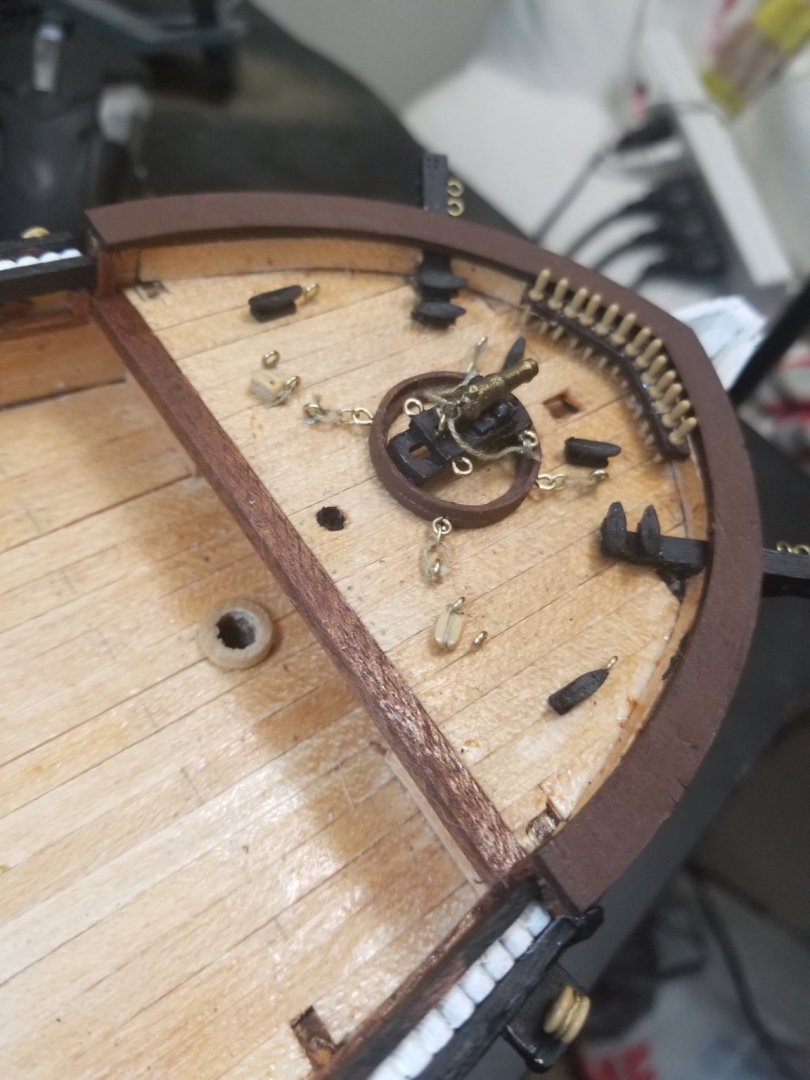
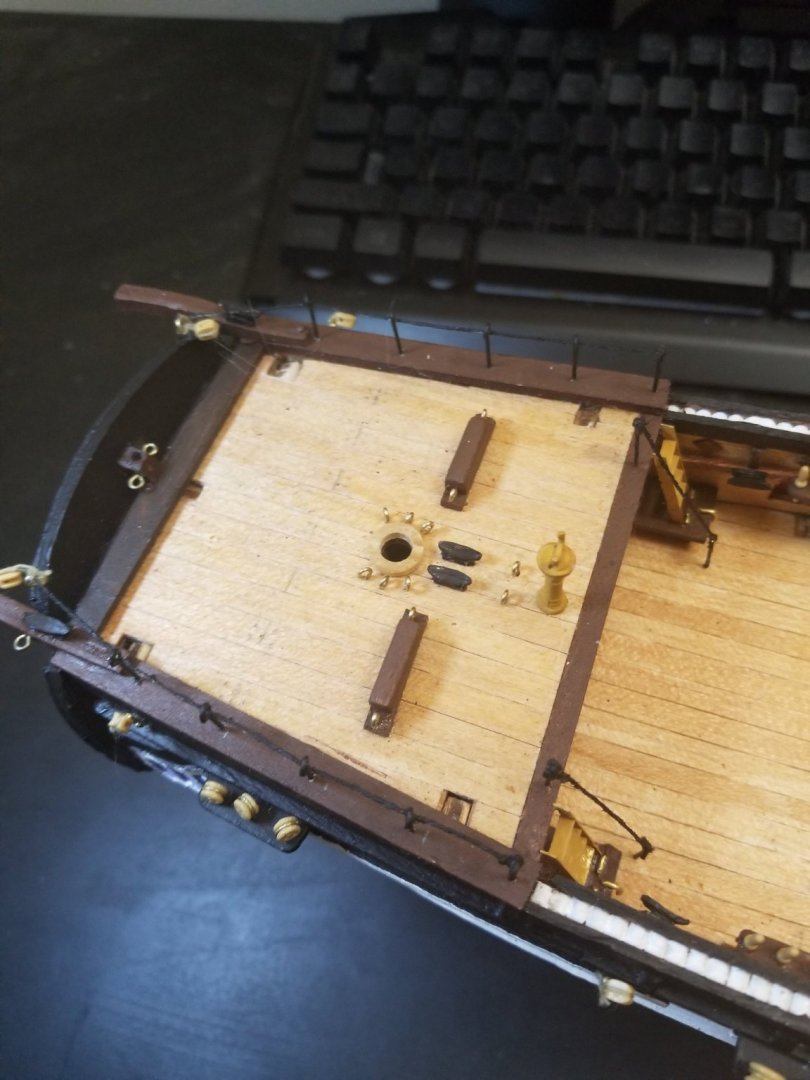
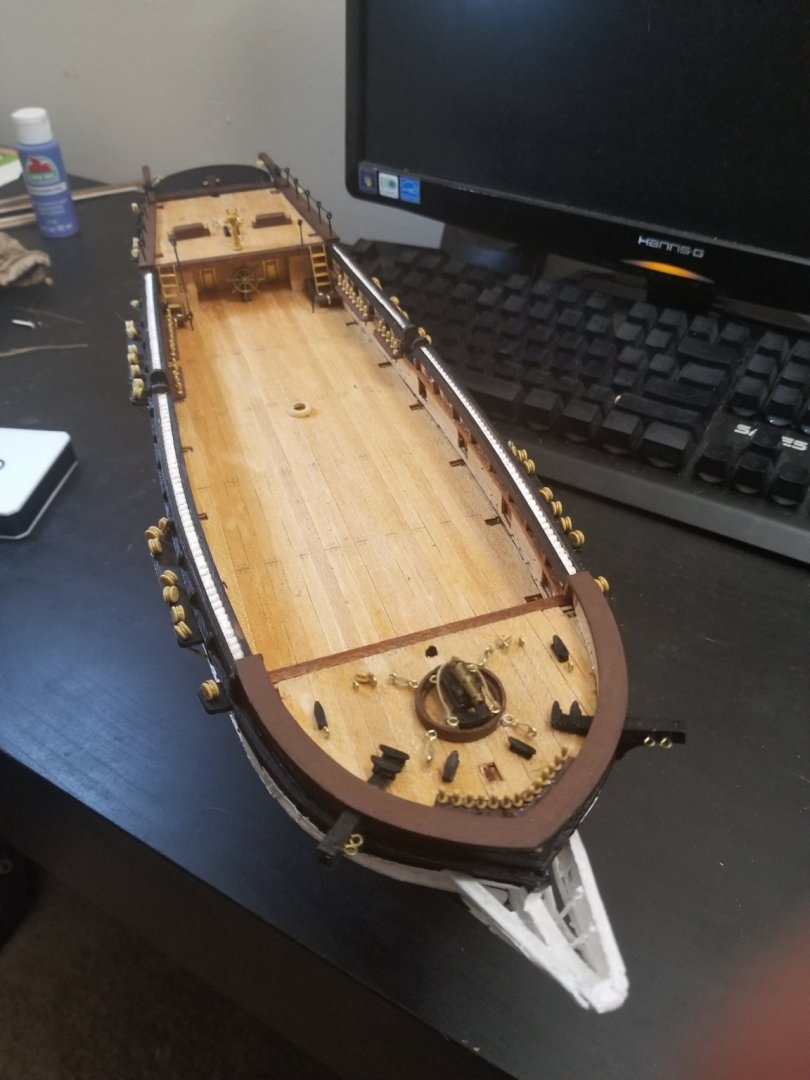
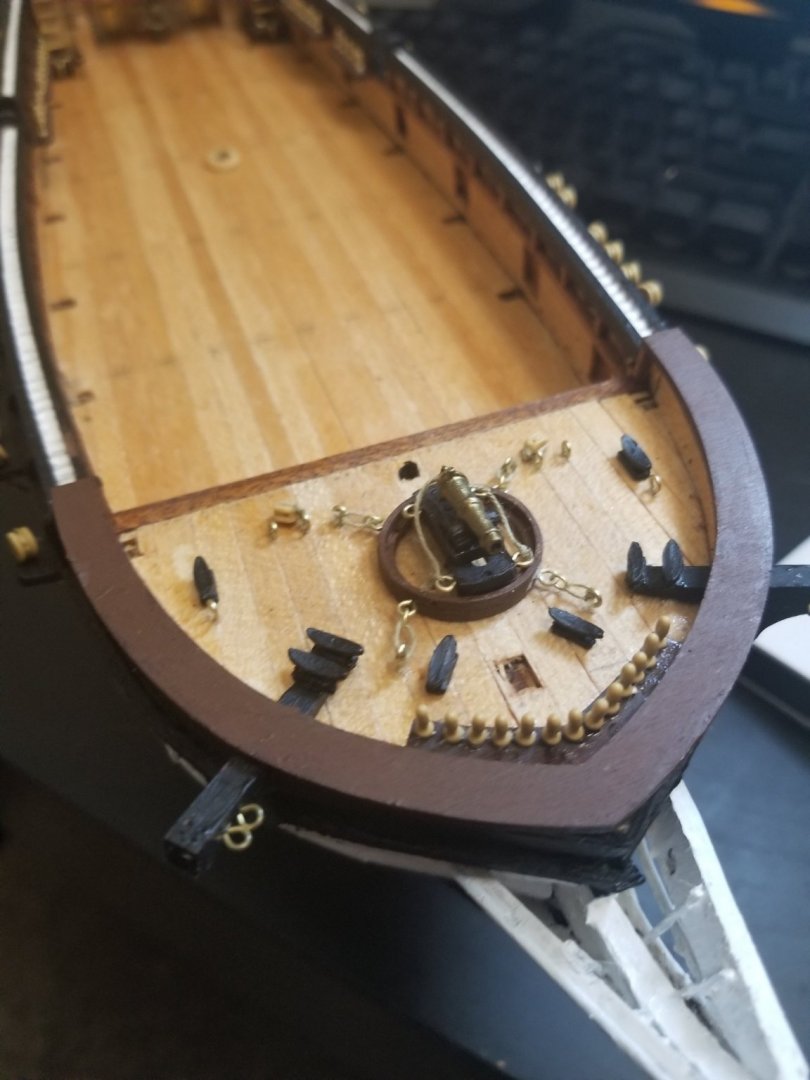
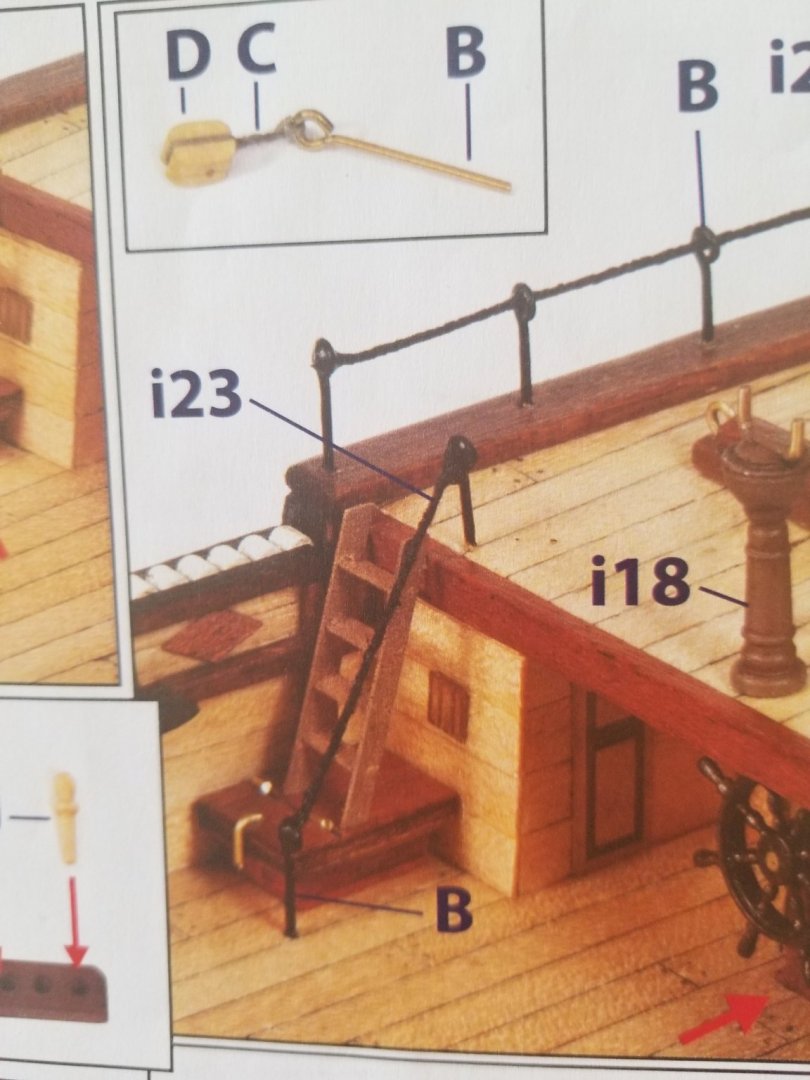
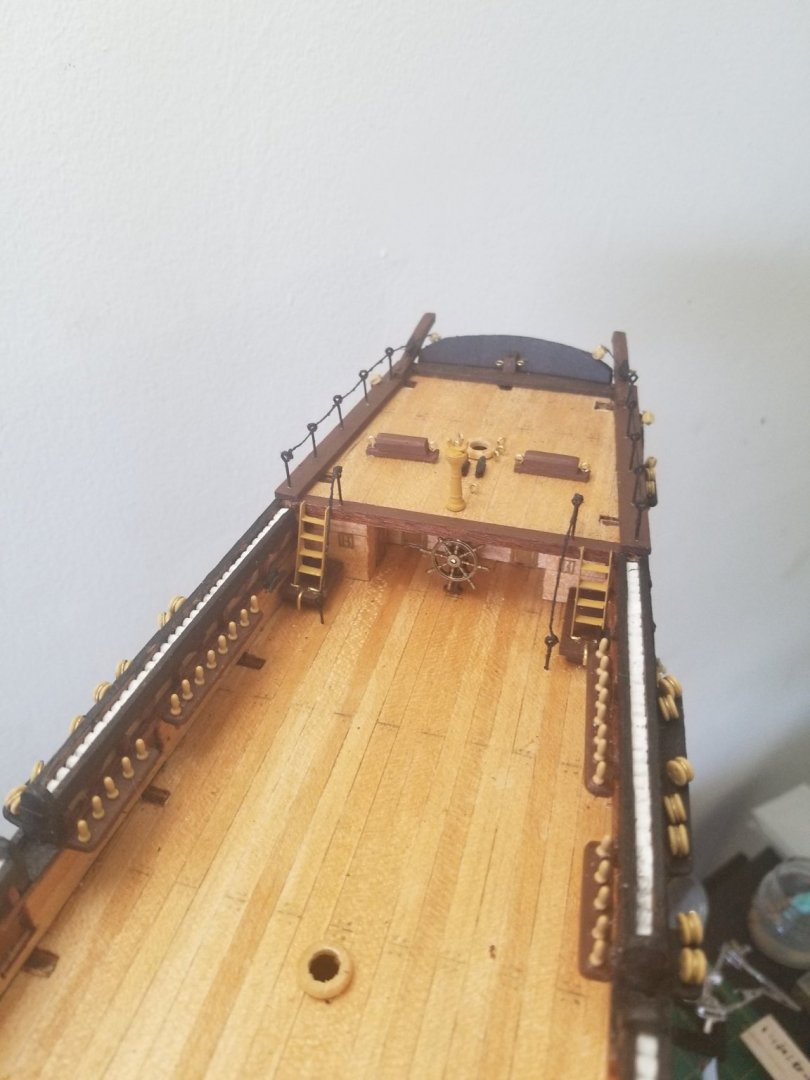
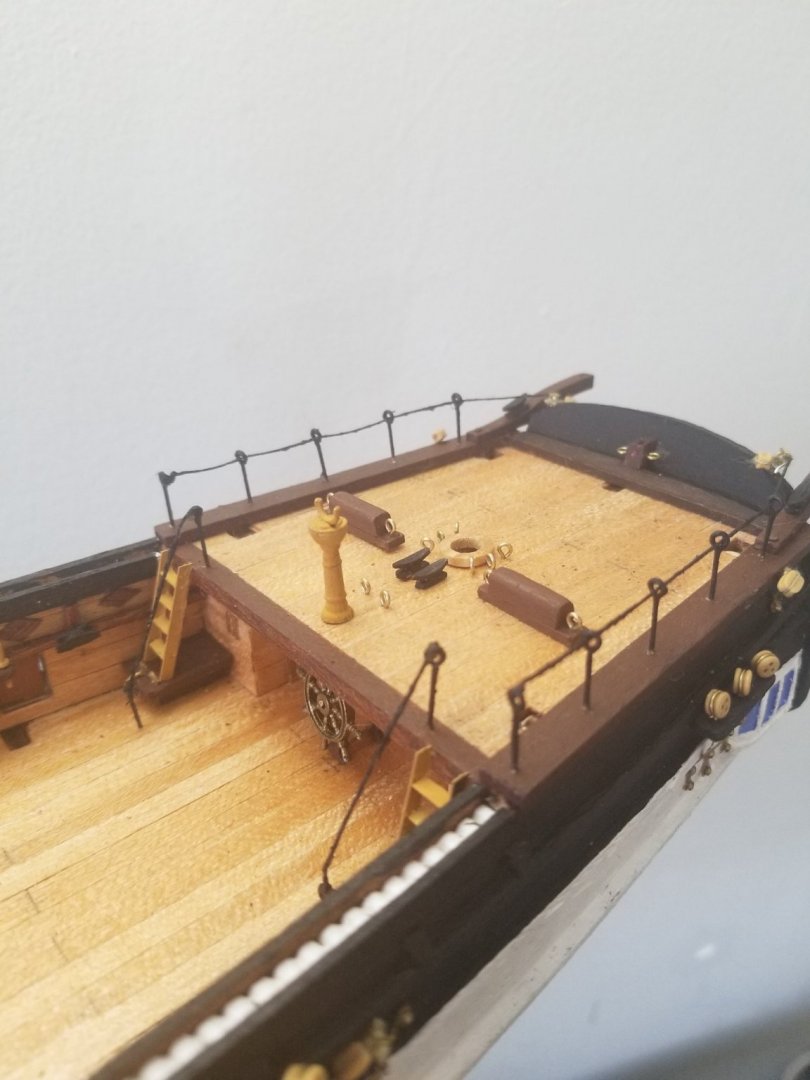
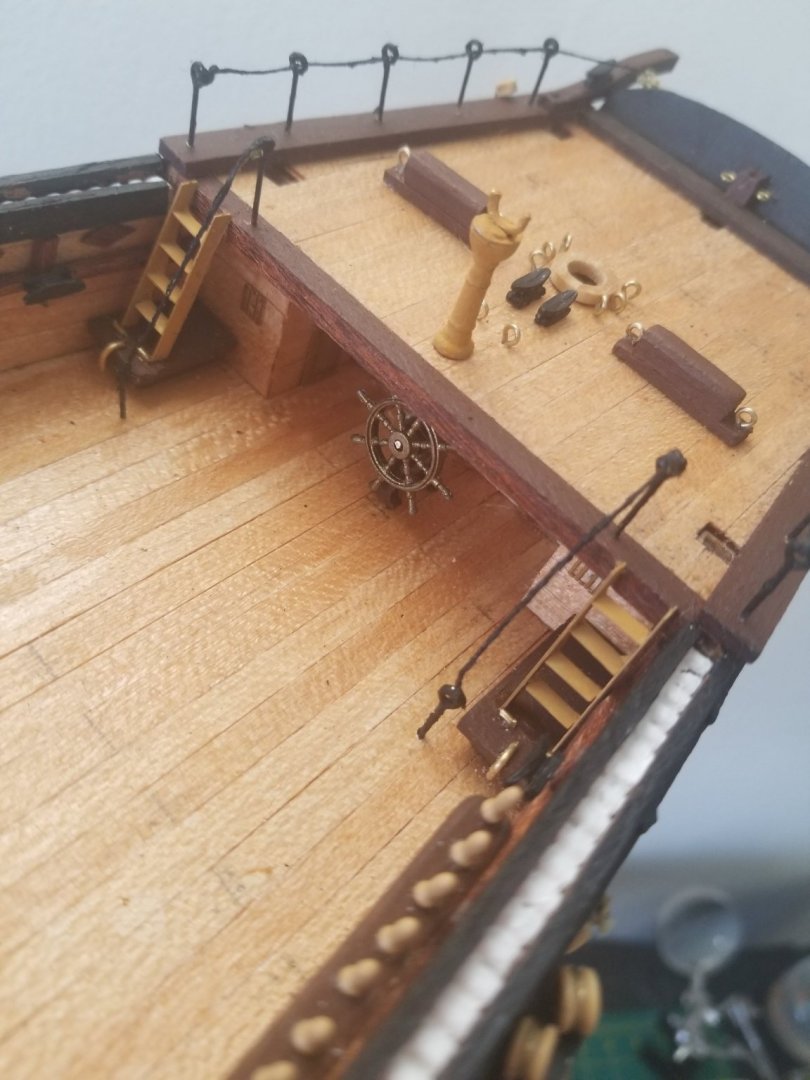
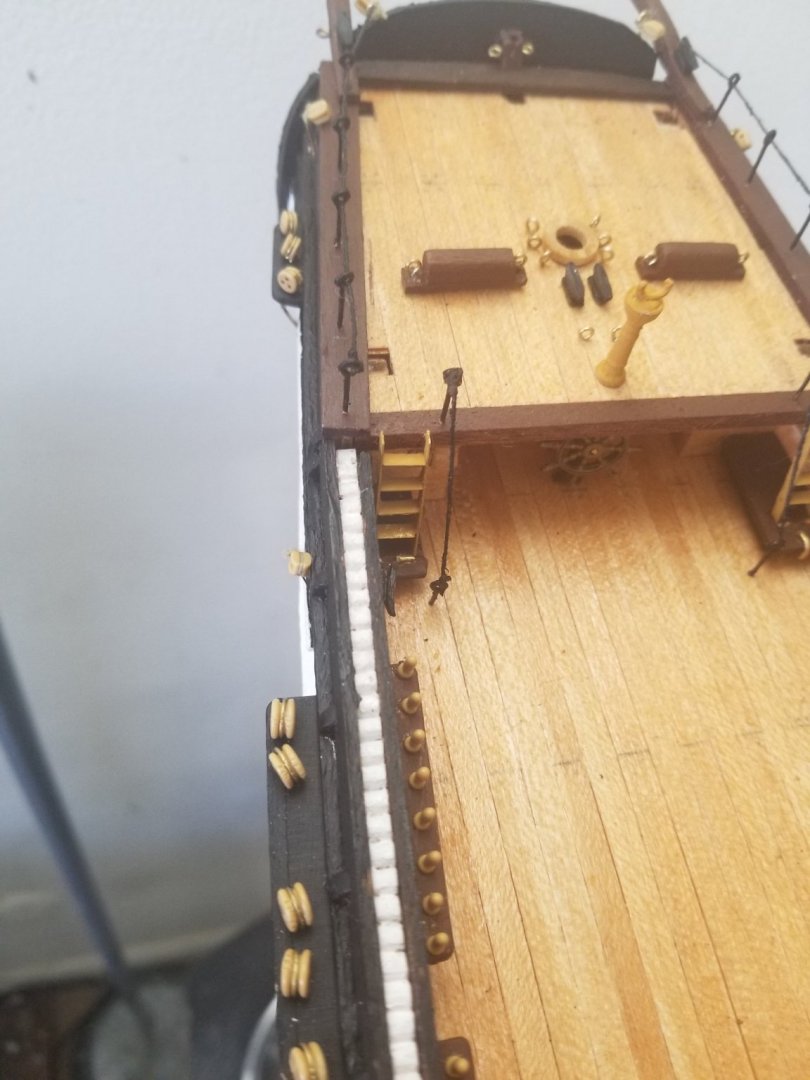
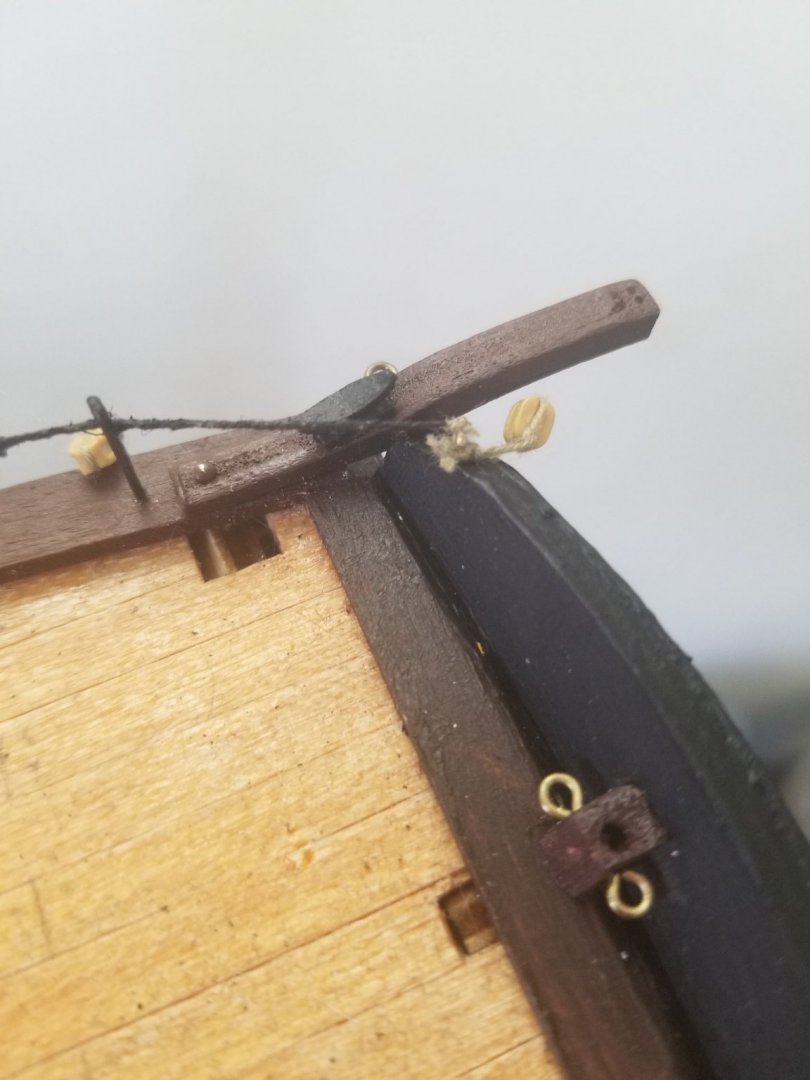
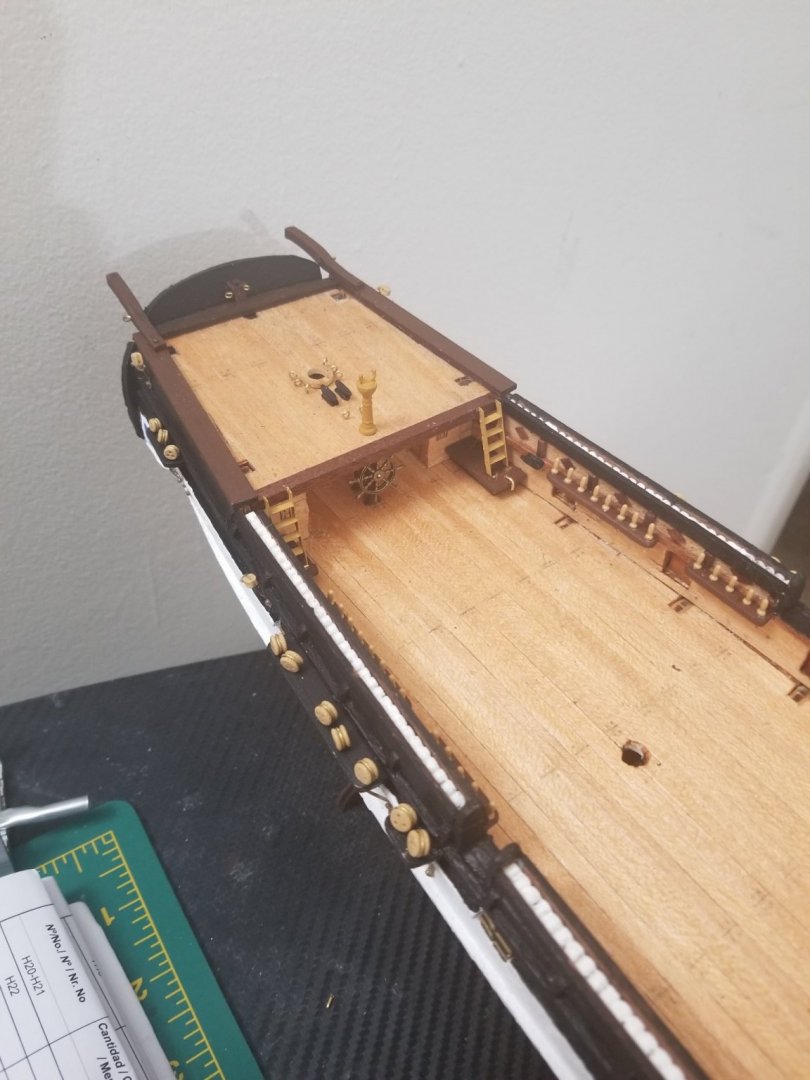
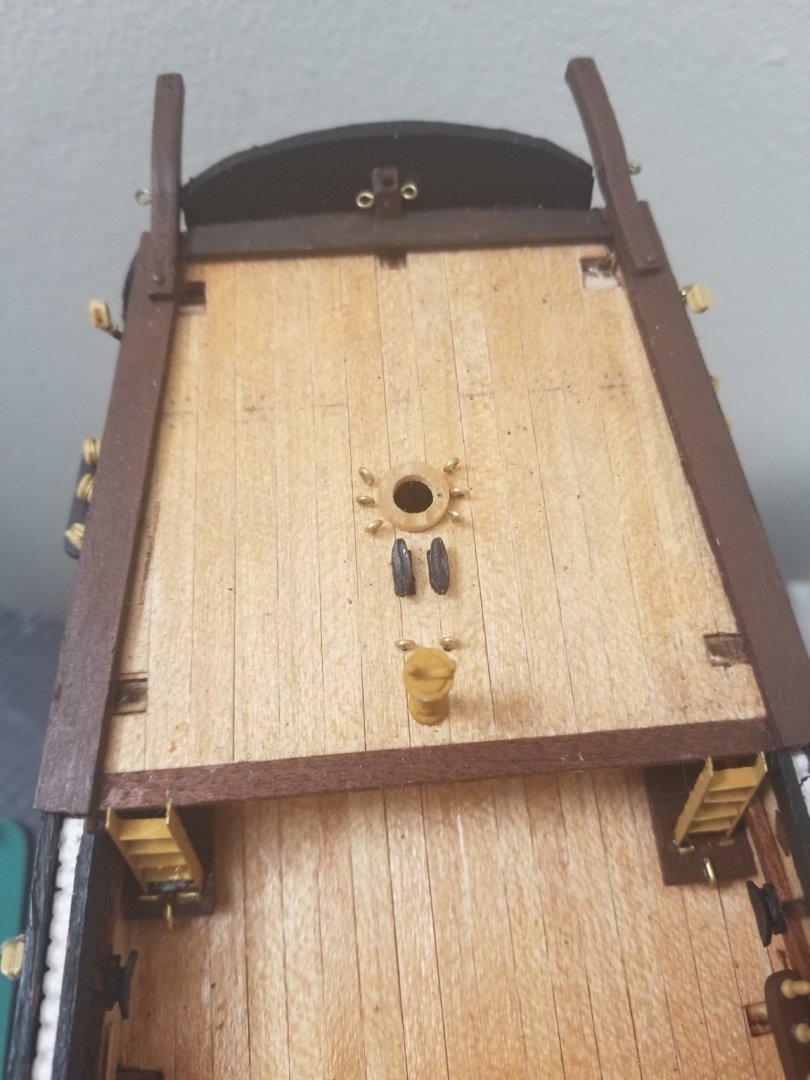
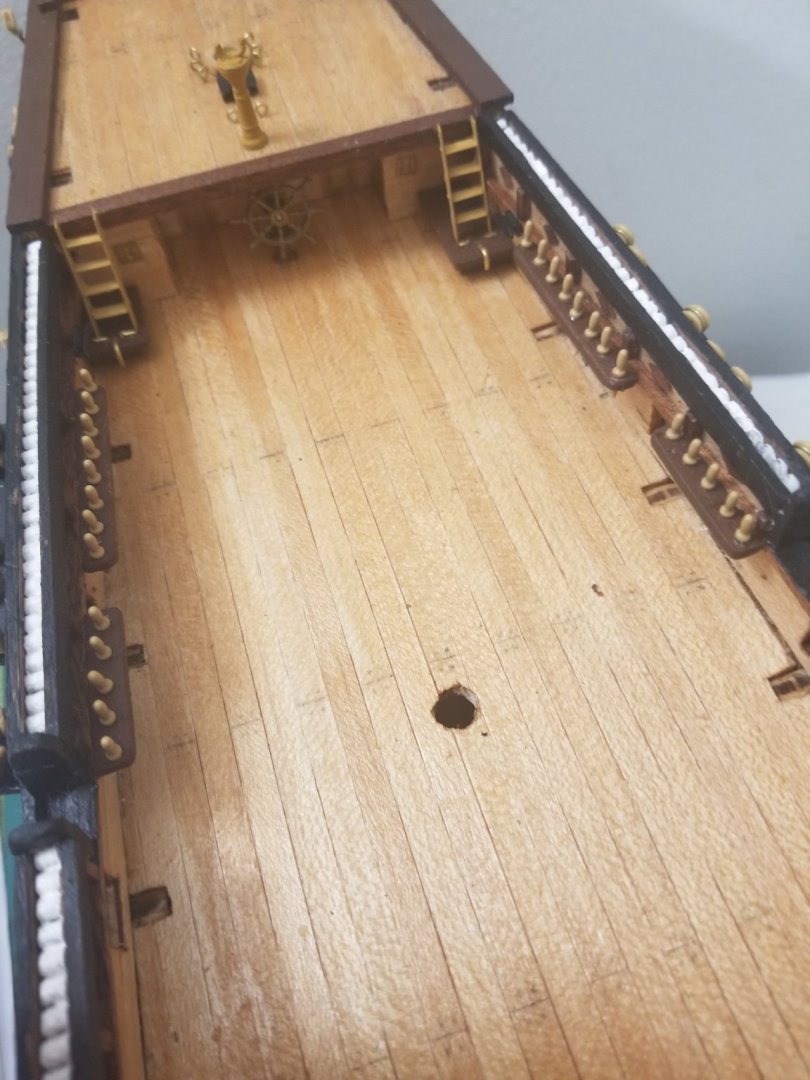
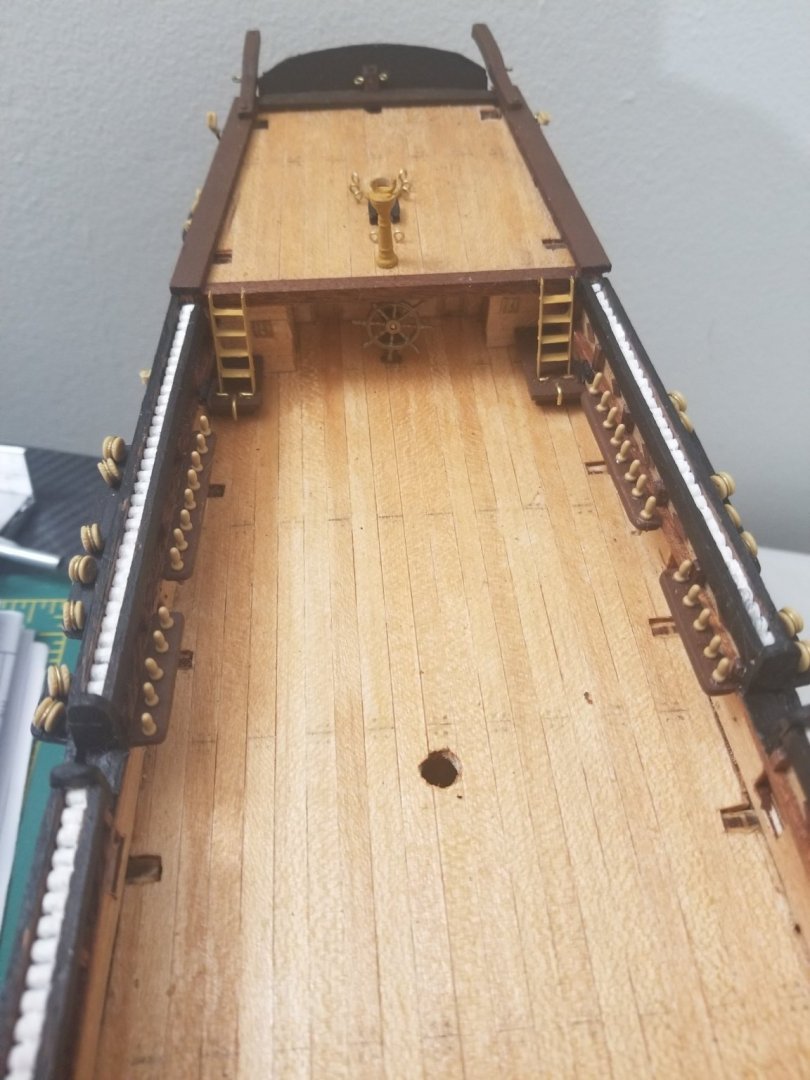
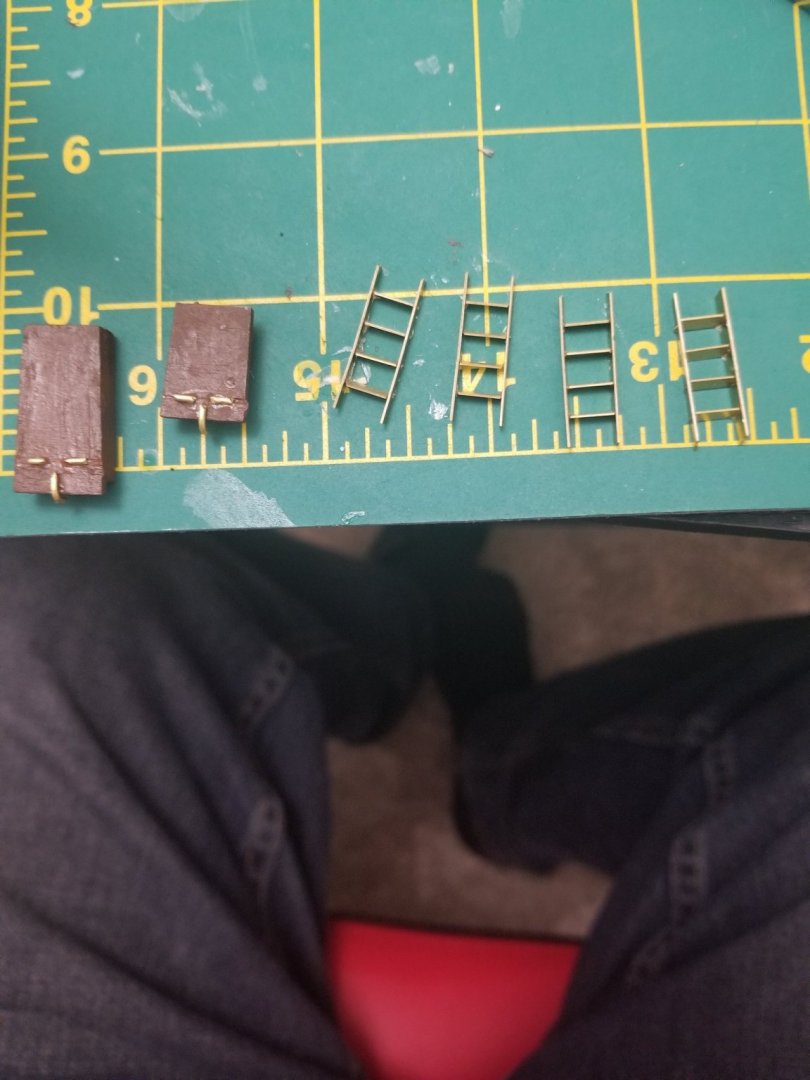
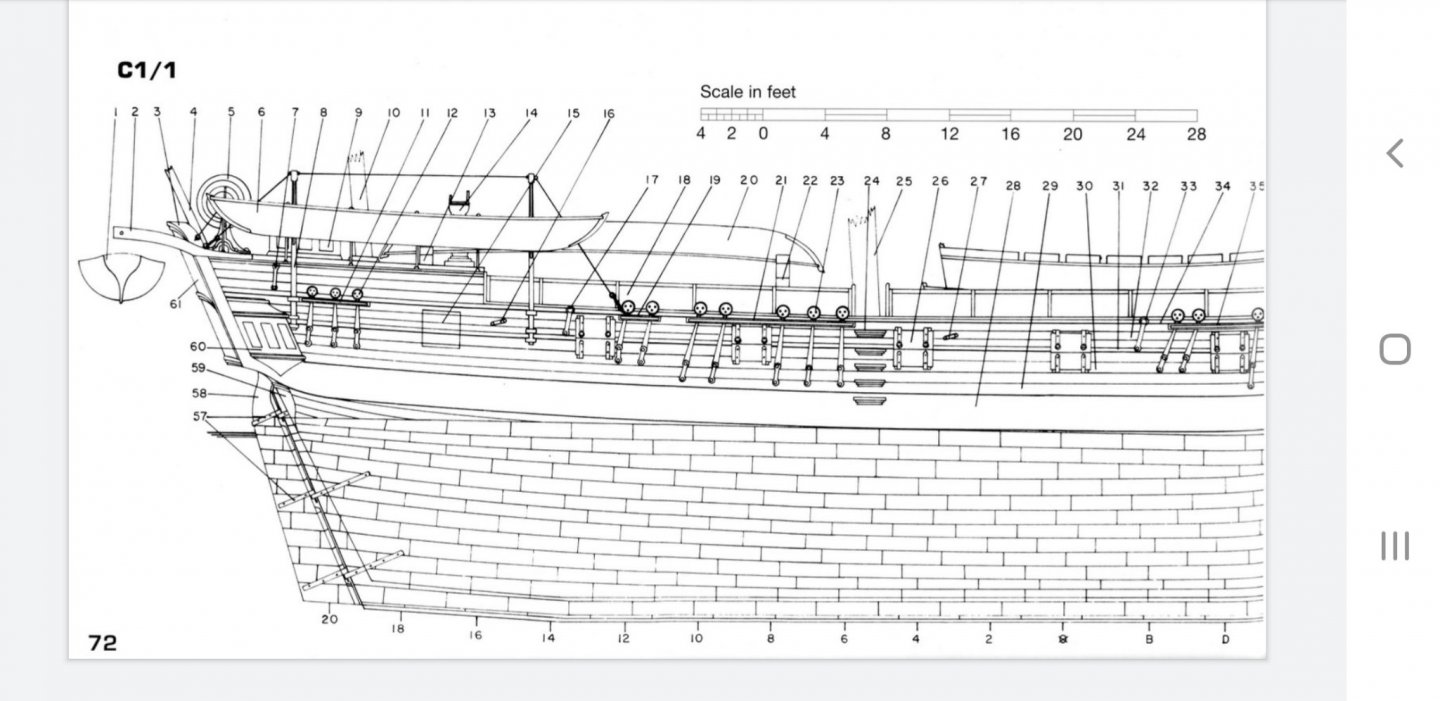
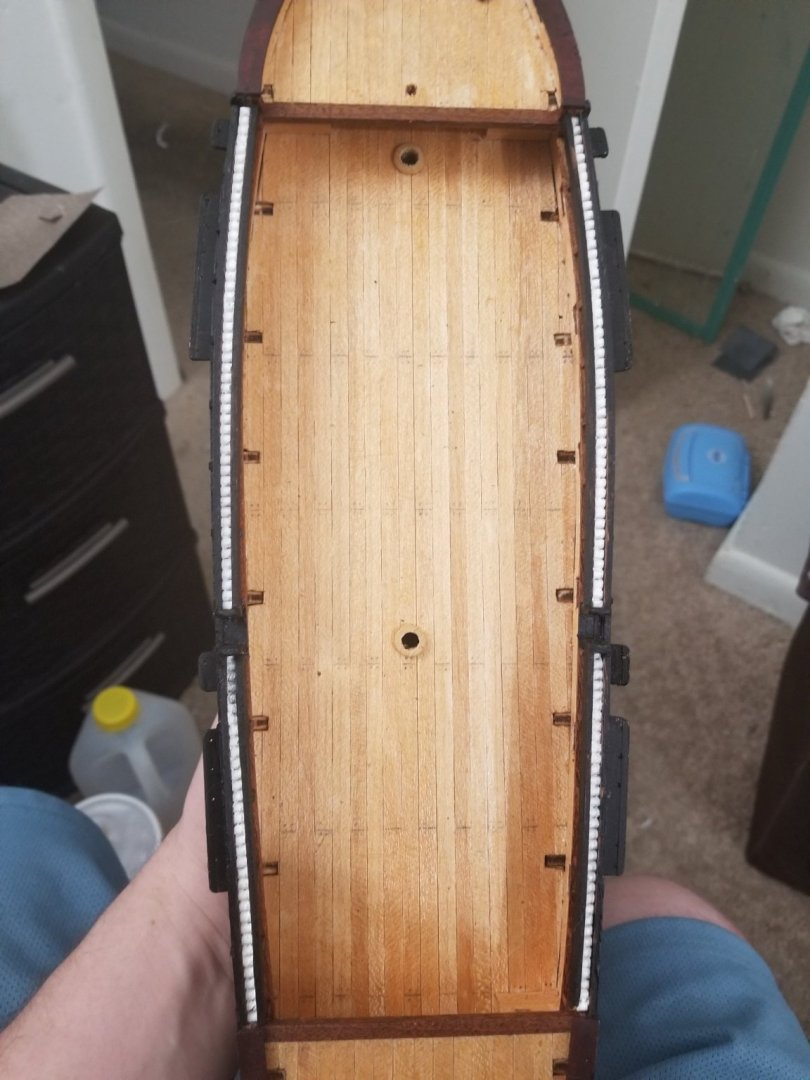
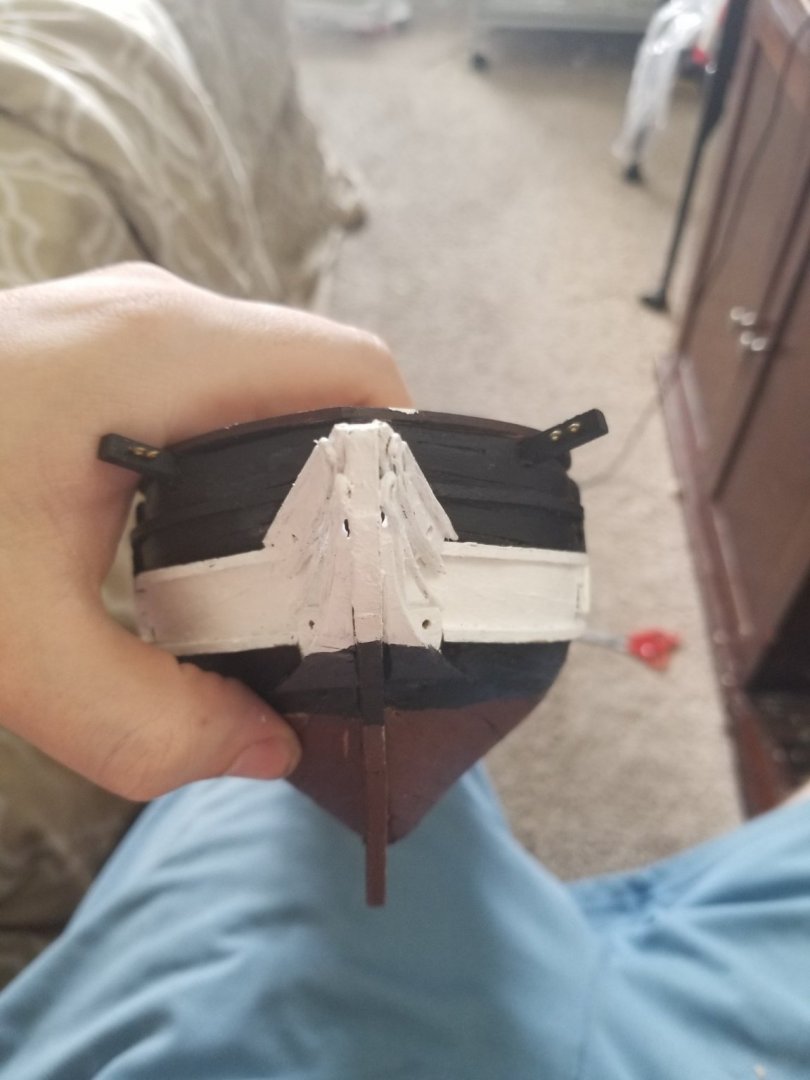
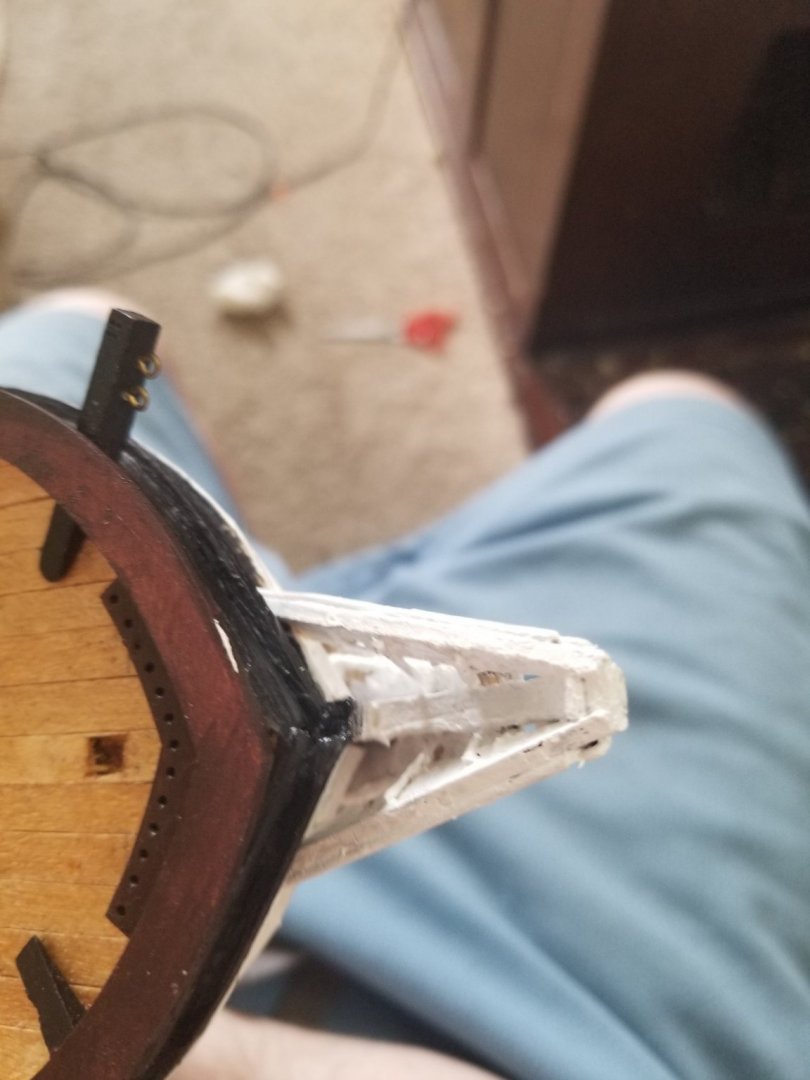
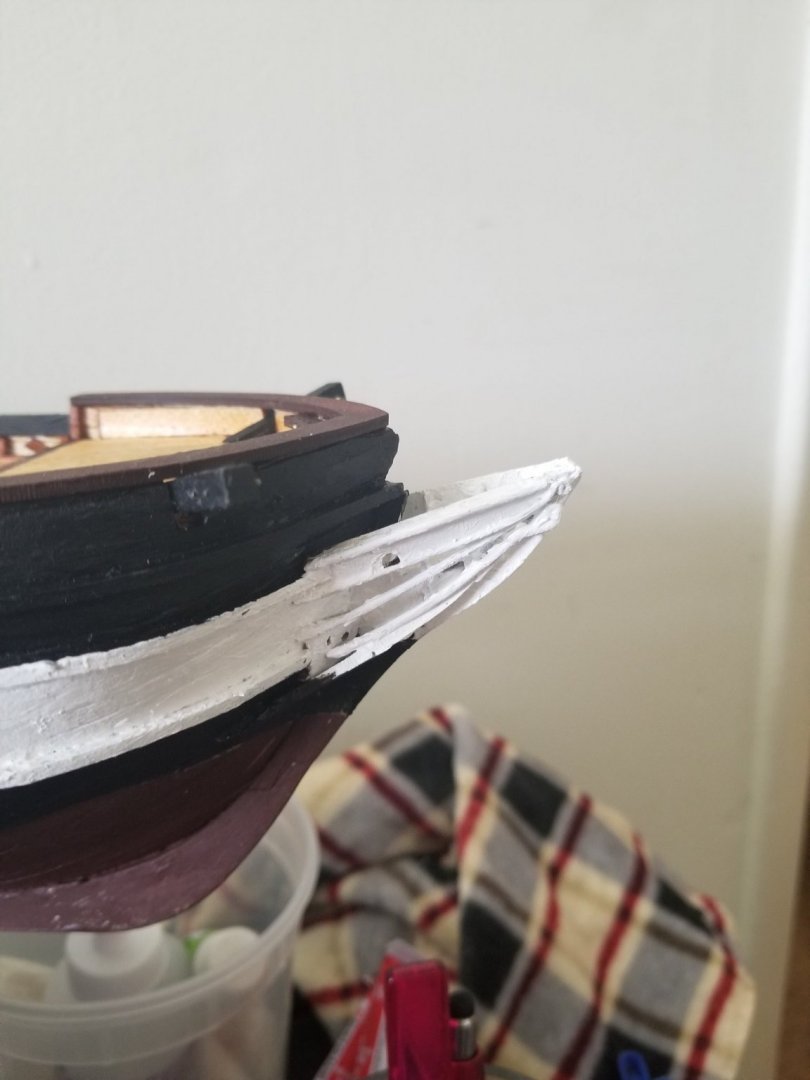
Alright so stern is now situated and painted. I'm getting super excited now because it's starting to really come together. Time to turn my attention to the bow and get some more of this ship together. One "modification" sort of was the placement of the rope ladder up the stairs. I didn't like how the instructions wanted it to end up so close to the deck. I made it be a little more realistic where its higher so it looks like an actual rope banister. And this is a high up view of the stern I think it's coming out great and I'm very happy with how I feel I'm getting a lot of the details to look. and some close up photos so yea this is really kind of exciting for me and sorry if this seems stupid but it's my first model so I'm like back to my childhood when I was doing my models in my living room of my parents house.
-
Just caught up on this build. I love the attention to detail and the focus on authenticity. I hope one day I can be as diligent and knowledgable as you are with these ships.
-
Welcome to the fun house my friend!!
-
Thank you and yes I dont mind. I'm using my cellphone so it auto corrects it a lot so I'm having to force it to use the correct terms cause it's not in its library. I've actually gone into the book "anatomy of the ship" for the Beagle to try and learn terms as I'm talking. And there is some ability to fix the deadeyes pretty easy.
-
Ok so it's a gradual progression not having all of them straight. So I have only done one side of my ship should I follow this sequence for the other side you think or should I make sure to do it right in the next build just for uniformity in this particular build? @Techtonic @LucienL I appreciate your guys feedback and answers. I wish i would have figured this out sooner but now it's my inexperience that's coming through and lack of research. I'm thankful though to learn and get help from all you guys!!
-
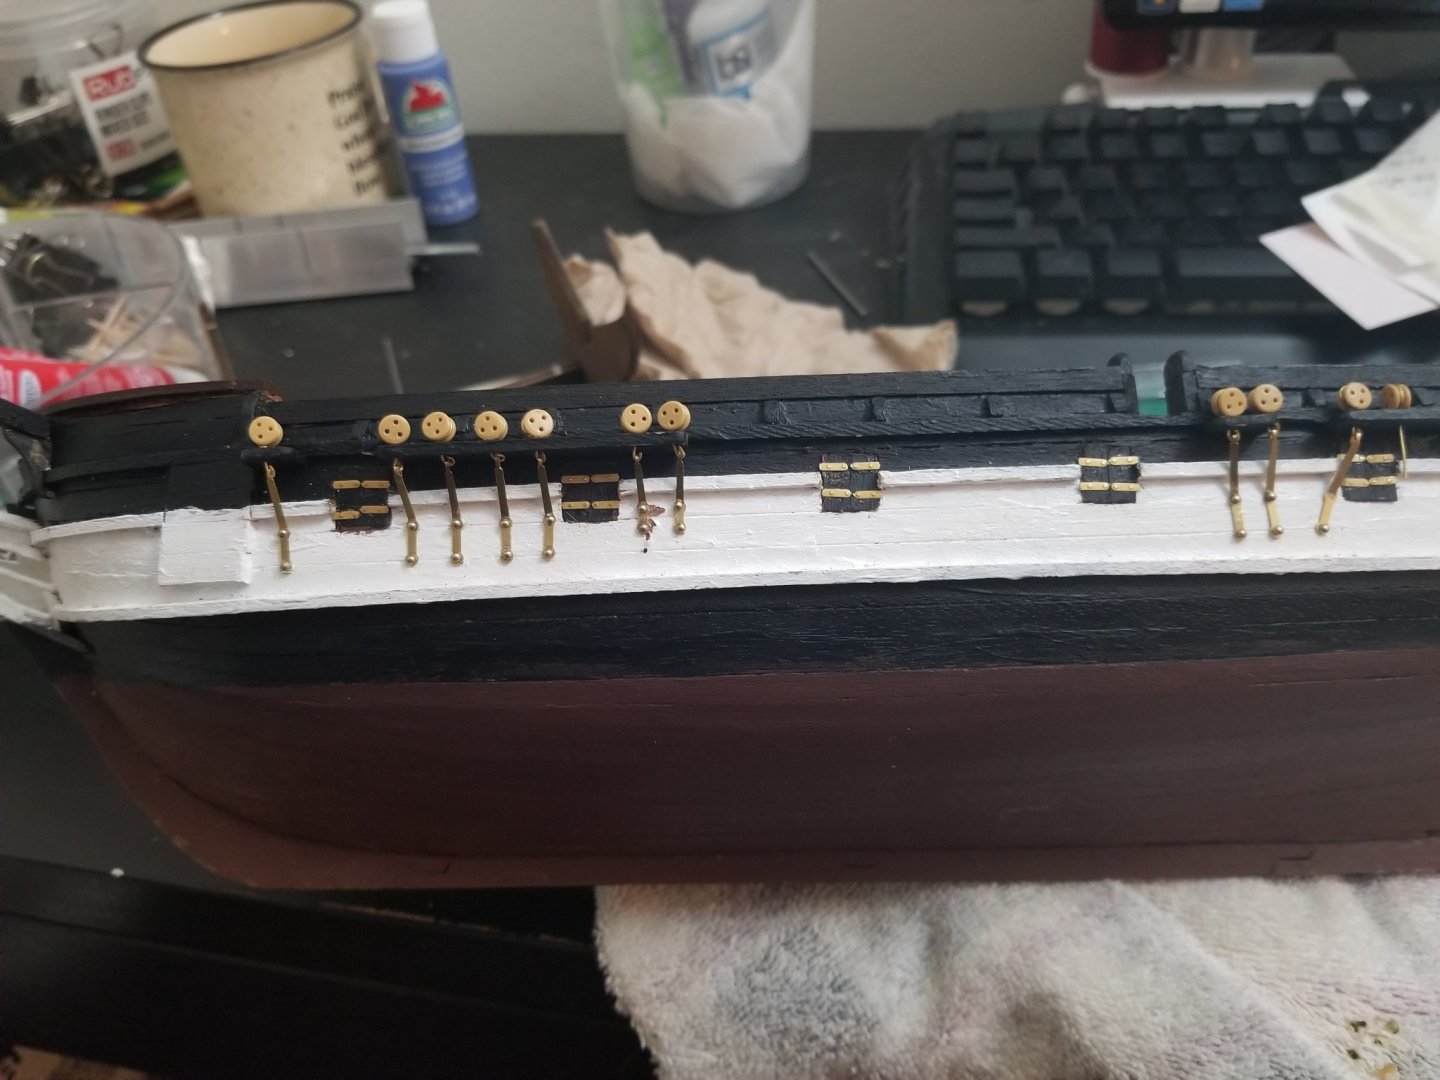
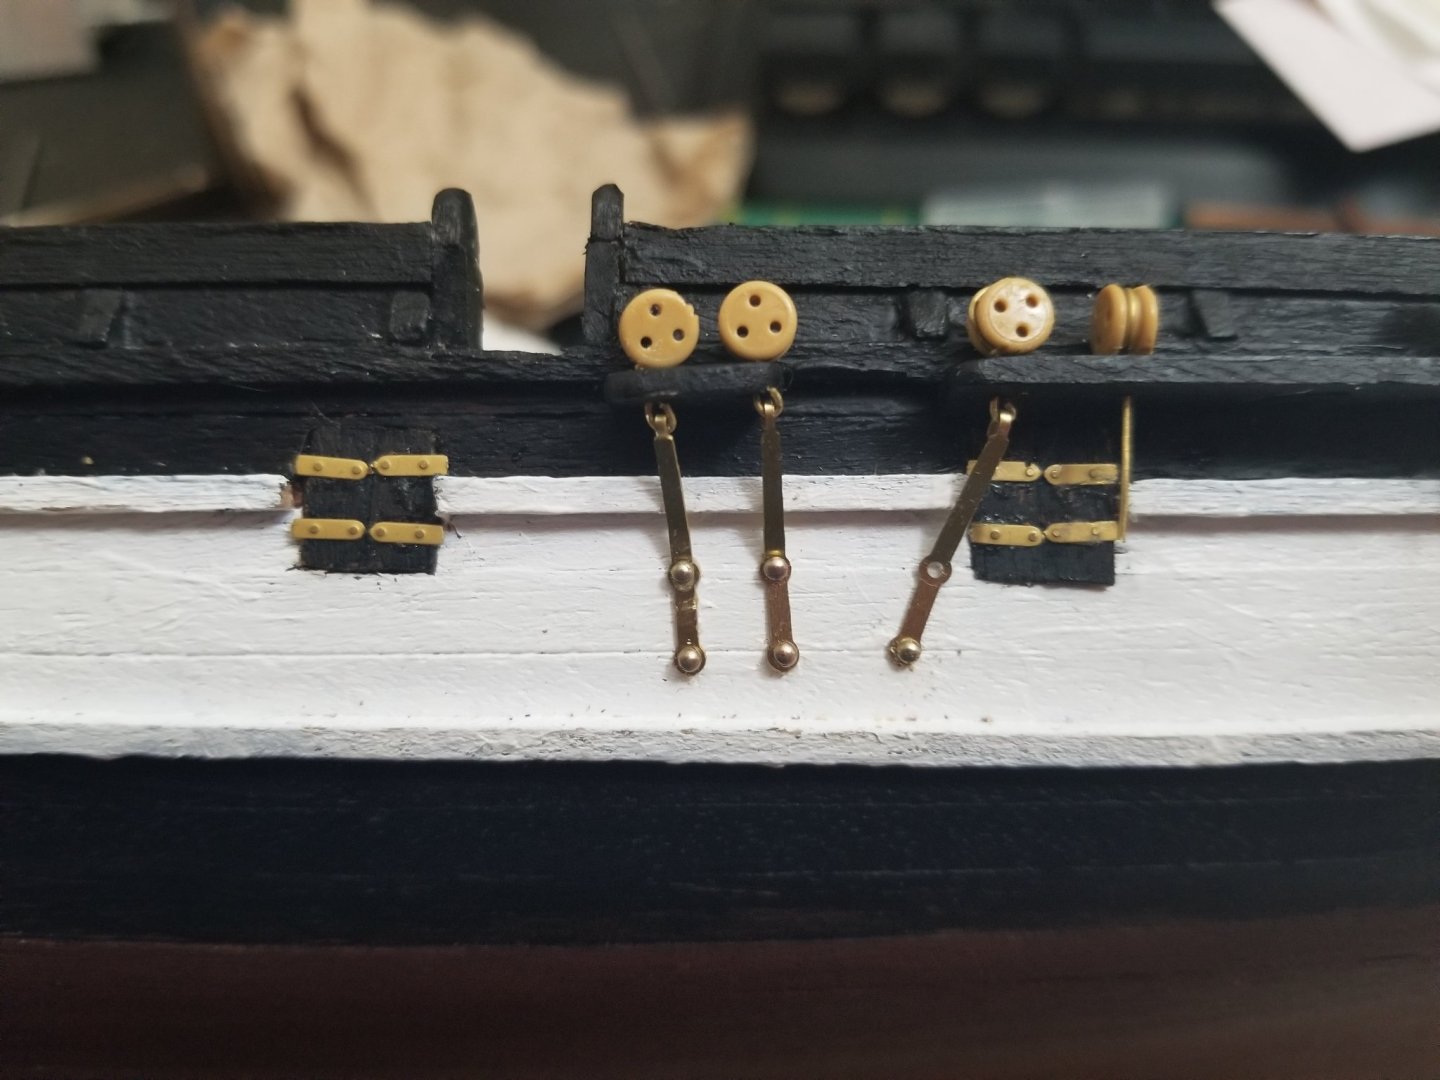
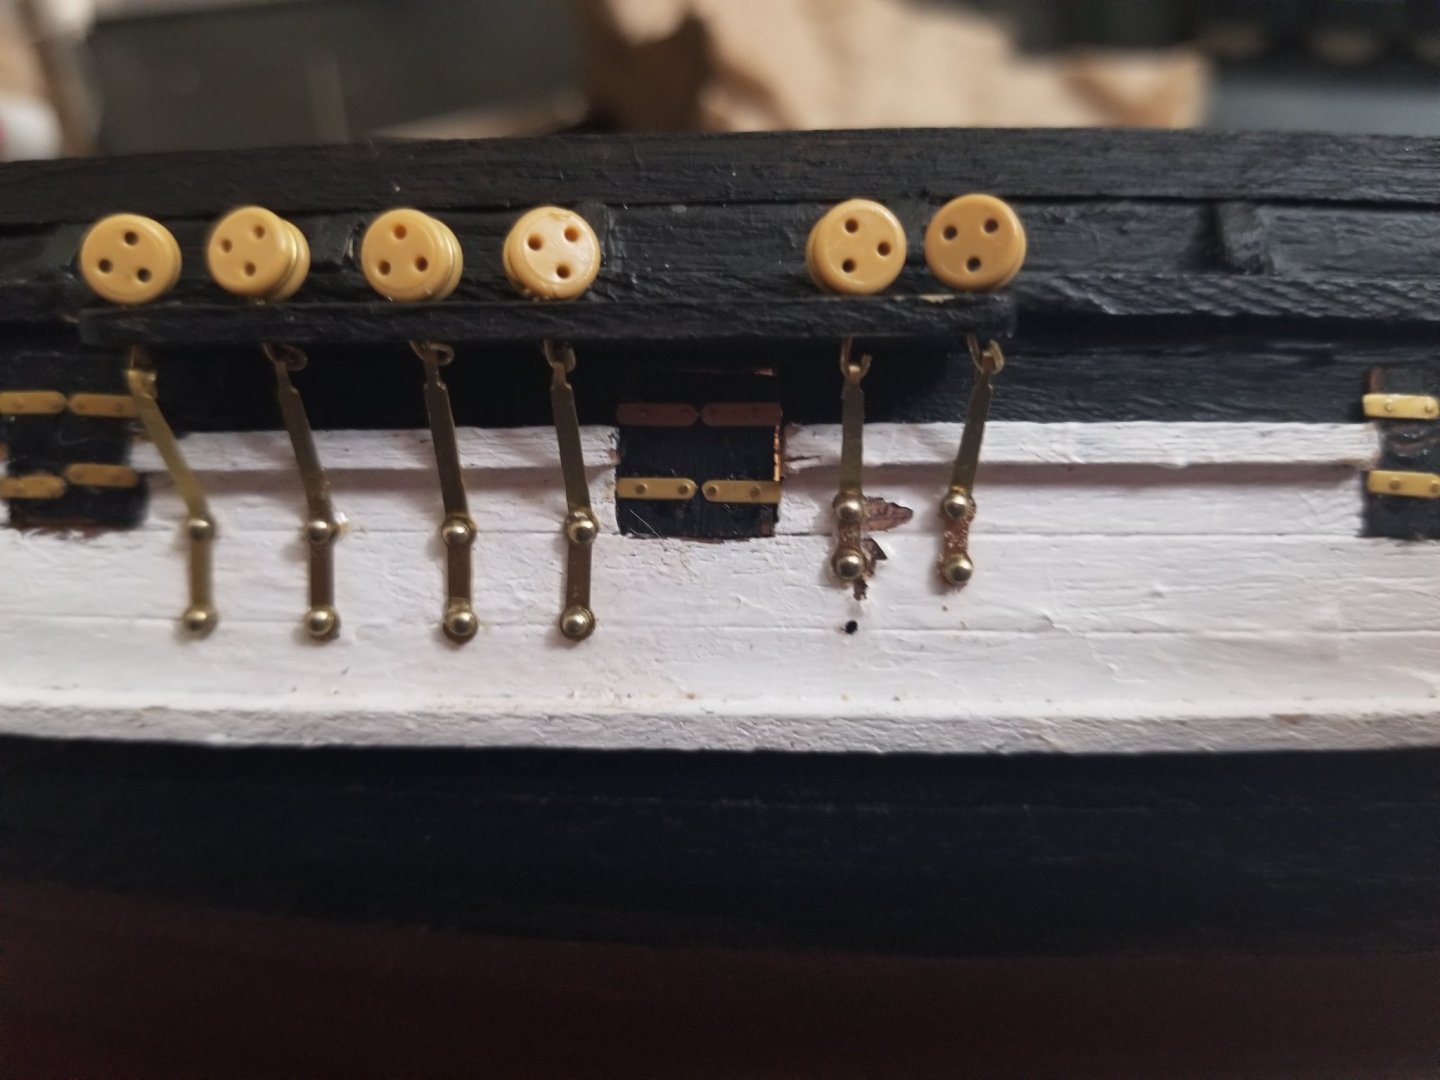
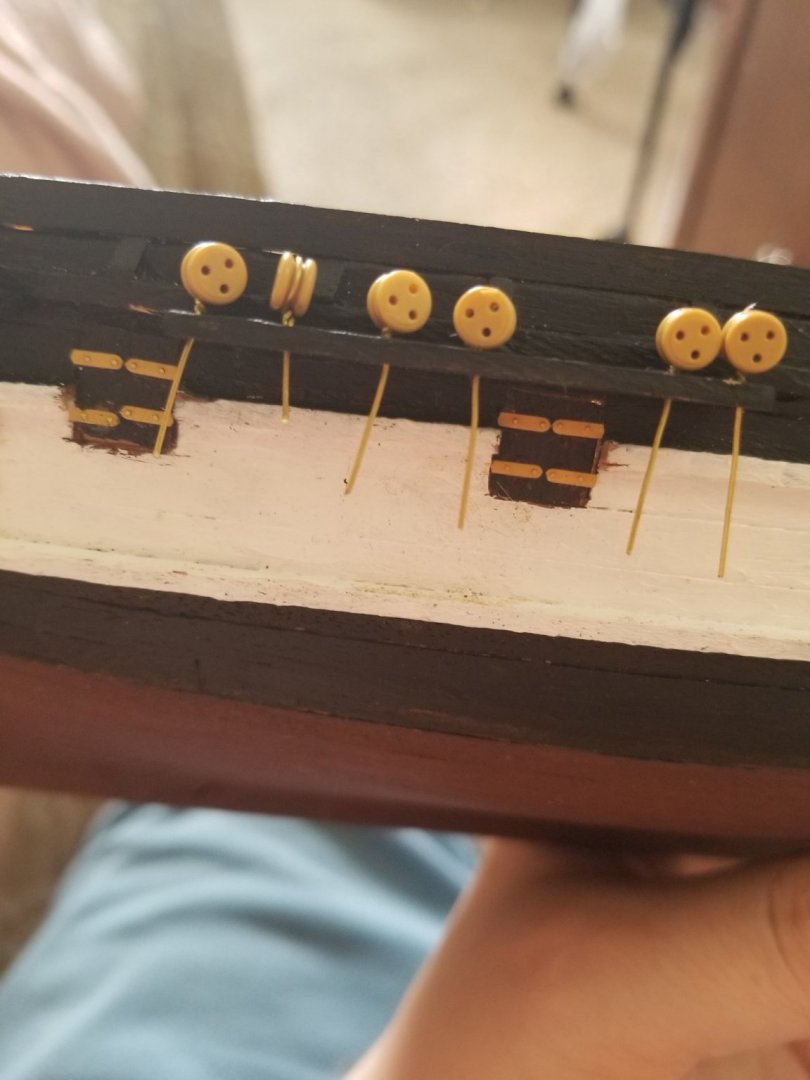
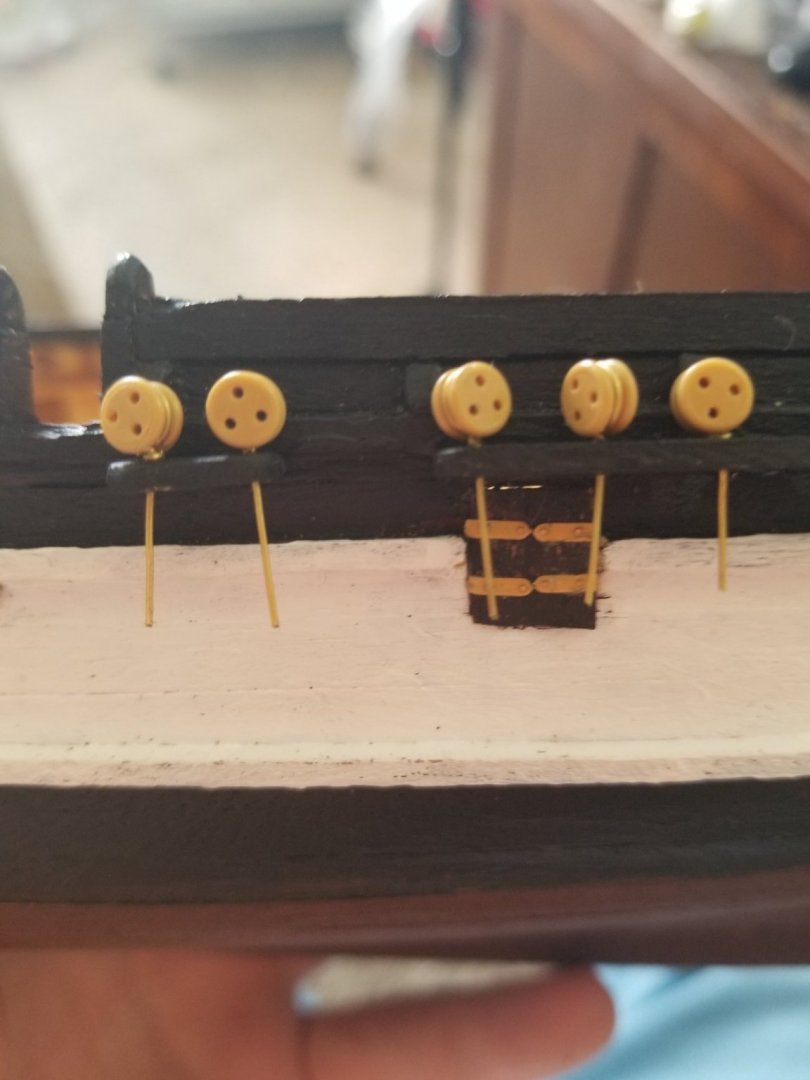
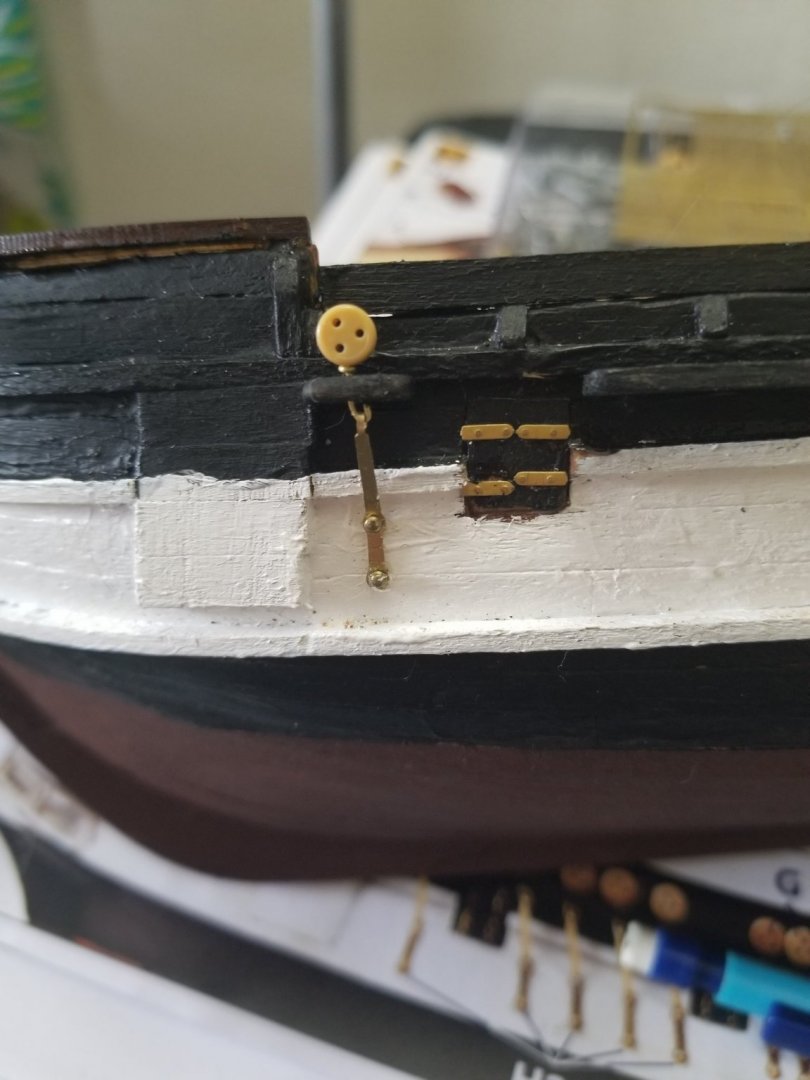
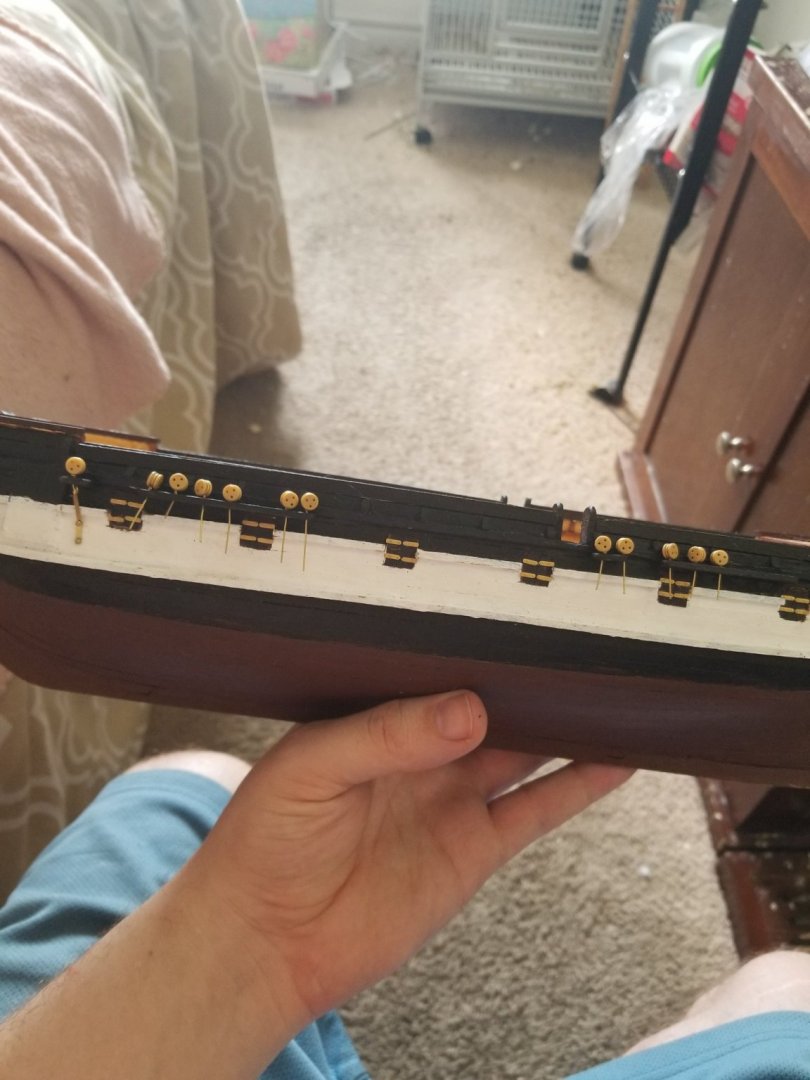
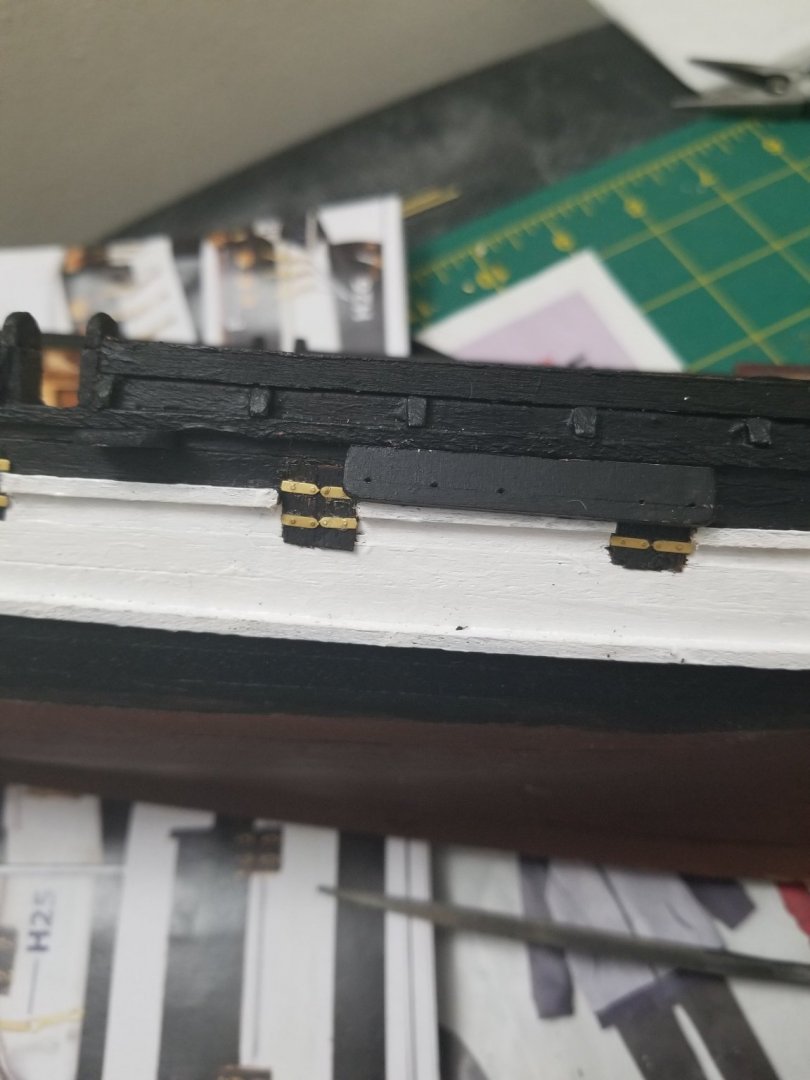
So started work on the dead eyes and the finished product will be cleaner as per the first "test" assembly. Except now looking at the photo I'm realizing it's not as clean as I want...welp I can fix that lol. So them popping up like that will be tucked into the whales so it's all clean fits. I'm feeling like I'm wasting brass though with such long stems. (I'm a conservationist and hate waste 😵😵). I also do not have a extensive amount of back up supplies so there is that too which I'm trying to work on. Anyways yea going well and when I showed my wife she made the comment that it looks like cute lollipops. Felt like I should share that to see if I get any laughs.
About us
Modelshipworld - Advancing Ship Modeling through Research
SSL Secured
Your security is important for us so this Website is SSL-Secured
NRG Mailing Address
Nautical Research Guild
237 South Lincoln Street
Westmont IL, 60559-1917
Model Ship World ® and the MSW logo are Registered Trademarks, and belong to the Nautical Research Guild (United States Patent and Trademark Office: No. 6,929,264 & No. 6,929,274, registered Dec. 20, 2022)
Helpful Links
About the NRG
If you enjoy building ship models that are historically accurate as well as beautiful, then The Nautical Research Guild (NRG) is just right for you.
The Guild is a non-profit educational organization whose mission is to “Advance Ship Modeling Through Research”. We provide support to our members in their efforts to raise the quality of their model ships.
The Nautical Research Guild has published our world-renowned quarterly magazine, The Nautical Research Journal, since 1955. The pages of the Journal are full of articles by accomplished ship modelers who show you how they create those exquisite details on their models, and by maritime historians who show you the correct details to build. The Journal is available in both print and digital editions. Go to the NRG web site (www.thenrg.org) to download a complimentary digital copy of the Journal. The NRG also publishes plan sets, books and compilations of back issues of the Journal and the former Ships in Scale and Model Ship Builder magazines.


