HOLIDAY DONATION DRIVE - SUPPORT MSW - DO YOUR PART TO KEEP THIS GREAT FORUM GOING! (Only 51 donations so far out of 49,000 members - C'mon guys!)
×


ECK
-
Posts
637 -
Joined
-
Last visited
Content Type
Profiles
Forums
Gallery
Events
Everything posted by ECK
-
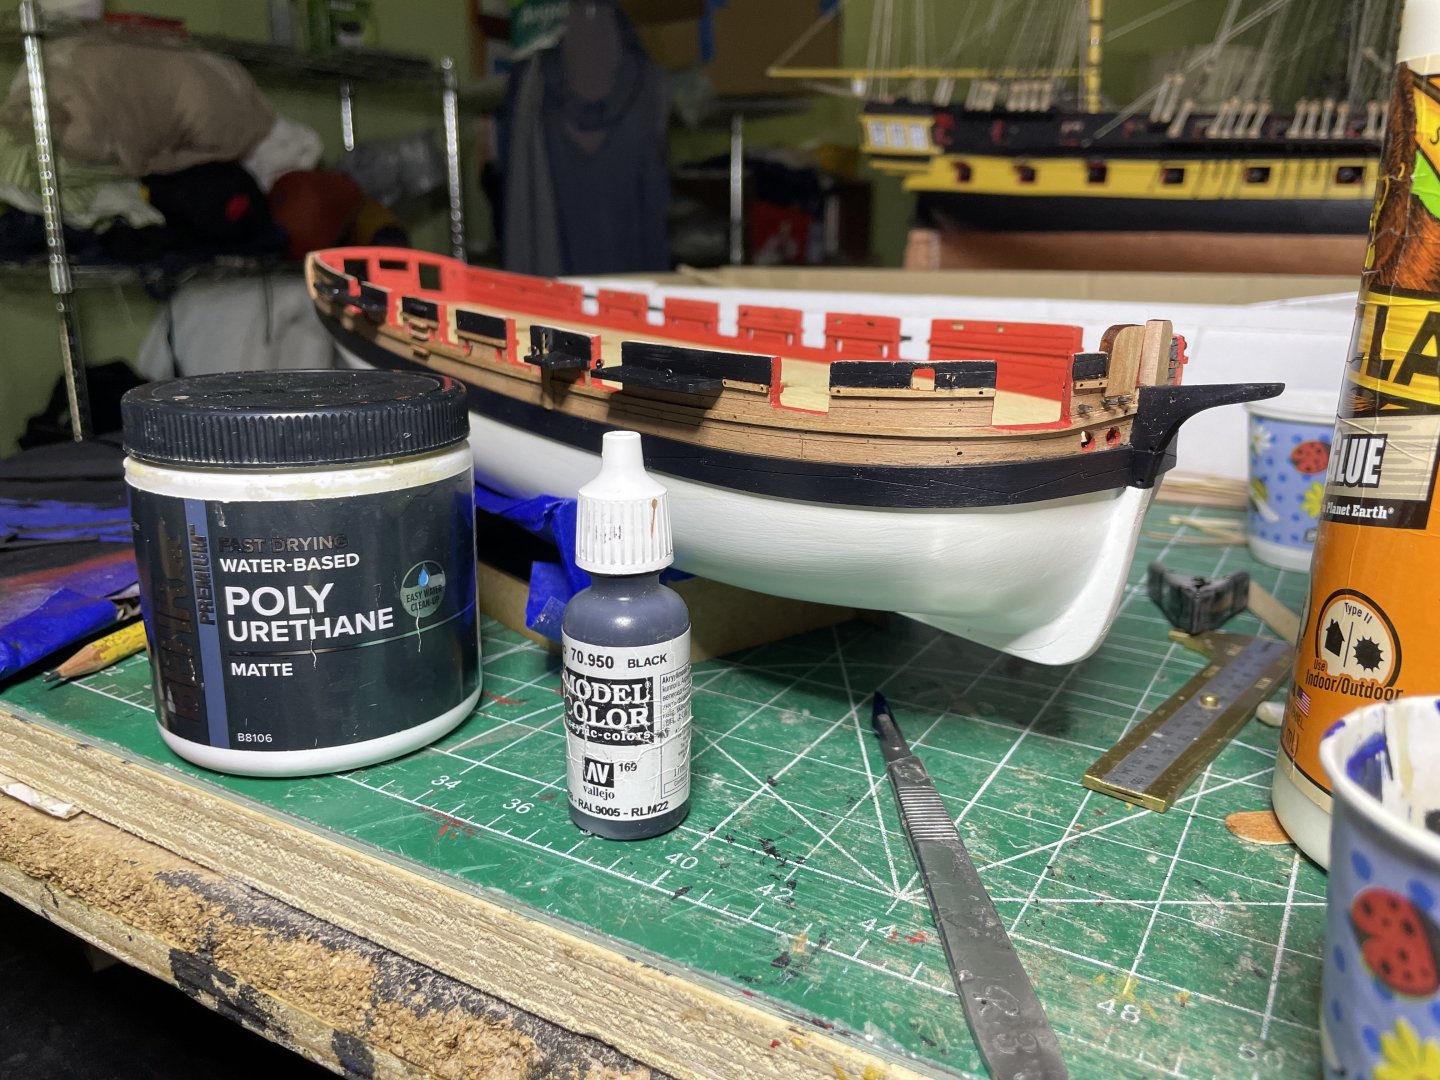
I used vallejo black. It dries very flat but then with a matte poly, not so dull

- 66 replies
-
- 10
-

-
- Adder
- Vanguard Models
- (and 1 more)
-
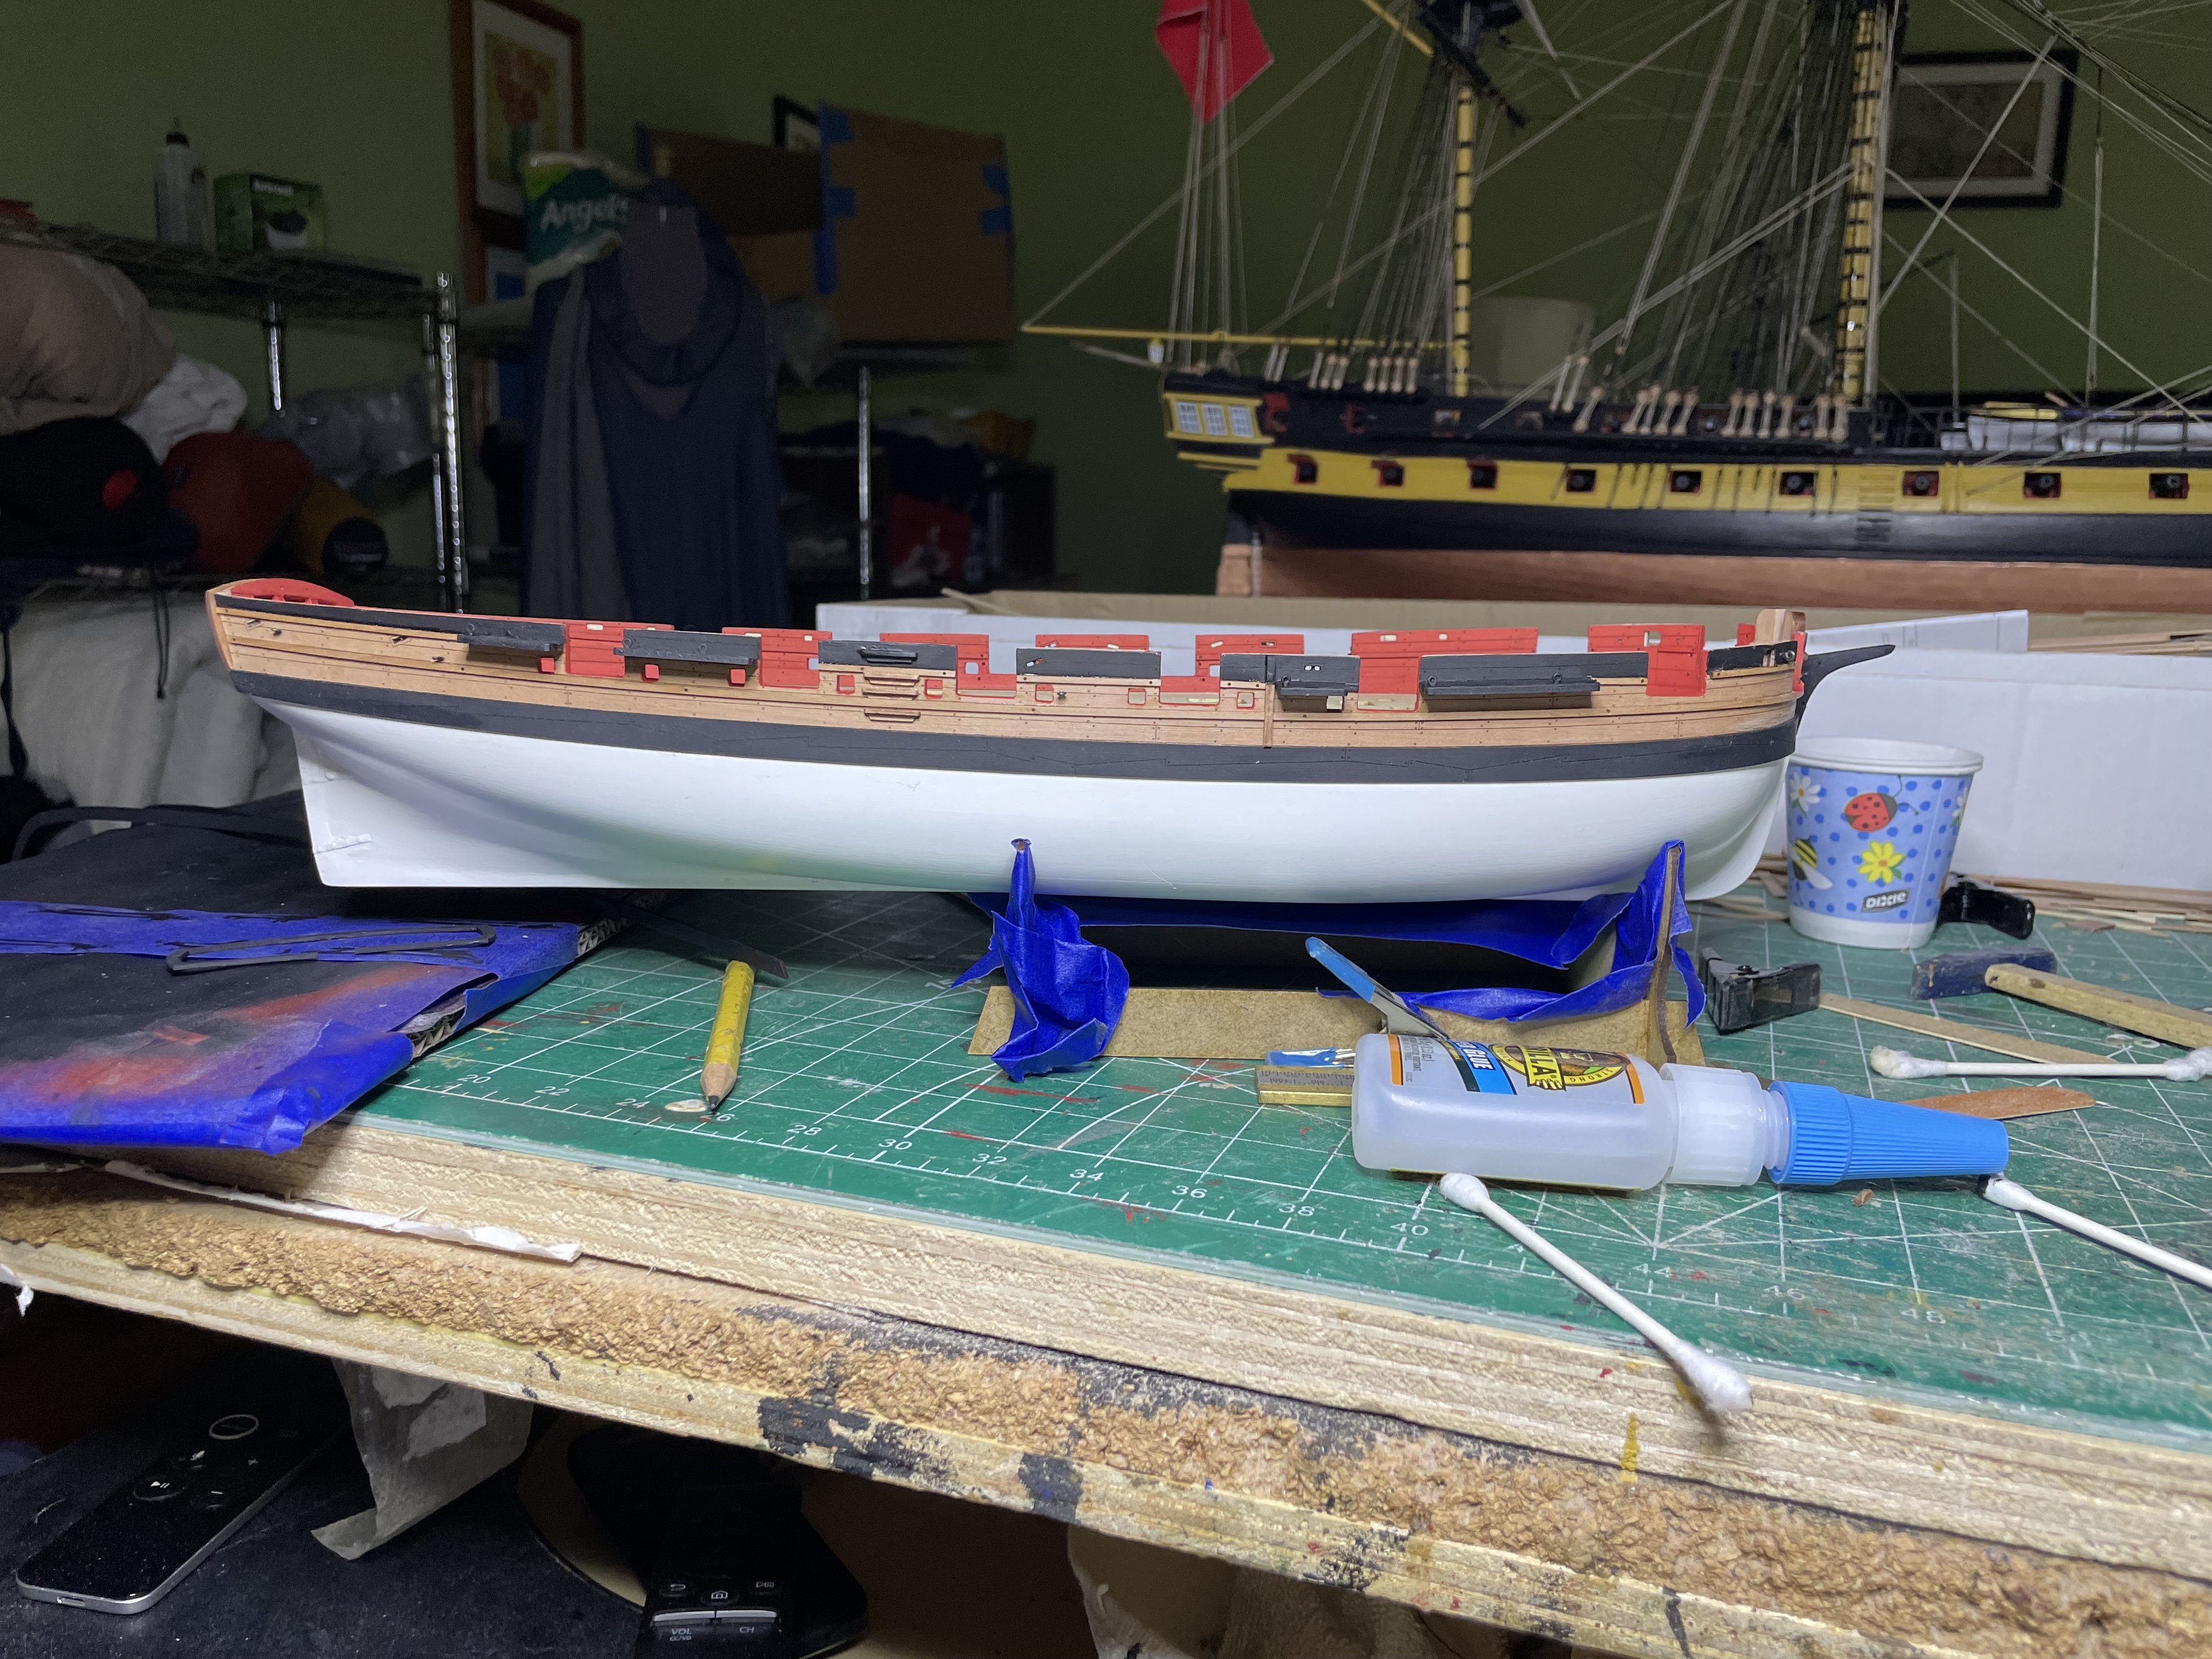
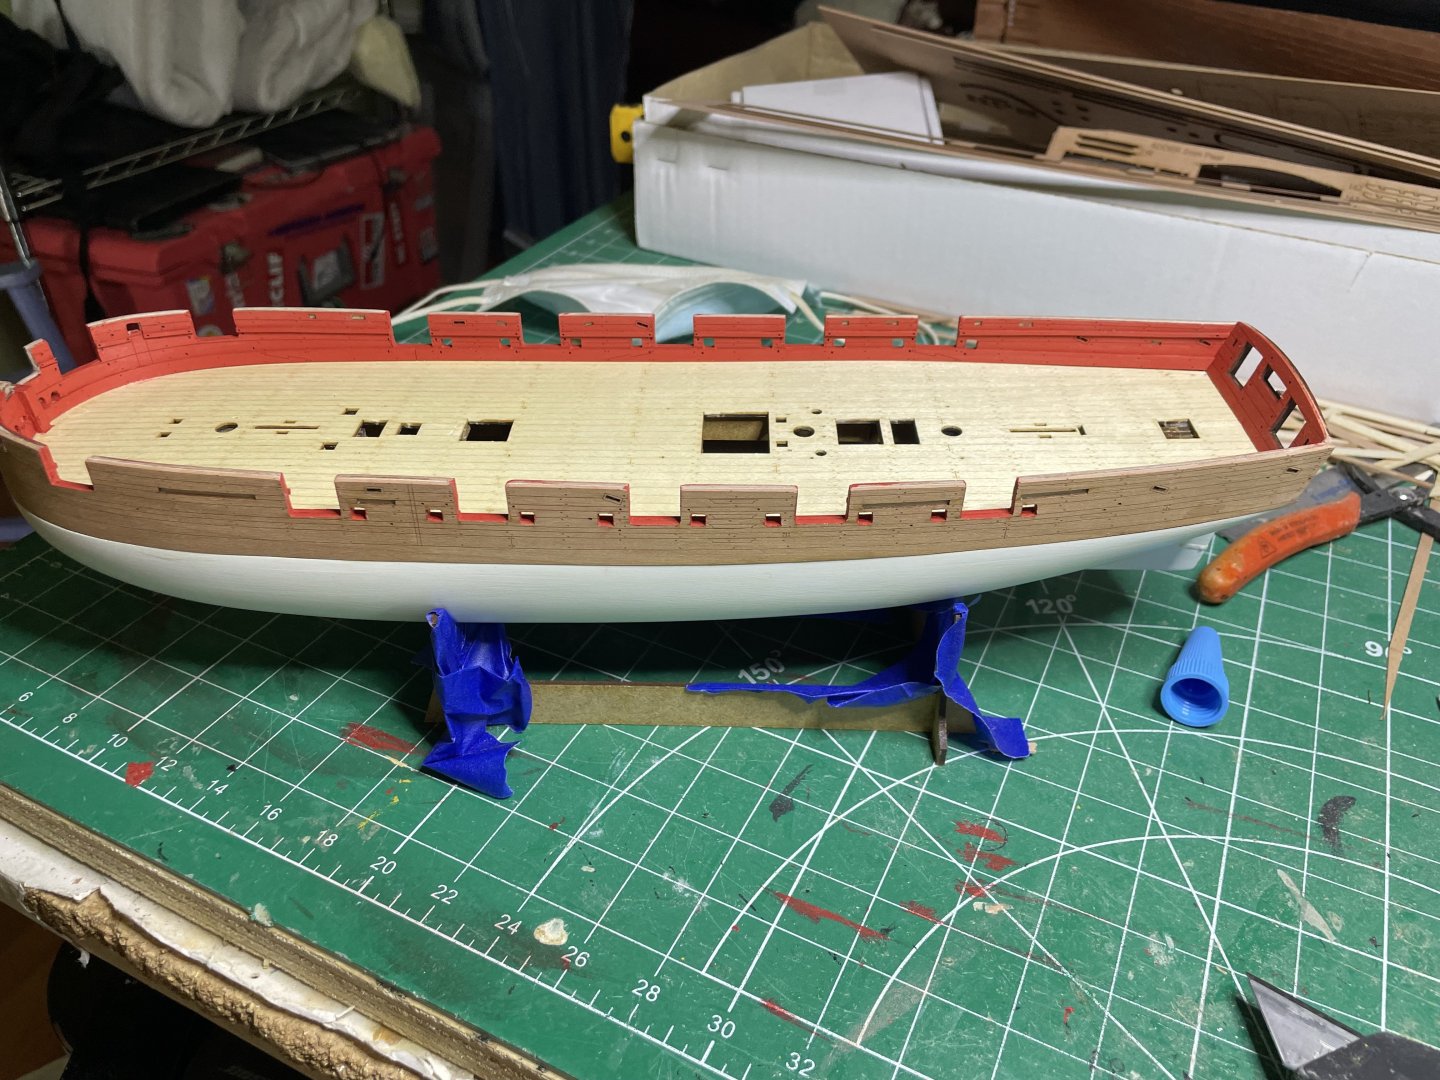
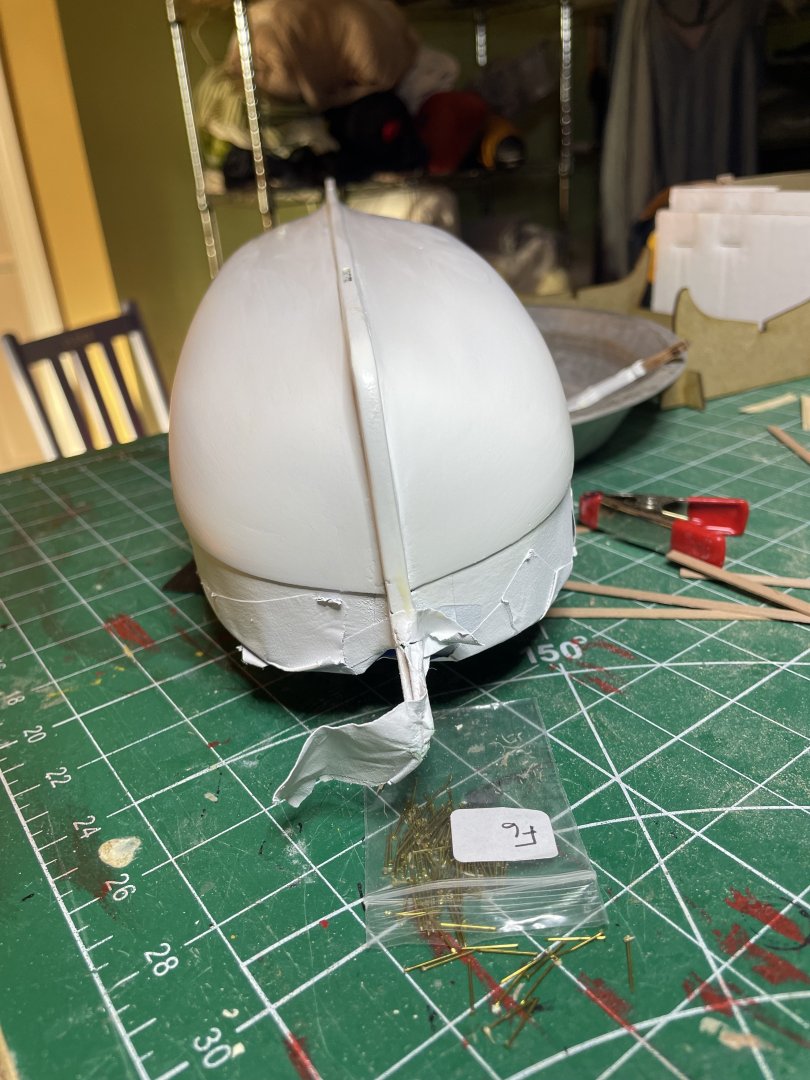
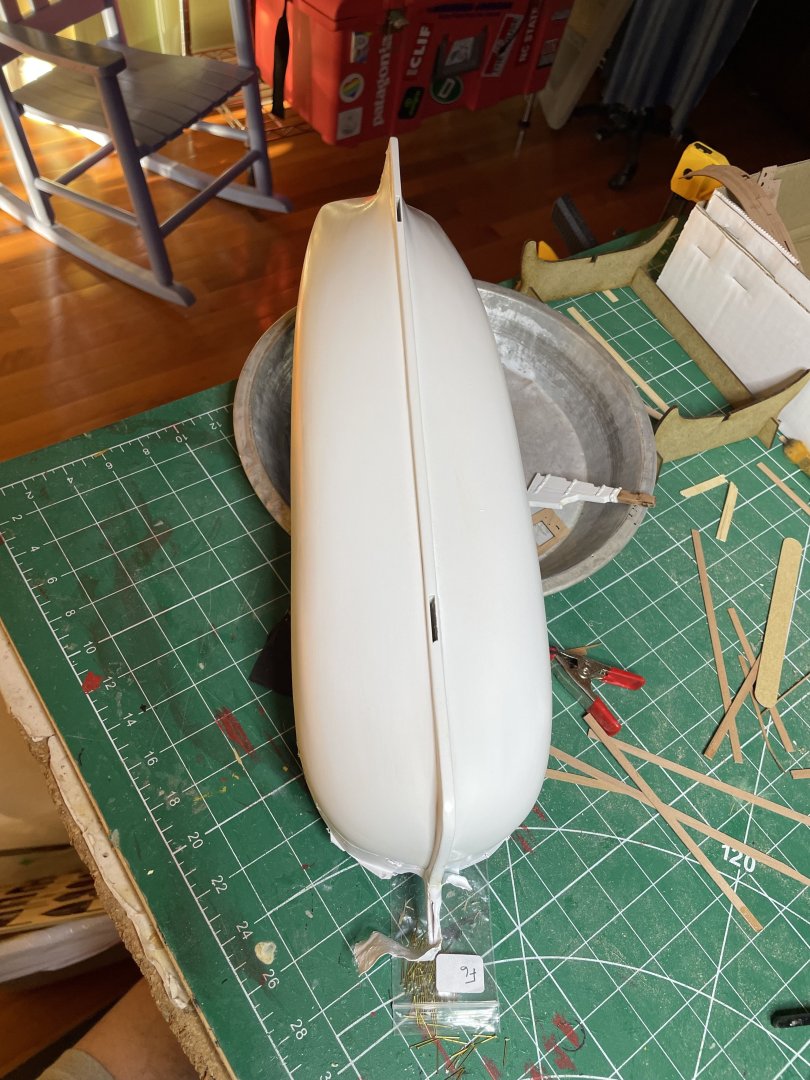
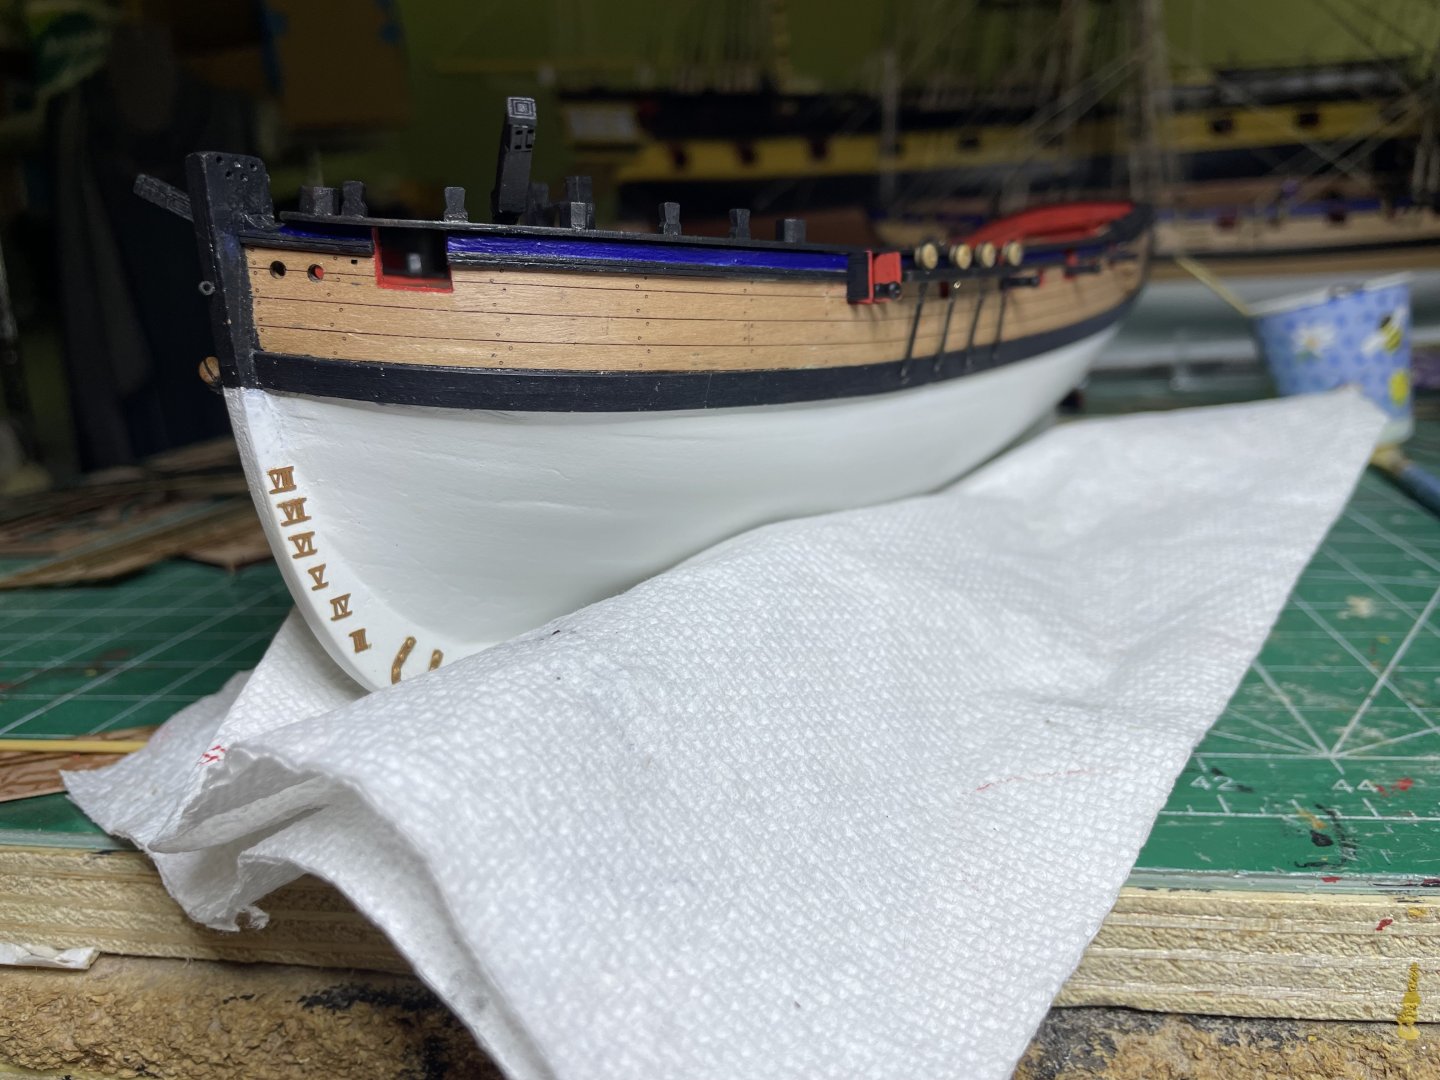
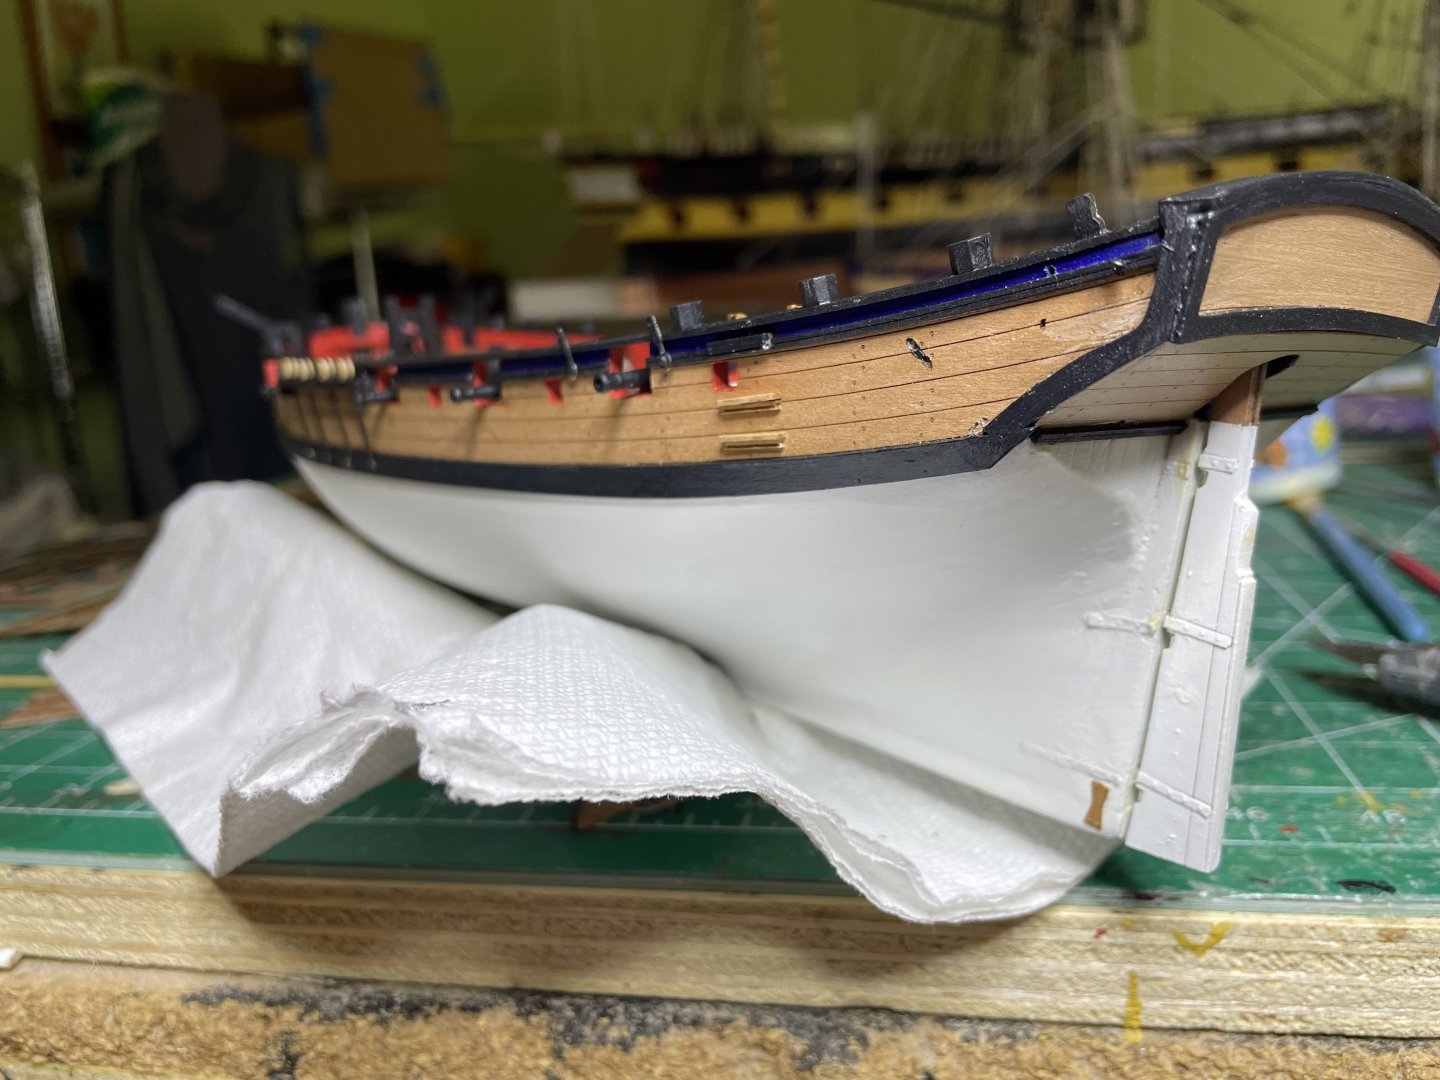
Did most of the outer hull work. Still need to put a coat of poly on.


- 66 replies
-
- 10
-
-
- Adder
- Vanguard Models
- (and 1 more)
-
Looks like you are almost done with your Indy odessy. Looking great.
- 66 replies
-
- 2
-

-
-
- Adder
- Vanguard Models
- (and 1 more)
-
To hot to anything outside and as I'm in an empty nest, gives me something to do and I find it very relaxing except when those little pieces go flying off never to be found.
- 66 replies
-
- 6
-
-
- Adder
- Vanguard Models
- (and 1 more)
-
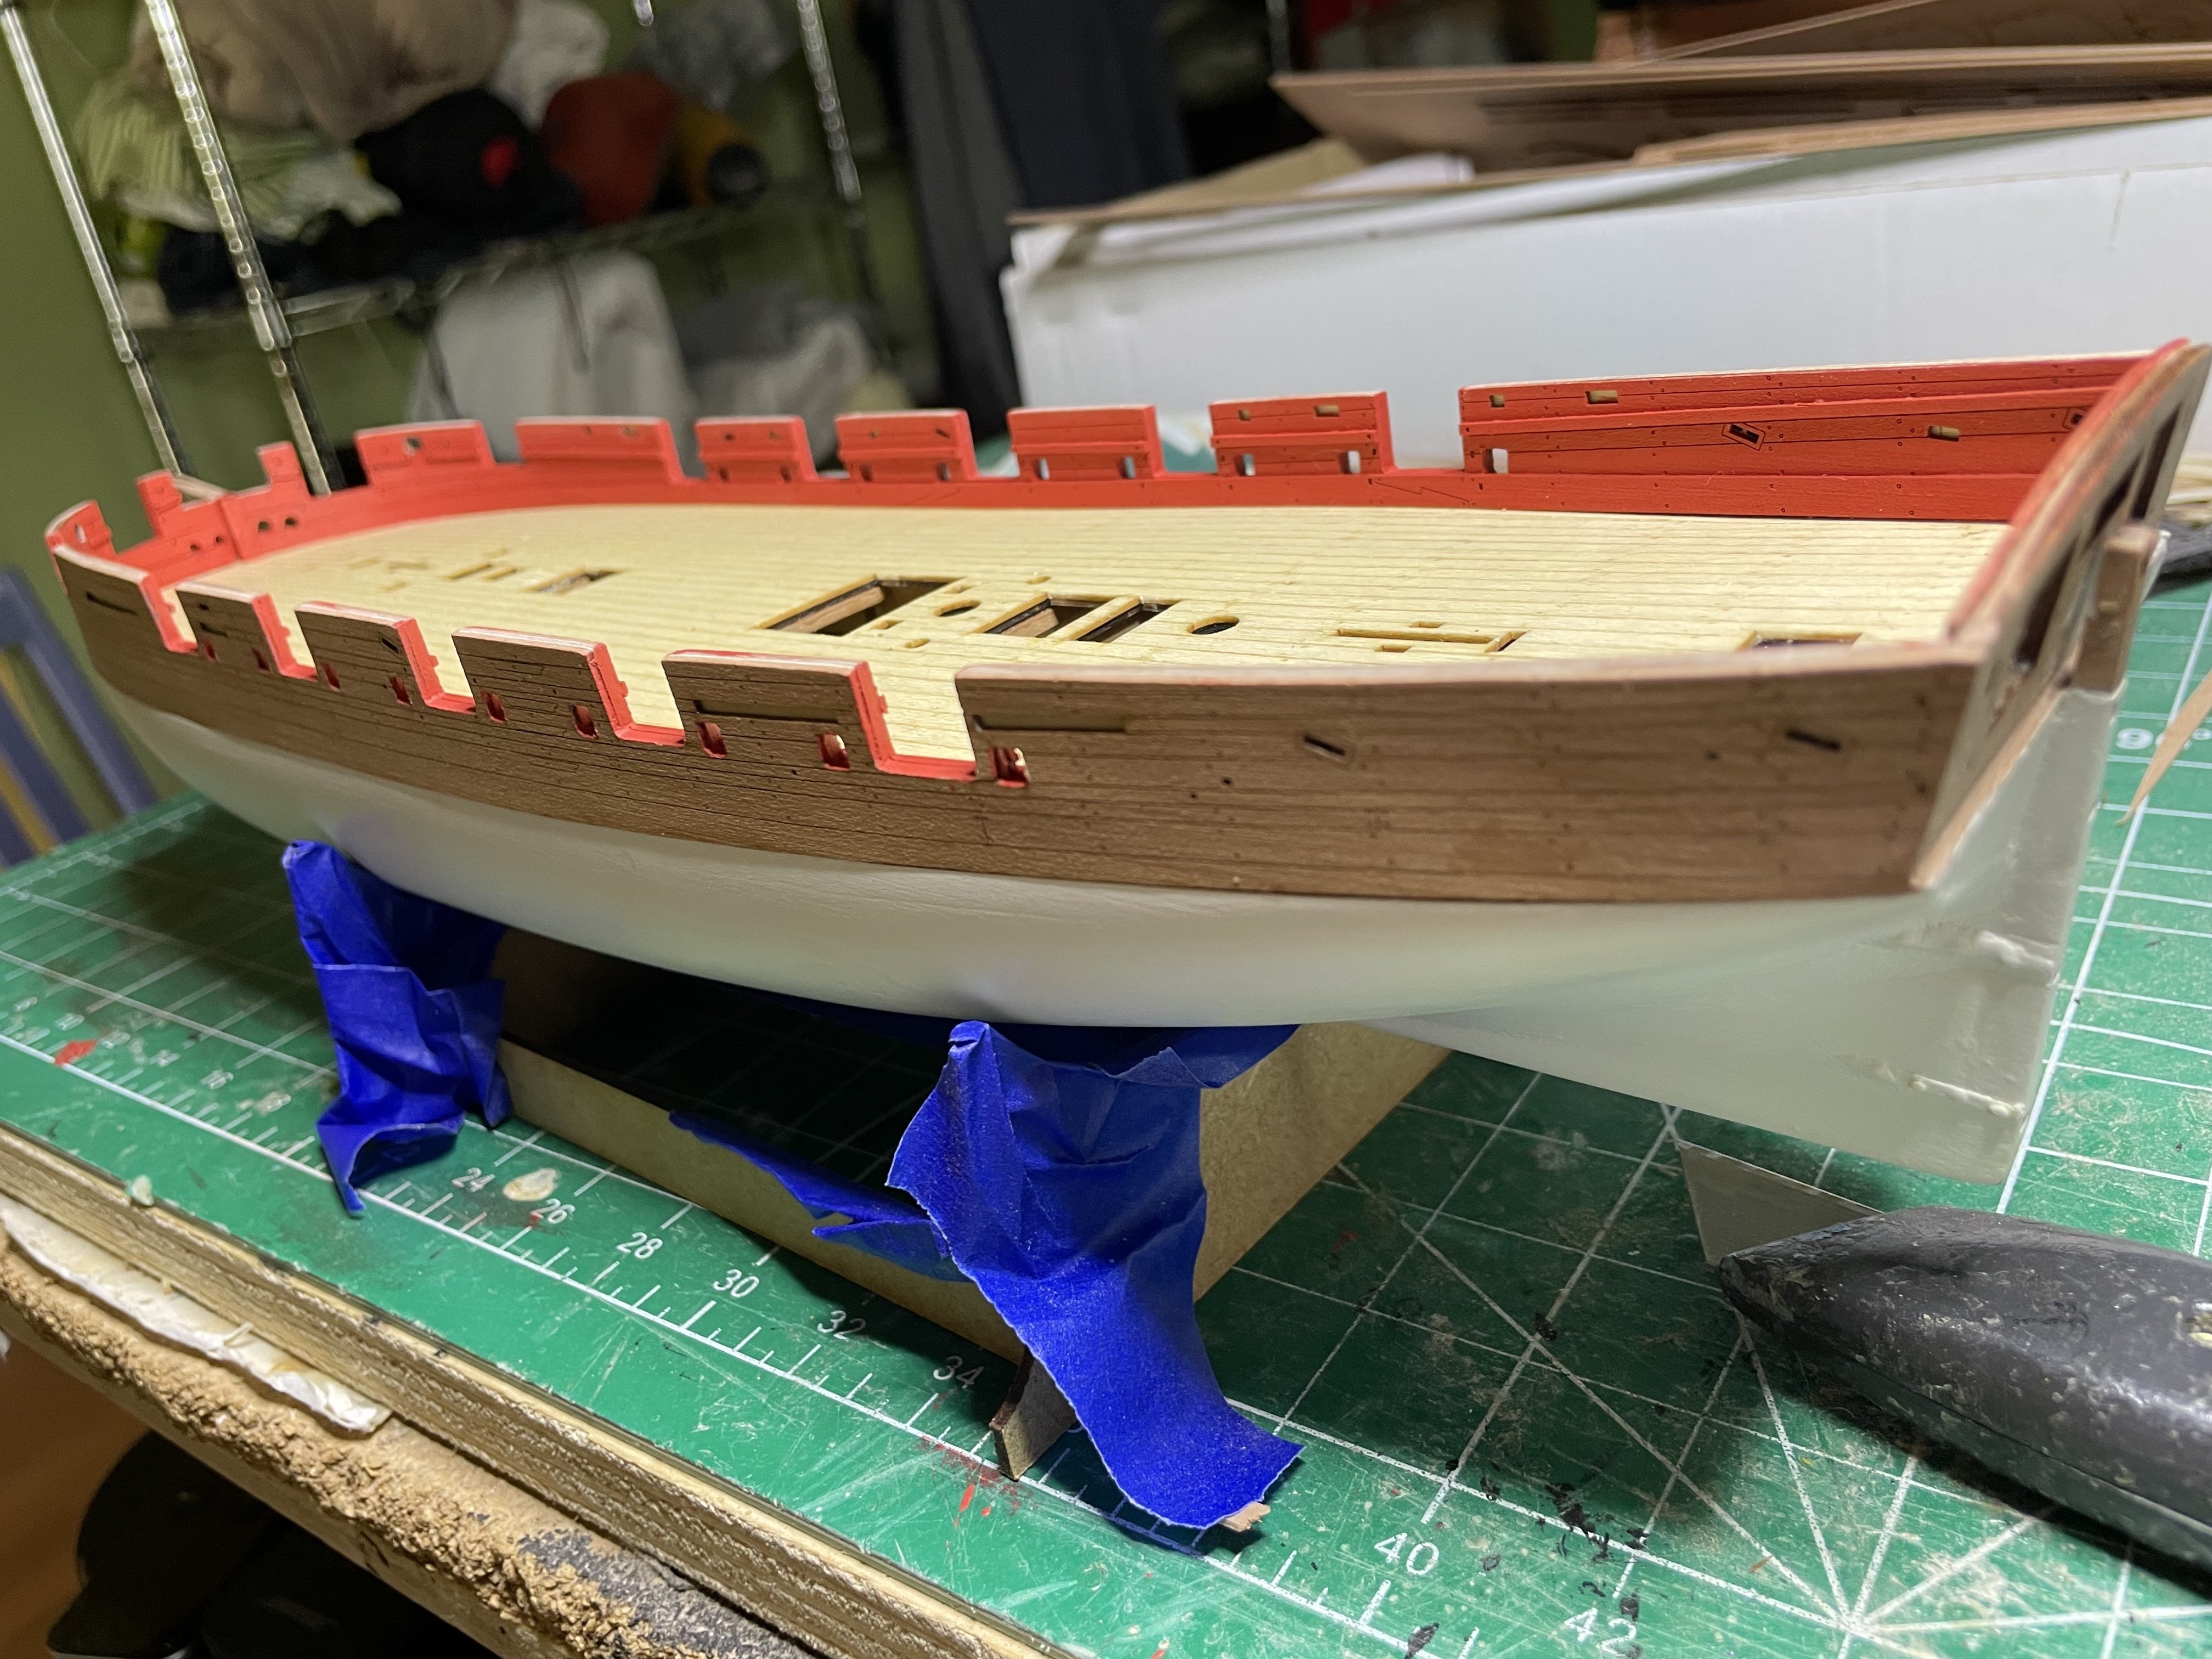
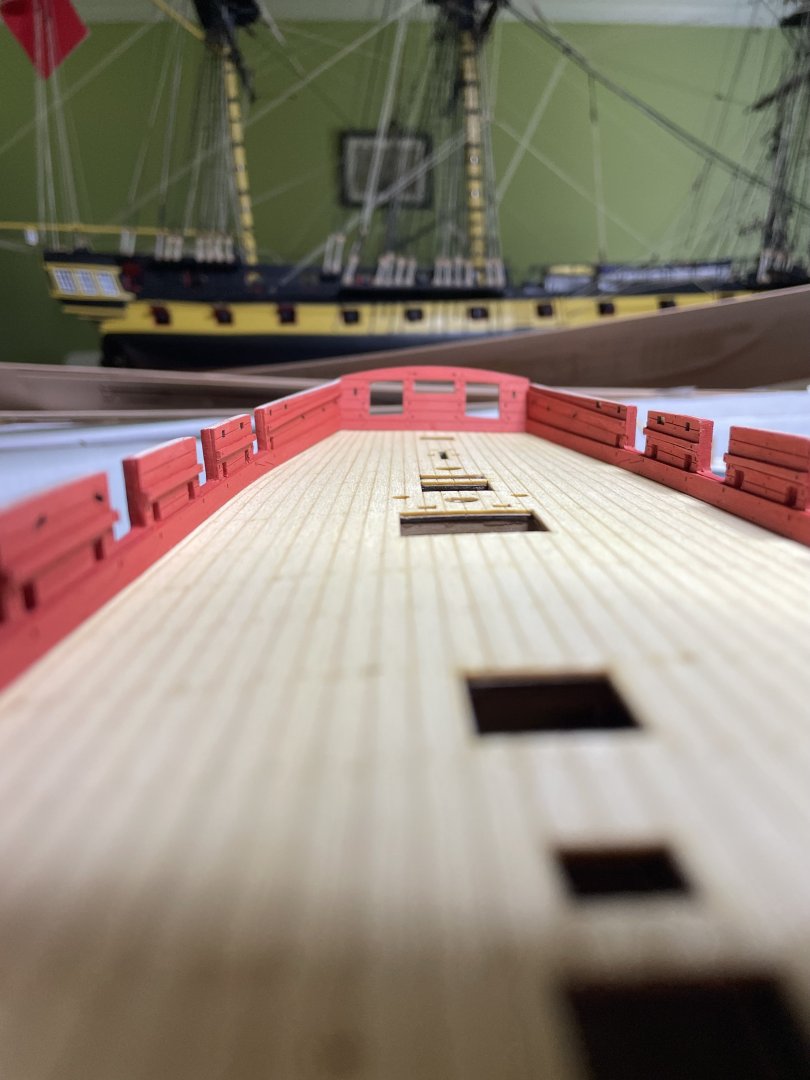
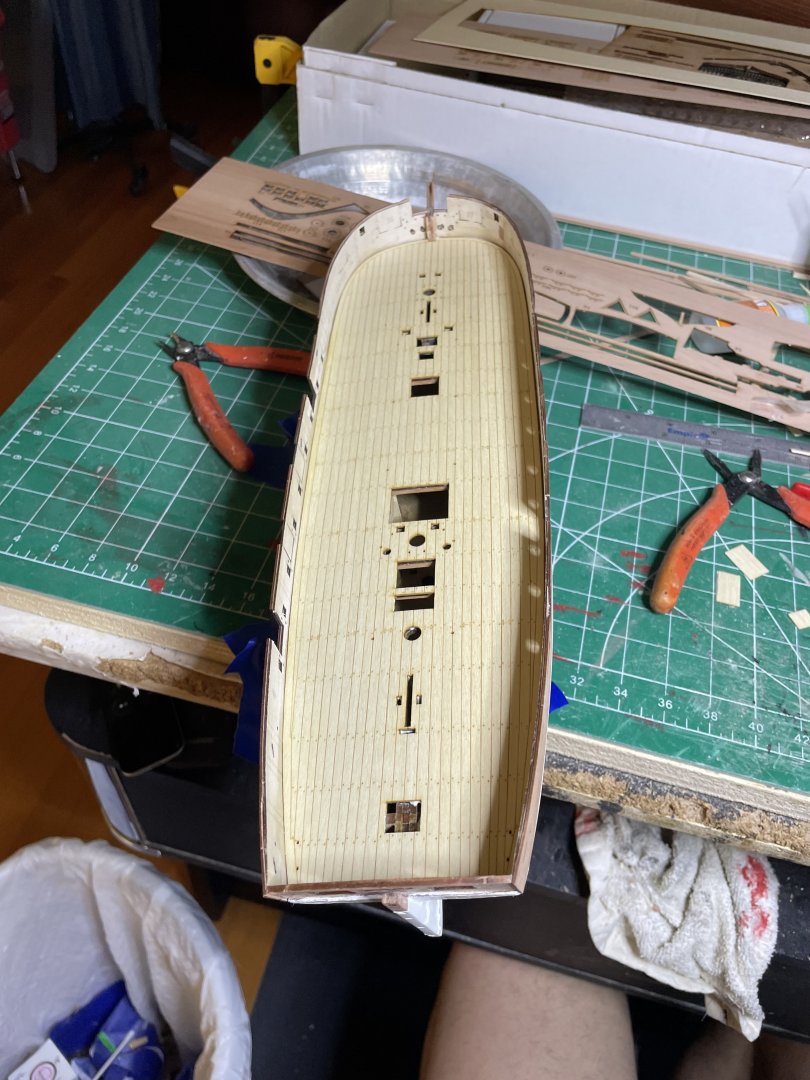
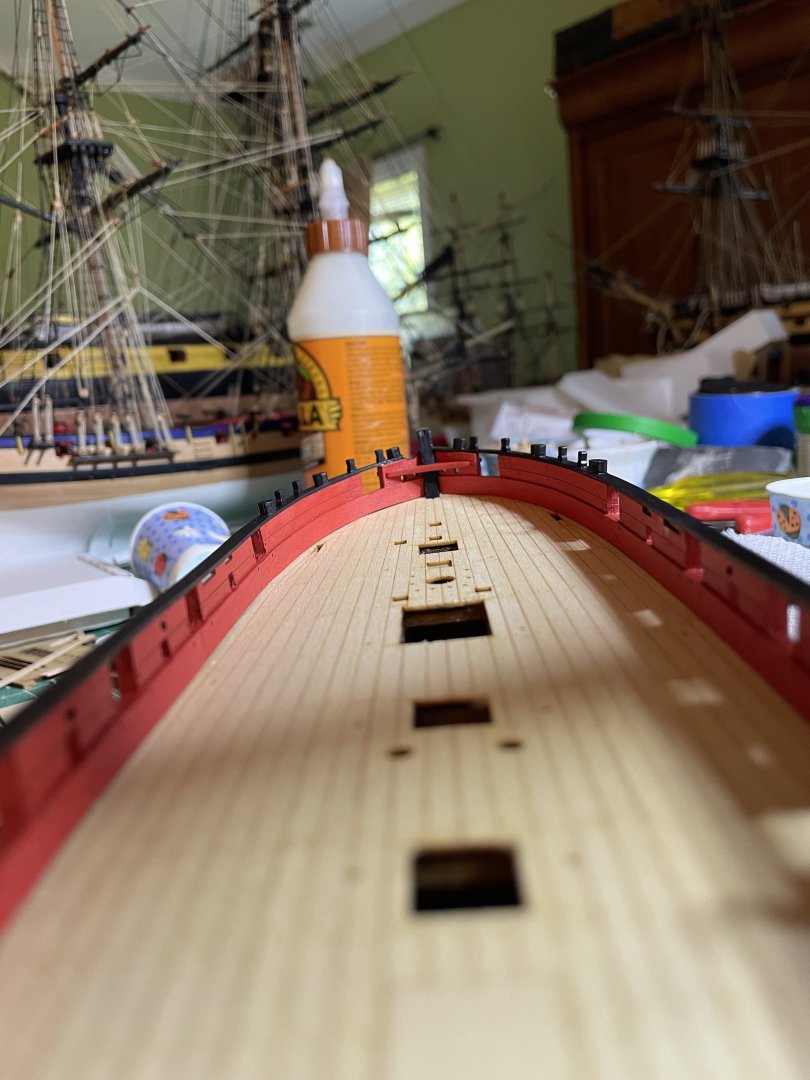
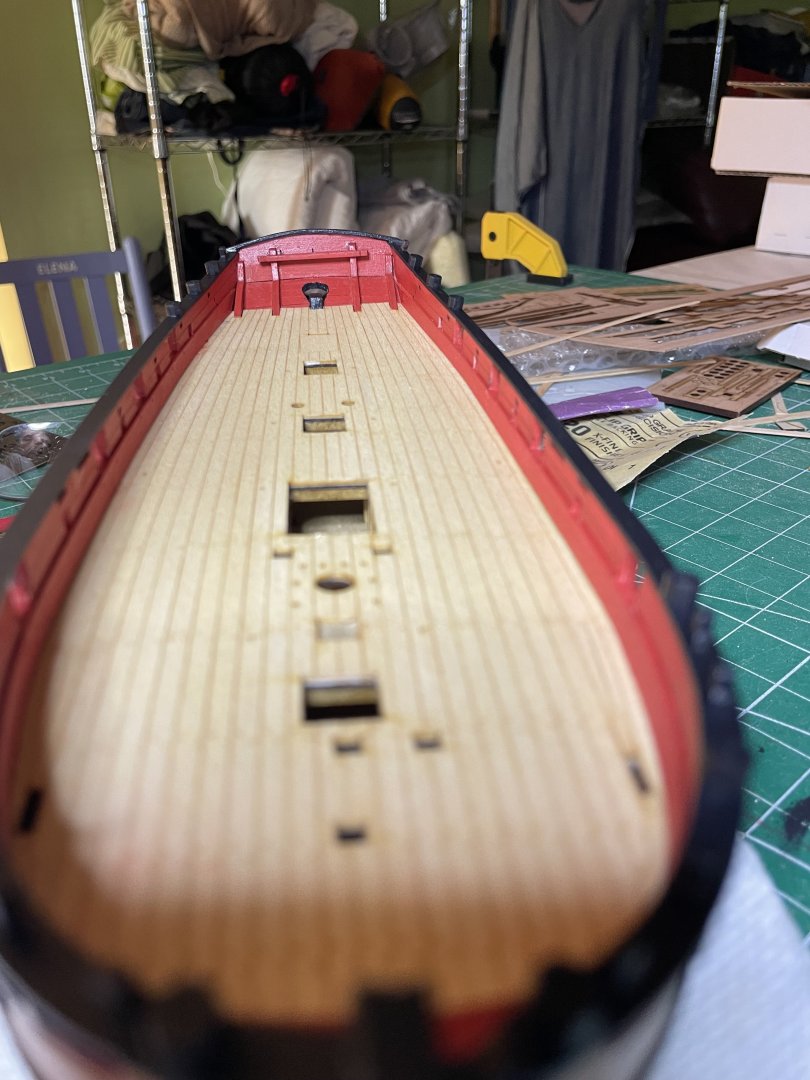
Finished spray painting, gluing then touching up inner bulwarks and gun ports


- 66 replies
-
- 10
-
-
- Adder
- Vanguard Models
- (and 1 more)
-
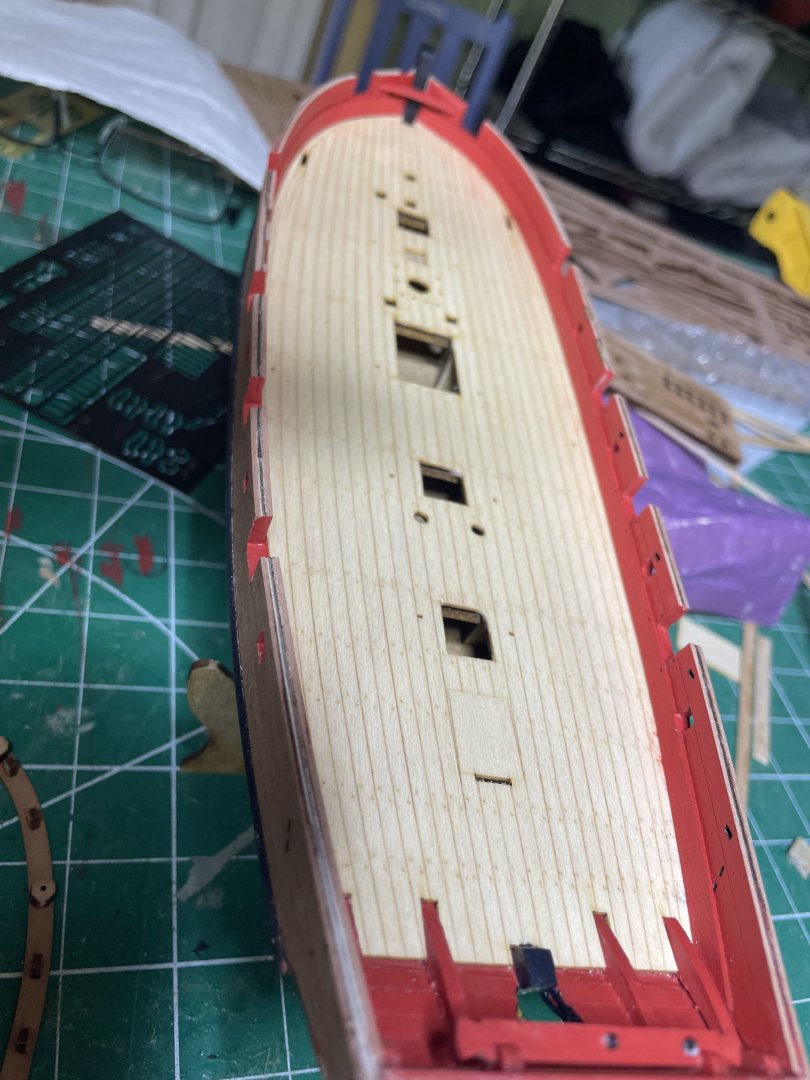
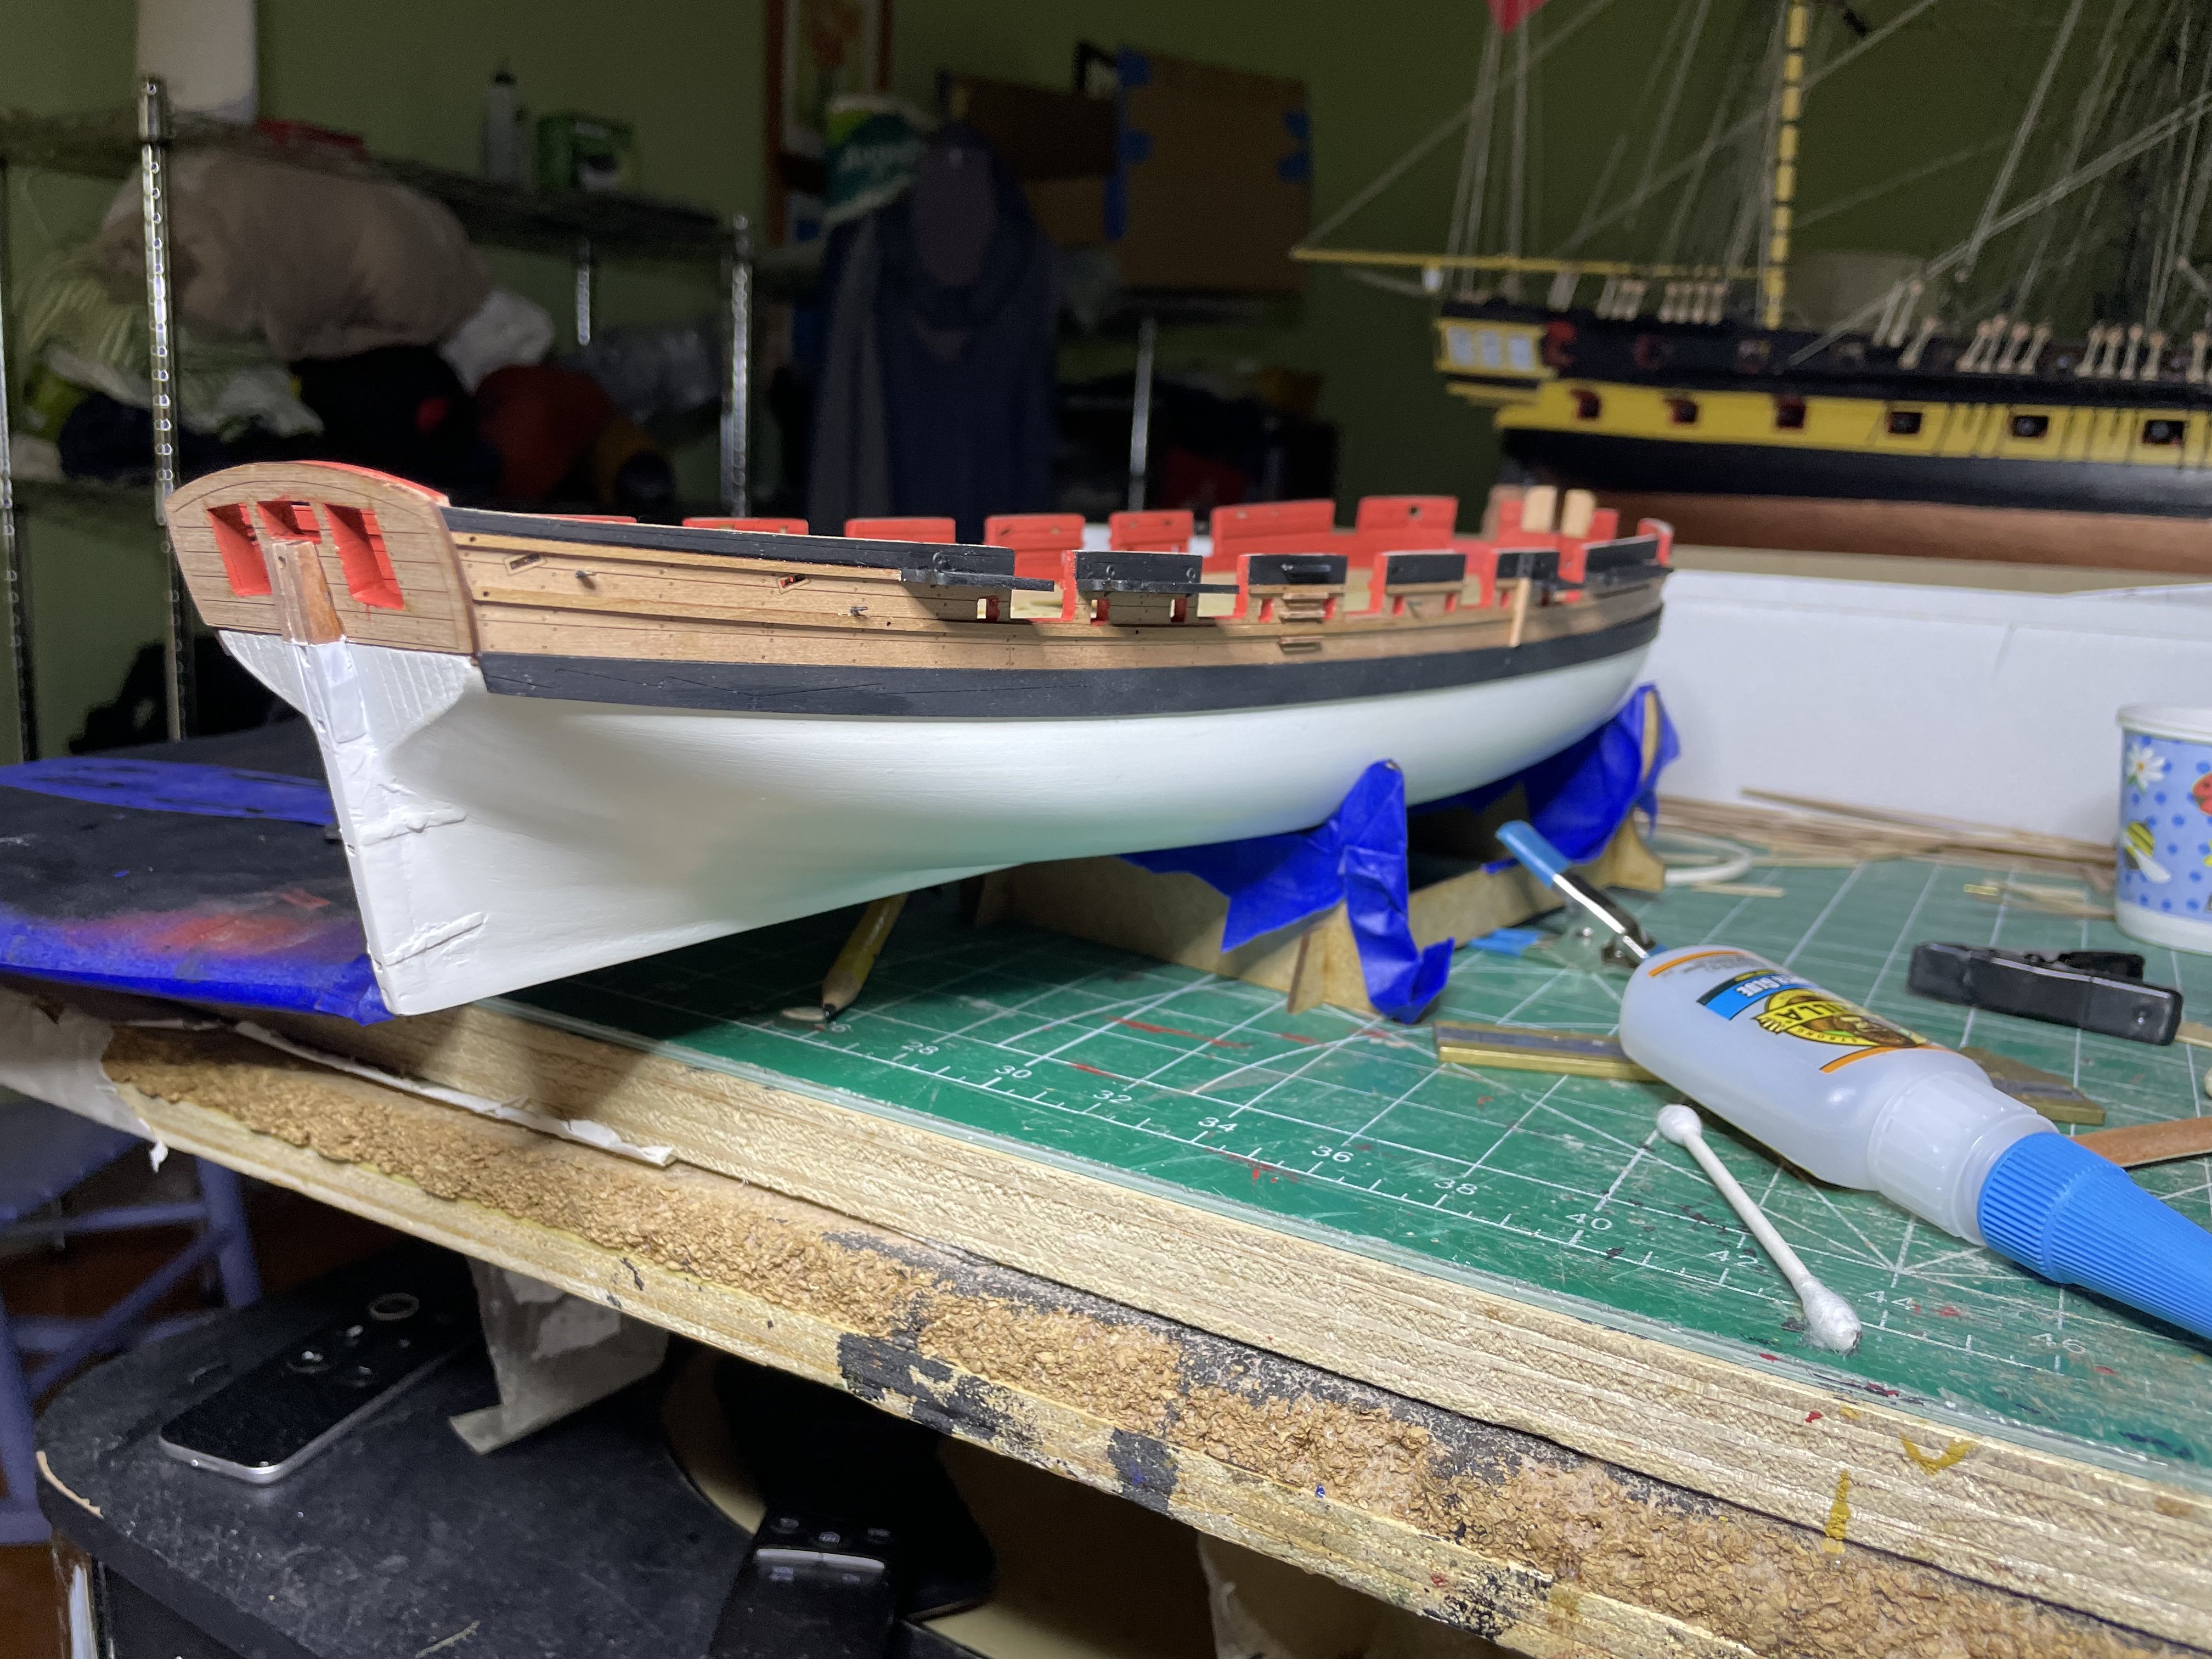
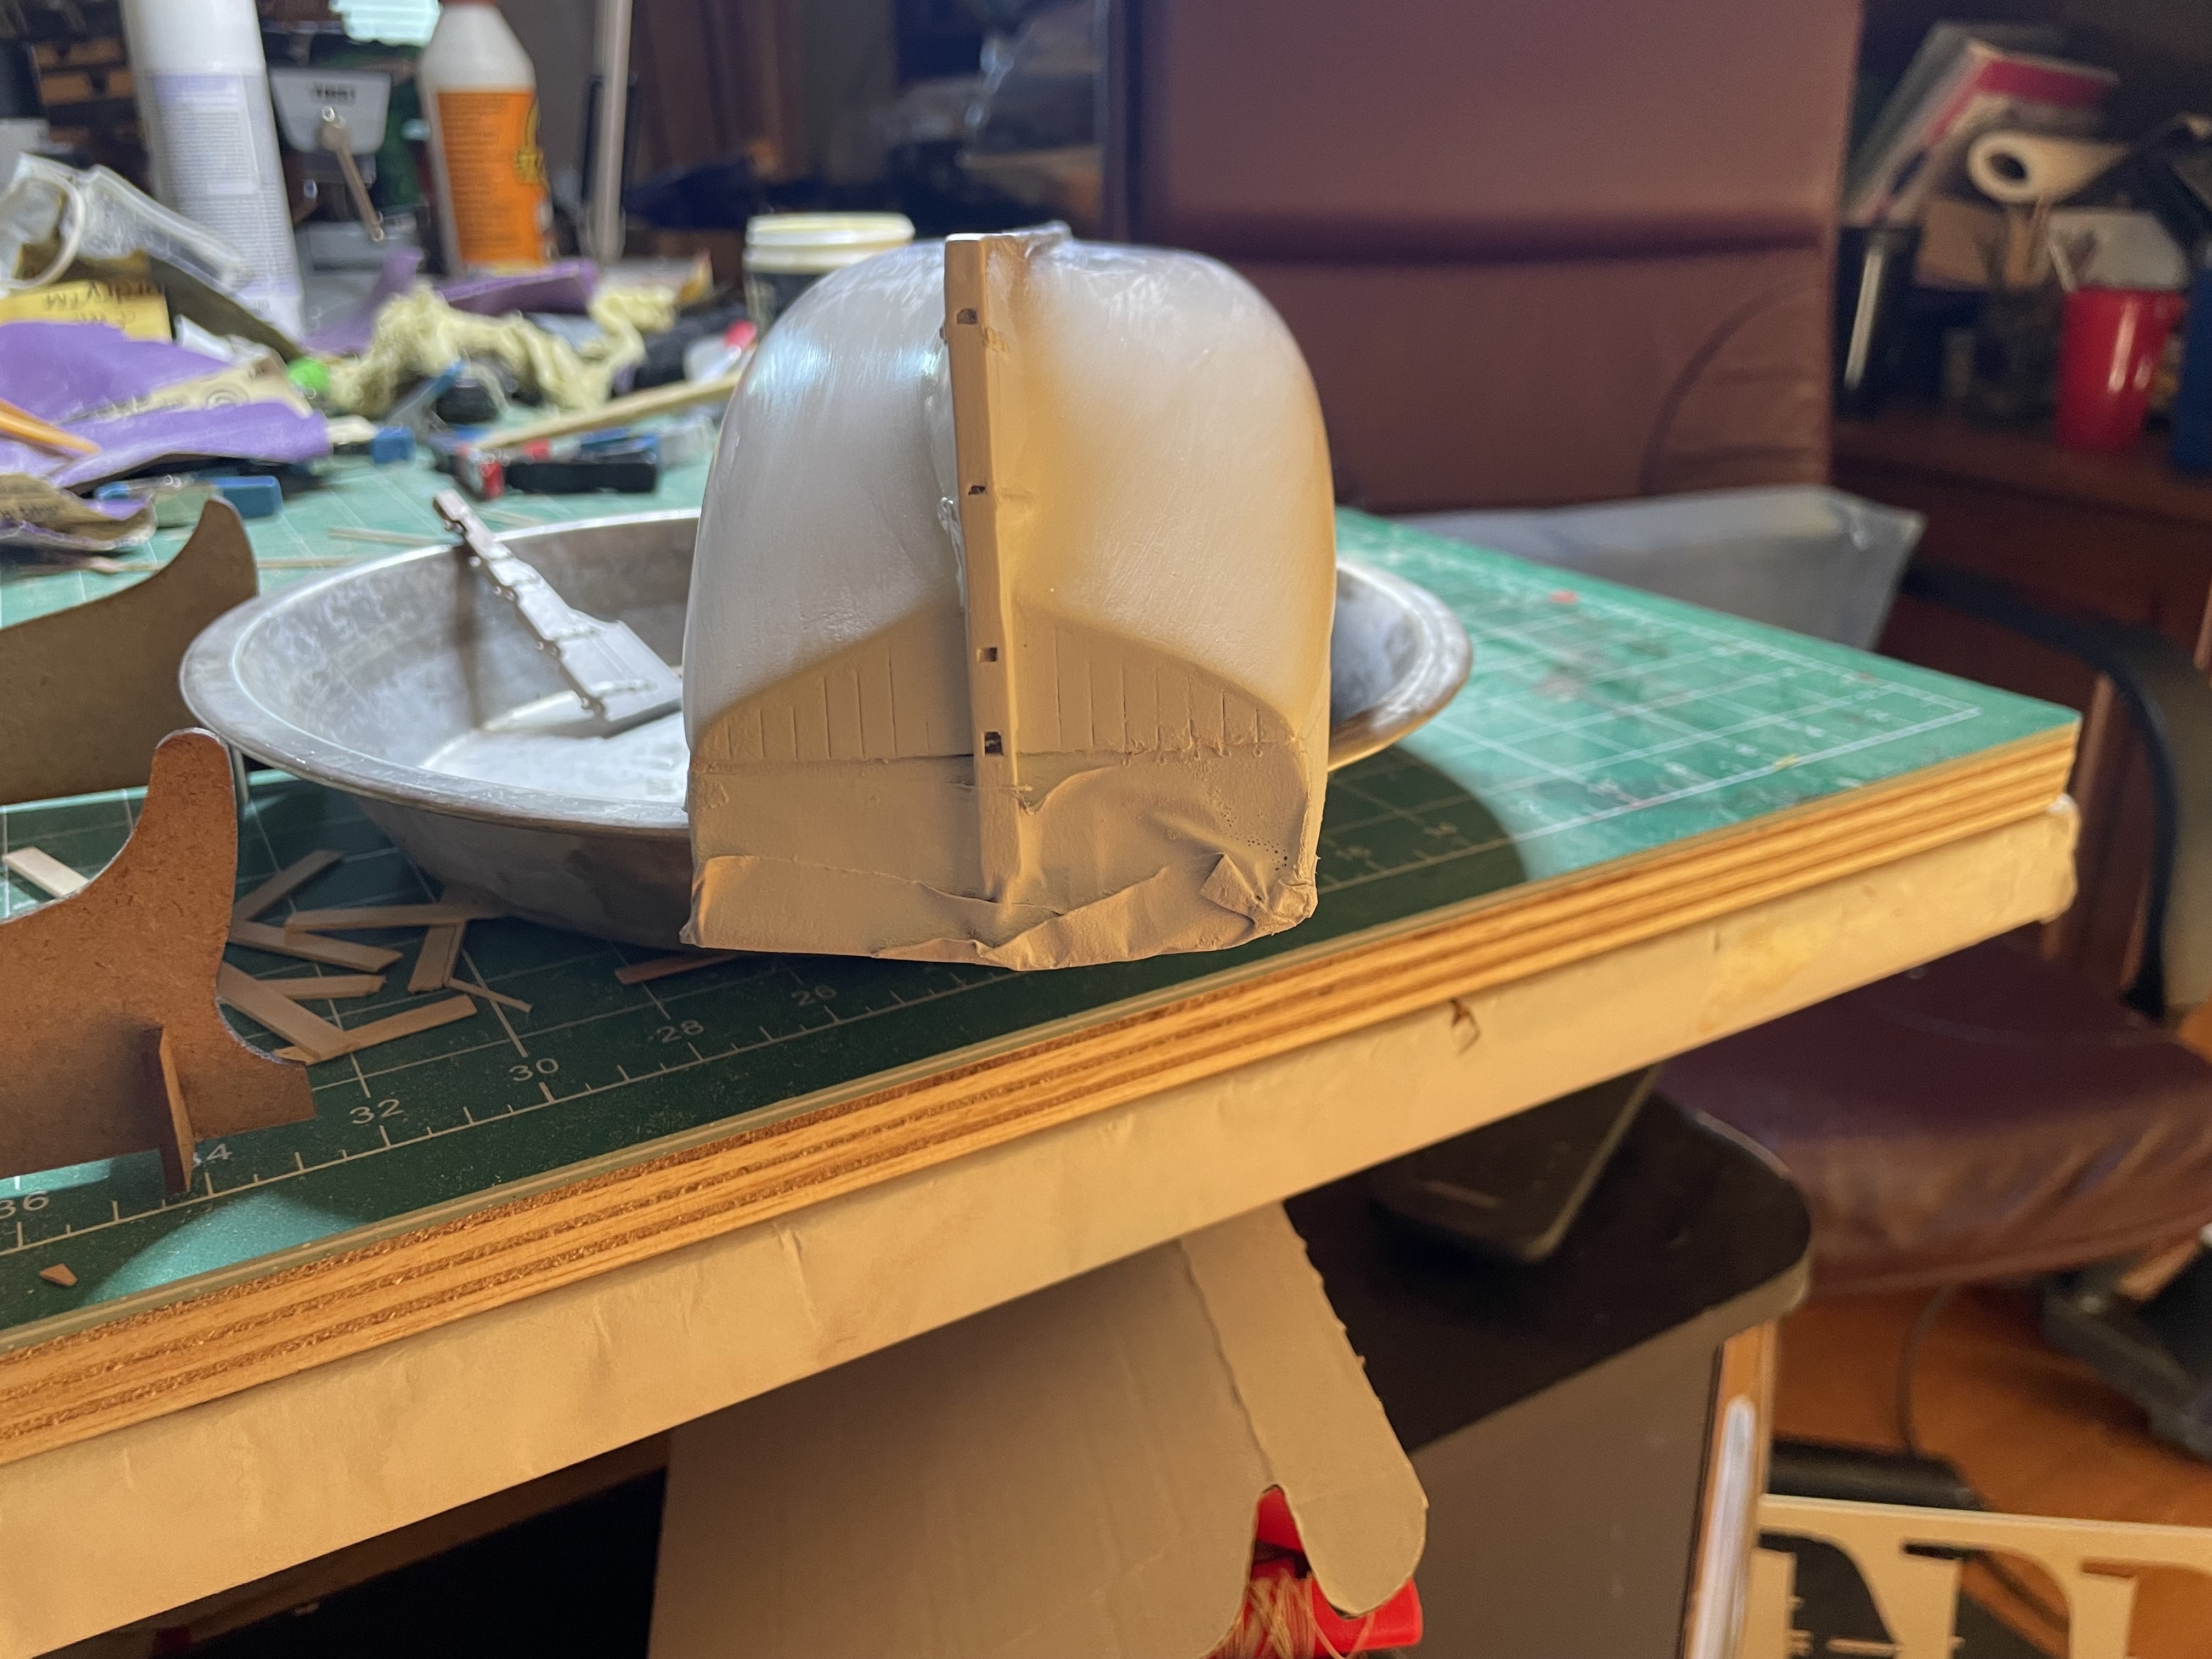
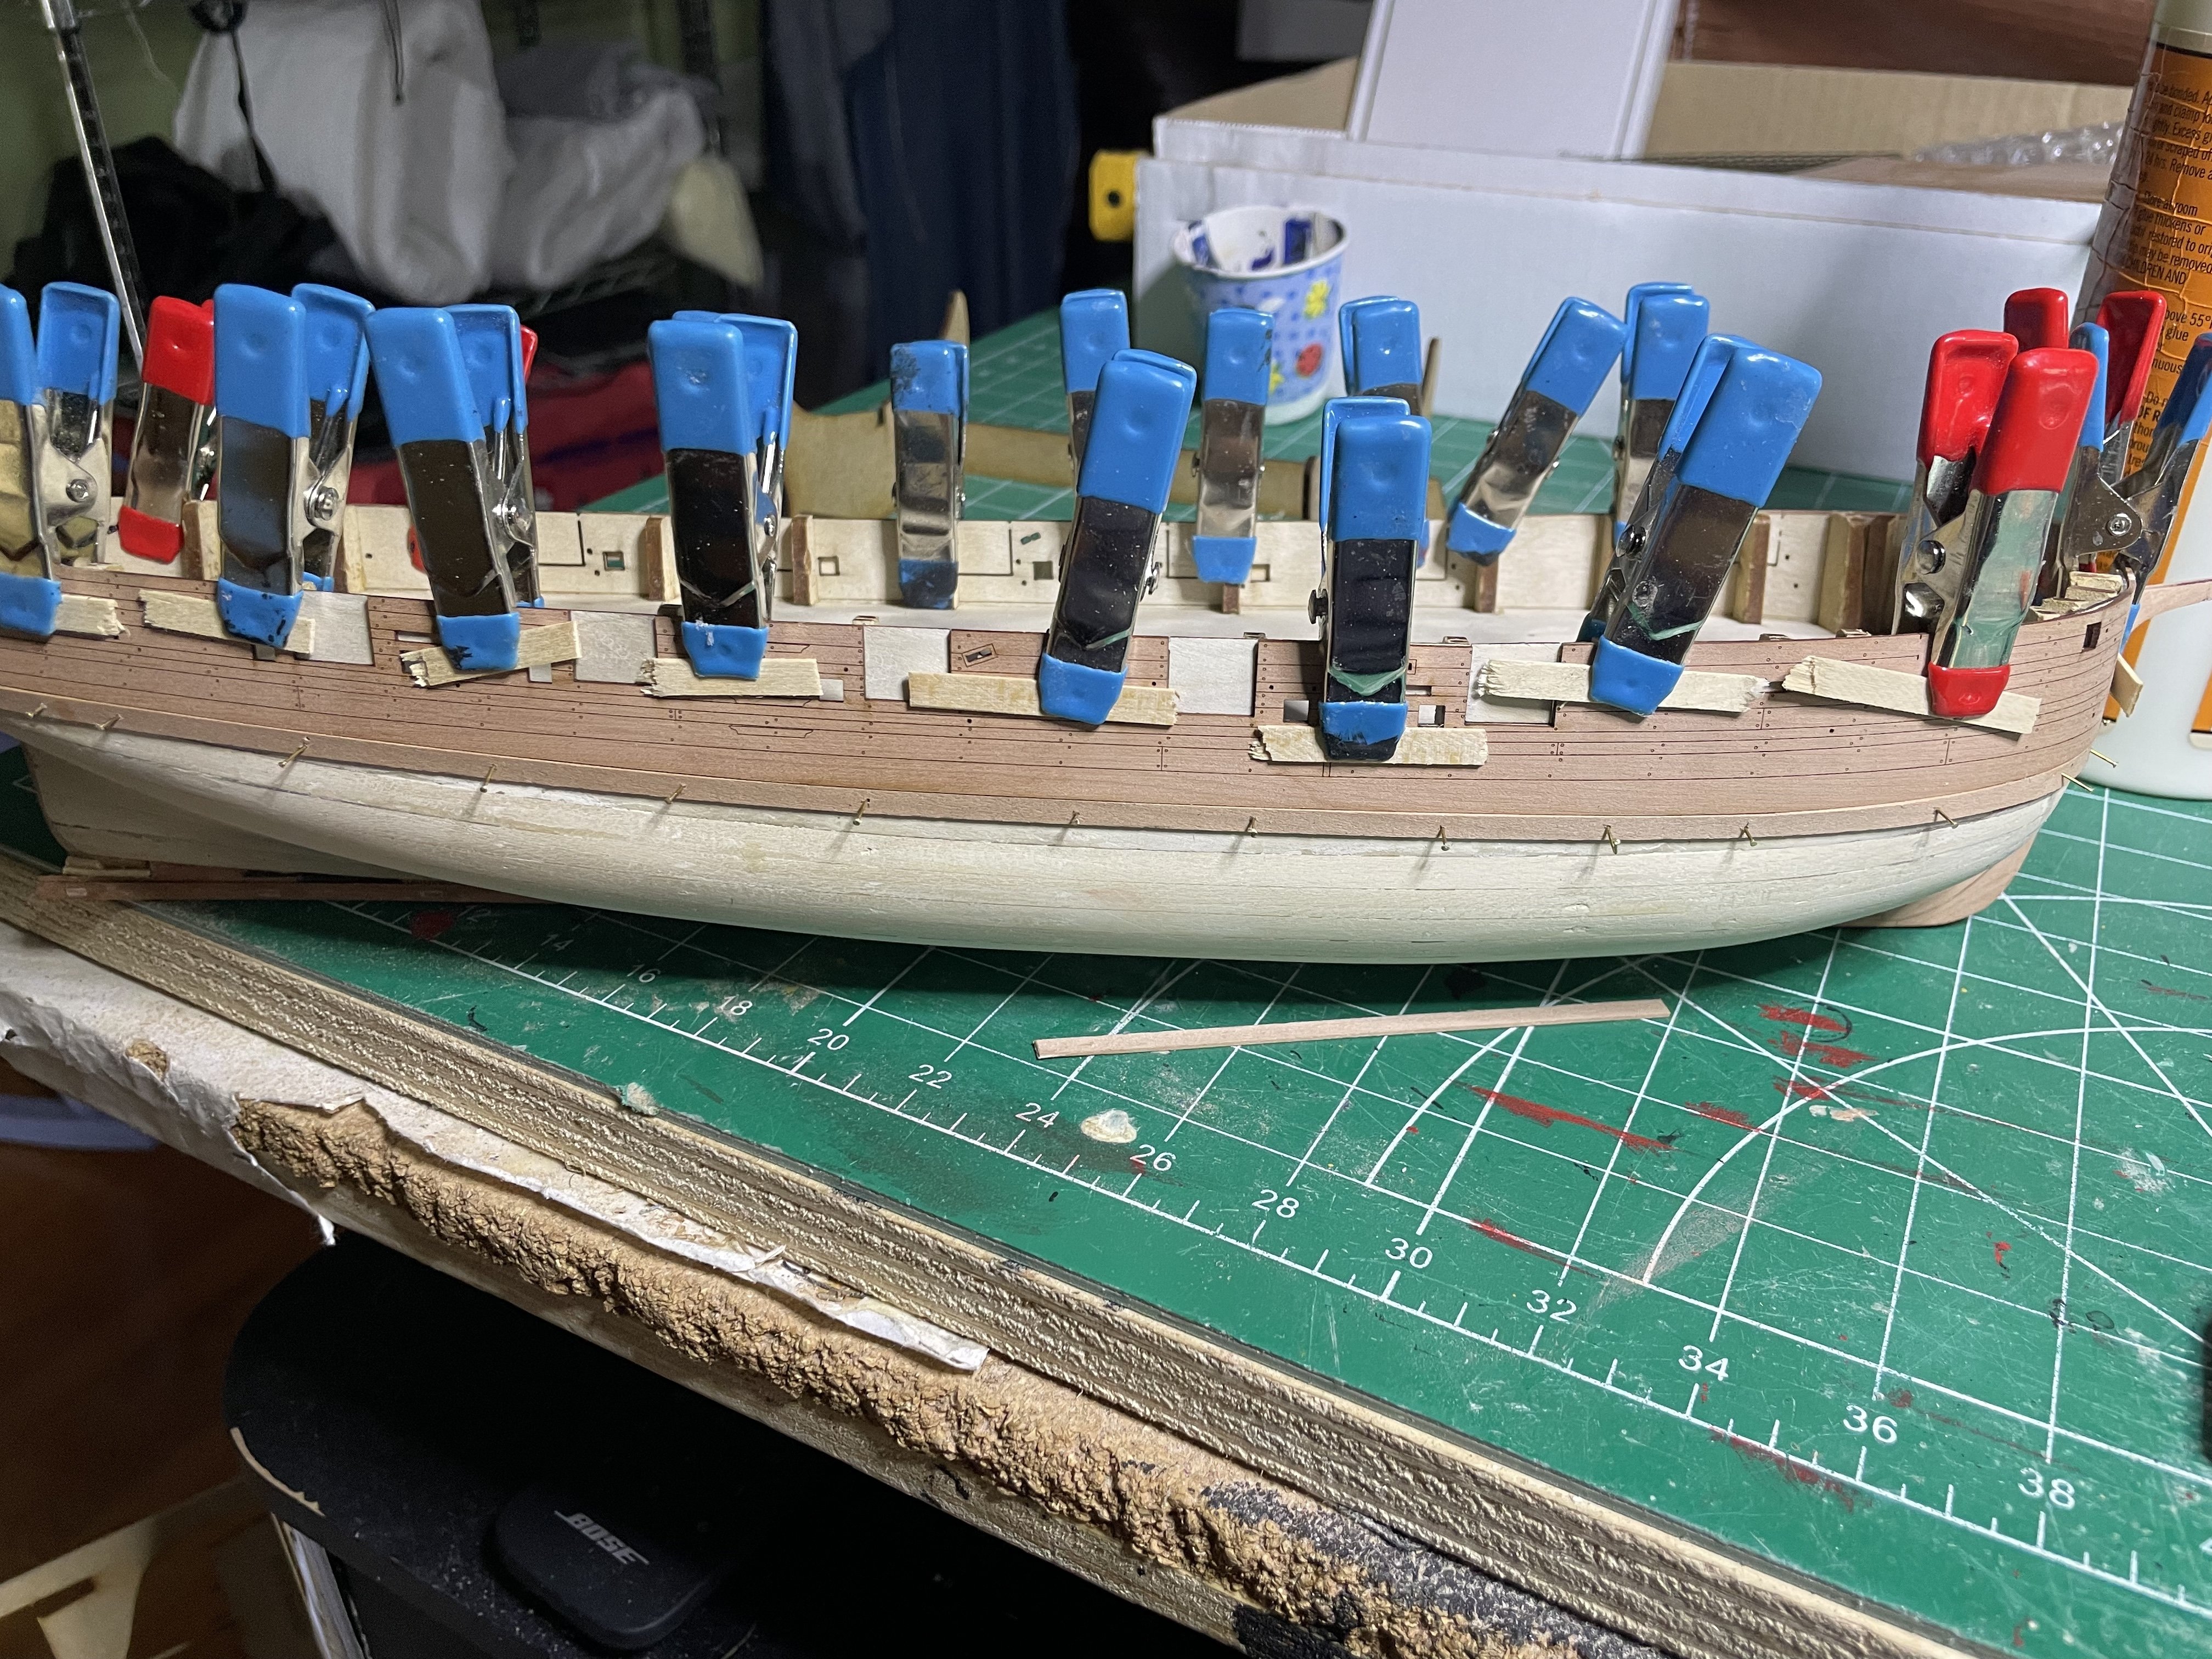
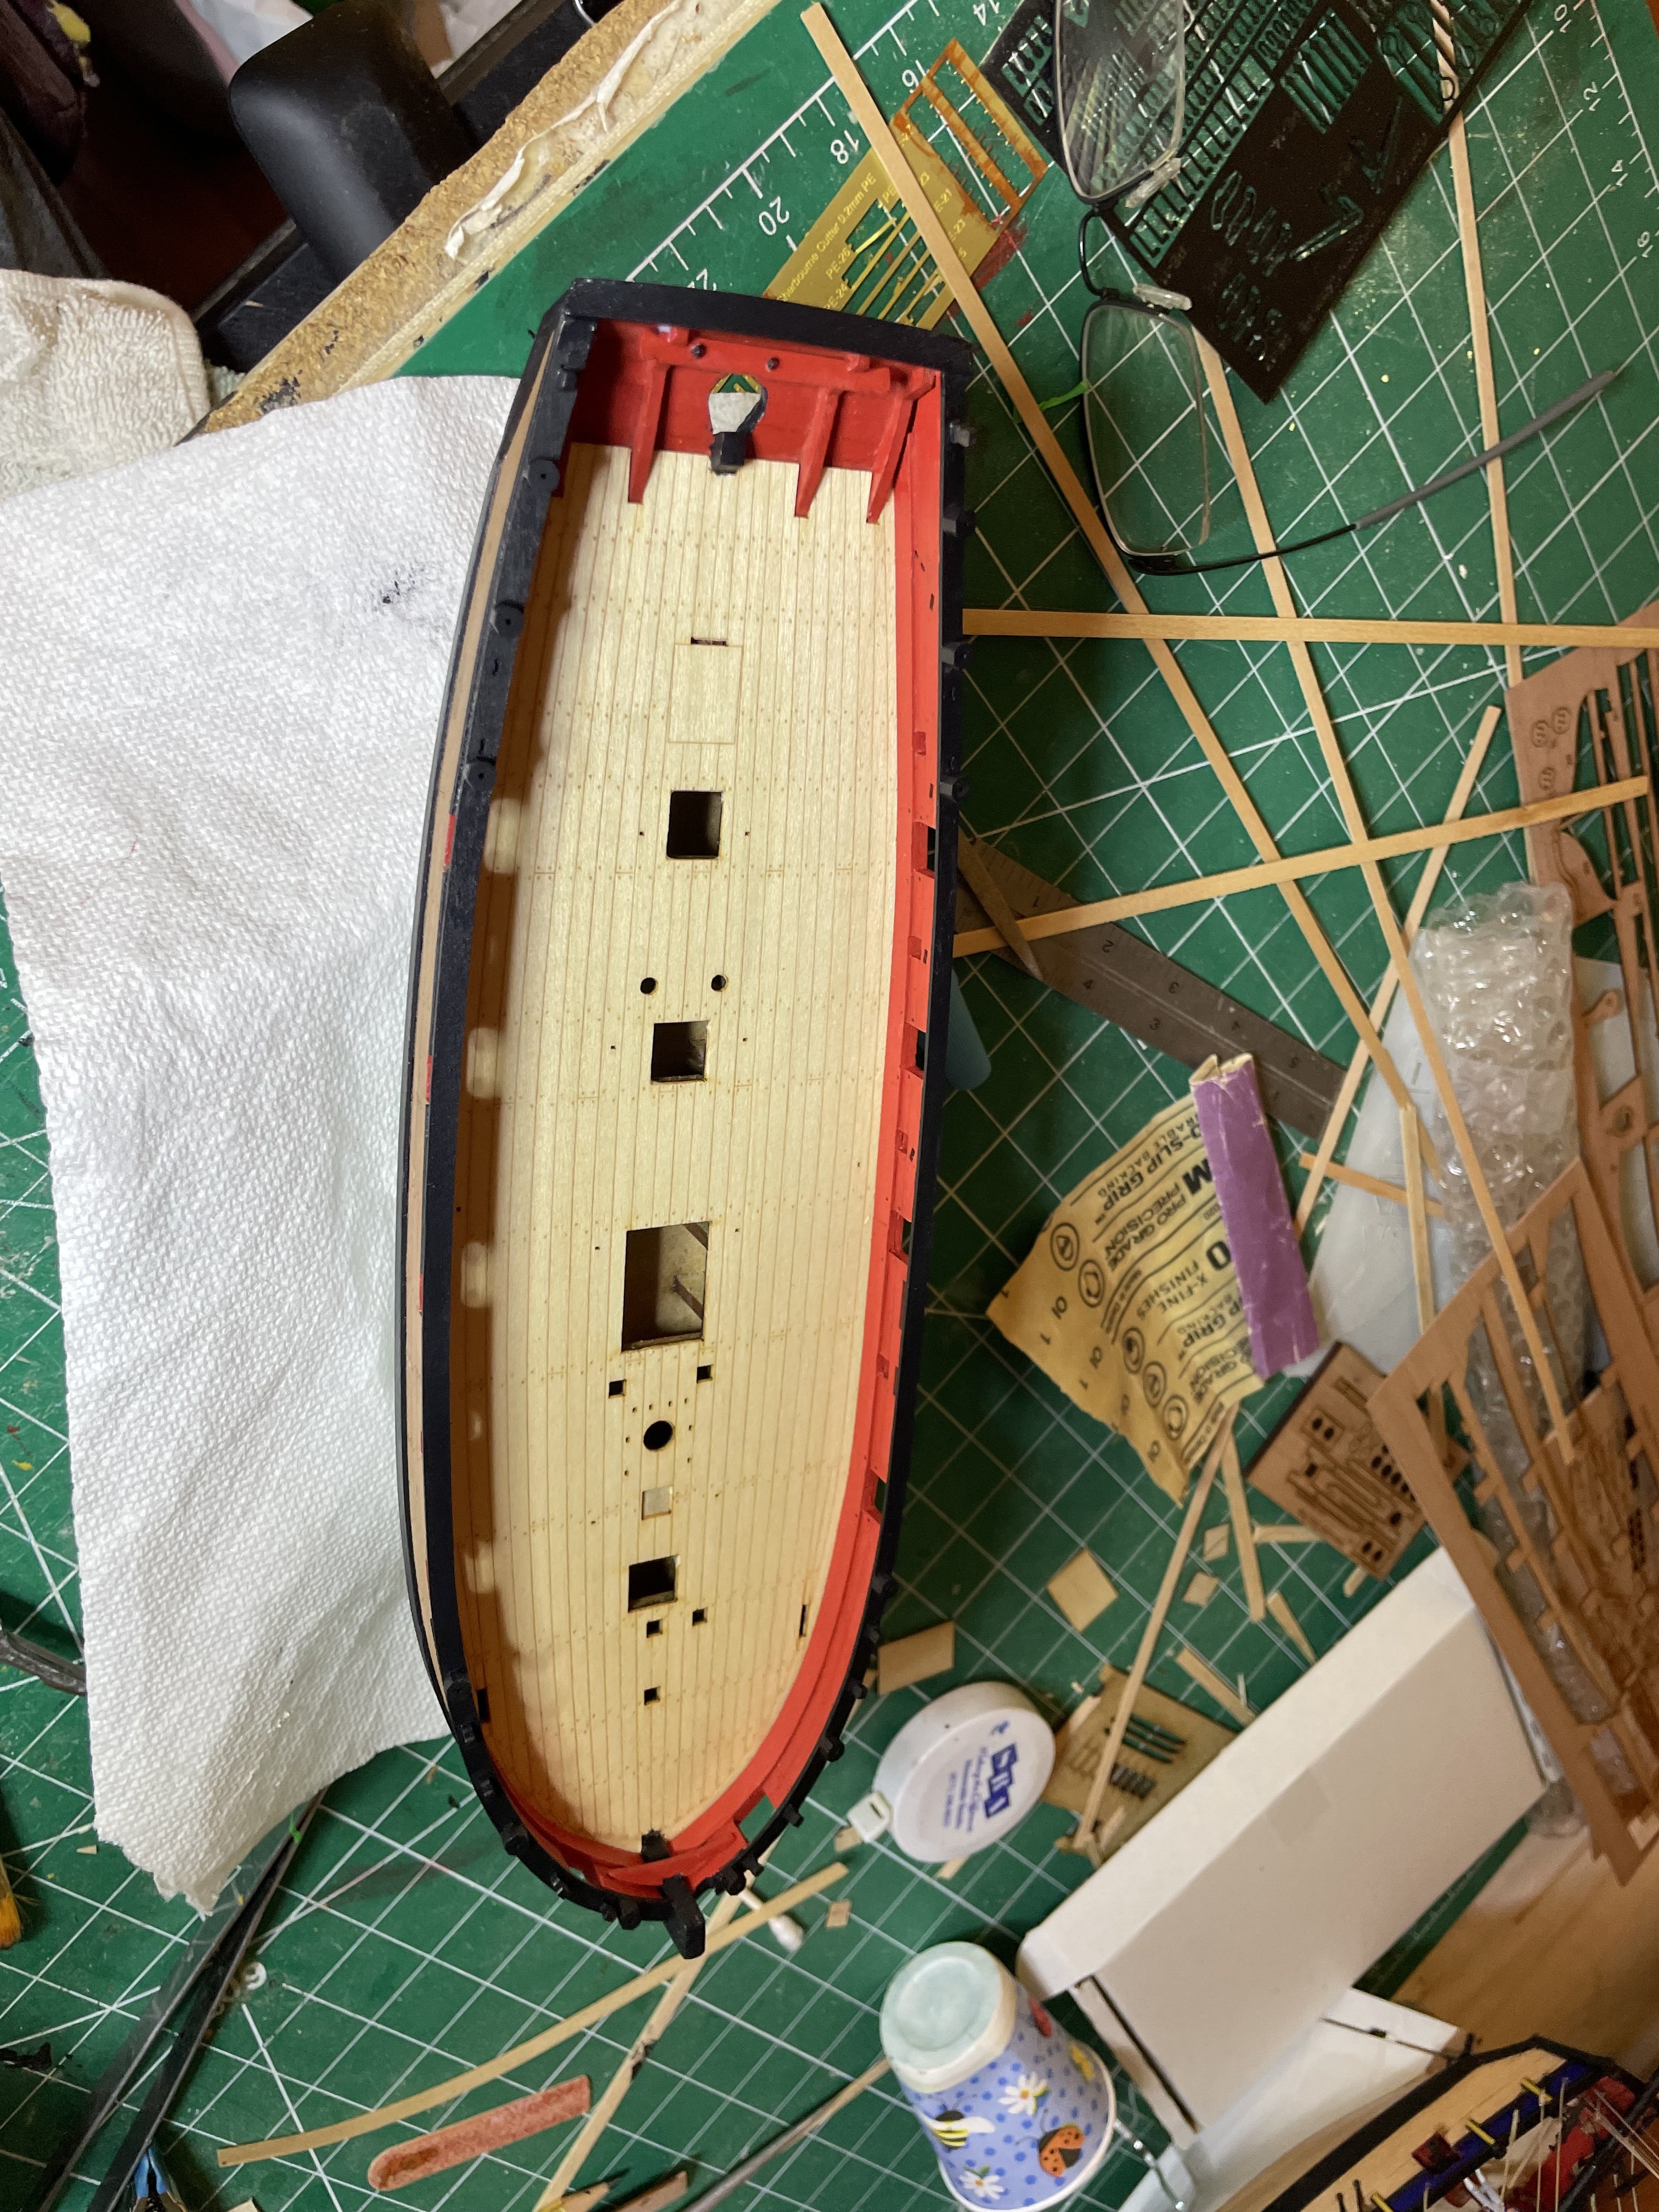
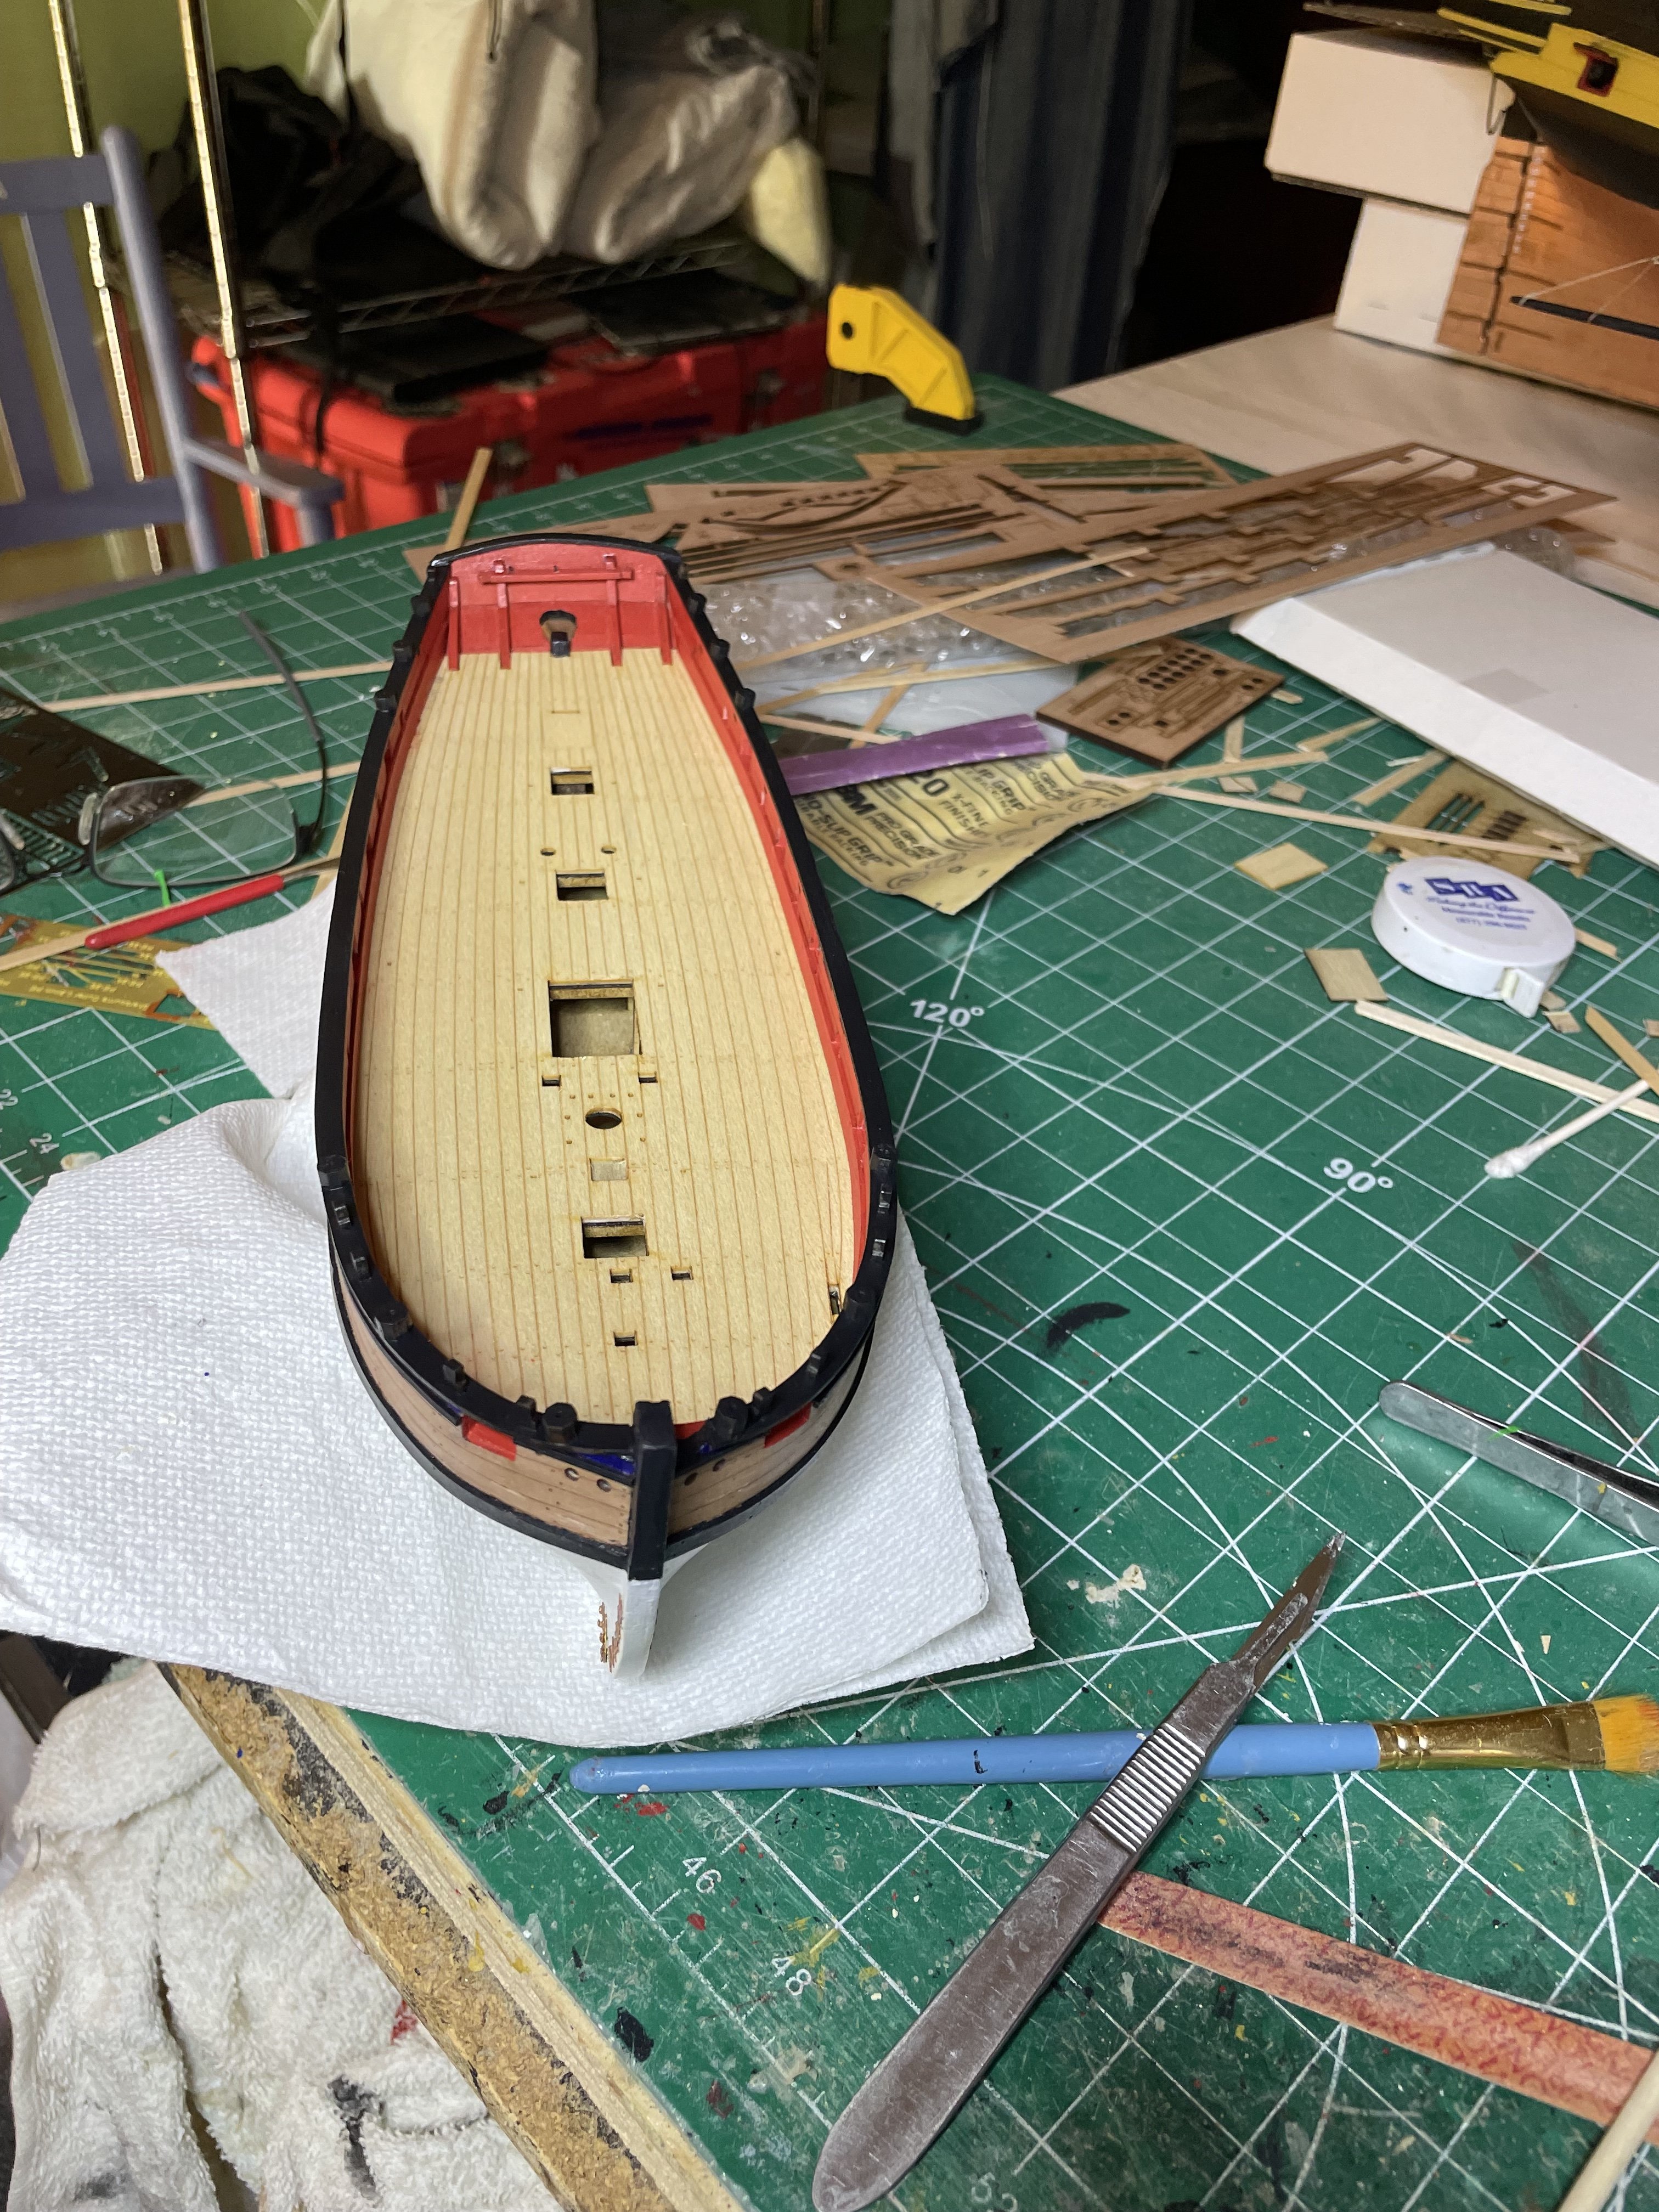
Thanks. Outer bulwark glued in , inner tabs removed, sanded and deck glued in place. I soaked the forward inner bulwark and clamping overnight to mold into place before airbrushing


- 66 replies
-
- 12
-
-
- Adder
- Vanguard Models
- (and 1 more)
-
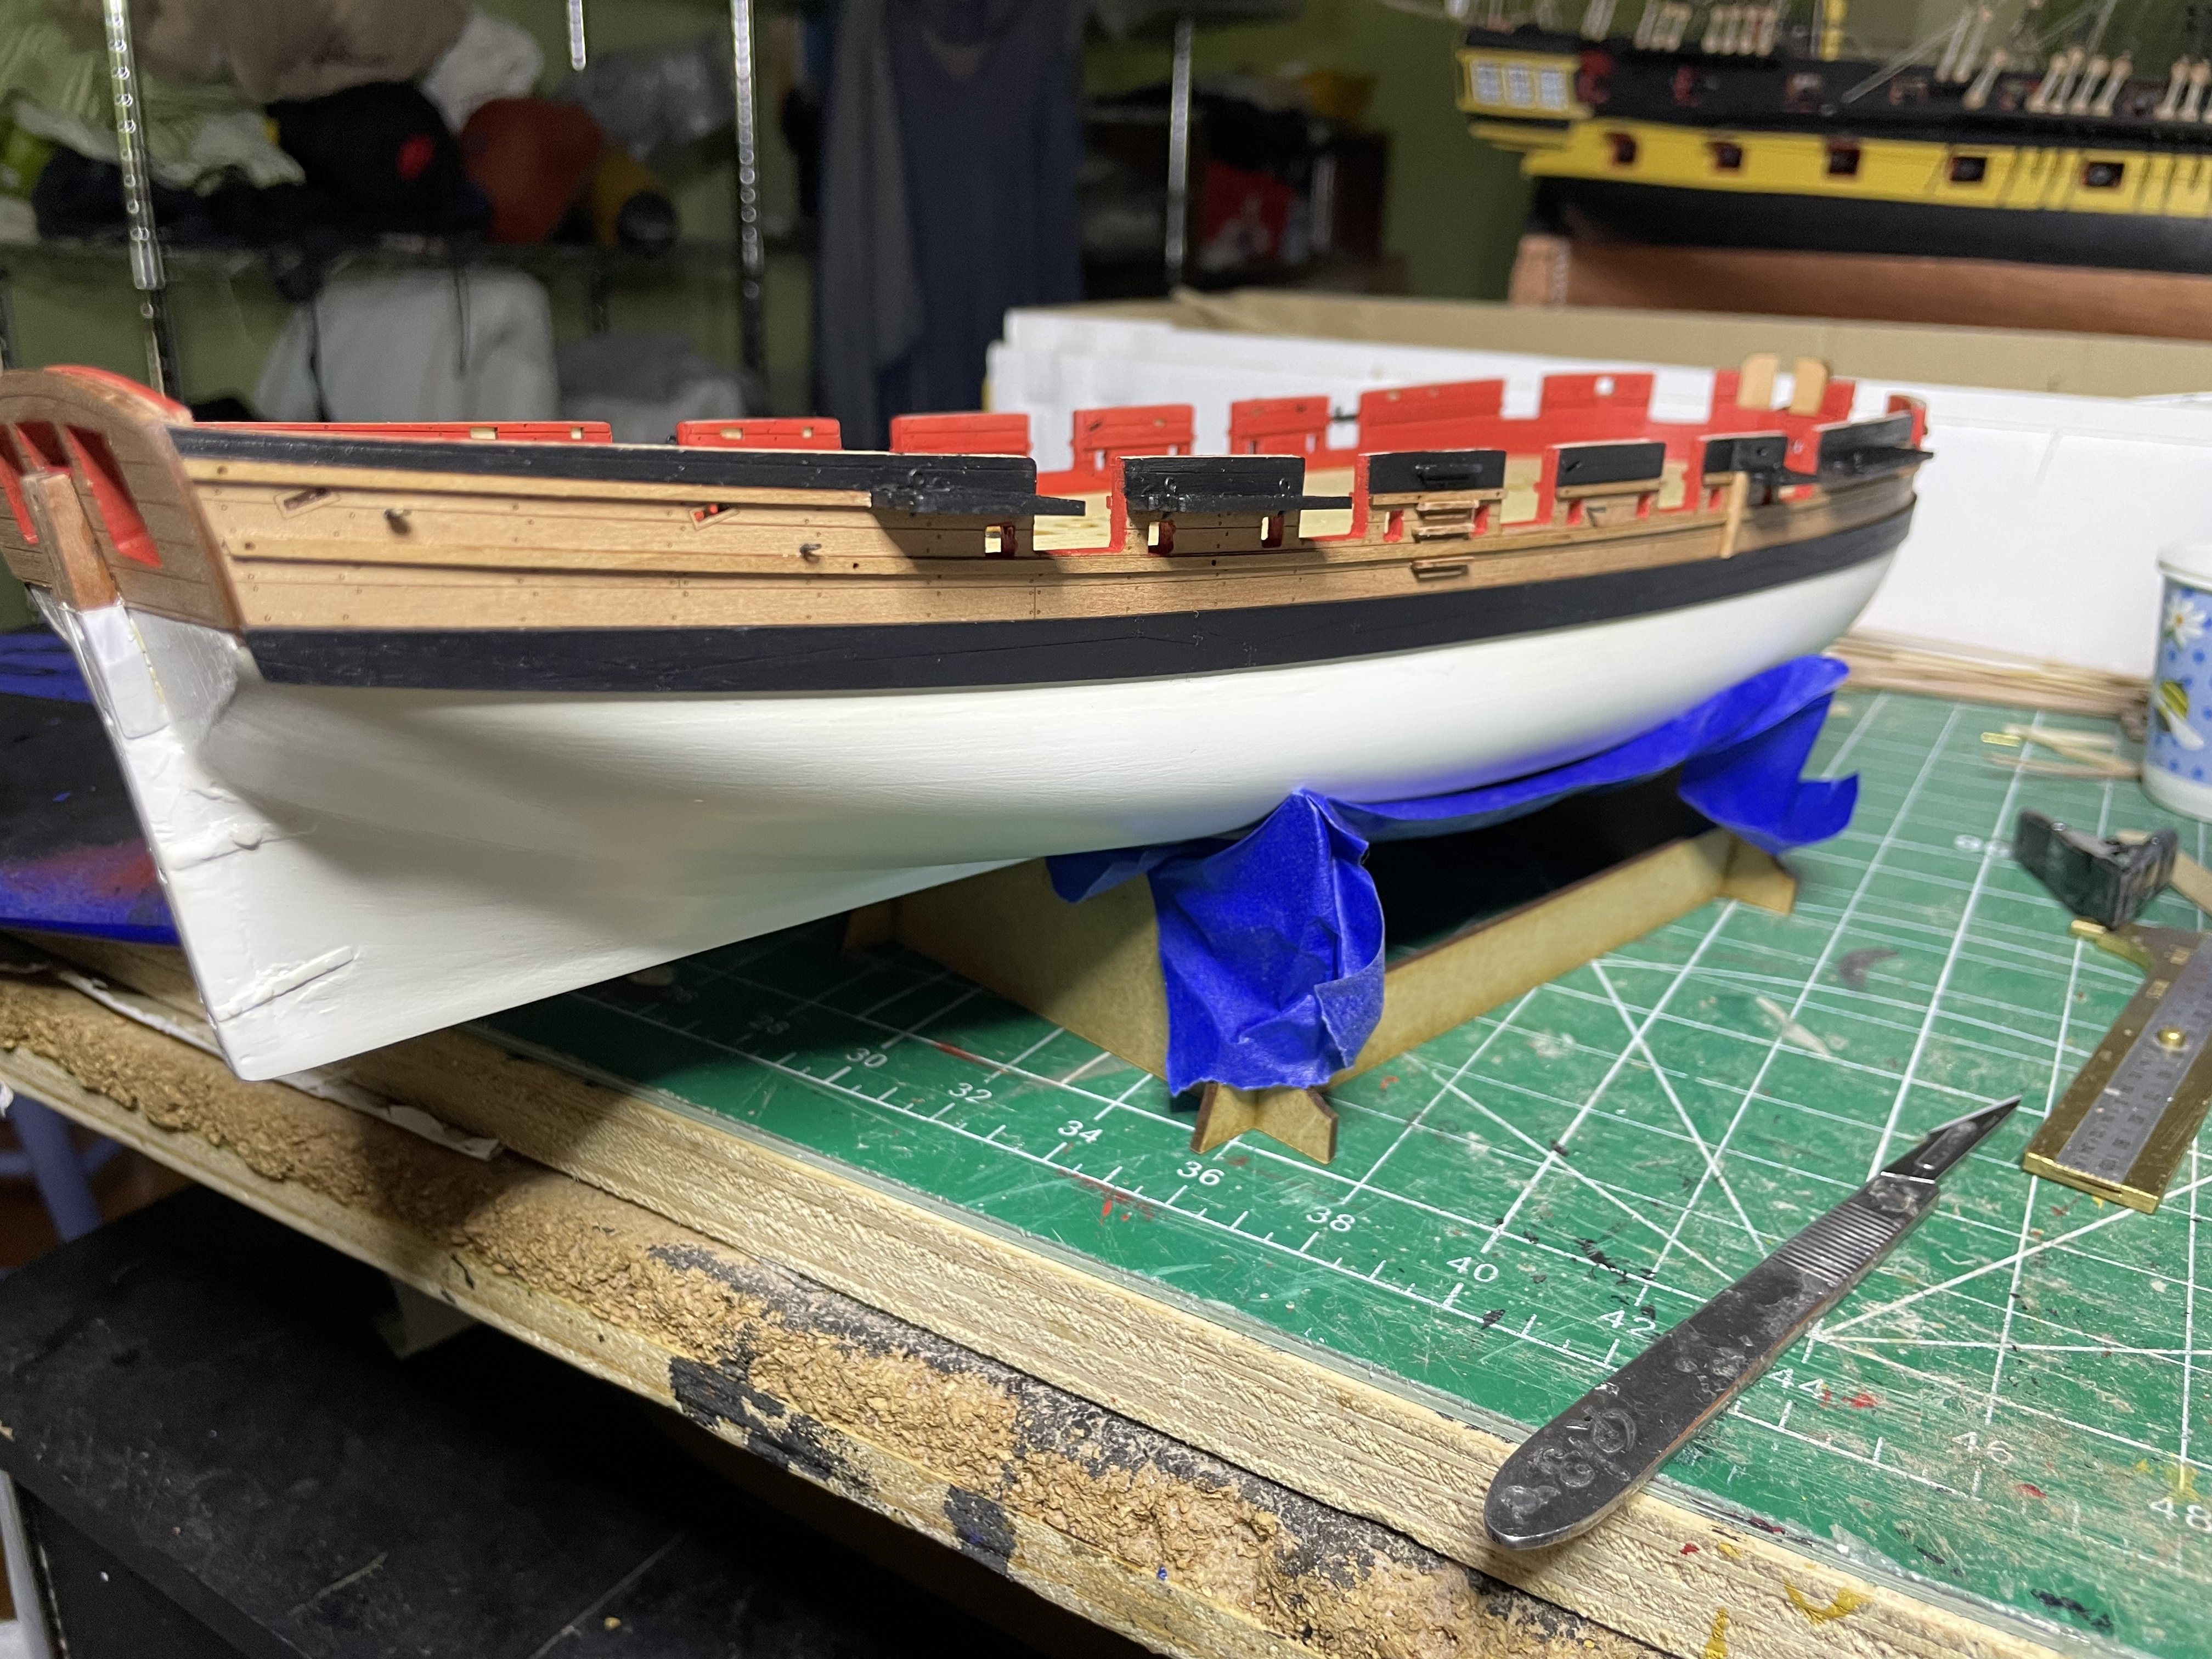
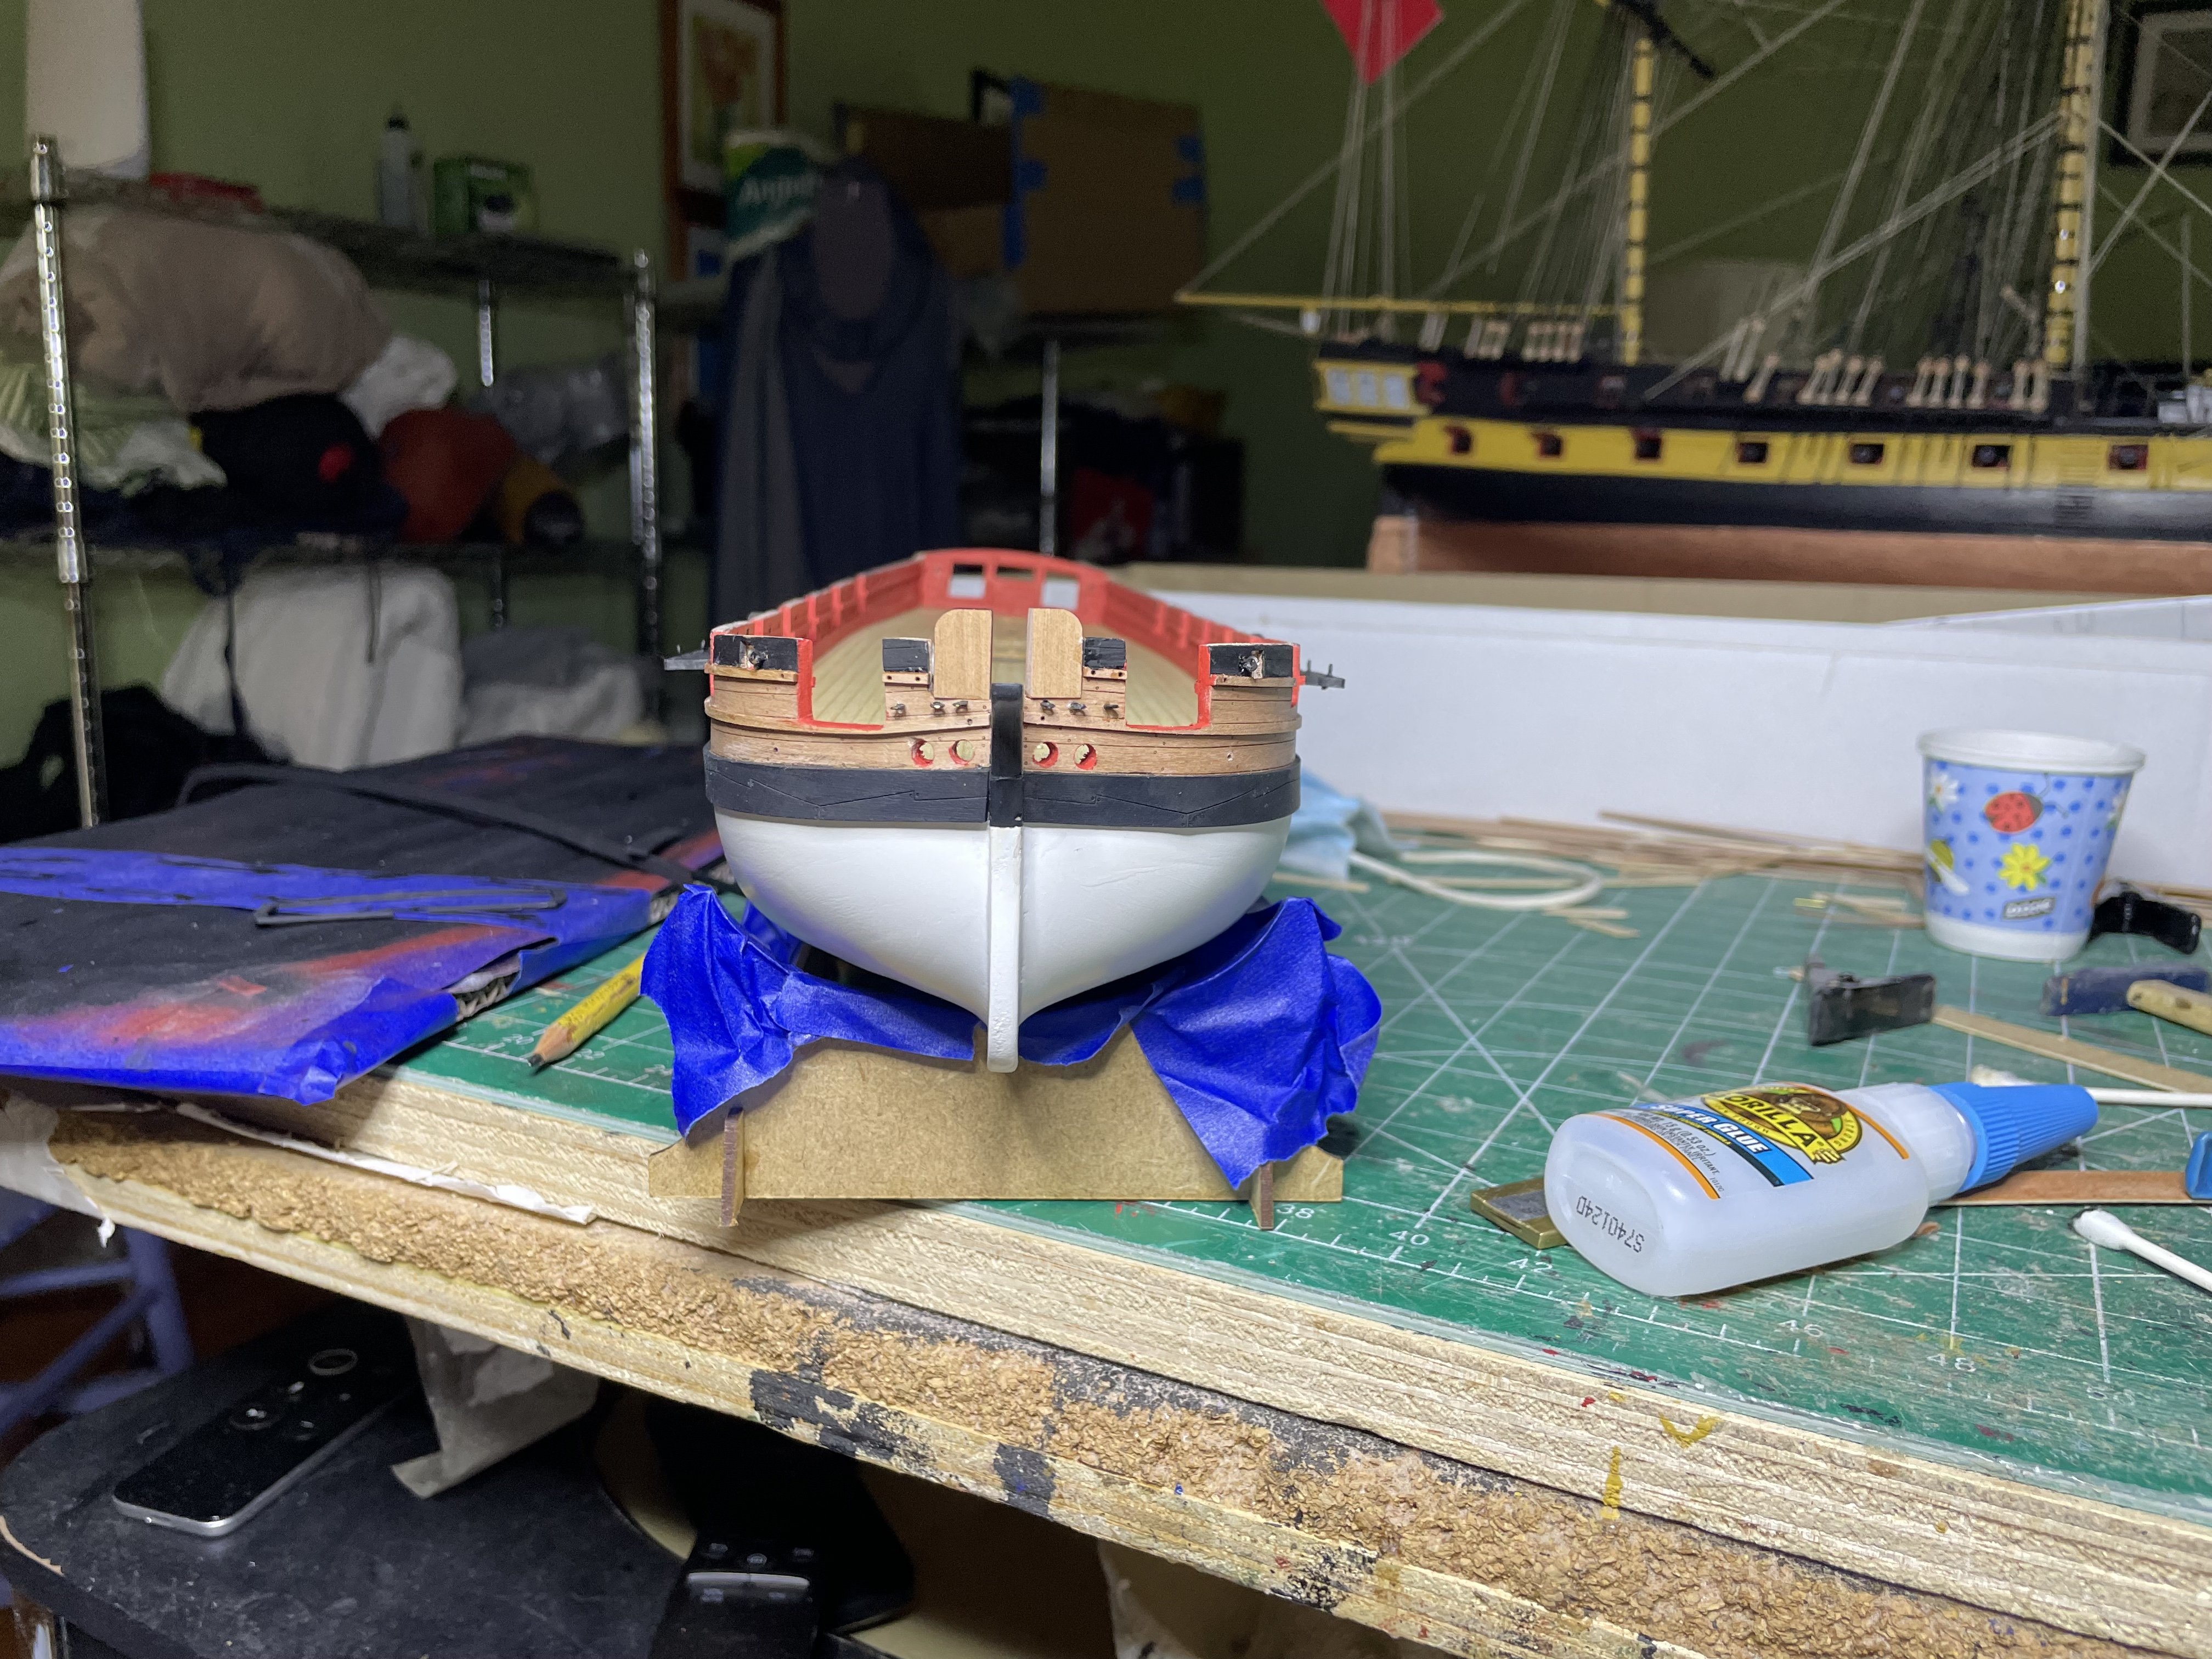
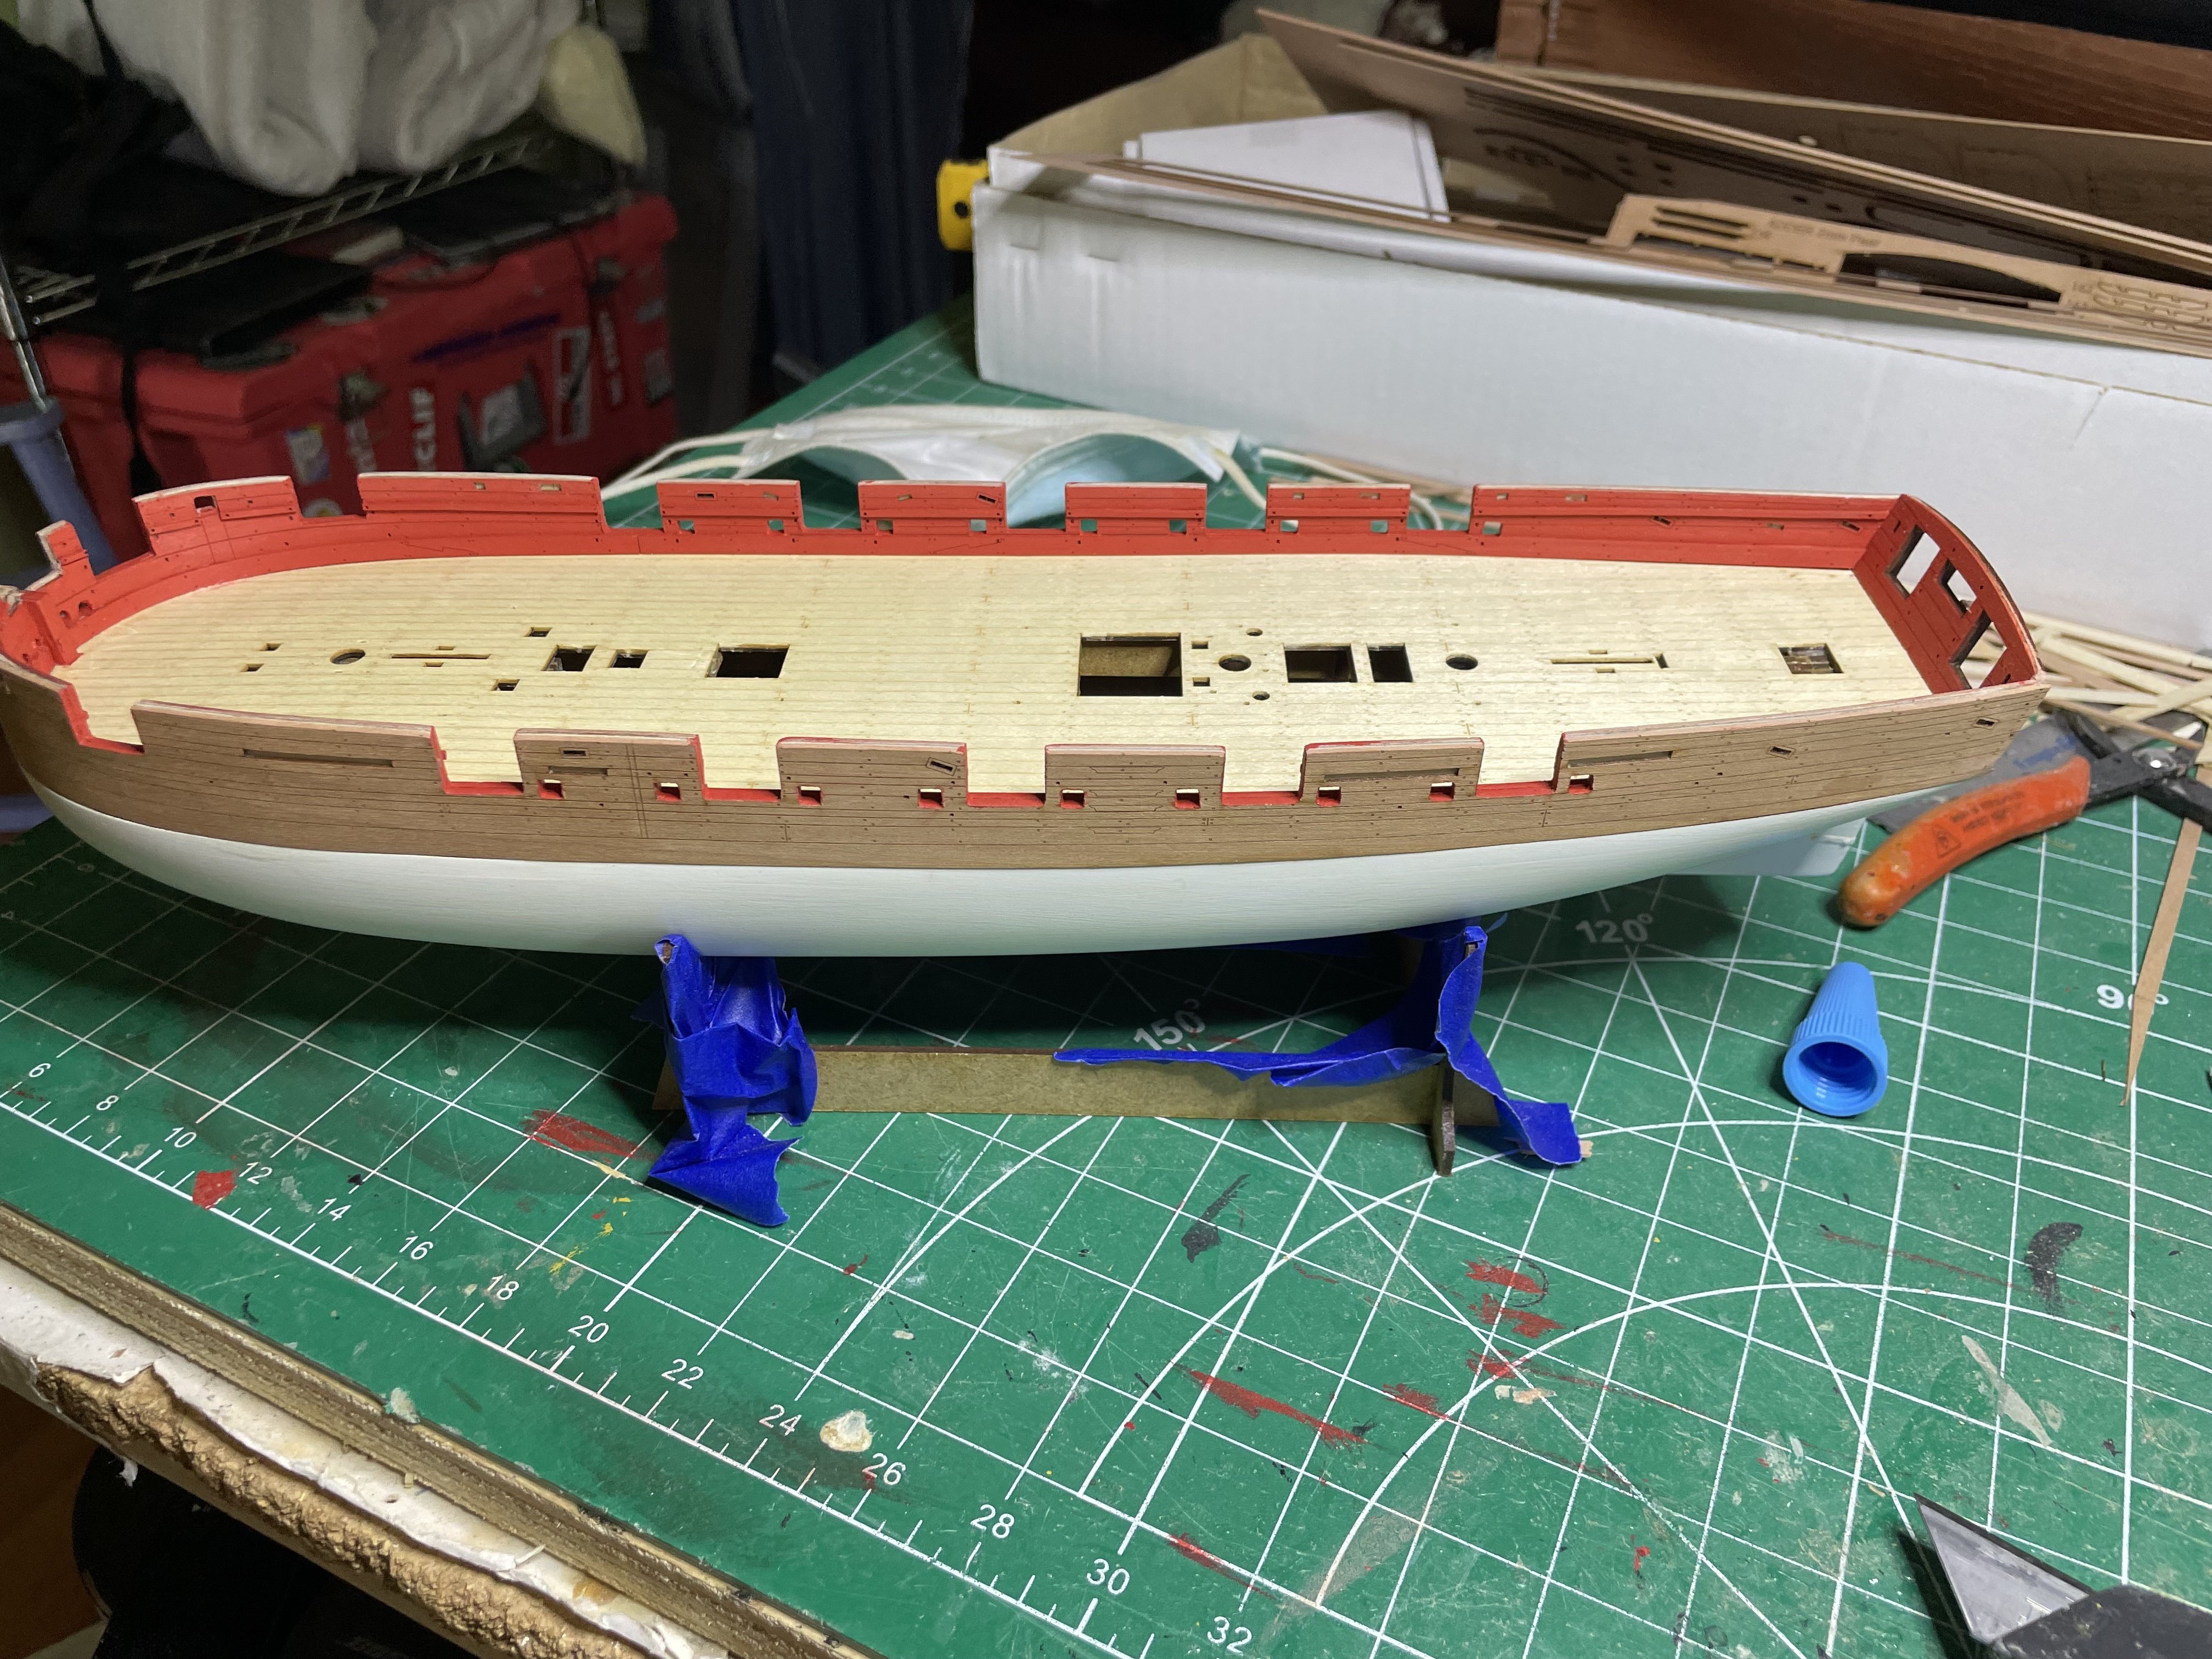
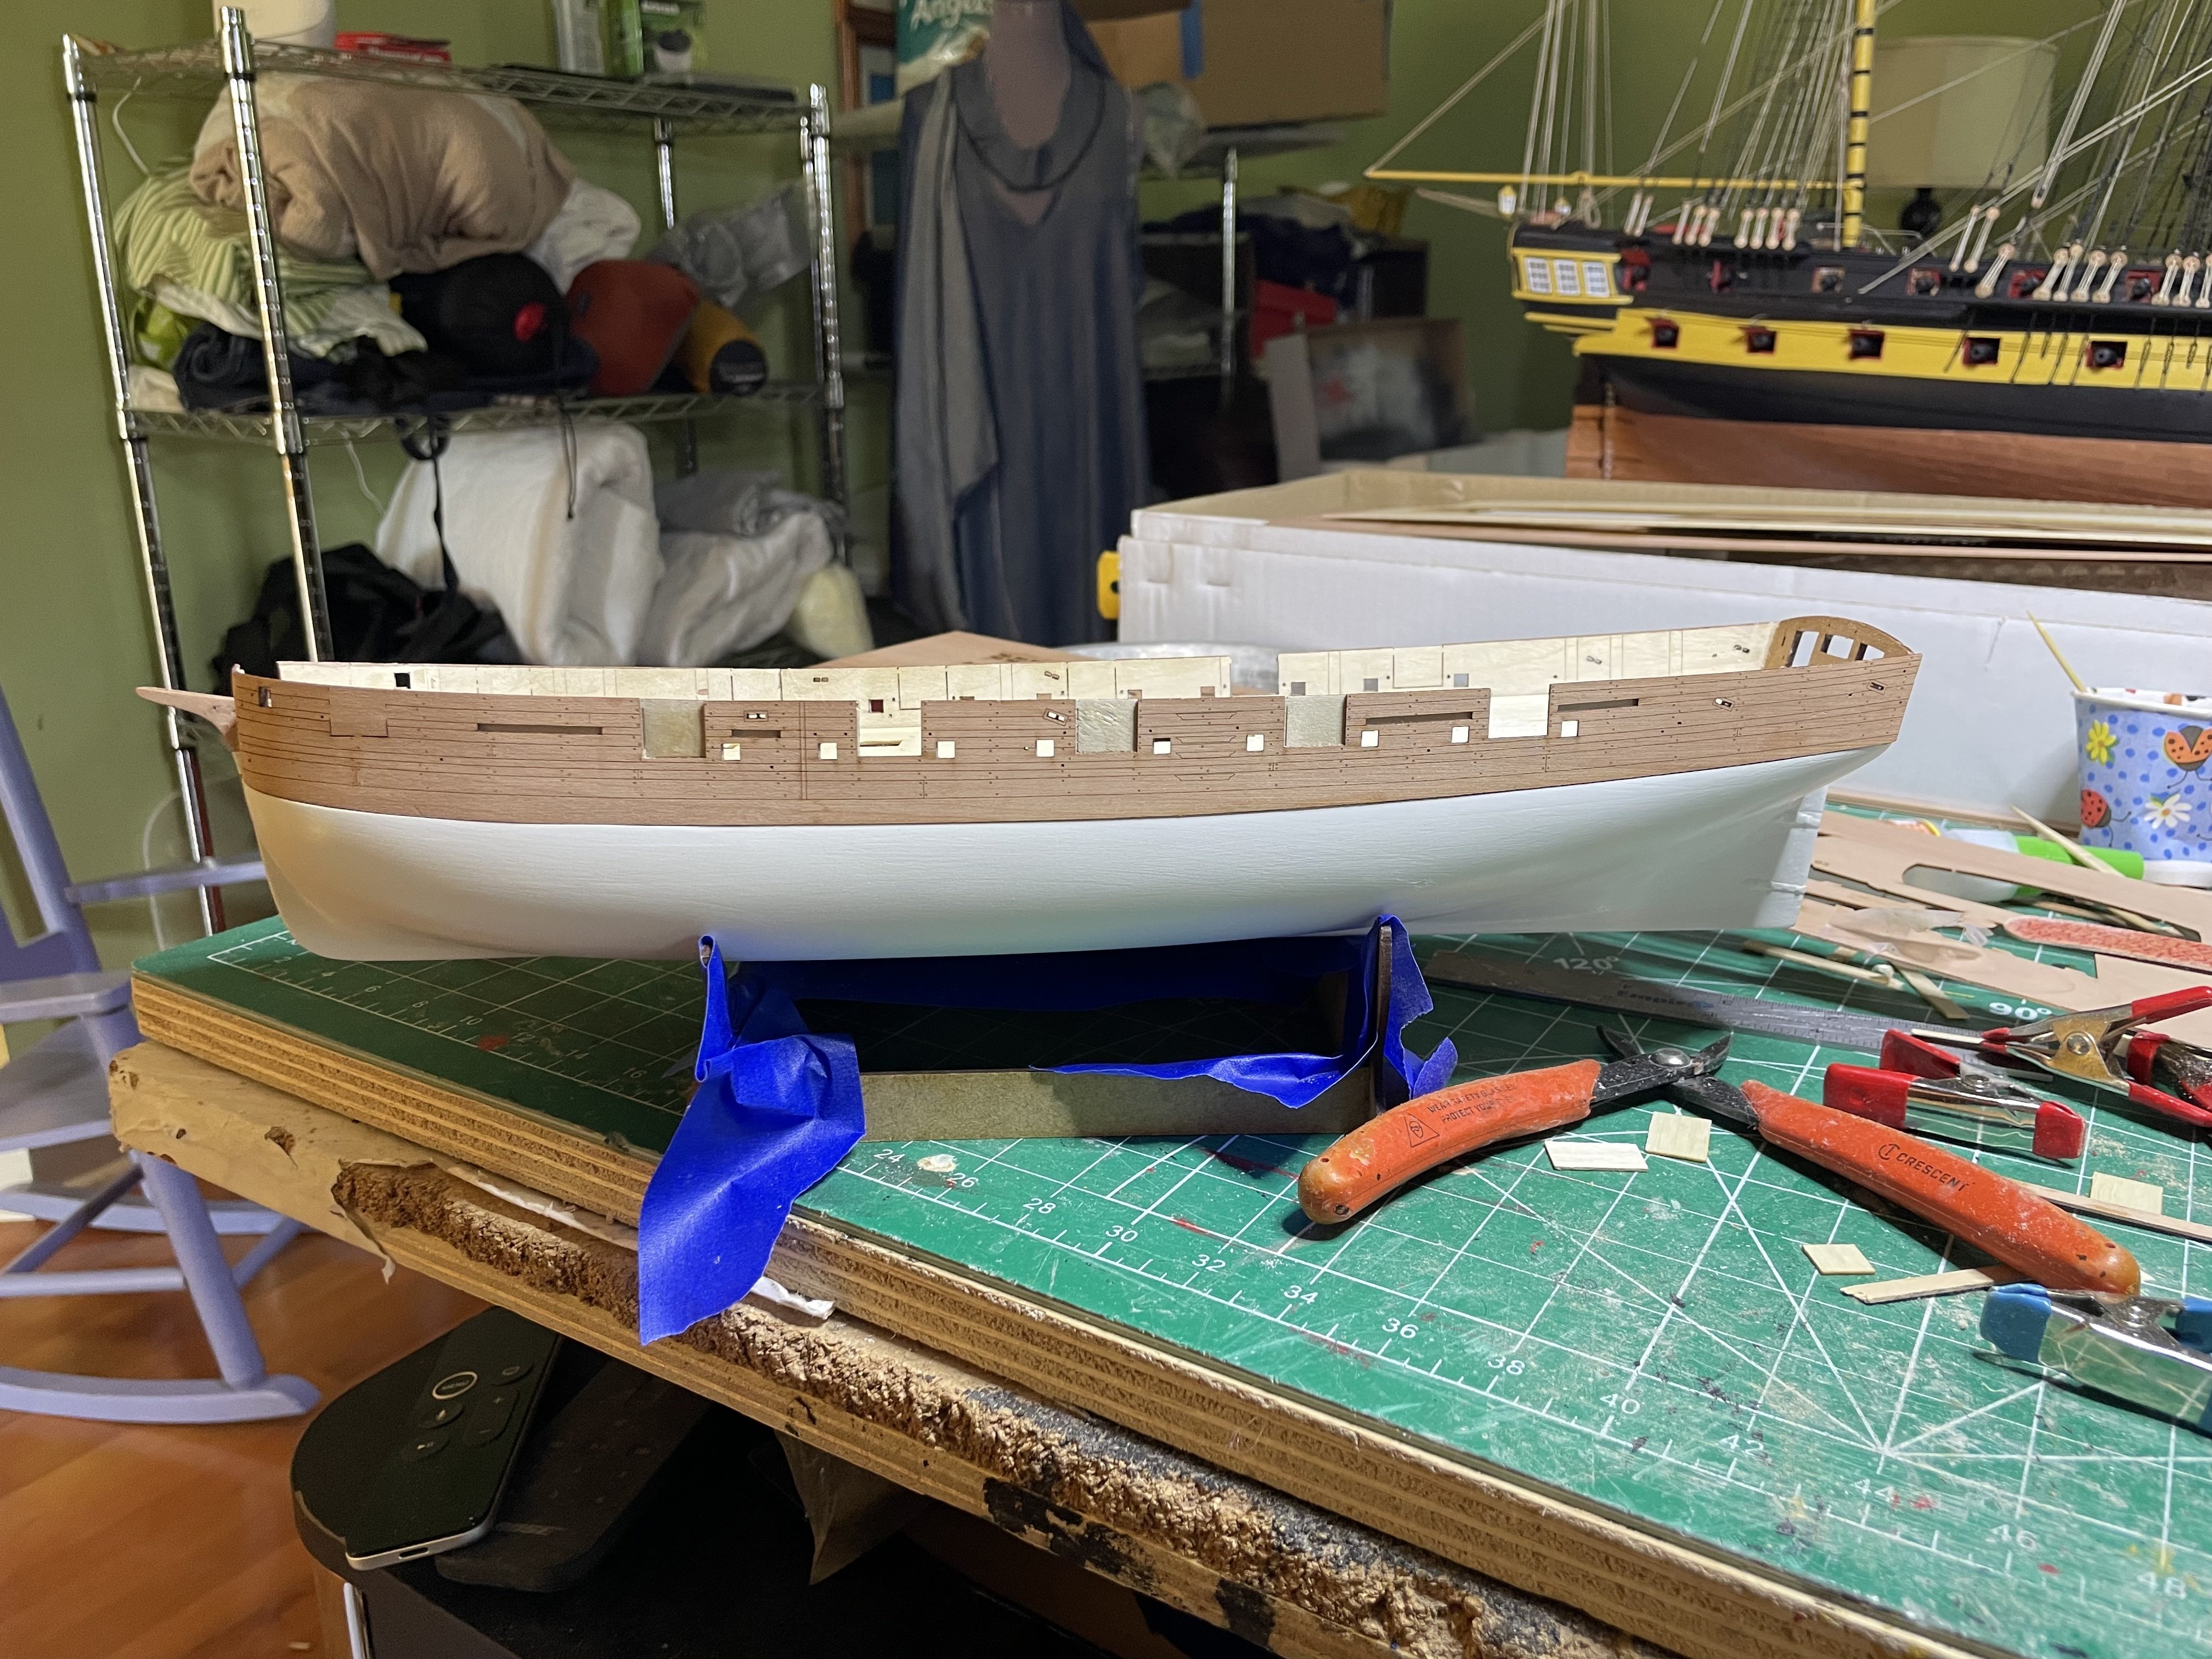
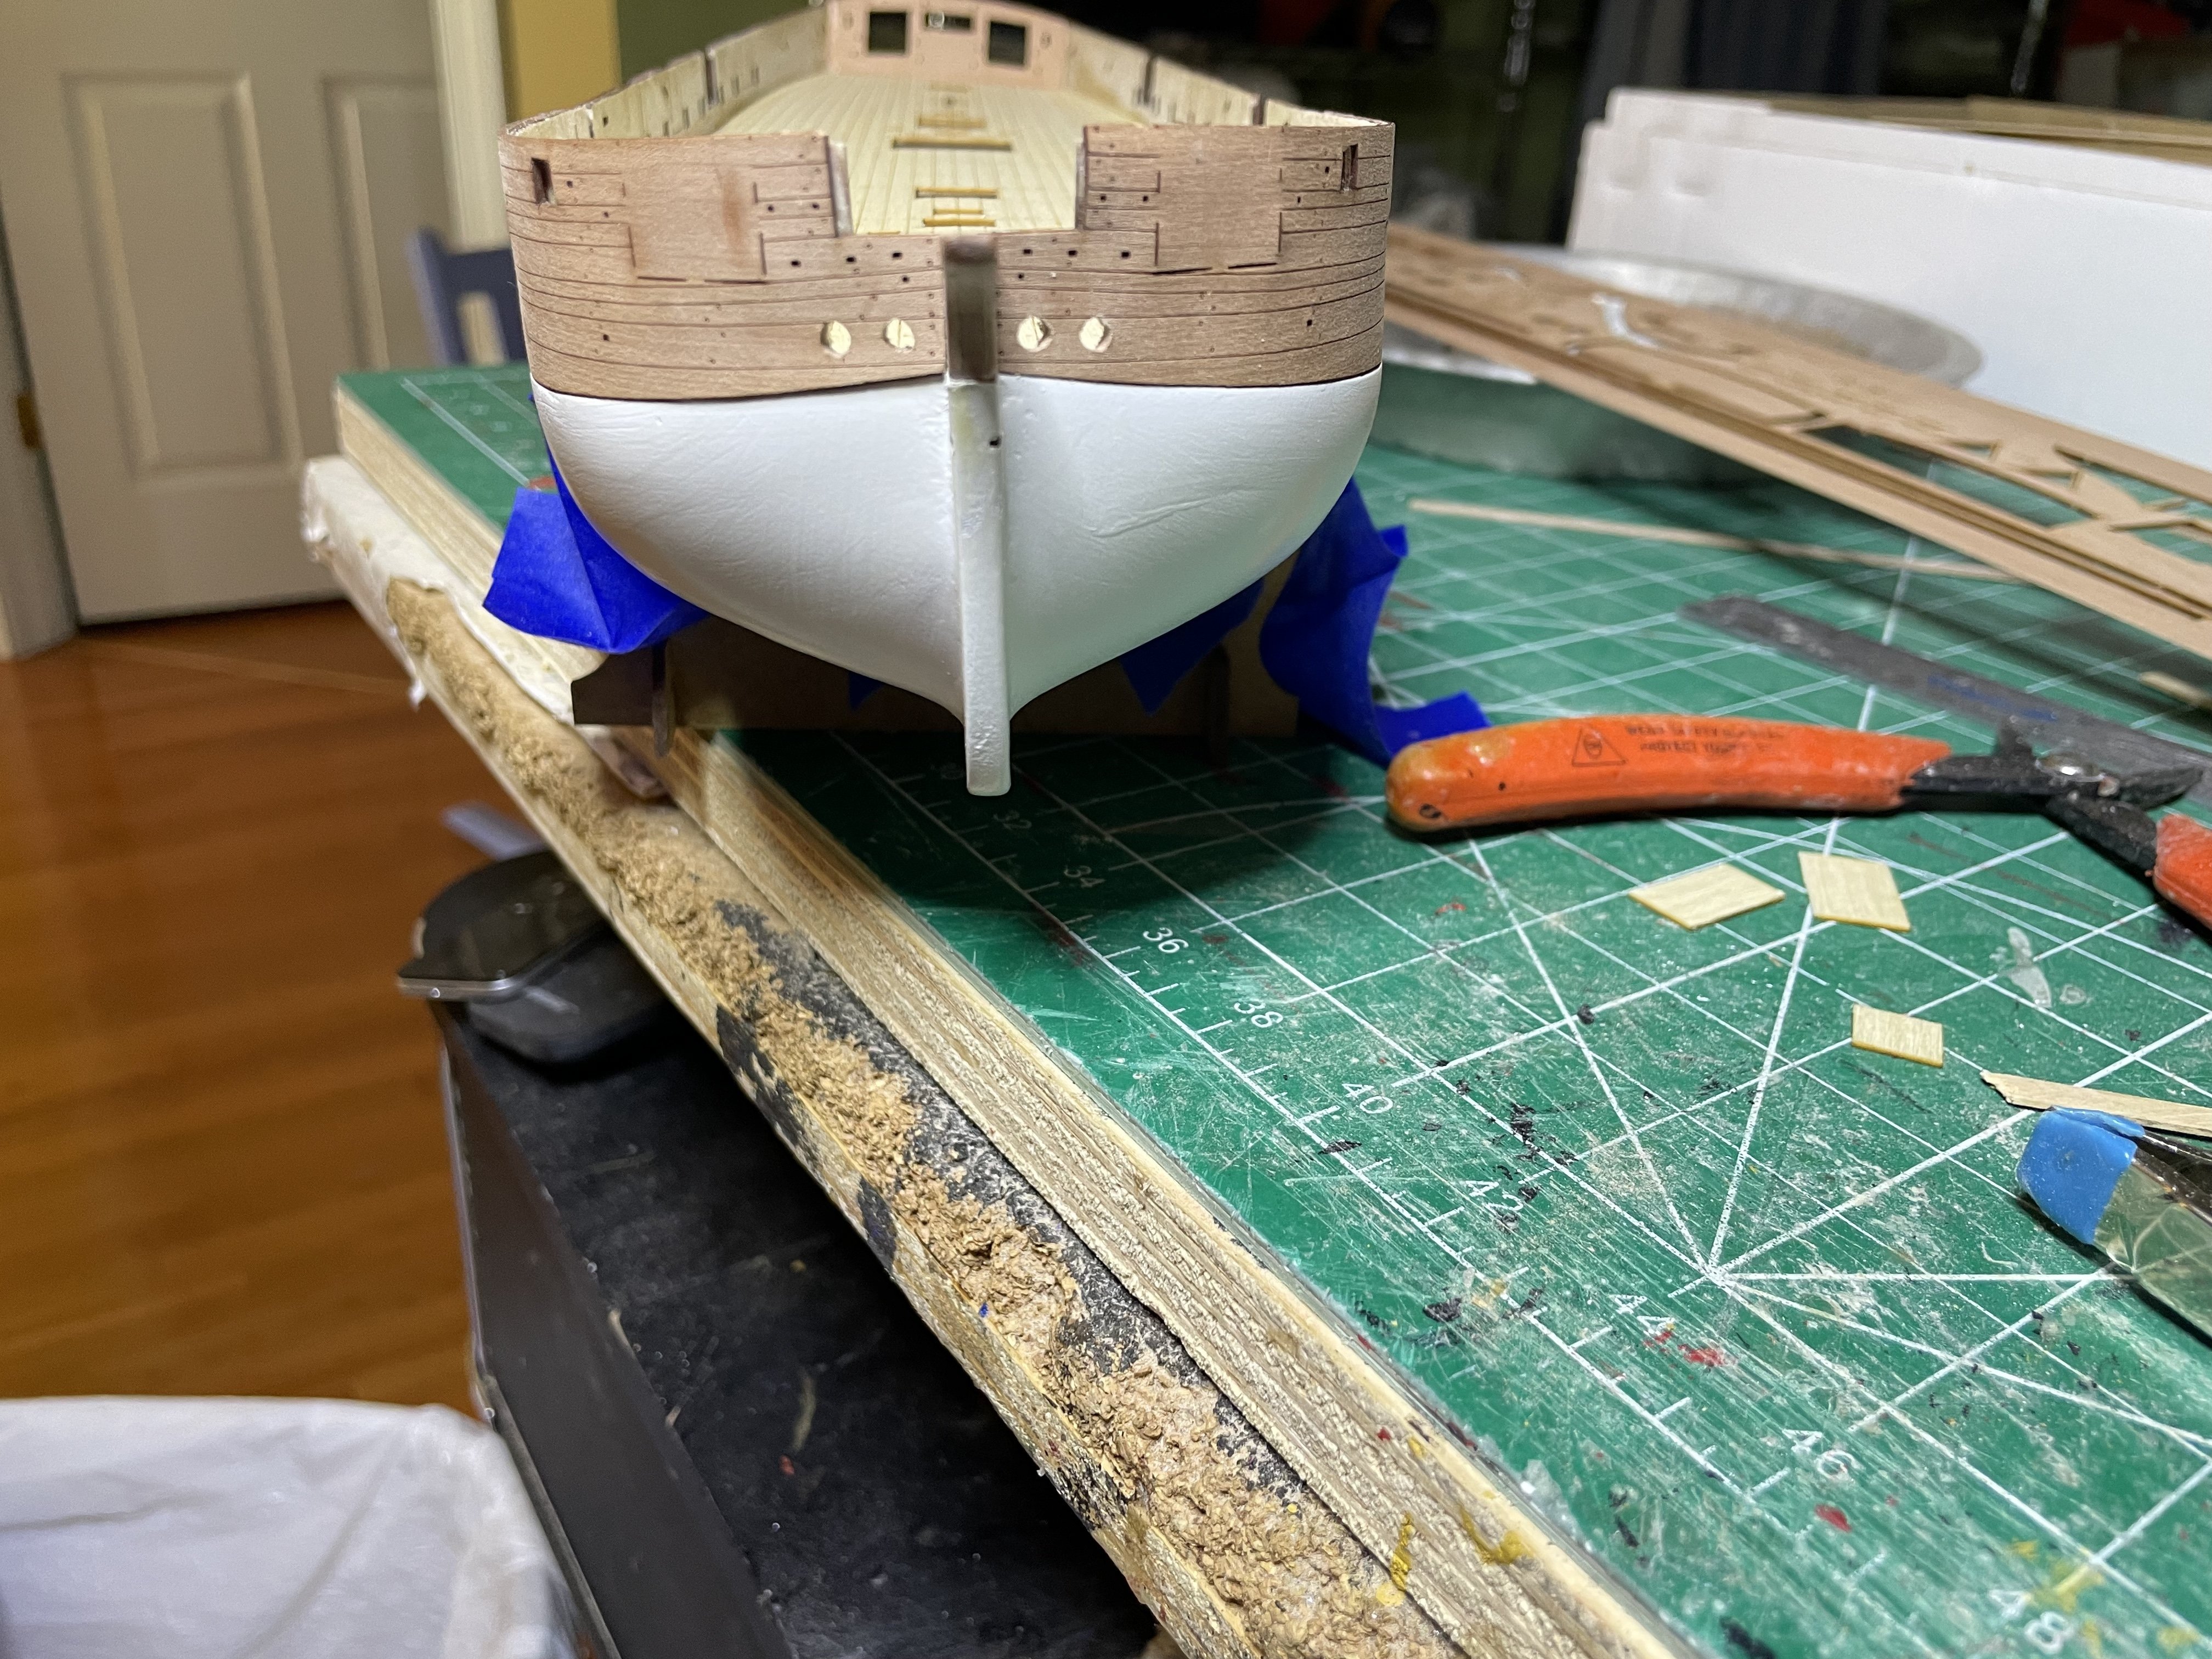
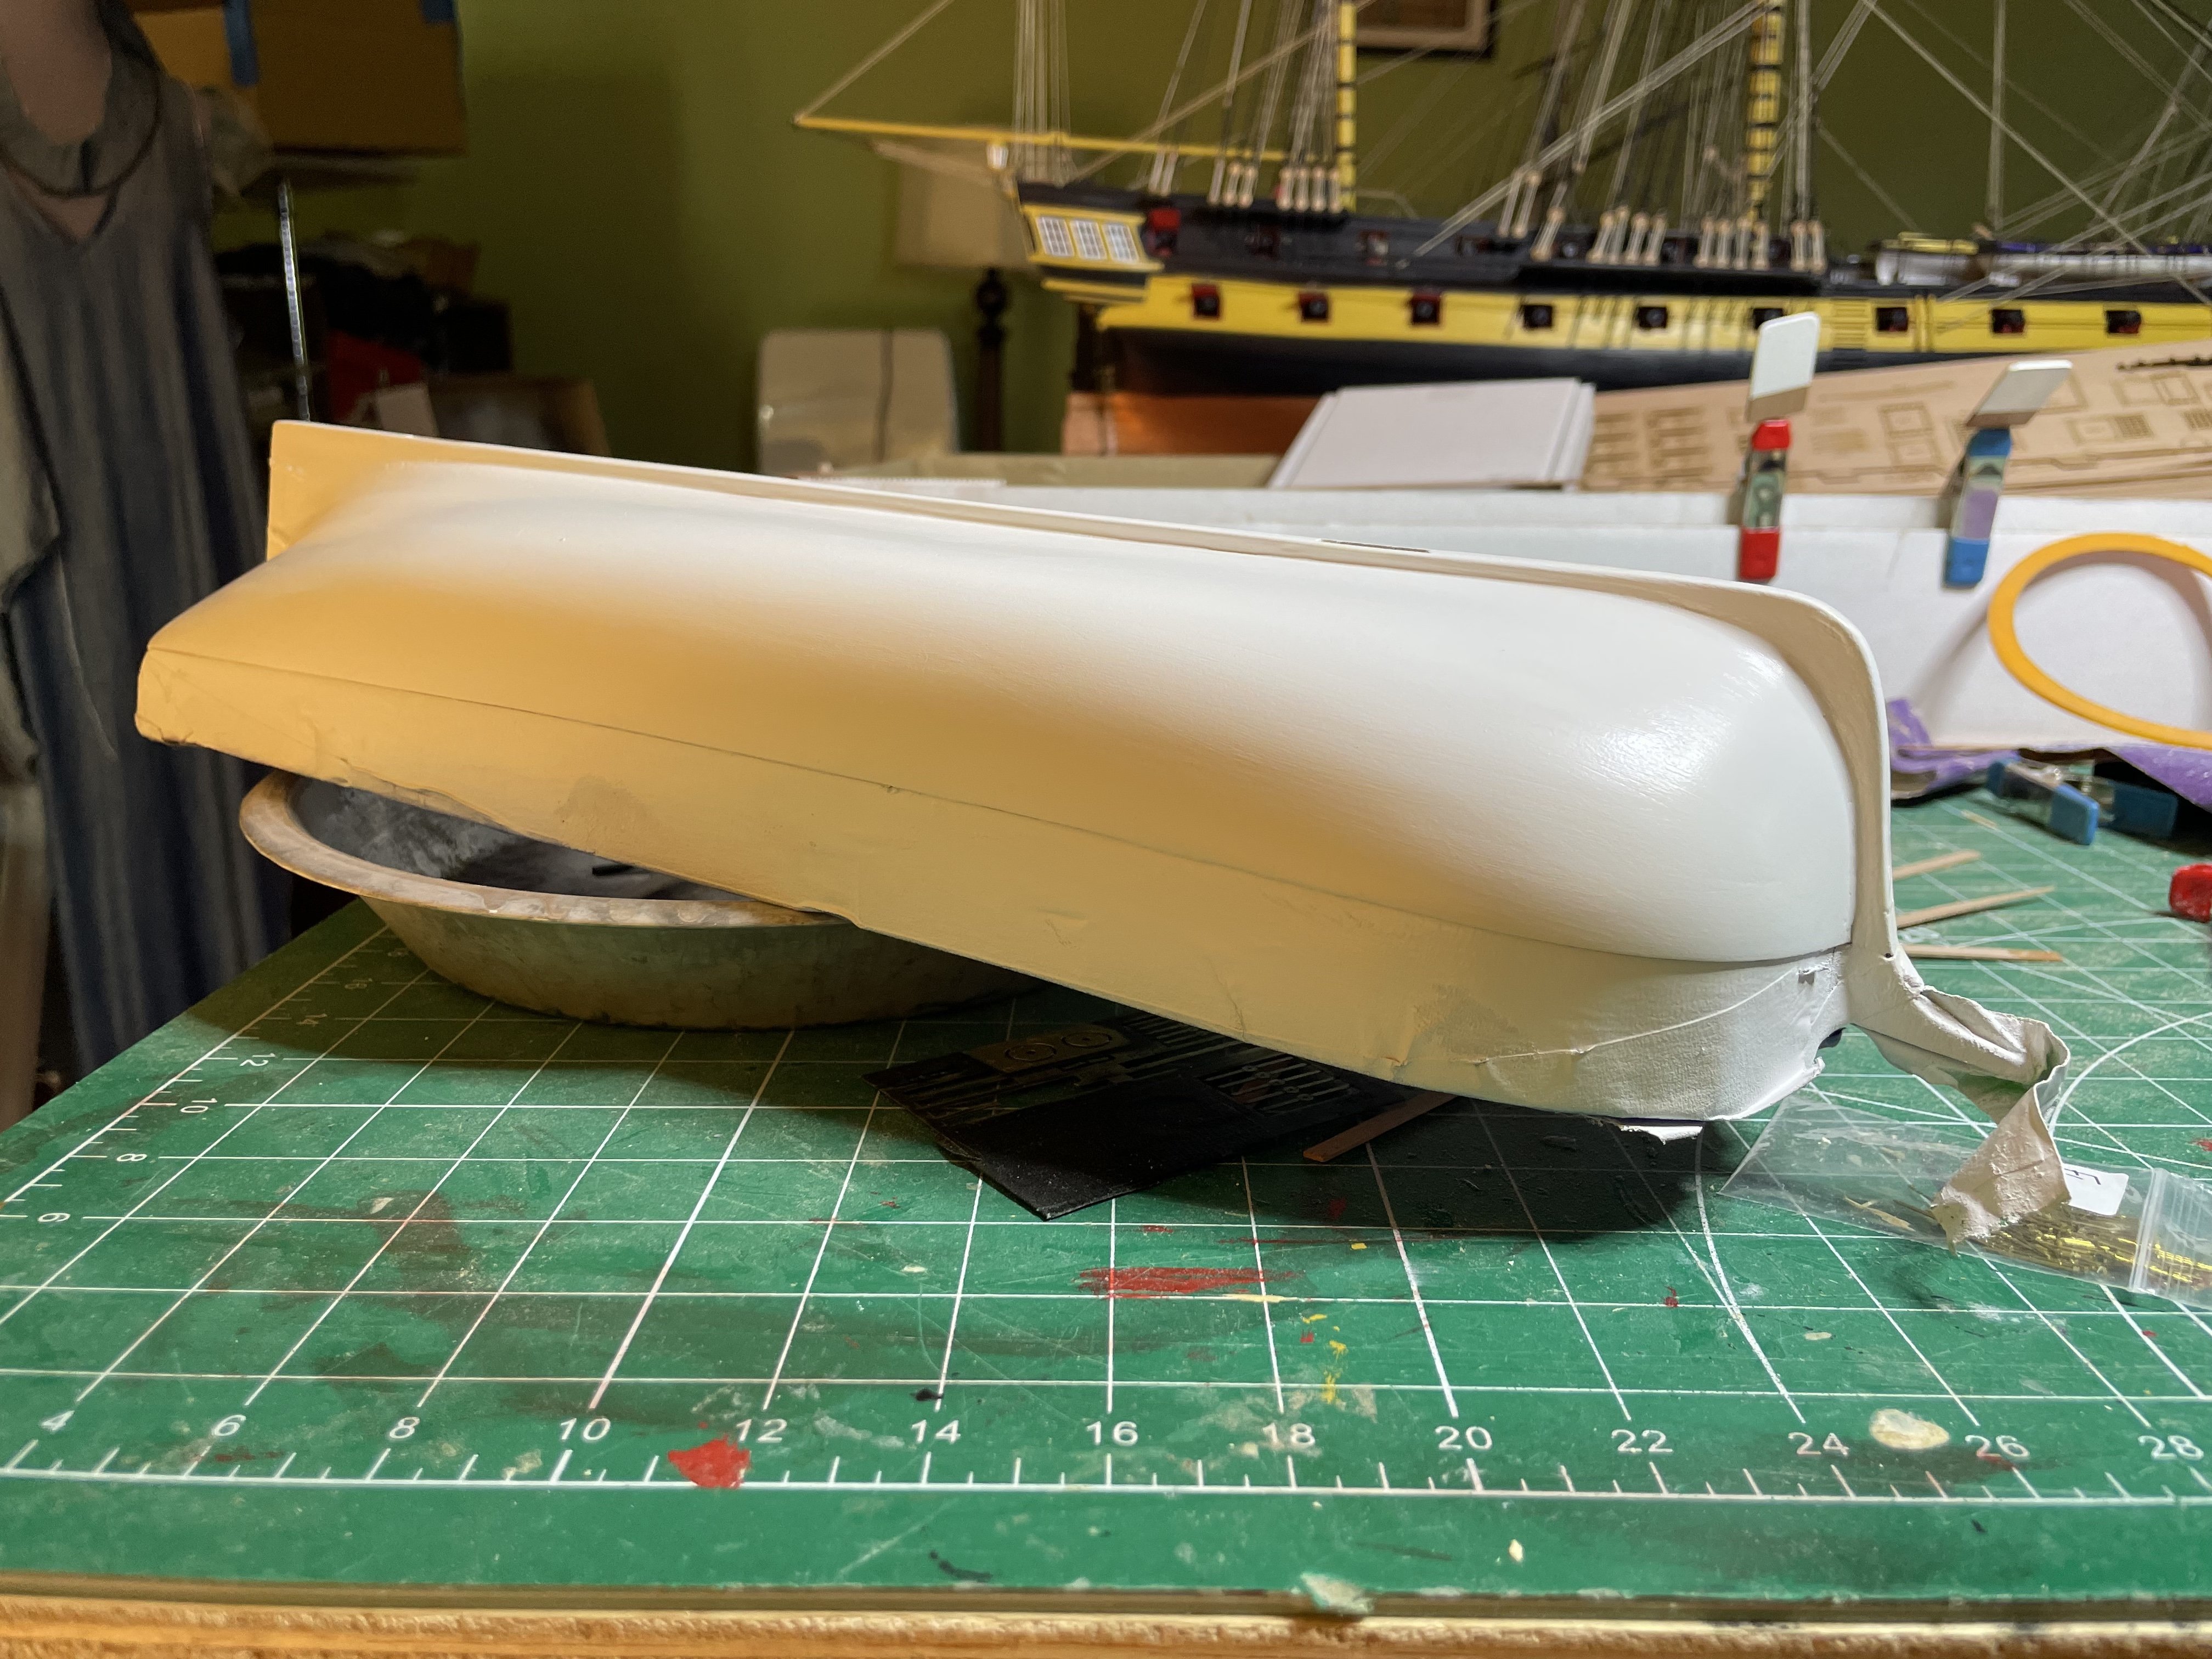
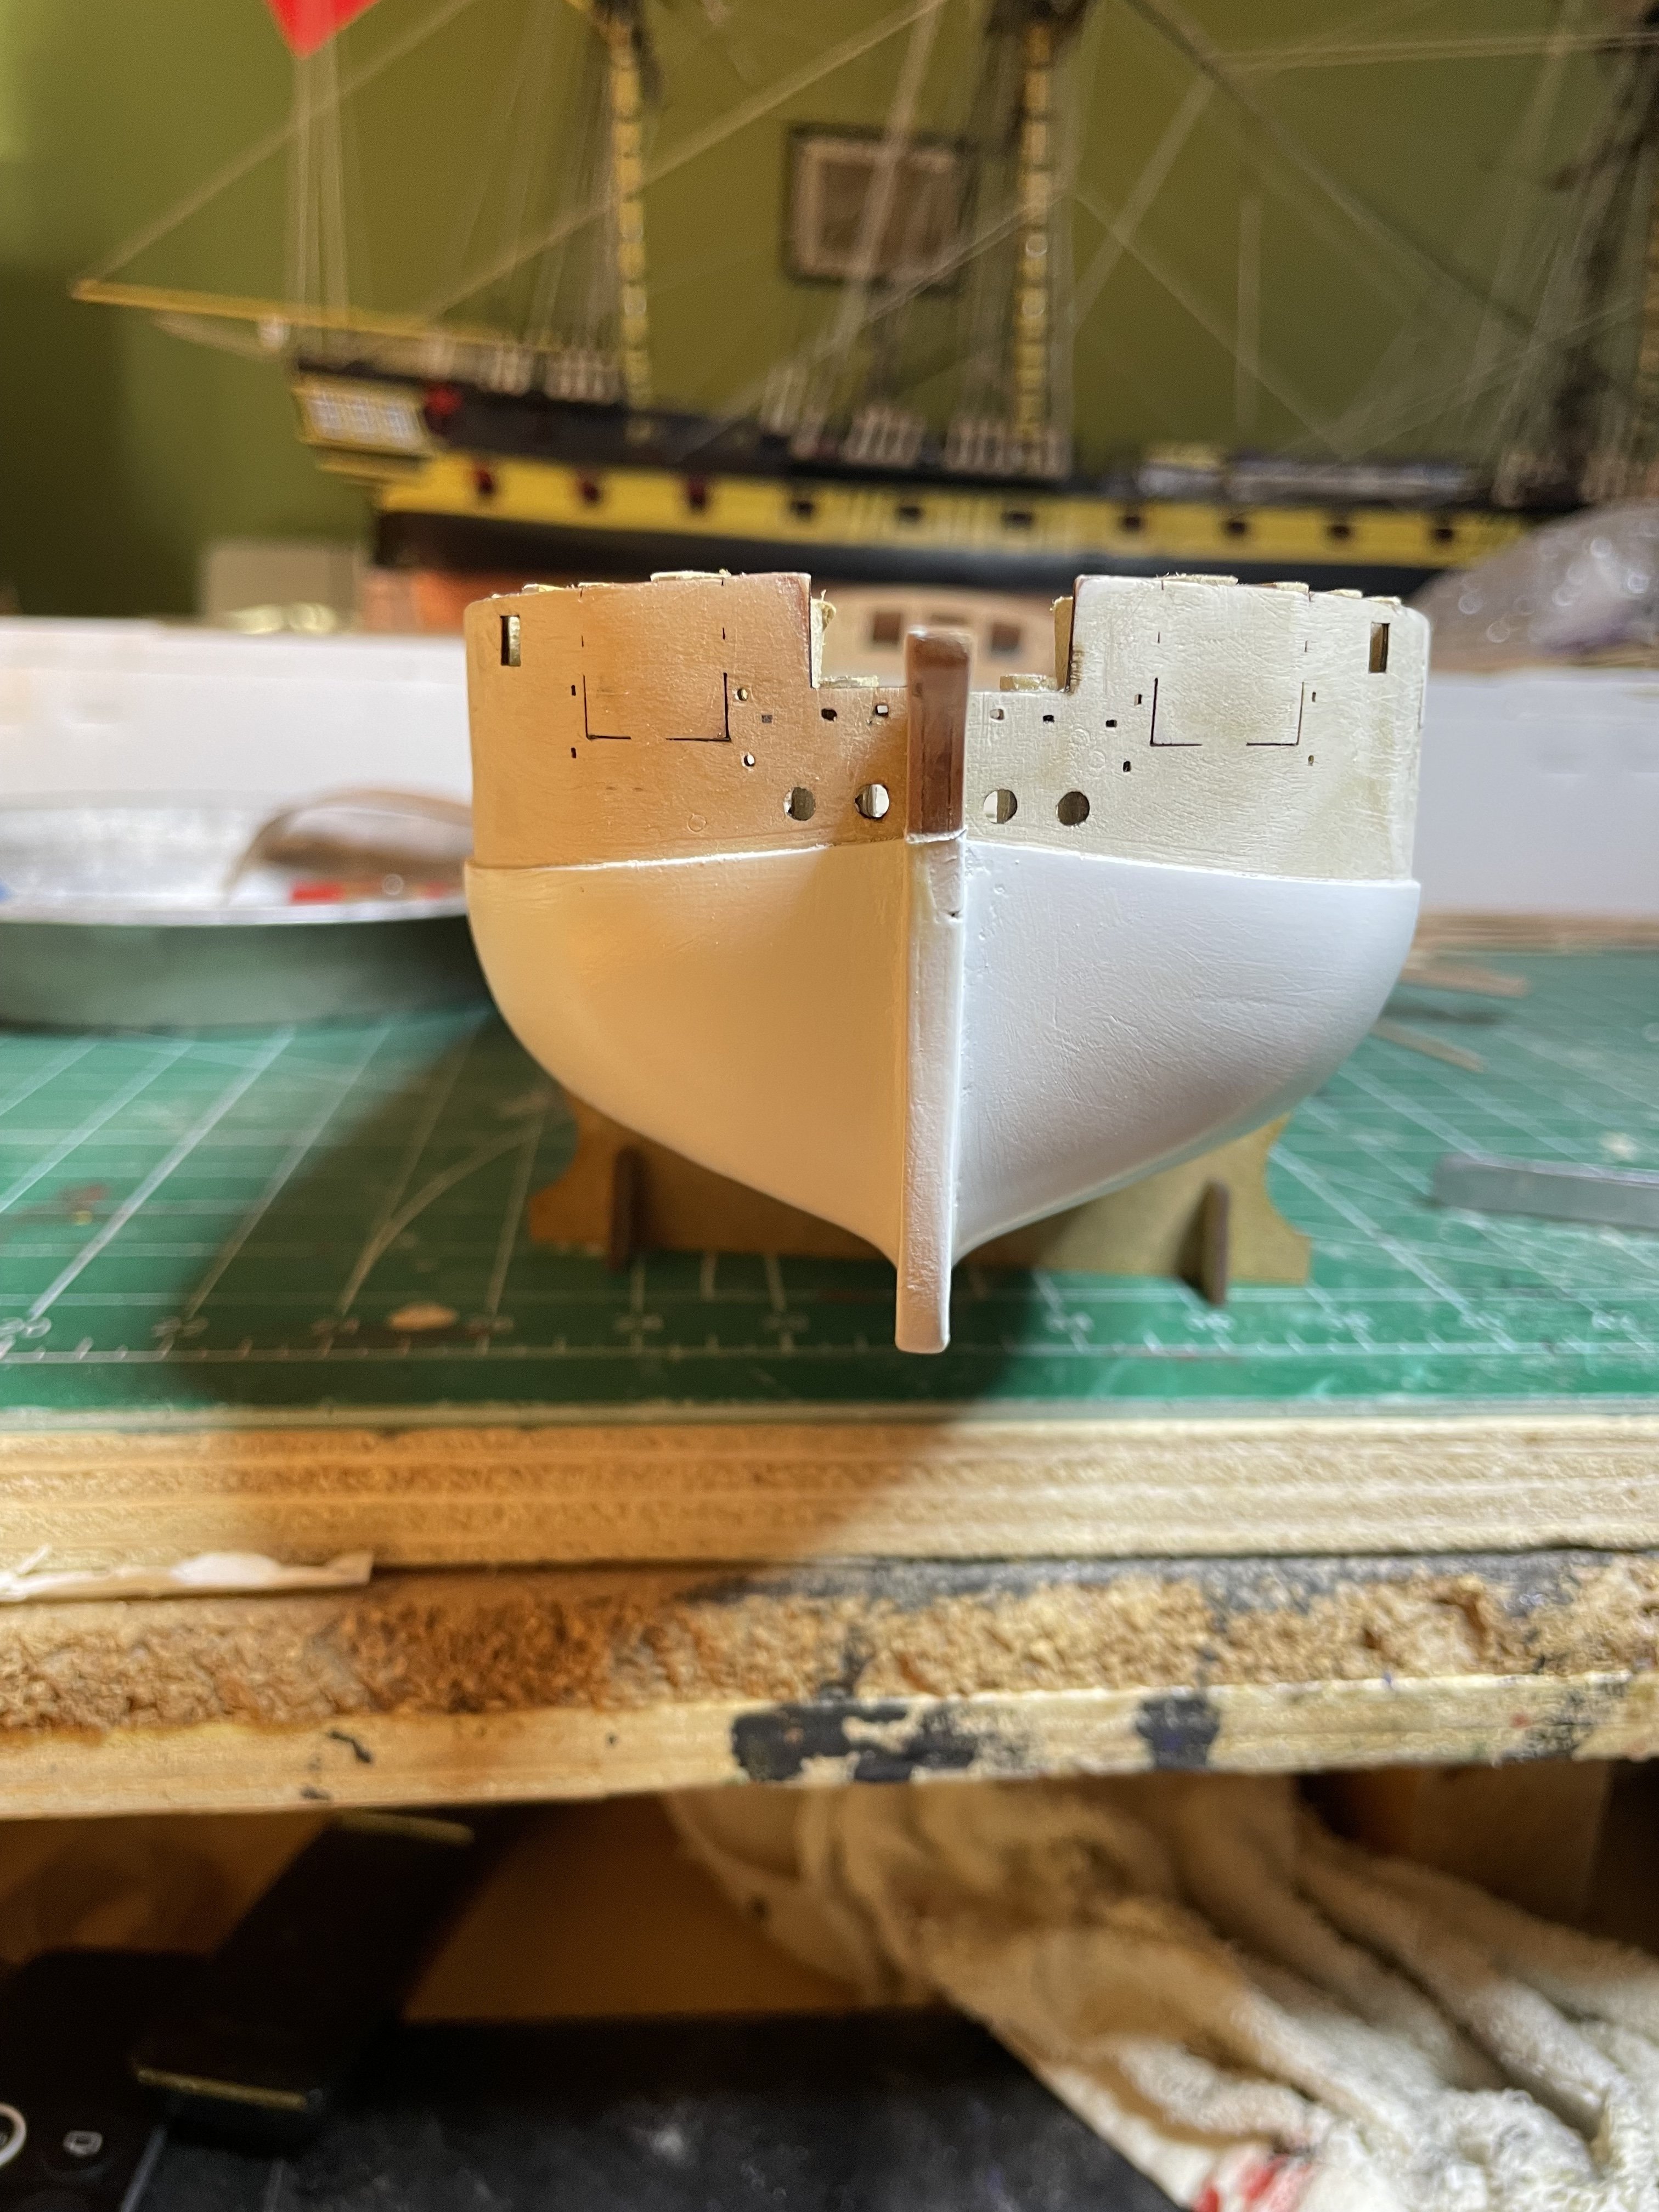
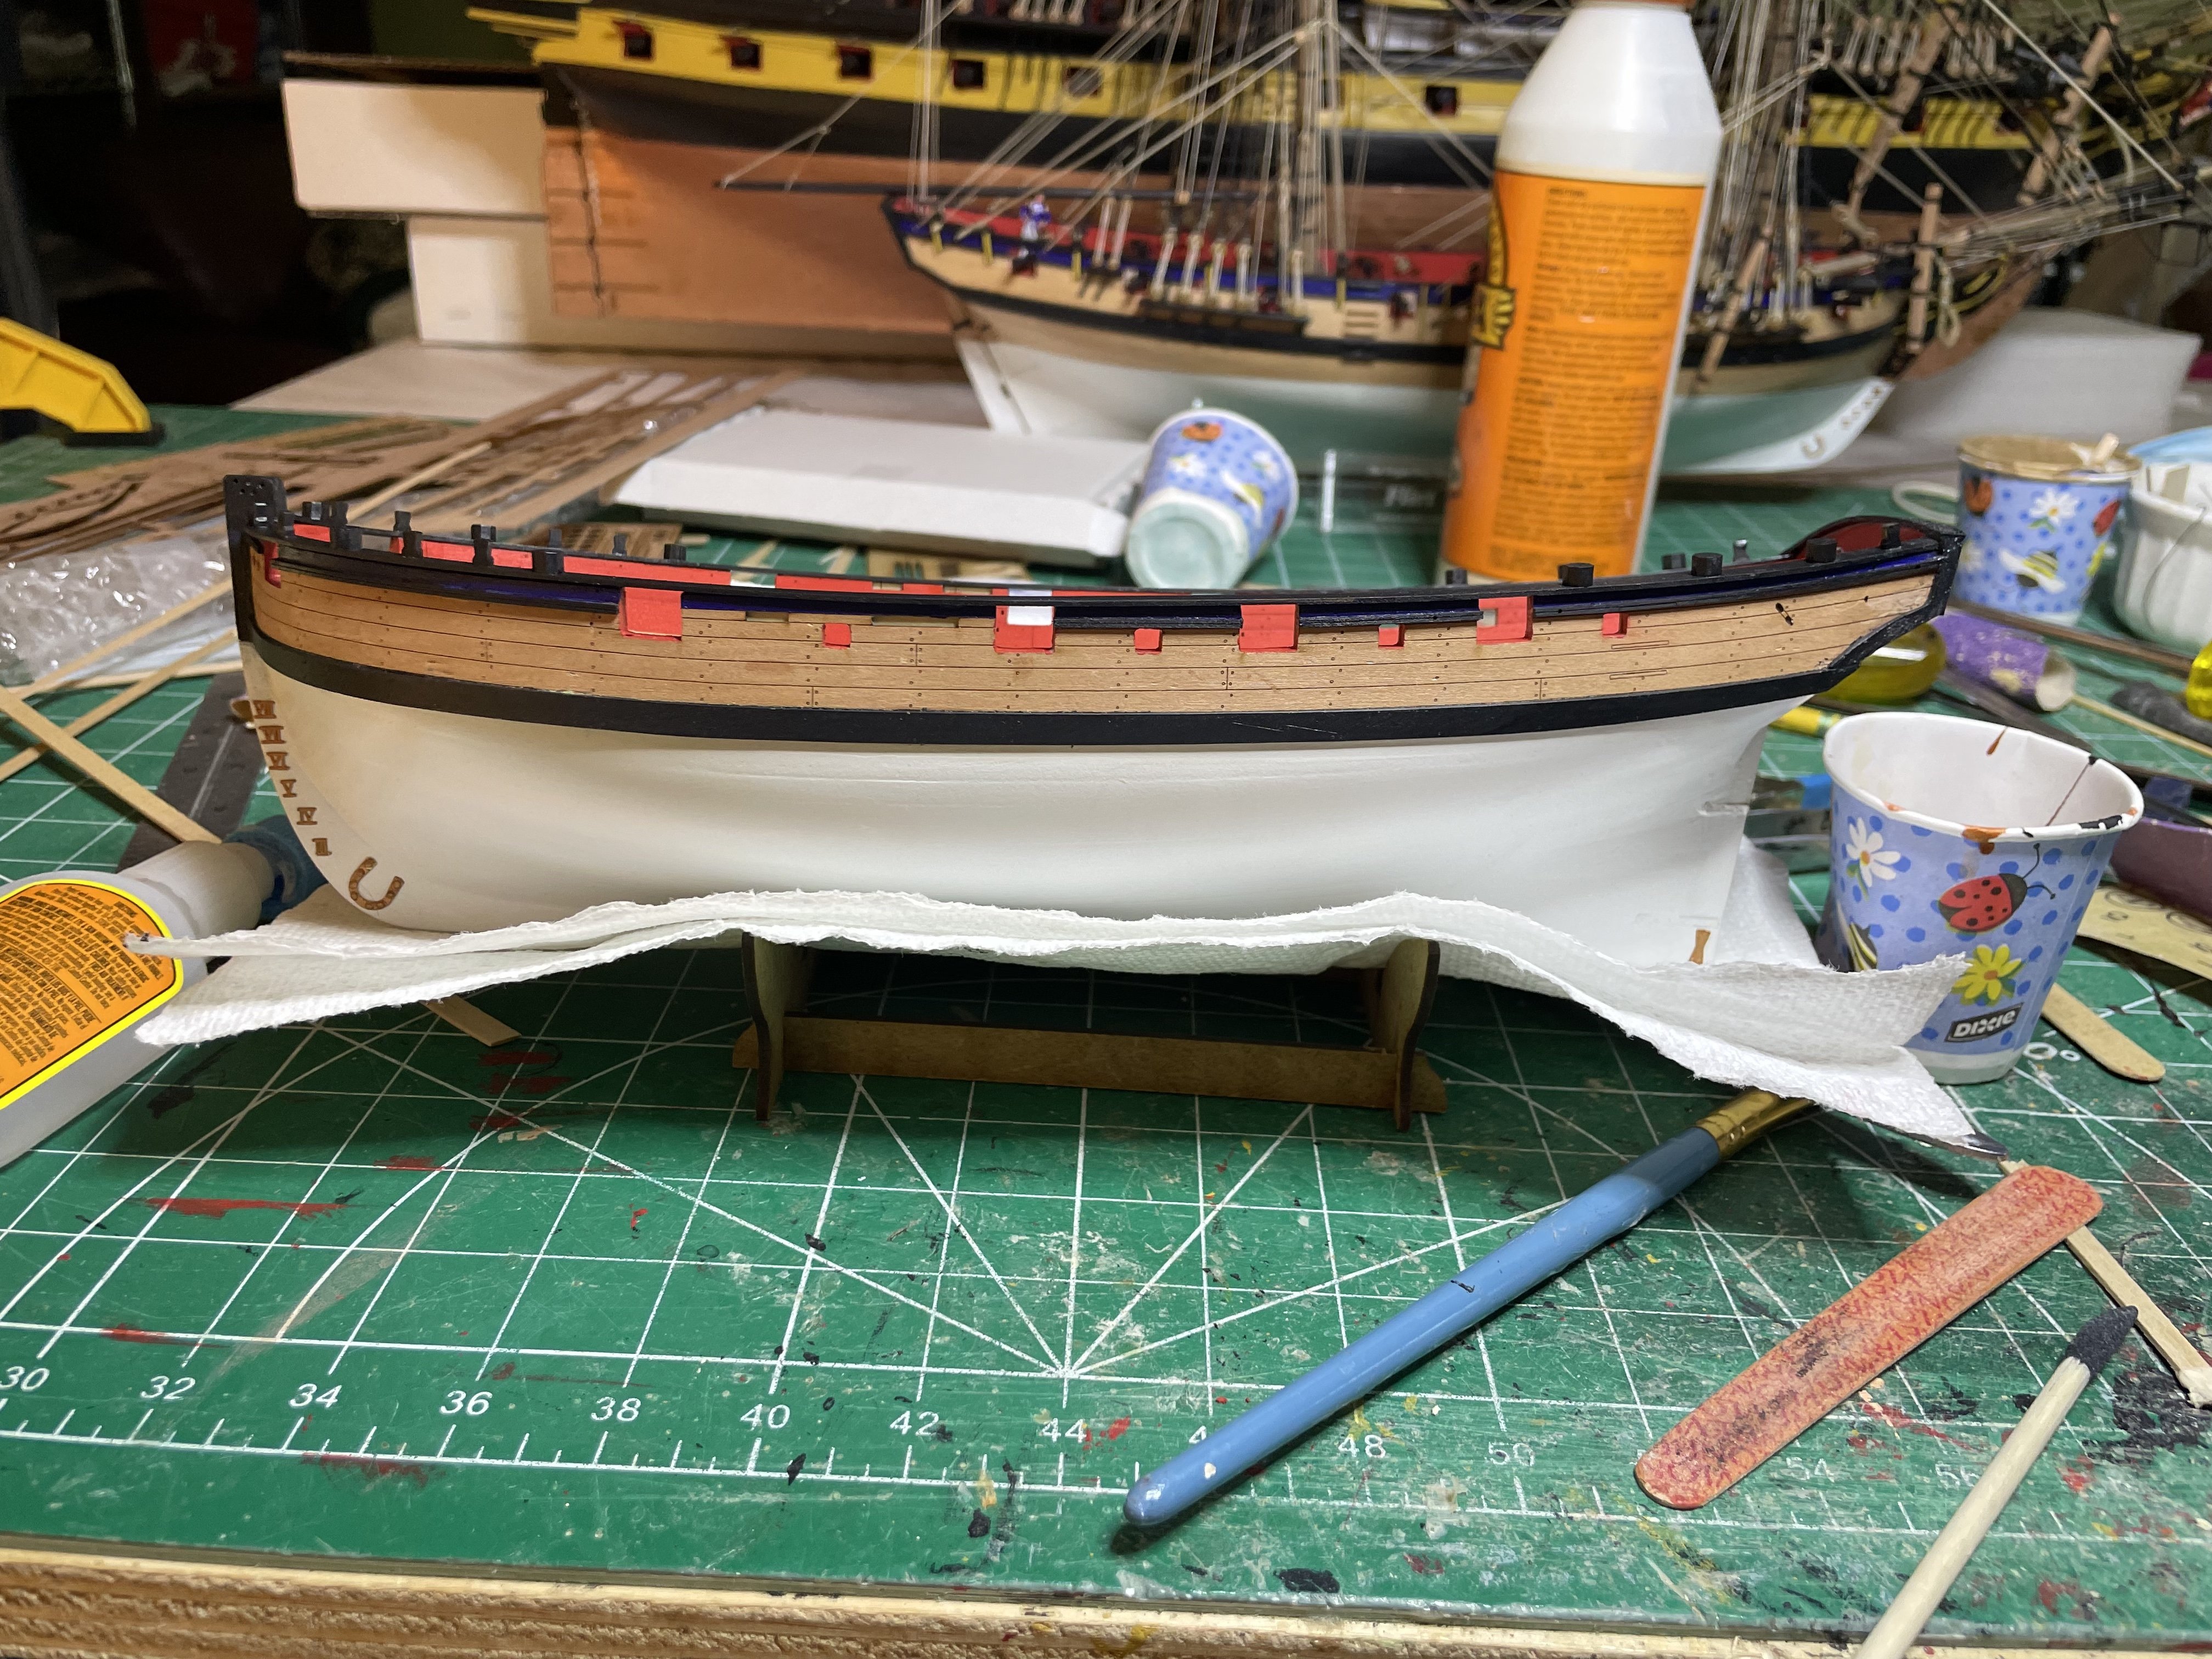
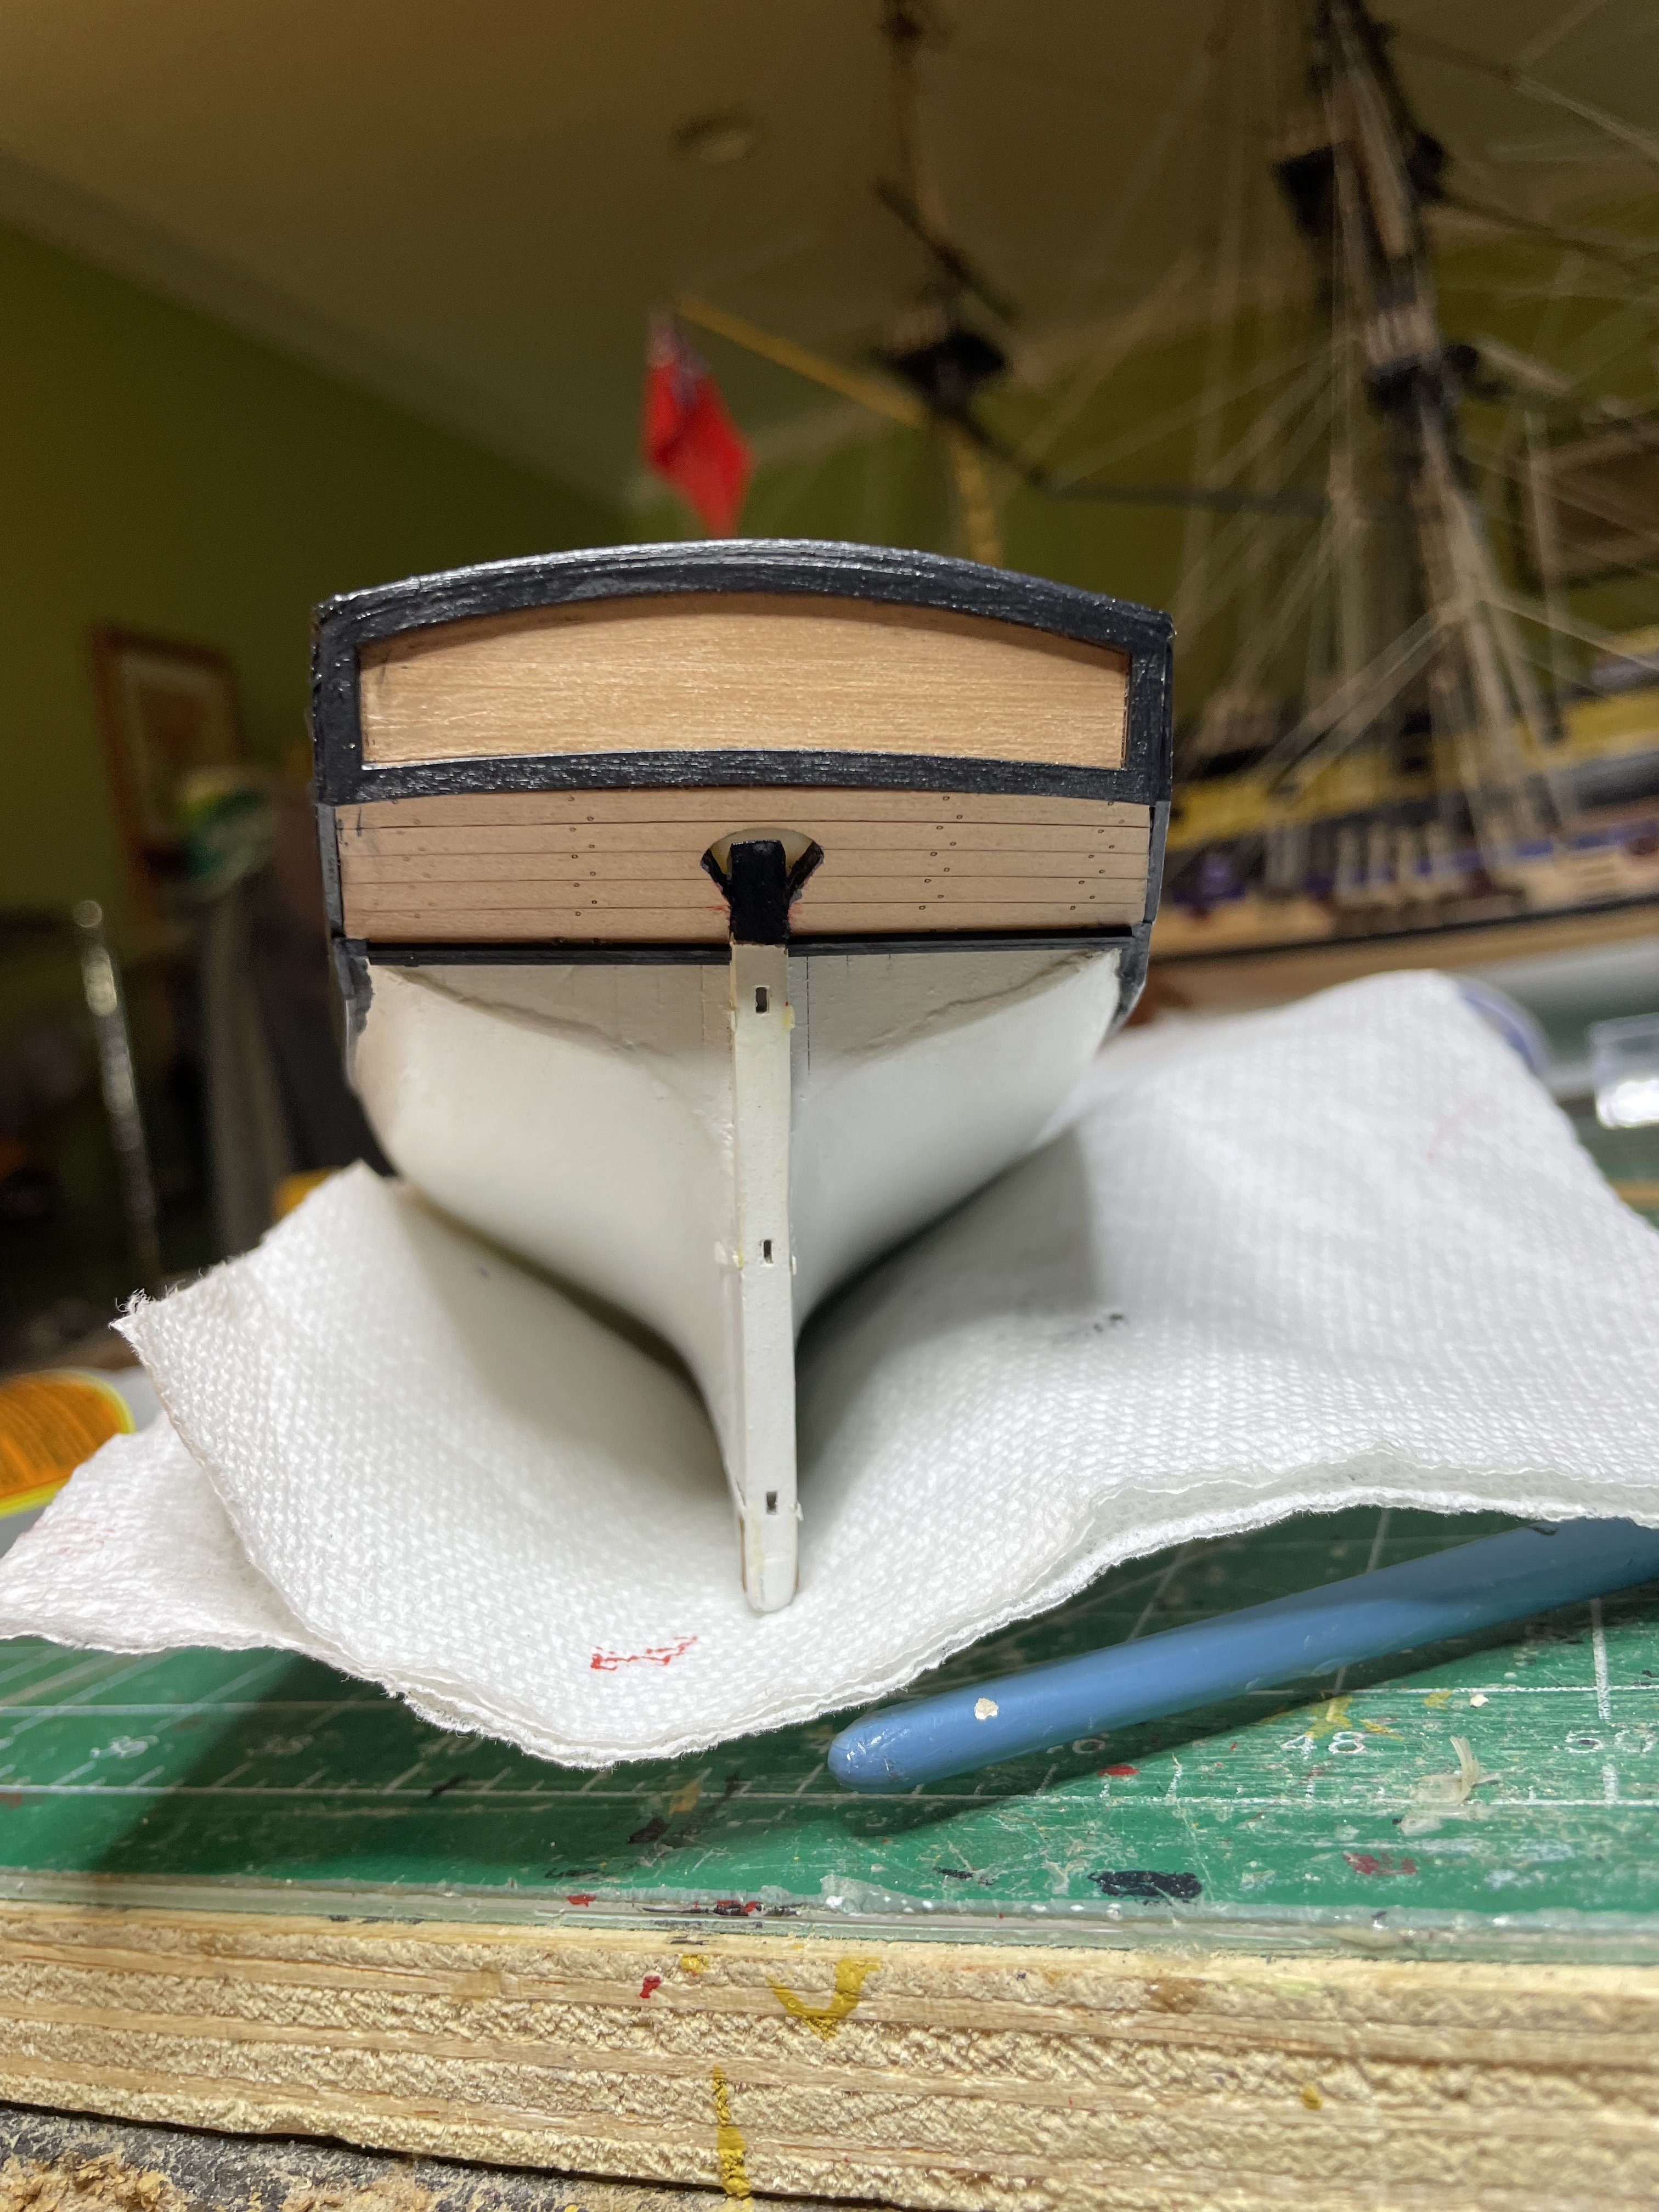
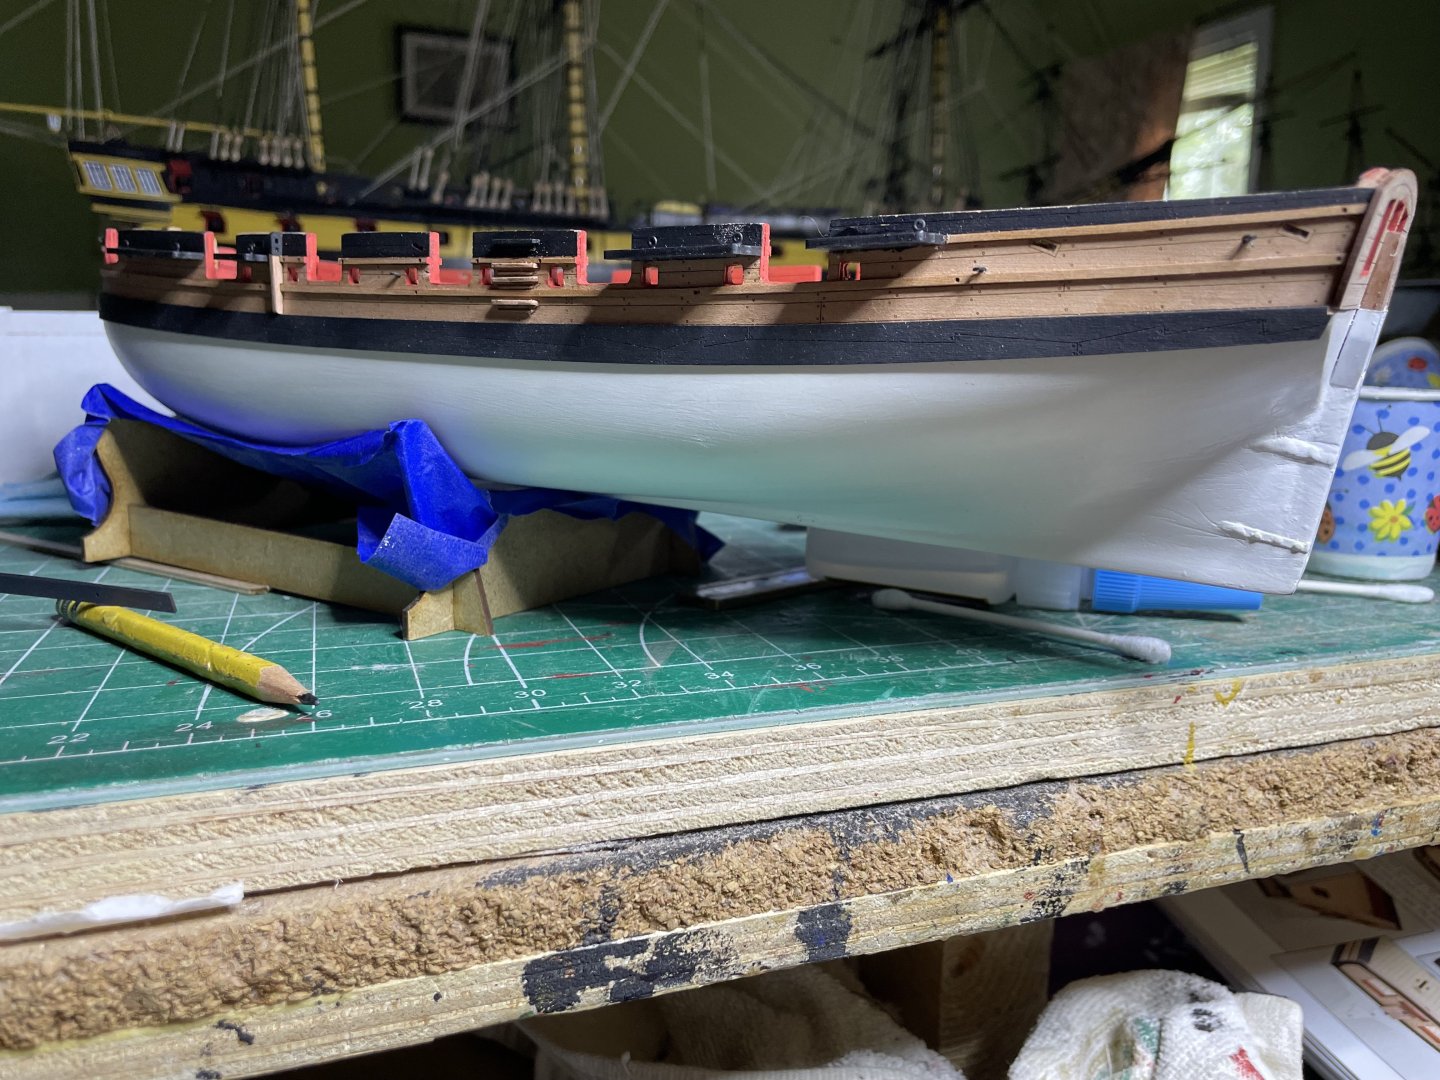
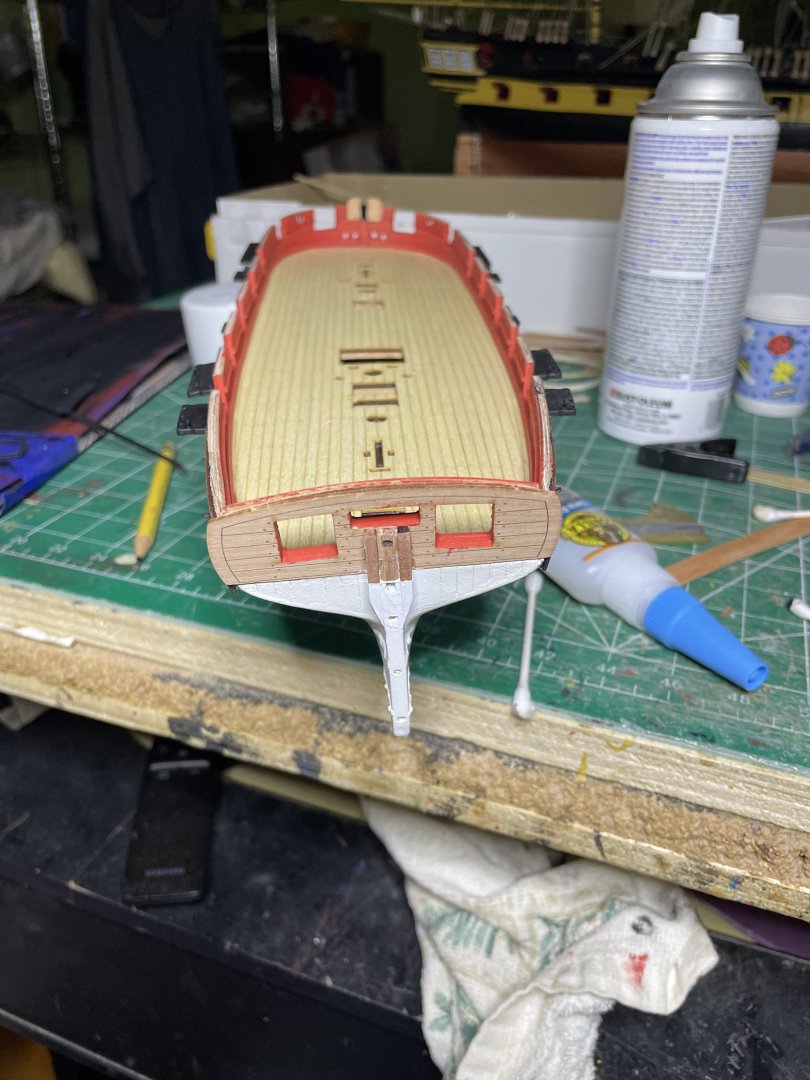
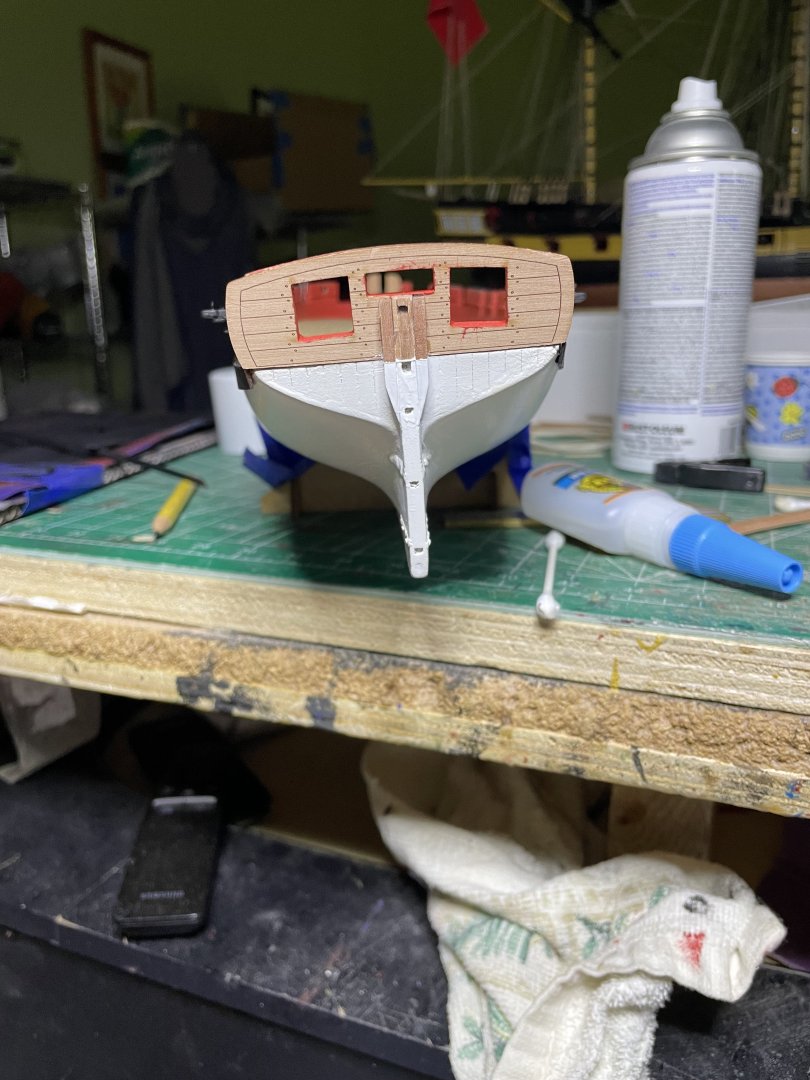
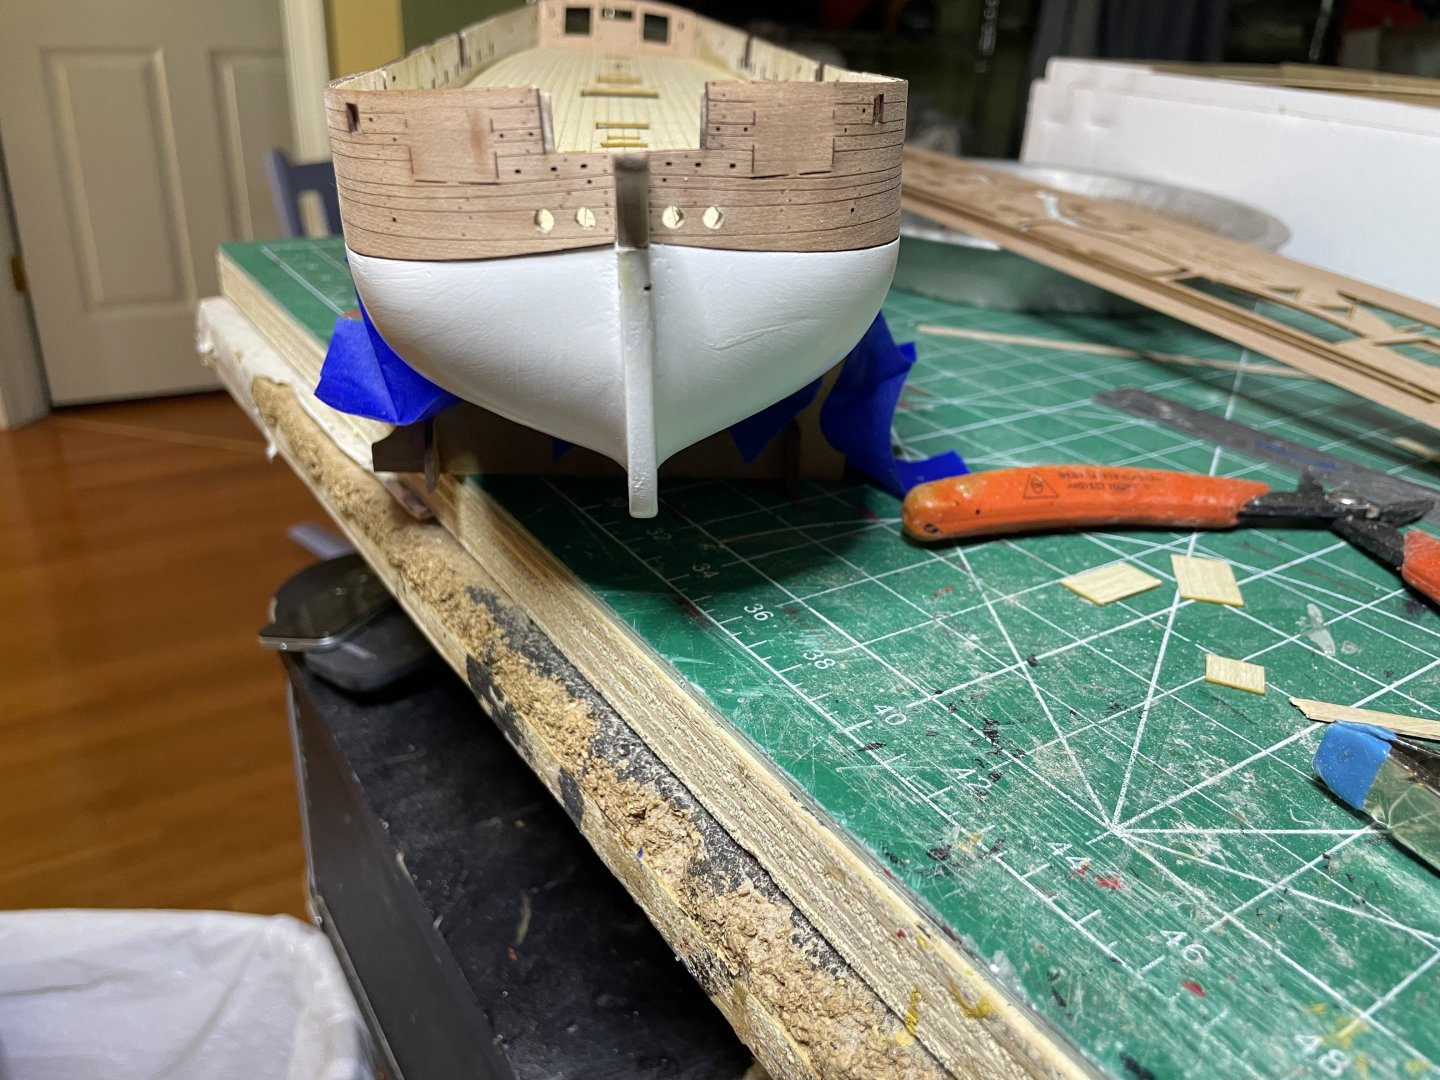
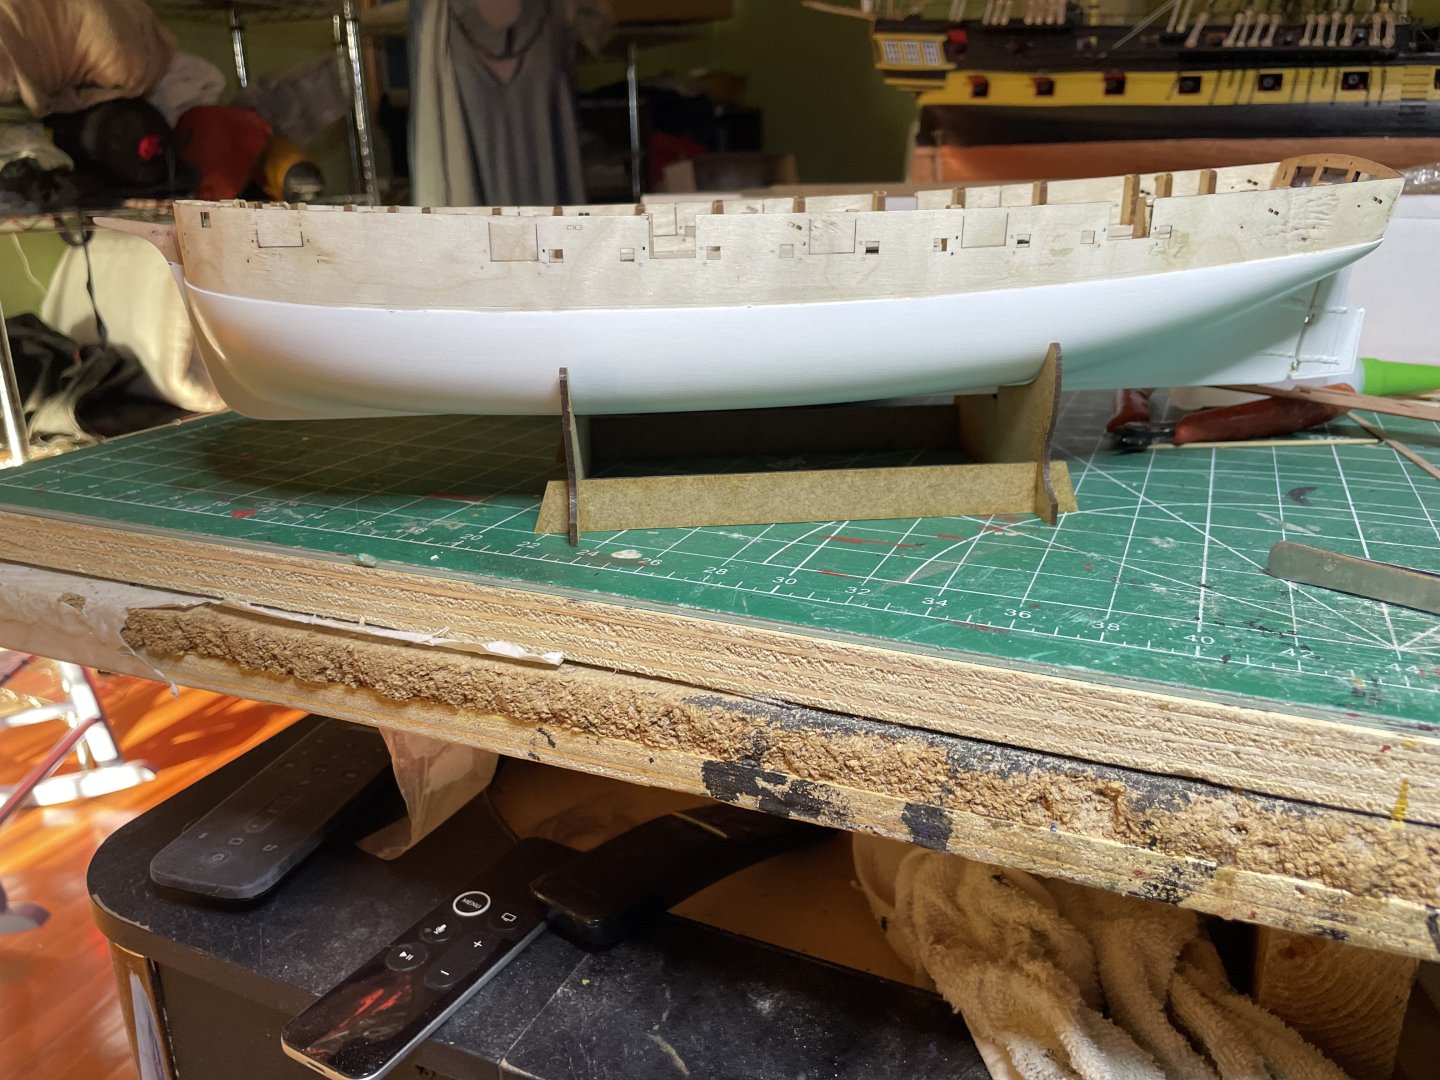
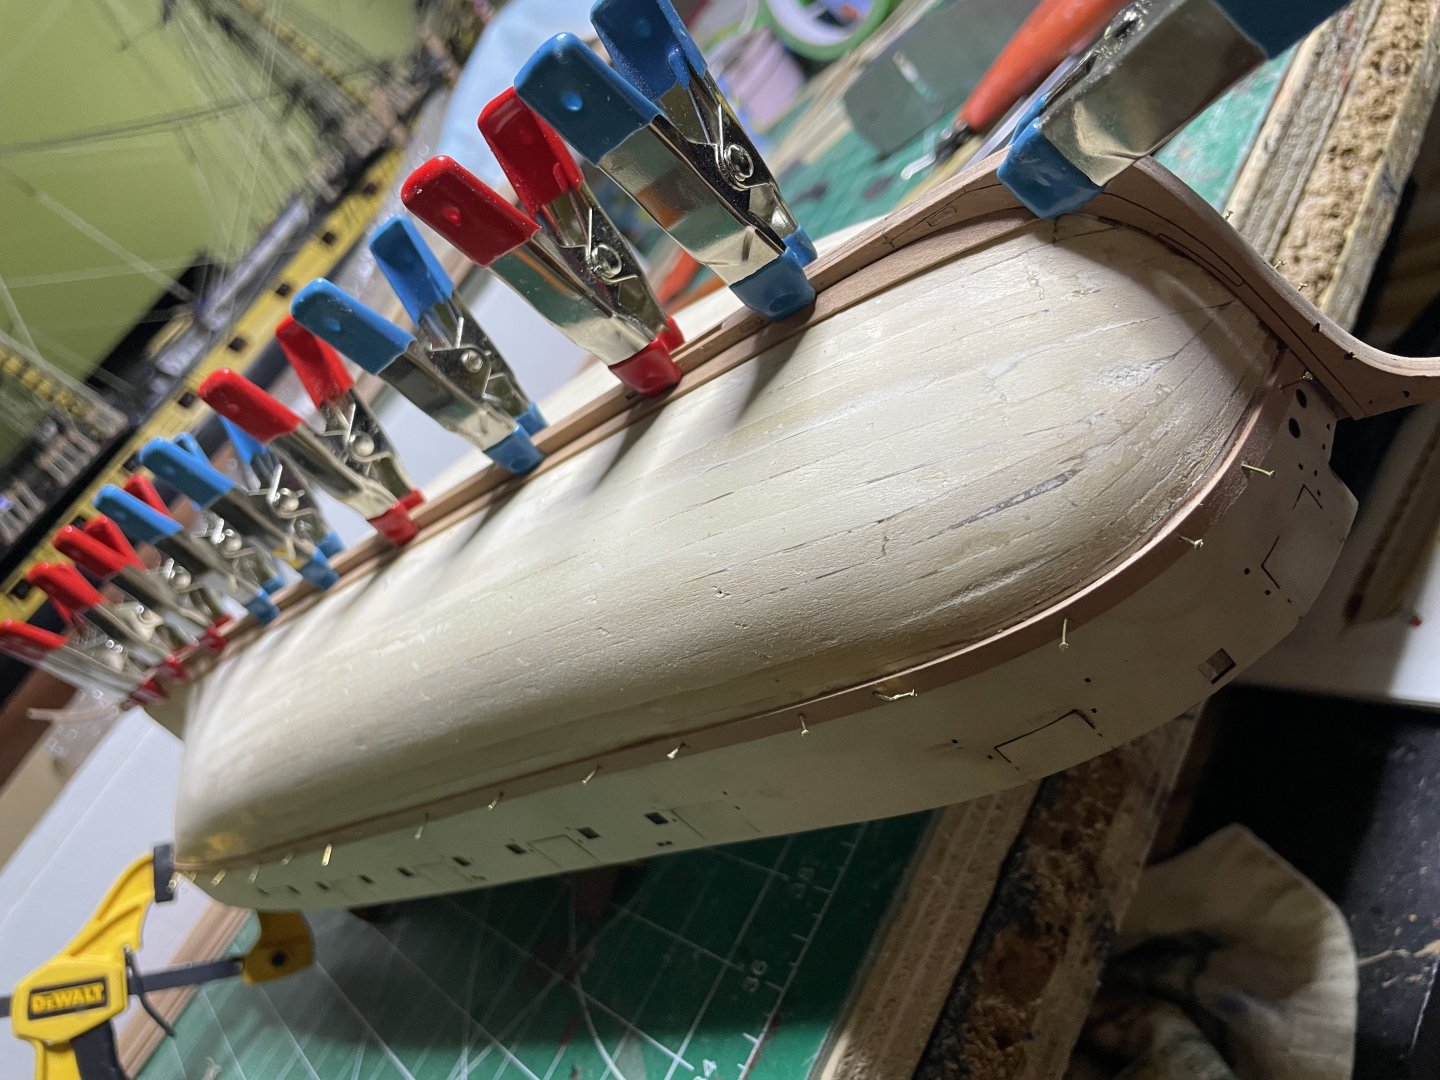
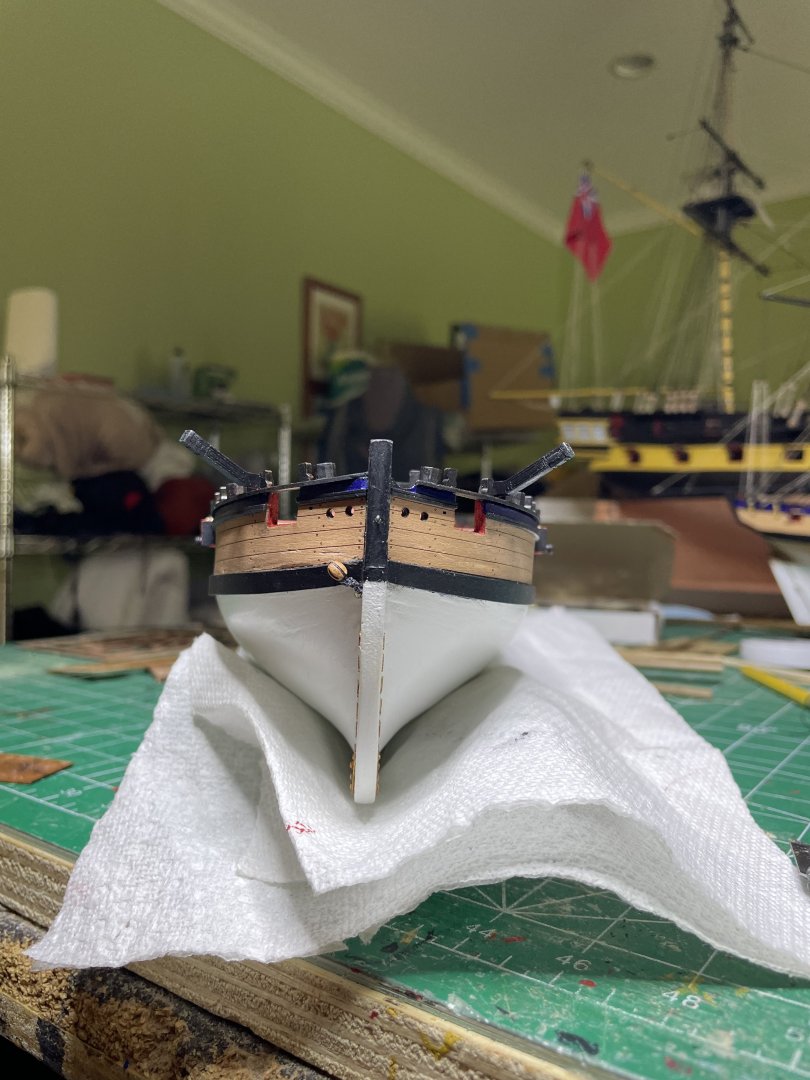
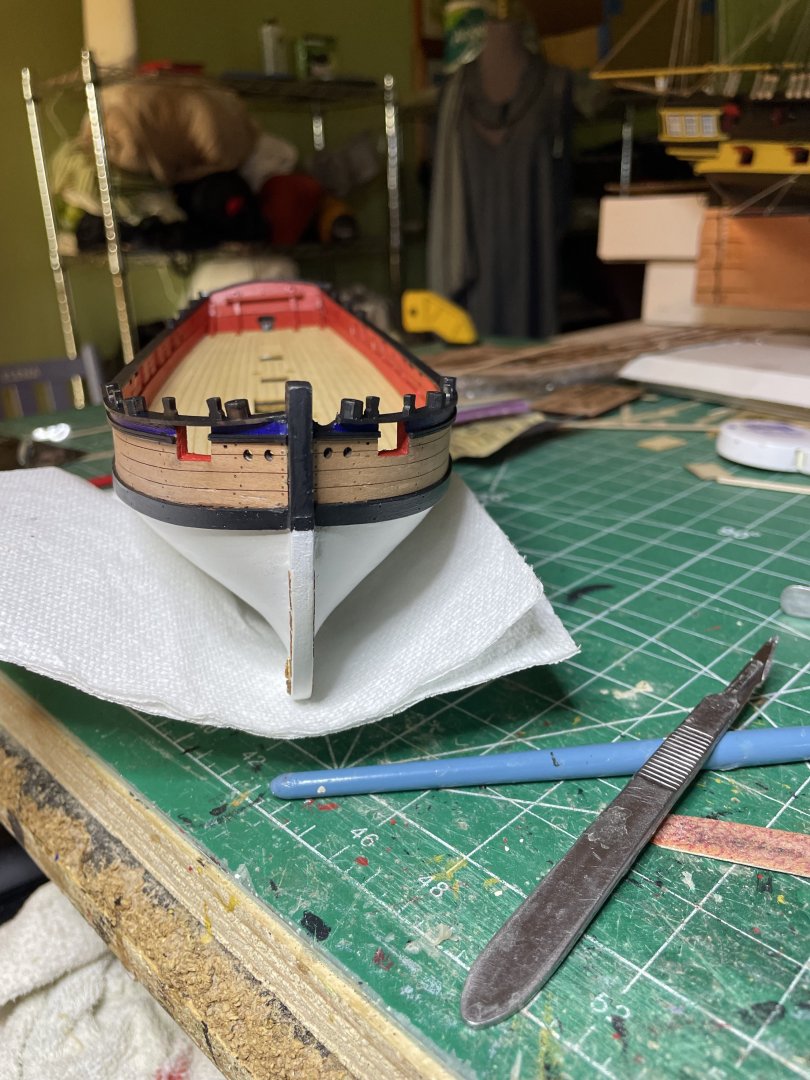
After filling, sanding and painting for 3 cycles, hull looks pretty good to me And after removing the tape and dry fitting the rudder


- 66 replies
-
- 11
-
-
- Adder
- Vanguard Models
- (and 1 more)
-
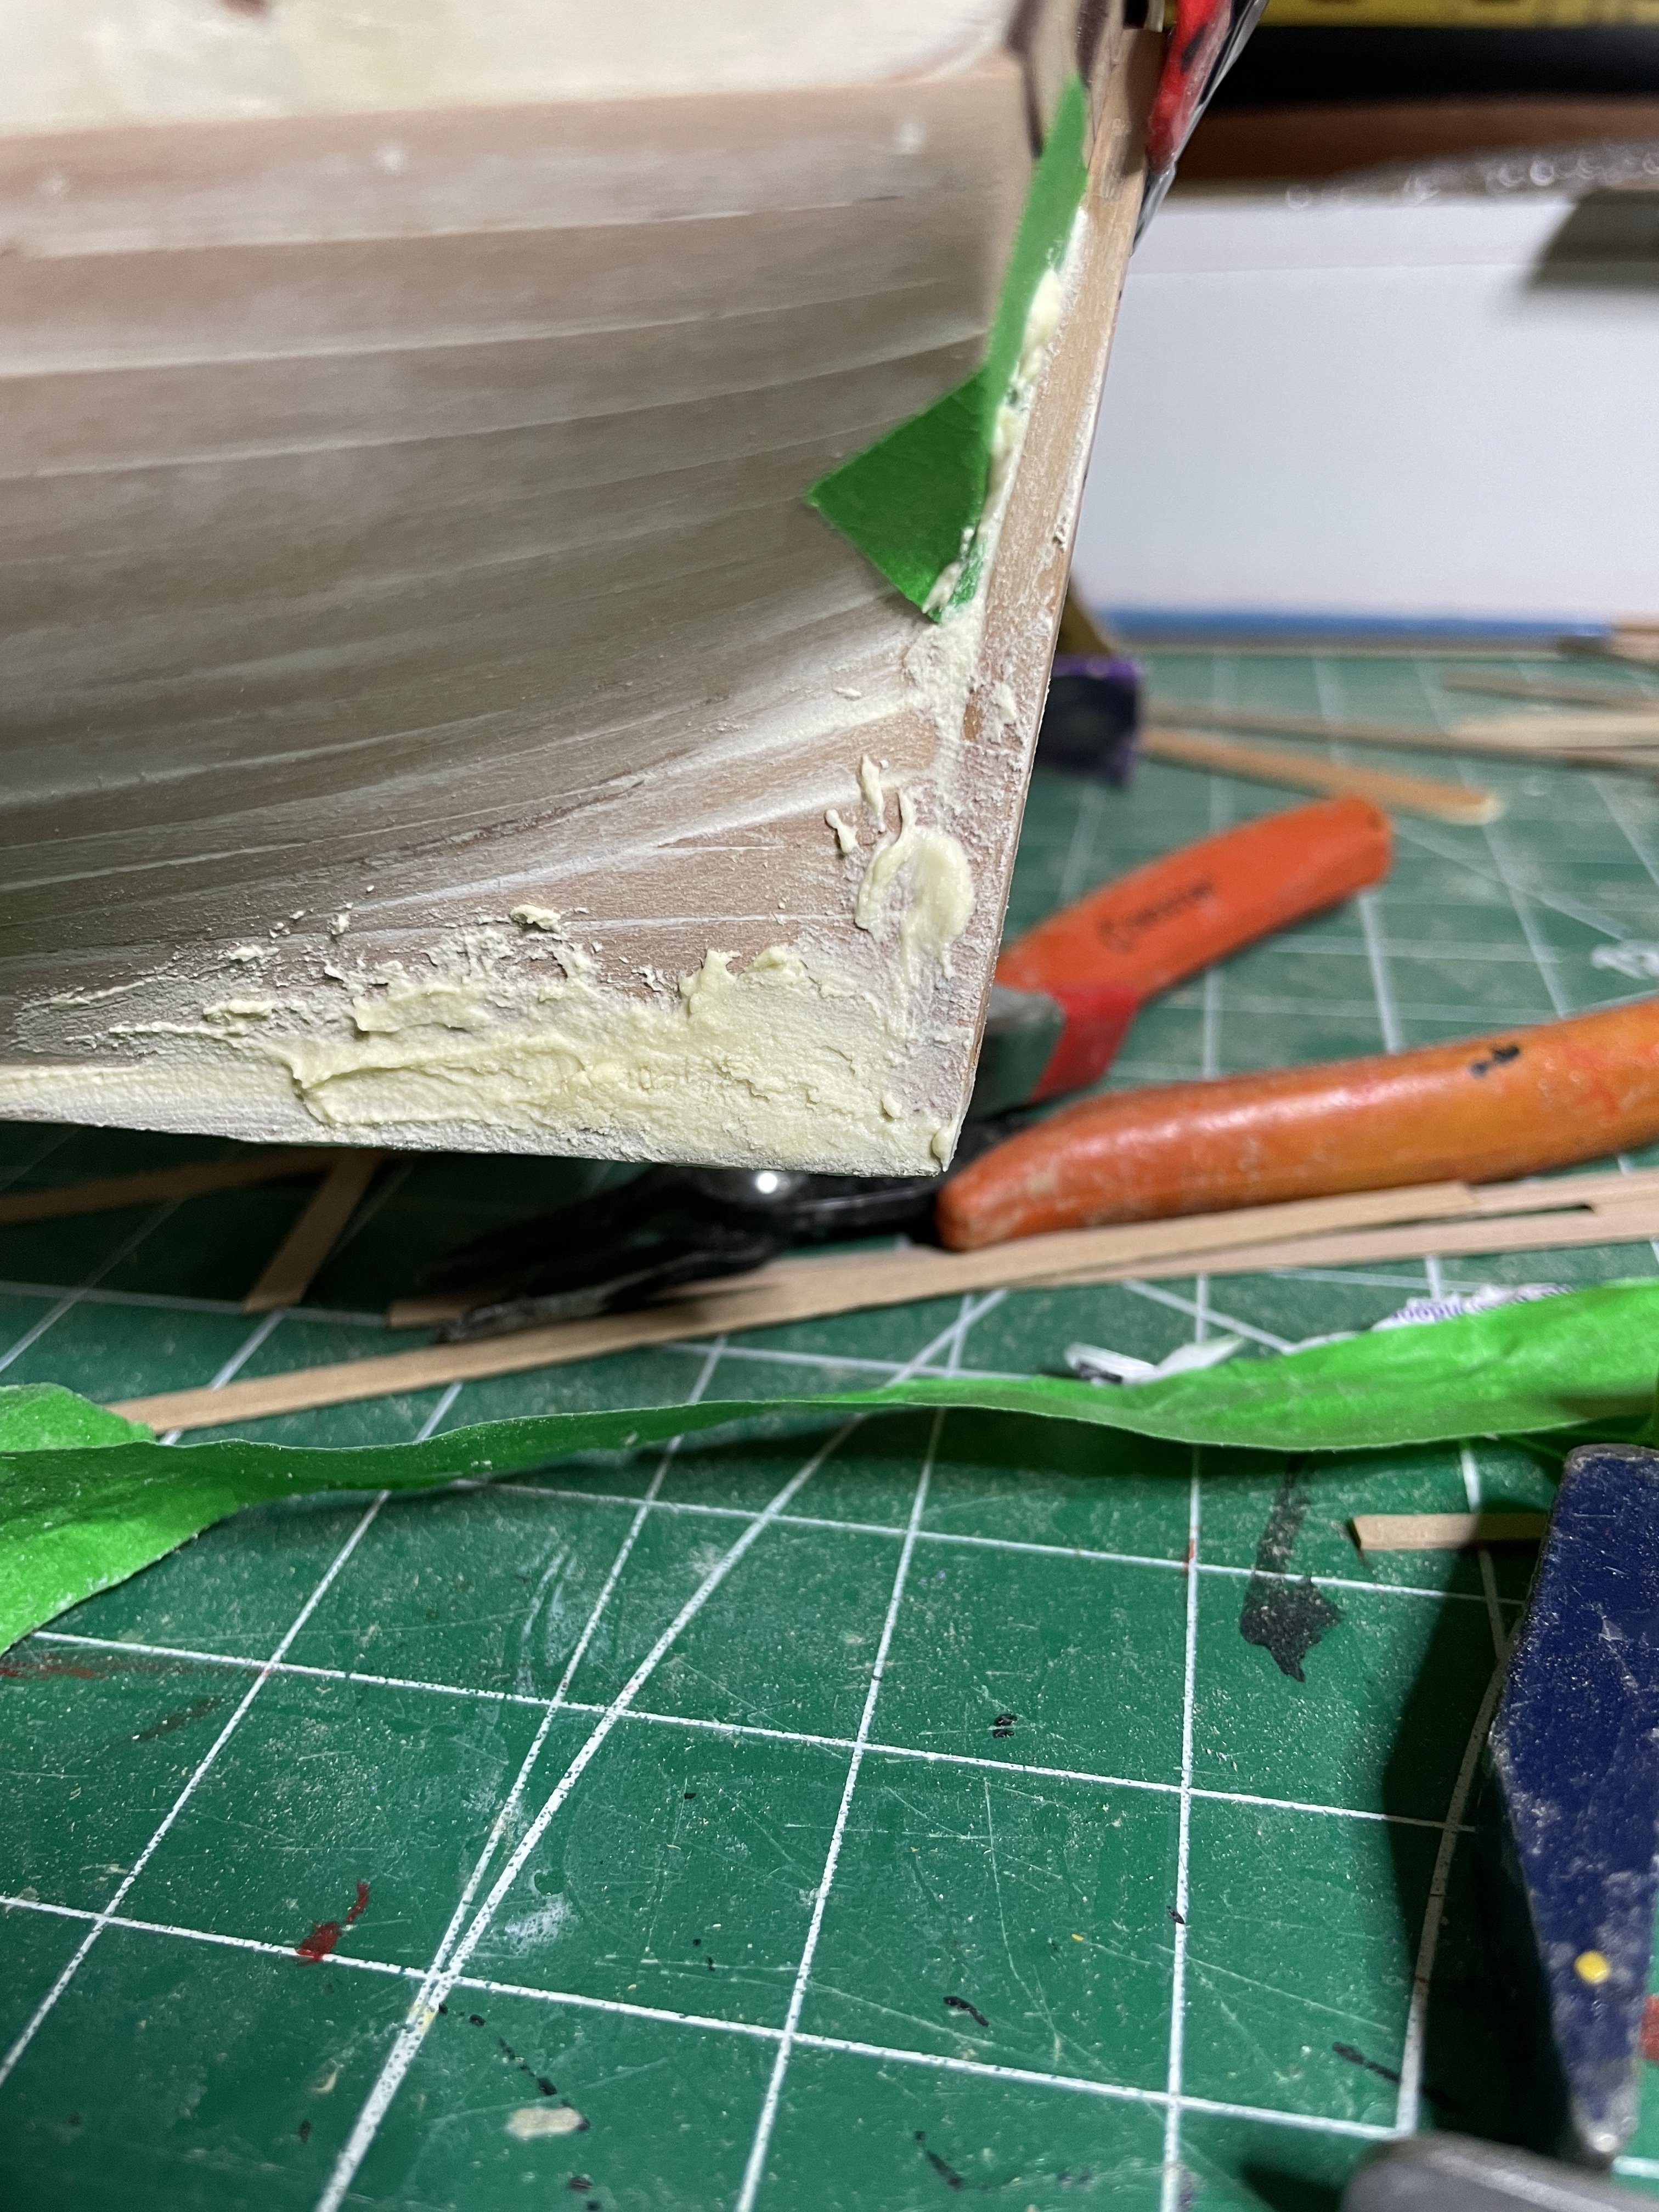
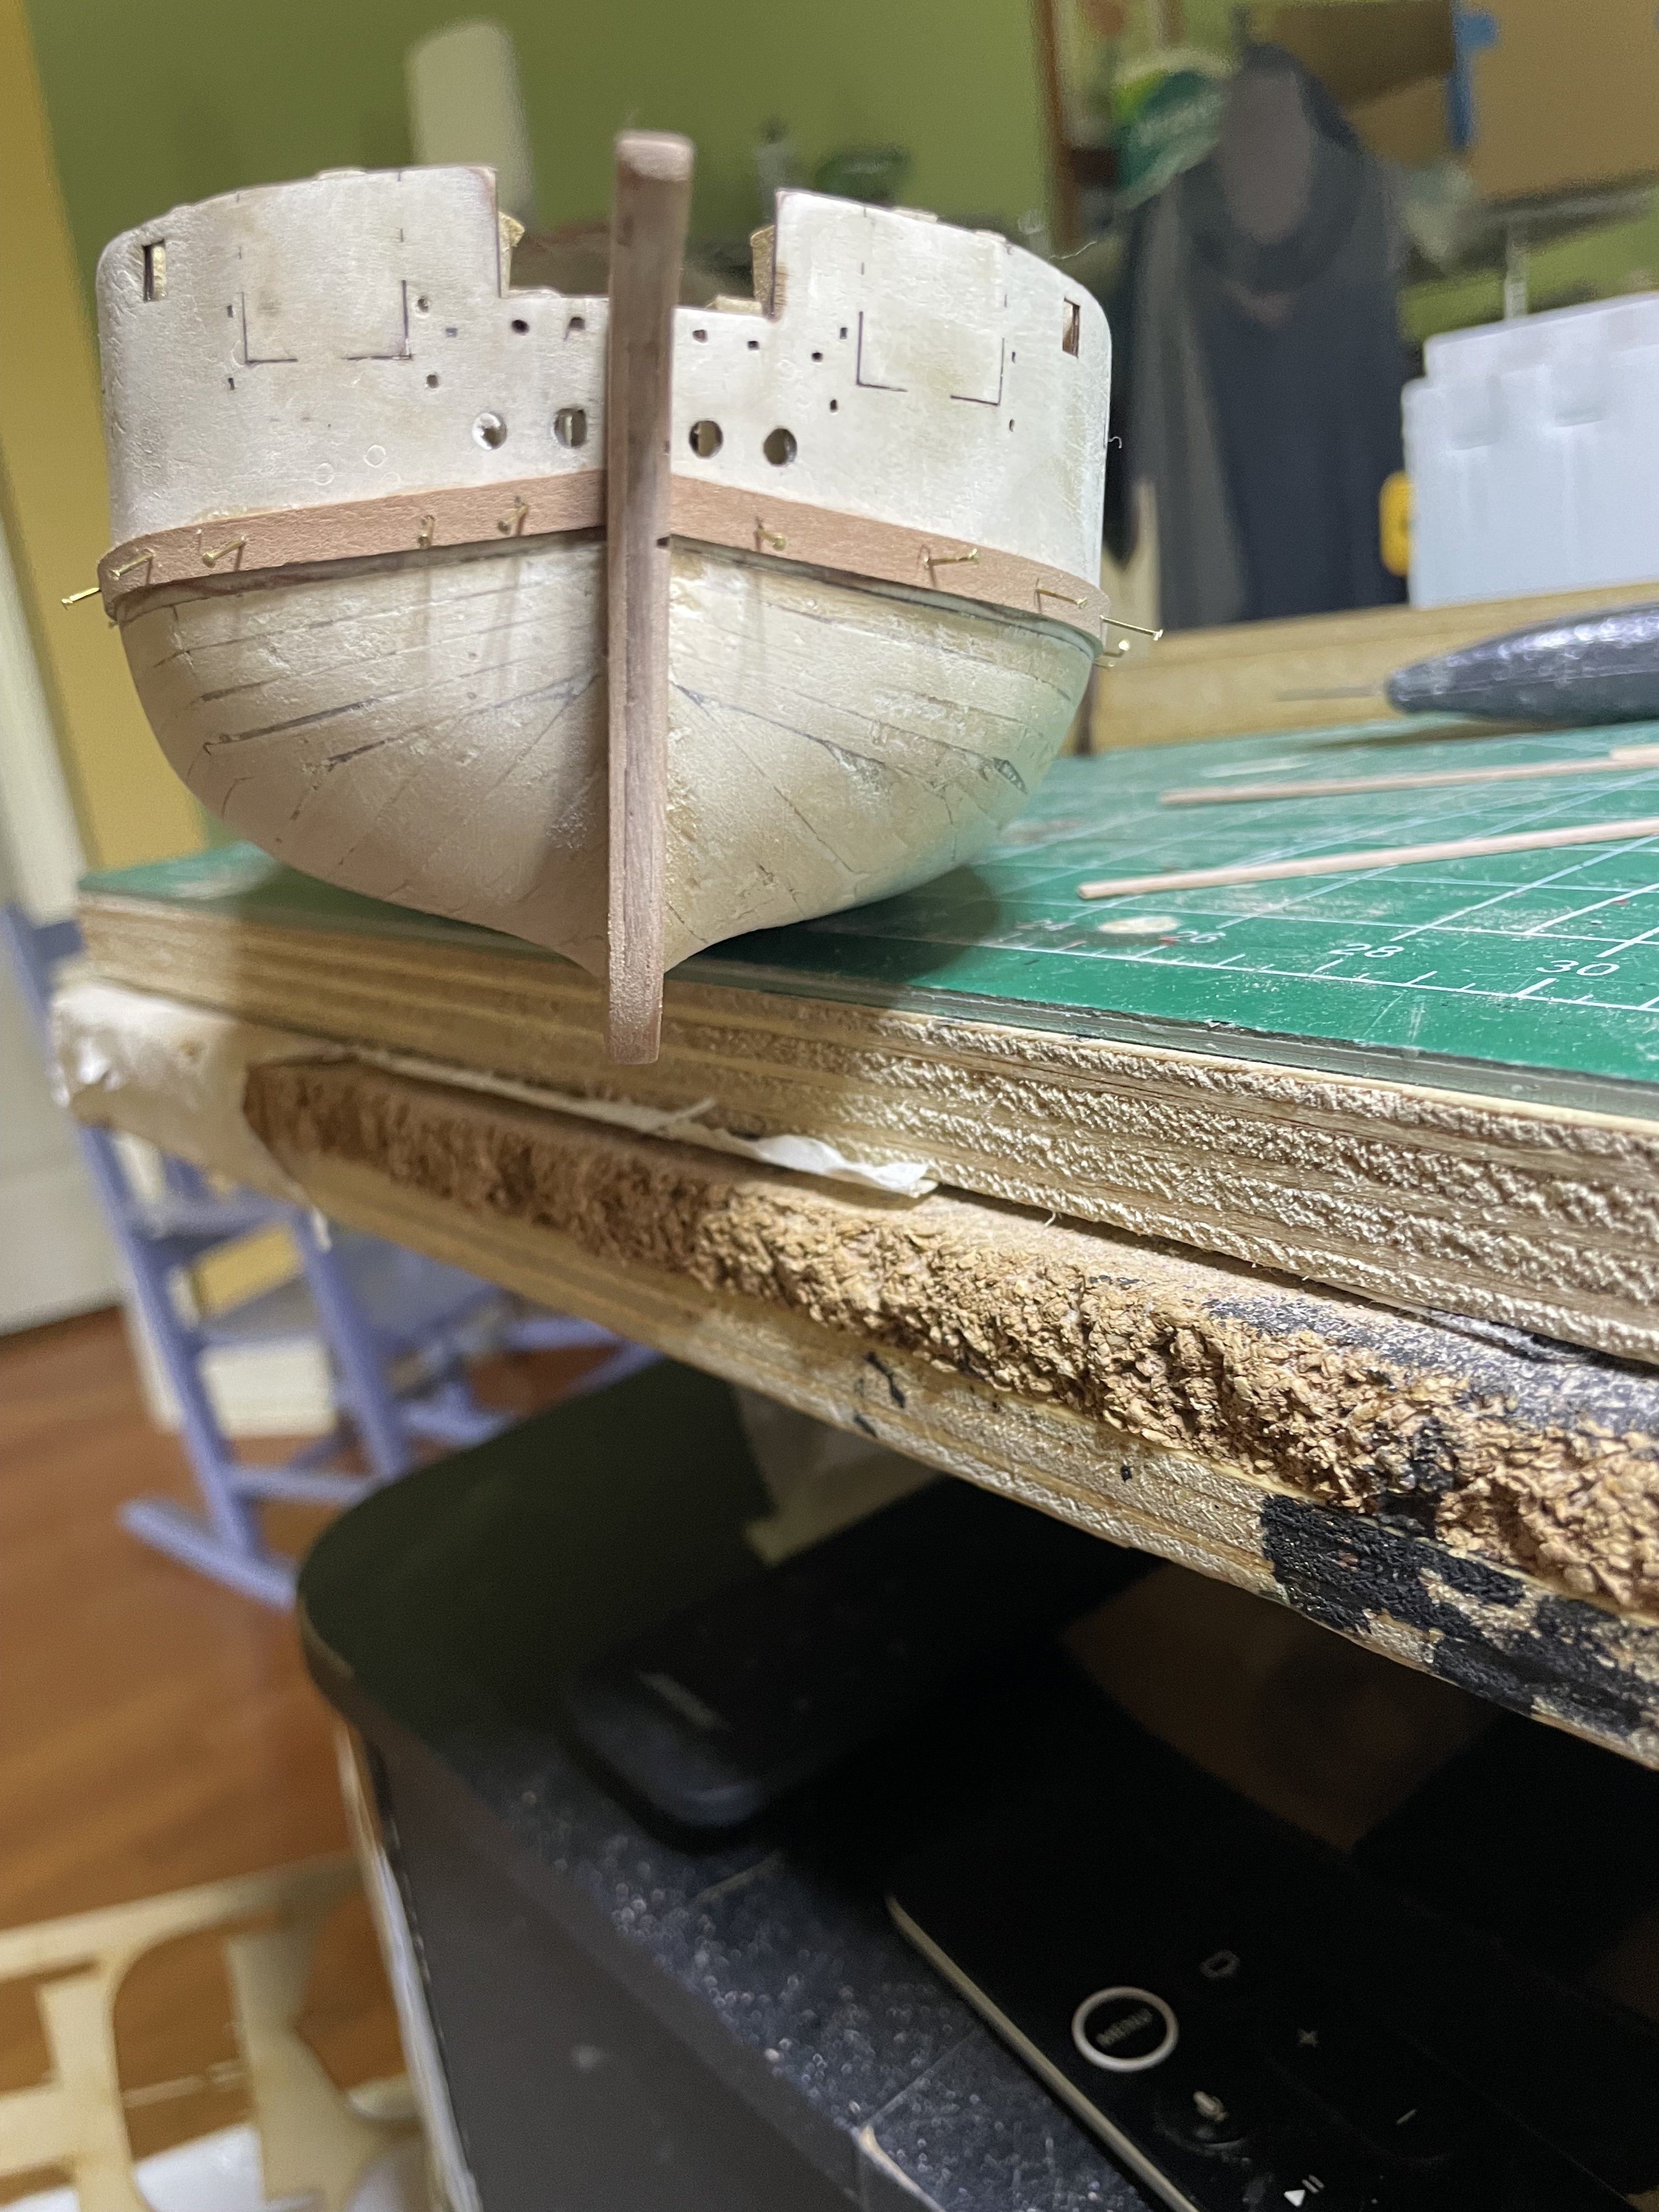
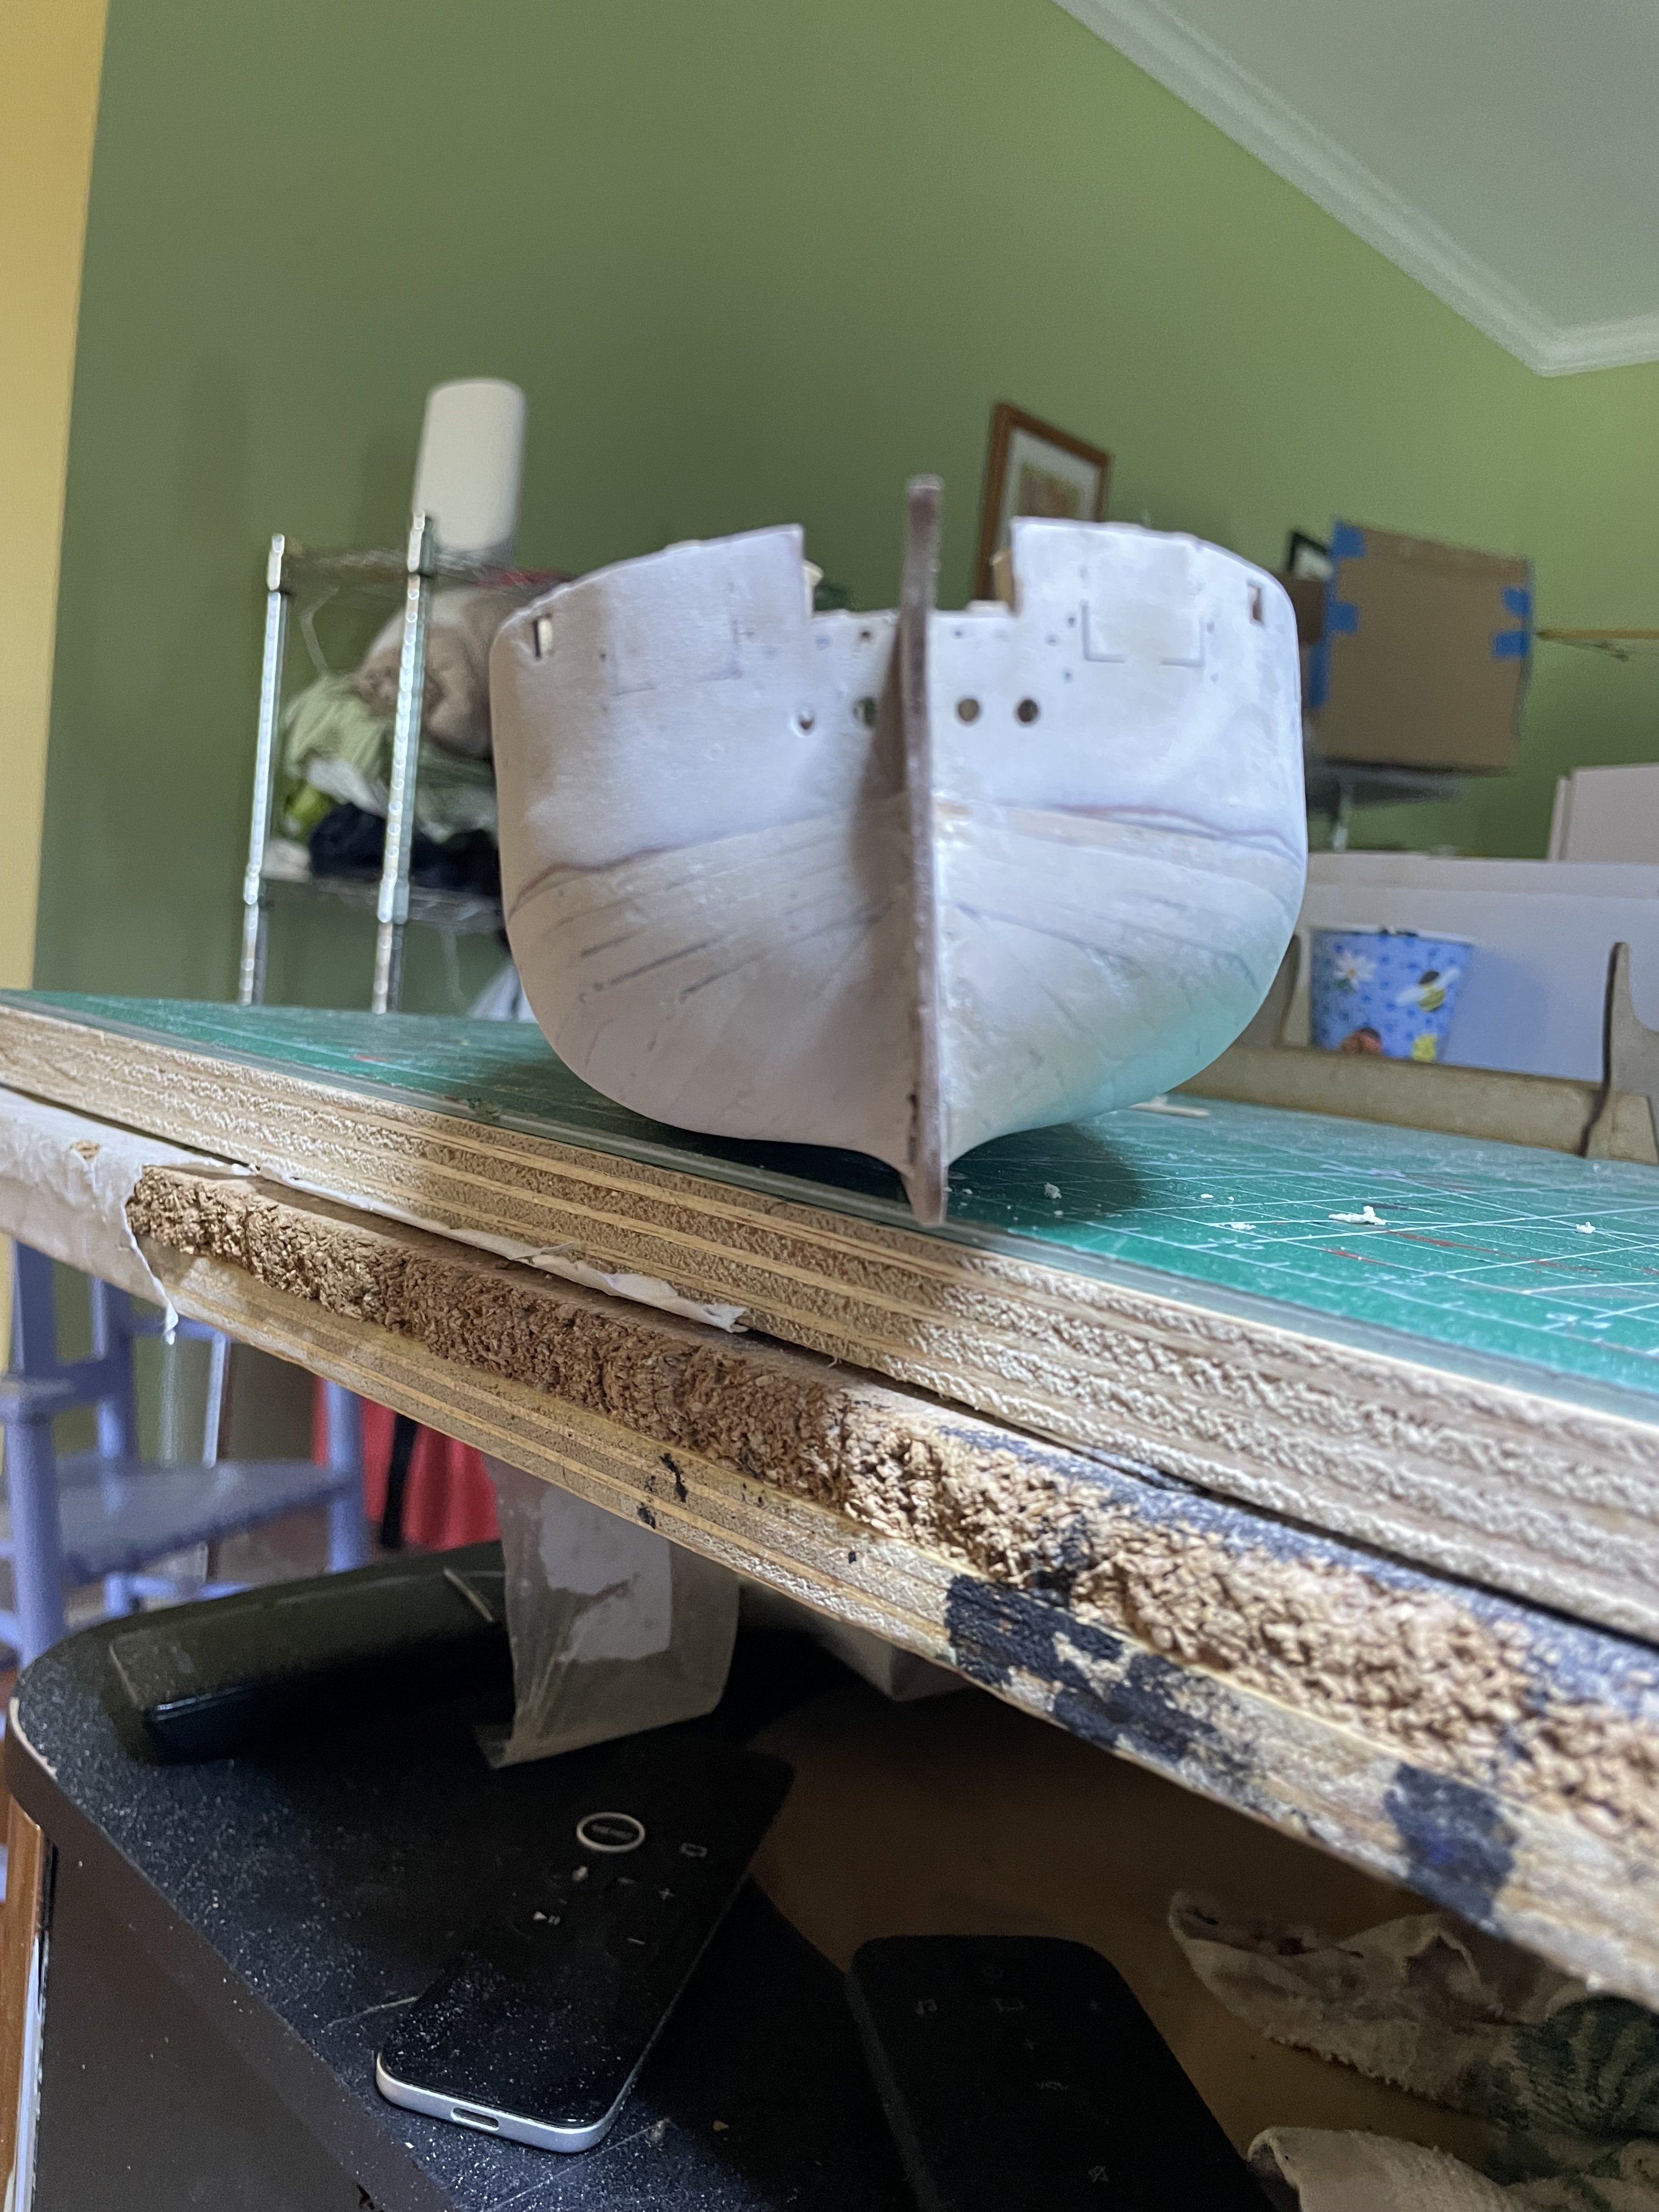
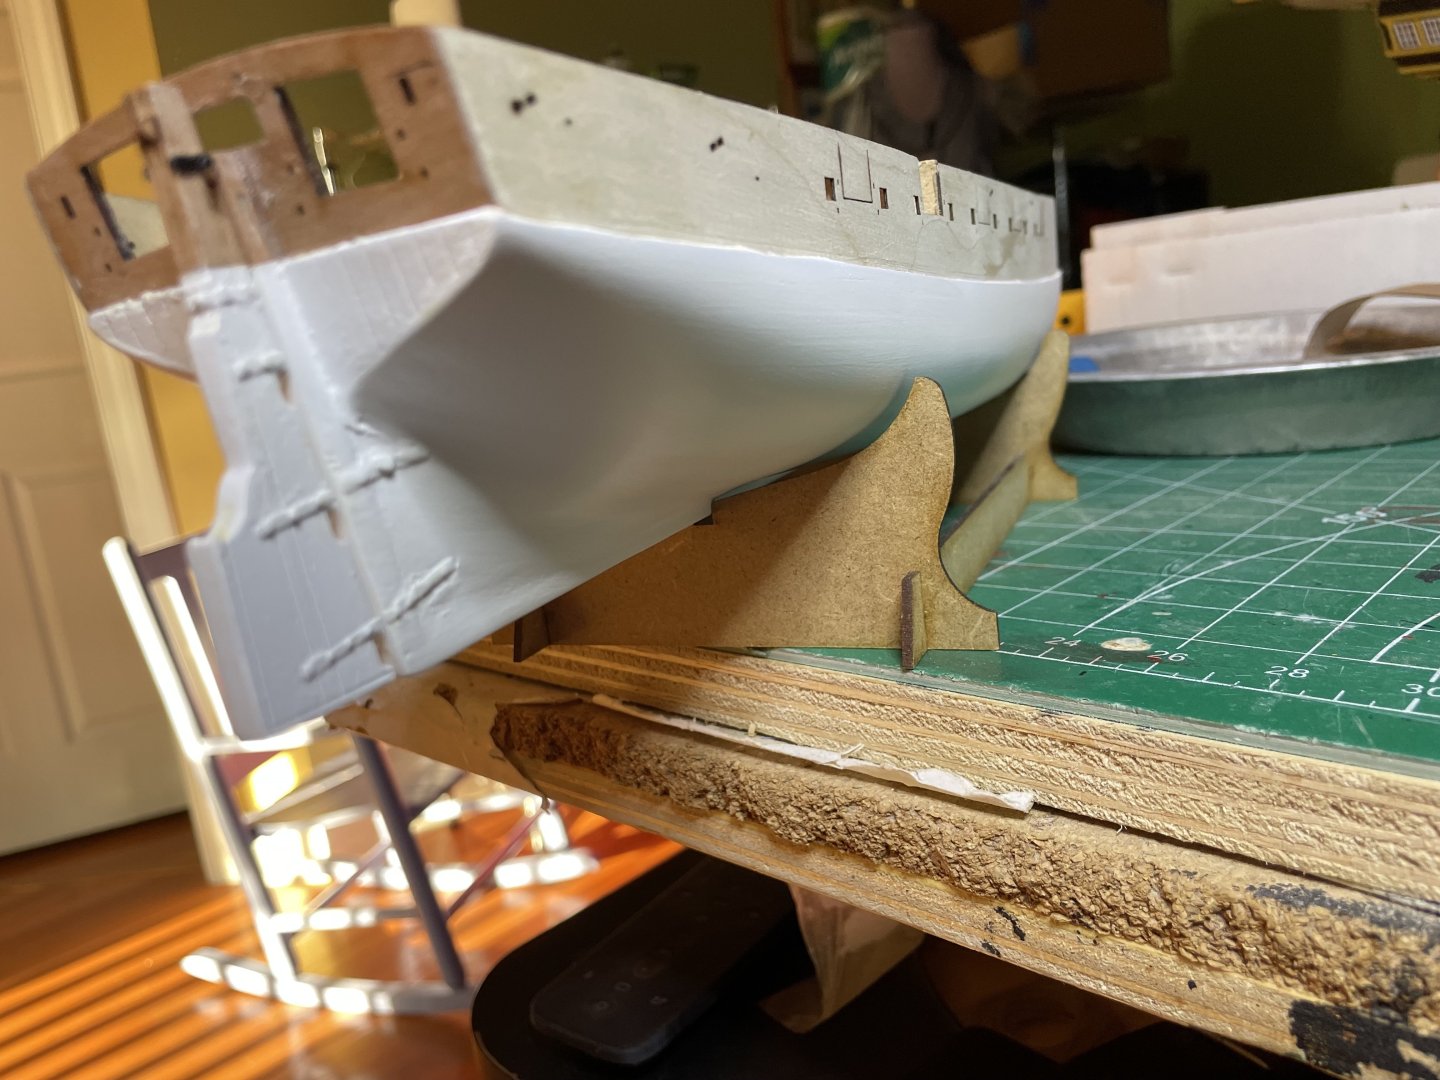
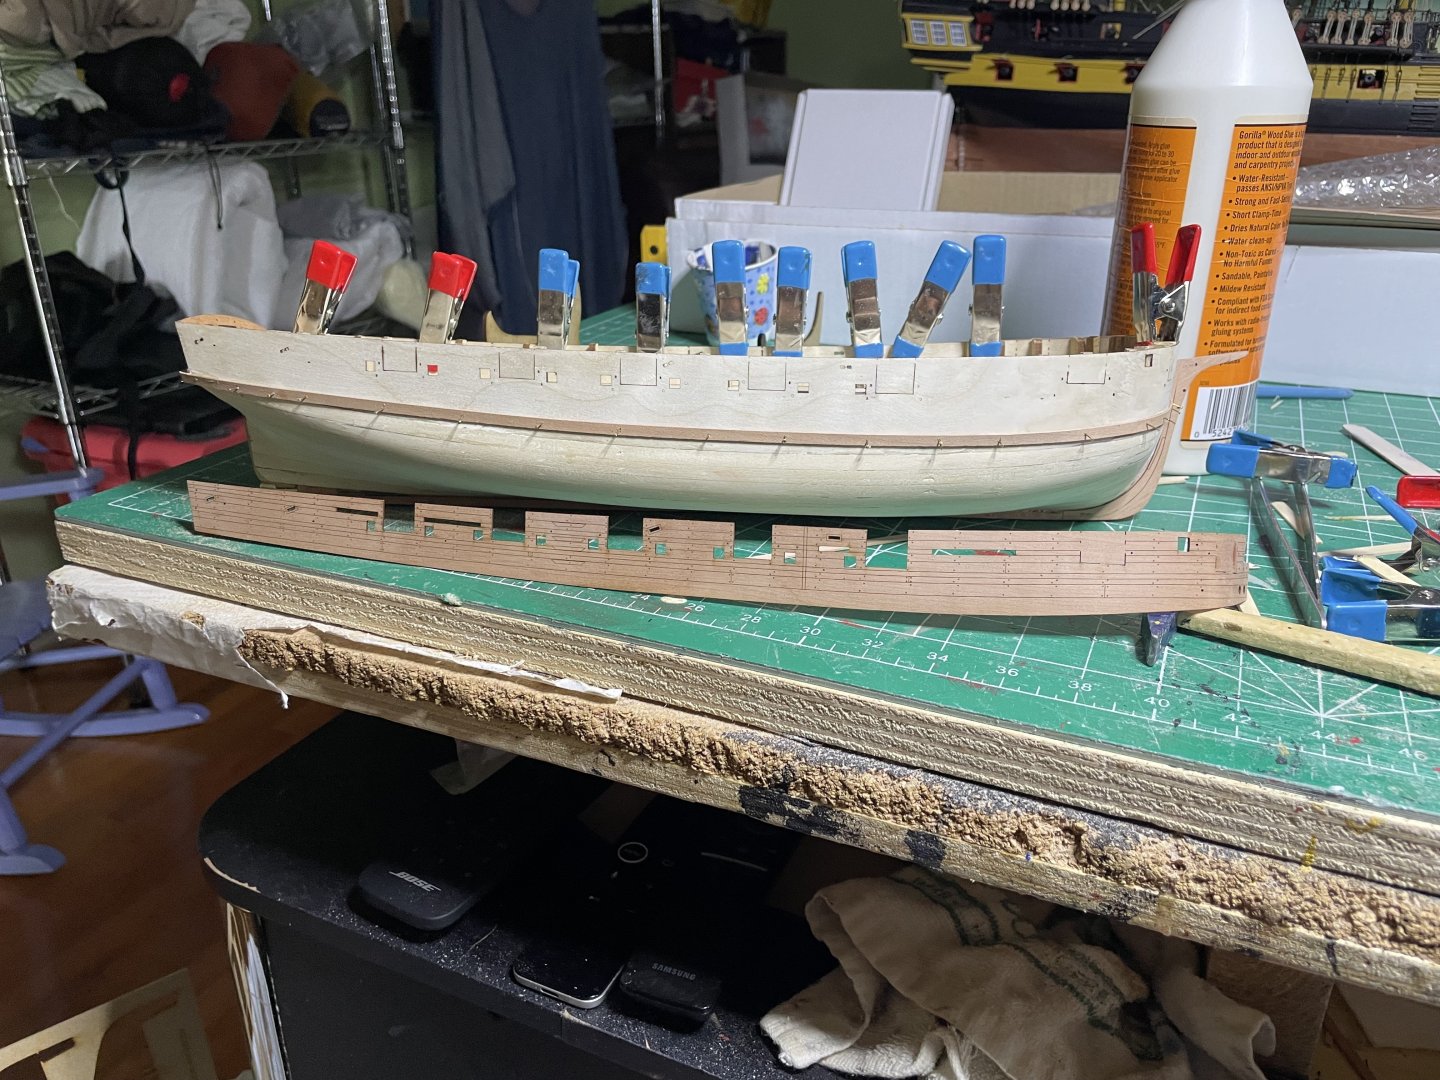
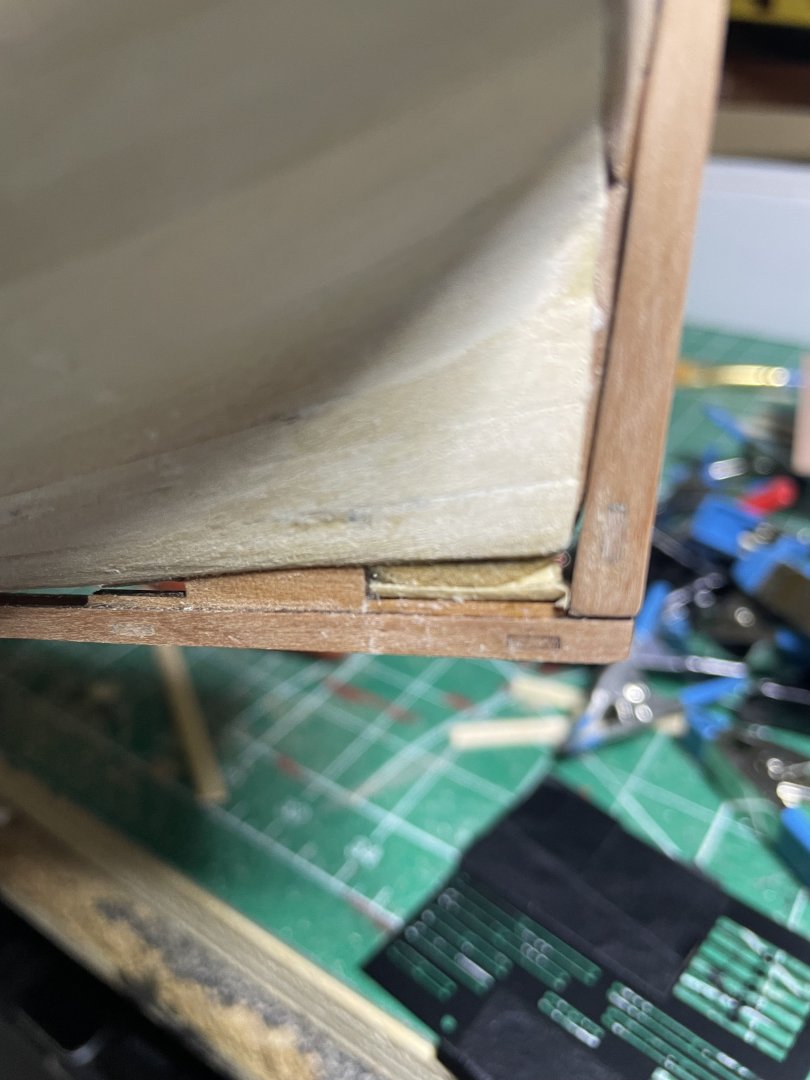
Messed up a bit and posted photos on the wrong build blog. Took Chris's advice and clamped upper bulwarks in place then pinned and glued first course of the second planking. Added a few filler pieces so something for the planks to bind. Also placed the stern post temporarily to get things aligned properly. Finished the second planking. Not the best I have ever done but those curves were a SOB. lines good for painting now. Also filled the stern post gaps with filler.


- 66 replies
-
- 9
-
-
- Adder
- Vanguard Models
- (and 1 more)
-
Sorry, my bad. Sometimes the site is not the easiest to get to the correct place.
- 146 replies
-
- 1
-
-
- Adder
- Vanguard Models
- (and 1 more)
-
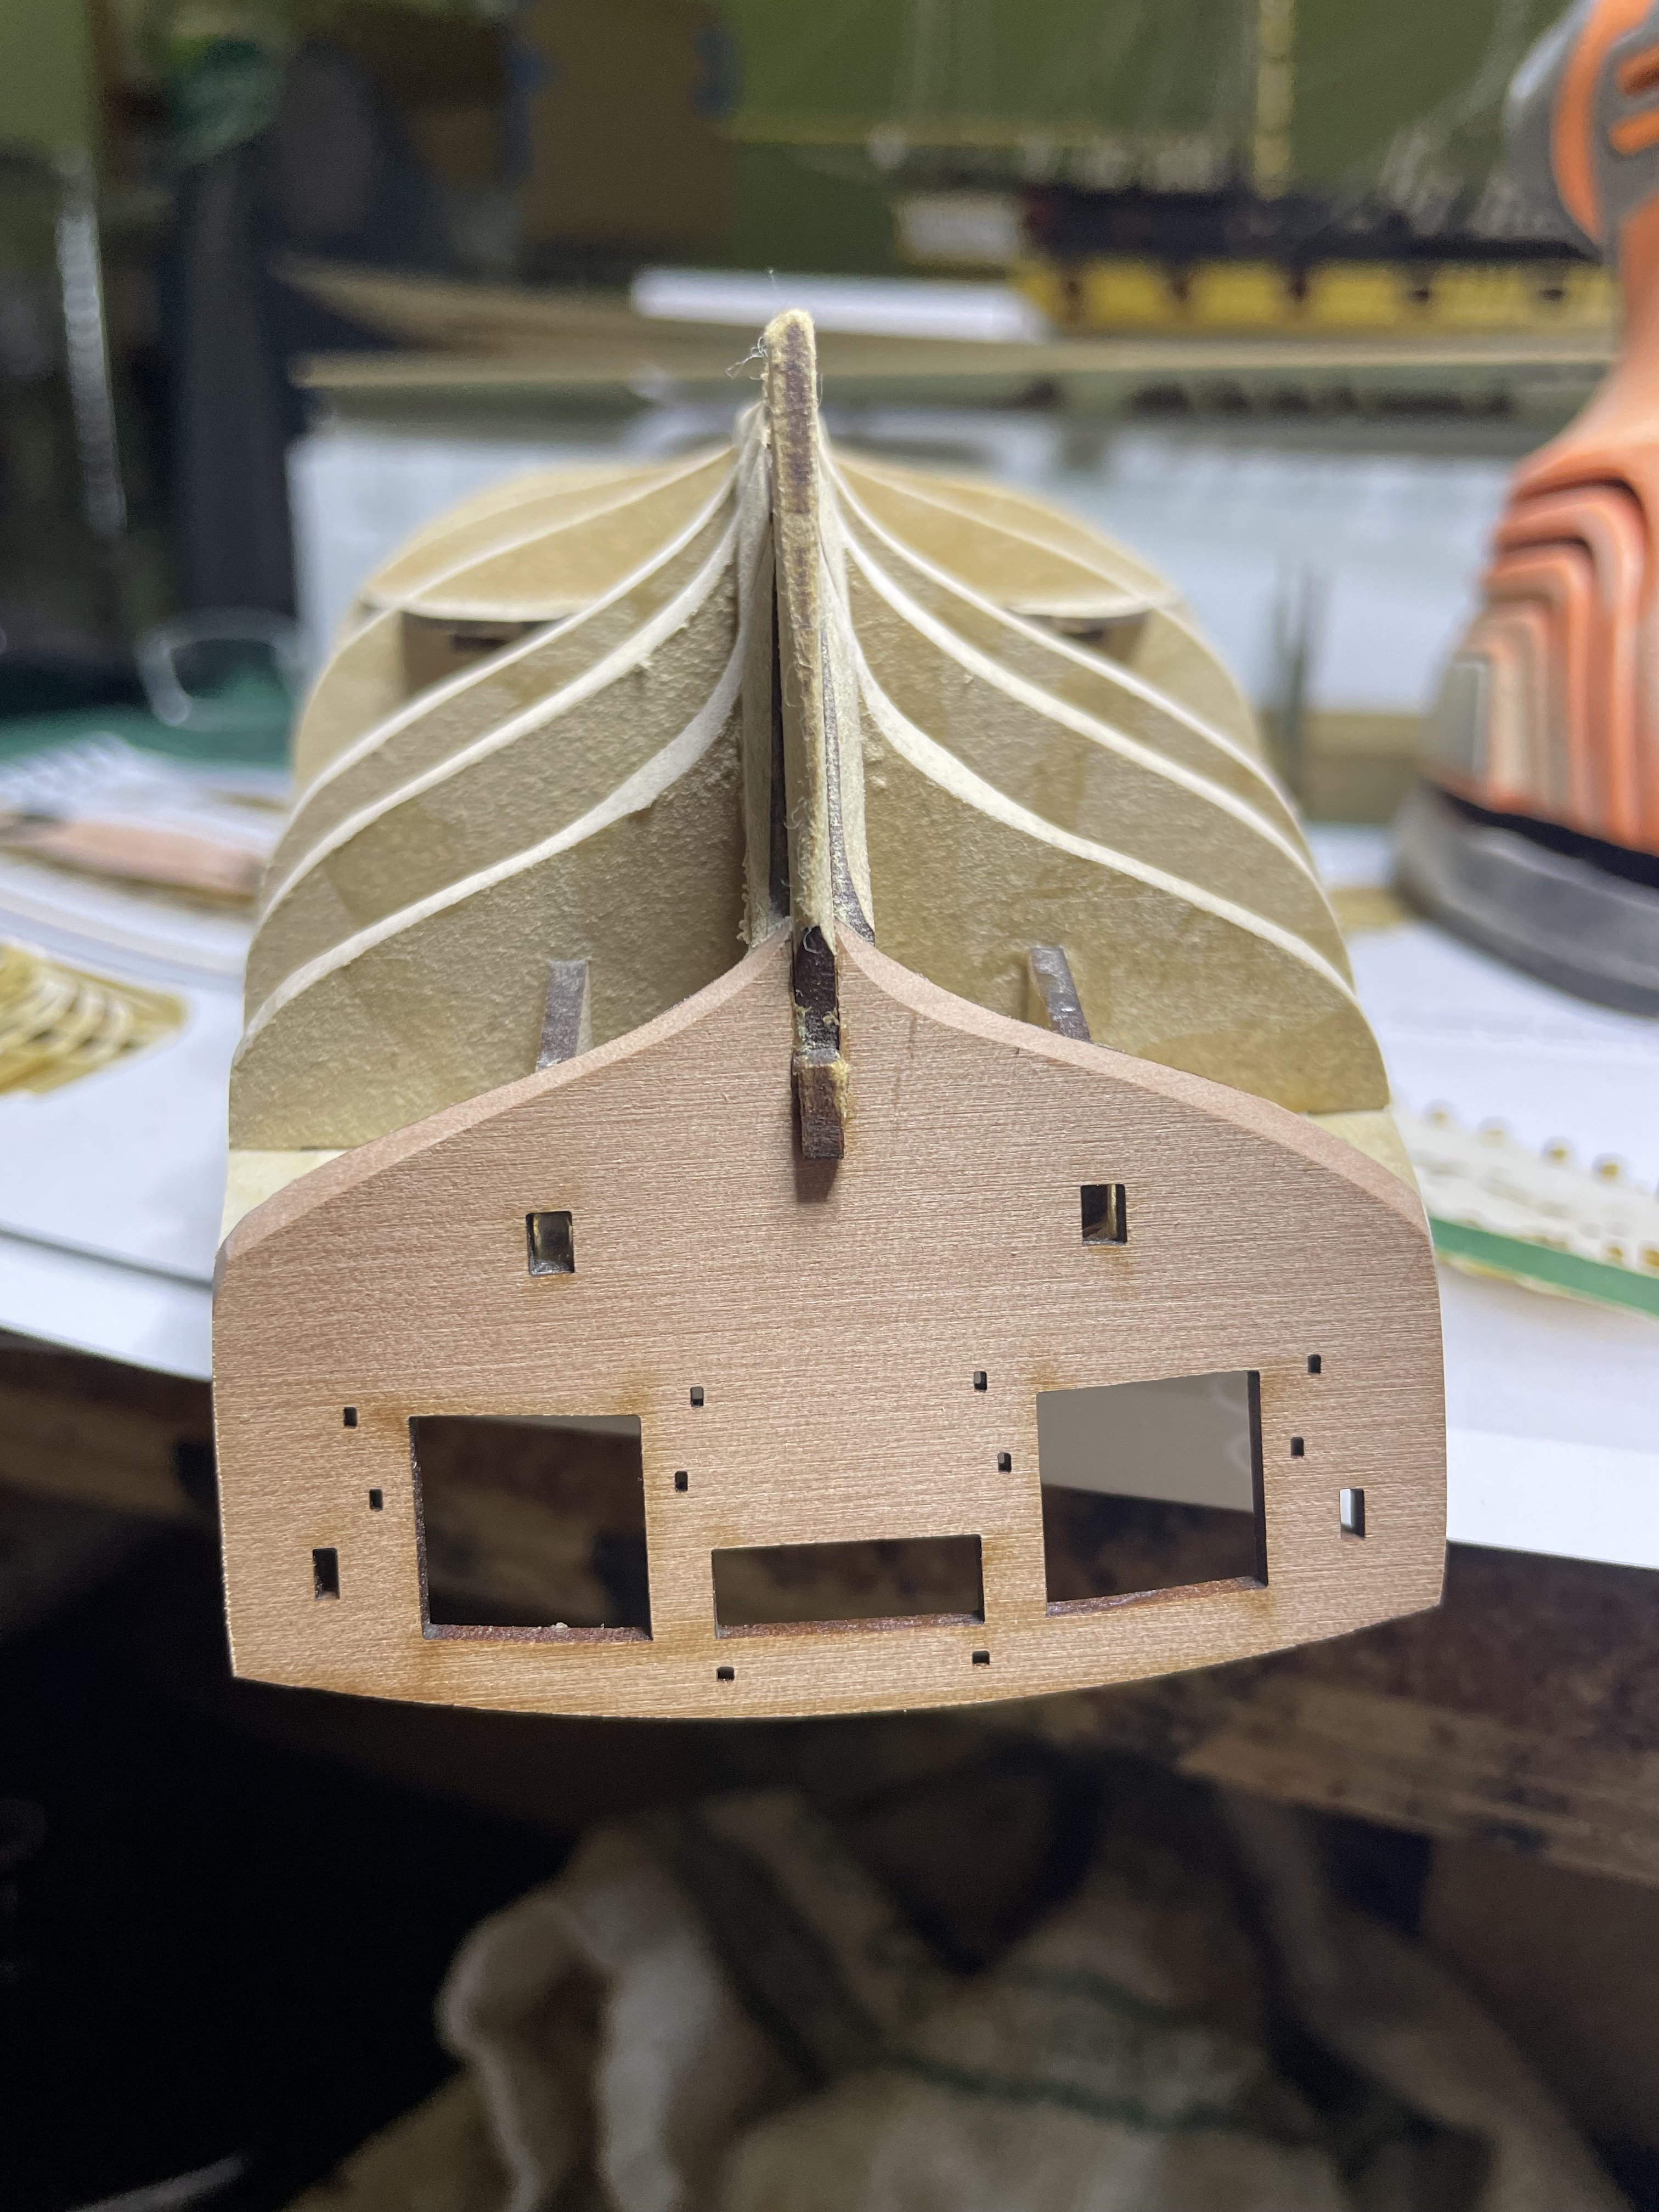
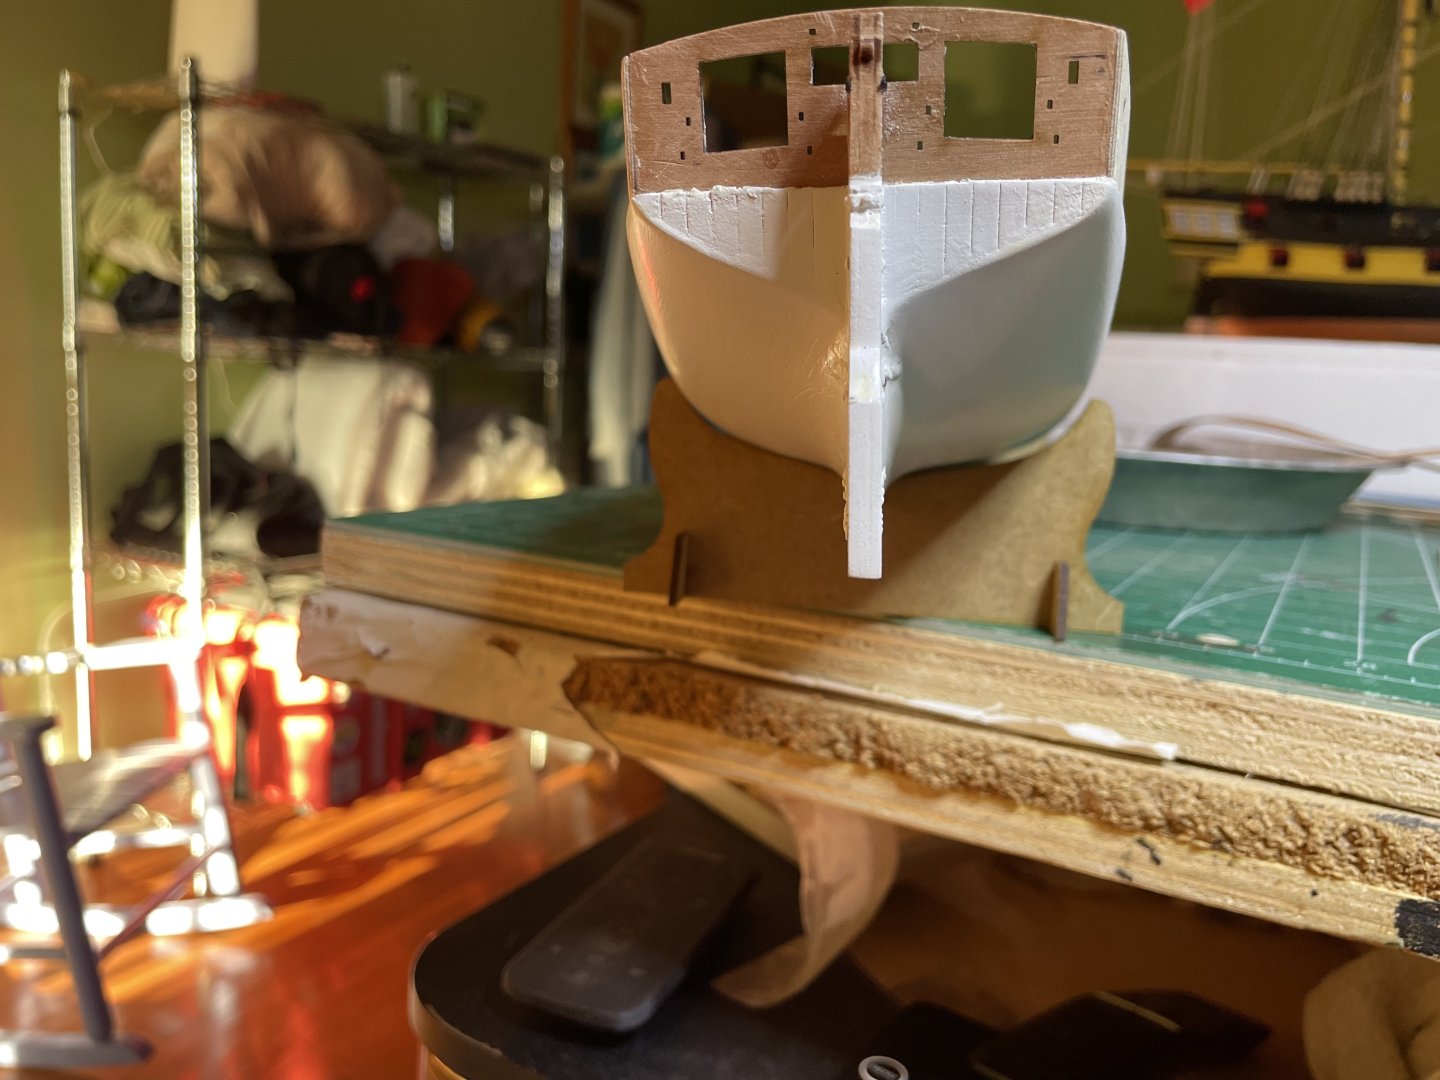
First step is to glue the false keel. I temporarily attached the stern post to get the high correct. Also added some wood filler to fill the empty space and allow something to glue to planks. I followed Chris' advice and first clamped the upper bulwark in place (having soaked and bent into place and dried overnight). Subsequently glued and pinned the first plank line and also glued and clamped the bottom line of planks. The removed the upper works so not to mess up during the gluing and sanding.


- 146 replies
-
- 5
-
-
- Adder
- Vanguard Models
- (and 1 more)
-
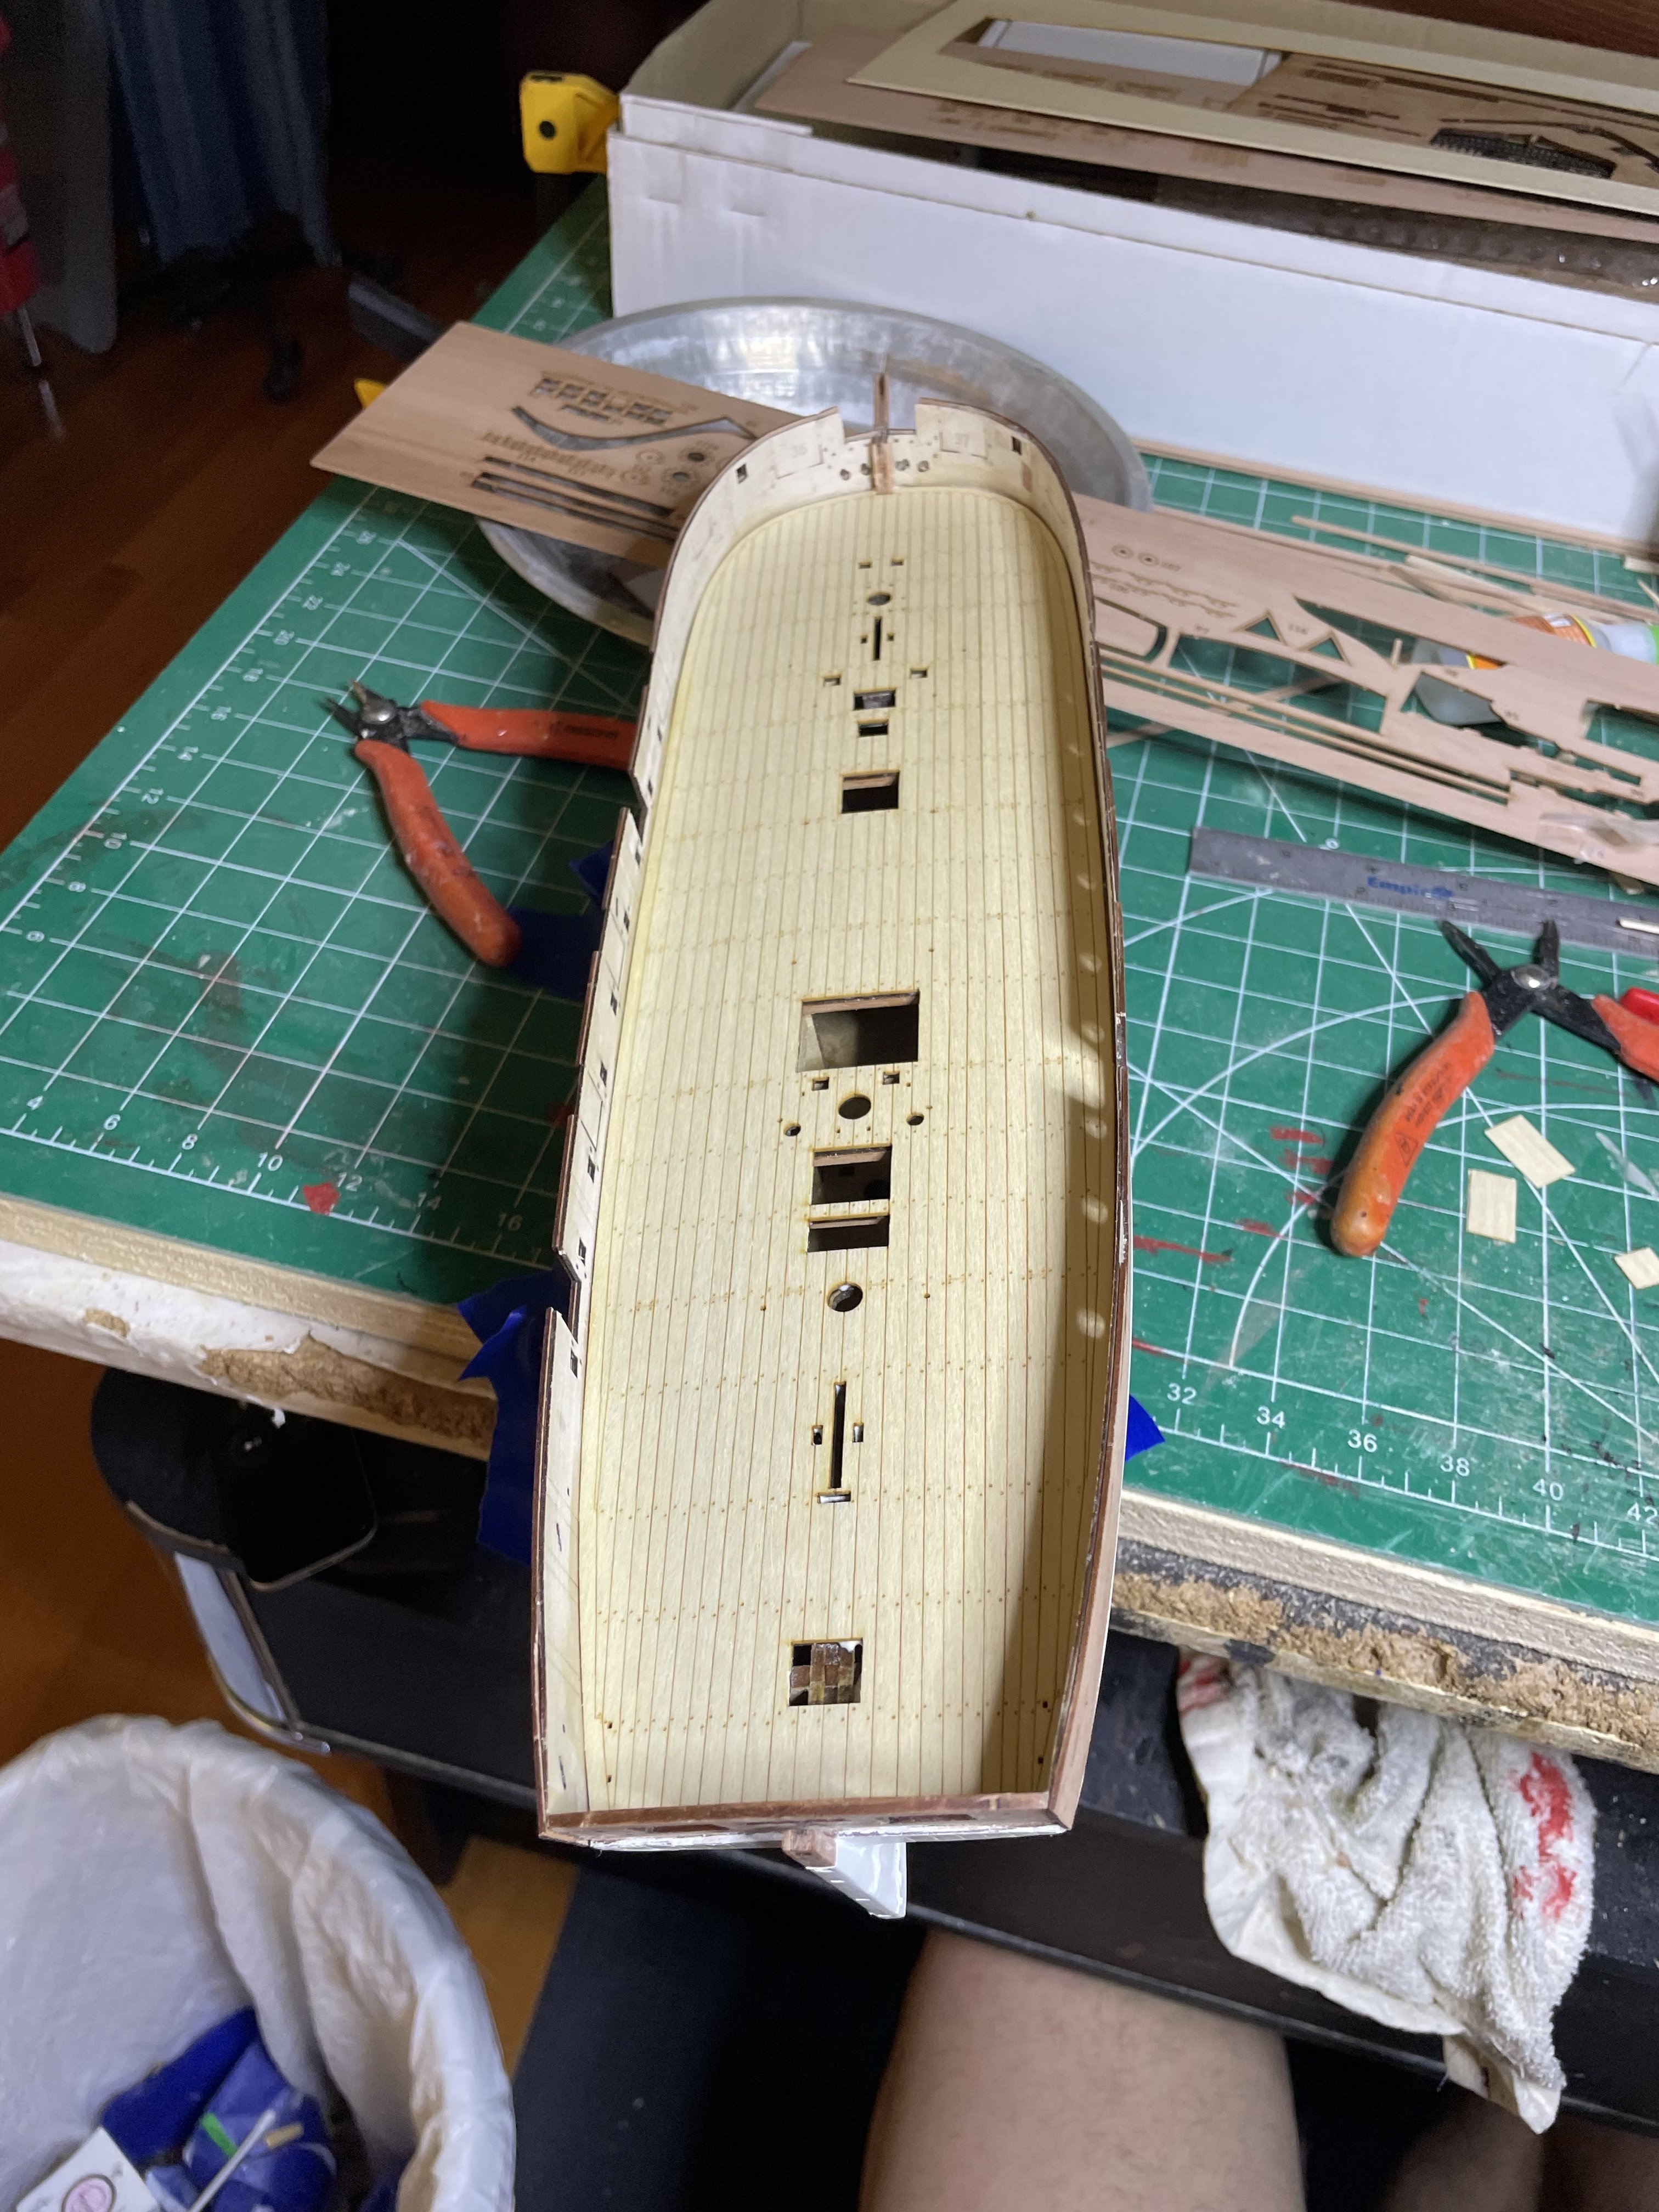
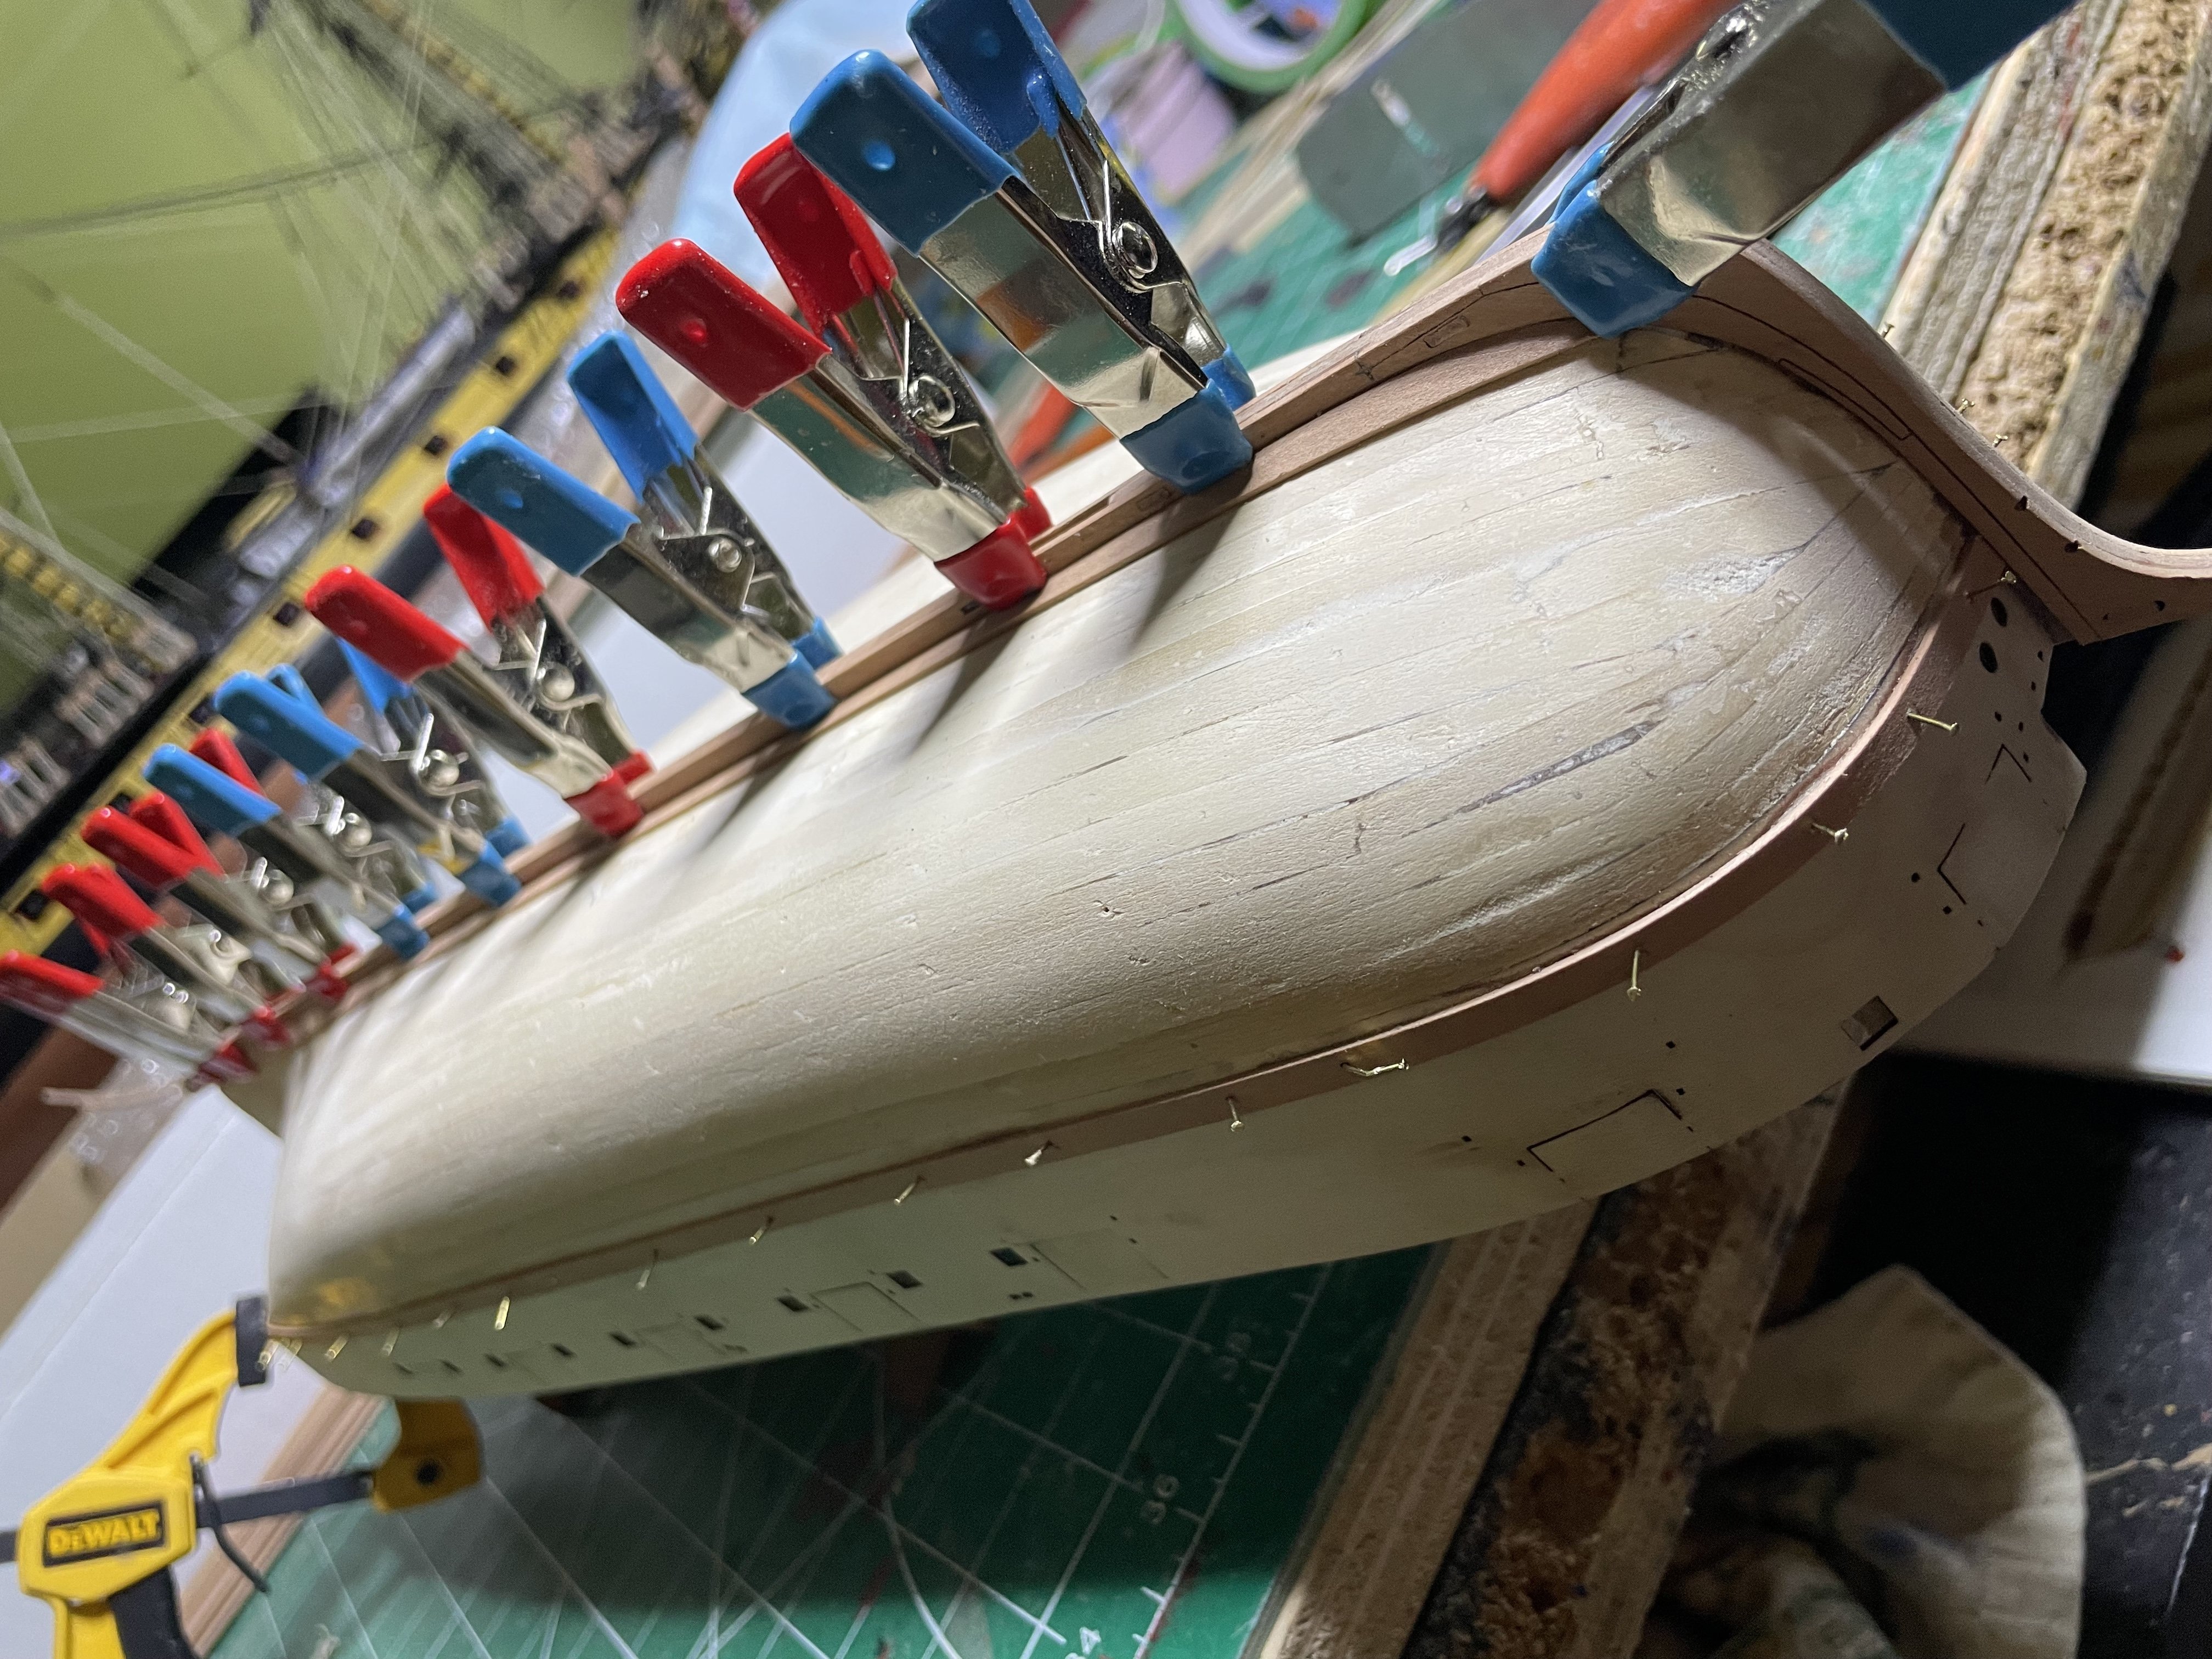
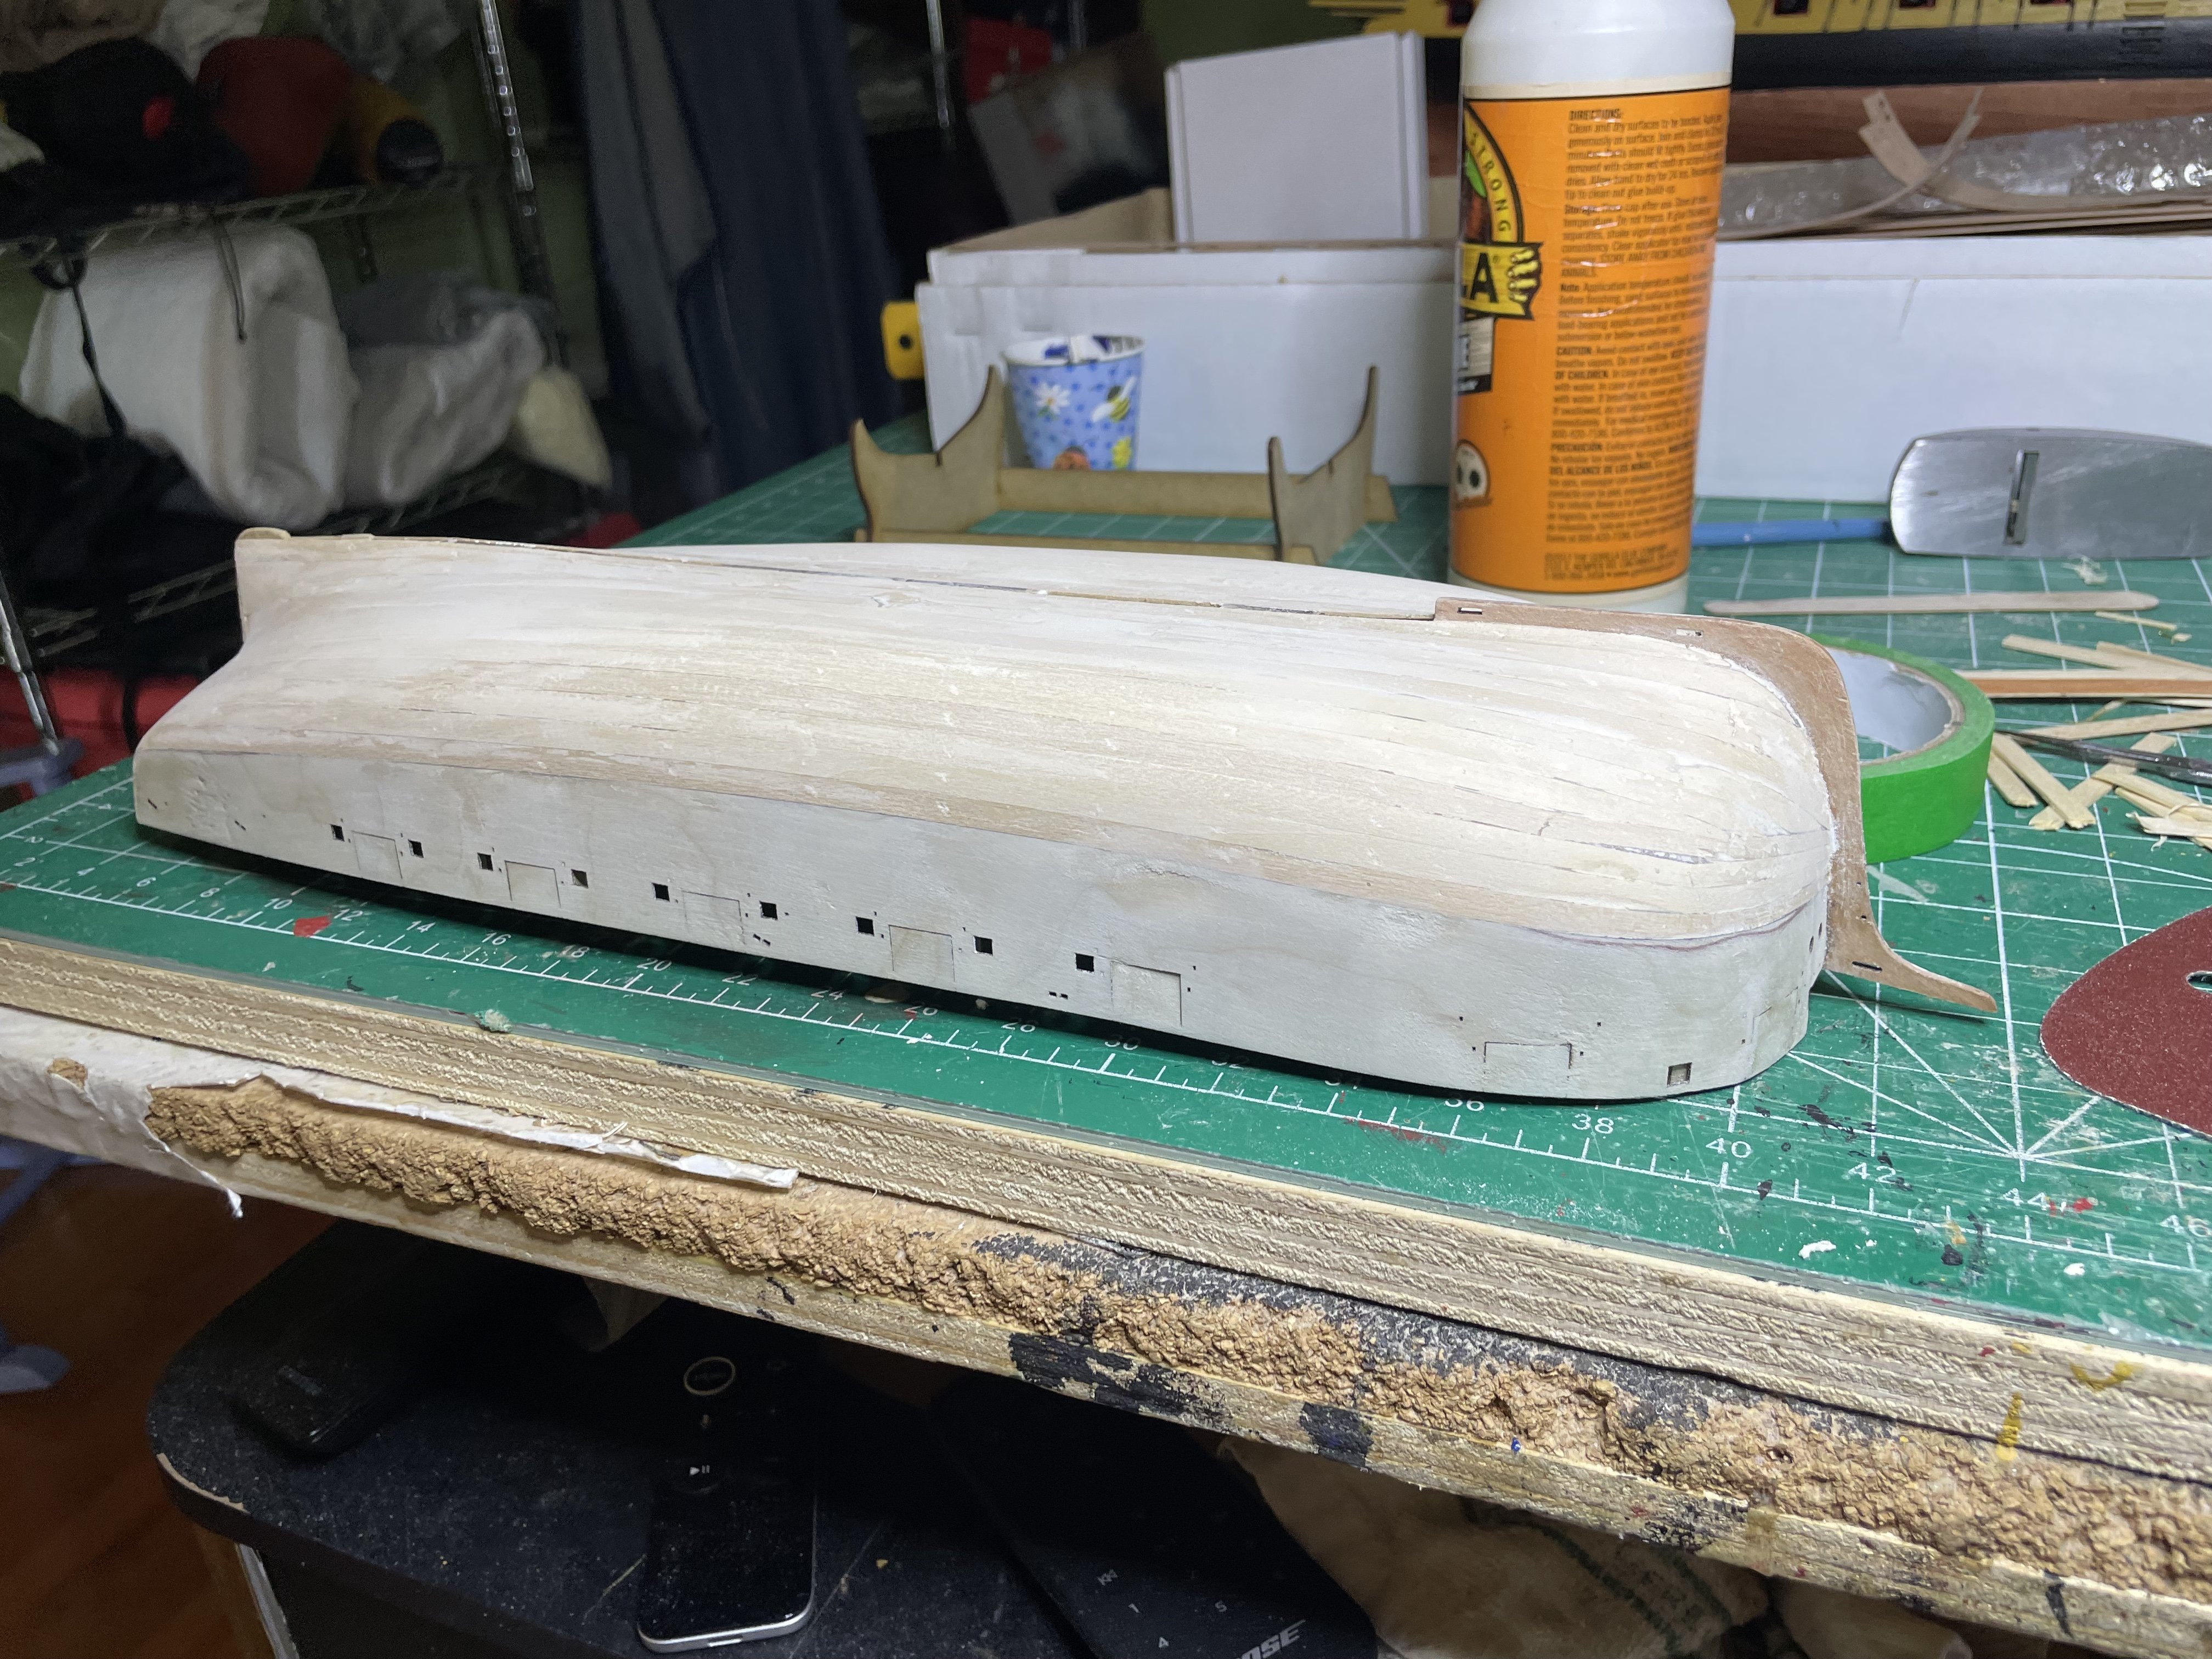
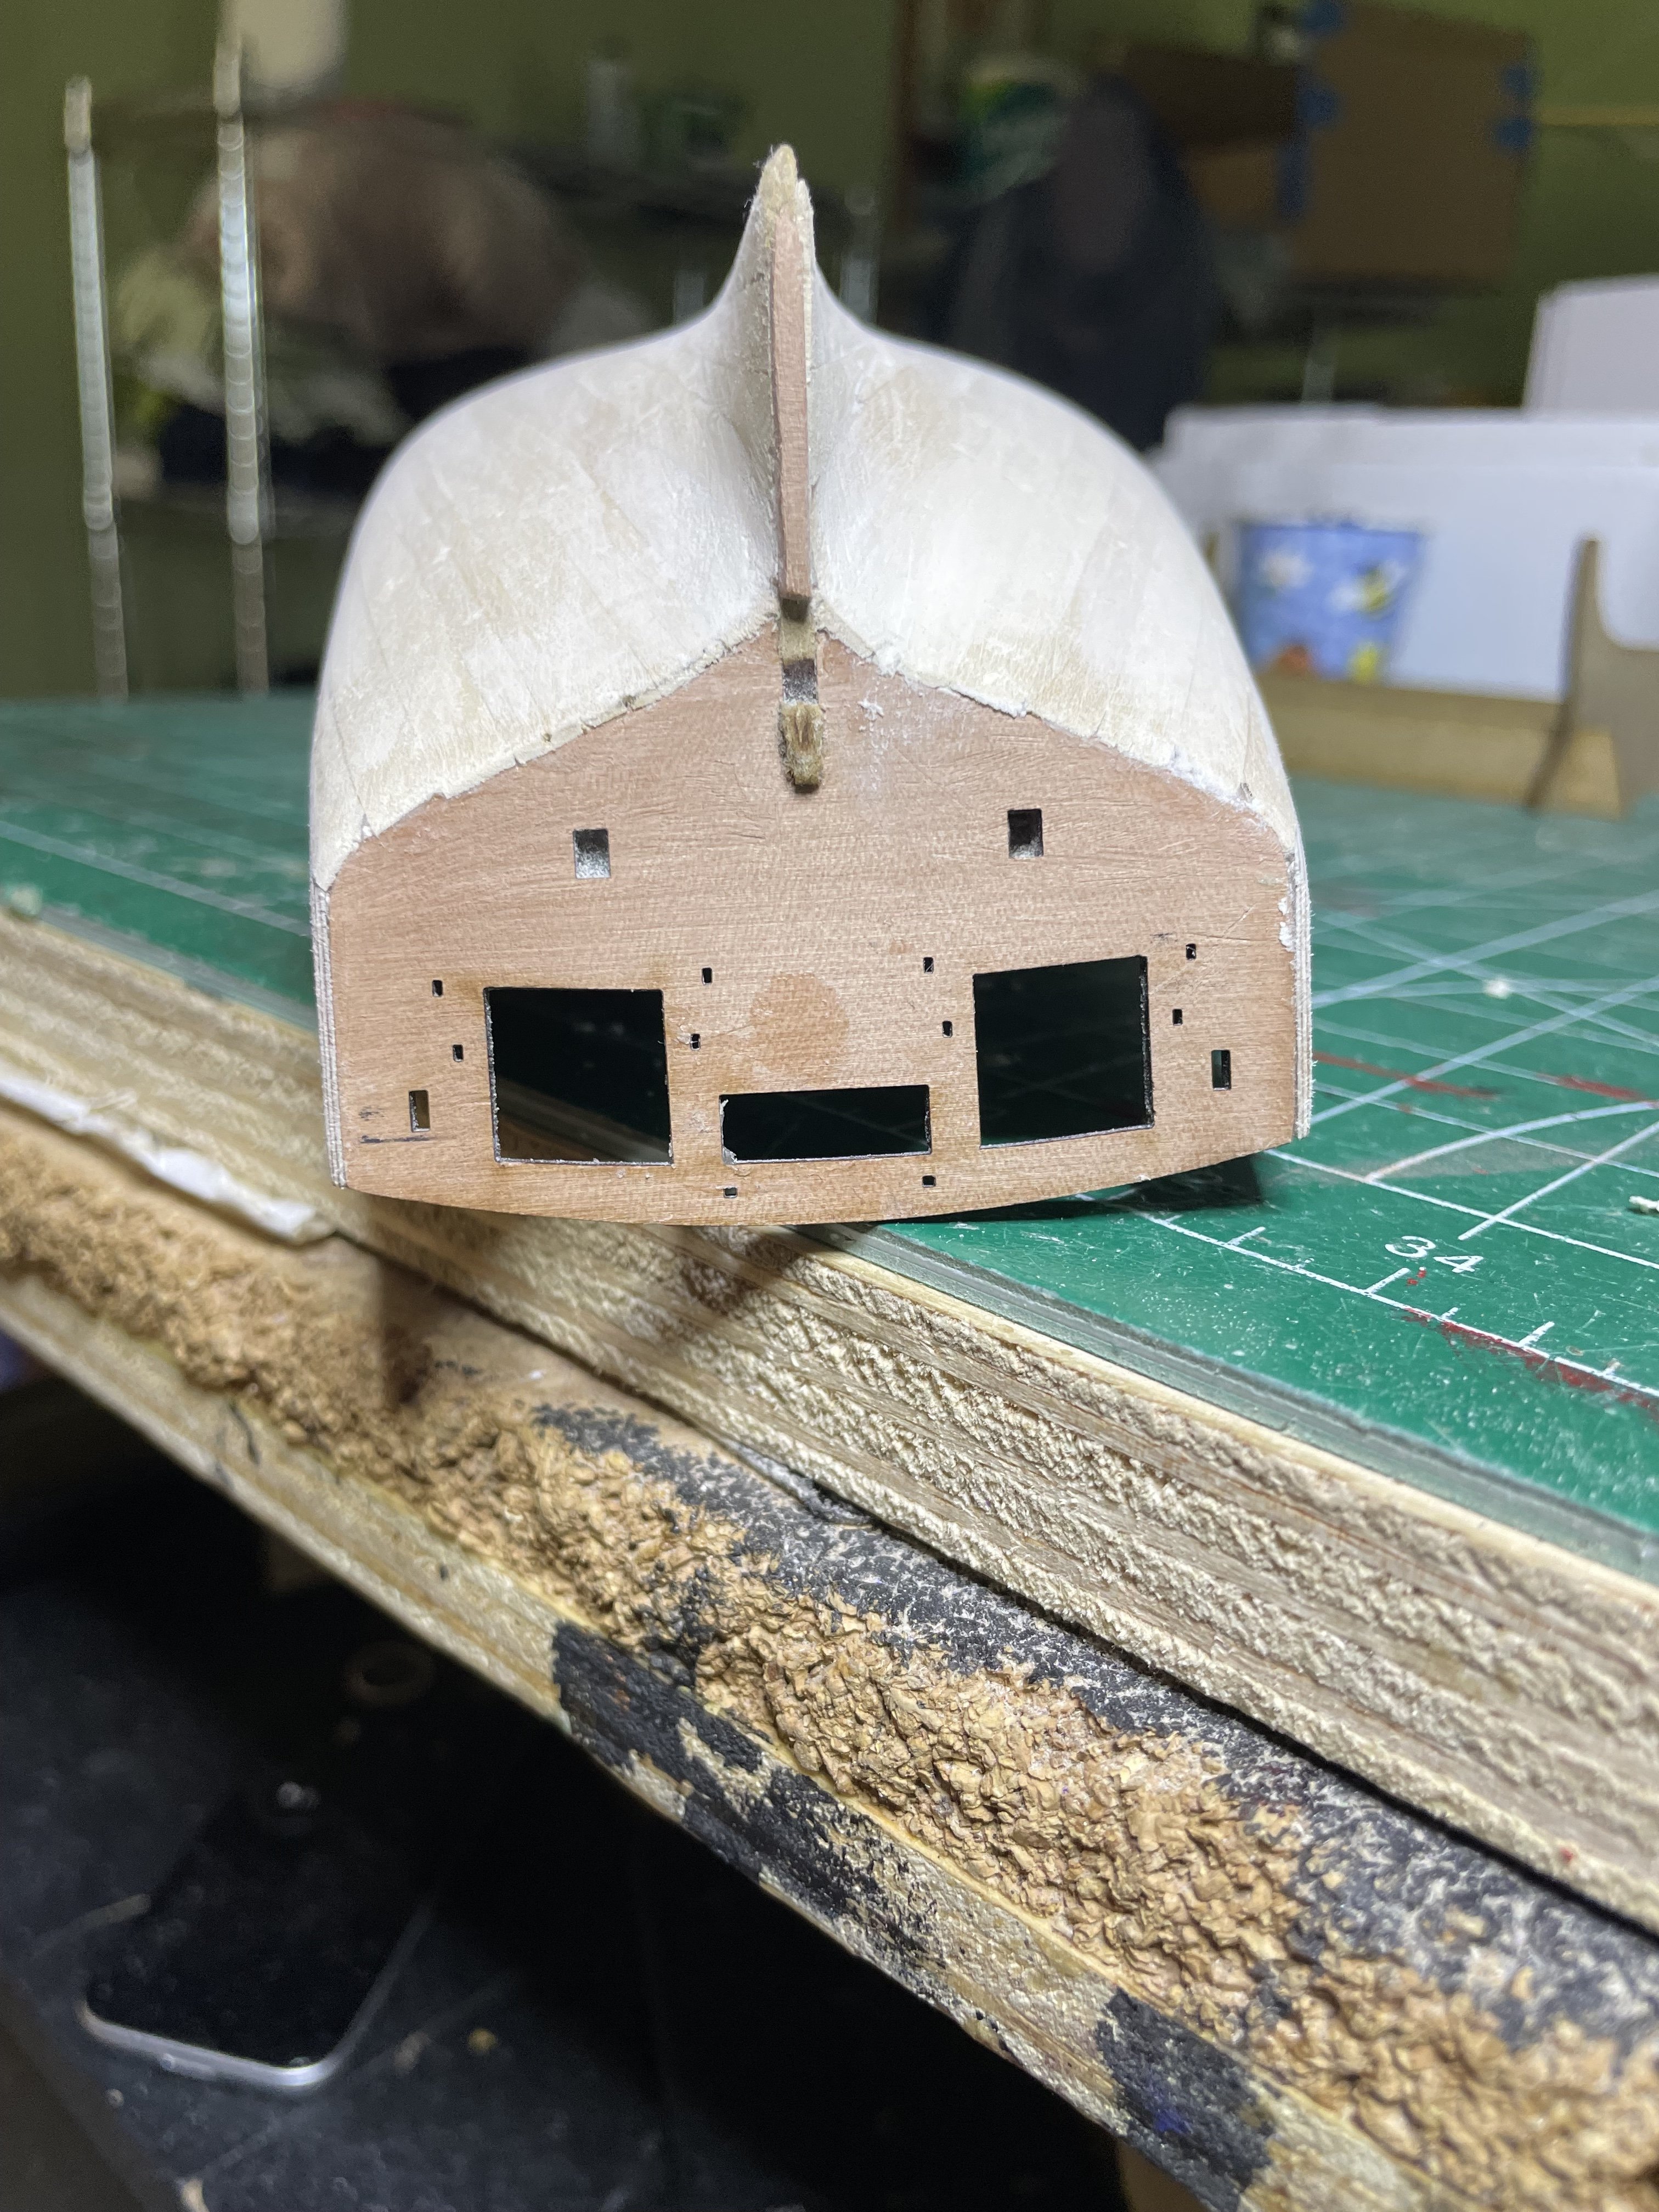
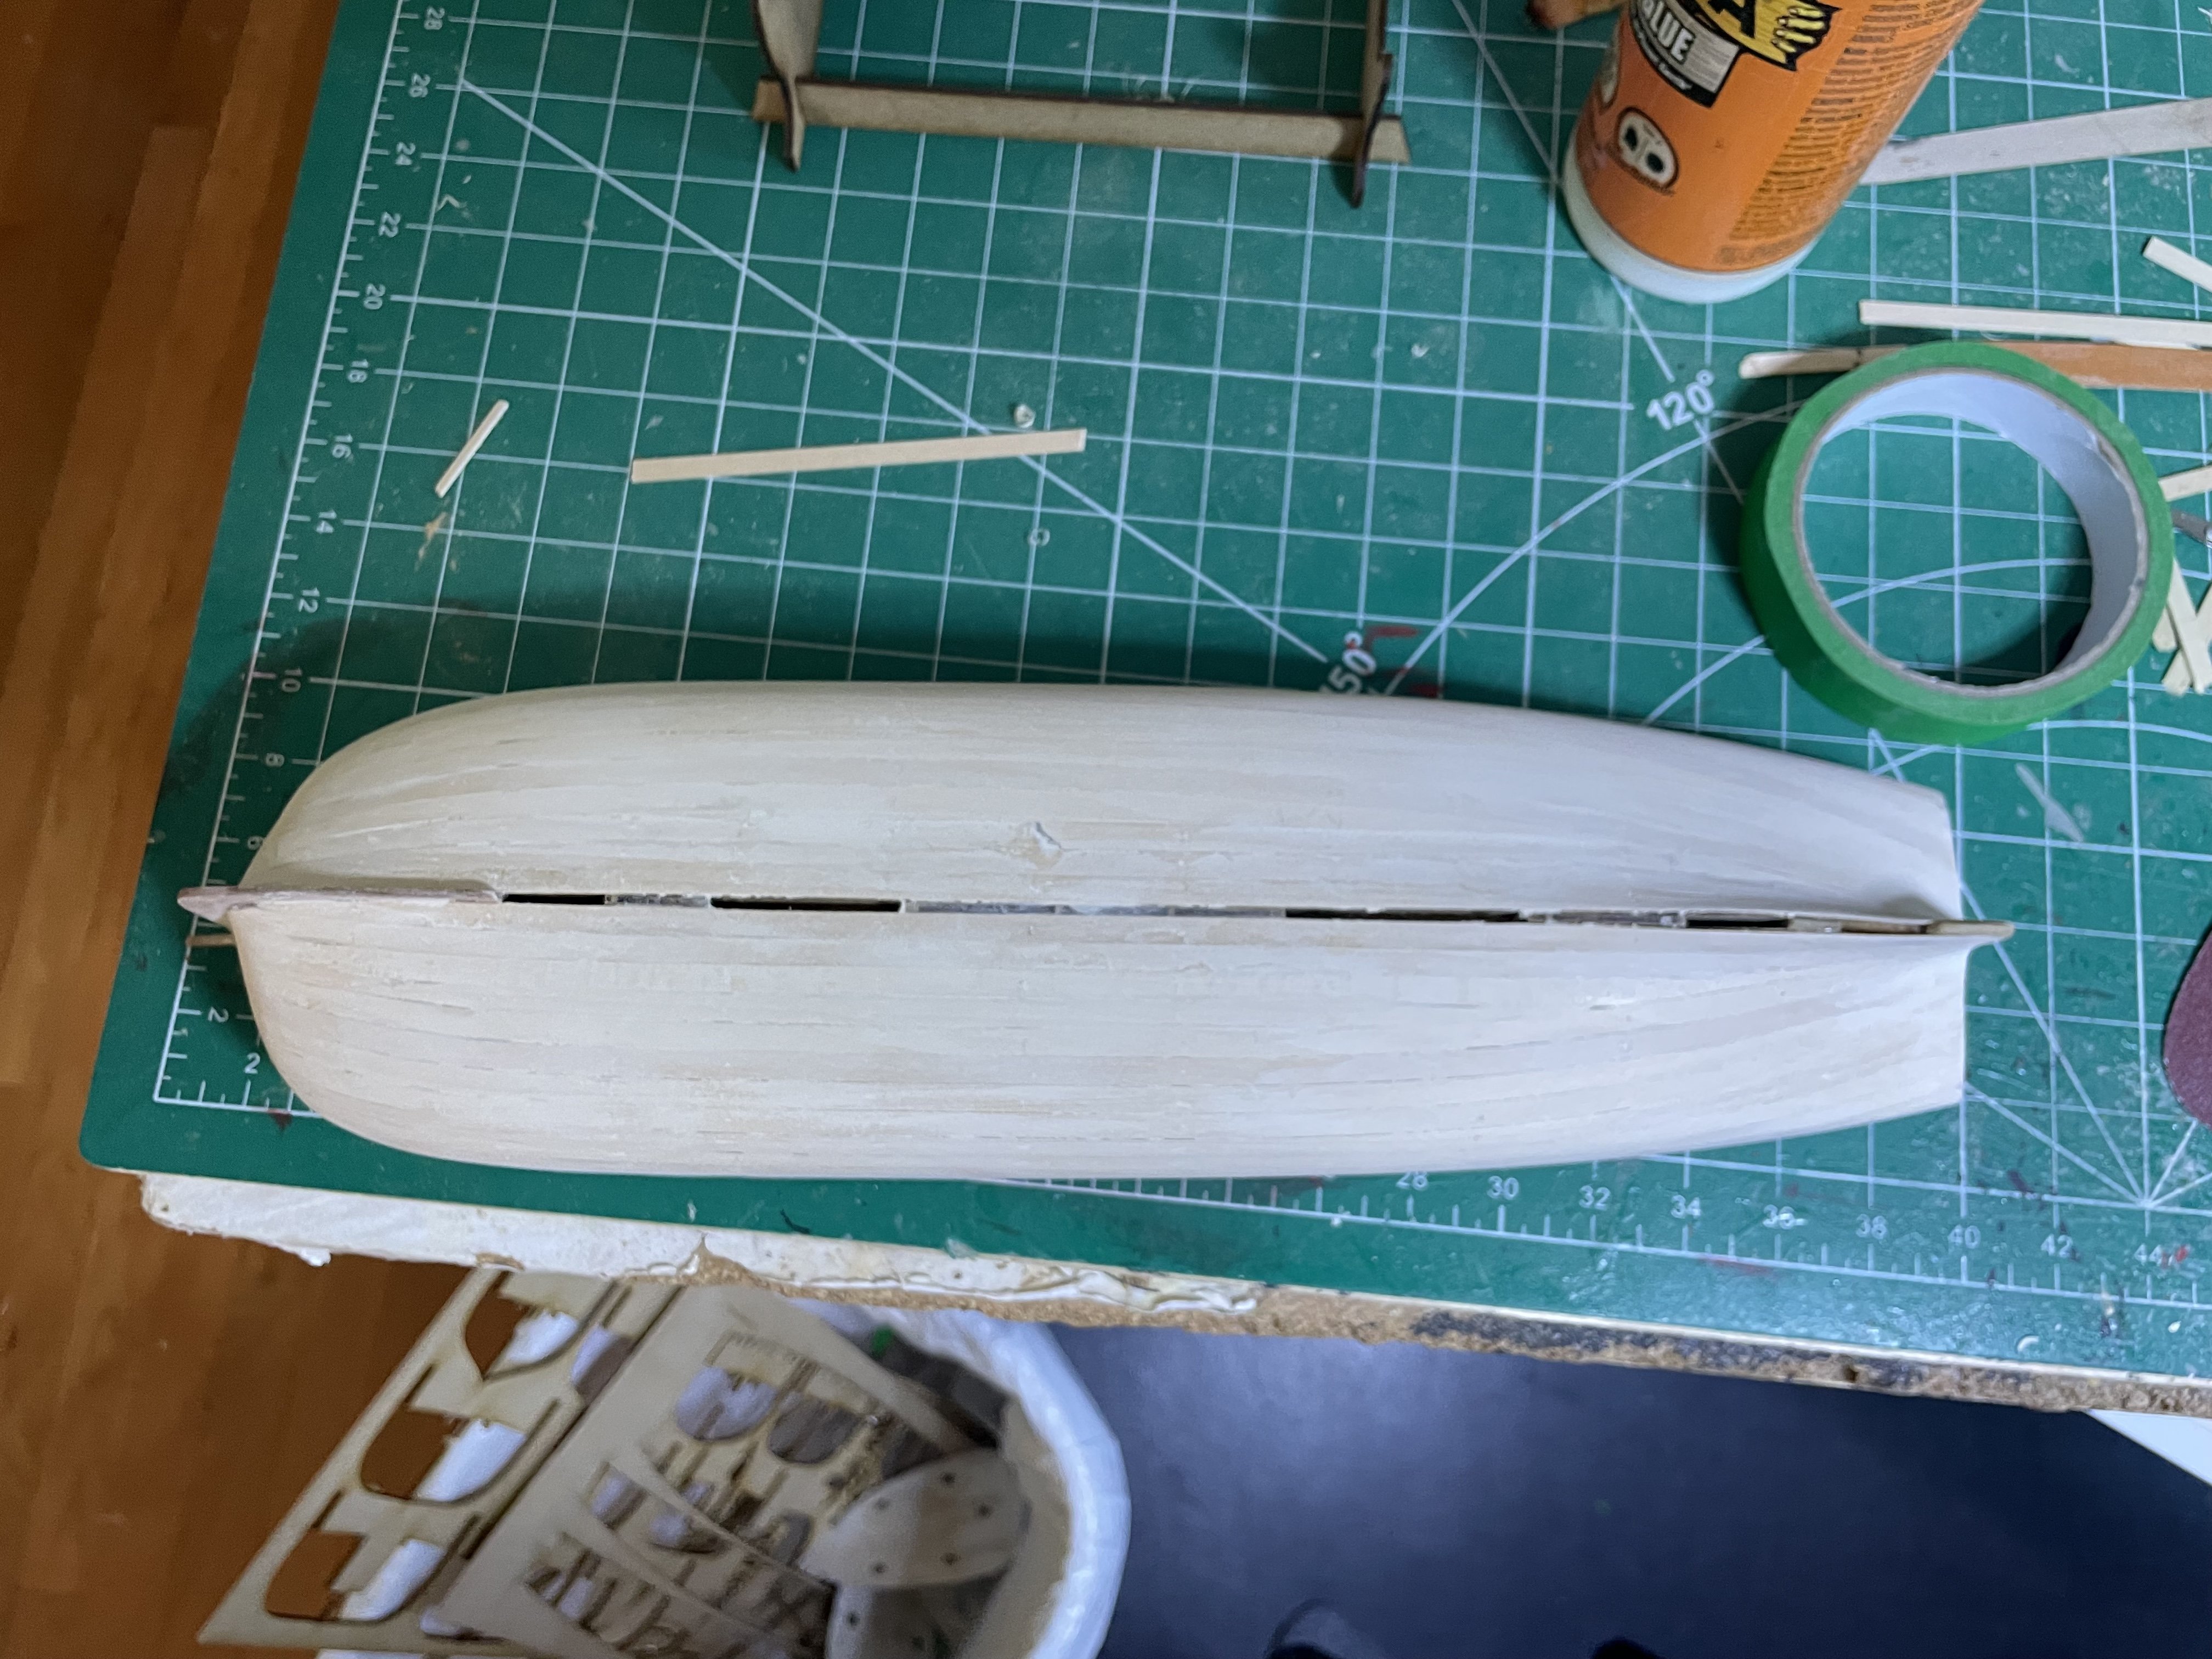
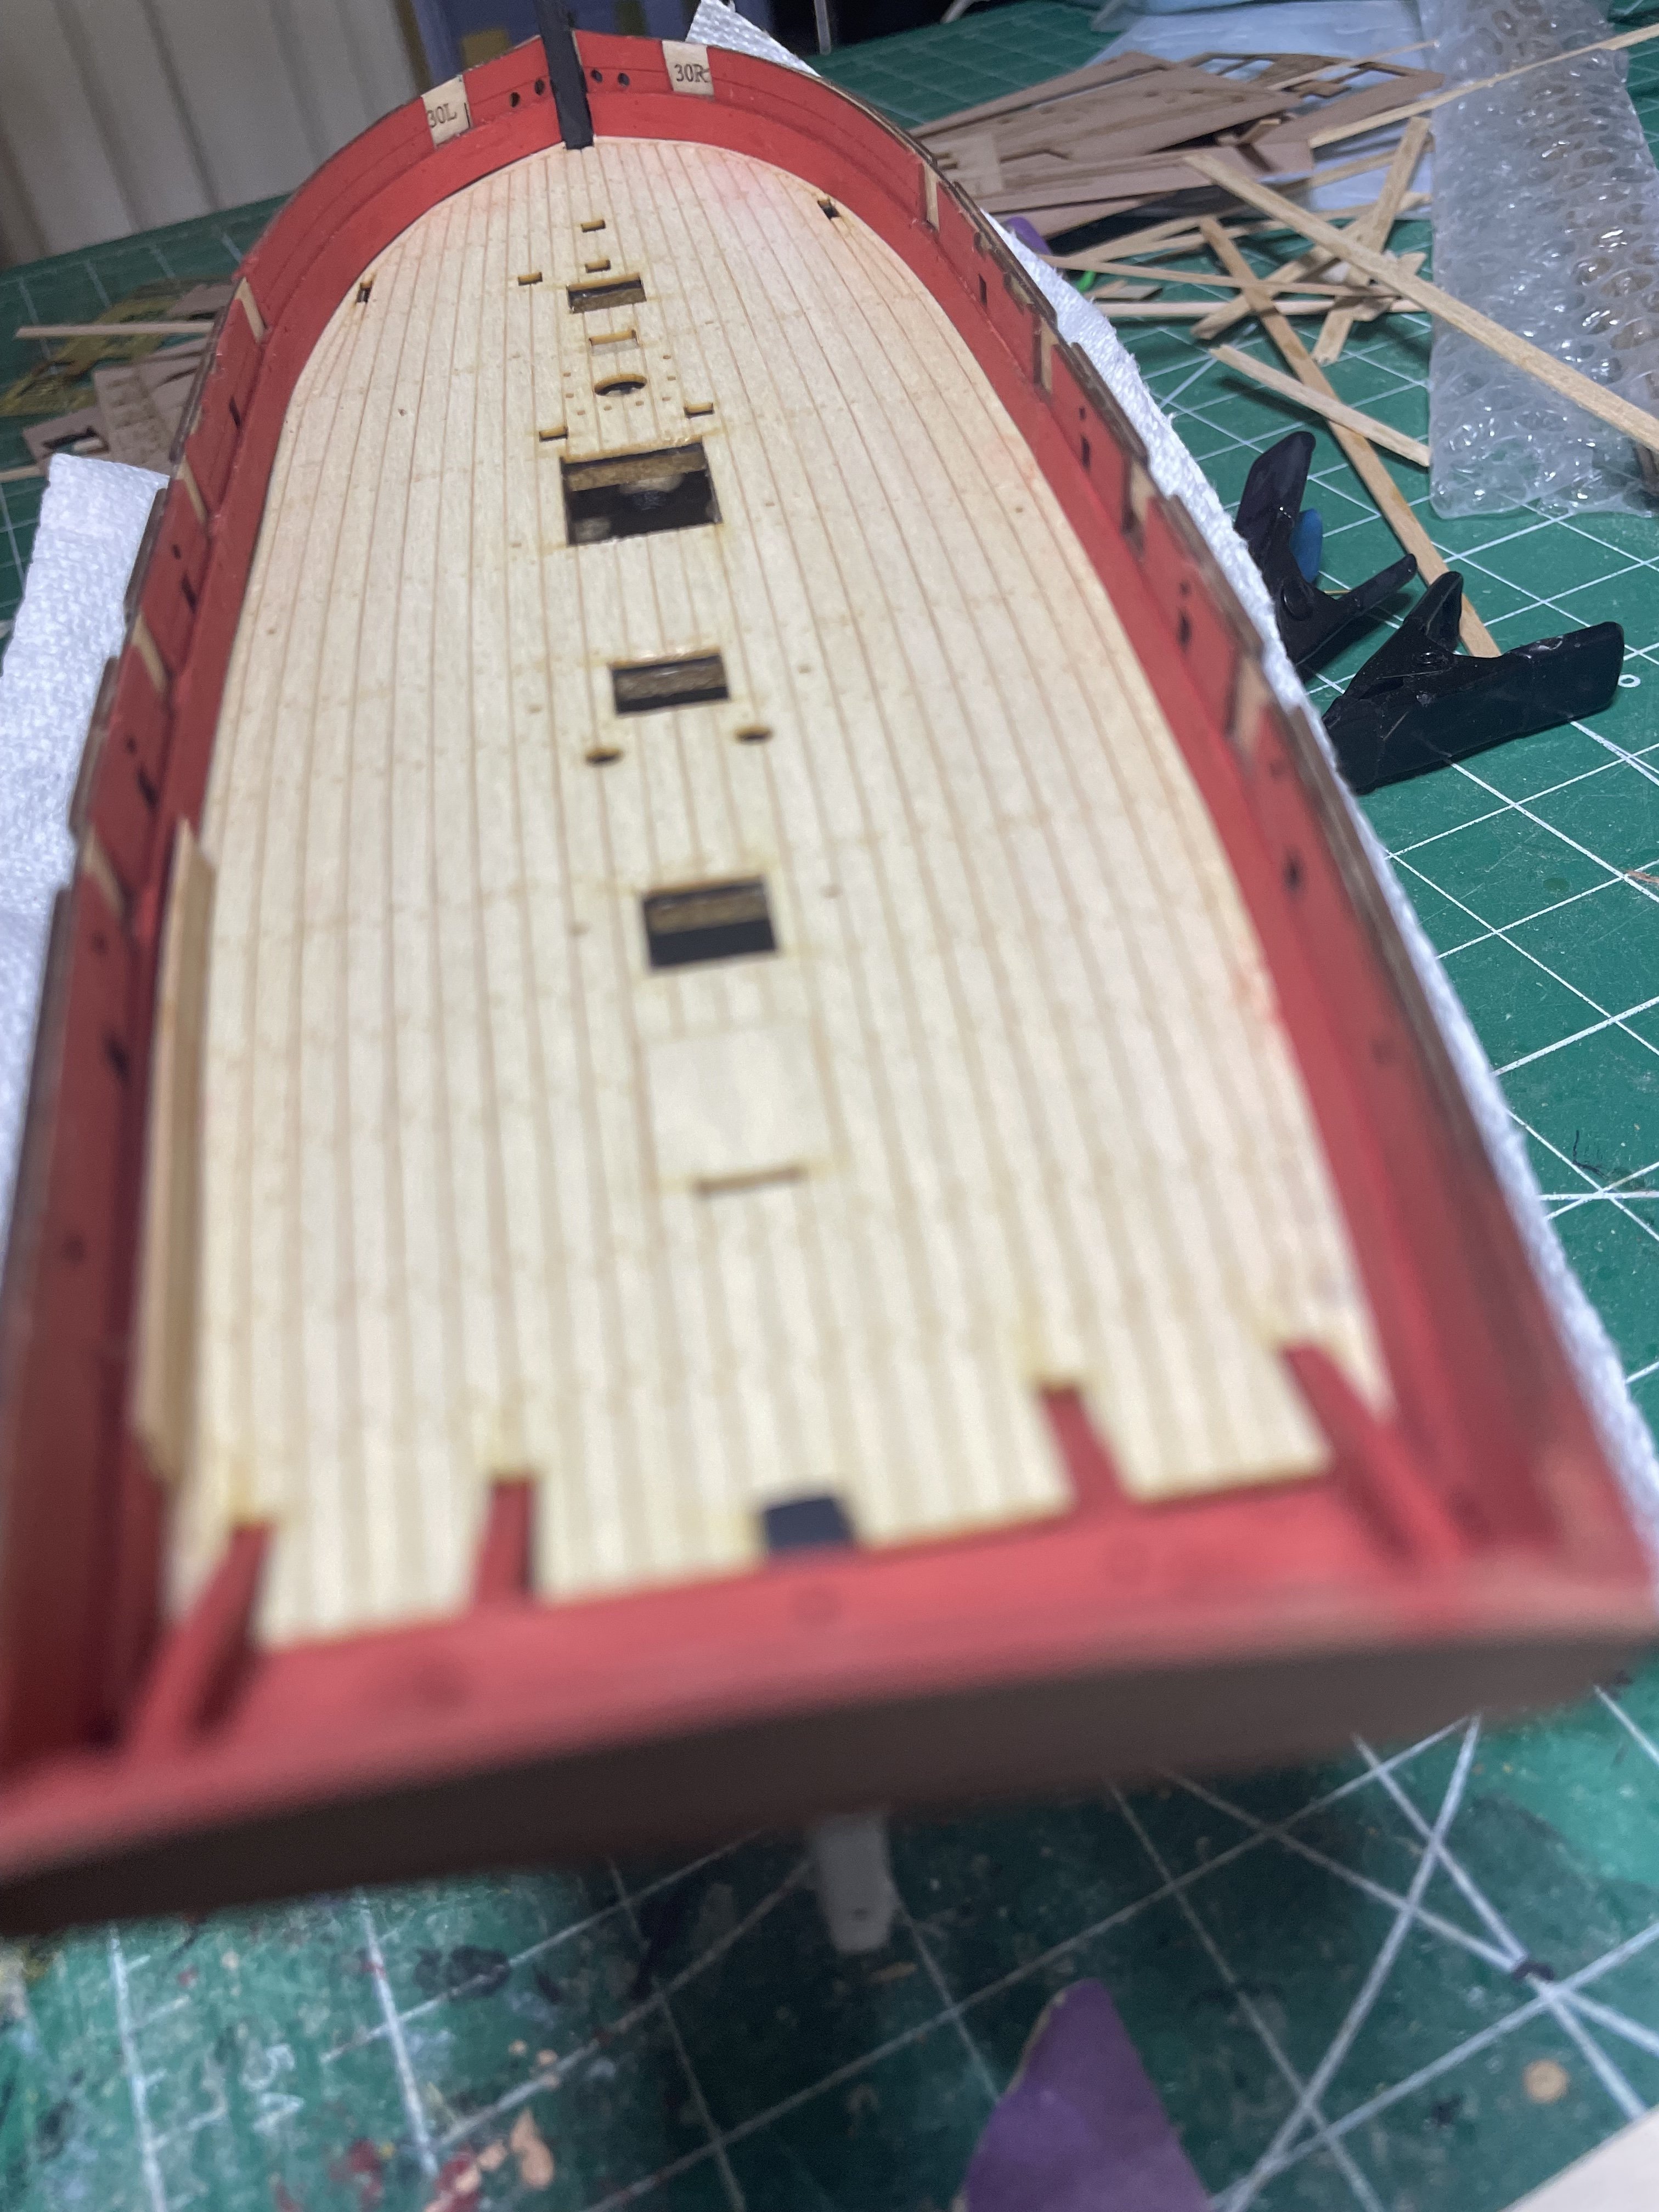
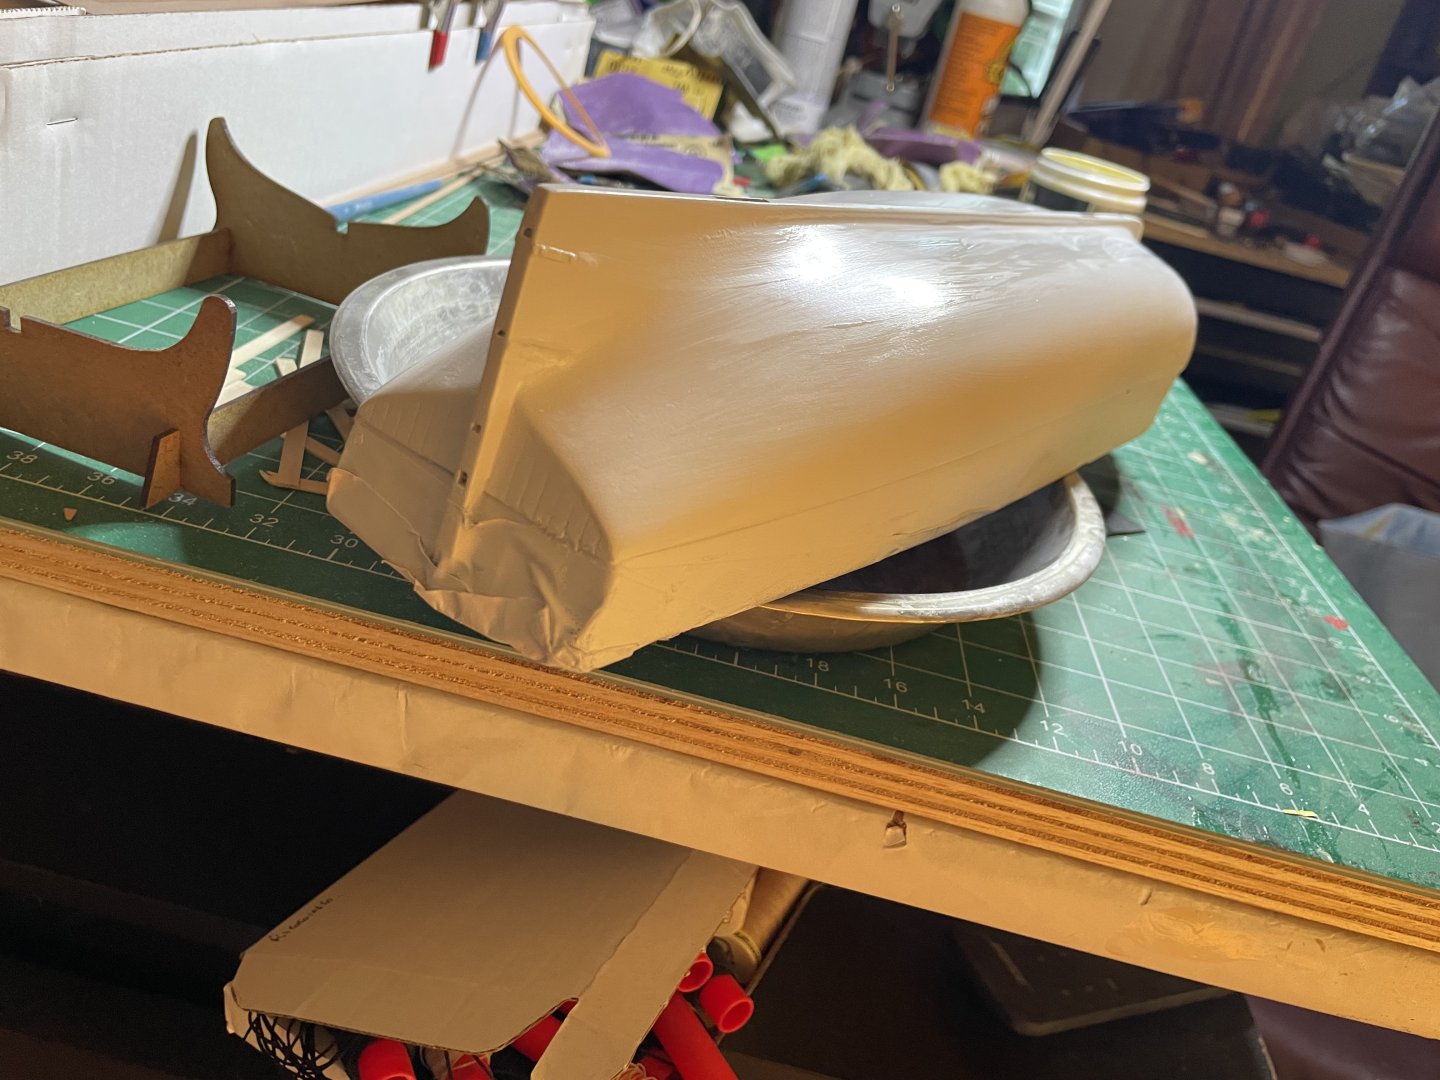
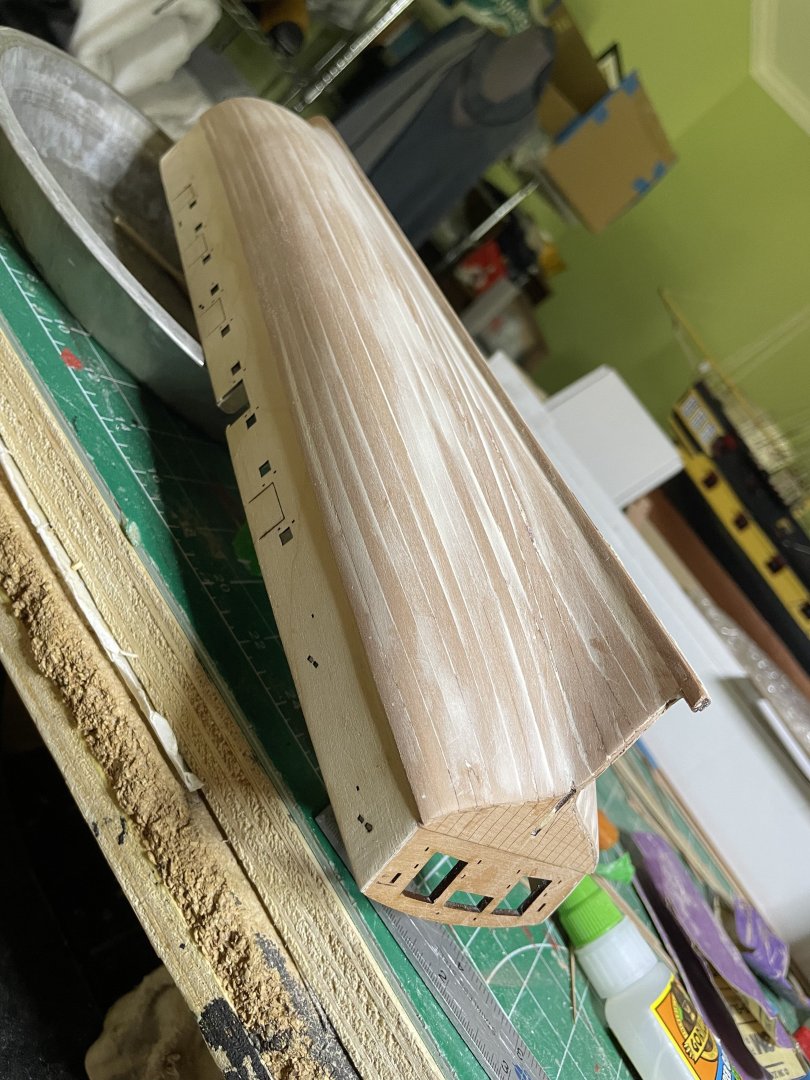
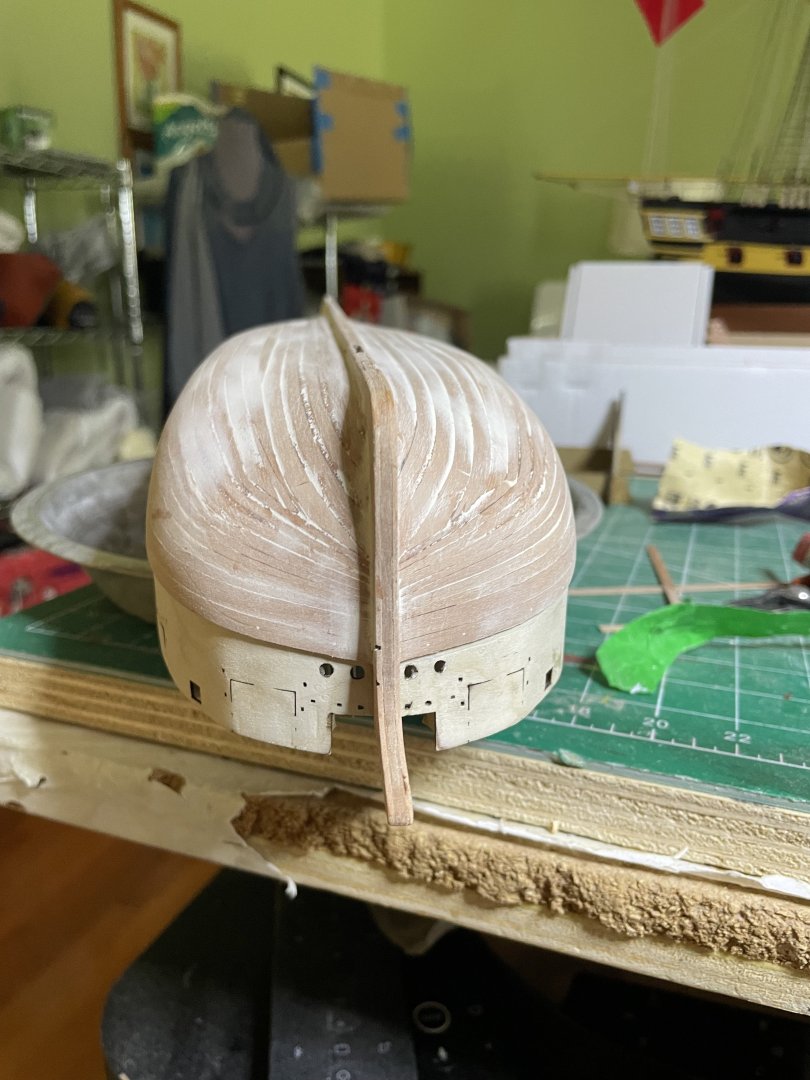
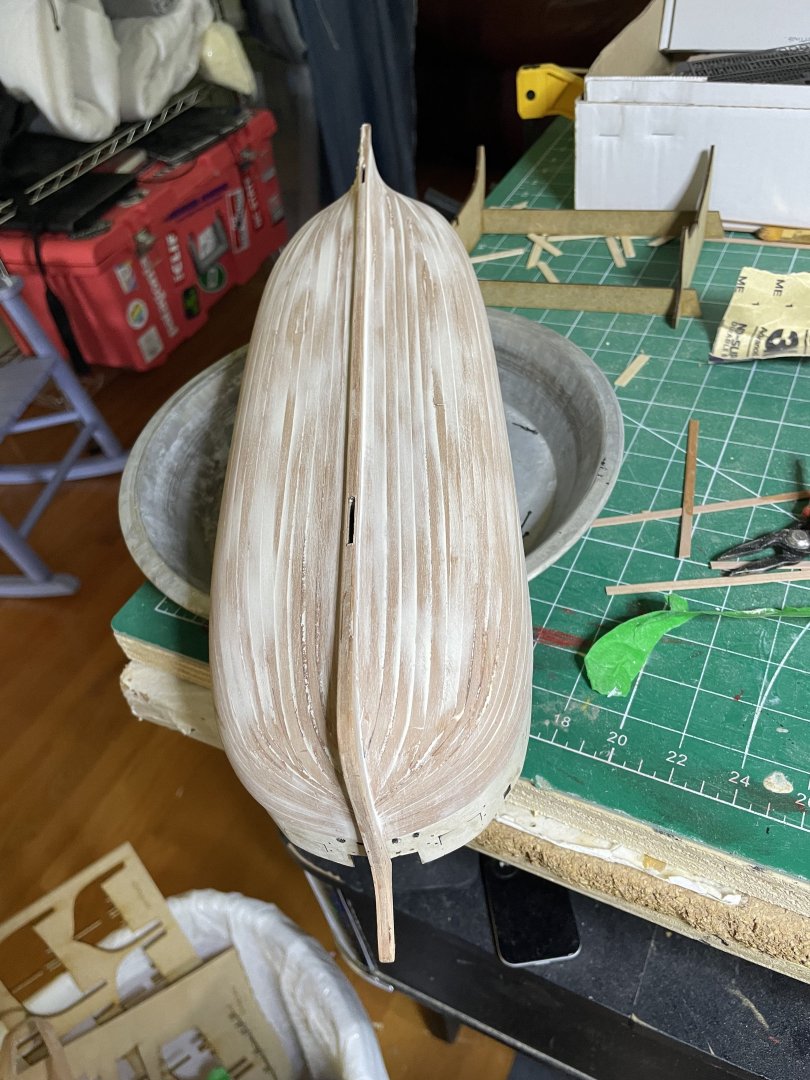
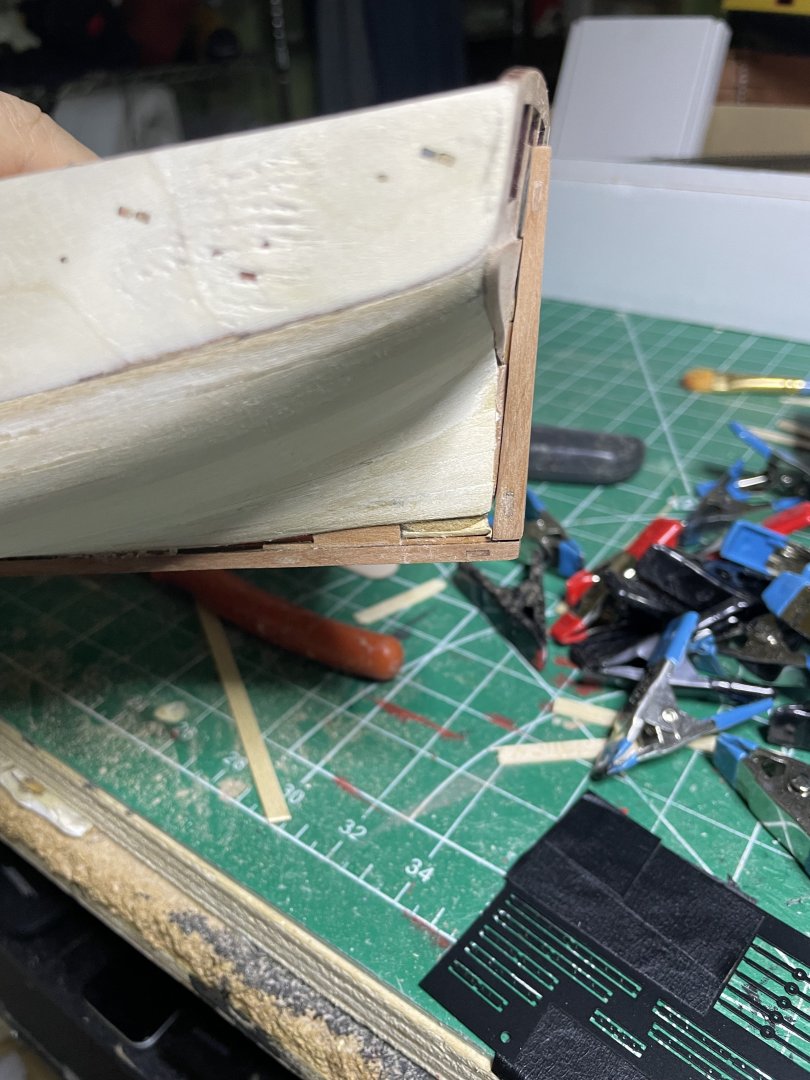
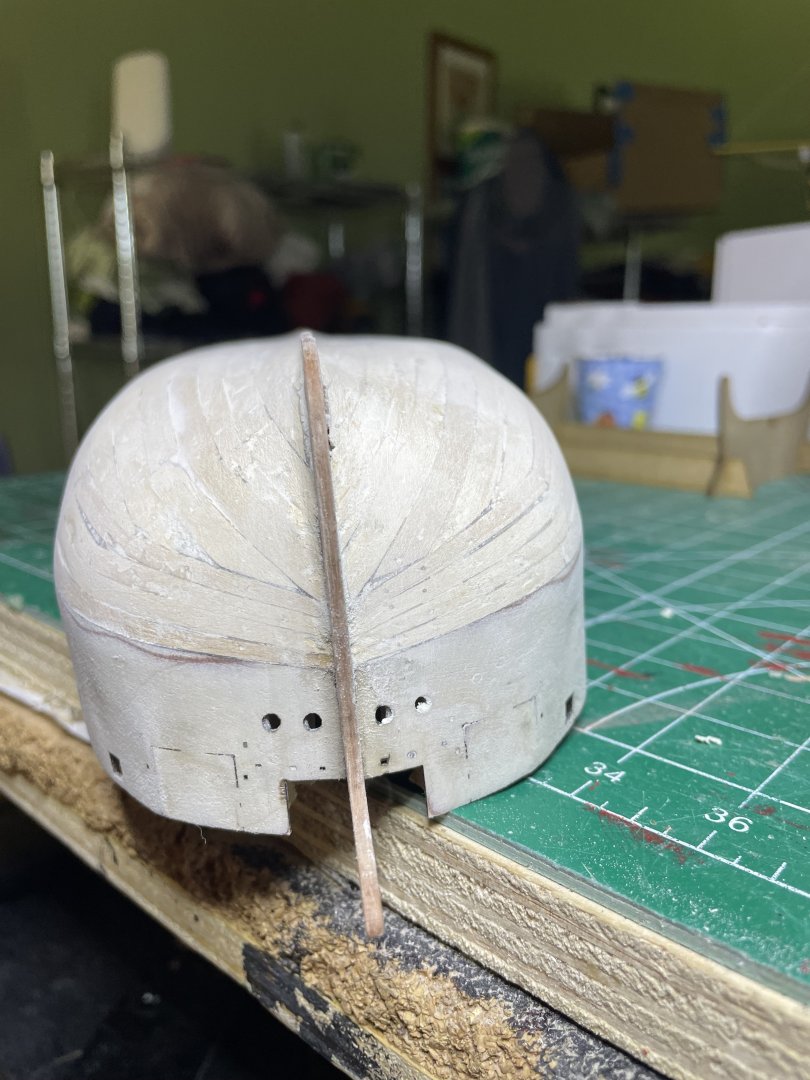
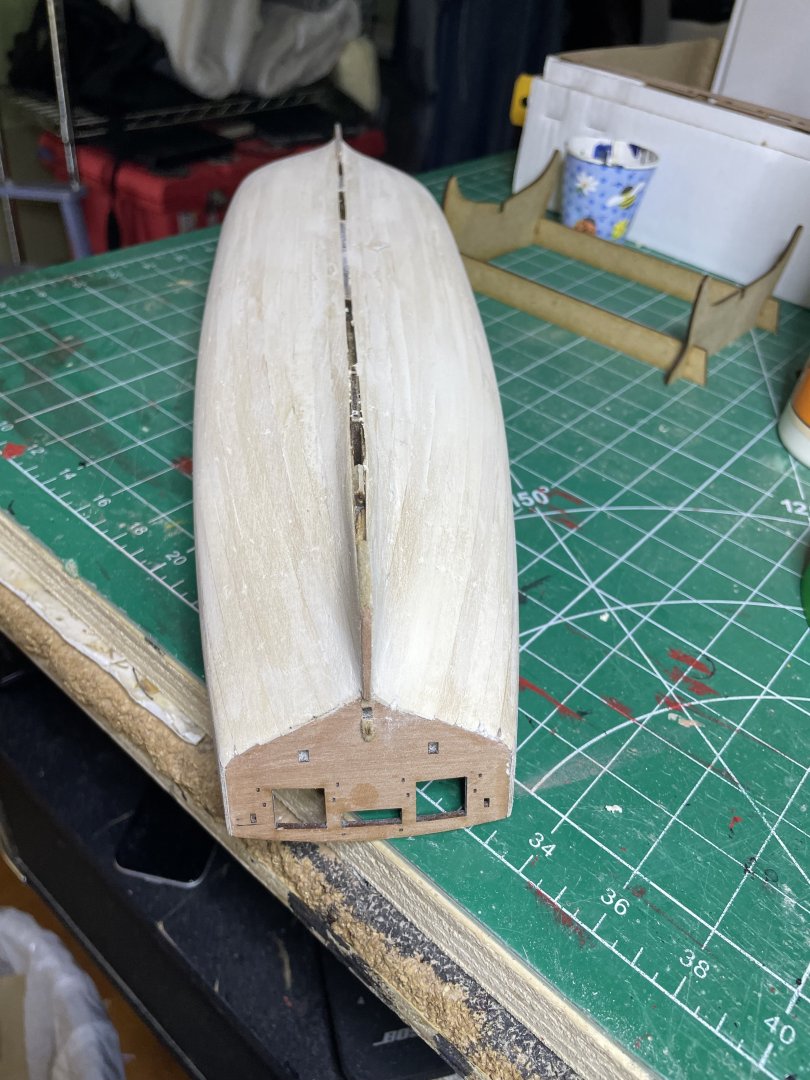
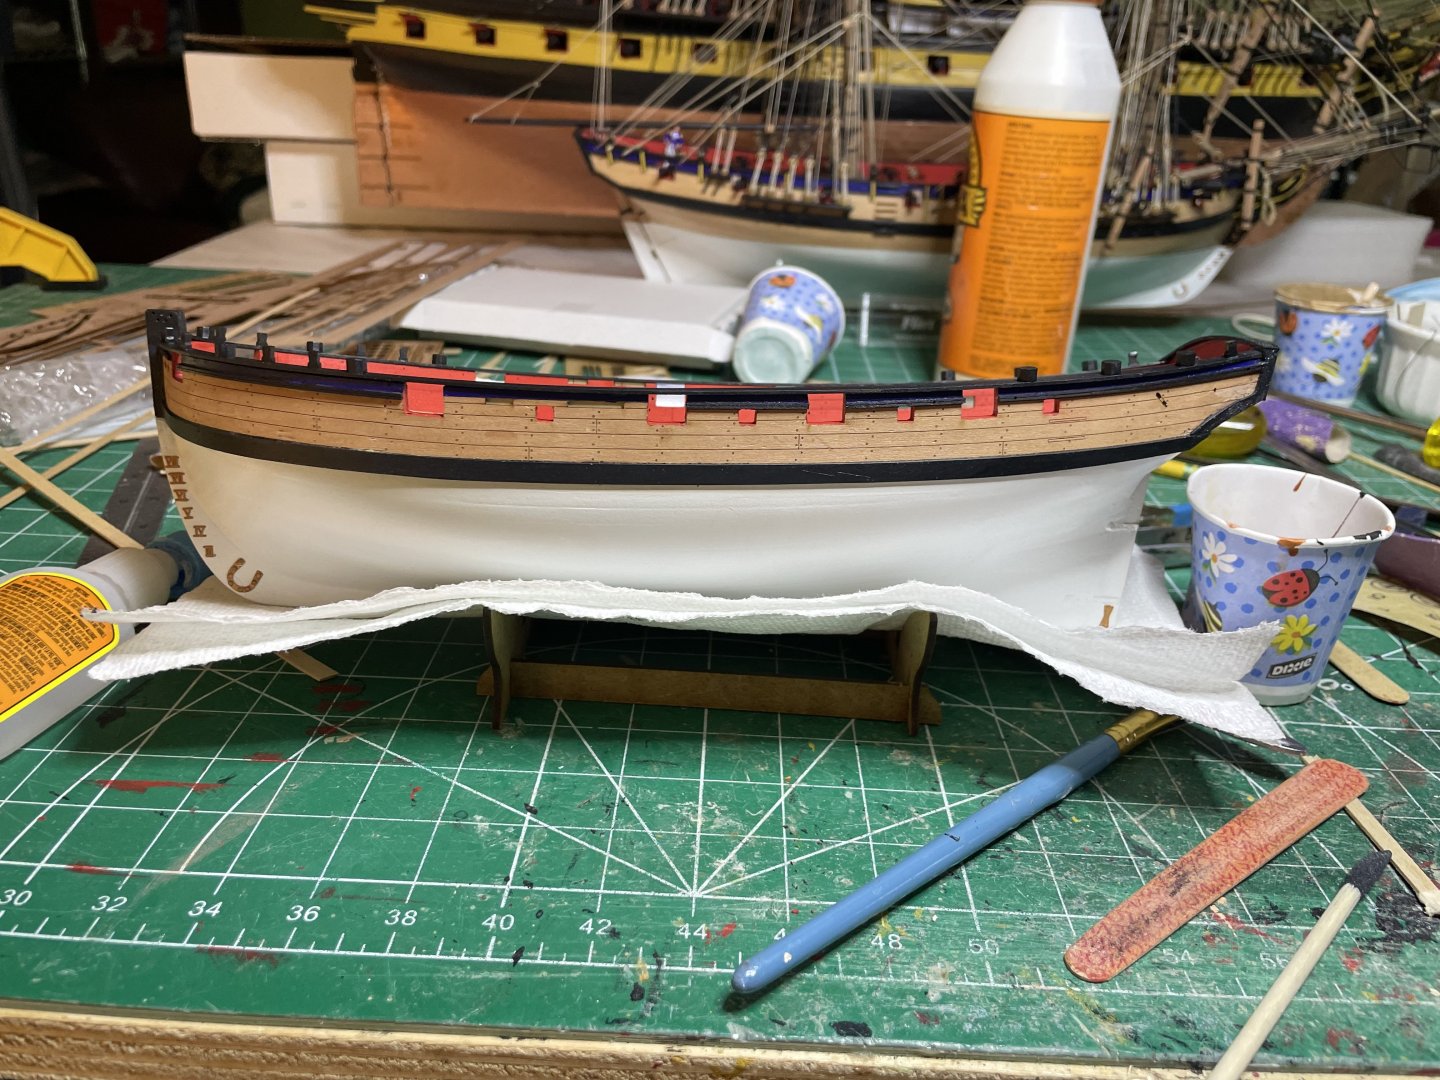
OK, first planking done. Very deceptive due to the blunt bow and flat bottom. Harder to plank despite having done many many models. Fortunately, will try better with second planking and then of course filler and paint very forgiving. I do like the lines of the ship though.


- 66 replies
-
- 10
-
-
- Adder
- Vanguard Models
- (and 1 more)
-
Will finish first planking this weekend but also having same issues. The bluff bow looks nice but actually harder to plank than more traditional bow point.
- 146 replies
-
- 1
-
-
- Adder
- Vanguard Models
- (and 1 more)
-
Always welcome on the ride. Building the Indy will keep you busy for some time, took me 8 months.
- 66 replies
-
- 2
-
-
- Adder
- Vanguard Models
- (and 1 more)
-
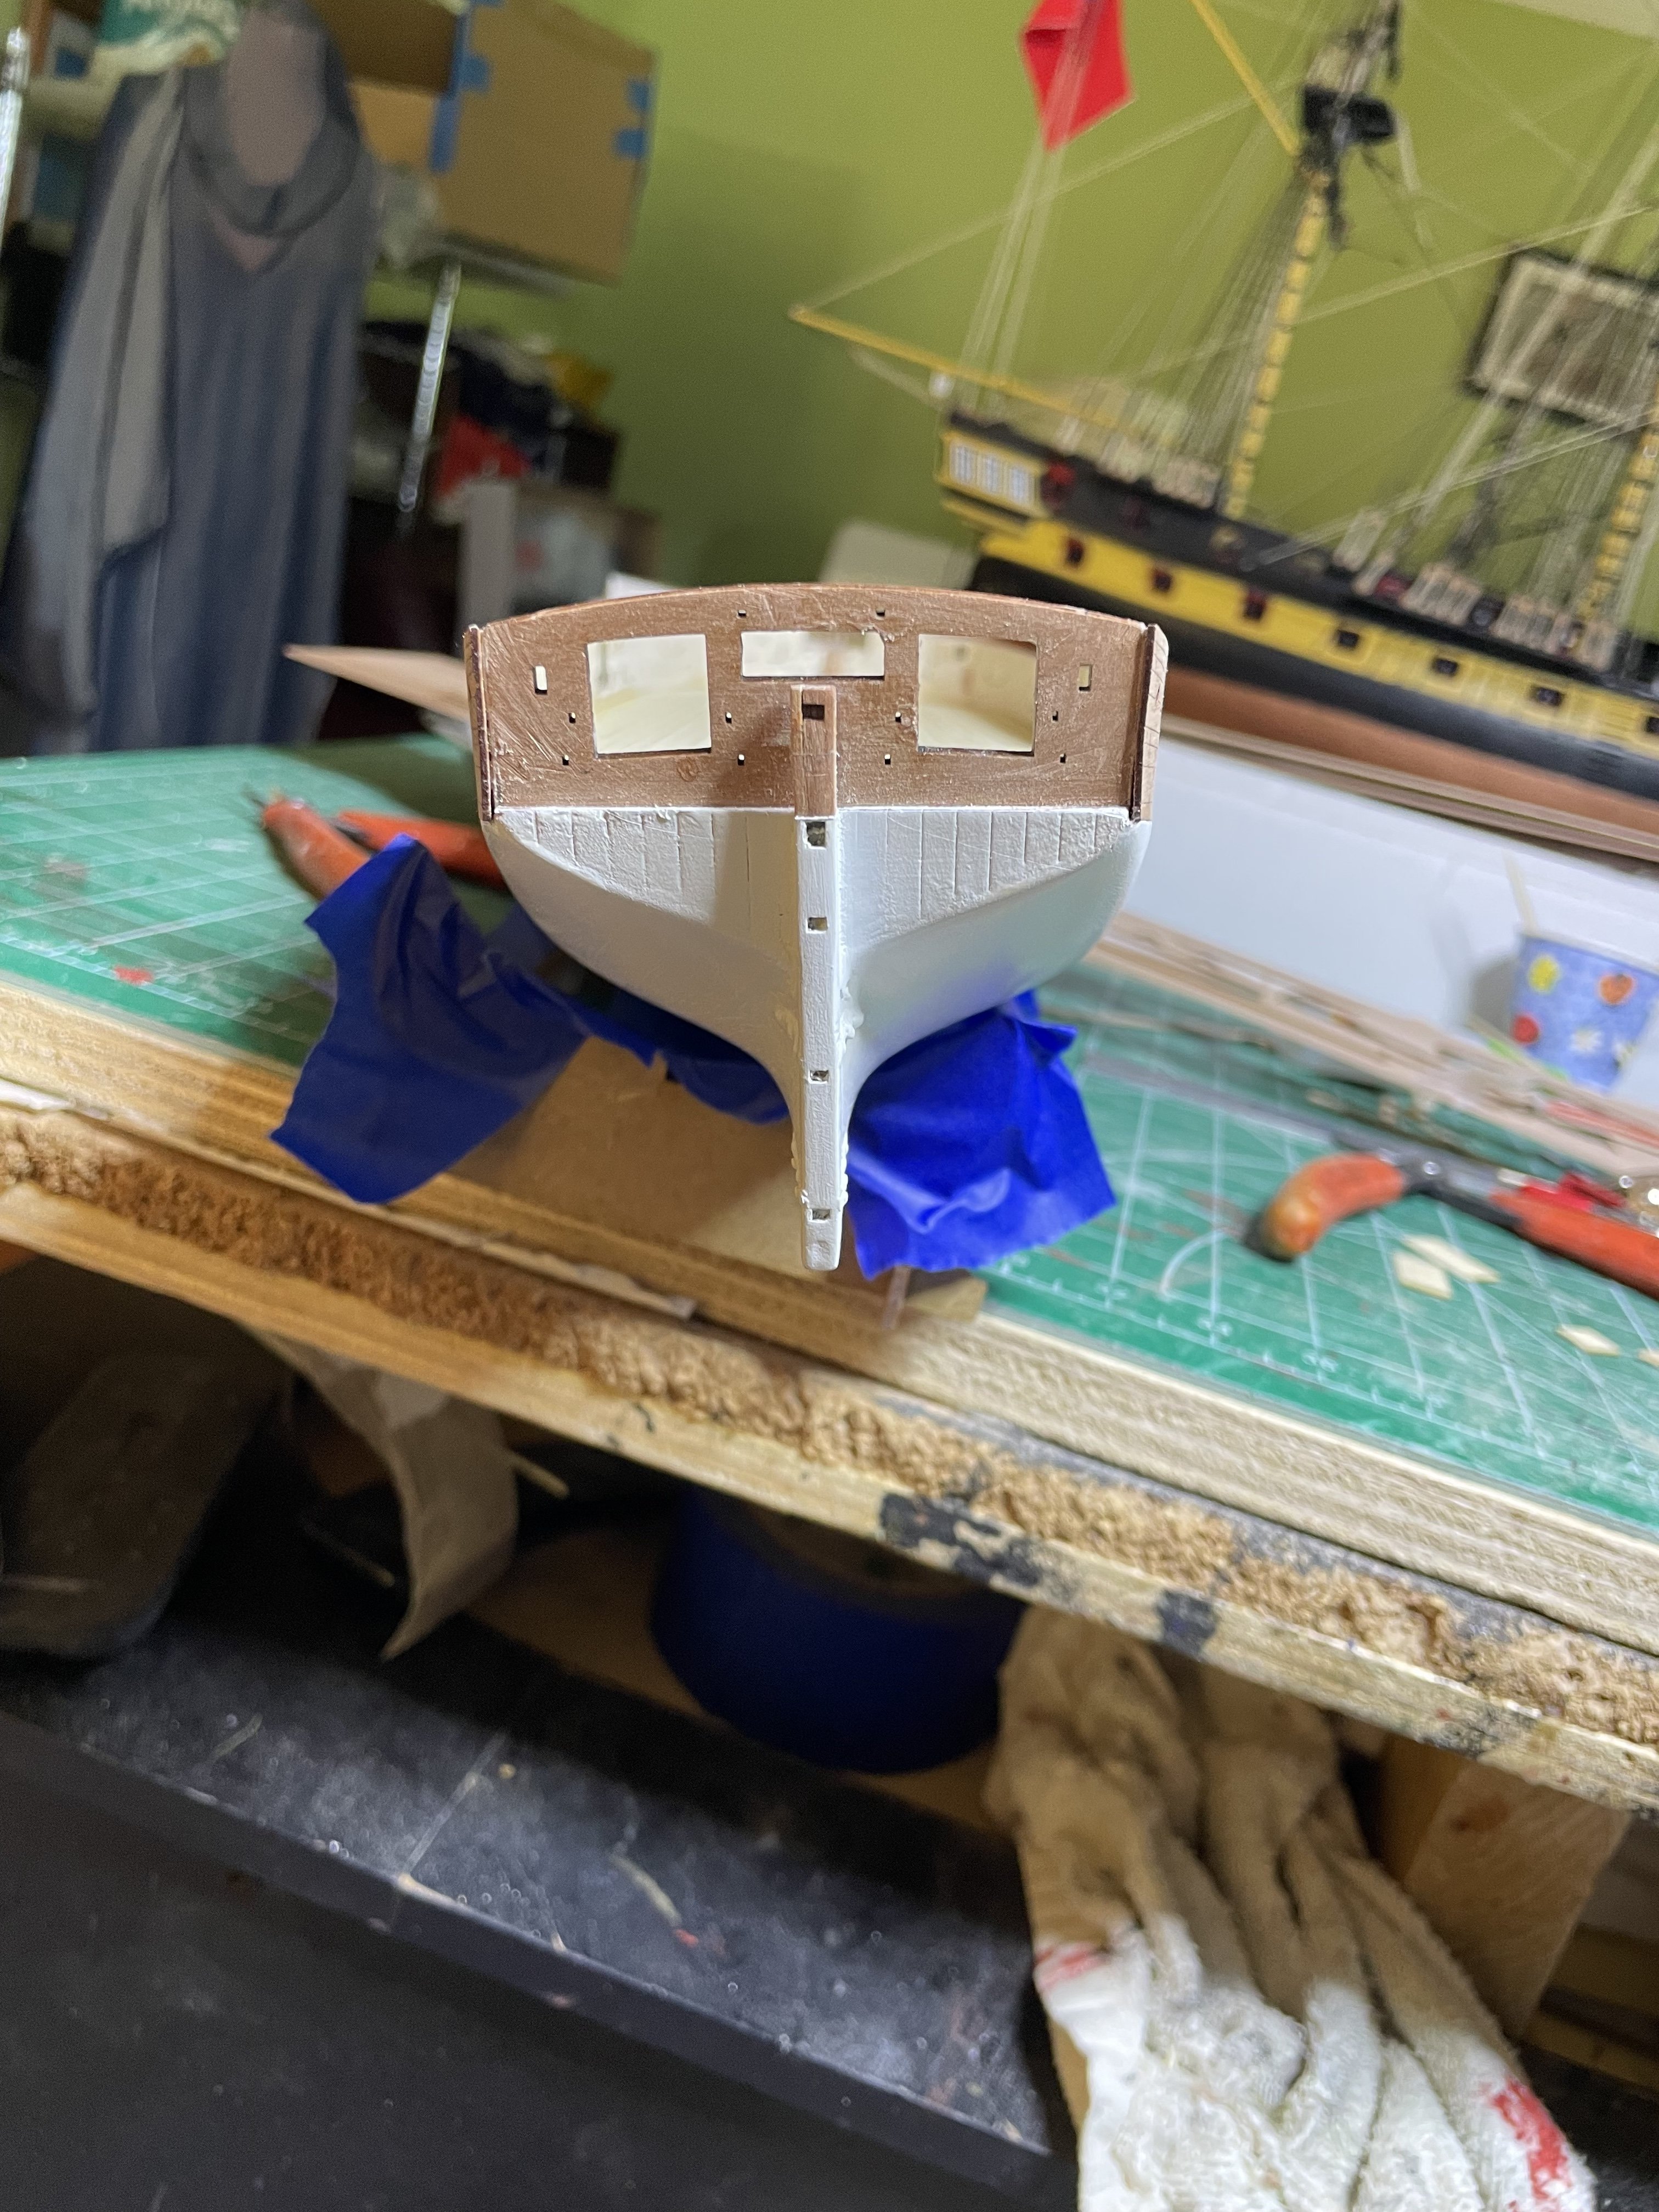
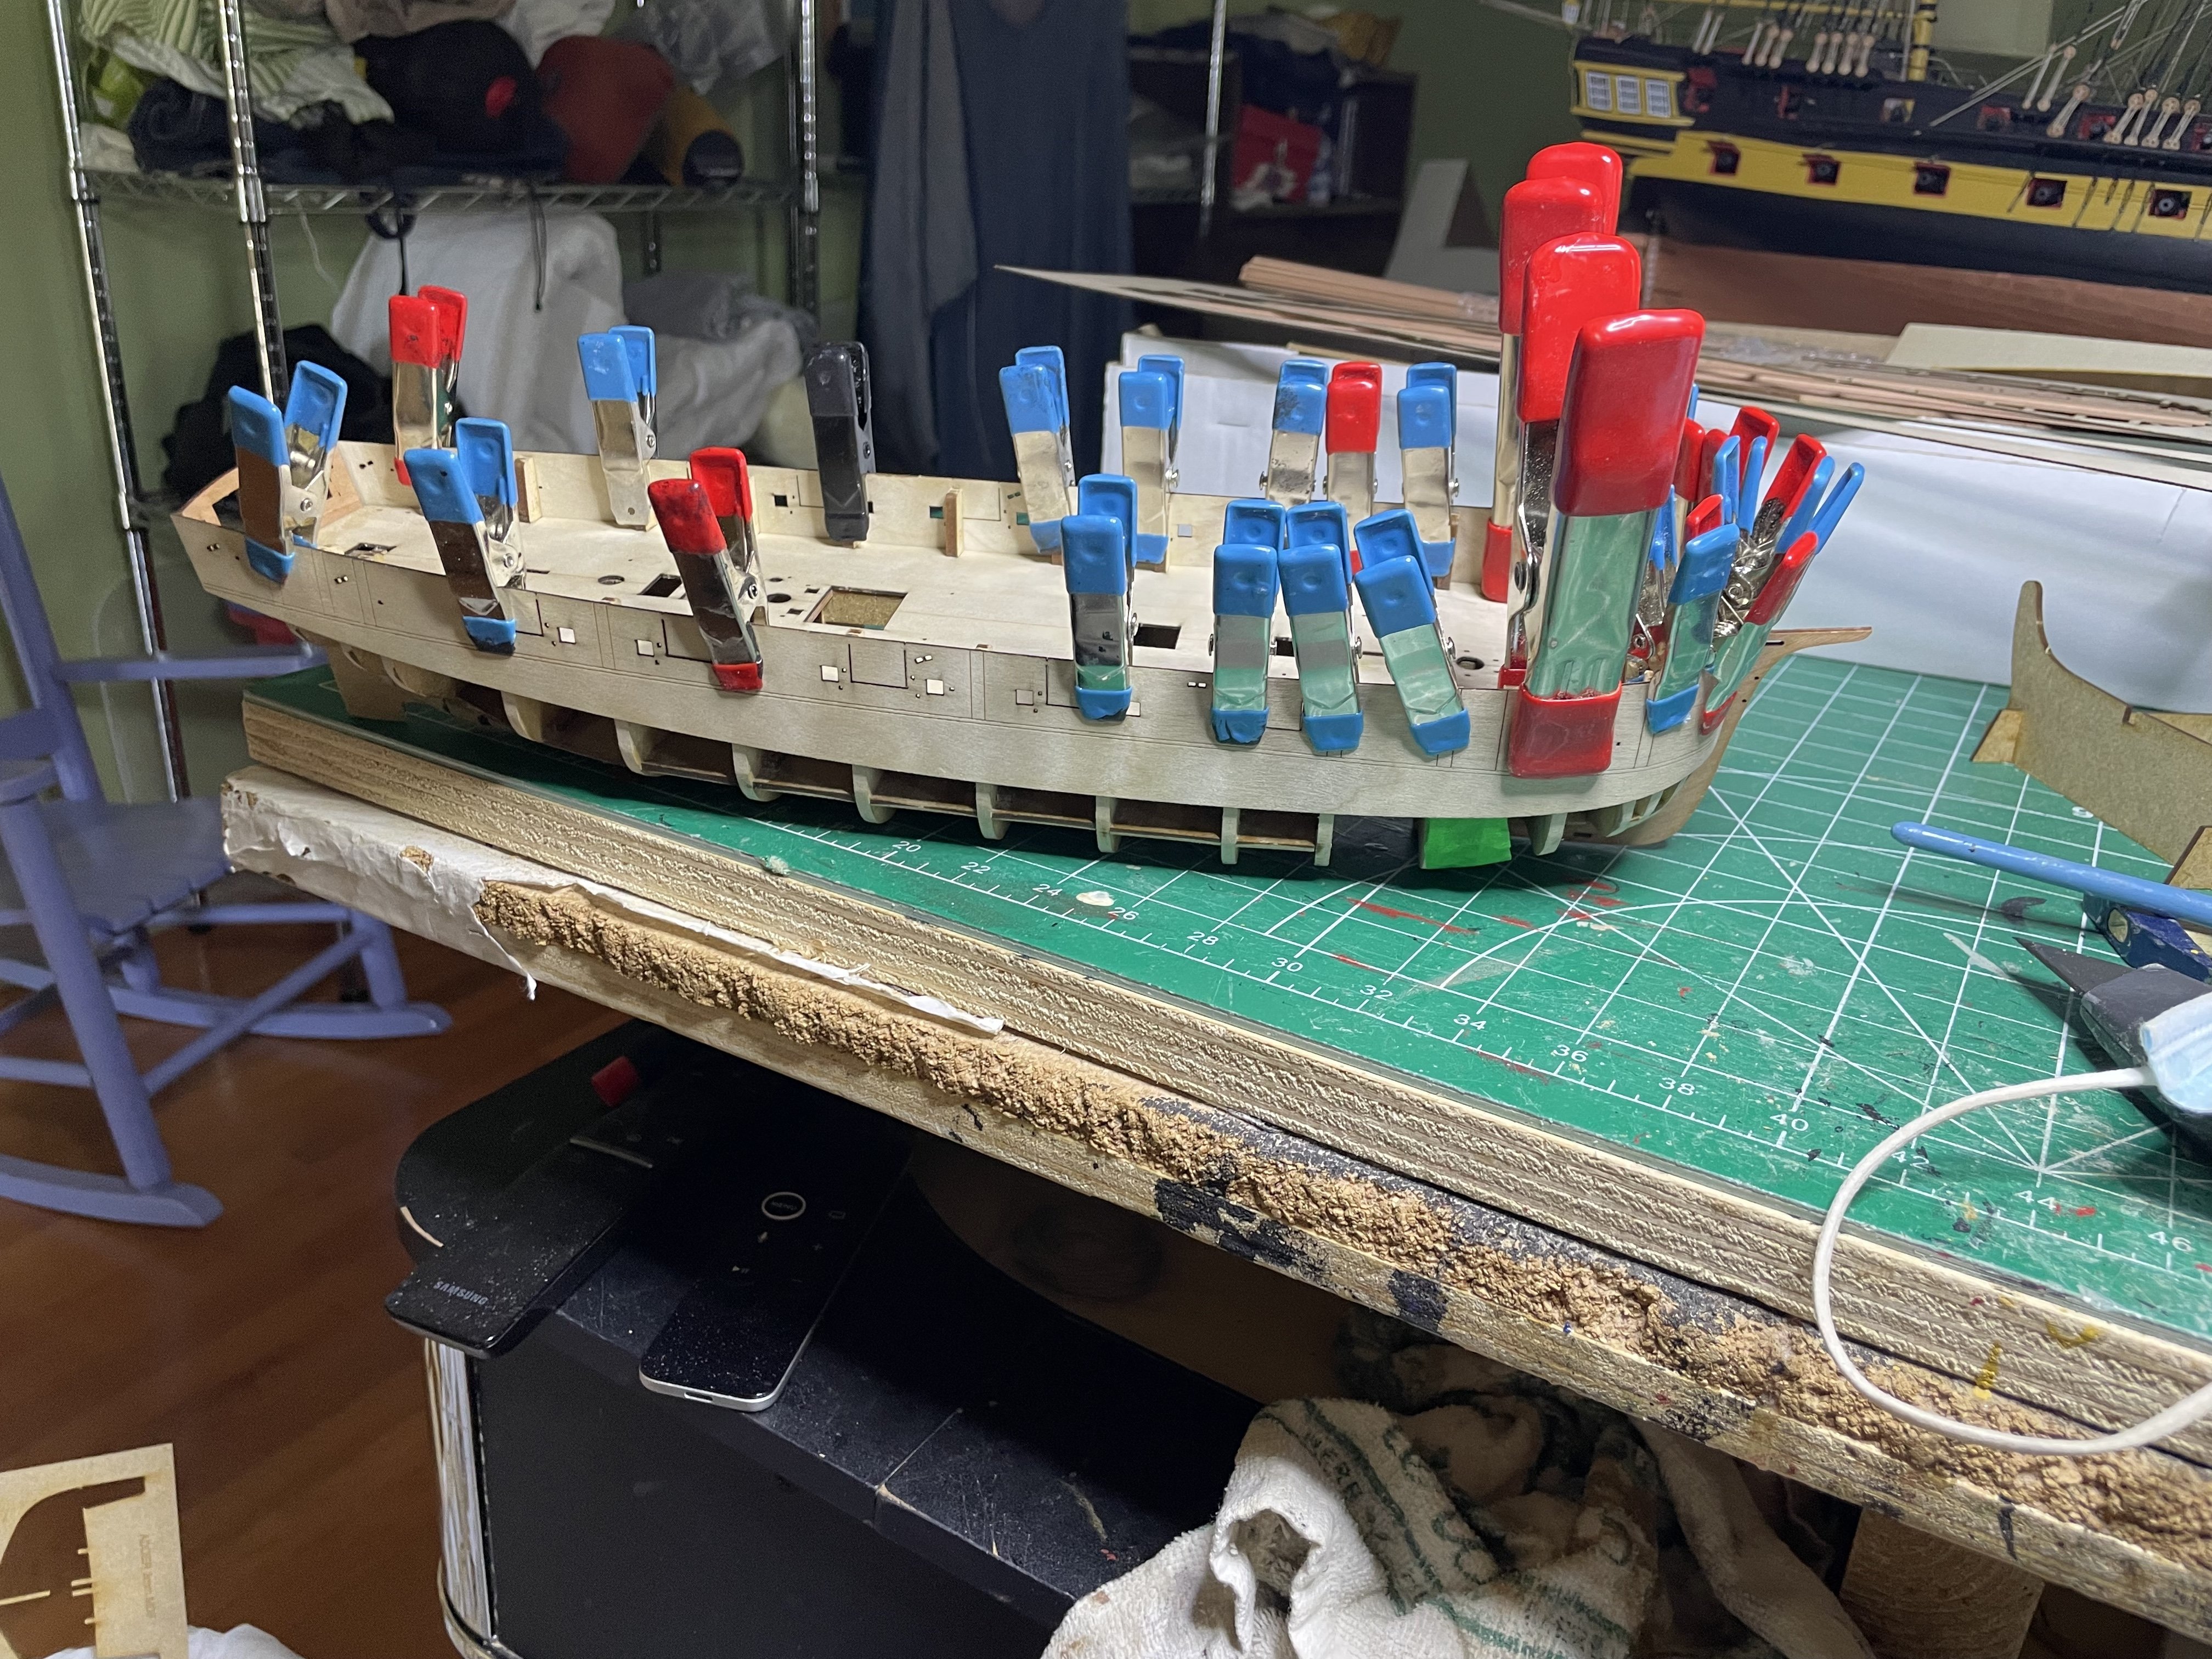
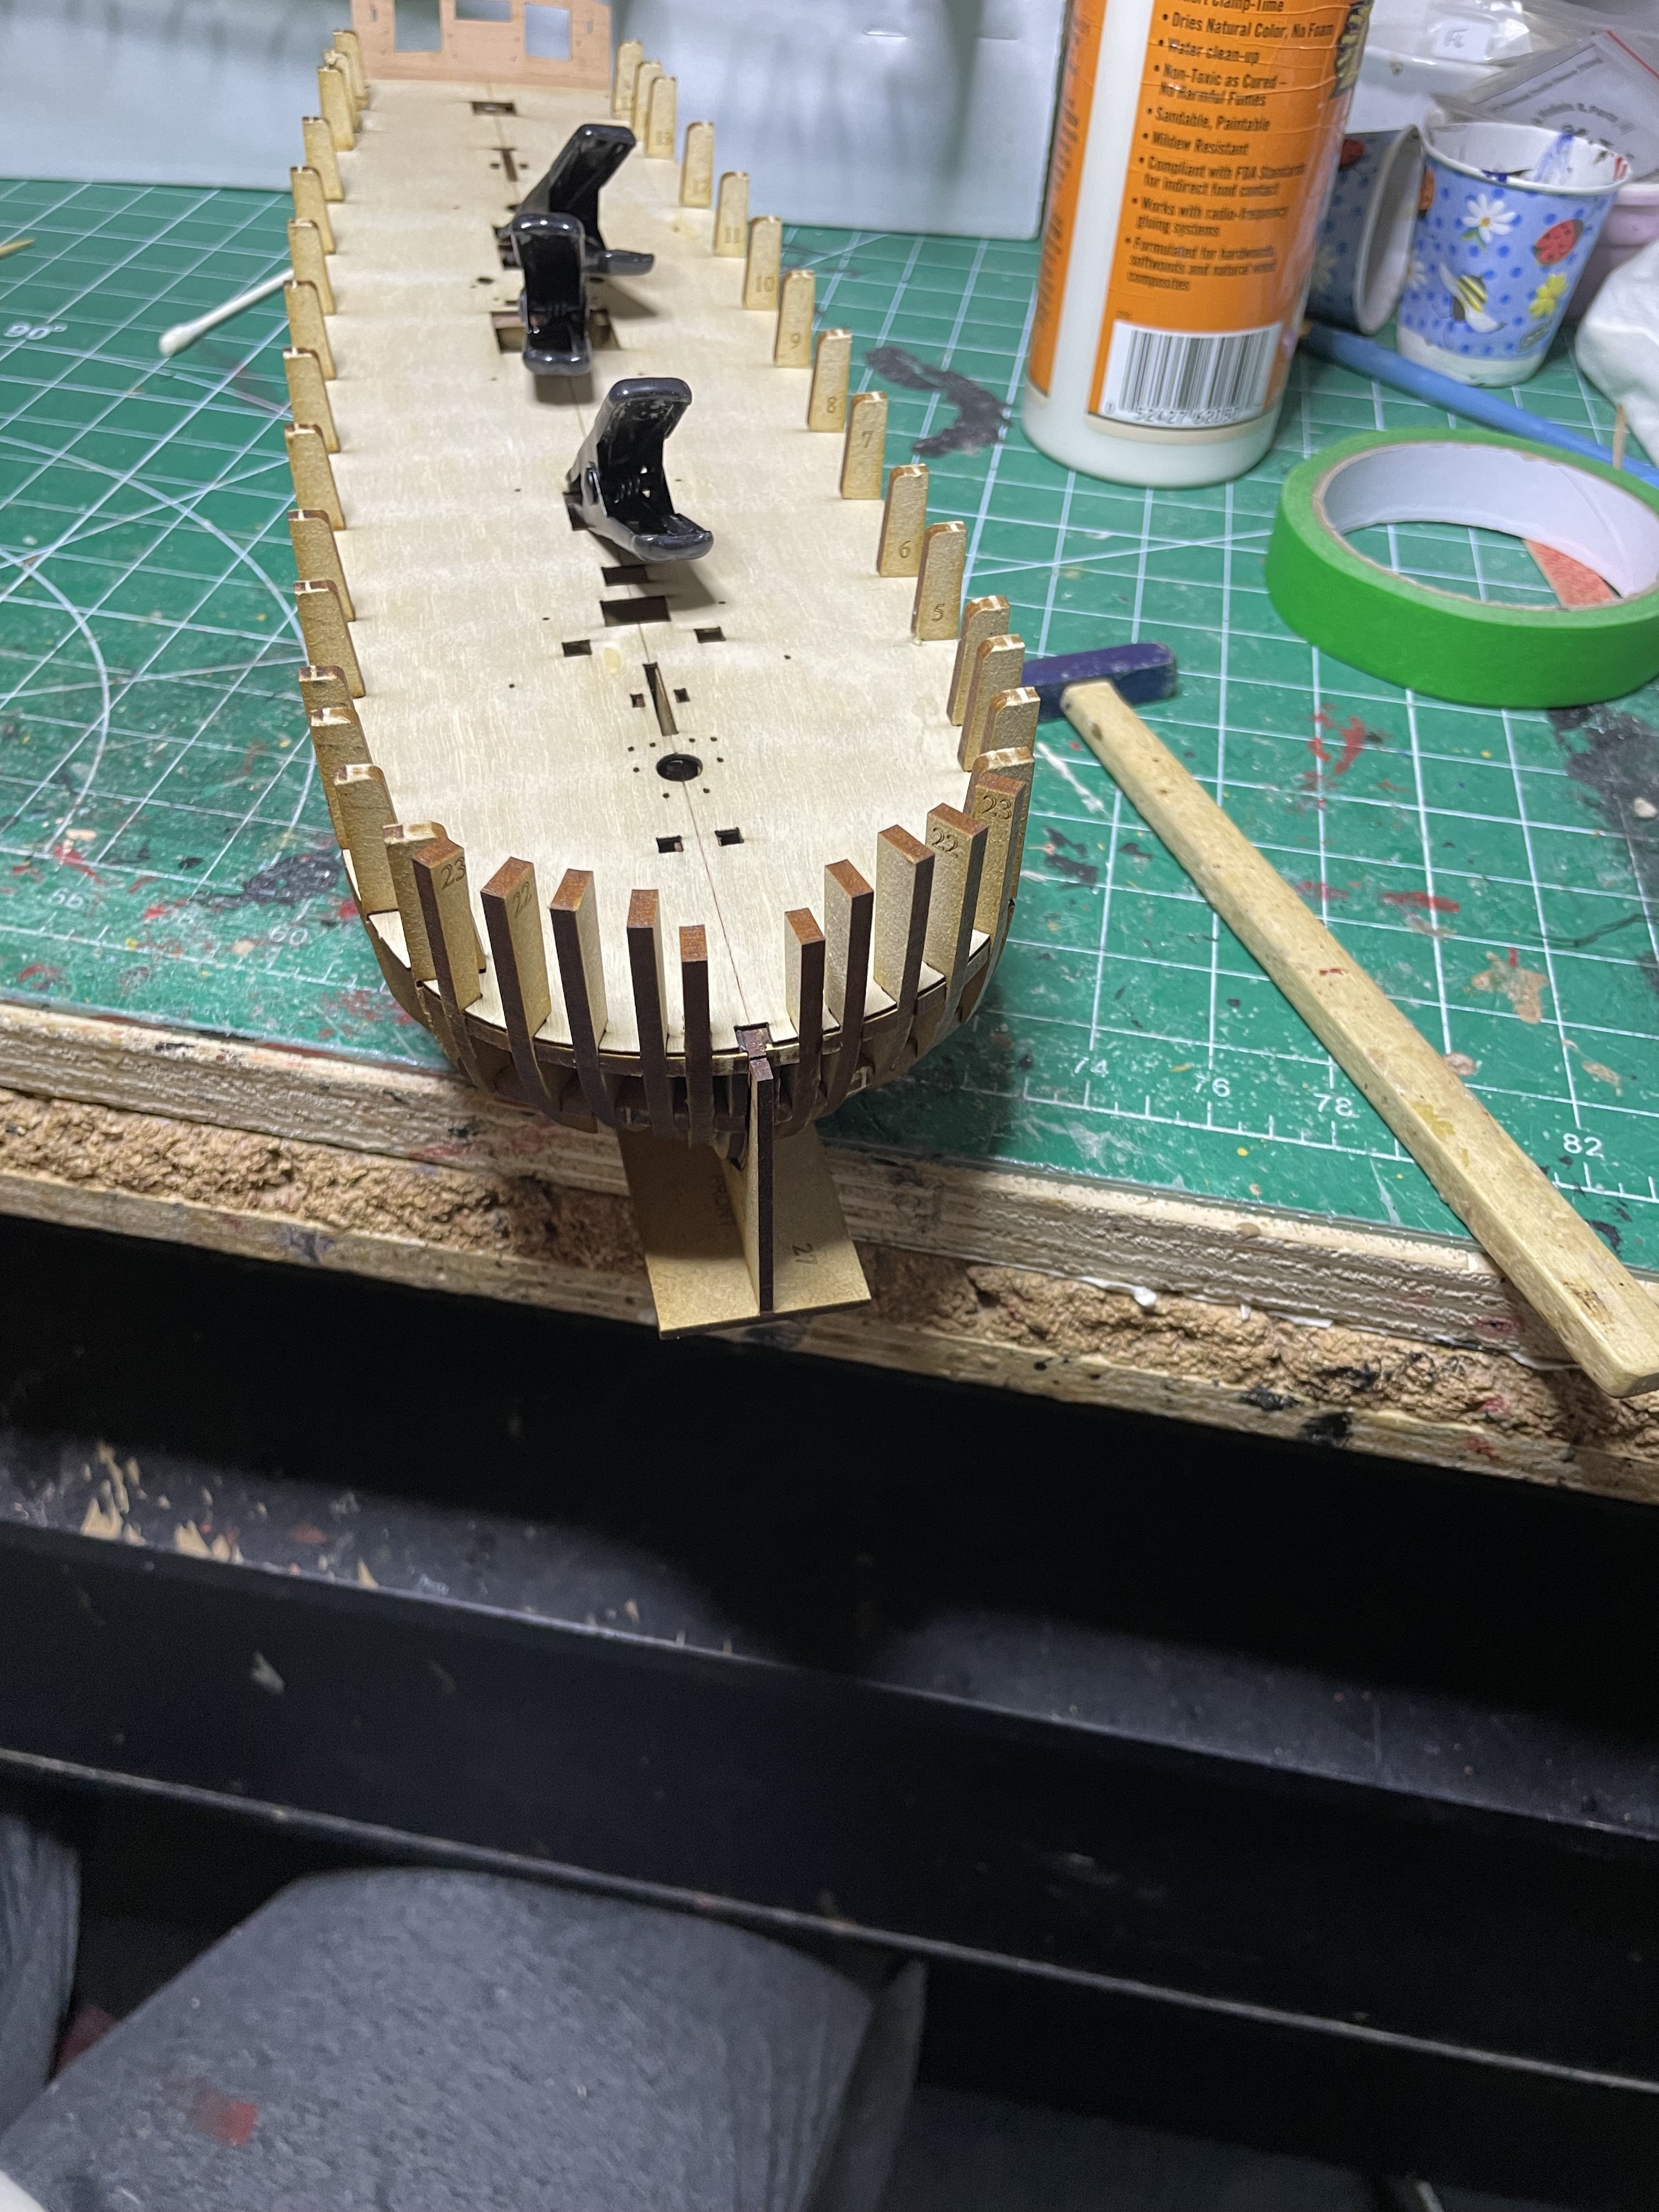
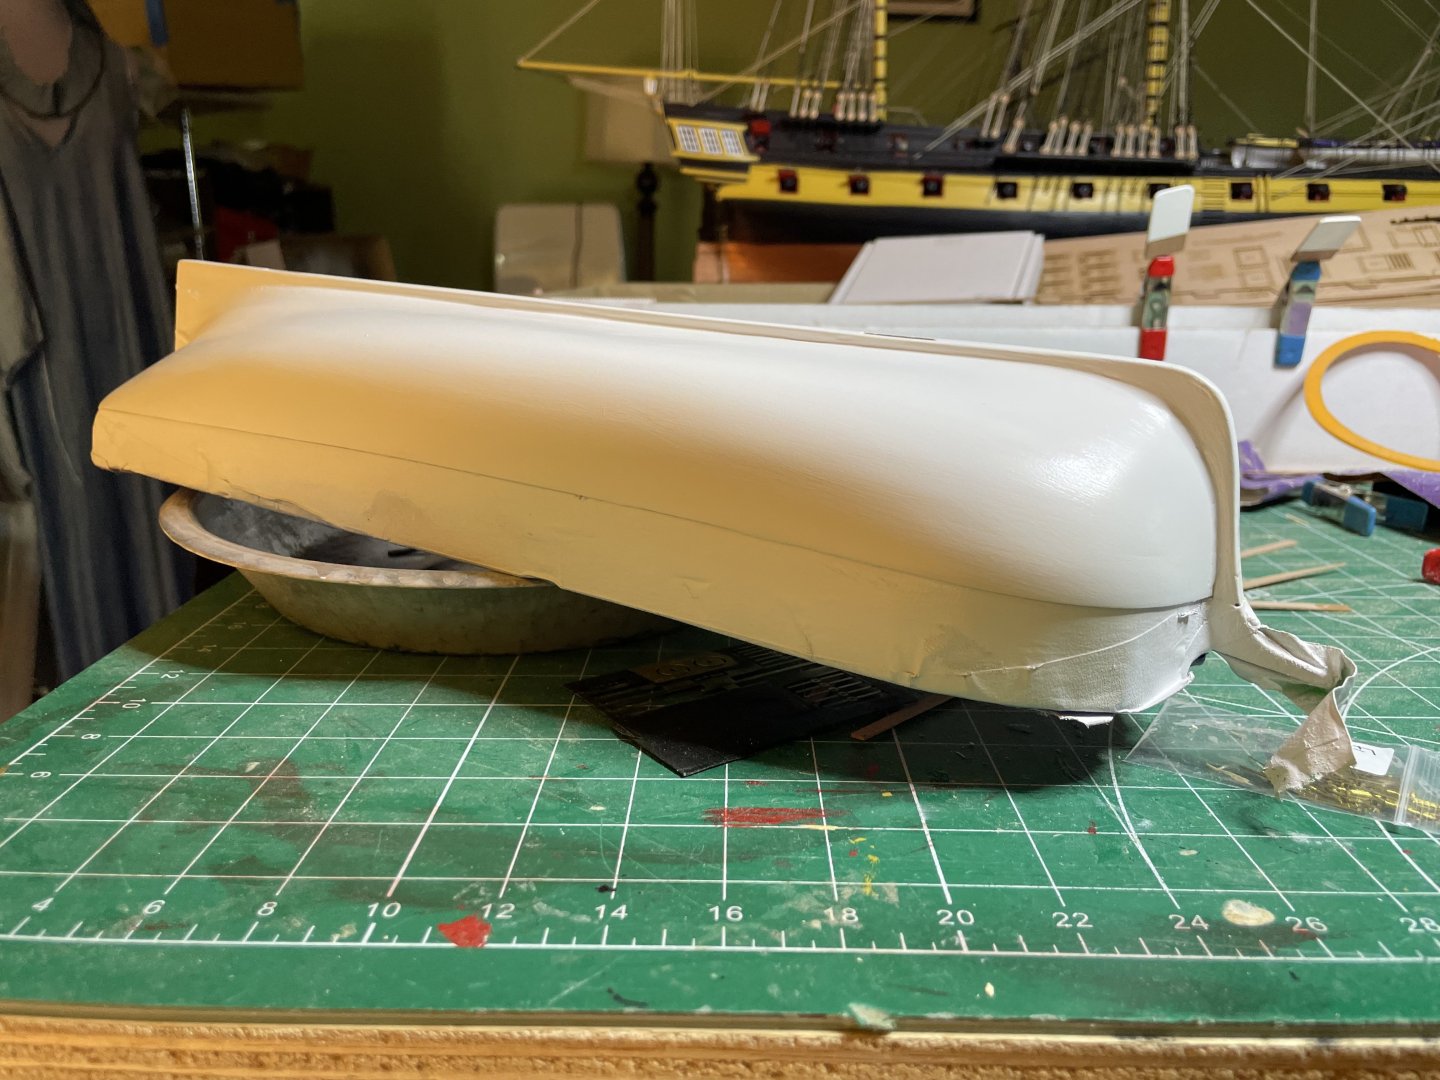
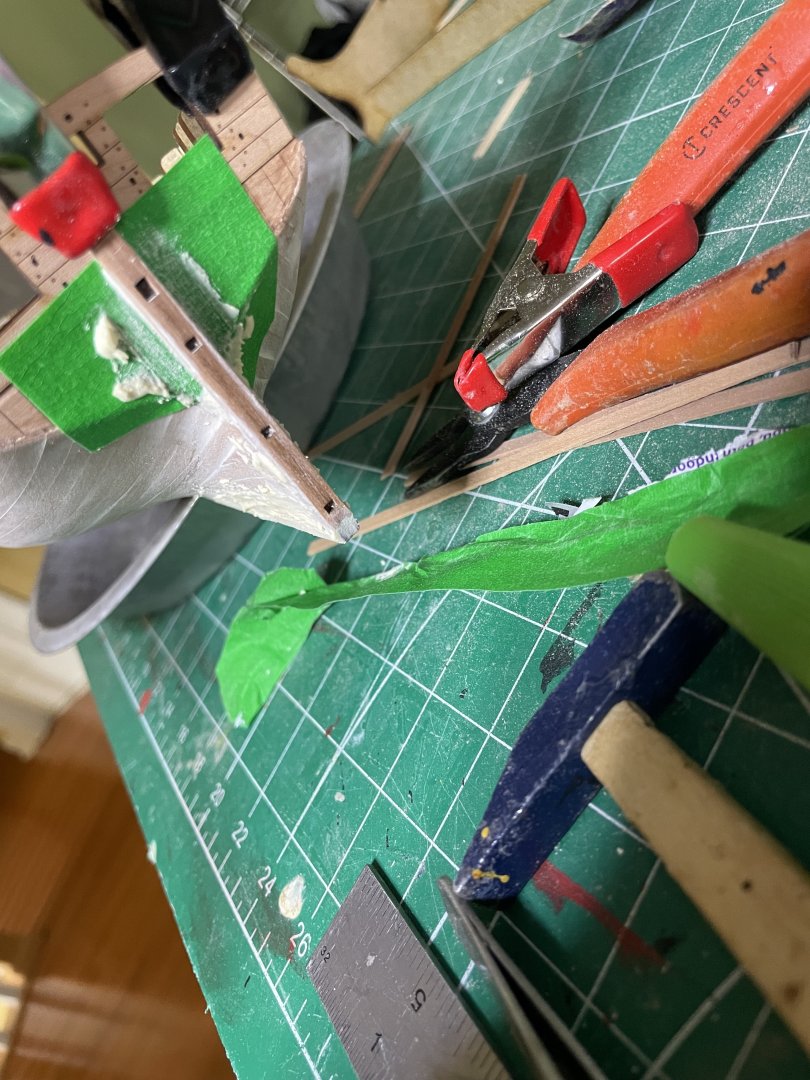
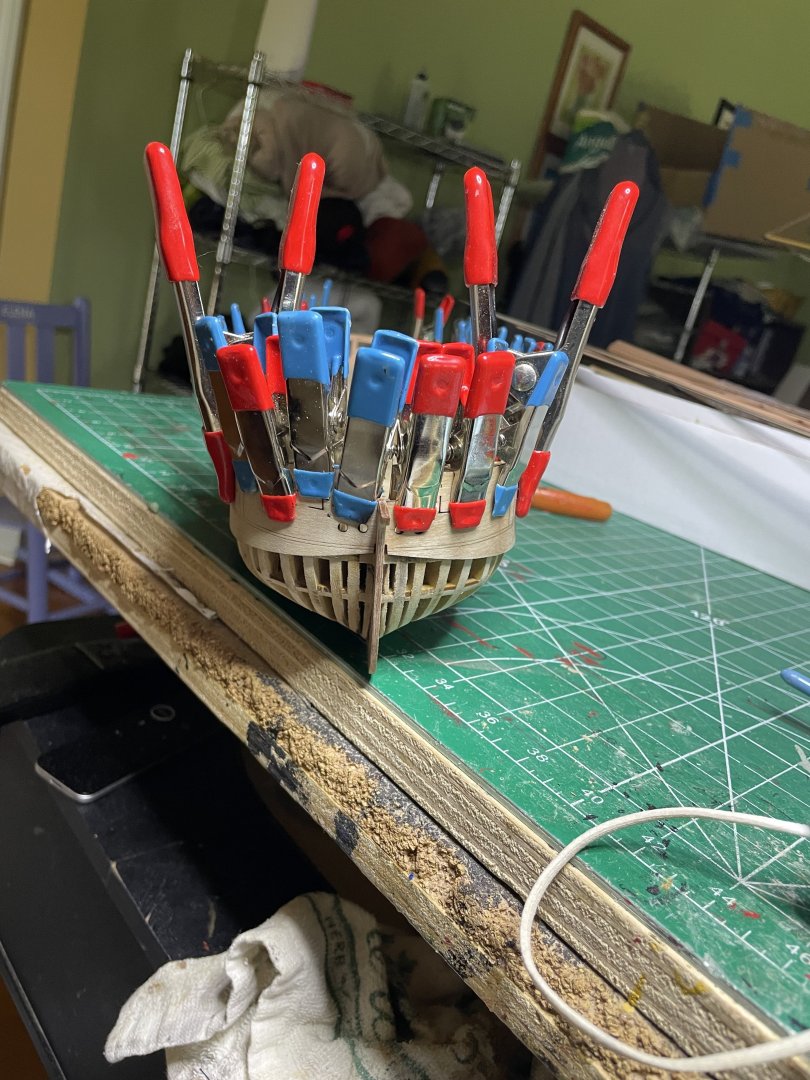
Spent the day sanding feathering the hull, adding the prow and clamping the wet bulwark into place to allow drying overnight. You may notice I clamped them backwards but quickly fixed the problem before they had a chance to dry. Never can have to many clamps


- 66 replies
-
- 8
-
-
- Adder
- Vanguard Models
- (and 1 more)
-
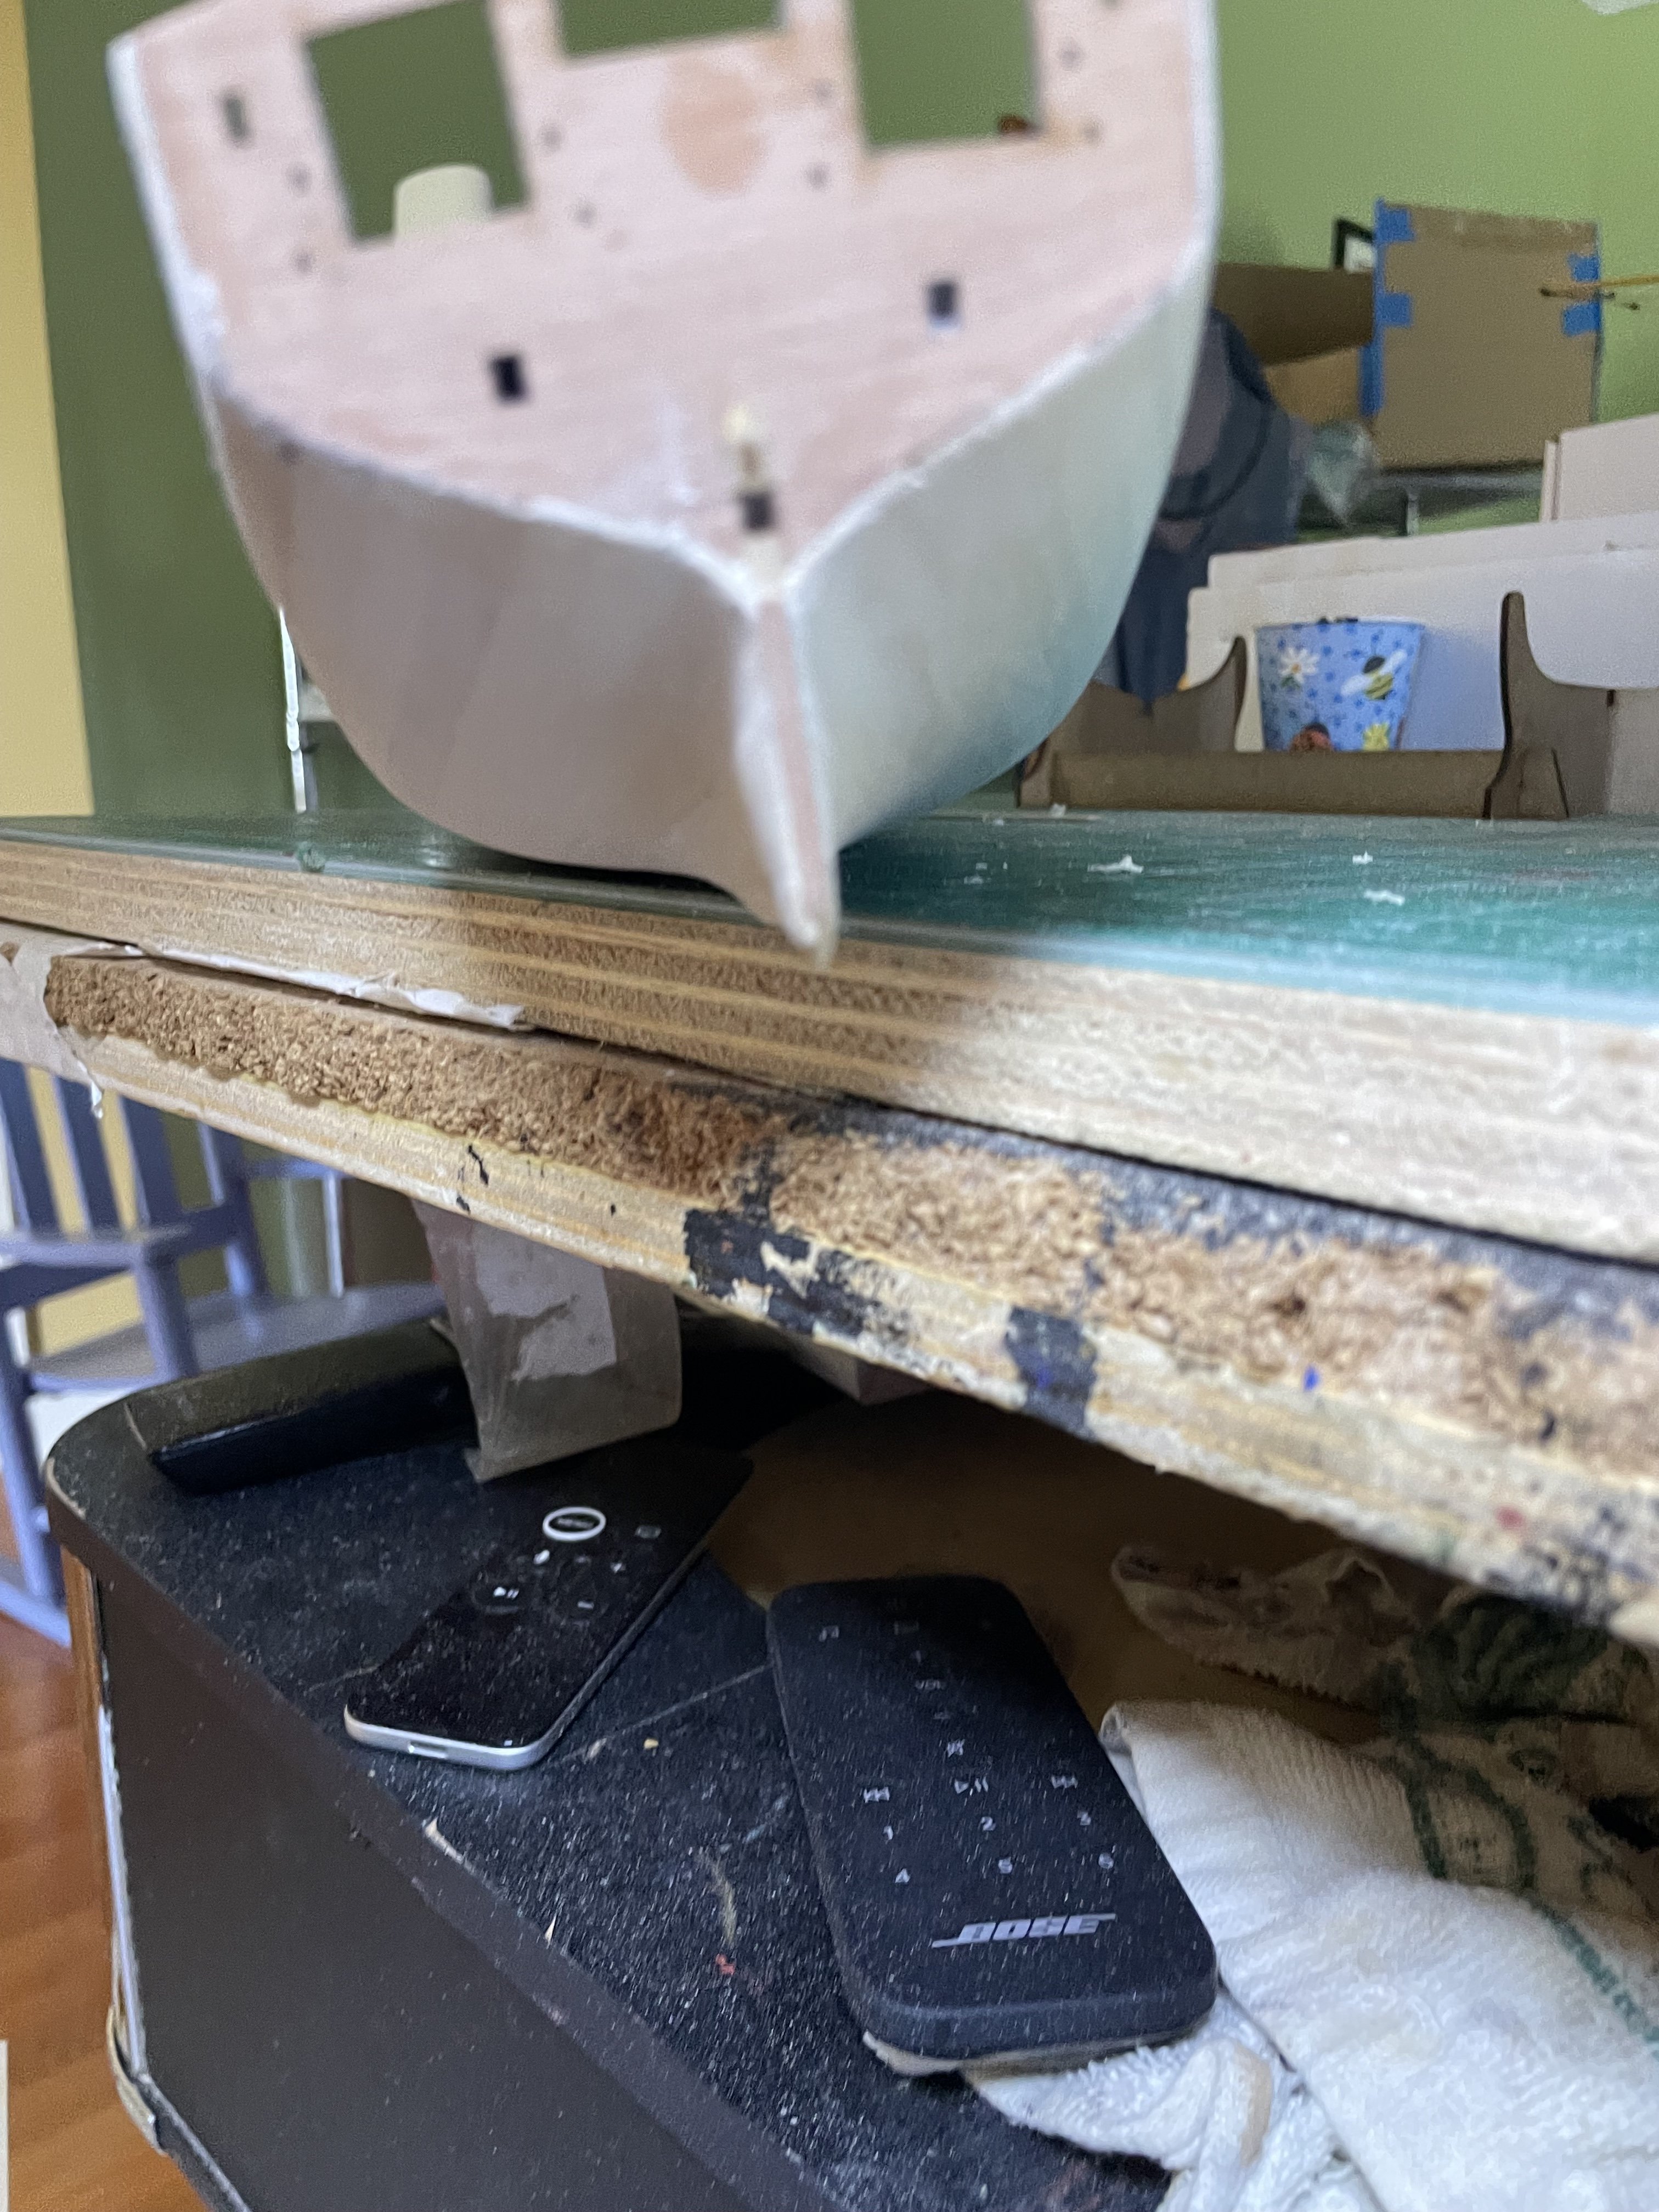
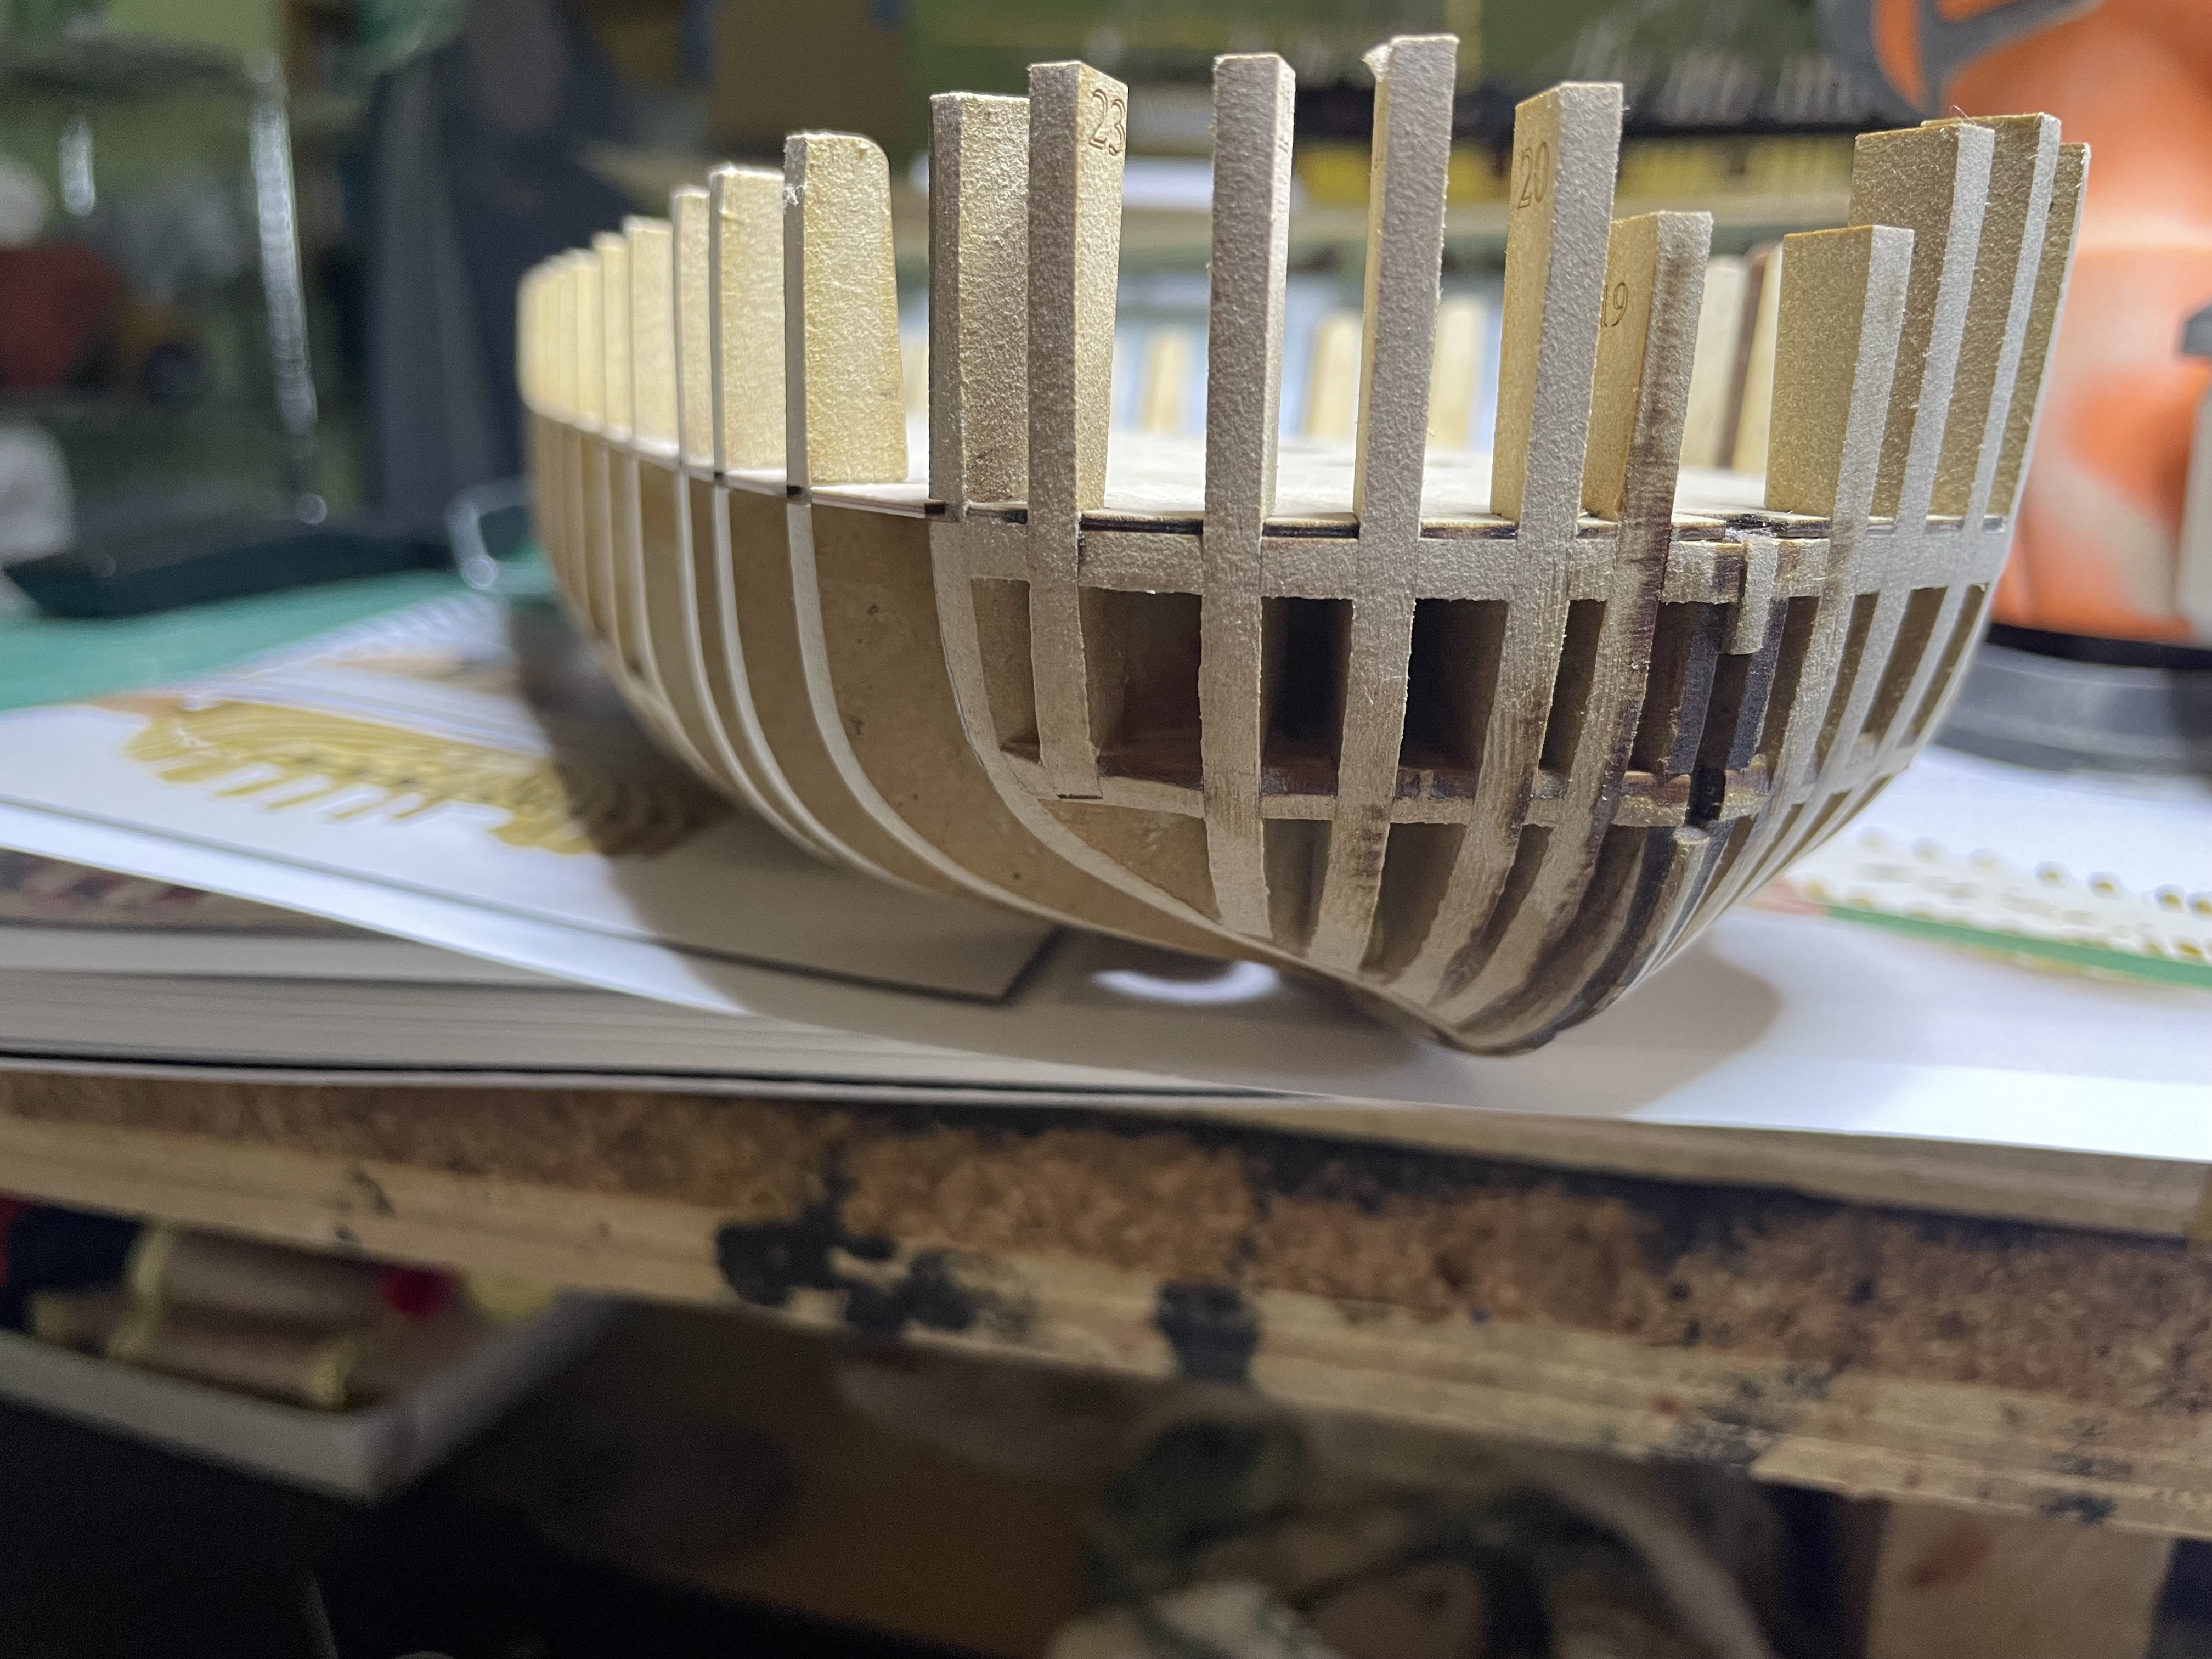
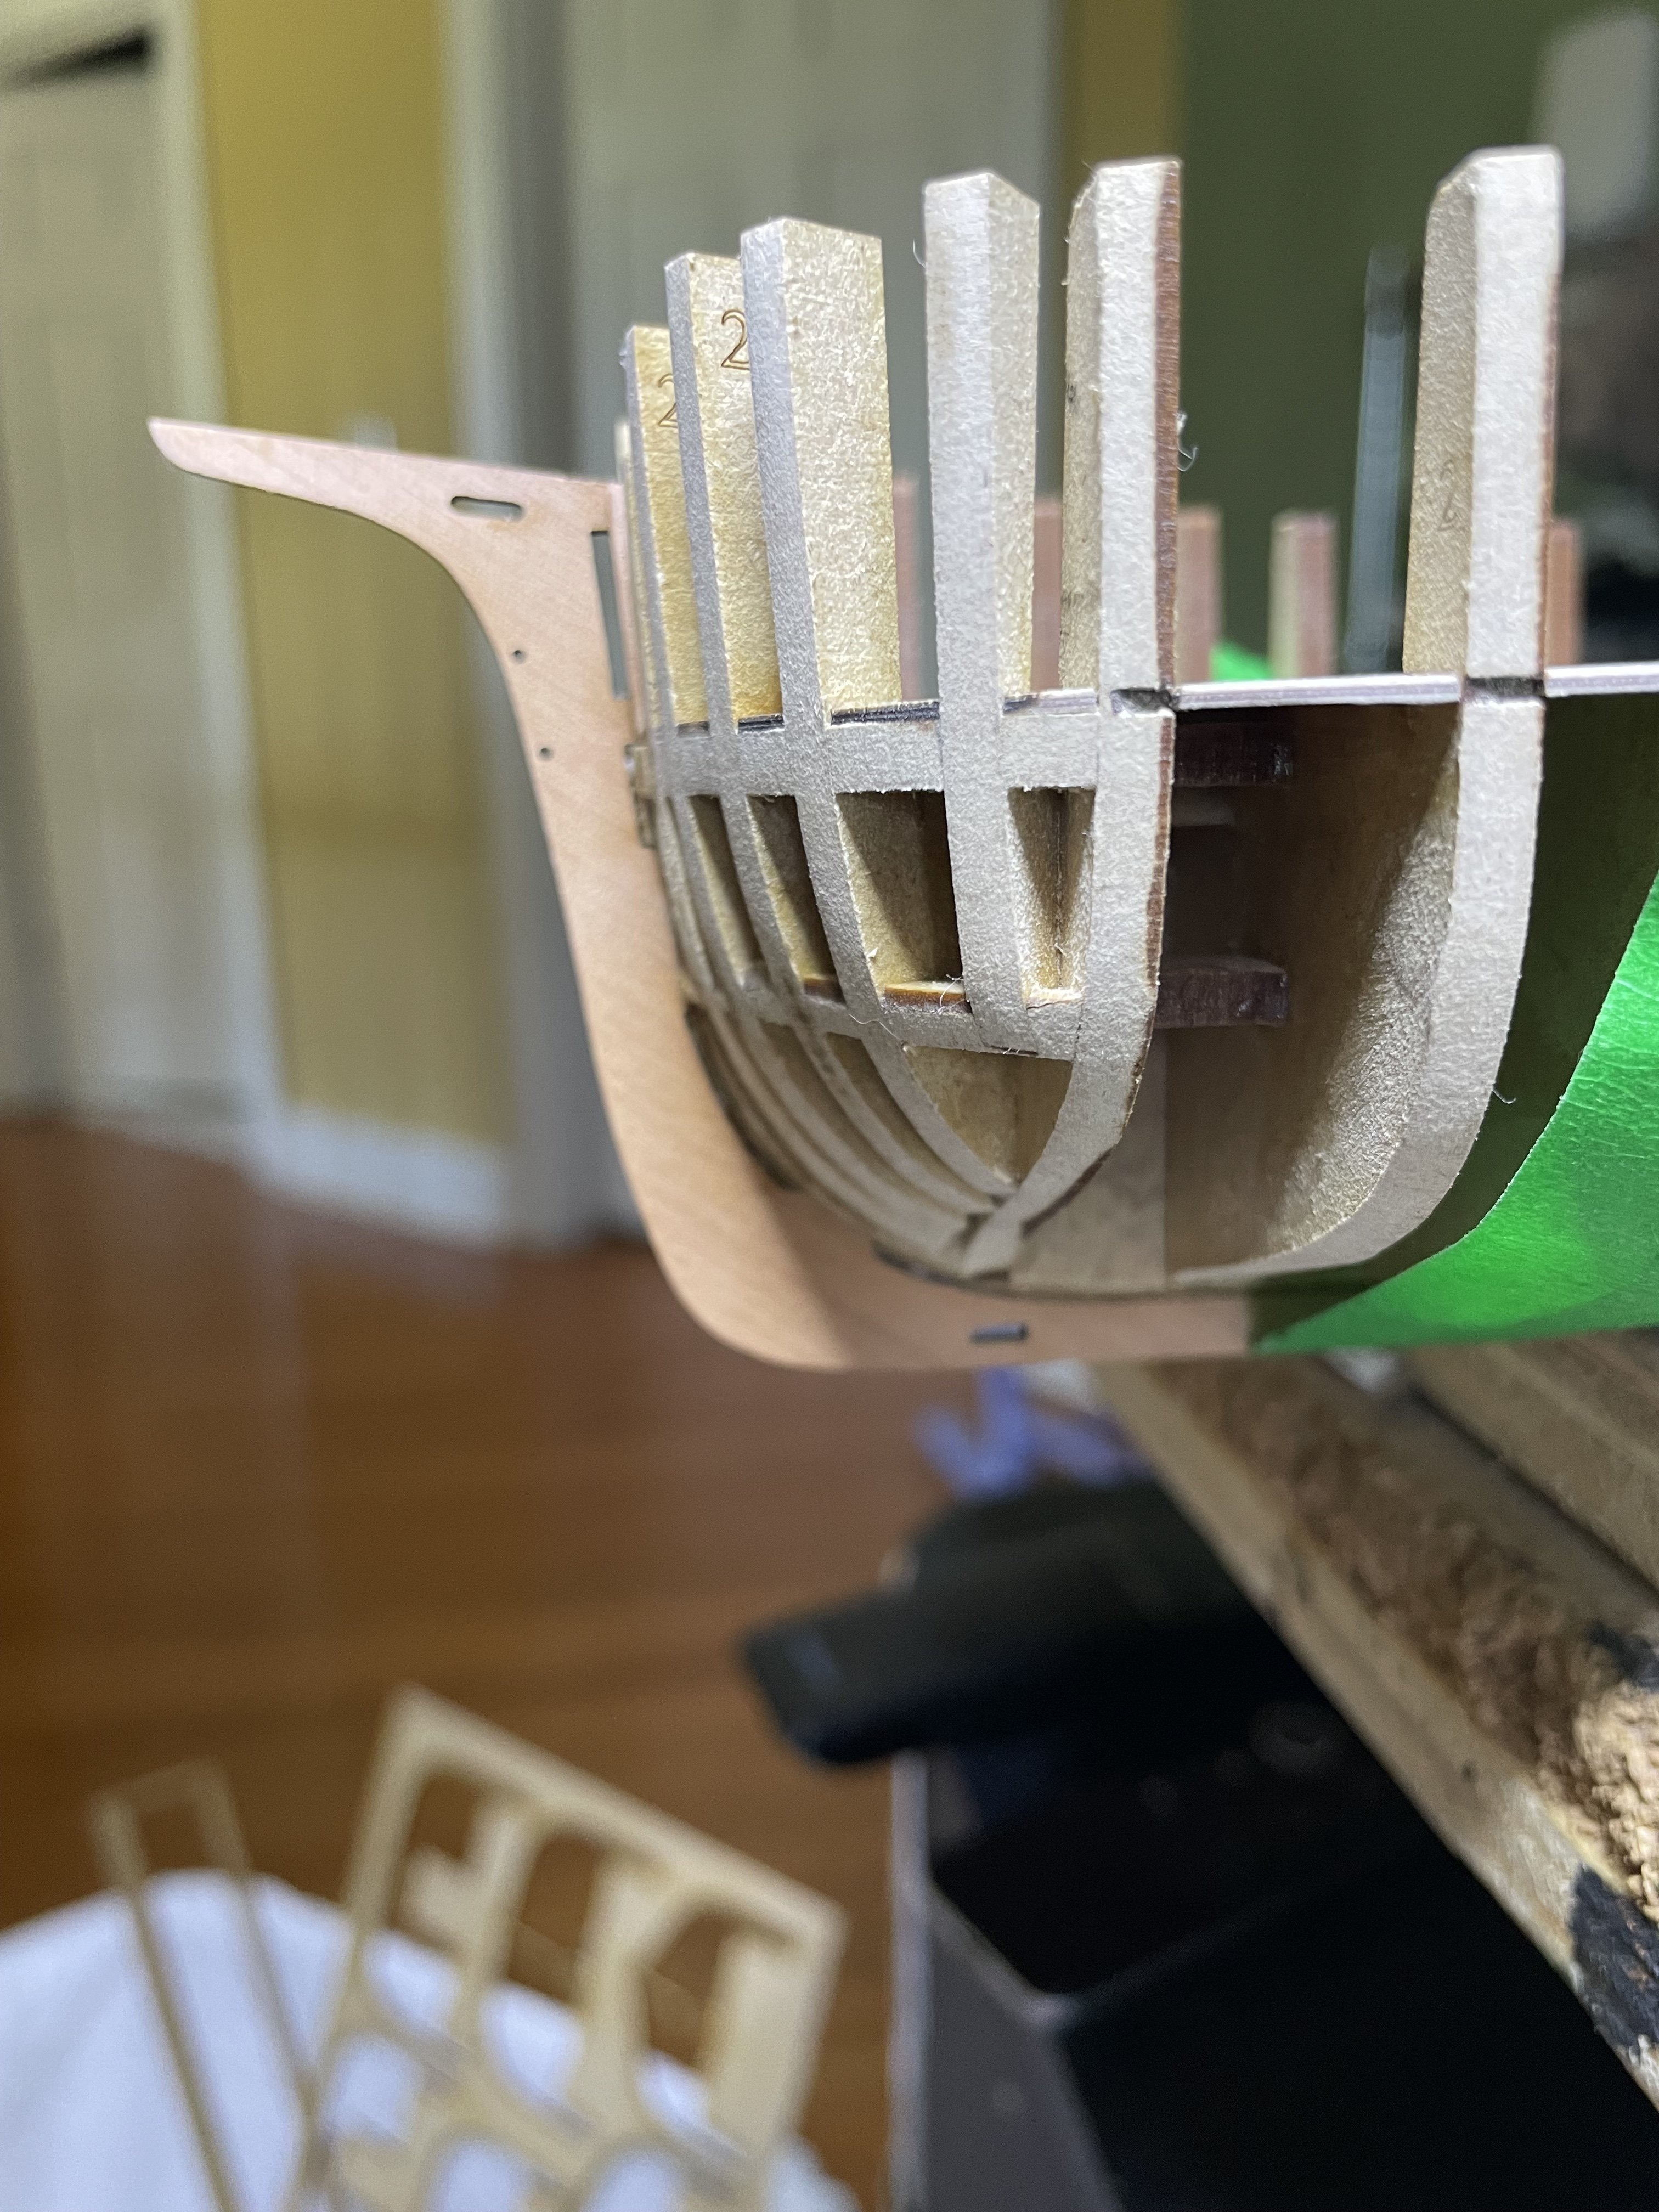
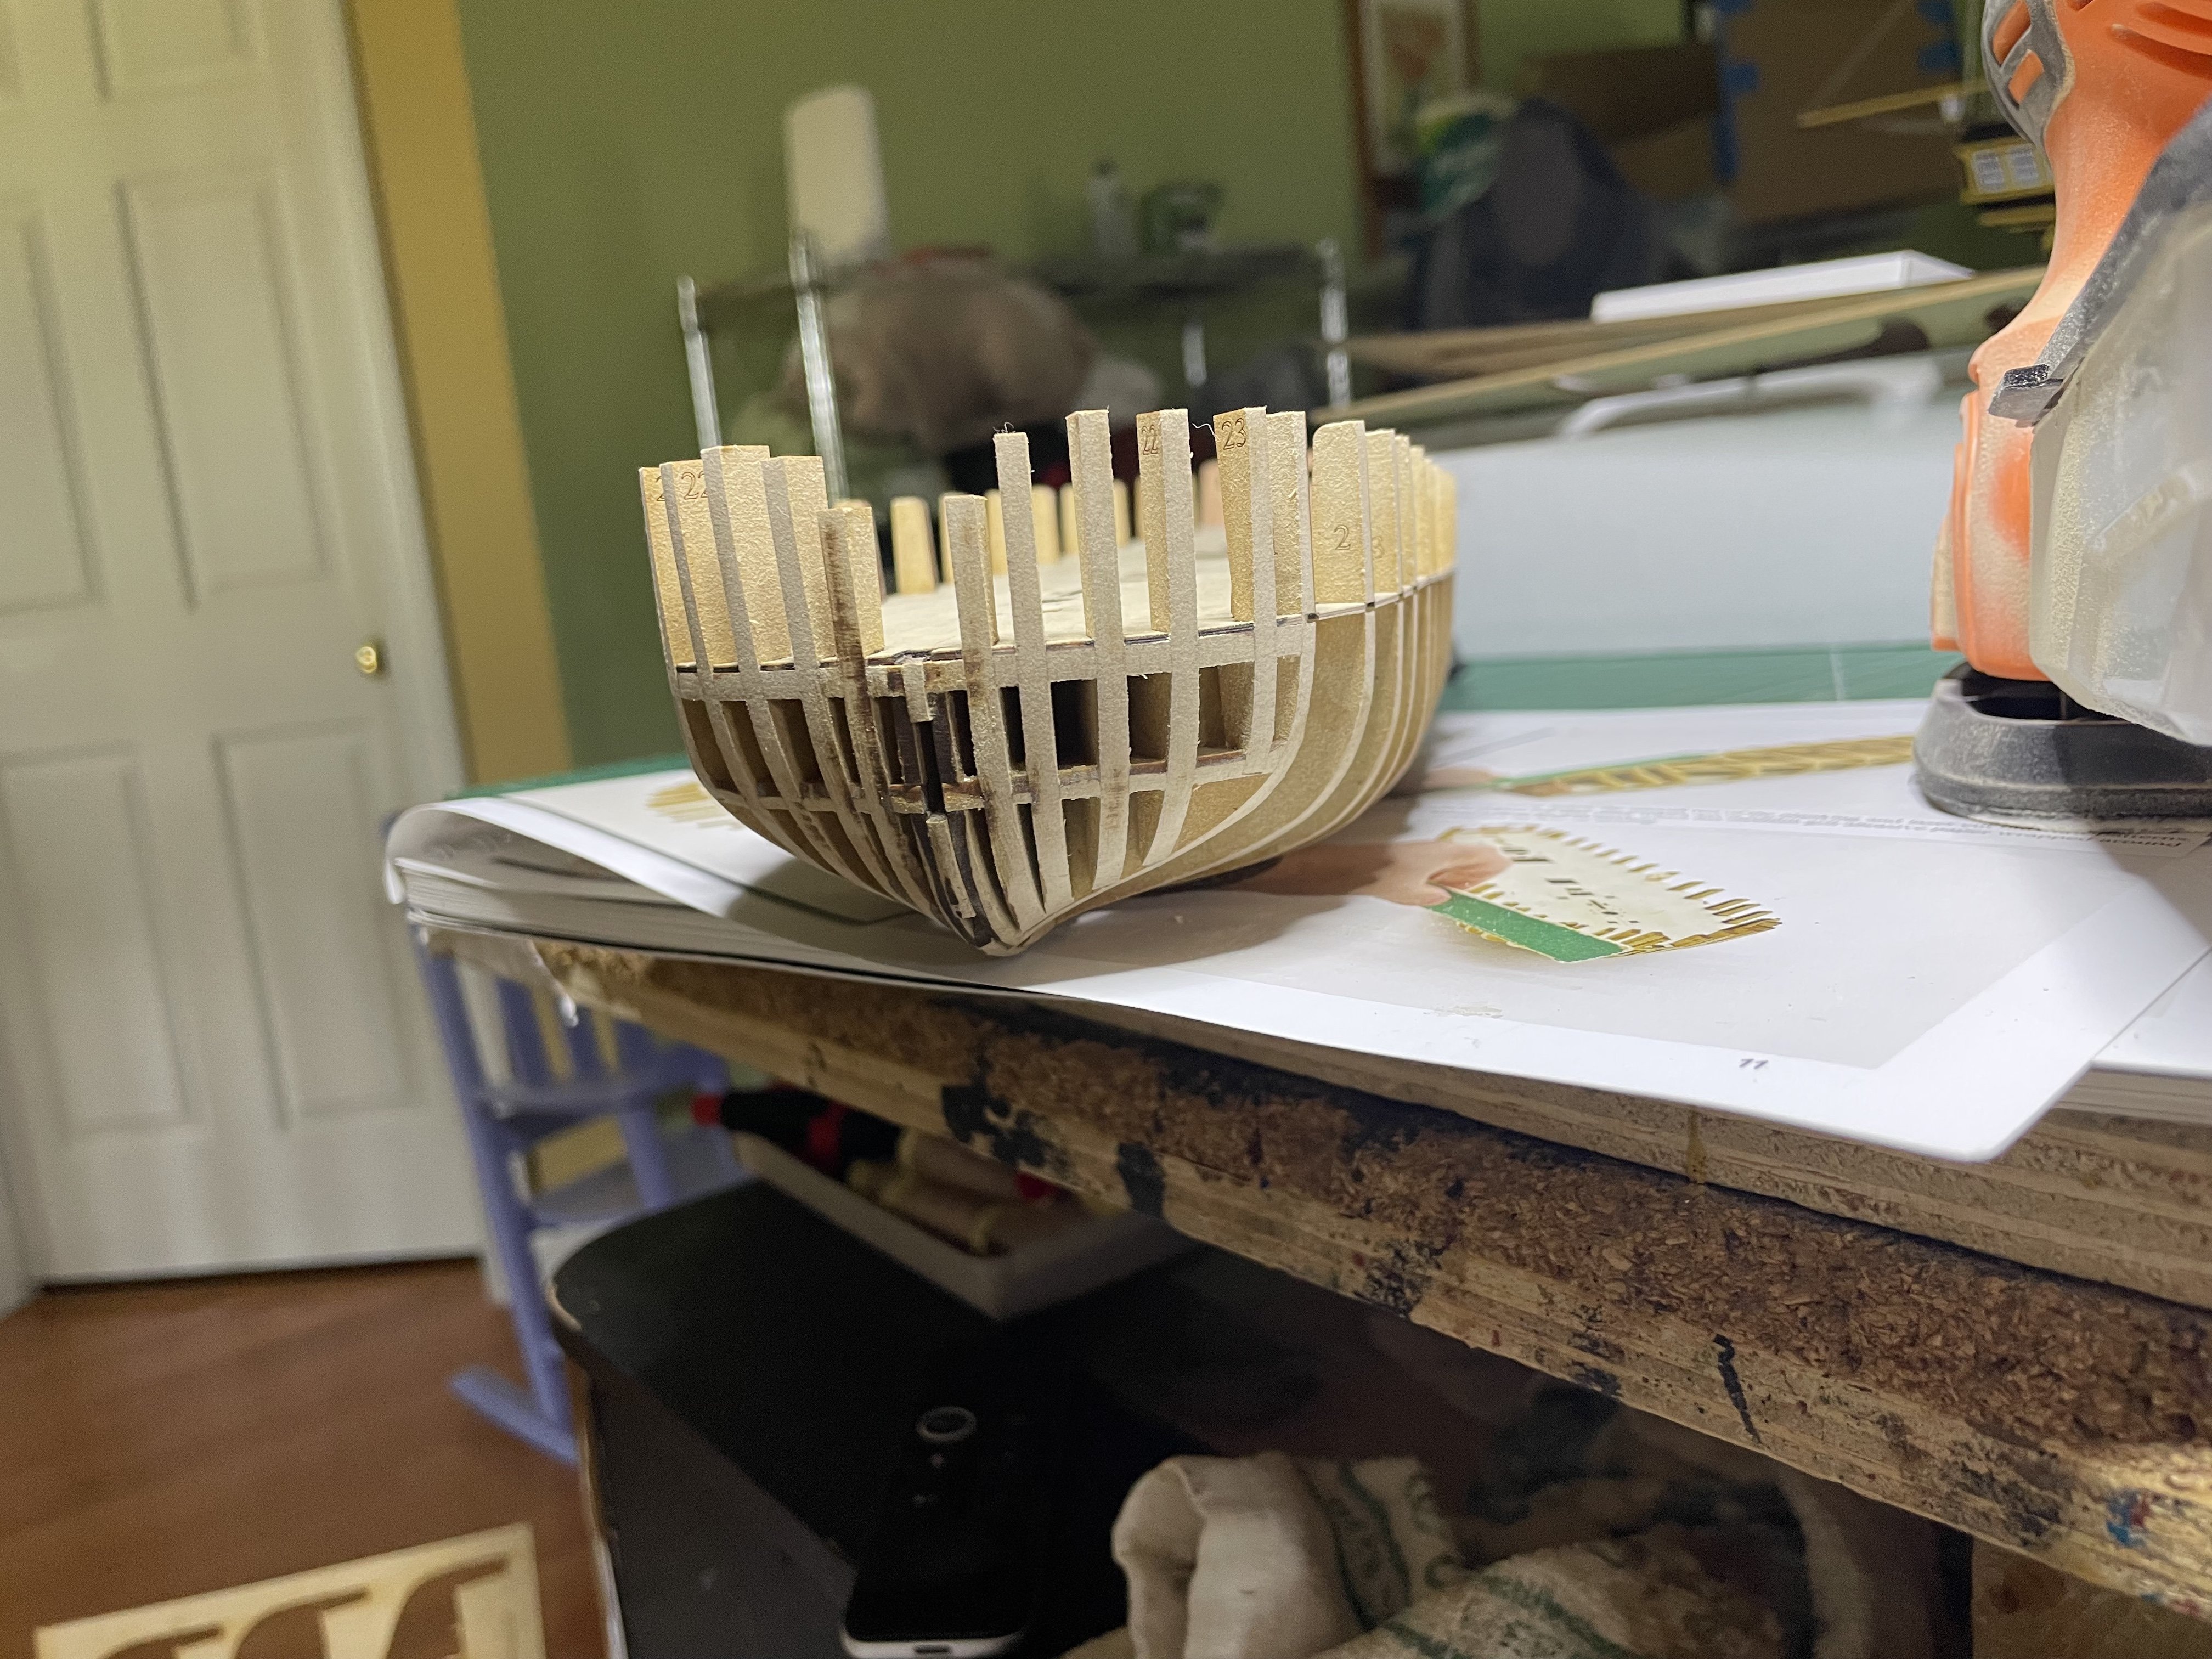
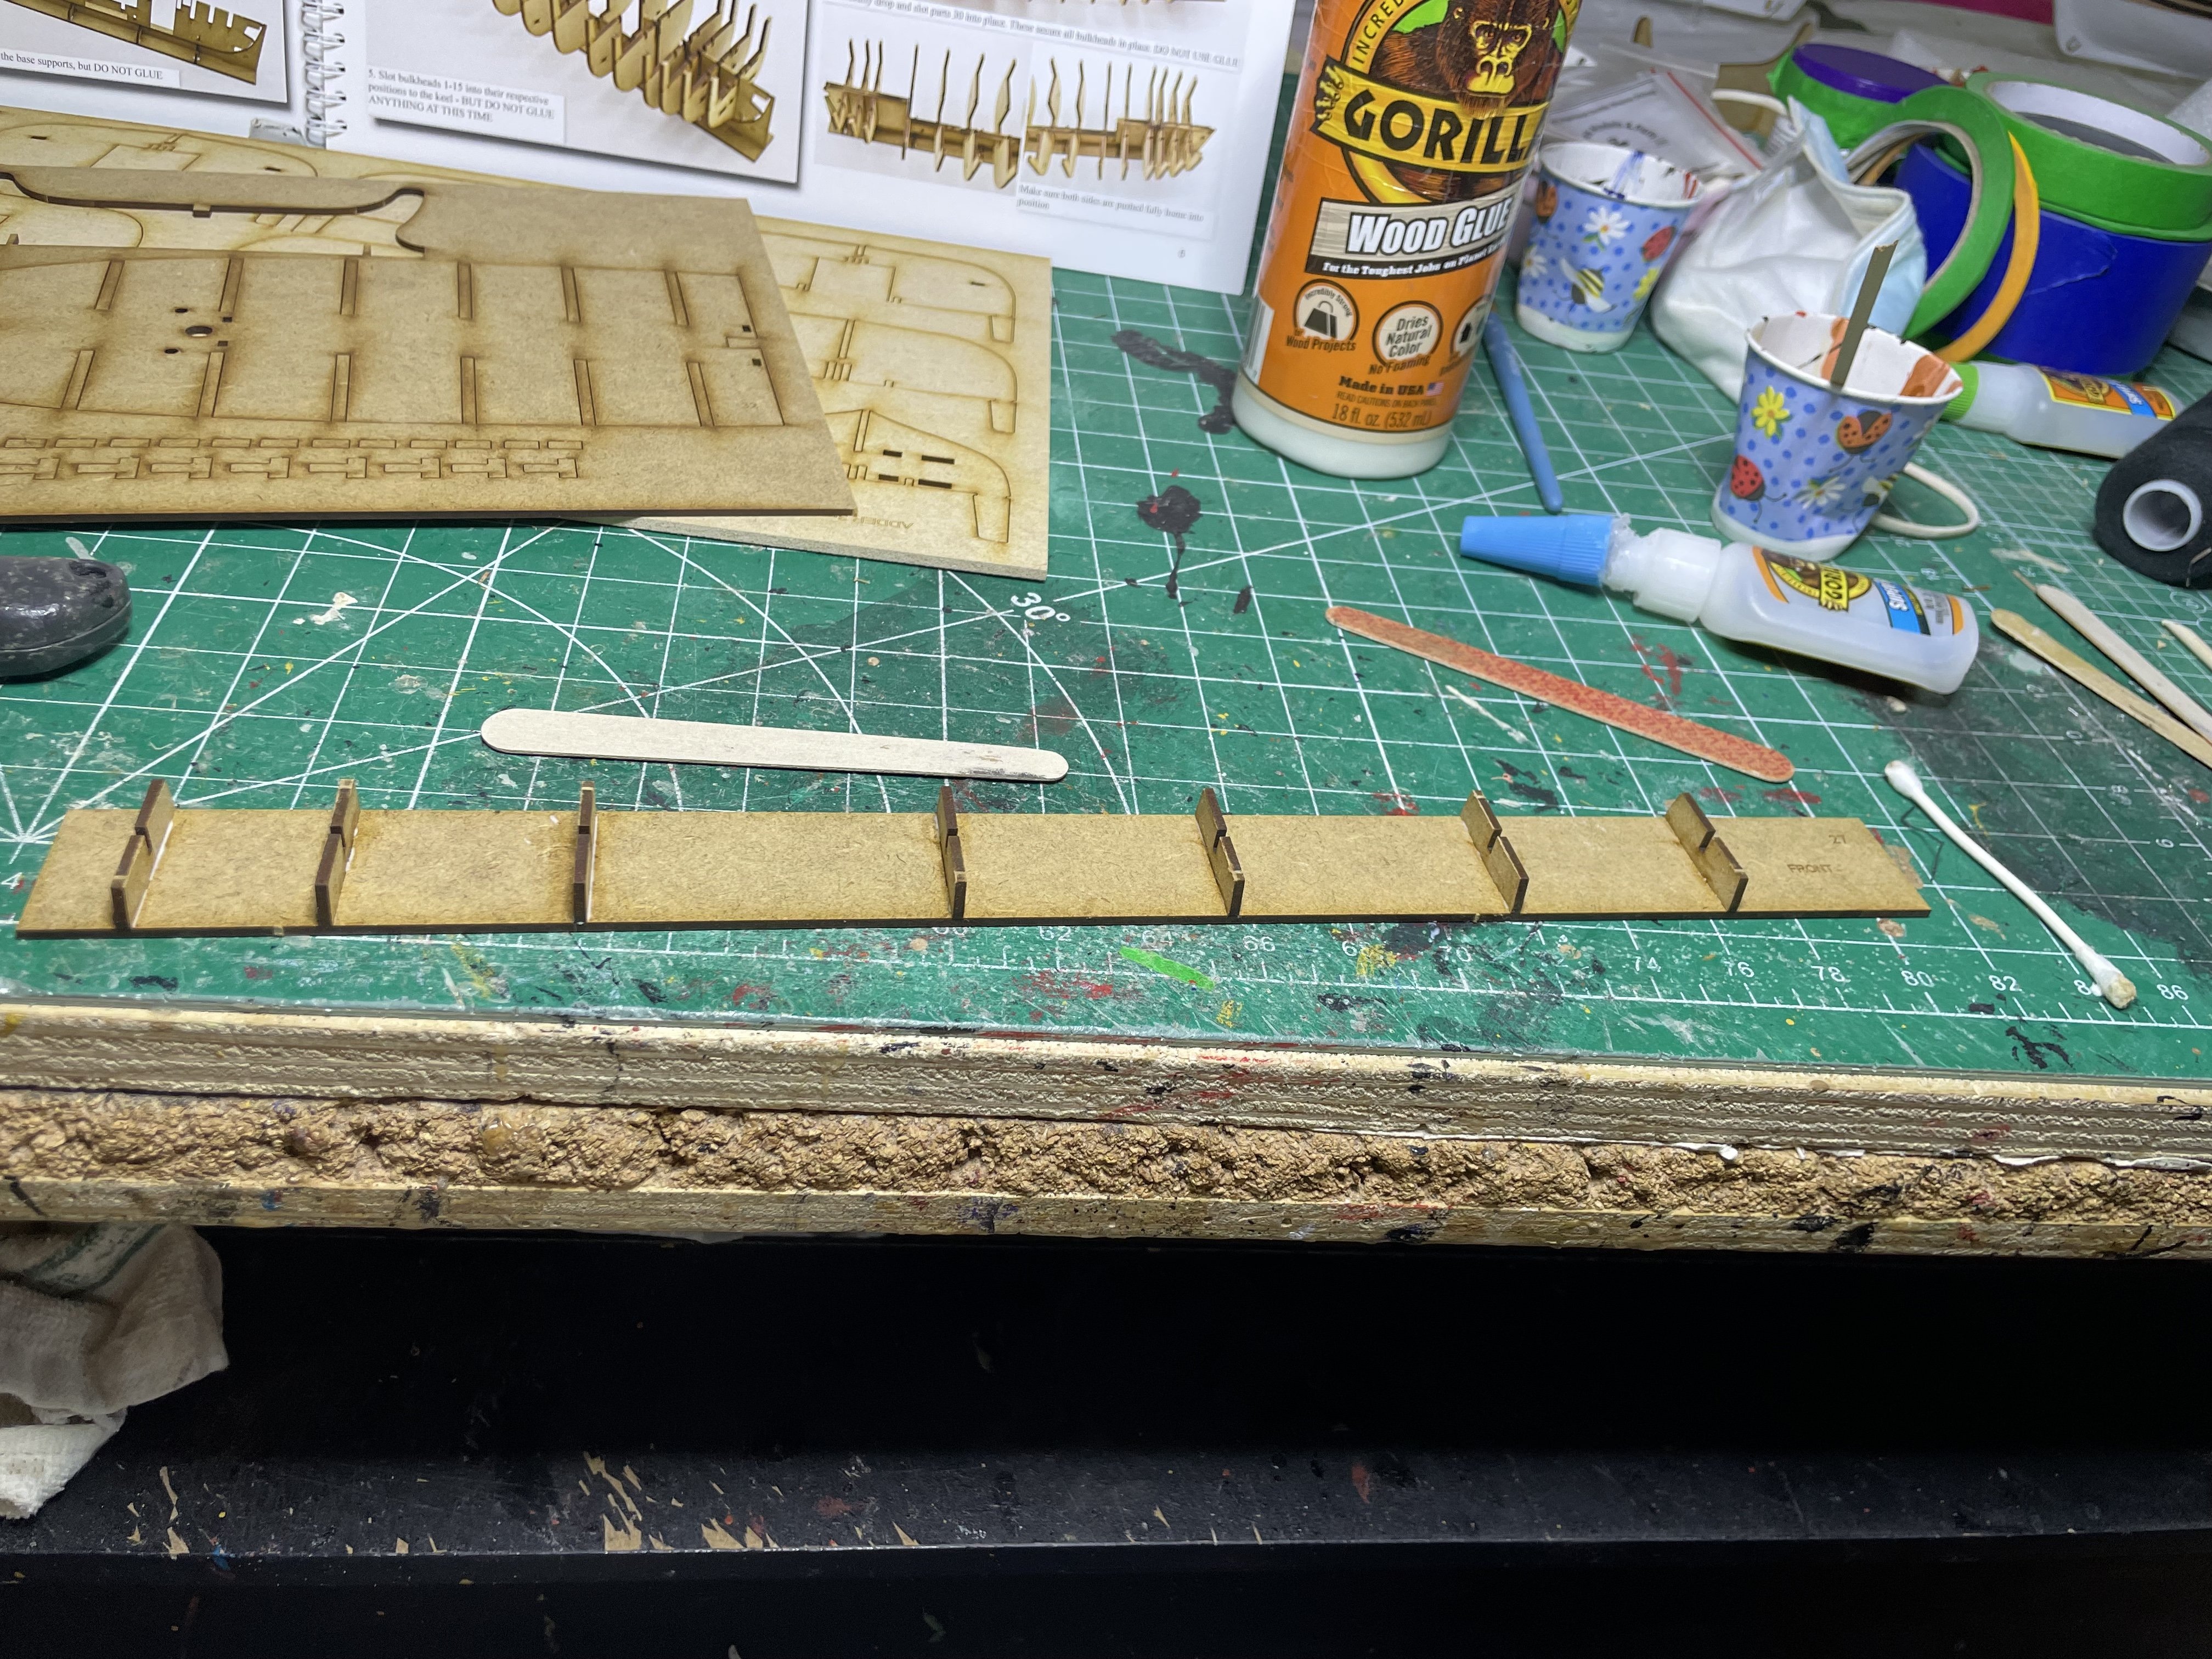
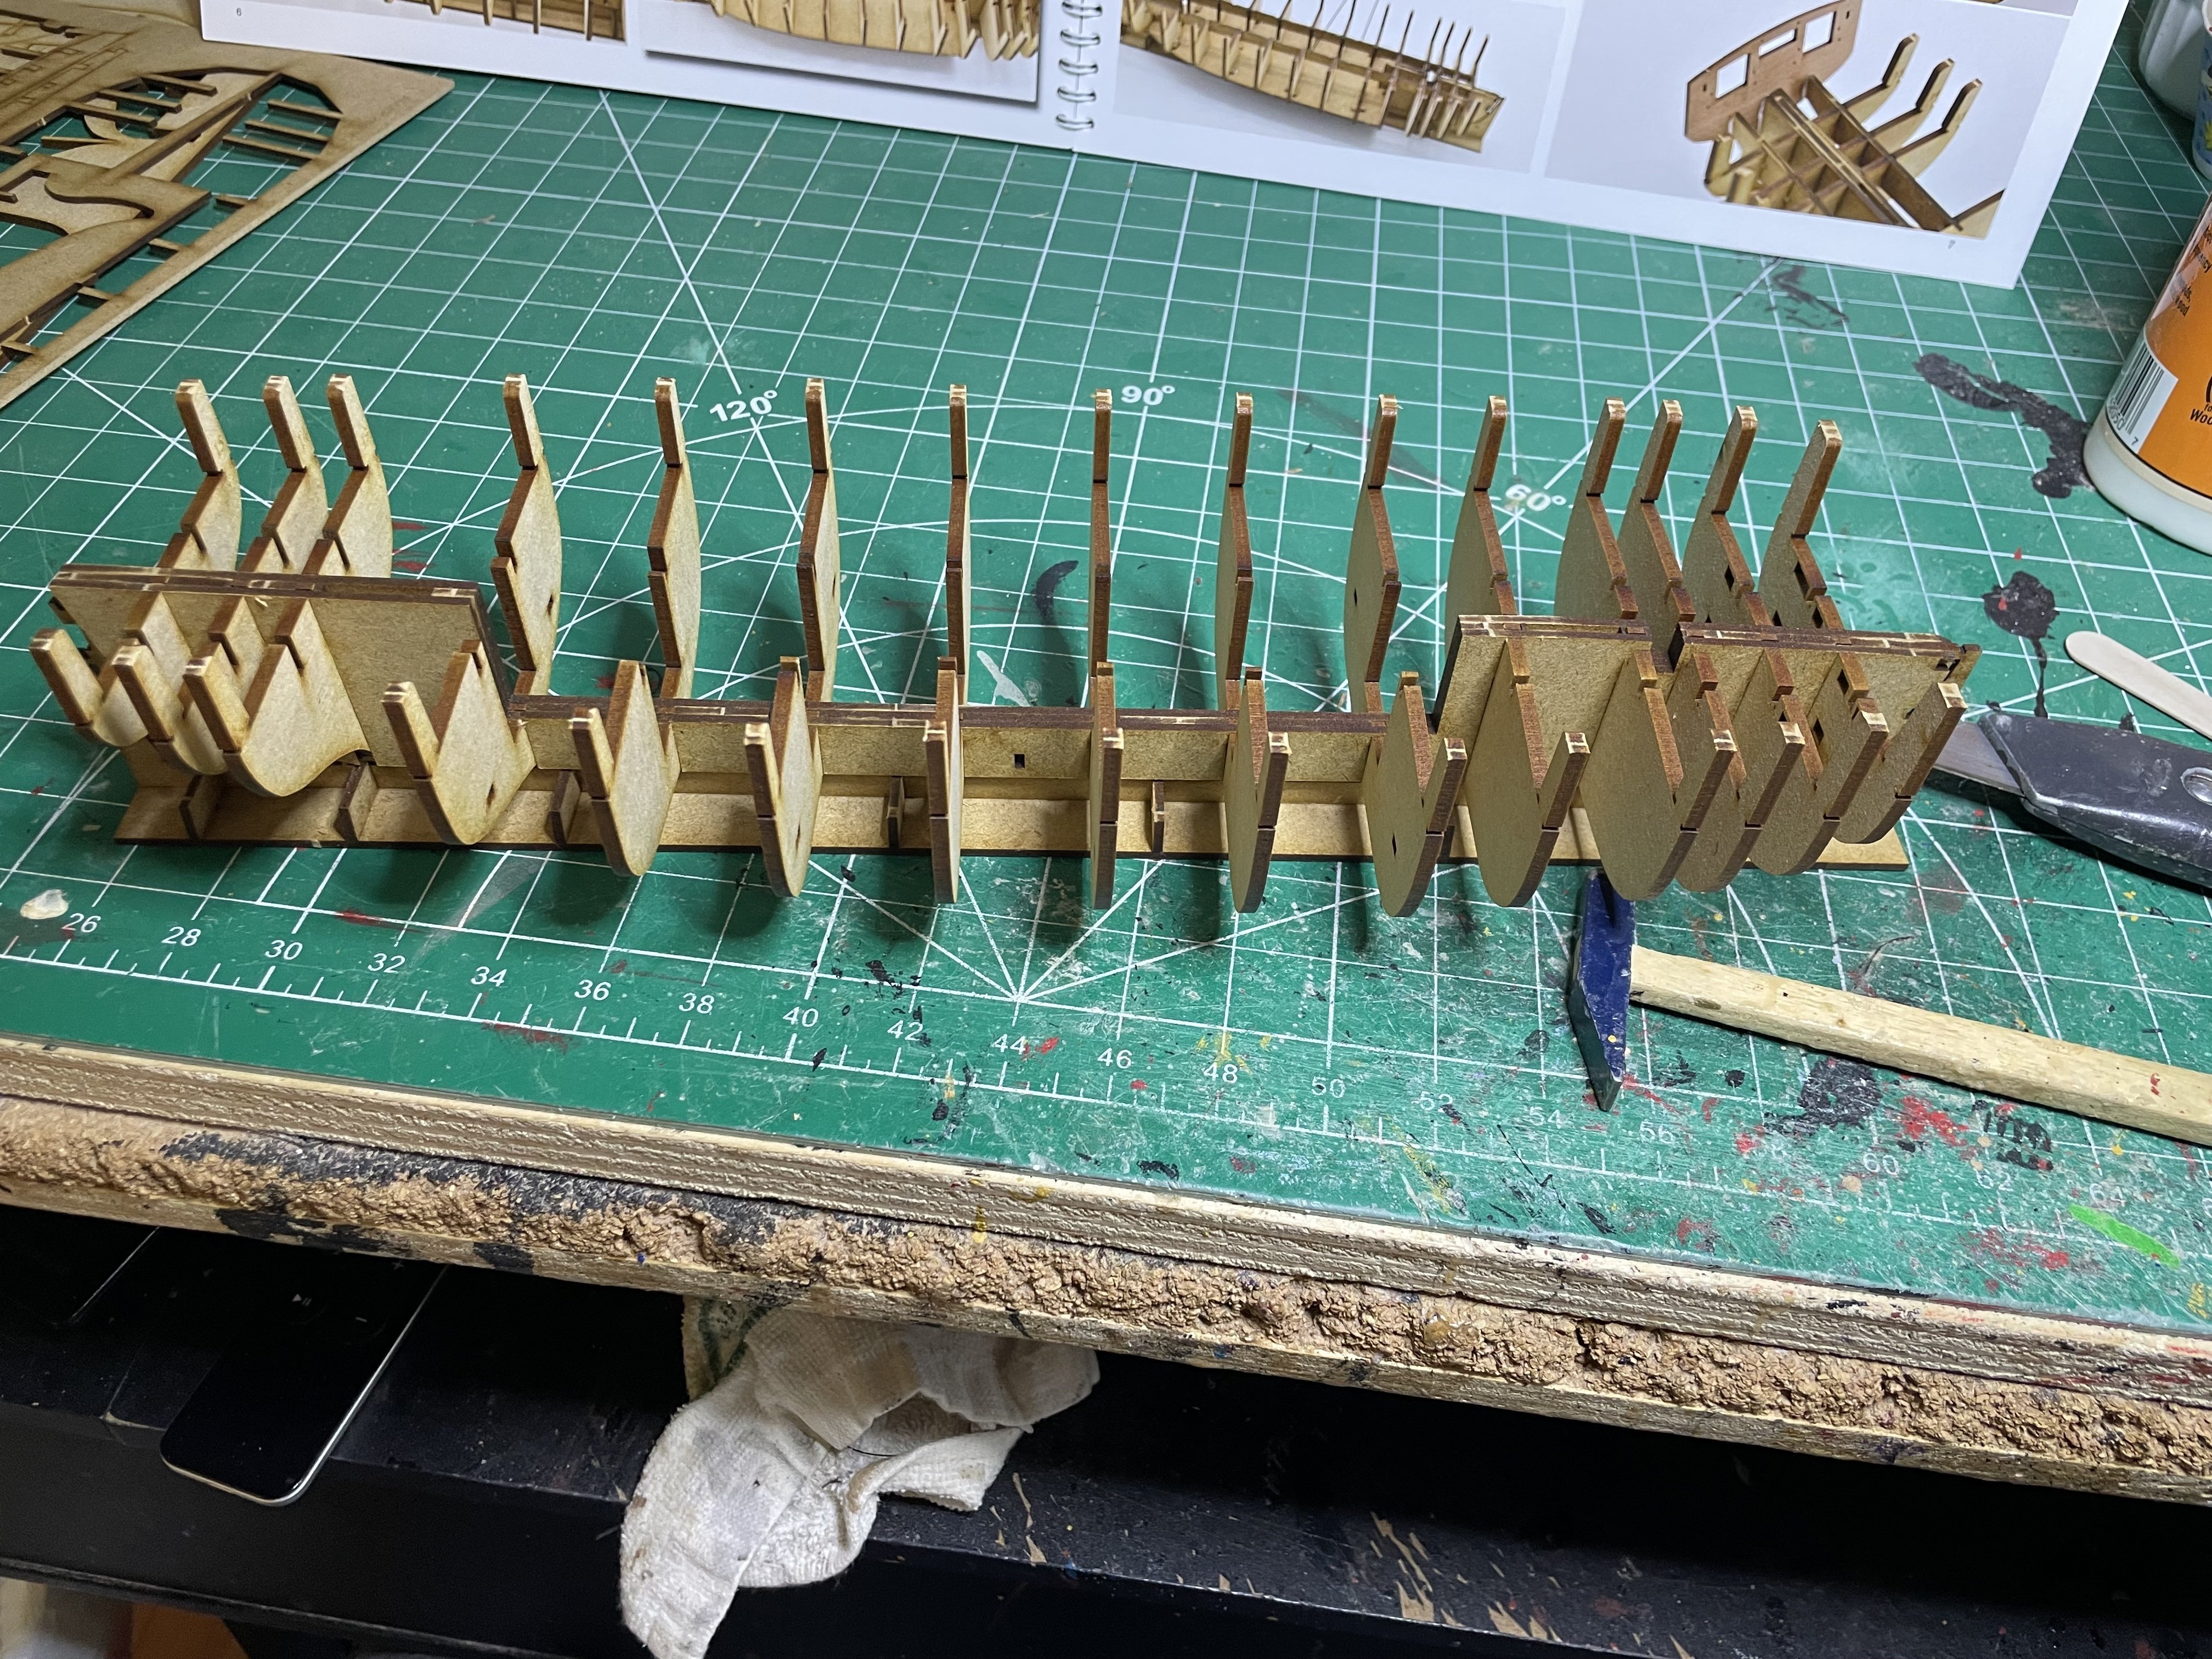
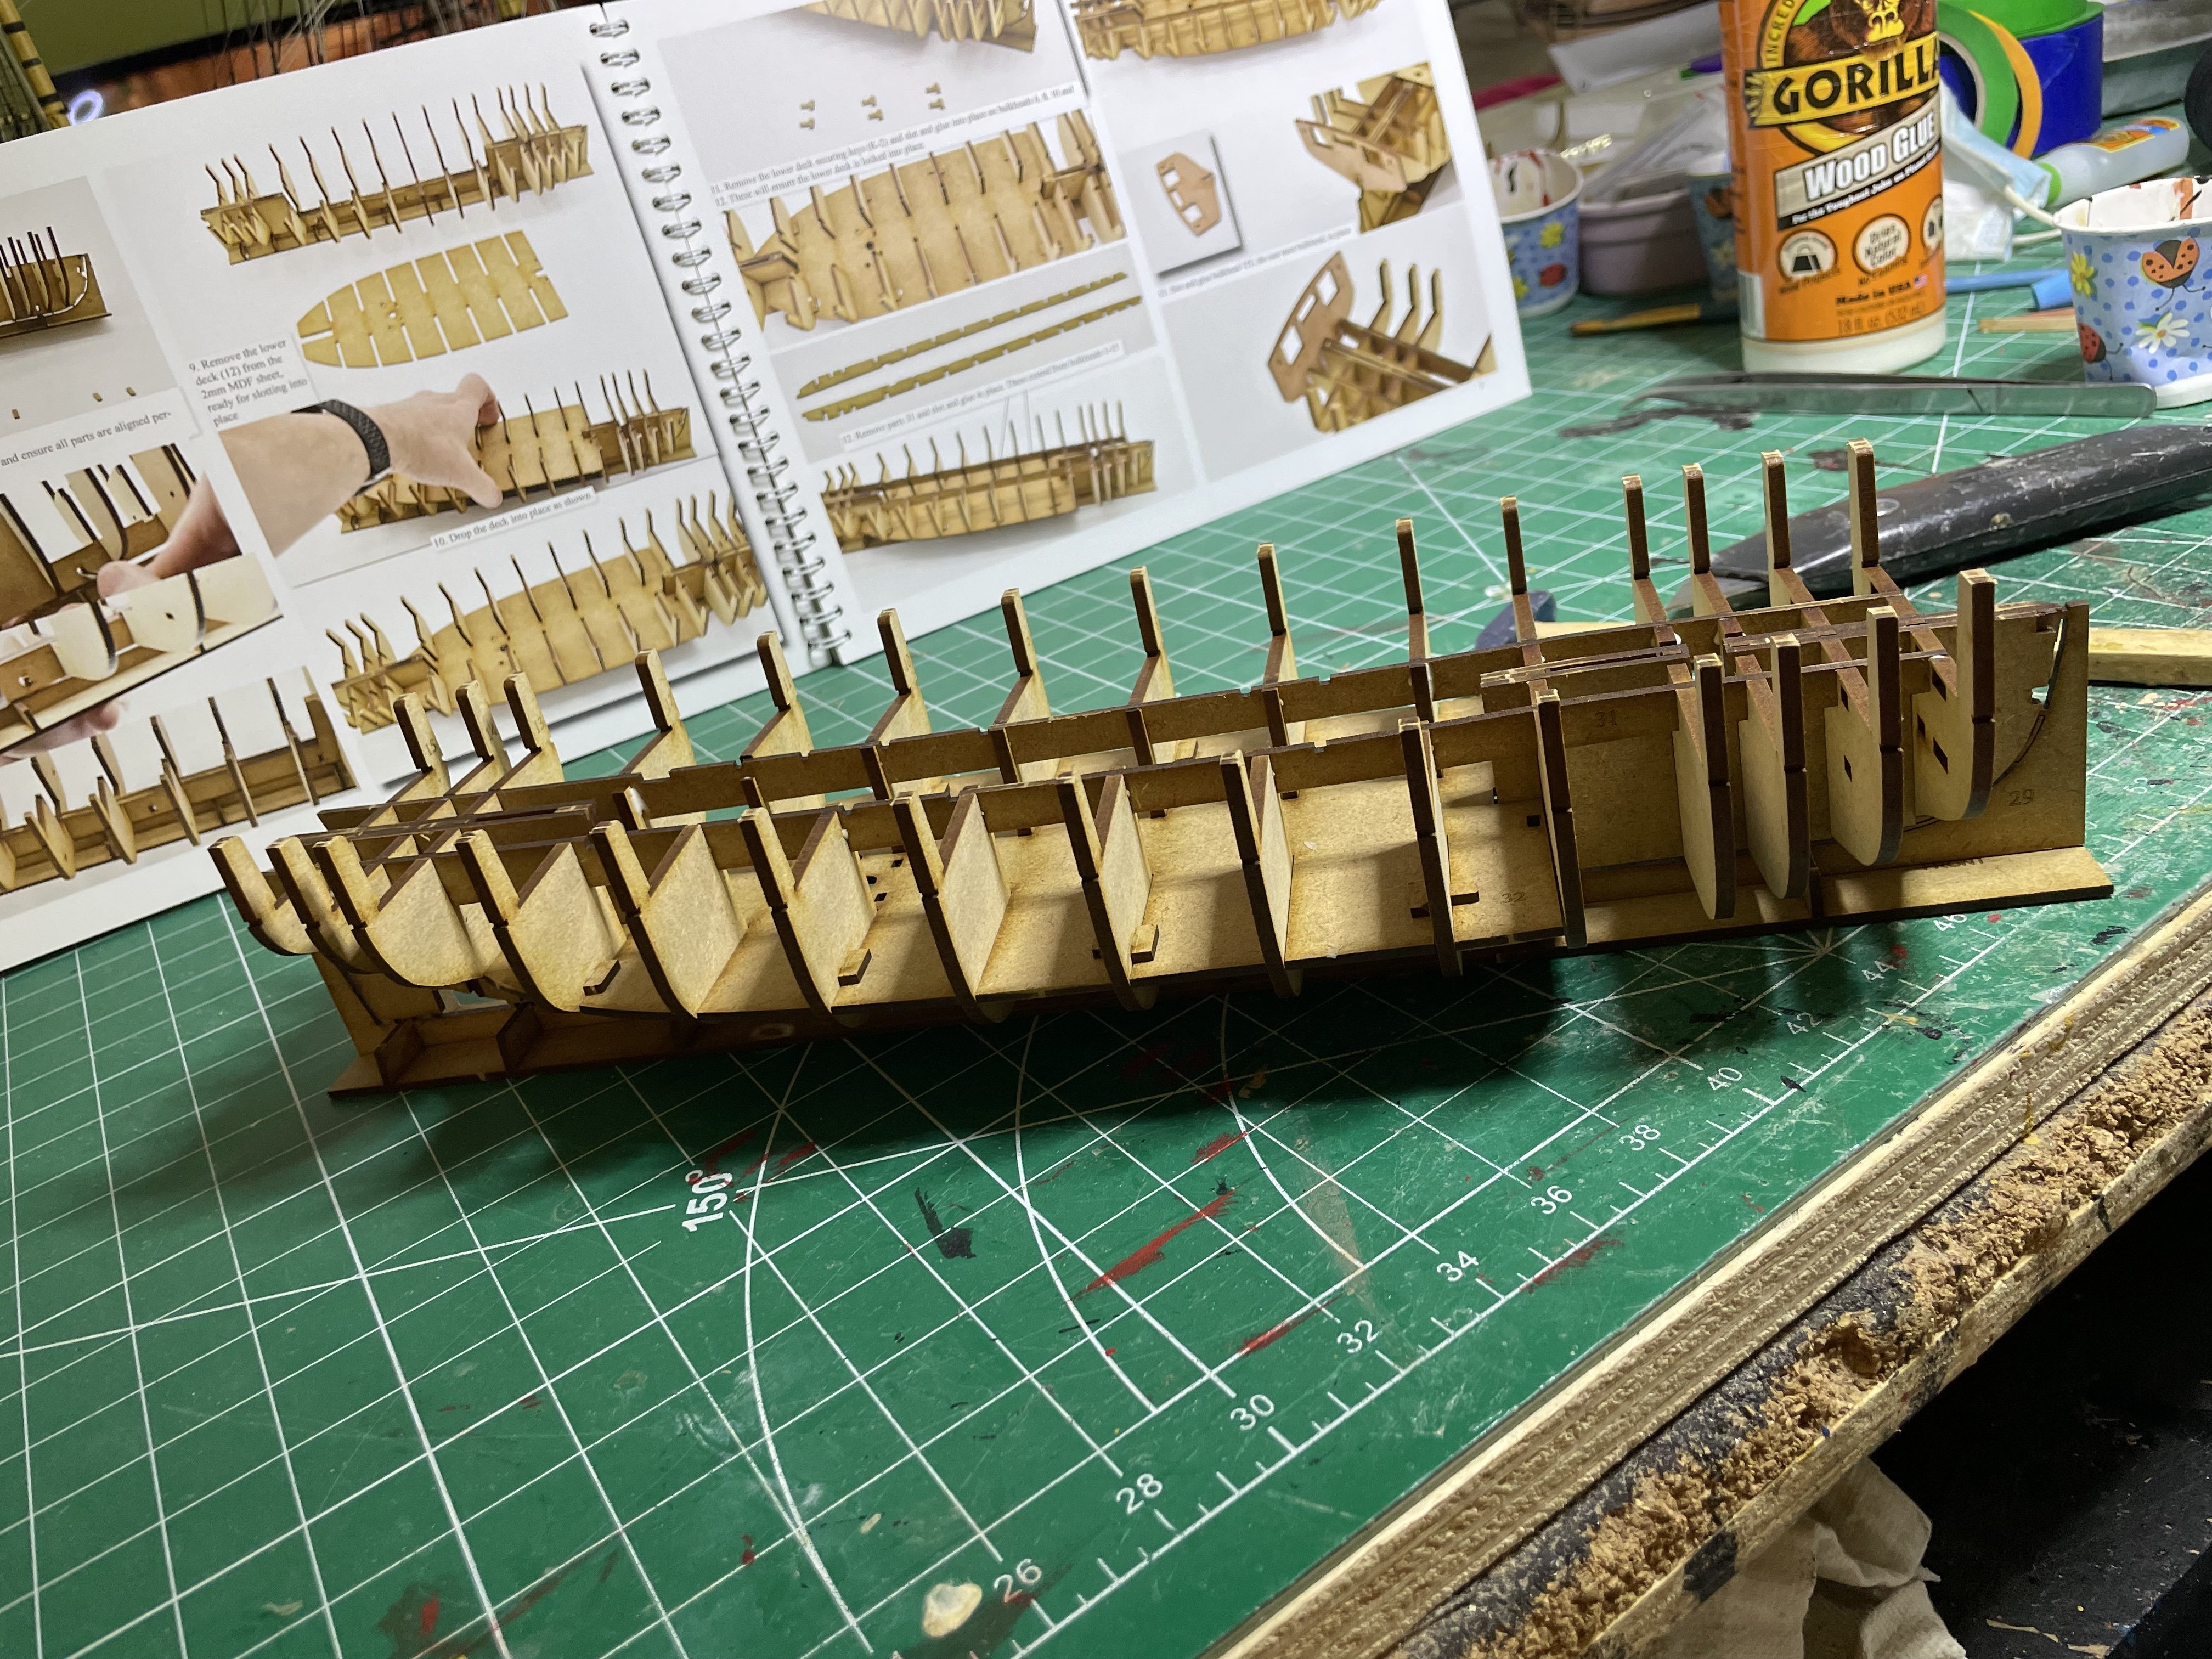
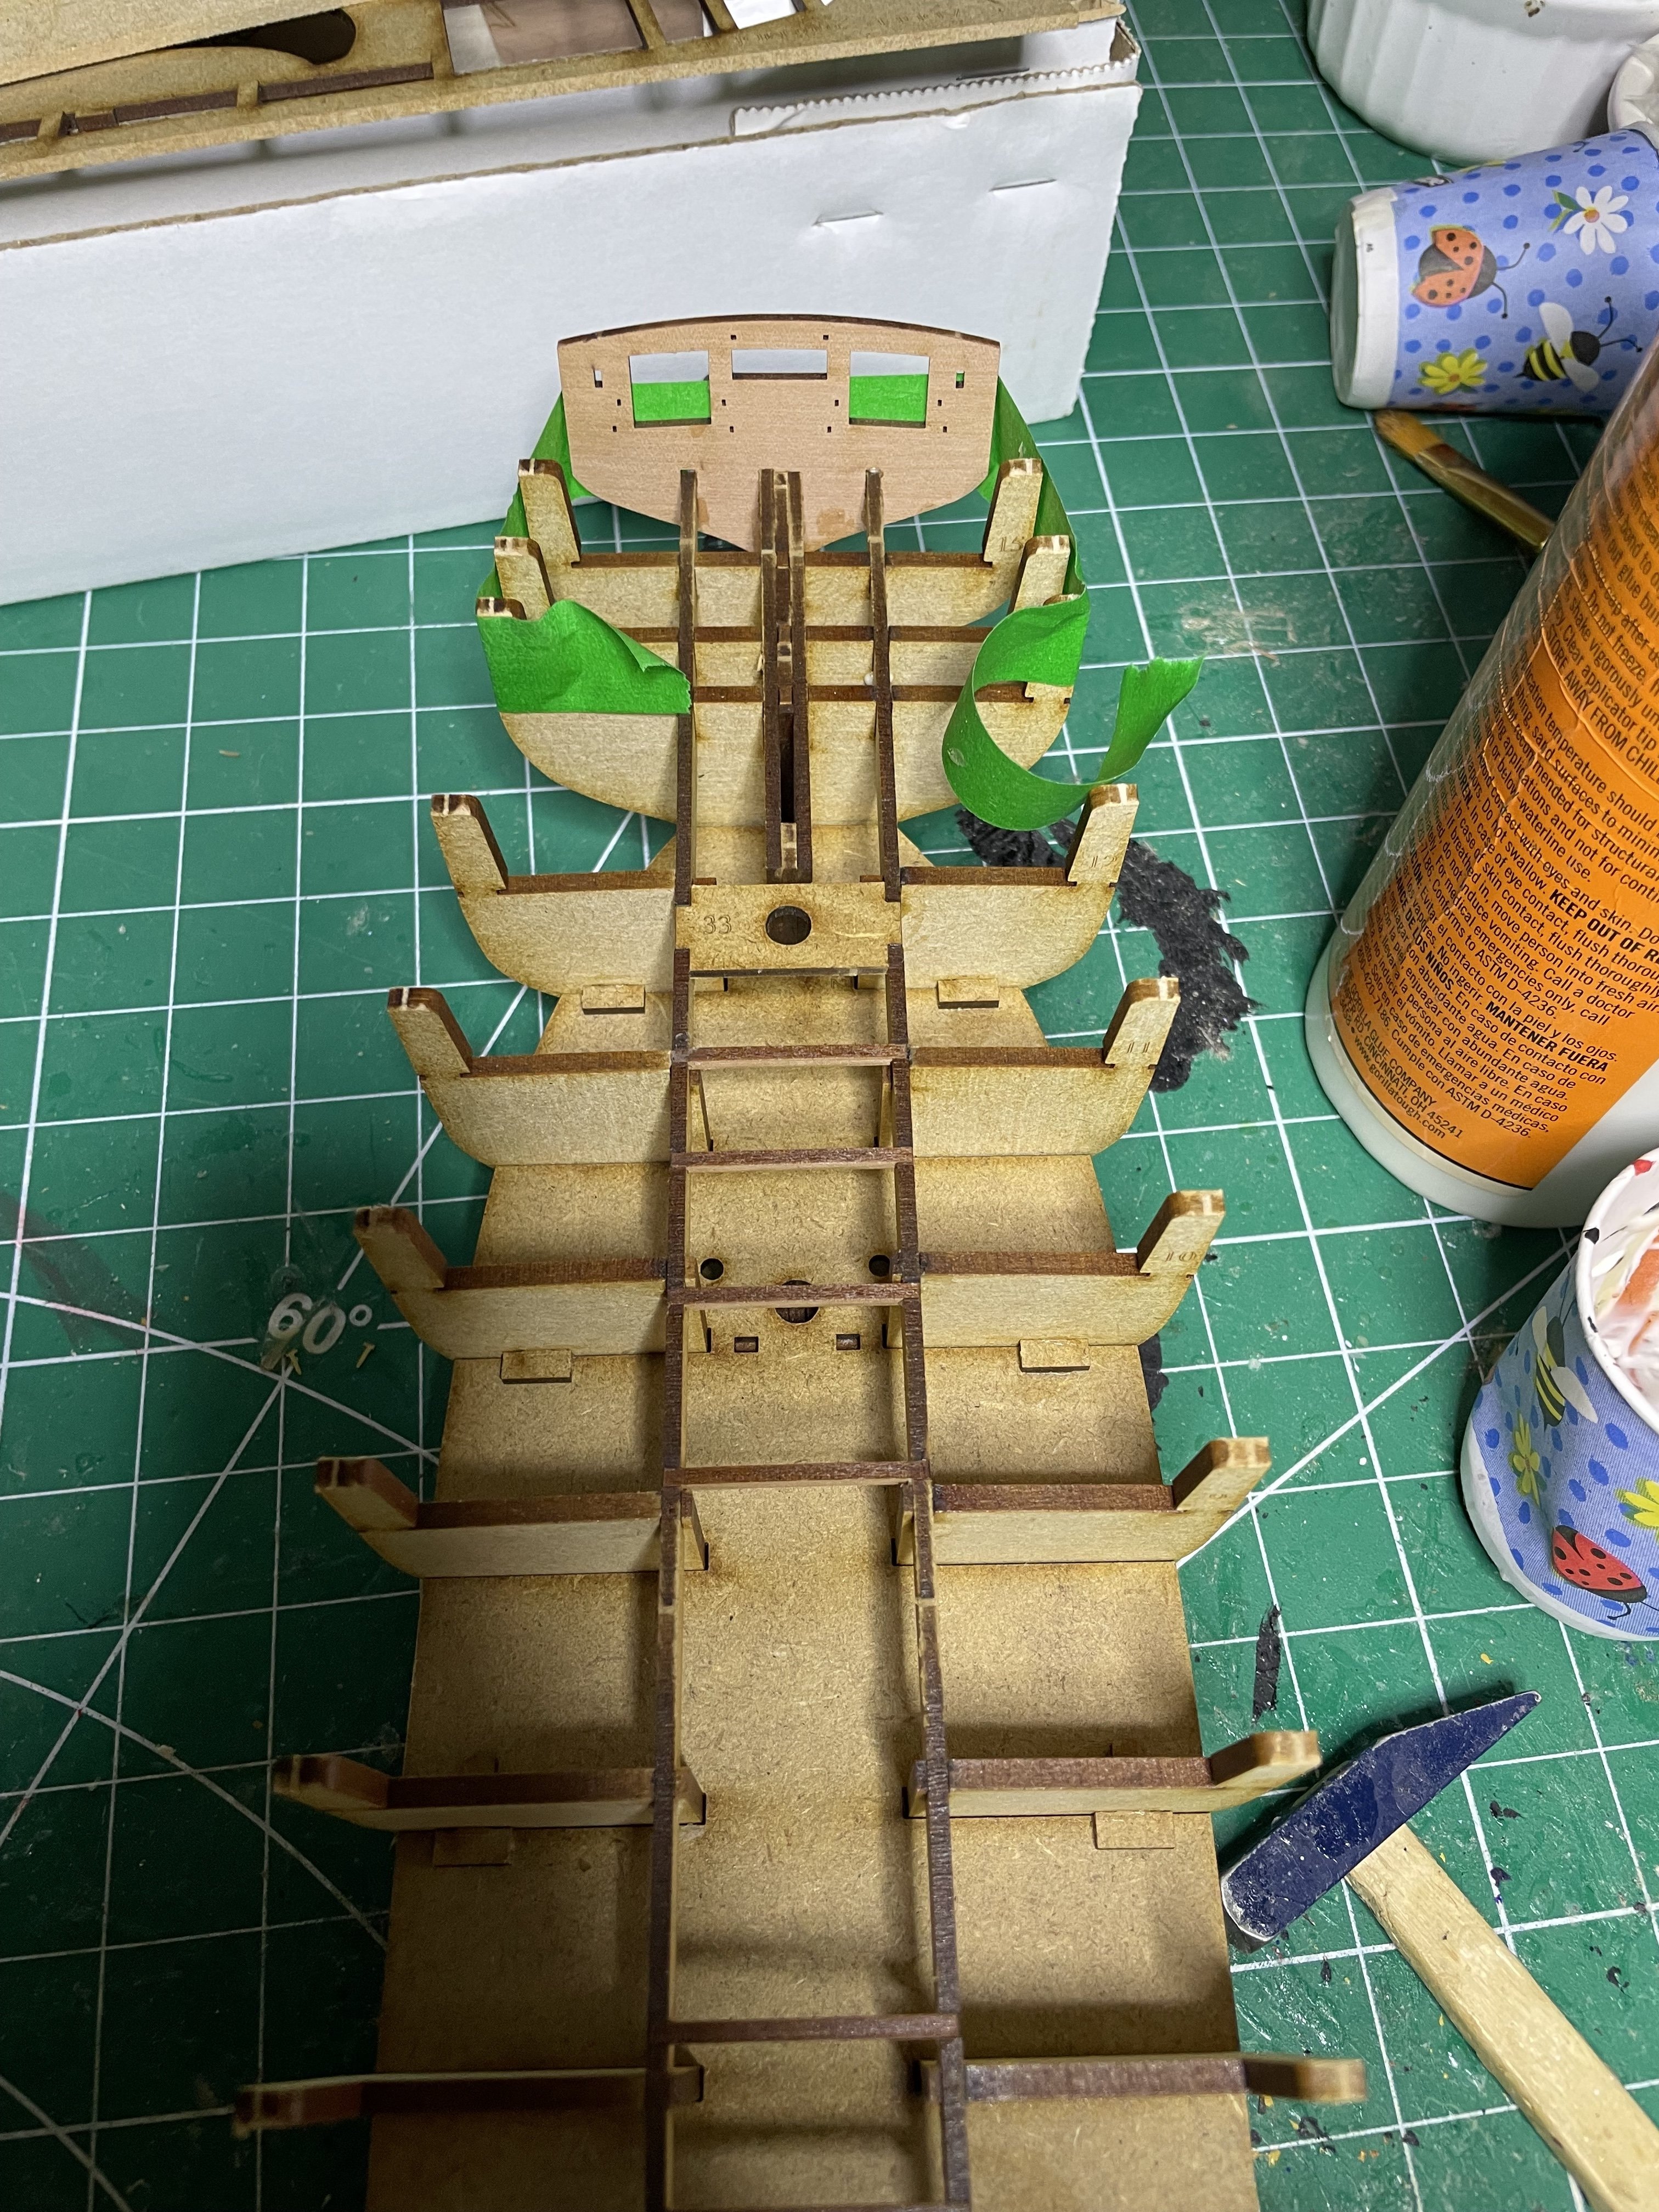
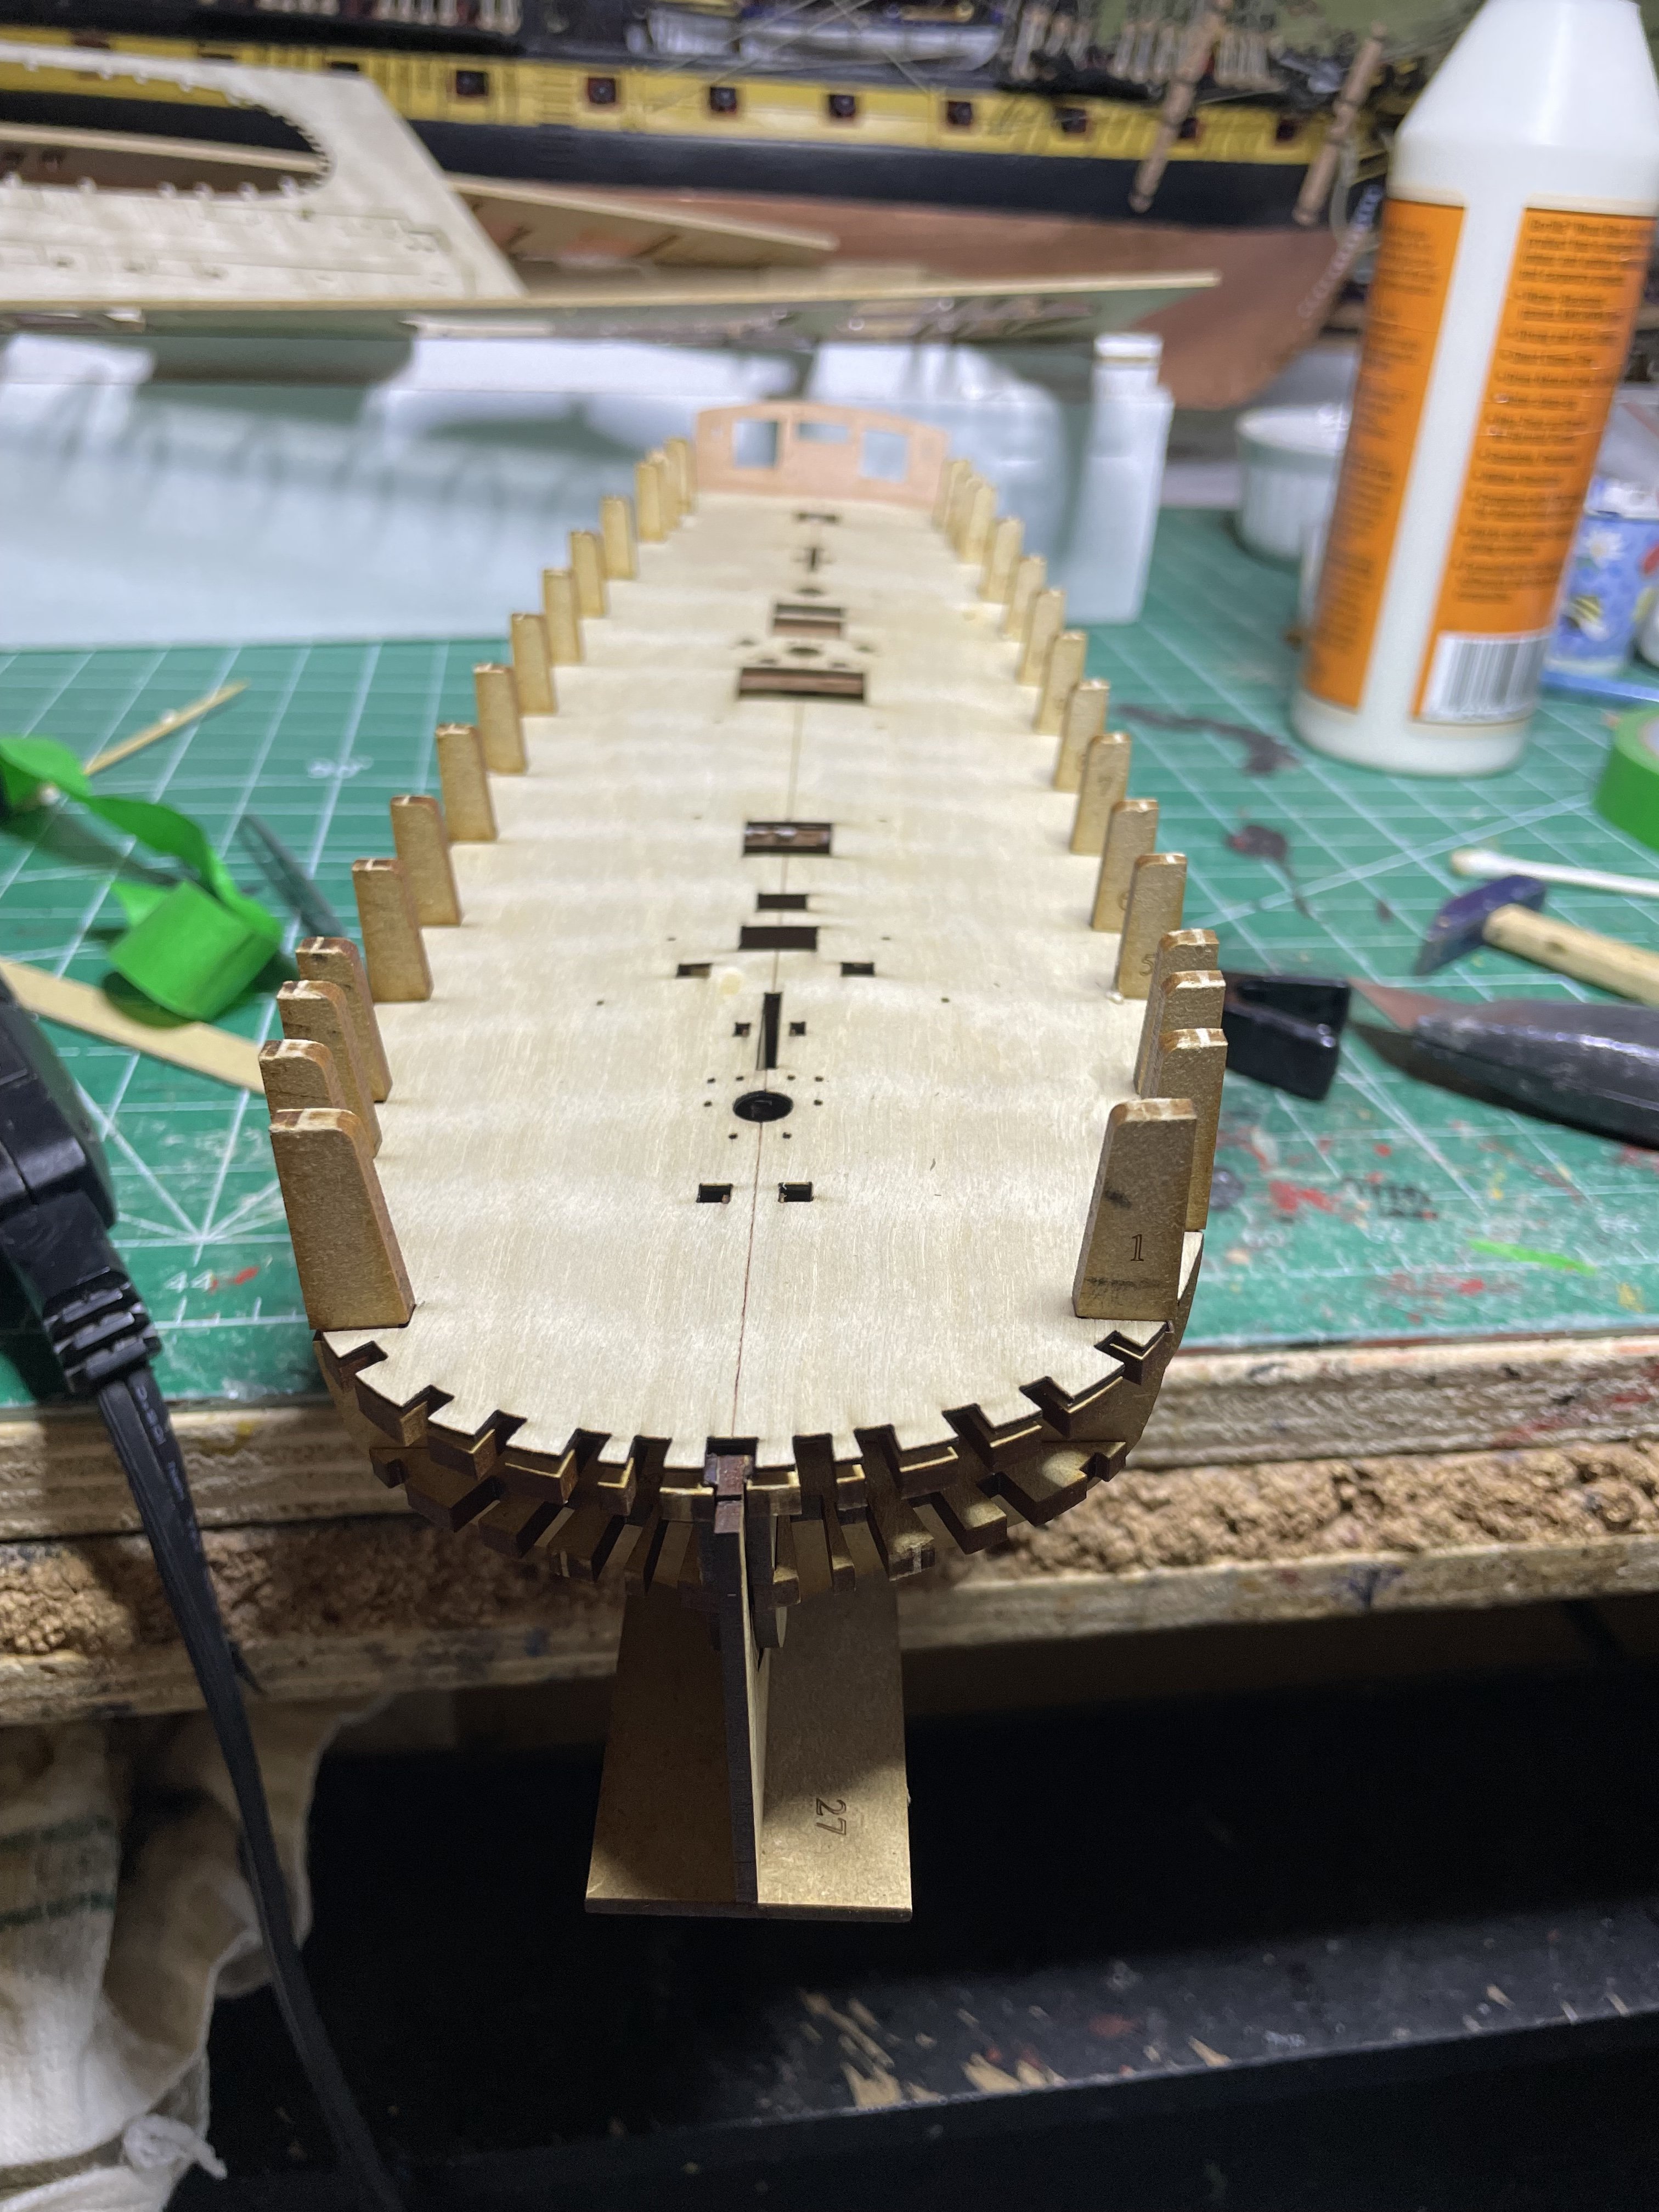
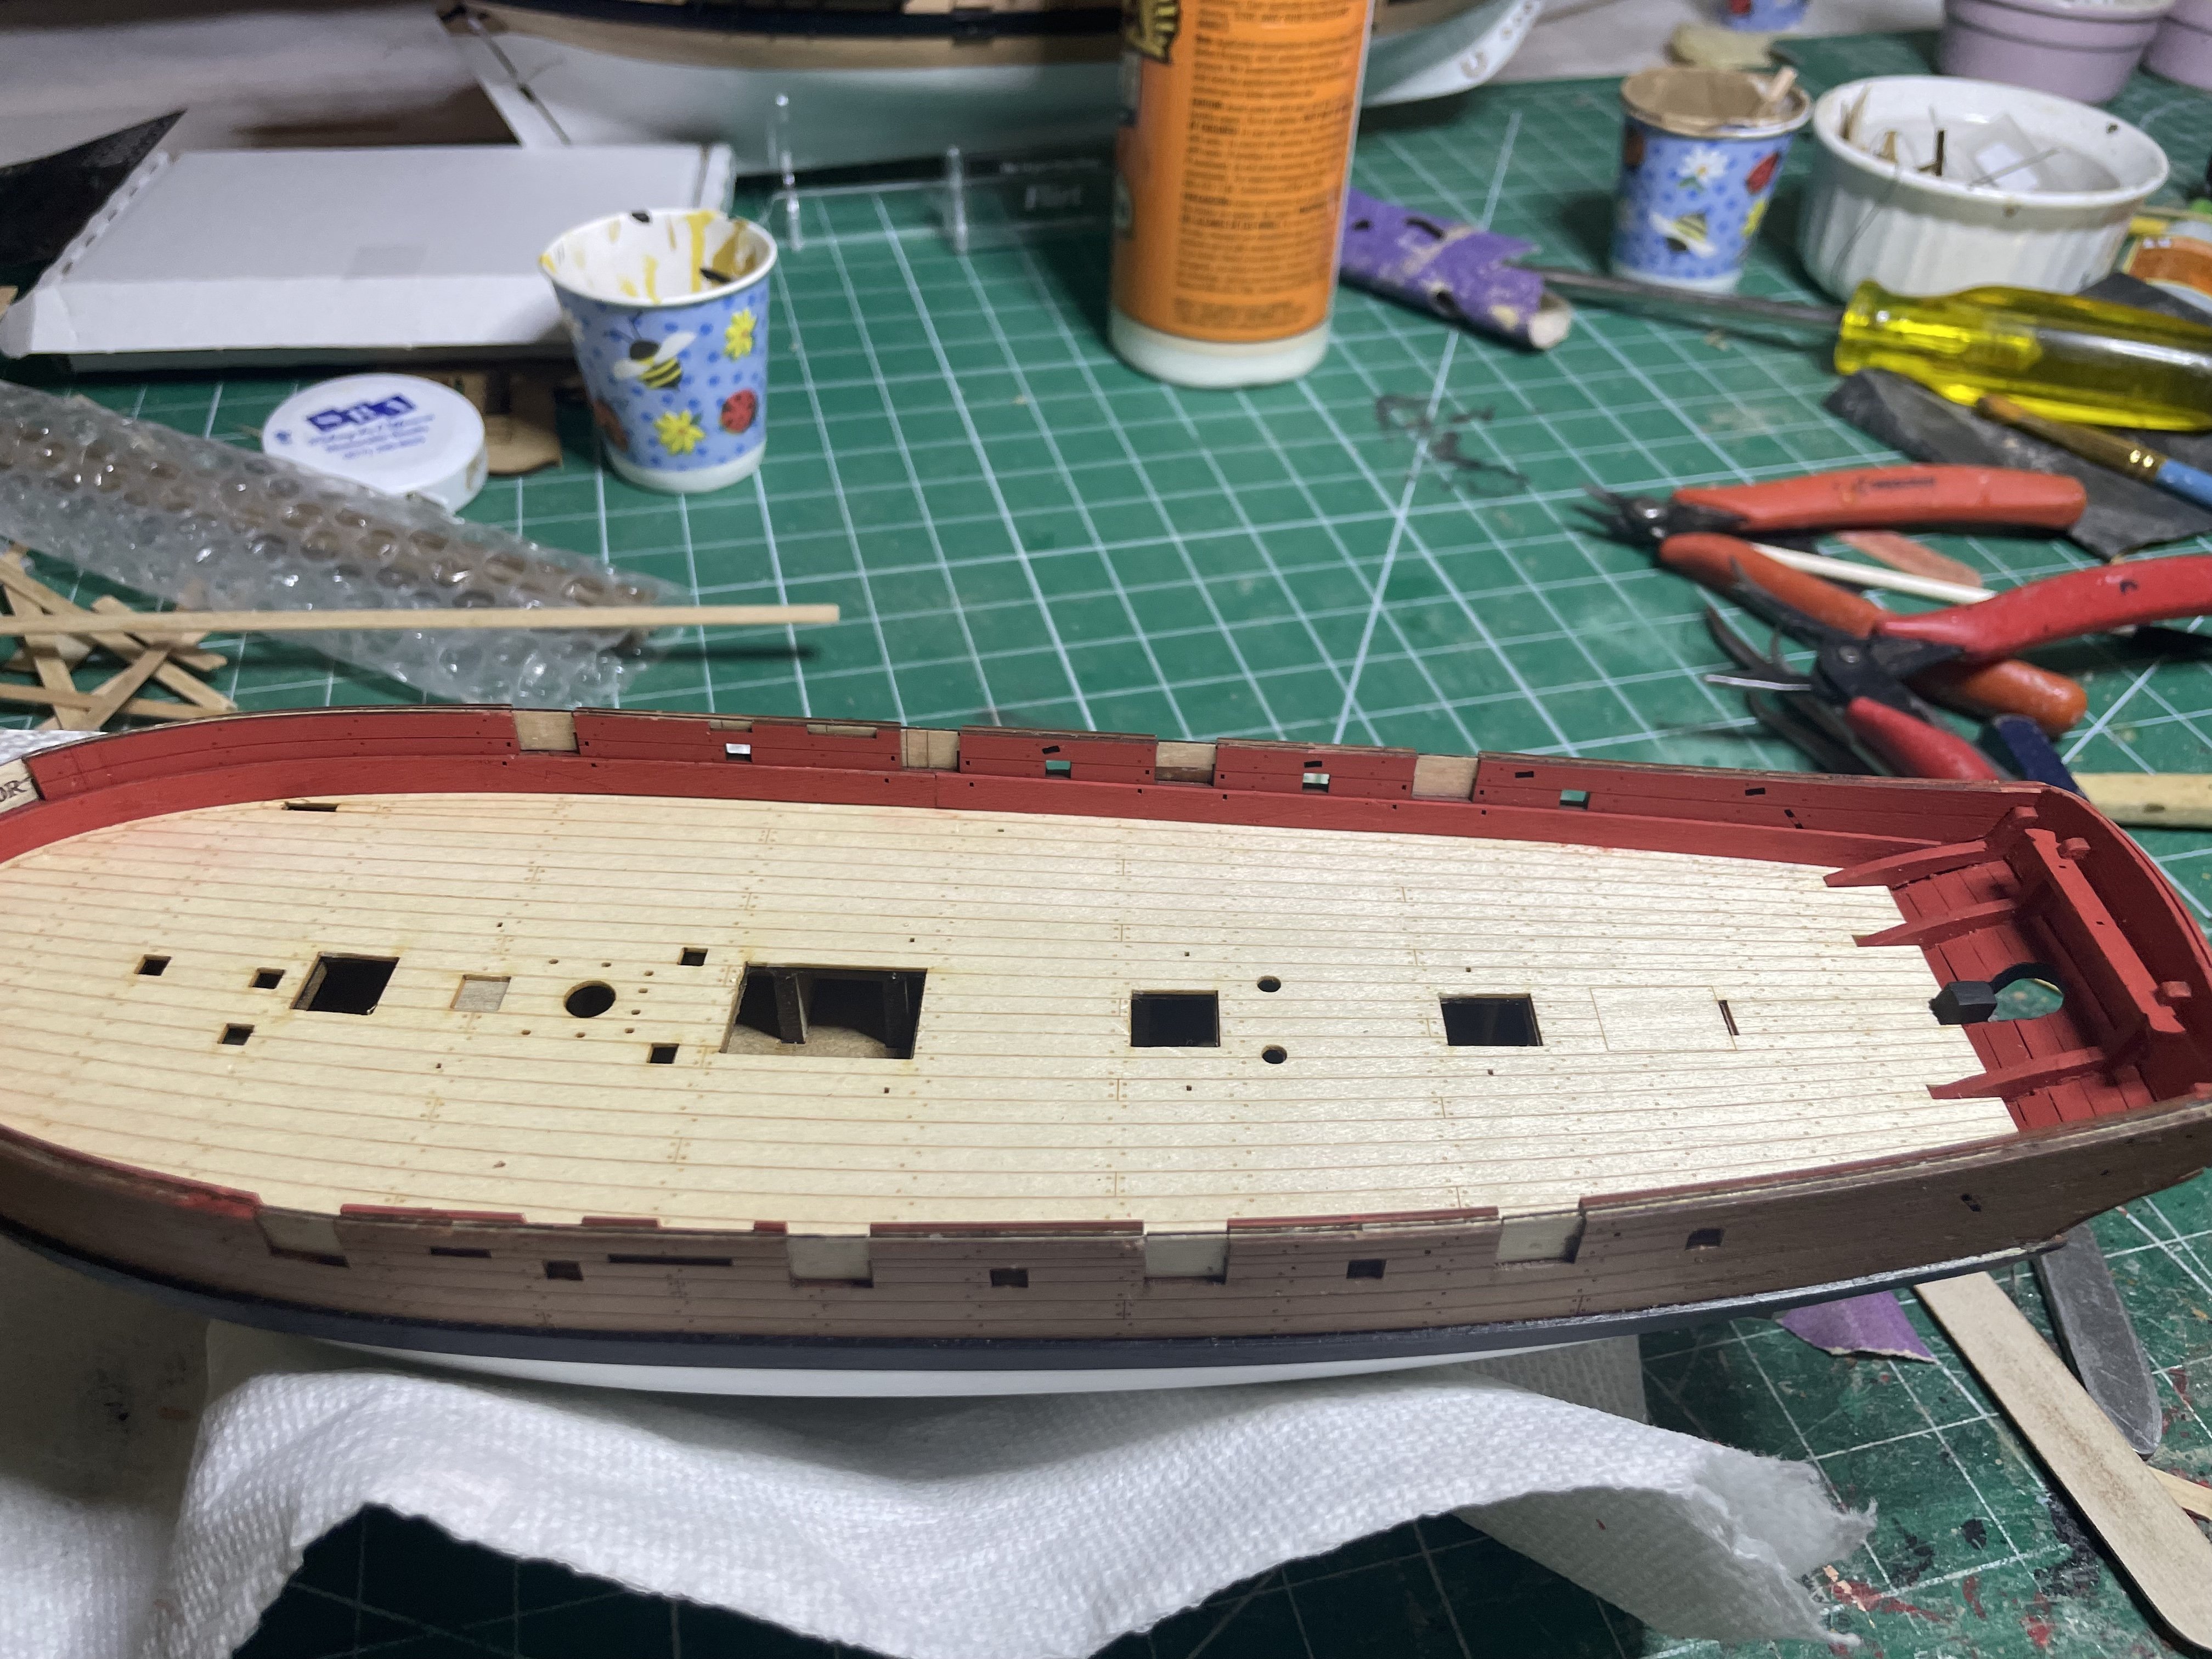
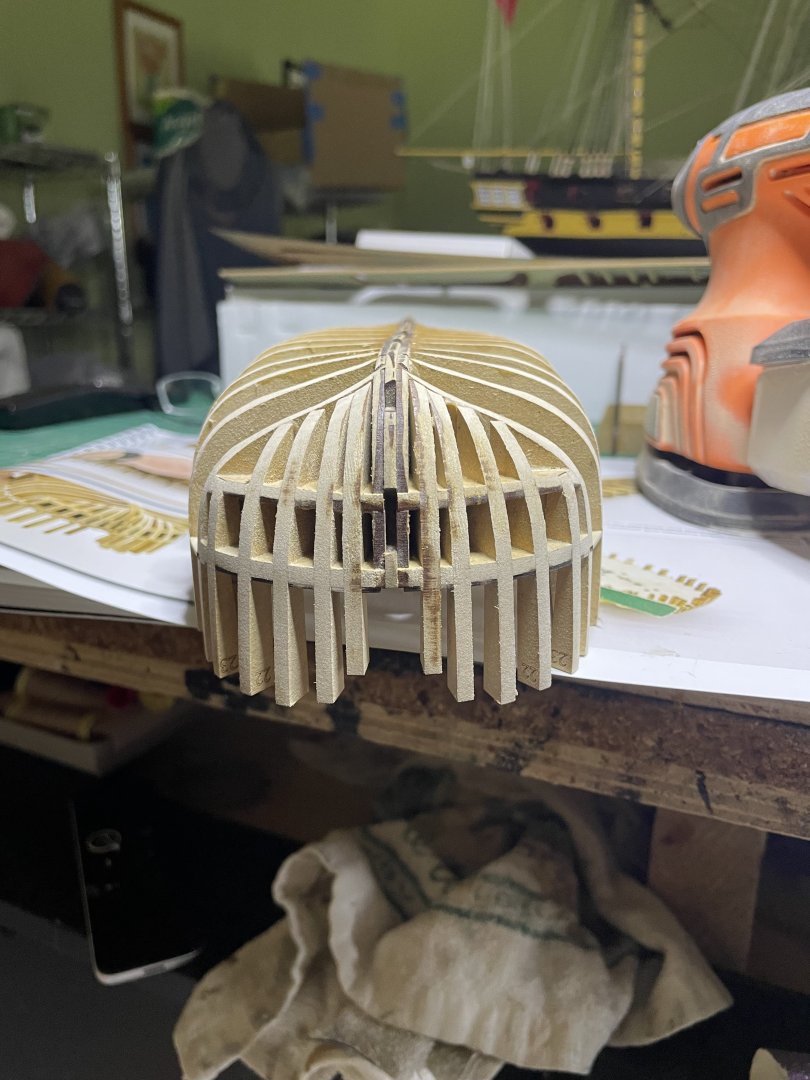
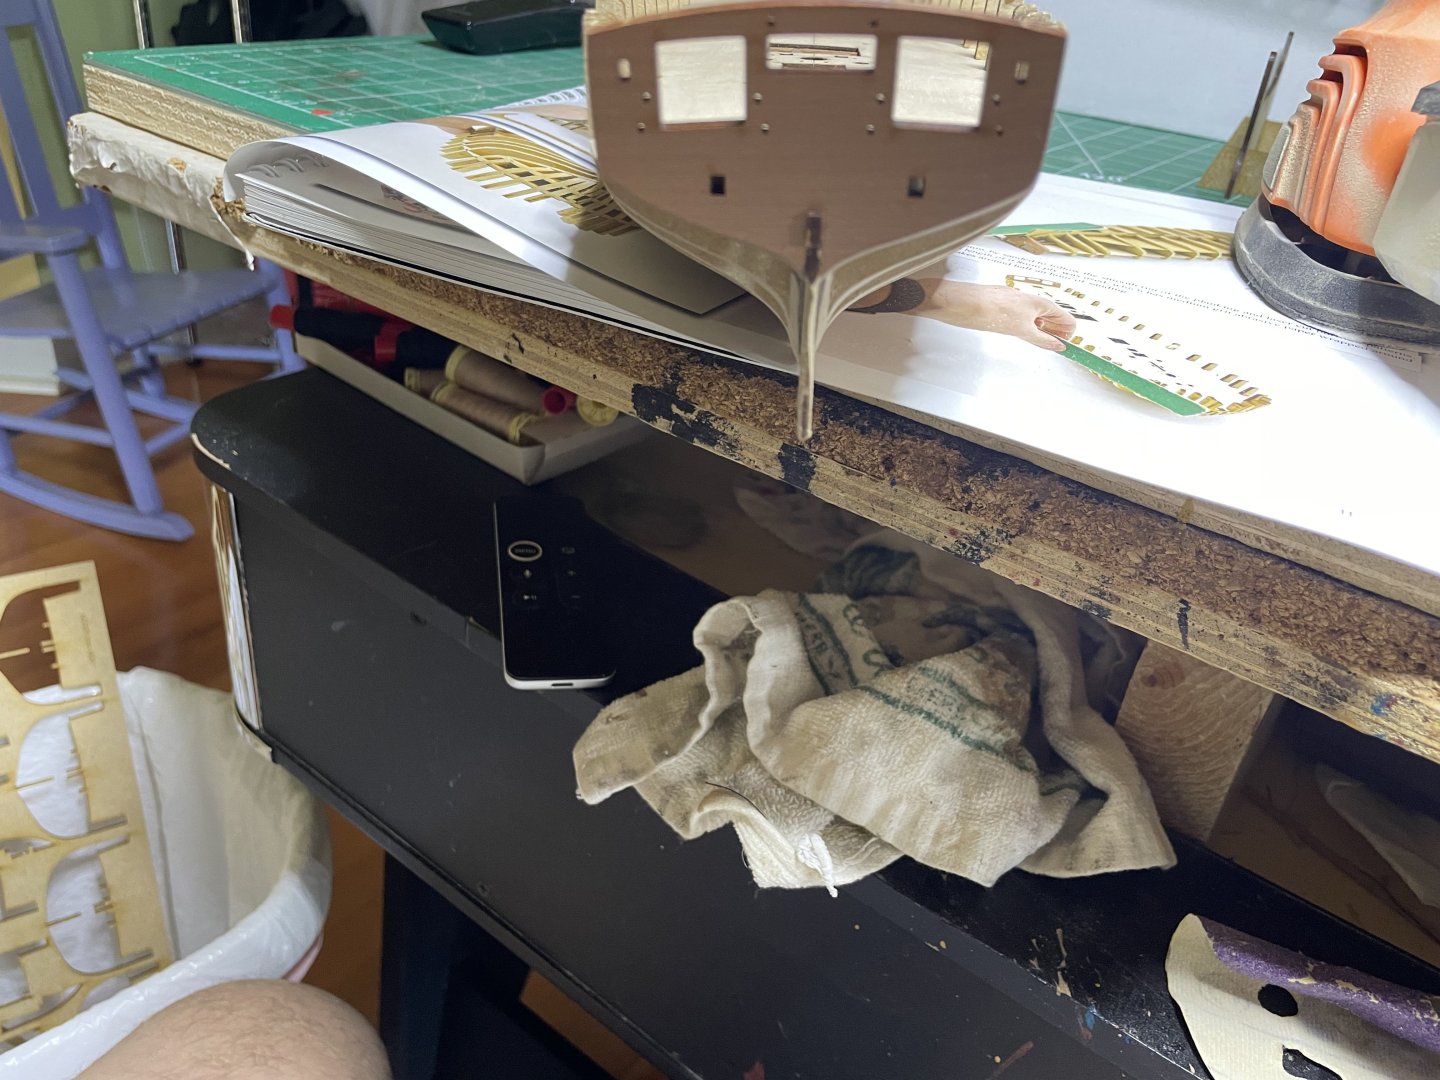
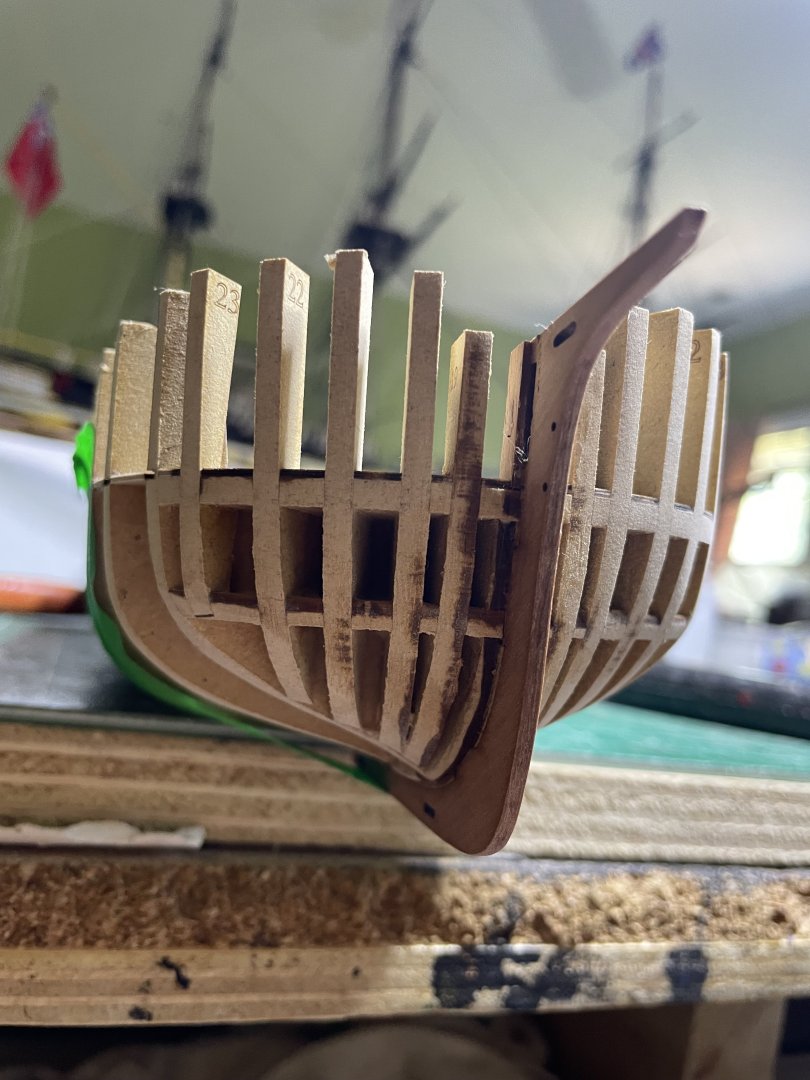
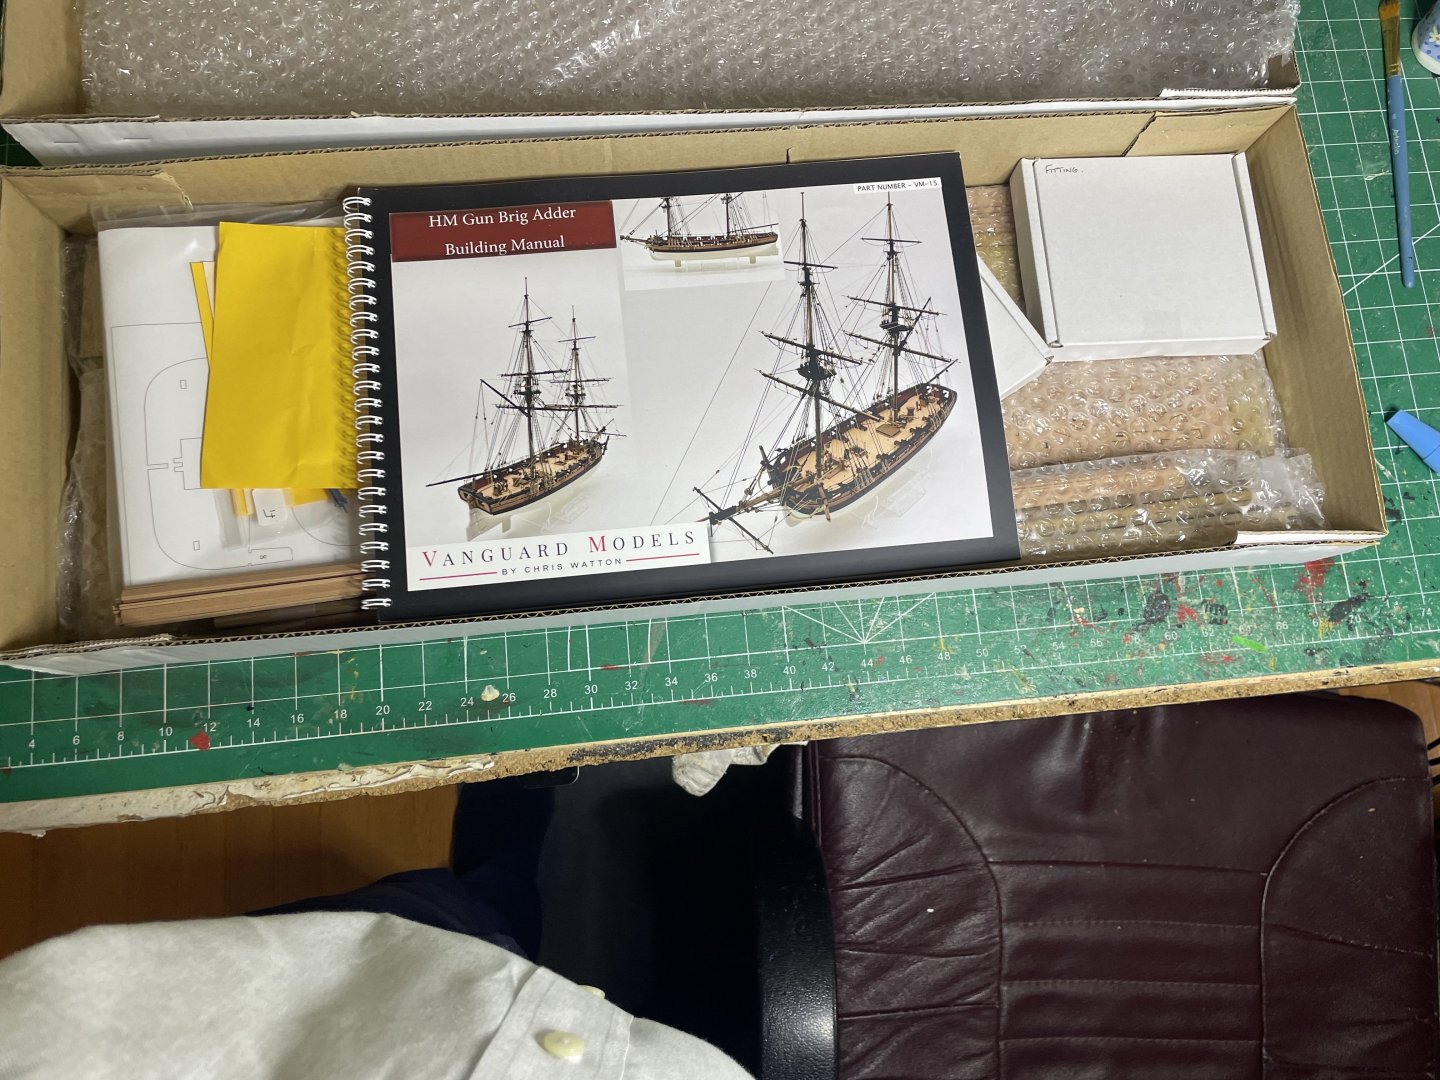
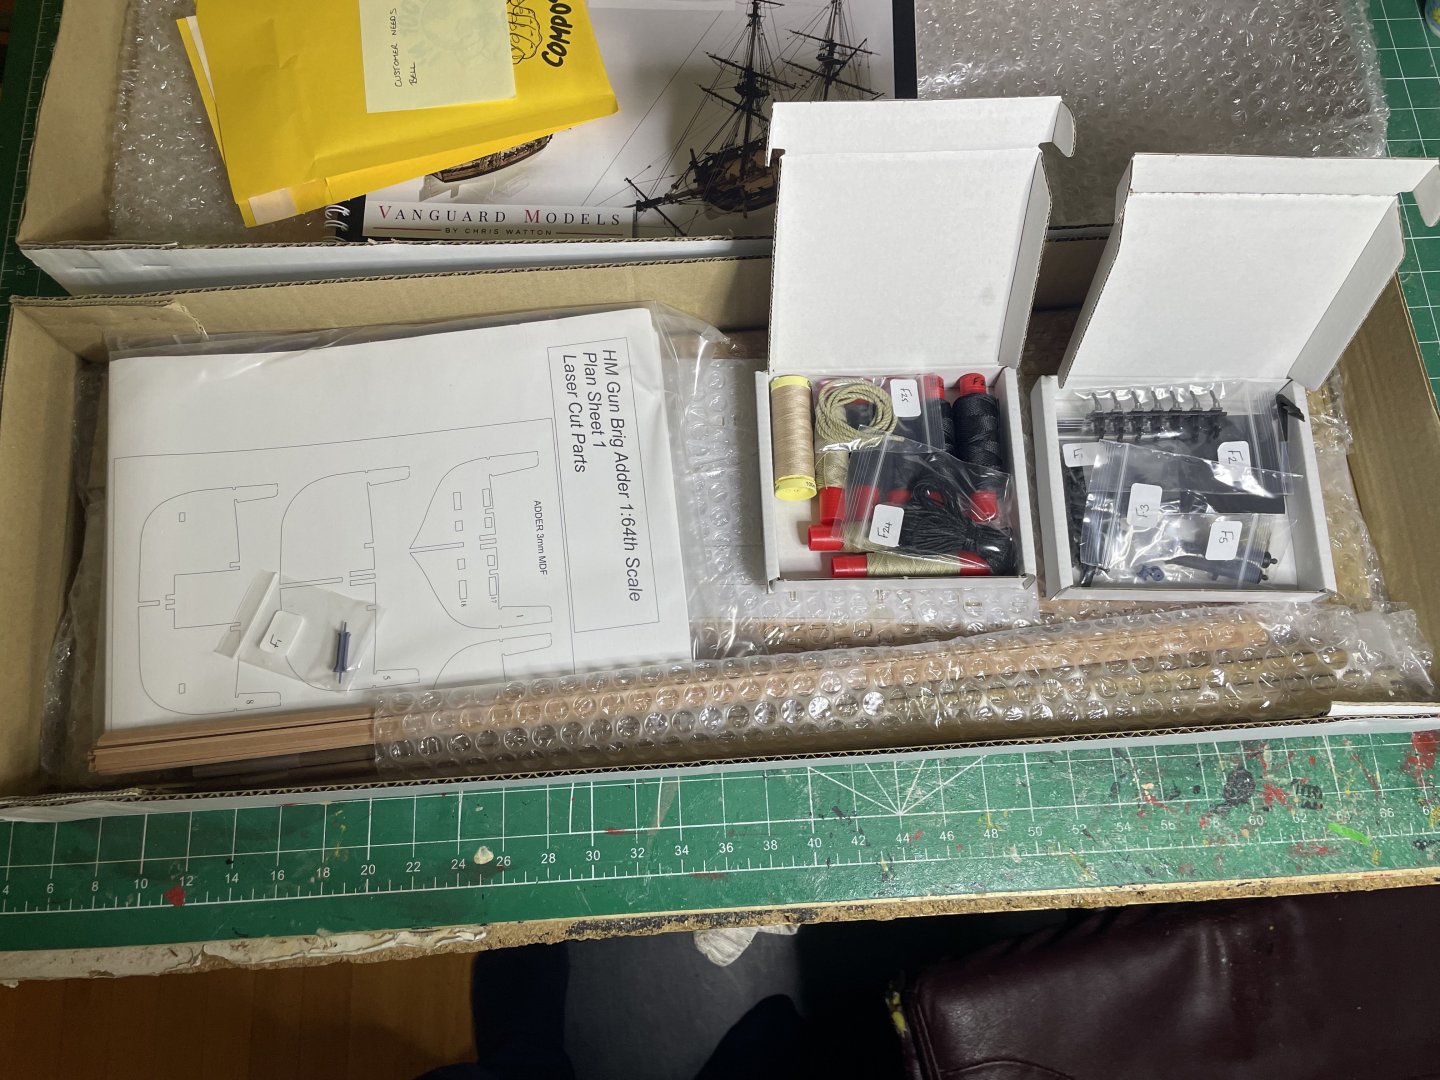
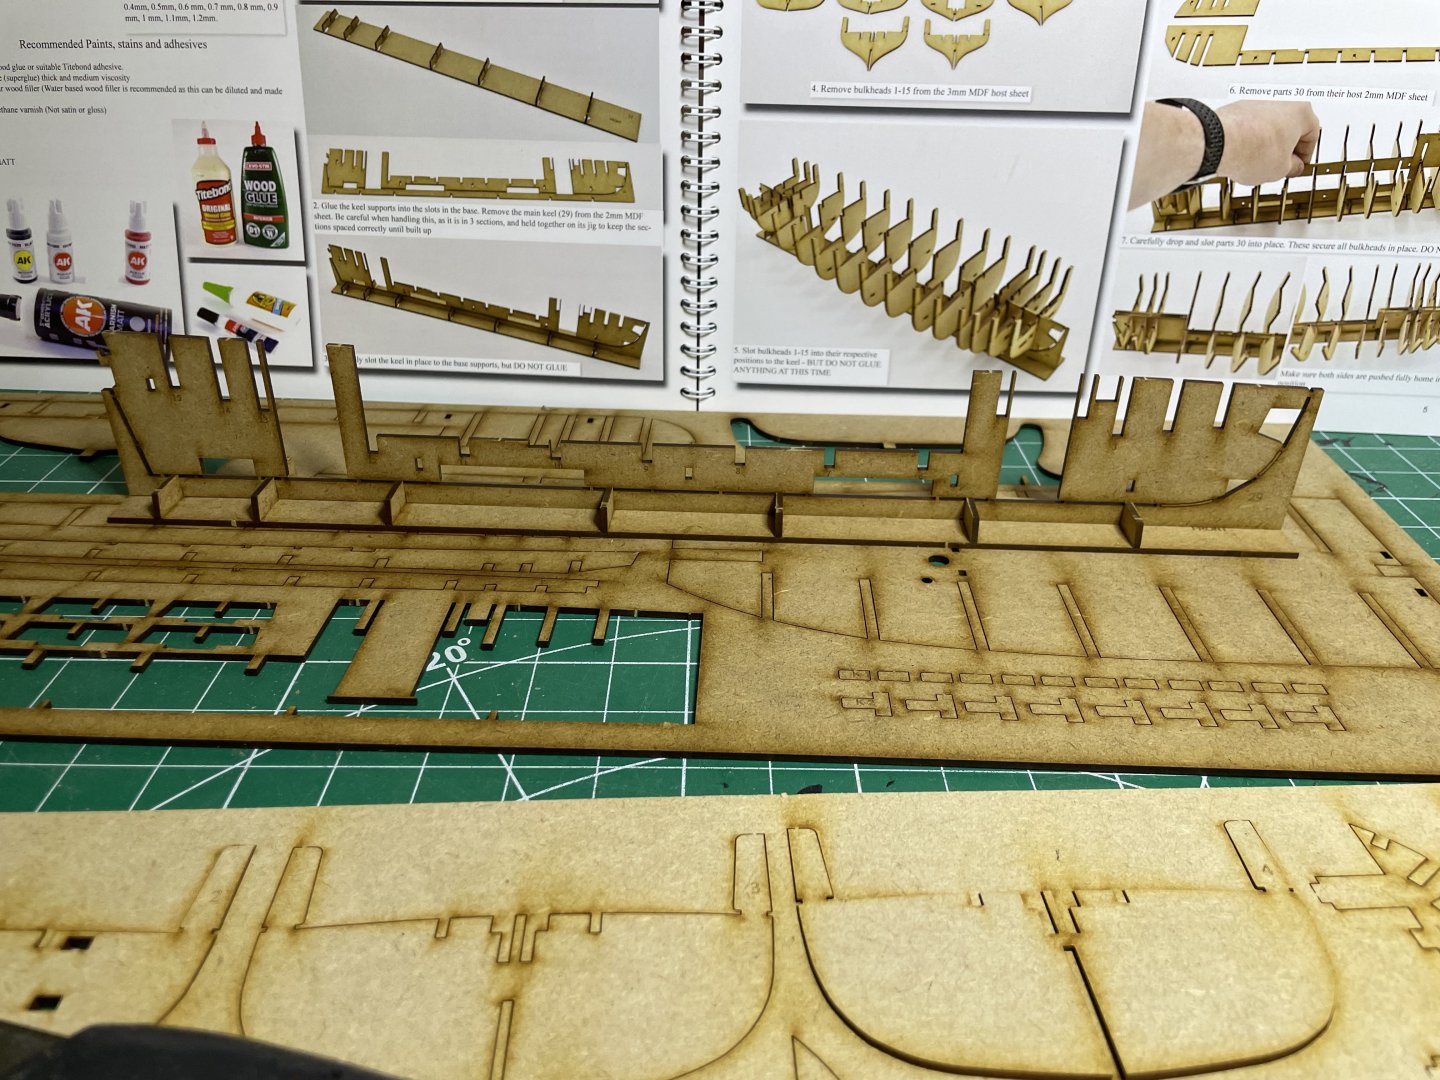
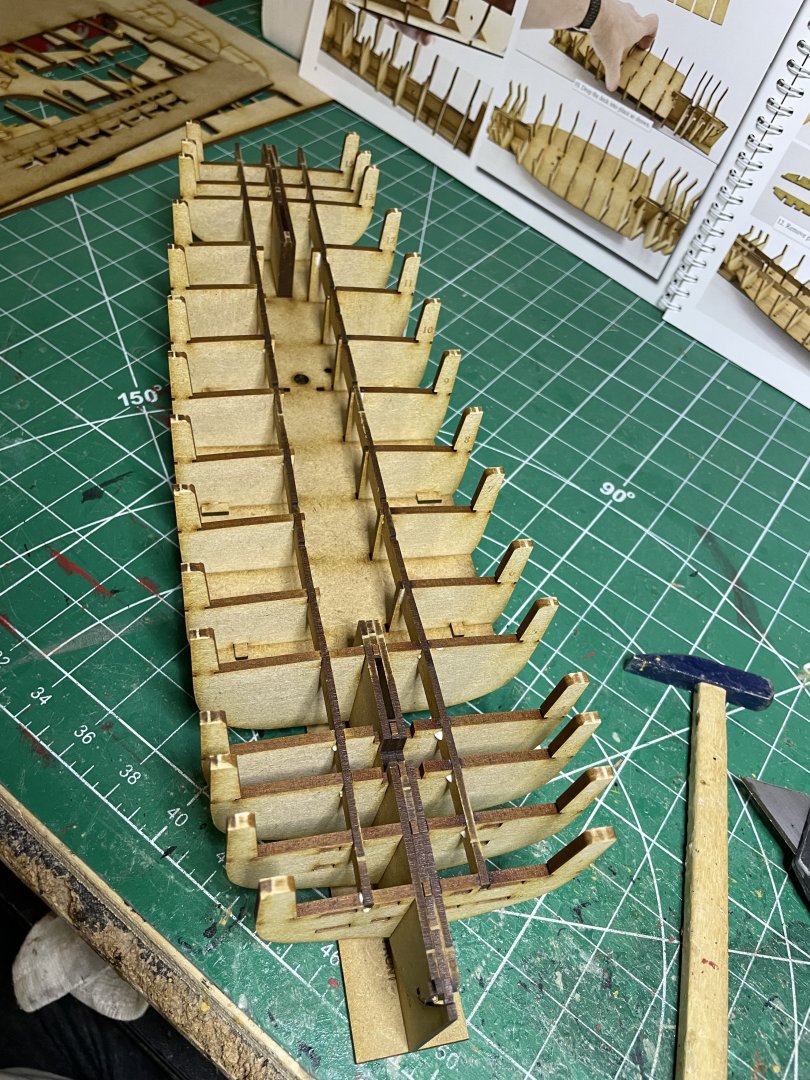
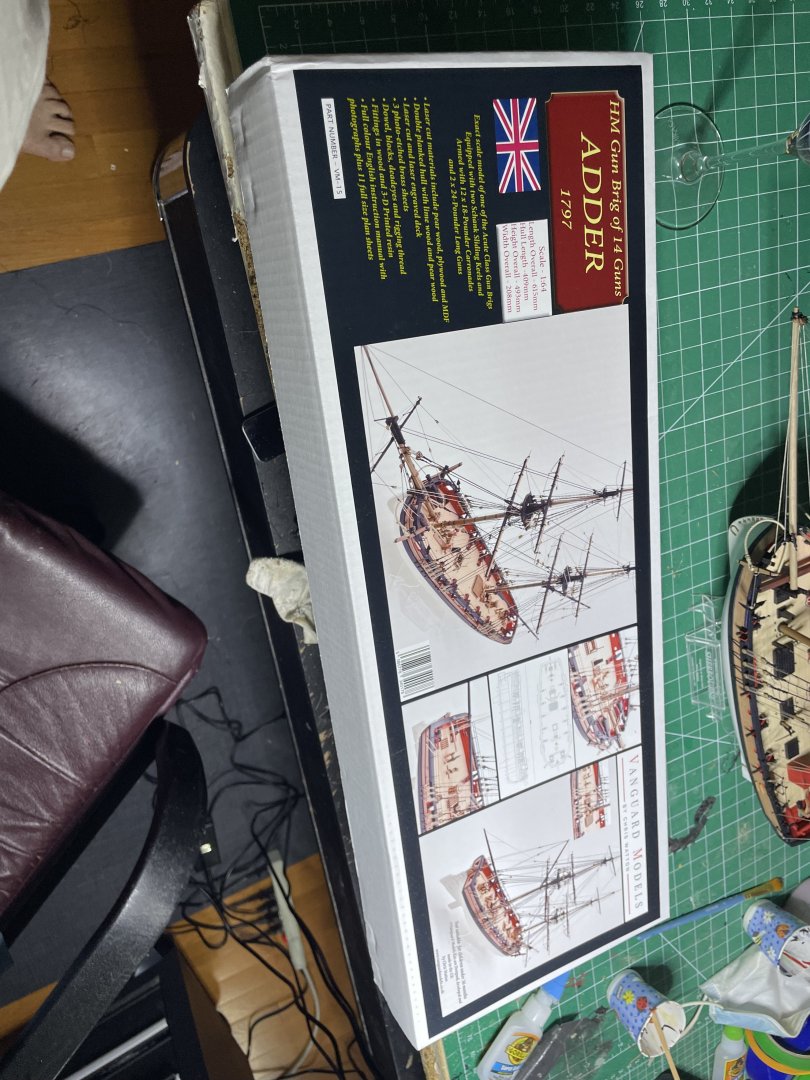
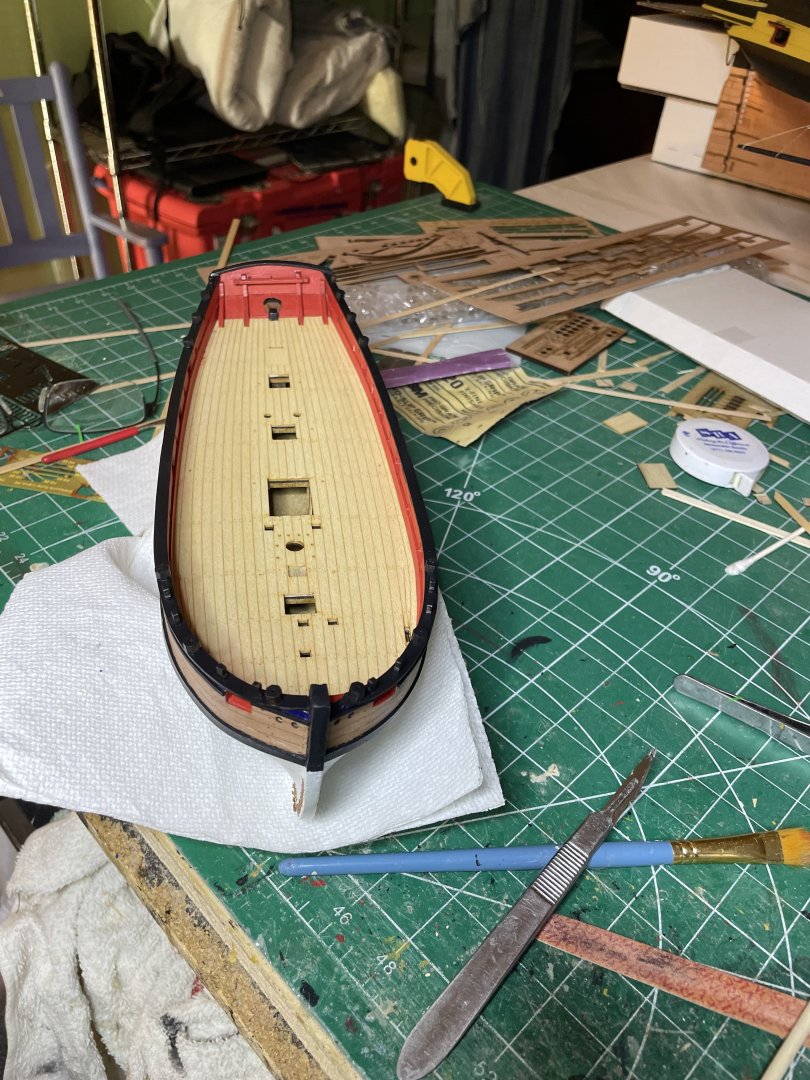
Well I could not help myself. After finishing HMS Sherbourne, Adder was sitting on my work table calling my name. I just had to start As this is a flat bottomed ship with drop keels, the assembly starts with making the cradle Then the false keel is placed. Ribs then installed. All linked together At this point everything is slathered in glue and drying overnight. Important to to muck up the keel slots with glue (seen in bow and stern areas)


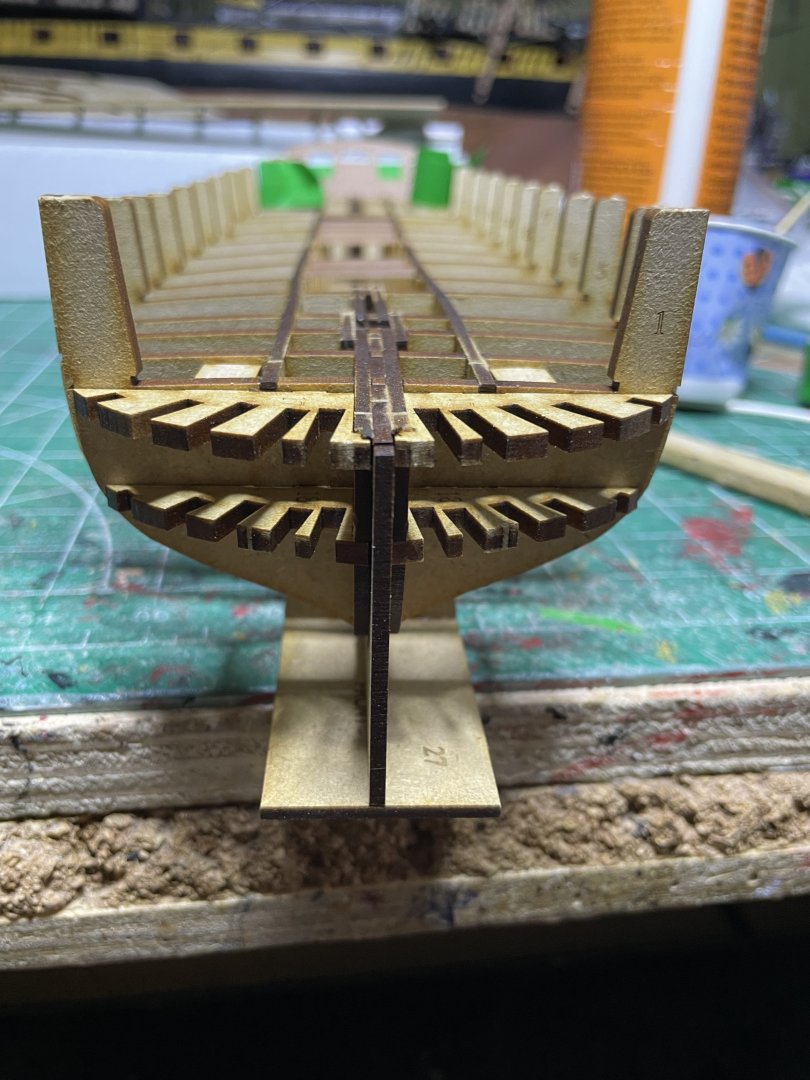

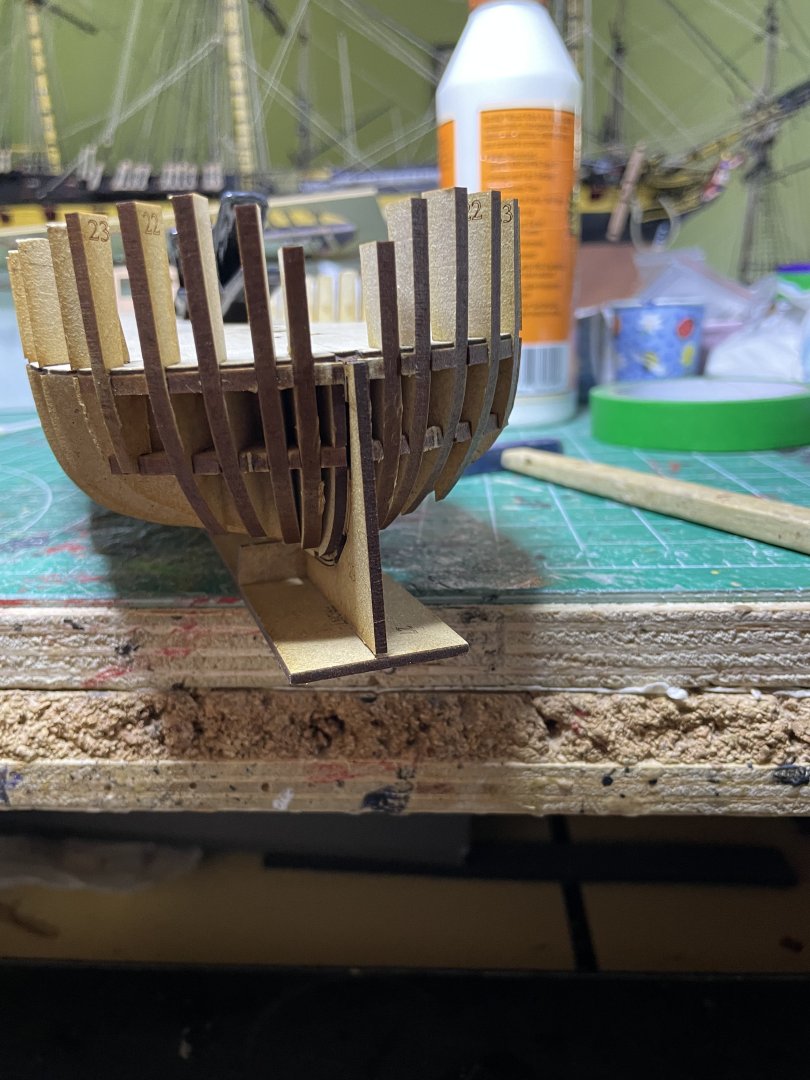

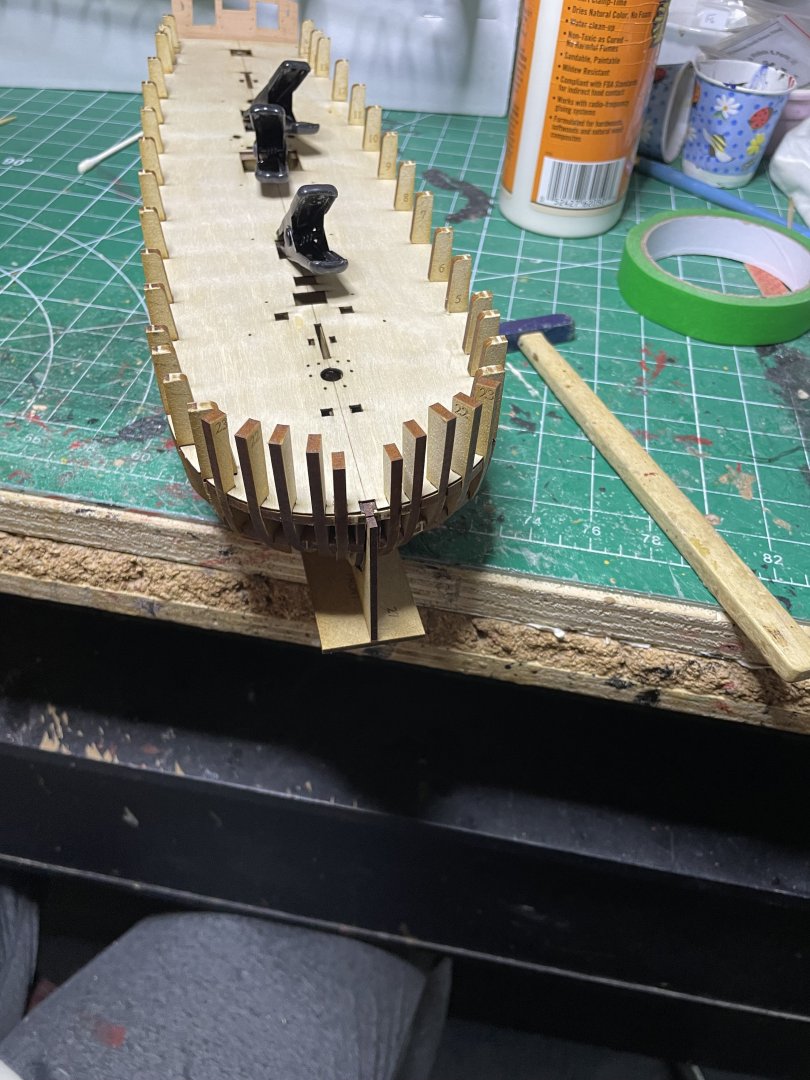
- 66 replies
-
- 9
-
-
- Adder
- Vanguard Models
- (and 1 more)
-
Looks great. You'll need to be thinking what to do next!
-
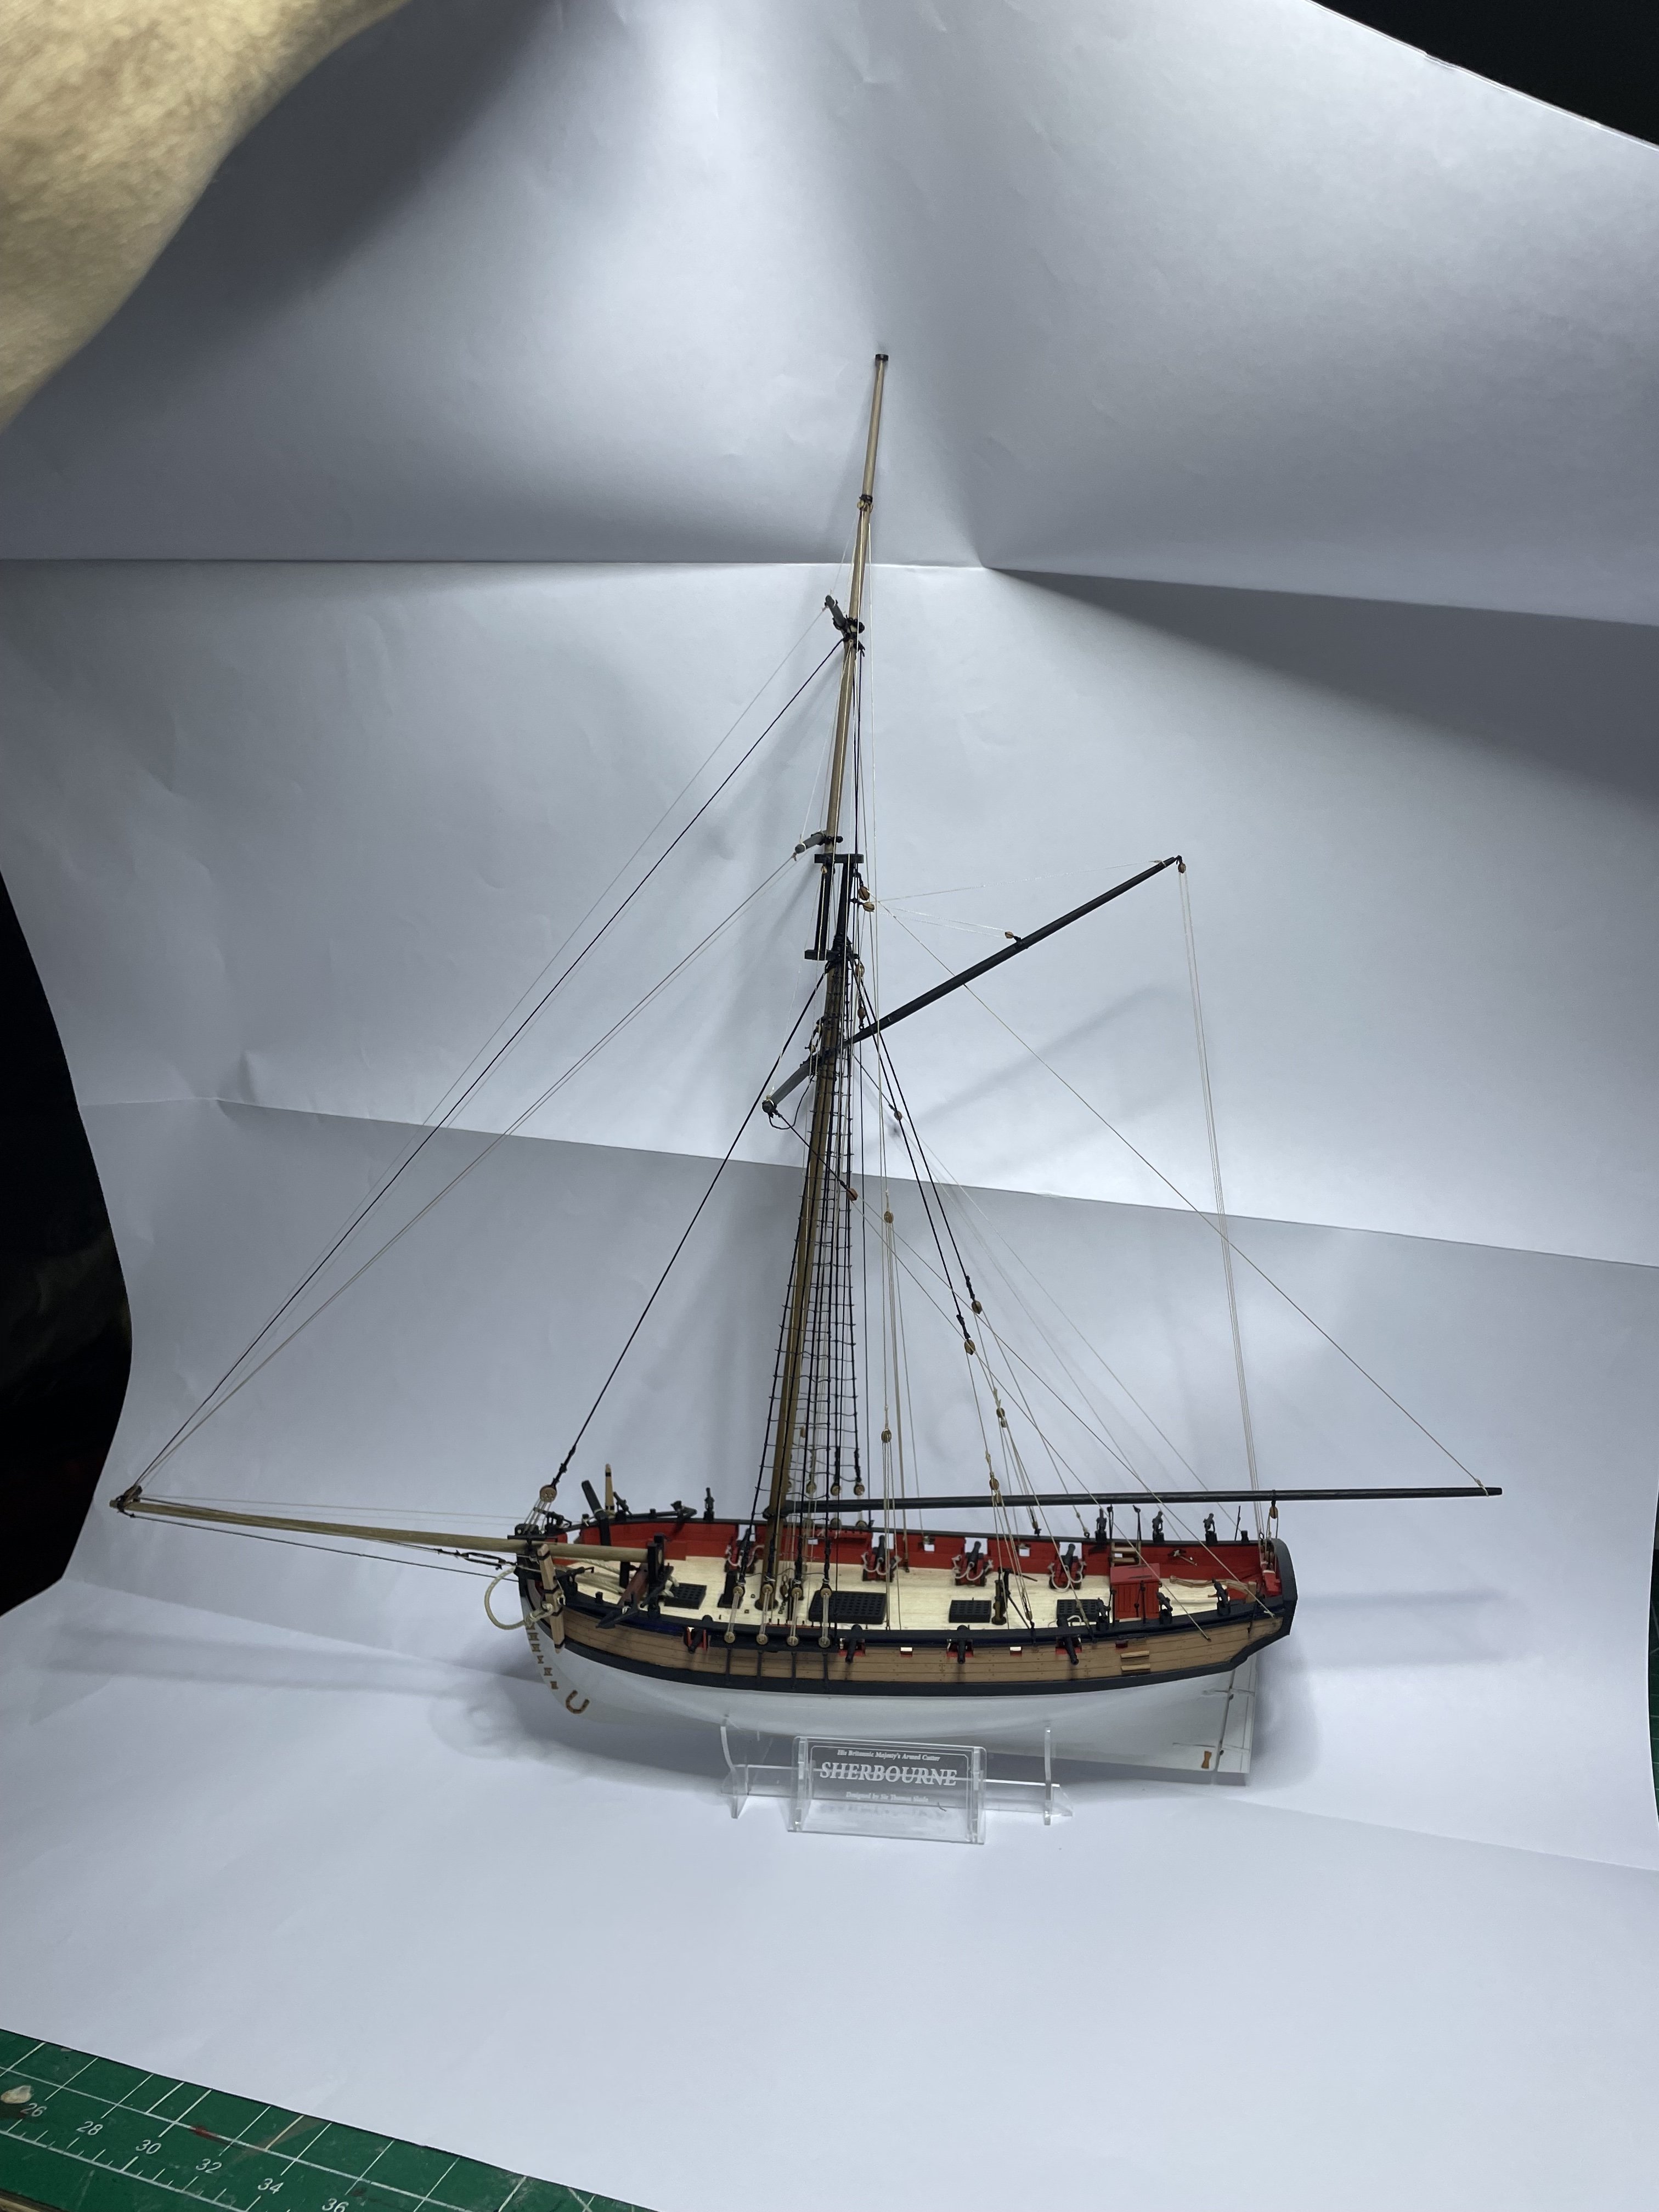
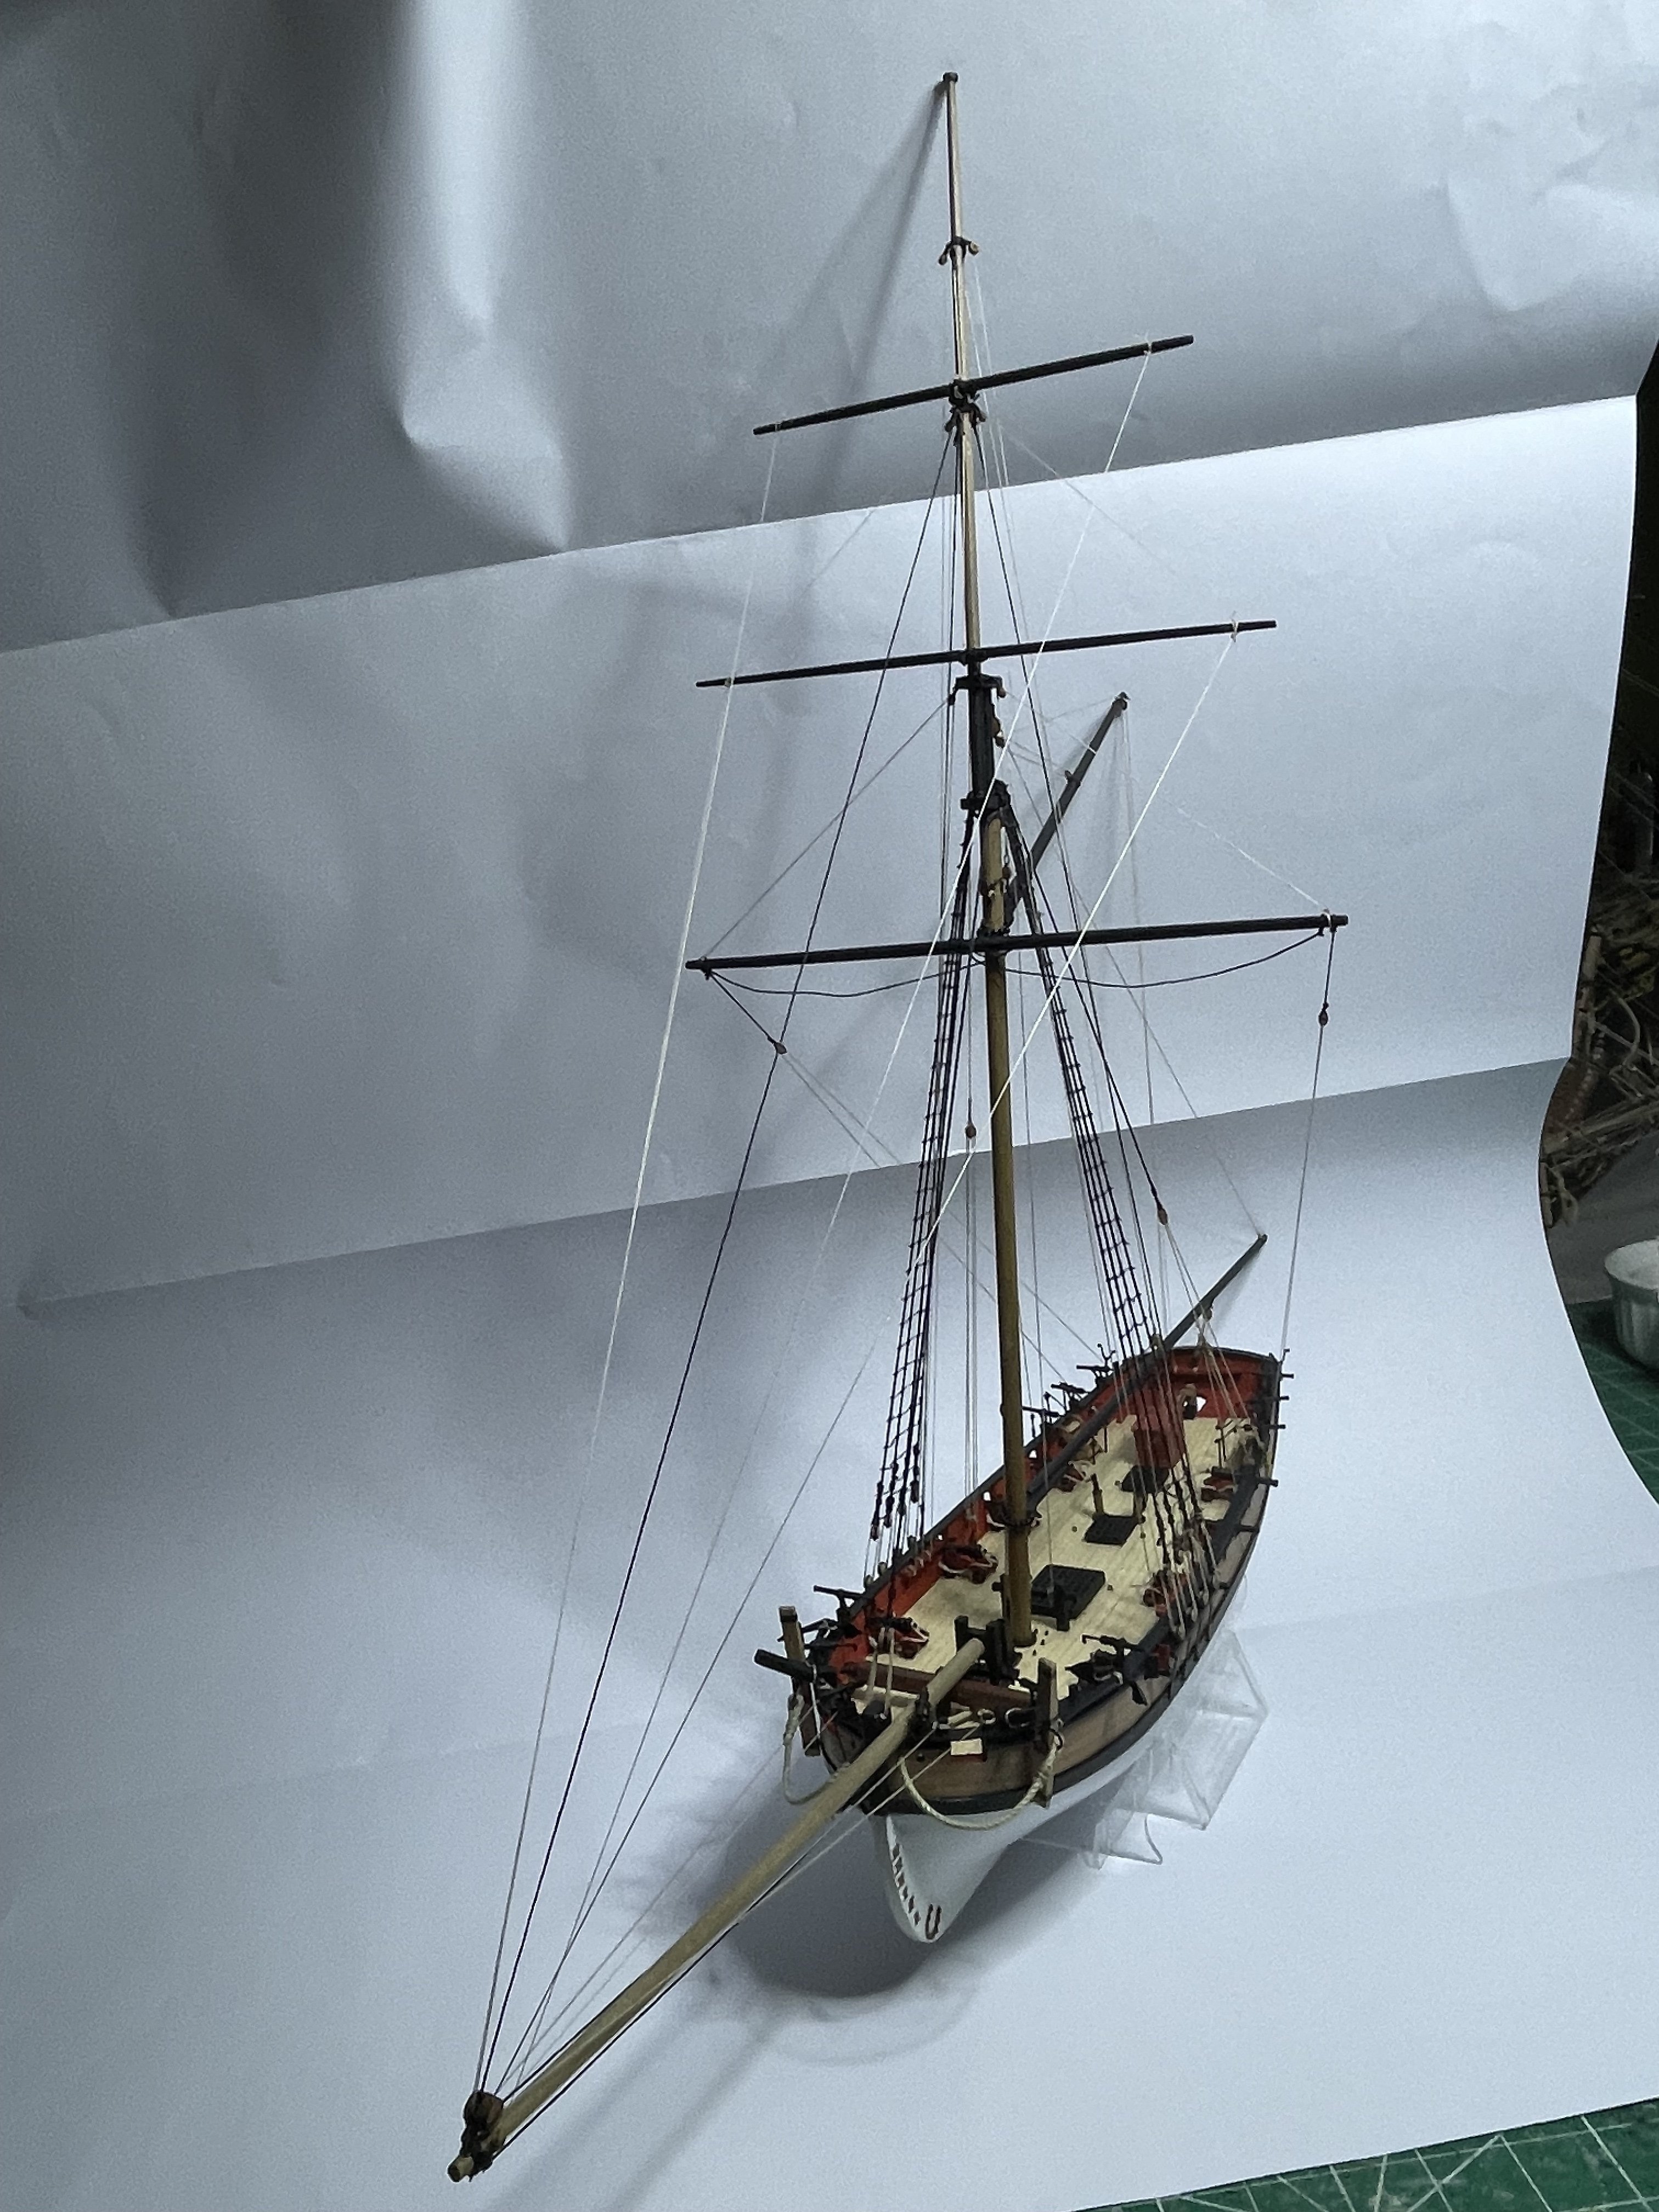
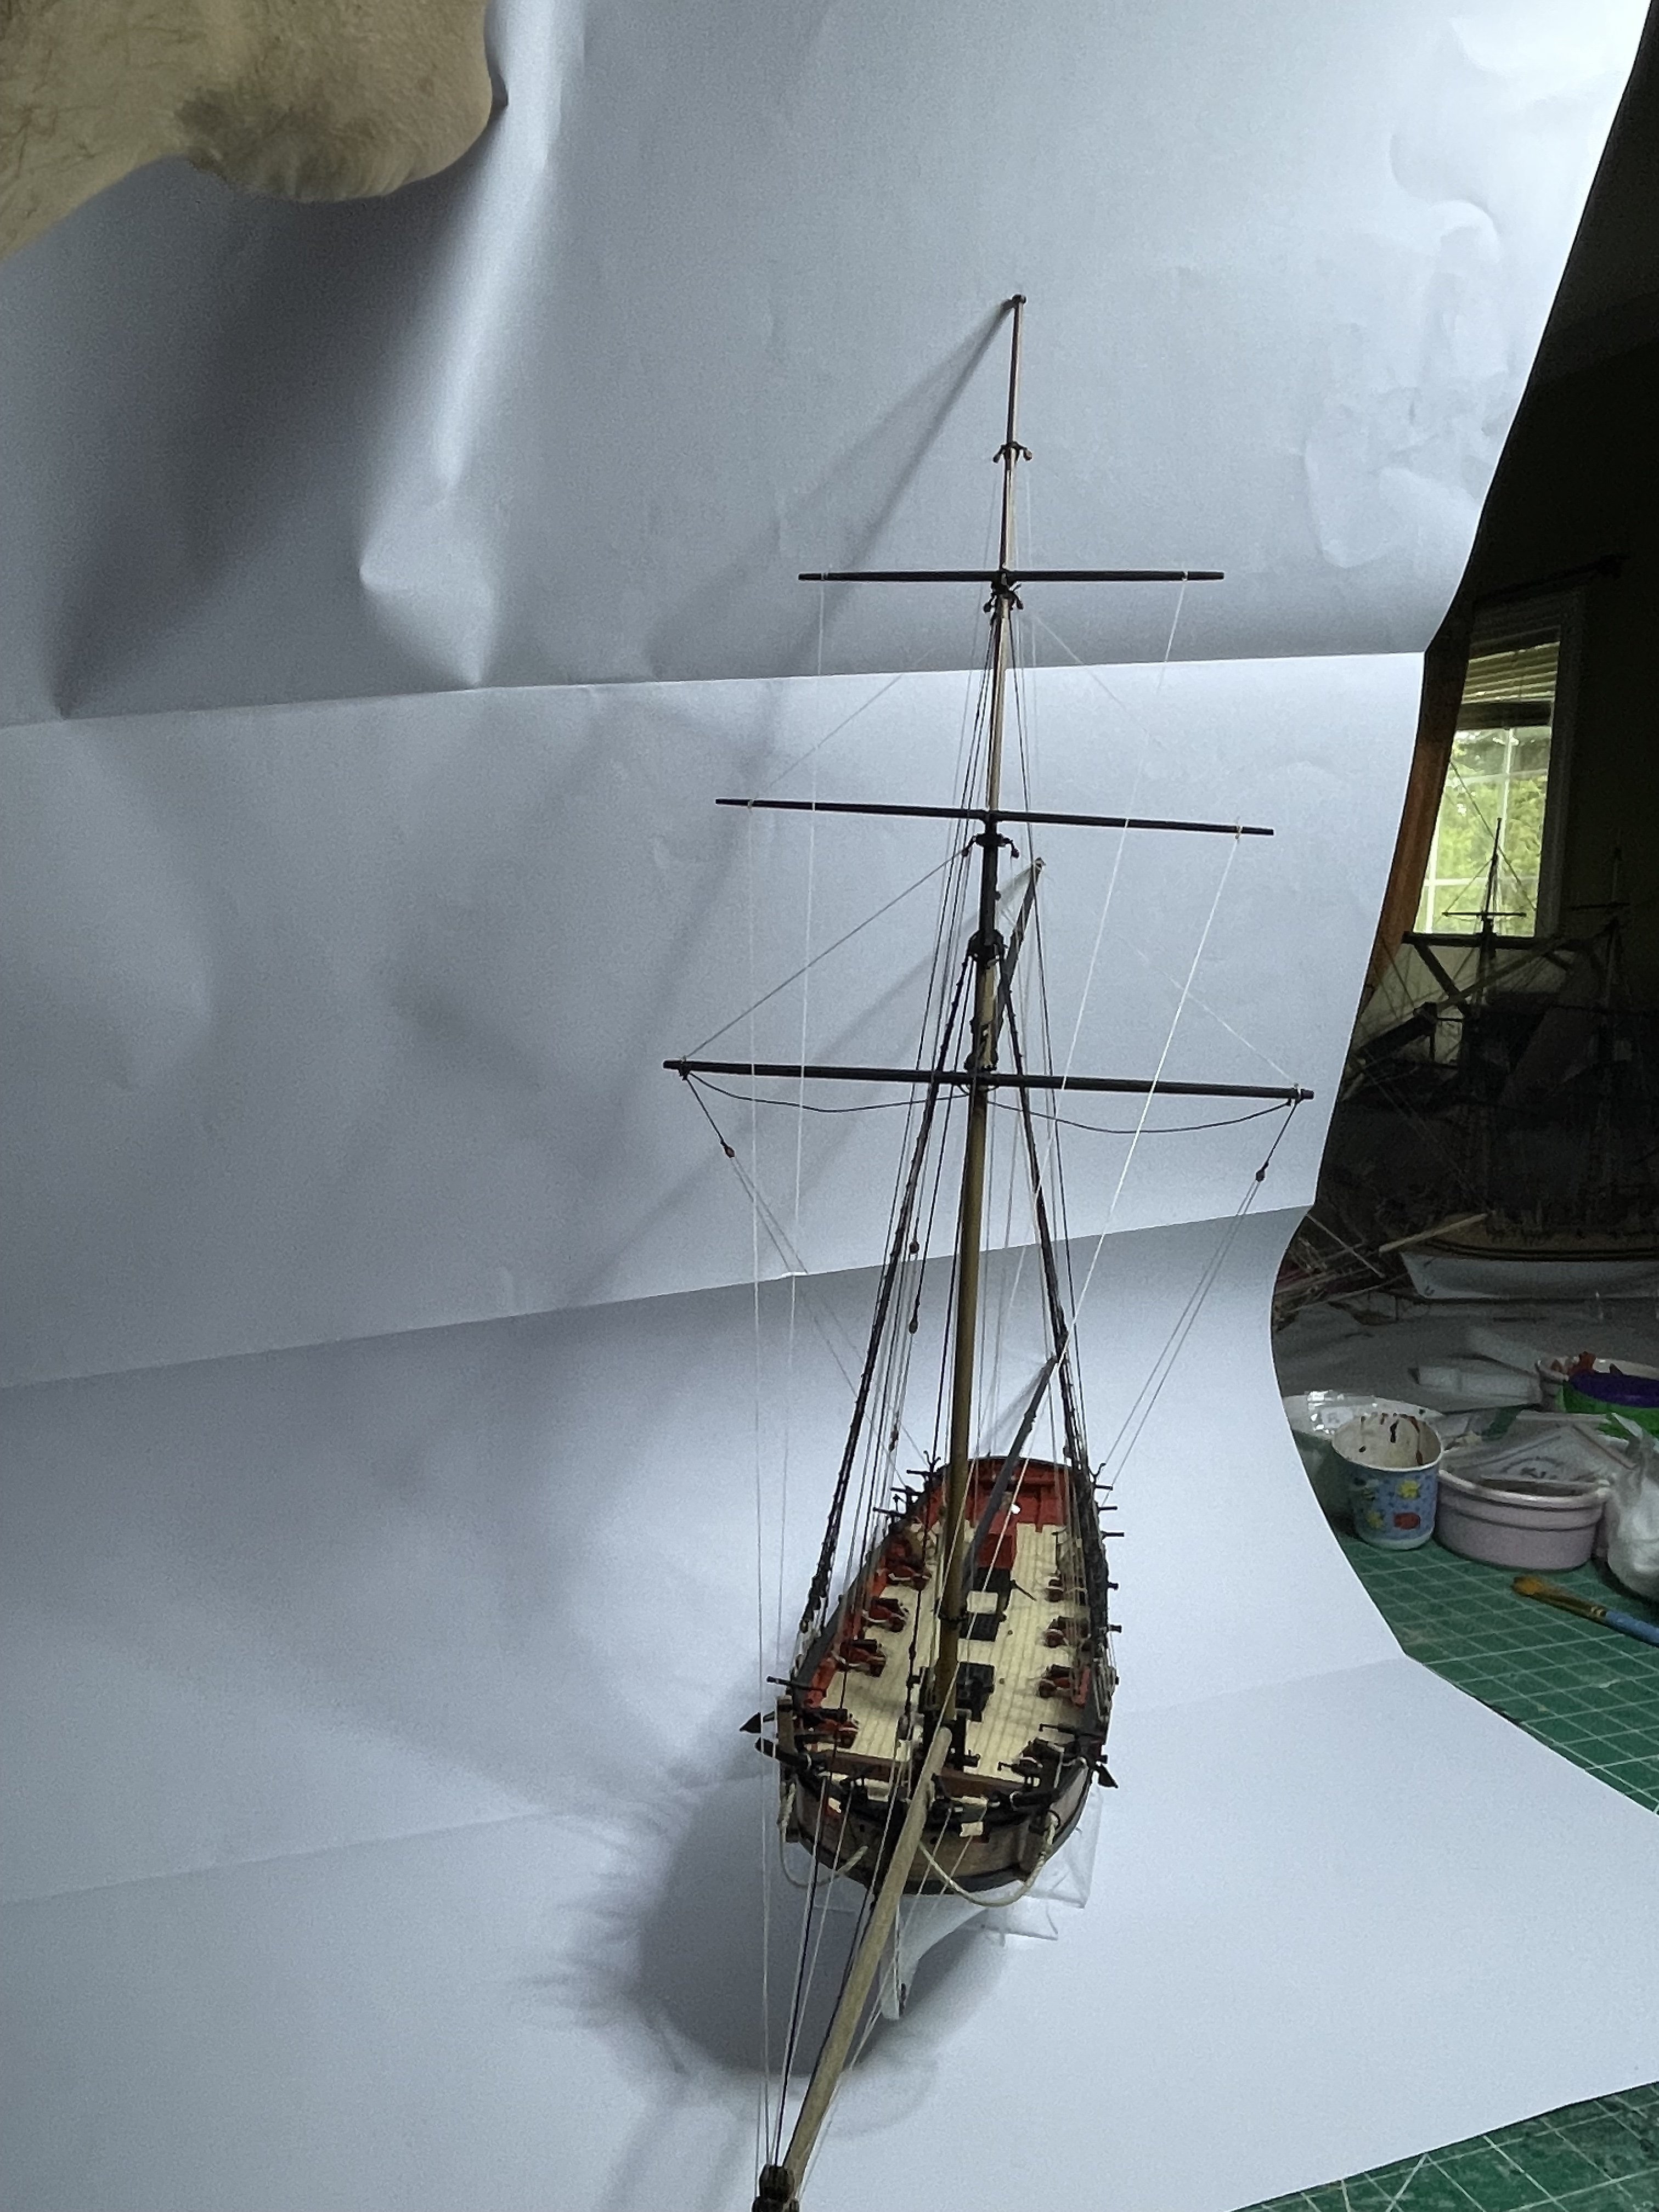
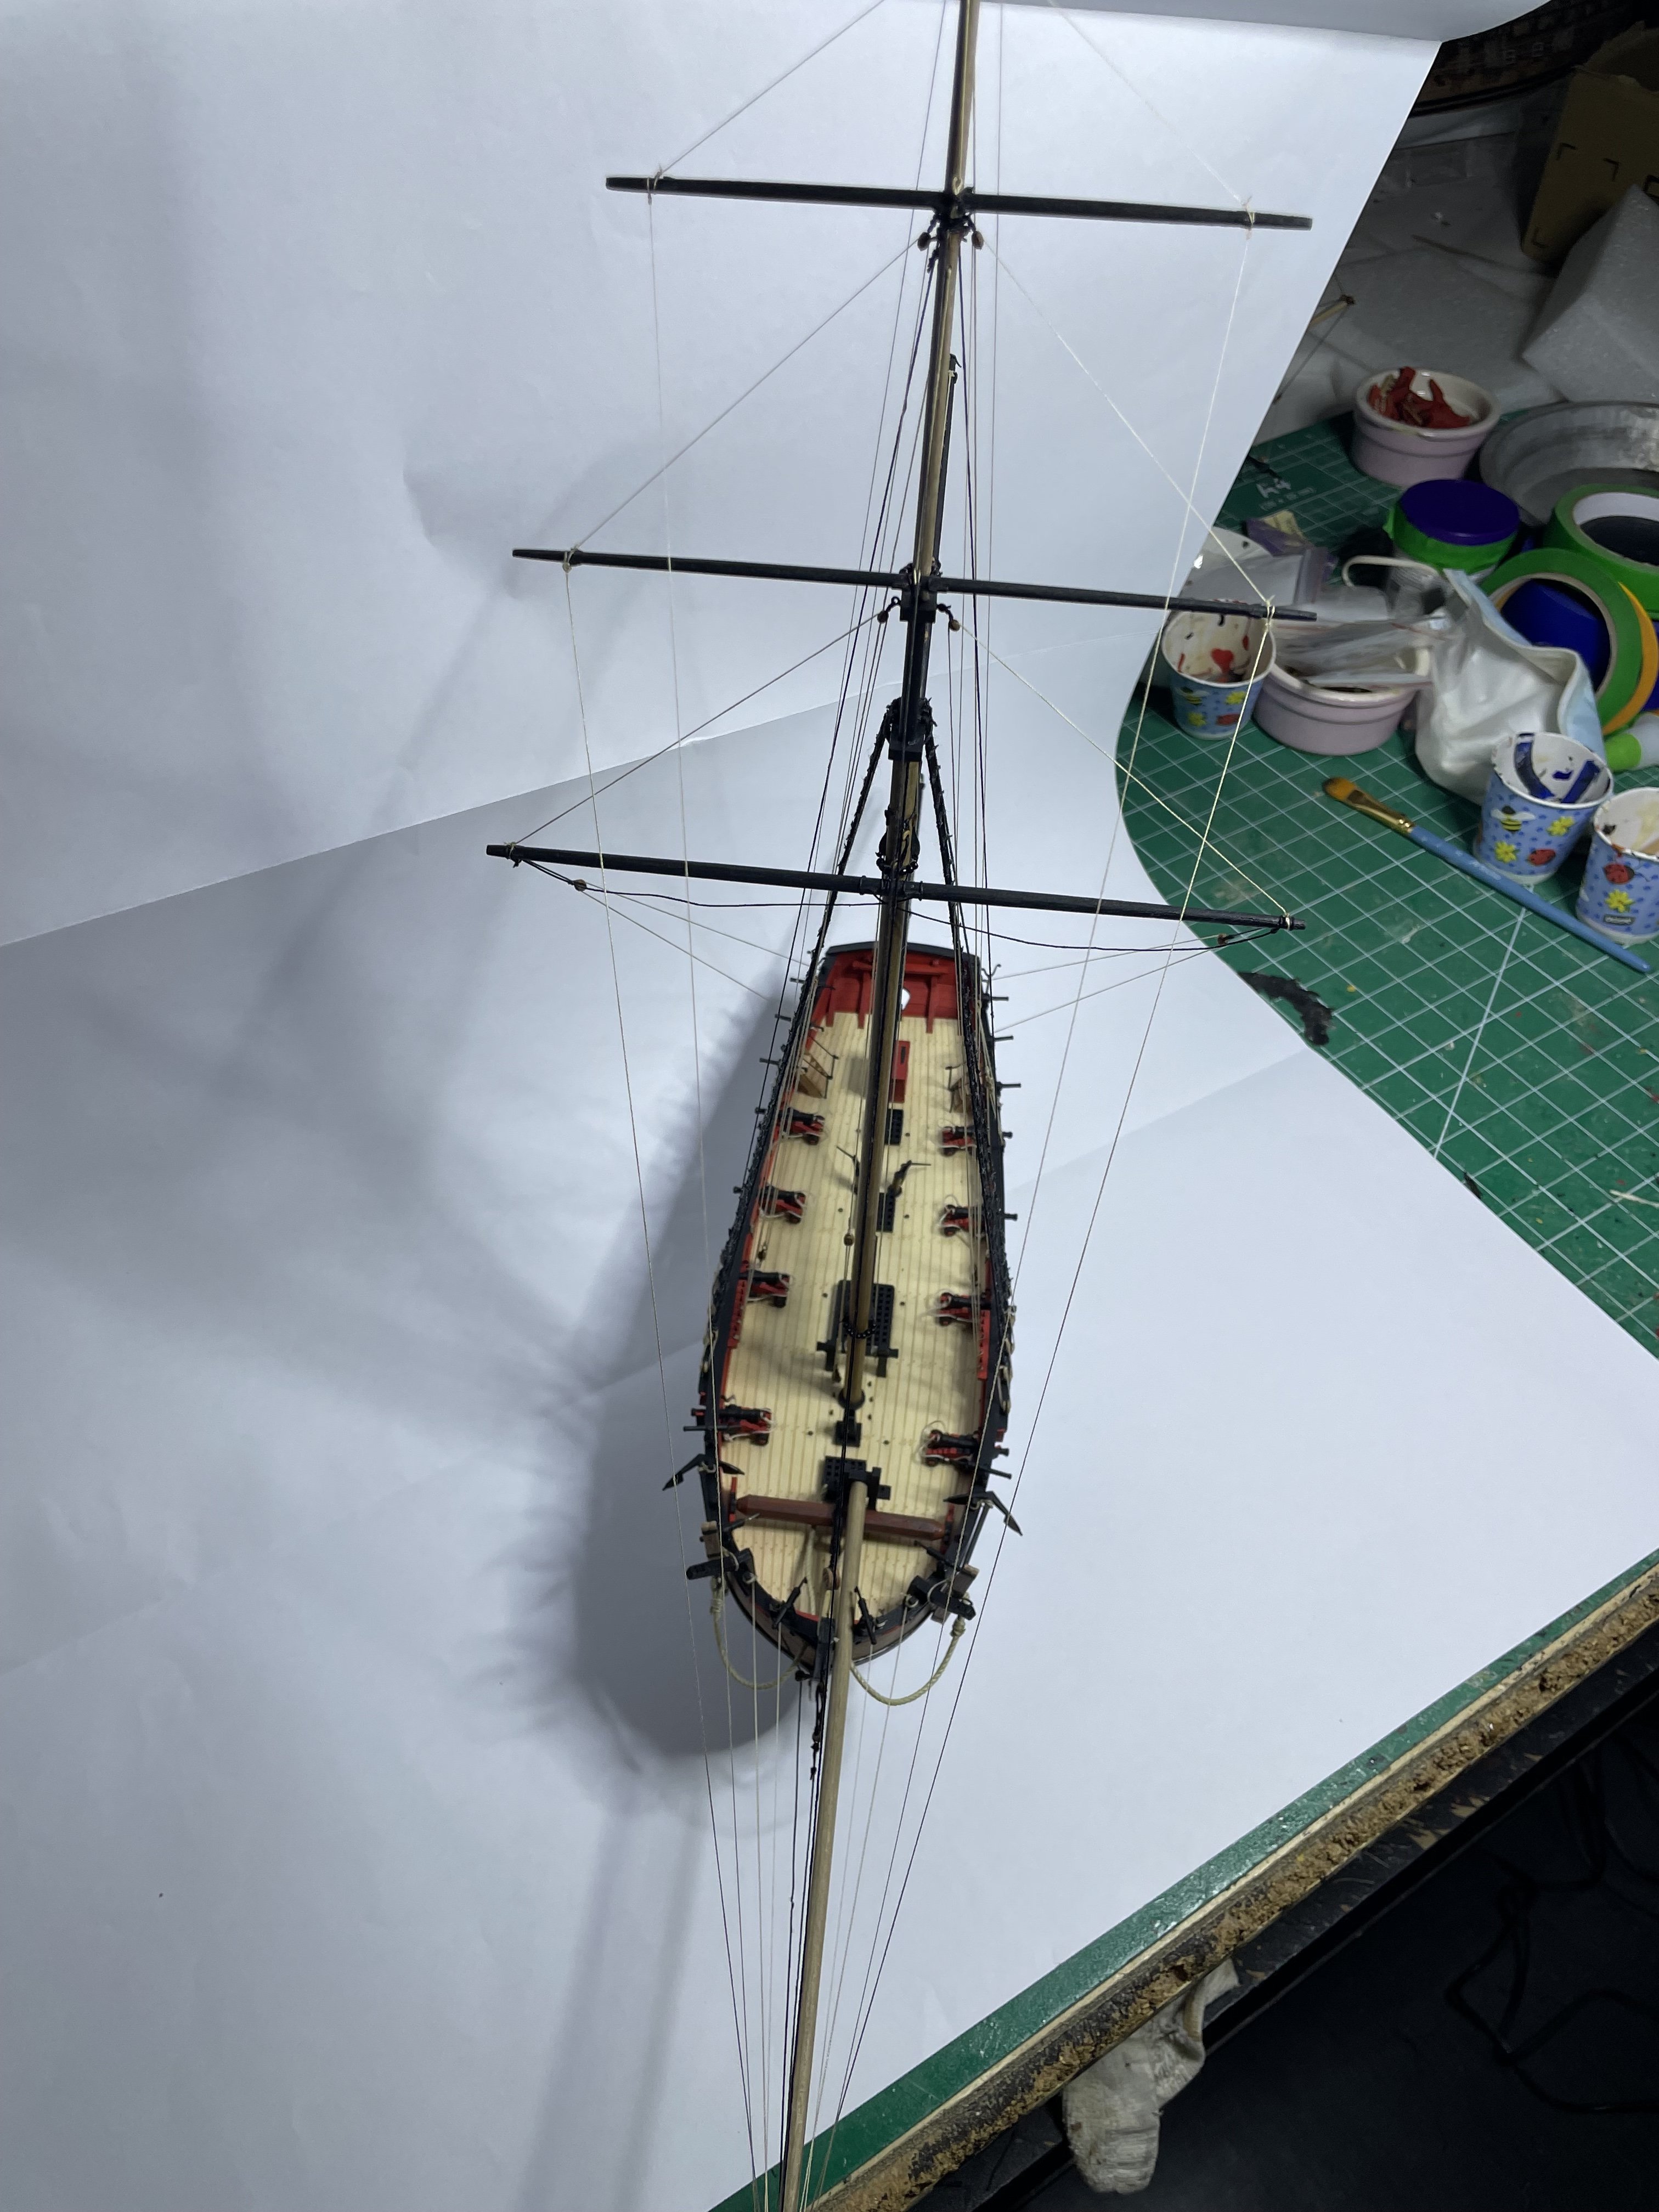
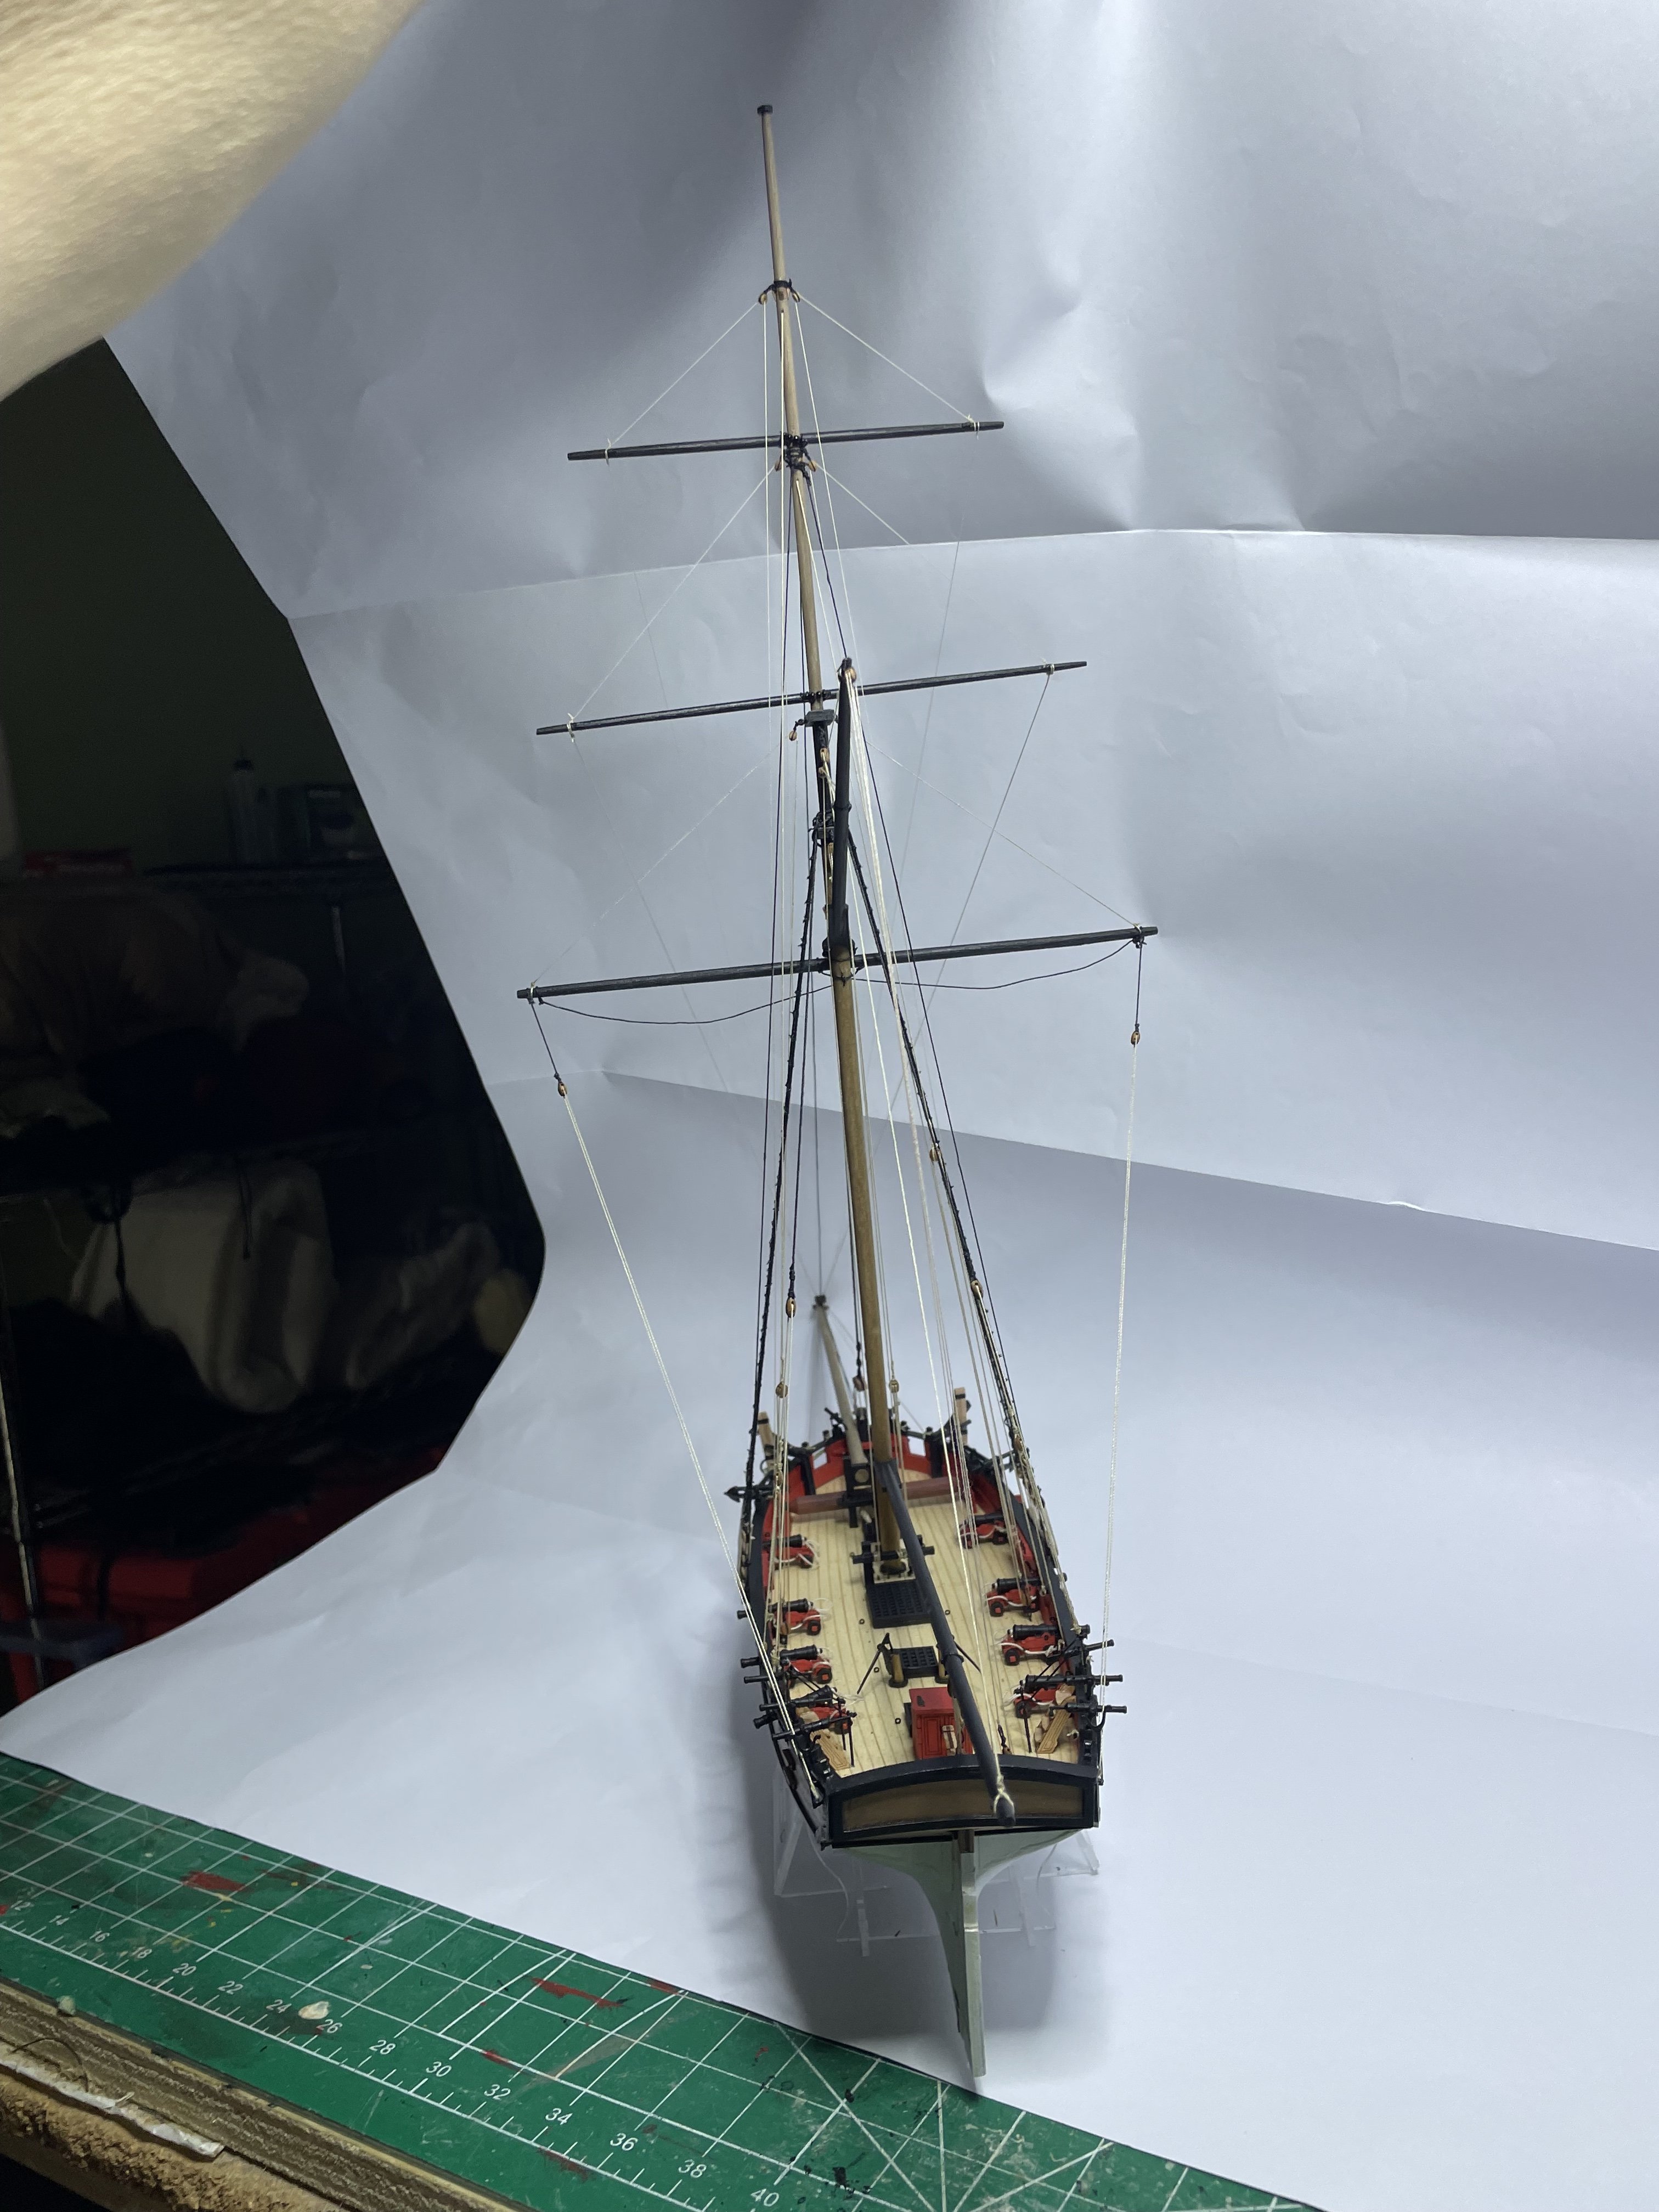
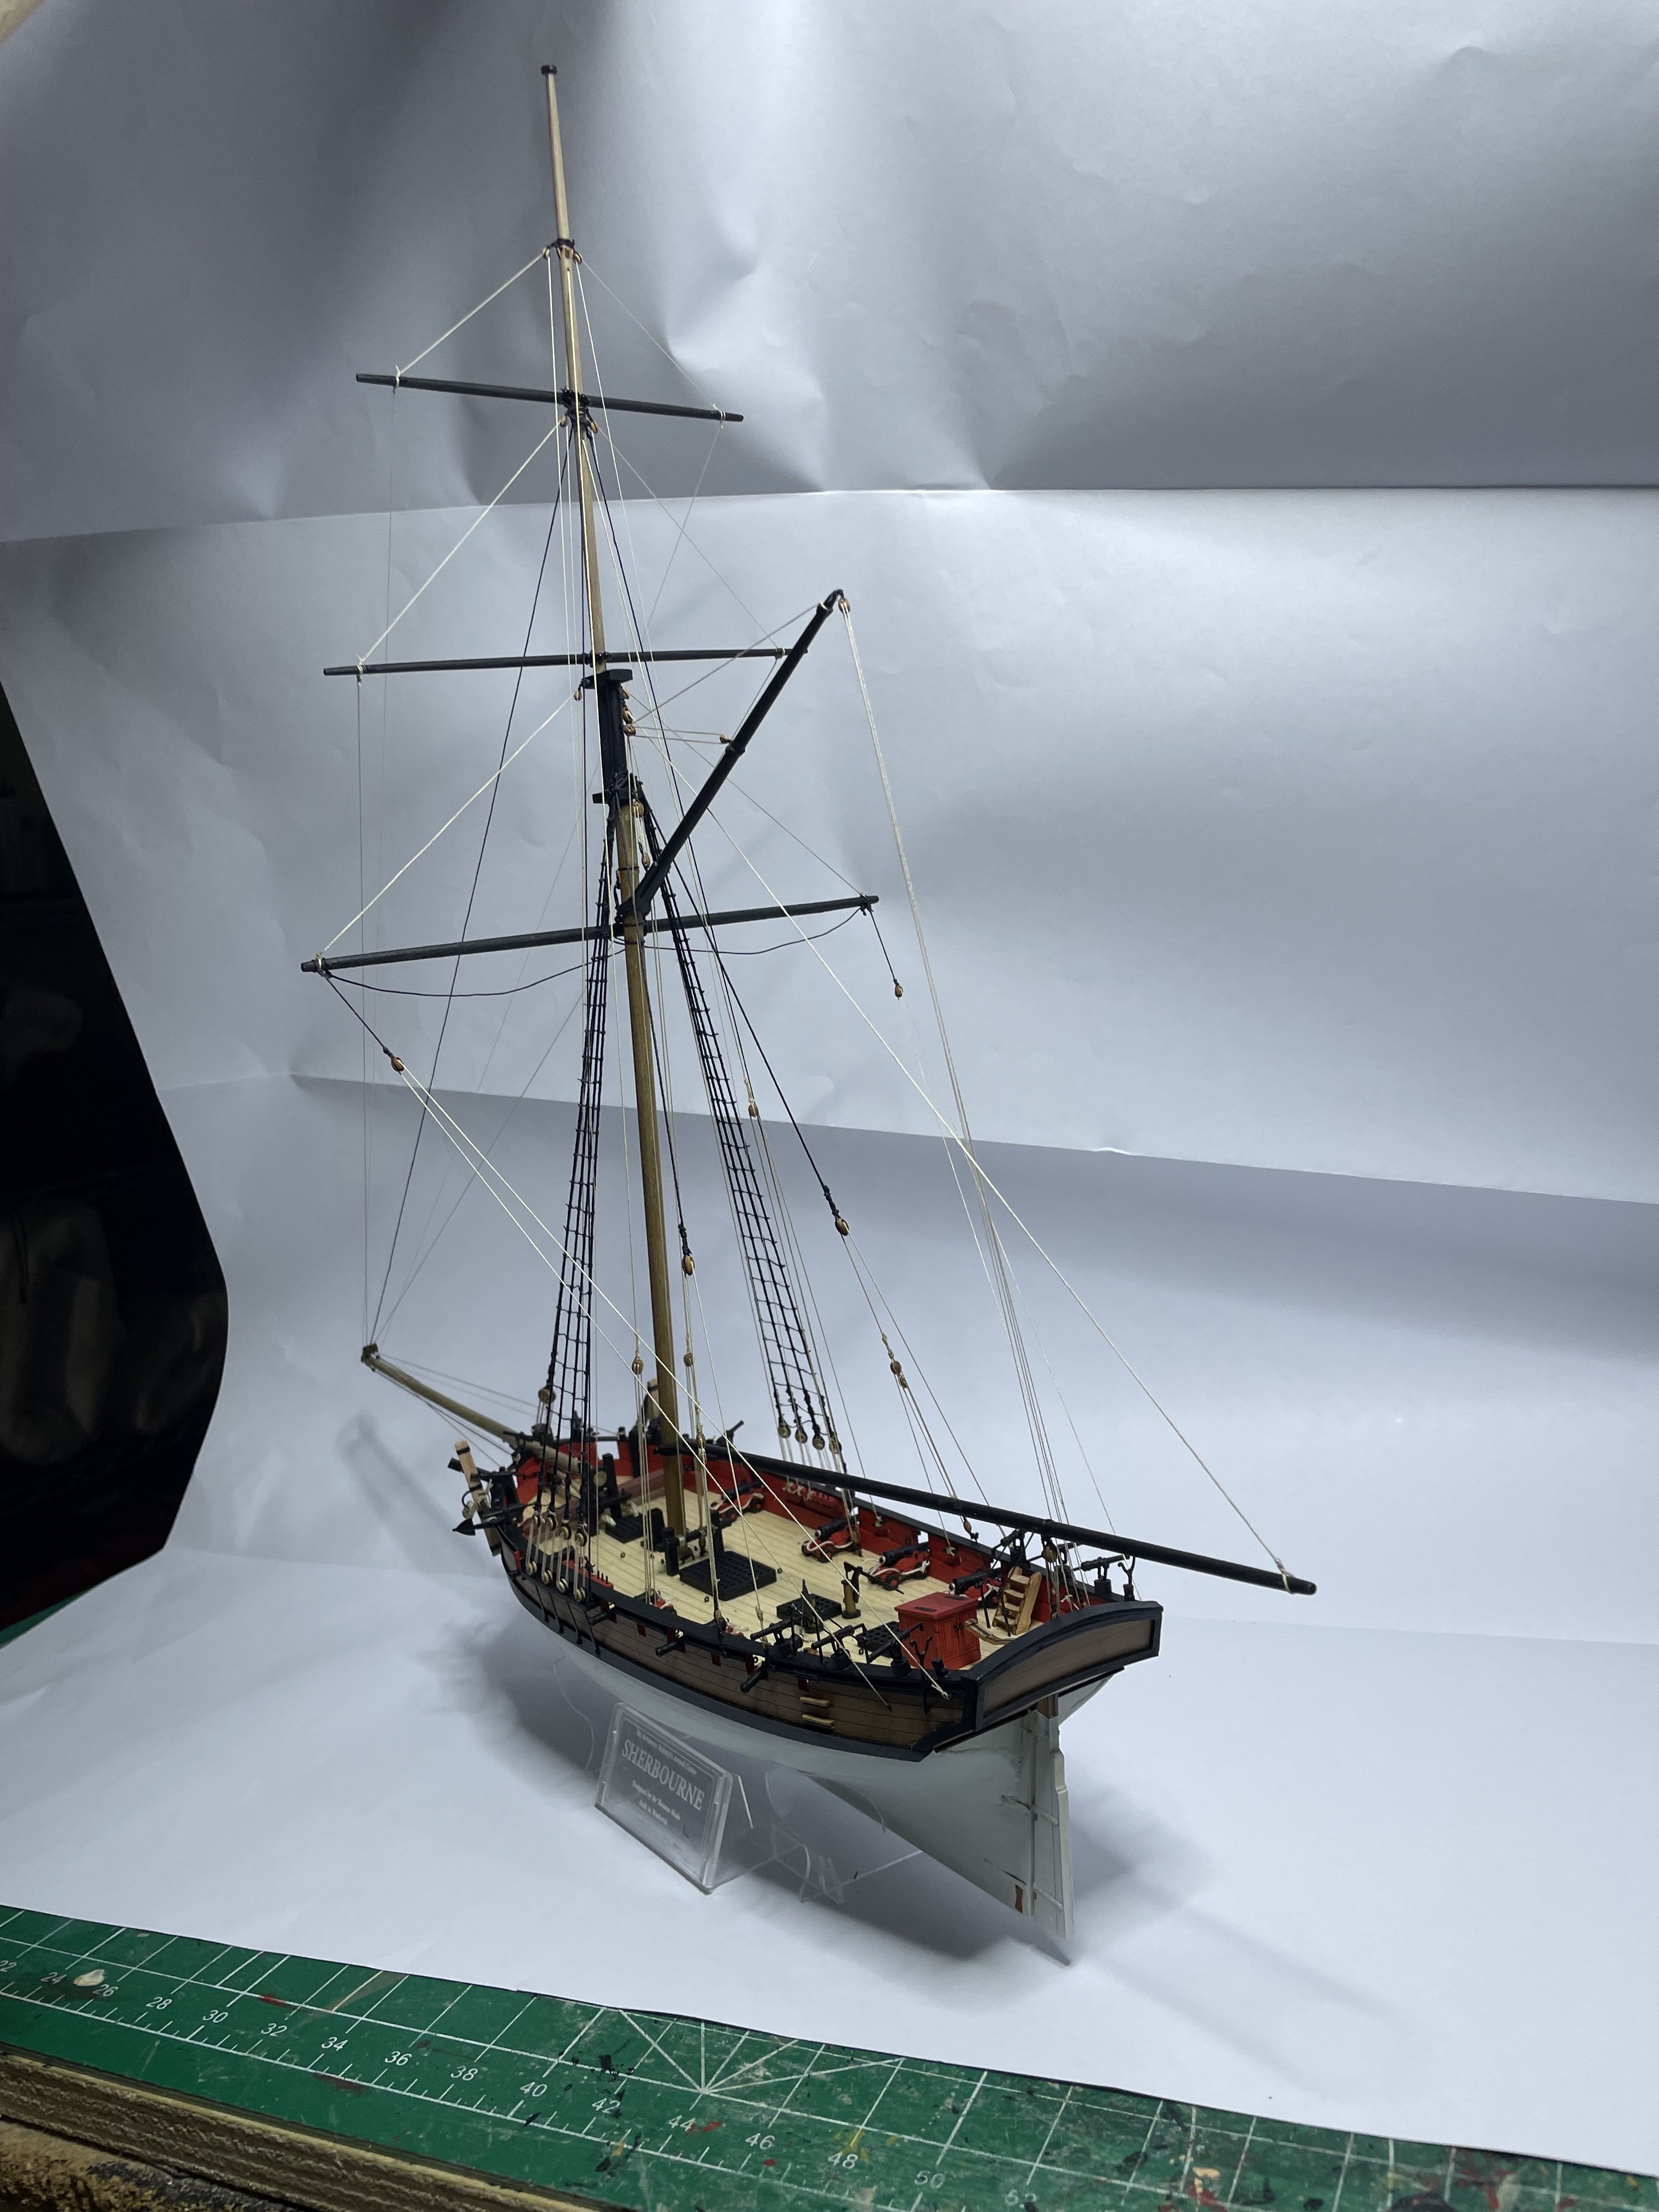
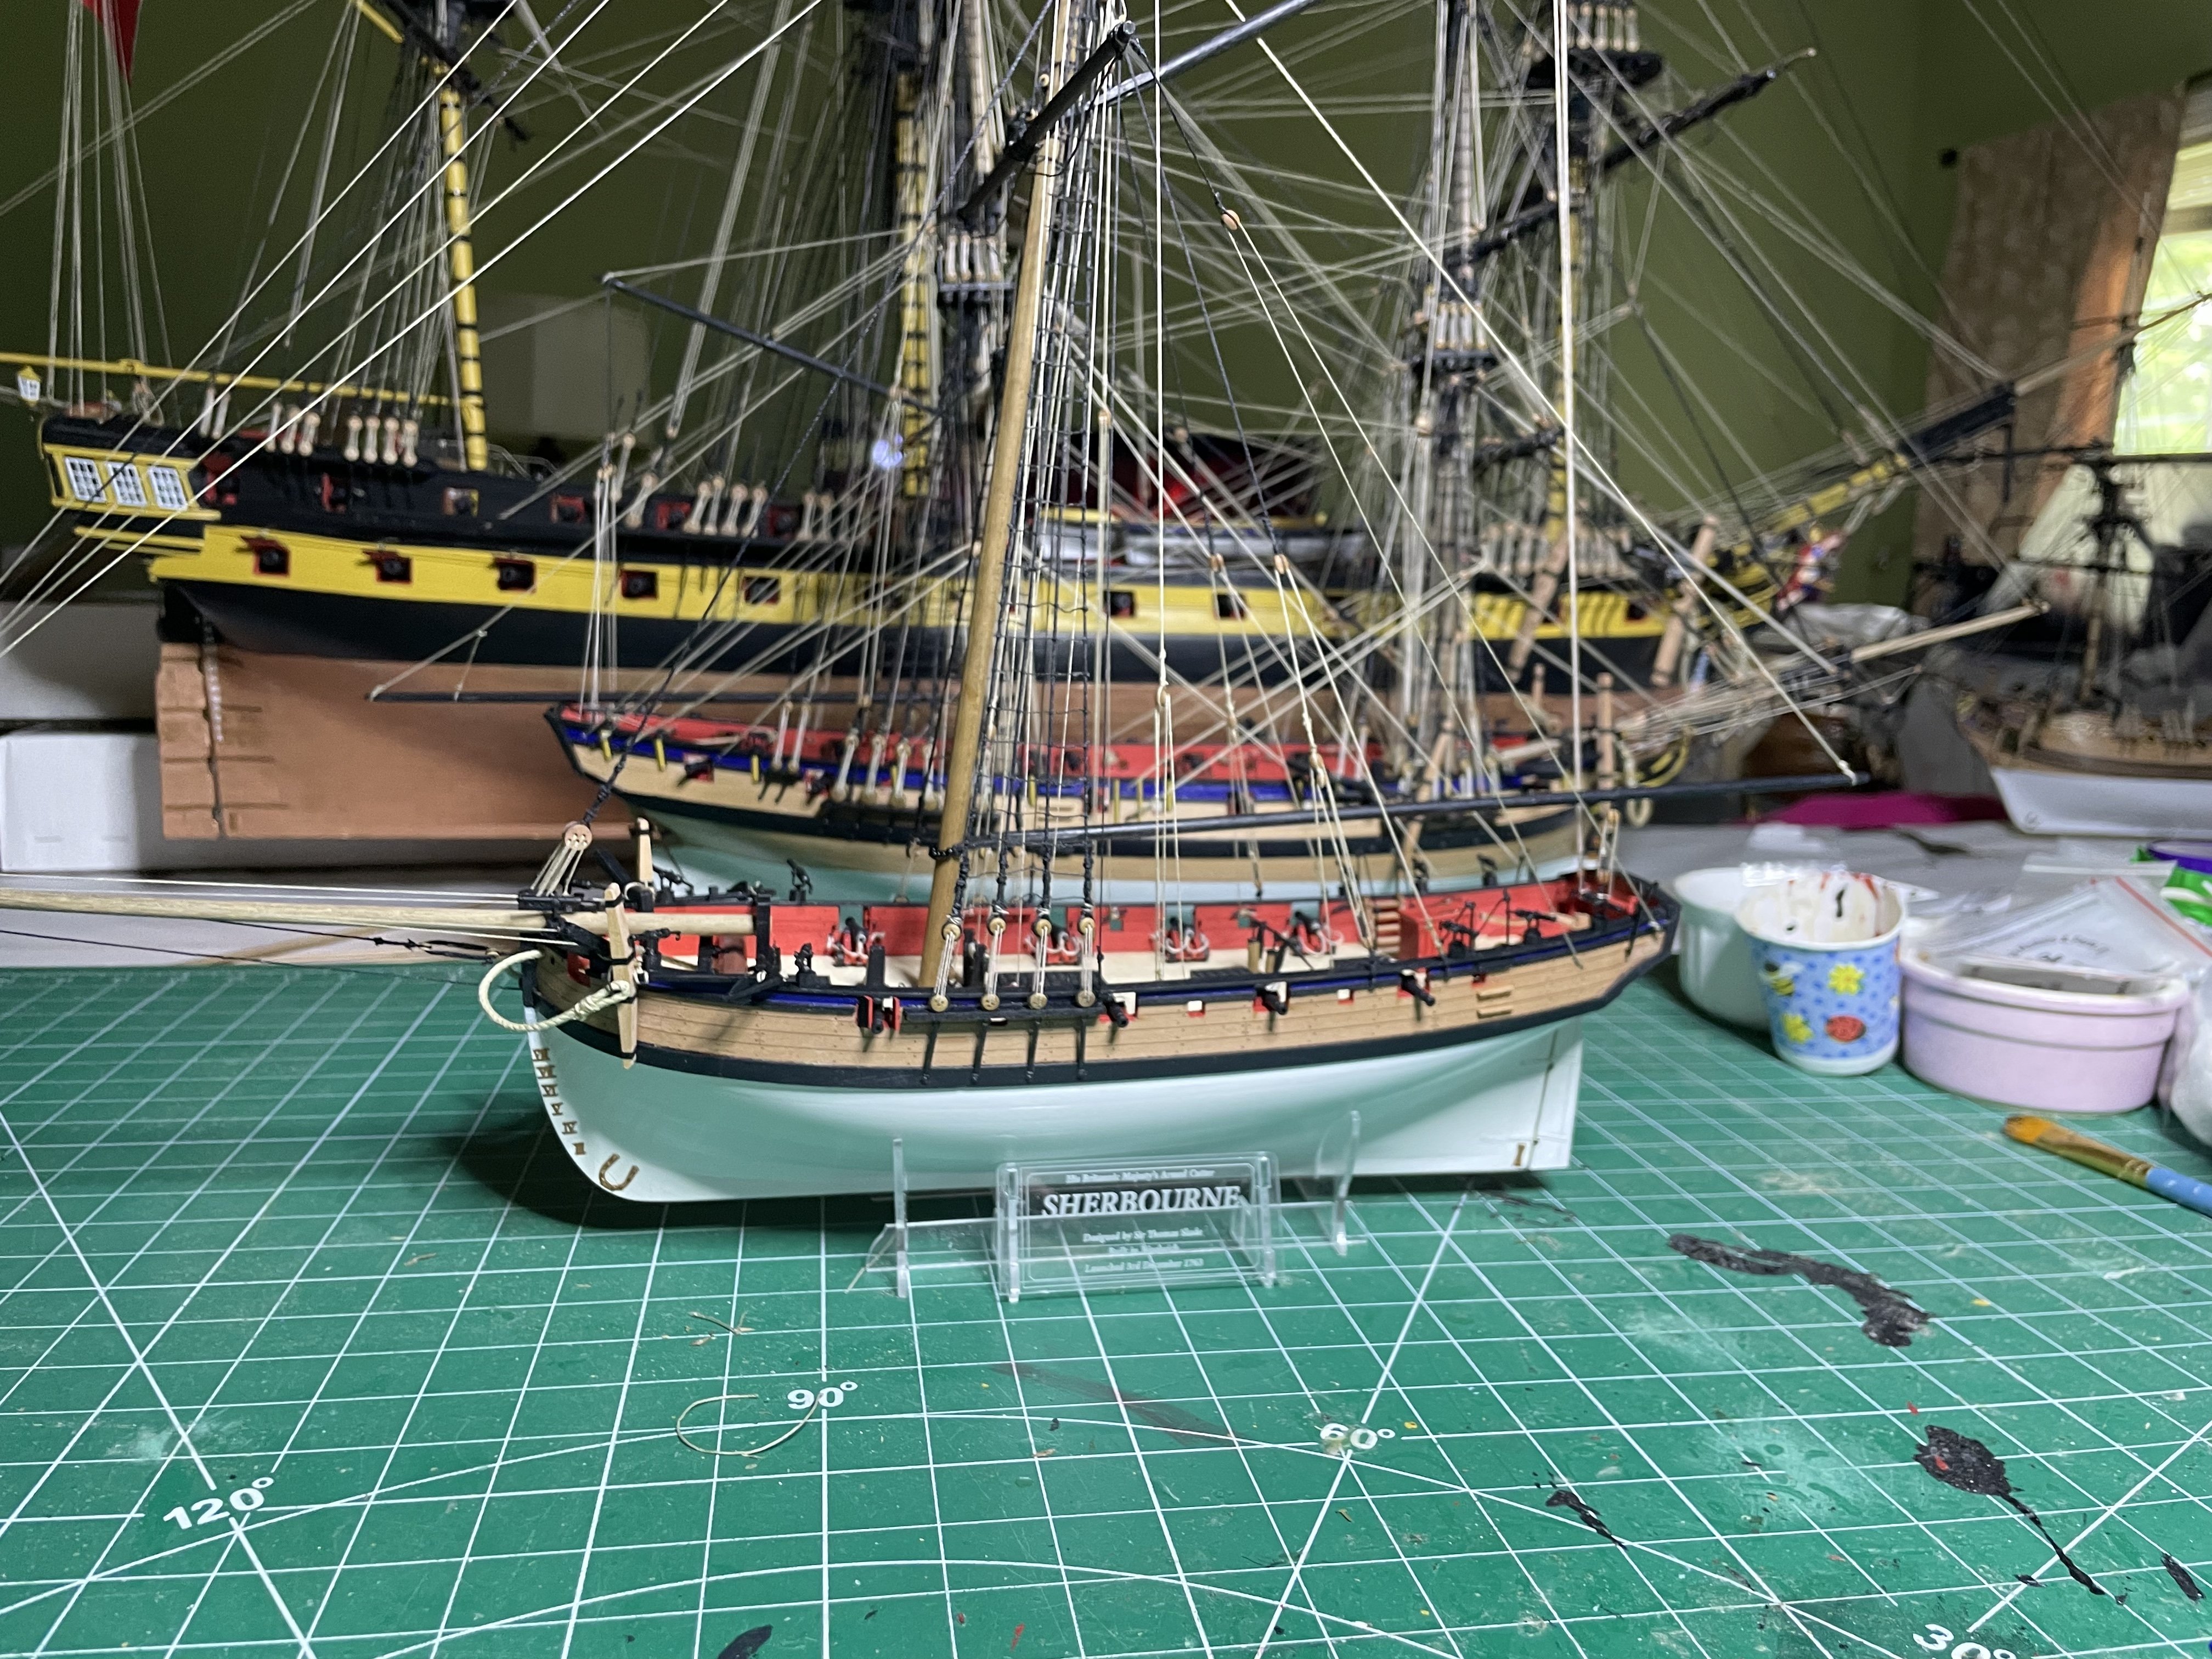
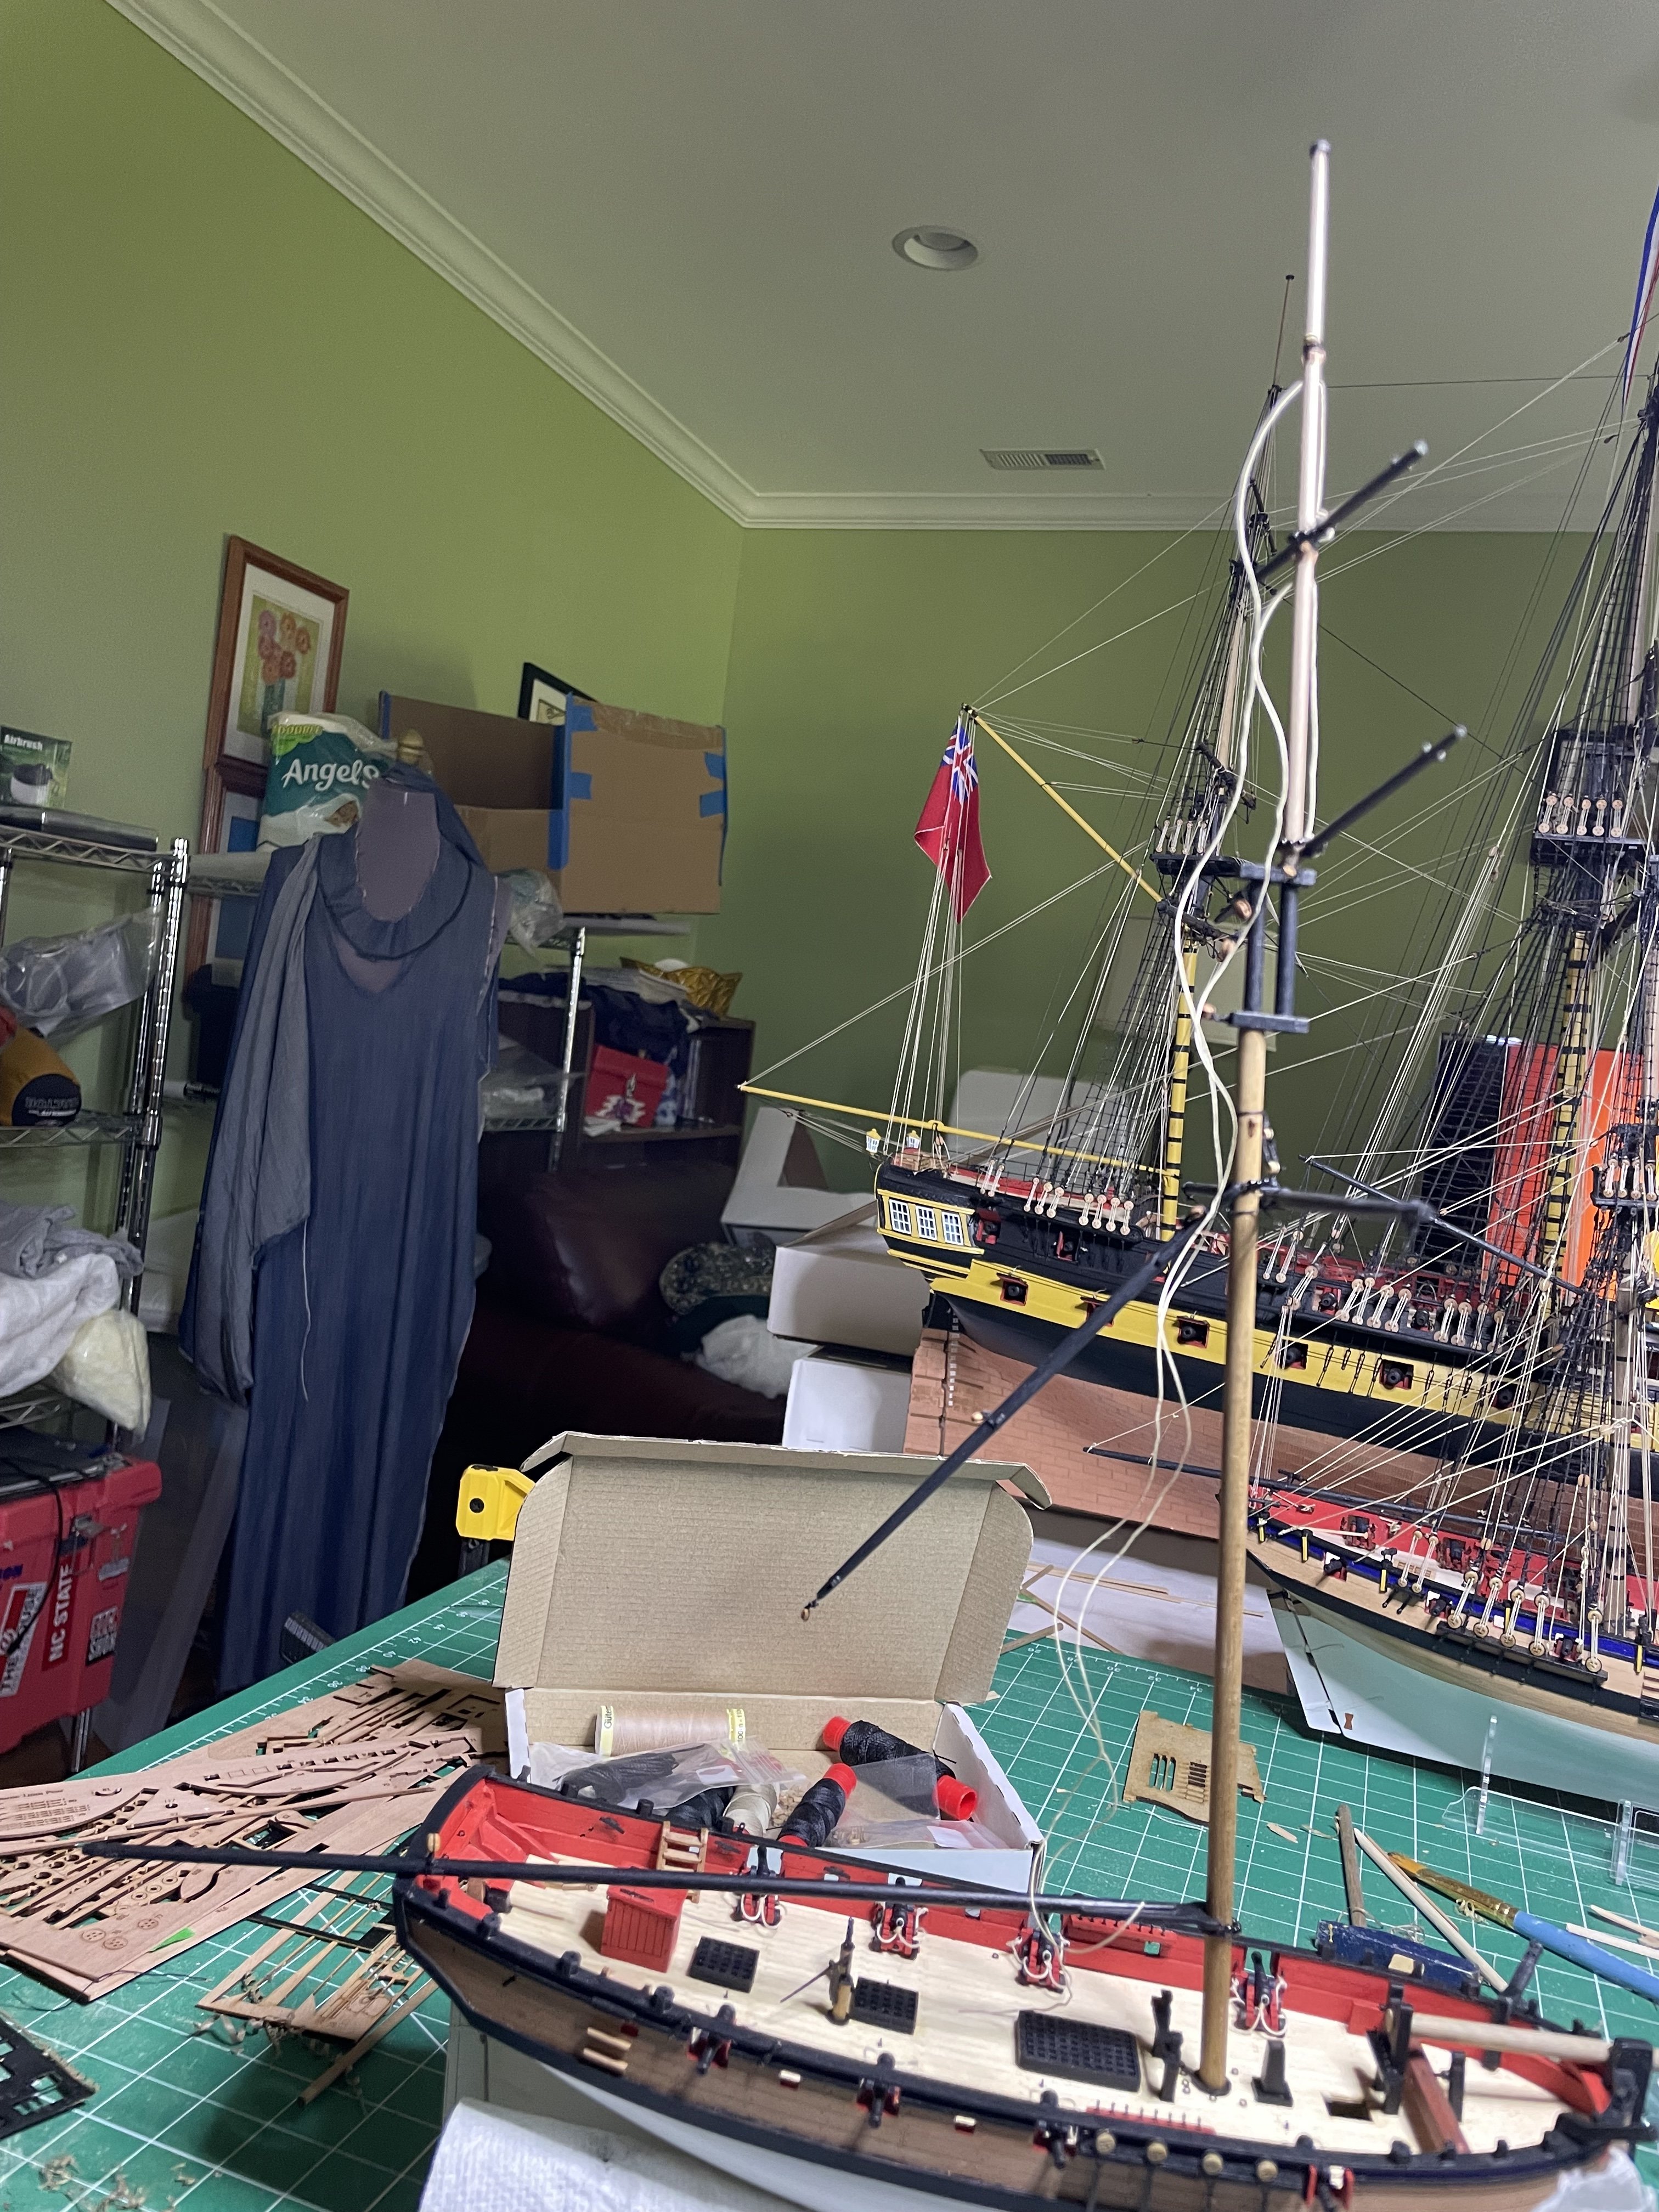
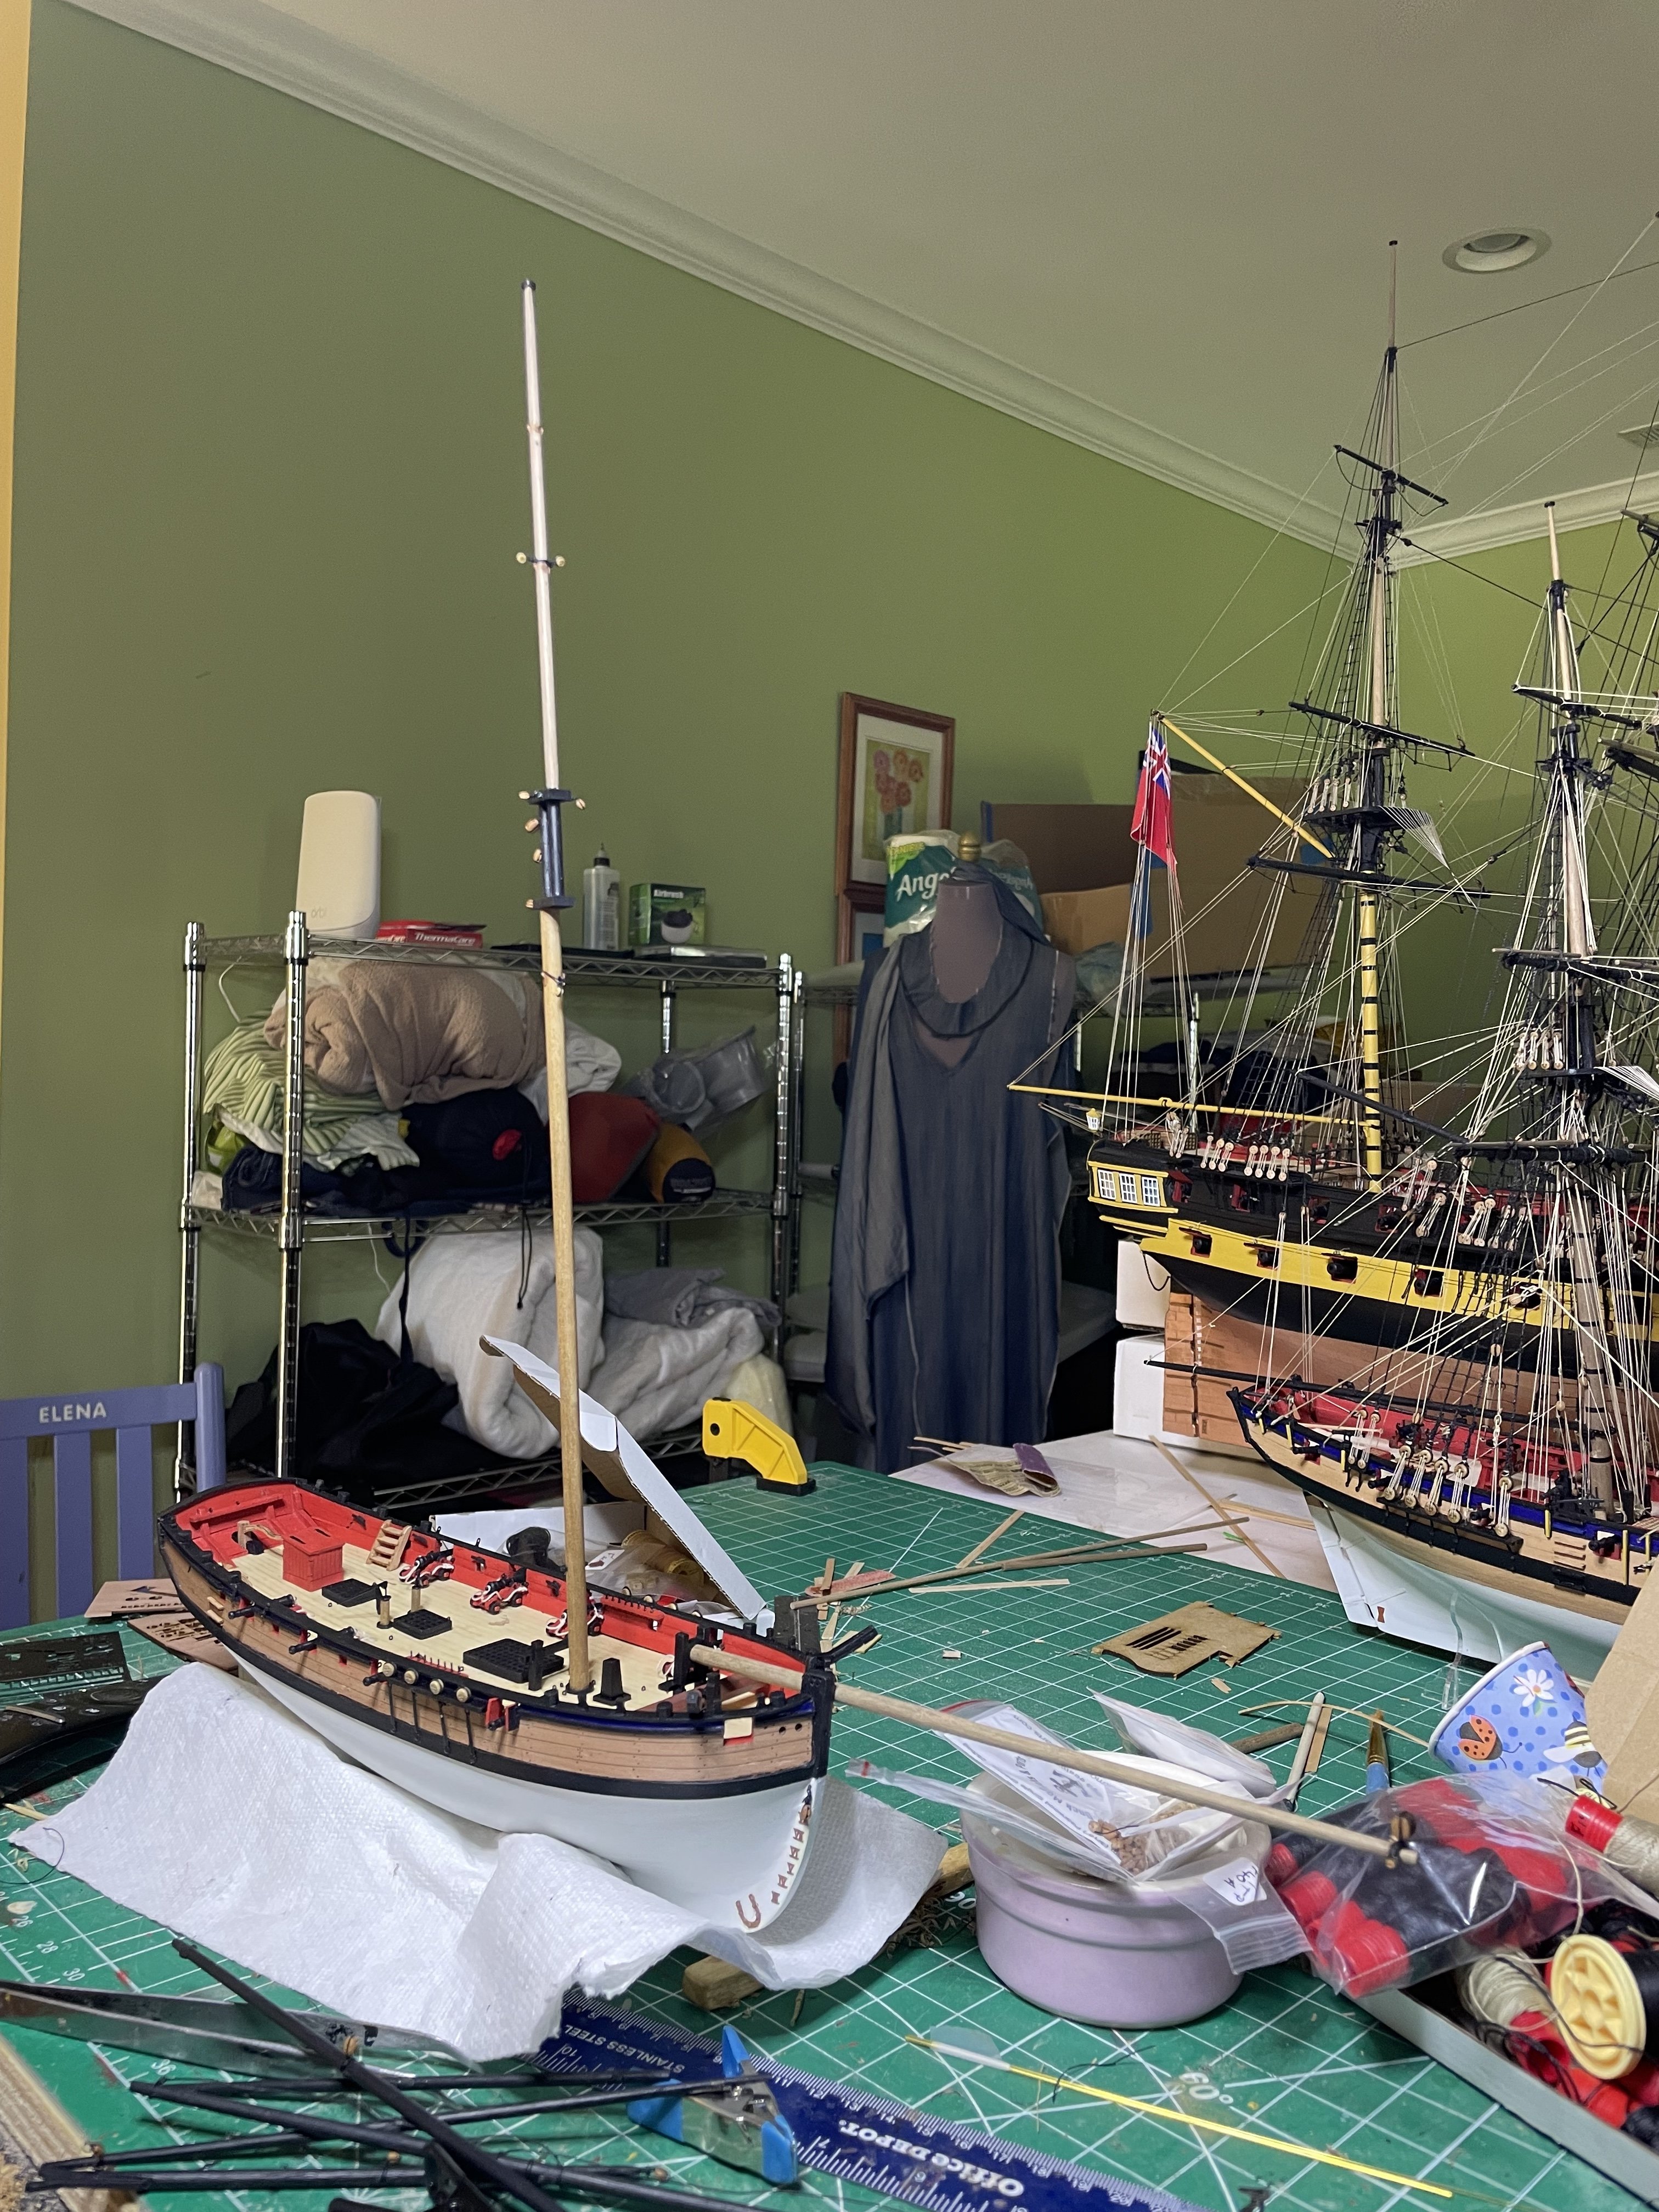
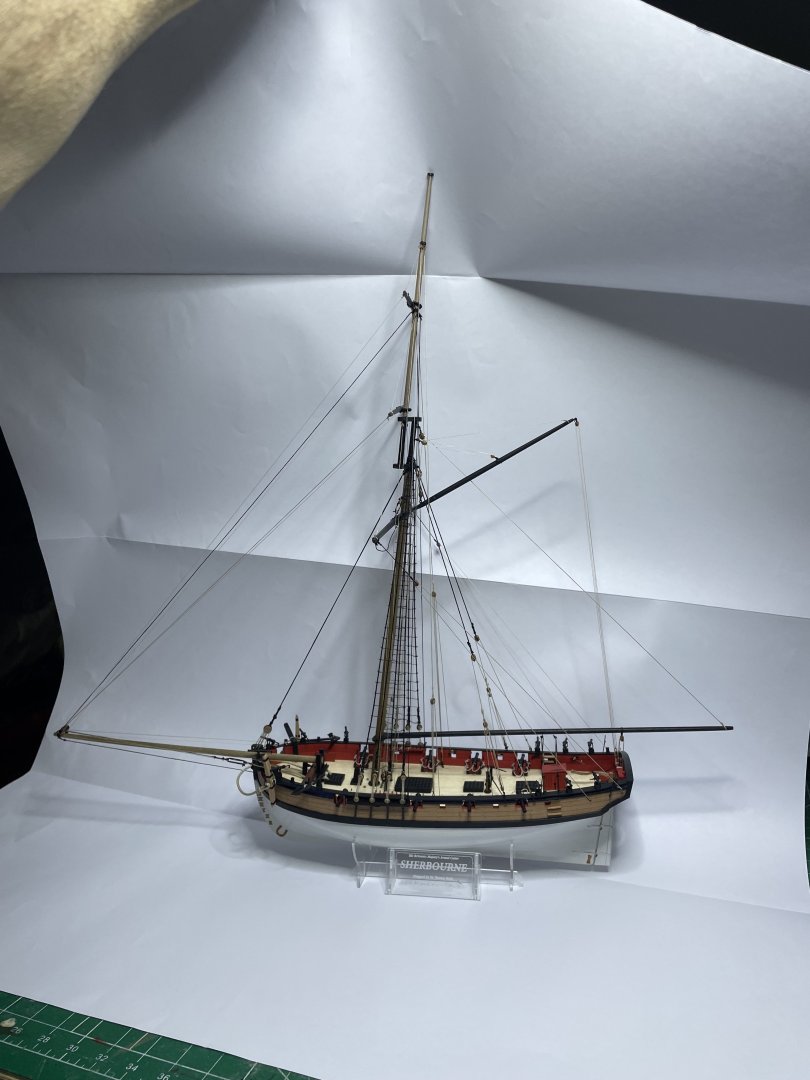
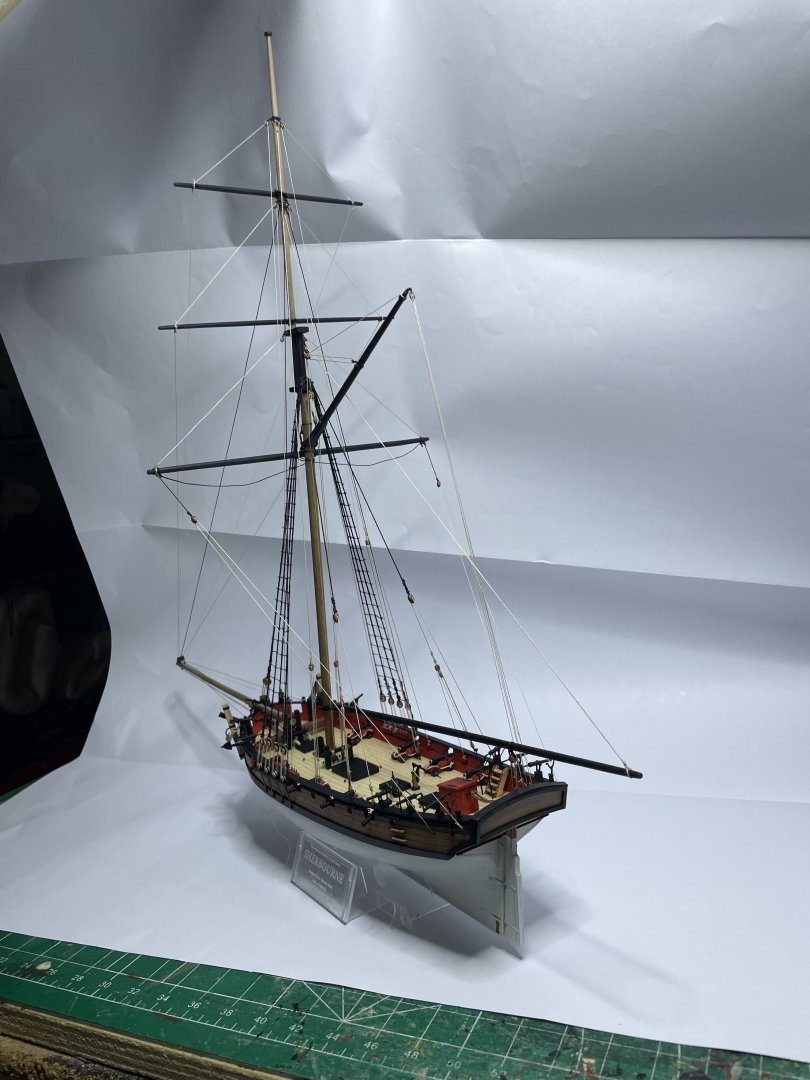
Finally done. Nice little project. You can see how small she is next to Flirt and Indy So on to my next project the other new Ship by Vanguard, HMS Adder so stay tuned


-
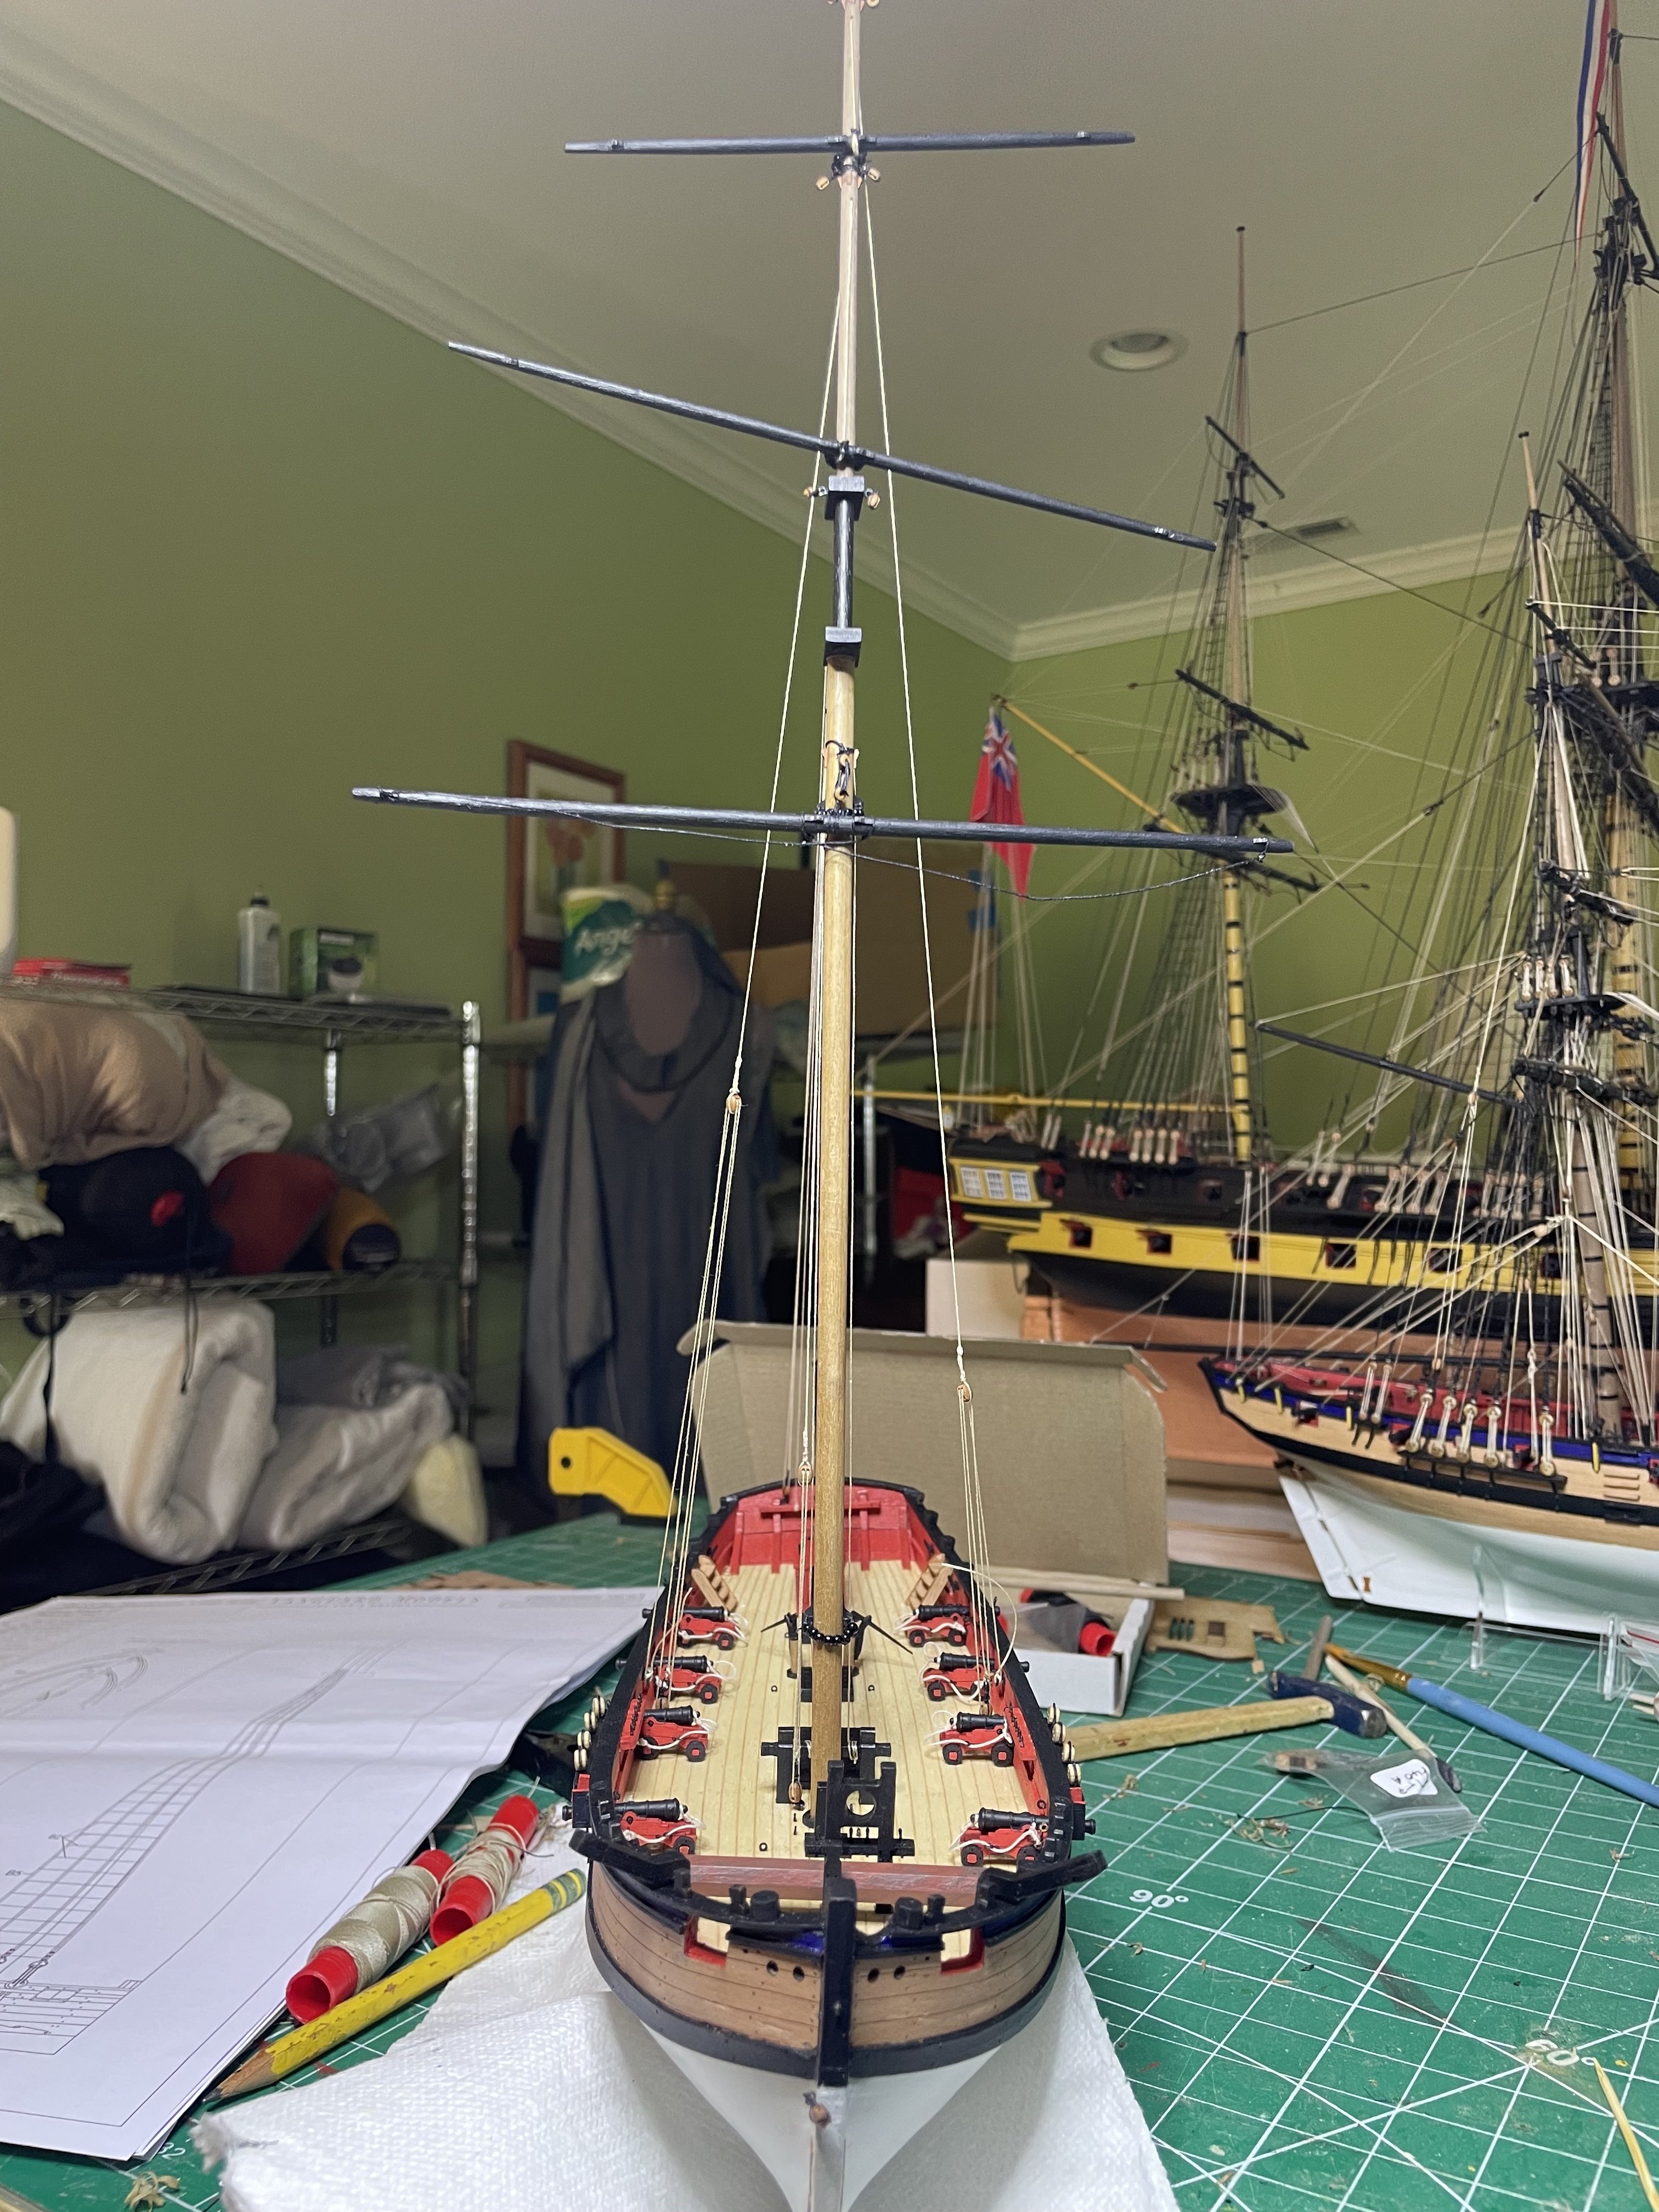
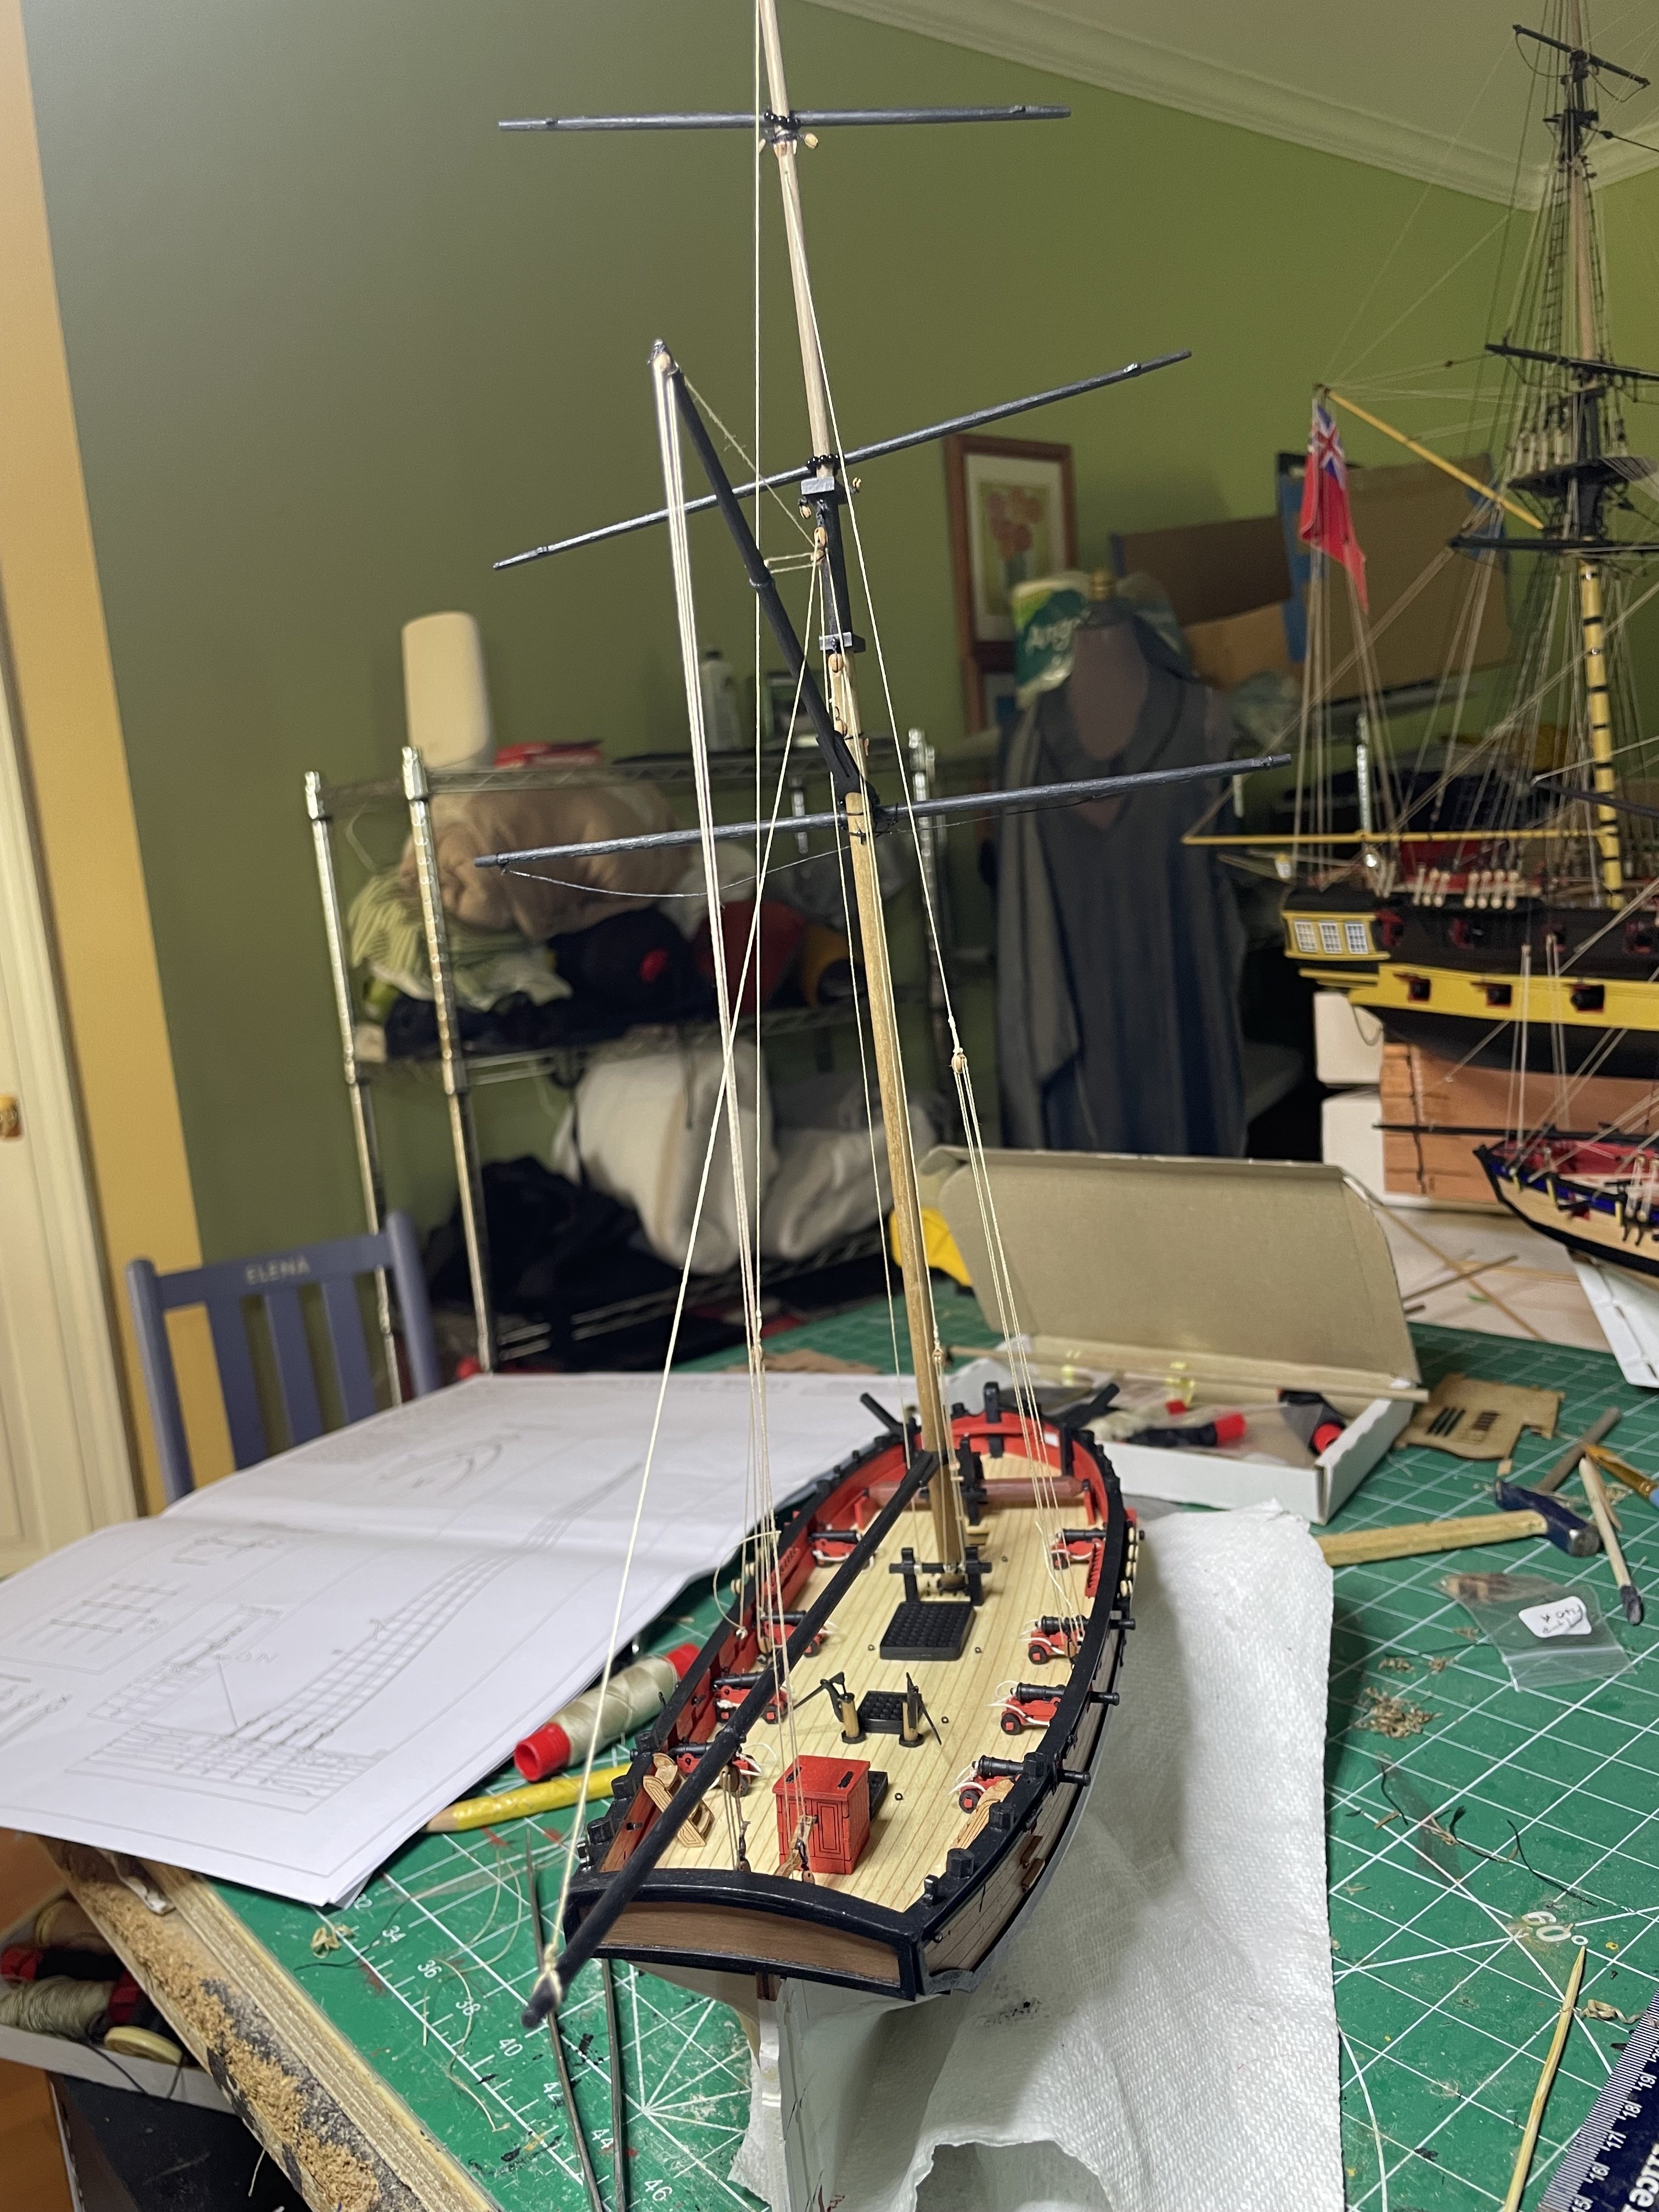
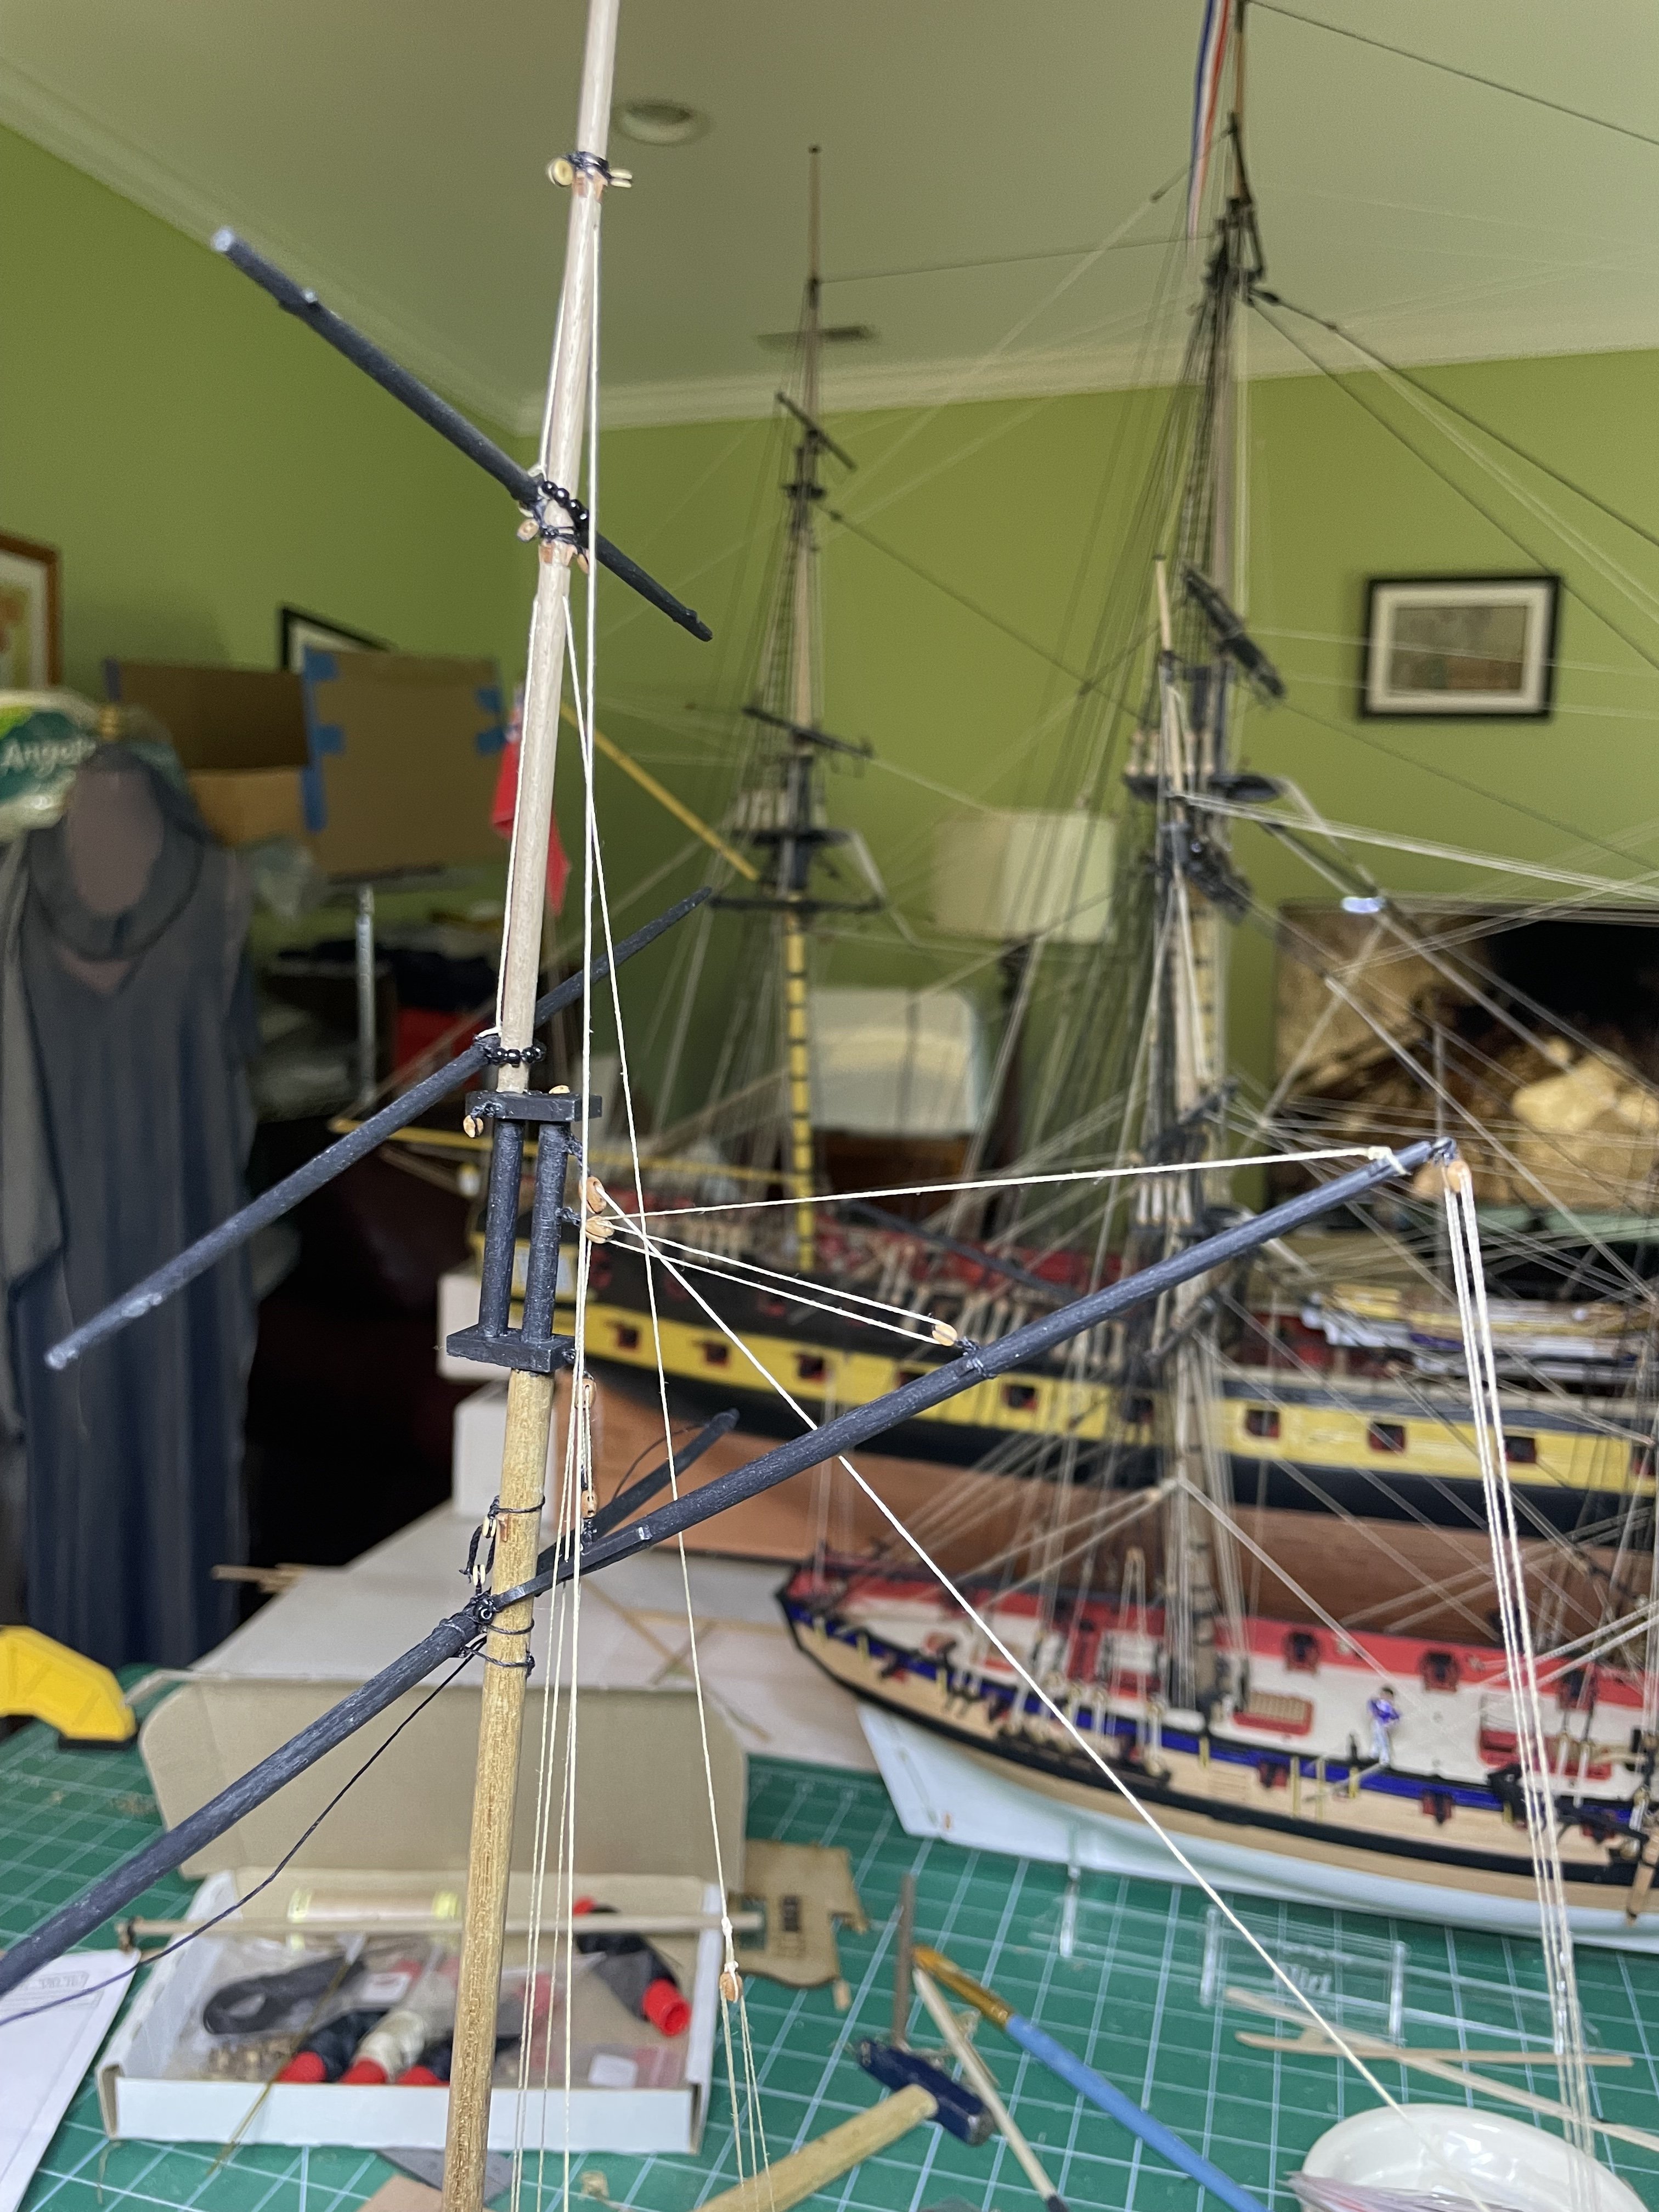
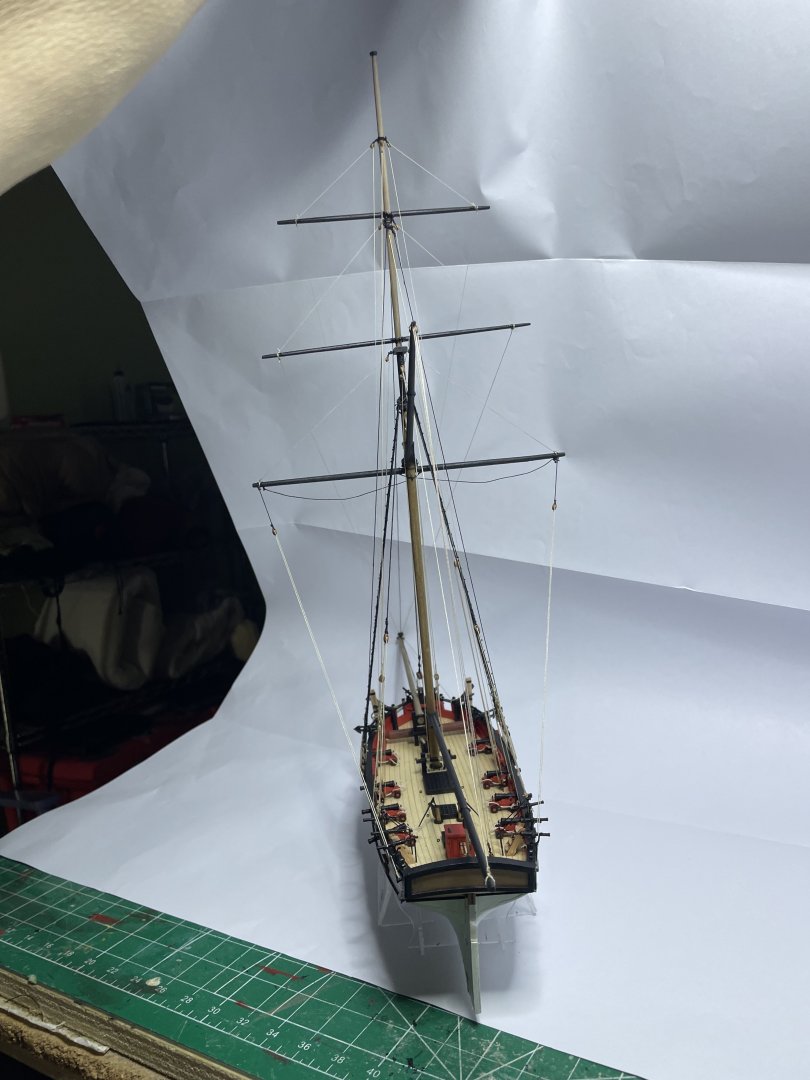
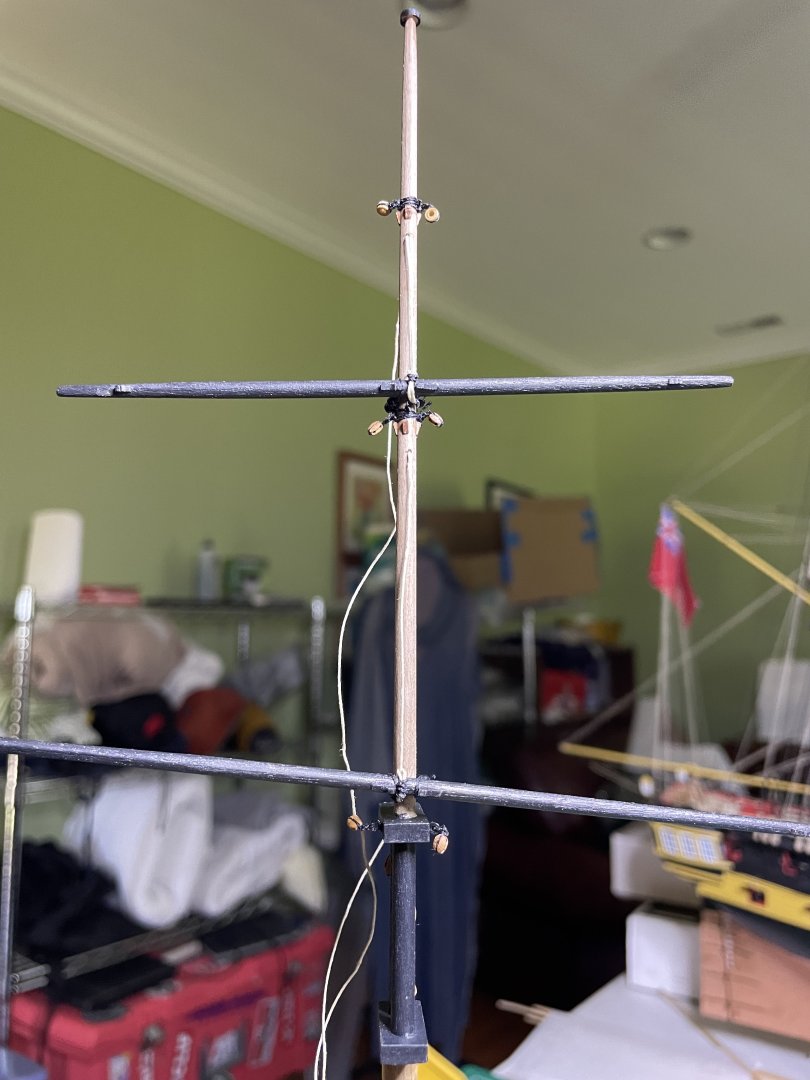
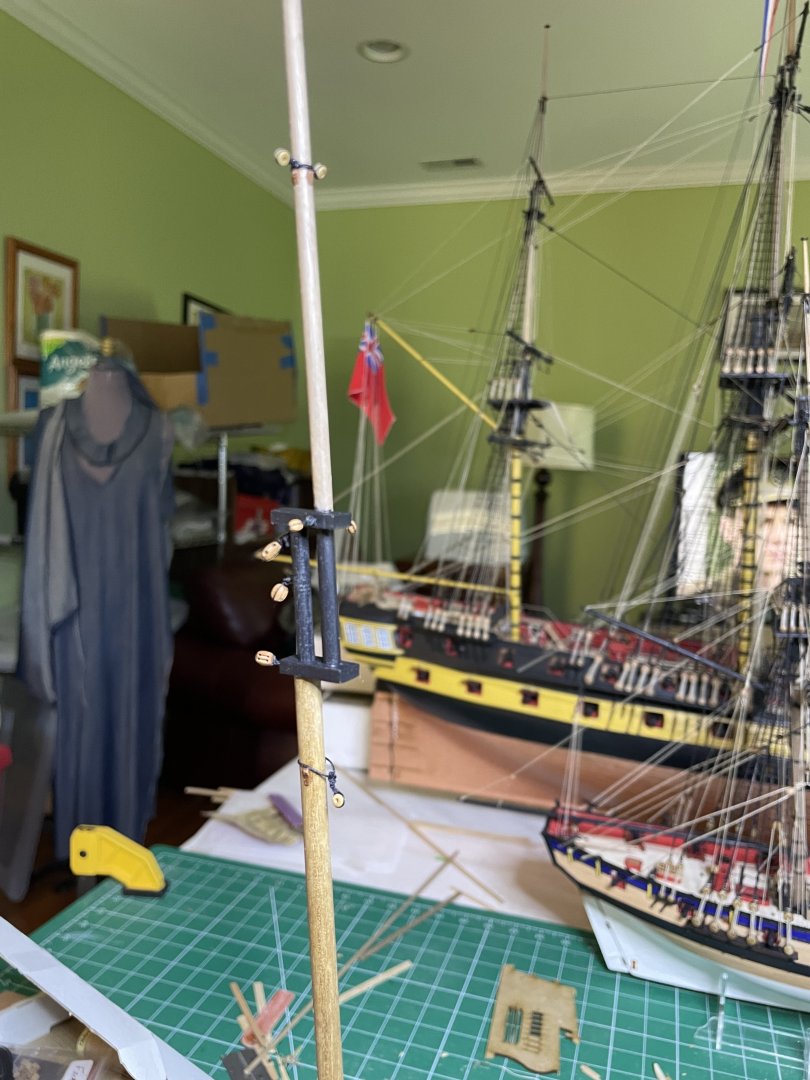
Boom and gaff rigged. Yard tackle set up


-
Yards secured. Instructions suggesting rigging the spanker first before the shrouds as no shrouds in the way. There is an error on rigging sheet 10 where the thimbles for the t'gallant lifts are placed where the blocks for the topsail lifts should be and no mention as to what I suspect 3mm blocks should be placed for the topsail lifts. The pictures in the instruction manual show the correct configuration.

-
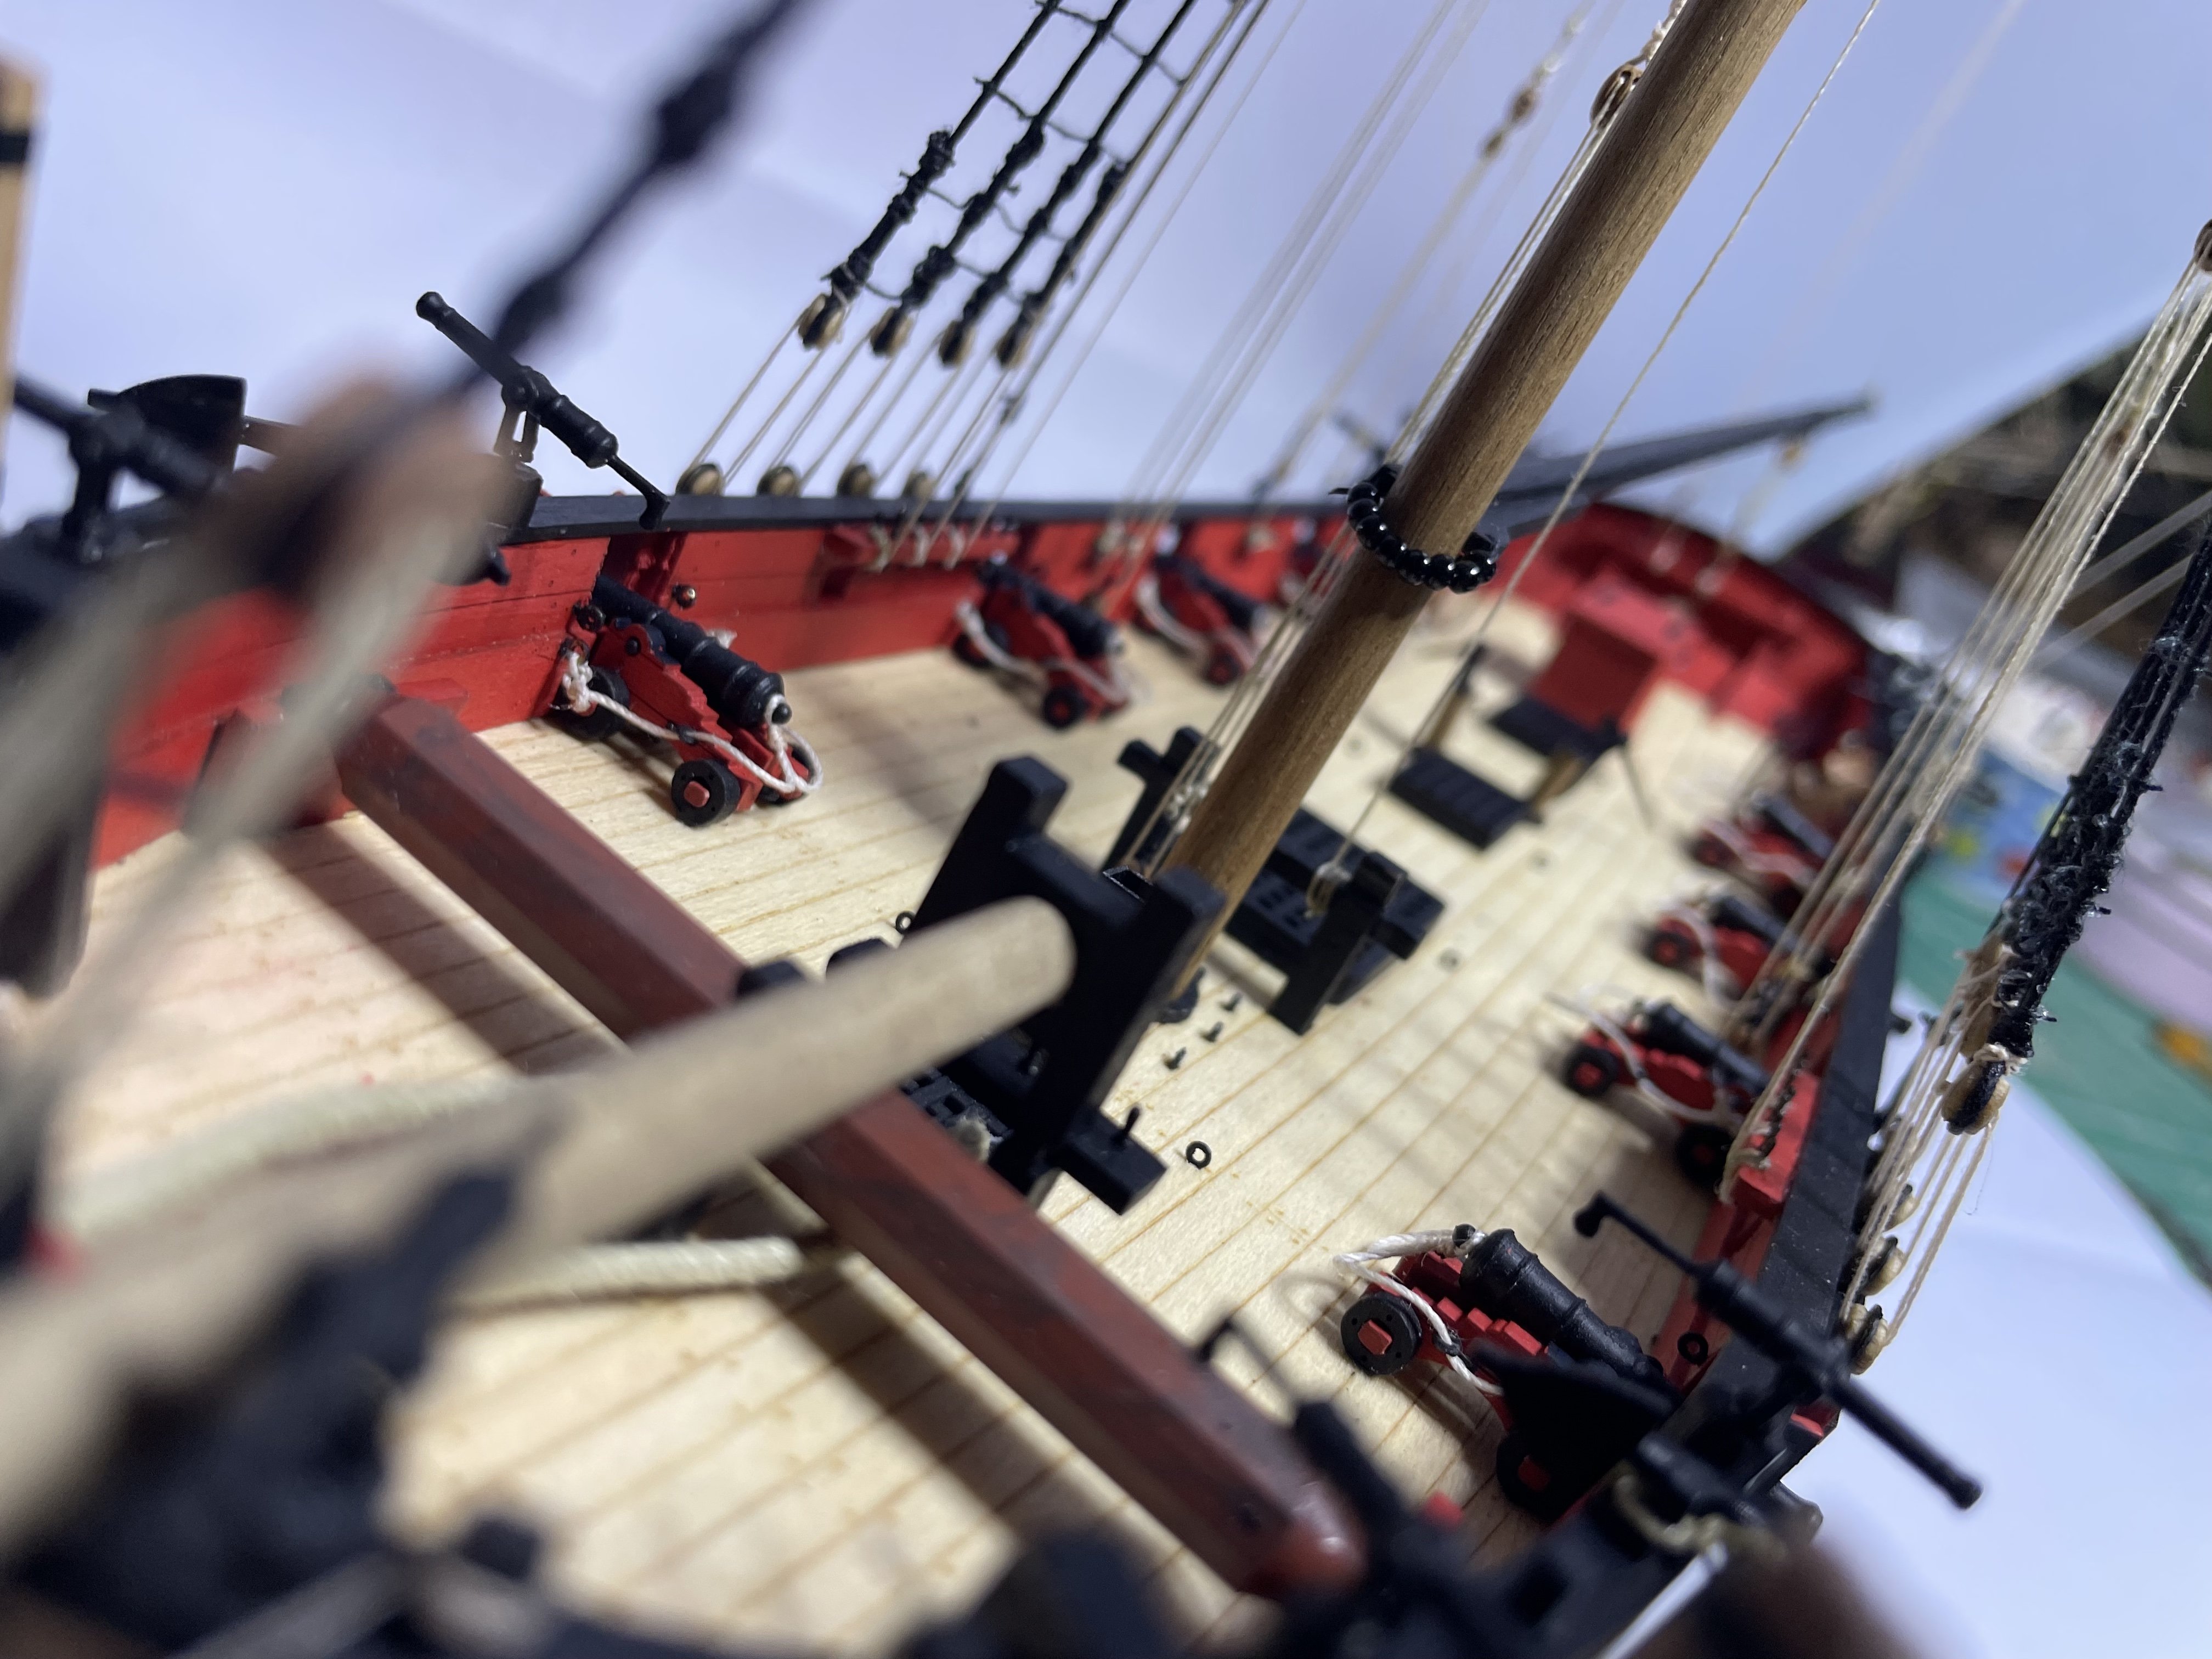
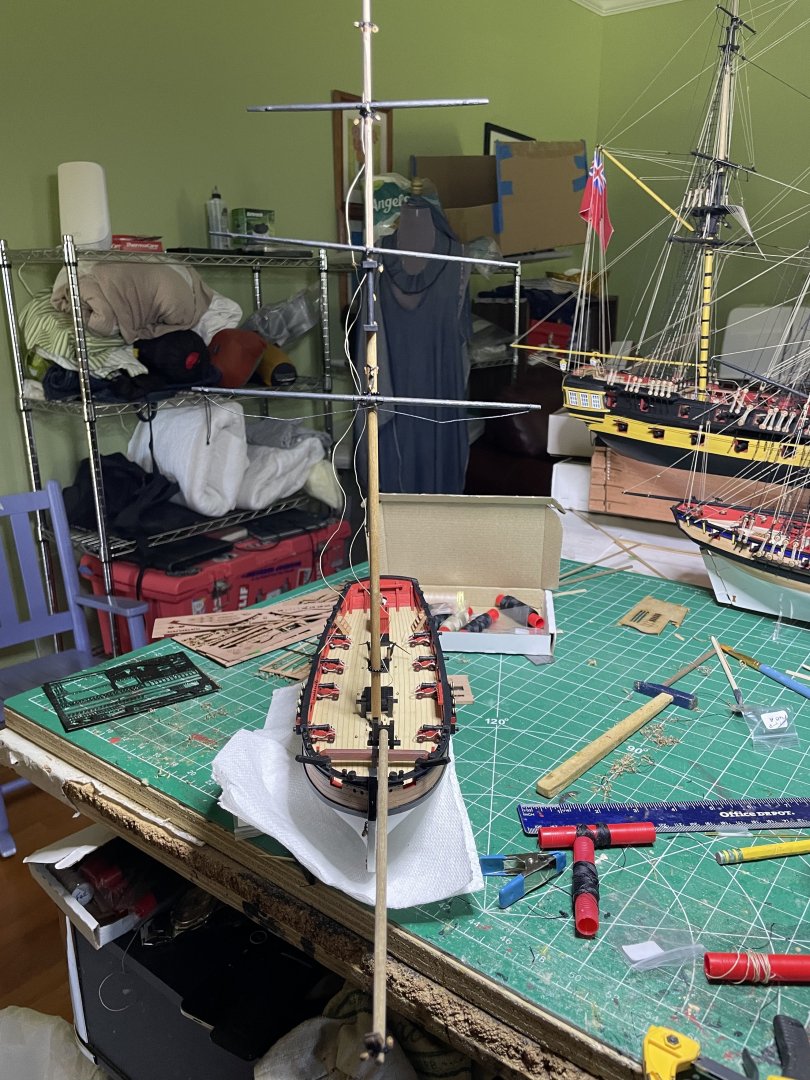
Mast, yards and bowsprit done For size comparison, here is the 24 pounder gun carriage from HMS Indefatigable , same 1:64 scale next to the pop gun here


-
Fortunately had a few days off and some stuff to binge on Netflix and amazon
-
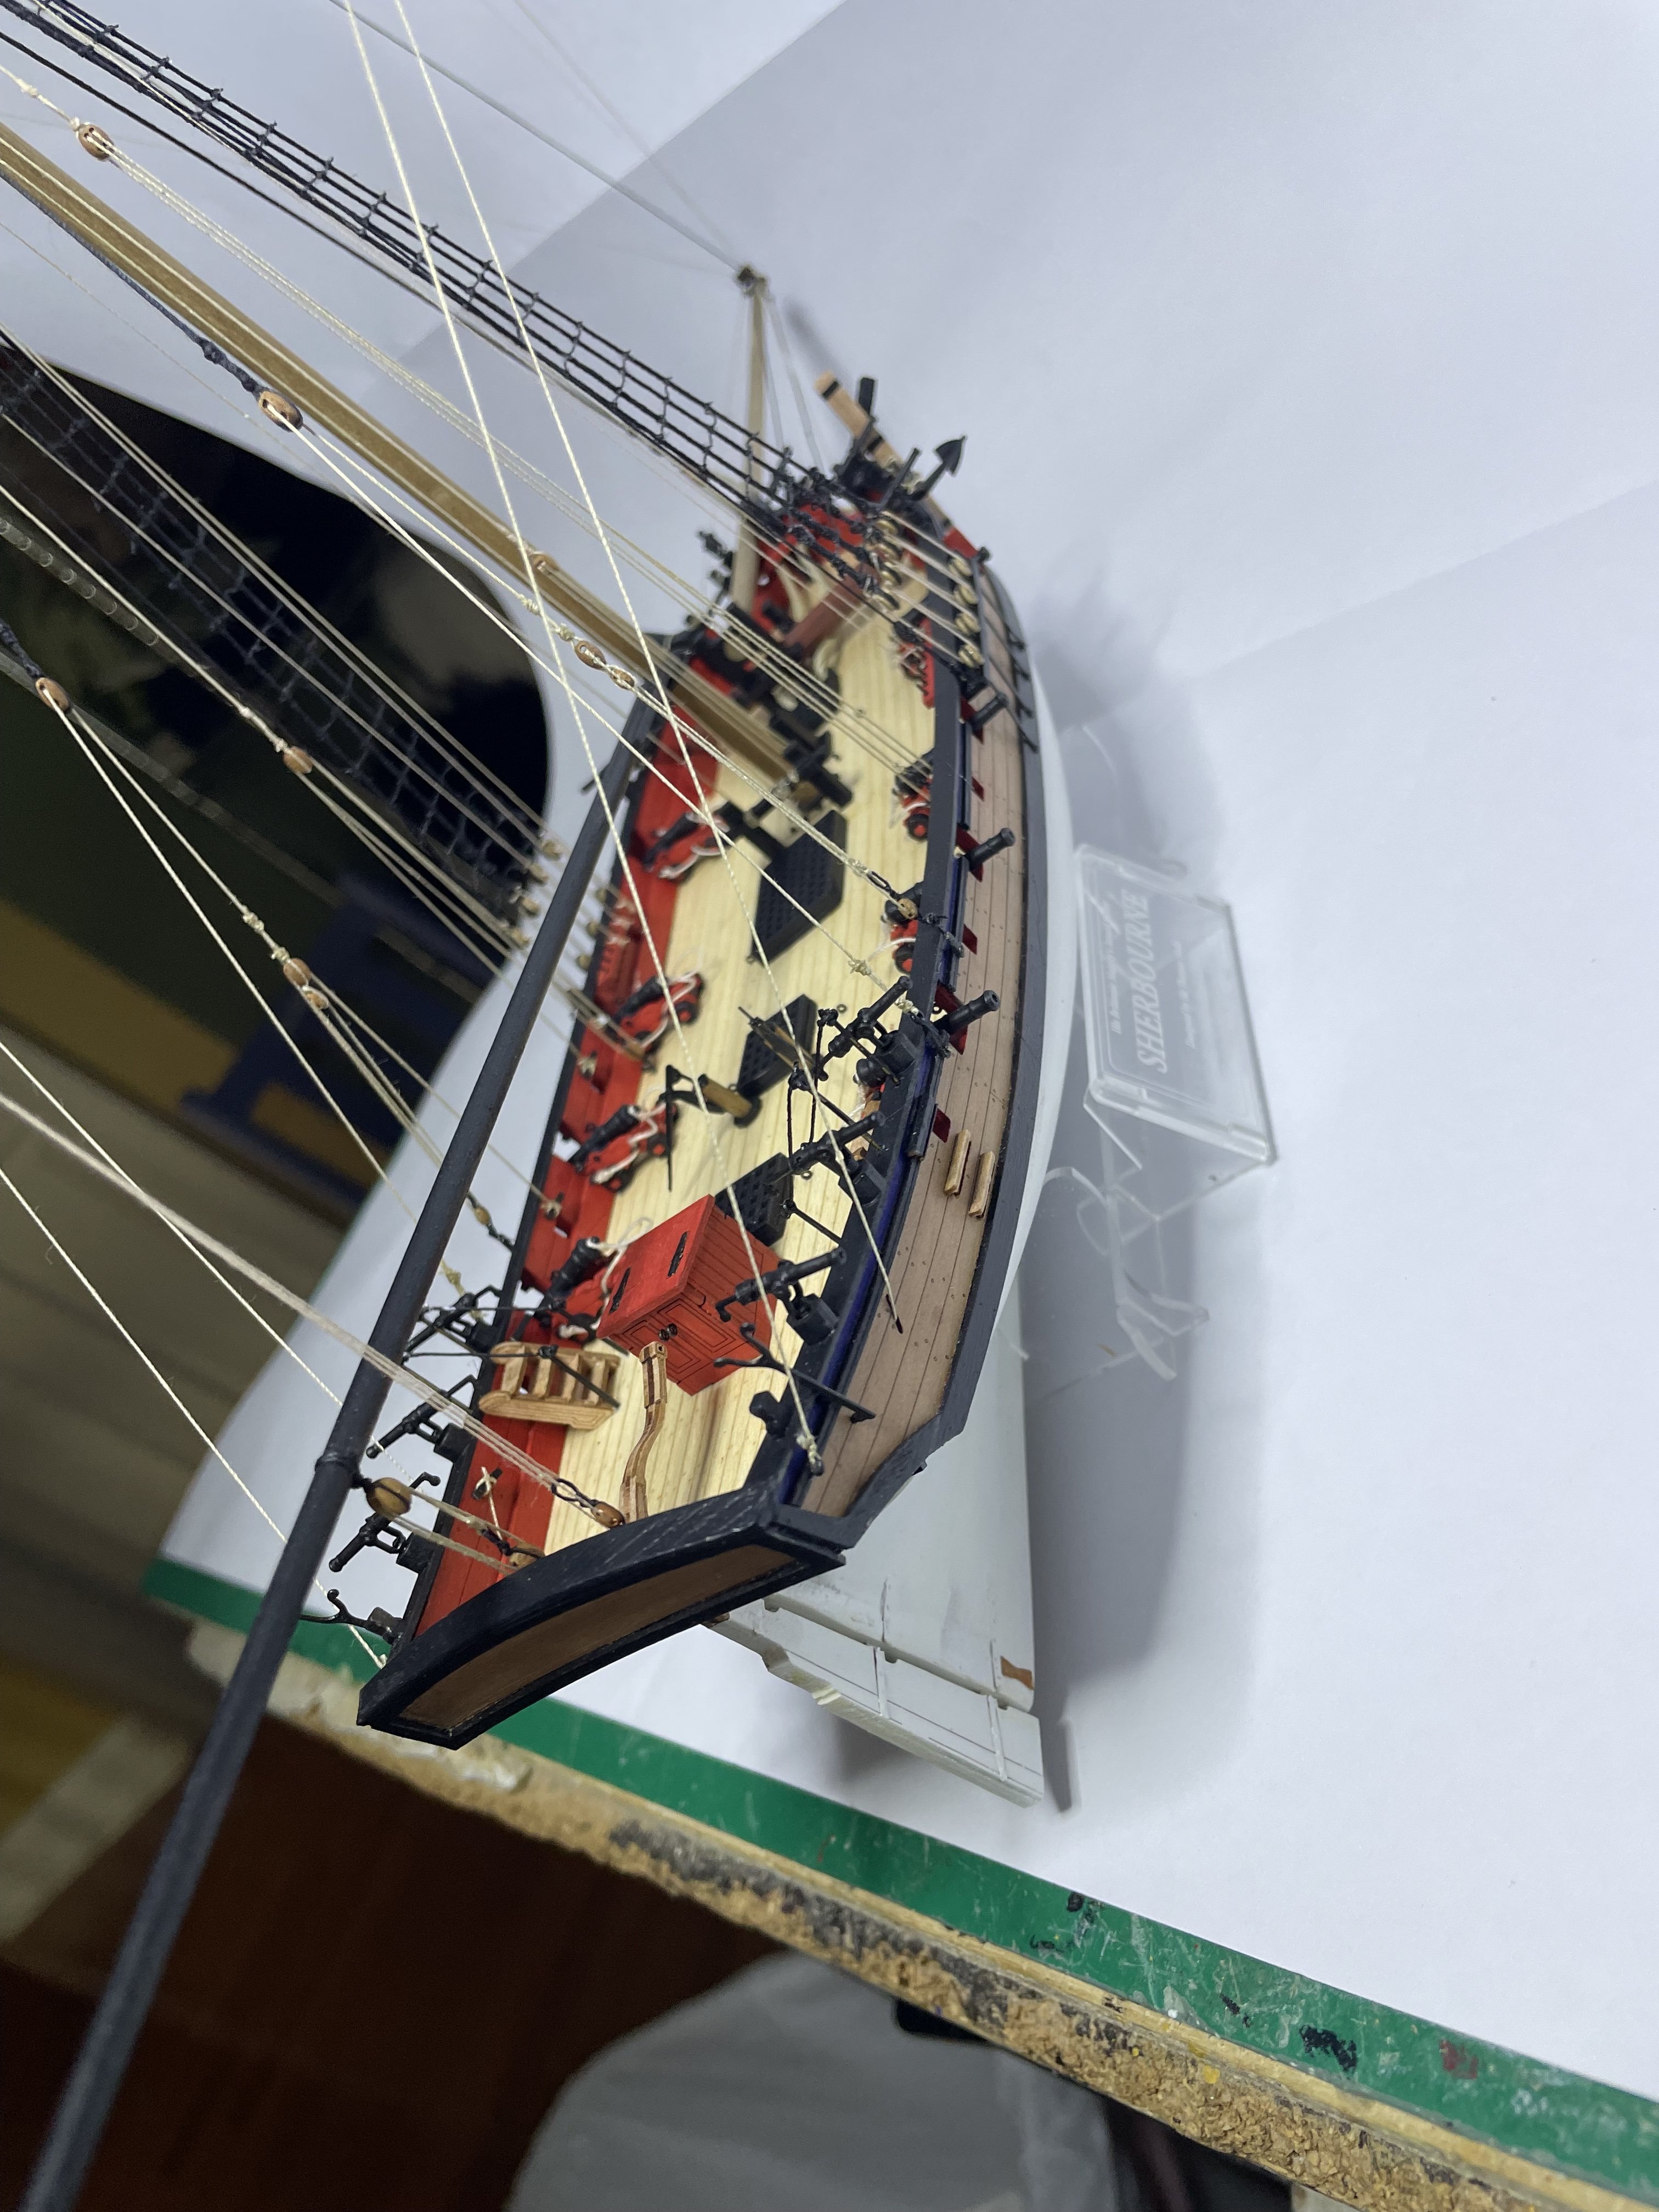
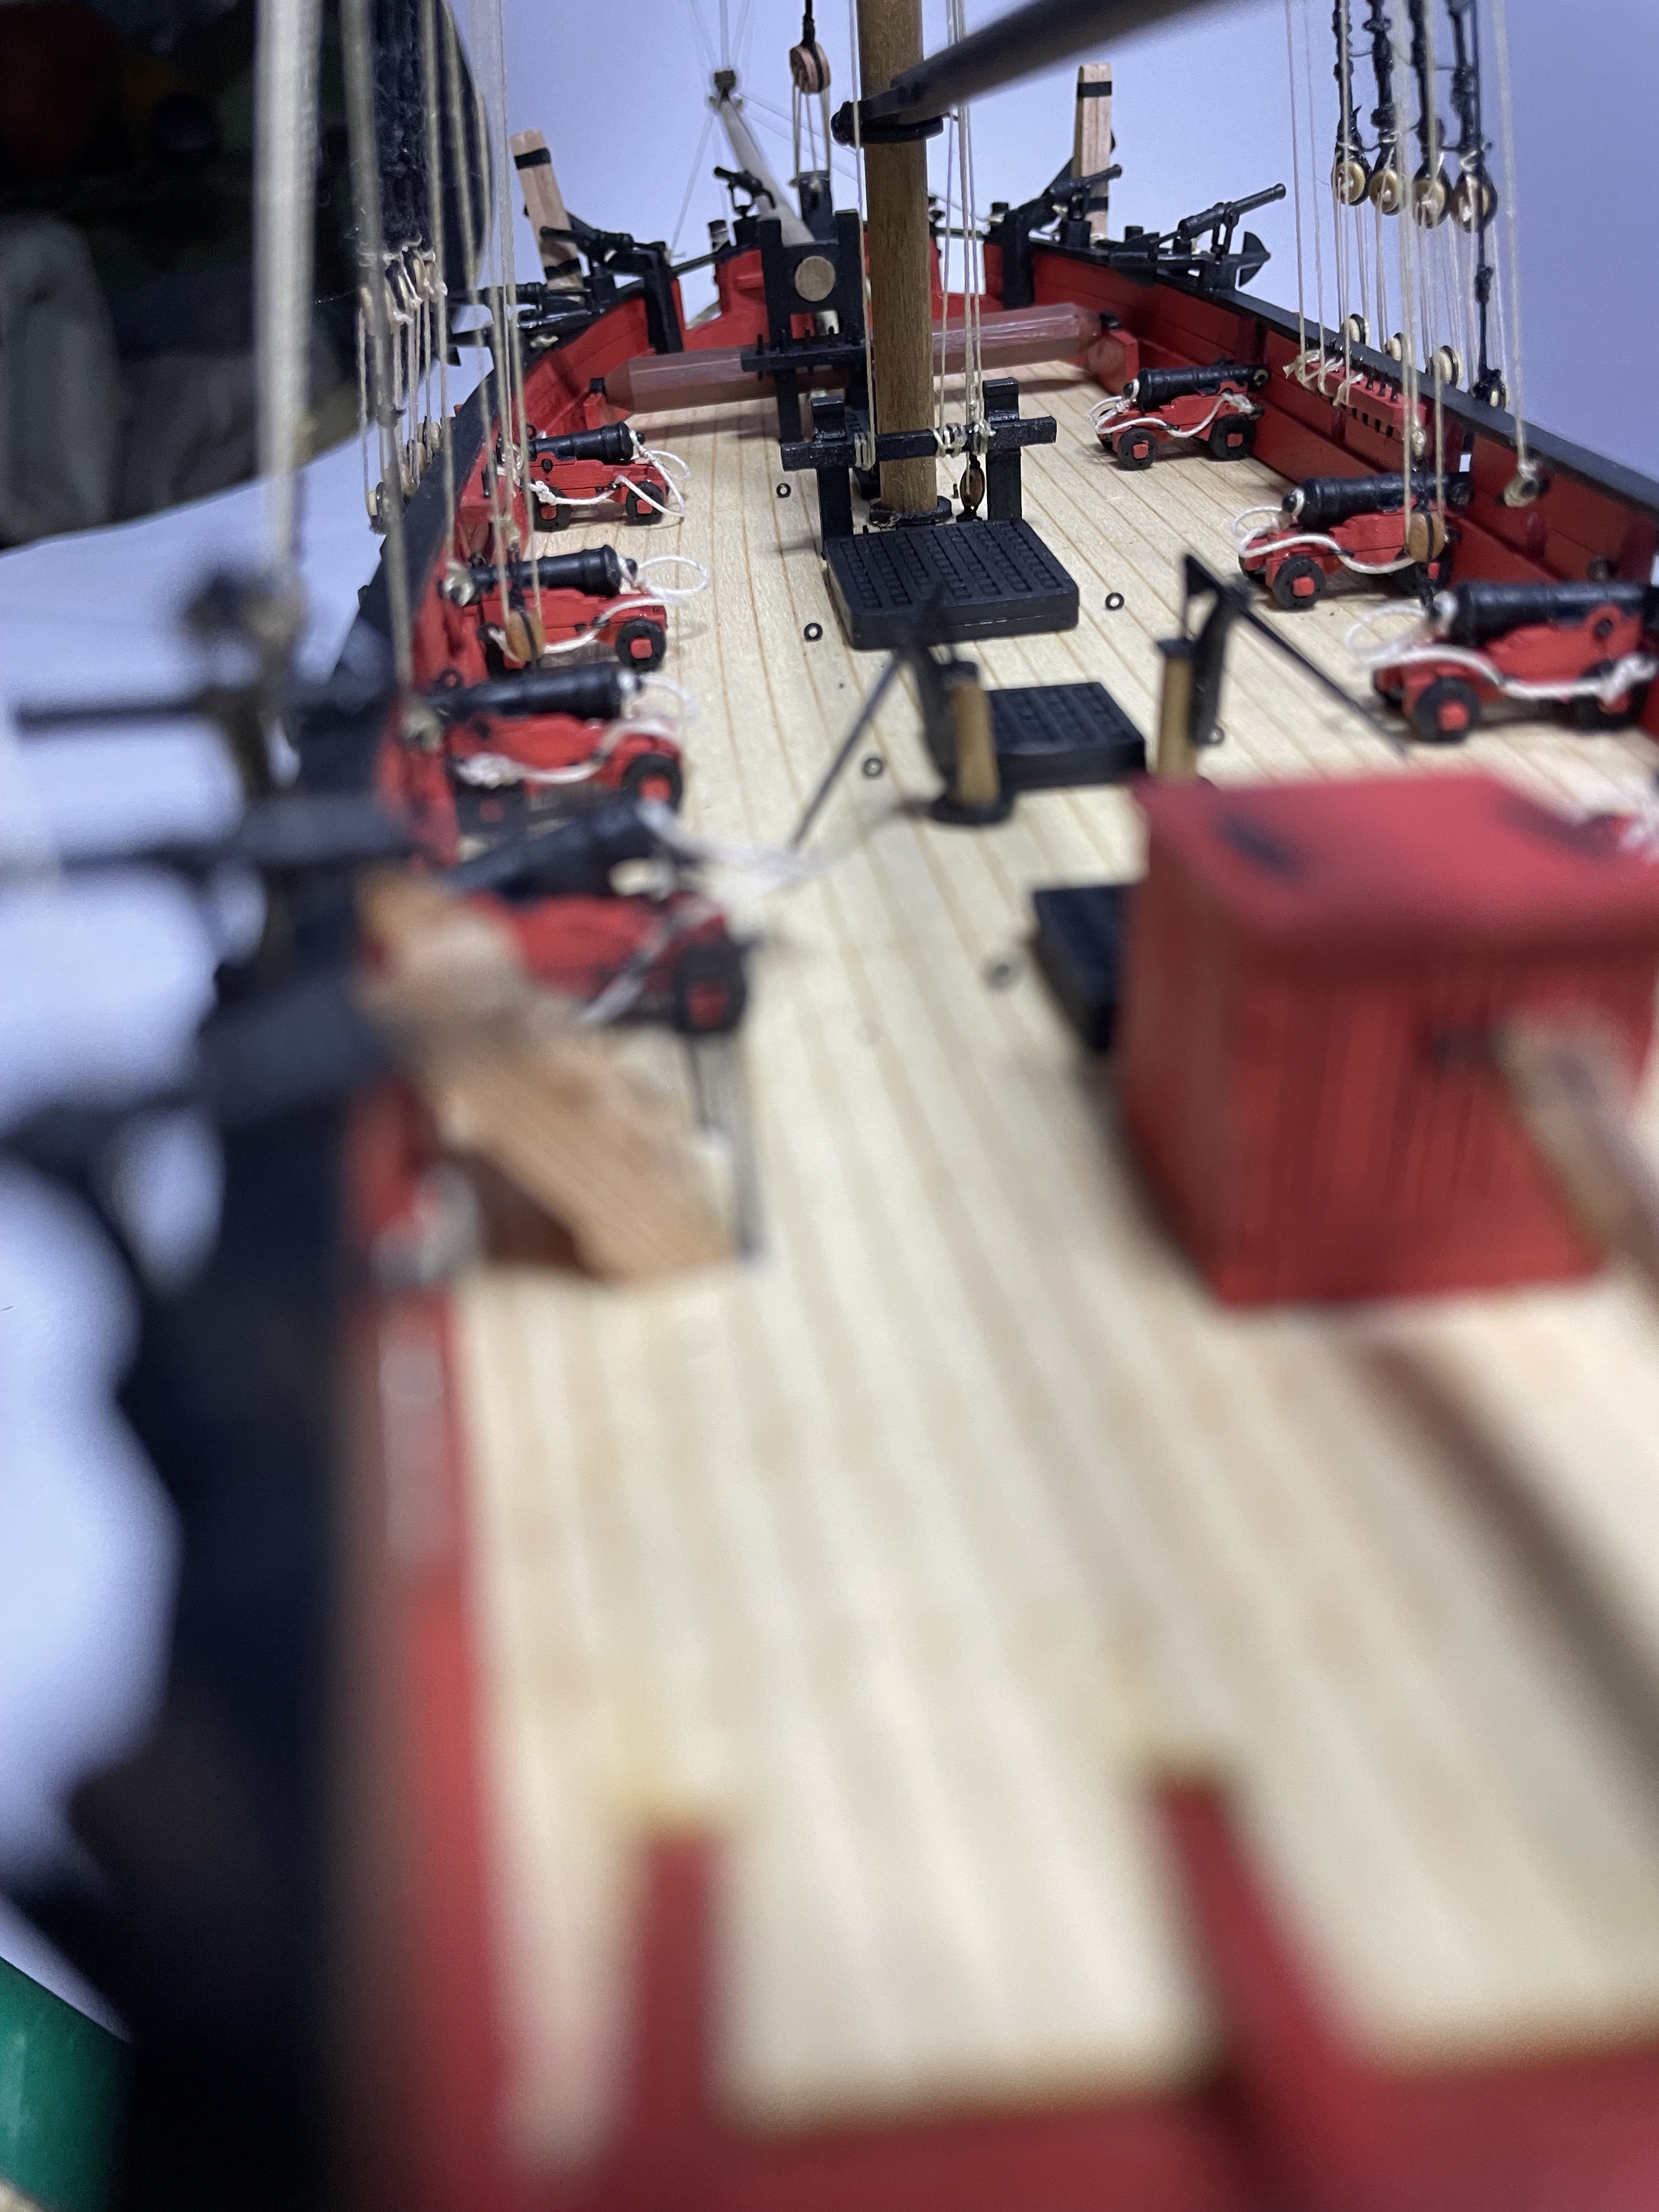
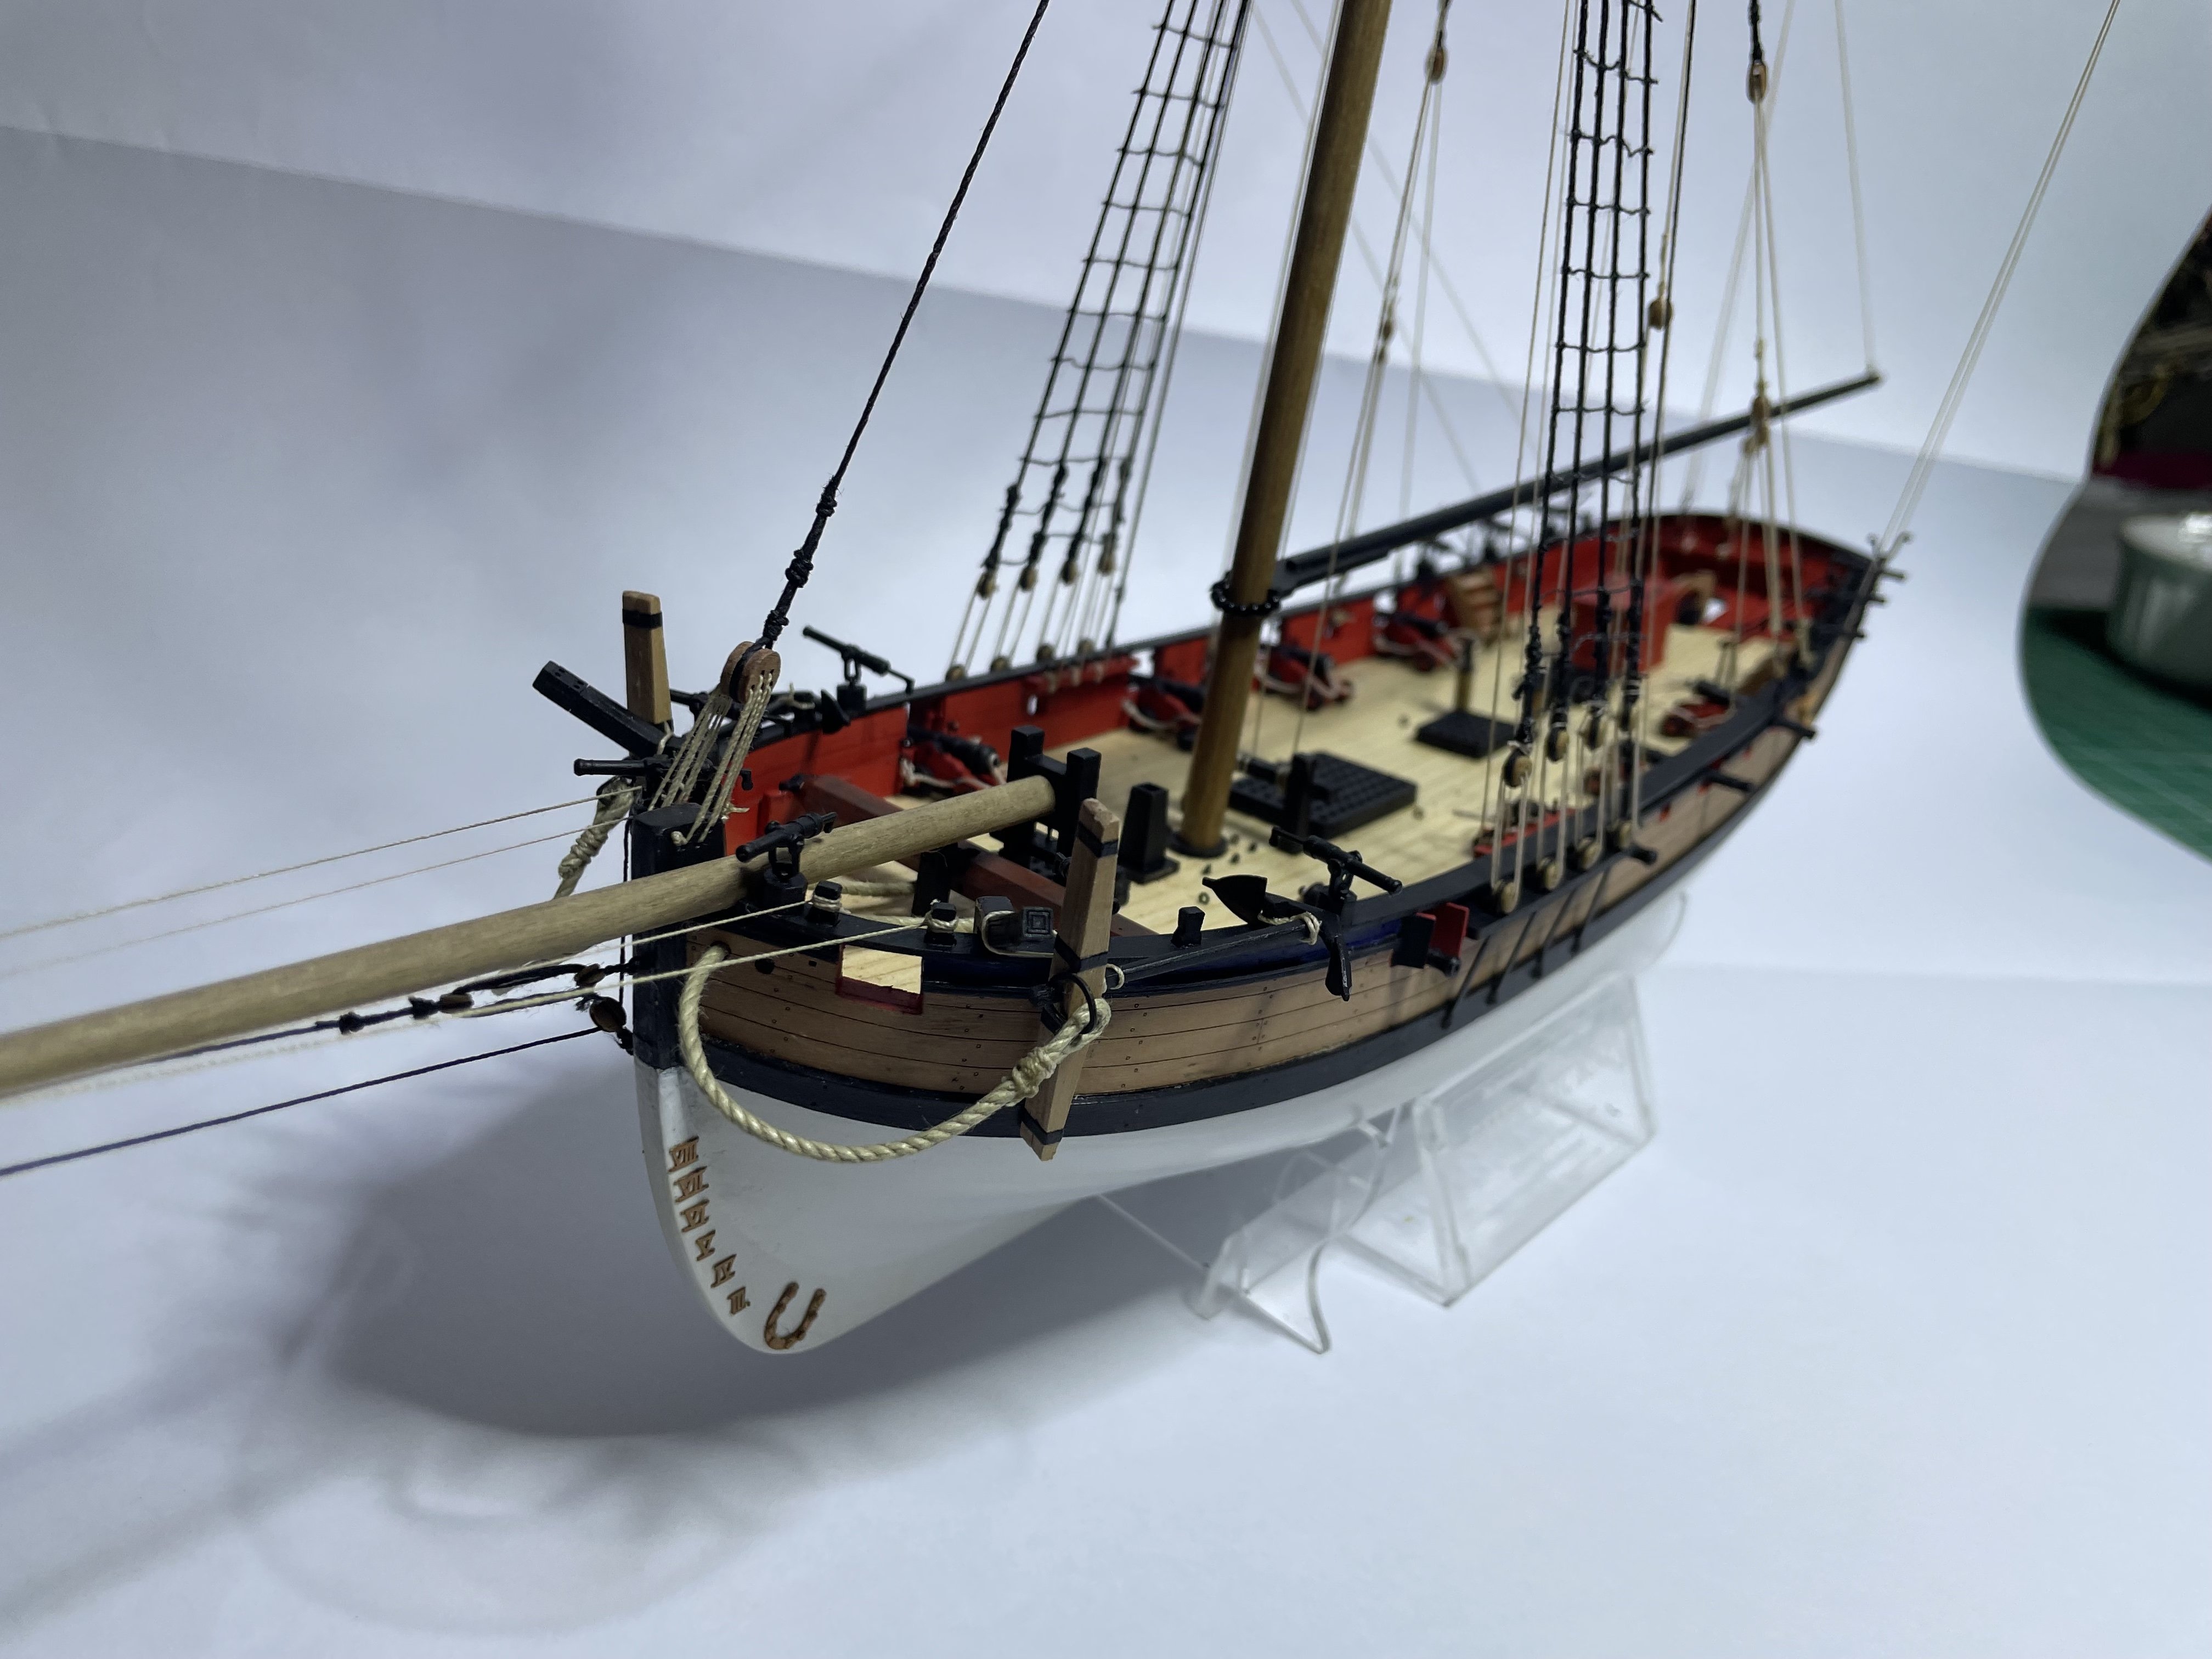
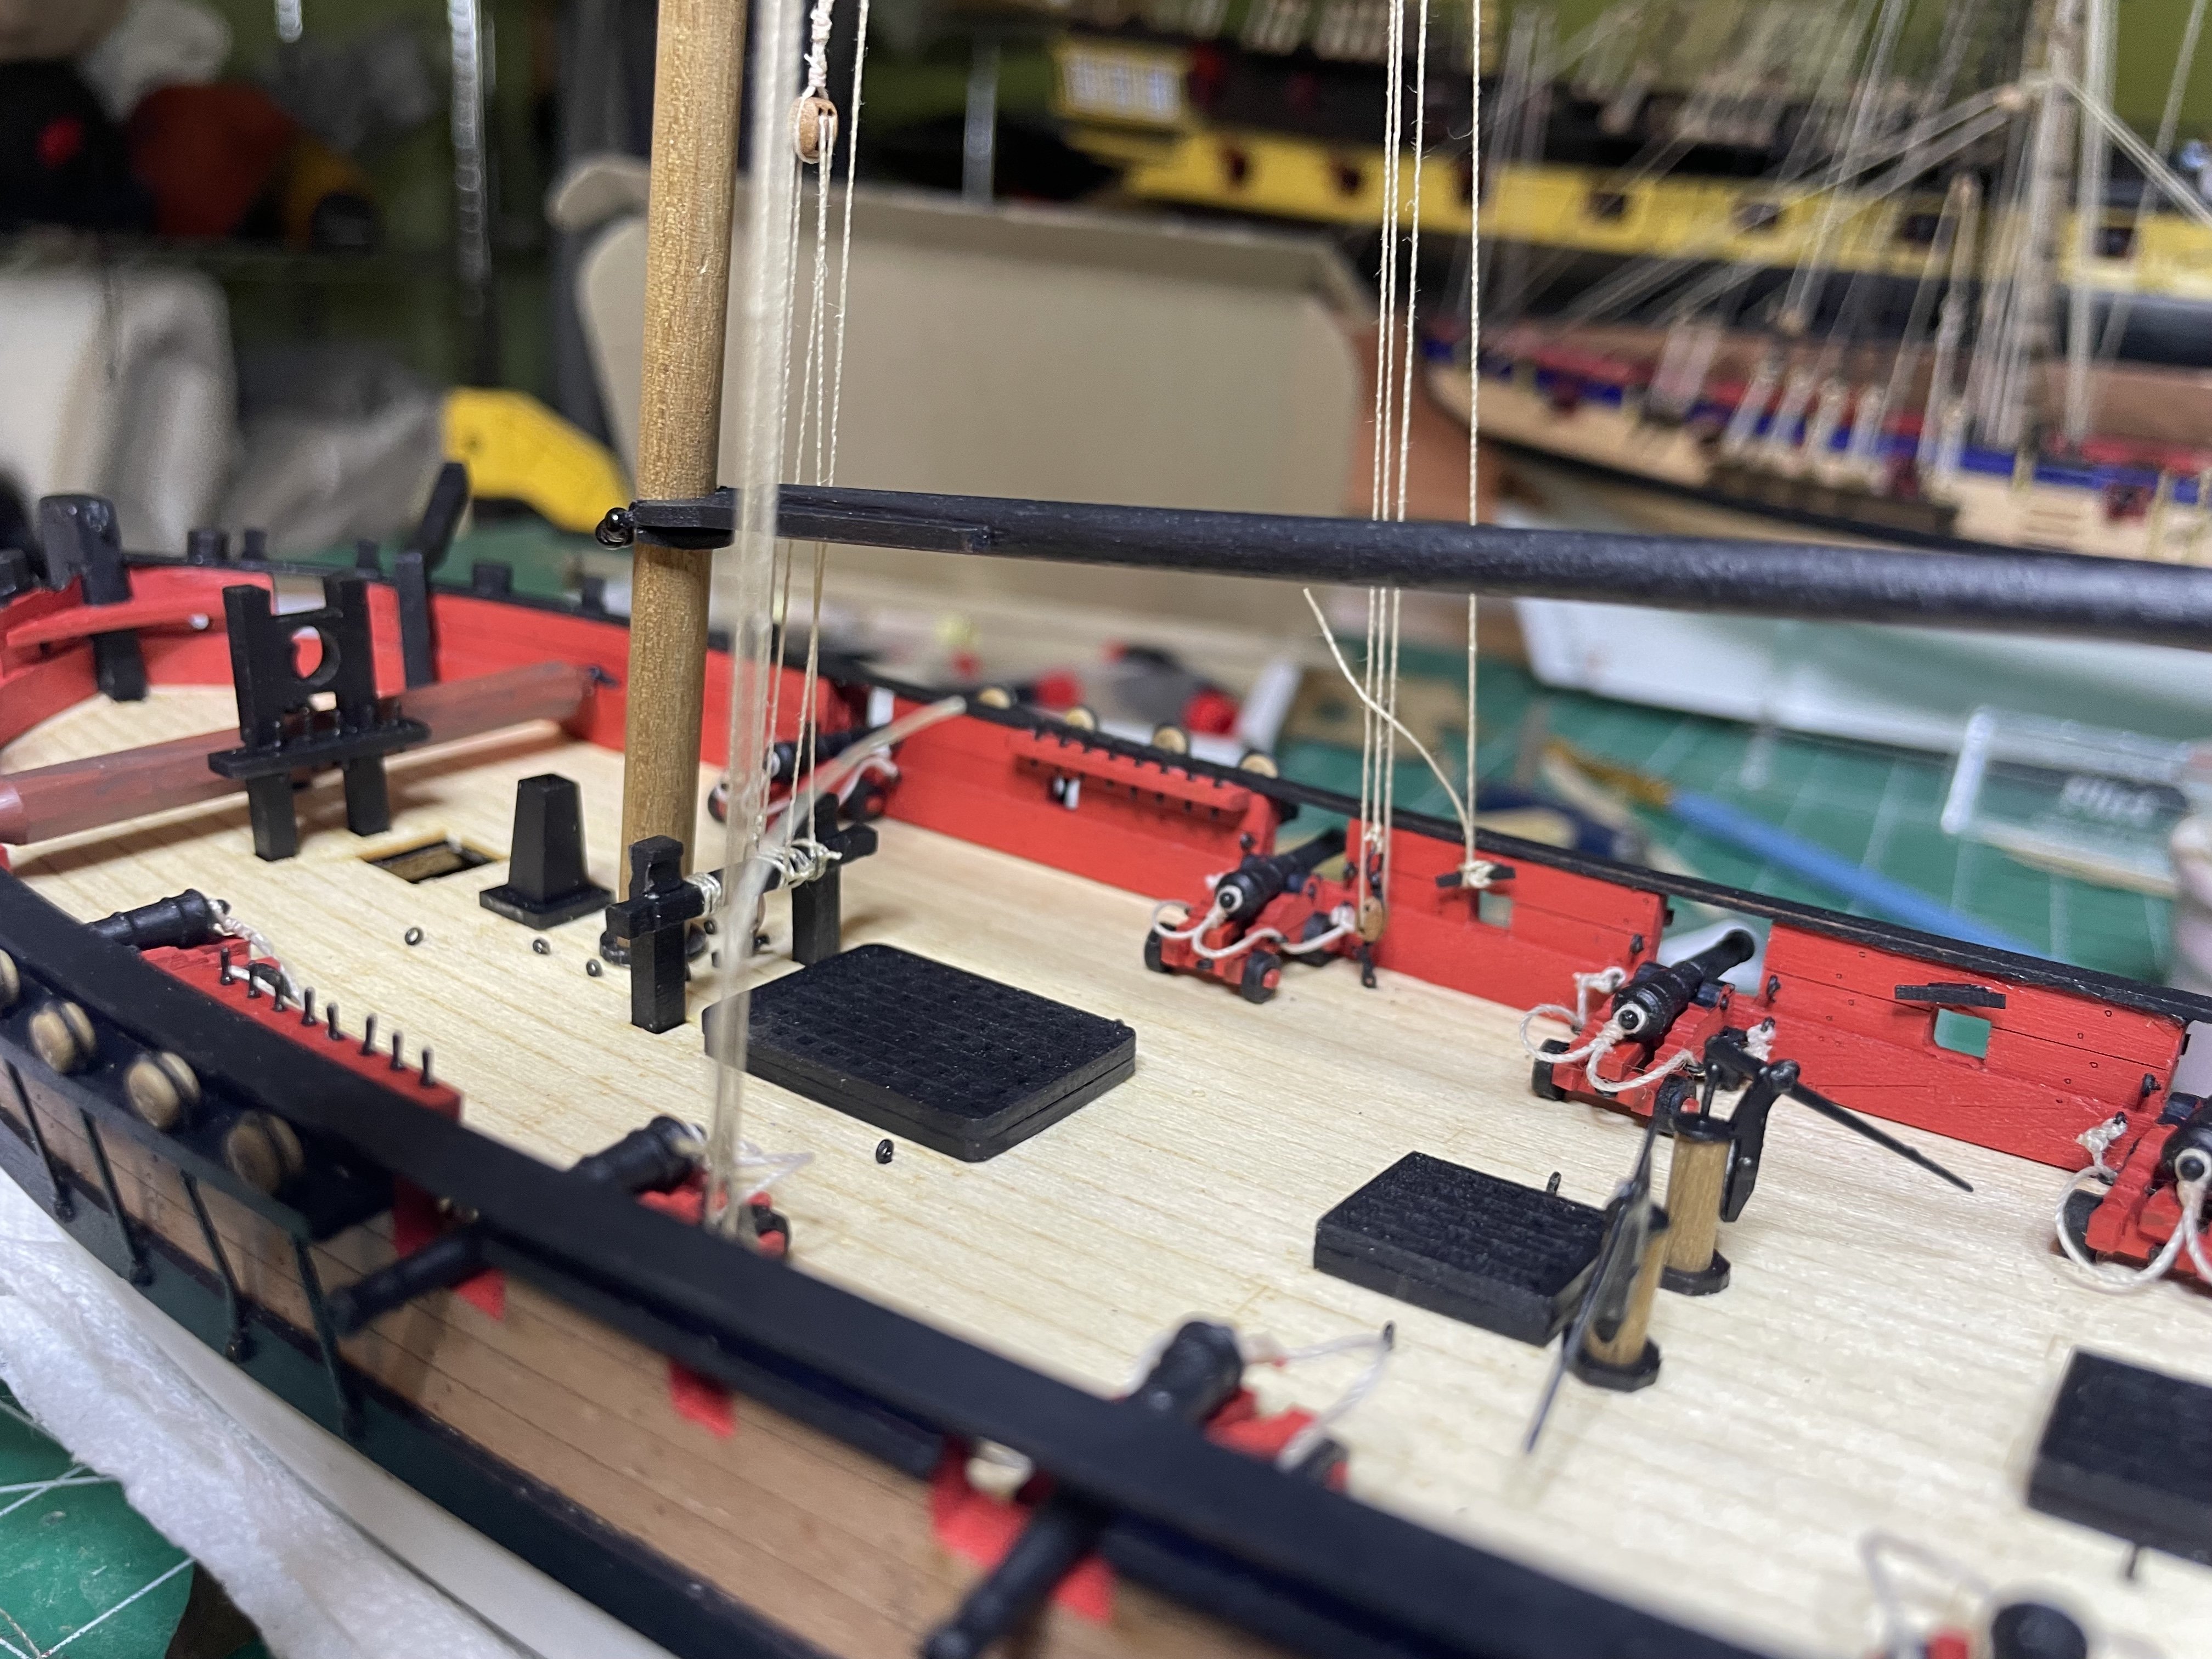
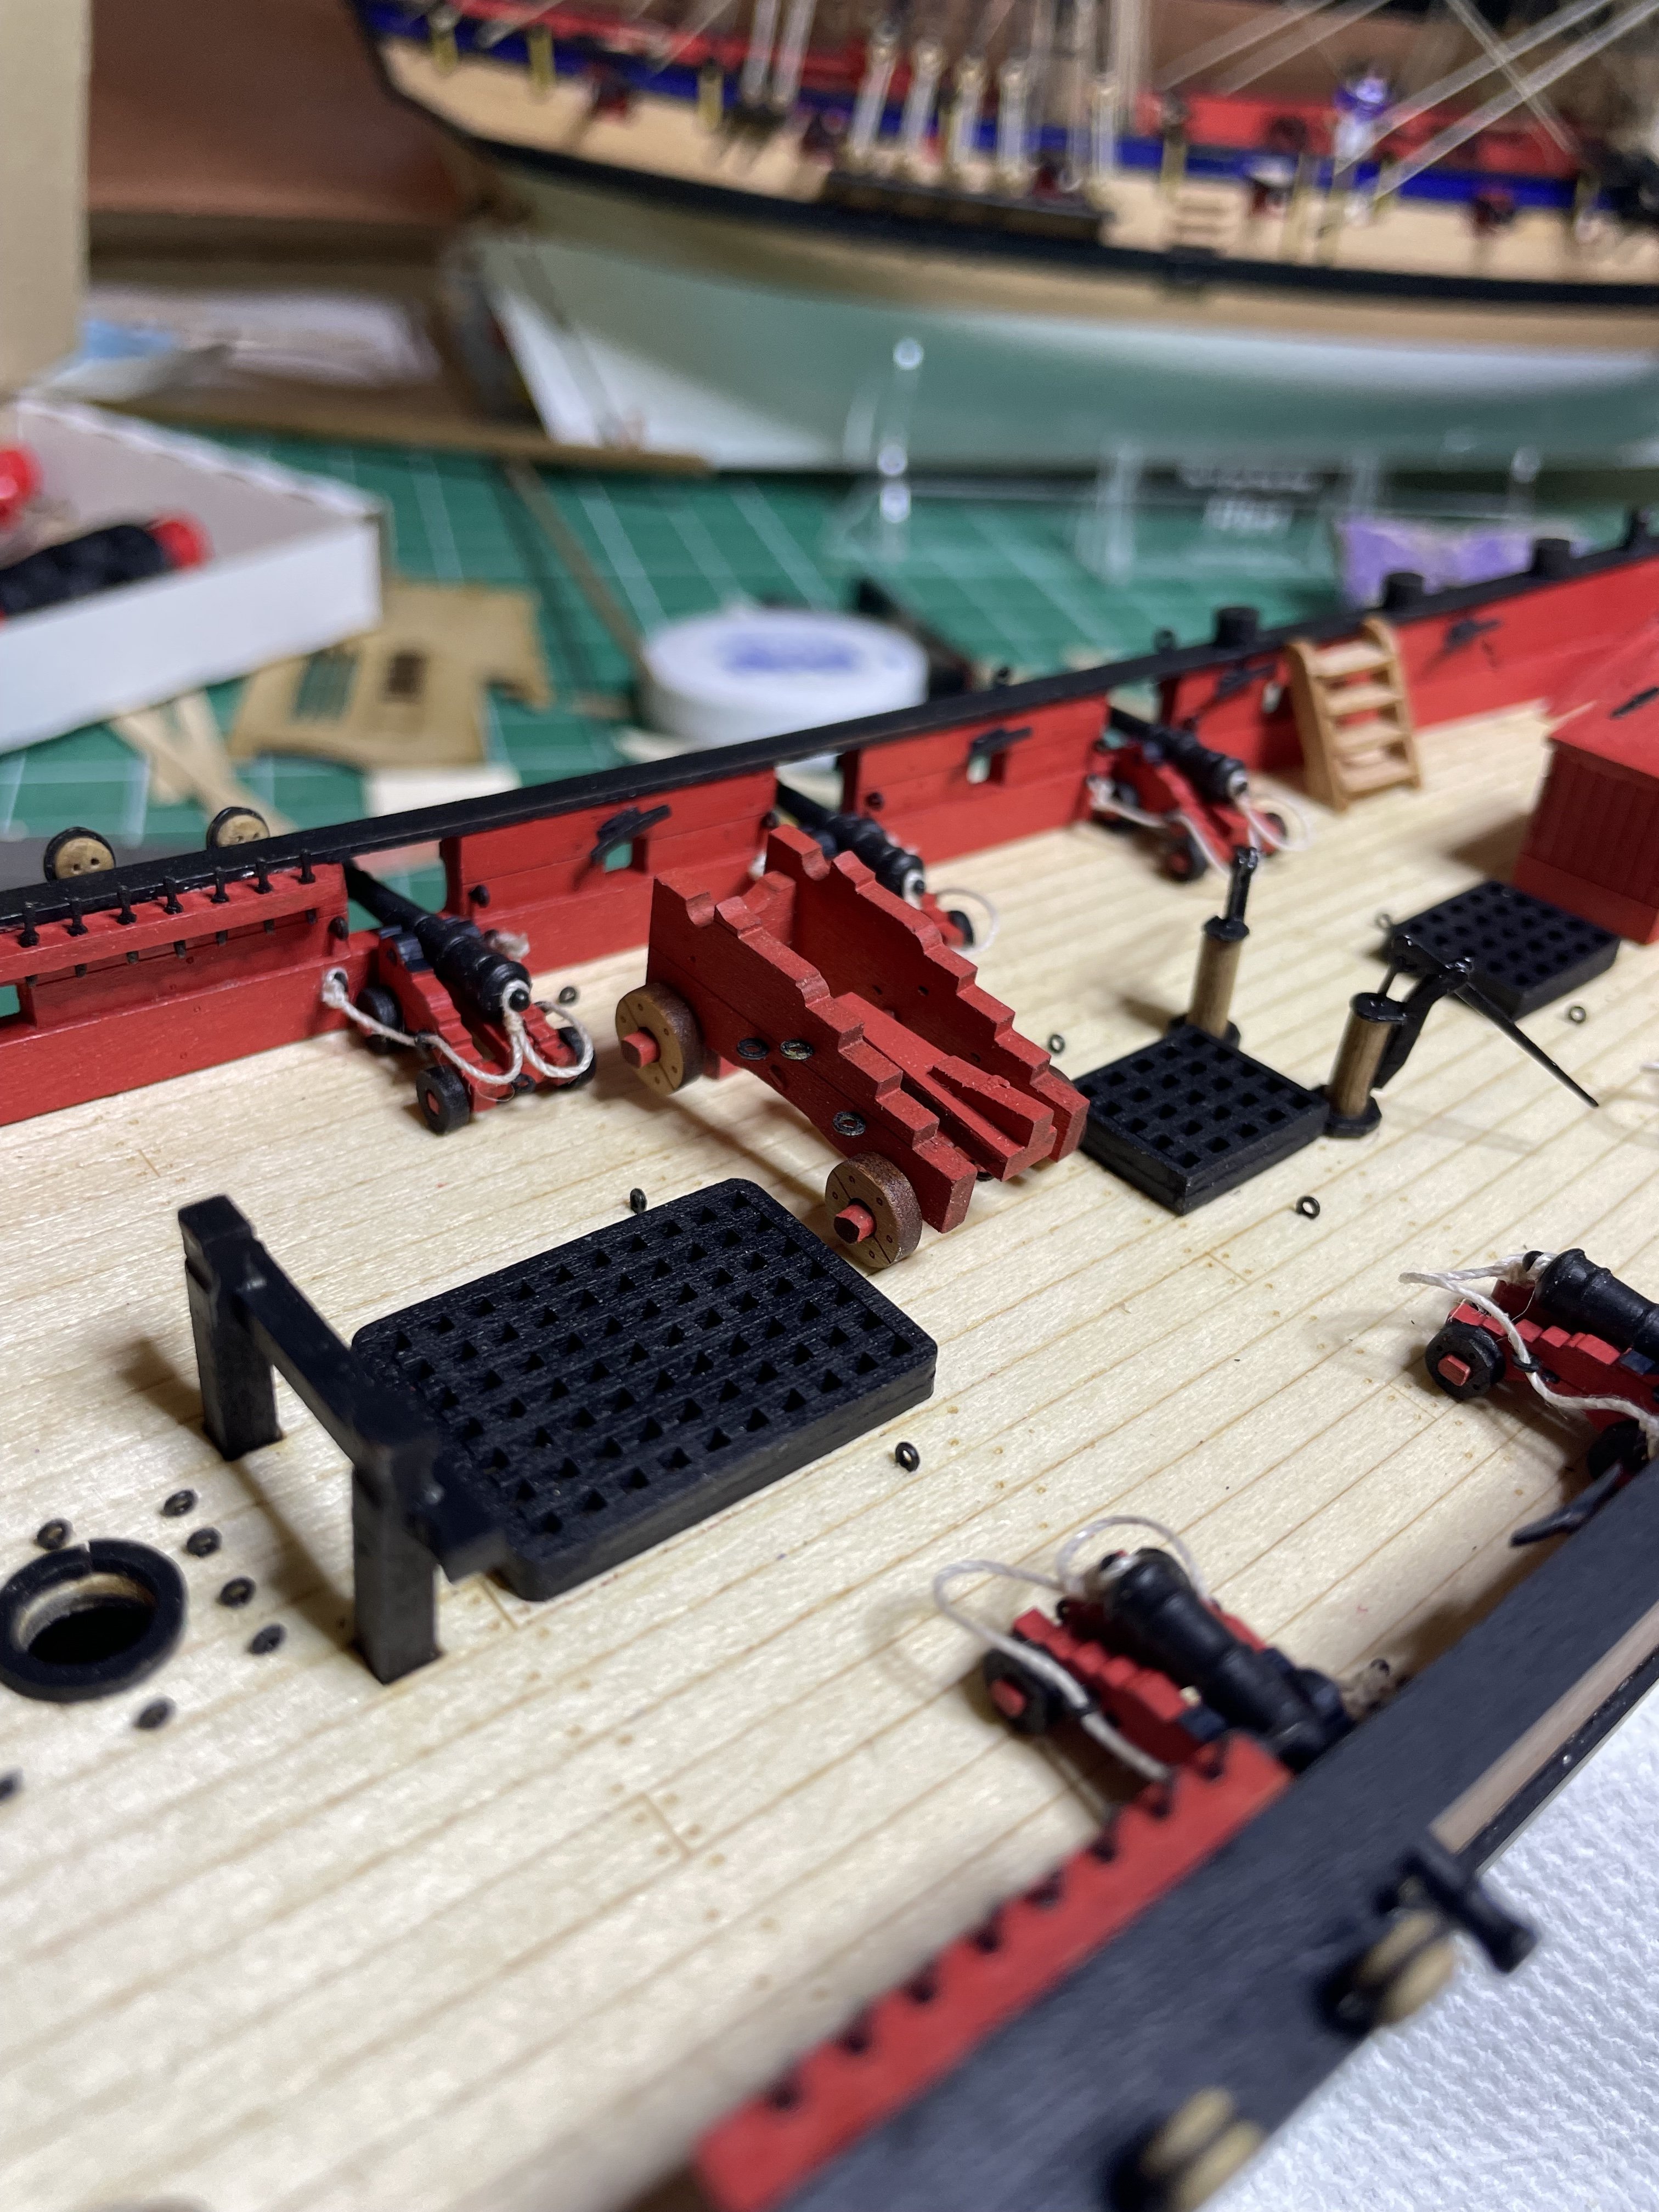
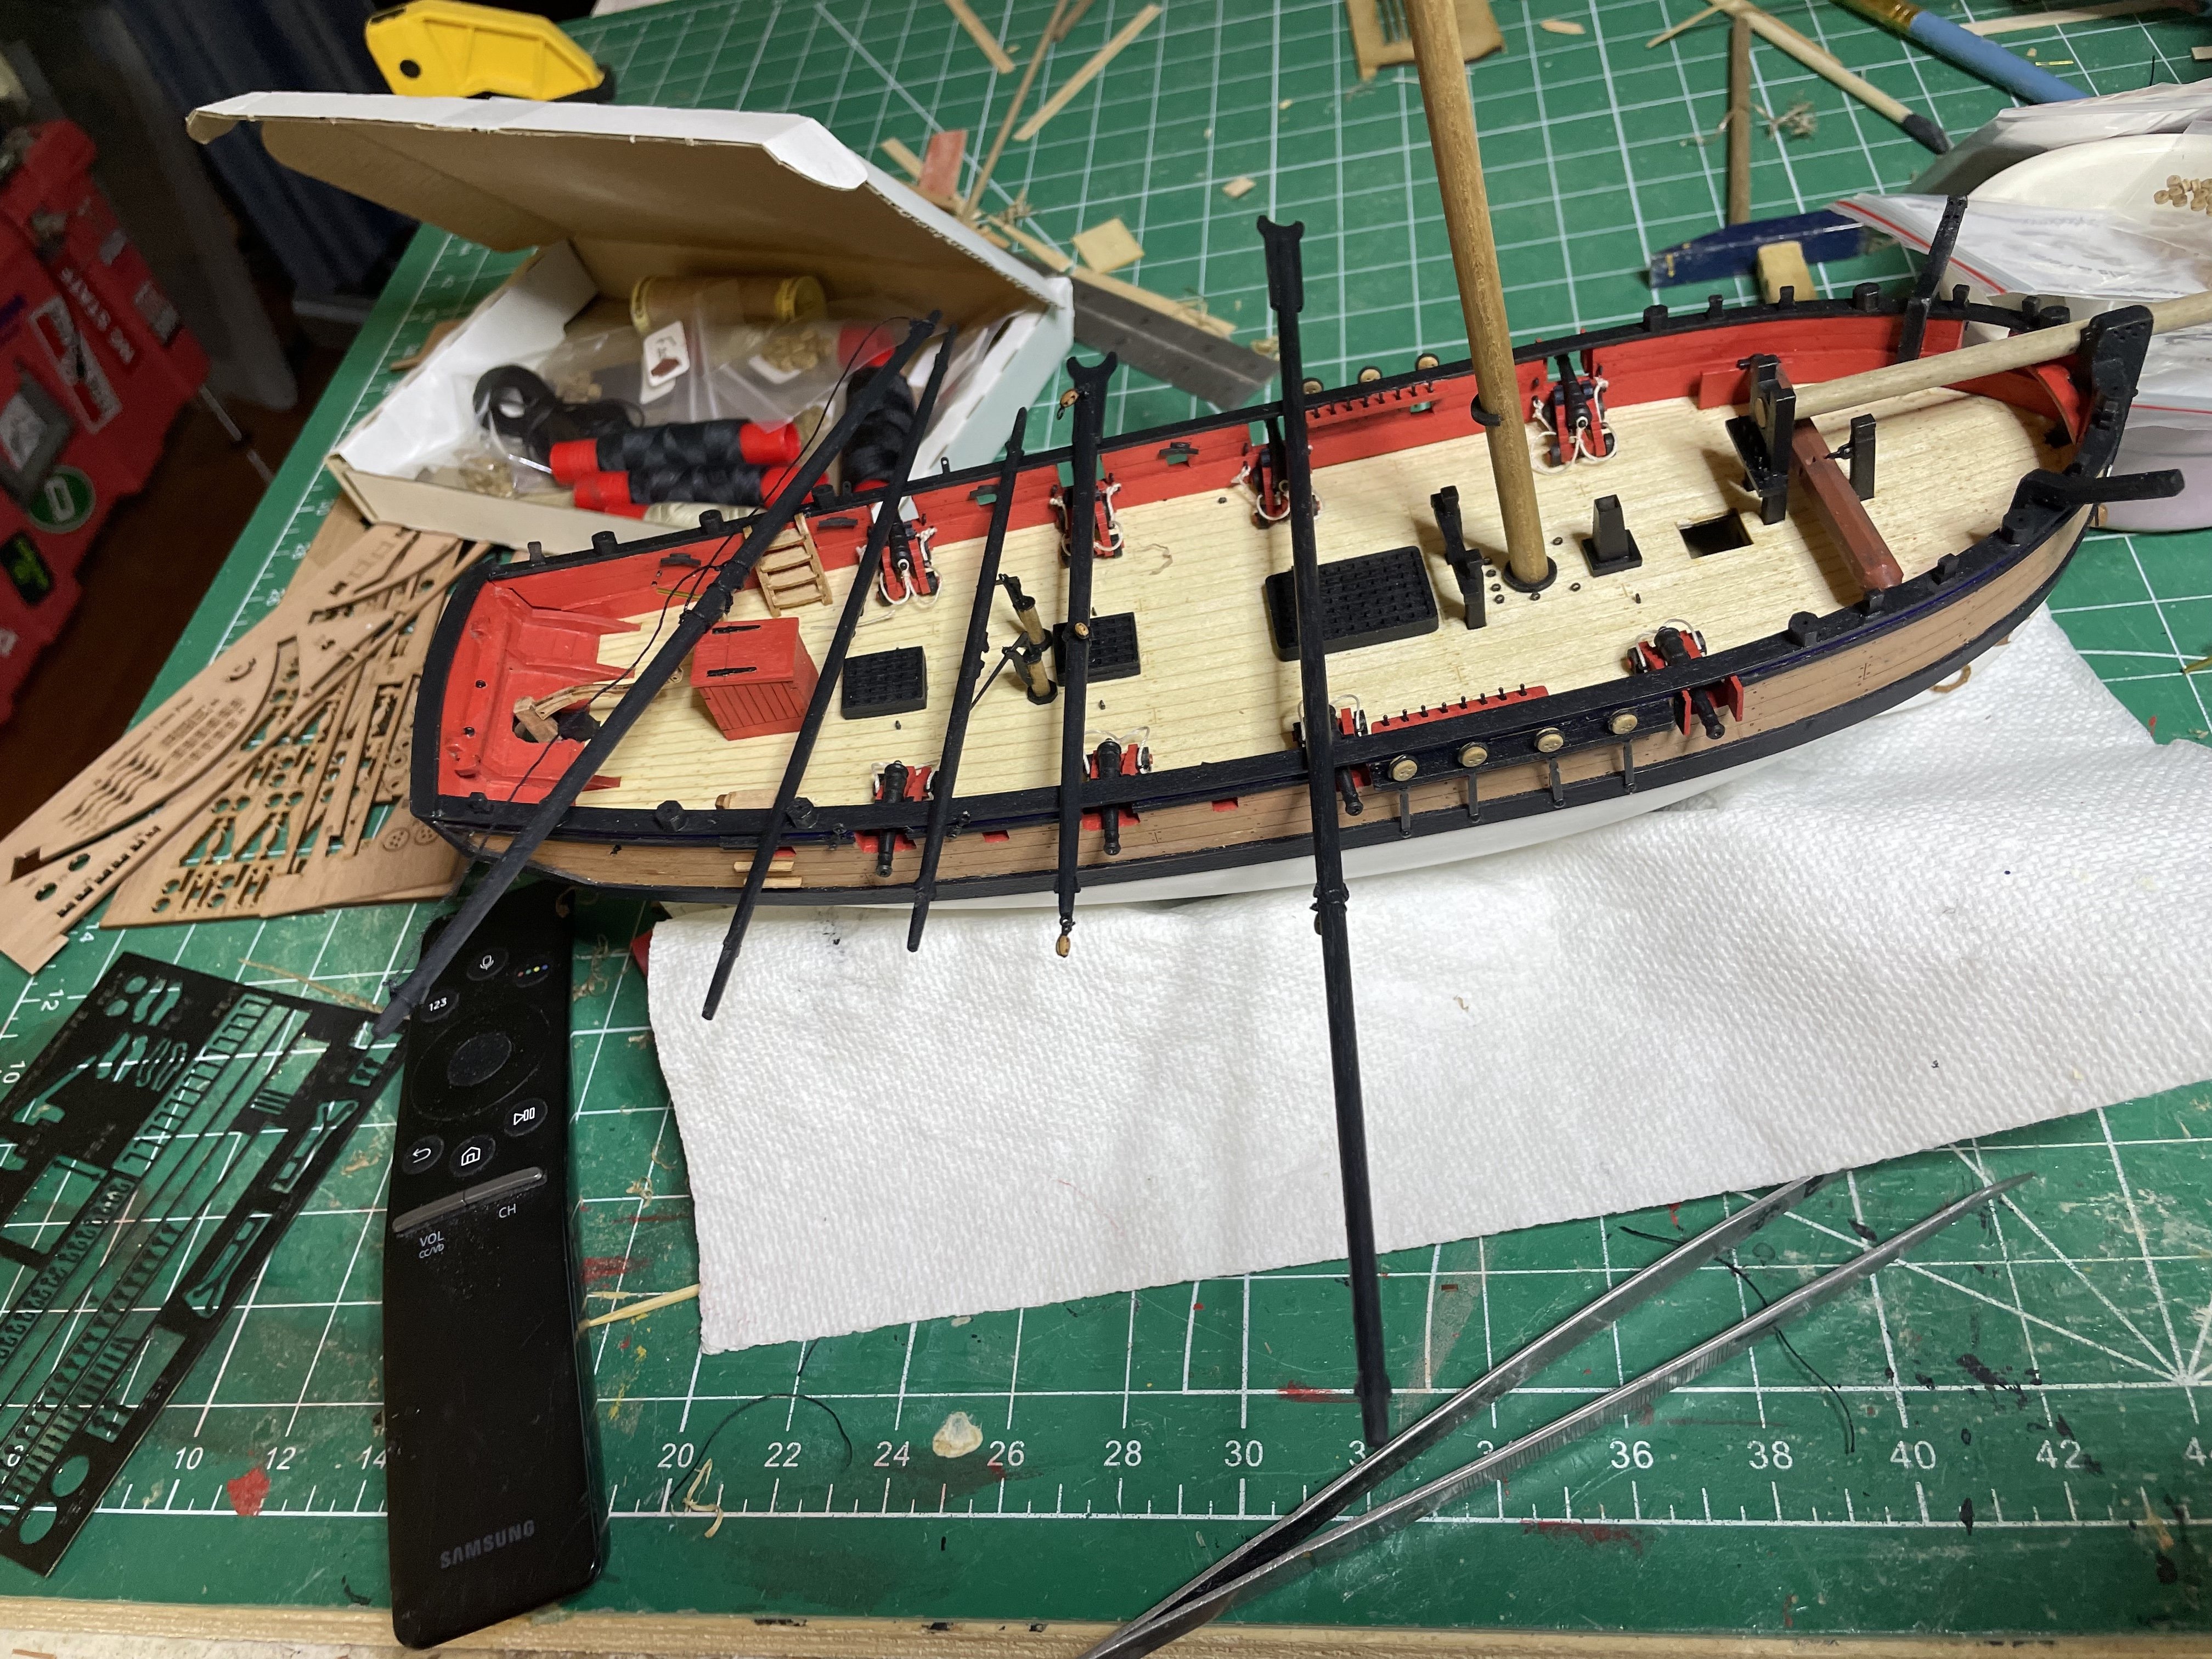
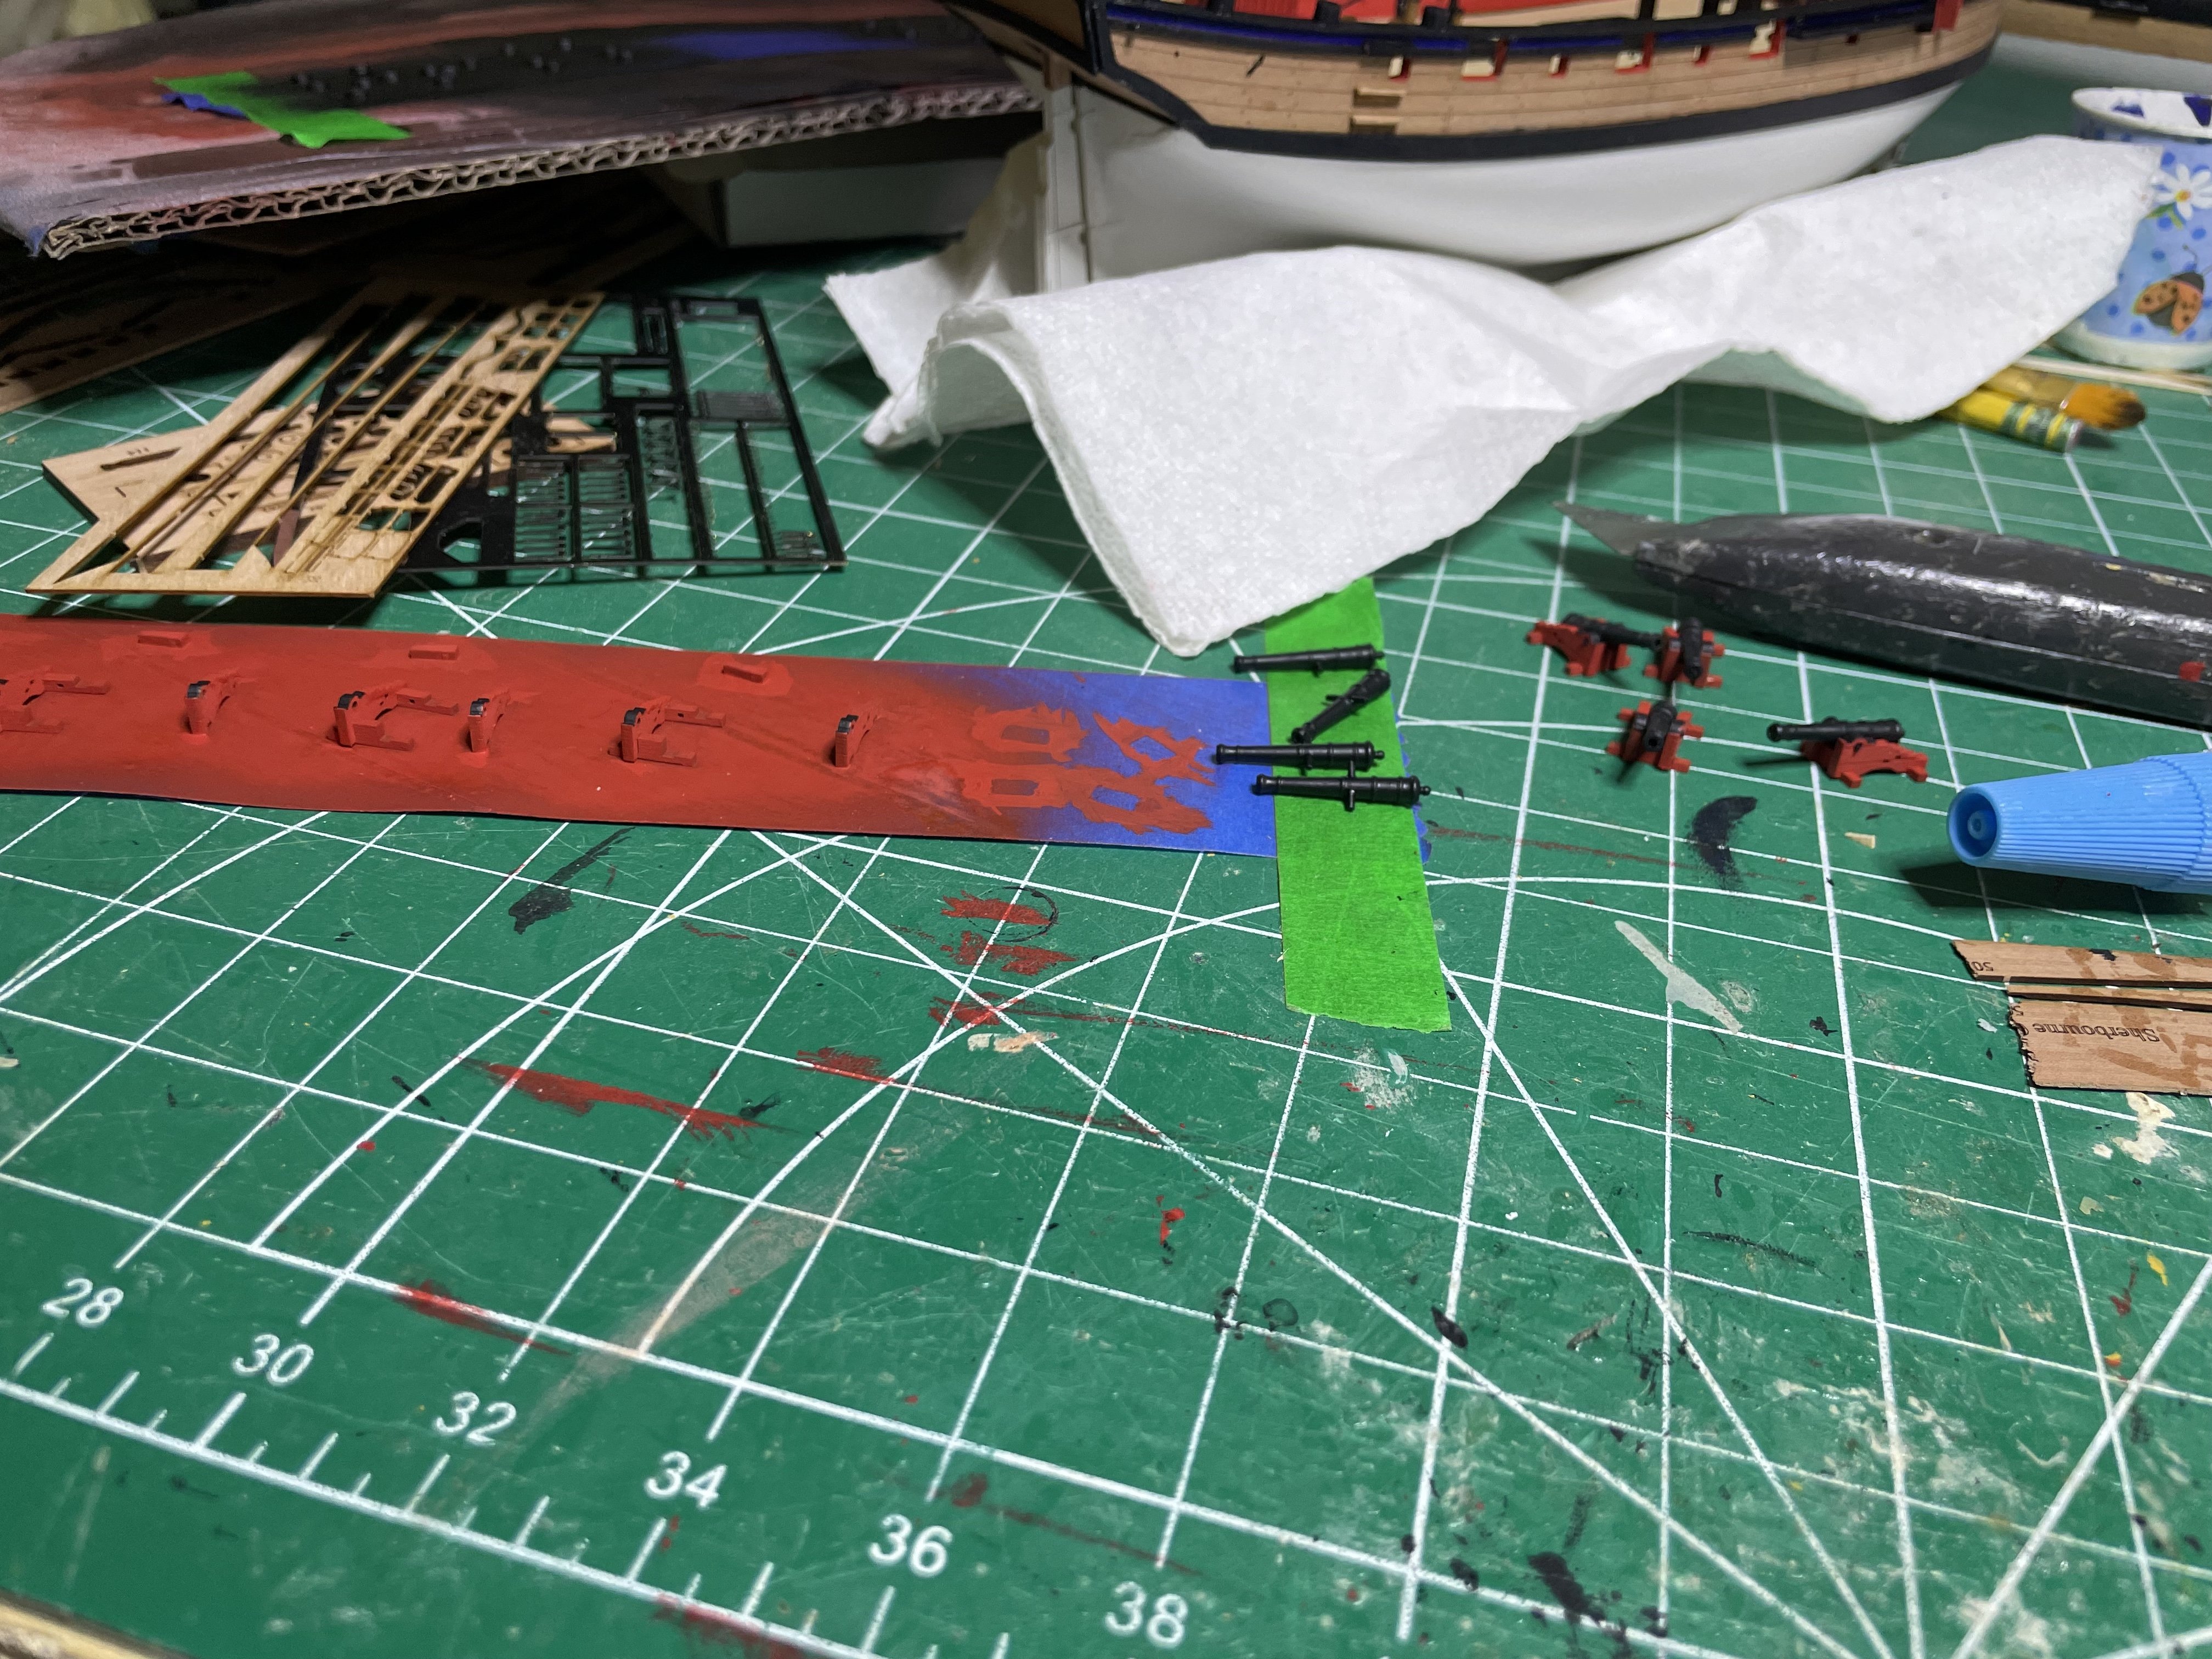
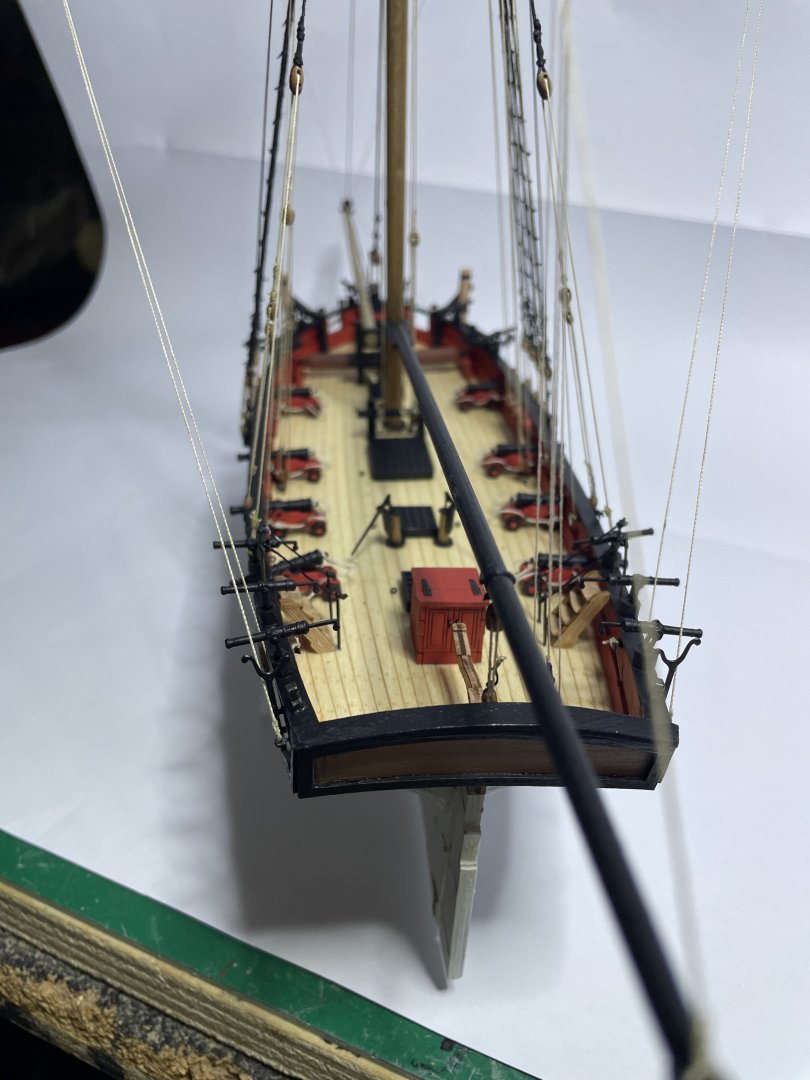
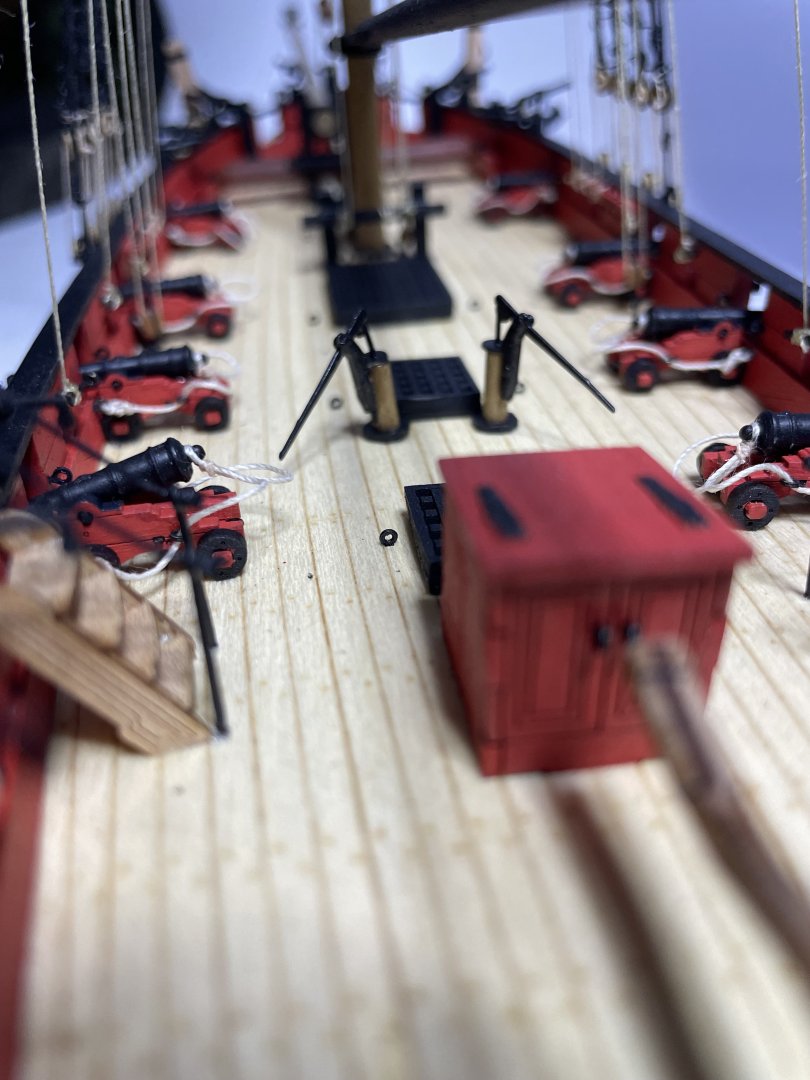
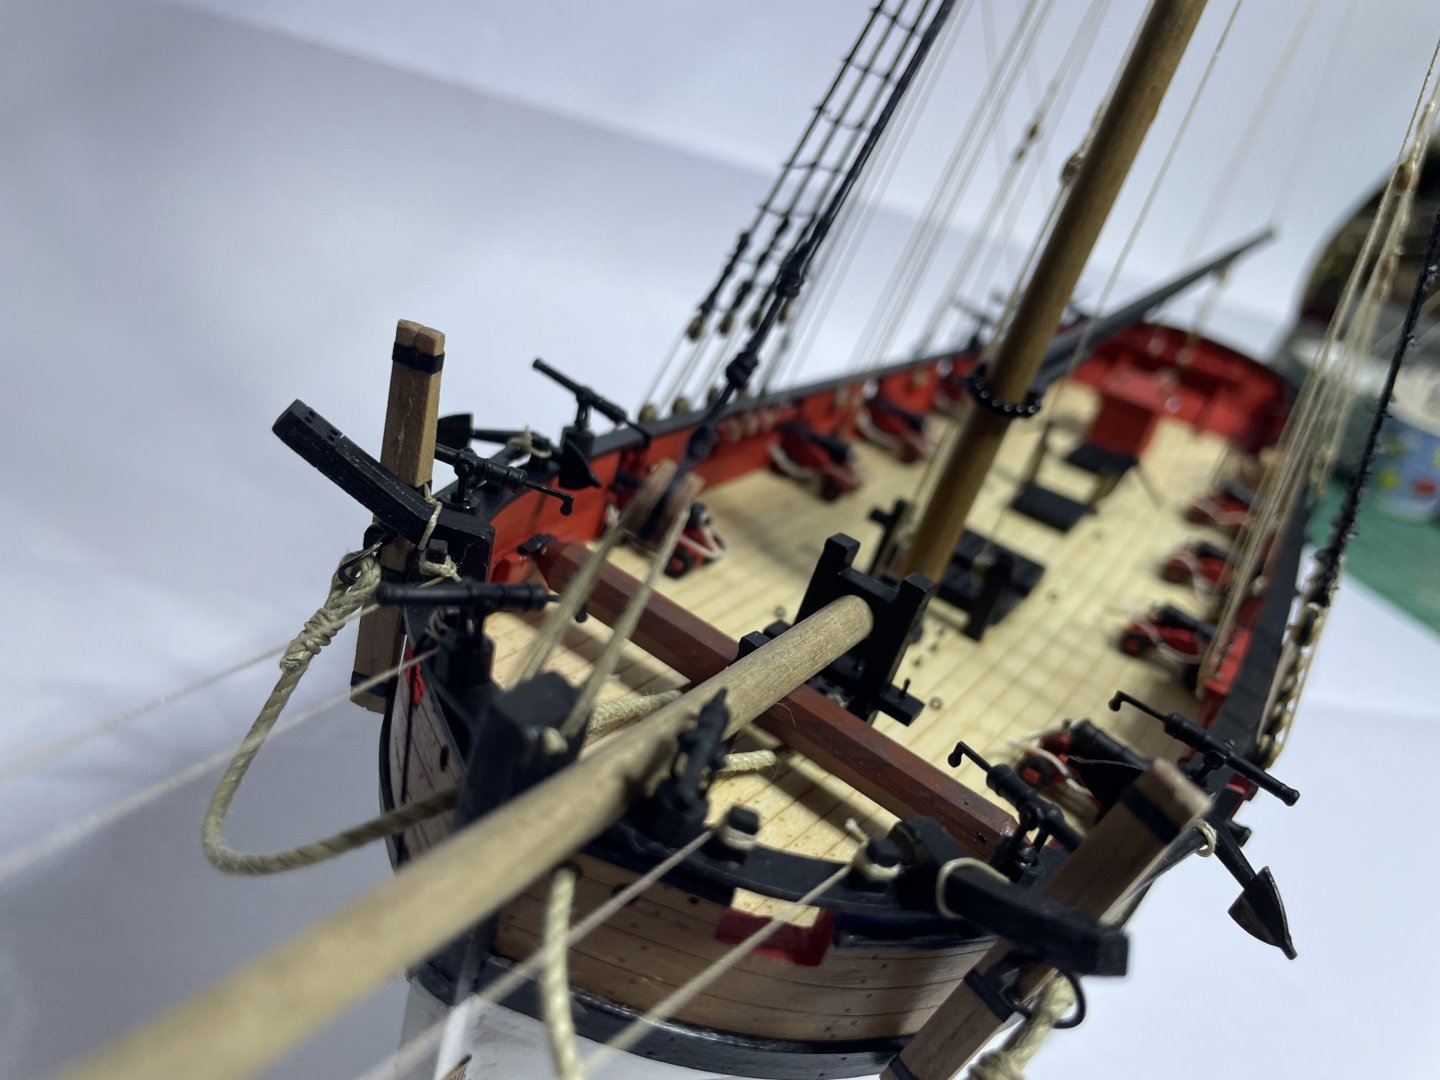
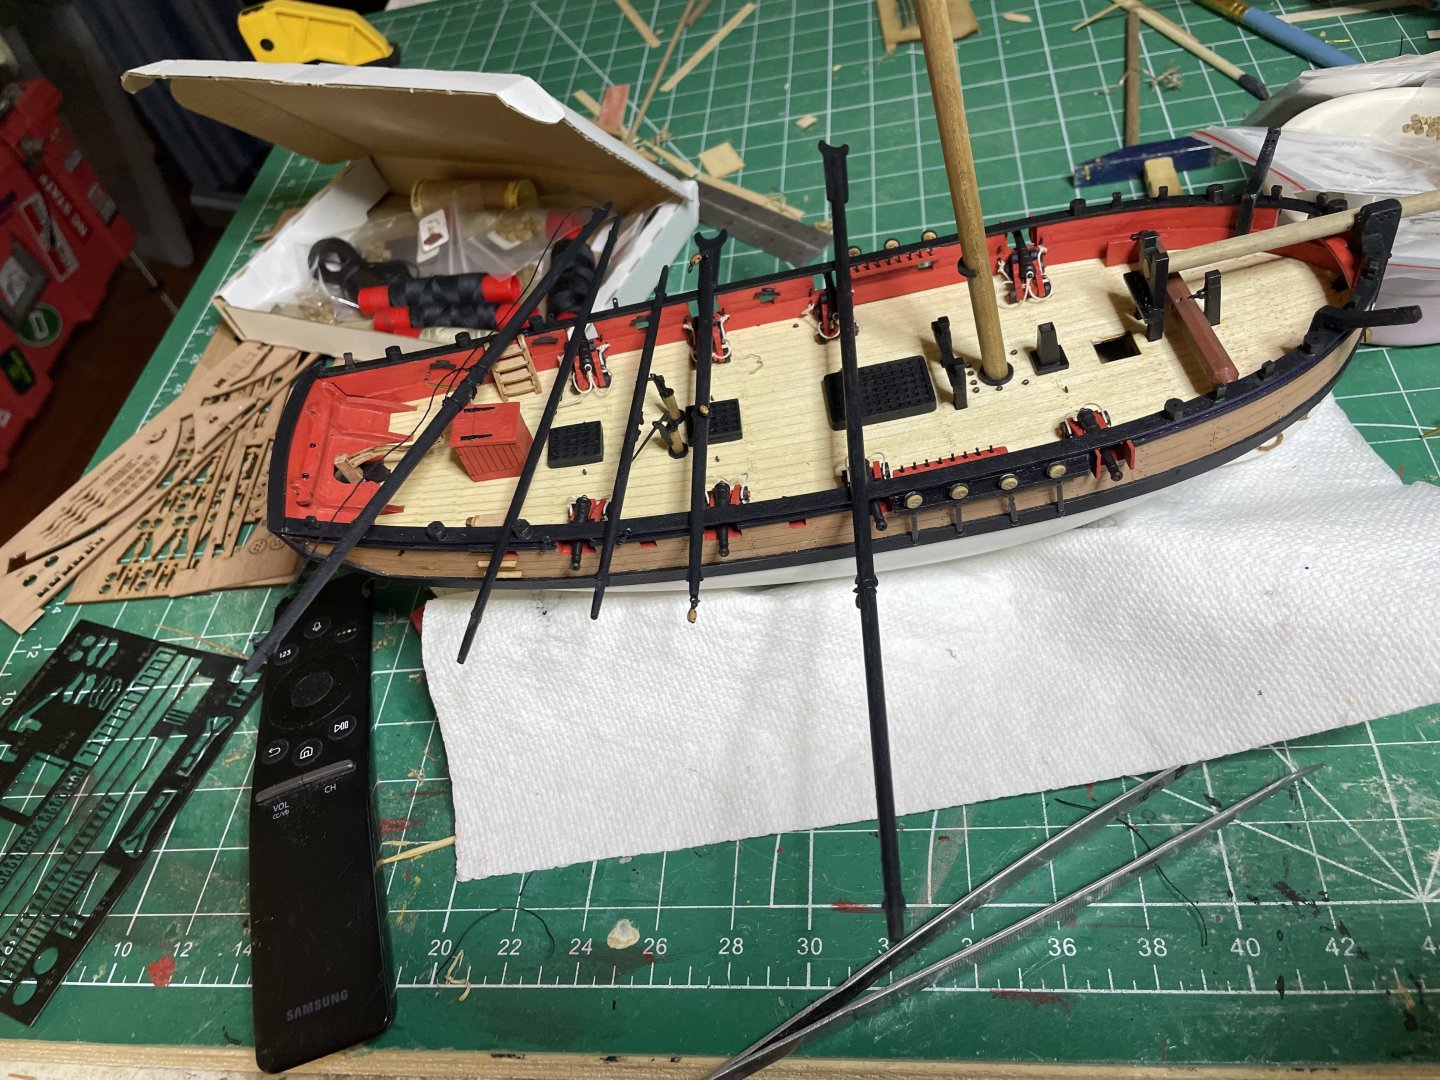
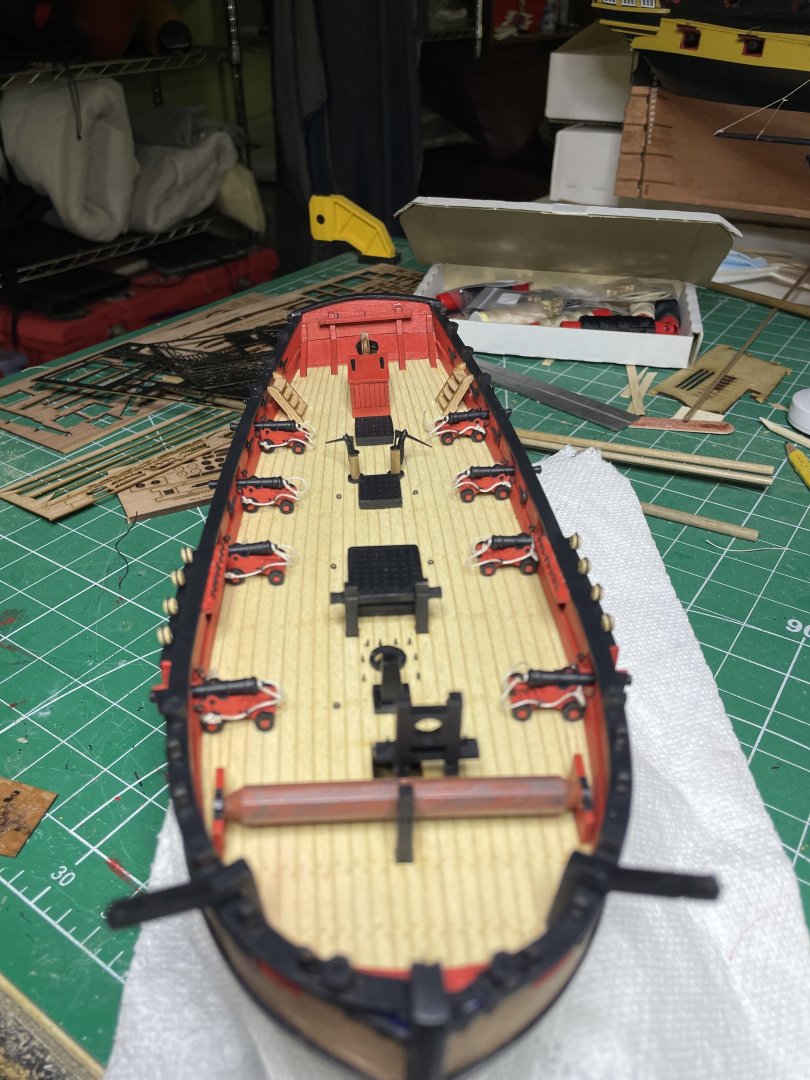
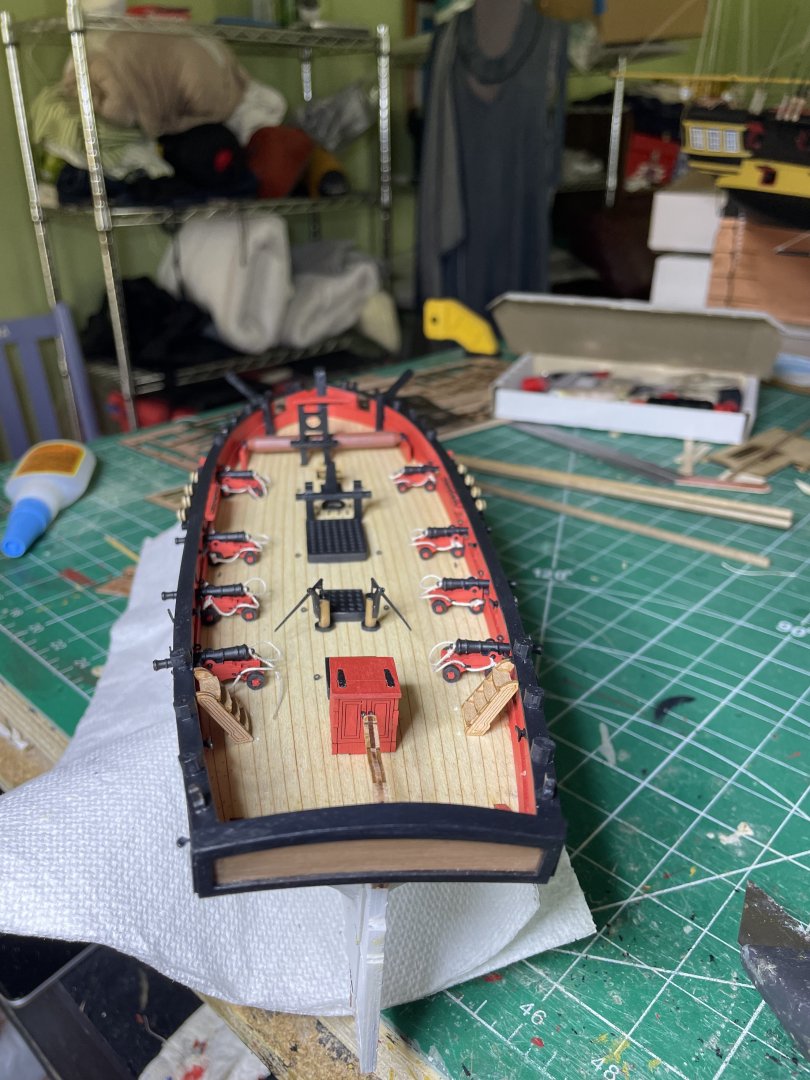
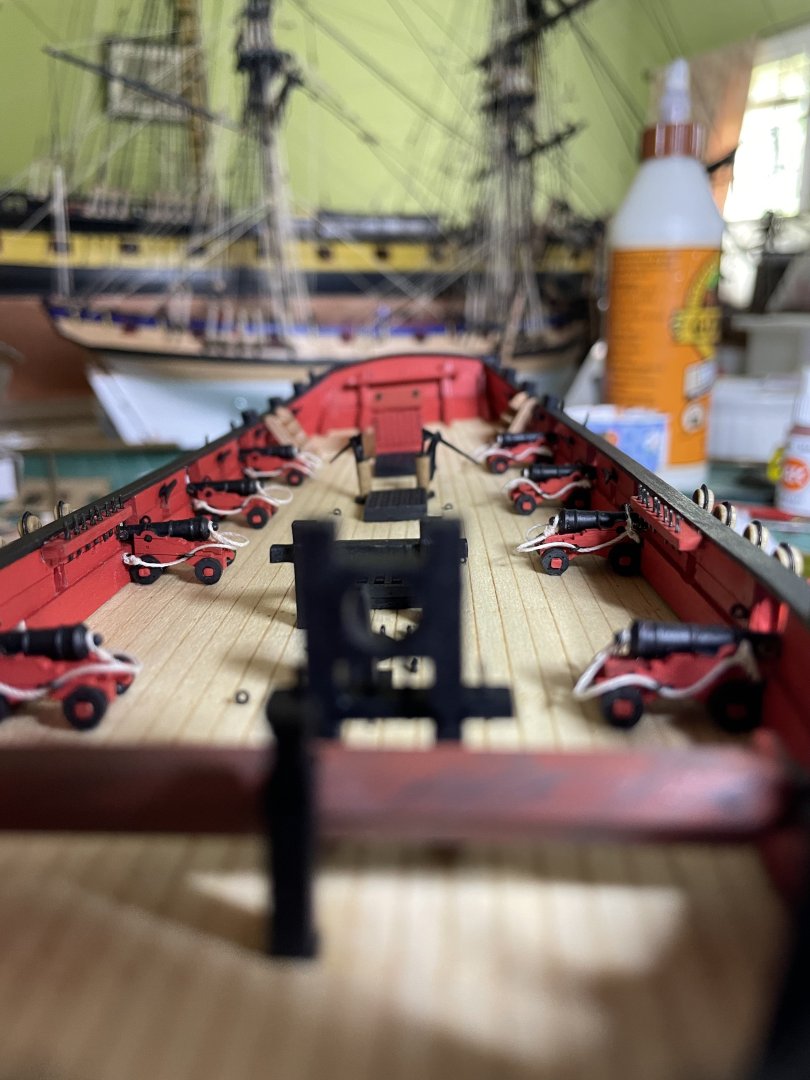
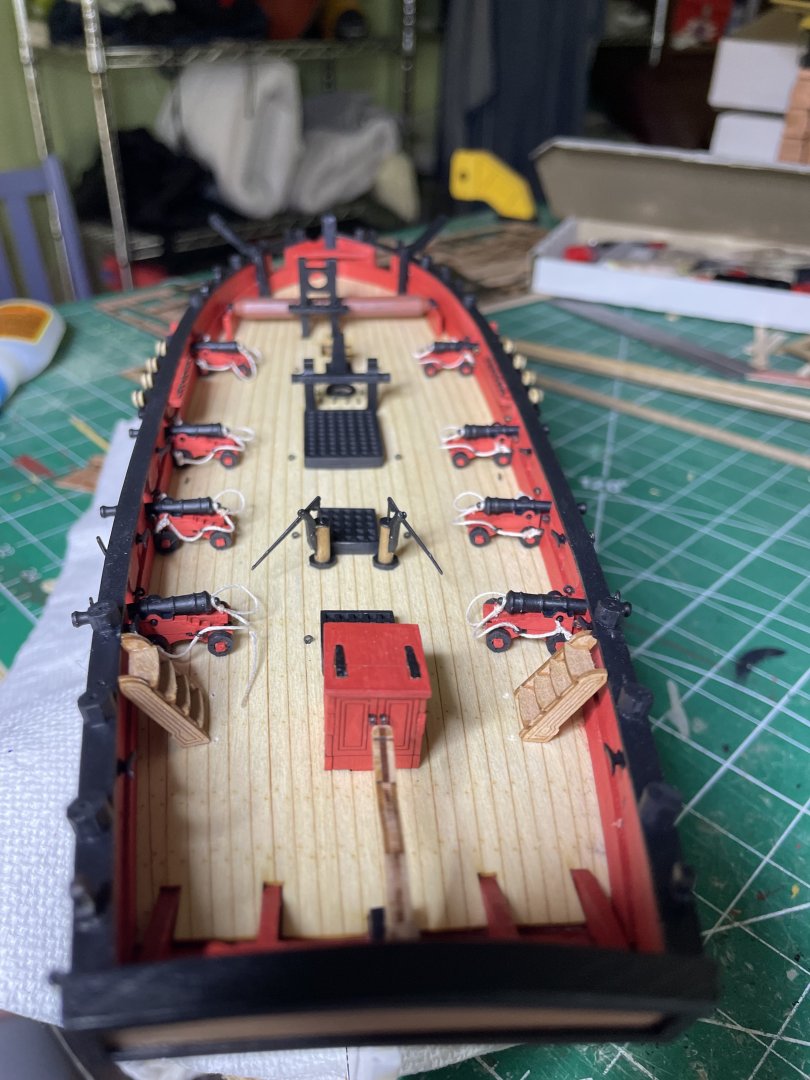
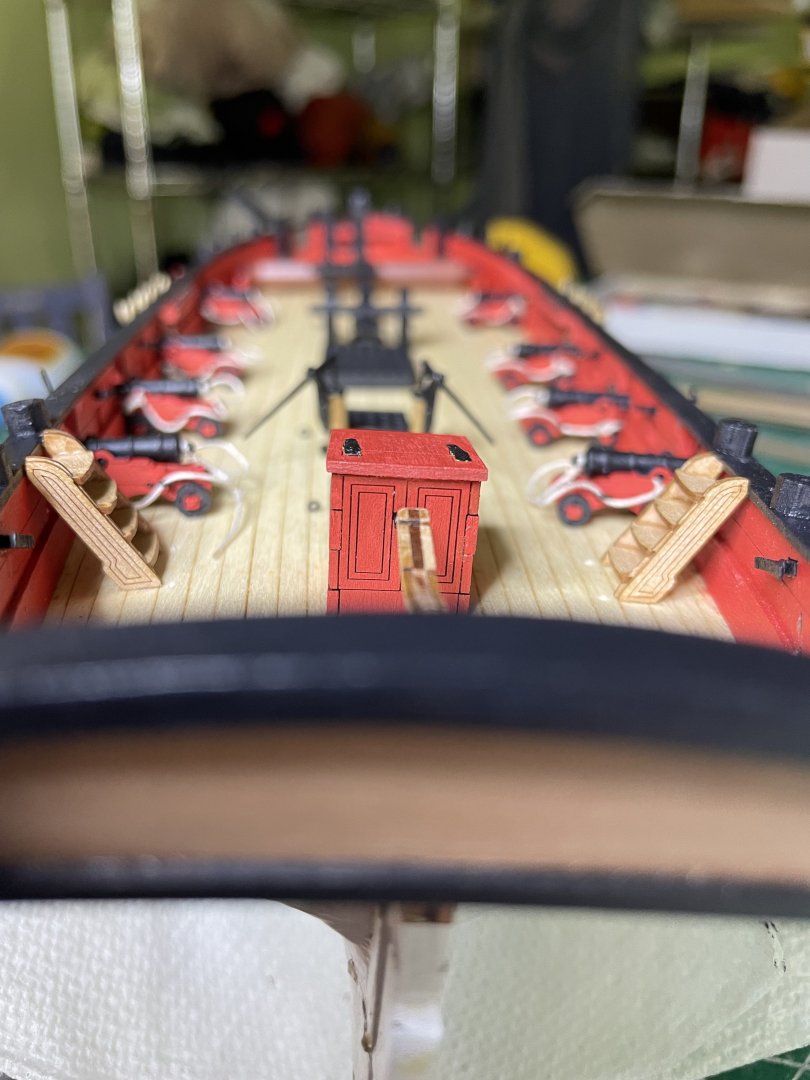
Hull now mostly complete except for a few parts that tend to stick out and interfere with rigging and tend to catch on mu and and break such as the swivel guns and stanchions. Here is the cannon production line


-
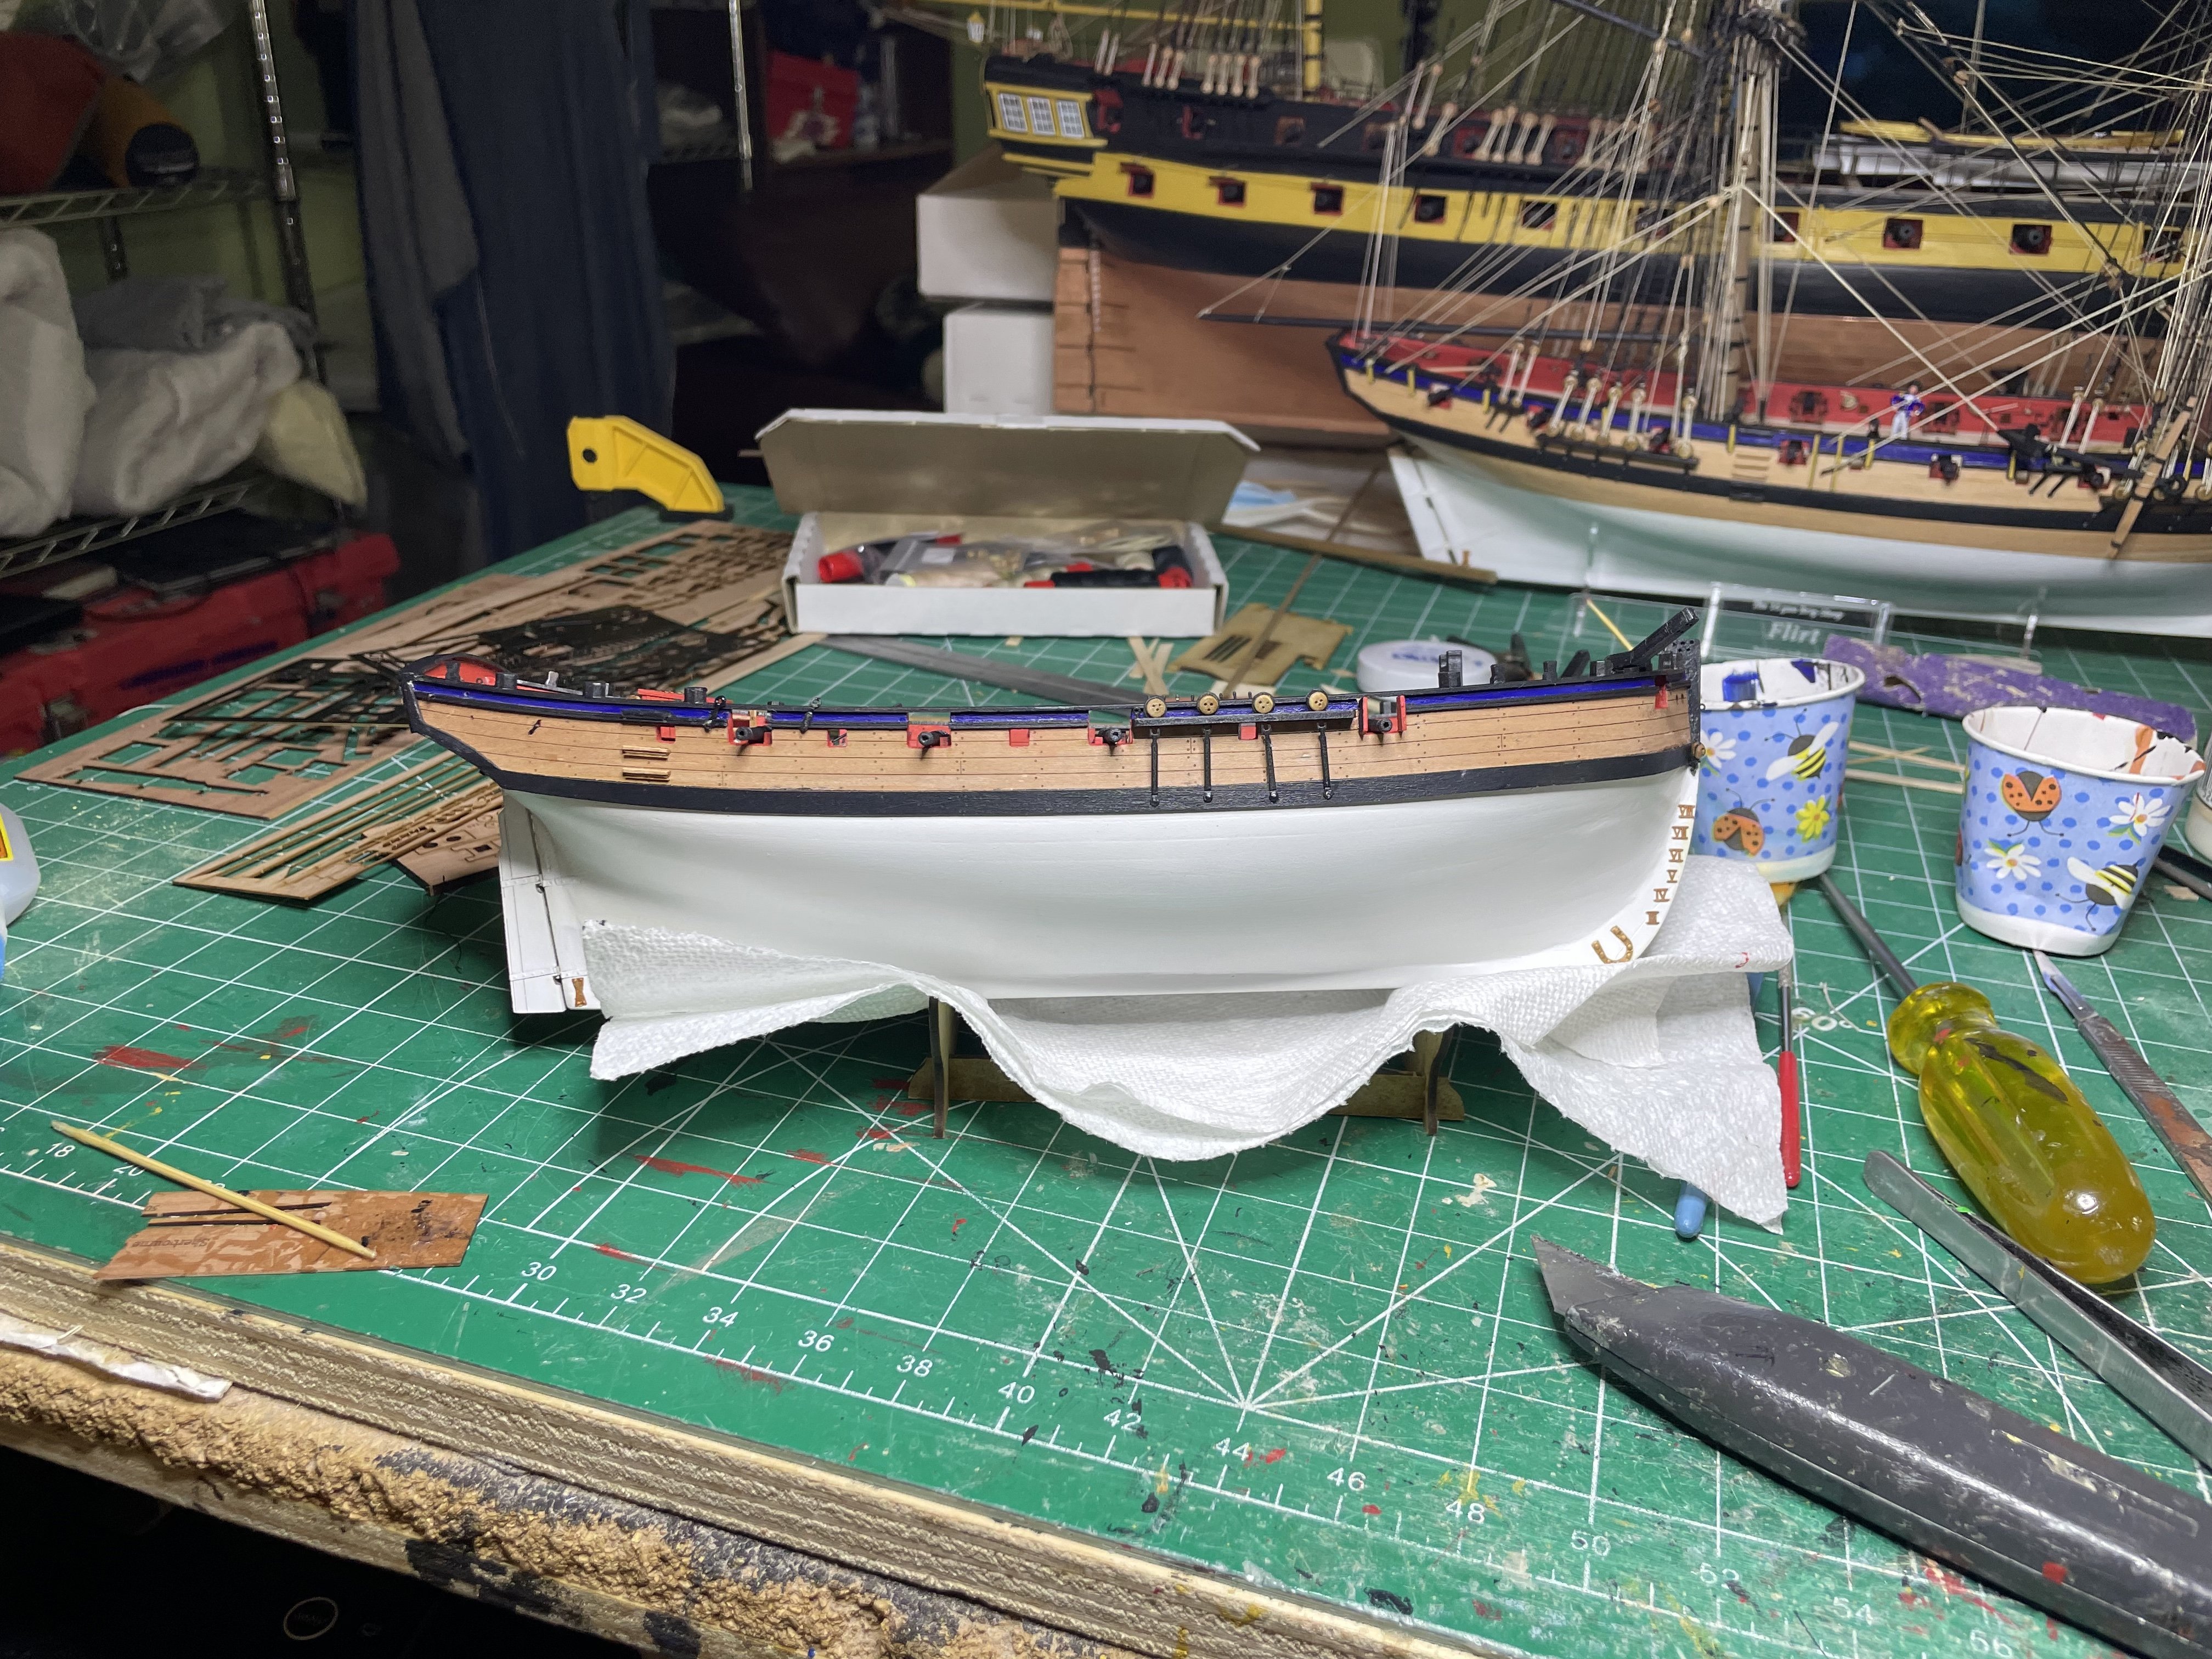
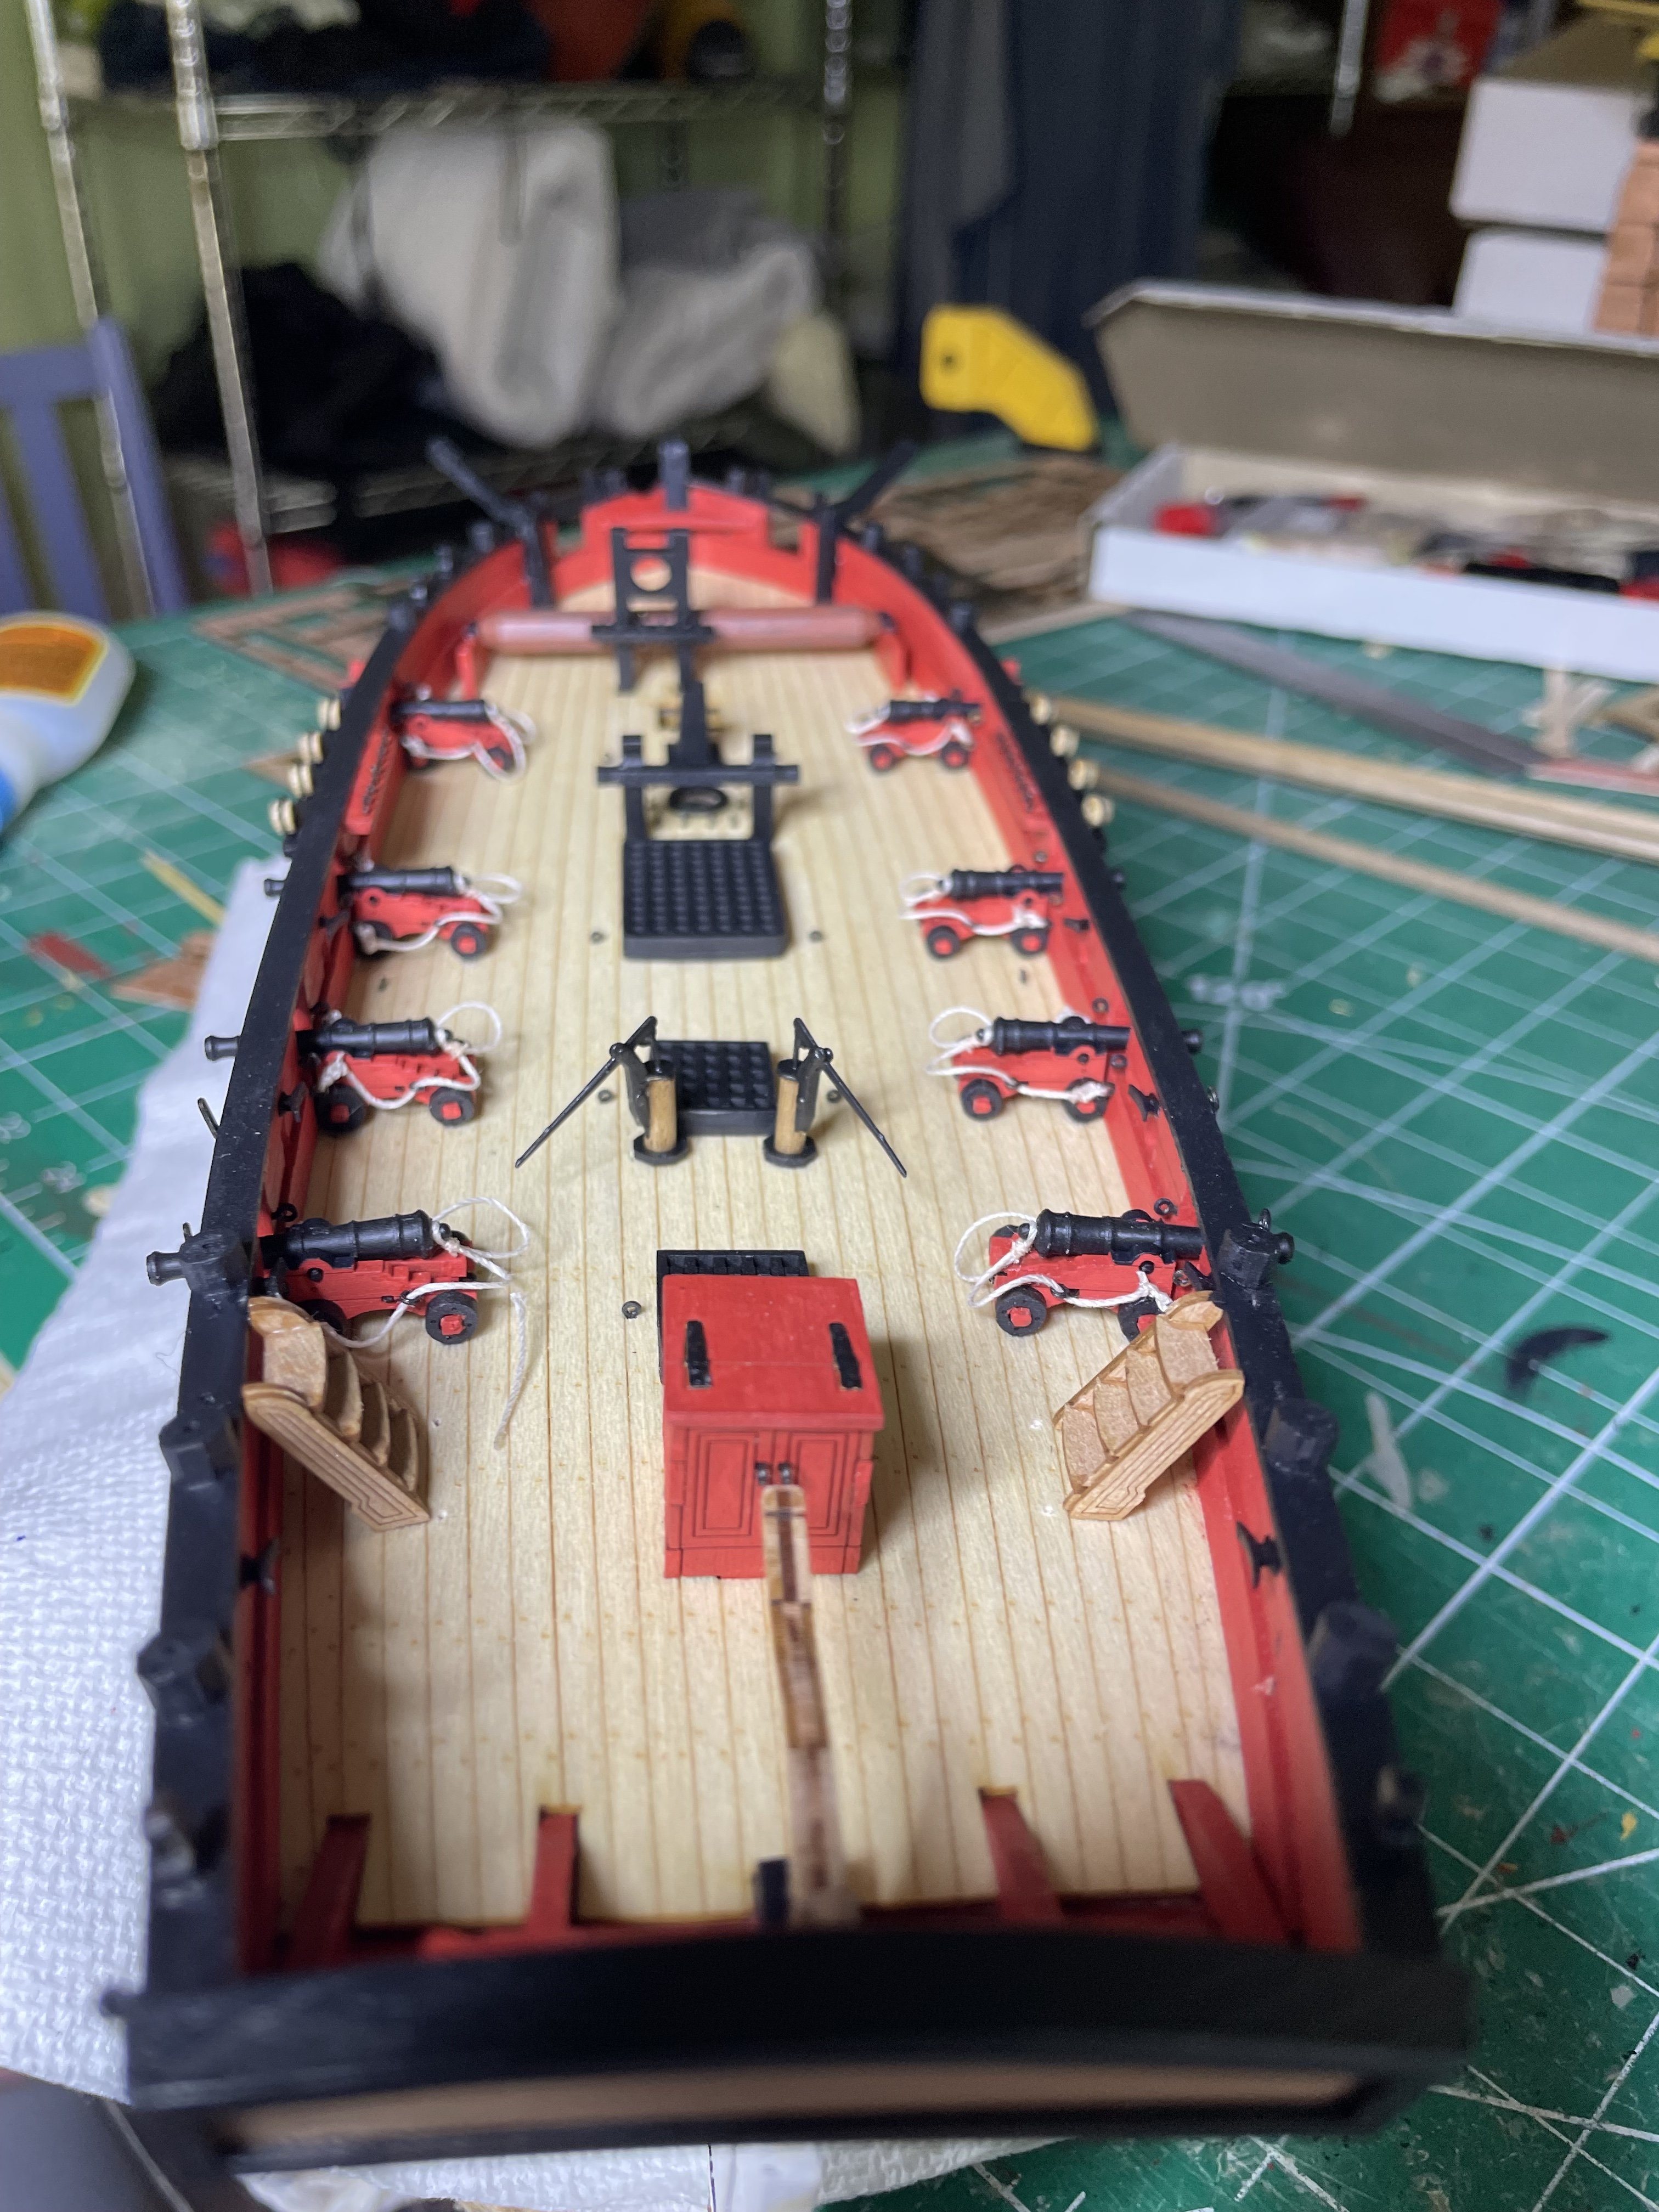
Work of the day.A little paint, bulwarks complete.


-
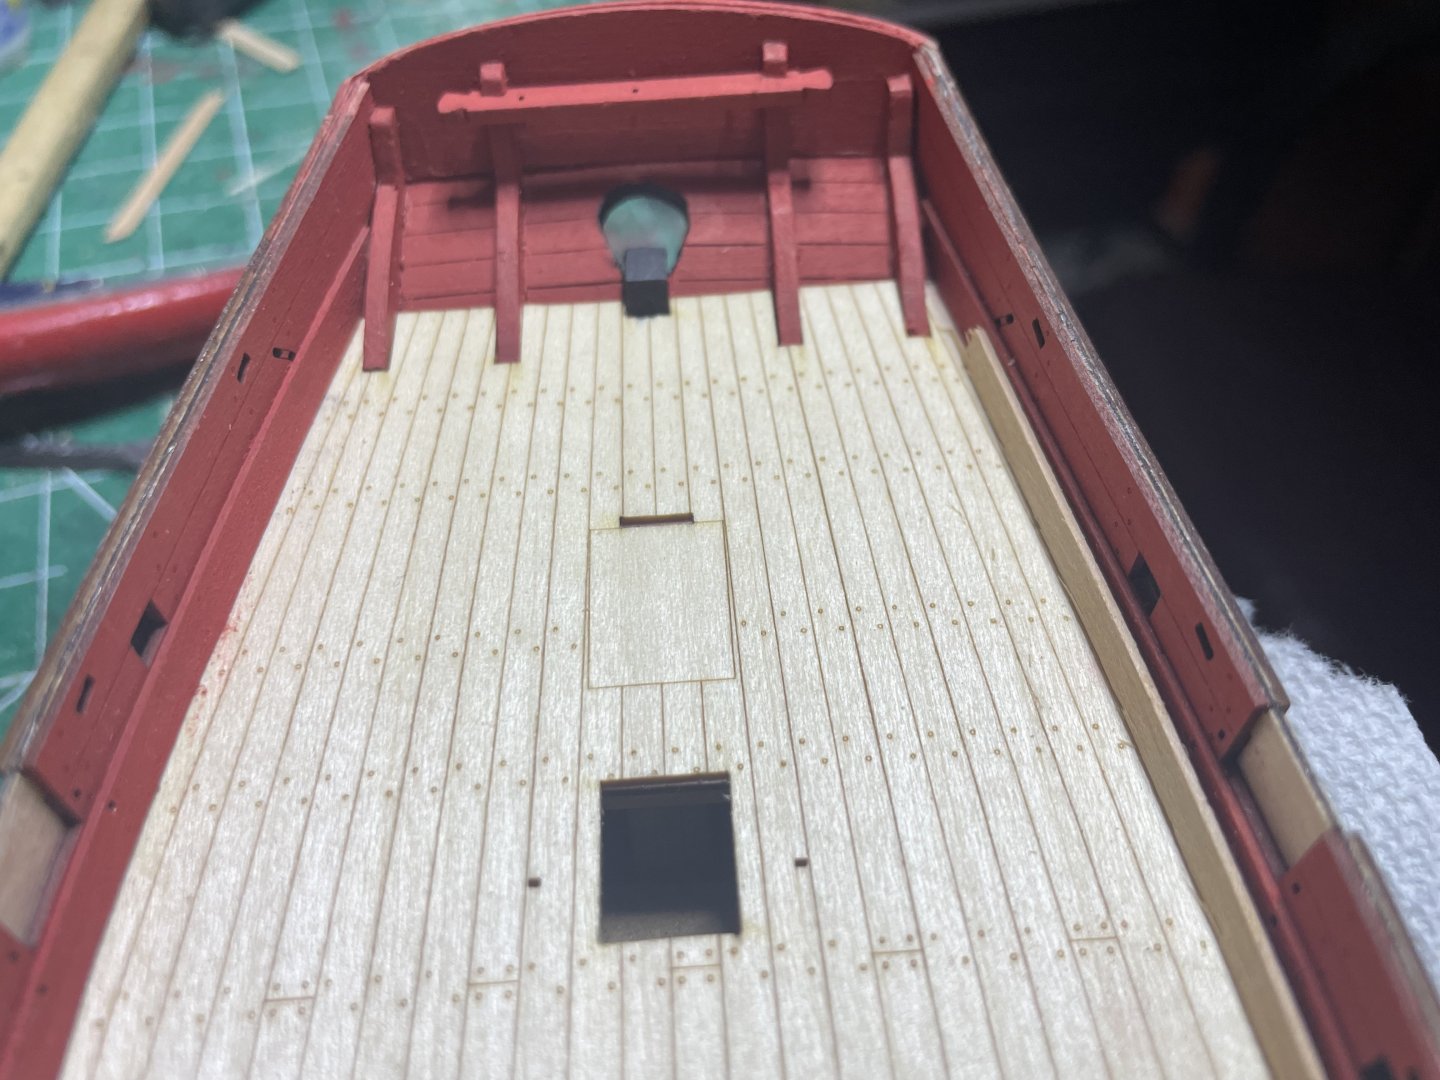
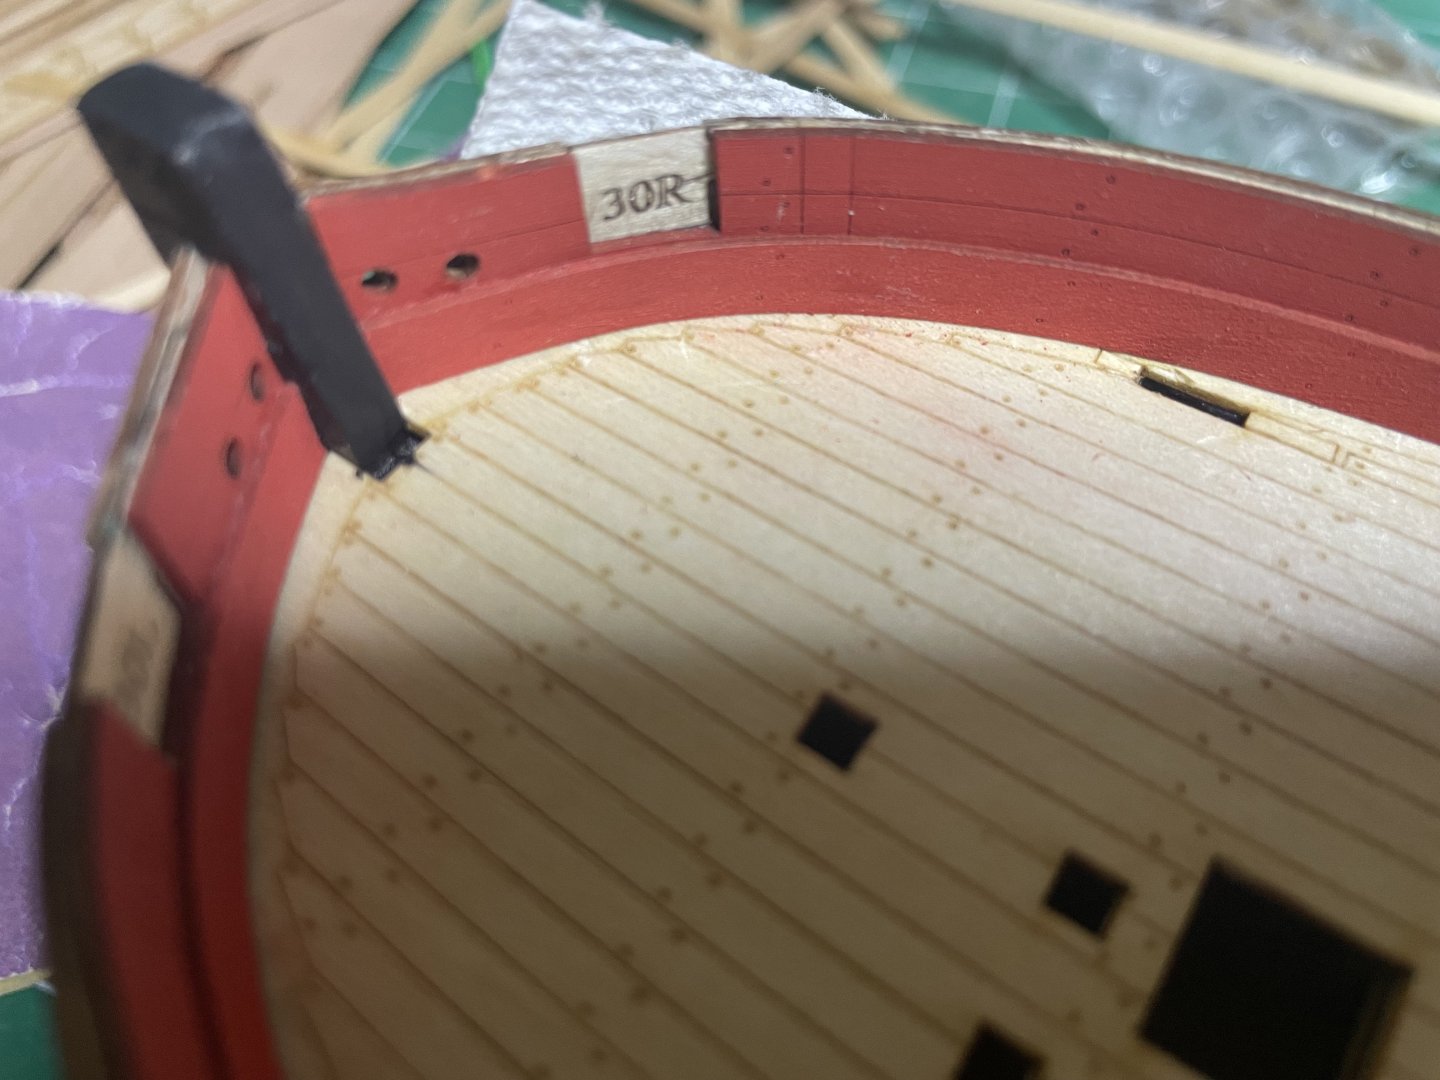
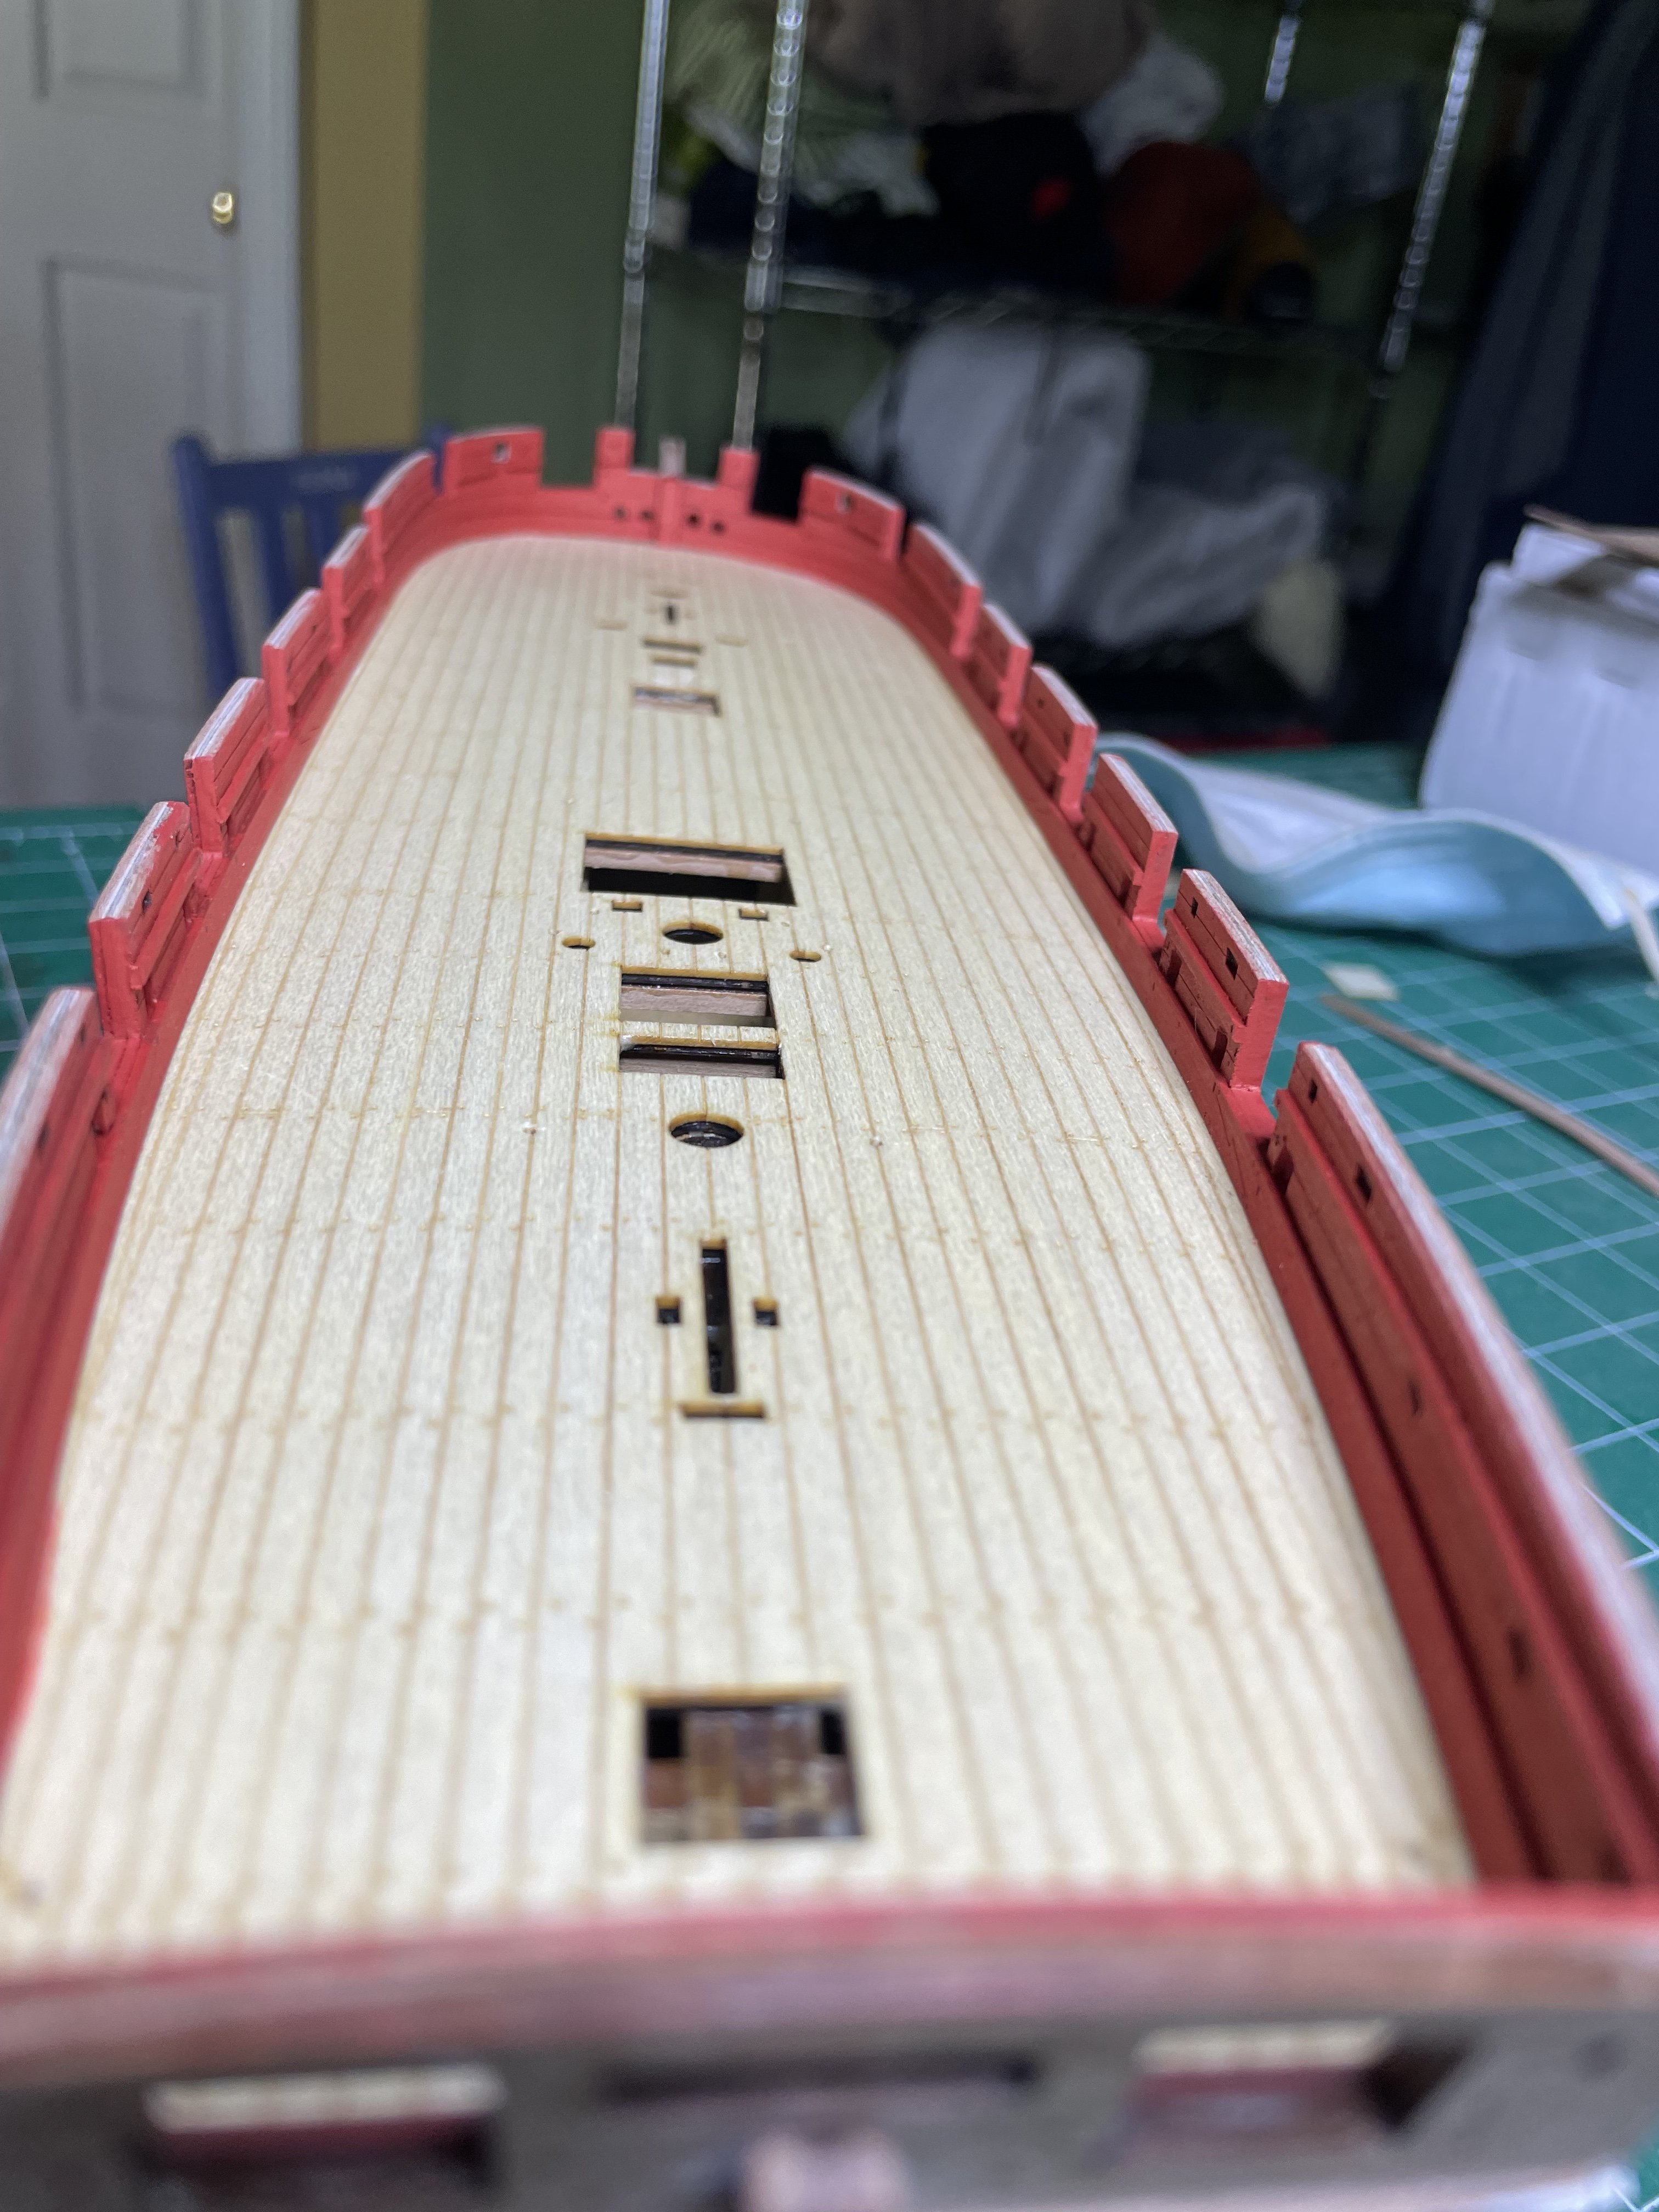
Inner bulwarks in. I spray painted them prior inserting them. For the spirketting, I glued the stern one first using pins to keep the eyeholes in line. The forward piece is set so that o keep the eyeholes in line you just need to trim the bow end by 2-3 mm. After opening and painting the gun ports and sweep holes