ECK
-
Posts
646 -
Joined
-
Last visited
Content Type
Profiles
Forums
Gallery
Events
Everything posted by ECK
-
HMS Victory by ECK - OcCre - 1/87
ECK replied to ECK's topic in - Kit build logs for subjects built from 1751 - 1800
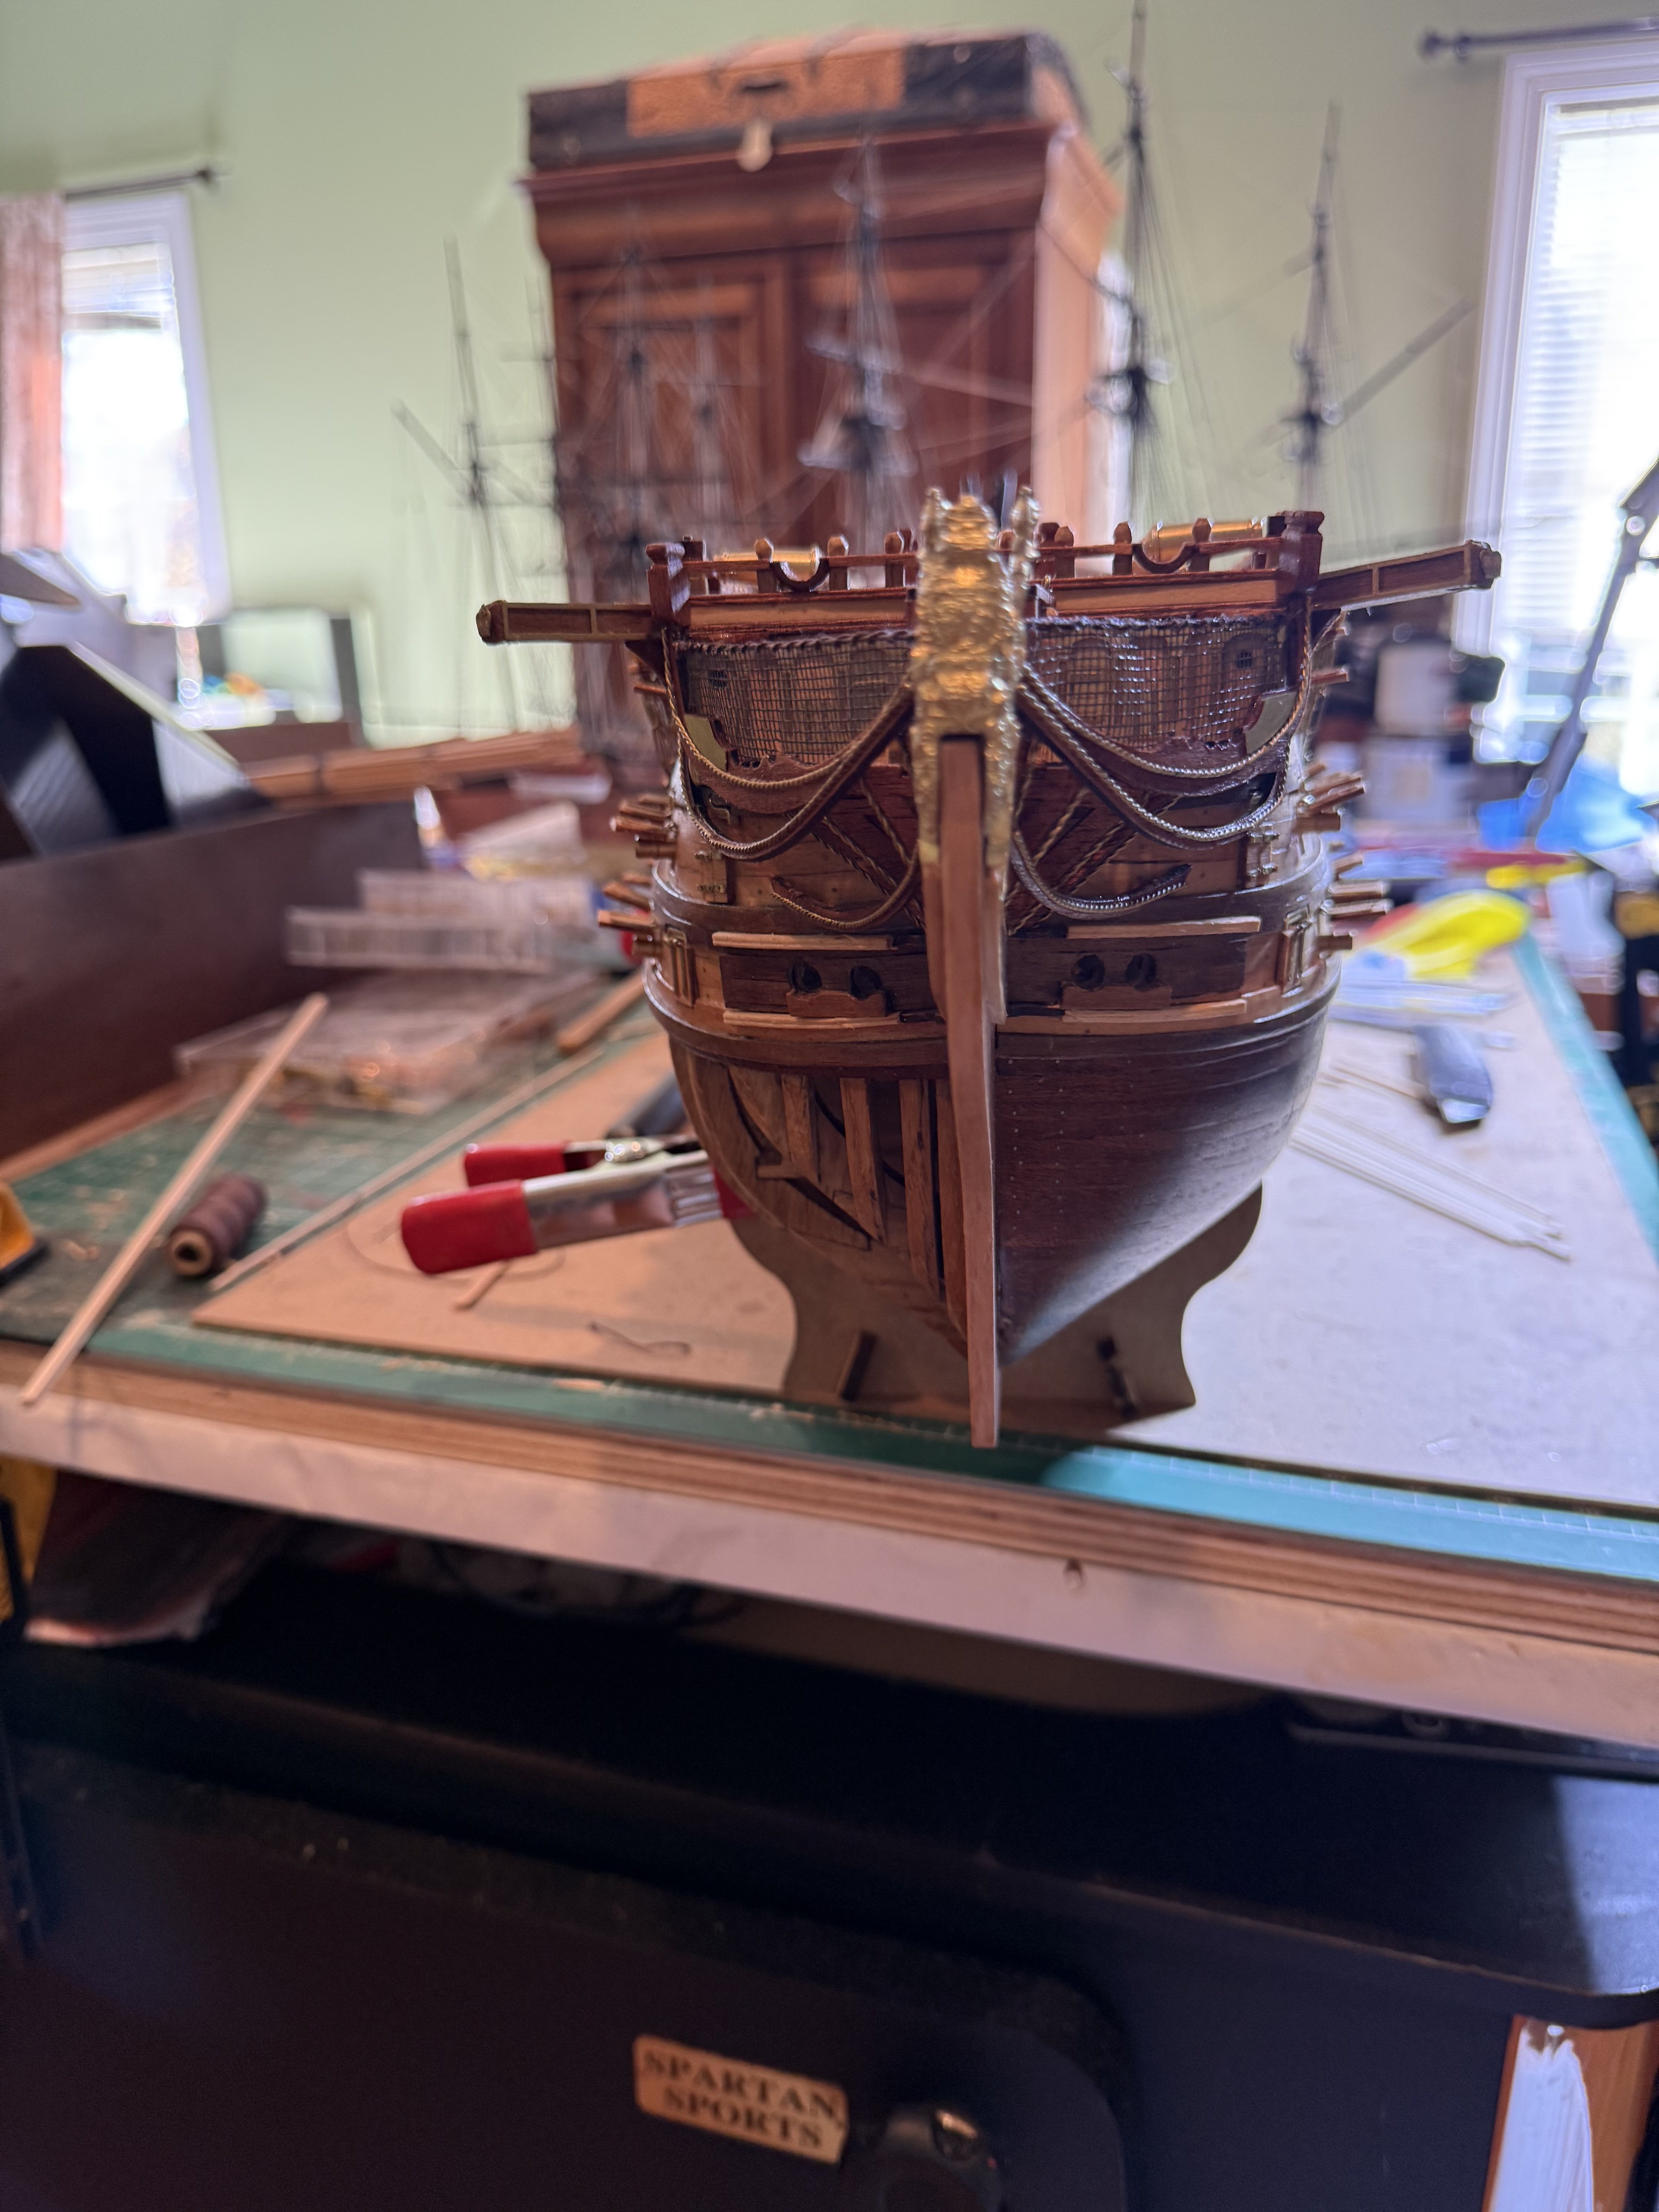
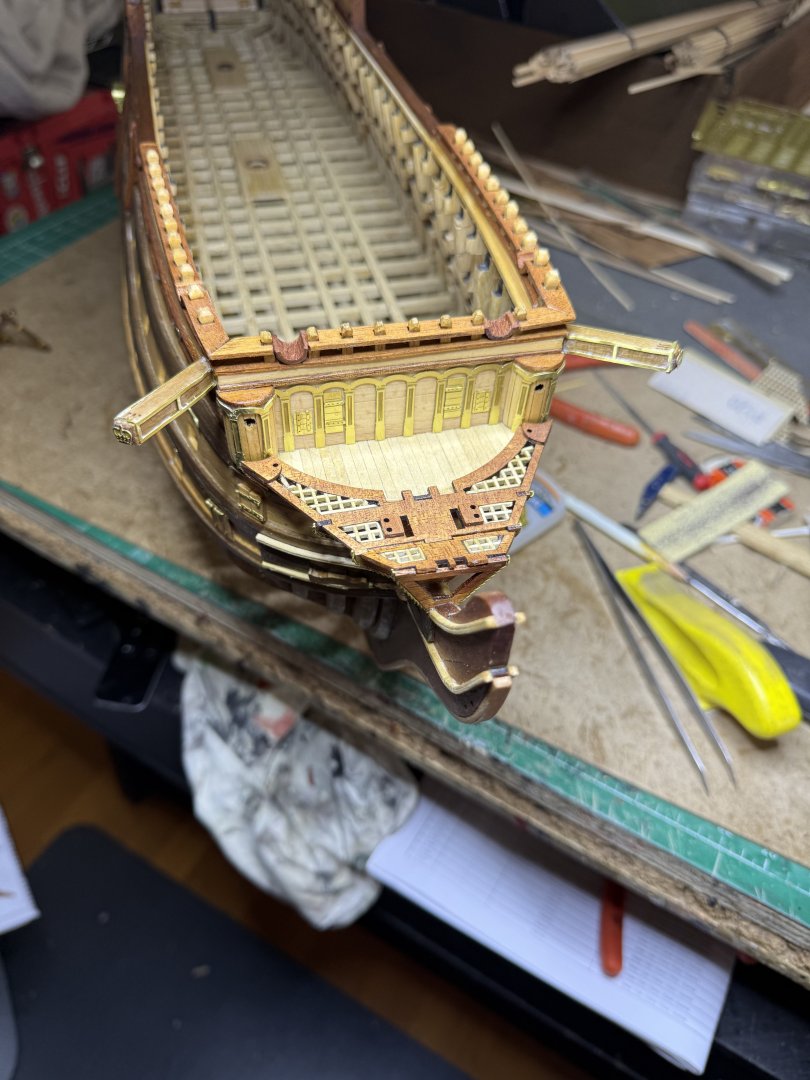
Last work for the day. I think another 2-3 weeks to complete the hull minus a few things I add later like the anchors, flag pole and davits As i tend to break them while doing the masts and rigging as they stick out. Big pain will be adding/sewing in the nettting.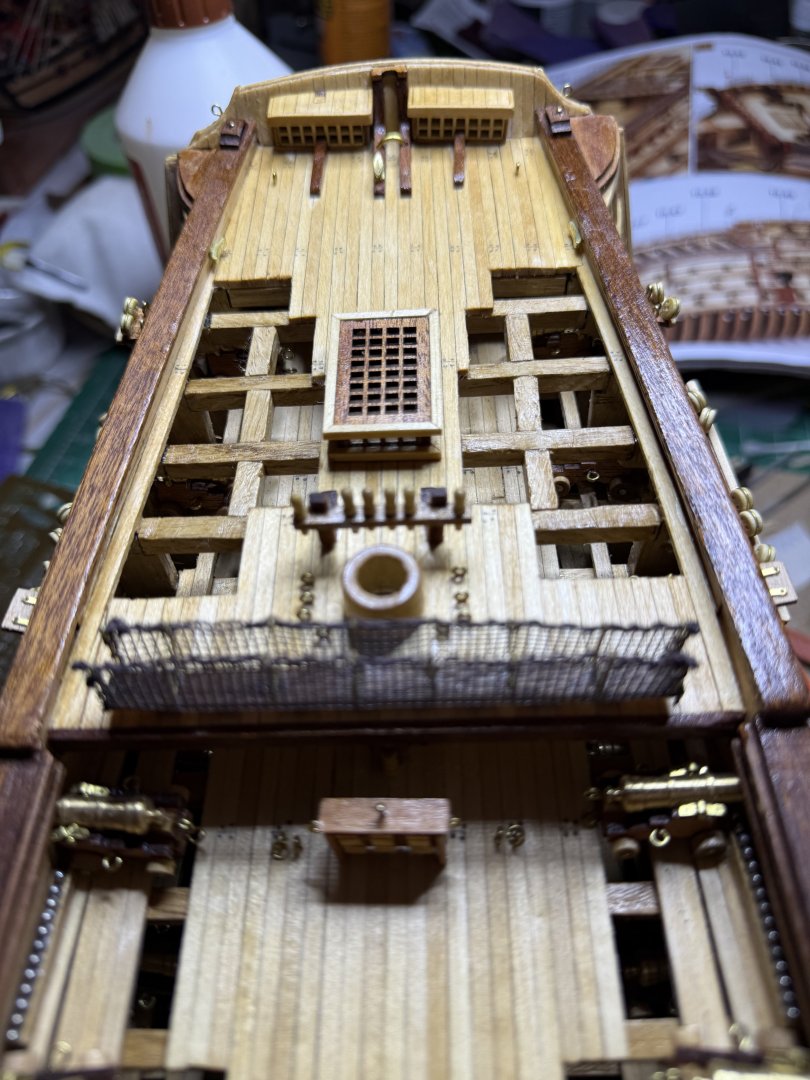


-
HMS Victory by ECK - OcCre - 1/87
ECK replied to ECK's topic in - Kit build logs for subjects built from 1751 - 1800
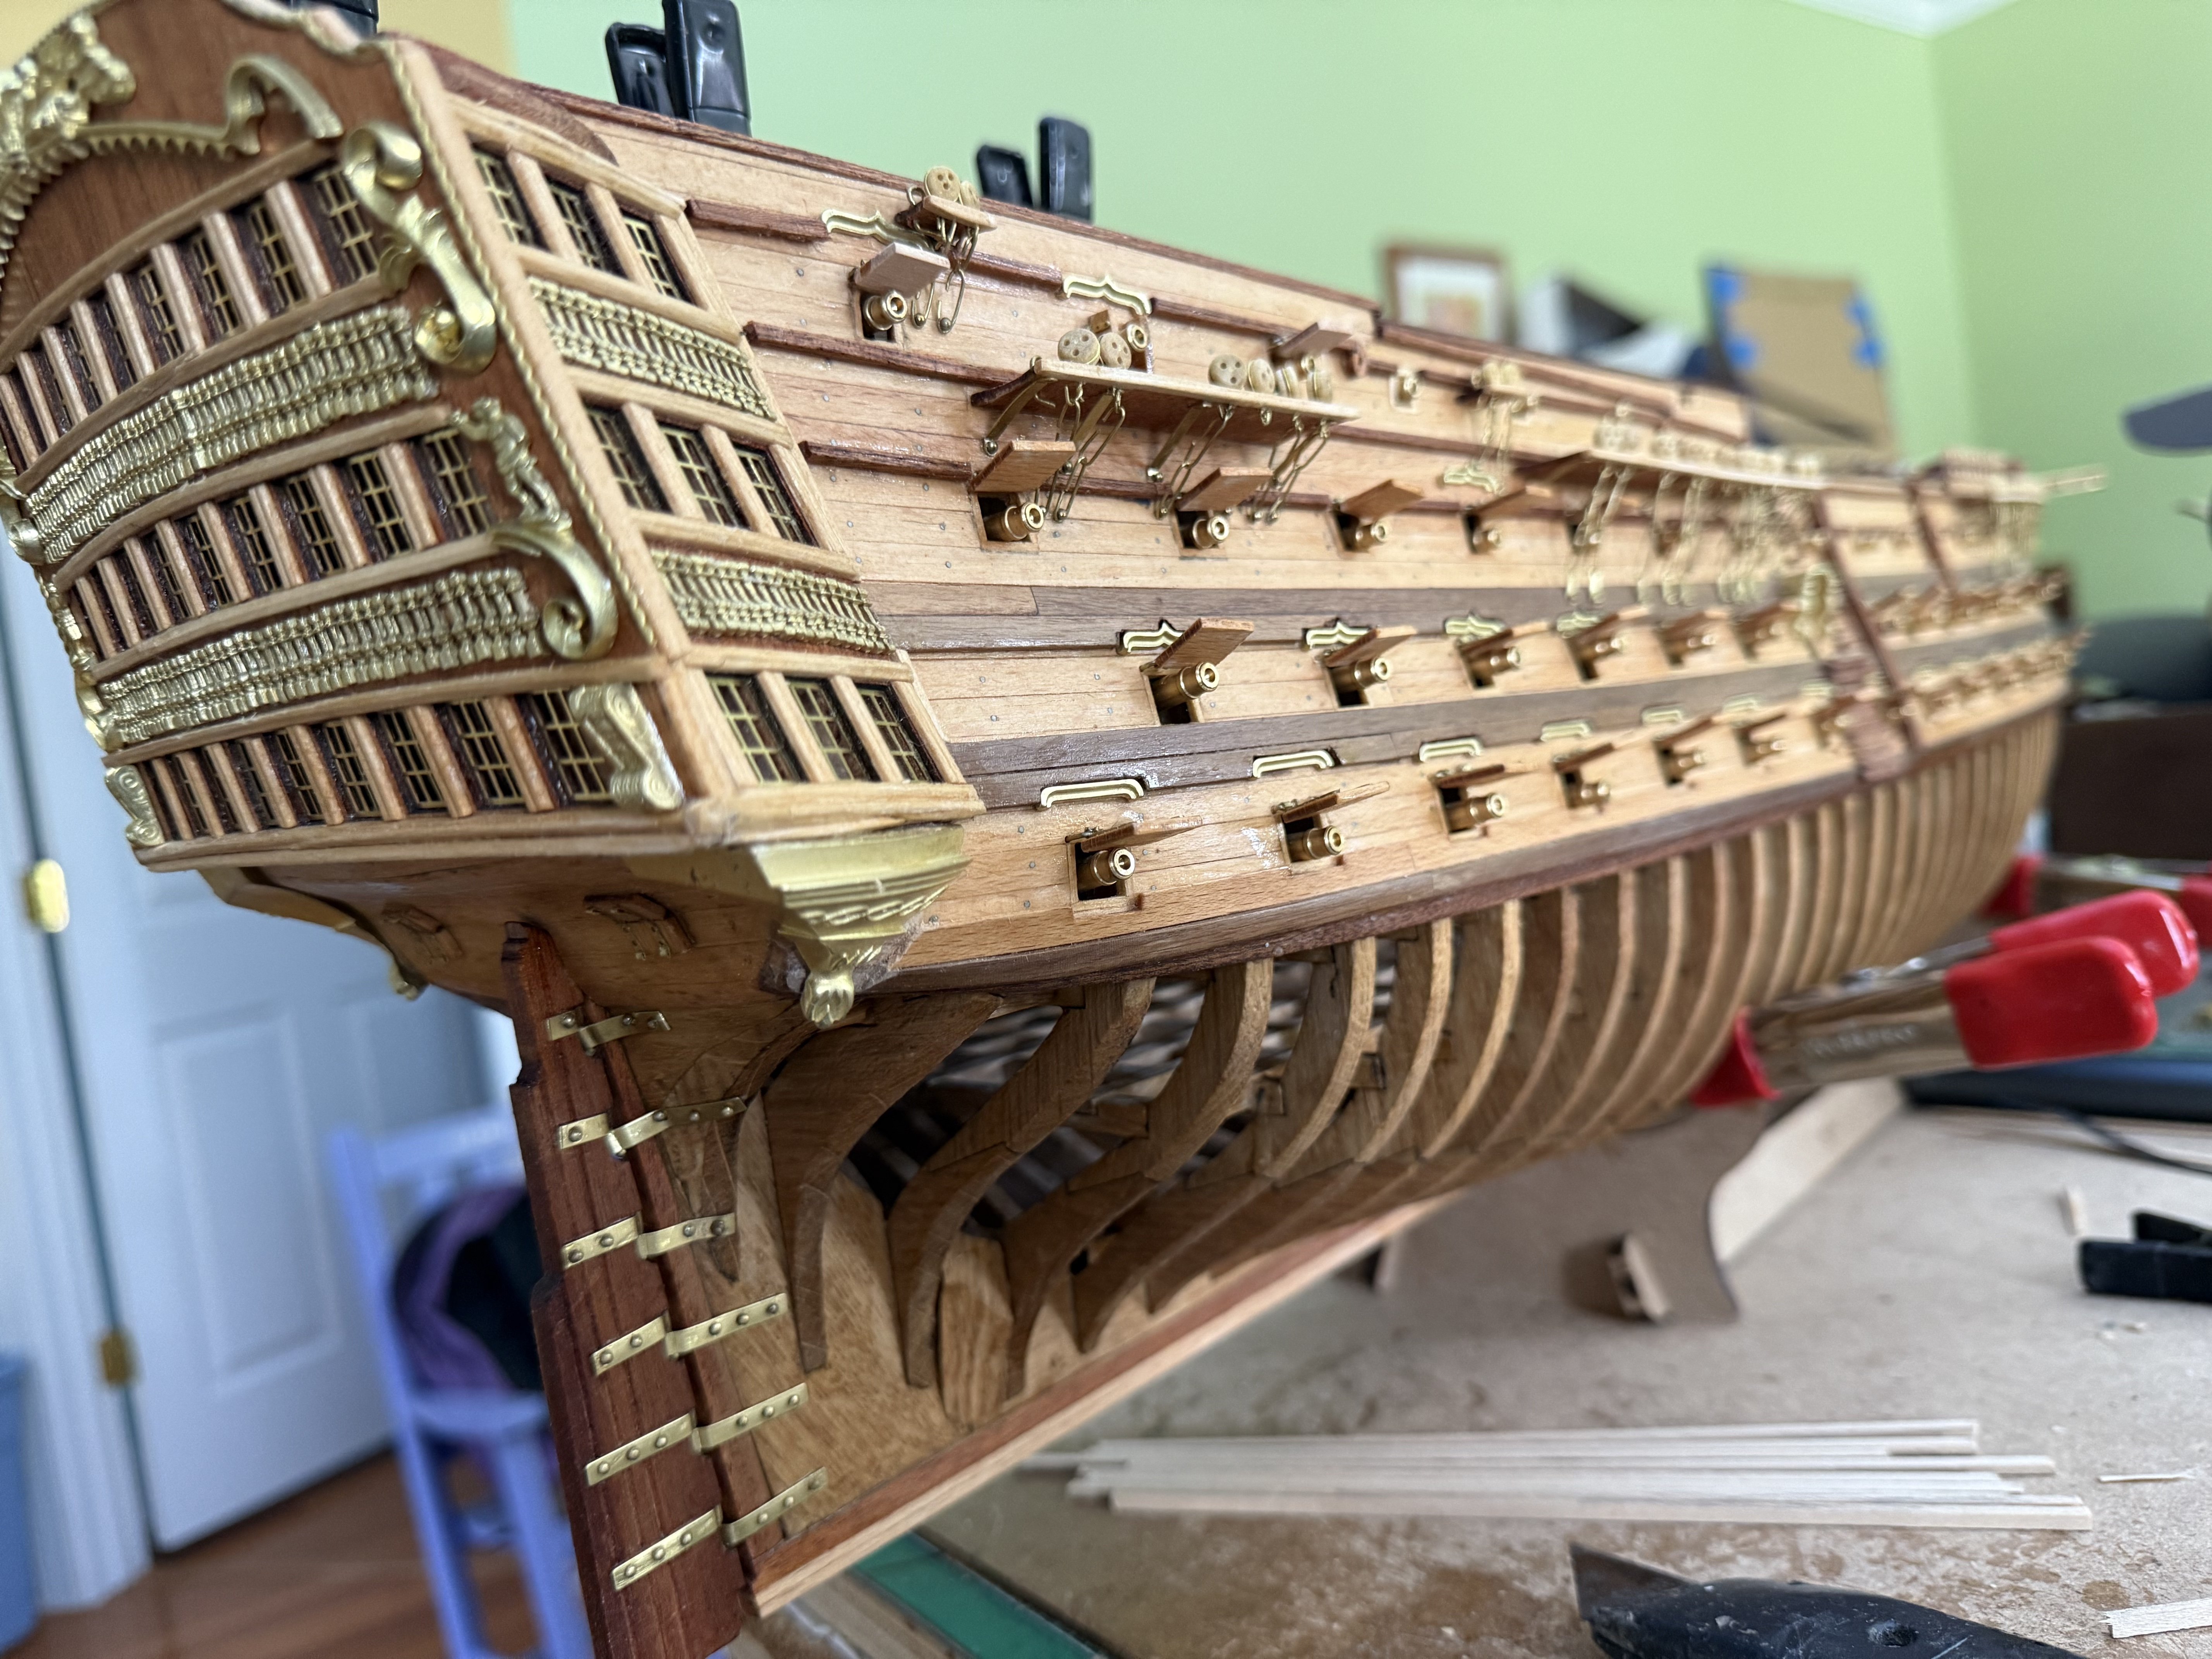
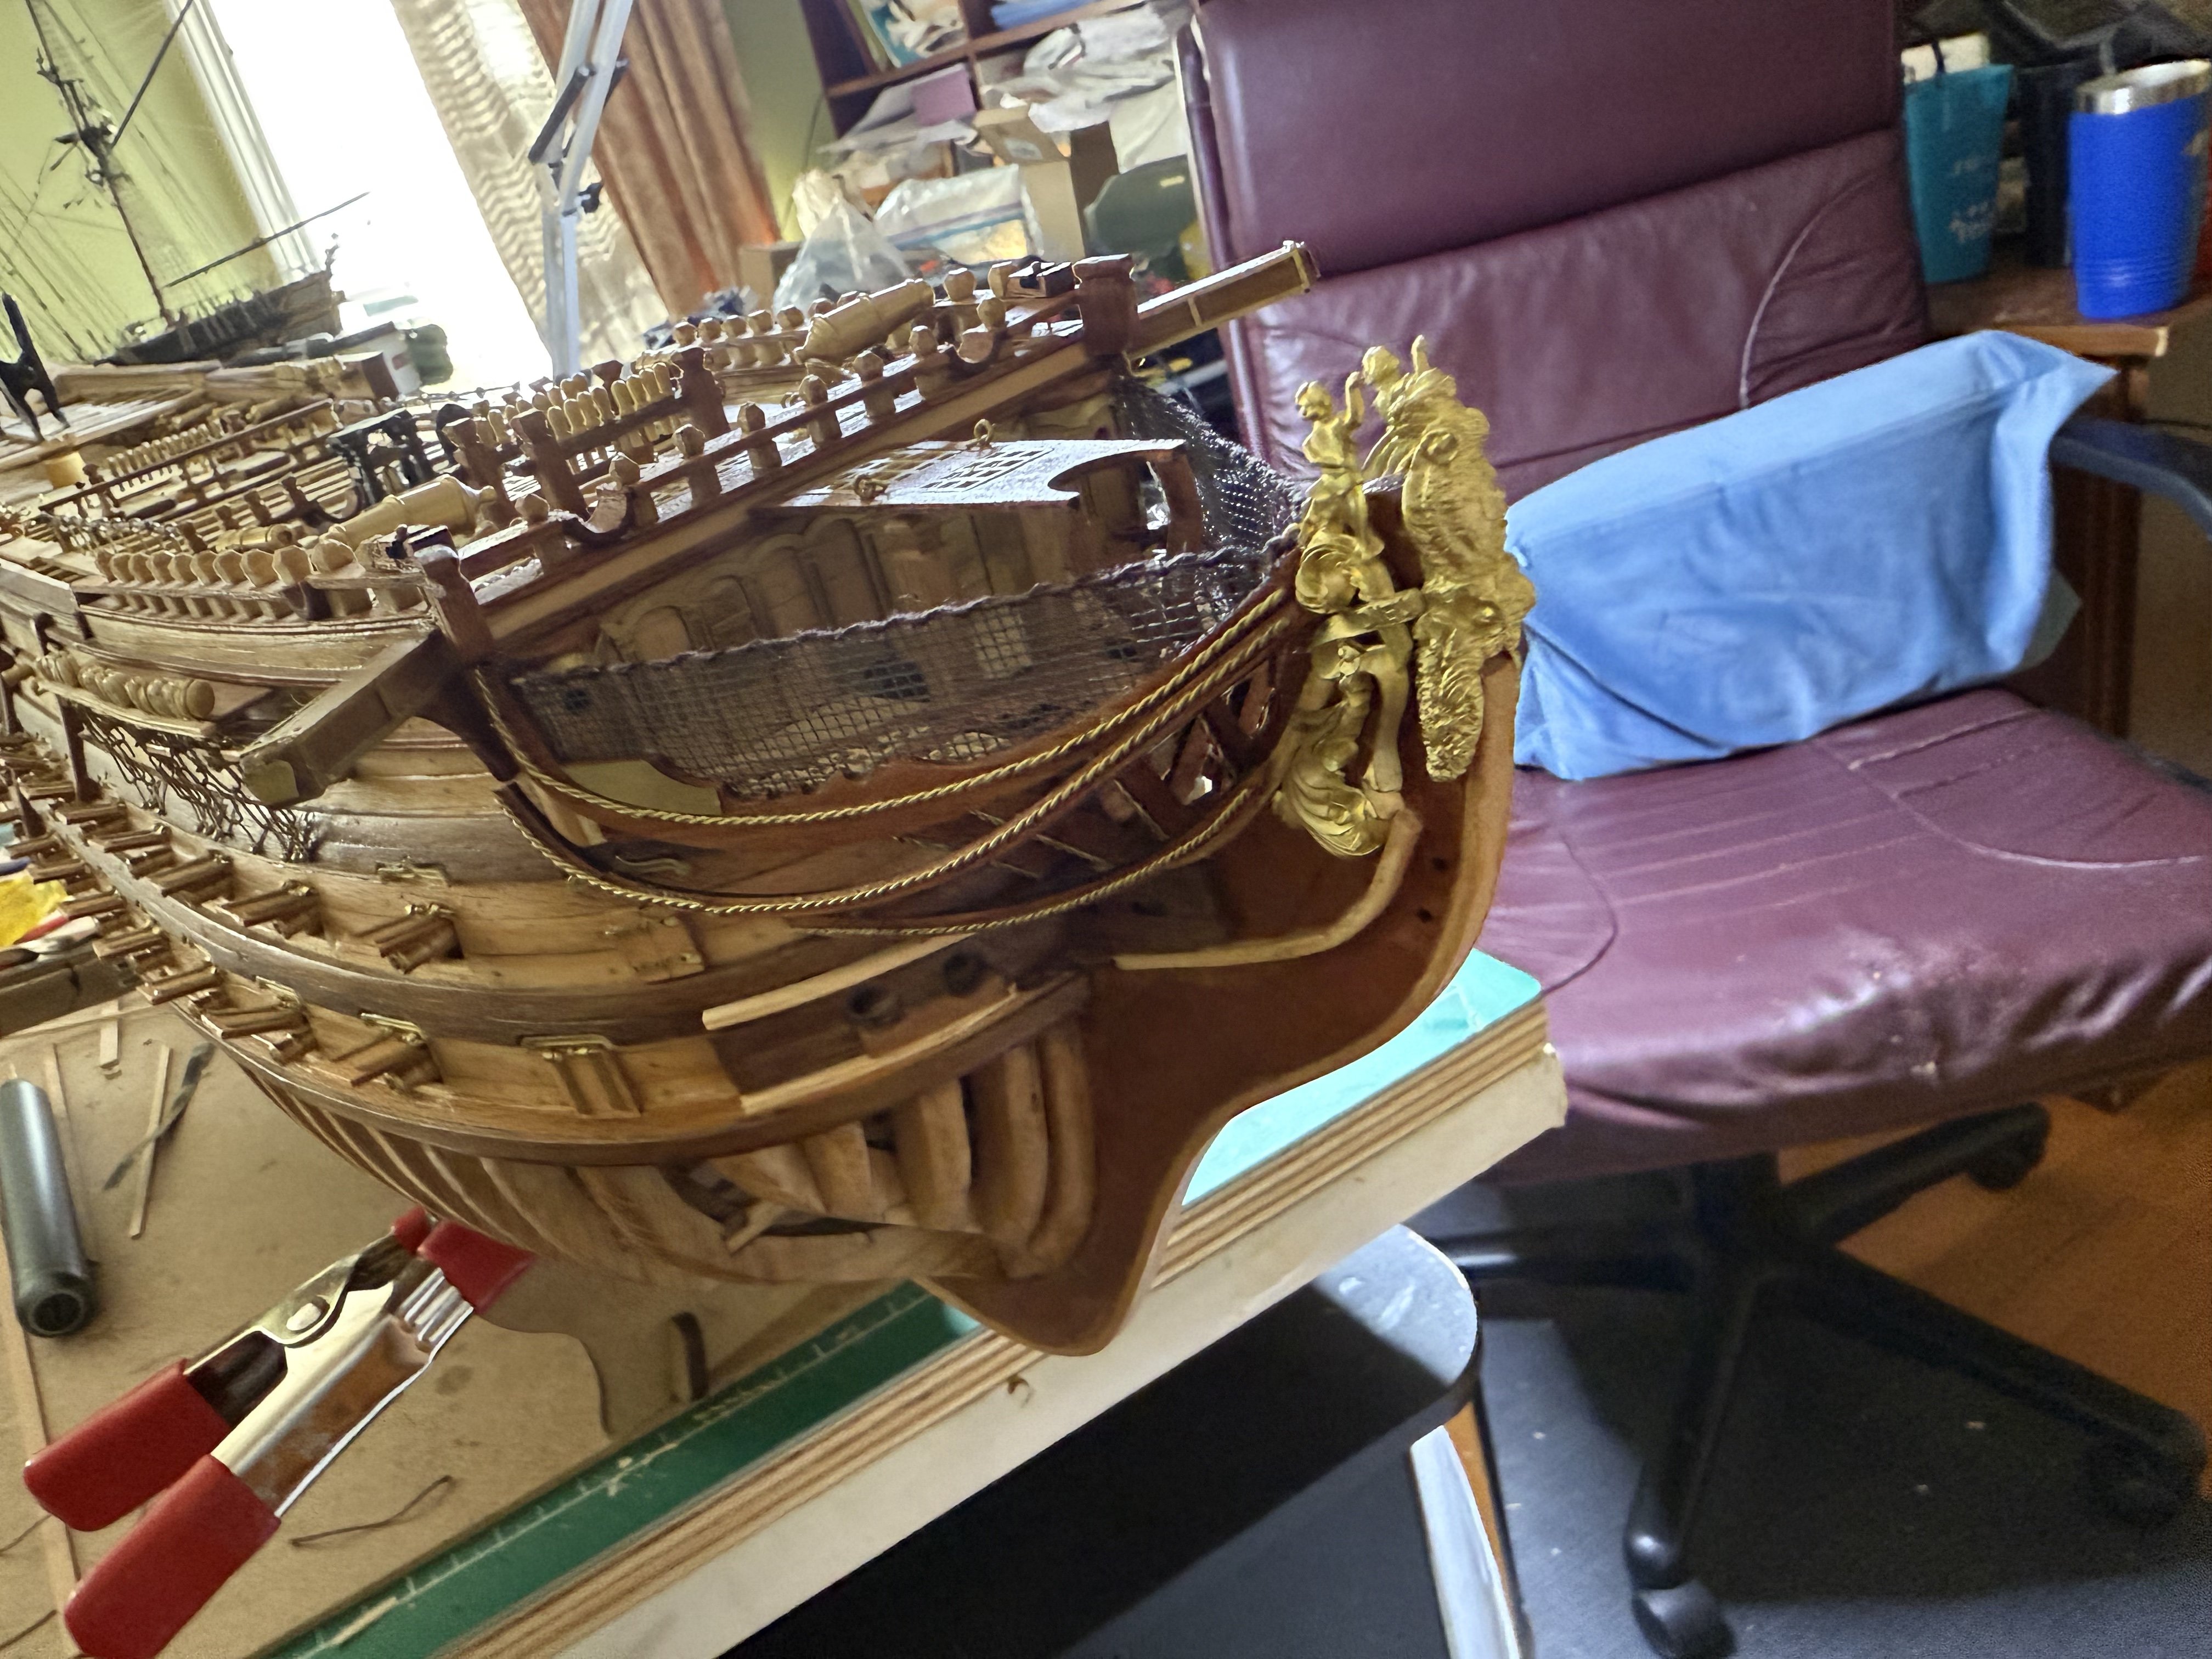
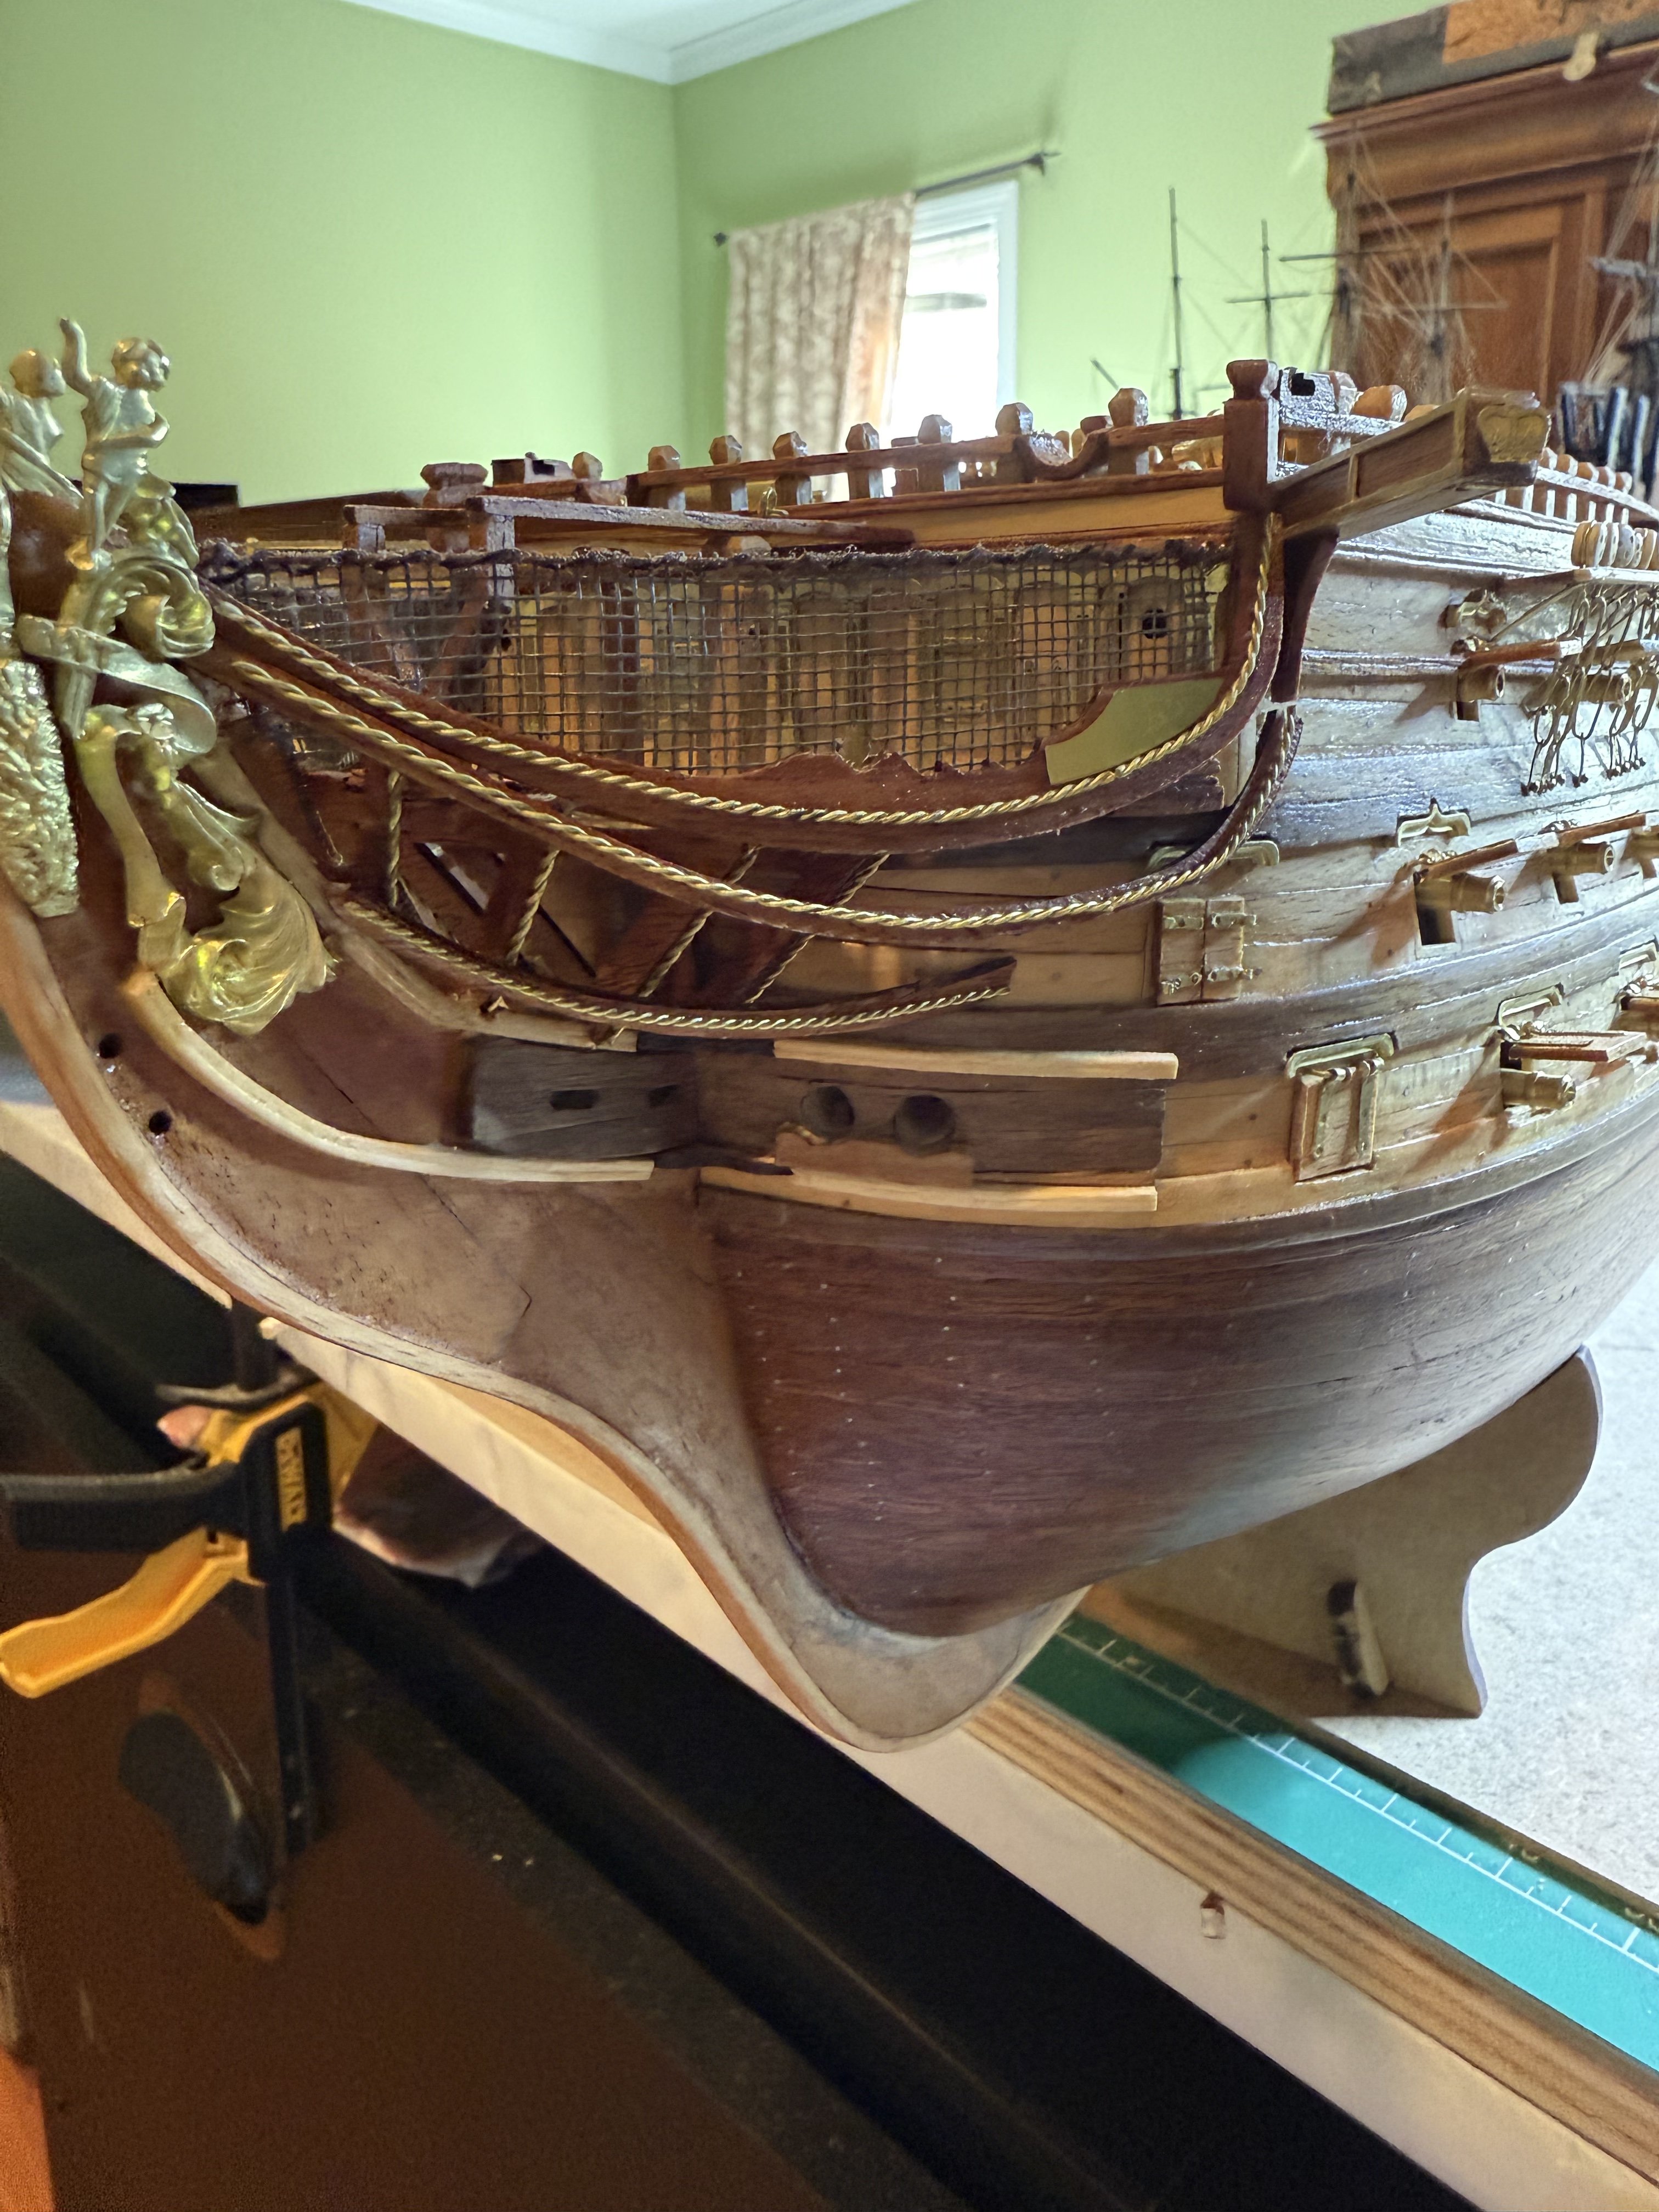
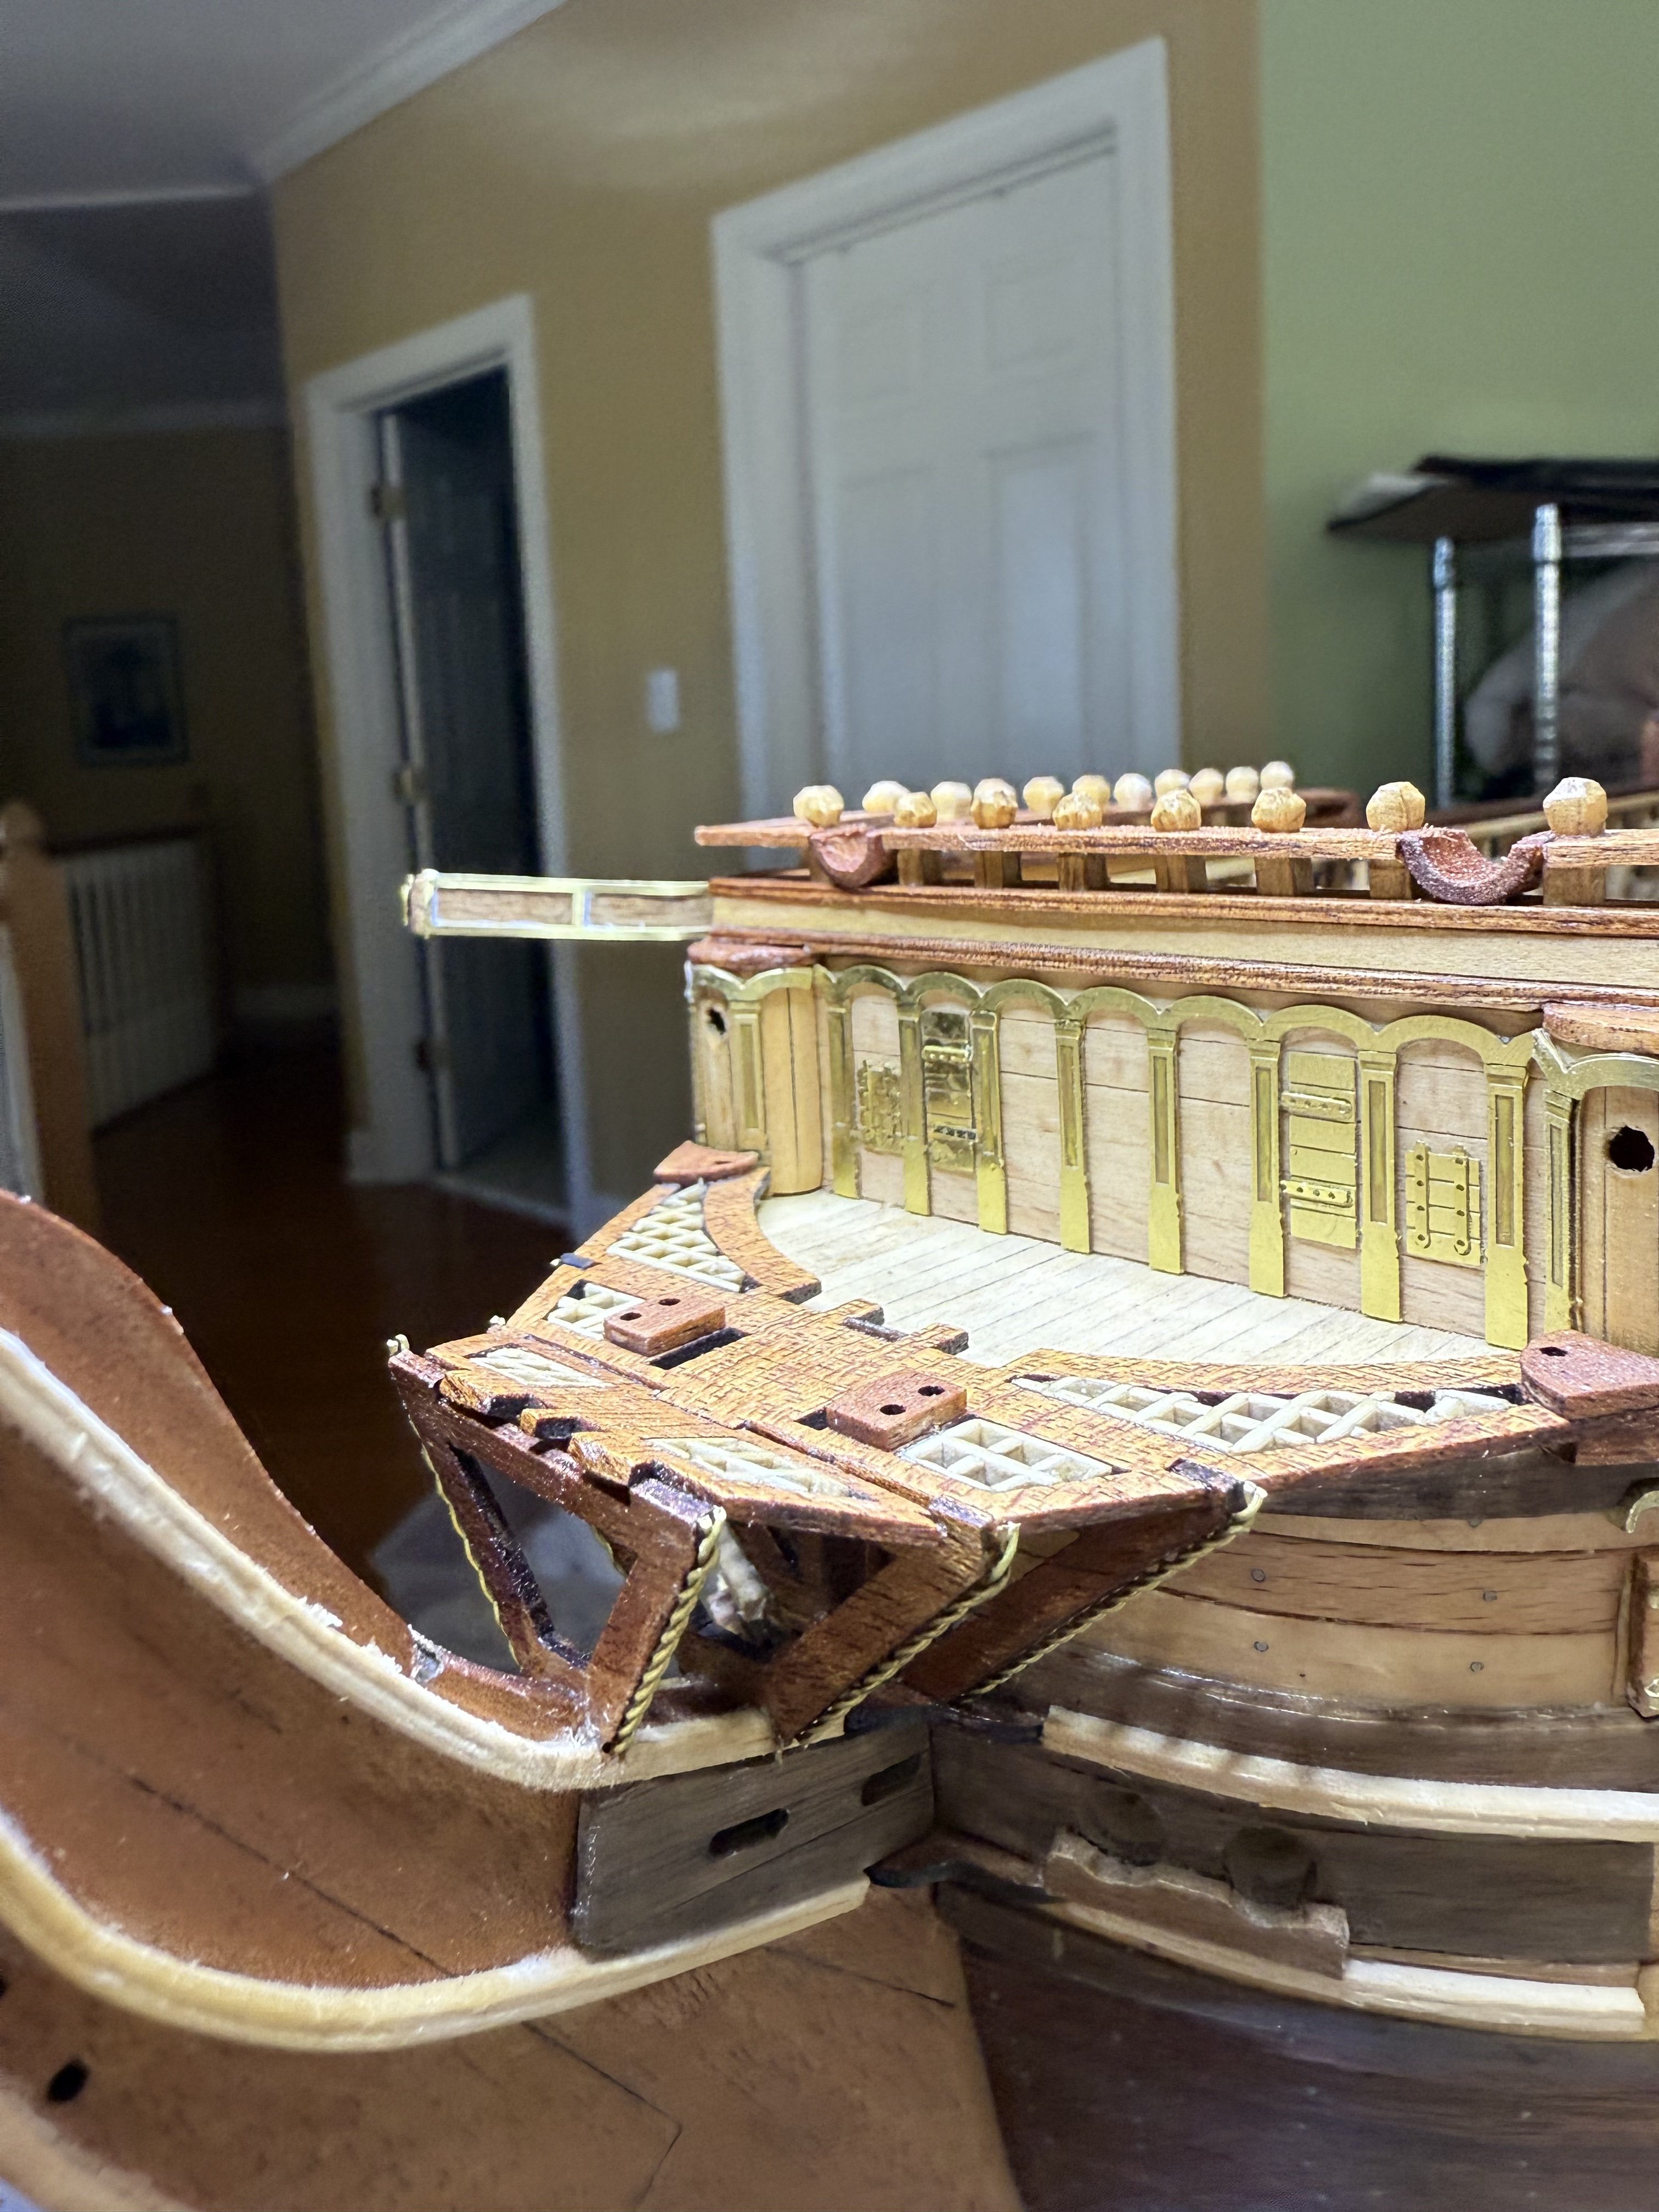
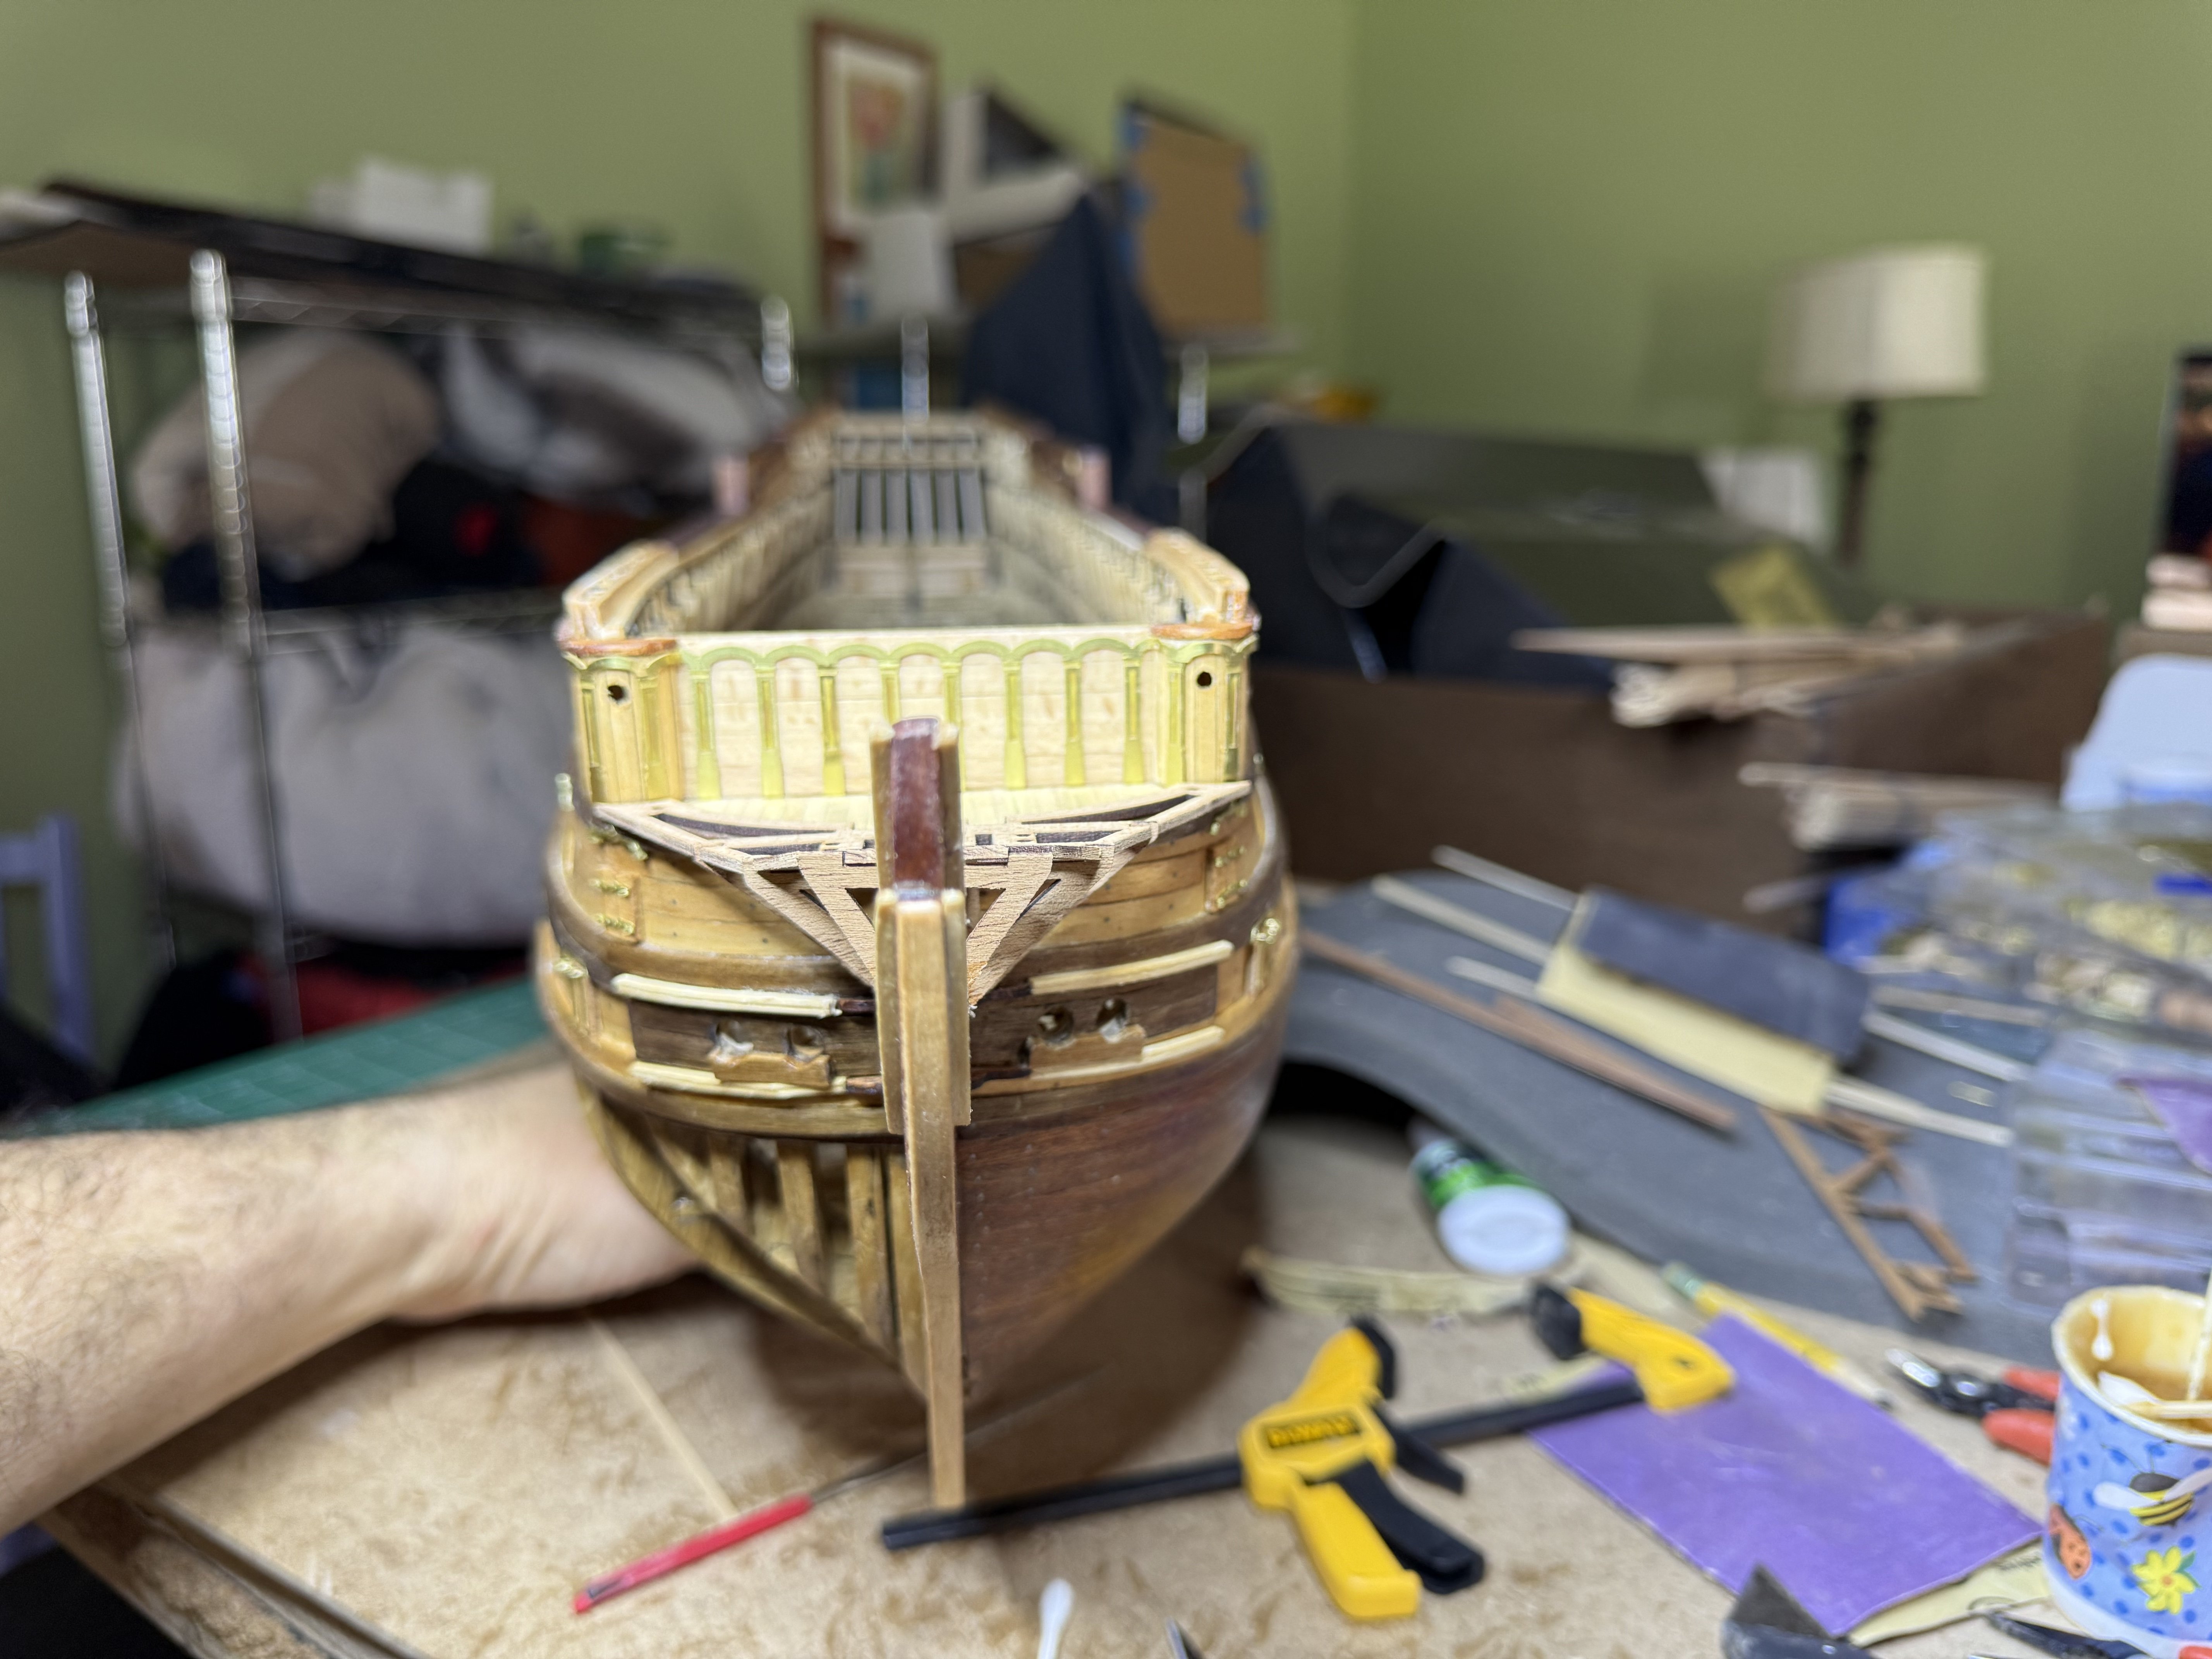
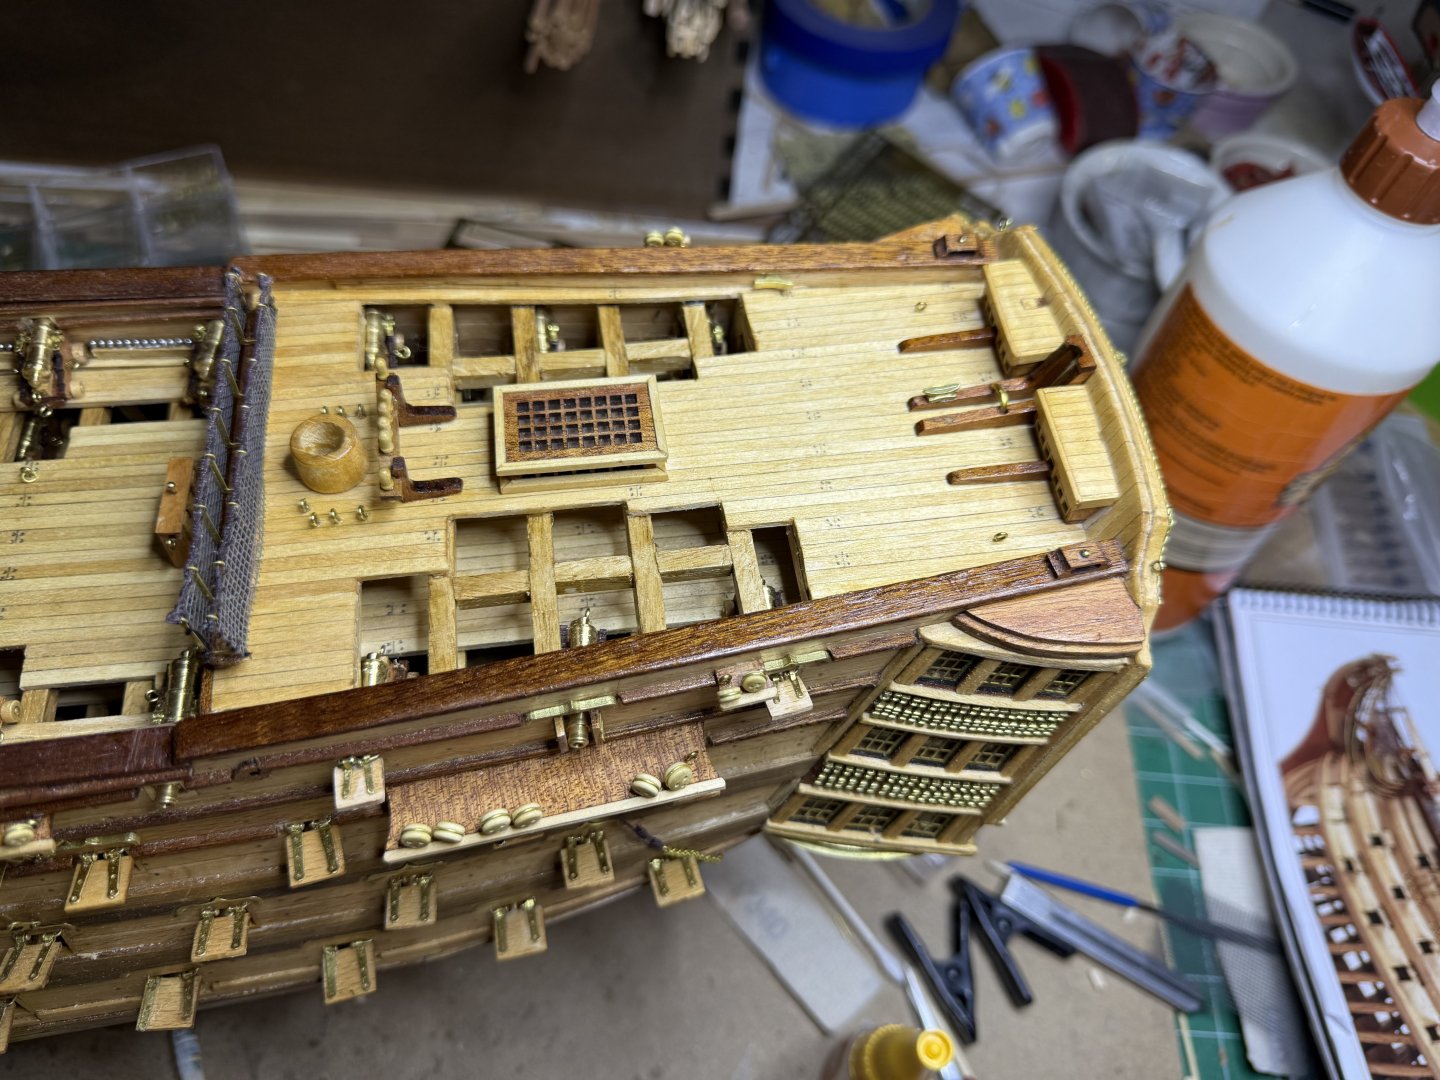
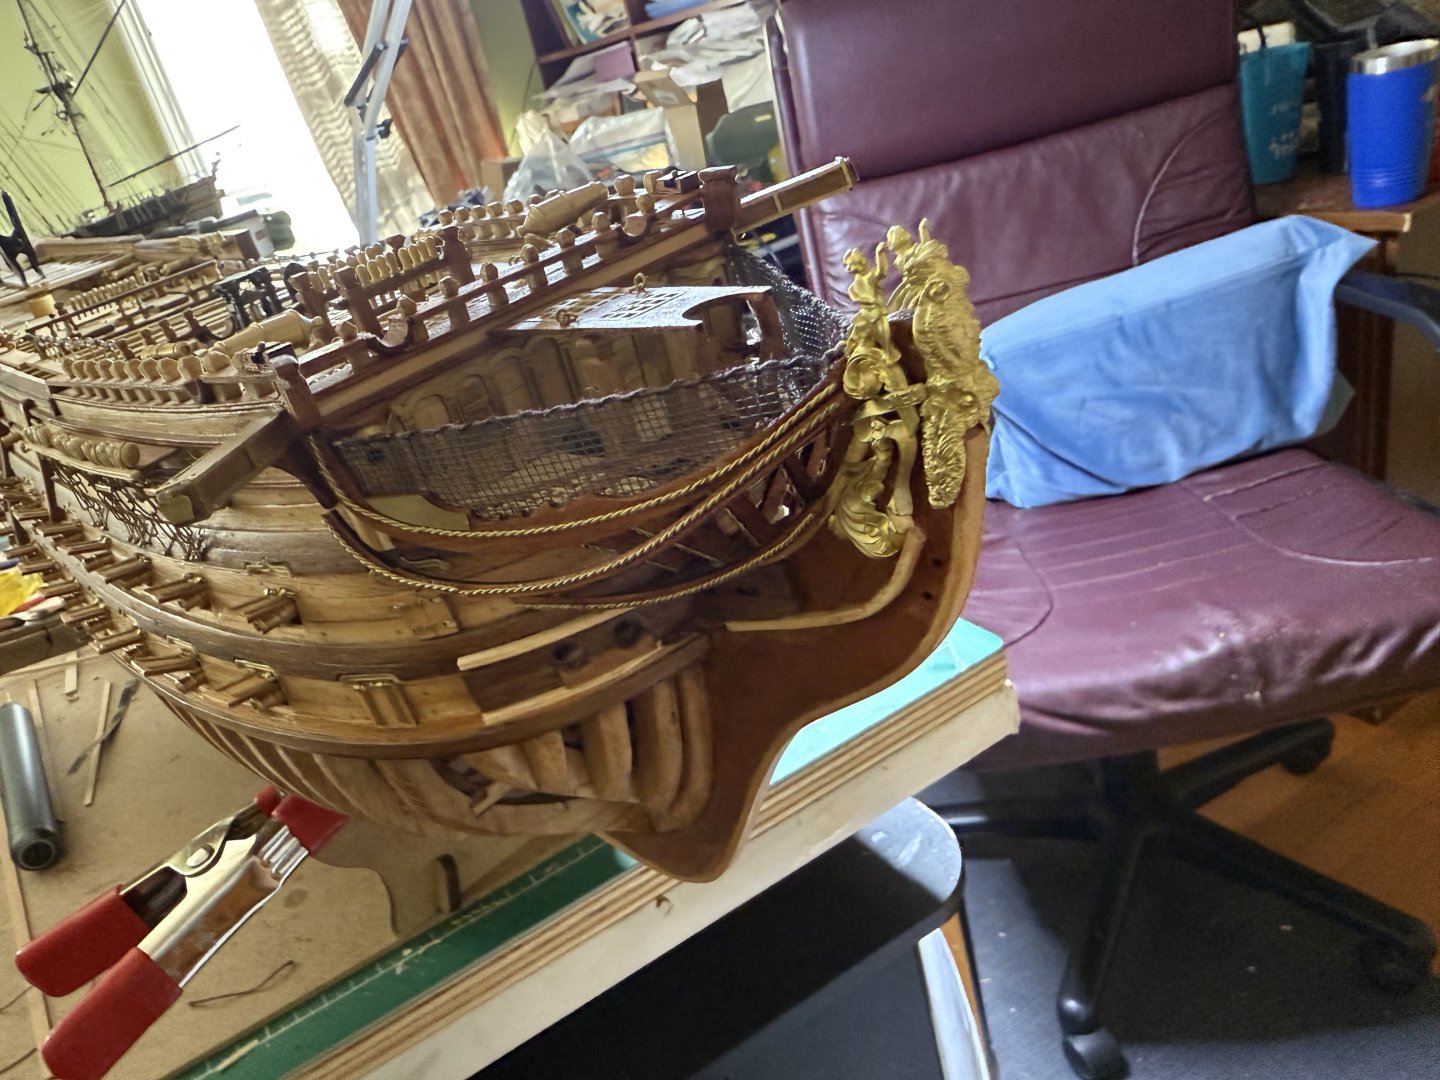
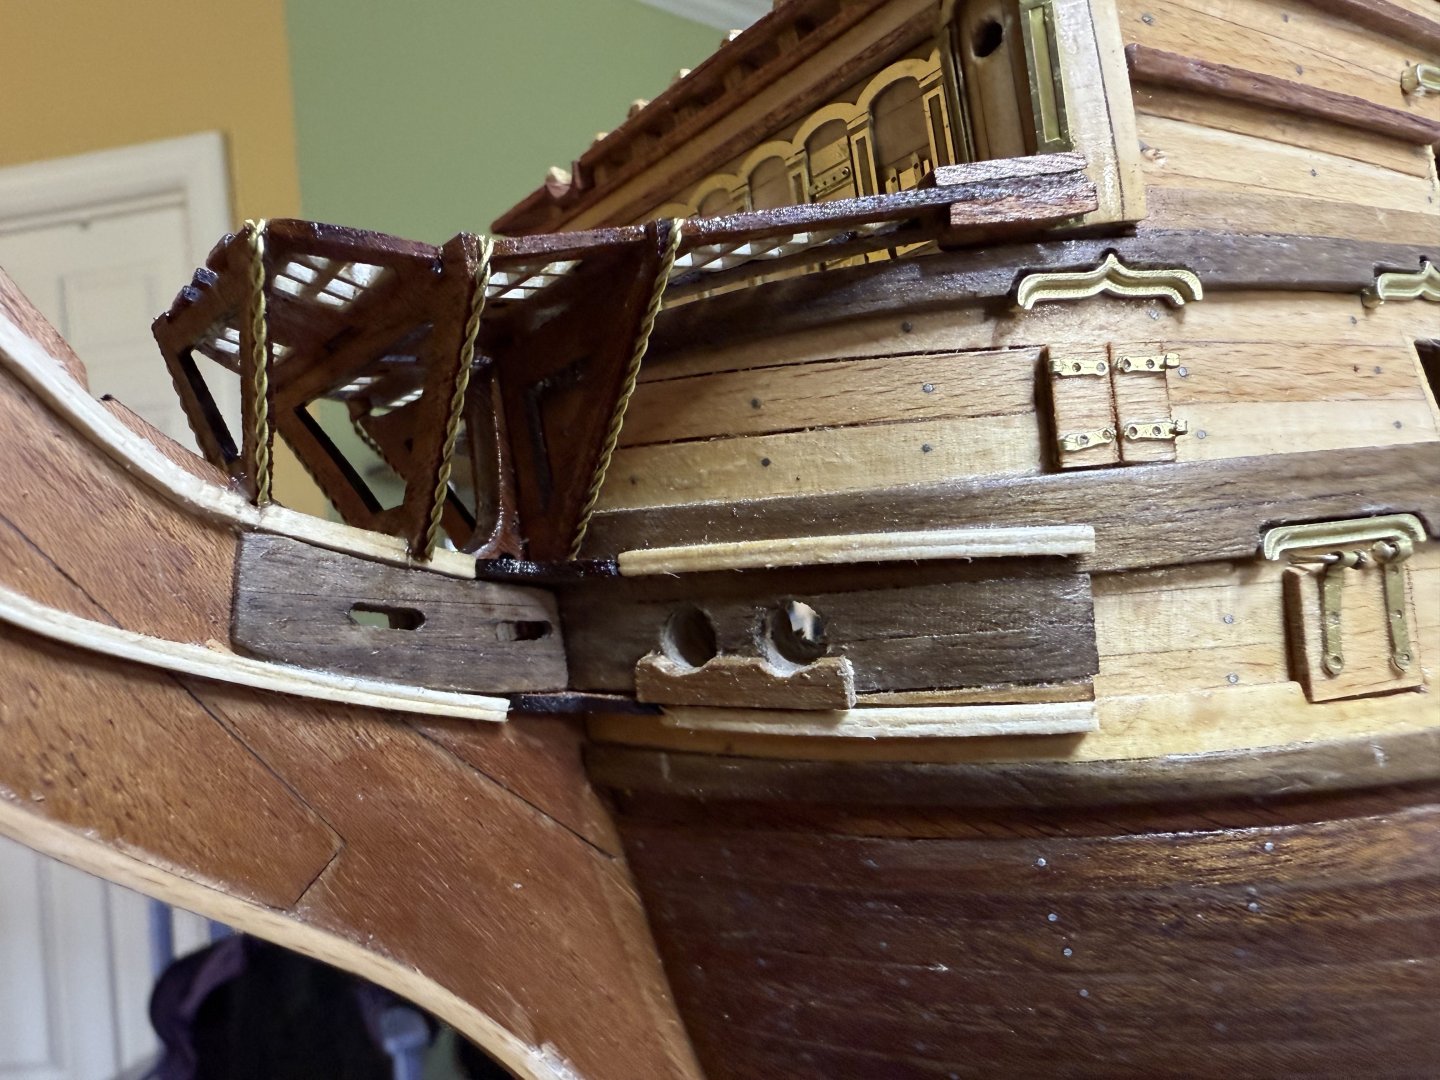
Last couple of days spent putting on the side galleries, planking the poop deck and various decorations and bow netting. Boomkins will go on when finished with the rigging as I otherwise always break them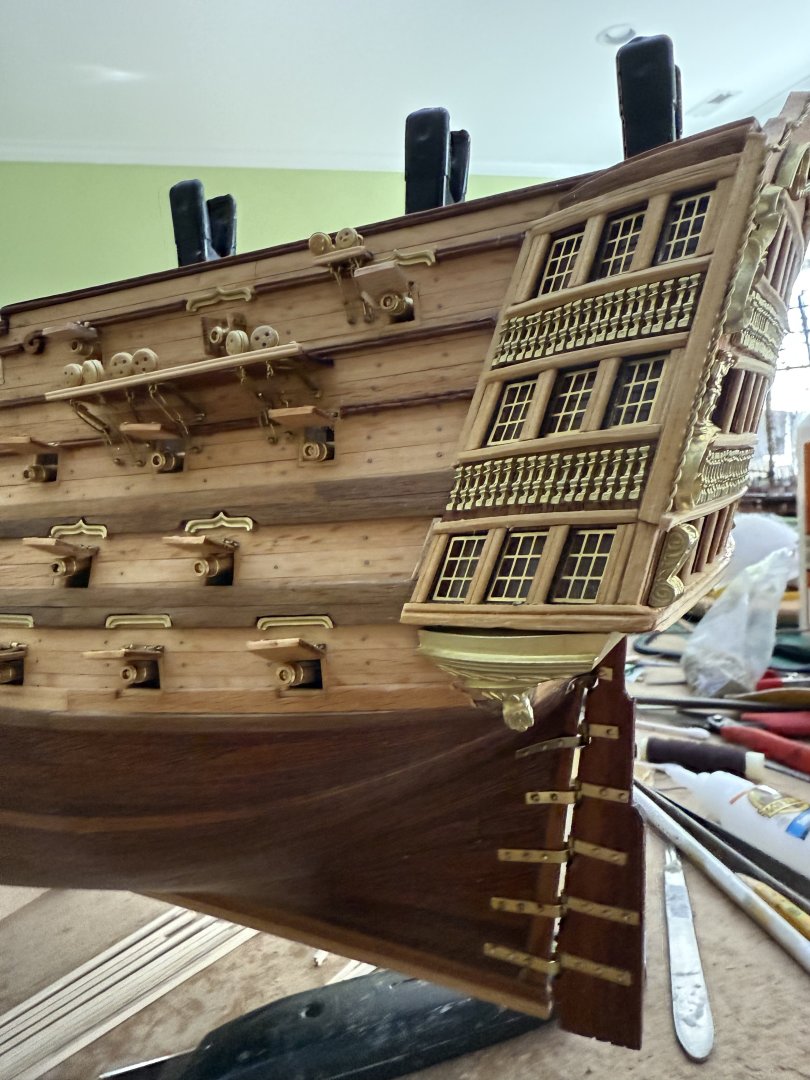


-
HMS Victory by ECK - OcCre - 1/87
ECK replied to ECK's topic in - Kit build logs for subjects built from 1751 - 1800
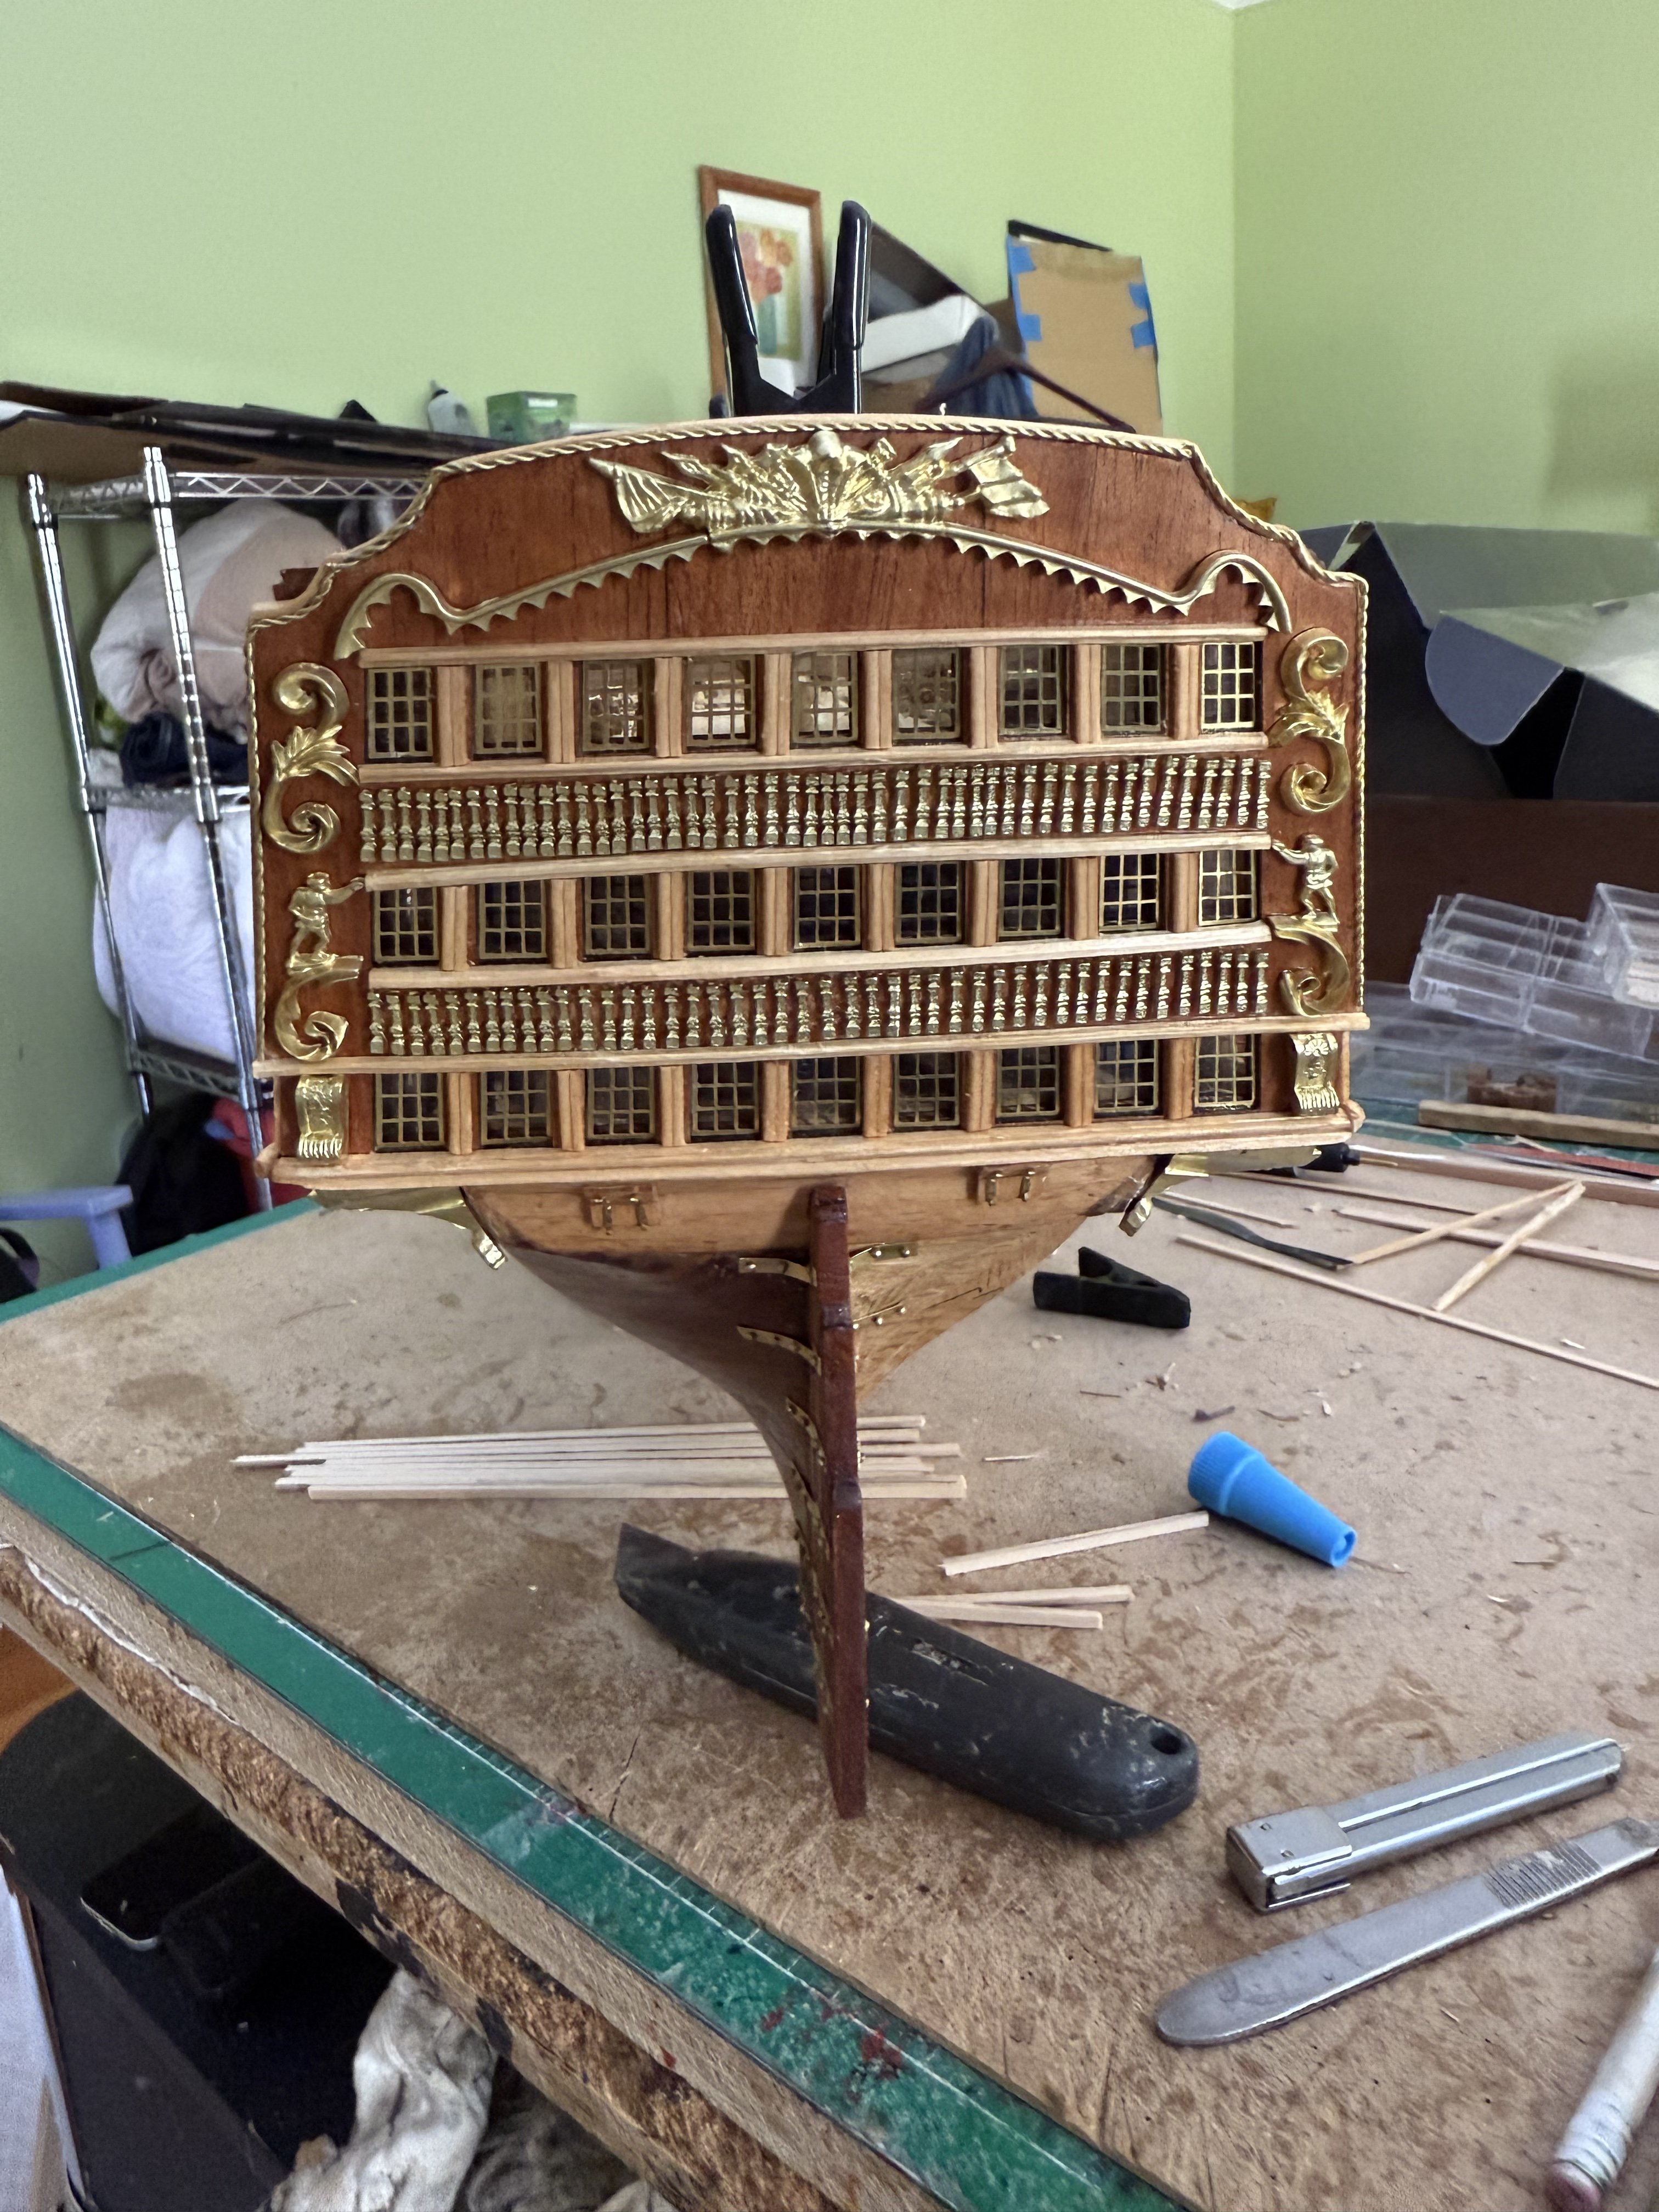
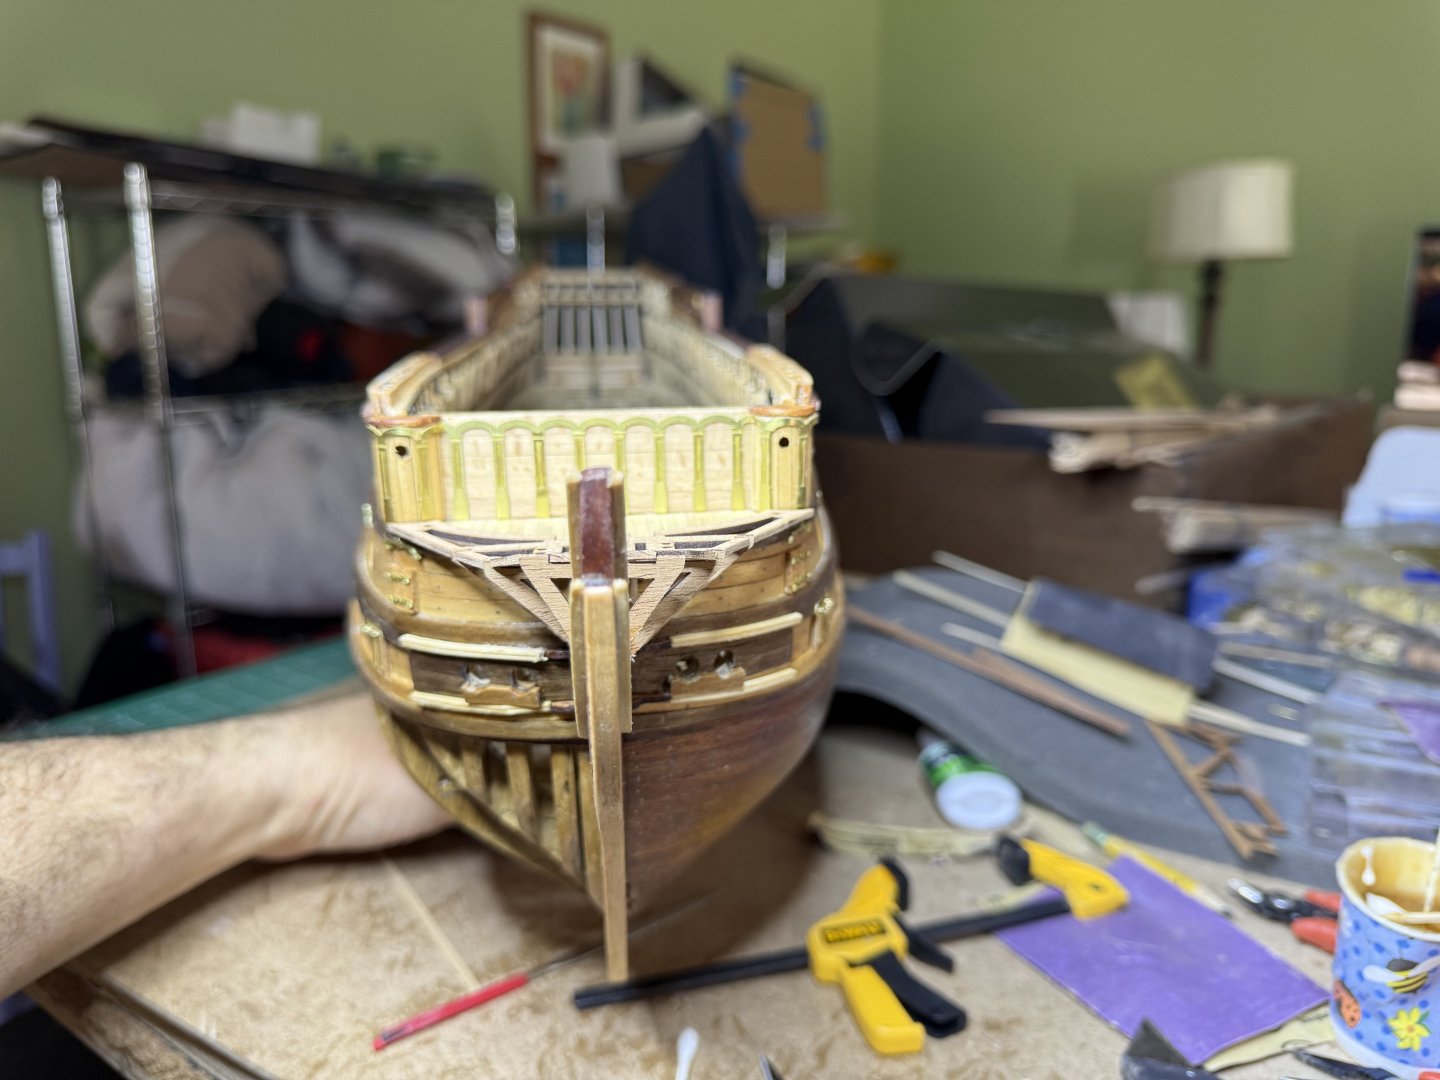
Been awhile since I posted, busy rounding week and weekend call. Have completed many deck pieces, installed poop deck beams and finally glued stern fascia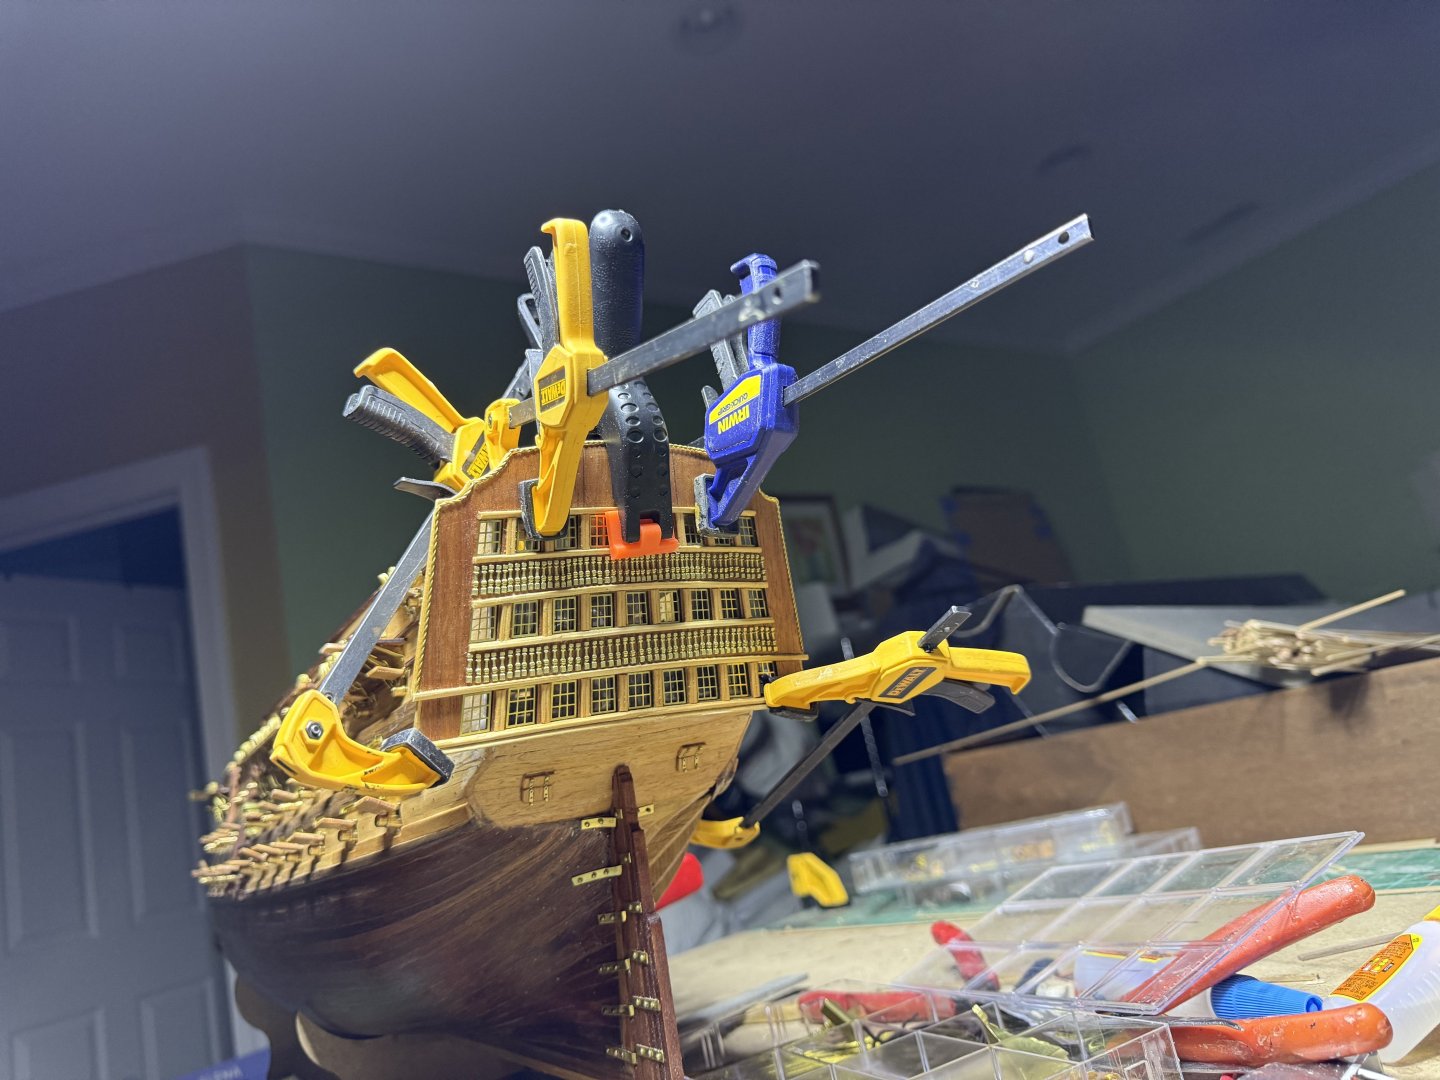

-
Enjoy the build ! Soon you'll be ready for Indy
-
HMS Victory by ECK - OcCre - 1/87
ECK replied to ECK's topic in - Kit build logs for subjects built from 1751 - 1800
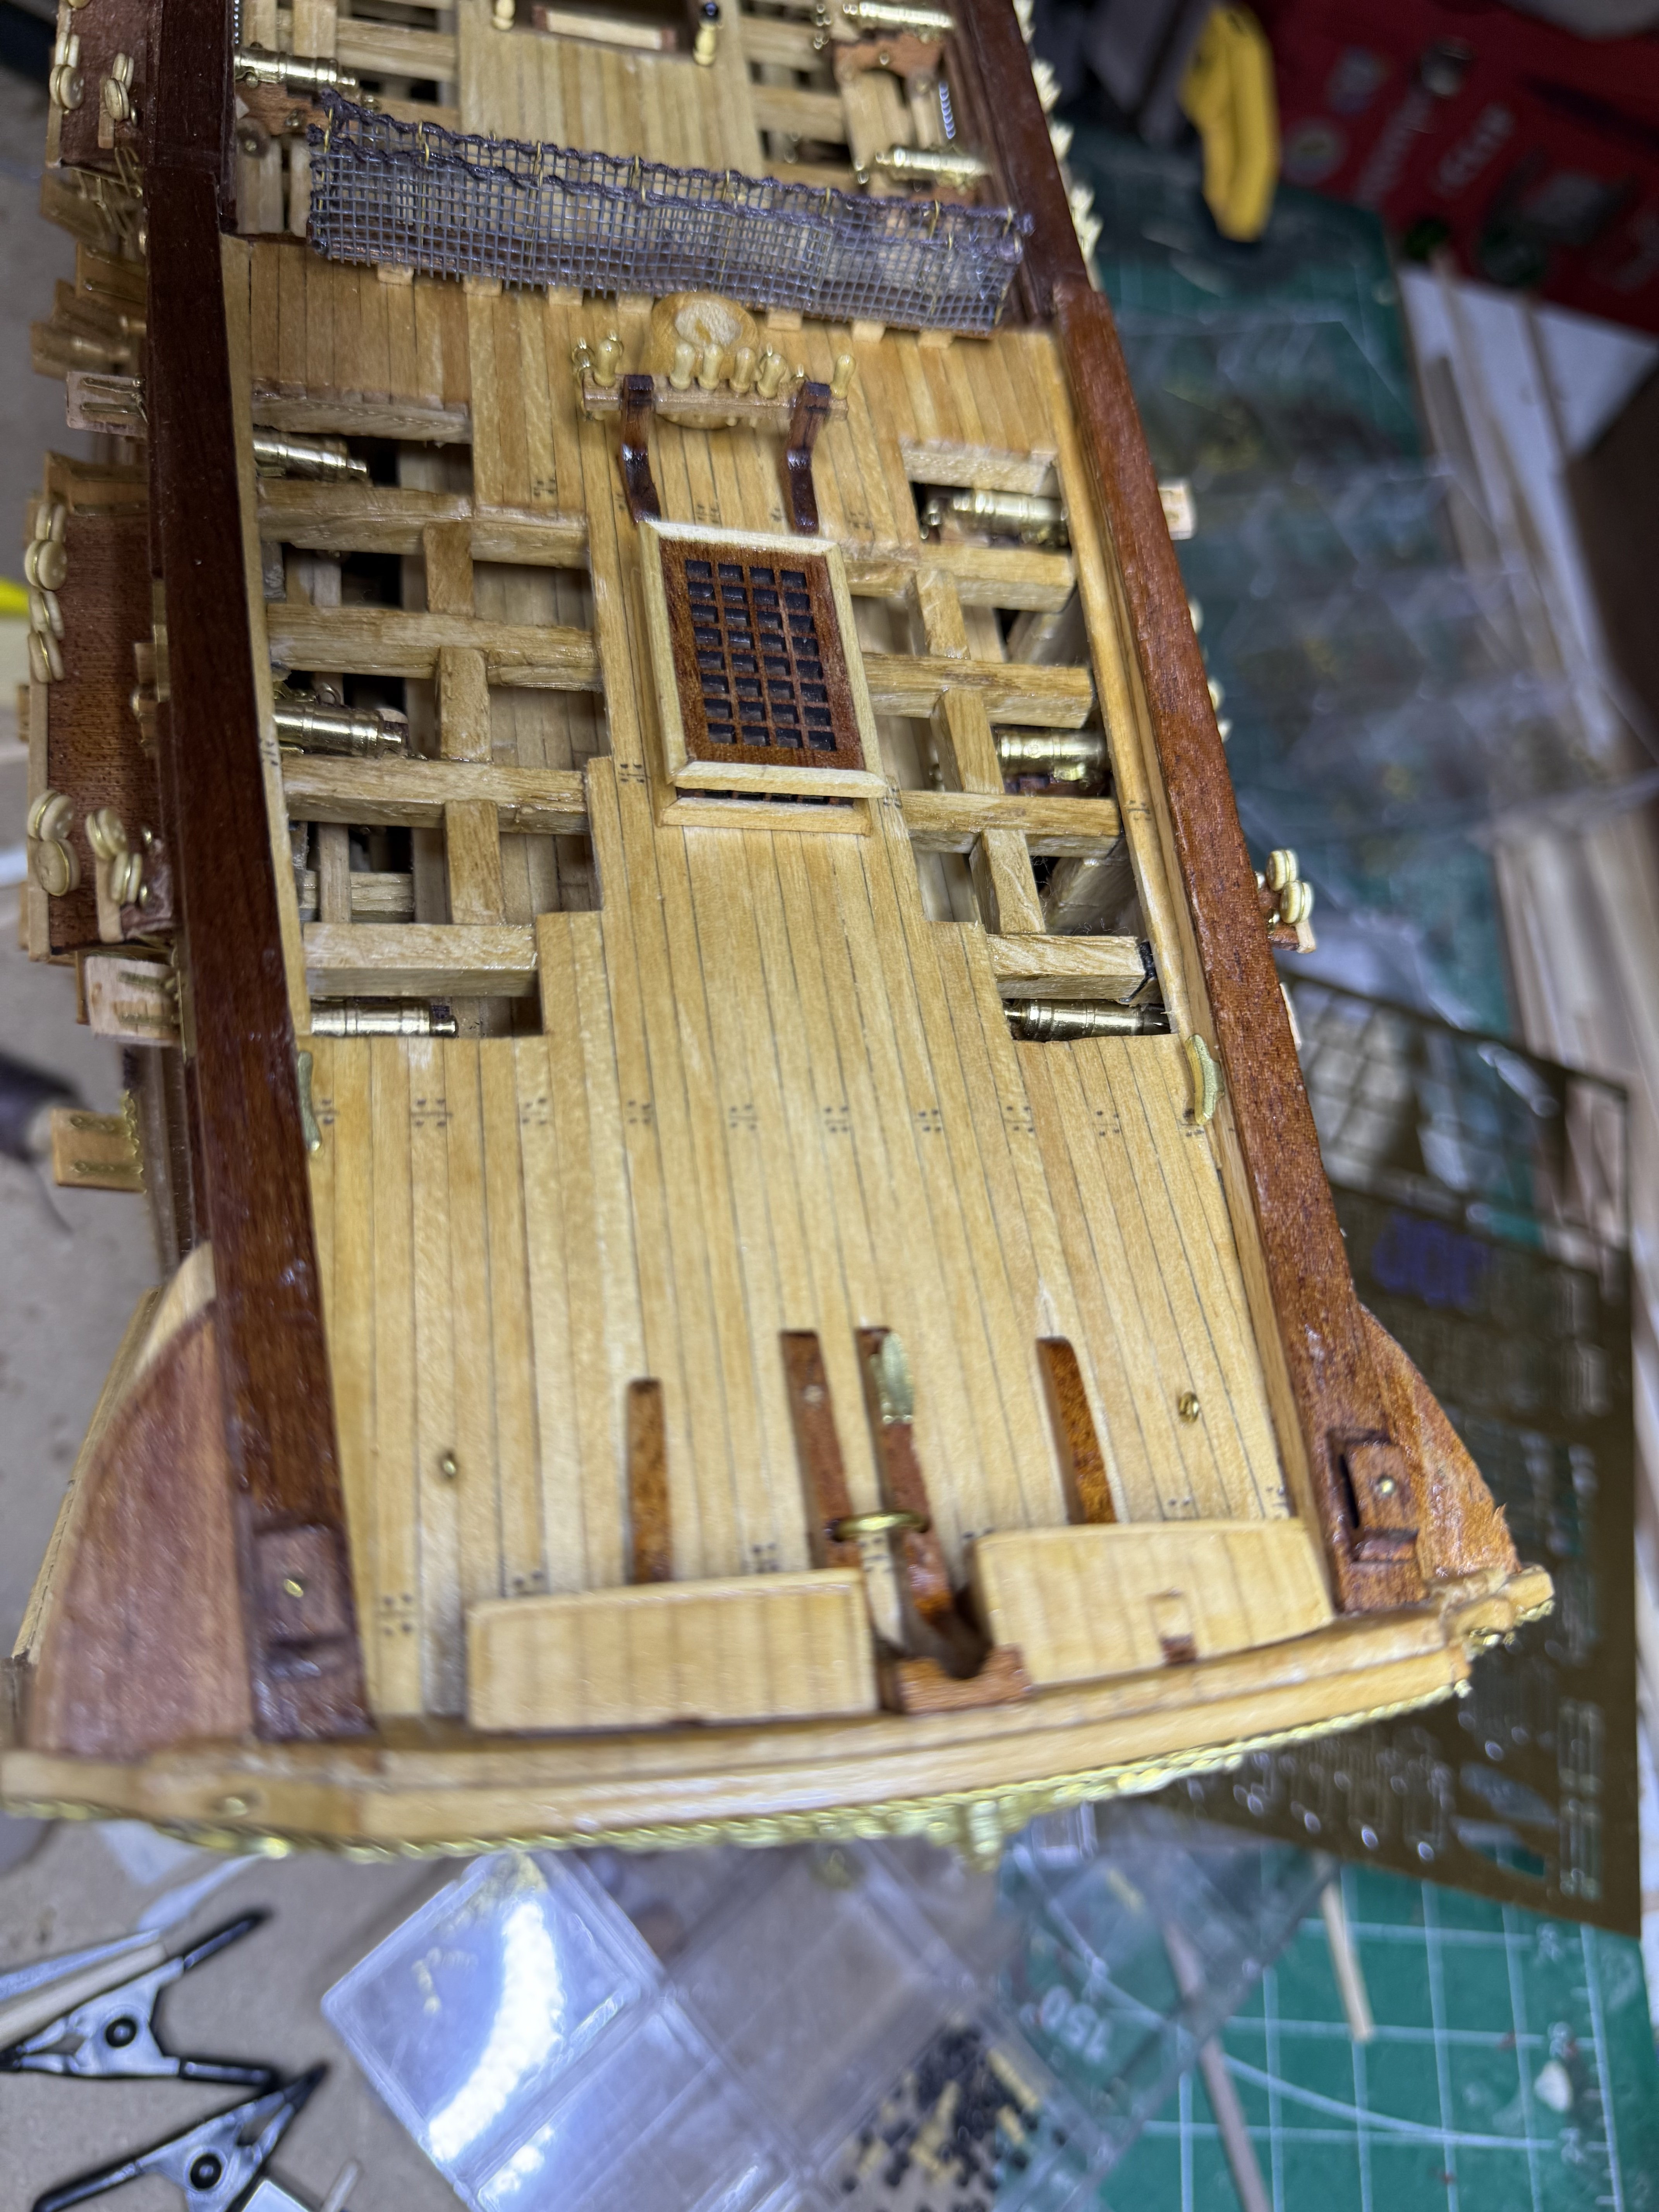
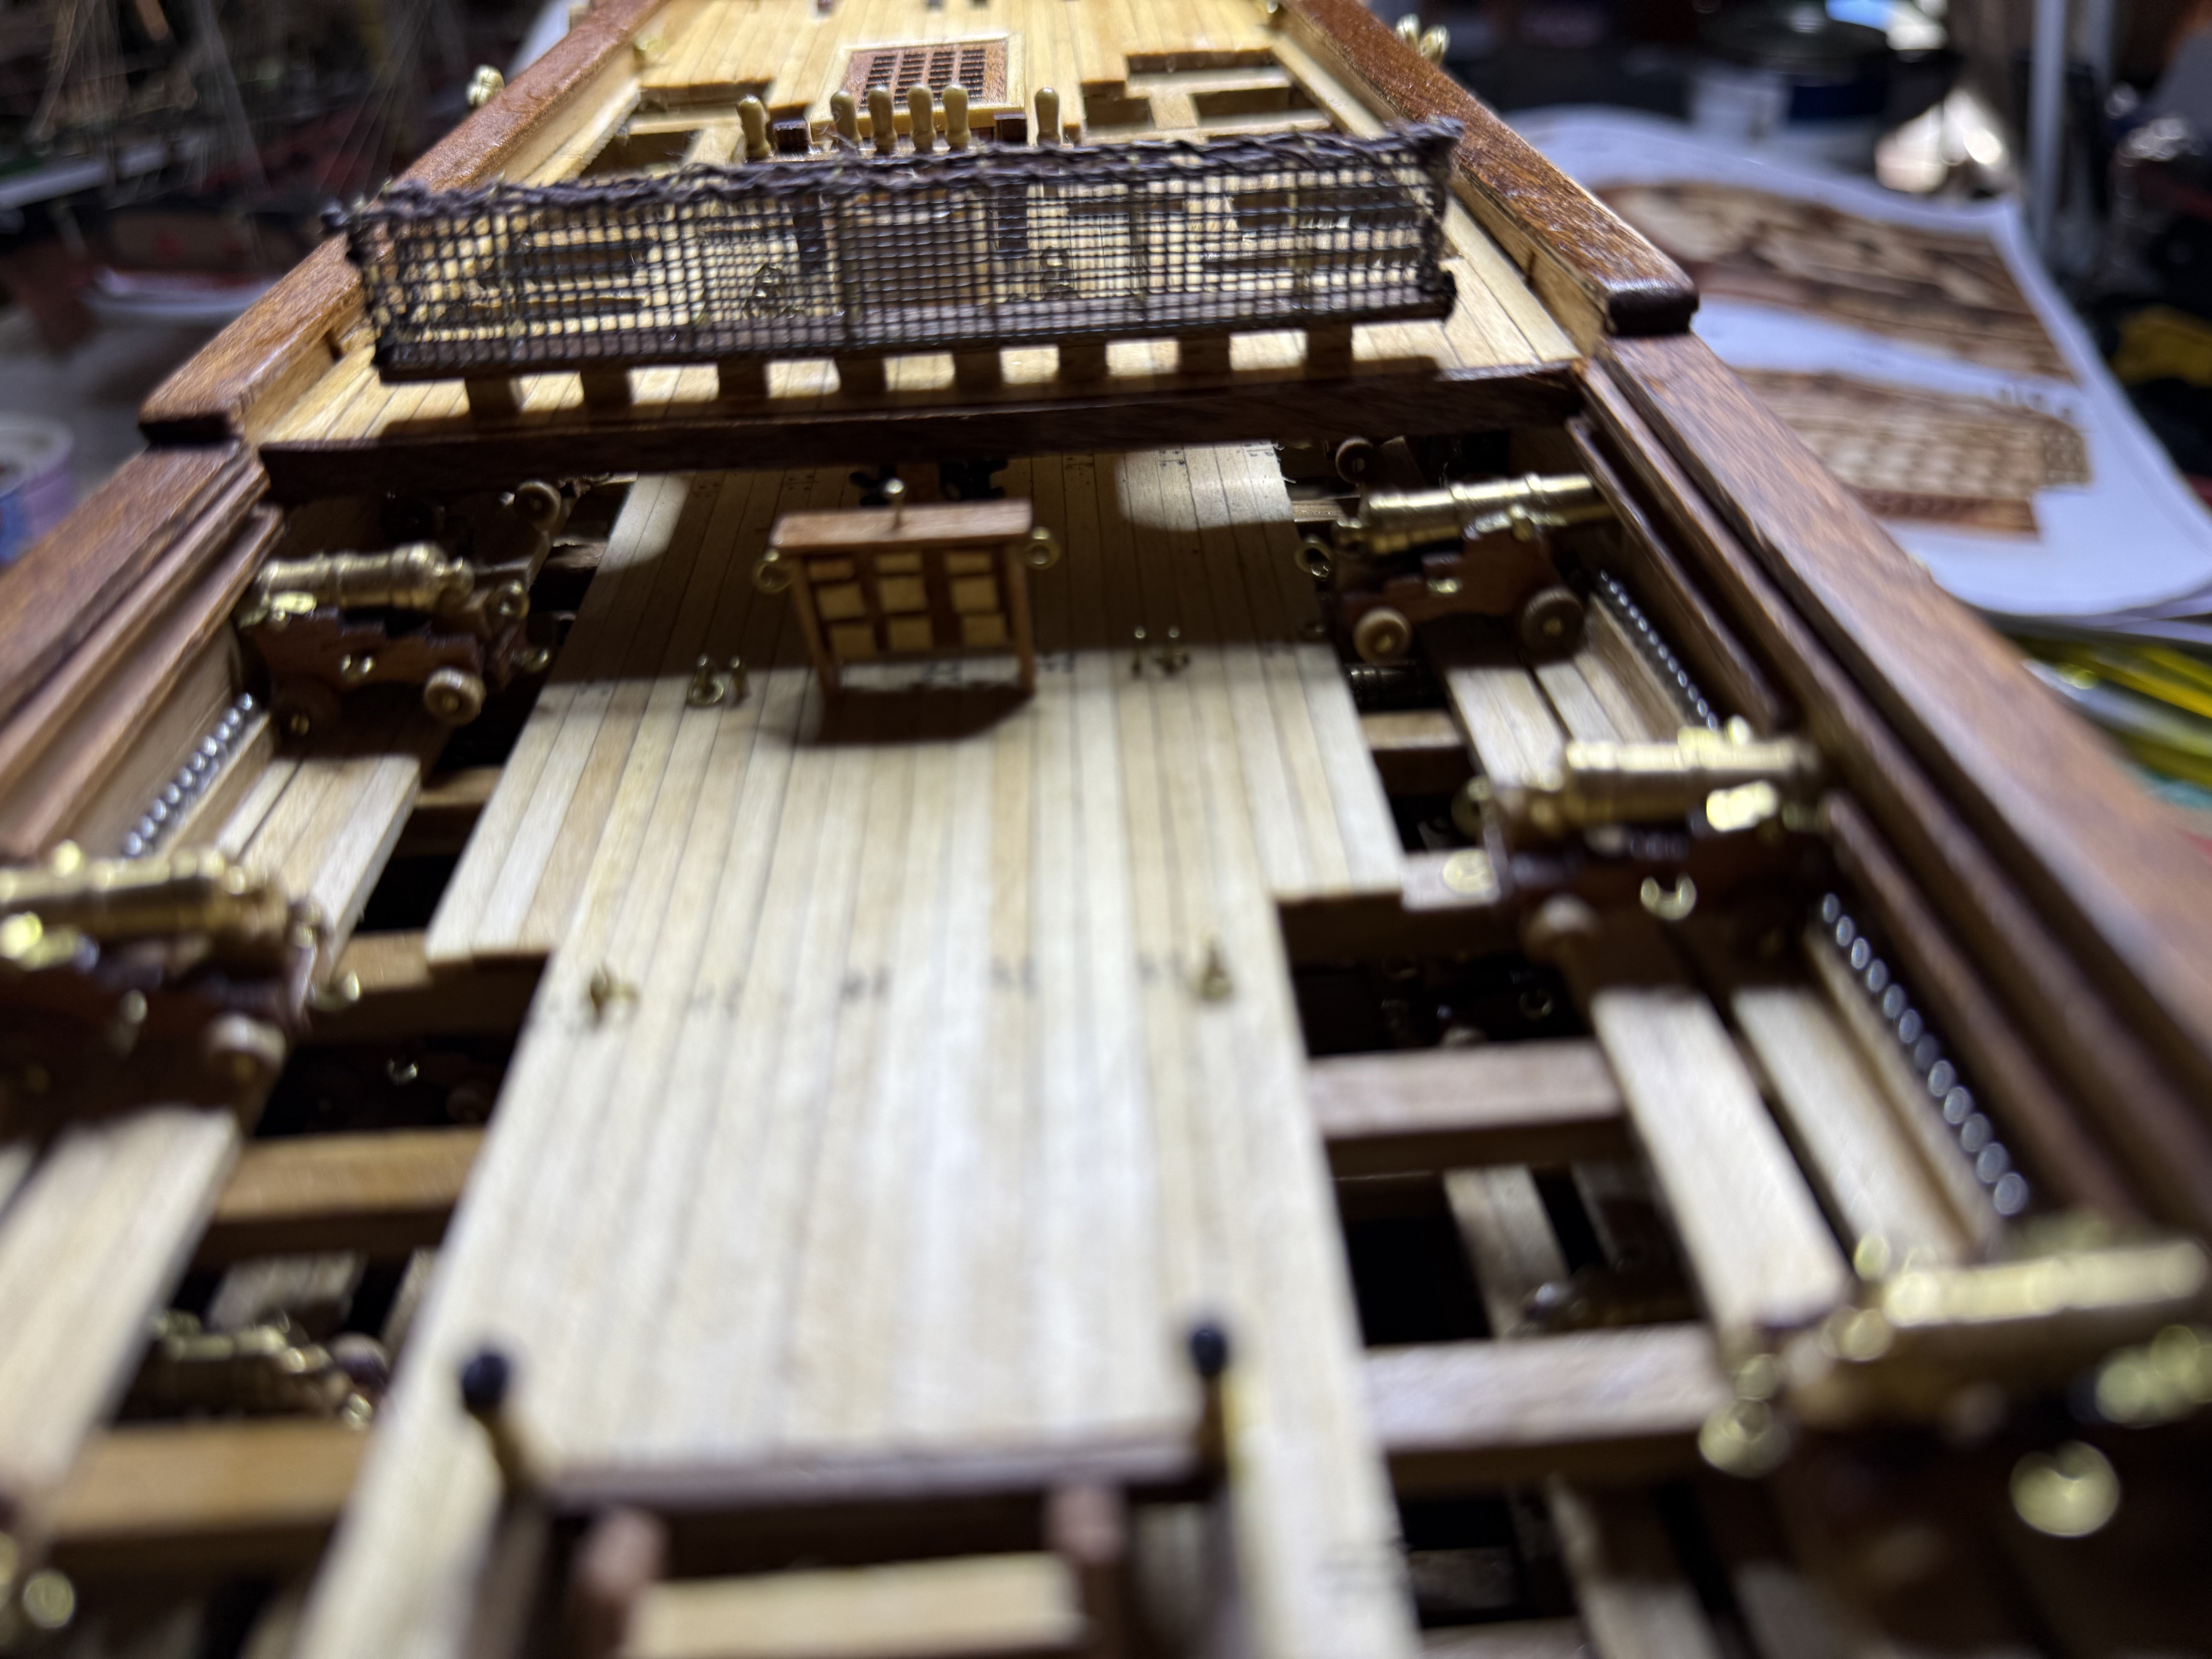
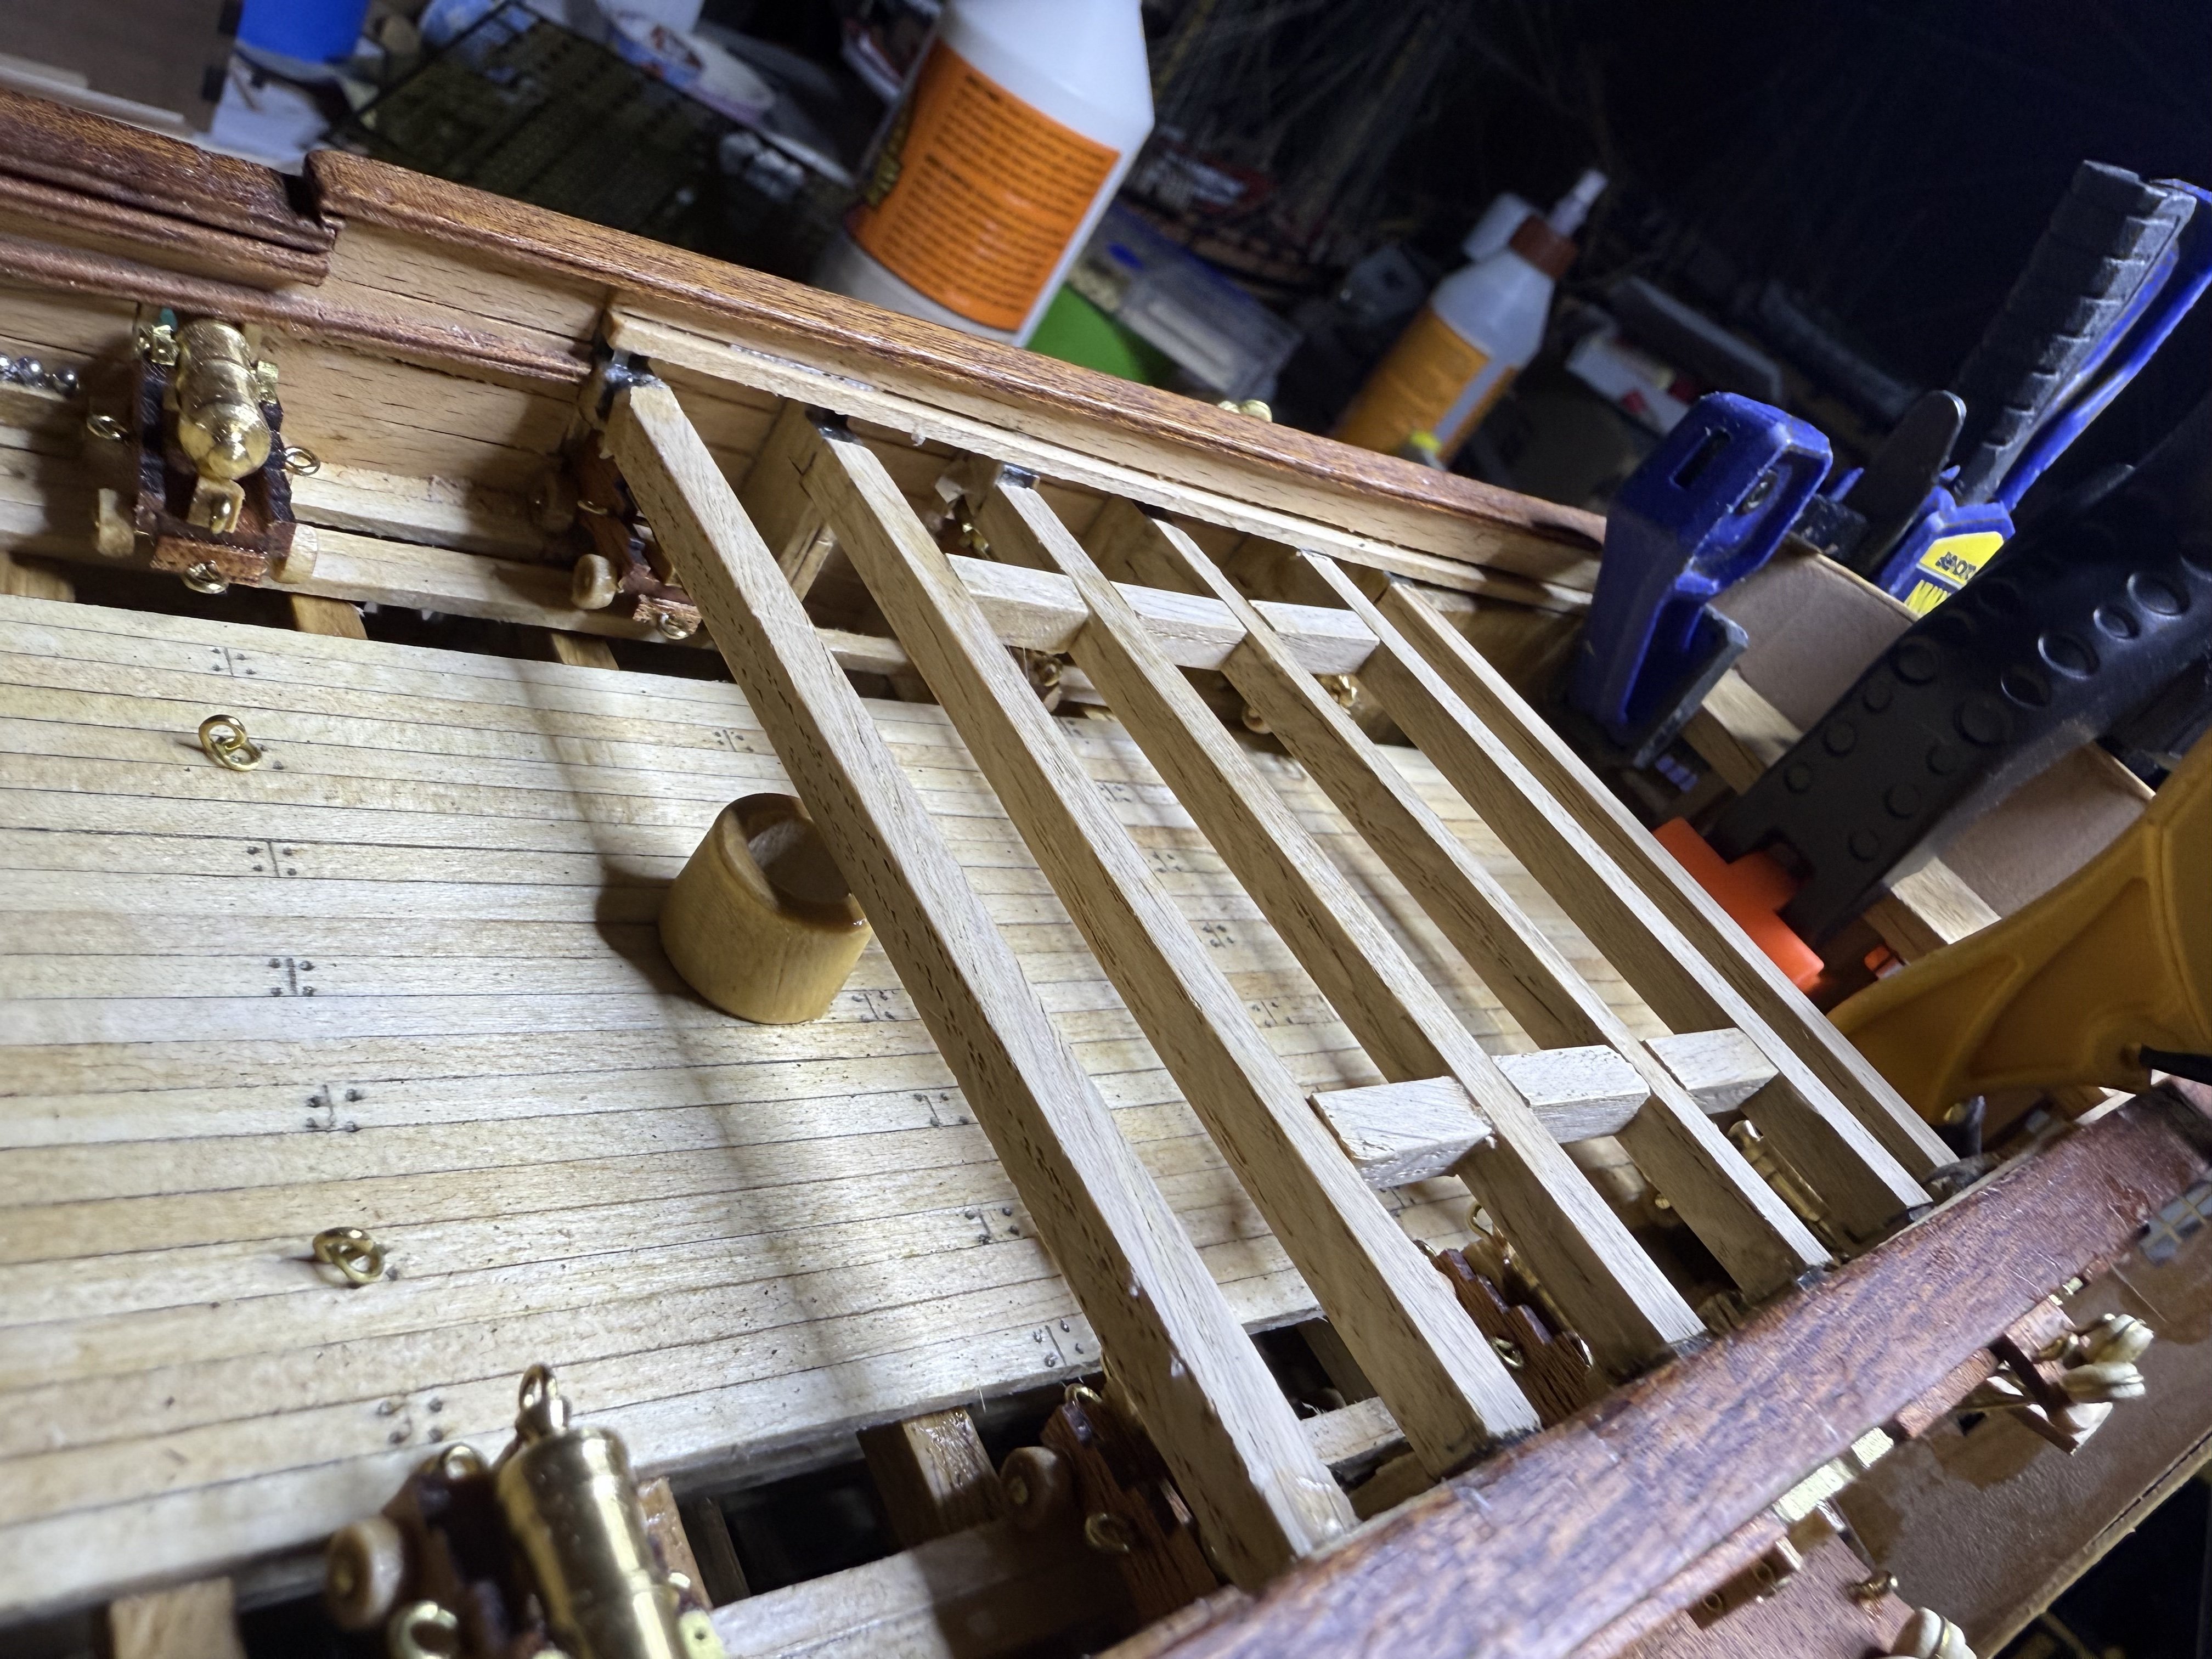
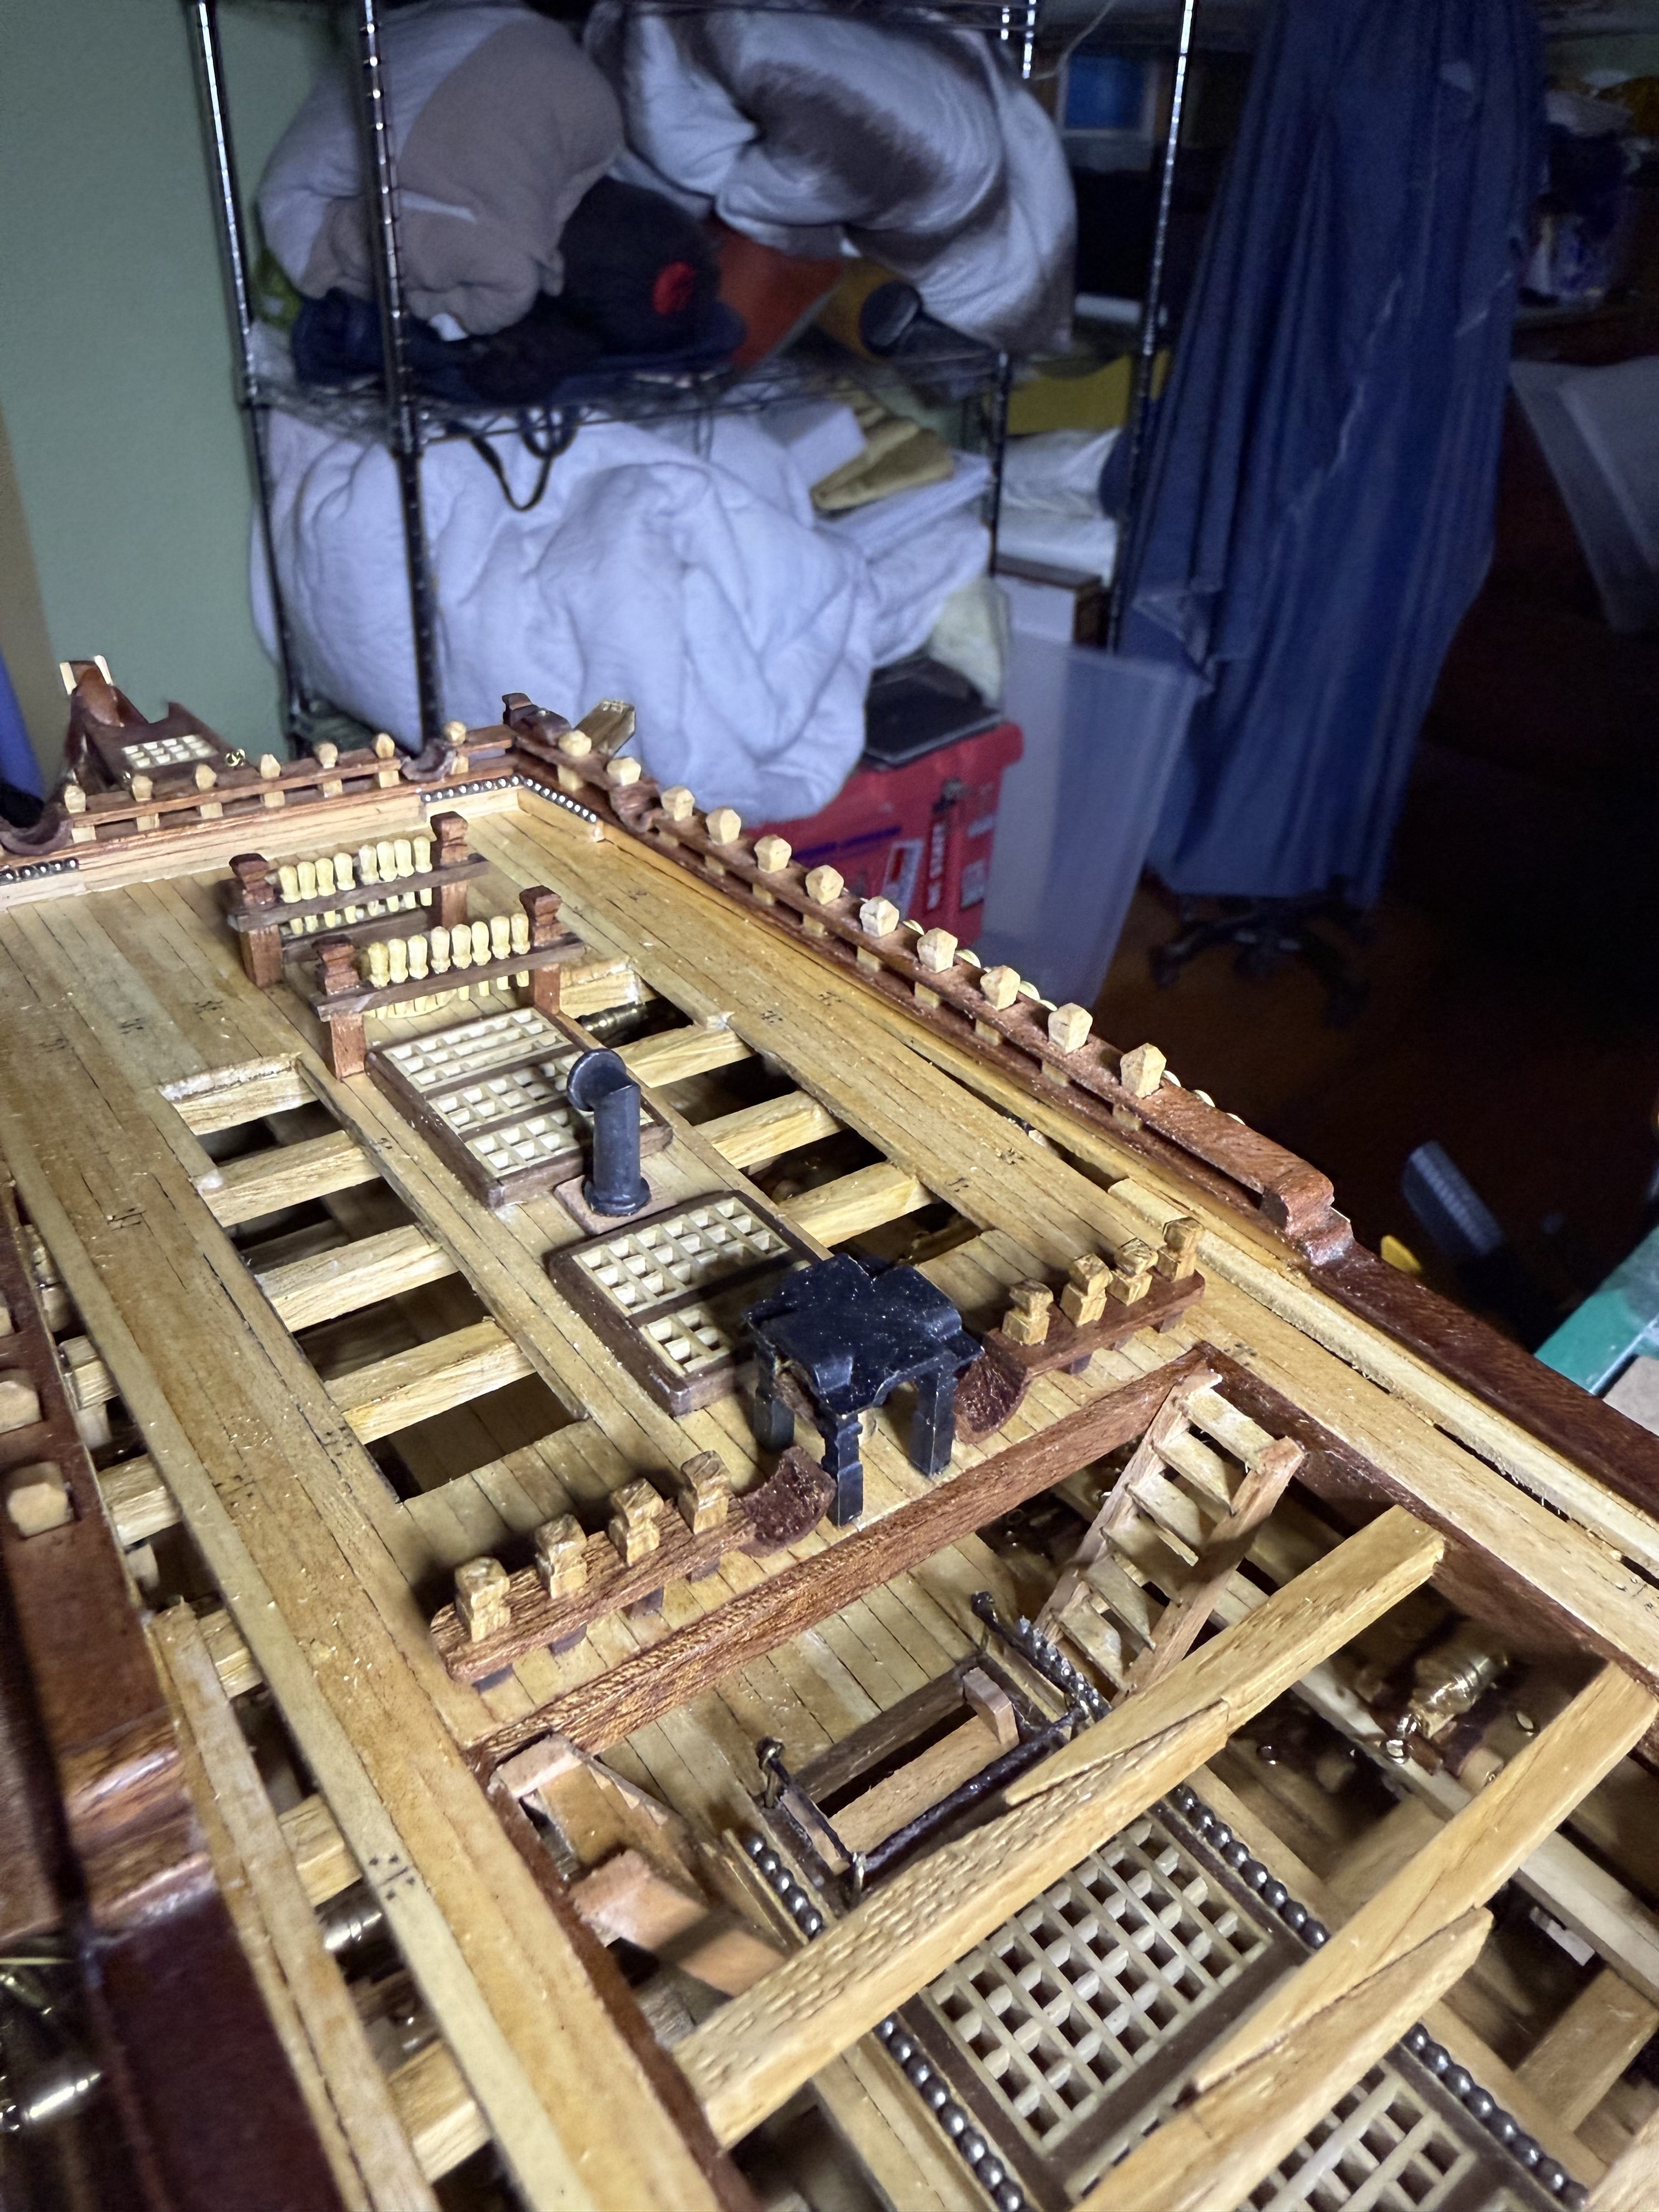
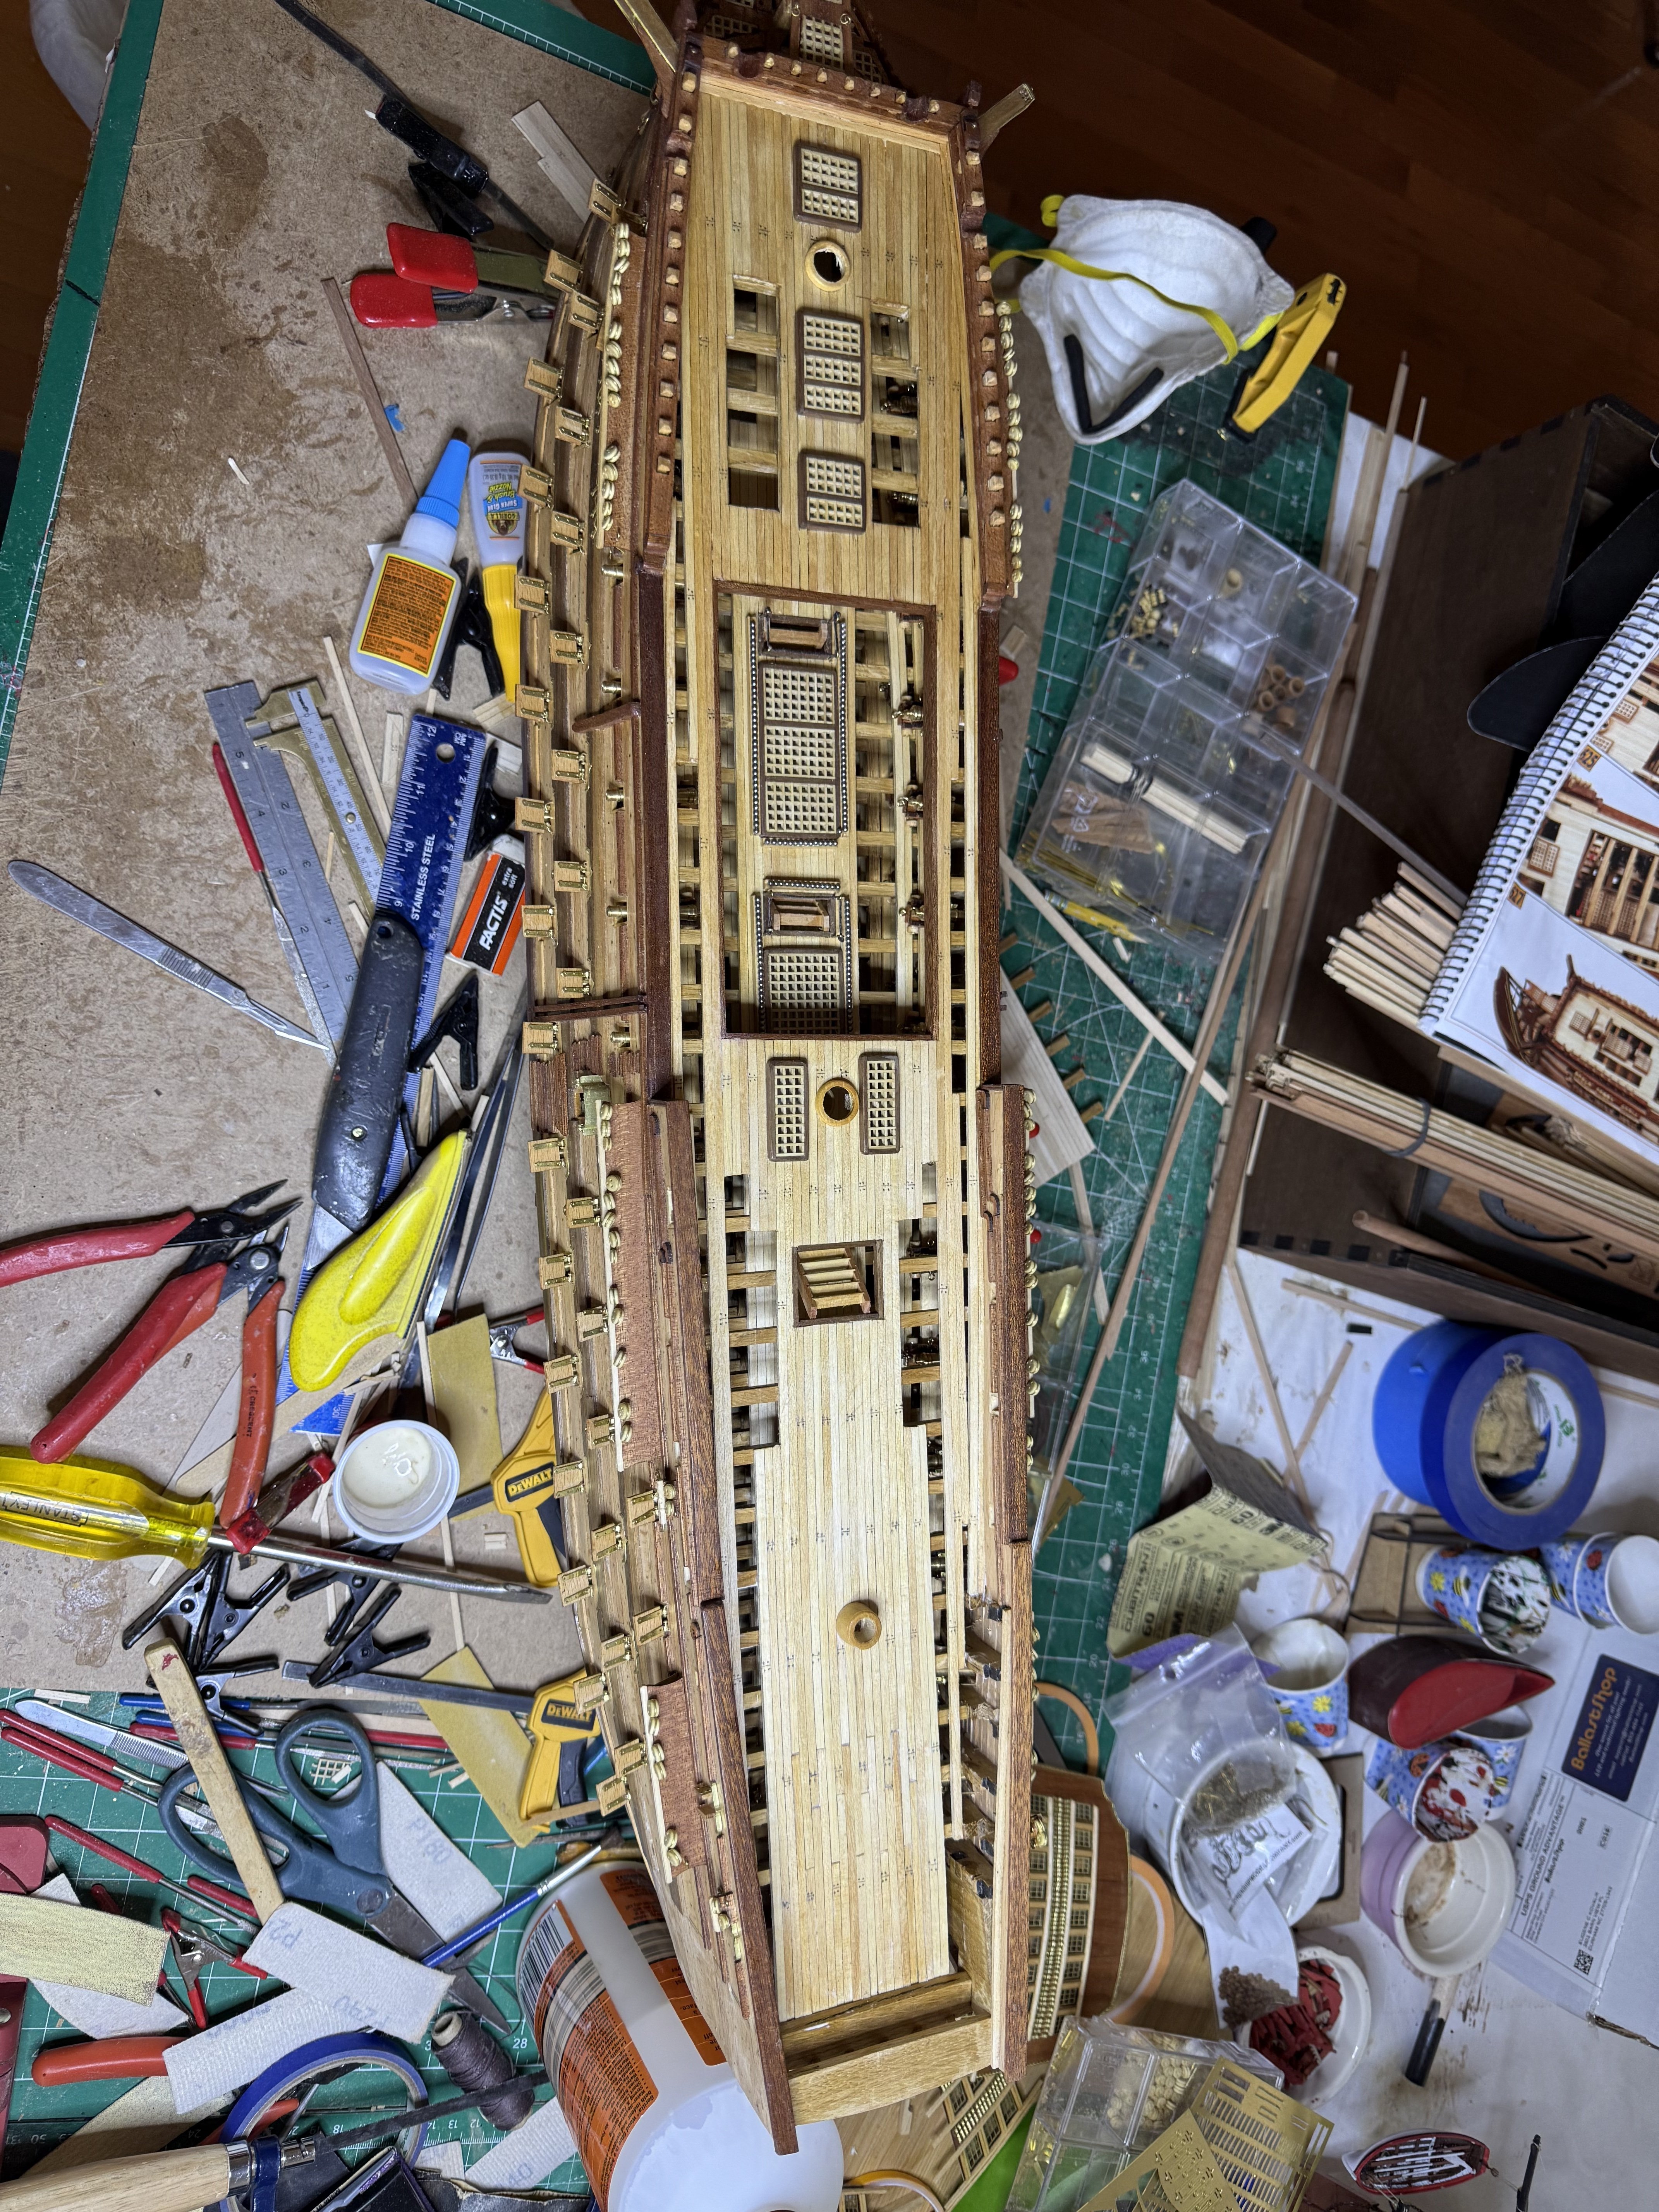
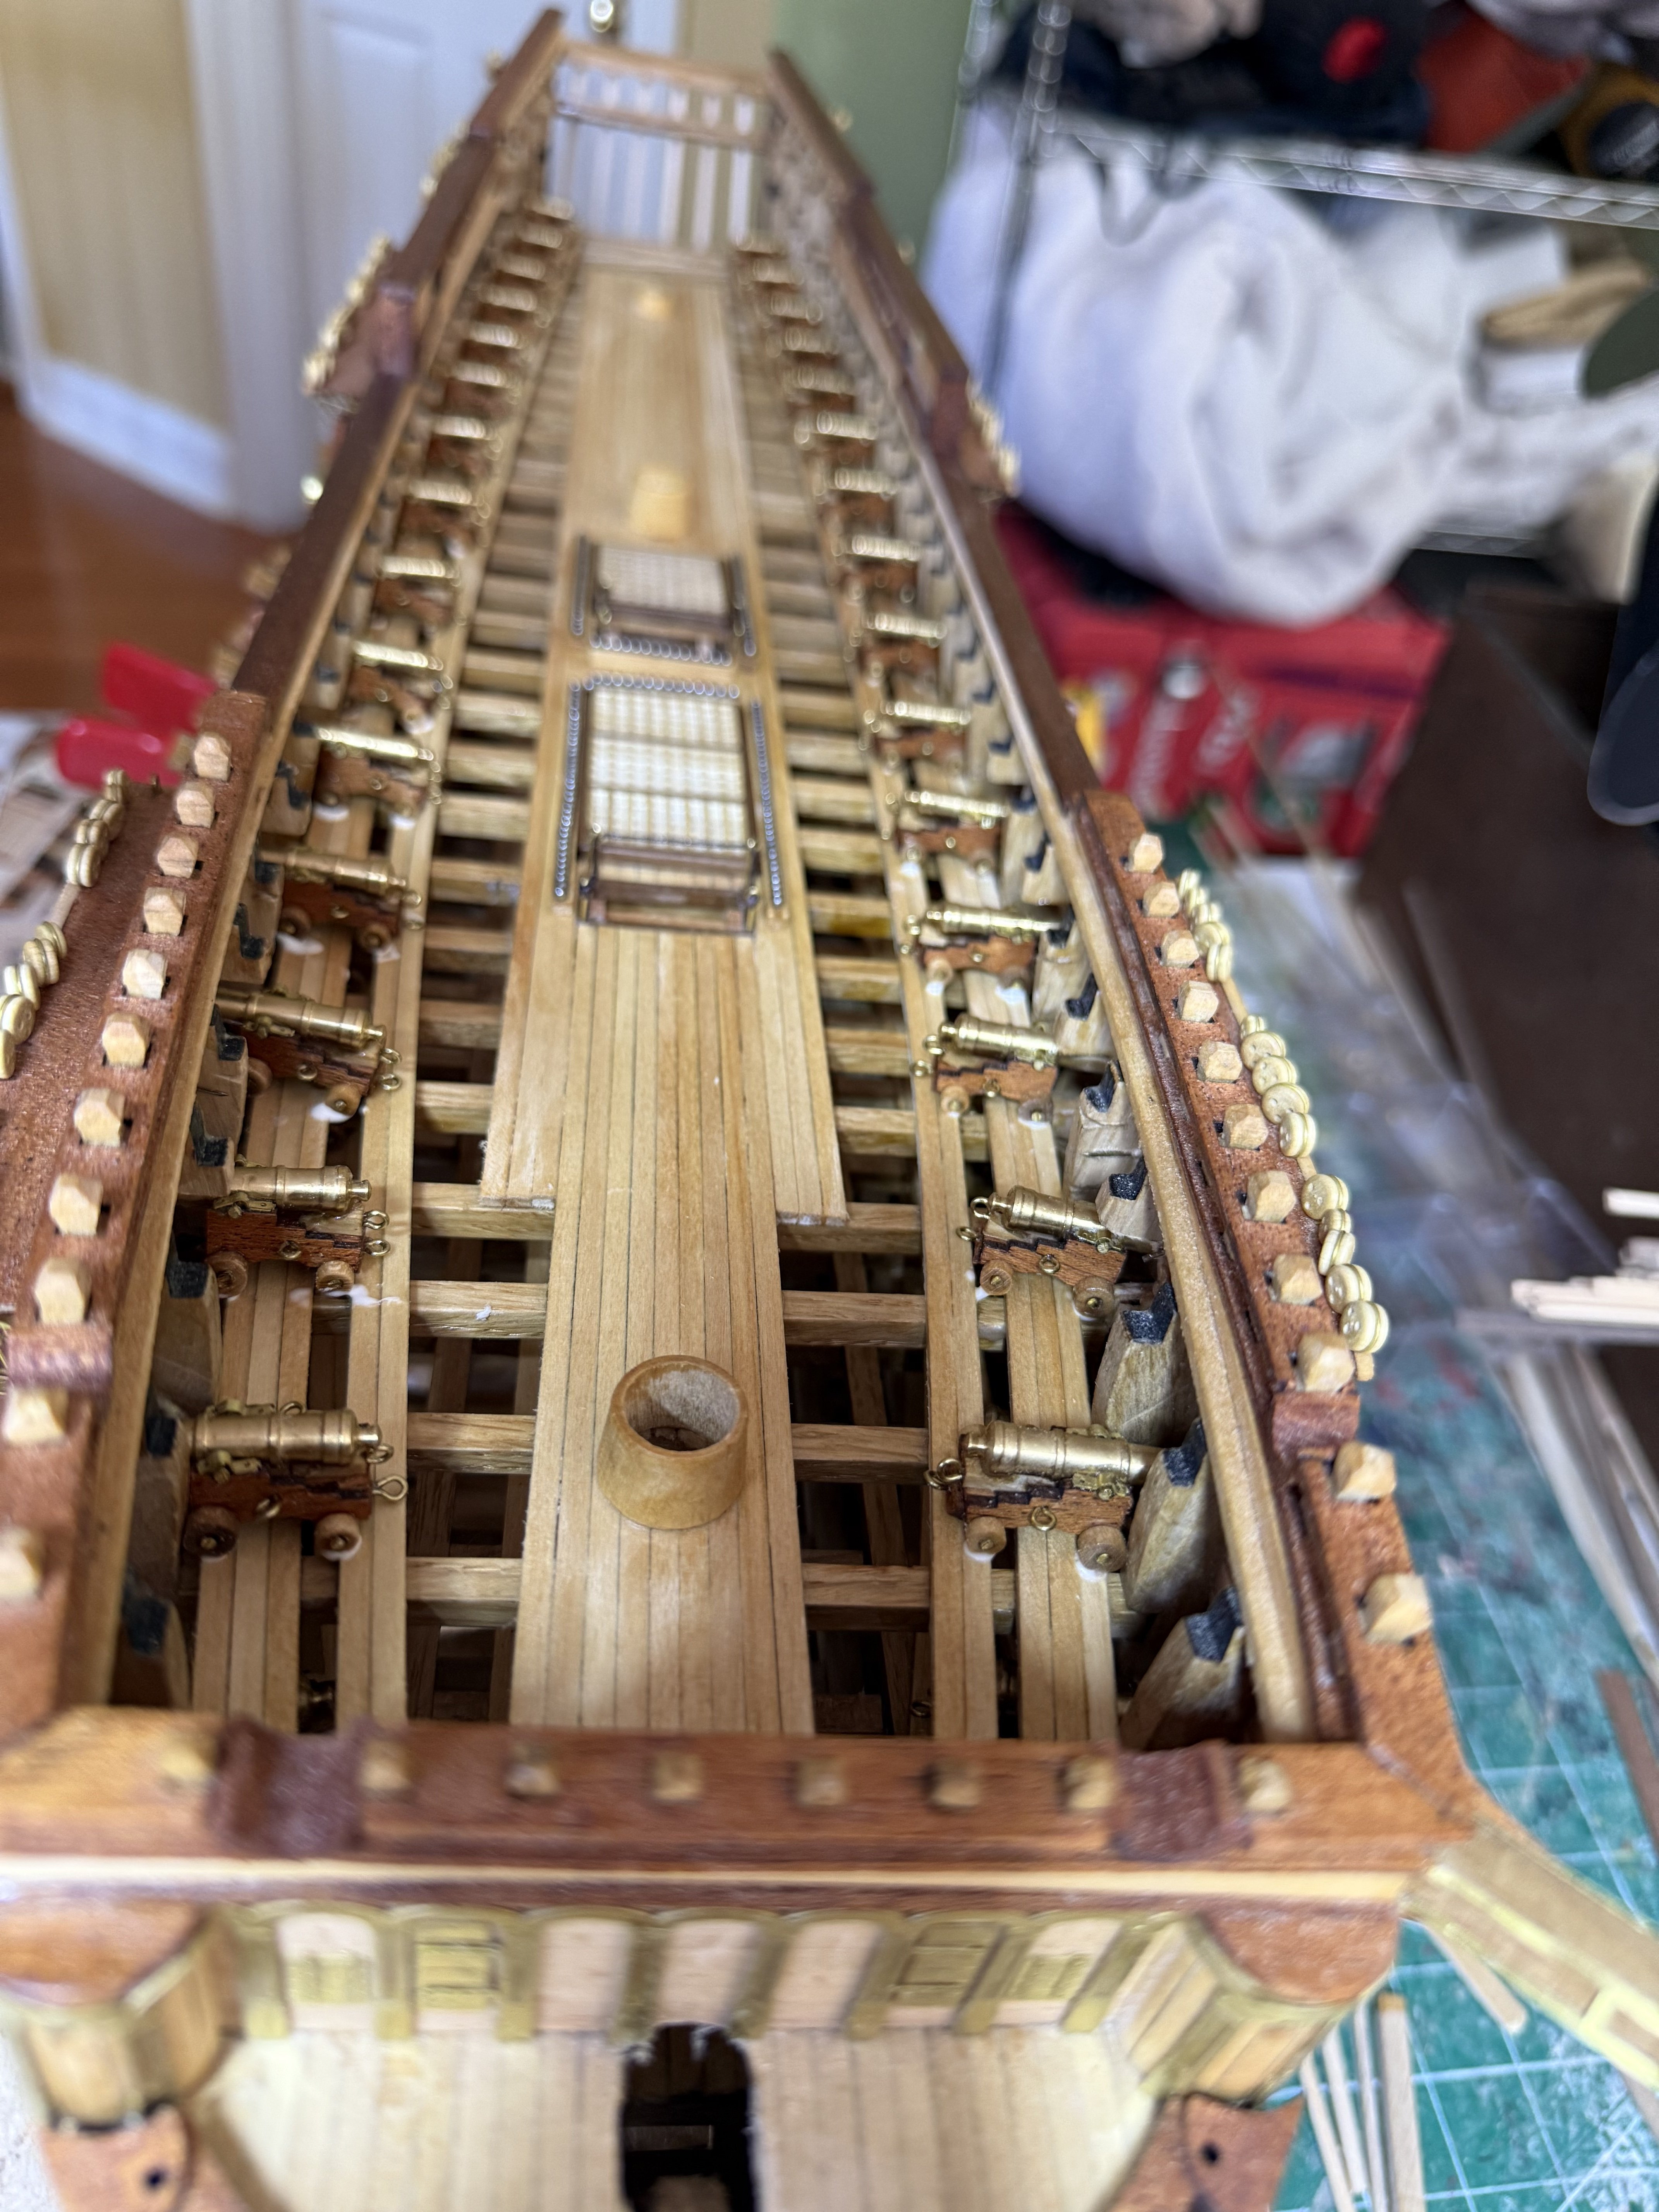
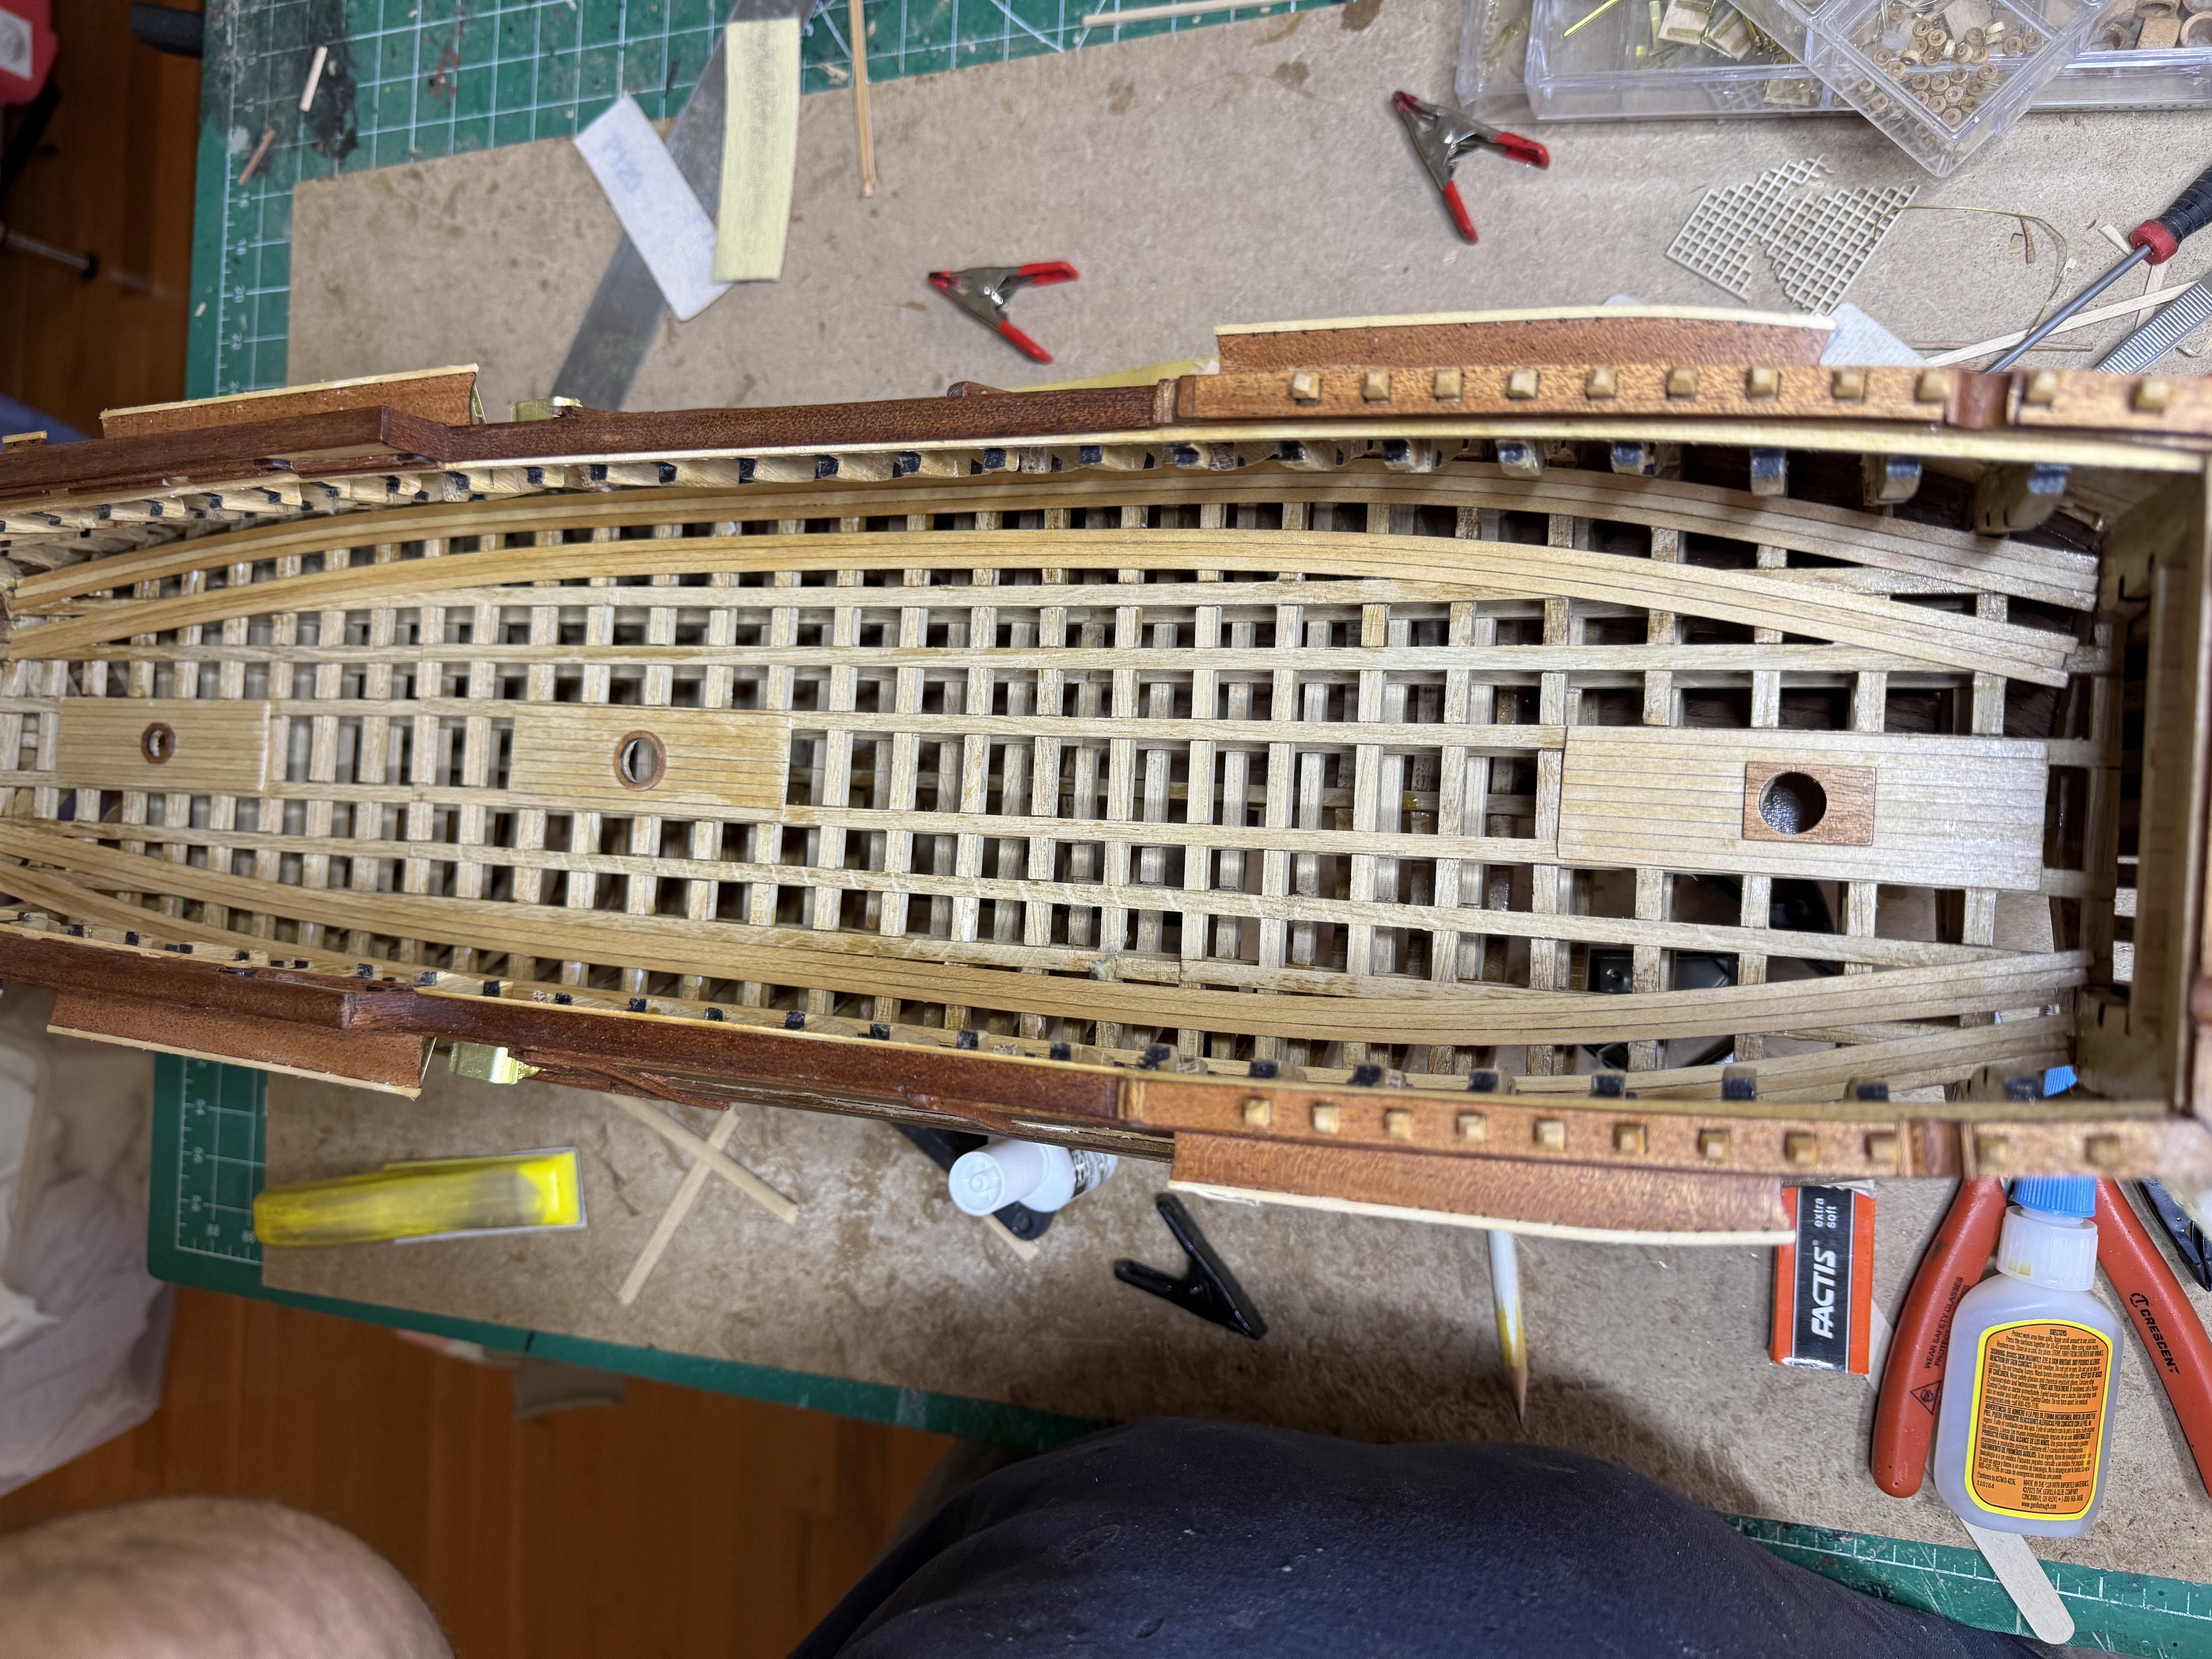
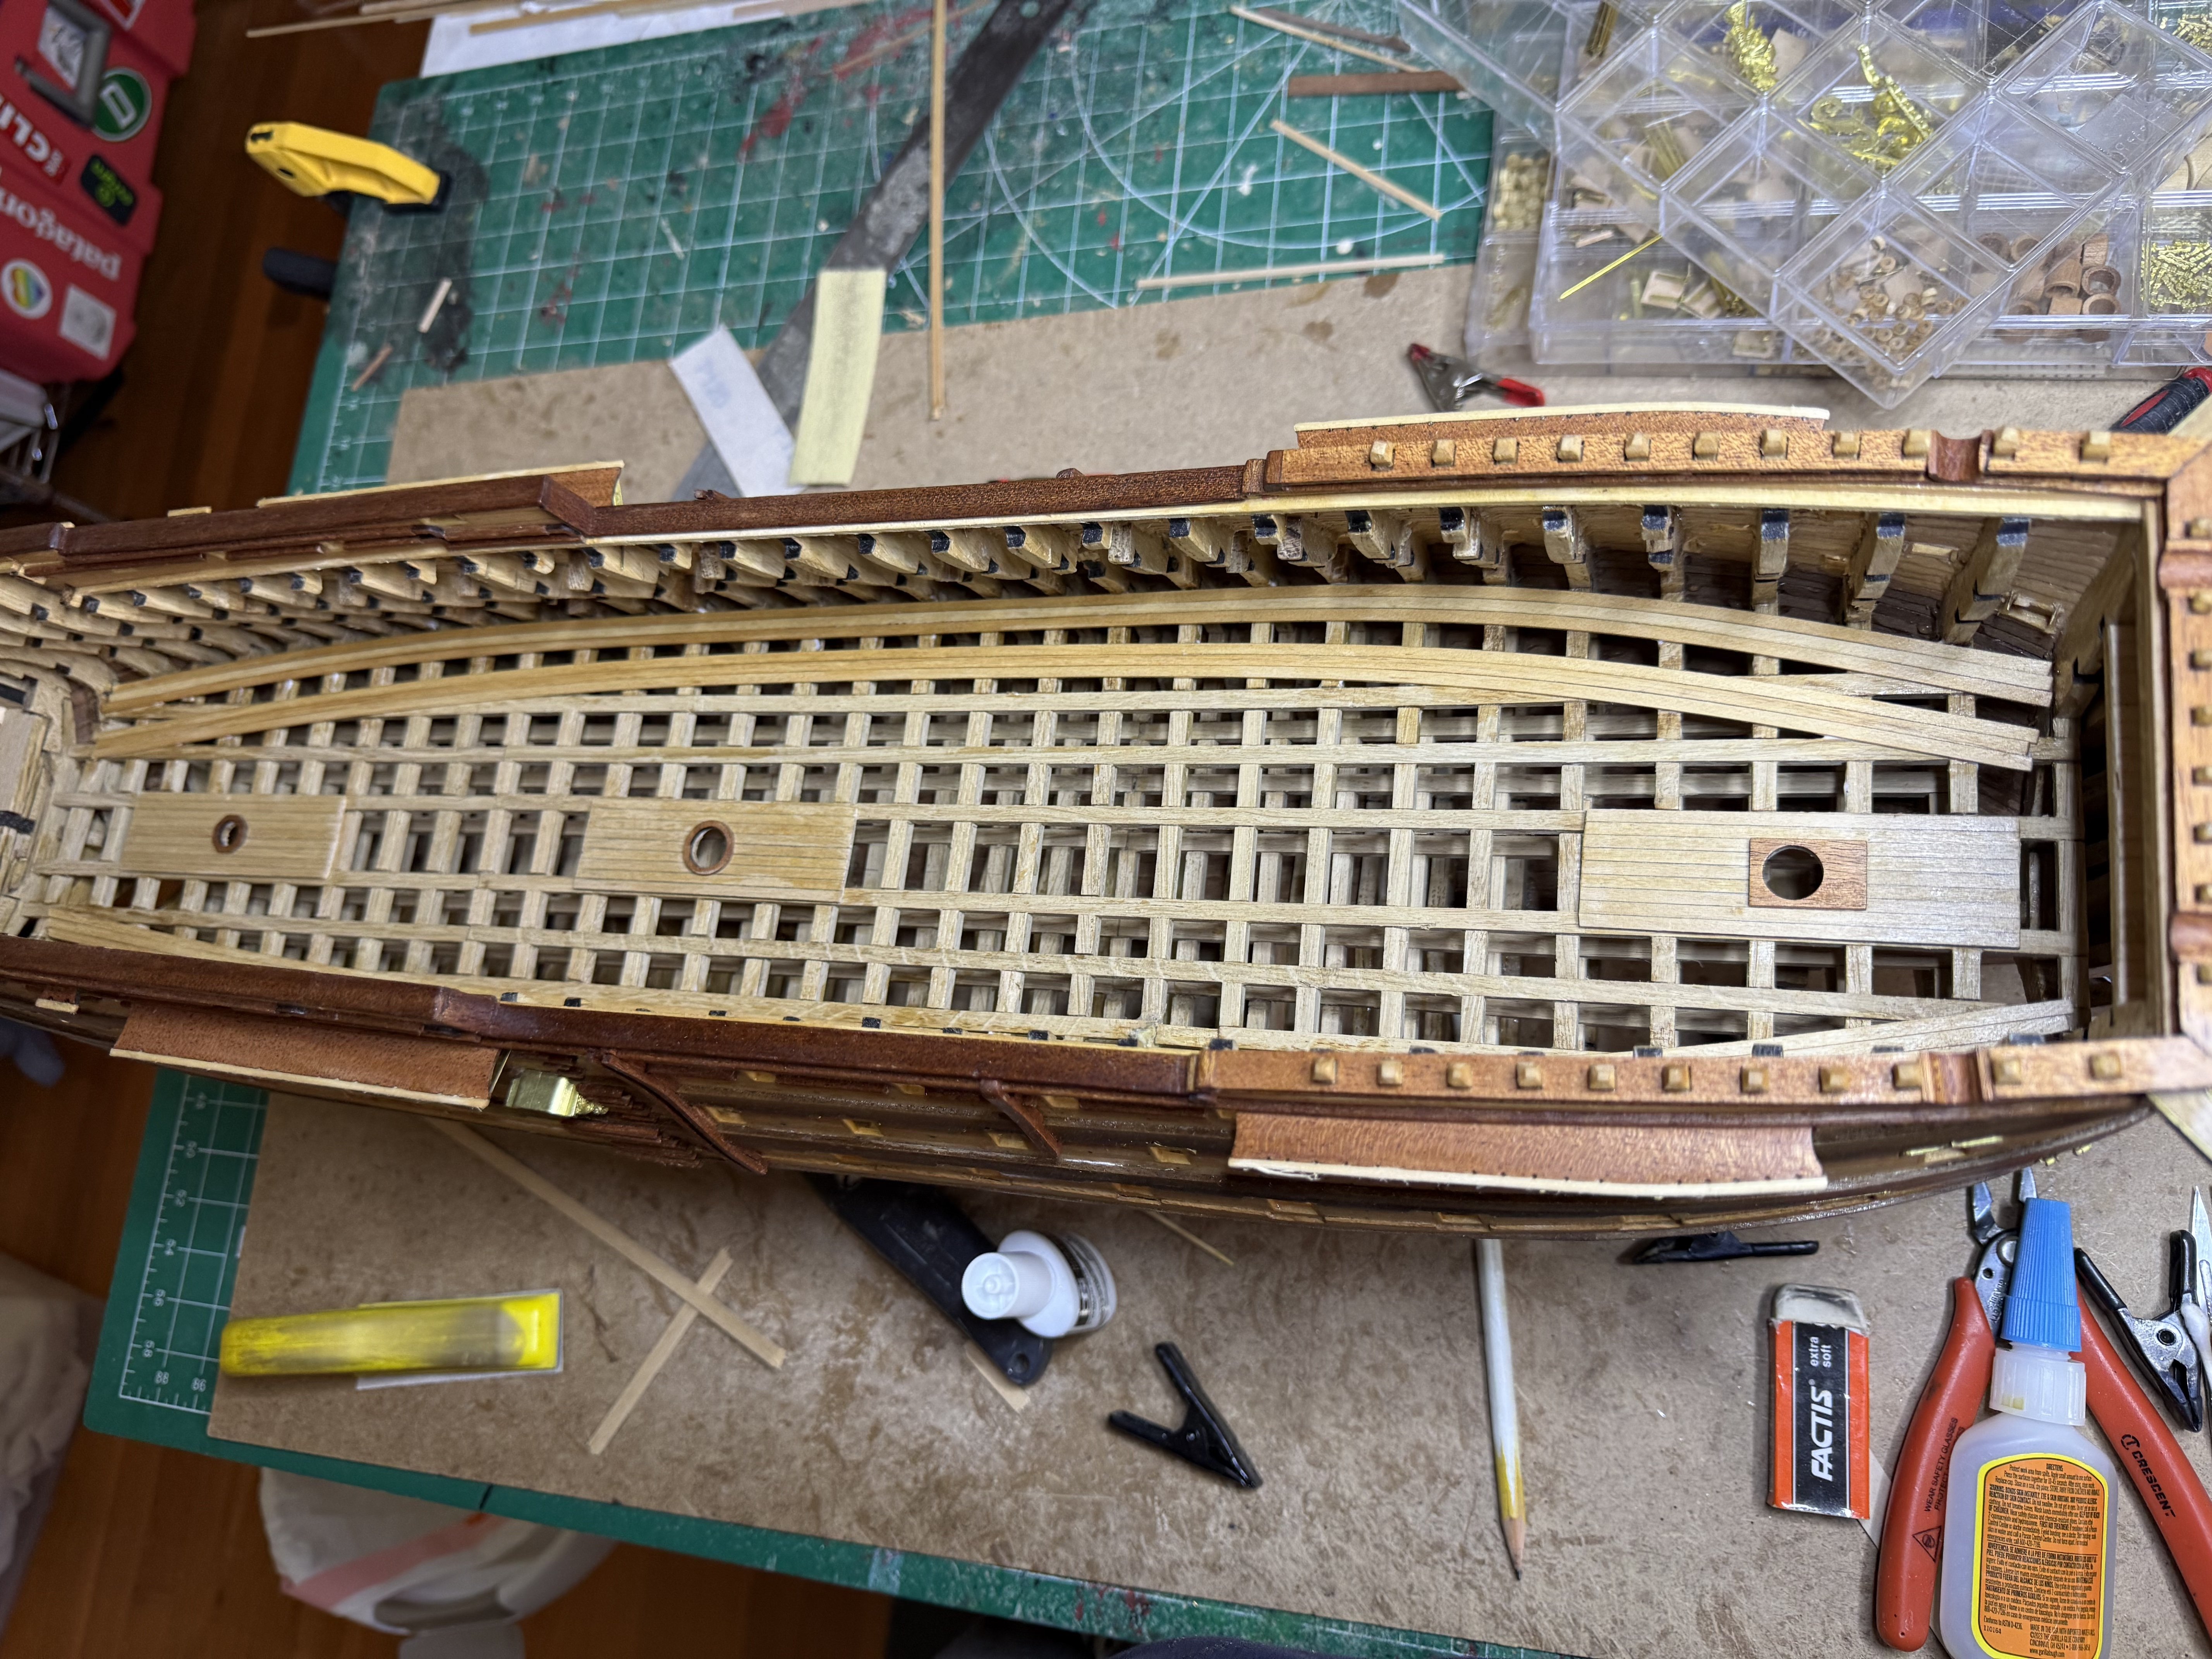
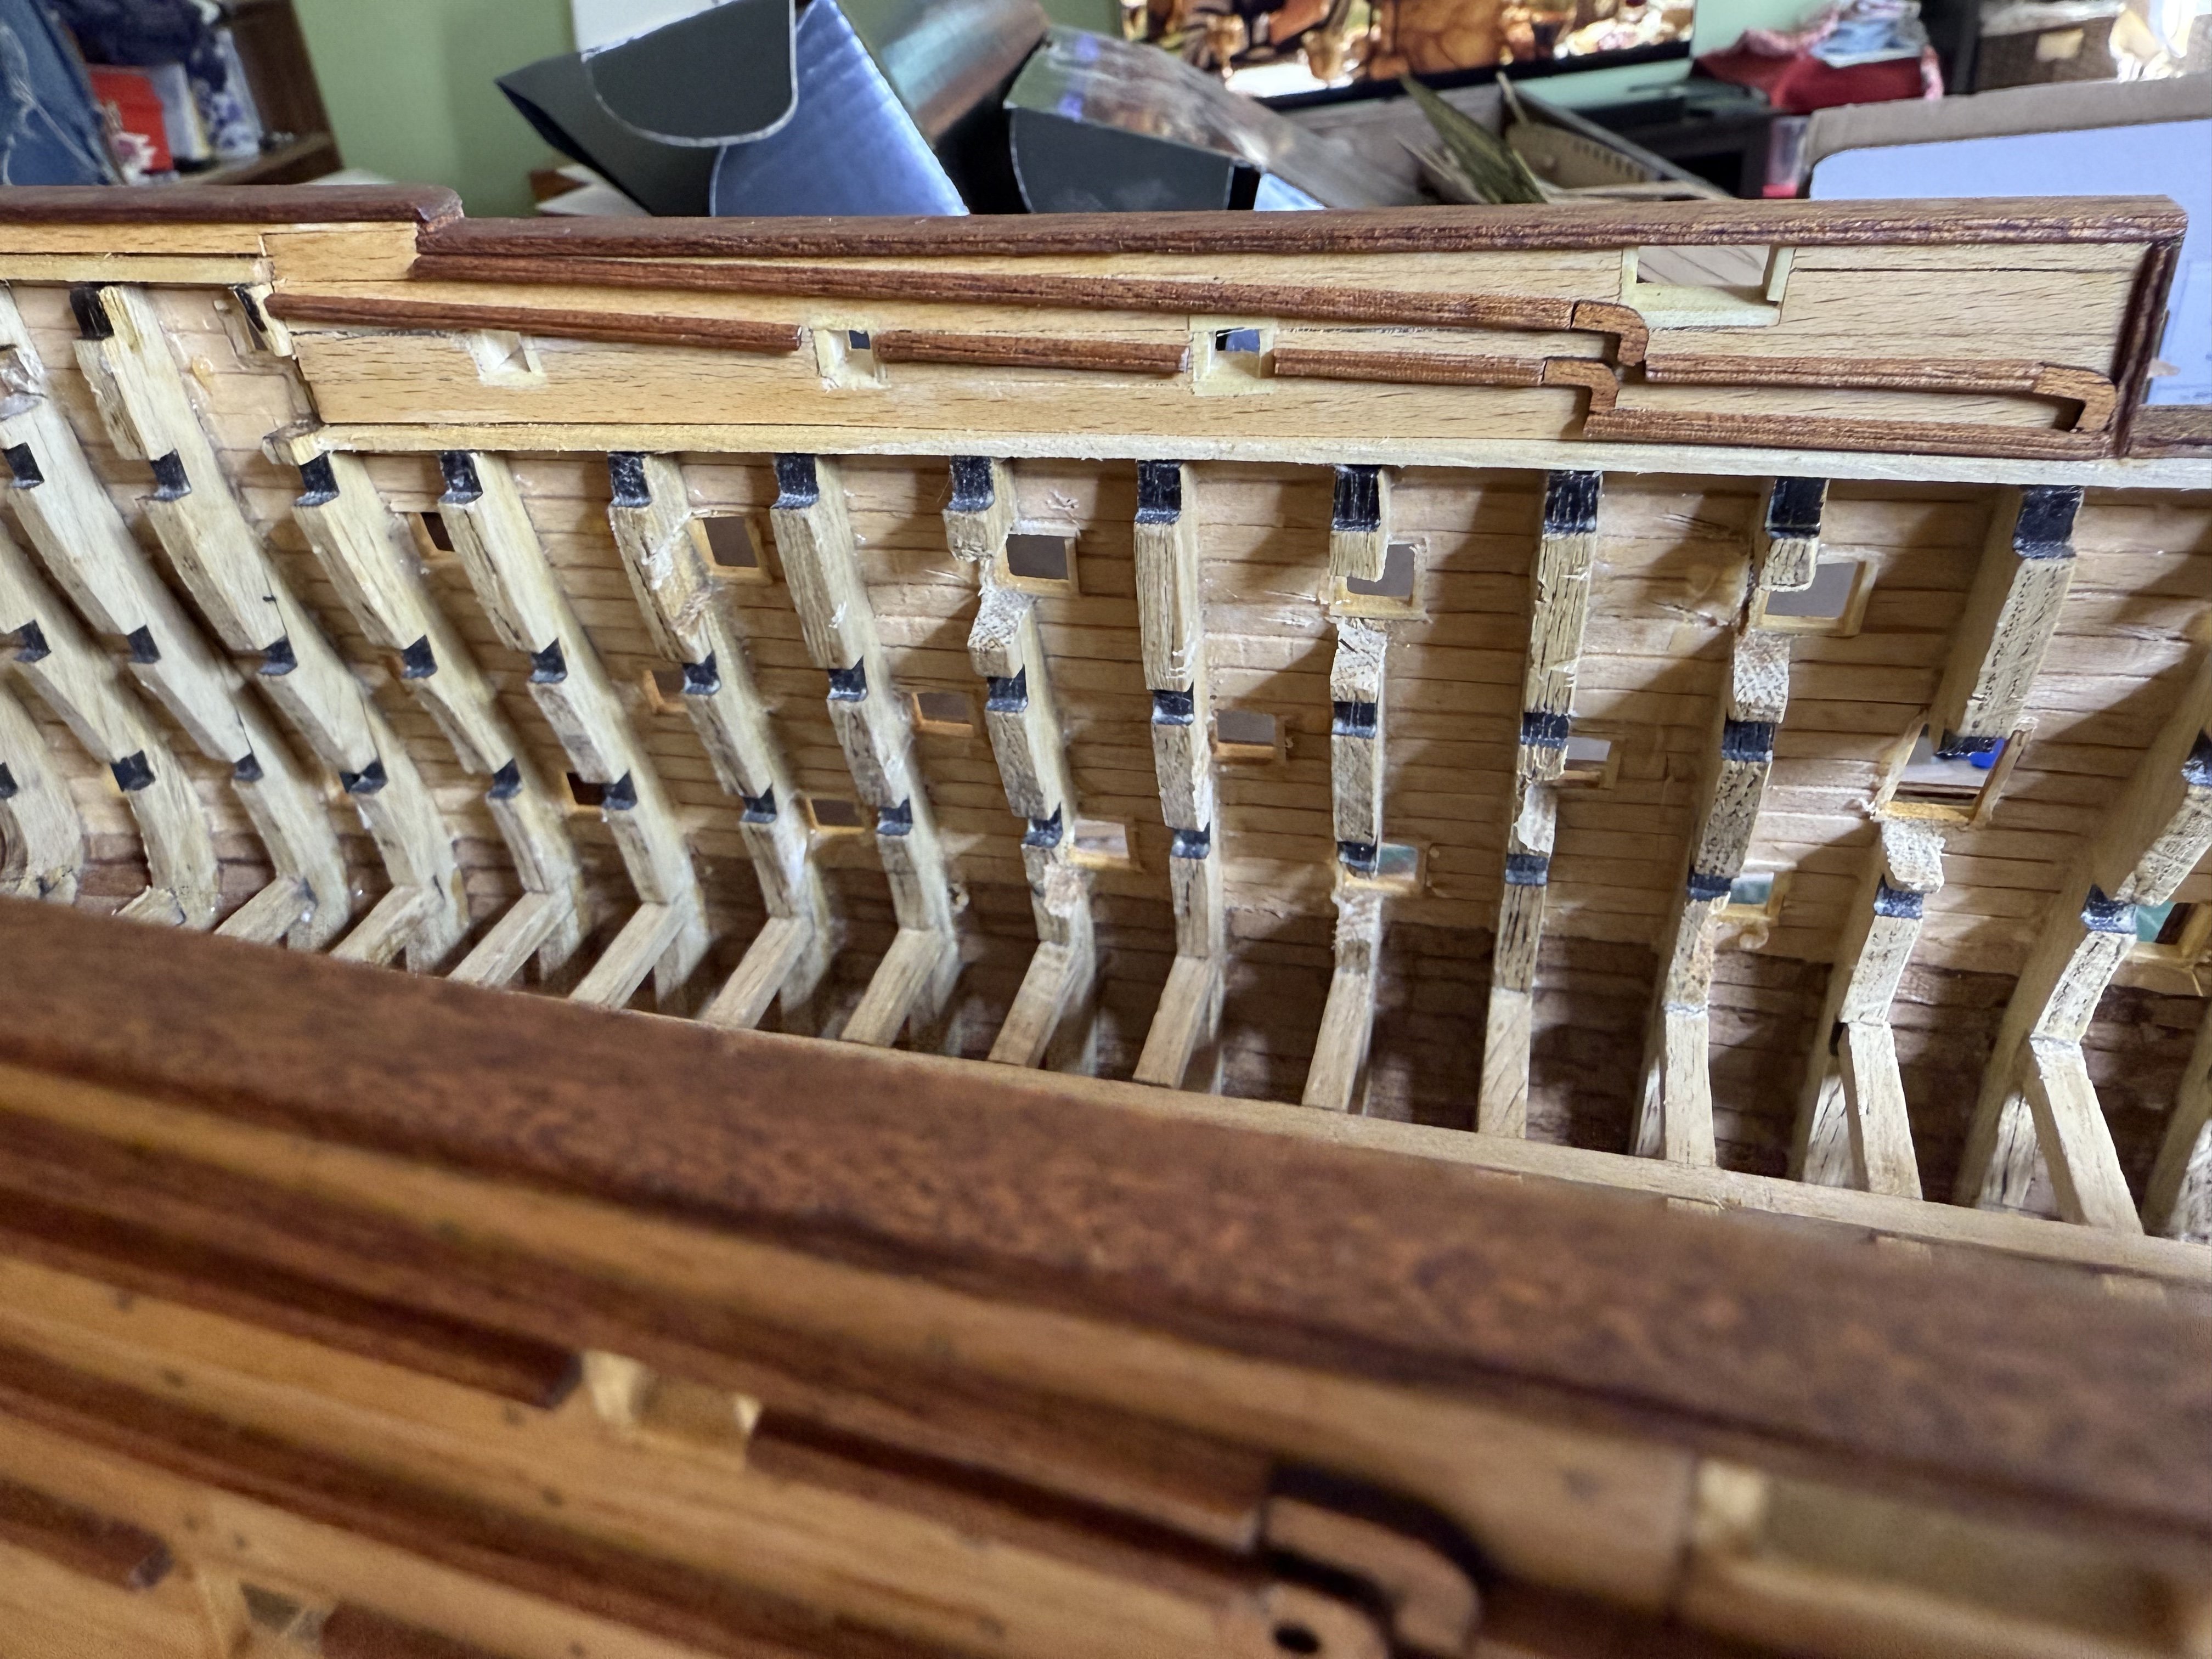
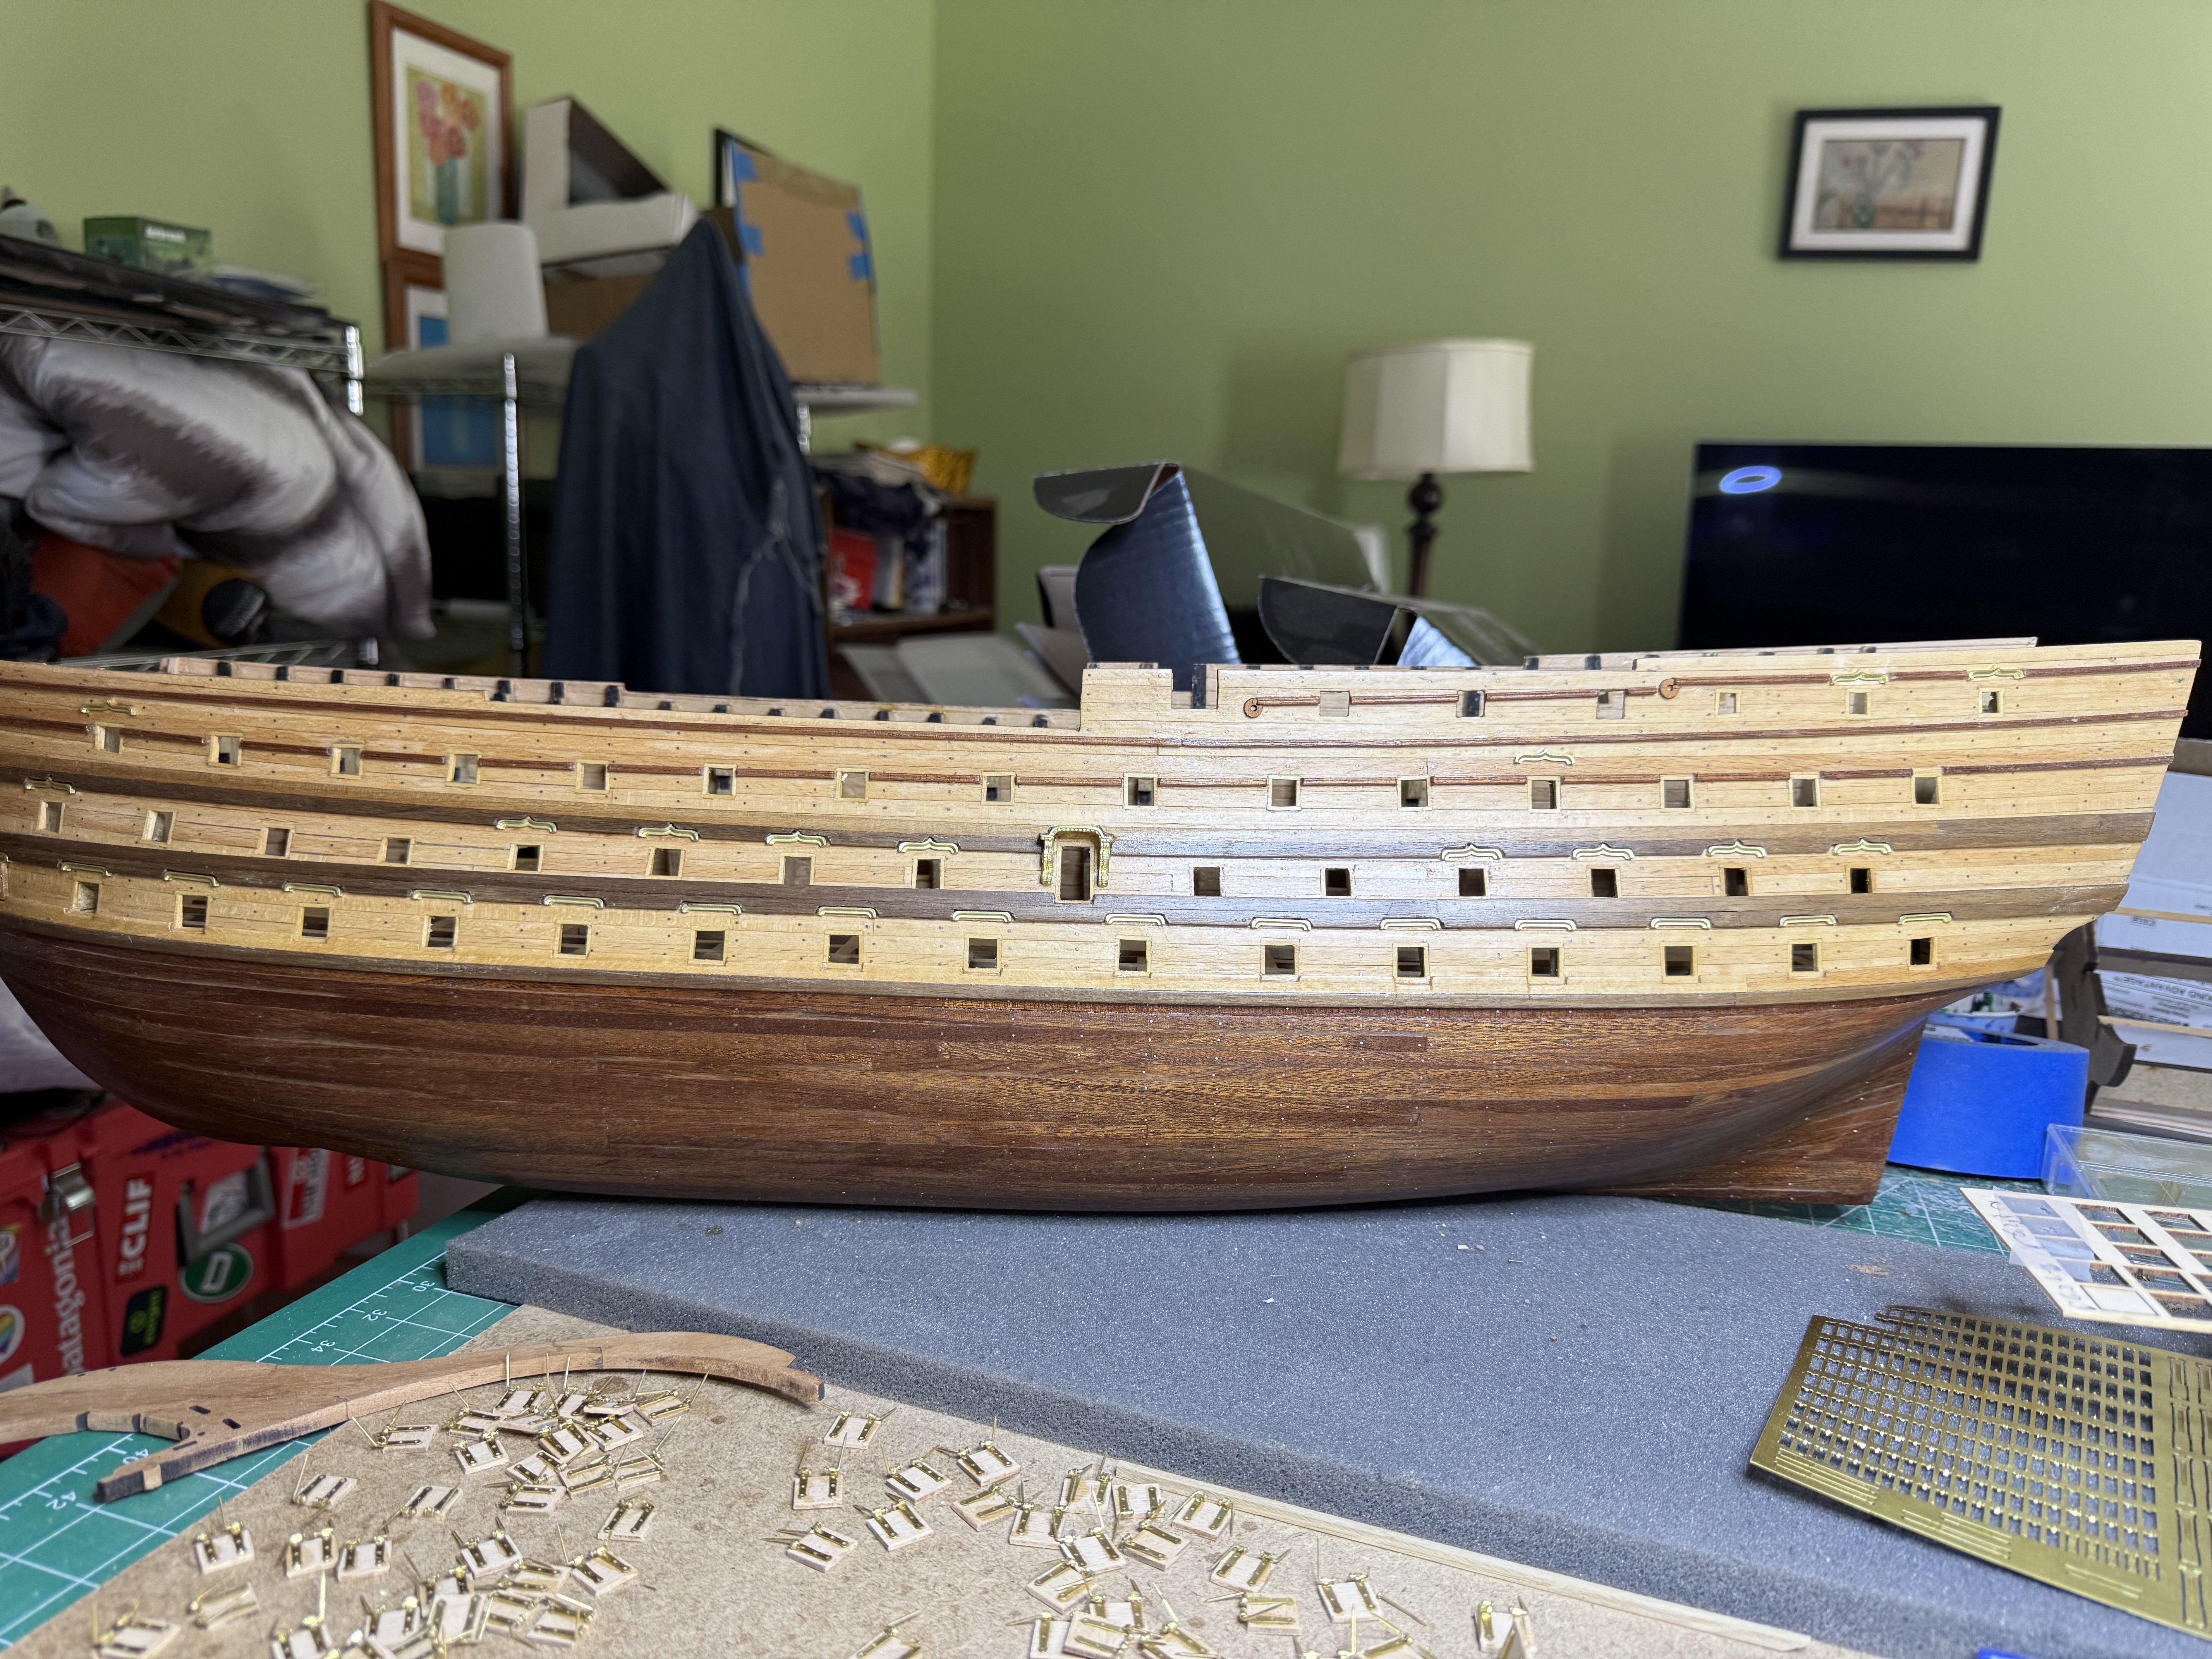
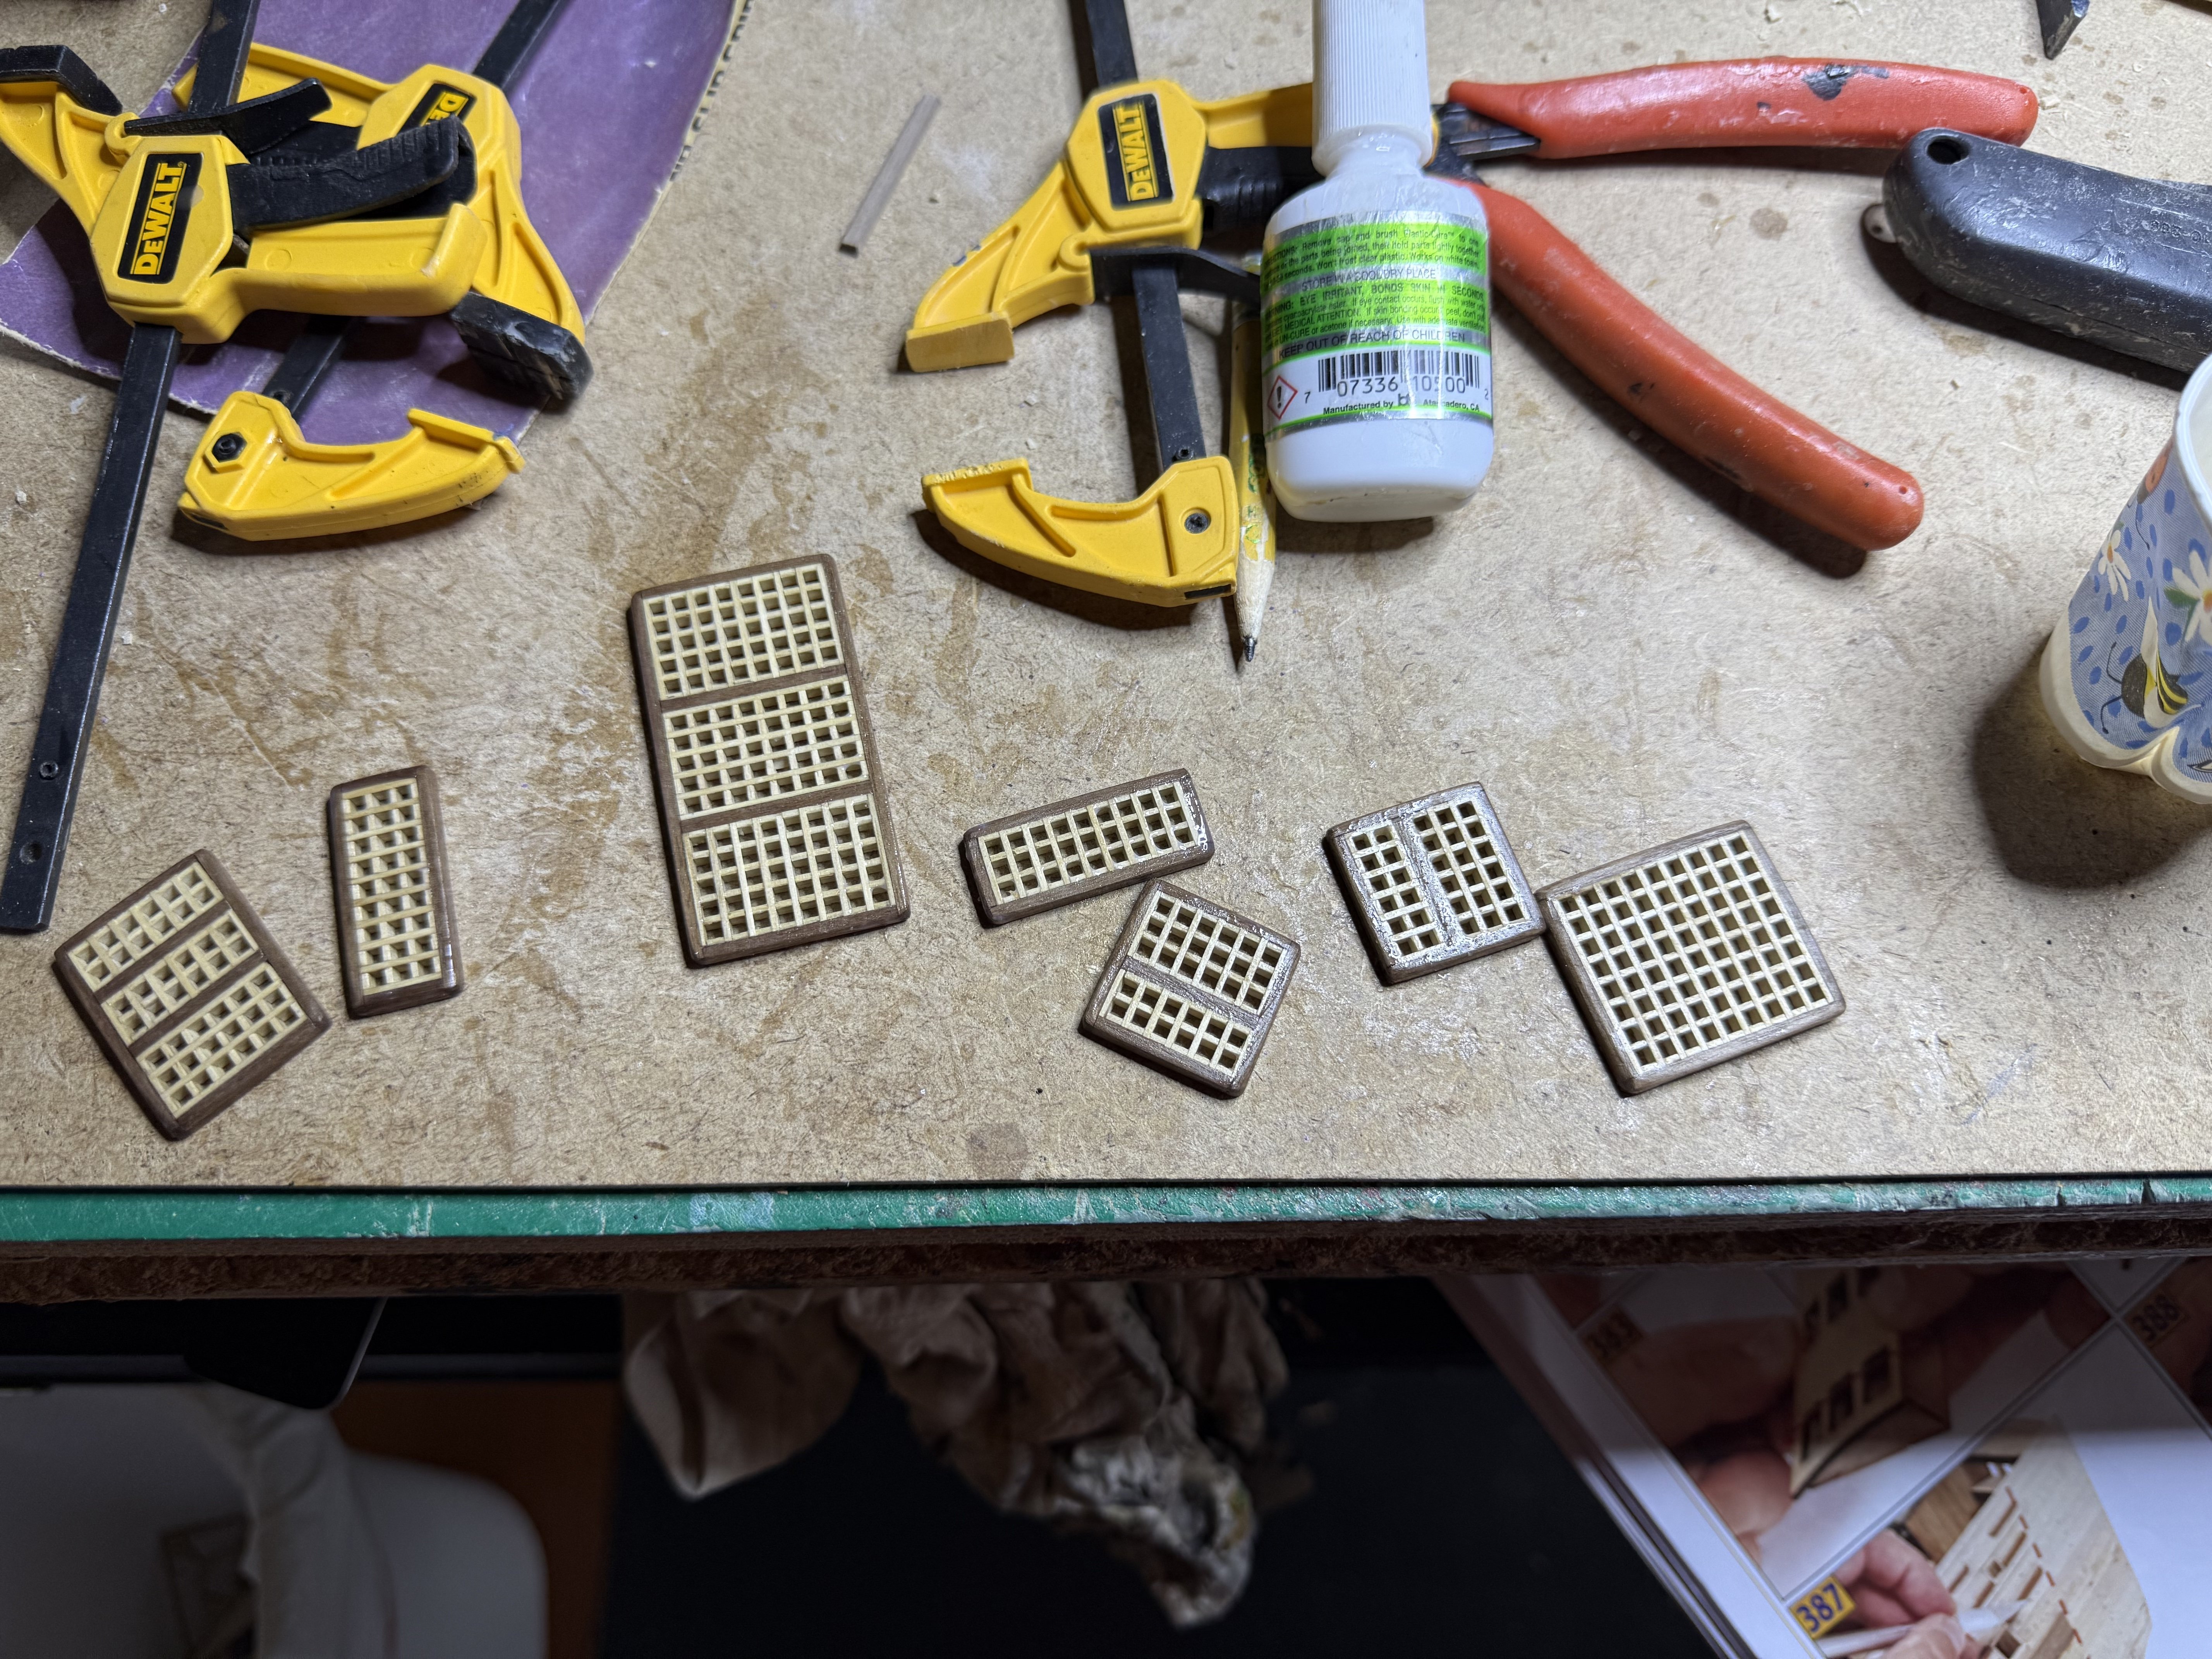
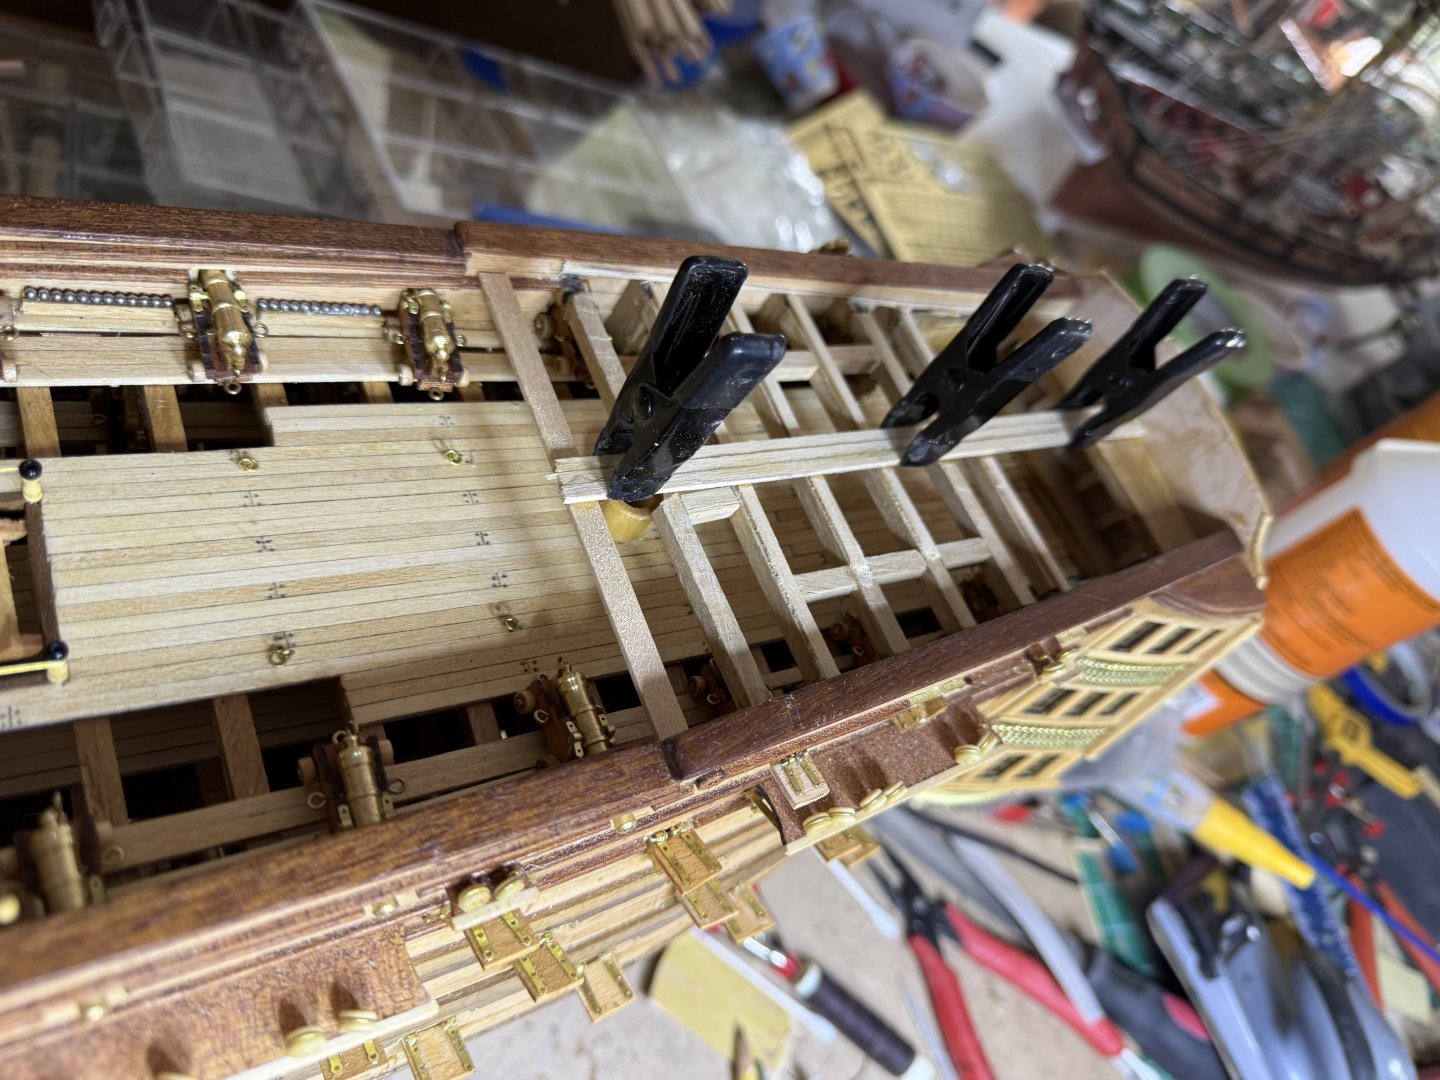
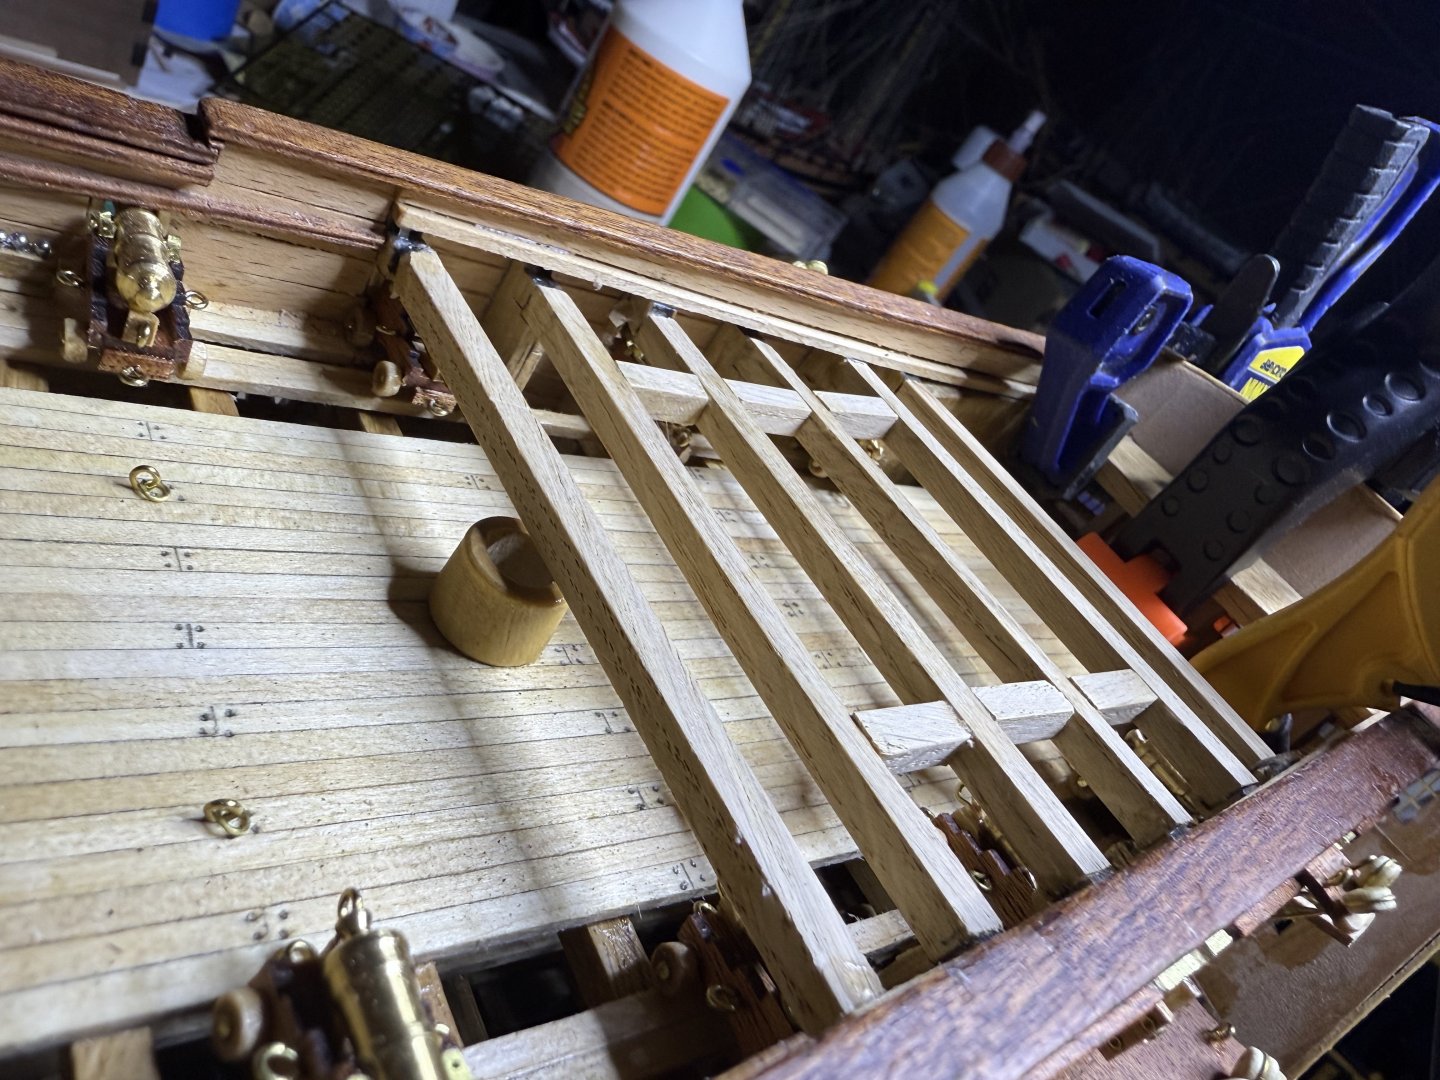
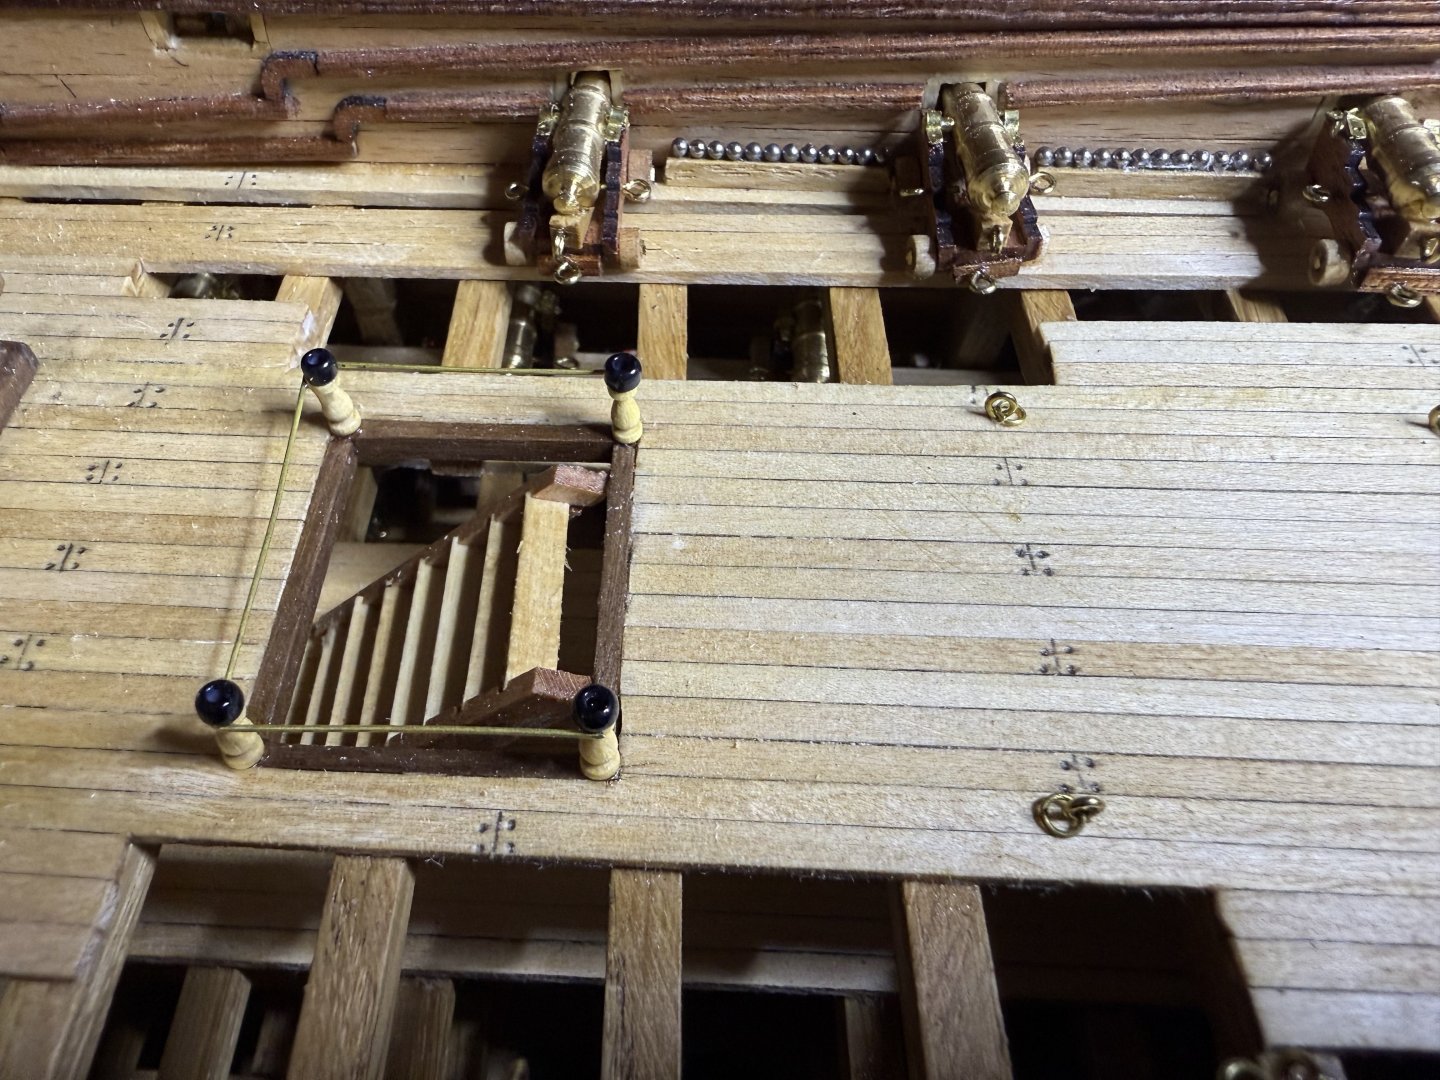
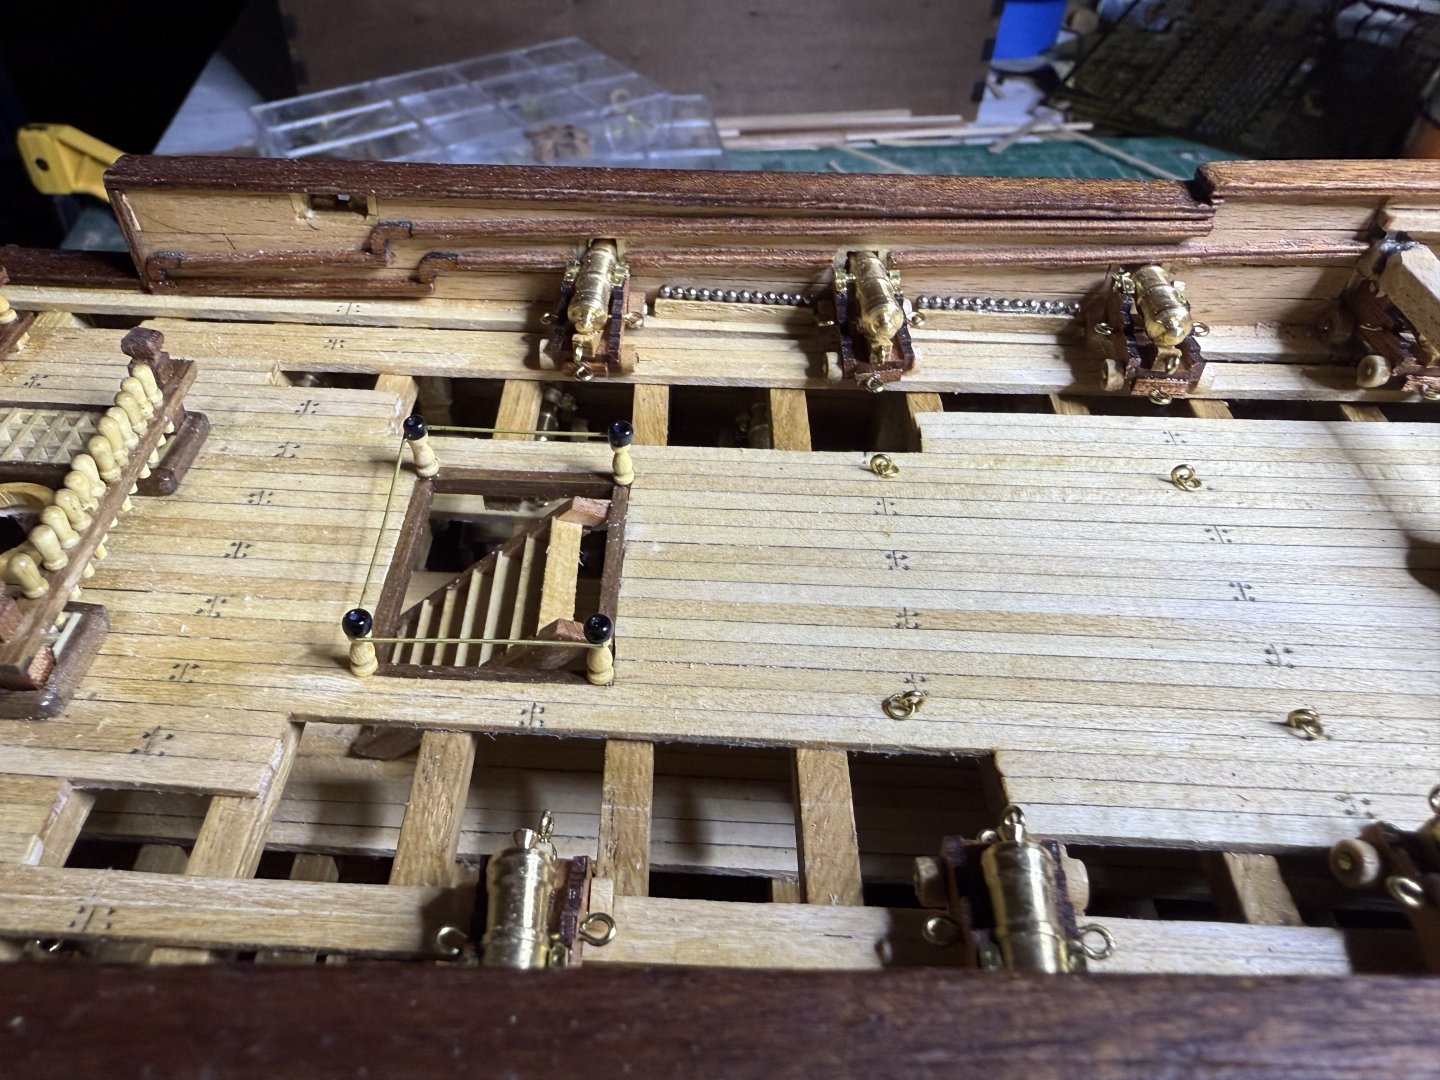
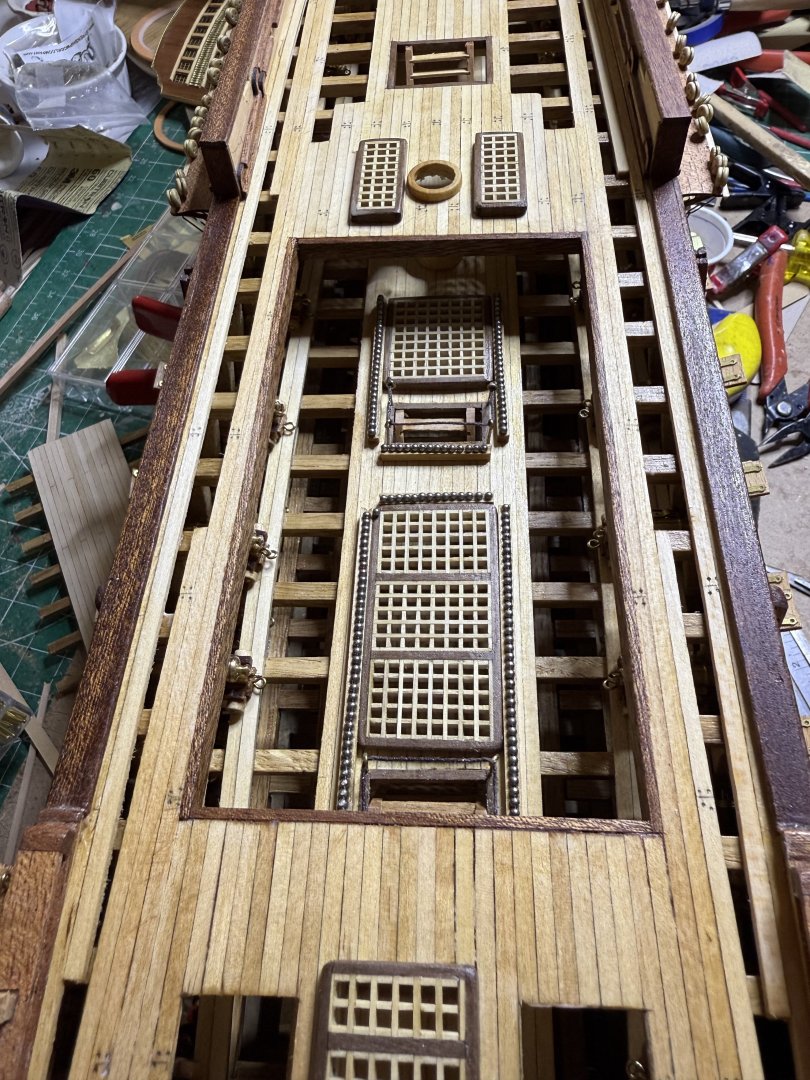
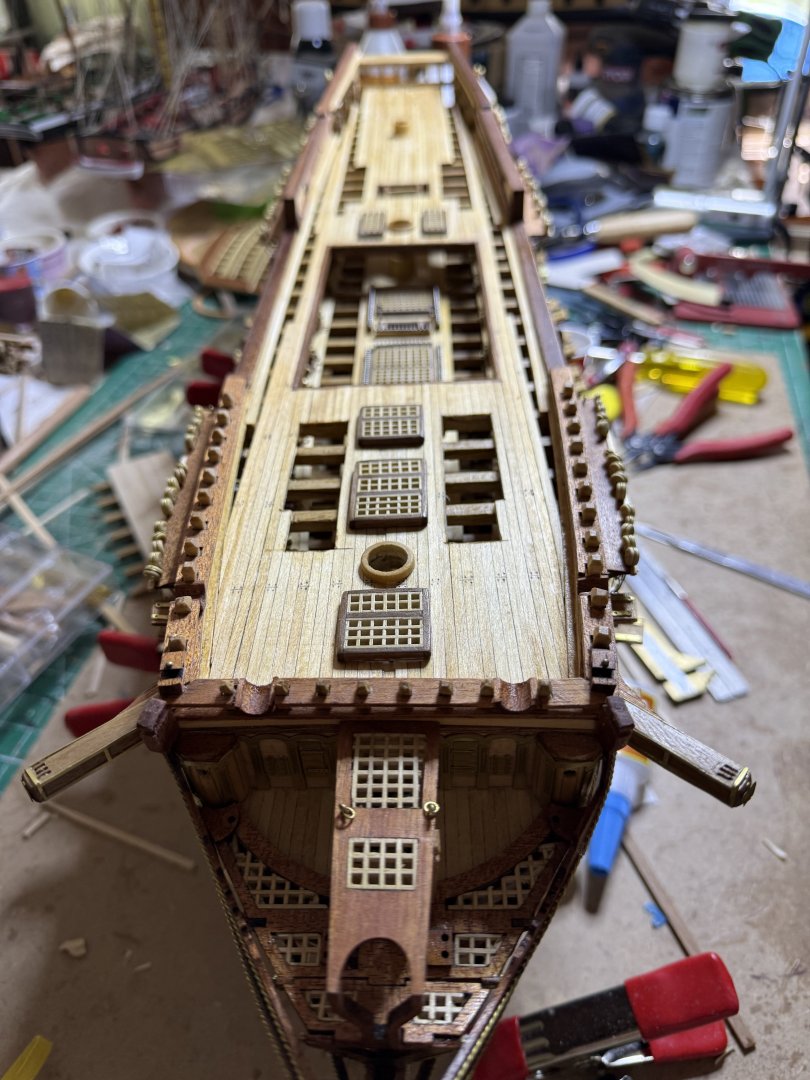
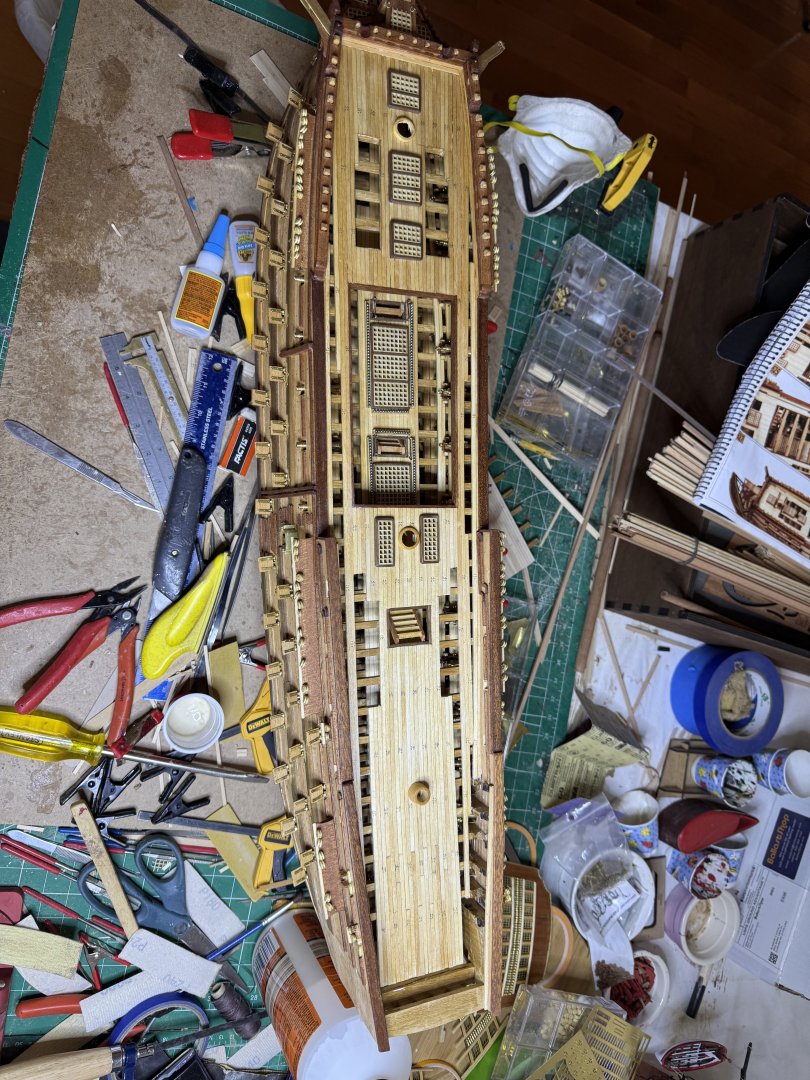
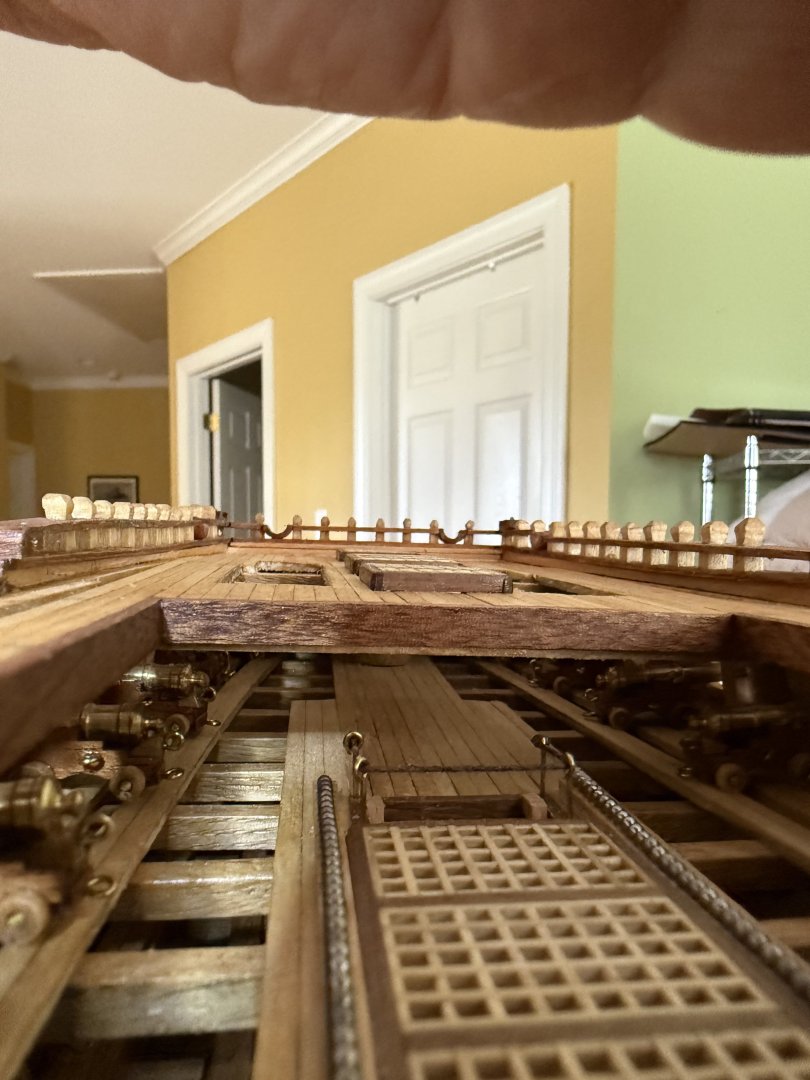
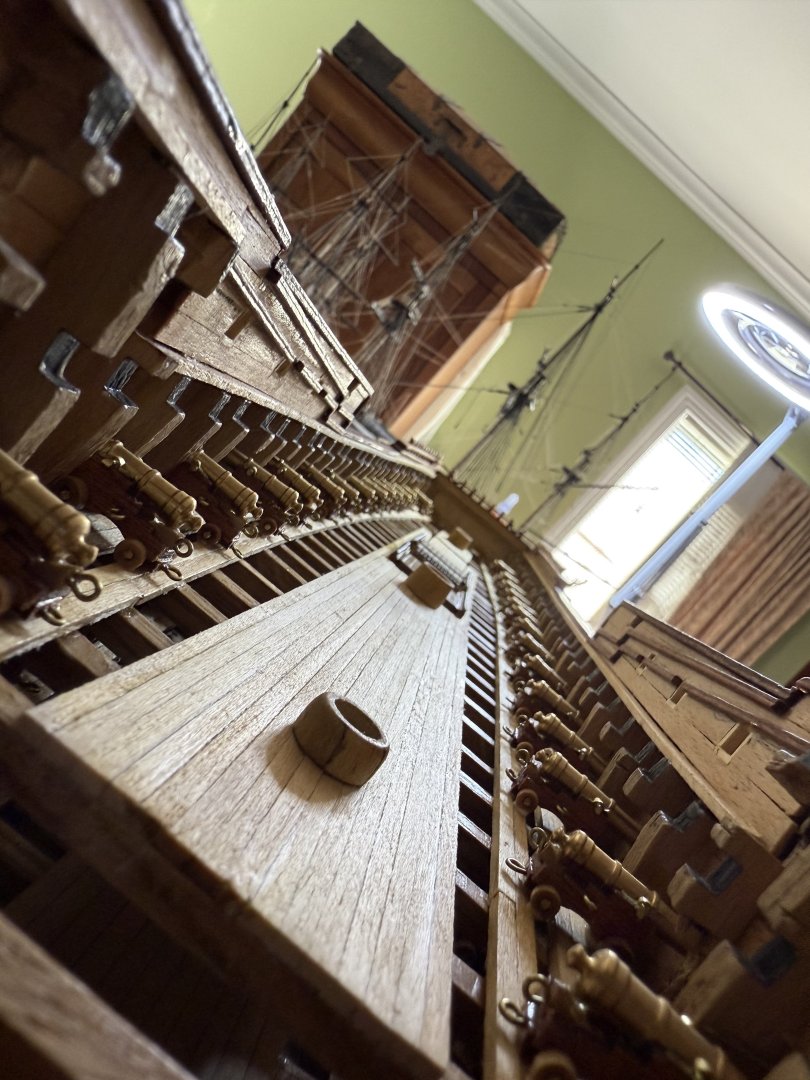
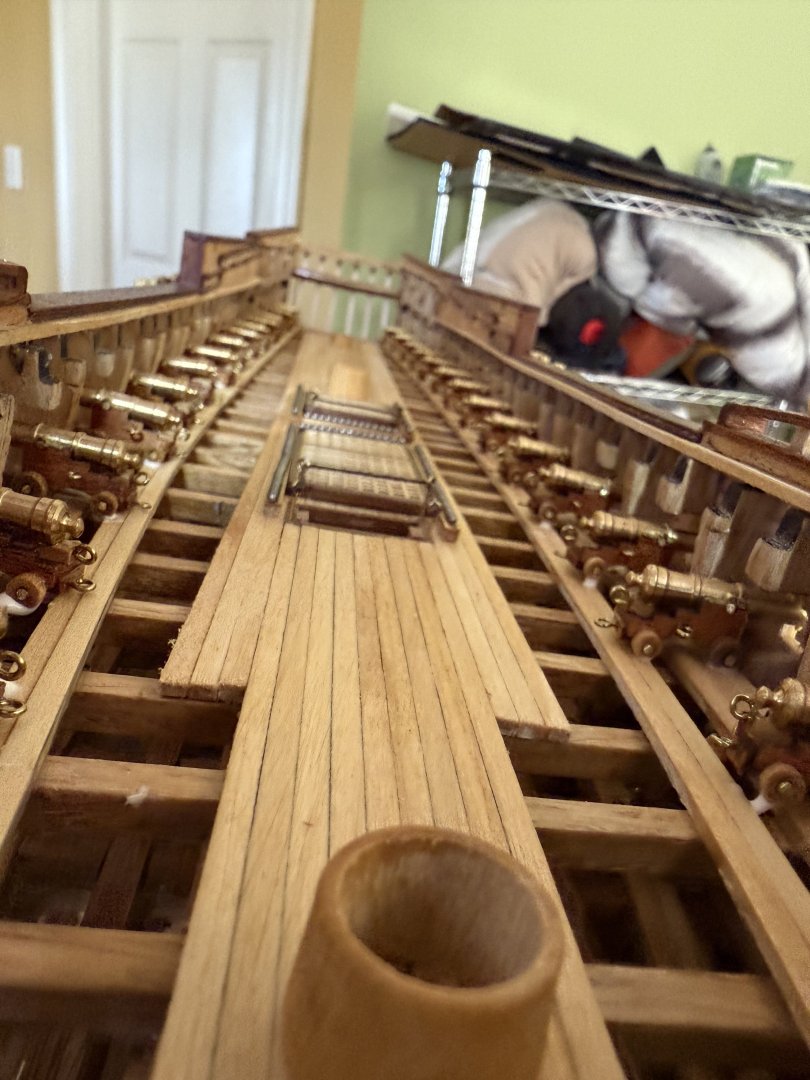
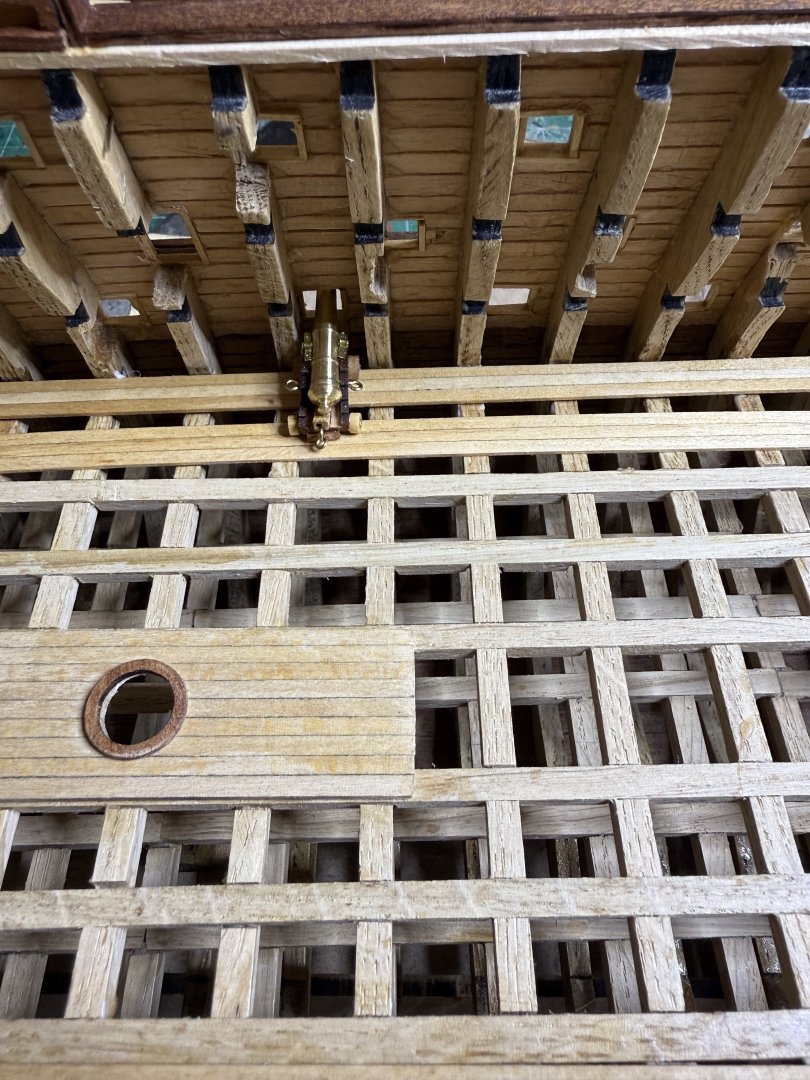
Work of the weekend. Upper deck planked, openings marked then cut out plank seams added, various hatches and gratings glued into place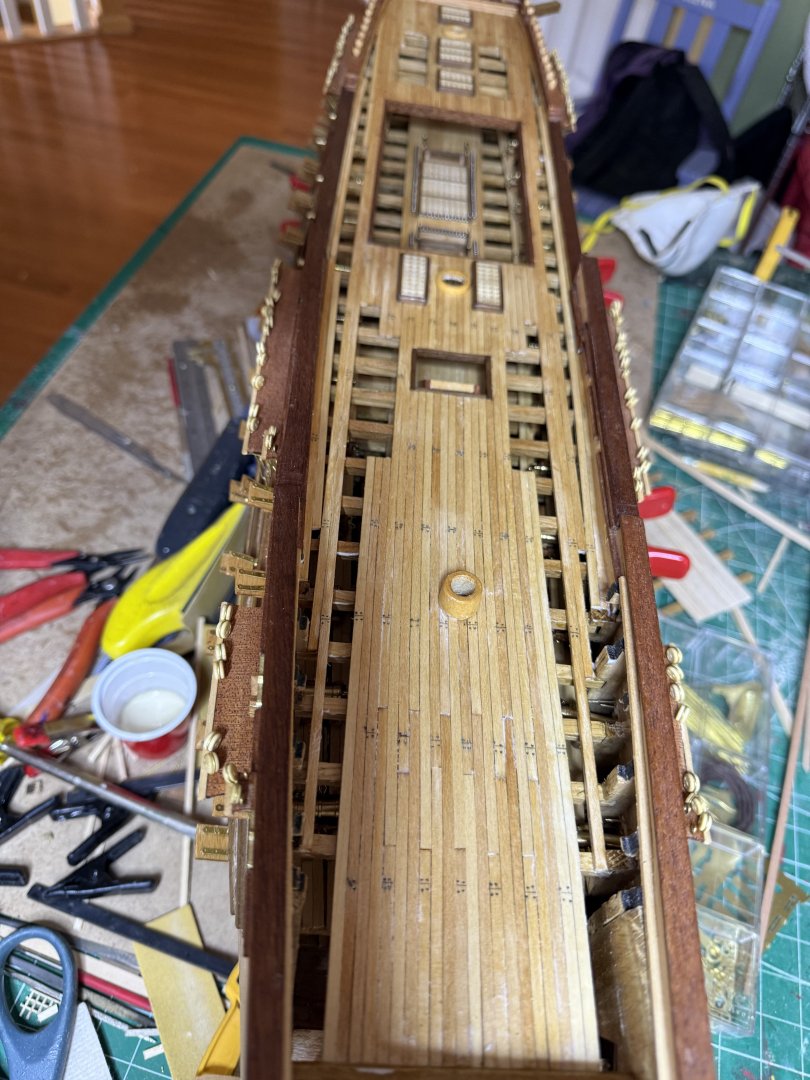
-
HMS Victory by ECK - OcCre - 1/87
ECK replied to ECK's topic in - Kit build logs for subjects built from 1751 - 1800
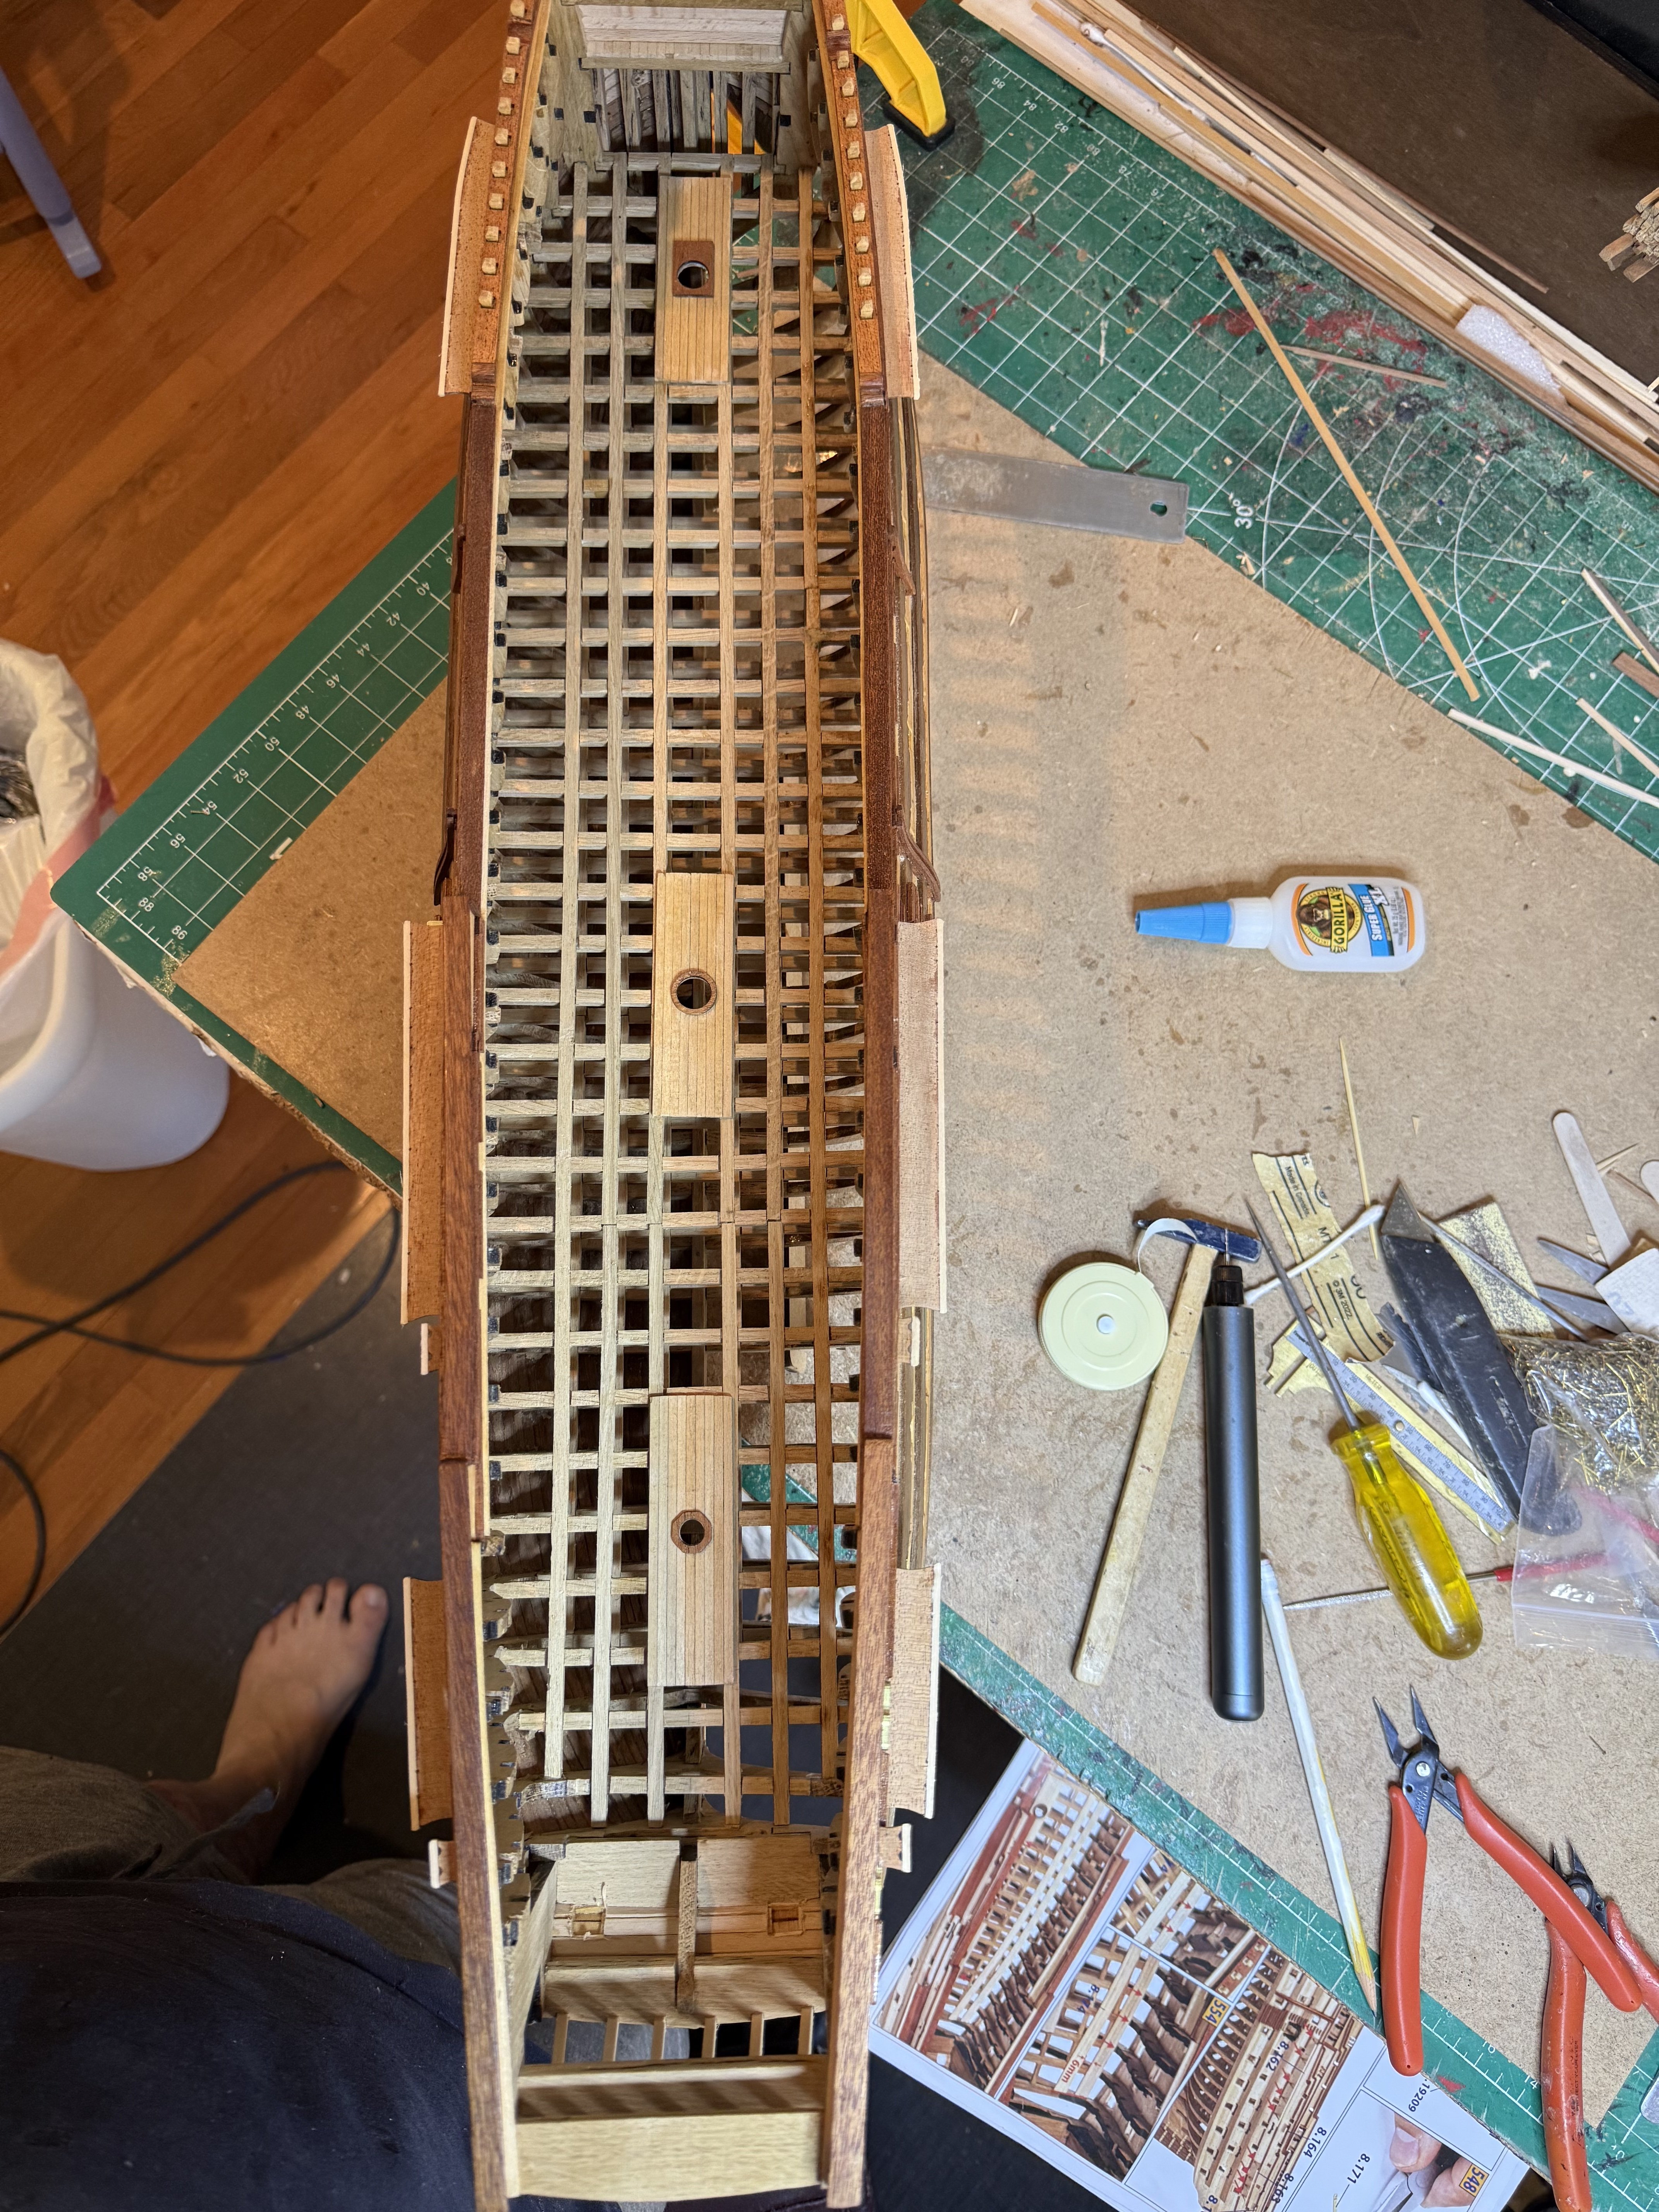
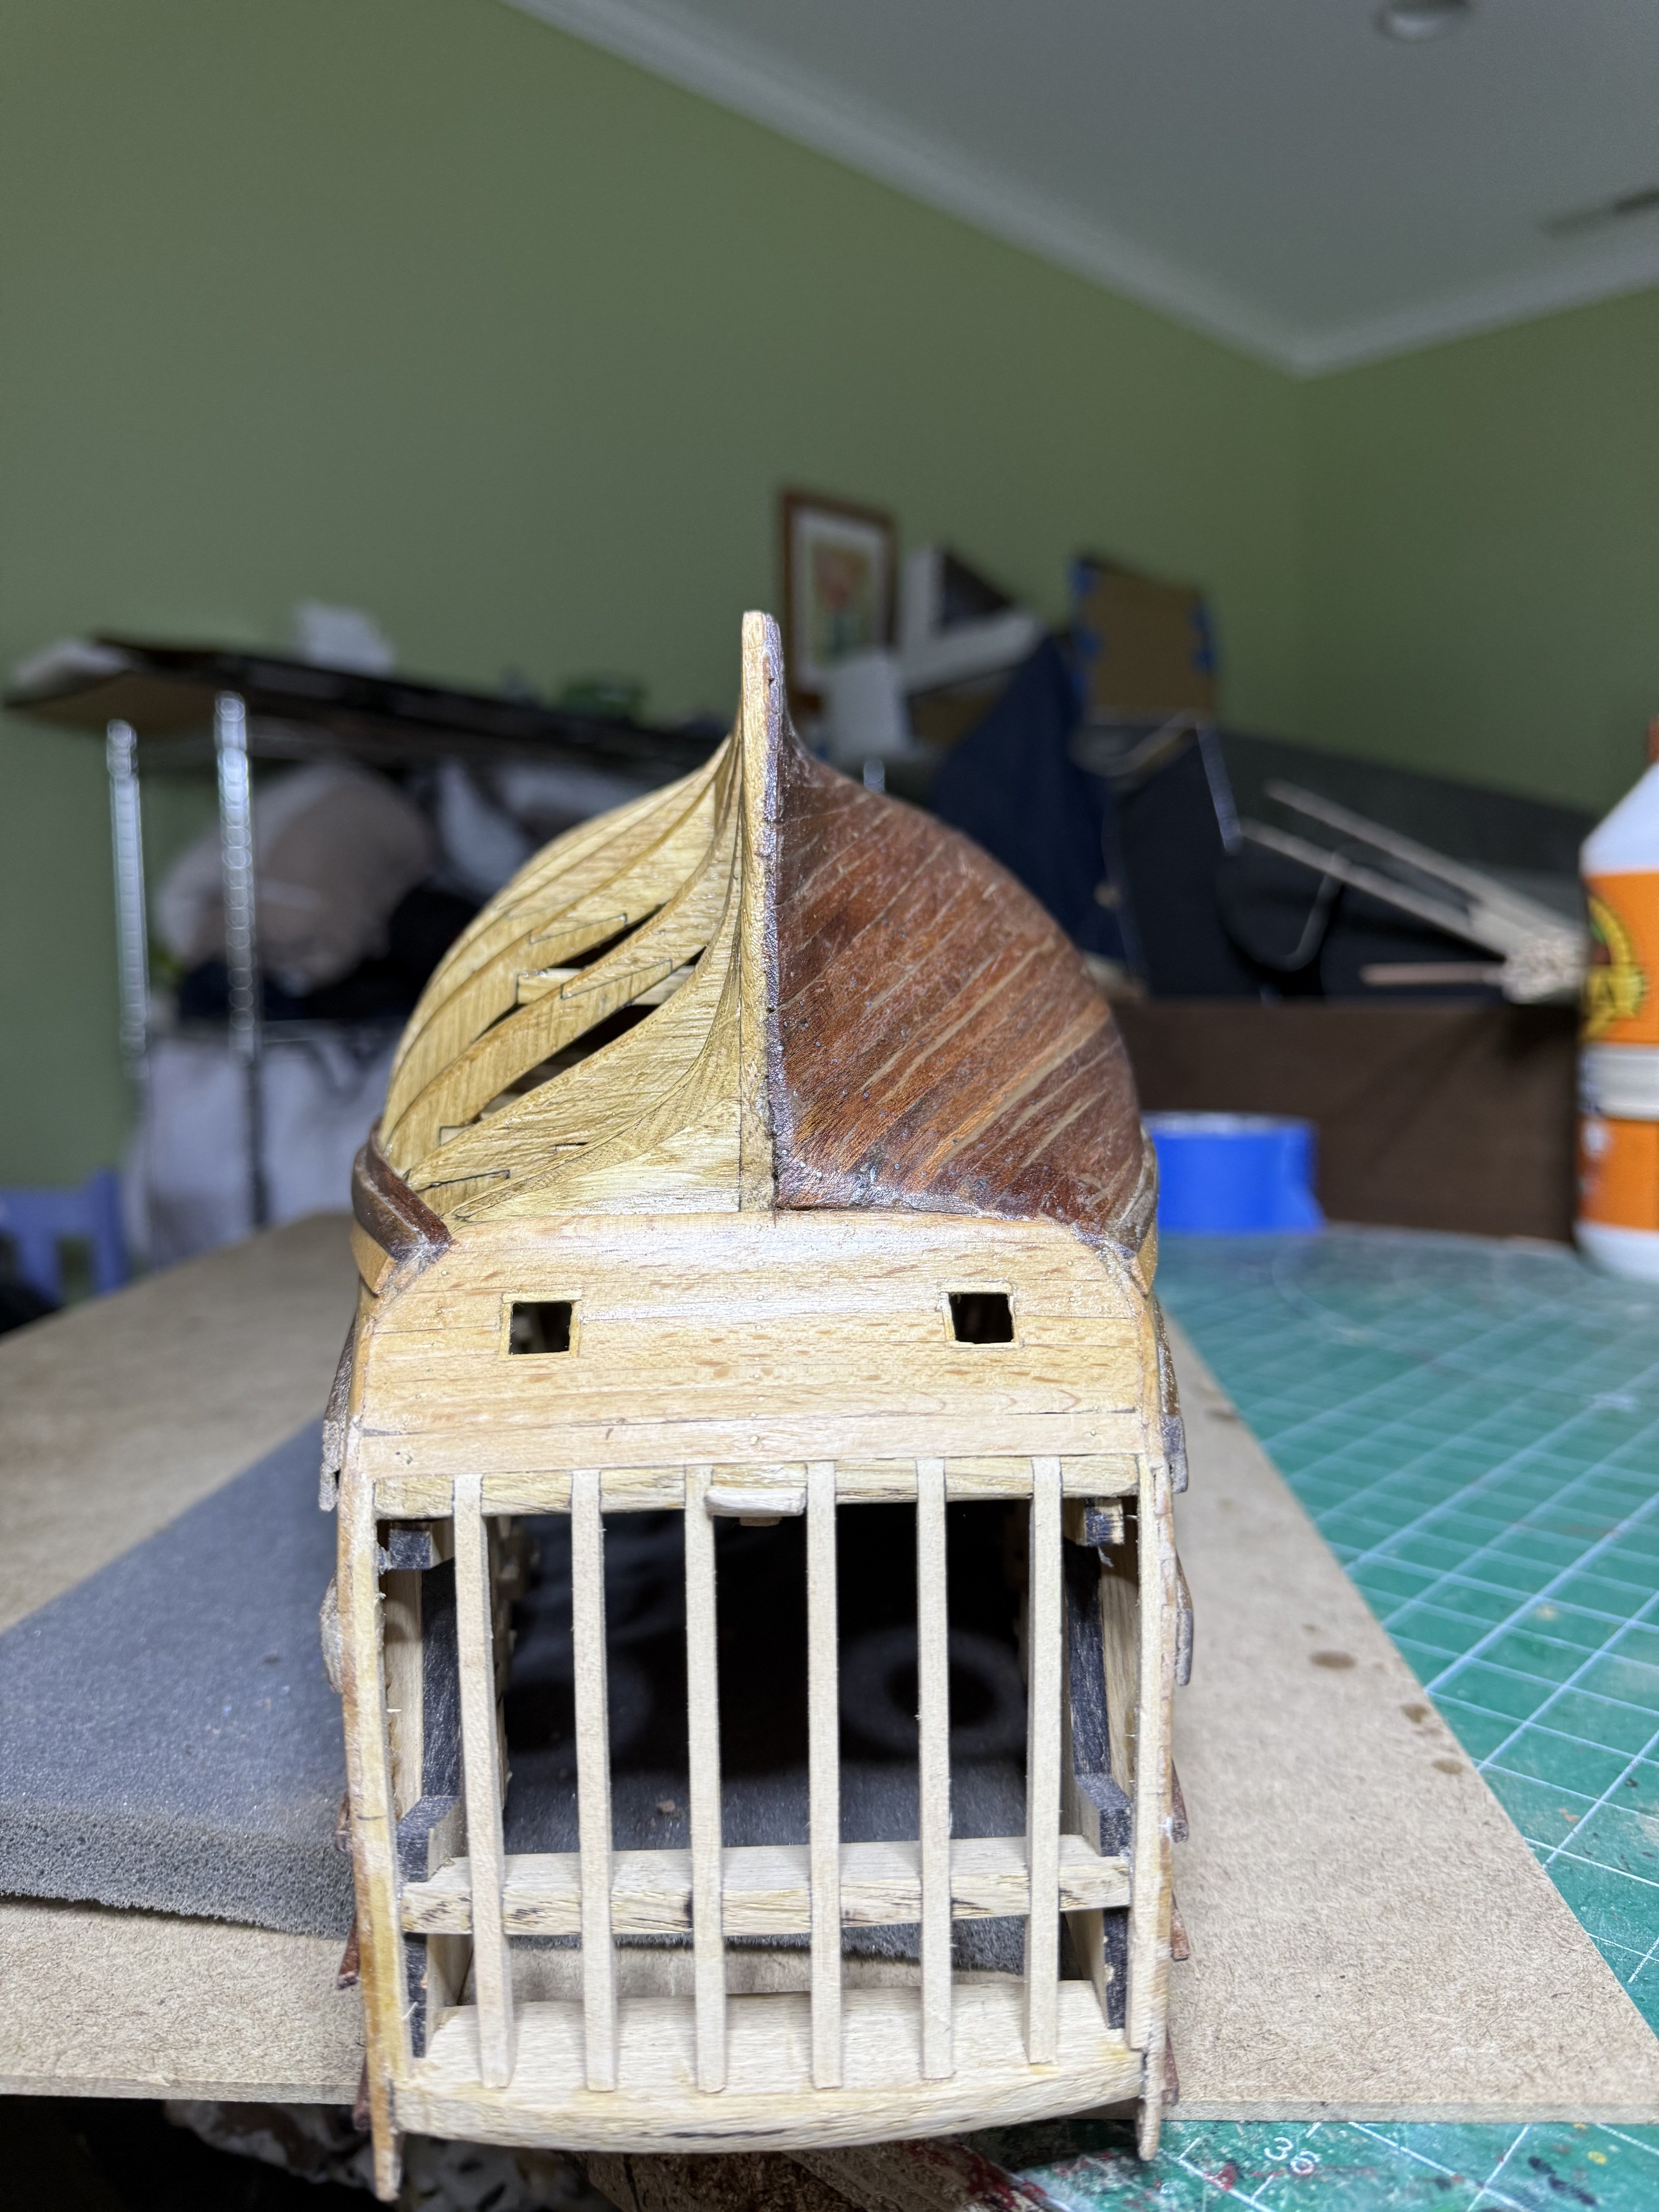
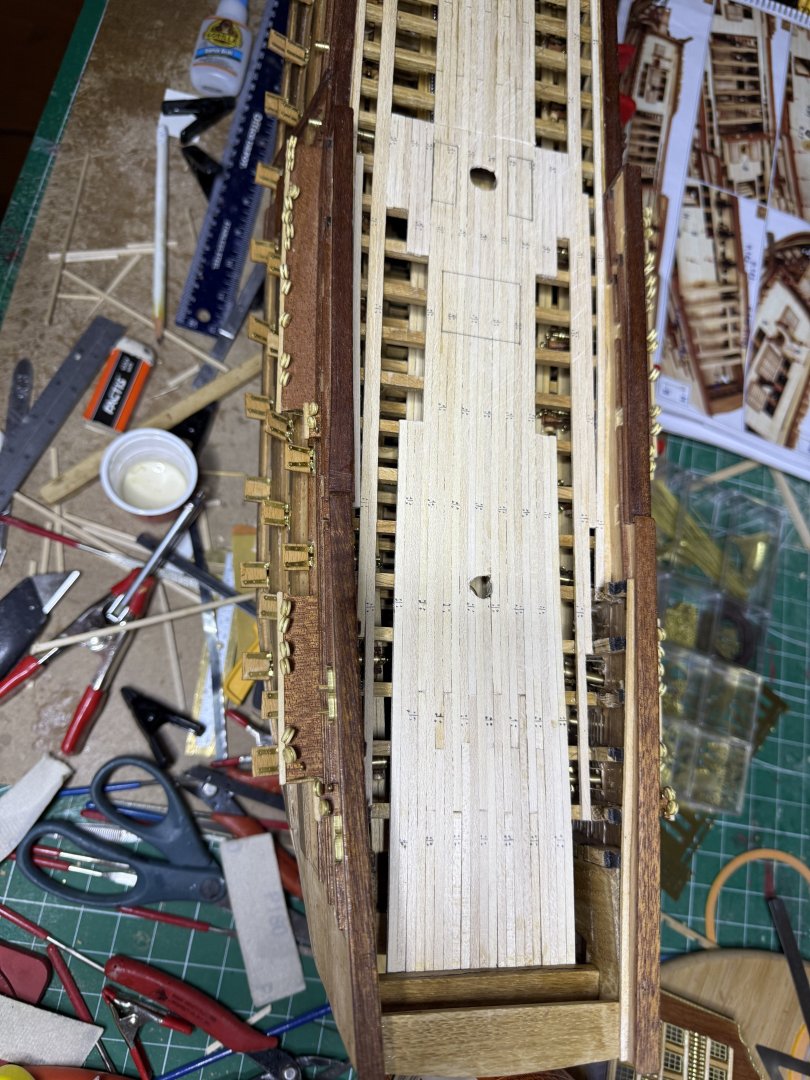
Work for the week so far involved gluing the cross beams for the upper deck Followed by finishing most of the prow The weekend will be planking the deck


-
The Duchess is a sweet build, if you had built it before.
-
HMS Victory by ECK - OcCre - 1/87
ECK replied to ECK's topic in - Kit build logs for subjects built from 1751 - 1800
I don't like to suffer that much! -
HMS Victory by ECK - OcCre - 1/87
ECK replied to ECK's topic in - Kit build logs for subjects built from 1751 - 1800
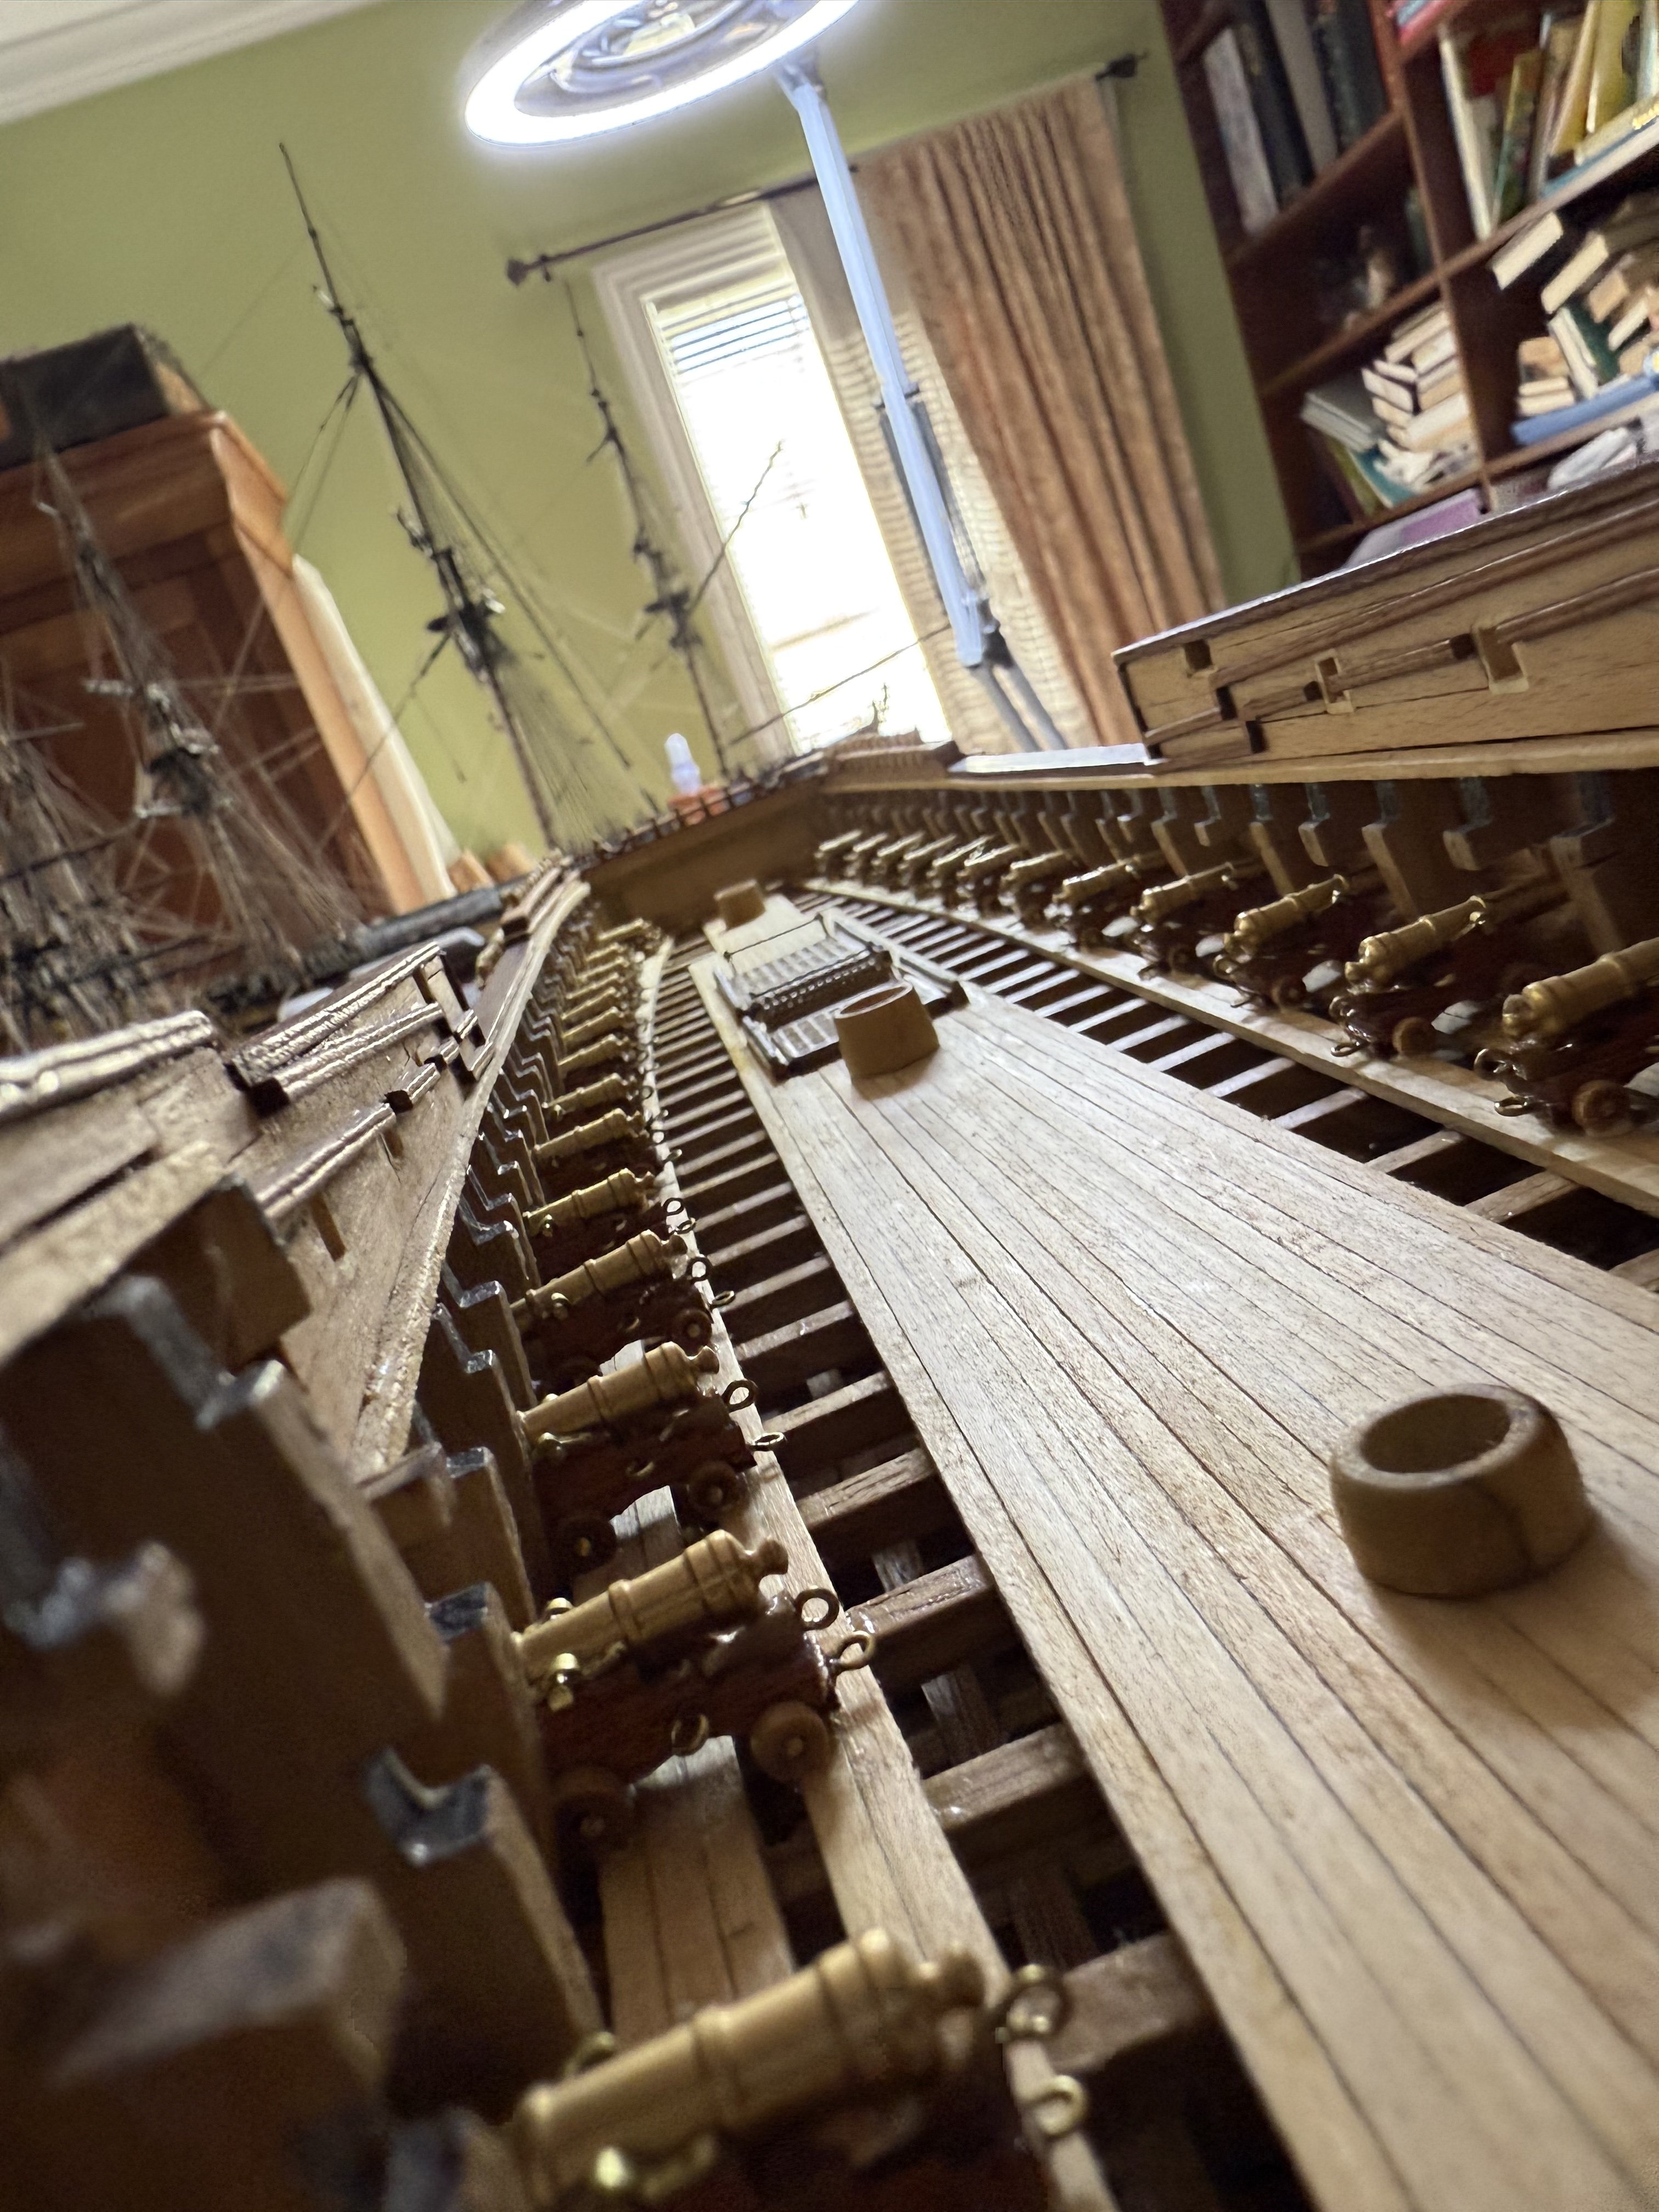
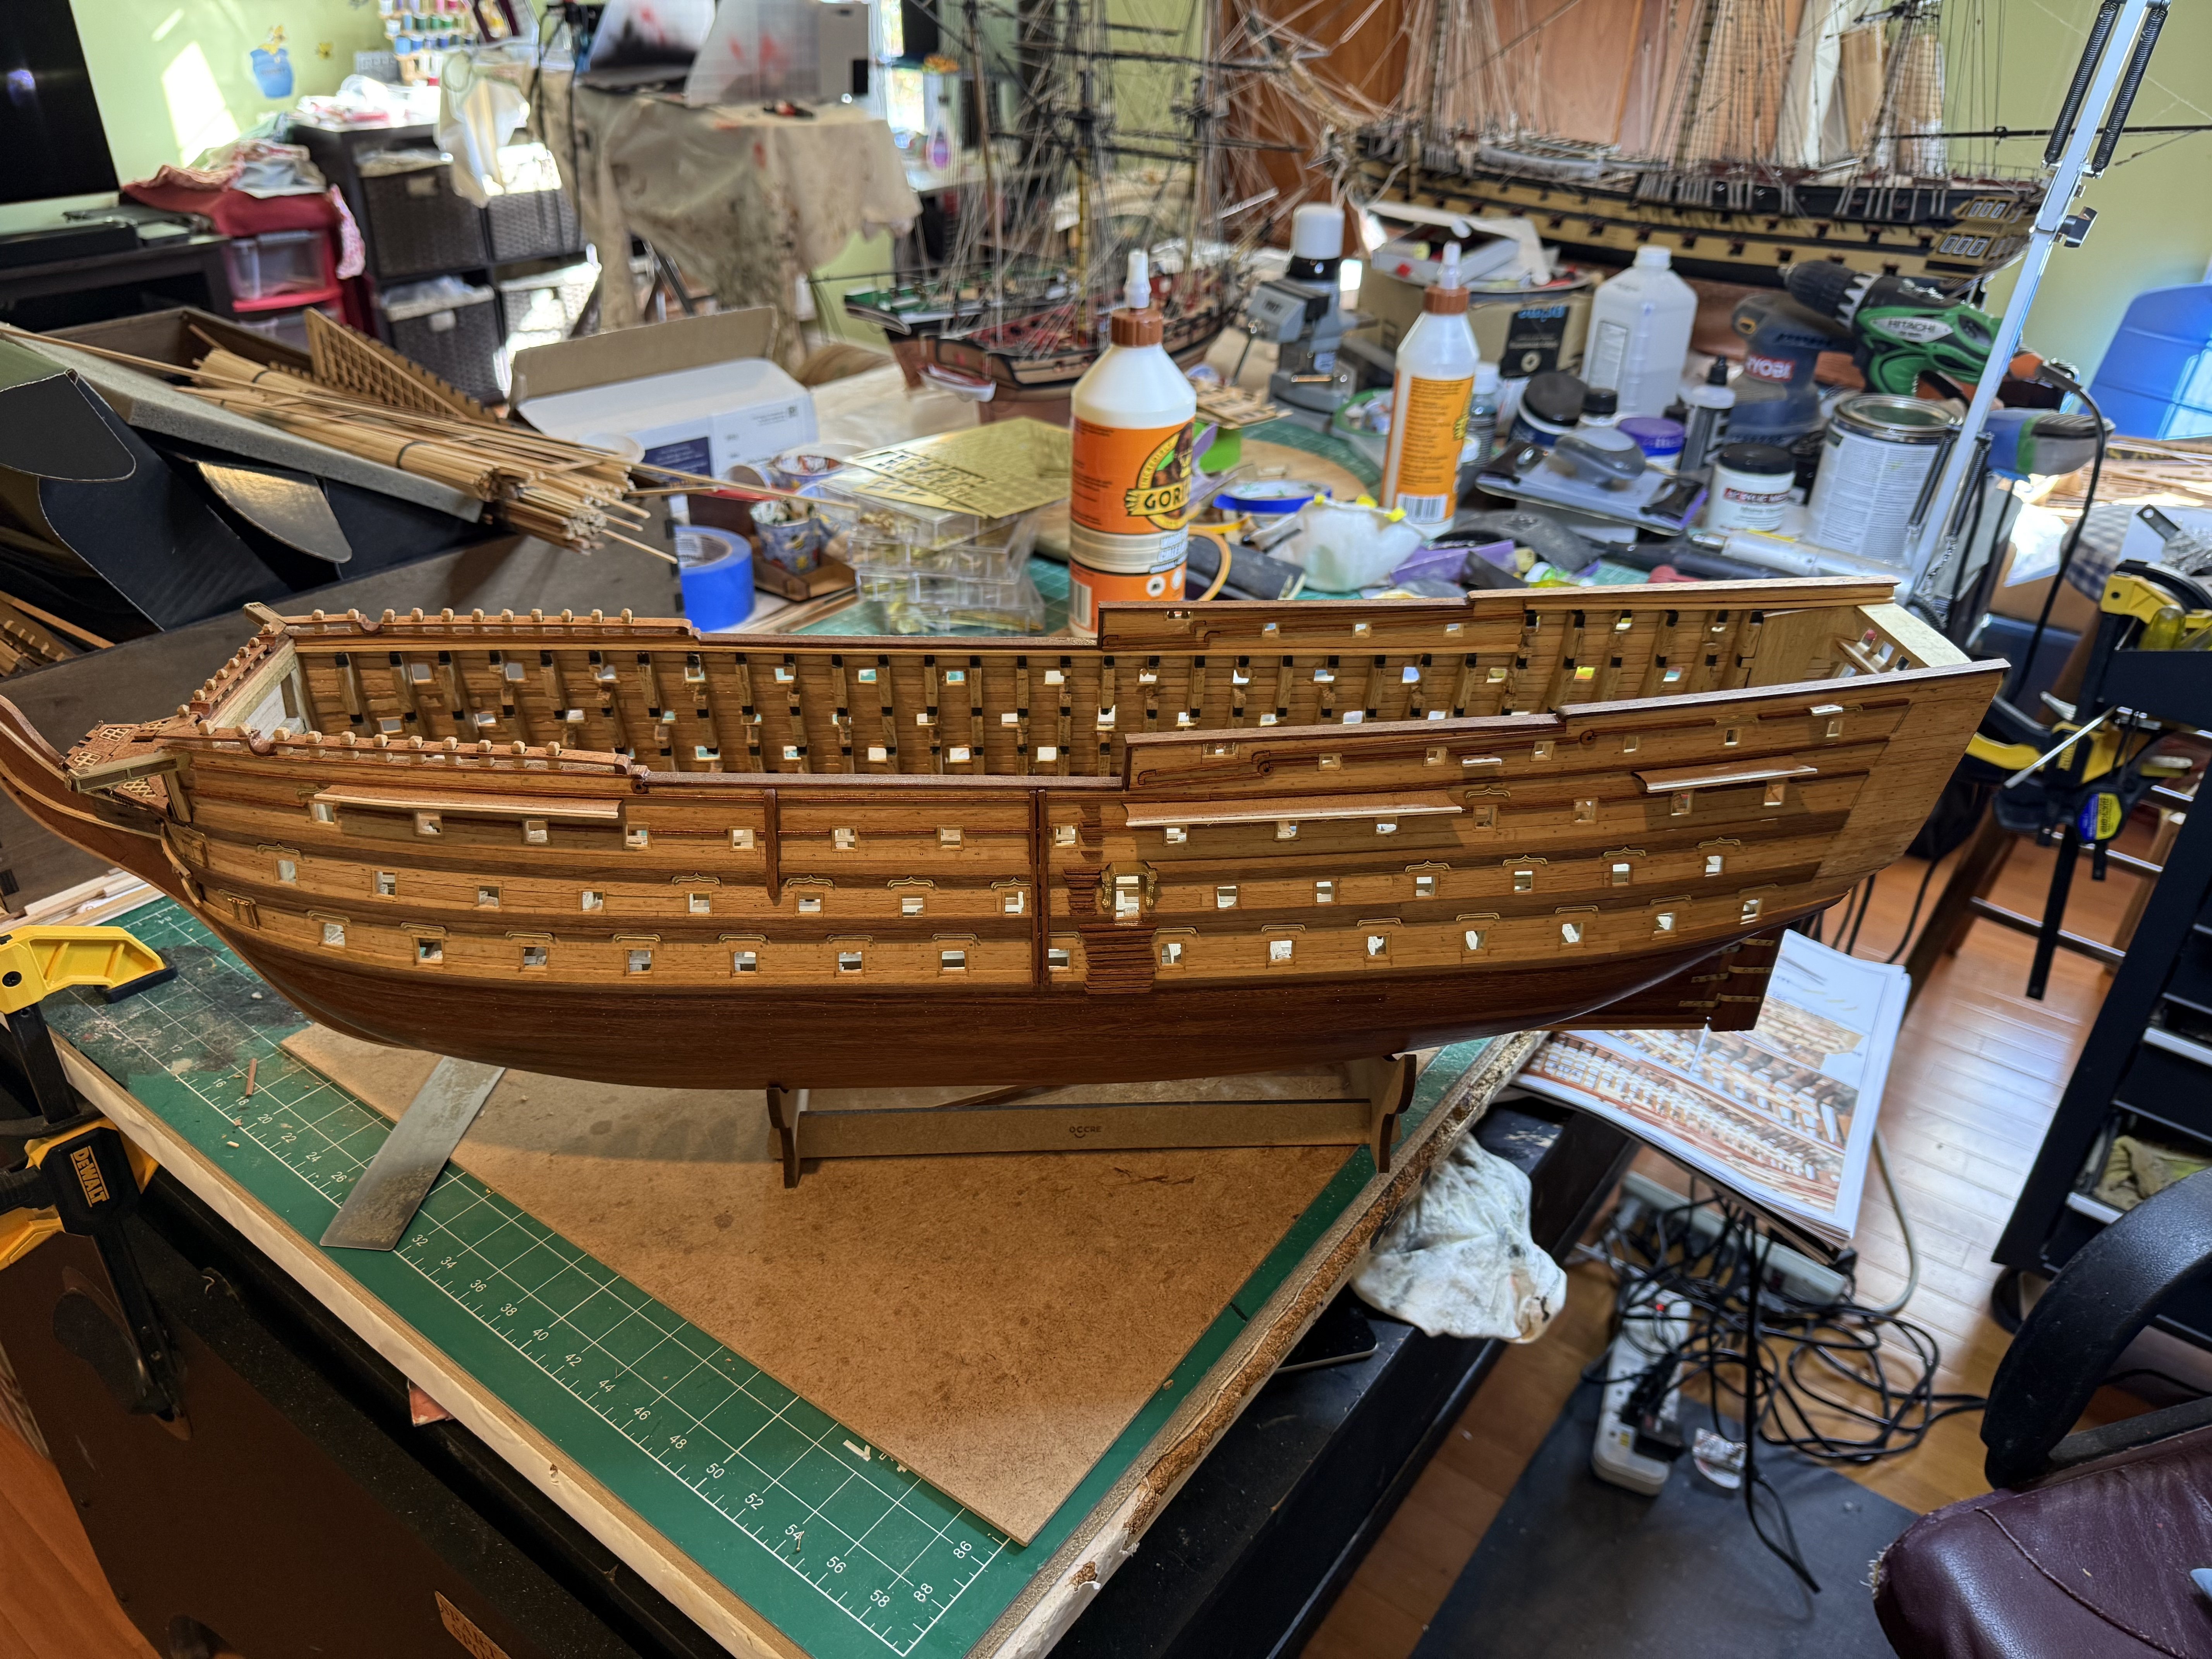
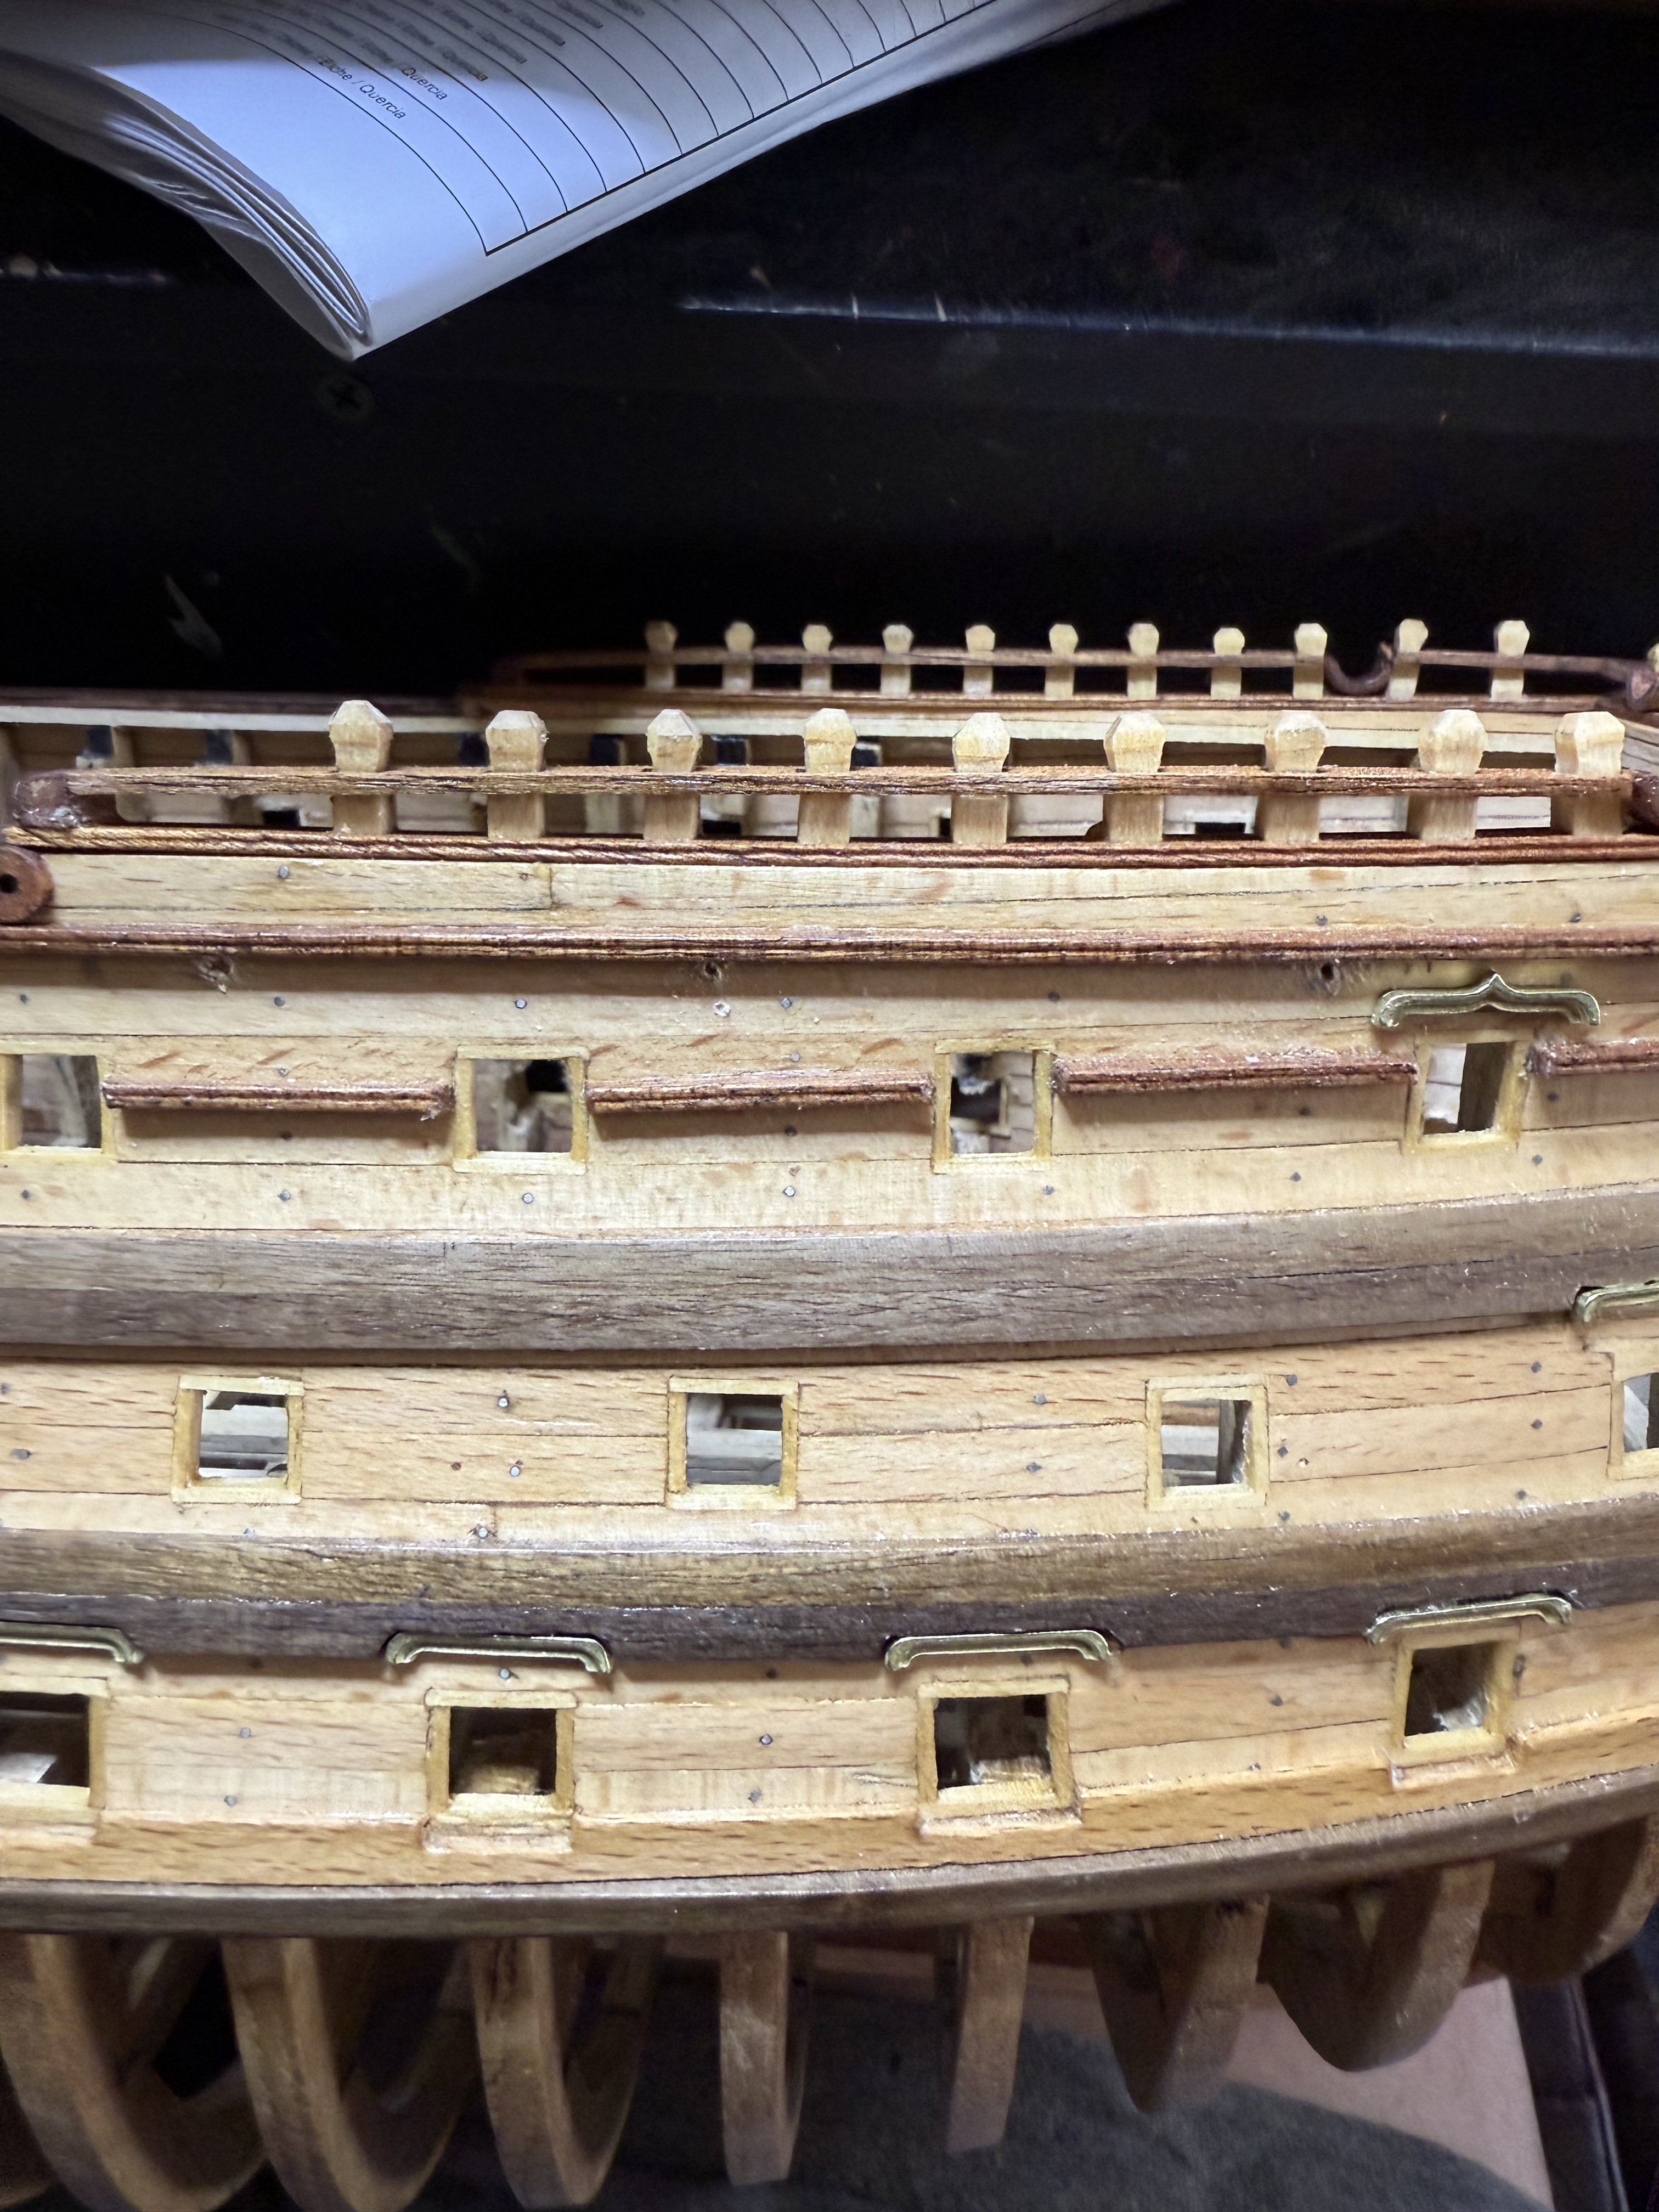
Third gundeck done, guns and ports also in place.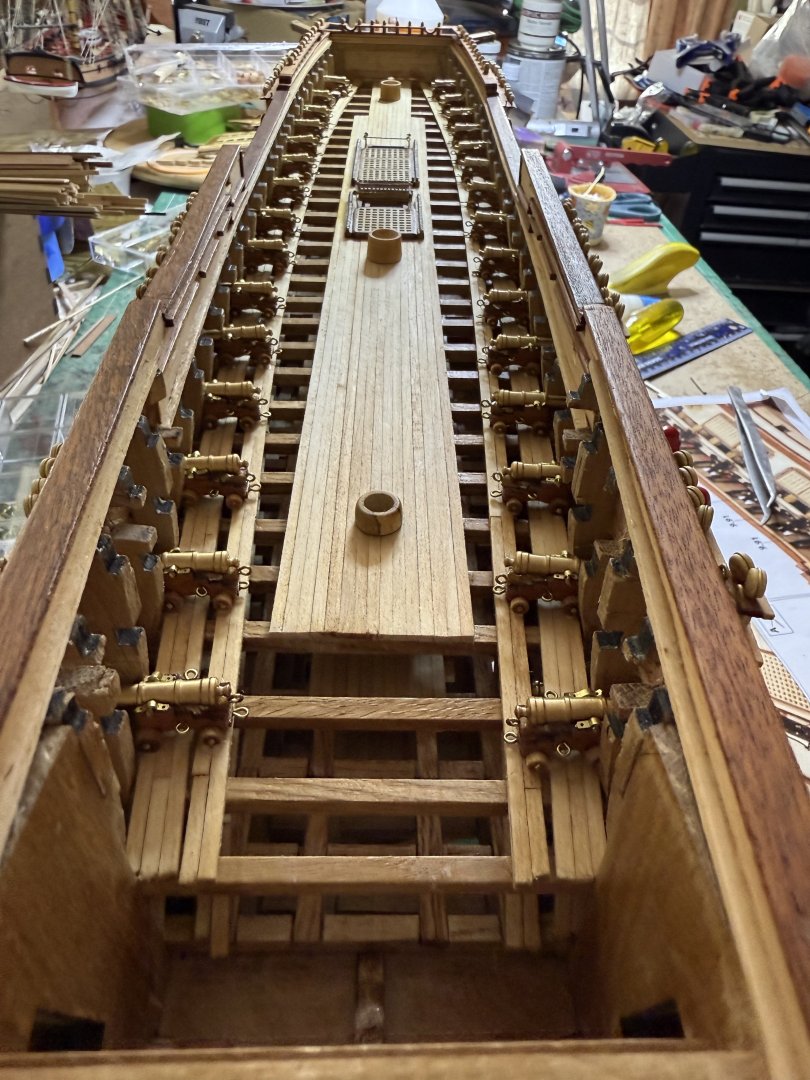


-
HMS Victory by ECK - OcCre - 1/87
ECK replied to ECK's topic in - Kit build logs for subjects built from 1751 - 1800
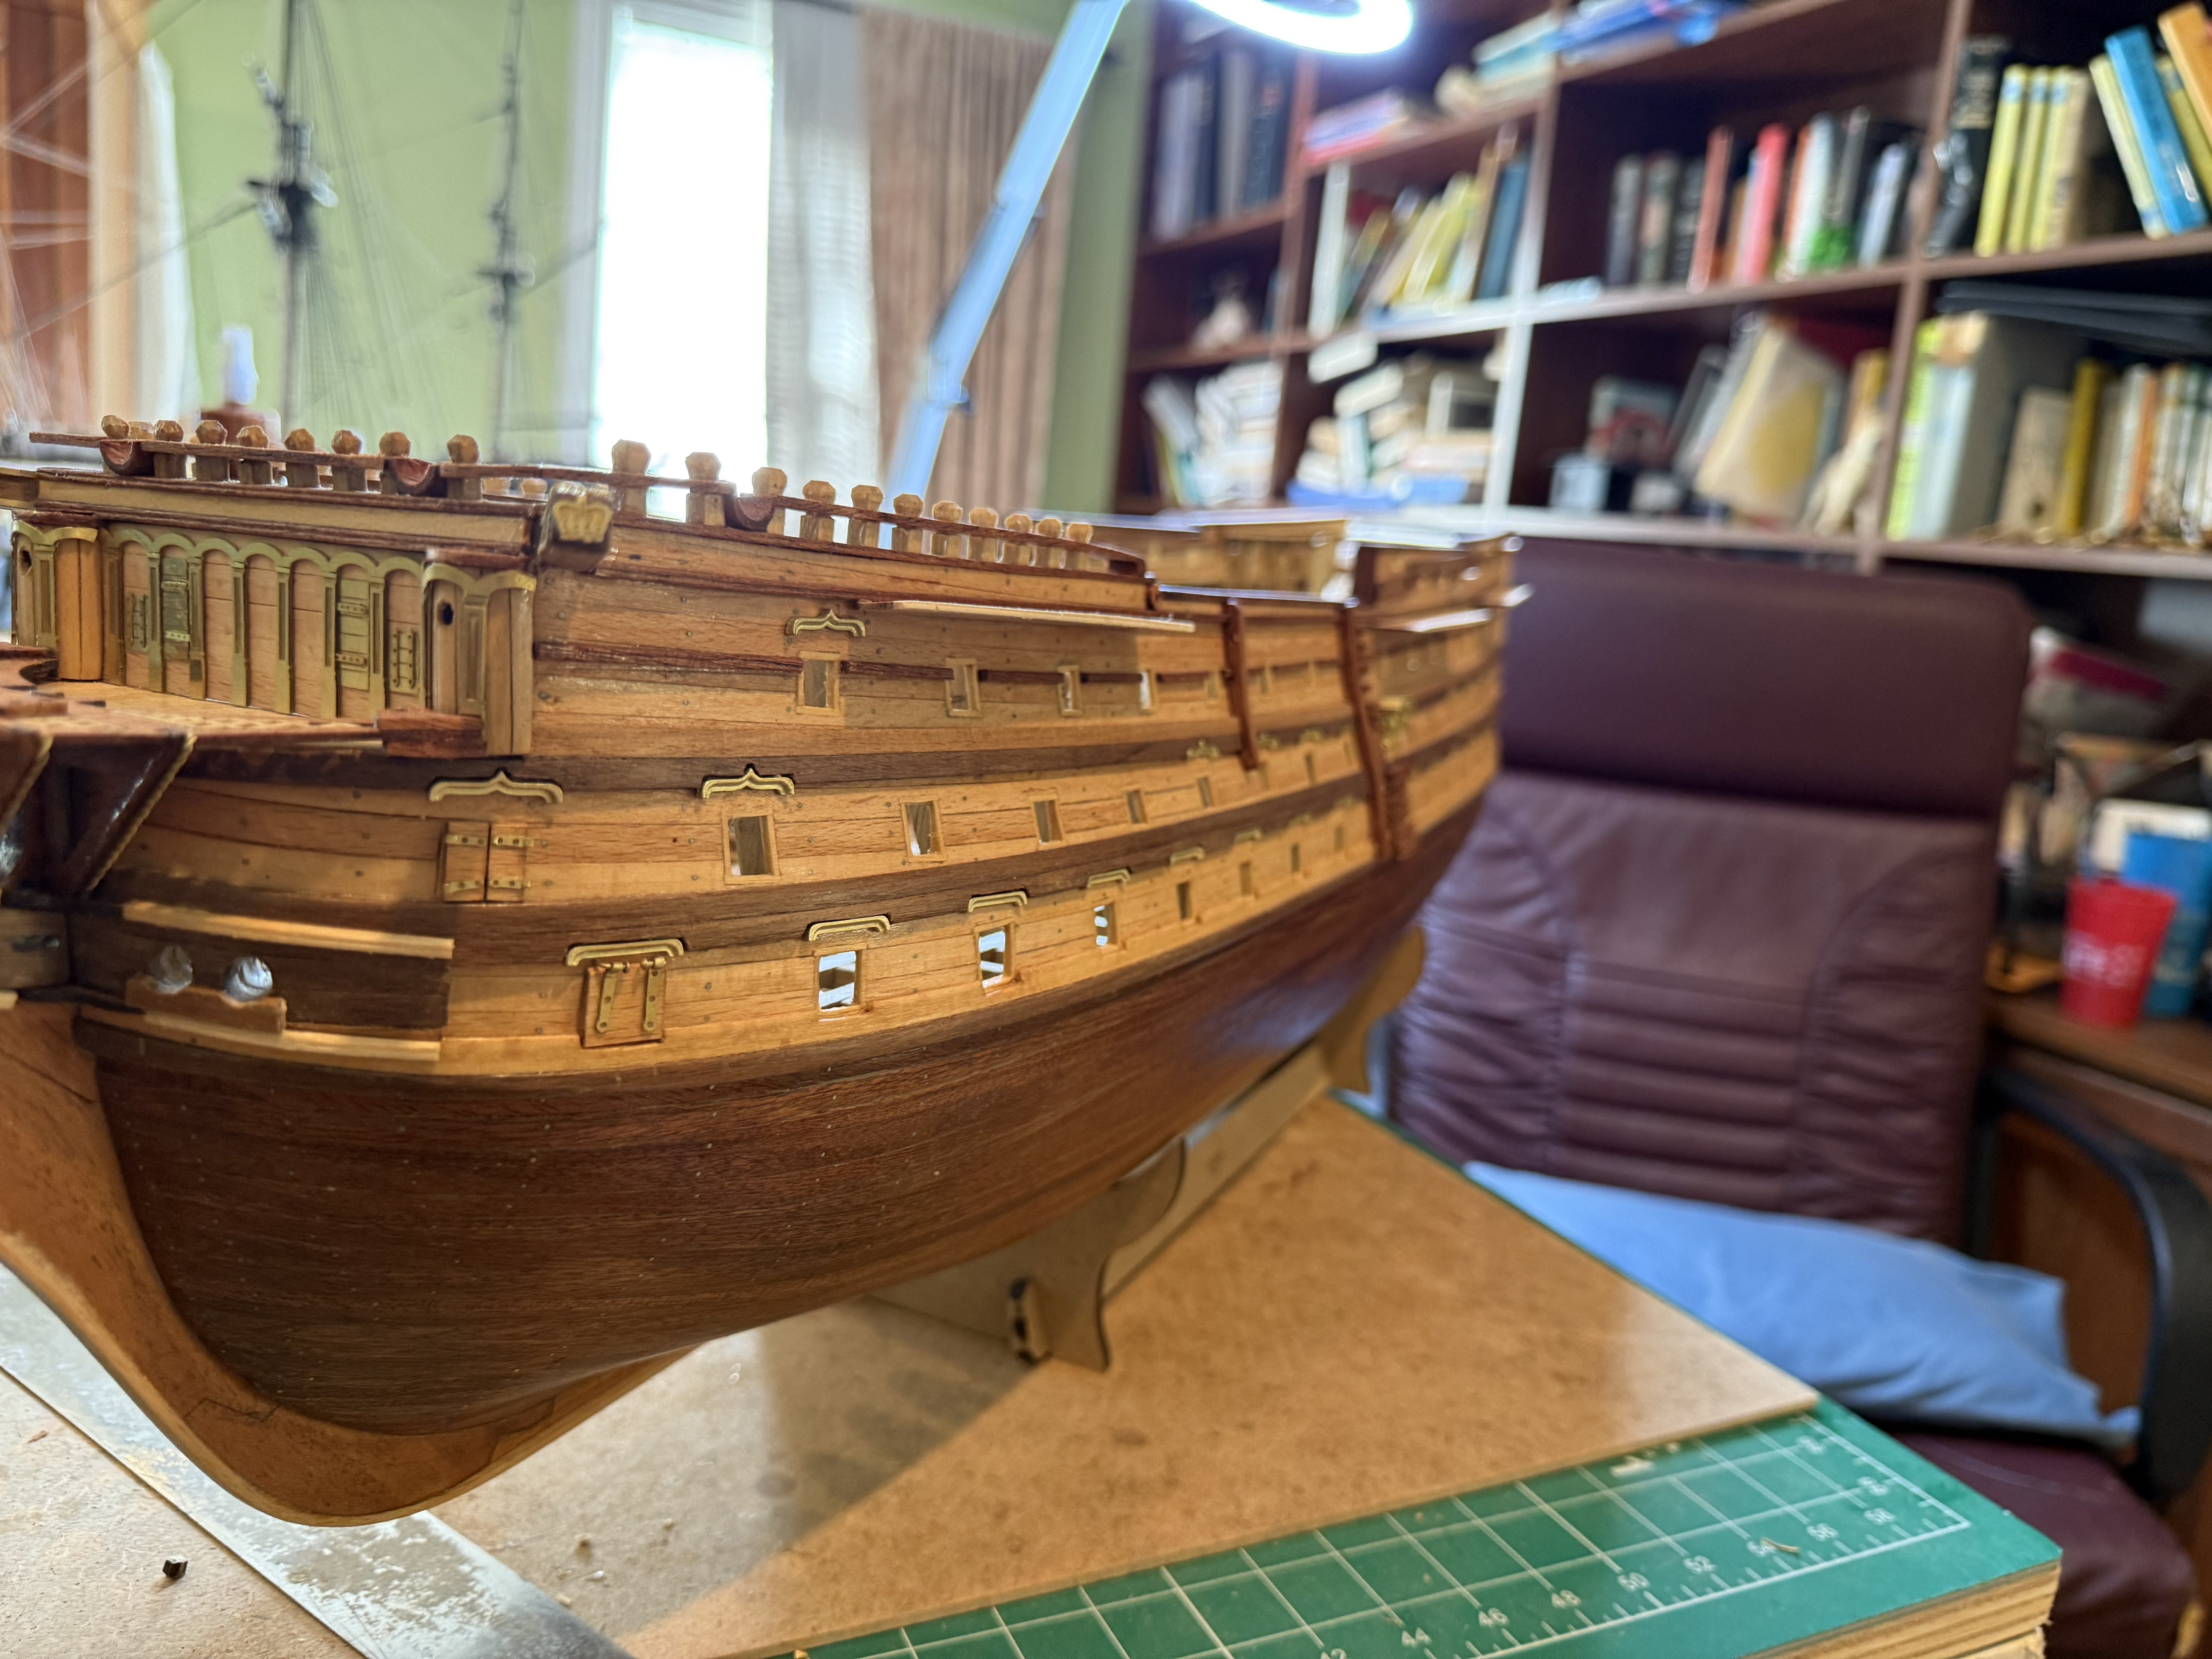
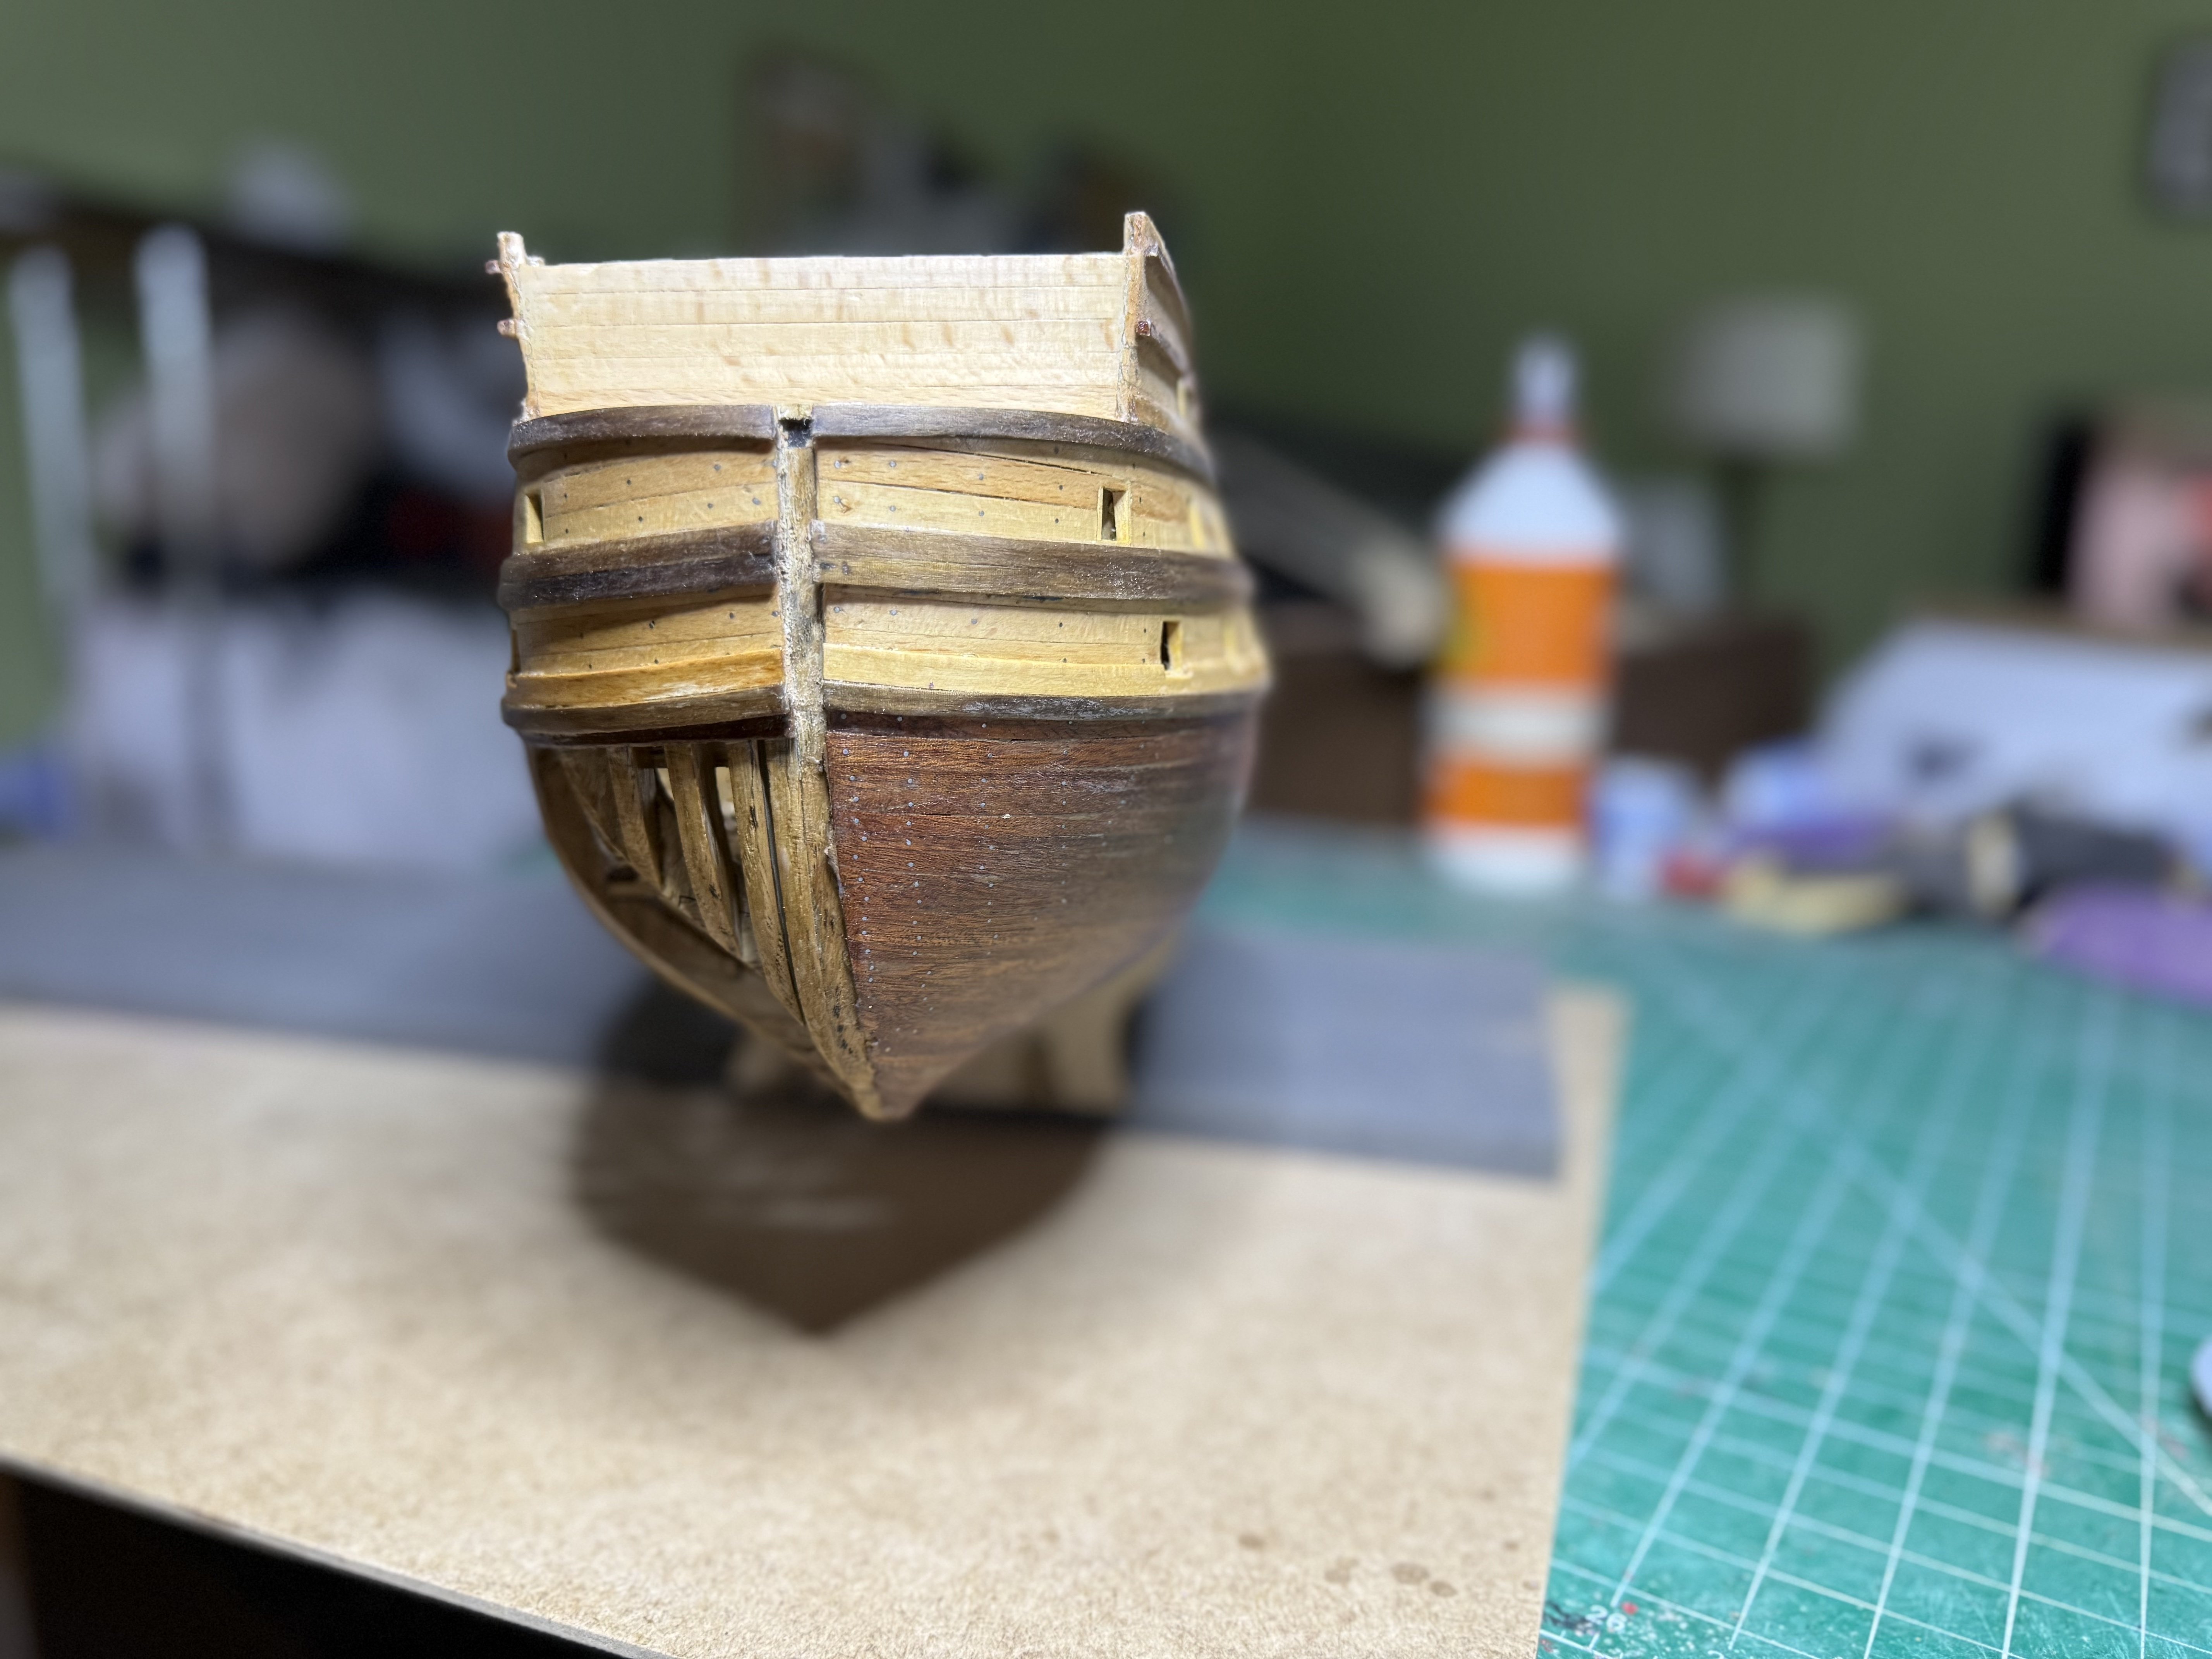
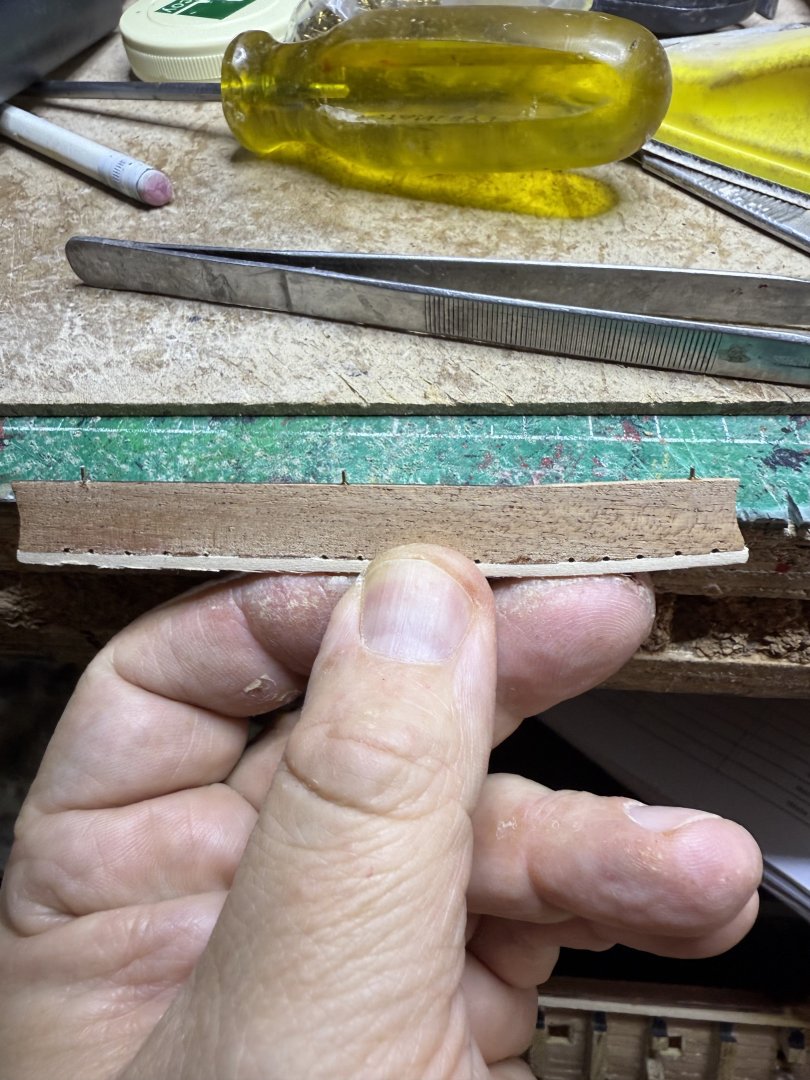
A lot of work over the week so far. First the lower gundeck ports fixed into place Next the second lowest gundeck beams added Followed by partial planking Next the bowsprit opened up. Guns added next Then the gunport lids Last for the day the next set of deck beams added. For this deck no longitudinal bracing.


-
HMS Victory by ECK - OcCre - 1/87
ECK replied to ECK's topic in - Kit build logs for subjects built from 1751 - 1800
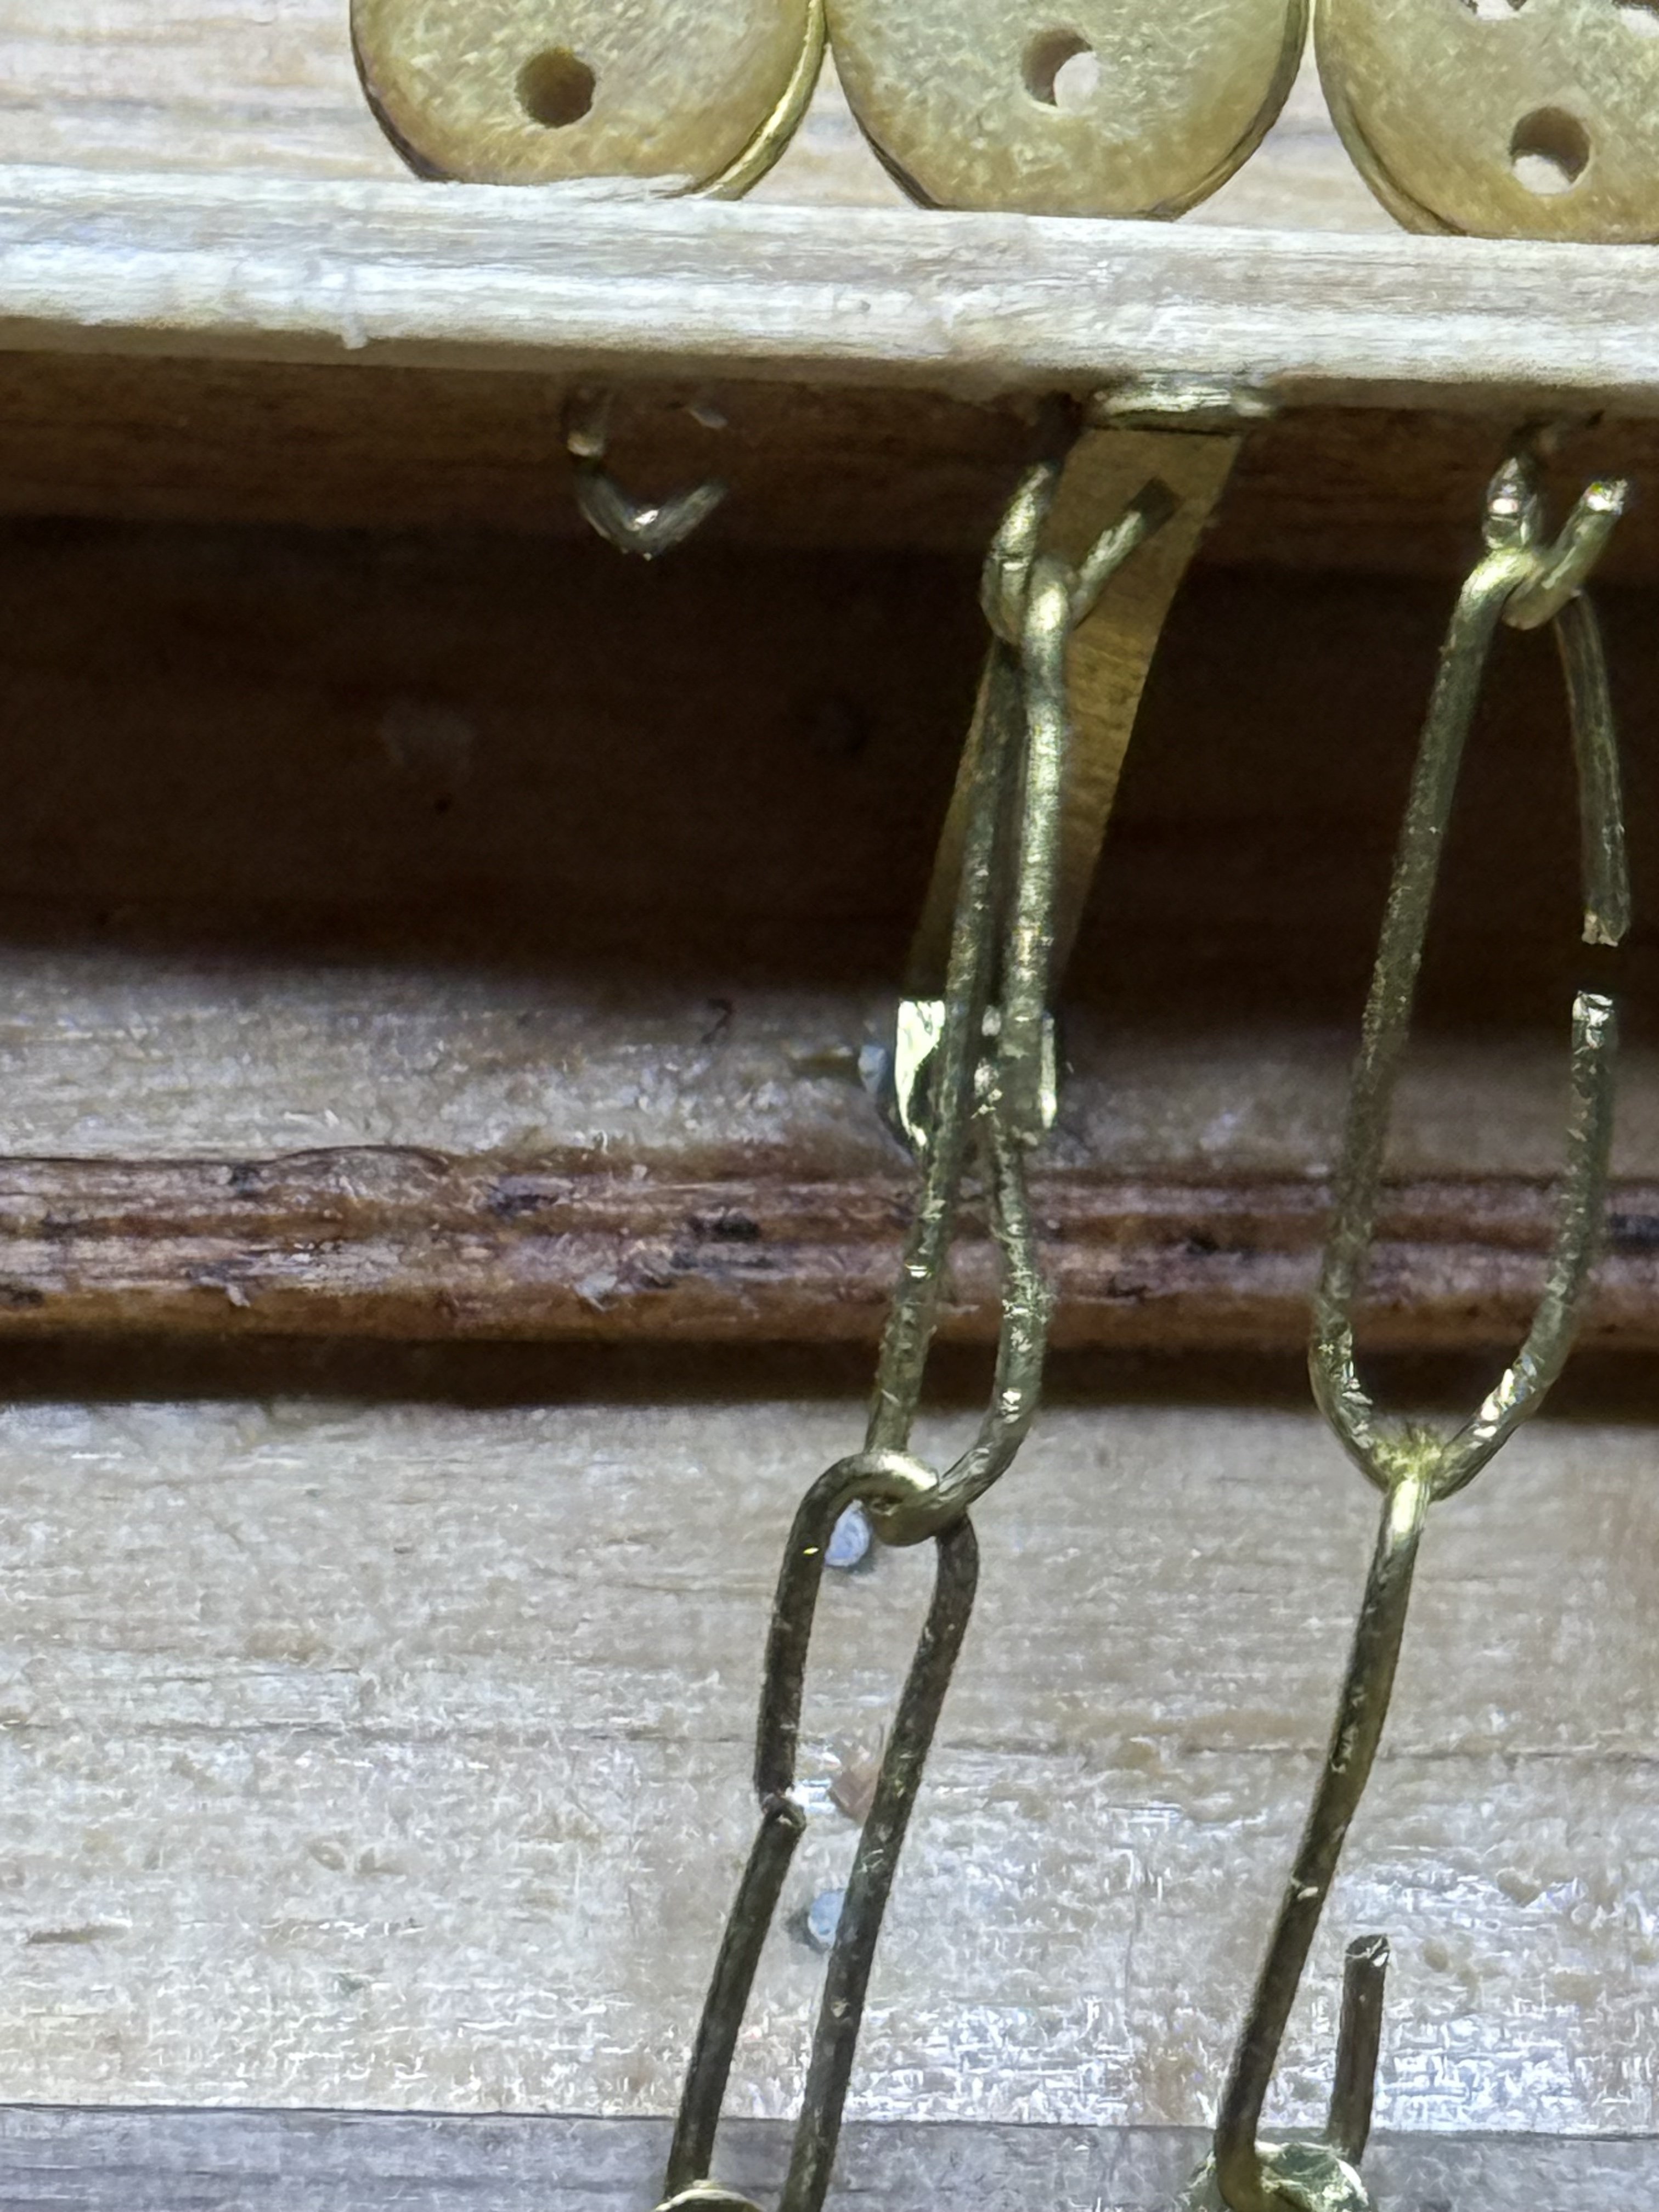
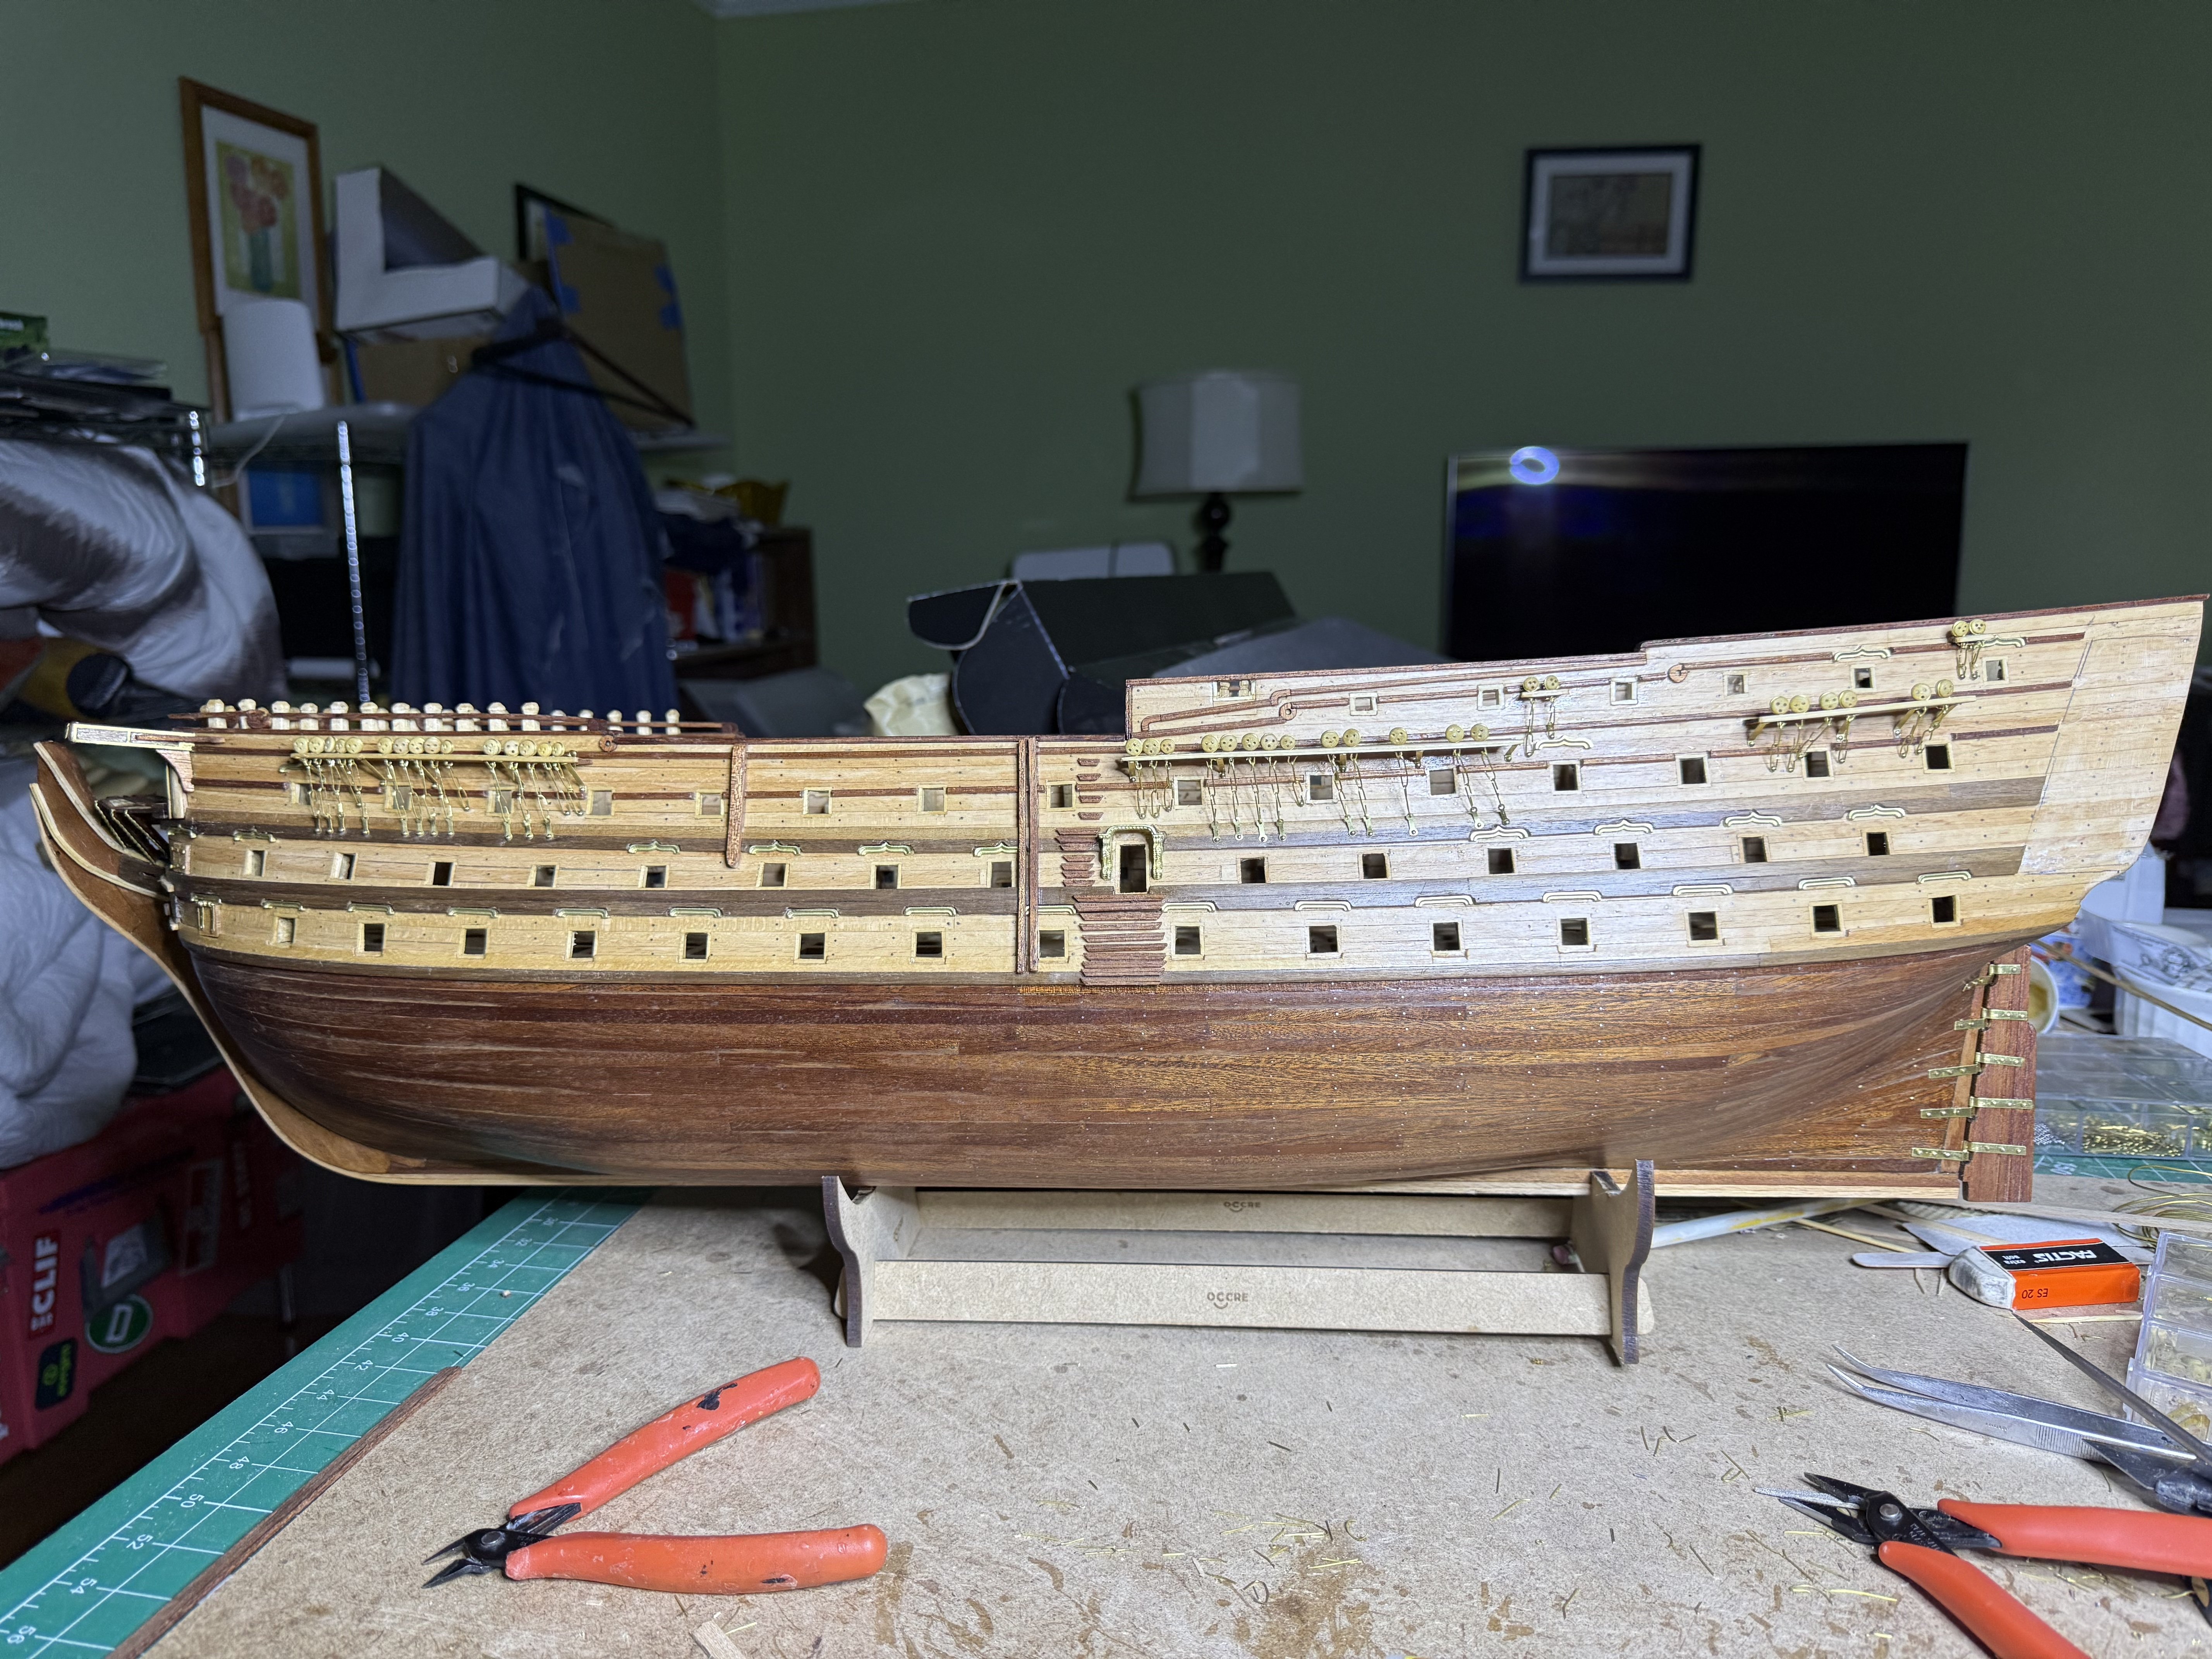
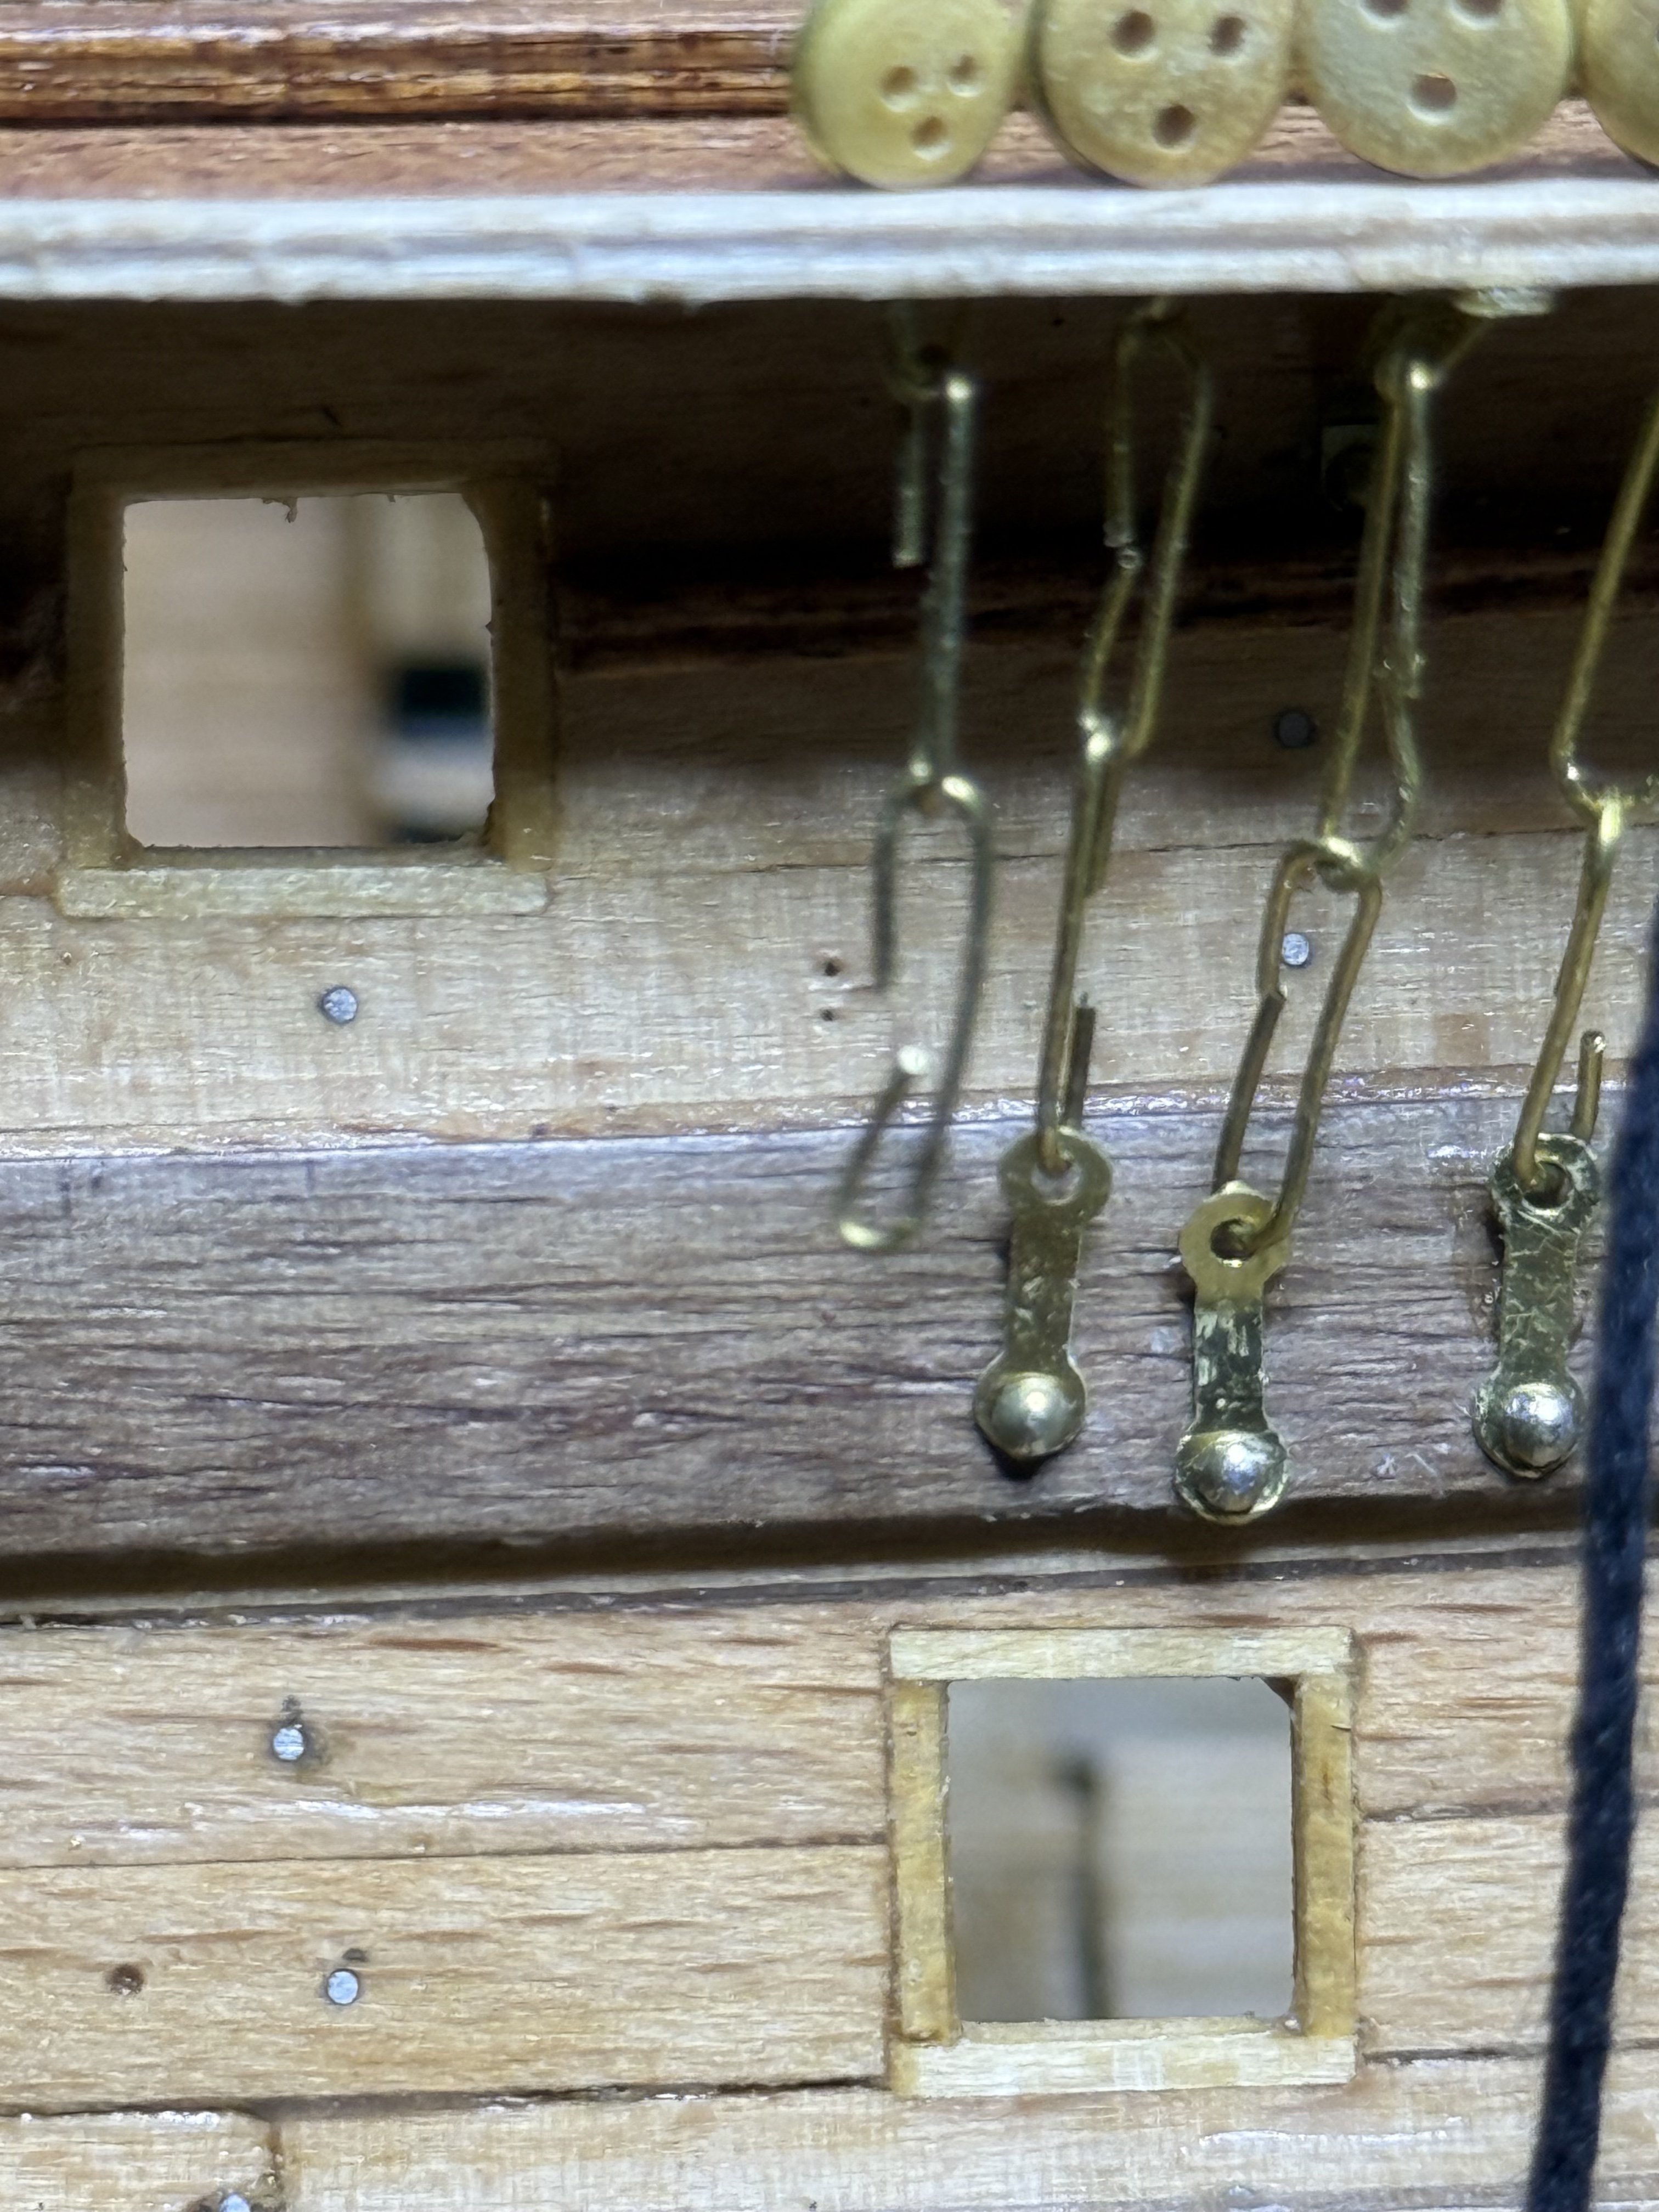
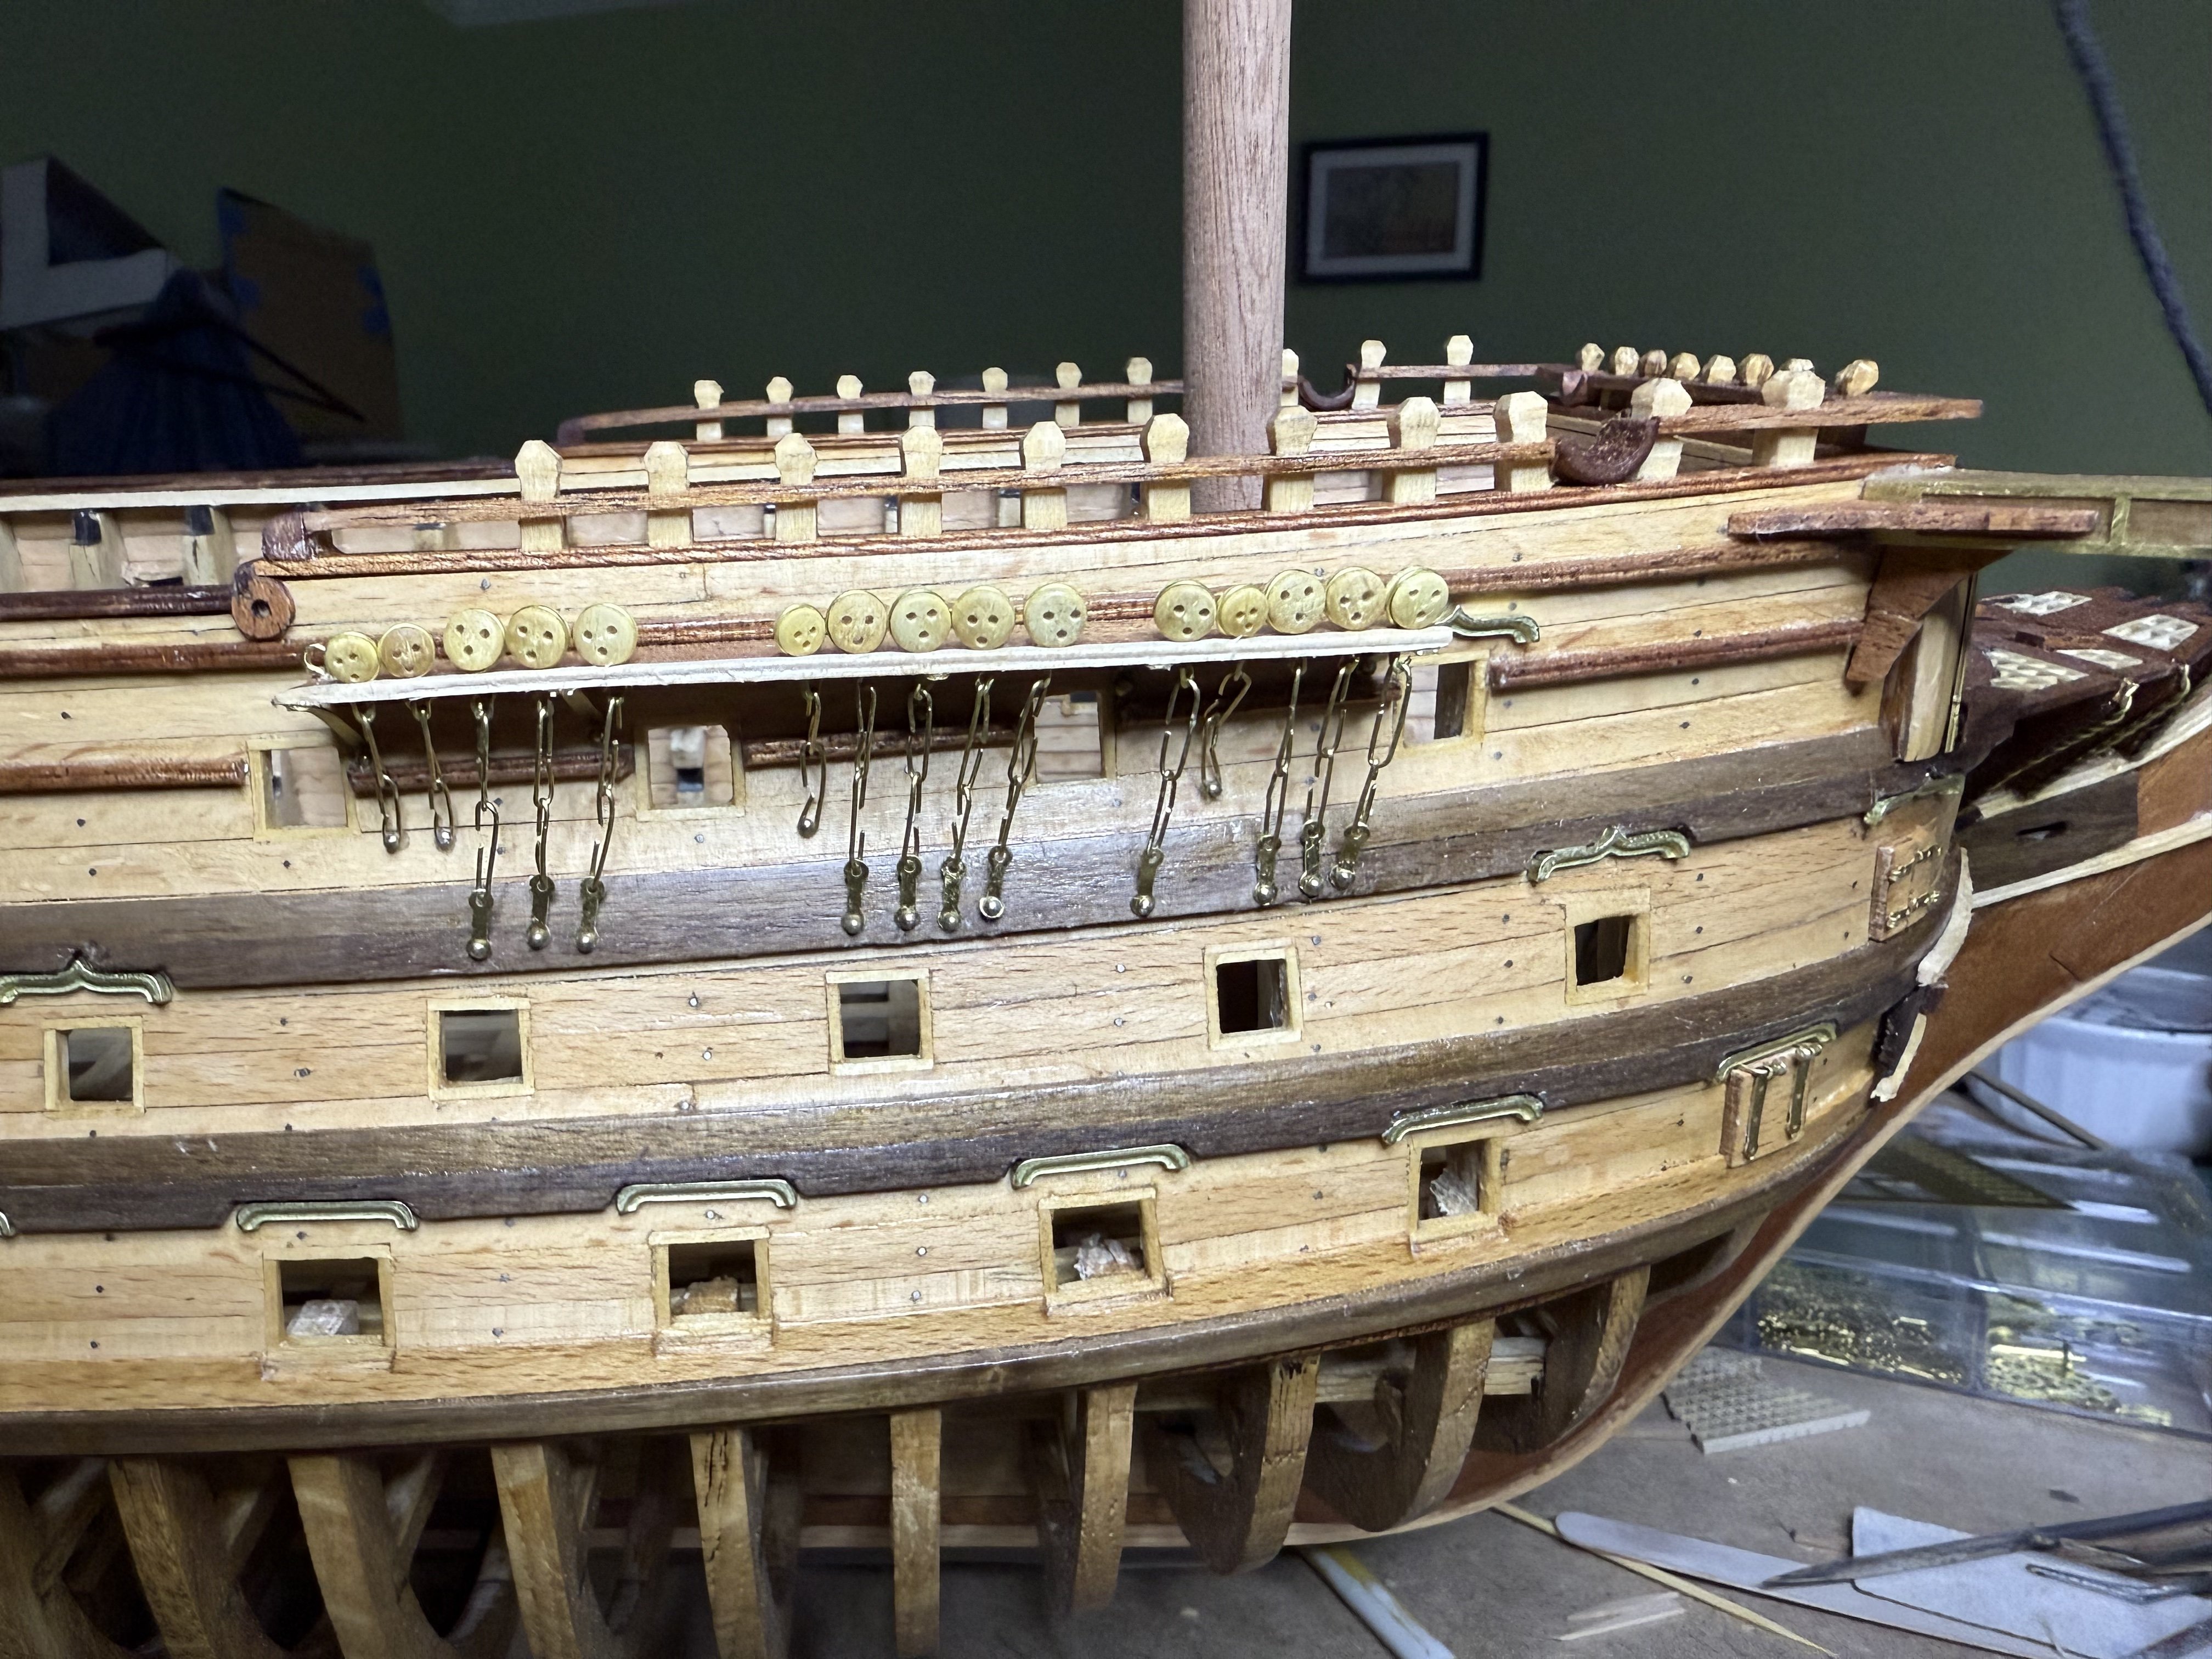
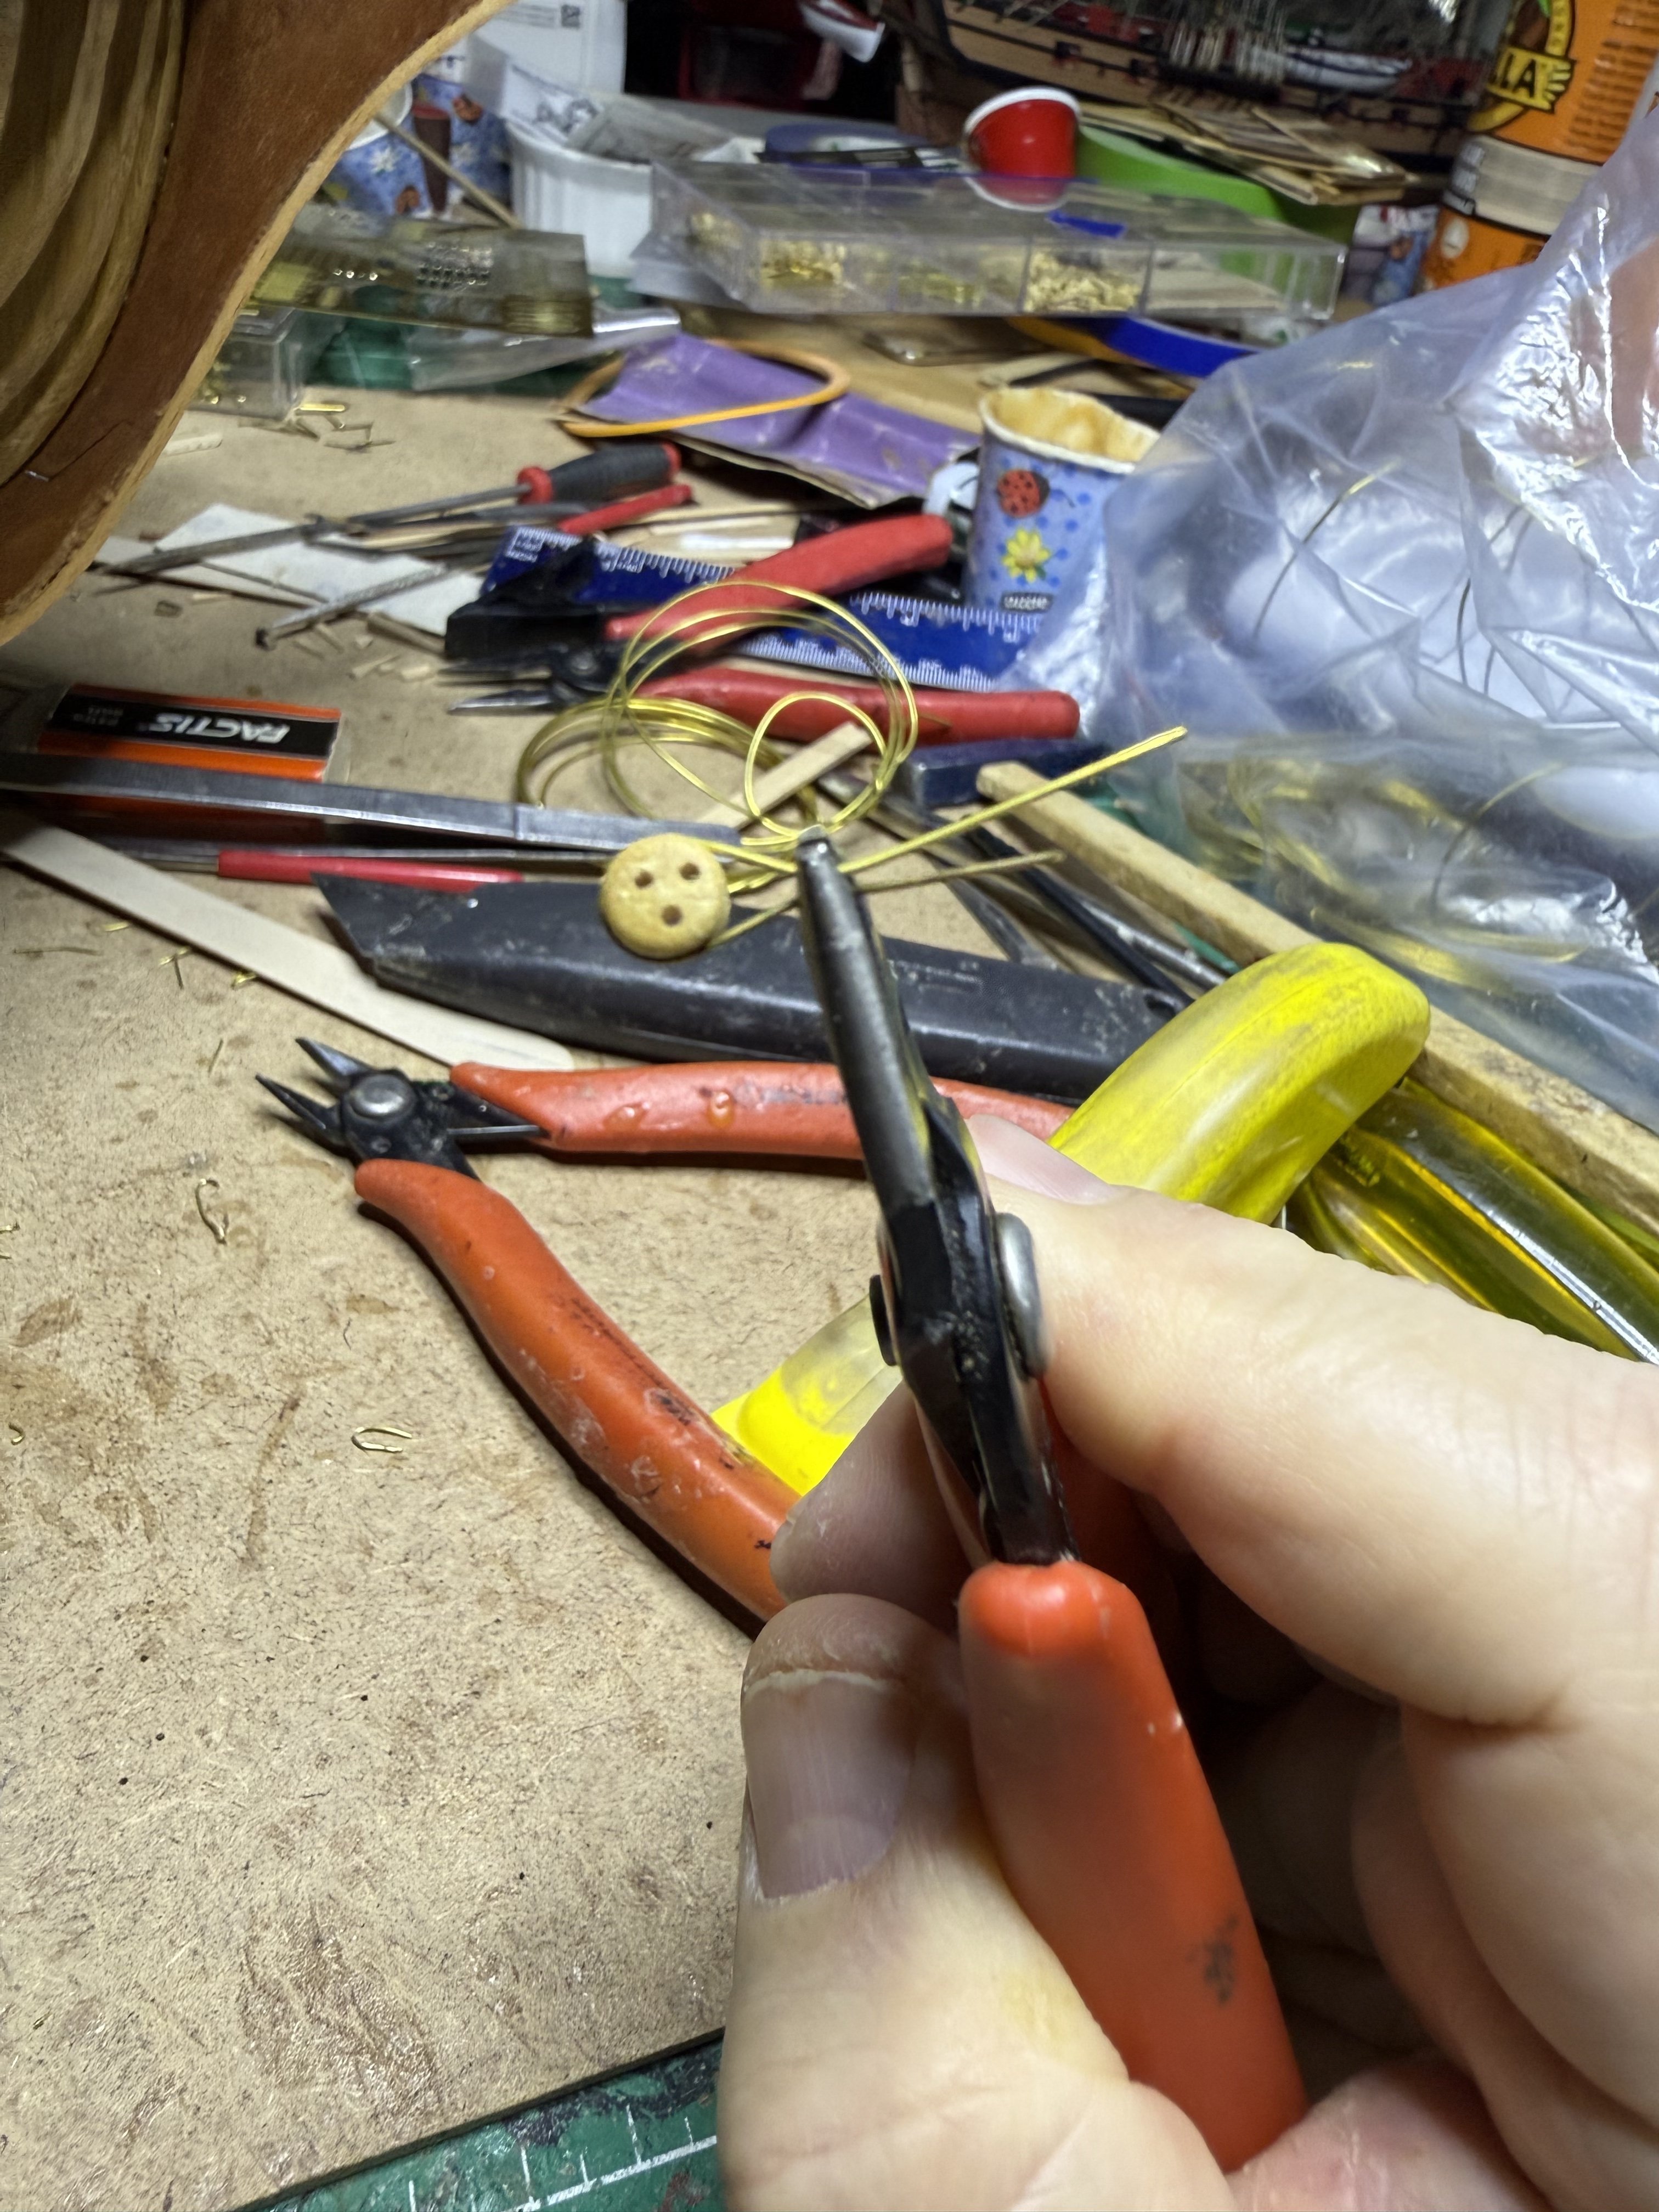
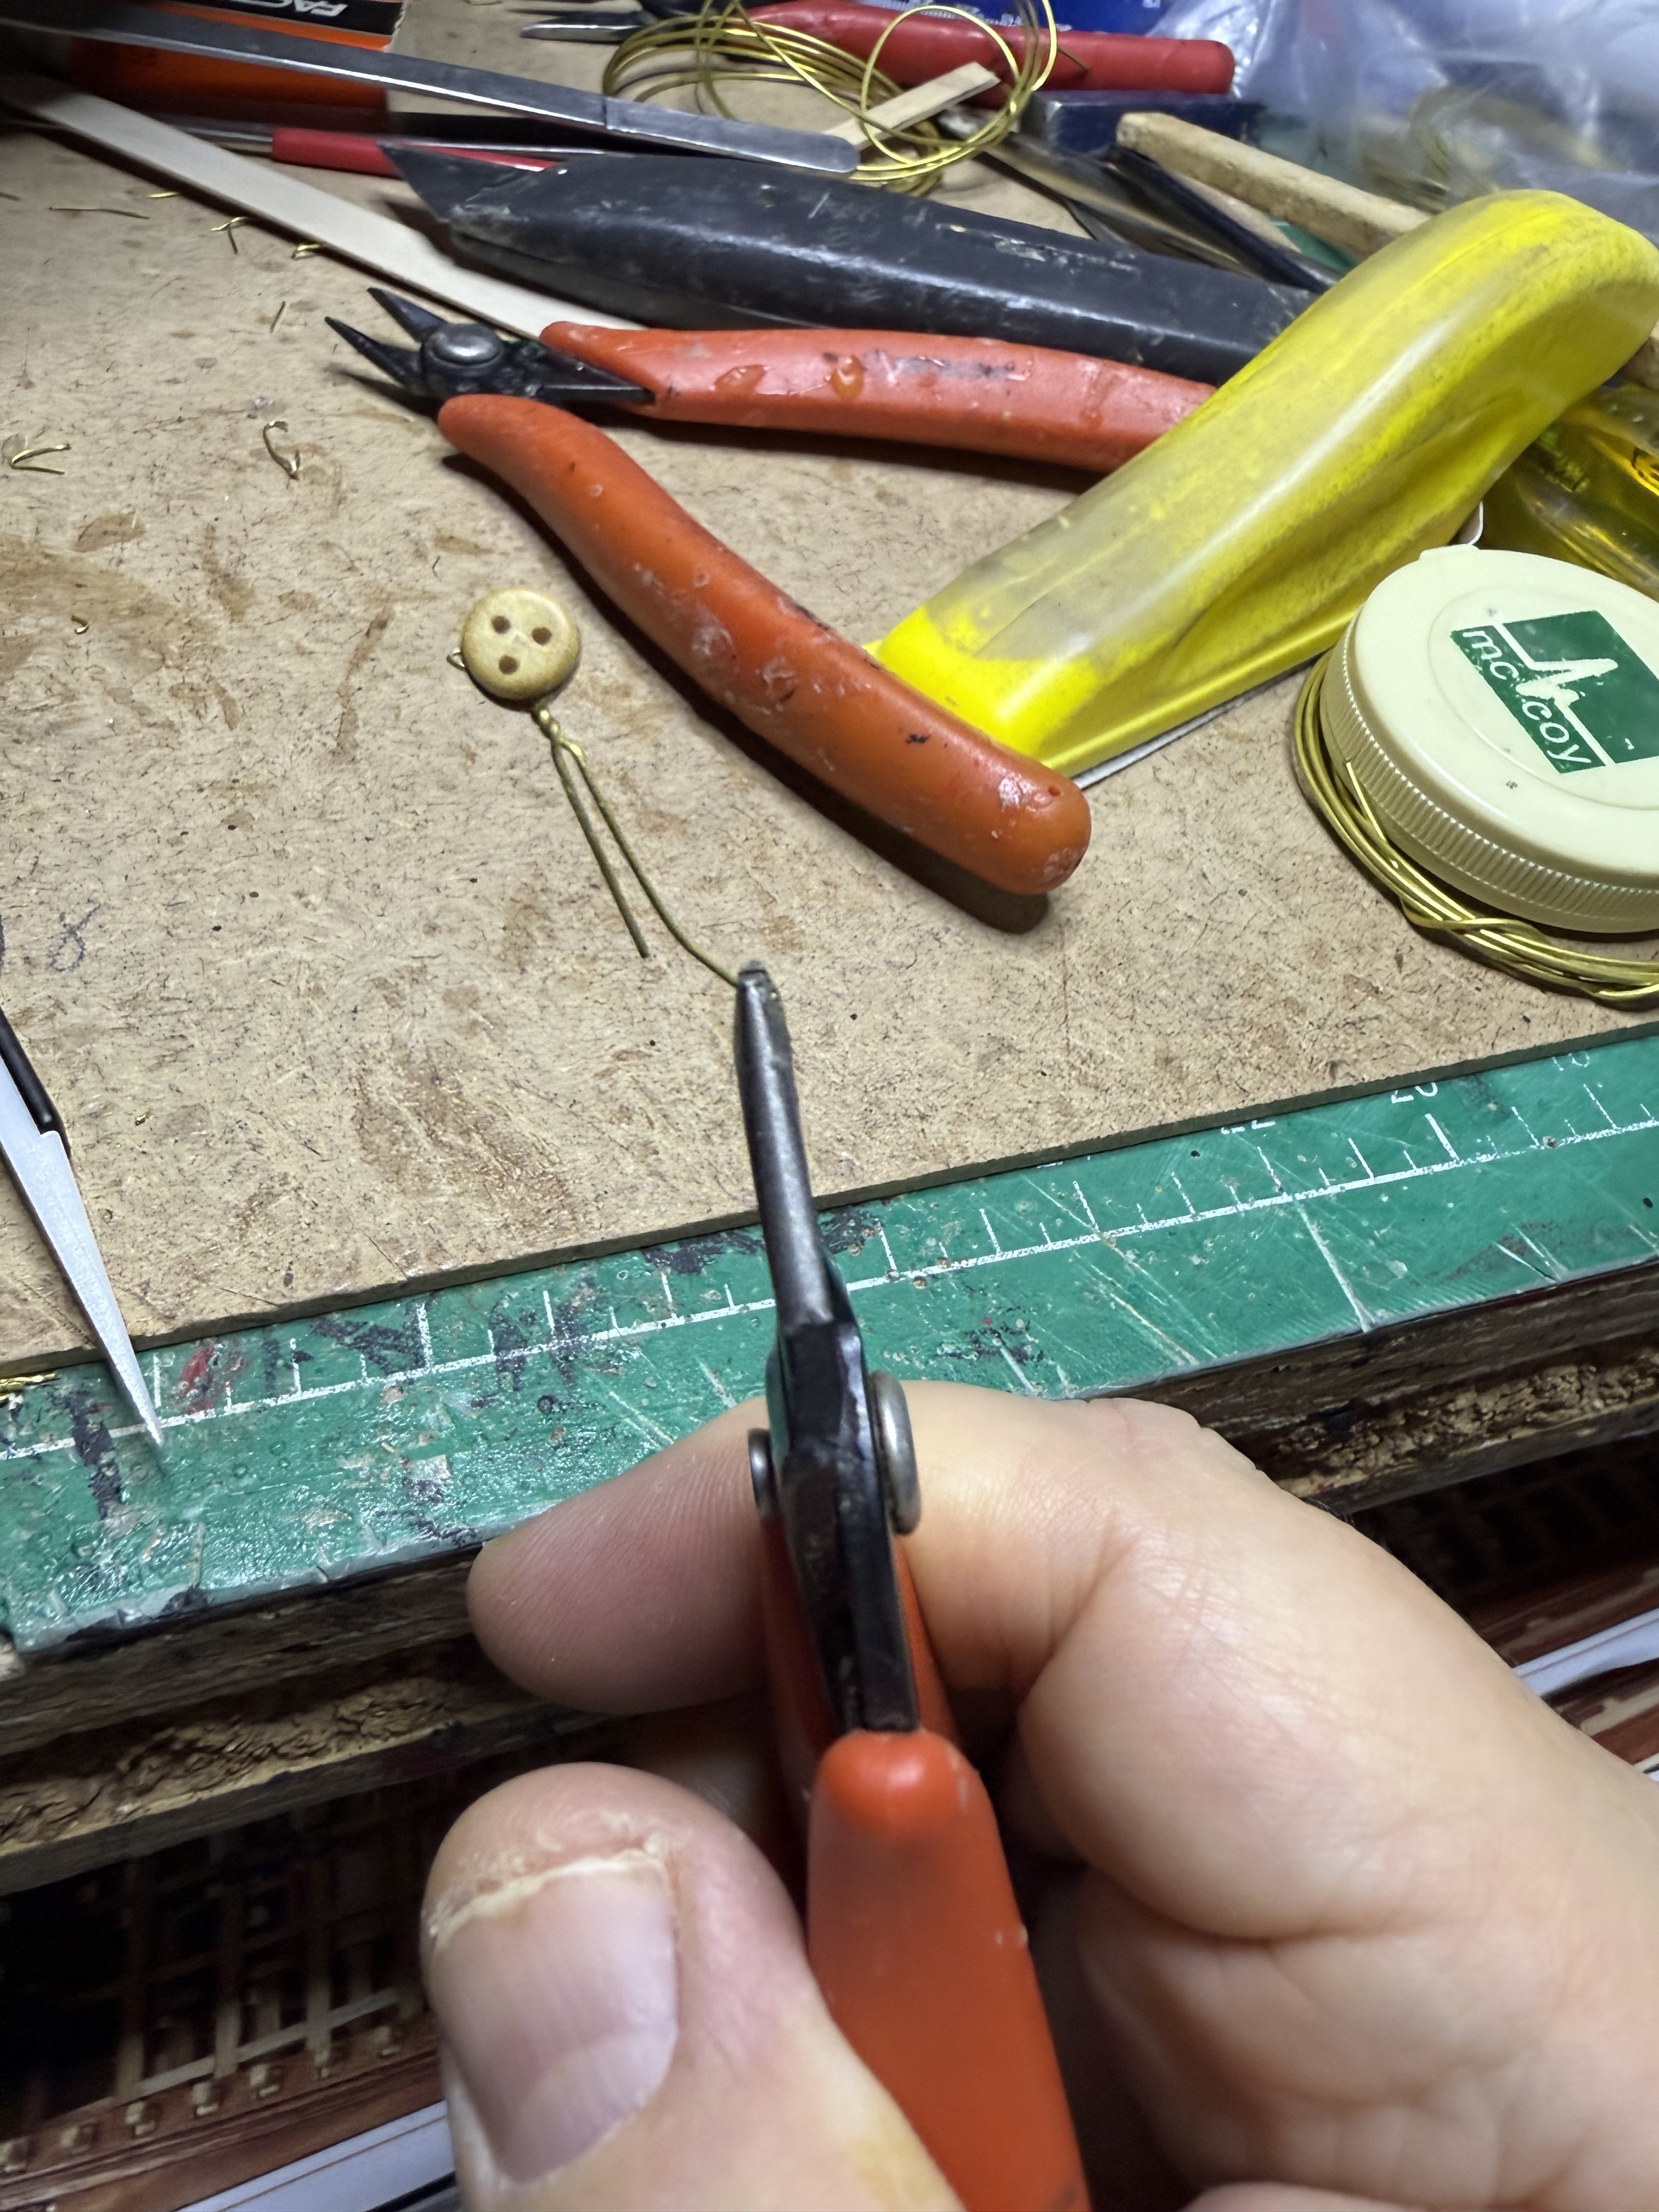
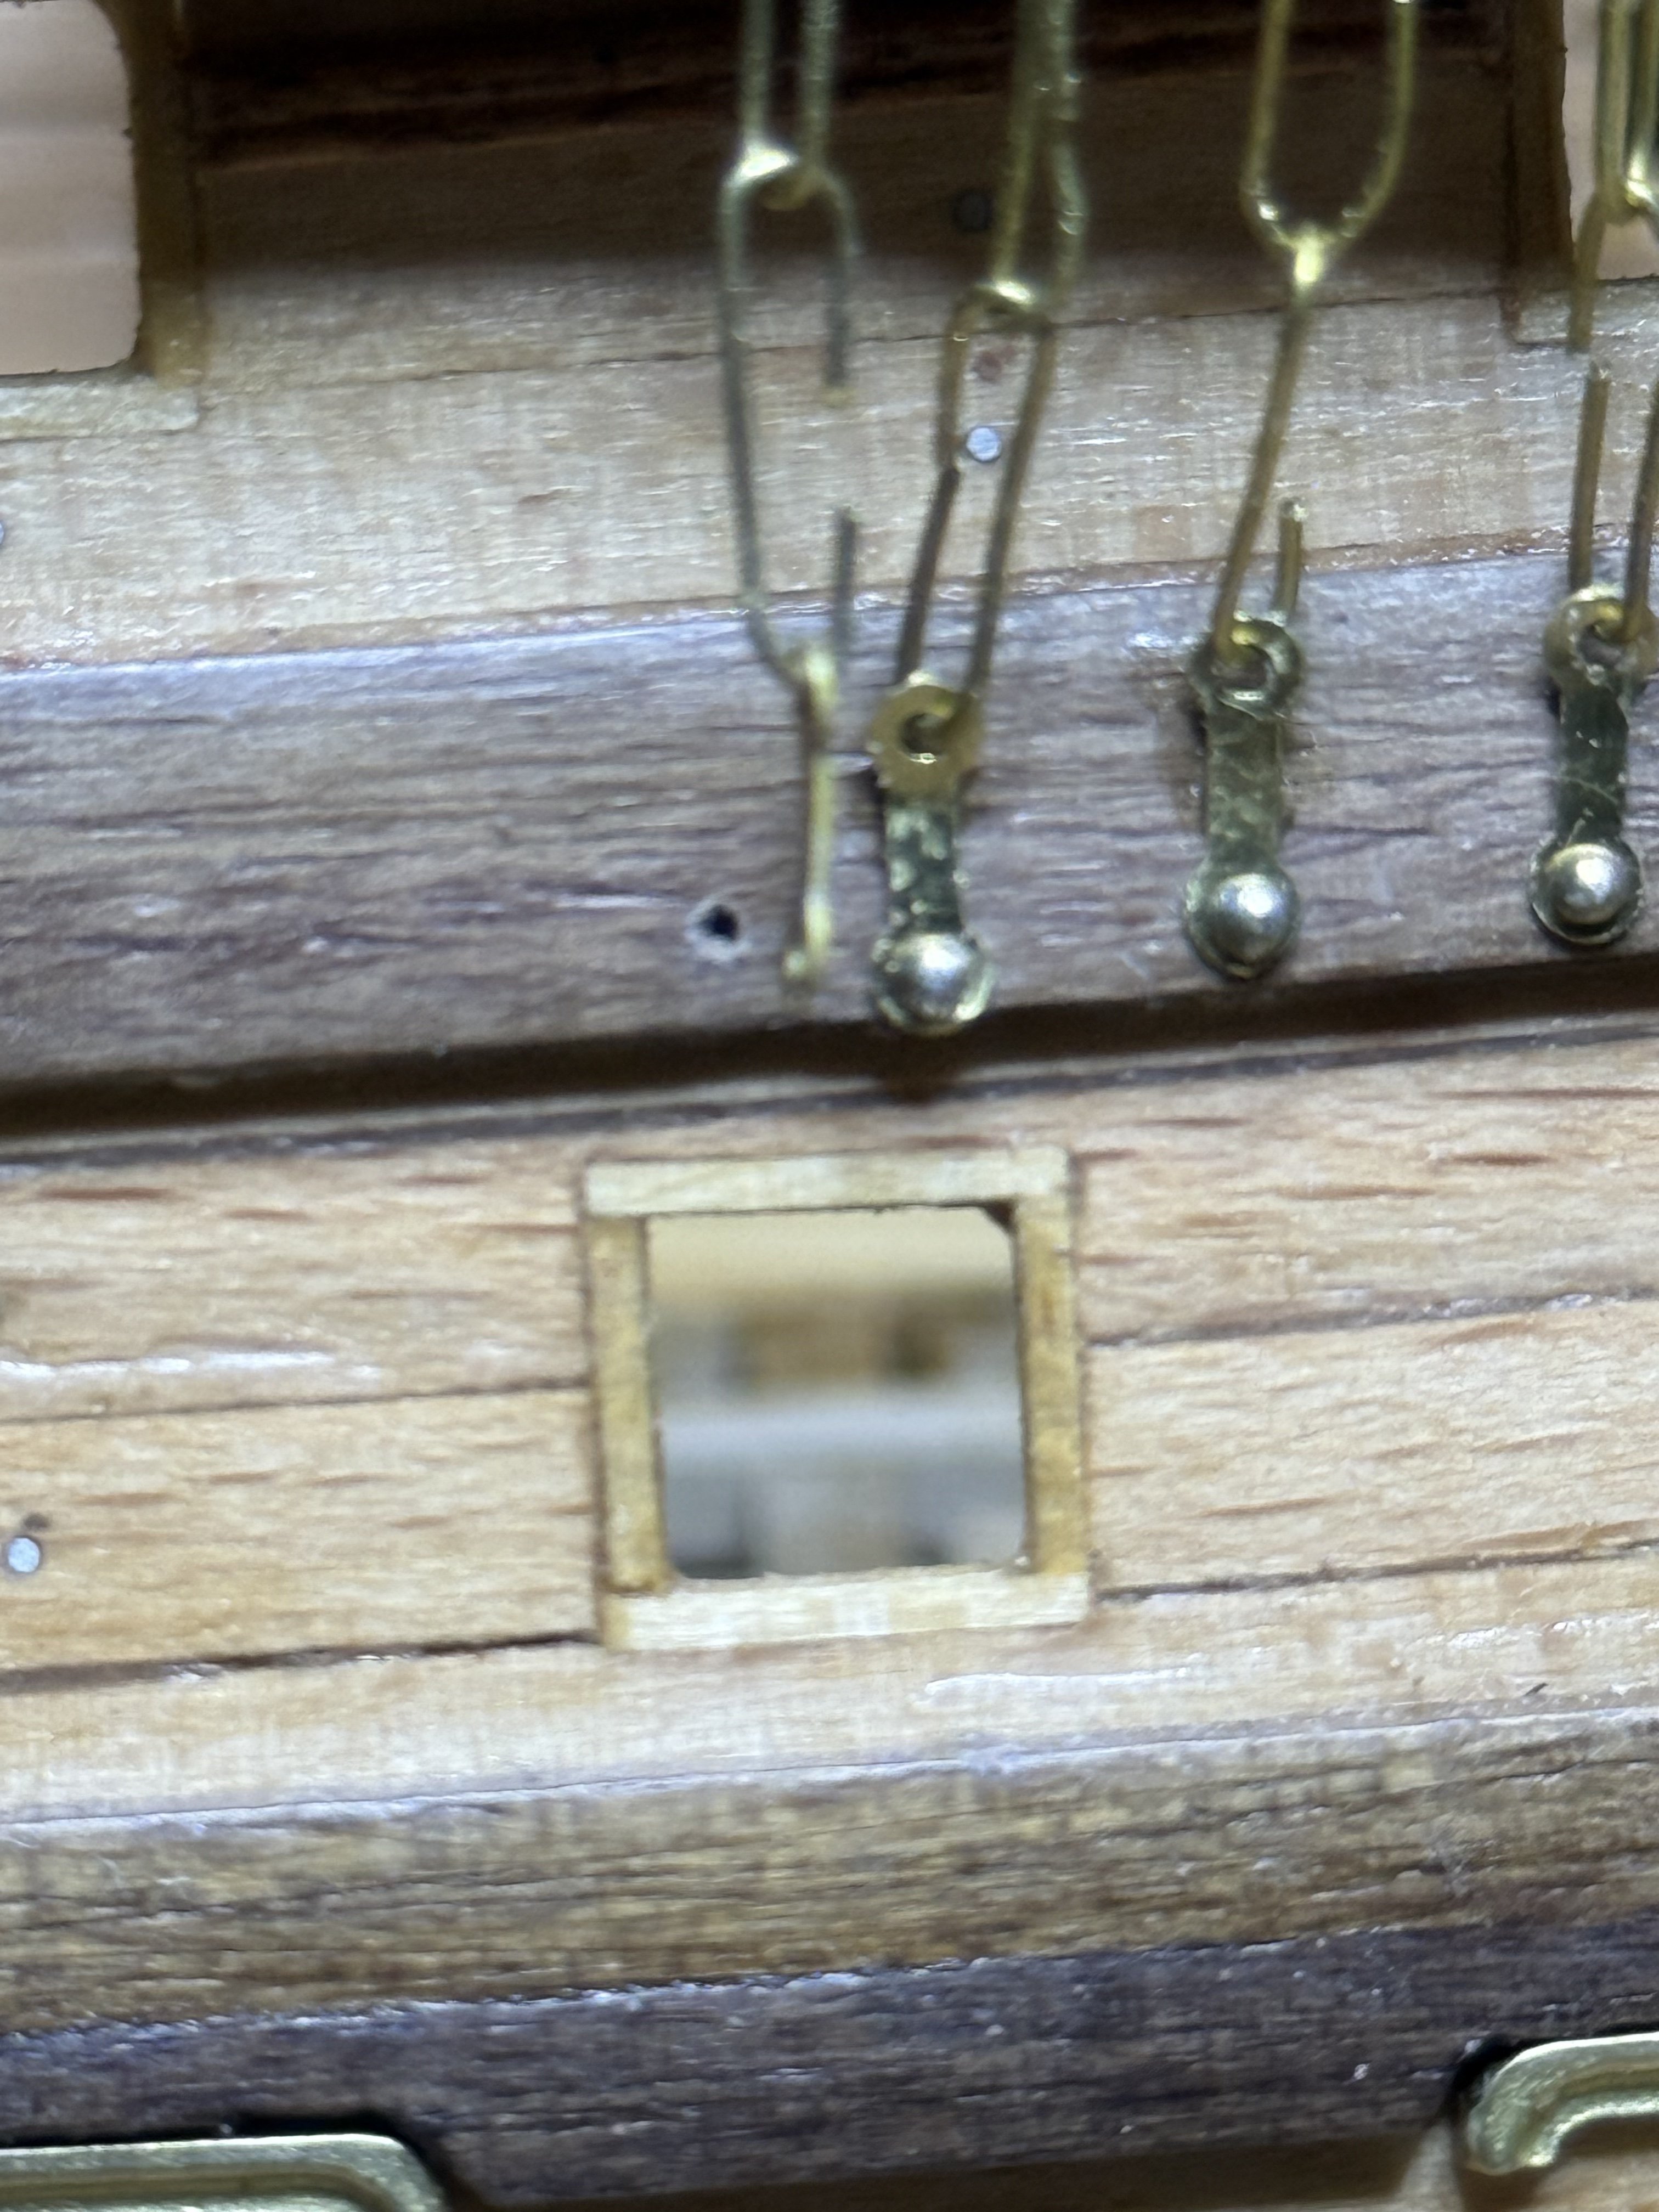
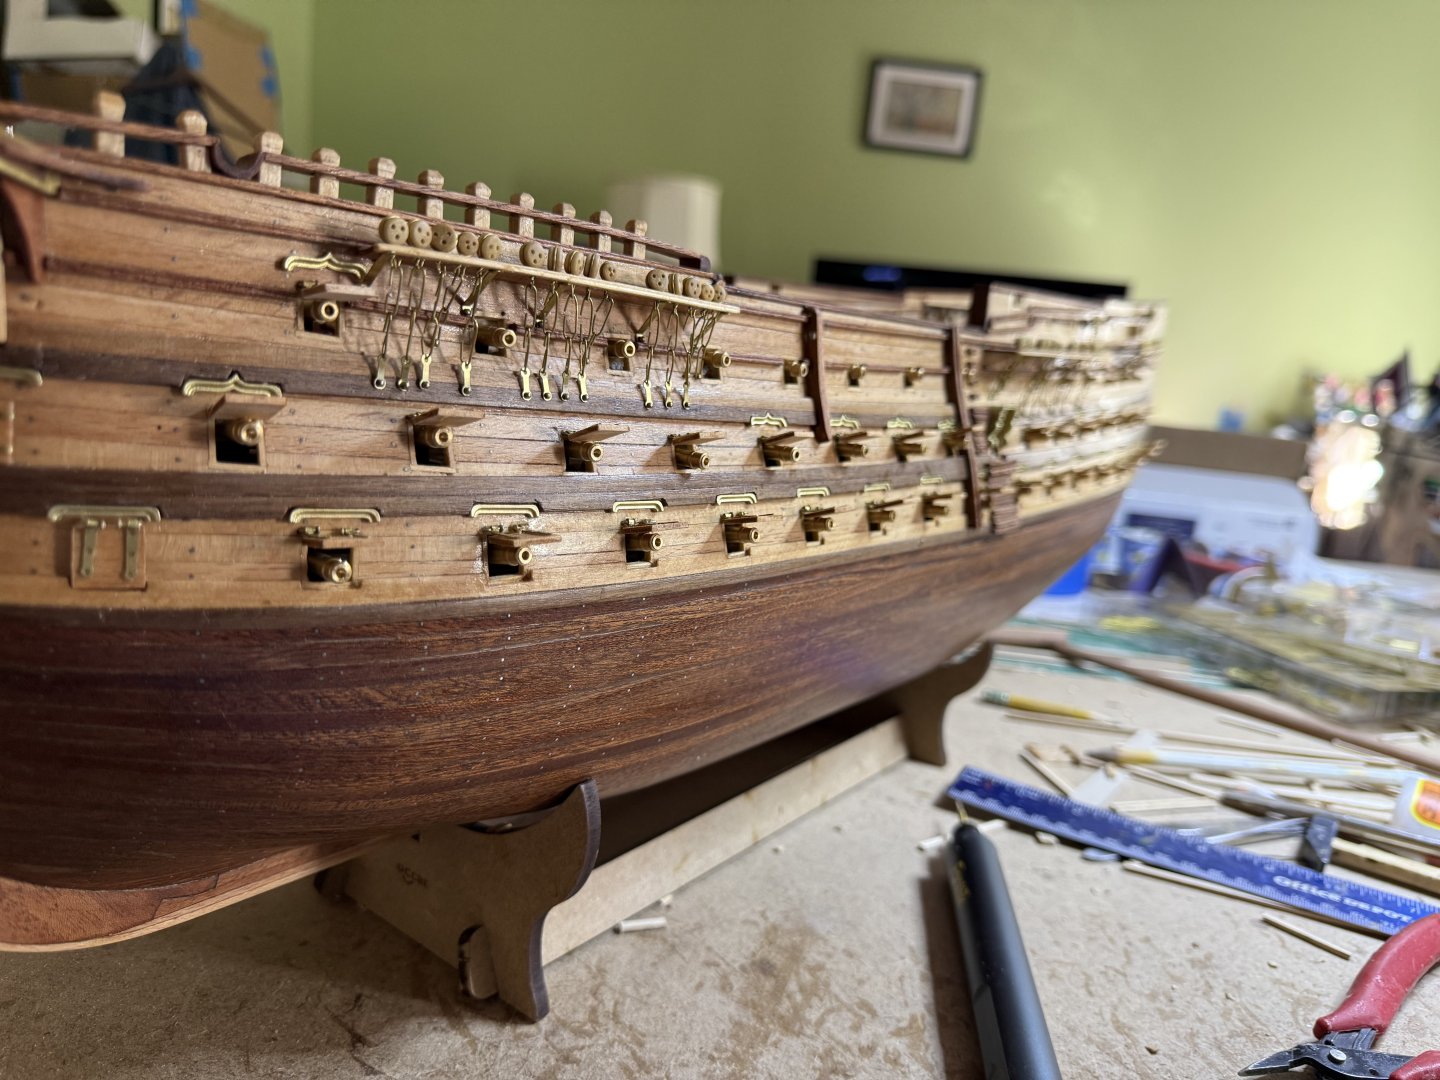
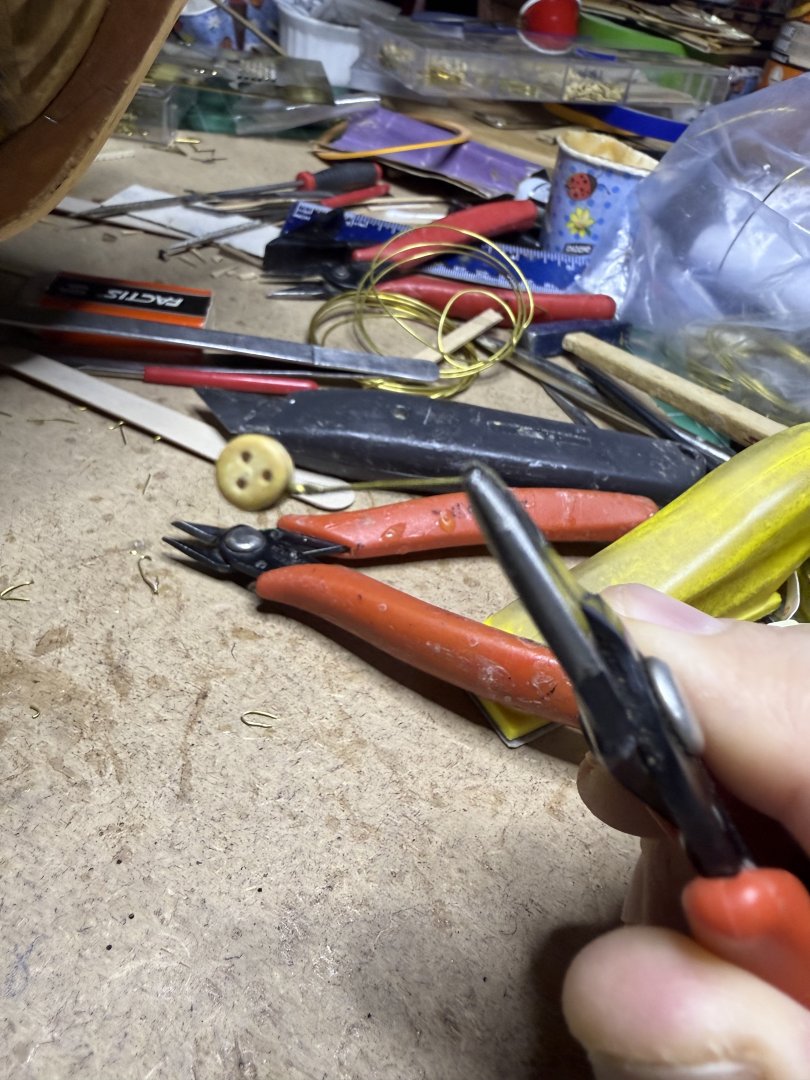
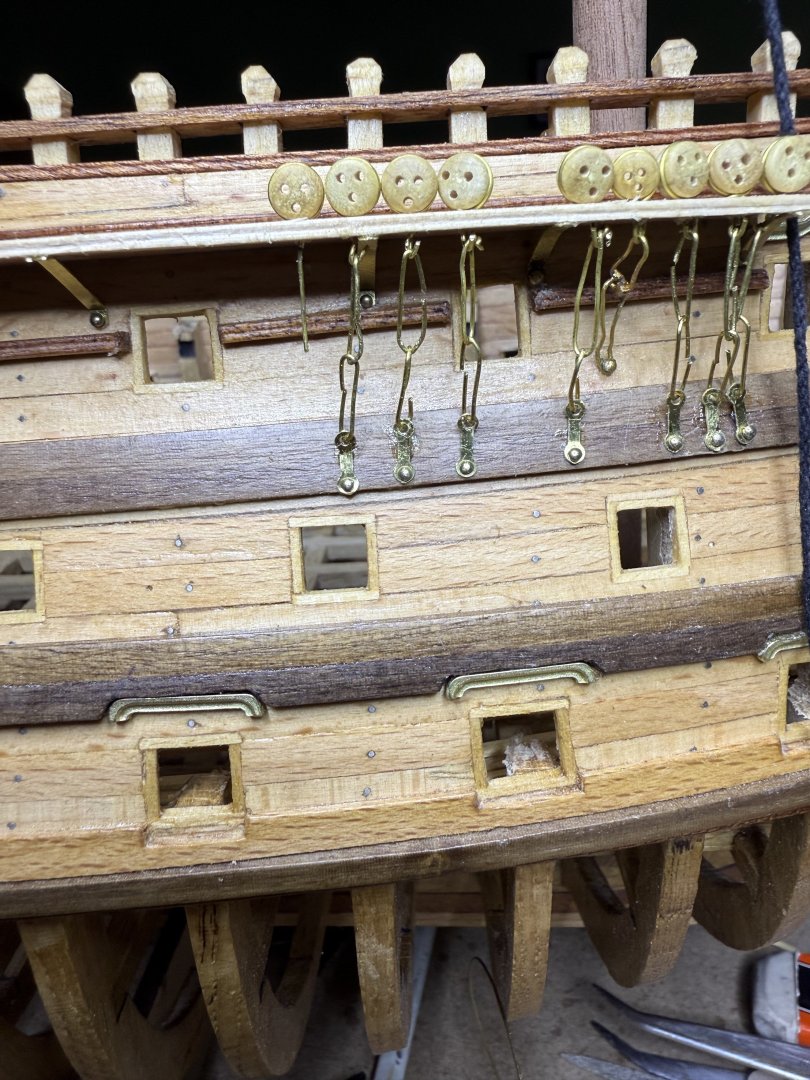
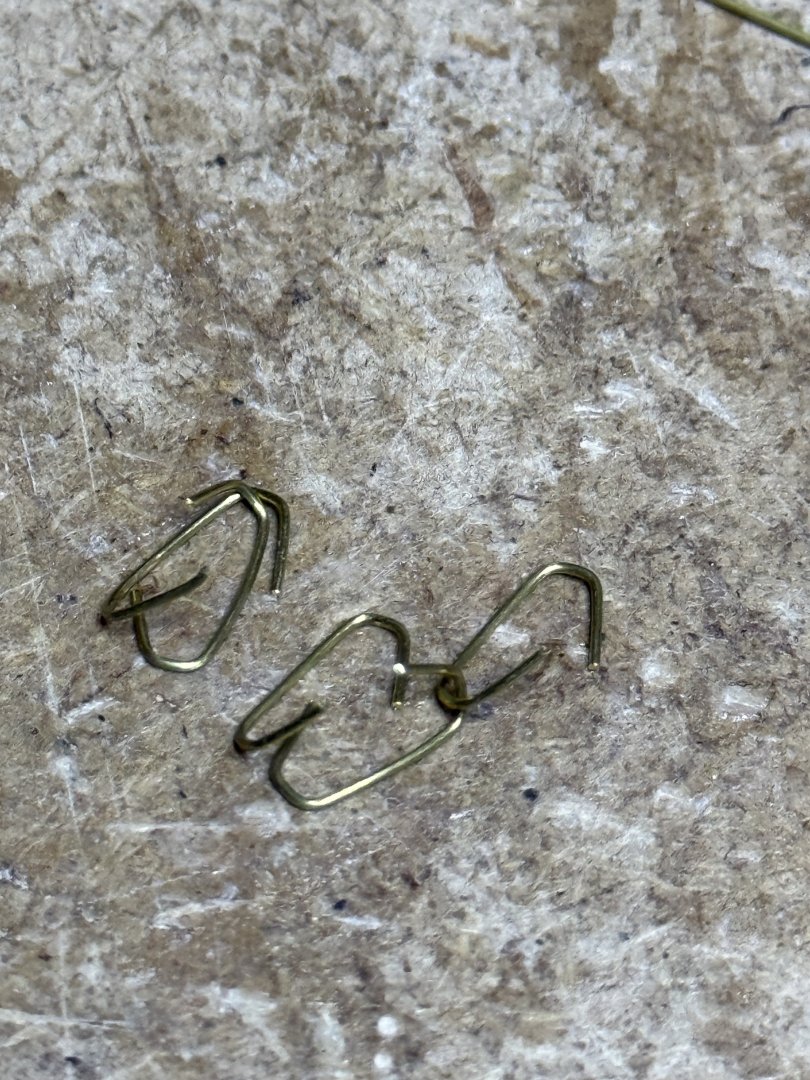
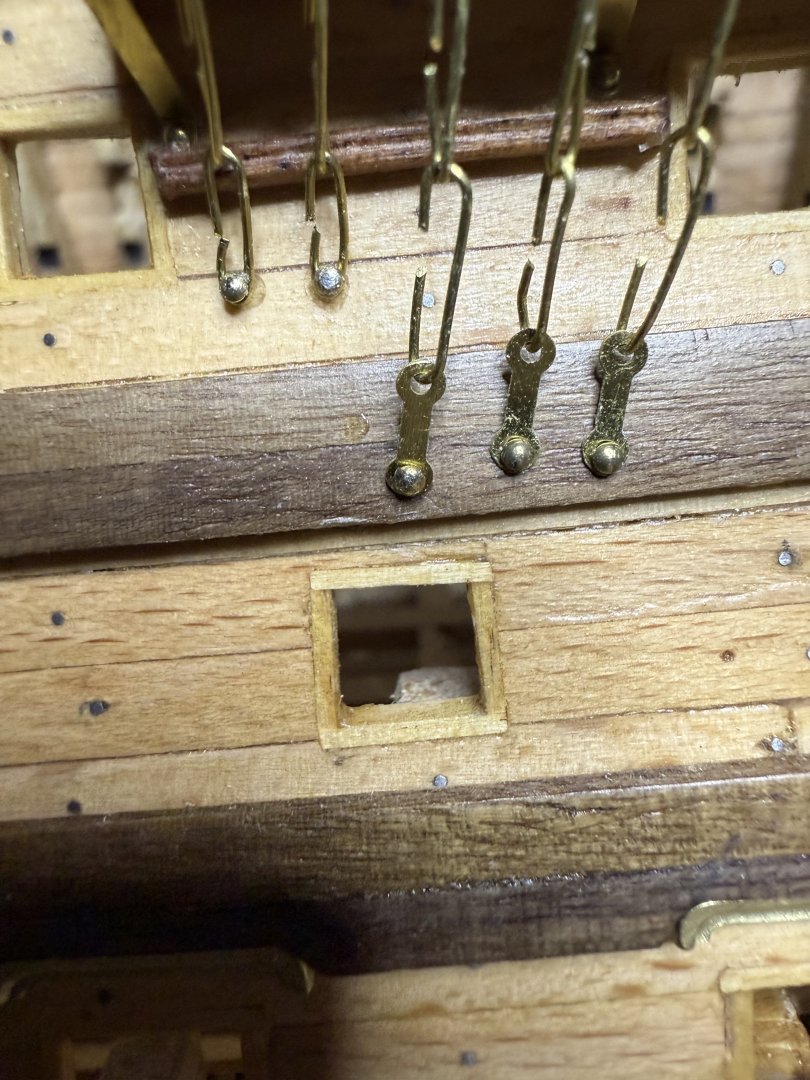
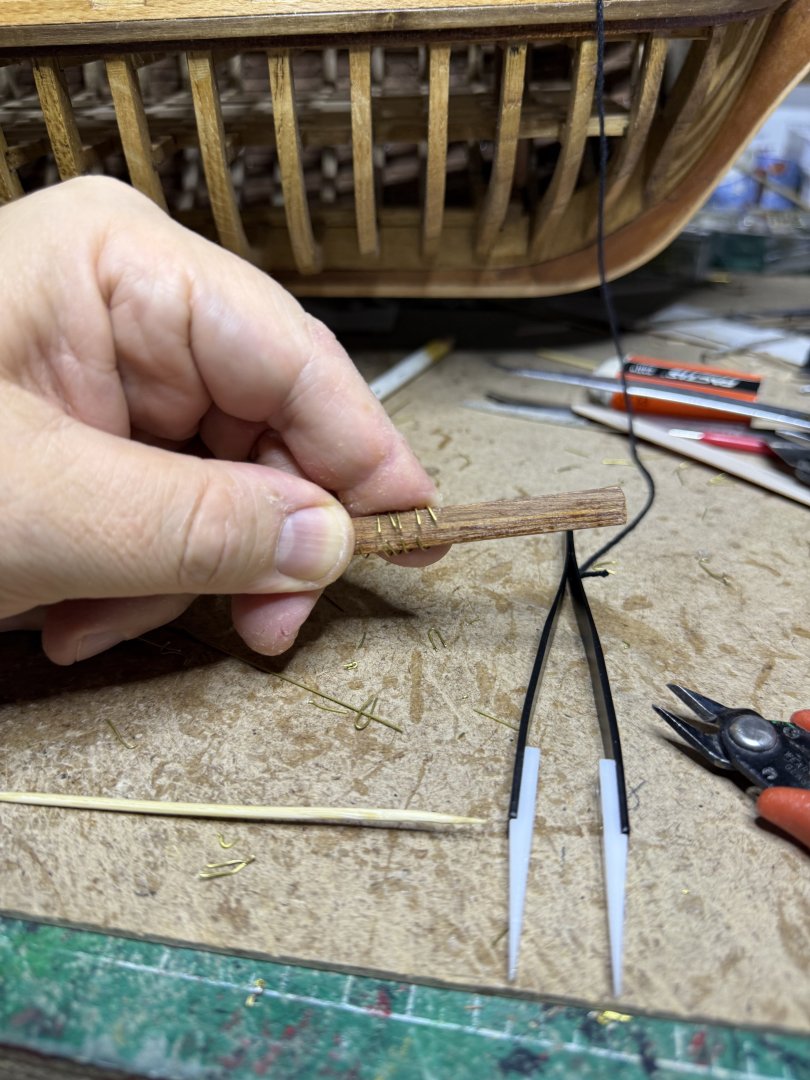
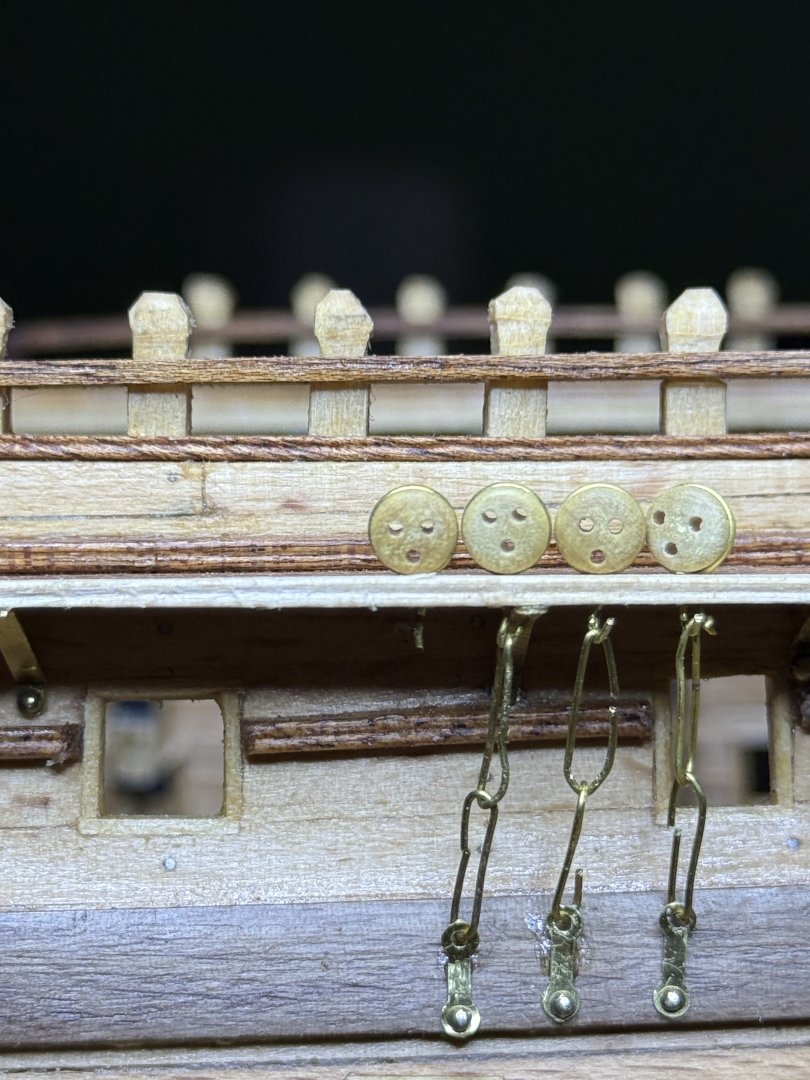
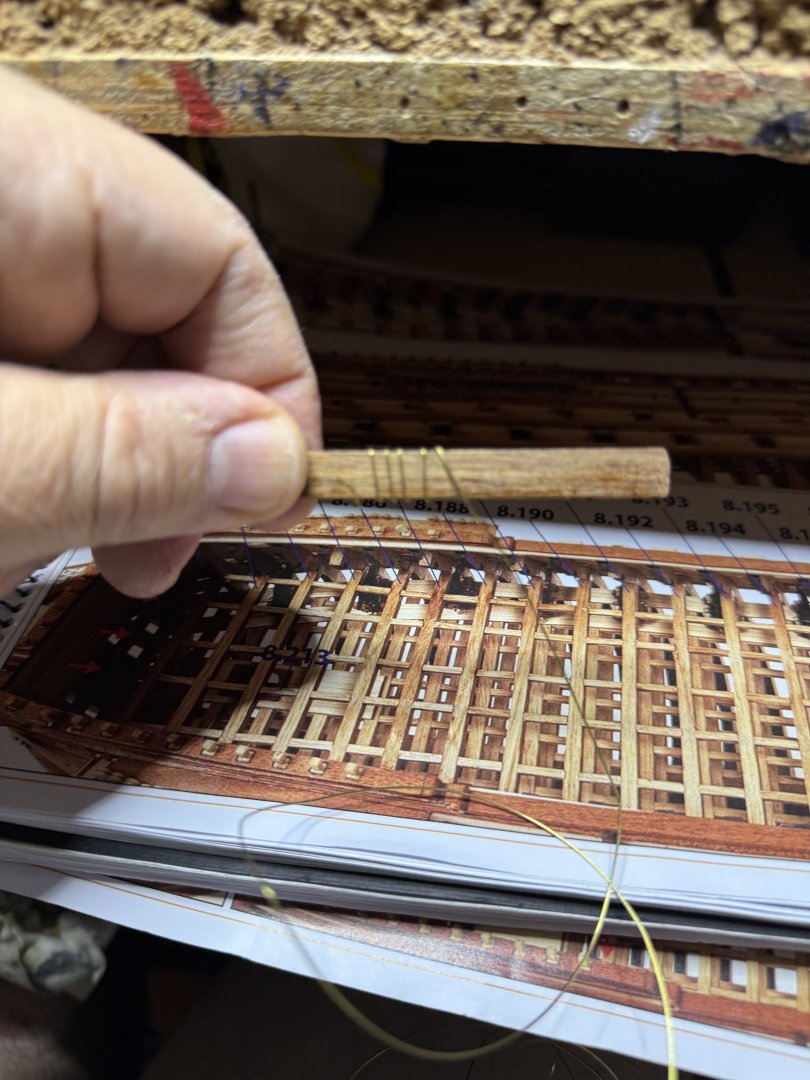
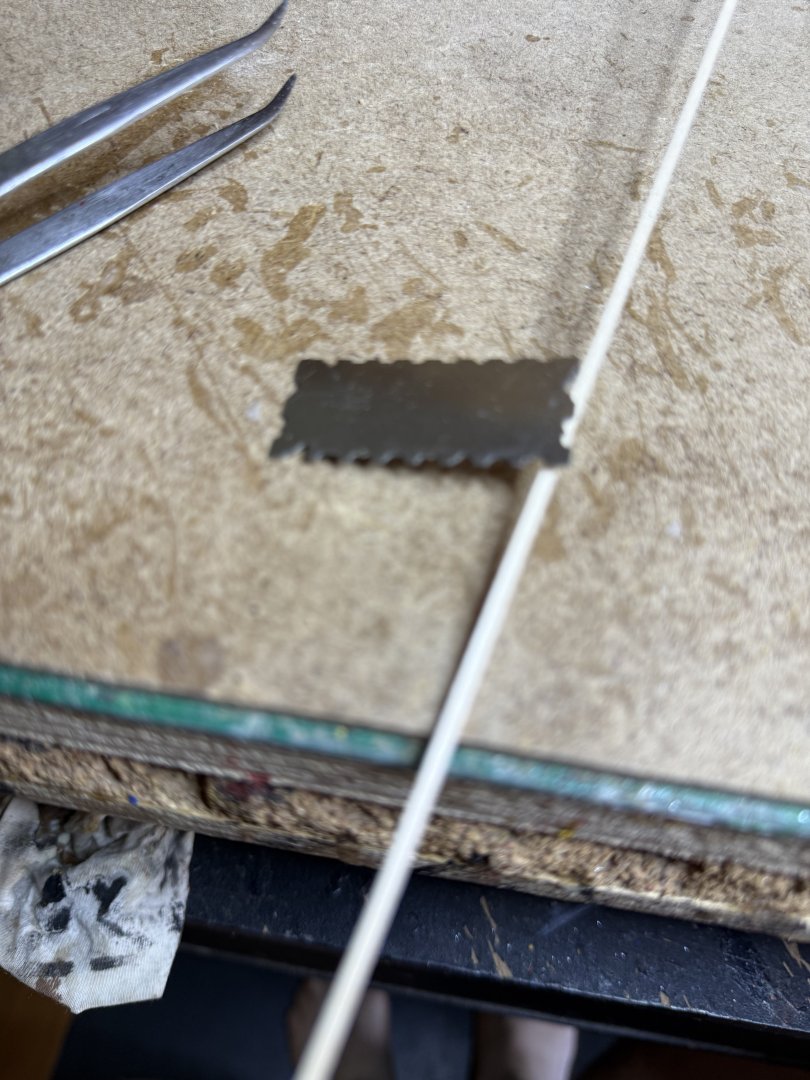
Now completed the chains. Do not know why Occre not using photo-etched chains like Vanguard. Only have the buckle and you need to make the chains out of wire. The wire guage the provided not strong enough so used one that I had left over from other project (always keep the left overs as they often help in other builds). First wrap a piece of wire around a deadeye and twist Next cut off one limb and insert into the channel Trim it the bend to form a loop To form the links I wrapped wire around a 10mm board then cut one side of the spiral next release them Linked 2 of them then attached to deadeye and added lower buckle ( a bit of adjustment needed) and mark and predrill hole For the backstays no buckle are used * Here is the completed work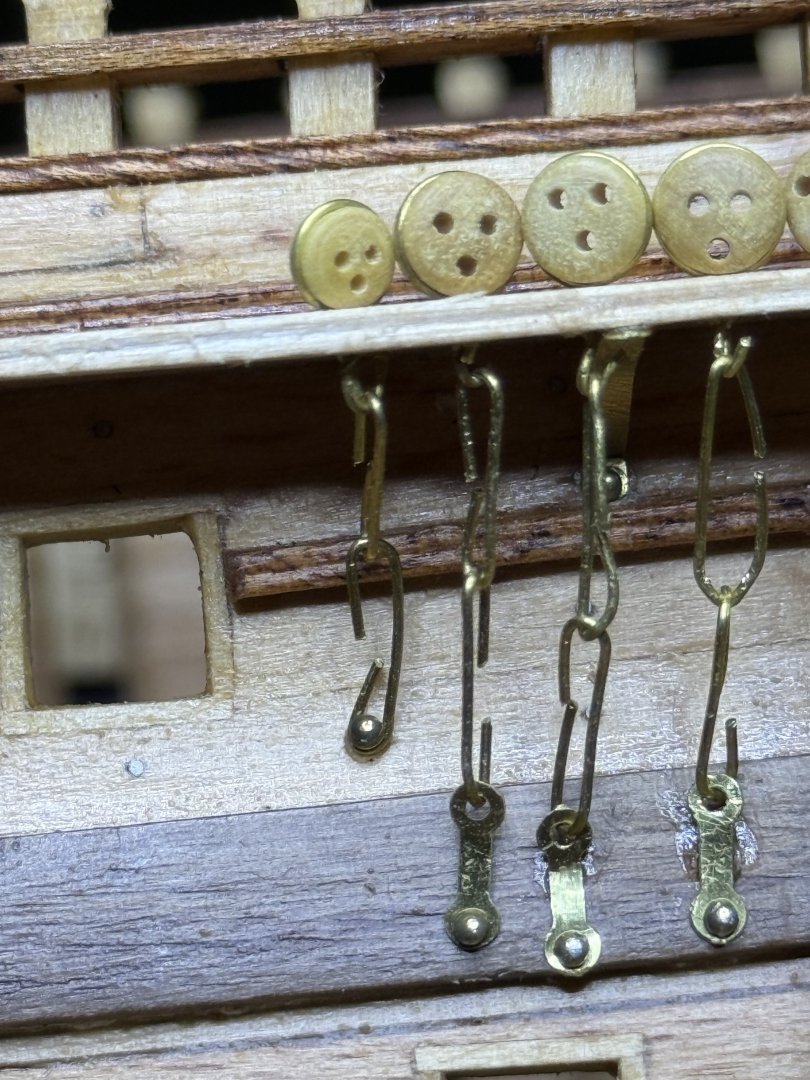


-
HMS Victory by ECK - OcCre - 1/87
ECK replied to ECK's topic in - Kit build logs for subjects built from 1751 - 1800
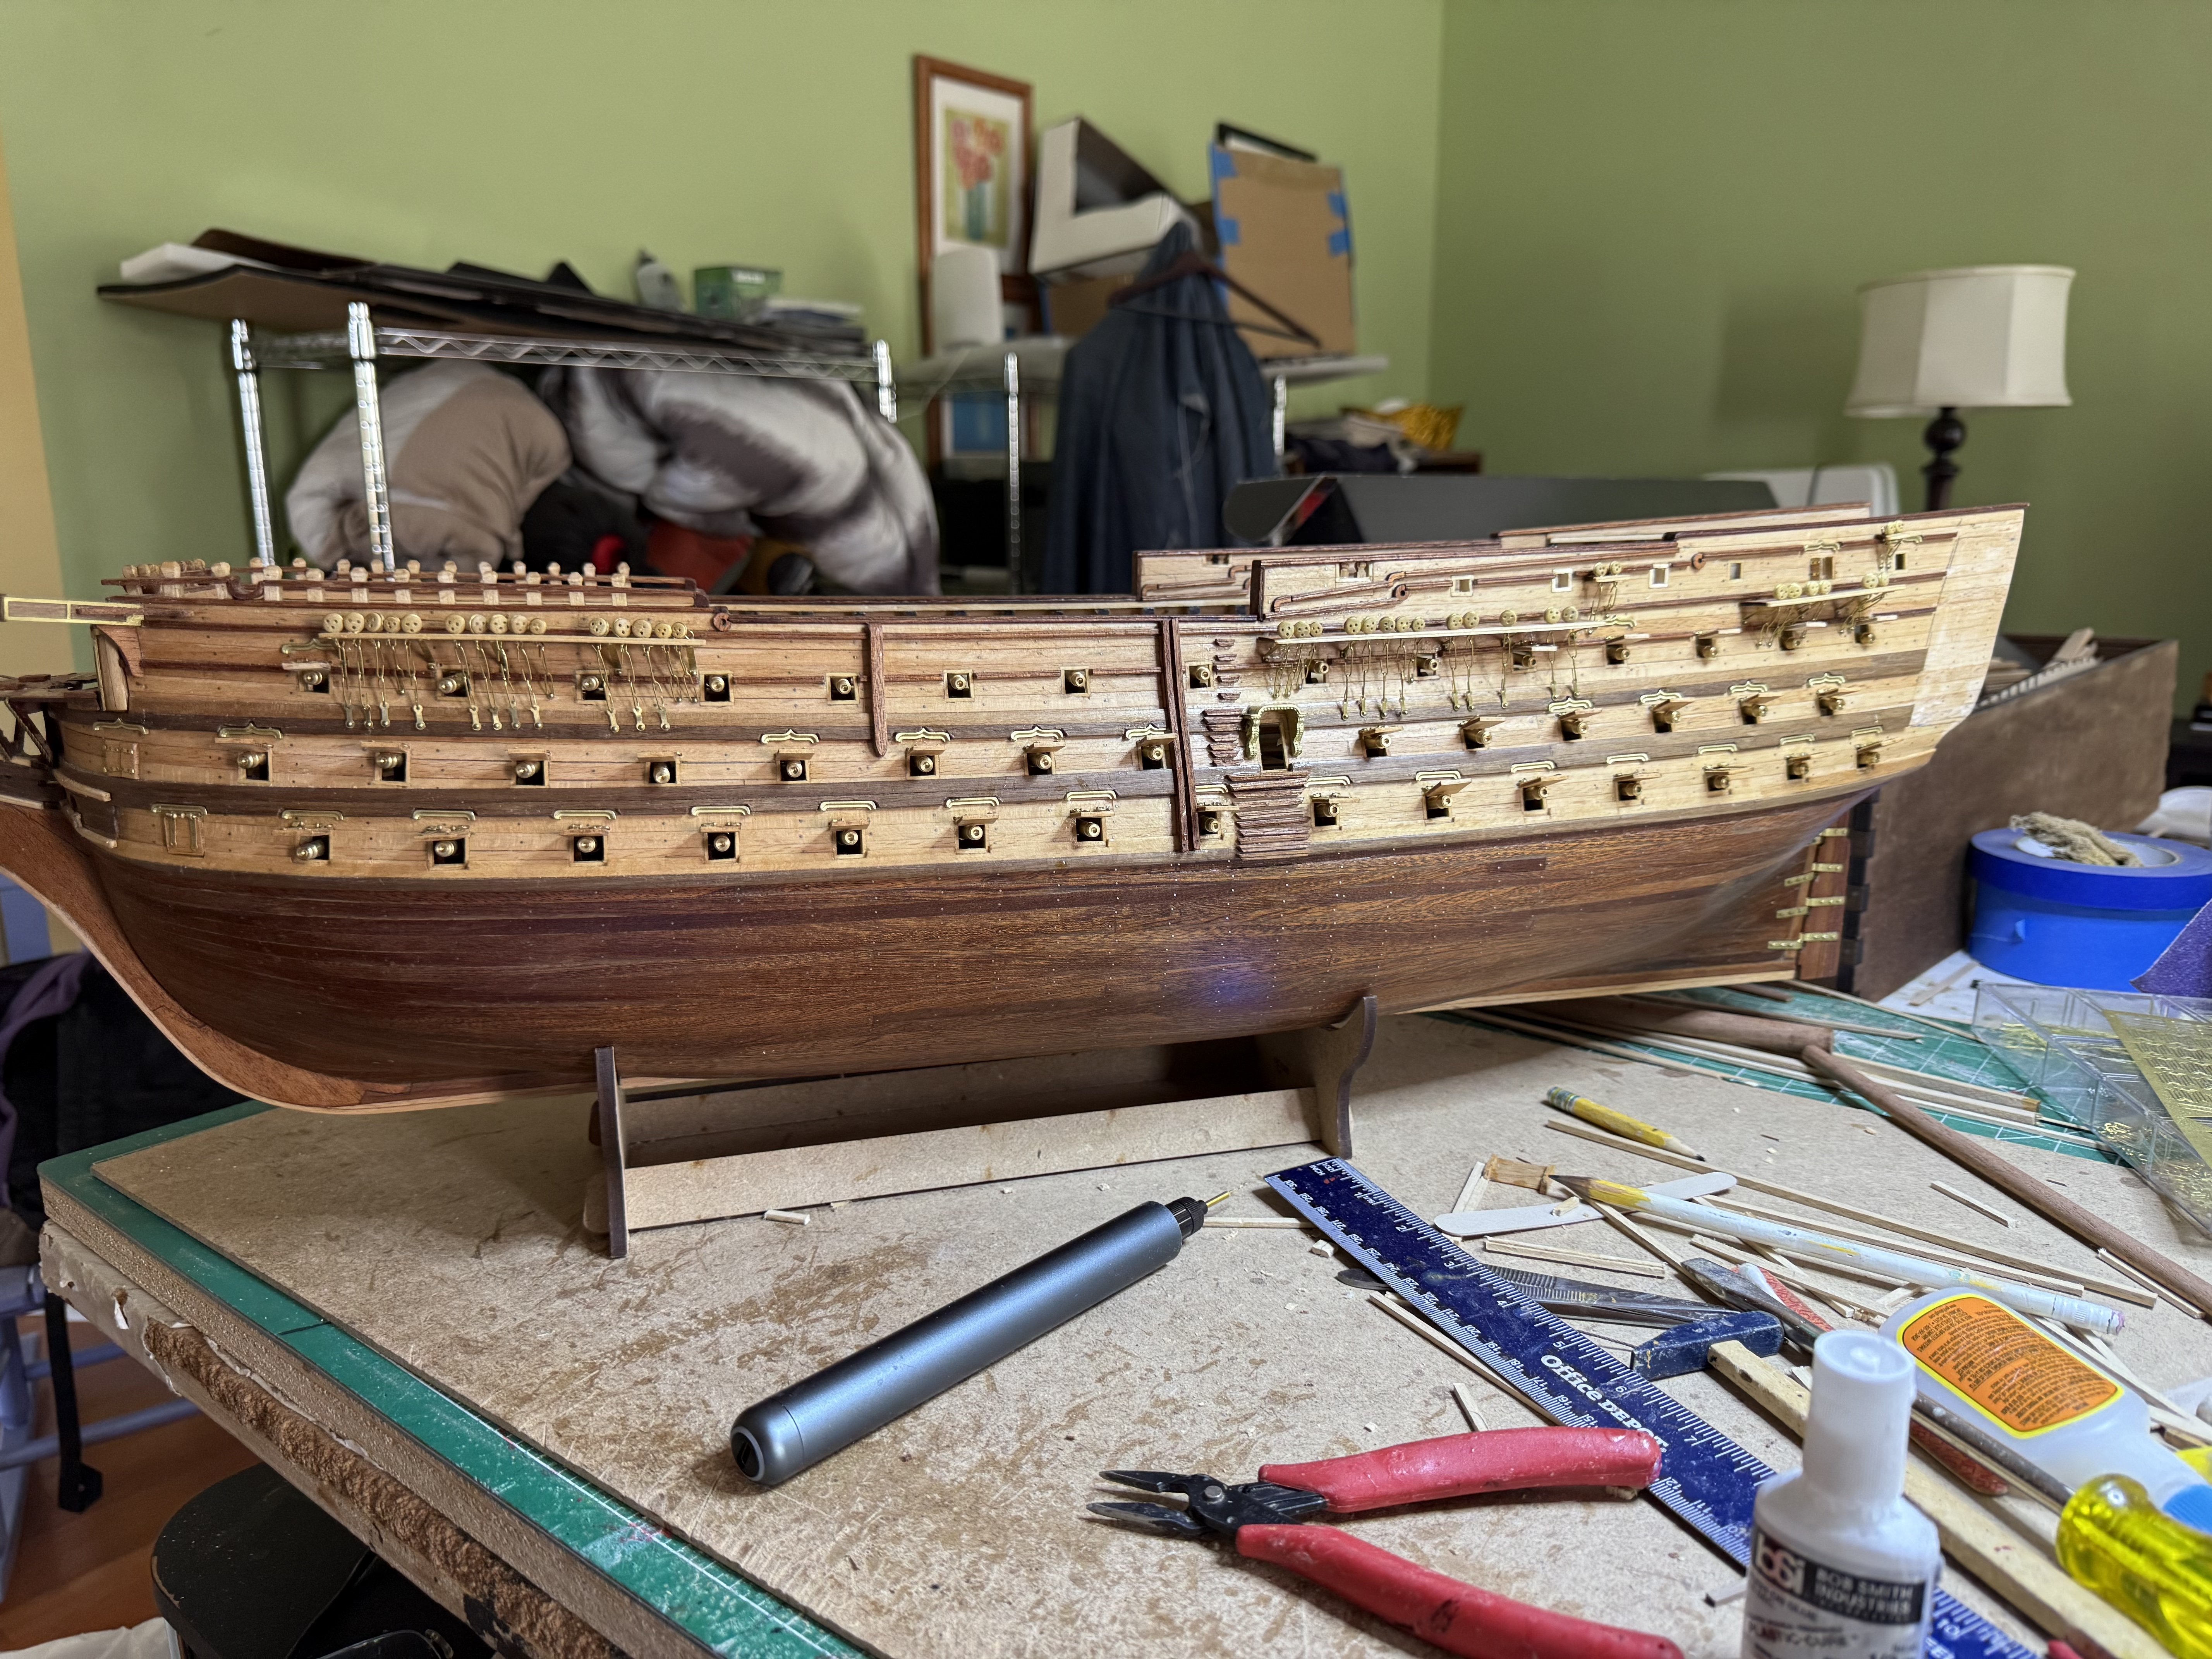
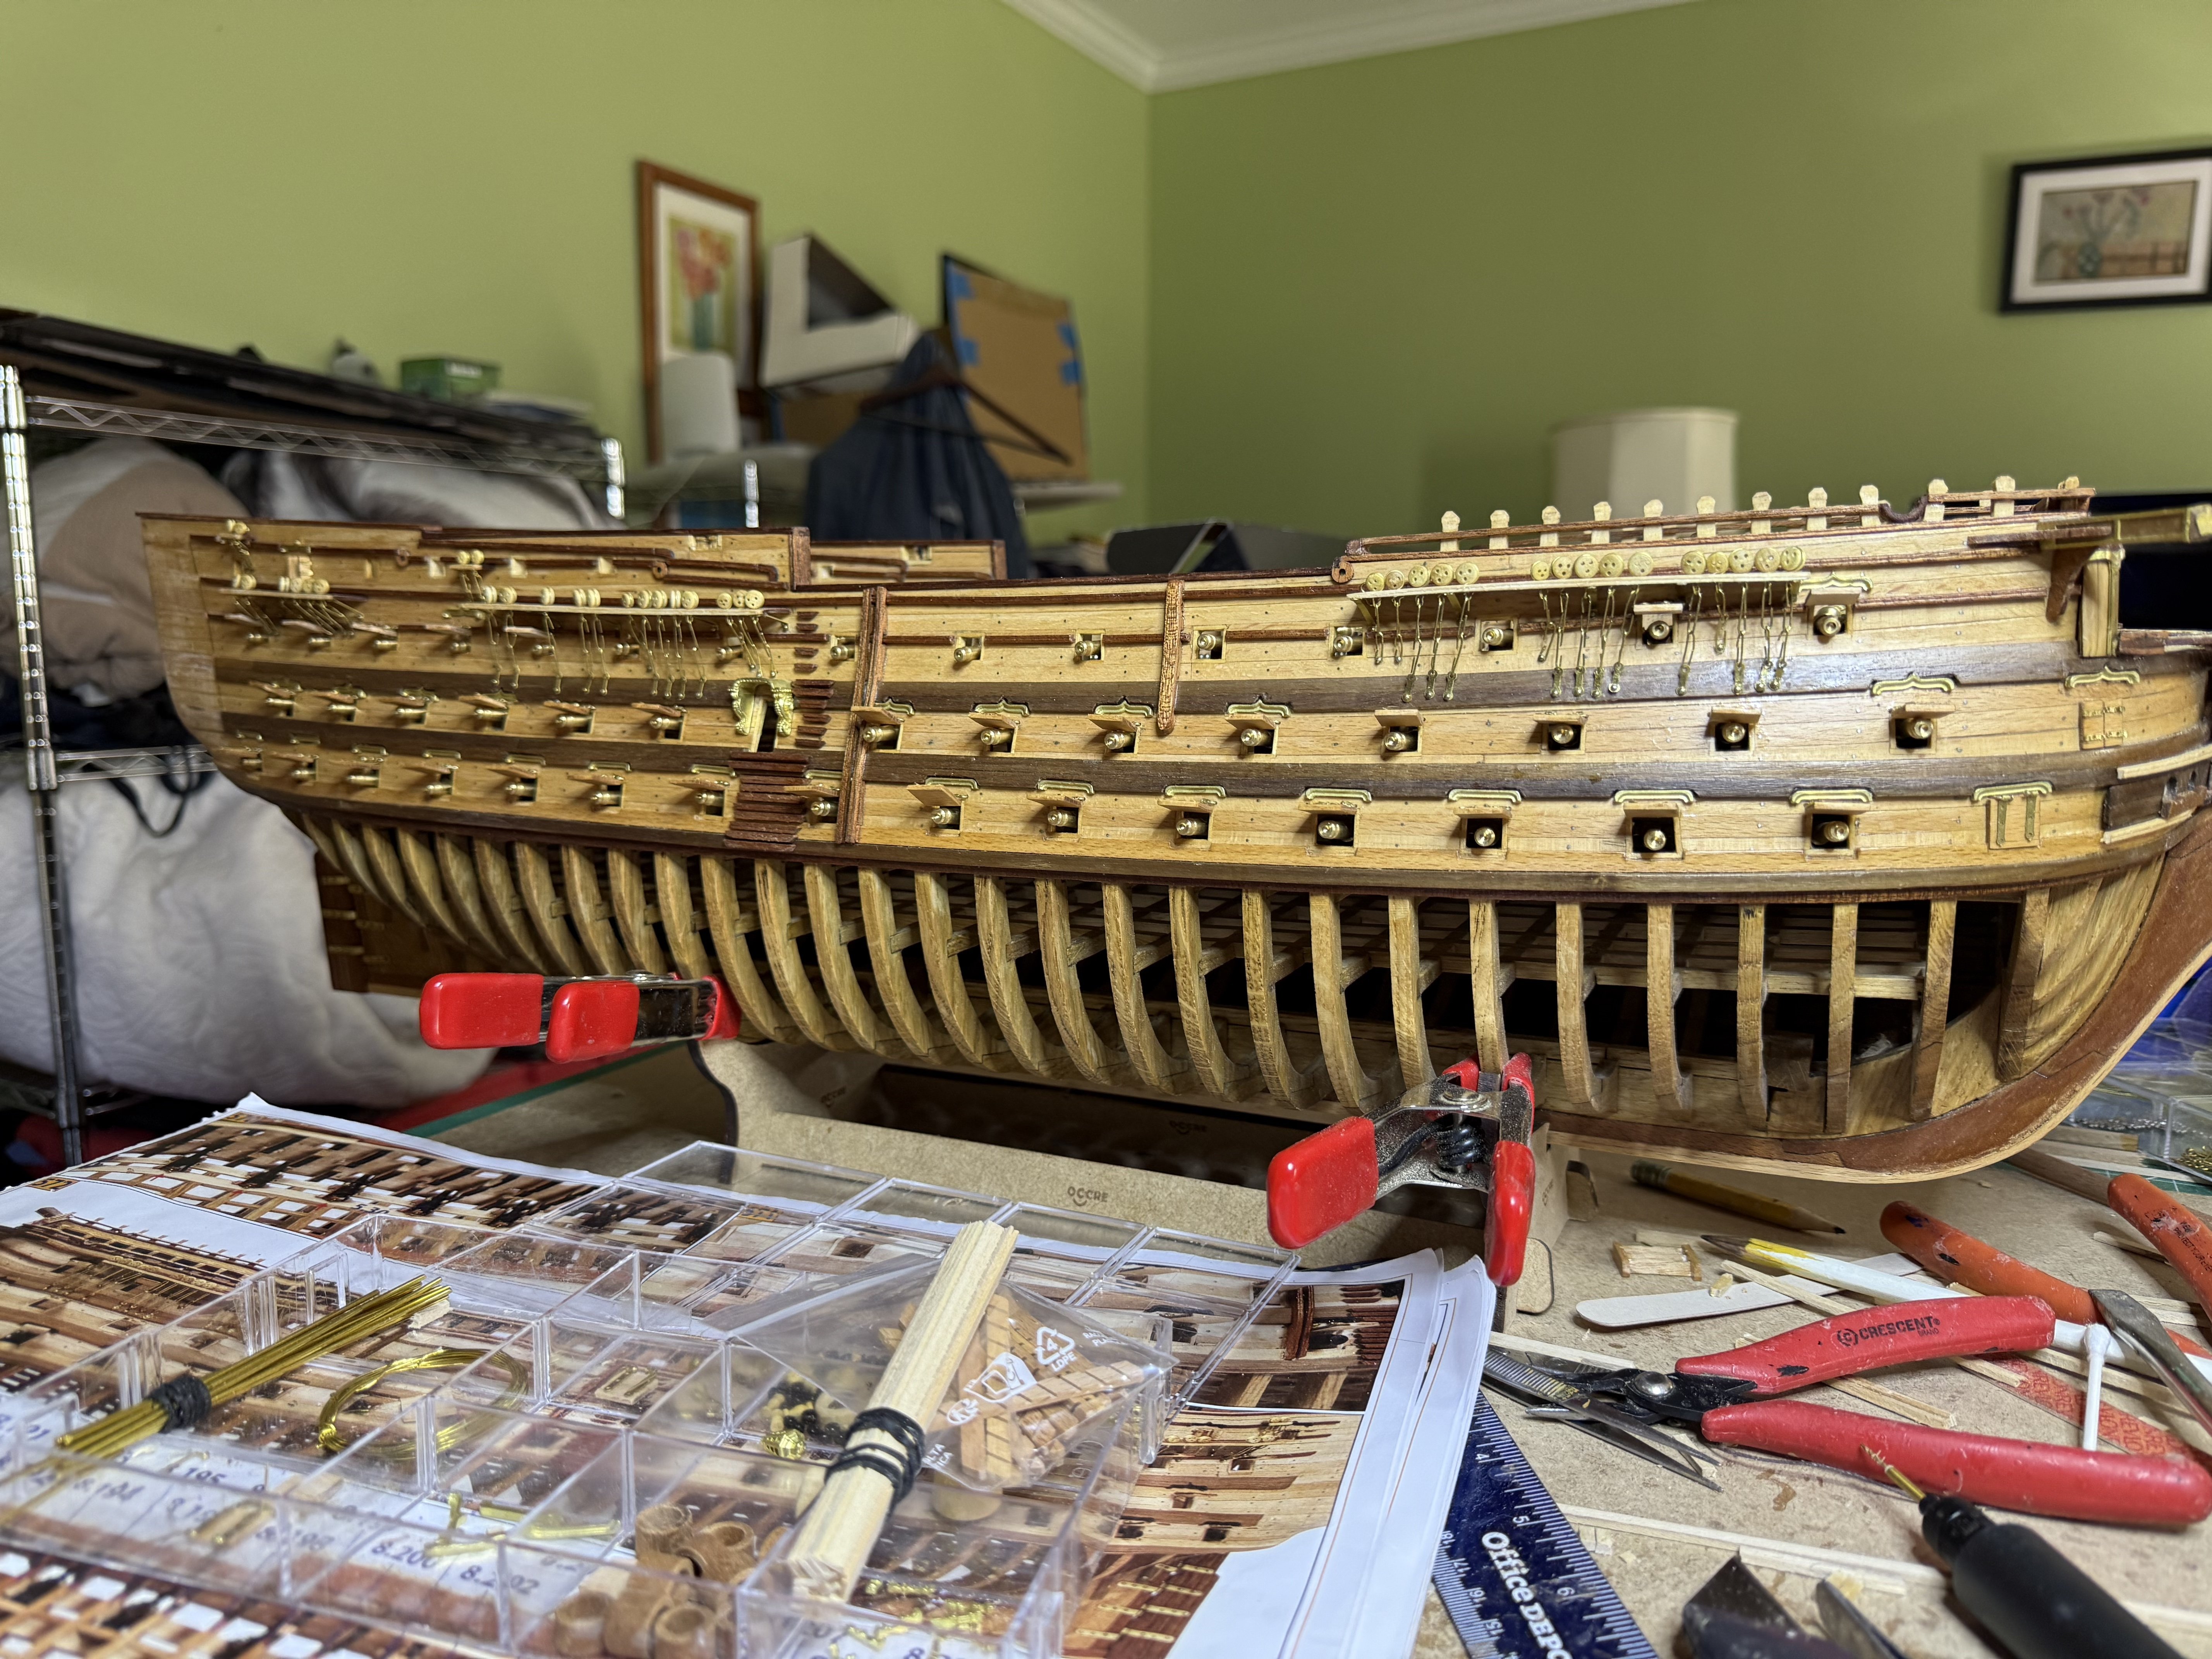
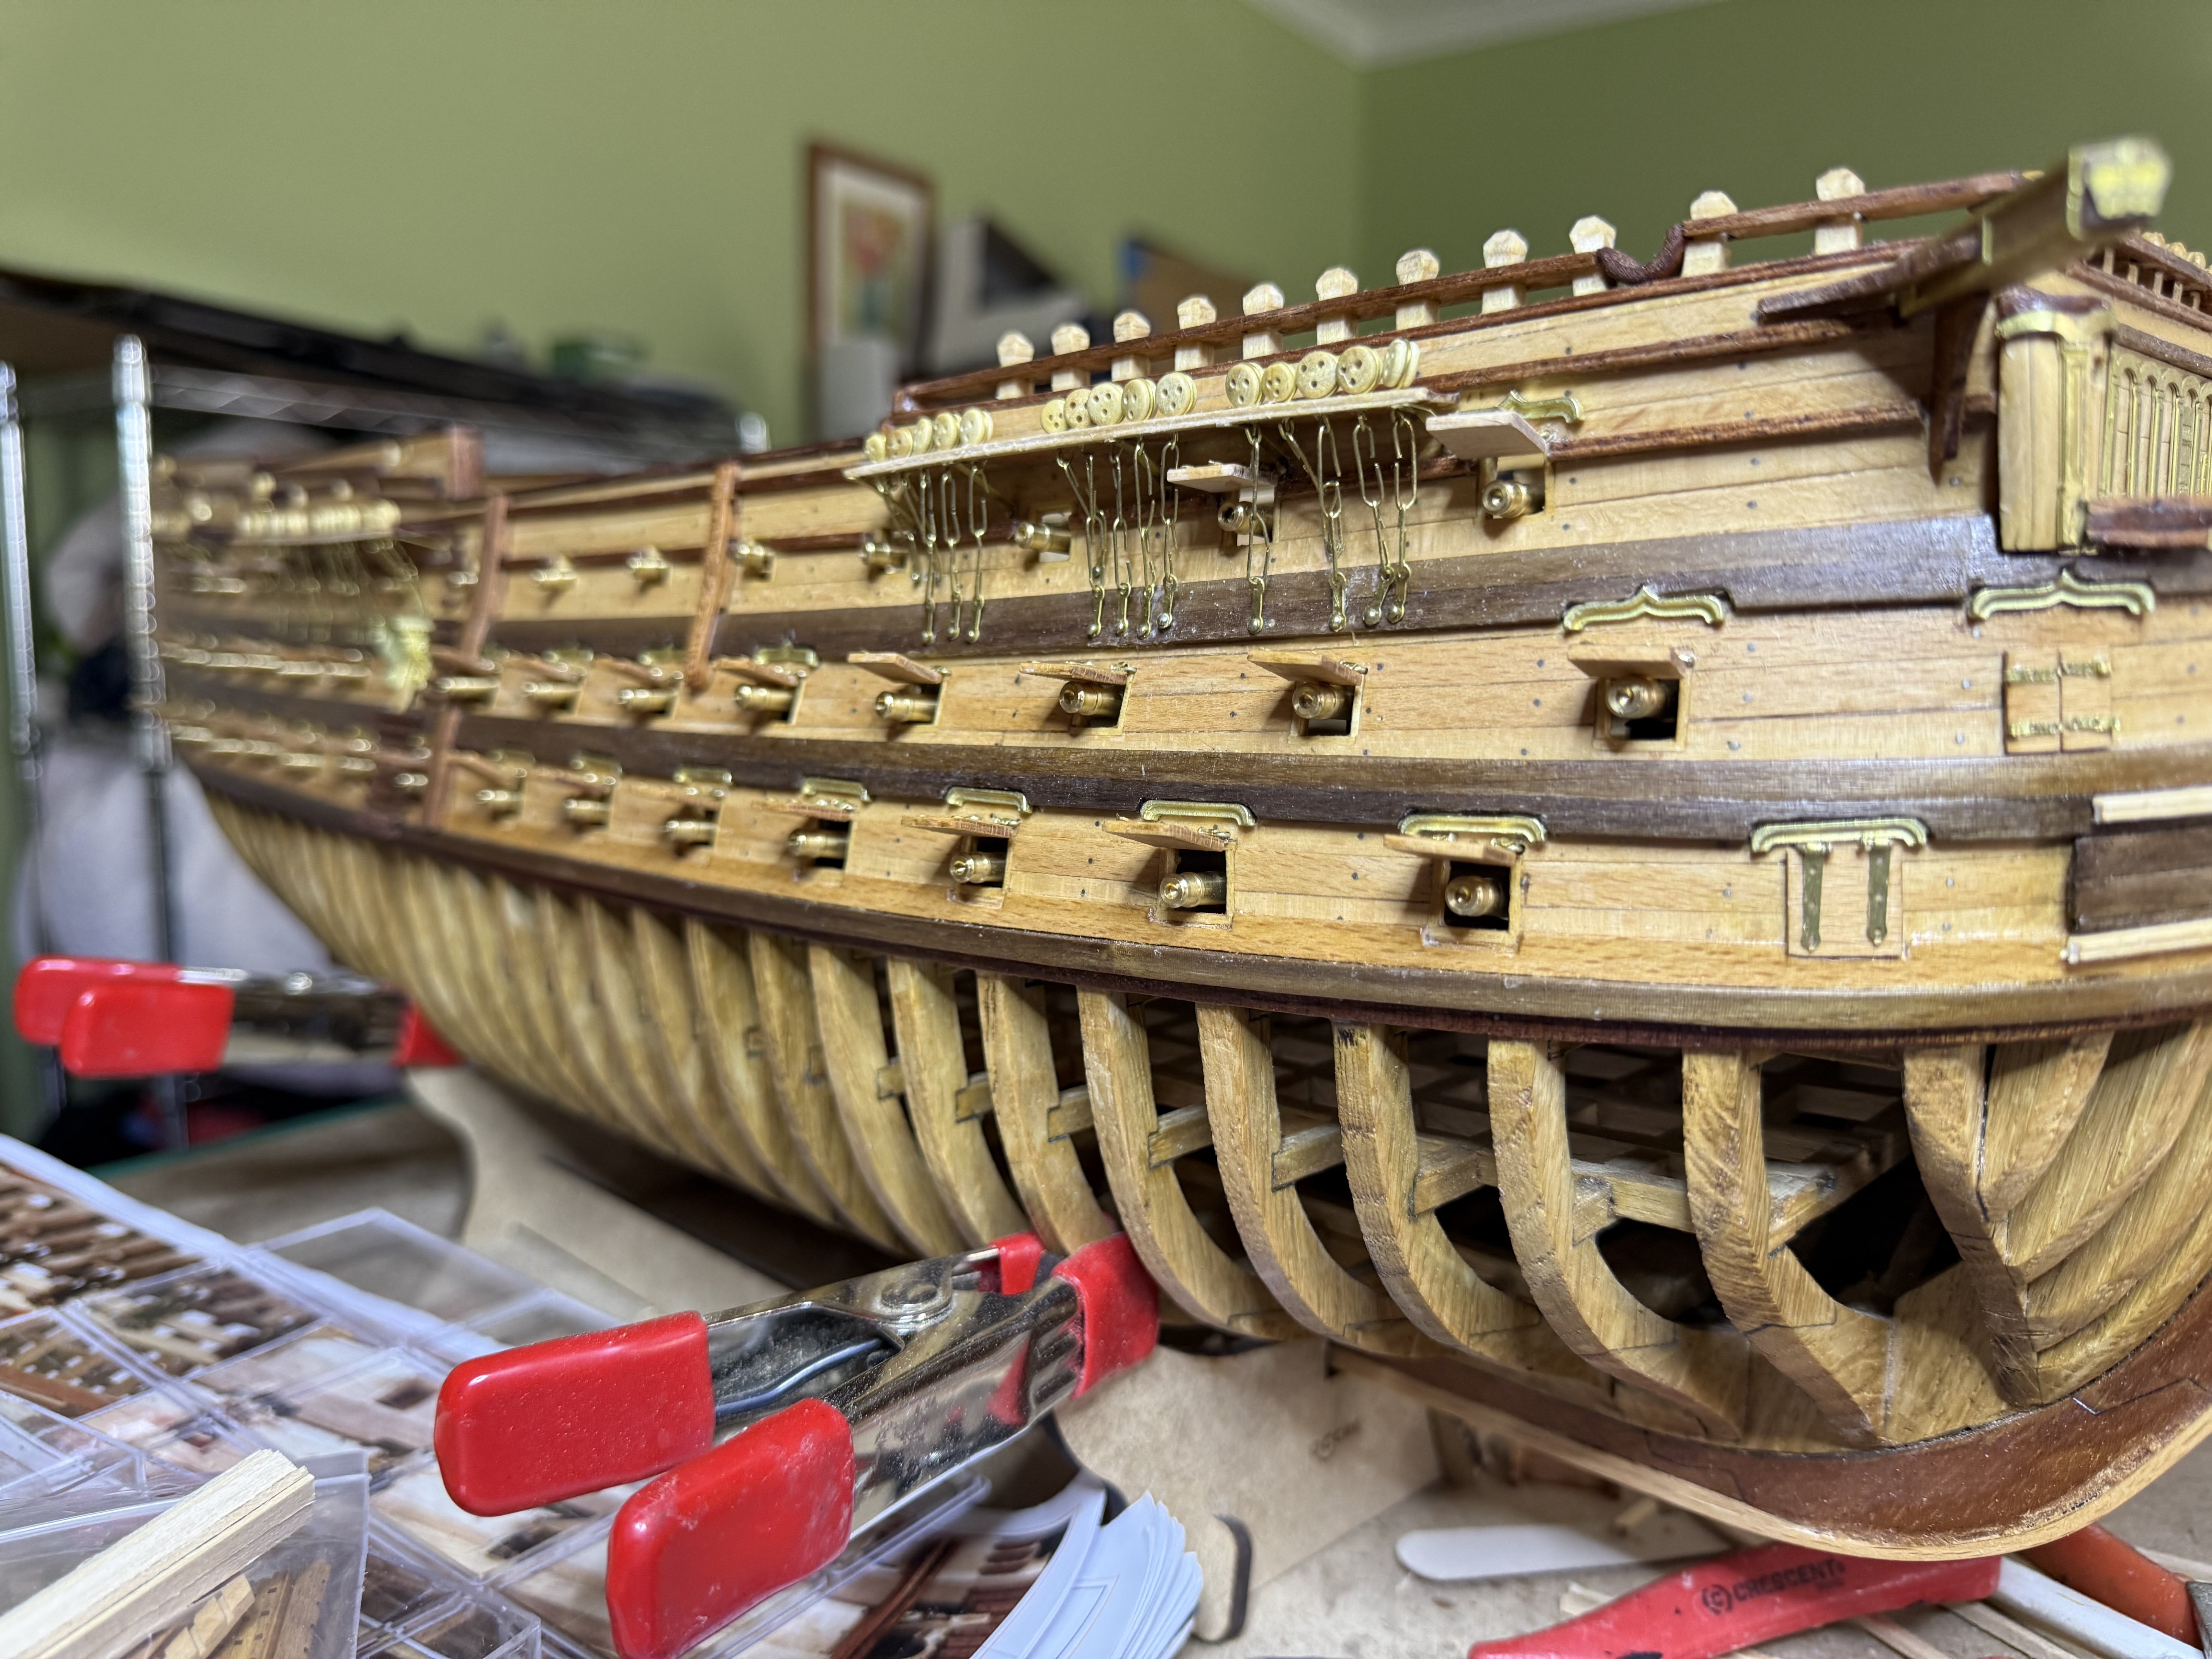
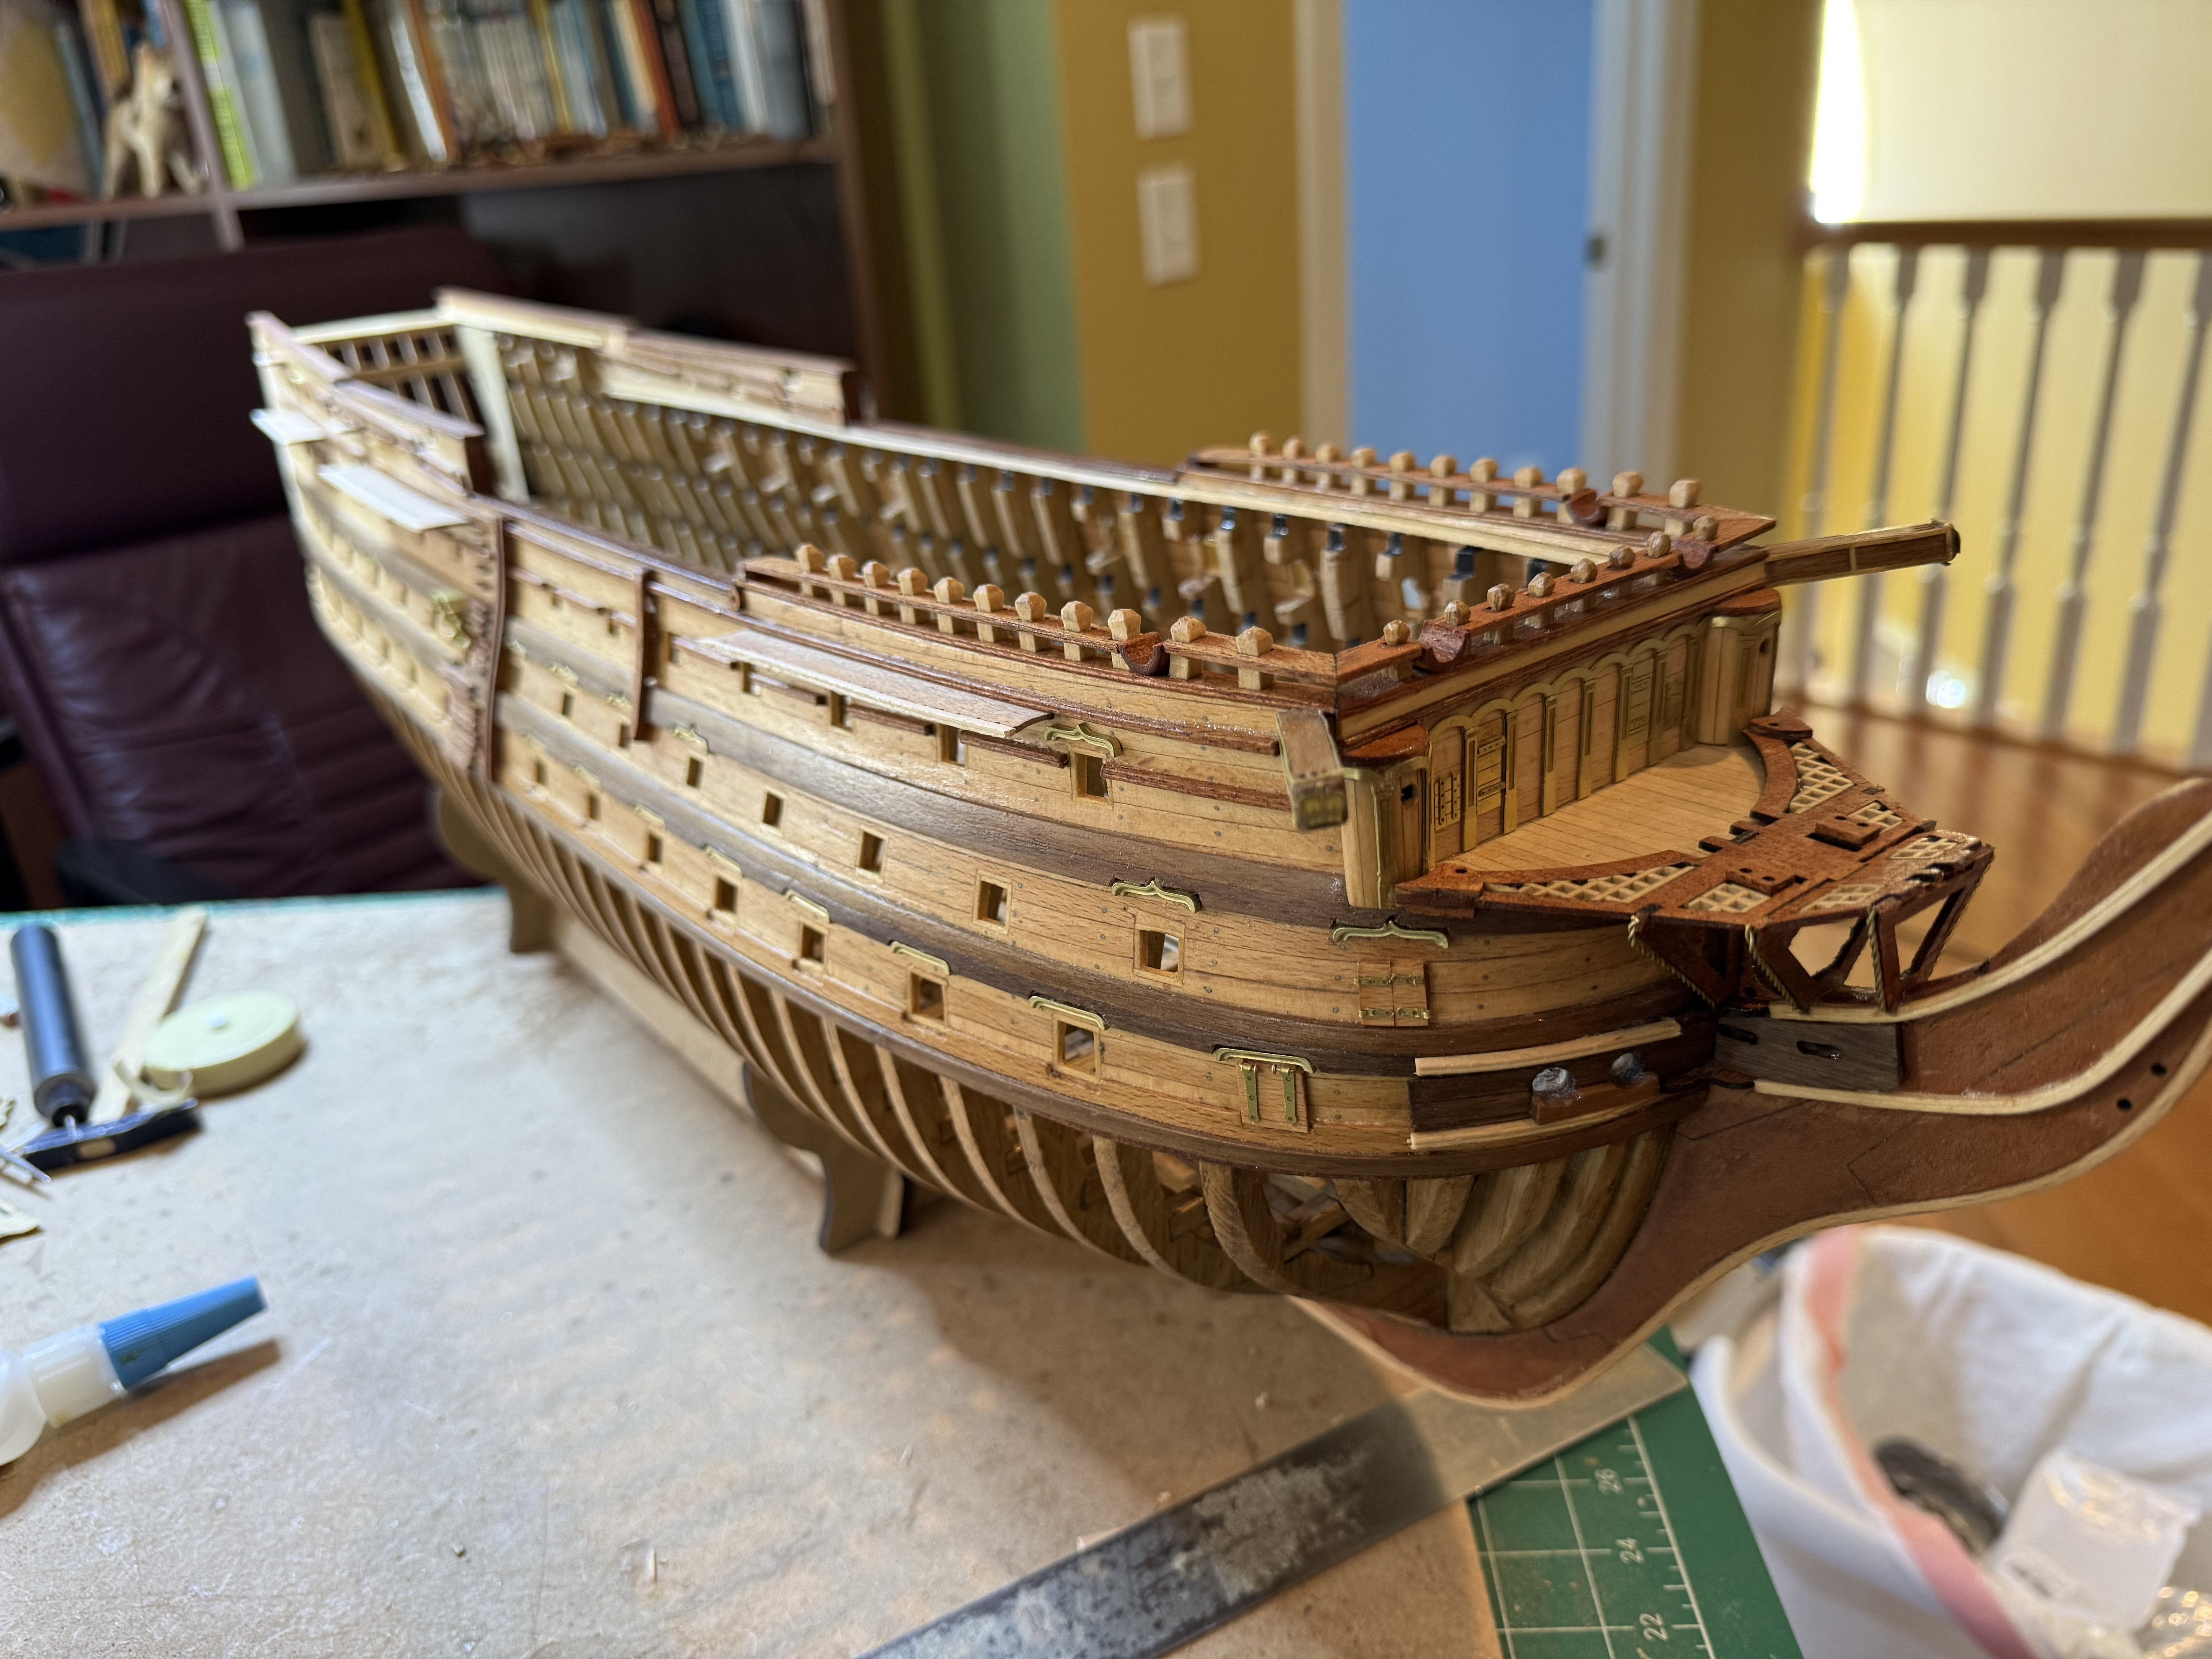
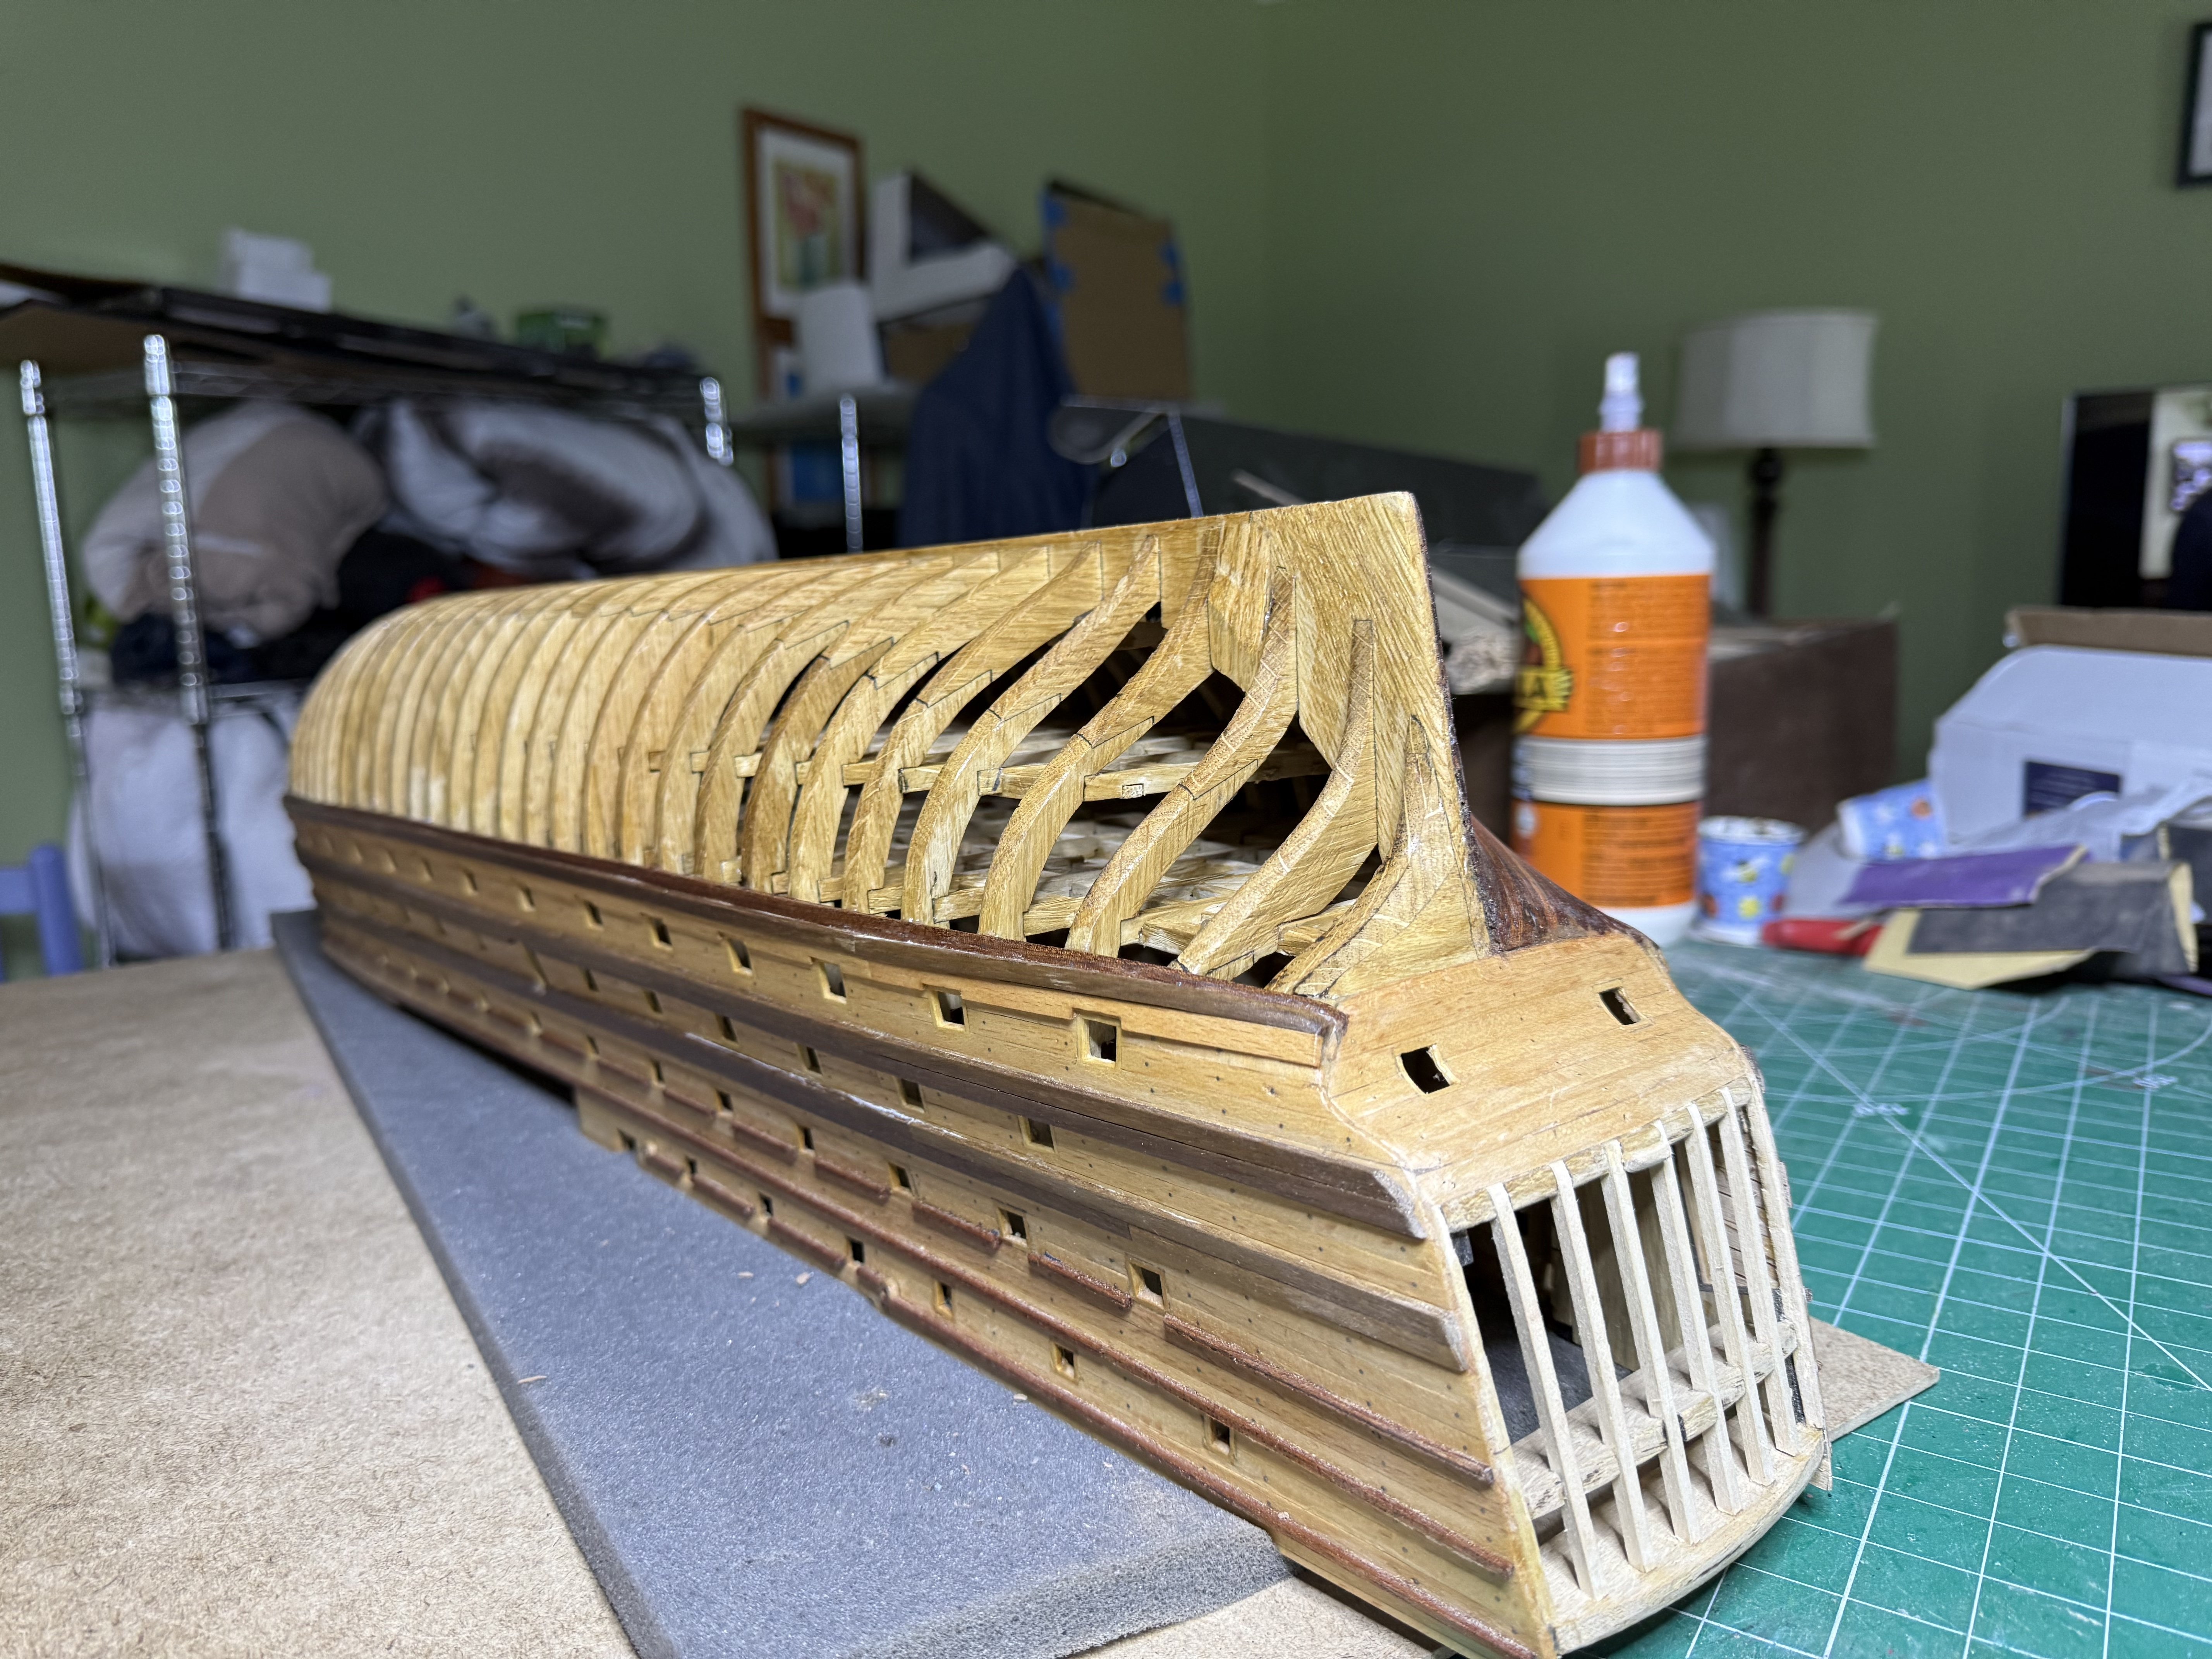
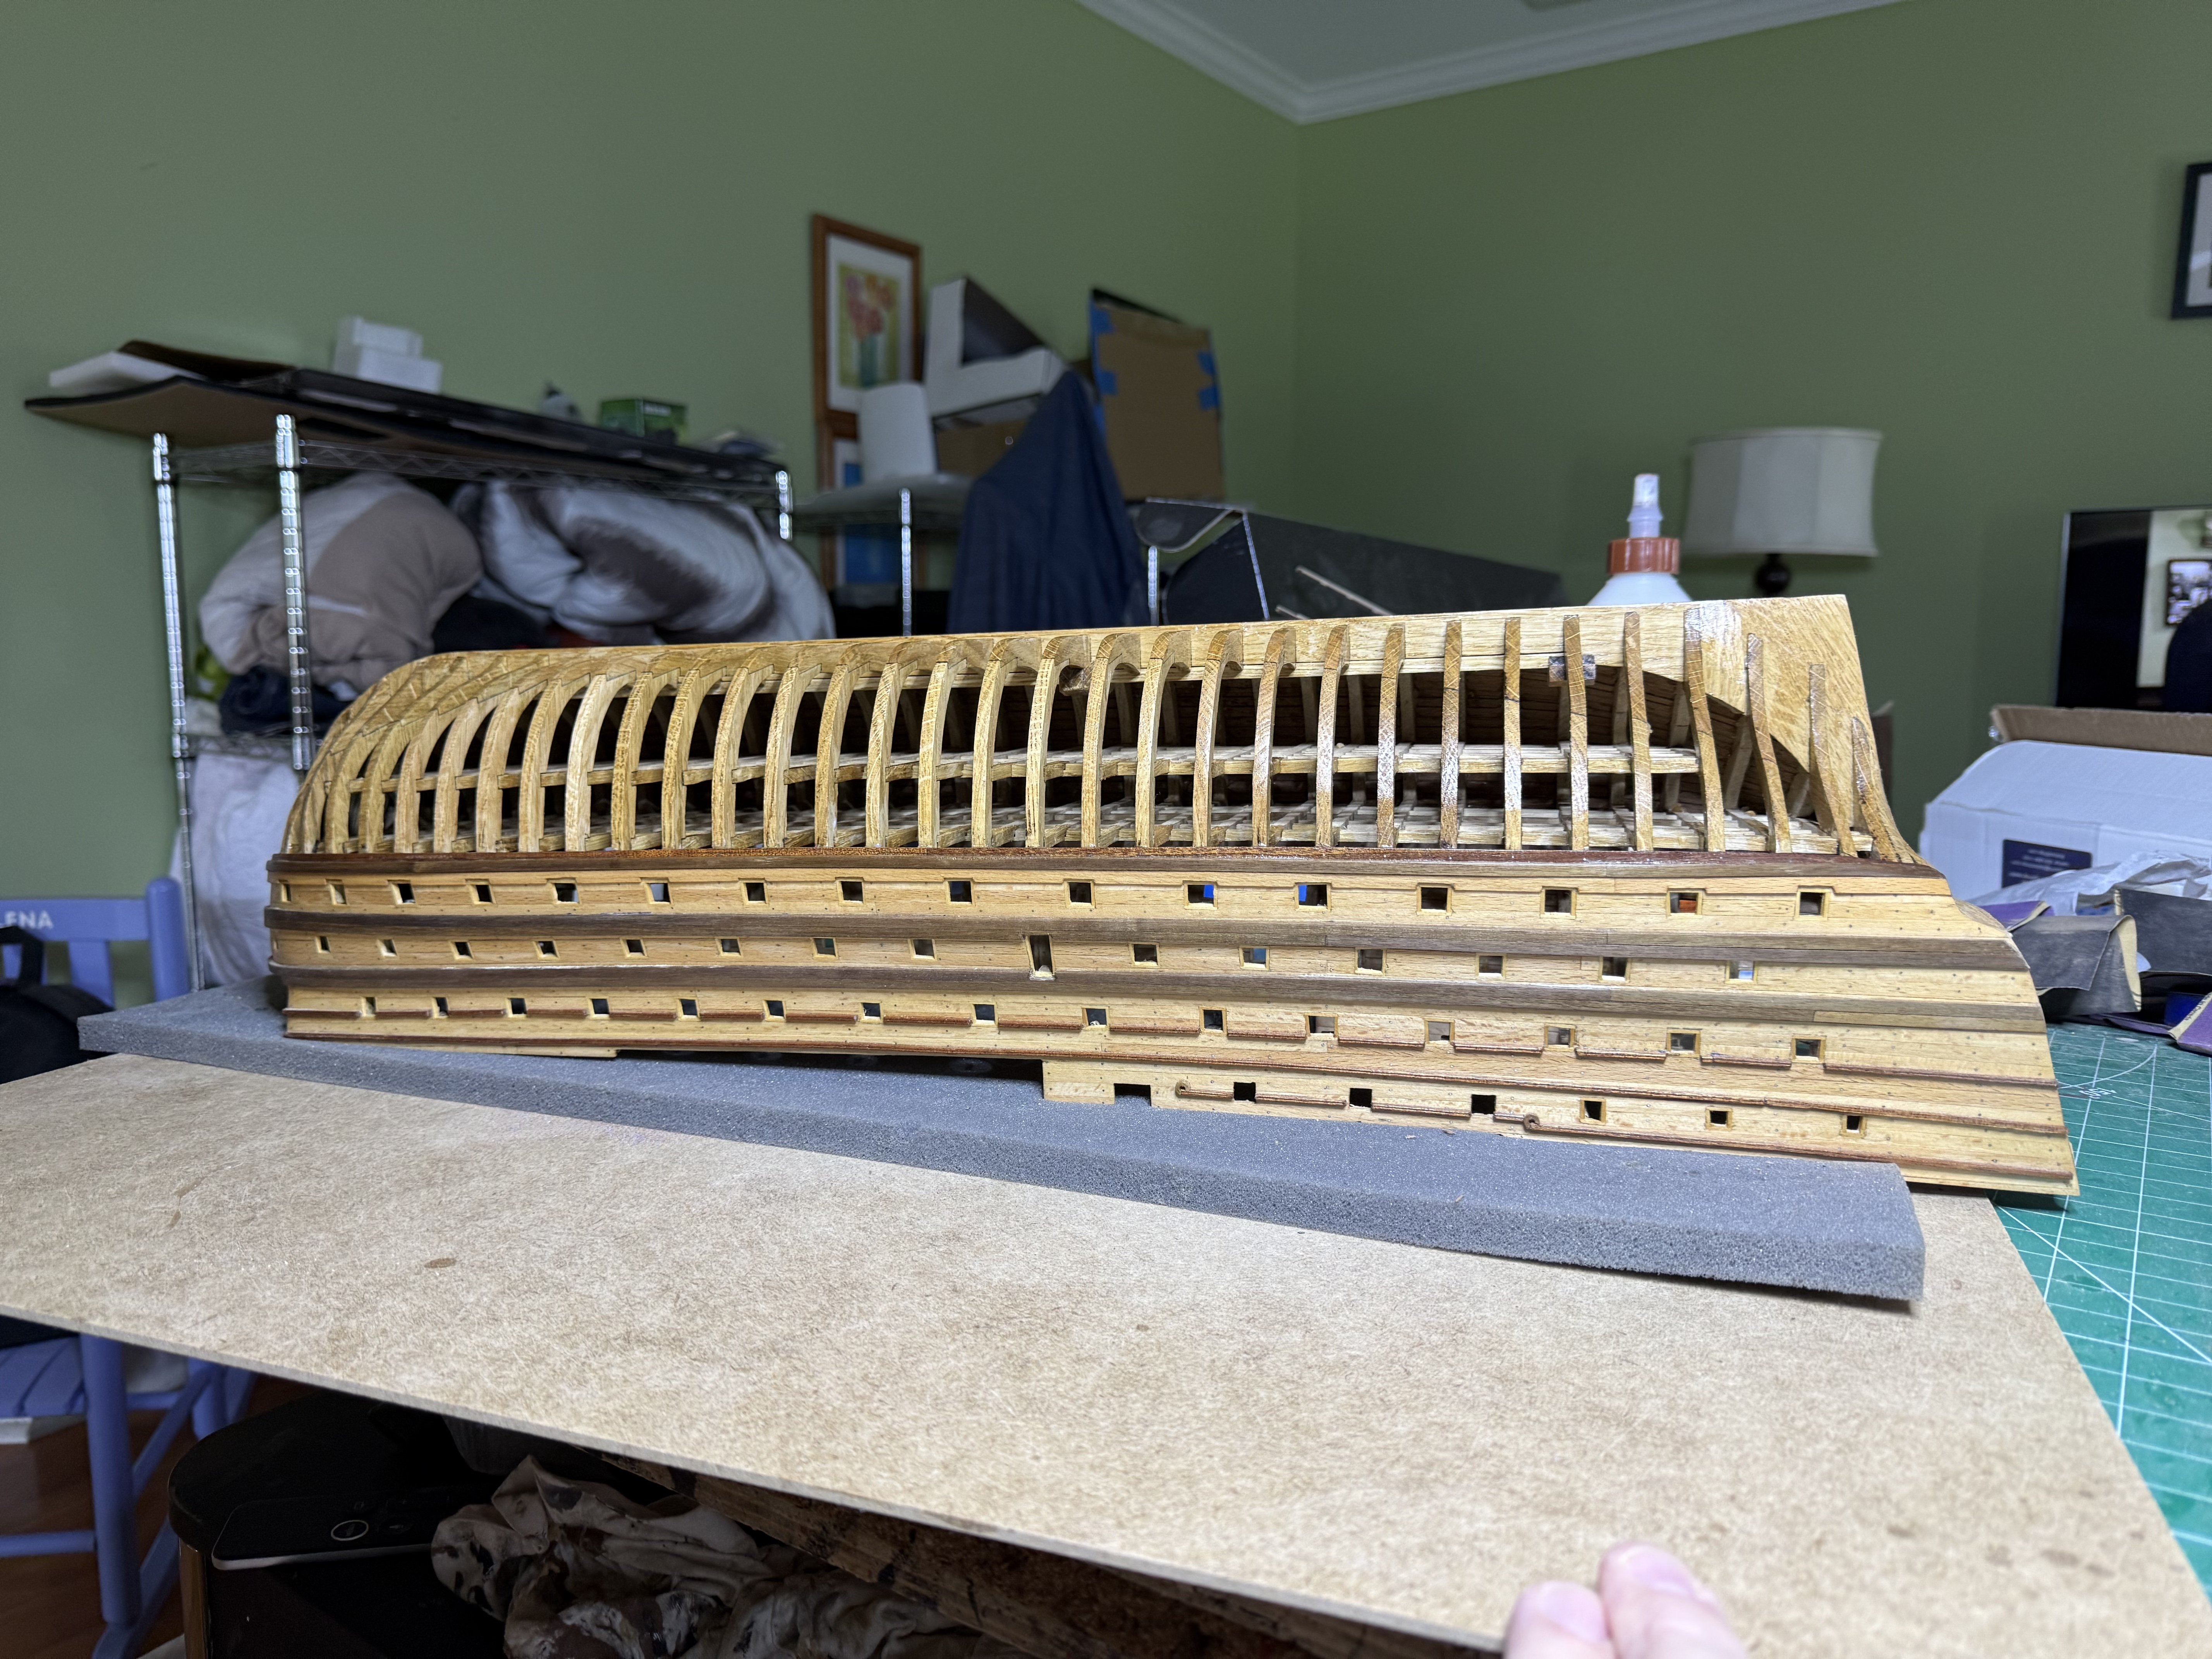
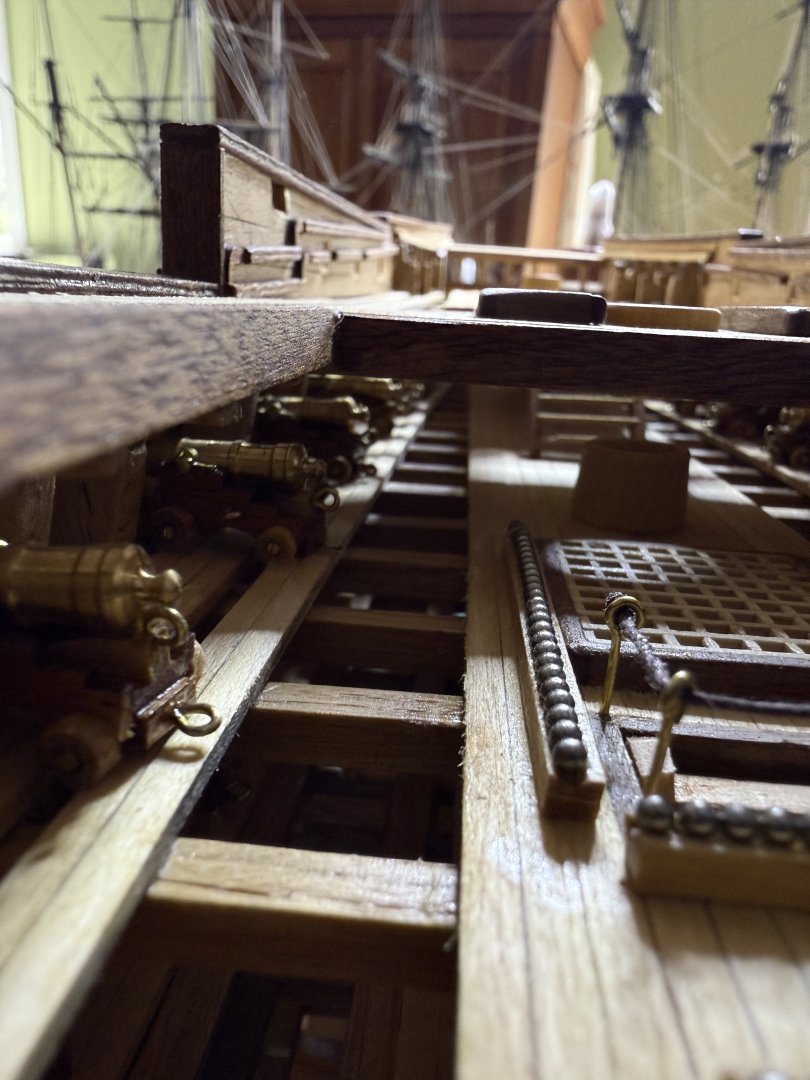
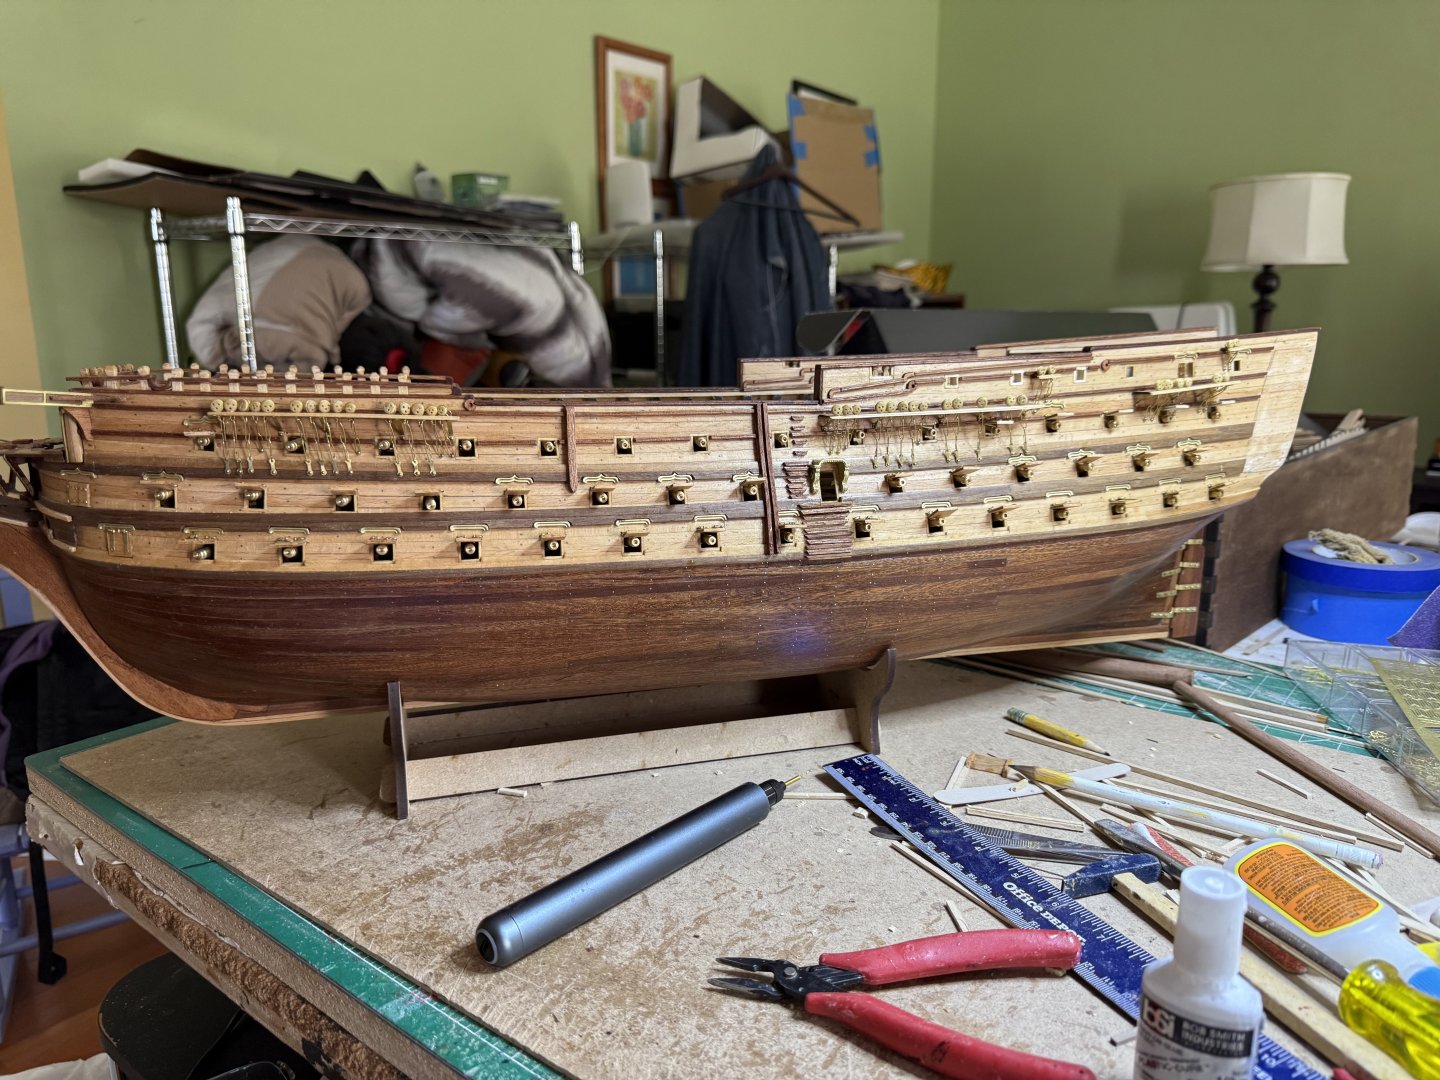
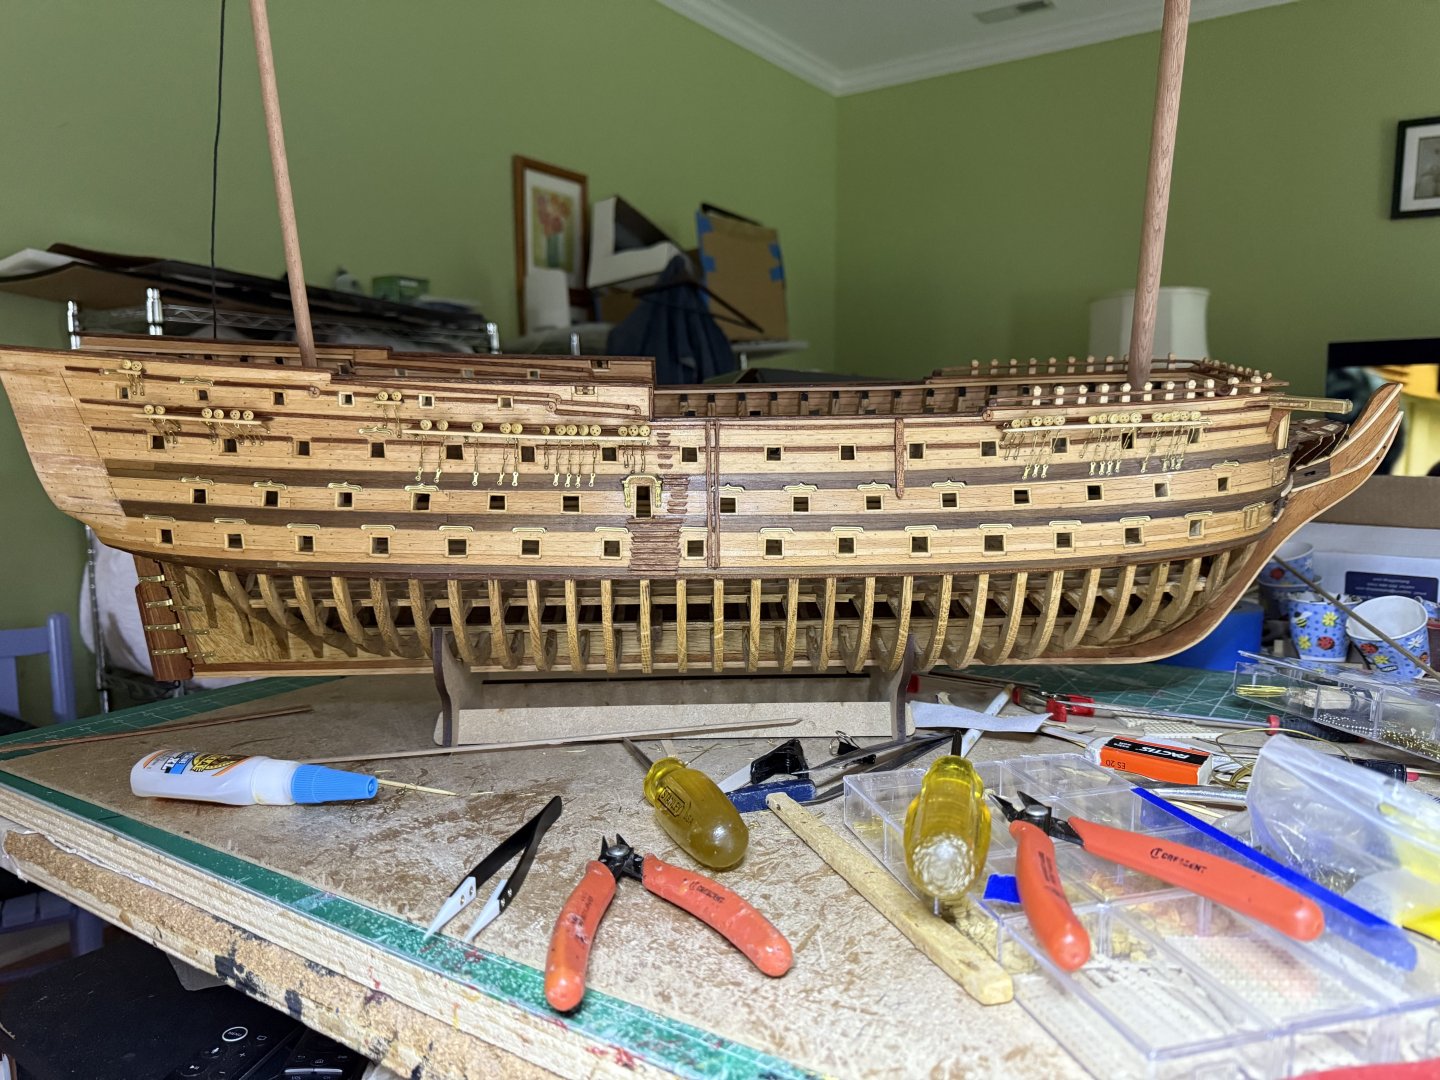
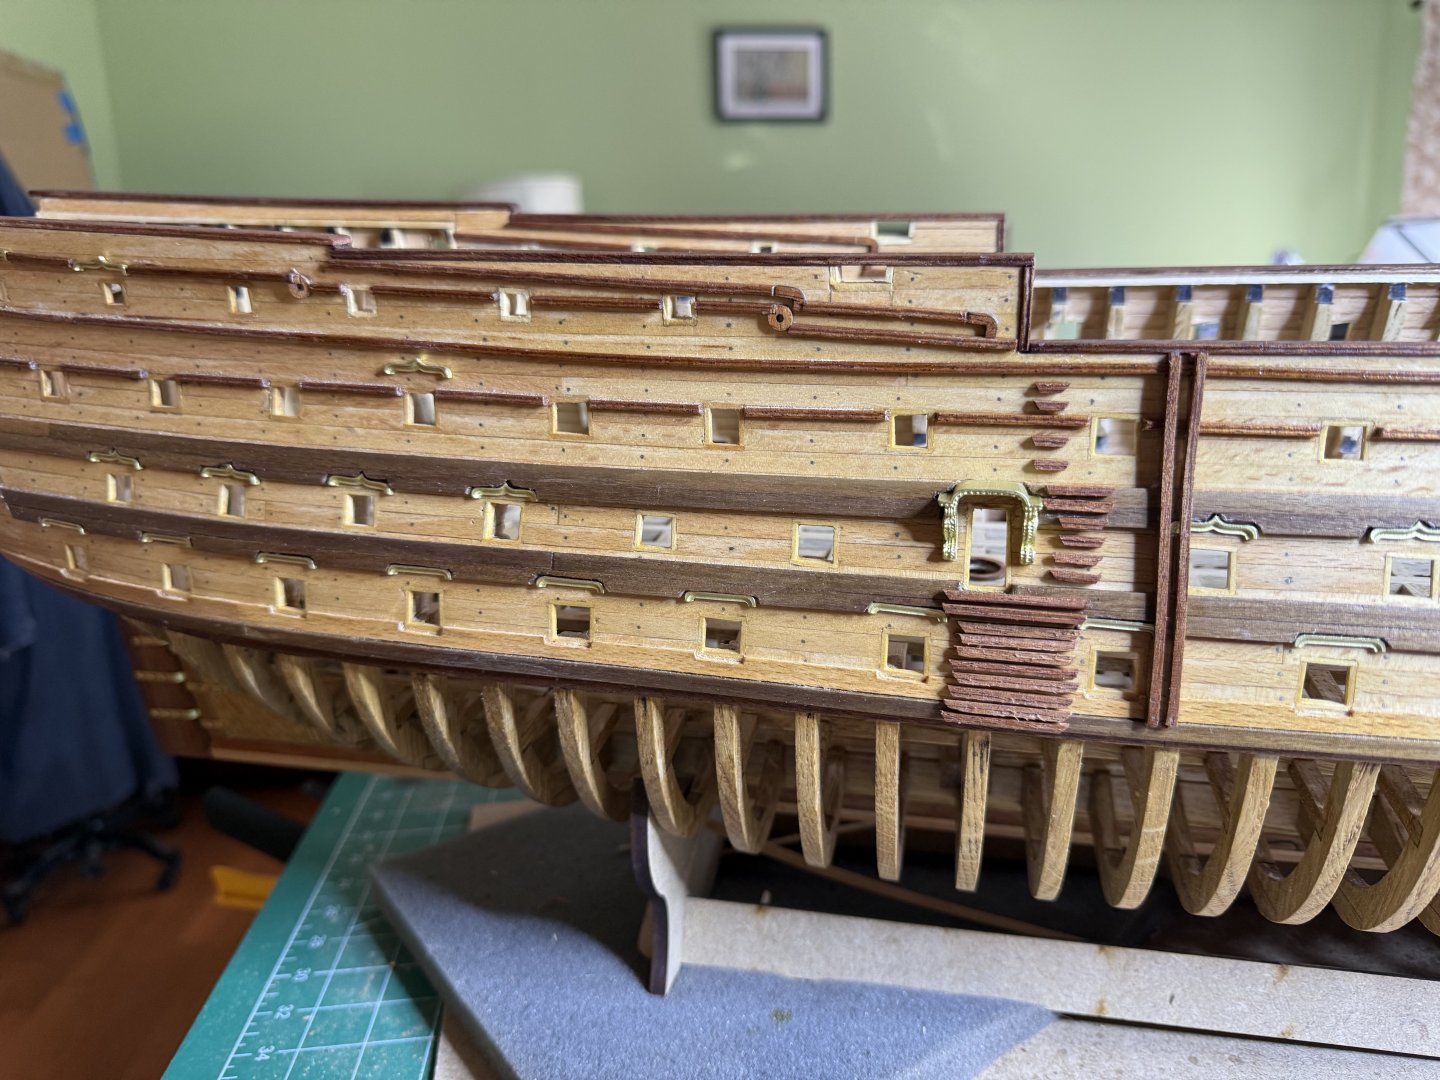
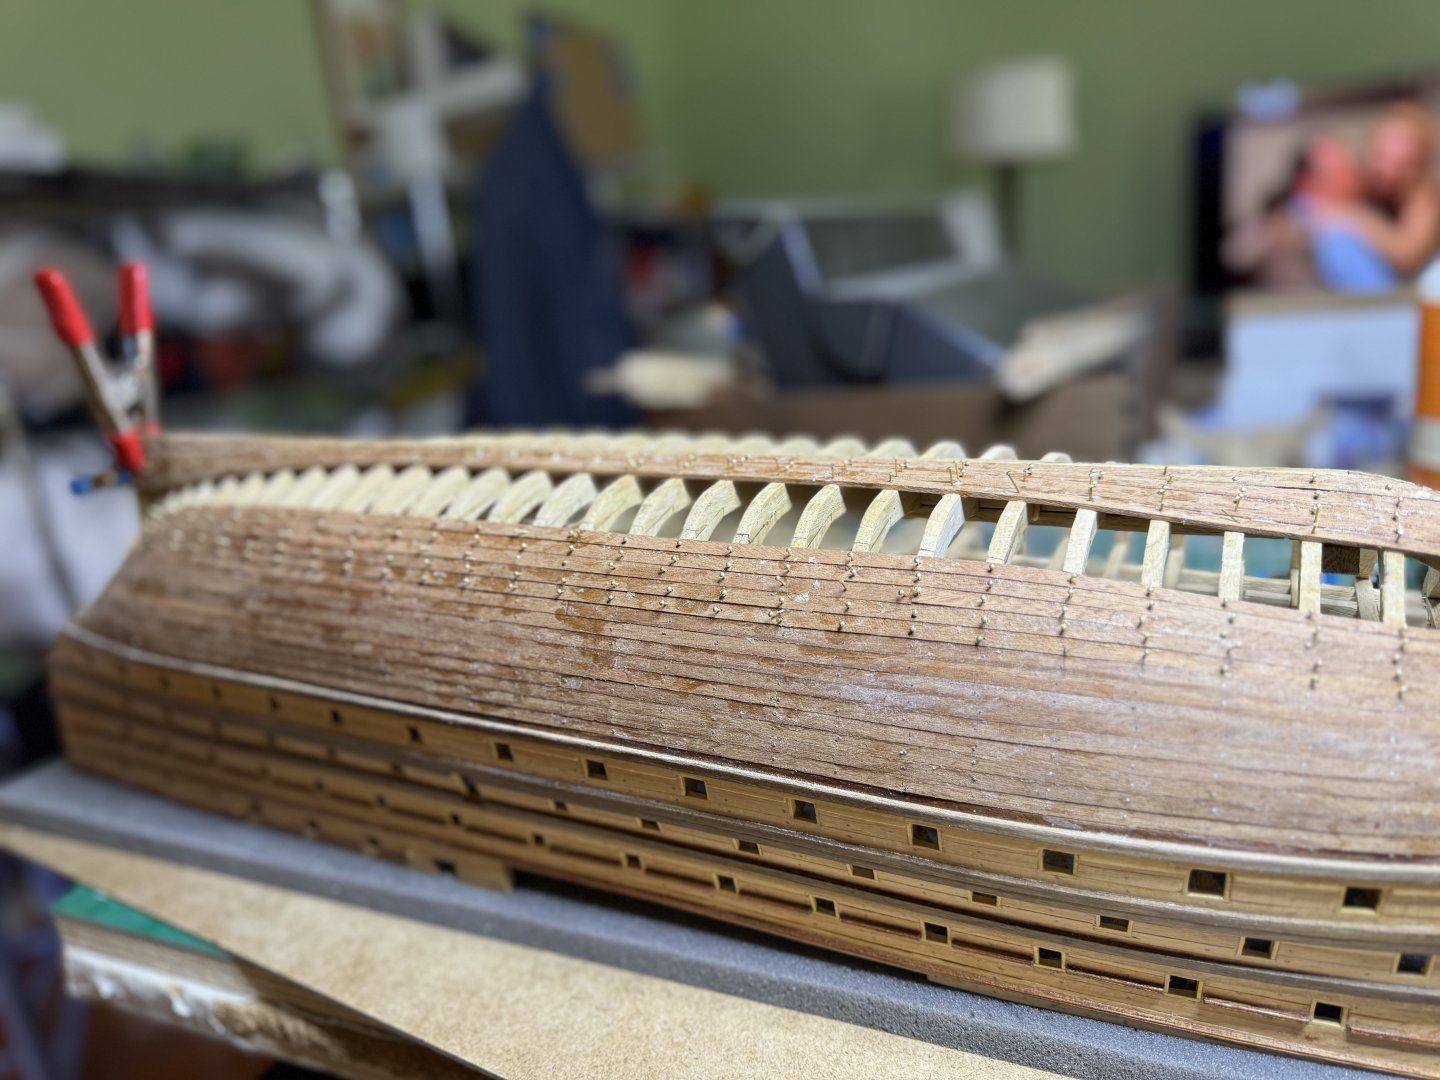
Last bit of work today, finished the channels then added the limited decking to the lowest gundeck. You can see how the 32 pounders will sit.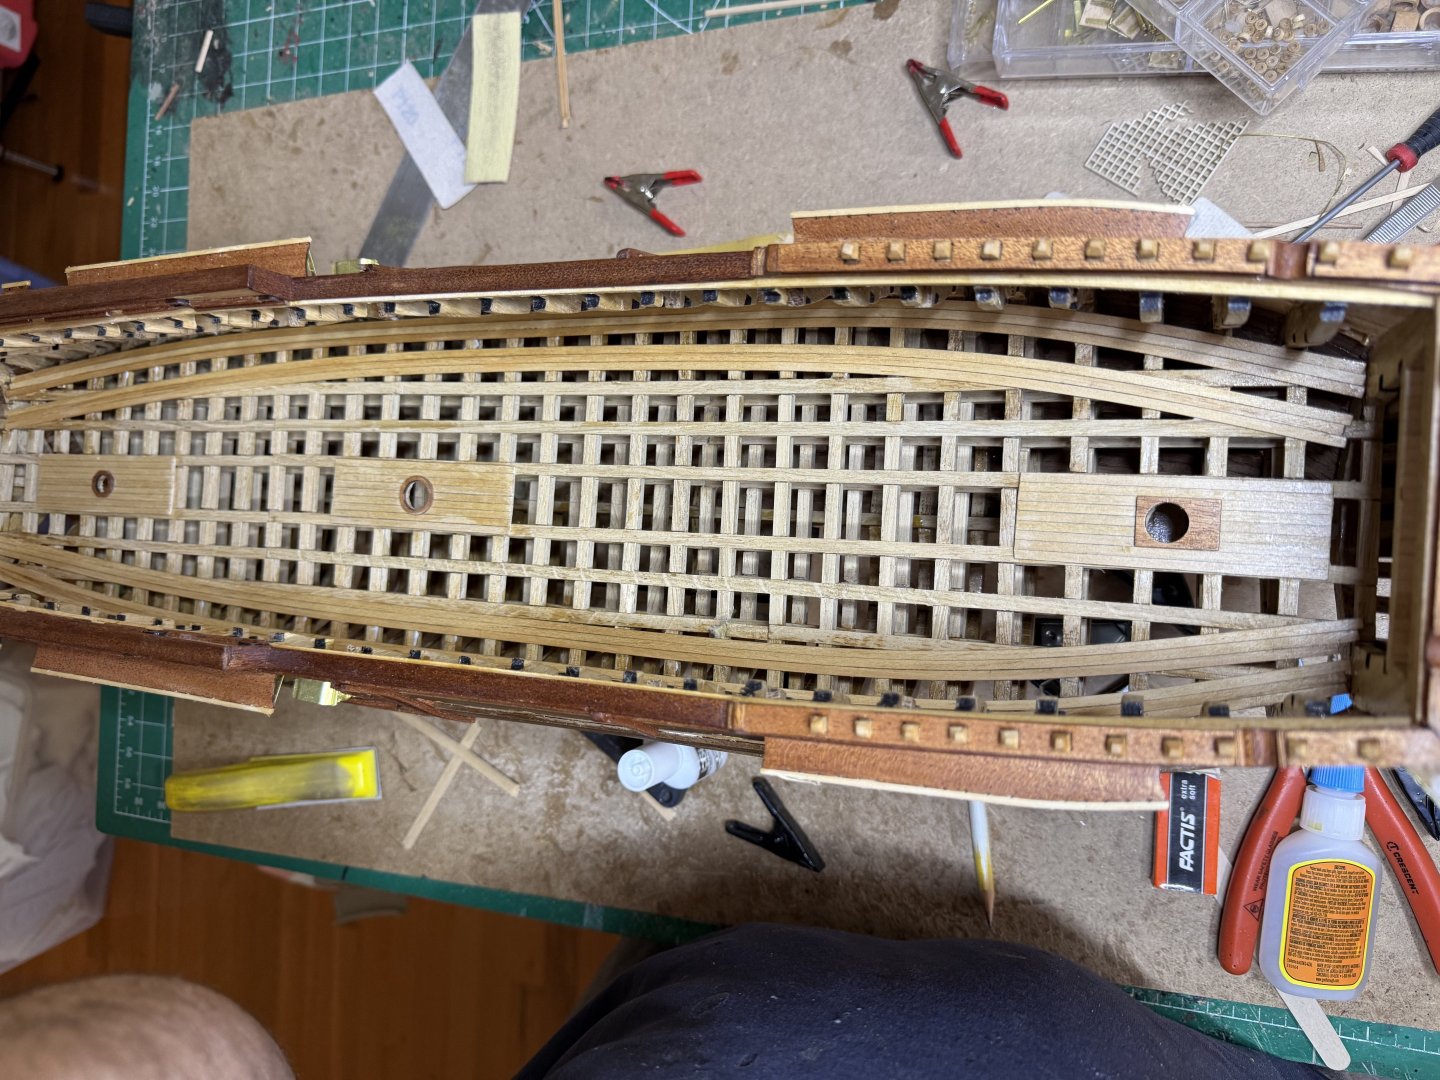


-
HMS Victory by ECK - OcCre - 1/87
ECK replied to ECK's topic in - Kit build logs for subjects built from 1751 - 1800
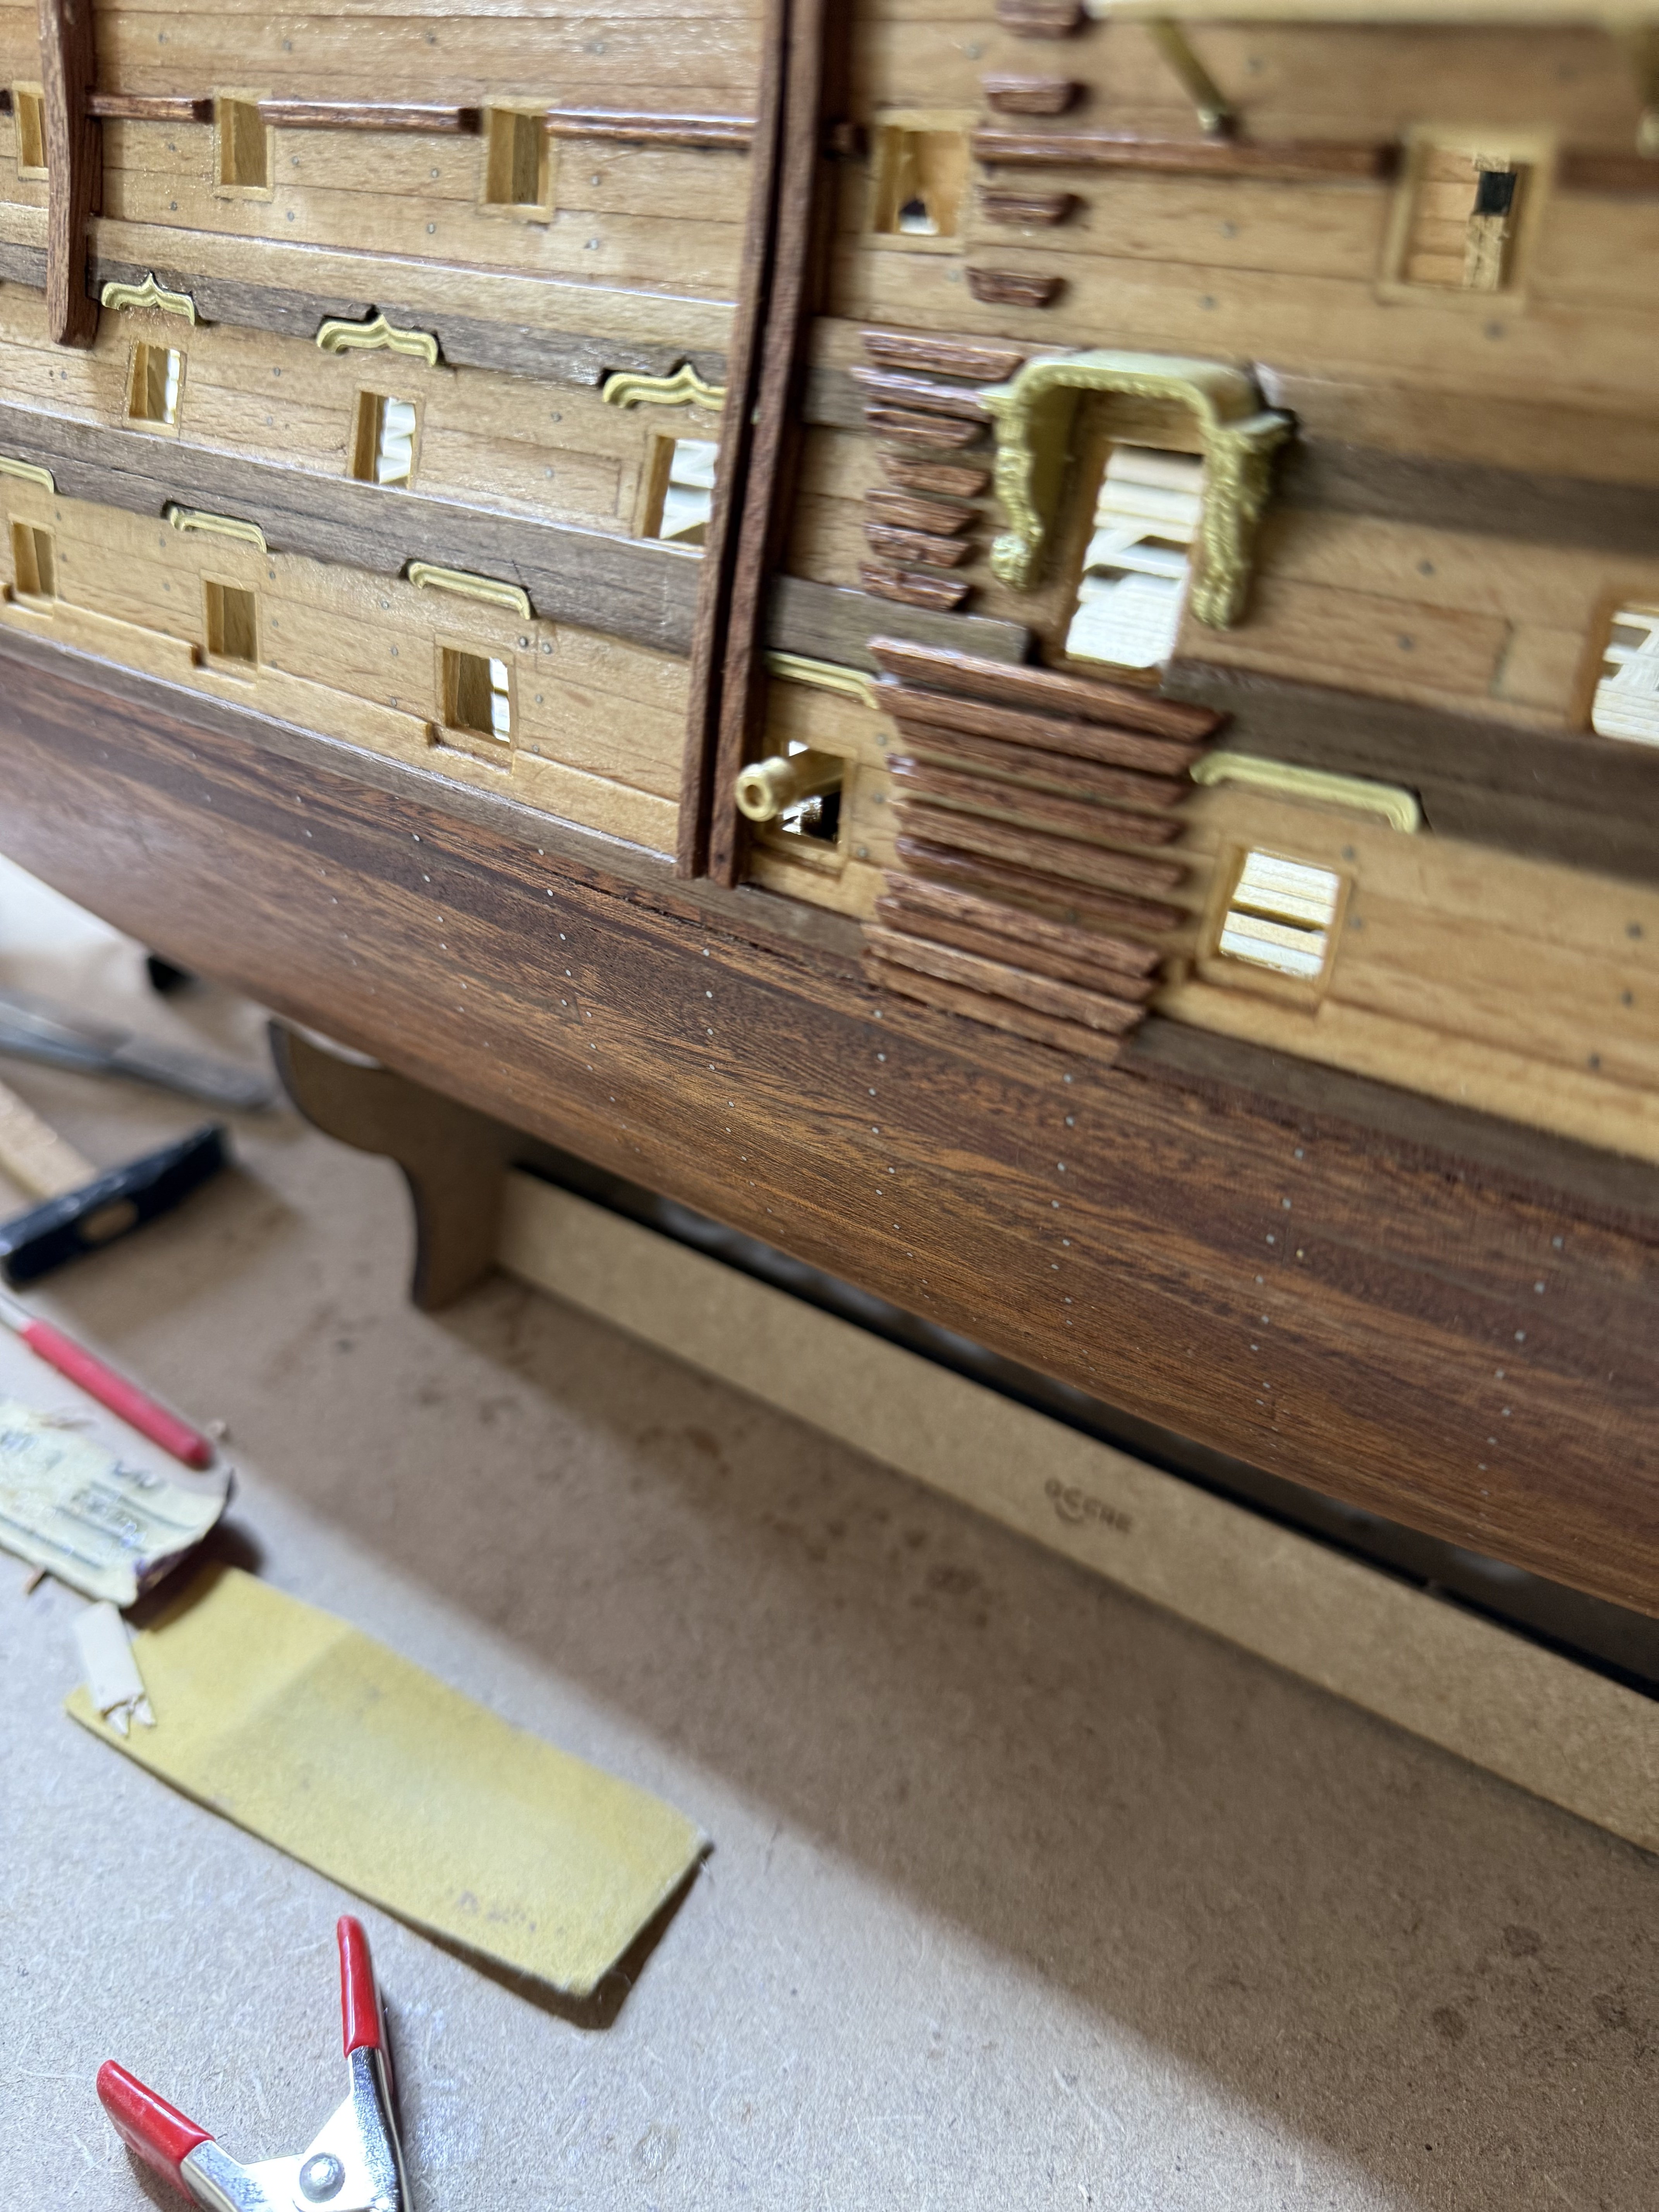
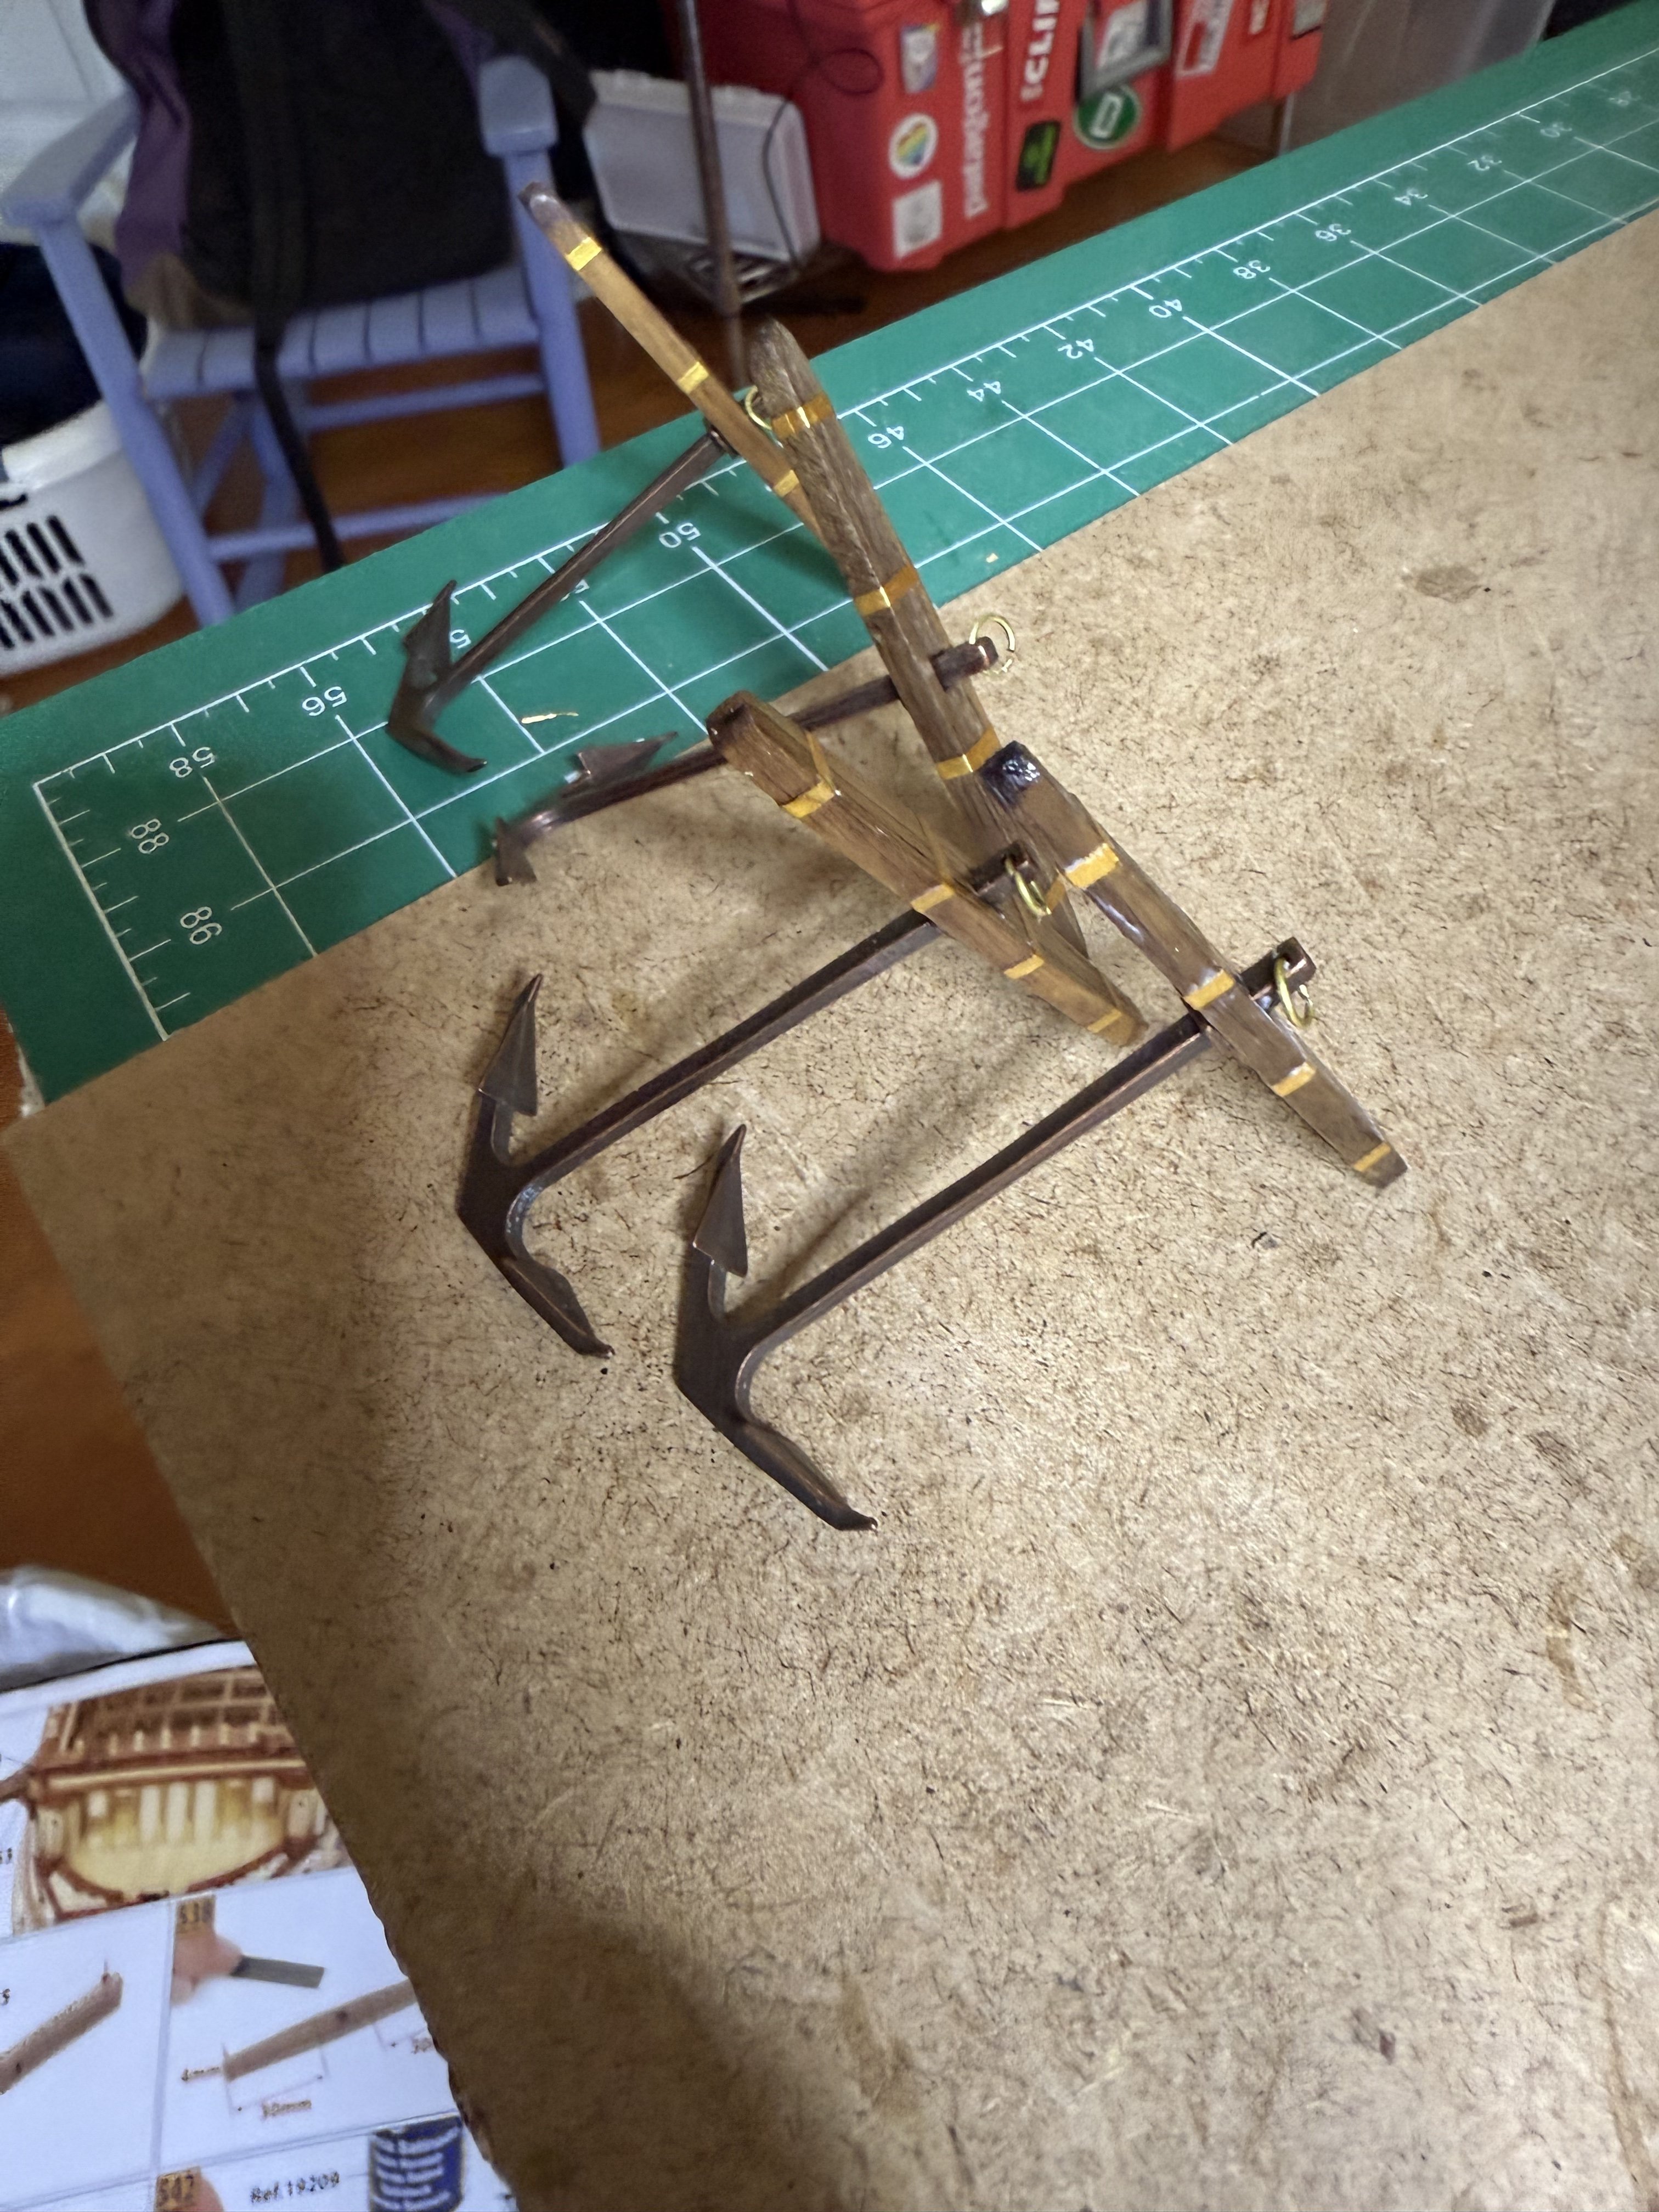
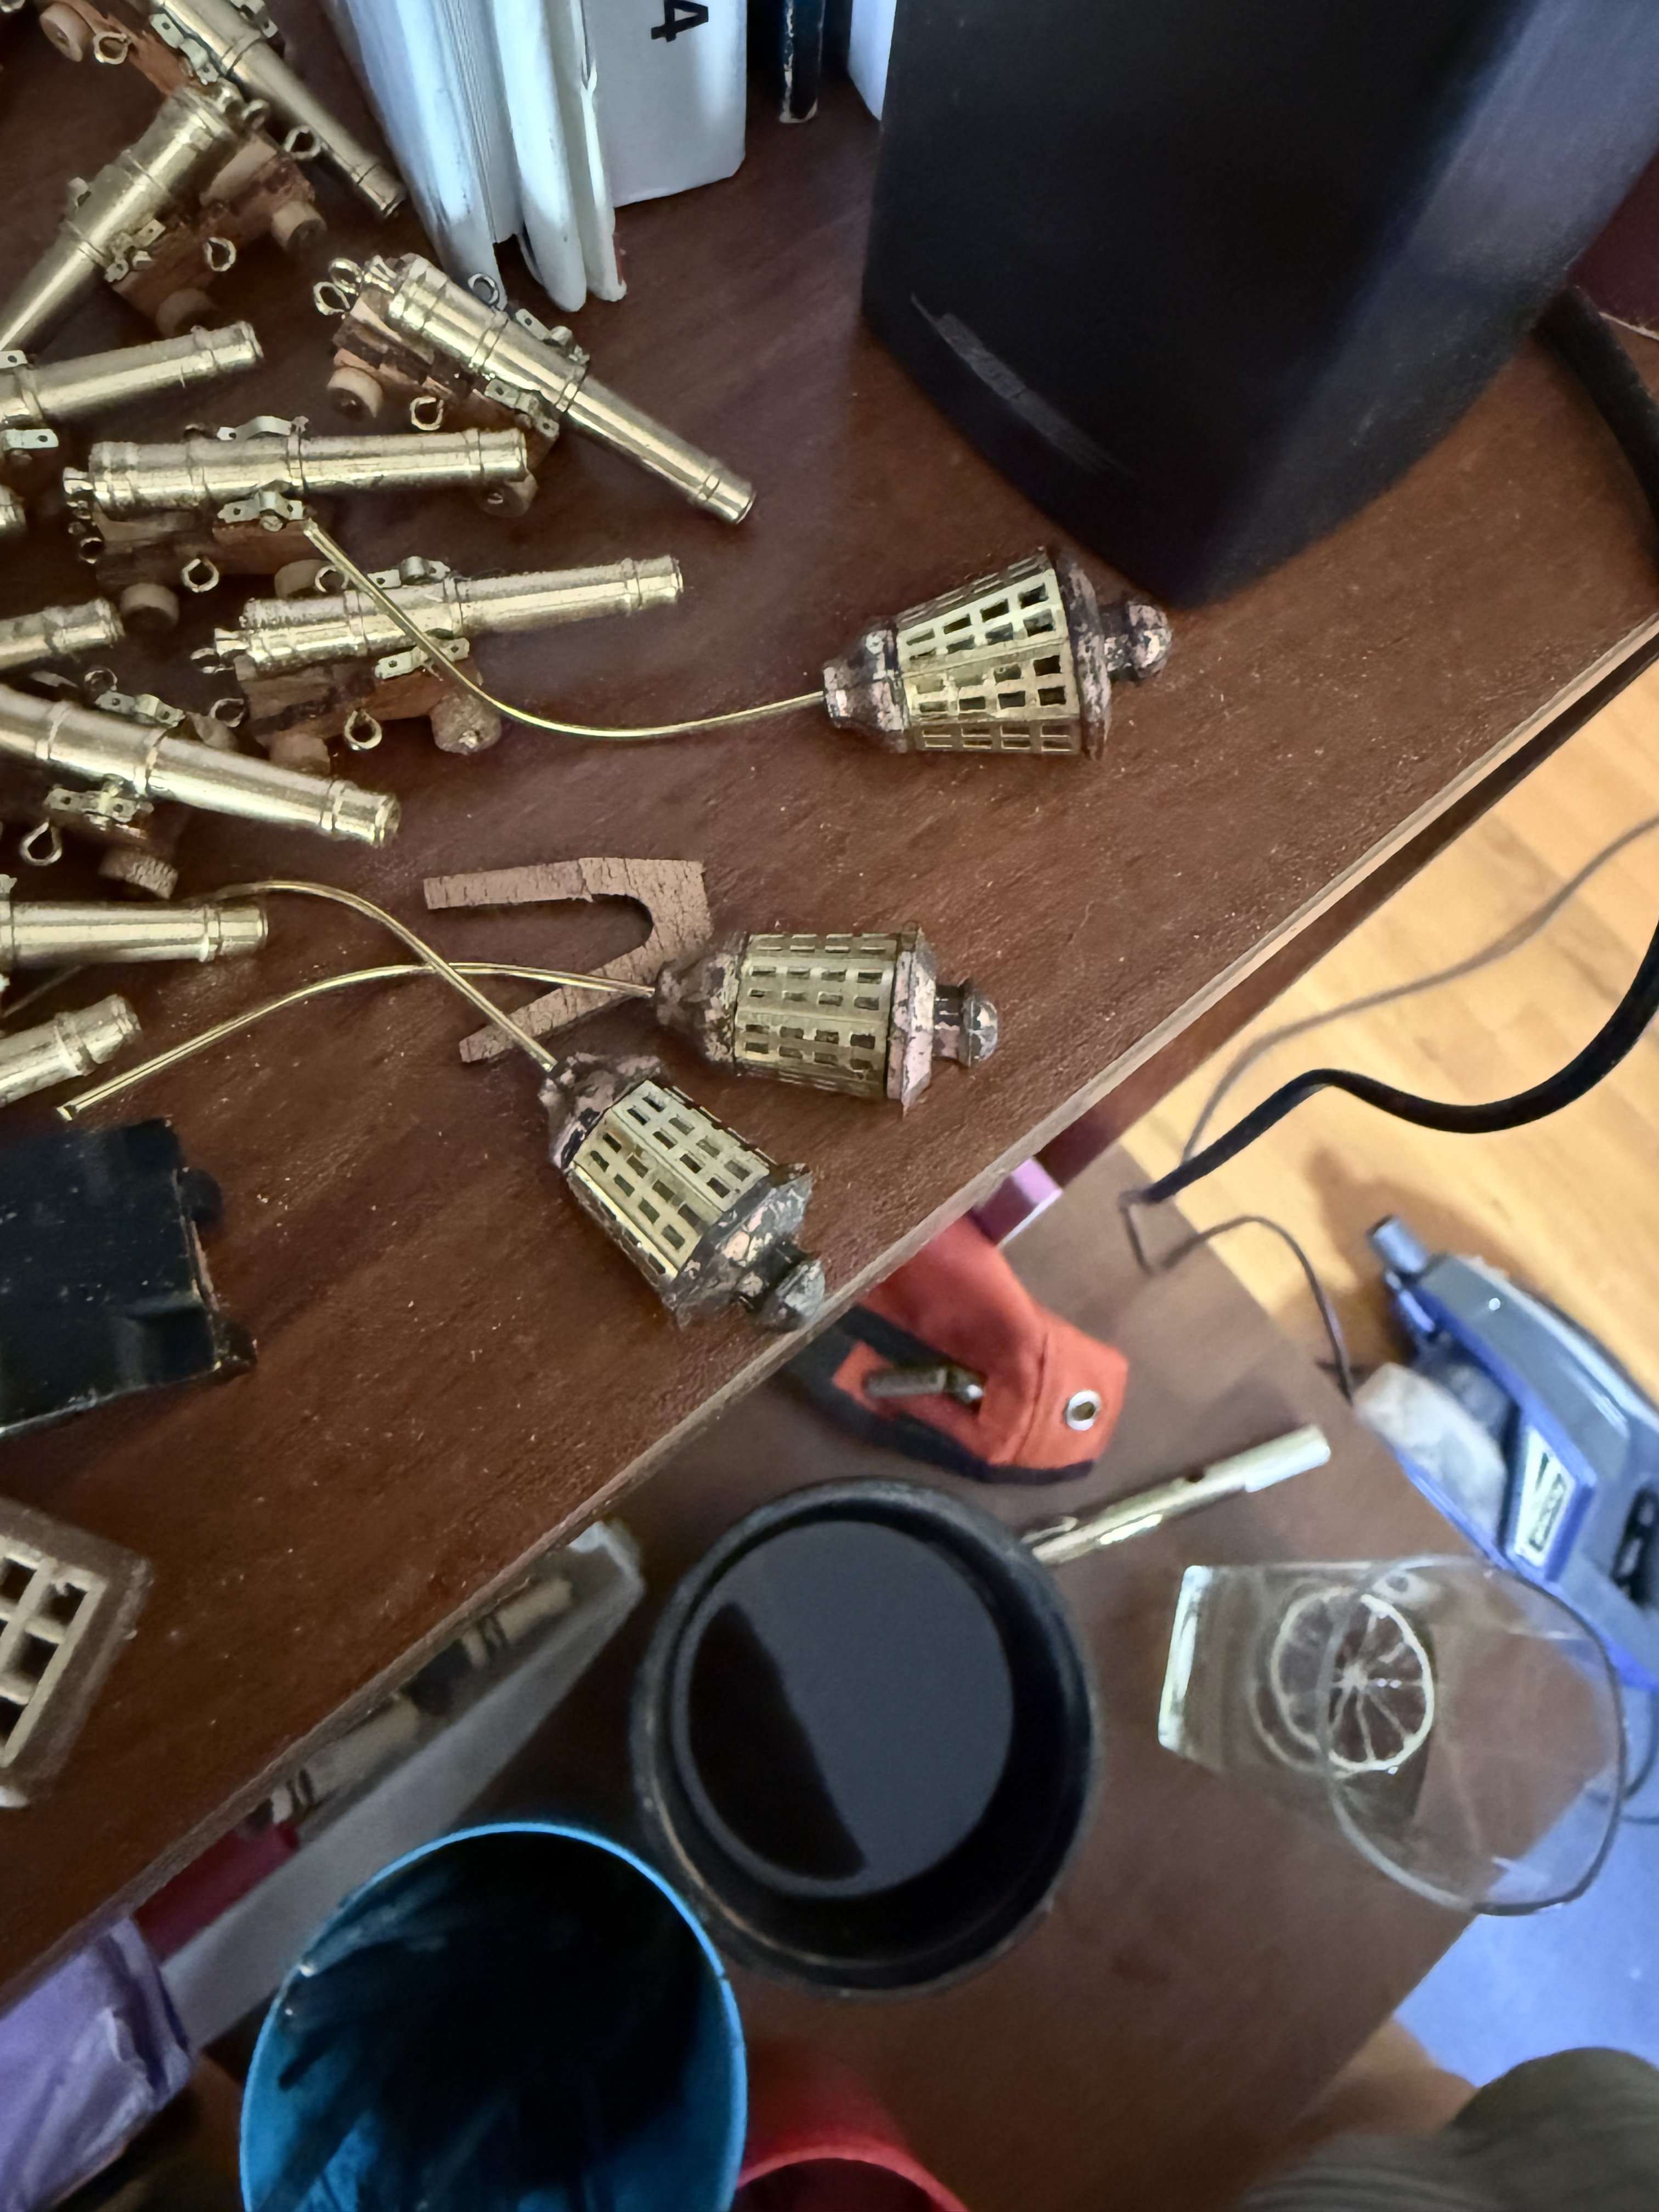
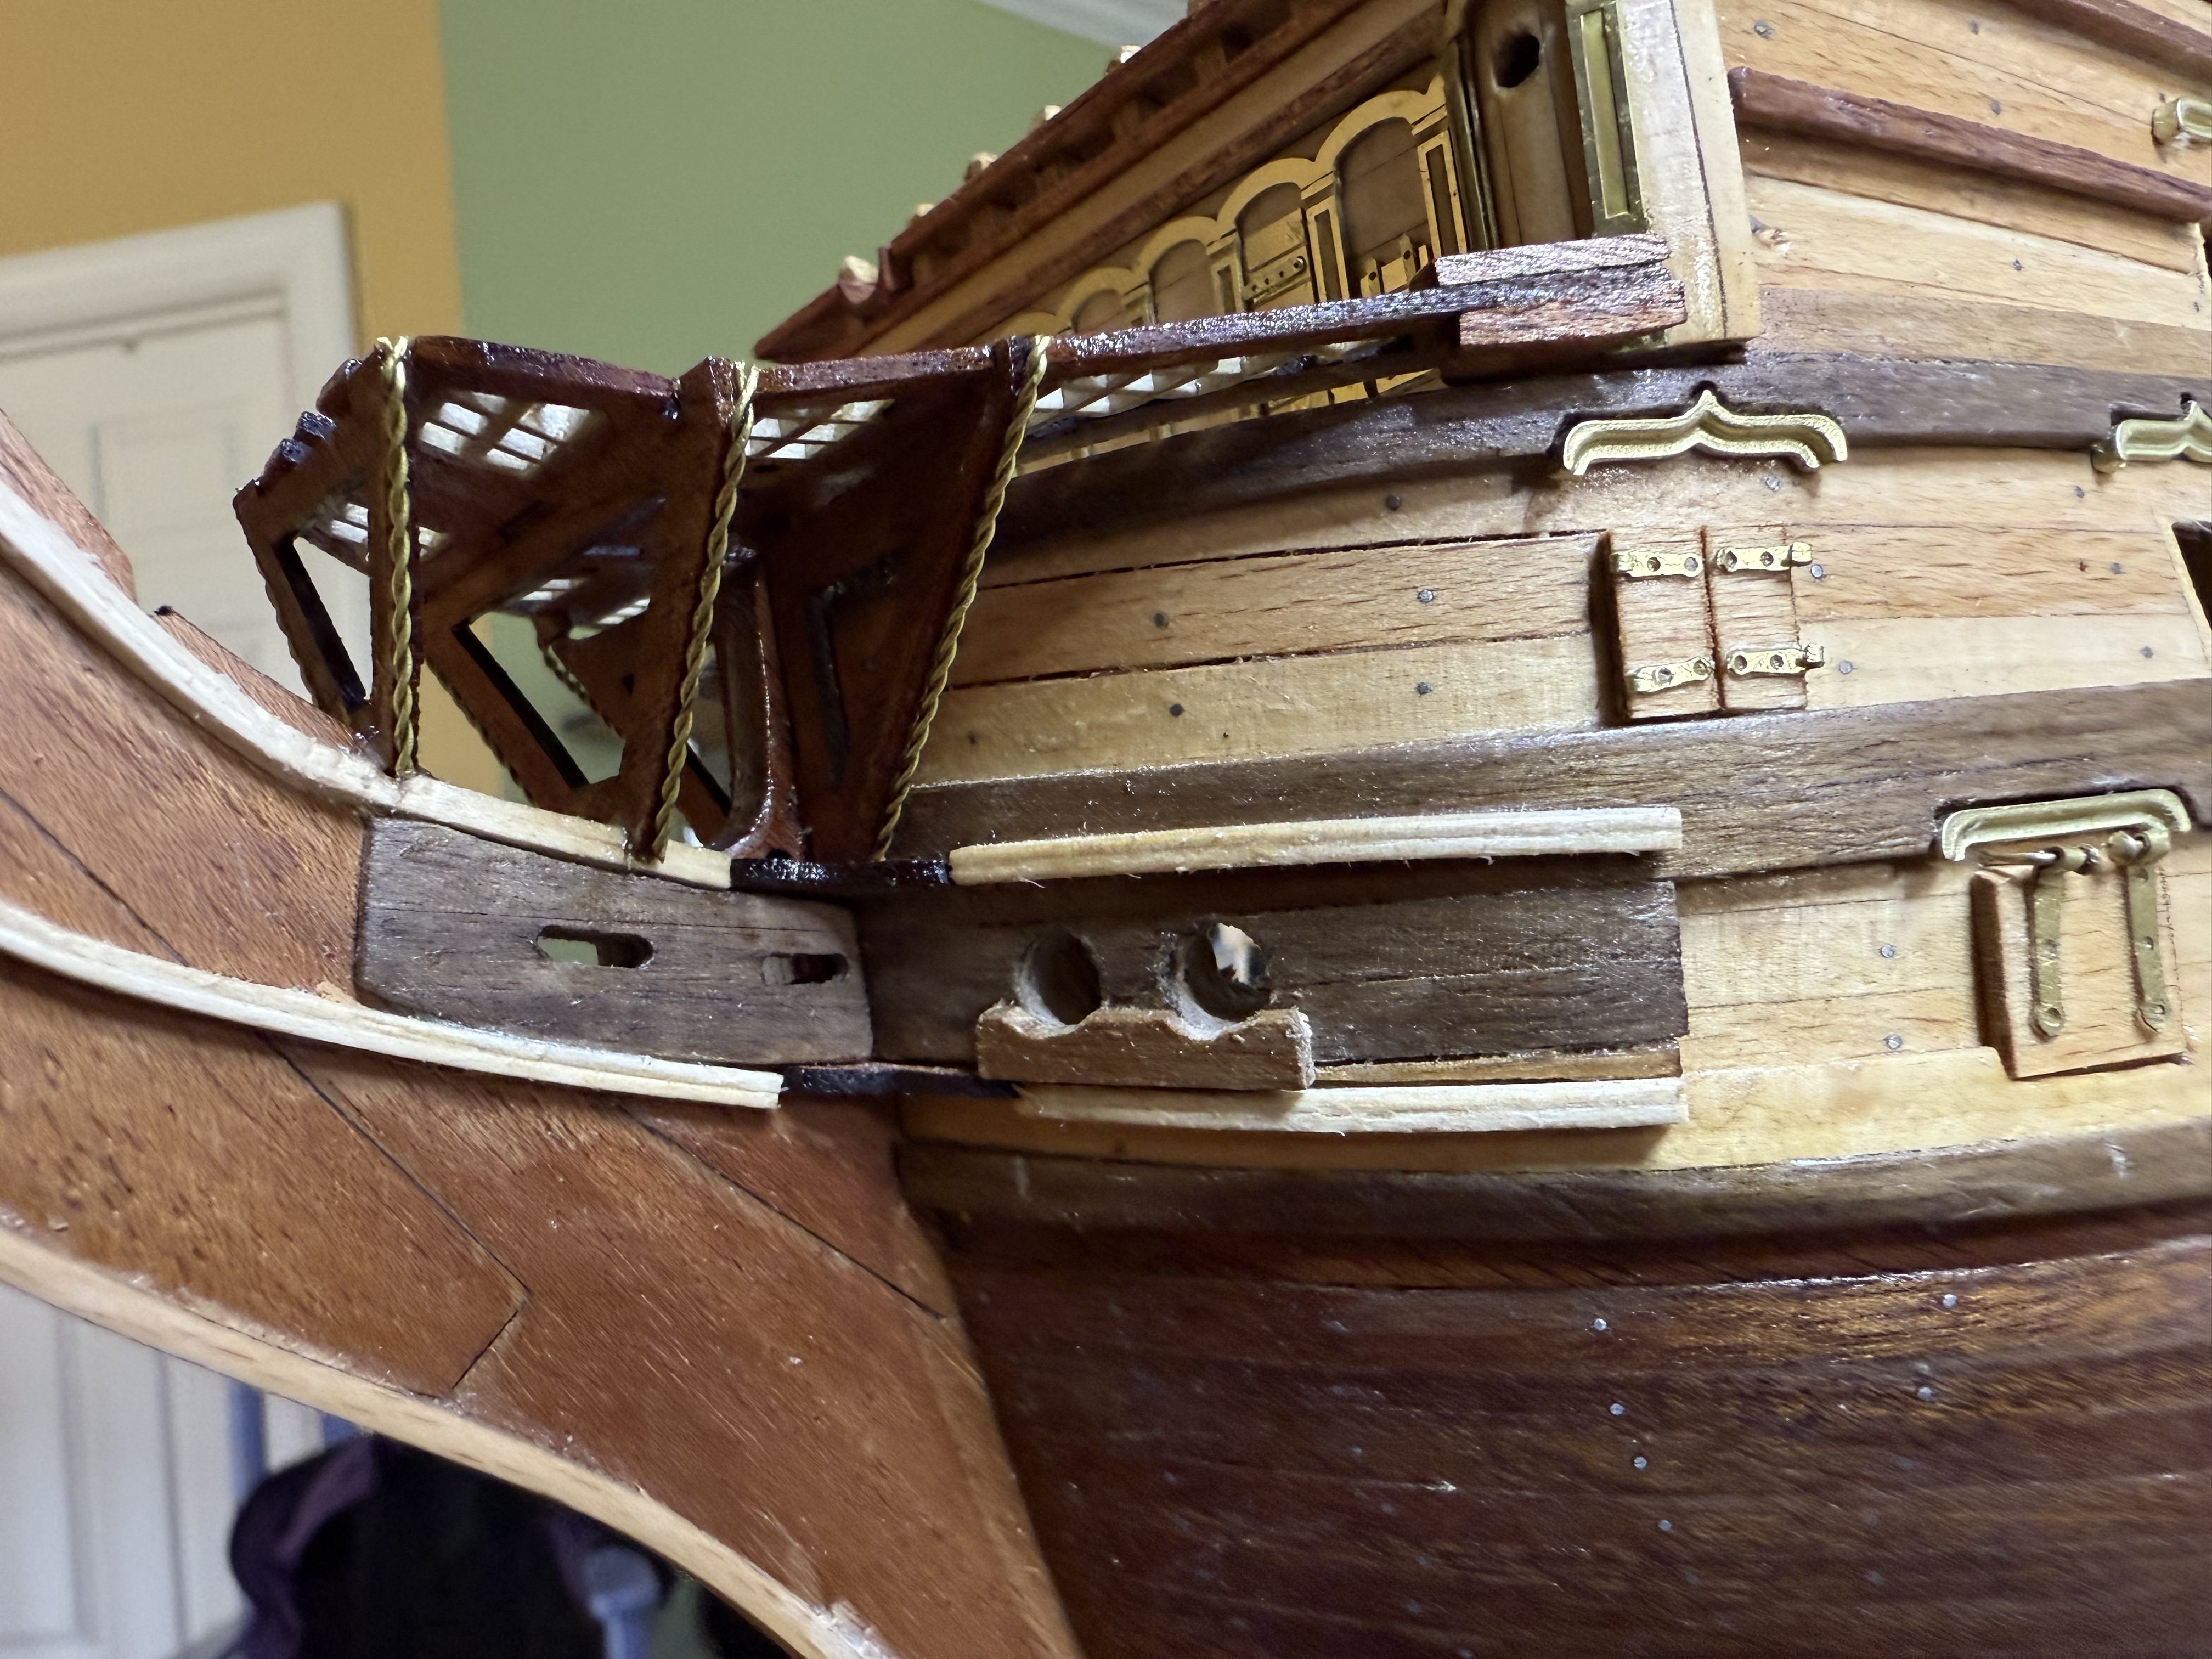
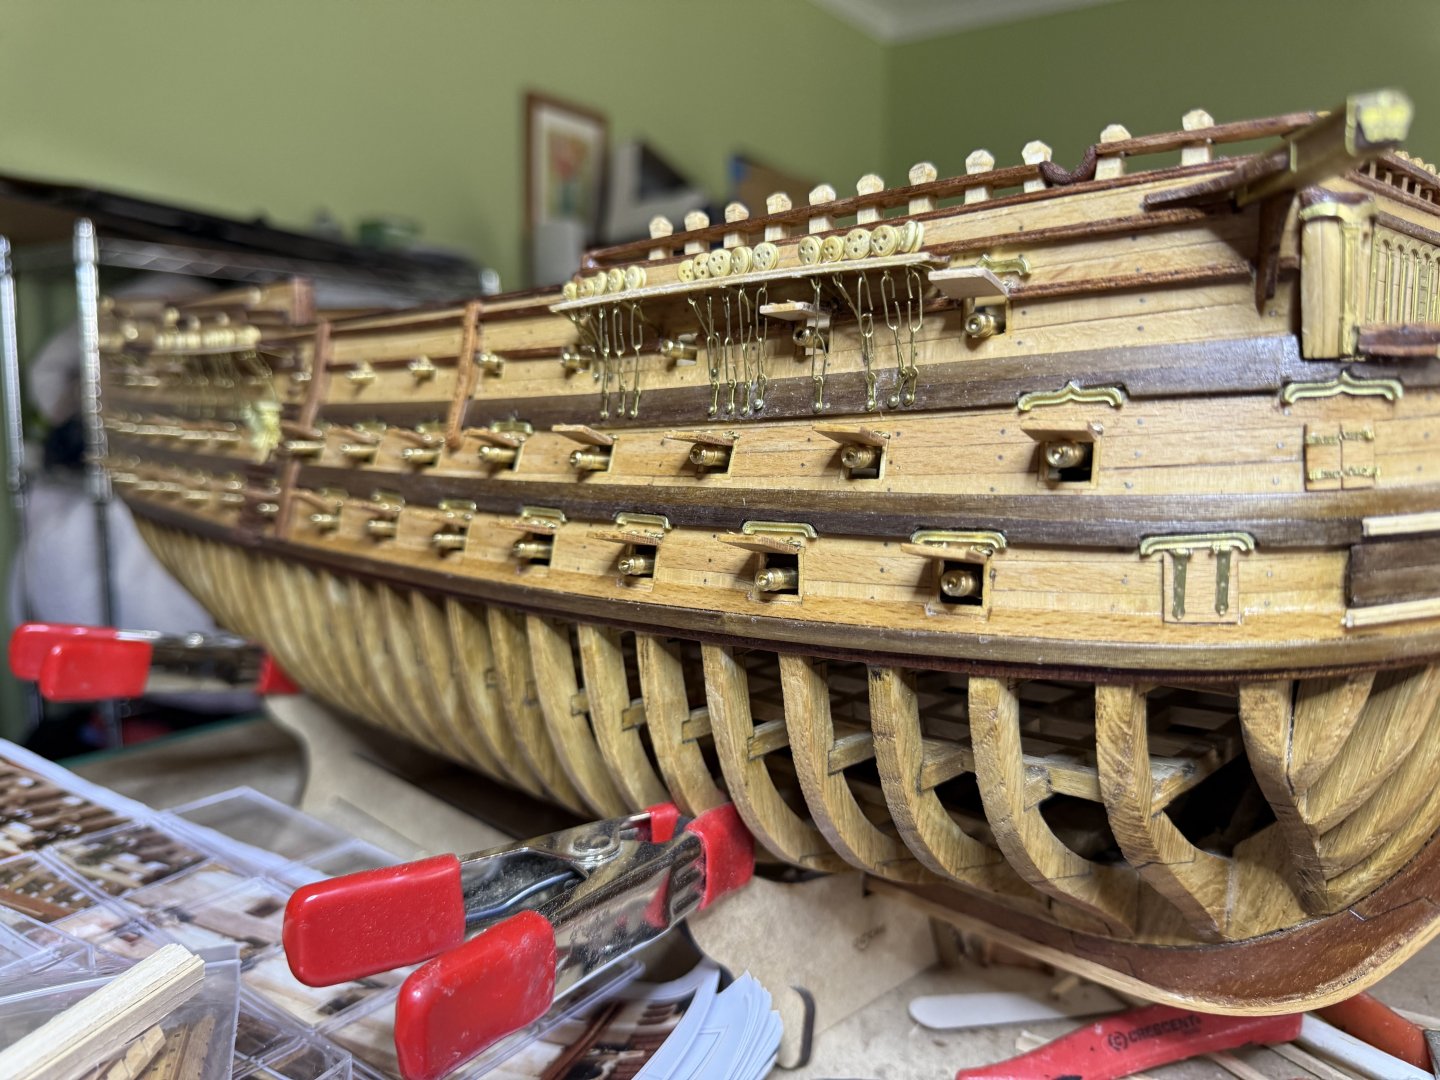
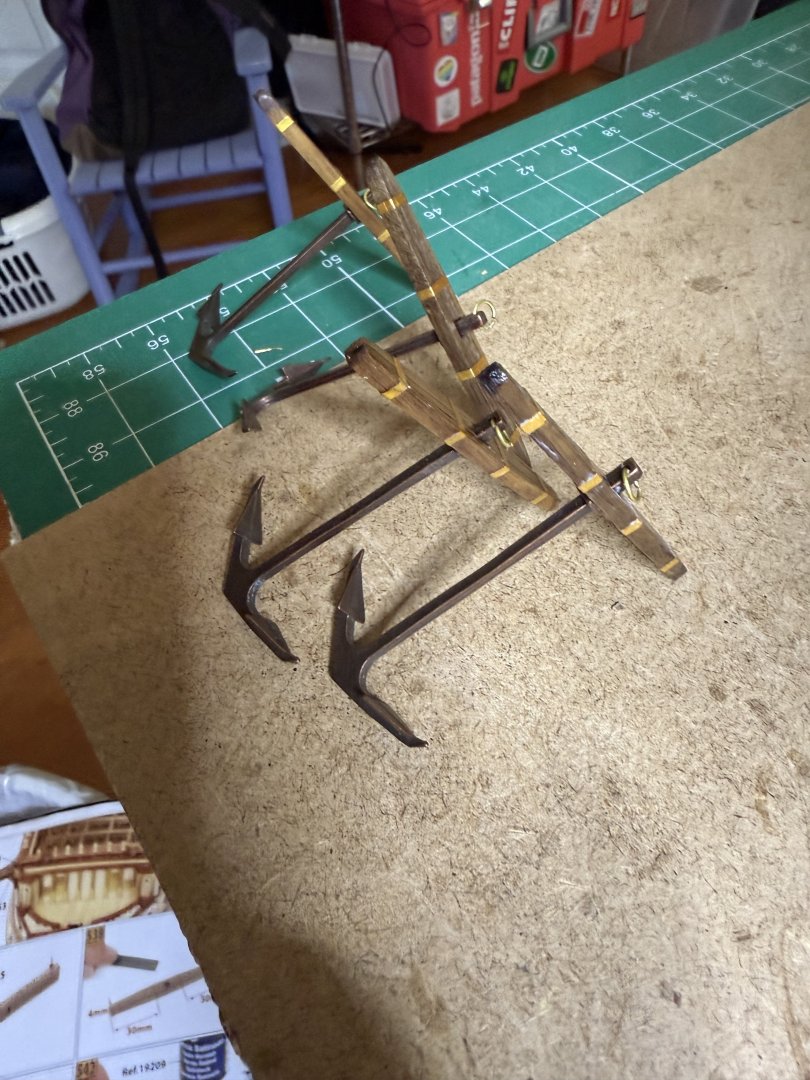
Next completes the anchors and lanterns Followed by the catheads. Next were the channels. Although not called for, I drilled holes into the channels for pins Followed b y hole in the hull to glue and secure the channels a bit better. Things look pretty even. The instructions are a bit lean on placement relying on a lot of careful observations of the pictures.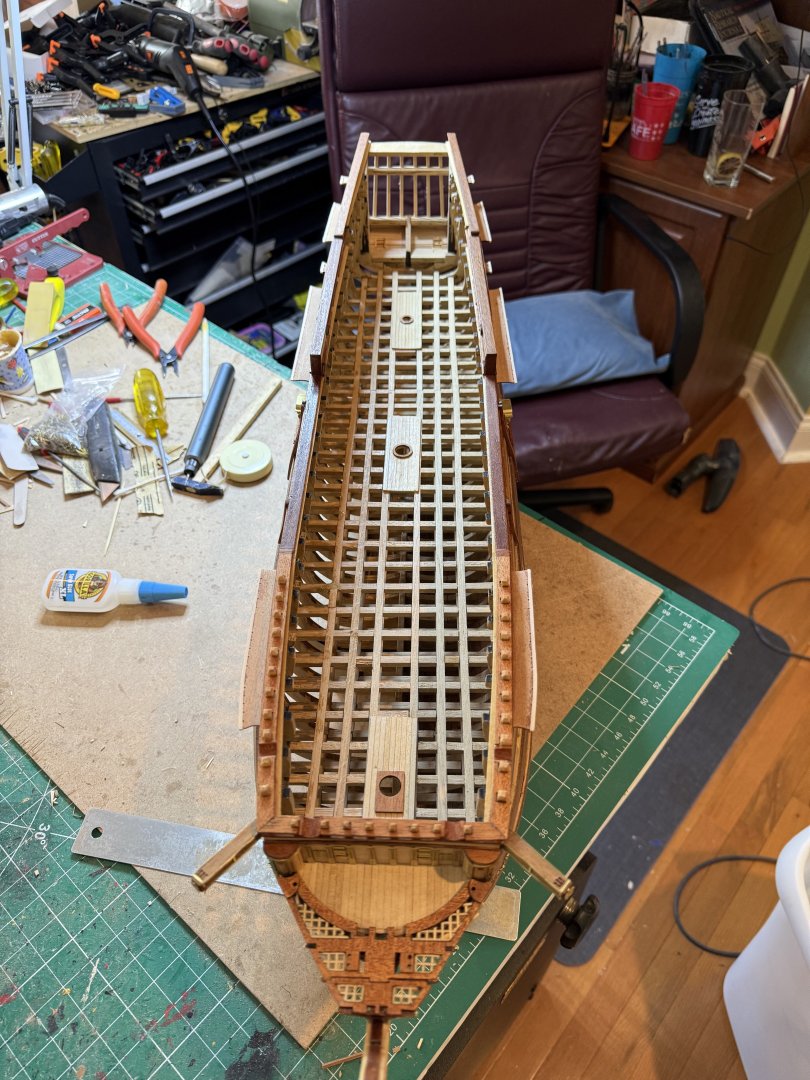


-
Keeping you and your wife in our prayers
-
HMS Victory by ECK - OcCre - 1/87
ECK replied to ECK's topic in - Kit build logs for subjects built from 1751 - 1800
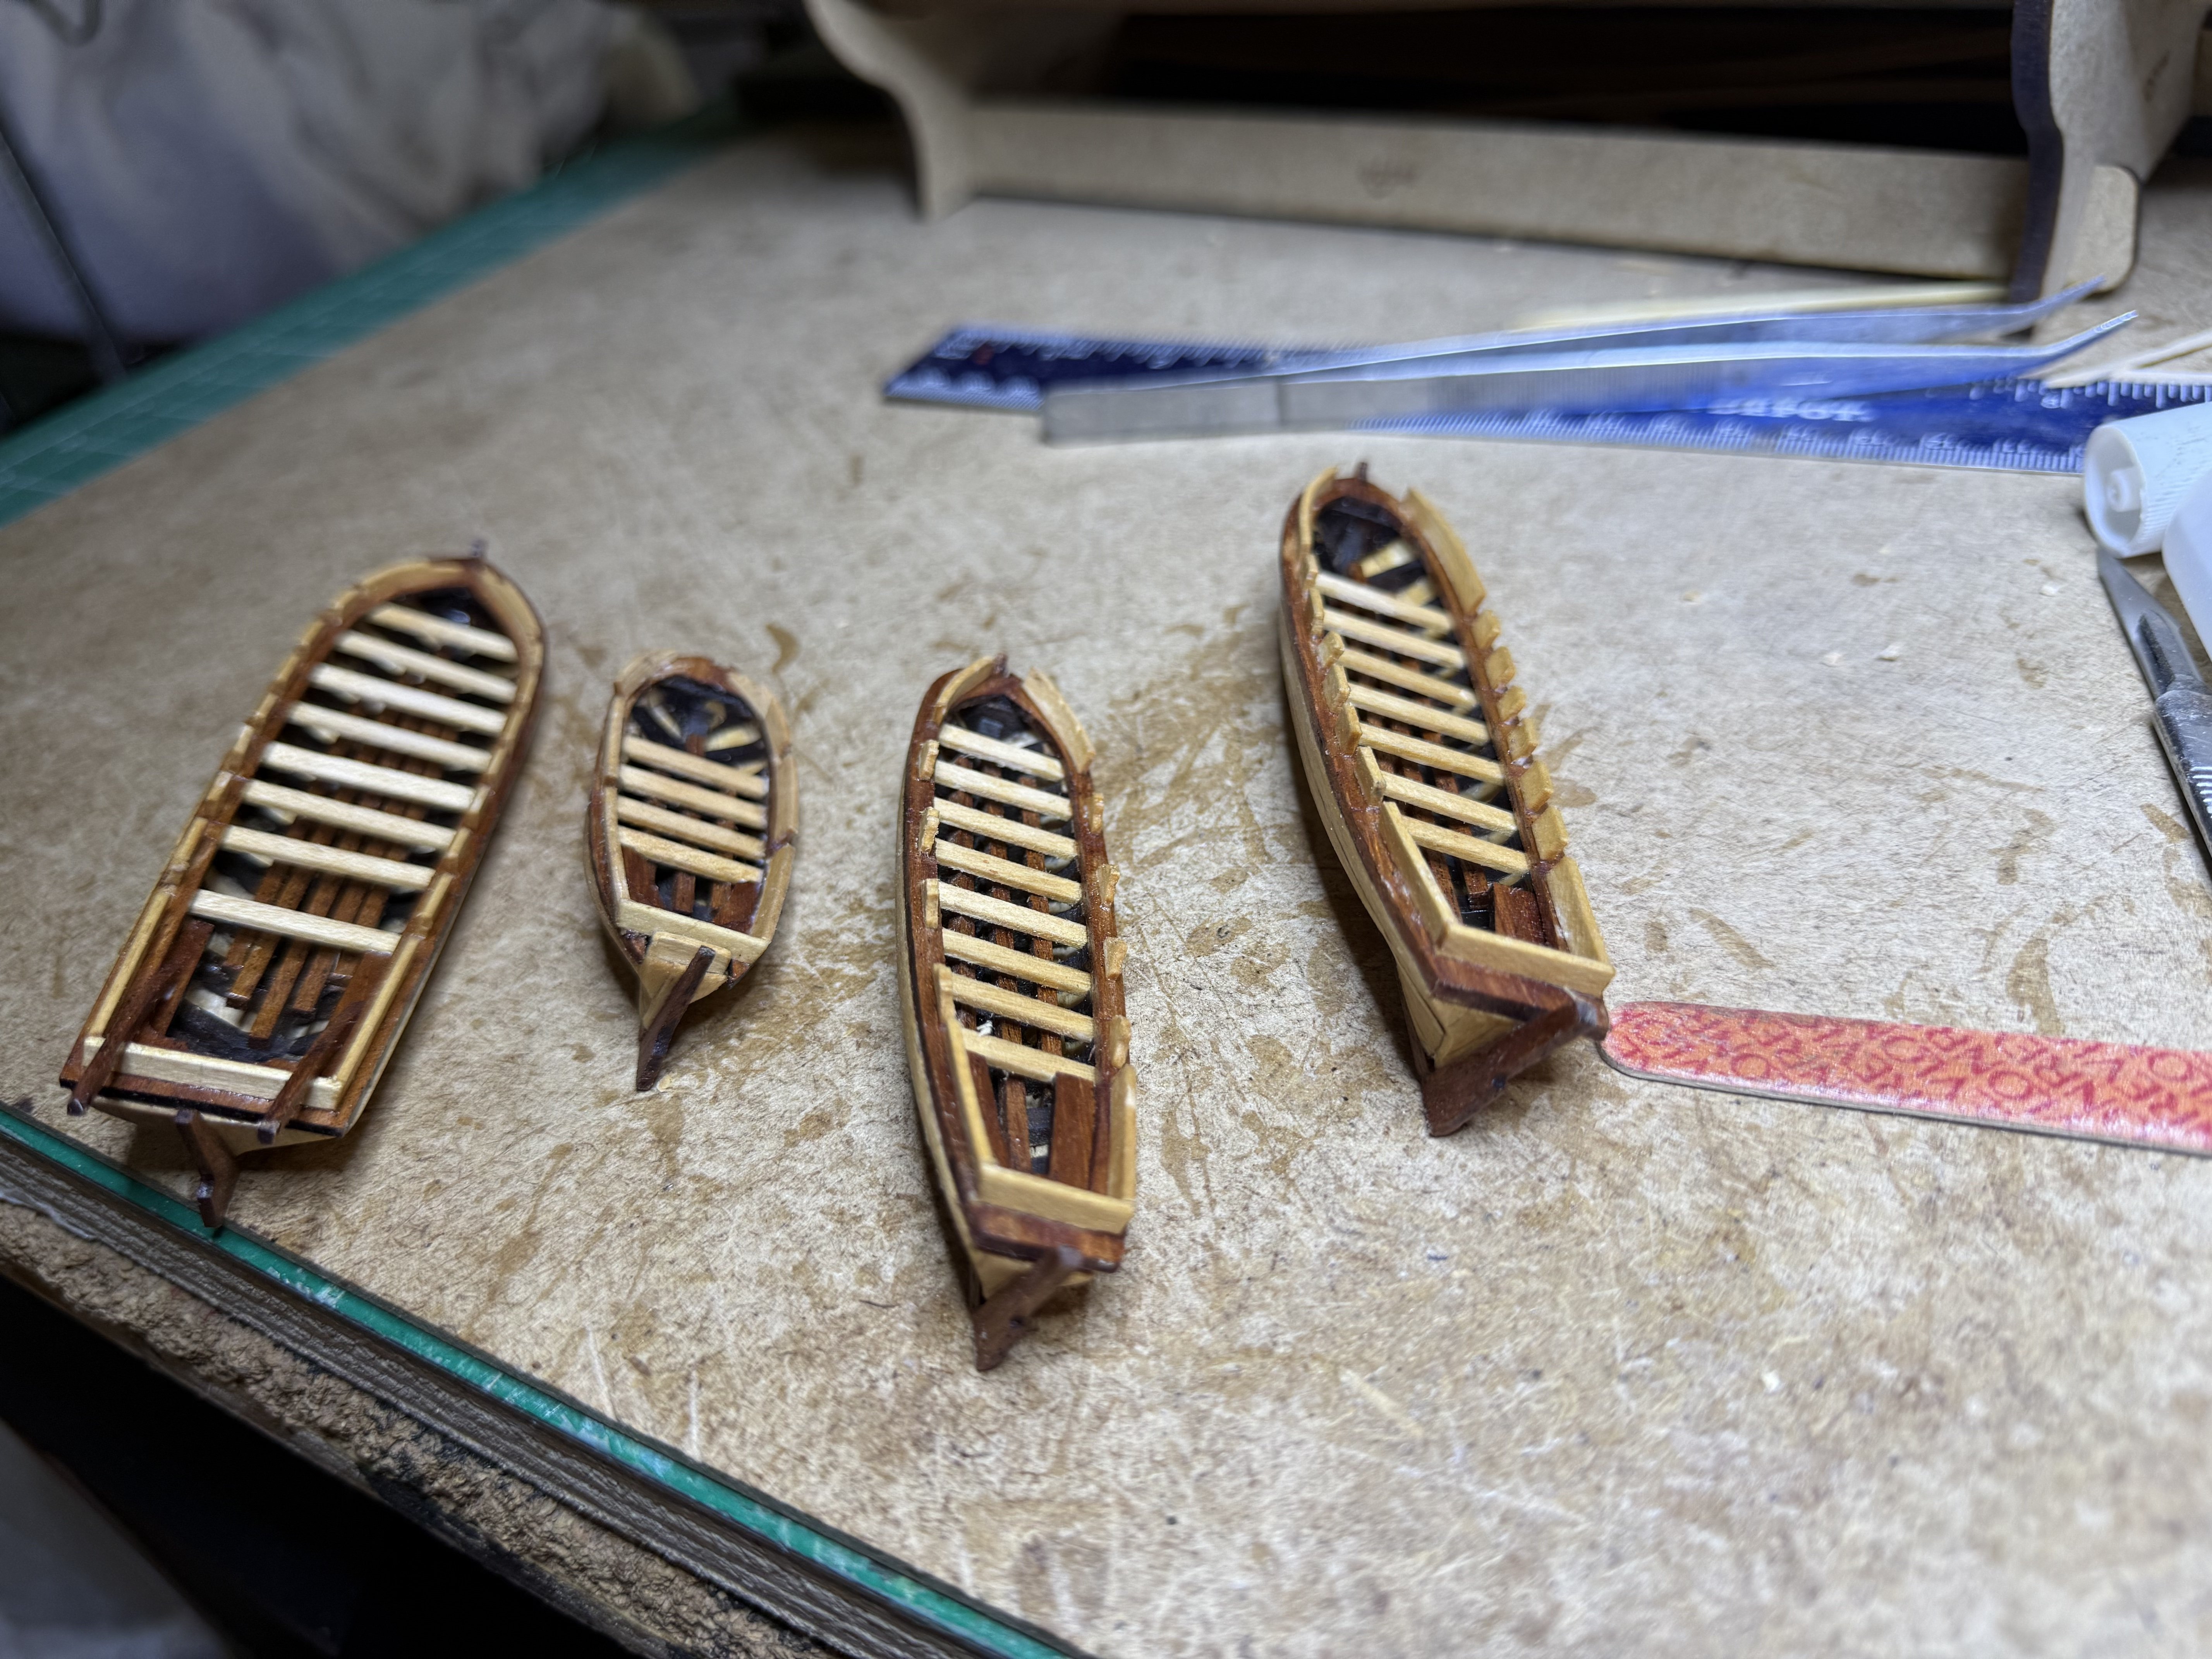
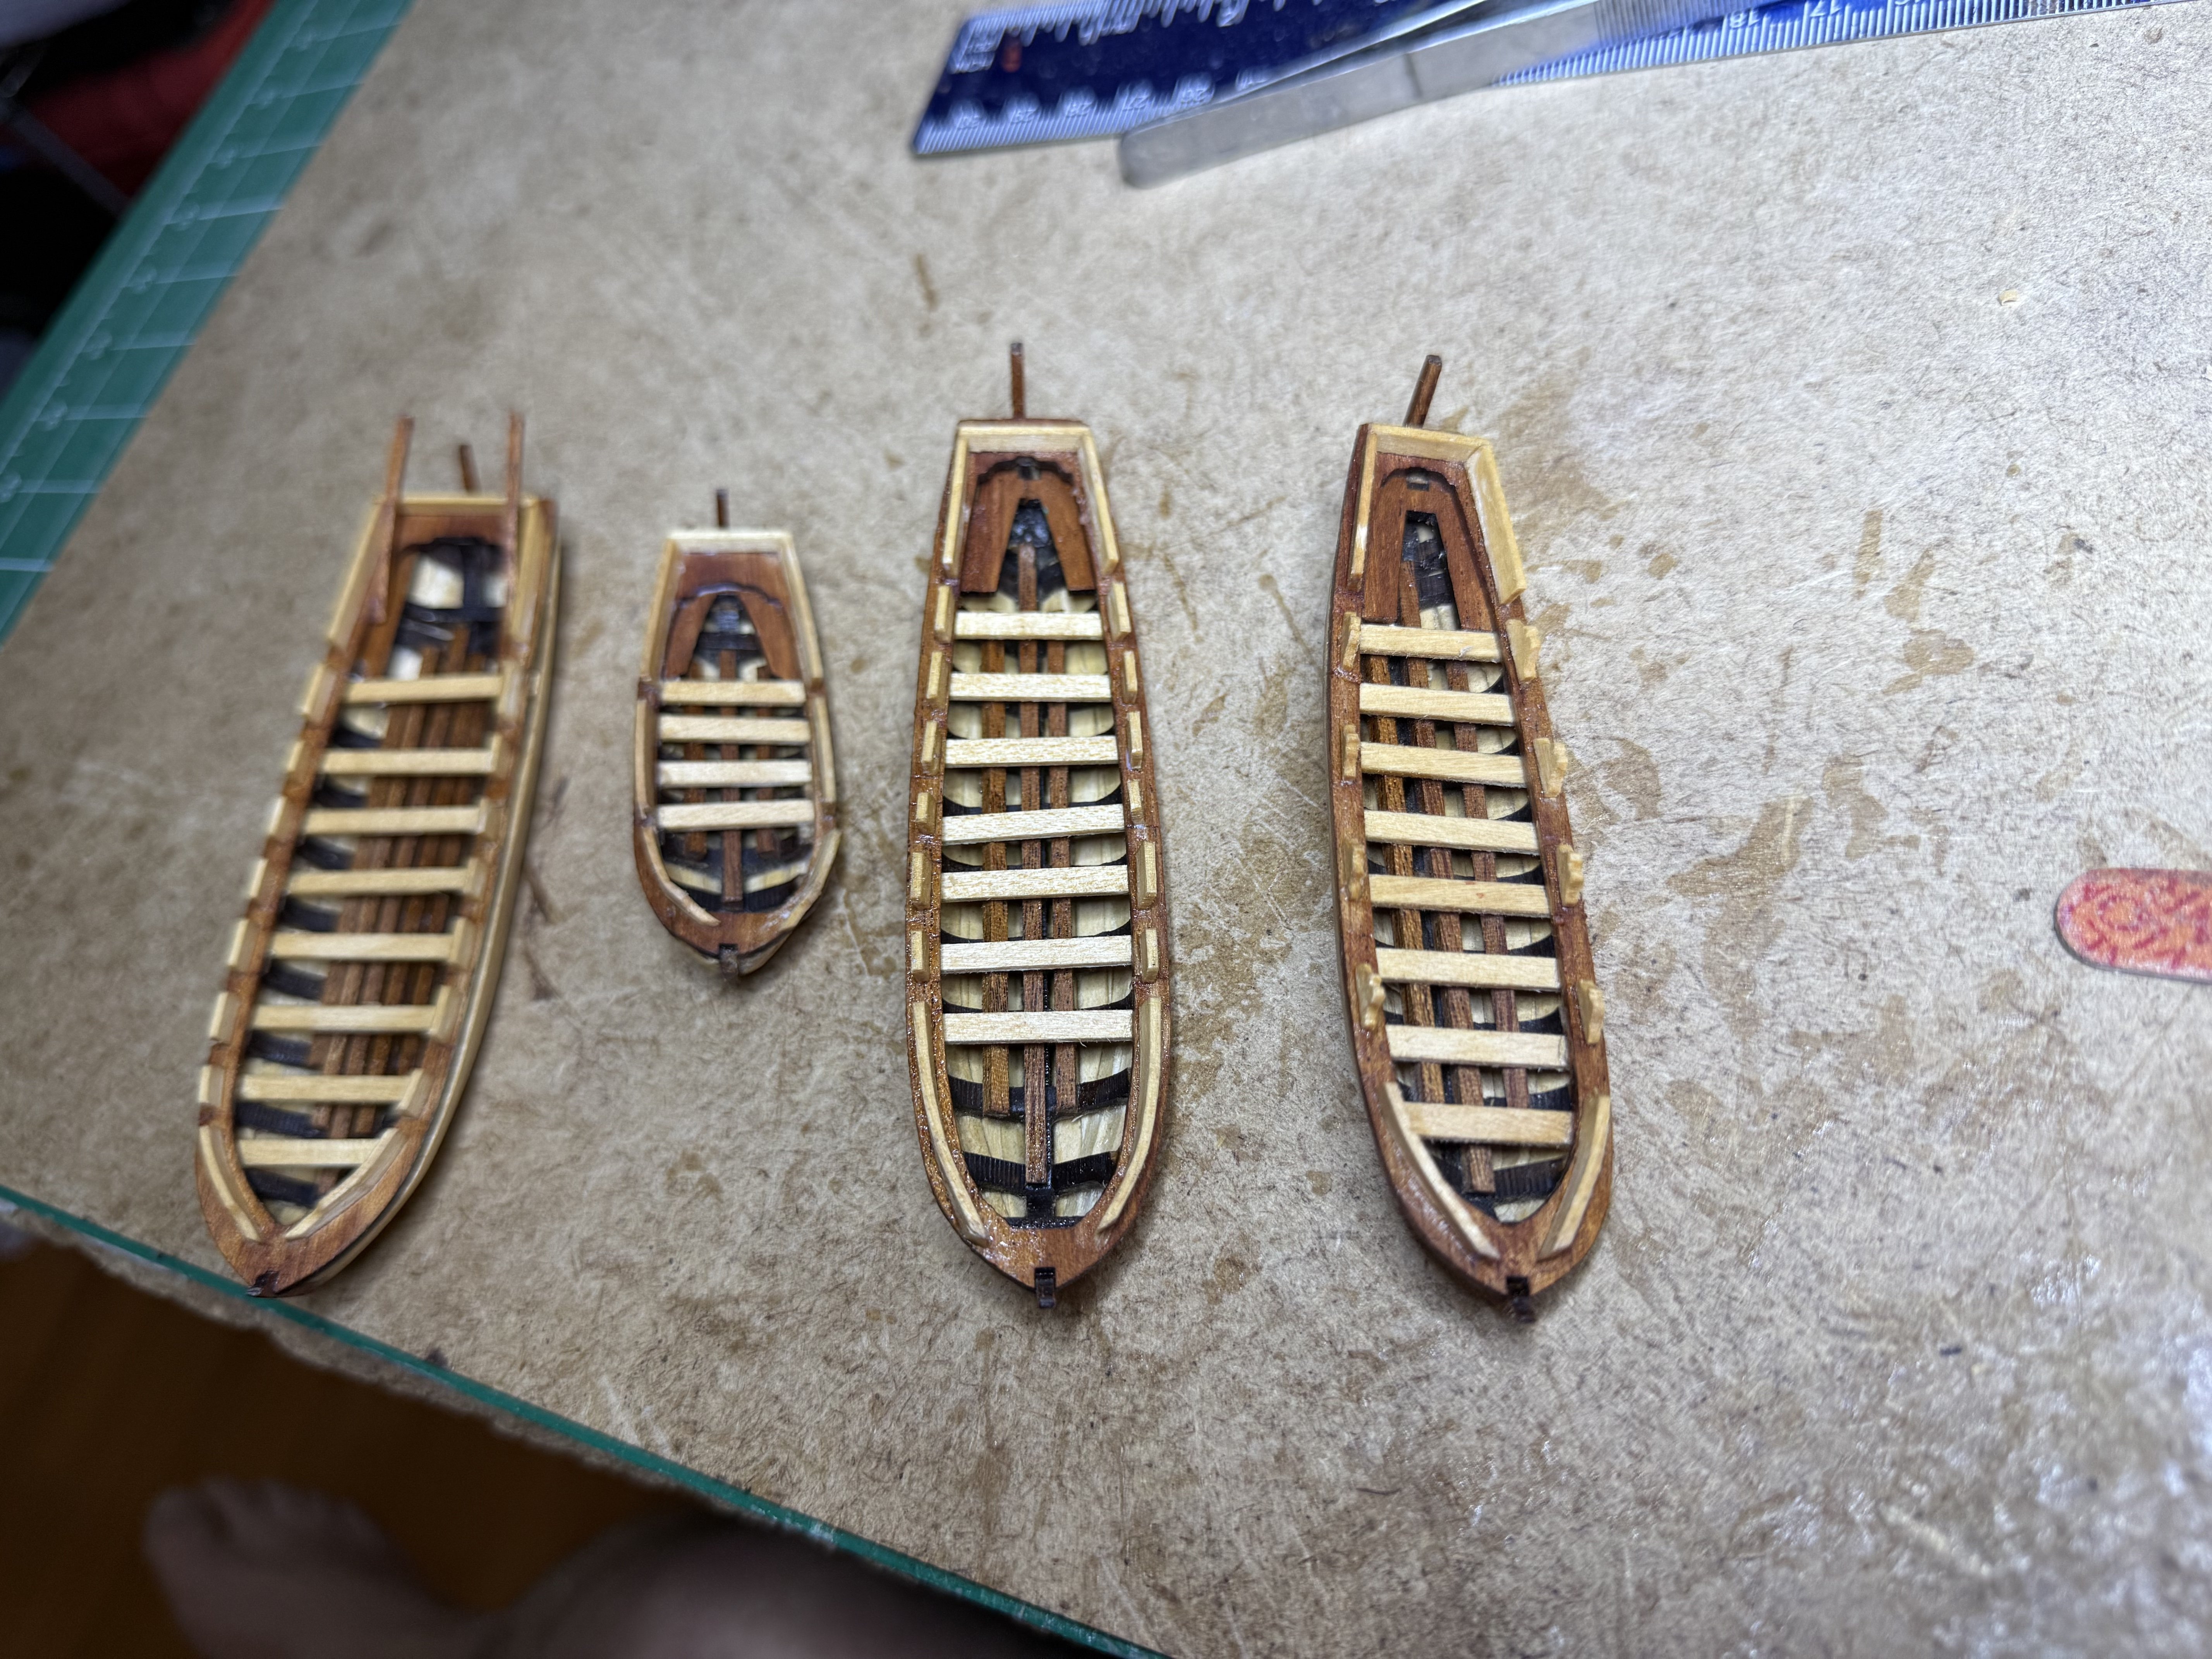
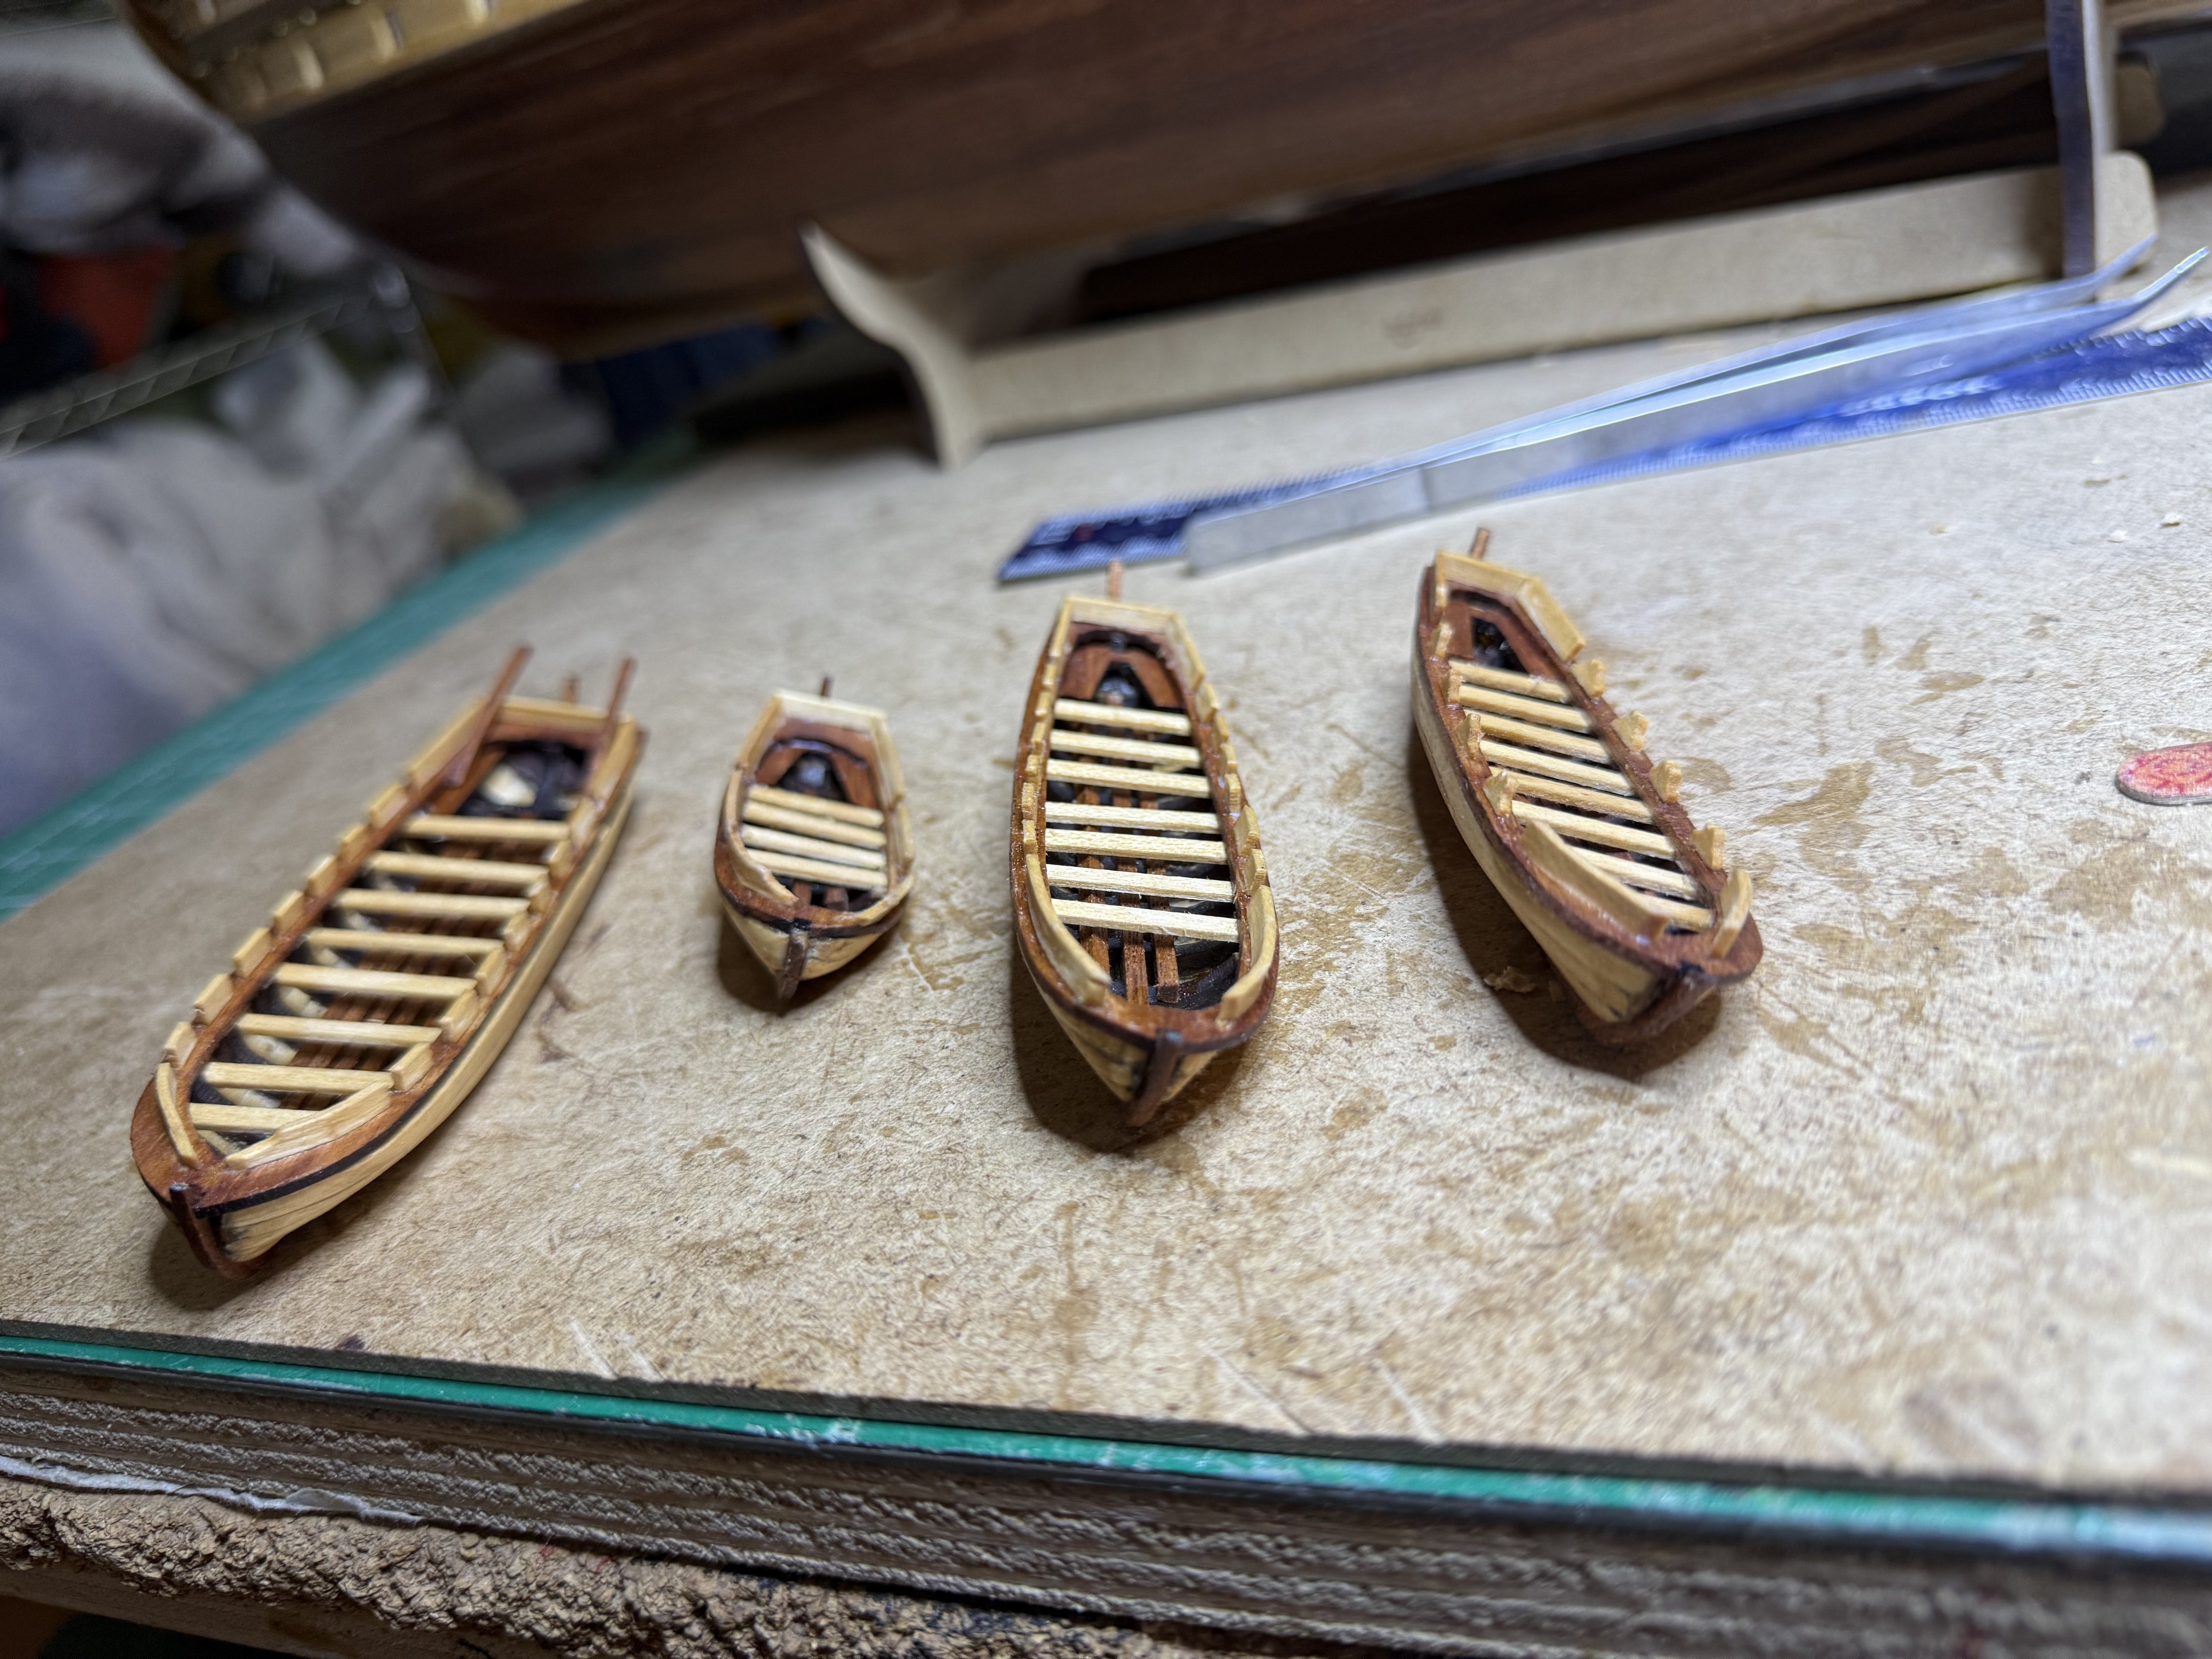
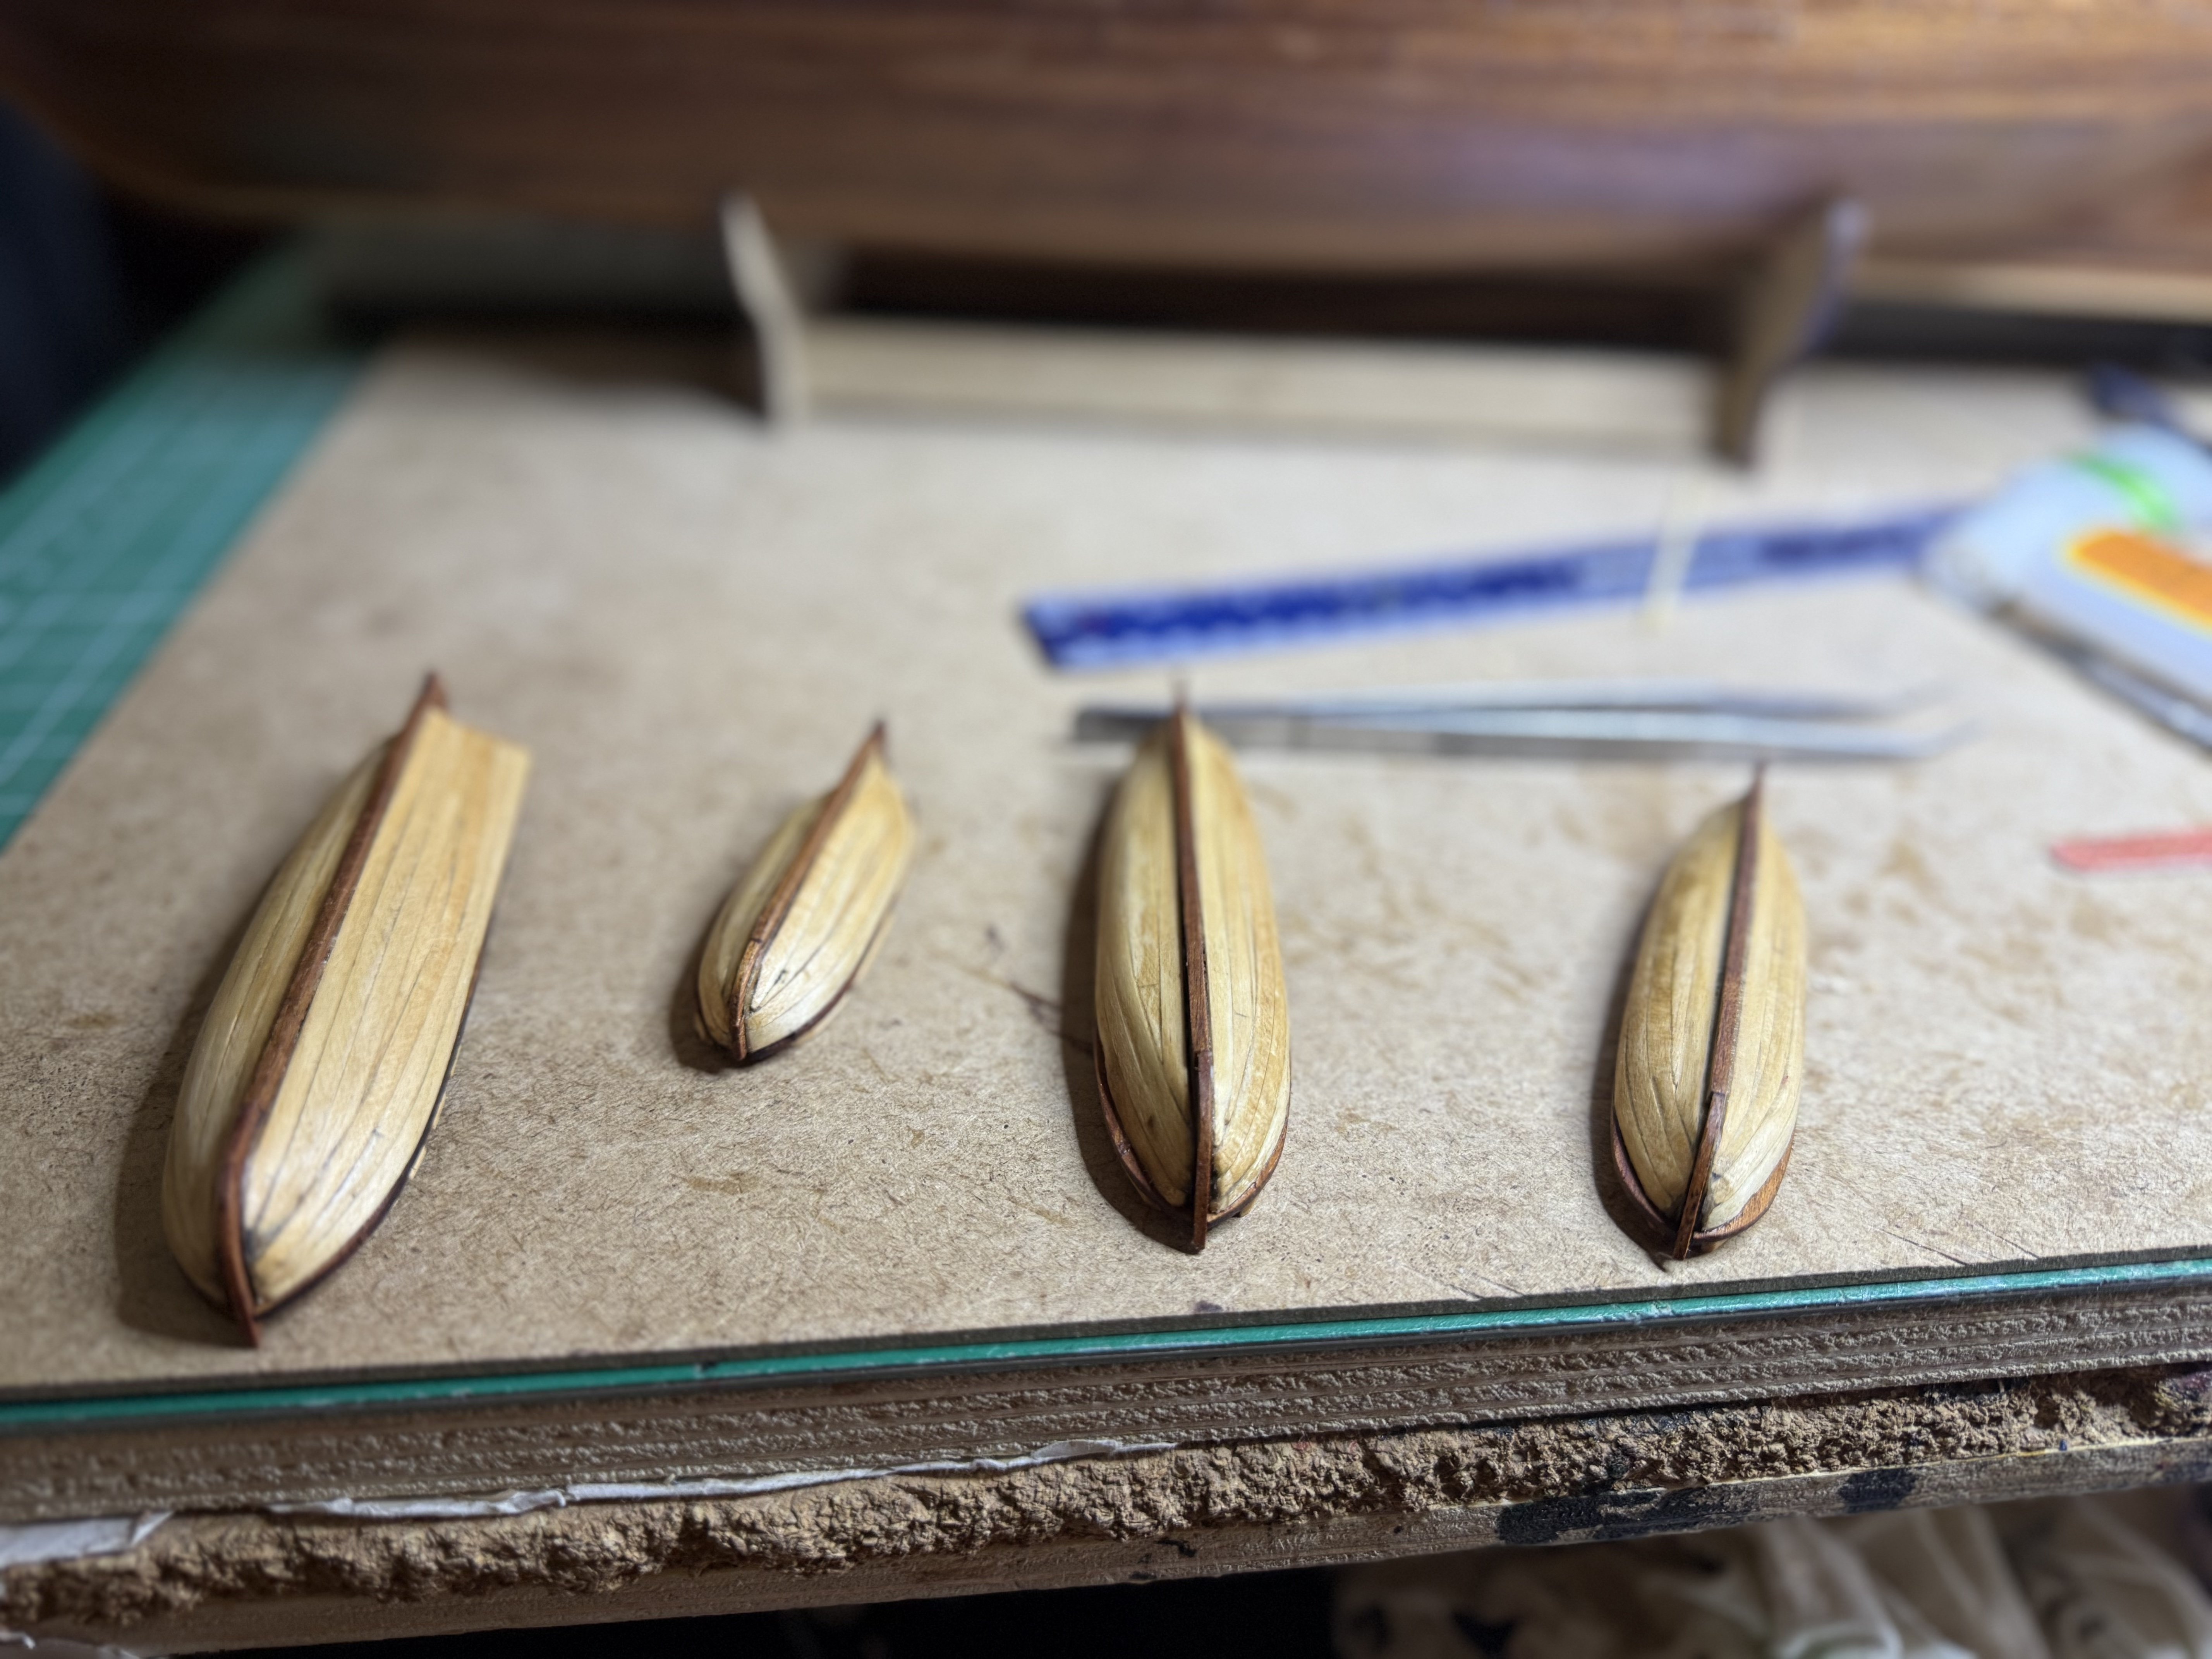
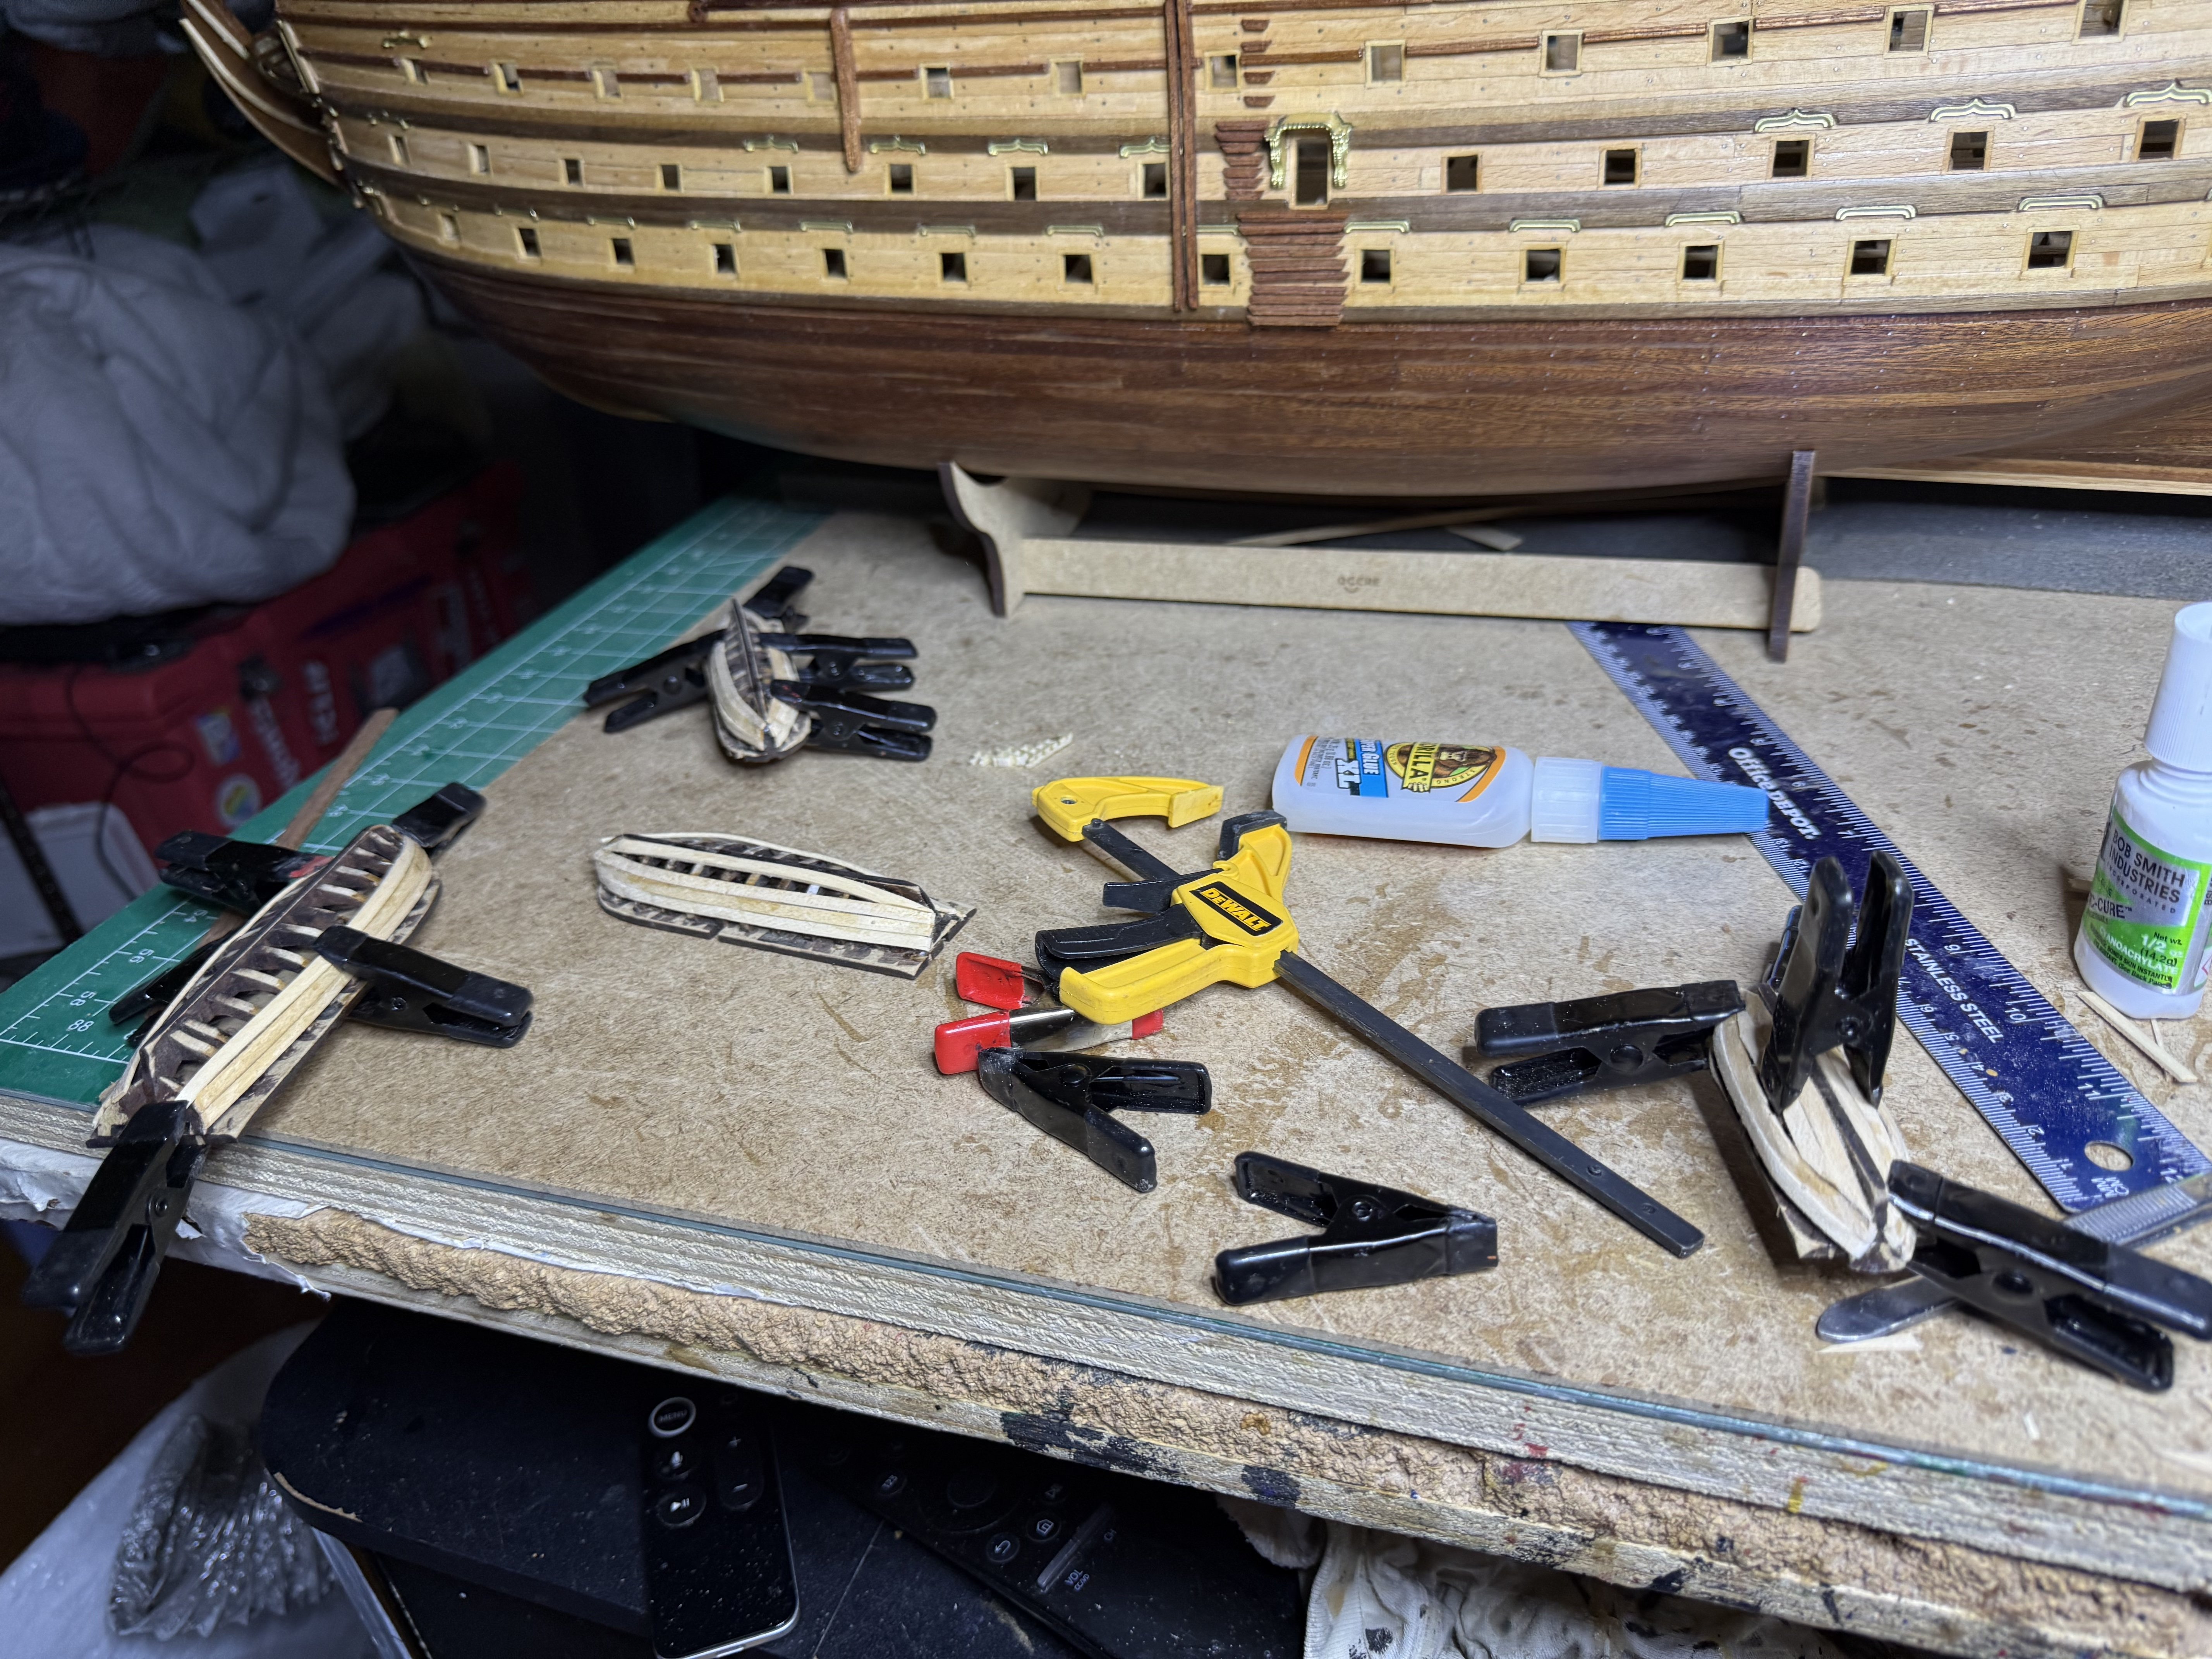
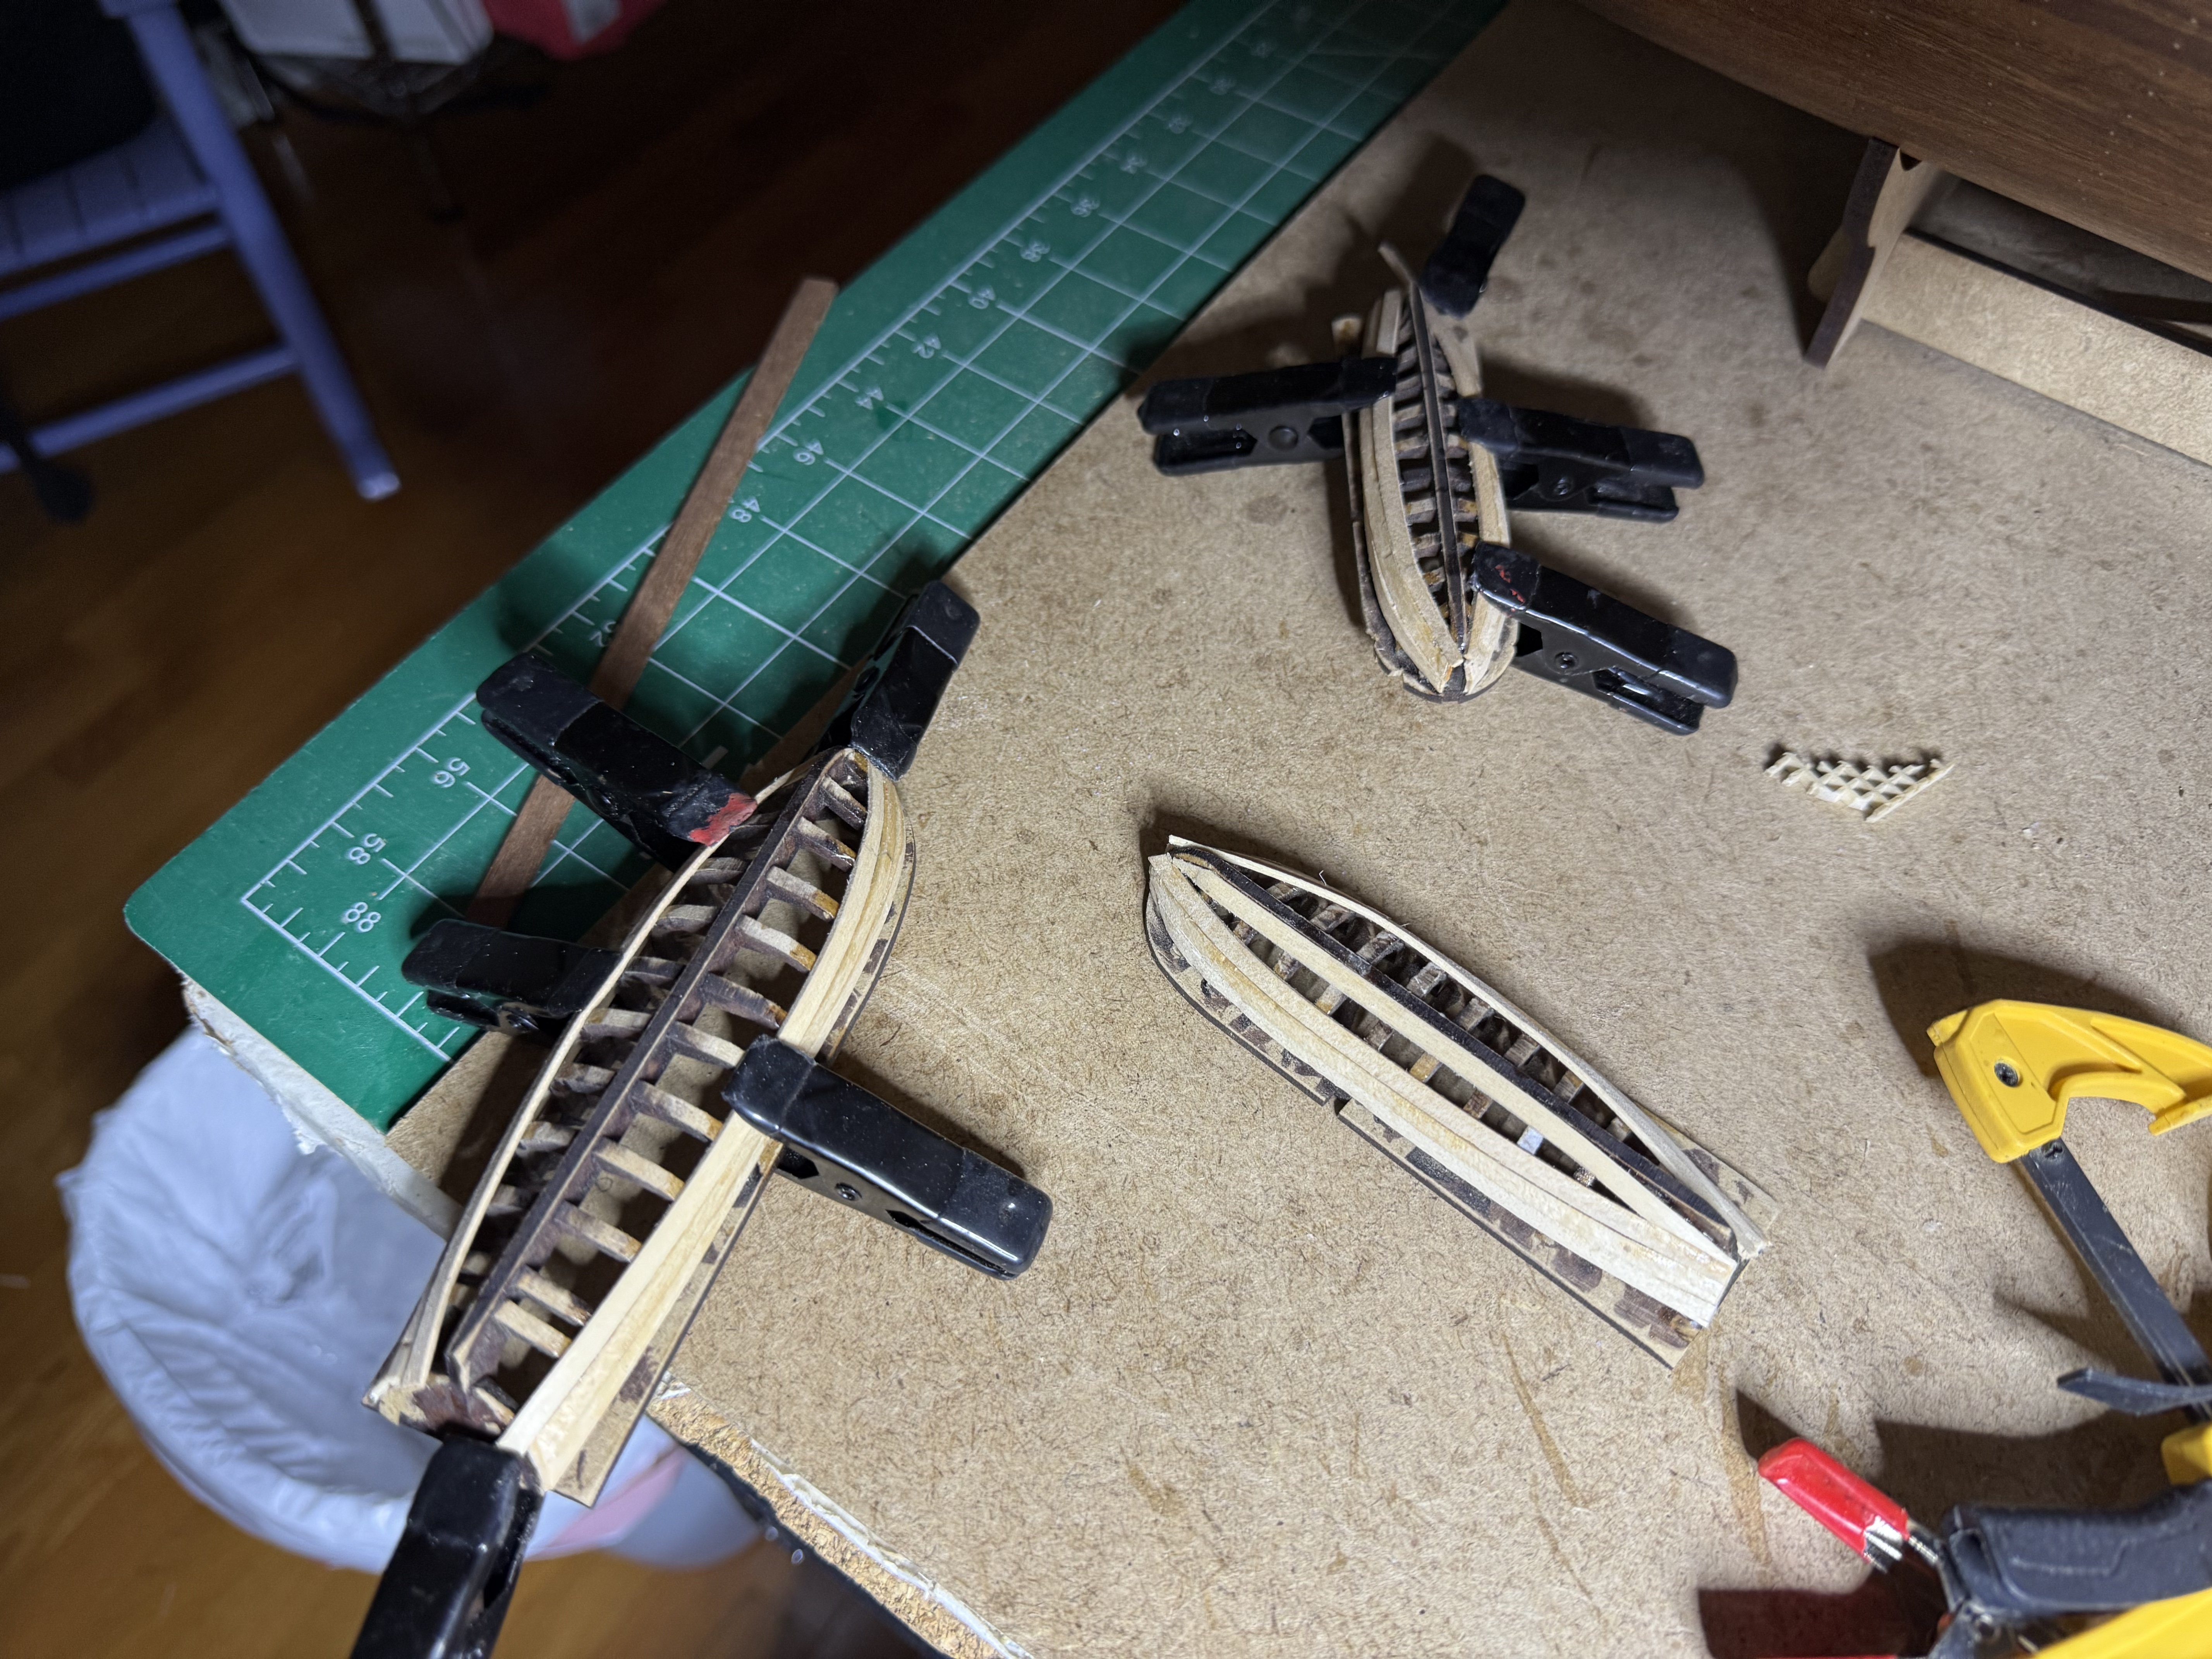
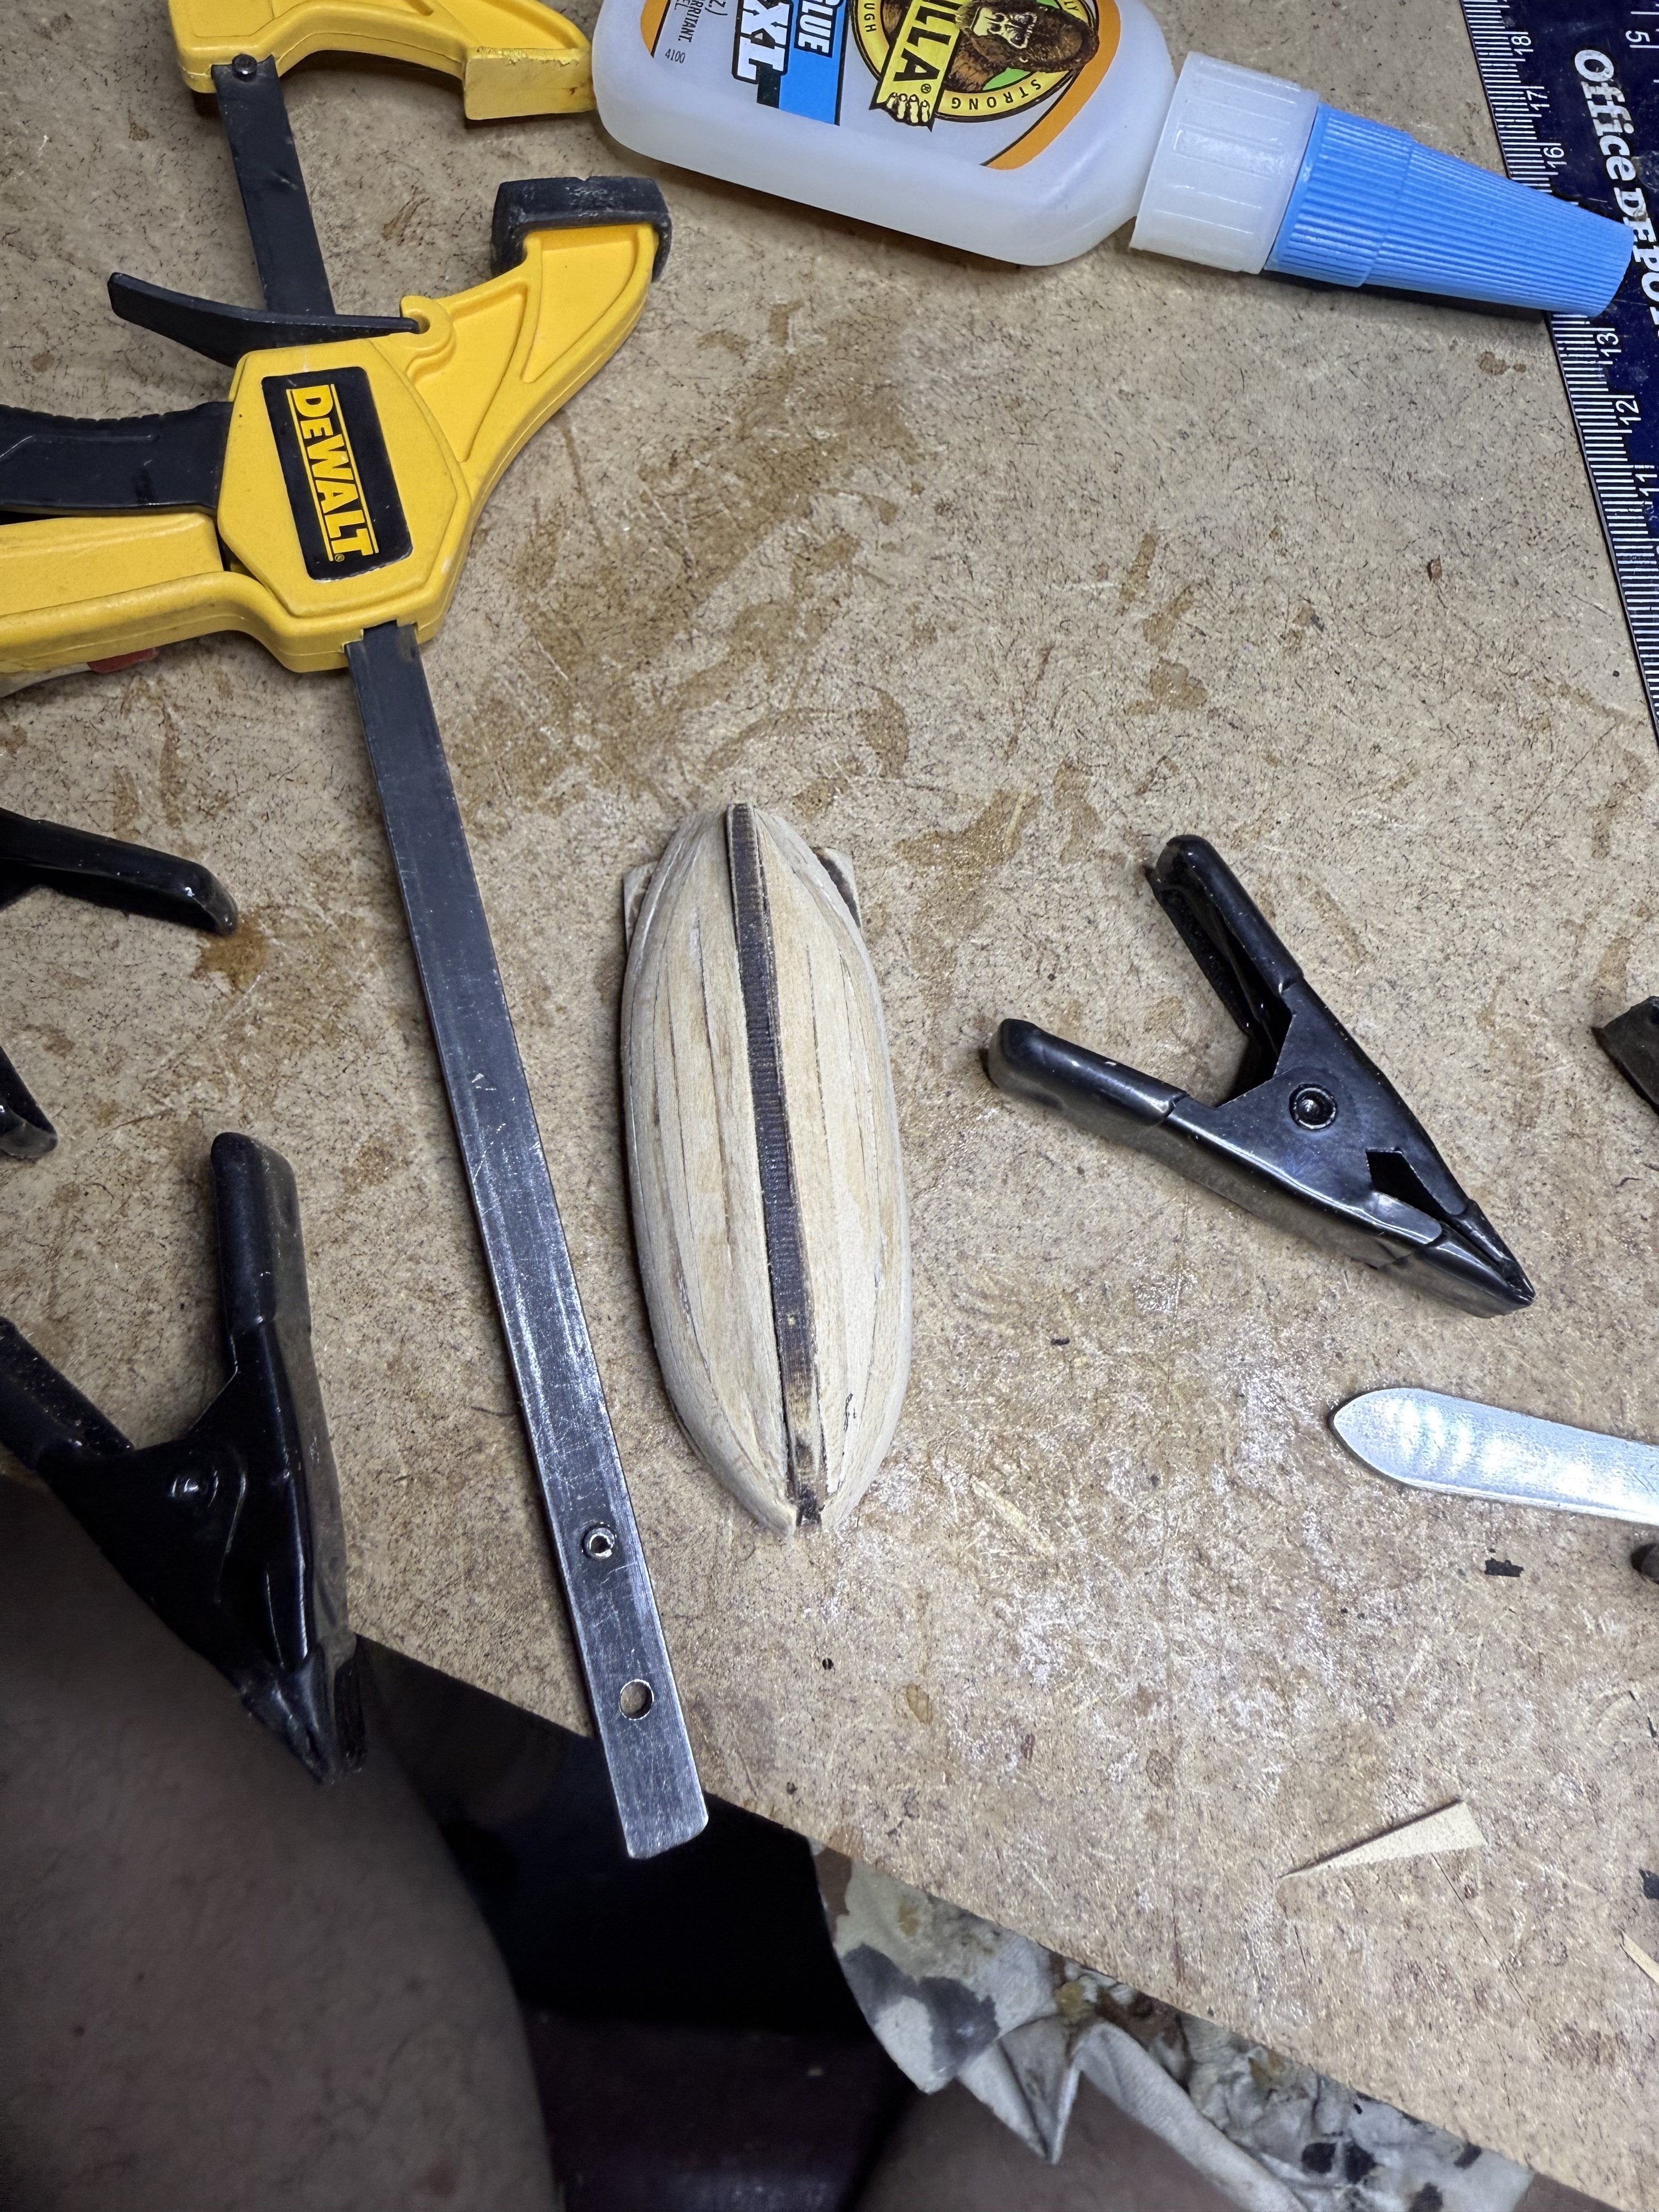
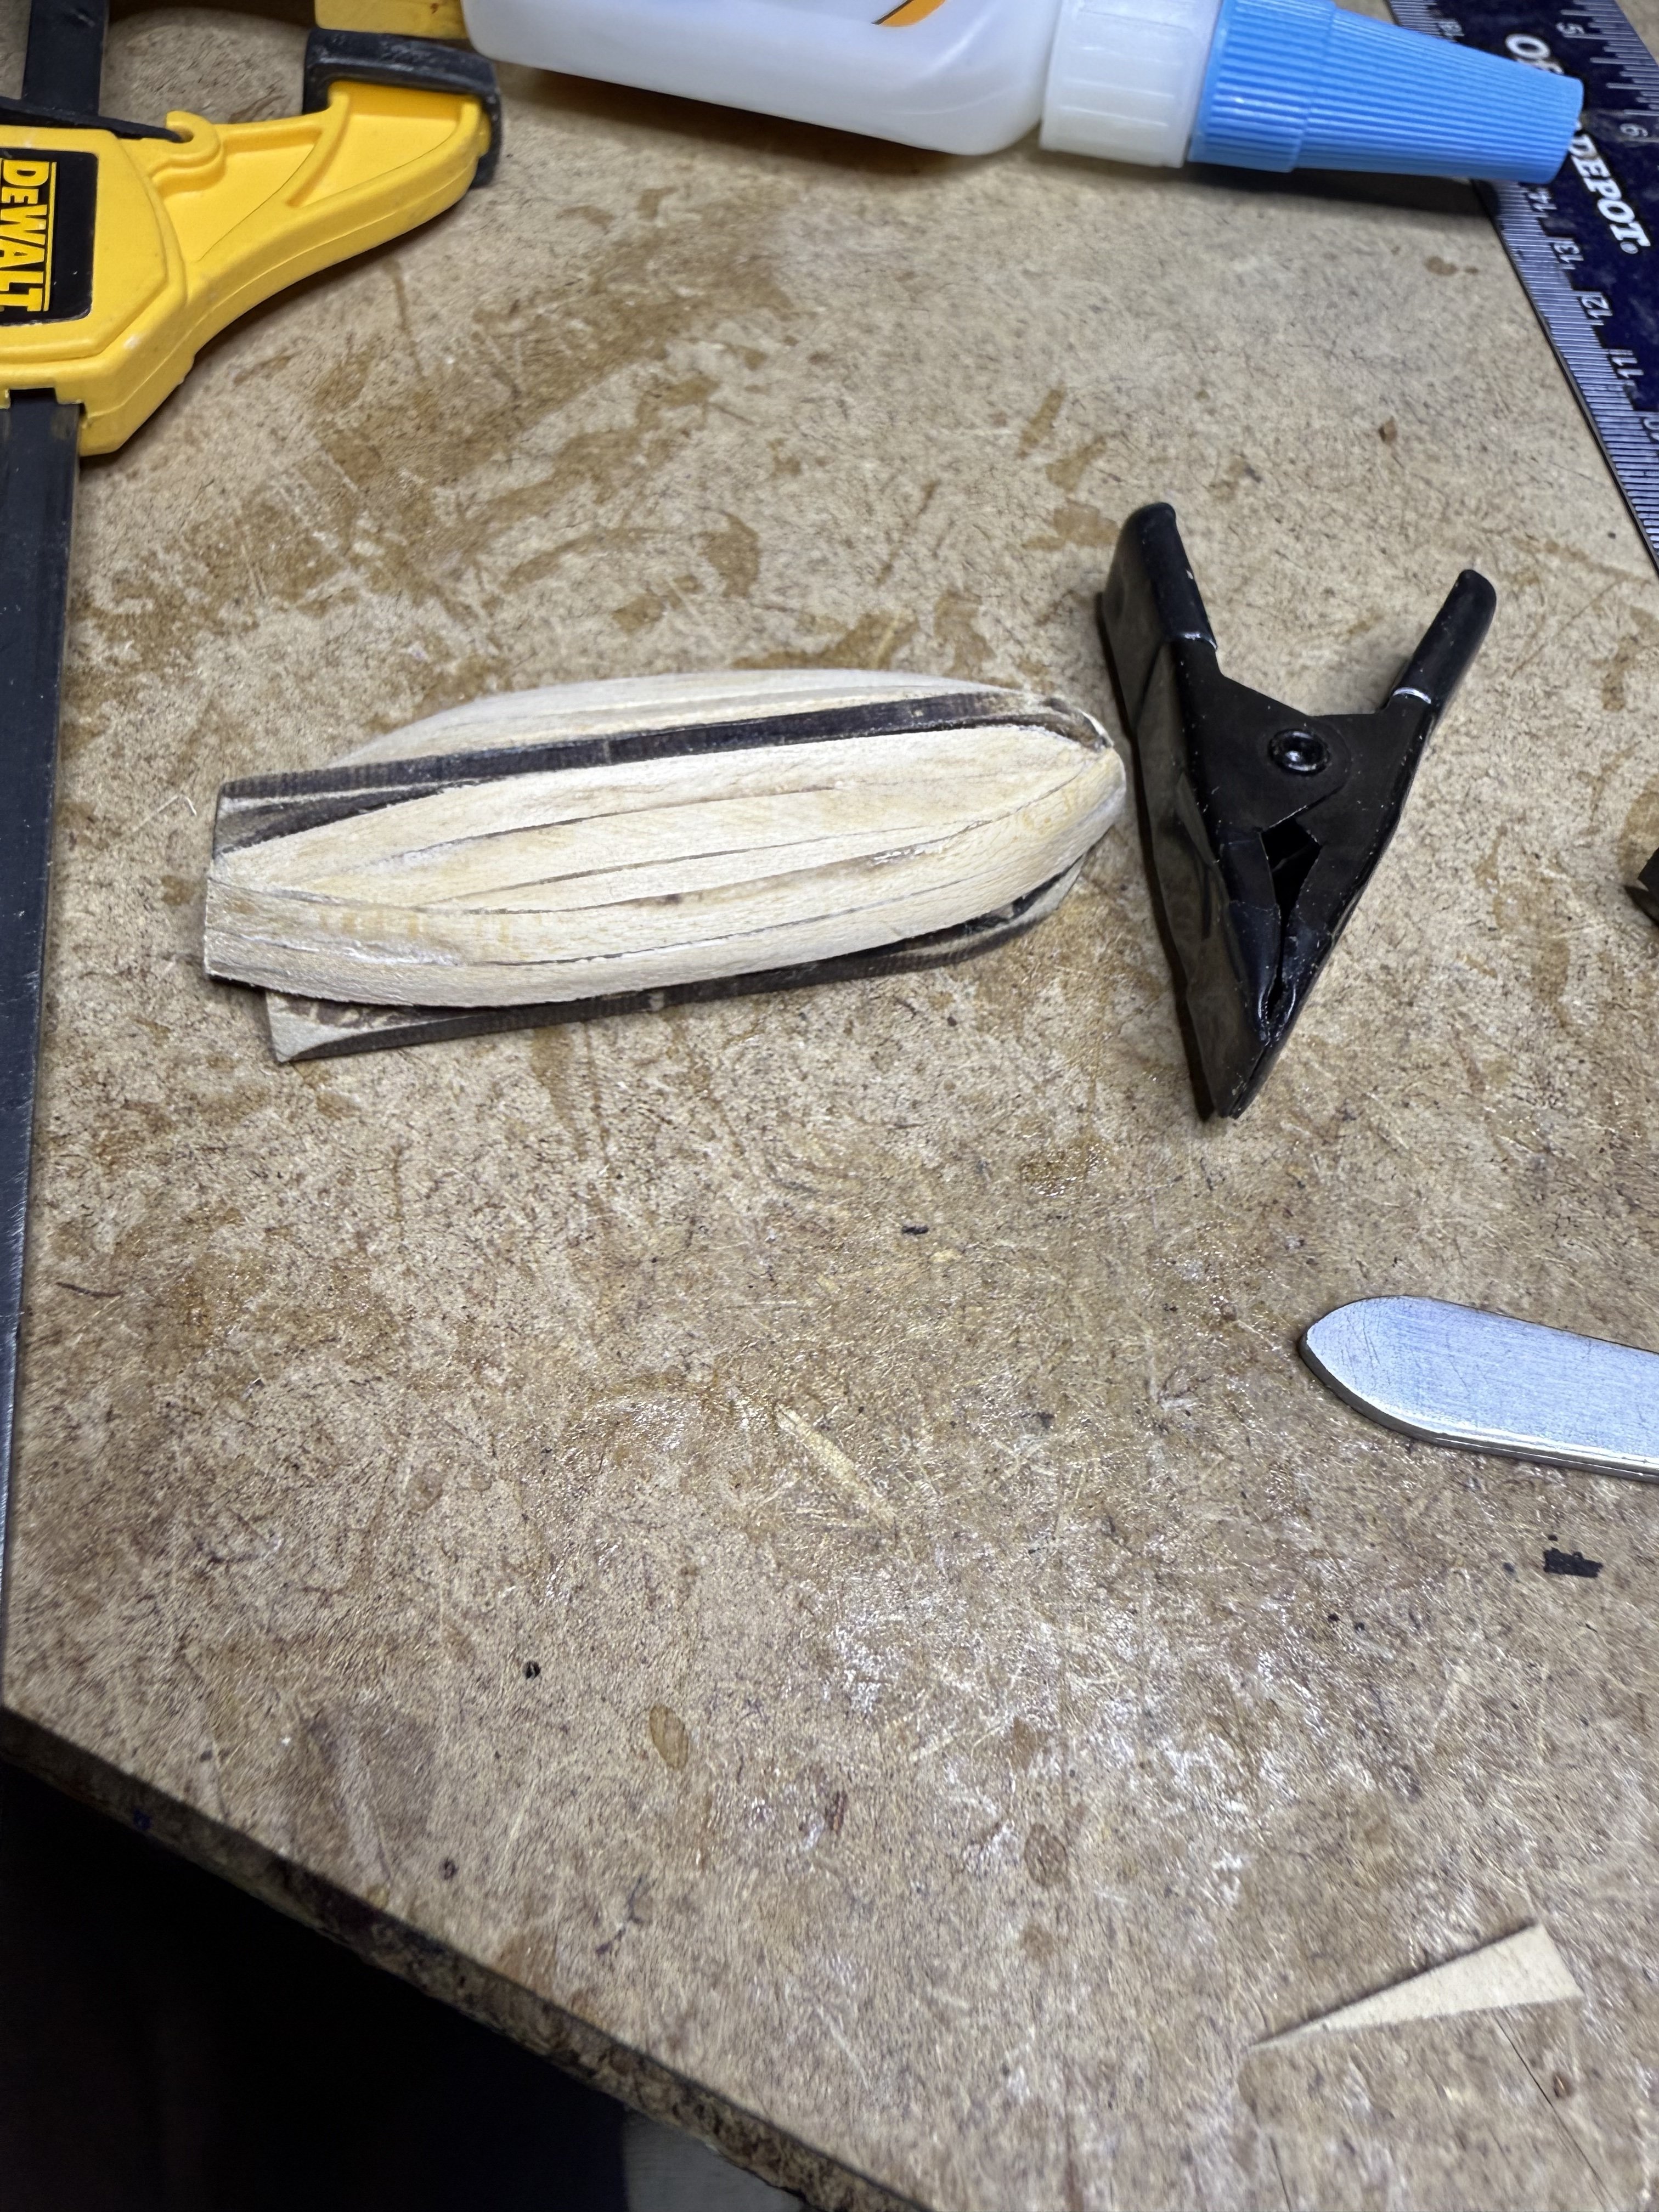
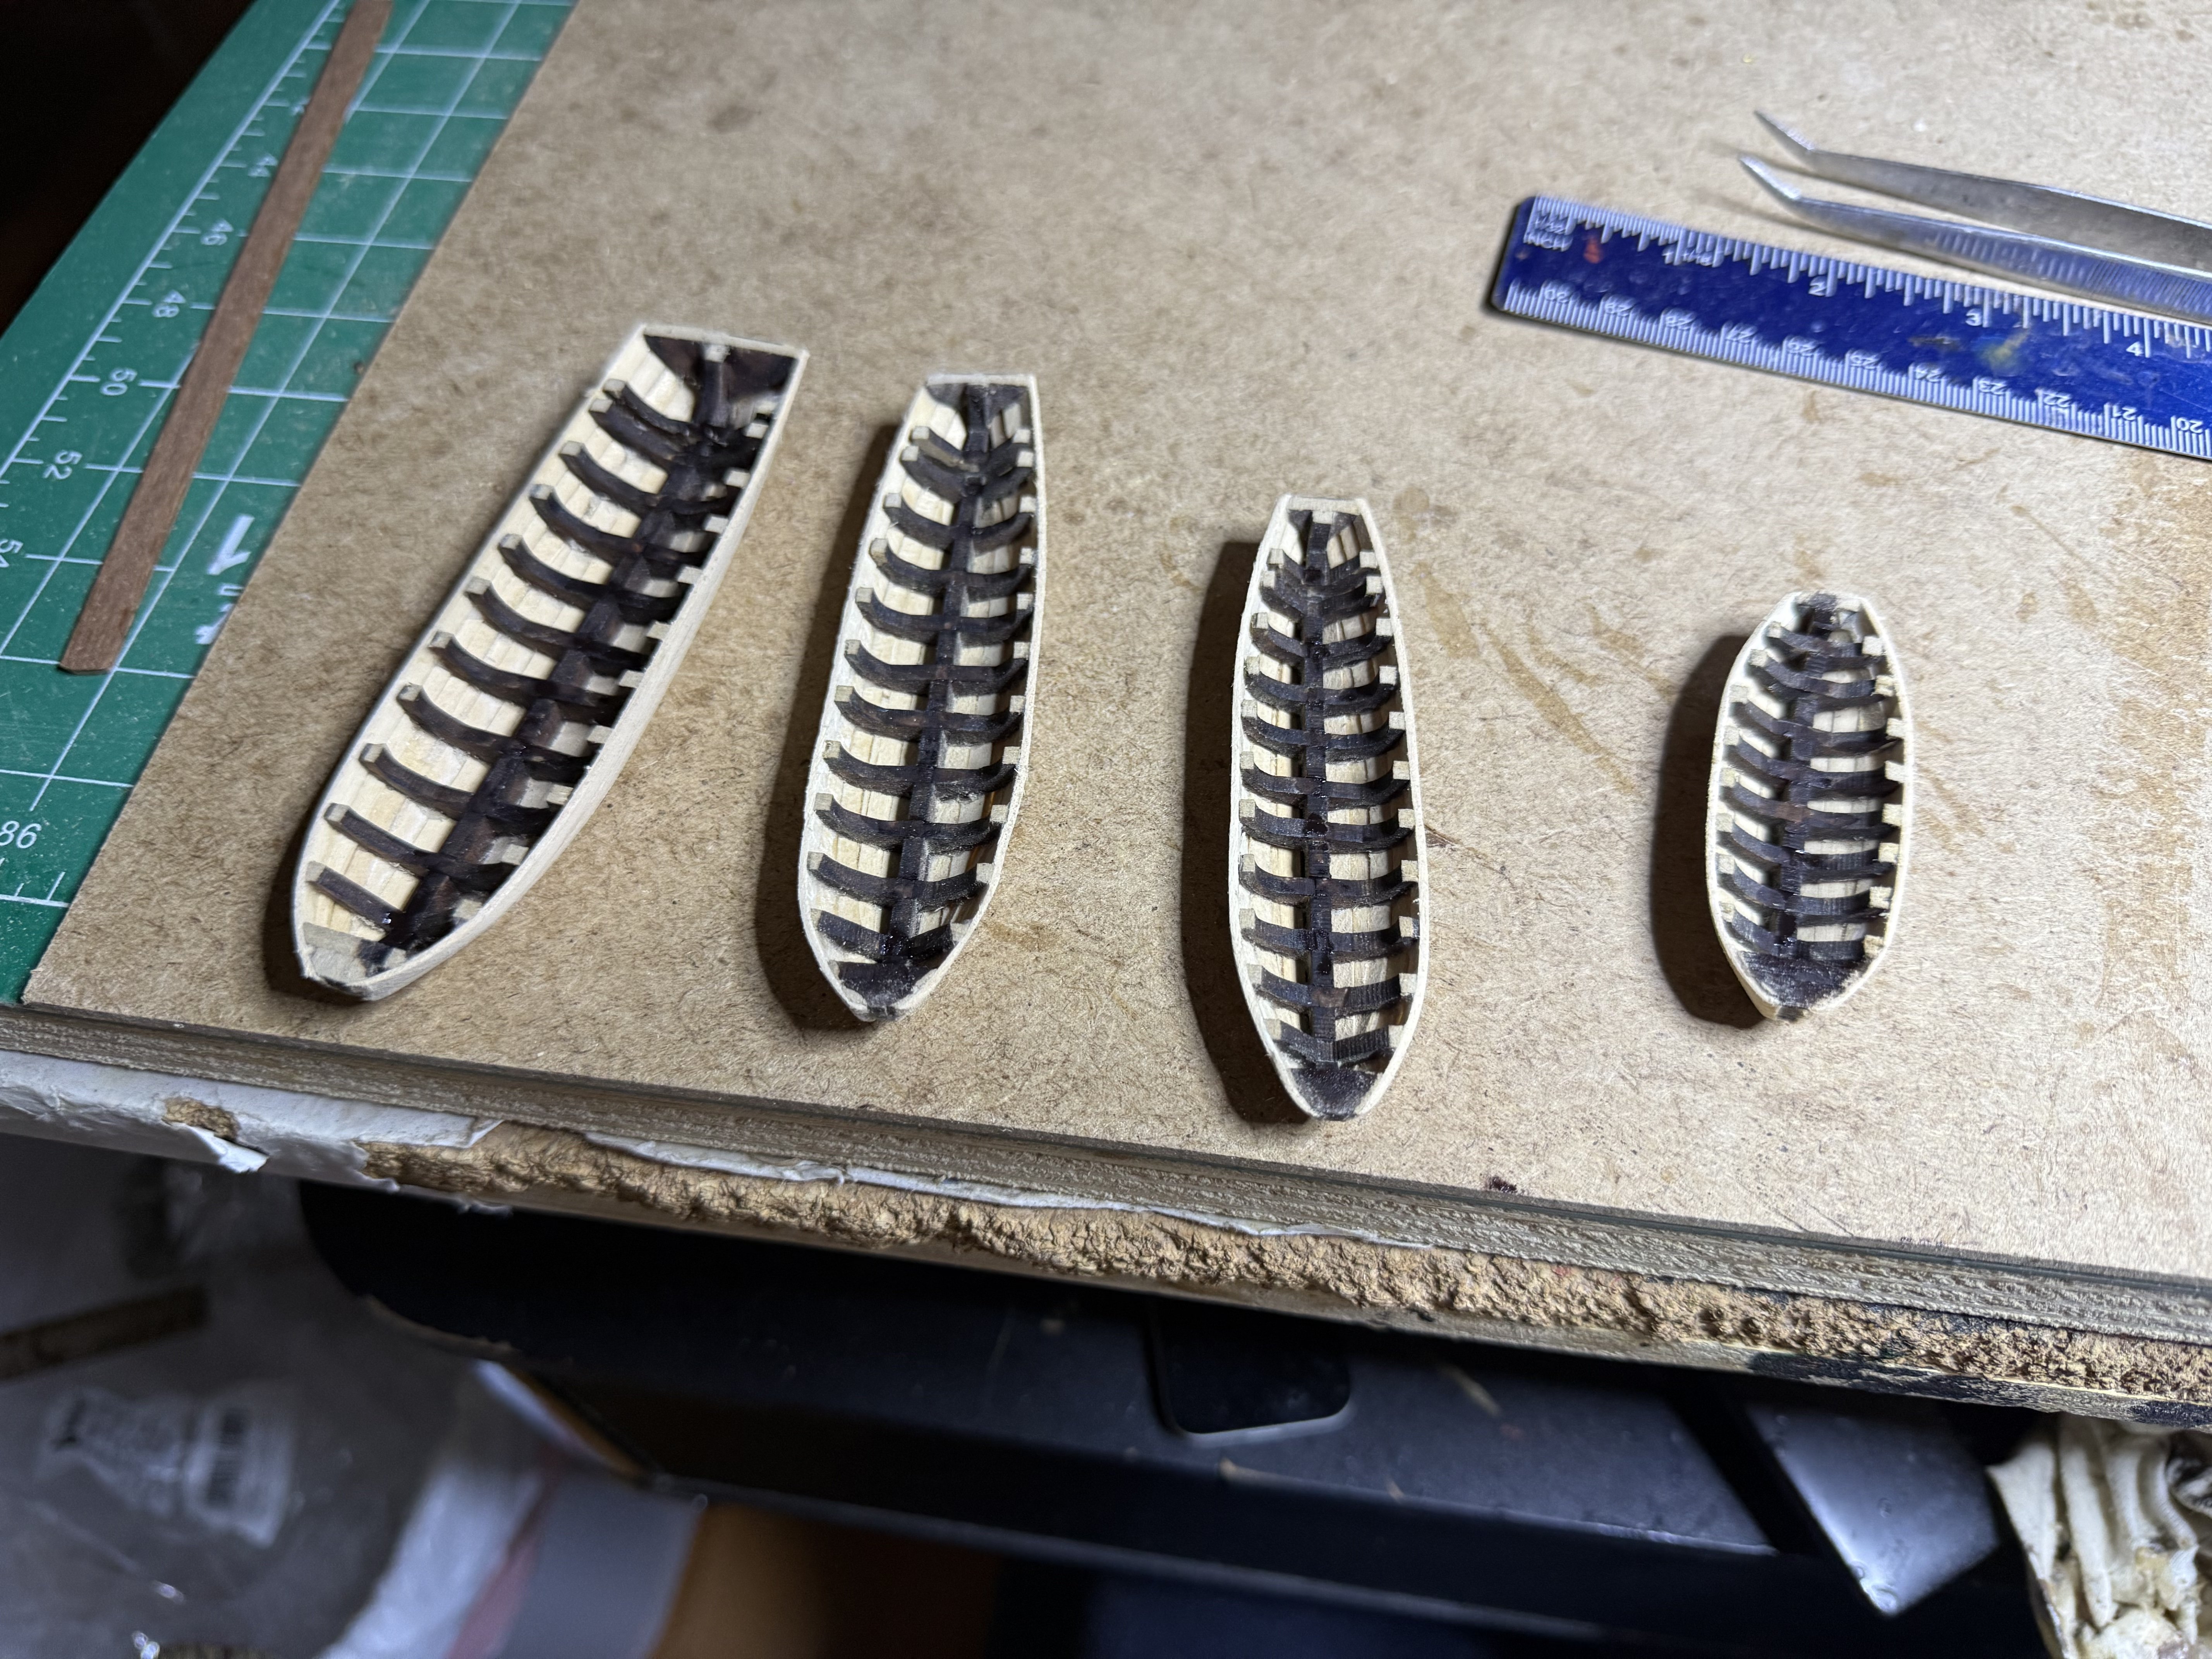
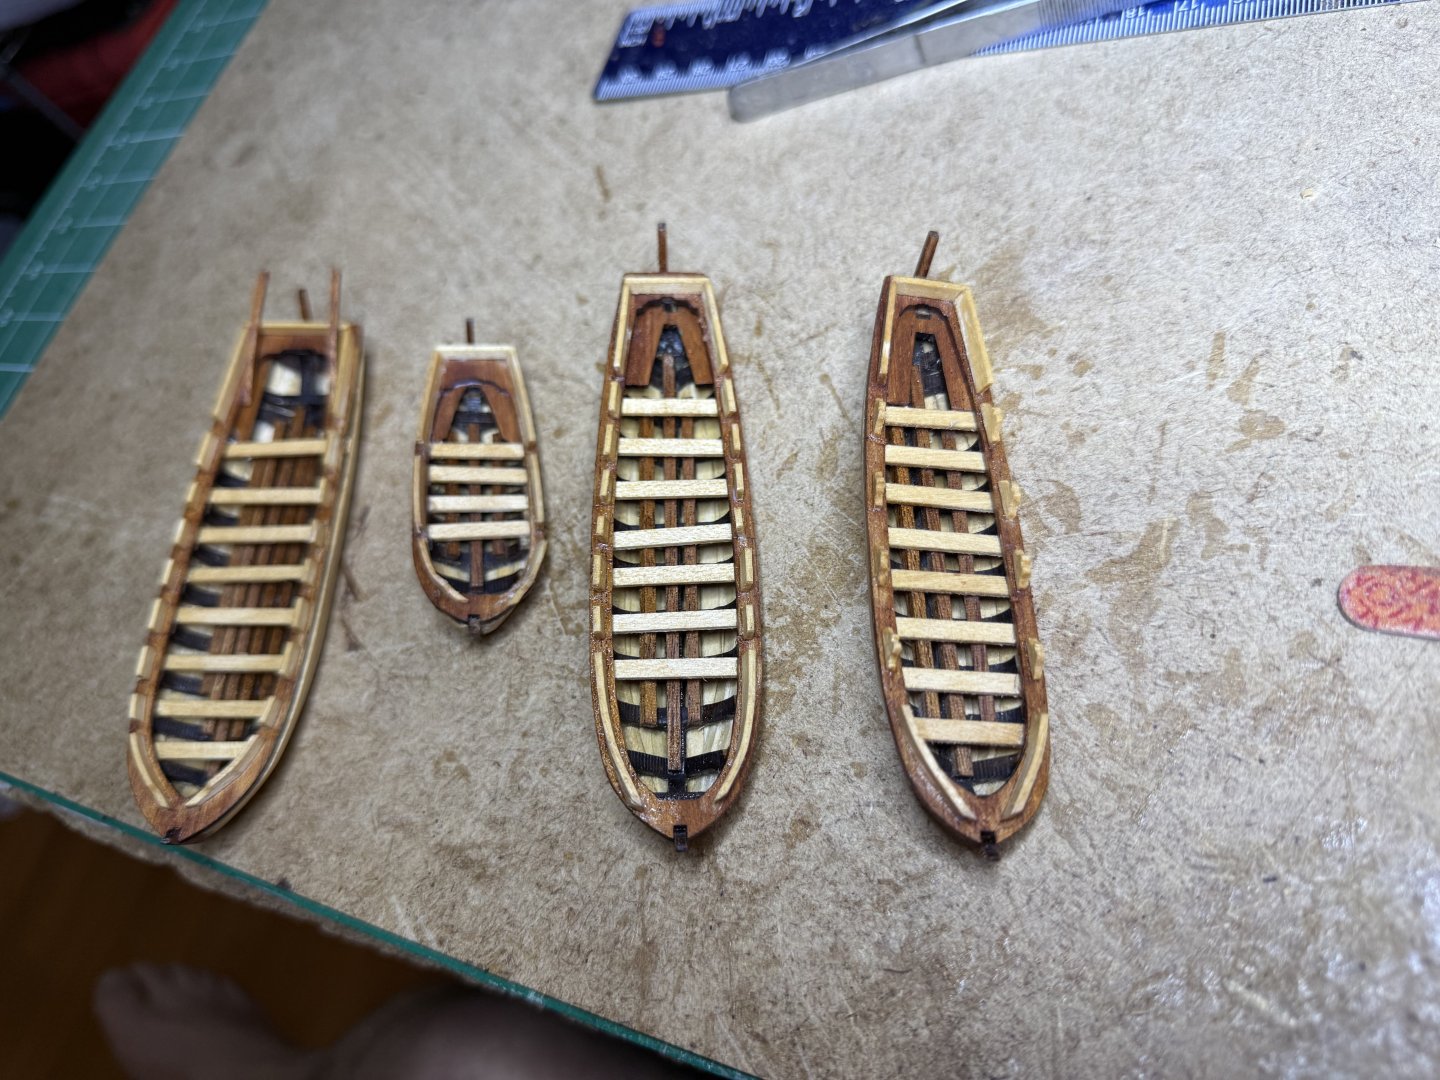
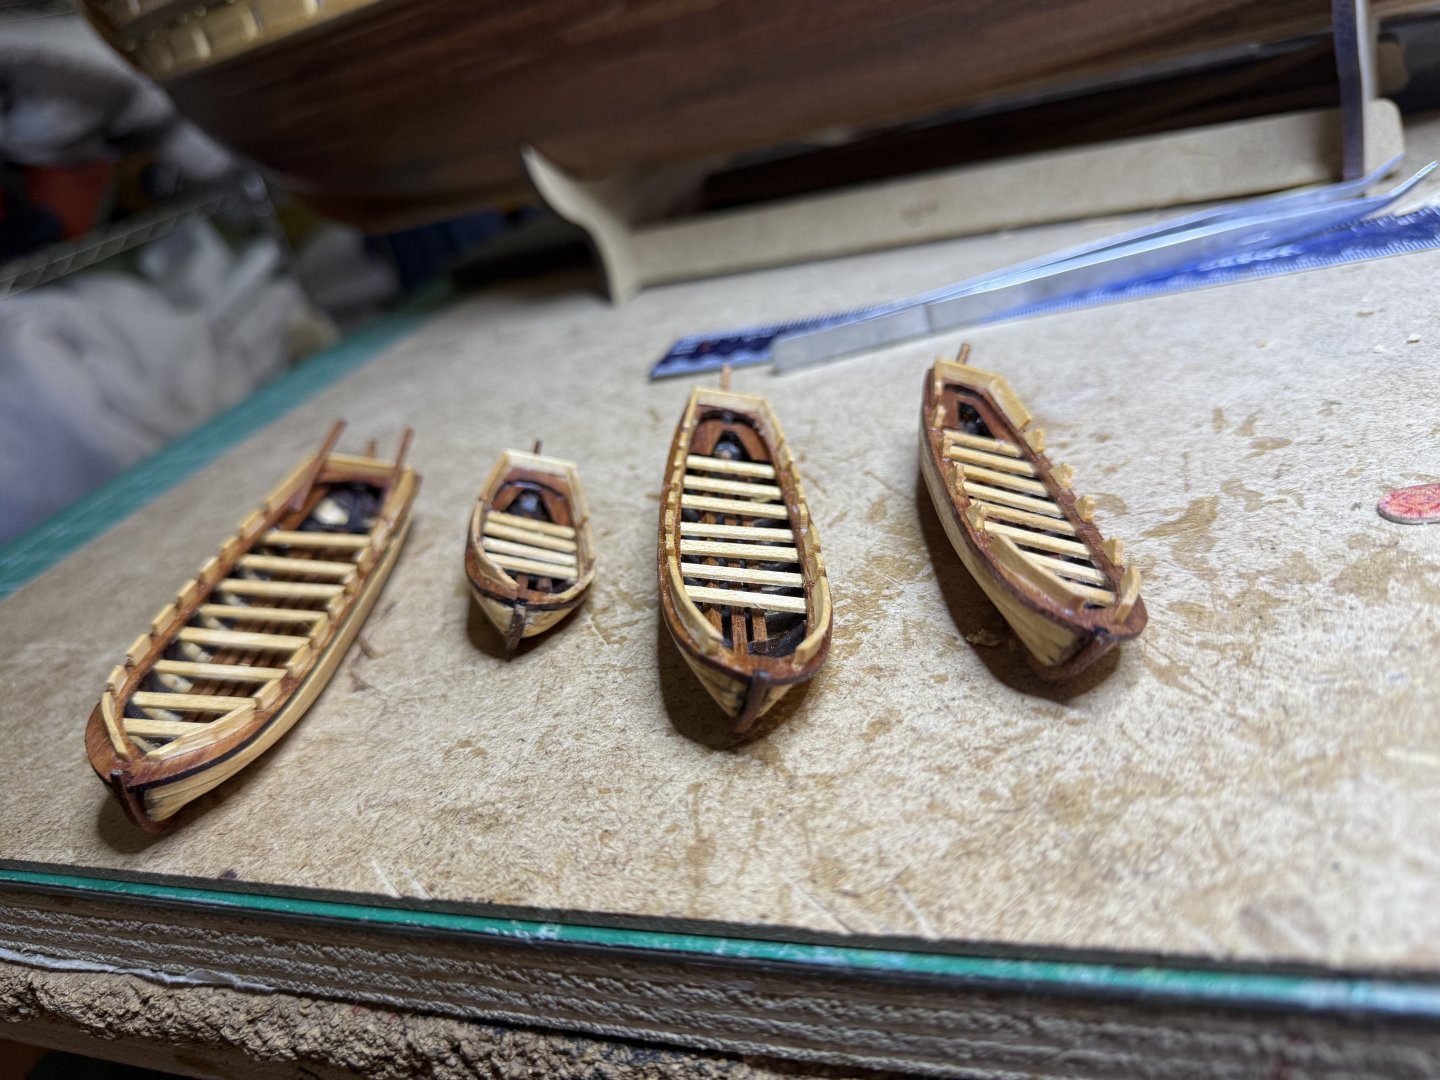
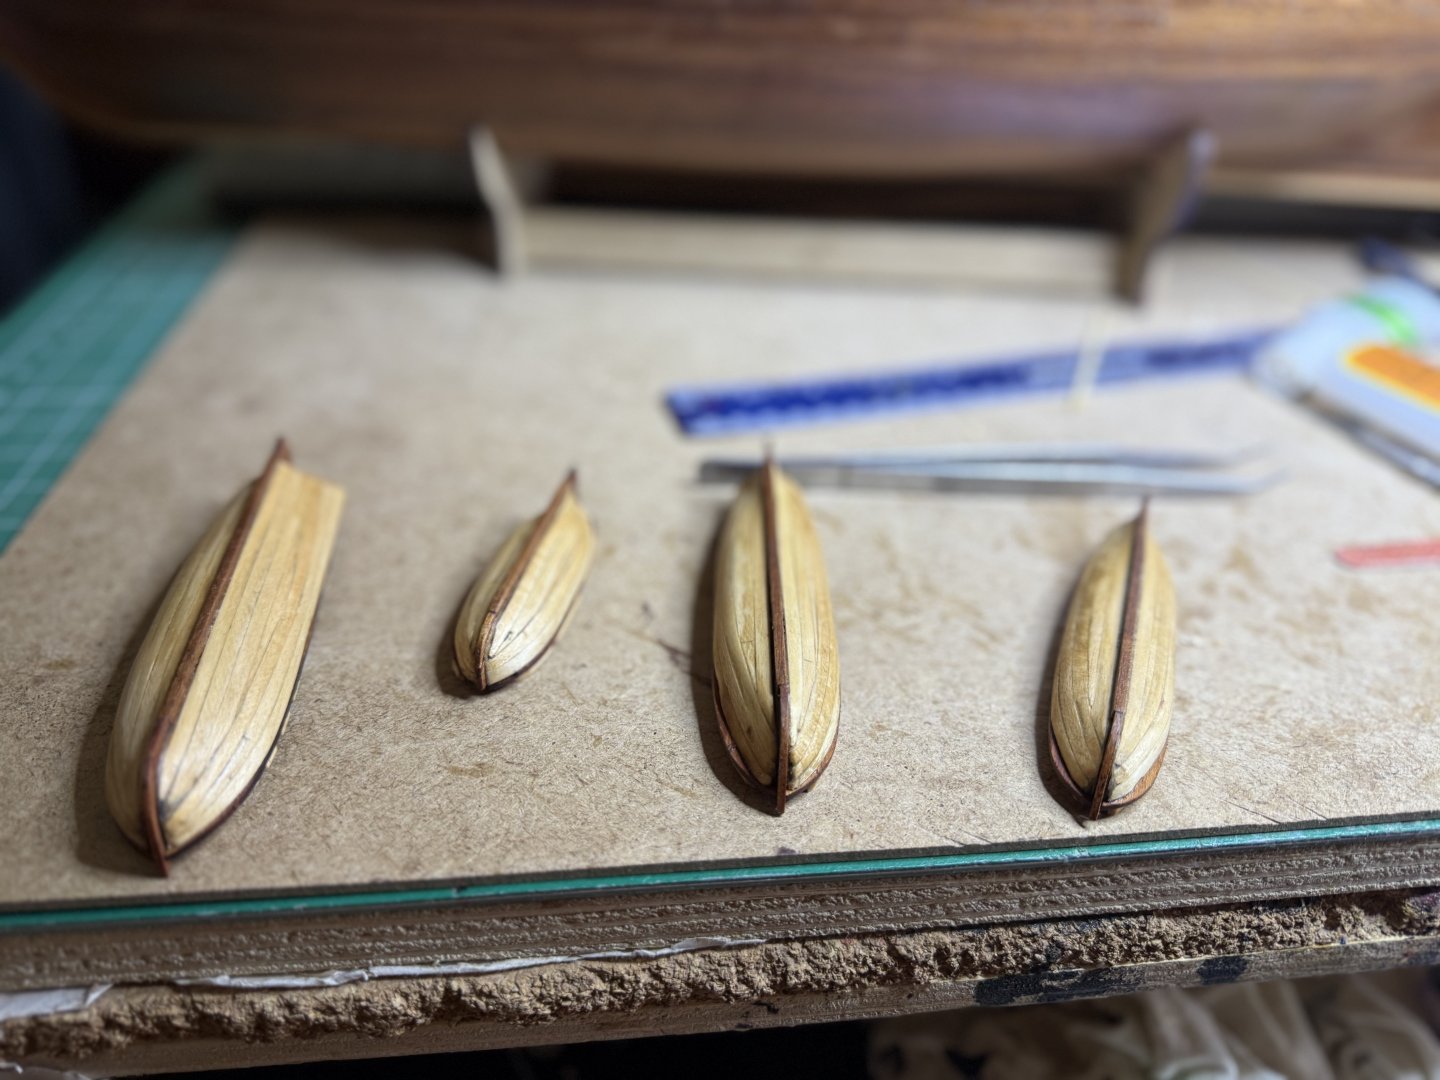
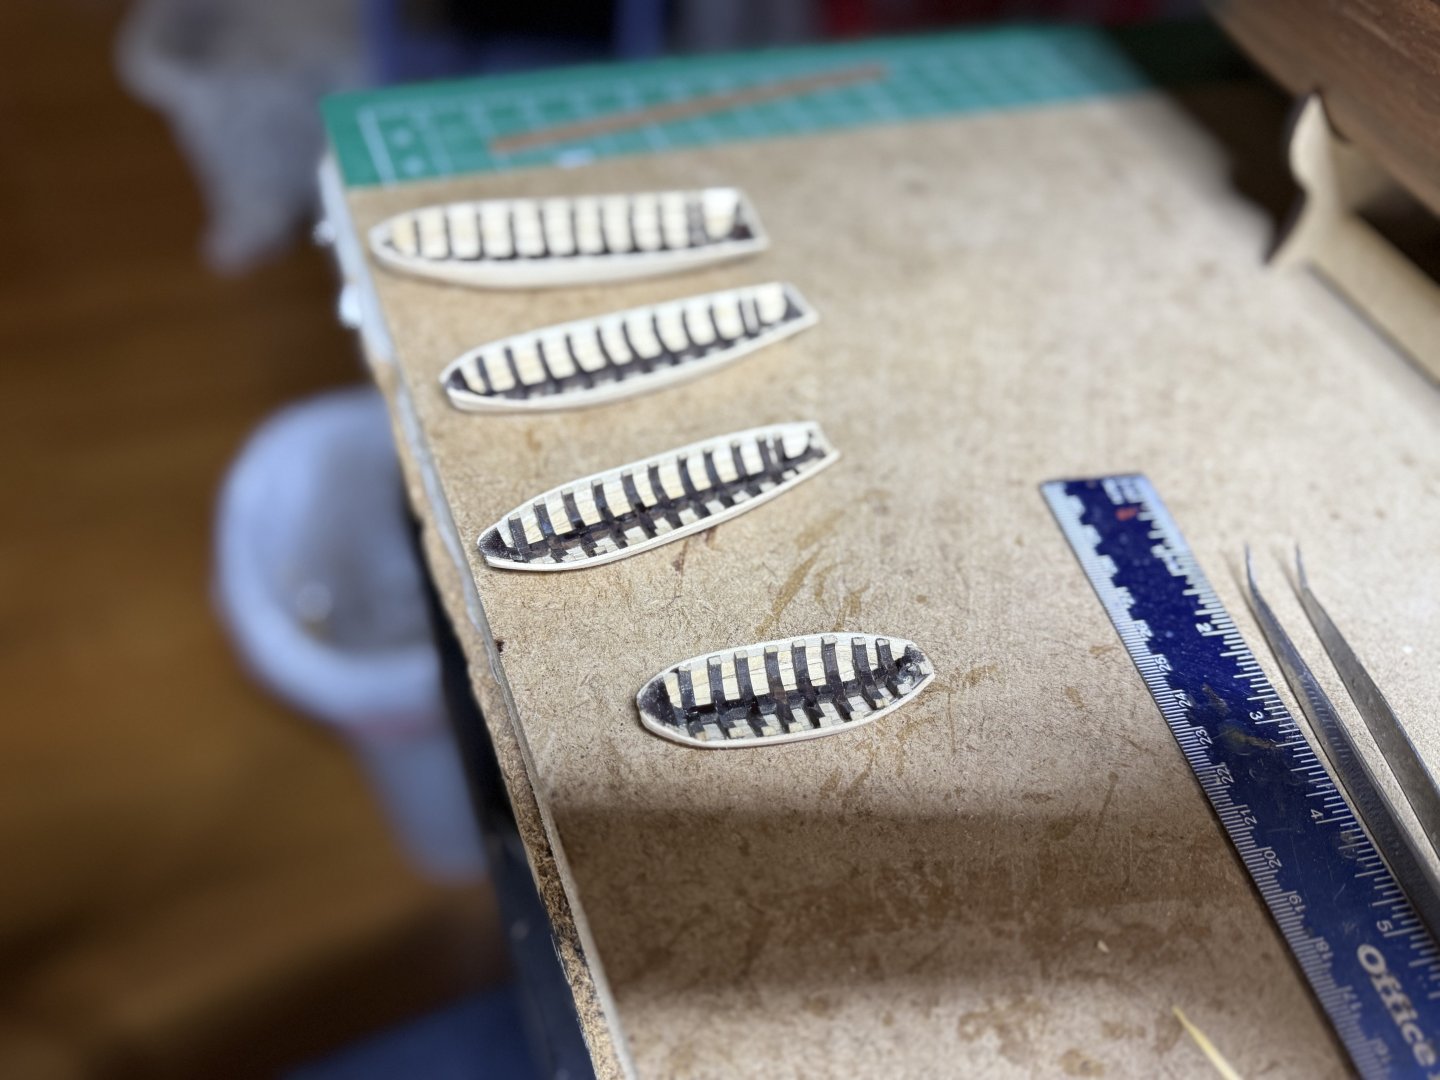
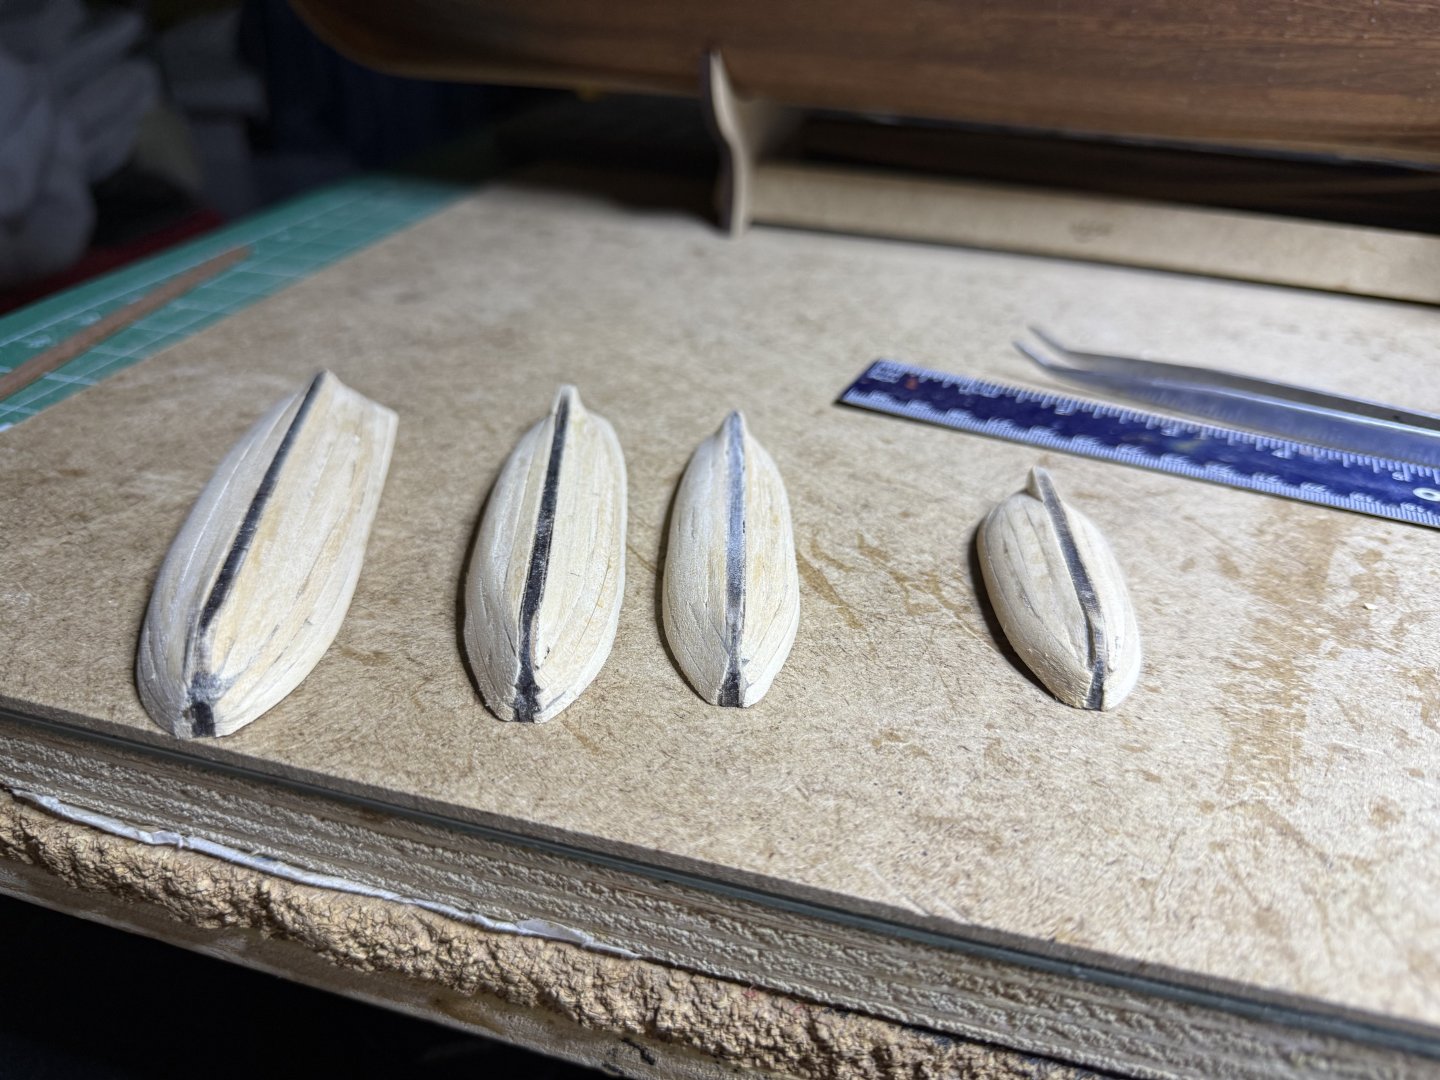
Finally finished ship's boats. Can finally get back to the hull. These boats were the last little jobs to do.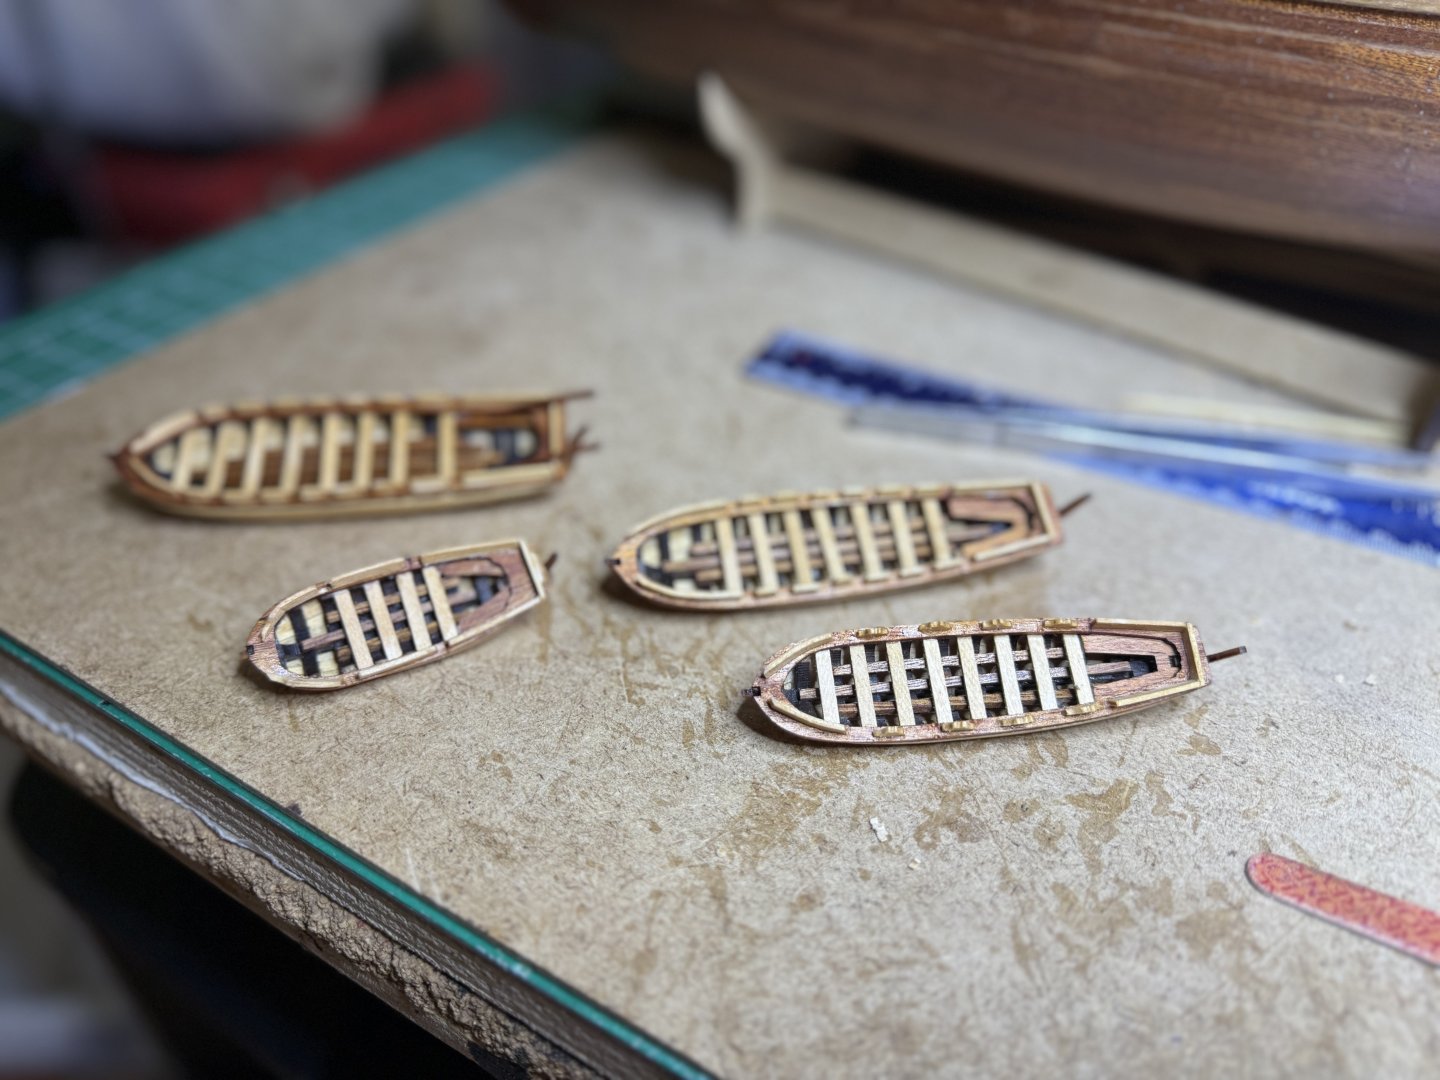


-
HMS Victory by ECK - OcCre - 1/87
ECK replied to ECK's topic in - Kit build logs for subjects built from 1751 - 1800
Spent a few a few days building the 4 ship's boats. I prefer Vanguard's laser printed ones as the planking here is a pain.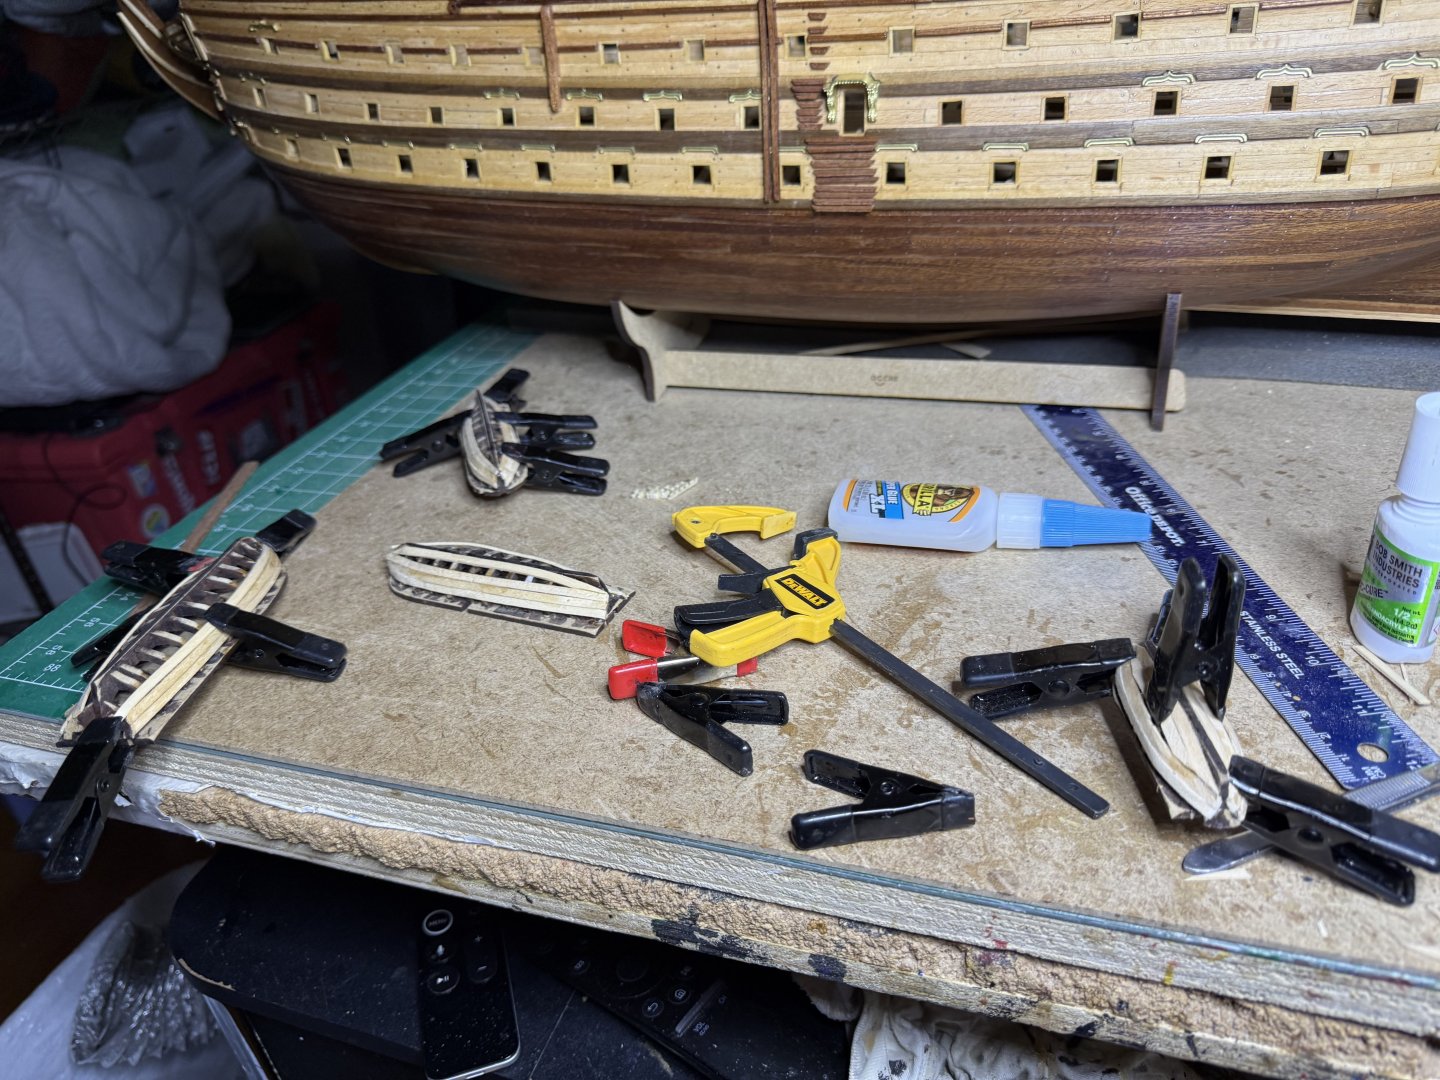


-
HMS Victory by ECK - OcCre - 1/87
ECK replied to ECK's topic in - Kit build logs for subjects built from 1751 - 1800
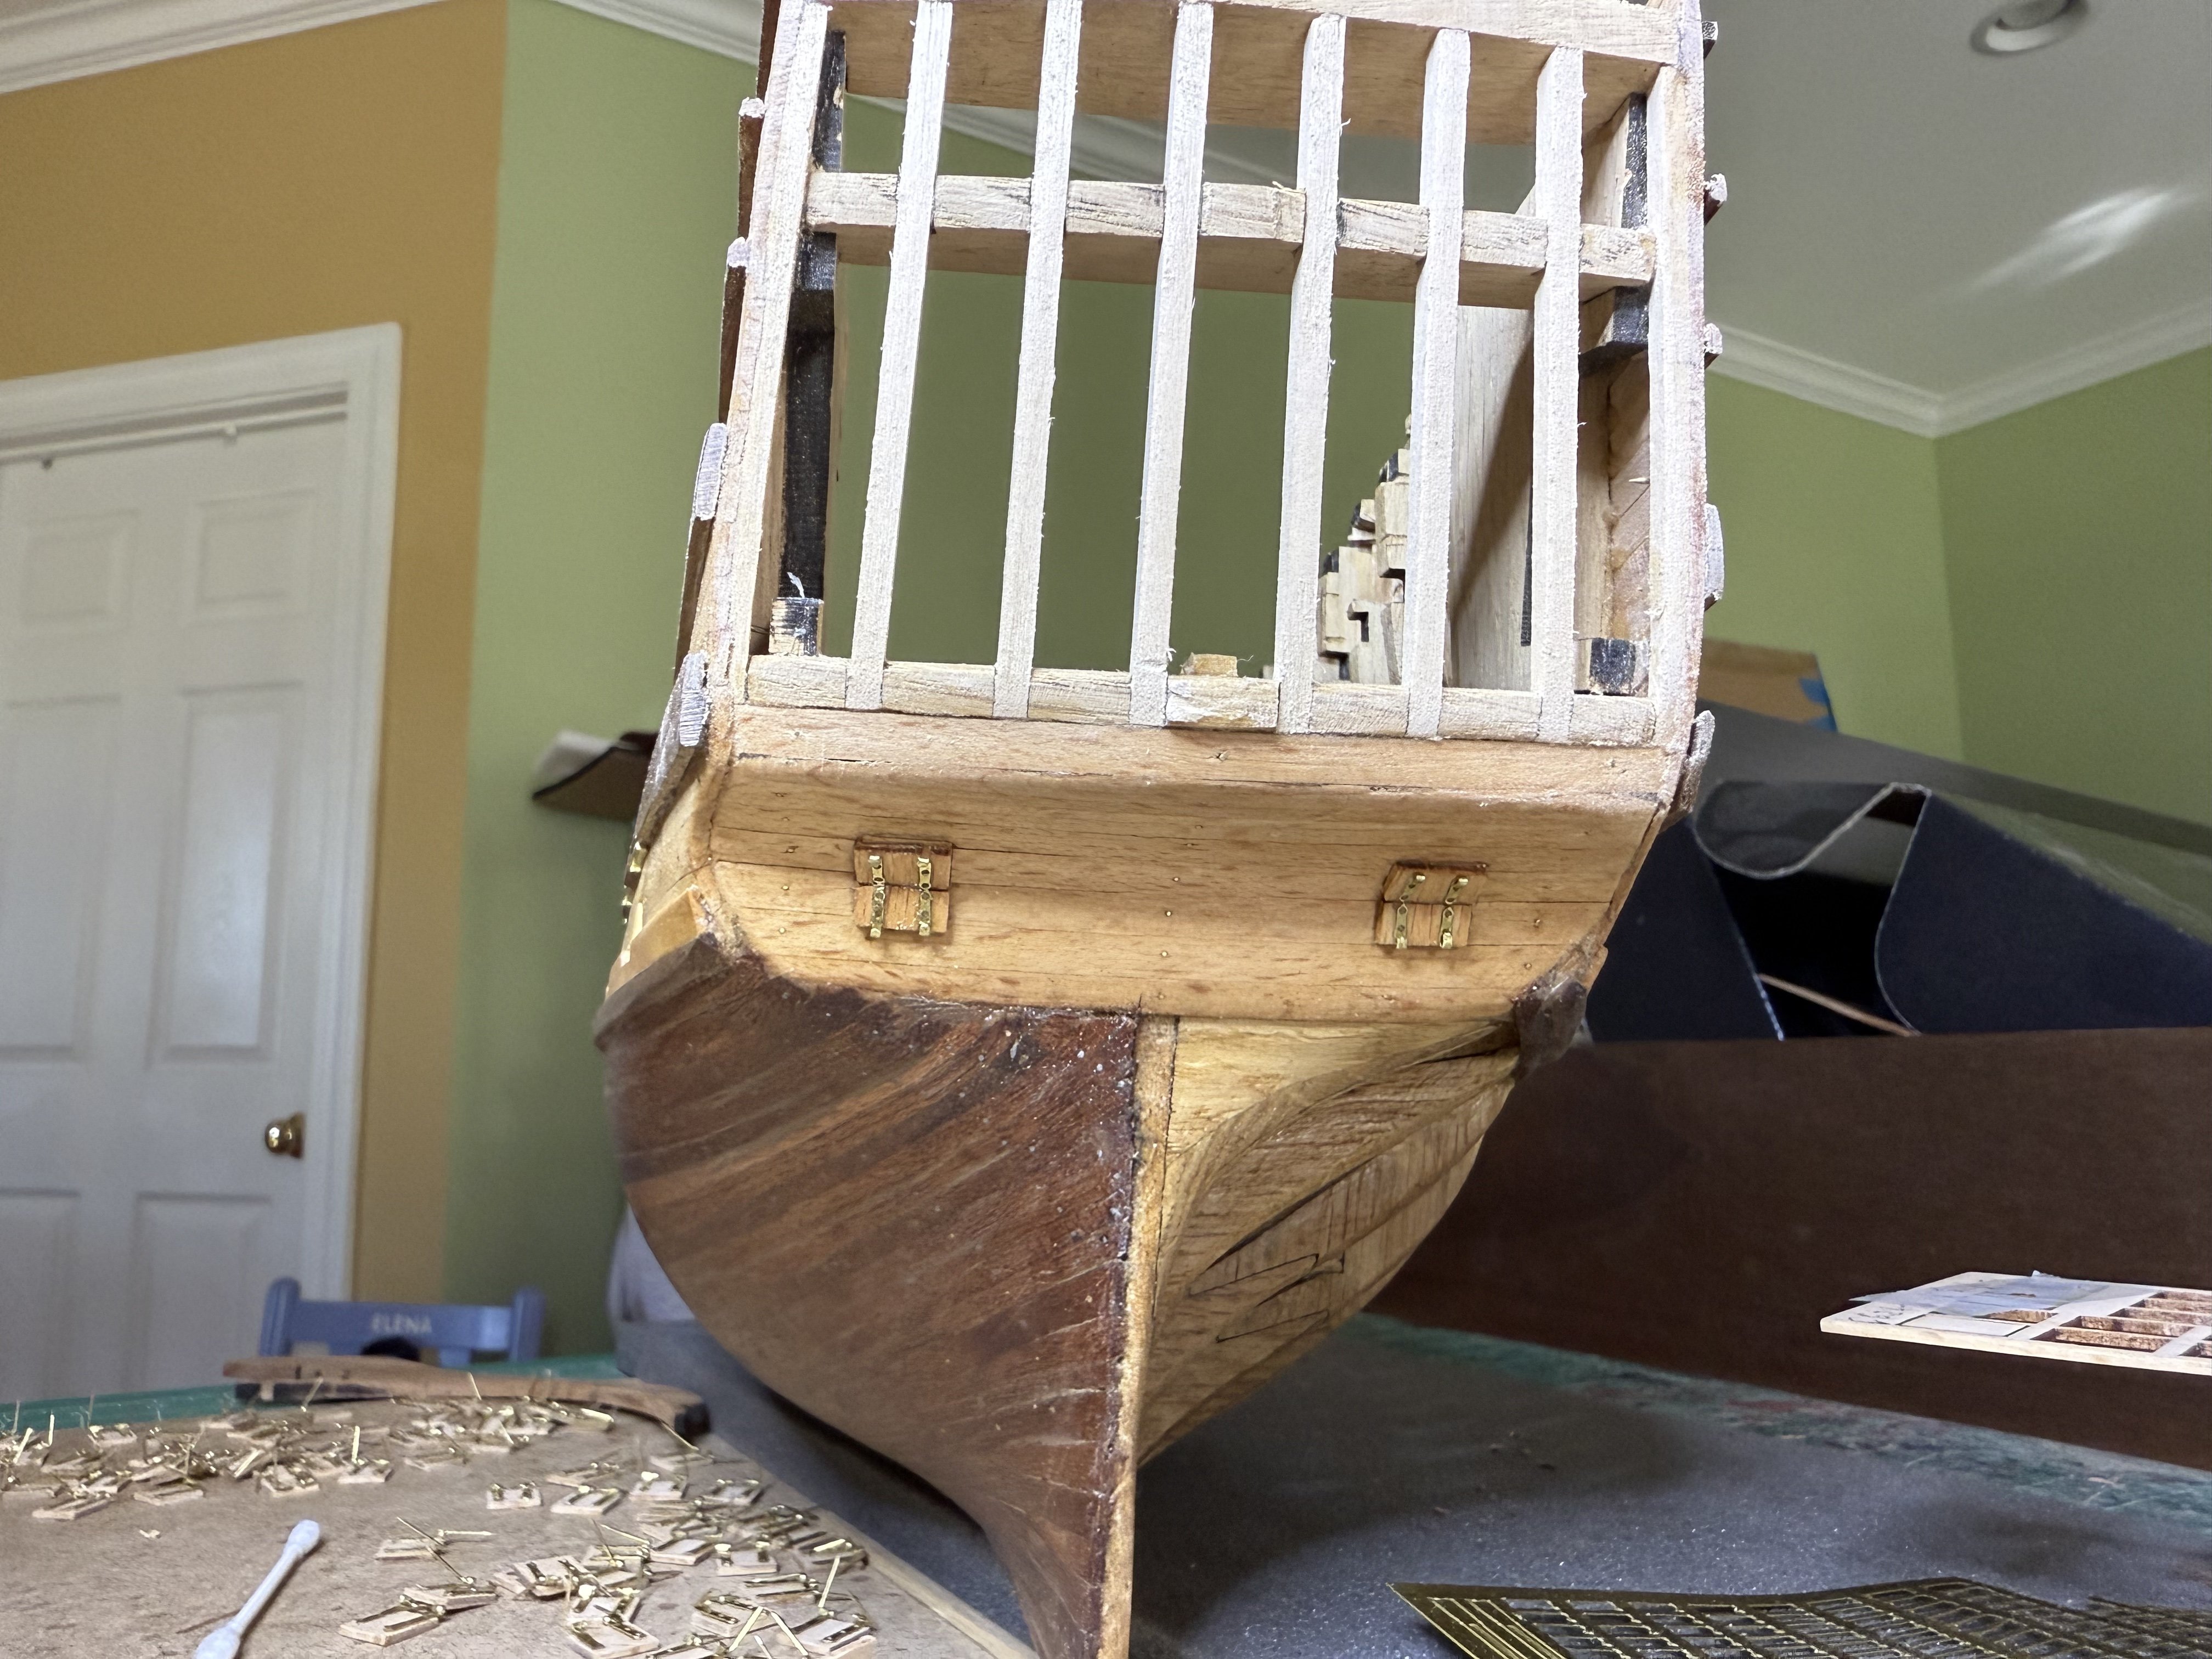
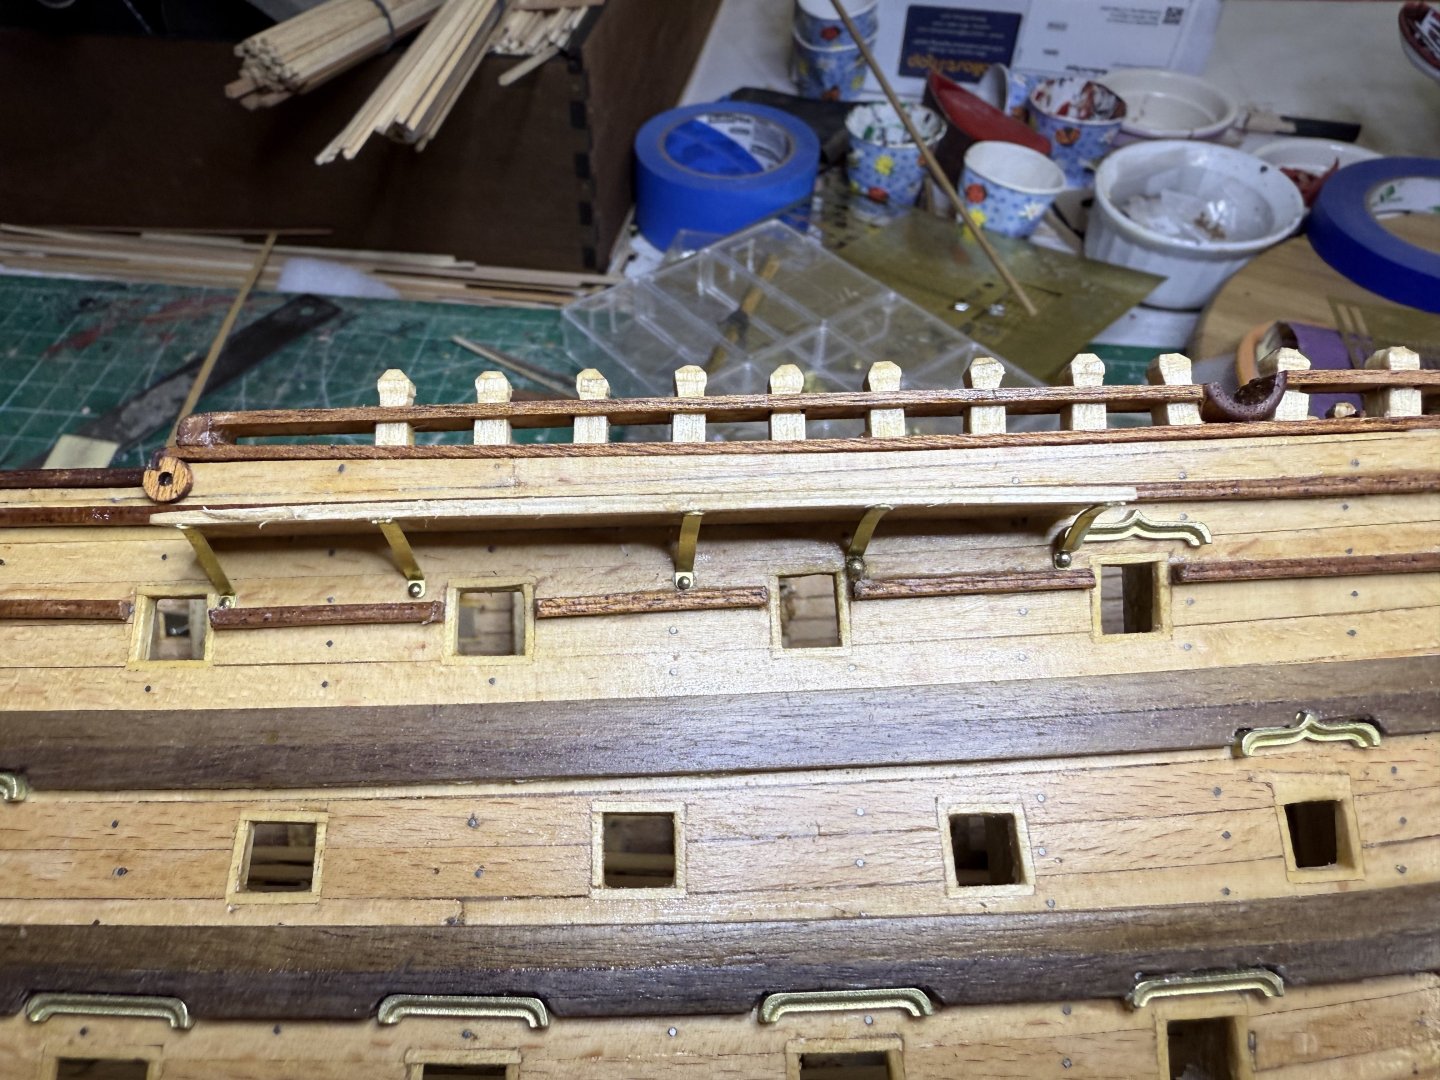
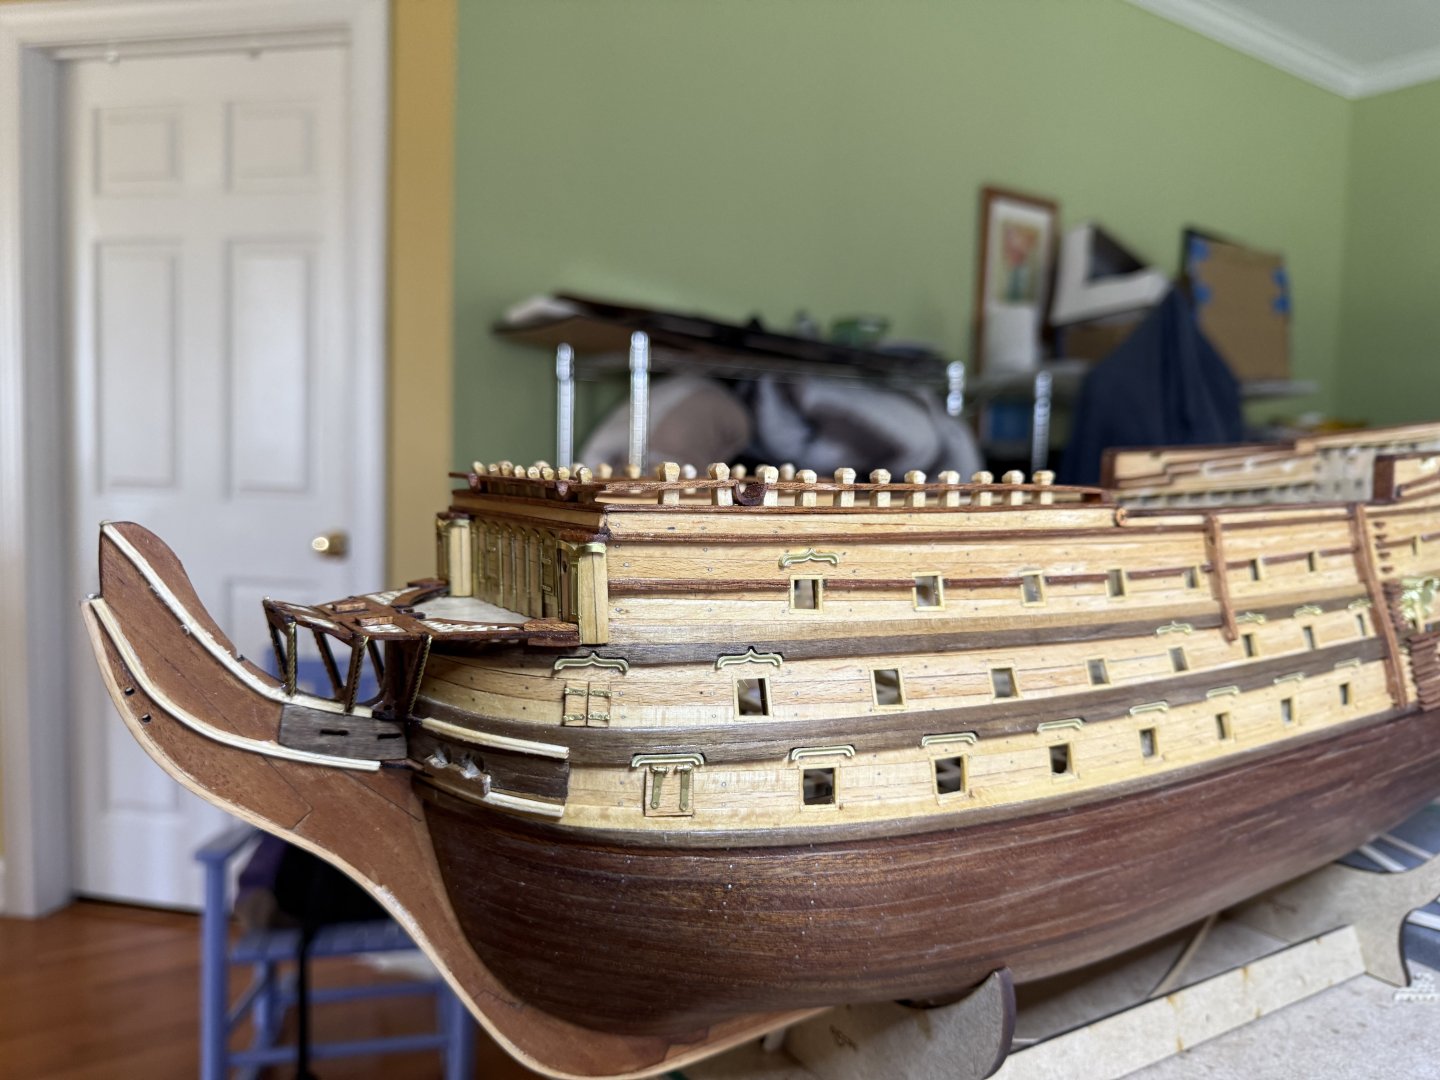
Finished up the bow railing/bulwark. Not as satisfying as a Vanguard model in terms of fit and finish of the parts, more rustic to me.

-
HMS Victory by ECK - OcCre - 1/87
ECK replied to ECK's topic in - Kit build logs for subjects built from 1751 - 1800
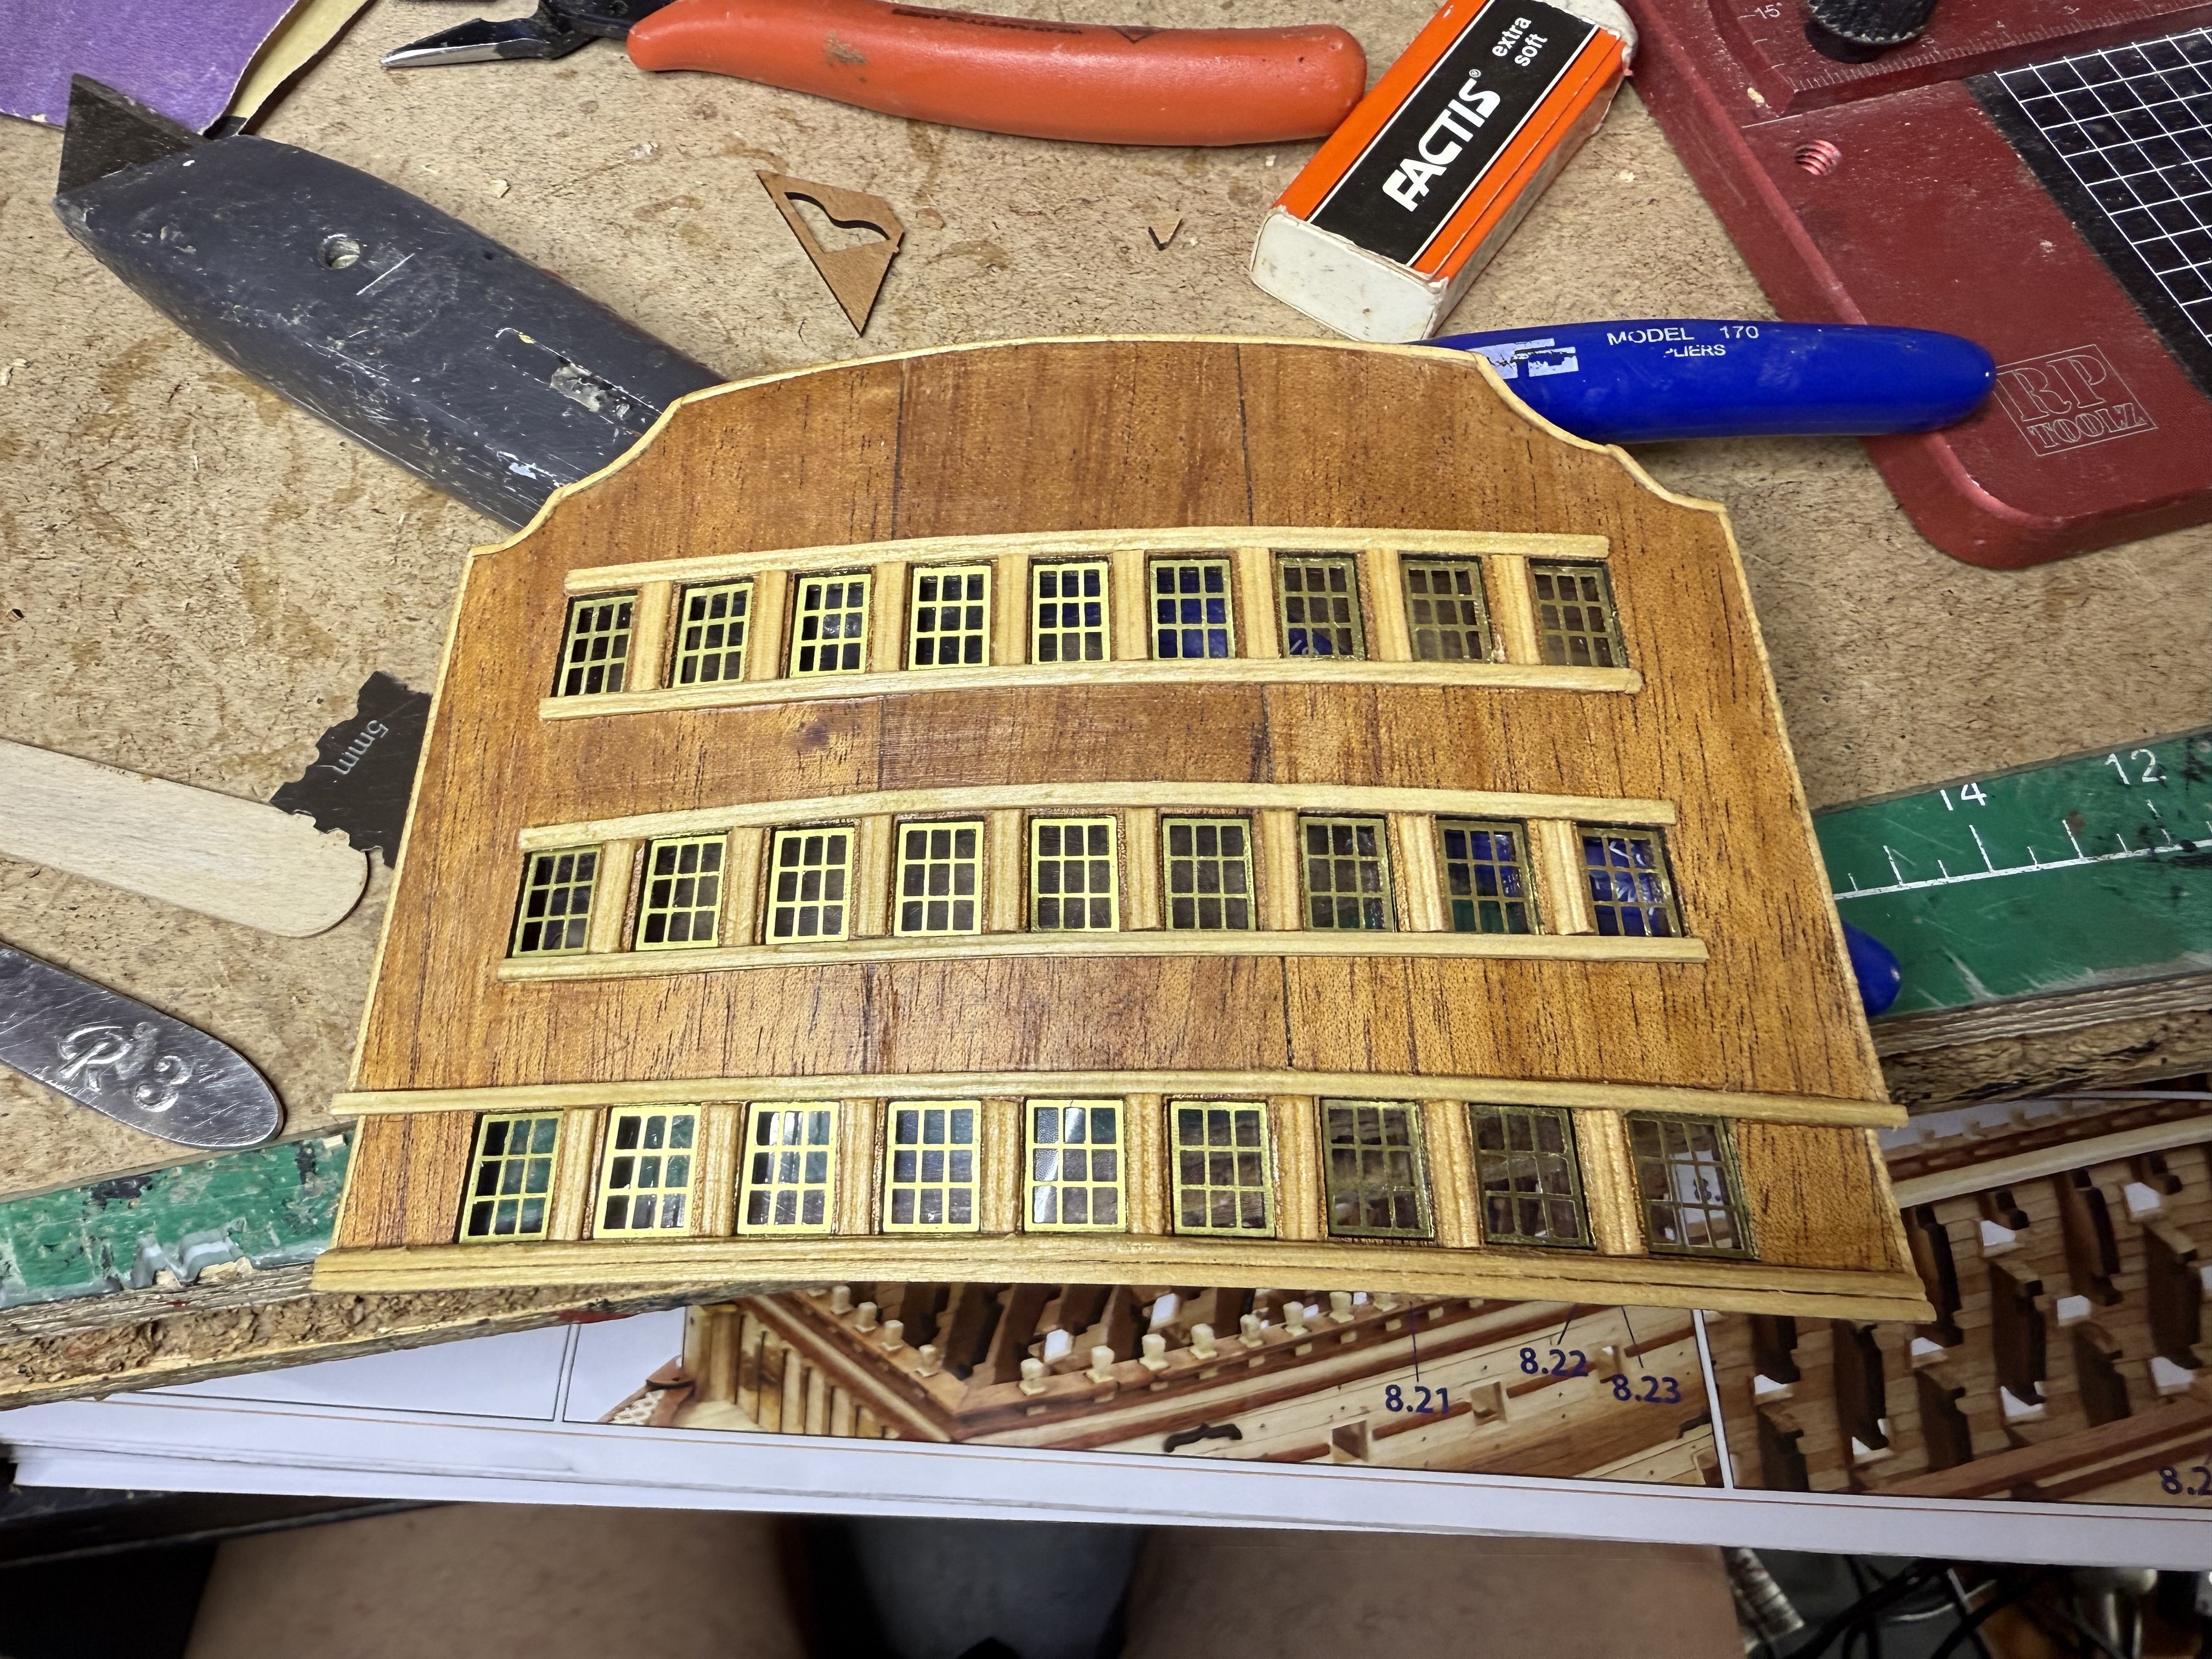
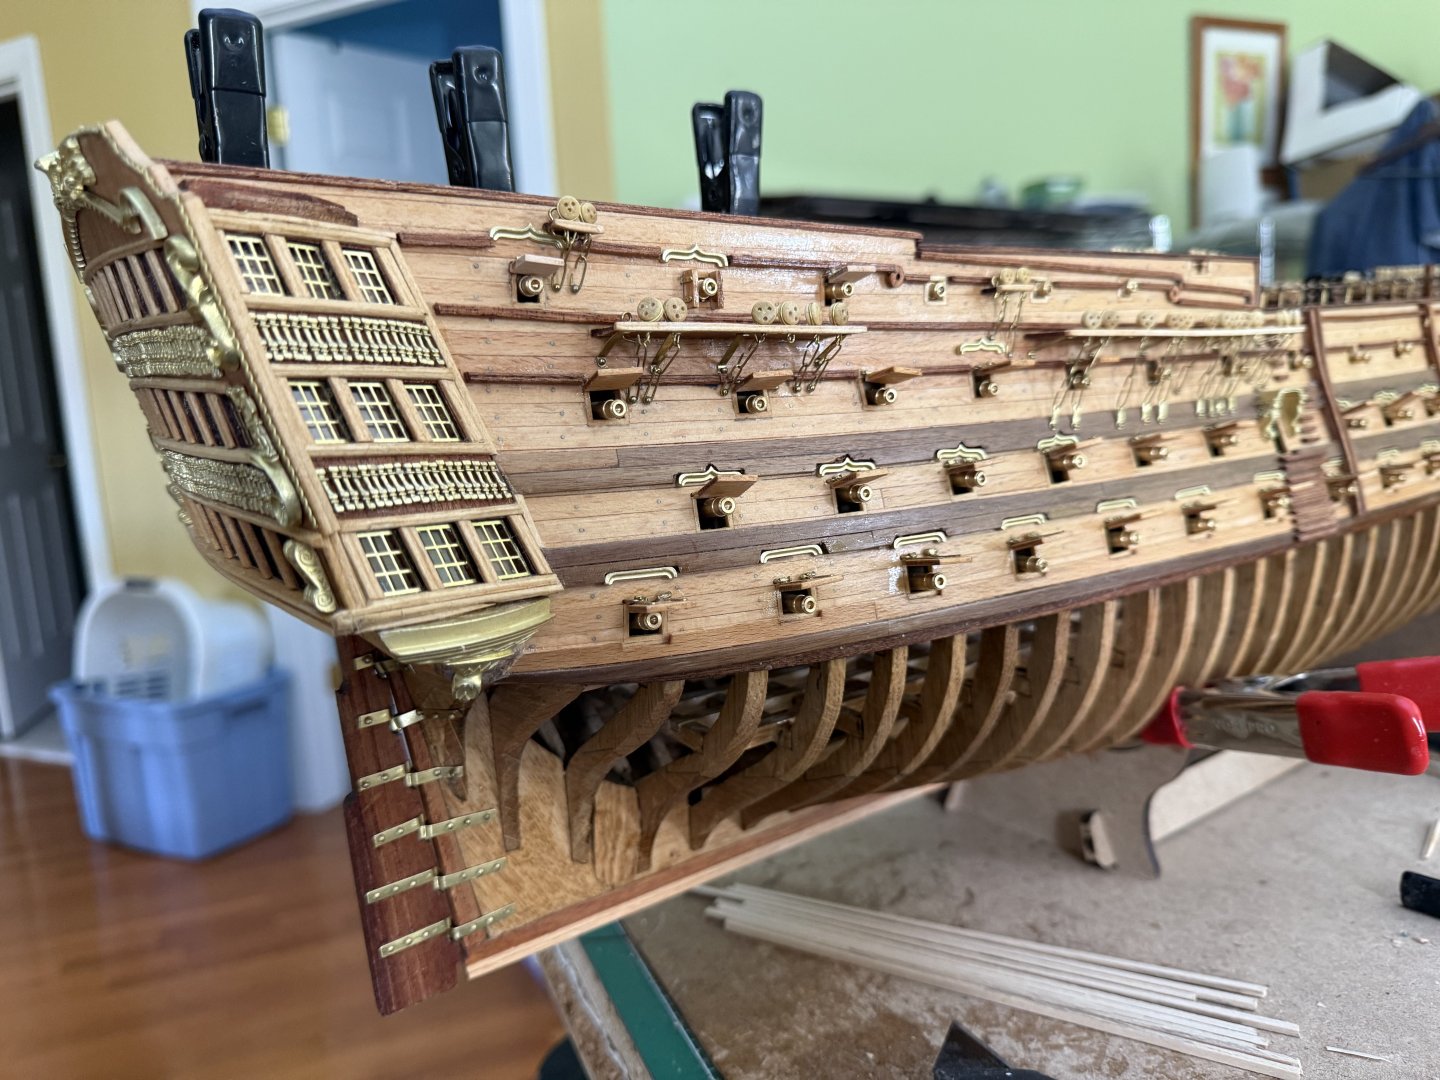
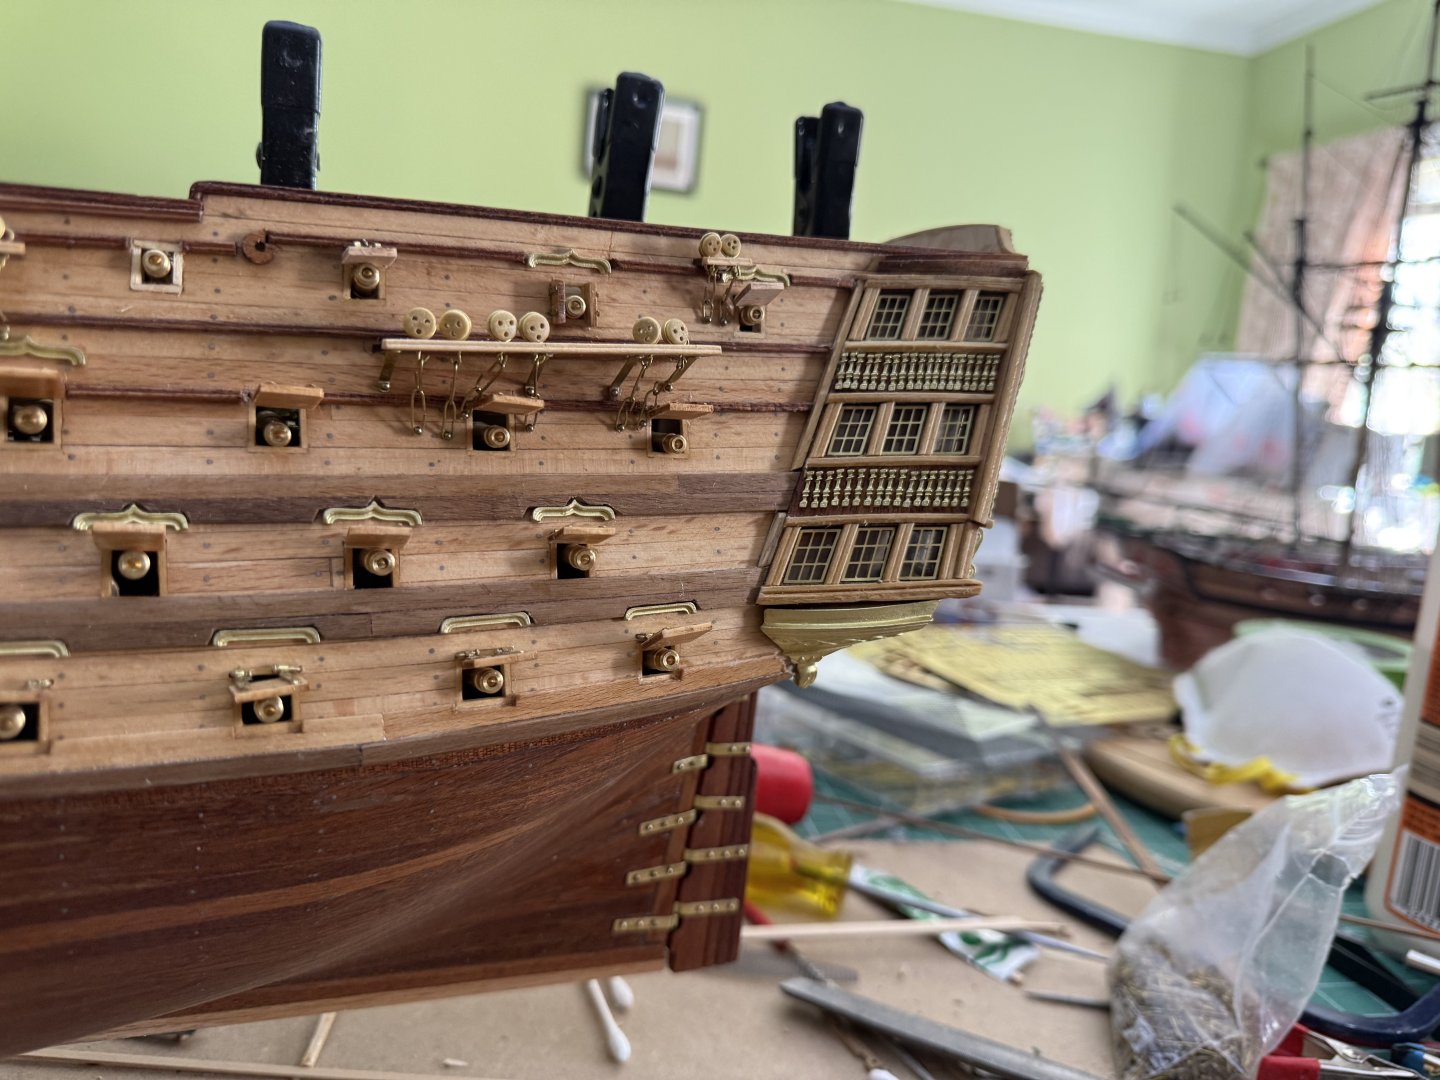
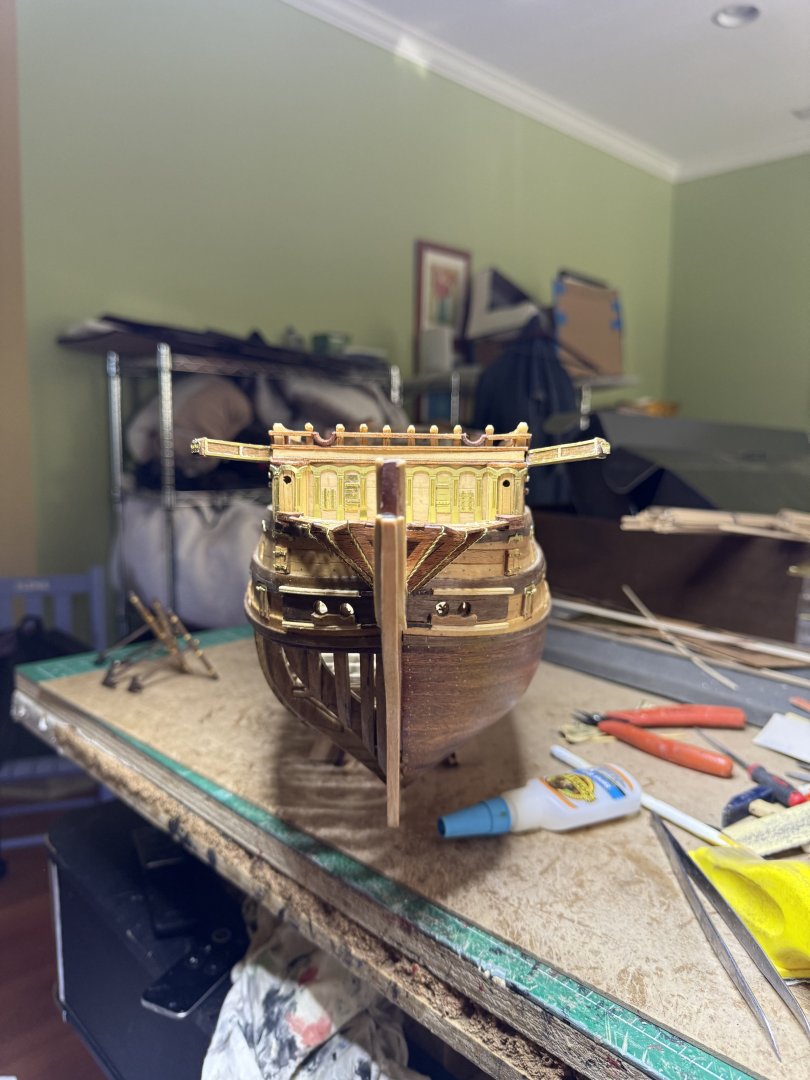
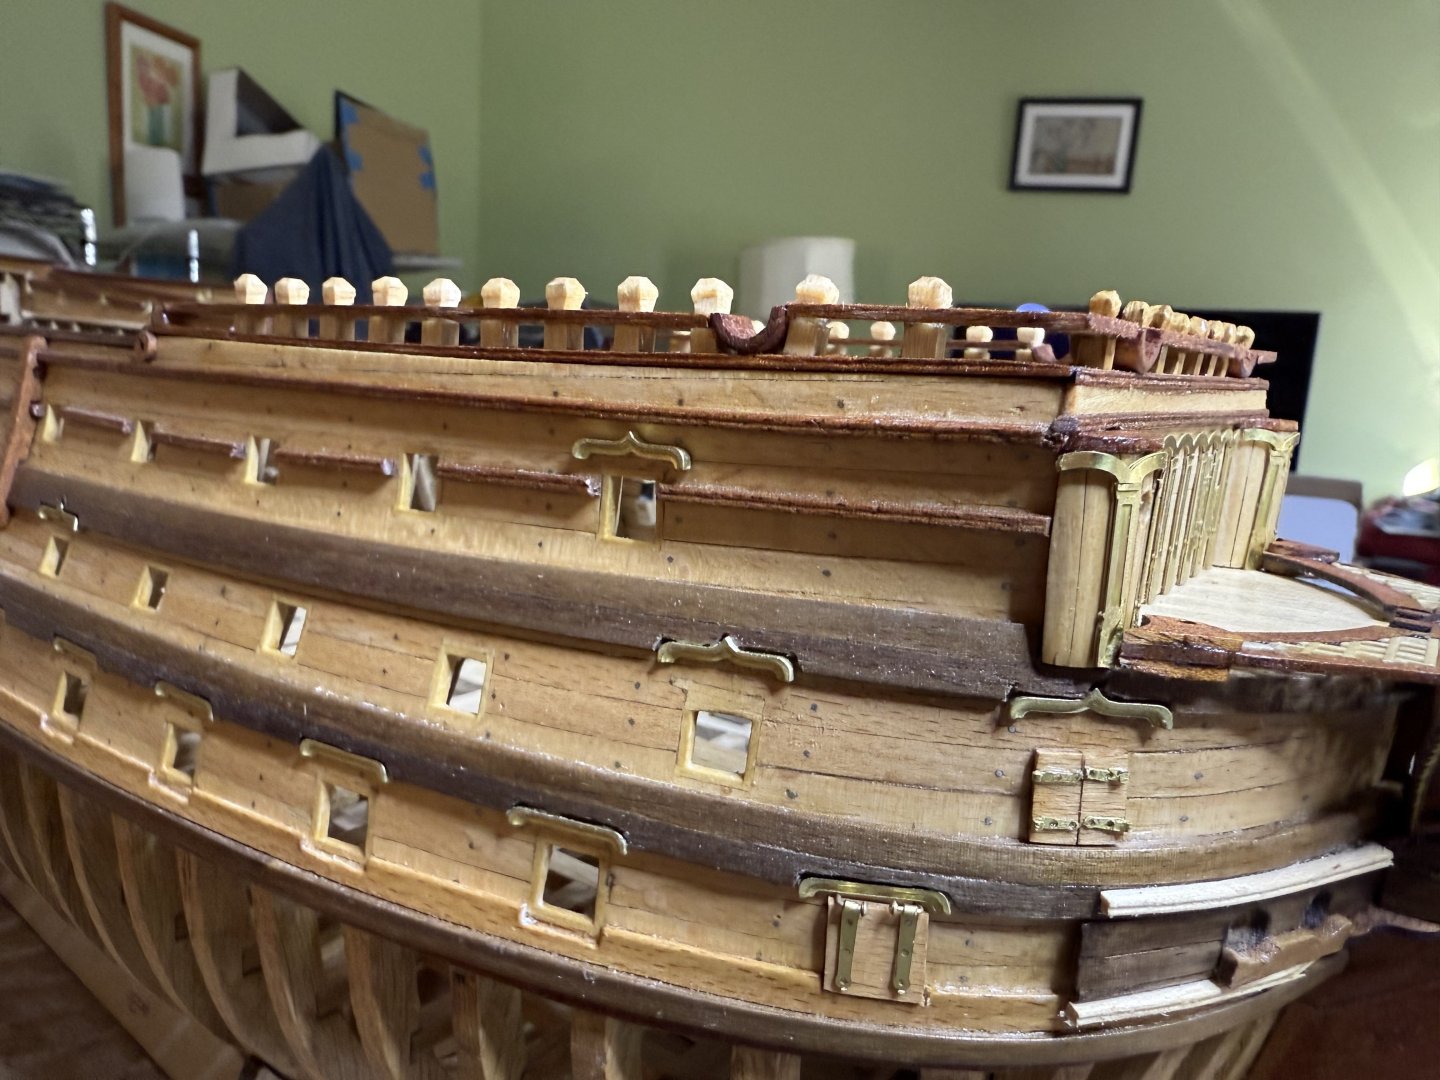
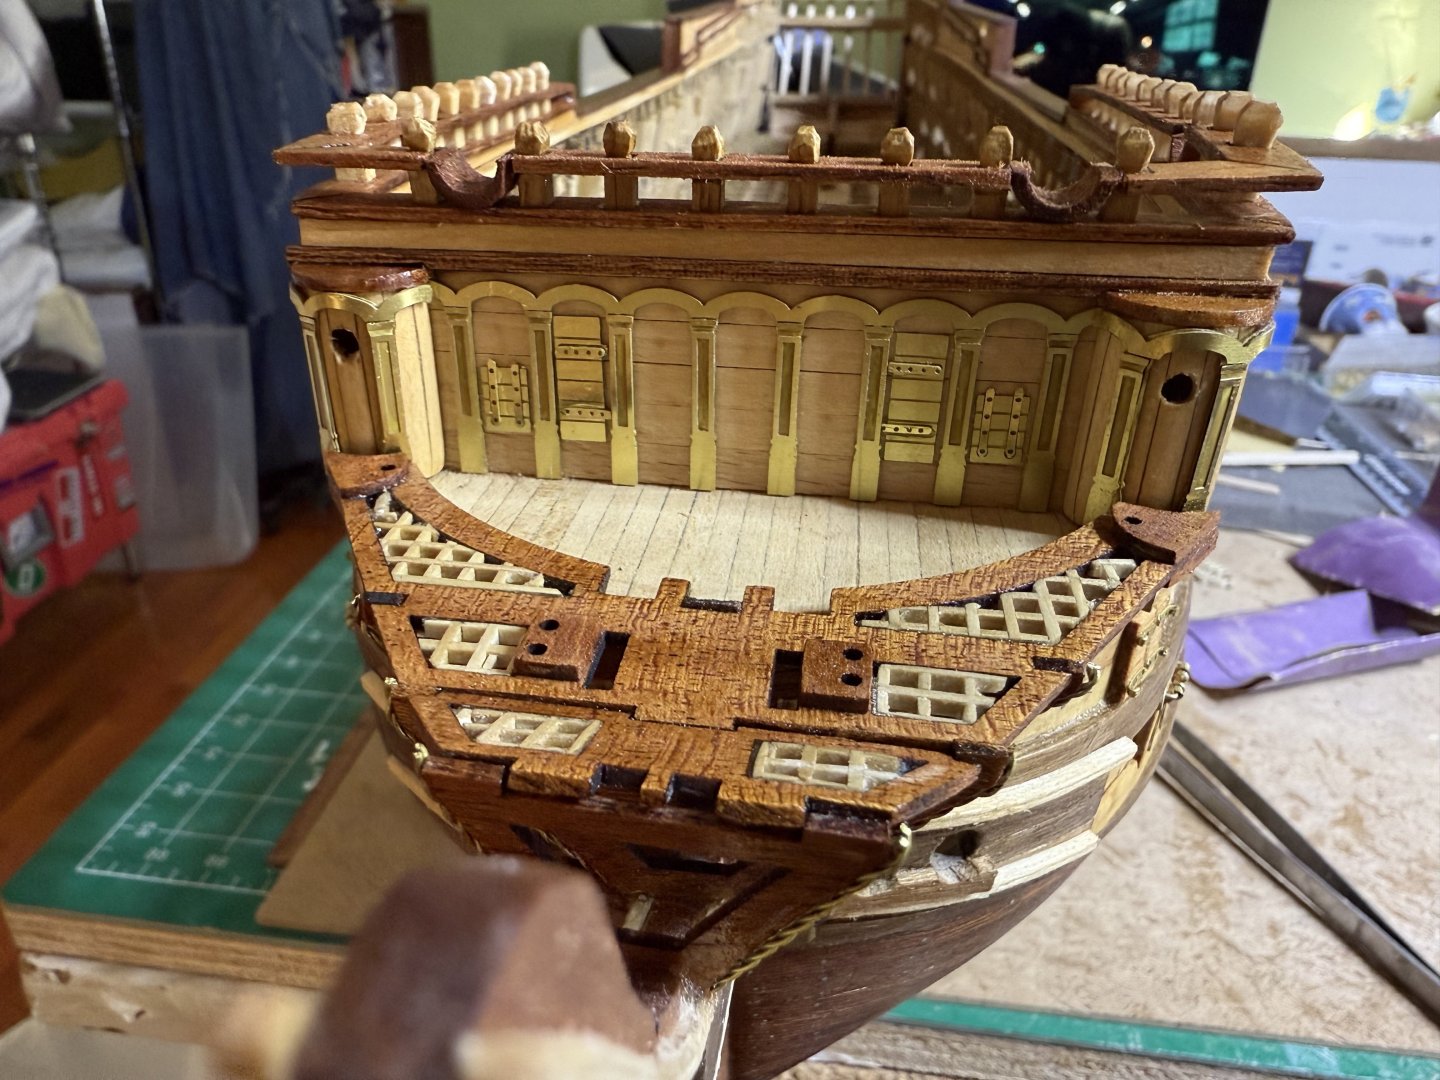
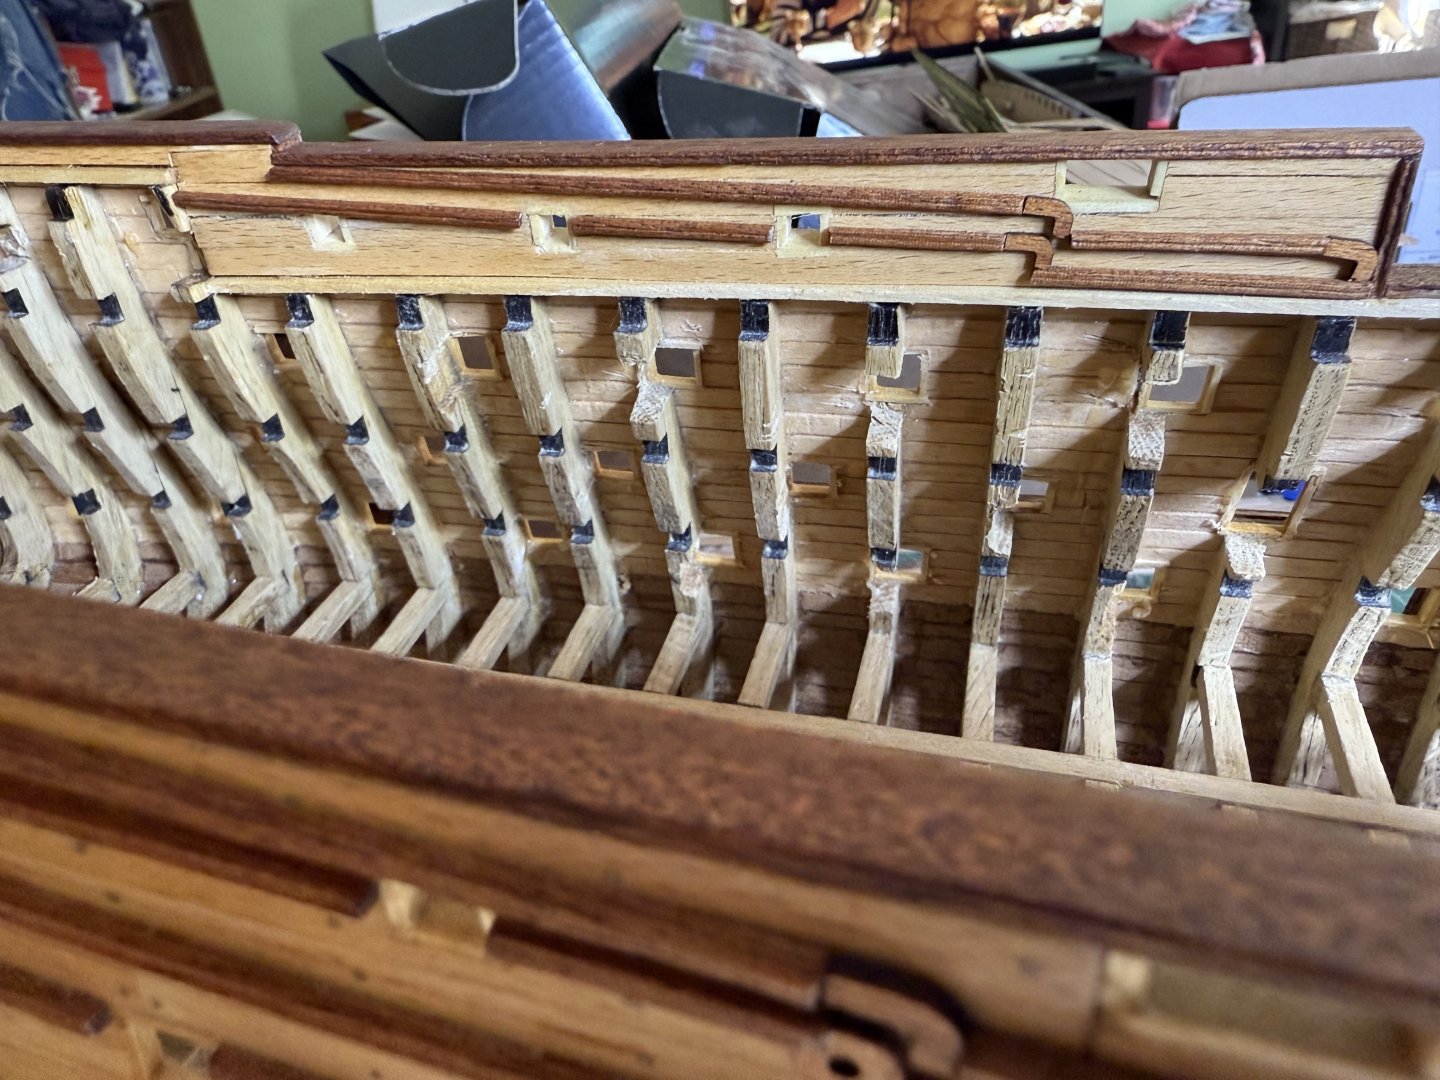
Did the inner bulwarks, finished outer fret work, inserted windows to the stern, scroll work on bow and forecastle as well as flag locker and flagpole holder


-
HMS Victory by ECK - OcCre - 1/87
ECK replied to ECK's topic in - Kit build logs for subjects built from 1751 - 1800
Attached the prow, false keel, stern post and rudder


-
HMS Victory by ECK - OcCre - 1/87
ECK replied to ECK's topic in - Kit build logs for subjects built from 1751 - 1800
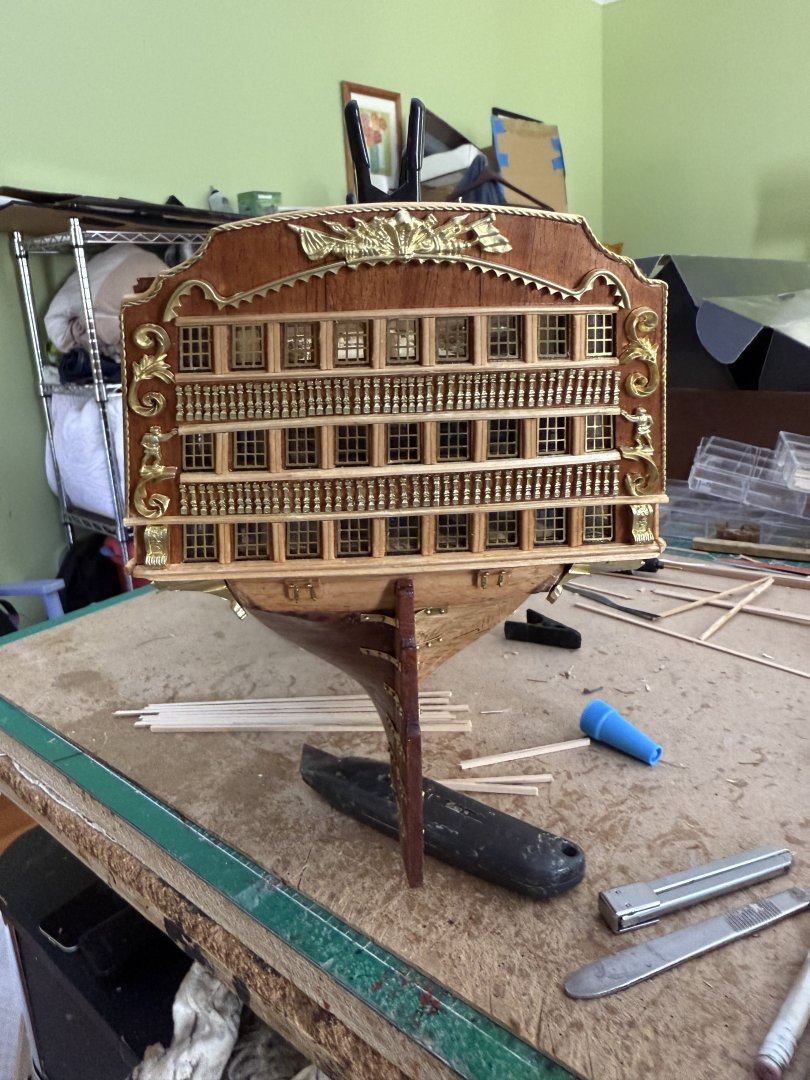
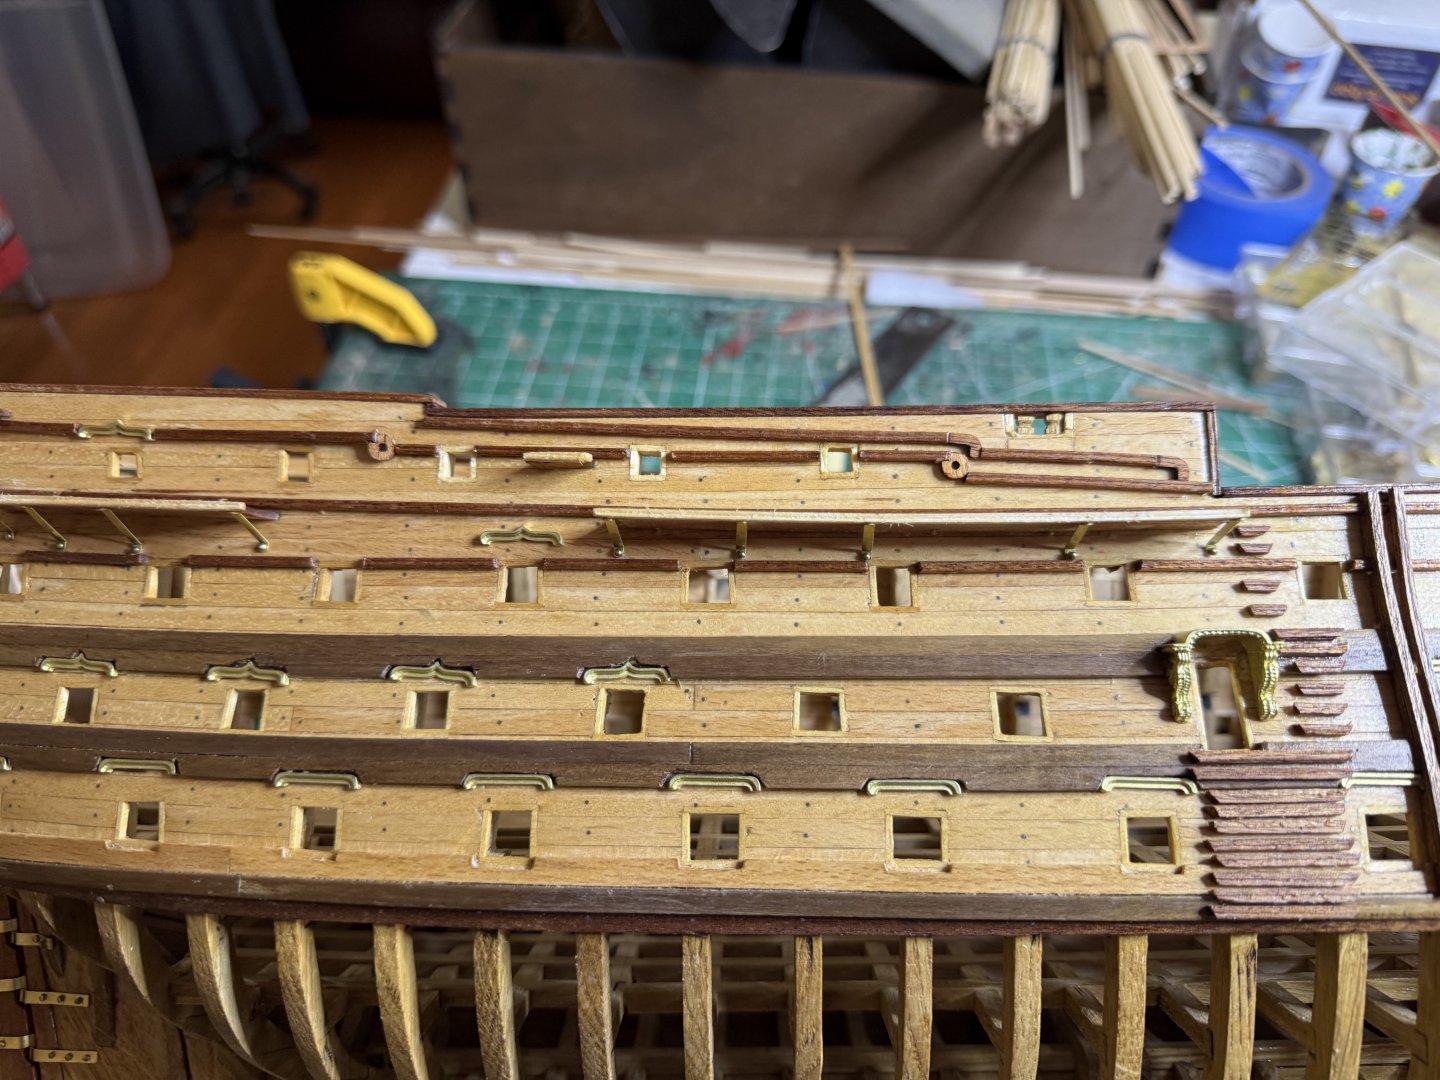
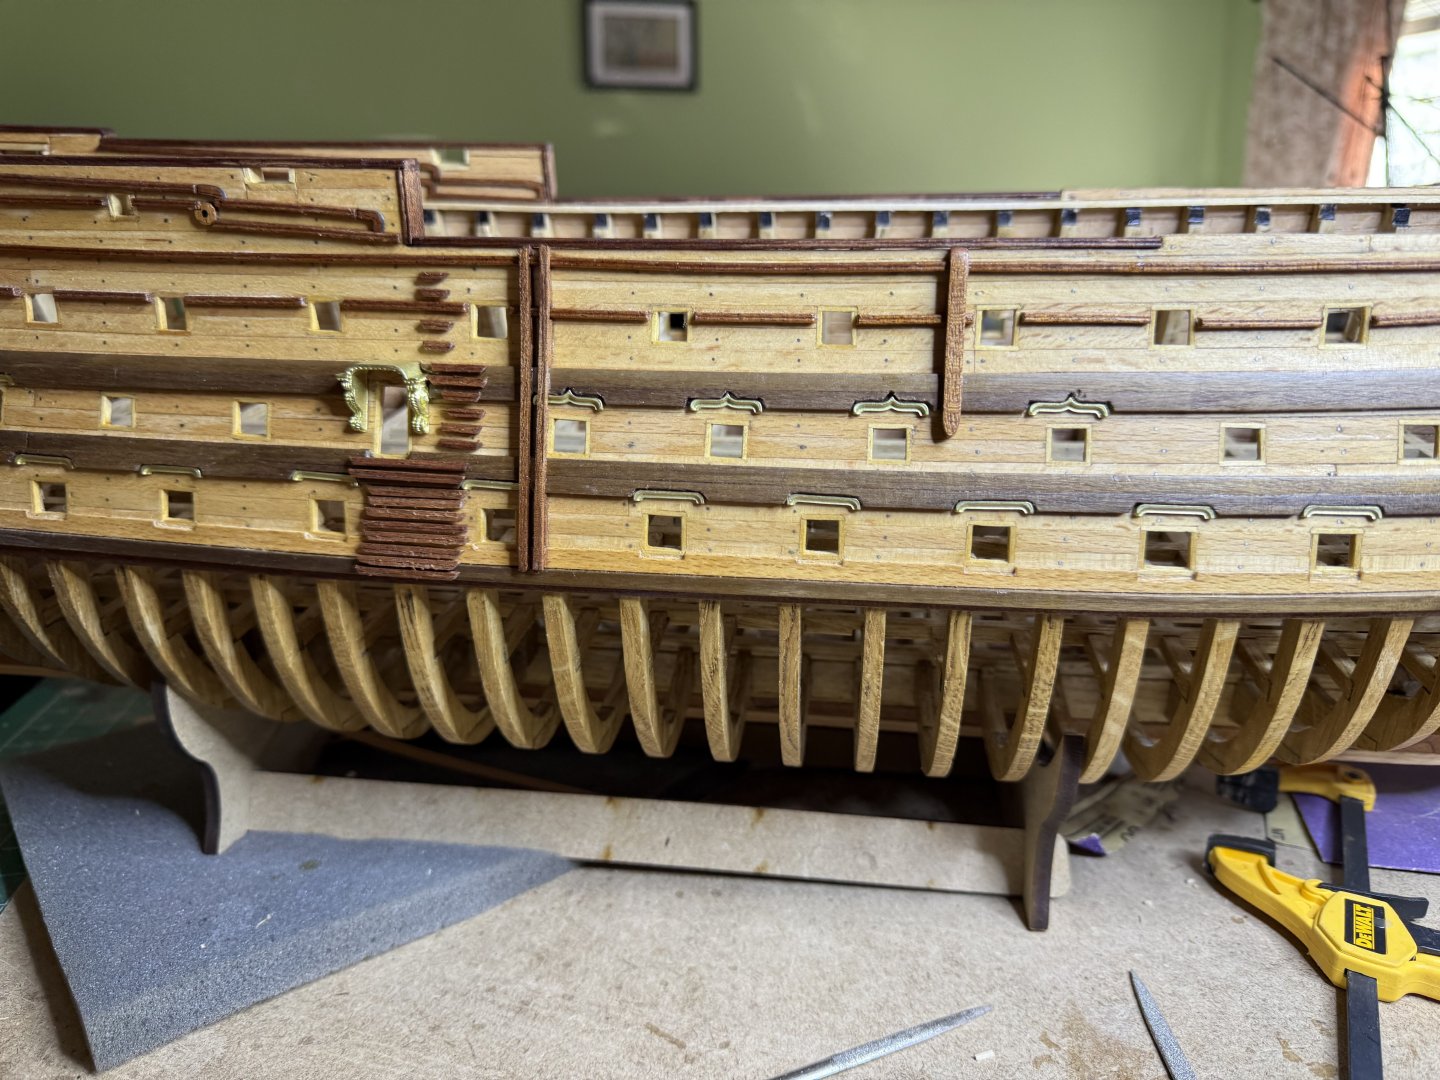
Carved and placed all the decorations above the gunports Took a week but finished all the gunports Installed the closed ports and the open ones will be done later so I don't keep catching them with clothing Then Started on the stern. Occre provides a tool to make the molding Then a bit of sanding sealer and poly for the patina Finally did all the hatches


-
Congratulations on another lovely build! Look forward to following your Grecian project.
- 241 replies
-
- 1
-

-
- Vanguarrd Models
- Harpy
- (and 1 more)
-
HMS Victory by ECK - OcCre - 1/87
ECK replied to ECK's topic in - Kit build logs for subjects built from 1751 - 1800
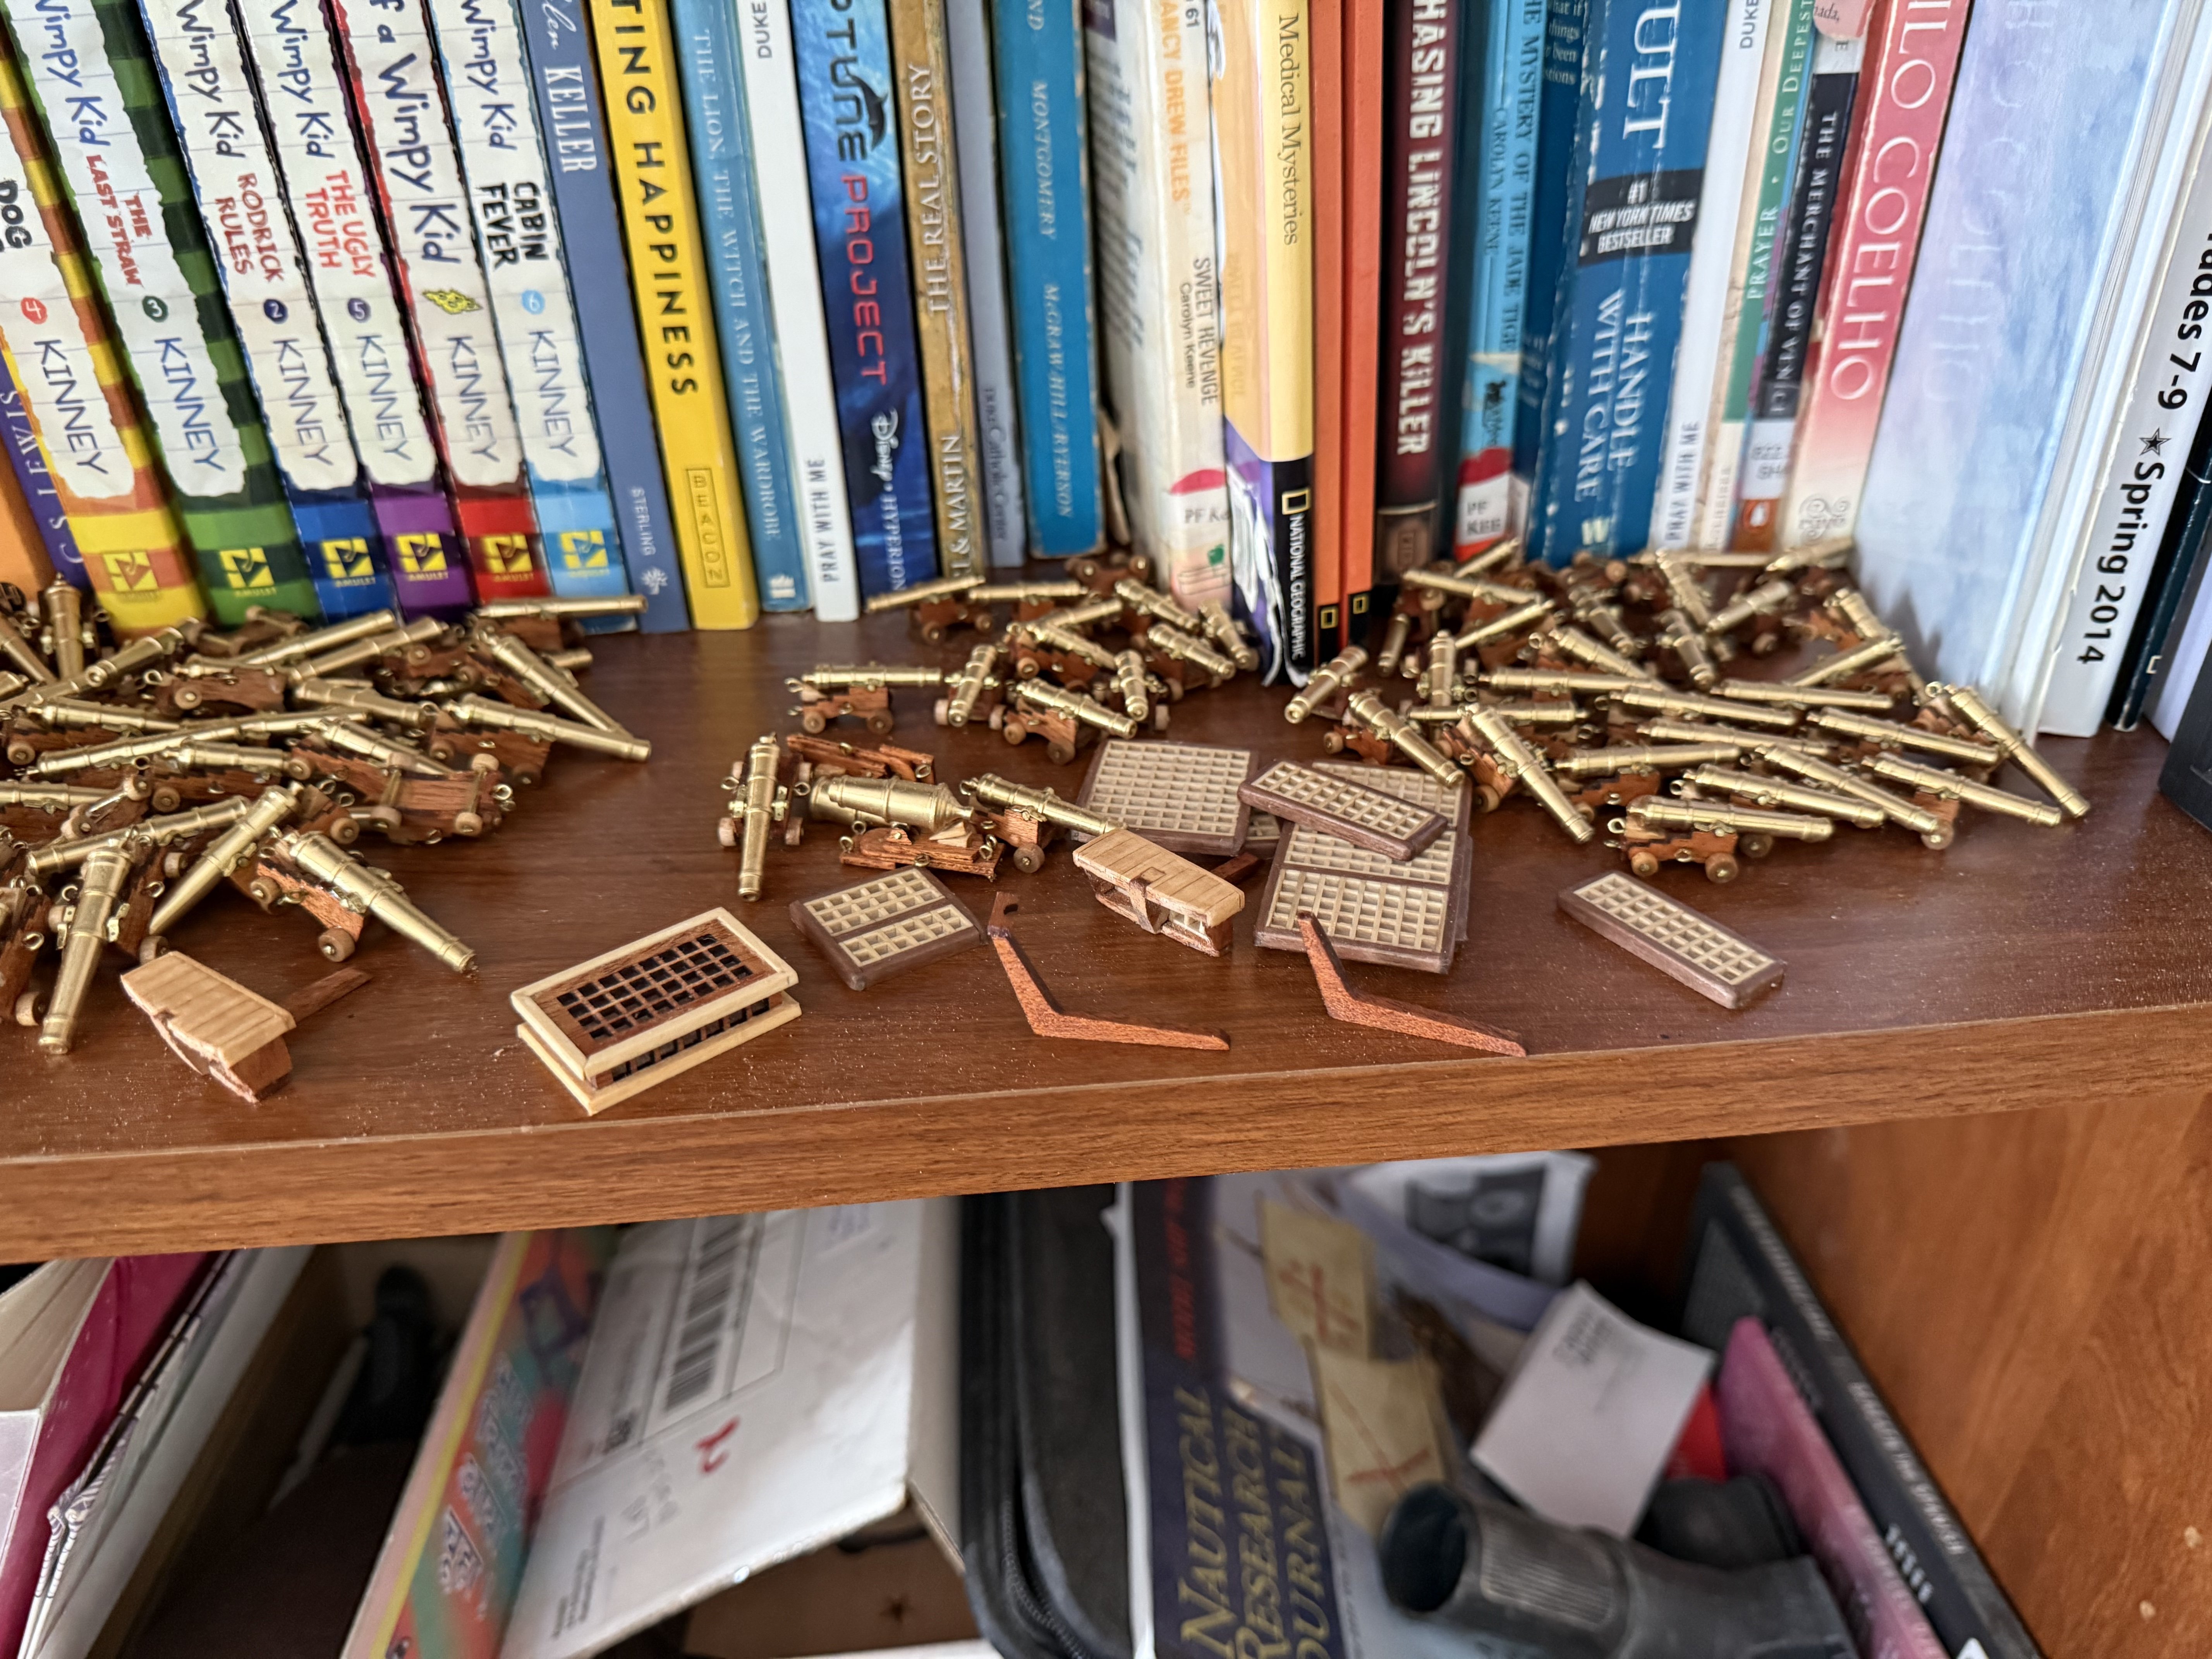
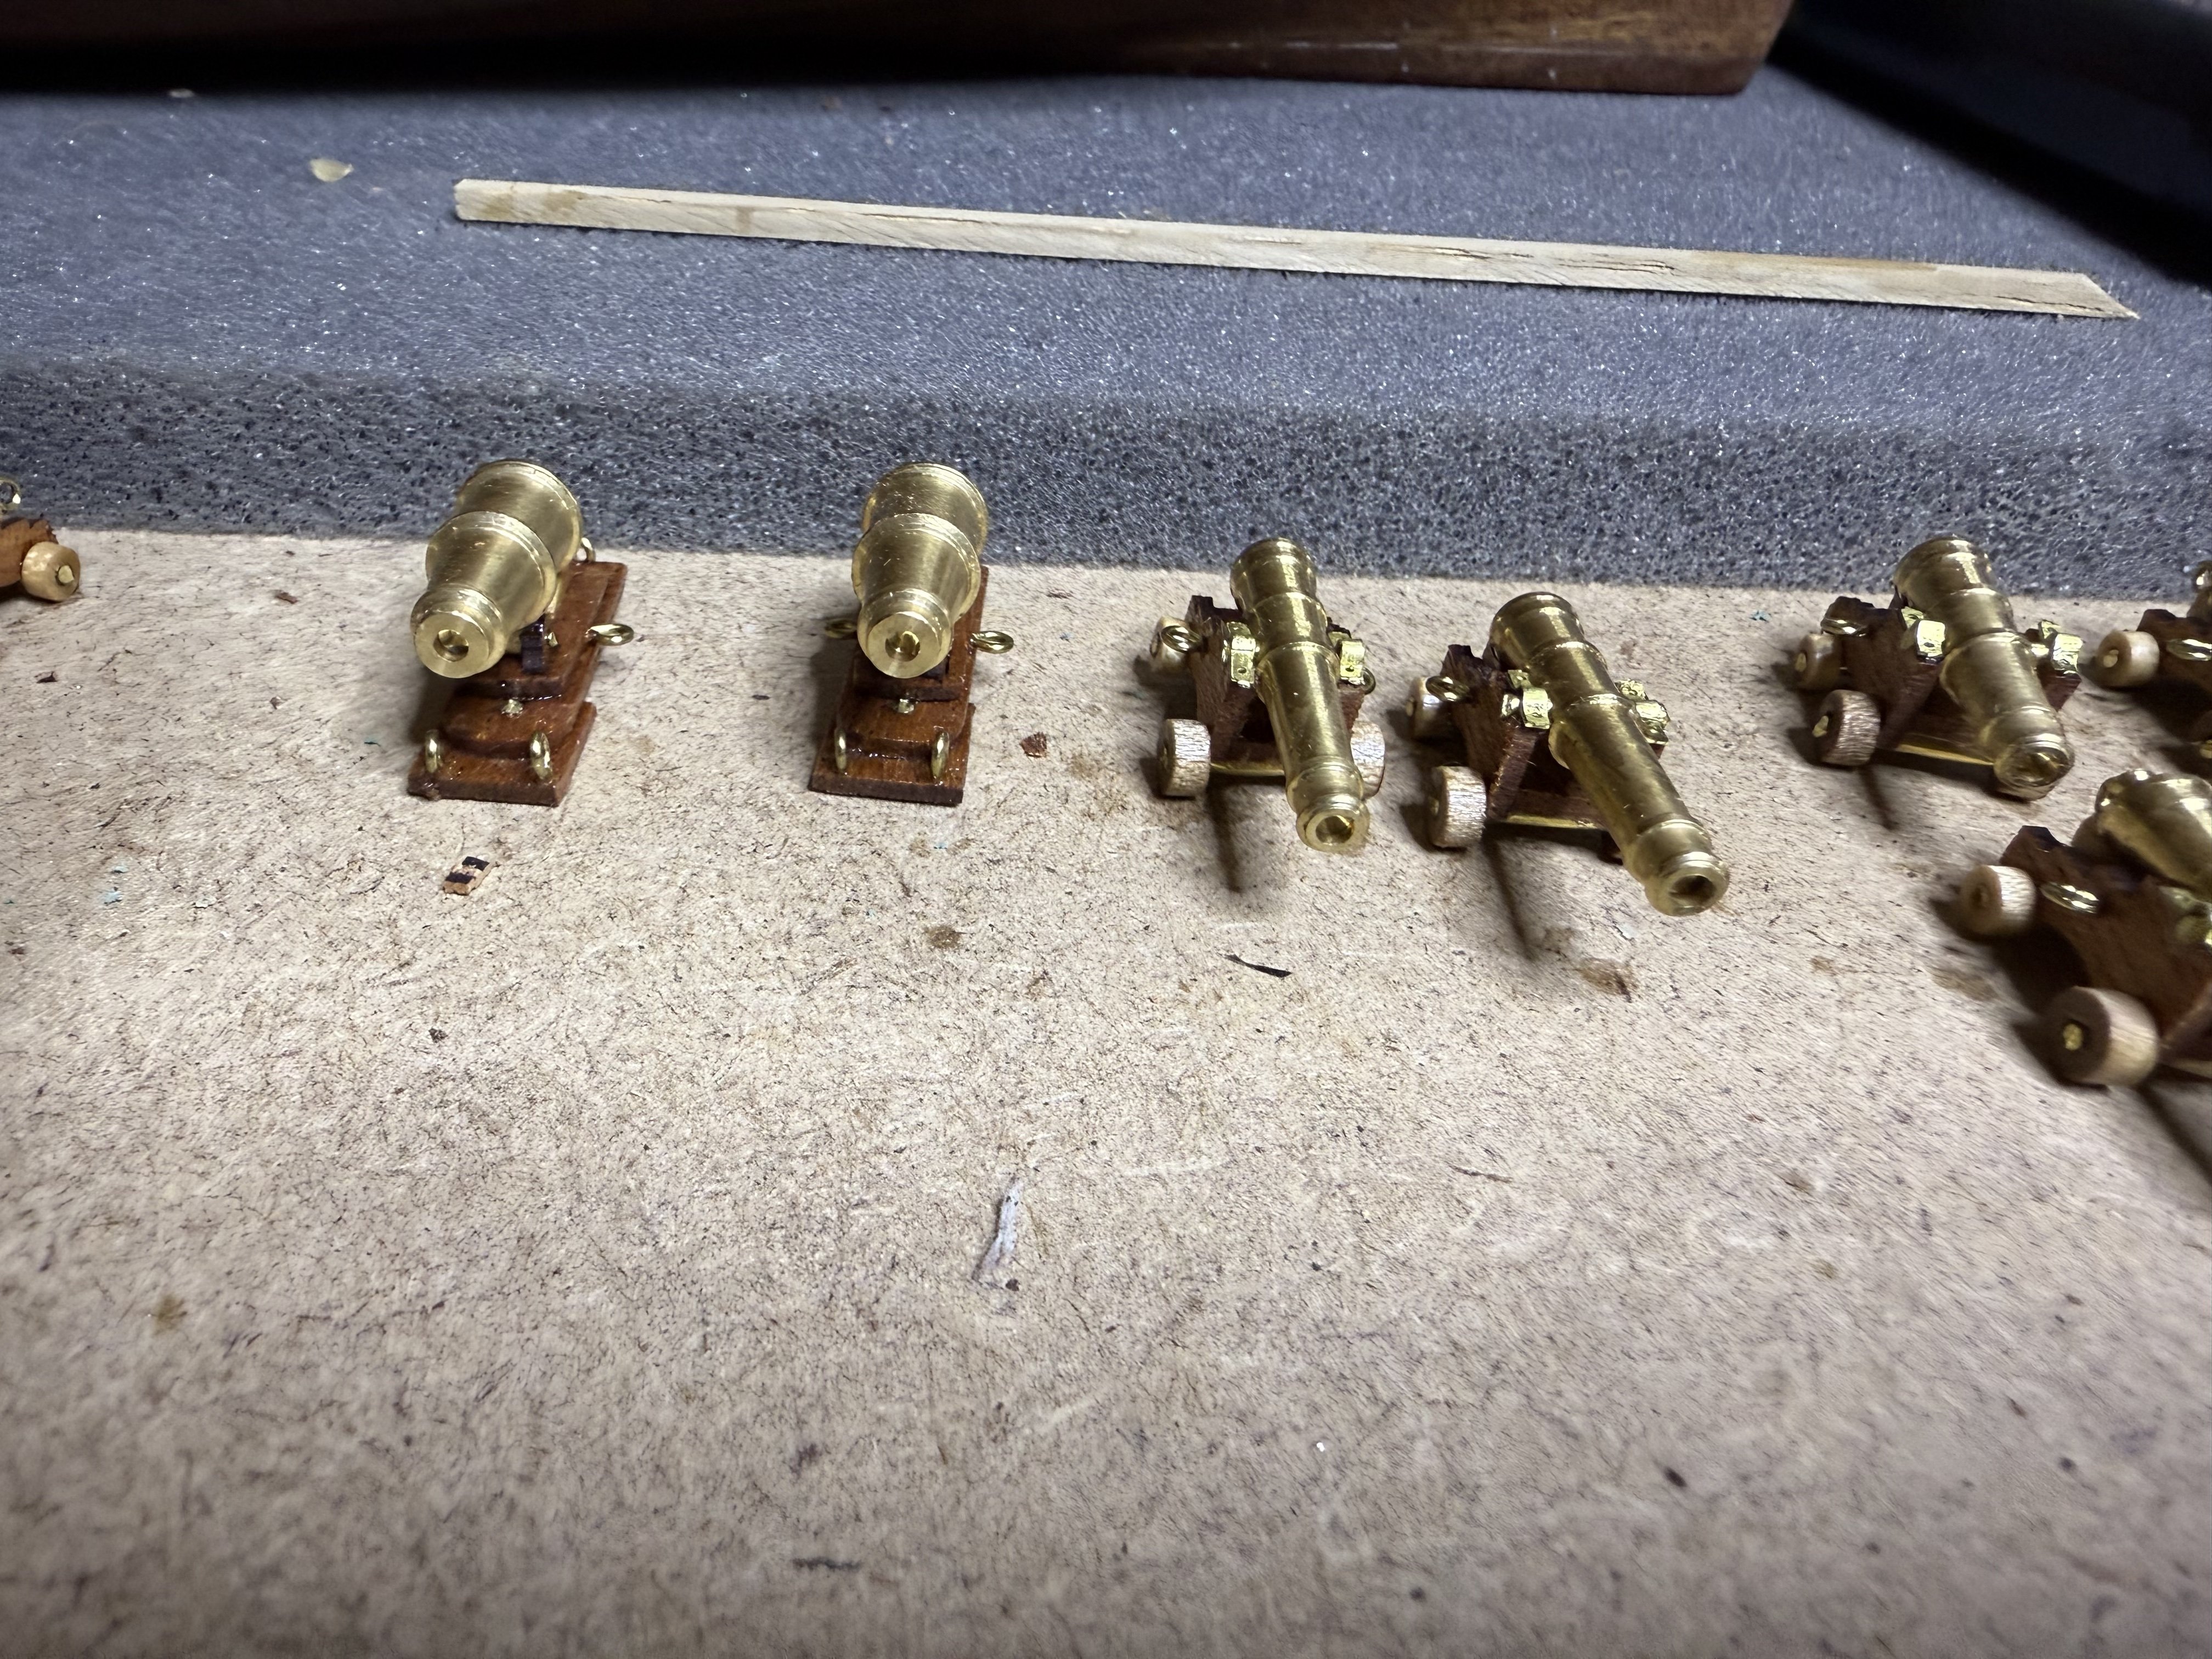
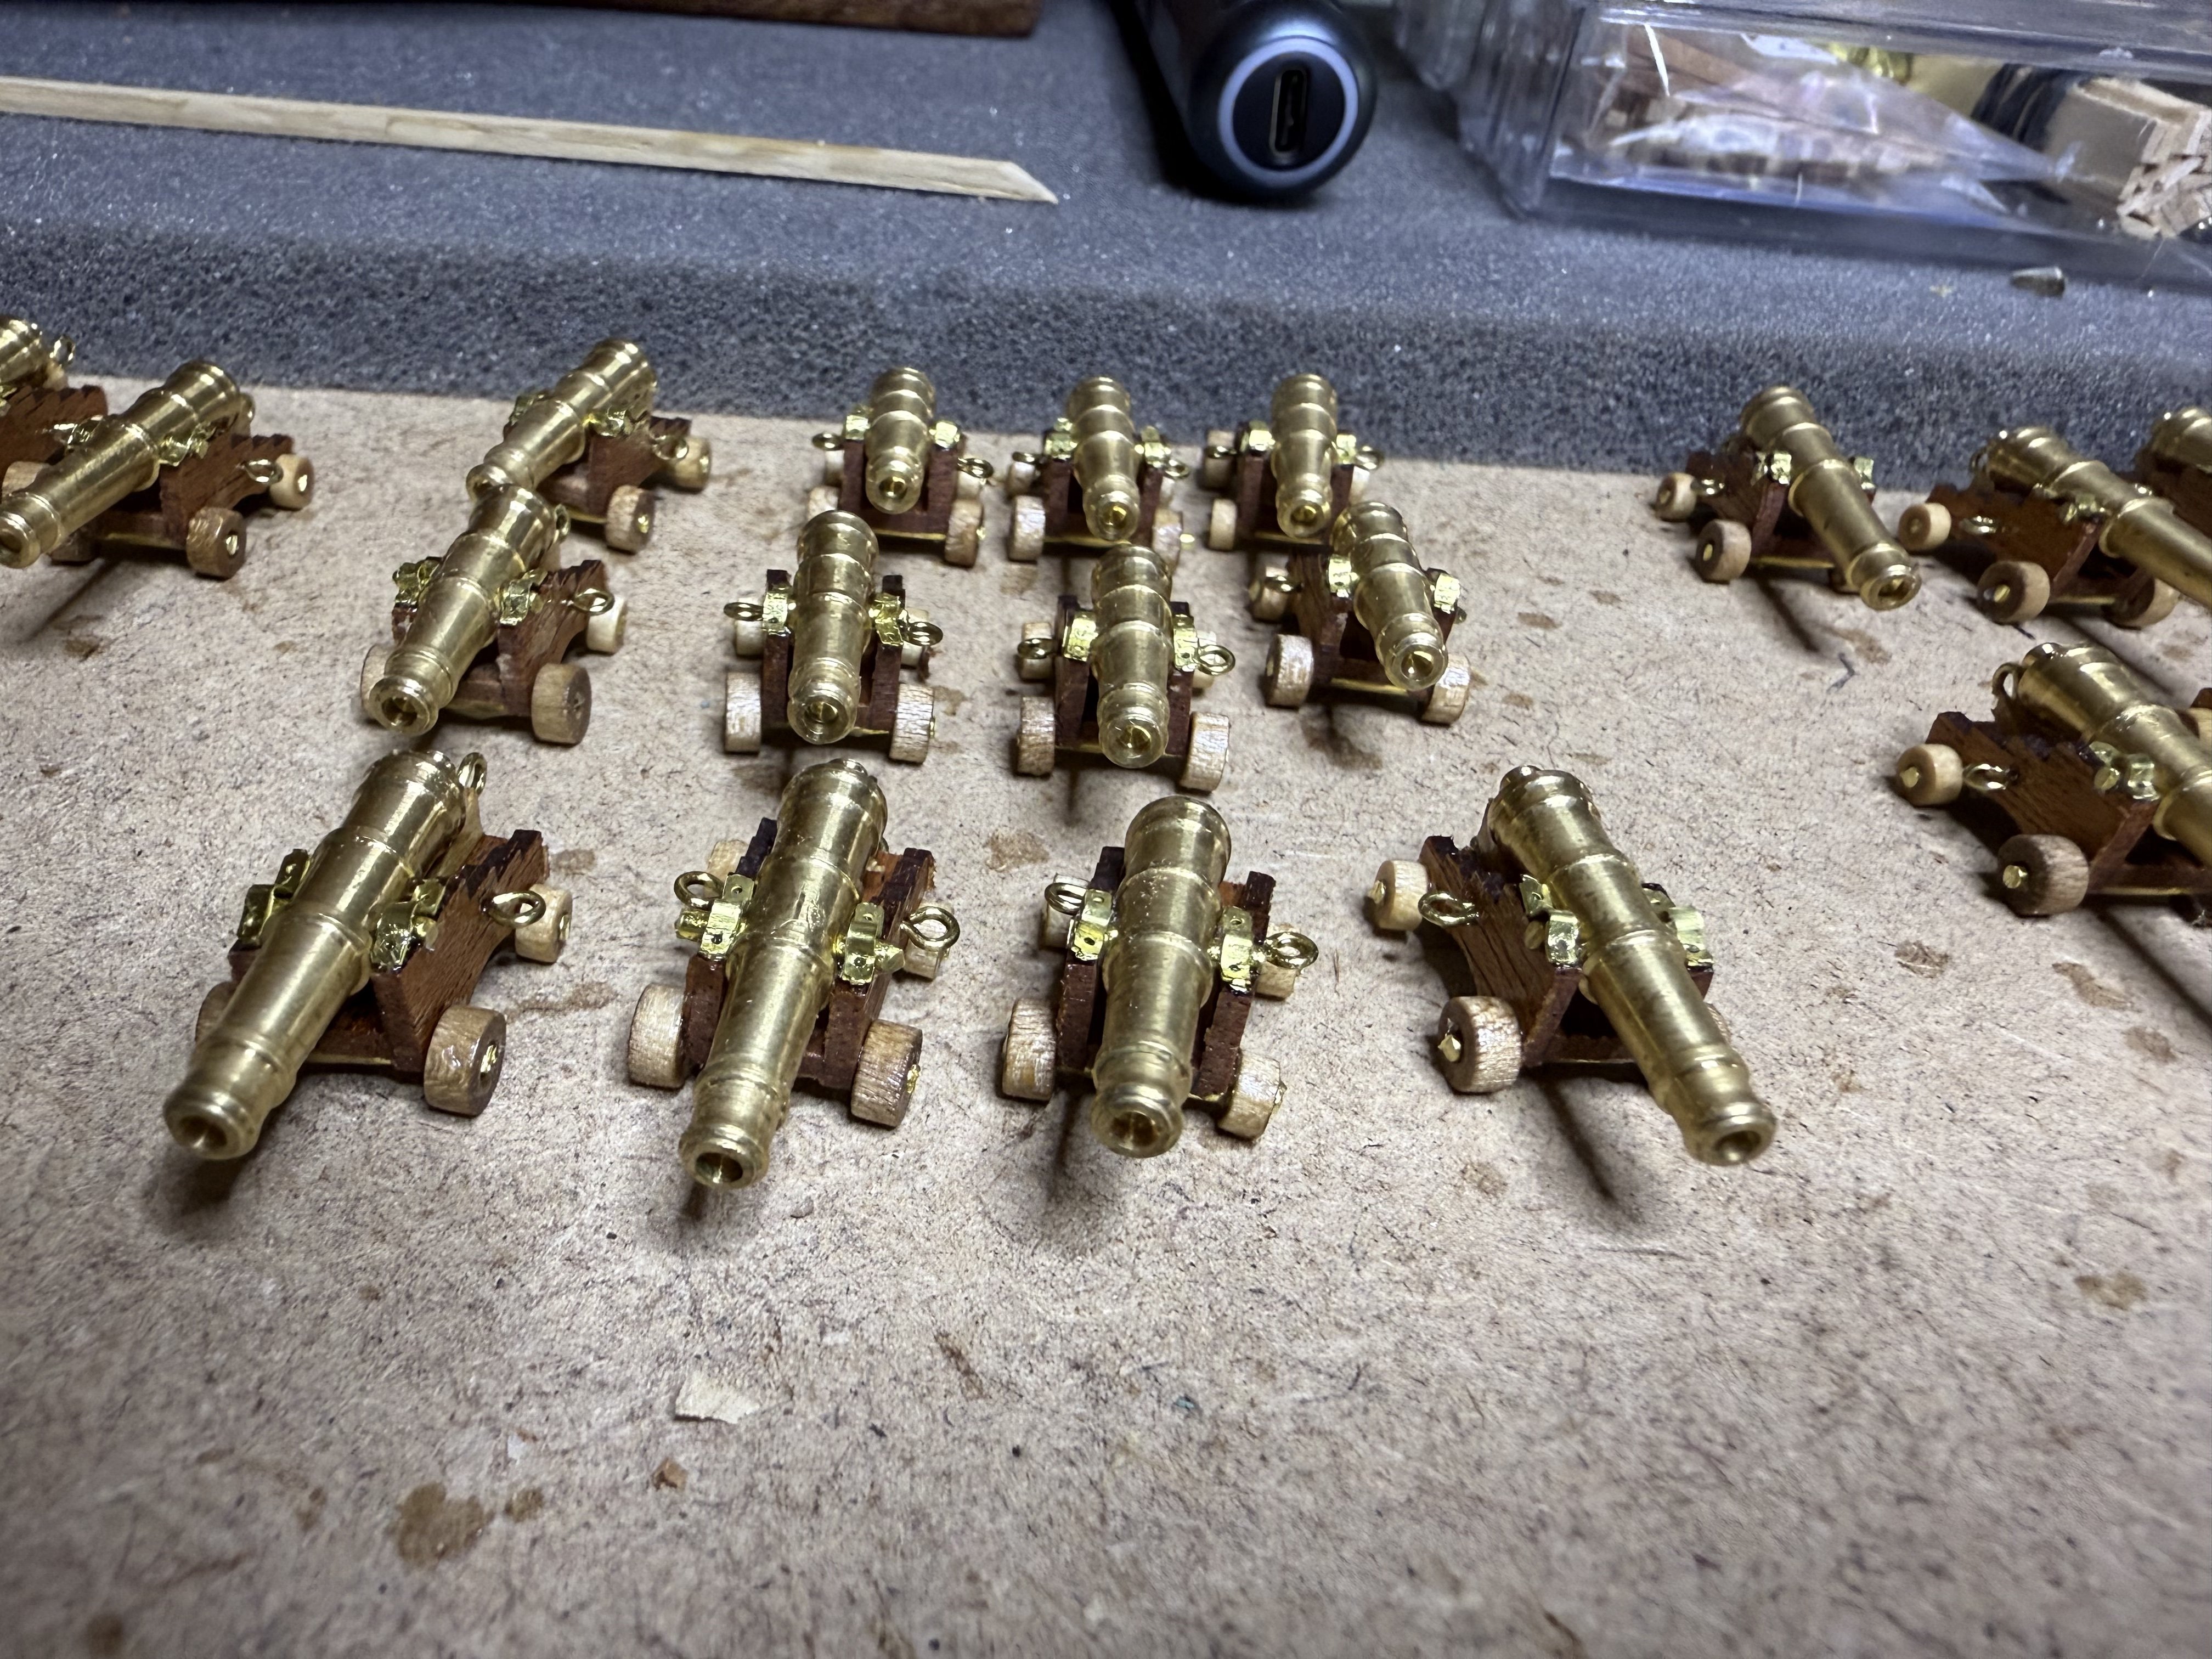
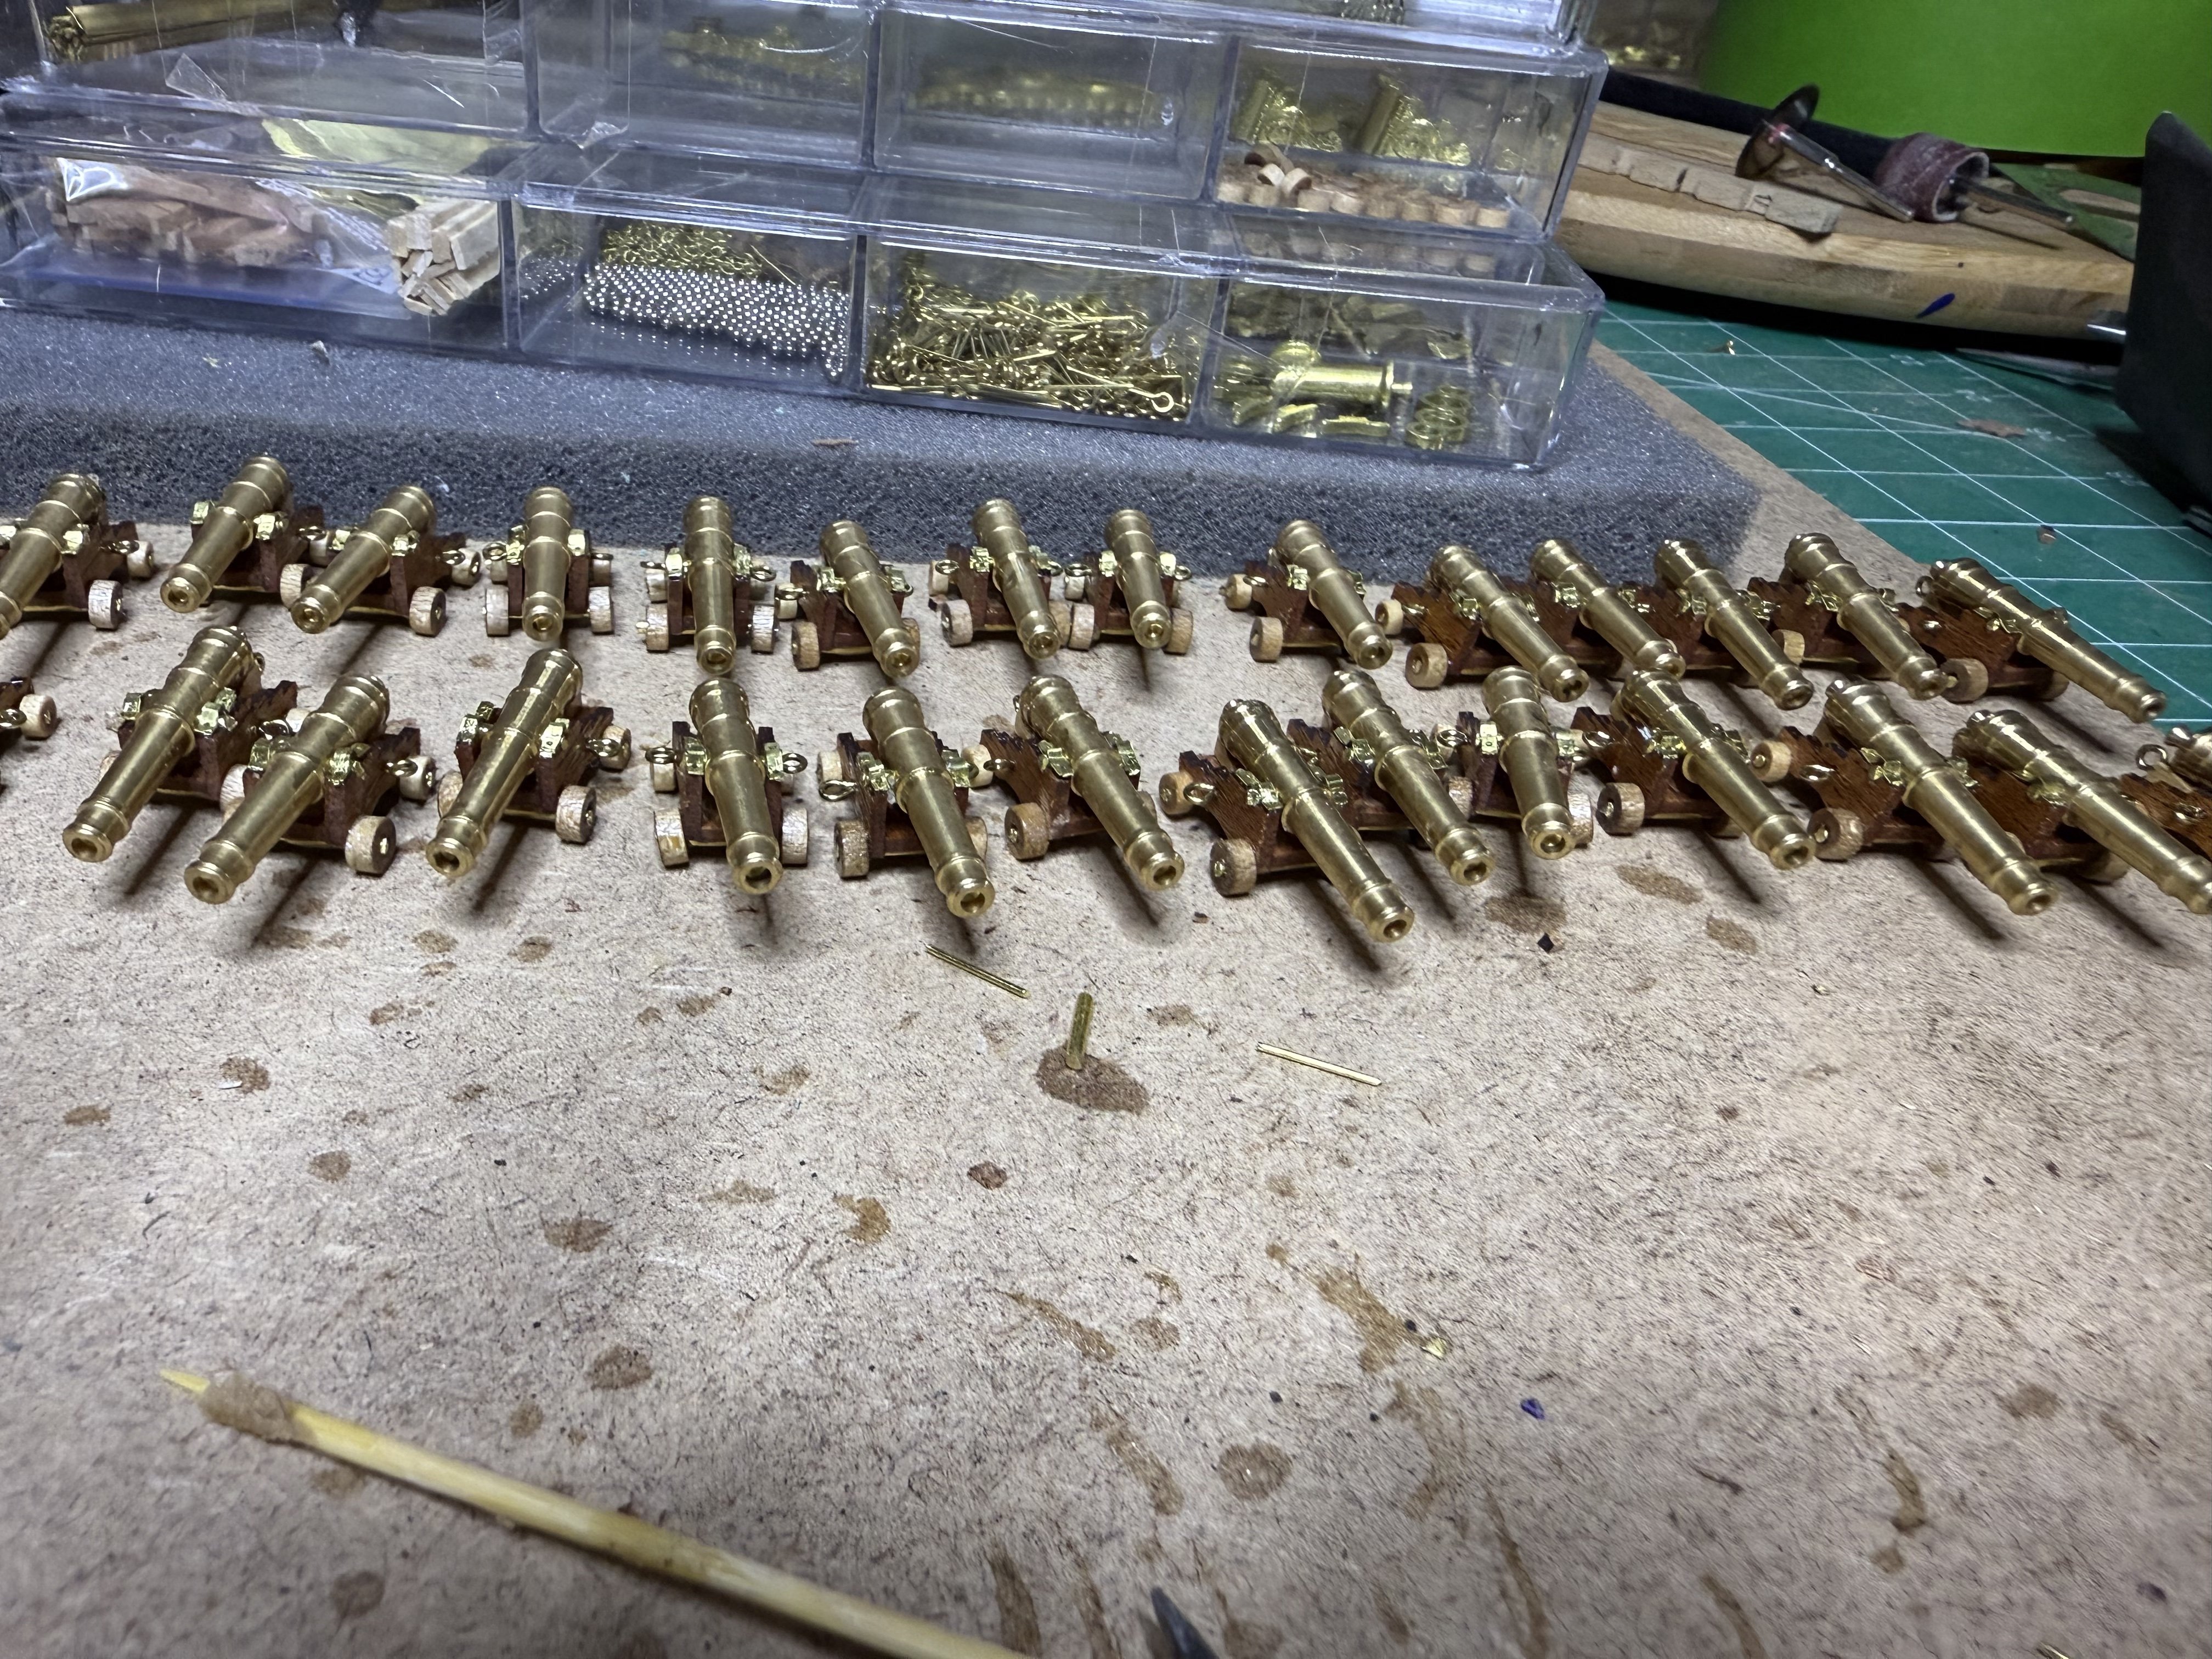
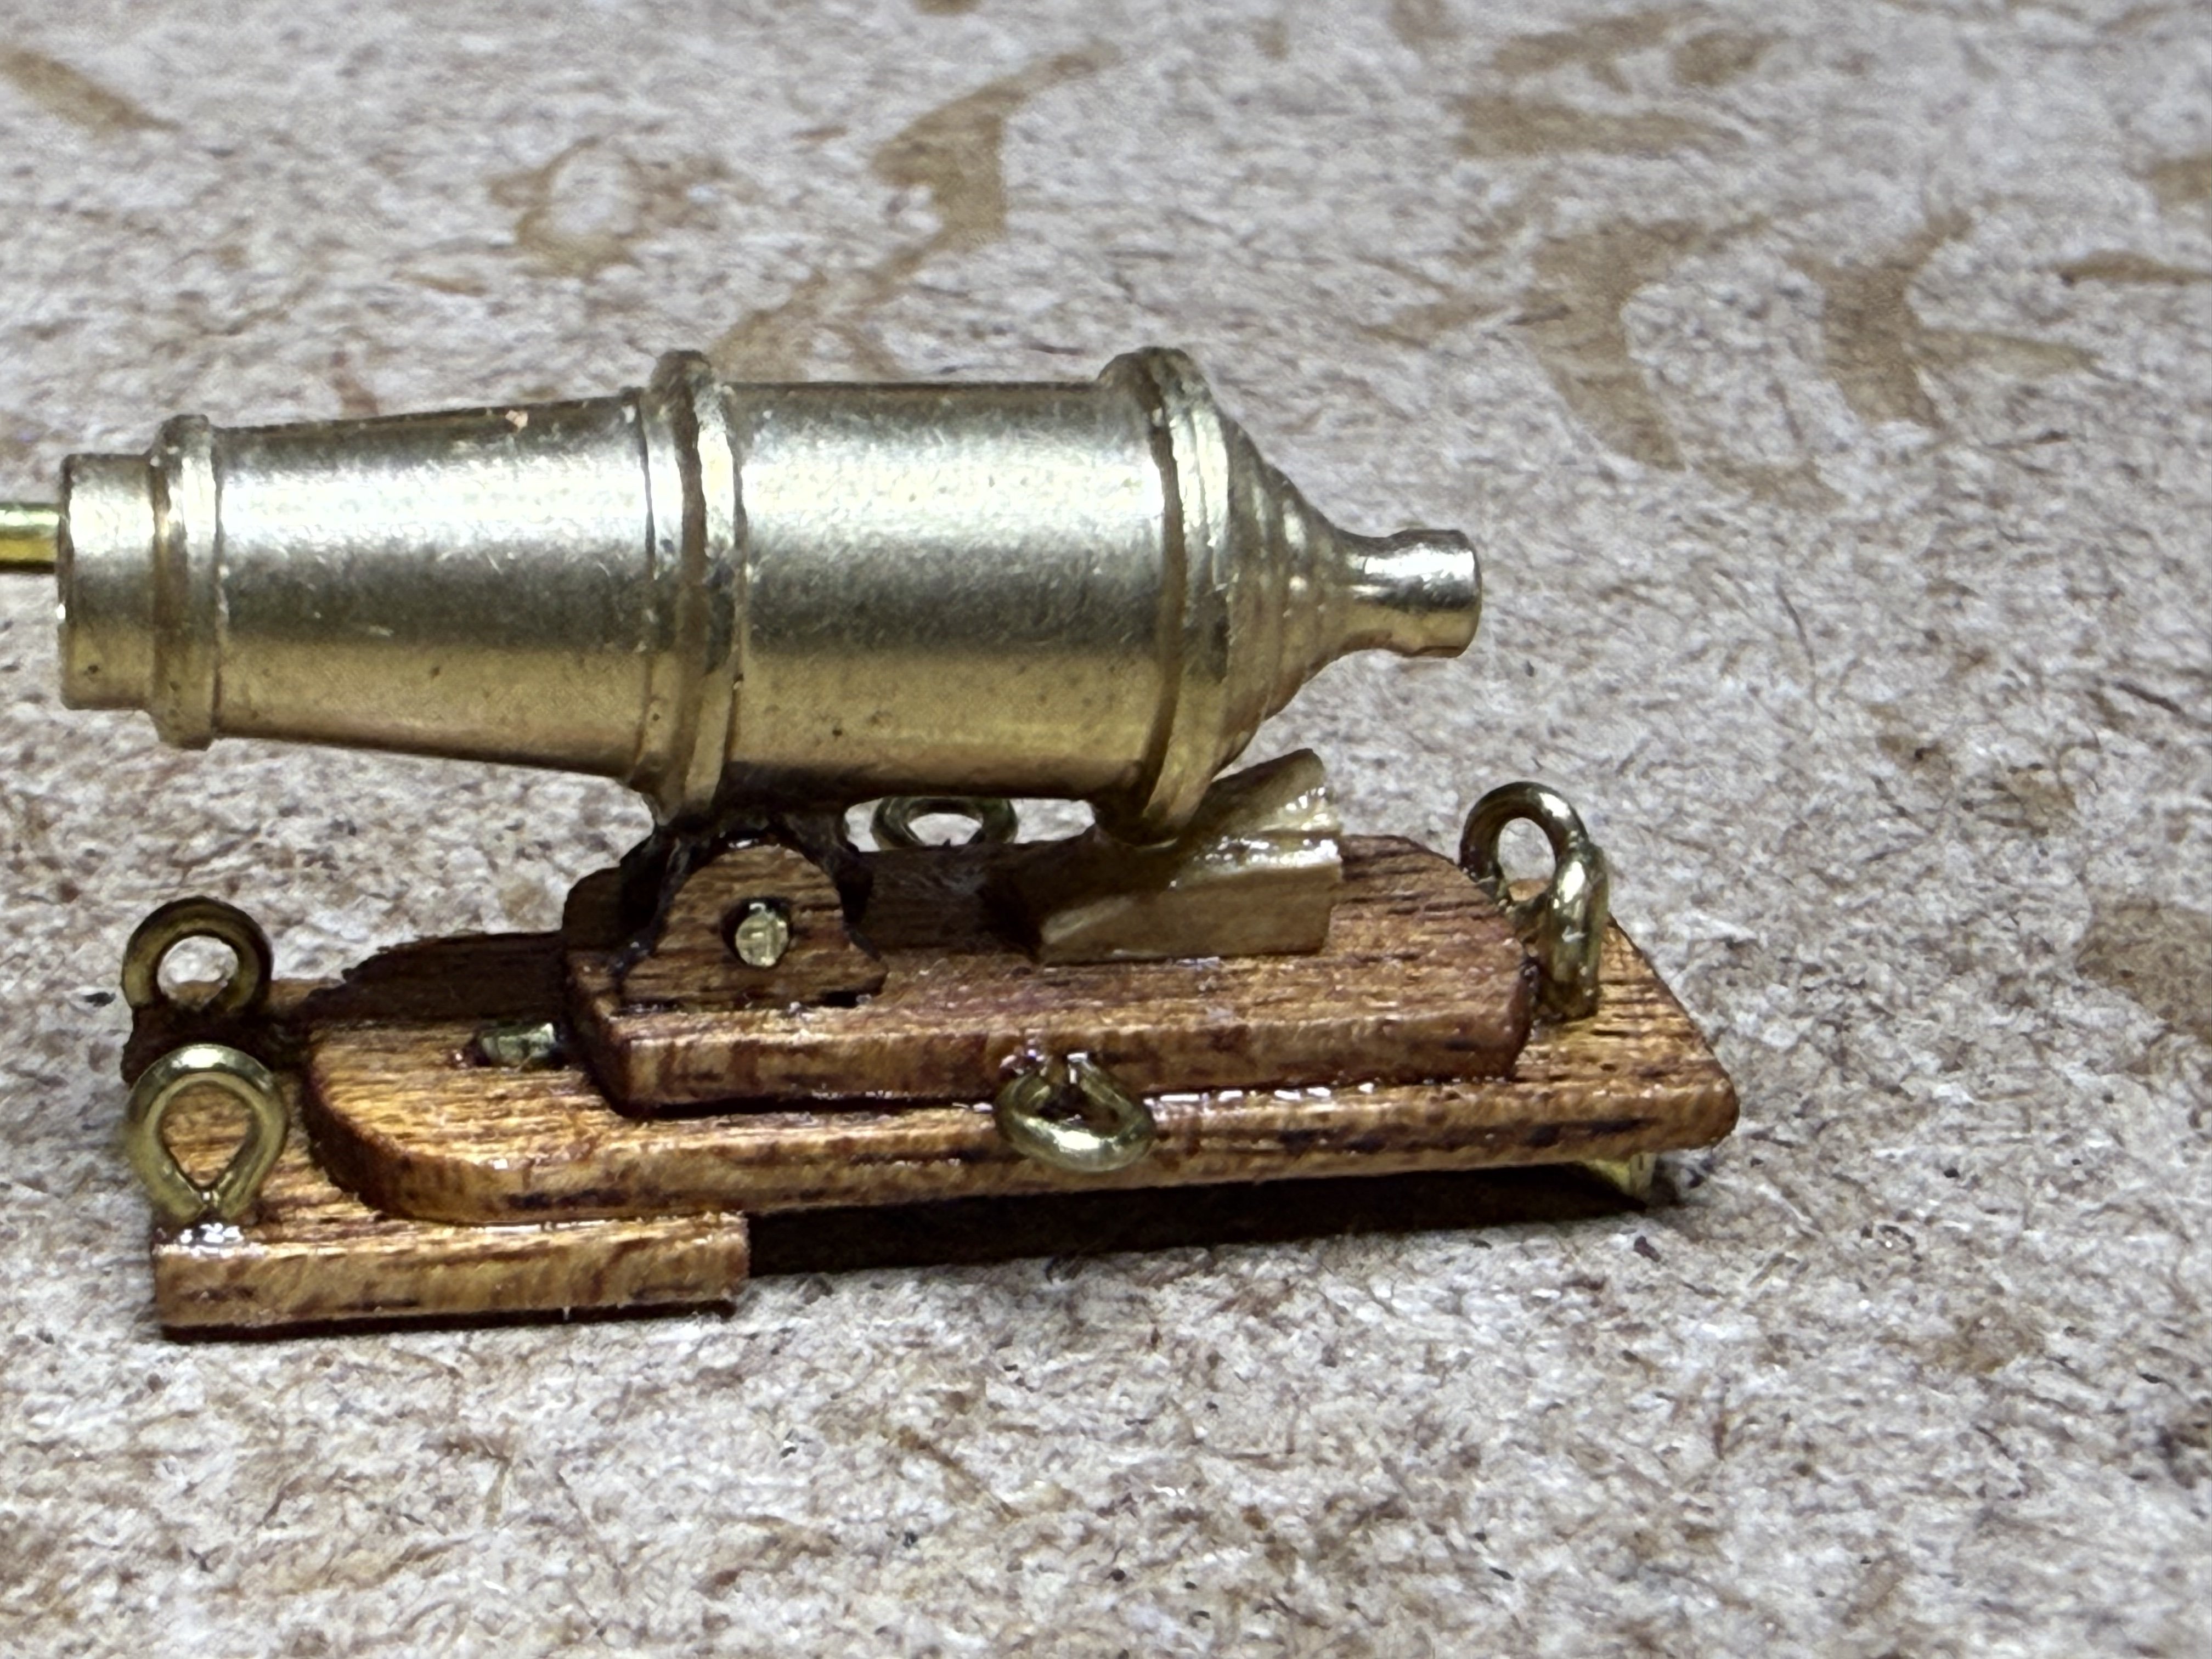
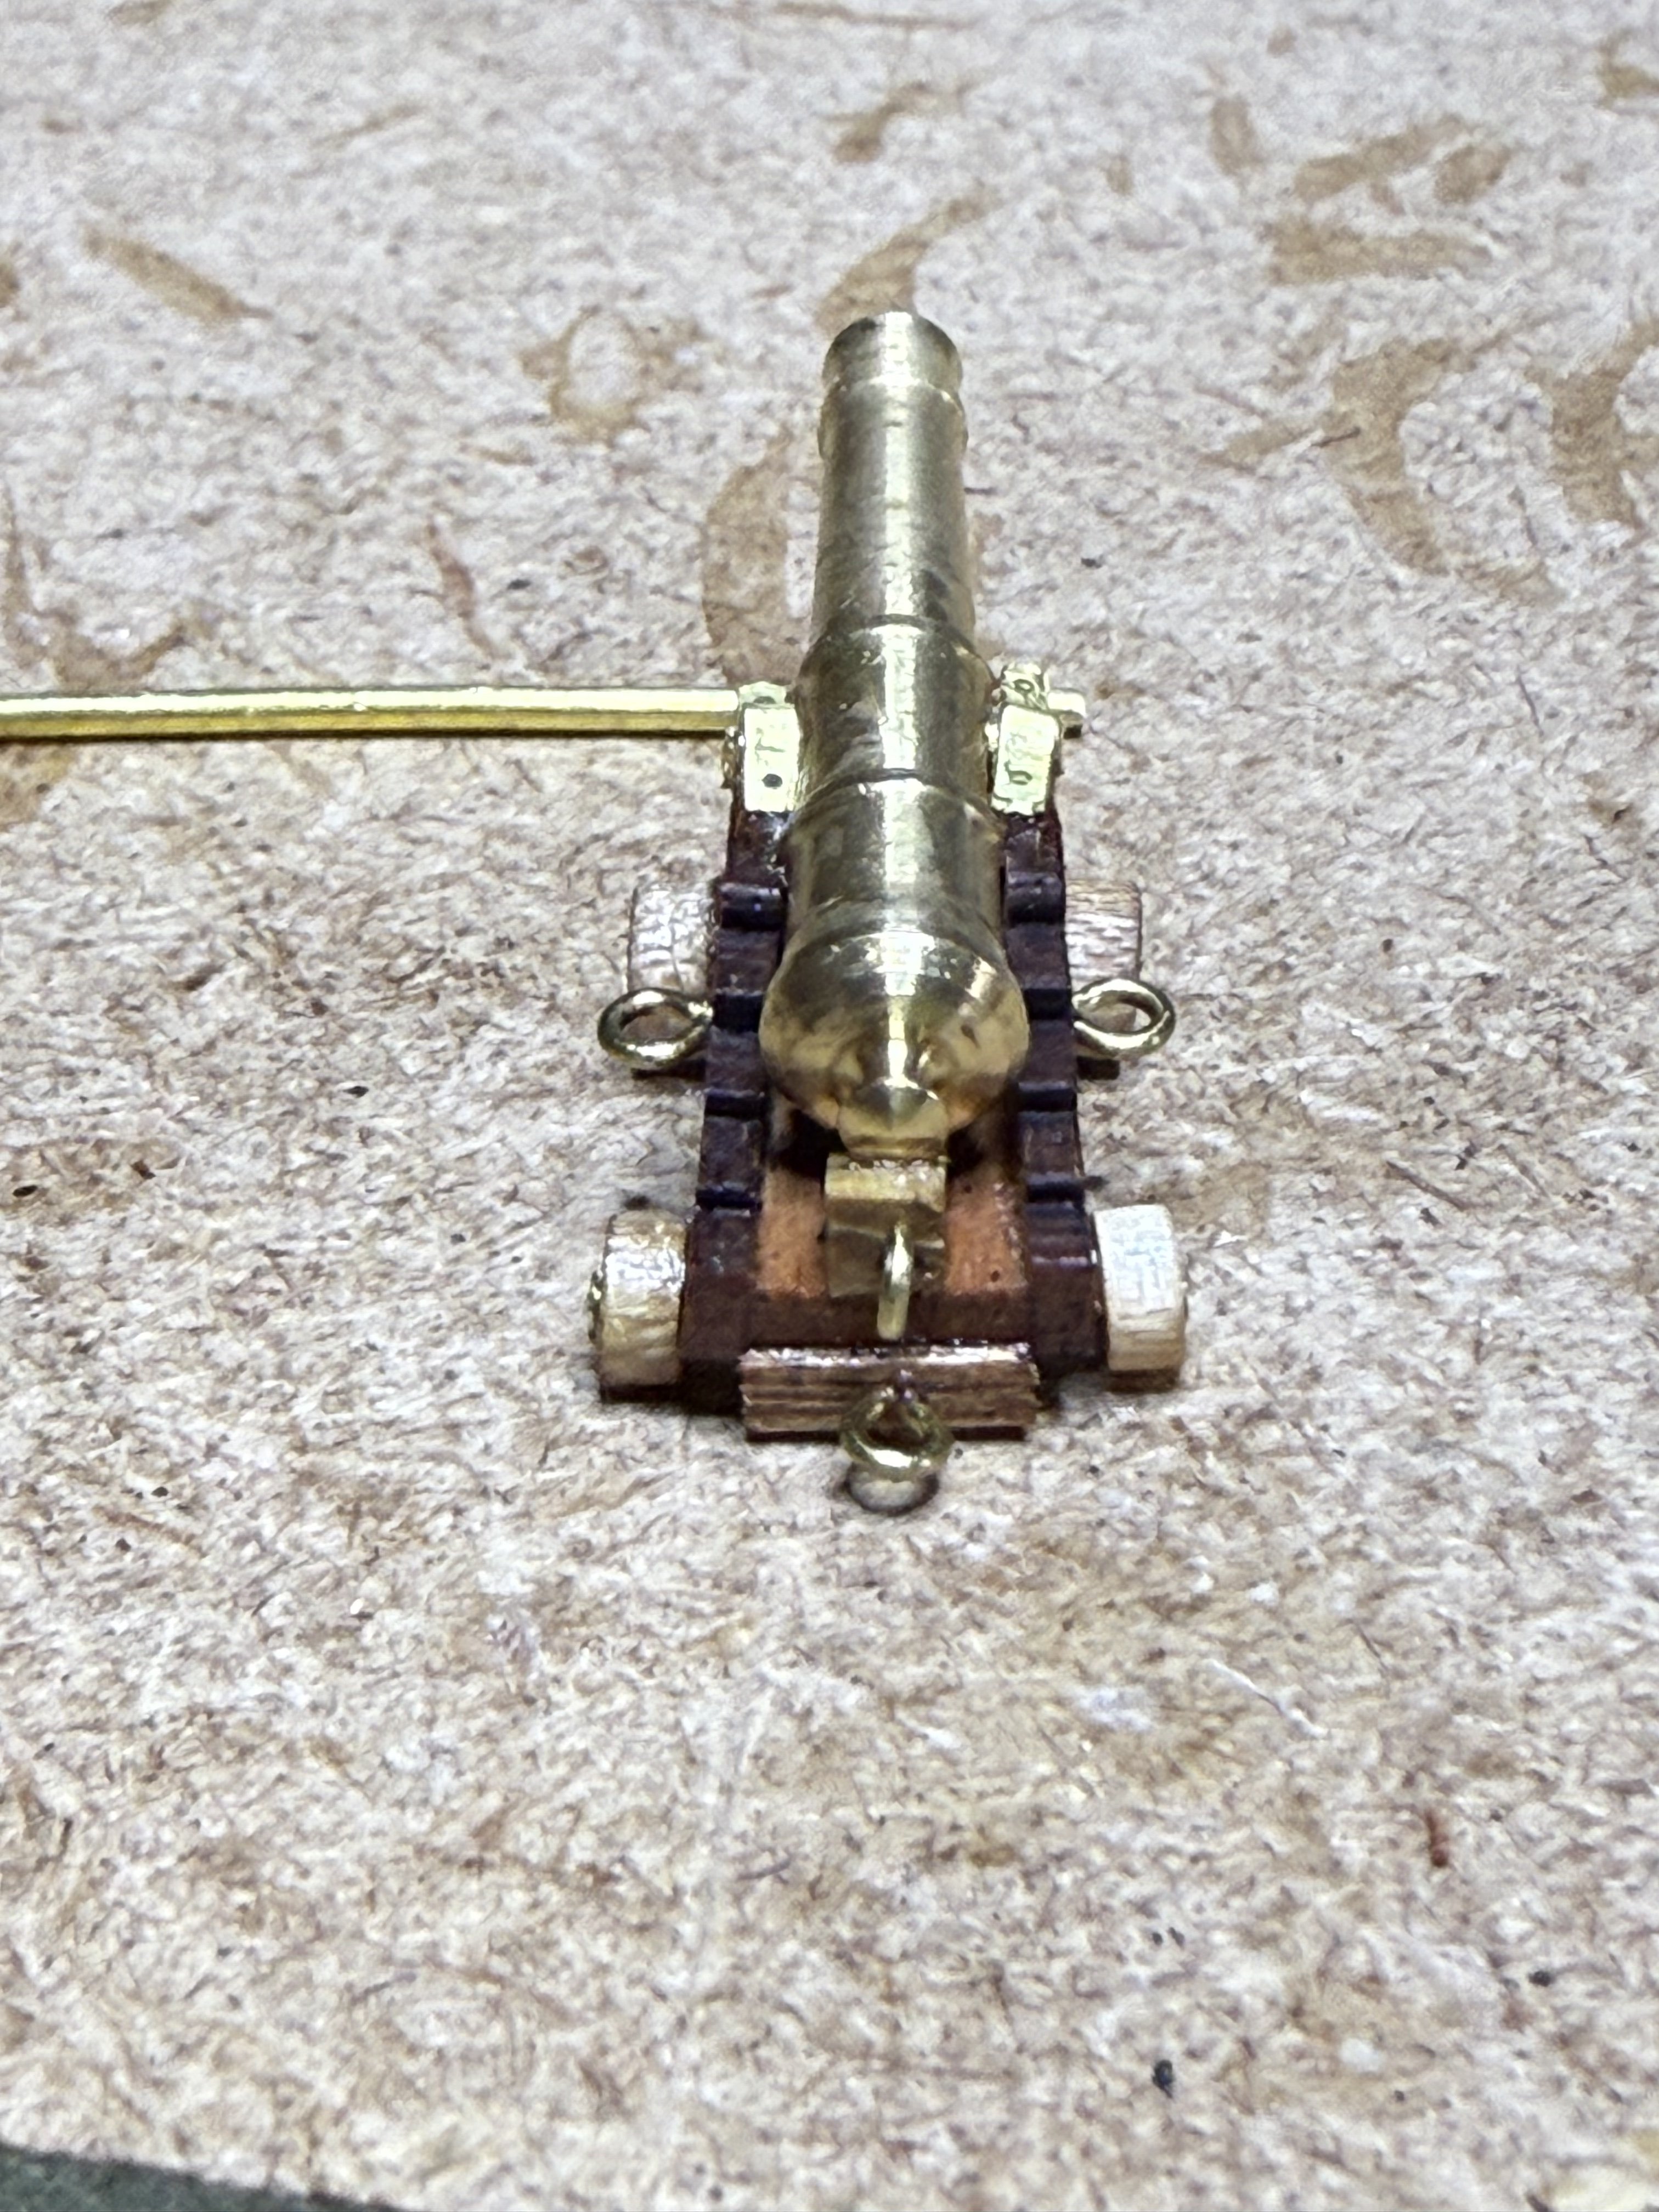
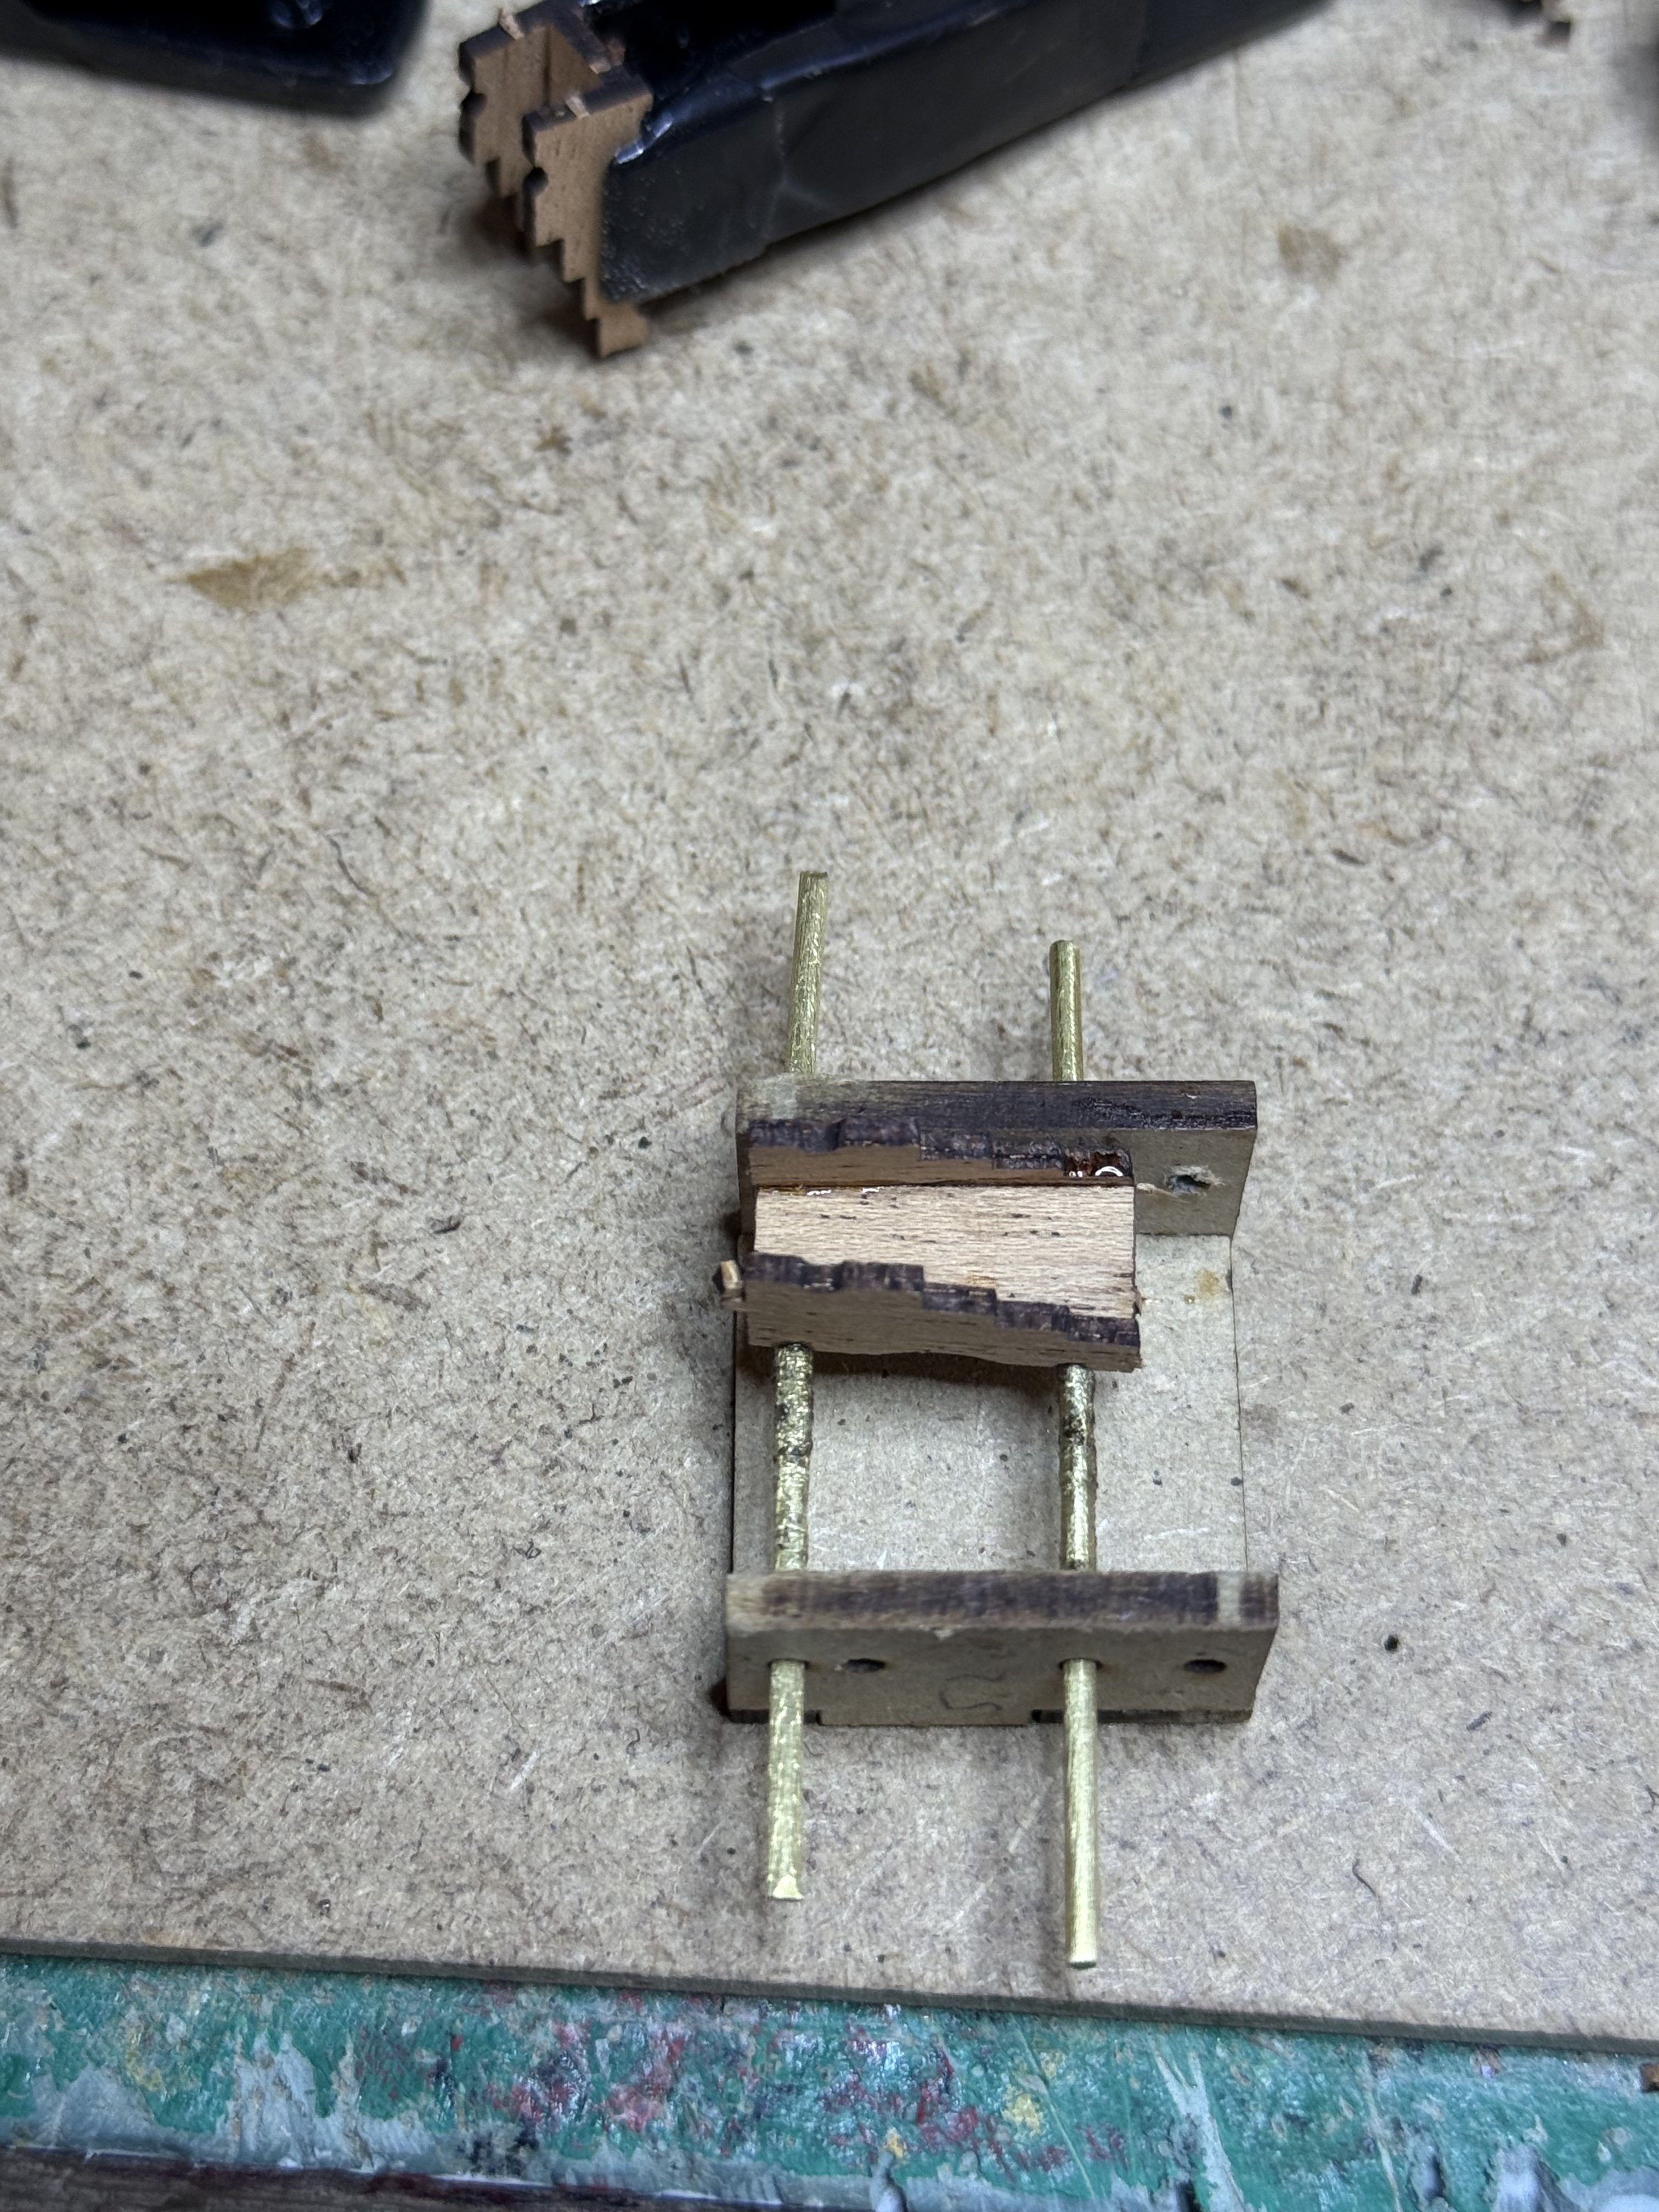
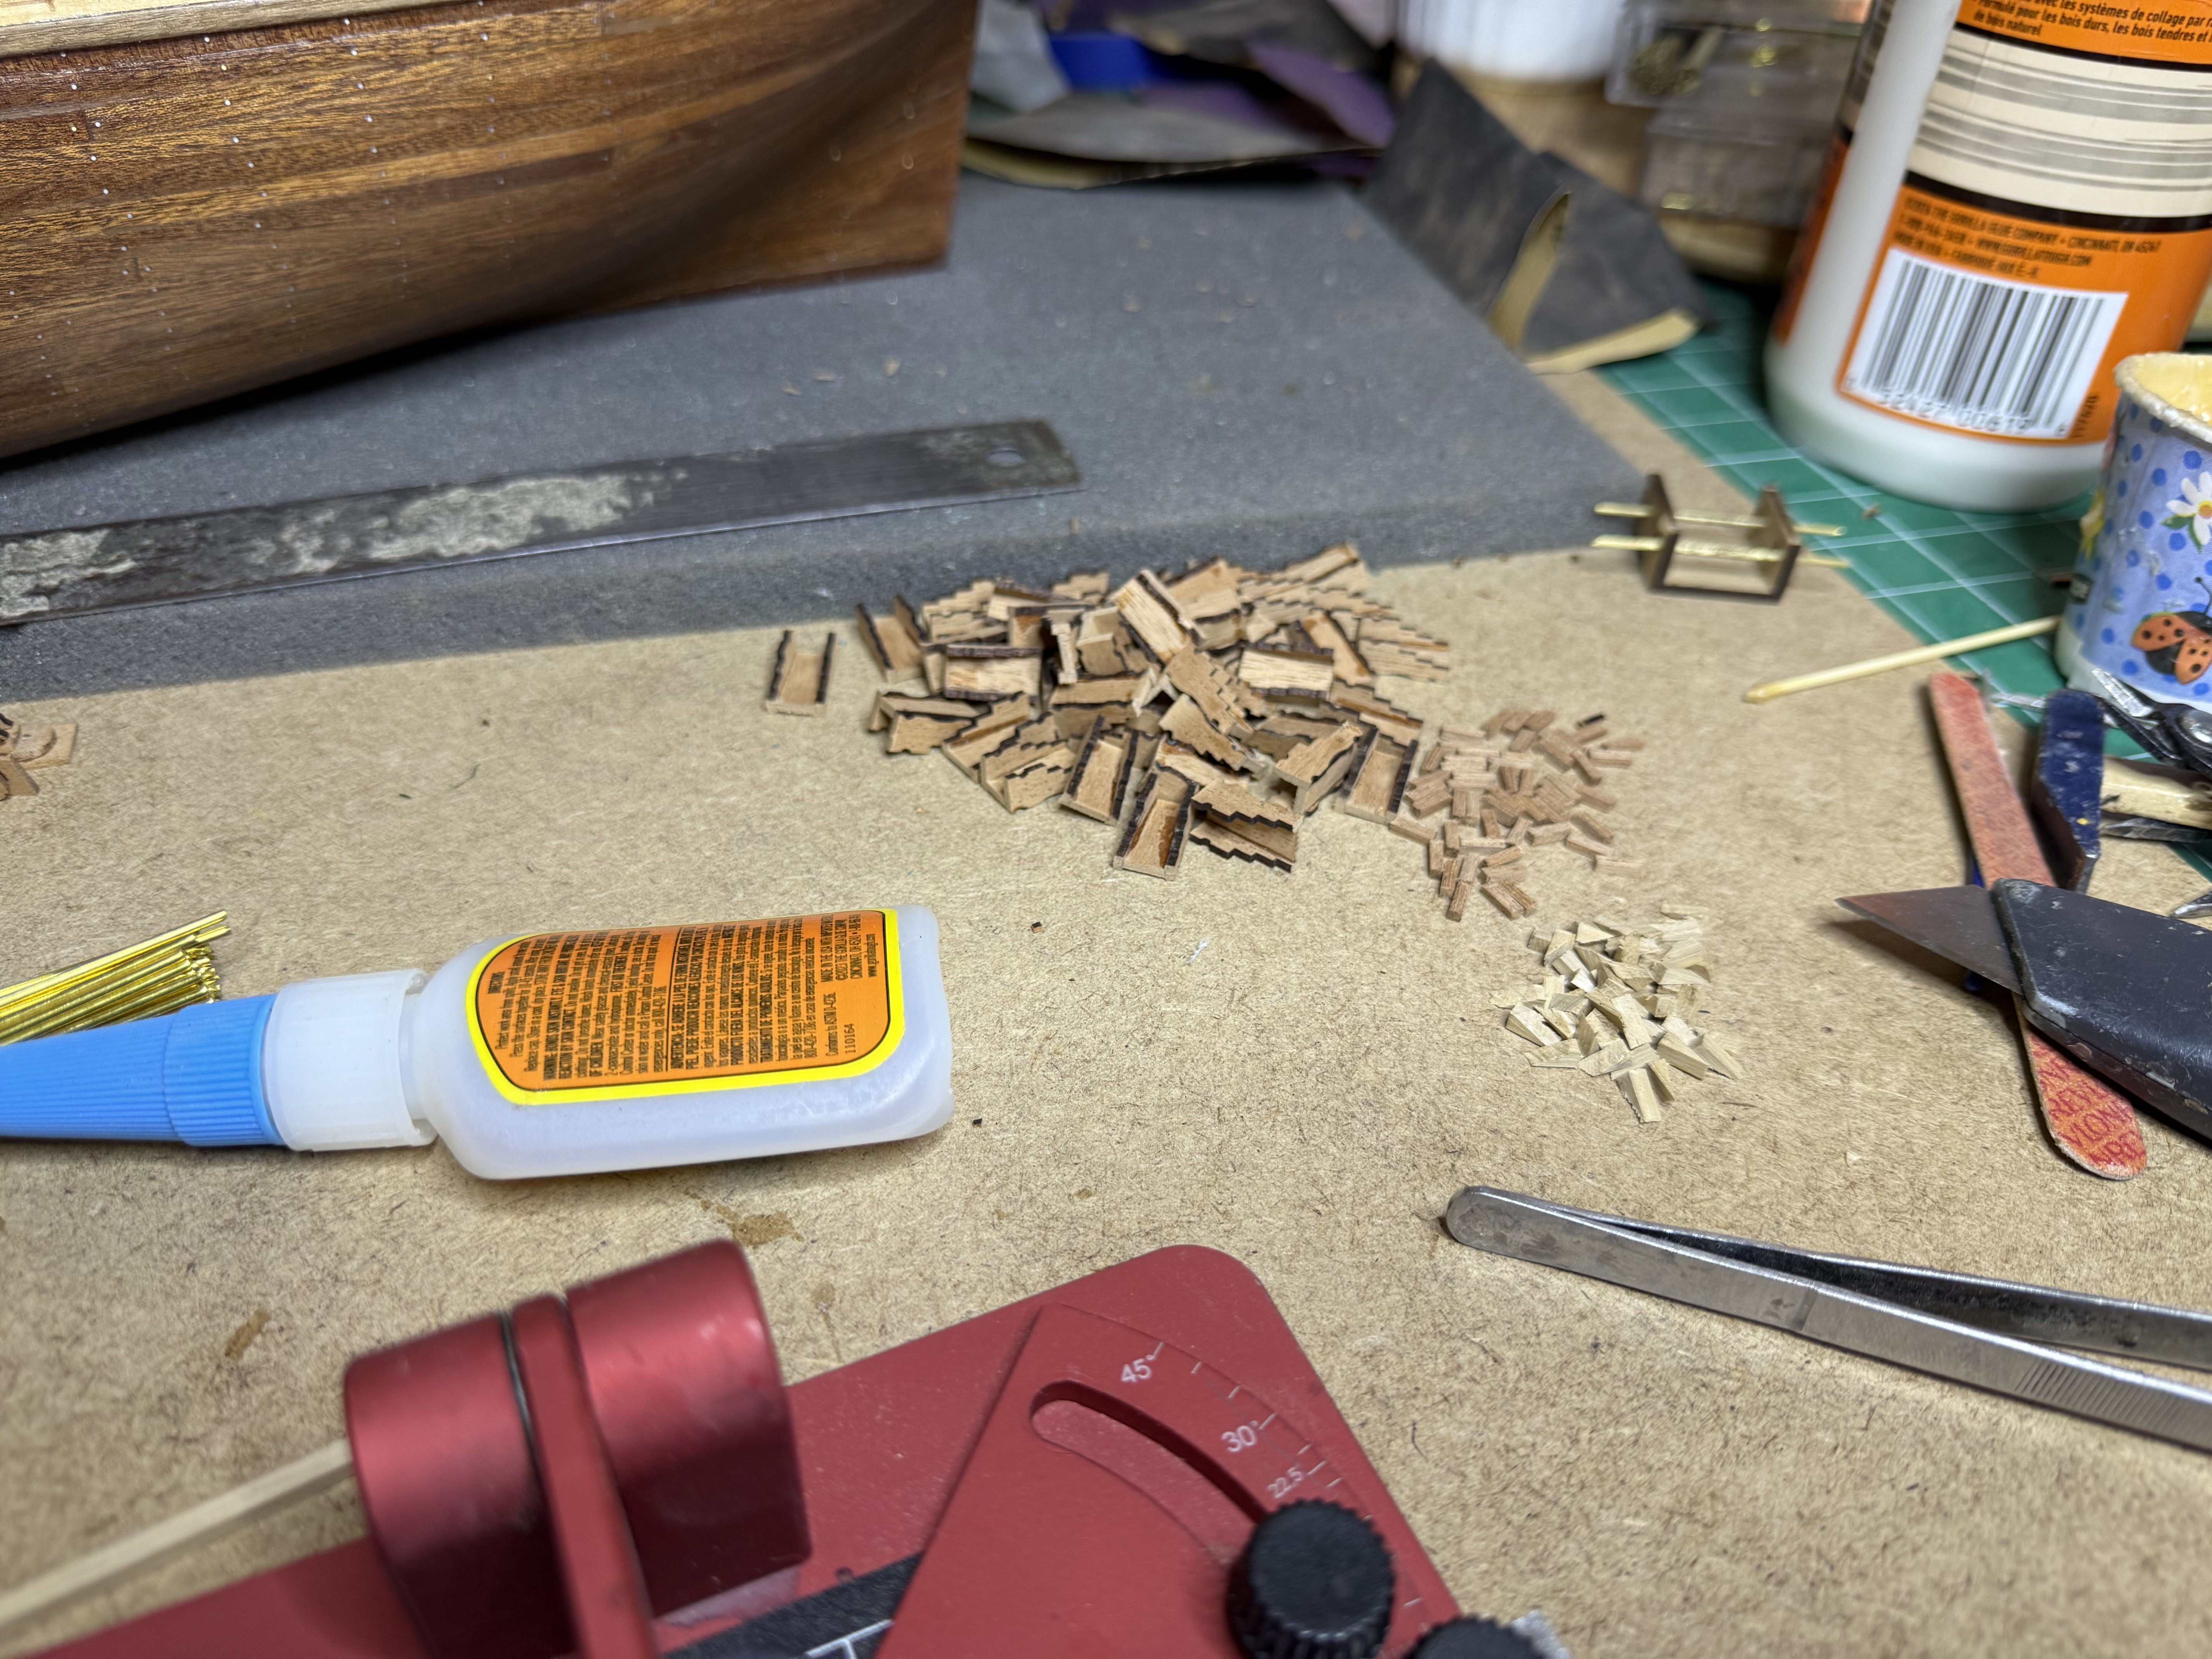
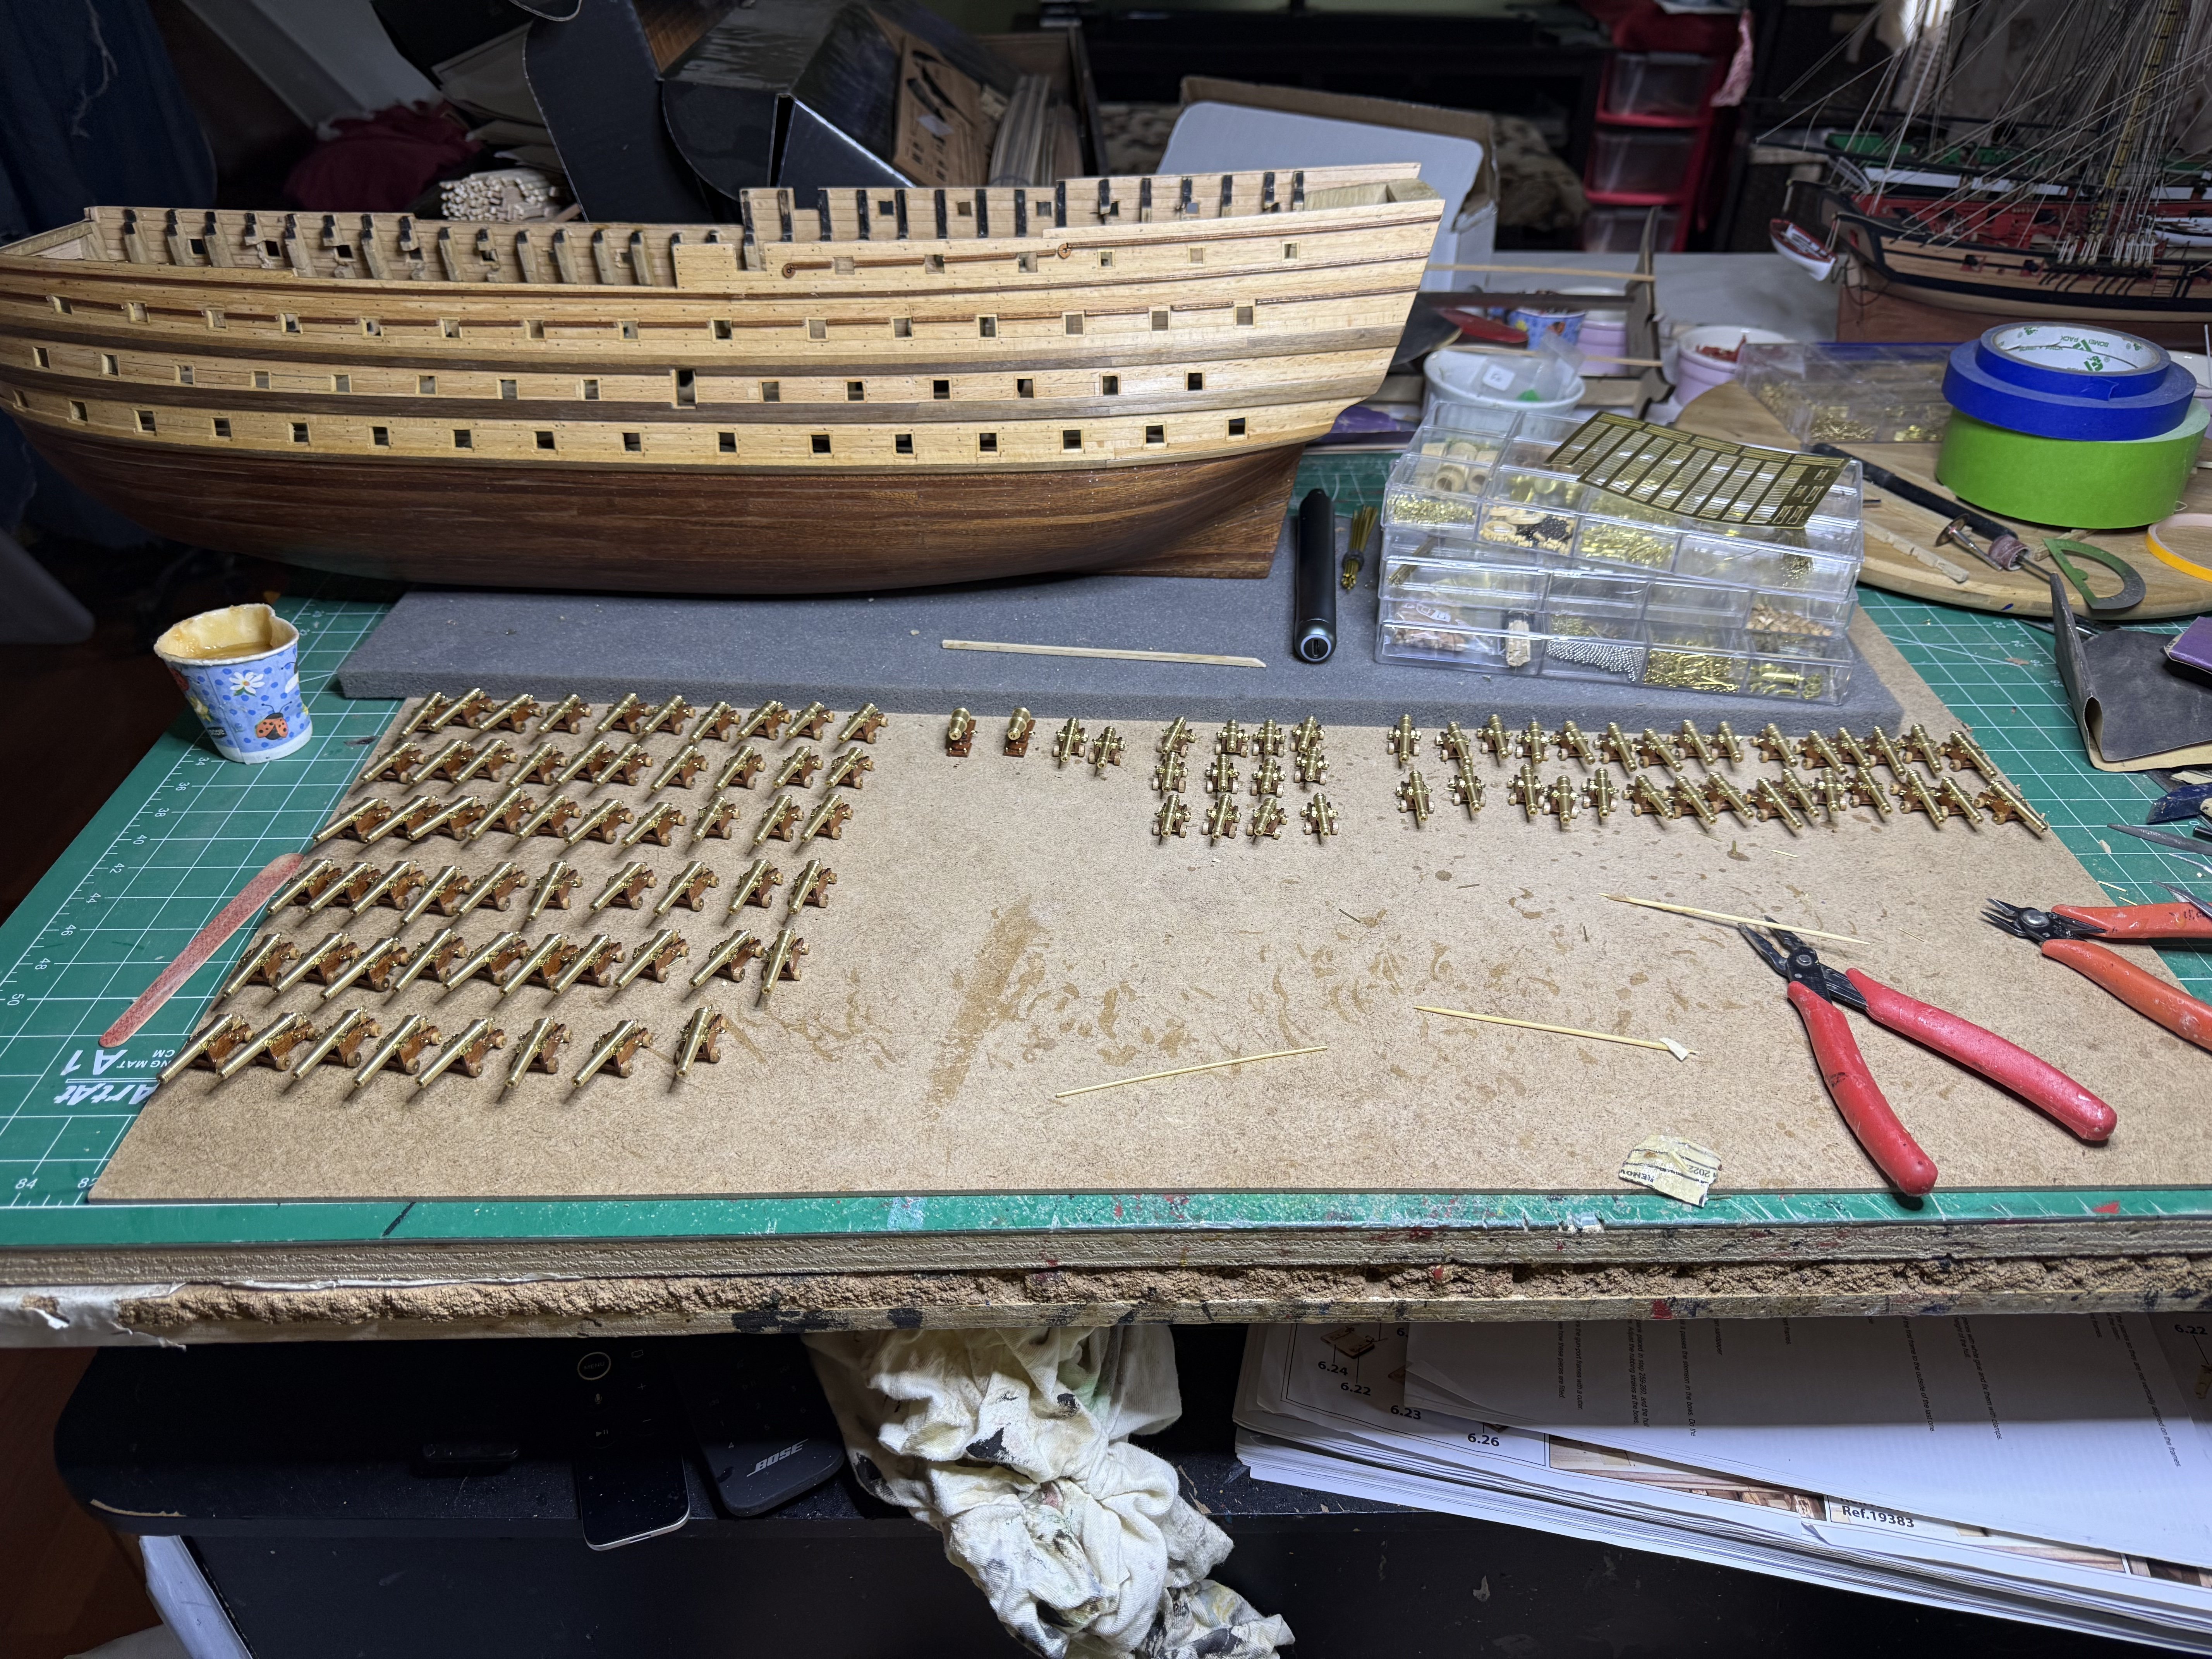
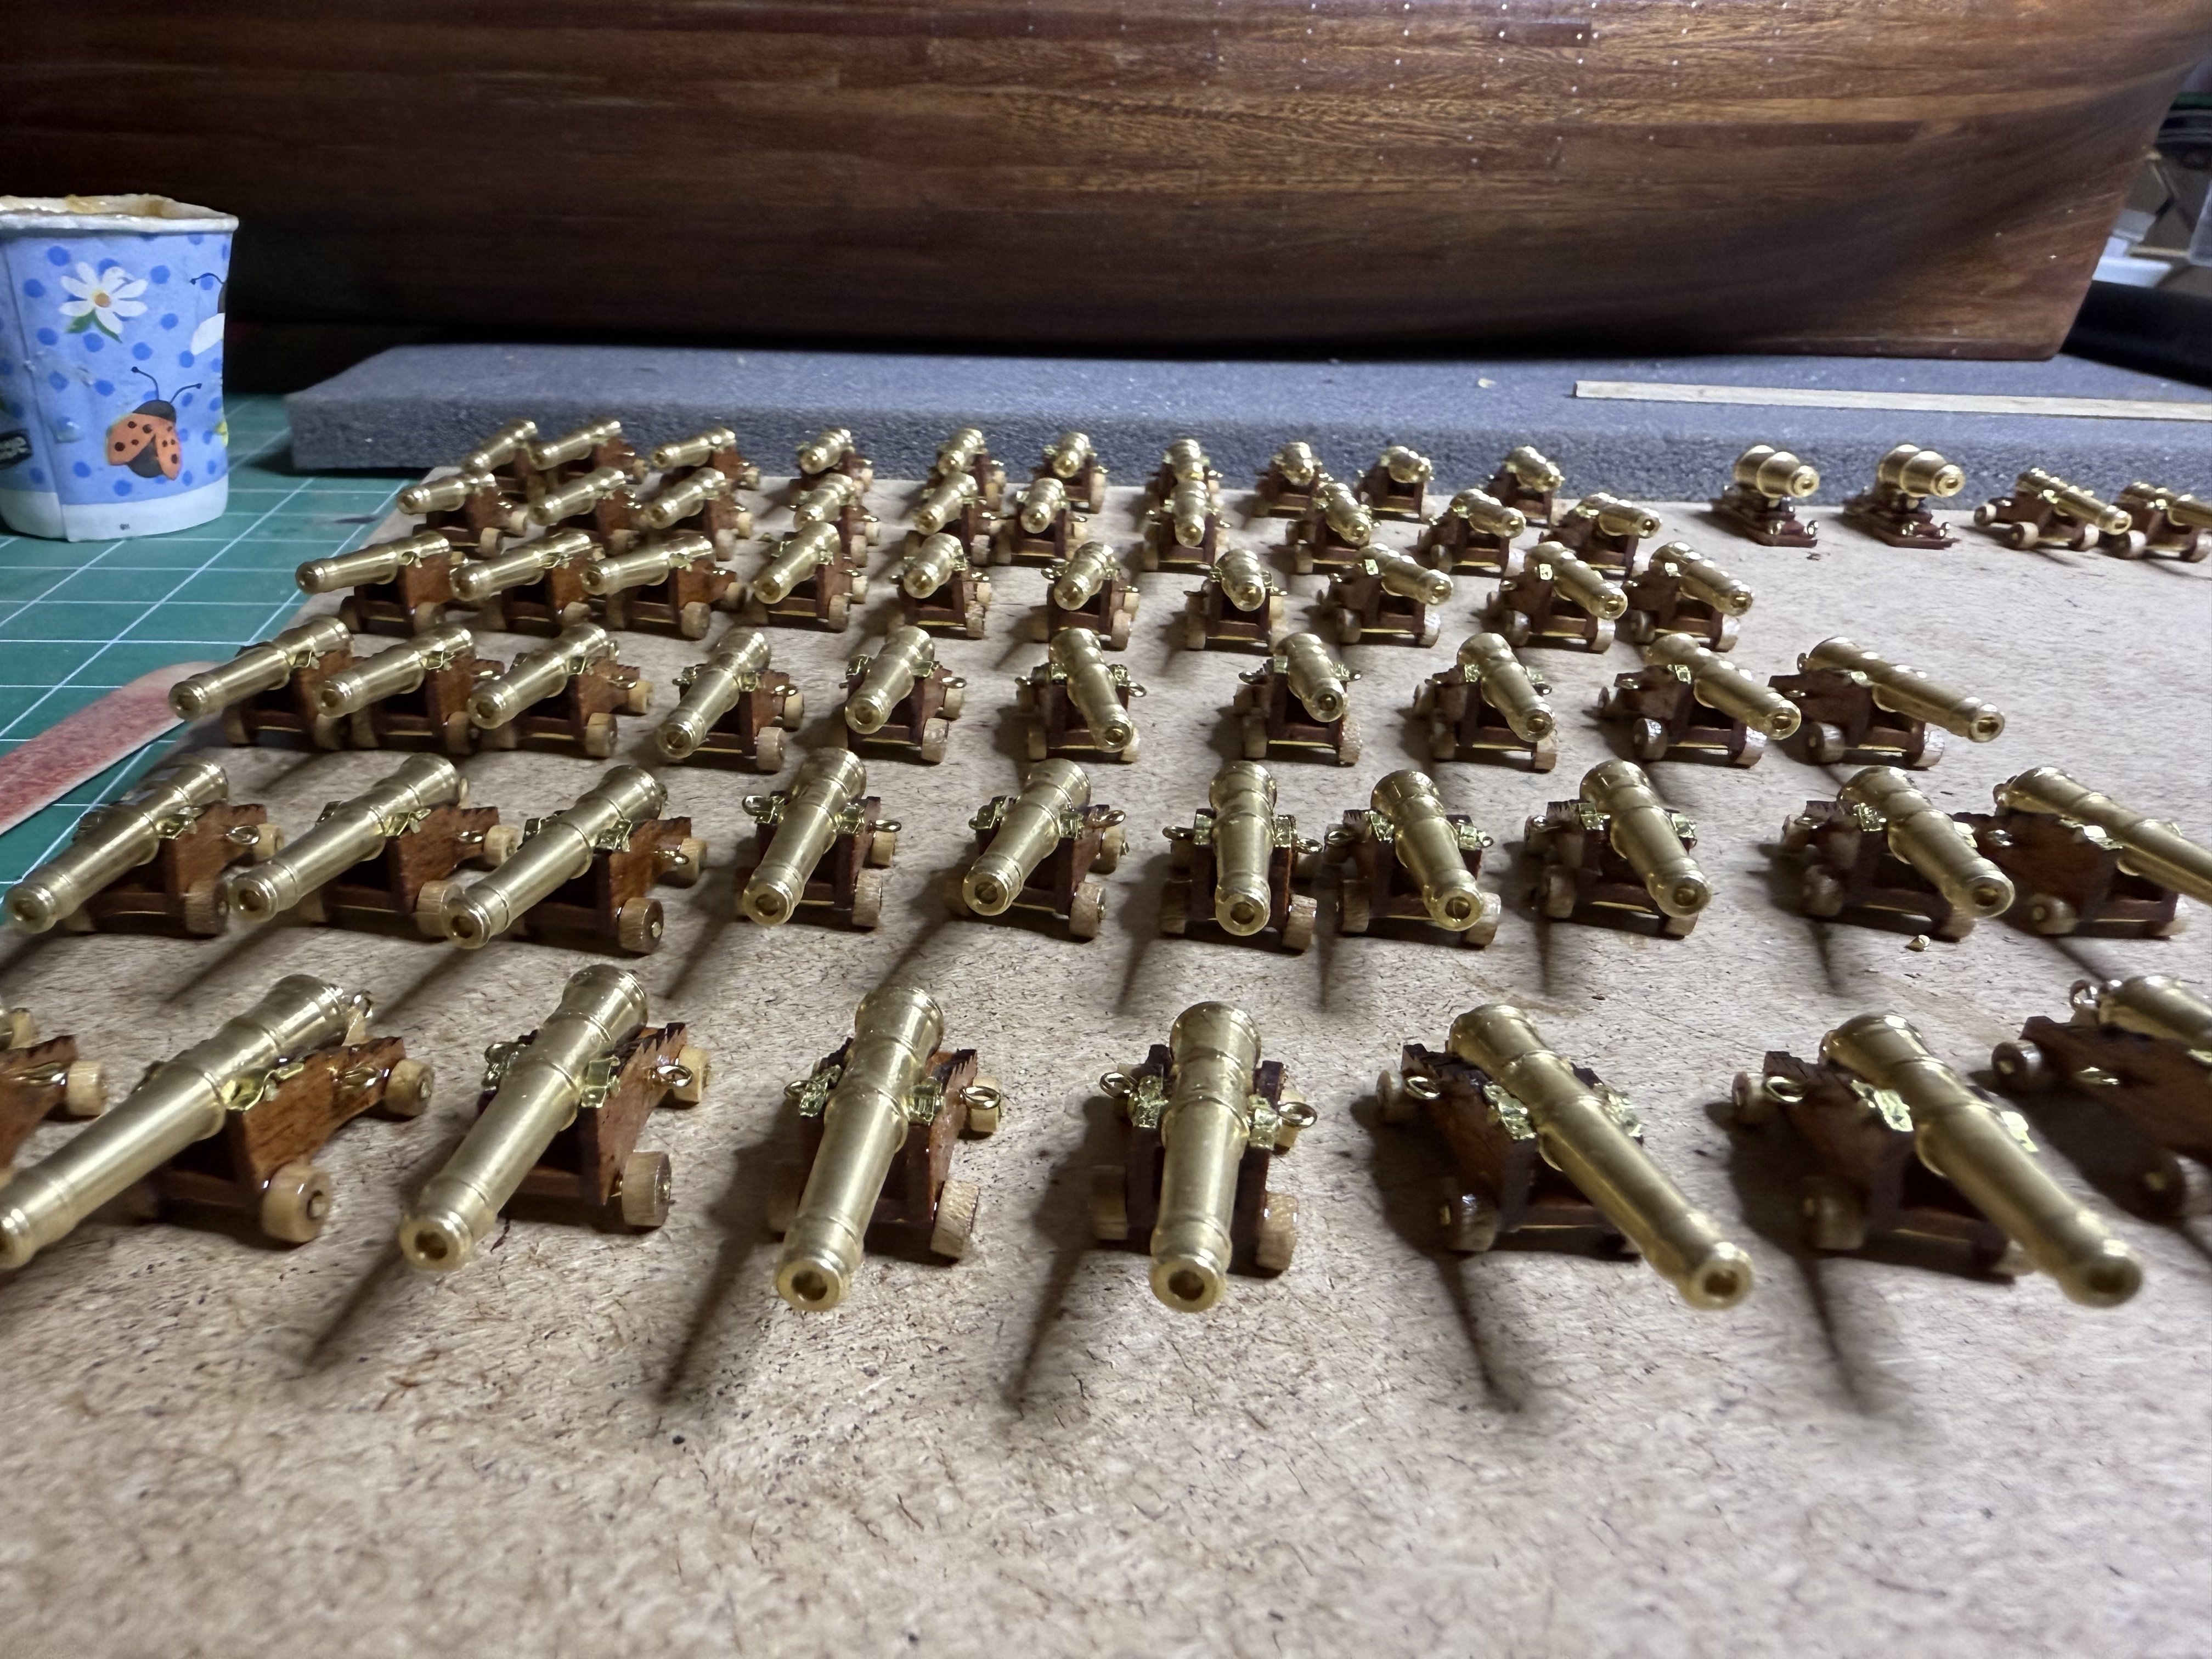
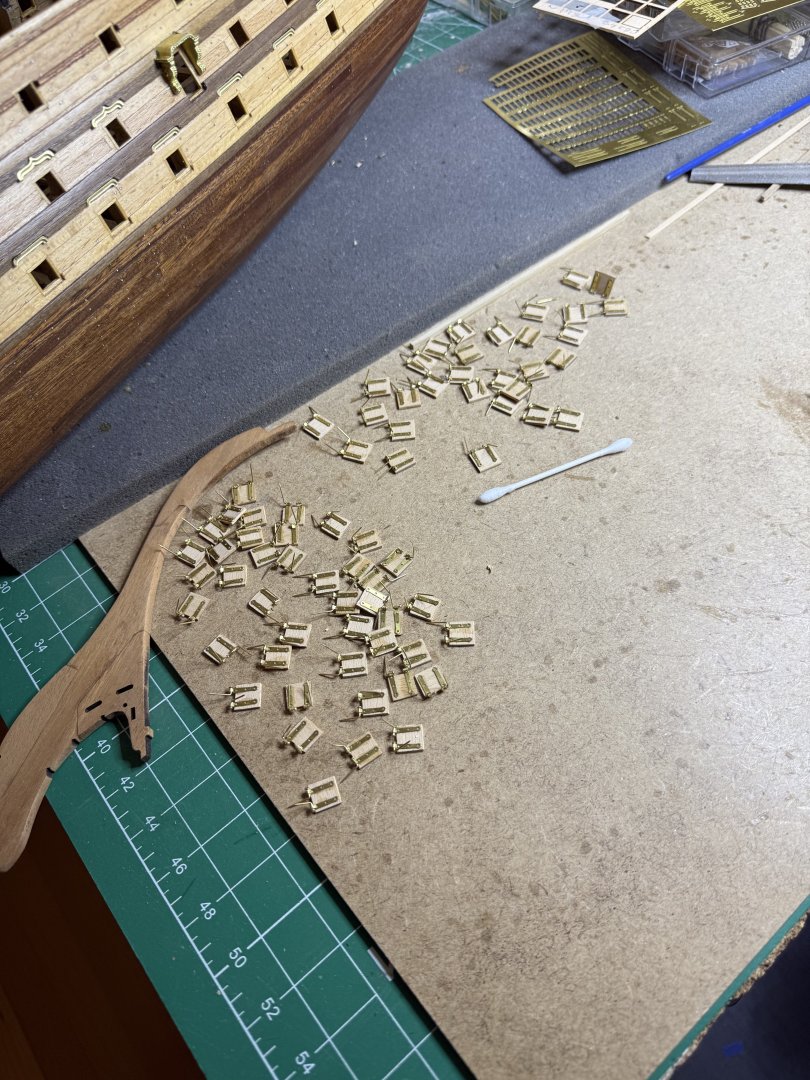
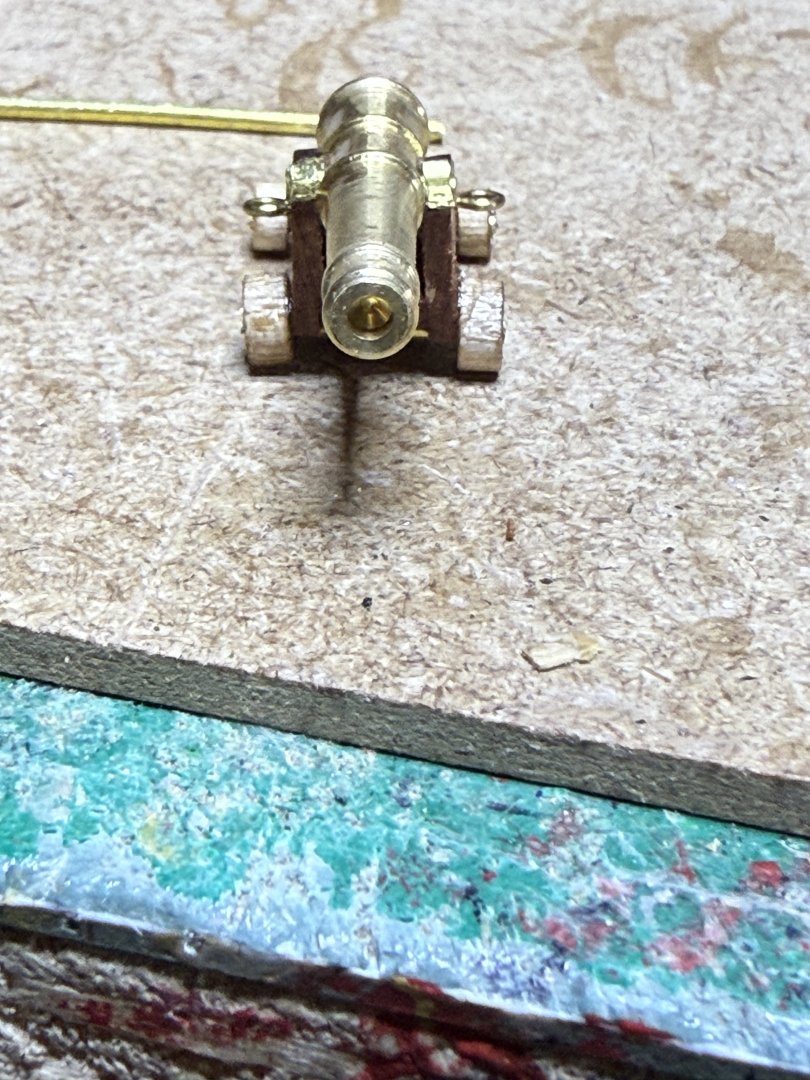
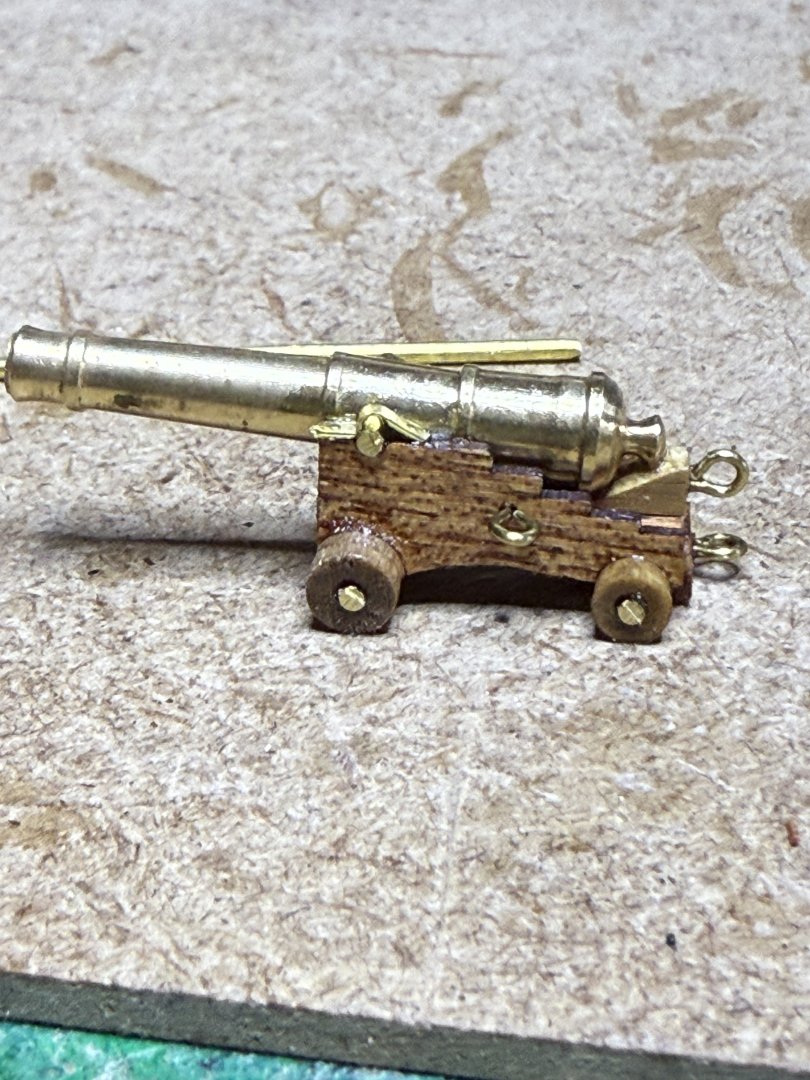
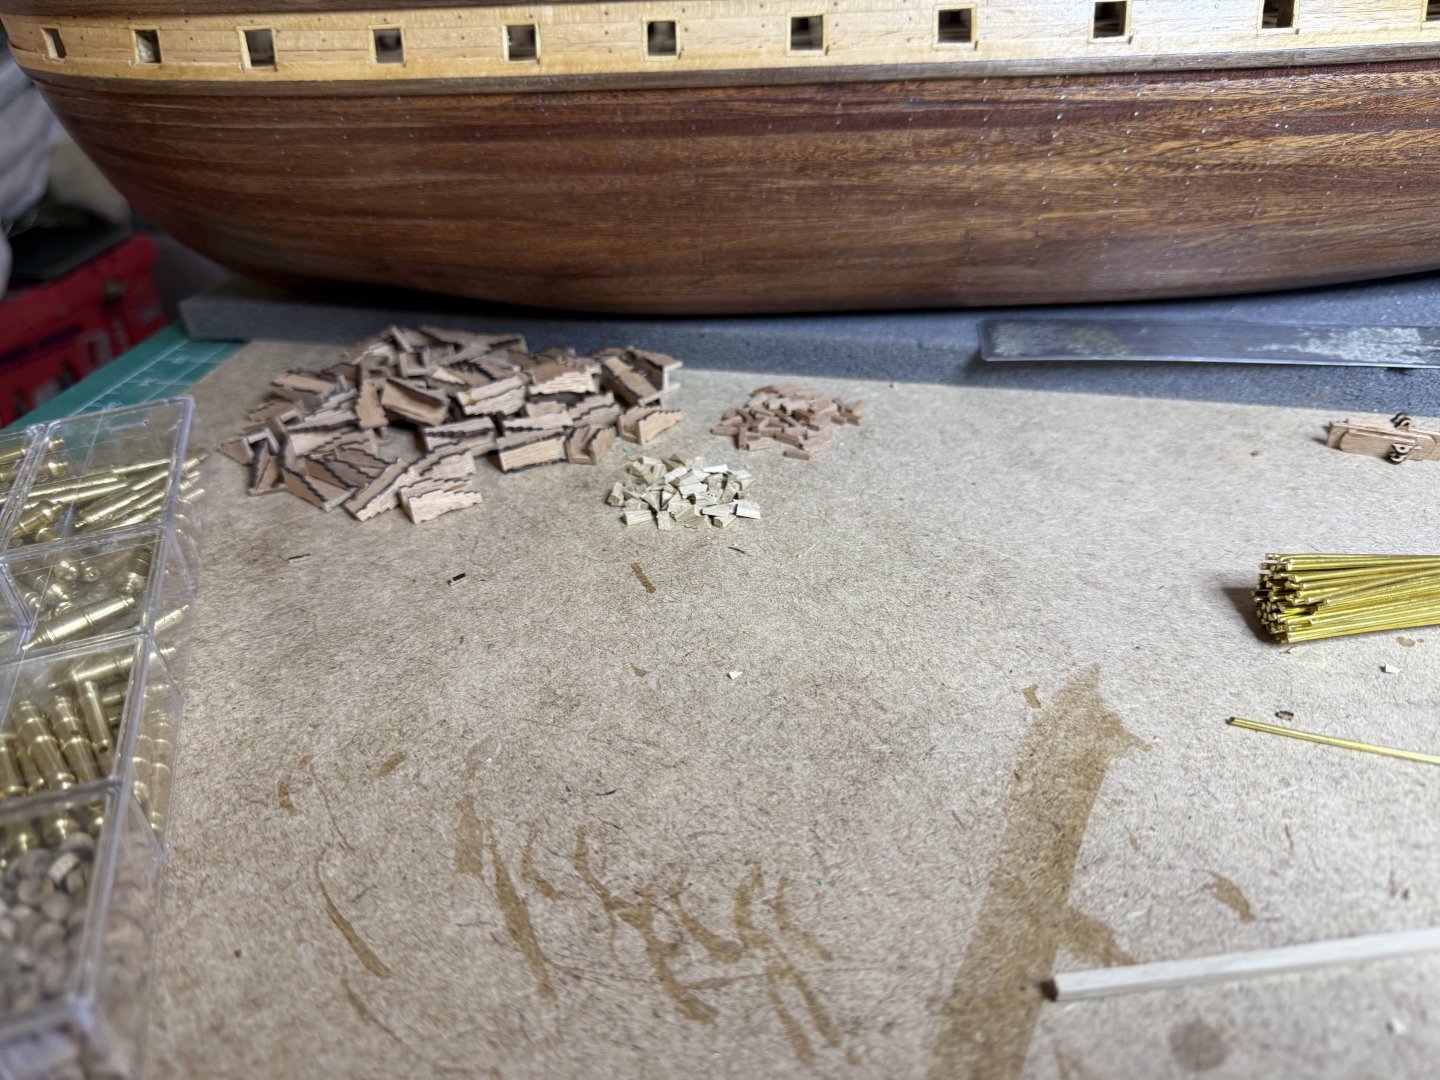
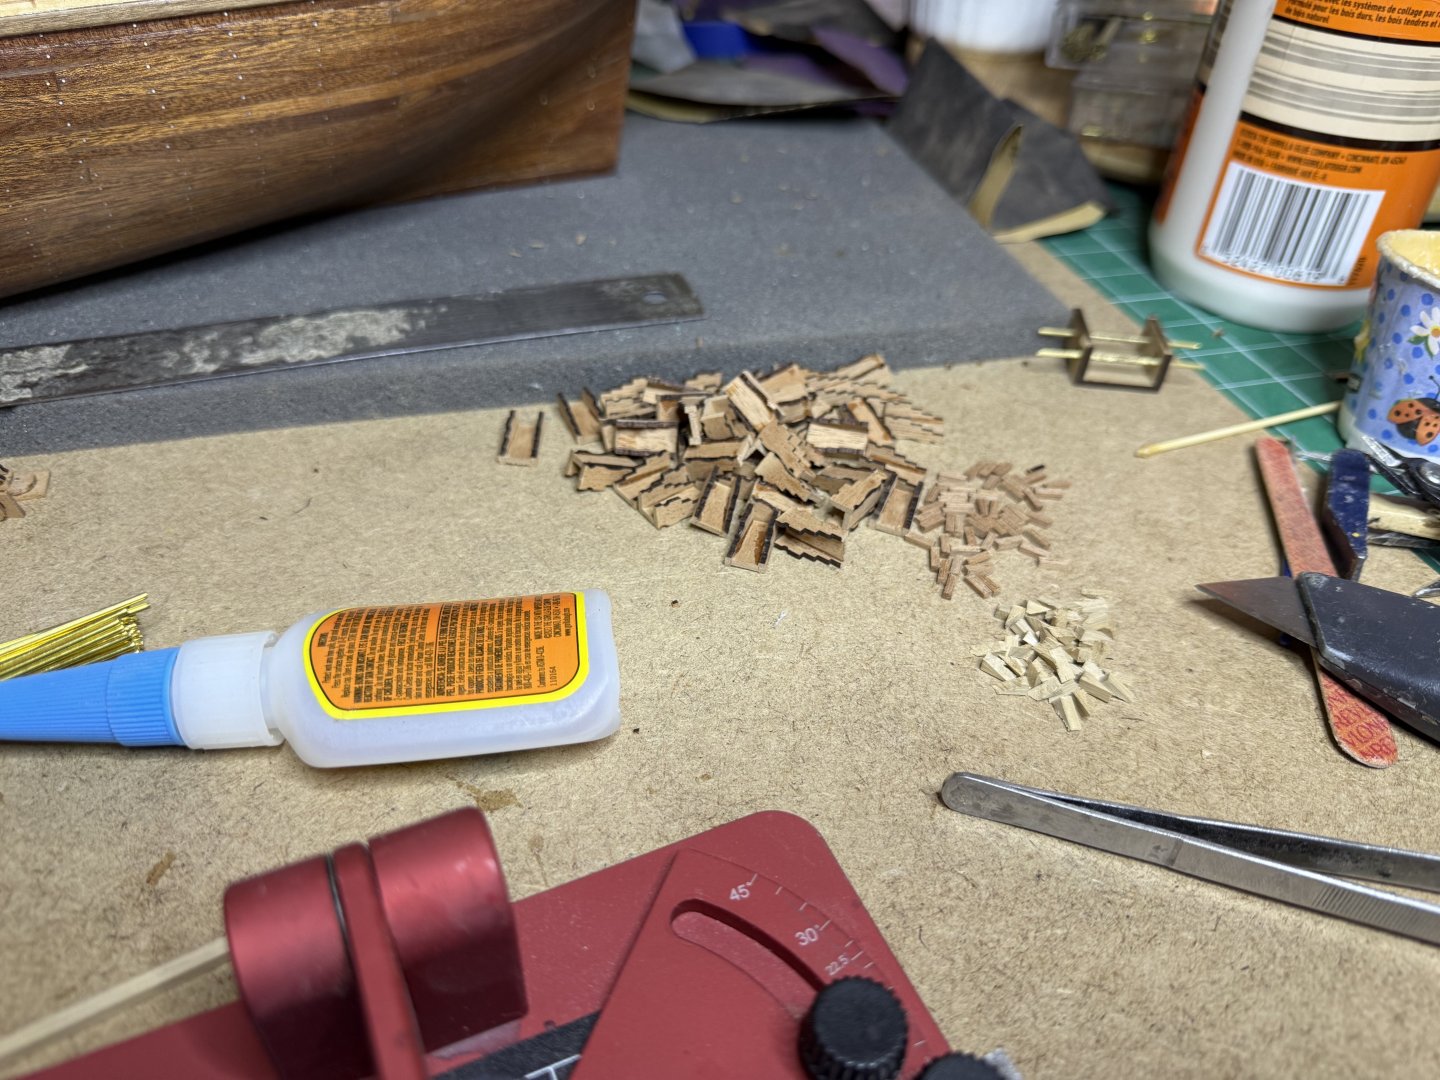
Finally, after 2 weeks the tedious process of making up all the guns is done. Of course more than 100 to do so was a bit of an assembly line First a jig is made up/ The holes allow the wires to be placed at varying positions depending on which gun carriage is being made. Then all the carriages were made Worked proceeded by adding the various parts . Finally painted with sanding sealer which gave a nice patina to the wood. Next tedious job will be to make up all the gunports and hinges.


-
HMS Victory by ECK - OcCre - 1/87
ECK replied to ECK's topic in - Kit build logs for subjects built from 1751 - 1800
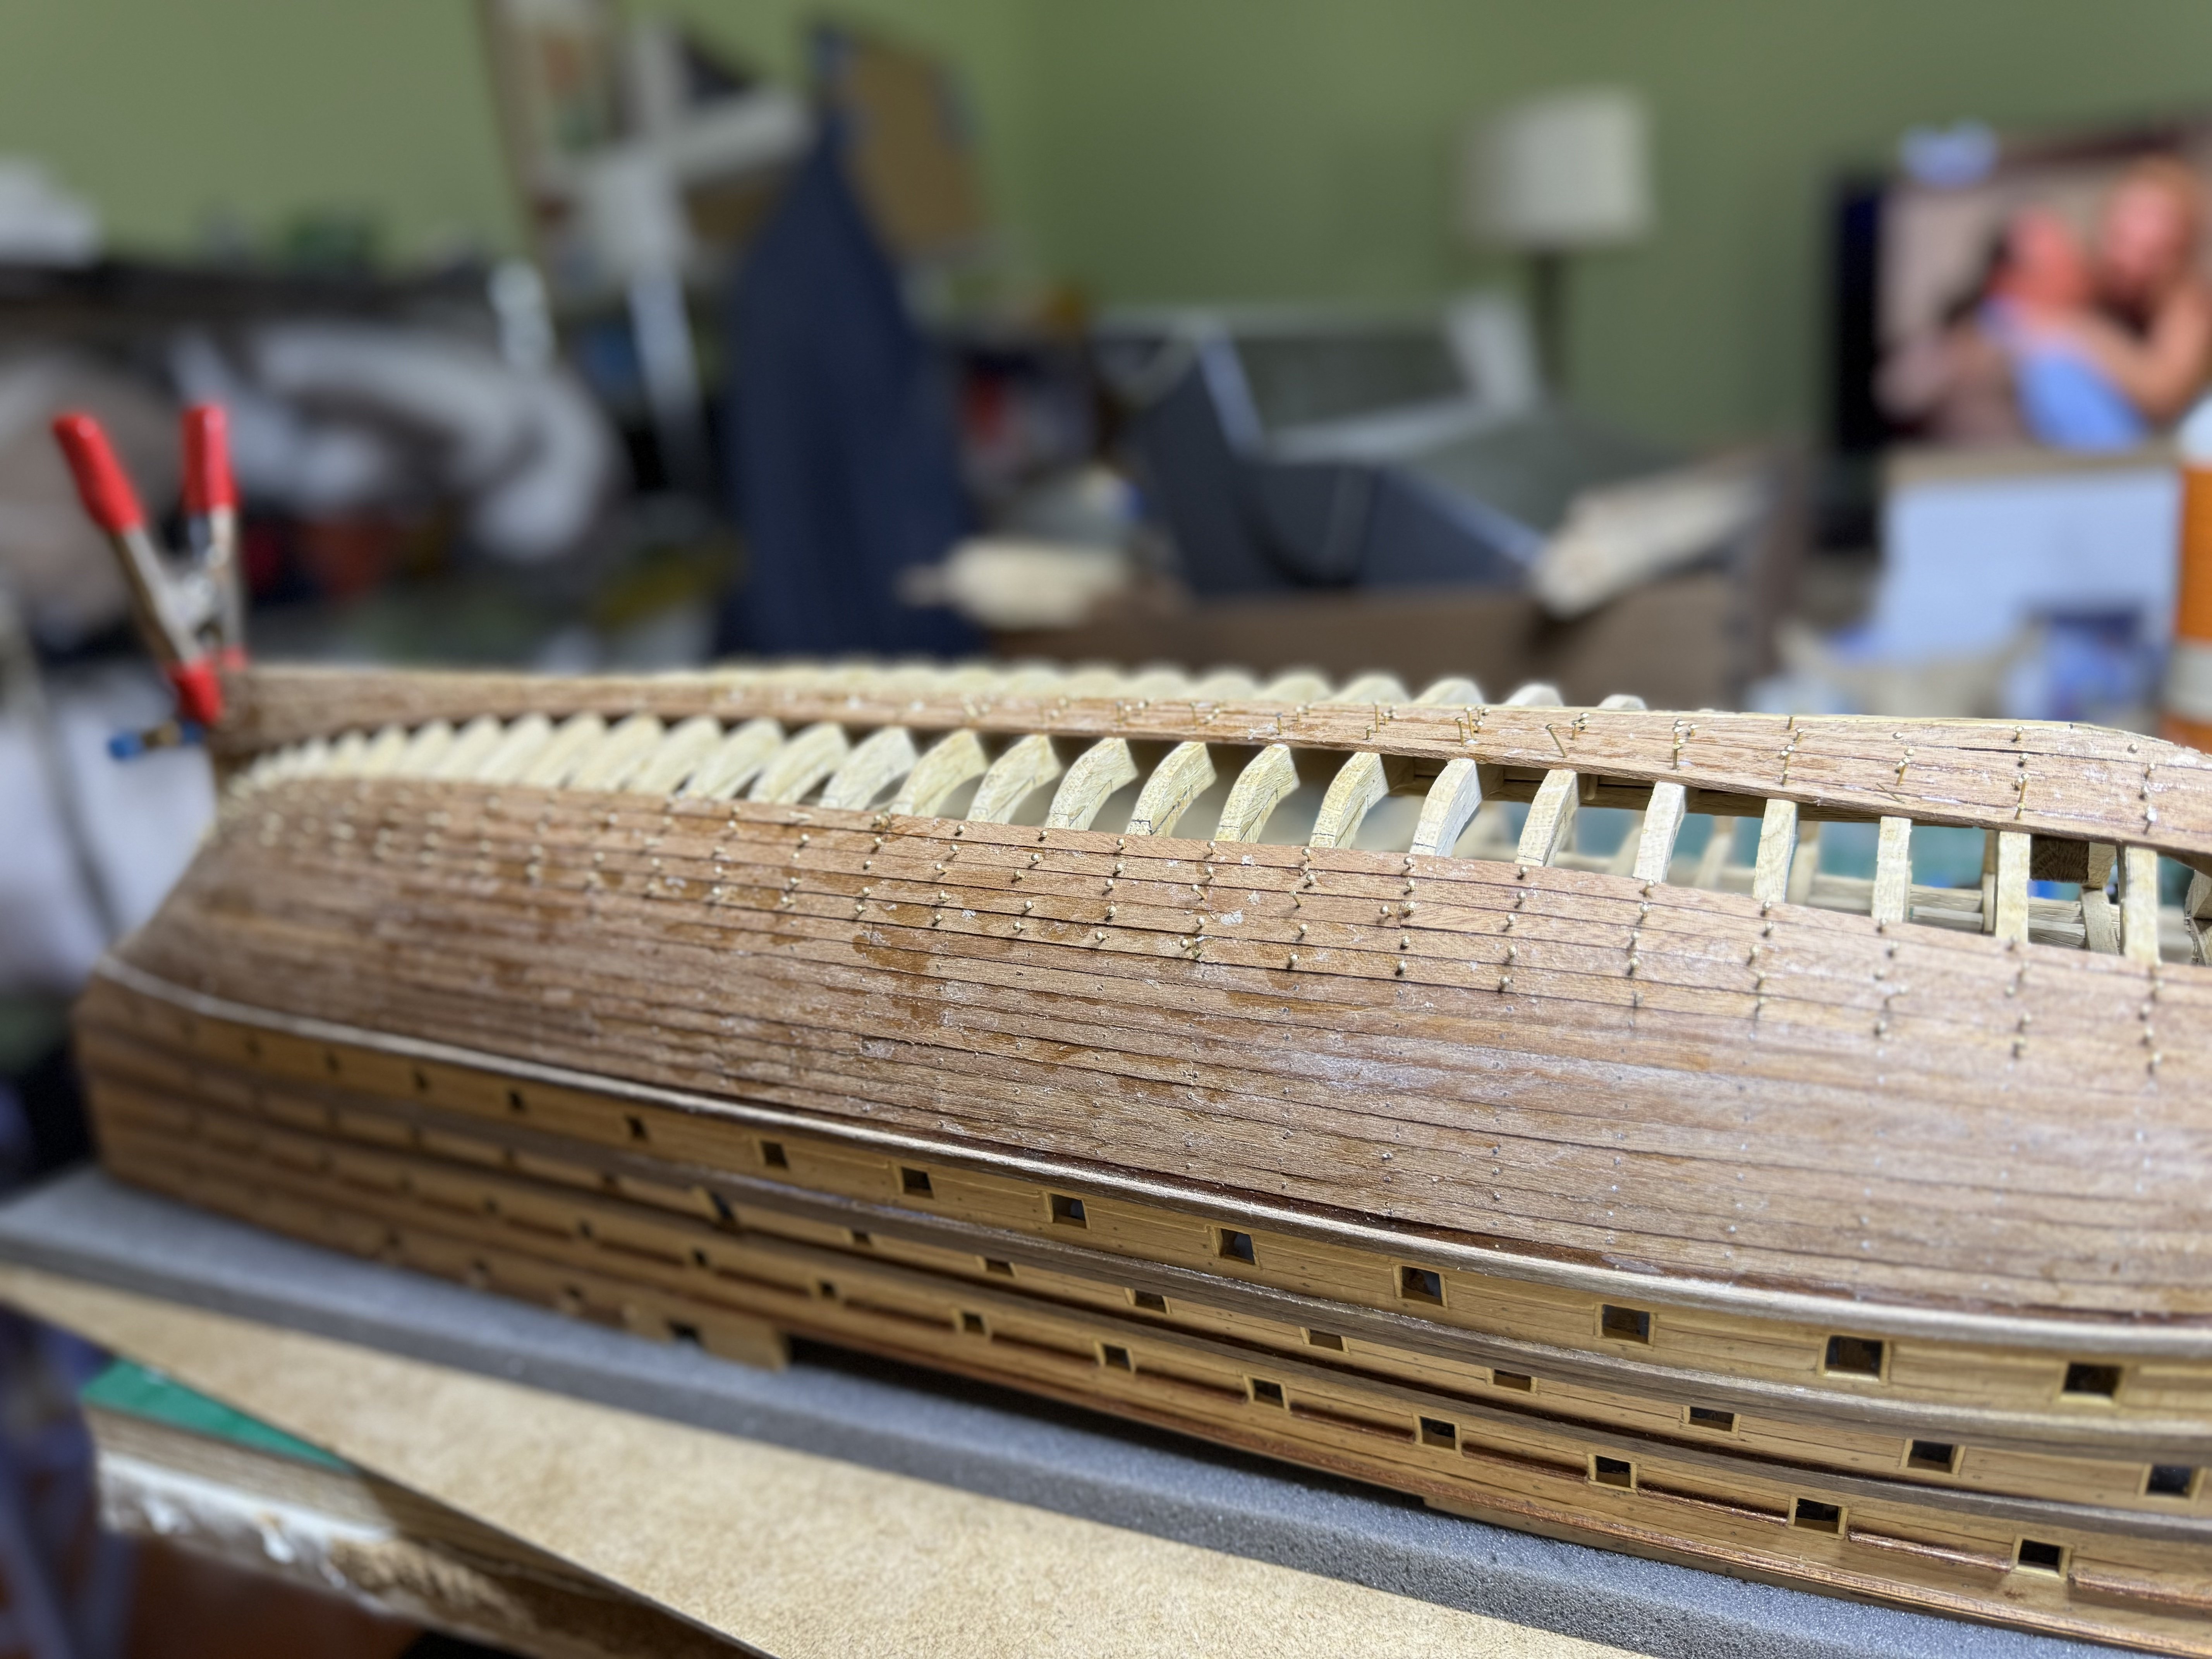
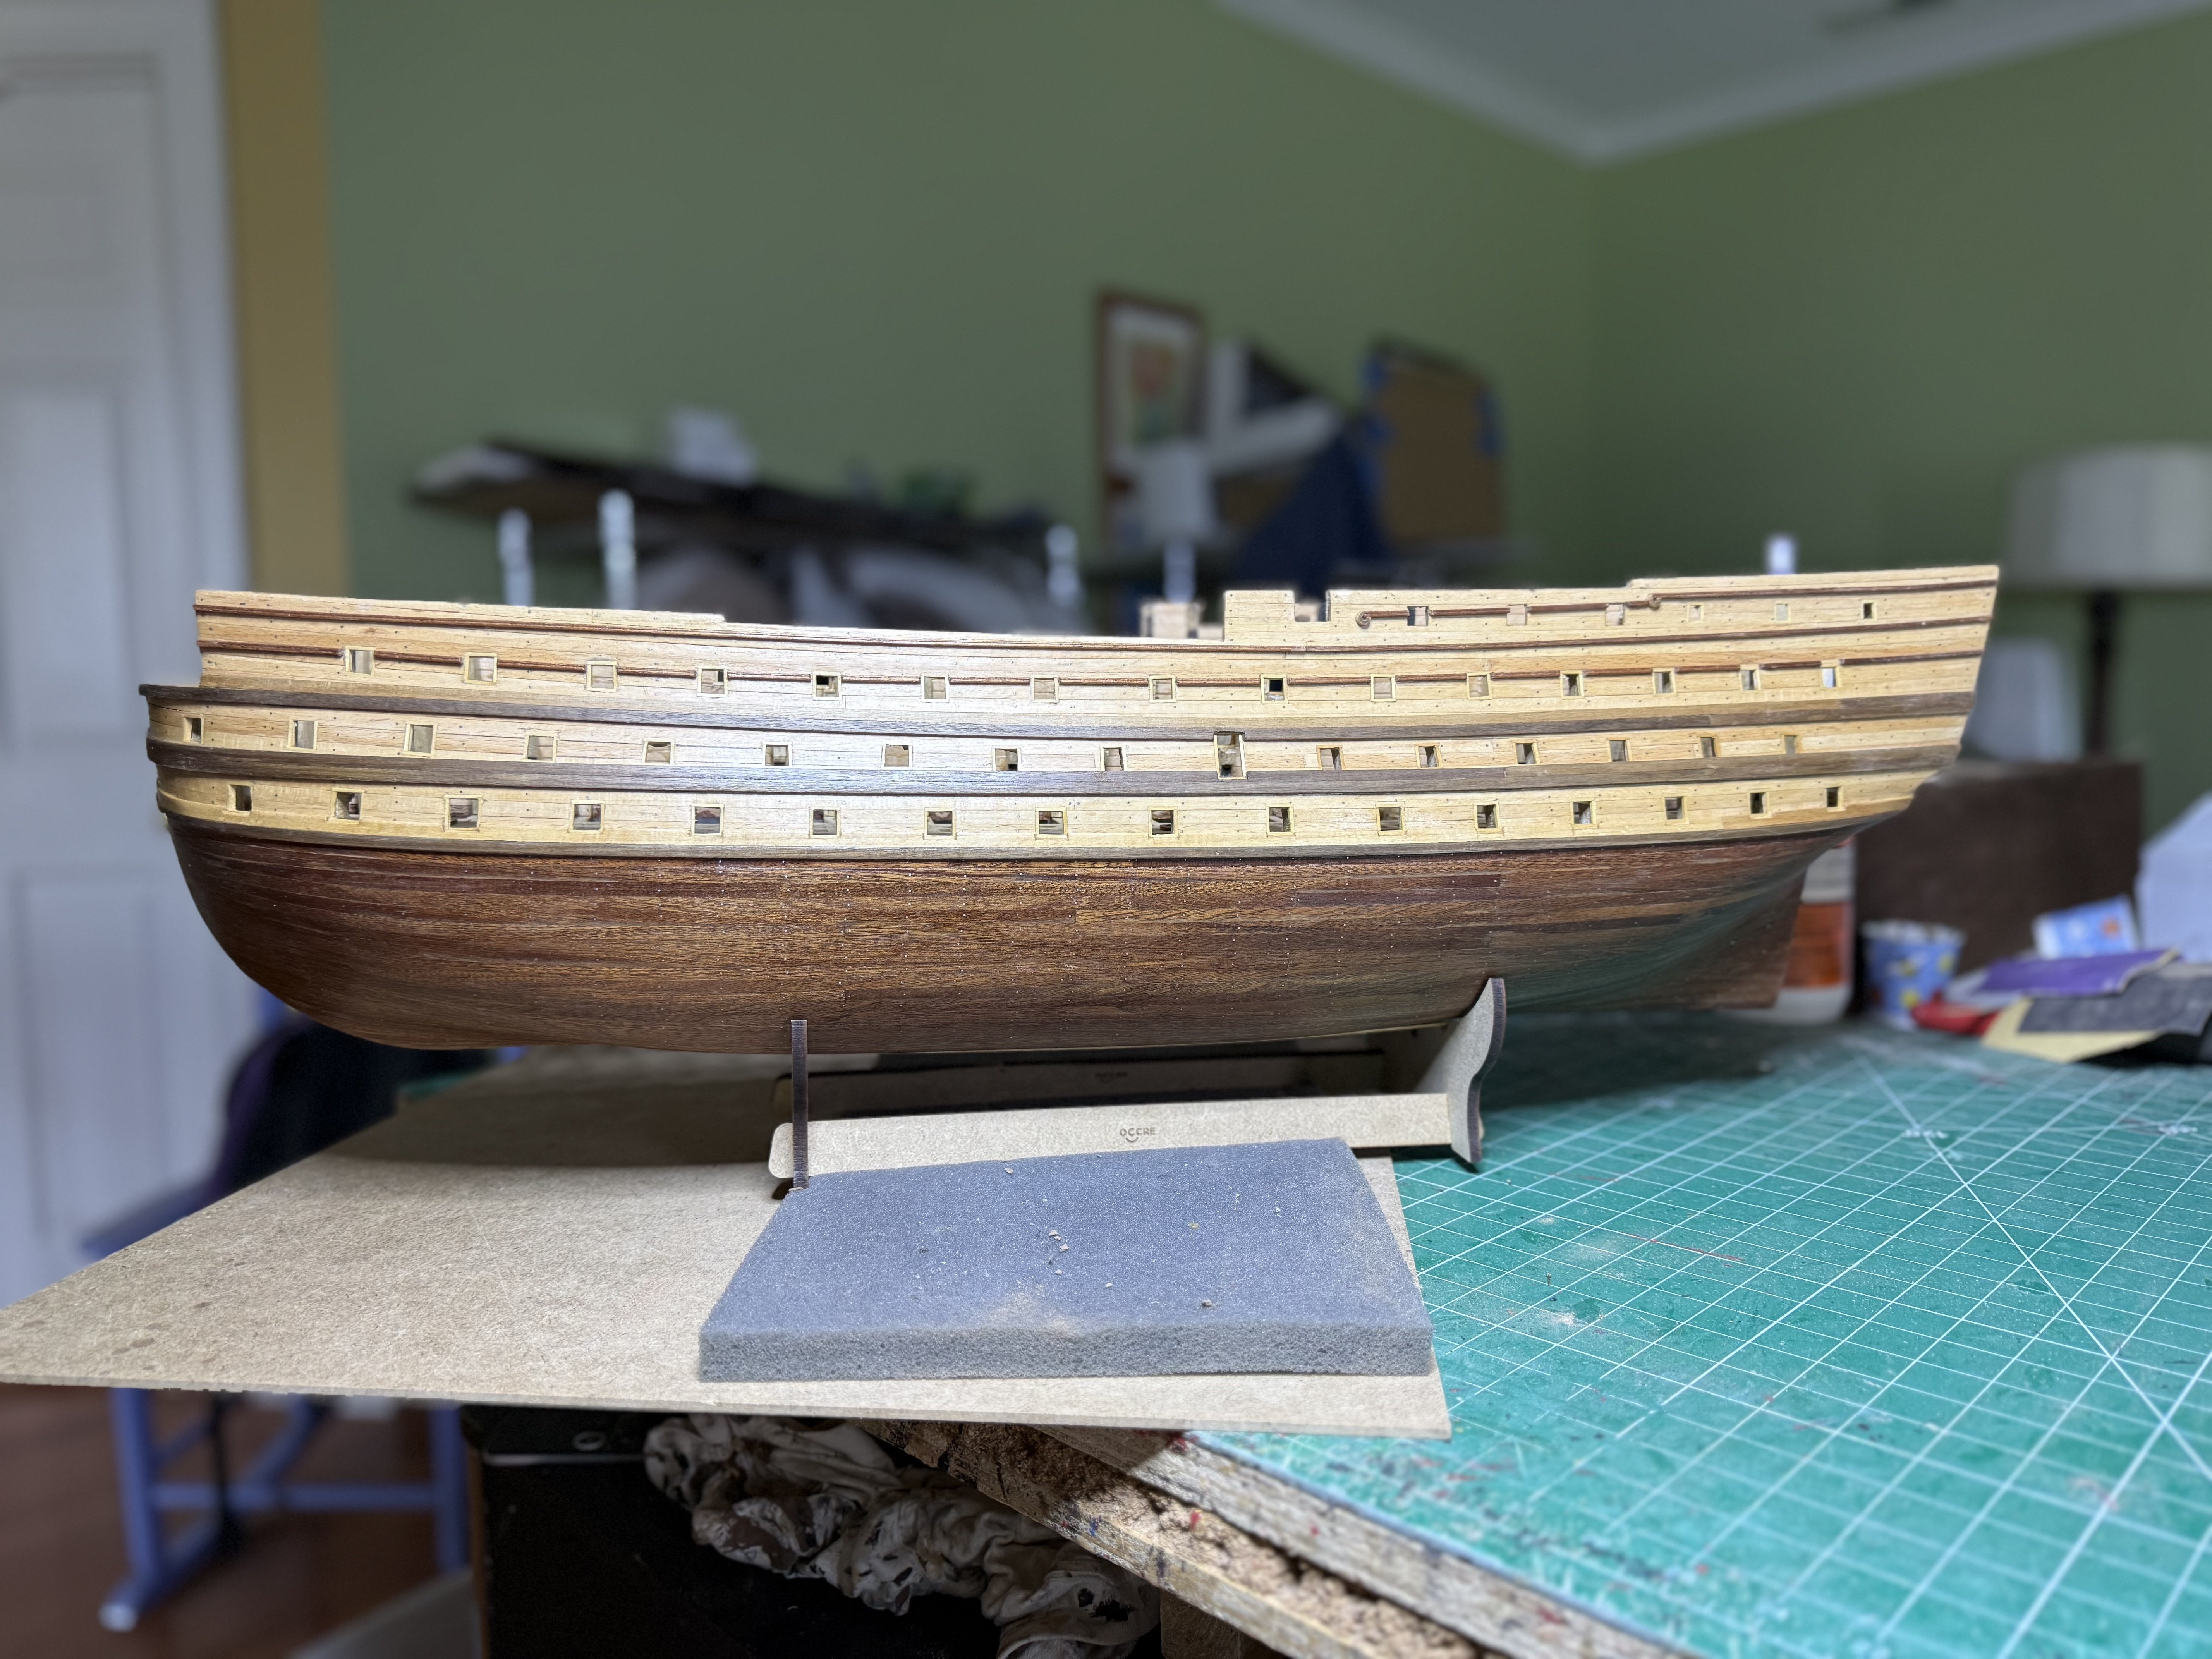
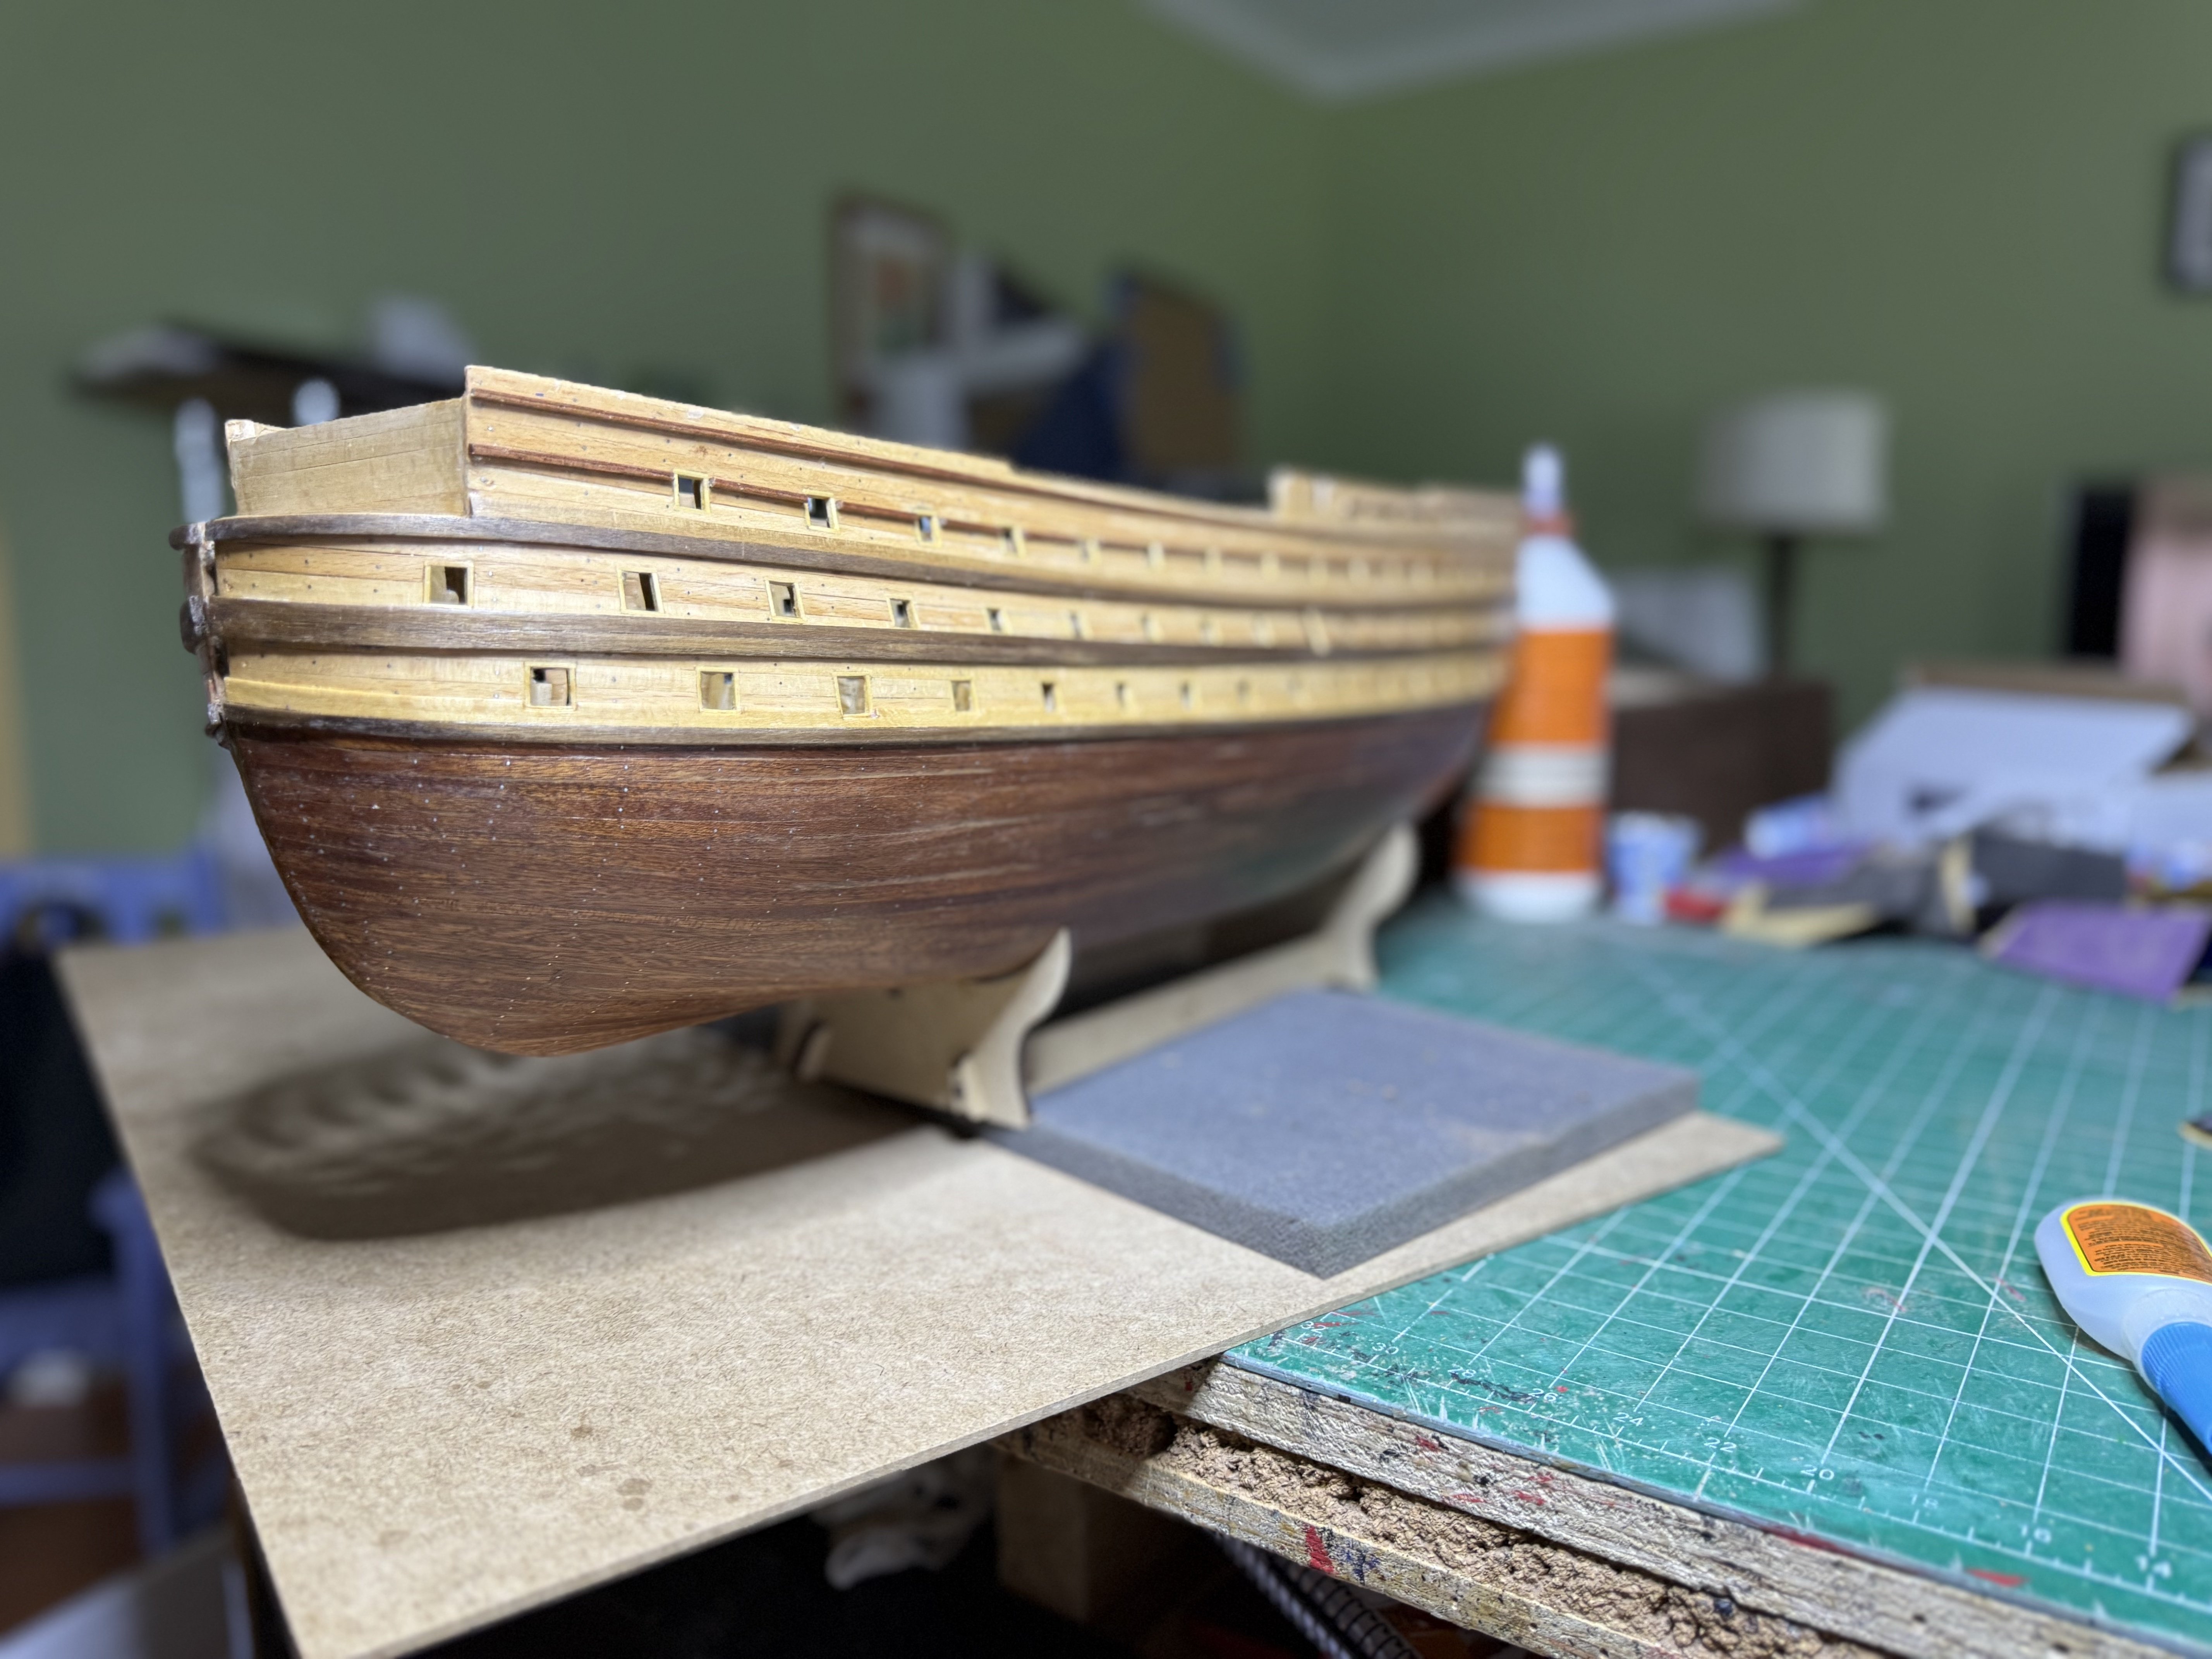
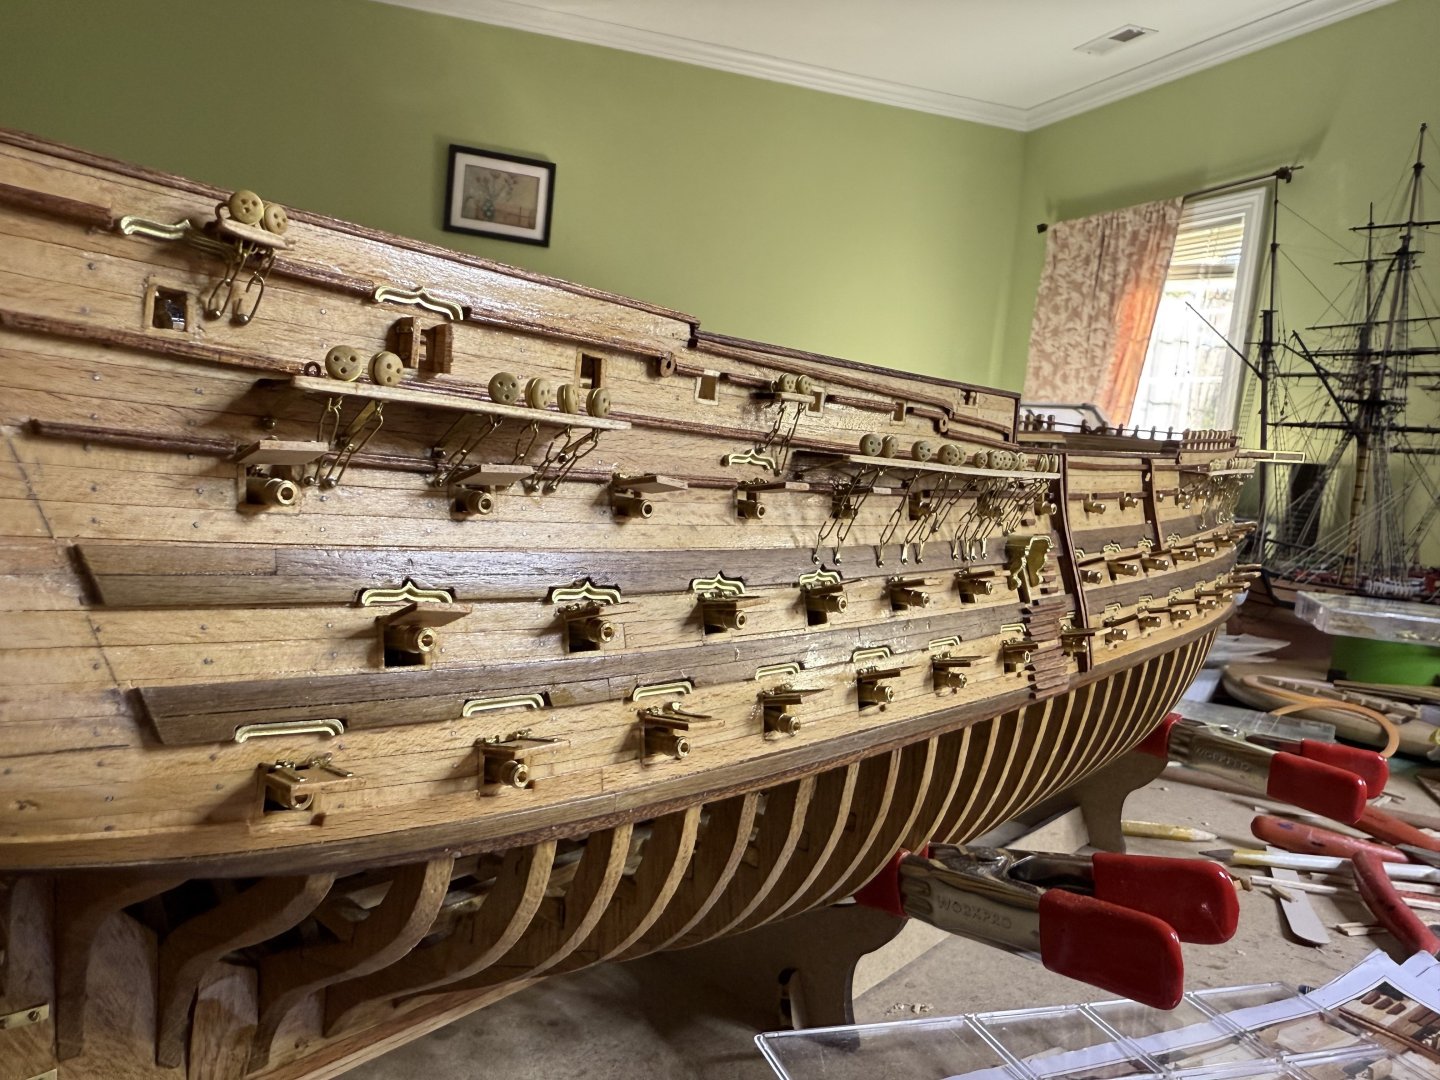
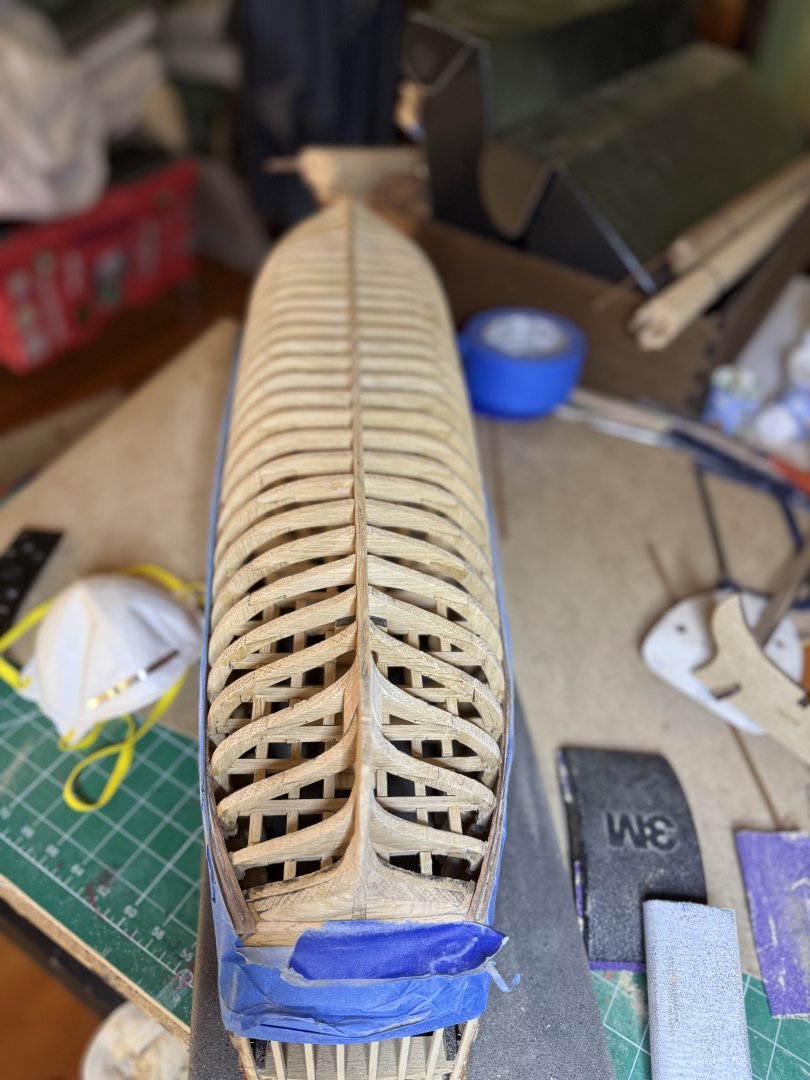
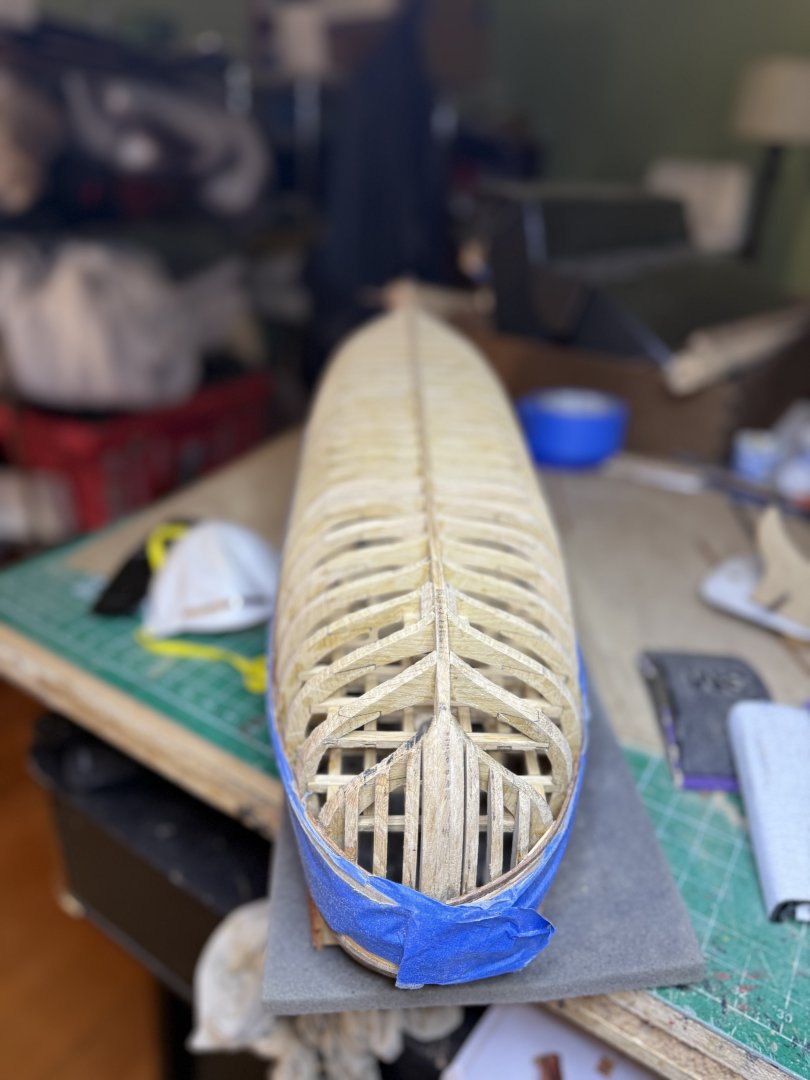
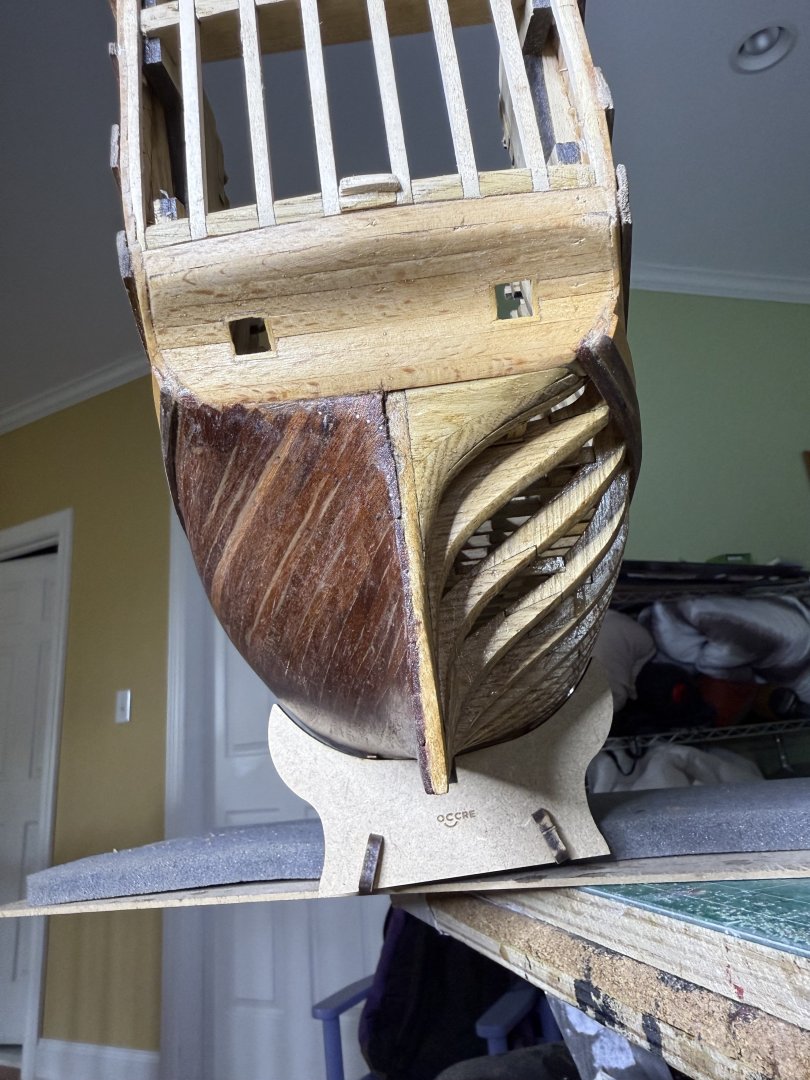
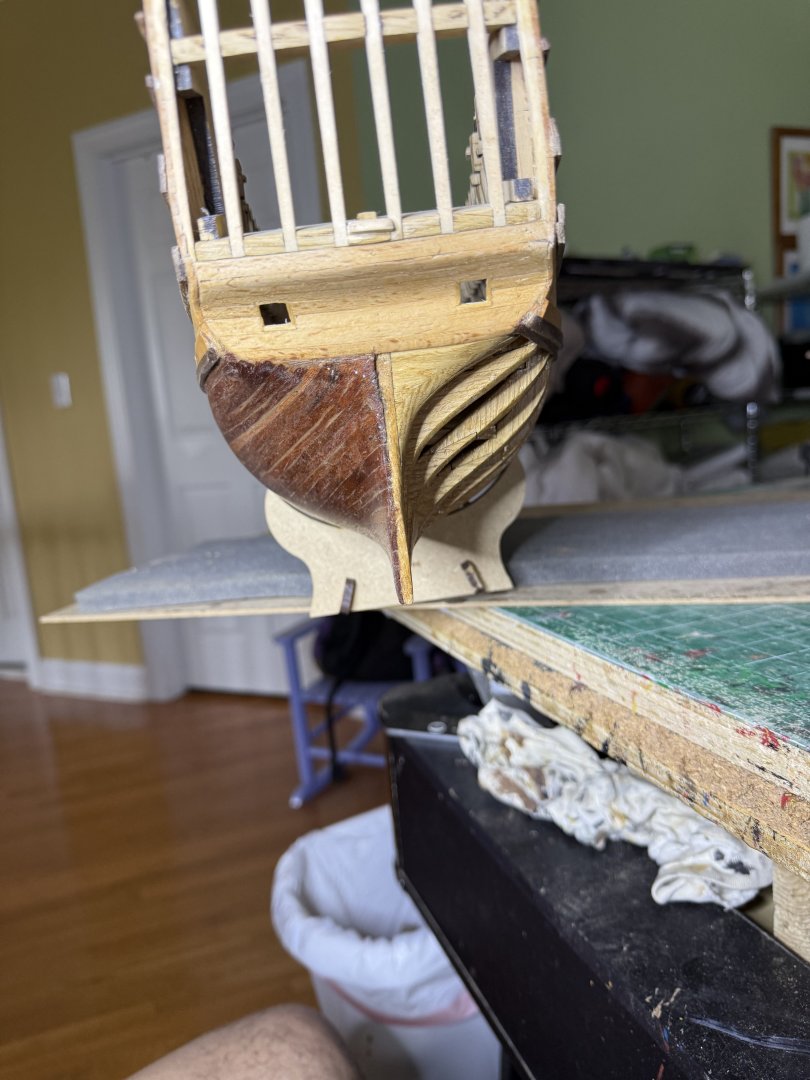
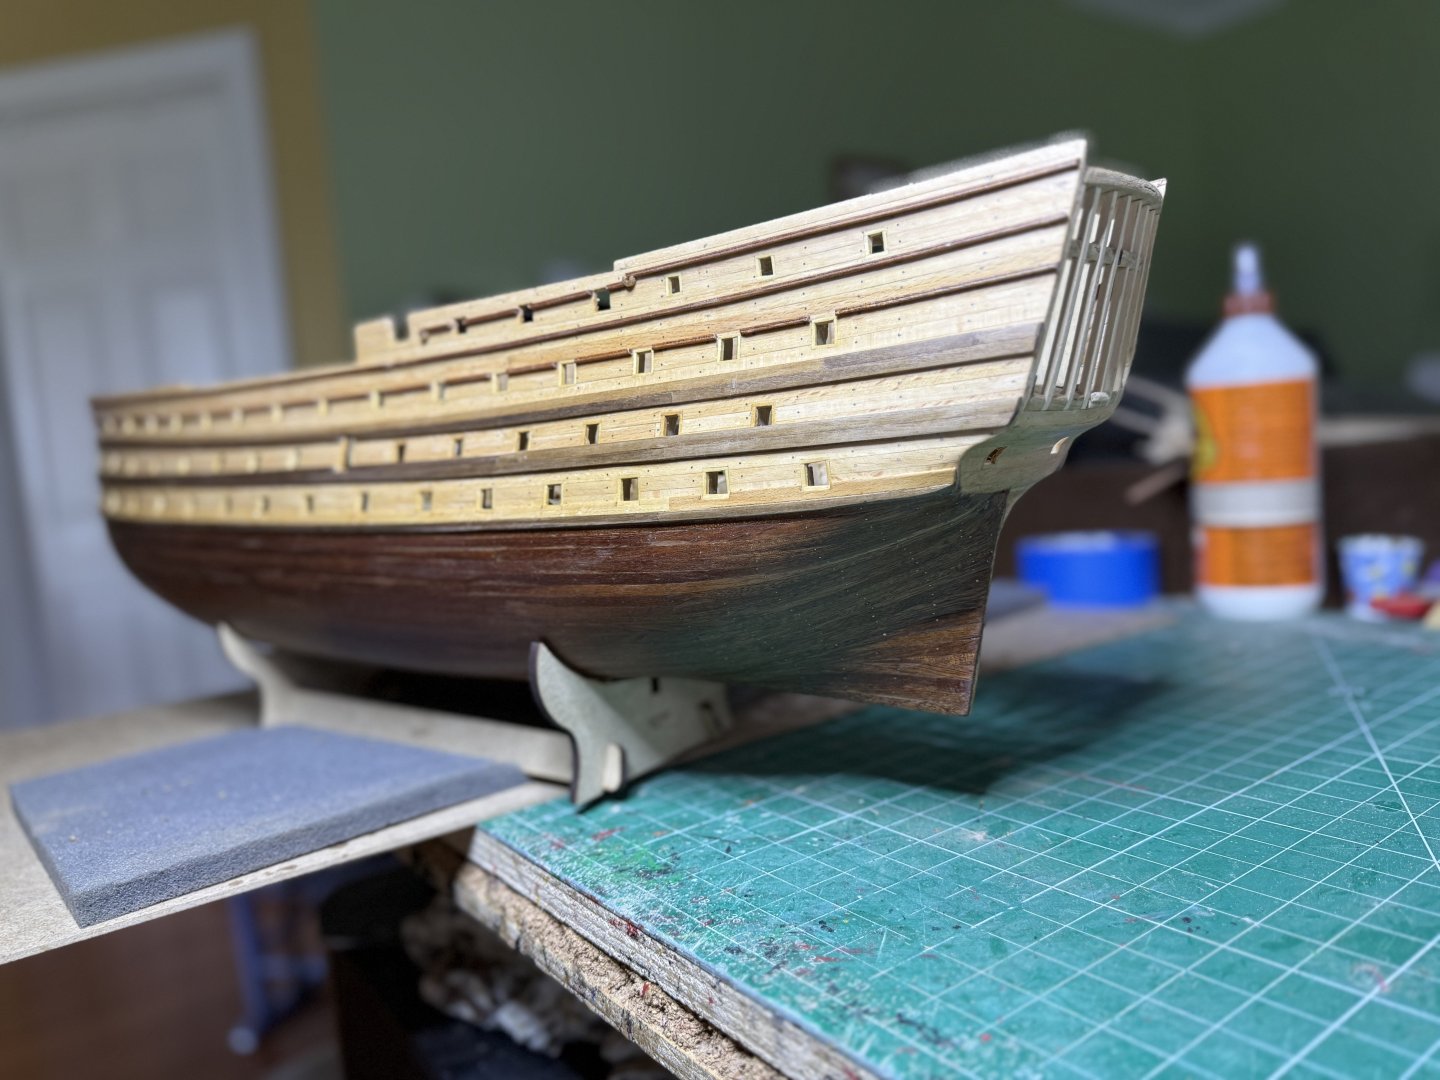
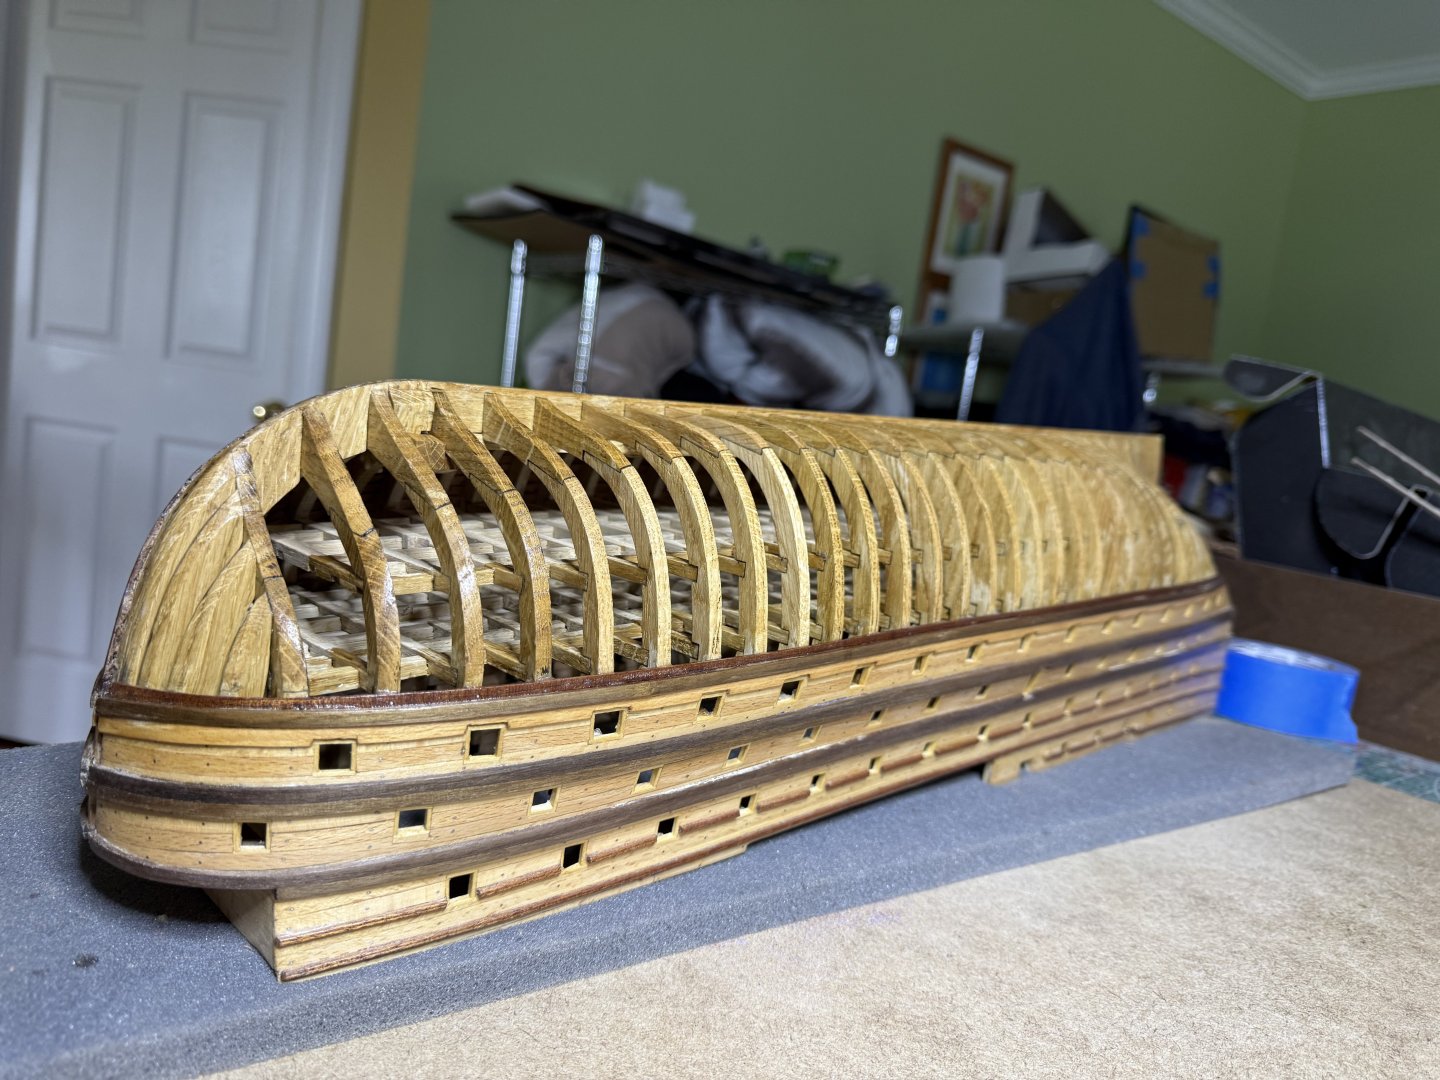
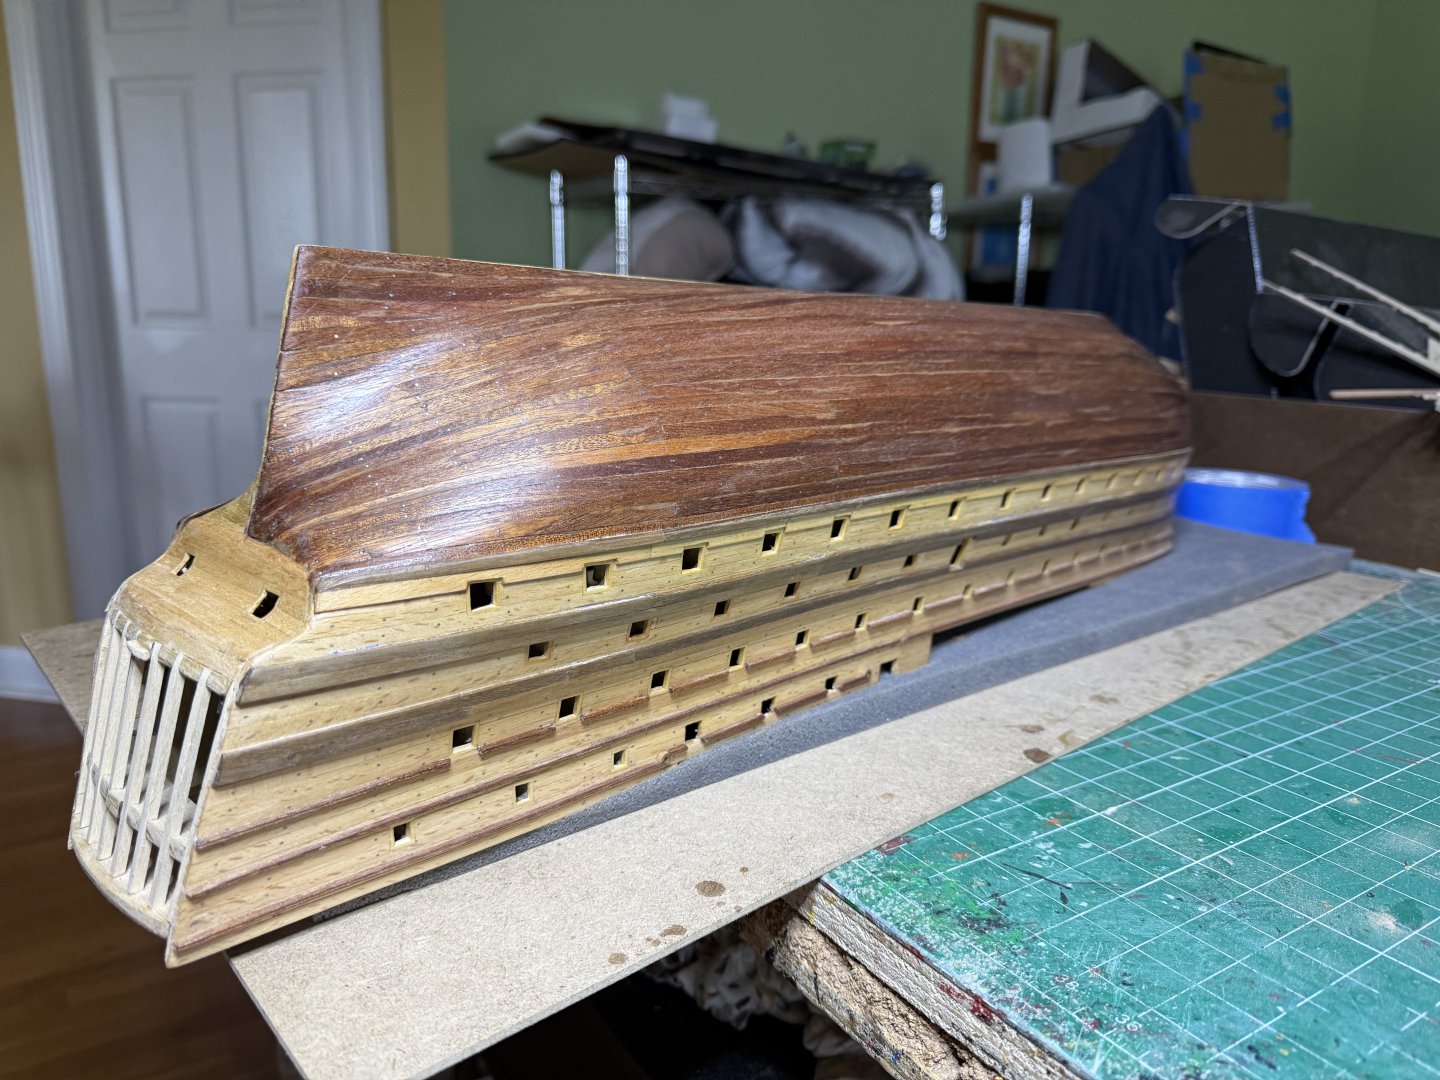
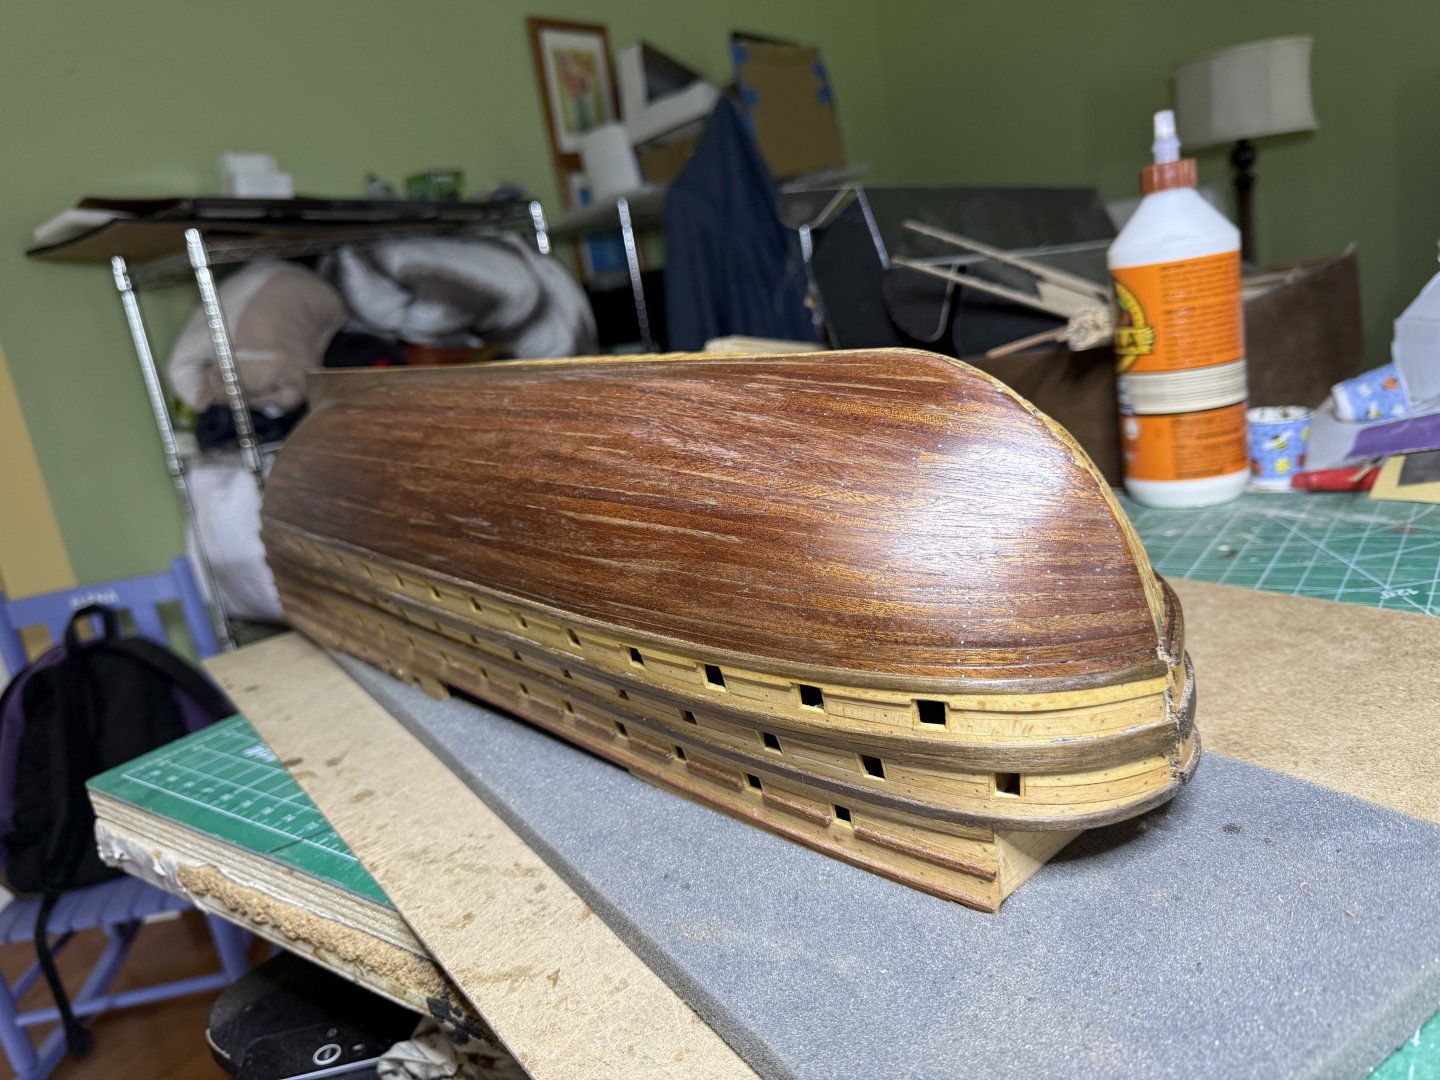
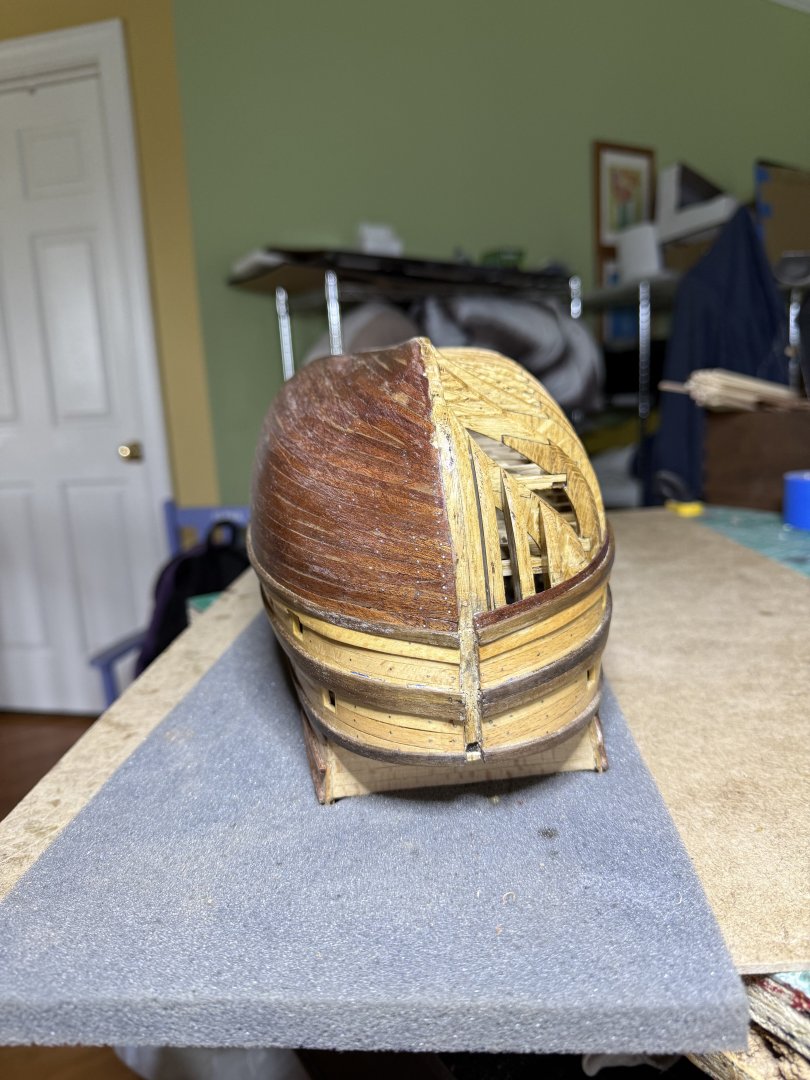
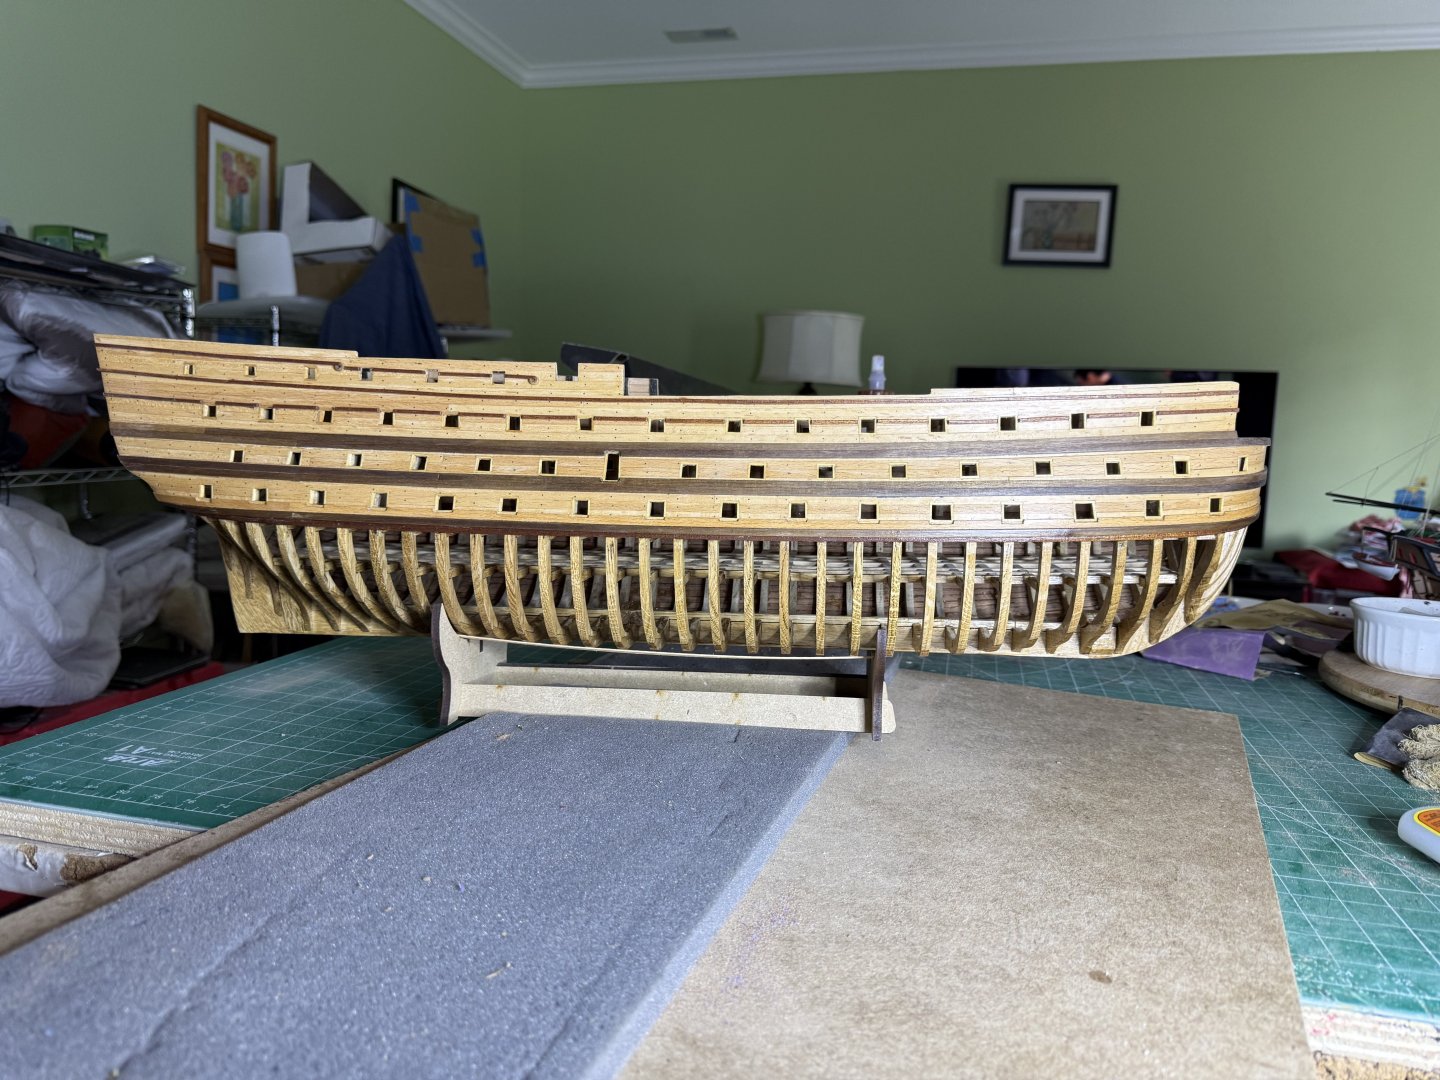
Spent the week faring the hull, Then planking the port side then sanding and sealing both sides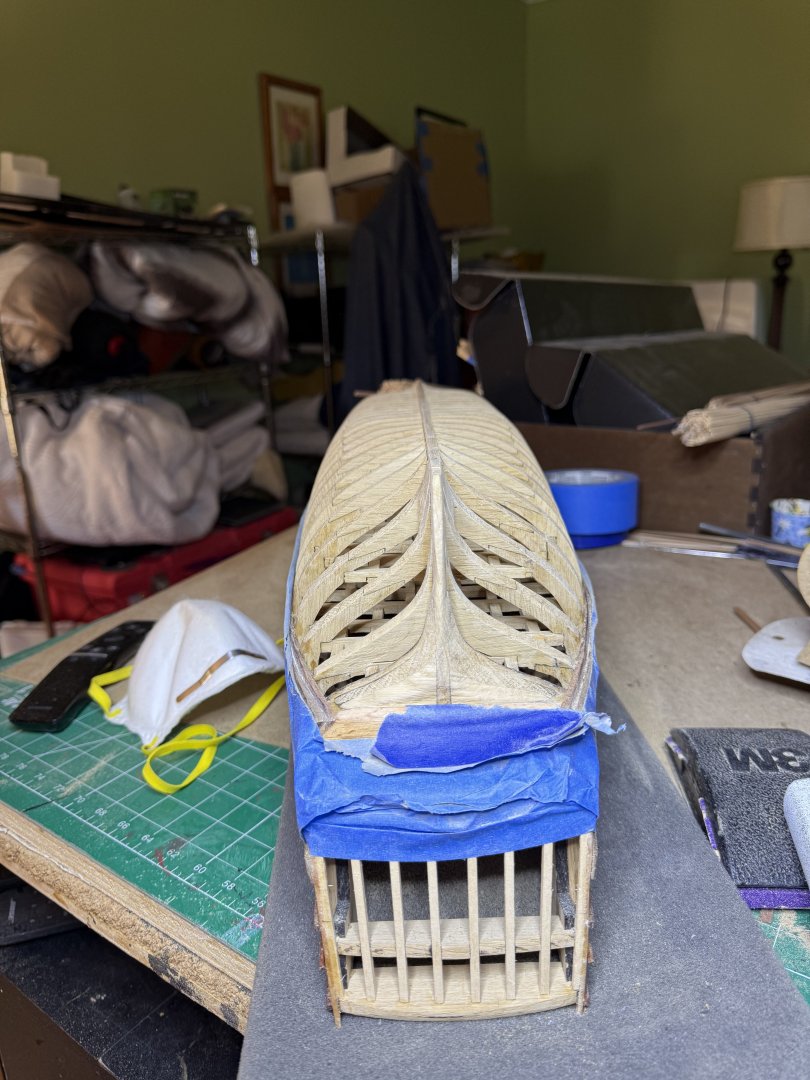


-
The completed Granado build can be seen on the forum. I have been replacing the blocks in my builds lately with more realistic ones unless already in the kits. The first time I read about bob ketches was in C.C Forrester's Lord Hornblower where he watches them being used in the baltic states.