HOLIDAY DONATION DRIVE - SUPPORT MSW - DO YOUR PART TO KEEP THIS GREAT FORUM GOING!
×


ECK
-
Posts
632 -
Joined
-
Last visited
Content Type
Profiles
Forums
Gallery
Events
Everything posted by ECK
-
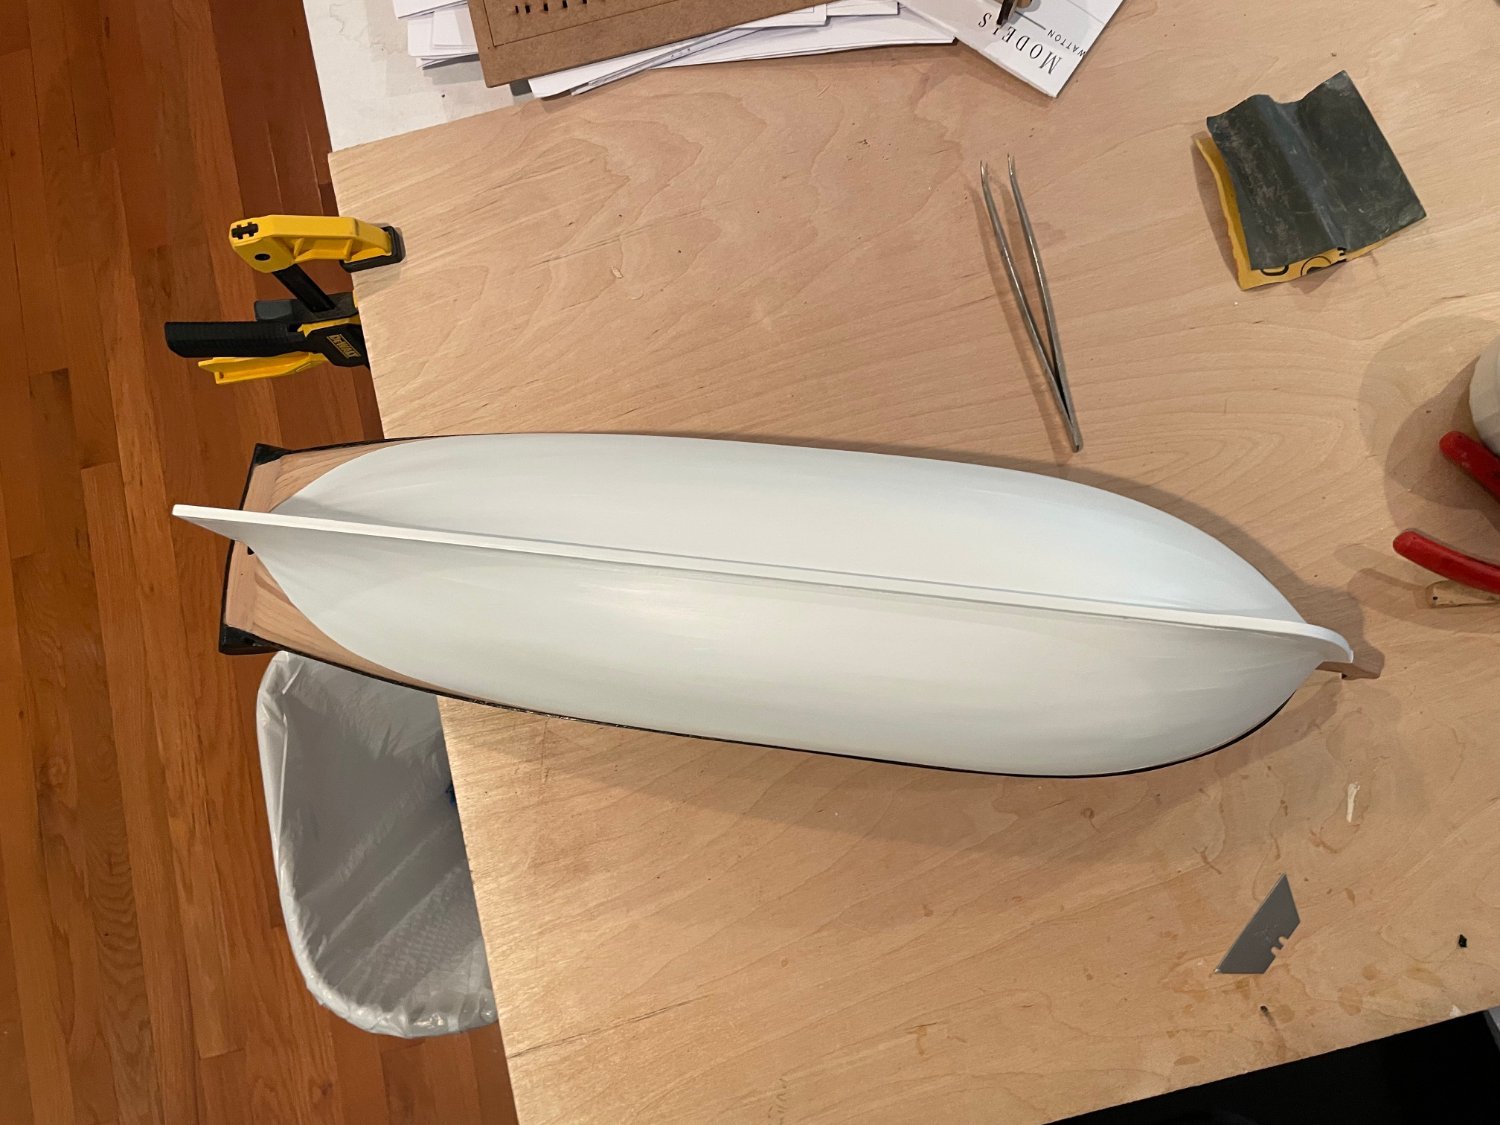
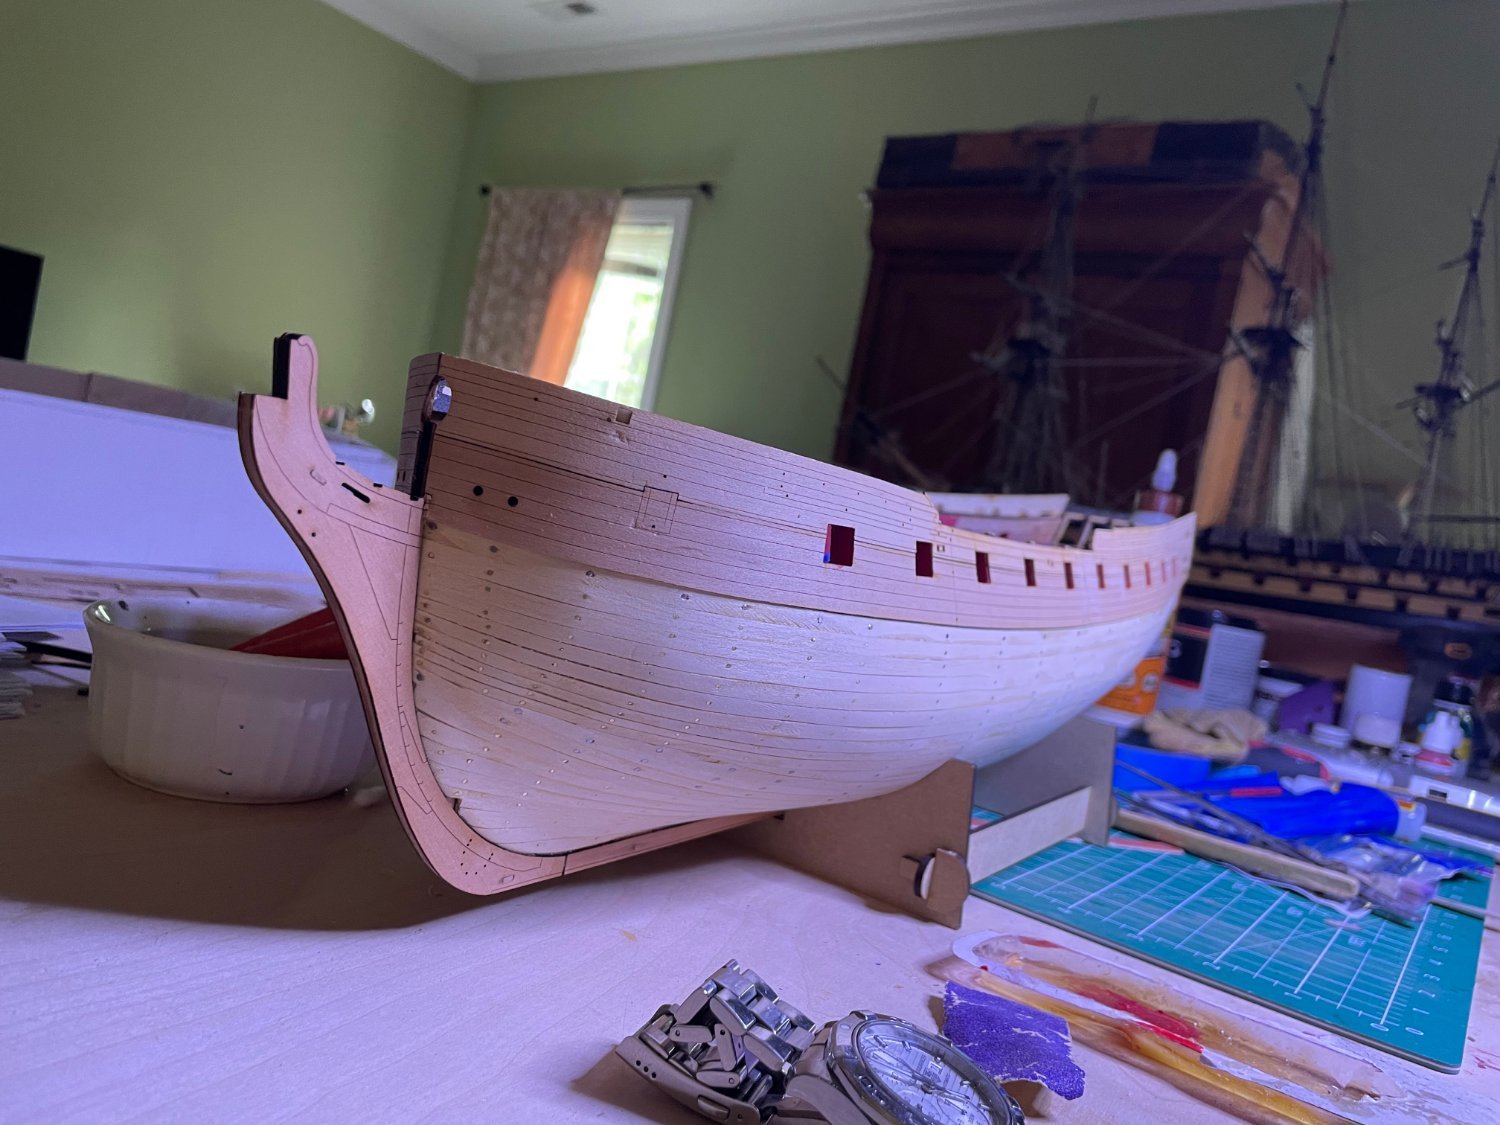
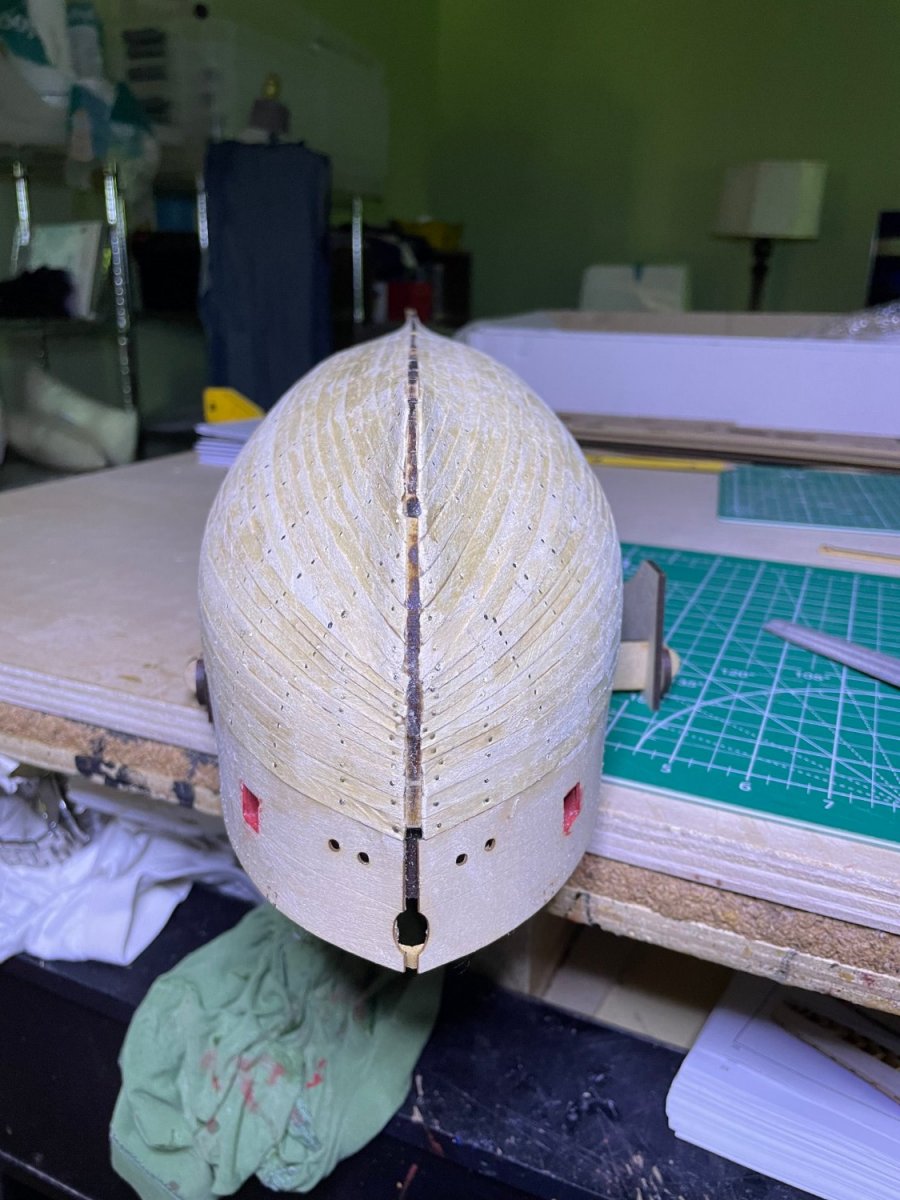
After many priming layers and sanding and finsh paint, hull seems up to snuff now

- 73 replies
-
- 10
-

-
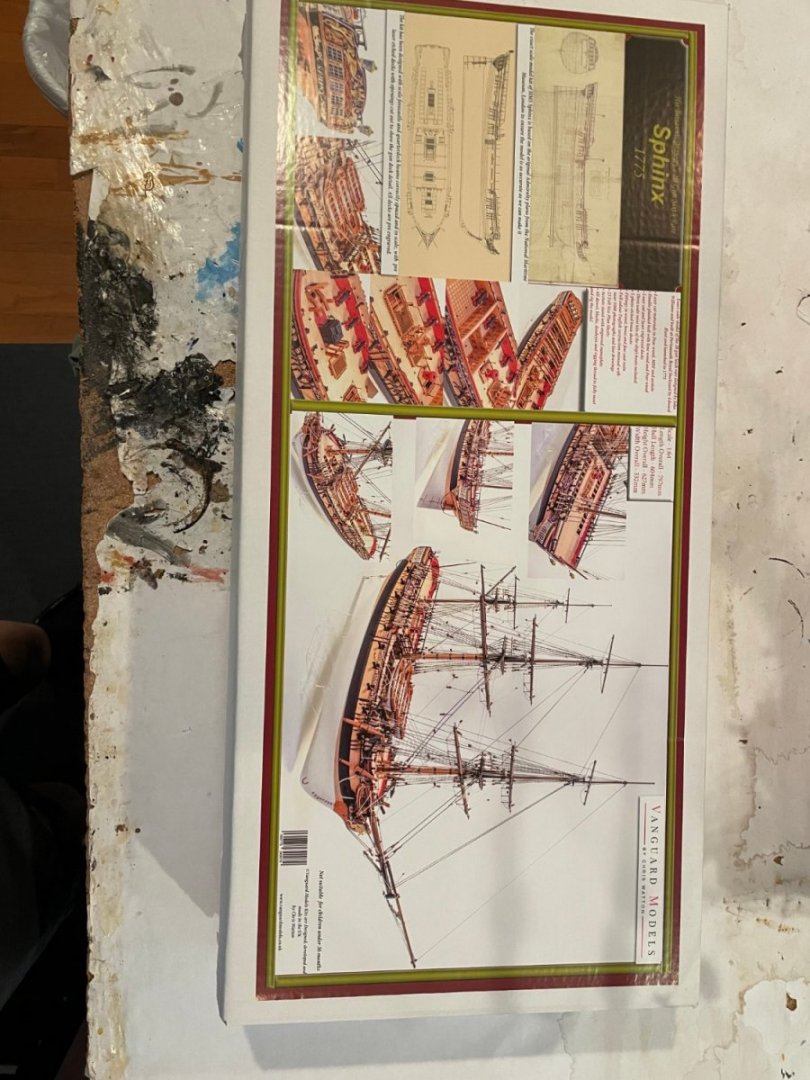
- Sphinx
- Vanguard Models
- (and 1 more)
-
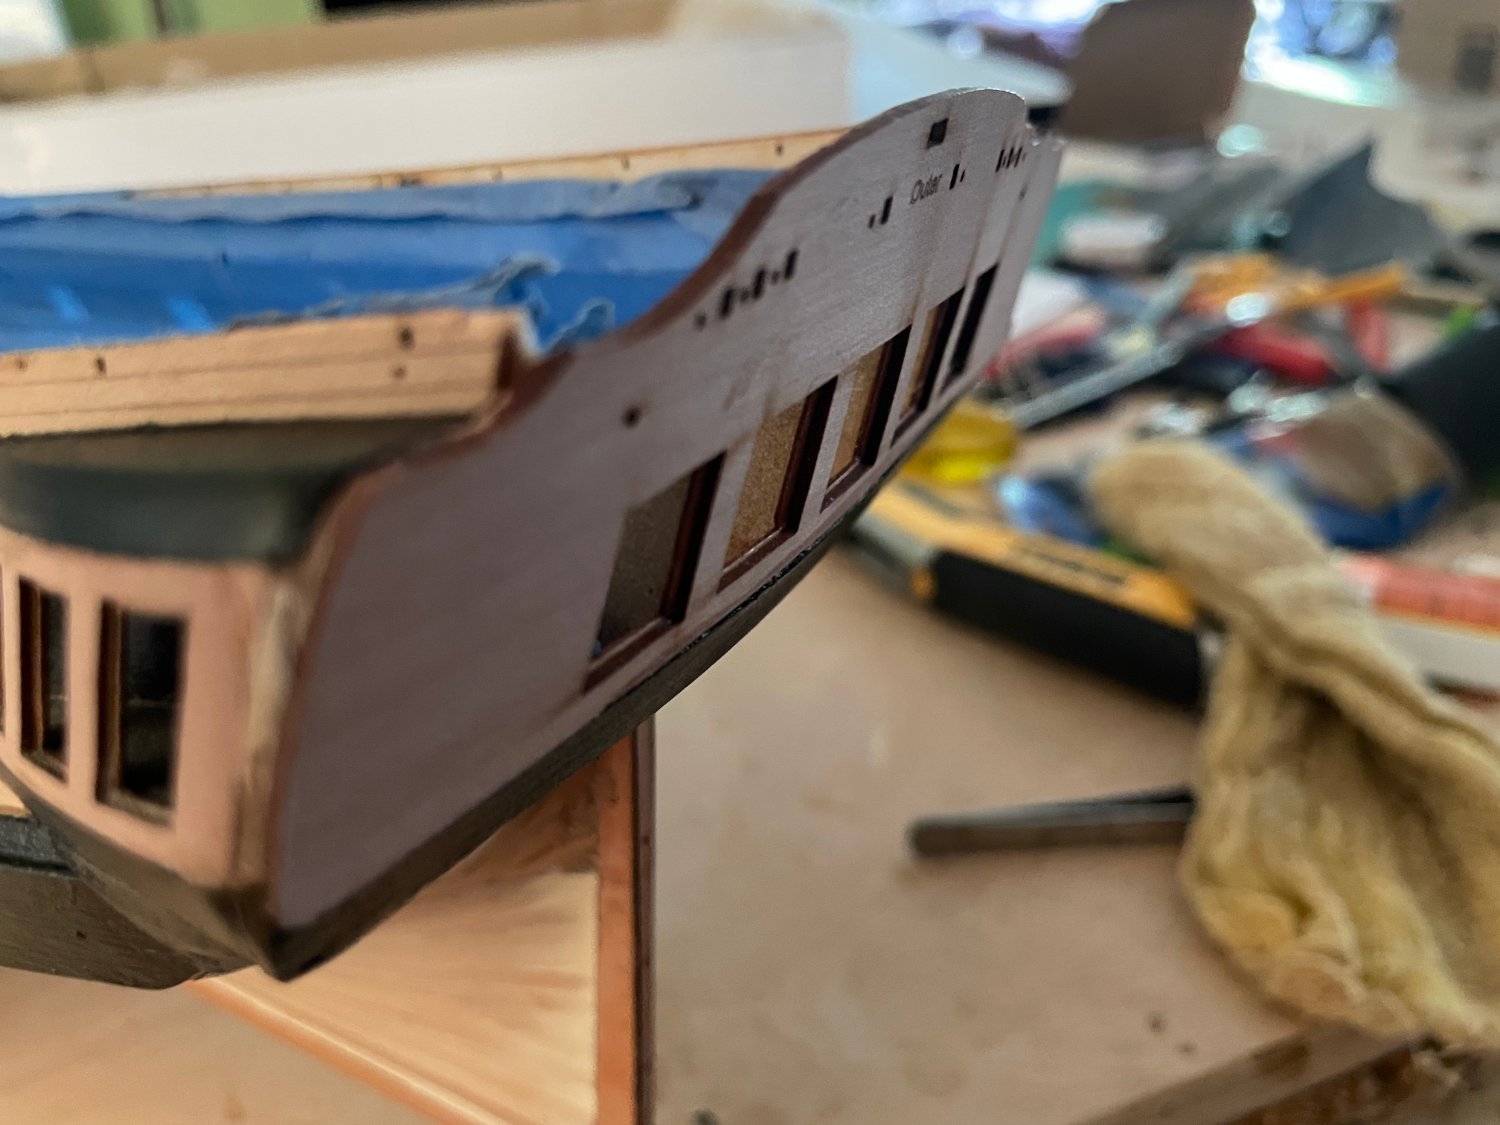
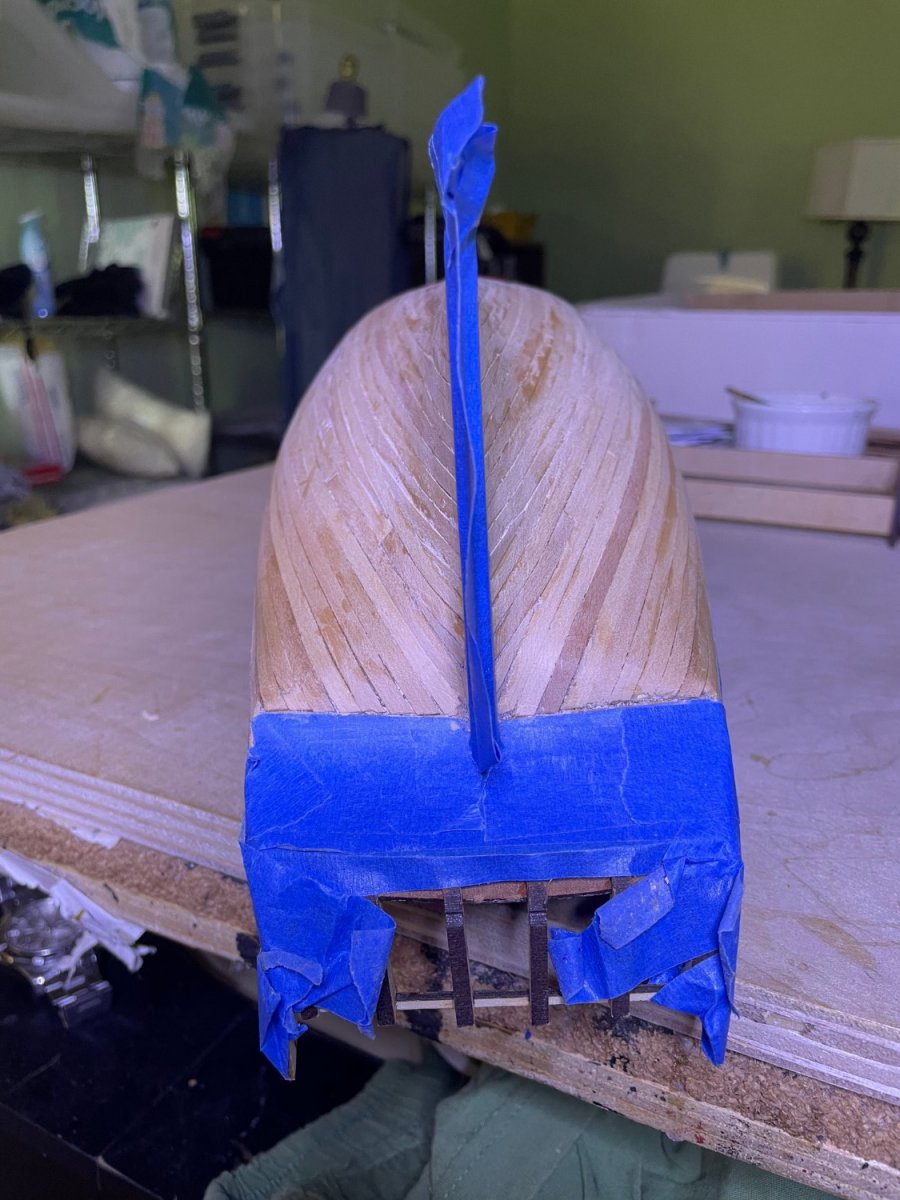
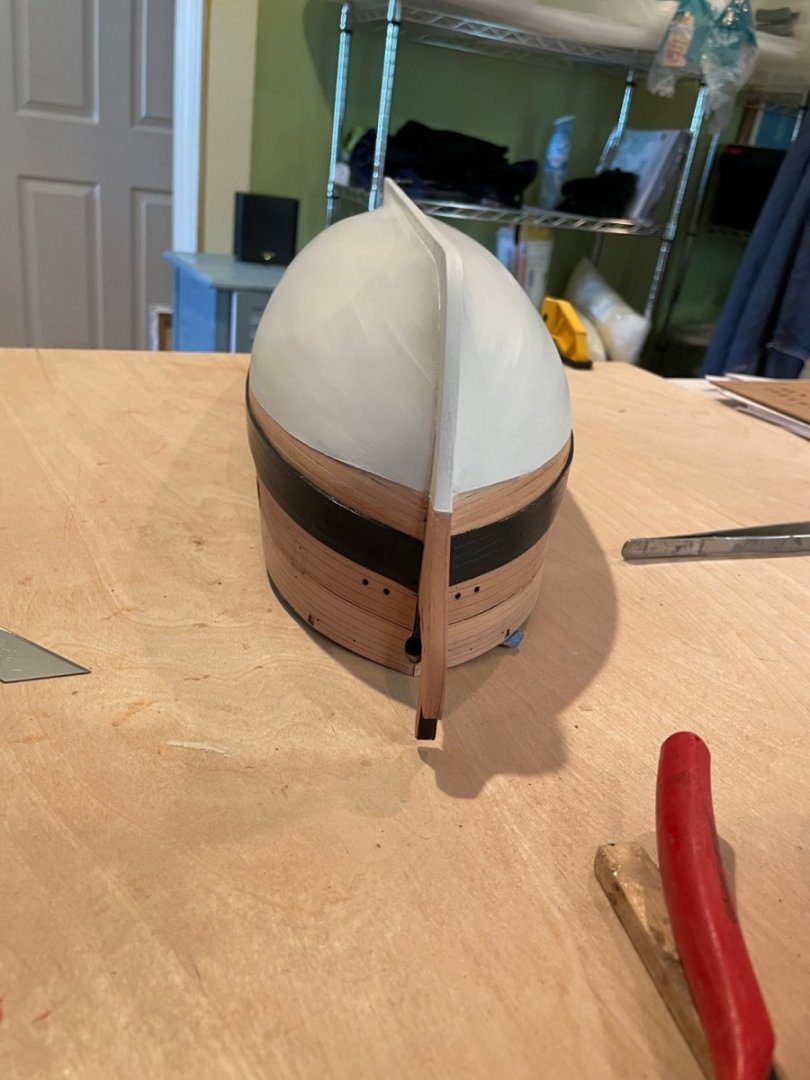
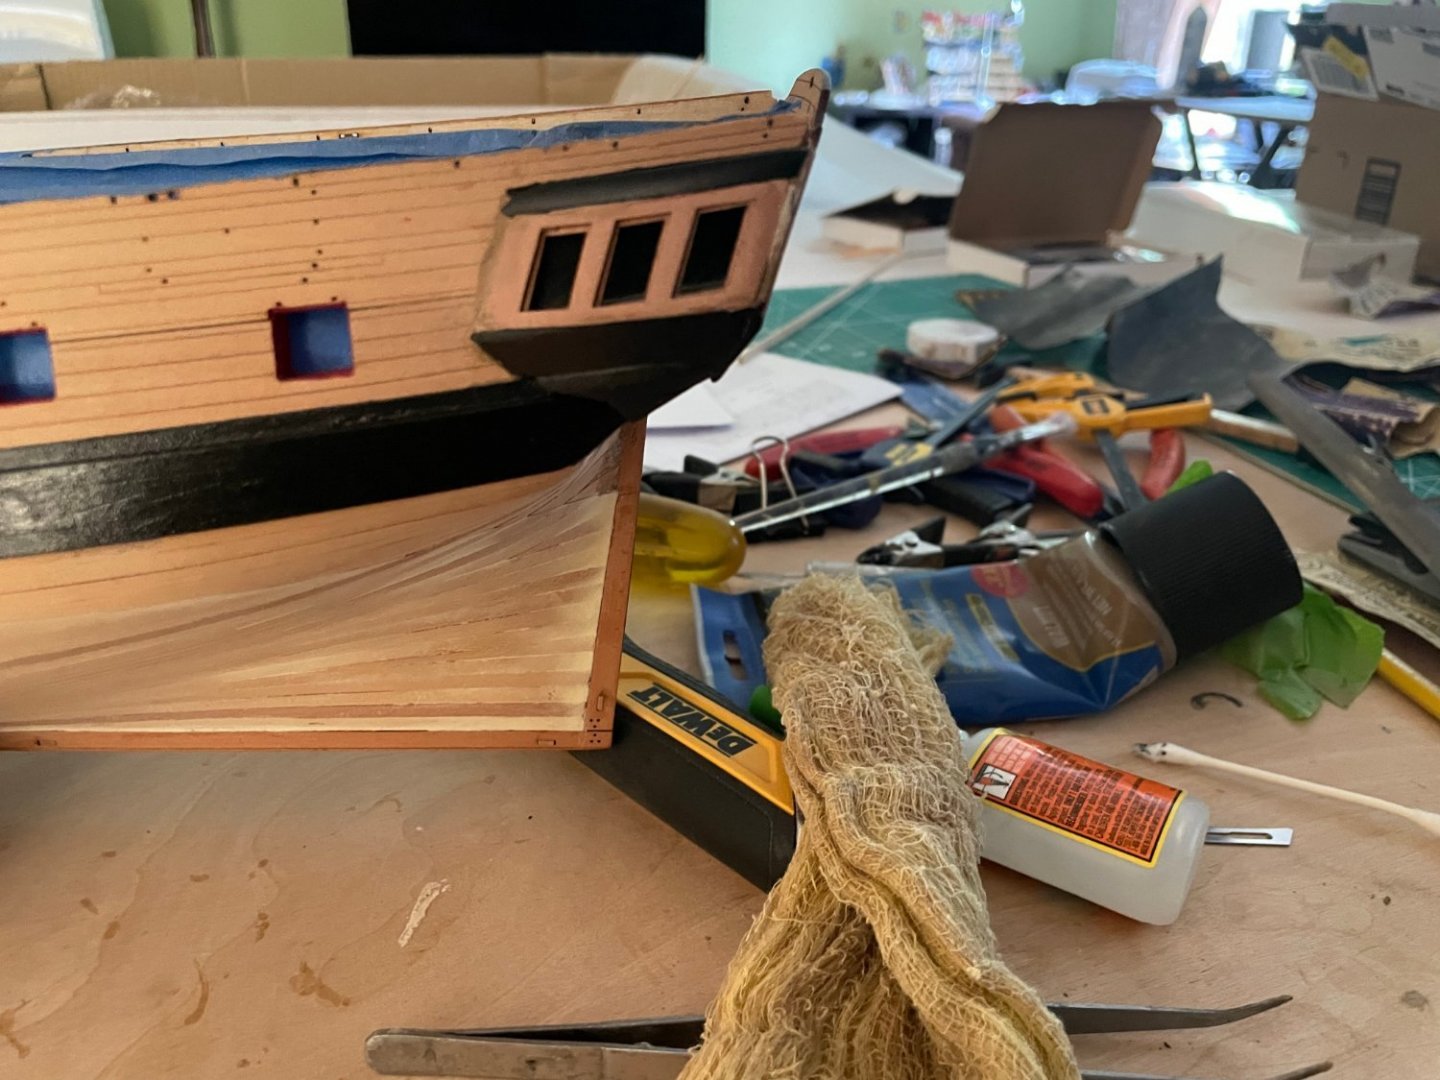
So now I have to fess up on an error. Instructions show stern facia level with sides and instruction note that new level should be 2 mm above. When I had things dine I noticed I was 1-2 2 mm below. Looking back I realized that the first stern facia was likely a bit low although things fit together well and looked like the pictures. I realized that I should have but the upper in first and worked down for the proper gluing of the lower one. It still looks ok and side/stern windows look almost properly aligned for the undecerning eye.

- 73 replies
-
- 7
-
-
- Sphinx
- Vanguard Models
- (and 1 more)
-
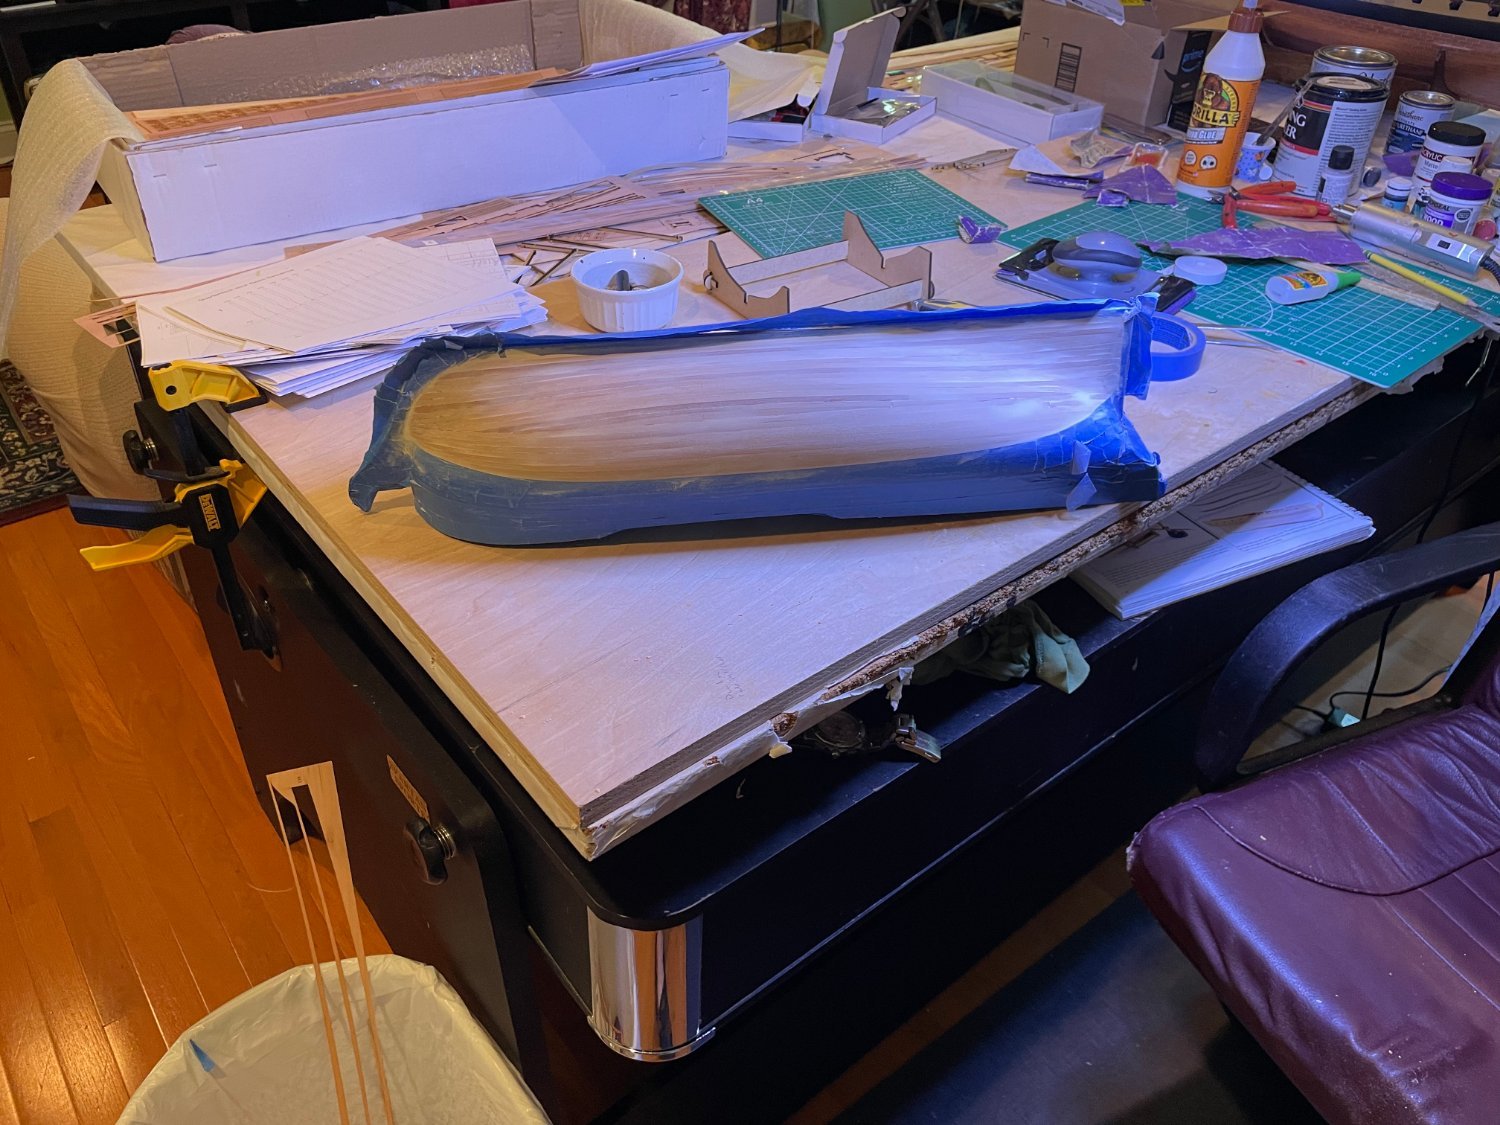
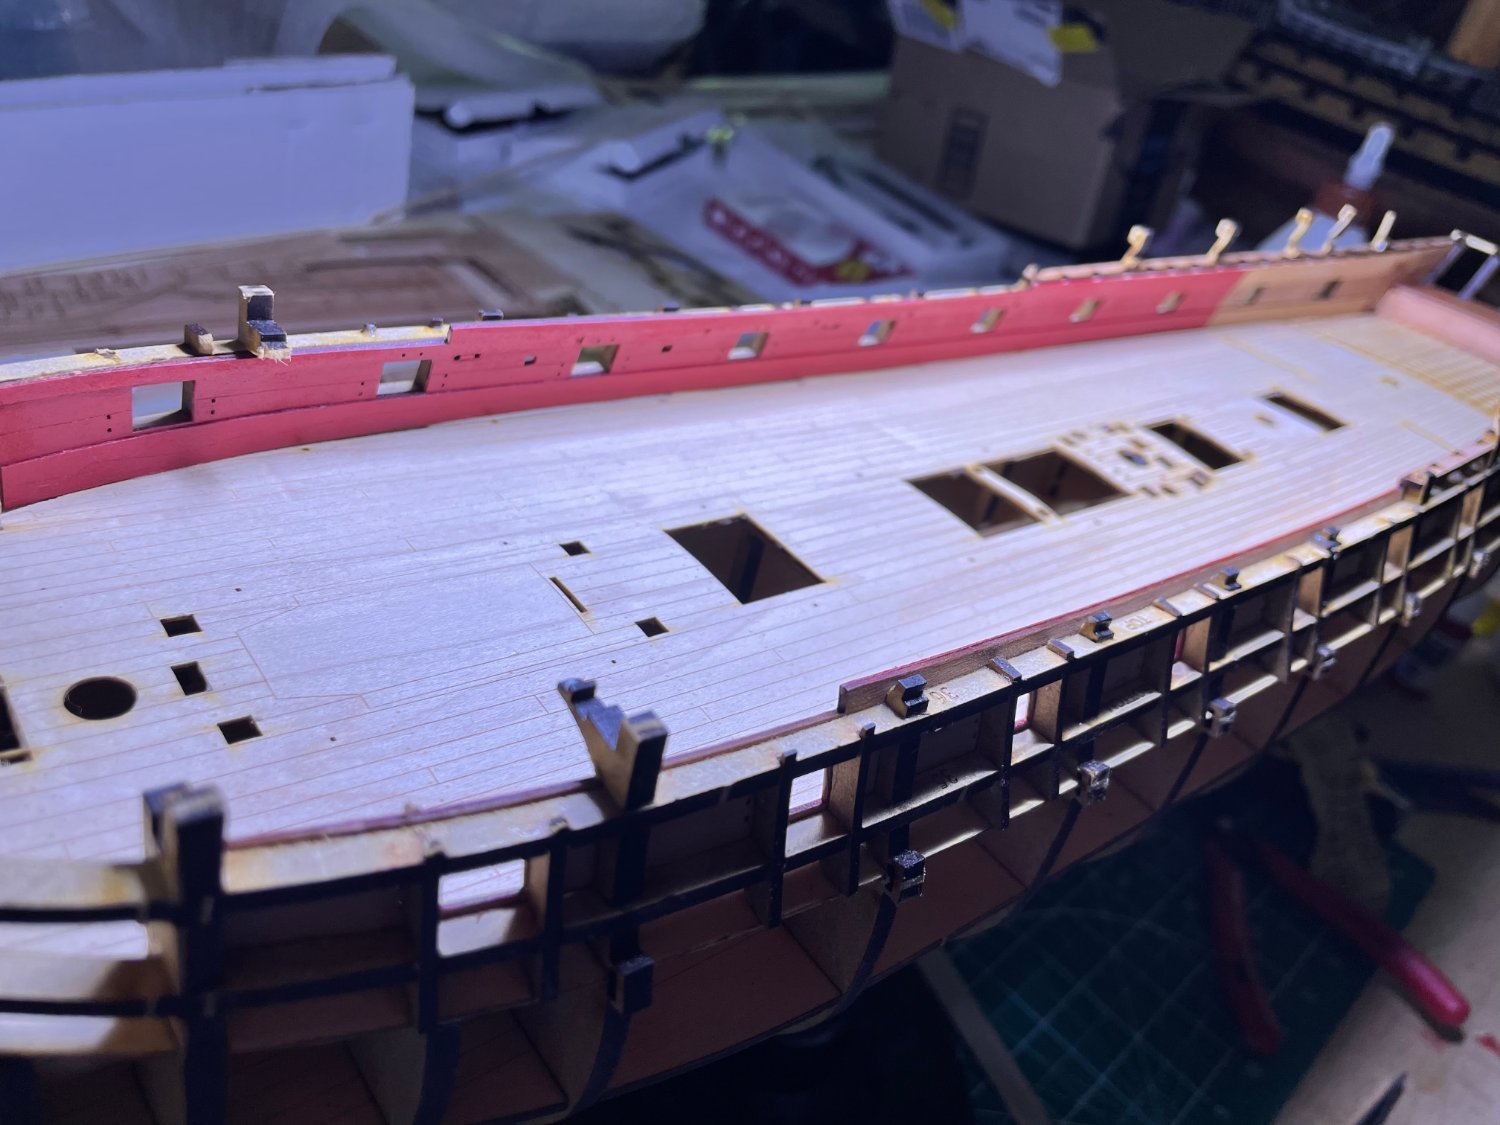
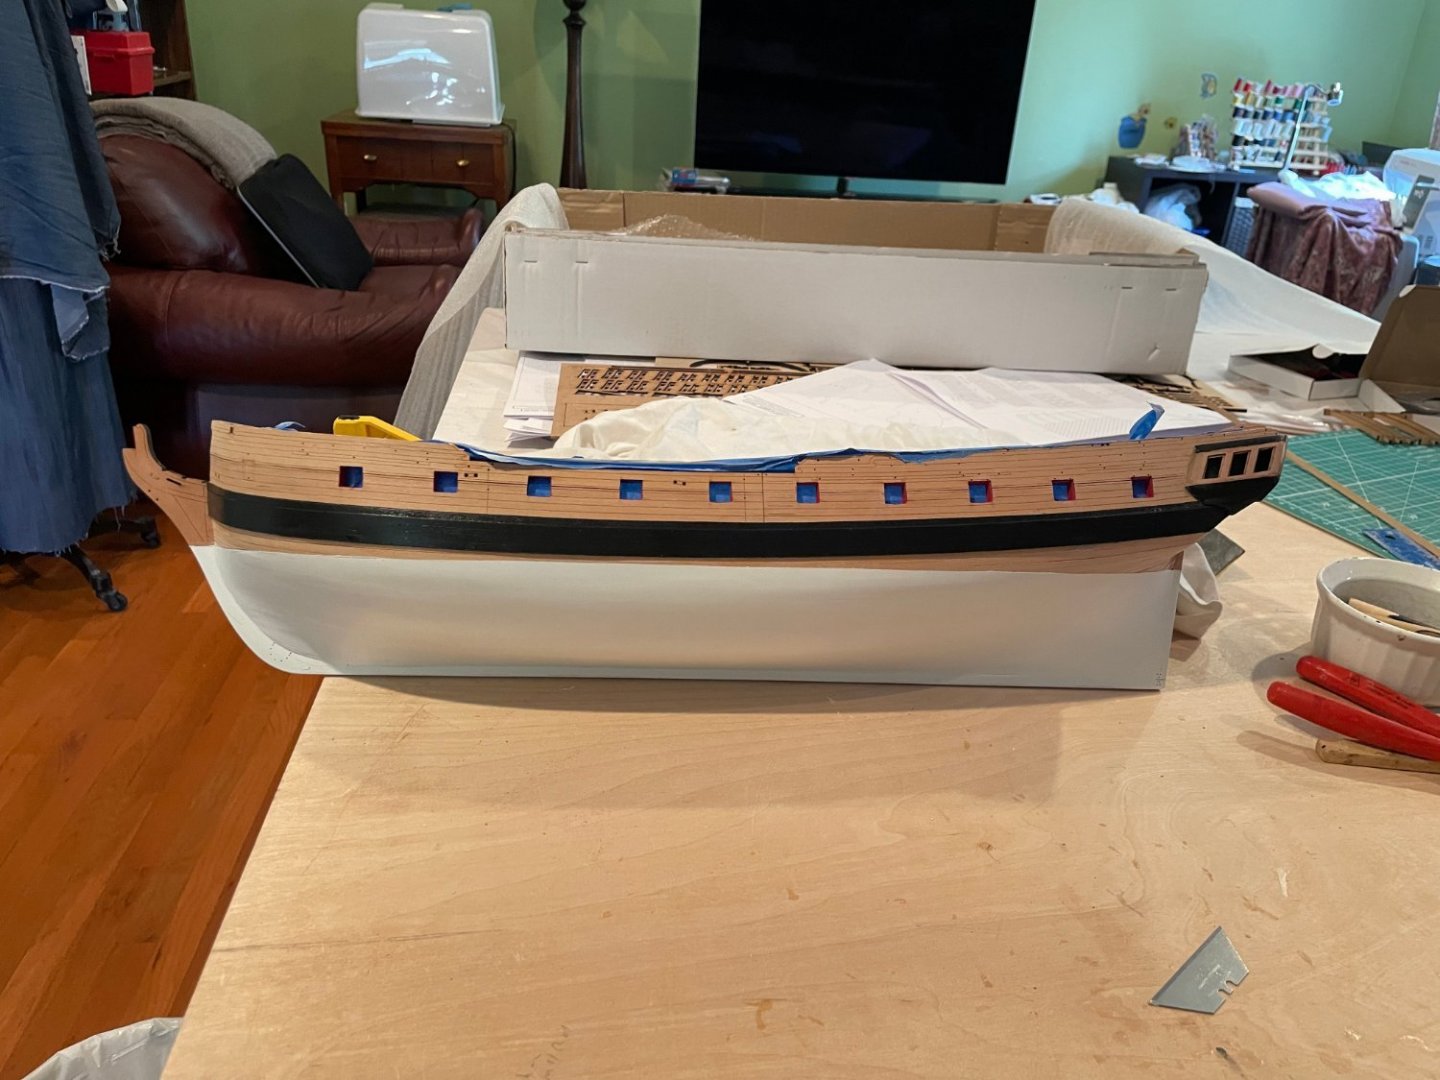
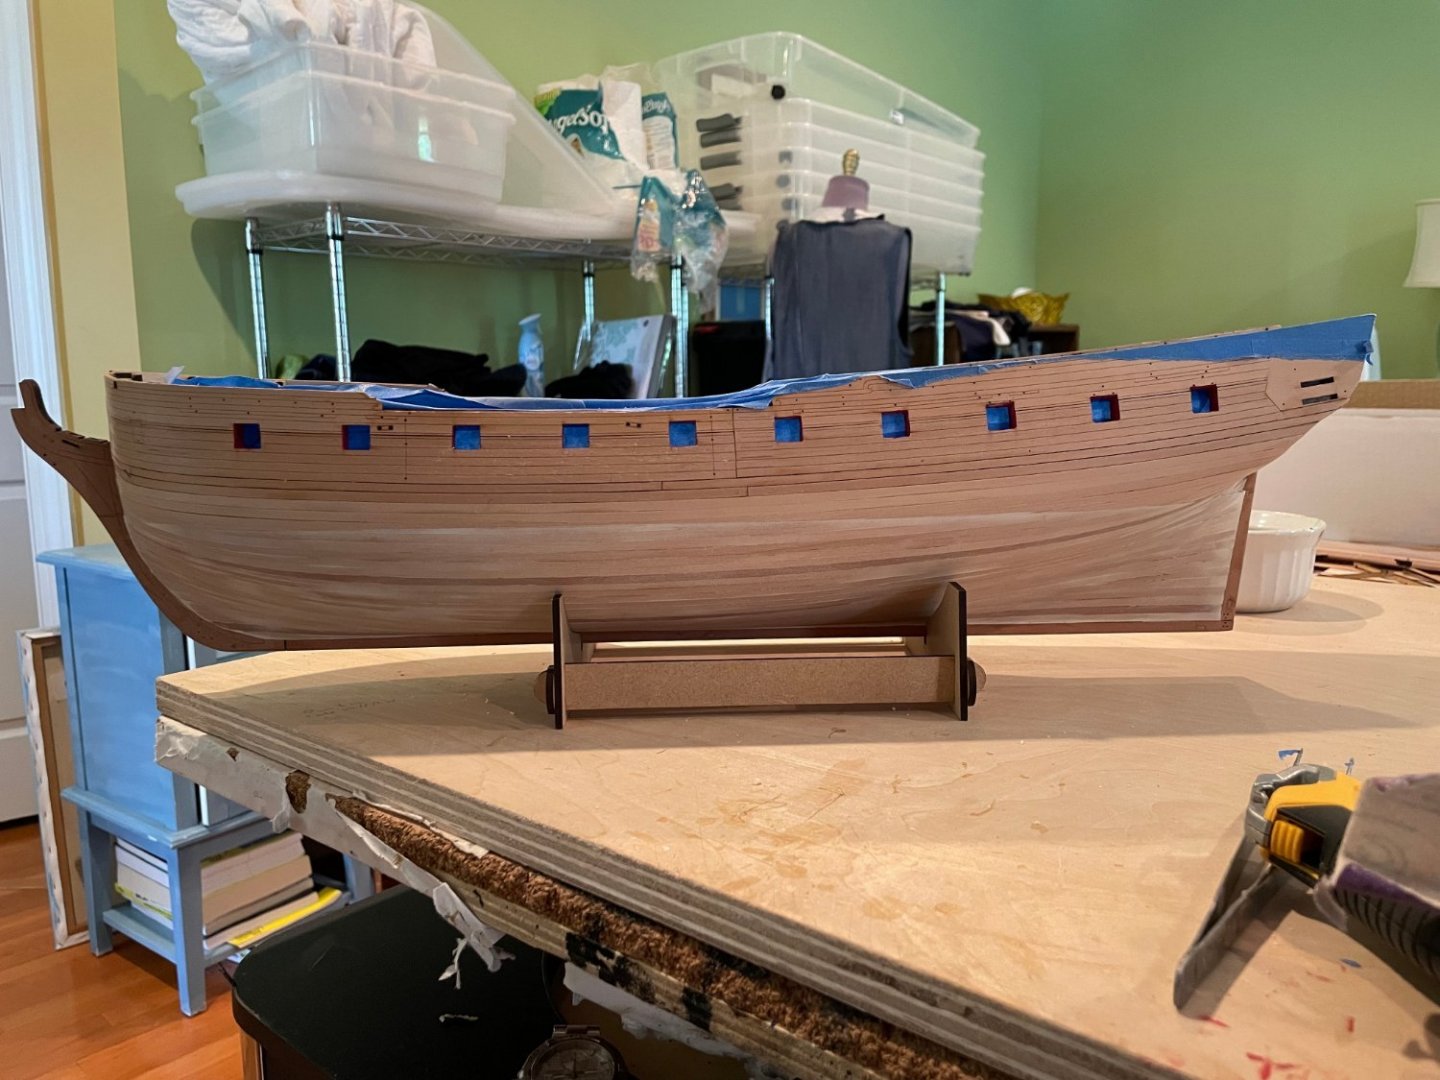
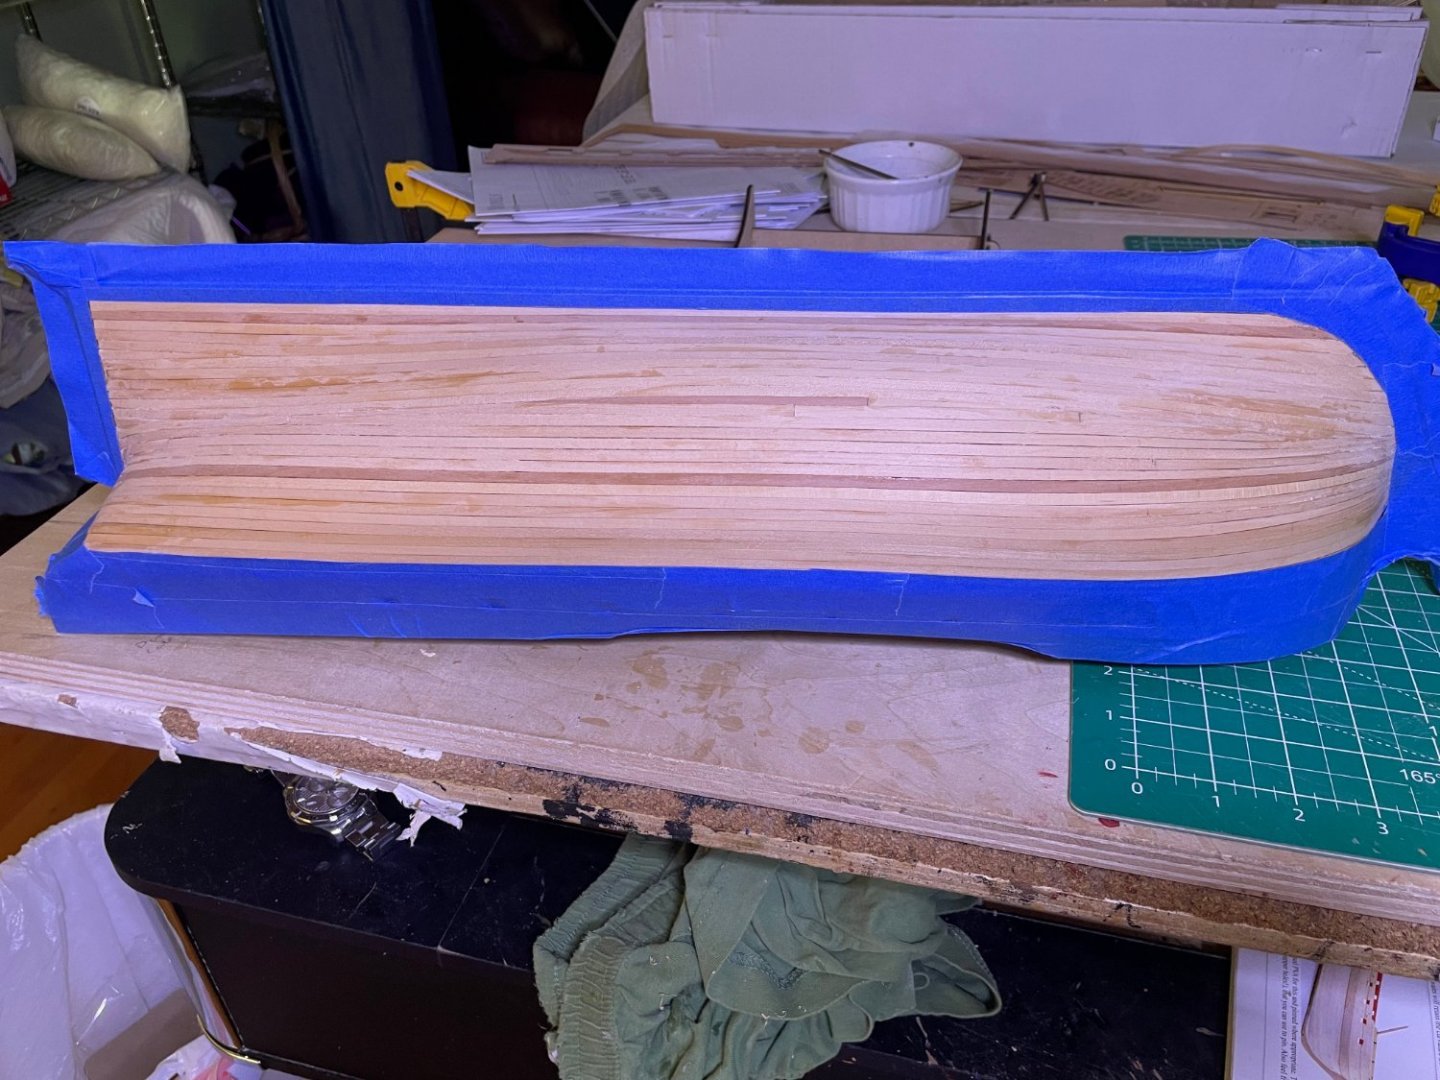
So now sanded, water line drawn in ( I used the drawing tool from Vanguard, much better than the one I previously had). Then filled/sanded 3 times. Now with the tape off looks pretty good.


- 73 replies
-
- 9
-
-
- Sphinx
- Vanguard Models
- (and 1 more)
-
Thanks. My bad, forgot to check the sheet. Up to now the manual has been so good.
- 73 replies
-
- 1
-
-
- Sphinx
- Vanguard Models
- (and 1 more)
-
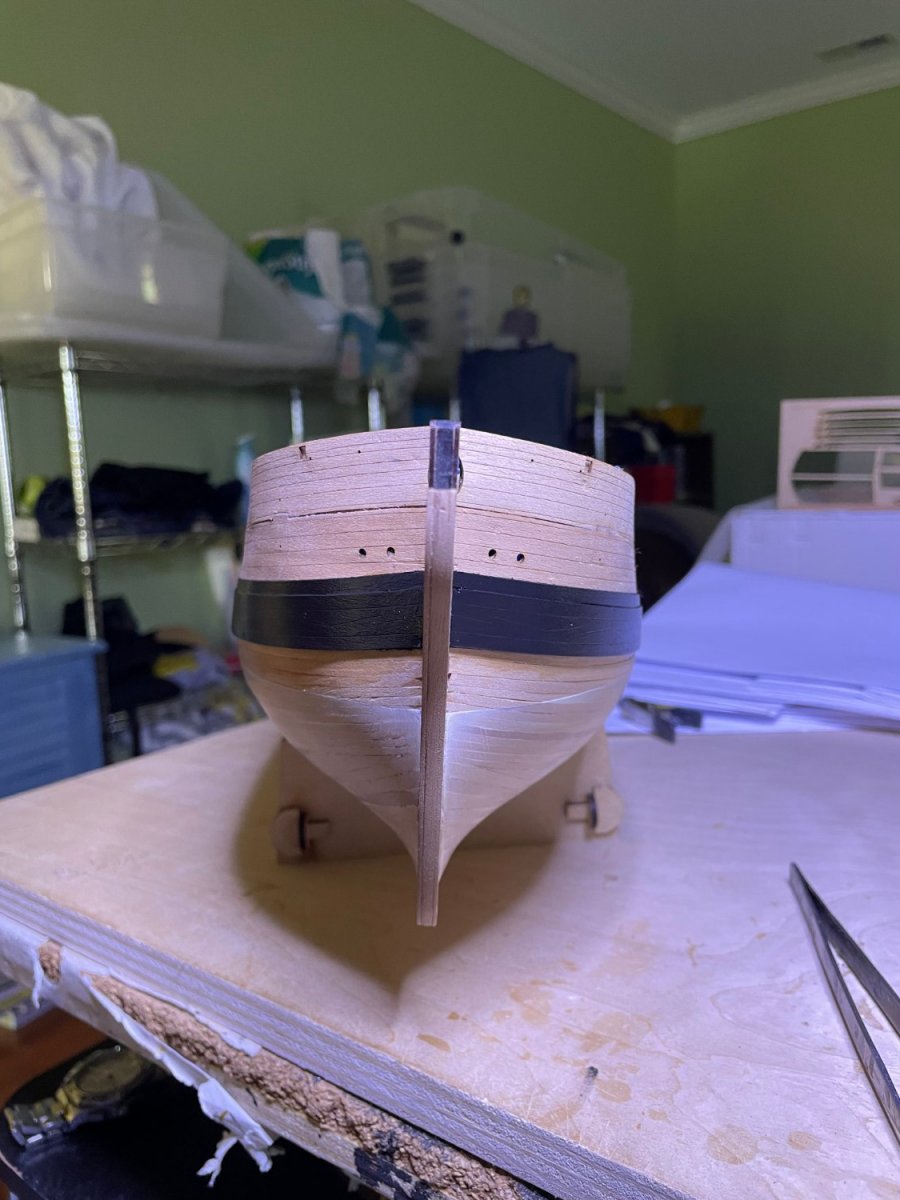
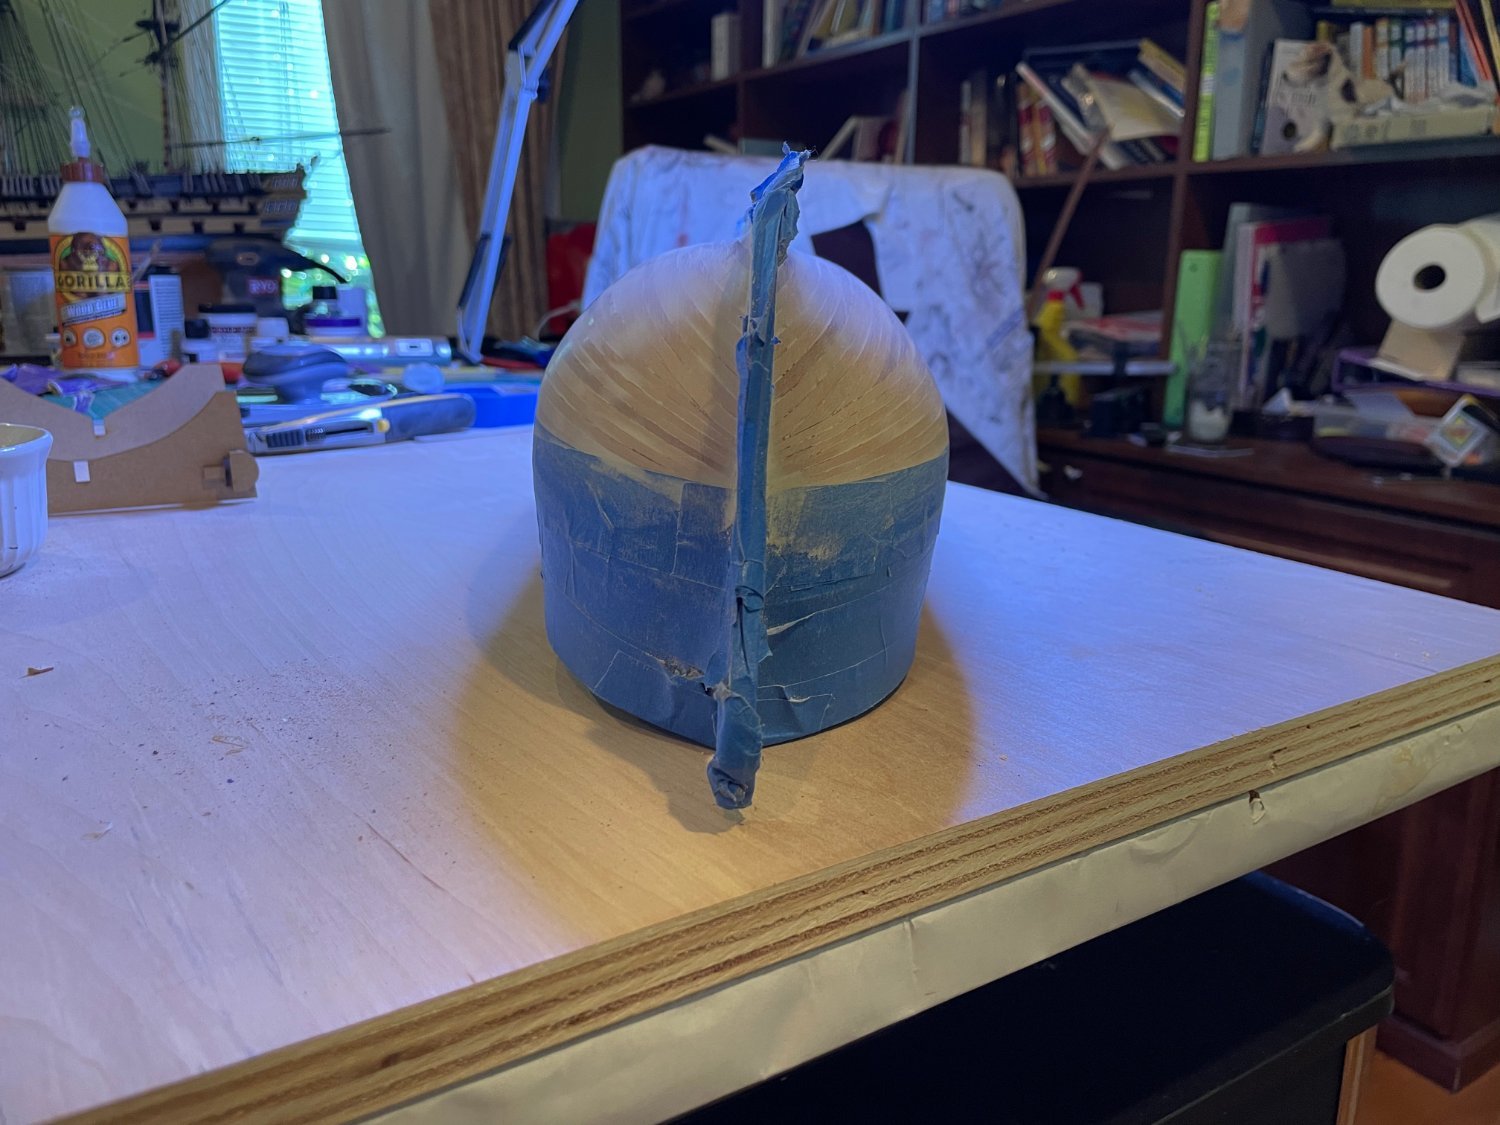
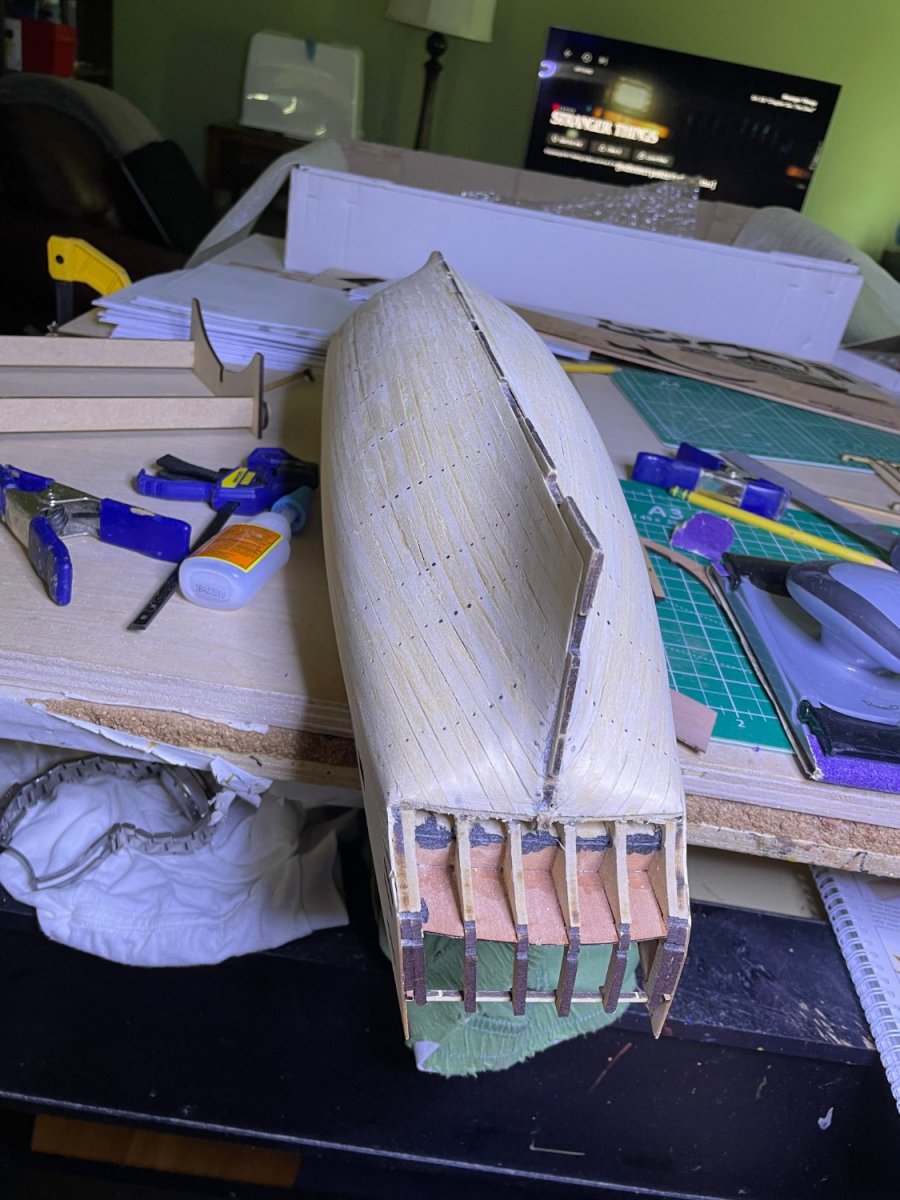
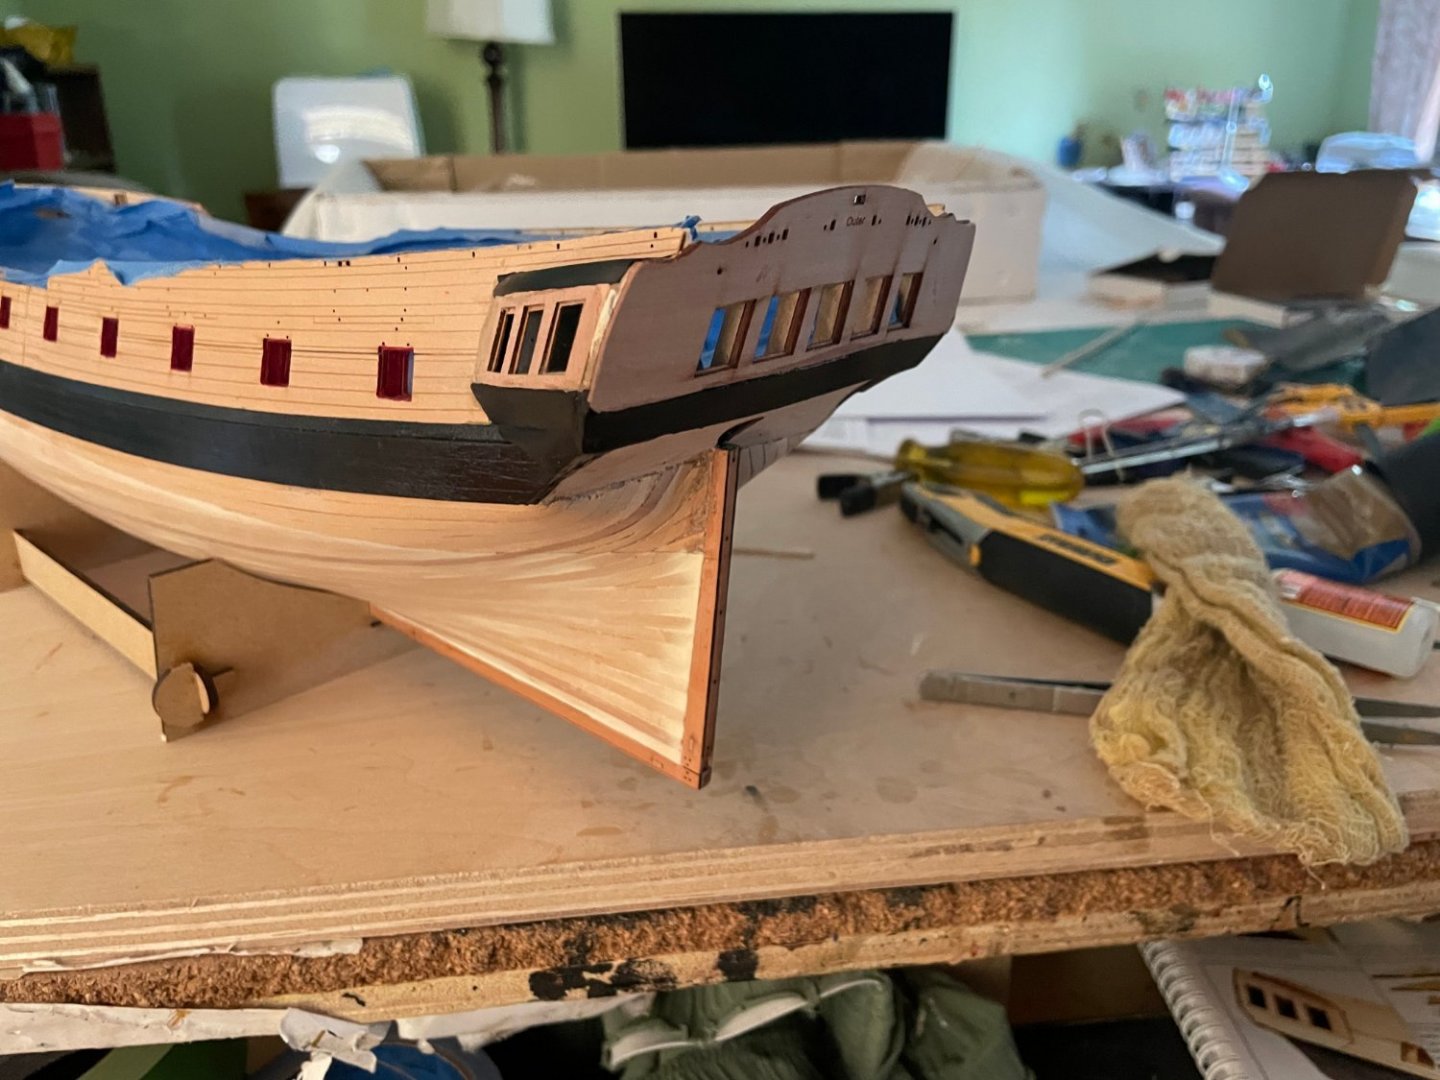
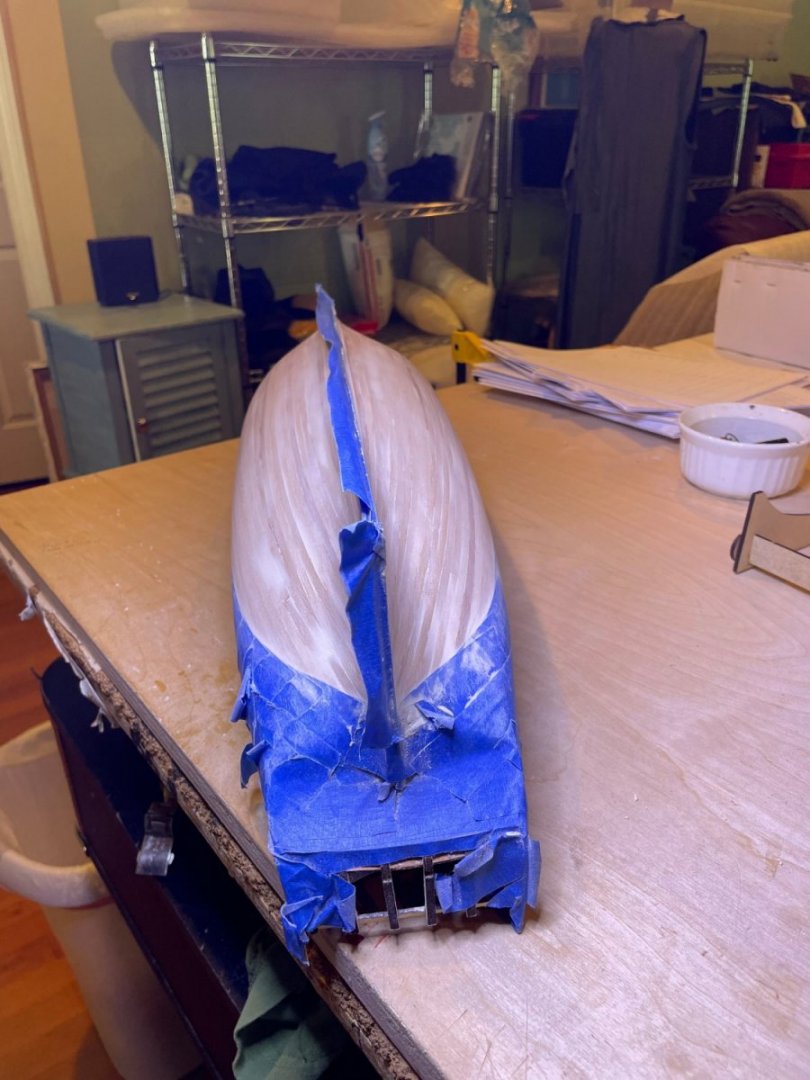
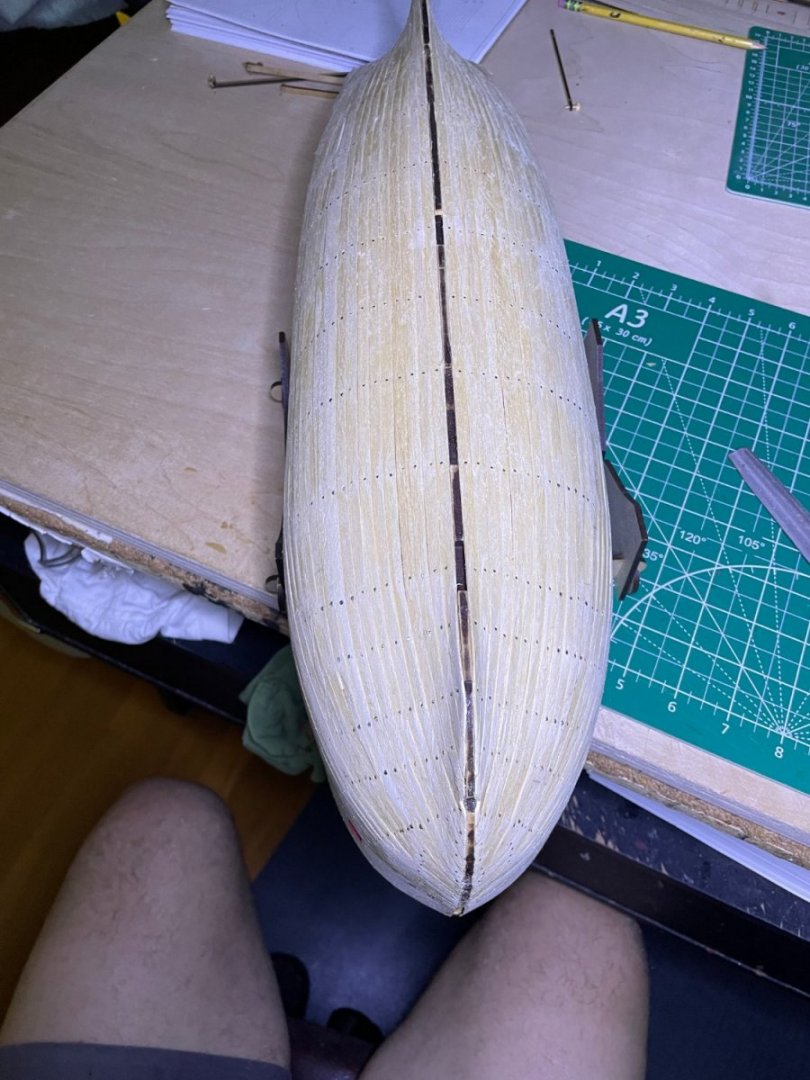
Second planking done.Using crazy glue leaves a lot of skin to be sanded off the hull. One thing in the instructions is , although it says to draw the waterline, there is no mention of where it should go, what height from the table in the cradle.


- 73 replies
-
- 6
-
-
- Sphinx
- Vanguard Models
- (and 1 more)
-
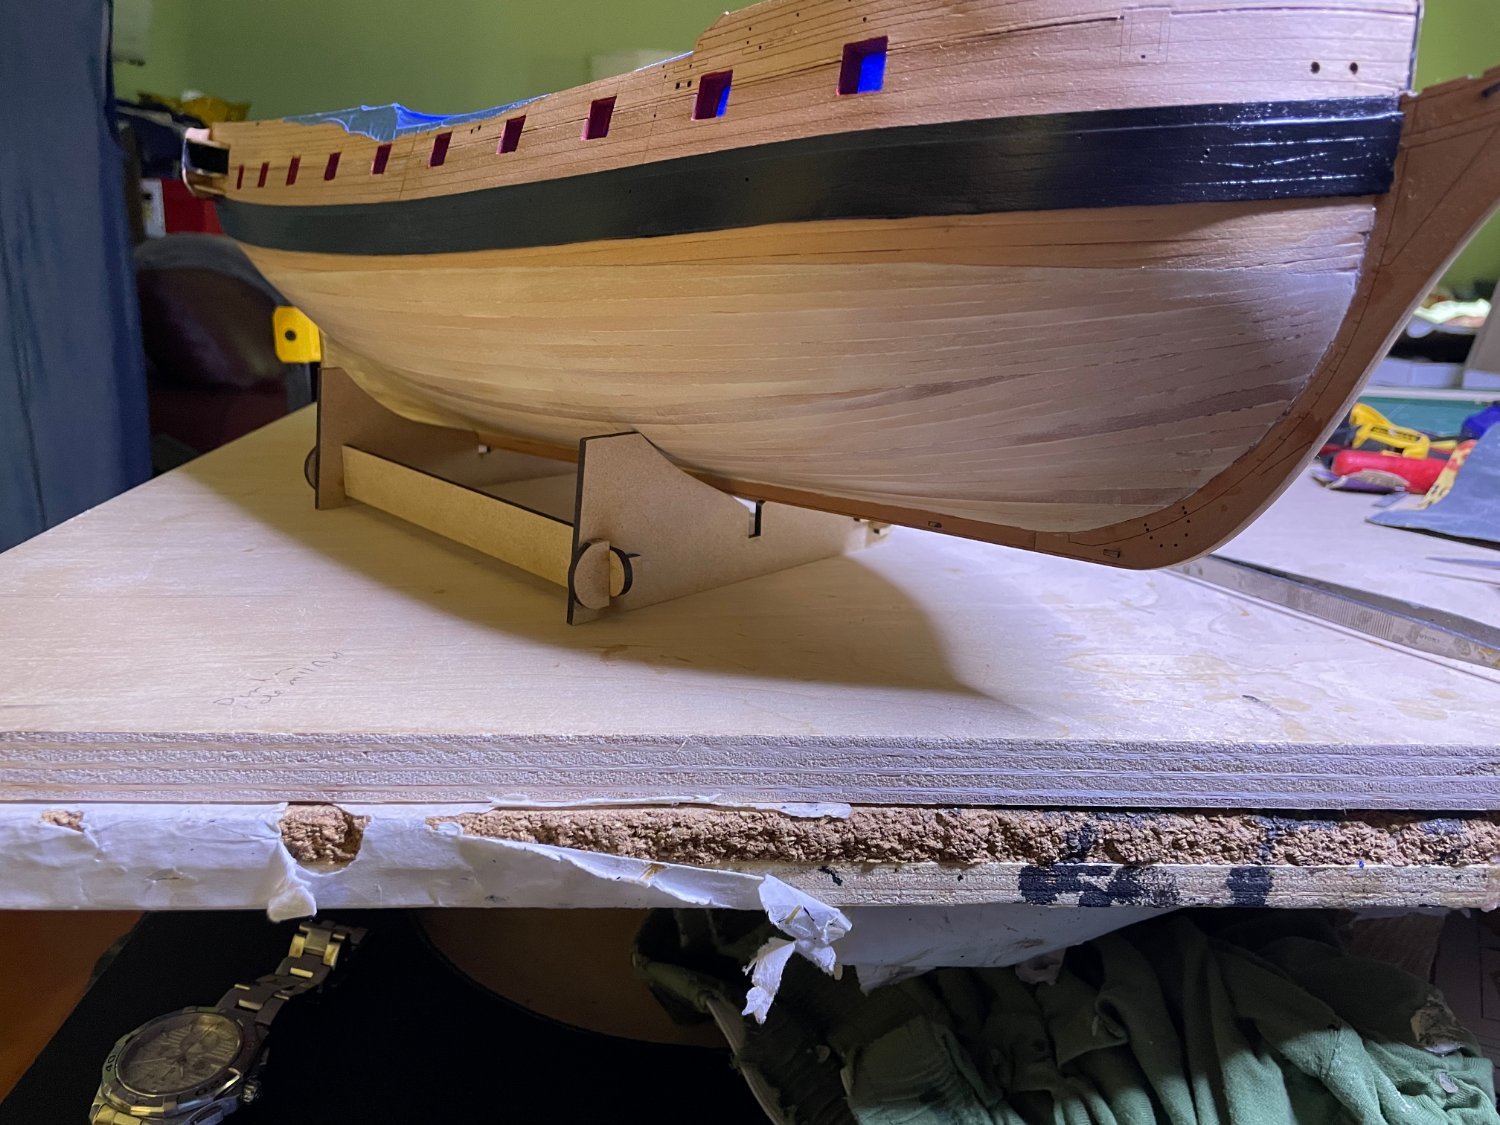
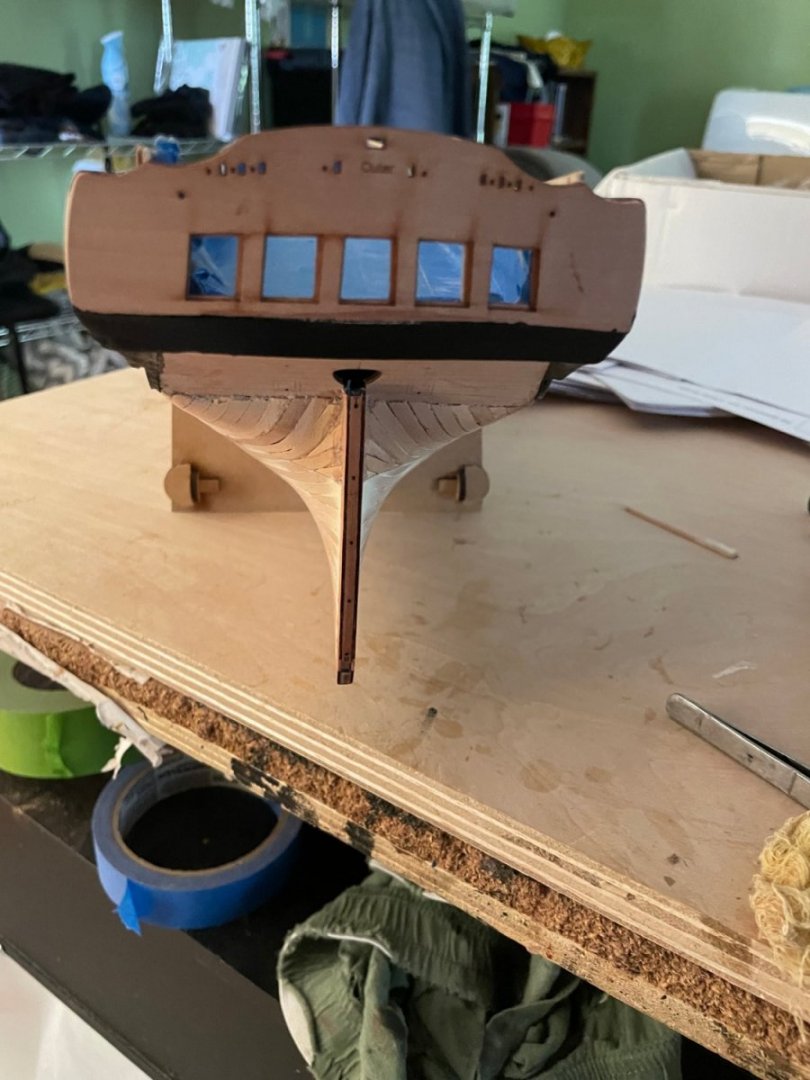
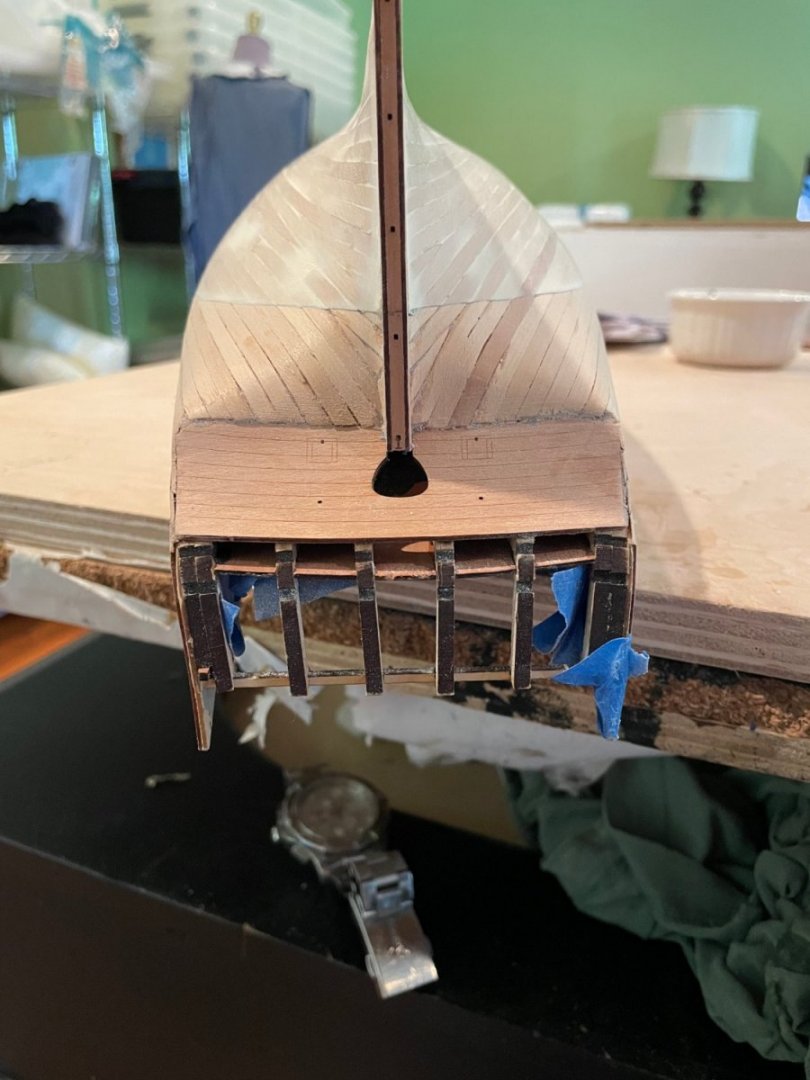
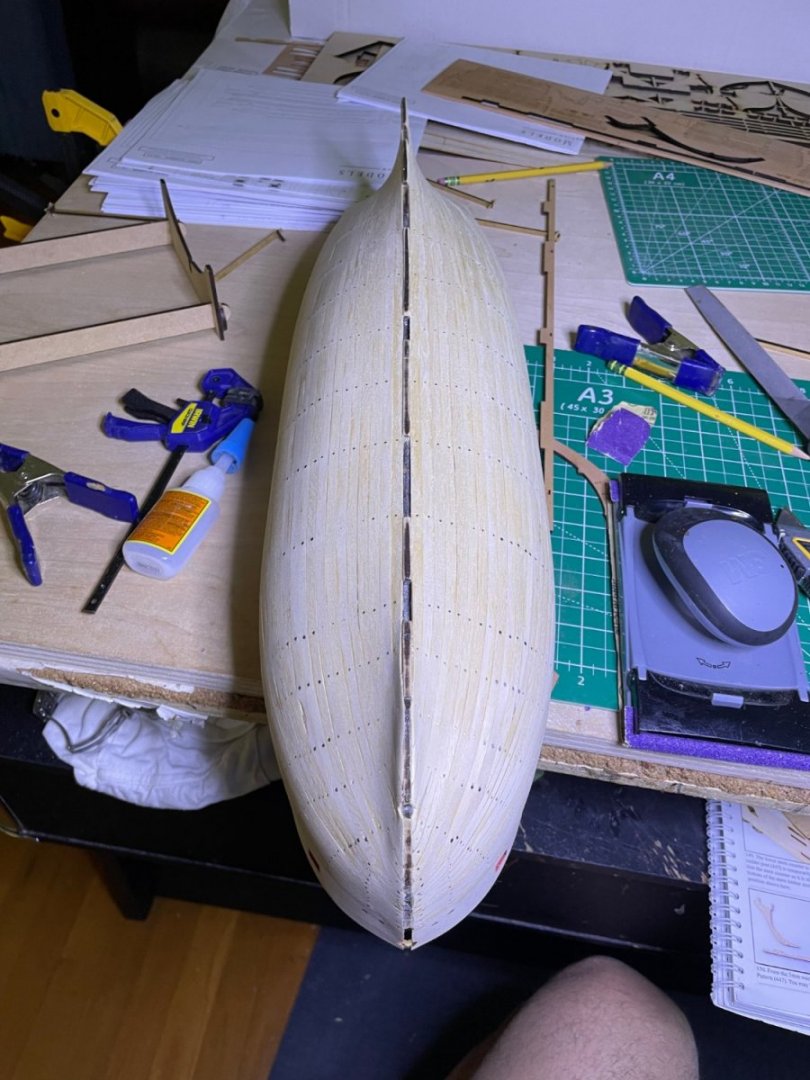
Post sanding. A few problematic spots , thank goodness for second layer.

- 73 replies
-
- 10
-
-
- Sphinx
- Vanguard Models
- (and 1 more)
-
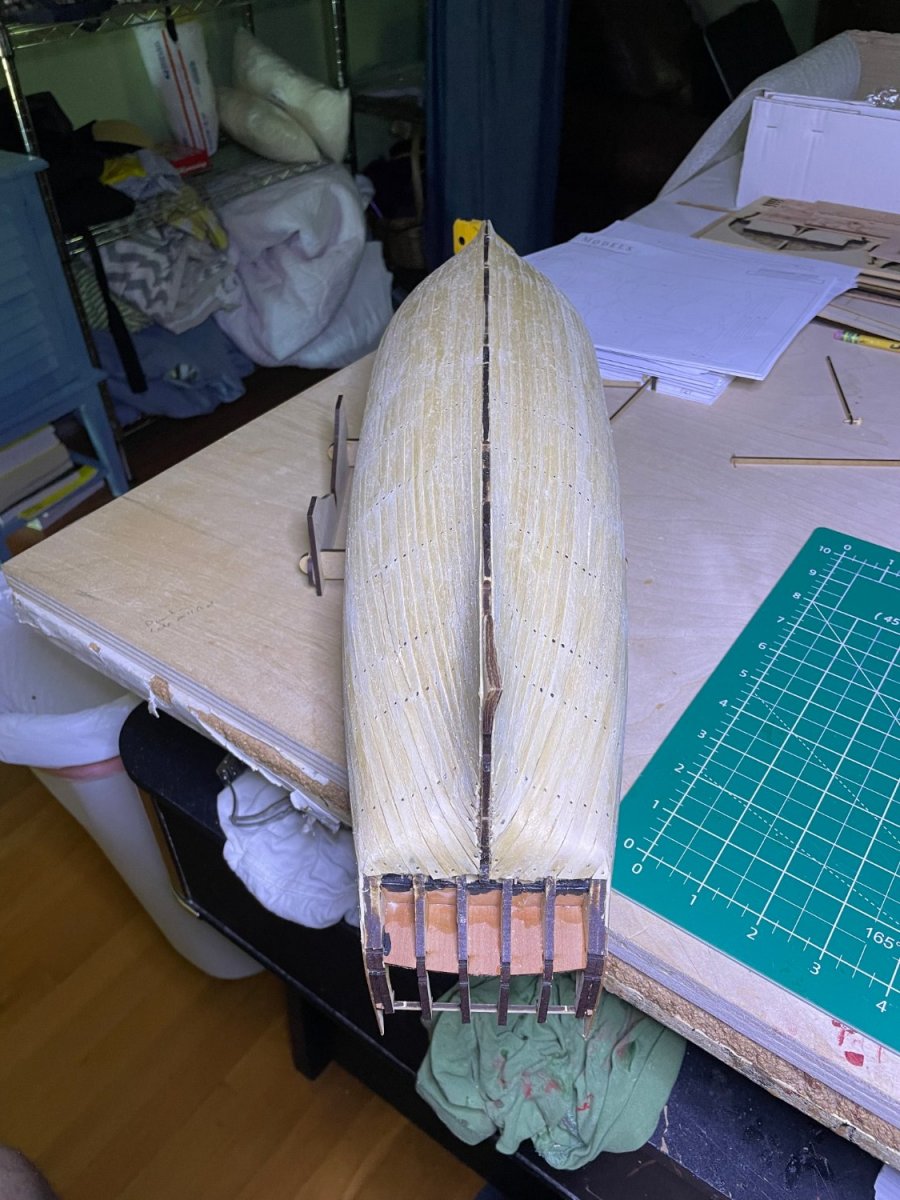
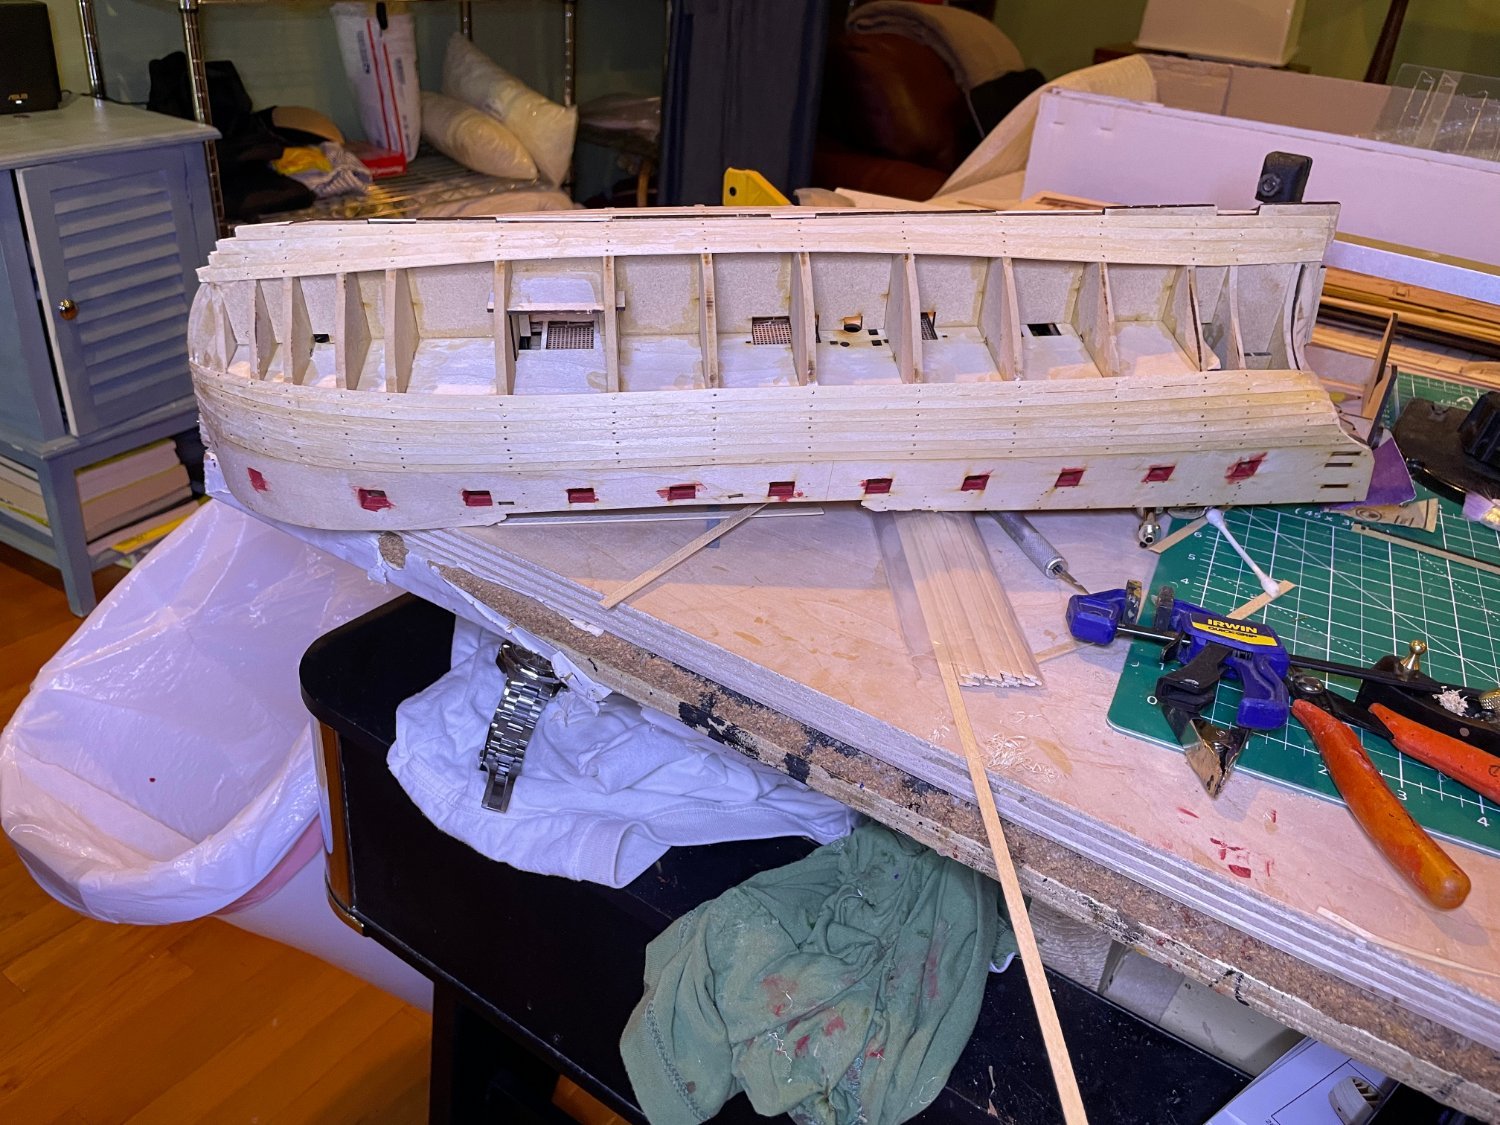
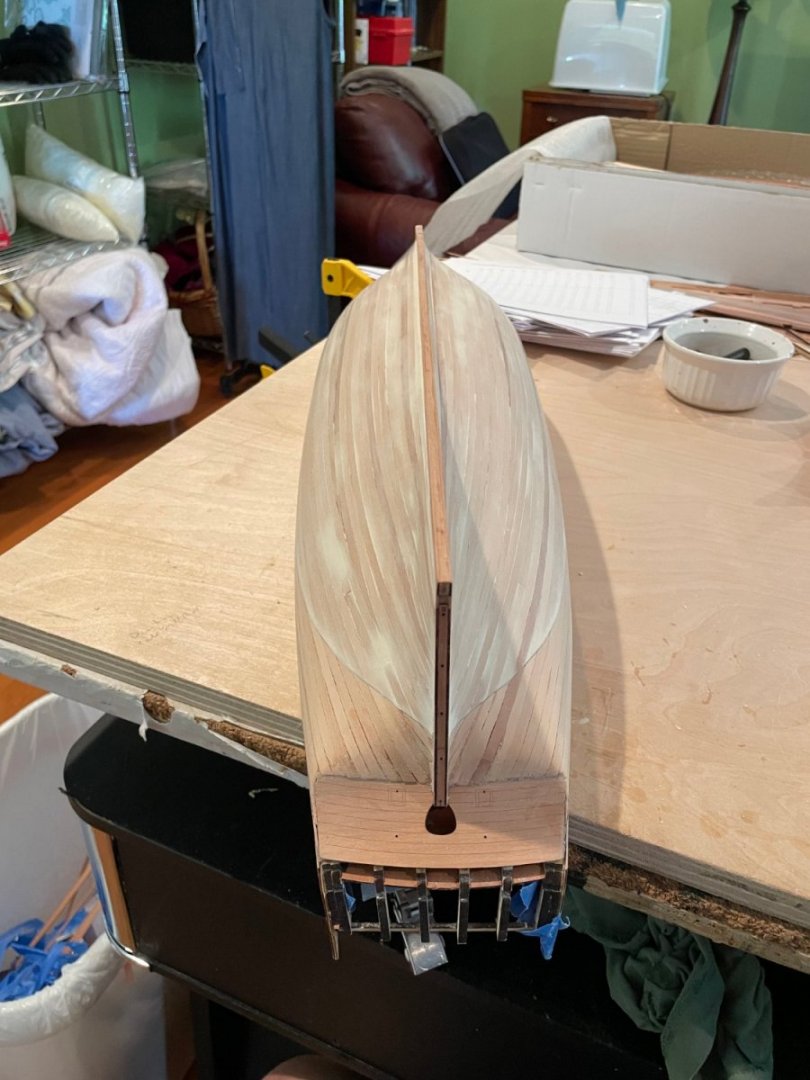
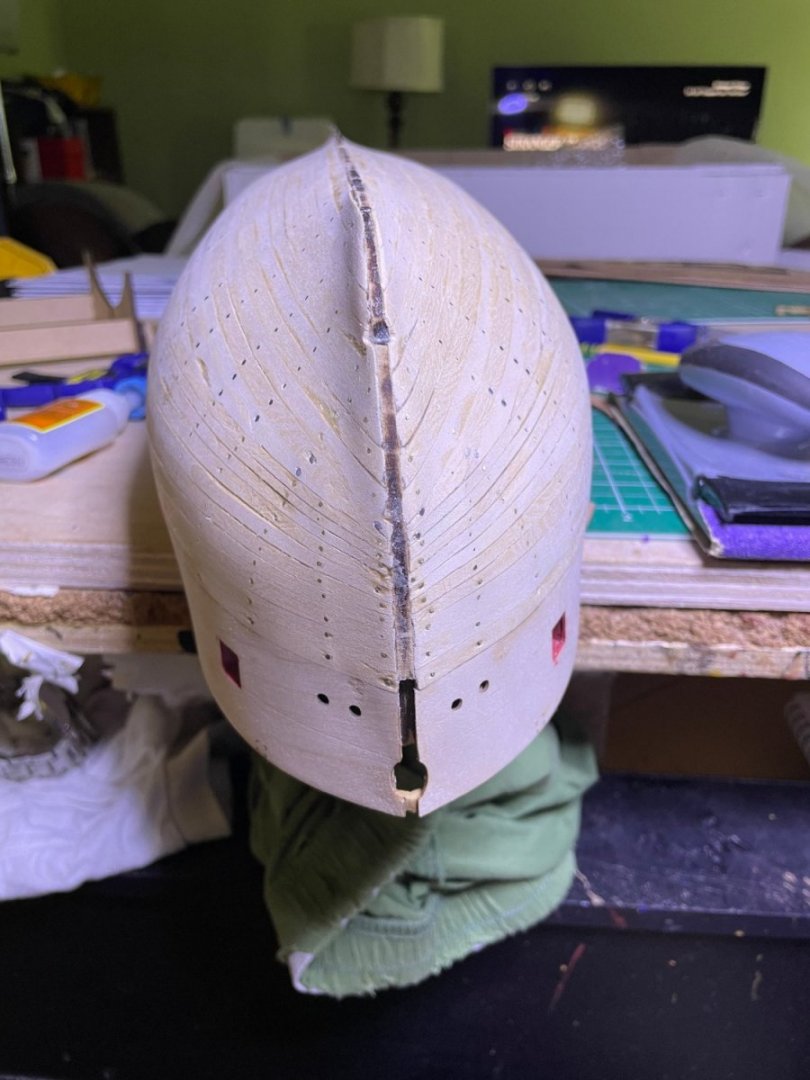
Rough planking done. Pre-sanding look. Of note, I ran out of pins with about 10 planks left to do but fortunately had left overs from previous projects.


- 73 replies
-
- 5
-
-
- Sphinx
- Vanguard Models
- (and 1 more)
-
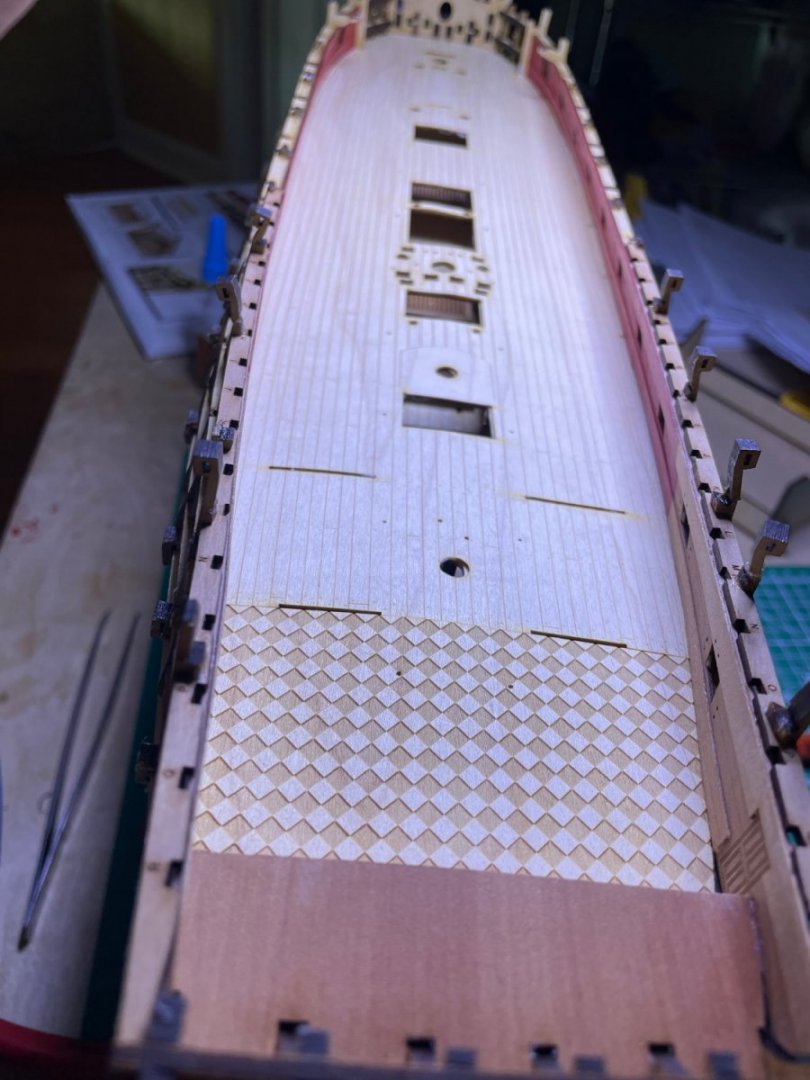
Yes, did a bit more leveling later. Now first 3 rows went in easily
- 73 replies
-
- 9
-
-
- Sphinx
- Vanguard Models
- (and 1 more)
-
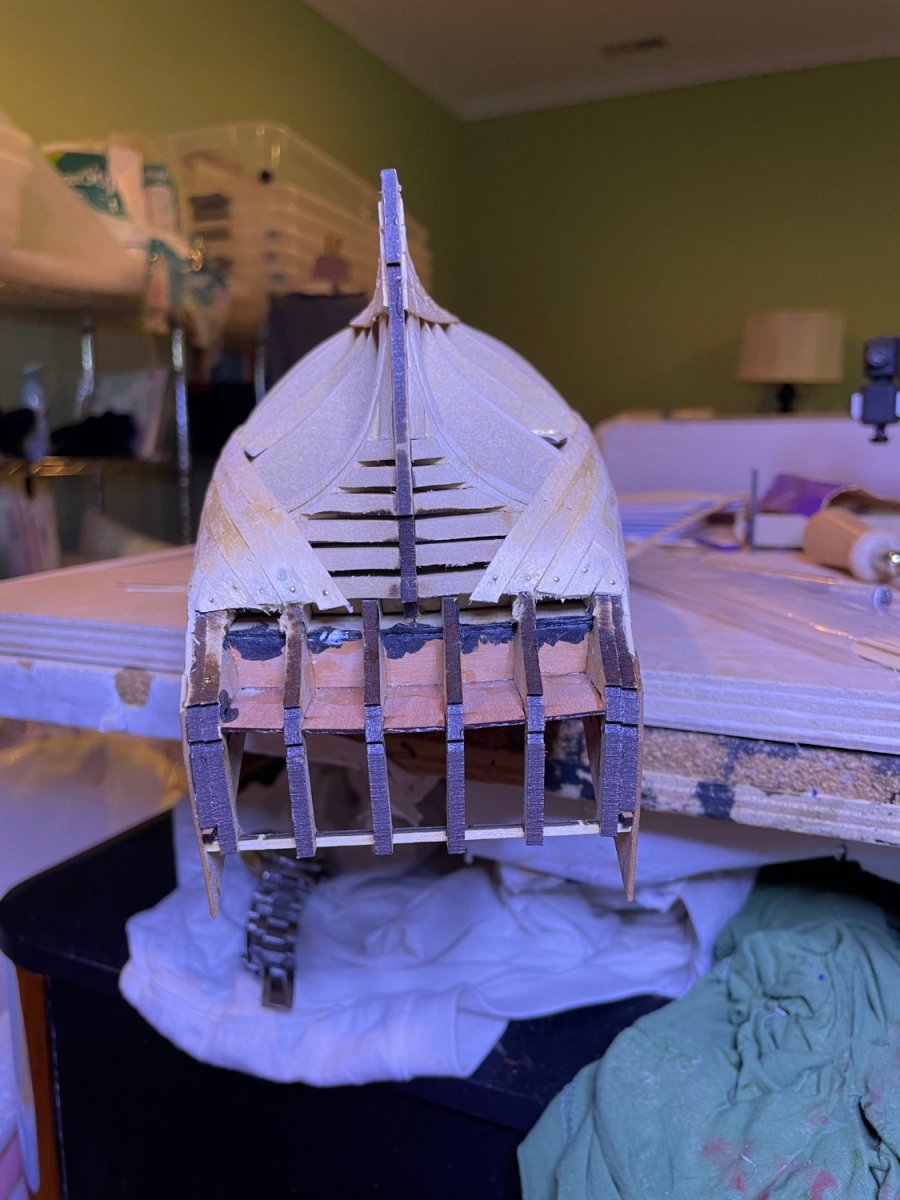
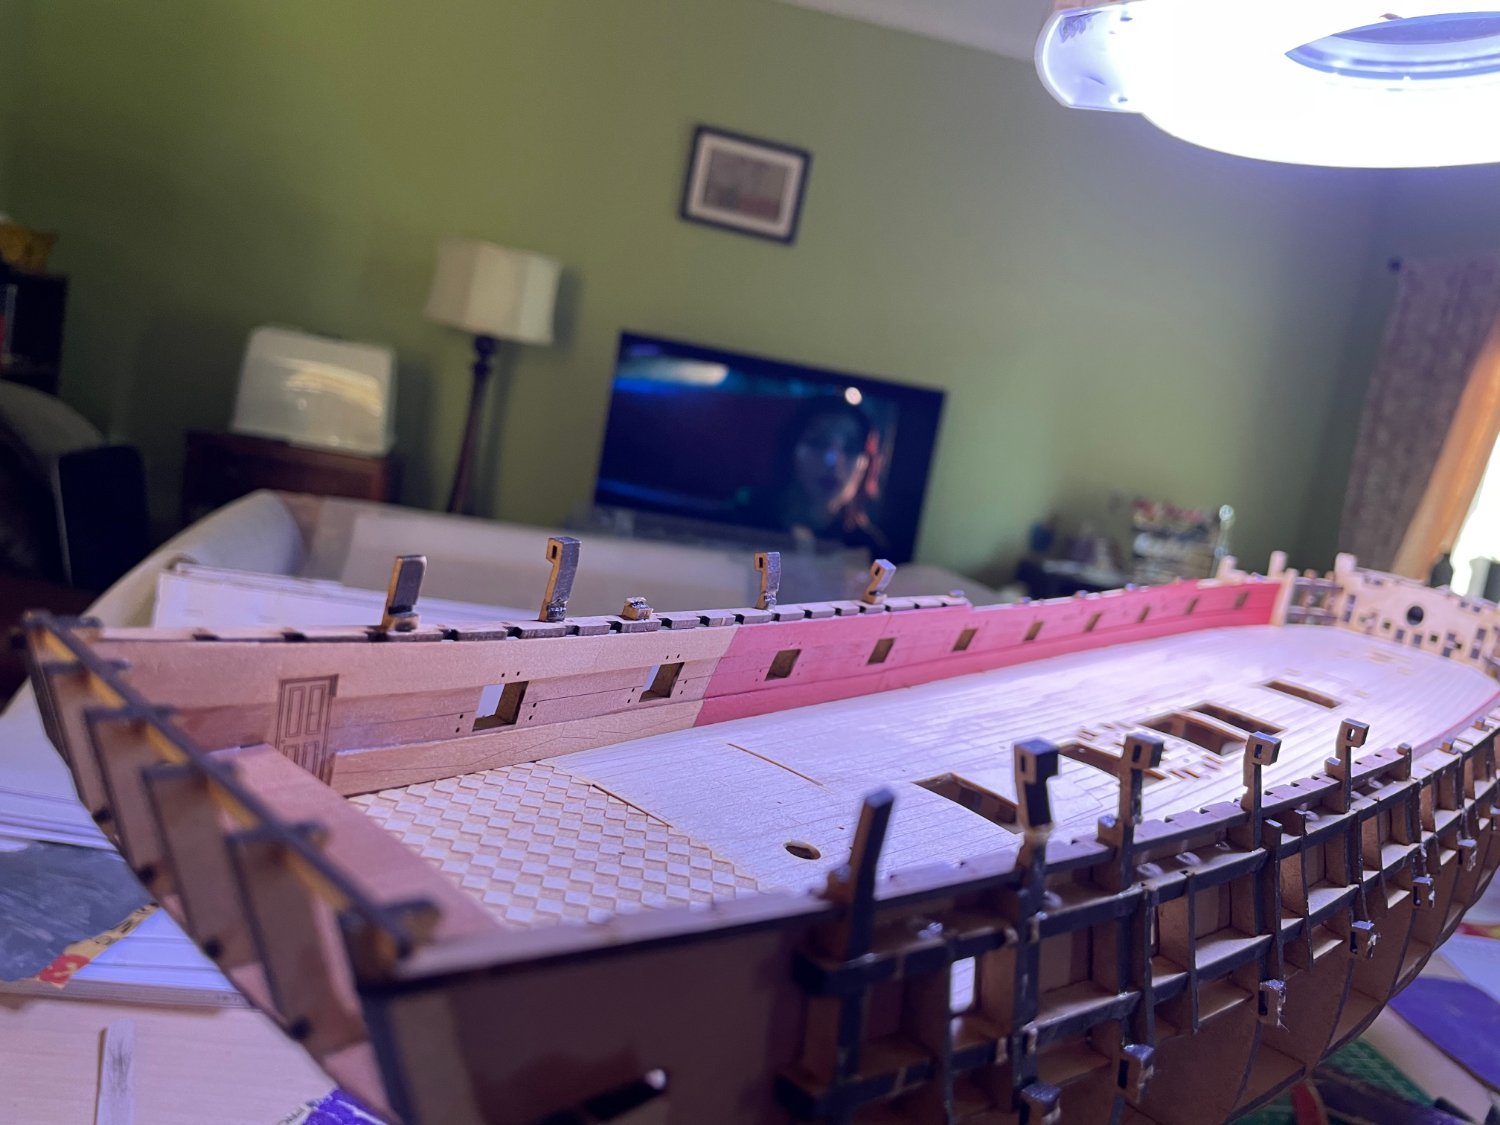
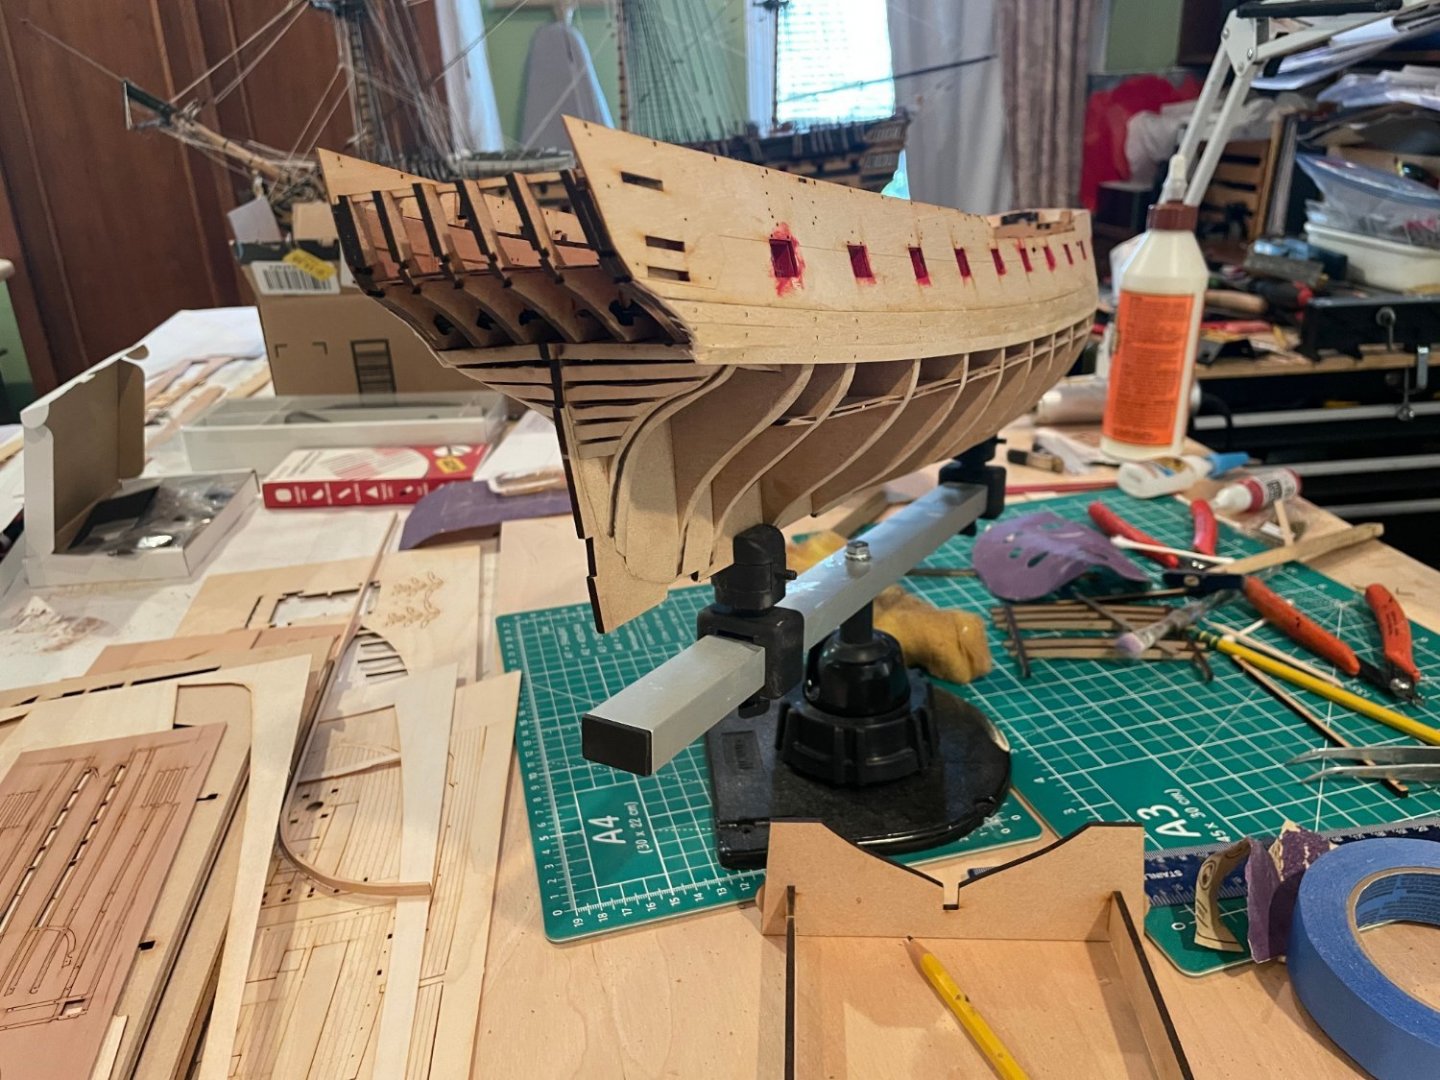
Faired the hull and drying the siding Also painted the inside of the gunports.


- 73 replies
-
- 8
-
-
- Sphinx
- Vanguard Models
- (and 1 more)
-
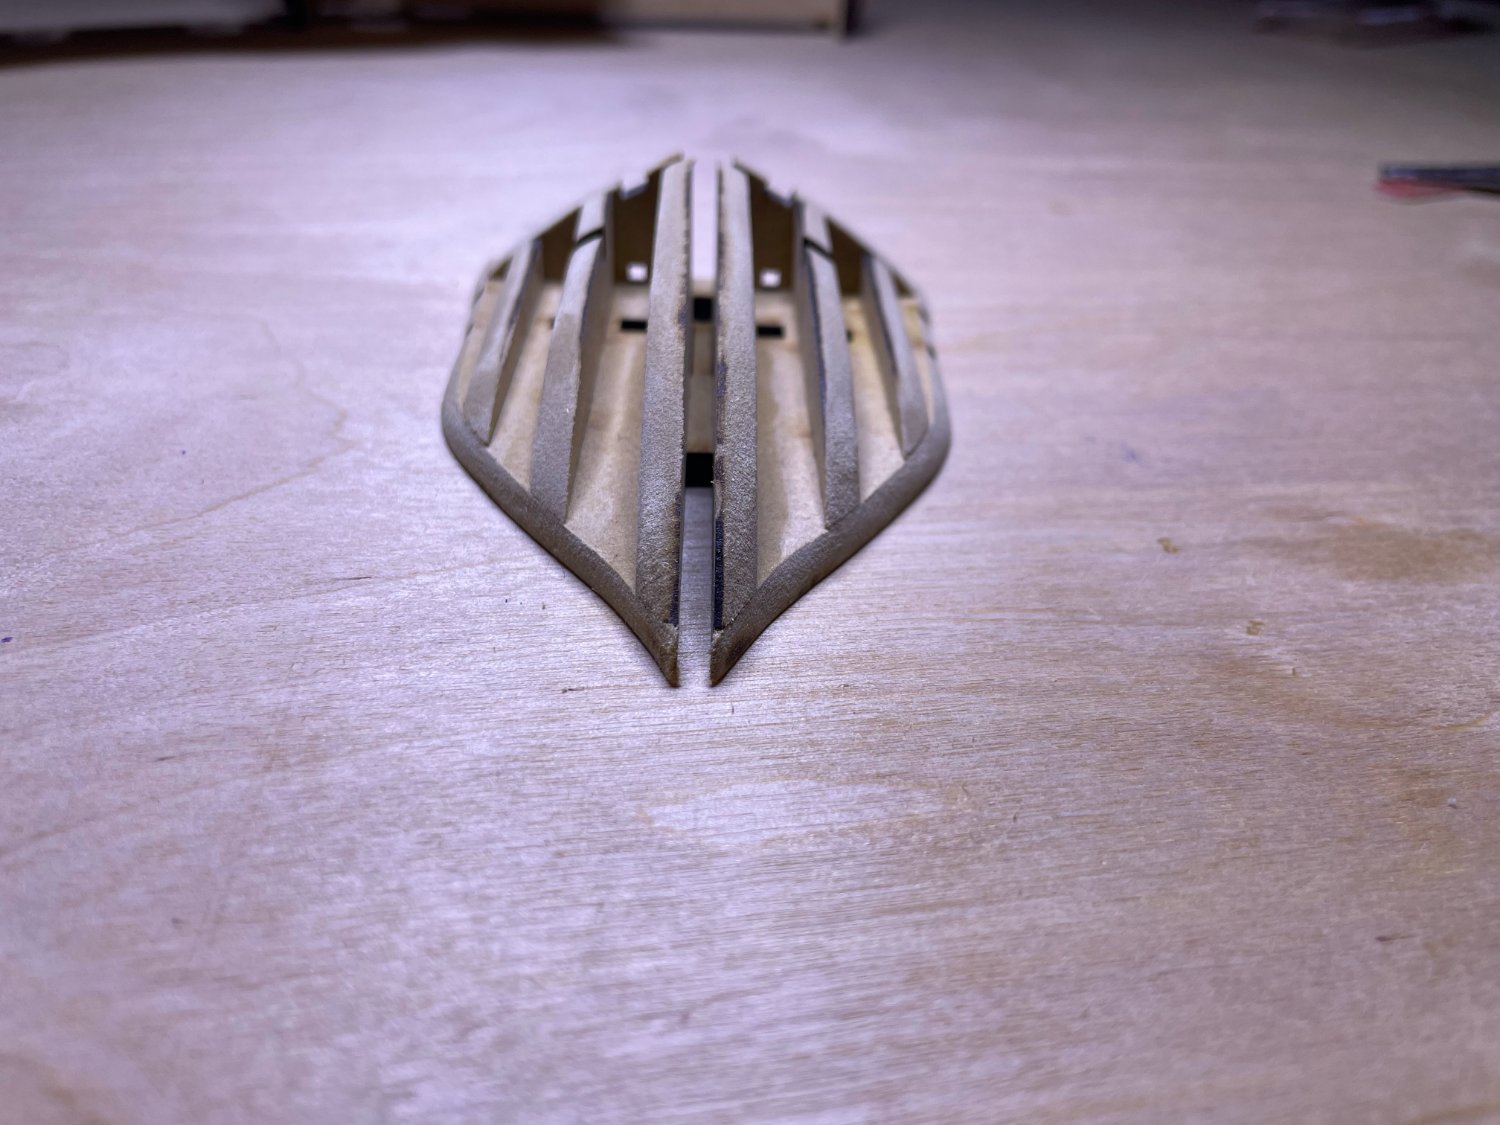
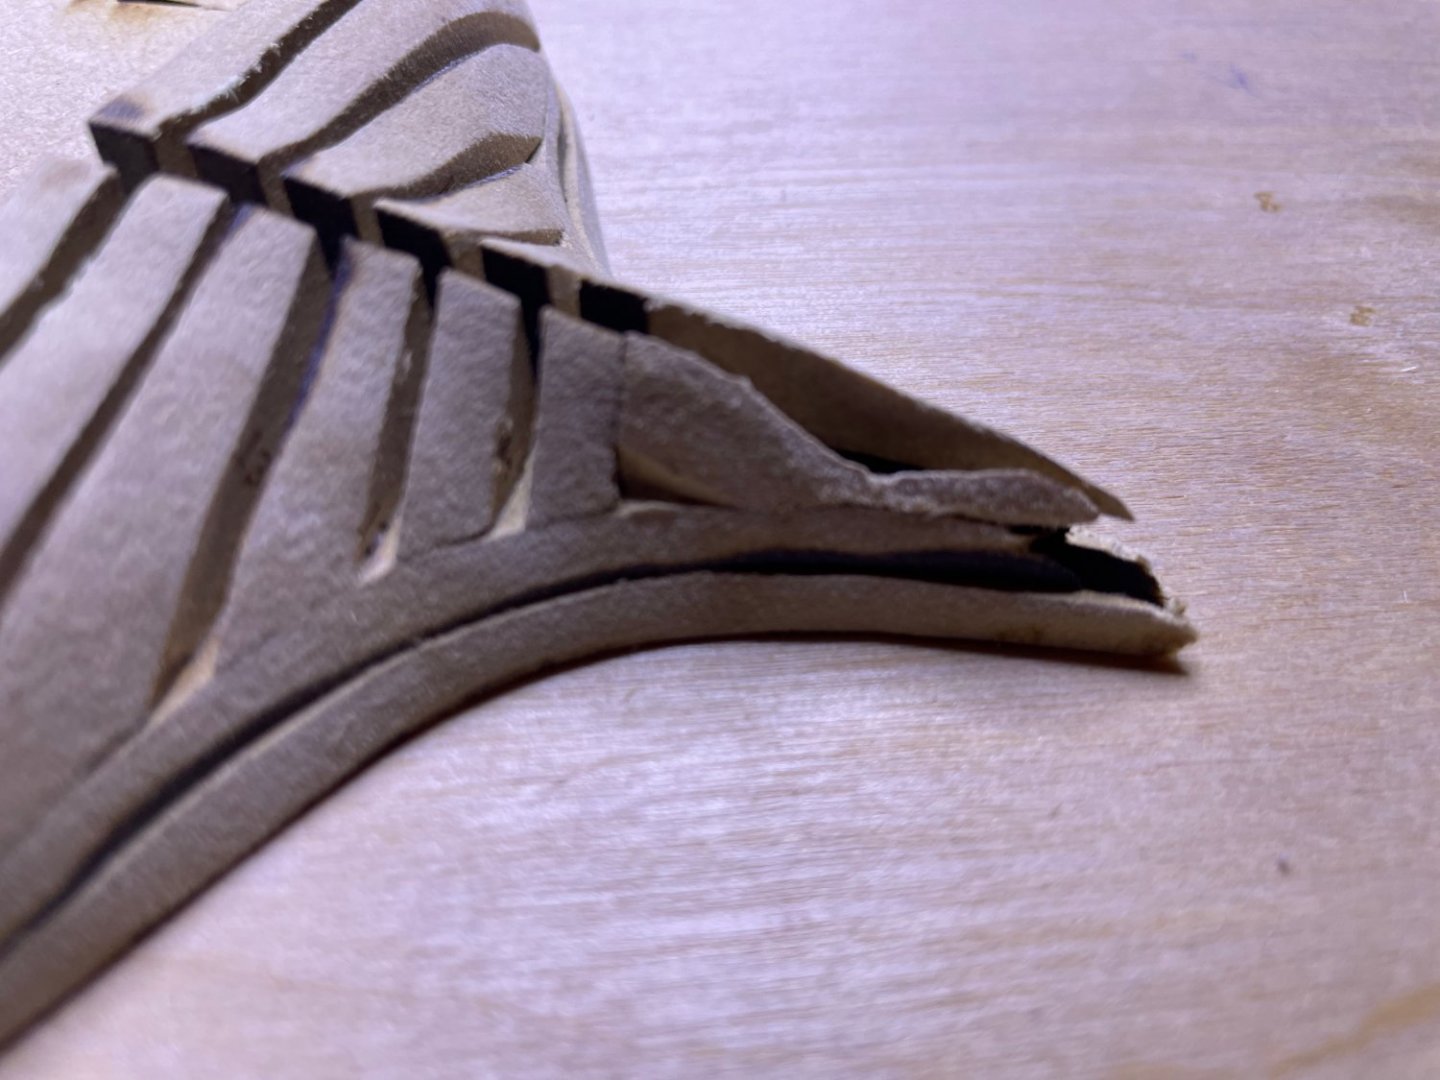
As you can see the top of the ribs have taken some combat damage
- 73 replies
-
- 1
-
-
- Sphinx
- Vanguard Models
- (and 1 more)
-
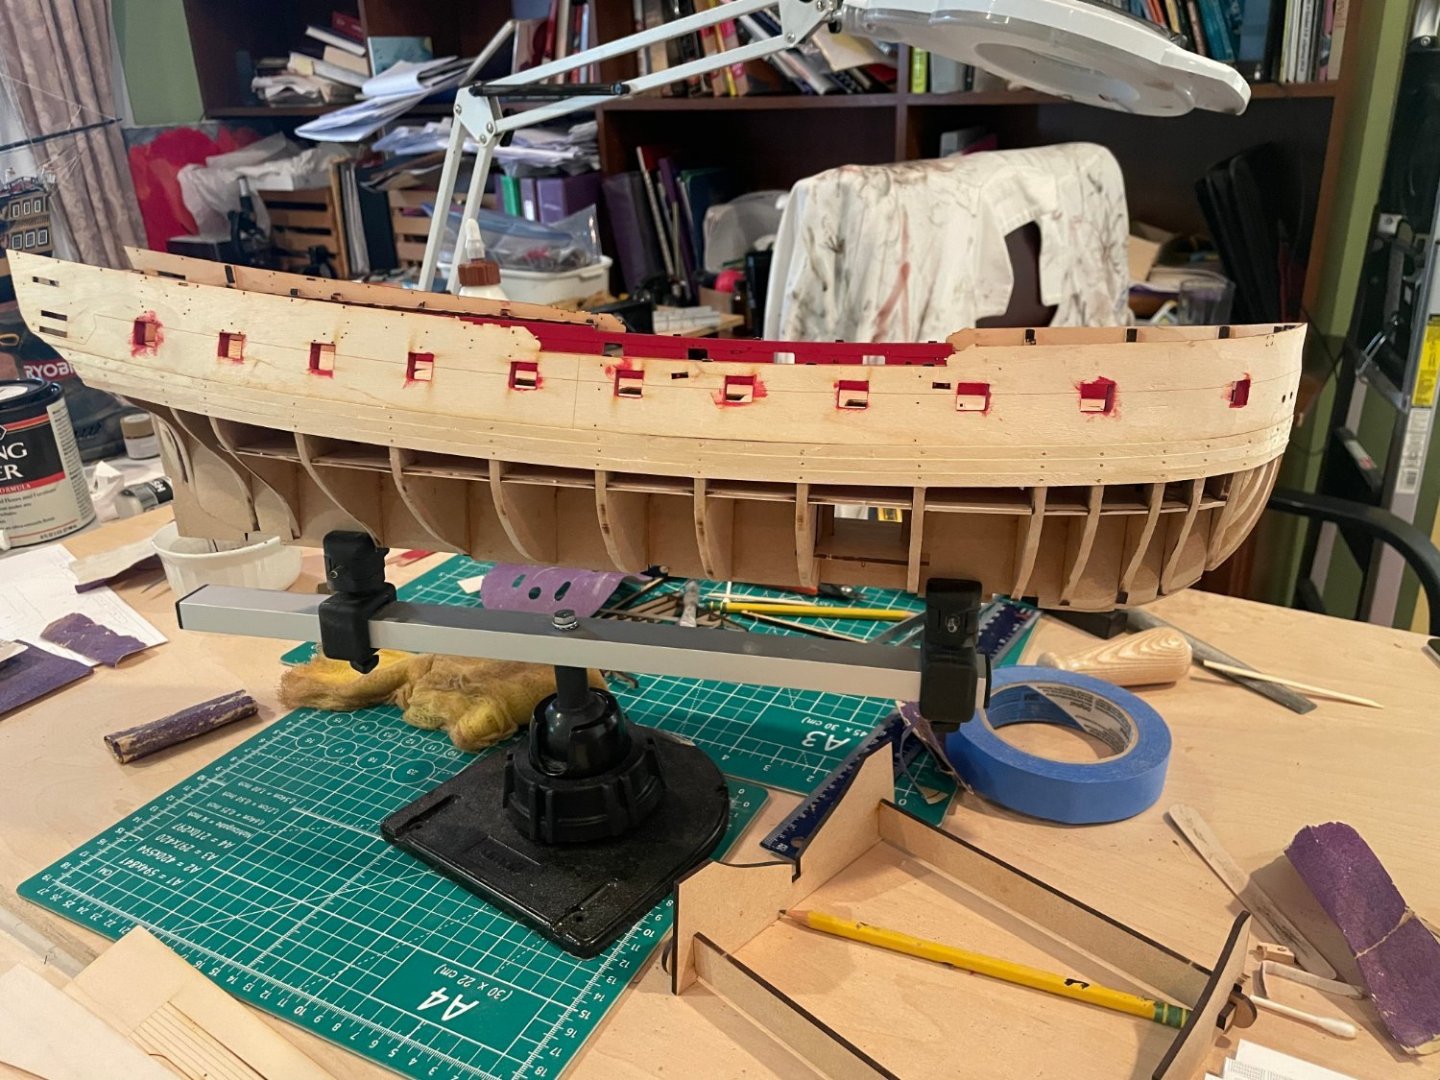
Ok, interior painted and now will do the hull sanding/feathering. Will be a few days as I do it outside to minimize dust in the house.

- 73 replies
-
- 10
-
-
- Sphinx
- Vanguard Models
- (and 1 more)
-
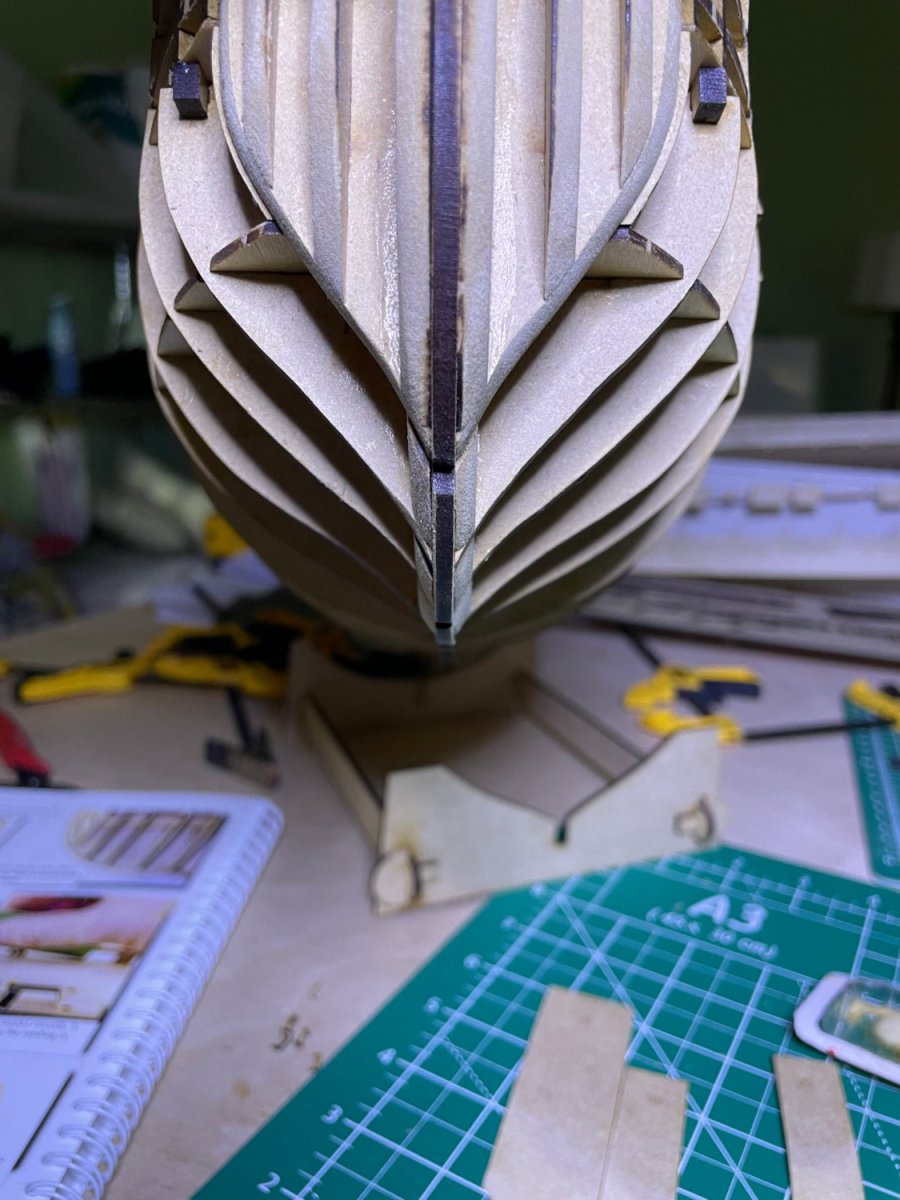
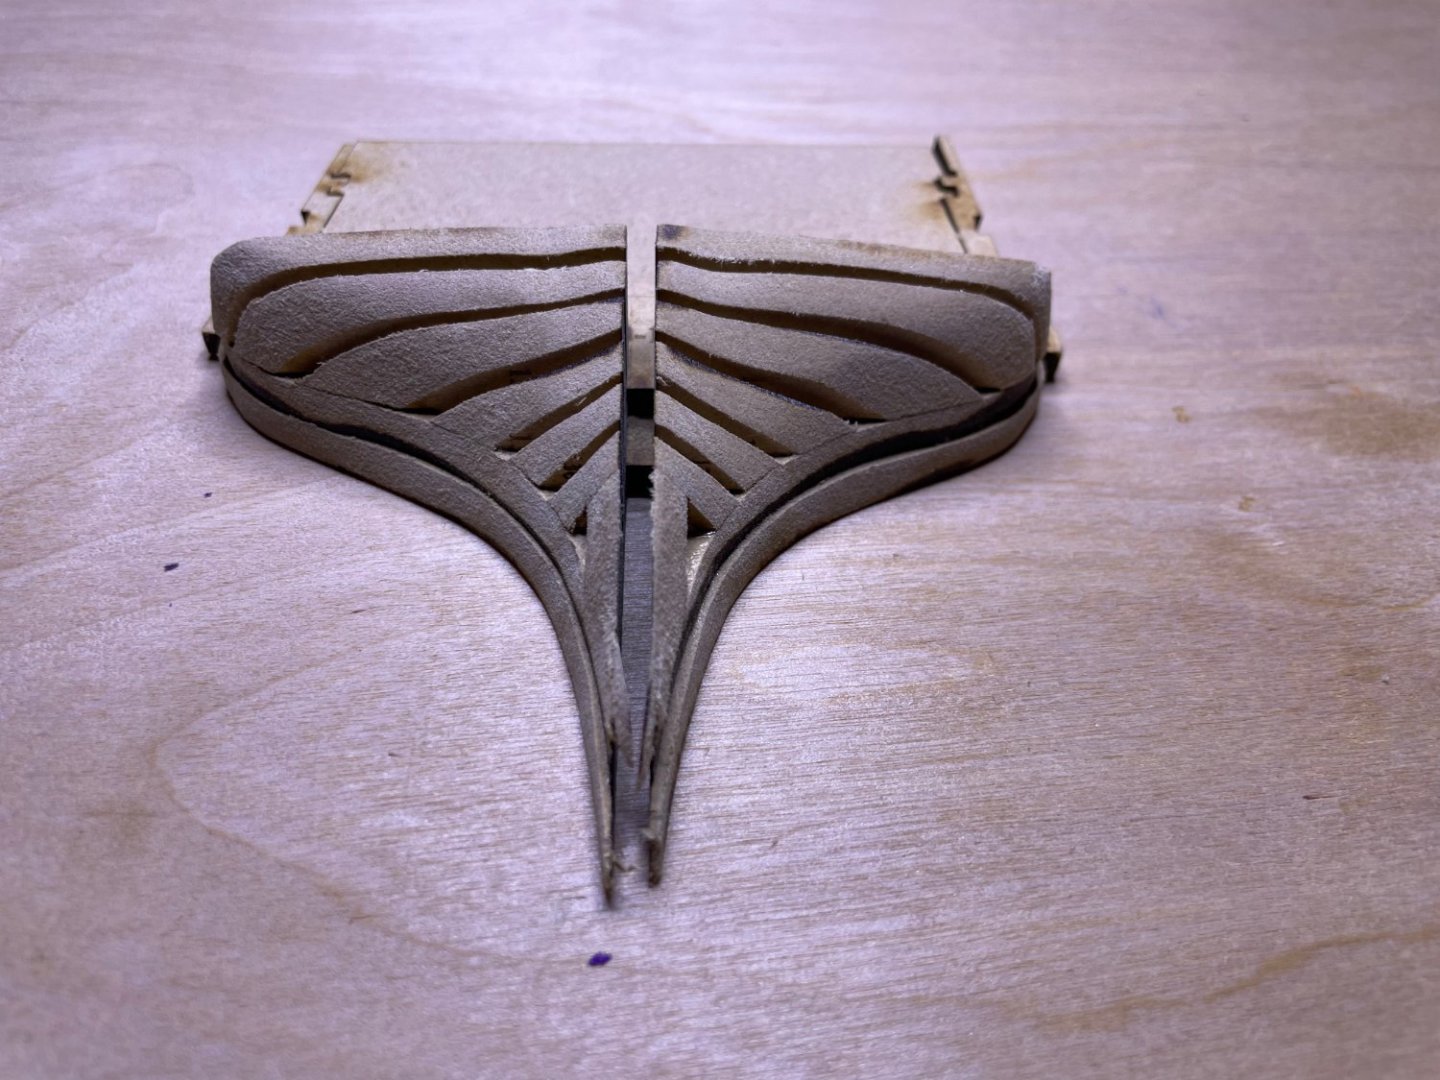
So filler bow and stern done. Inner bulwark sanded smooth.


- 73 replies
-
- 11
-
-
- Sphinx
- Vanguard Models
- (and 1 more)
-
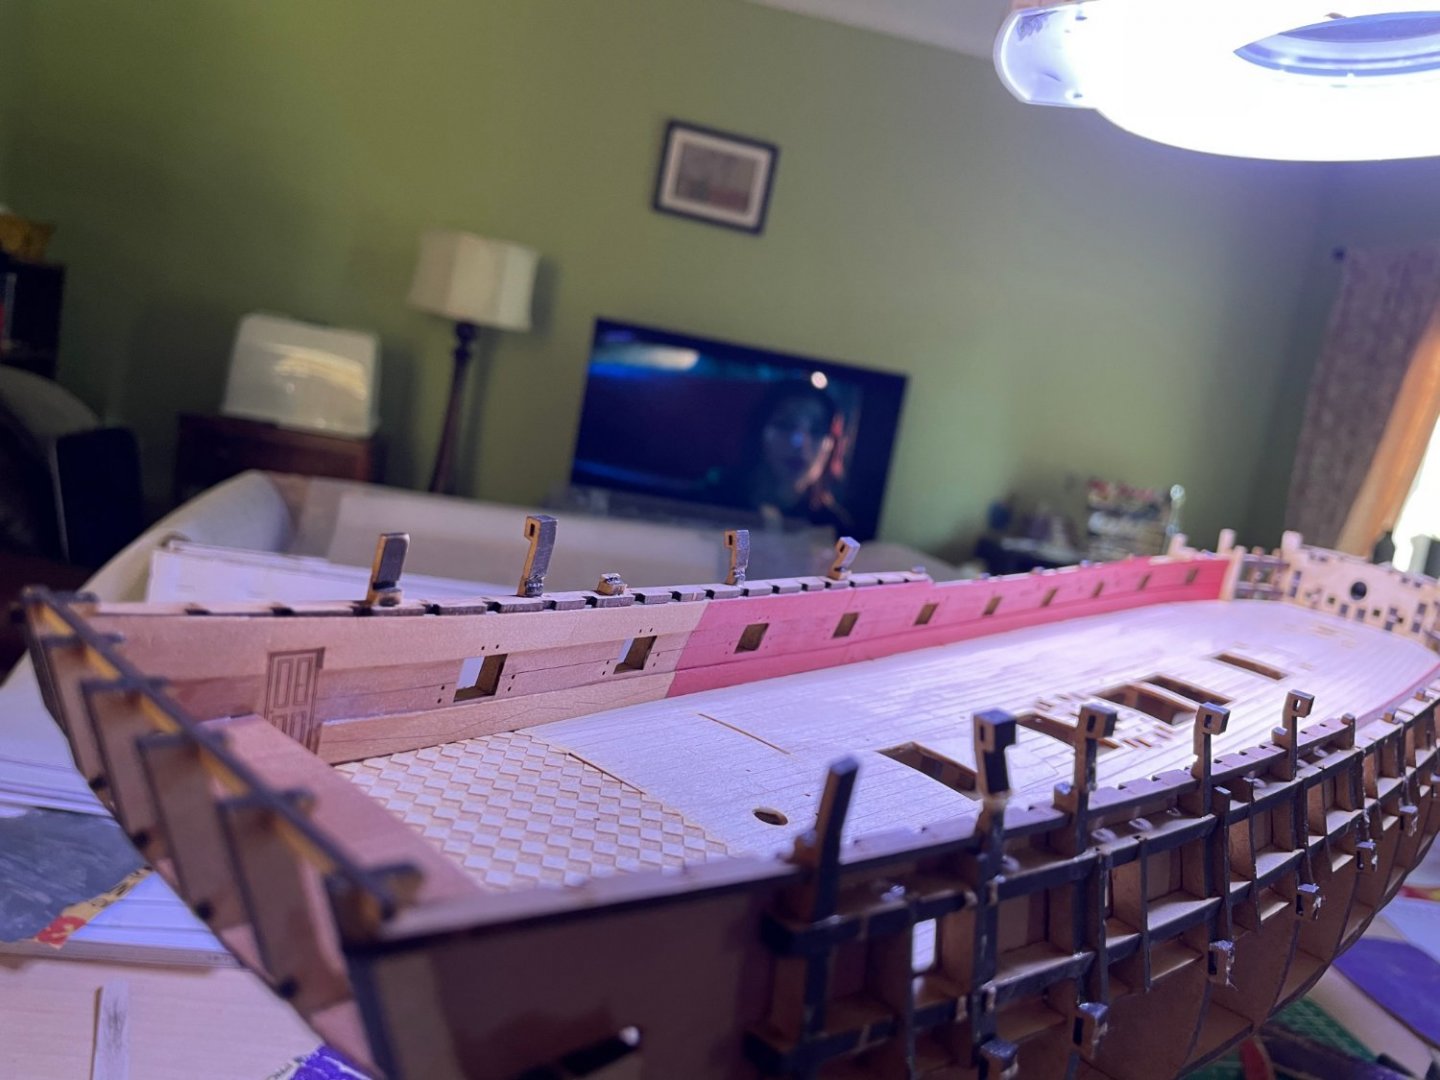
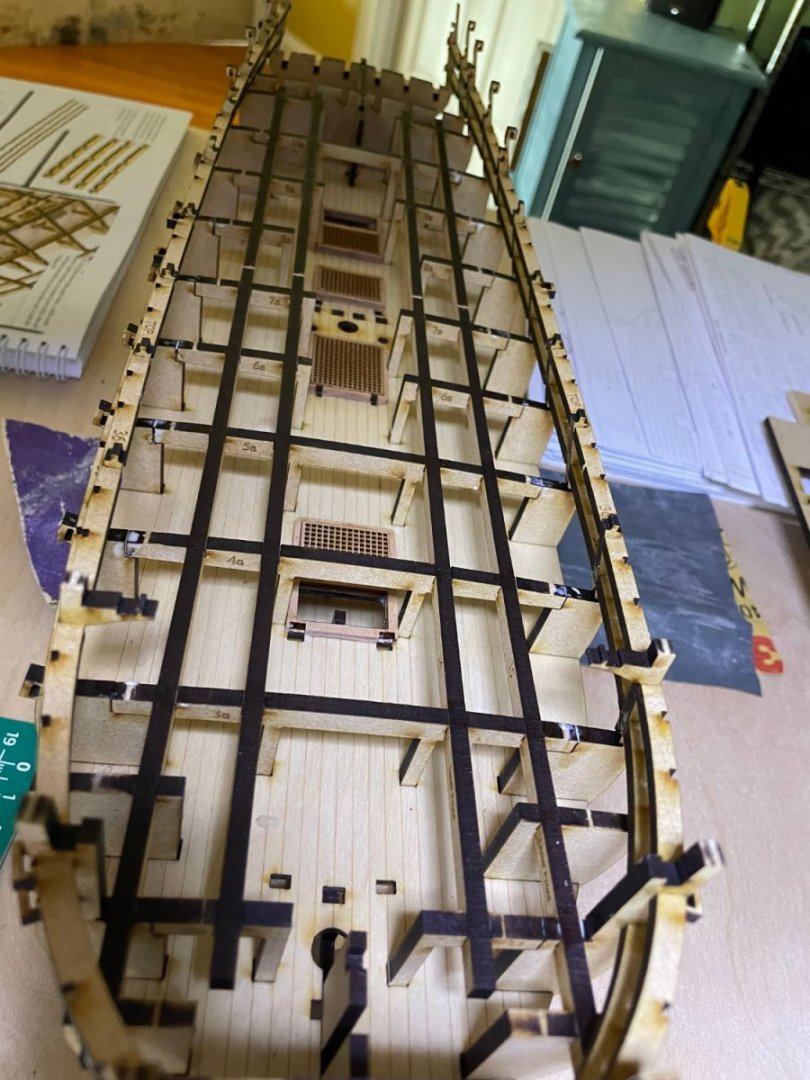
I know, Anxiously await its release. Hope to make Indy my Christmas present while awaiting the Victory. Have to really be careful with the tops of the bulkheads. Also sanding the hatches has to be done very lightly as tend to brake easily. Find putting in the gratings gives a bit more stiffness for sanding. Funny the shield symbol next to your name is very similar to Duke University's

- 73 replies
-
- 3
-
-
- Sphinx
- Vanguard Models
- (and 1 more)
-
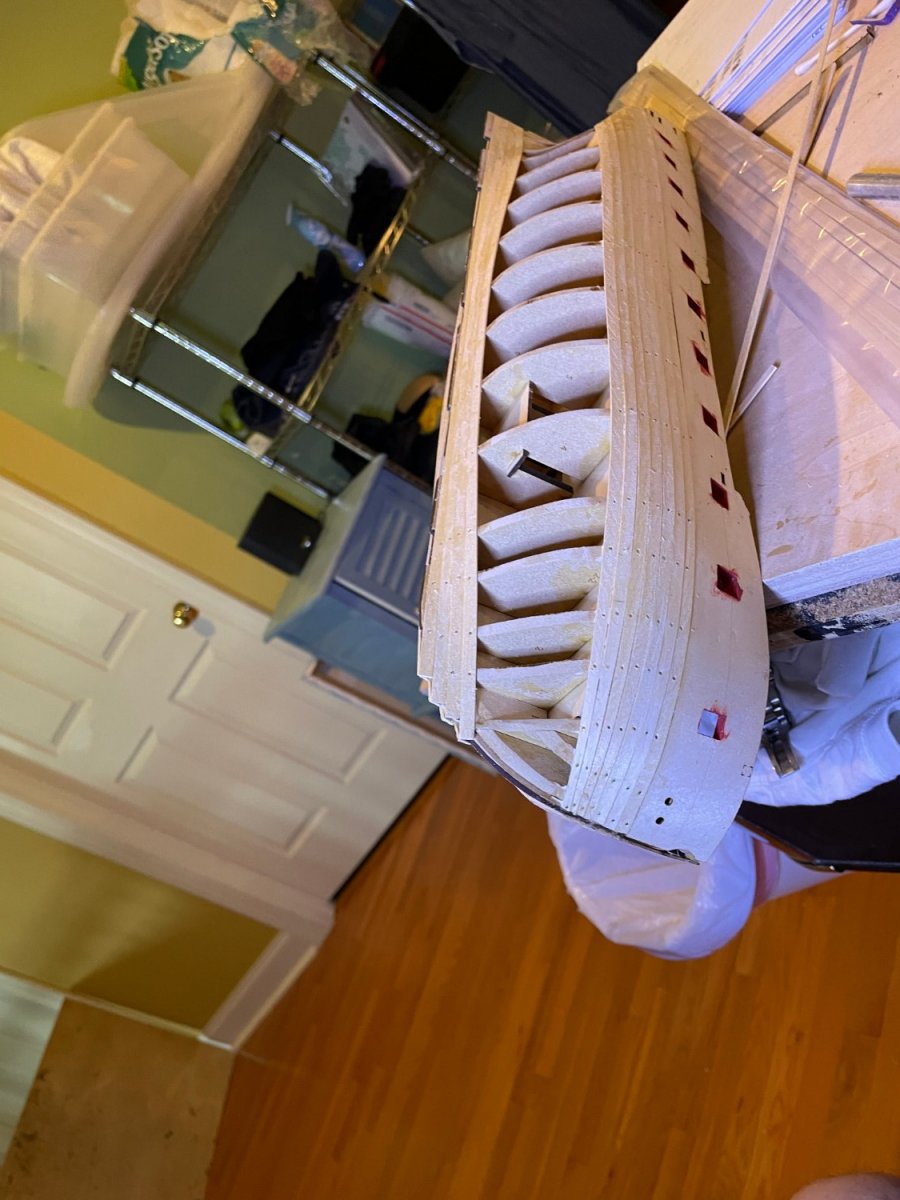
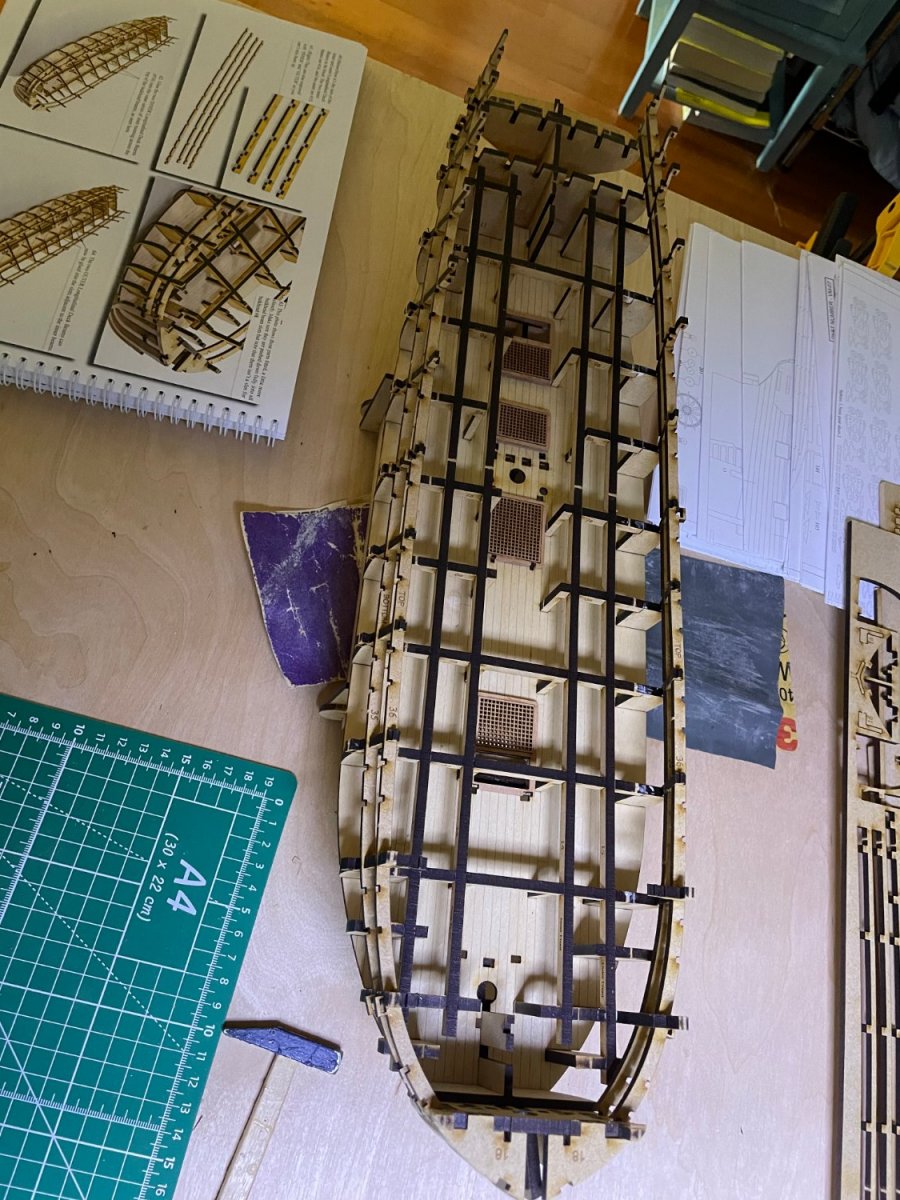
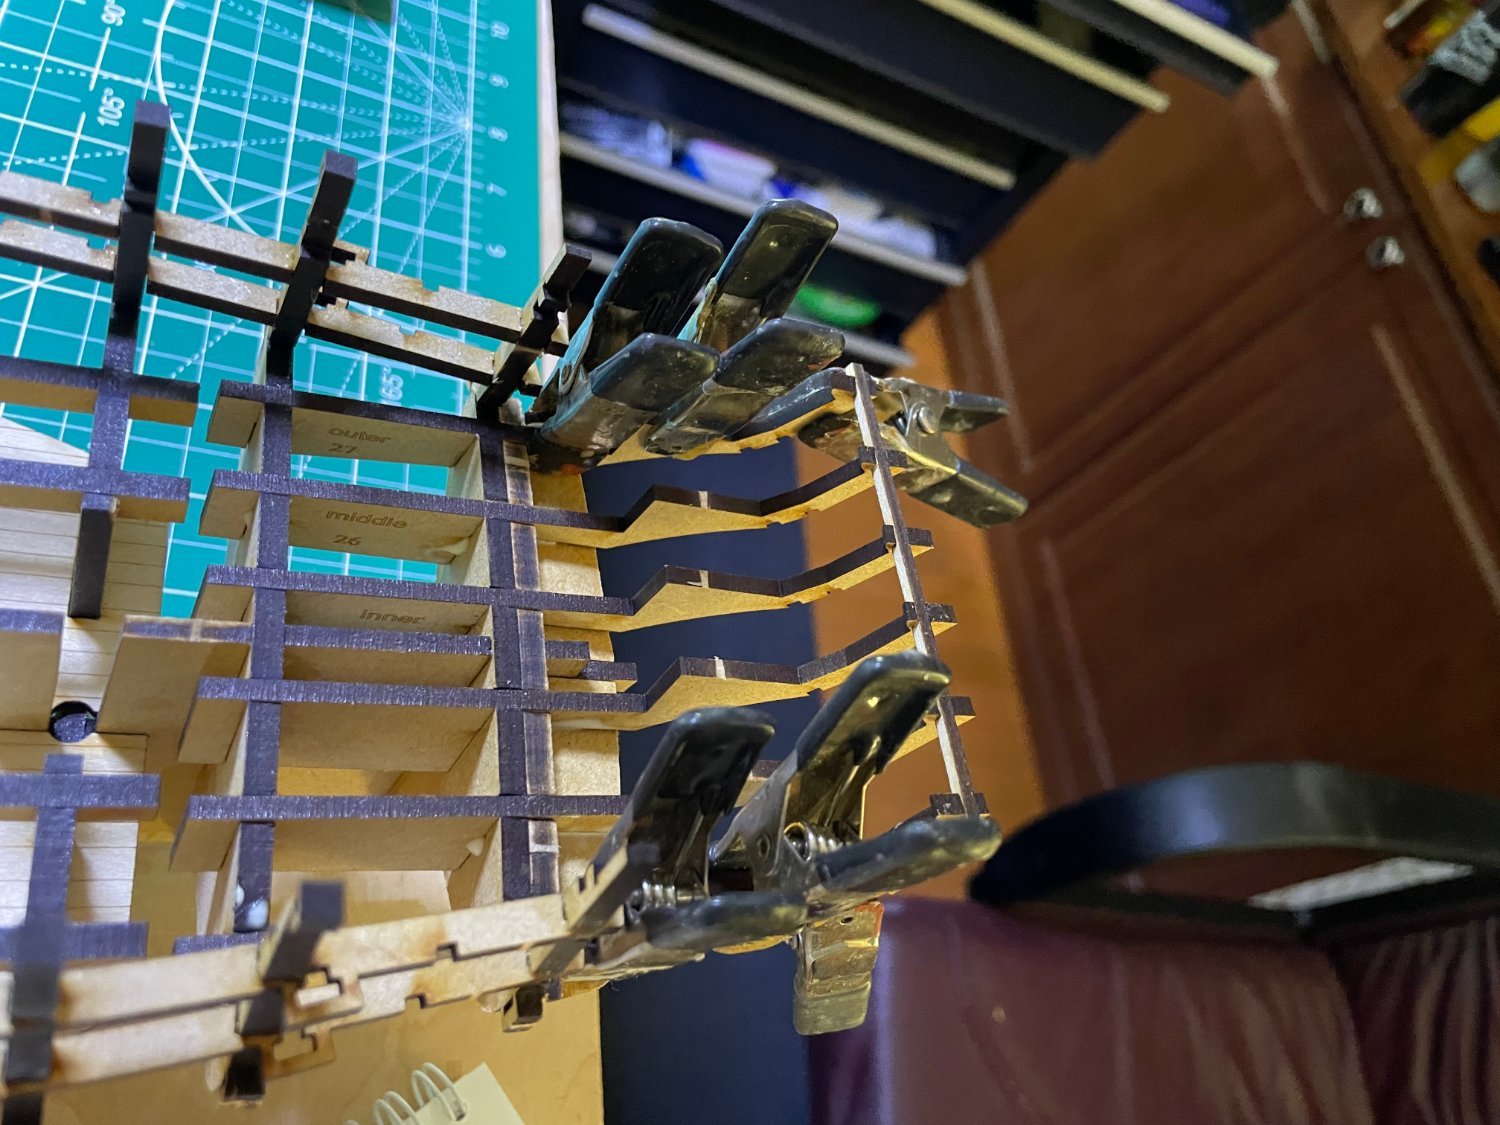
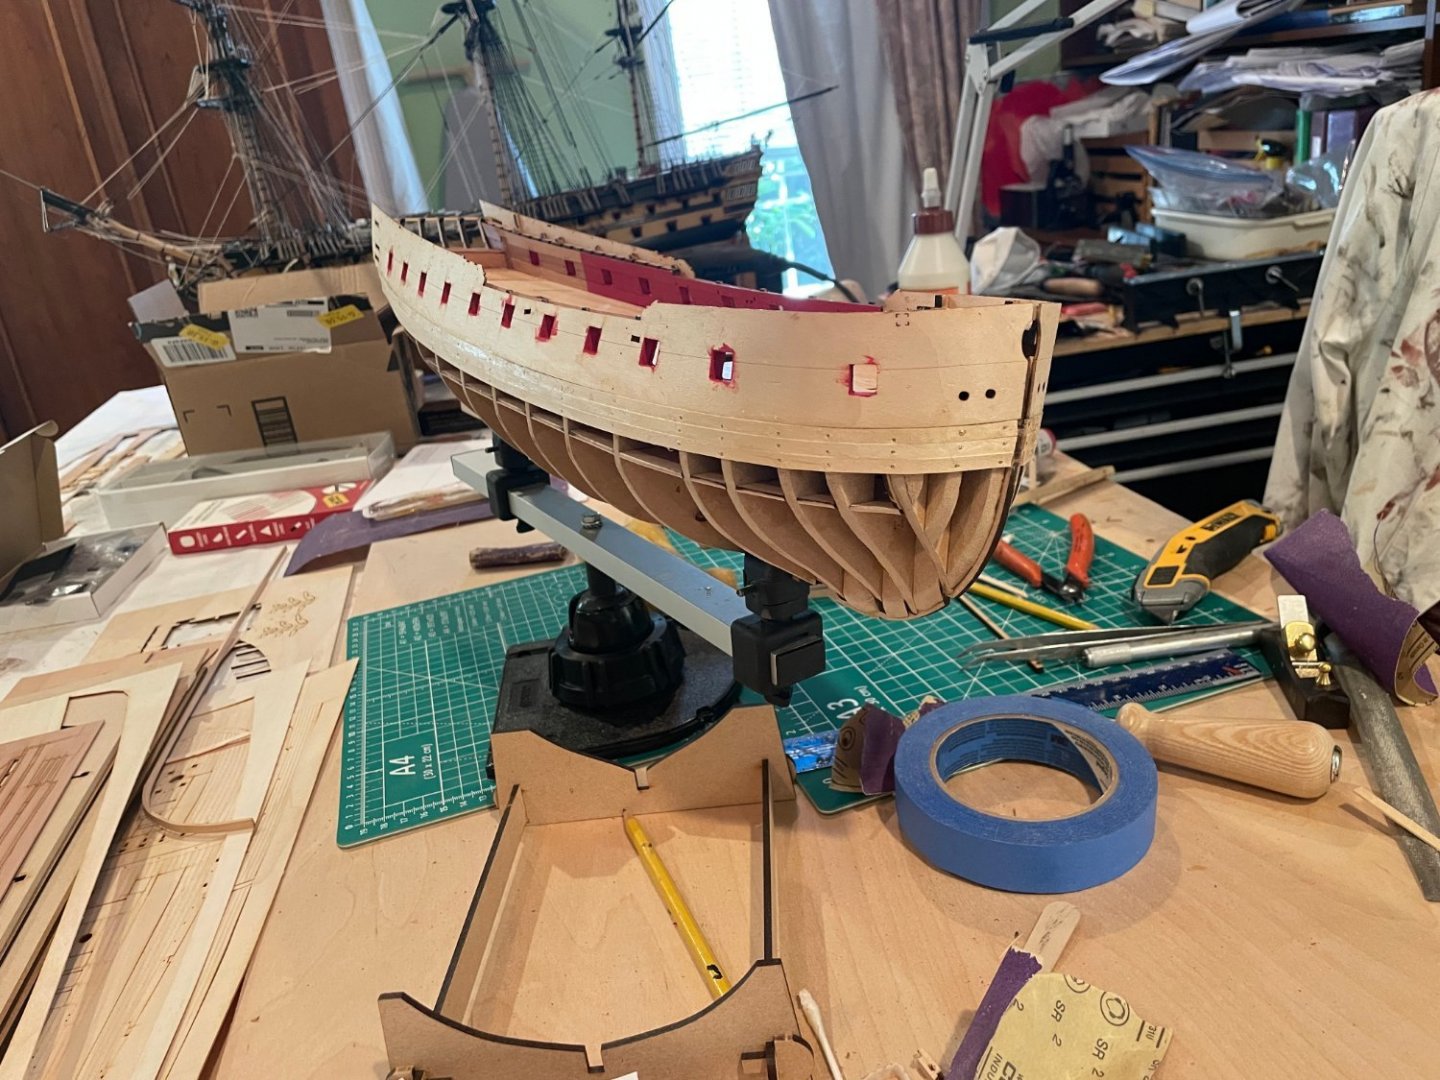
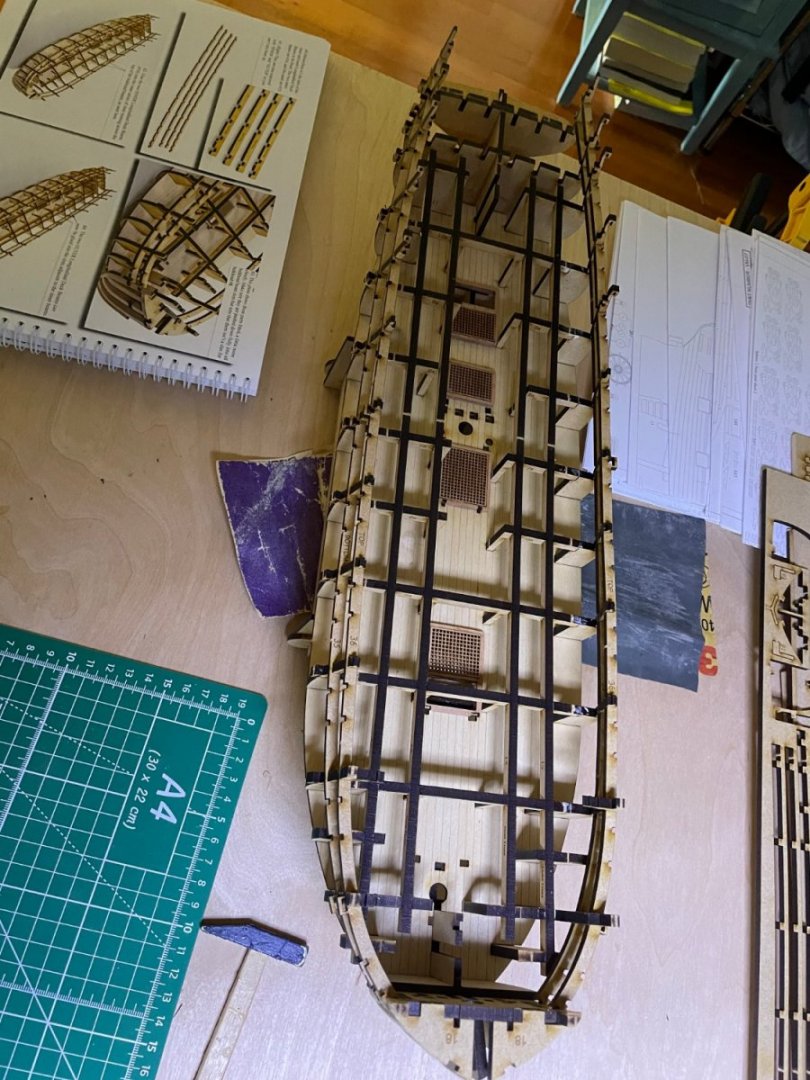
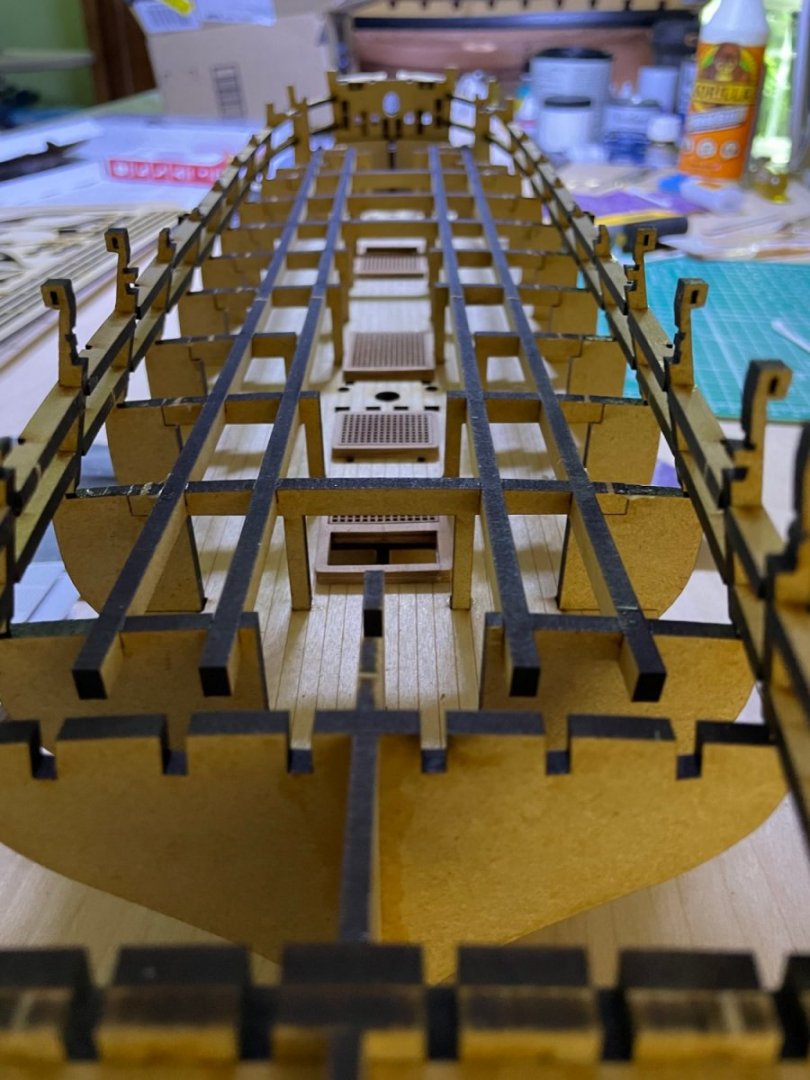
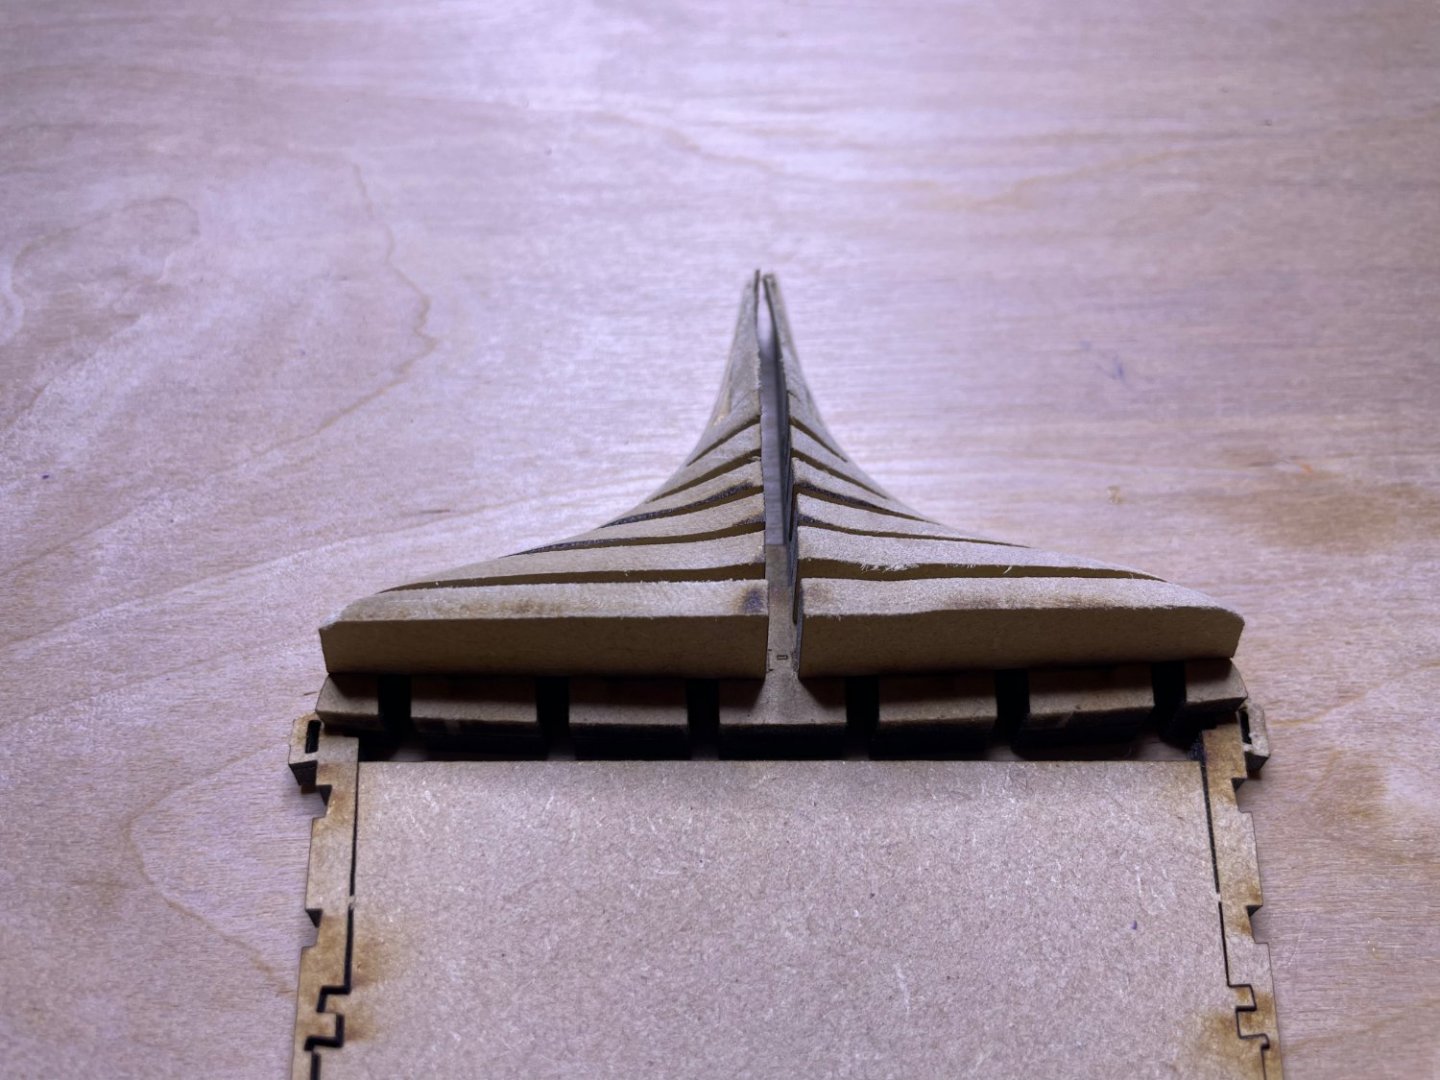
Continuing things, parts fit very nicely but the tips of the ribs very delicate as I bent several. Fortunately did not break as it would be much harder to glue back than wood.

- 73 replies
-
- 15
-
-
- Sphinx
- Vanguard Models
- (and 1 more)
-
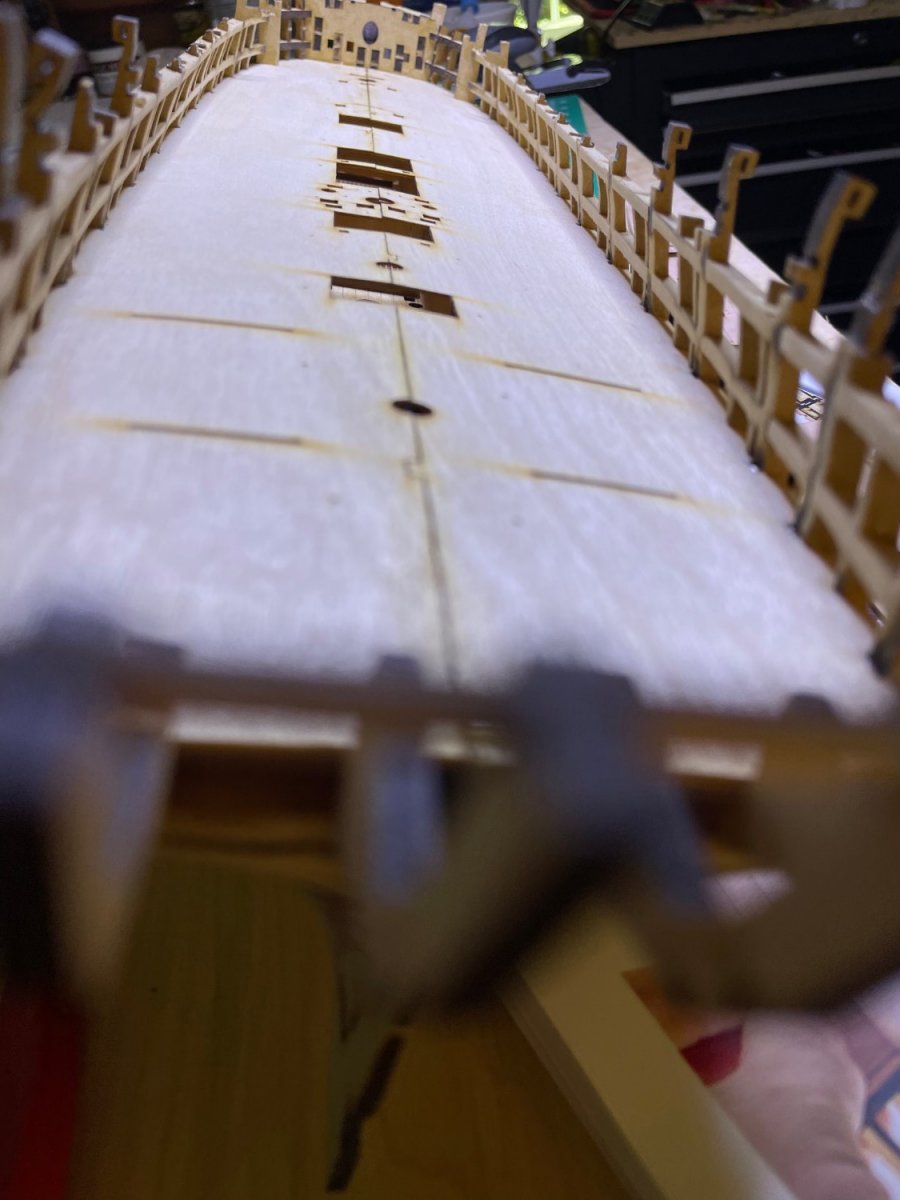
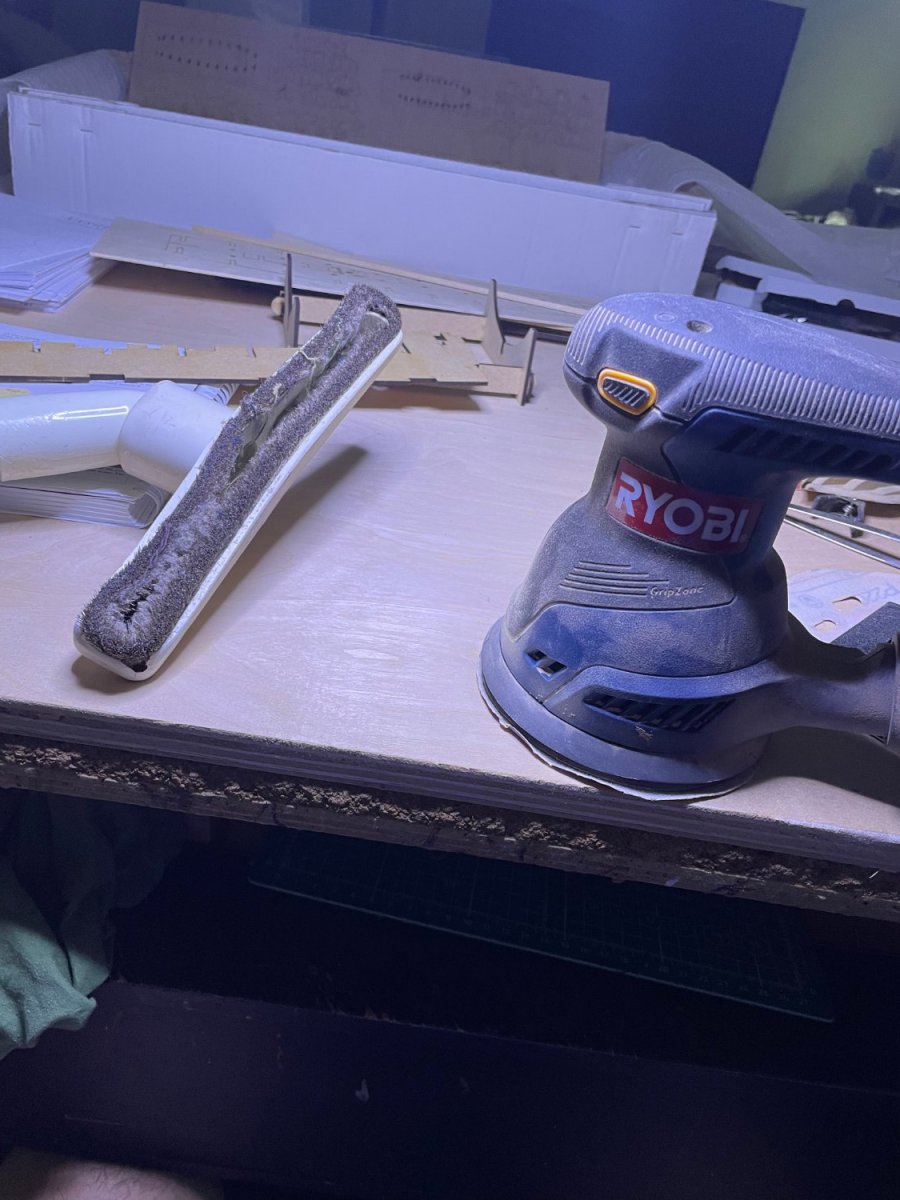
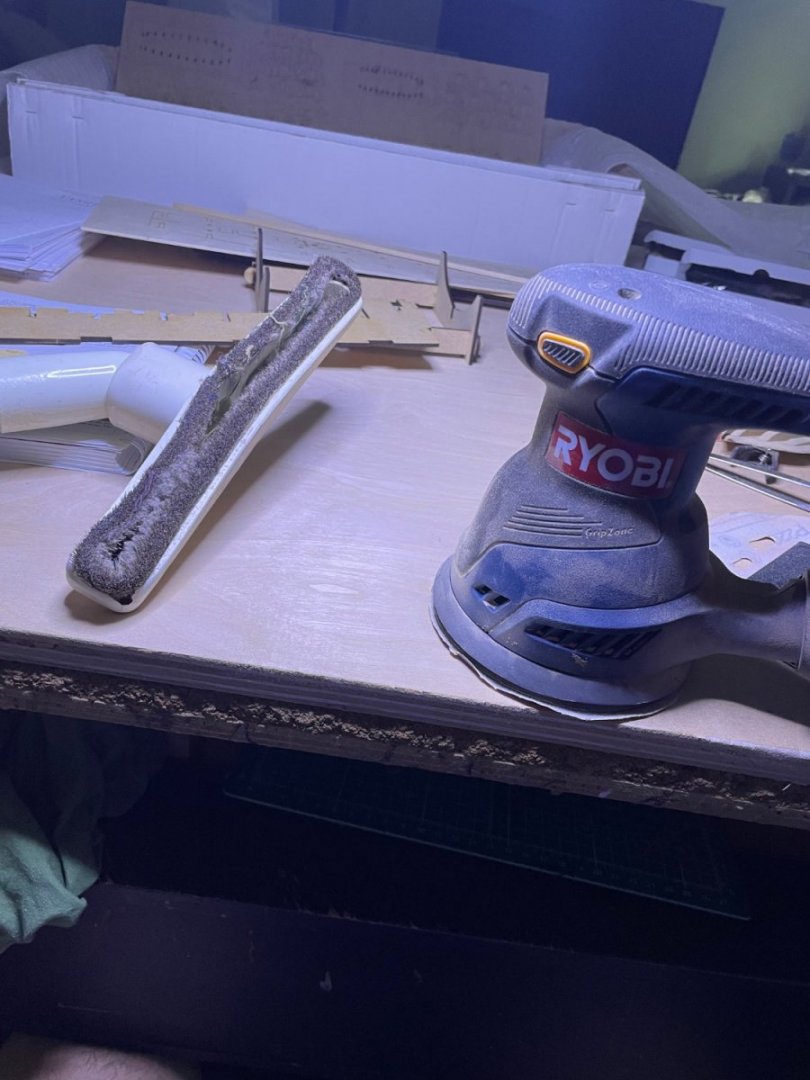
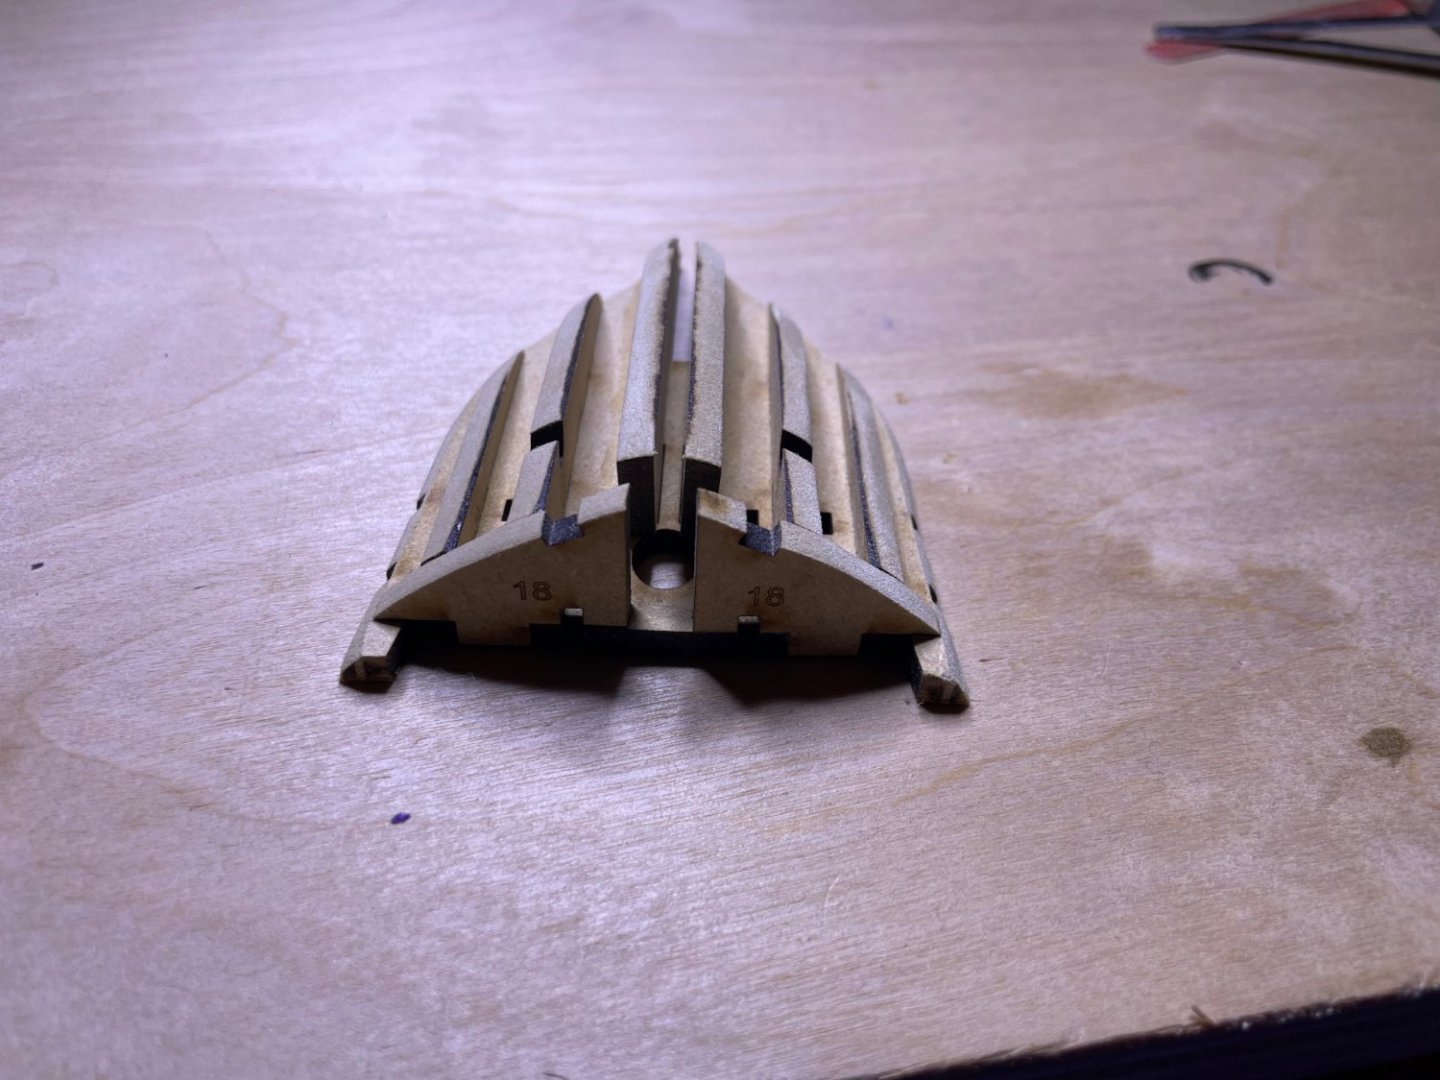
So after putting on my N95 mask (seem to have a lot of those around these days) started sanding. I used an orbital sander with 120 grit paper. It has an edge that flexes and can shape the contours nicely. Also have a vacume next to it to get the dust. Although I over did it on the fist side I tried. Did better on the bow Much easier to work with than plywood, no splinters, less dust. So far parts fitting together very nicely compared to other kits.

- 73 replies
-
- 8
-
-
- Sphinx
- Vanguard Models
- (and 1 more)
-
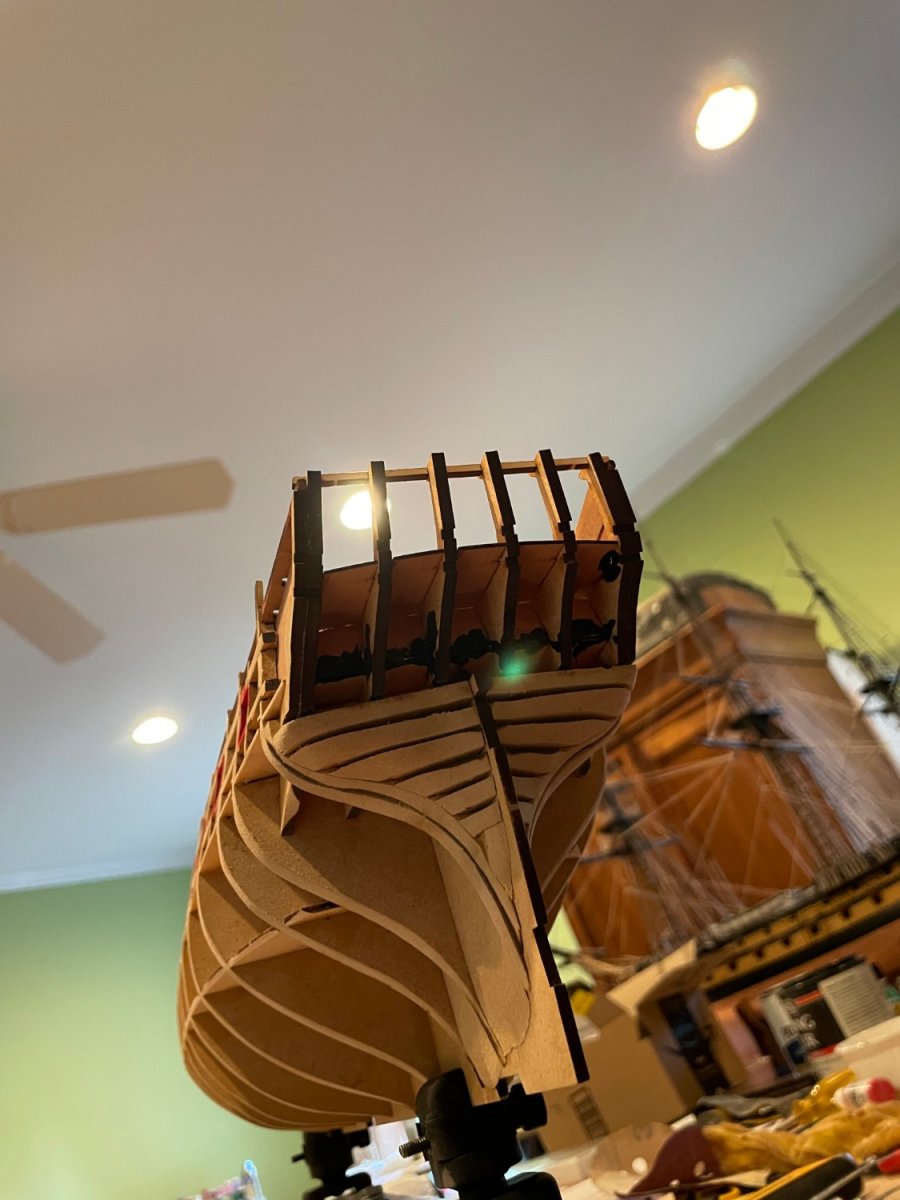
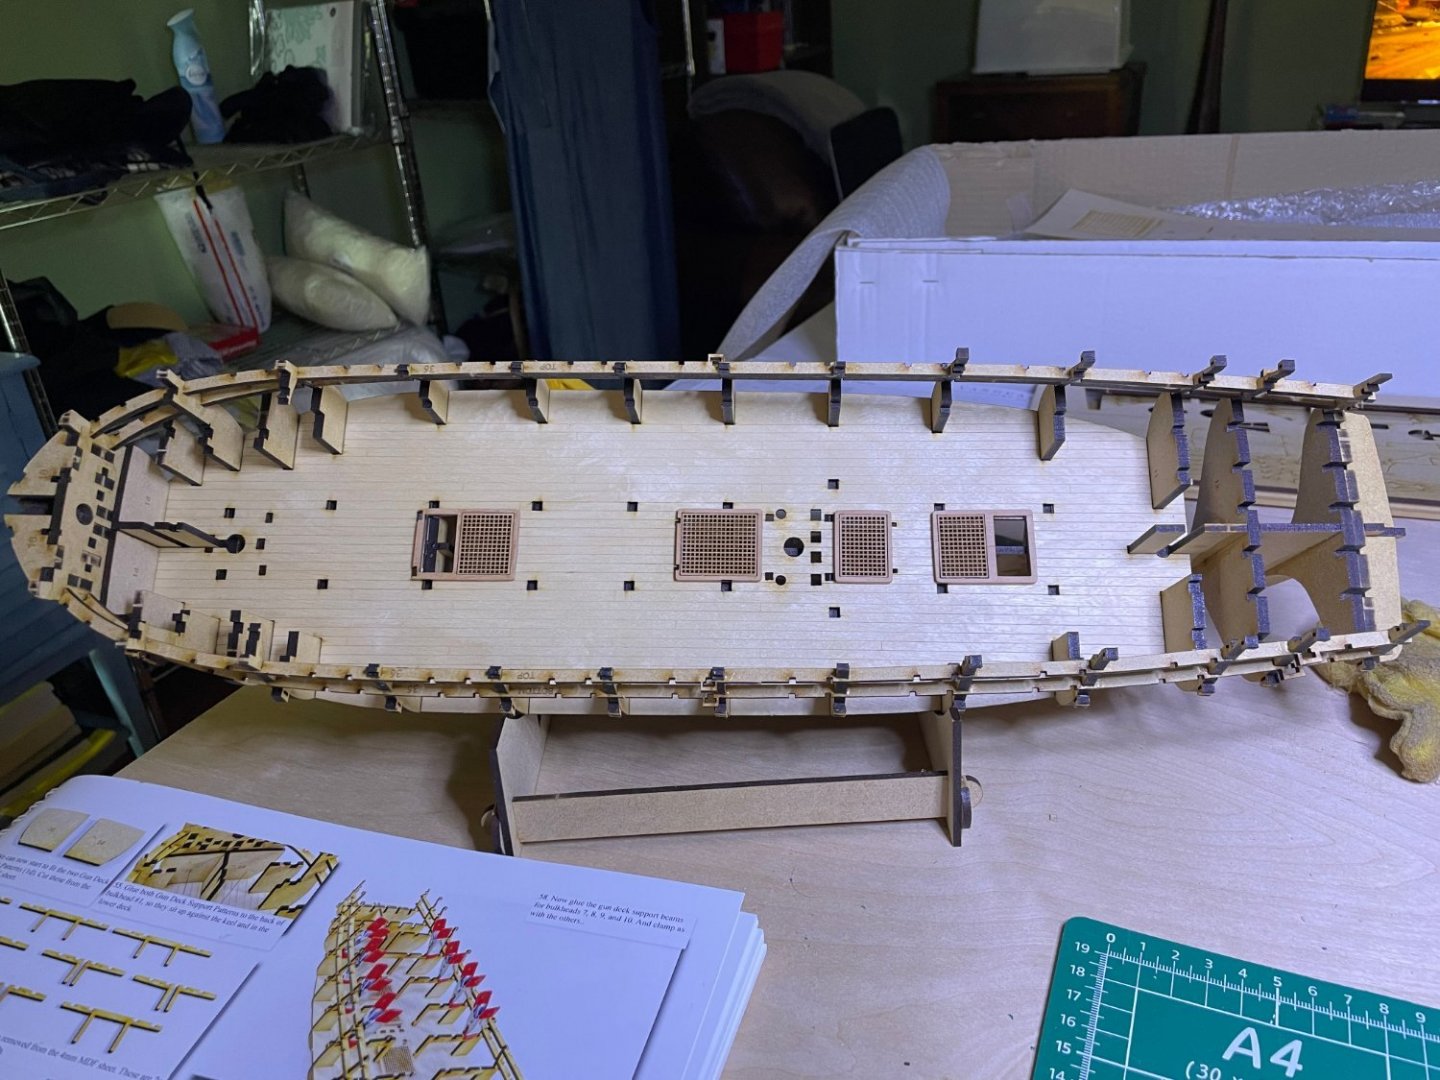
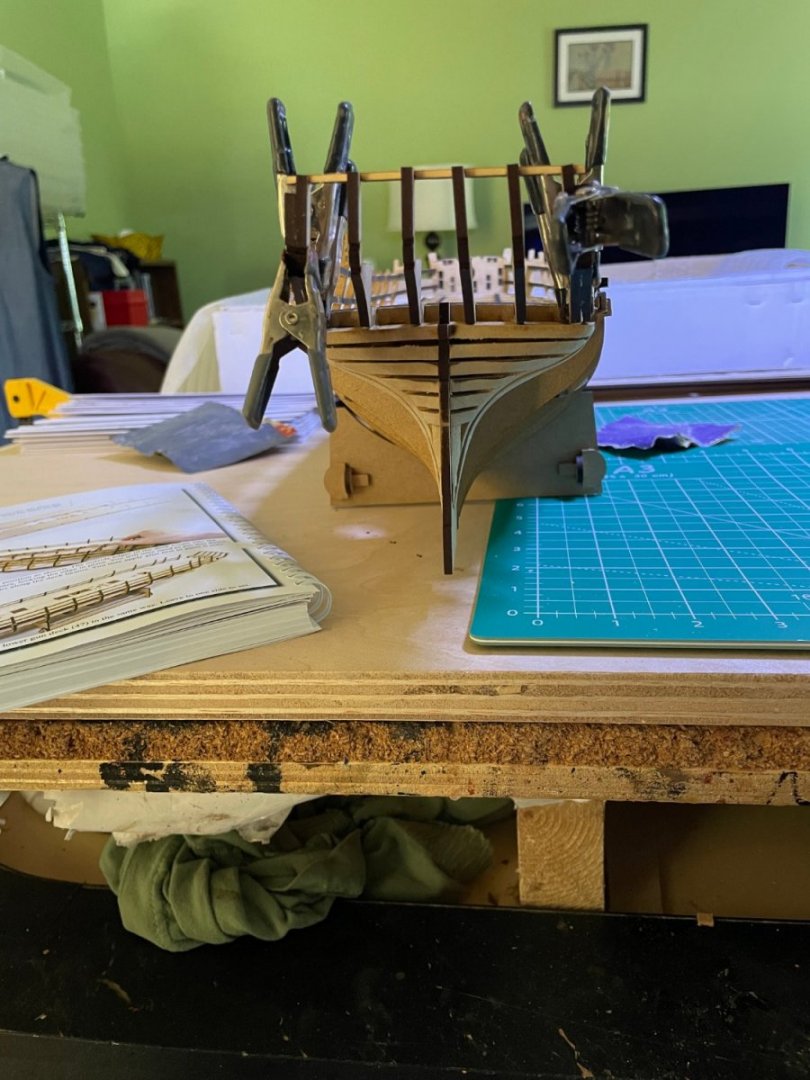
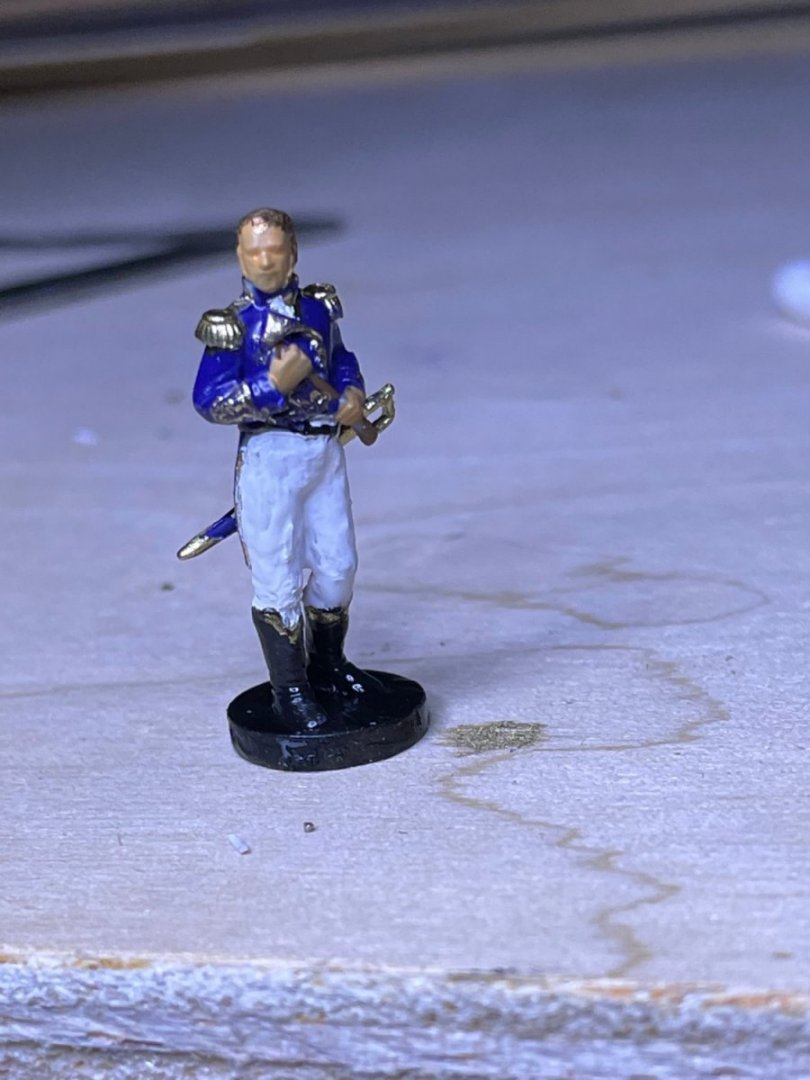
Okay, first step is to get Captain Cochrane ready for duty He decided to visit Nelson on HMS Agamemnon Model is really small and makes you appreciate the 1:64 scale

- 73 replies
-
- 4
-
-
- Sphinx
- Vanguard Models
- (and 1 more)
-
With this many people watching I might get stage fright !
- 73 replies
-
- 2
-

-
-
- Sphinx
- Vanguard Models
- (and 1 more)
-
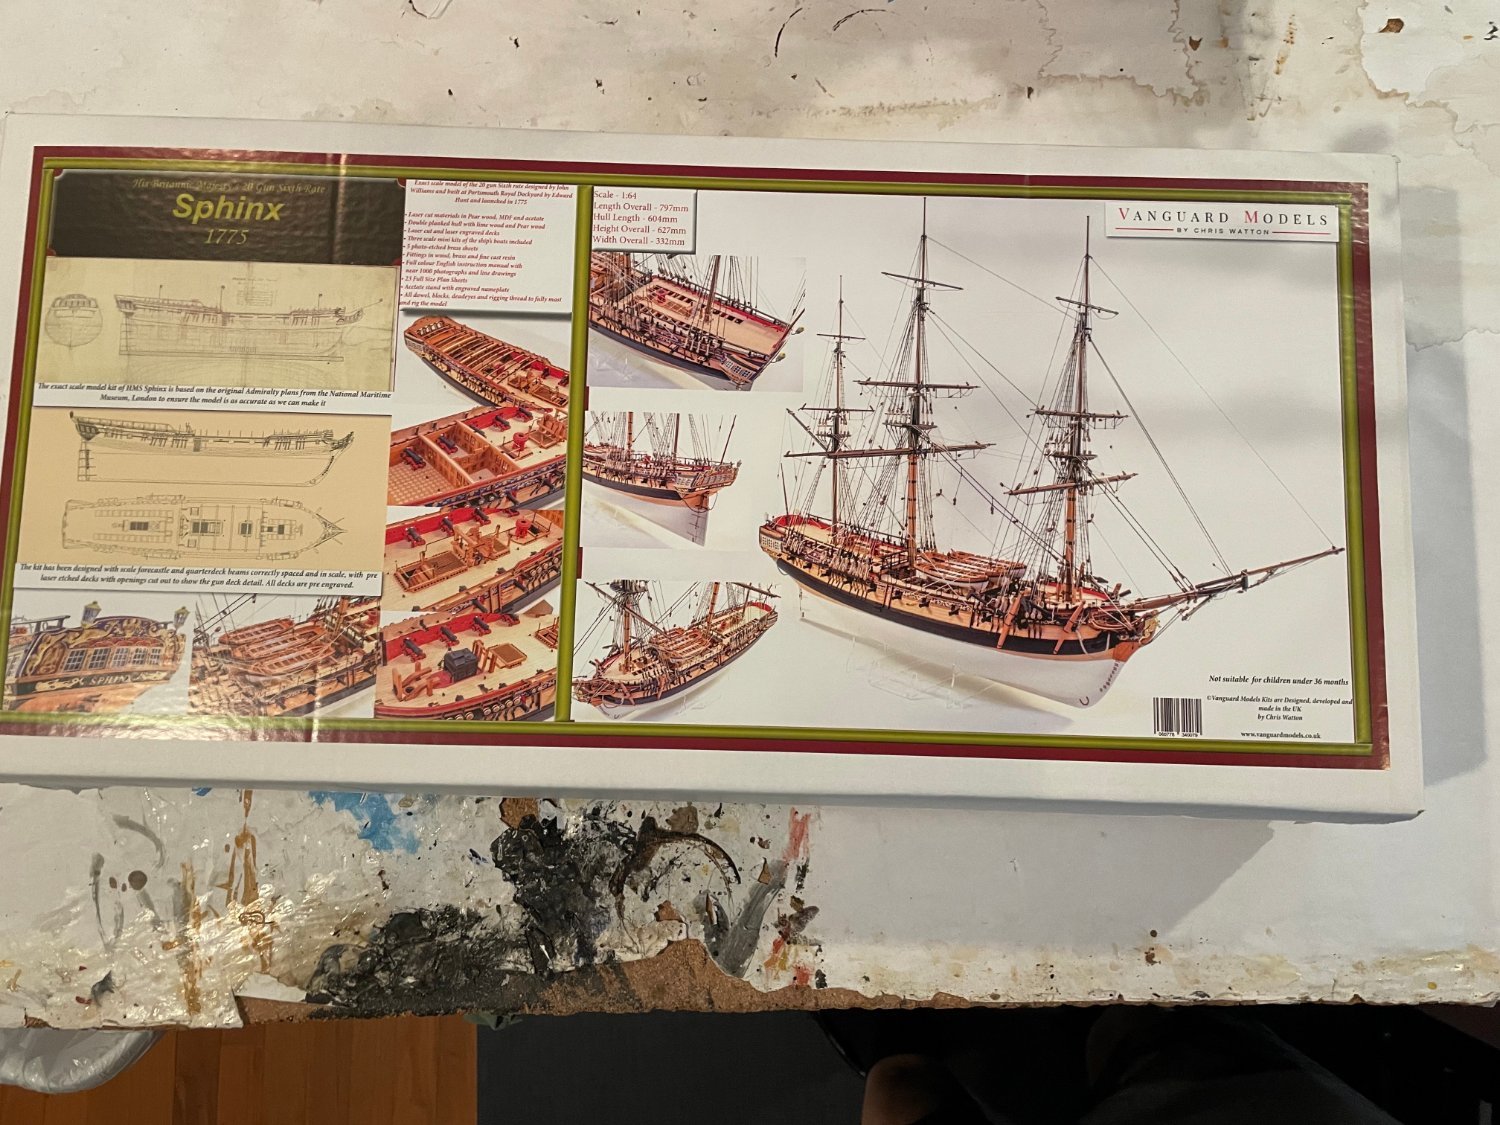
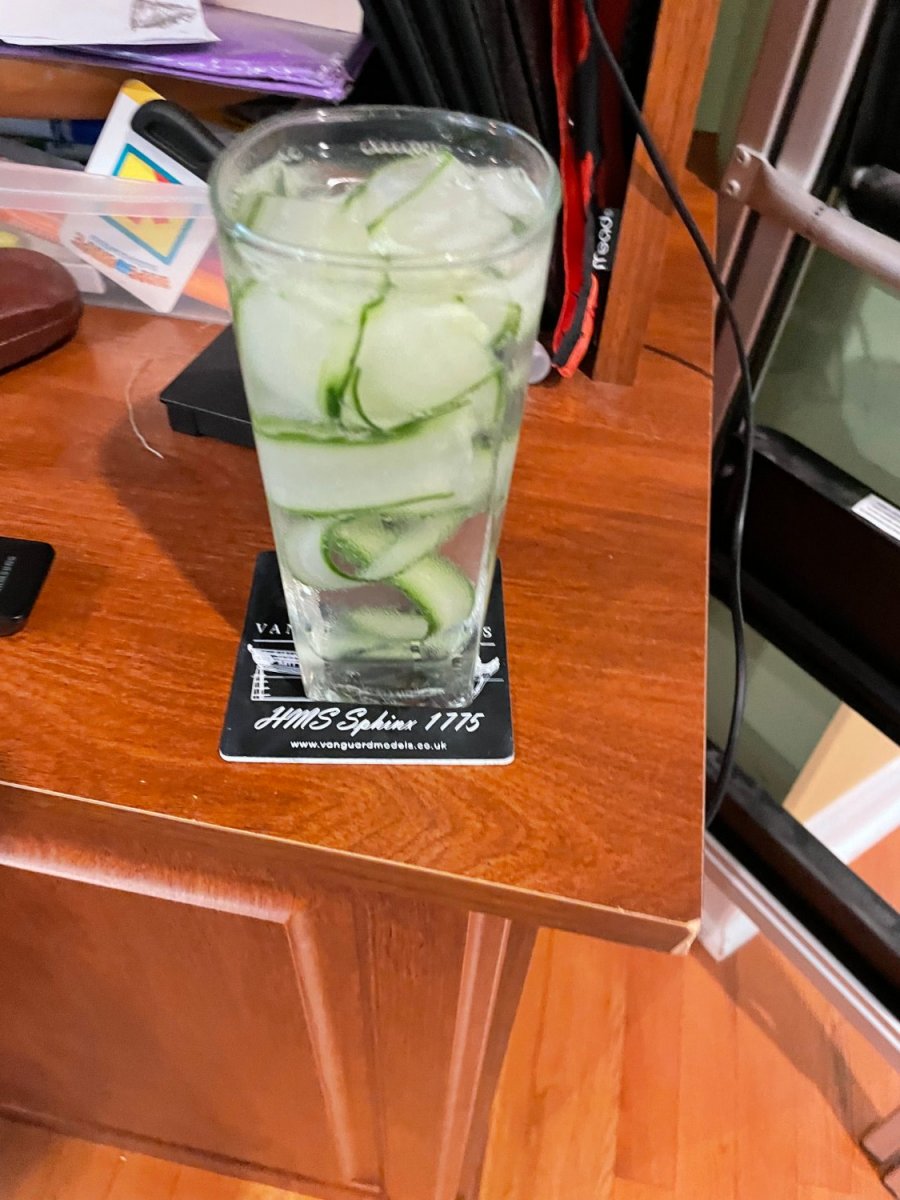
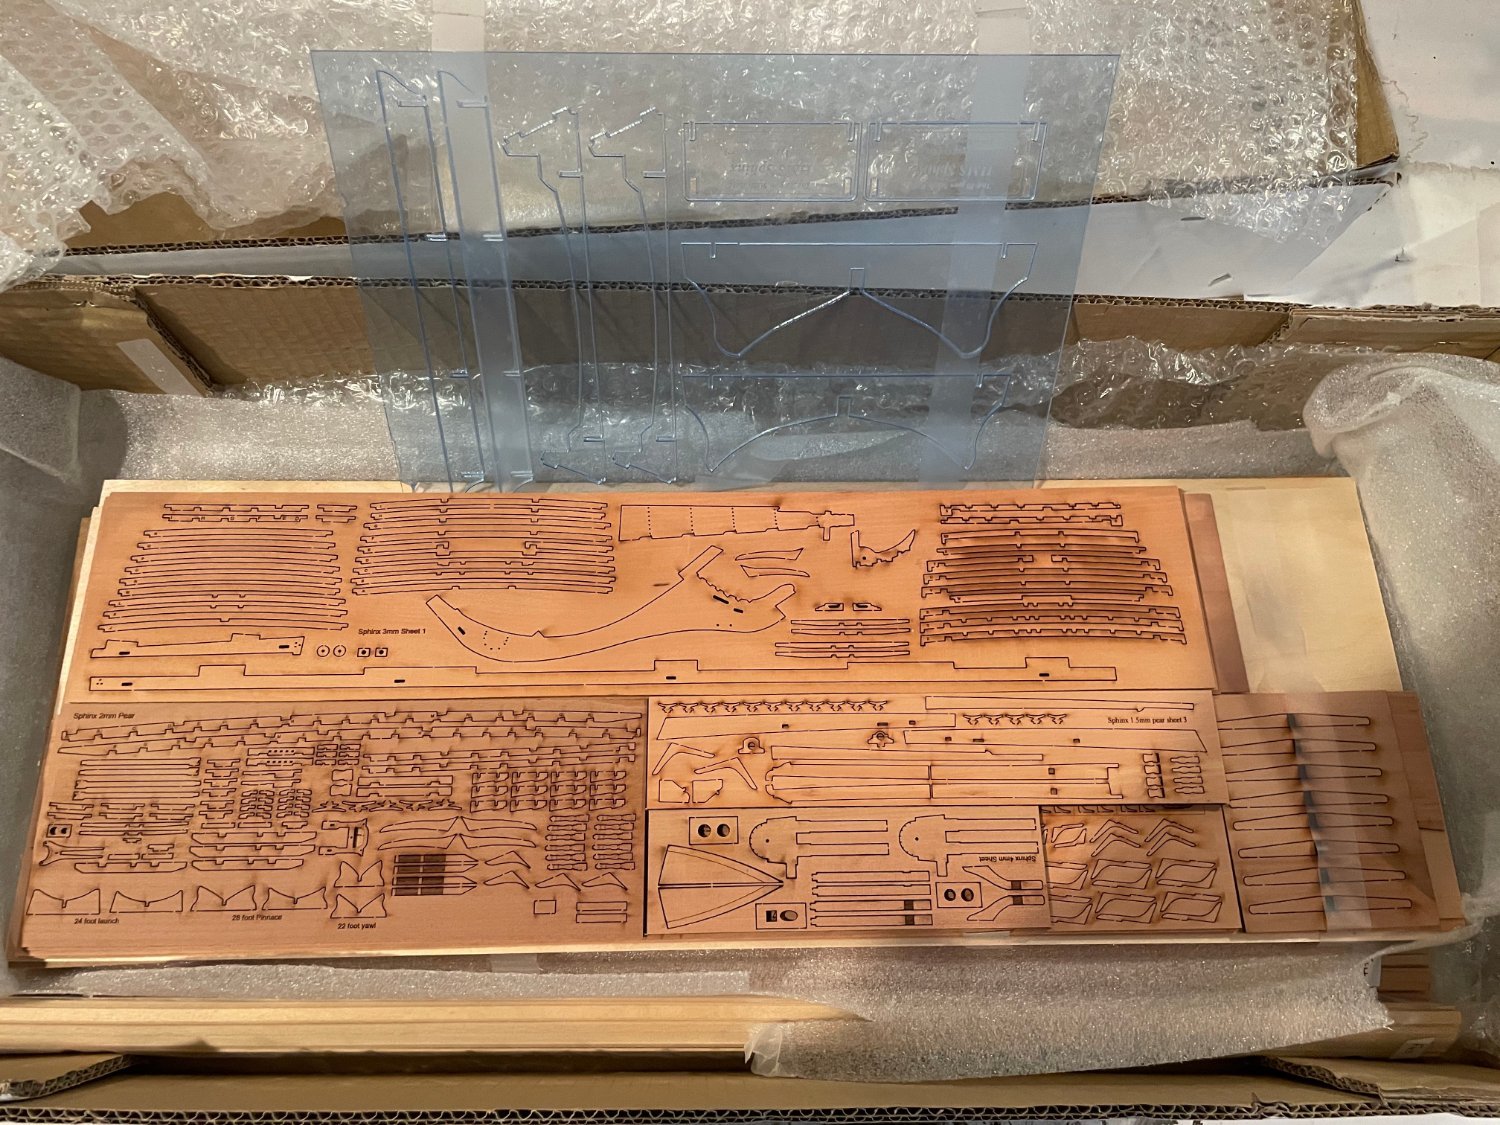
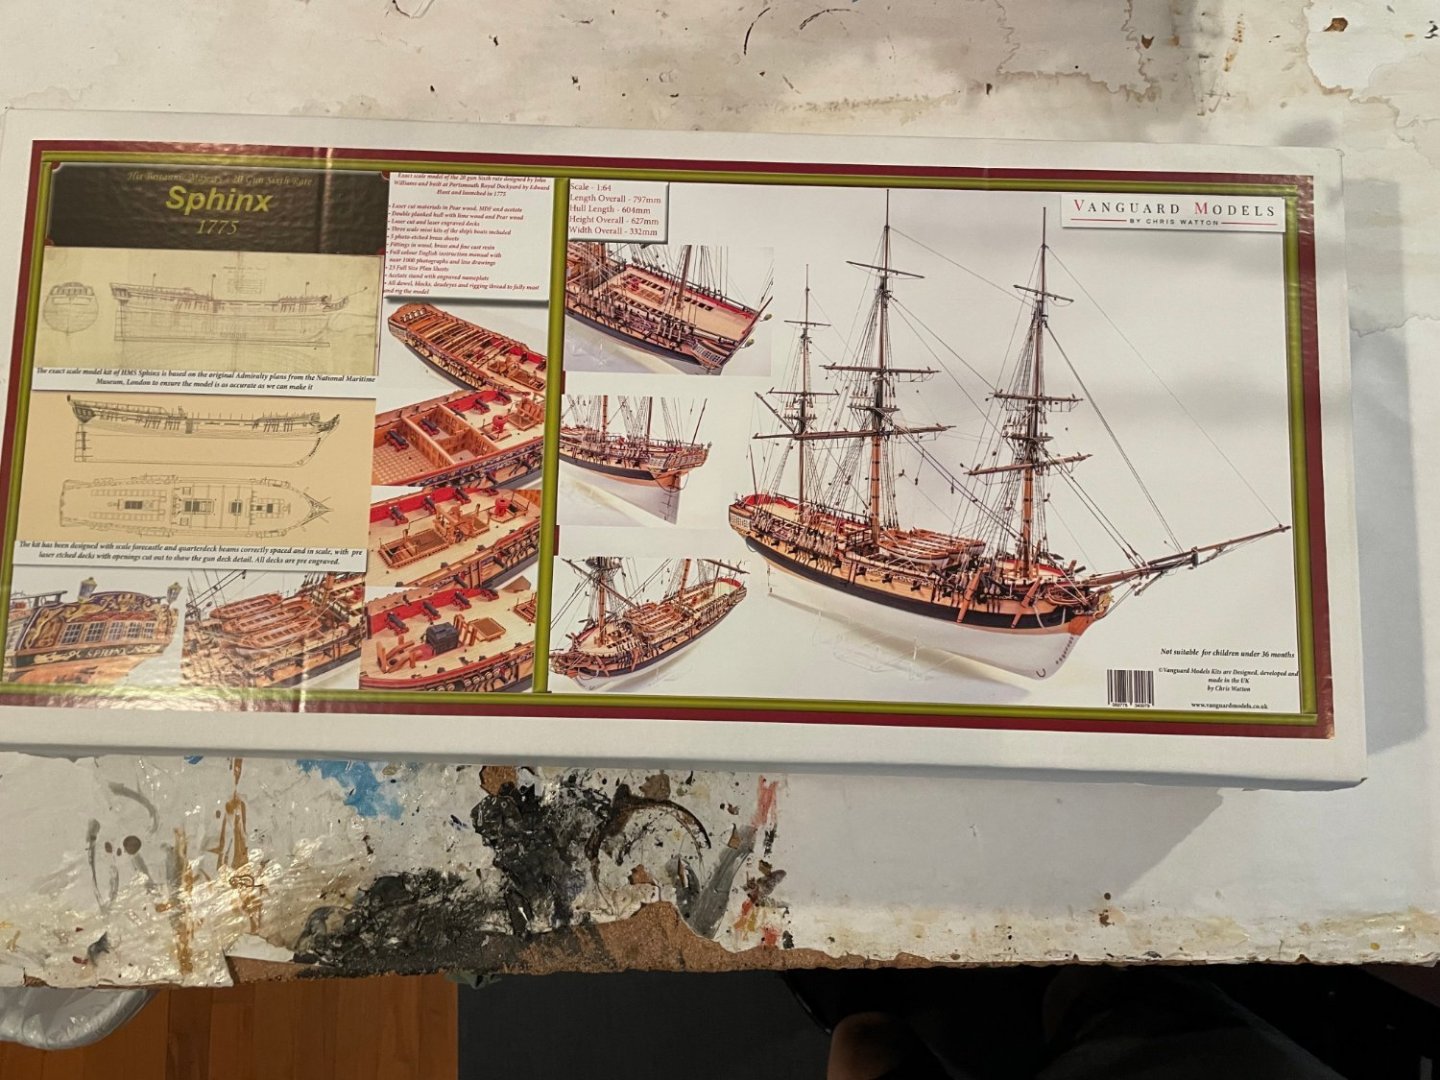
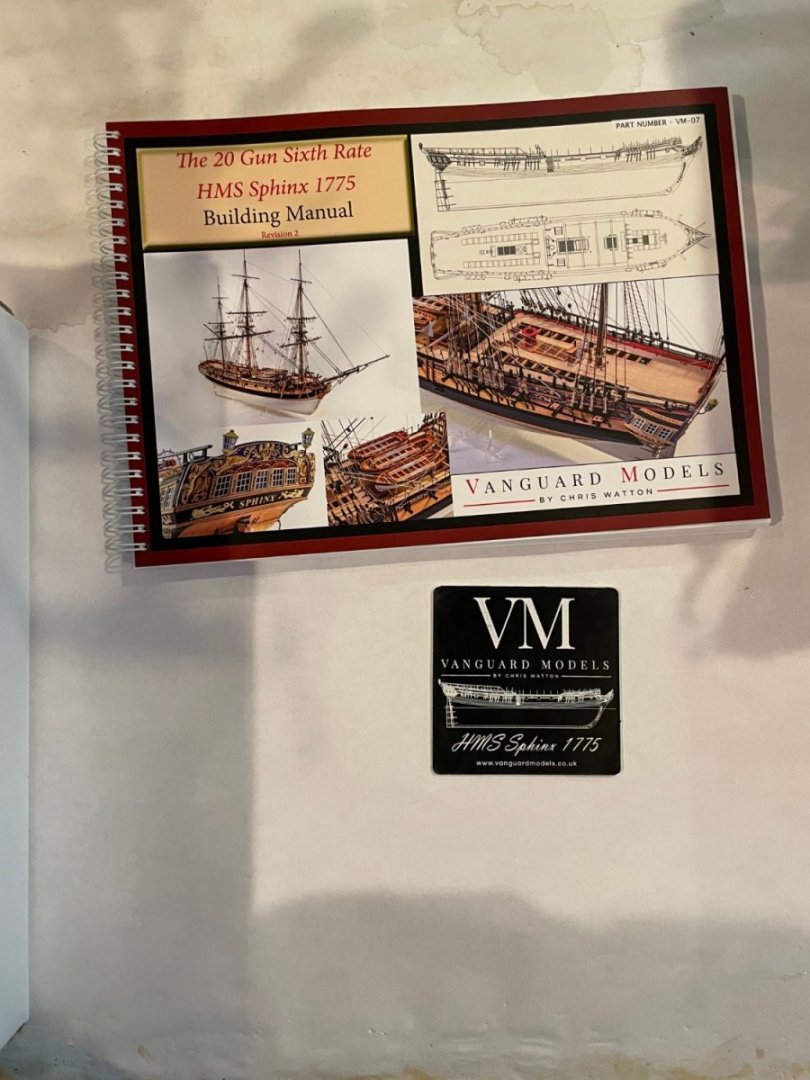
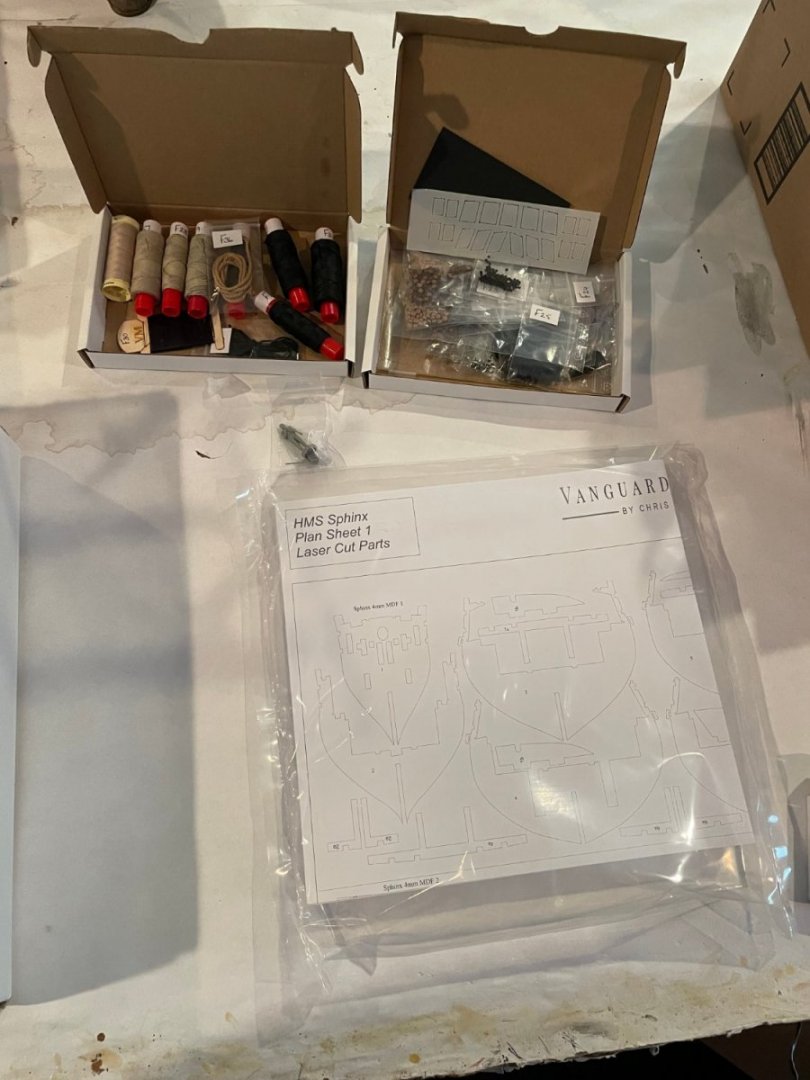
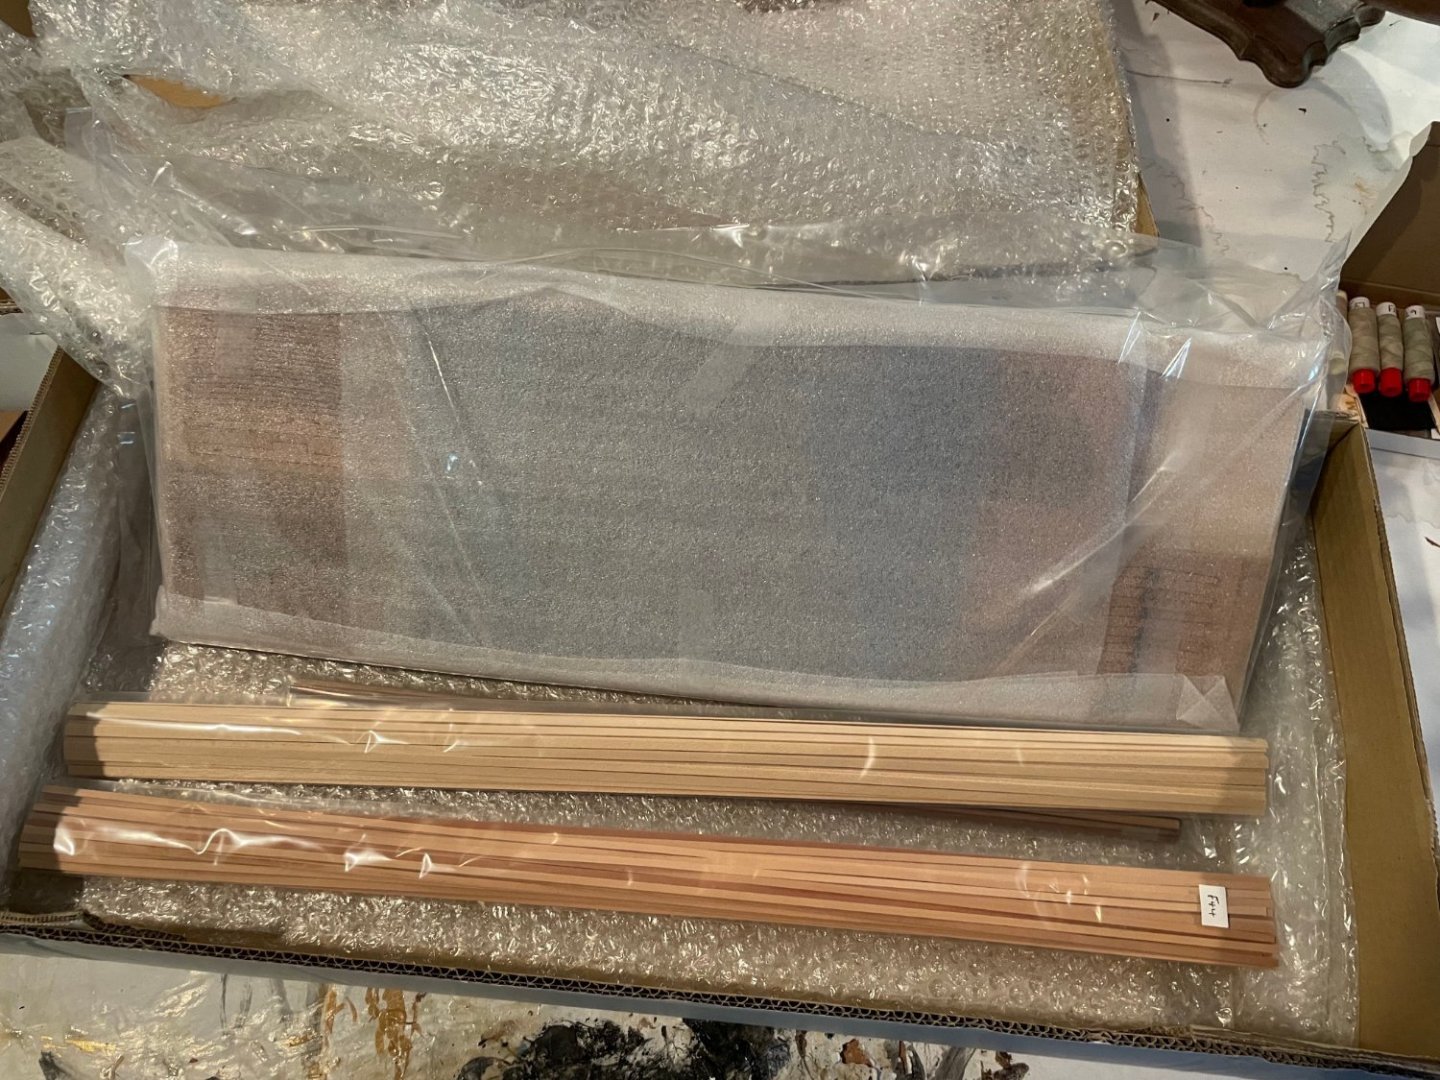
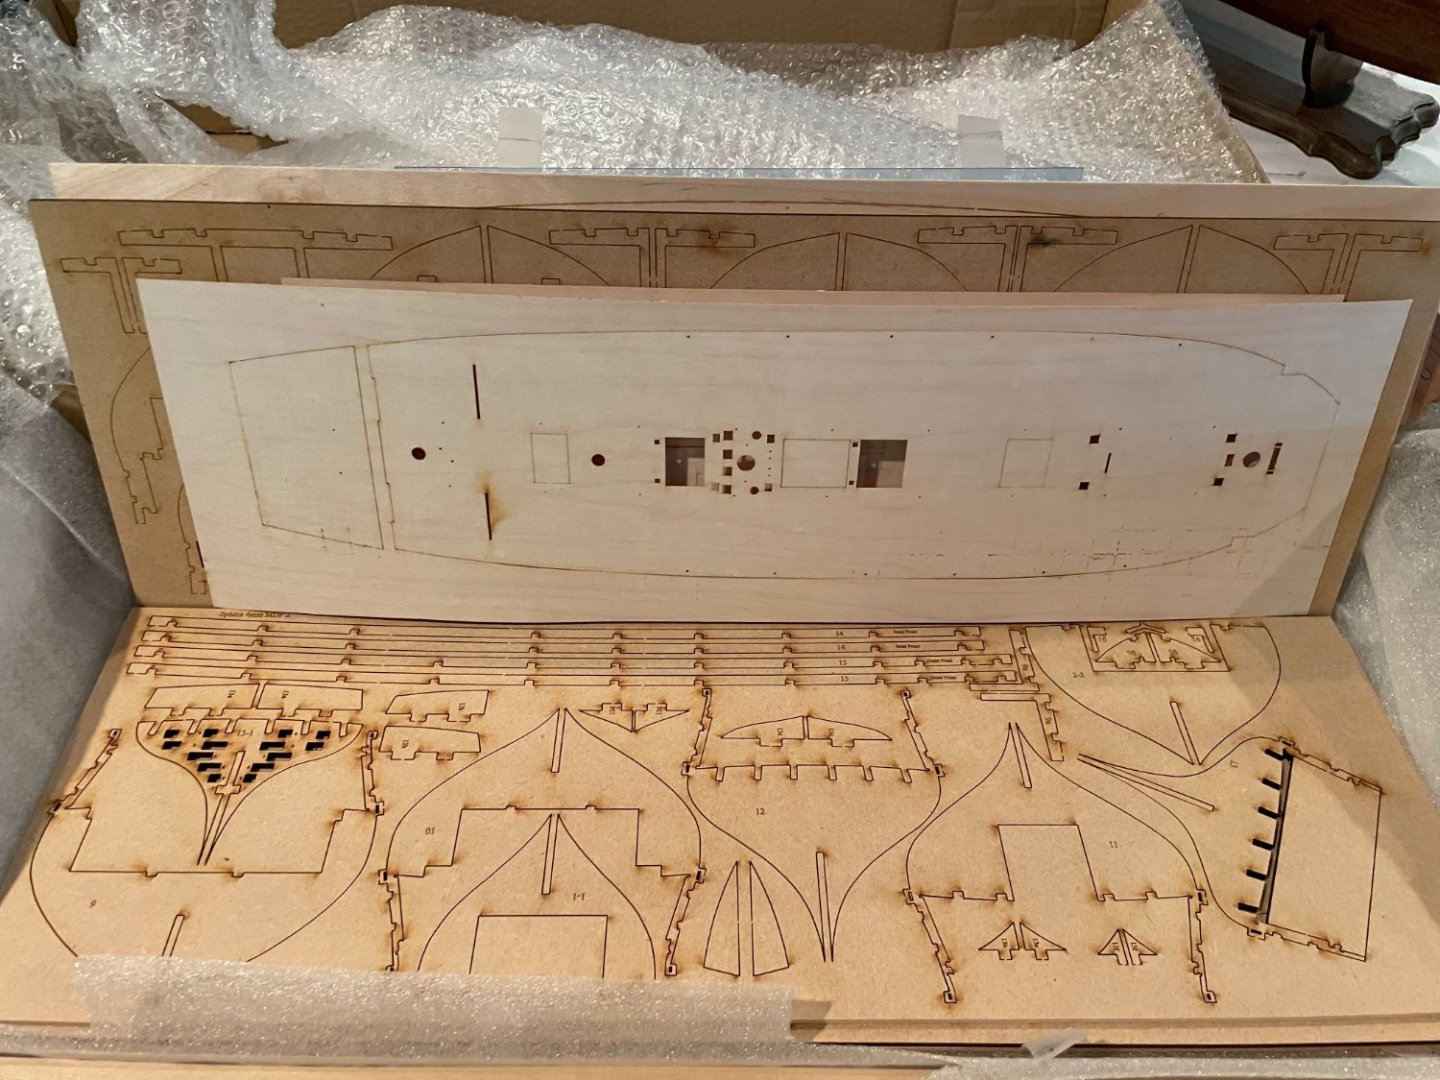
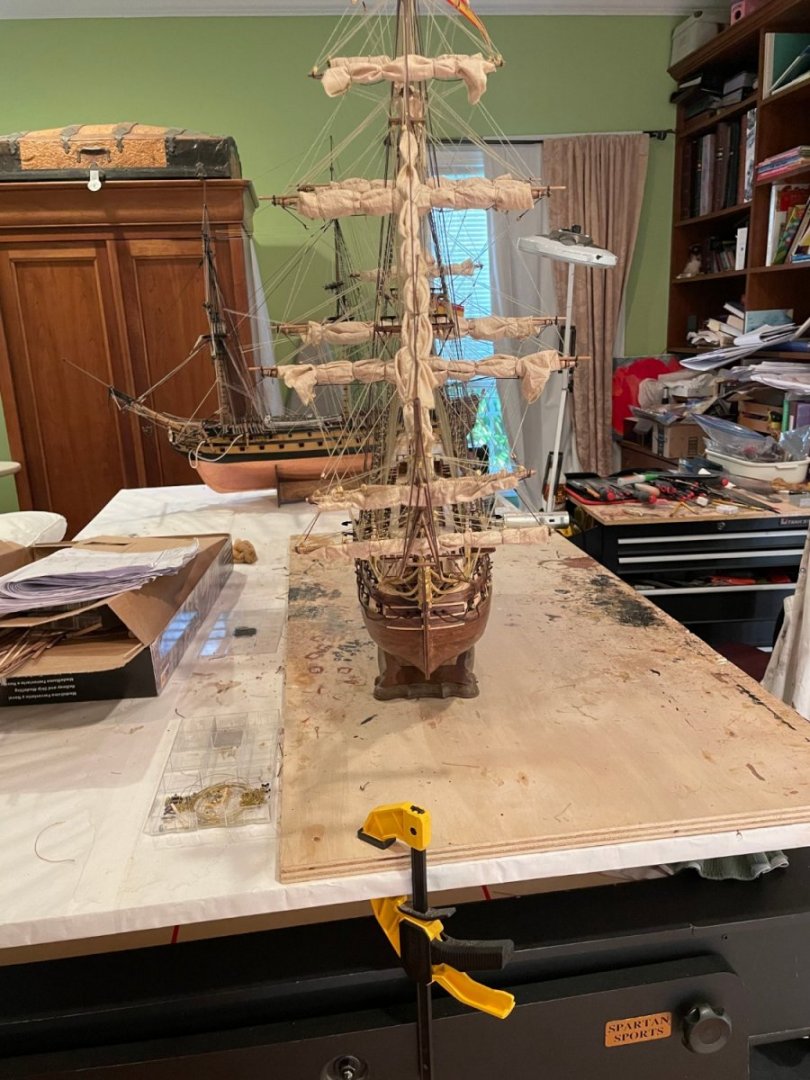
So having just finished the Santisimo Trinadad by Occre, have opened up this long awaited next project. I splurged to get the upograded blocks and bought extra to to properly rig the guns. Also got the to scale figure of CAPTAIN Cochrane. Nice coaster, good place to put my G& T while building I


- 73 replies
-
- 17
-
-
- Sphinx
- Vanguard Models
- (and 1 more)
-
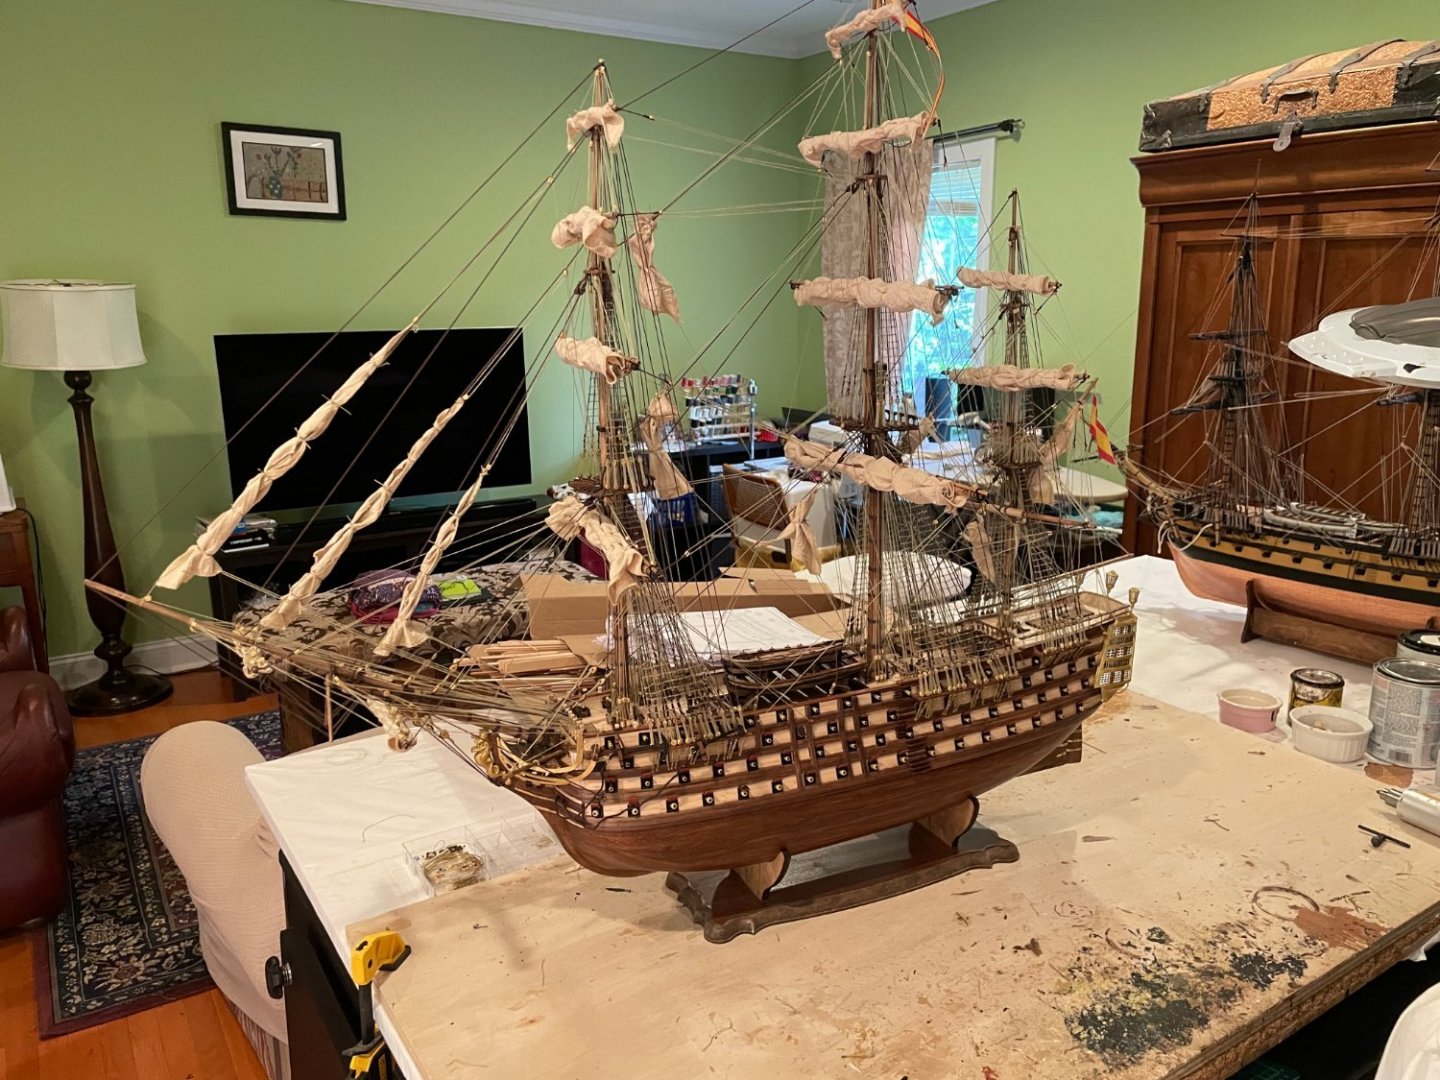
So at last finished. I do like the geometric symmetry of the rigging And now for my long awaited next project, build diary to follow:
- 41 replies
-
- 4
-
-
- OcCre
- Santissima Trinidad
- (and 1 more)
-
I concur. Waiting for this and the Victory to come out. Will keep me busy for a few years.
- 488 replies
-
- 6
-
-
- Indefatigable
- Vanguard Models
- (and 1 more)