MORE HANDBOOKS ARE ON THEIR WAY! We will let you know when they get here.
×


mrangus
-
Posts
232 -
Joined
-
Last visited
Content Type
Profiles
Forums
Gallery
Events
Everything posted by mrangus
-
 Planking looks great Jesse! looks like you got through that quickly once you got beyond gunports and treenailed area. This boat must feel BIG after the SM...
- 1,306 replies
-
- 3
-

-
- syren
- model shipways
- (and 1 more)
-
Oh right Jesse - the little mini-one in the carved water. That ship is AMAZING. unbelievable the detail at such a small scale. and all hand built too. Thanks for reminding me sometimes its easy to get caught up in the 'get-it-done' process. Brian, what you describe makes a lot of sense and from a realistic perspective I'm sure it would be a lot easier to manufacture a pulley system in the direction you describe rather than what the model provides. Hoisting out of the water would be a bit easier too. However.... it took me 2+ hours on the two cathead anchor pieces so.... I think I'll stick with it Thx
- 389 replies
-
- 3
-
-
- scottish maid
- artesania latina
- (and 1 more)
-
Funny that you say that Brian. I remember looking at the exact picture you posted above and loved how precise/realistic it looks. I stressed over what to do for a while and looked at several models. The picture in the (lame) kit instructions show the sheaves going in the direction that I built. Most of the SM models that are posted have the rigging going this way as well - there was one model by Ian Lawrence (on his own site) that had the sheaves going in the direction that you describe and illustrate above. (That's where I got the cap idea from for the ends of the catheads.) It looked good but what I didn't like about it was the end line was attached to the outside of the ship. That didn't make sense to me. So after a long think about it, I succumbed to the model instructions. Jesse did it this way as well and thought it looked good.

- 389 replies
-
- 2
-
-
- scottish maid
- artesania latina
- (and 1 more)
-
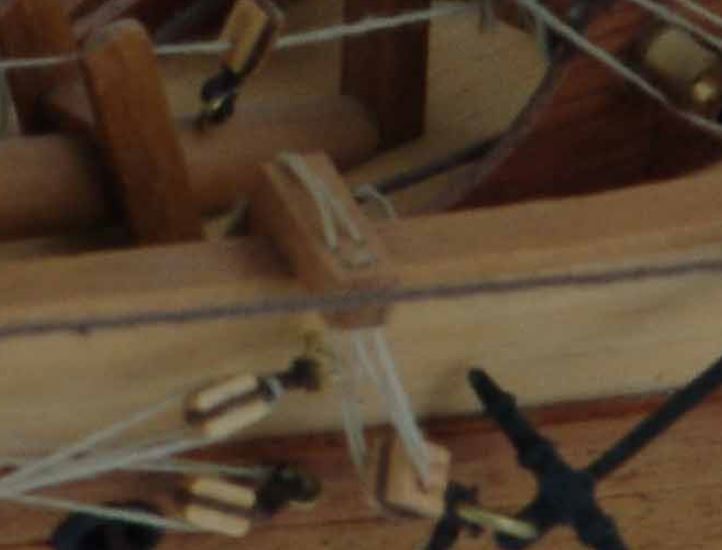
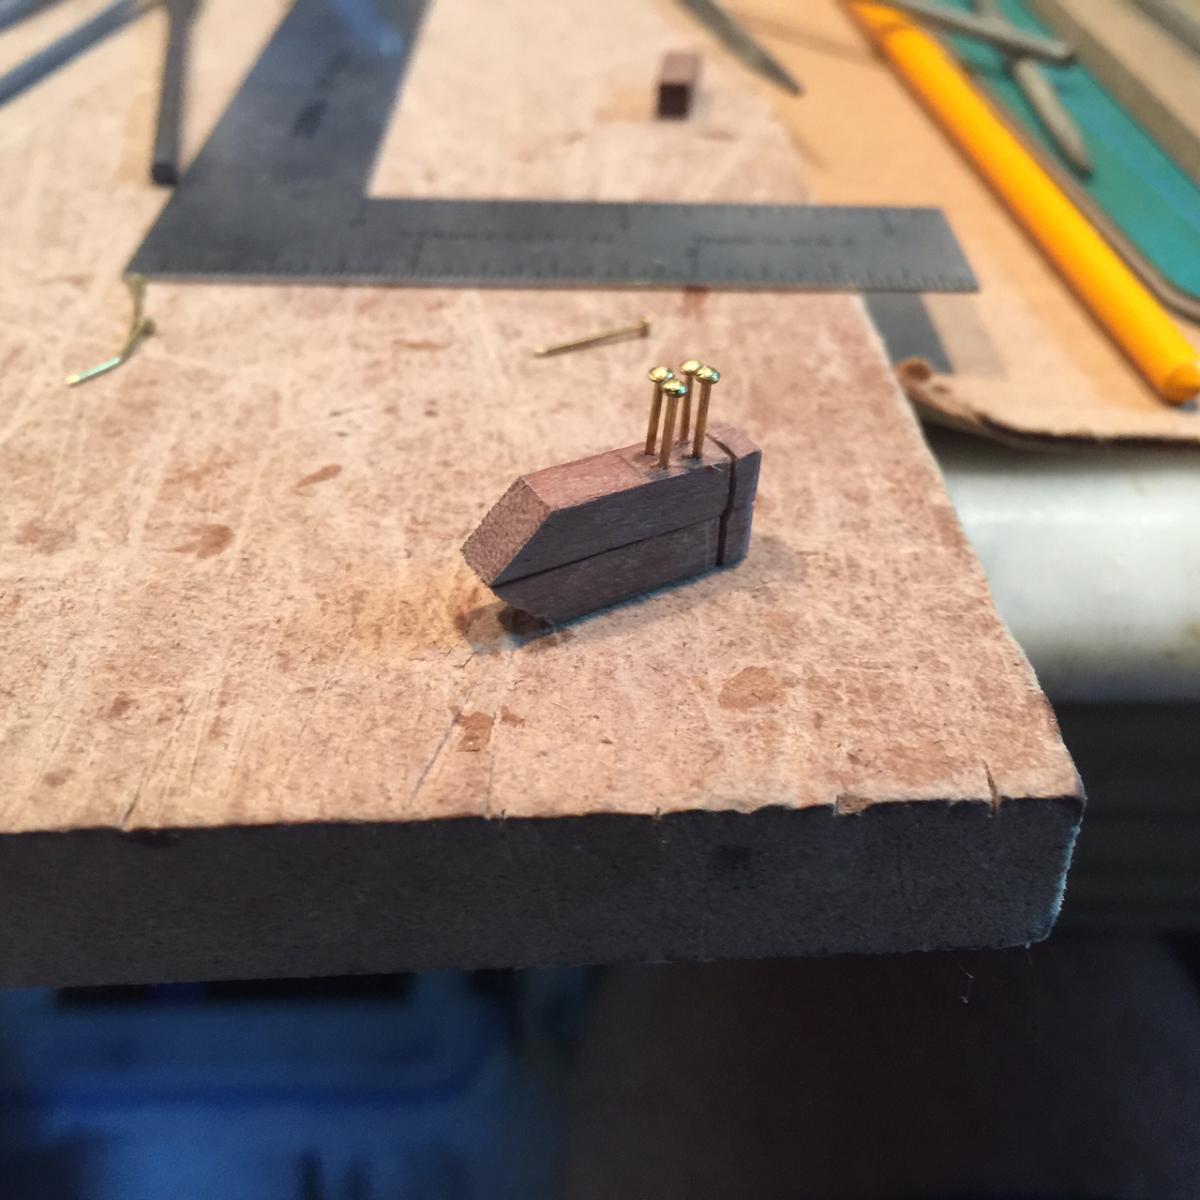
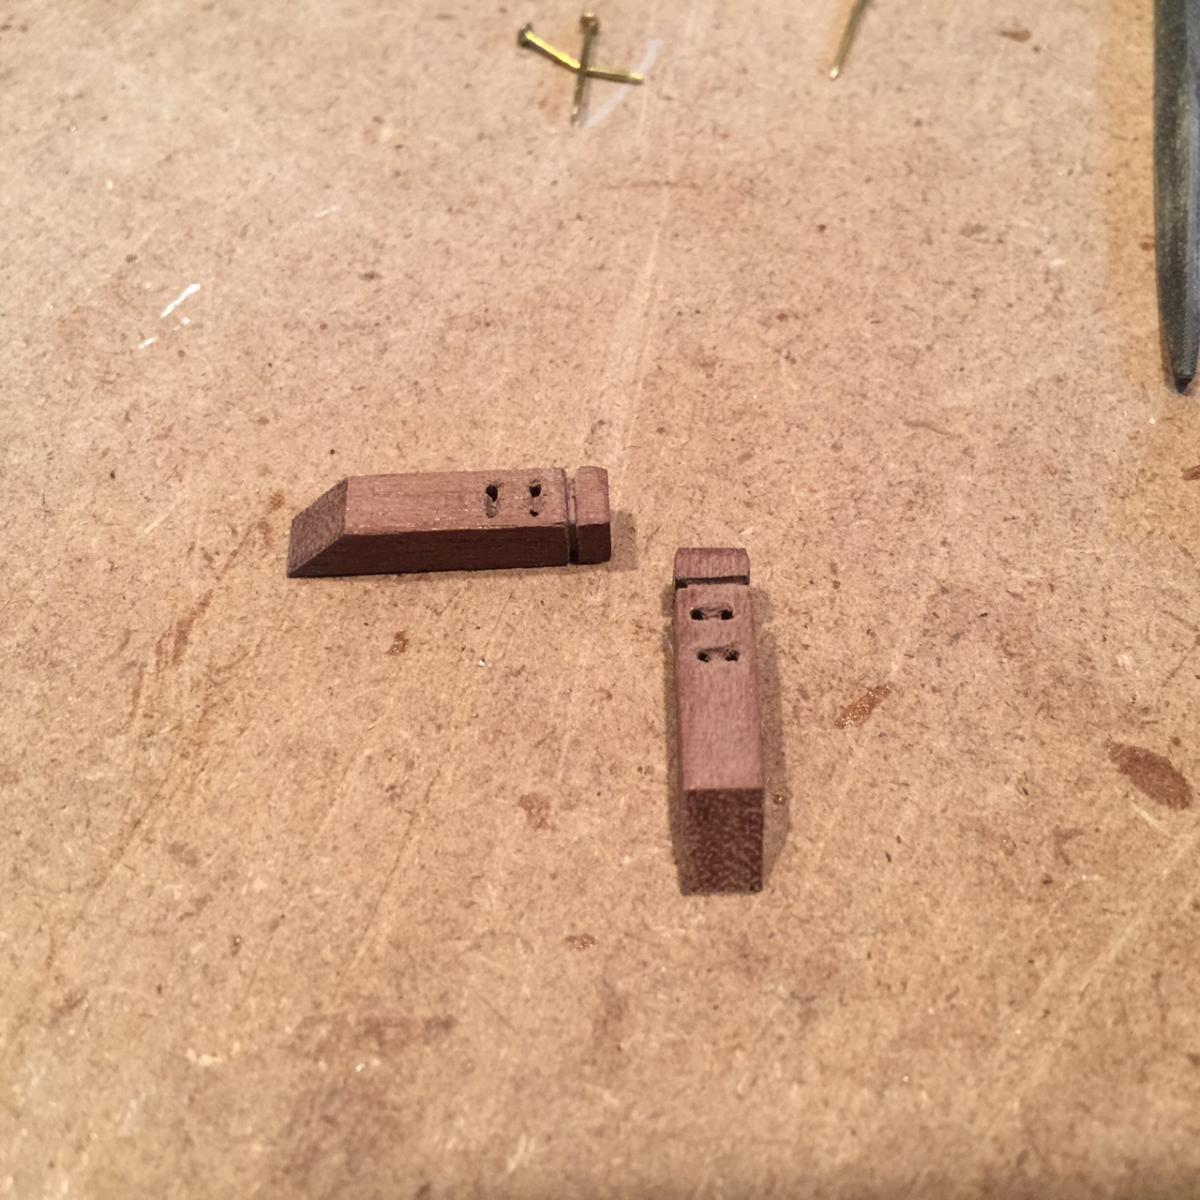
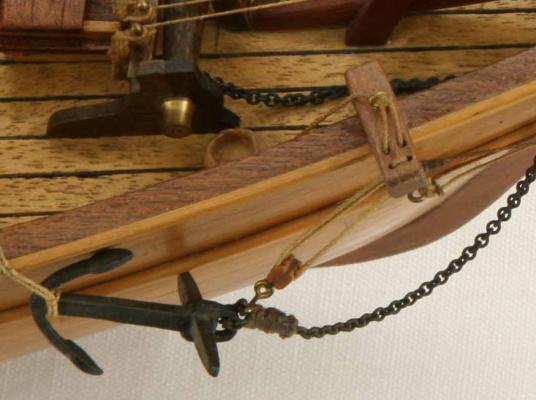
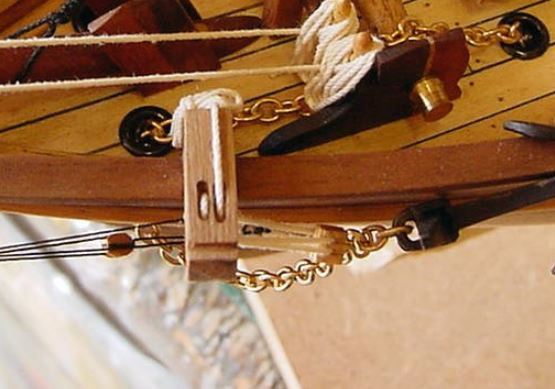
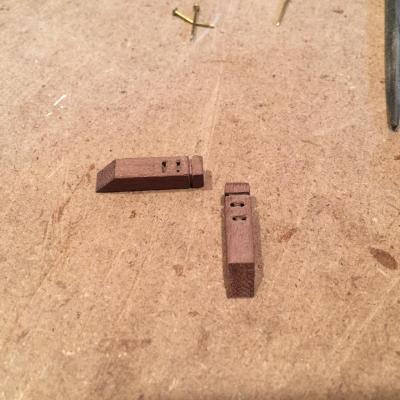
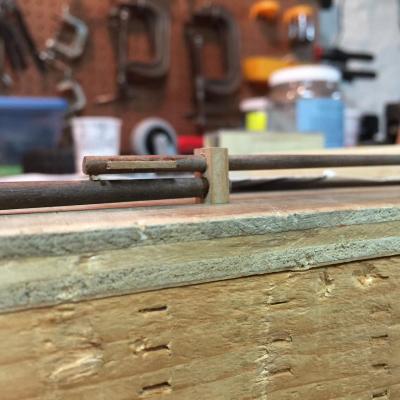
Thanks George. I recognize that ship - that's the one that Ian Lawrence built, I have referred to his web site and build history a number of times. I will give it a go - will use the pear wood I purchased not too long ago. Shapes very nicely. Jesse - I'm a little intimidated by the whole rigging process, but I hope that logic will prevail. I looked around for the guillemot build but couldn't find it. Any ideas? For the ship: Catheads! It took me a few tries to get the sheaves right, very difficult to drill a straight hole four times but managed to get the hang of it. I used the brass pins to line up the second cathead sheaves (see pic) which worked great. Also tried adding a little more detail at the end of the block, but no carving the cat head - not on this ship.

- 389 replies
-
- 5
-
-
- scottish maid
- artesania latina
- (and 1 more)
-
Thanks gents. Jesse - did you consider building a different mast platform? My kit doesn't have the crosstrees, that is part of the prefab that went missing from my kit. (I'm sure that it will show up in one of my daughter's buckets in the distant future.) I most likely will use the kit design since I have the scale plans. George, you always have good ideas - what are your thoughts? I'm also a bit perturbed by the foremast chains on starboard side. They don't look right - will address when I start with the shrouds. Ugh. I don't mind moving them, I just cringe trying to fill the holes.
- 389 replies
-
- 1
-
-
- scottish maid
- artesania latina
- (and 1 more)
-
Brian when I see work like this it convinces me that if I ever give another ship a go, I'll have to invest in a few real power tools. Everything looks so precise....
- 831 replies
-
- 3
-
-
- Armed Virginia Sloop
- Model Shipways
- (and 1 more)
-
George it's like you're reading my mind. I was thinking epoxy all along to get a super-strong hold. Do you think any epoxy will do or is there something that works well for this kind of application?
- 389 replies
-
- 2
-
-
- scottish maid
- artesania latina
- (and 1 more)
-
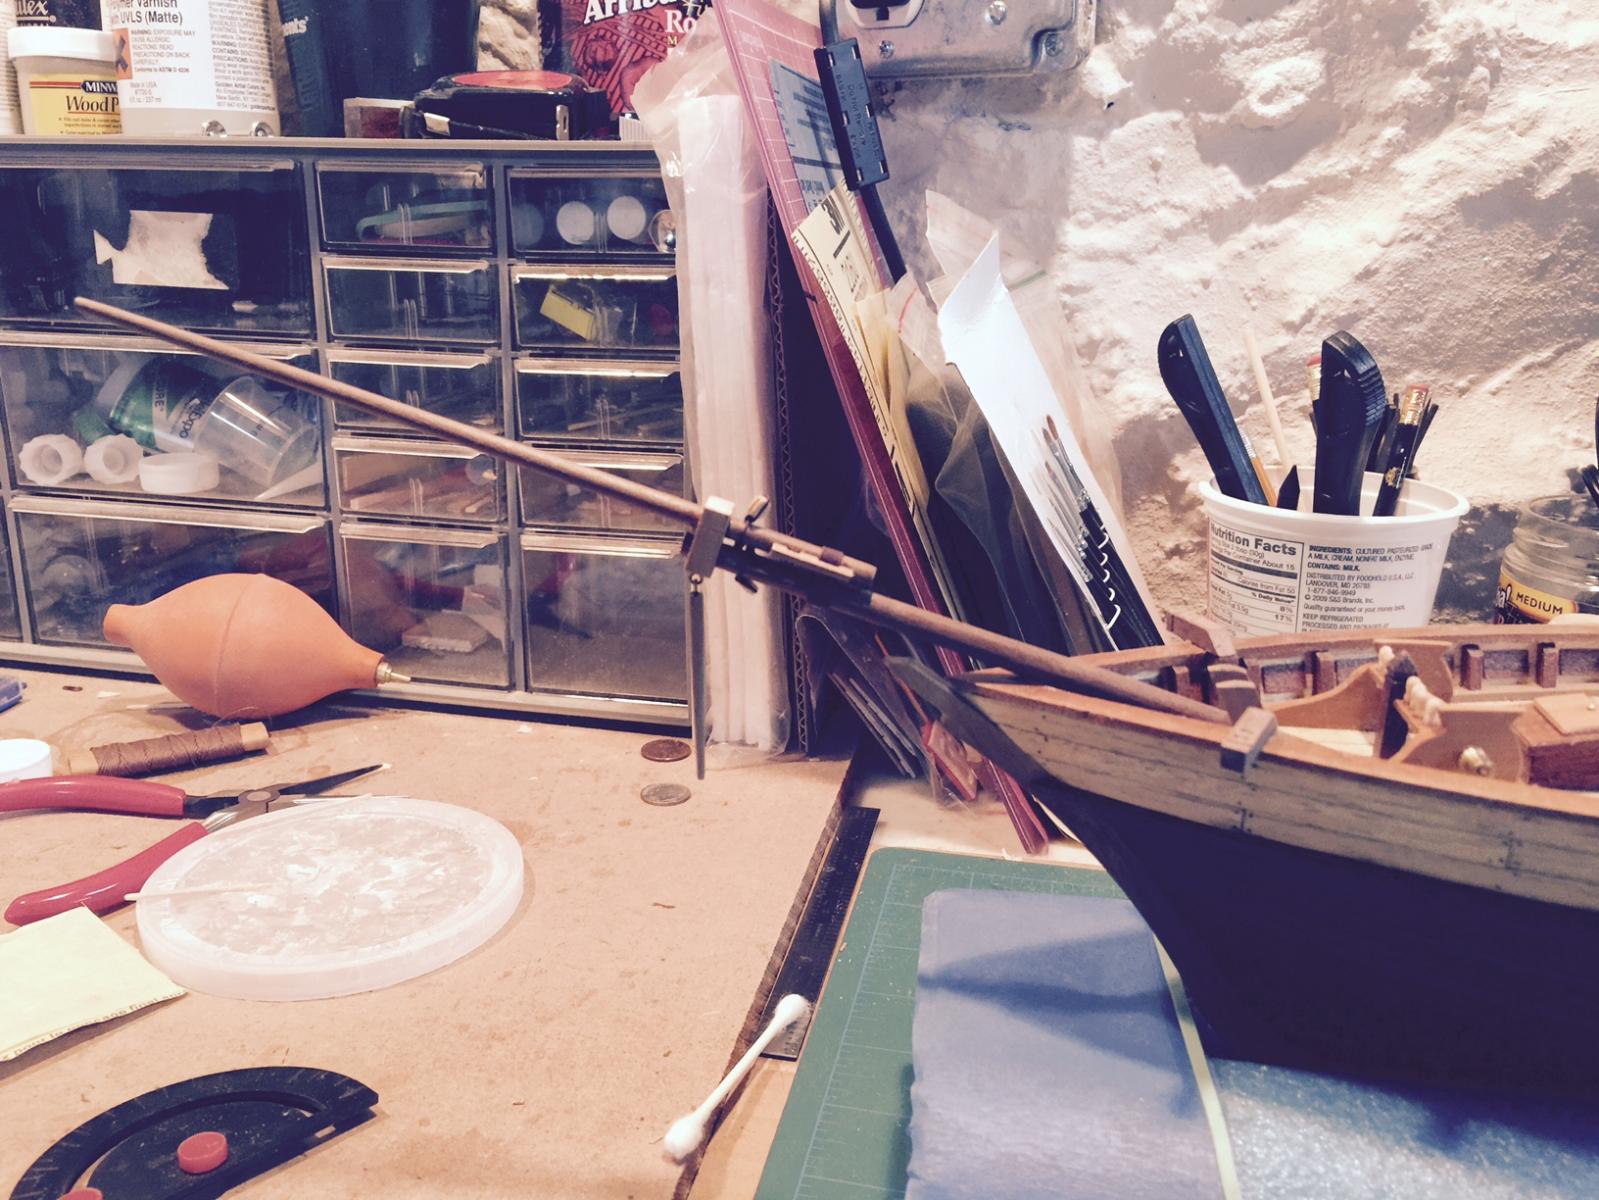
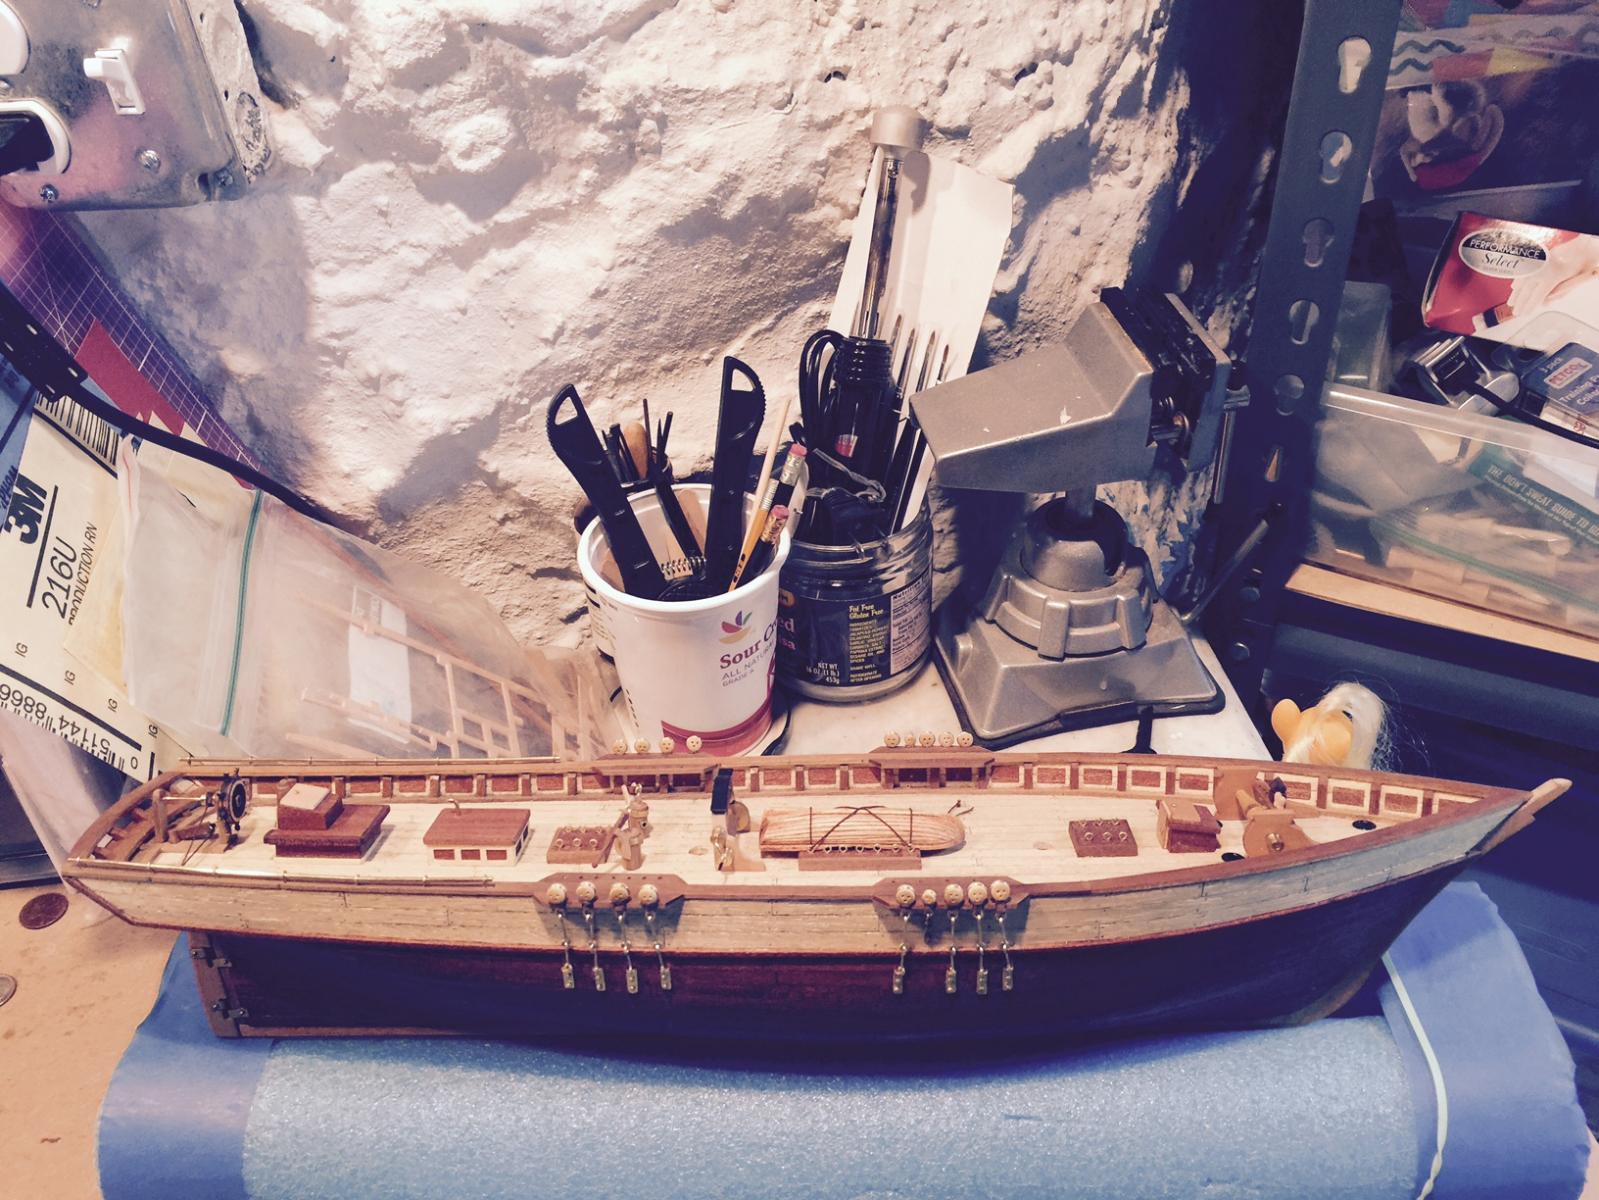
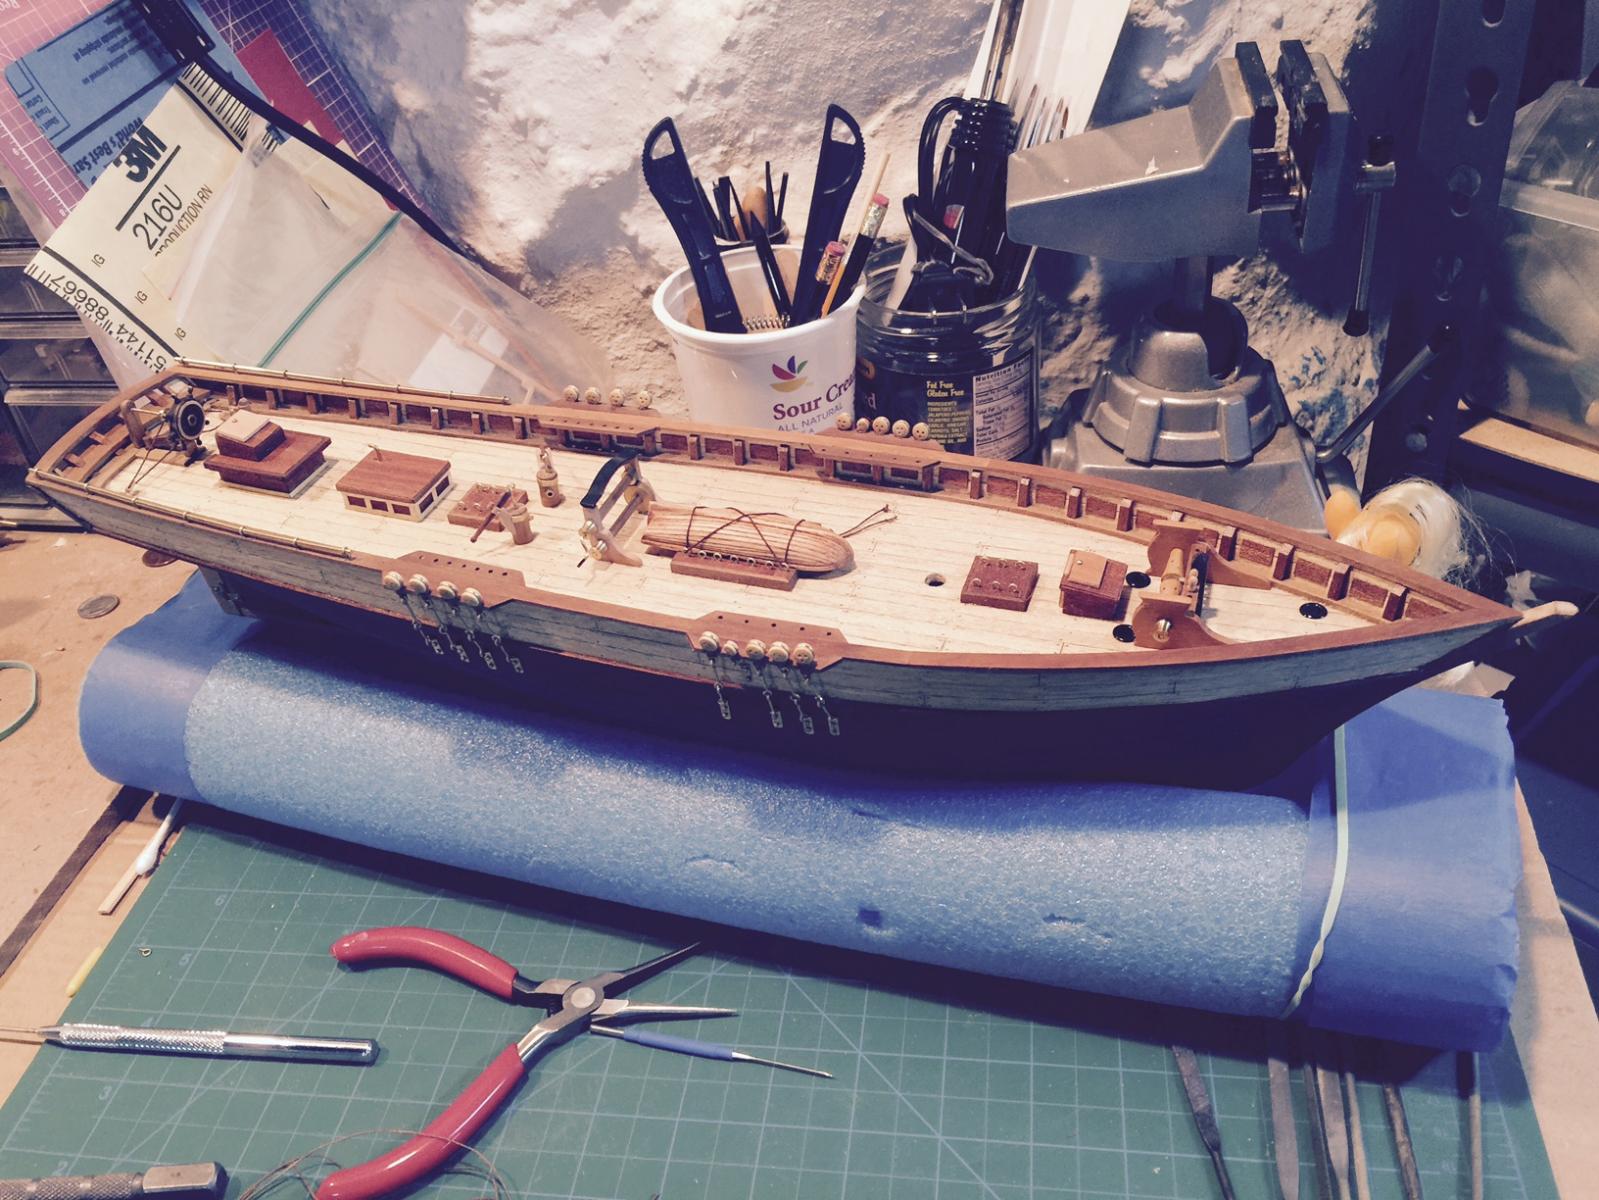
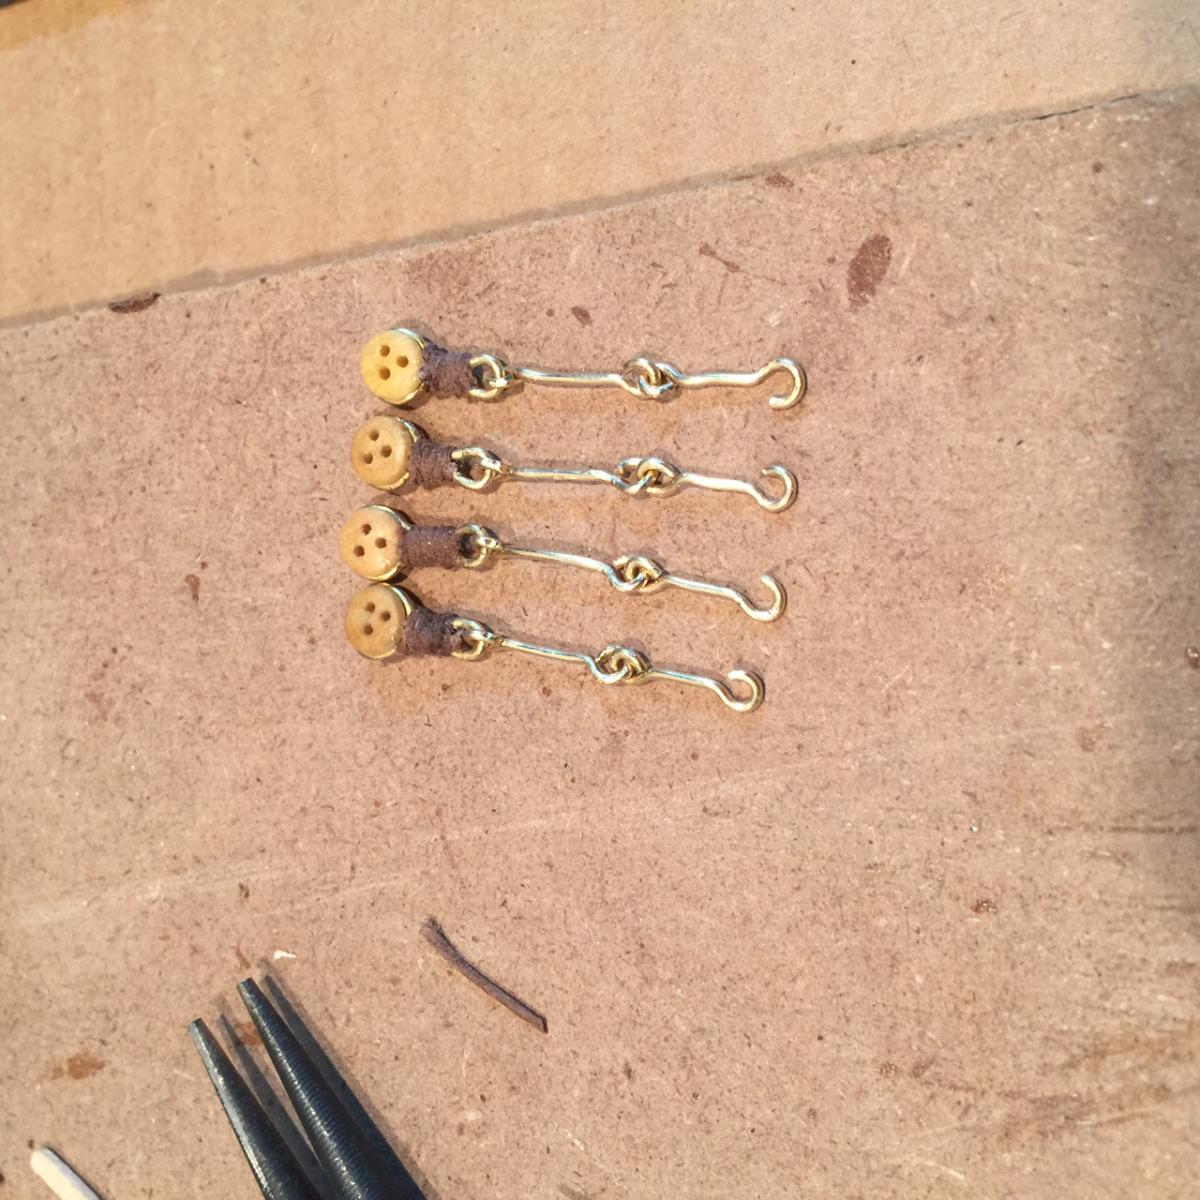
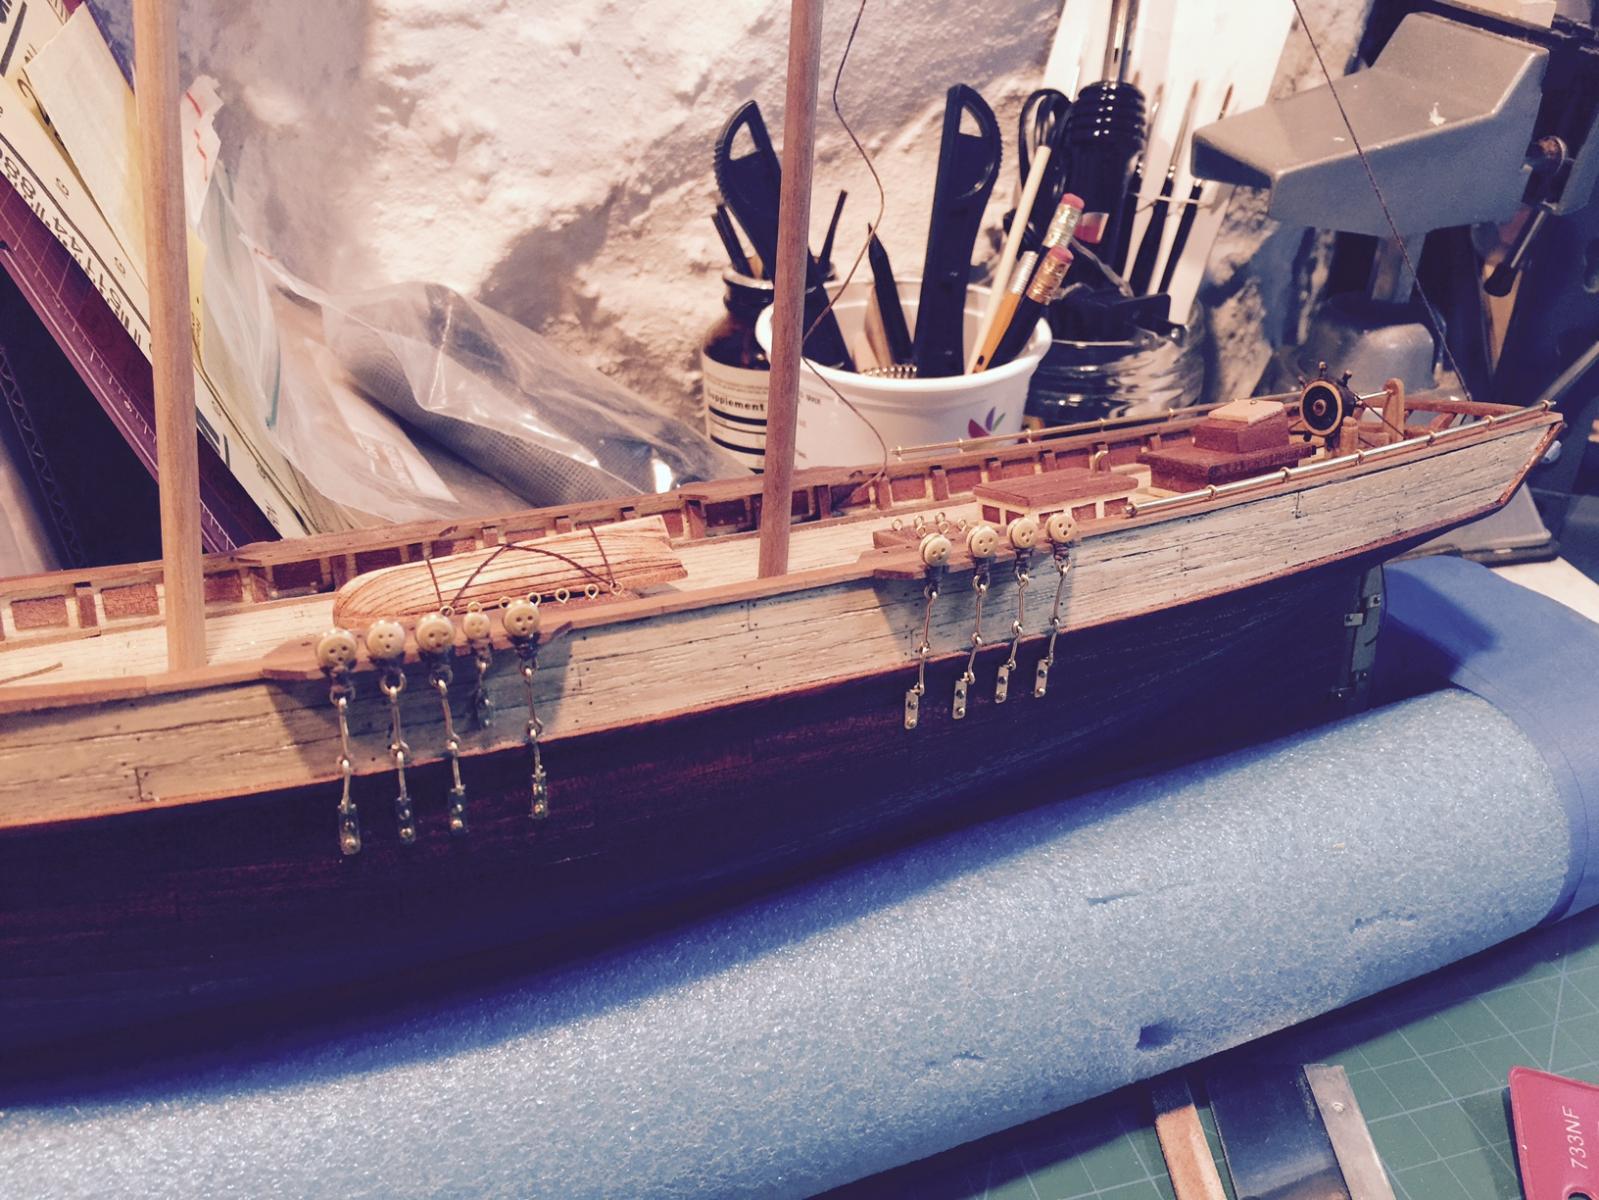
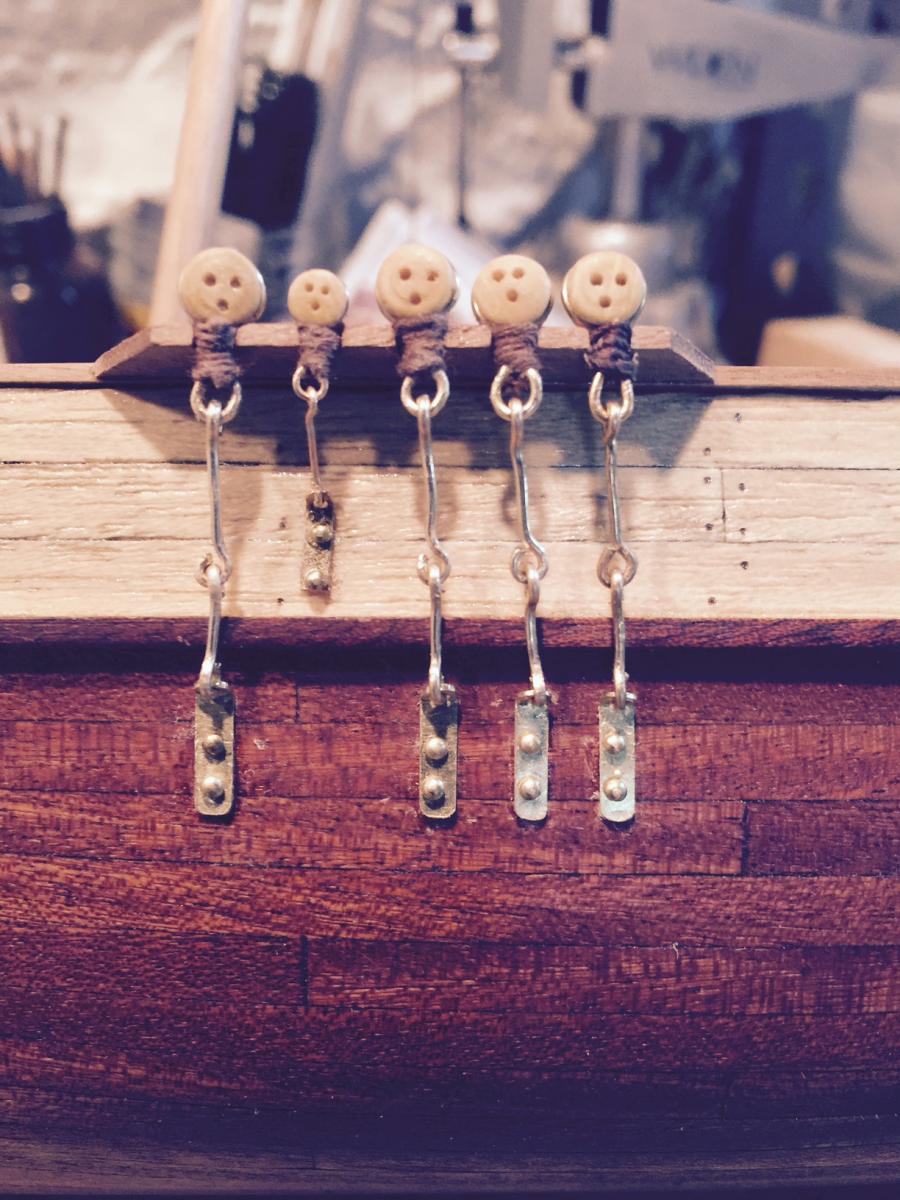
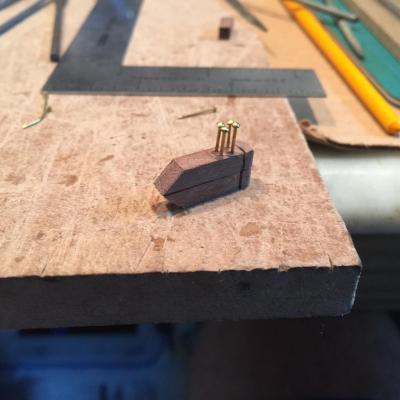
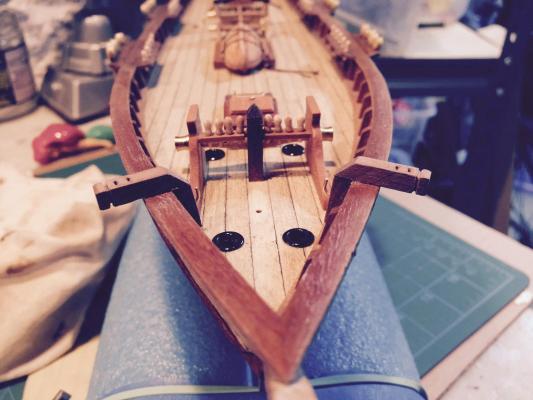
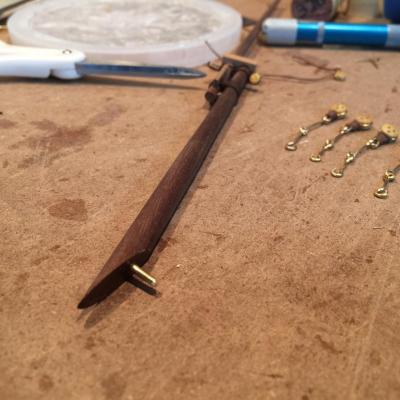
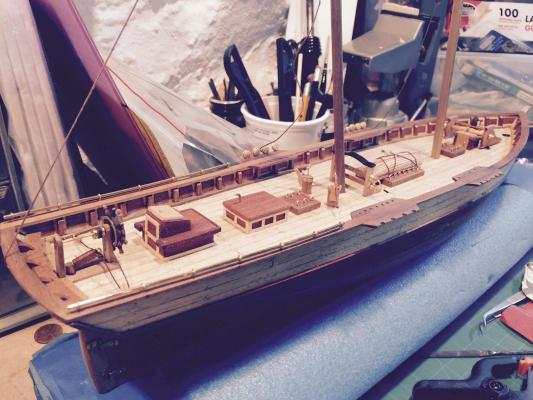
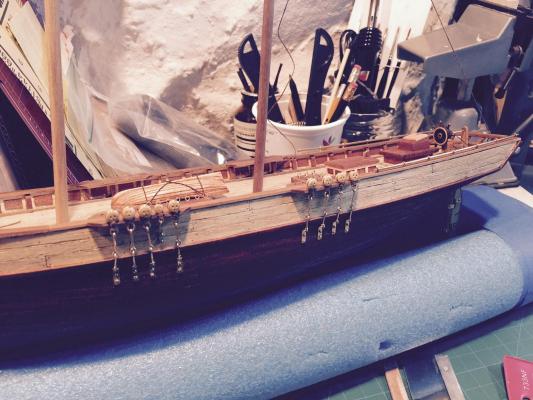
Lots of progress today. I guess my team of encouragement really motivated me... I finished the bowsprit, ready to put onto the boat. I came up with a decent alternative to drilling a hole in my beloved deck. Take a look below... one of the pics shows the bowsprit installed onto a work board. Also finished building all the chain plates (except the little one which is easier than the larger ones). Now in the process of creating the anchors. I hope to have all the deadeyes on this week. Another question. I don't like the look/feel of the anchor. Any suggestions where I can get a better looking one?

- 389 replies
-
- 5
-
-
- scottish maid
- artesania latina
- (and 1 more)
-
Wow the blocks look great Matt. Very fine details at such a small scale. Impressive...
-
Nigel, Matt and George thanks for the tips and compliments! I am very excited about how it's looking - I thought the chain plates were going to be the end of me... but getting closer. I have to make a few more anchors will document that in upcoming post. Jesse I'm thinking about doing exactly what you describe, use posts to stabilize and secure the post. I would have to take apart the bowsprit and replace the lower post with a longer one which makes me cringe. I may experiment with a few alternative approaches. I agree, excitement is building that I'm getting close to starting the third phase (Rigging)... One regret I have is not keeping a log of work/hours. I have no idea how much time I've put into this would have to think it's 50-100 hrs so far. Hard to tell too with the starts/stops.
- 389 replies
-
- 2
-
-
- scottish maid
- artesania latina
- (and 1 more)
-
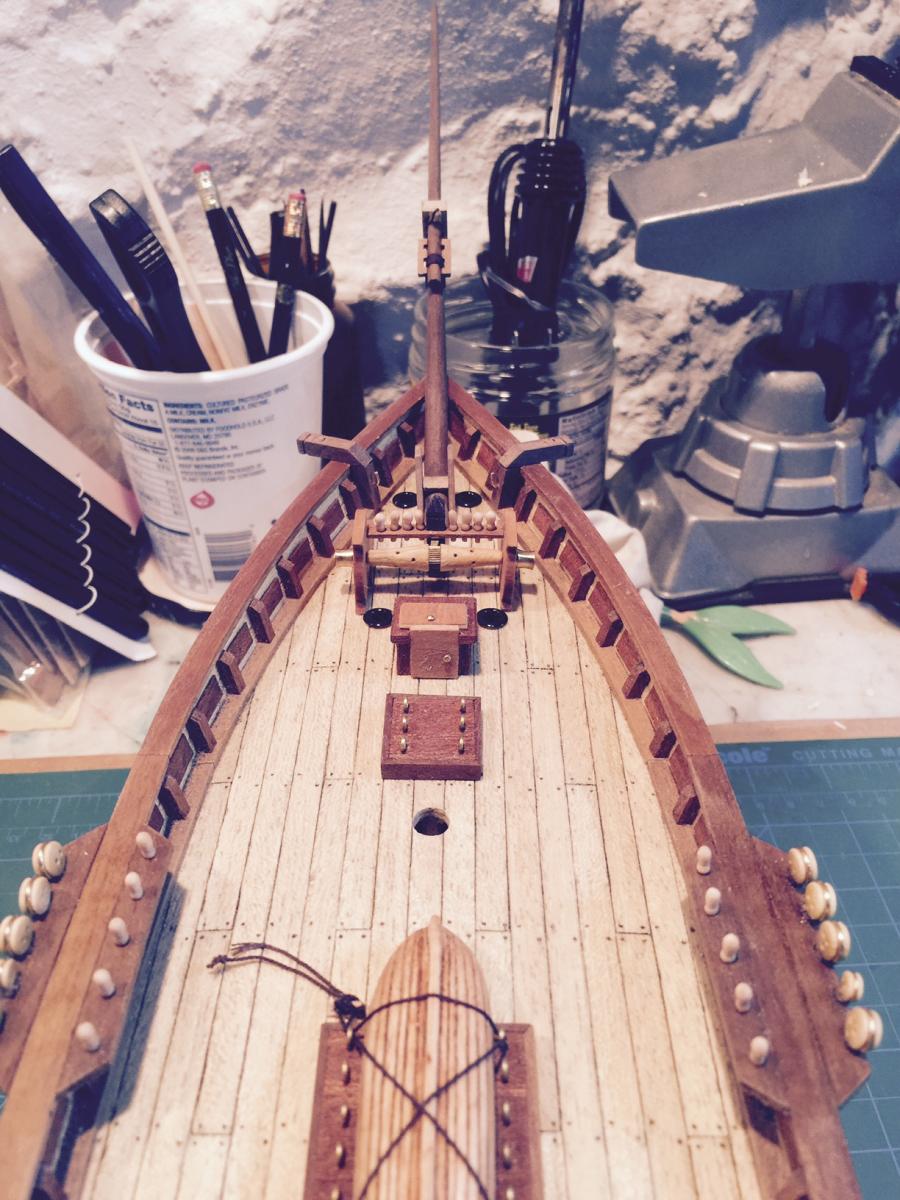
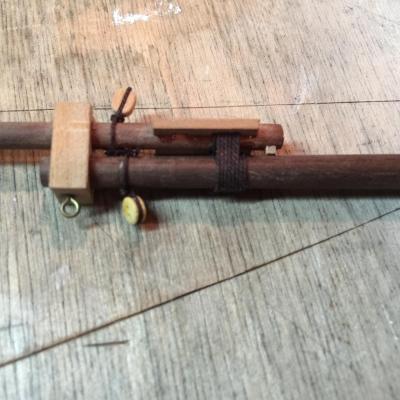
Ok thanks all for comments. Jesse - I capitulated (after thinking I was going to put the piece between the masts) and attached to sides of jib boom. Looks pretty good now that I have it on. Also have a small wedge between to keep the poles parallel. I like the look better than having the pole touch - but what is more realistic? Ive seen on other models that they tie the ropes that wrap around the two poles to crimp the roping and keep the gap. I could also move the wedge up a little and it will be hidden by the rope once I get that done. Also glued more of the decking on. Starting to look good! I'm excited to get the bowsprit completed and glued on. I've decided not to take Jesse's approach and drill into the deck for fear that I Will screw it up. So I've made a nice cut at the right angle and will glue with CA which should hold it ok. George - thanks for the compliment and advice, I'm getting a little better at bending all that wire. Still a trial of patience however which is why I've been doing other things. Will try to tackle the remaining 5 deadeyes this week. Matt - thanks for the example, very helpful. Interesting build too, really big. Maria, thanks for reaching out - I'd take George's advice on the plans. PIctures wouldn't do justice, you need the full size plans for measuring, comparing, etc. I'm sure you can order if you reach out to AL. Also your husband should follow JesseLee's build (which is what I've referred to time and time again). His exquisite detail is much better than the instructions that come with the kit... and your husband can ask questions any time, I might be able to help. Jesse - thanks as always!


- 389 replies
-
- 7
-
-
- scottish maid
- artesania latina
- (and 1 more)
-
Matt - good luck on the cleats. It's really not that hard, just need some patience - and a good set of glasses! One word of caution. Those little cleats can go FLYING if you squeeze too hard with tweezers. Took me over a half hour to find it when I sent it flying. So be careful. Good luck - look forward to seeing pics!
- 389 replies
-
- 1
-
-
- scottish maid
- artesania latina
- (and 1 more)
-
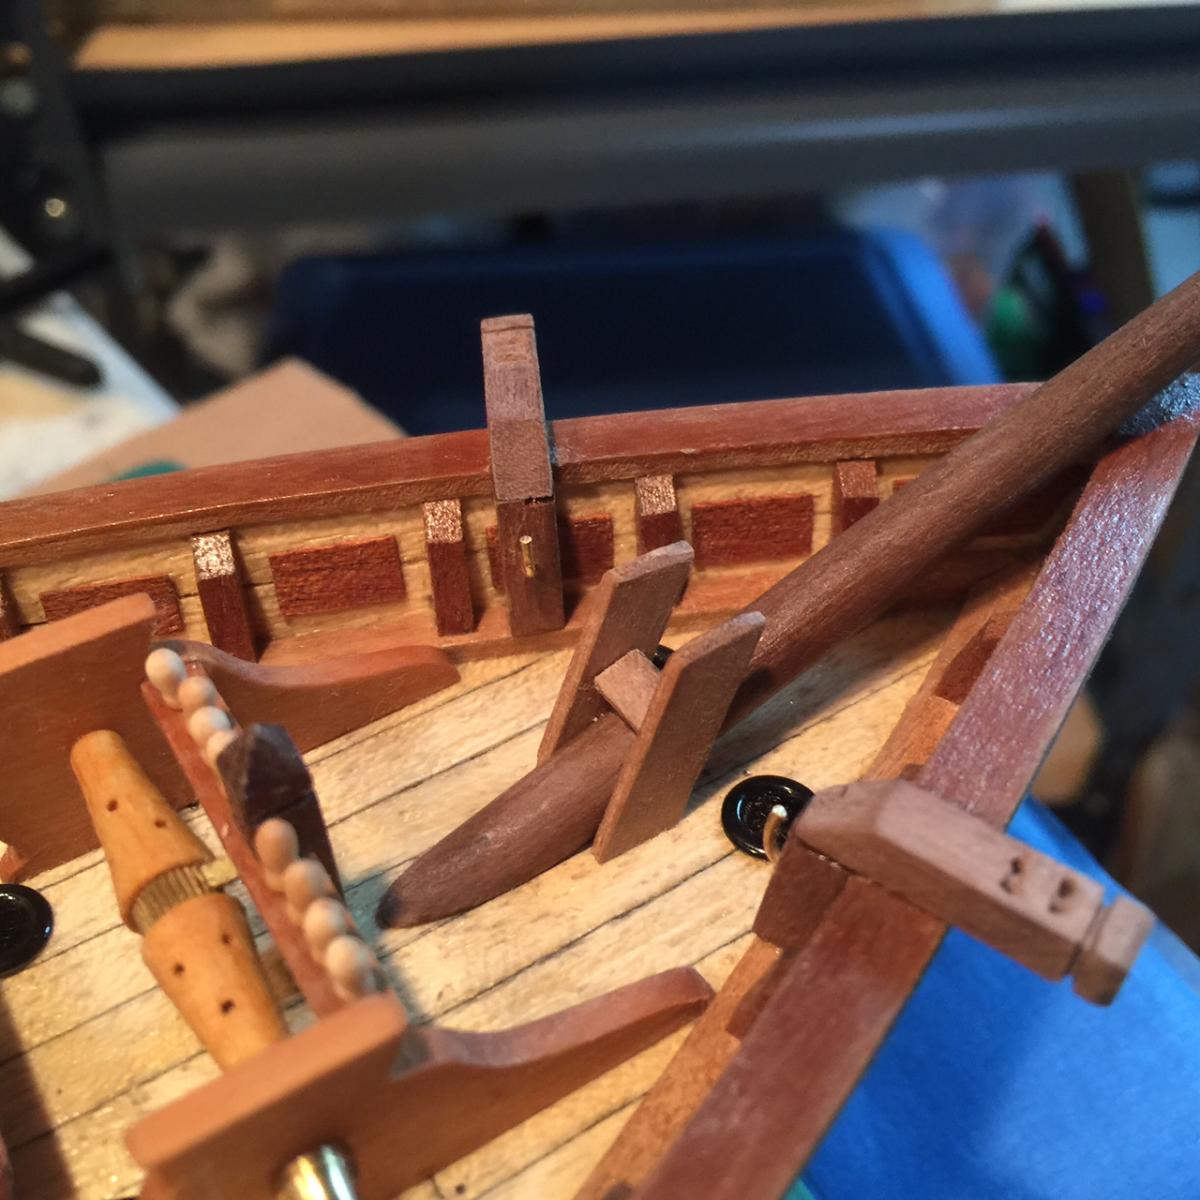
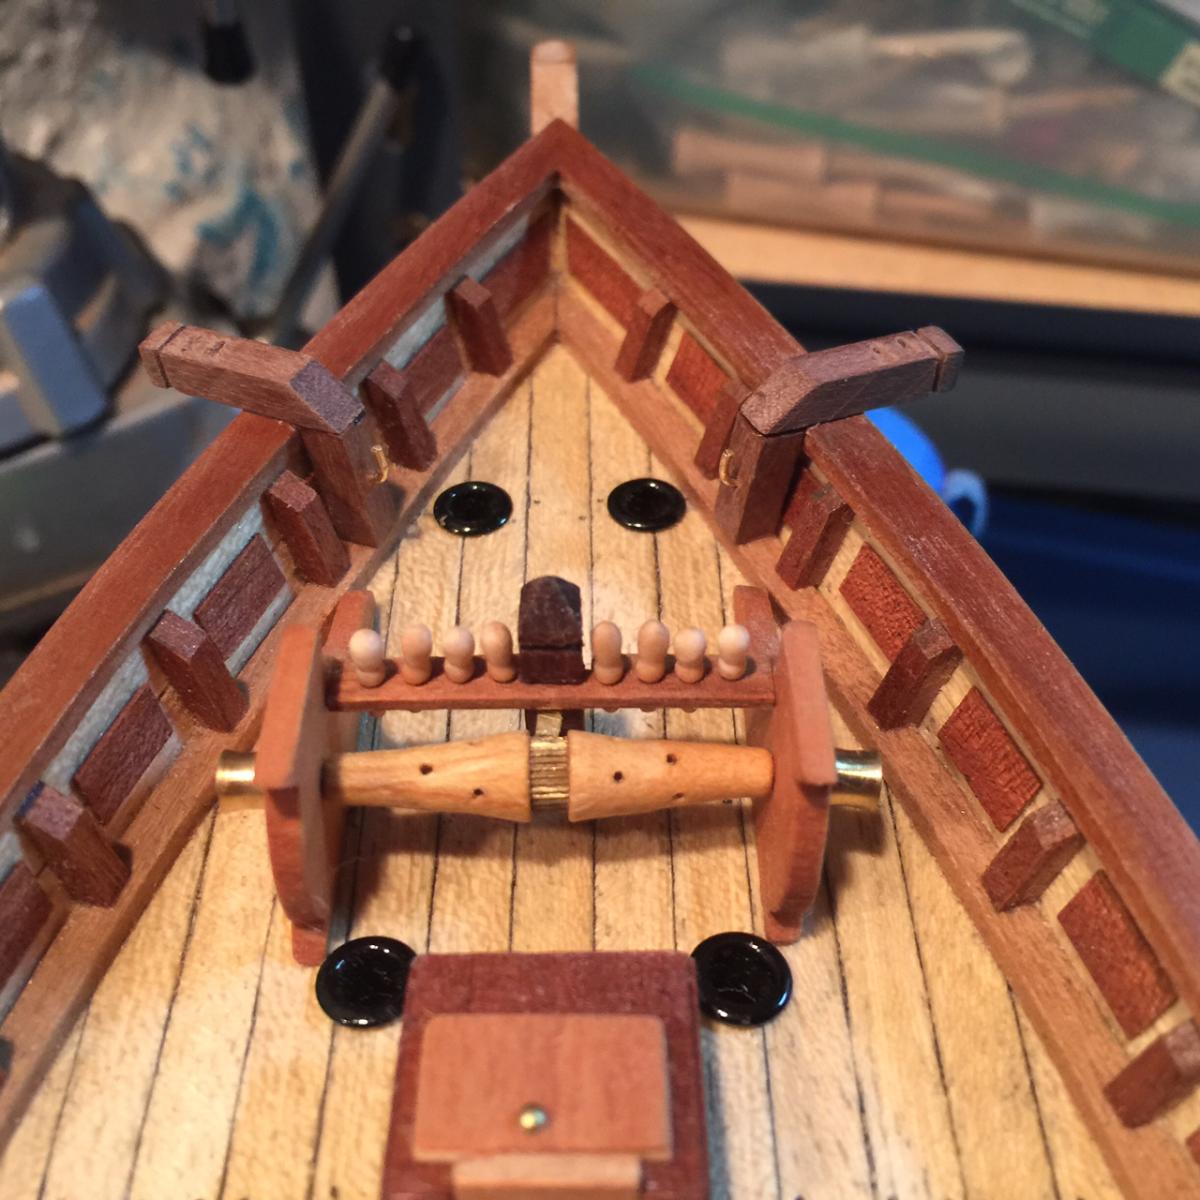
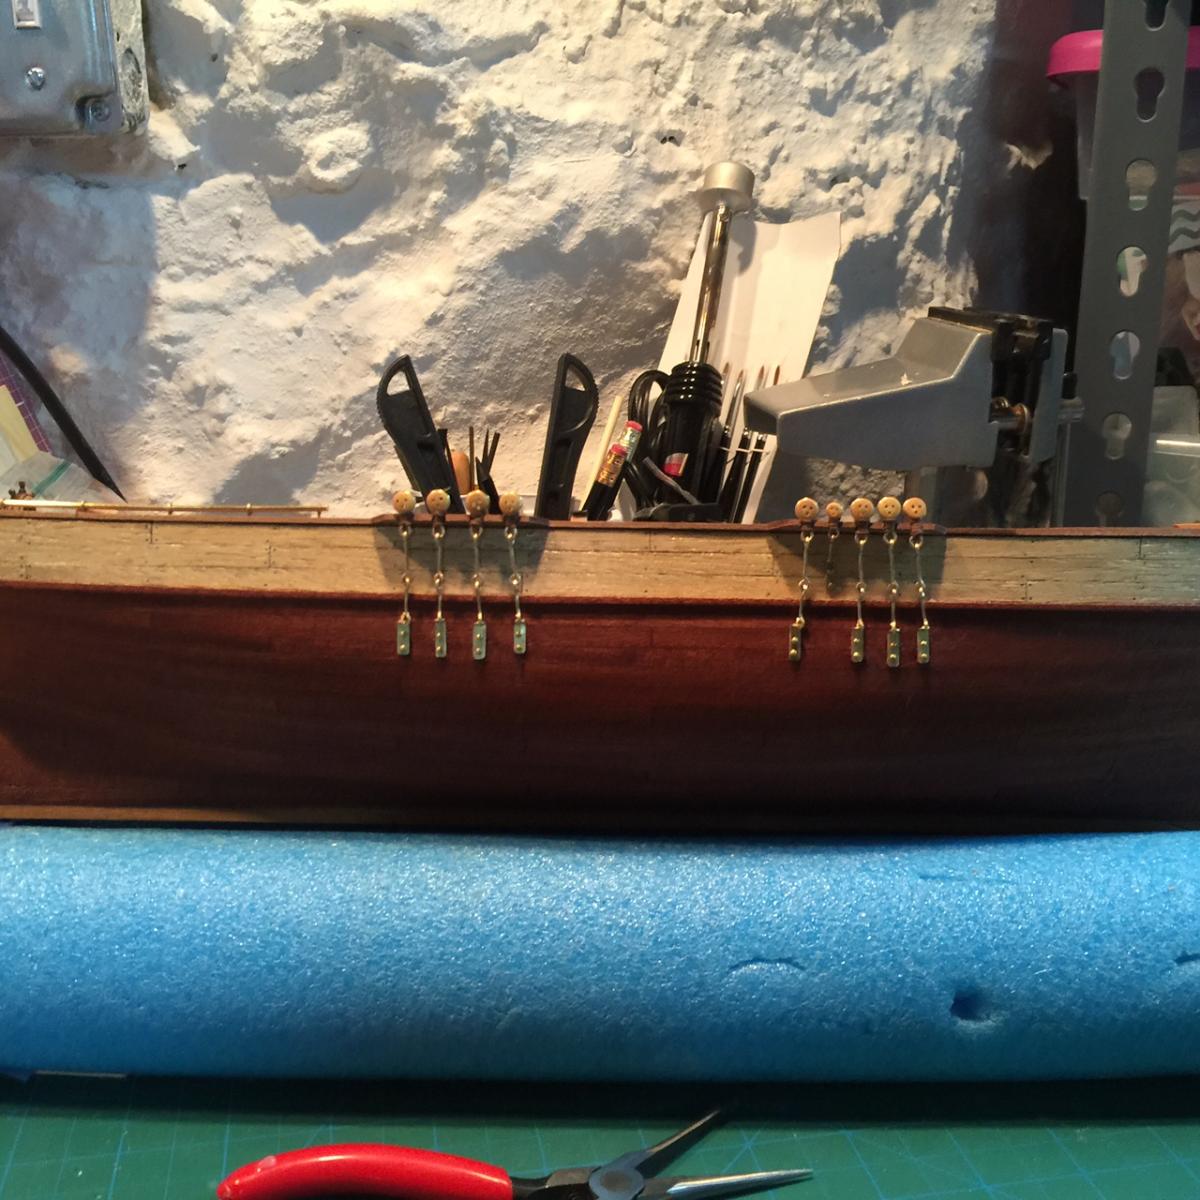
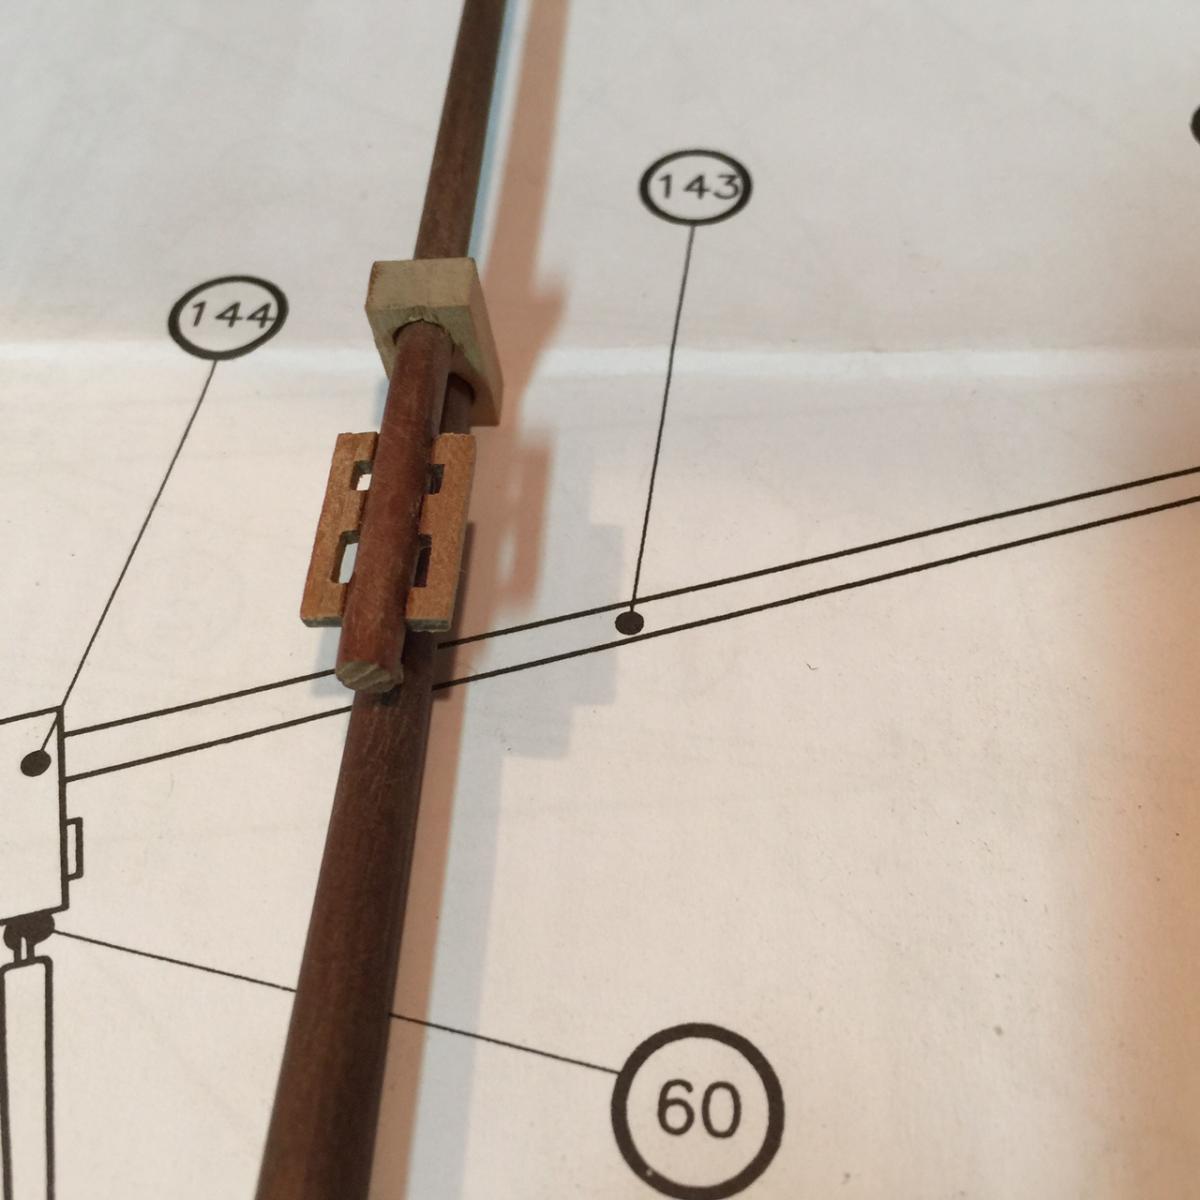
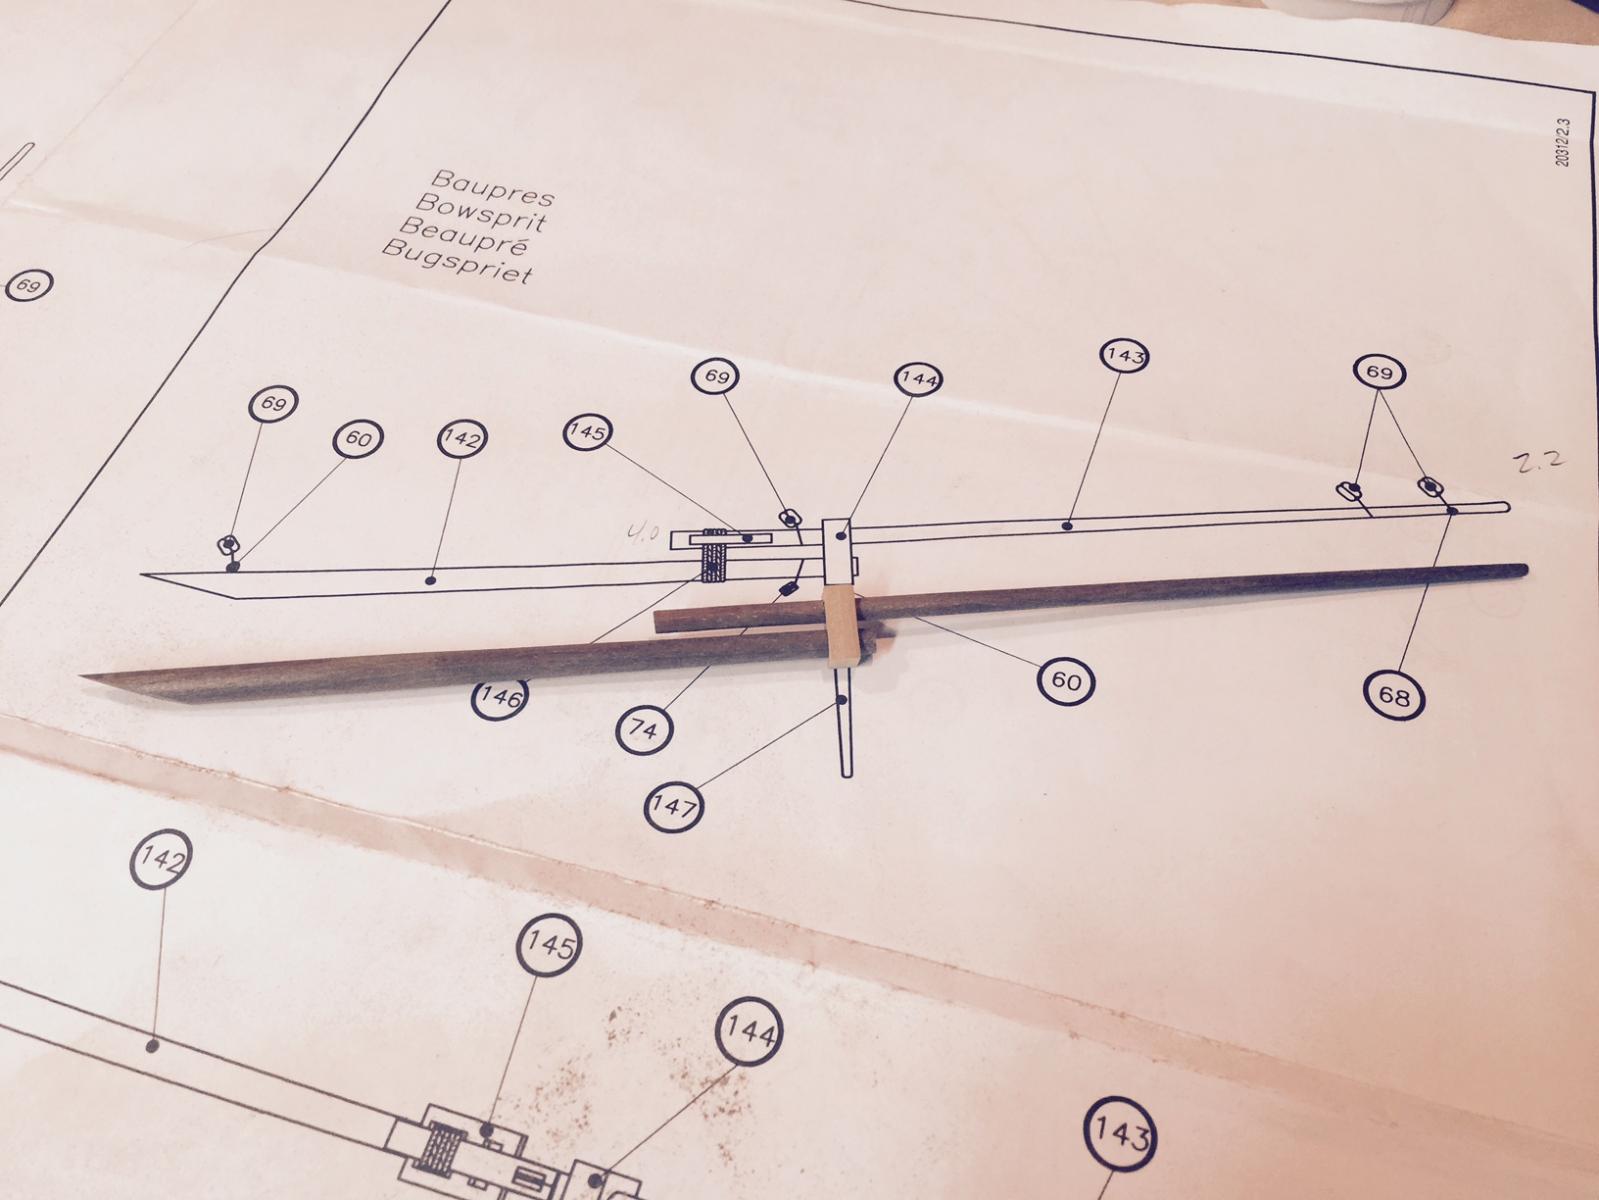
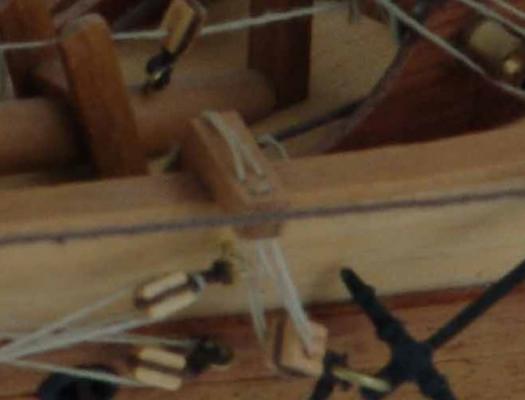
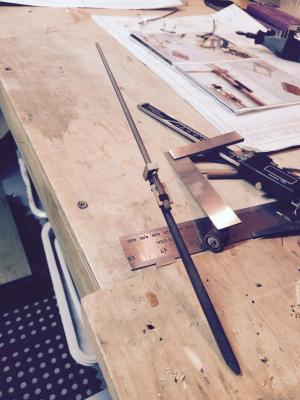
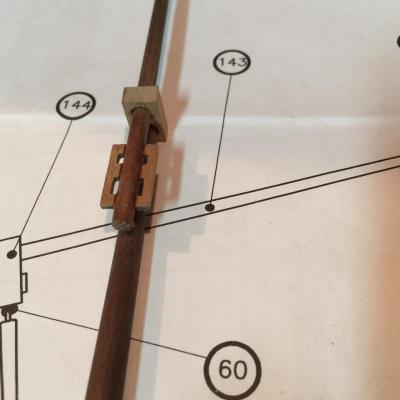
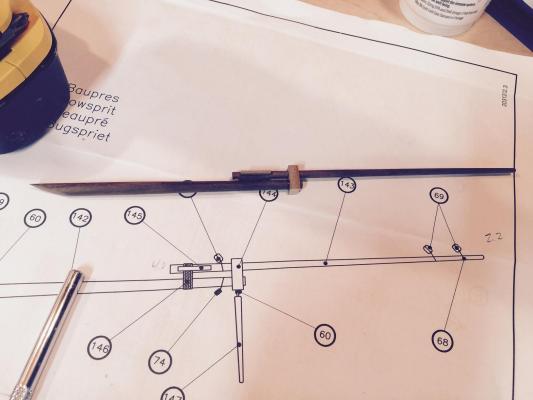
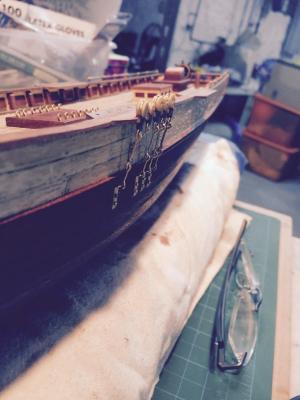
Well folks I'm back from my holidays - had a wonderful time up at Lake George, the only misfortune is that I missed Hermione coming into Boston. My sister made it though and took lots of pictures which she has yet to share. Stay tuned. I got back to work on the ship. Was able to finish one side (portside) deadeyes and I think they look ok. the mainmast deadeyes aren't equally spaced on the channel, so I'll have to live with that. I've gotten the manufacturing of chain plates down pretty good. I pulled together the four new ones in about an hour, and cursing is down 60% so that's a good sign. Also had a little motivation so I rough shaped the bowsprit. I tapered with sanding block by hand which was a little bit of a challenge but not as bad as I thought it was going to be. Just took some time. I don't have any power tools other than a drill and dremel, and I didn't want teeth marks on the base so I just rolled on the workbench and sanded. the harder part was sanding out the holes for the piece that connects the two bowsprit masts together. That took at least a half hour. Anyways a few pictures to show some progress. One question I have. The piece that looks like it goes between the bowsprit masts (#145 in my picture). Is this supposed to go in between the two masts, or attached to one? I've seen it done both ways on the SM. And I'm going to have to make 145 because that is another piece that is missing. I seem to have lost a large pre-cut sheet over the years...


- 389 replies
-
- 5
-
-
- scottish maid
- artesania latina
- (and 1 more)
-
The paint is spectacular Brian. Really eye-catching.
- 831 replies
-
- 2
-
-
- Armed Virginia Sloop
- Model Shipways
- (and 1 more)
-
Fine detail Jesse! After seeing some of the pics of the Hermione it looks as though treenails can be a bit bigger than I had initially thought. Have you seen pics of what they look like on the outside of a ship?
- 1,306 replies
-
- 2
-
-
- syren
- model shipways
- (and 1 more)
-
Very ingenious. That small stuff is fun to work with but a bit tough on the eyes! Looking good! (btw - interesting look with the red paint smeared over the gunports before covered up. Looks like a massacre occurred...)
- 1,306 replies
-
- 3
-
-
- syren
- model shipways
- (and 1 more)
-
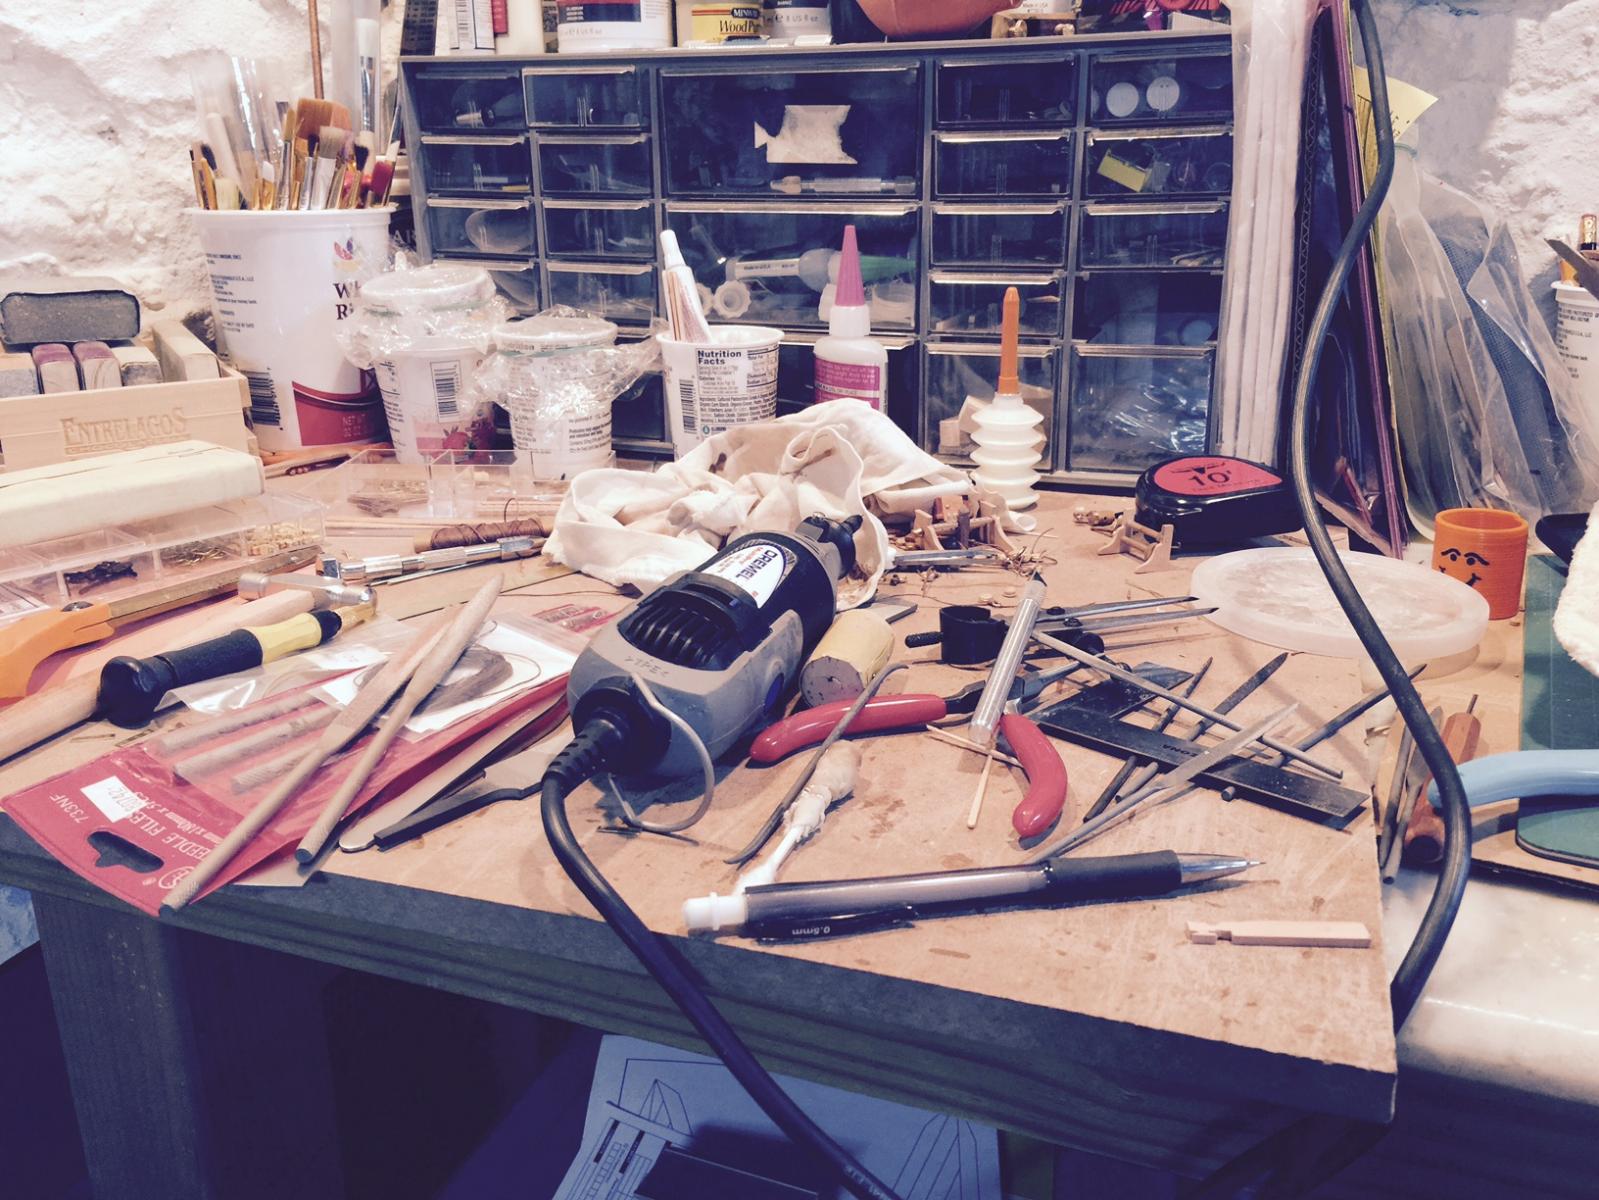
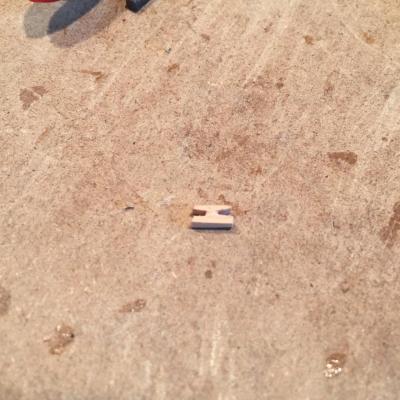
So of course I finally put a little oil on the channels and once dried glued the deadeyes into the channel slots... and THEN I finally noticed that the small deadeye was on the wrong side!! So I had to remove #2 and #4 and switch them. After much angst and a few curse words, I got it done - I think it actually looks a little better.... One funny story. I was putting the aforementioned cleat onto the boat using a pair of tweezers, and ptewey! I squeezed a little too hard and it went flying.... somewhere.... It took me over a half hour to carve that little bugger so I wasn't about to start over. I looked *everywhere*, had to clean off the bench, went through all the stuff around my bench, couldn't find it, and finally gave up. Only to notice it was sitting right on the deck the whole time. At least I cleaned up a bit - see before/after pics. And I figured out the image issue! Drag-n-drop works! (sort of... just thumbnails, not the full-size pic.)


- 389 replies
-
- 4
-
-
- scottish maid
- artesania latina
- (and 1 more)
-
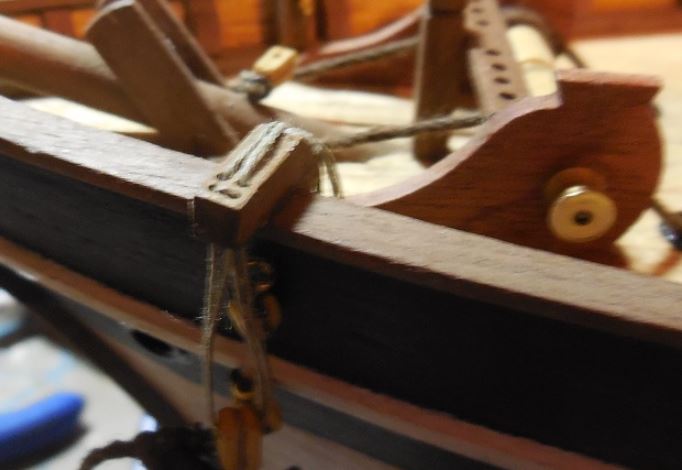
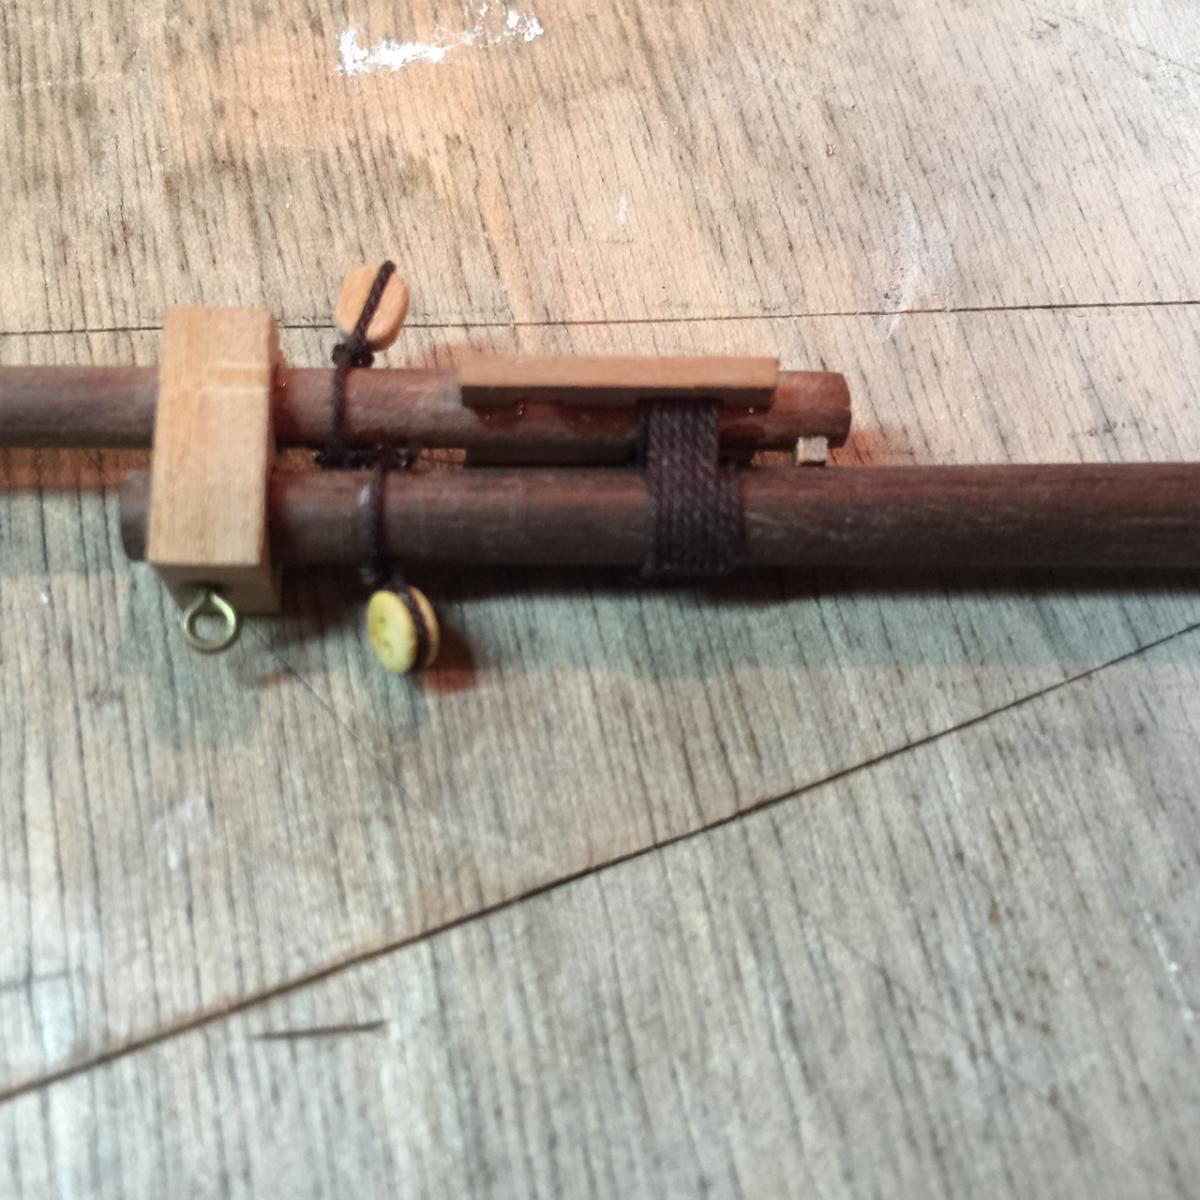
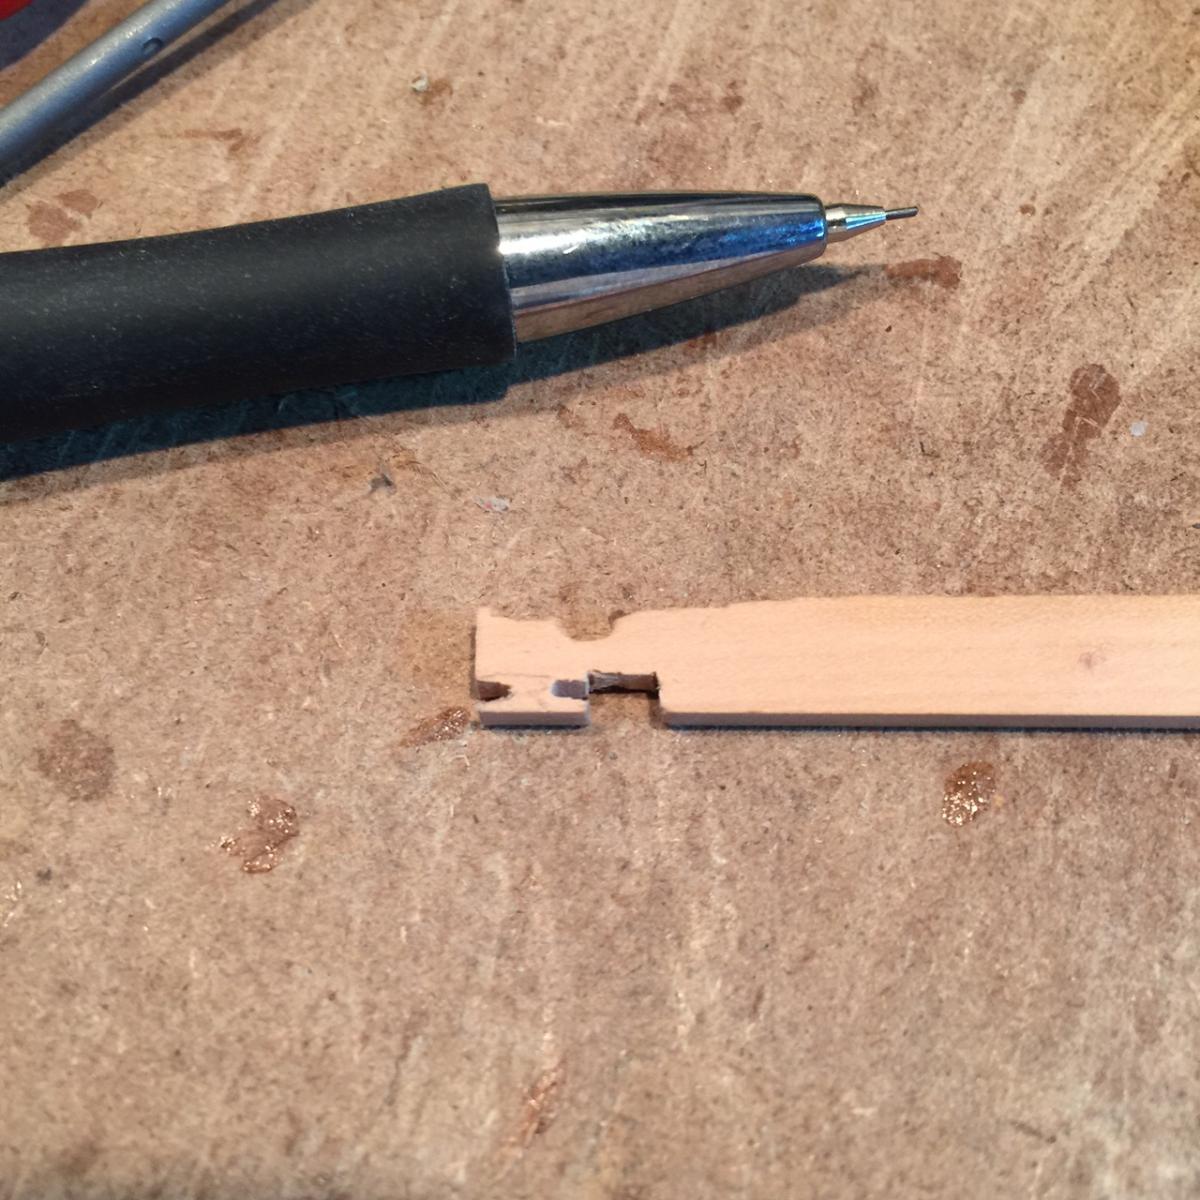
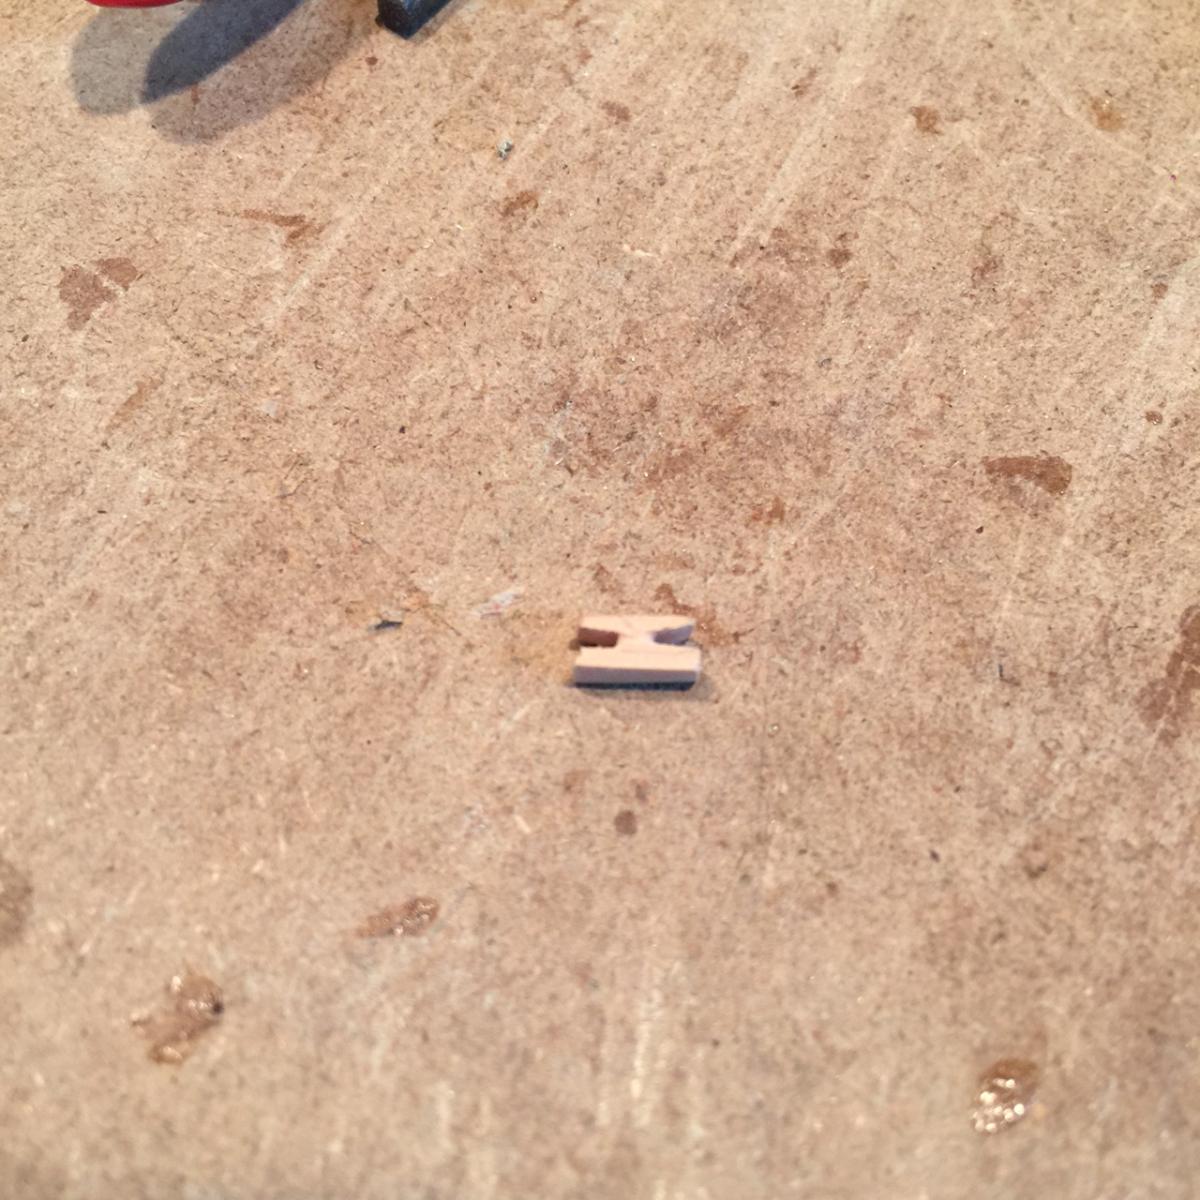
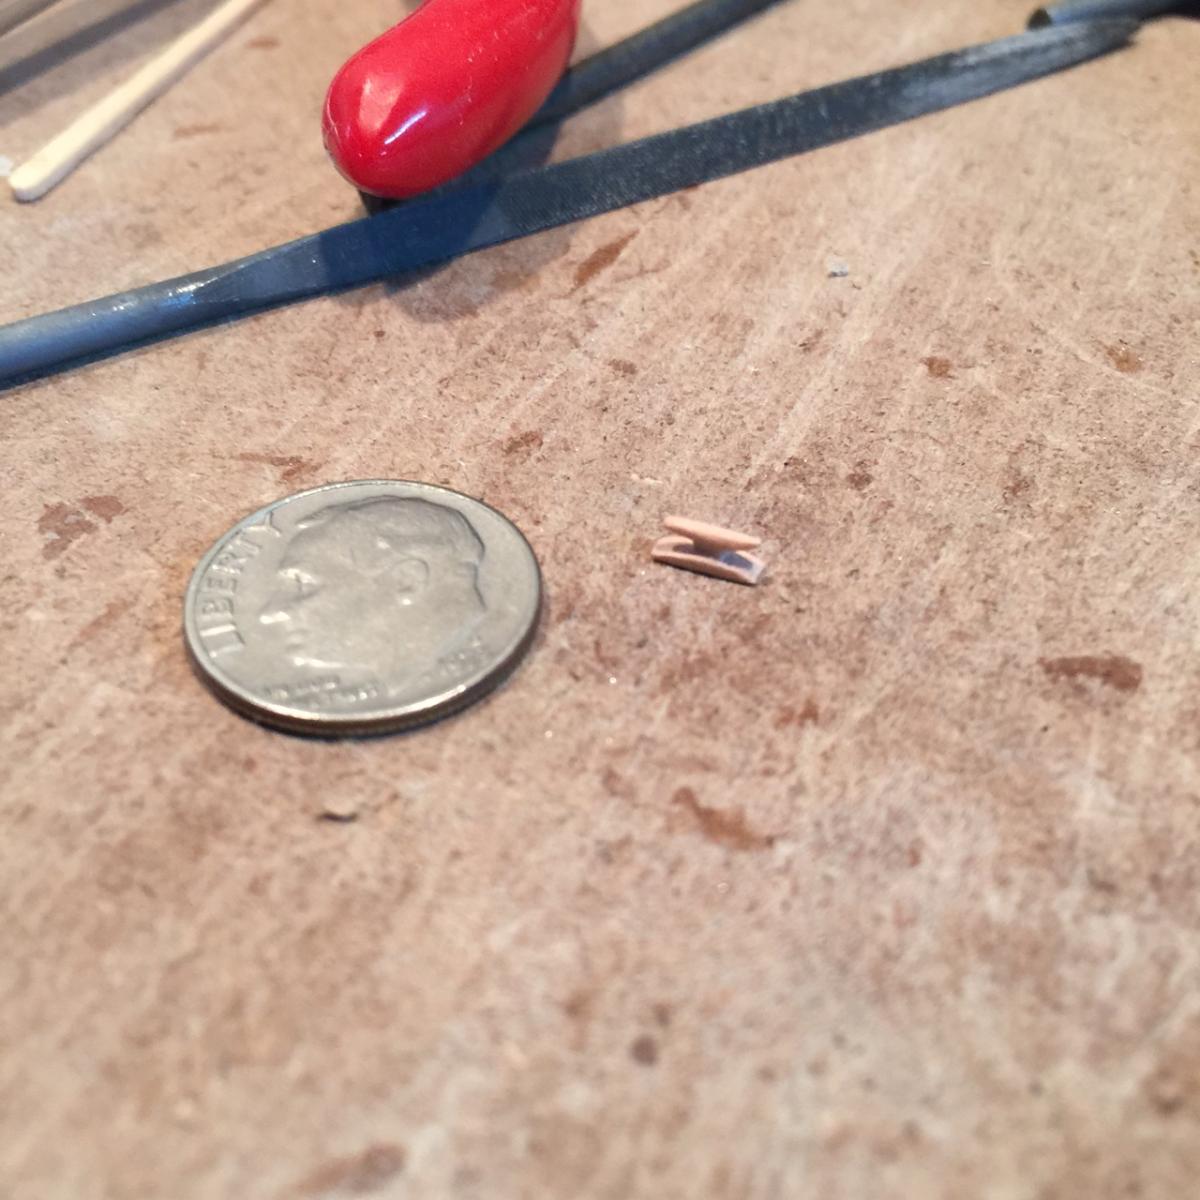
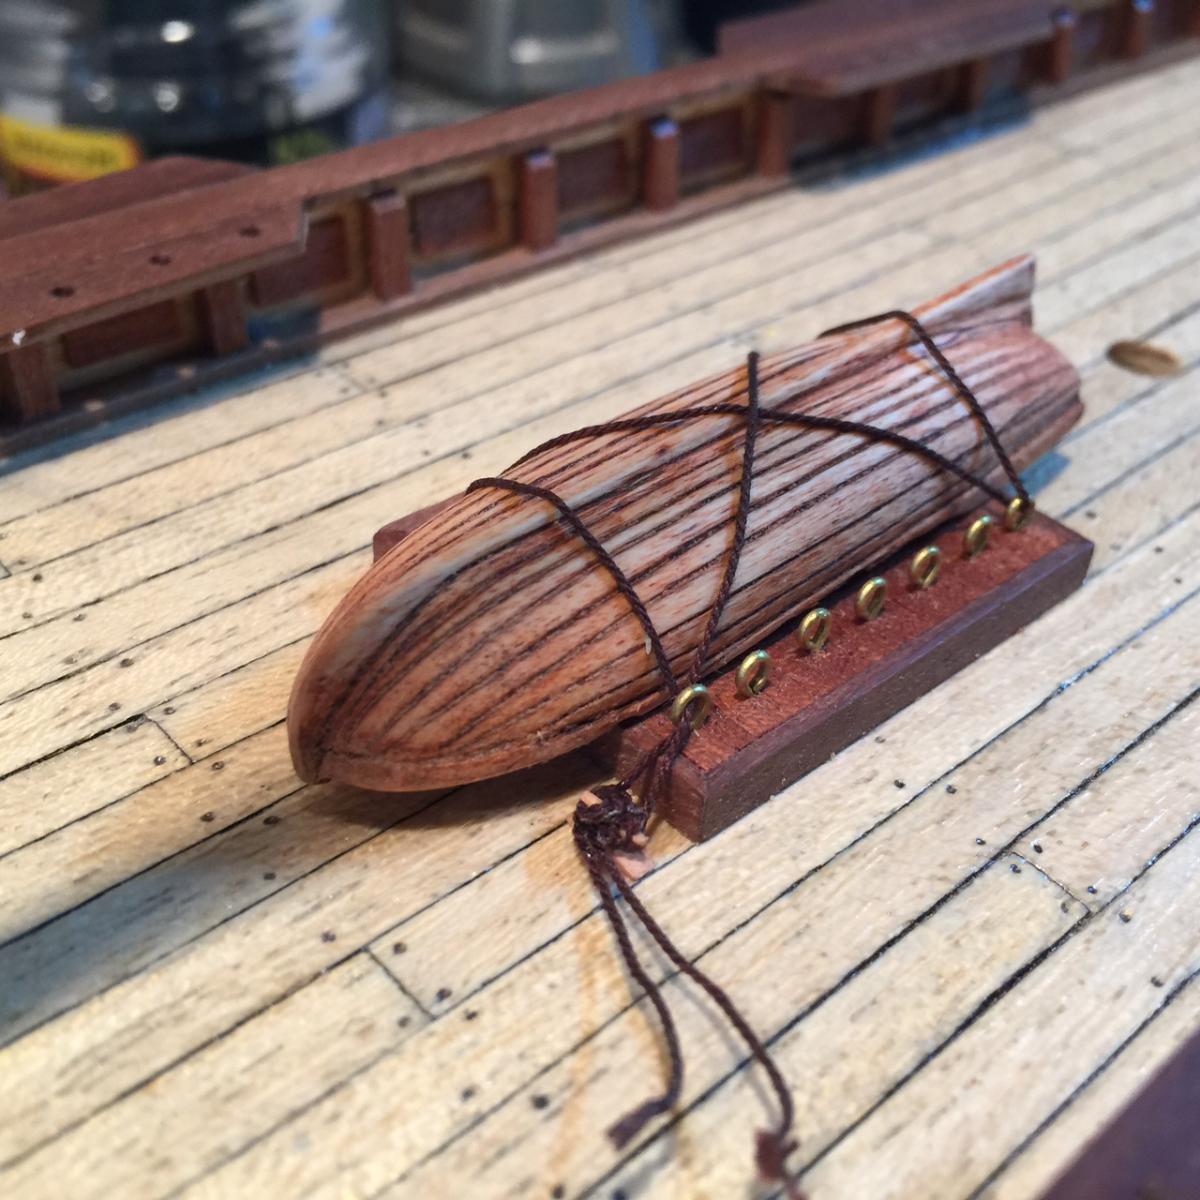
I worked on the lifeboat some more, cleaned it up to the point where I'm comfortable with it. Not entirely, but enough so to move on. In thinking about how the boat would be installed on the ship, it bothered me that they wanted the lashing tied to the loops on the boat's platform. I thought it would be more appropriate for the rope to be lashed to a cleat, so I attempted to make a cleat for this purpose. The images show the progress: (btw I still can't figure out how to 'insert' images in my typing area. cut/paste doesn't work, the 'image' button doesn't work, I don't see other options.) How are coils made? I thought it would be cool to coil the rest of the rope, but not sure where to begin with that. and the rope is a bit finicky... maybe make the coil beforehand, and then lash?


- 389 replies
-
- 5
-
-
- scottish maid
- artesania latina
- (and 1 more)
-
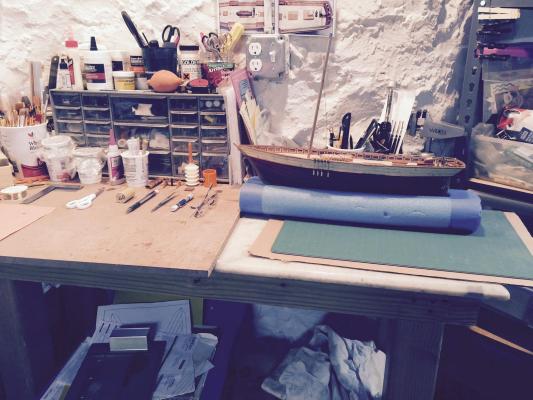
Thanks for the nice comments gents. Nigel - very much looking fwd to a week at the lake. We stay in the cleverdale area if you're familiar with the locale. Off-line for a week! Funny what perception is, I feel like I'm at a crawl... though it continues to move forward. Matt - it's tough without machine tools so I try to find ways to speed things along and get a fairly replicable product. Not easy when the only power tool is a 20 yr old dremel. If I get through this build and still have the bug, I may invest in a few machines. Until then... hand tools only! George, as always, thanks for all the helpful tips and advice. I will post updates separately, as I have a few.
- 389 replies
-
- 2
-
-
- scottish maid
- artesania latina
- (and 1 more)
-
Yes Chuck. otherwise known as Dave in my mixed up world. Maybe there's still time. I'd have to re-do all the deadeyes.... I'll think about it when I'm up at Lake George next week.
- 389 replies
-
- 1
-
-
- scottish maid
- artesania latina
- (and 1 more)
-
In retrospect I wish I had gotten Dave's deadeyes, I think they would have looked much better than the kit supplied ones. They are all lopsided and off-center.
- 389 replies
-
- 2
-
-
- scottish maid
- artesania latina
- (and 1 more)
-
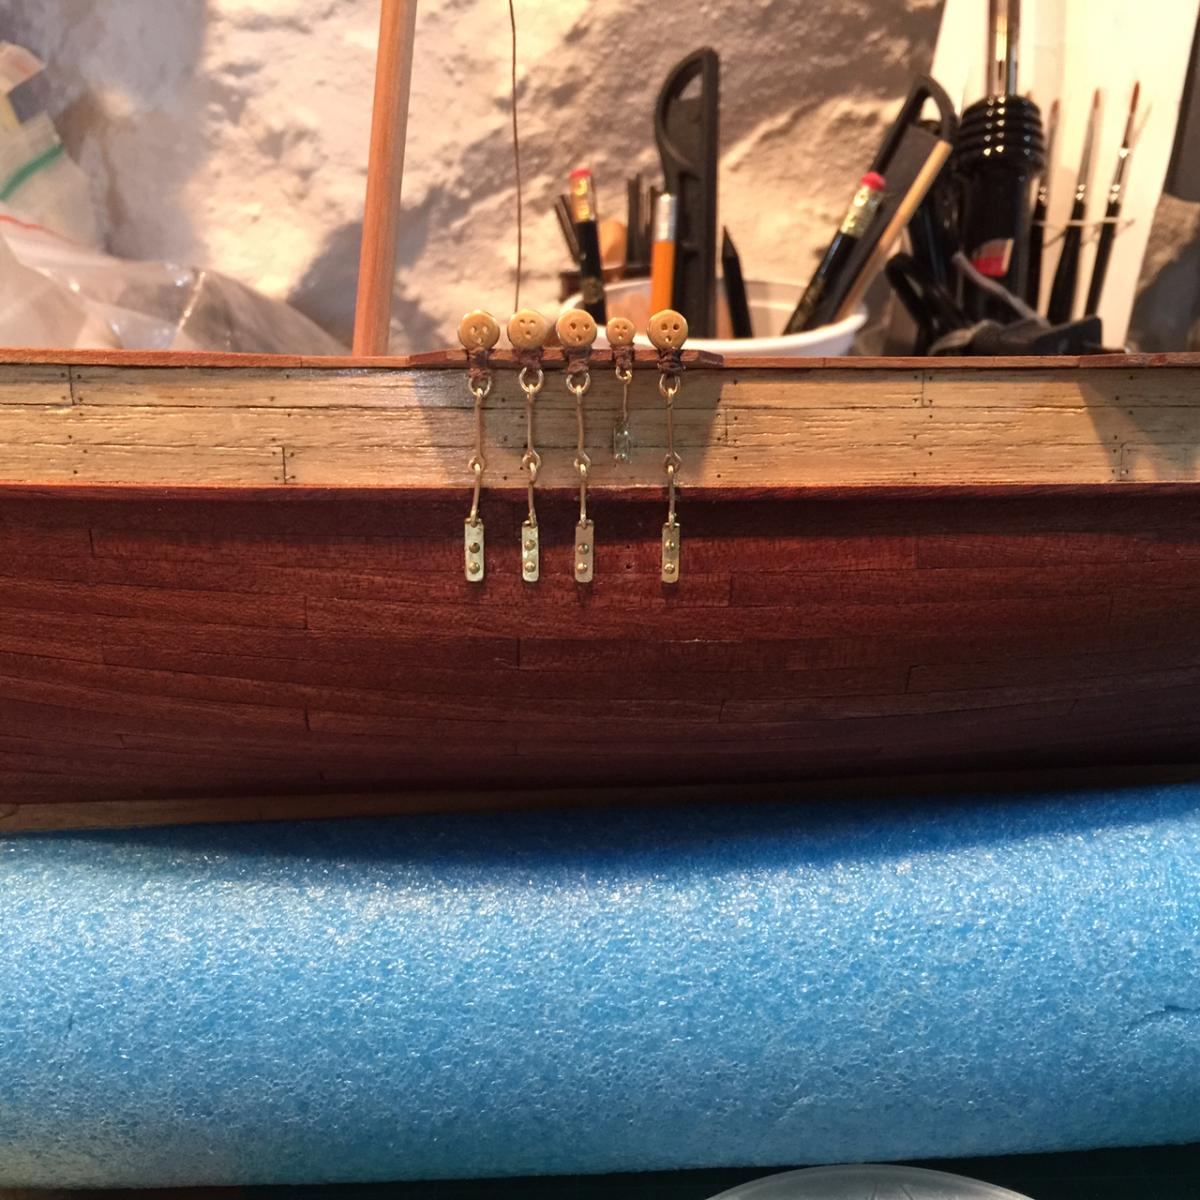
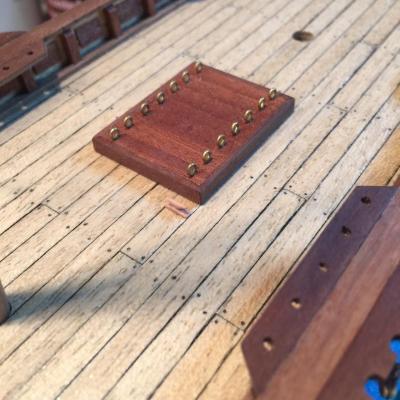
And here is the completed channel! (three more to go...) I still haven't glued the deadeyes into the channel, I want to stain/oil them beforehand - get everything complete before doing that. Also..... I'm thinking about putting brackets under the channel to give additional support. Thoughts on that?

- 389 replies
-
- 5
-
-
- scottish maid
- artesania latina
- (and 1 more)