MORE HANDBOOKS ARE ON THEIR WAY! We will let you know when they get here.
×


mrangus
-
Posts
232 -
Joined
-
Last visited
Content Type
Profiles
Forums
Gallery
Events
Everything posted by mrangus
-
 It was painful to cut them off but it had to be done. I got one of the blocks fixed tonight but had to call it an early evening...hopefully more this week.
- 389 replies
-
- 3
-

-
- scottish maid
- artesania latina
- (and 1 more)
-
Looking great Nigel. YOu have an eye for getting the details right. very clean build.
- 270 replies
-
- 1
-
-
- red dragon
- artesania latina
- (and 1 more)
-
THanks Matt! One suggestion - I reviewed Chuck Passaro's practicum on the Phantom and his approach to rigging makes a lot of sense. The overview helps de-mystify the rigging process and breaks the process down to practical milestones. I think it will help you - it certainly helped me. I've gotten pretty good now at seizing lines to tie up blocks. It makes sense to me now. Last night I spent some time on the foremast and looking great, especially the blocks rigged to the mast. And then I looked again - I rigged them to the wrong mast pole. aaarrrrggghhhh....
- 389 replies
-
- 2
-
-
- scottish maid
- artesania latina
- (and 1 more)
-
Great idea Matt I will try that. Thanks! I'm getting better at seizing the lines. I think I have the routine down pretty good now - latest block came out good. I also did my best to create sheaves on the top foremast - two holes and a little bit of careful filing. I may work on it a bit more to strengthen the lines, but the mast is tiny - 4mm at its widest and 2 mm at its smallest. With the rope going through I'm hoping it will look good enough.

- 389 replies
-
- 3
-
-
- scottish maid
- artesania latina
- (and 1 more)
-
Super gents. Jesse I looked very carefully at your mast pics and found one that looks like there's two holes in the top mast portion... so if I'm going to simulate the sheave should I actually drill 2 small holes and file a bit for the indent? I think I'll give that a go... One question/thought on rigging - I've been using some super thin CA glue once everything is tied up but it makes the fixing really hard and "freezes" it instantly. Thoughts on how to do this better? I tried some of the rigging glue from ME but I found it to be a bit too goopy.
- 389 replies
-
- 2
-
-
- scottish maid
- artesania latina
- (and 1 more)
-
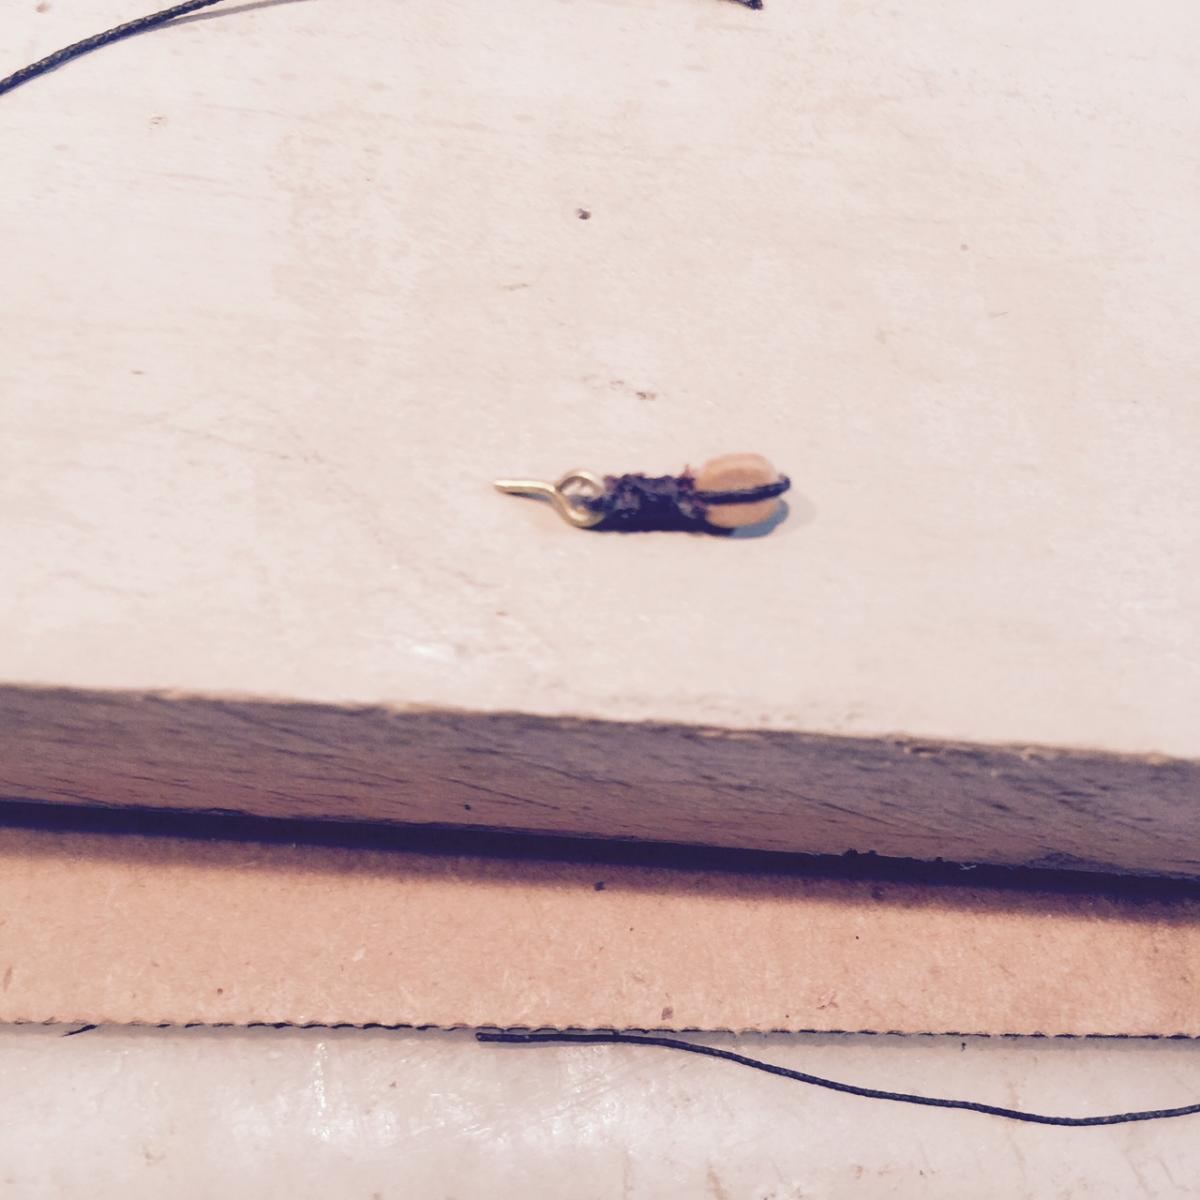
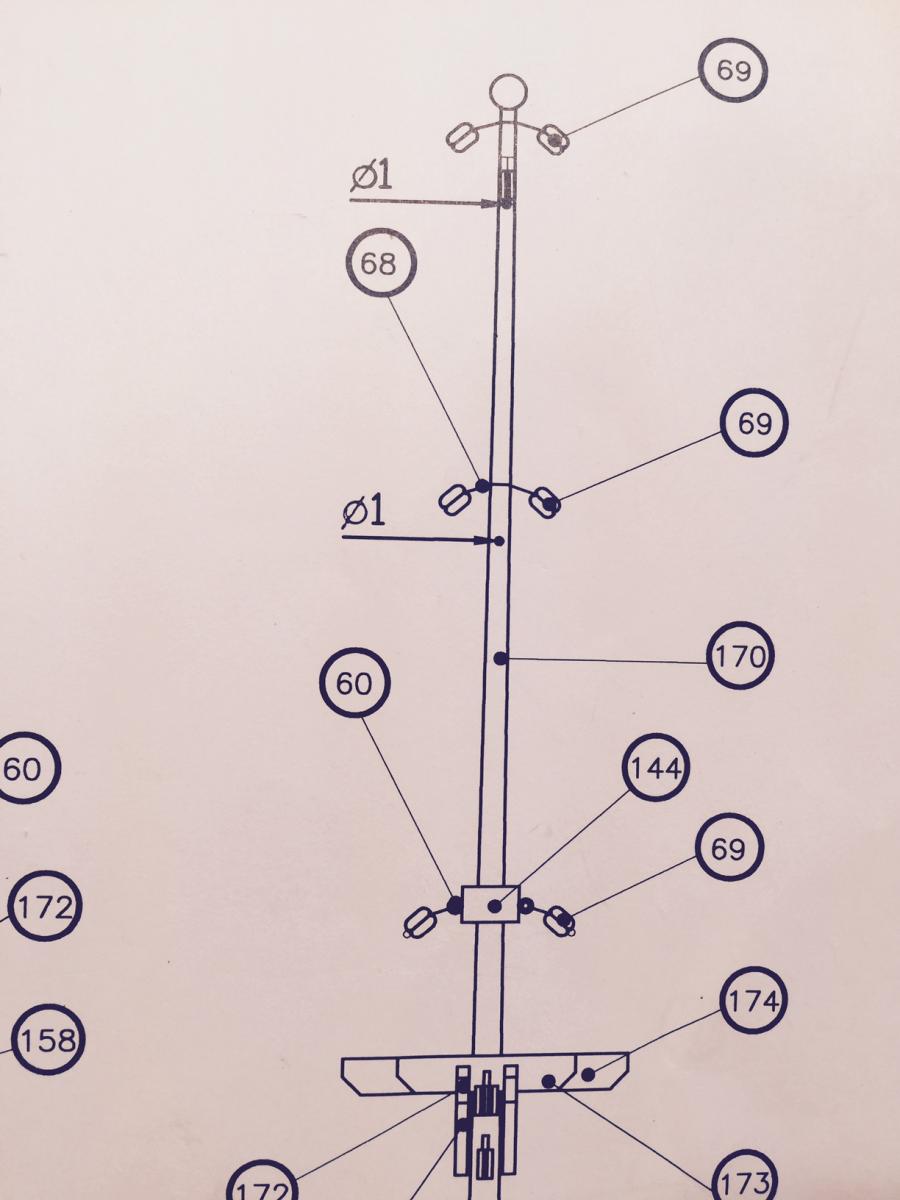
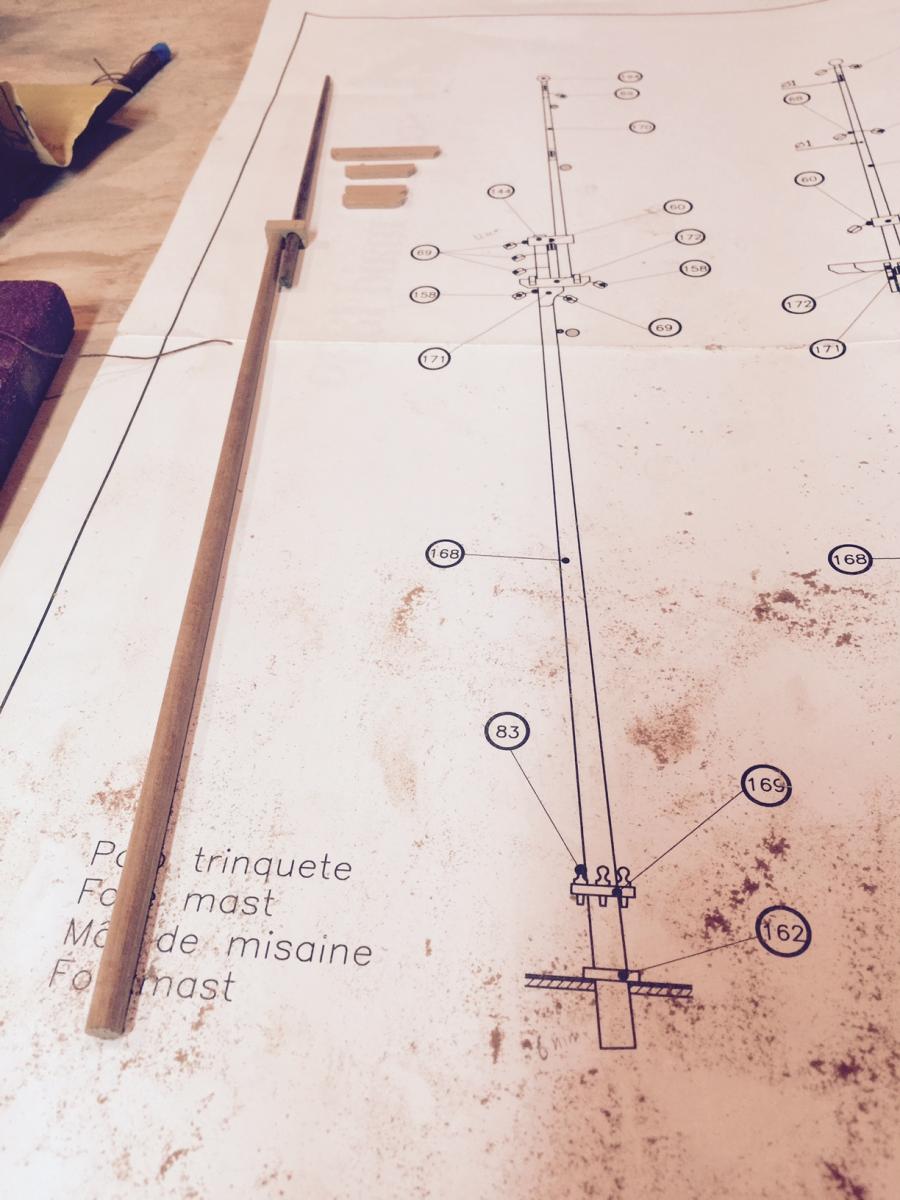
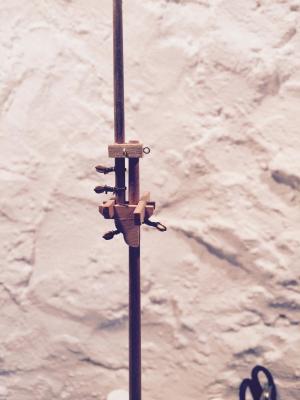
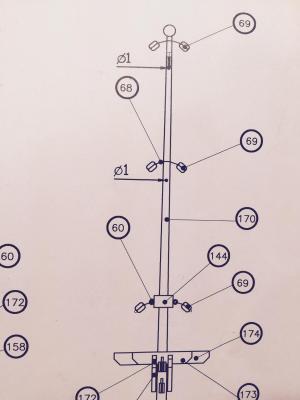
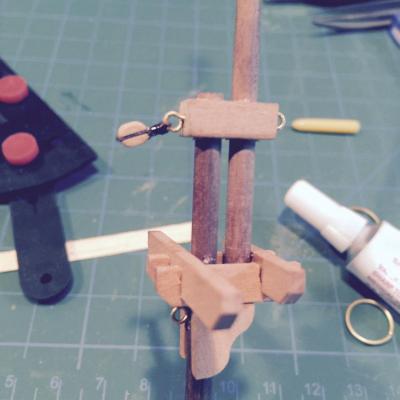
I thought seizing the blocks to the eye bolts was challenging.... it took me an hour to get the first block onto the mast. Two false starts before I got the seizing worked out well enough. Getting the block into the loop was much more difficult until I used a clothespin to hold the block steady. Then it was easy! I have a question on the plan. What does the 01 (the '0' has a slash through it) refer to? I don't get it. I took a pic to reference what I am speaking about.
- 389 replies
-
- 2
-
-
- scottish maid
- artesania latina
- (and 1 more)
-
I've learned a lot just from looking at the close-ups of the lanyards Brian. That is going to help me considerably when I get there.... Looks great.
- 831 replies
-
- 2
-
-
- Armed Virginia Sloop
- Model Shipways
- (and 1 more)
-
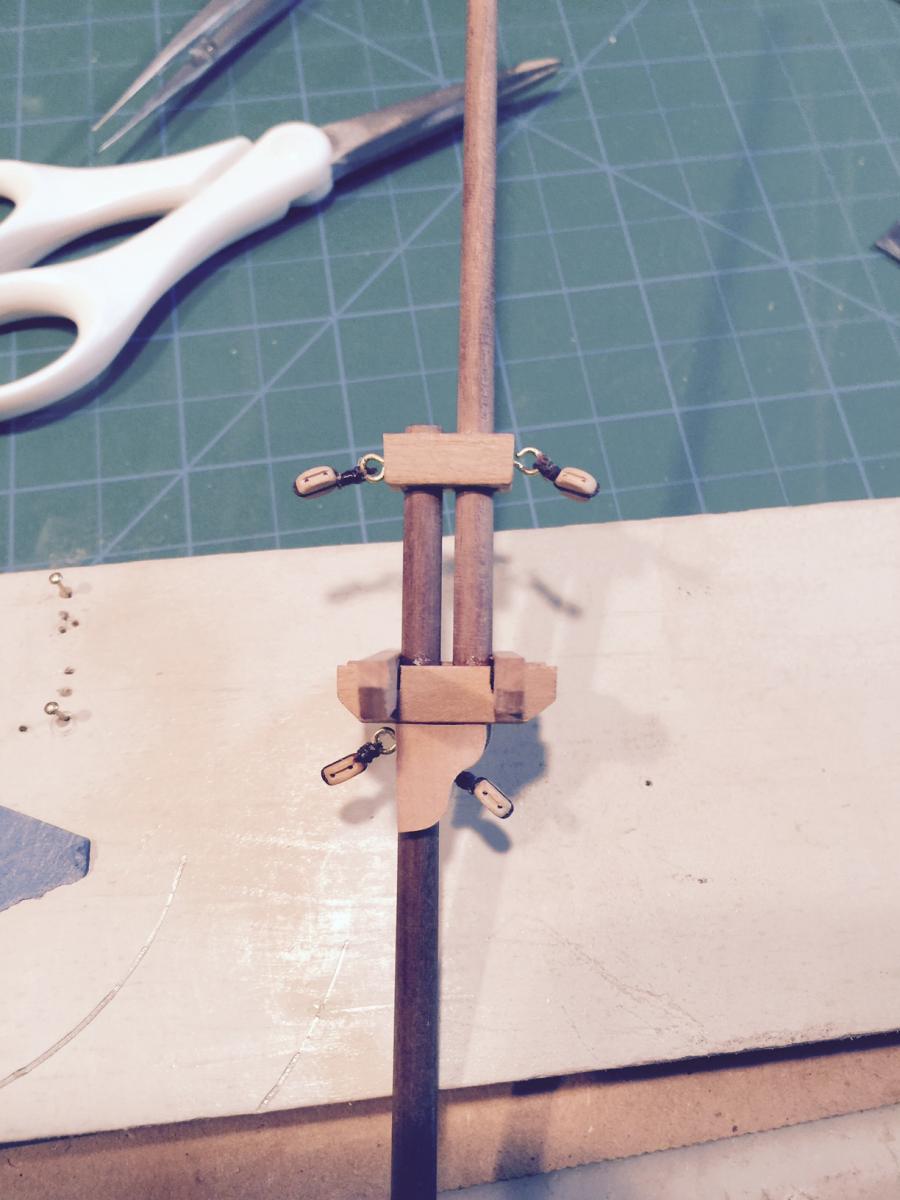
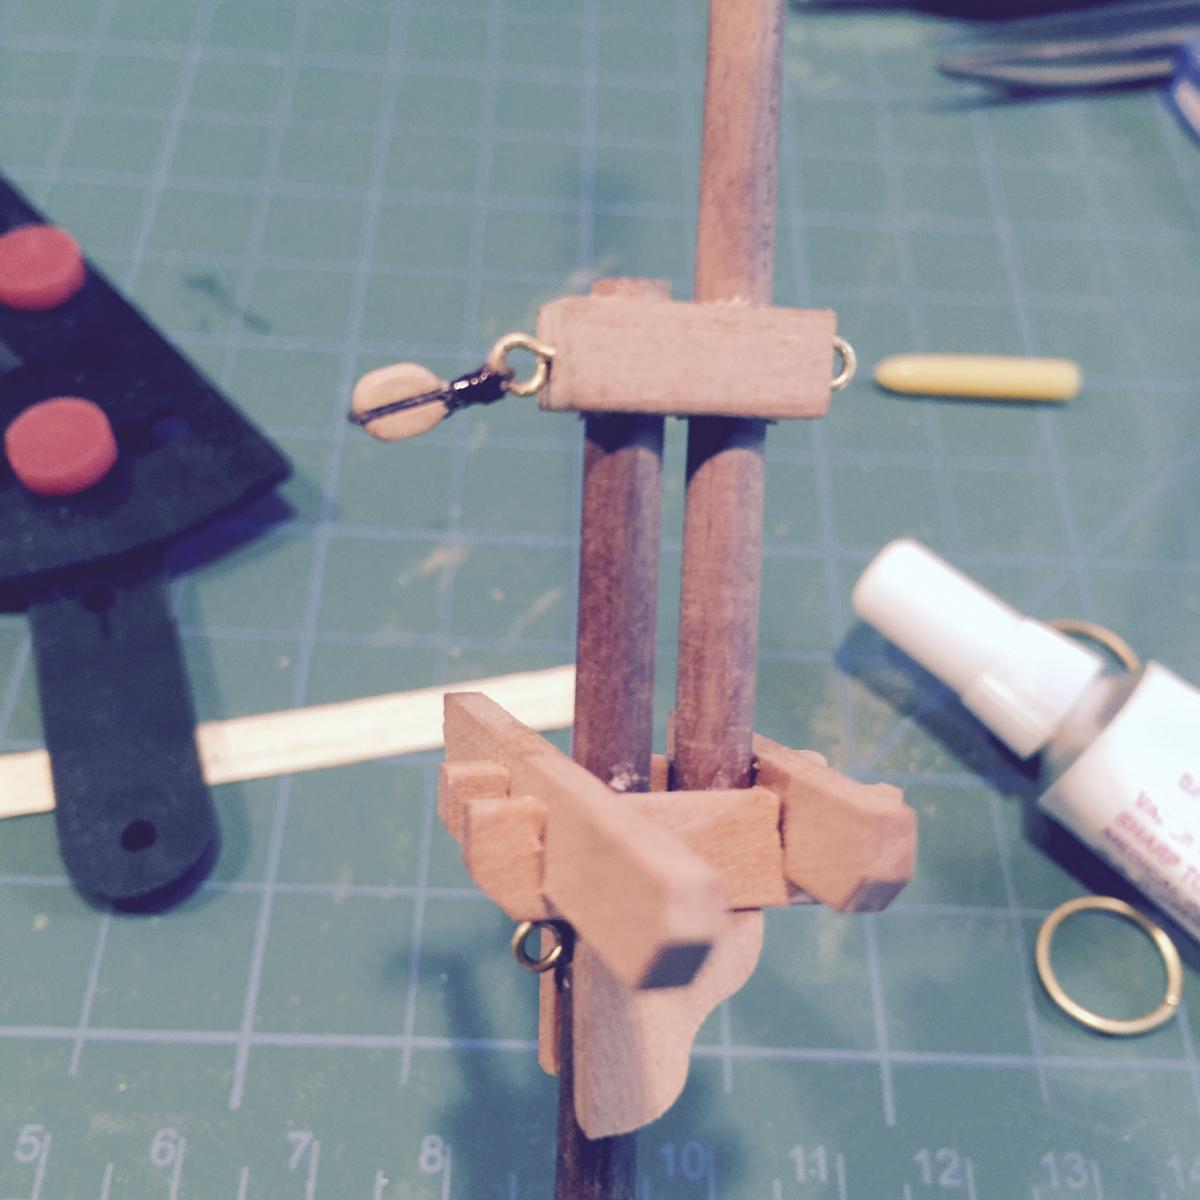
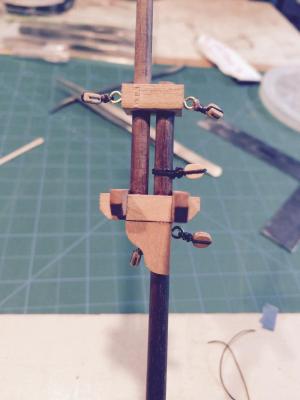
Ok gents you encouraged me enough that my process works. I built a mini-jig to do this rigging and it works great. I took your suggestion Brian to take the eyebolts out (I hadn't glued them in yet) and works well enough - I have to keep drilling new holes so the eyebolt will stay in place. Now I have to figure out how to seize/tie the blocks to the mast directly. I like the look of when the rope goes around the mast twice. I will experiment... Here's my progress...

- 389 replies
-
- 5
-
-
- scottish maid
- artesania latina
- (and 1 more)
-
Your attention to detail is stunning.... I have enjoyed following this build and your talents.
-
Hey Brian, I'm going to use these pics for when I get to my shrouds and setting up the deadeyes. They look great... the closeups of the seizing on the shrouds is very helpful and gives me some ideas. One question - why are some lines served and others not?
- 831 replies
-
- 2
-
-
- Armed Virginia Sloop
- Model Shipways
- (and 1 more)
-
David your post made me laugh - I get the message and plan on trying with my mini-planer and some pear wood I have - but I love how your text turned out assumedly with auto-complete on... btw my name is Robb.... thanks for the compliments and suggestions, like everyone else so much better than I am at this hobby...
- 389 replies
-
- 2
-
-
- scottish maid
- artesania latina
- (and 1 more)
-
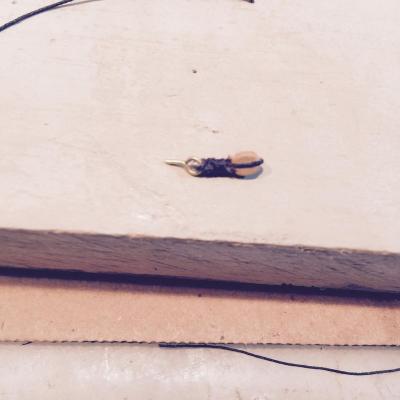
Thank you gents - the videos were very helpful, it paints a clear picture. I used the general method that I used on the deadeye chainplates with Brian's input to clarify above. Here's my first - what do you think? Took a while to get it right...
- 389 replies
-
- 6
-
-
- scottish maid
- artesania latina
- (and 1 more)
-
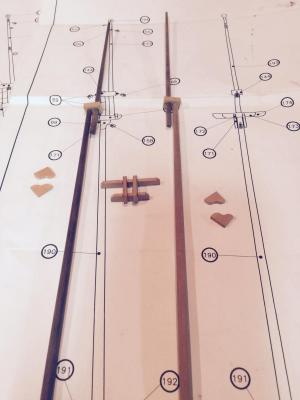
A little confused... I've been studying the rigging in detail and am coming across some basic gaps in knowledge. Not sure the best way to secure the blocks to the eyebolts as well as directly to the masts. The diagrams don't provide details and I'm struggling to find good examples of how this is done. I understand how to seize the lines once on the block (kind of like what I did with my lower deadeyes) but not too sure about how to actually secure the blocks. Any suggestions or examples would be welcomed. Regarding the masthoops - thanks George and Brian, very helpful input. I tried something over this weekend - I got some reeds from the local marsh, which have the same diameter, and are wood-like. The issue I had when I tried cutting is that the wood is very brittle and would break easy. I got a few cut but may have to take another path - perhaps trying cane as one poster suggested.
- 389 replies
-
- 2
-
-
- scottish maid
- artesania latina
- (and 1 more)
-
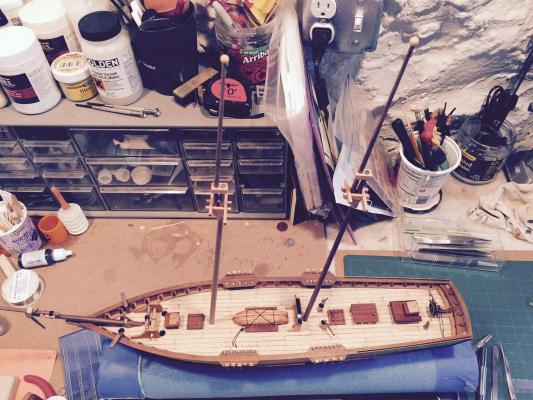
I had a half hour tonight... and for some reason the crosstrees fell into place very well - my cuts were measured pretty well this time. So the masts are together. I raised the masts but haven't fixed them yet. I needed to see what they look like. Several more pieces to go on the masts before secured to the ship. One question. I know that some ships have lots of rings on the masts. I don't understand what they are or their purpose. Any ideas? Should I do this for the ship? It doesn't appear to be part of the standard build (but what has been?) Very exciting to be on the cusp of rigging! I honestly never thought I'd get to this point on this ship. A few pics:

- 389 replies
-
- 5
-
-
- scottish maid
- artesania latina
- (and 1 more)
-
Ha thanks Matt. I do have the bug, but have gotten caught up with work/family things this week and haven't had much time. Hopefully this weekend....
- 389 replies
-
- 2
-
-
- scottish maid
- artesania latina
- (and 1 more)
-
Hey Nigel, looks great! Regarding small blocks, I went to a craft store and bought tiny clothes pins which work very nicely as extra fingers. They can then be clamped pretty easily and I found it was pretty straightforward to work on them with rope. Have a great time in VT! lovely time of year to head up there. Robb
- 270 replies
-
- 2
-
-
- red dragon
- artesania latina
- (and 1 more)
-
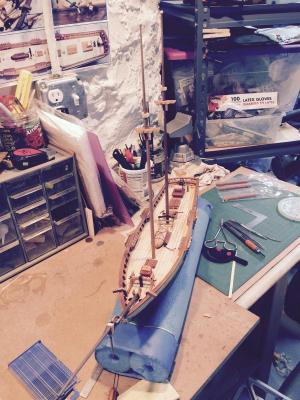
A little more done tonight. worked on getting the second crosstree finished, this is exacting work and very challenging for me. I got the crosstrees on the foremast and thought I had all lined up, but see now that they are just *slightly* off. I am deciding whether to live with it or try to pull apart and fix. Wanted to see how it looks on the boat....

- 389 replies
-
- 4
-
-
- scottish maid
- artesania latina
- (and 1 more)
-
Not knowing anything about history of how these were built, I agree with the others in that the U swivel looks really good.
- 831 replies
-
- 1
-
-
- Armed Virginia Sloop
- Model Shipways
- (and 1 more)
-
Sitting outside on a beautiful summer afternoon while watching my daughter play with the neighborhood kids I managed to get the mainmast shaped and put together as well. Also got the first crosstree set cut. I have an entirely new appreciation for some of the work scratch modelers do - getting the cuts precise is not so easy, and especially so when using nothing but hand tools. I'm a long ways from that....
- 389 replies
-
- 6
-
-
- scottish maid
- artesania latina
- (and 1 more)
-
Just got caught up Jesse. Painting scares me - you do a nice job of it. Looks great...
- 1,306 replies
-
- 2
-
-
- syren
- model shipways
- (and 1 more)
-
Looks great Nick, love the transom work.
-
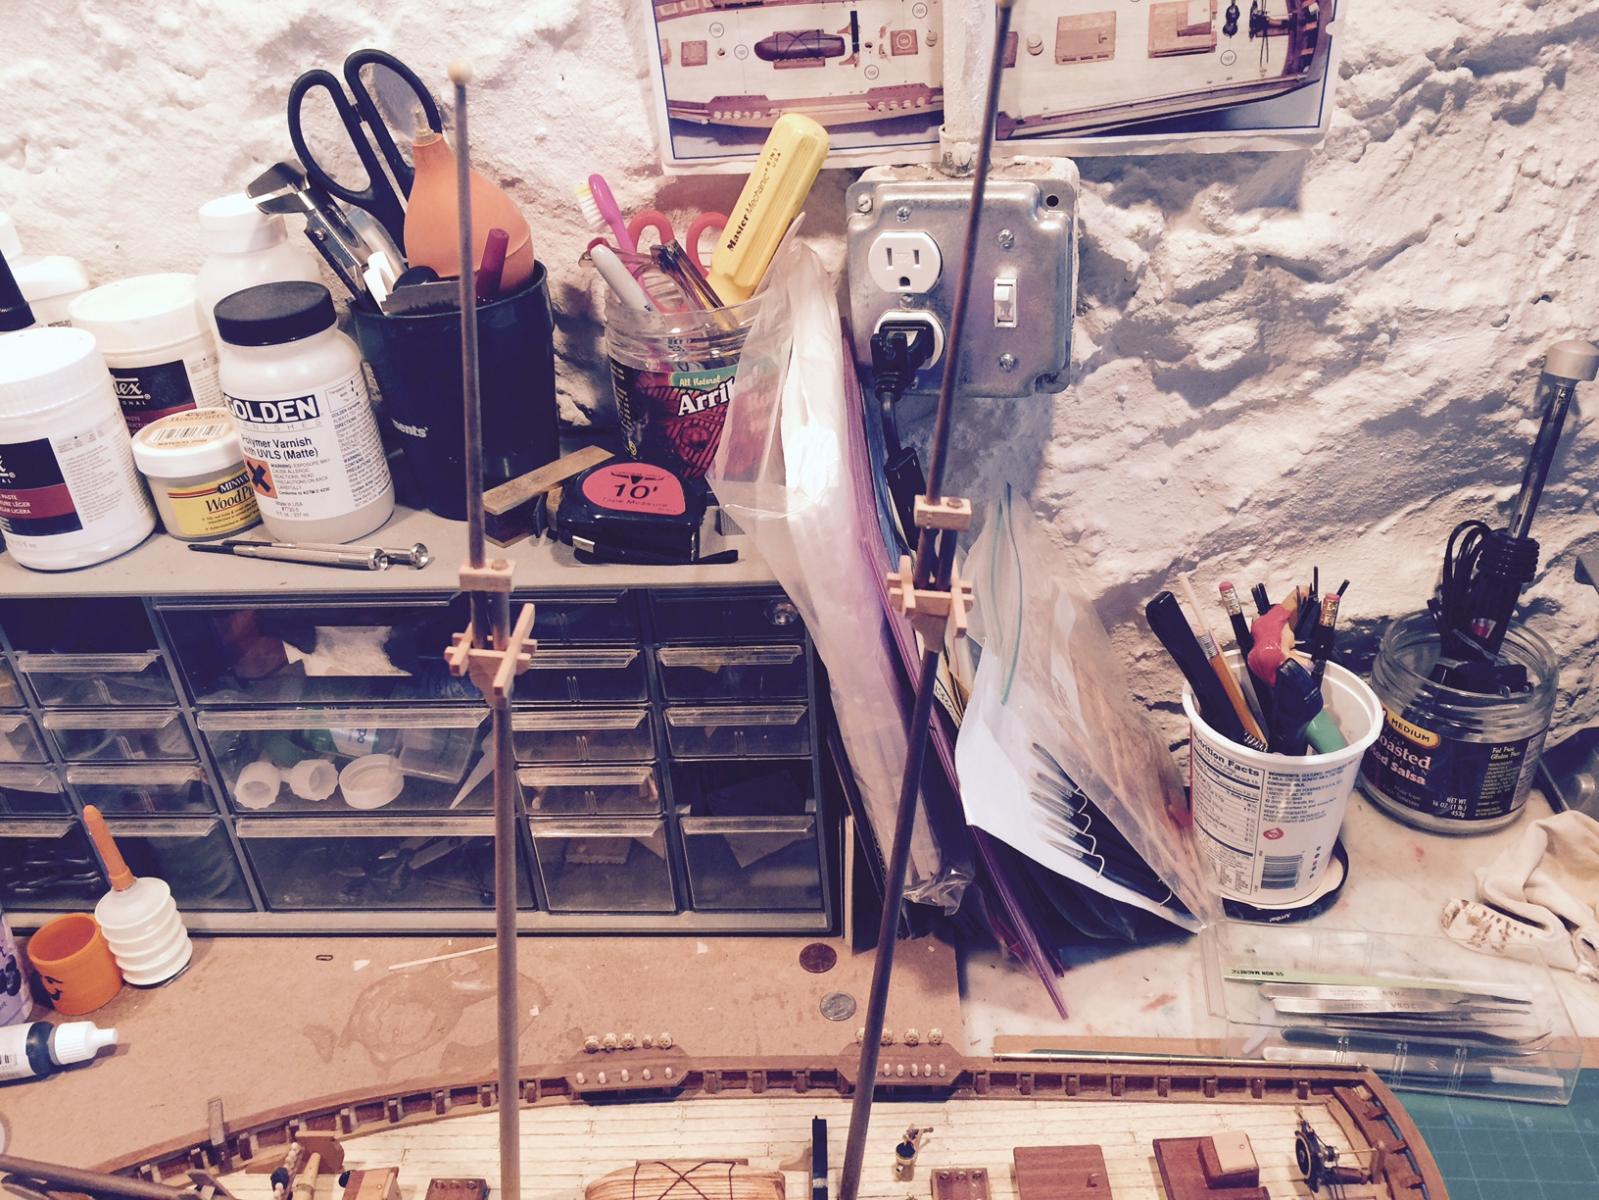
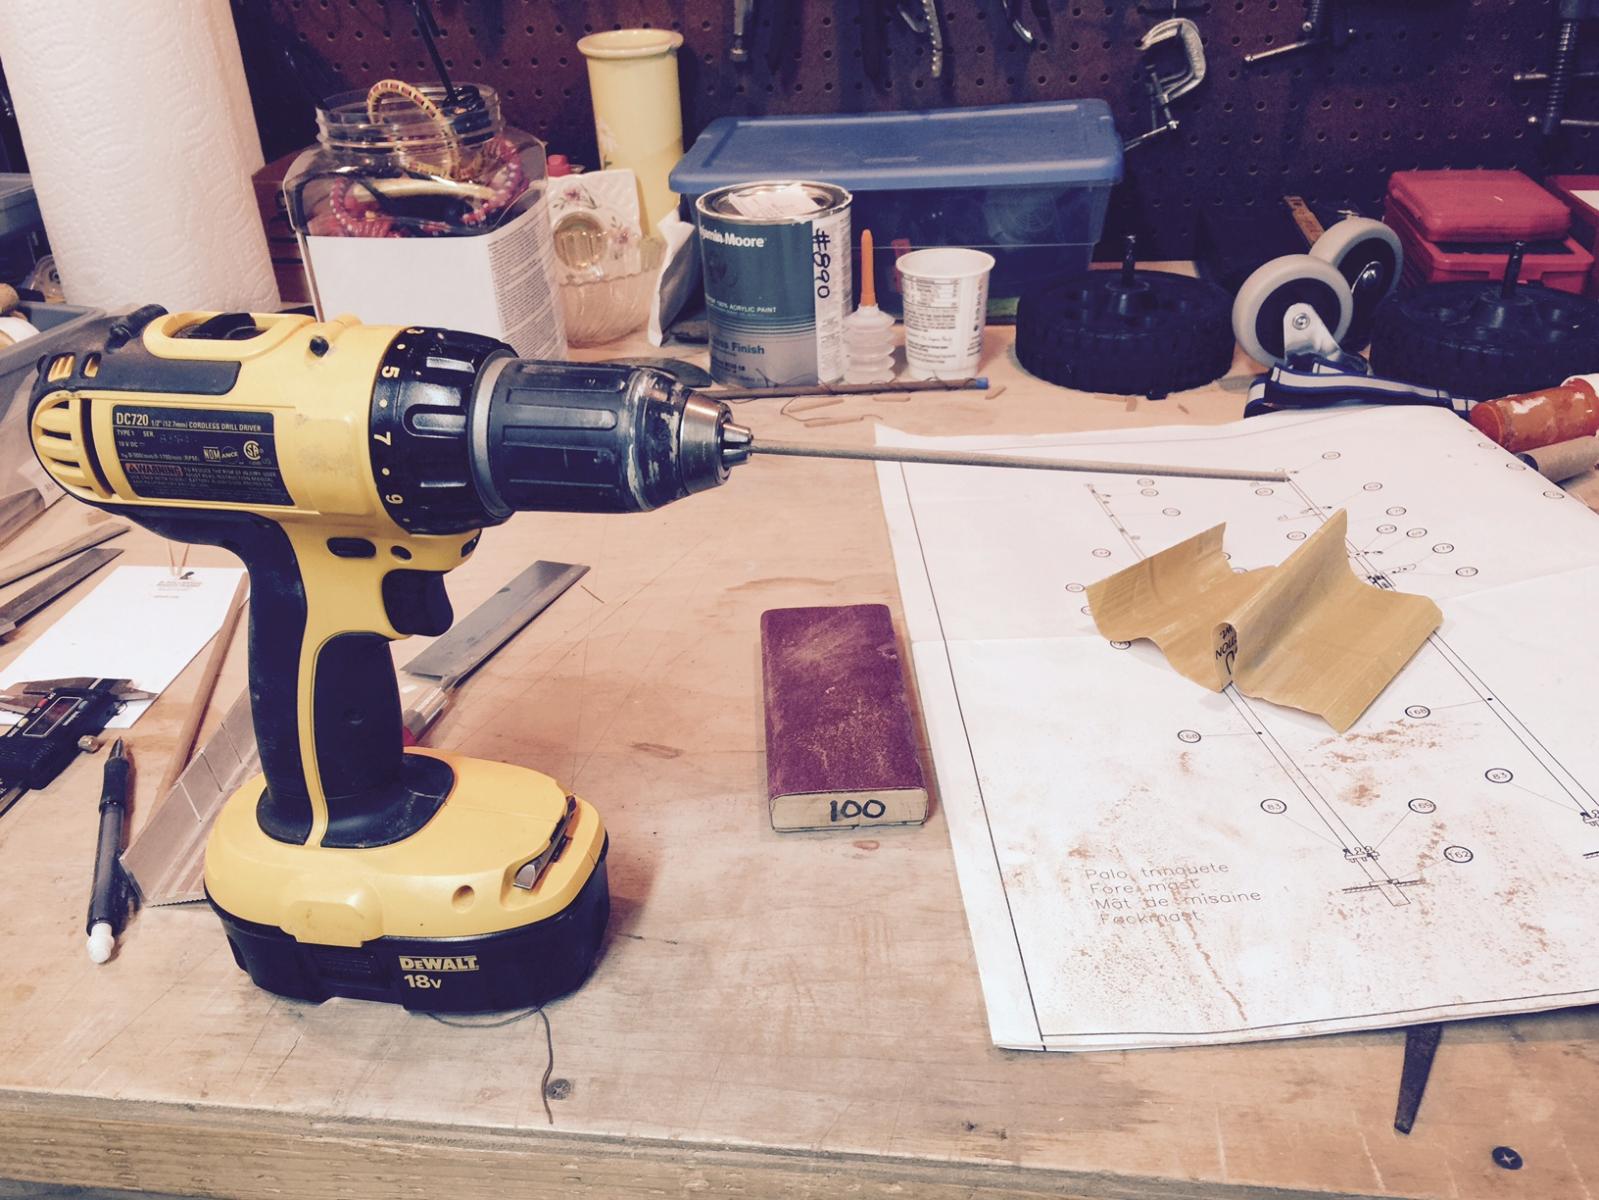
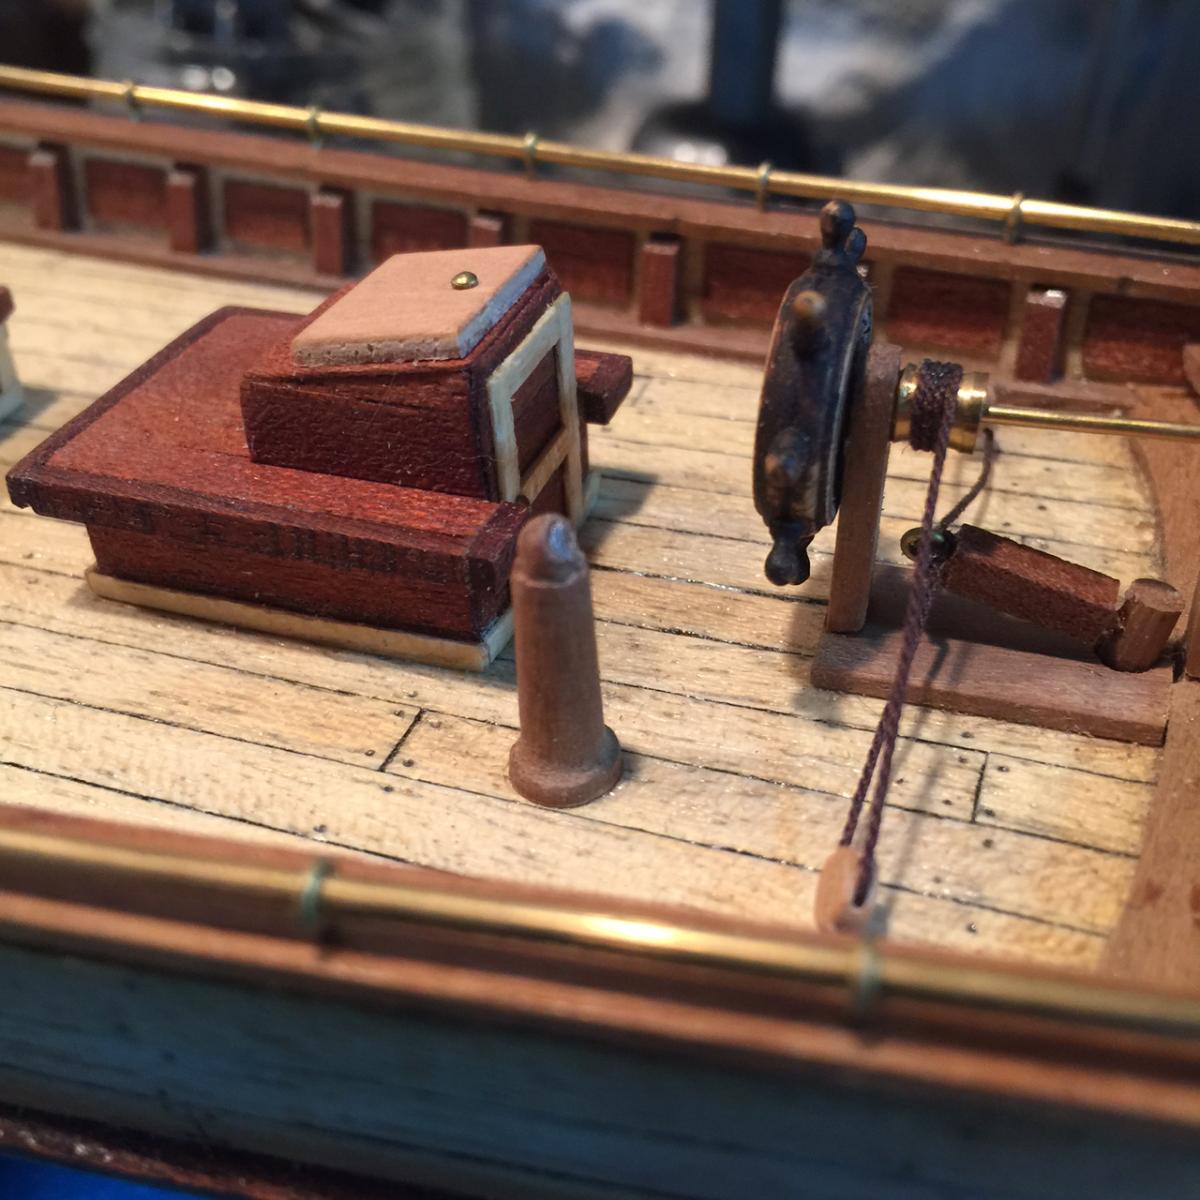
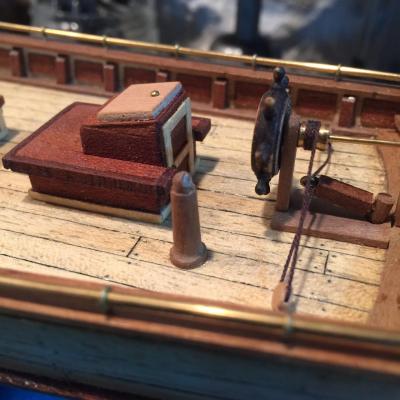
Thanks guys. Looking closely at the plans and lots of examples, I will follow your lead. run line up, loop, line down for two of the shrouds. and make kinda fancy loop to hang over the mast. Getting to the foremast. It's really exciting, get to see the real height this ship is going to have. I put on for a test look/see and it's pretty impressive. No pics though, not until it's real... but here's the work I've done to pull the foremast together. I had to use the "poor man's lathe" to finish shaping the masts. I rough narrow by hand with sanding block rolling the mast back and forth, it takes forever but works ok. then the PML smooths out some of the bumps and gets looking pretty good. Not perfect but best I can do. I also took a shot of the binnacle I made. I based on a few pics of early binnacle stands which were quite simple and did not have the magnetic globes on either side to counter all the iron on the later ships. The maid is mostly wood anyways (except for the extra bling I've provided). Traveling this week so not much will be accomplished.


- 389 replies
-
- 6
-
-
- scottish maid
- artesania latina
- (and 1 more)
-
Thanks Matt and Don. I'm not going to put the anchors on until later. I may re-do the cathead sheaves, it still bothers me that it looks like they go the wrong direction. Not much to show, just working on the cross trees for the masts. I had to mill my own 5.5mm planks and create the components by hand. Just a lot of measuring, cutting and sanding. One thing that I don't understand so well. I've seen a lot of different methods for attaching the shrouds to the masts. What is typically done? are there two lines that come down from one loop that goes over the mast, or is it individual loops for each shoud line? Done both ways? it's very confusing. Also it looks like all those rings need to go on the mast before the top part it added. what are those for?
- 389 replies
-
- 2
-
-
- scottish maid
- artesania latina
- (and 1 more)