Paul Le Wol
-
Posts
1,047 -
Joined
-
Last visited
Content Type
Profiles
Forums
Gallery
Events
Everything posted by Paul Le Wol
-
Looking good Keith! Don’t know why but I think Mr Engel would have looked like Wallace Beery.
-
Brian, congratulations on finishing your beautiful Caroline N. I have, and I imagine many others have learned so much from your build logs. I hope you continue to choose these very interesting subjects. Happy Holidays !
-
Hi Phil, thank you very much and I hope your Christmas is also merry!
-
Thank you very much Ian! I think I can see a 3d printer in my future 😀 Hi Glen, thank you so much! Good to hear from you.
-
Beautiful work John! Happy to hear that you are helping to spur on the young ones.
-
Hi Keith, thank you very much for. You are way kind! Hi Craig, thank you very much. I am looking forward to your future projects!
-
Thank you so much John!
-
Hi Jacques, thank you very much for. I certainly am glad that they are finished being made.
-
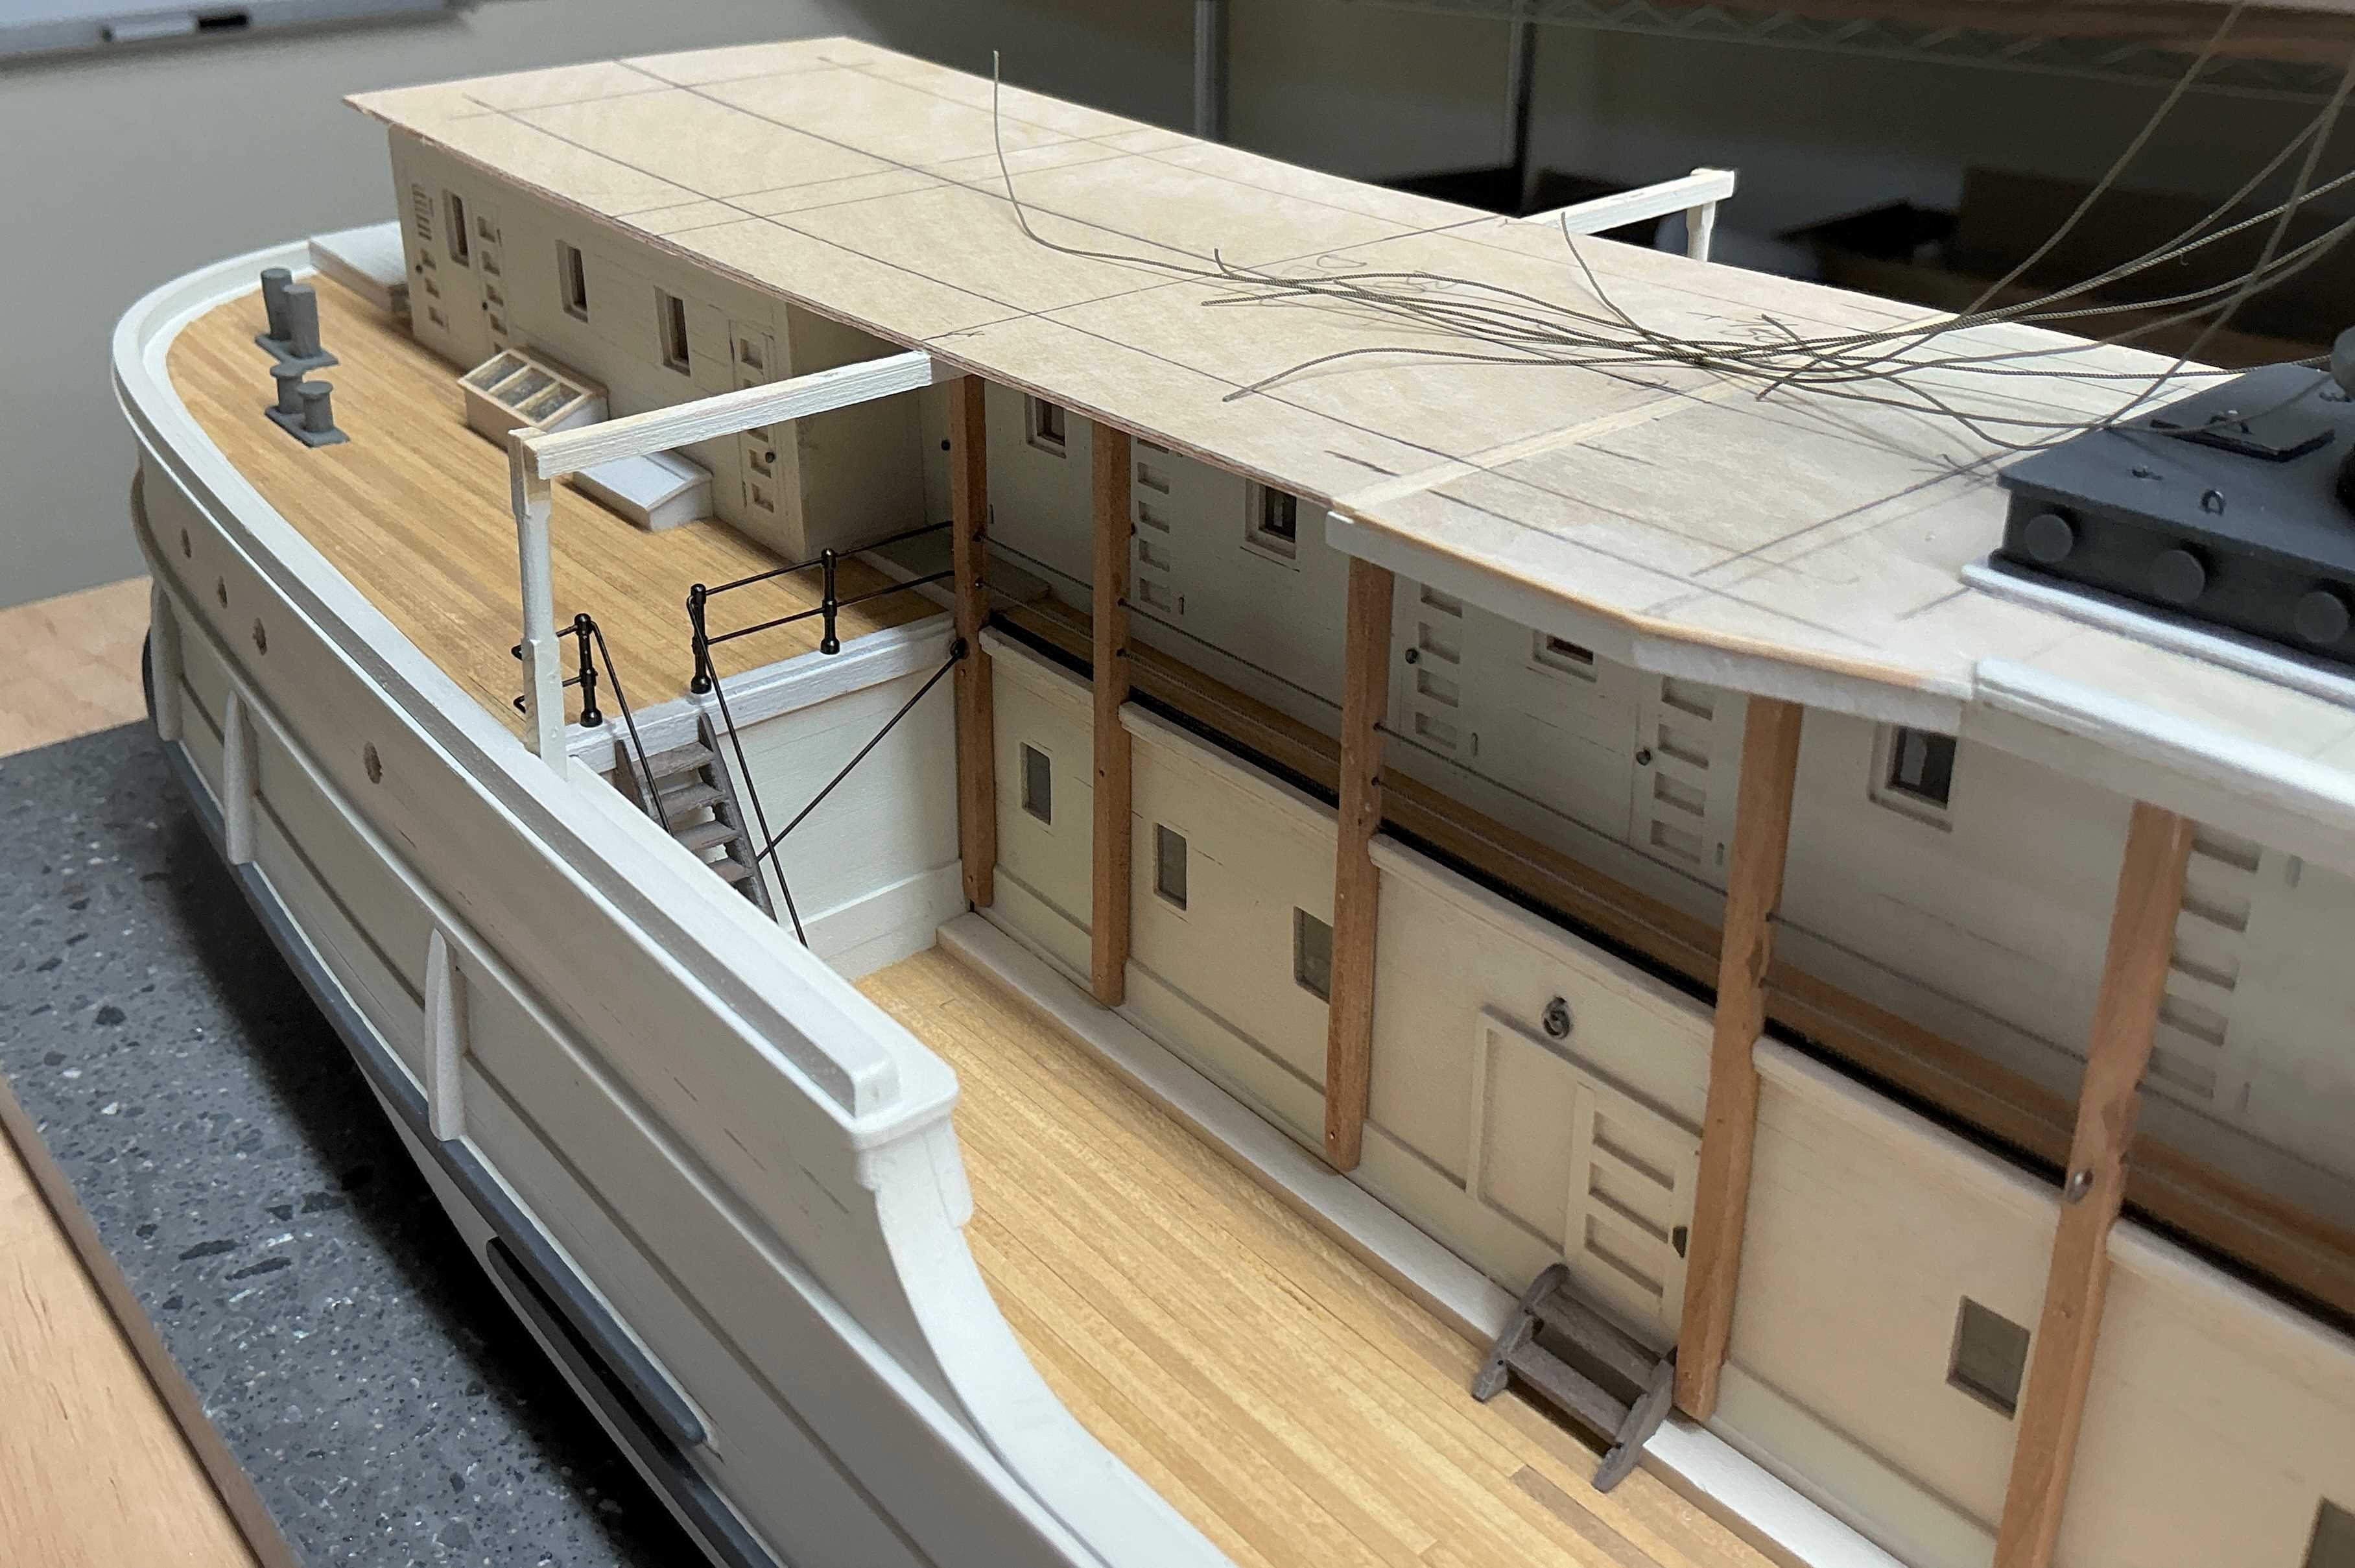
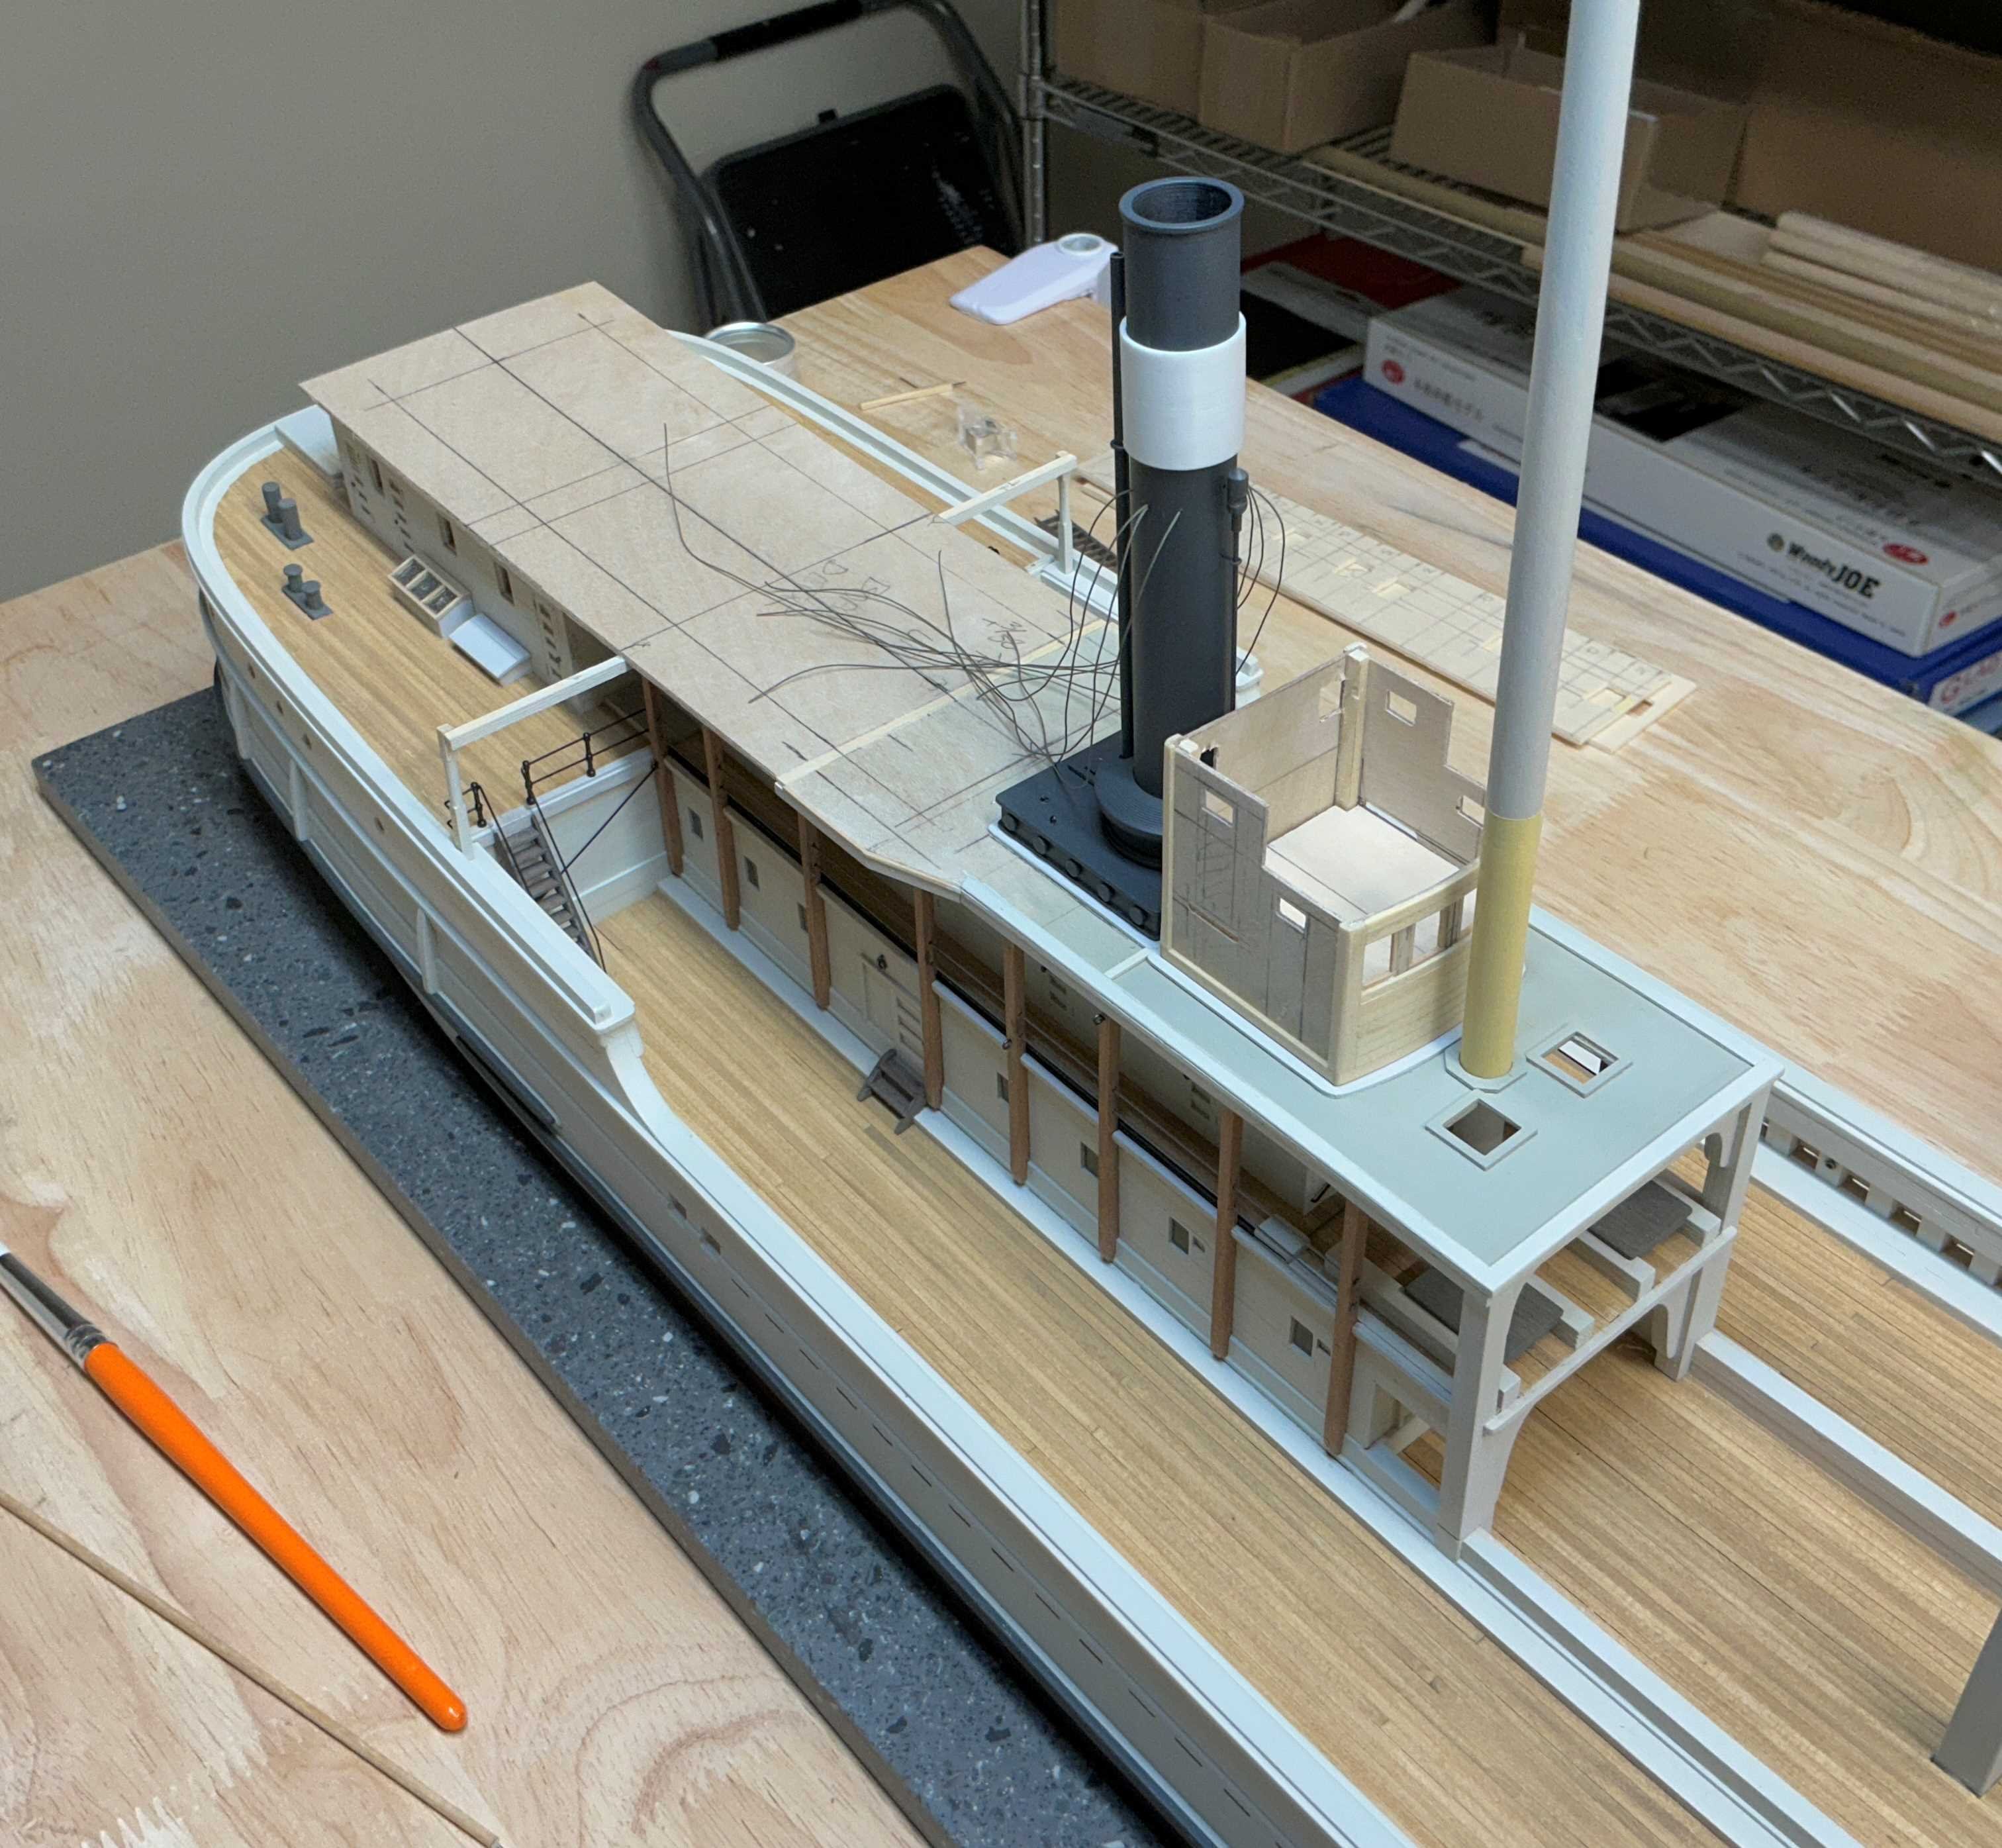
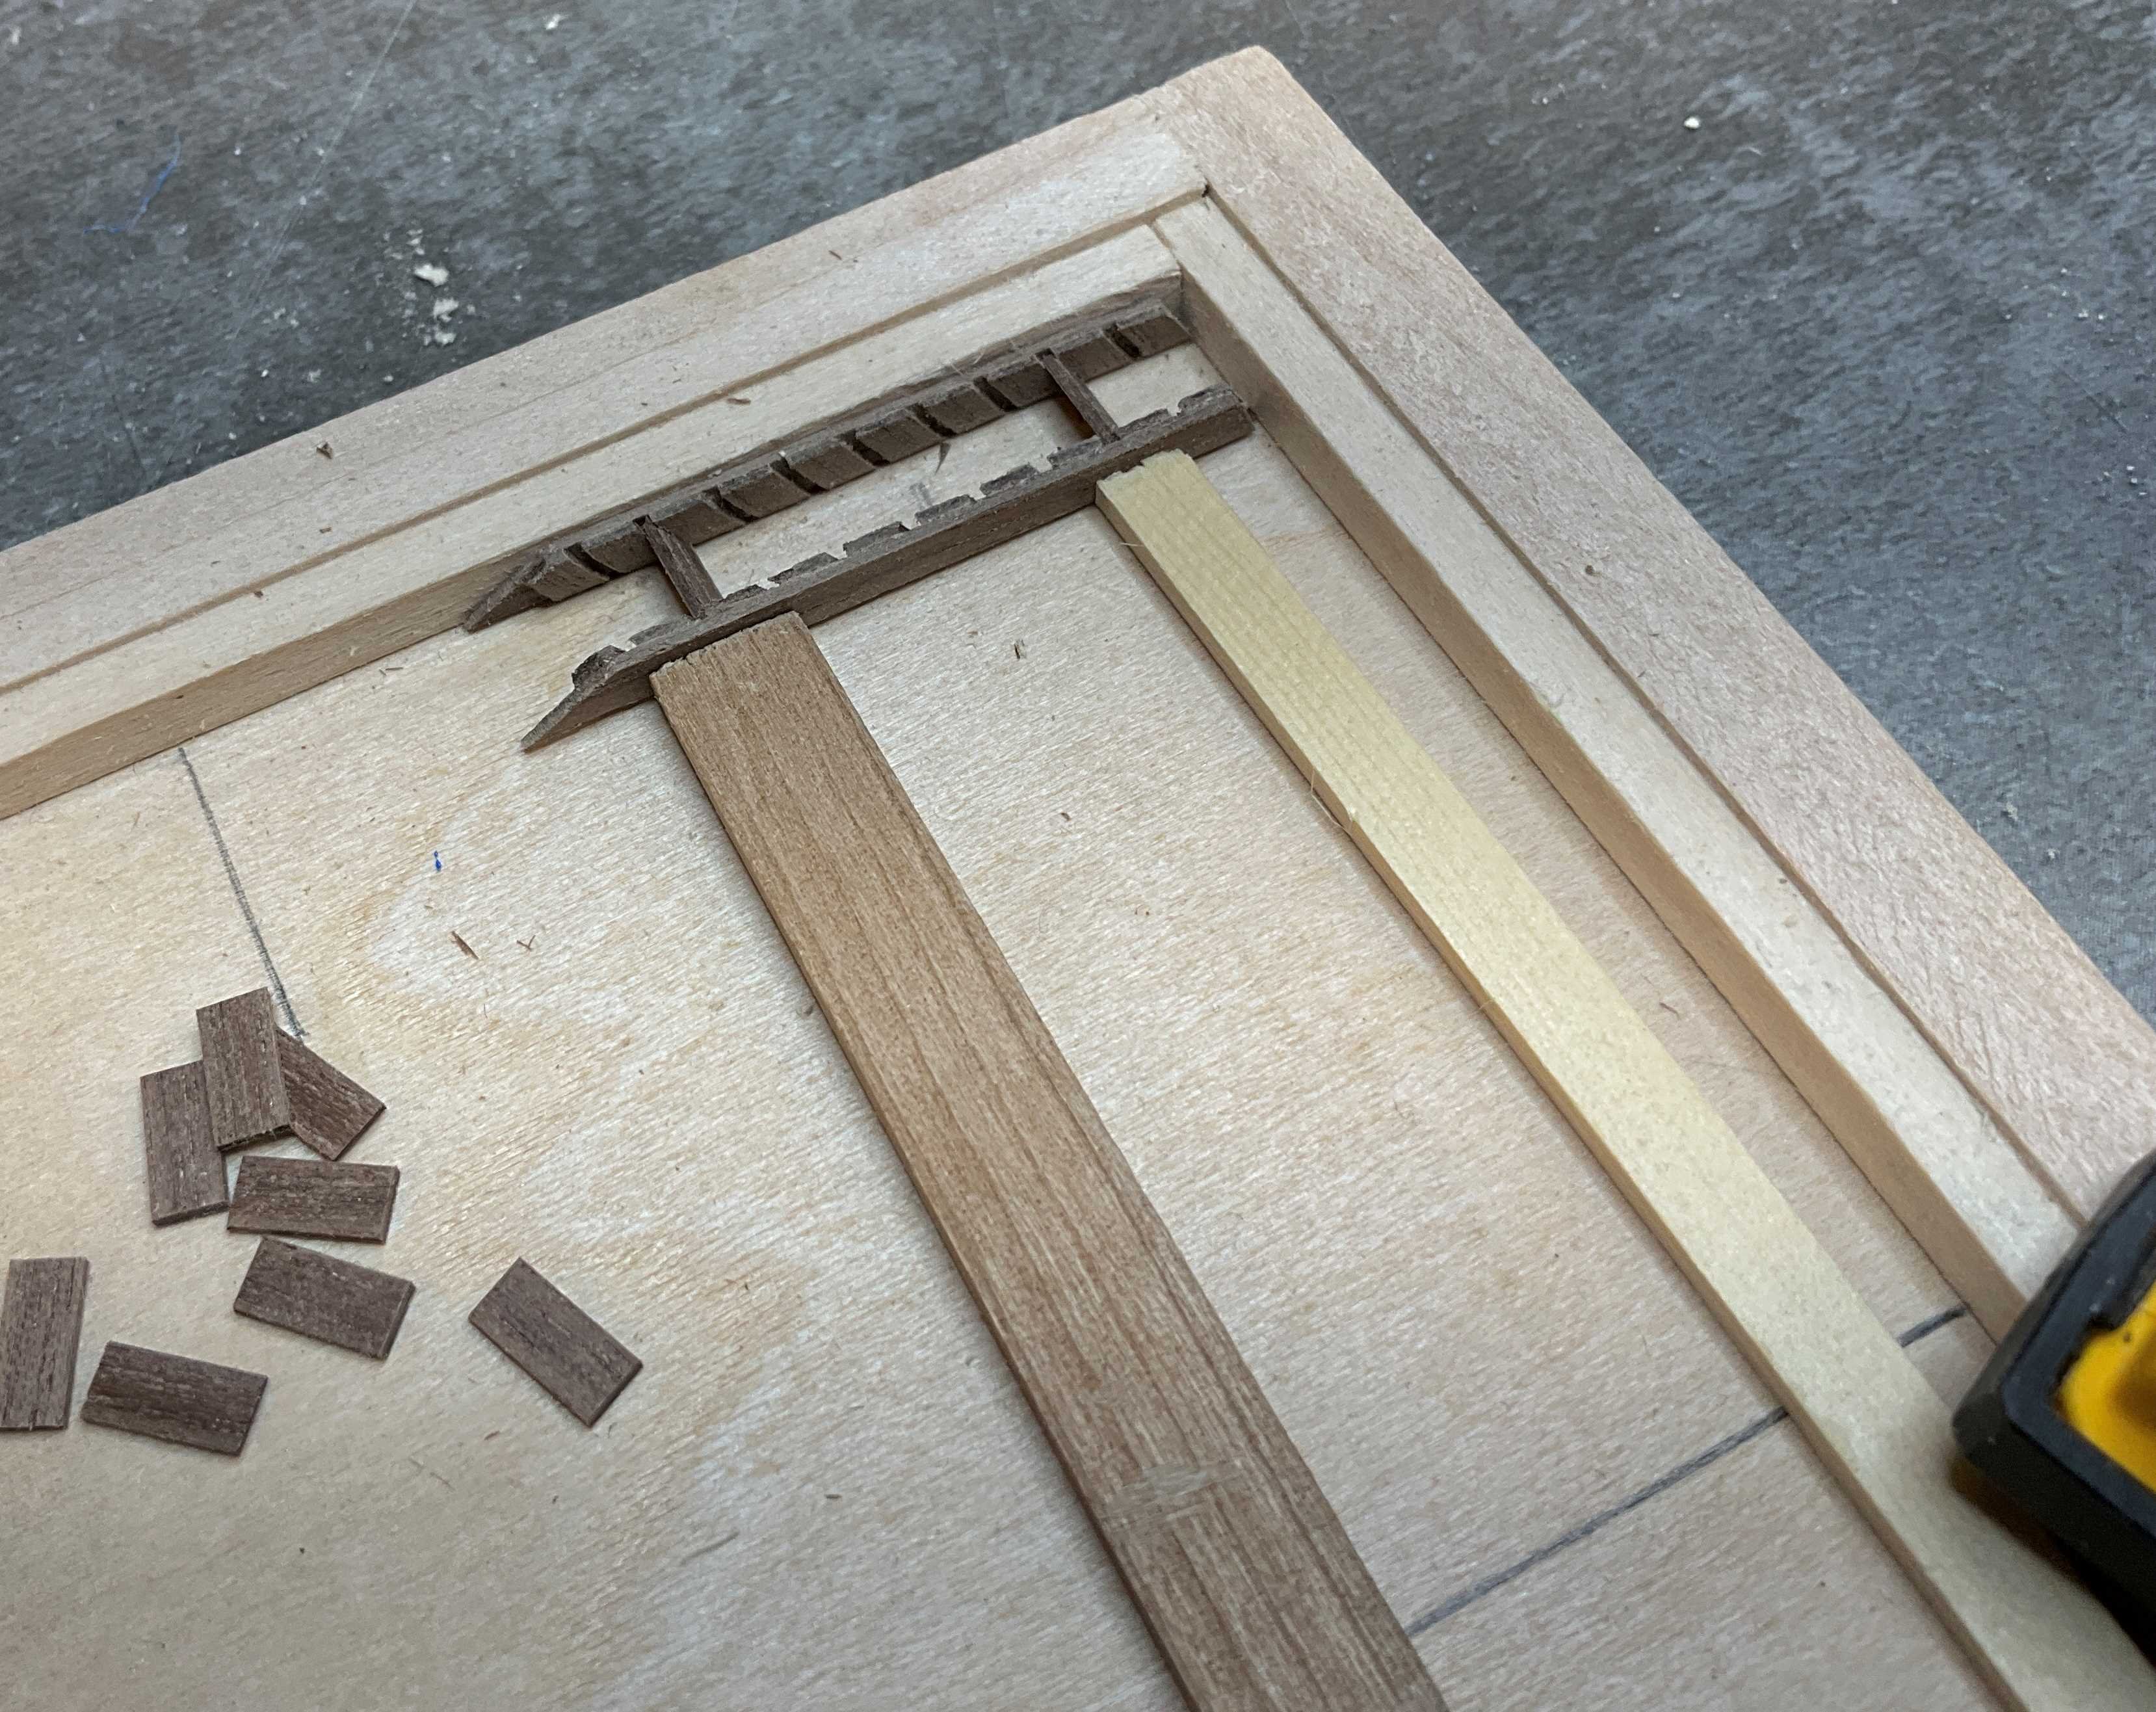
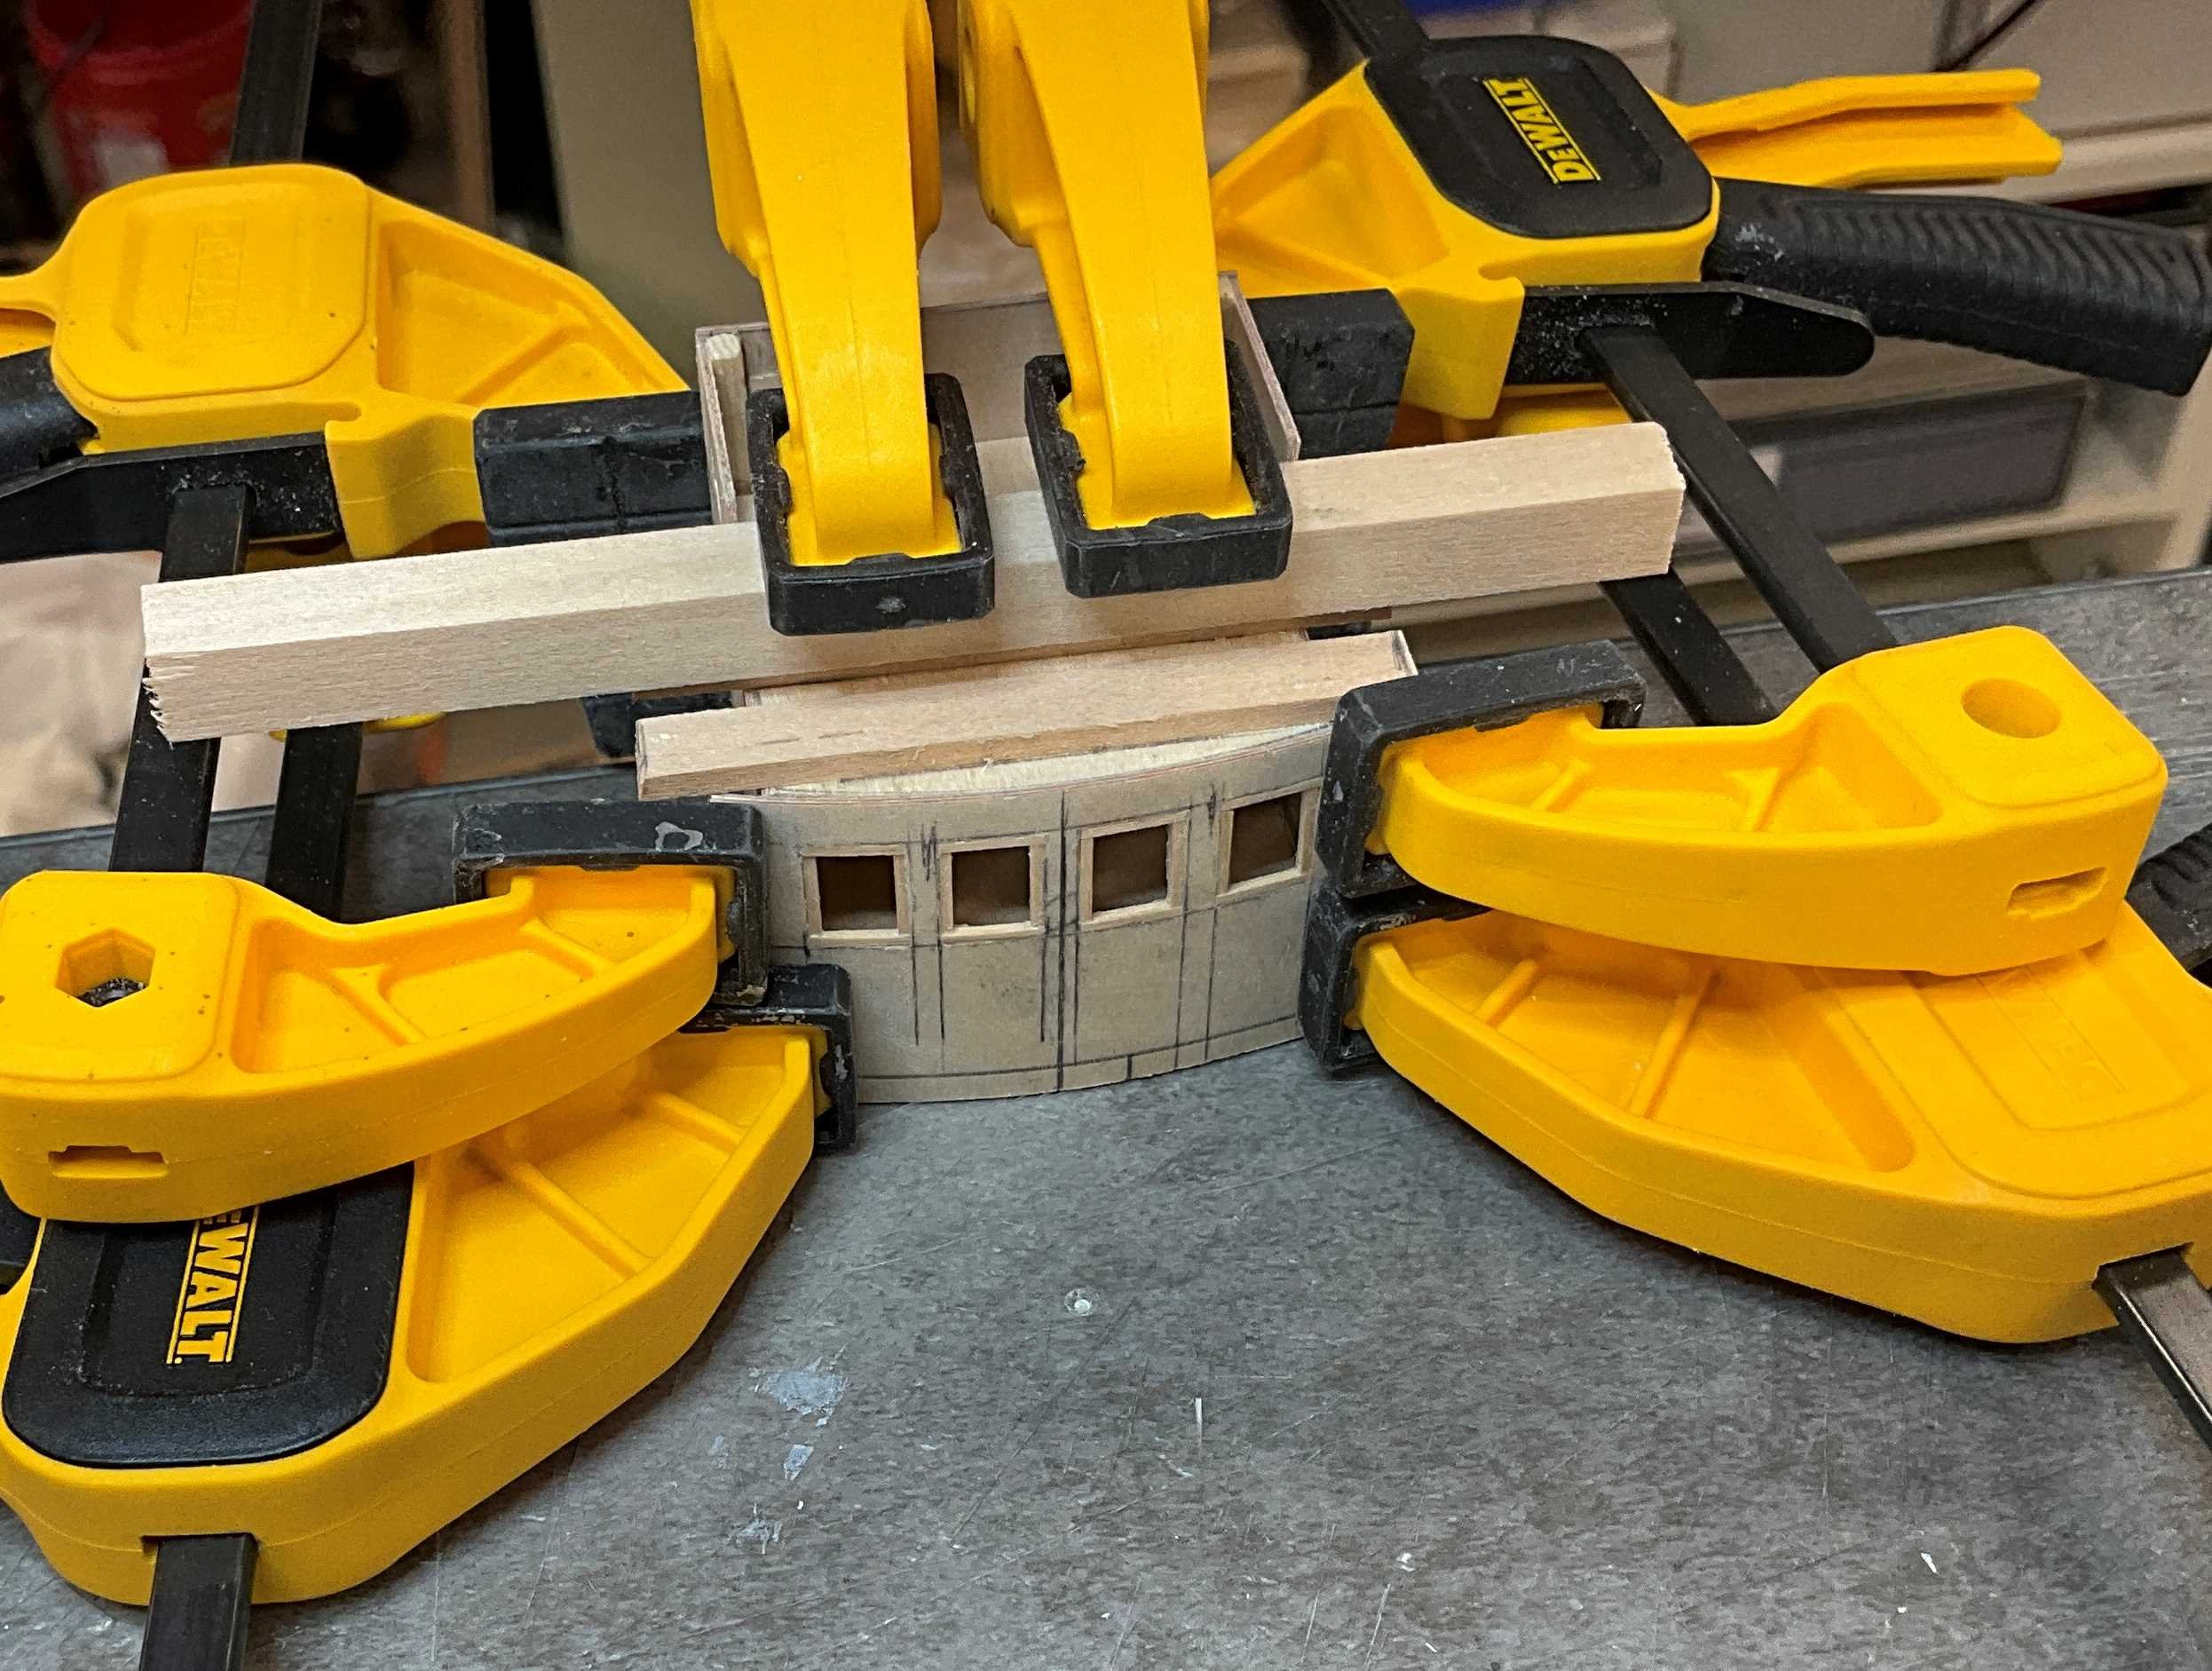
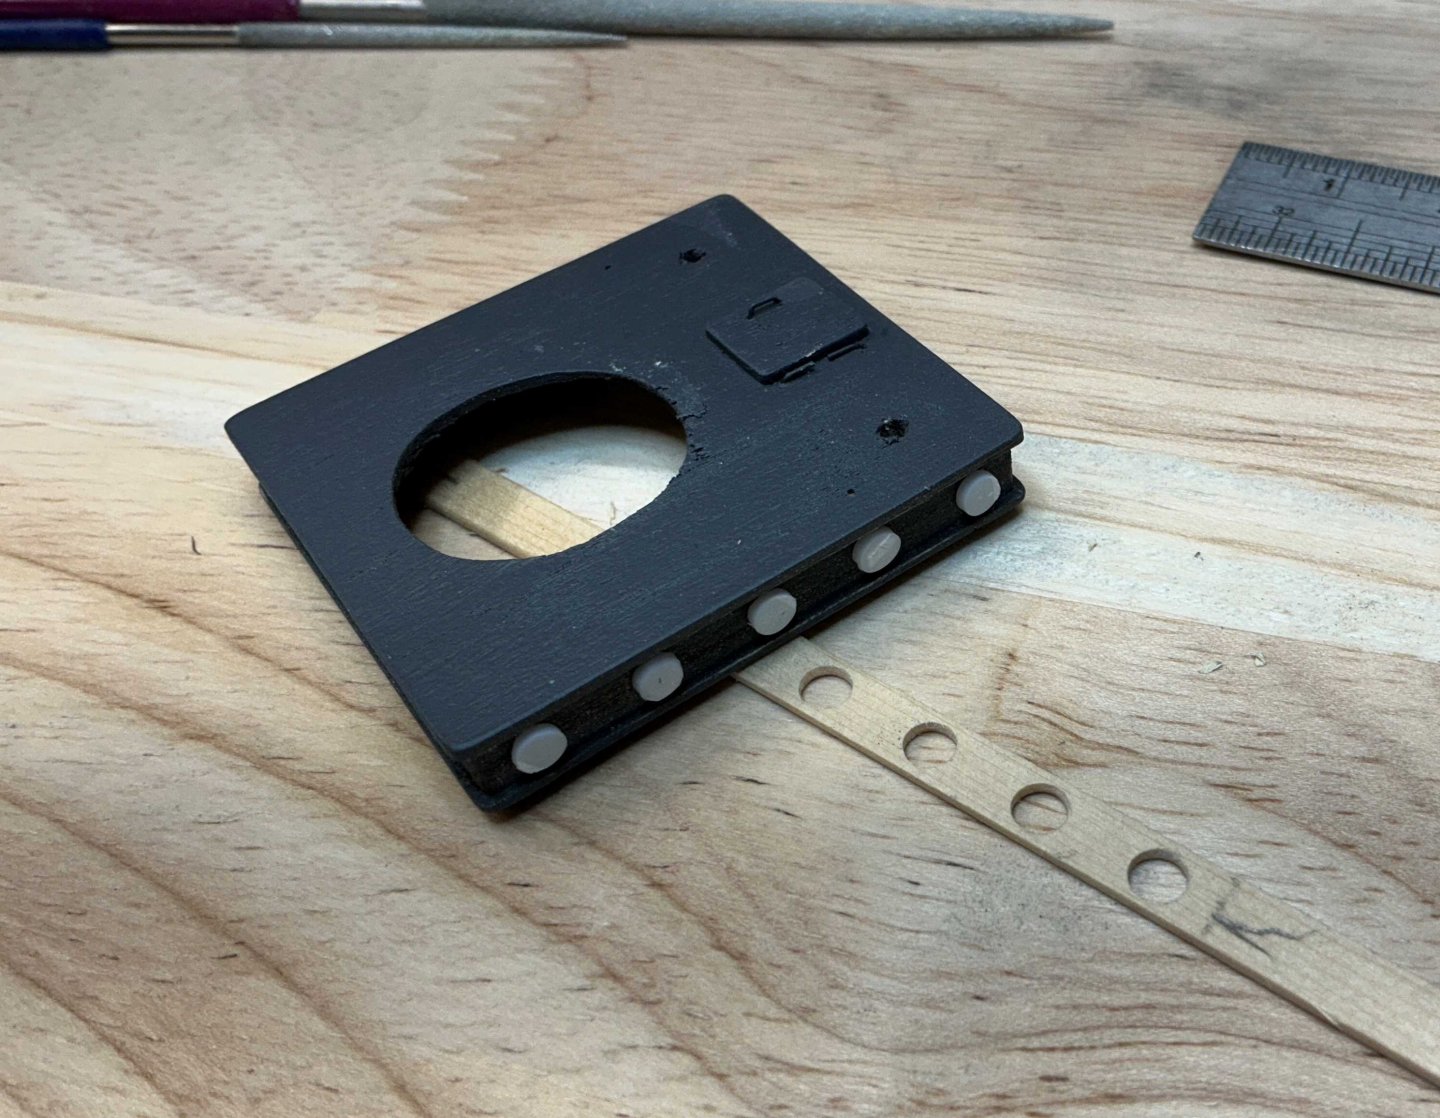
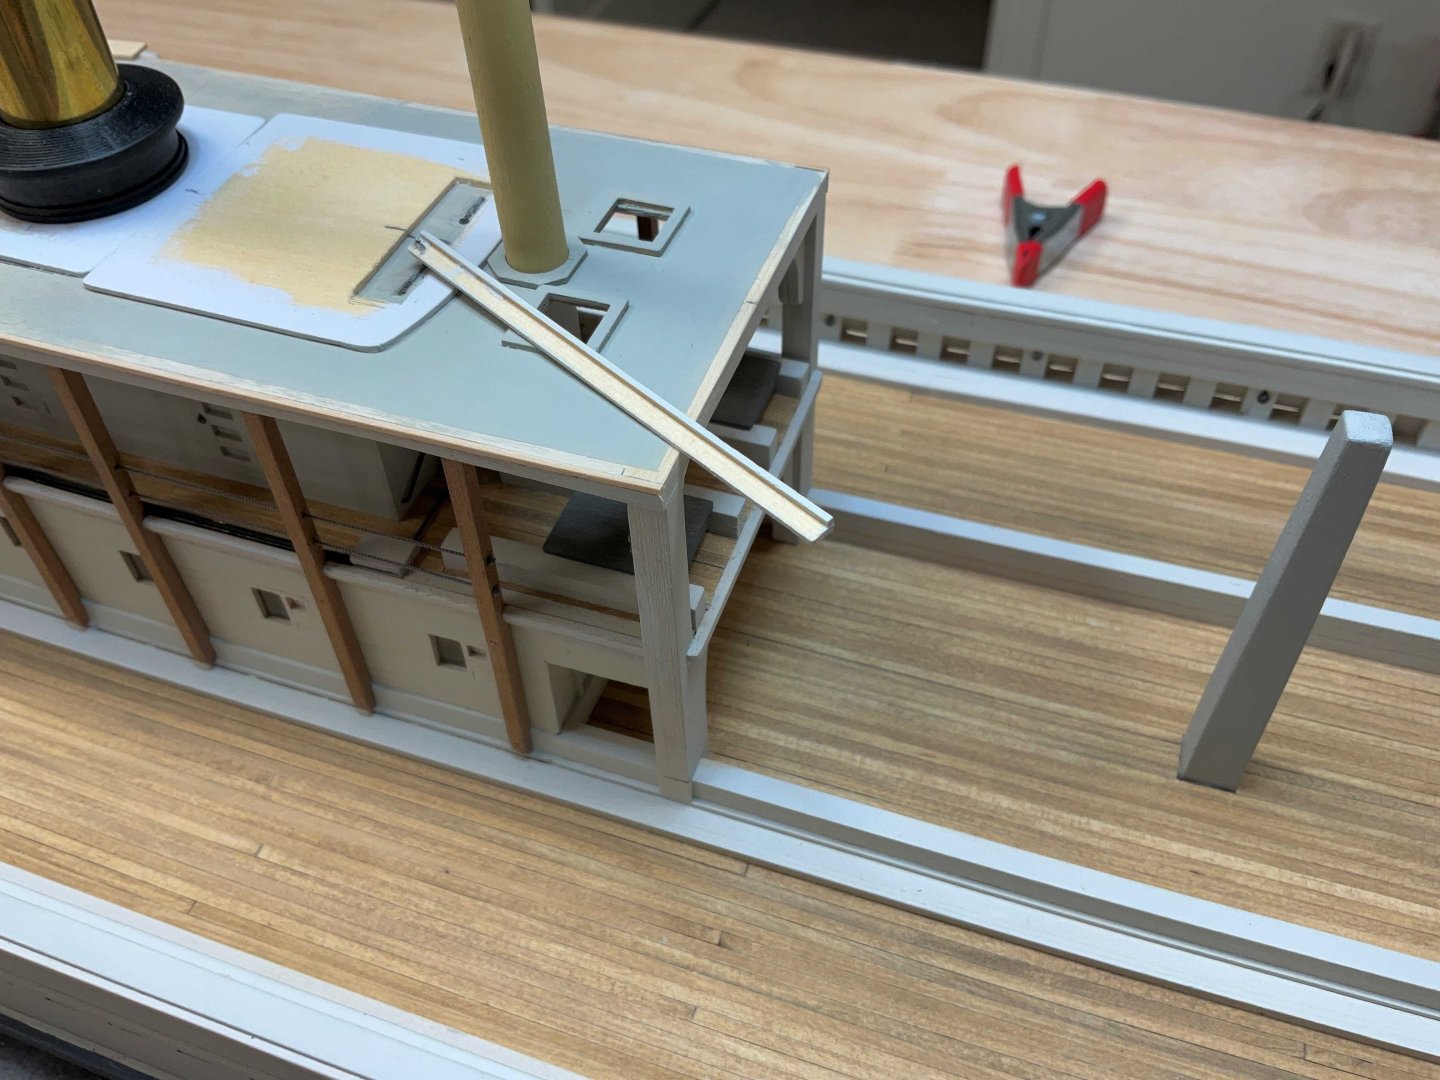
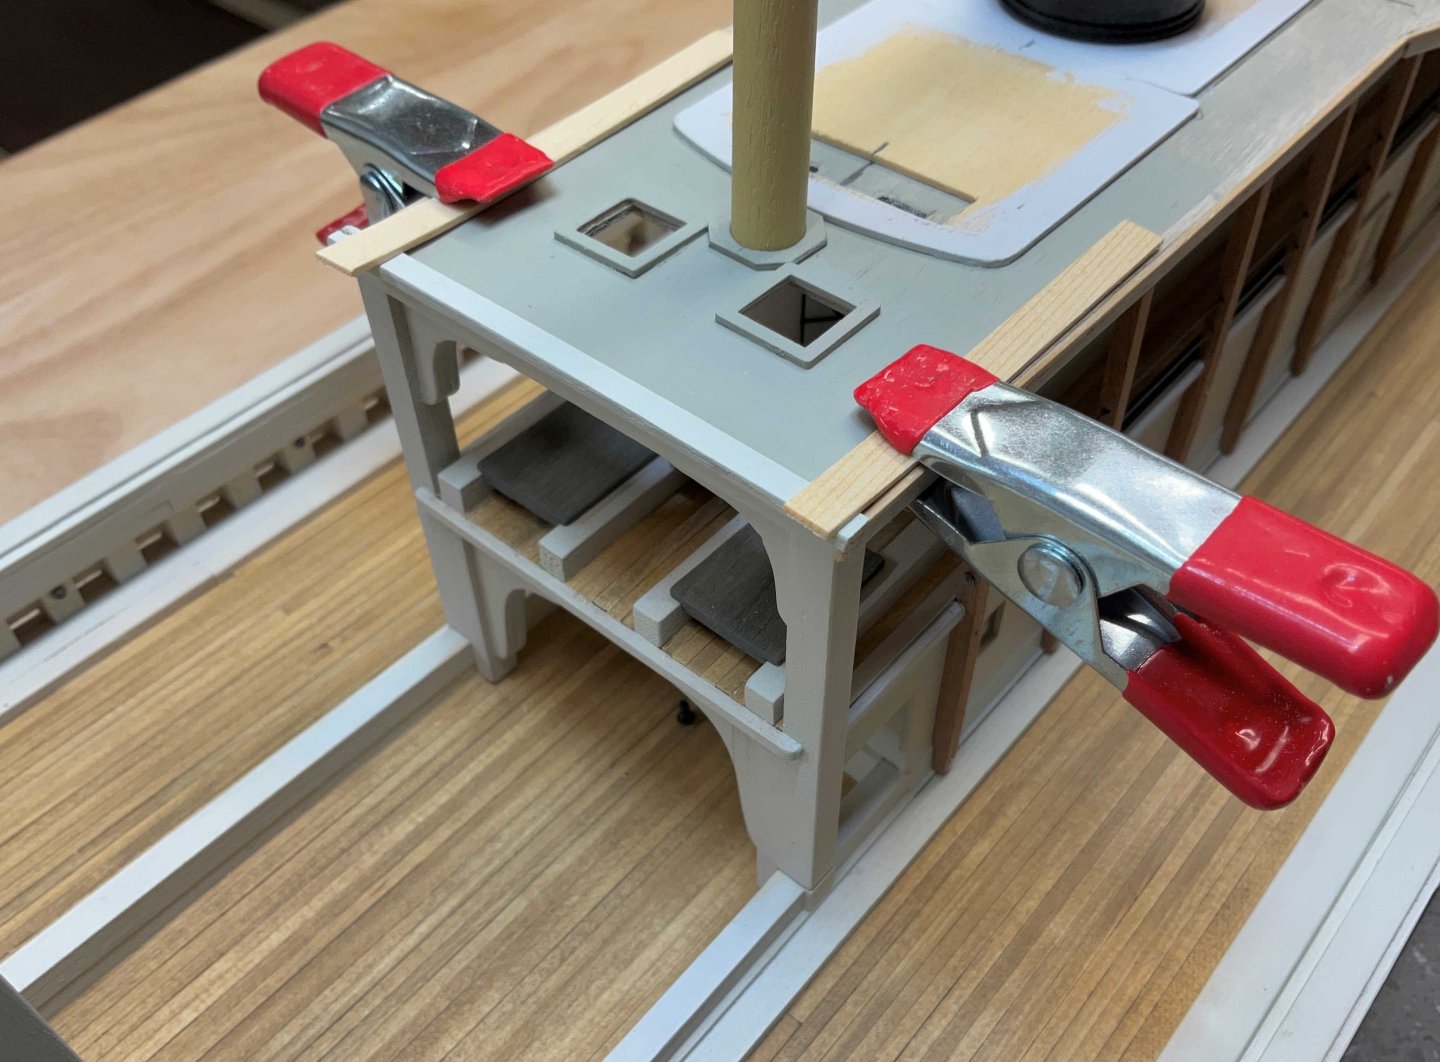
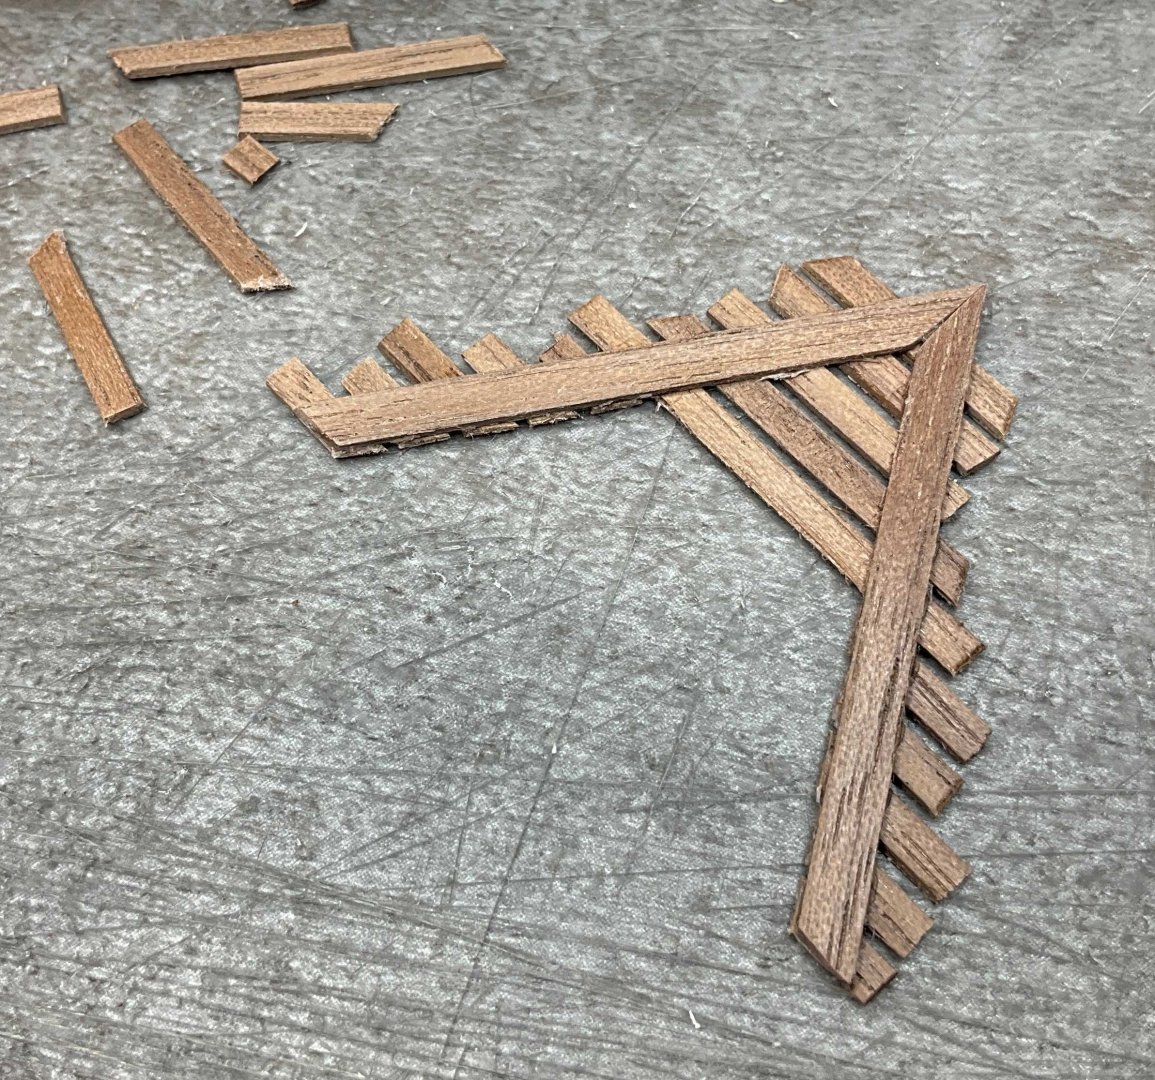
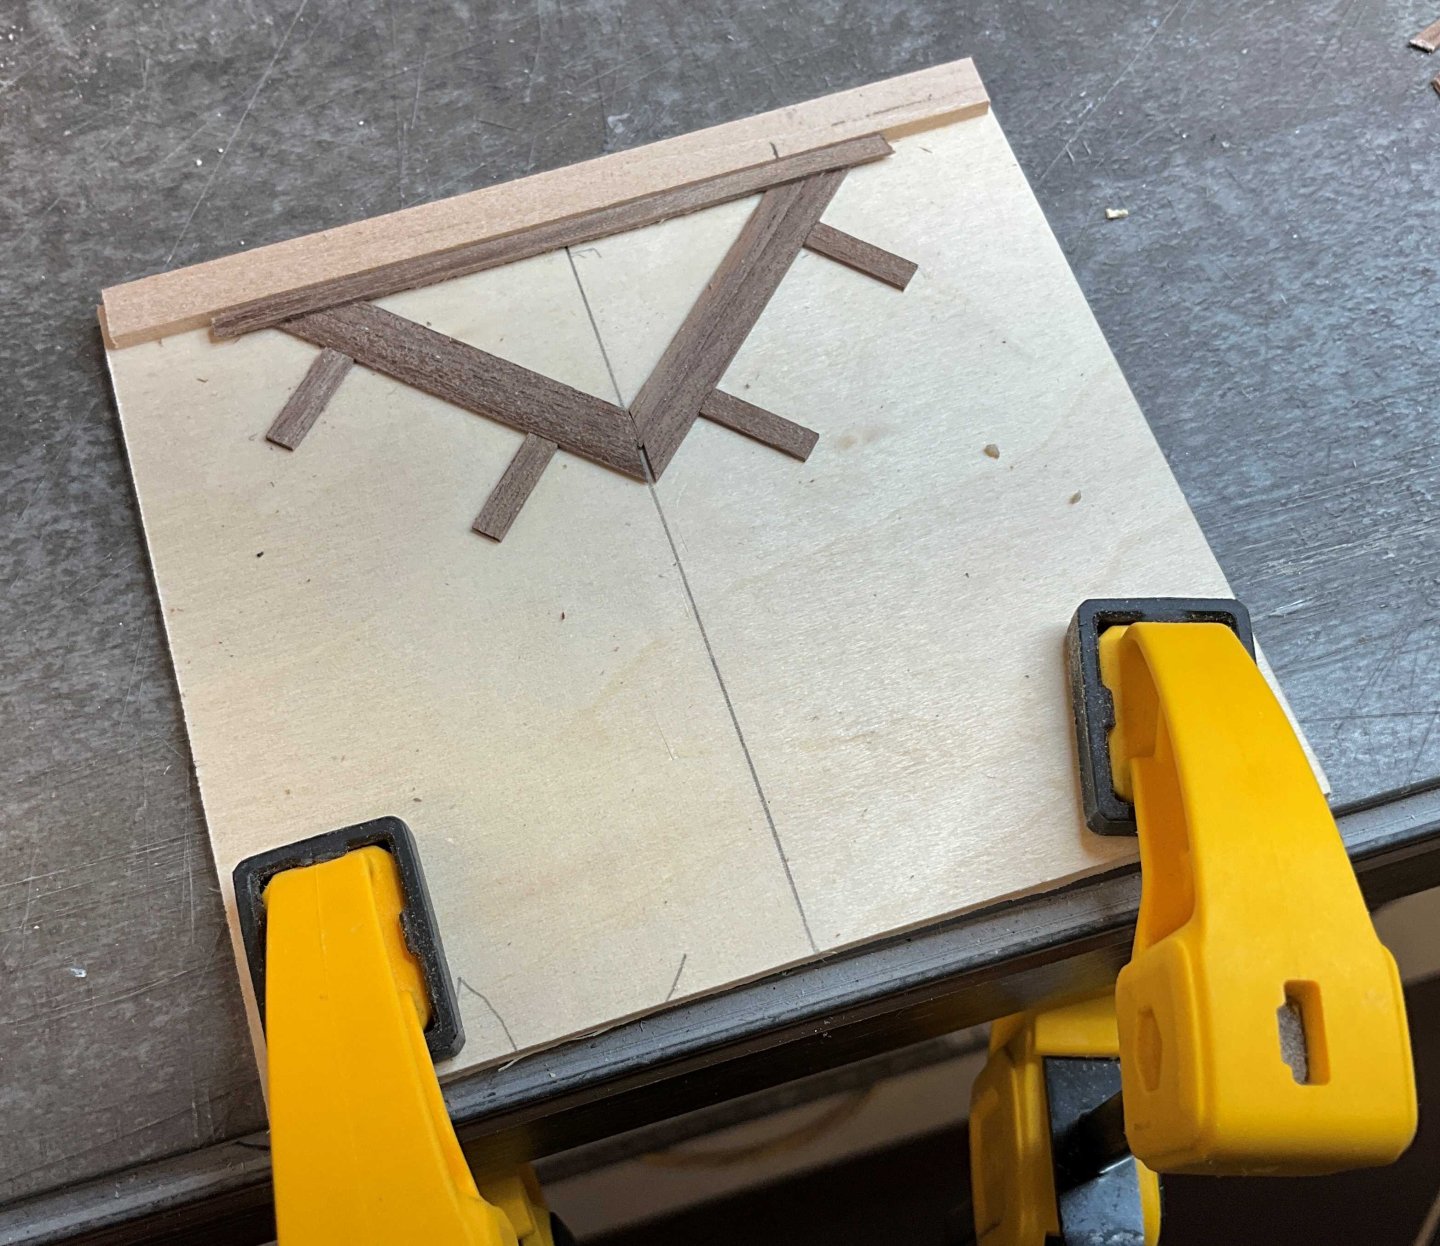
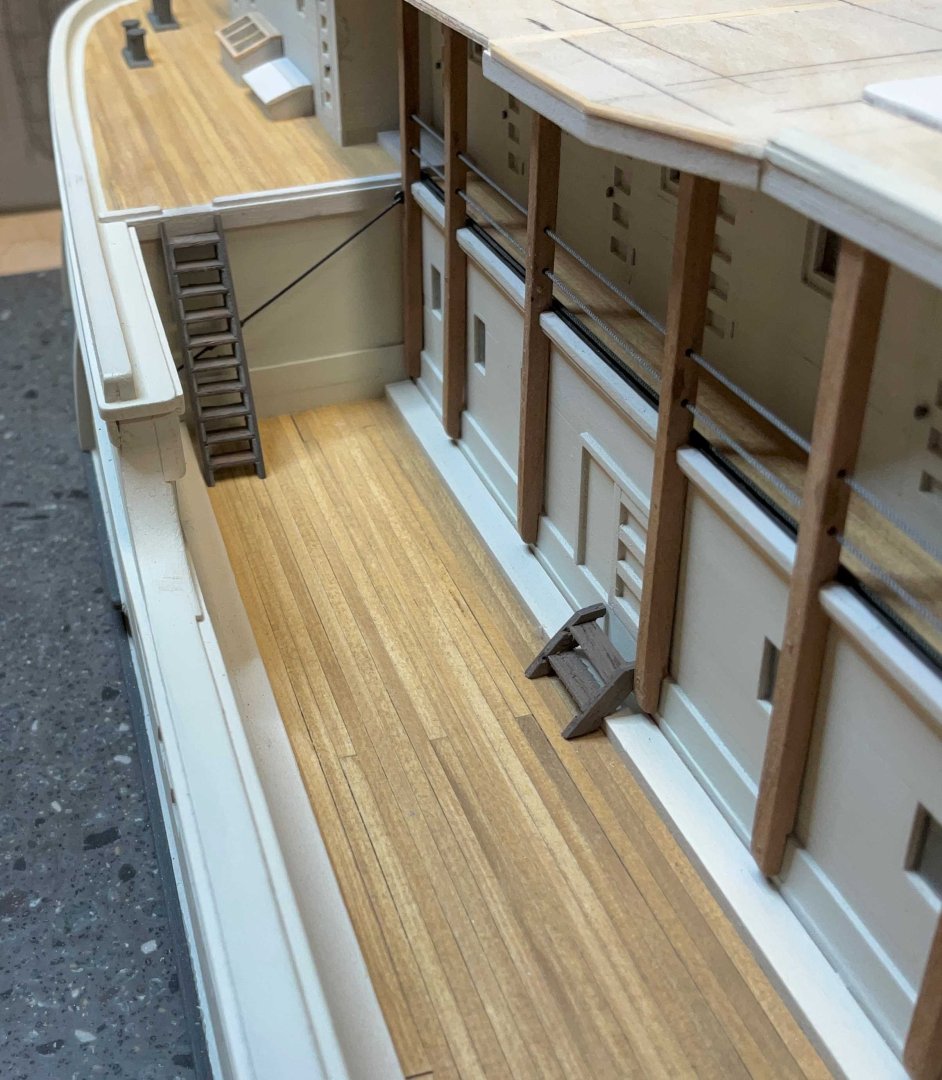
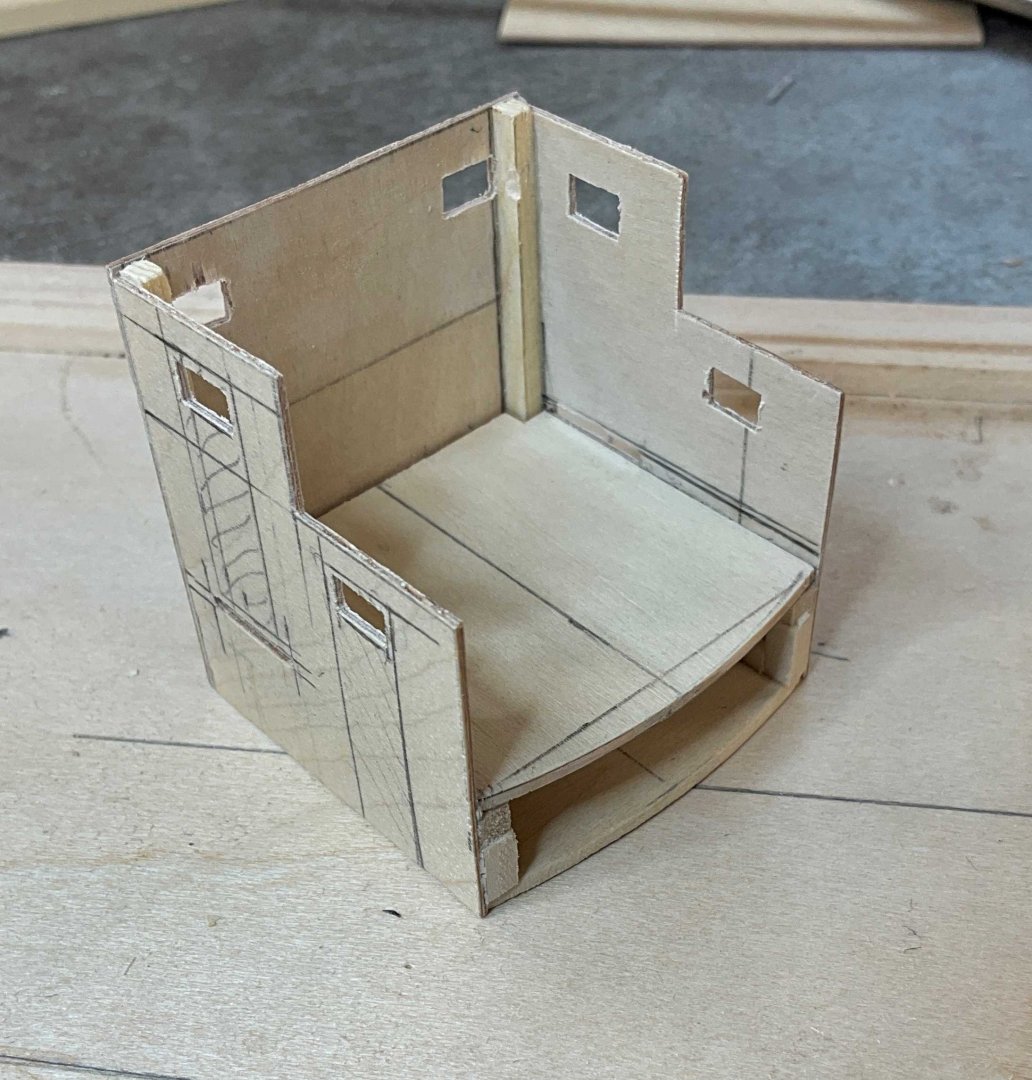
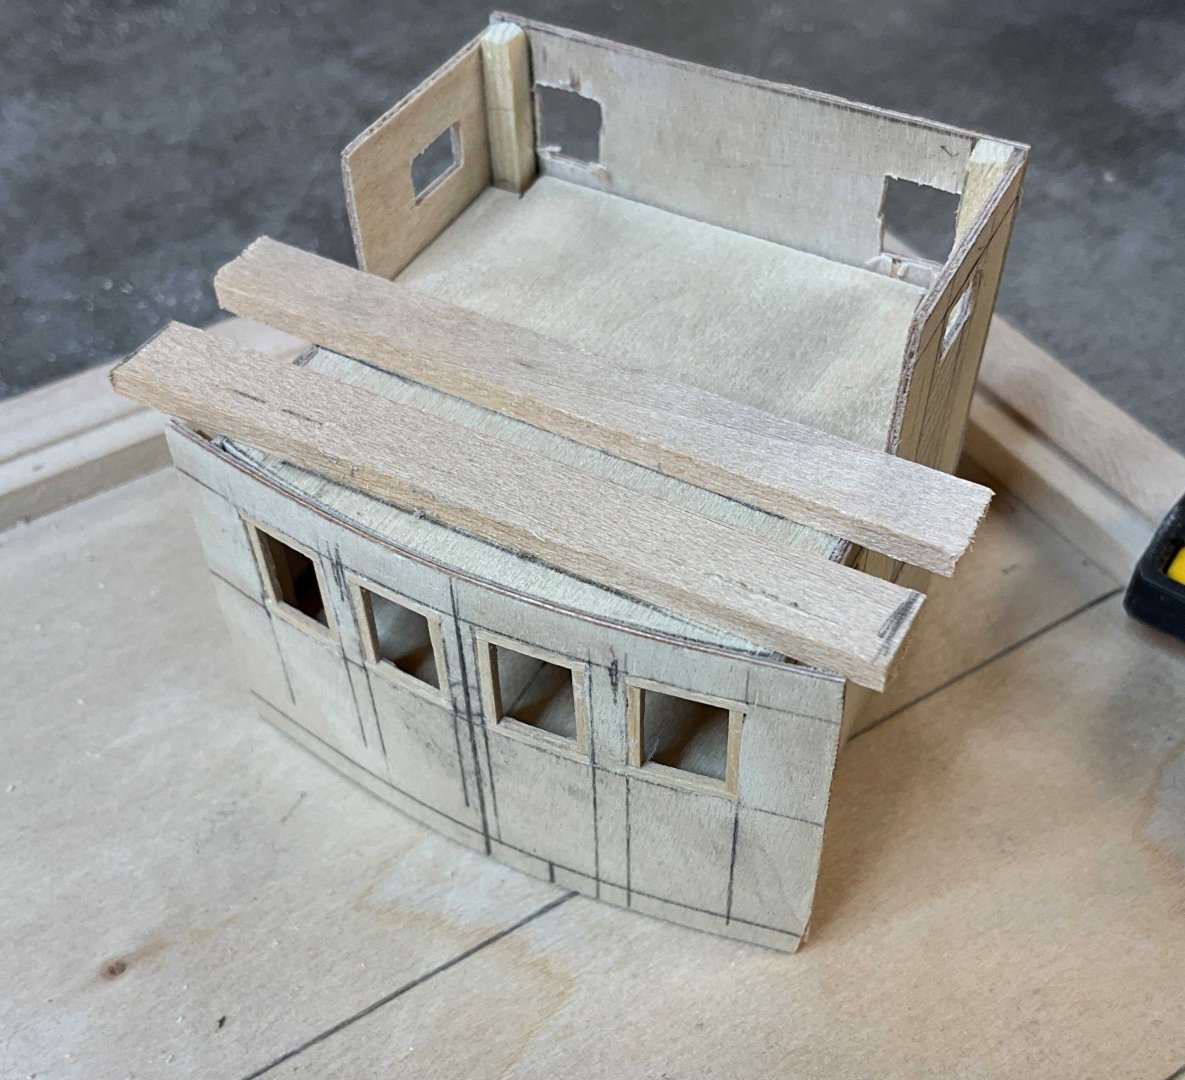
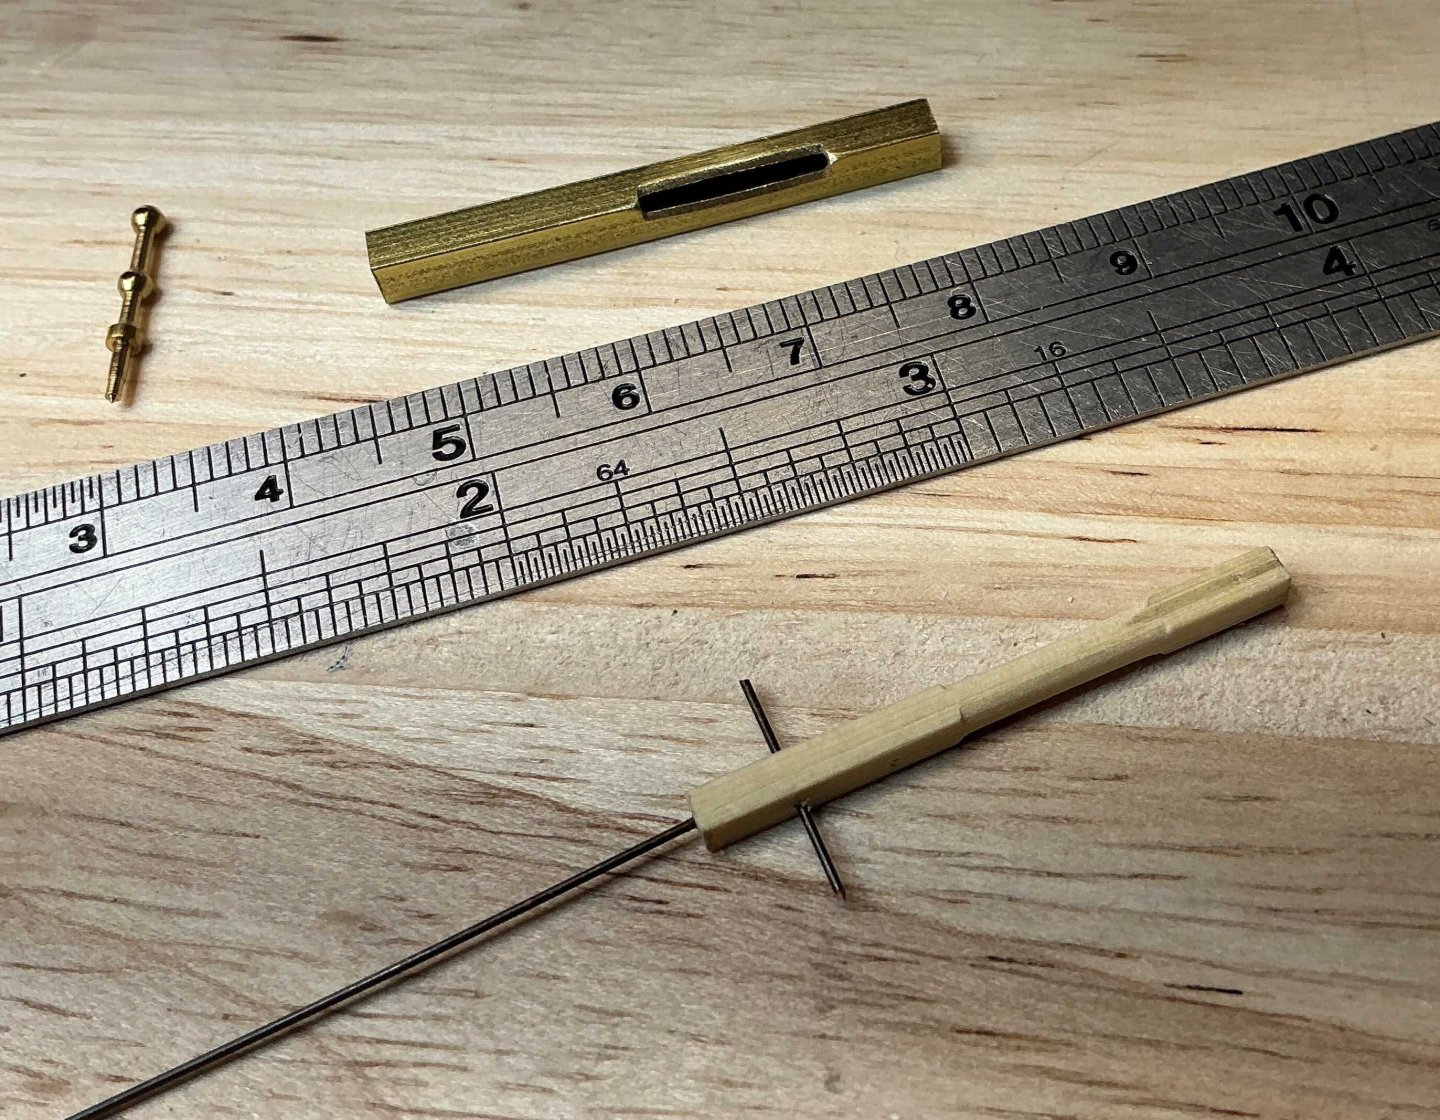
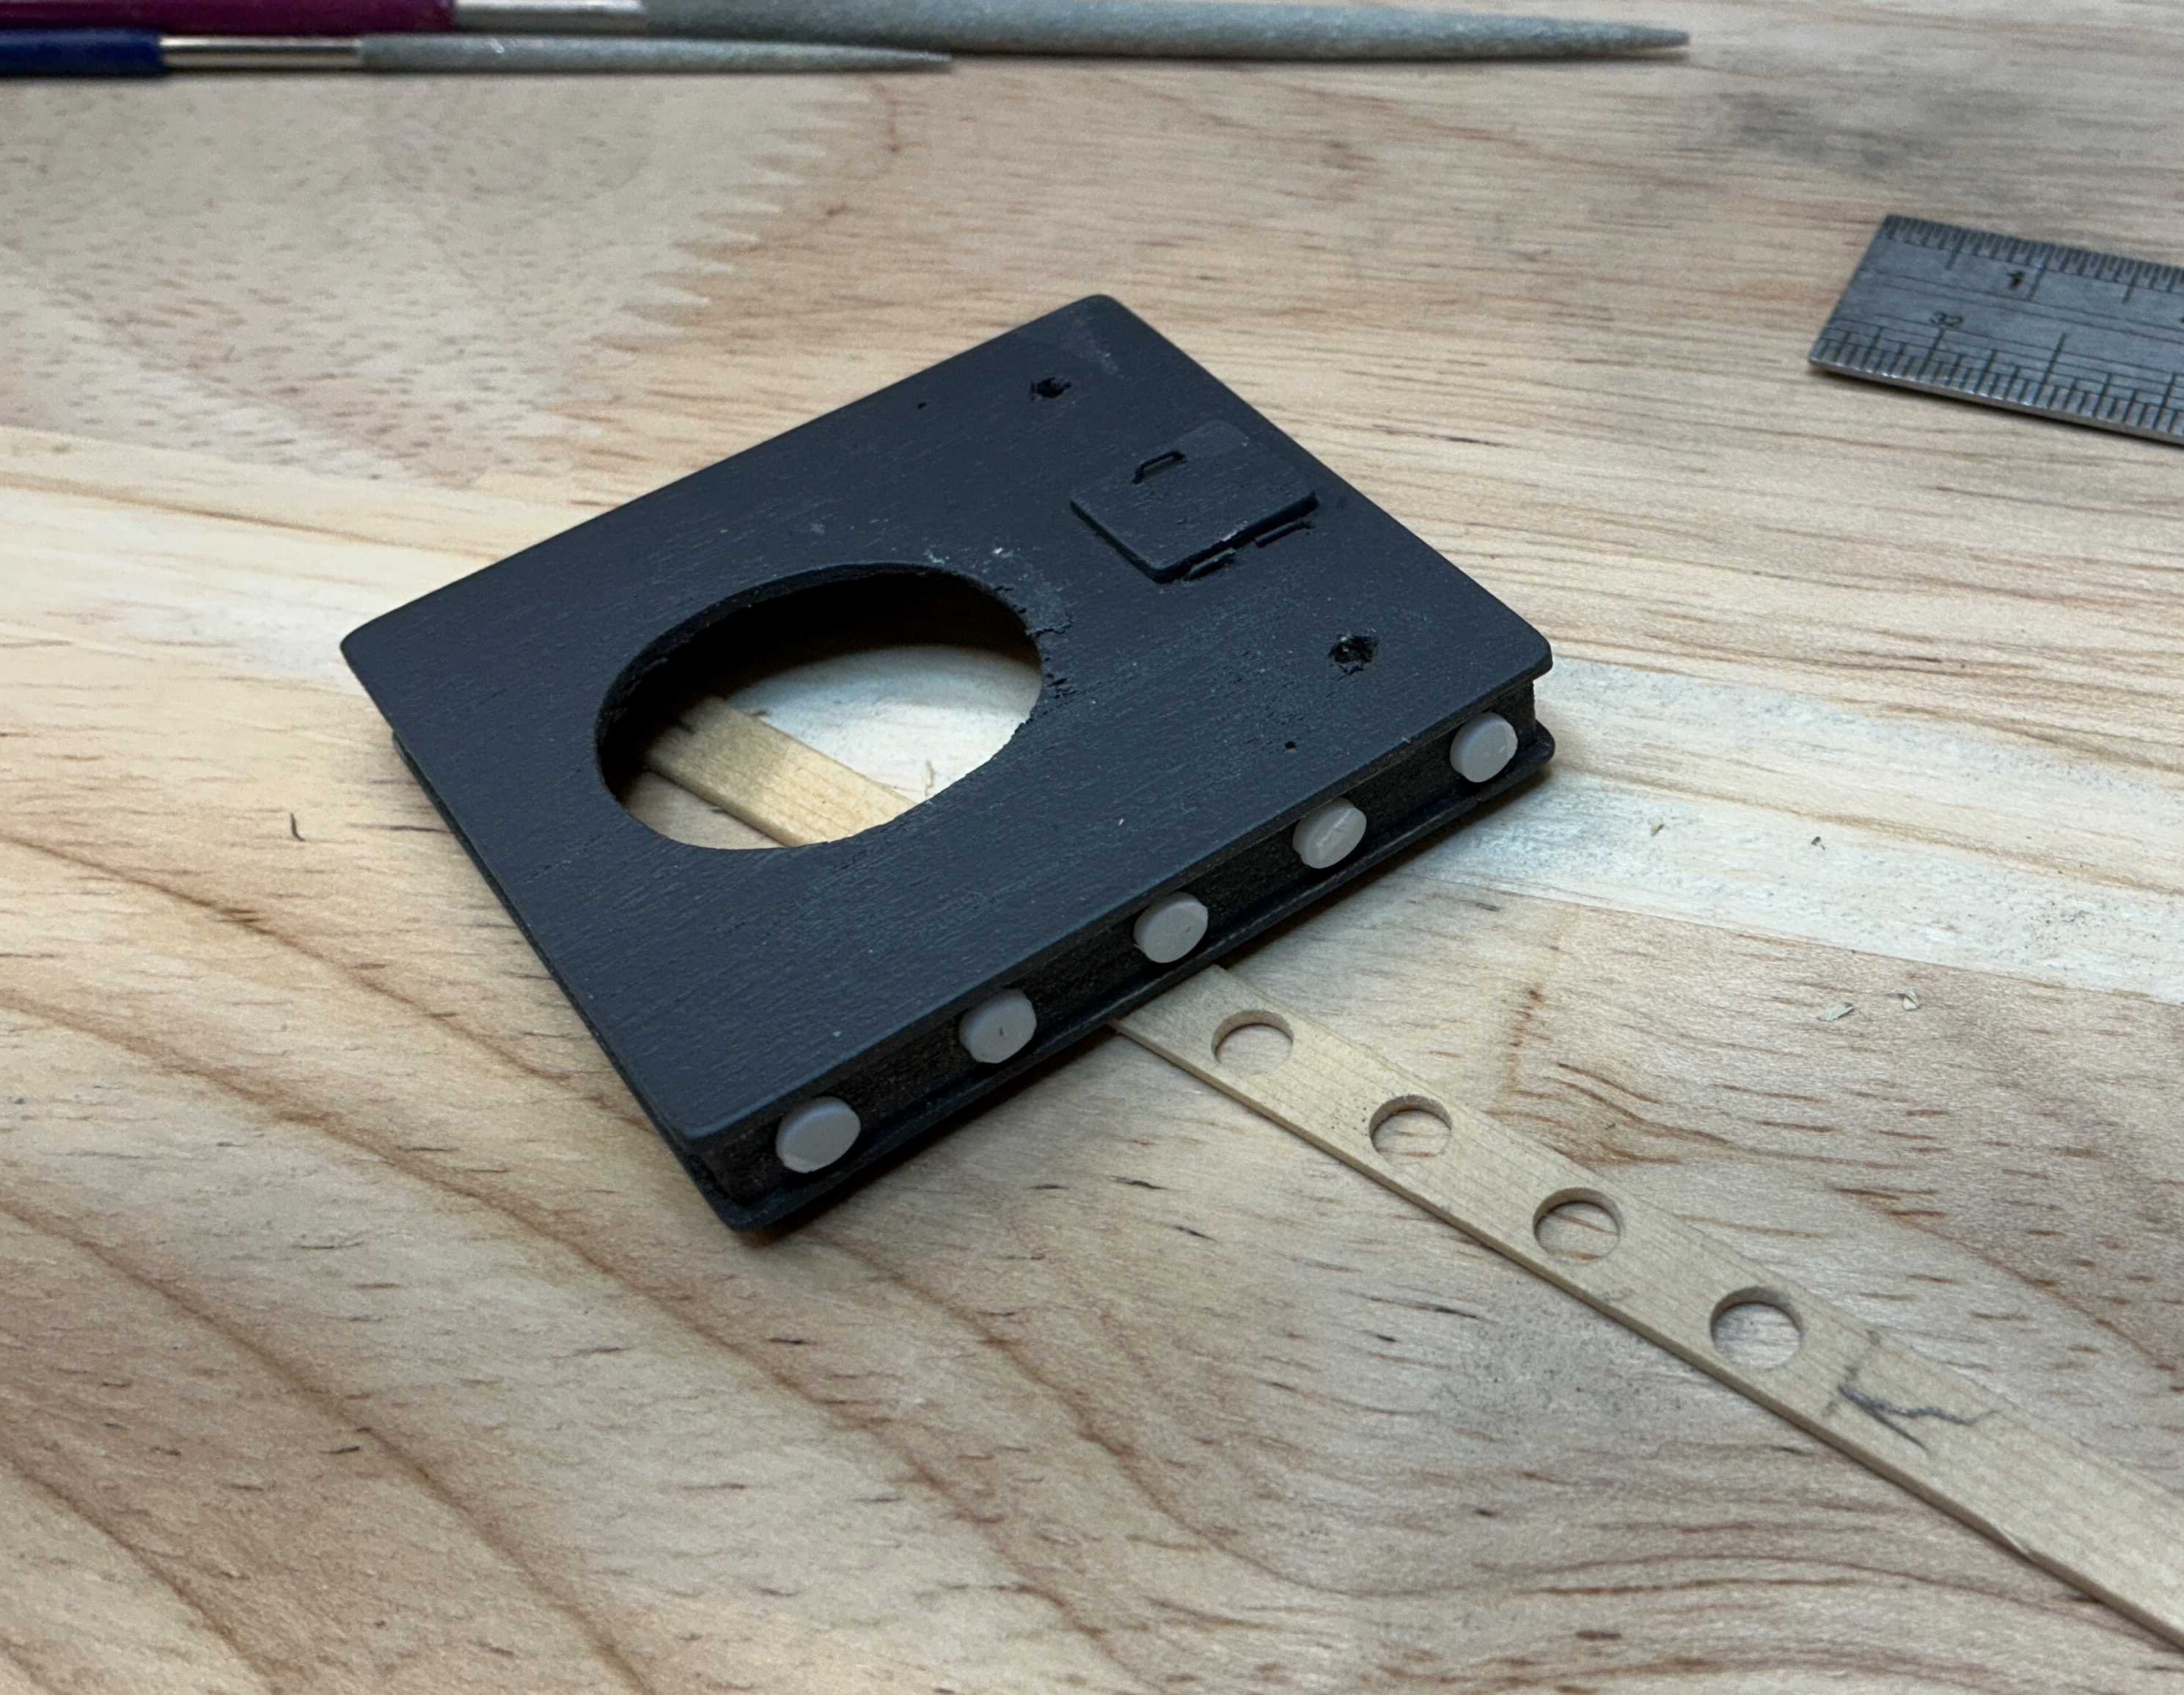
Hi Everyone, figured I would get one more update in before the end of the year. Thank you for all of your Comments and Likes. The covering boards were started probably in an attempt to delay working on the four ladders and three sets of steps. A 1/32" x 1/32" strip of wood was glued to a 1/32" x 1/8" strip and painted before attaching. Once I had gone as far as possible with the covering boards I started on the ladders that are made from 1/32" x 1/8" walnut. A jig was made to hold the stringers and then the riser planks which were cut to around 3/32" wide were attached using a 1/32" strip as a spacer. After they were assembled they were given a dark grey wash. The iron casing for the stack was made and the deadlights were attached using a properly spaced template. The deadlights were cut from 1/8" styrene rod using the Slicer. I was going to use brass tube for the stack but couldn't find anything to make the band. I decided to give Tinkercad a try. I found it to be a fun experience and ended up subbing out some STL files to a friend with a printer. I think they came out pretty good after some cleanup. The wheelhouse was assembled using 1/32" plywood. The window openings are lined with 1/32" x 1/32" boxwood. Now the siding has begun. The hand rails for the ladders up to the cabin deck had to be done in combination with the stanchions that support the boat deck. The stanchions have a fancy turned section in the middle. Mine are not going to be that fancy. A "micro lathe" was made out of a piece of 1/8" square brass tube with a corner filed off the length of the turned section. A piece of 3/32" x 3/32" AYC is slid into the tube and the corner is sanded off at the slot. Then taken out and repeated until all four edges are sanded. They then need a bit of finish sanding. Like other people have found, the store bought brass handrail stanchions needed to be sanded down quite a bit. The next ones will be sanded even more. Now the rest of the boat deck can be framed. Hope to see you in The New Year!
.thumb.jpg.7ce692df1d4f3ed3d2c42ee92c22ae1b.jpg)
.thumb.jpg.bedb744637b67021afaea55dcfb4d3ca.jpg)
.thumb.jpg.ca224462cd870873f644d91f3a8a873c.jpg)
.thumb.jpg.15b9c0e2e10471d765f63daf85b07966.jpg)
.thumb.jpg.7914403ae6c2ca0a71988c506db72248.jpg)


-
Great work Keith! Looking forward to seeing how the new pens perform.
-
My back aches just looking at that photo. A lot of that lumber must have been hand -bombed.
-
Hi Ian, < offshore-vessels-drawings.com > has quite a few ships listed. My browser keeps complaining about the site not being encrypted so use your own discretion.
-
Harvey, glad to see that you are able to get some more work accomplished on this beautiful model! Very nice.
-
Bob , congratulations on finishing this beautiful Pegasus. Excellent work!
- 261 replies
-
- 3
-

-

-
- Victory Models
- Pegasus
- (and 3 more)
-
Craig, happy to hear that the second sea trial went well. Looking forward to seeing her again!
-
Hi J, thank you very much for your nice comment. I do like the the look of these boats fully loaded in the old photos. Gives you a sense of how hard they had to work for a living. So yes I would like to load up the deck.
-
Keith, maybe you could try making the L s a bit heavier. Looking excellent!
-
It’s good to dream.
-
Yes indeed John, it is good to see you back in the museum! She is looking great.
-
Roel, I hope you will be doing a build log. That would be something to see!
-
Hi Keith, thank you so much!
-
Roel, congratulations on completing this beautiful and very interesting vessel!
-
Absolutely superb Roel!
.jpg.19ea9e8d75ff1ca613fd43b23ee2ad8c.jpg)
.jpg.fa00b188dfd3090bbce4a437e922b2d1.jpg)
.jpg.f86c2a93ed7983af6fda9c216eacd028.jpg)
.jpg.294197da633d85552710a9a4d9fc6d3b.jpg)
.jpg.789f3ae4d12924eb9df0812e8161fb2d.jpg)