Paul Le Wol
-
Posts
1,047 -
Joined
-
Last visited
Content Type
Profiles
Forums
Gallery
Events
Everything posted by Paul Le Wol
-
Keith, its almost like Someone is trying to draw attention to the port side of the pilot house for some reason.🙂
- 457 replies
-
- 2
-

-

-
- sternwheeler
- Hard Coal Navy
- (and 1 more)
-
Keith, congratulations on completing your sternwheeler and barge. Like everyone has noted, this build has been a lot of fun and also very inspiring!
- 457 replies
-
- 2
-

-
-
- sternwheeler
- Hard Coal Navy
- (and 1 more)
-
Phil, congratulations on finishing Oryol! Splendid work.
- 288 replies
-
- 5
-
-
-
- Card
- Pre-Dreadnought
- (and 3 more)
-
Glen, it is one thing to achieve this feat, it’s another to document it so well. Congratulations!
- 156 replies
-
- 5
-
-
-
- Queen Annes Revenge
- bottle
- (and 1 more)
-
Beautiful work at the stem and the stern post!
-
Roel, the real ship is almost as amazing as your model. Looking great!
-
Need small repair done on jibboom of Le Superbe model
Paul Le Wol replied to Mr. Matt's topic in Masting, rigging and sails
Hi Mr Matt, welcome to MSW. You should remove your email address from your post. If someone can be of assistance they can PM you for details. Good luck. -
Gentlemen, thank you for your Comments. I always appreciate them very much!
-
Thank you Keith. The decks are planked with 1/32”x 5/64” Alaskan Yellow Cedar from Modeler’s Sawmill. They are individually washed with thinned Vallejo Model Colour Old Wood and then given a coat of Wipe on Poly tinted with Vallejo Dark Slate Grey pigment. Every plank has a mind of its own on how it wants to look. Then the backsides need a light sanding before gluing down. The W-O-P makes it easy to remove excess glue with a damp brush
-
Thank you Jacques. They had sample pieces that looked like wood but said that they never get remnants of those. I guess wood kitchens have fallen from grace.
-
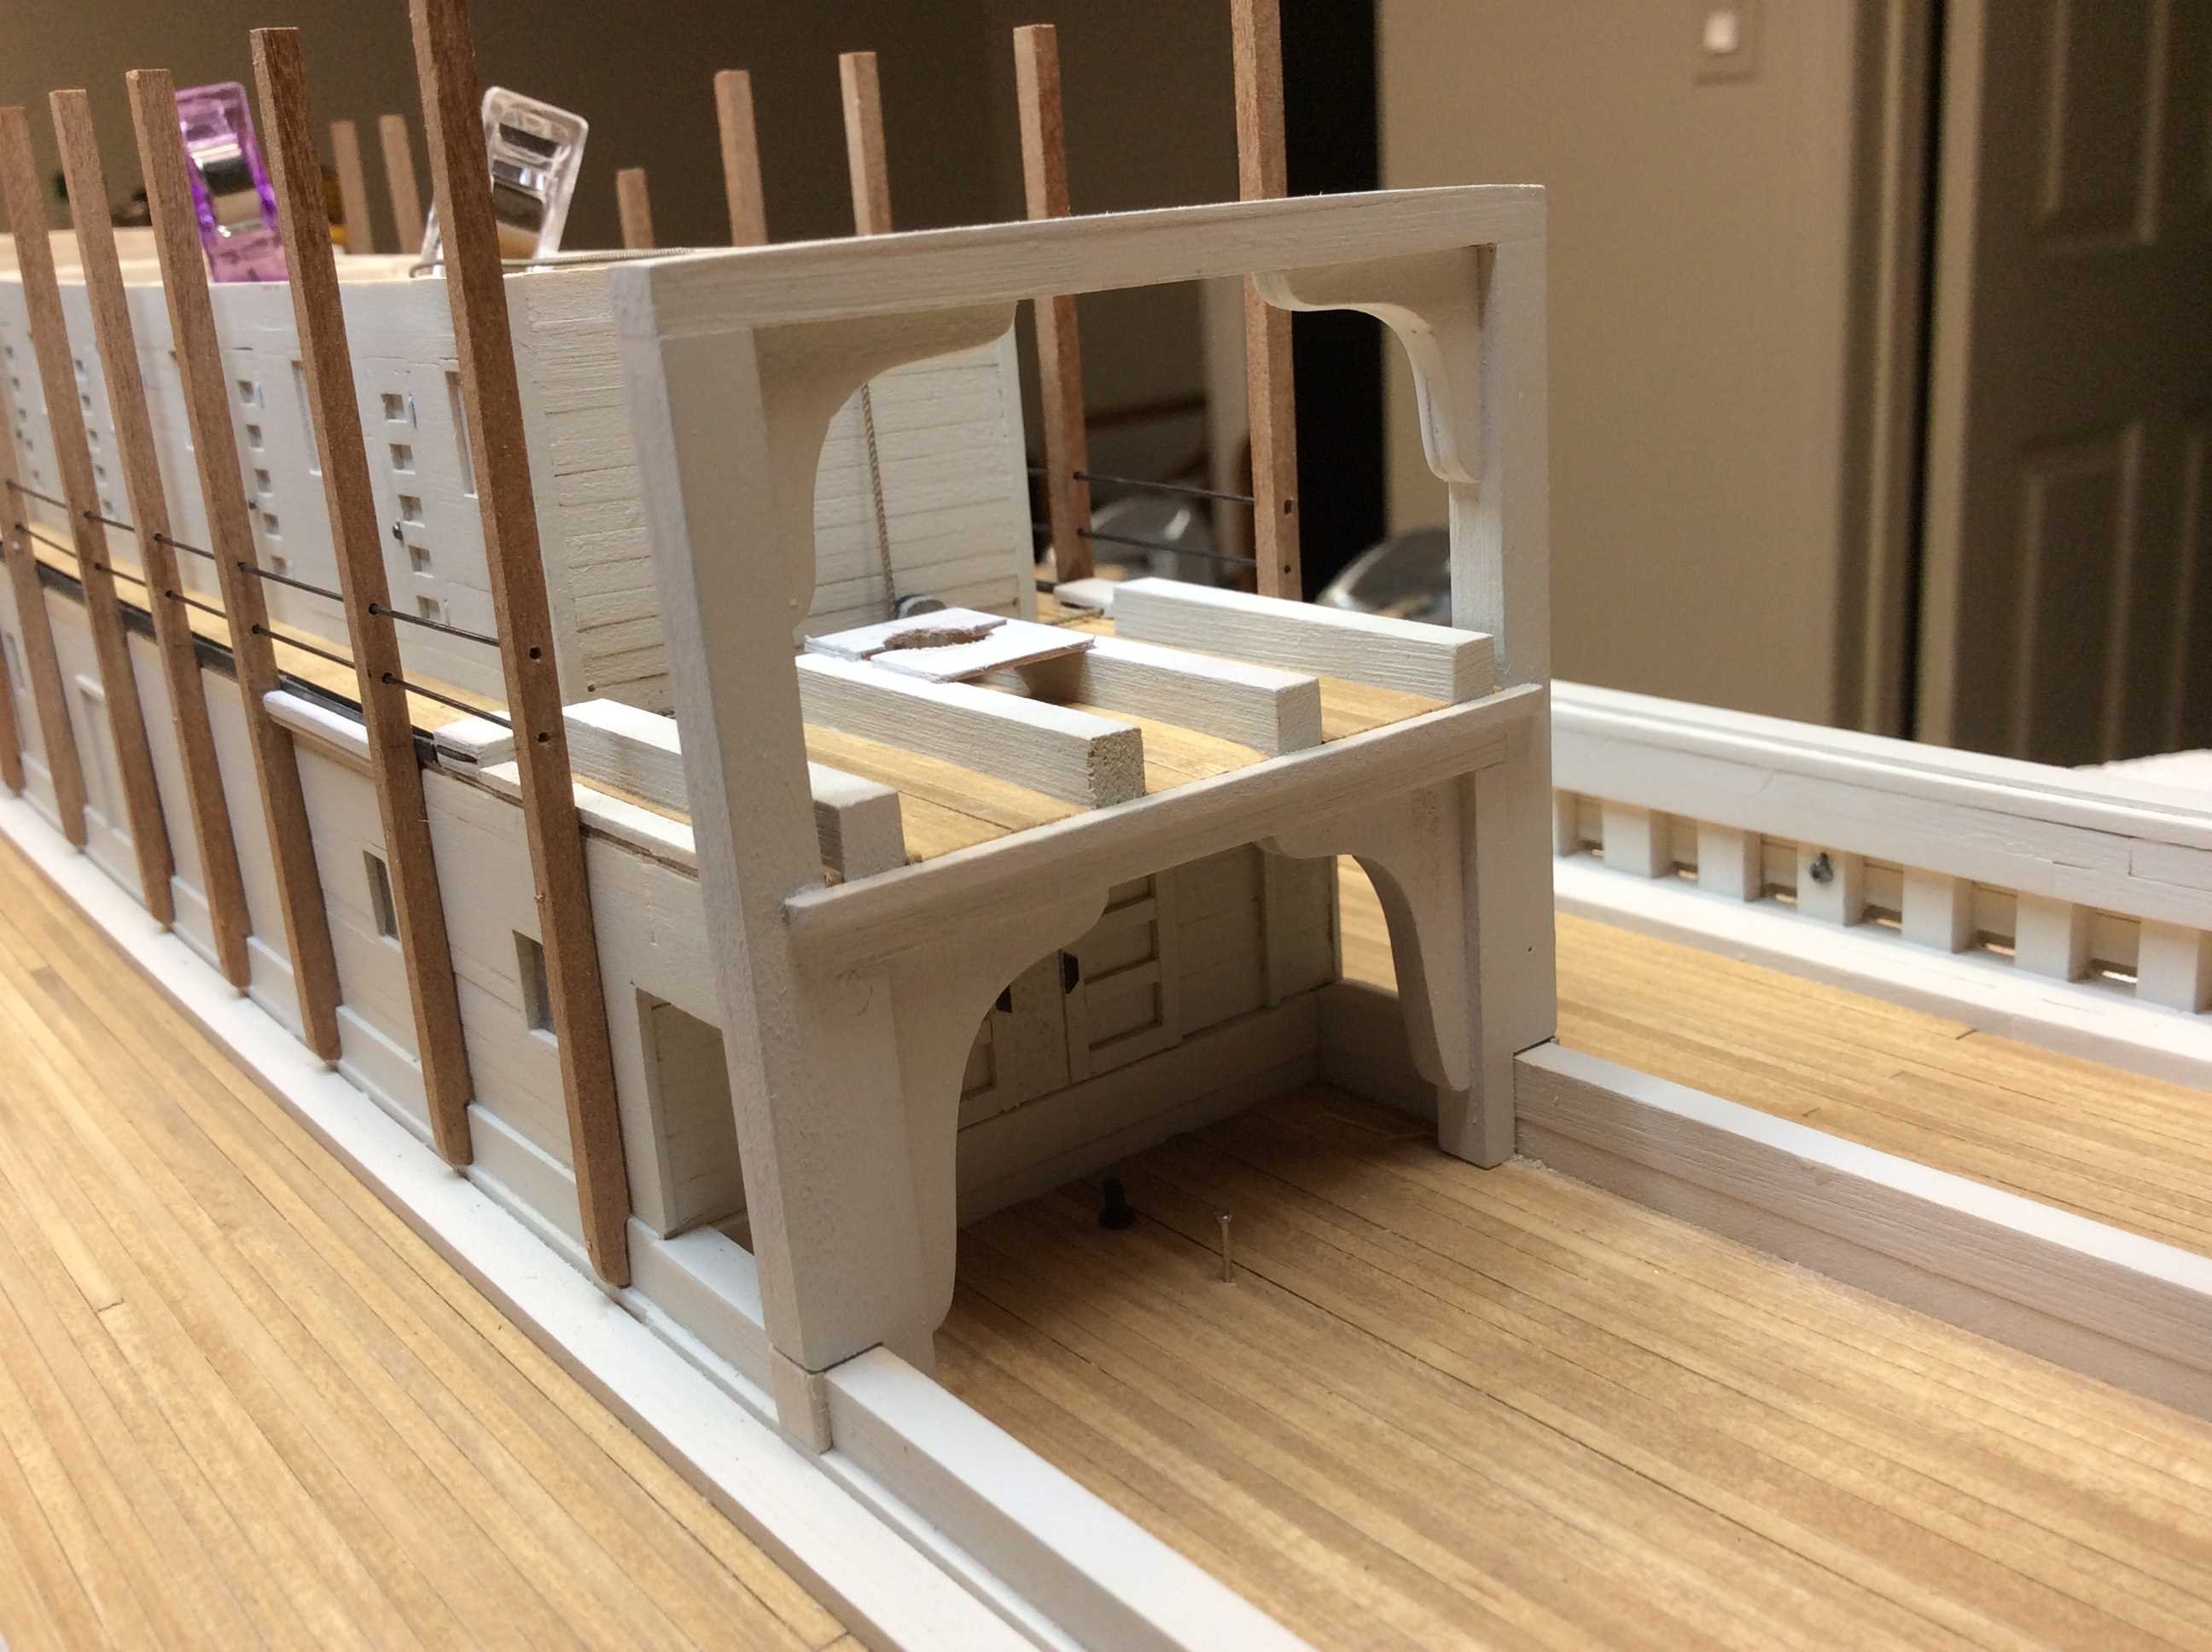
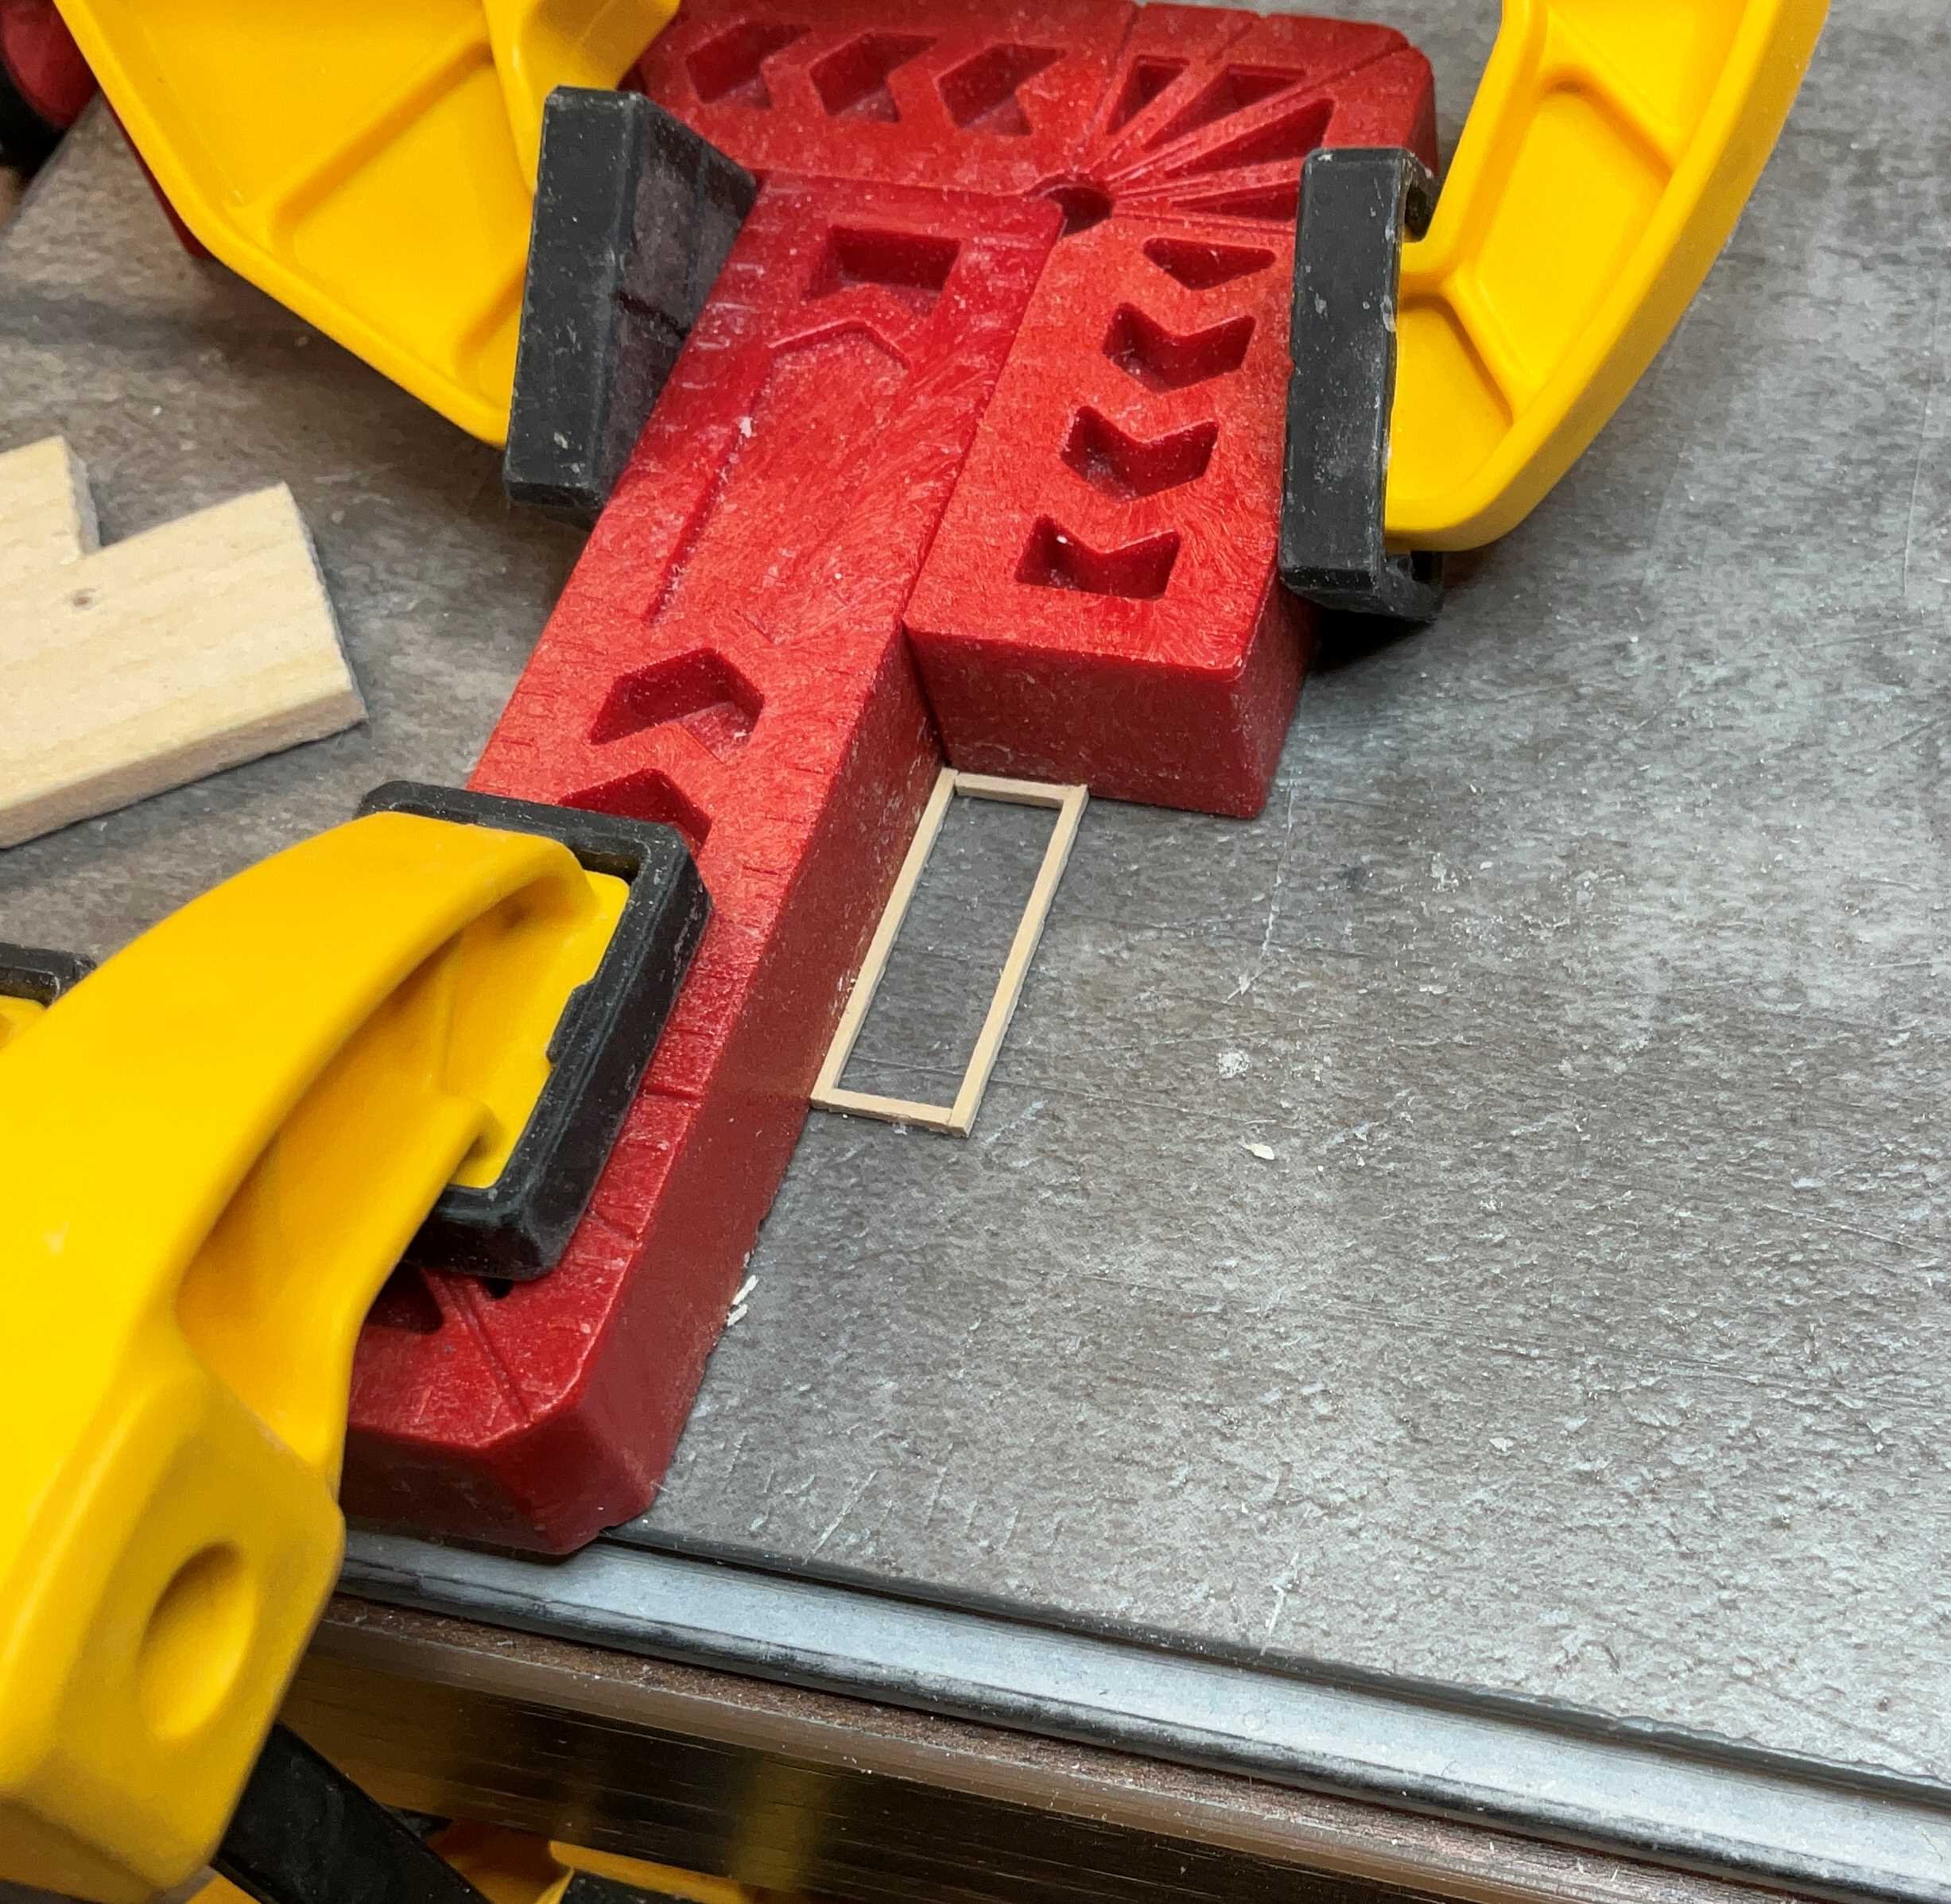
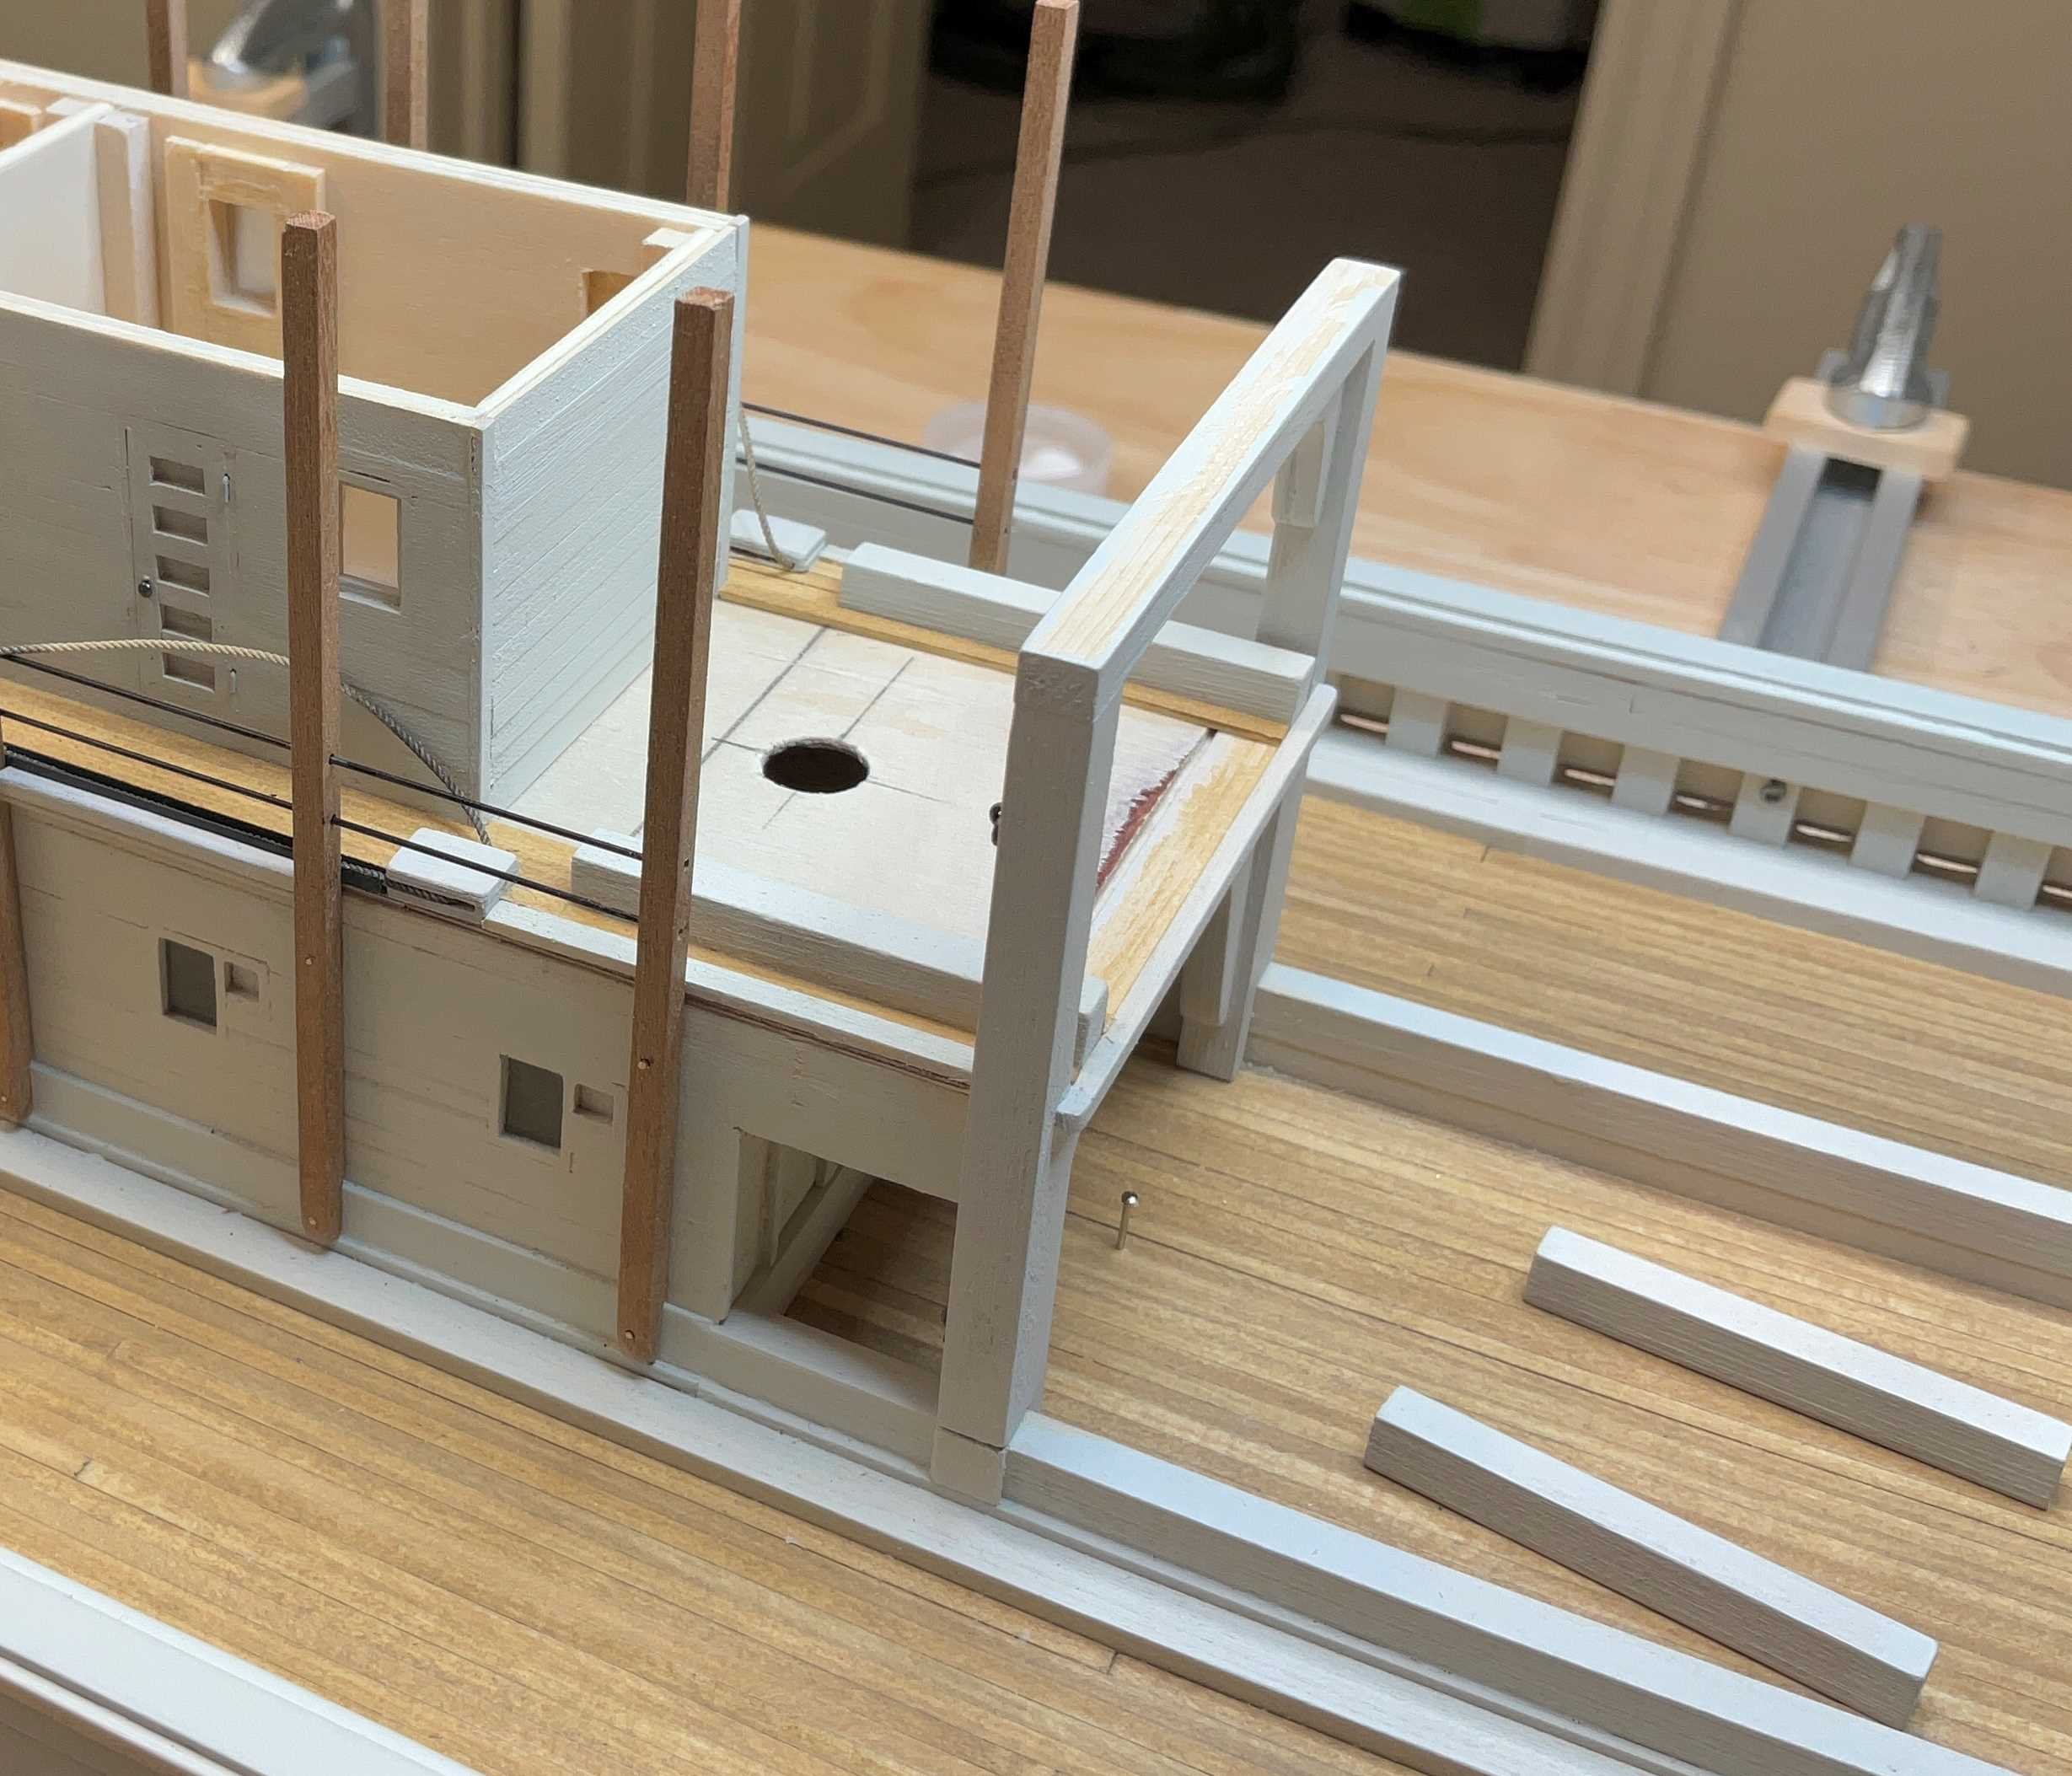
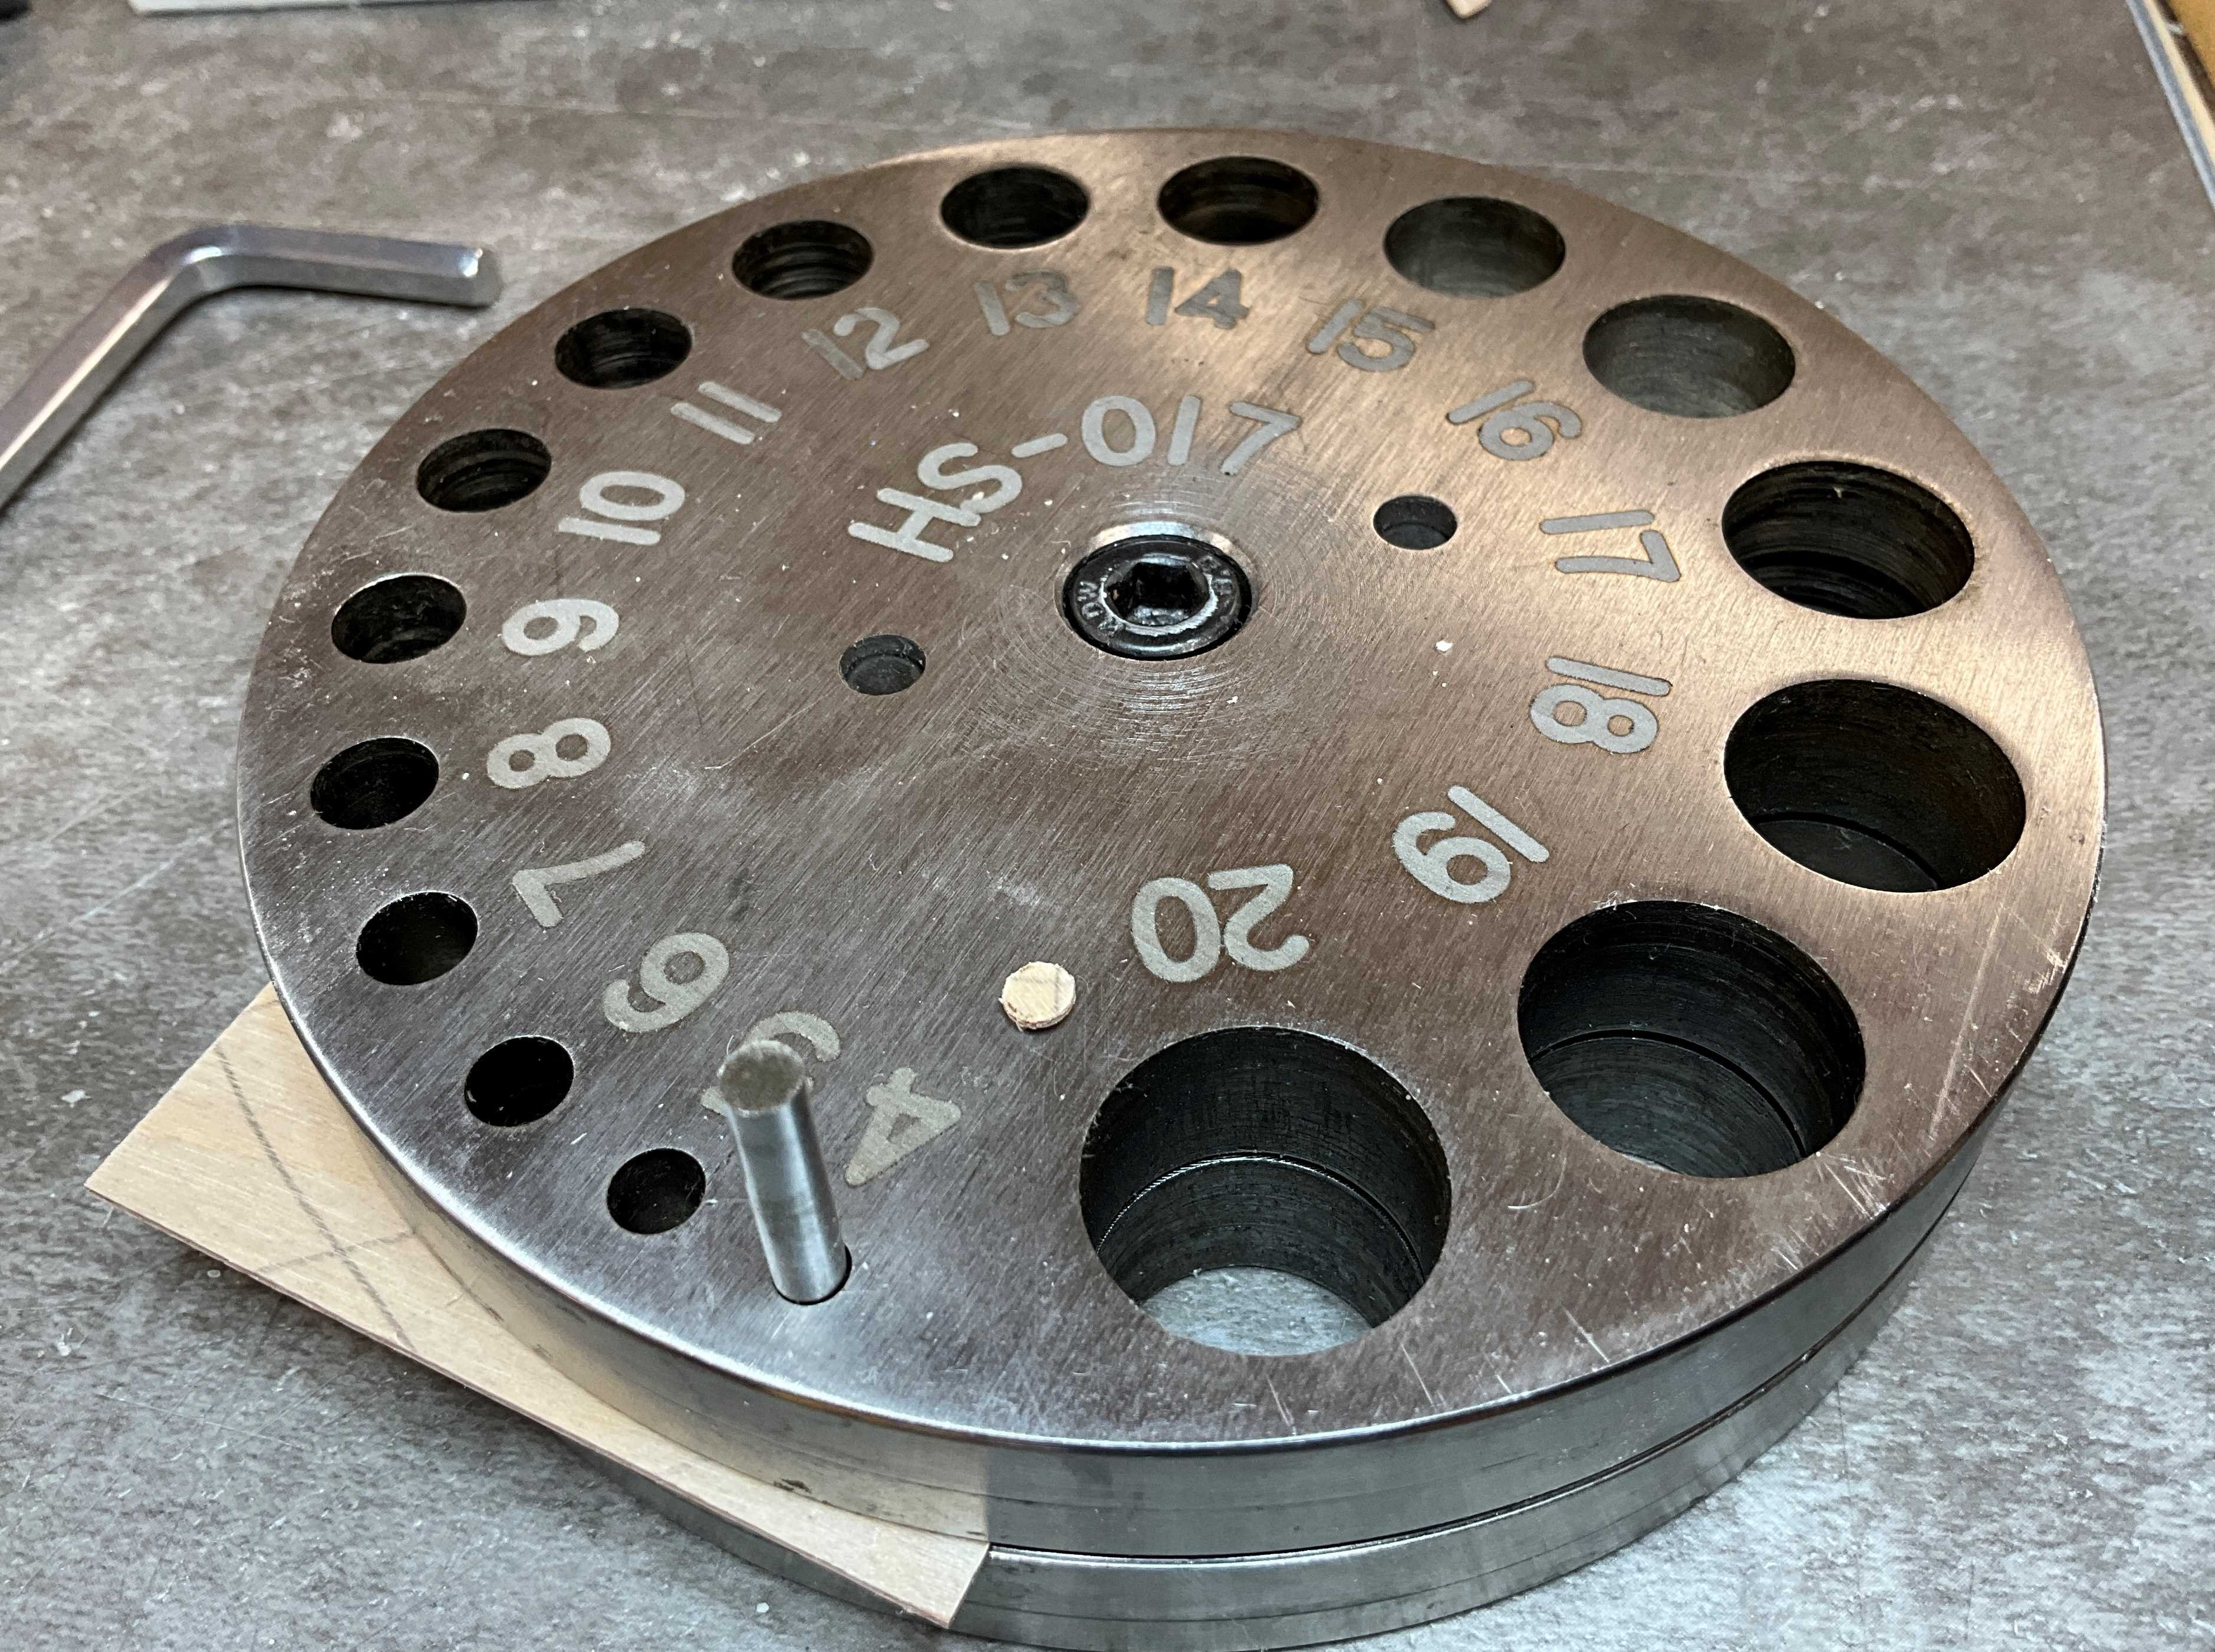
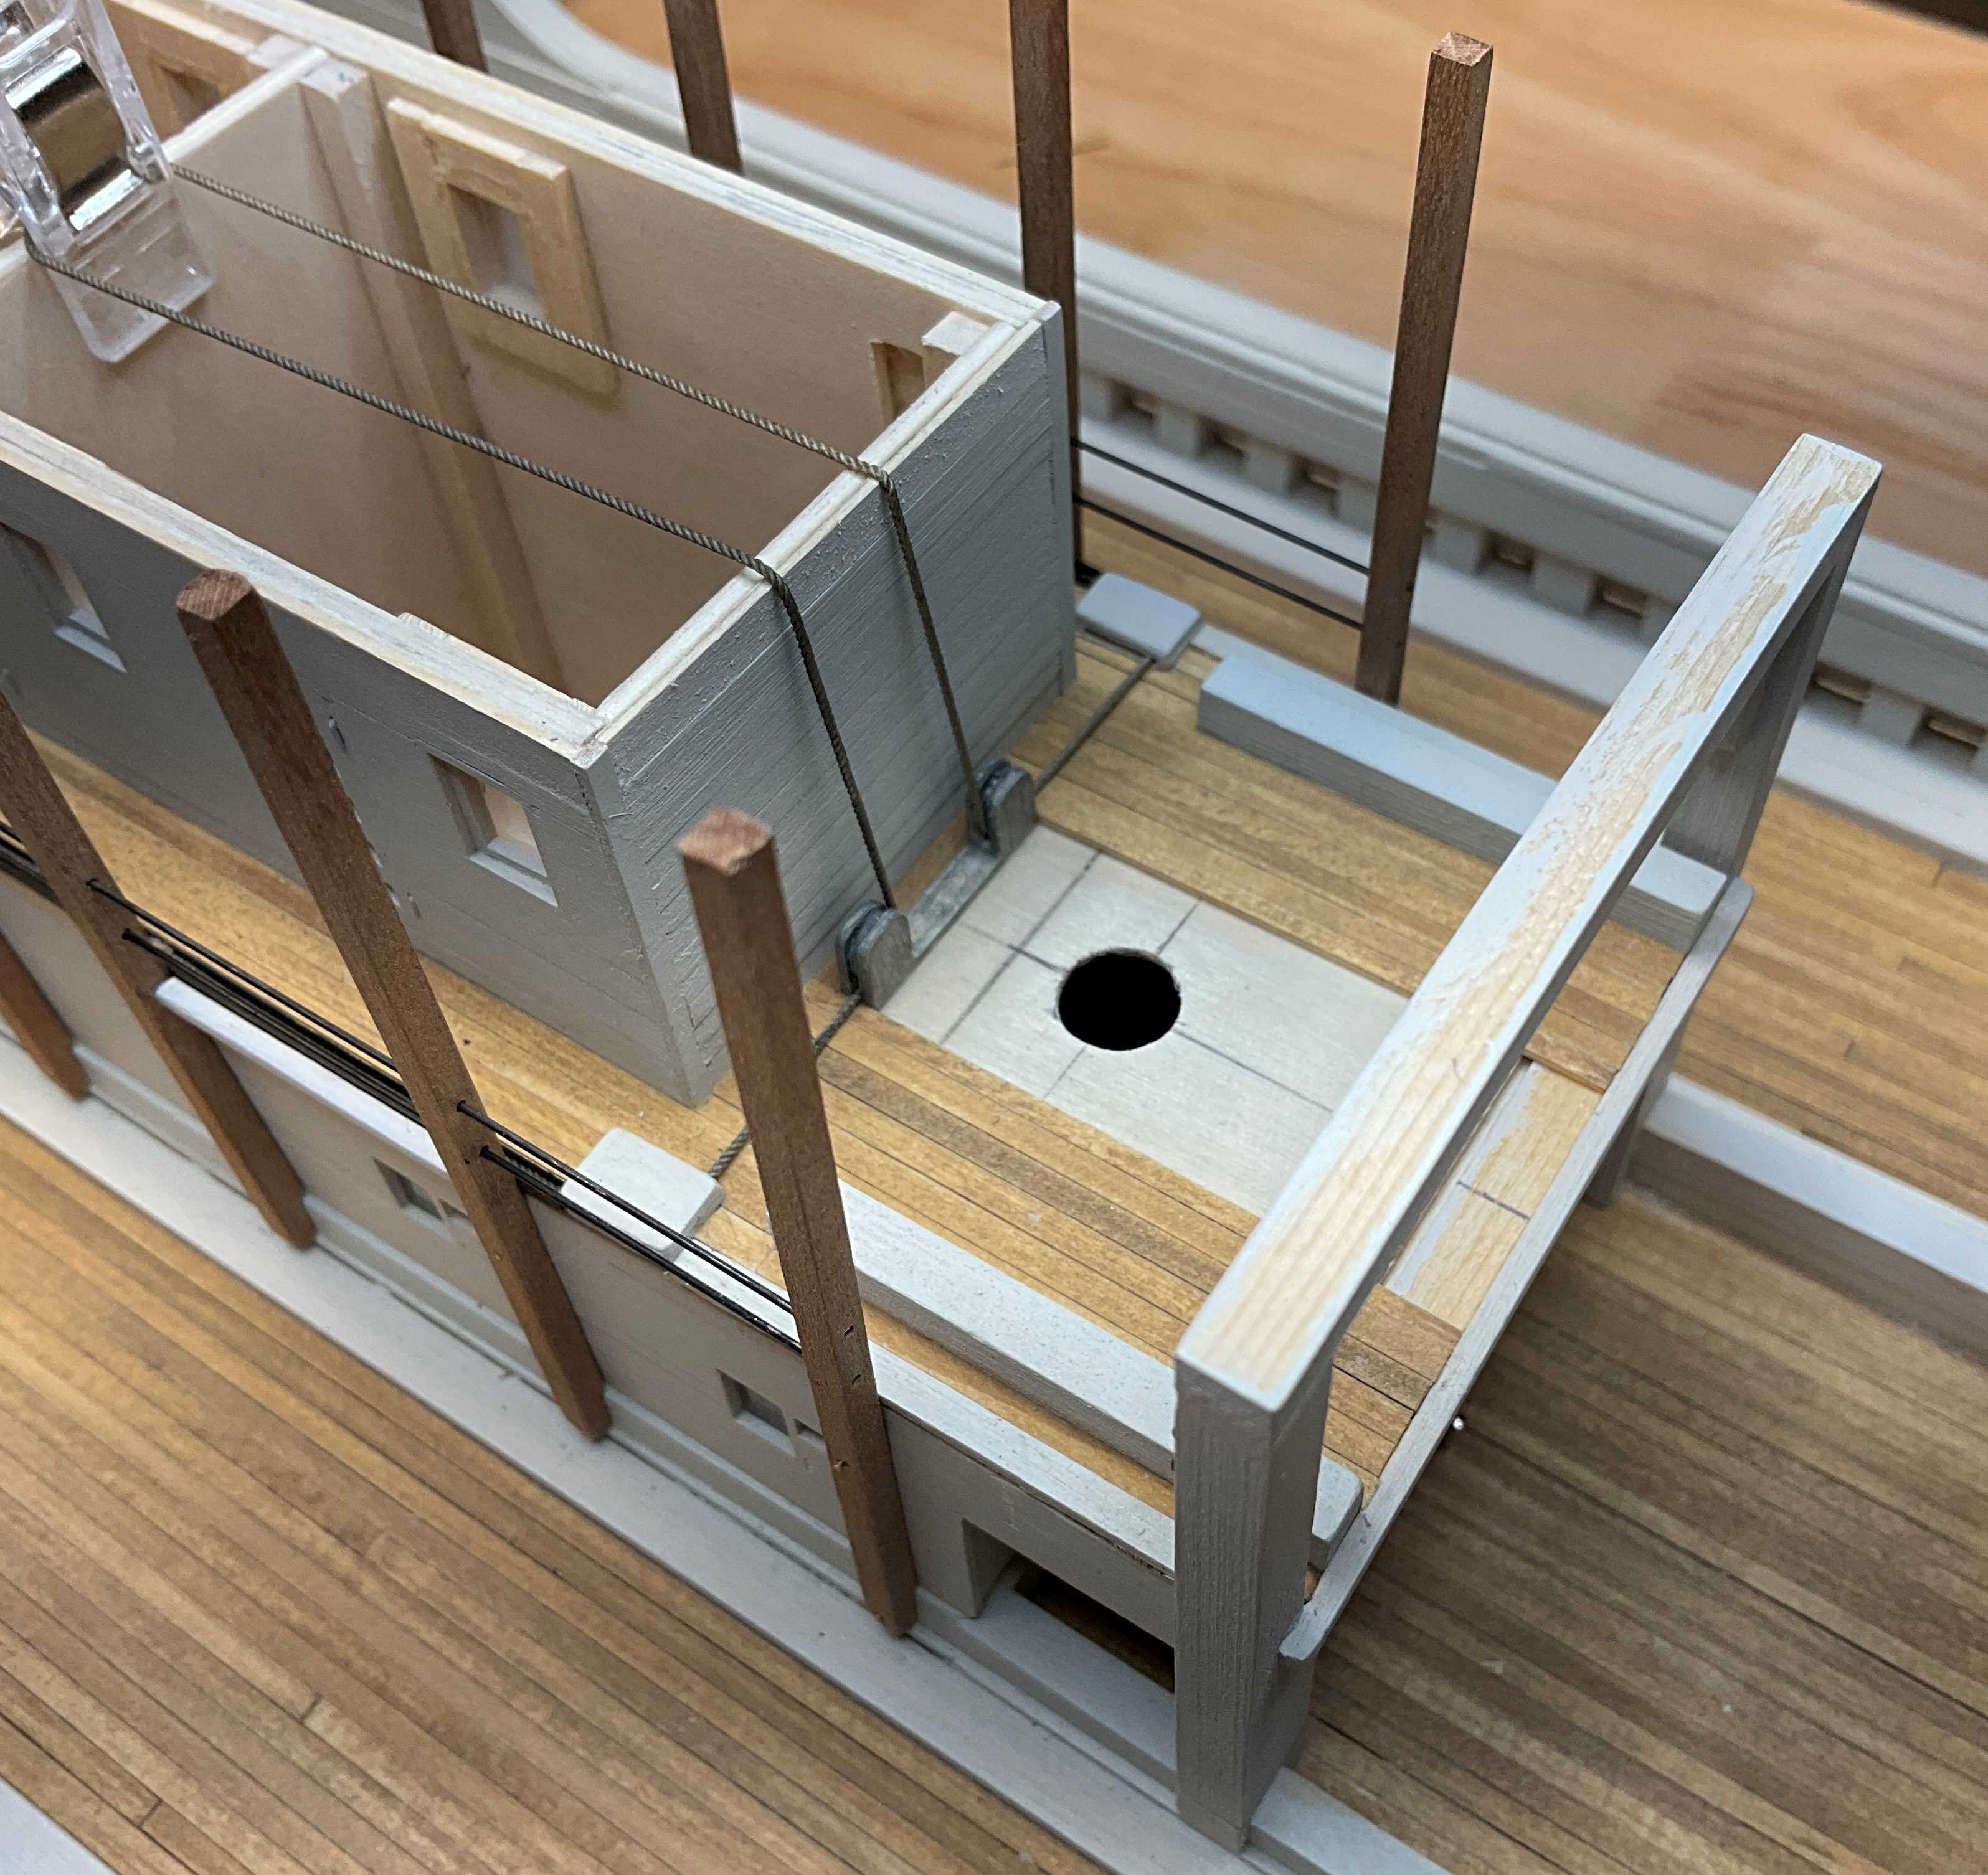
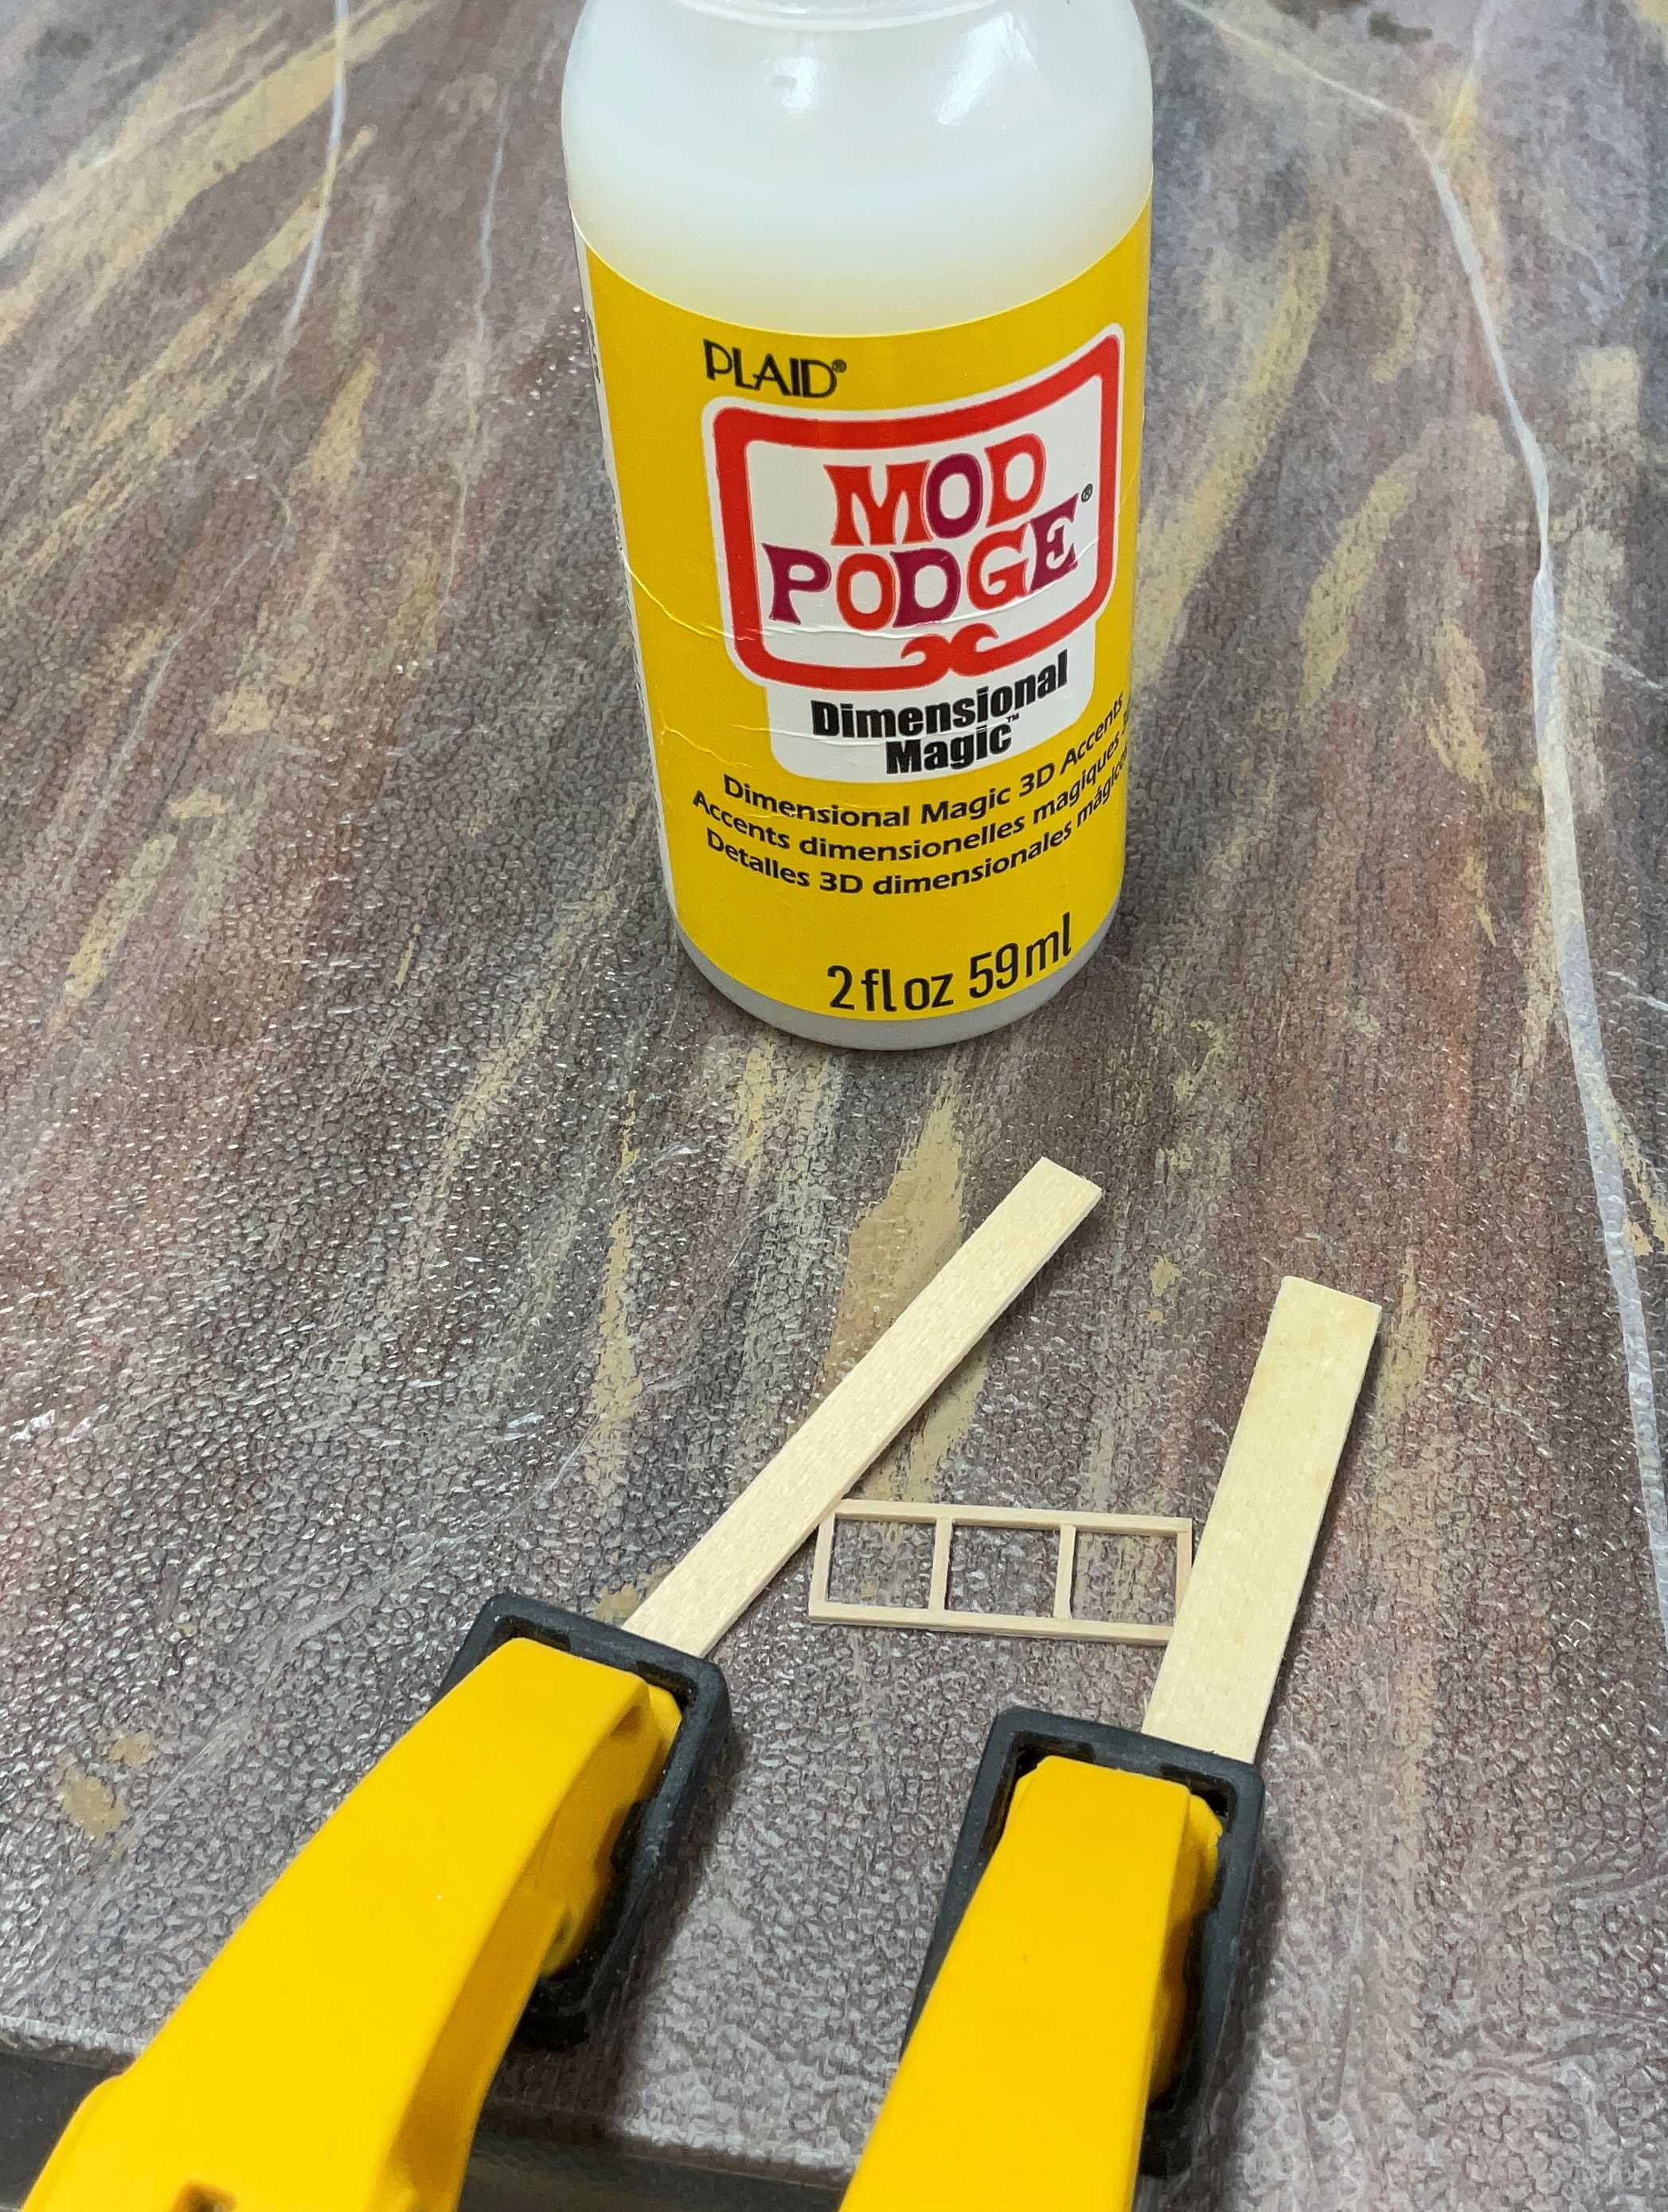
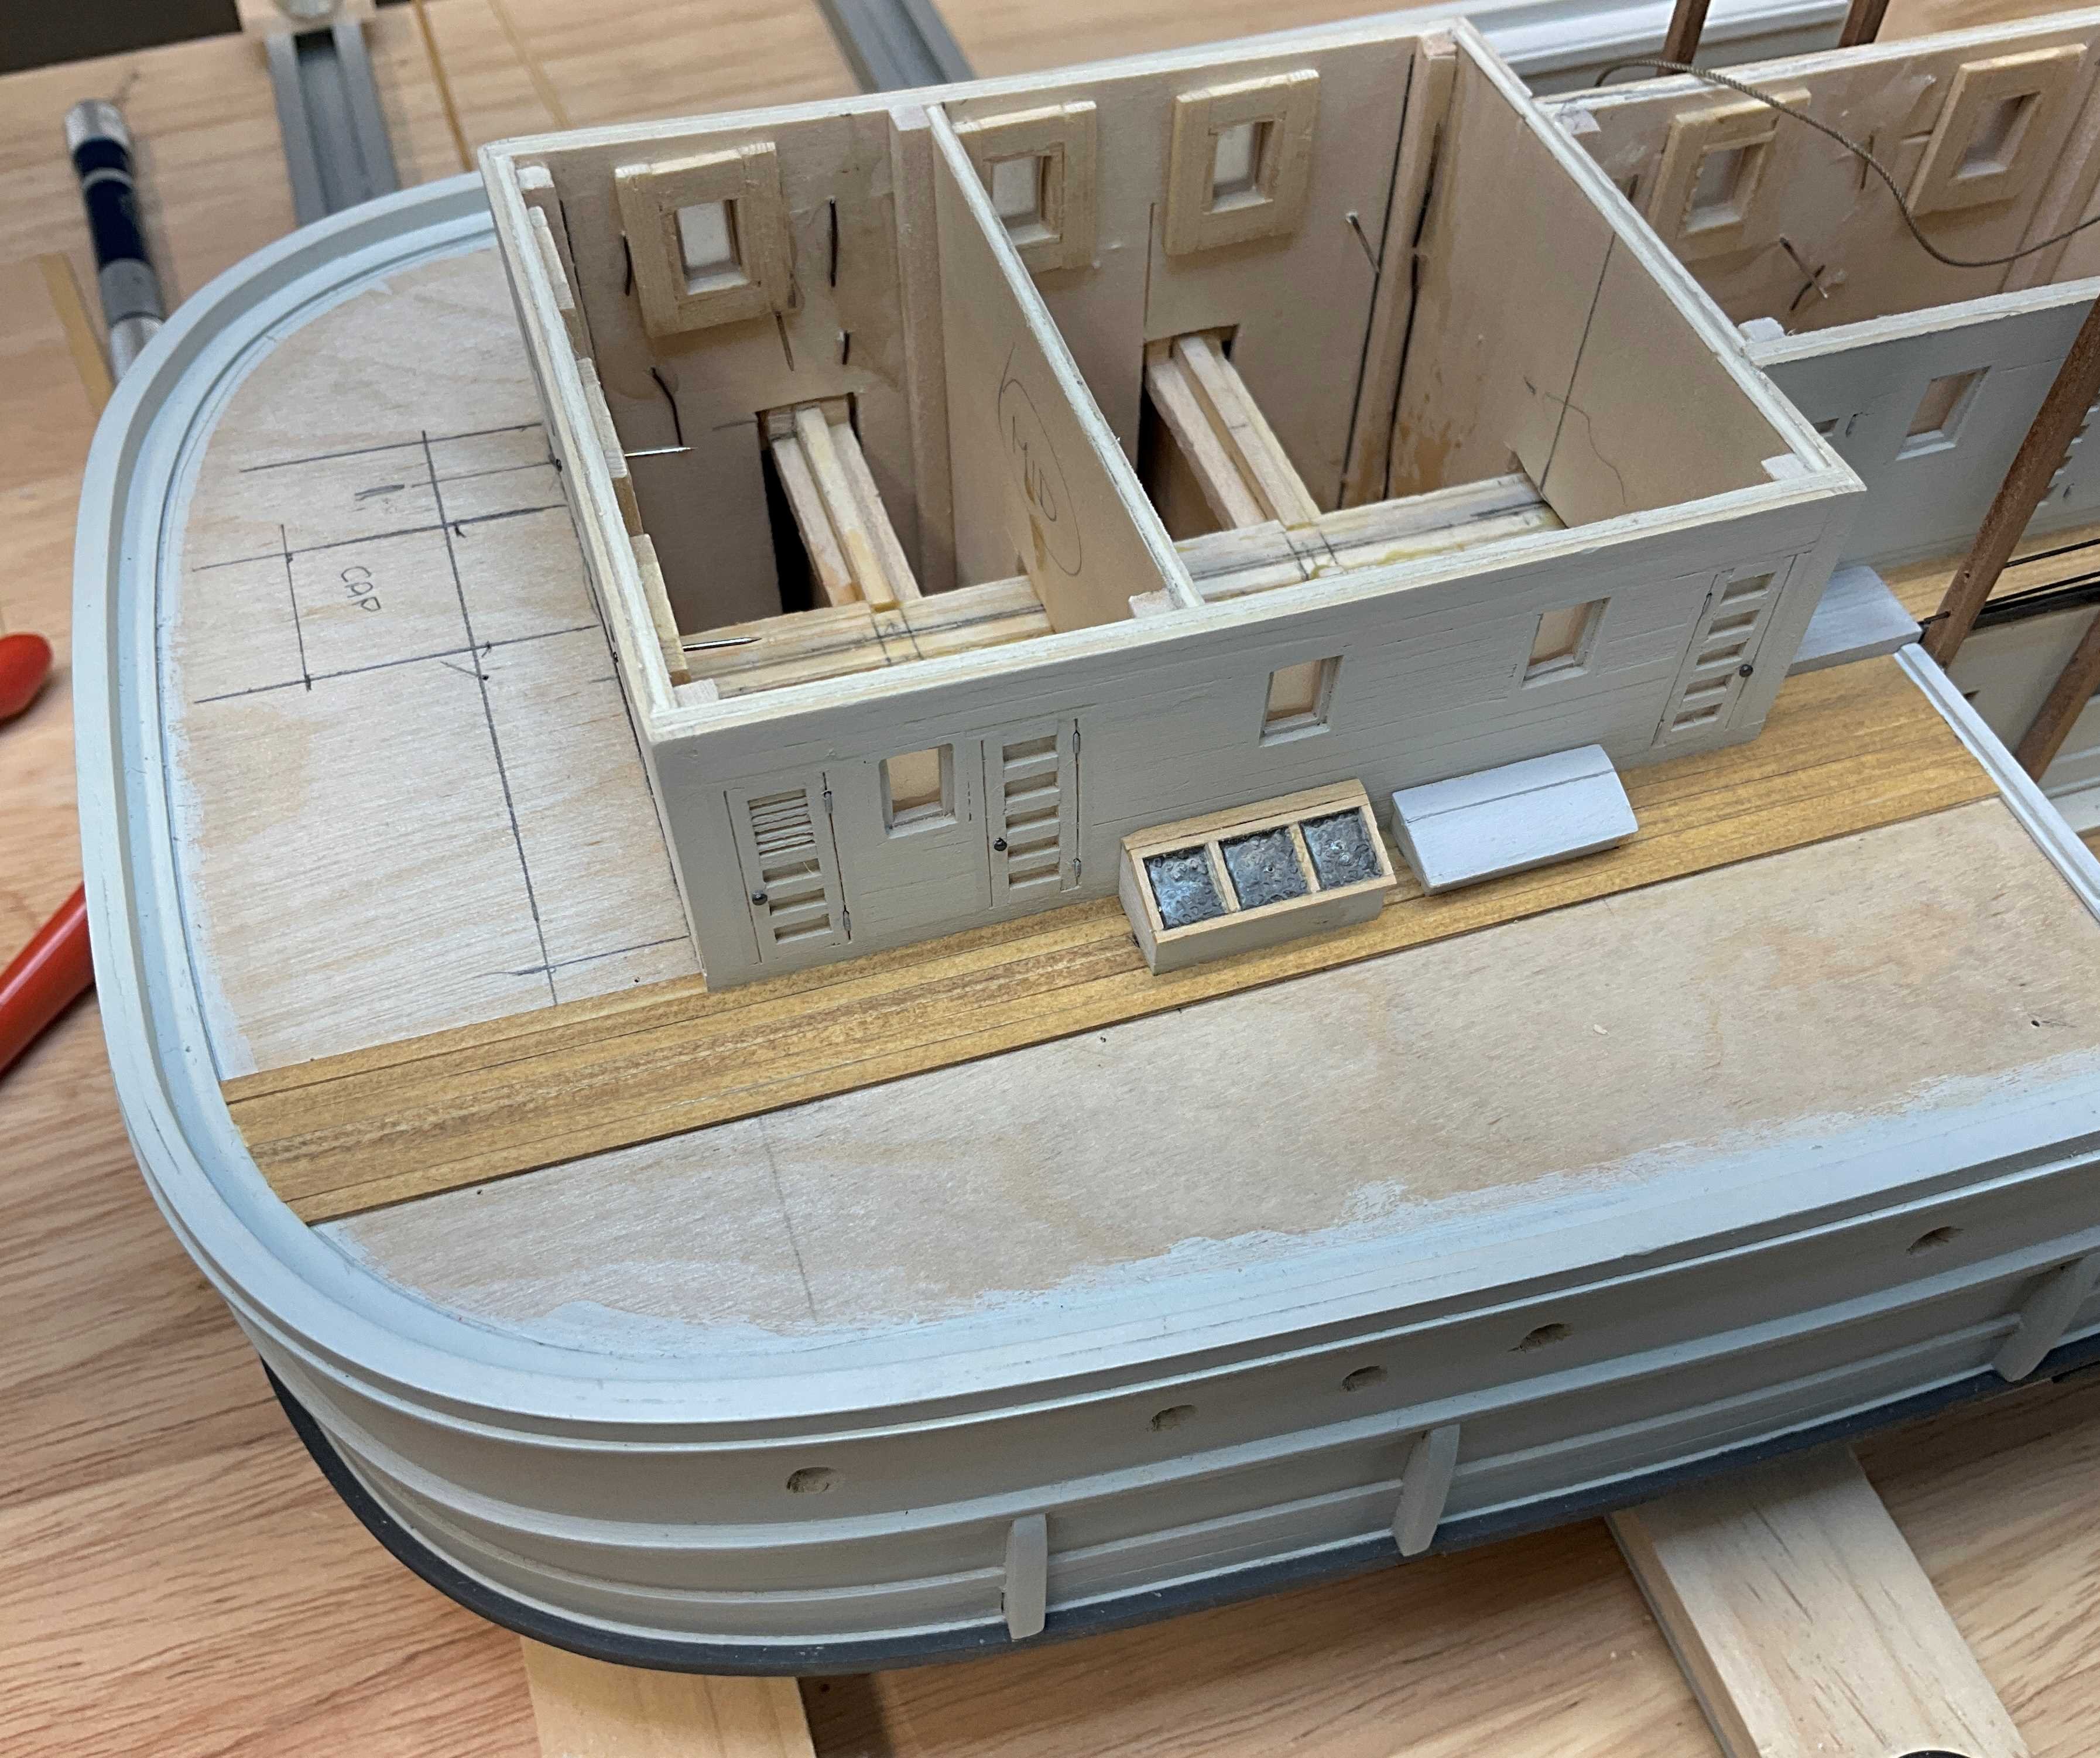
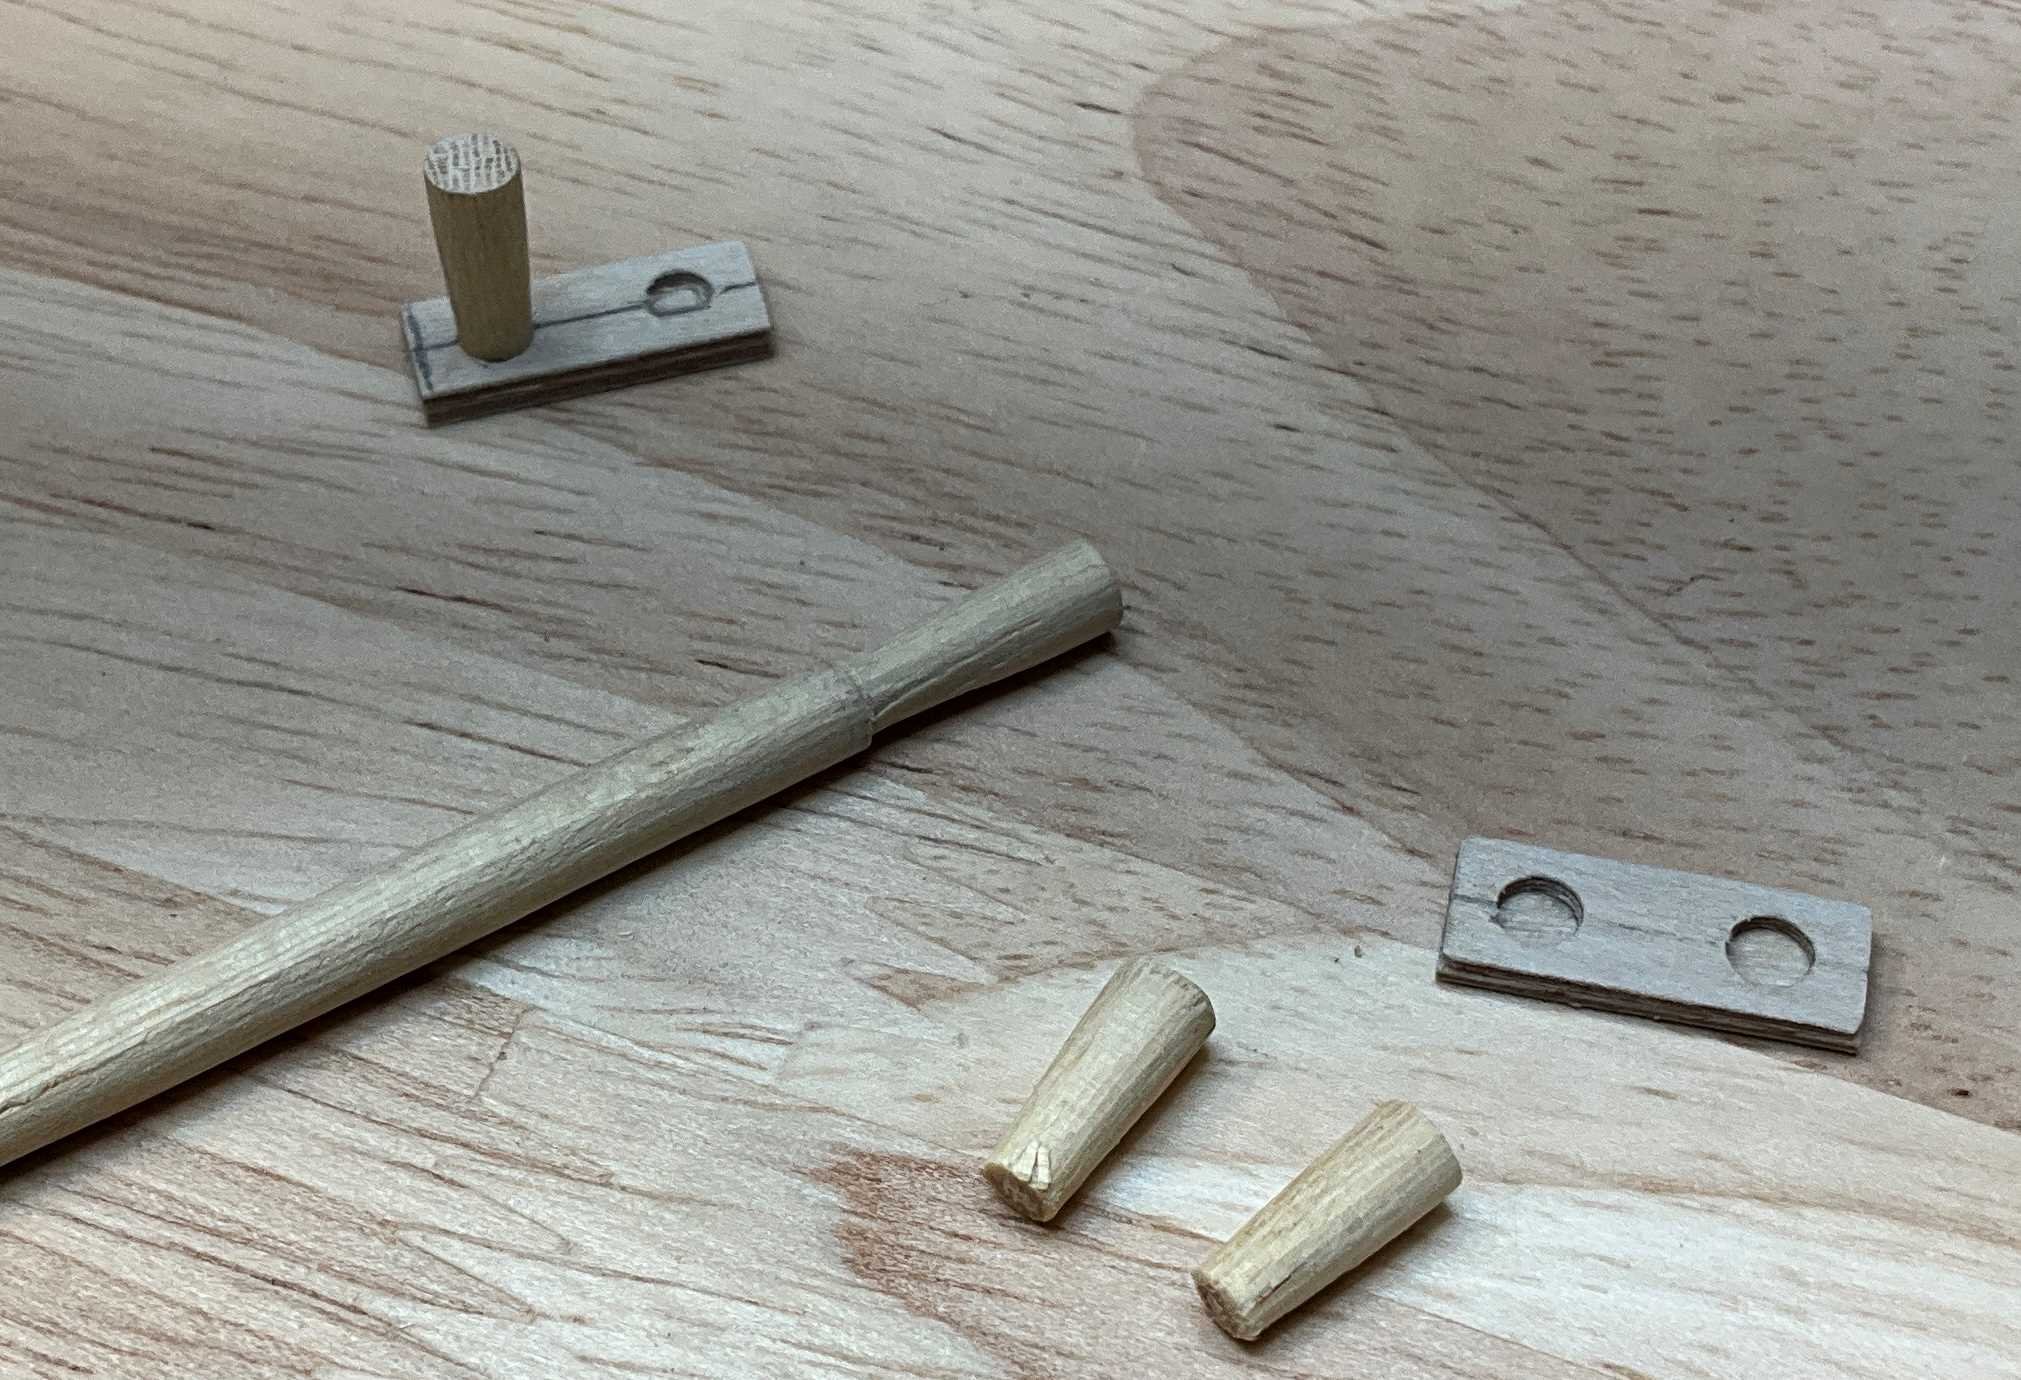
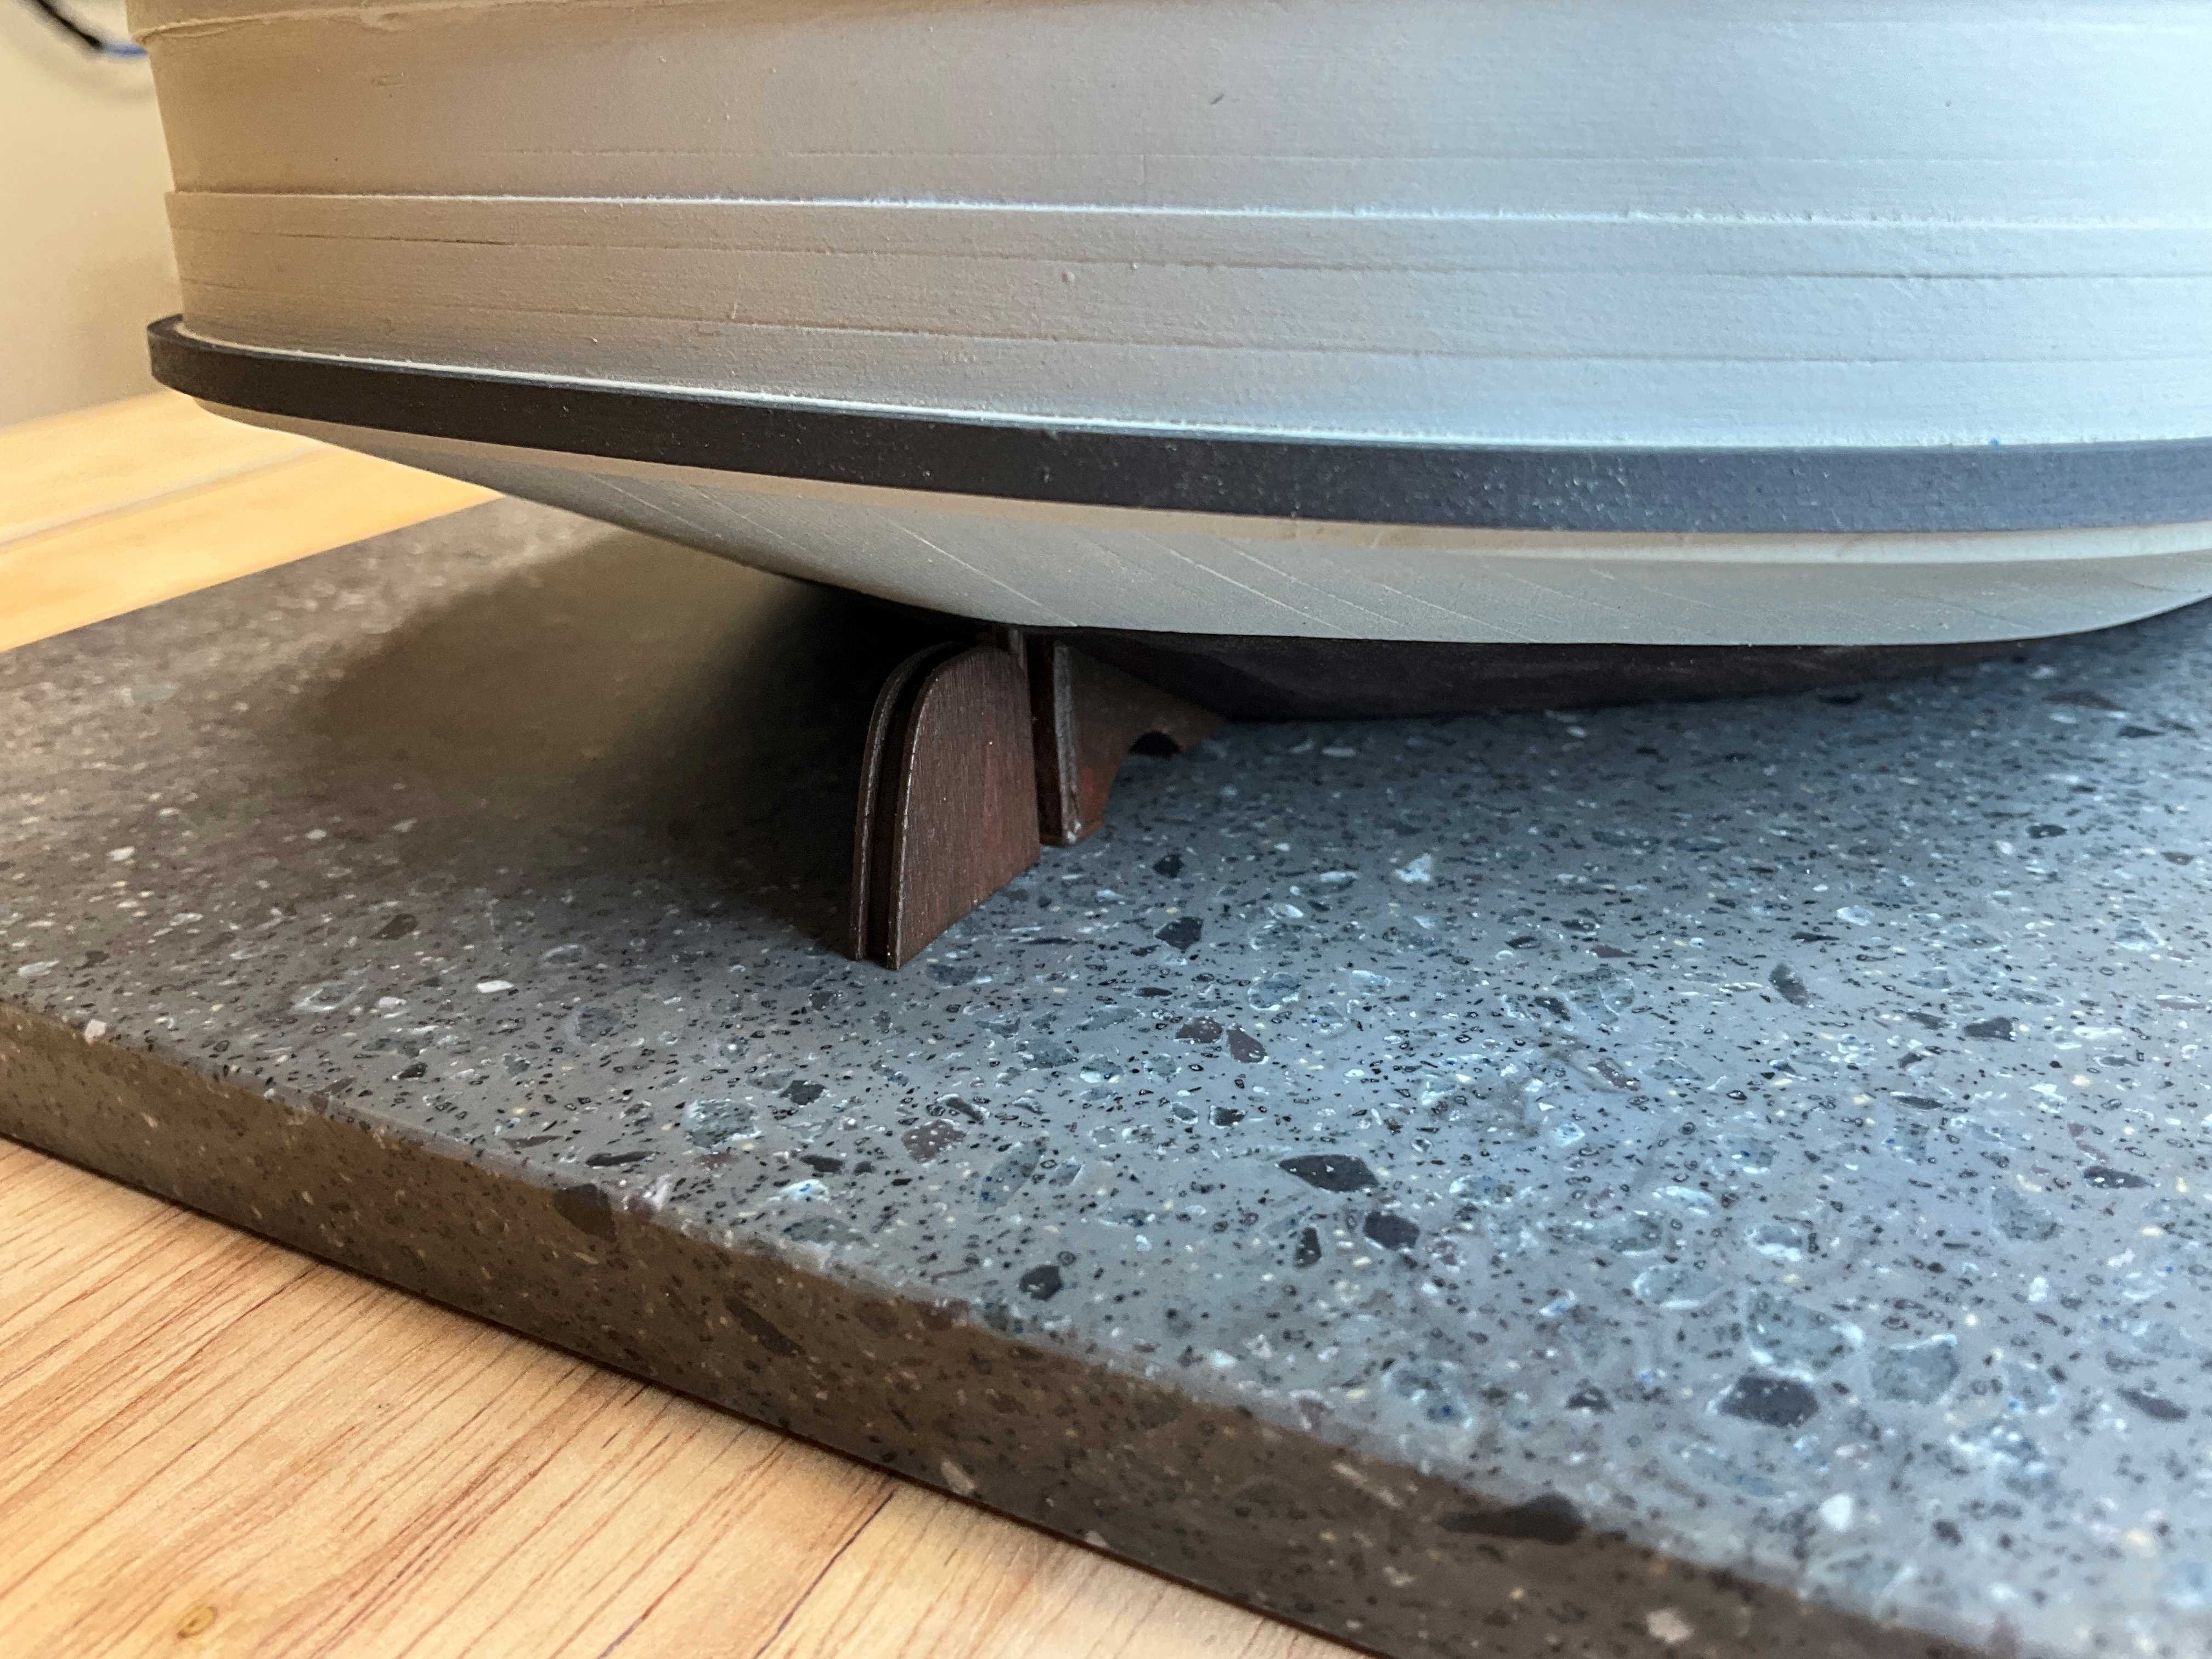
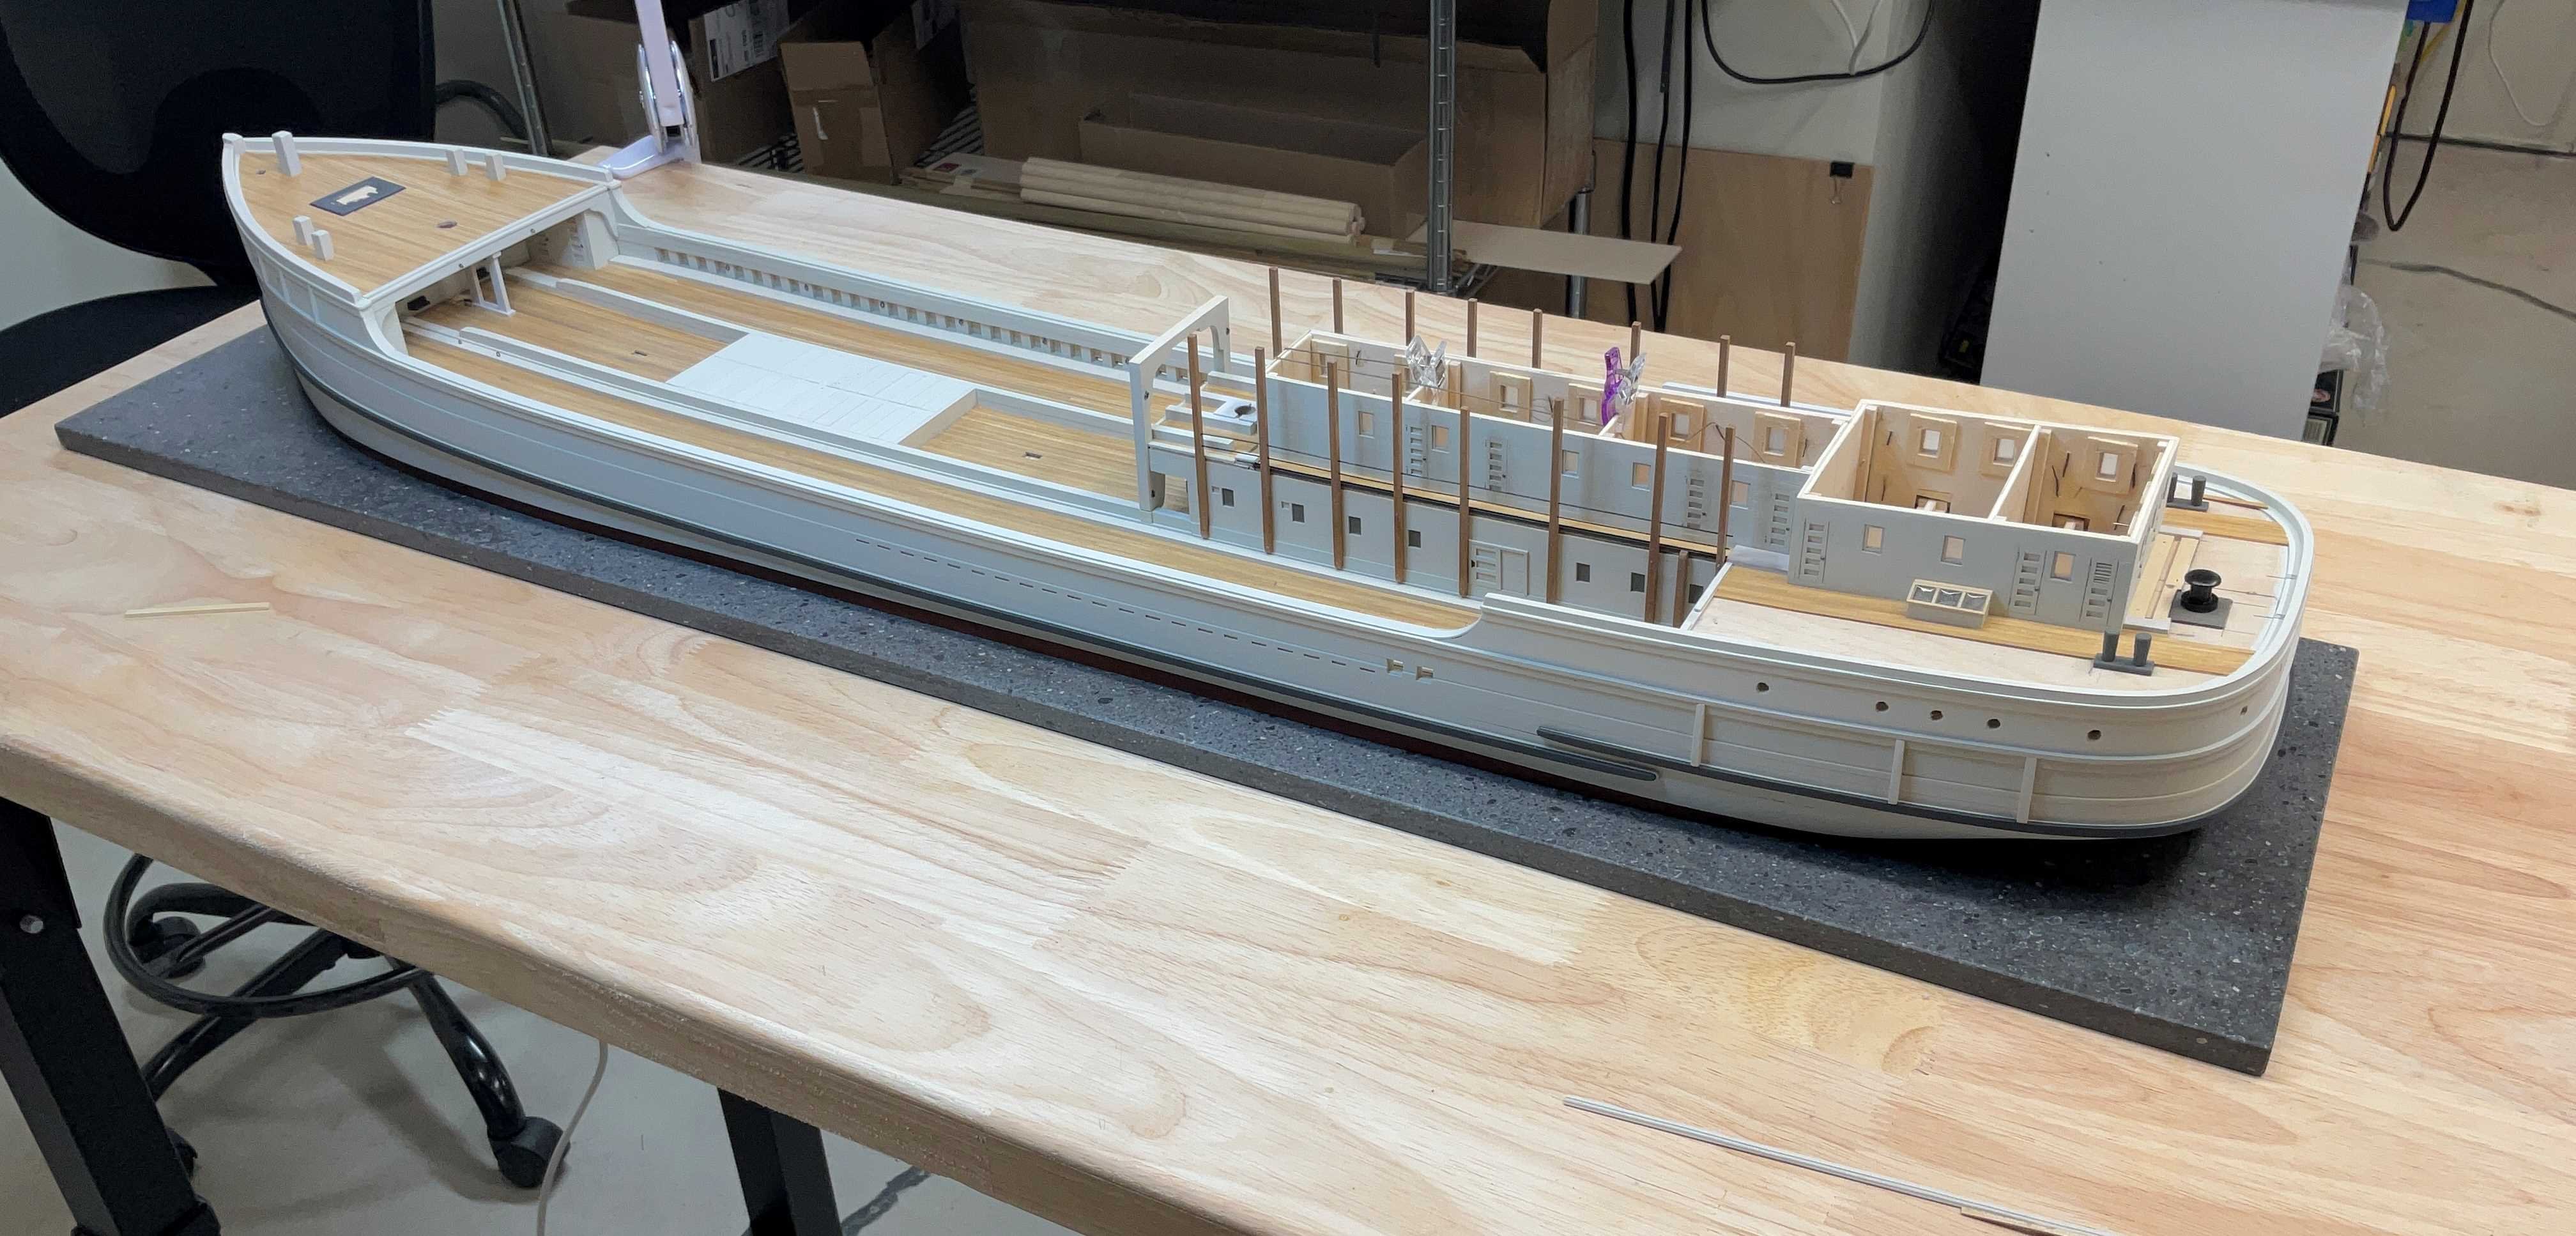
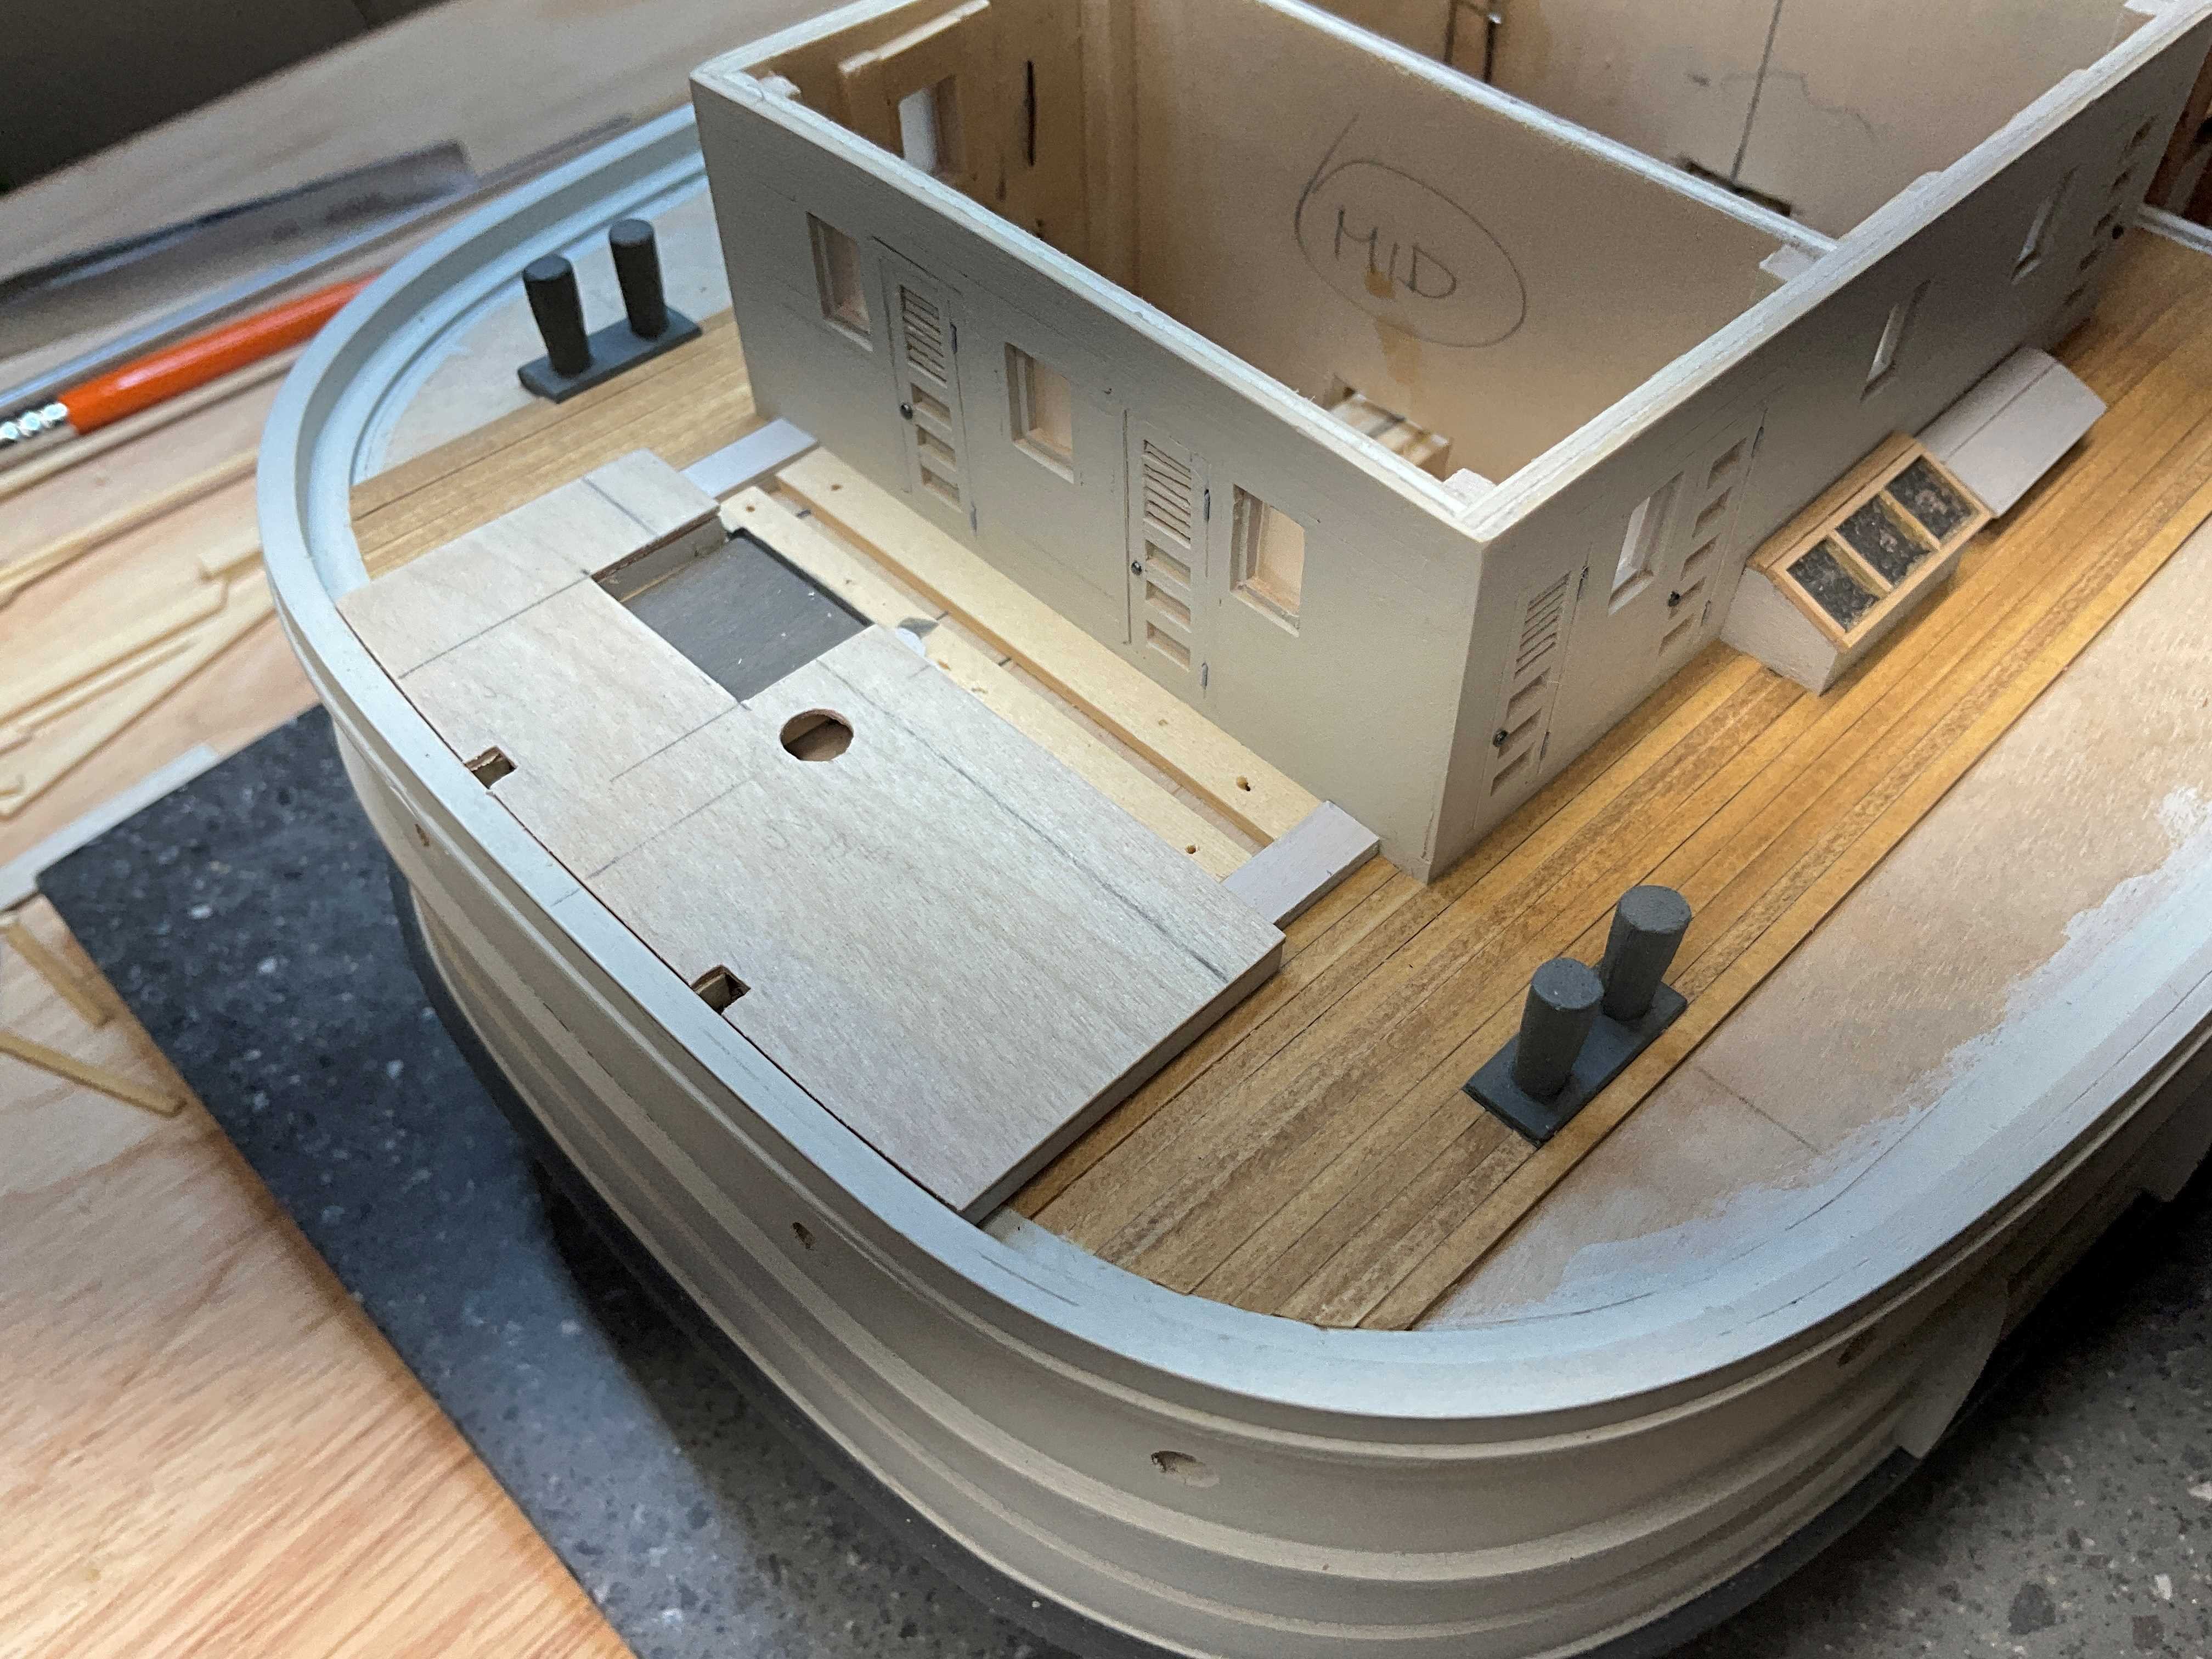
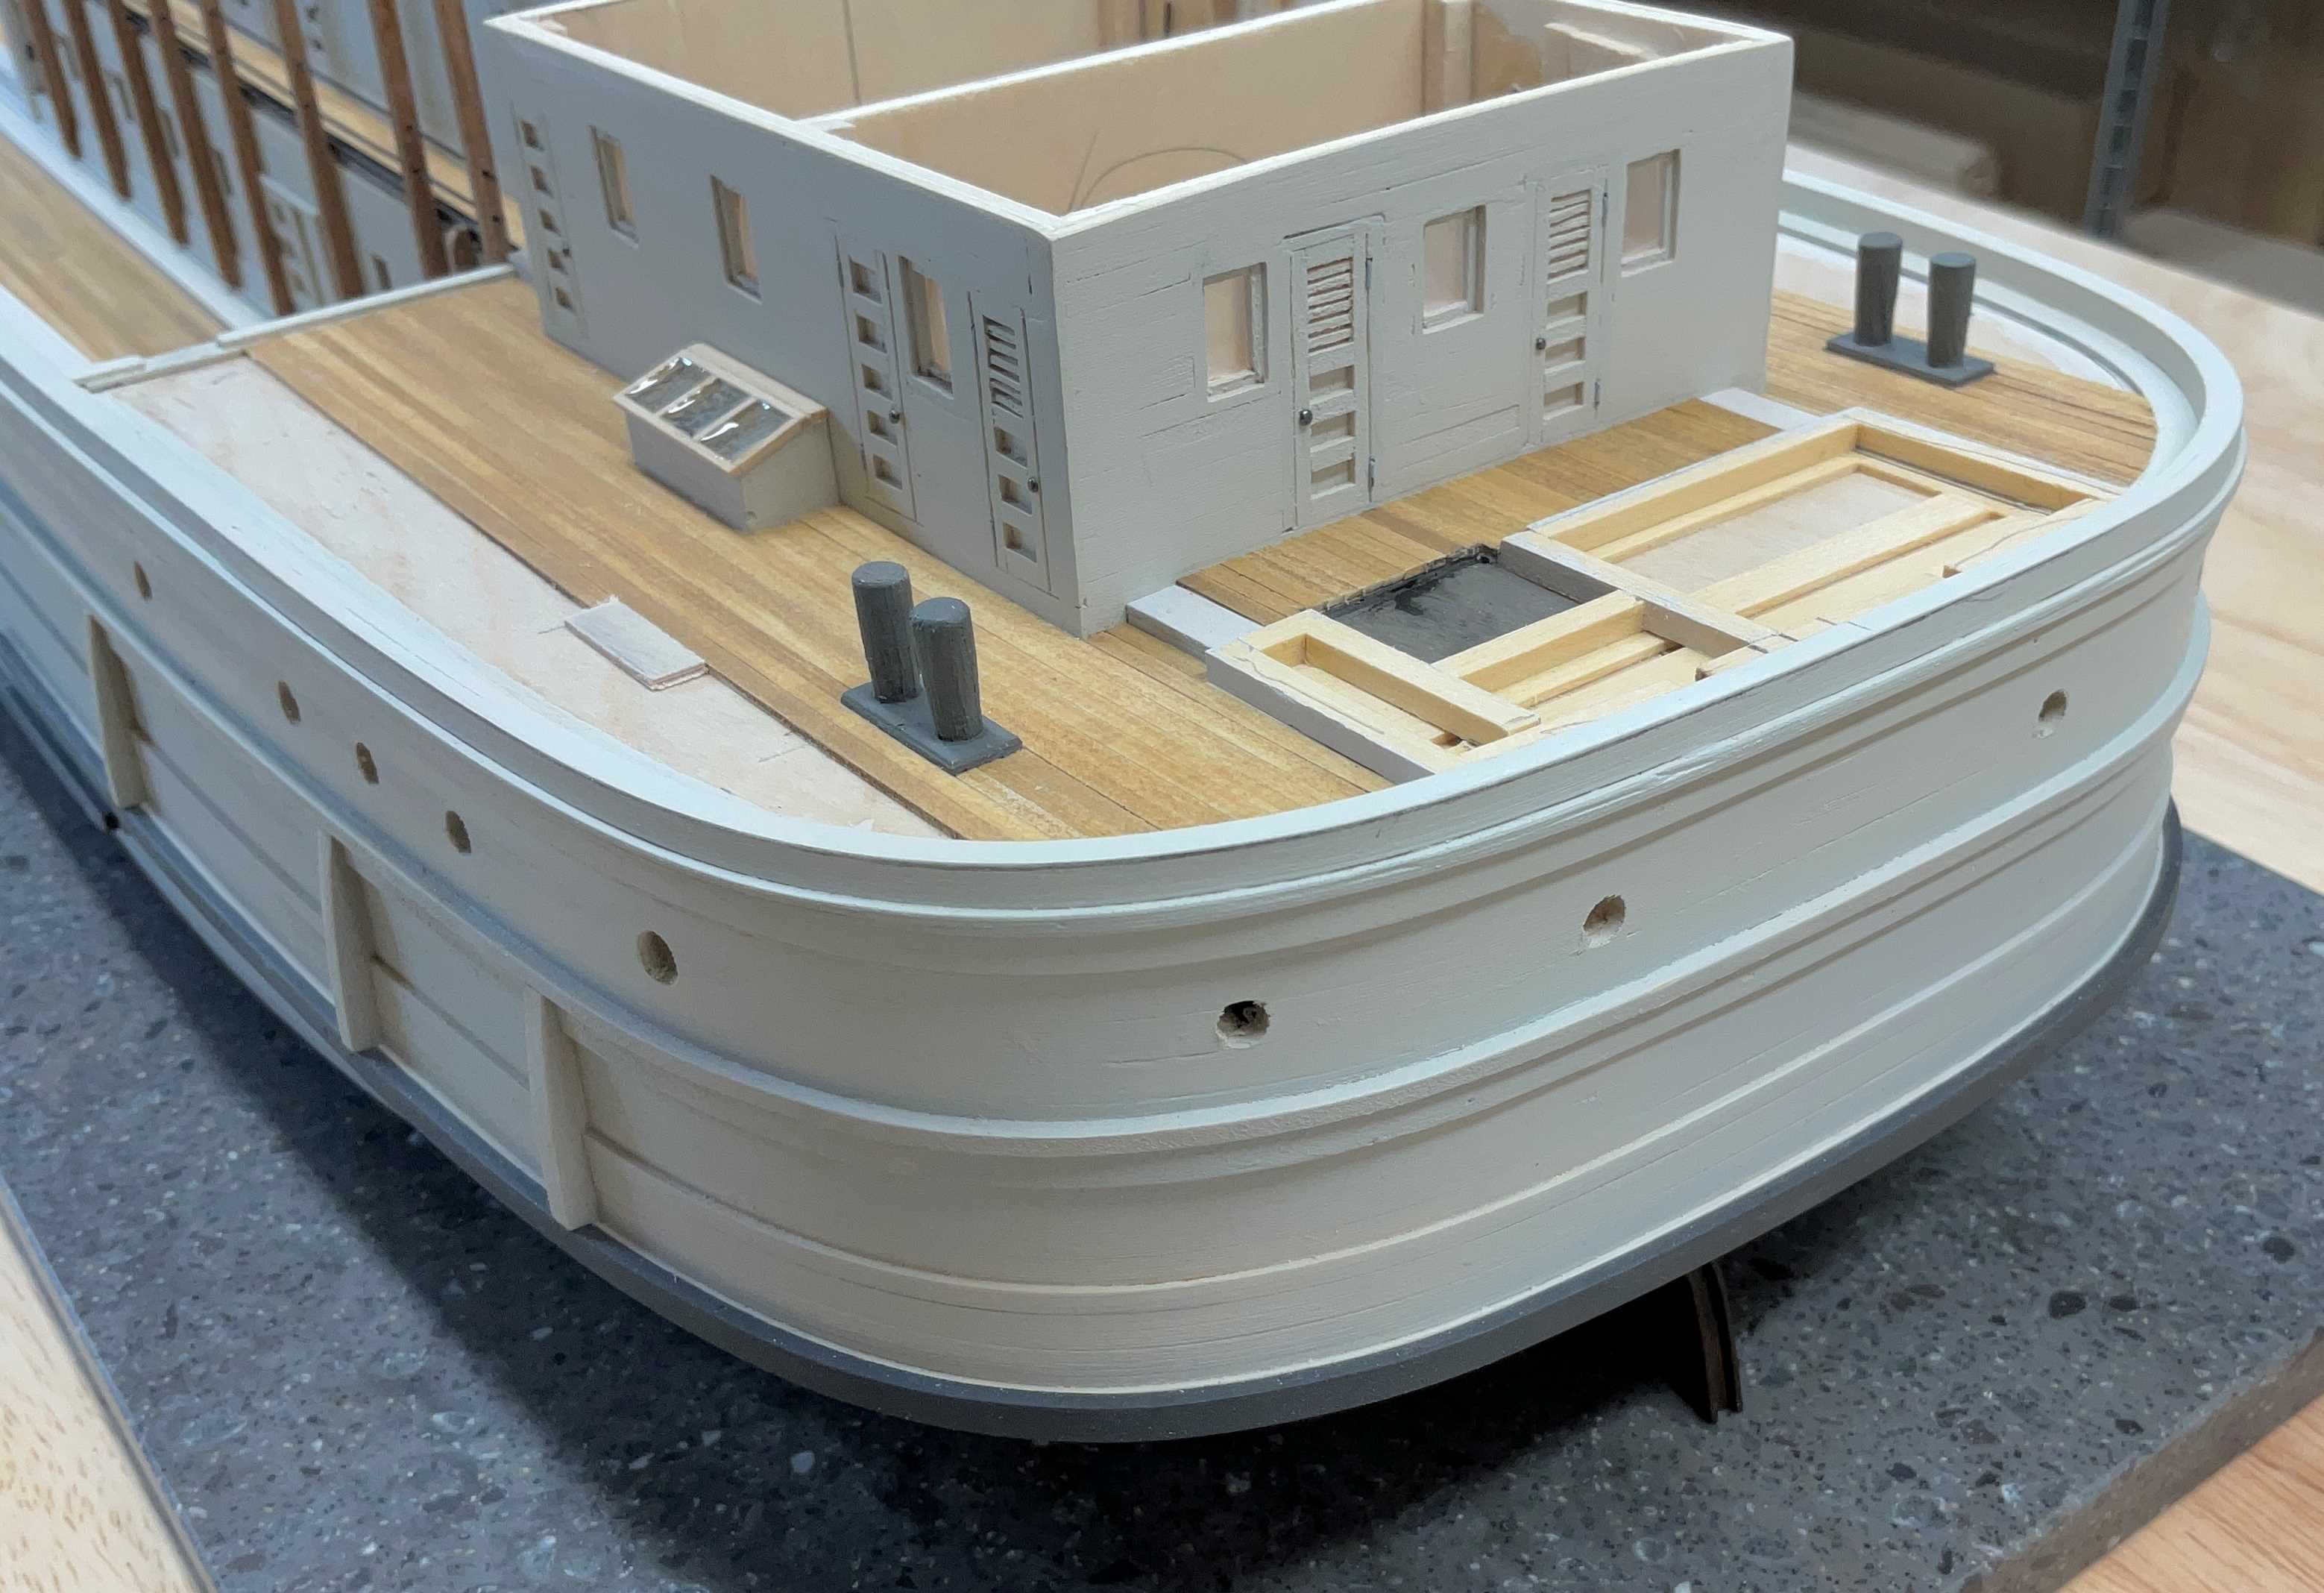
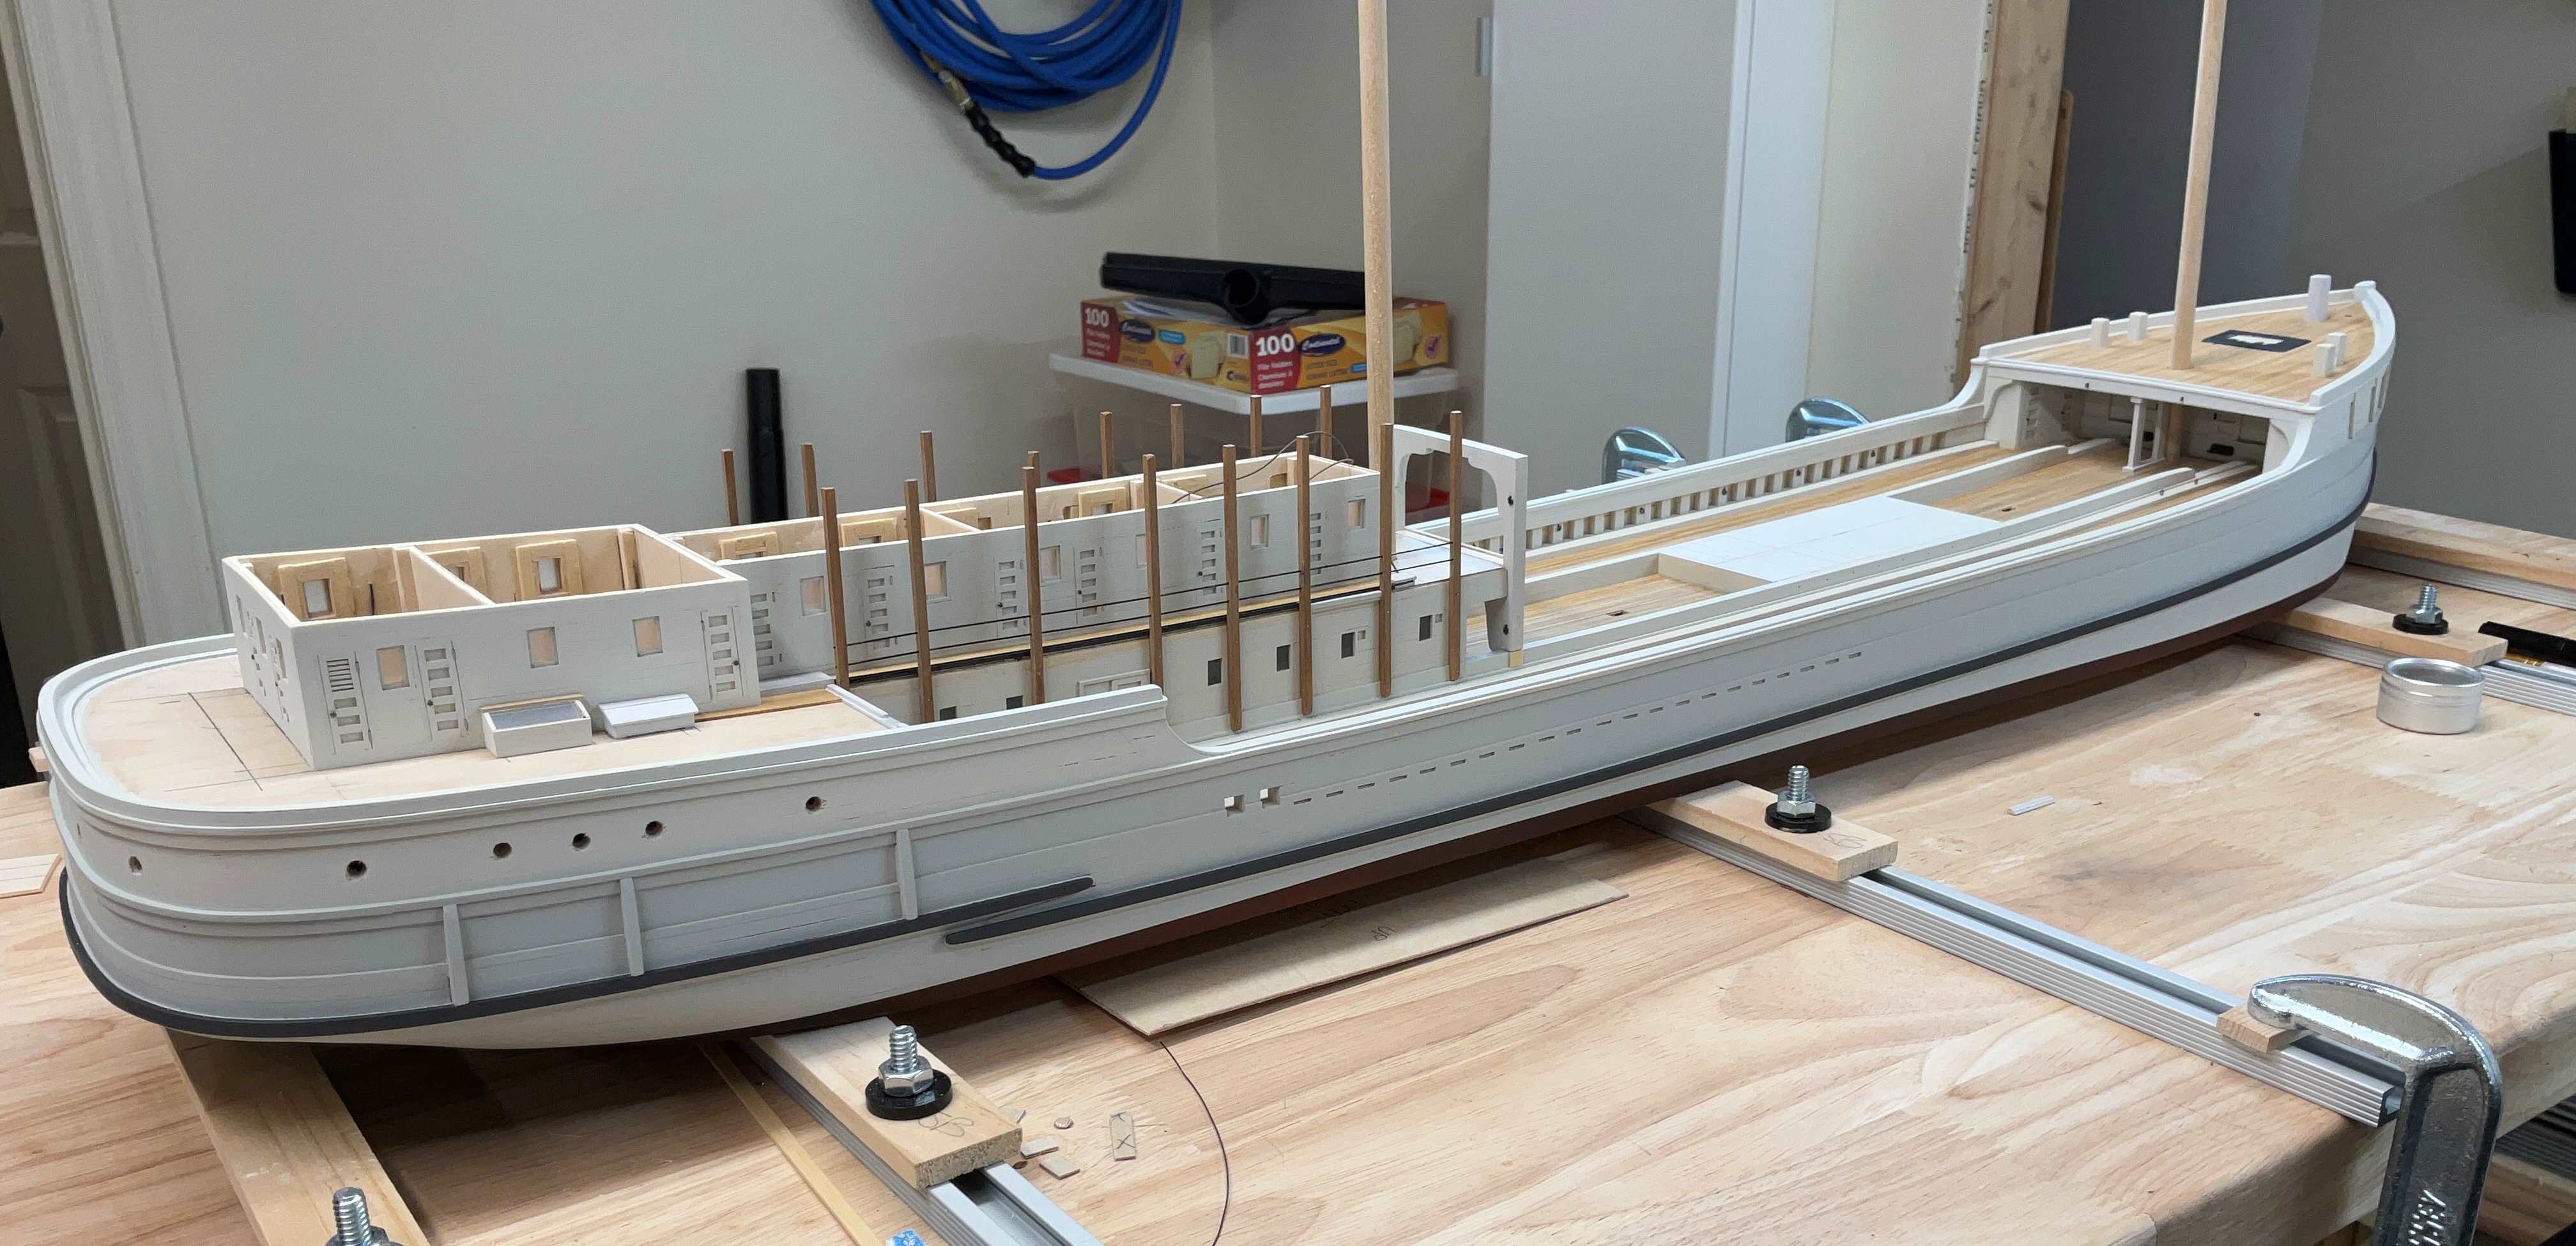
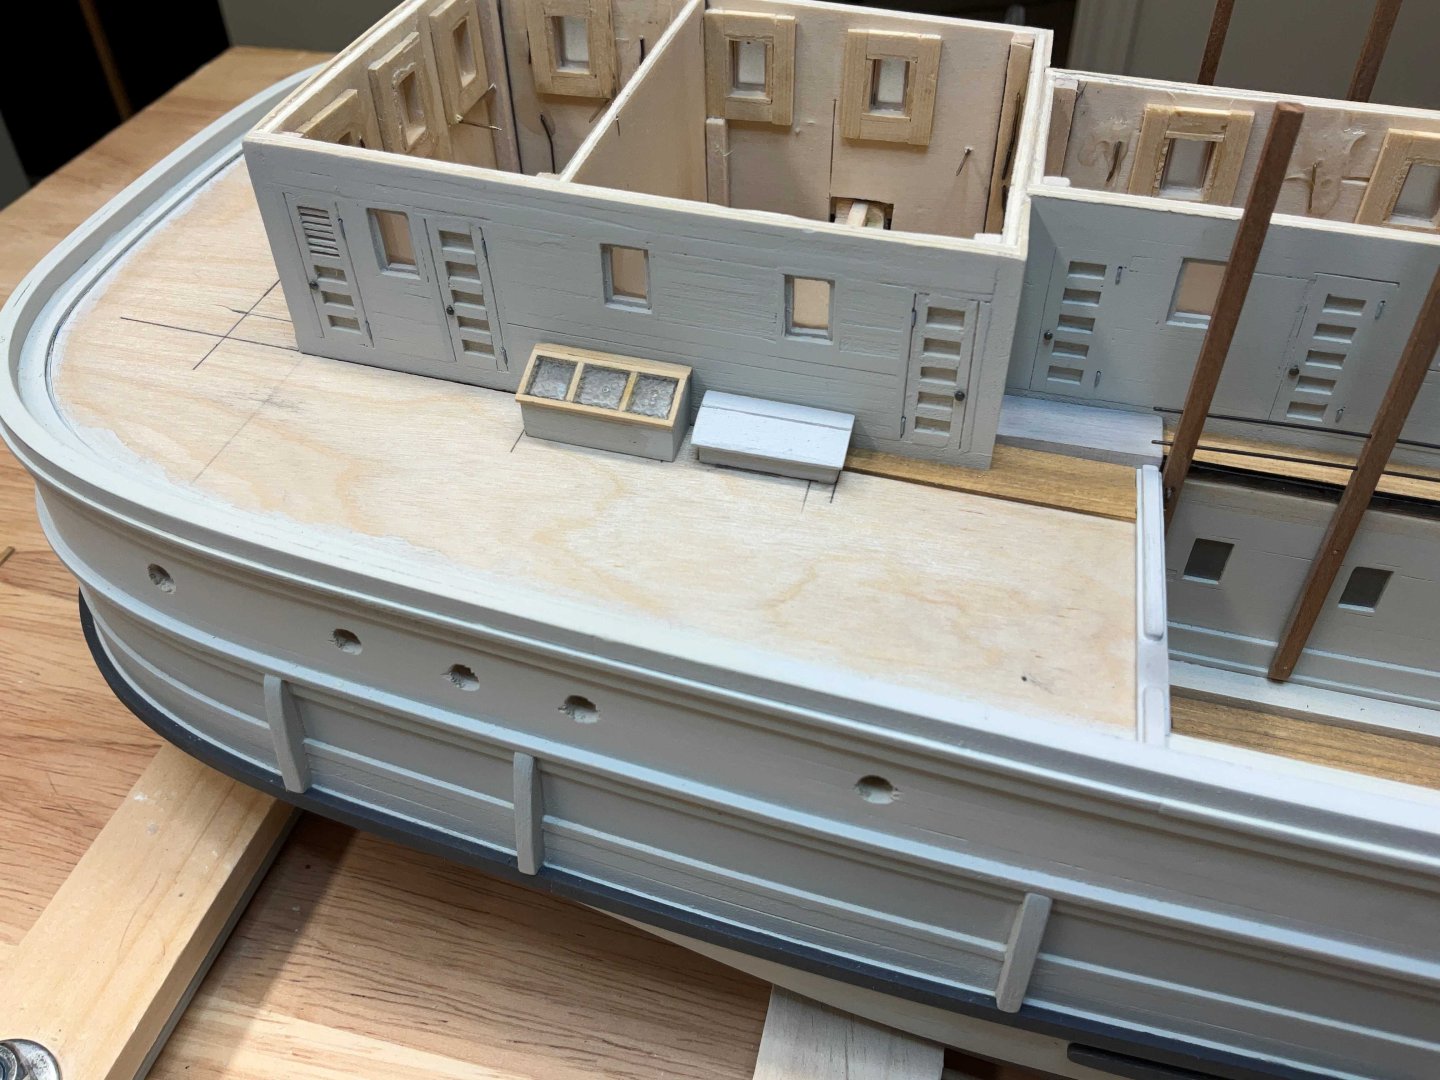
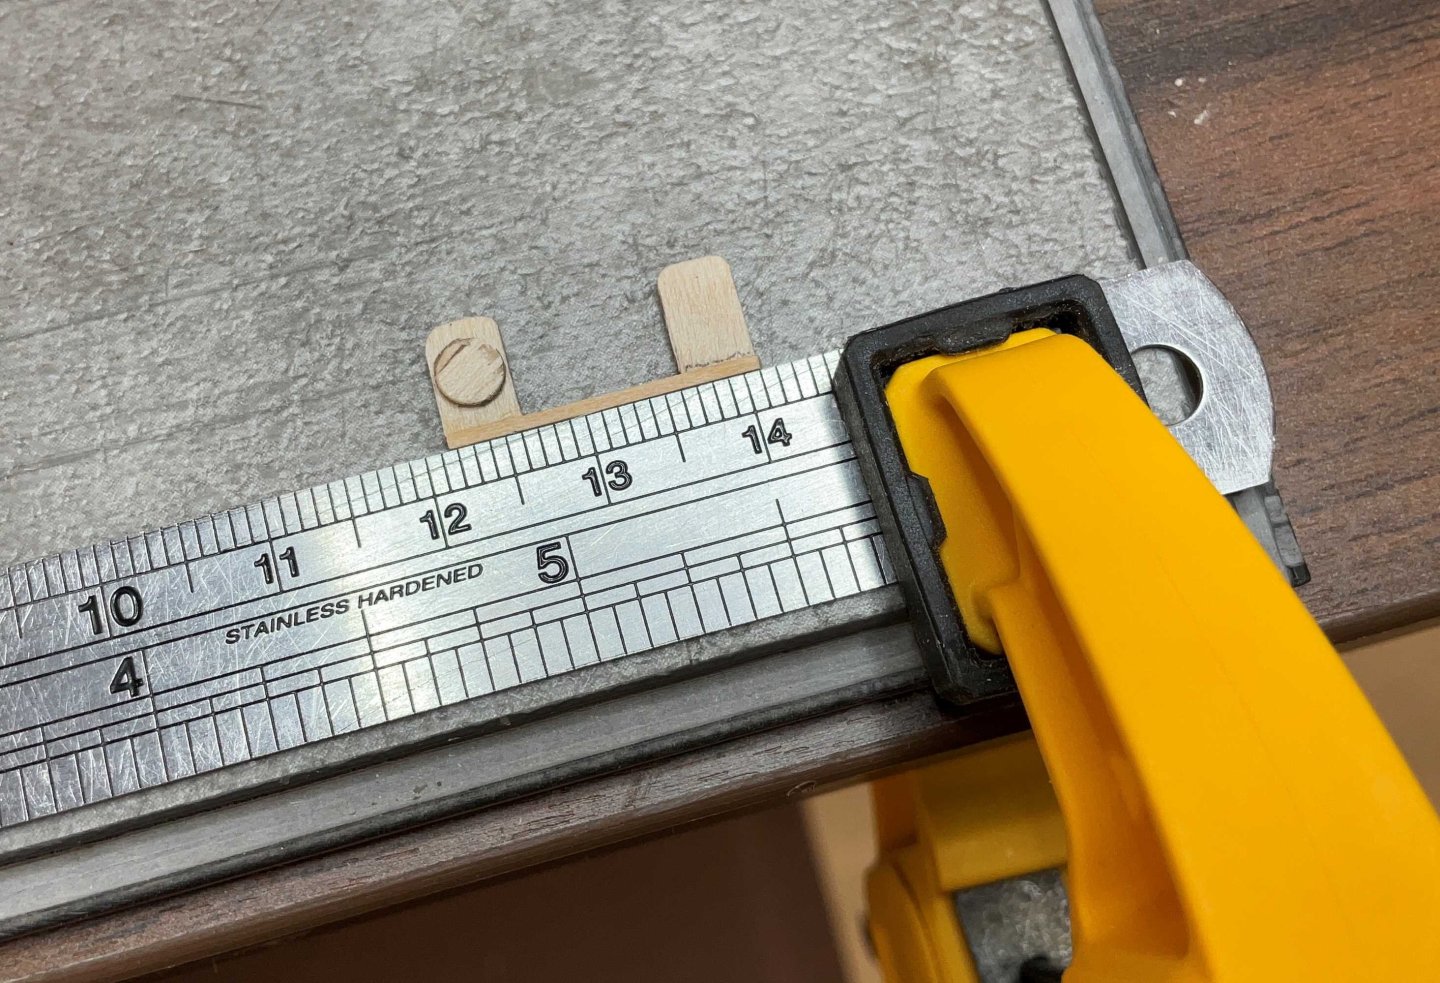
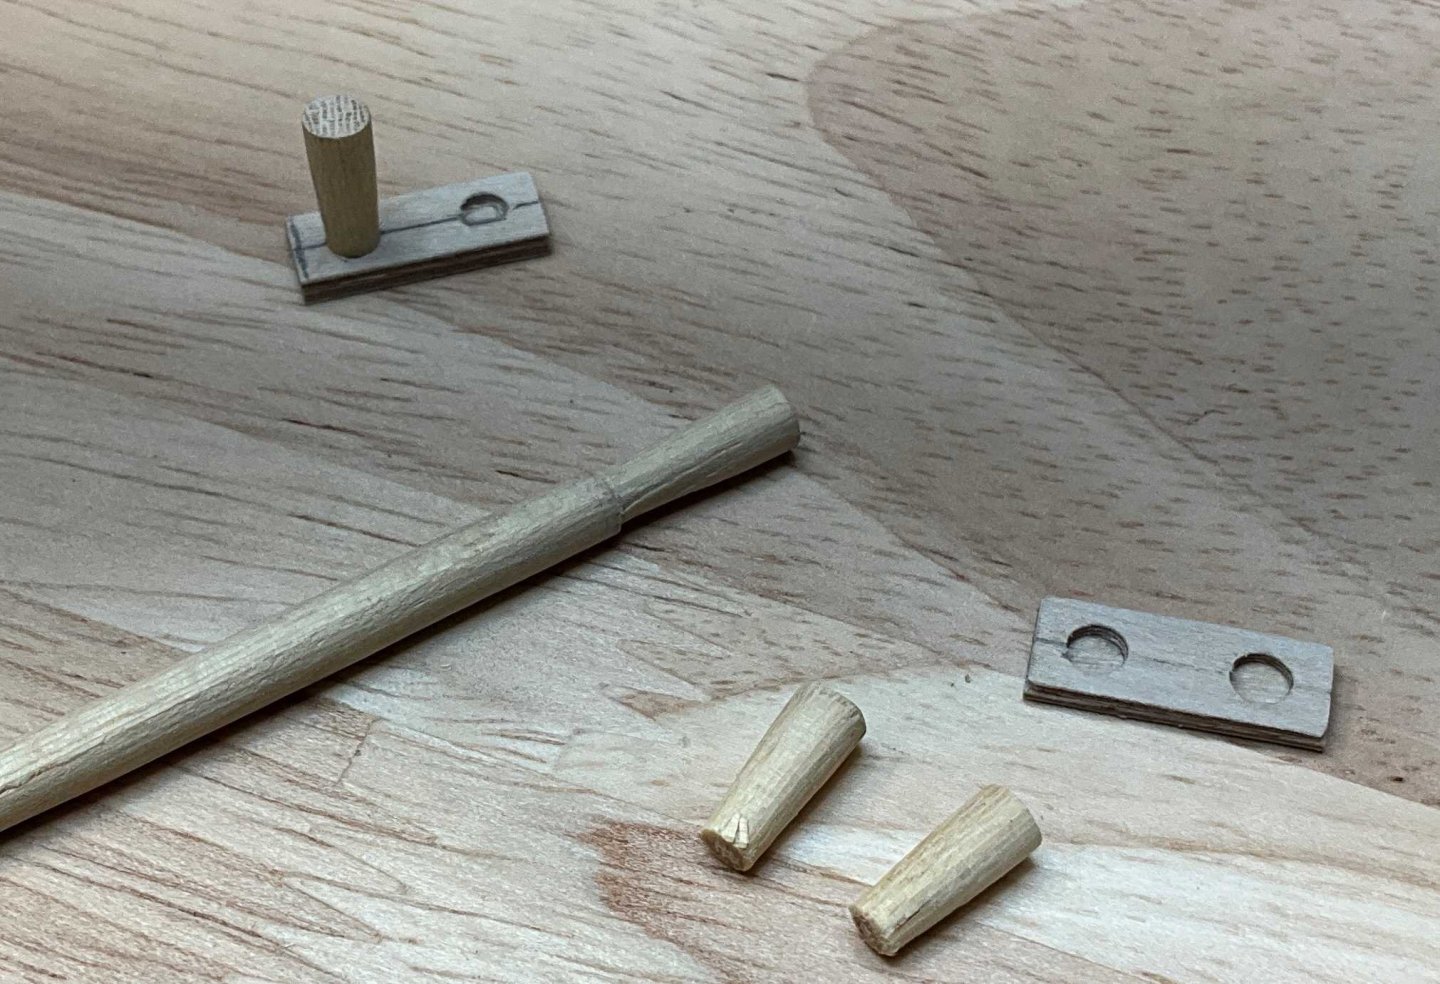
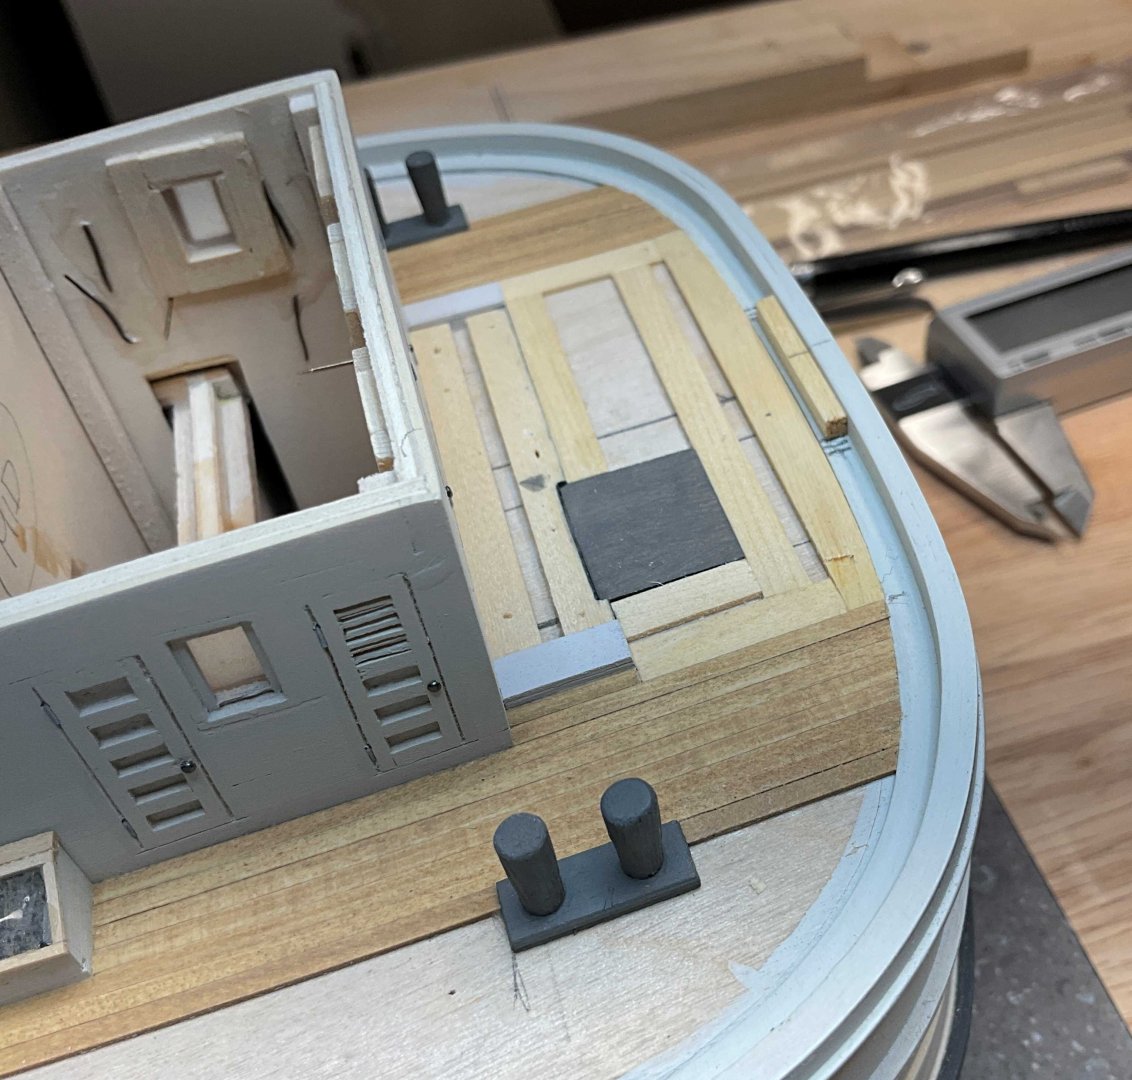
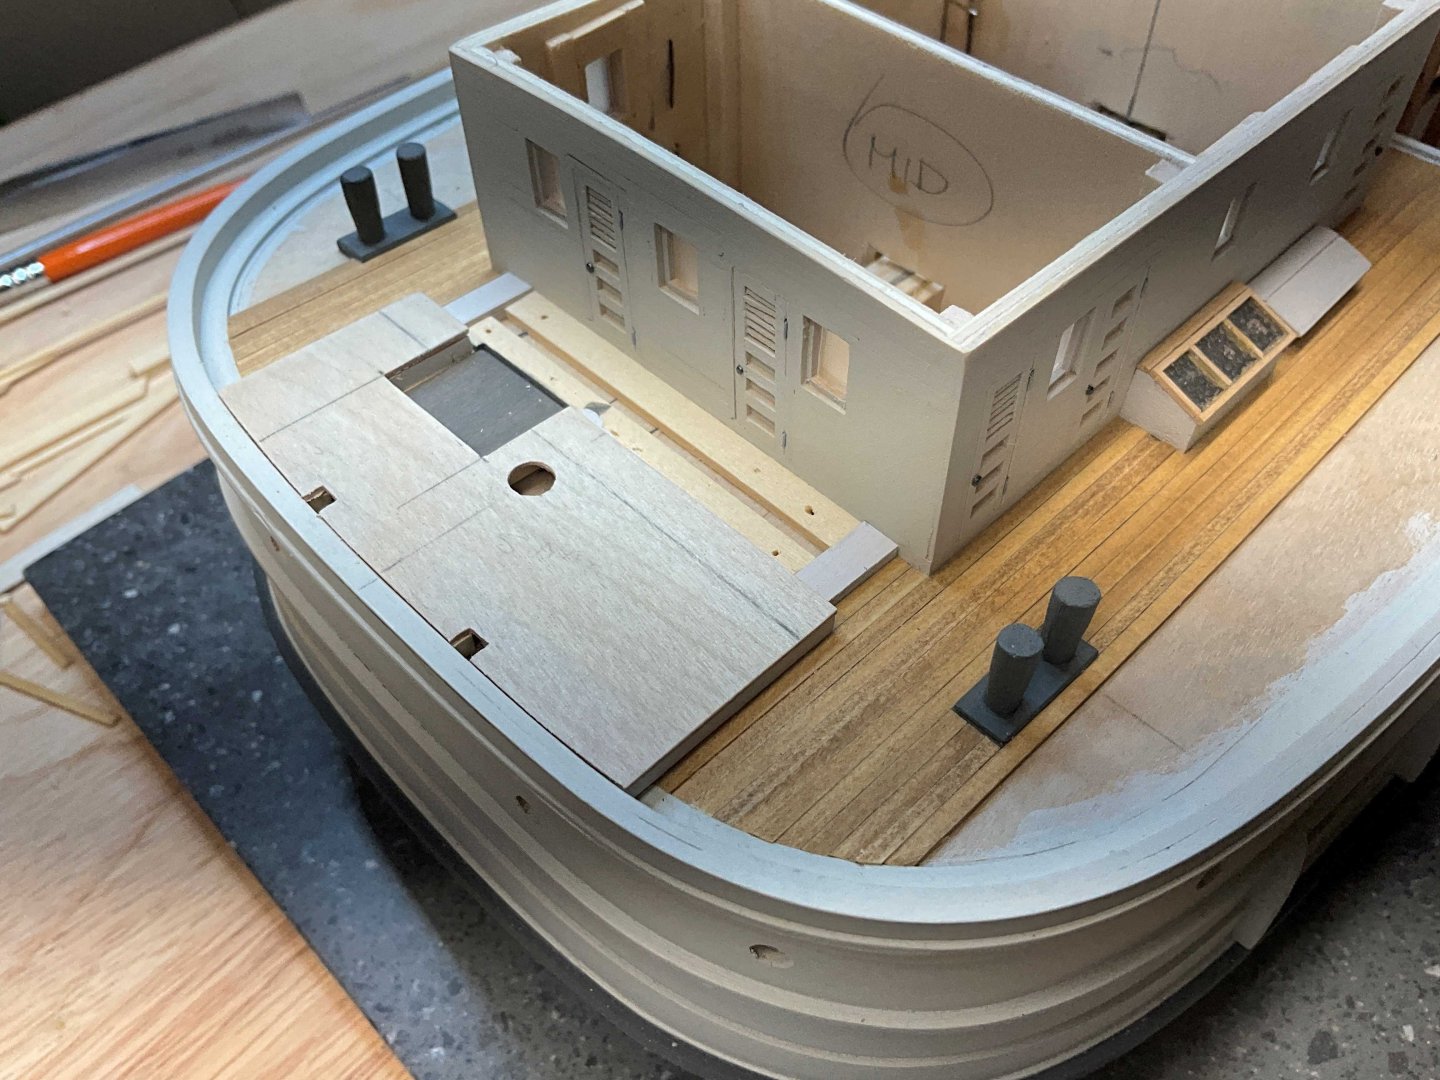
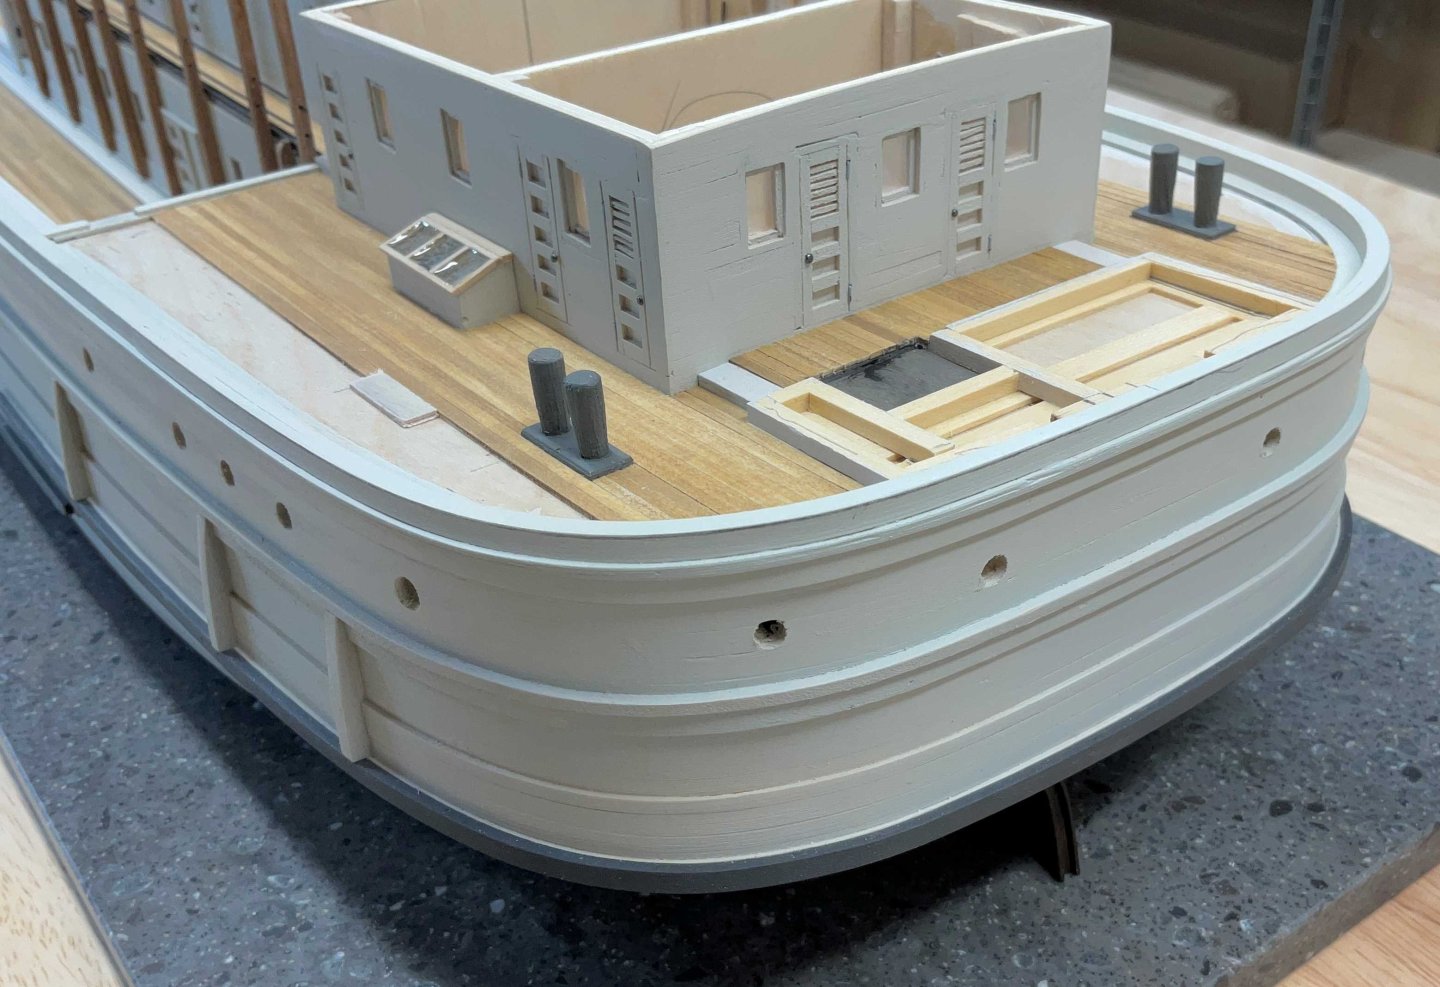
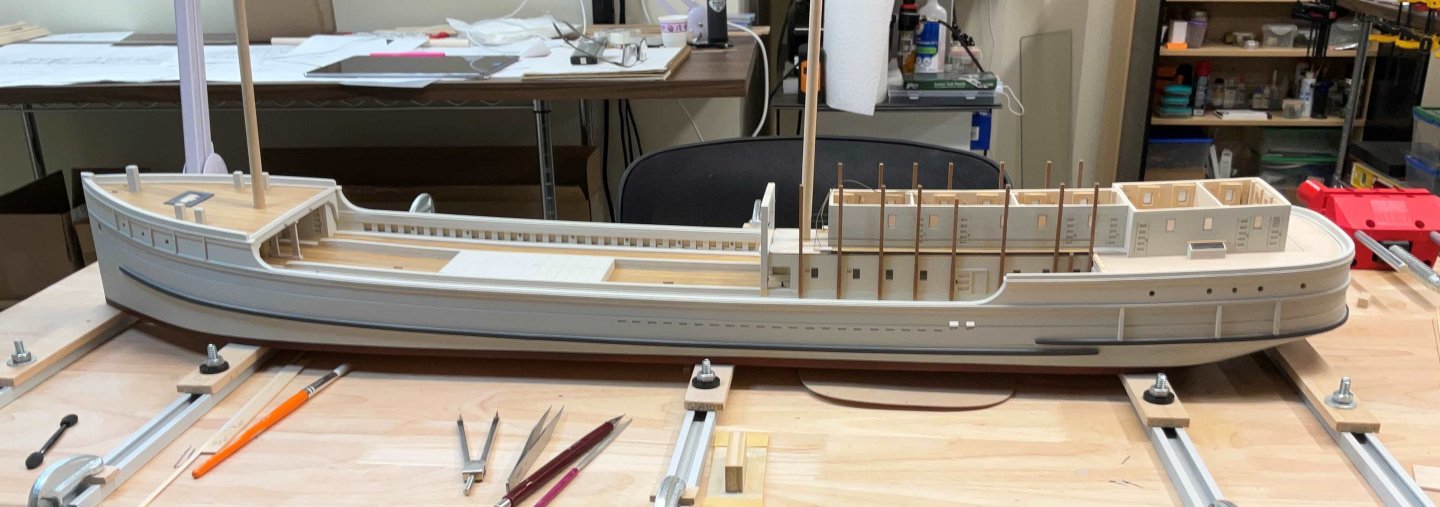
Hi Everyone, this is an update with a bit of everything. Thanks to all of you for the Comments and Likes. Last week I picked up the base which was made from solid surface counter material by a local countertop company. These companies make stuff like this out of remnants so choice is a bit limited. It can be drilled with a regular HSS drill bit, is very straight and fairly heavy. Overall I'm happy with it. First though came the windows for the port and starboard skylights. They were made from 1/32"x 1/32" boxwood which were then clamped to the table that was covered with Press n Seal. Mod Podge Dimensional Magic was used for the glazing whish also kept the frame from falling apart. The deck planking was started once they were glued to the subdeck. The timbers that the cargo winches sit on were next. They are made from 3/16"x 7/32" AYC so that they look square once the deck is laid. The sheaves that send the steering cable up to the wheelhouse were made. I don't know what they looked like so I made something that they might have looked like. I picked up a die punch set from Amazon that I thought would be handy for making winch parts so it was tested out here on the sheaves. They are made from 1/32" plywood. Once the deck was completes around the timbers, the 1/32" plywood mast partner was made, installed and tested with the mast. The large tapered bitts were made from 3/16" dowel shaped with a file while chucked in a battery powered drill. They were painted with Vallejo Steel Grey and glued to the subdeck. Then the planking continued. At the same time the frames for the raised panels covering the steering gear were laid out and attached. The cover Panels will be planked on top of 1/32" plywood. The rudder was made some time ago and of course I forgot to install it before mounting the model to the base. Here it is after removing and remounting the model A second set of bitts are in the works and then the deck planking can be completed. Hope to see you soon.


-
Good luck with the wadding Glen! She looks great.
- 156 replies
-
- 4
-
-
-
- Queen Annes Revenge
- bottle
- (and 1 more)
-
Congratulations on completing this beautiful model. Well done!
-
Julie, you haven’t seen anything until you watch a seagull try to choke down a mud puppy 😀
-
Very nice Roel. Standing by.
-
Keith, displaying them beside Lula will be awesome!
- 457 replies
-
- 3
-
-
-
- sternwheeler
- Hard Coal Navy
- (and 1 more)
-
Most beautiful Craig! Even the project box looks great!
-
Phil, thank you very much for your kind comment!
-
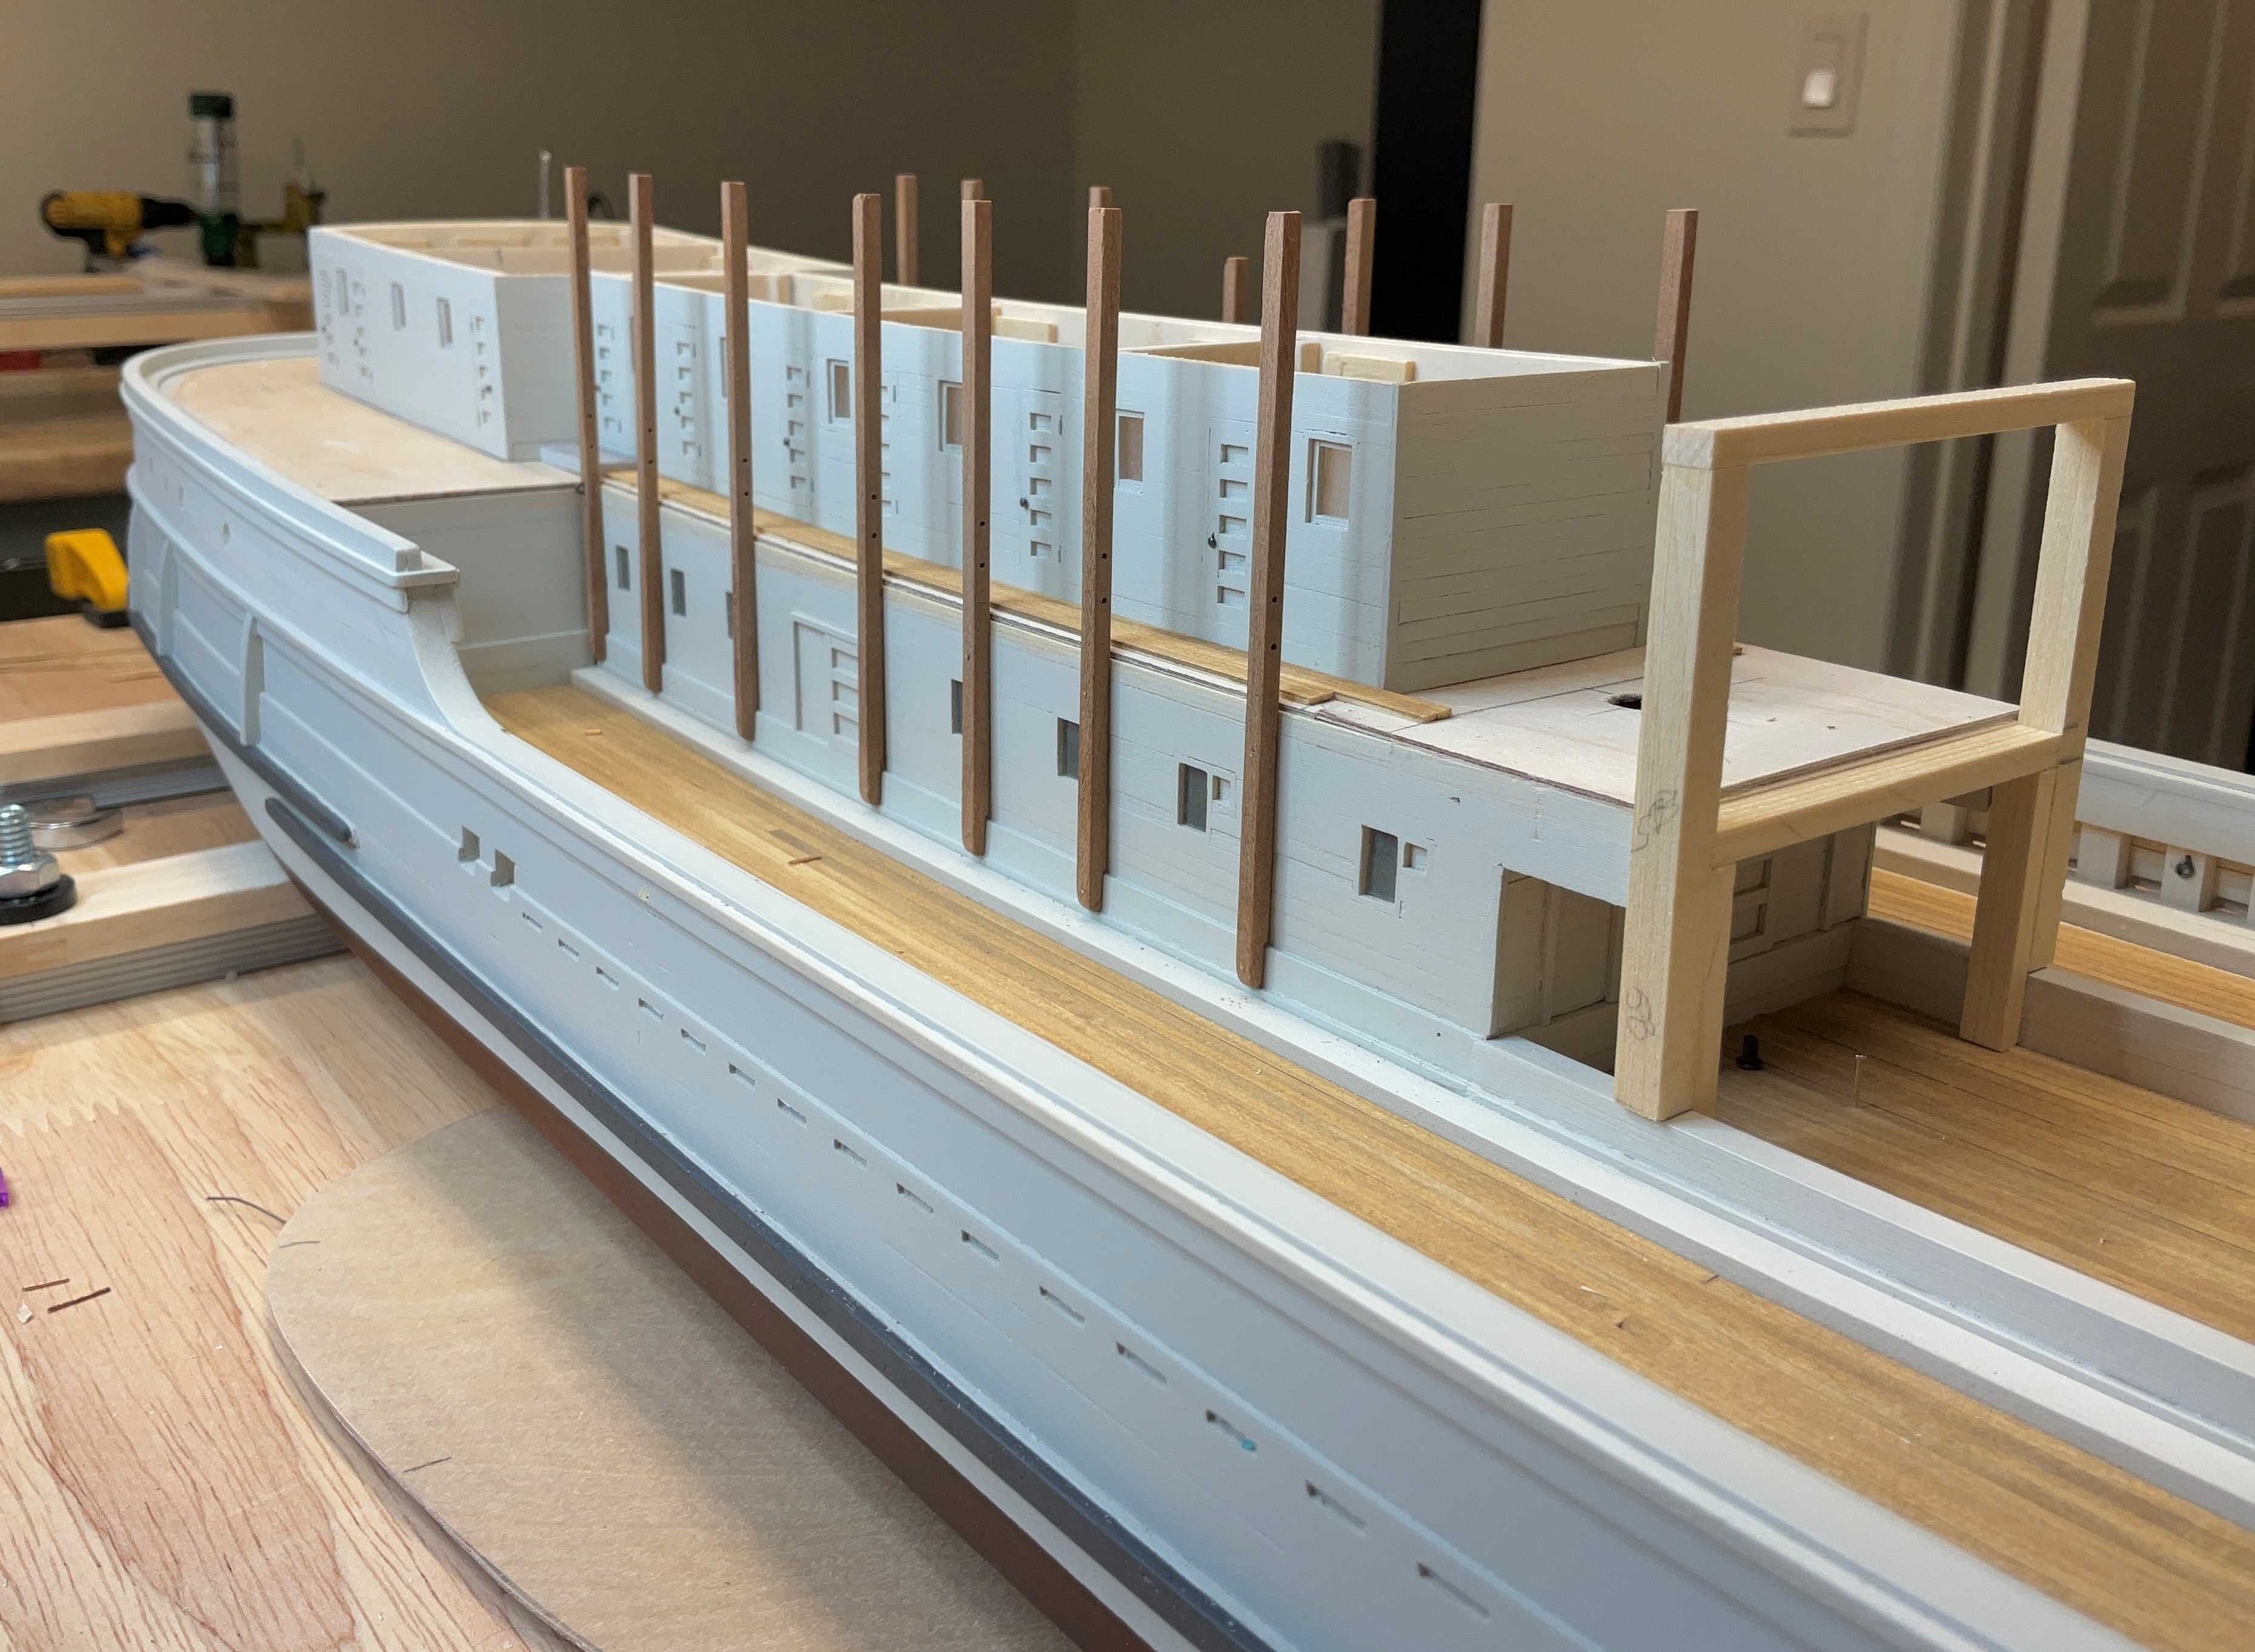
Thank you John, I forgot to mention that I made the stanchions out of cherry after looking at Phil’s photos where they seemed to have a natural wood color. I think they give her a bit more character
-
Thank you Keith. I am going to check that out 👍
-
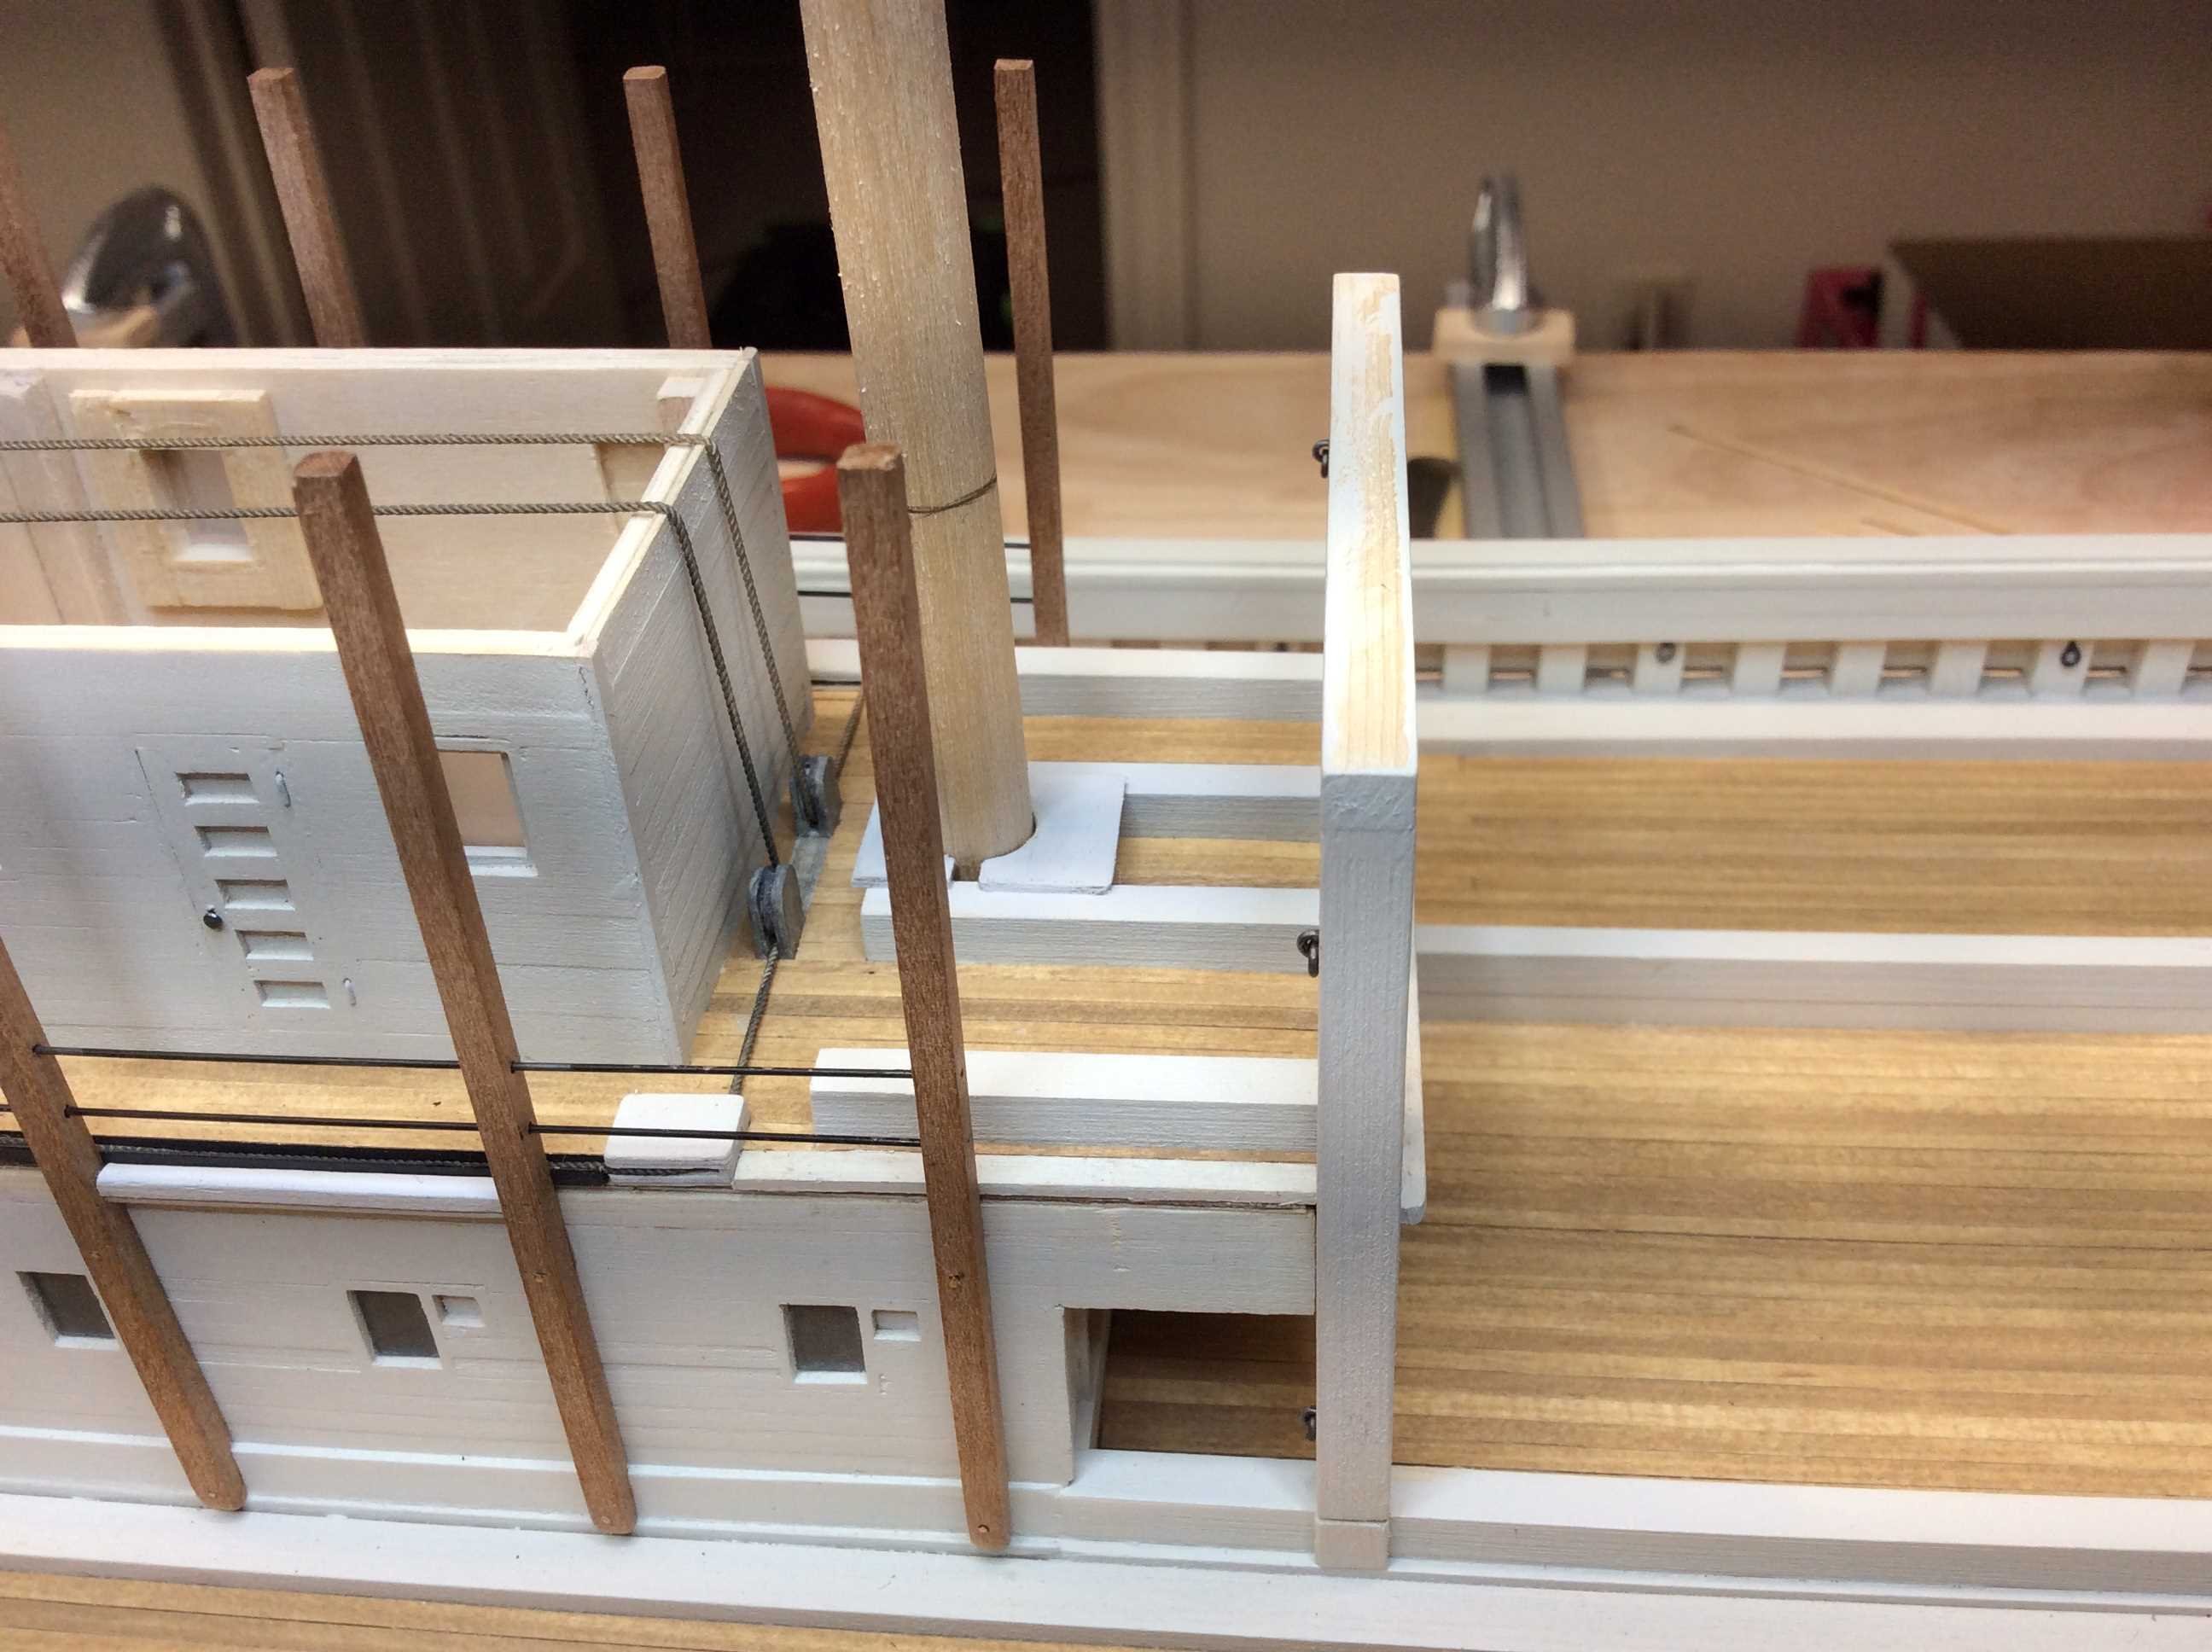
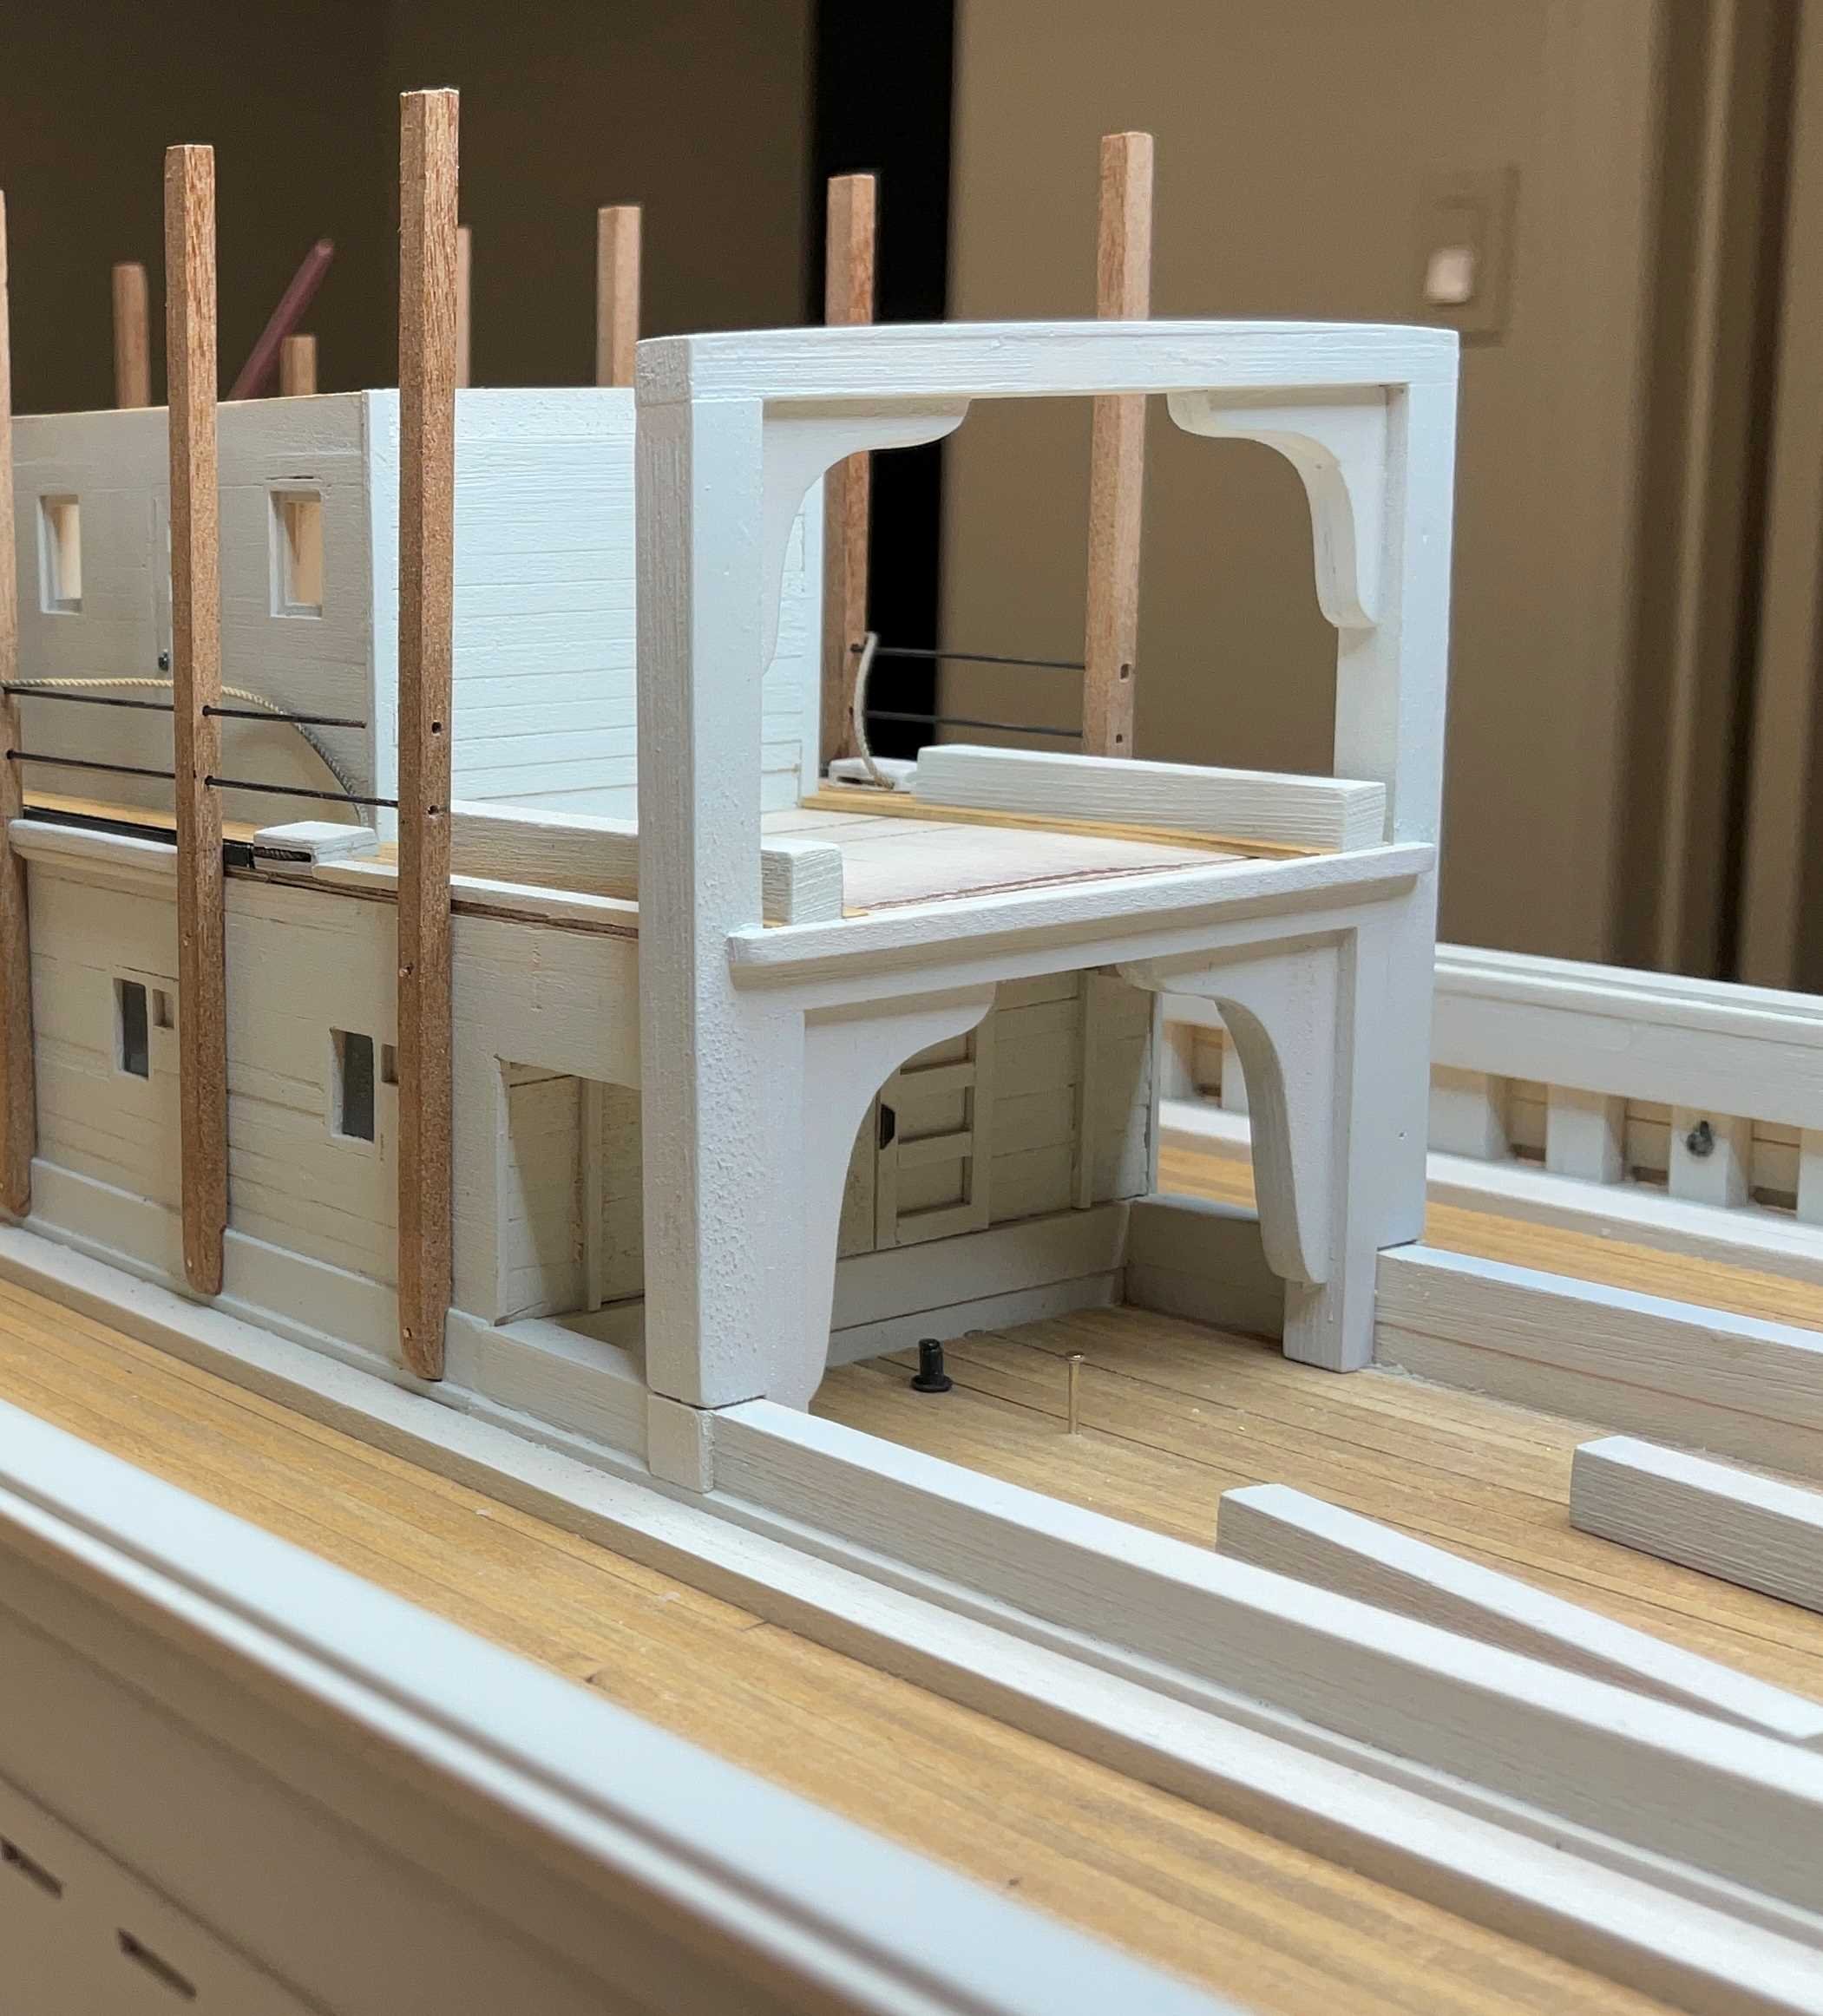
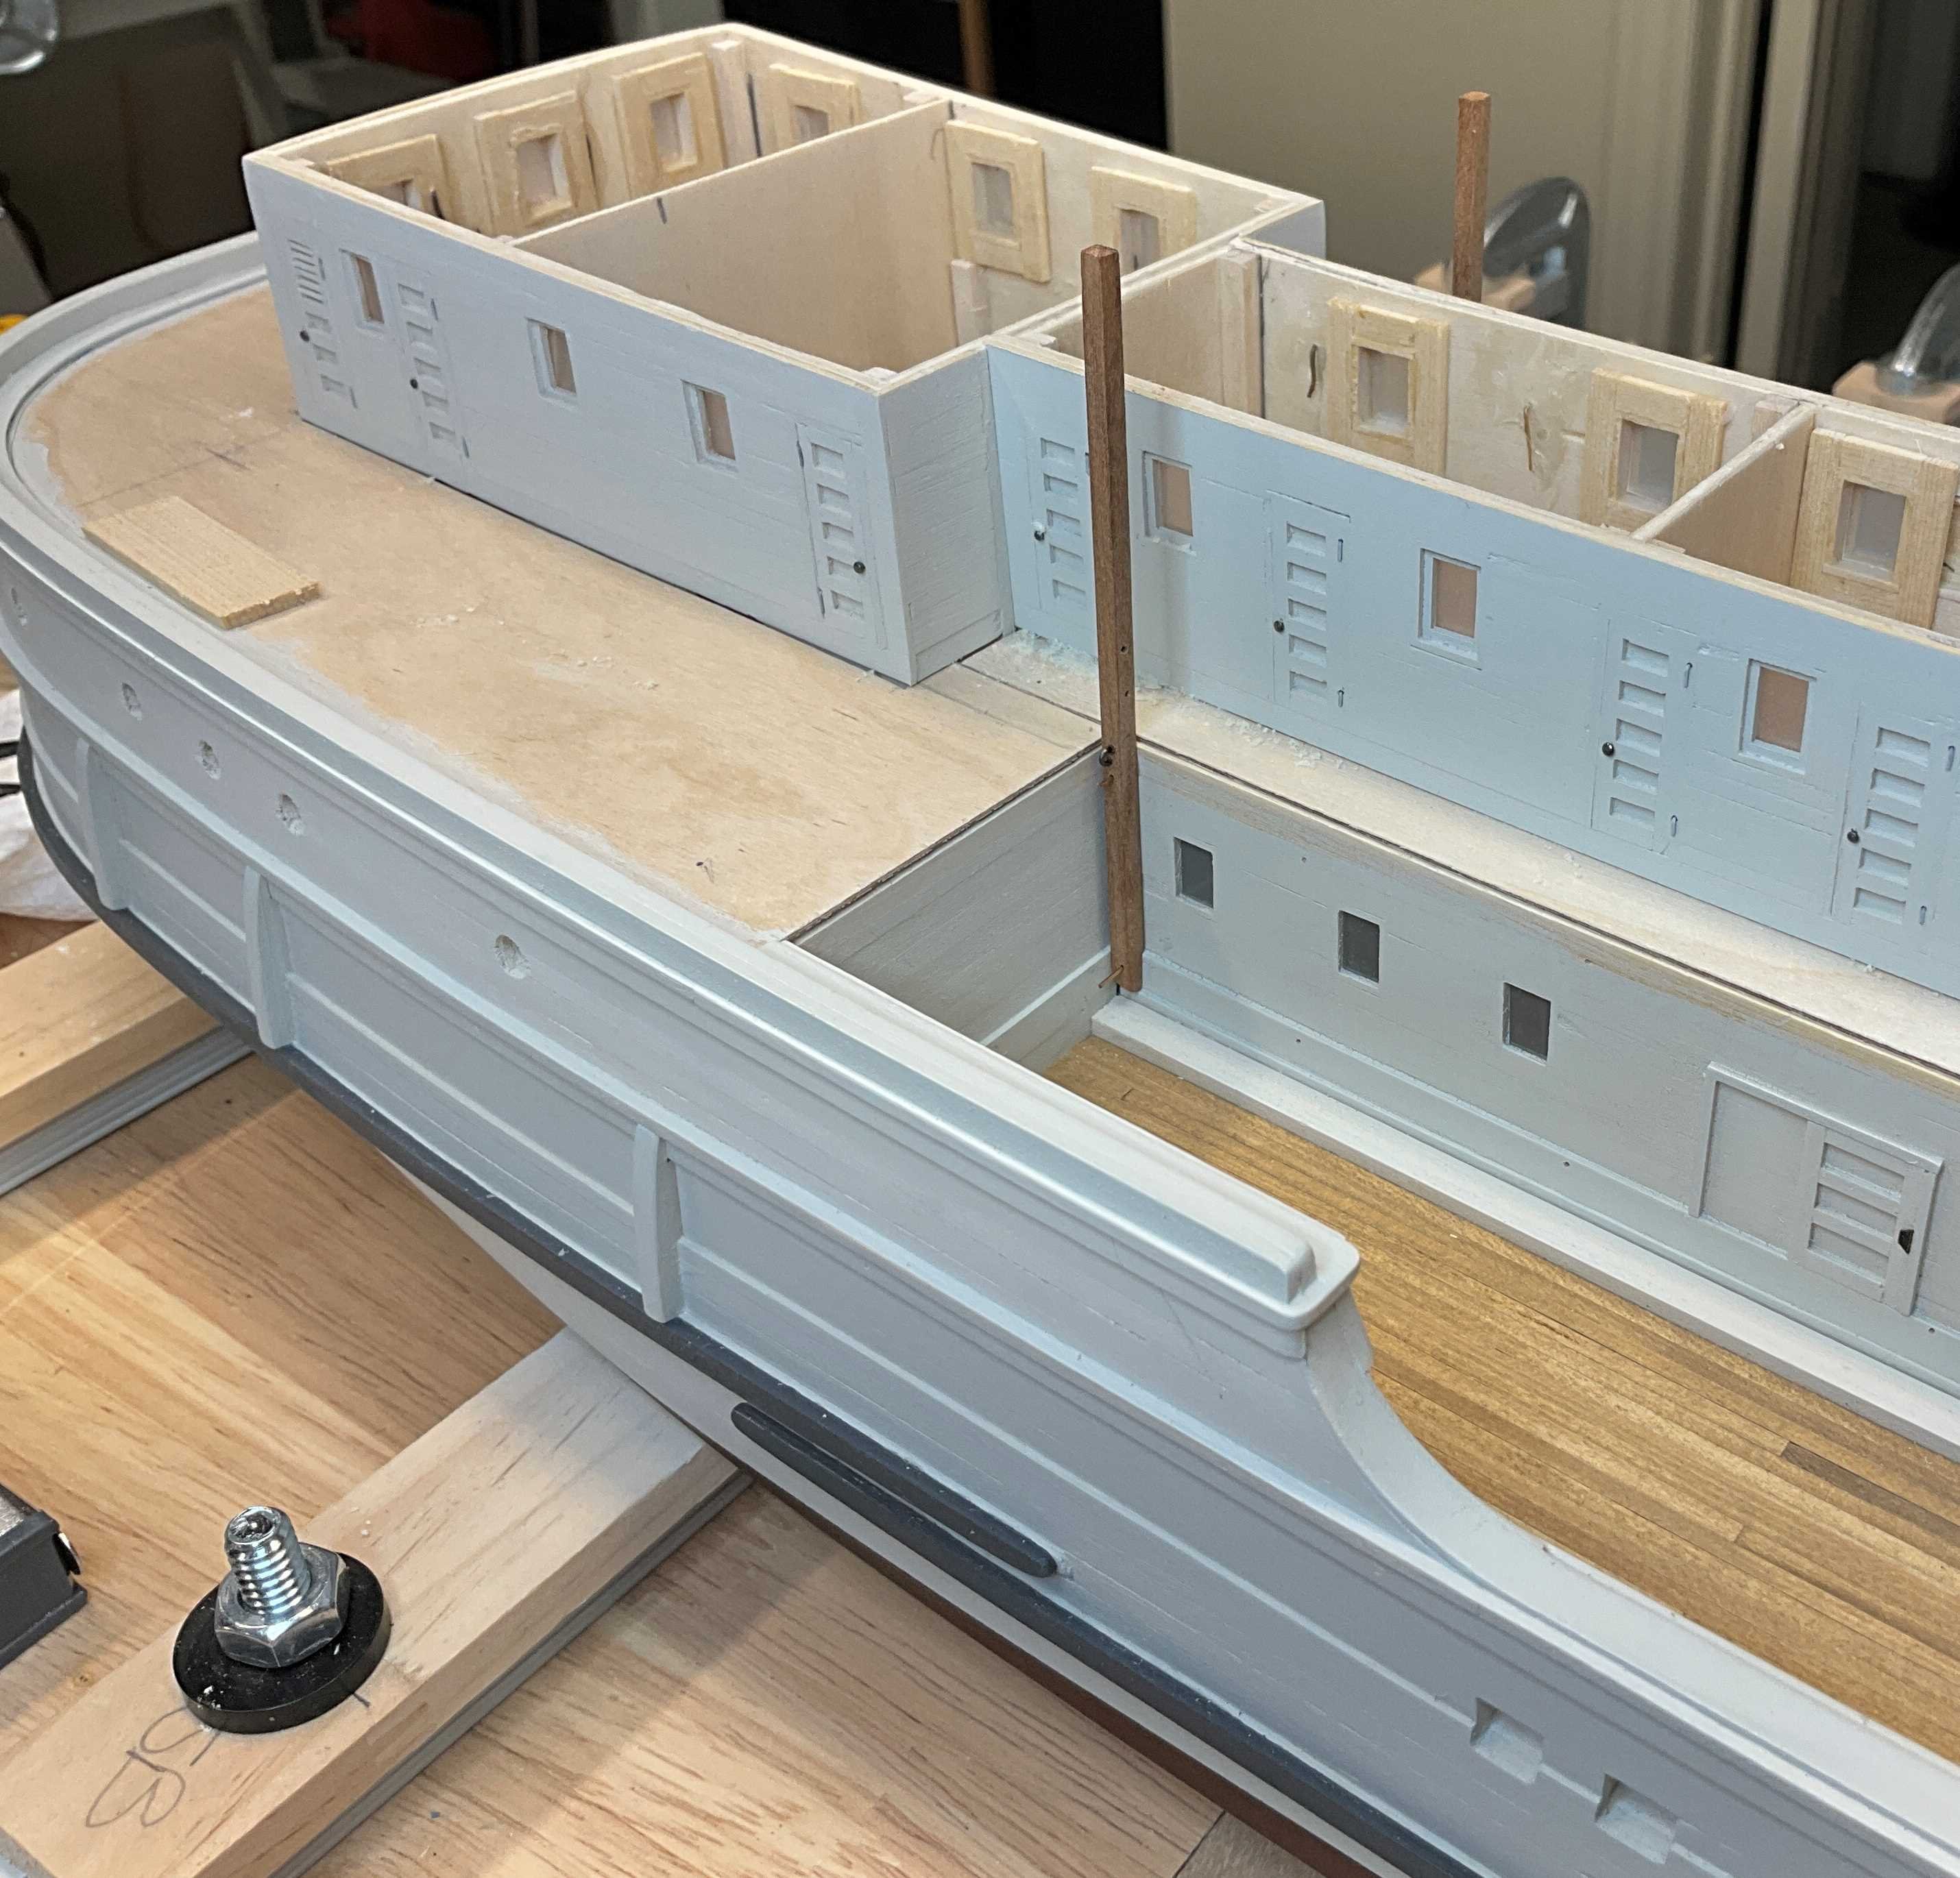
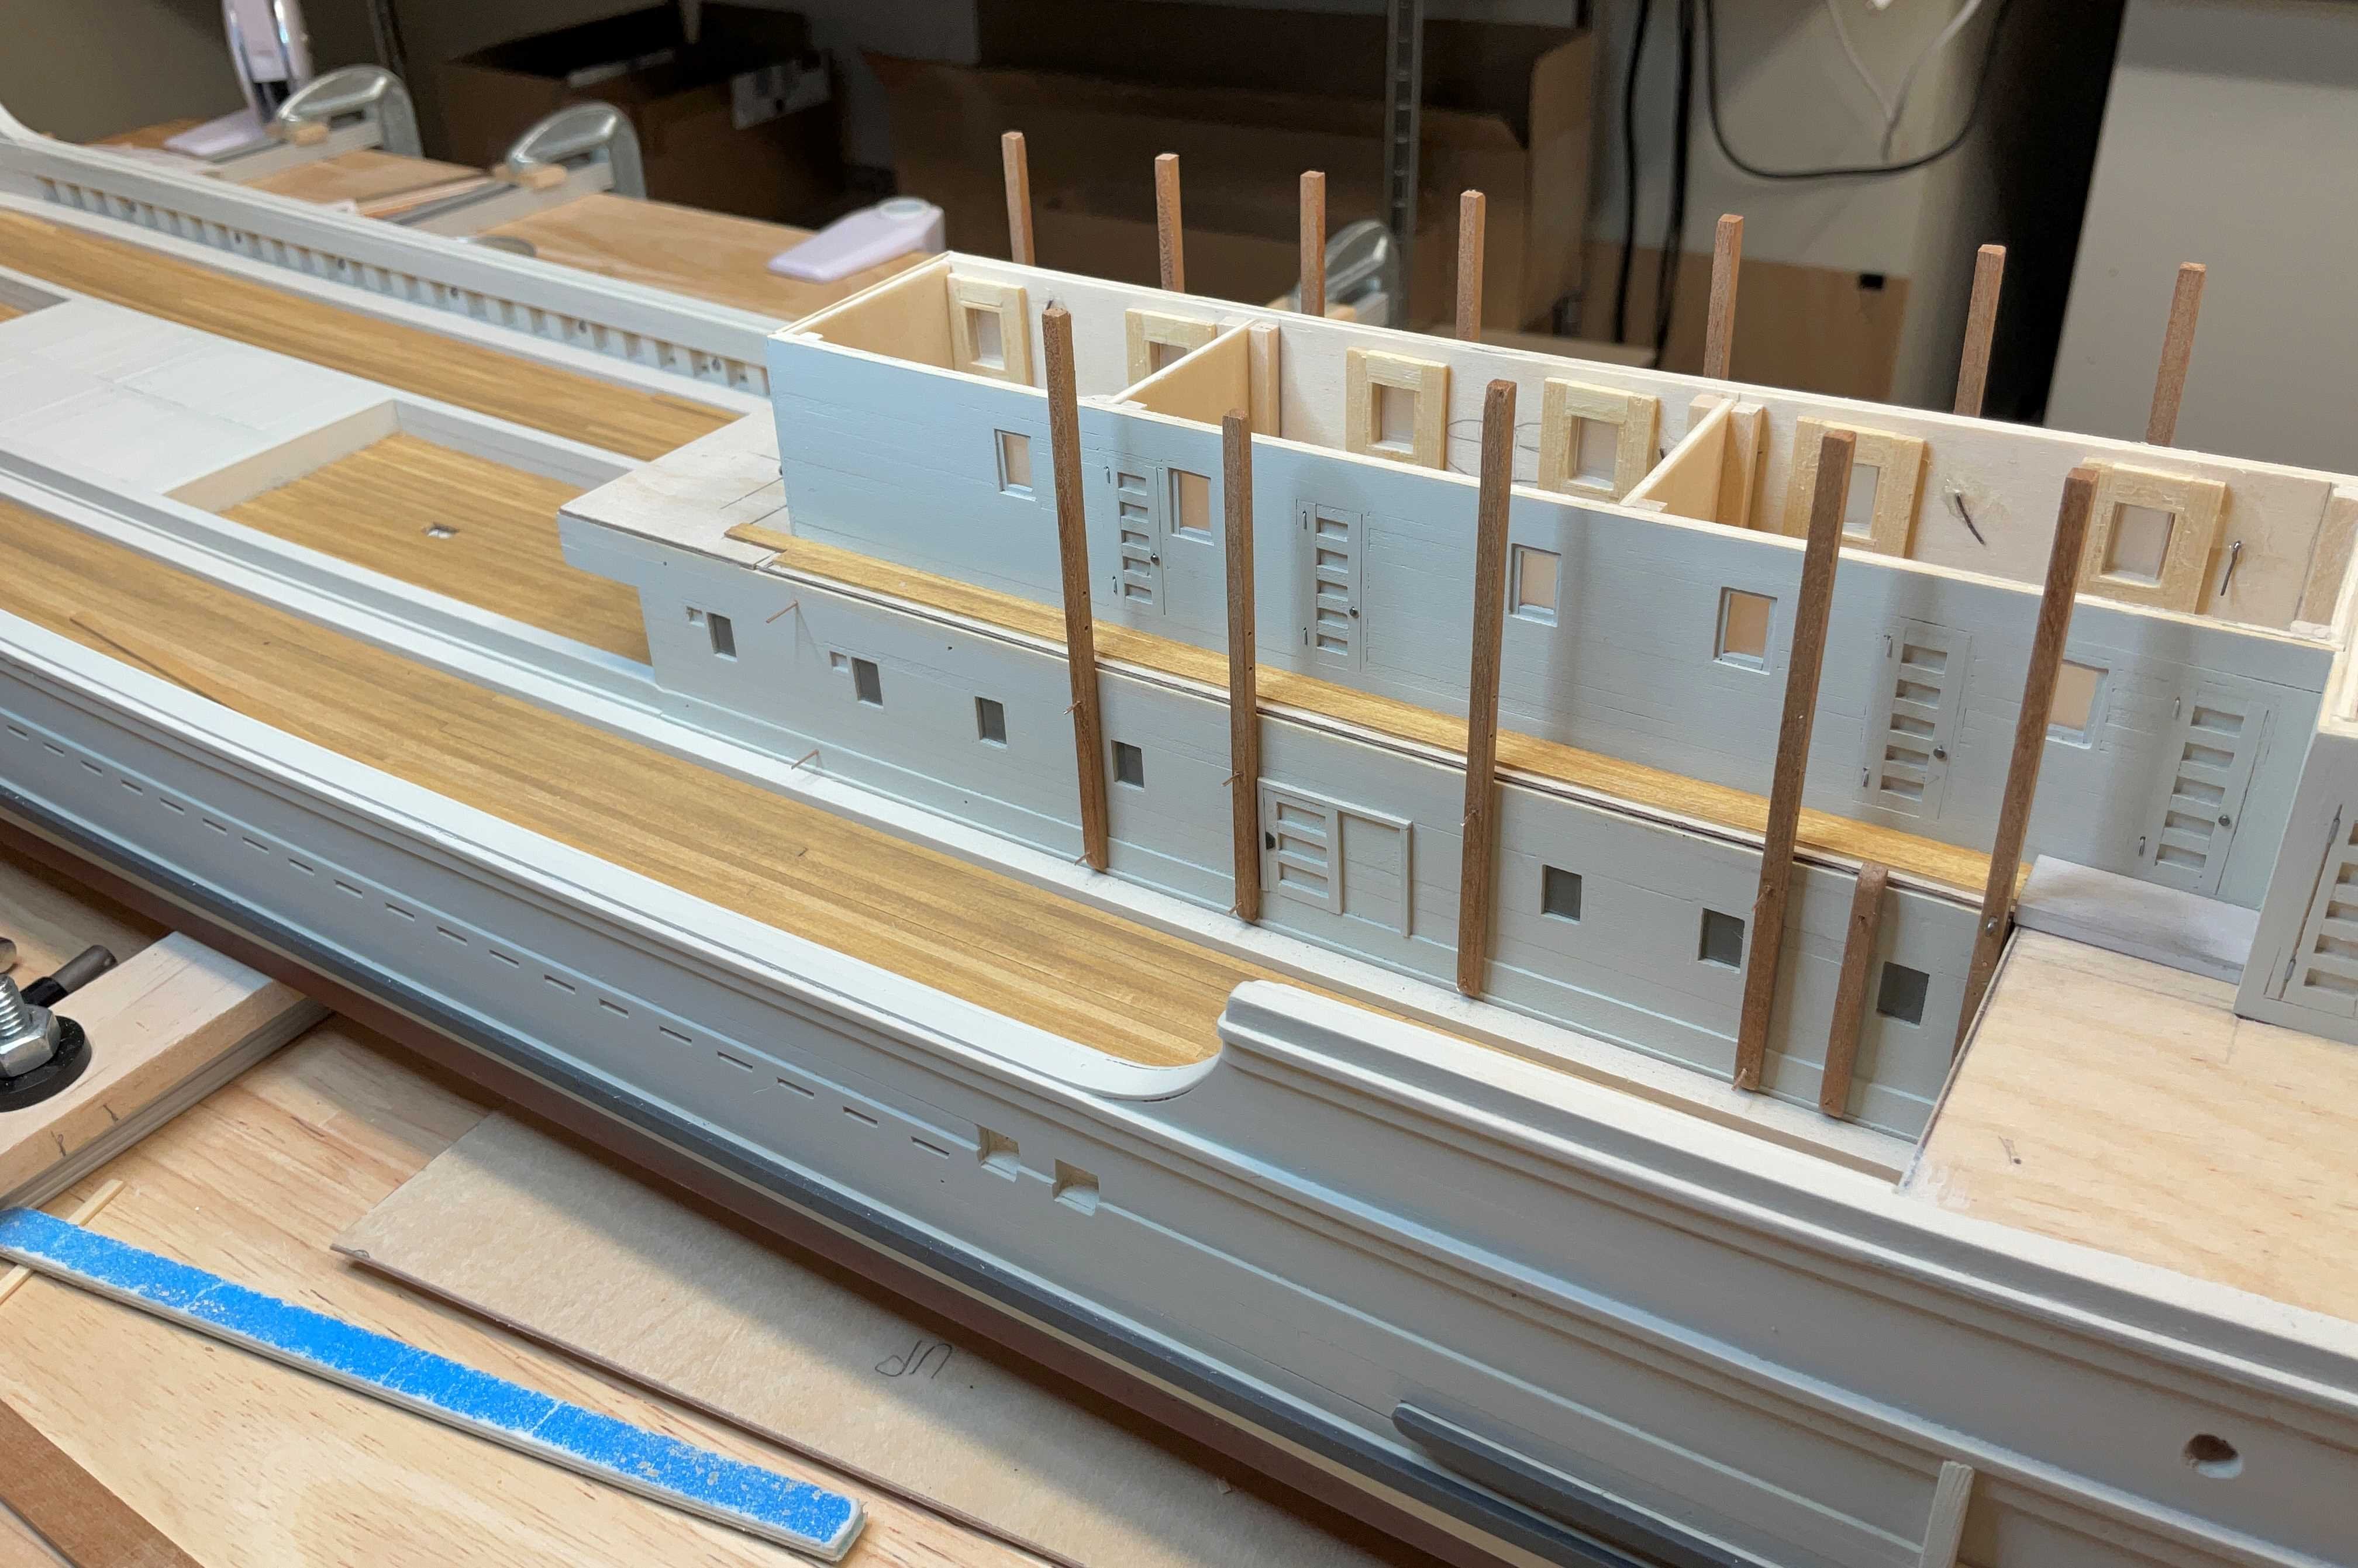
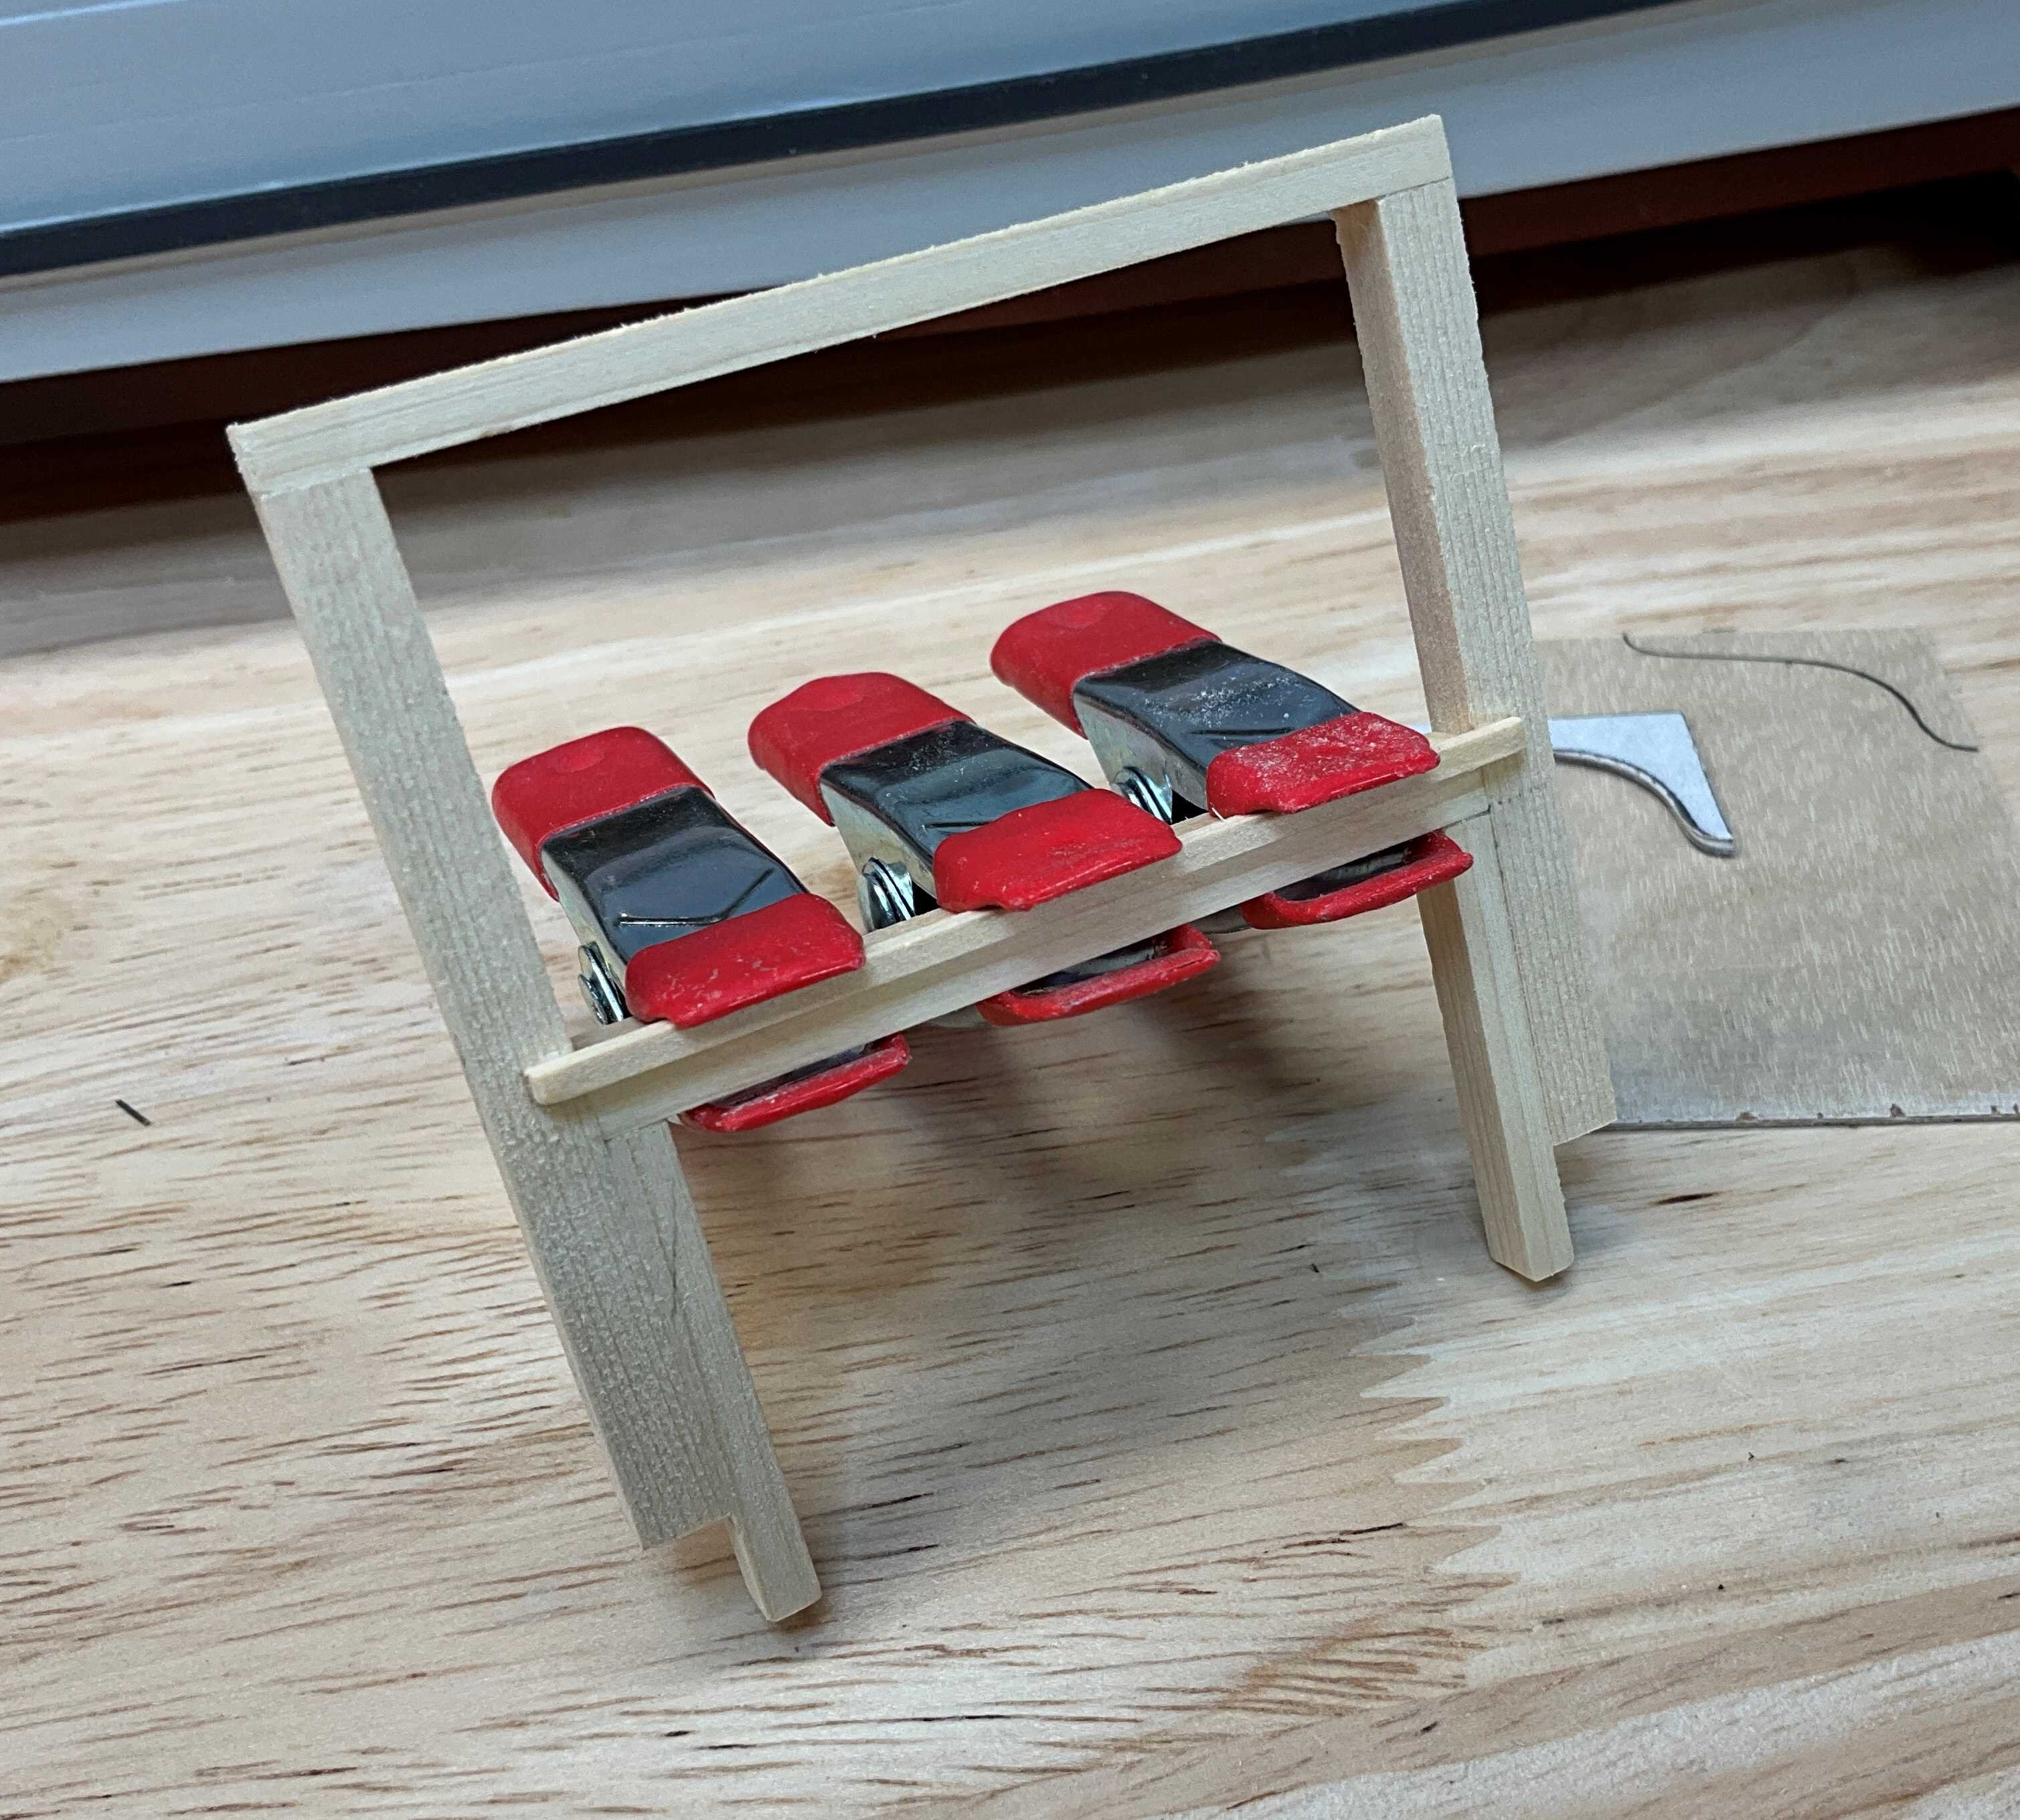
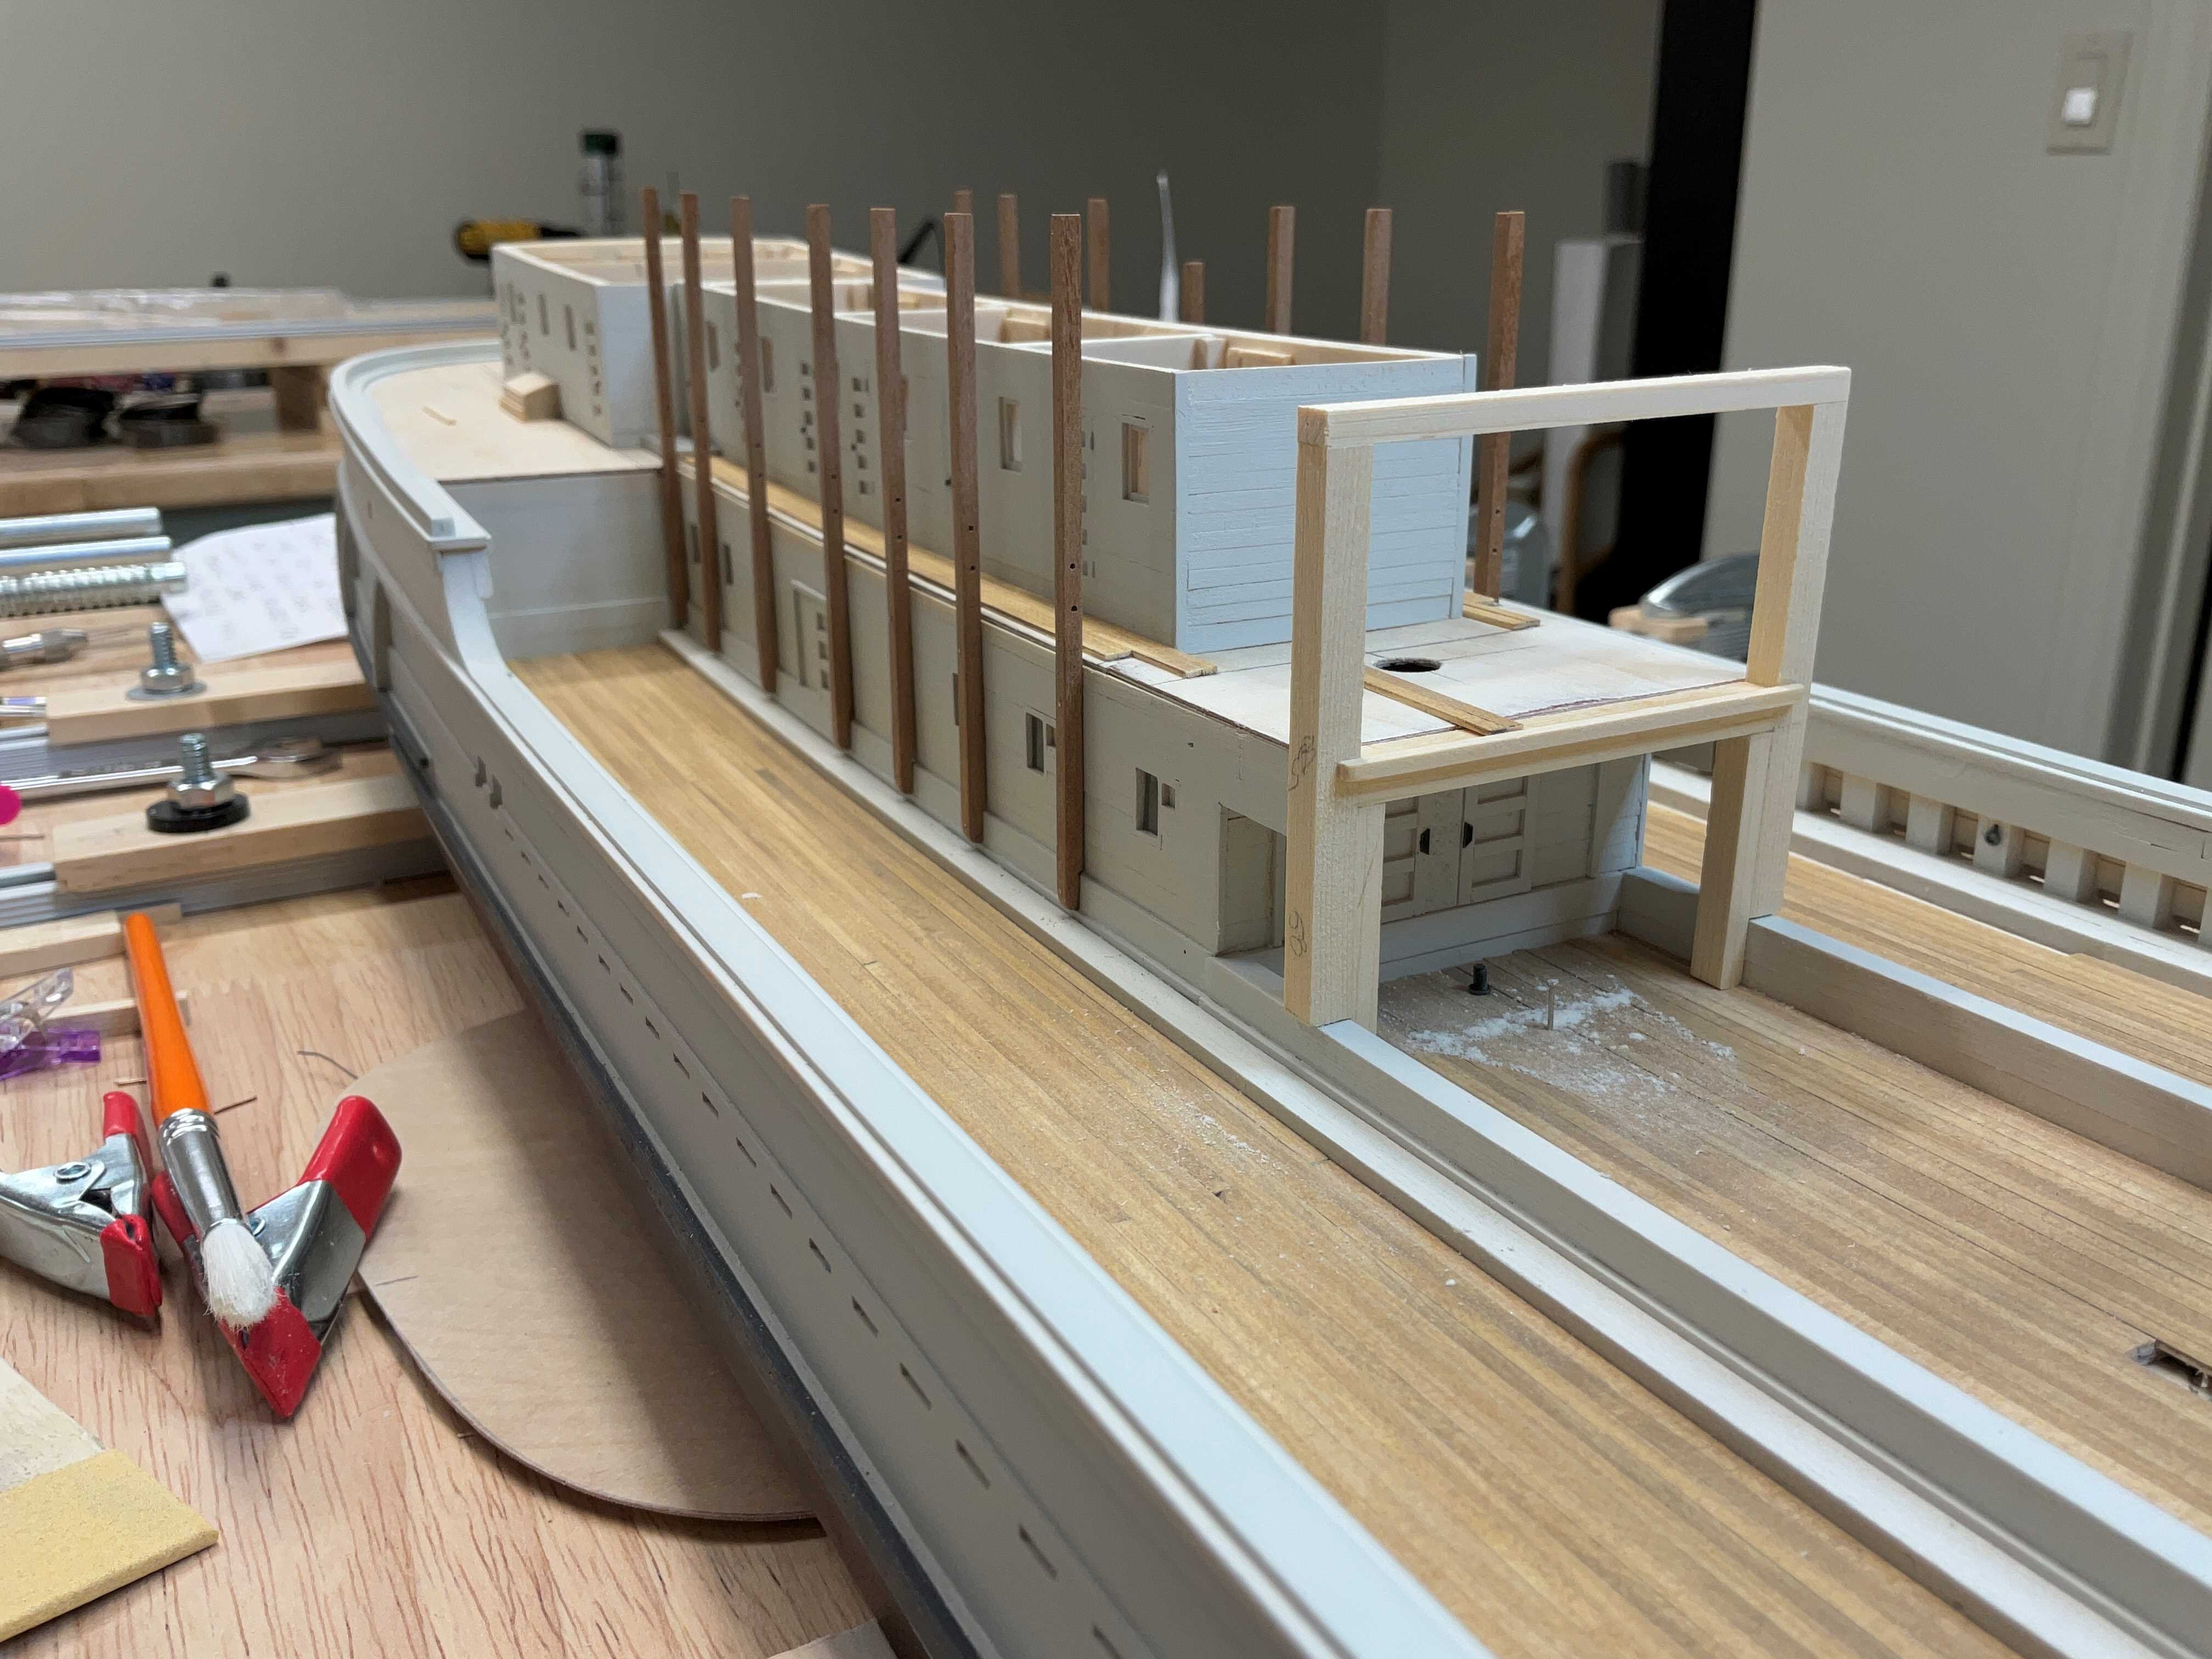
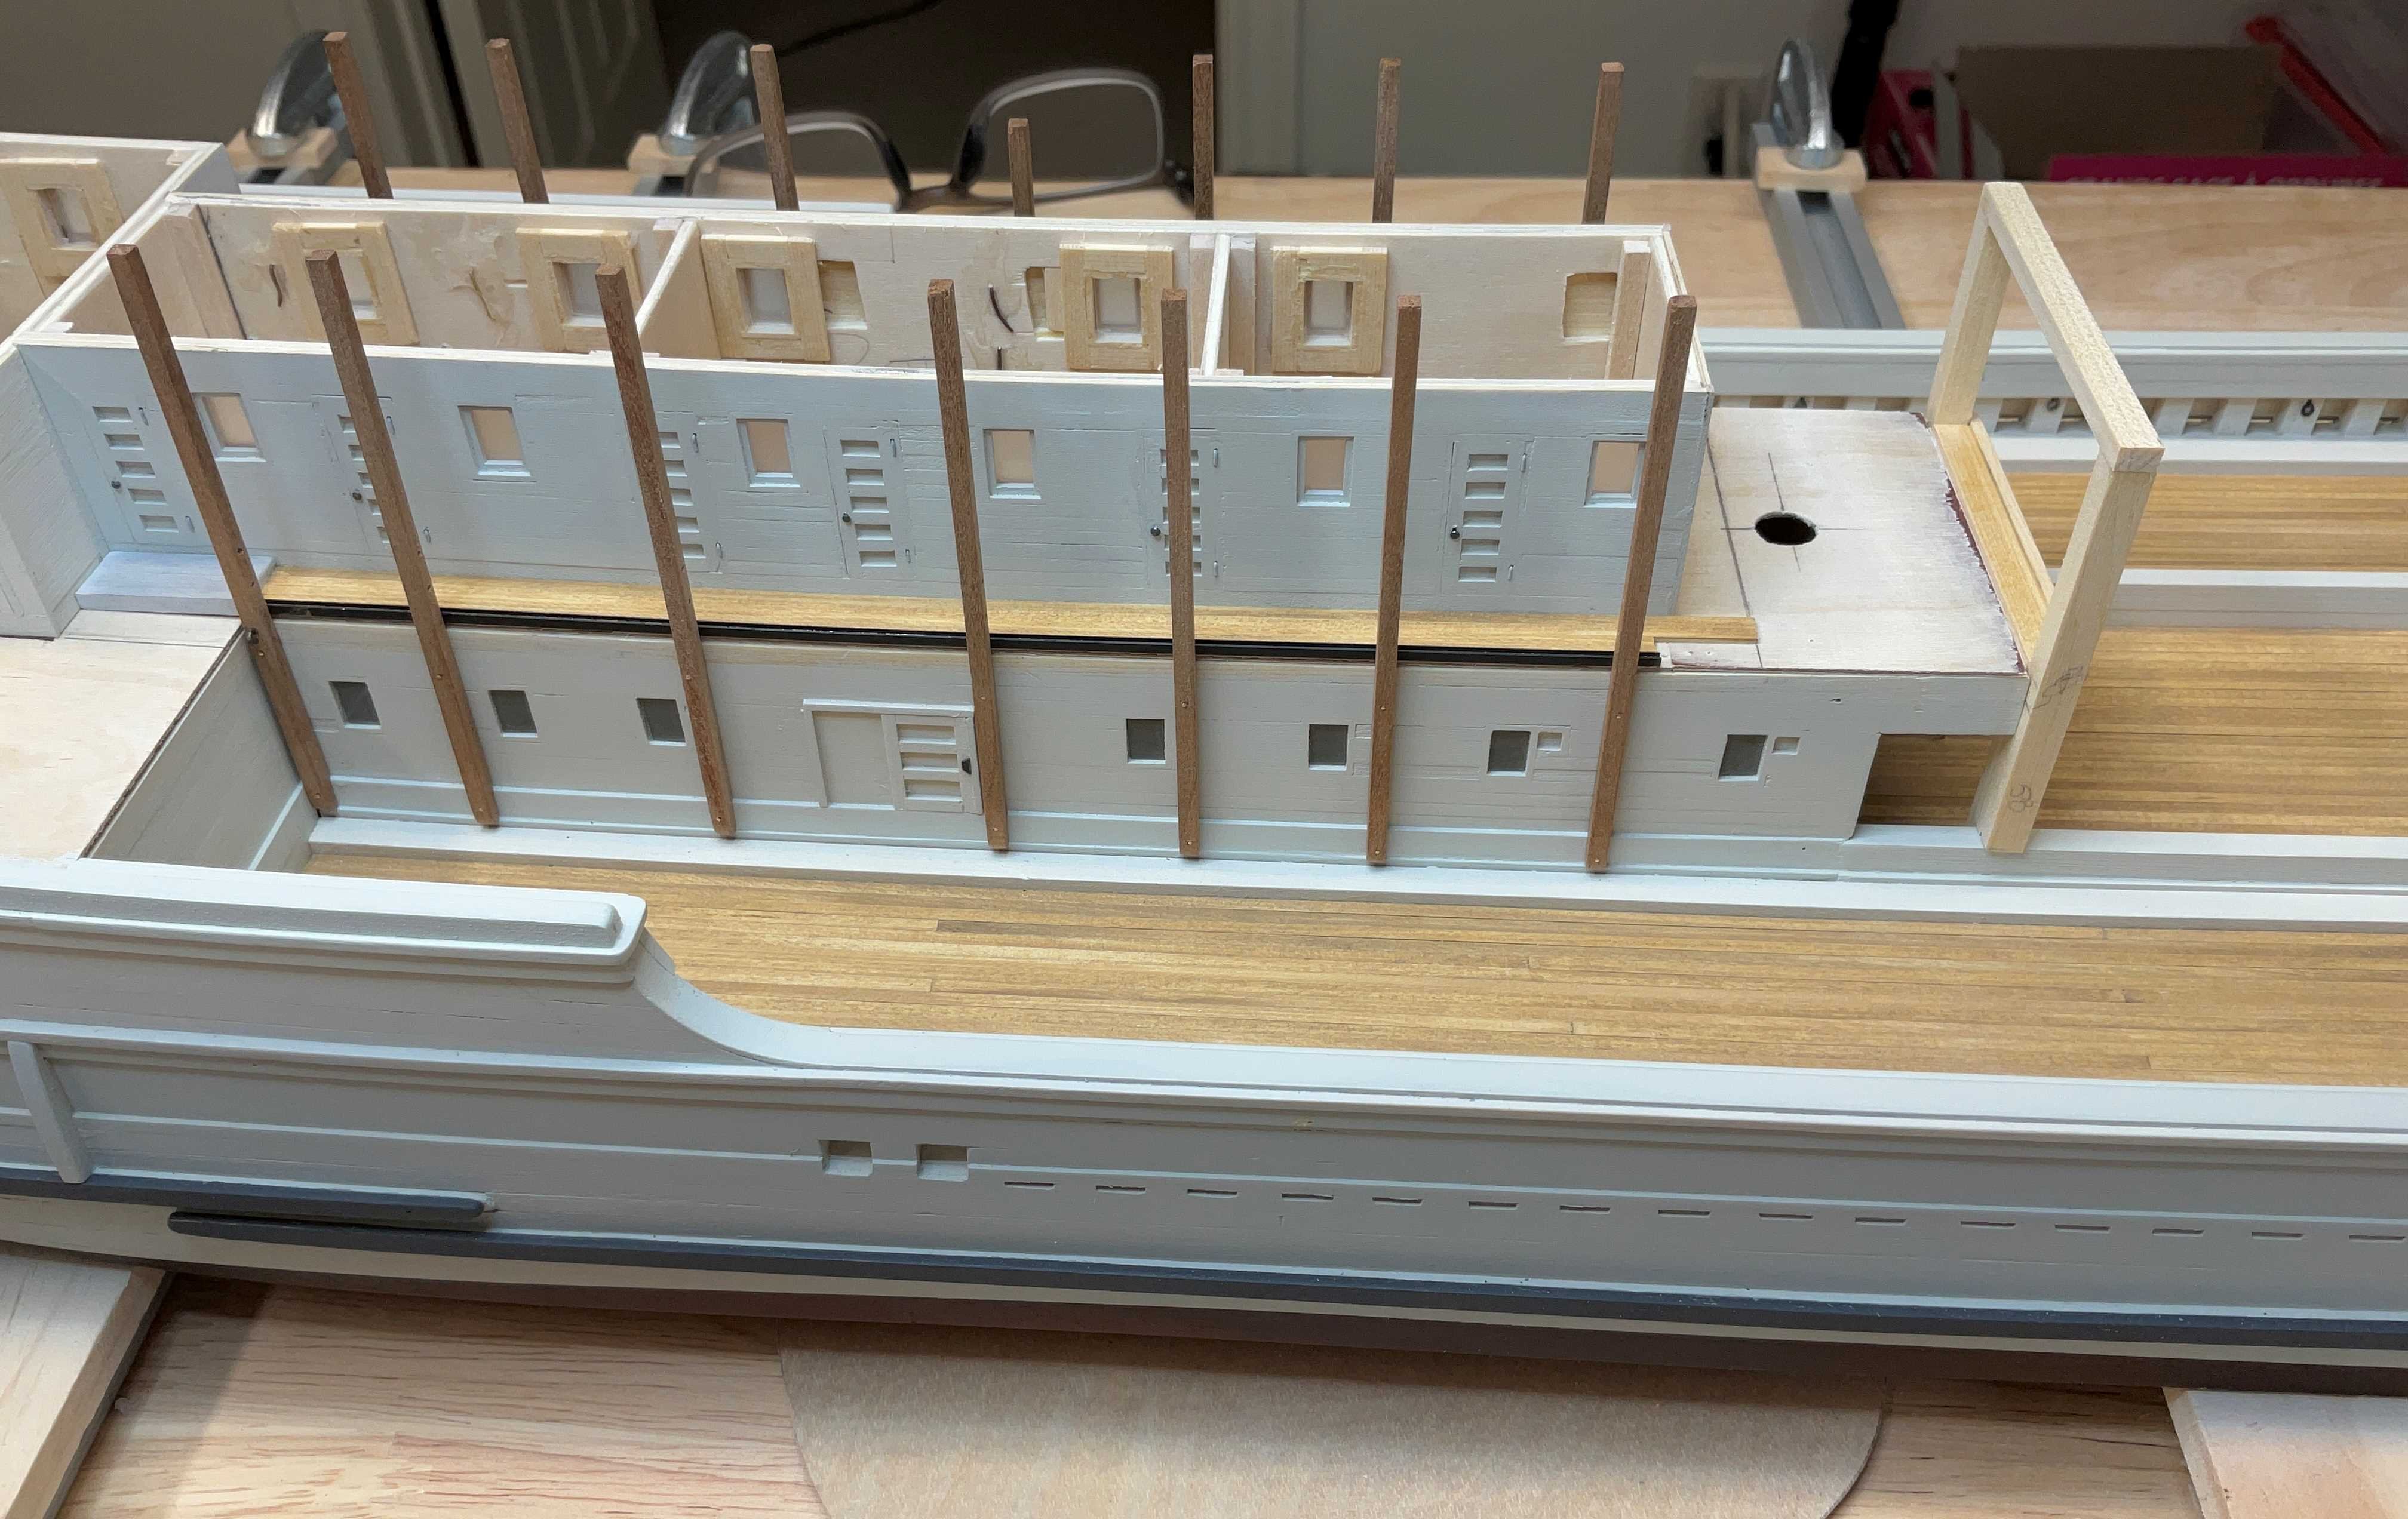
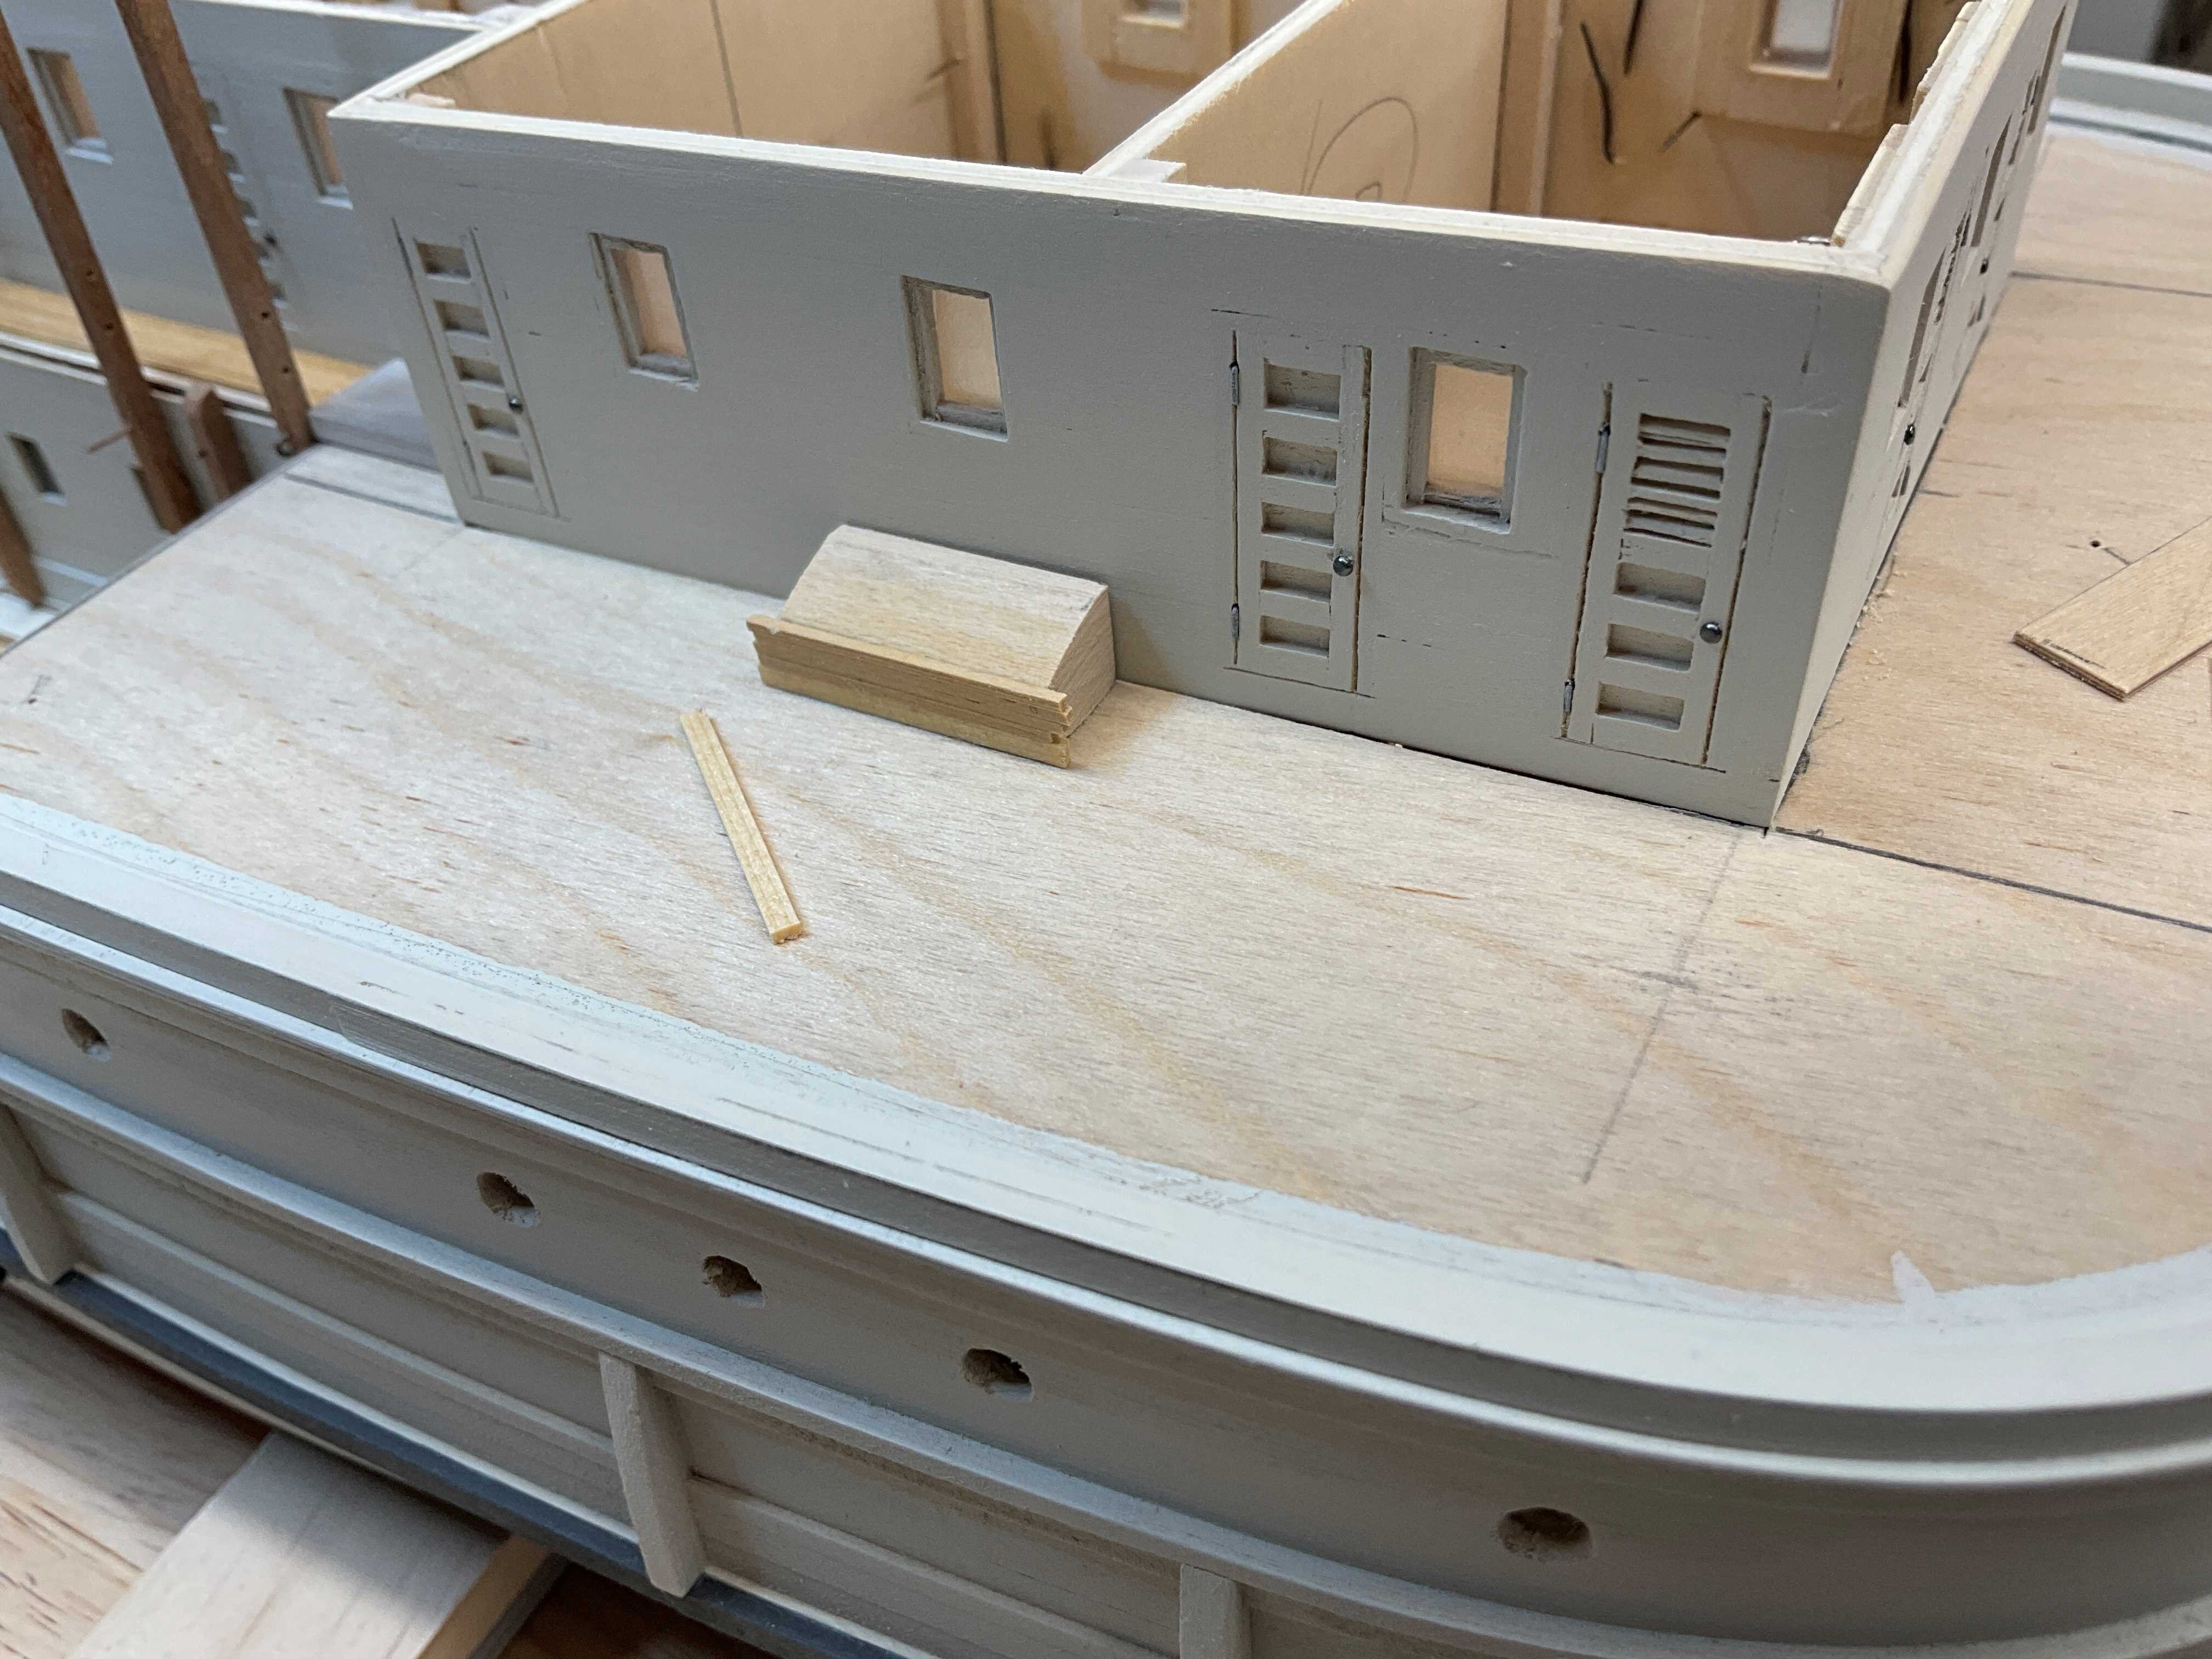
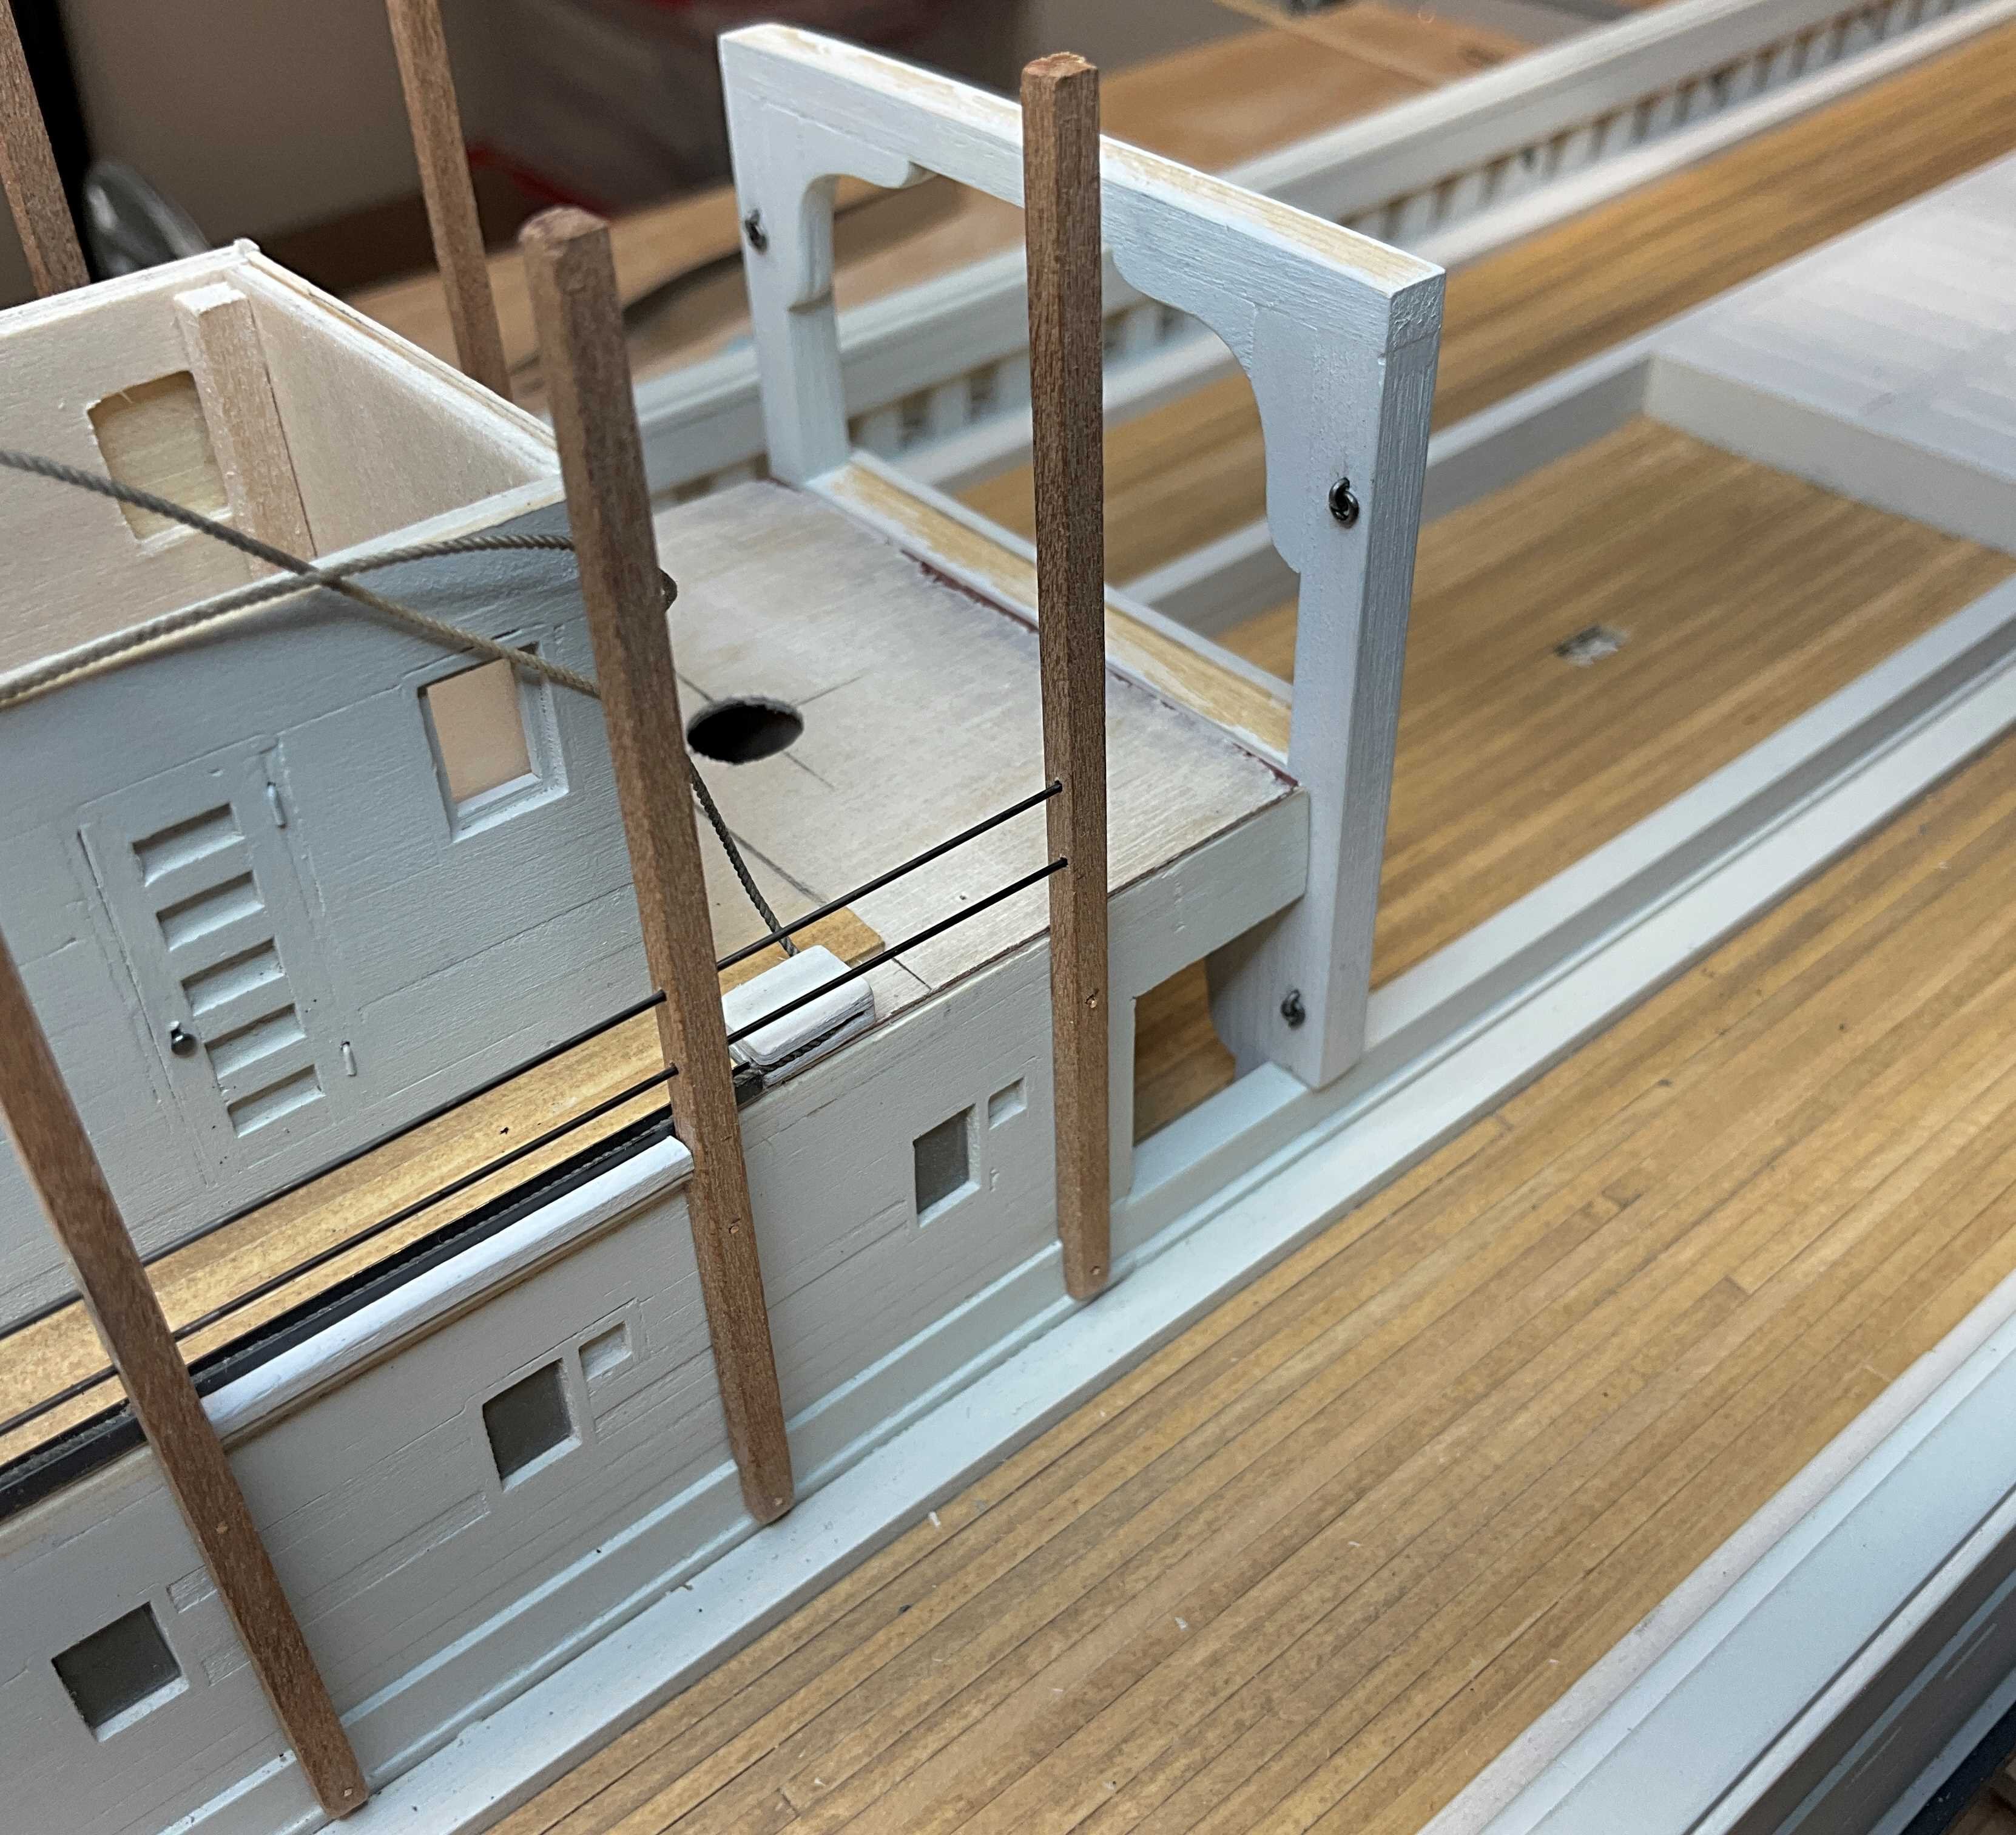
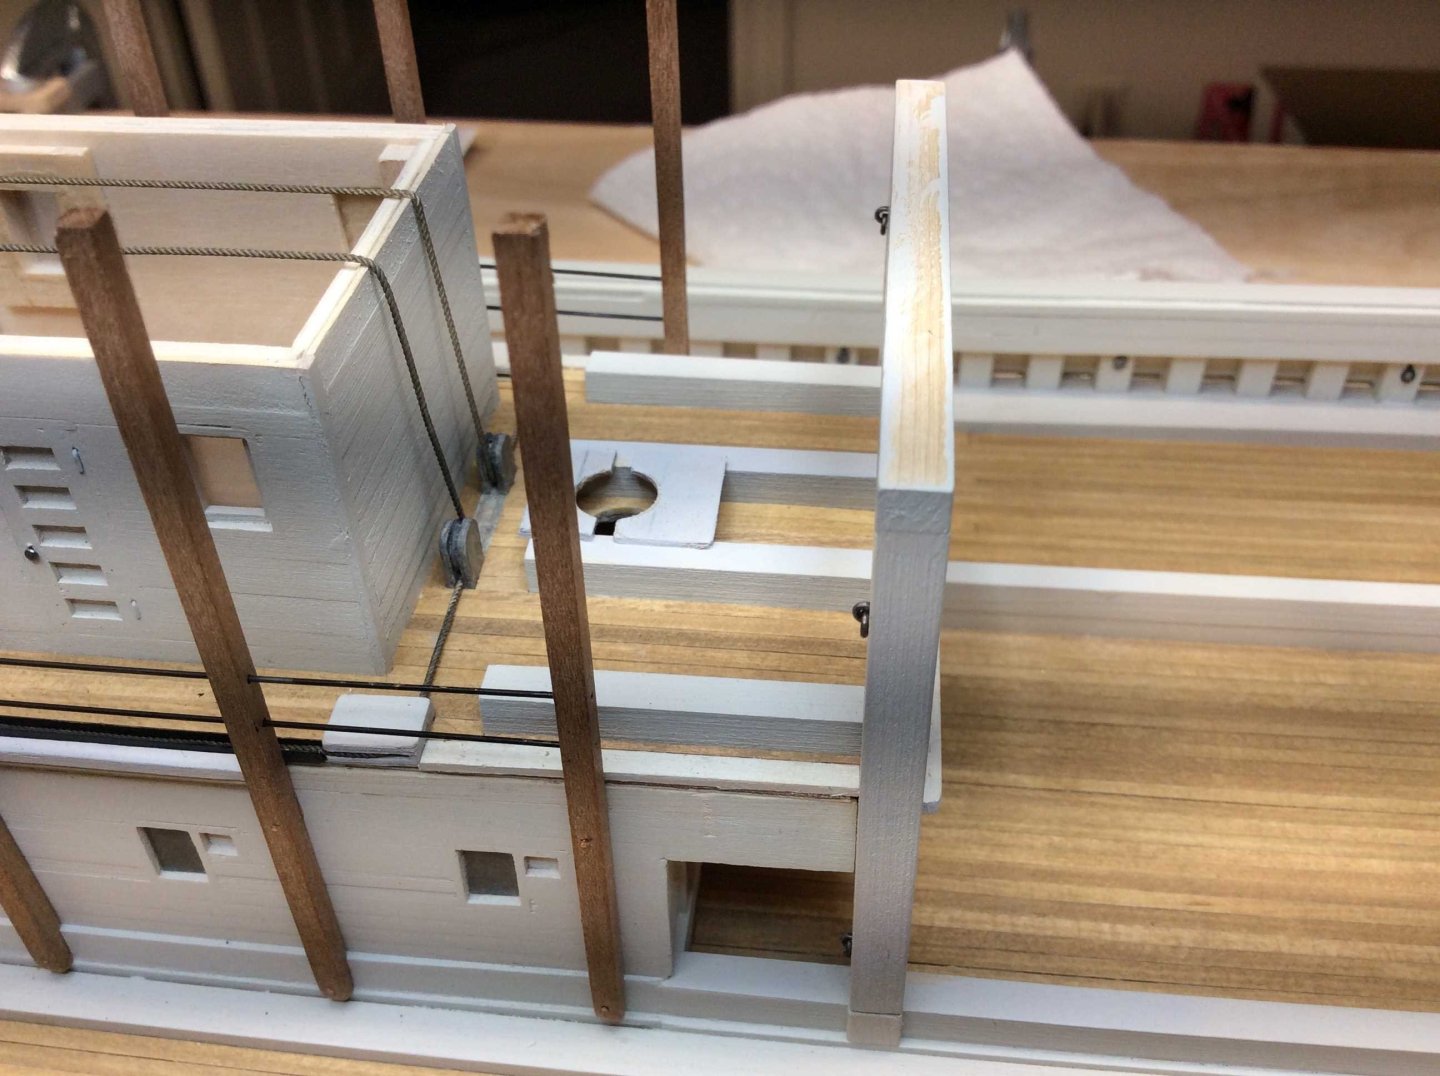
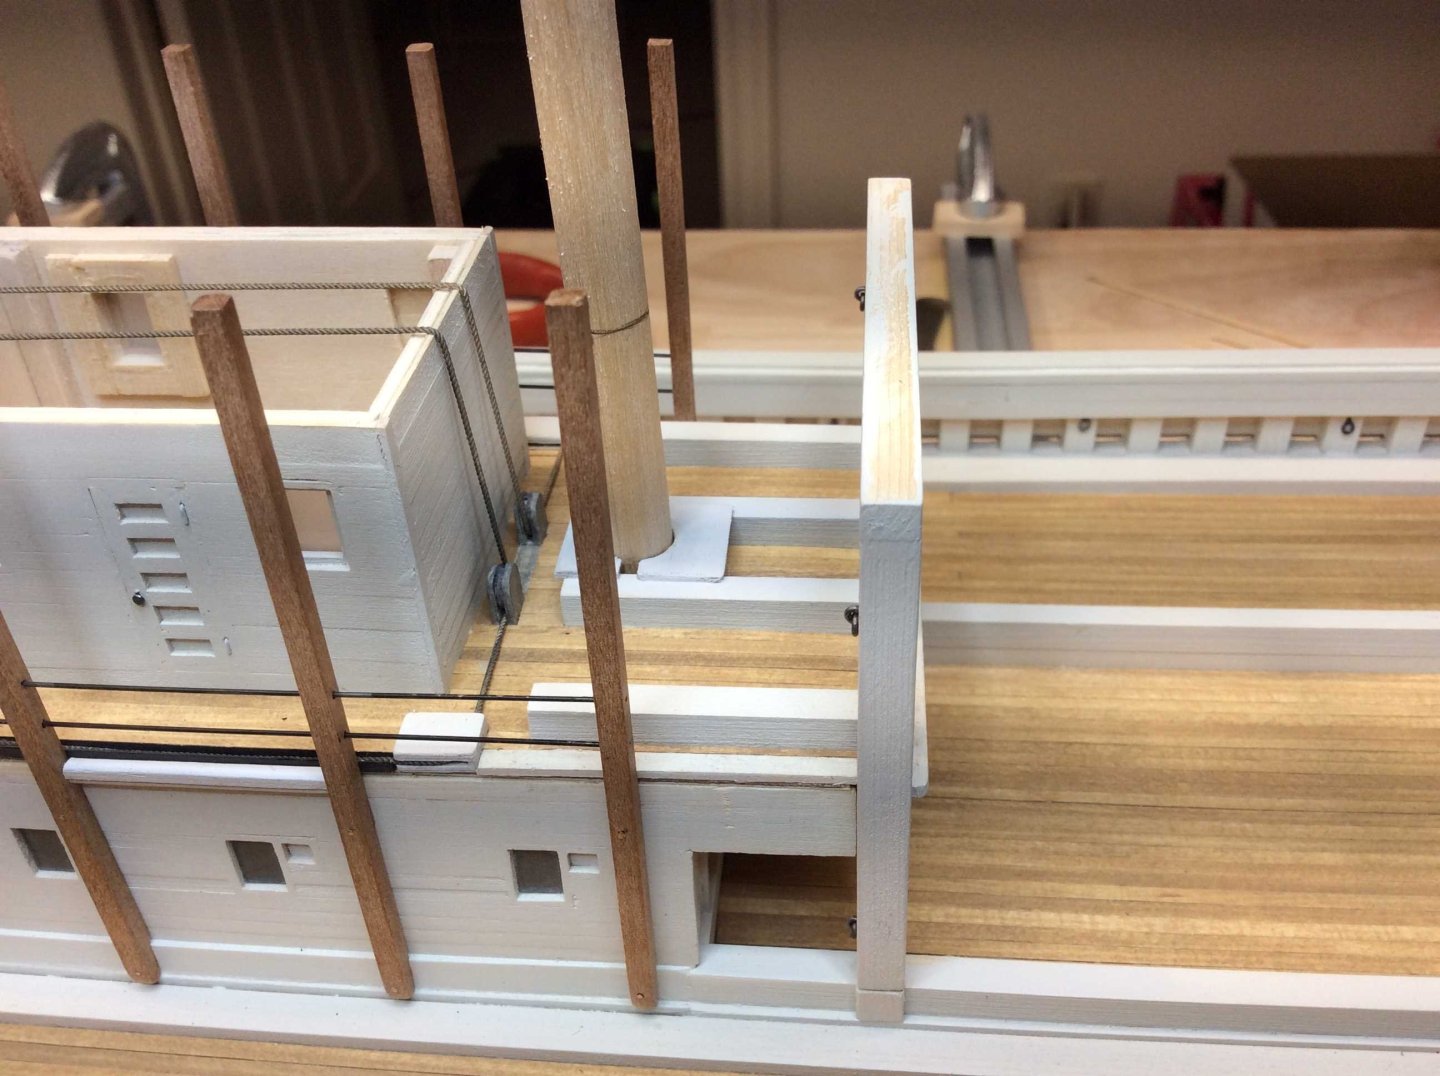
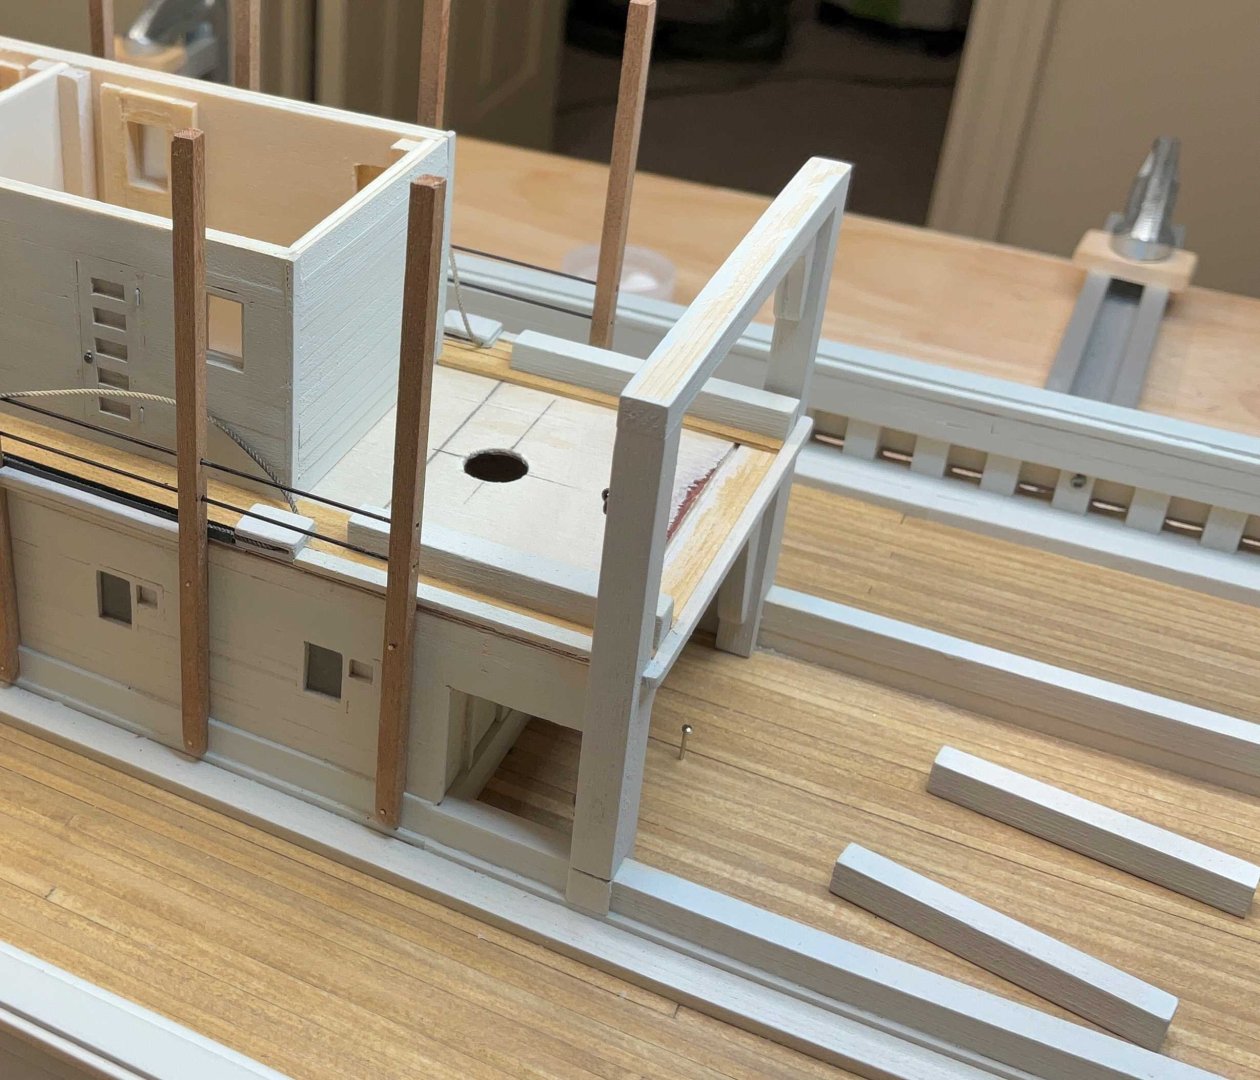
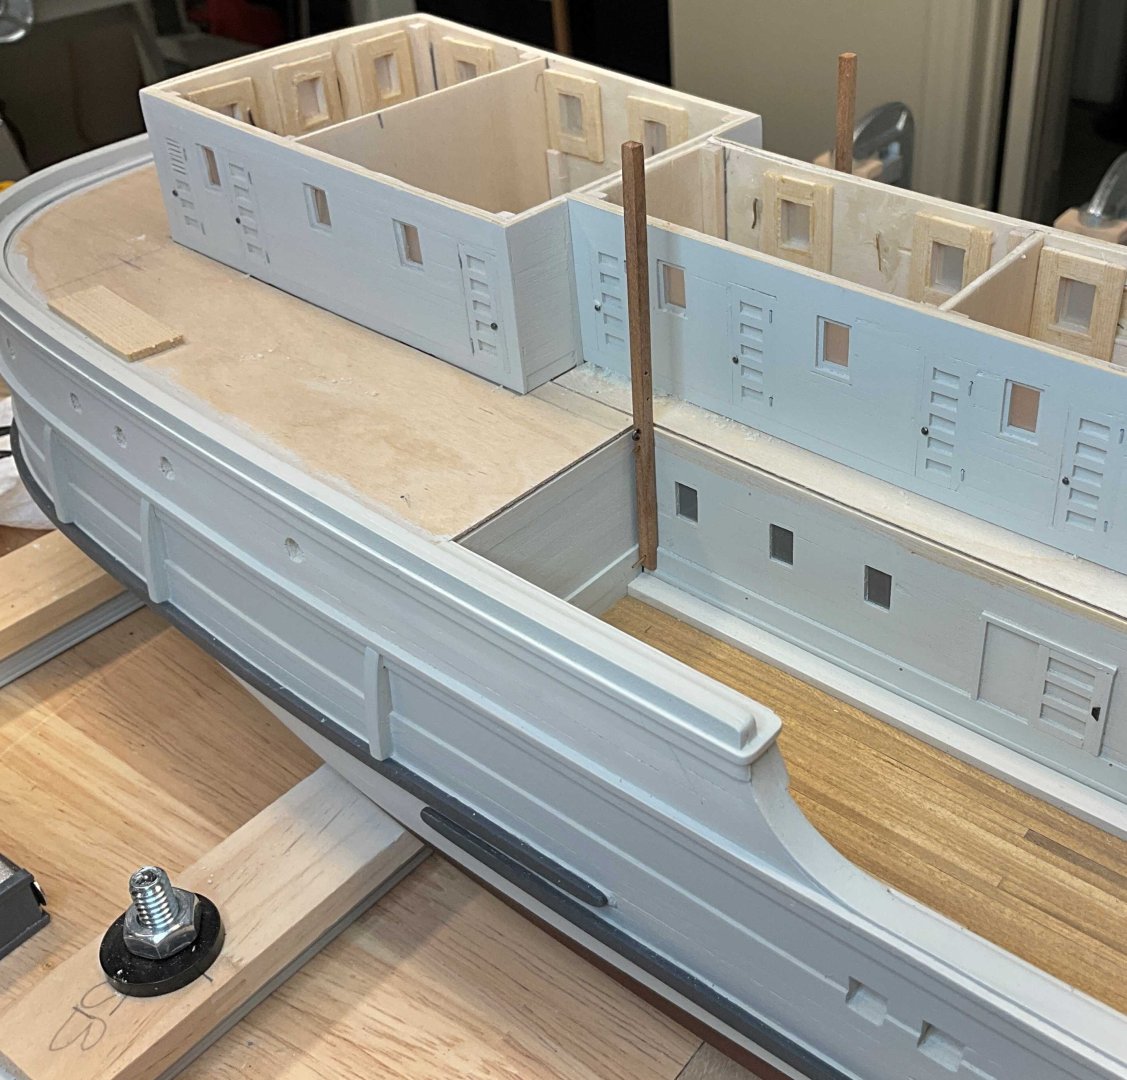
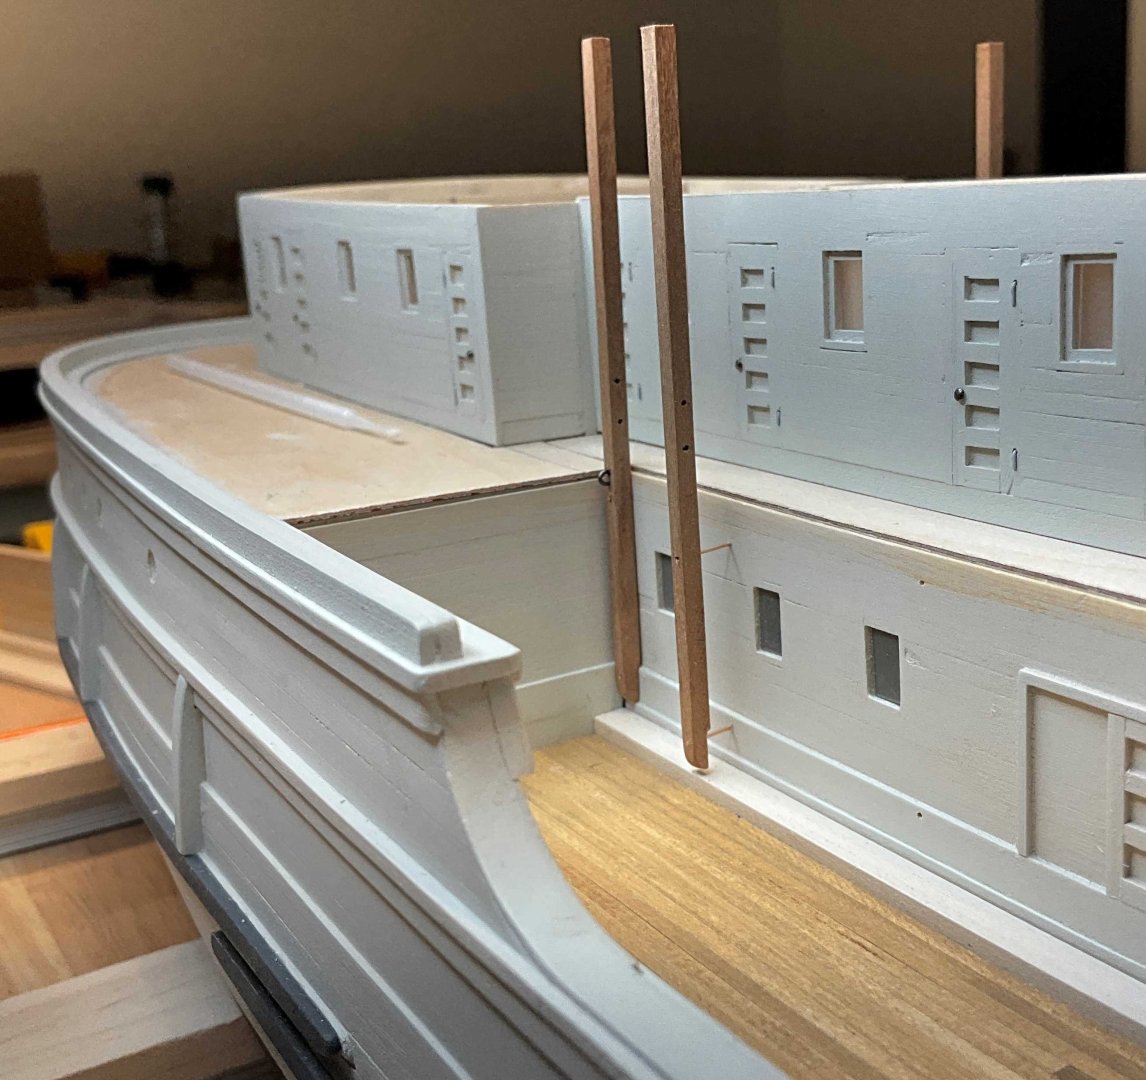
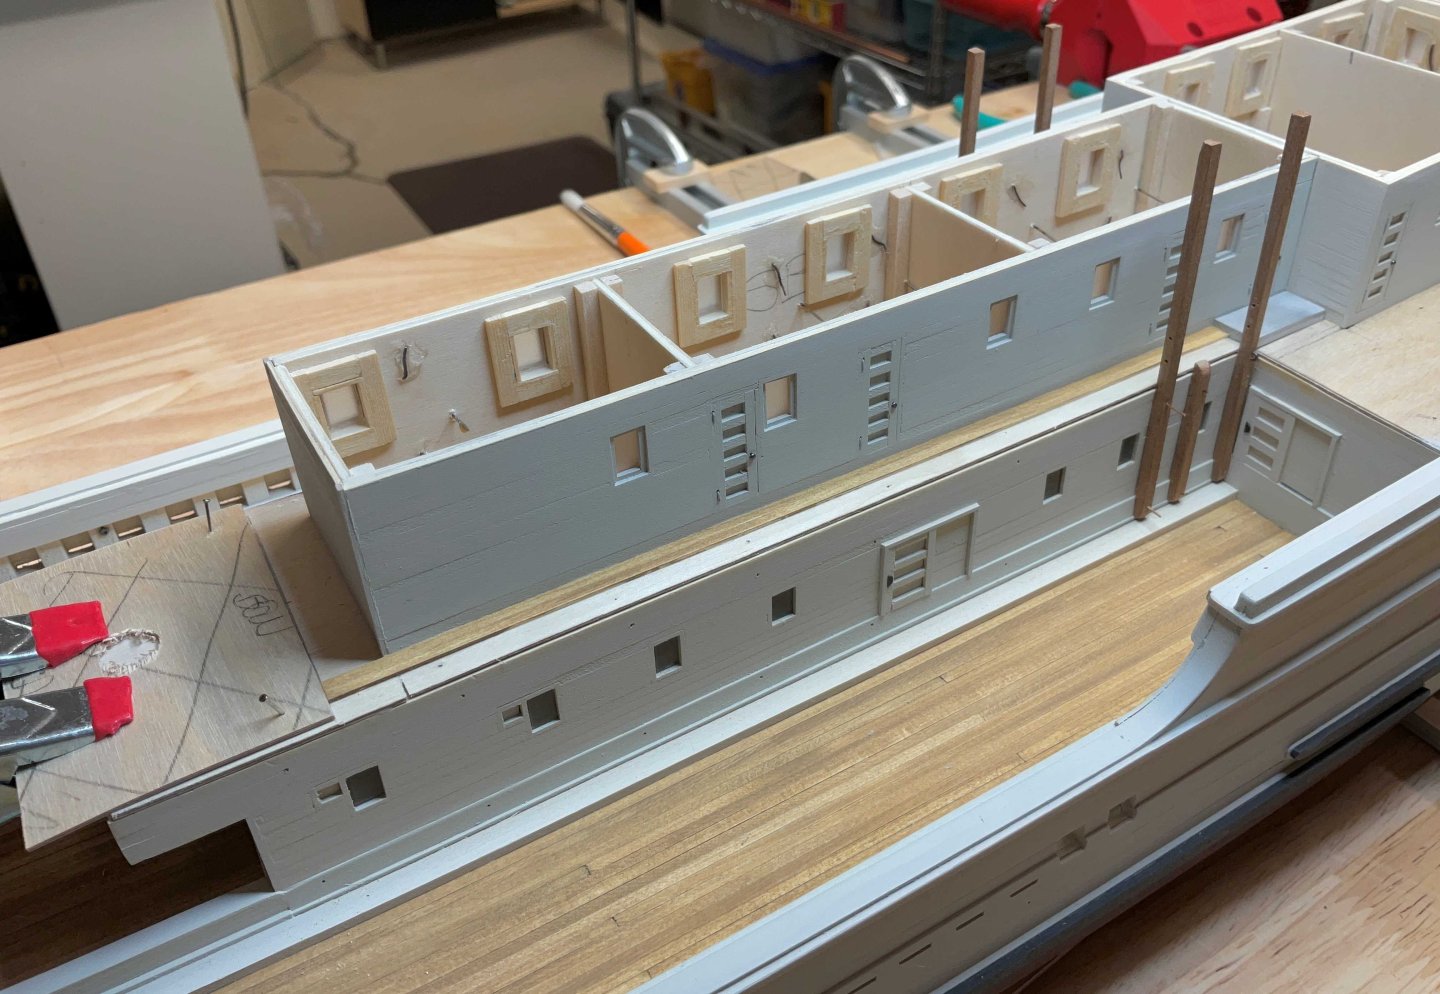
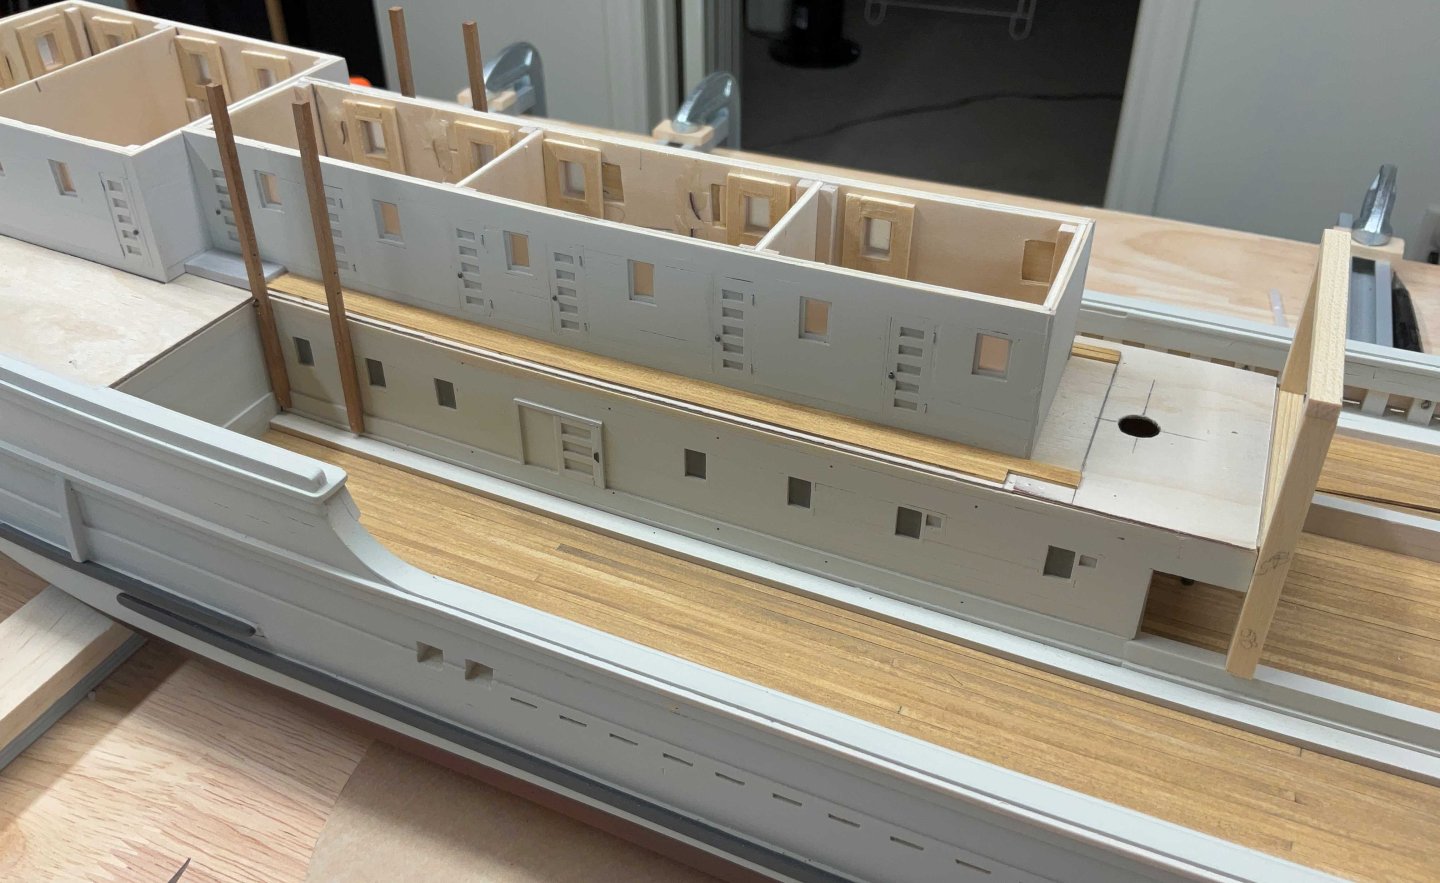
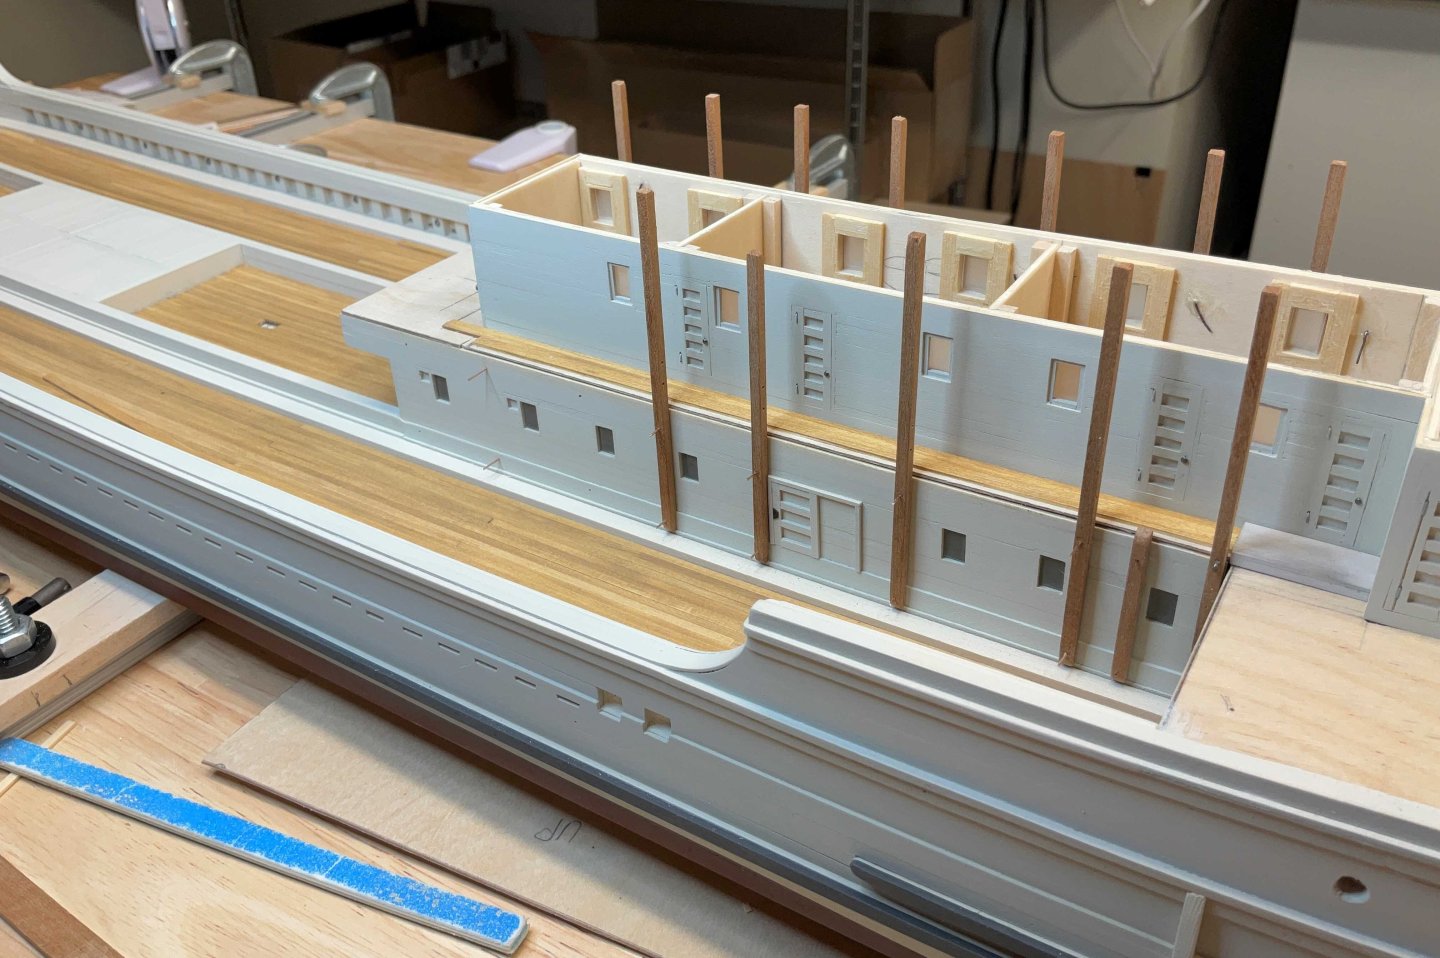
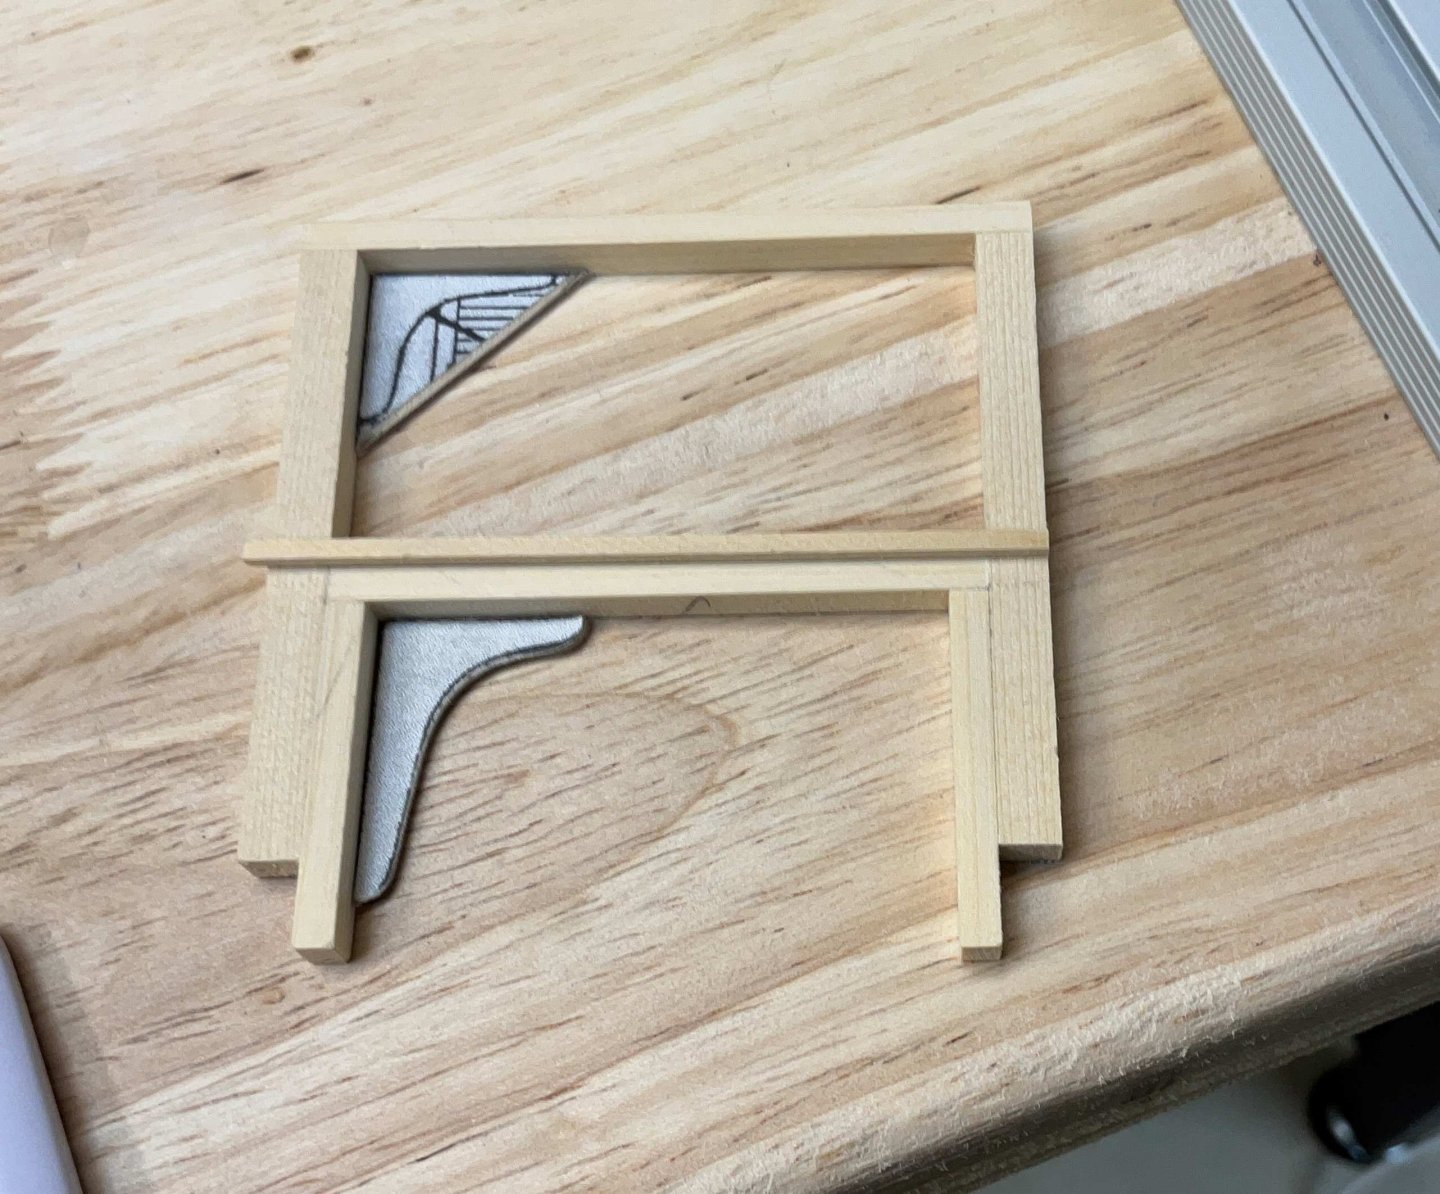
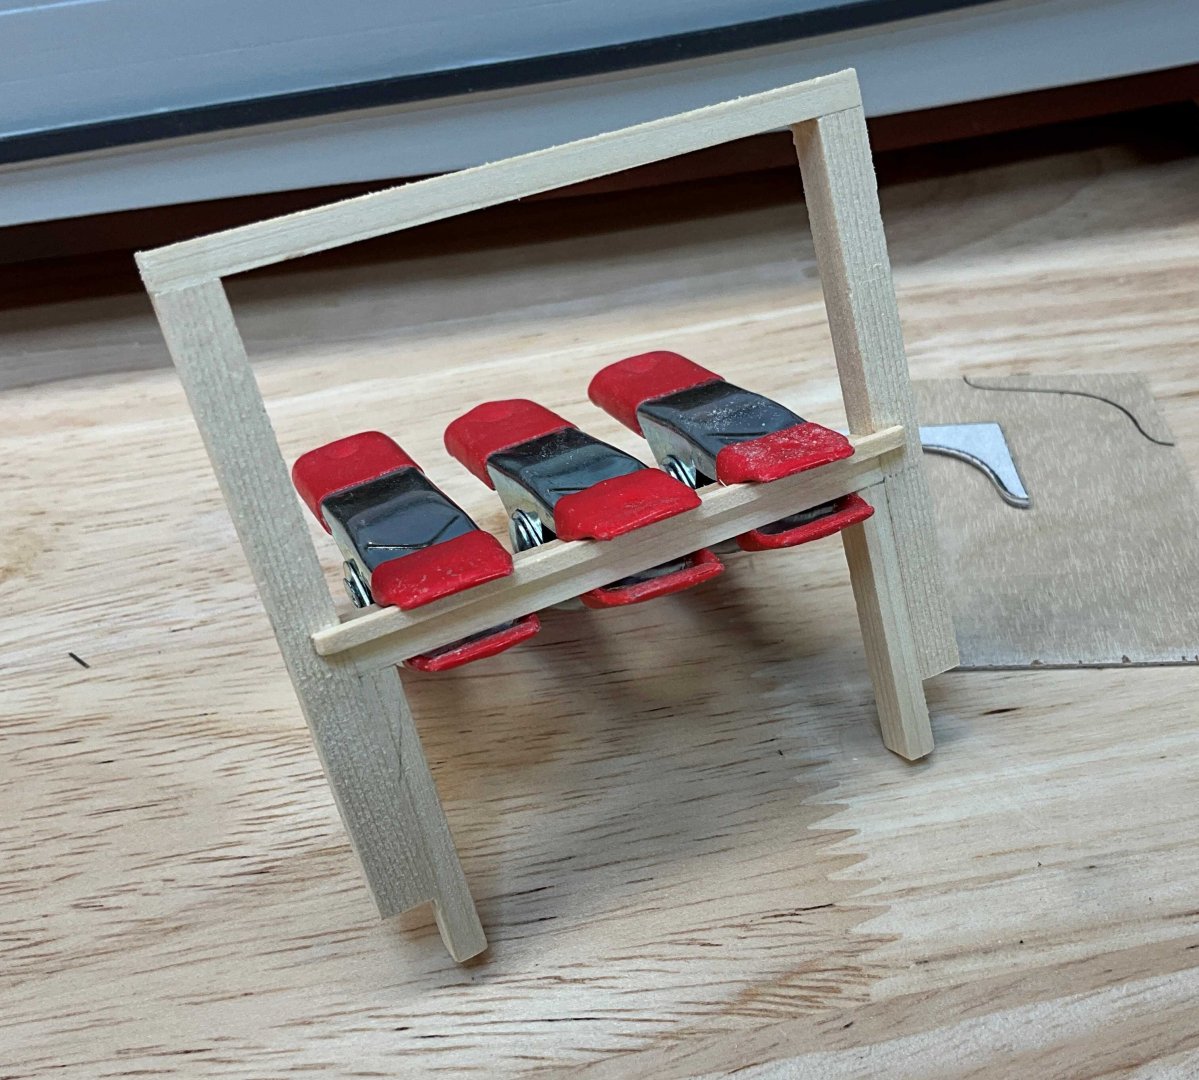
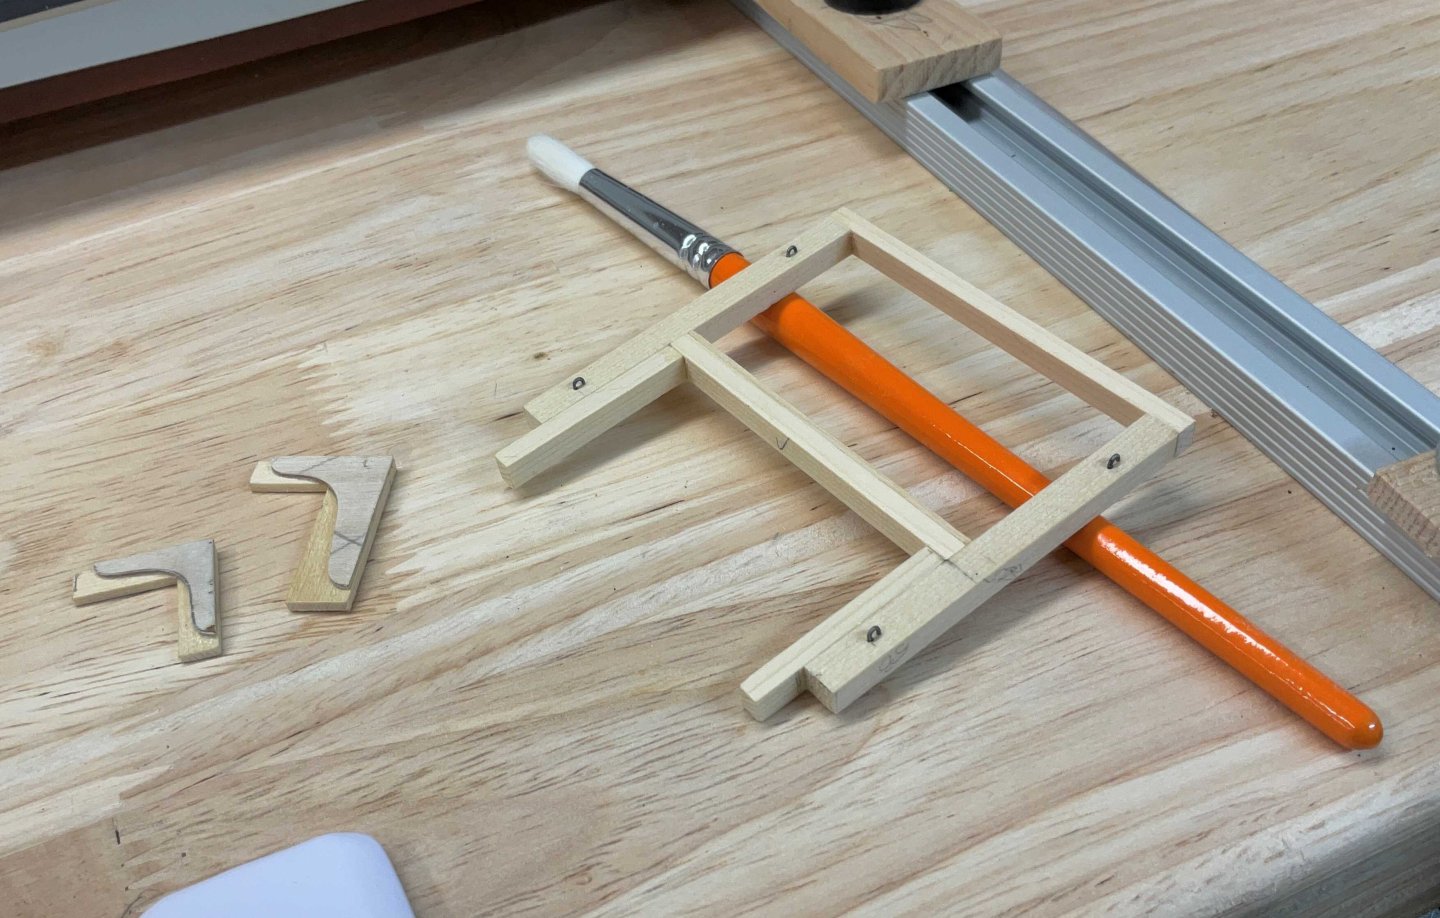
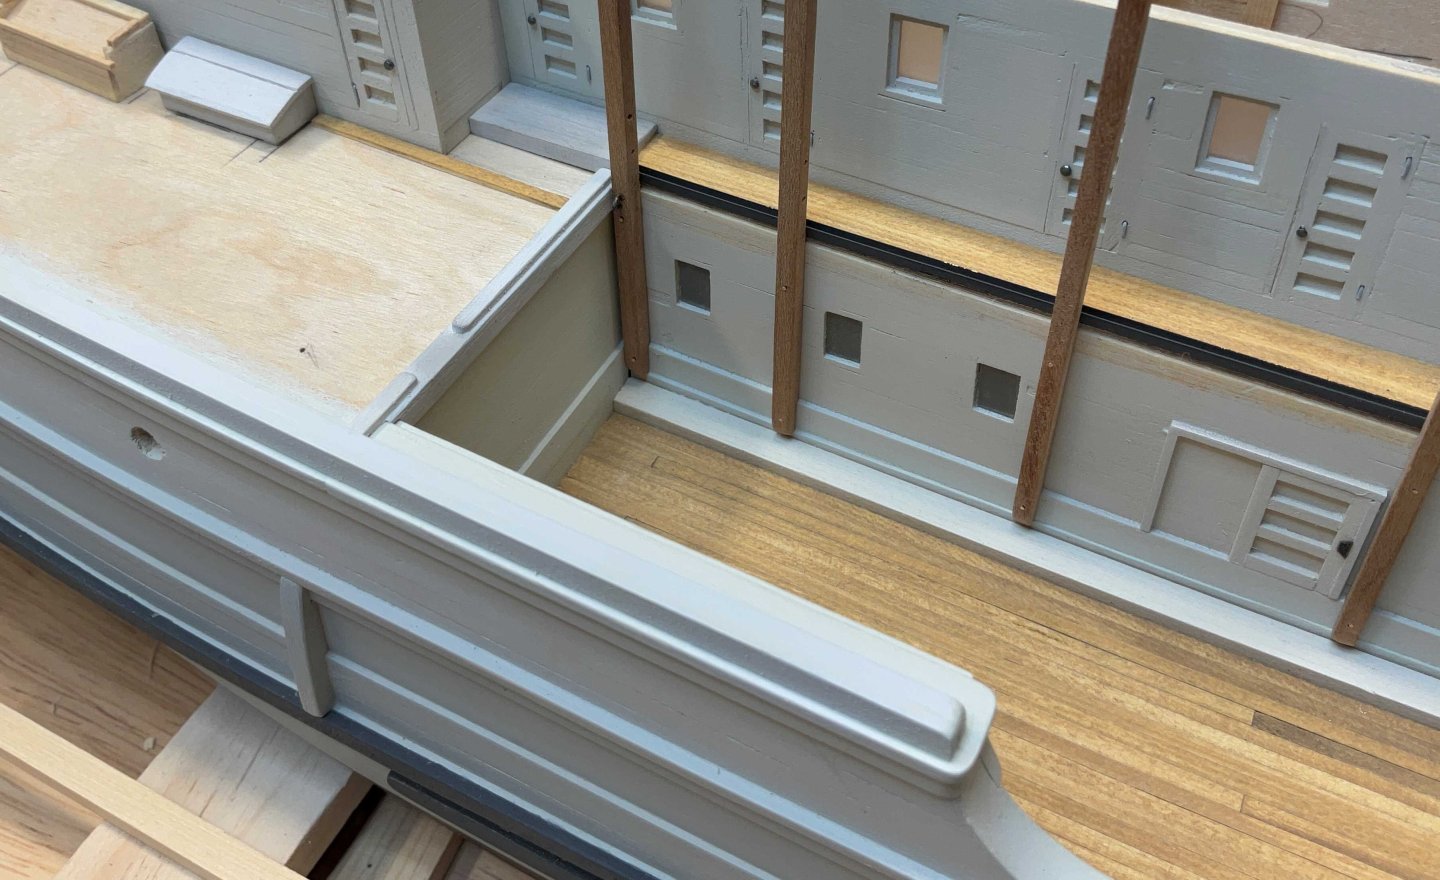
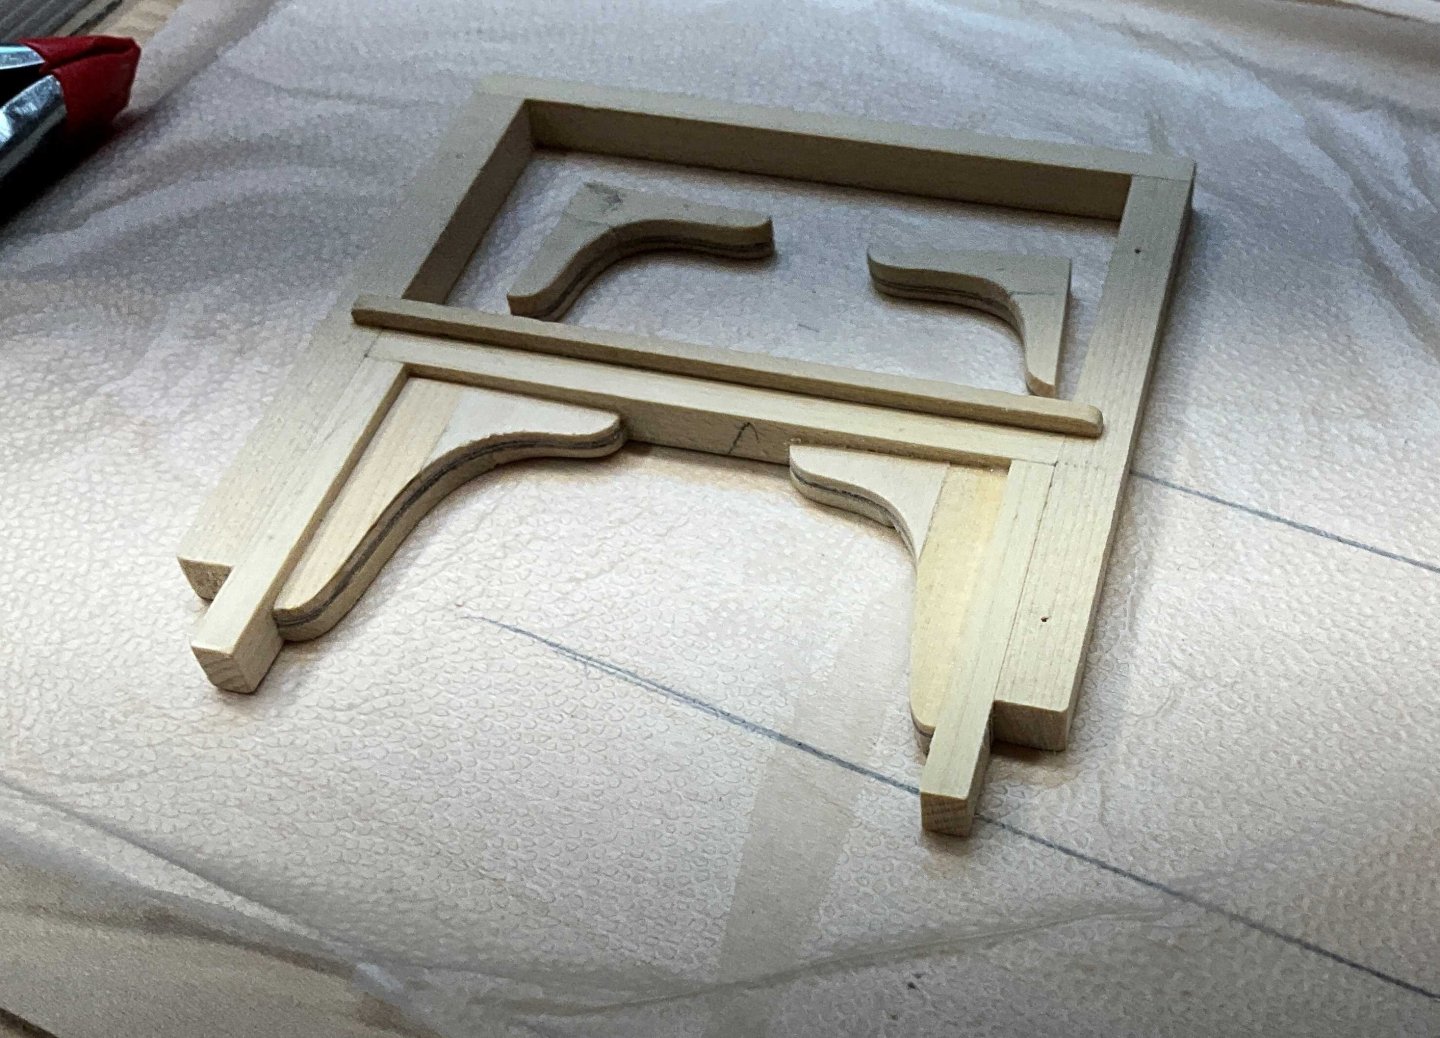
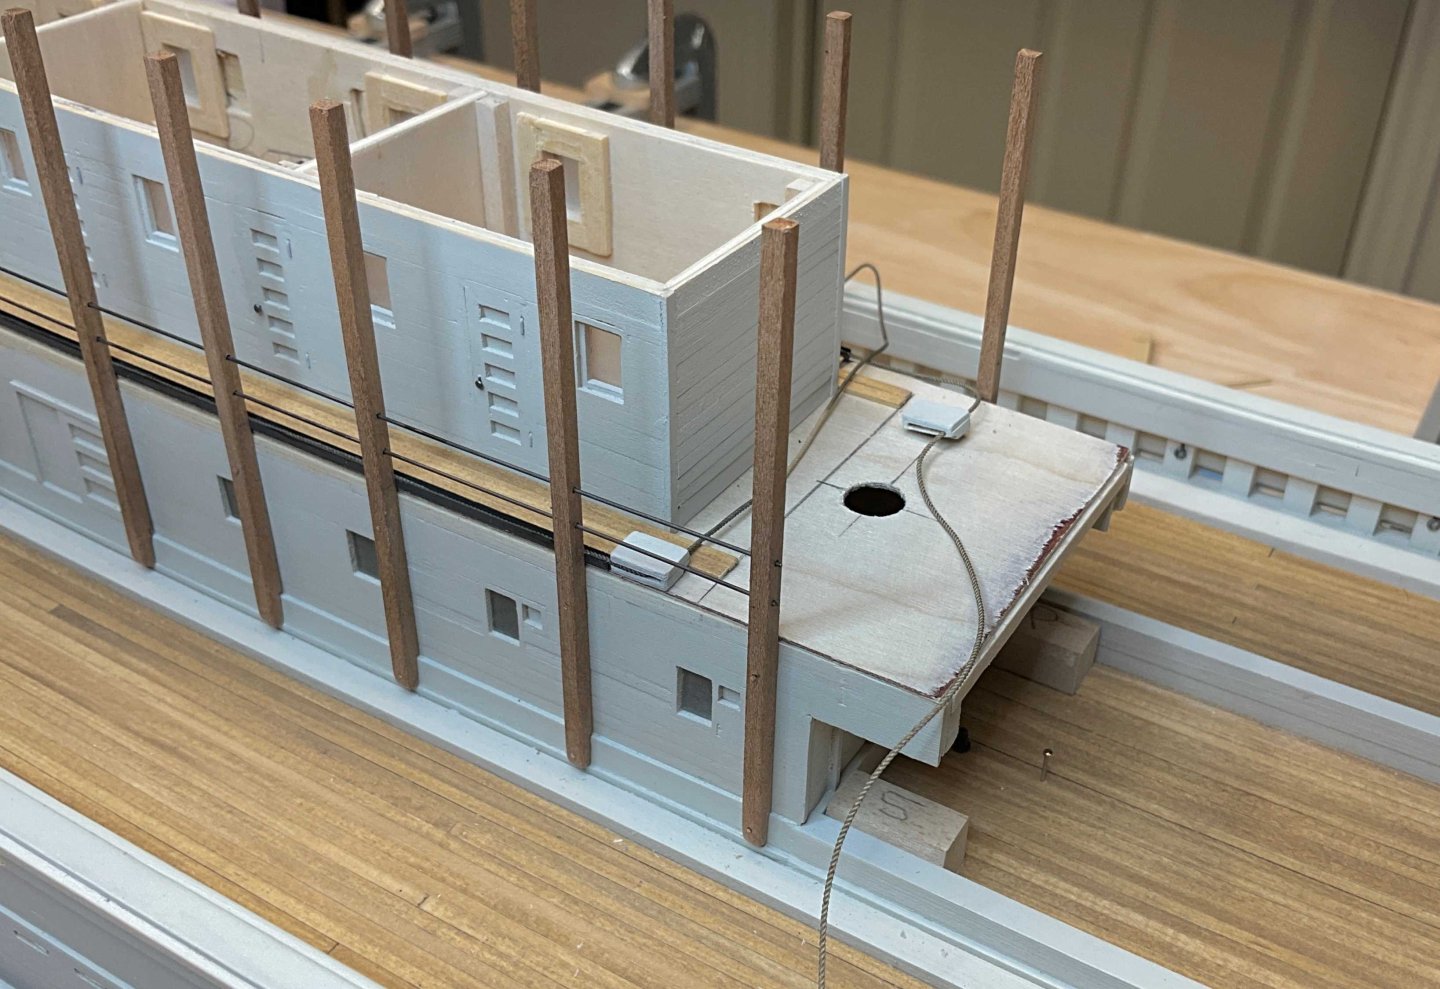
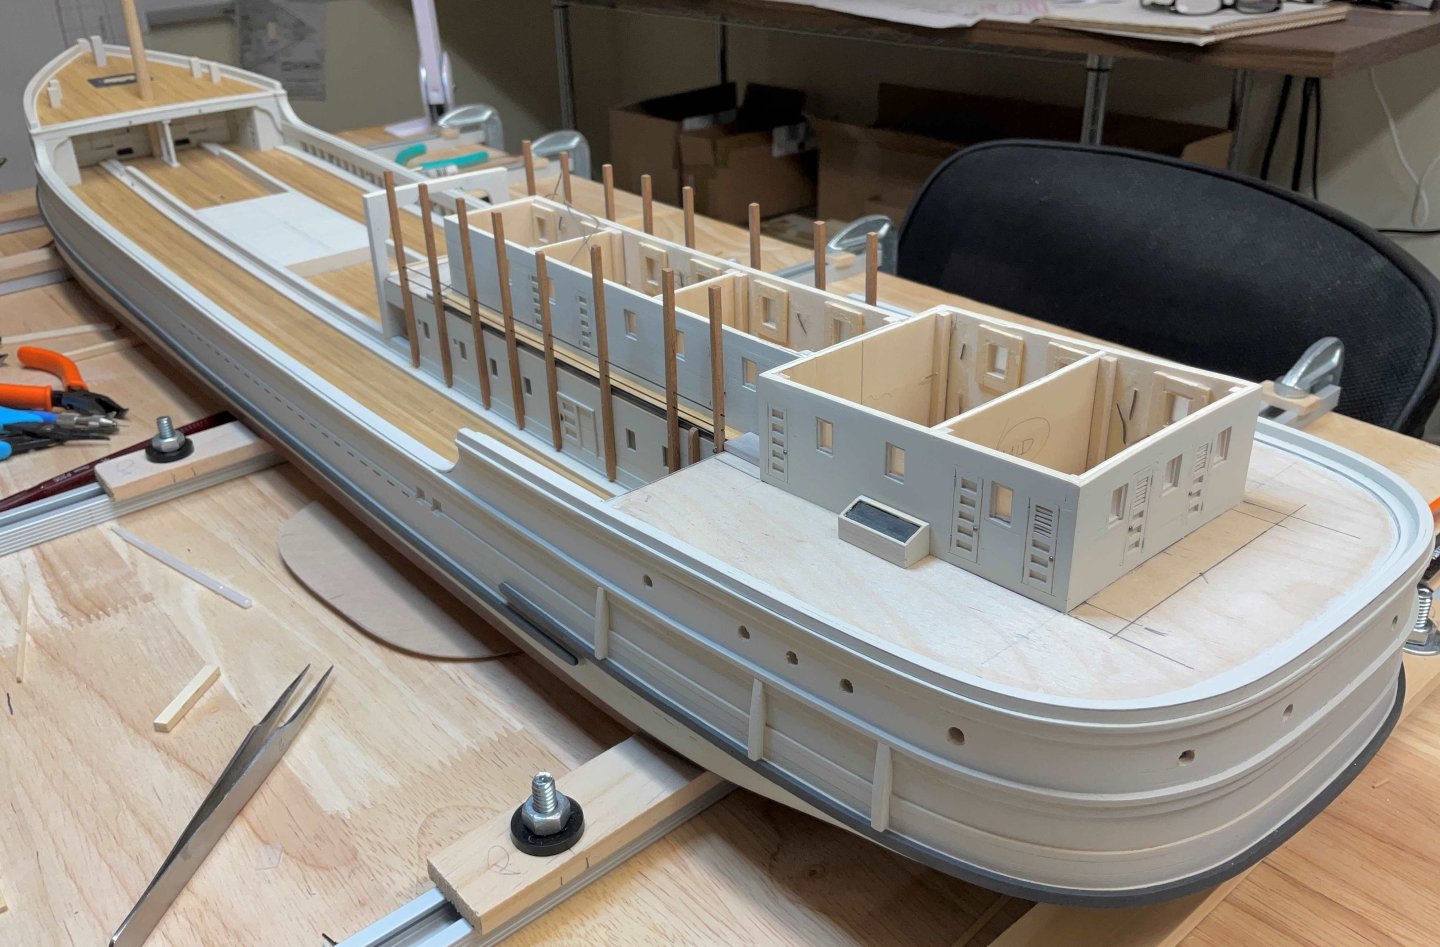
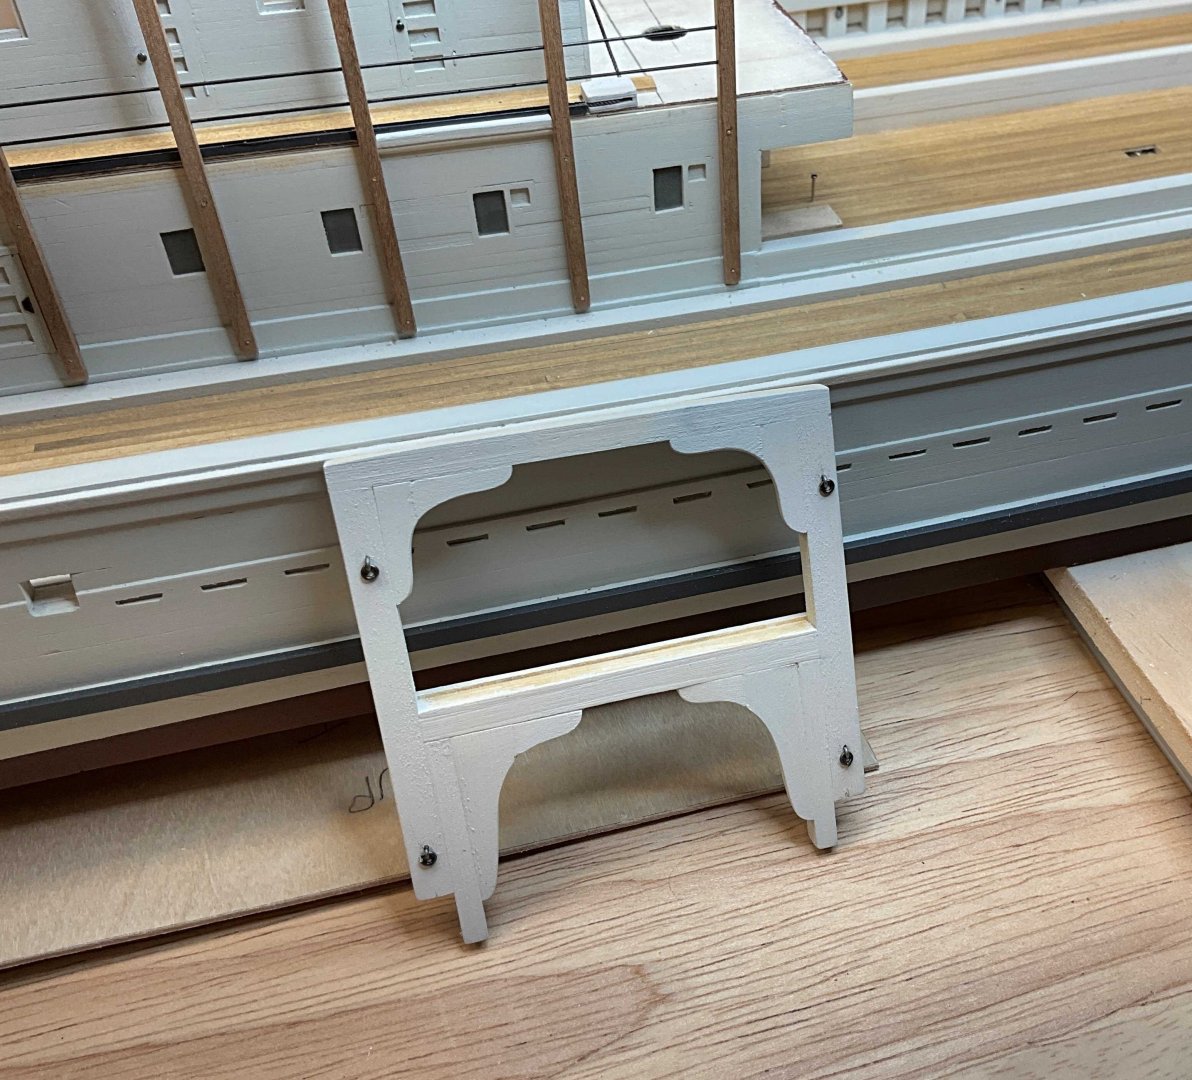
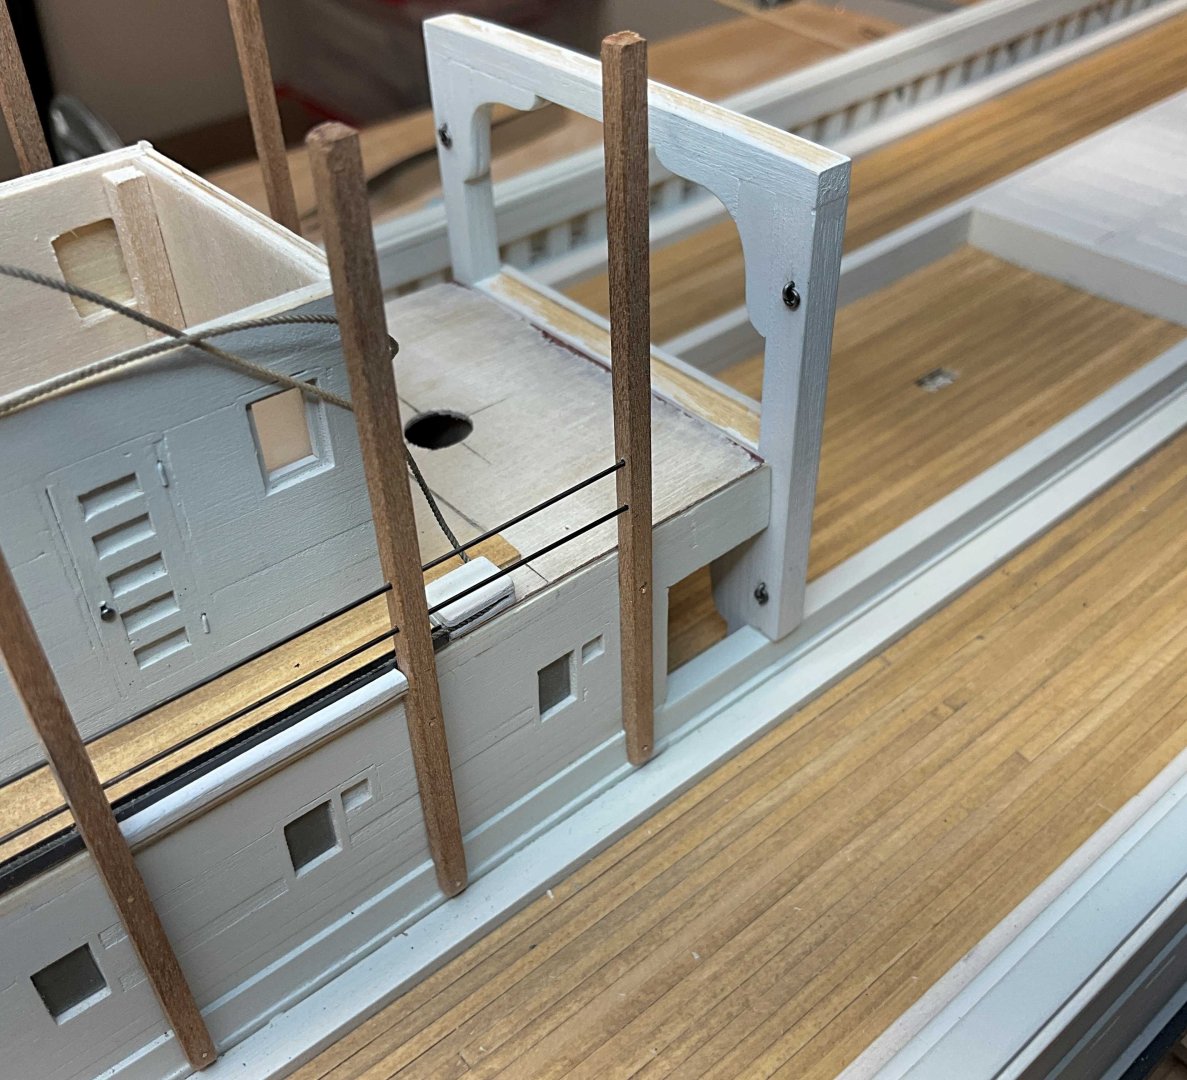
Hi Everyone, thank you for your Comments and Likes. Tis update starts with the stanchions that are attached to the main deckhouse and support the boat deck. They were made and test fitted before the main deckhouse was installed. Gary @FriedClams recommended the Tichy phosphor bronze wire in his Pelican build so I picked up a variety of sizes and used the .020" wire to pin the stanchions in place. The pins were CA'd into the pre drilled holes and then the stanchion was slid in place and the holes for the wire rope handrails were marked. The stanchion was removed and the holes drilled. The stanchion was slid back on the wire and CA was applied to the wire. The stanchion was then pushed into place. Once the first stanchions were in place I was able to measure the size of the platforms that sit outside the smoking room doors port and starboard. They cover the steering rod which gets converted to a wire cable after it enters the trough that runs inboard of the stanchions After the platforms were installed the deck planks were laid and the rest of the stanchions were fitted. The pillar structure was next. A strip of 1/32" x 3/16" wood with a 1/16"x 1/16" glued to it's length was added to the top of the lower beam to match the height of the subdeck and cover the ends of the deck planking. While this was going on a piece of 1.5mm x1.5mm x 1.5mm brass channel was glued between the last plank and the stanchions ( with CA ). This will represent the steering cable trough. The knees for the pillars started as a shaped piece of 1/32" plywood. Then 1/16" AYC was glued to one side and sanded back to the plywood. The same was done on the other side but with 1/32" AYC The iron work was attached after the pillars were painted A bit of work was done on the deck box and the skylights. The sheaves at the forward end of the trough for the steering cable look to be housed in a wooden assembly and protected by a wooden step/cover. My version is supposed to represent that Brass wire was used for the hand rails but it may get changed out for rope Still lots to do on the cabin deck


-
Thank you druxey, I hope you had a great month!
-
Browsing Experience
Paul Le Wol replied to mrcc's topic in Using the MSW forum - **NO MODELING CONTENT IN THIS SUB-FORUM**
Hi Julian, I get this issue every once in a while. I’m using an iPad with the DuckDuckGo browser. If I press and hold “New posts since last visit “ and choose “open in new tab “ it gets resolved in the new tab. Could be old tab fatigue 🙂 -
Great result for such a difficult part to make manually! Good luck with version 2
- 32 replies
-
- 2
-
-
-
- NRG Capstan
- NRG
- (and 1 more)