


moreplovac
-
Posts
703 -
Joined
-
Last visited
Content Type
Profiles
Forums
Gallery
Events
Posts posted by moreplovac
-
-
-
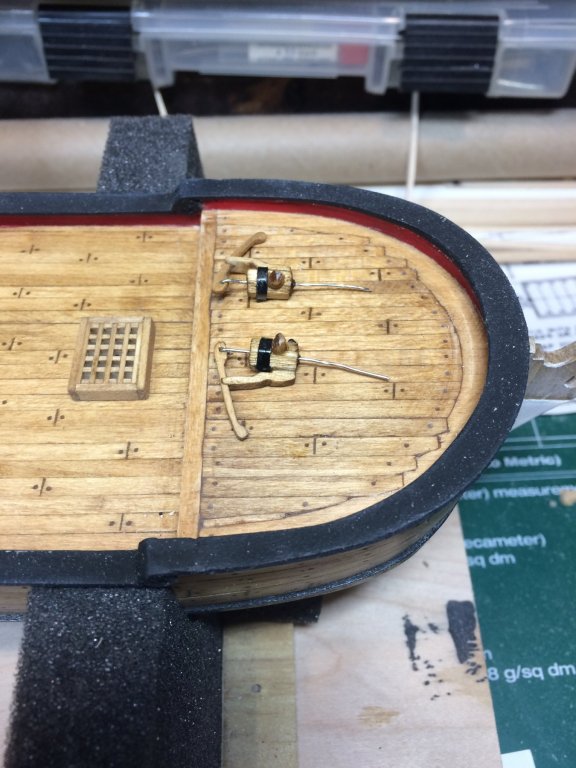
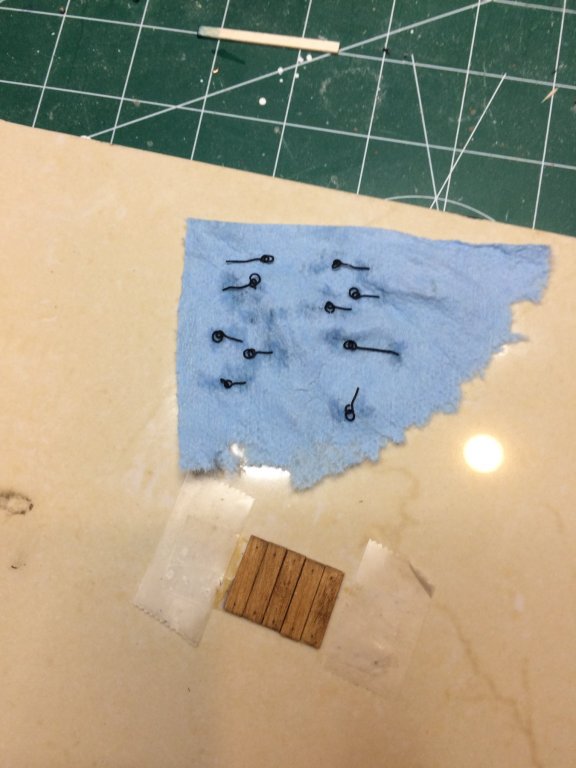
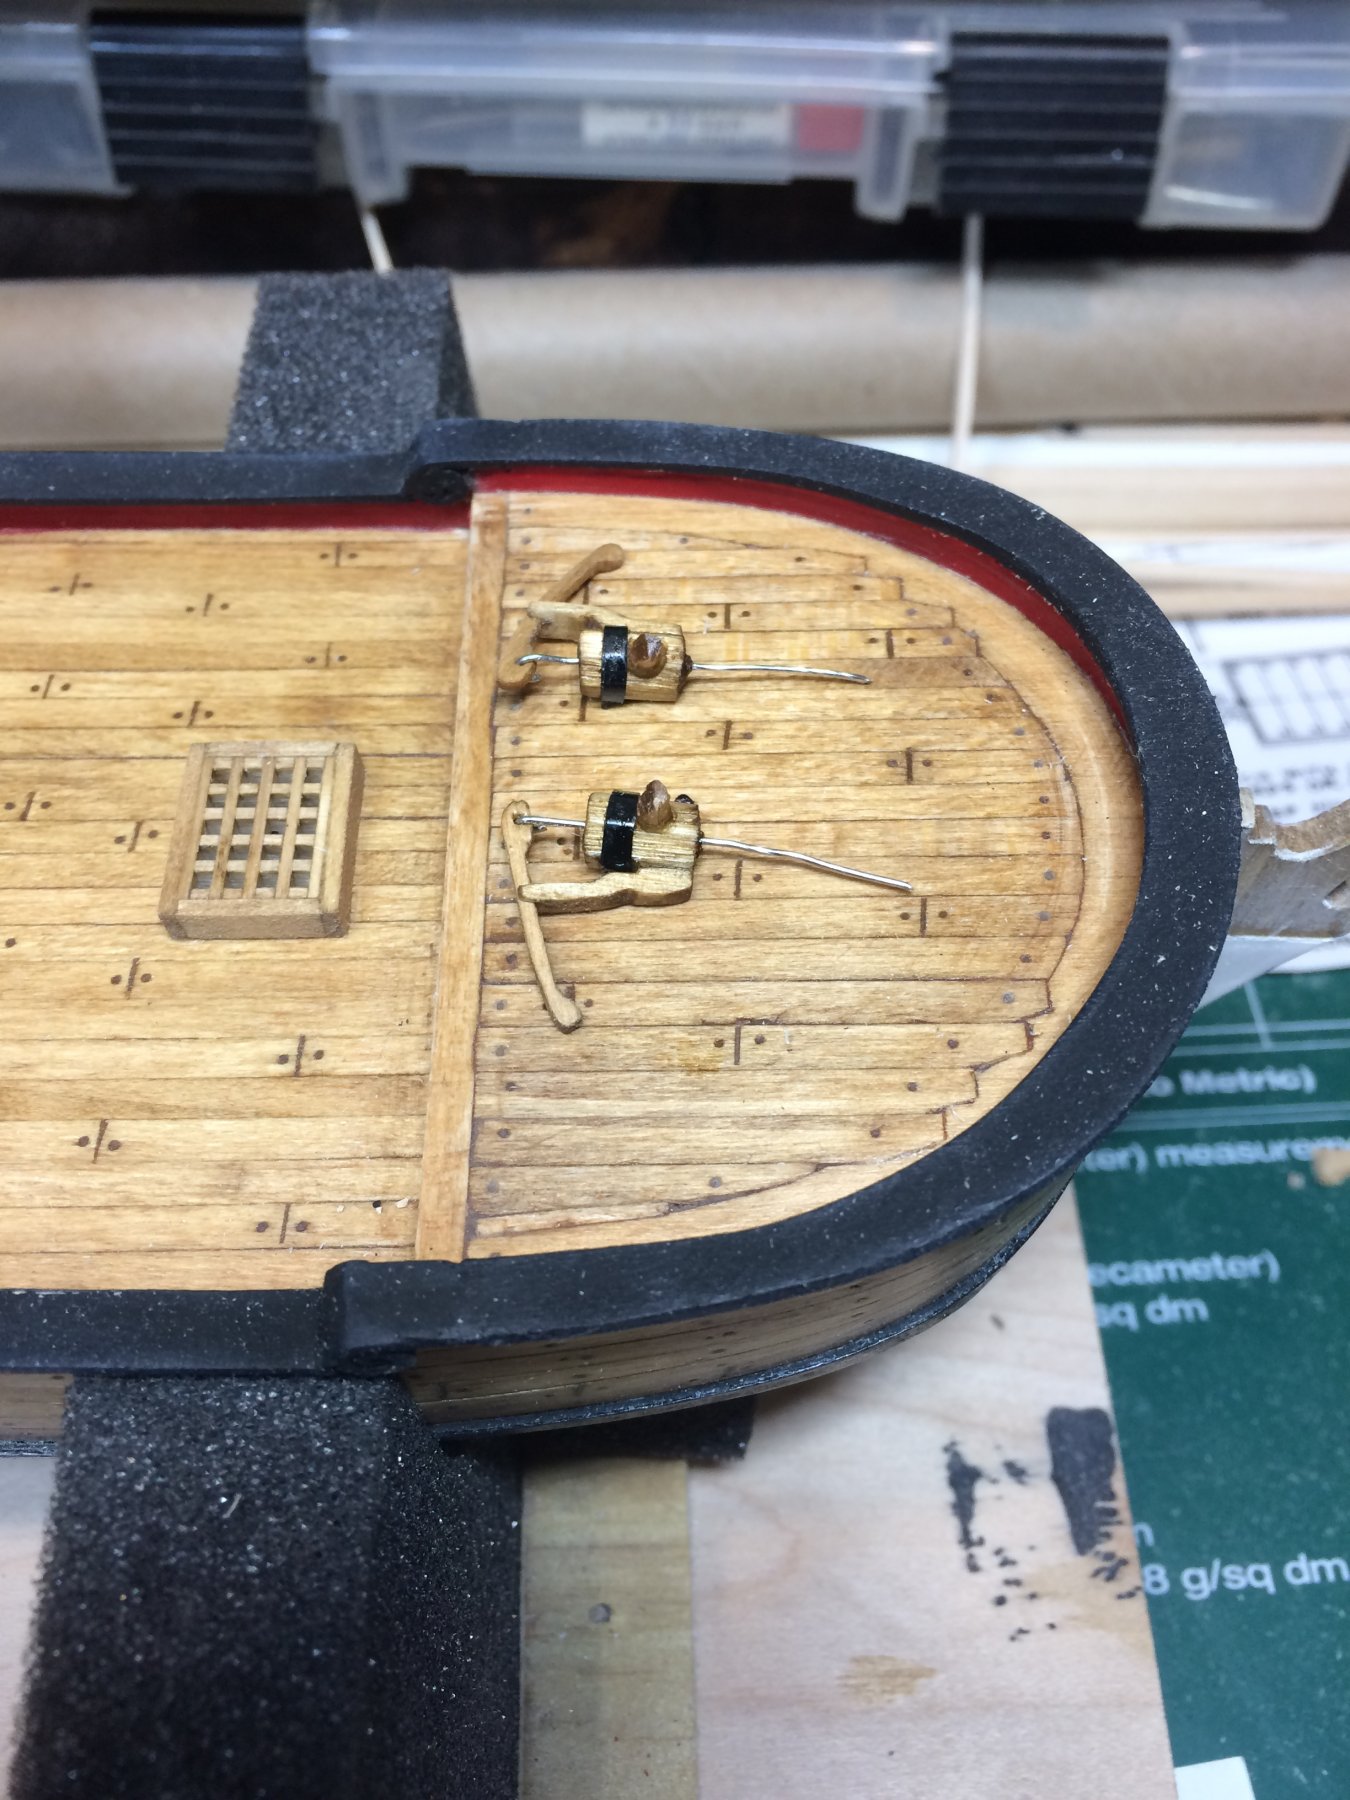
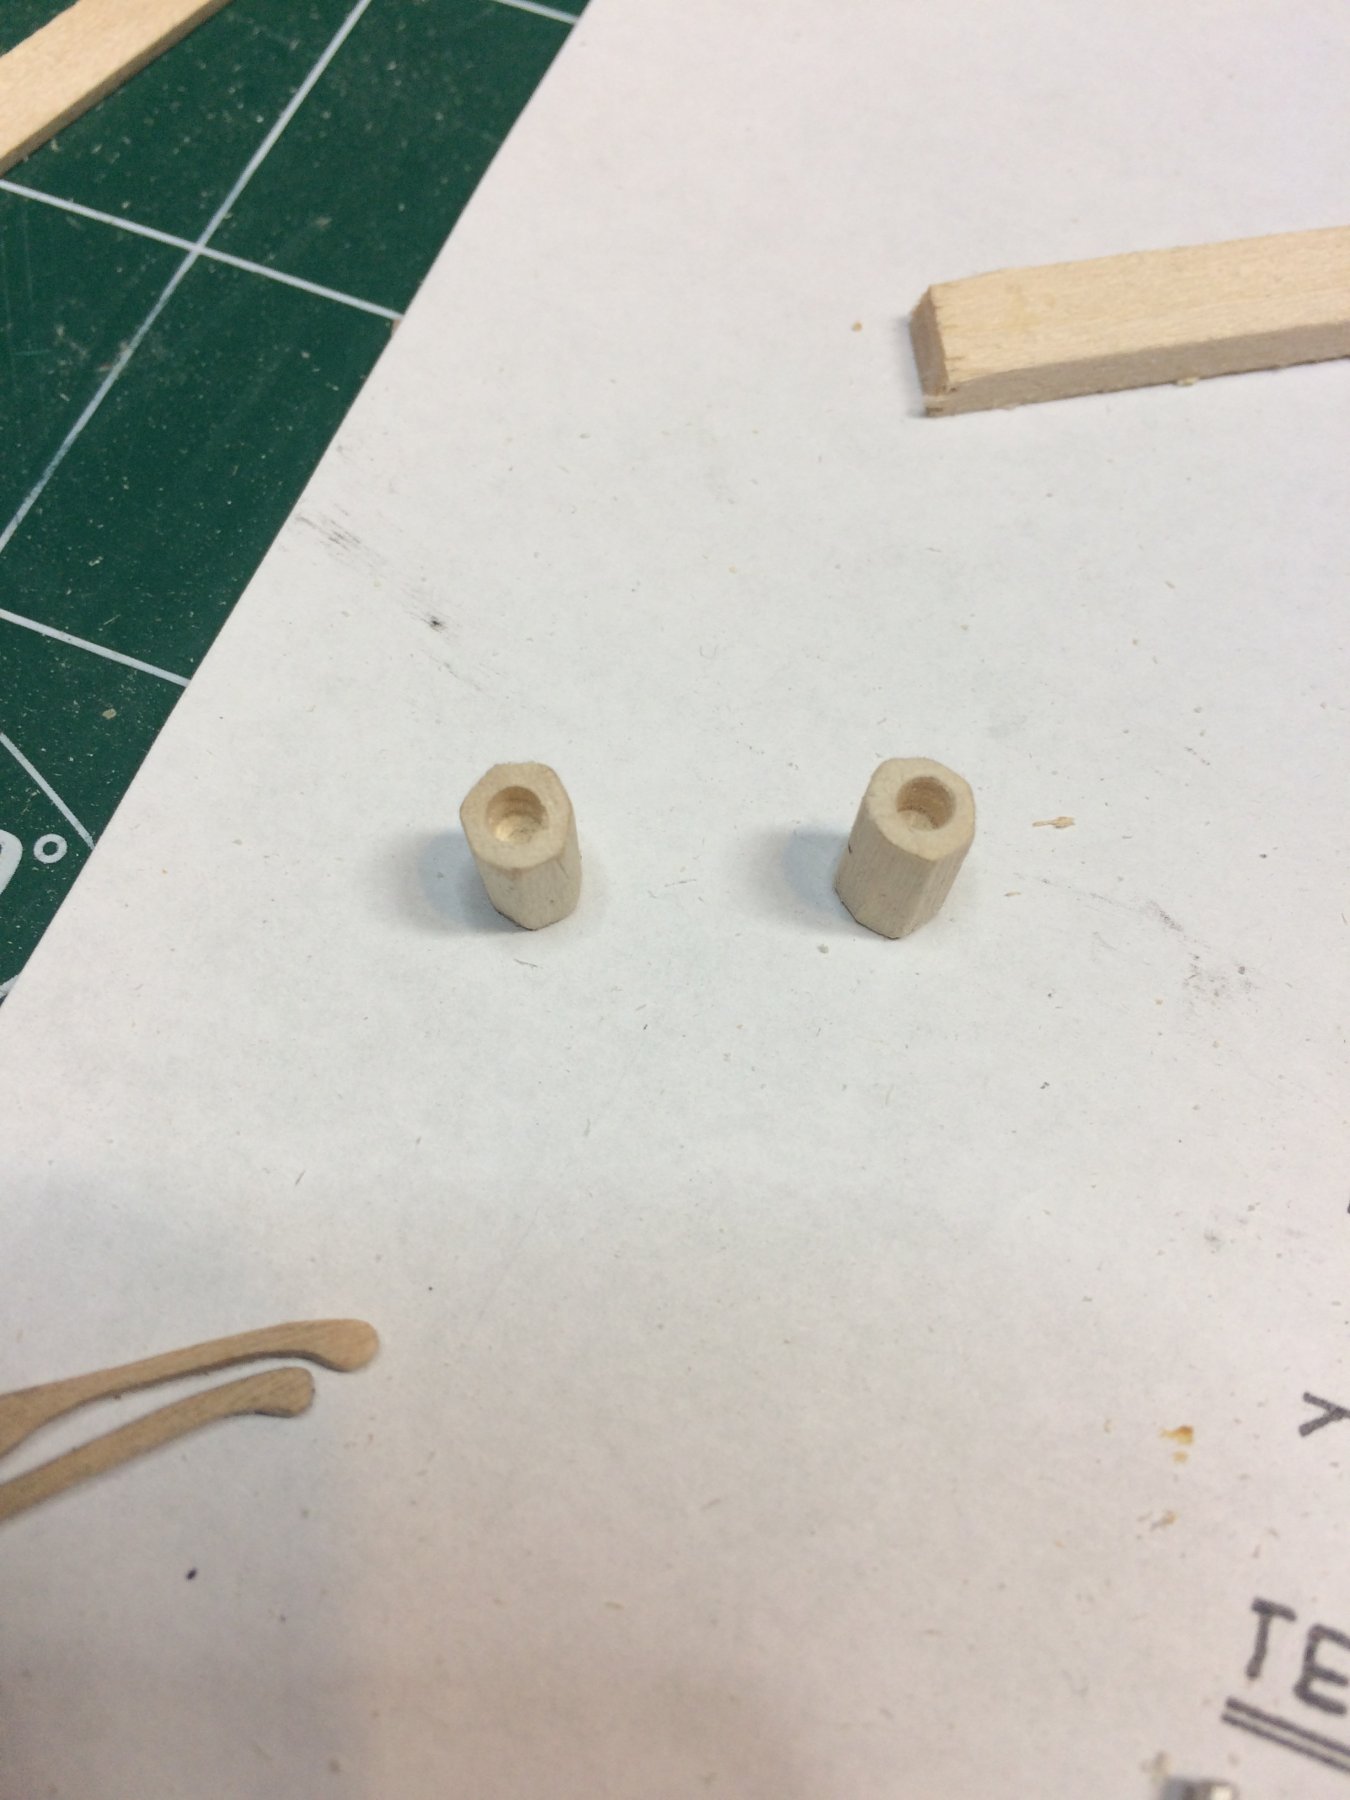
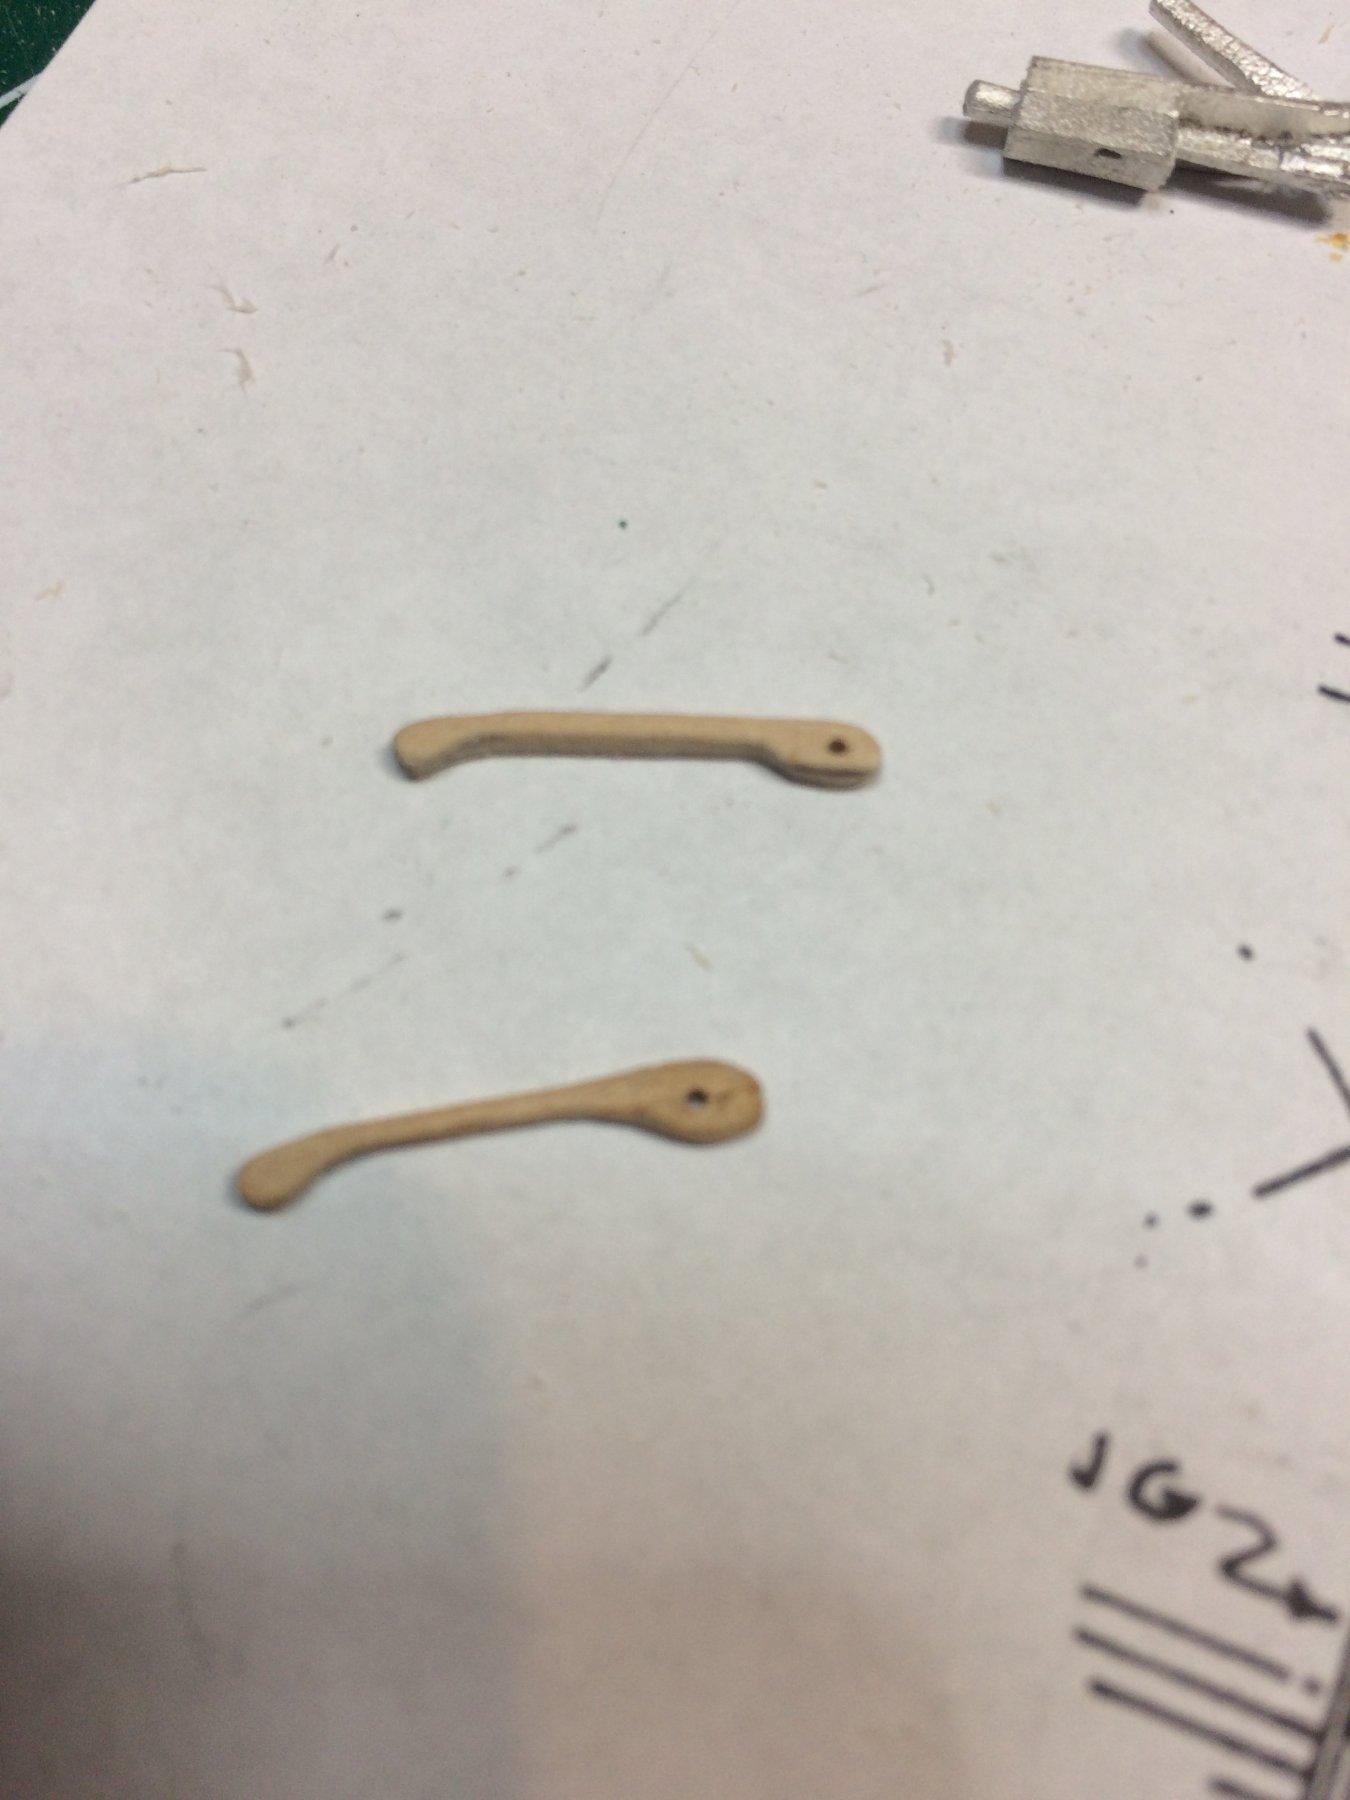
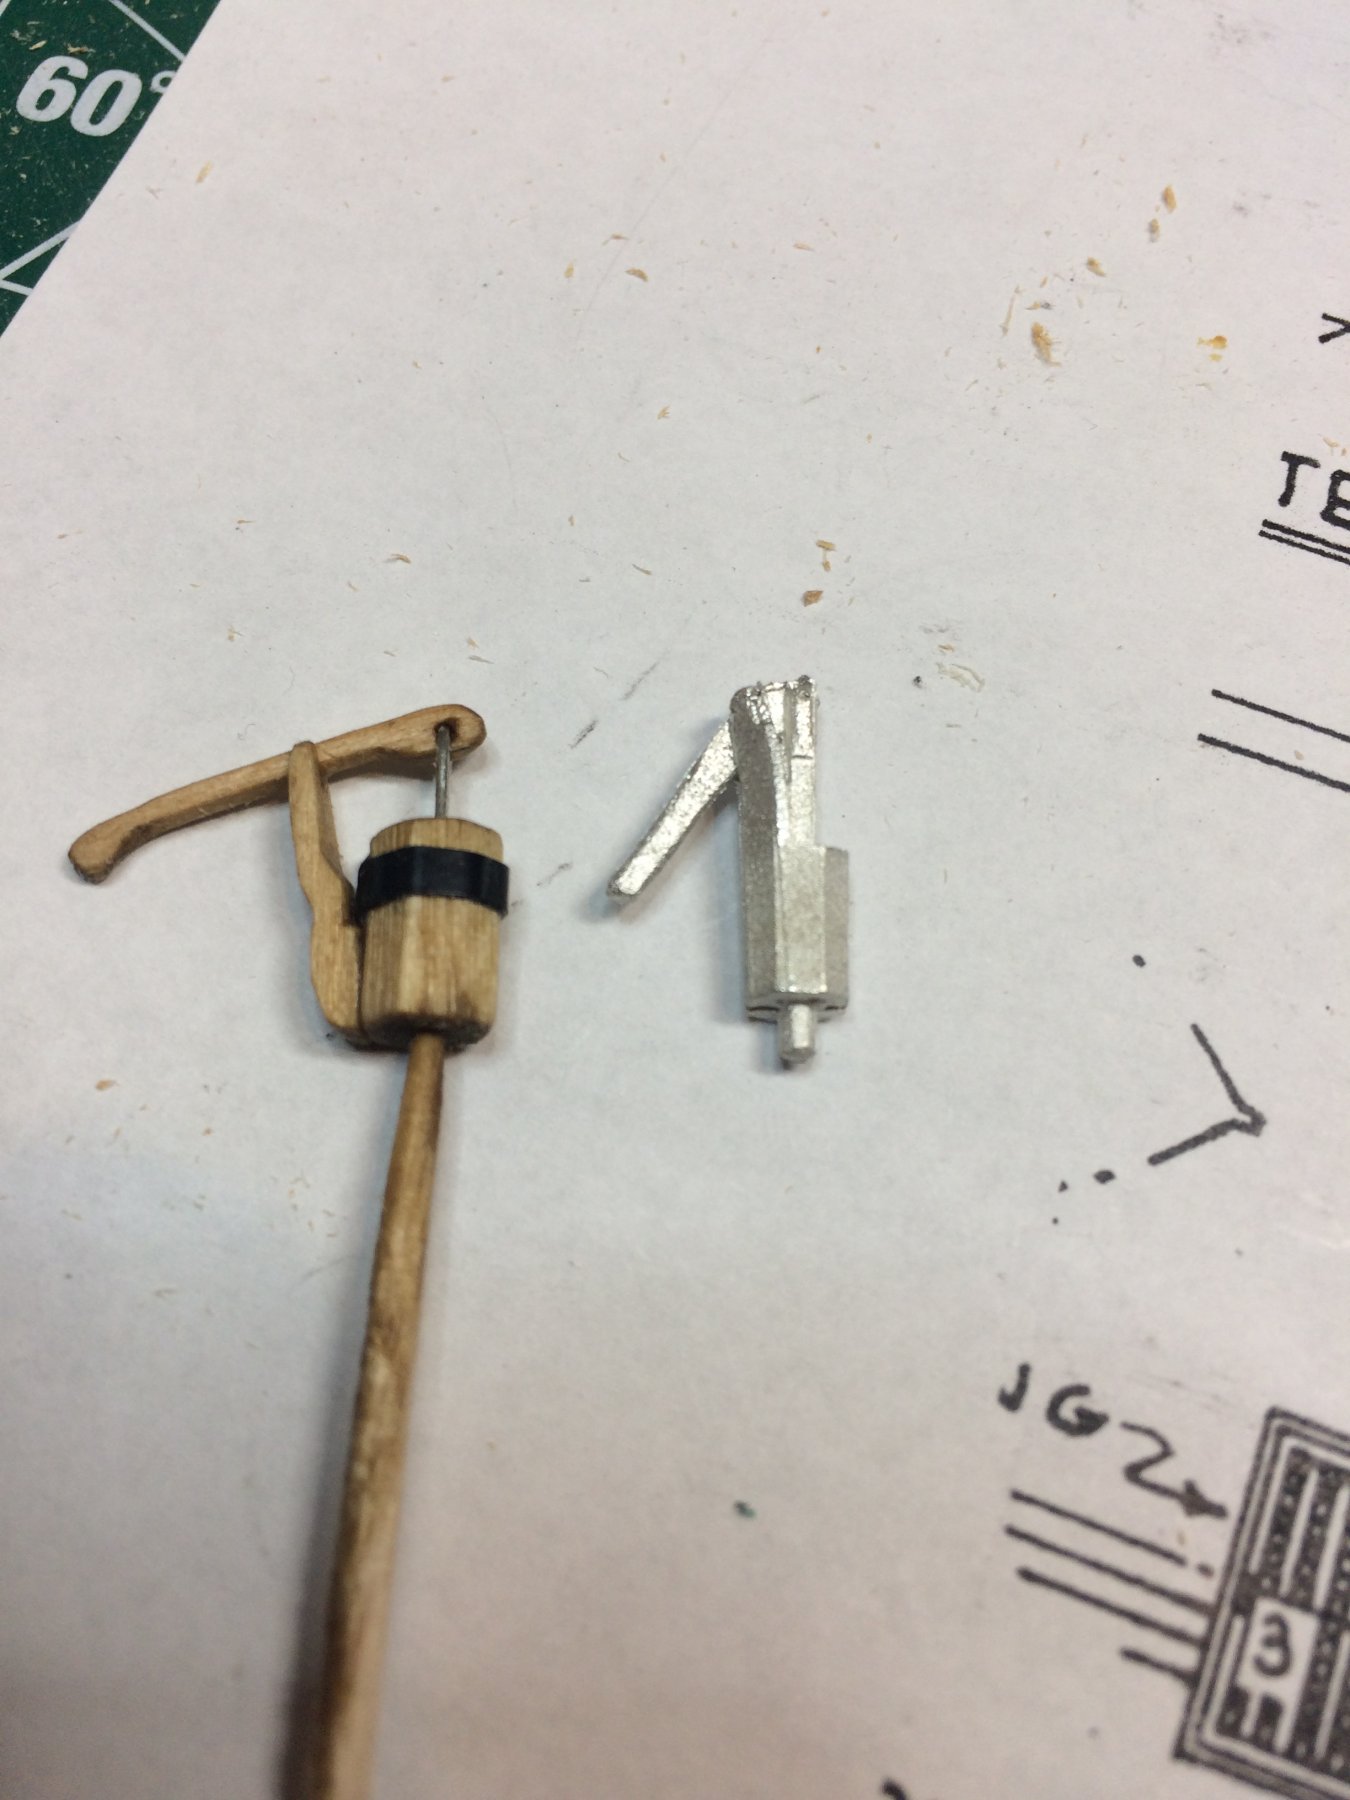
The pumps are completed.

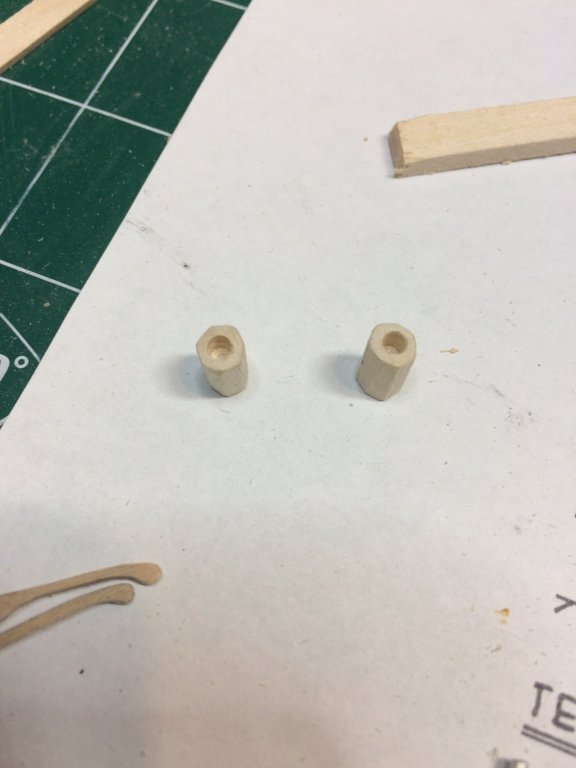
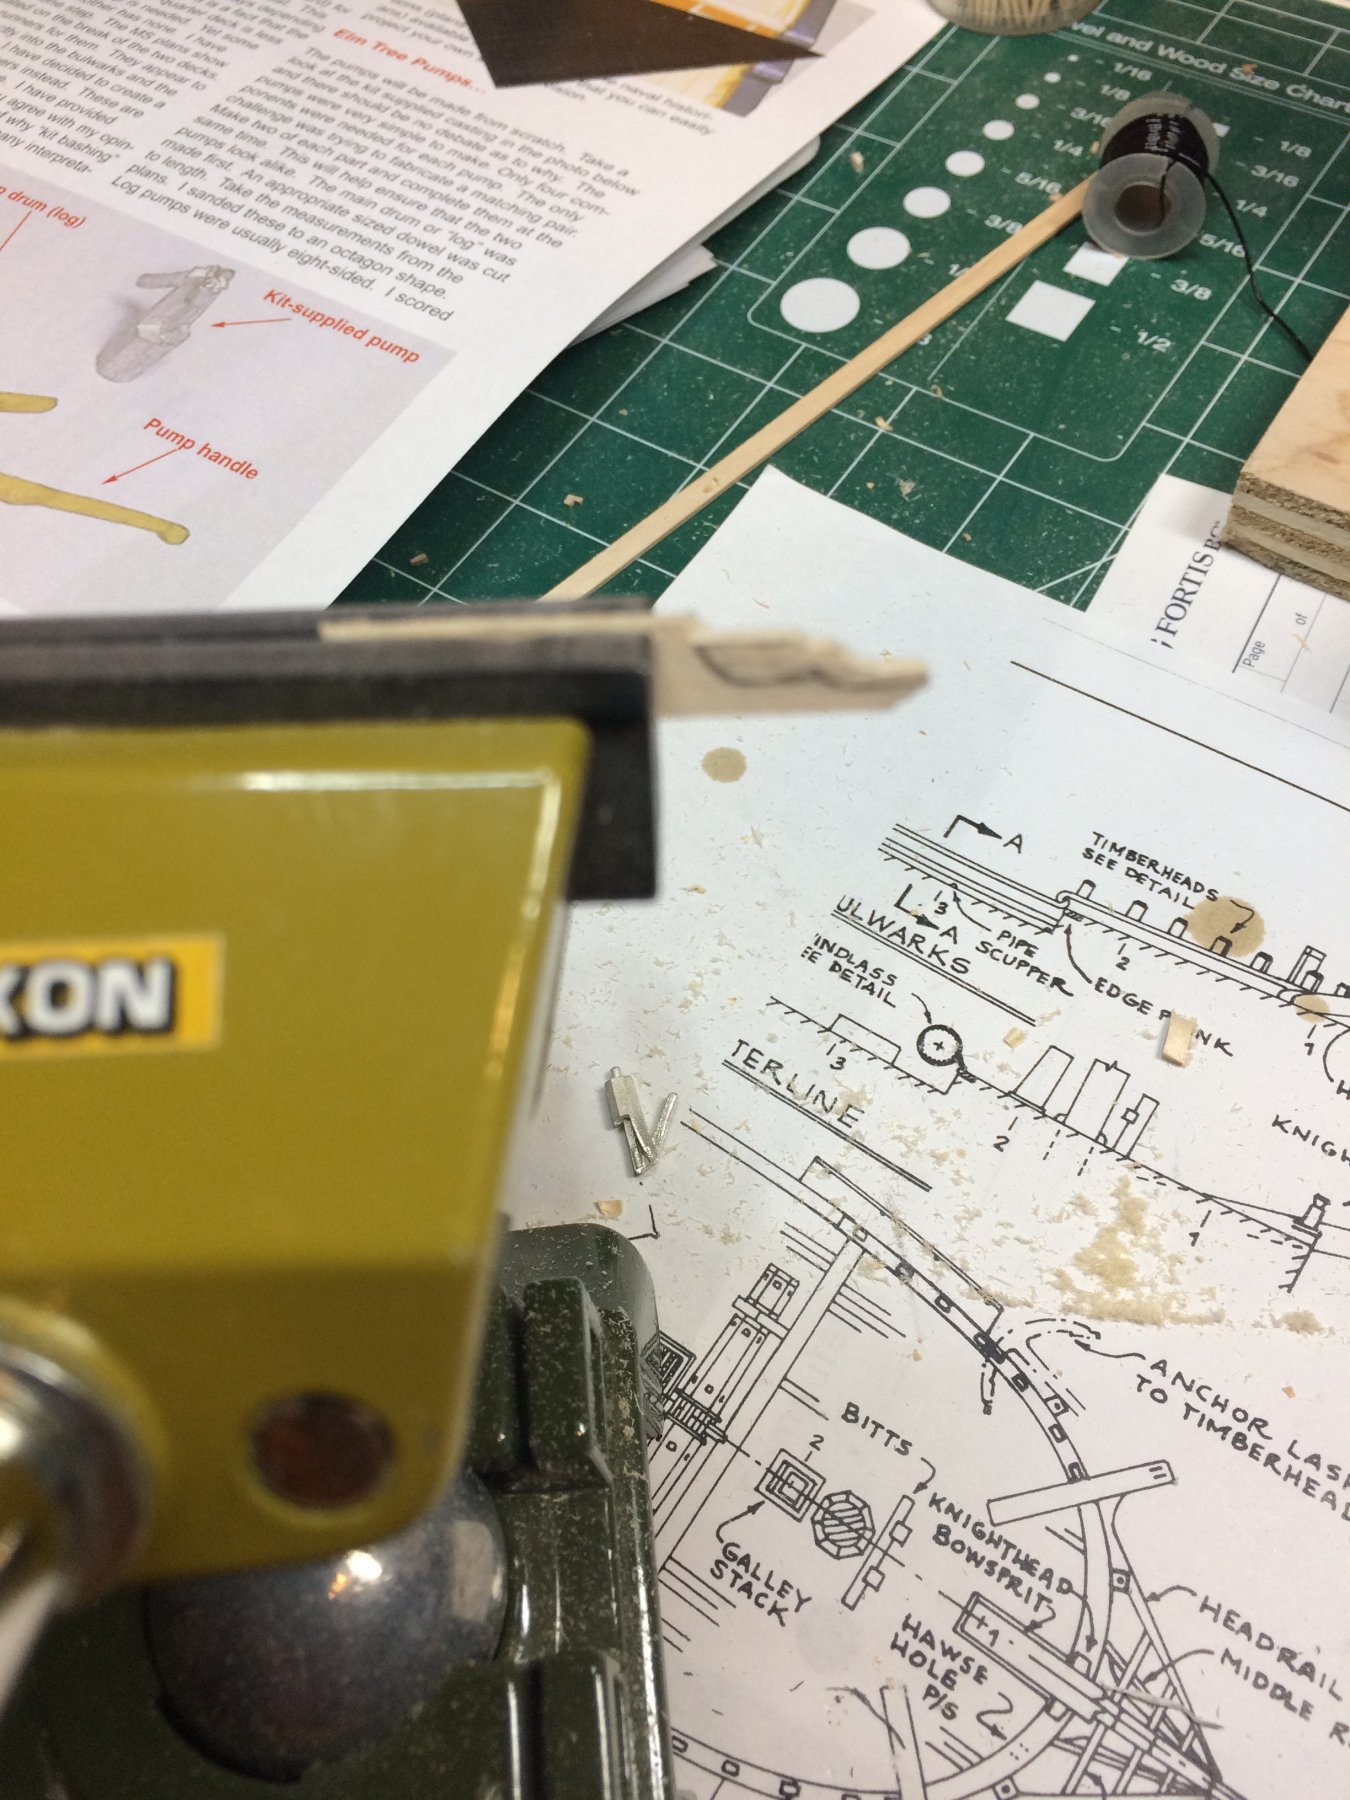
The pumps are made from scratch; first i cut a dowel for a main drum or 'log' a bit longer than needed. Using file and sanding blocks i shaped drums into octagonal shape.
The hole was drilled to the top of each pump, wide enough to simulate opening. The hole was darkened with a pencil as those pumps were sometimes lined with lead..
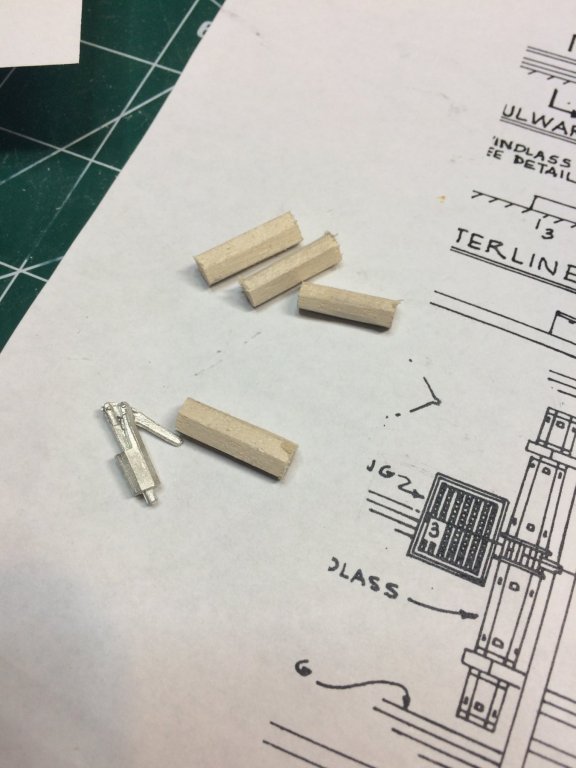
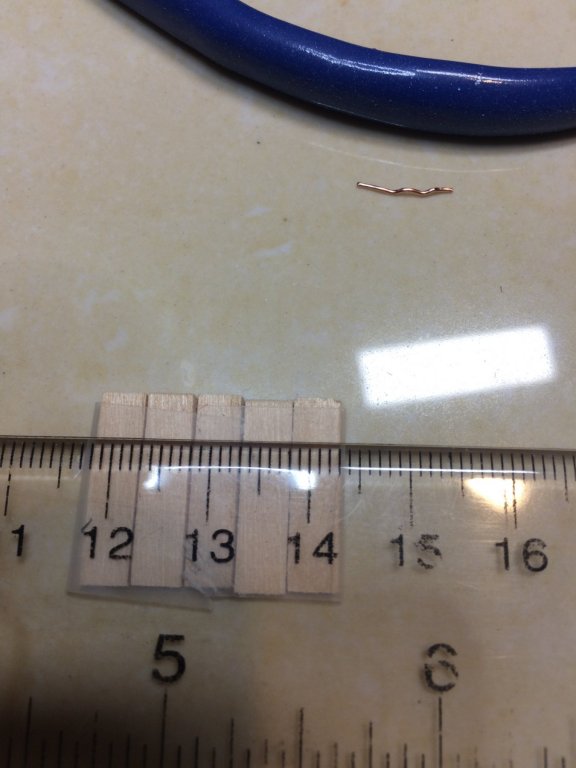
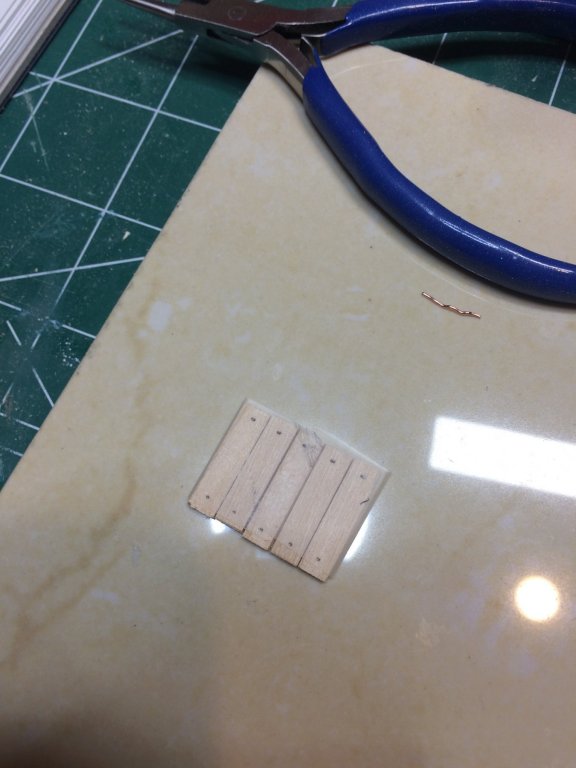
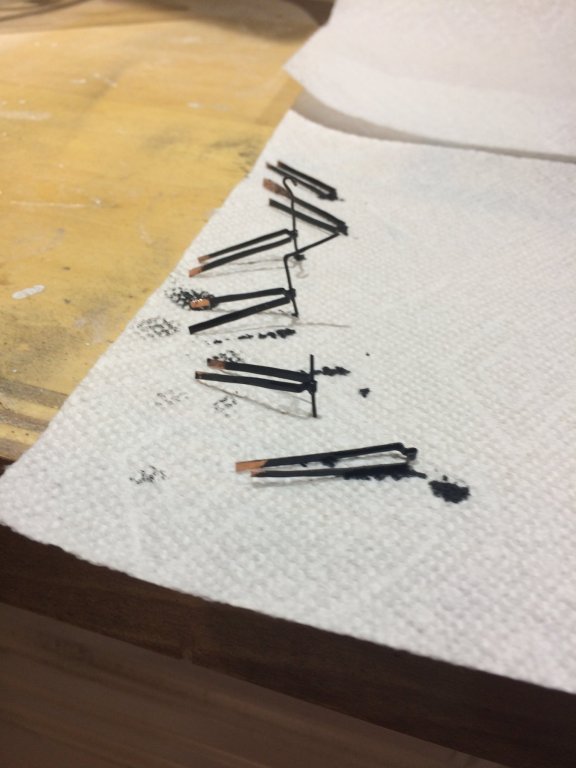
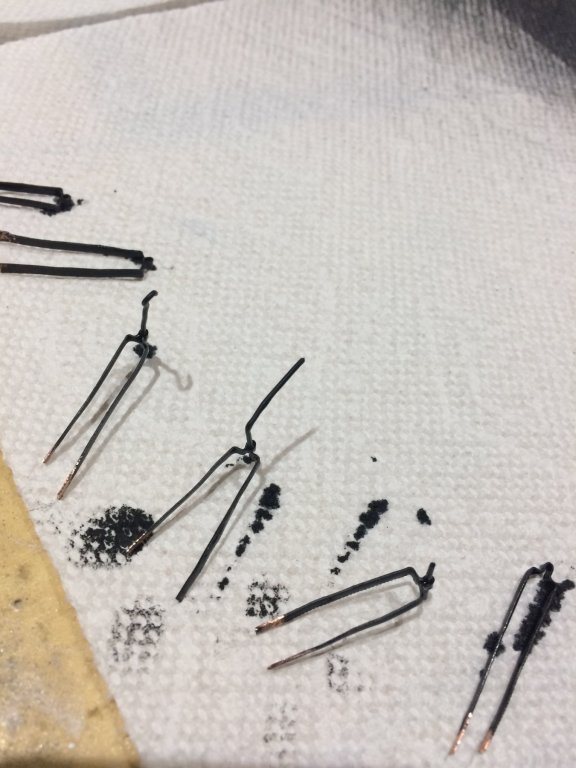
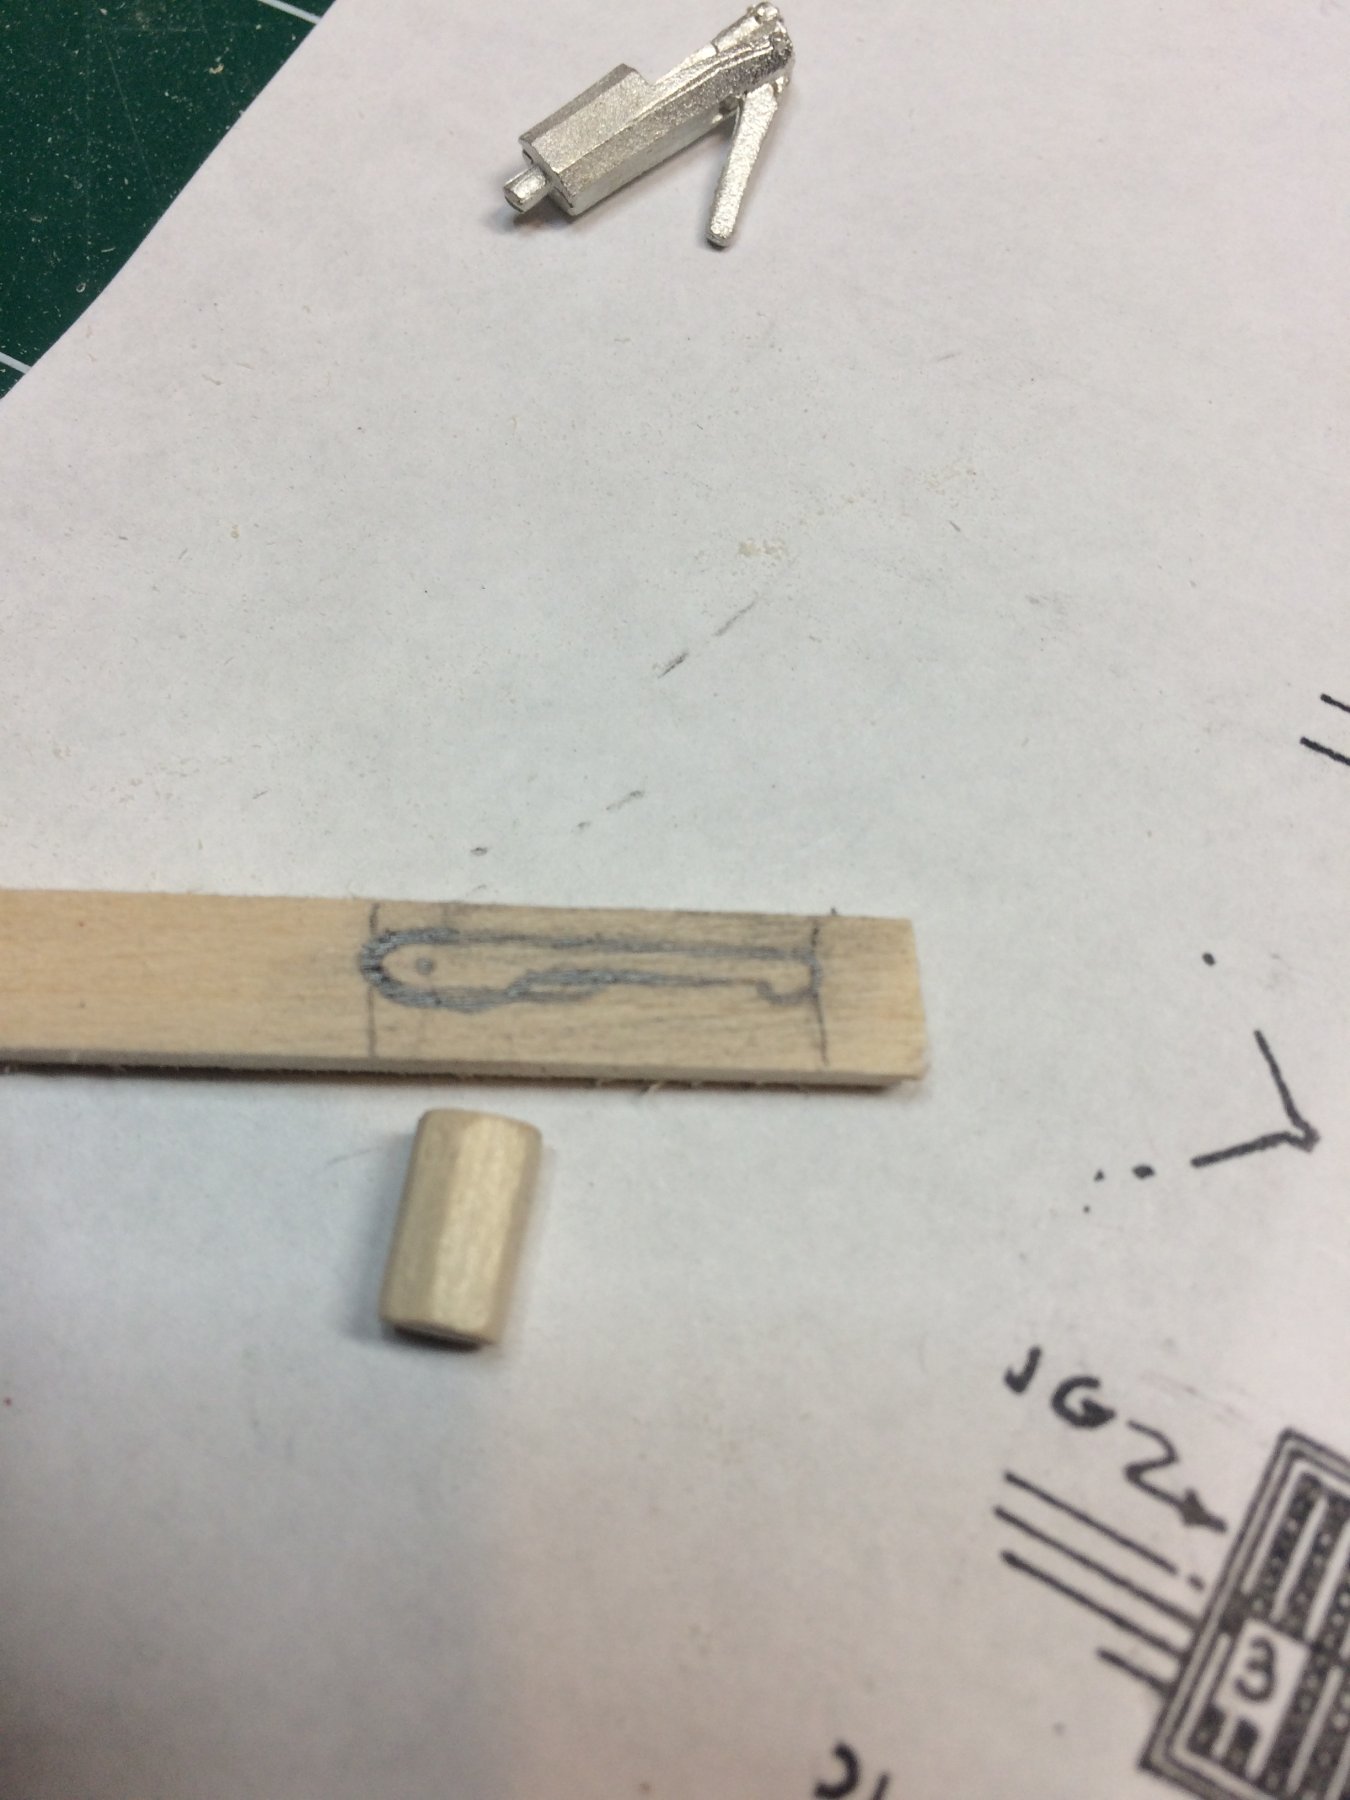
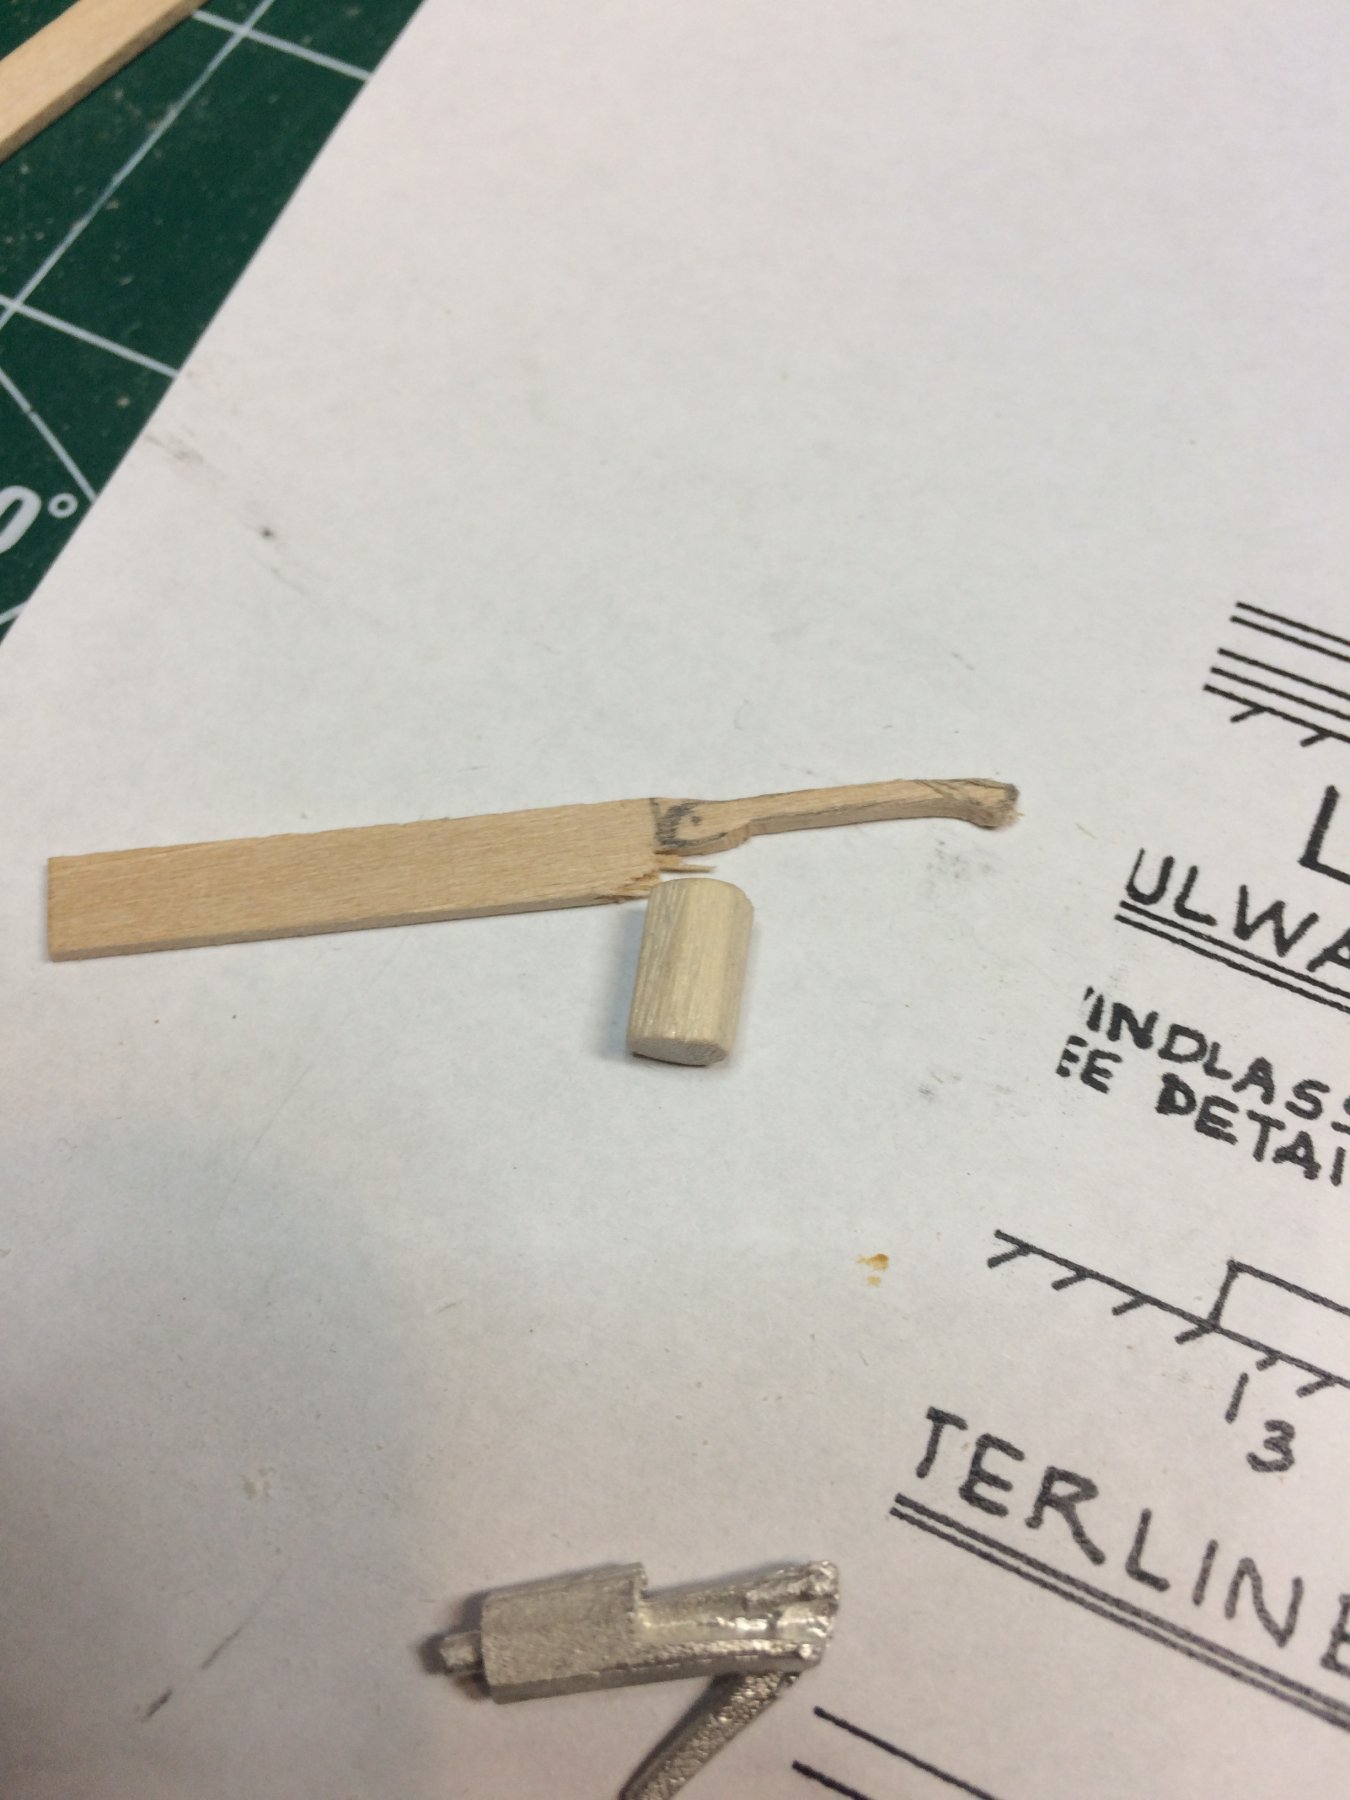
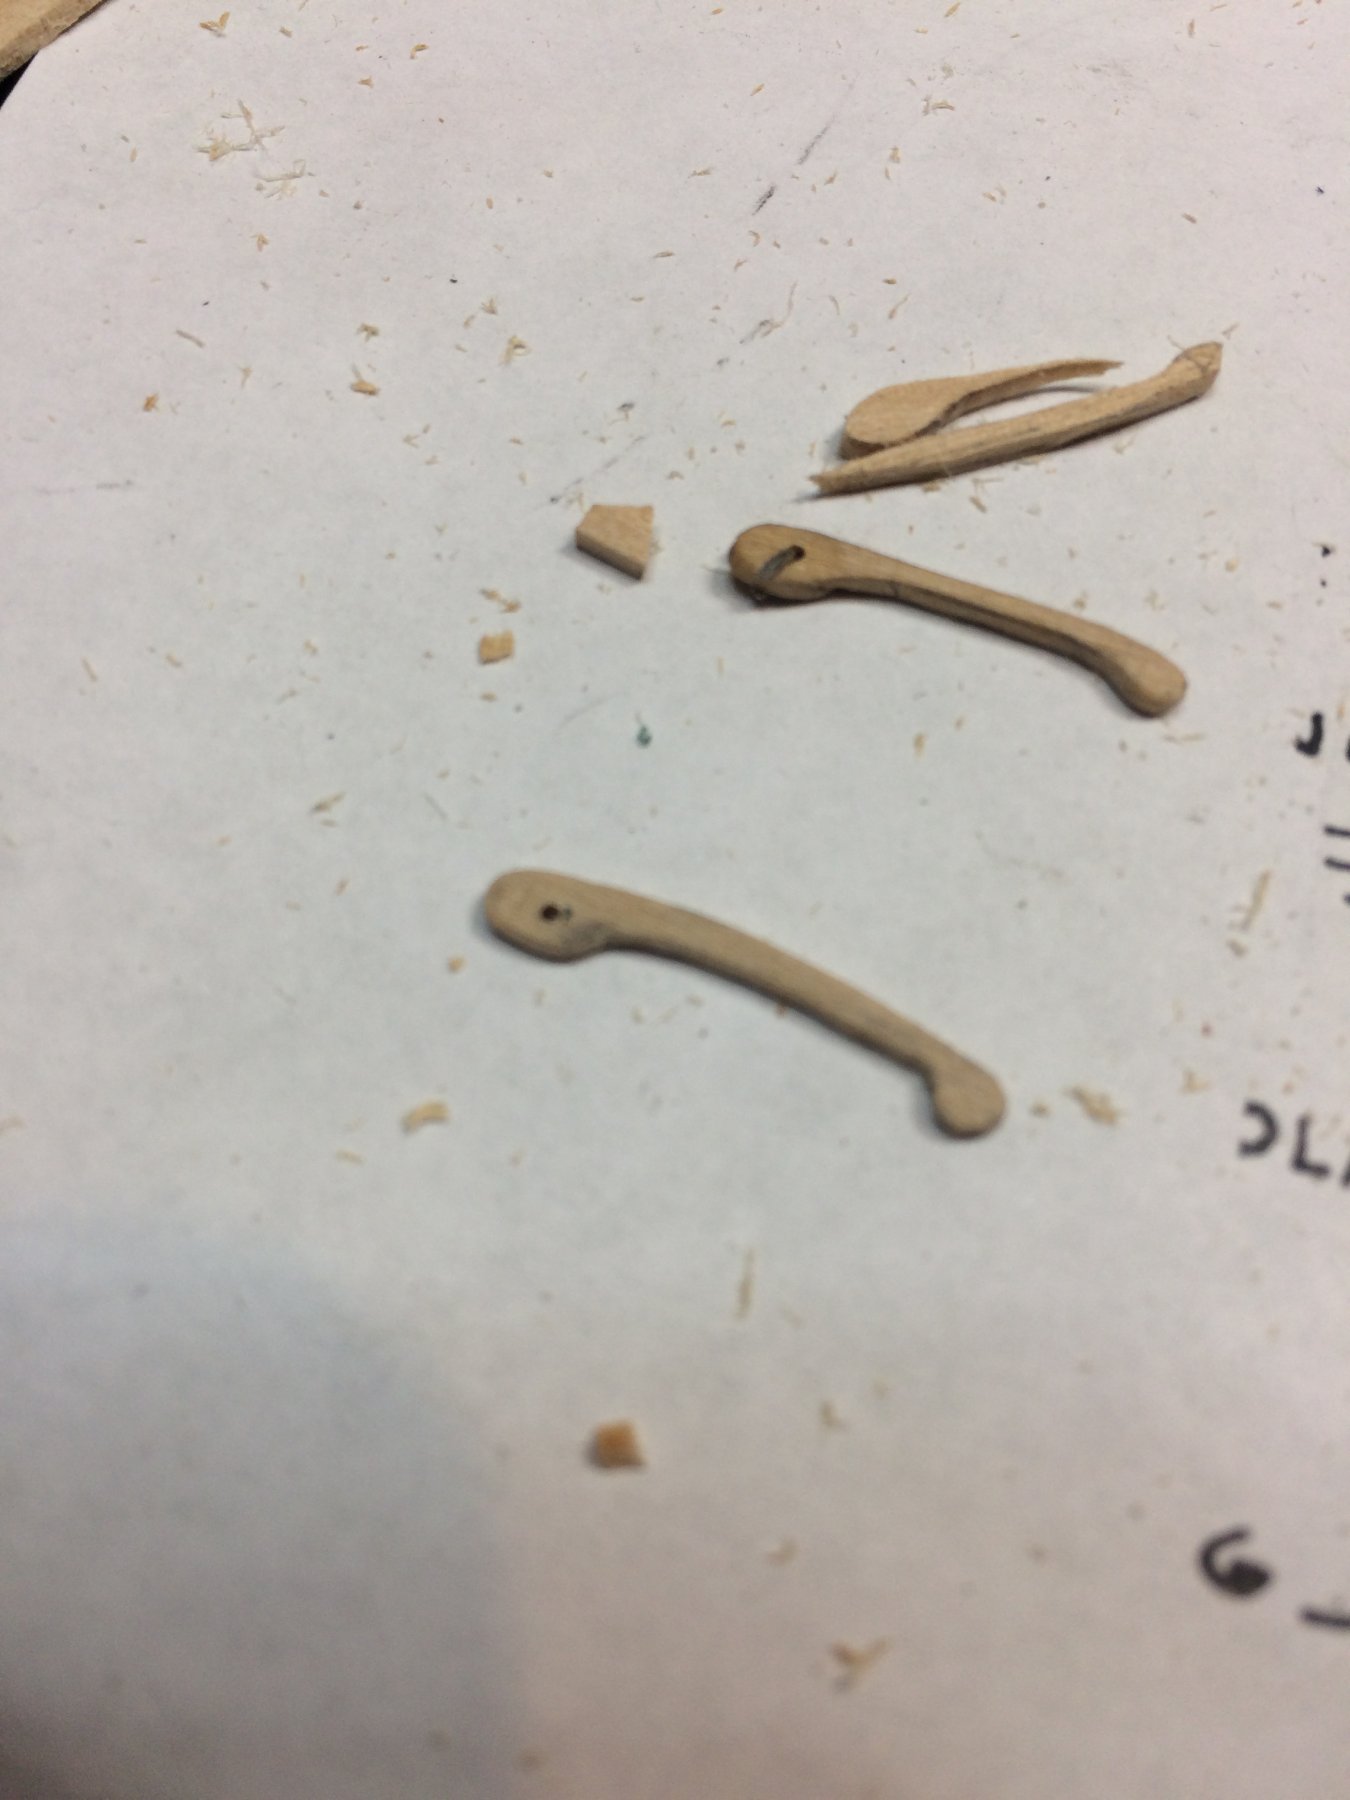
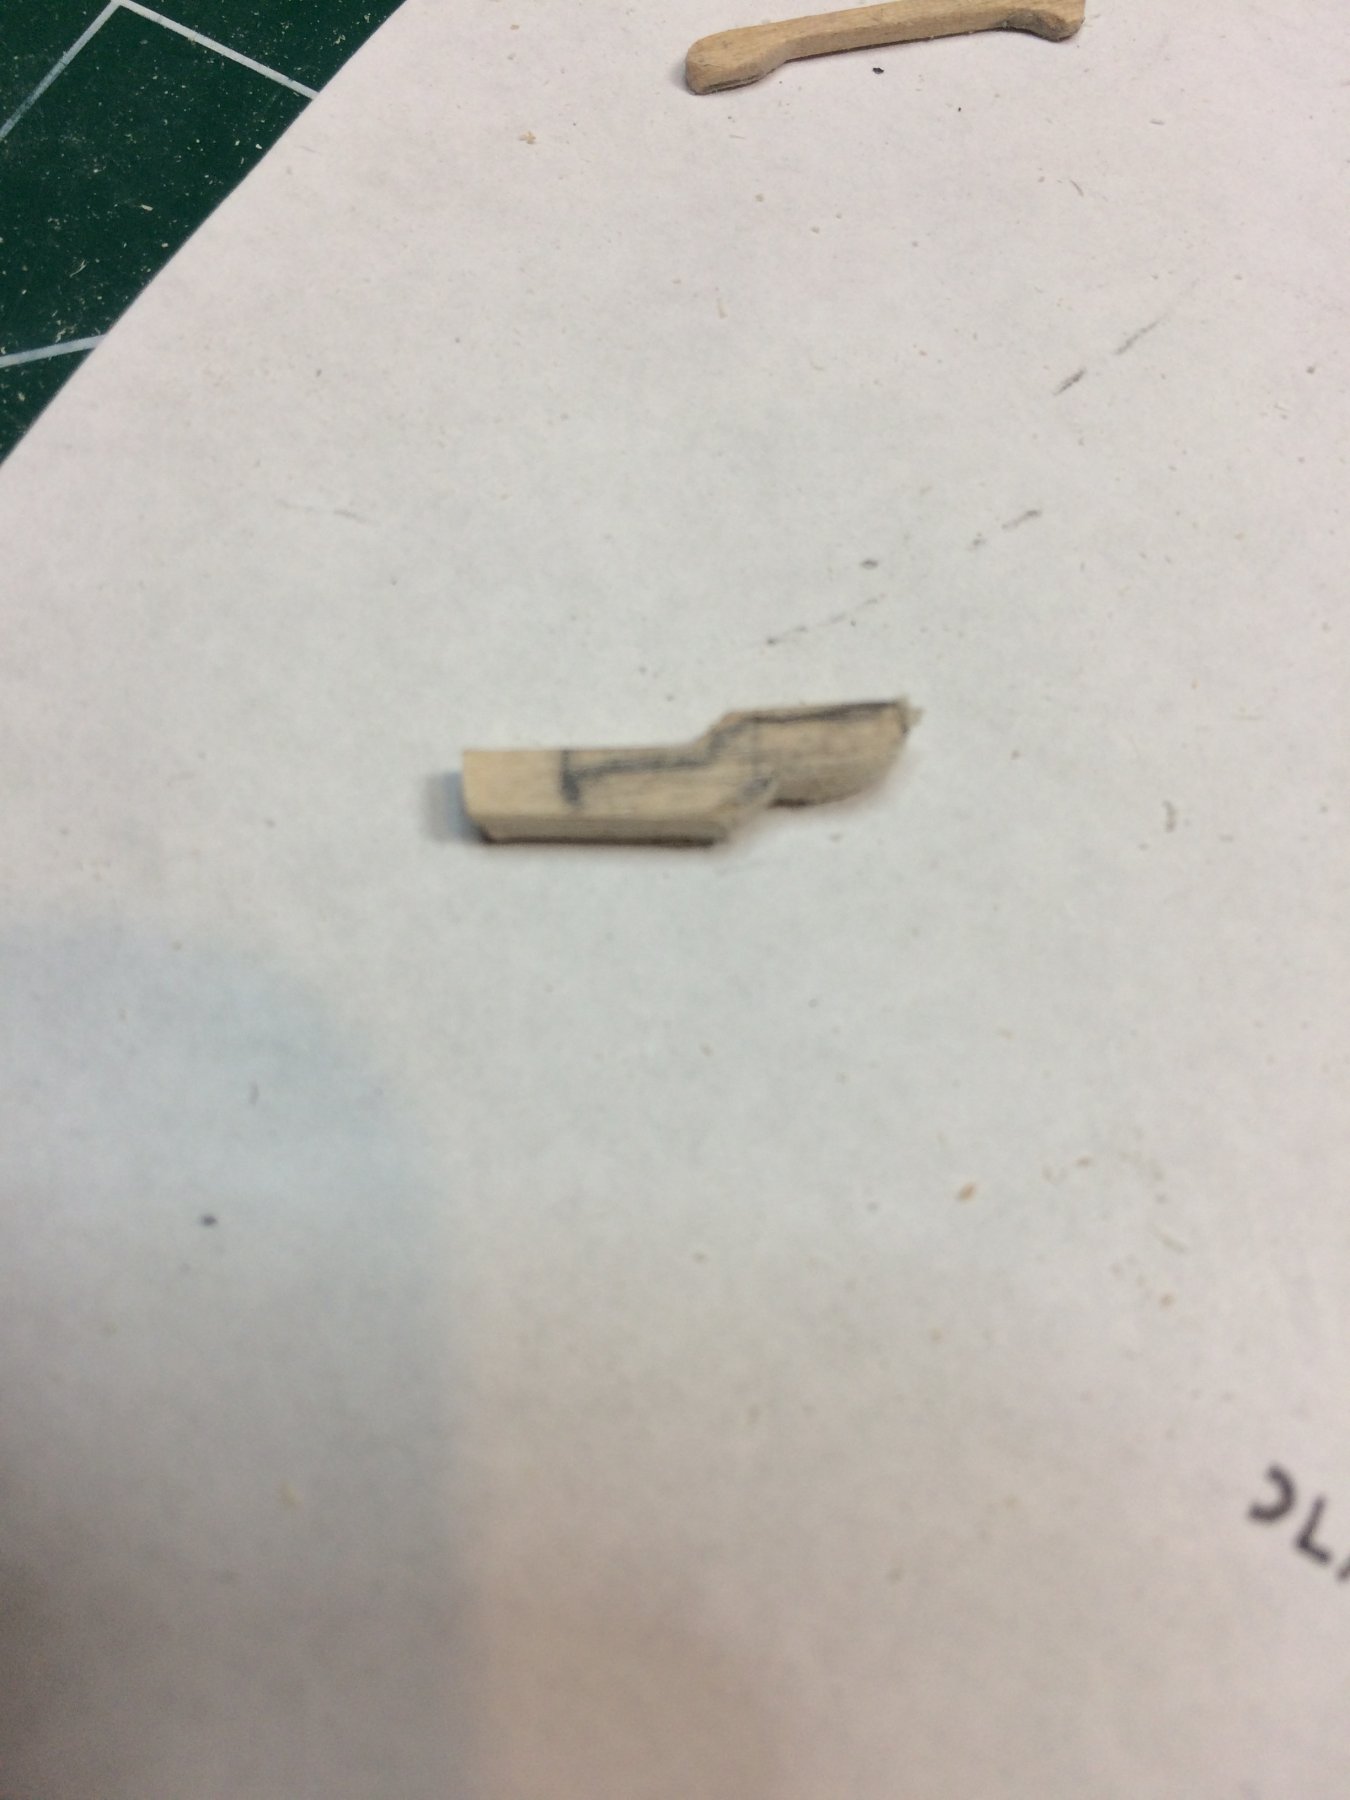
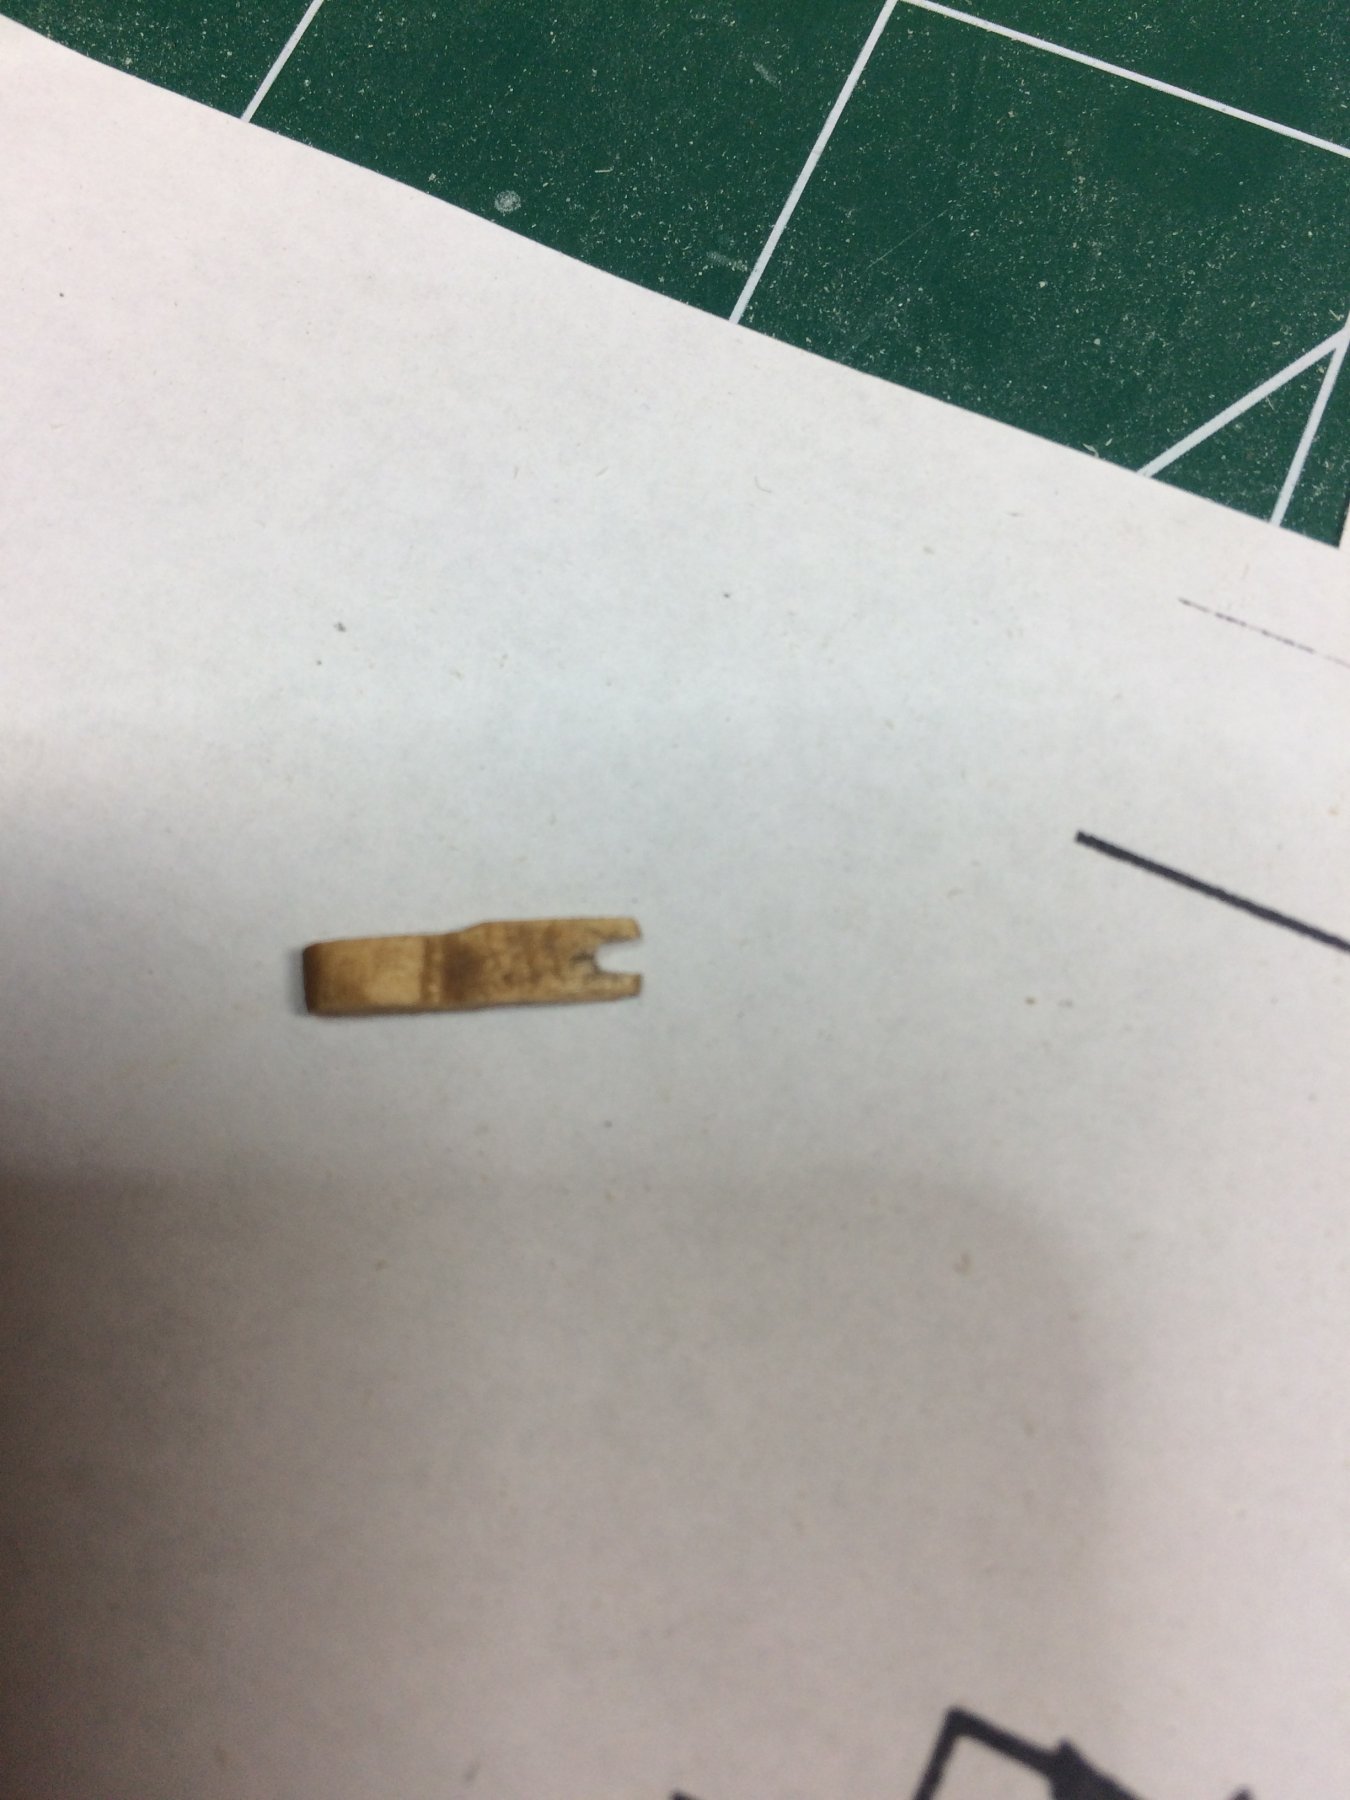
Next i made pump handles... It appears to be easier if you do repetitive work together, like making two handles in bunch then one handle, then pump drum, etc... The shape was marked on the piece of wood,

.. shaped with a file and sanding blocks...


Small hole was drilled to hold the wire... some more sanding during which i broke 3 handles. Very tiny and fragile items..
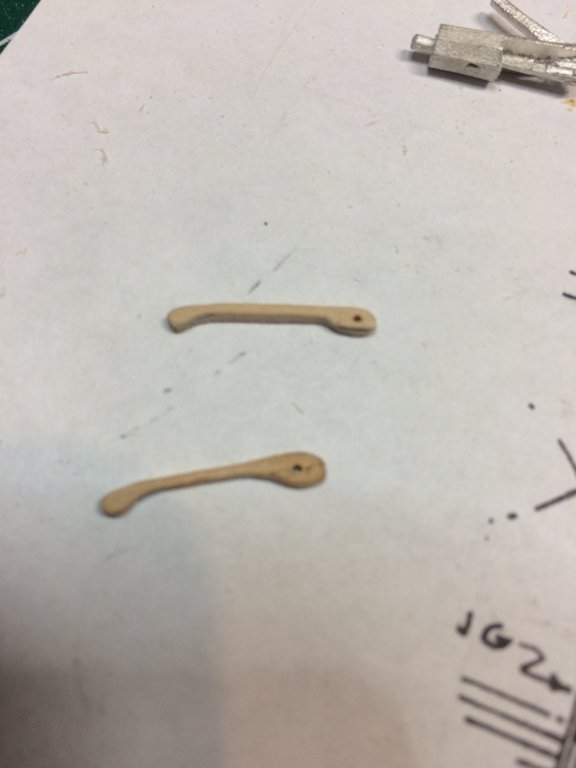
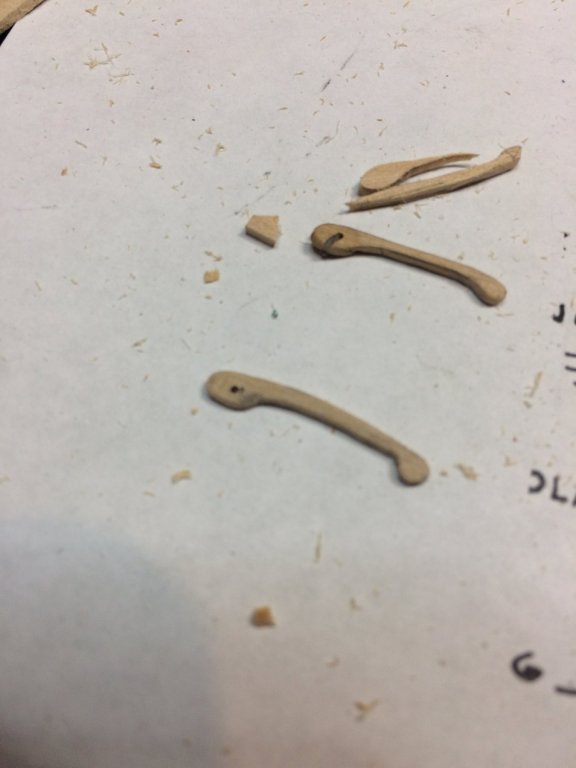
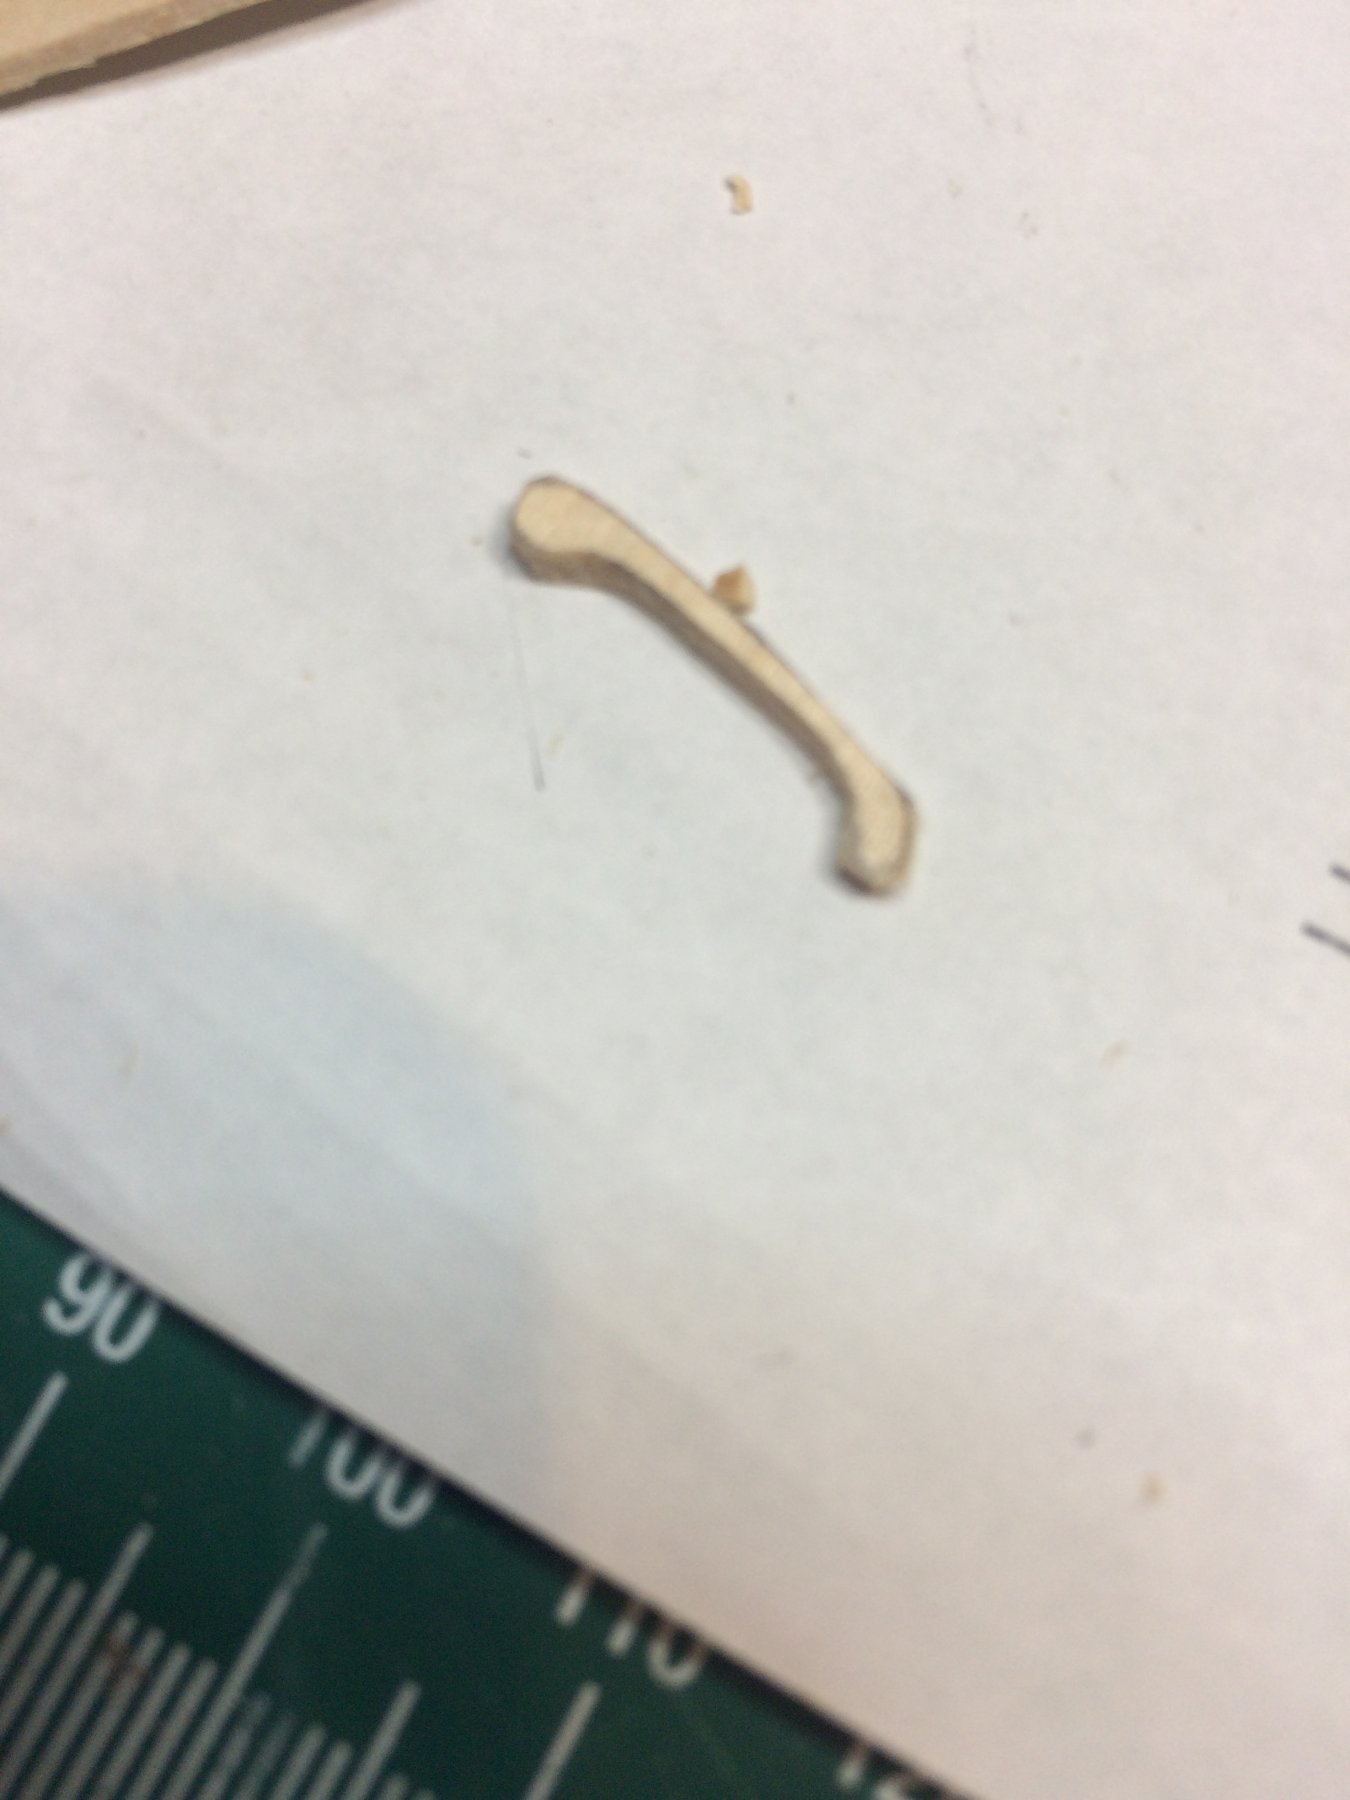
A bit of staining was done on handles; actually i was dipping them into stain can, leave stain on for a minute and wipe it with paper..
Bracket for pump handle was next.. these are also tiny and few were broken in the process. Dipped into stain....
.thumb.JPG.dc3deae305190327bf61ee67e99d22a0.JPG)


Then i stained drums, put a tiny peace of electric tape around each drum to simulate iron bands. Funny that electric tape was not holding well on stained wood so i had to freeze it with drop of cyano glue.
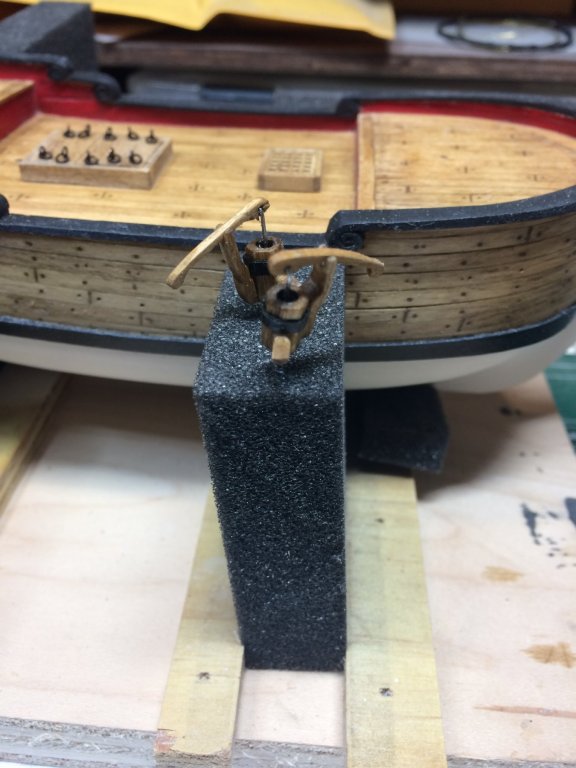
Then assembly took place.
So here it is. I drilled a small hole on the bottom to put a piece of wire in to make sure pumps will stay on the deck.

It took me approximately 4 hrs to build these little parts but the end result is very rewarding...
Happy modeling..
- Overworked724, Fright and Altduck
-
 3
3
-
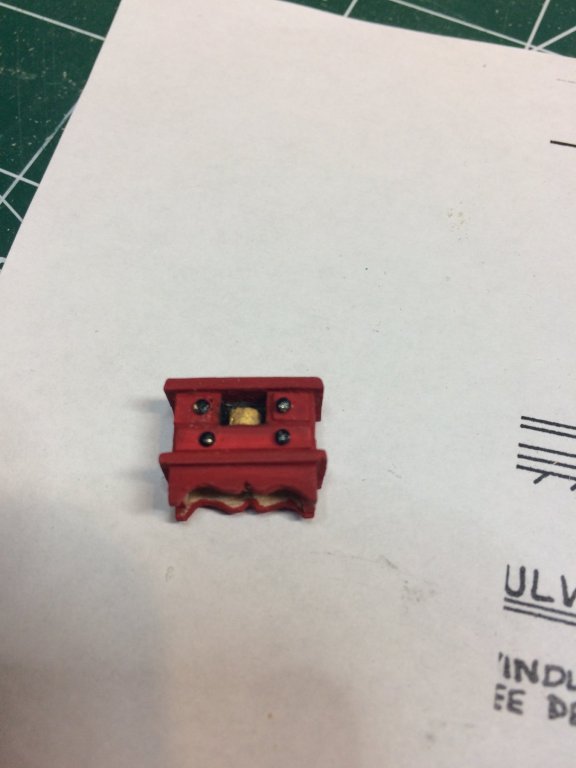
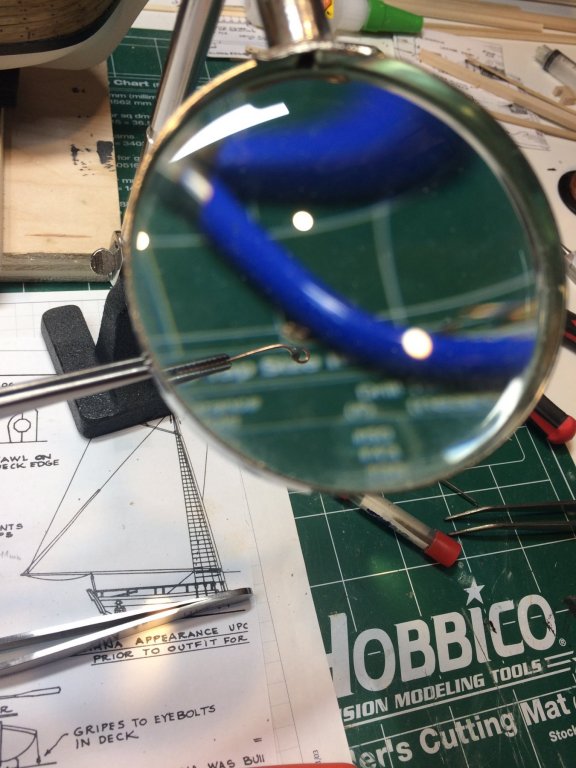
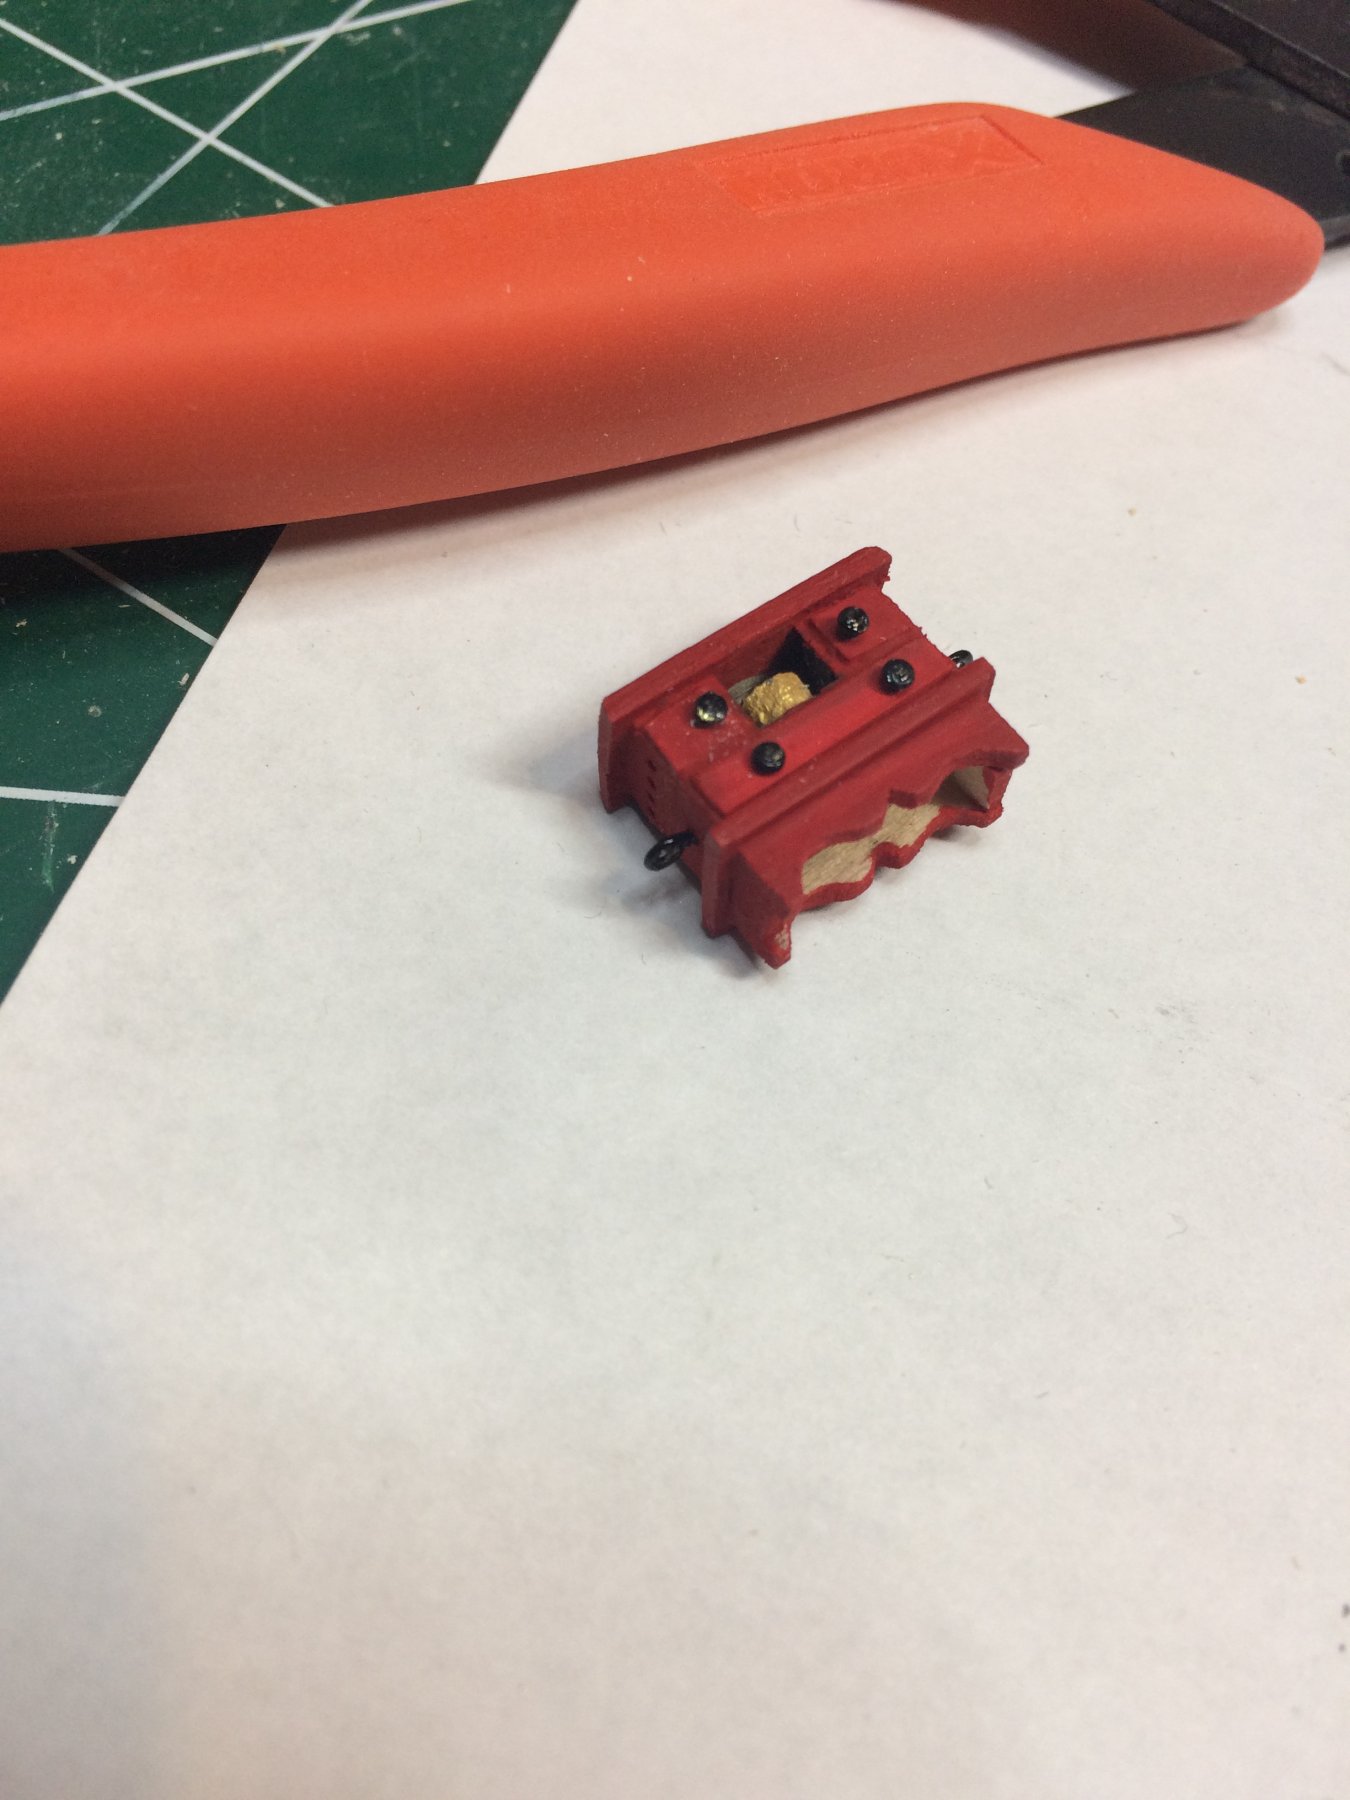
Little binnacle has been completed. Copper nails were used for handles, painted flat black.
Eye bolts were attached to the binnacle and hole drilled in the ship deck to host two additional eye bolts. These will be used to attach binnacle to the deck with rigging lines provided in the kit. At least something was used from the box :-).
Eye bolts were made using small tool that was provided by one fellow ship builder...
Nails were cut to the length of appr. 4mm, the pilot hole was drilled into binnacle and nails were attached.
Finished binnacle with copper nails as handles.
Eye bolts were assembled and installed in binnacle..

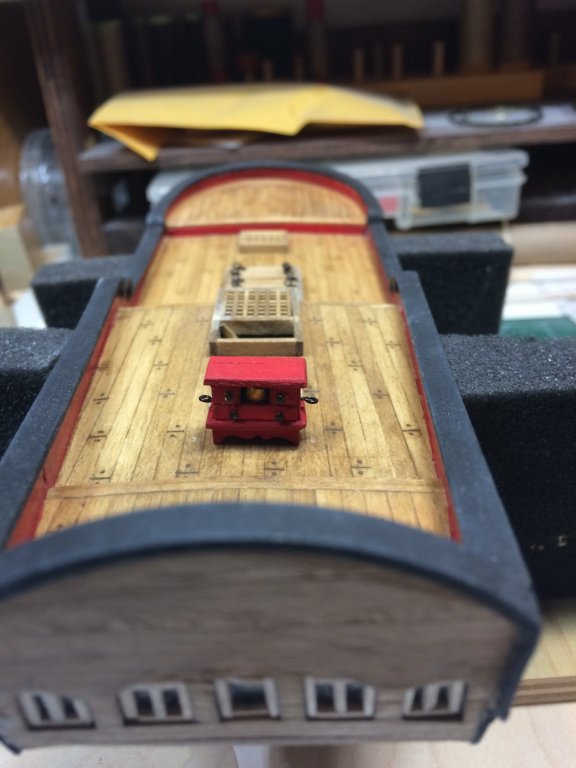
Testing on ship...

Then i cut and build two one-step stairs that will be installed later. Cannot mount them now as they will interfere with rest of the work on the ship..
Eye bolts making process..
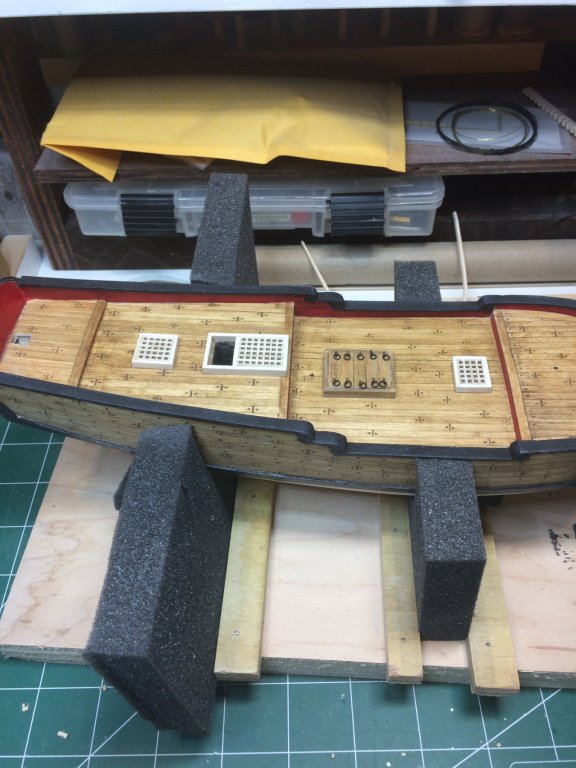
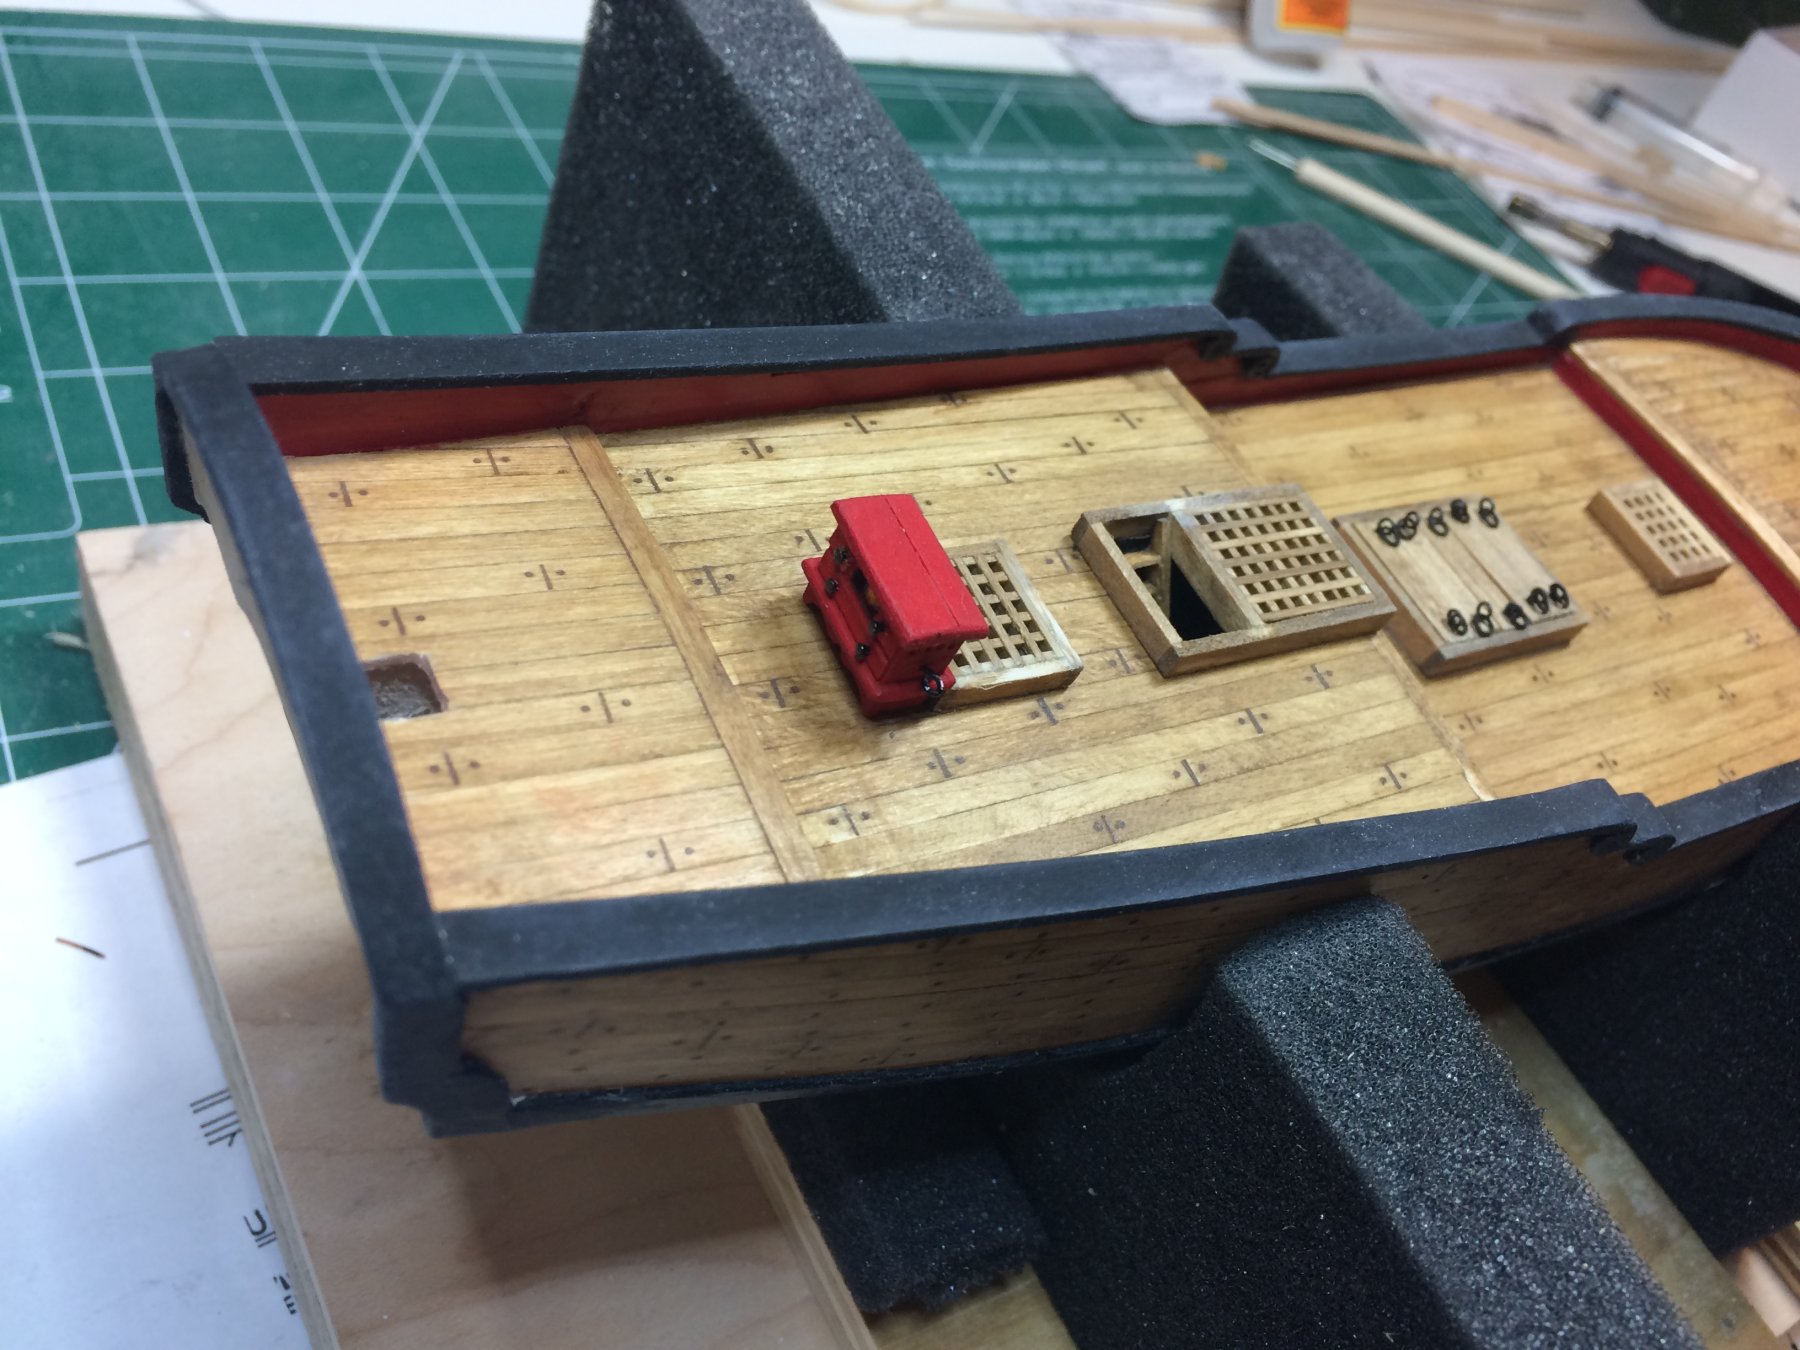
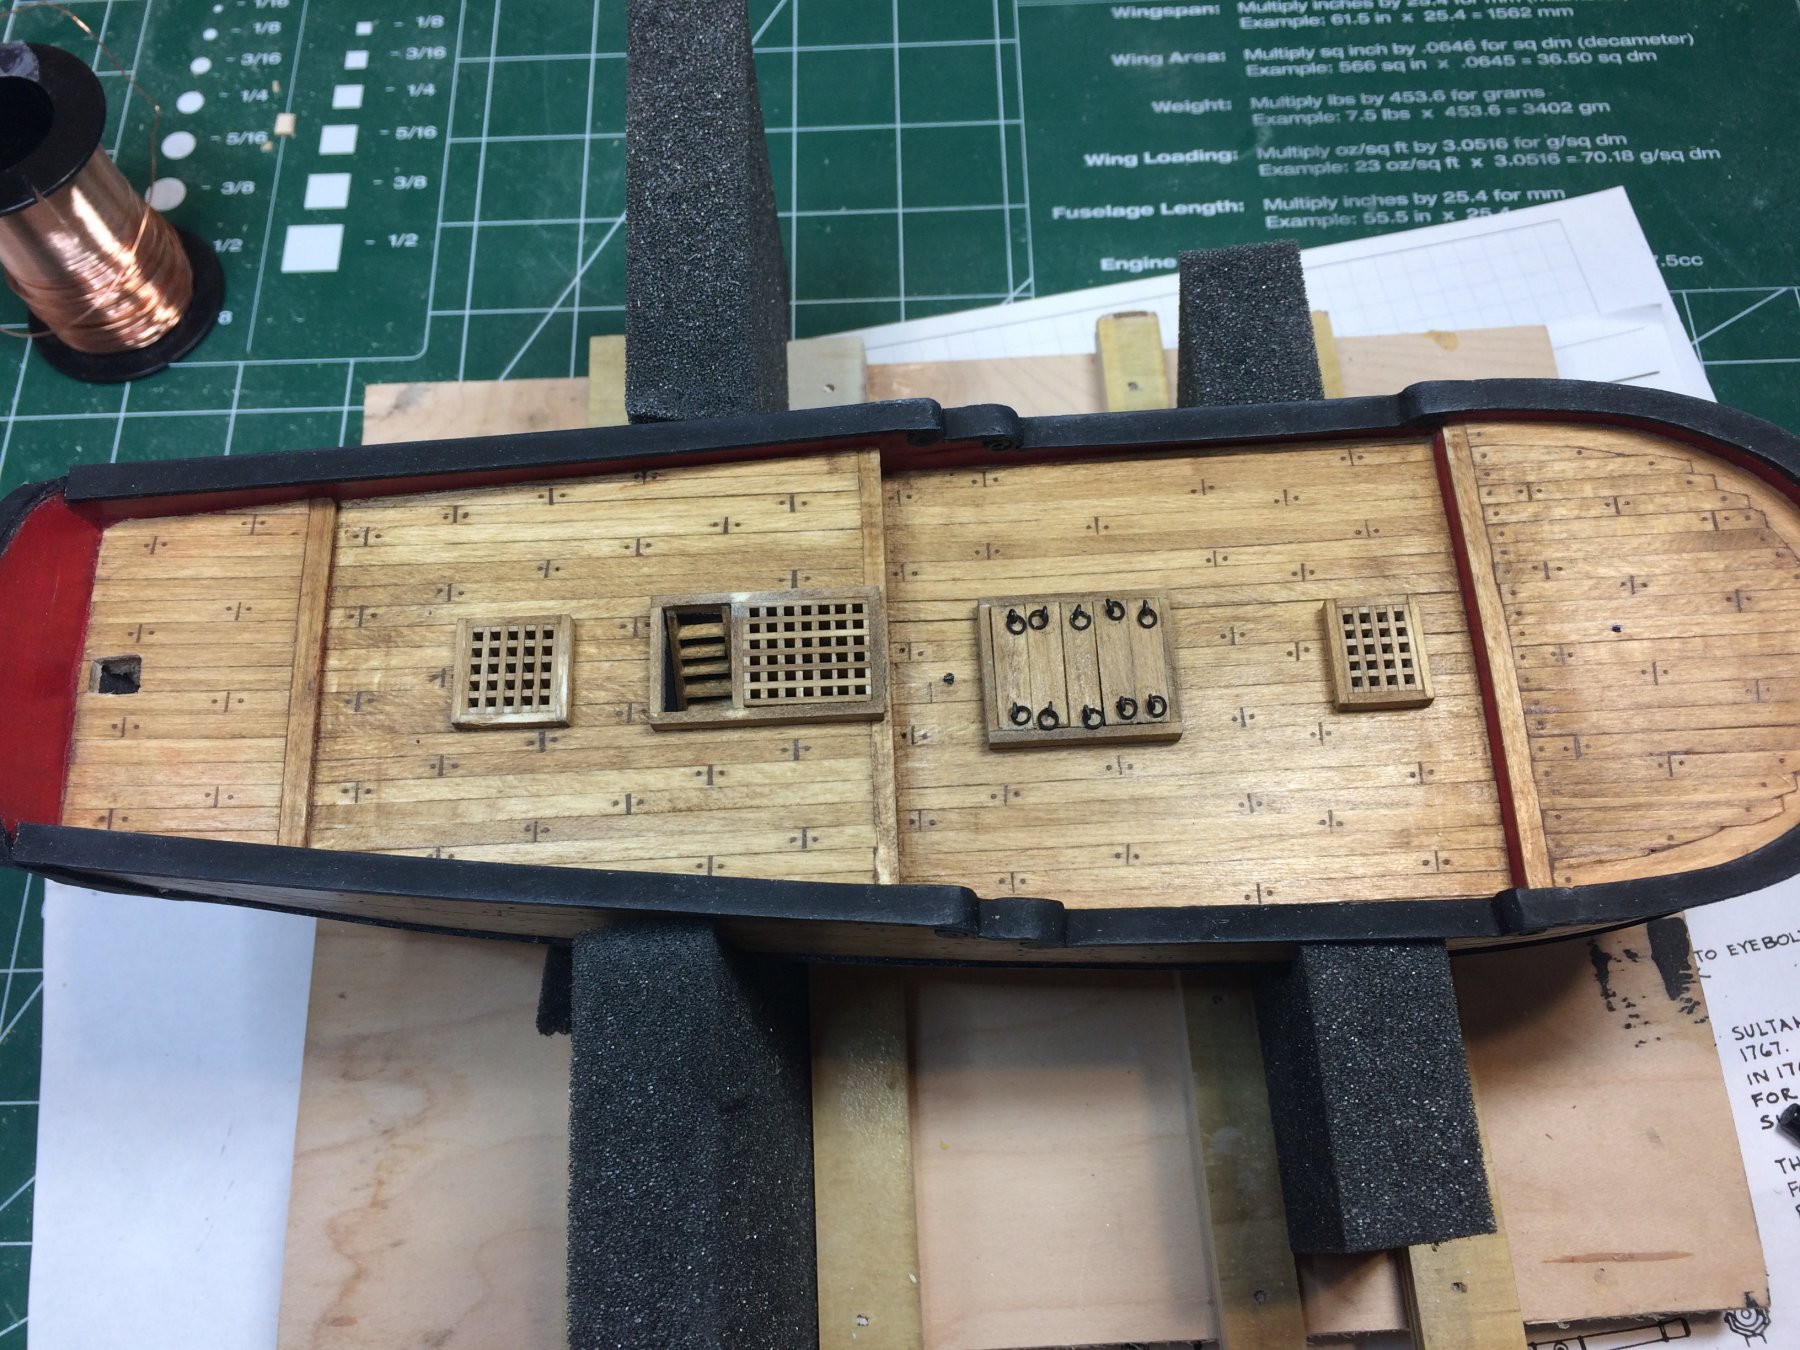
All gratings were also mounted, ladder to bellow deck also glued in the place.

Then i start working on ship pumps, off course will not use kit supplied pumps as they look like... something.
Happy modeling..
-
11 hours ago, lmagna said:
Nicely done and very precise. A job to be proud of. Thanks for showing
Thanks Lou, much appreciated.
-
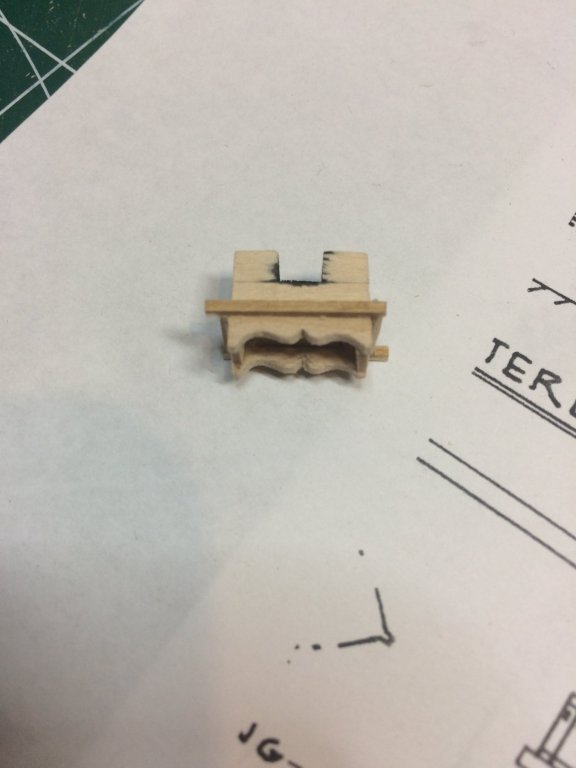
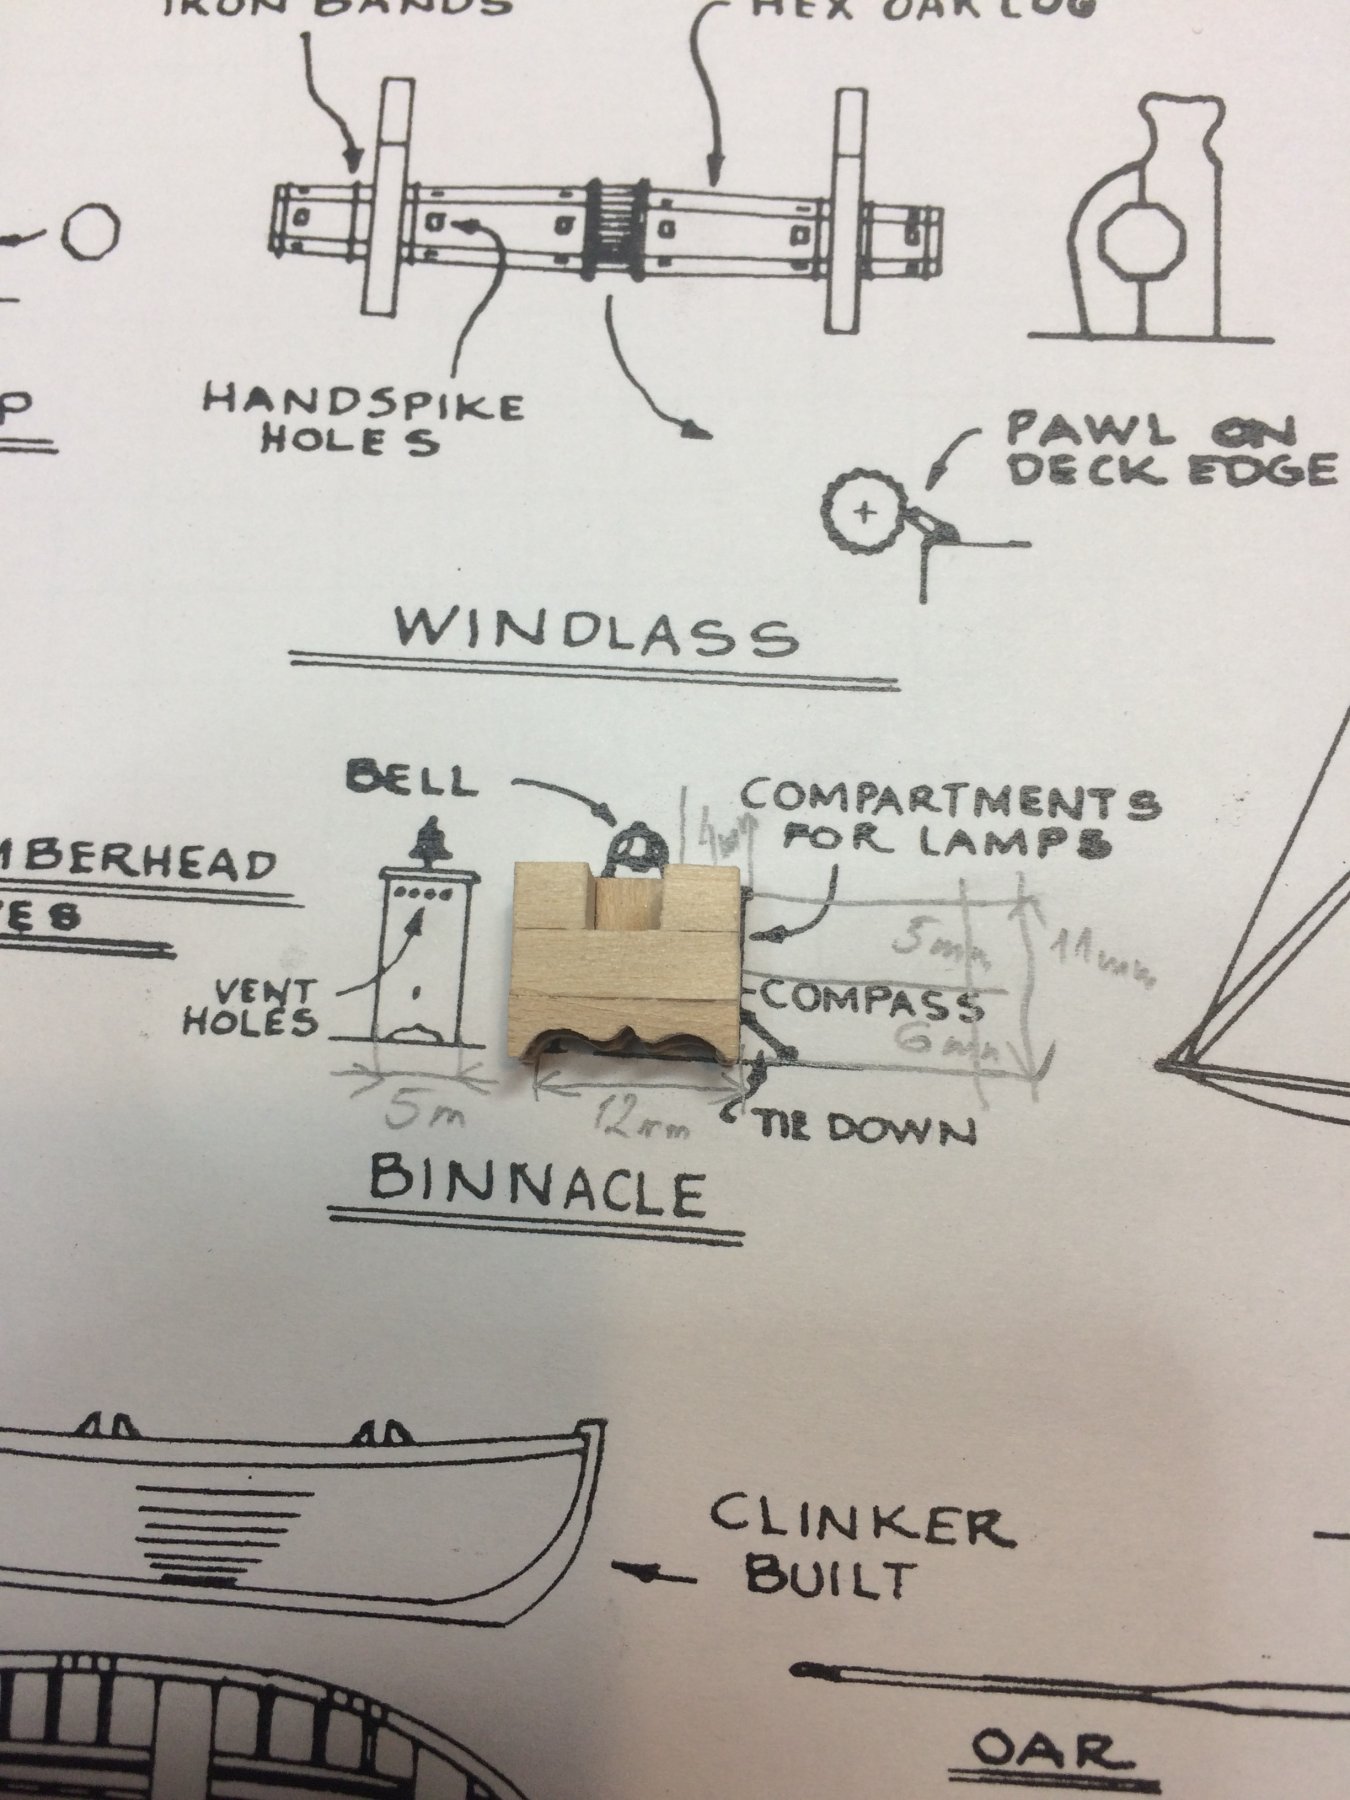
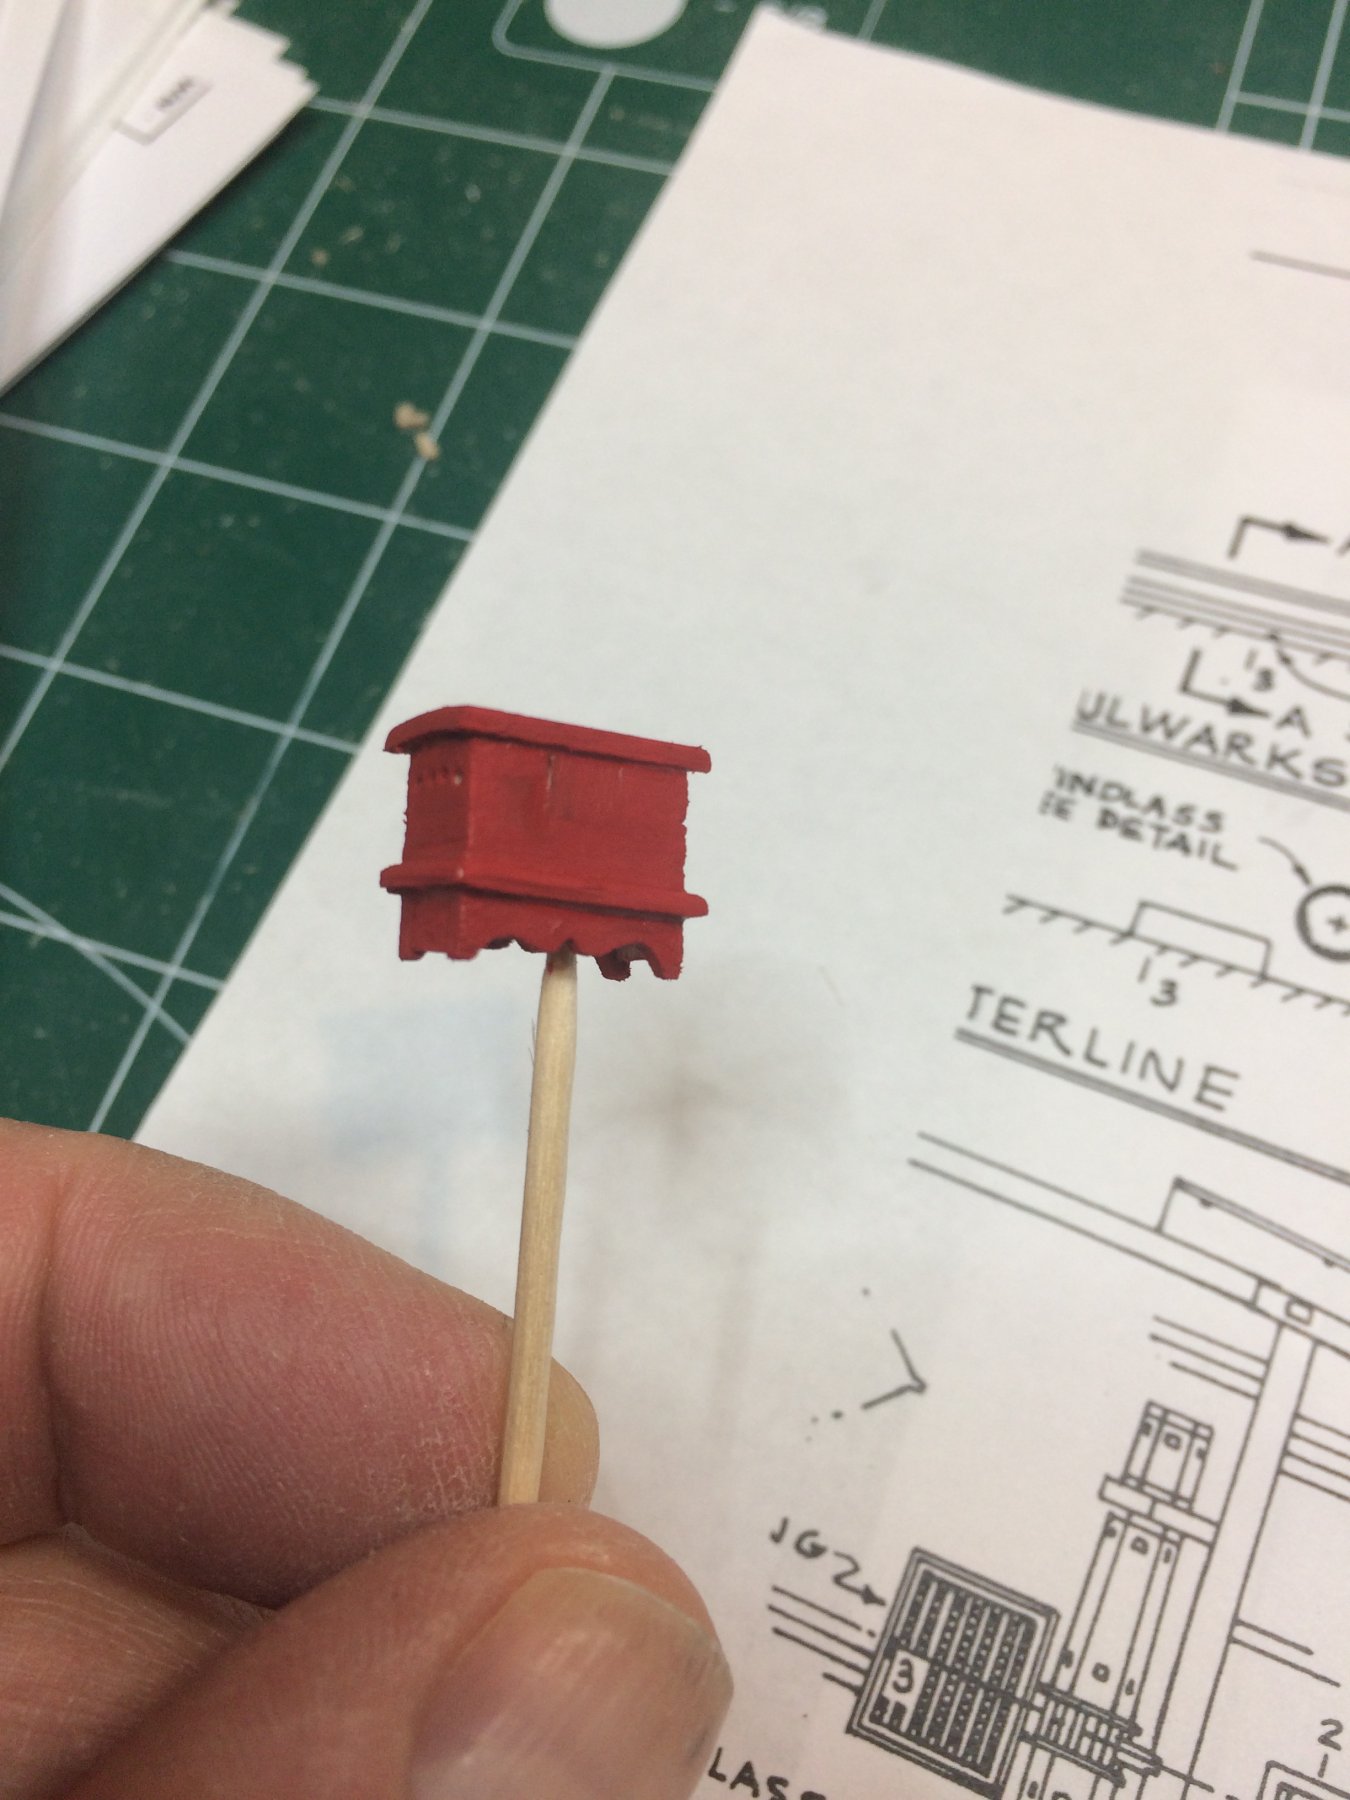
Binnacle.. That little....
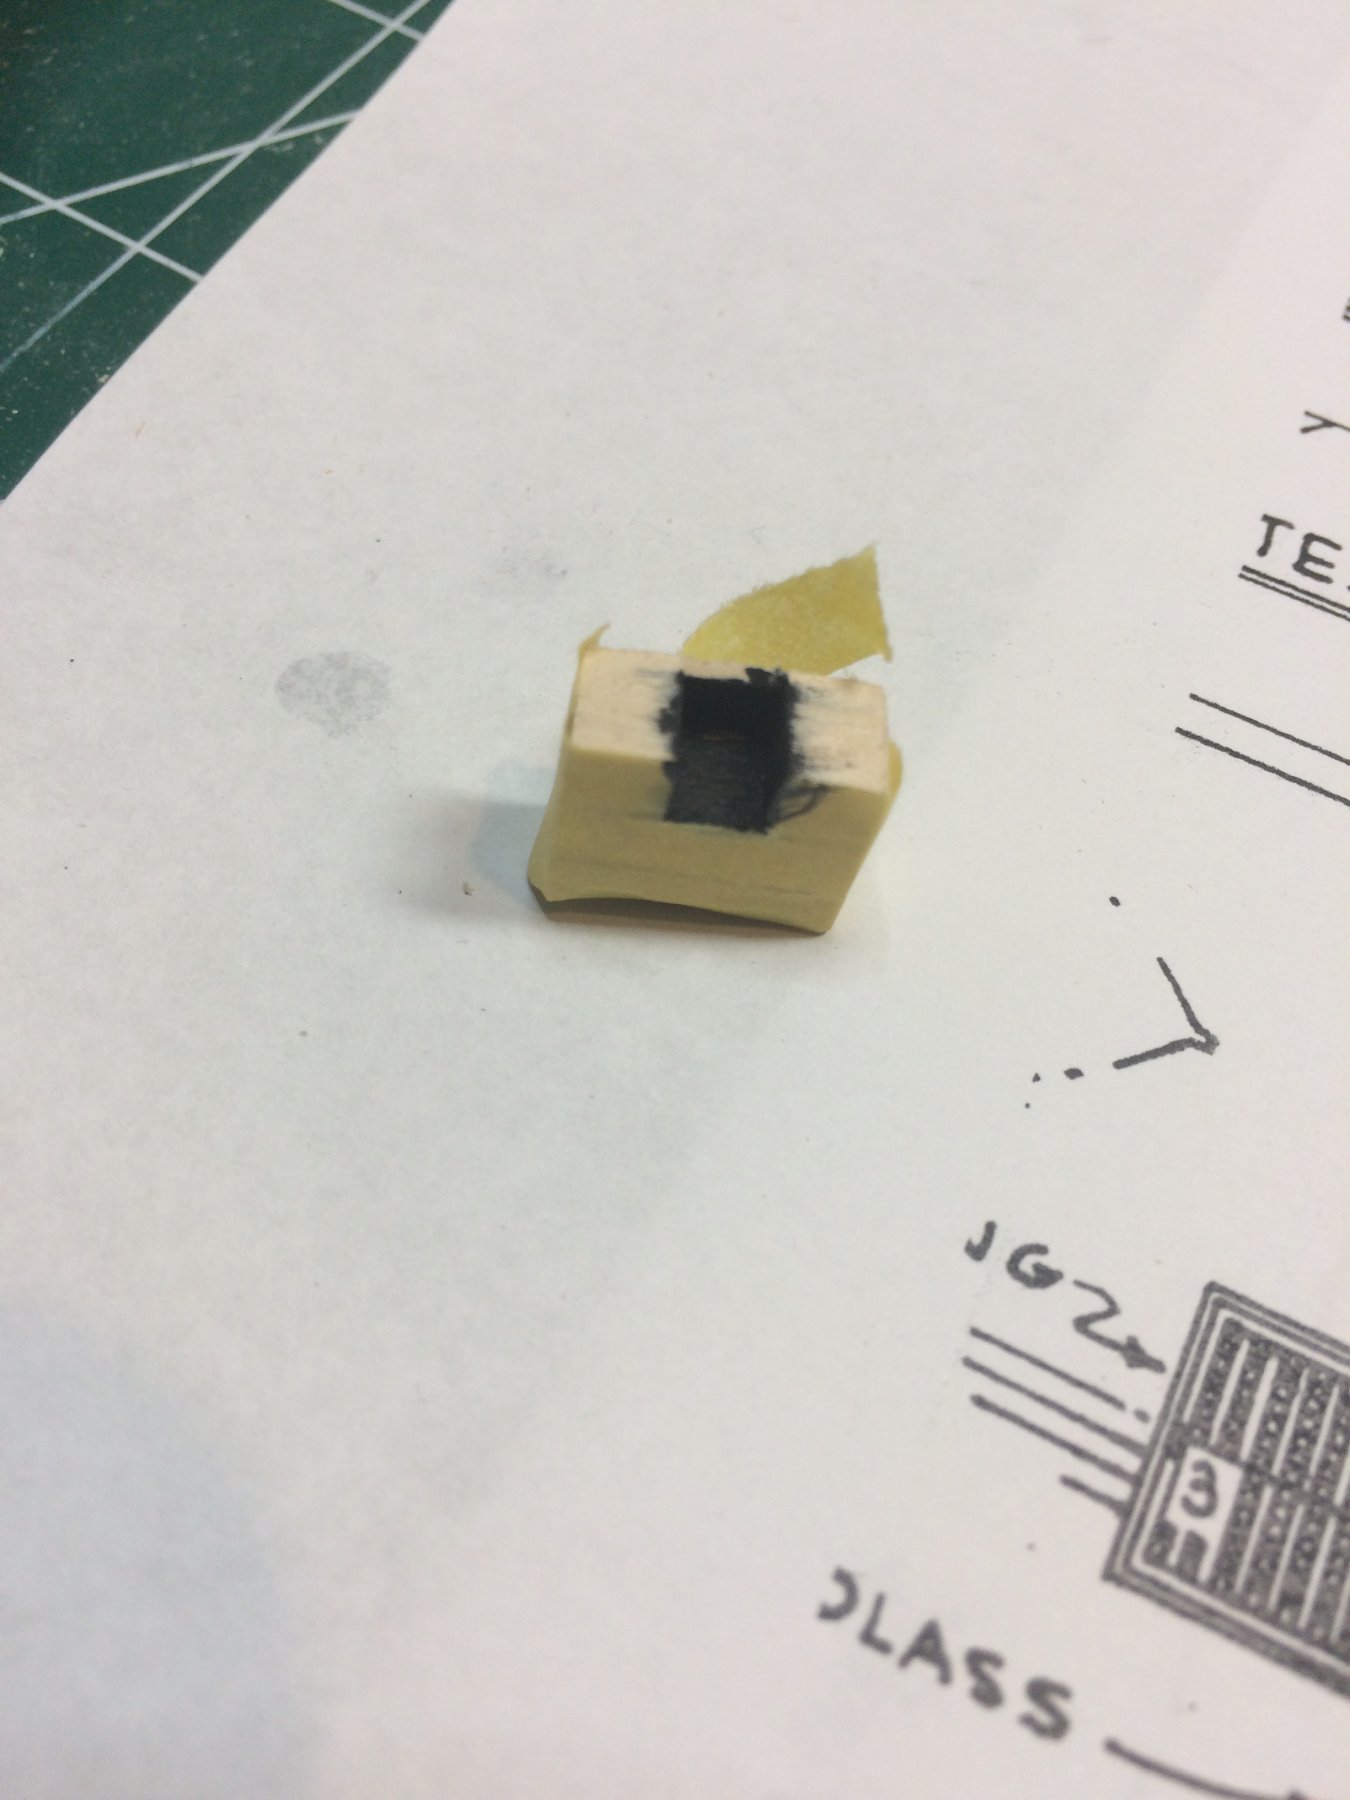
Since i dont like kit provided deck furniture and following (not to the letter) Chuck's practicum, i attacked binnacle.
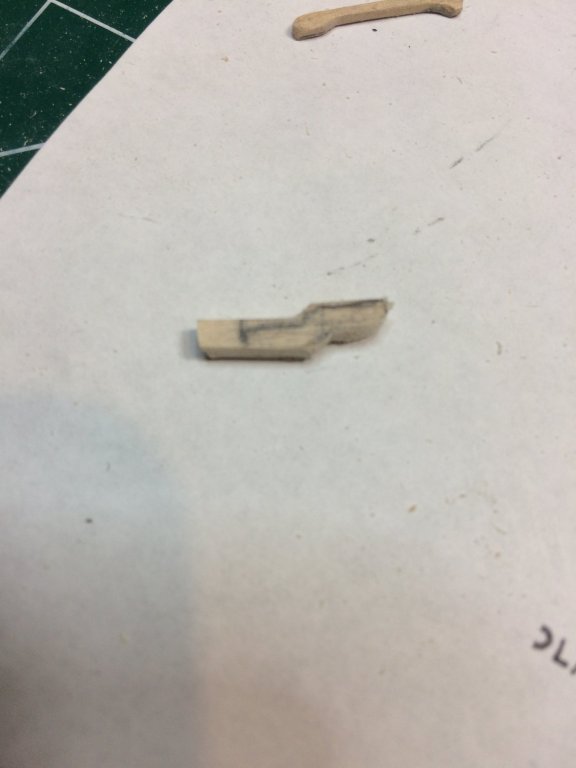
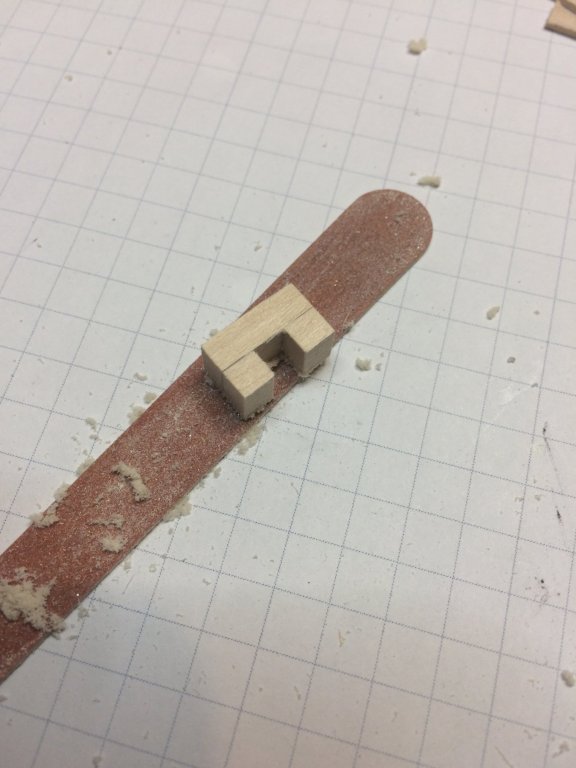
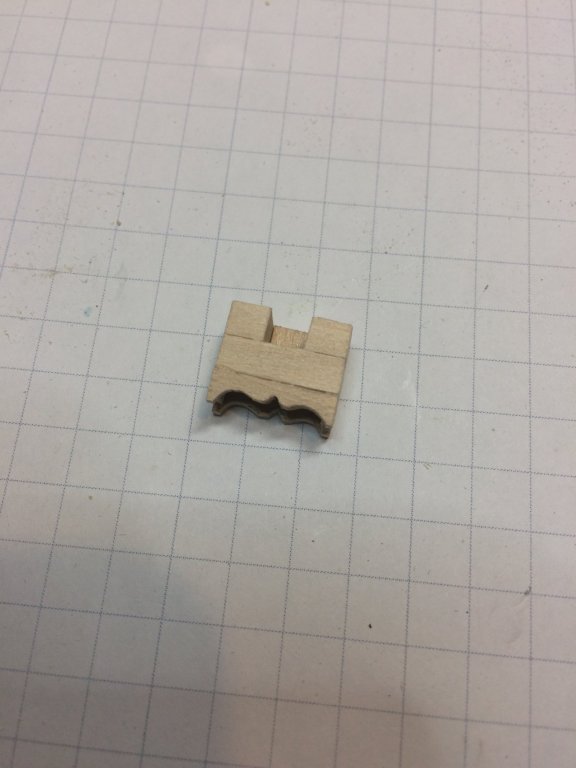
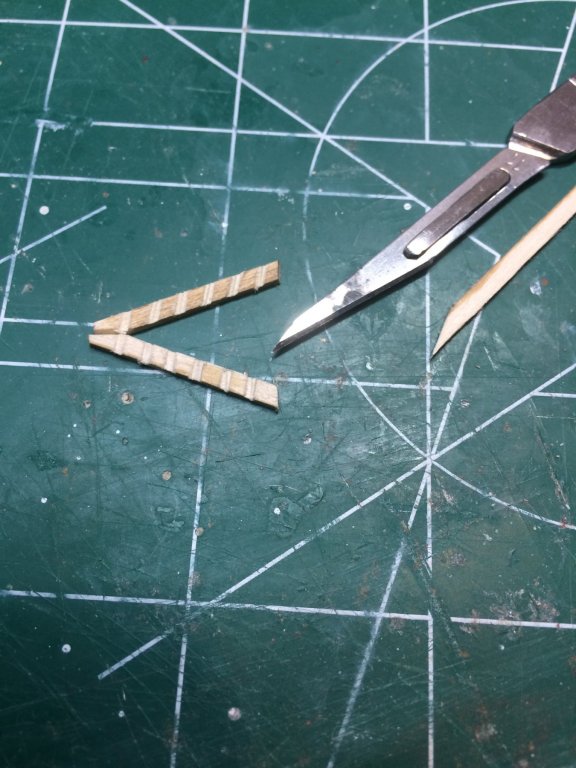
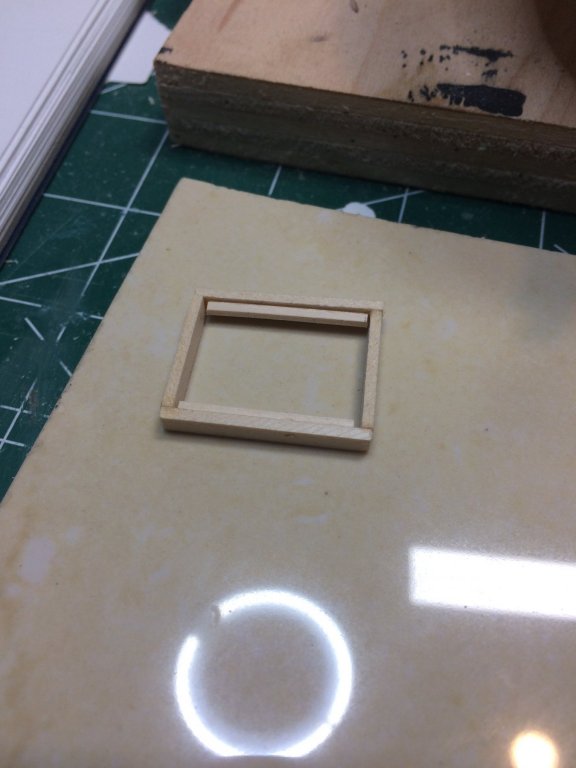
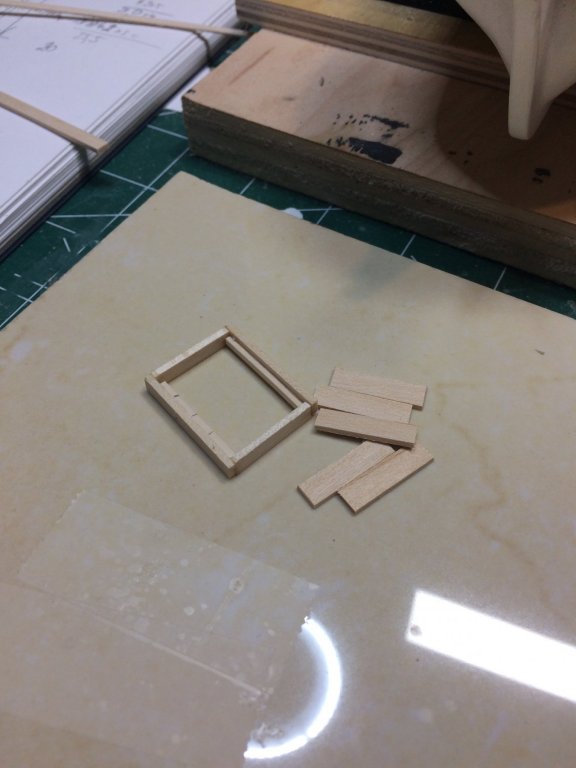
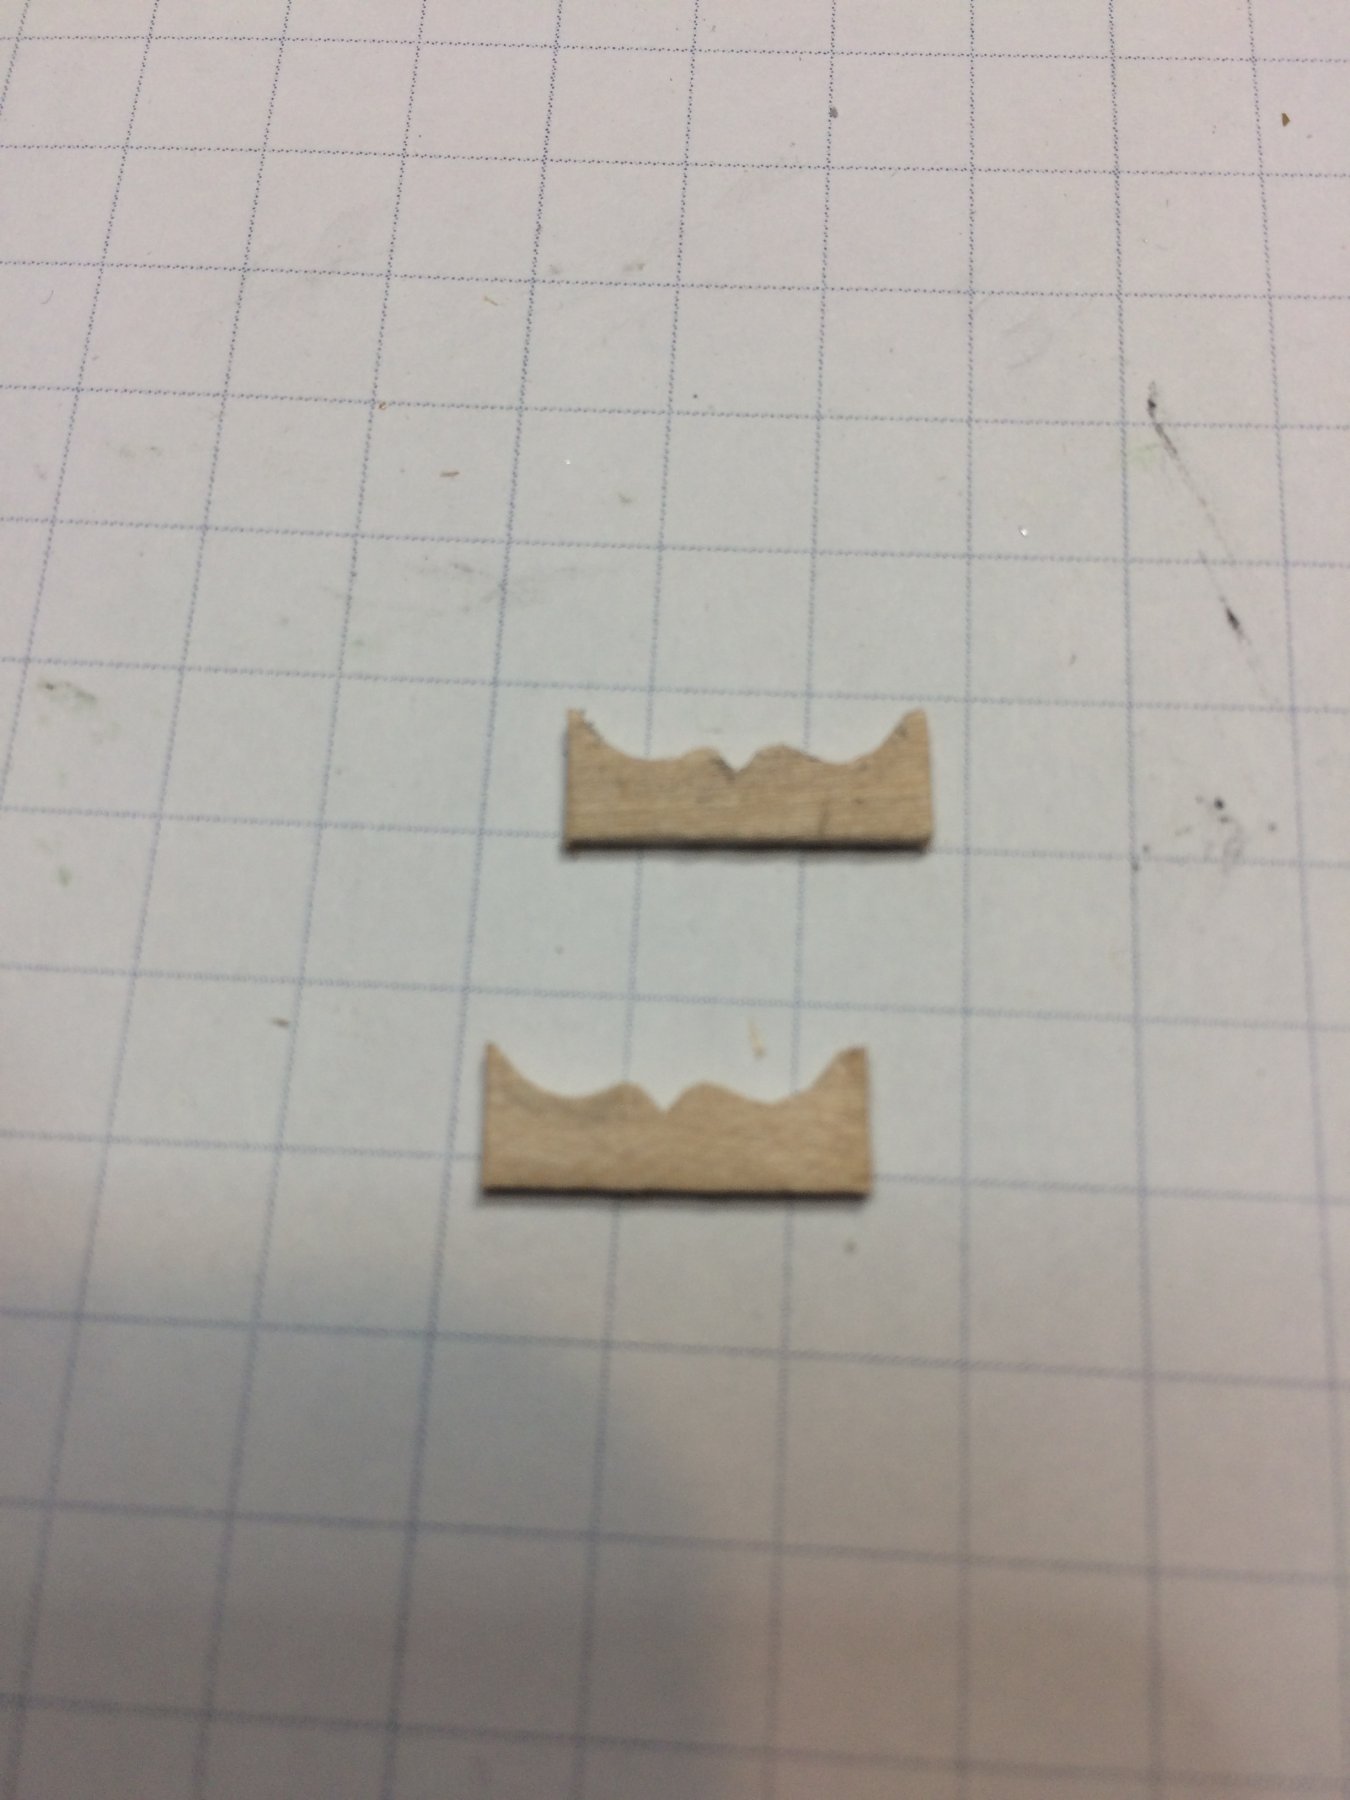
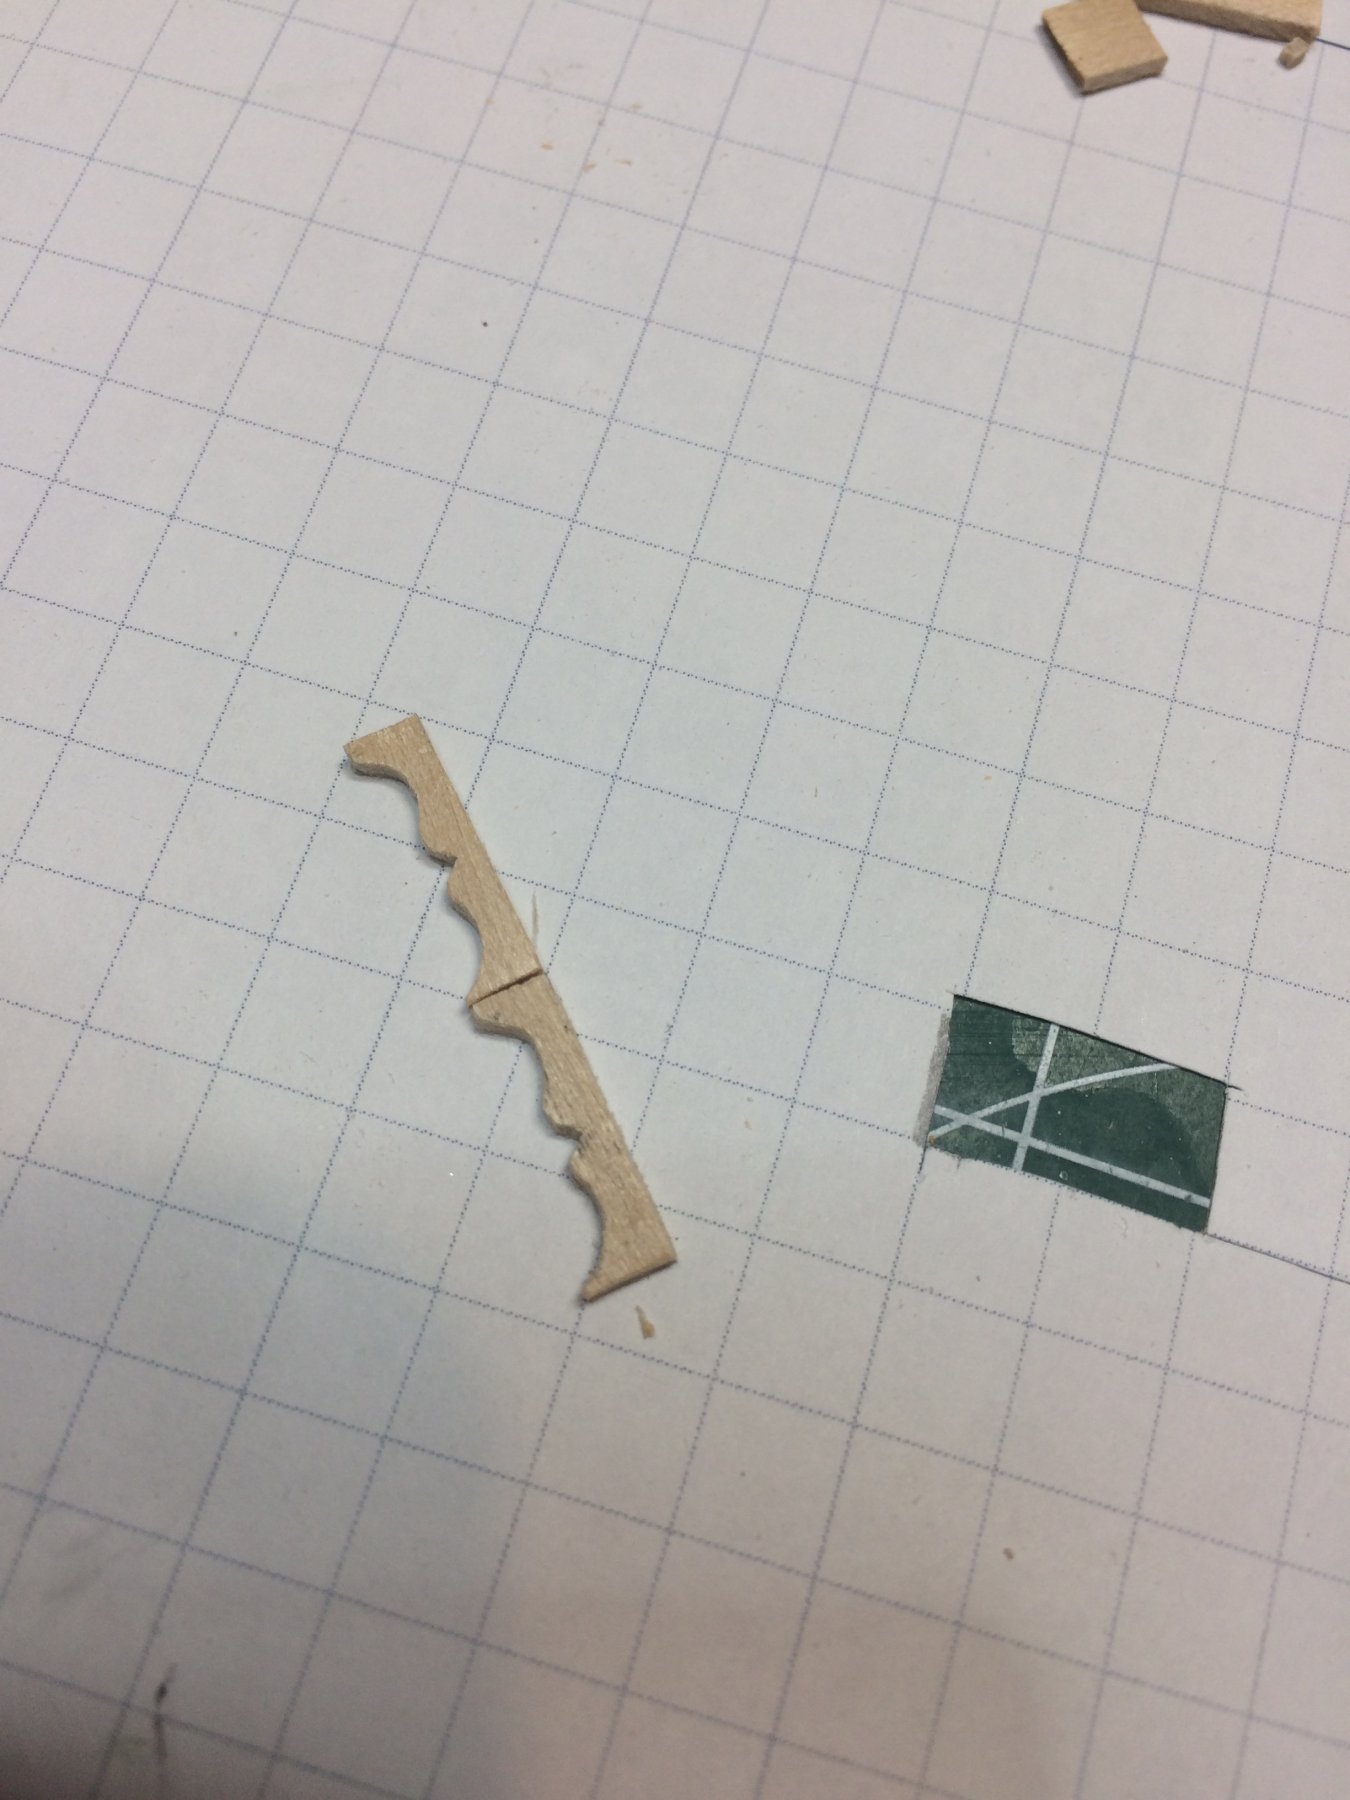
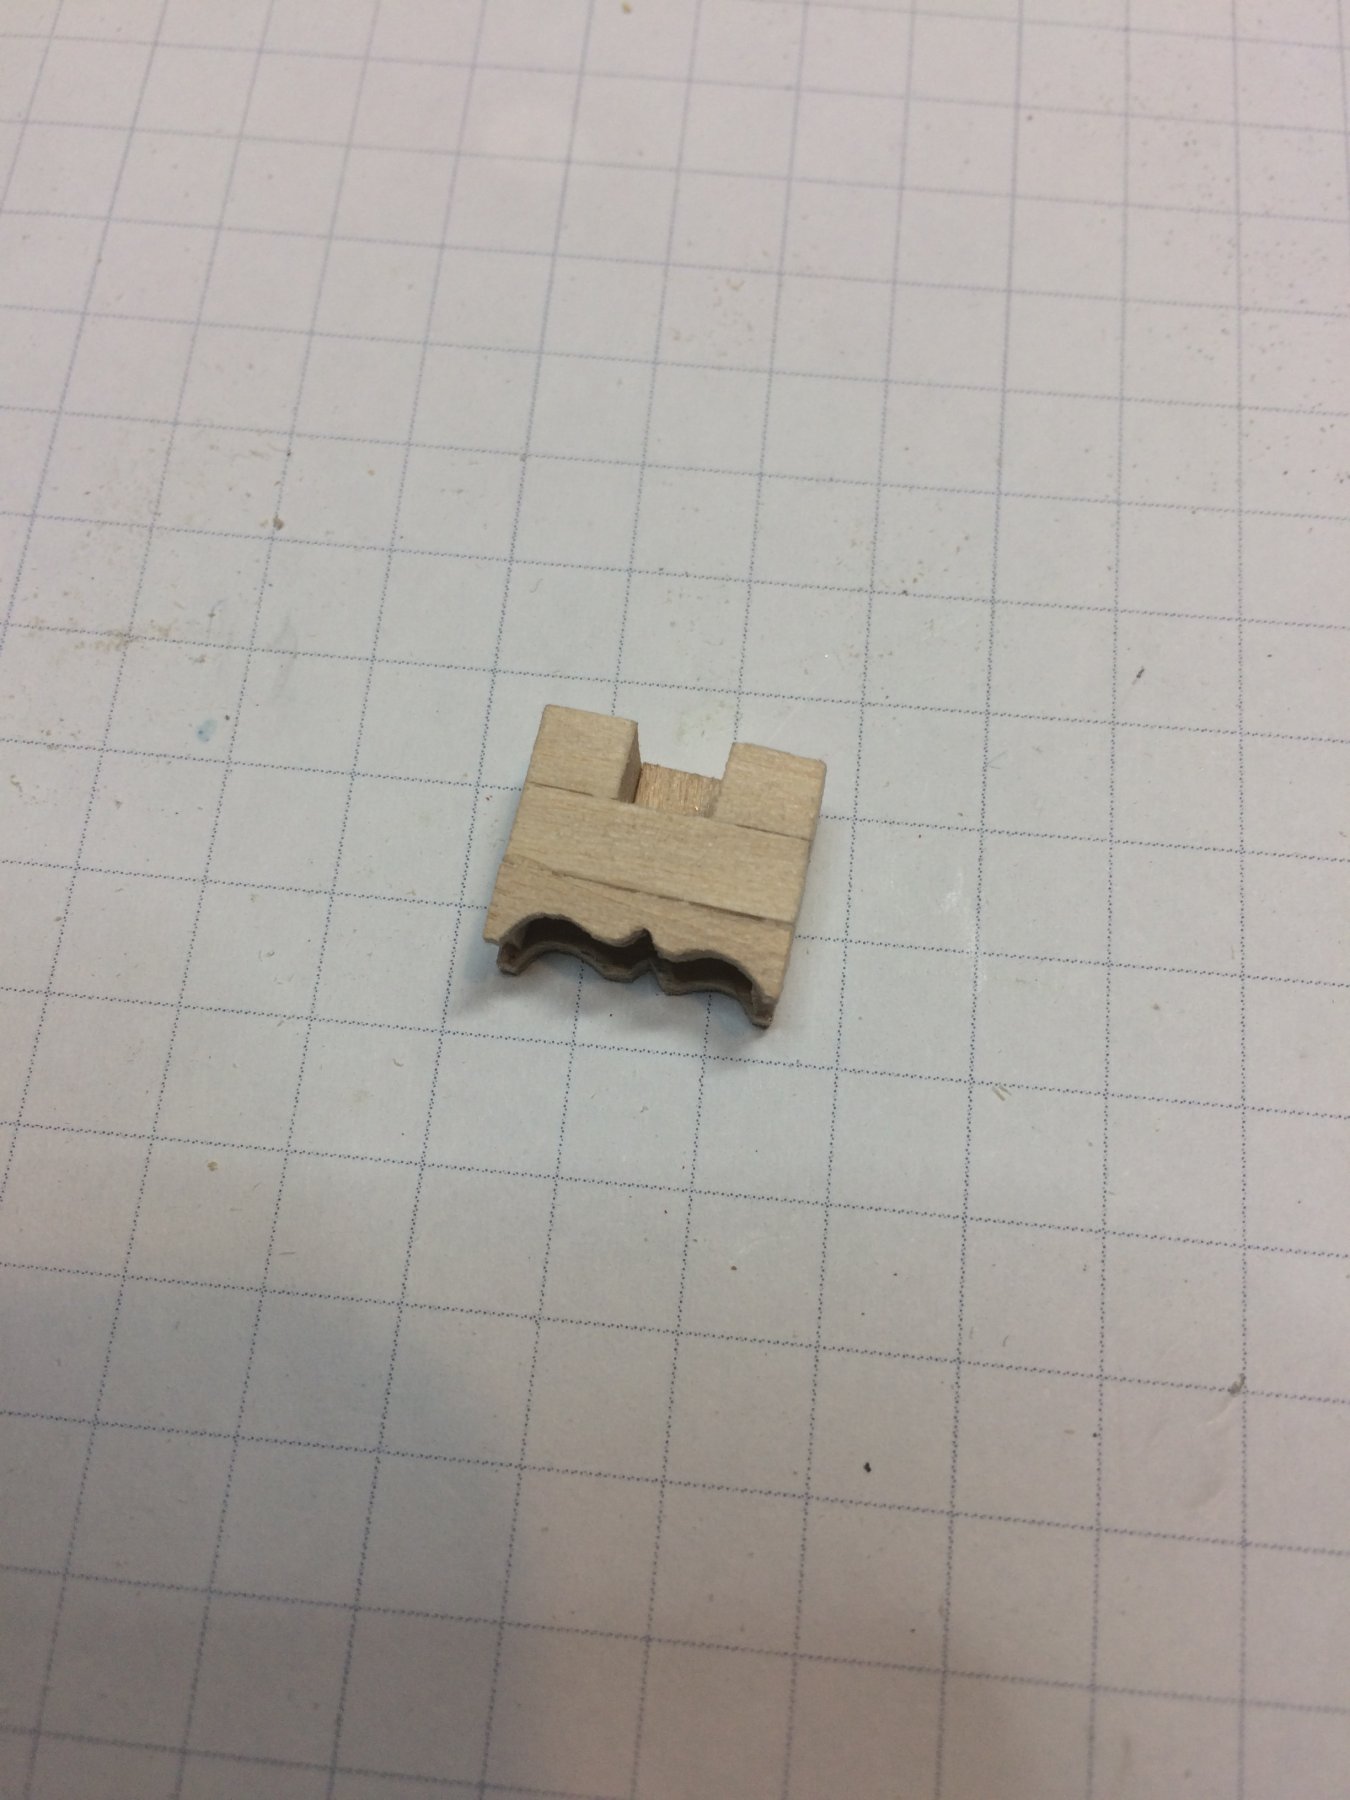
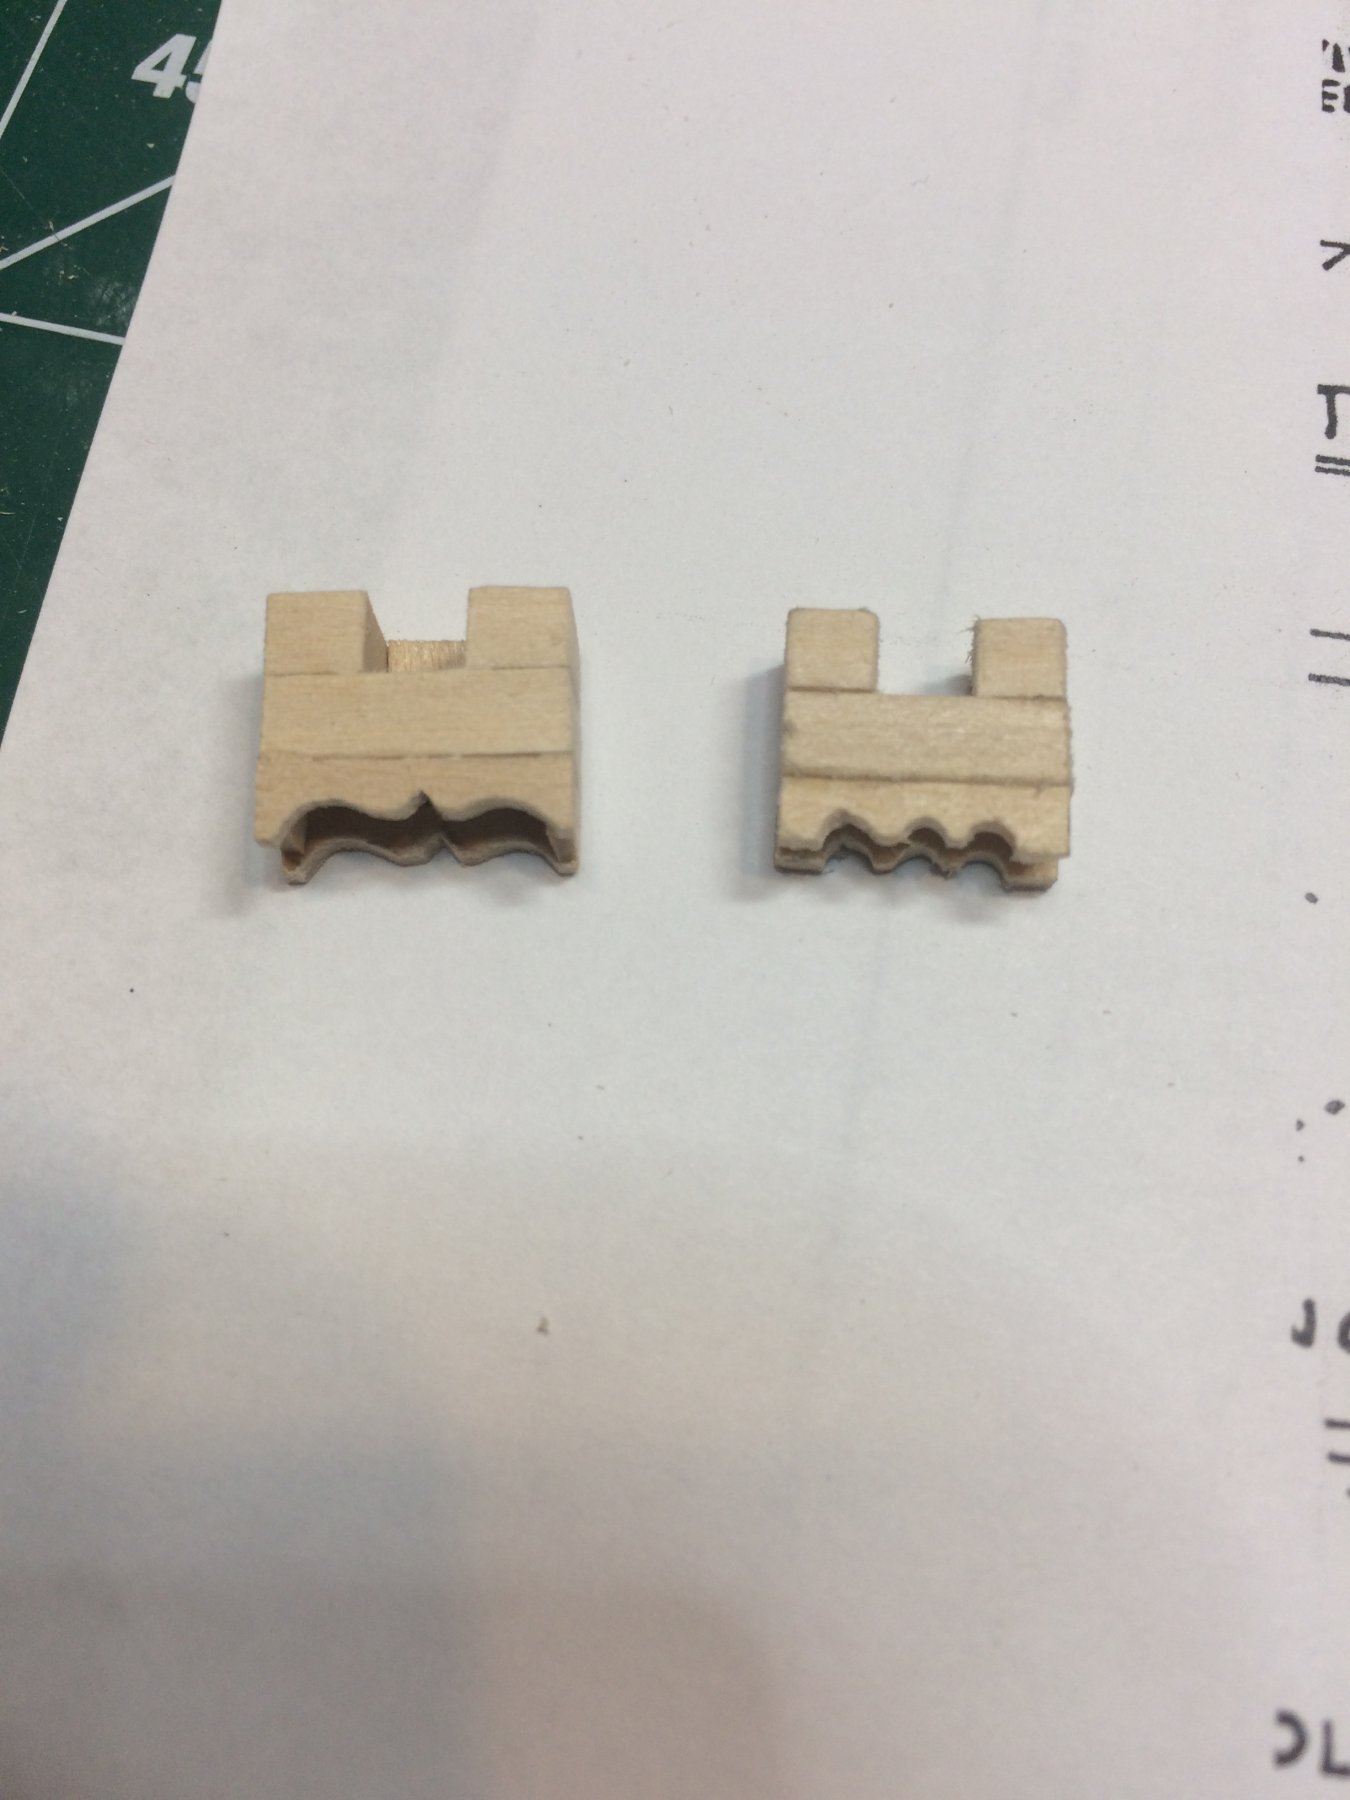
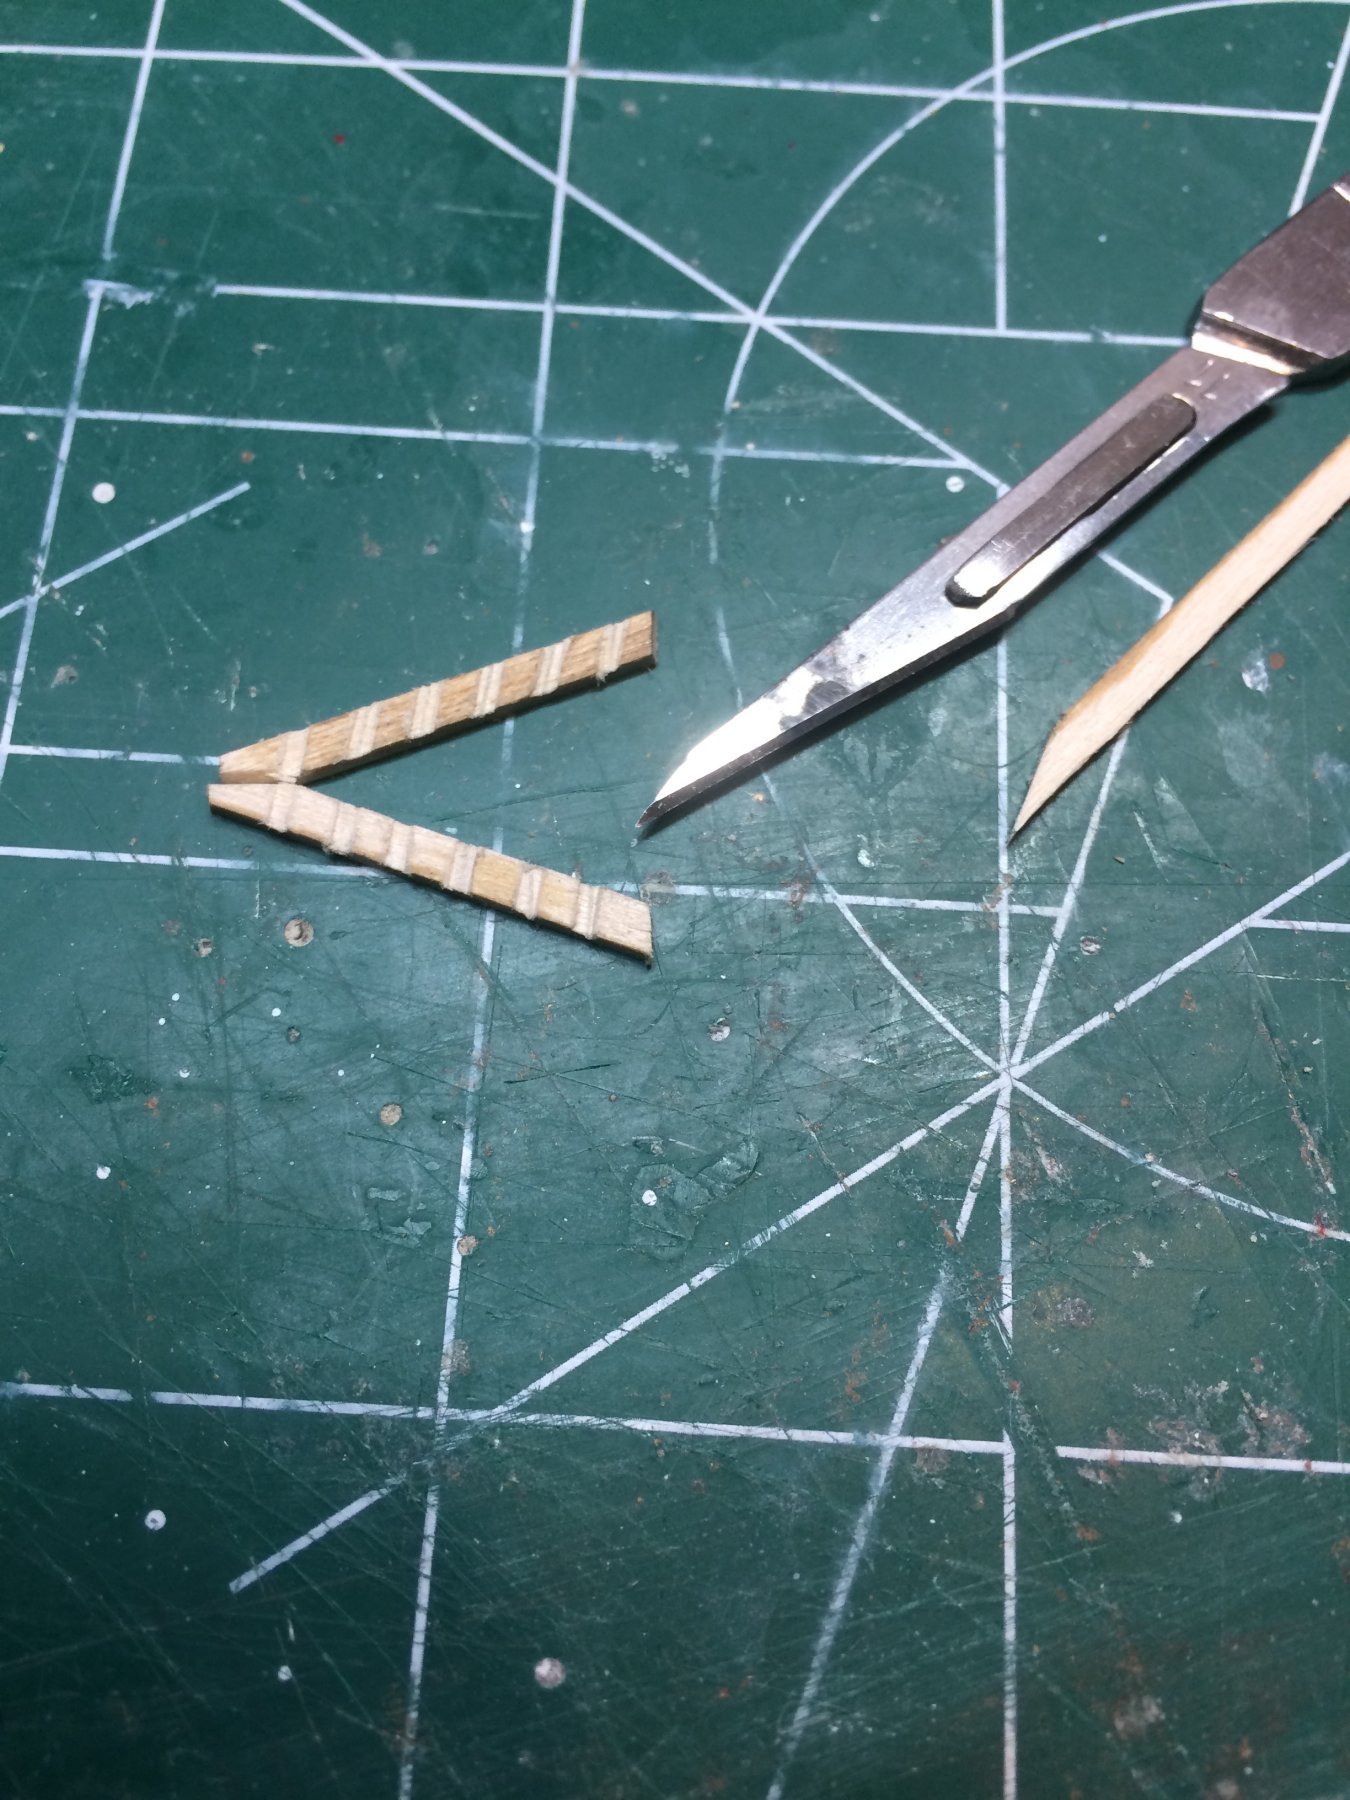
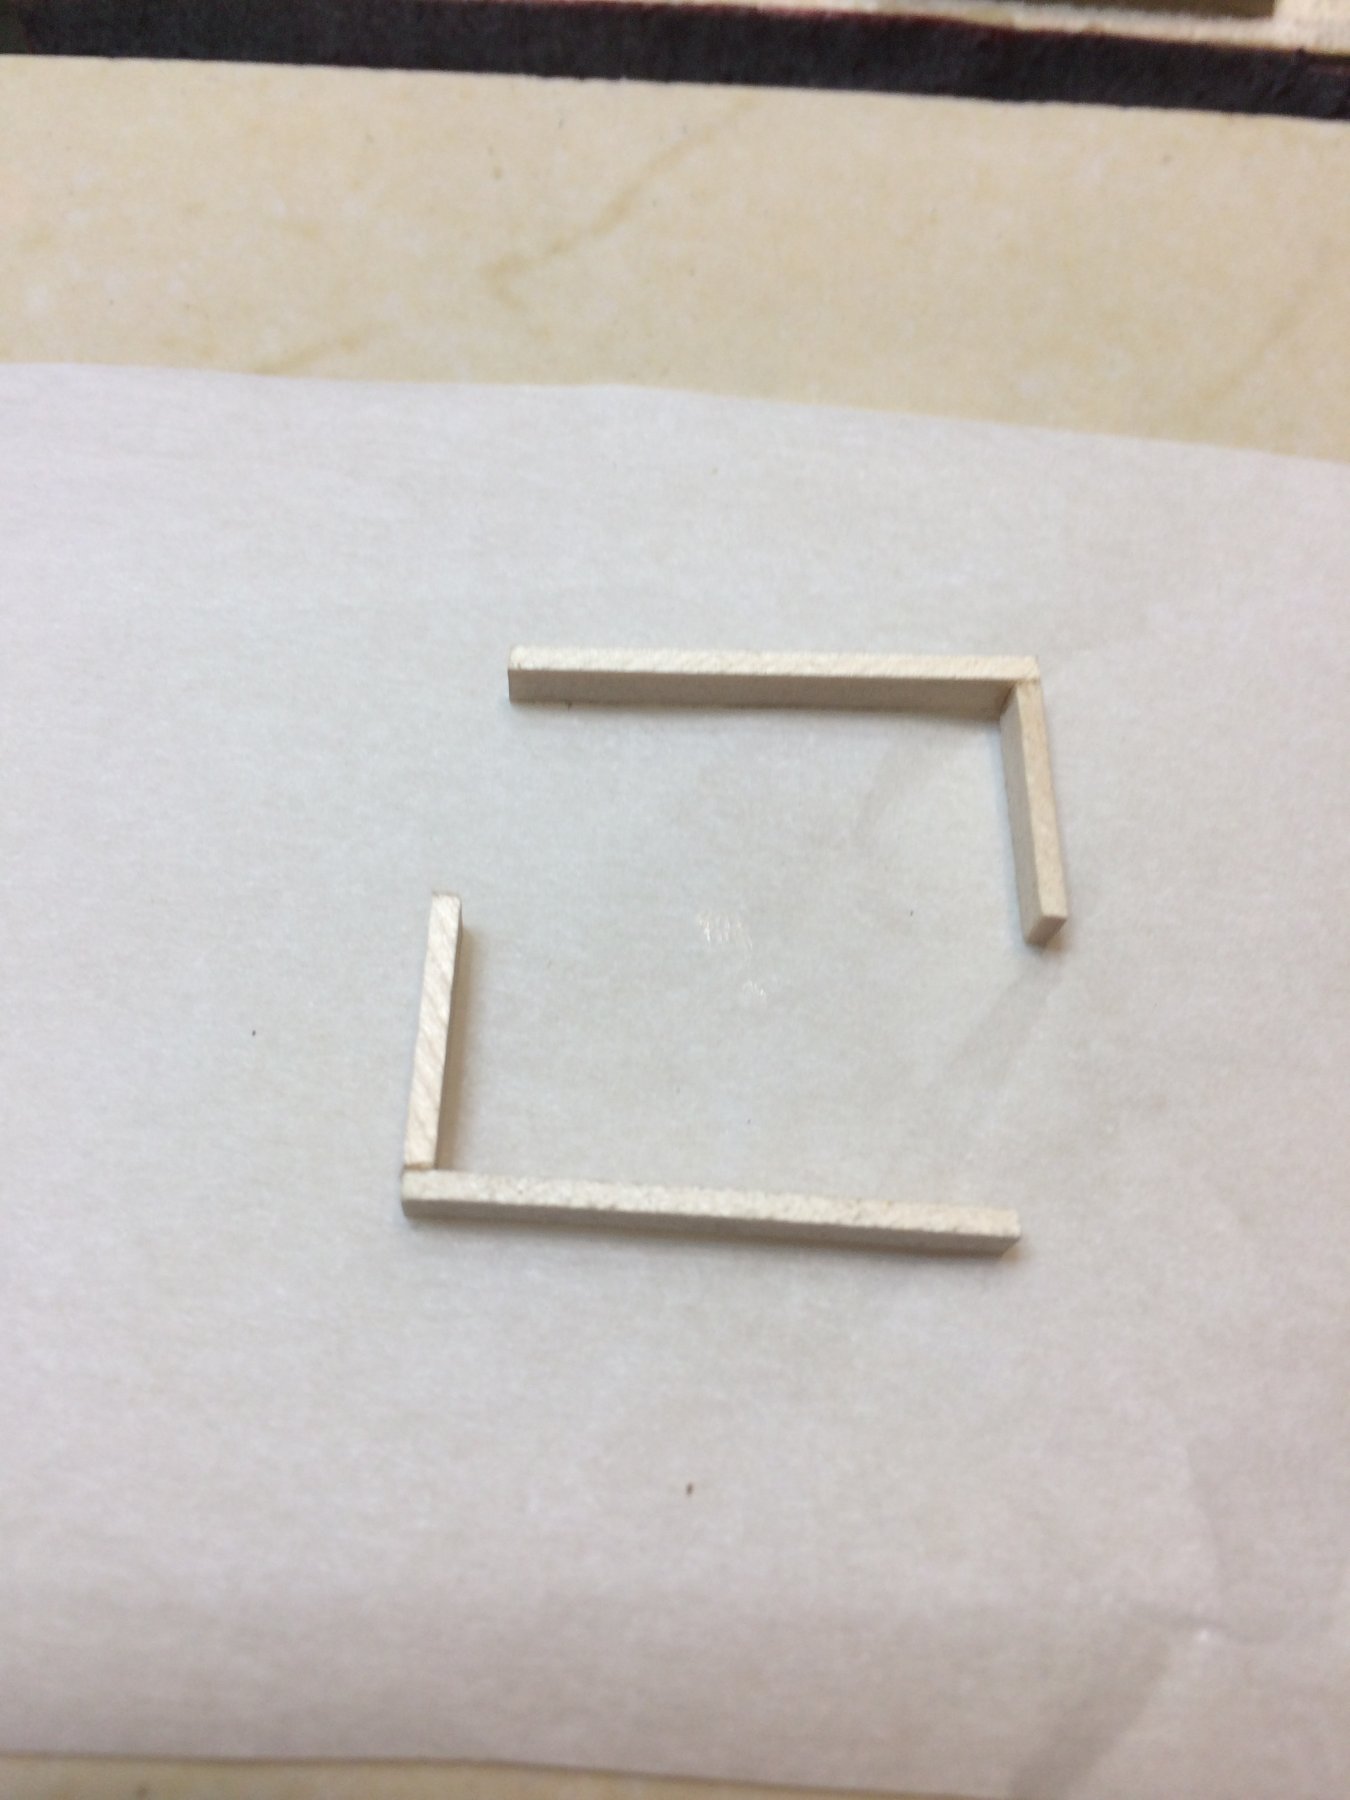
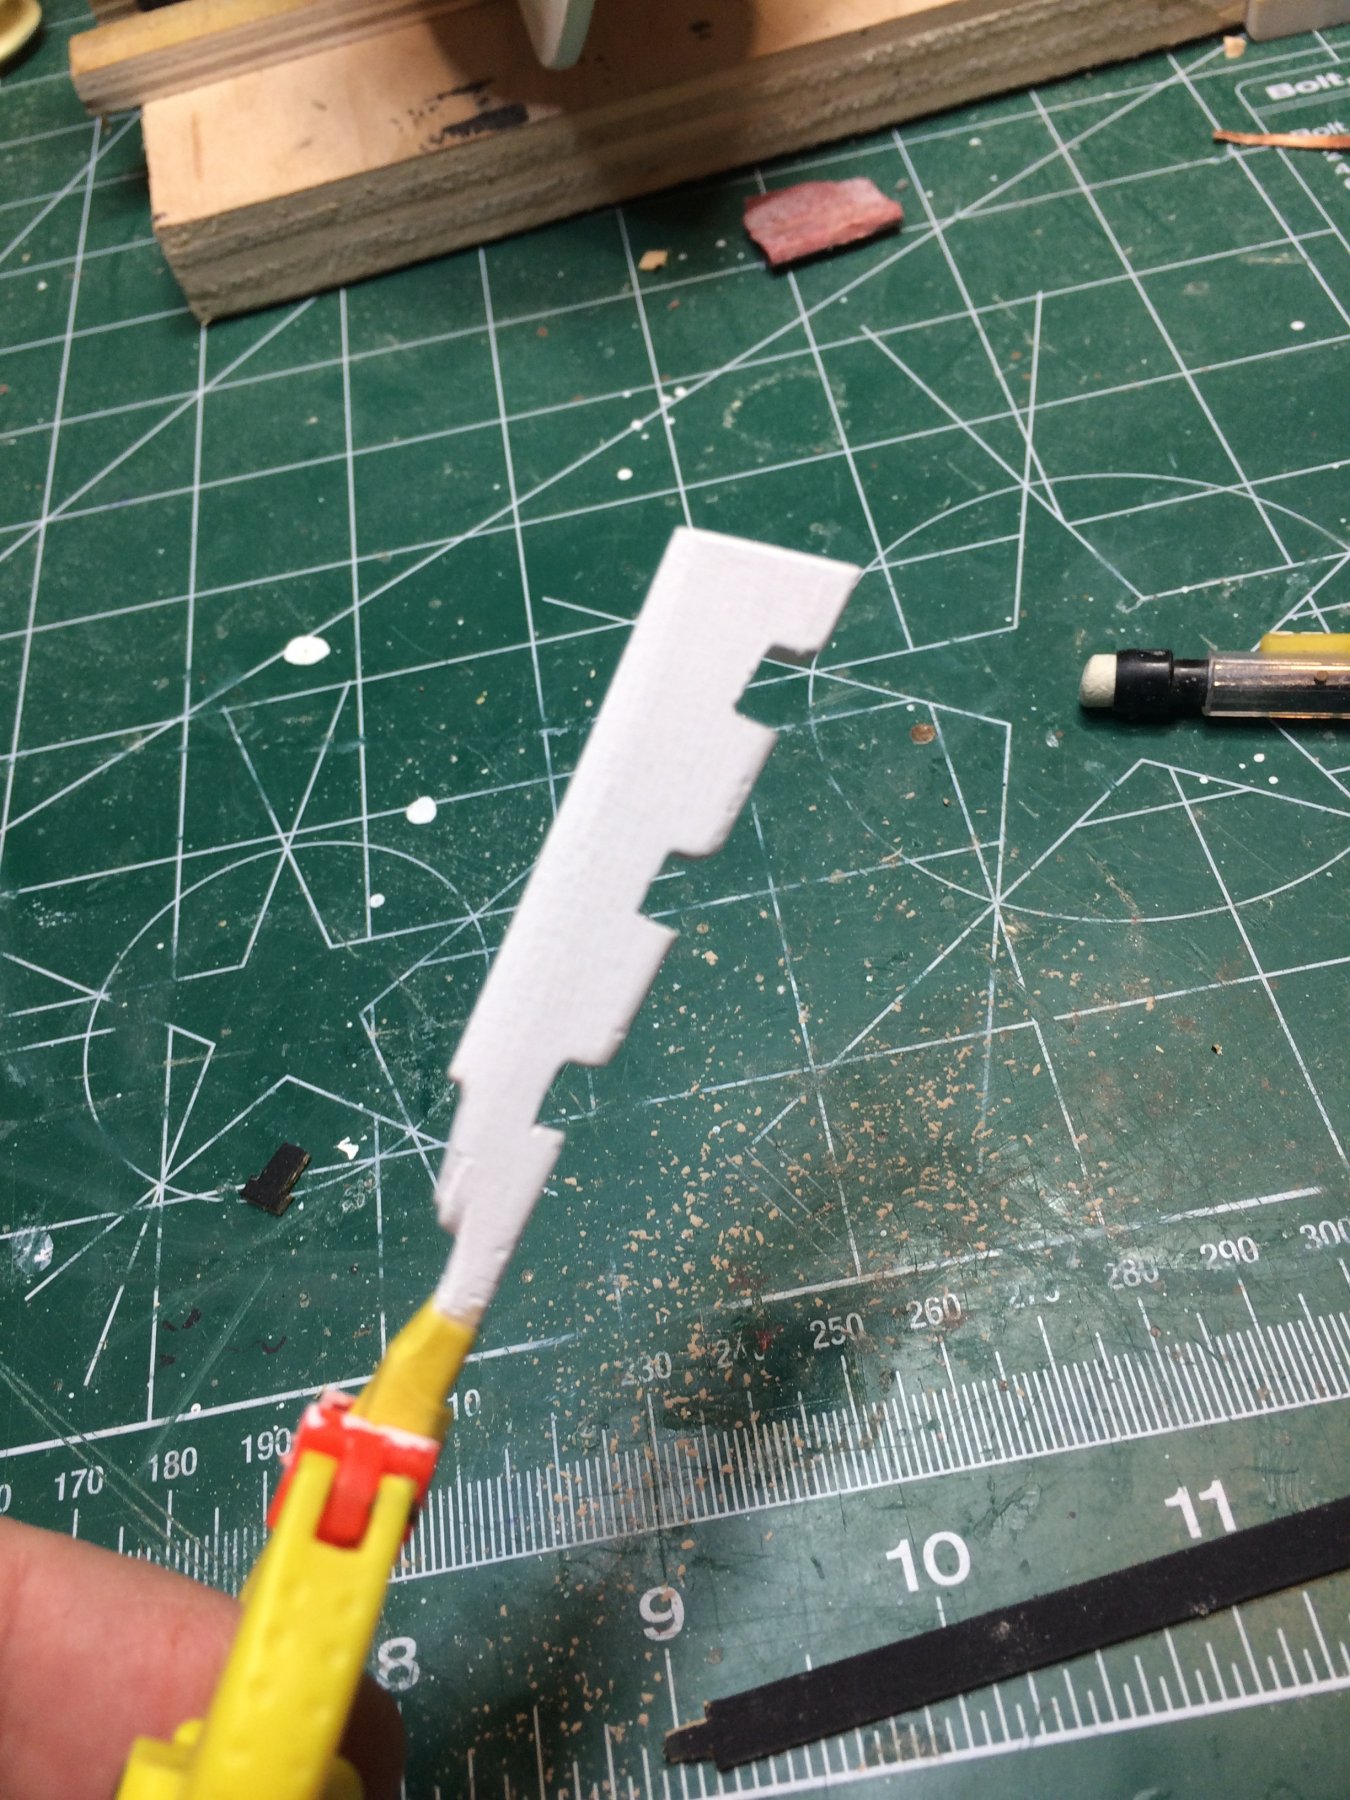
Completed one yesterday but was not happy with its look; i cut all parts precise and with no room to correct any mistake. Final result was not quite satisfactory and i decided to make another one. This time i cut parts a bit bigger than needed. Started with legs. Cut two pieces of basswood, longer that needed, glue them together at their ends and with little help of vise and a file, managed to get the shape i was looking for. I shaped both legs together to help in getting identical match.
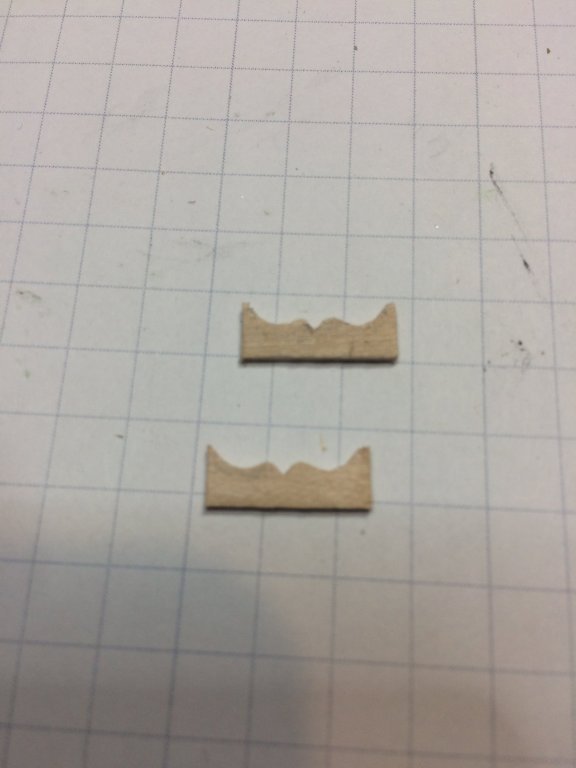
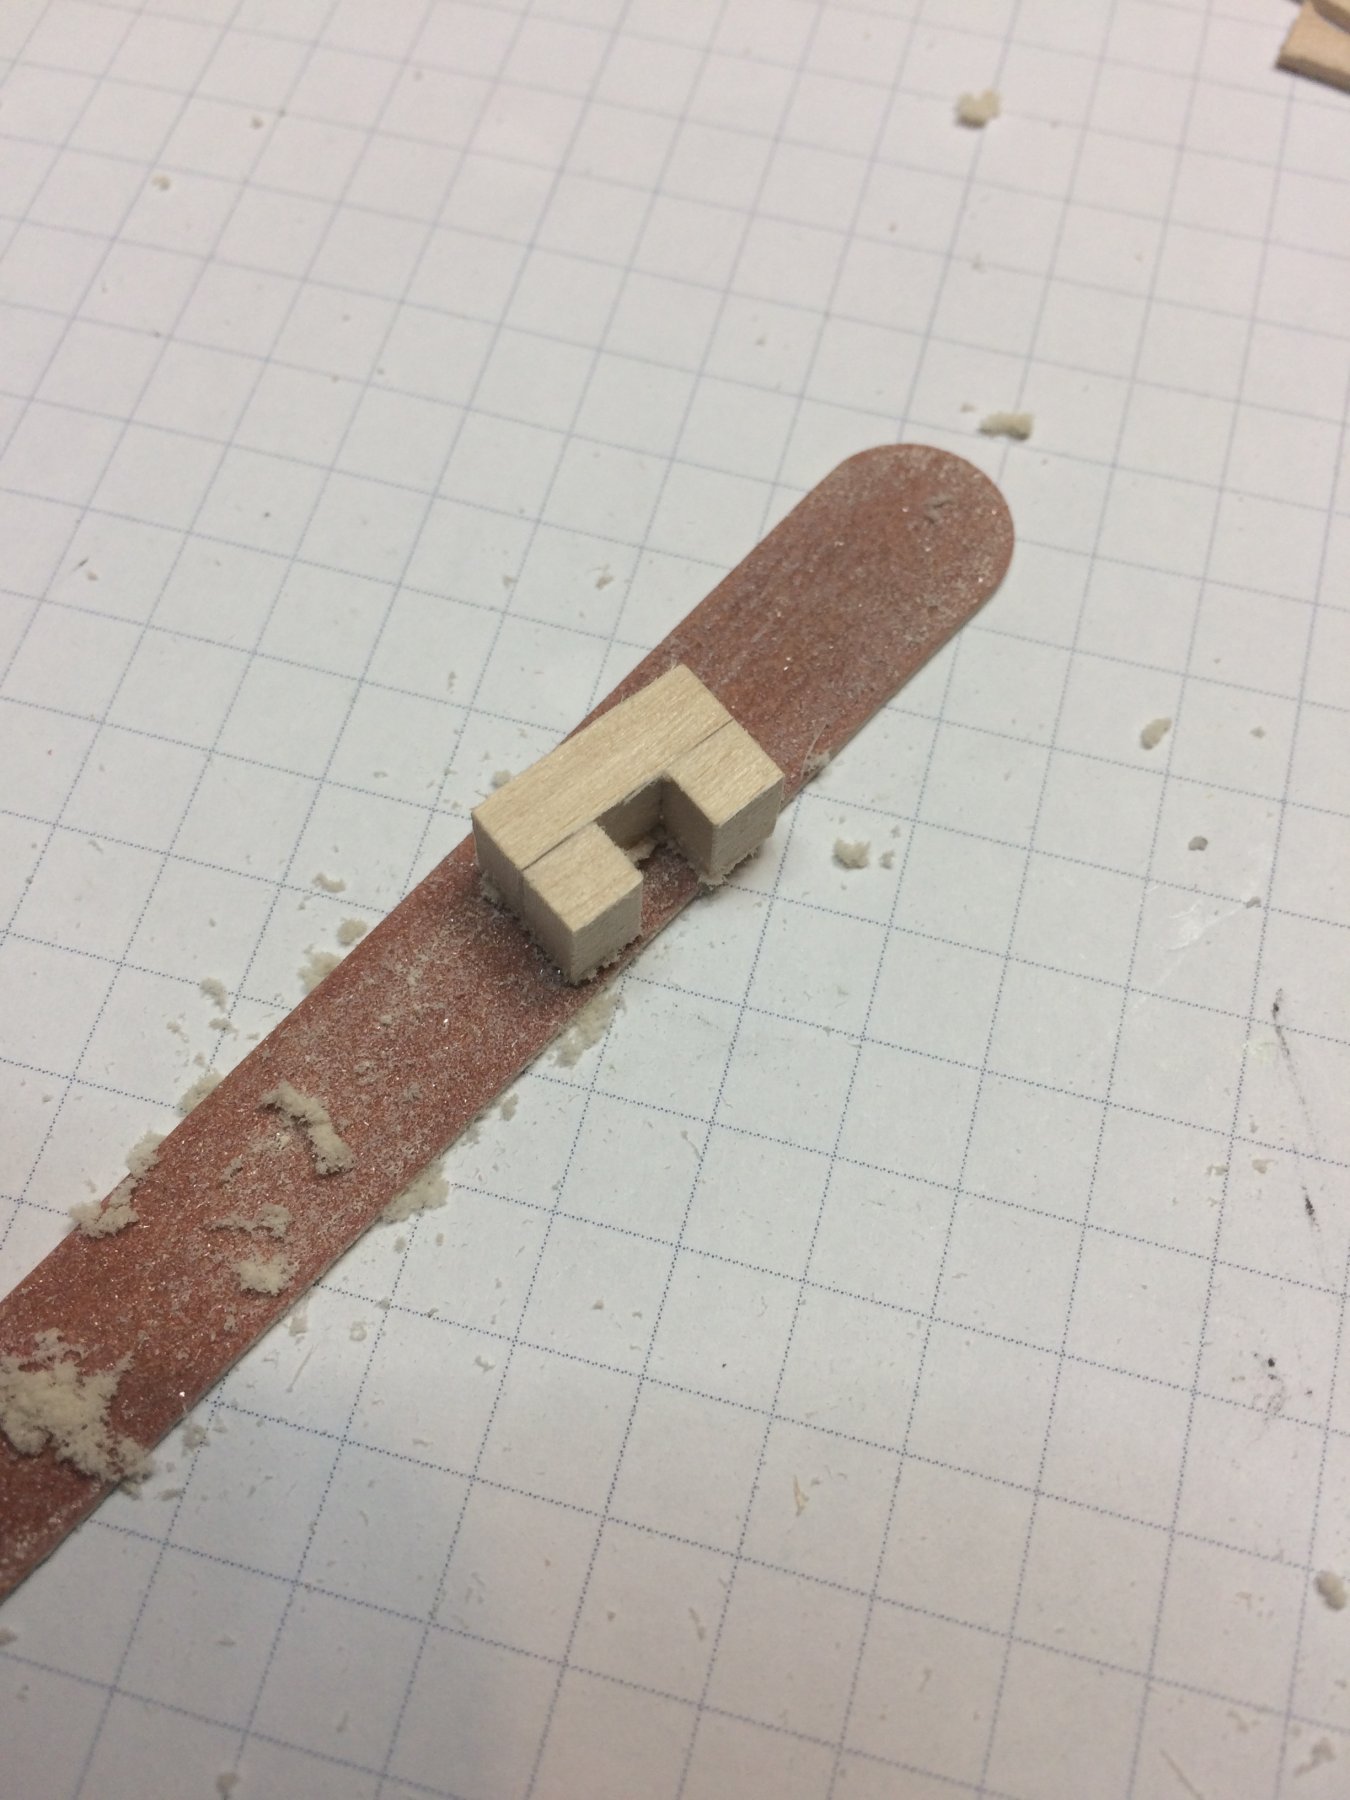
Binnacle cubes cut and assembled, with legs shaped..
.thumb.JPG.228abd8dca74176e3a7ea82c35c495ed.JPG)
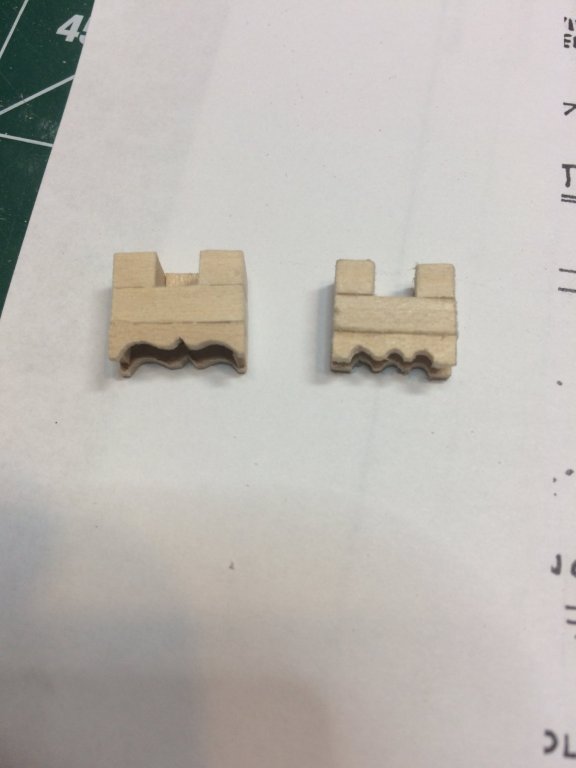
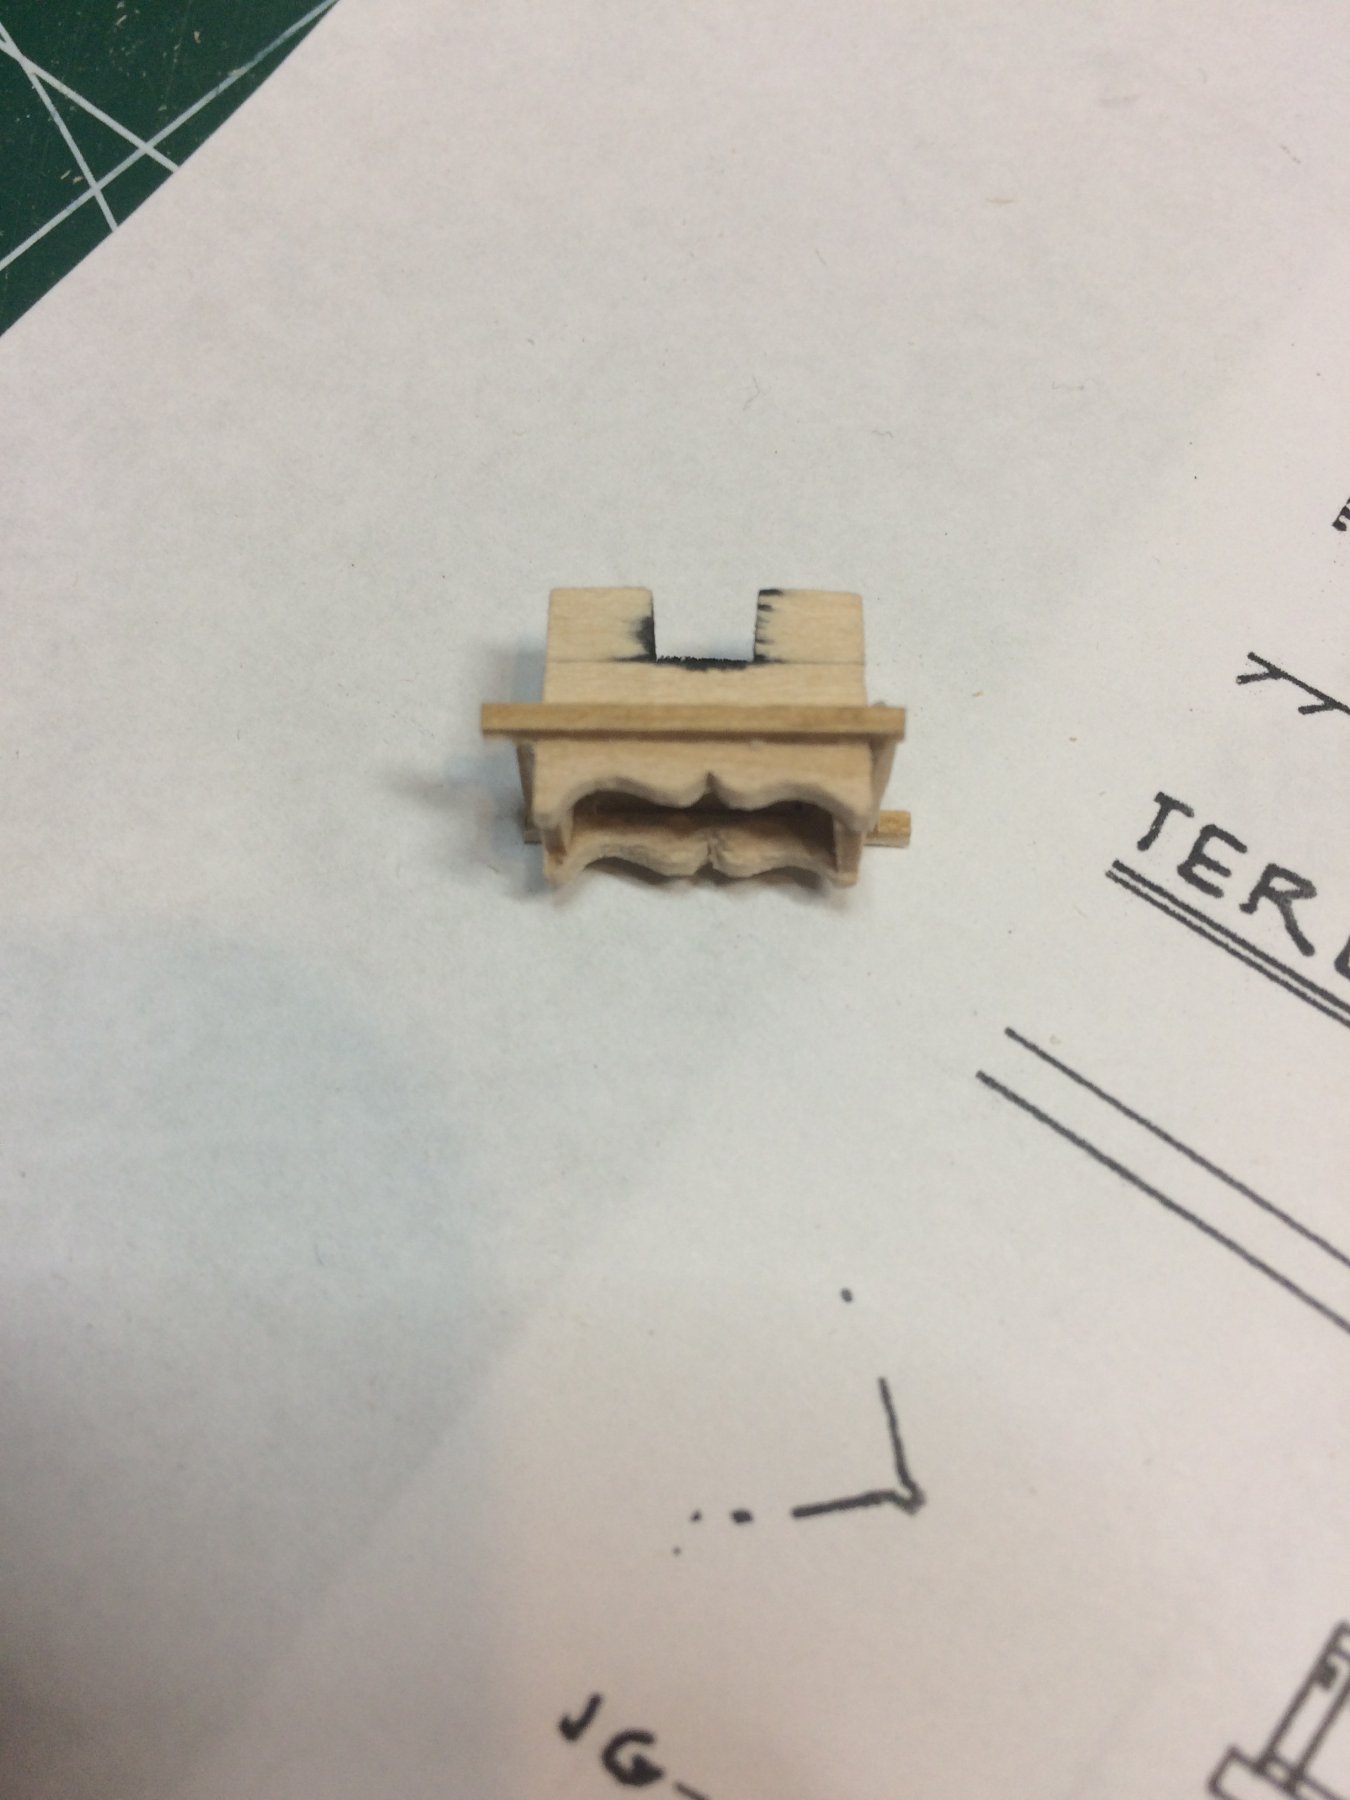
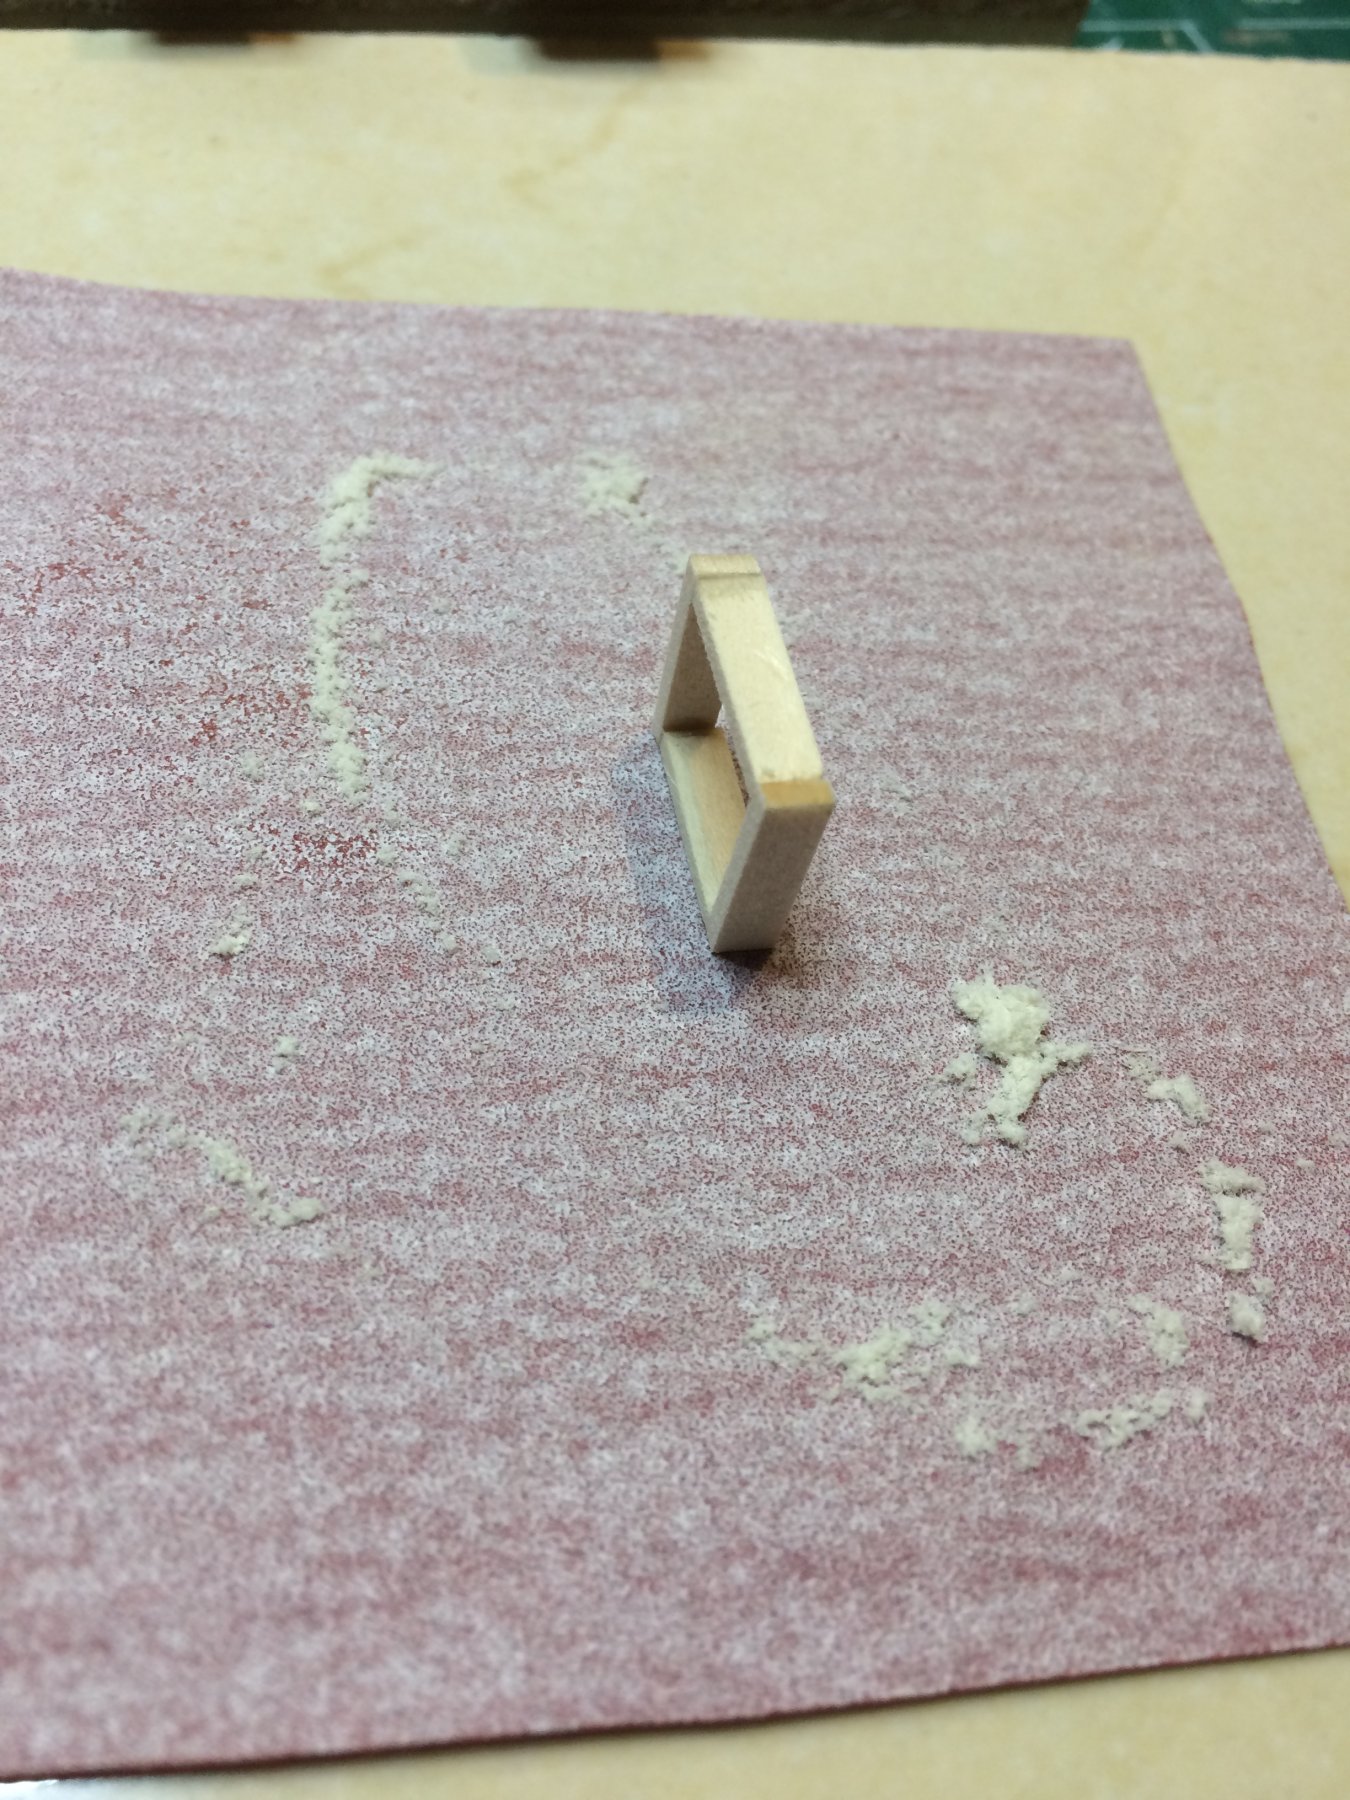
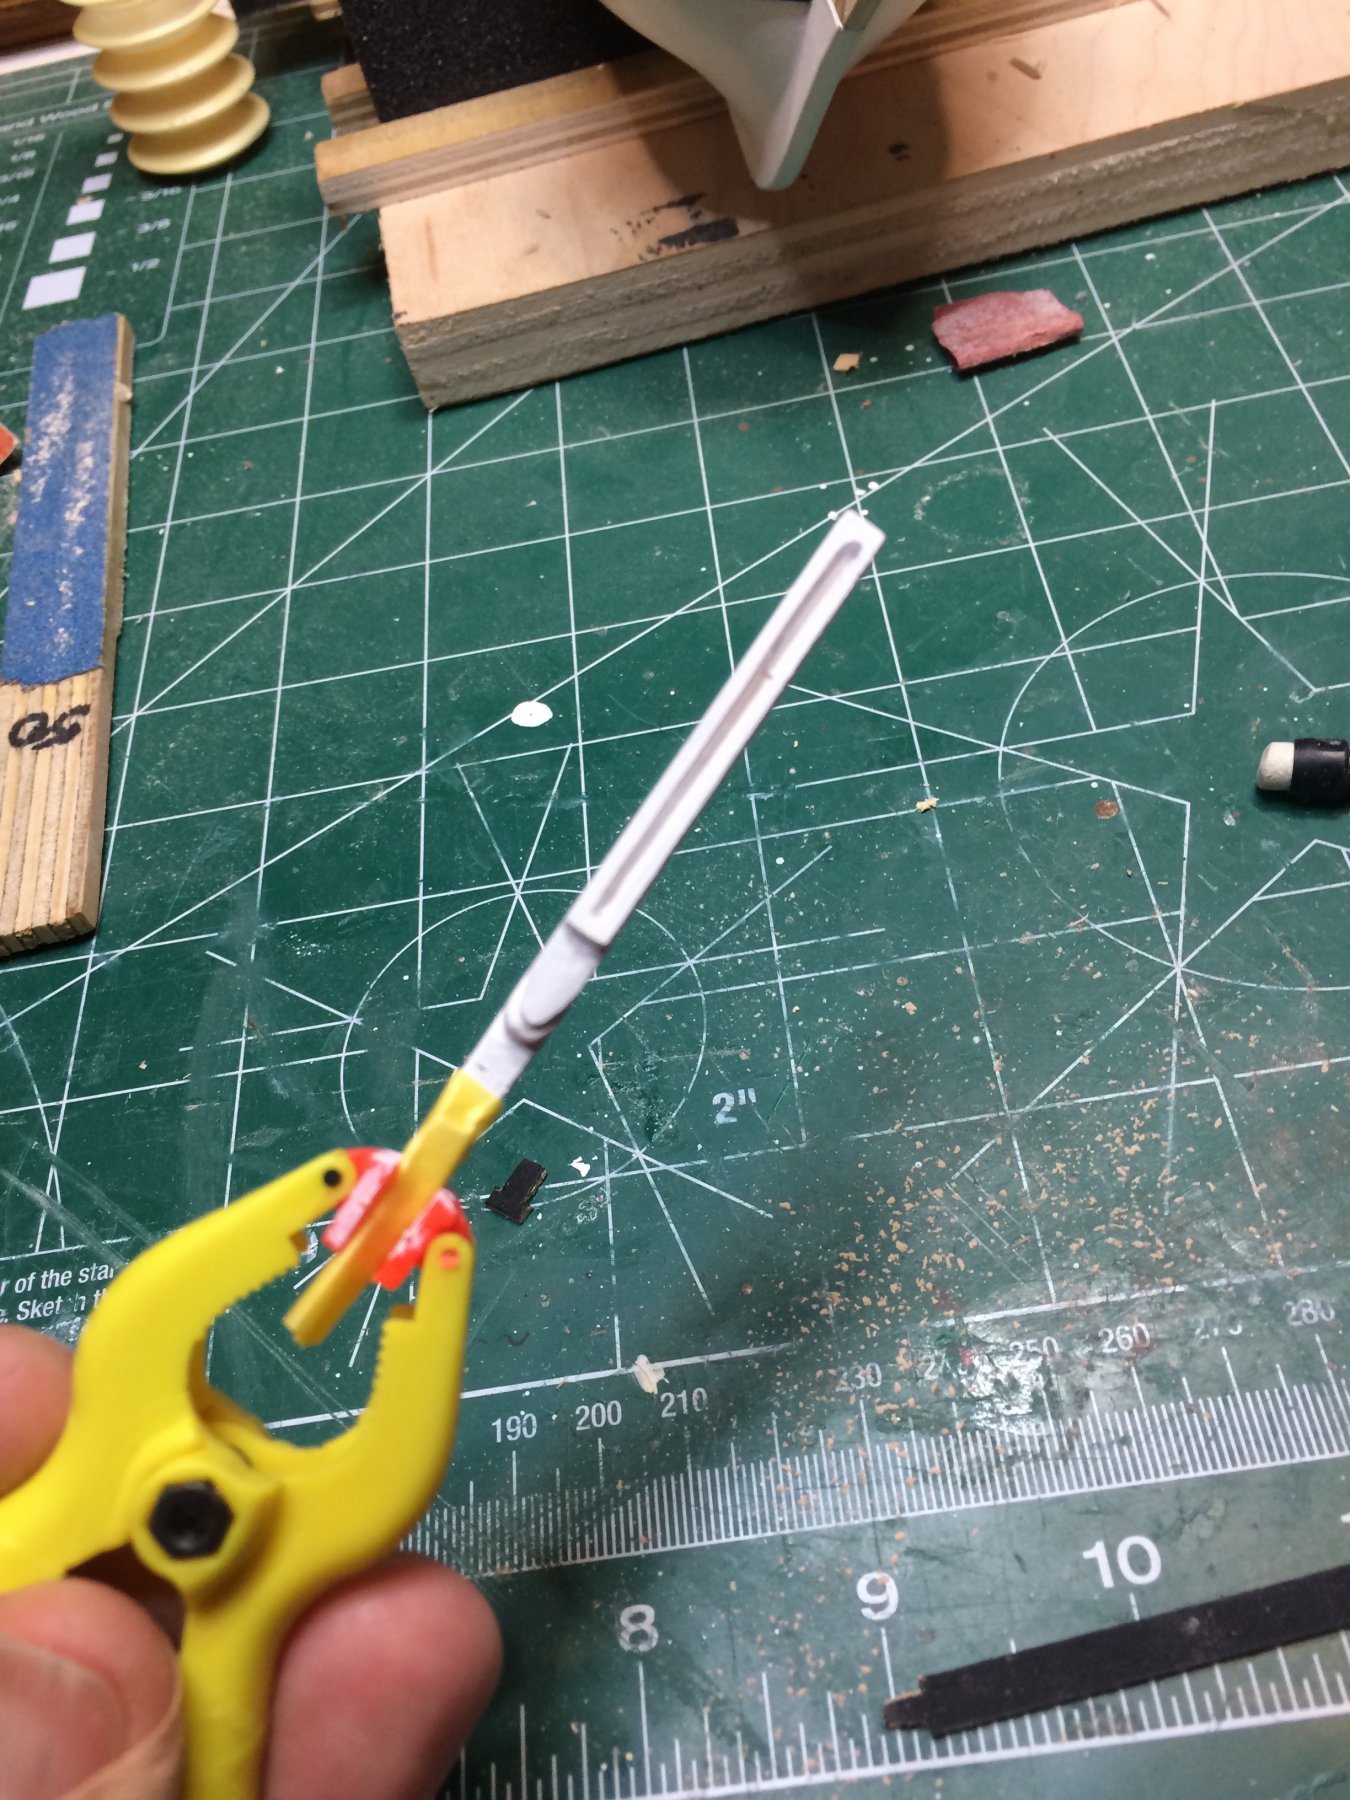
Then i cut legs to correct hight and sand binnacle to correct size..
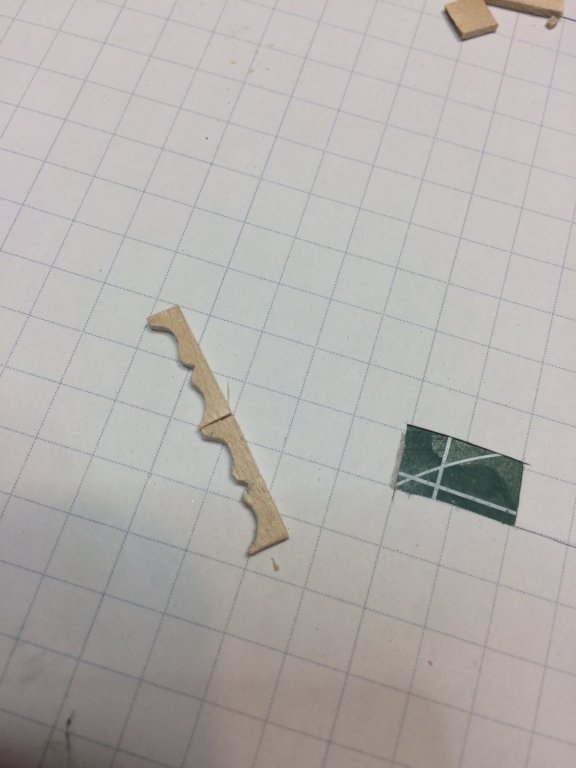
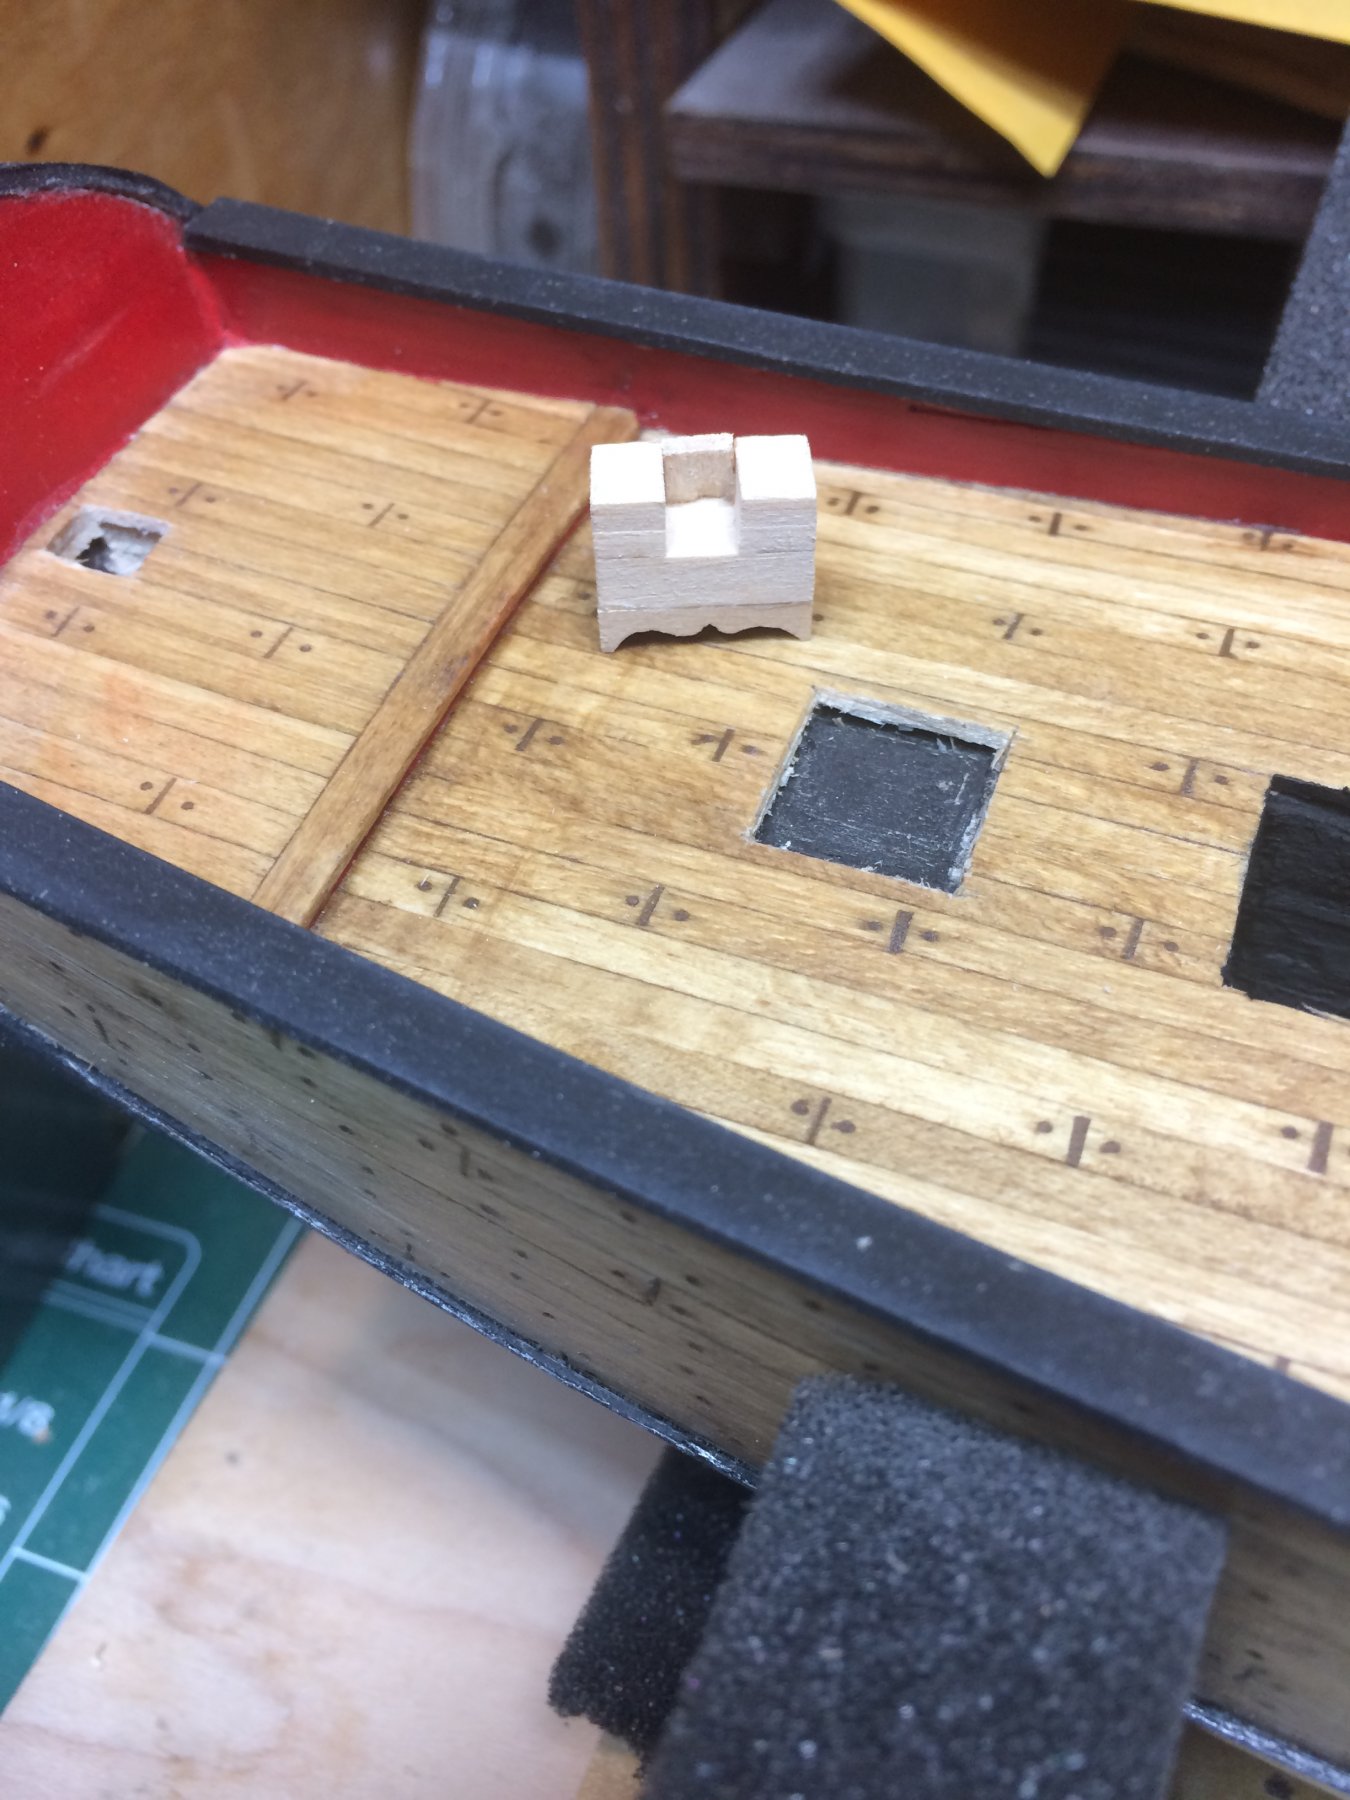
Checking measurement against plan...
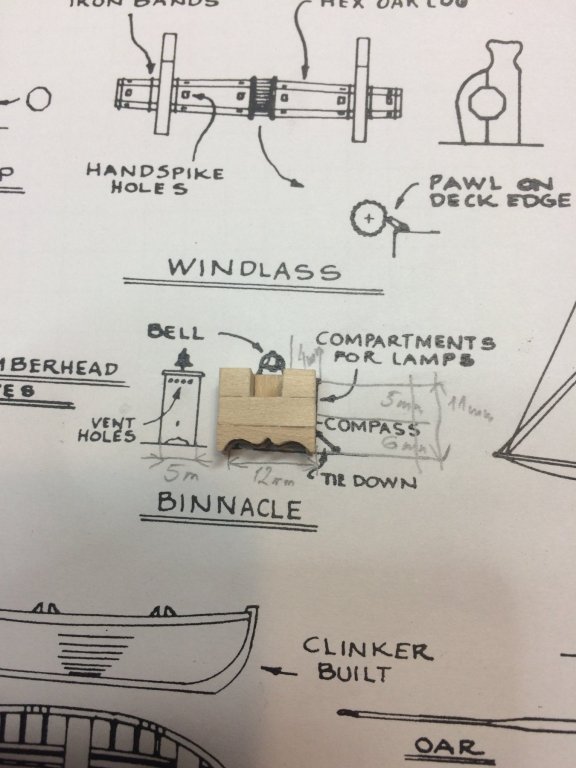
Semi-complete product..

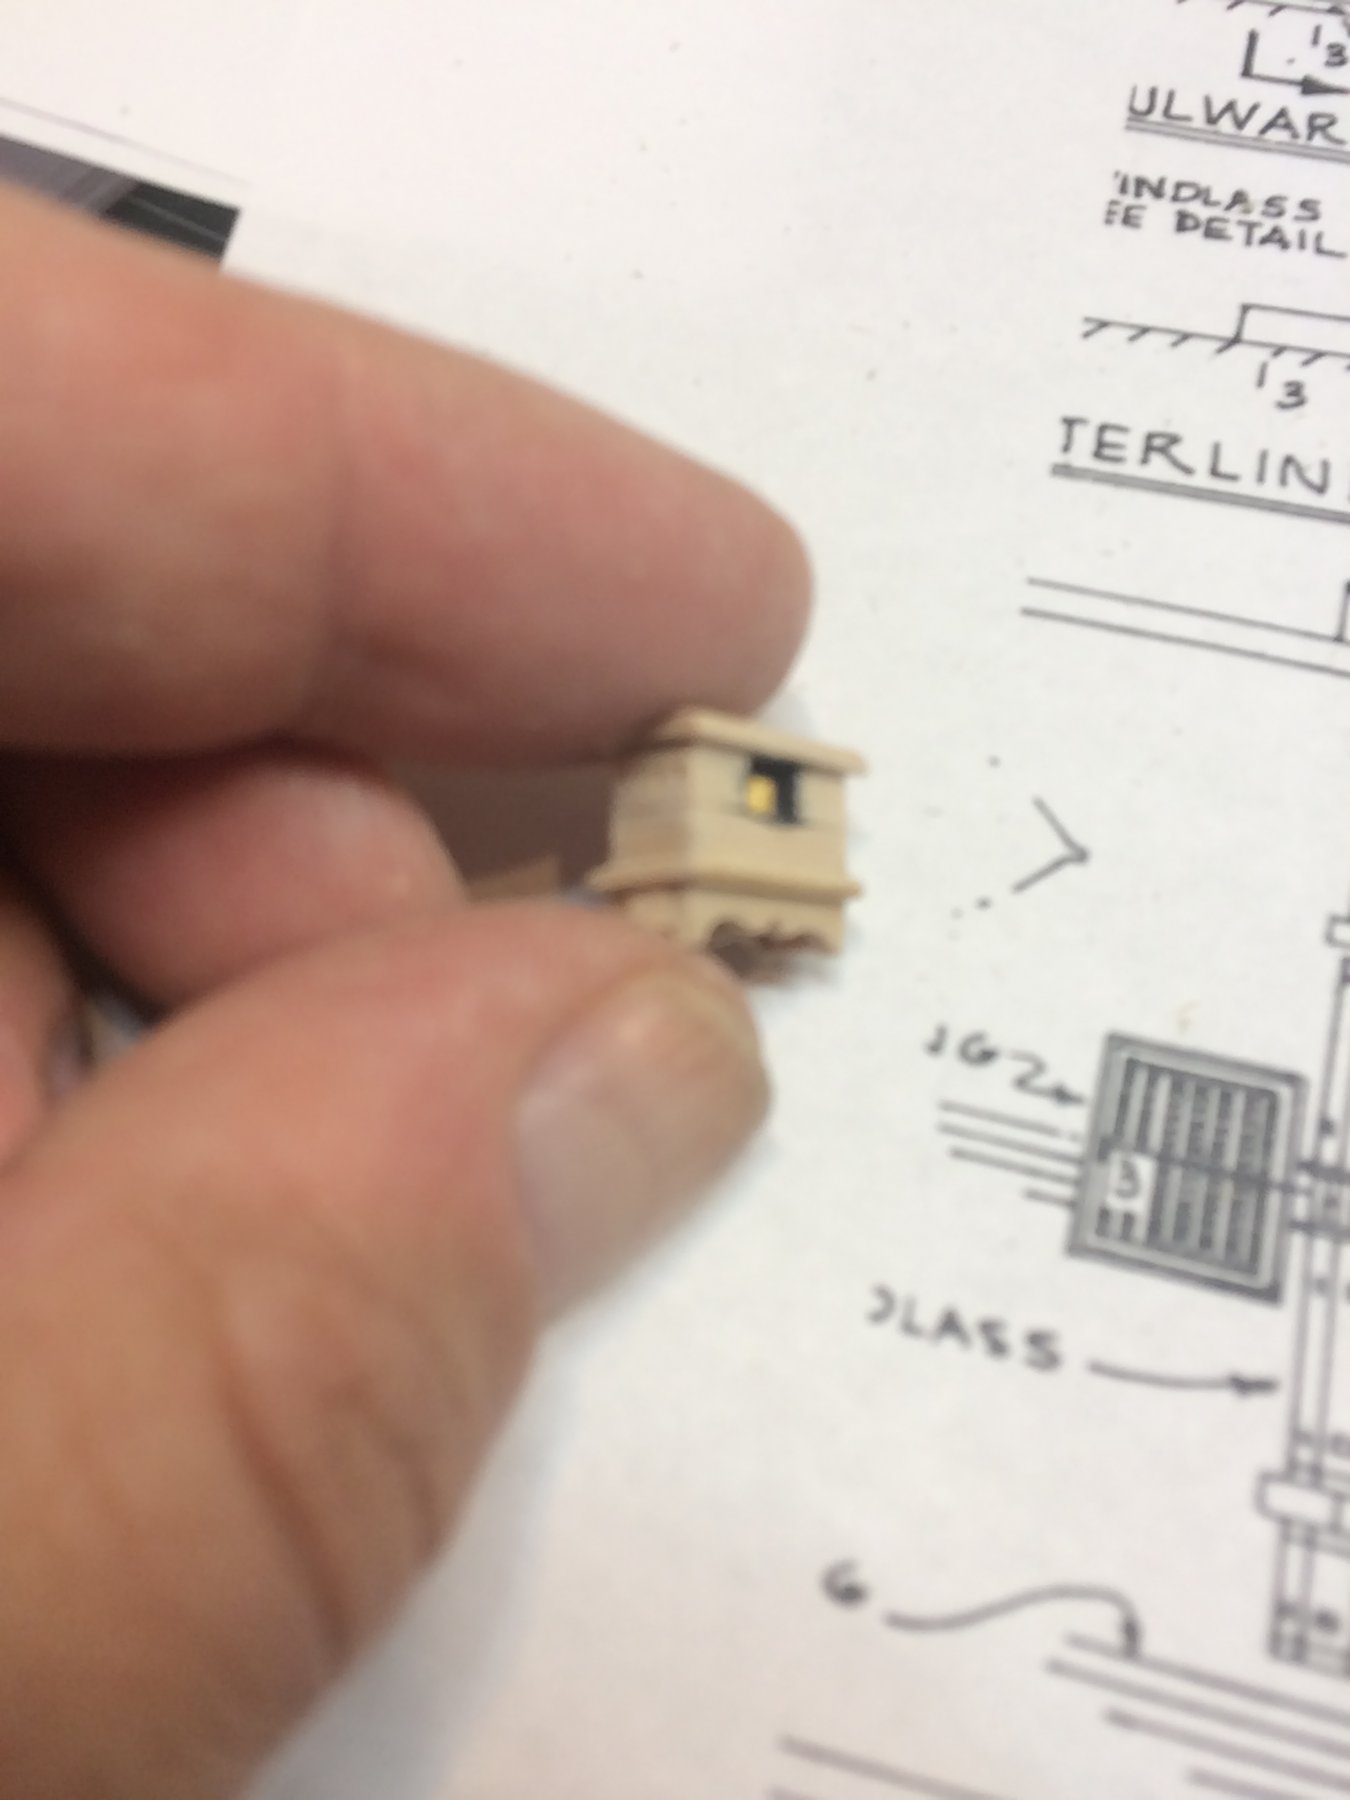
testing on the ship...

.. and compared with yesterday's one.
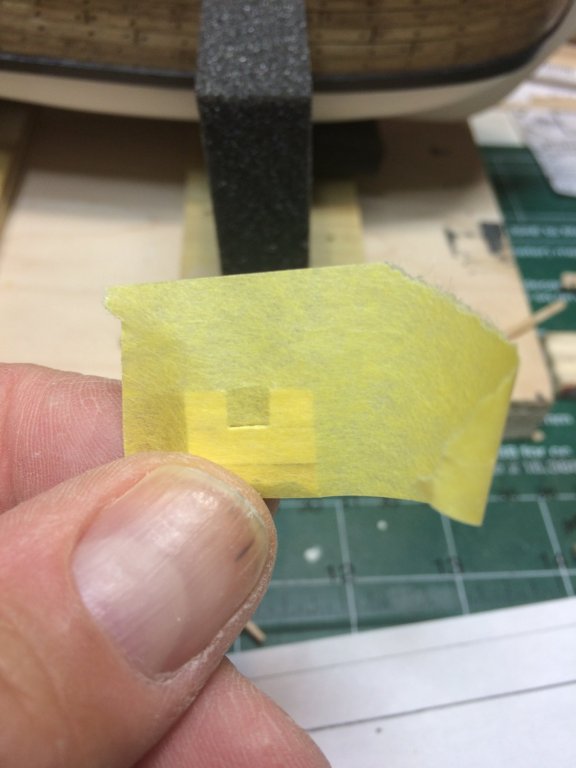
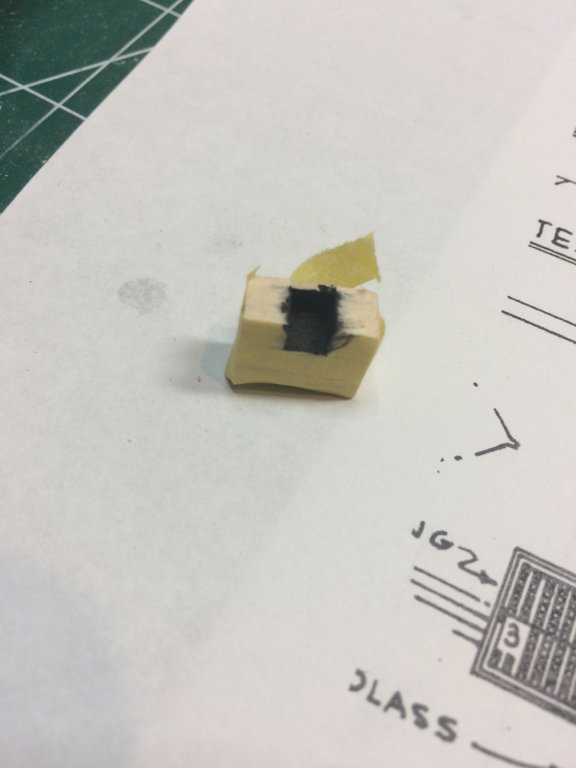
Next, i needed to mask the exterior in prep for painting interior in flat black.
Interior painted...
I also added 1mm strips around binnacle that will be shaped to represent molding..
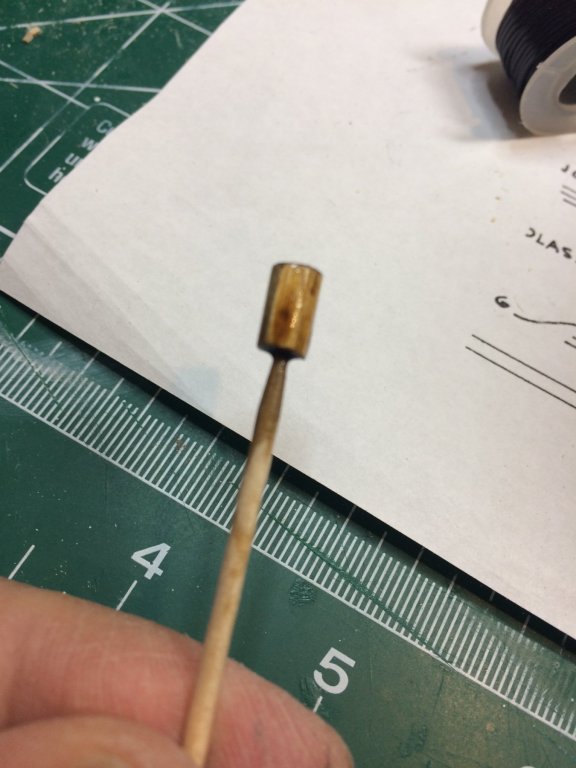
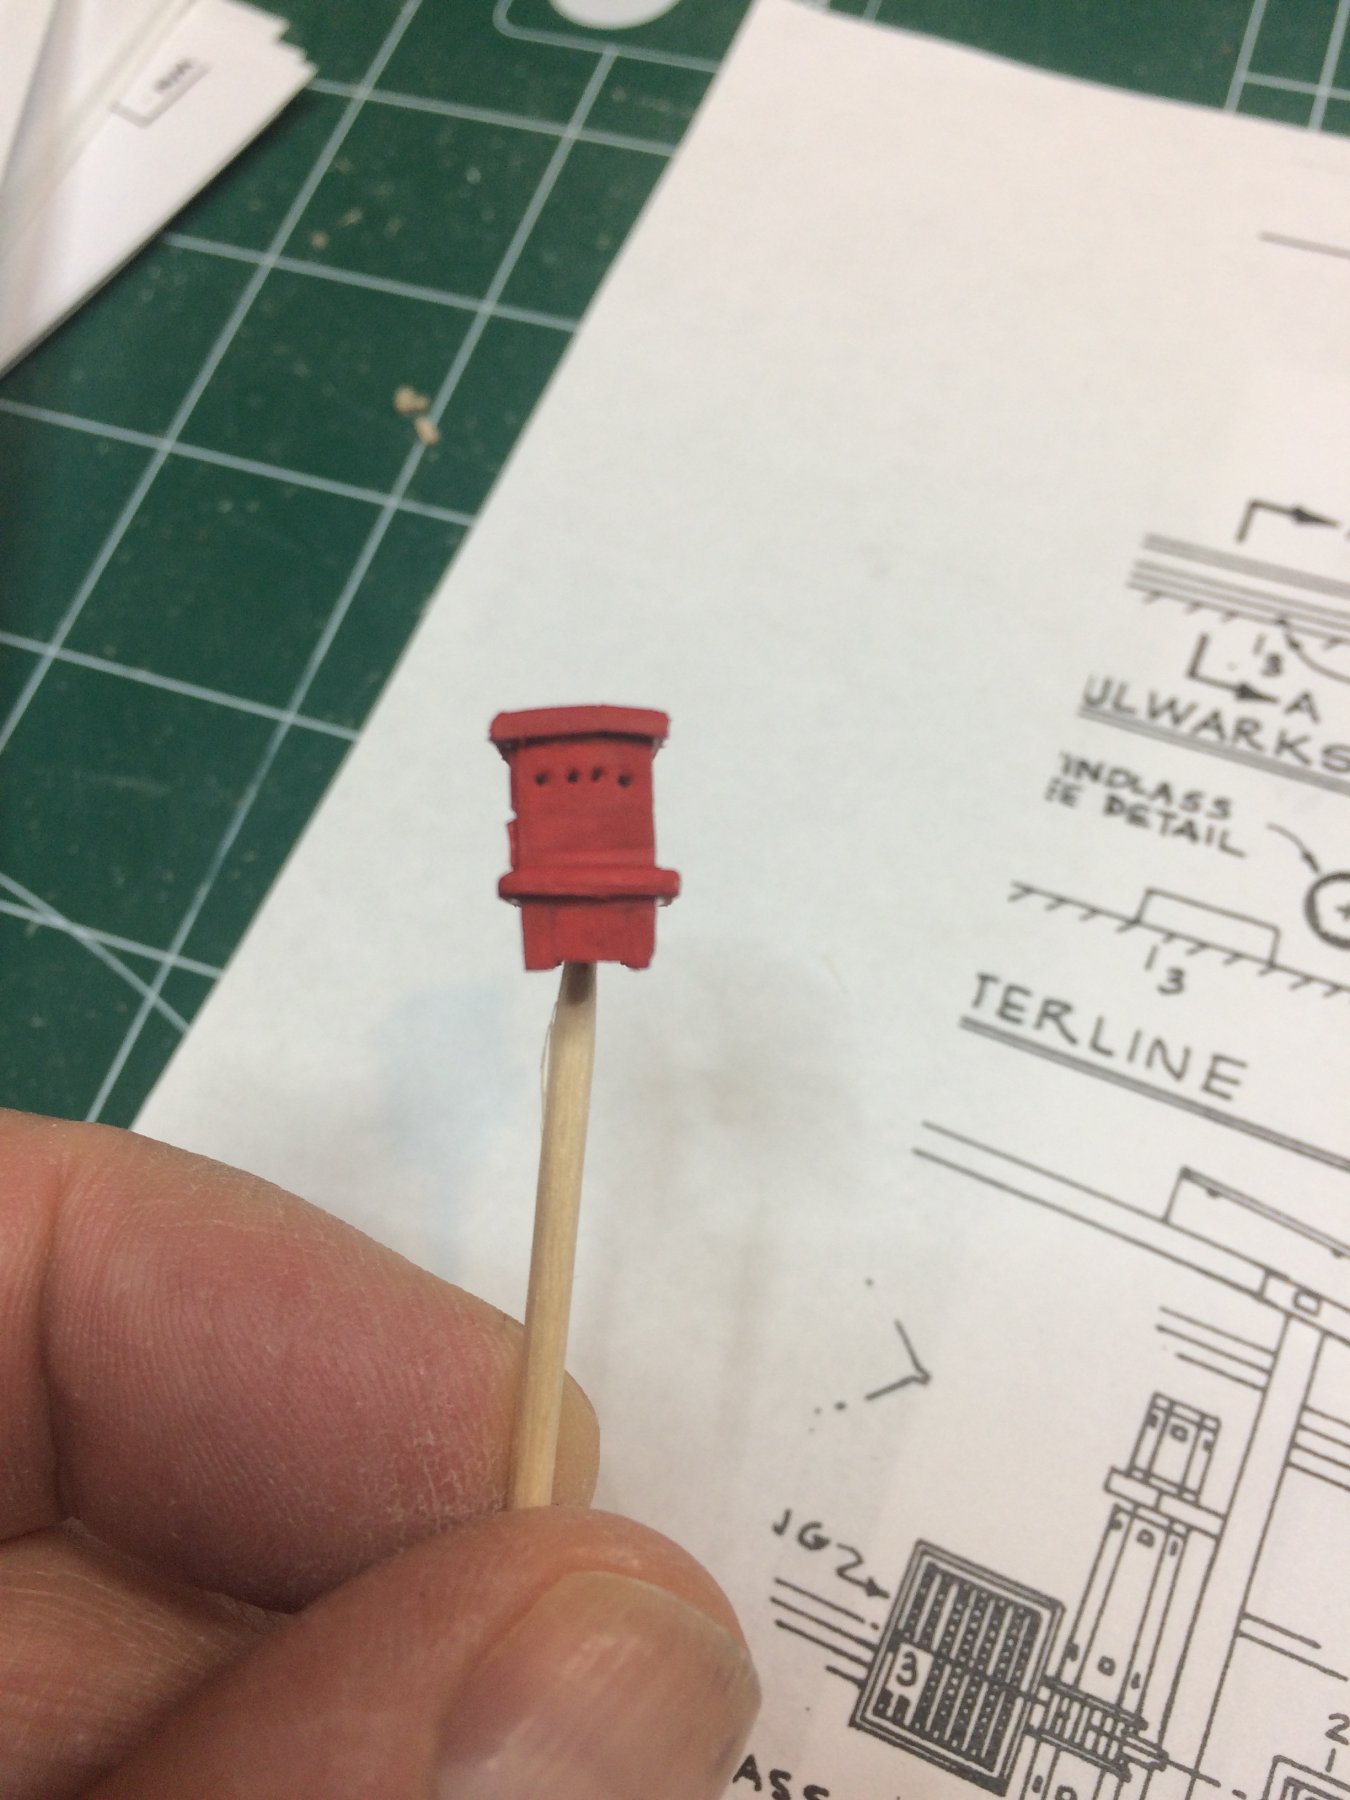
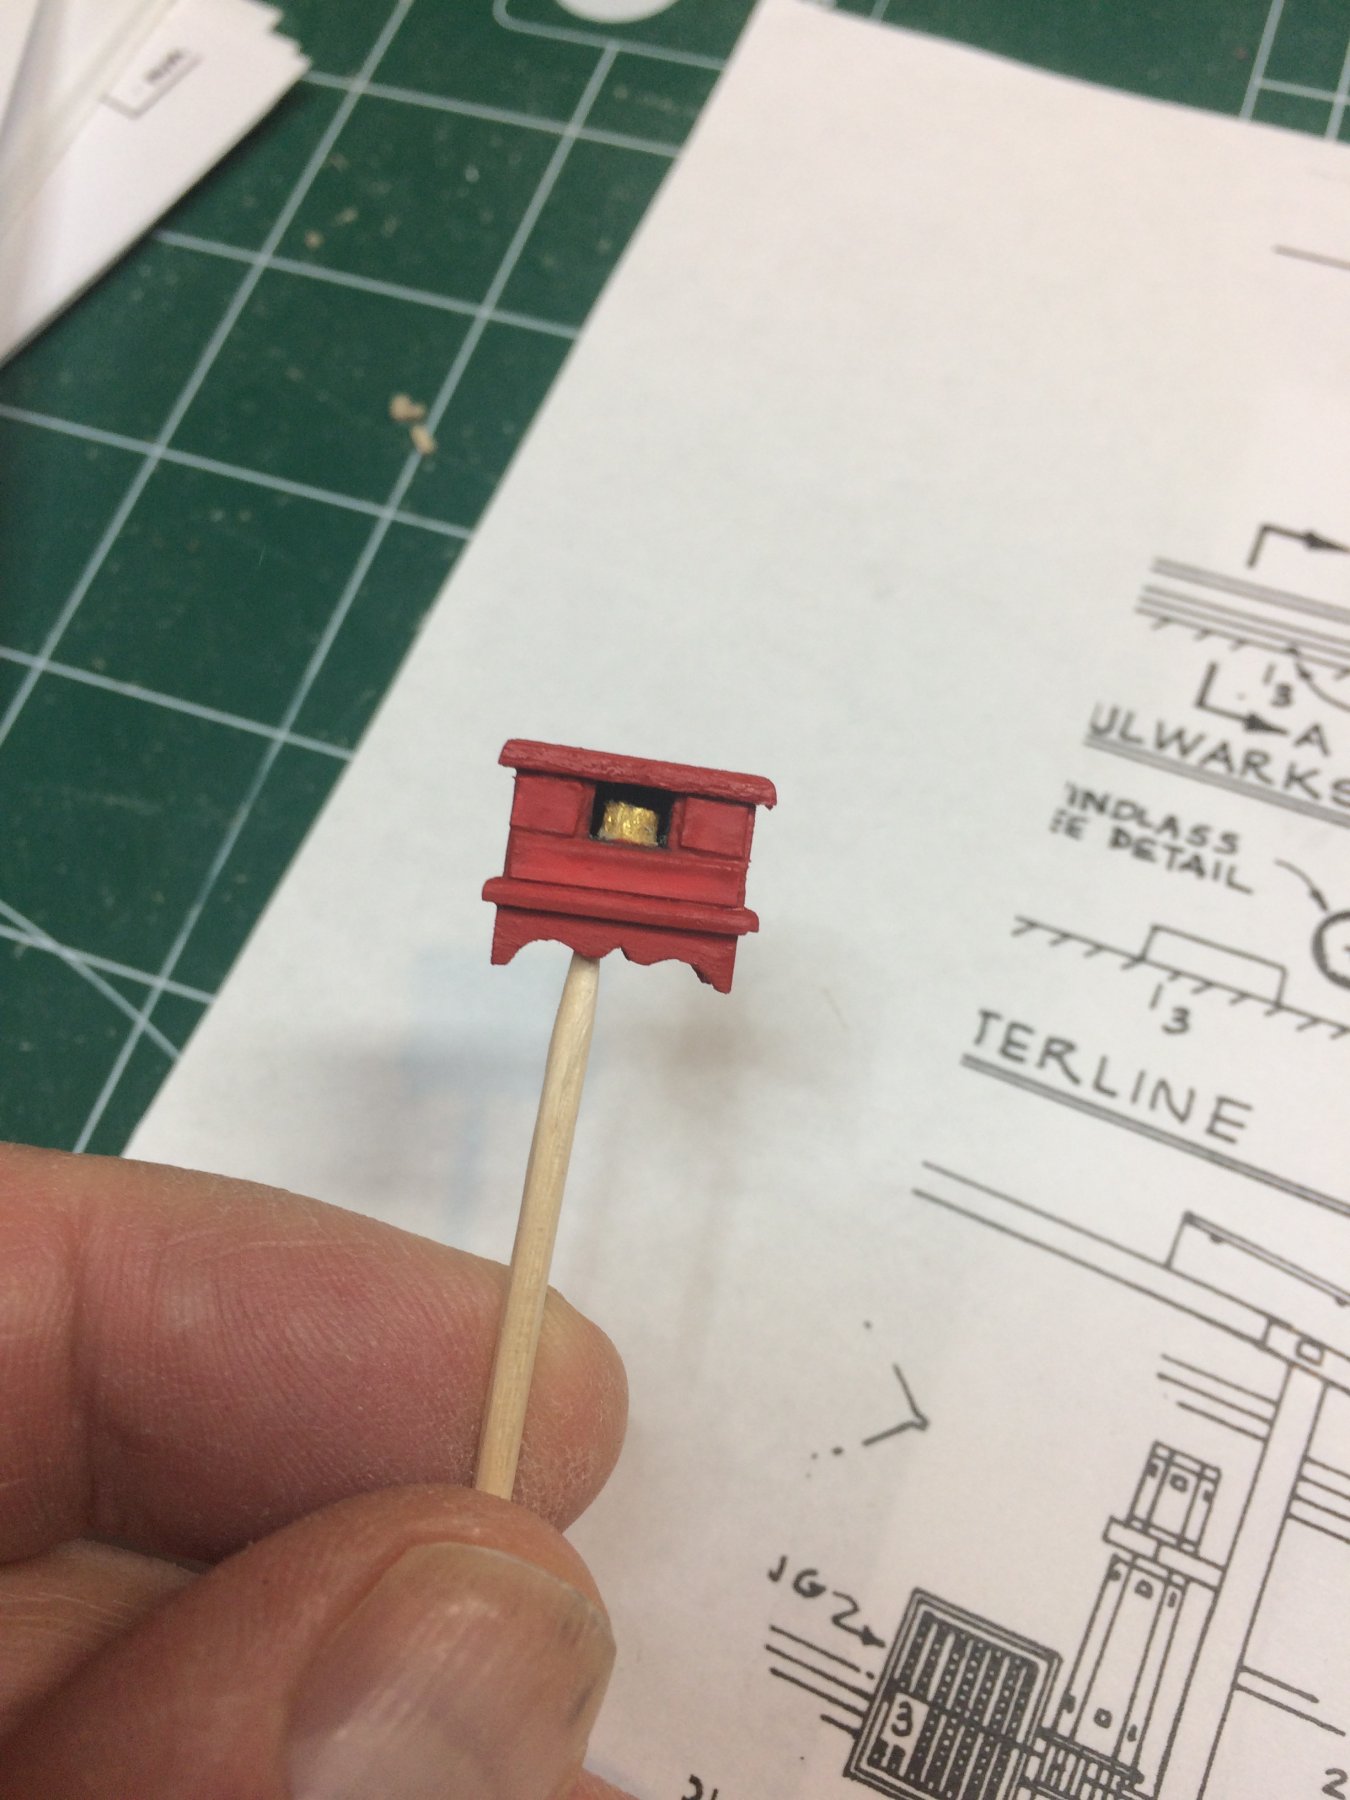
From the wooden rod of correct diameter, i cut 2cm dowel i will be using to make a compass. Dowel top was painted in gold and cut to correct size and glued to inside of binnacle.
Next, top cover was also installed and three pieces of cardboard, cut in correct size, glued to binnacle. They will represent compartment for lights (as plan indicated).
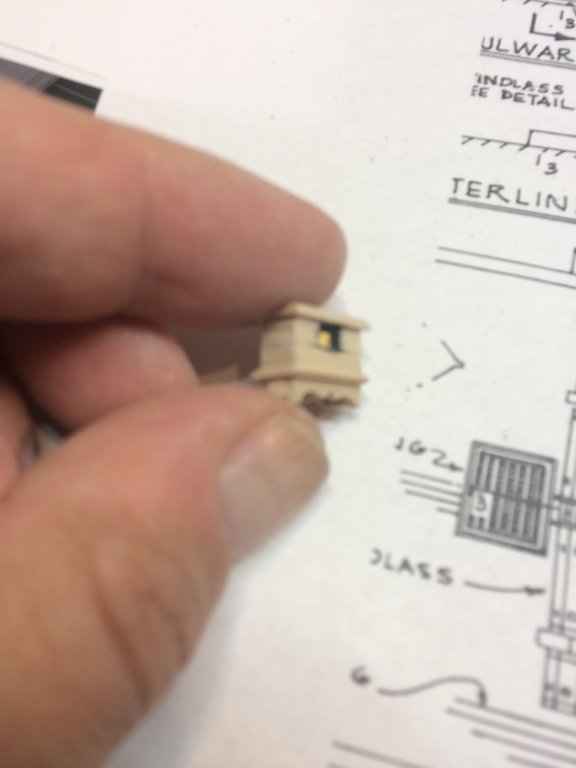

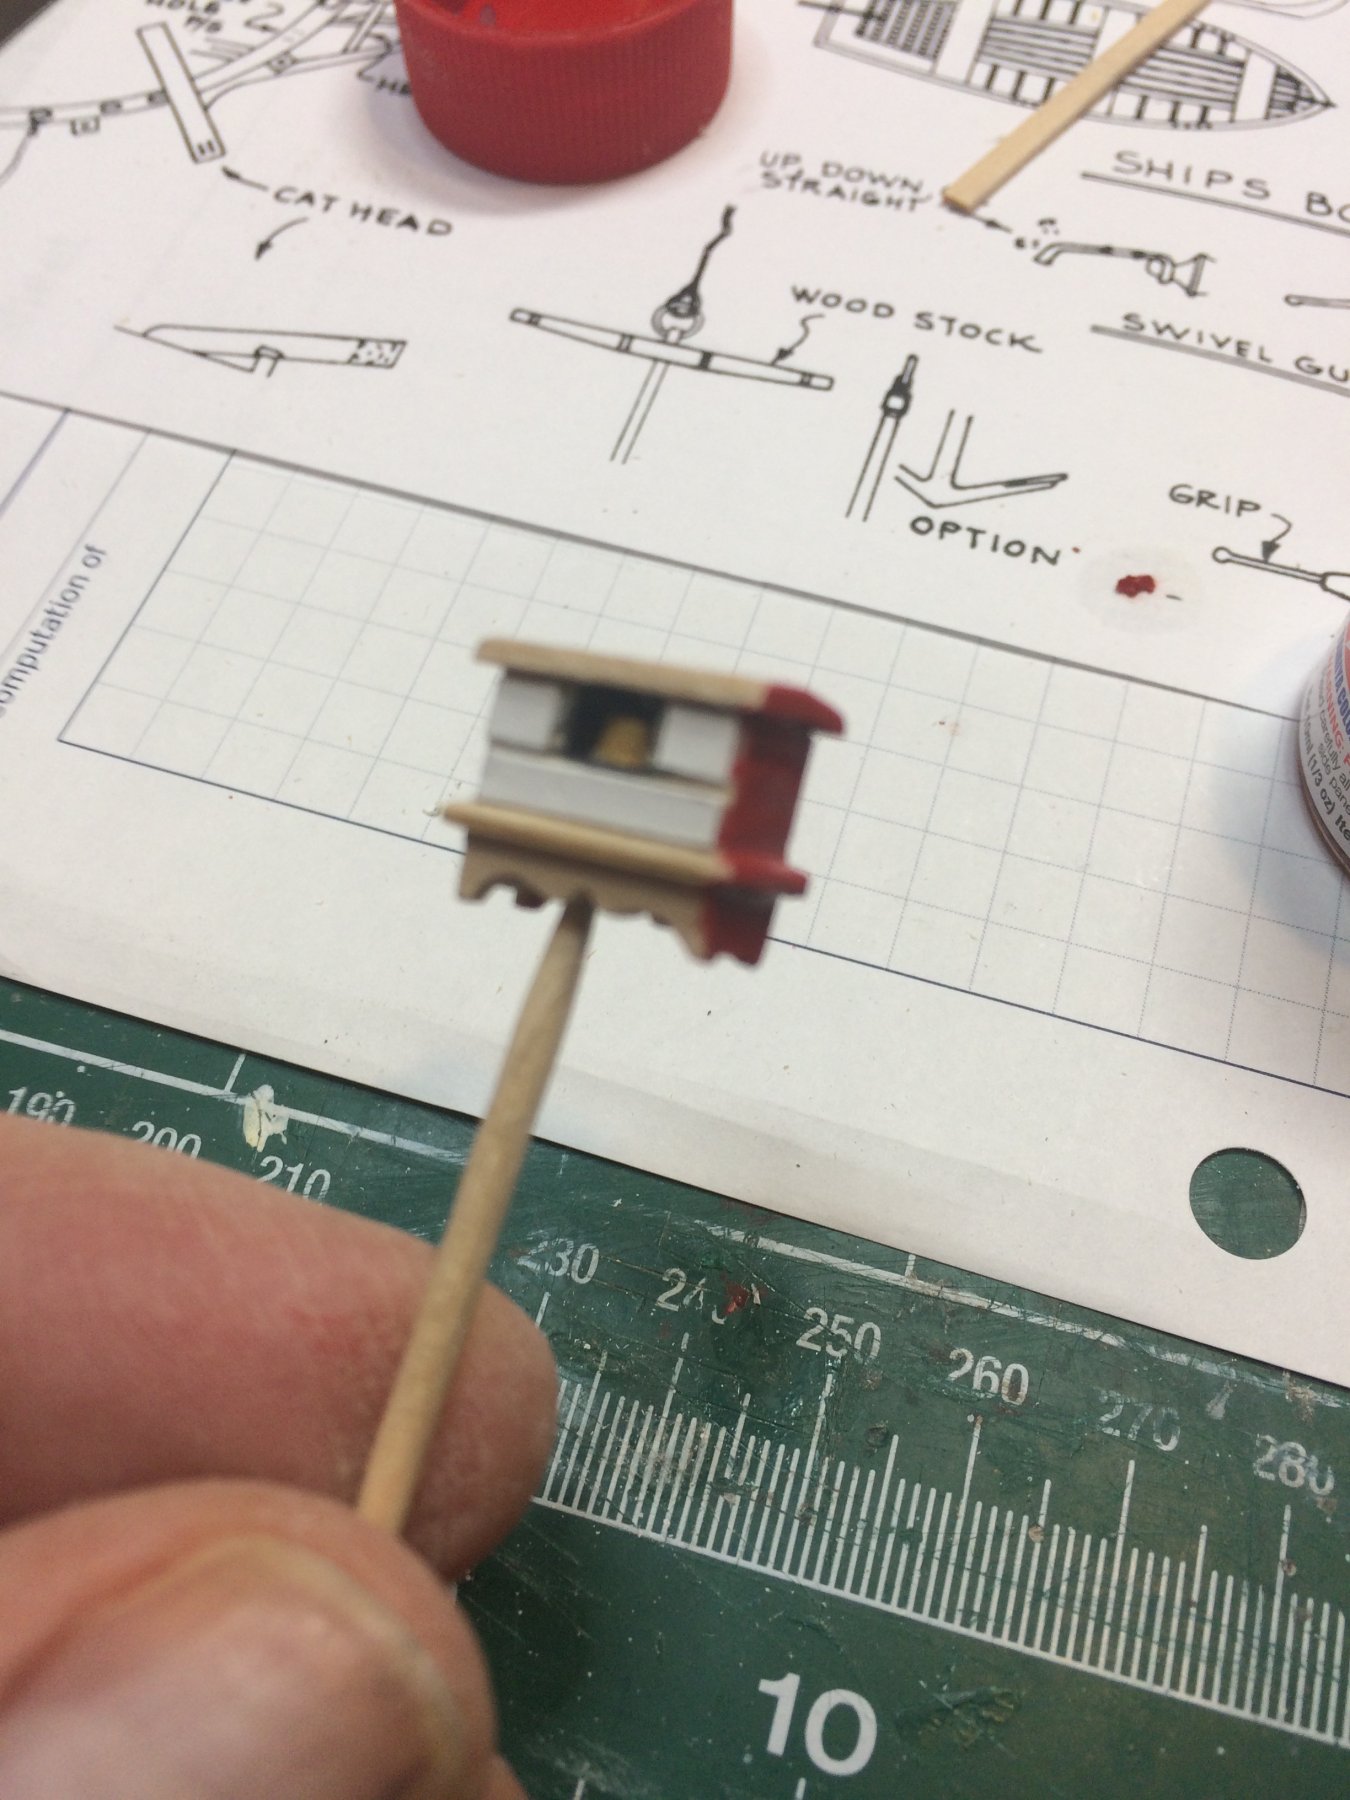
I drilled 4 vent holes on both sides and whole binnacle was painted in flat red, in several thin layers. I think i might need to add one or two more layers, will see tomorrow.

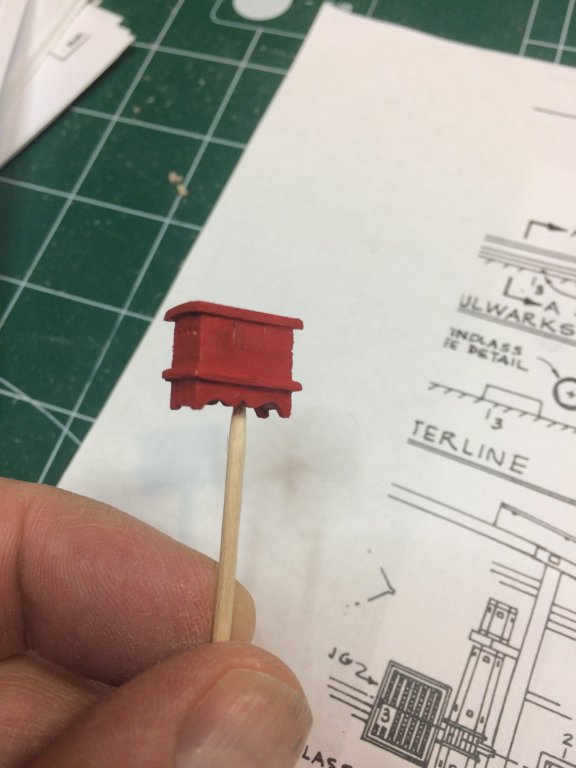


Next, will need to add four "drawer handles" - brass nail cut to the length so i can use nail heads as handles. Also two small eye bolts will need to be made..
Happy modeling..
-
-
-
6 minutes ago, Overworked724 said:
Agree. Stain gives warm tone and is both subtle and natural. If I could have a do over, I might have stayed with stain rather than paint. In the end, it is your ship. Enjoy it!!!
Will go with stain; will have few other deck items painted in red which should be enough.
Thanks
-
-
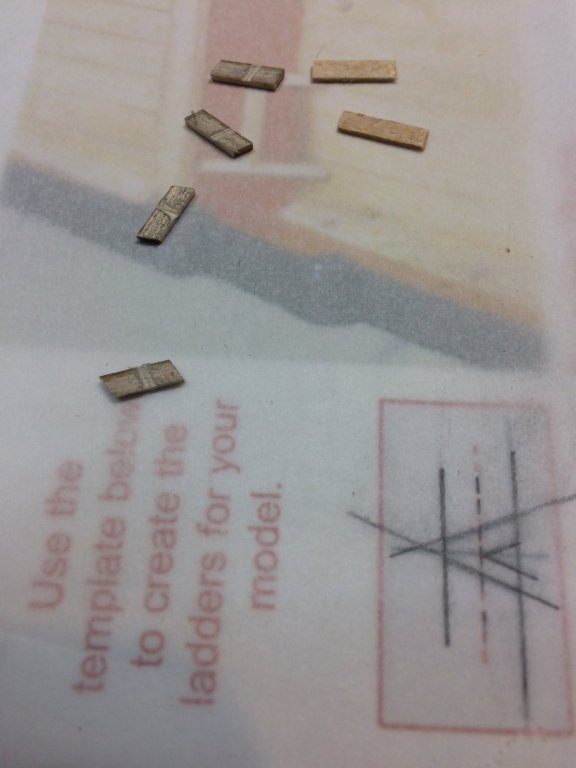
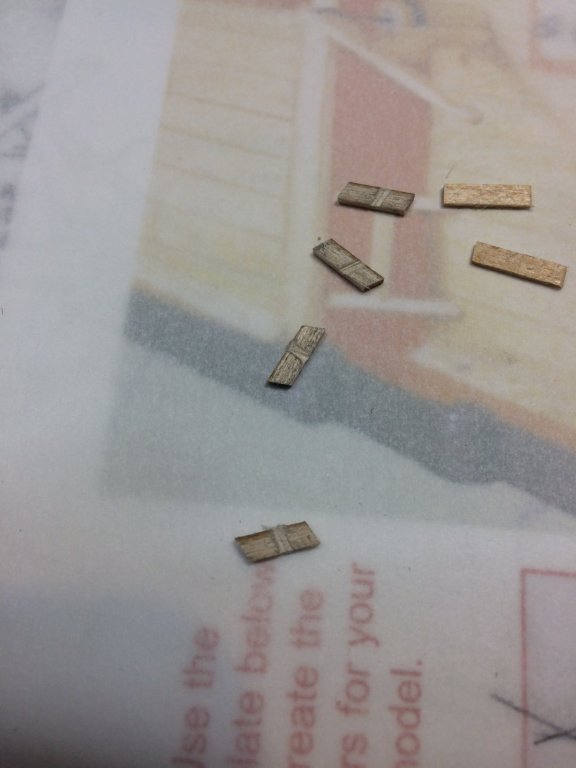
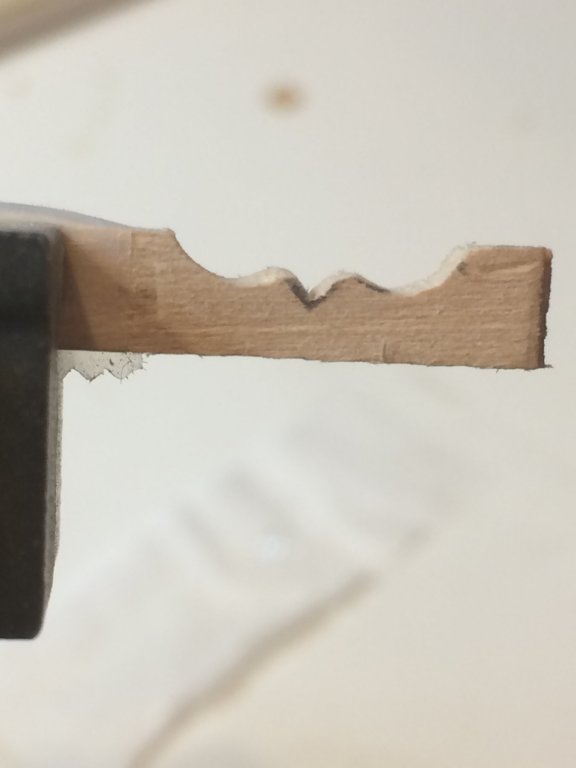
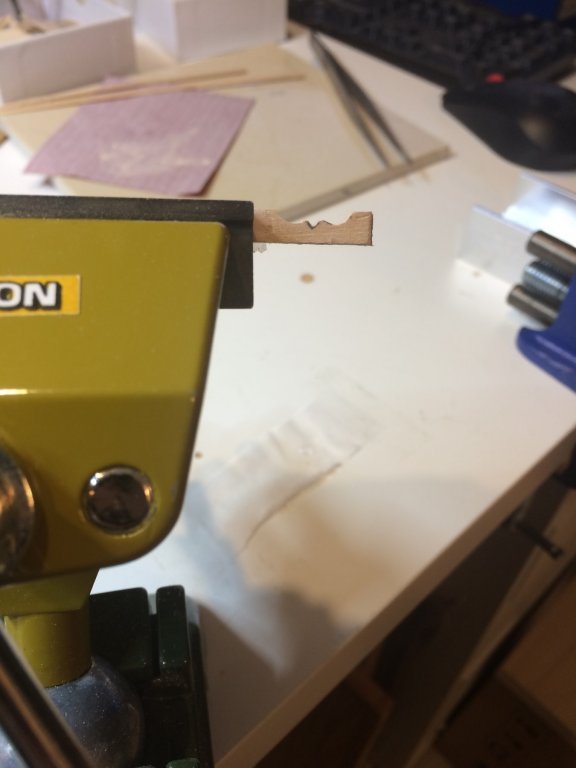
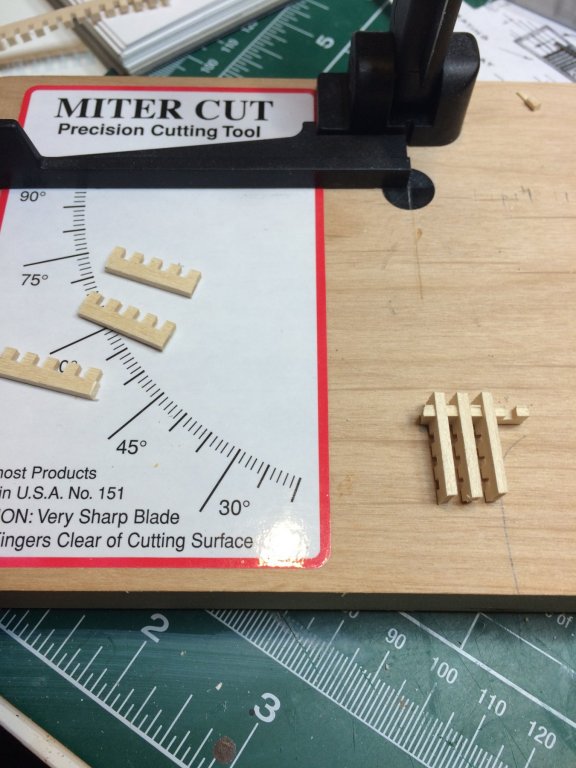
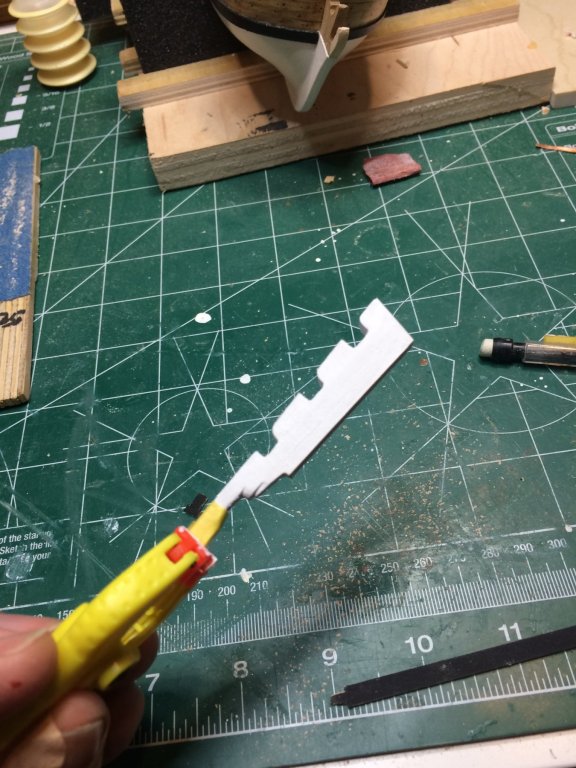
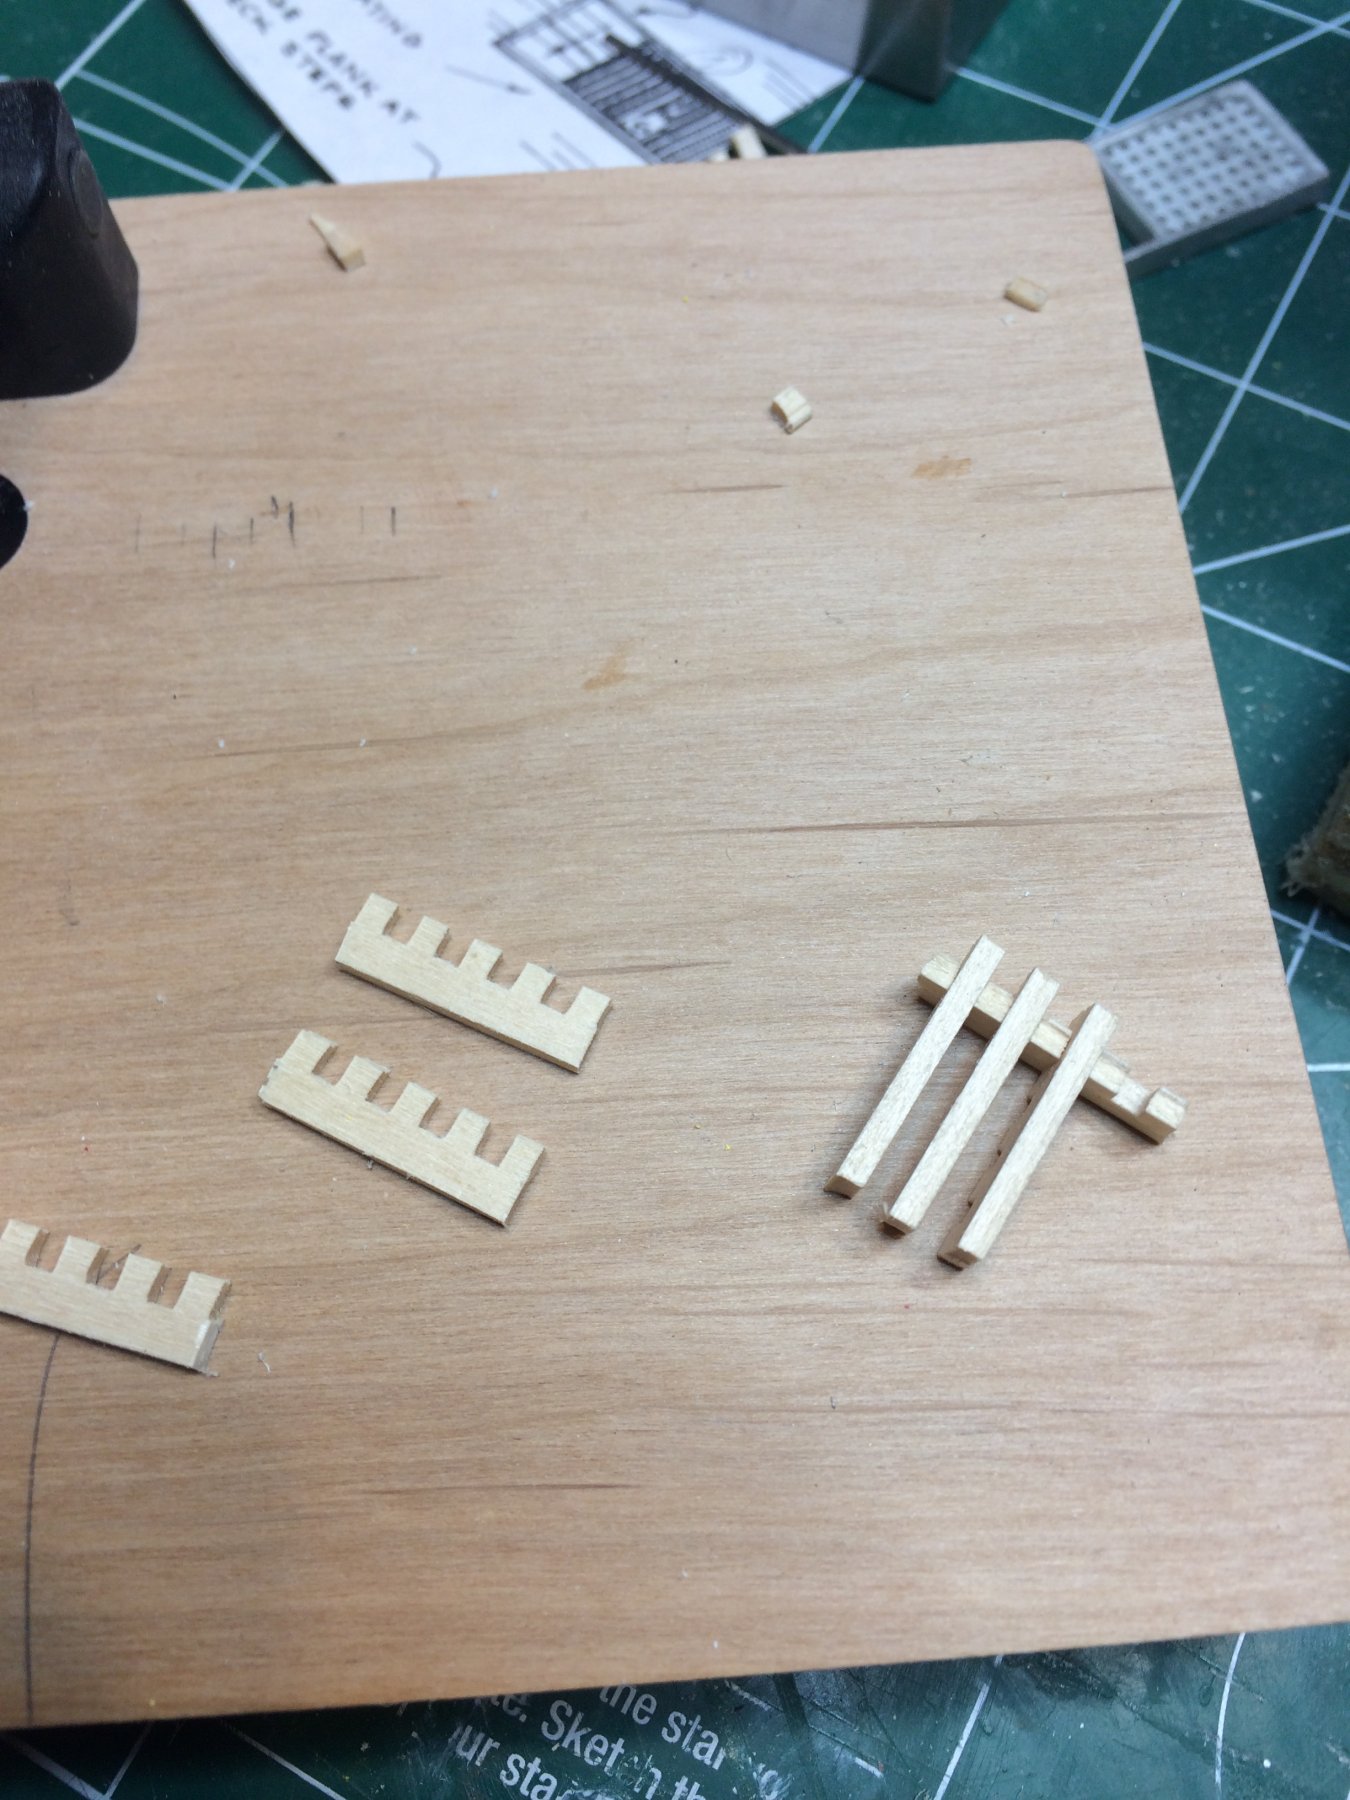
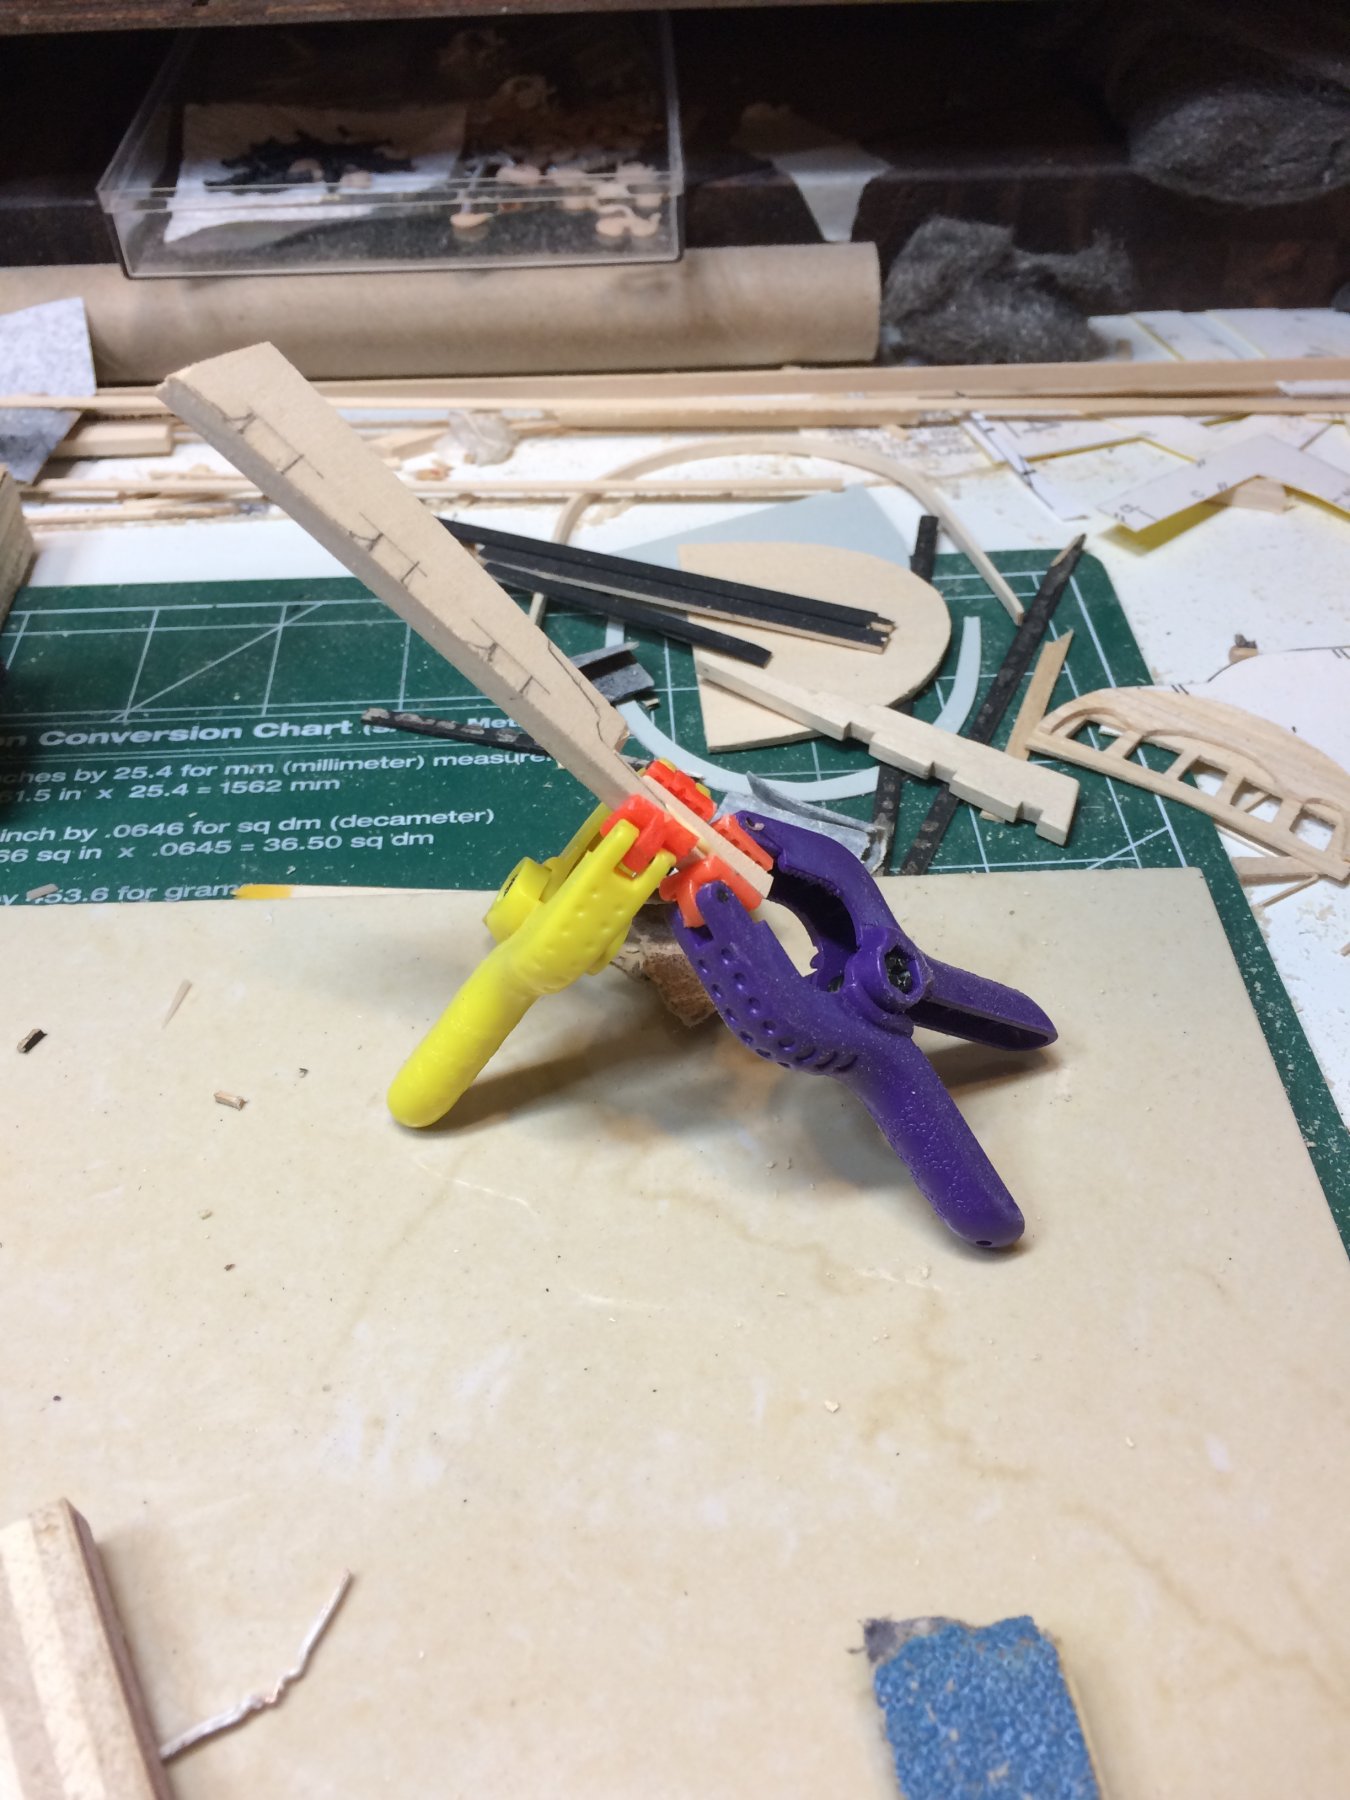
Spent some time building a ladder. Copied ladder template from Chuck's practicum, and cut pieces. With the help of hobby saw and tiny file i created mortises for each step. And these are really tiny, compare it with a #10 blade..
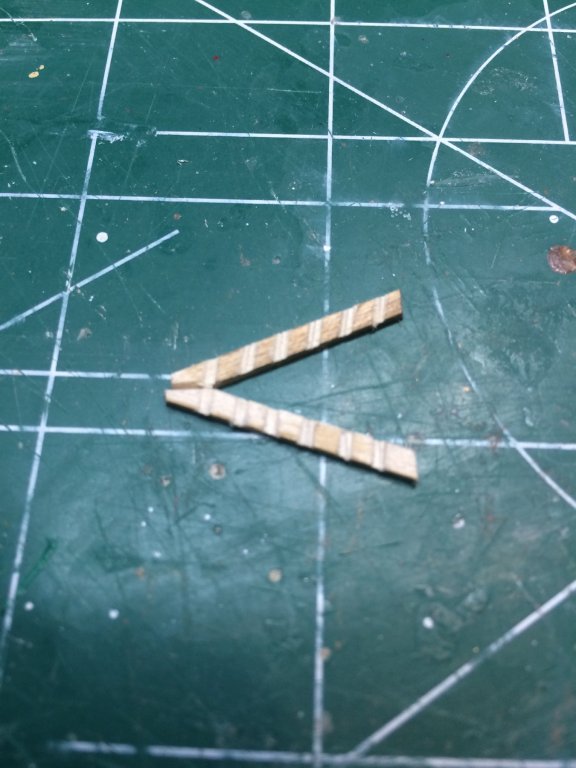
Cut all steps and used super glue to put them all together.
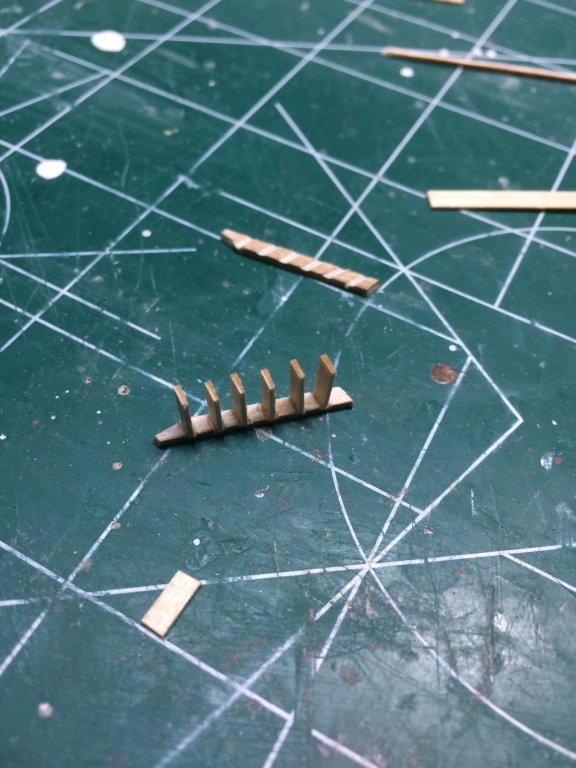
Completed...
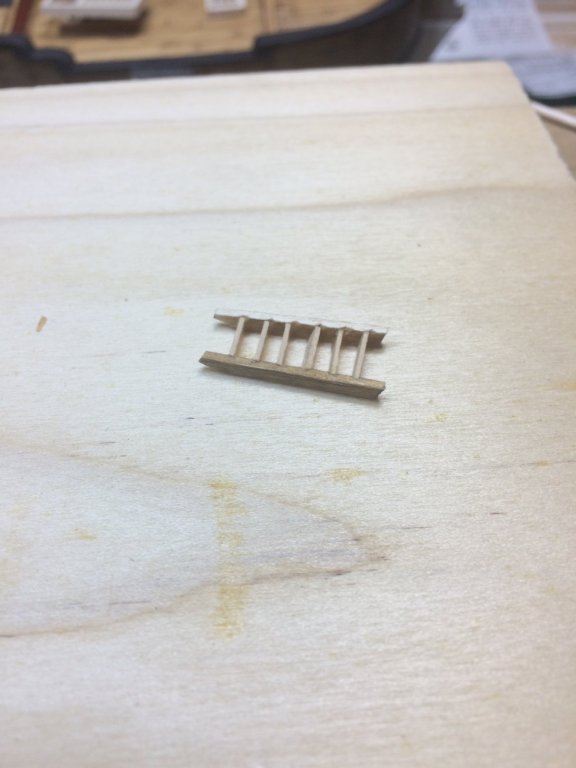
A little bit of sanding and at the end the layer of stain.
All ready for assembly..
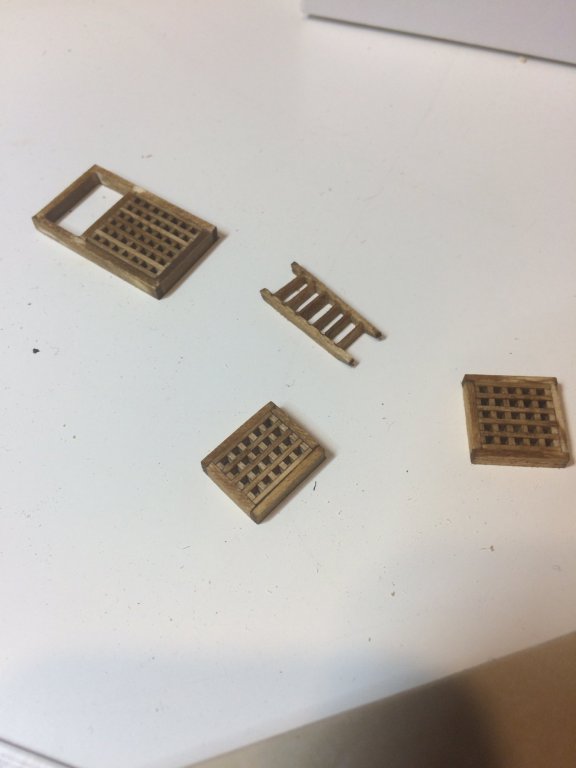
Still thinking should i use red paint for hatches (as done in other build logs) or leave it with stain only as it it on the kit box...
Will see..
-
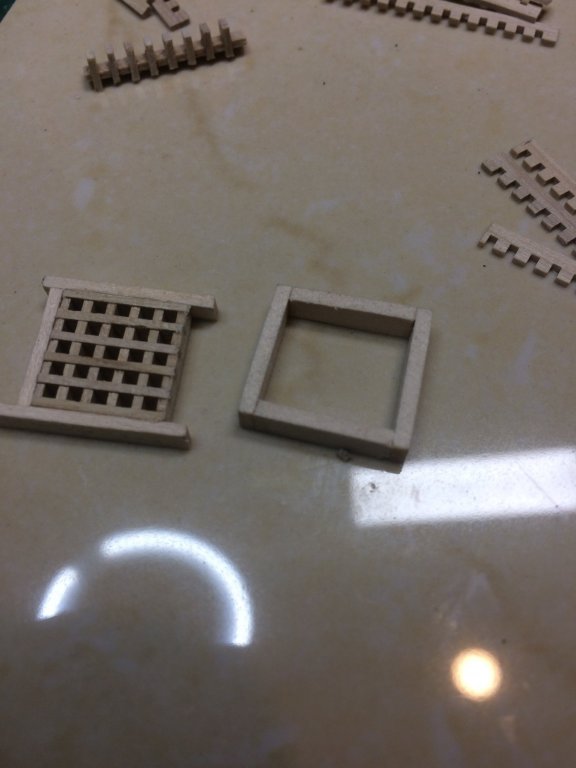
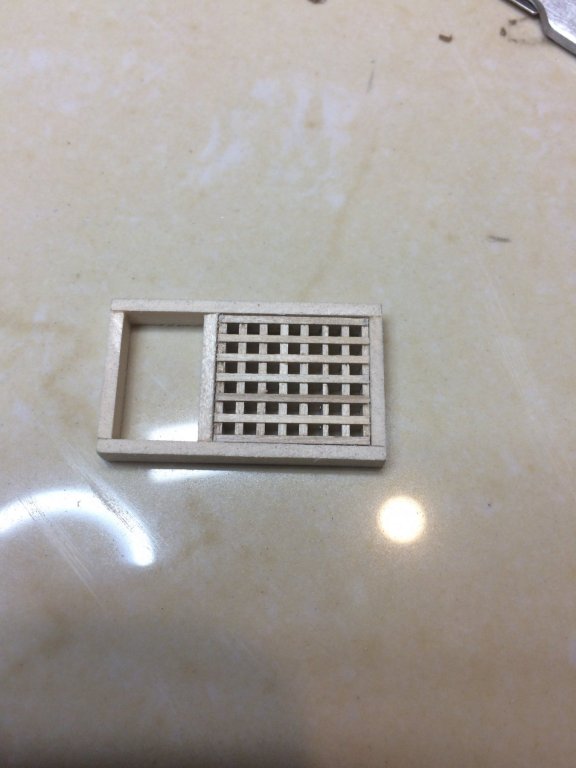
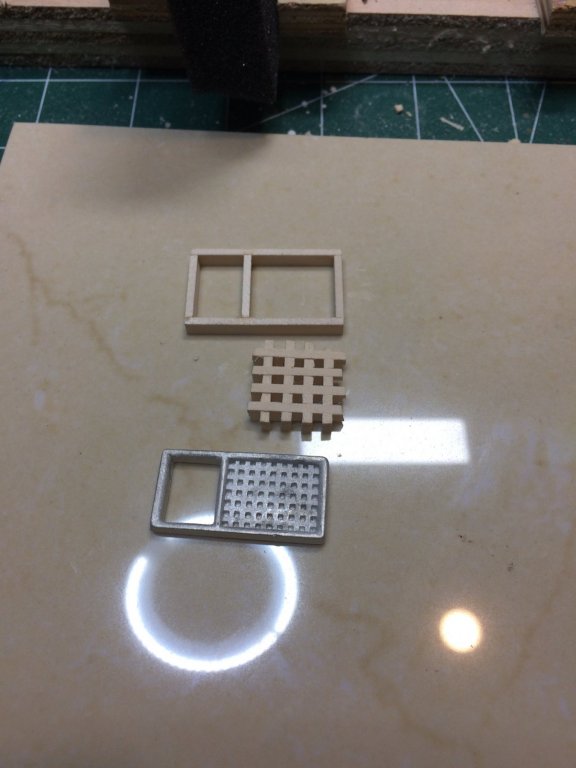
More work on gratings.. Must say those are very tiny parts and fingers are not useful tool to work with them.
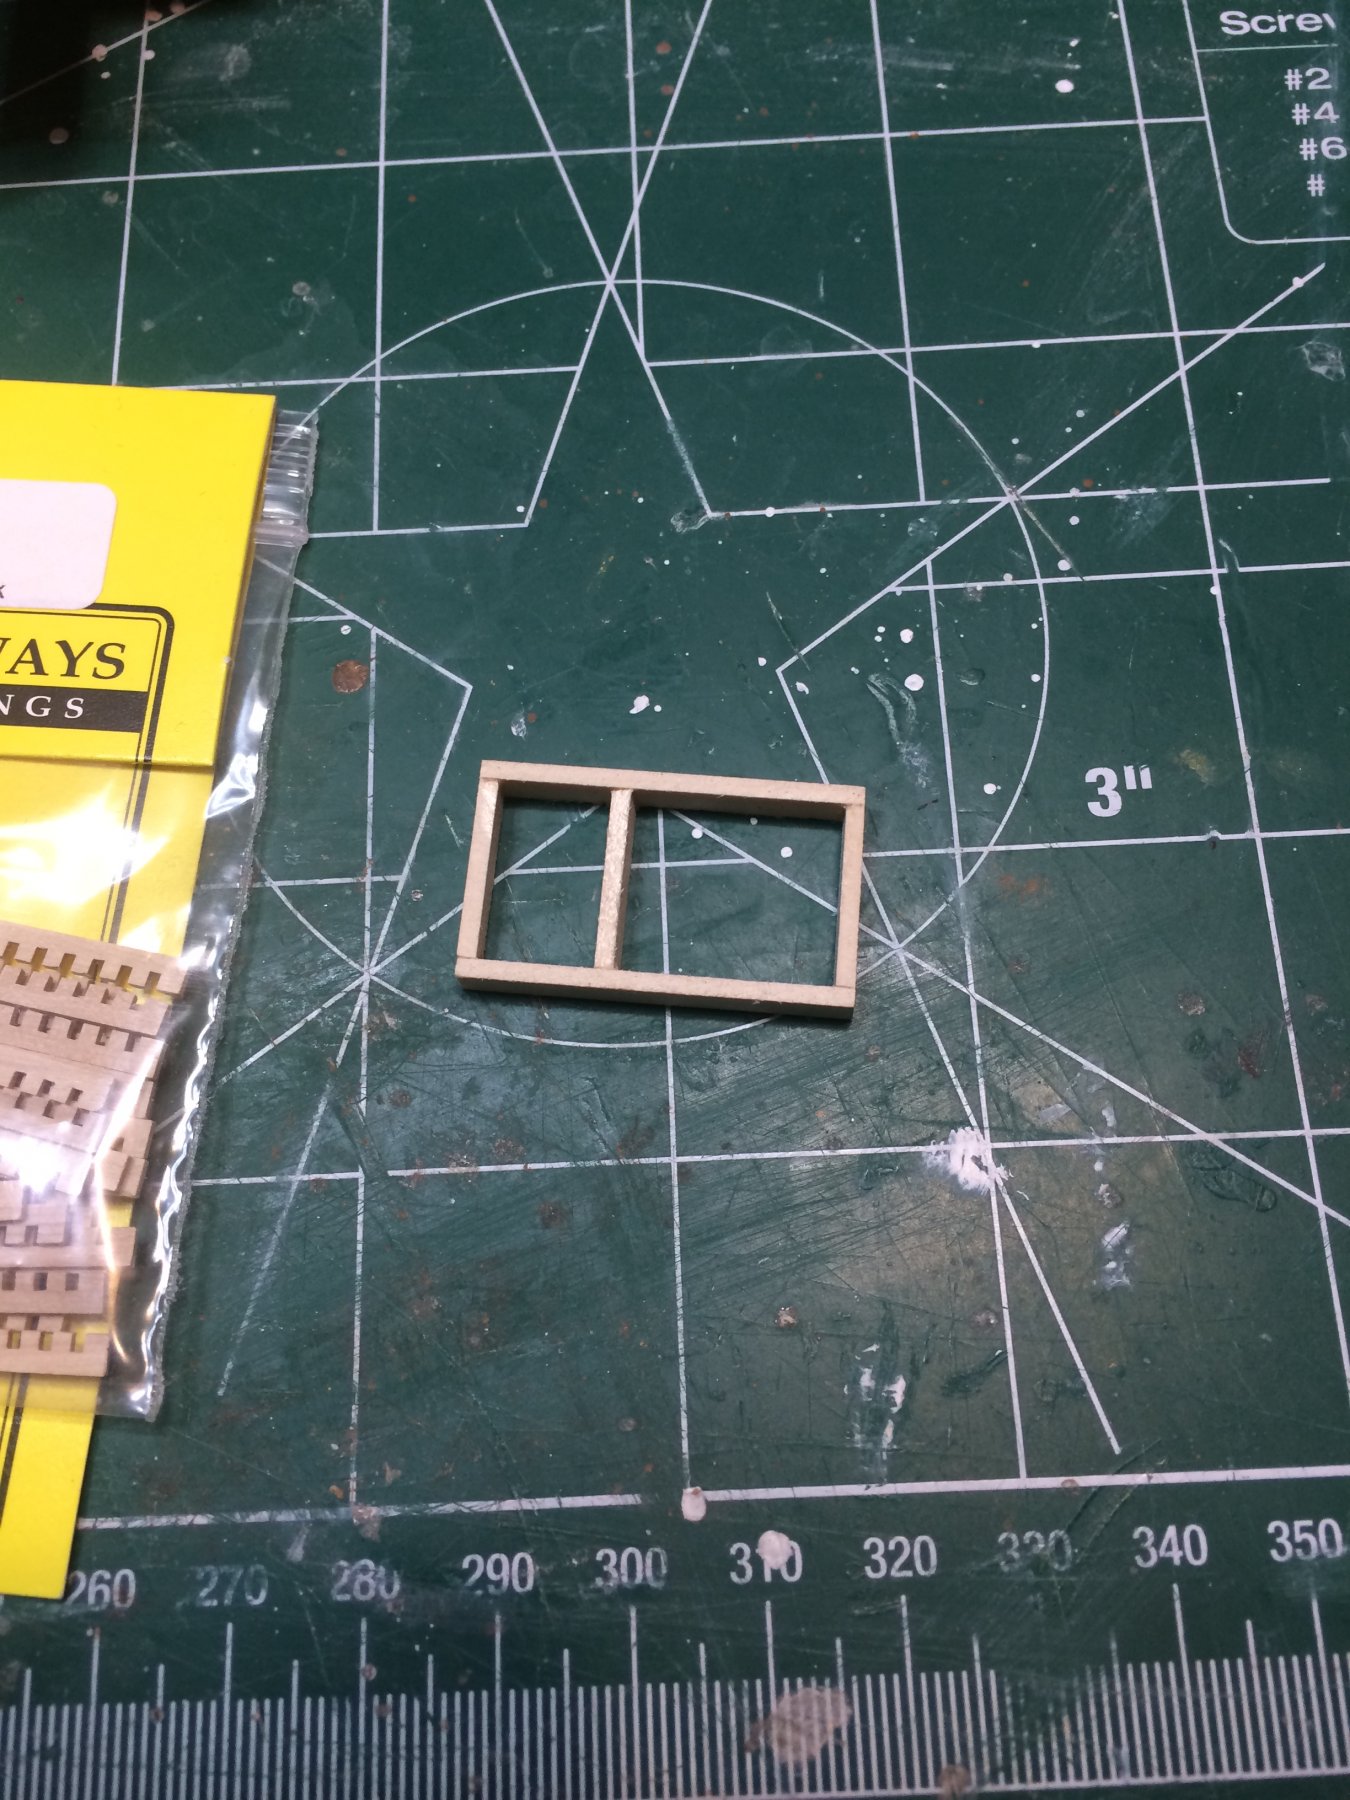
While assembling, i dropped a tiny amount of super-glue to keep them in tact. Cut gratings to a bit more length than needed as i will sand them down to correct size. I took a bit different approach today. First i would cut the gratings, assemble them to approximate dimension of the opening, mark down the correct opening size, sand them, and then assemble planks for hatch opening. For main hatch i did other way around - first made a hatch box and then gratings.
Gratings sanded to the correct size and first plank glued on.
Second hatch plank..
Third plank..

Compare with hatch box i assembled, before deciding to use other approach.
Last plank and start sending.
And on the ship..

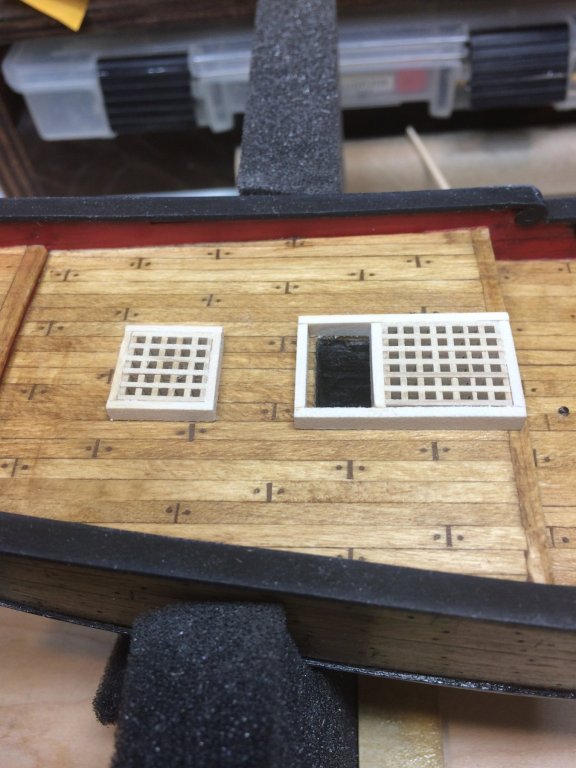
Looks very nice i must say..
Happy modeling.
-
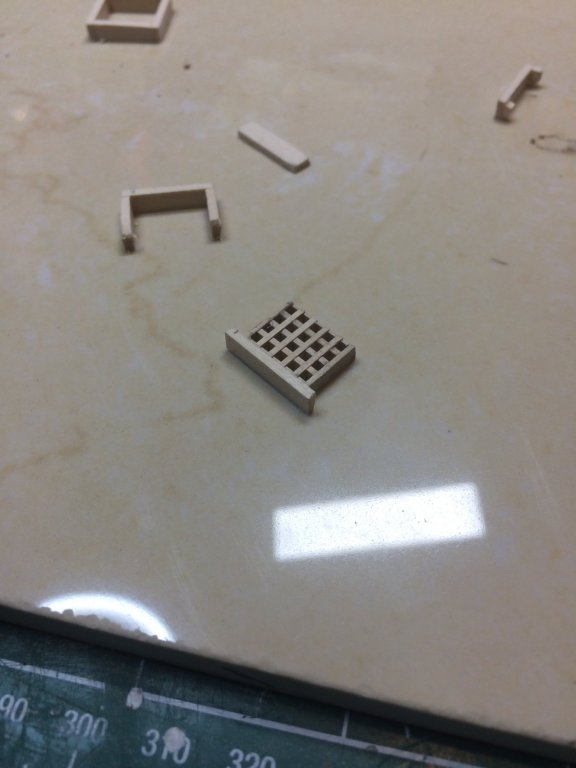
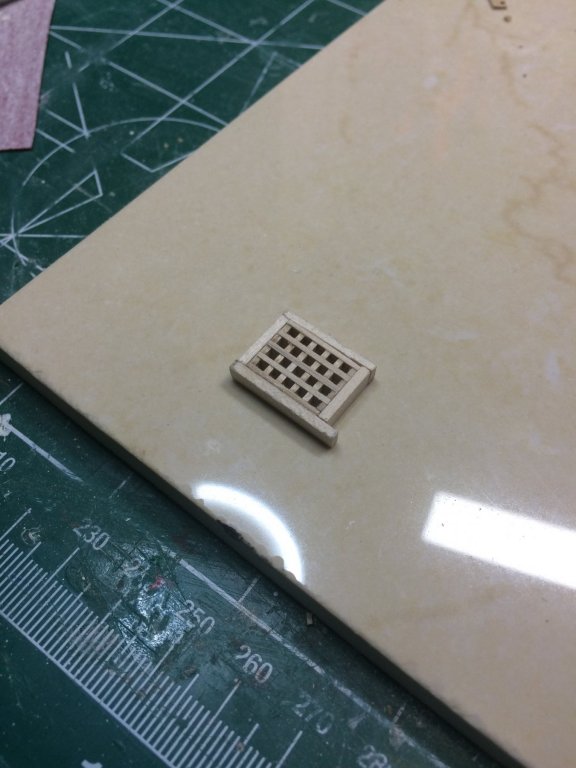
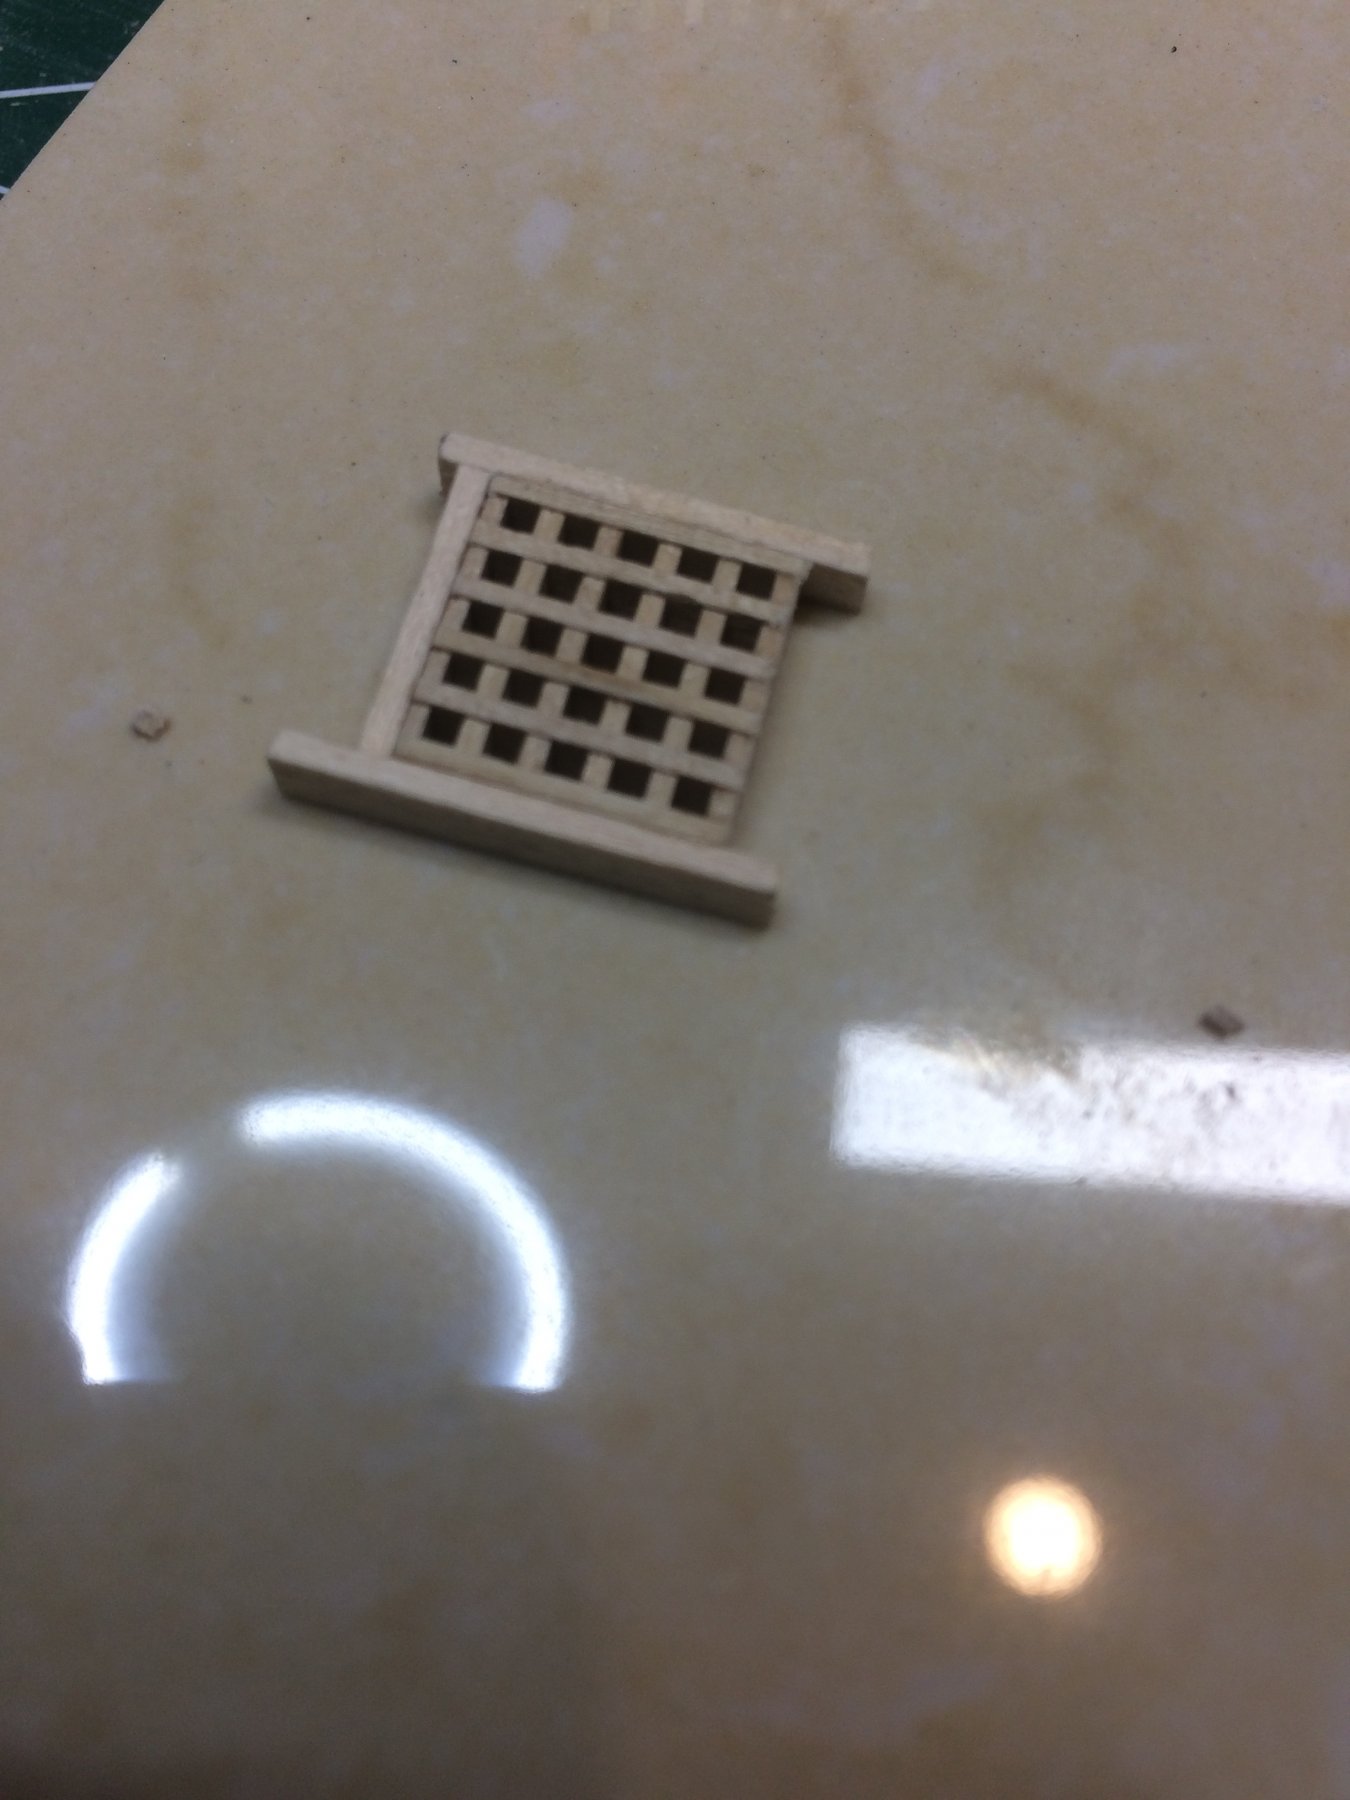
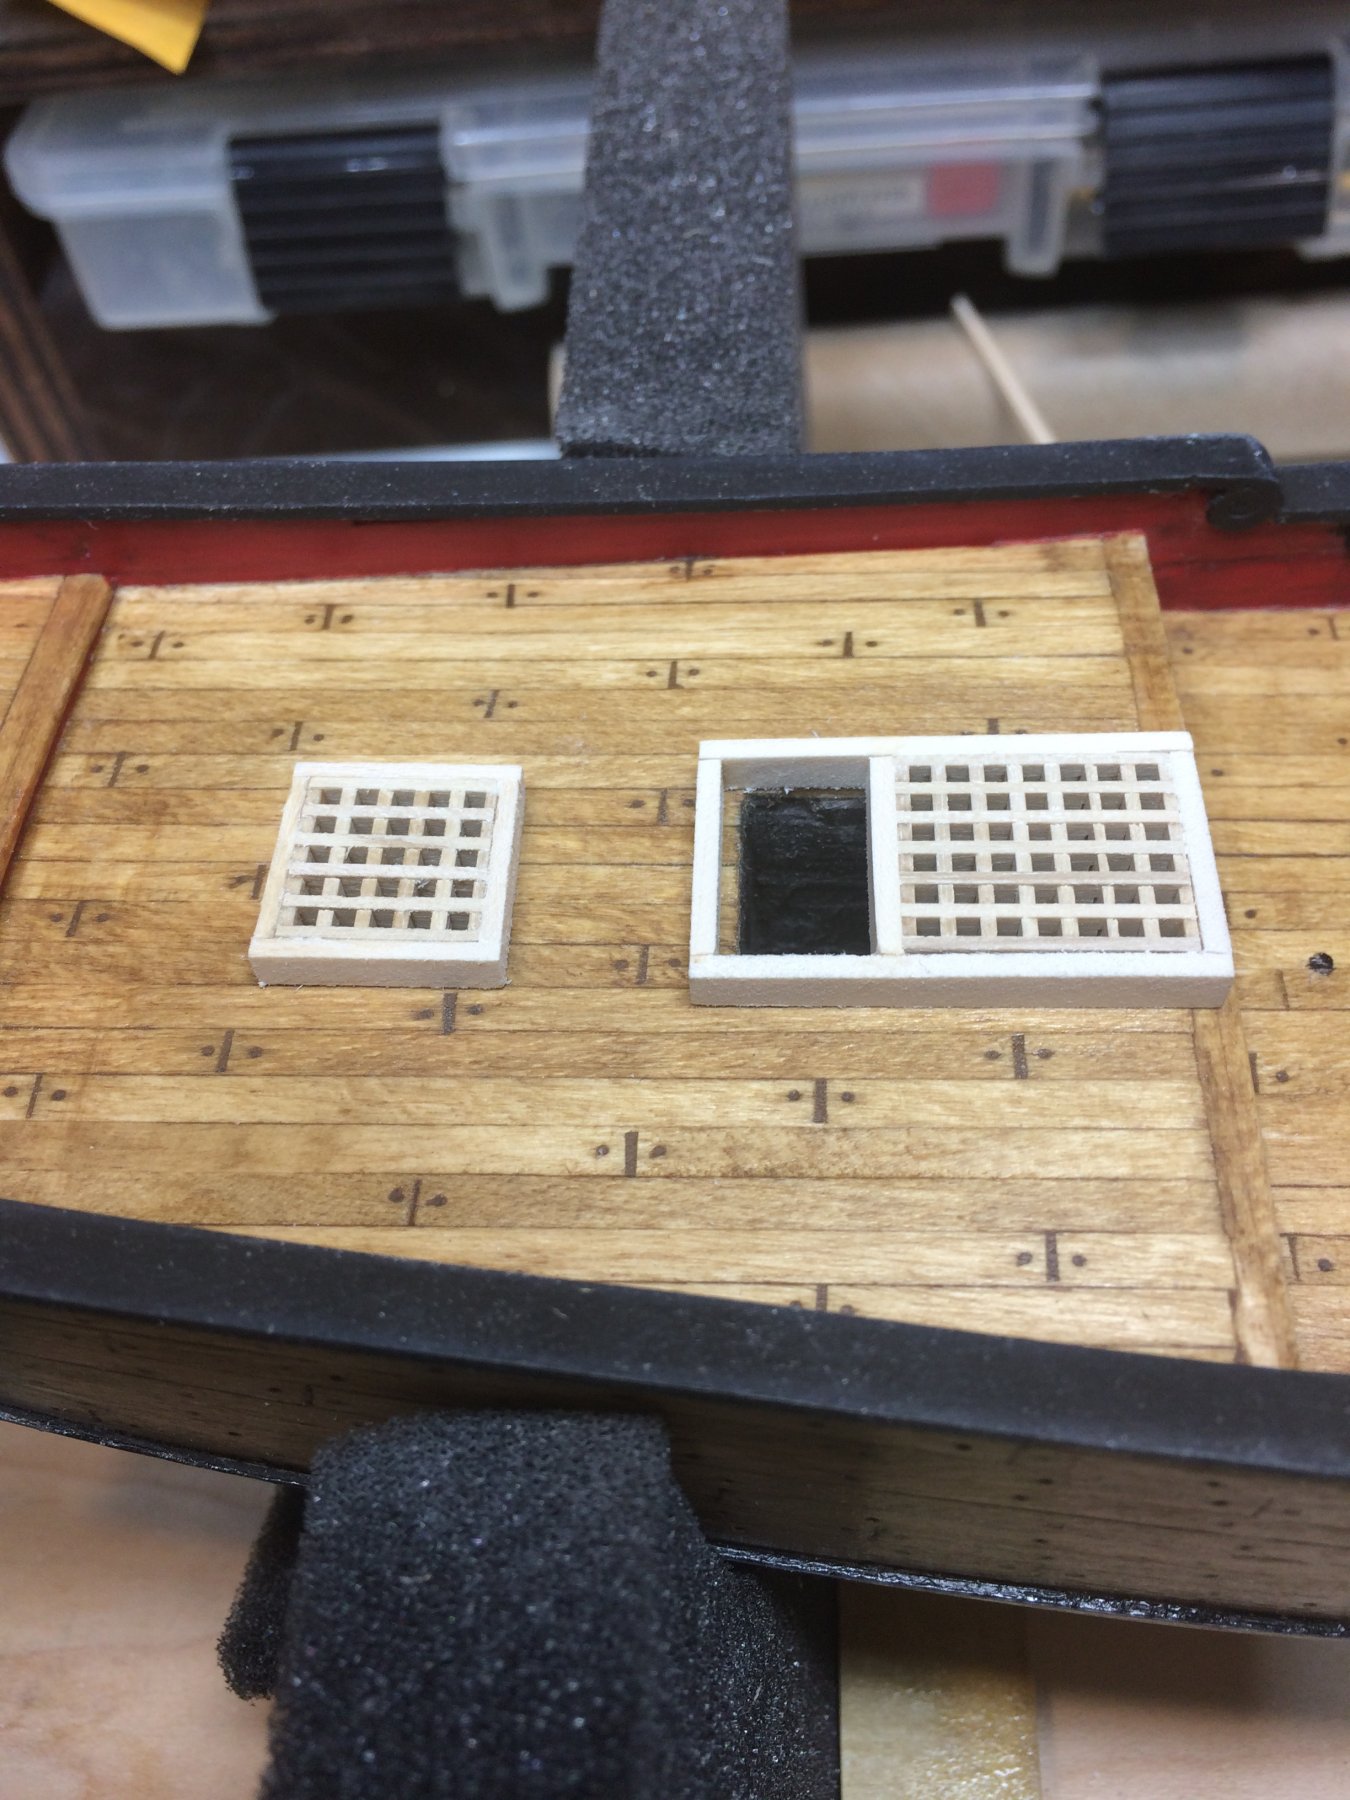
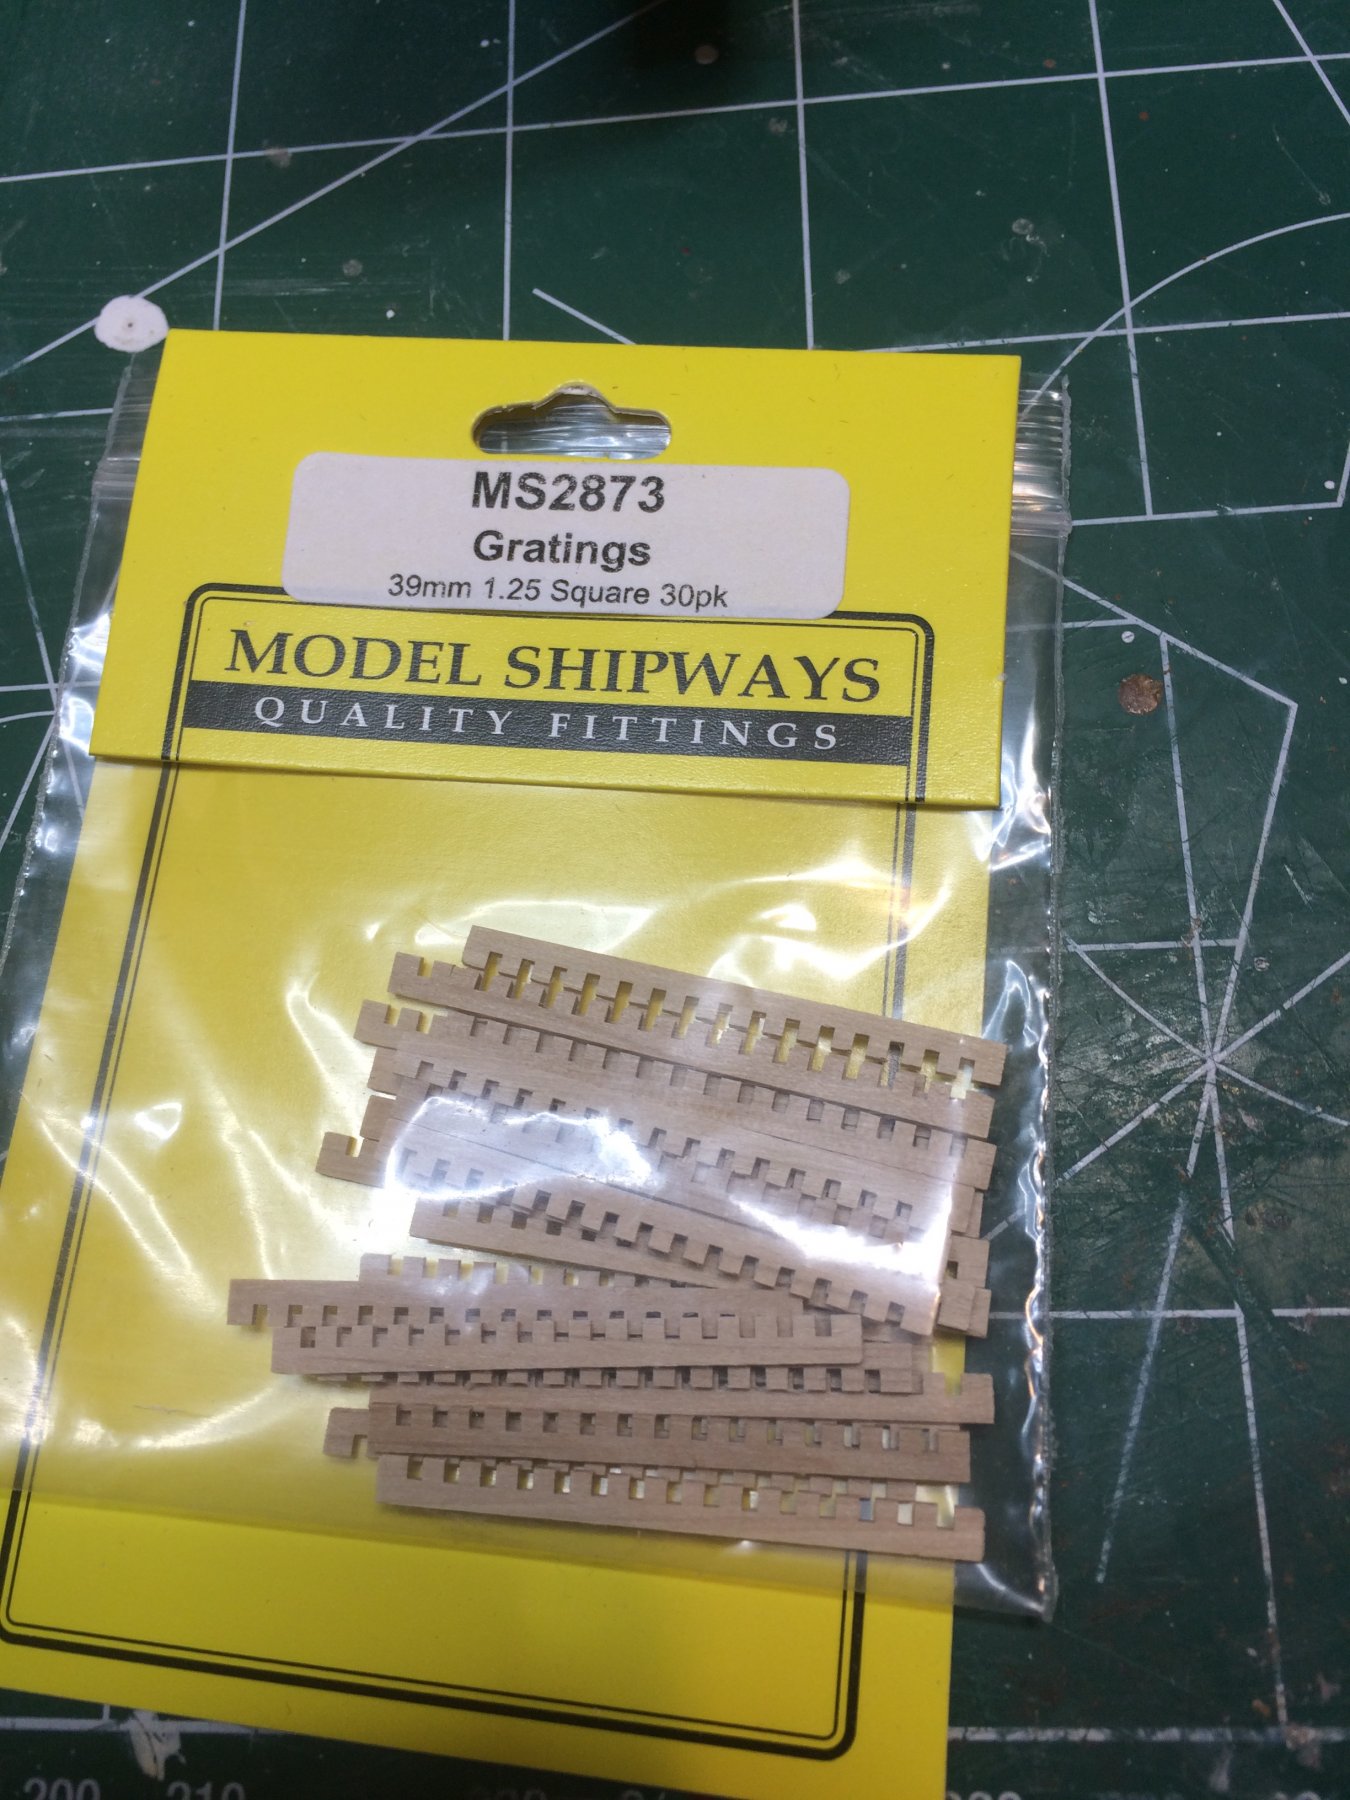
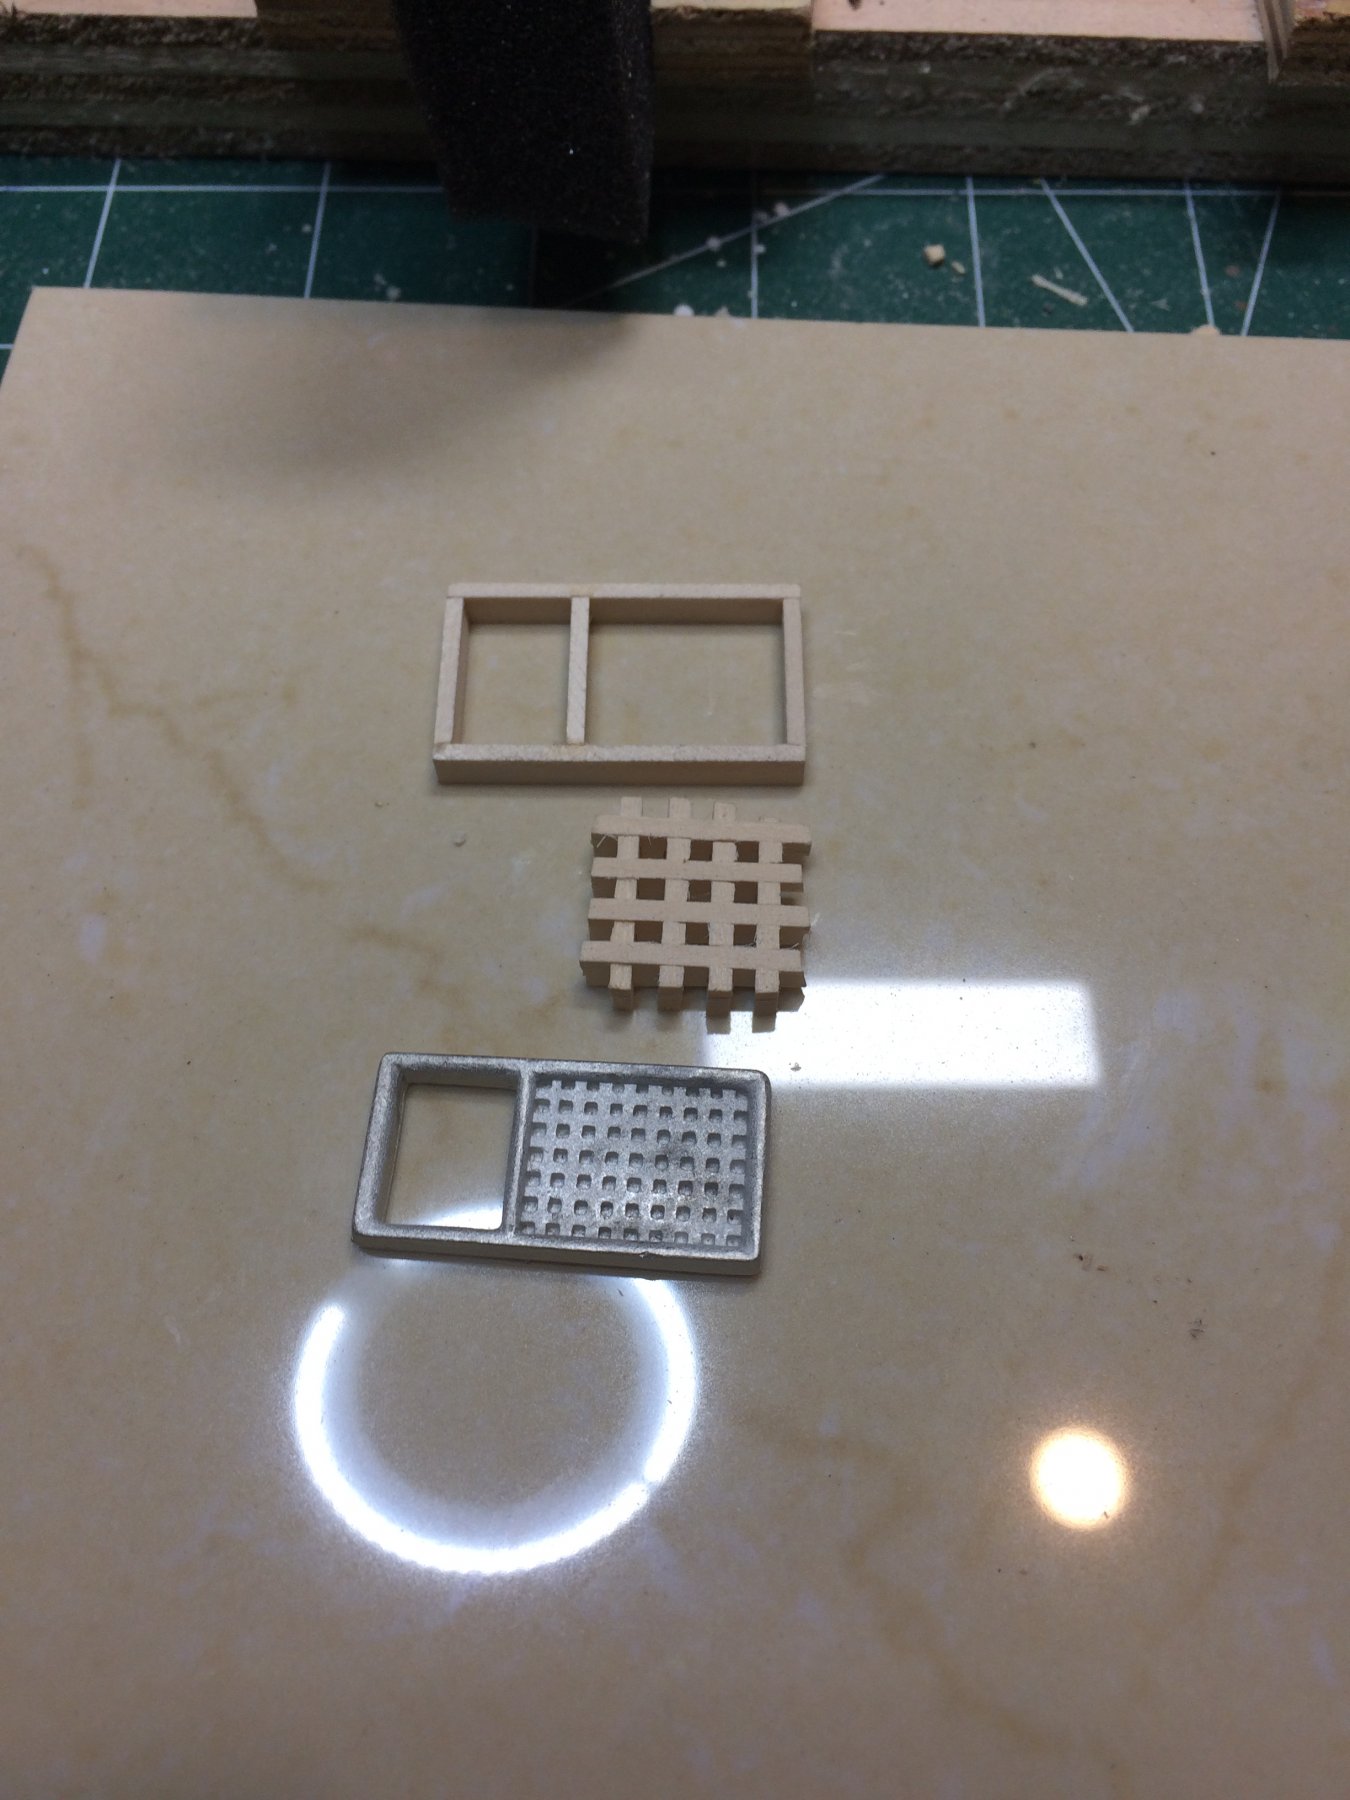
I have ordered few table saw blades for my mini table saw; they have not arrived yet but gratings from Model Shipways have. Oh well, will make my own gratings some times in the near future. For Sultana will use these ones...

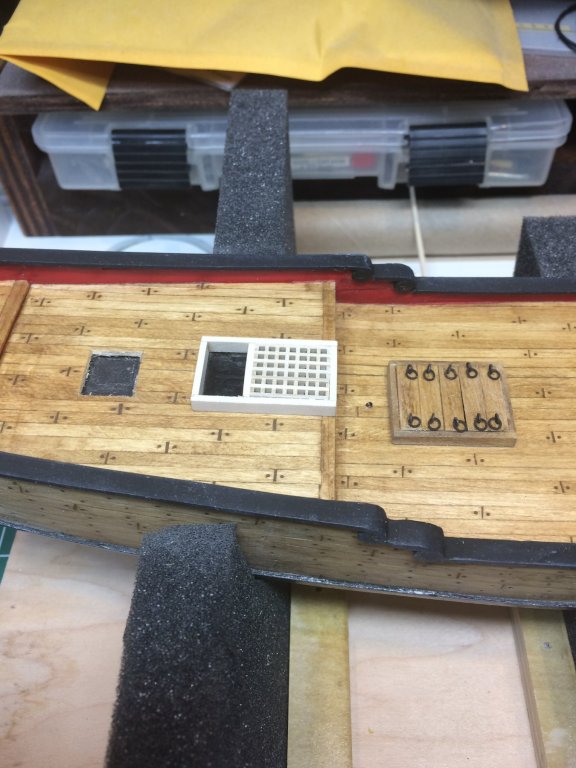
They will be covering main hatch.
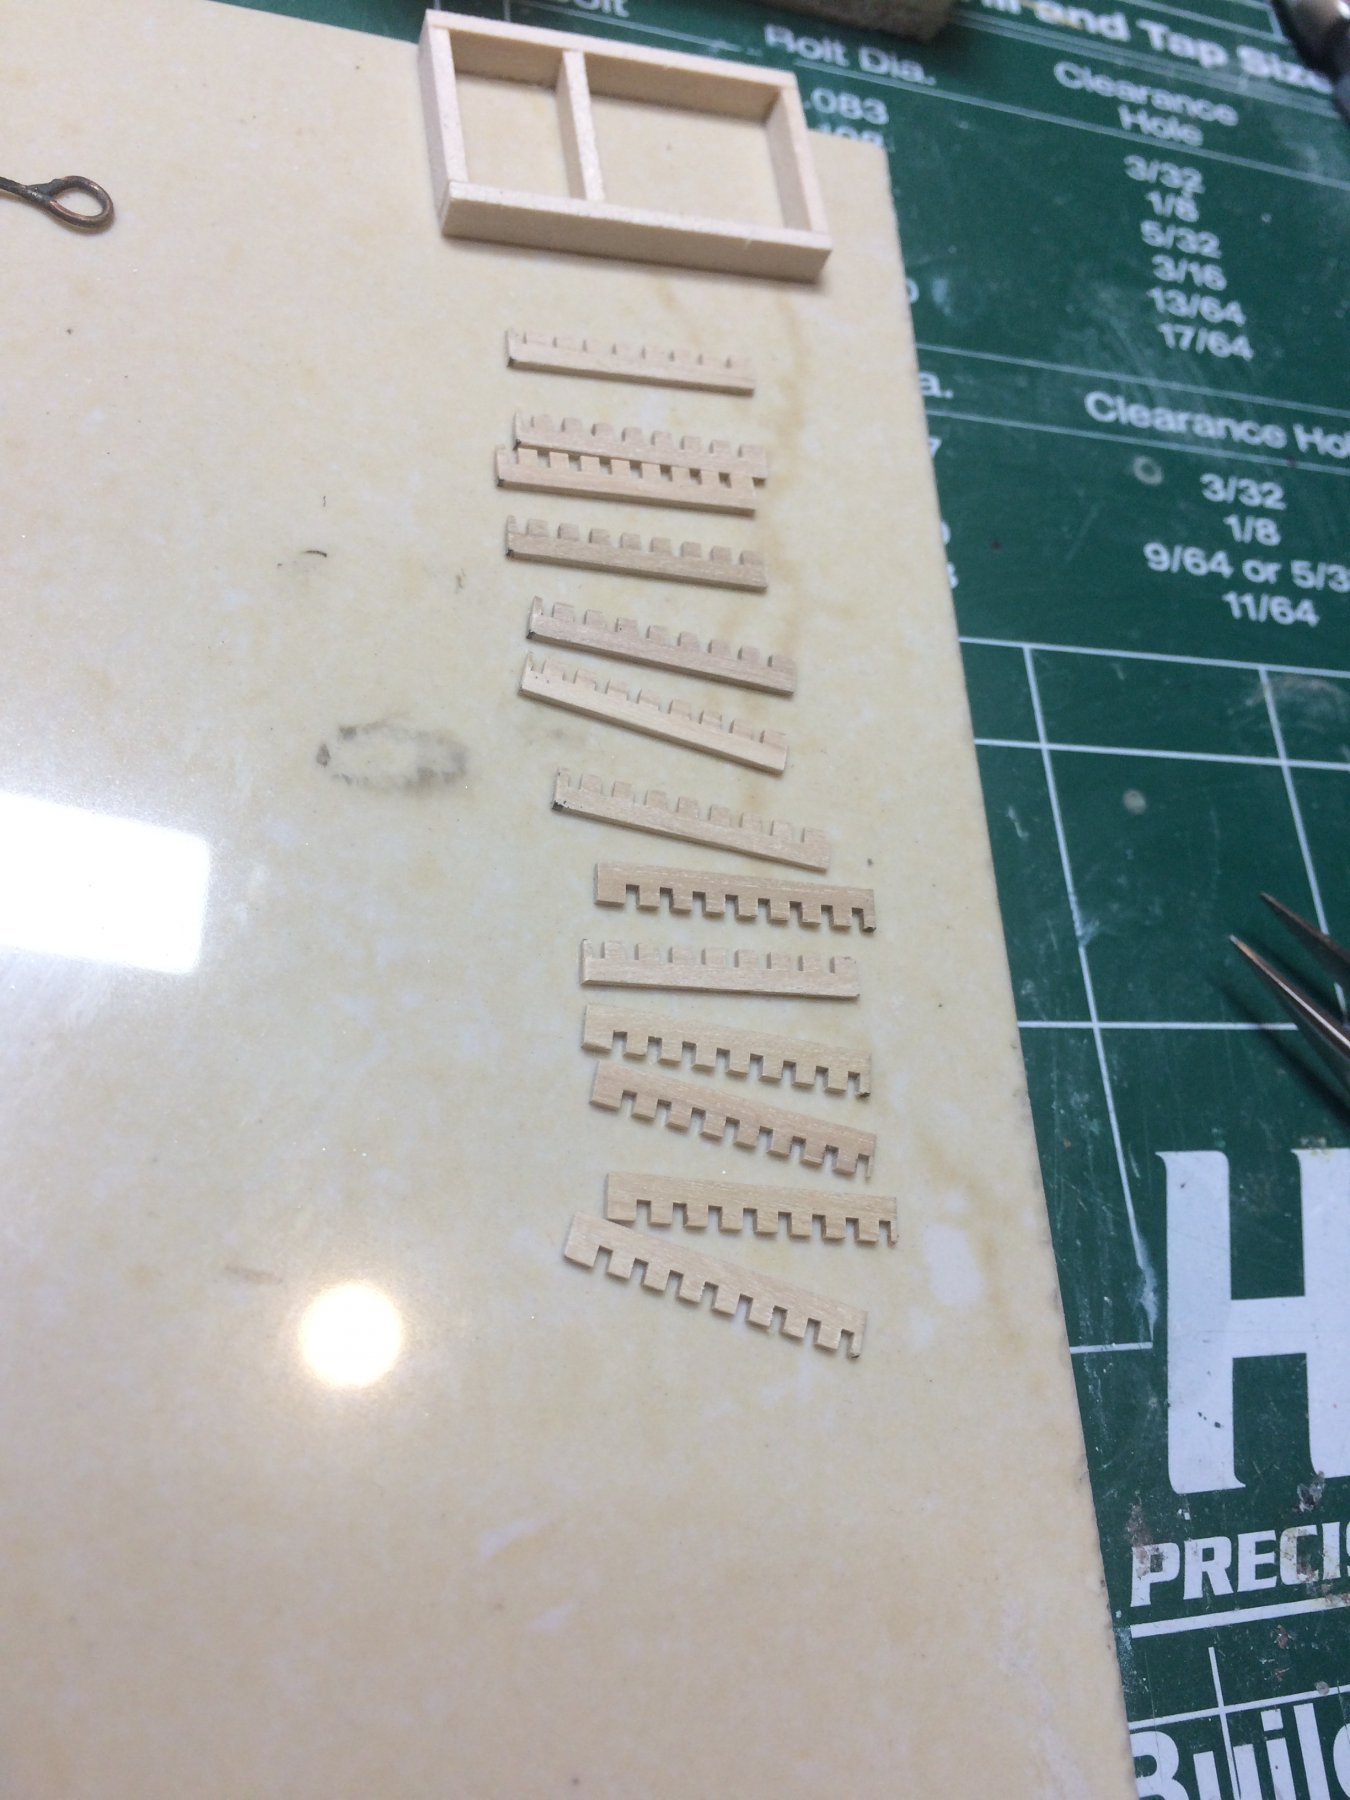
Assembly process, cannot wait to get them all together..

Then i marked the main hatch opening that will host gratings and cut them one at a time..
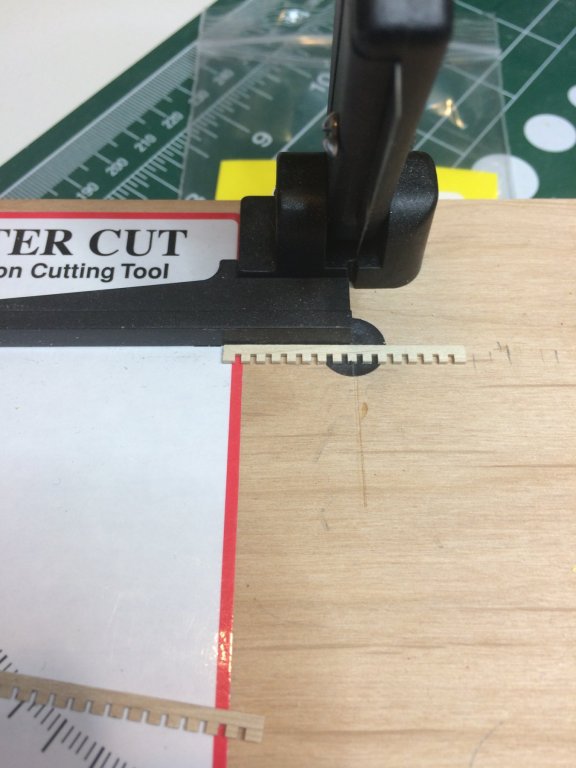
Here they are, ready for assembly.

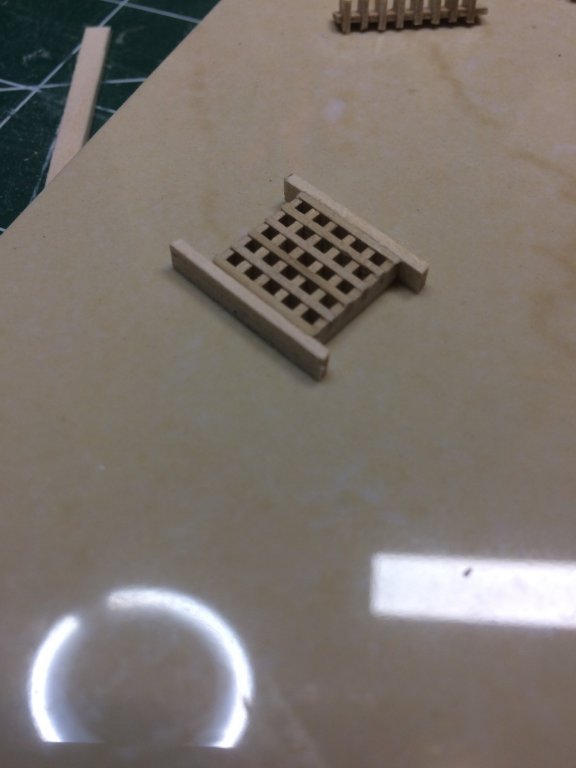
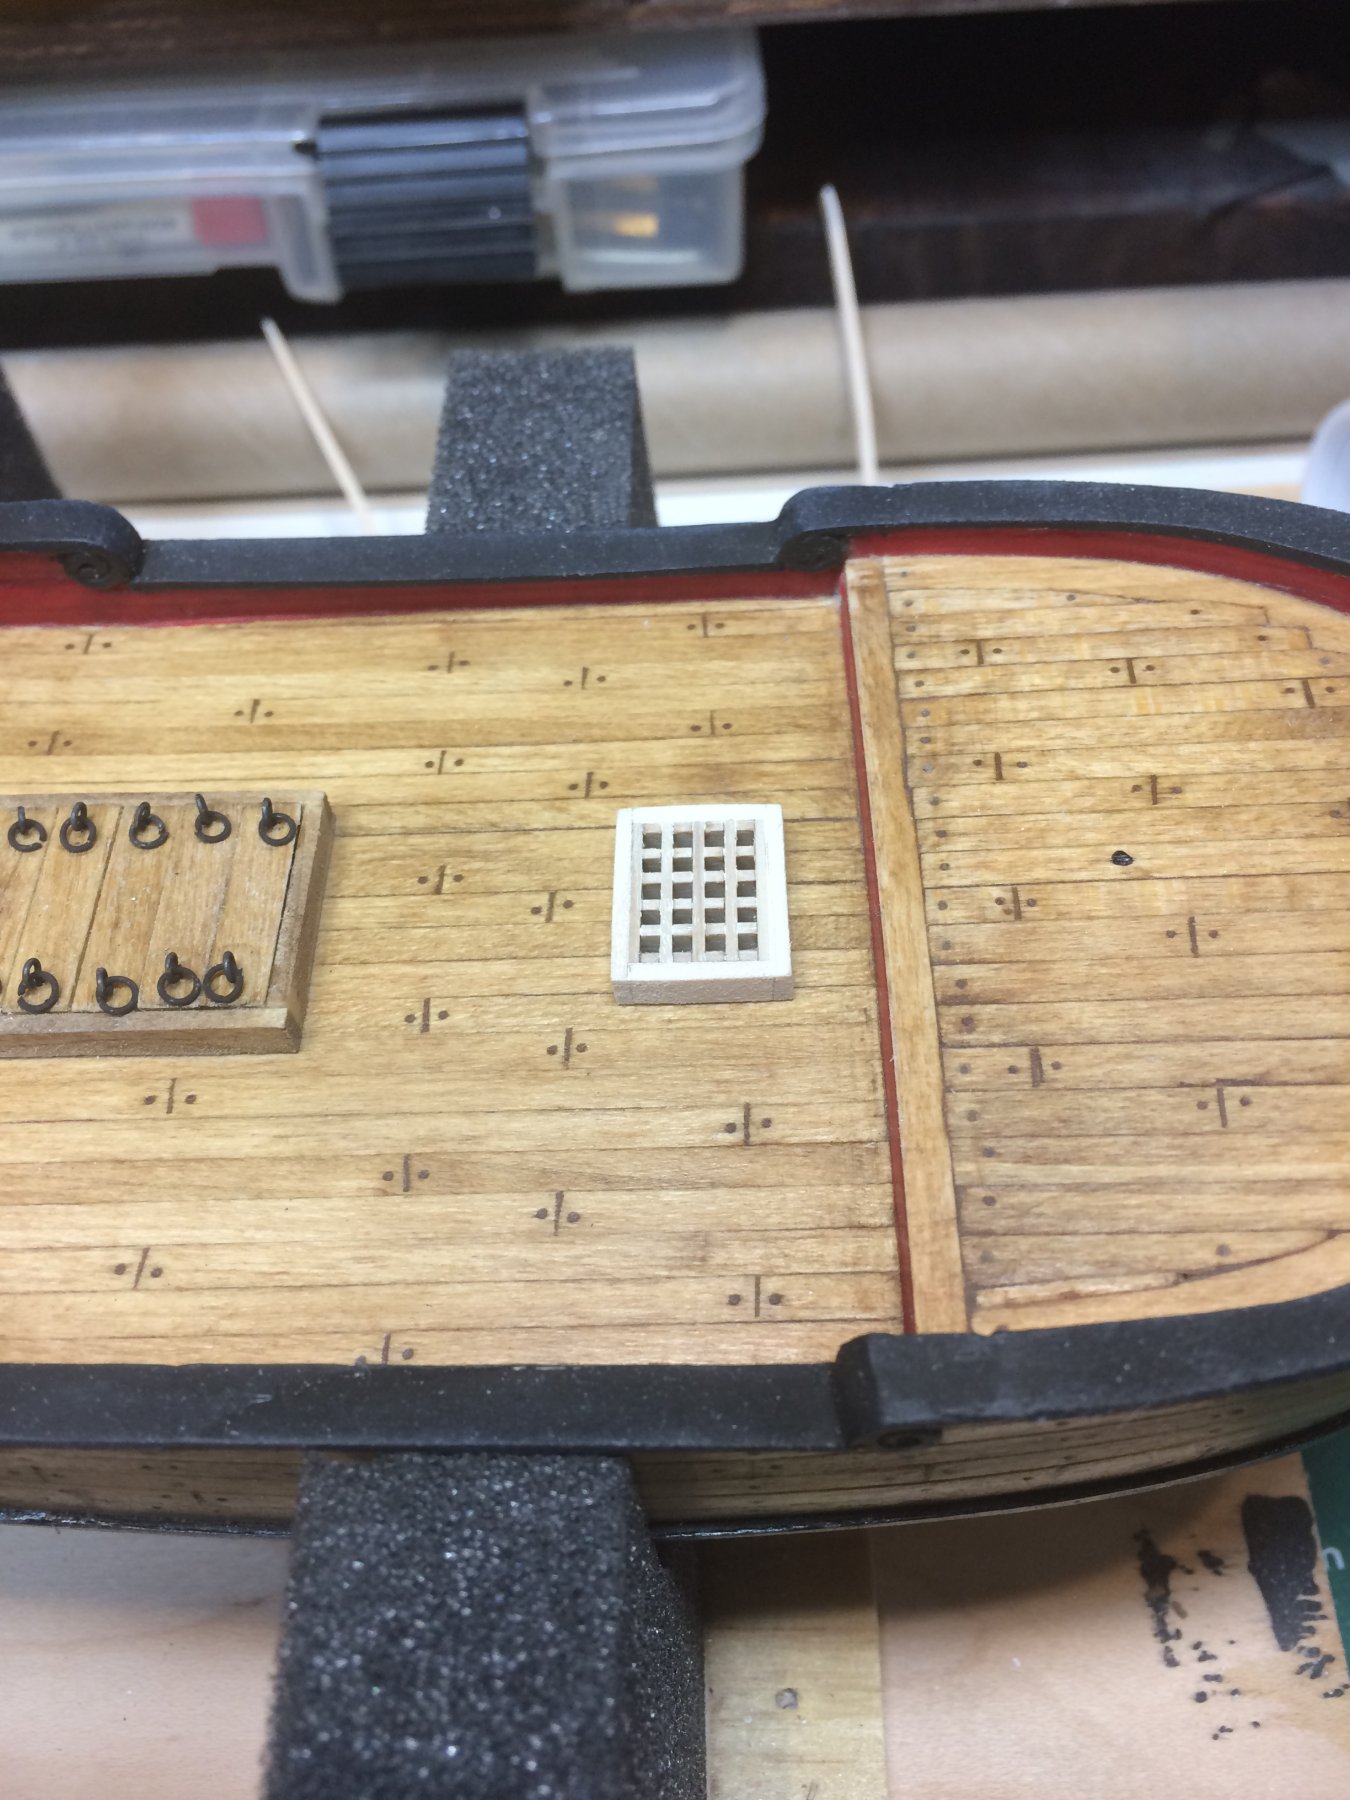
Assembled and ready for sanding for fitting. I put tiny amount of super glue on gratings to keep them together. They fit well on its own but small drop of glue will make my life easier...
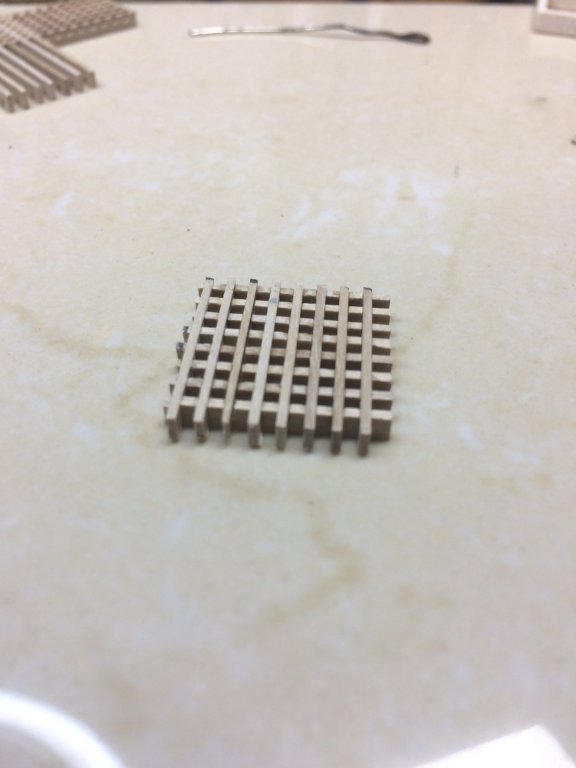
Sanding is next ... and test fitting...
On Sultana and ready for stain.
More to come soon.
- Fright, jablackwell, lmagna and 1 other
-
4
-
-
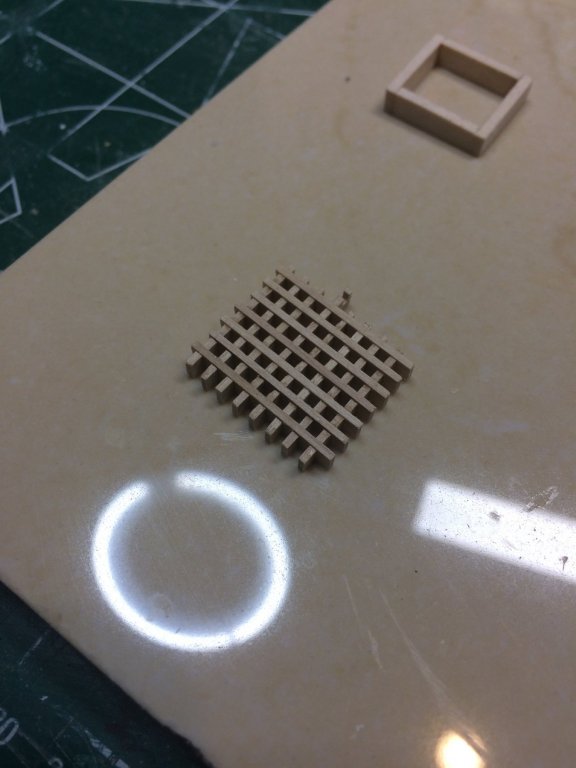
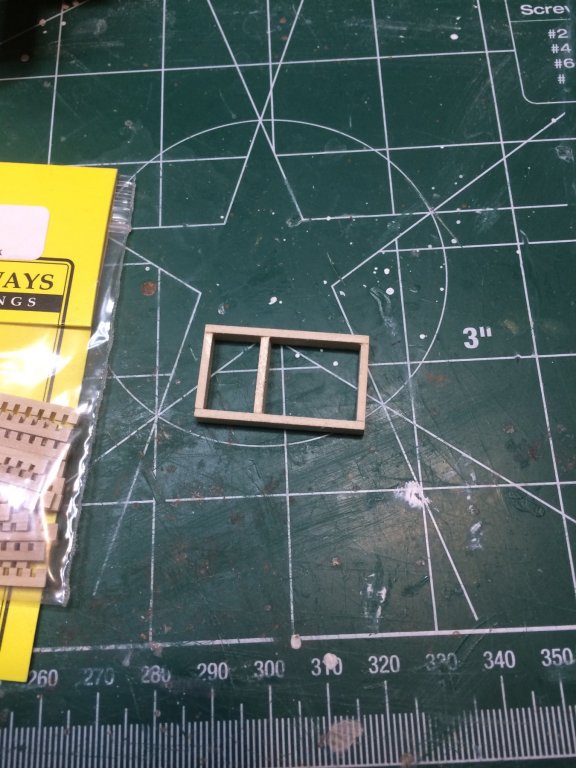
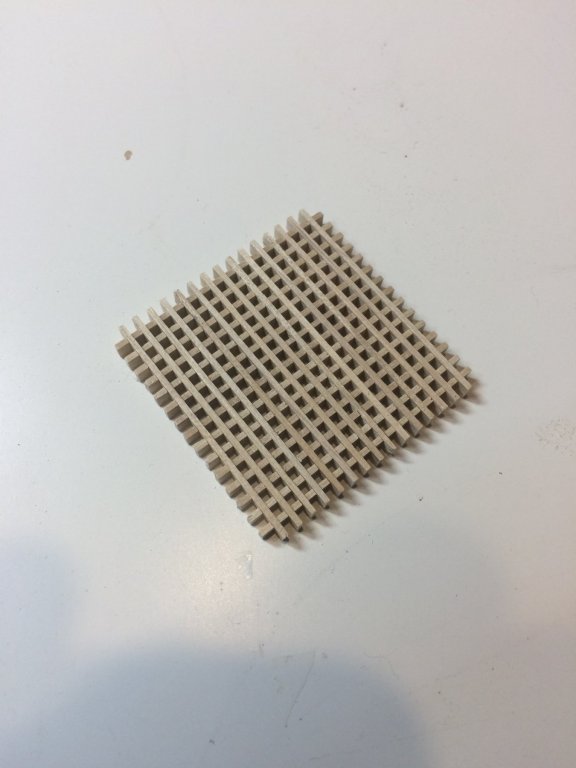
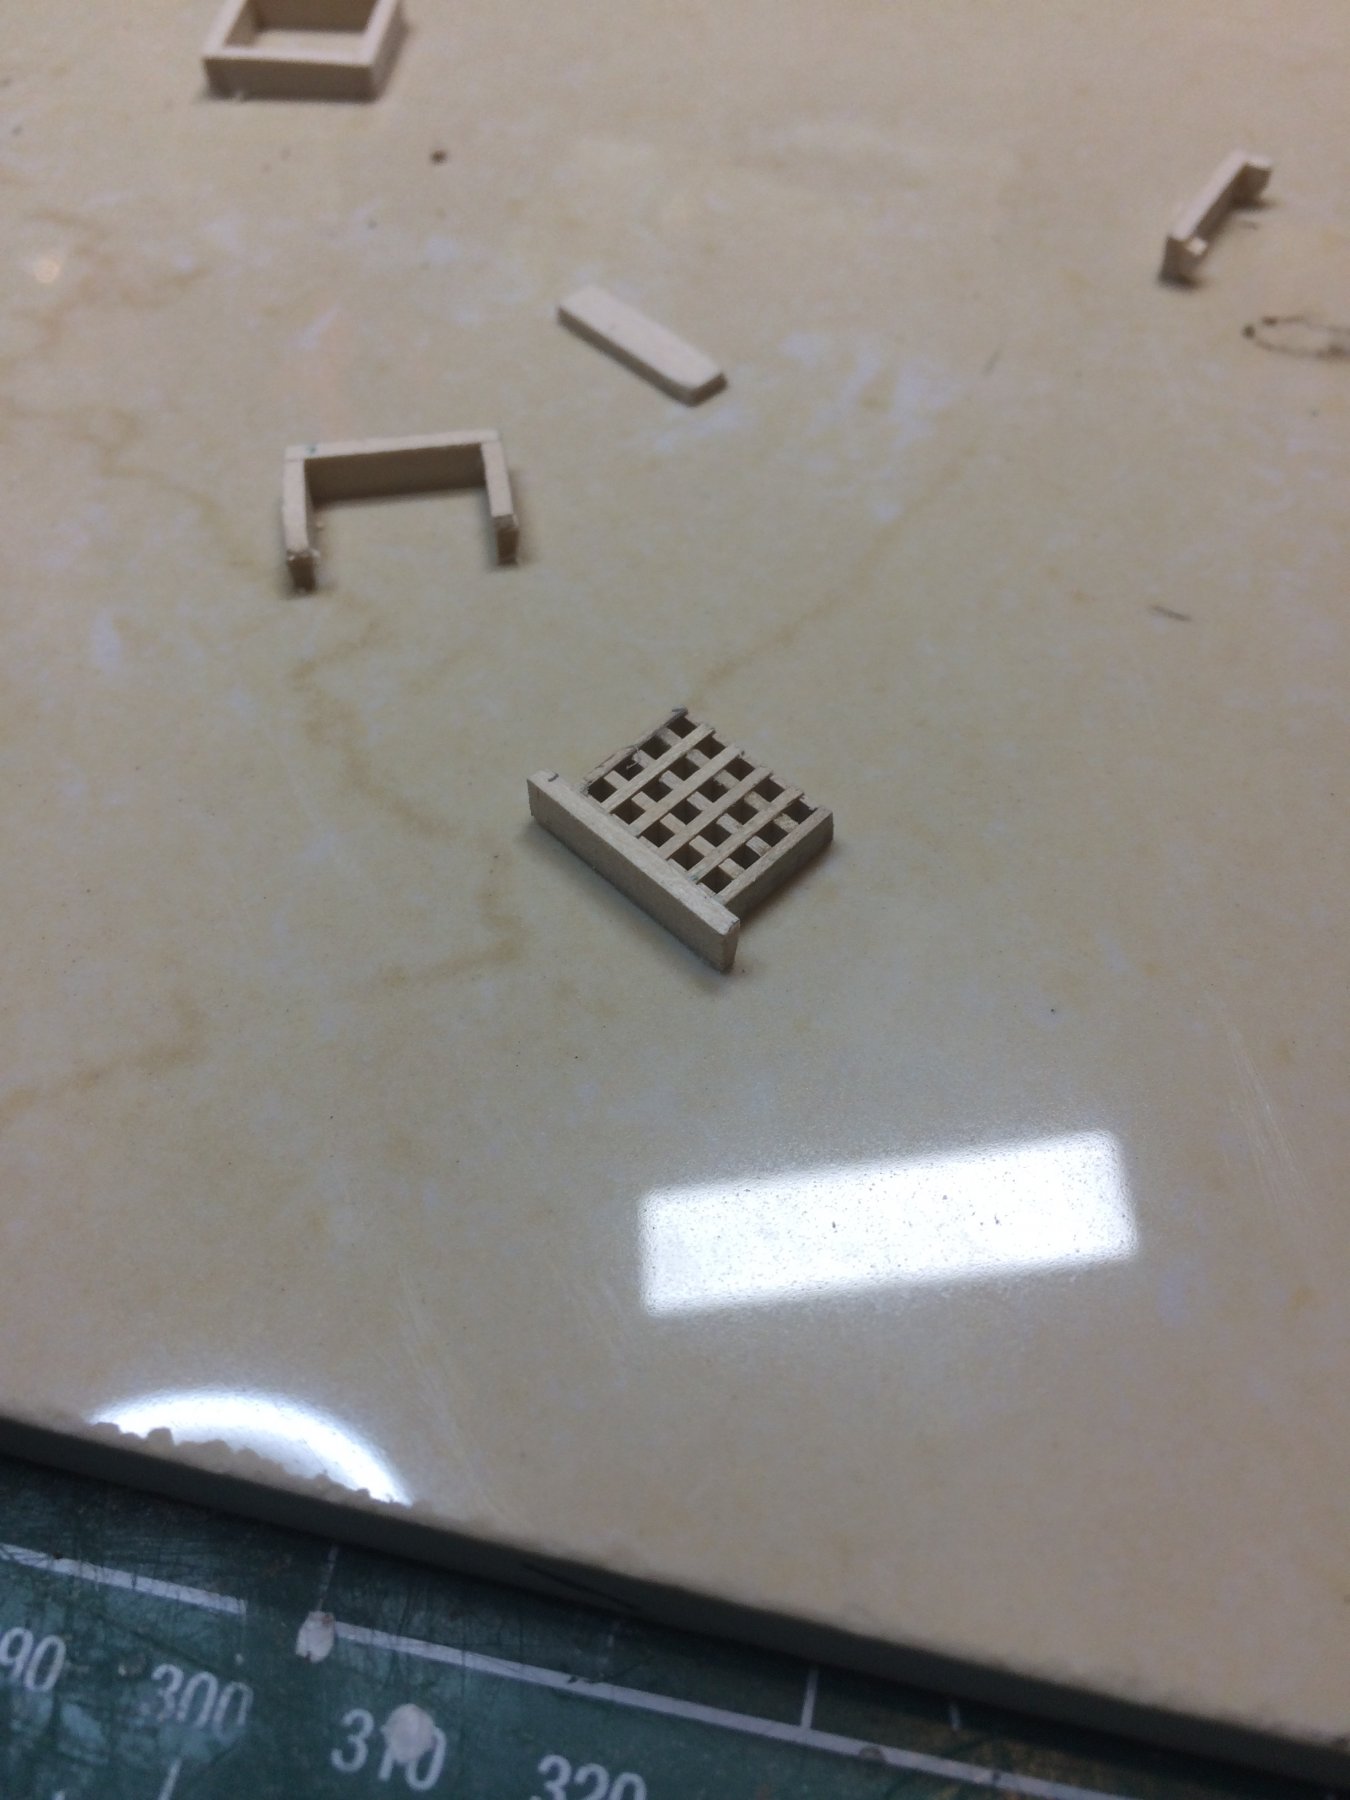
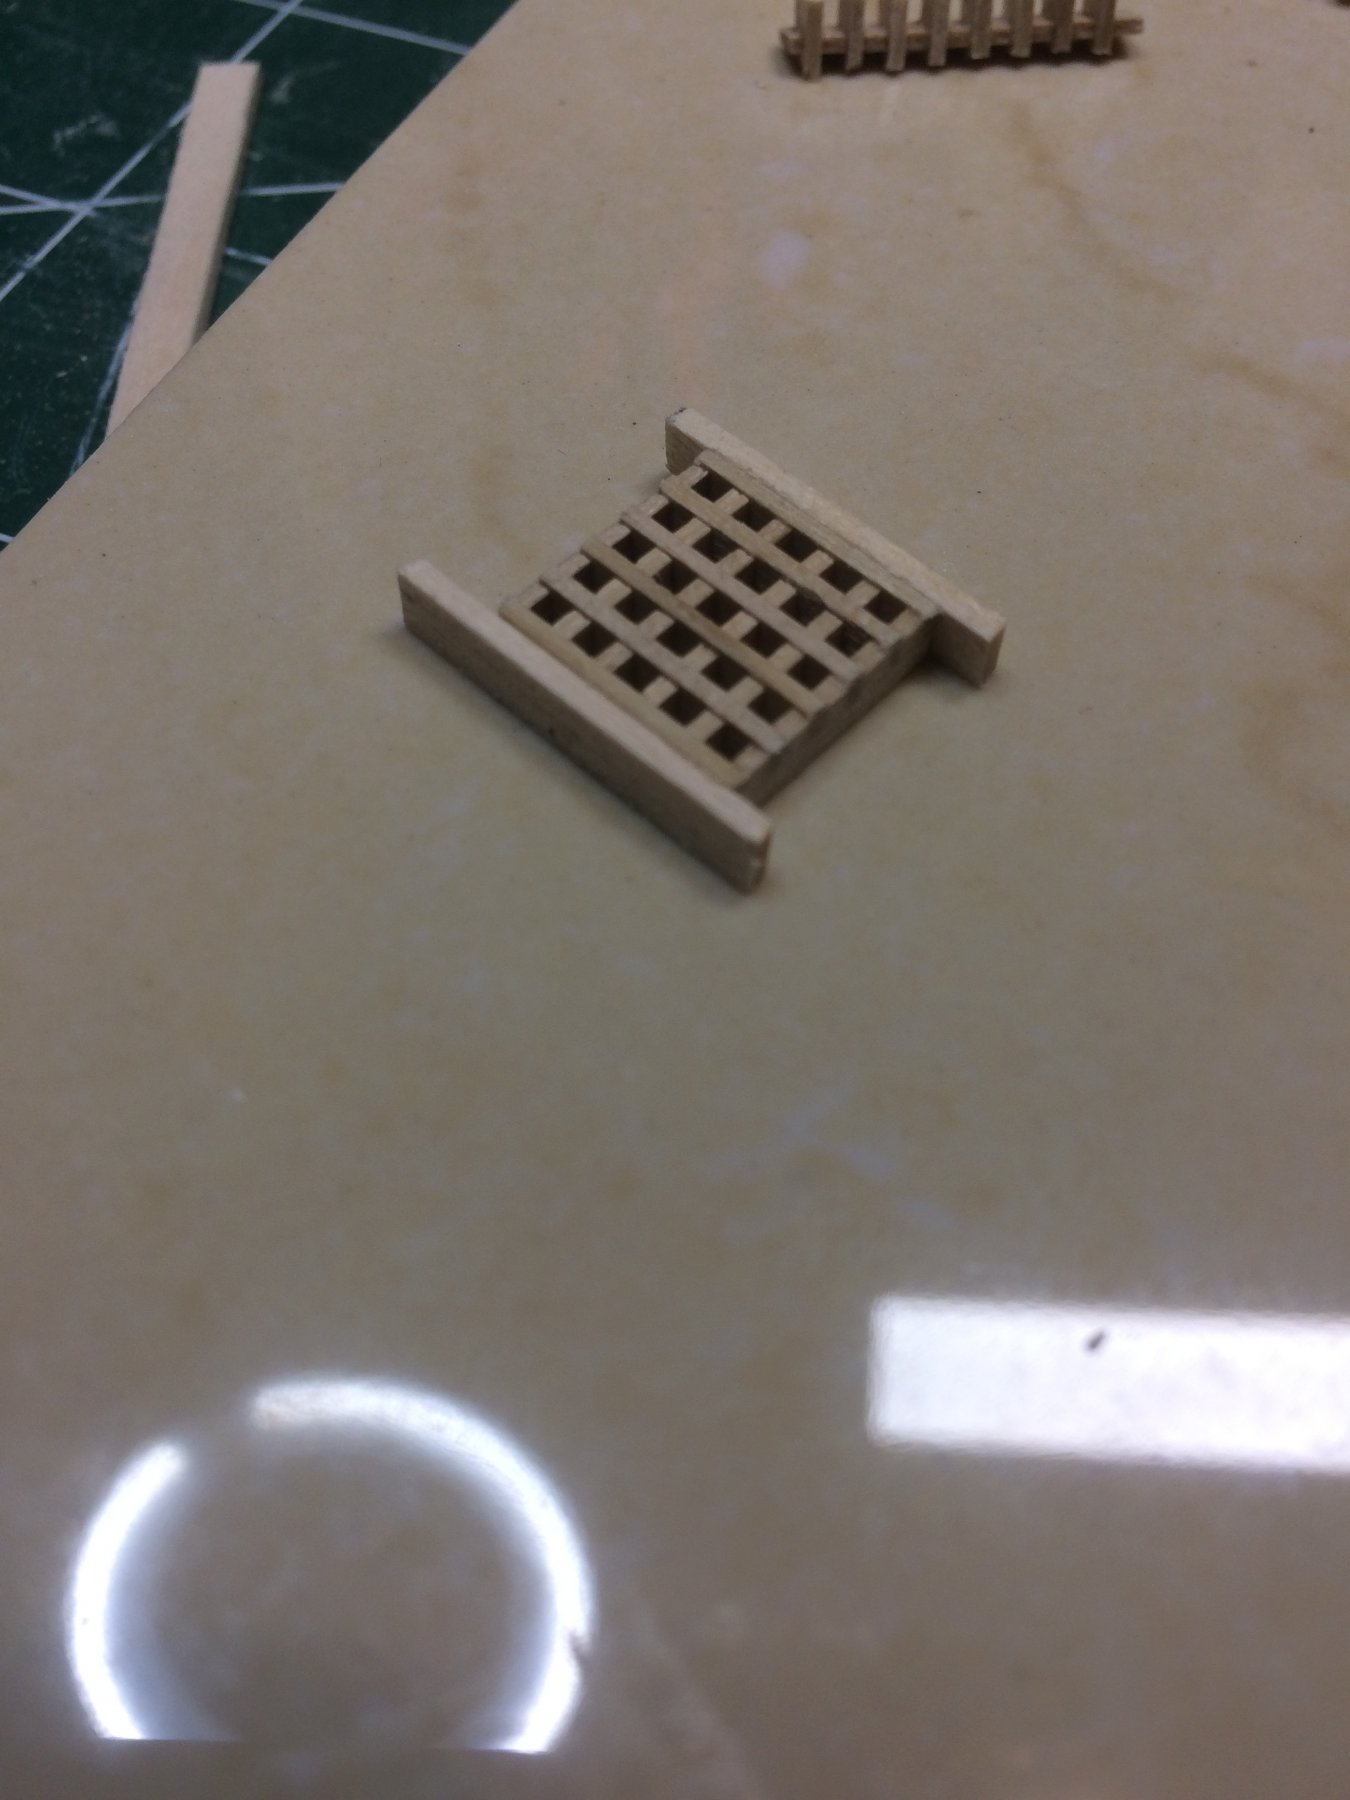
Gratings, all about gratings.
Made nice strip of it; expected to be a bit out of scales since i dont have smaller than 1.5mm blades for my table saw.
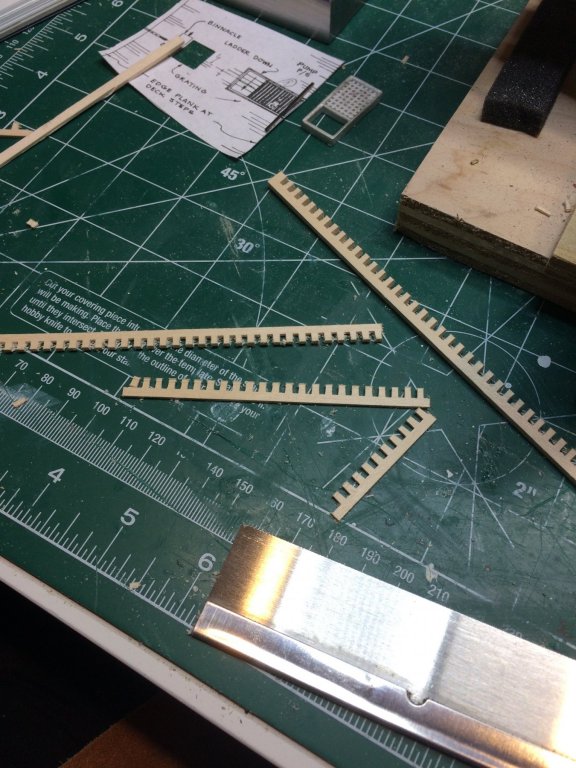
Gave it a try, spent few hours making a cutting template, gratings, finding correct wood size...

And yes, they are out of scale for this implementation. I believe whole sailor' leg can go thru opening :-)
I think they will be perfect for ships in bigger scale but for Sultana they just don't fit.
Following Chuck' suggestion, ordered gratings from ModelExpo...
Unless someone has a better suggestions how to make gratings in a smaller size (i was even thinking to put two blades together to simulate finger joint set but decided not to as it did not look like a safe move) i will wait for shipment to arrive...
Happy modeling.
-
On 6/7/2018 at 6:35 AM, Fright said:
Nicely done - and enjoying your work!
Thanks Robert O.
-
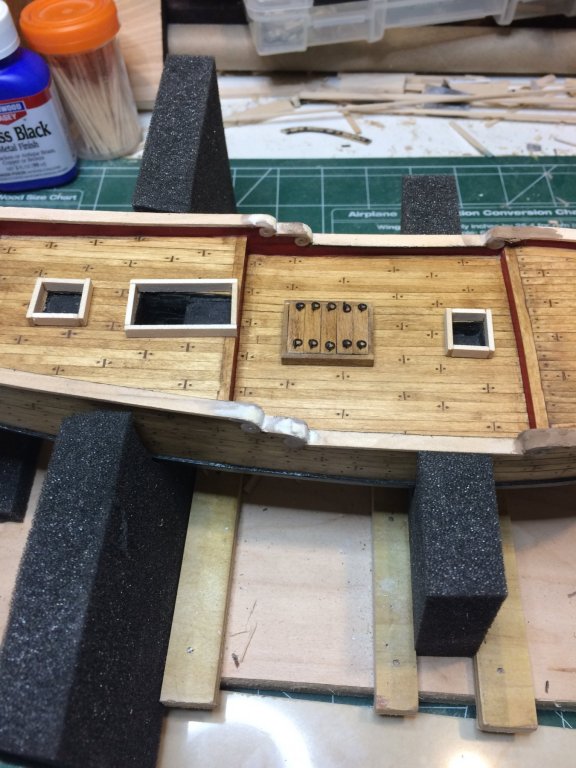
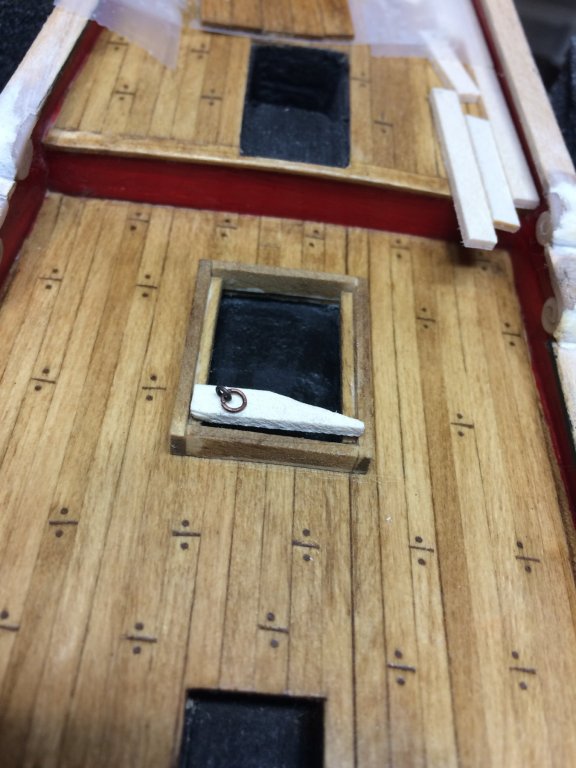
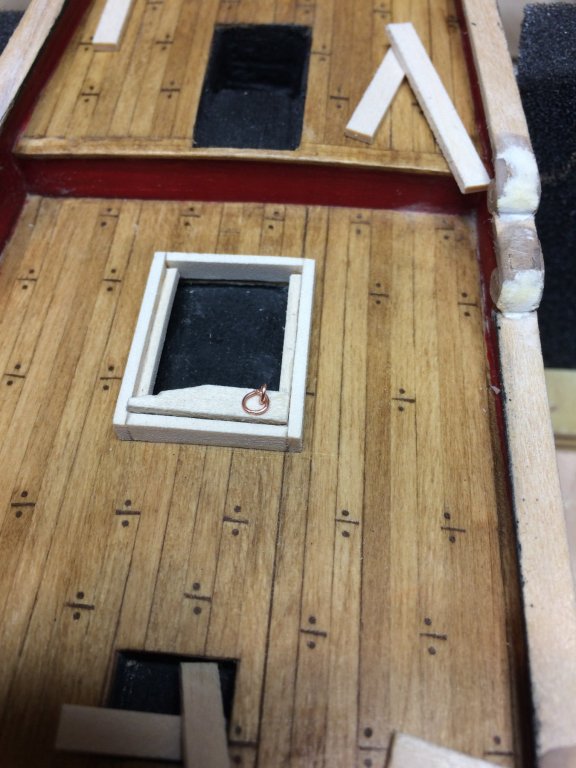
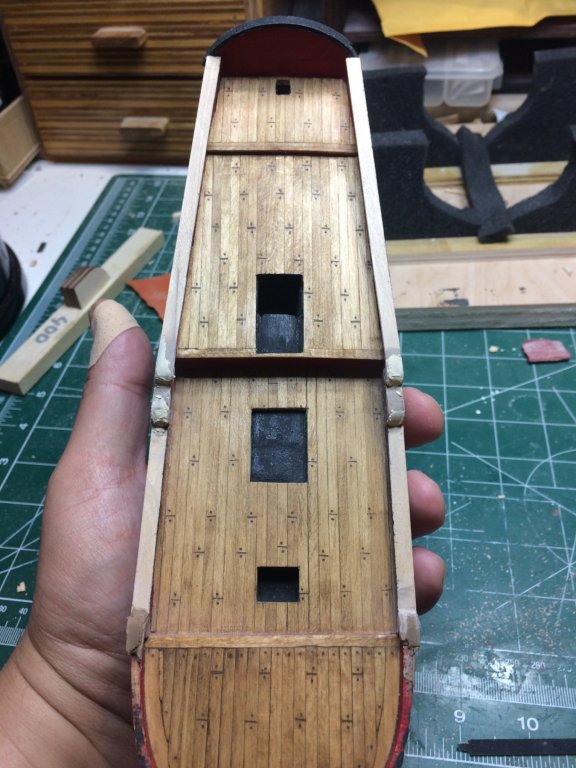
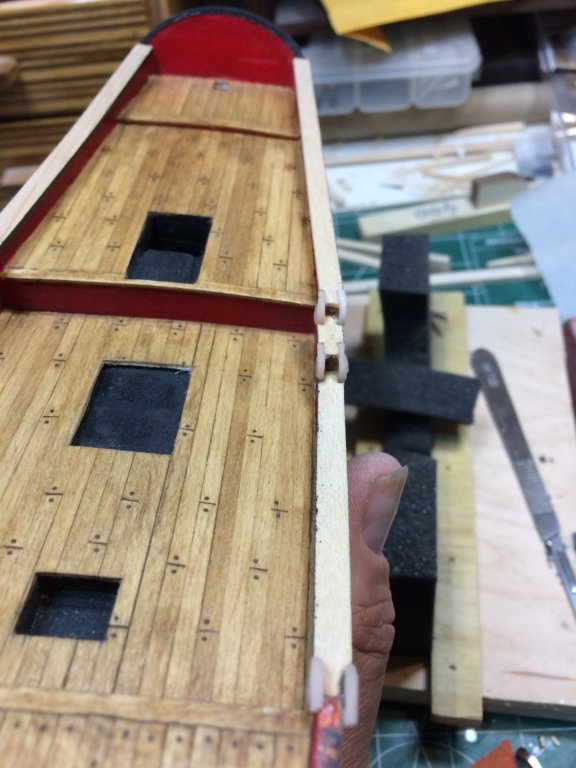
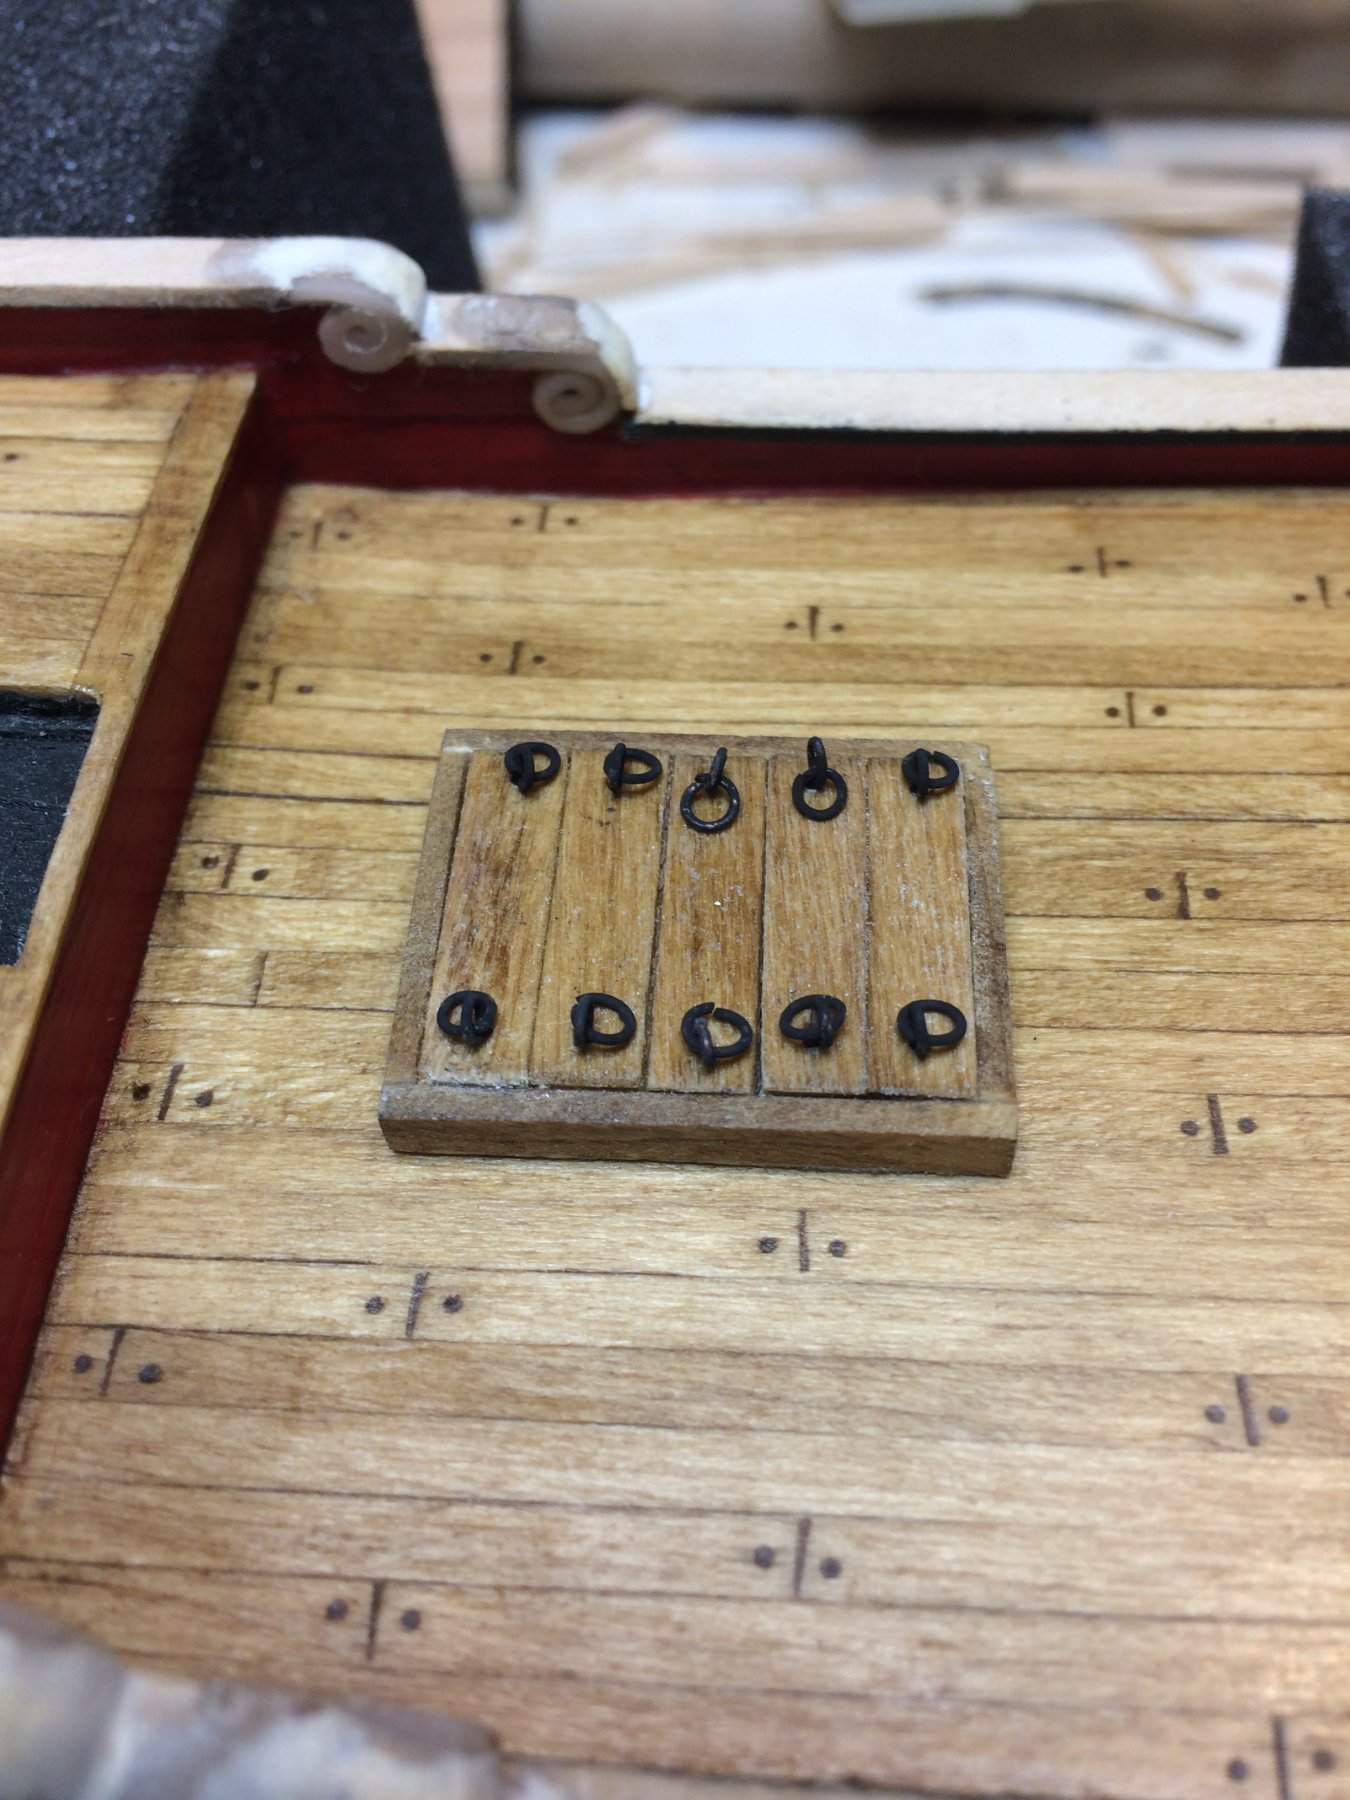
Eye bolts and rings attached and planks mounted on the ship. Very interesting and realistic results..


Making coamings for other hatchets are on the go. Kit supplied metal casting hatchets will be discarded.
I cut the planks to correct length, glue them over the block anvil to get perfect 90 degrees angle. Once all is assembled, sanded all sides on the piece of sand paper temporary fixed on an old ceramic tile.
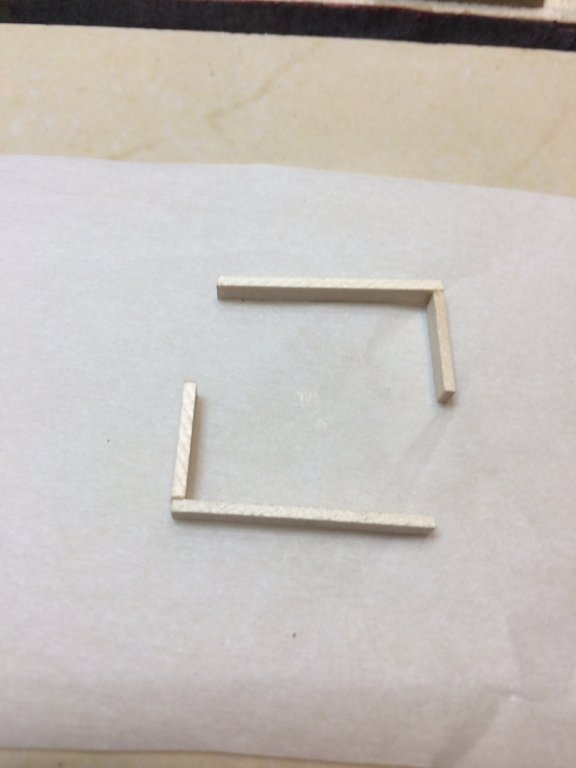

That would be all for today..
-
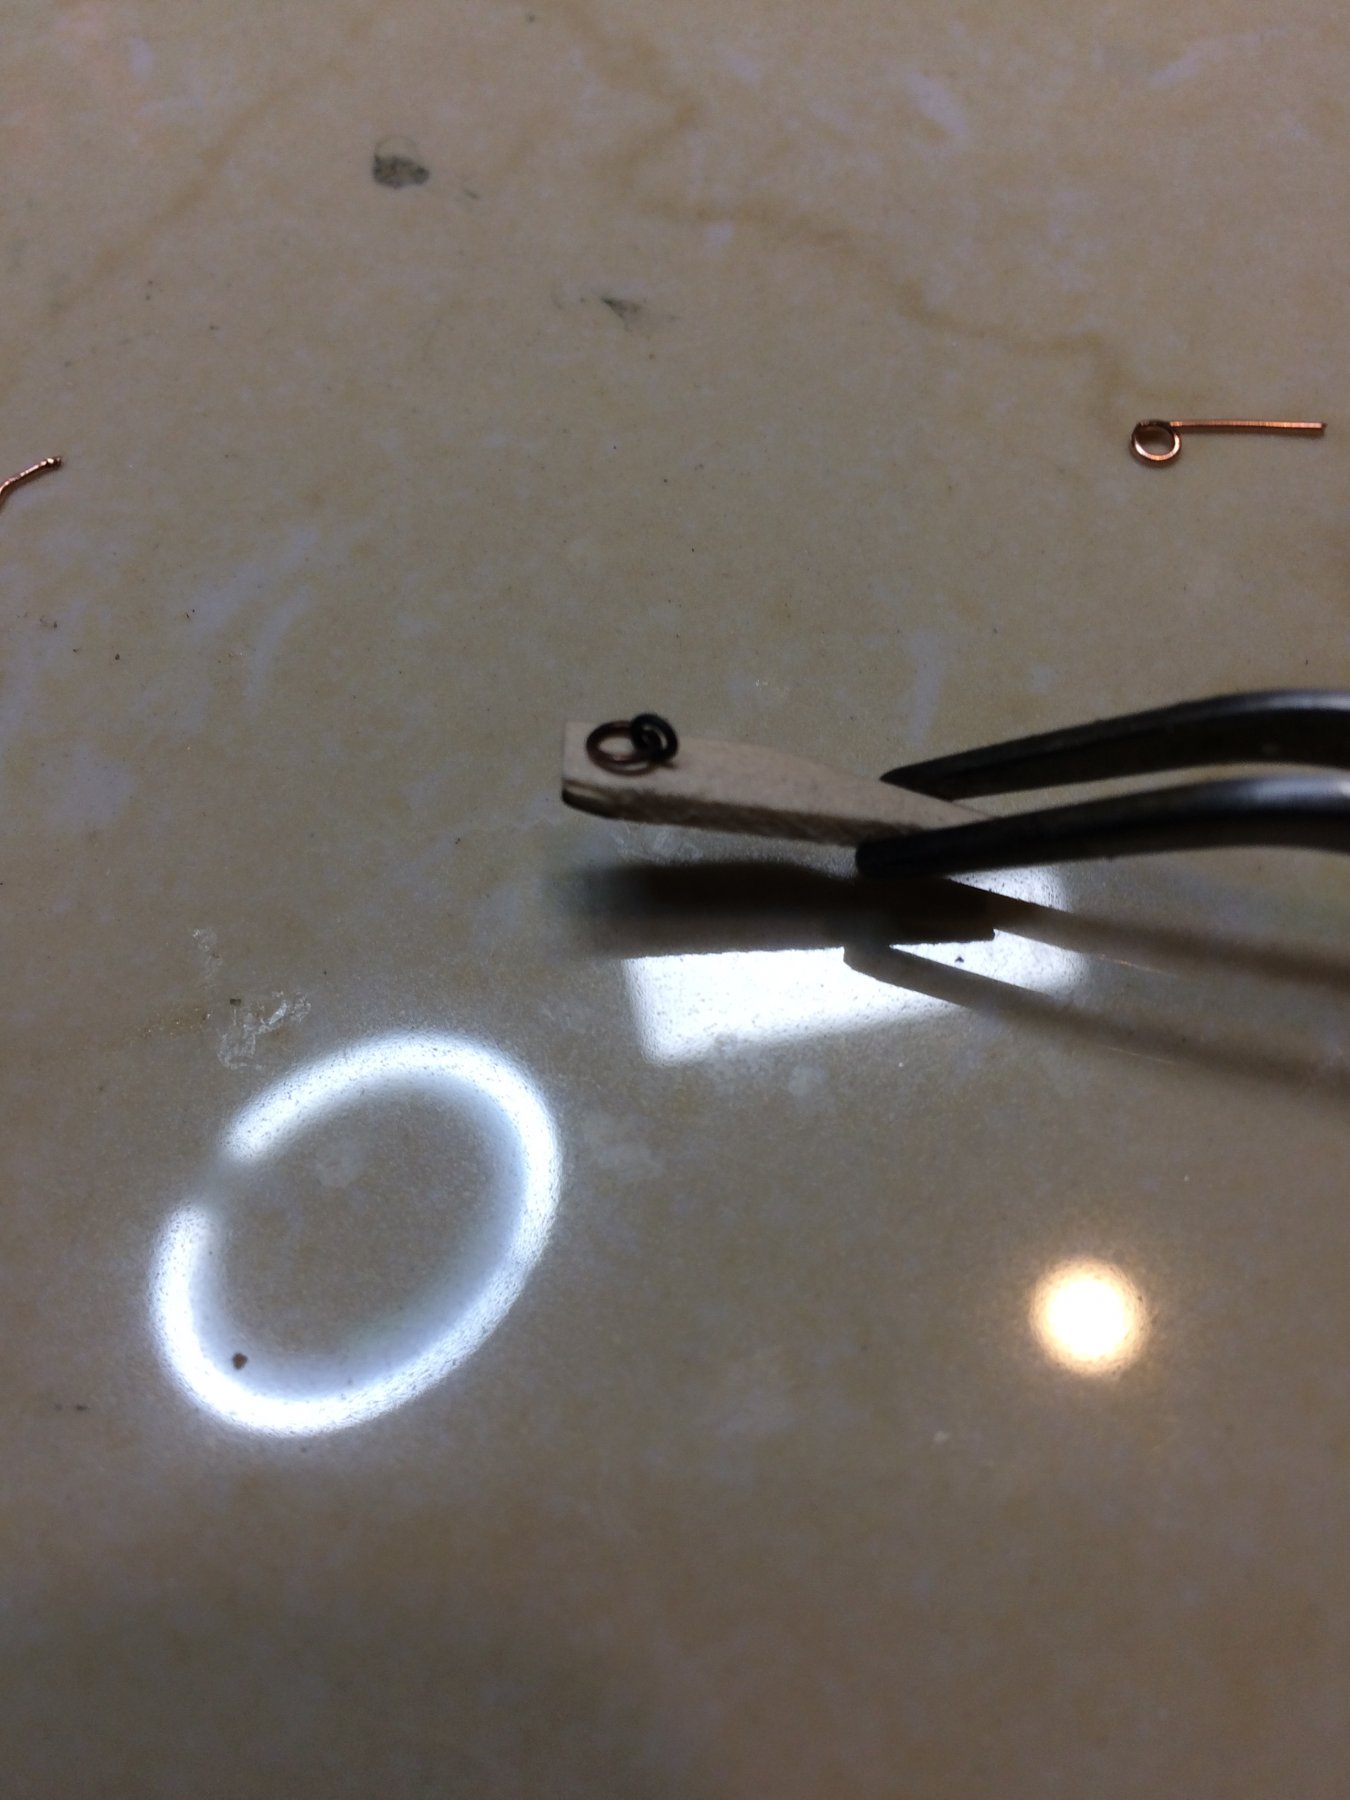
1 hour ago, lmagna said:
I'm sure you will keep at it until you are happy with the results. It's kind of hard as the scale is small. You could try wrapping the loop around a small wire or rod to make the loop.
Thanks Lou for your reply, i just used the same technique as you described and they are much nicer..
They are very, very tiny....
-
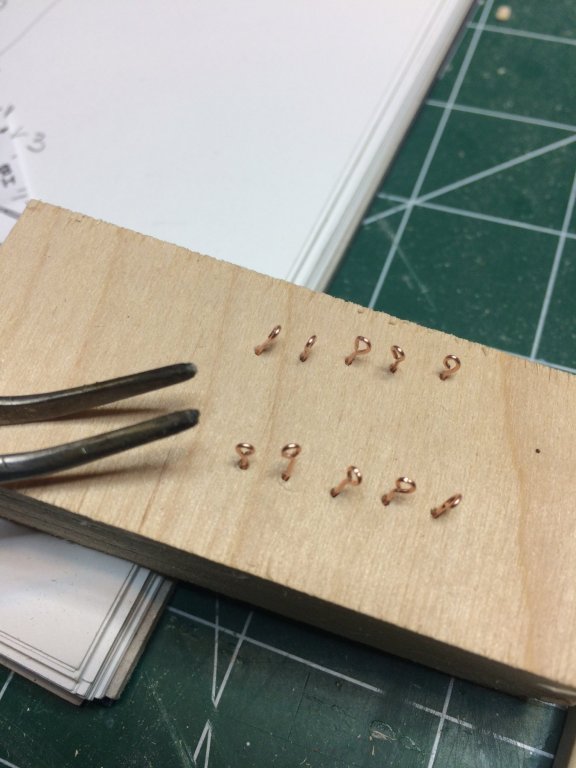
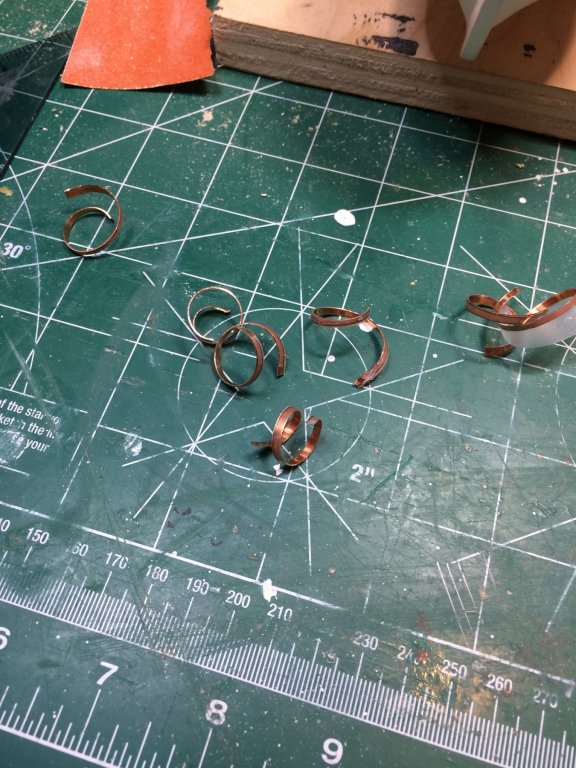
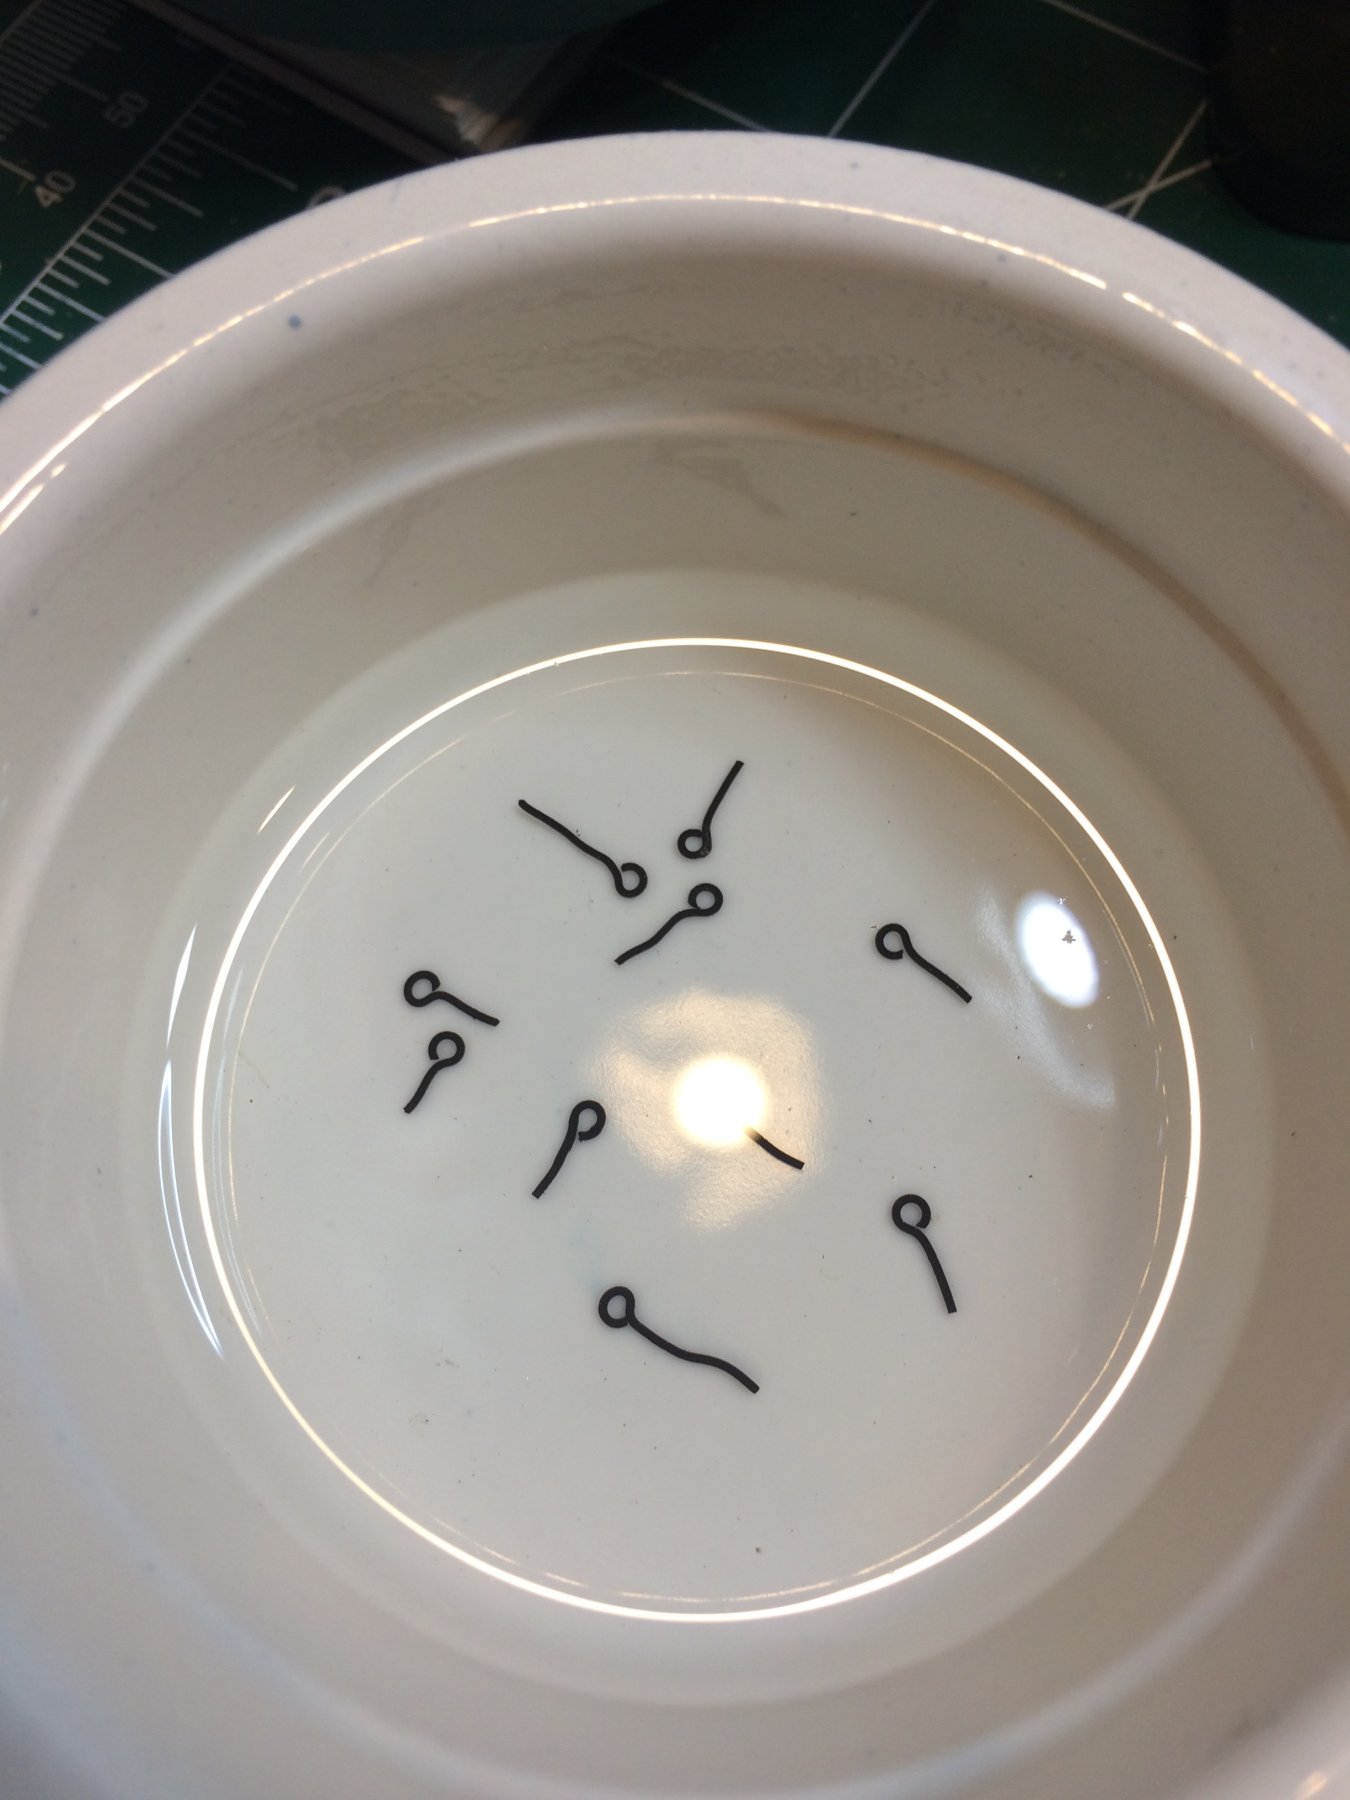
Not being truly perfectionist but close enough (but no cigar) i decided to make another set of eye bolts.
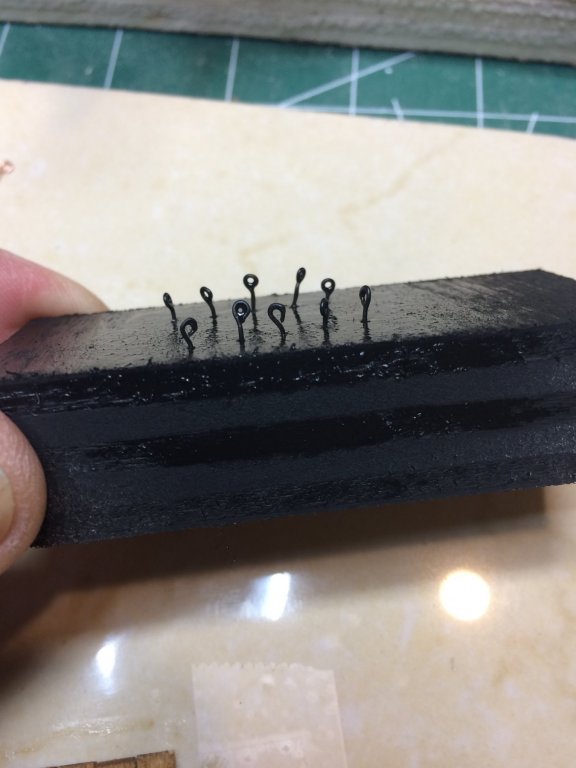
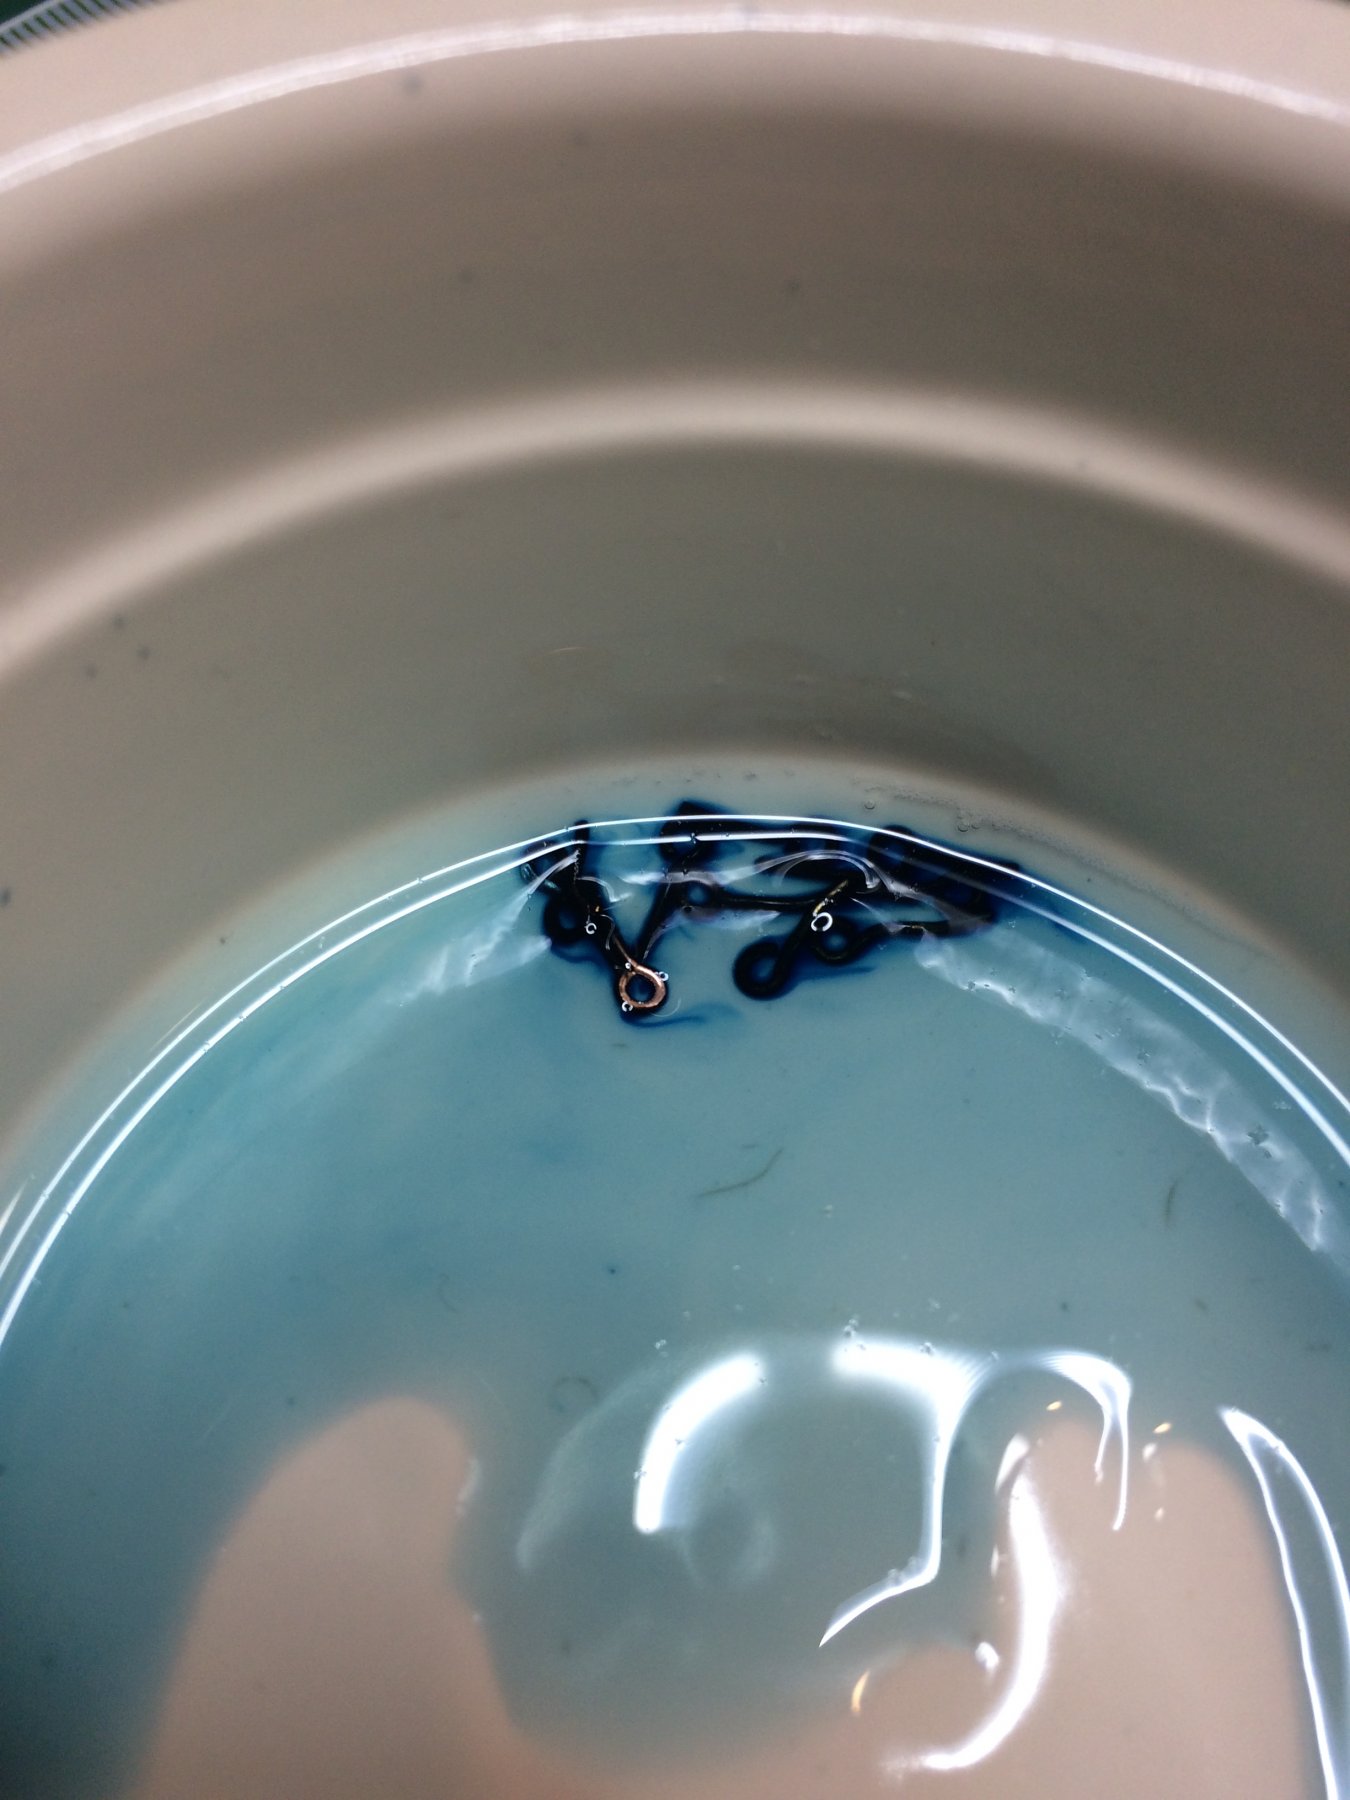
Did not like the shape of eye bolts i made yesterday and result flat black paint left on them. Also remembering that some time ago i purchased coper blackening kit so i decided to give it a try as well.
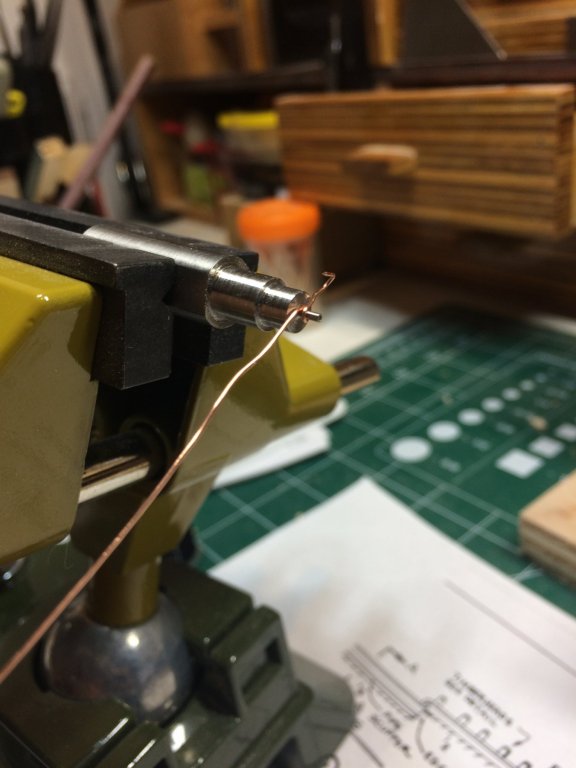
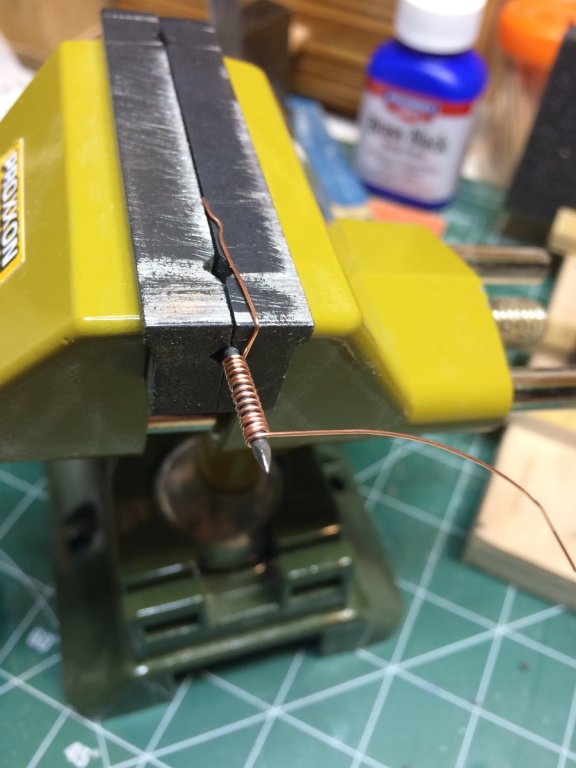
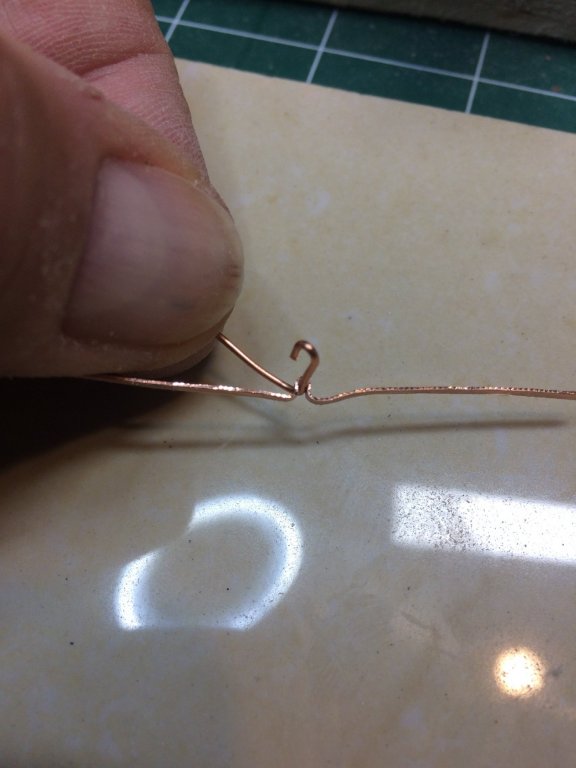
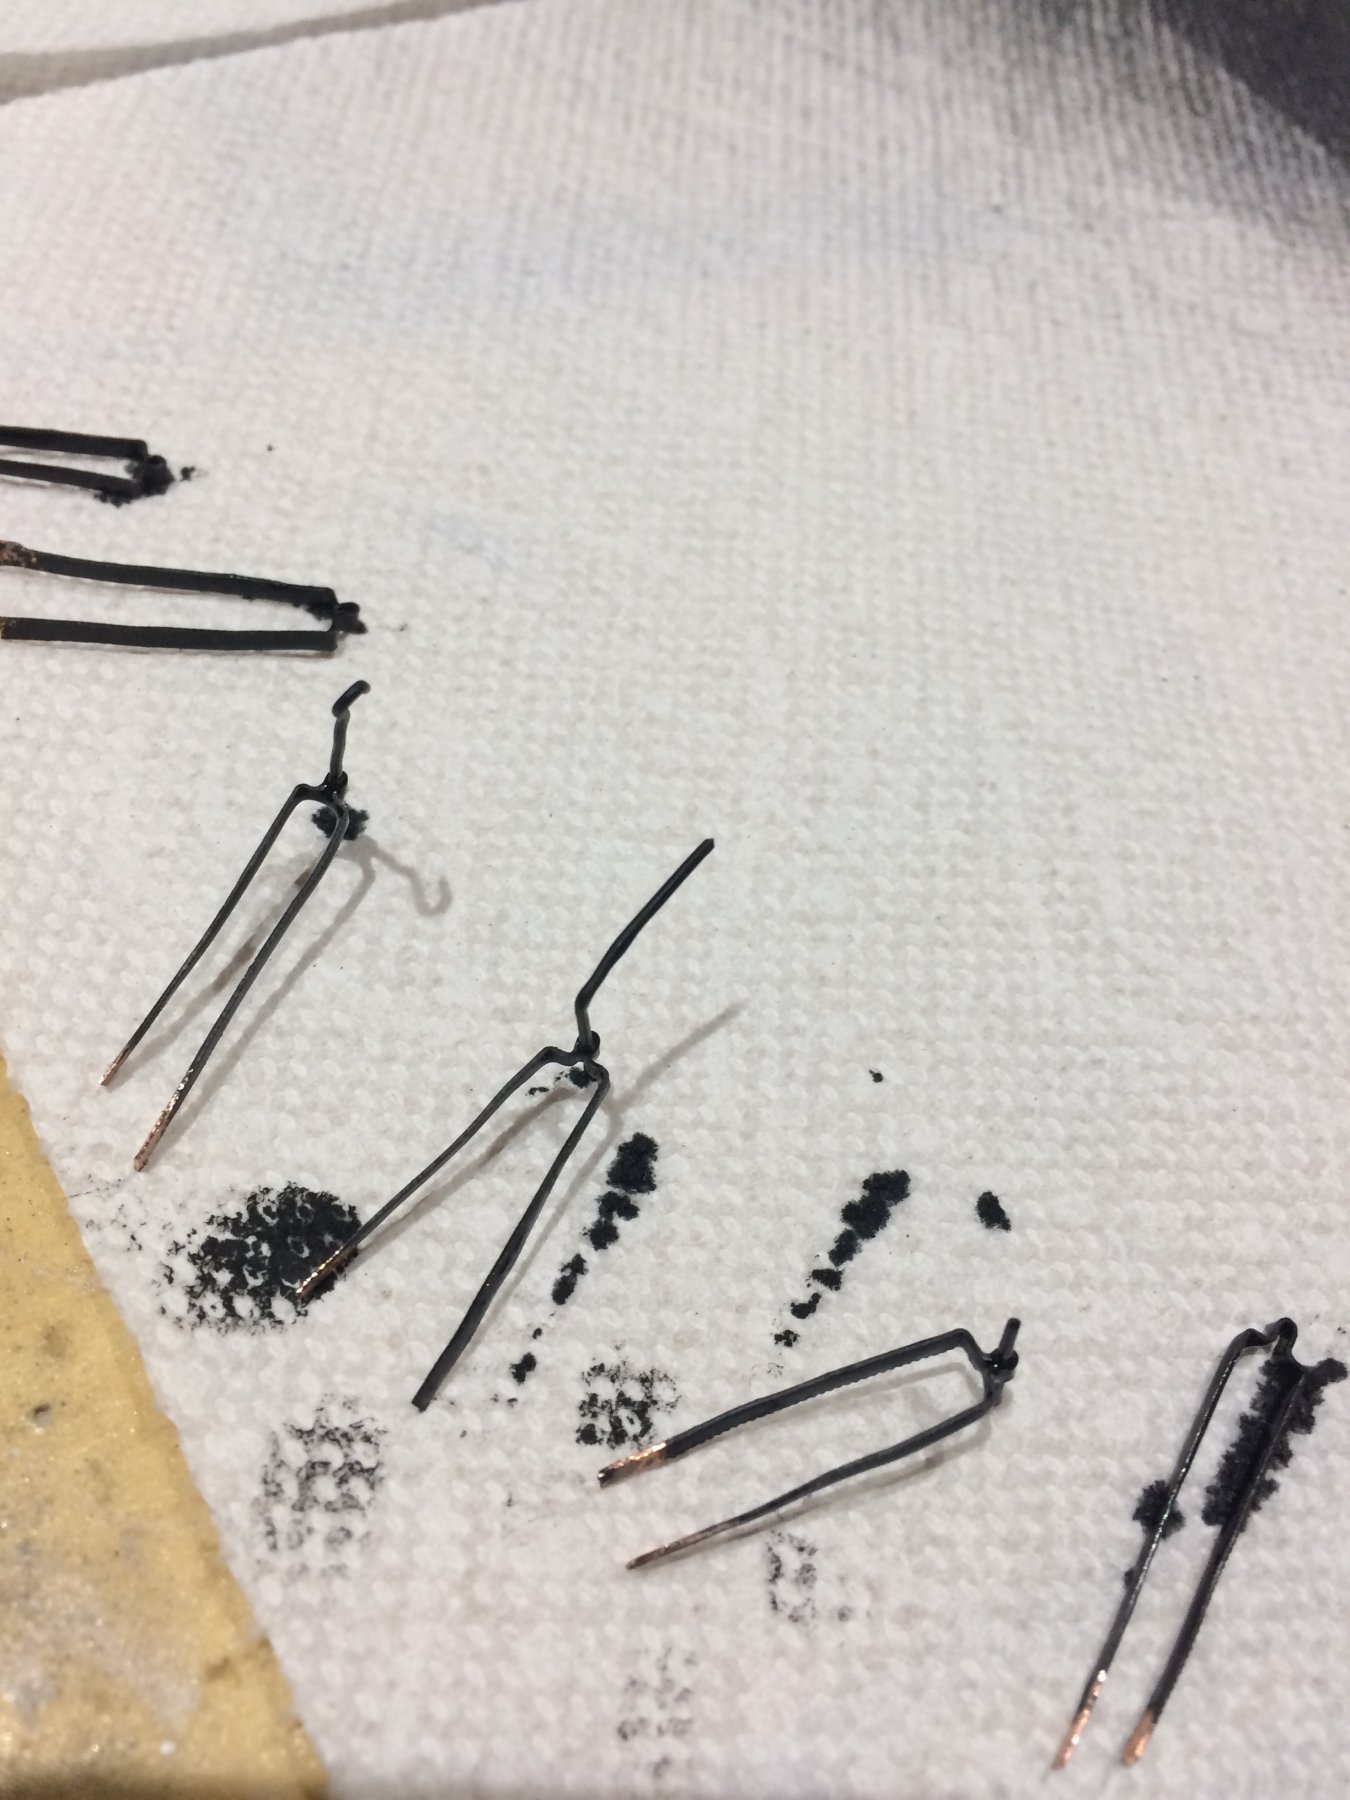
Using a 1.4mm diameter nail as a template for an eye, i made about 16 new.
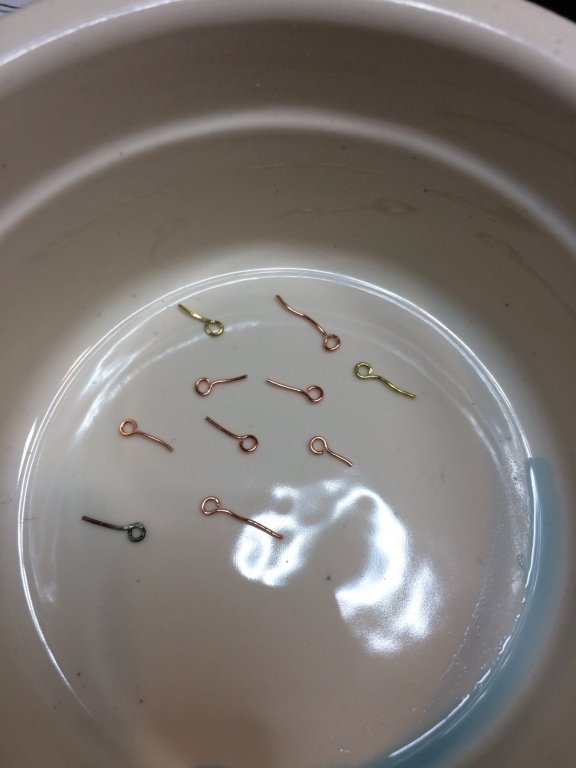
Pour in a bit of a blackening fluid... and it starts the blackening process.

Few minutes is all that it takes, and drop them into water bath..

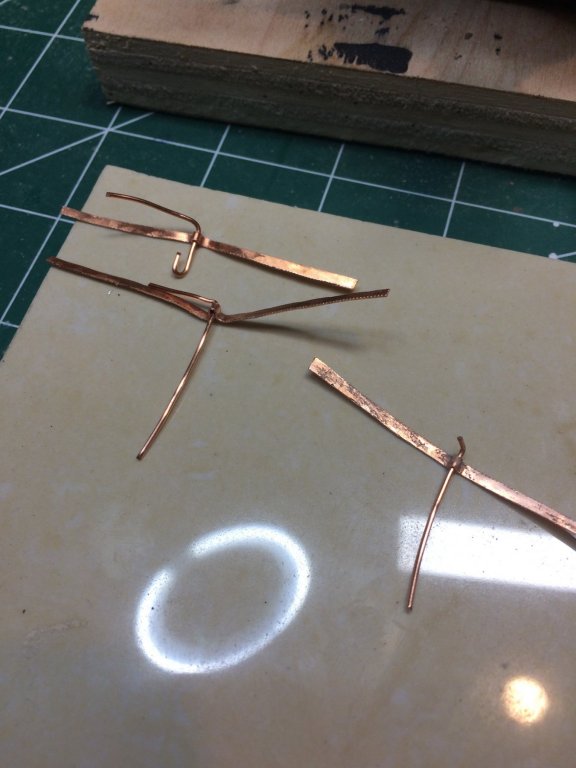
Then they were dried out on the piece of paper. Rings are next. I built one test set to see how it will fit on the plank..

Then i made a bunch of rings using a nail (this time 3mm diameter) as a template. By cutting them i got 20 rings. Good thinking since in the process of cutting i lost 4 of them..
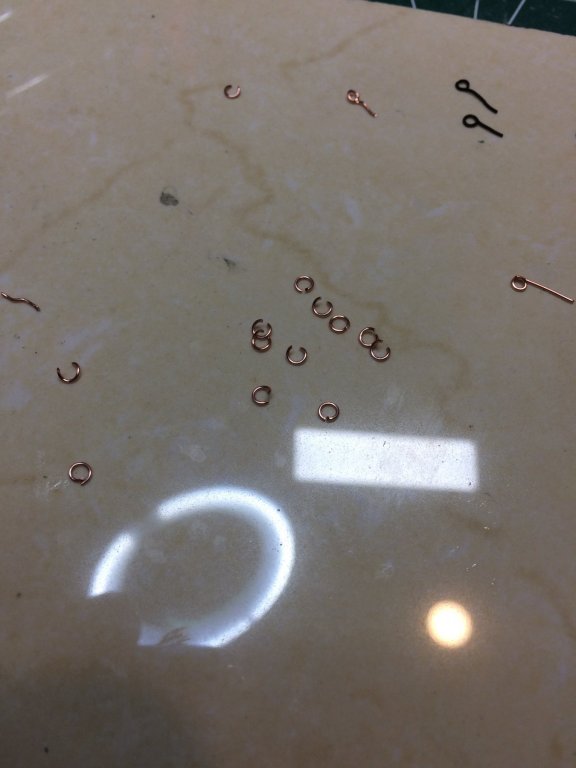
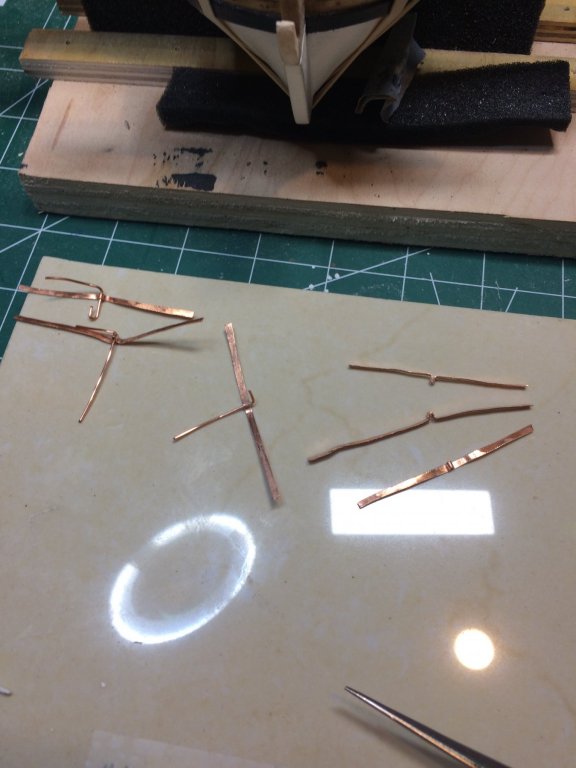
Then i put rings to eye bolts and drop all sets into another blackening bath..
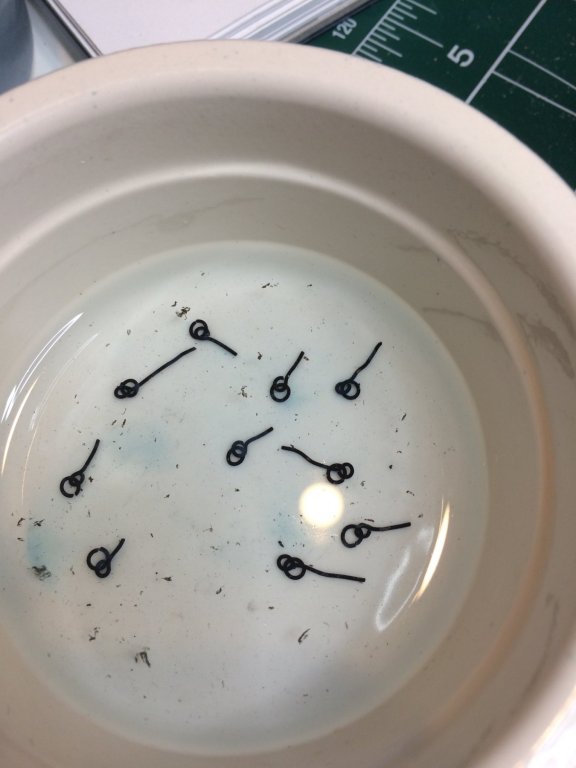
After few minutes in water bath, i removed them and put on piece of paper for drying.
So, here they are, planks and eye bolt/ring sets ready for tomorrow..
Happy modeling..
-
Thanks Imagna, there are few things i will do differently; one is eye bolts. They do not look perfect for my taste so will be redoing them today..
-
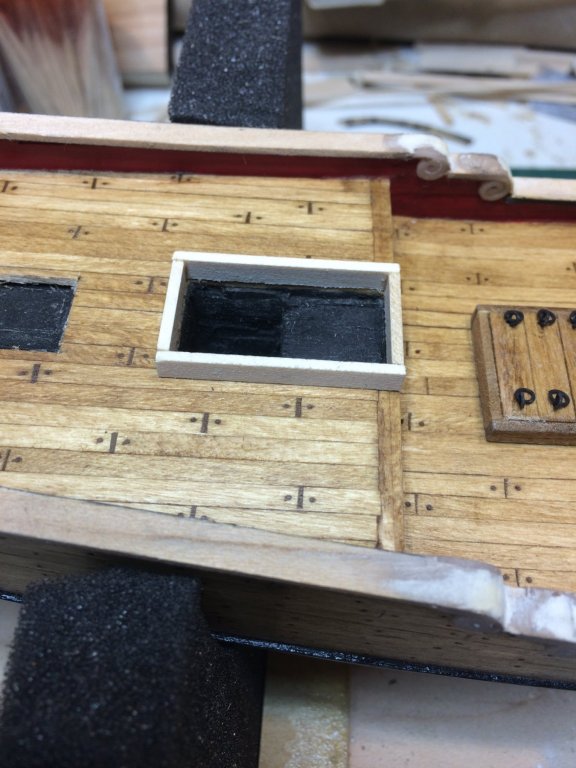
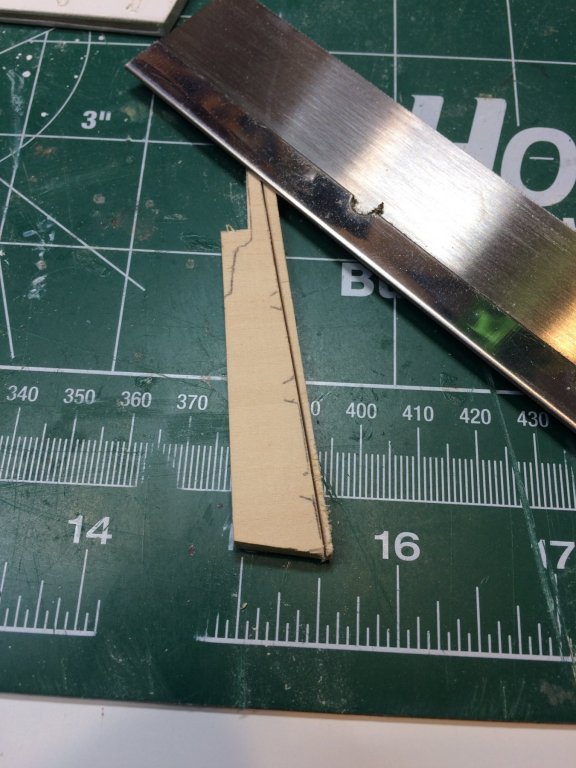
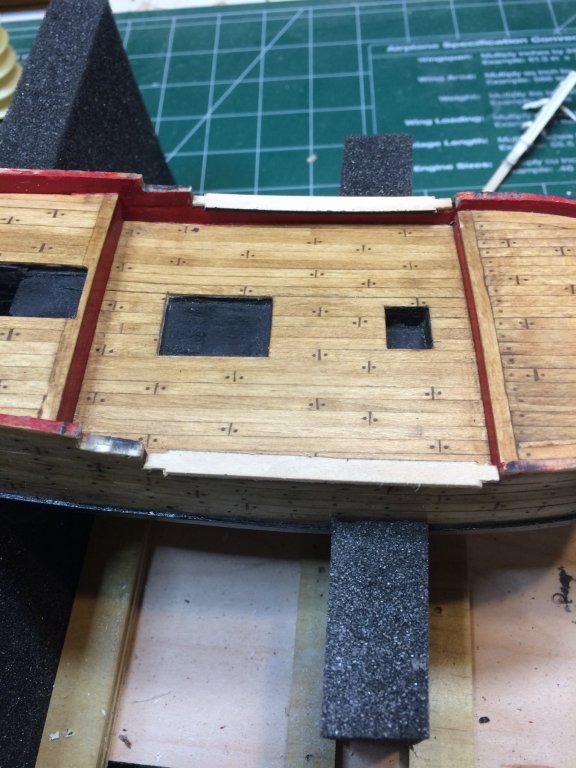
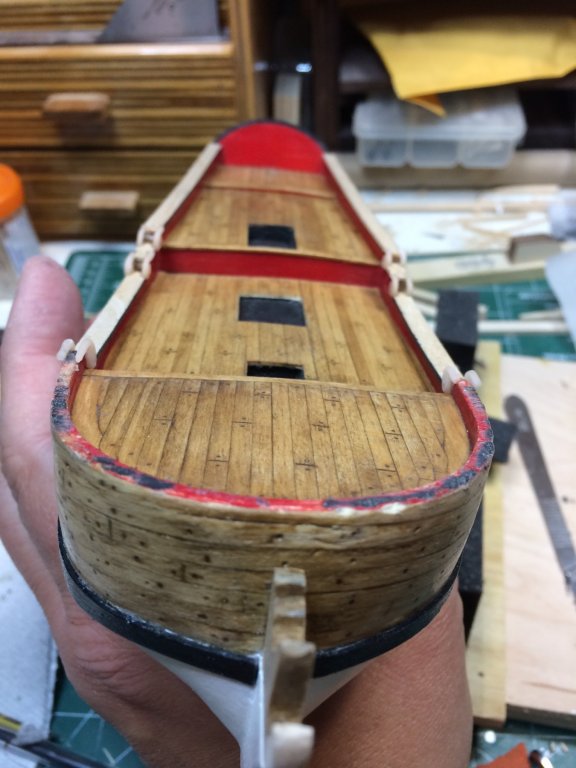
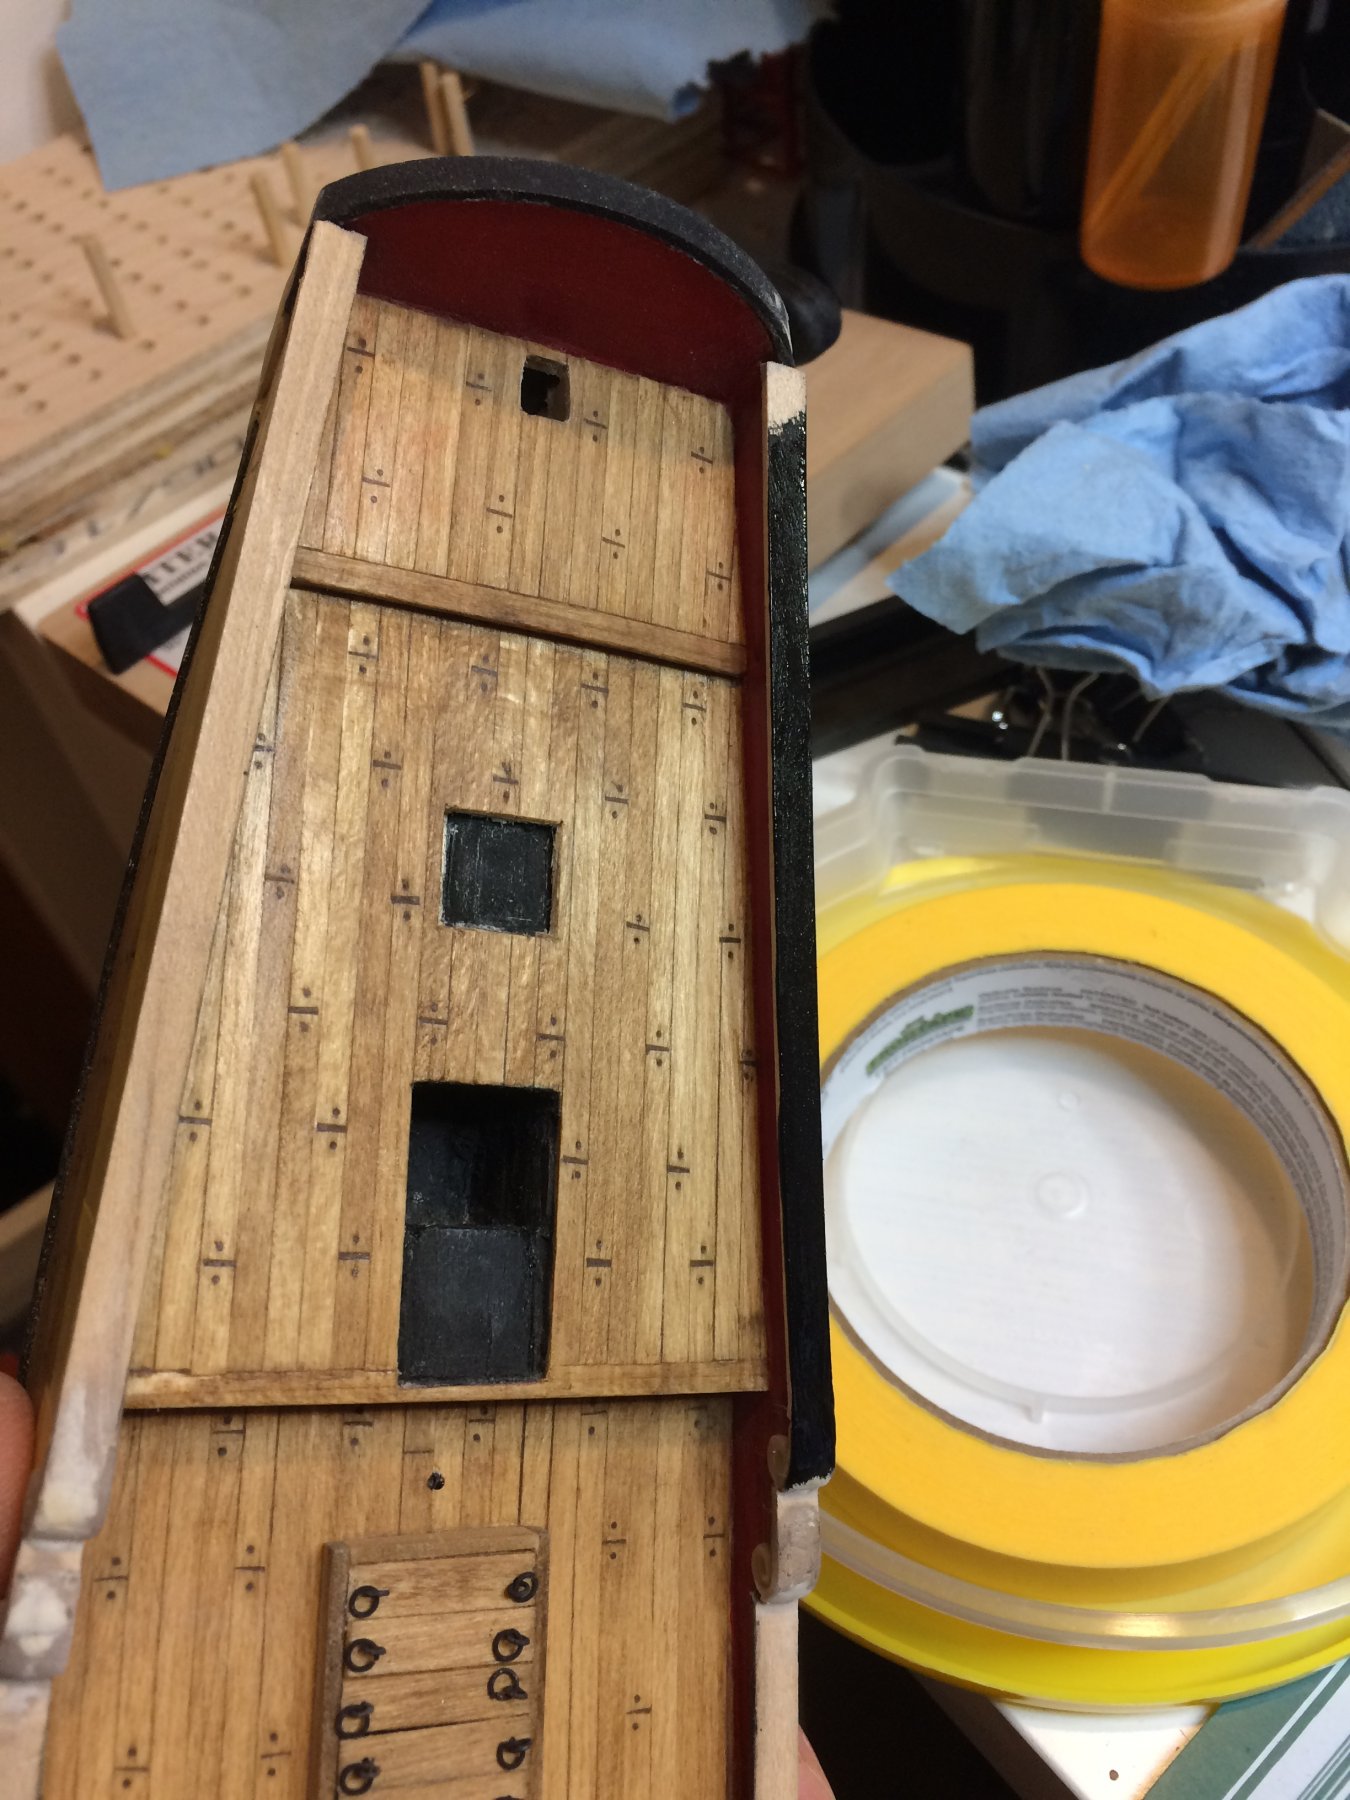
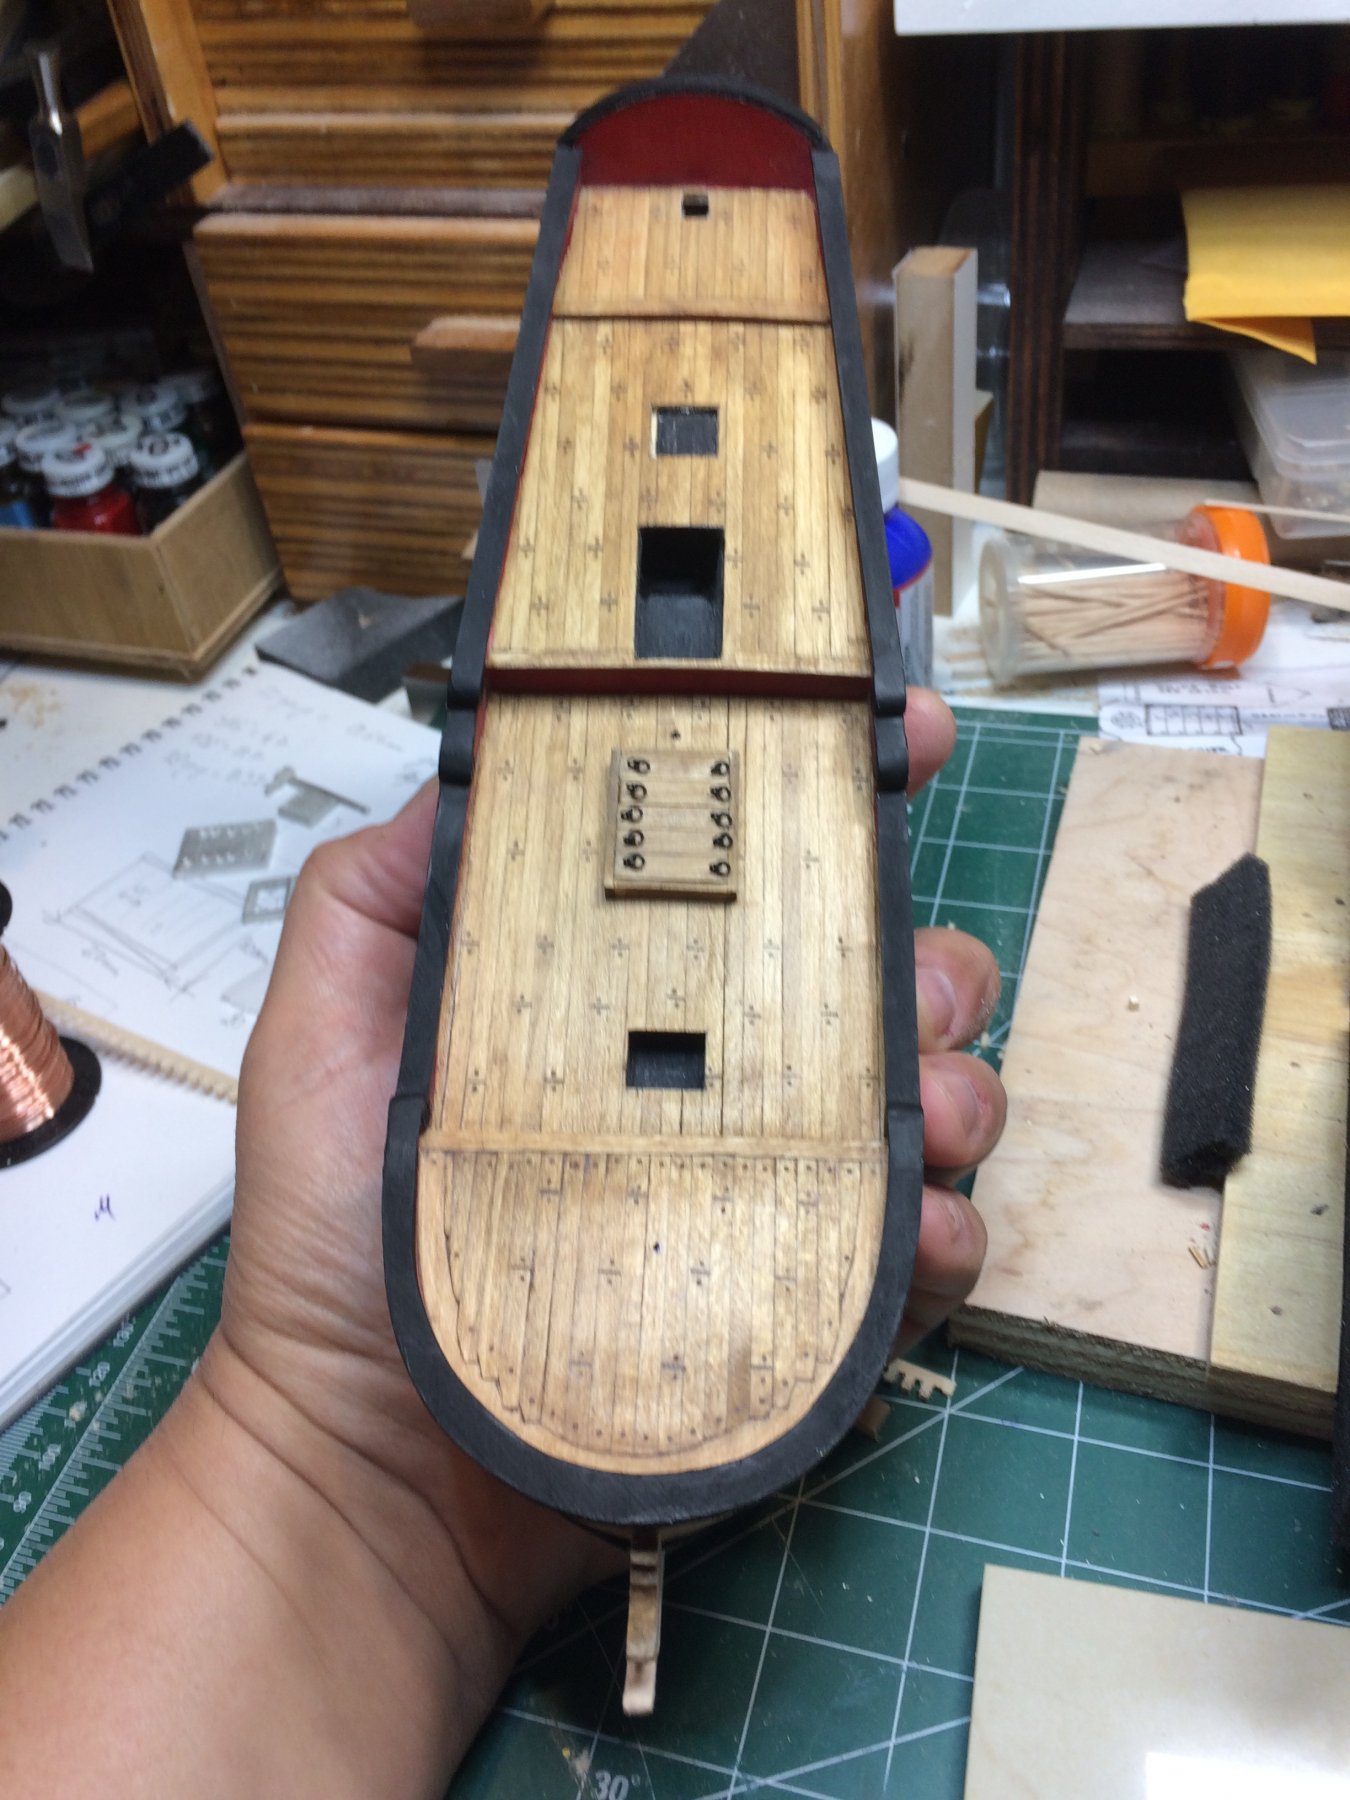
Cap rail was shaped and a bit of wood filler was applied. Ready for a layer of black paint.

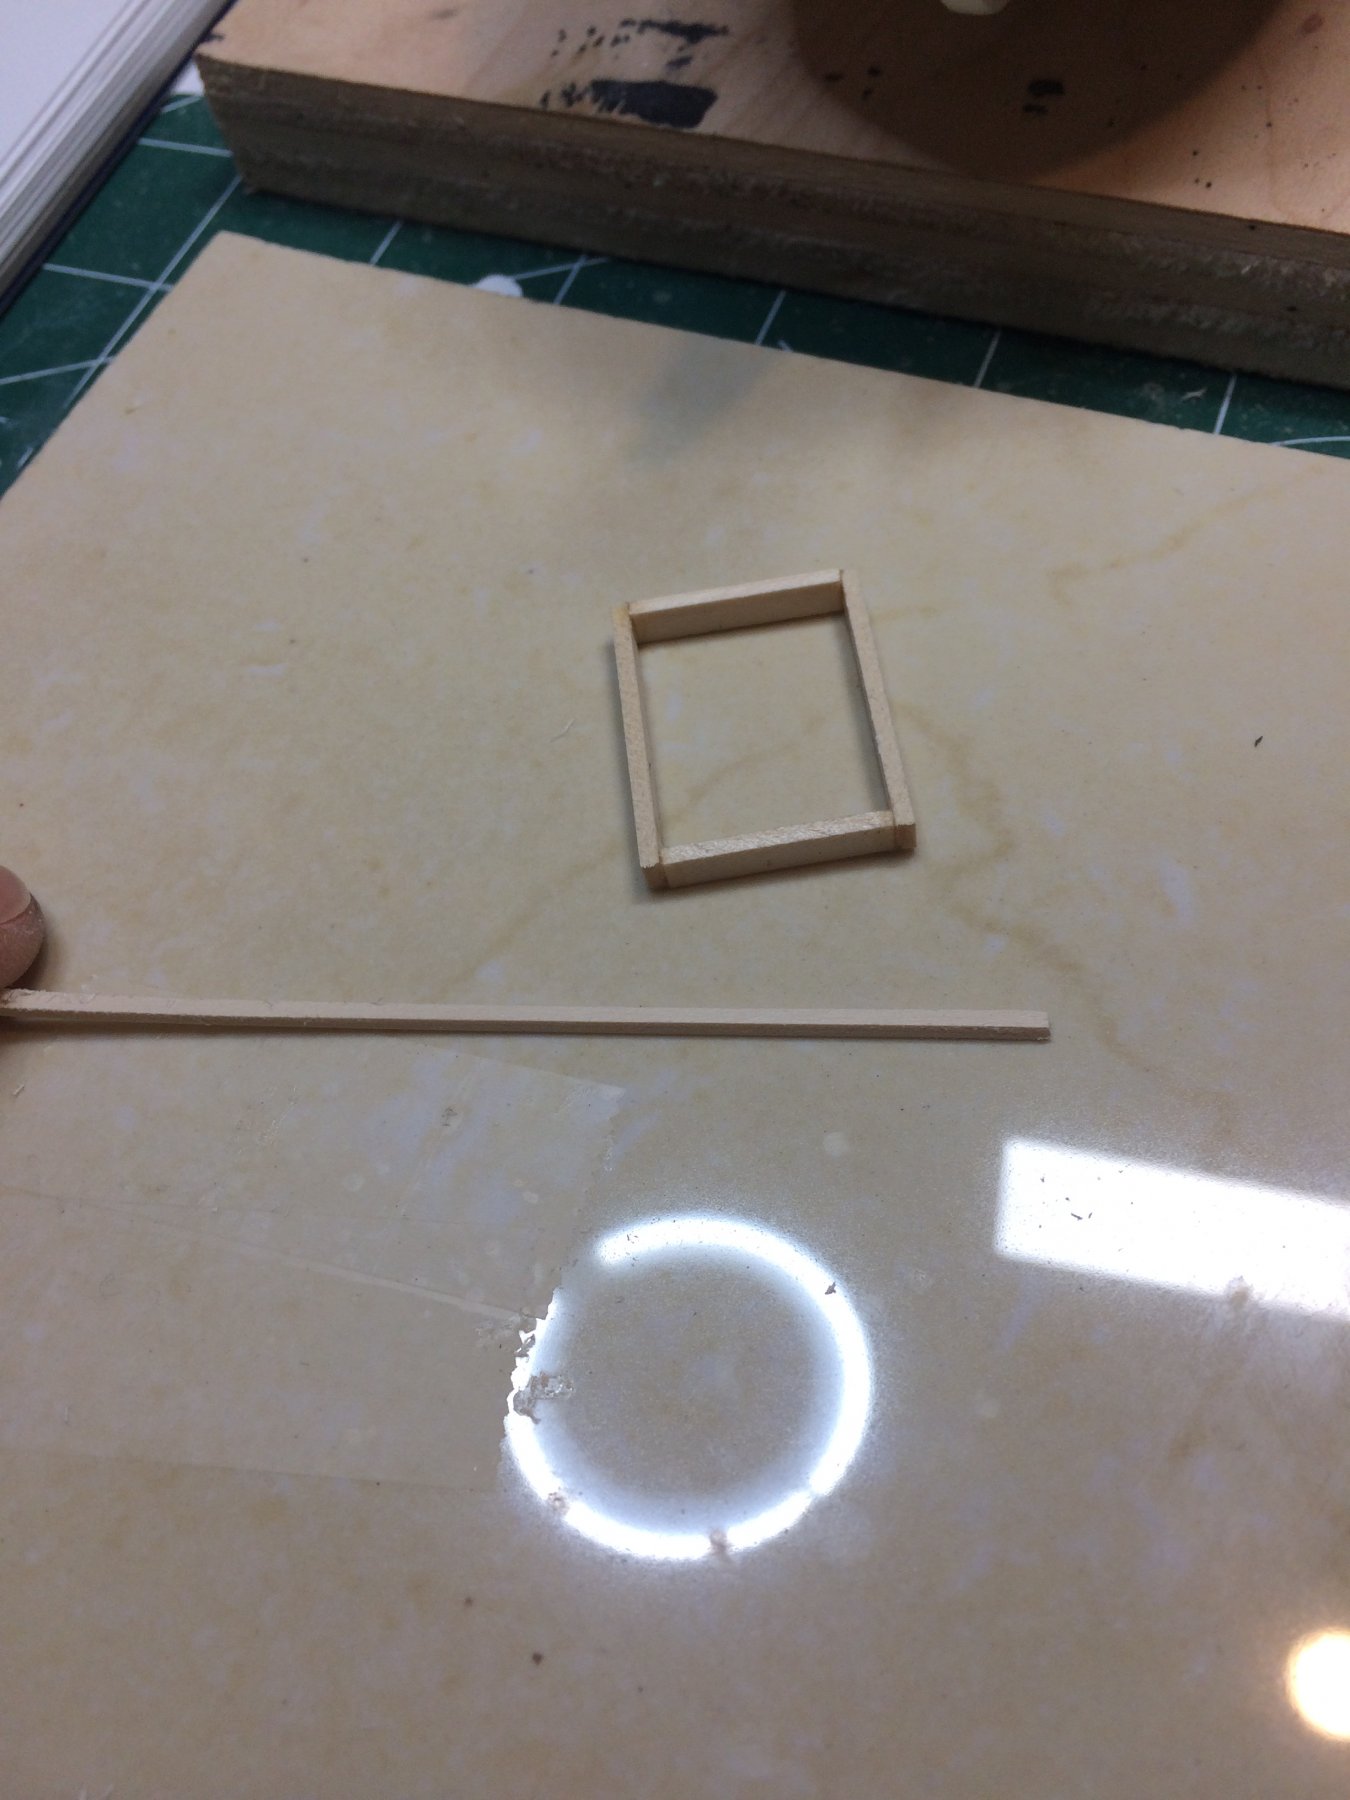
The kit supplied hatchets are made from metal and are very poor quality for my taste and decision was made to have them done from wood.
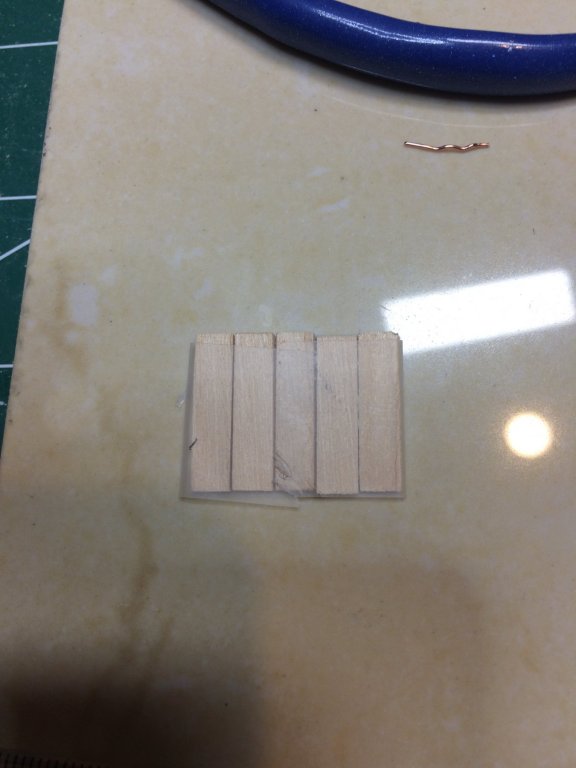
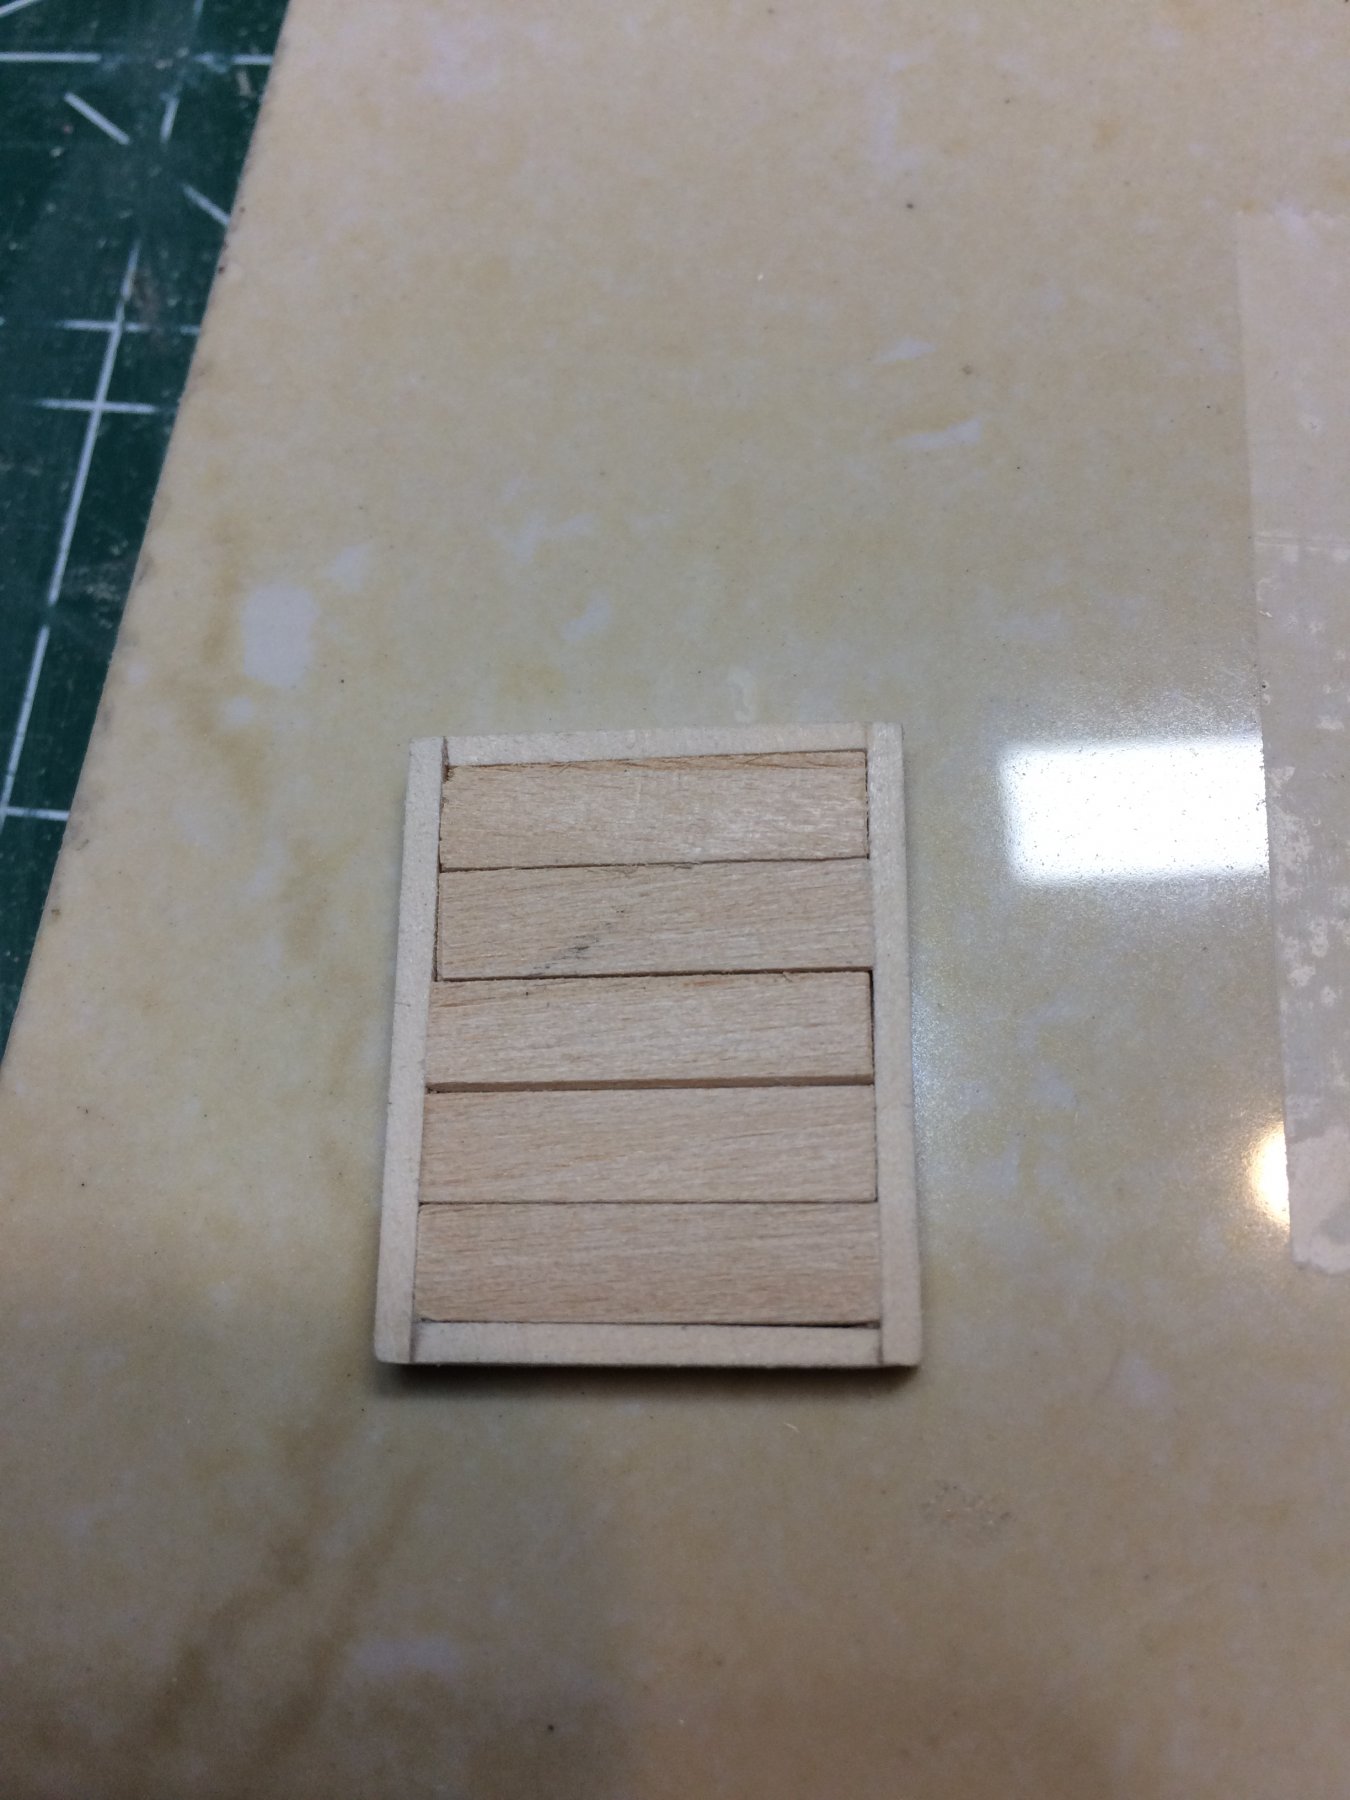
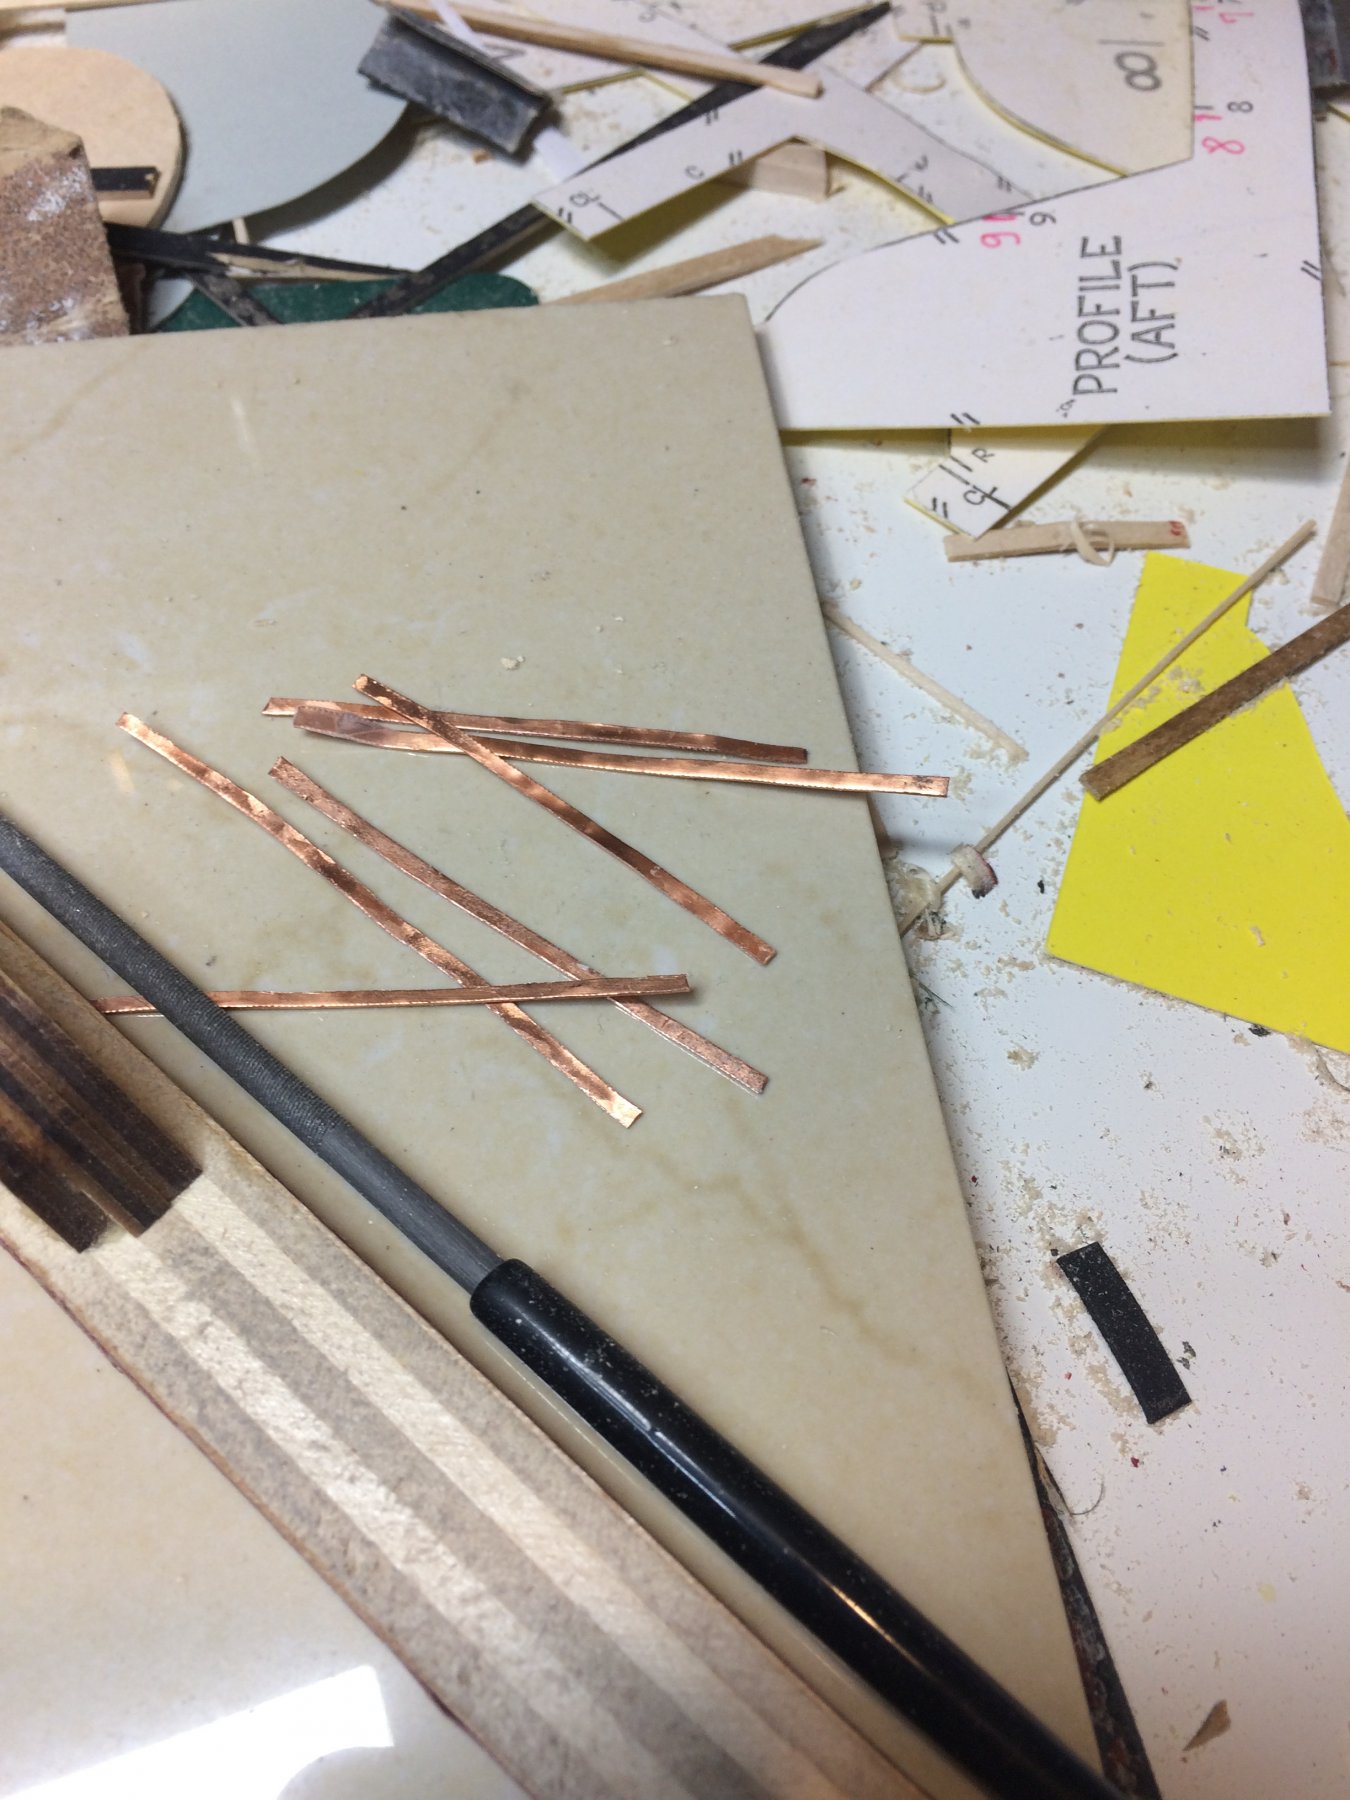
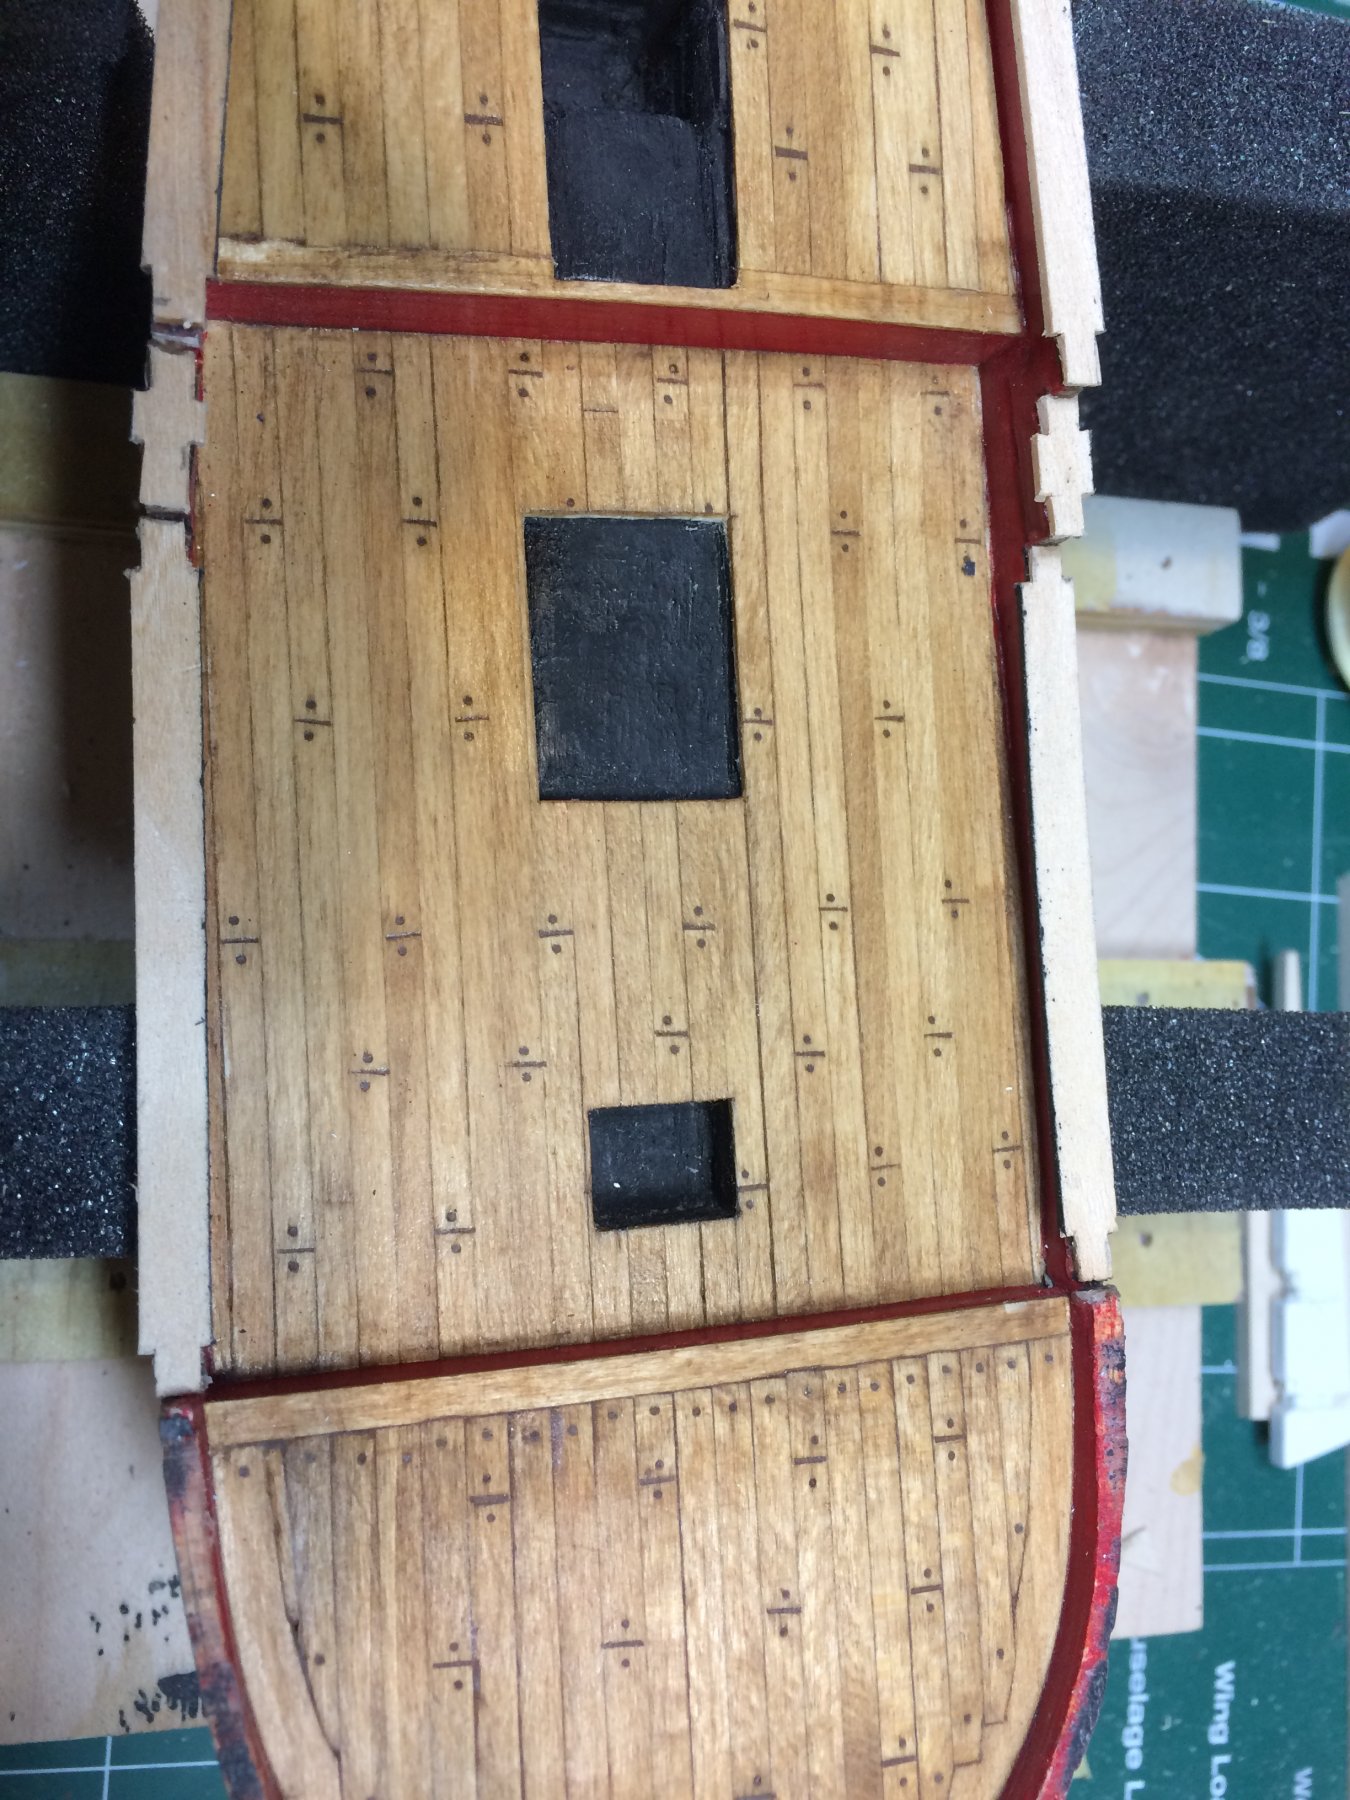
All hatches frames were cut from basswood, 4mm wide and 0.8mm thick. First one to attack was a main hatch, which will have 5 planks representing cover boards. Each board will have two eye bolts and rings made from 28gauge copper wire. Did not have black wire so bolts and rings will be covered in flat black color.
Once main hatch was assembled and glued, i added a ledge that will hold planks on top of it. Then a nice, light sanding was done. Planks were cut to the measurement, sanded them a bit so all 5 planks will fit correctly, the holes were drilled for bolts, and a matching layer of wood stain was applied.
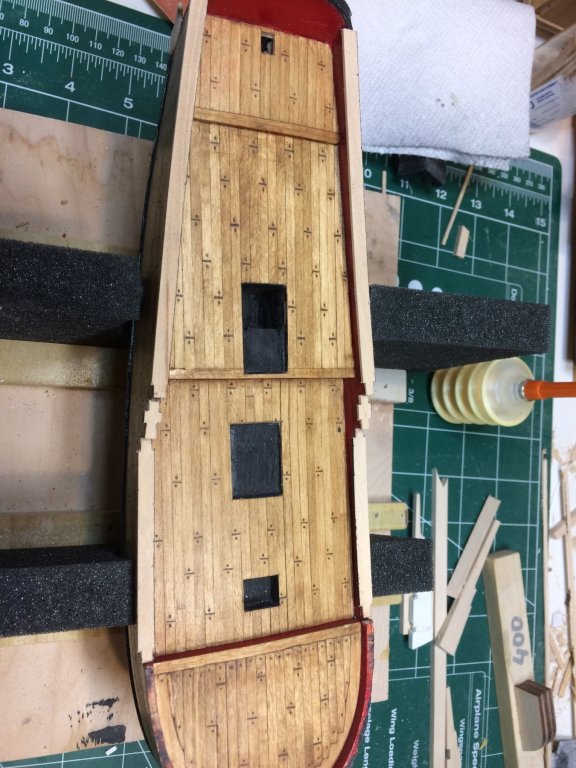
The hatch was mounted on the deck. Before mounting i sanded two sides so the hatch will match (such a rime) the curve of the deck.
Cutting and gluing hatch

Ledge was added..
5 planks were cut and sanded so they can fit correctly.

I did not make these planks perfectly; i wanted to look a bit used.. Then planks were put together with scotch tape so i can mark the holes for
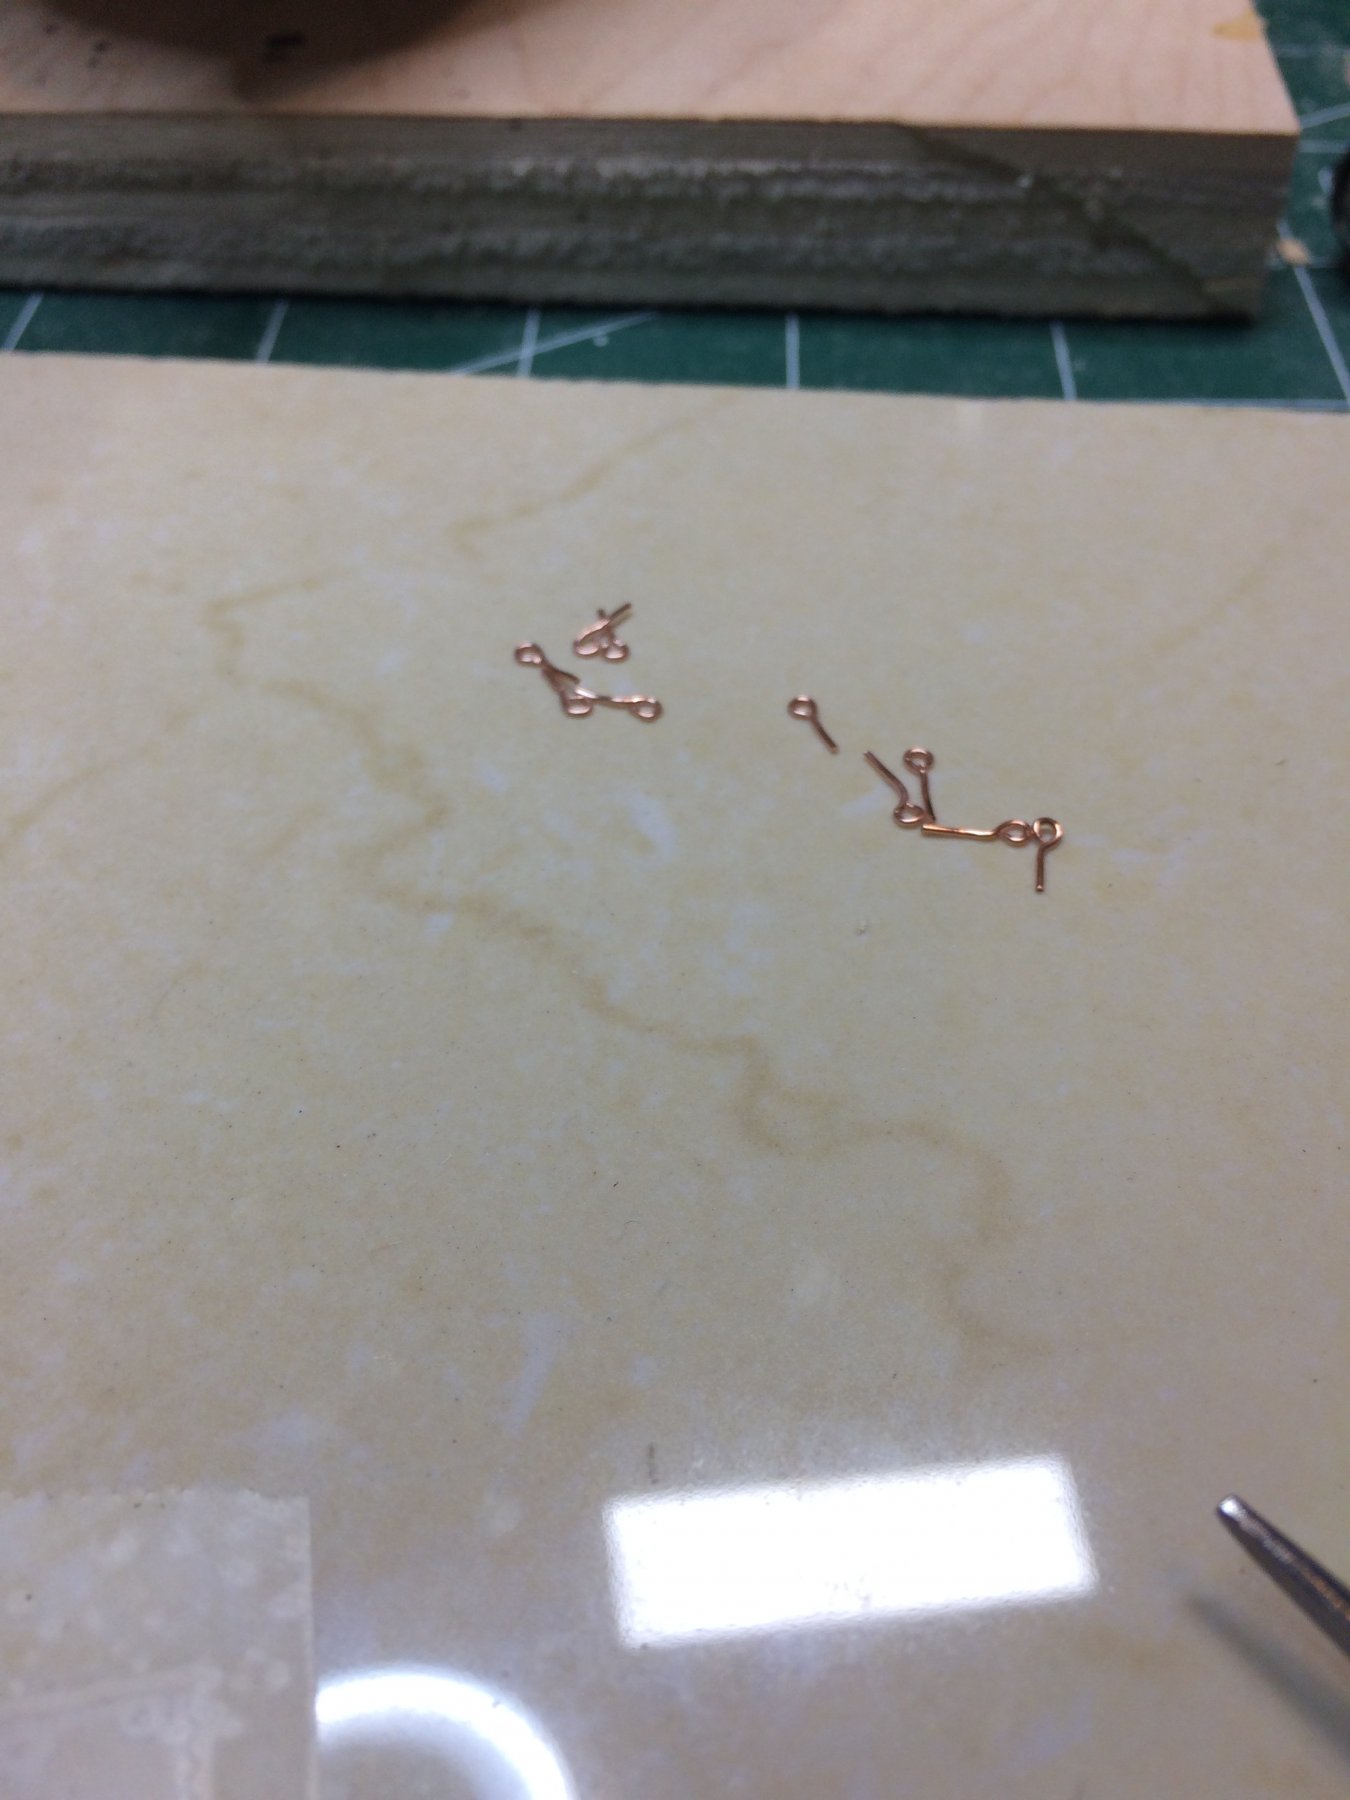
bolts.
Then i started to work on bolts and eye ring. Had to make a sample of both so i can test the size..
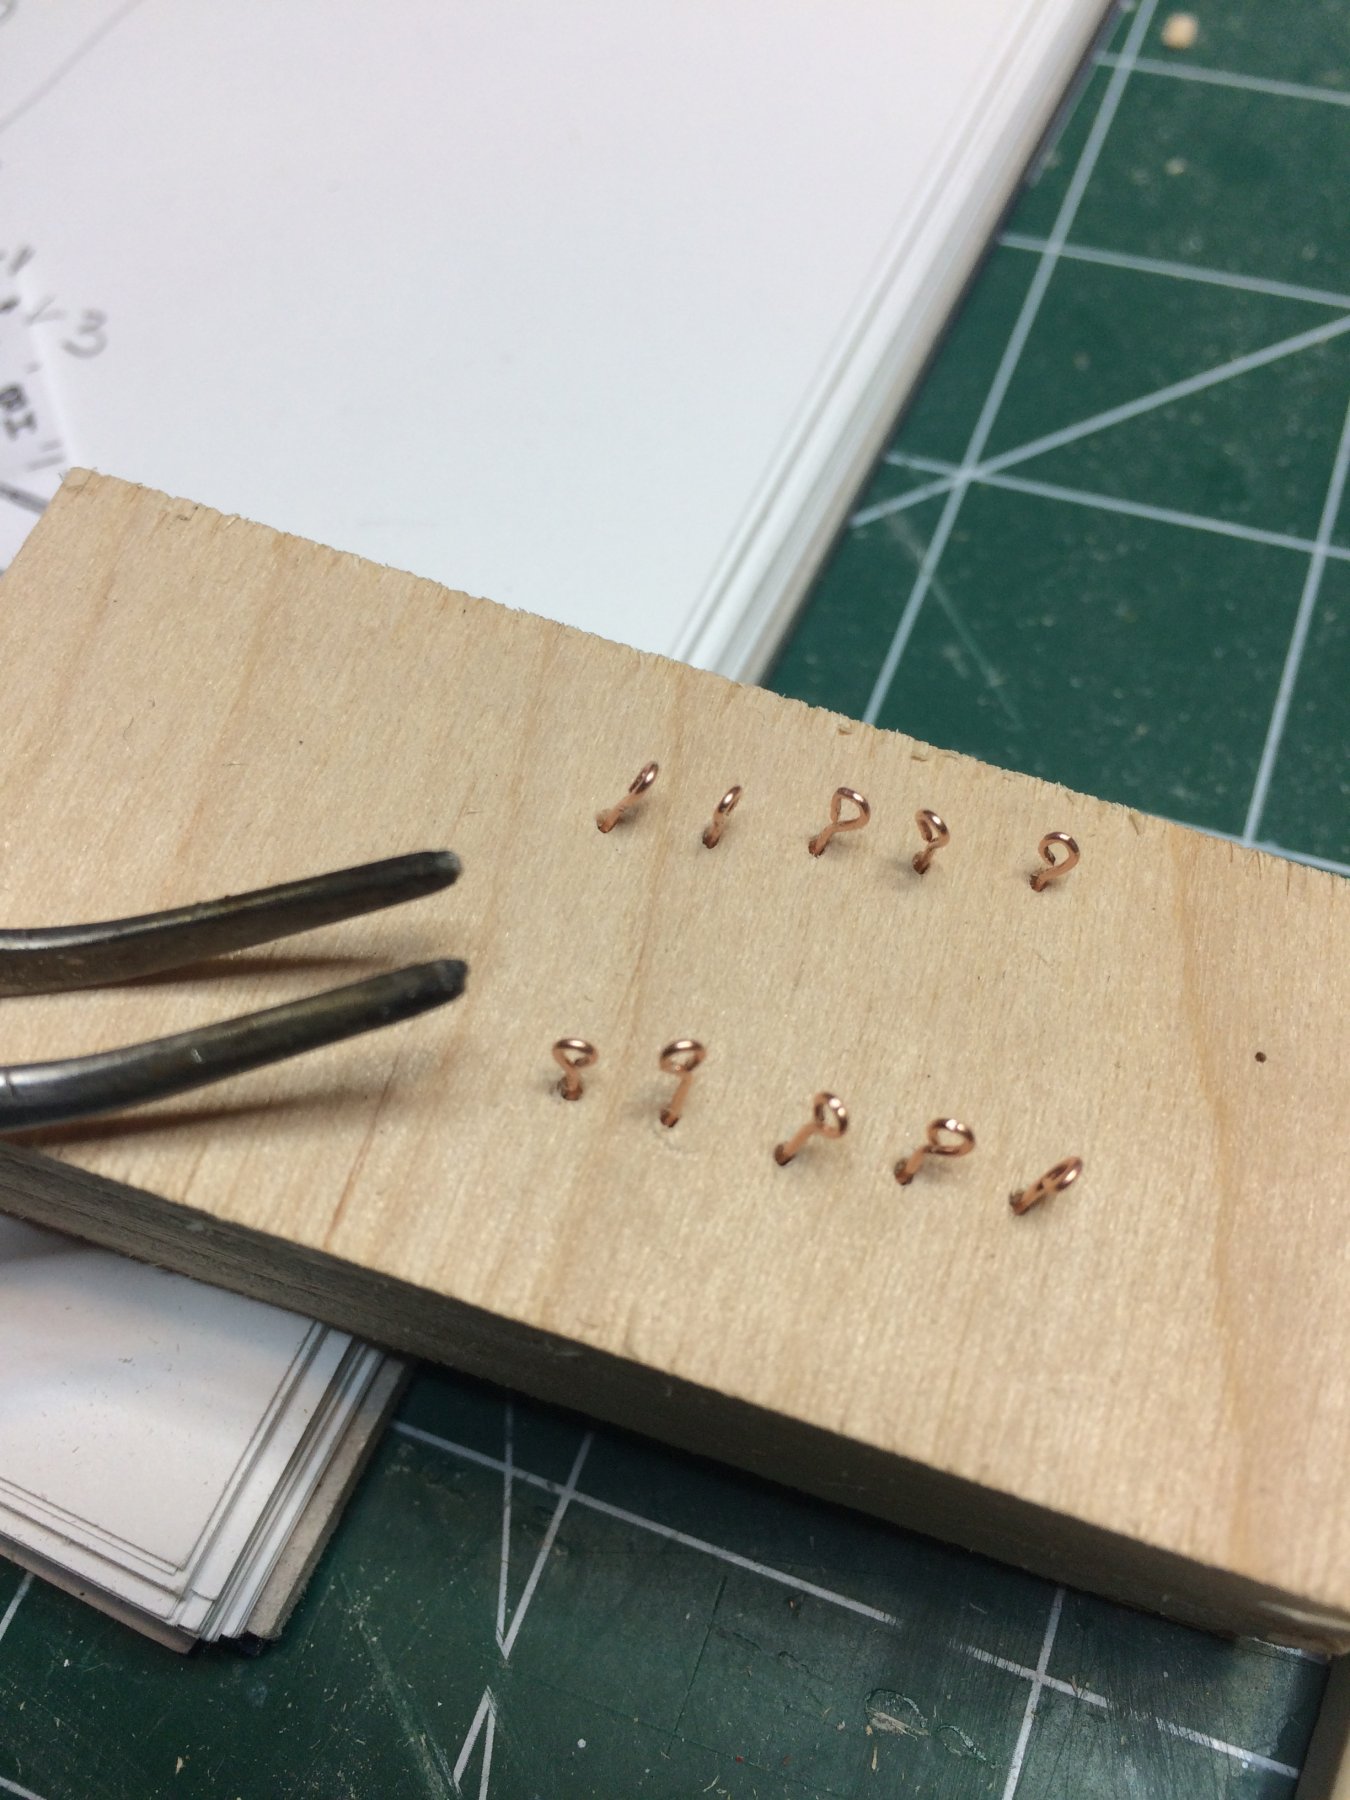
10 eye bolts were made.

These are very tiny pieces, hard to keep them and work on them.. Need some jewellery's tools...
Mount them temporary for painting.. and here they are, completed.
Happy modeling.
-
Well, few things in the house that needed my attention and business trip set me away from Sultana..
But i am back, for short time, next business trip coming soon. So, here we are..
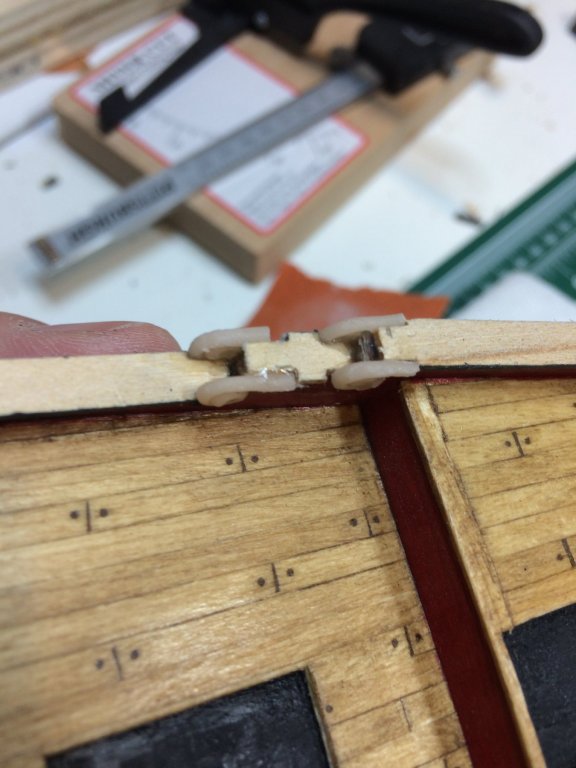
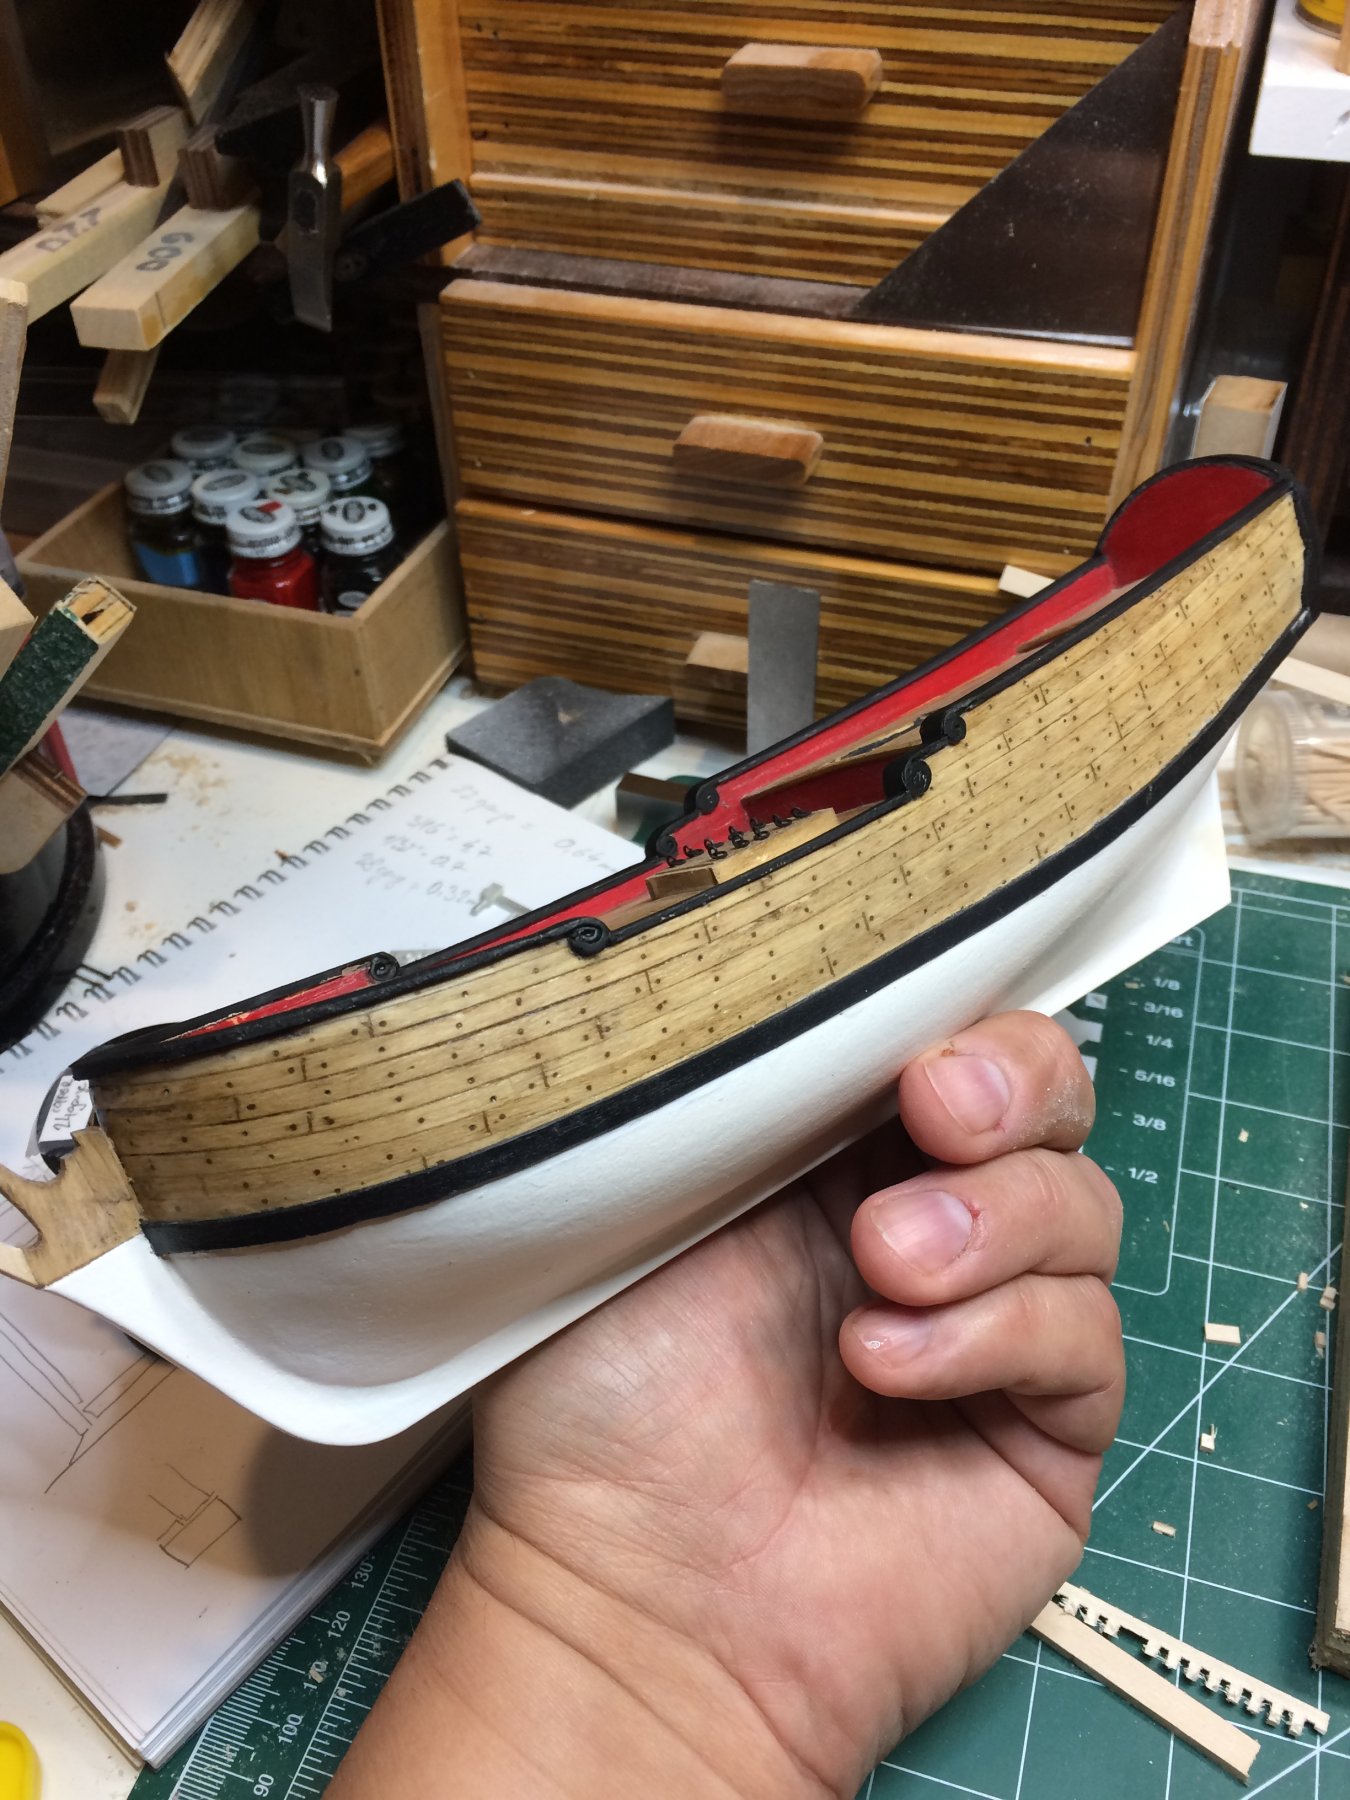
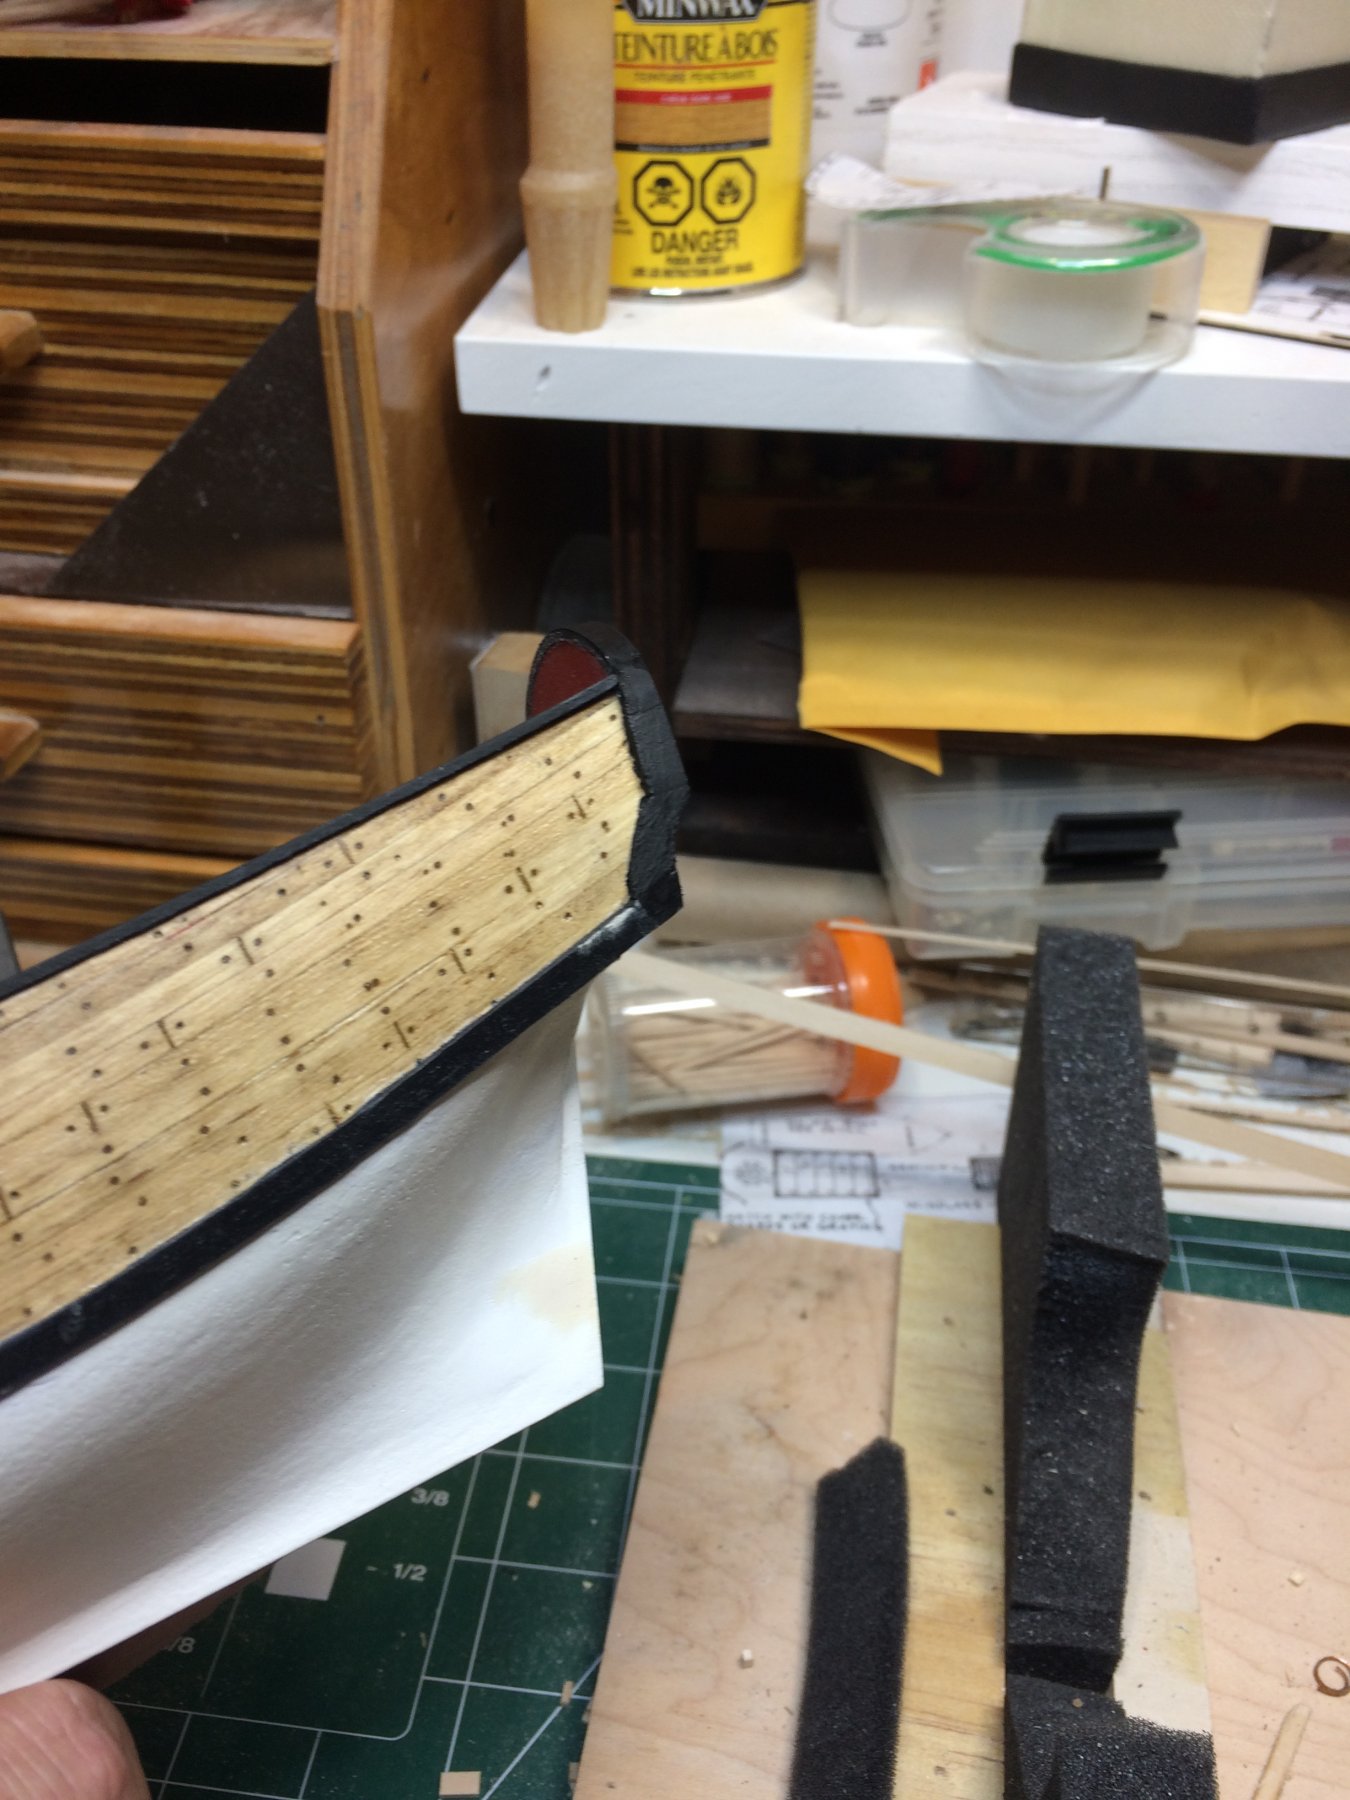
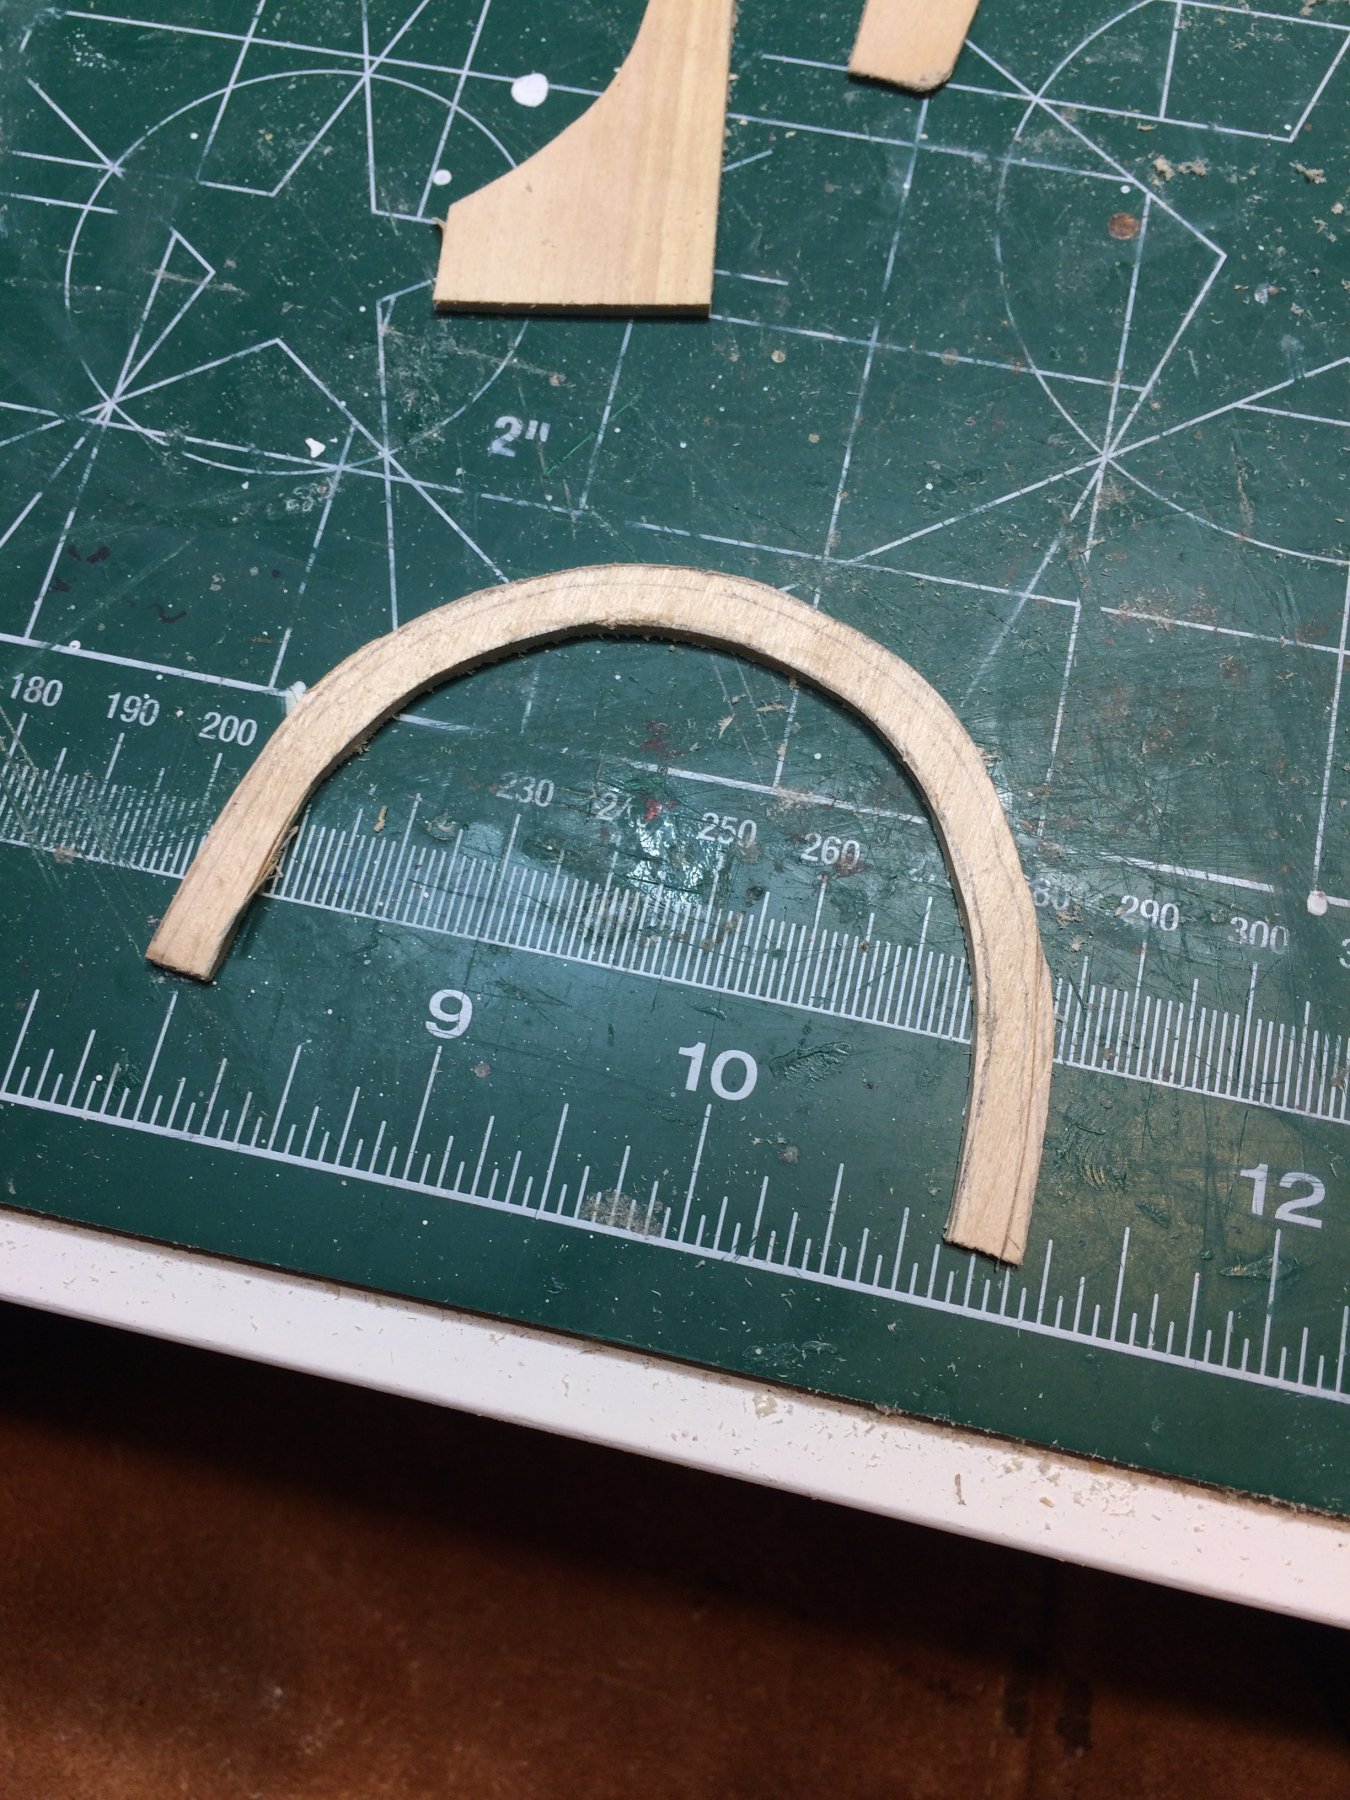
Sheet of boxwood that will be used for cap rail was cut and cap rail shape was curved by #11 knife. Once on the ship, the final size will be shaped. The Sultana was placed on sheet of boxwood and traced to mark the cap rail. A 2mm line was marked outside from the hull traced line, and second line was marked inside. These lines will be used to cut the shape..

Using #11 knife i cut the rail that will be sanded to correct size once mounted on the ship.

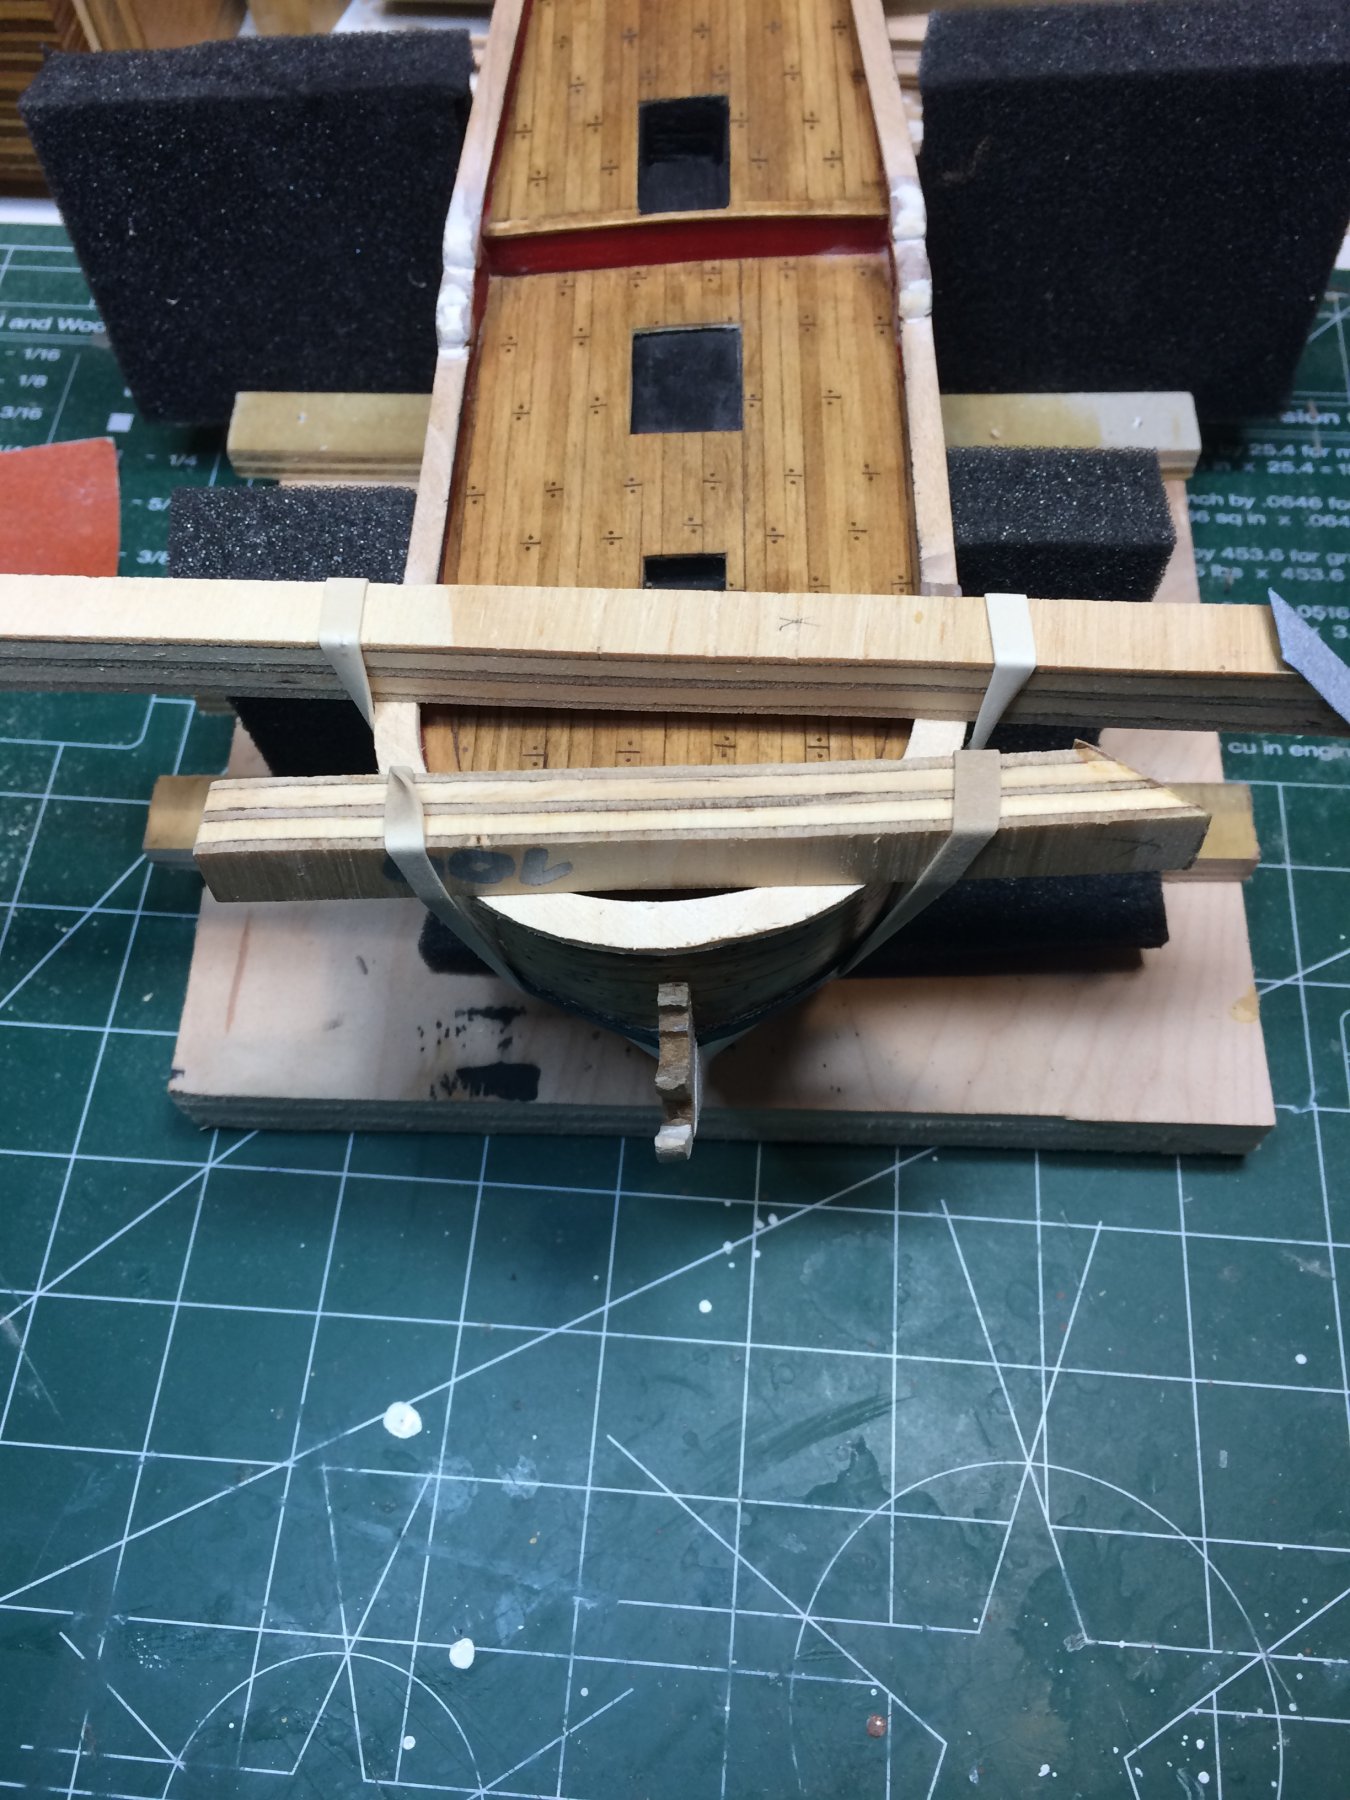
Cap rail was mounted with carpenter's glue and cyano glue. Cyano to provide quick grip and carpenter' glue to bond it permanently. The cap rail was secured with rubber and two piece of wood (these are my home made sanding blocks).

Then i was working on hinges, bend them to the shape and put a layer of black paint.

And another layer of white paint was applied to rudder.

That's all for today.
Happy modeling.
- Tigersteve and lmagna
-
2
-
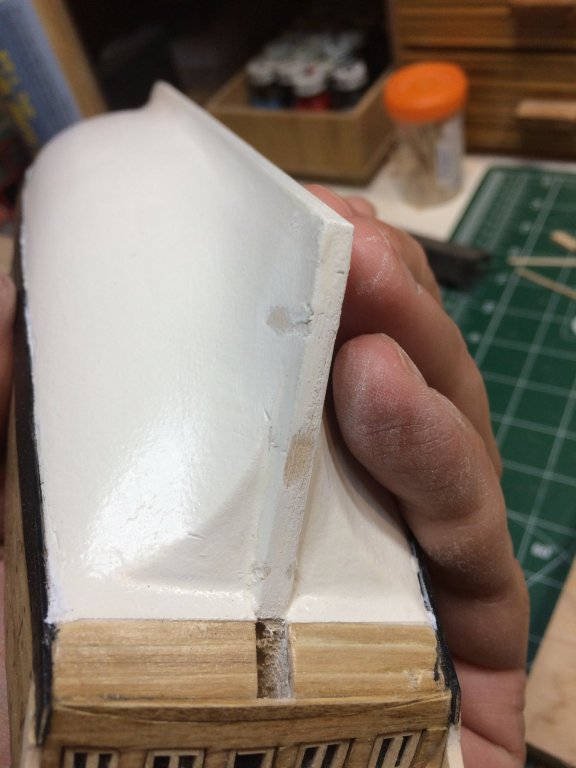
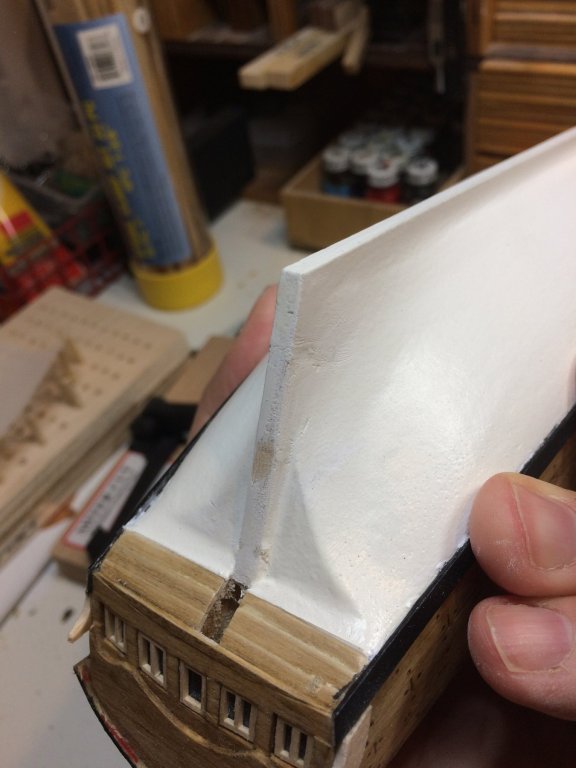
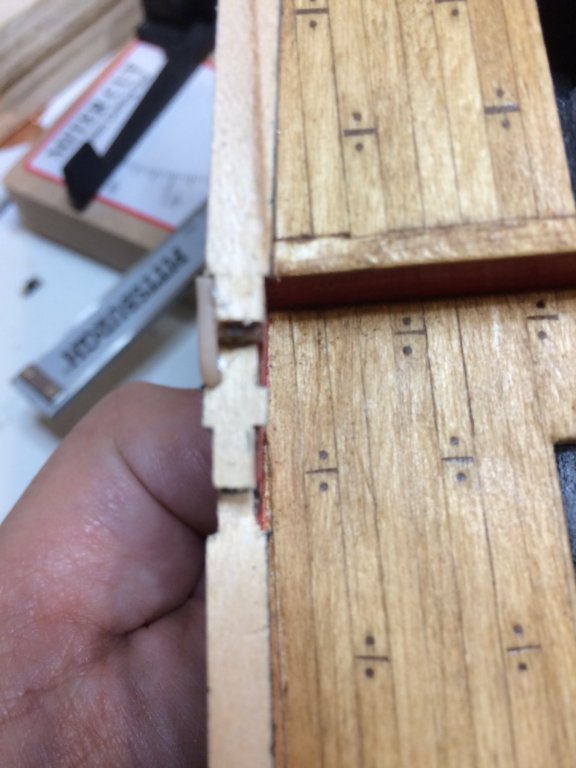
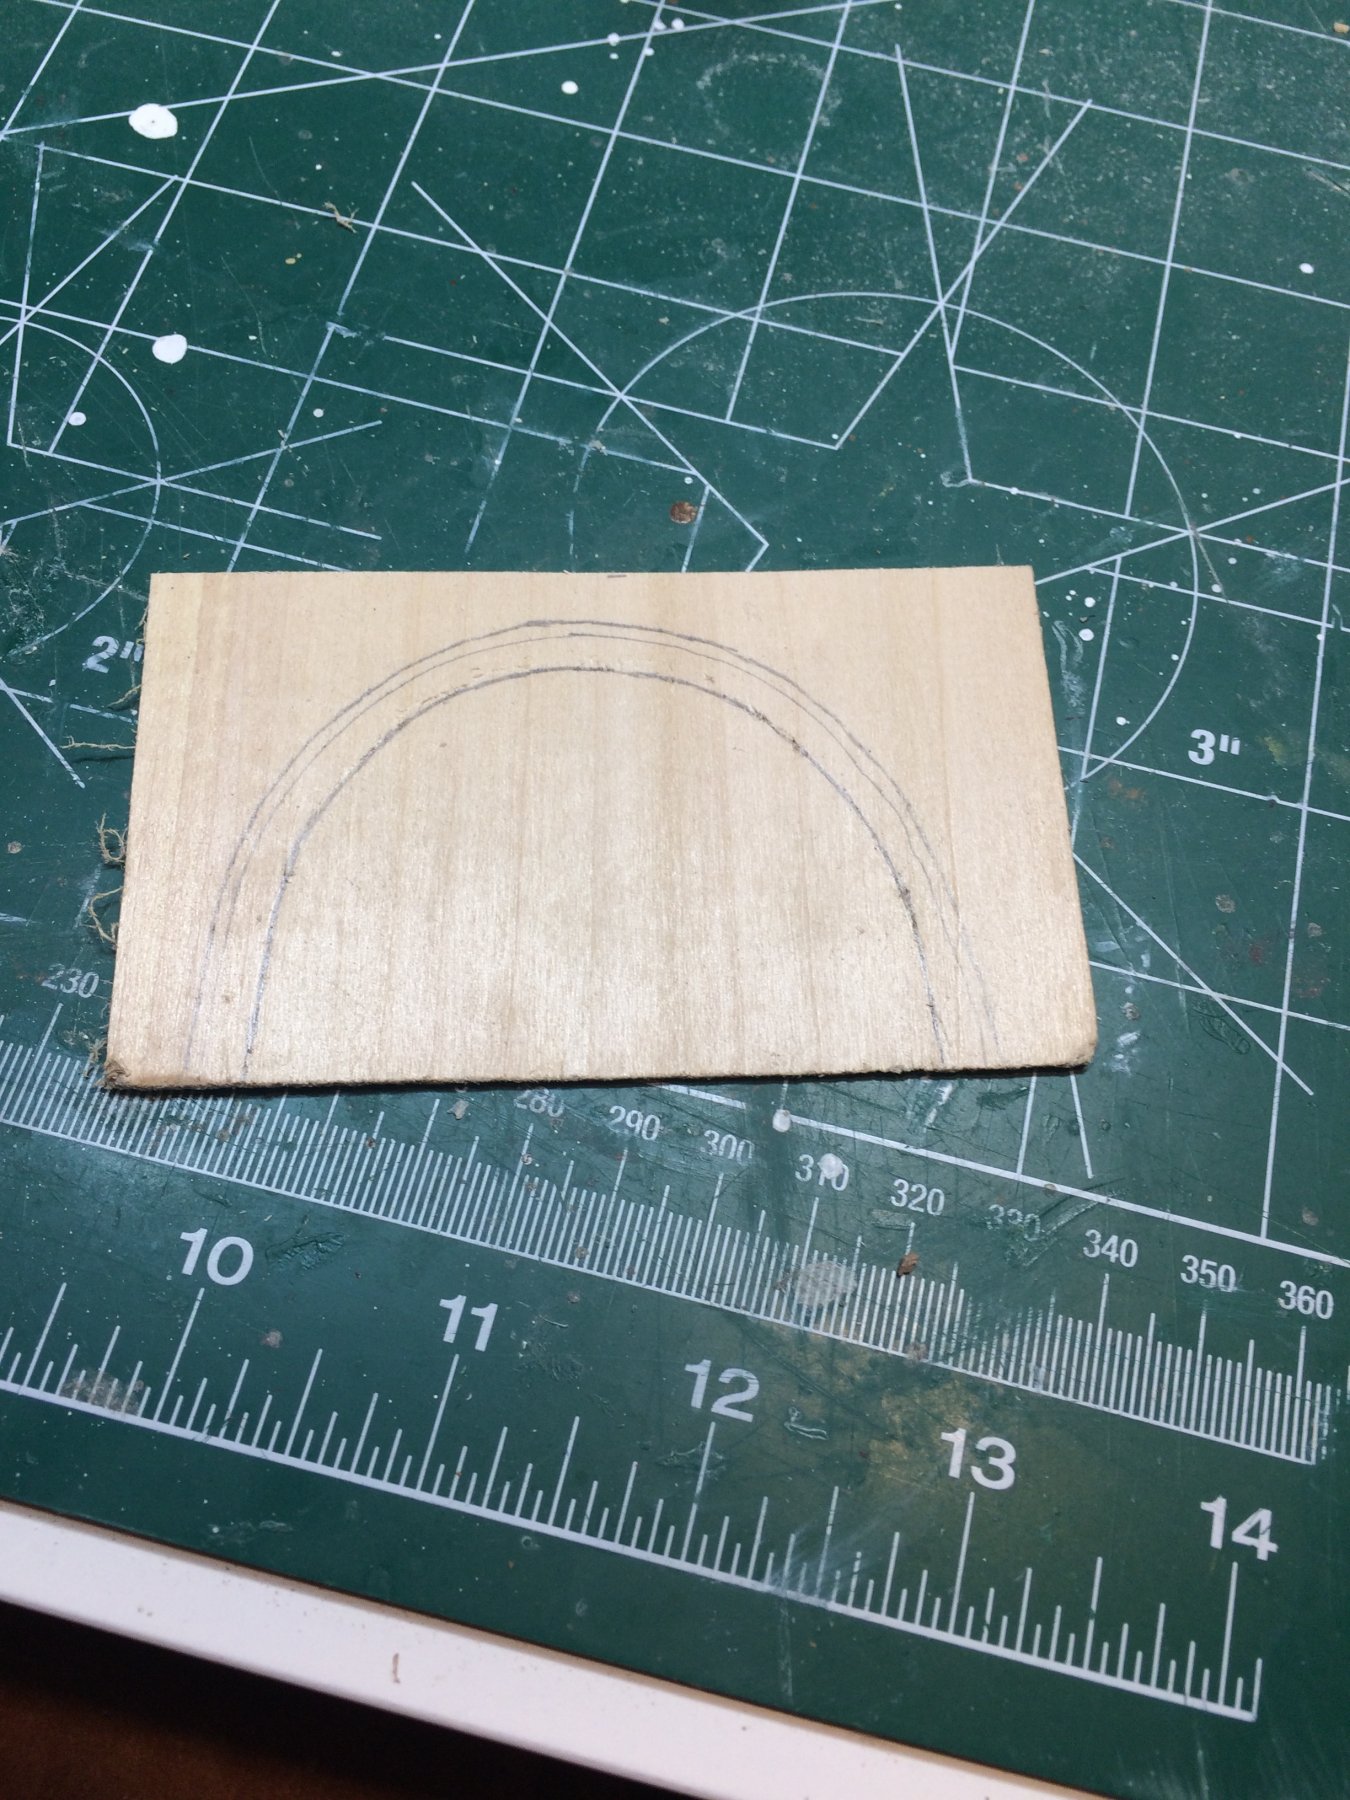
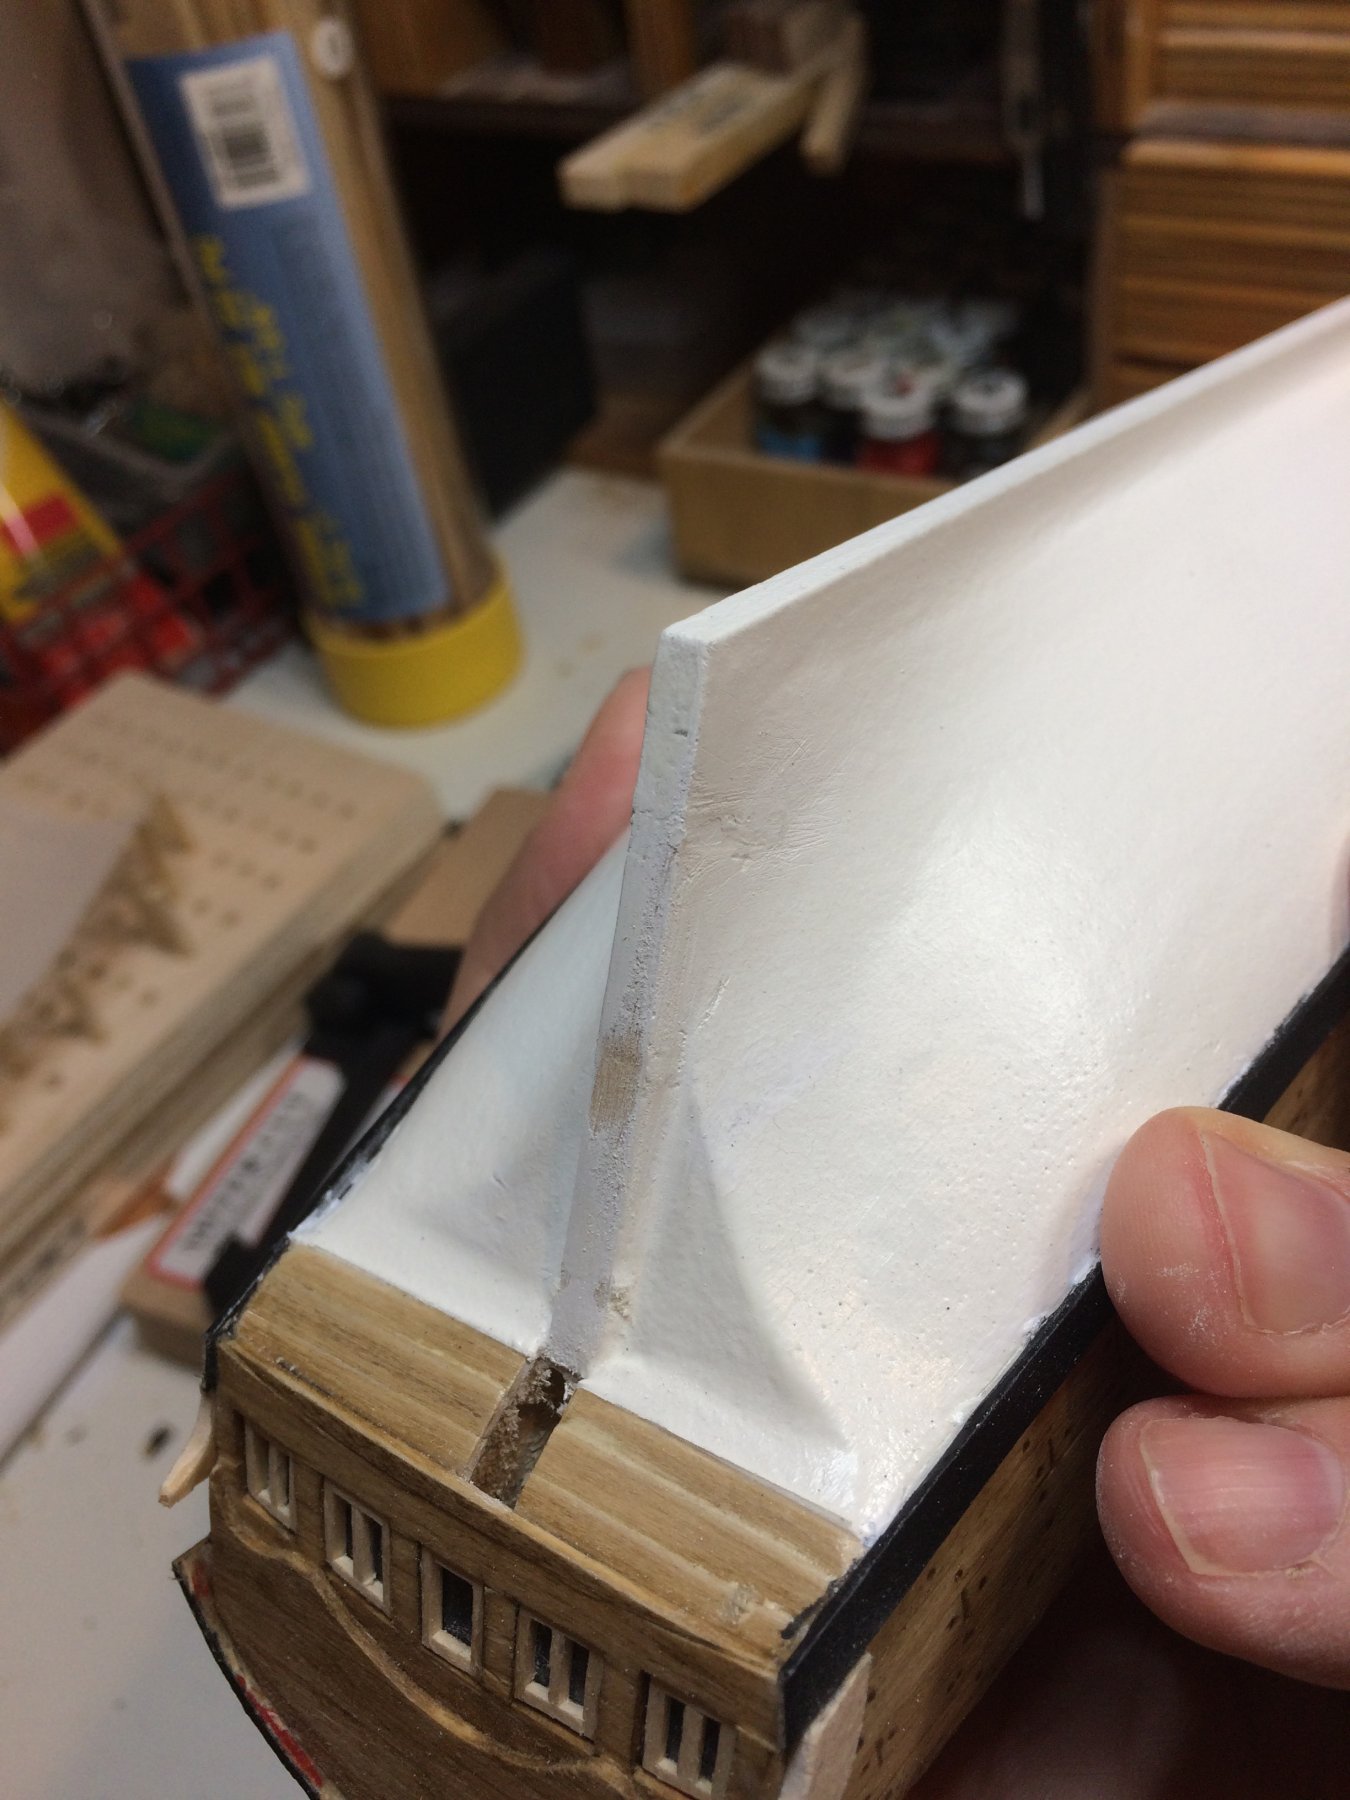
Filling with wood filler and sanding volutes few times. Then wait and sand, and again...
This i believe will be the last layer of wood filler on volutes.
Then, some wood filler used on the hull to fill out holes left after removing the rudder. Not a big deal...

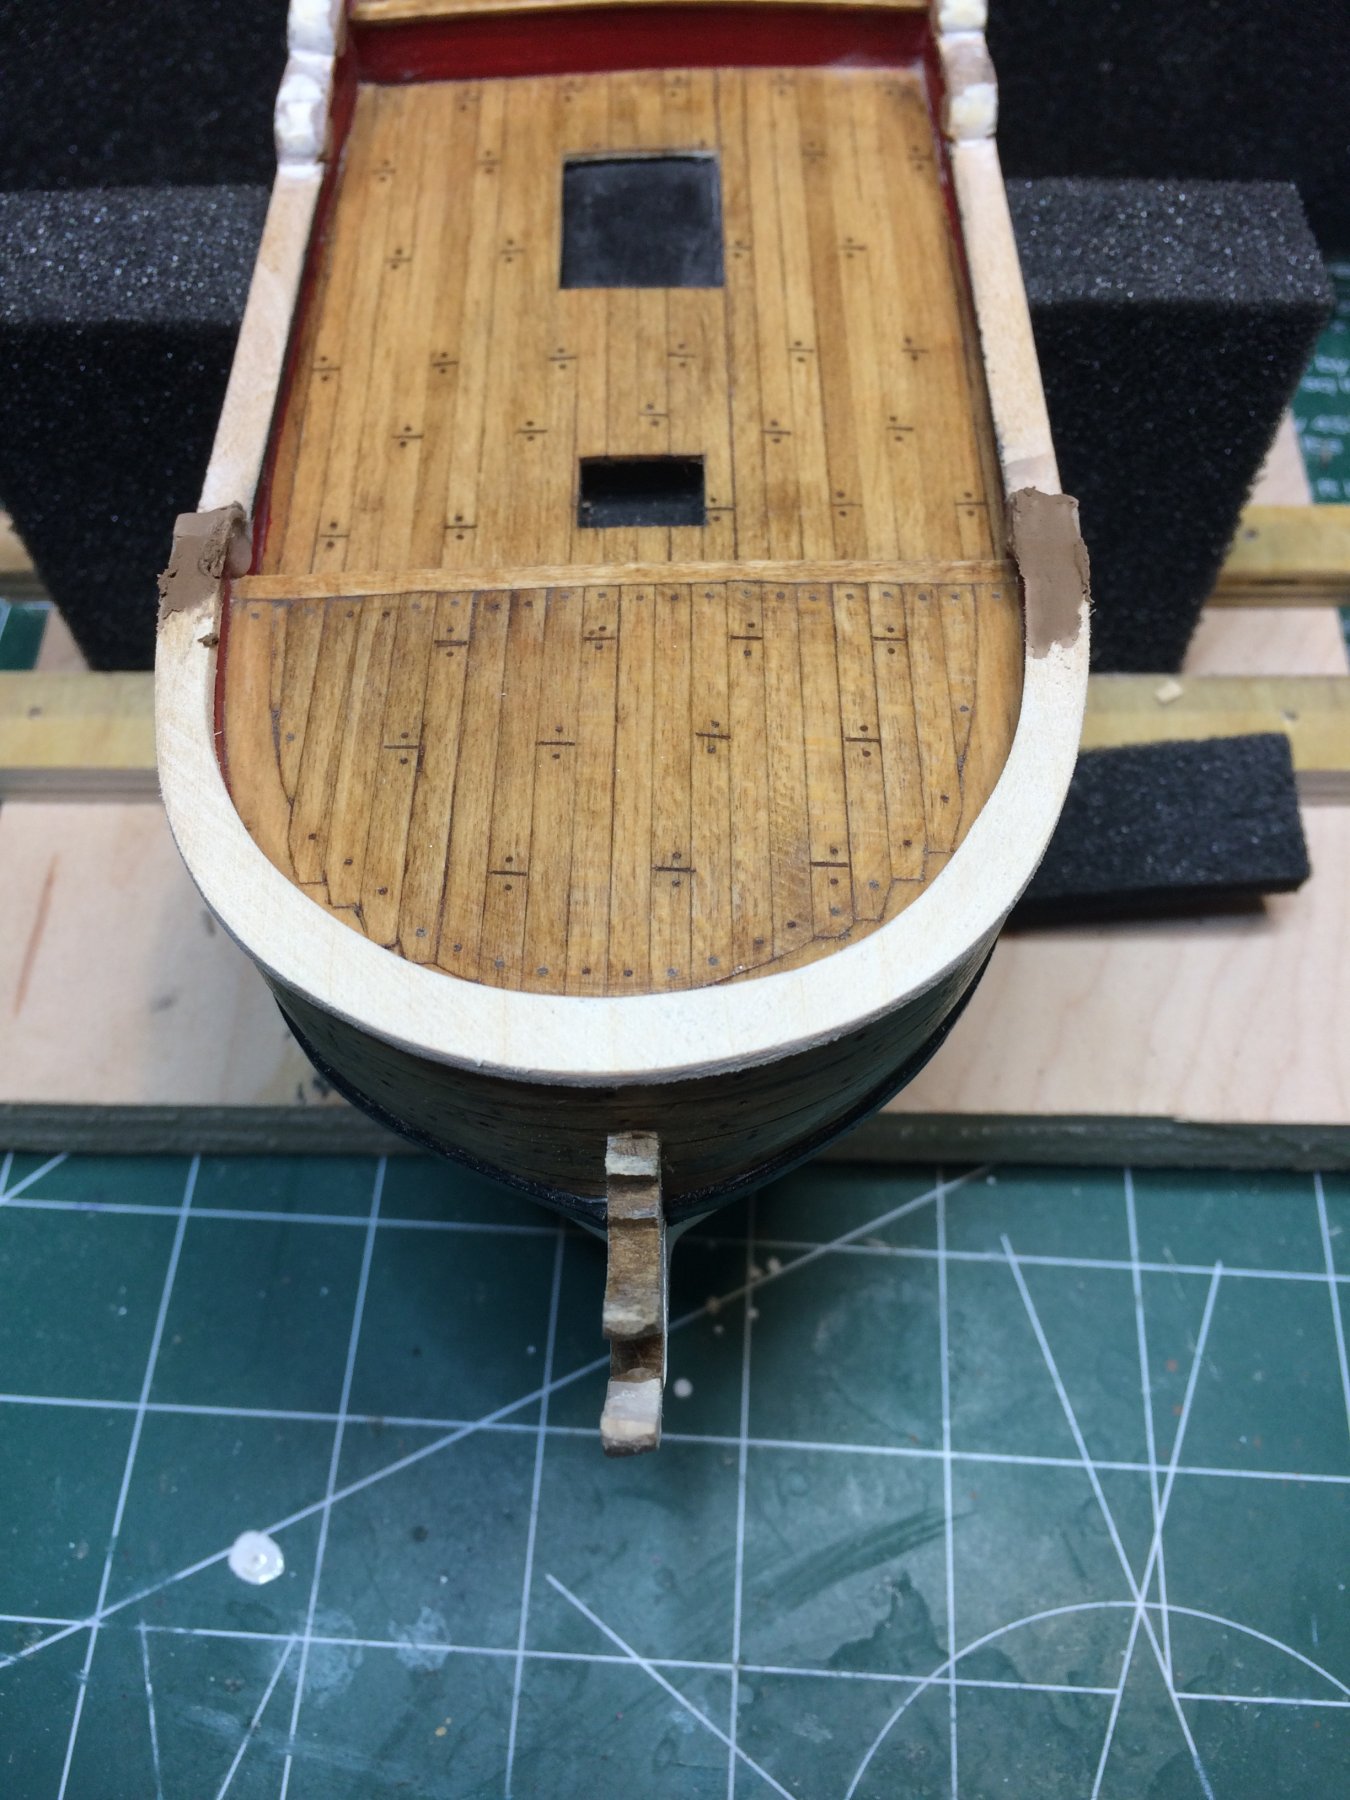
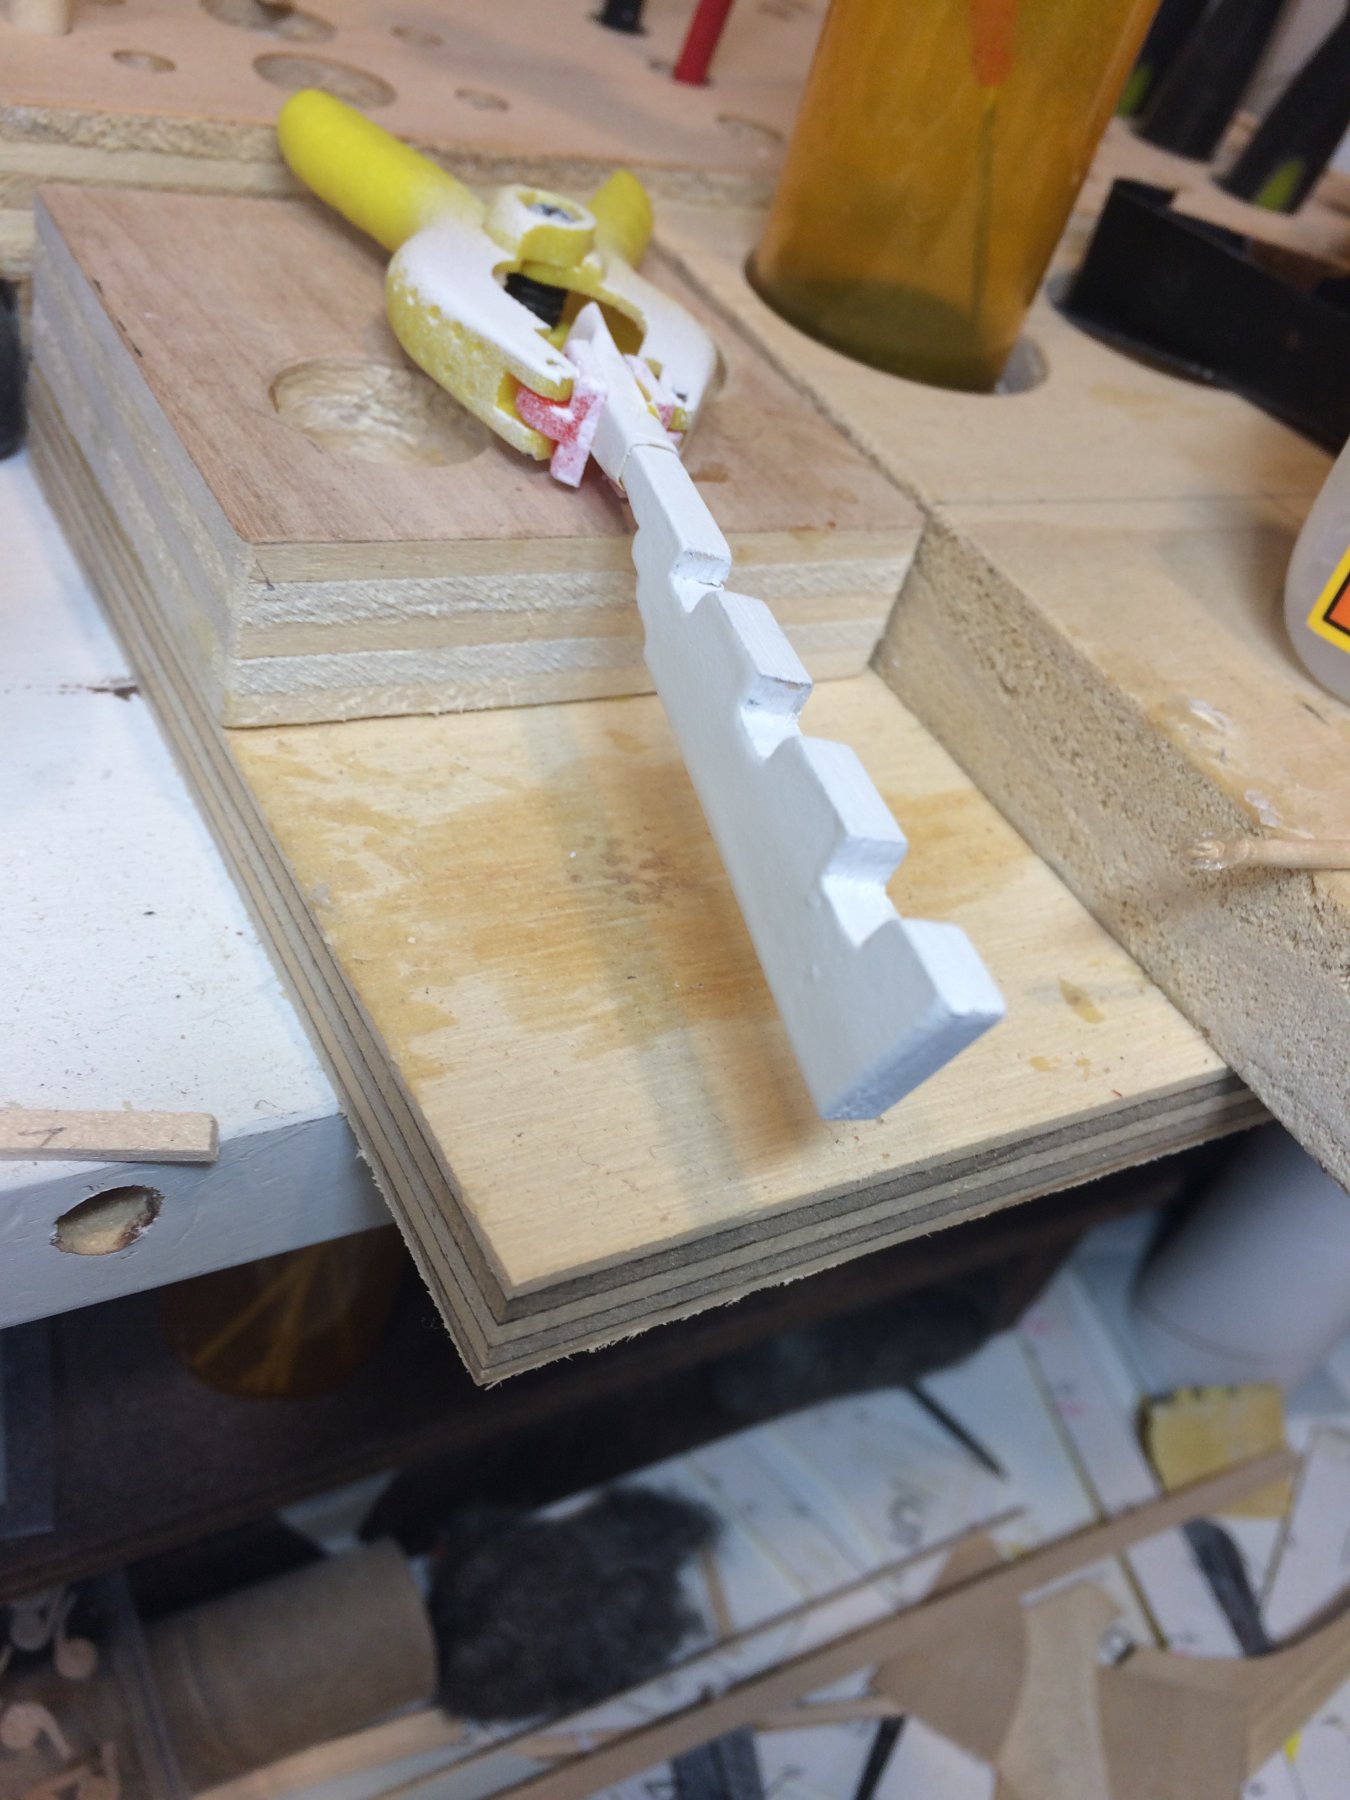
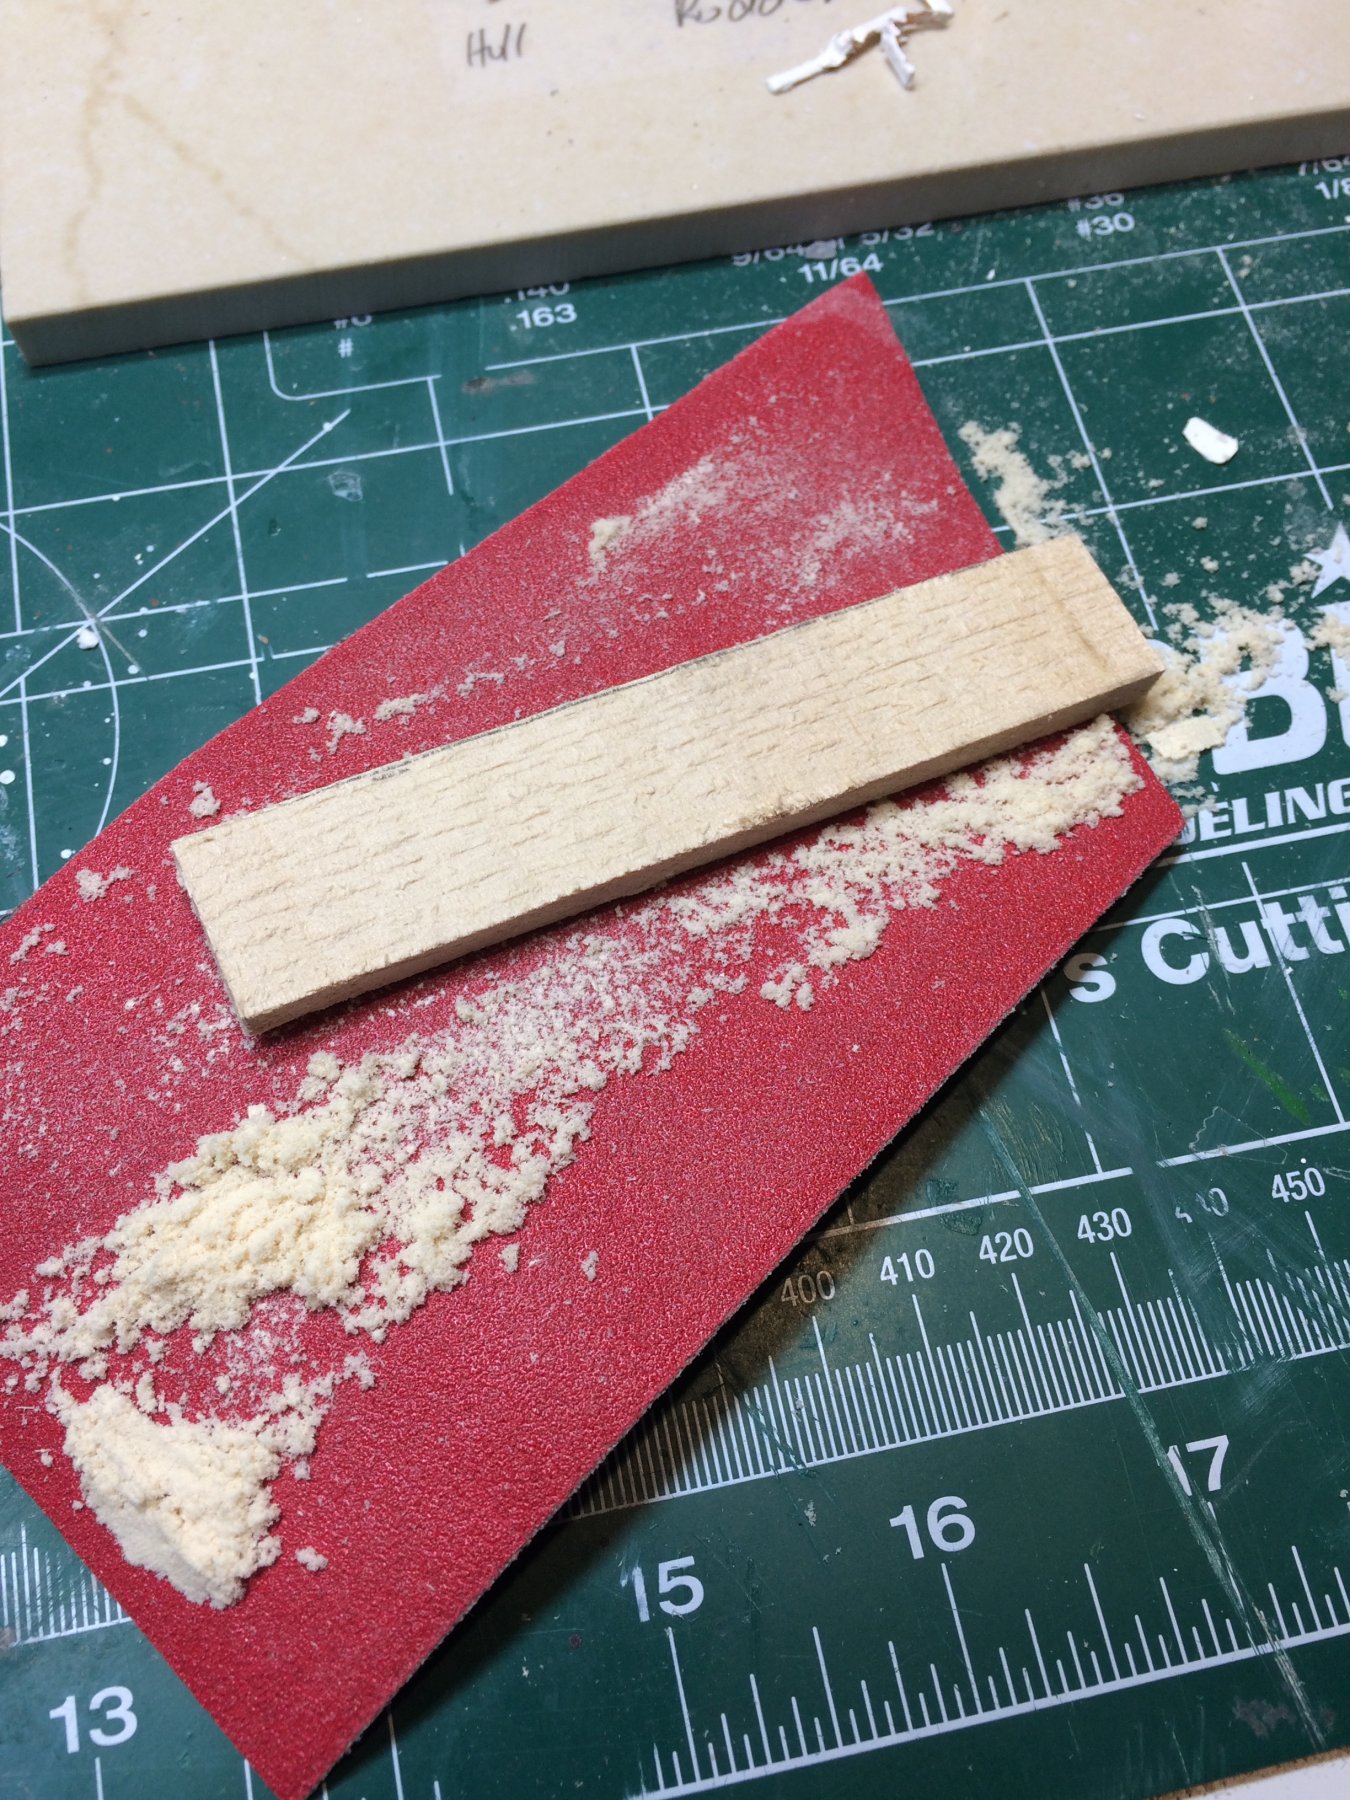
New rudder built from piece of basswood, thicker that needed. An another exercise of sanding to bring it to the desired thickness.

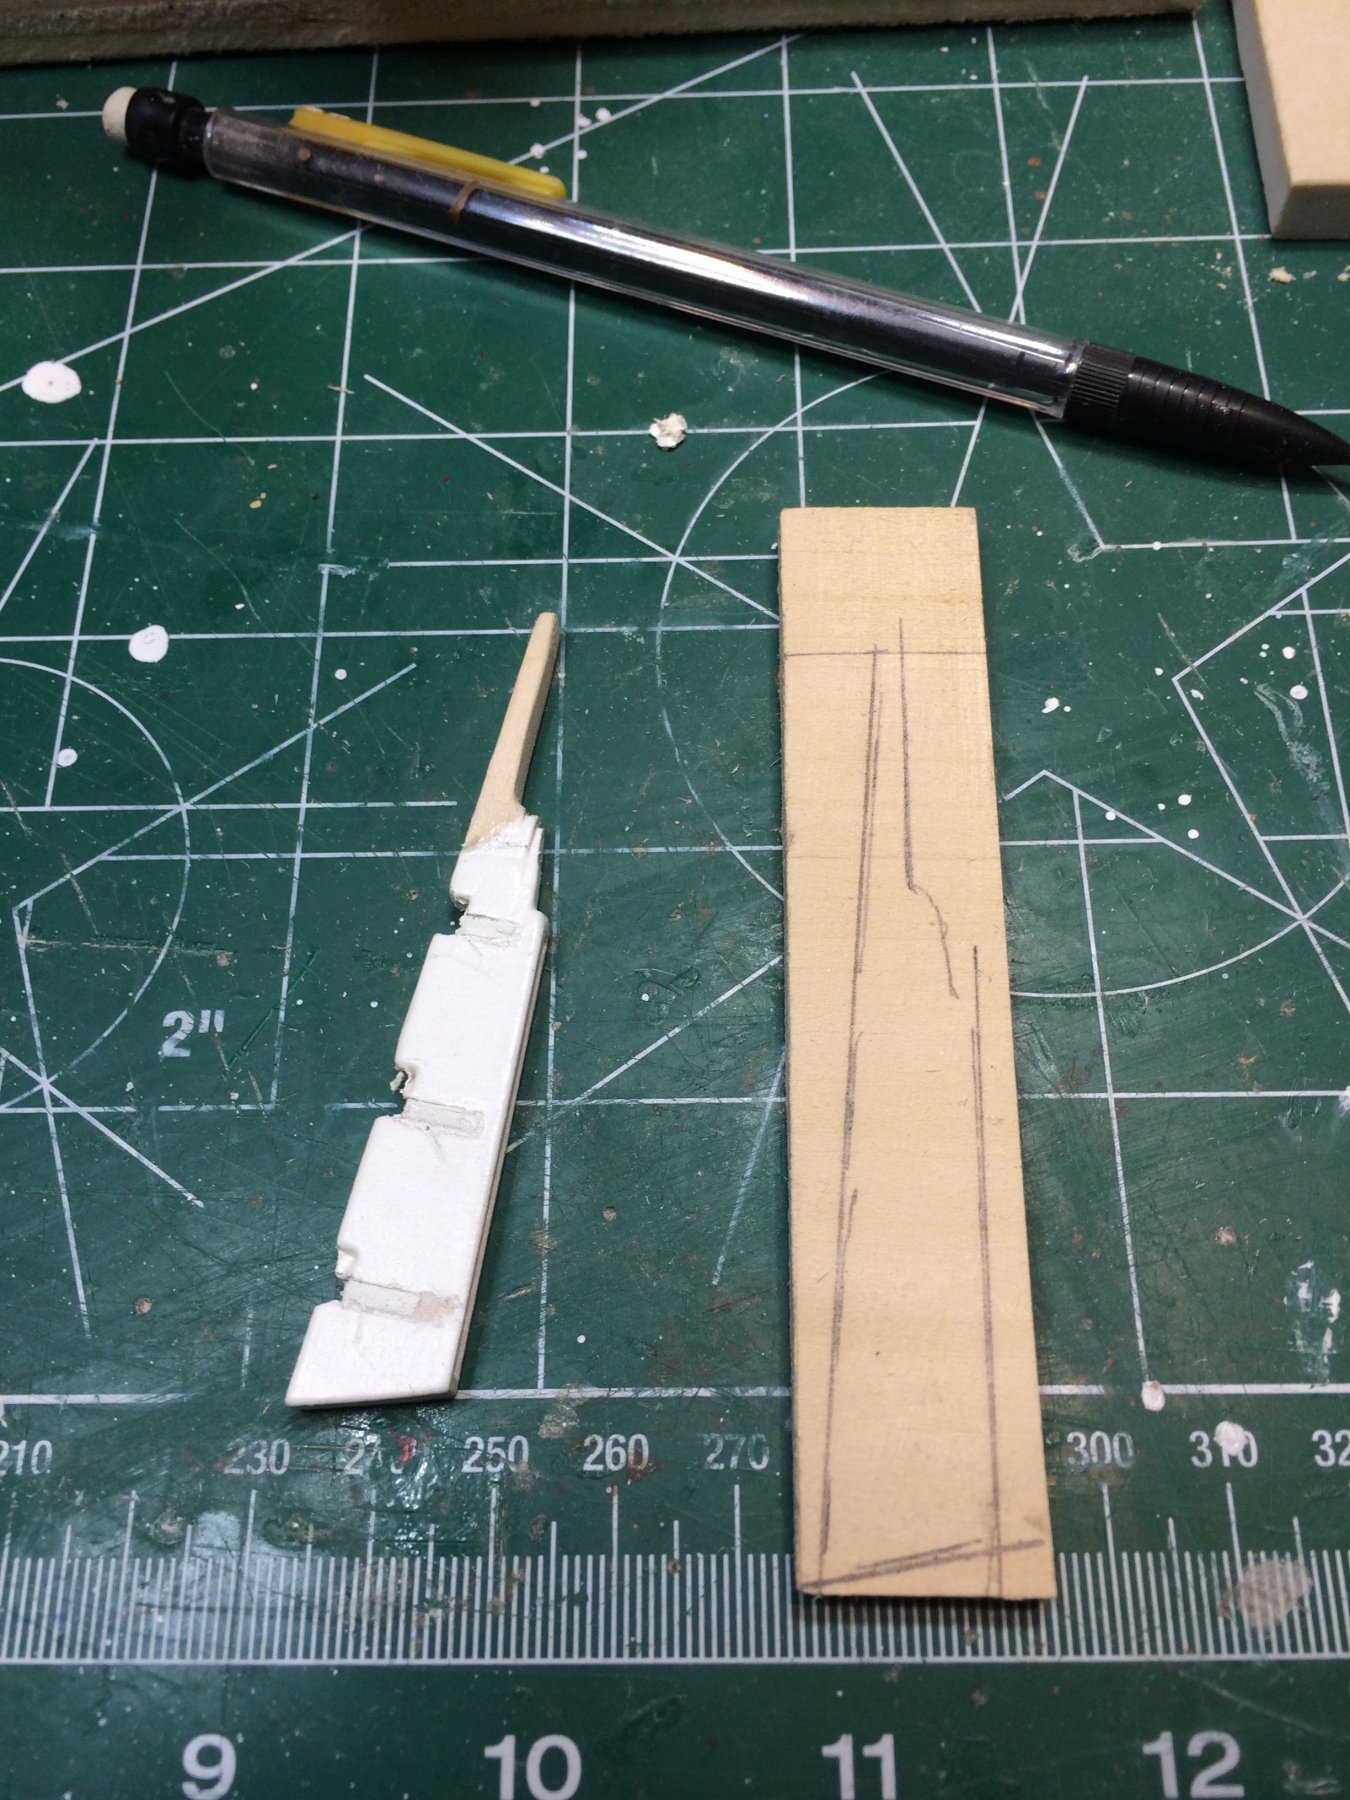
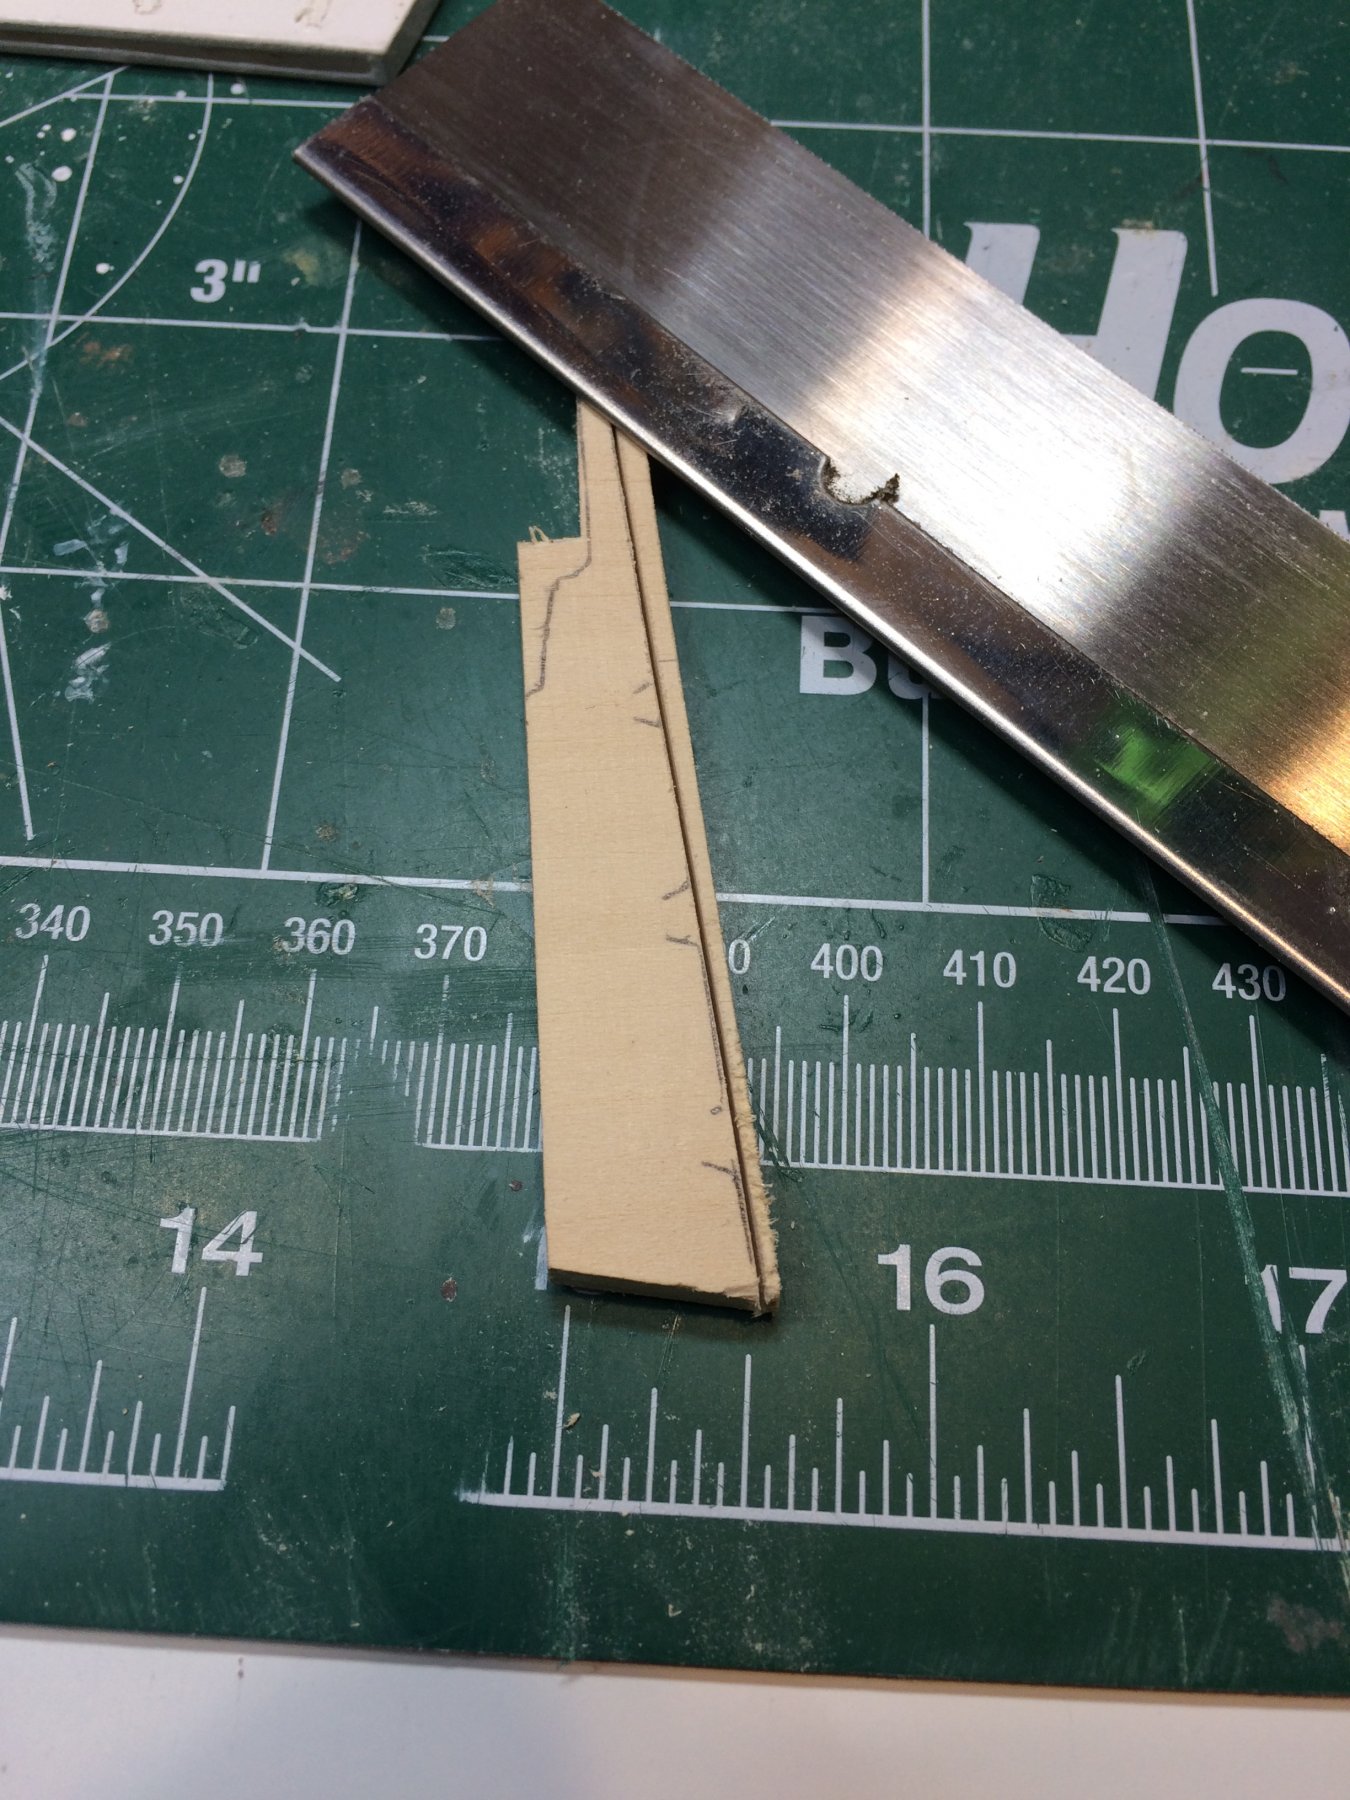
Marked outlines of the old rudder and cut as close as possible to the lines; less sanding is better.

During the sanding process the top of the rudder broke and need a little fix. Another piece of boxwood and voila; all is good. But a bit of extra sanding will be required.

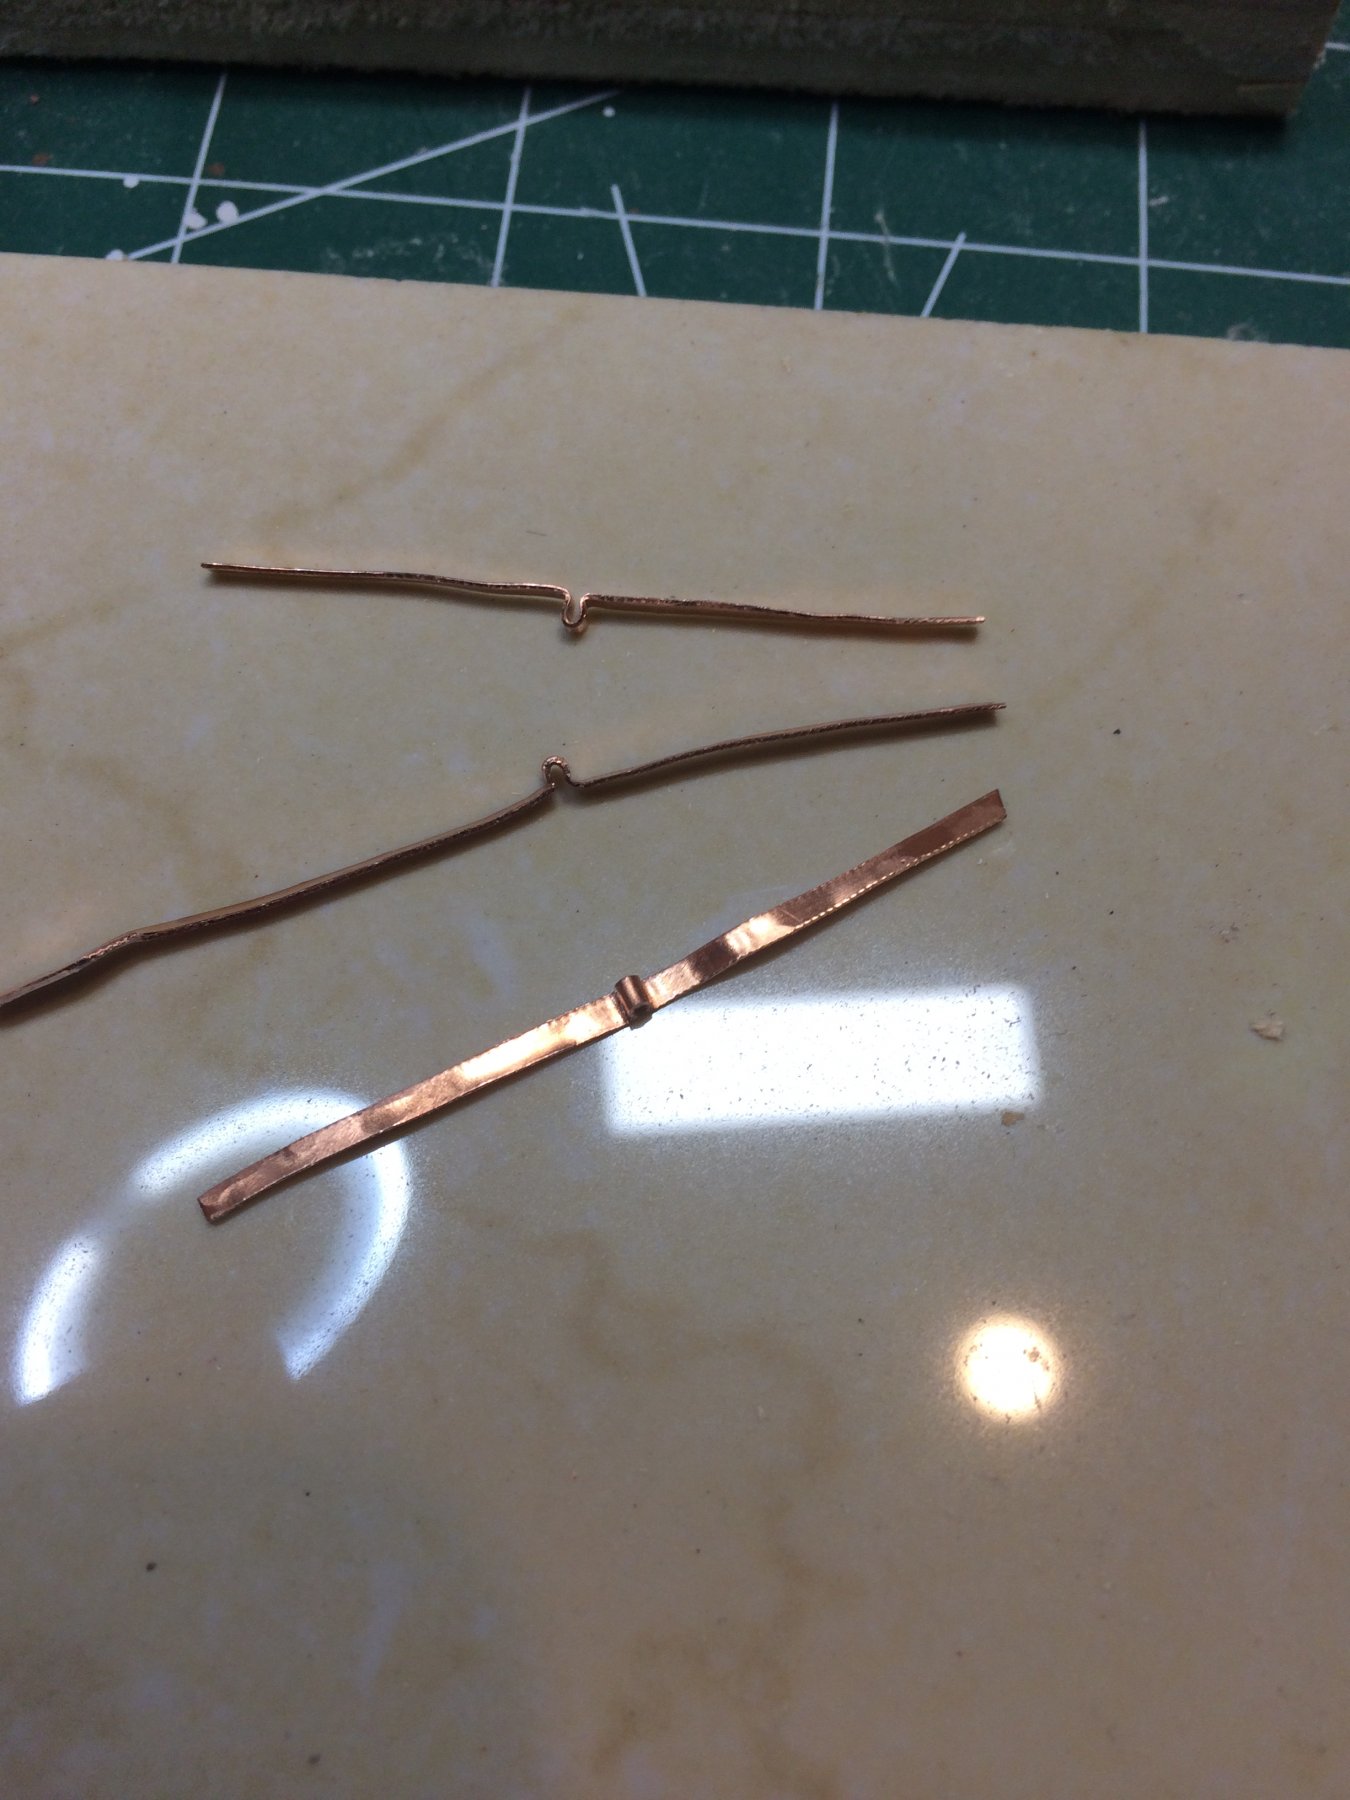
Hinge parts are cut and need a bit of flattening...
Flattened and ready for painting.

Rudder completed and first layer of white paint applied.


That is all for today..
- Overworked724, lmagna and Tigersteve
-
3
-
Rudder removed and hull ready for wood filler and sanding...
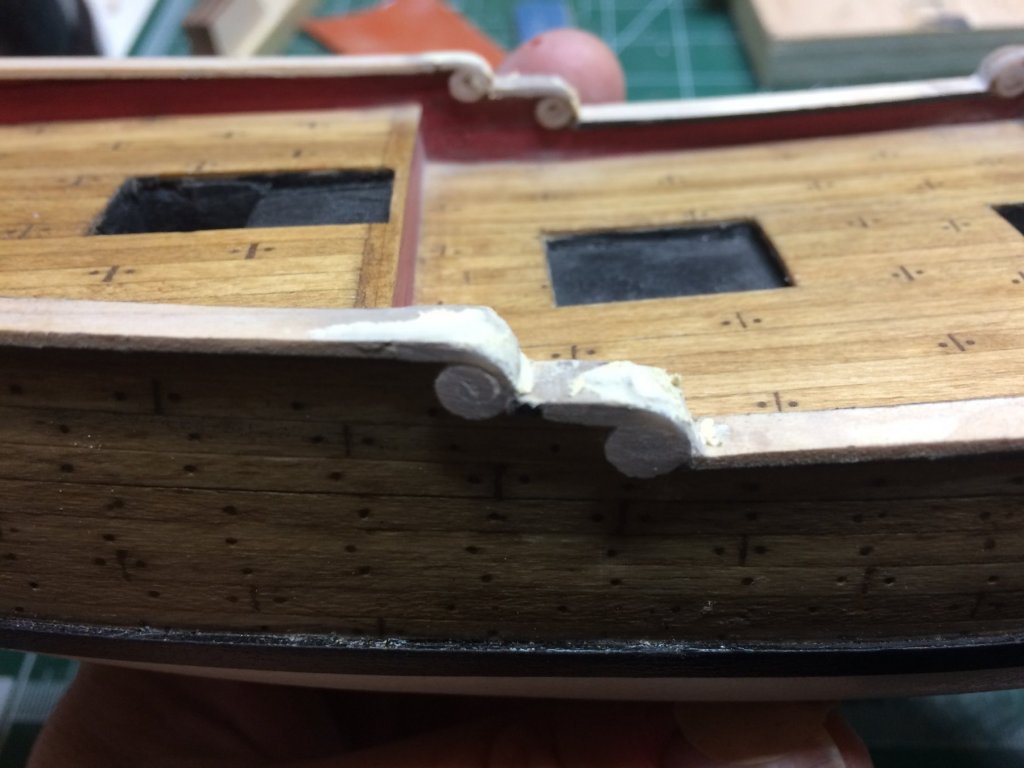
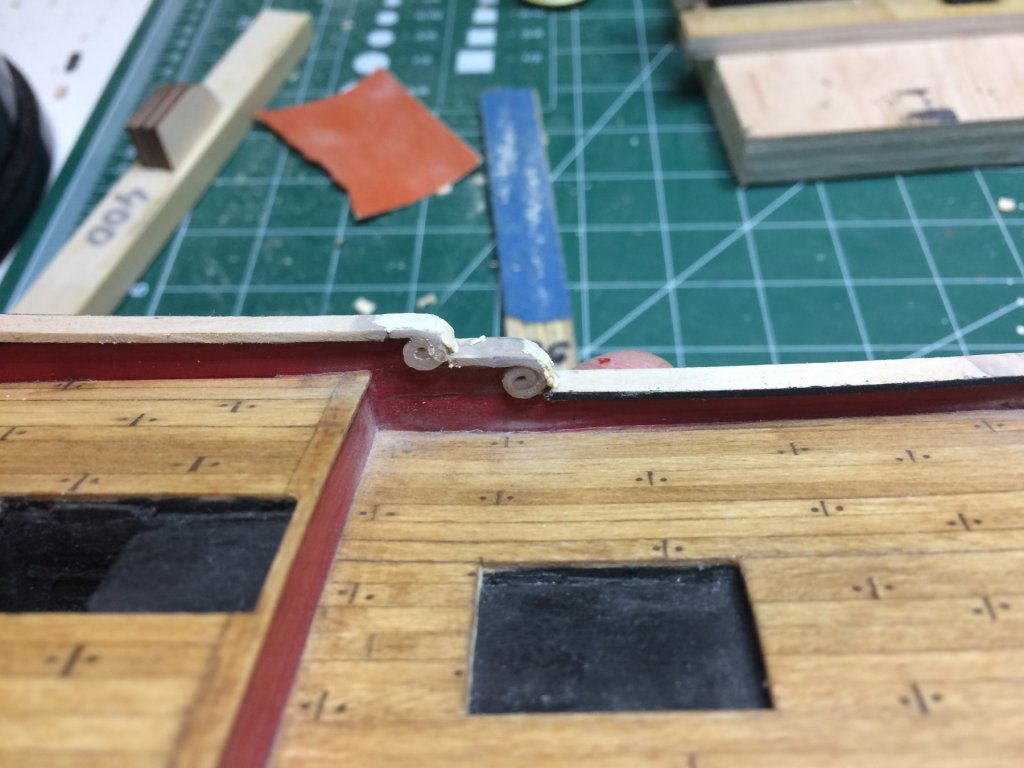
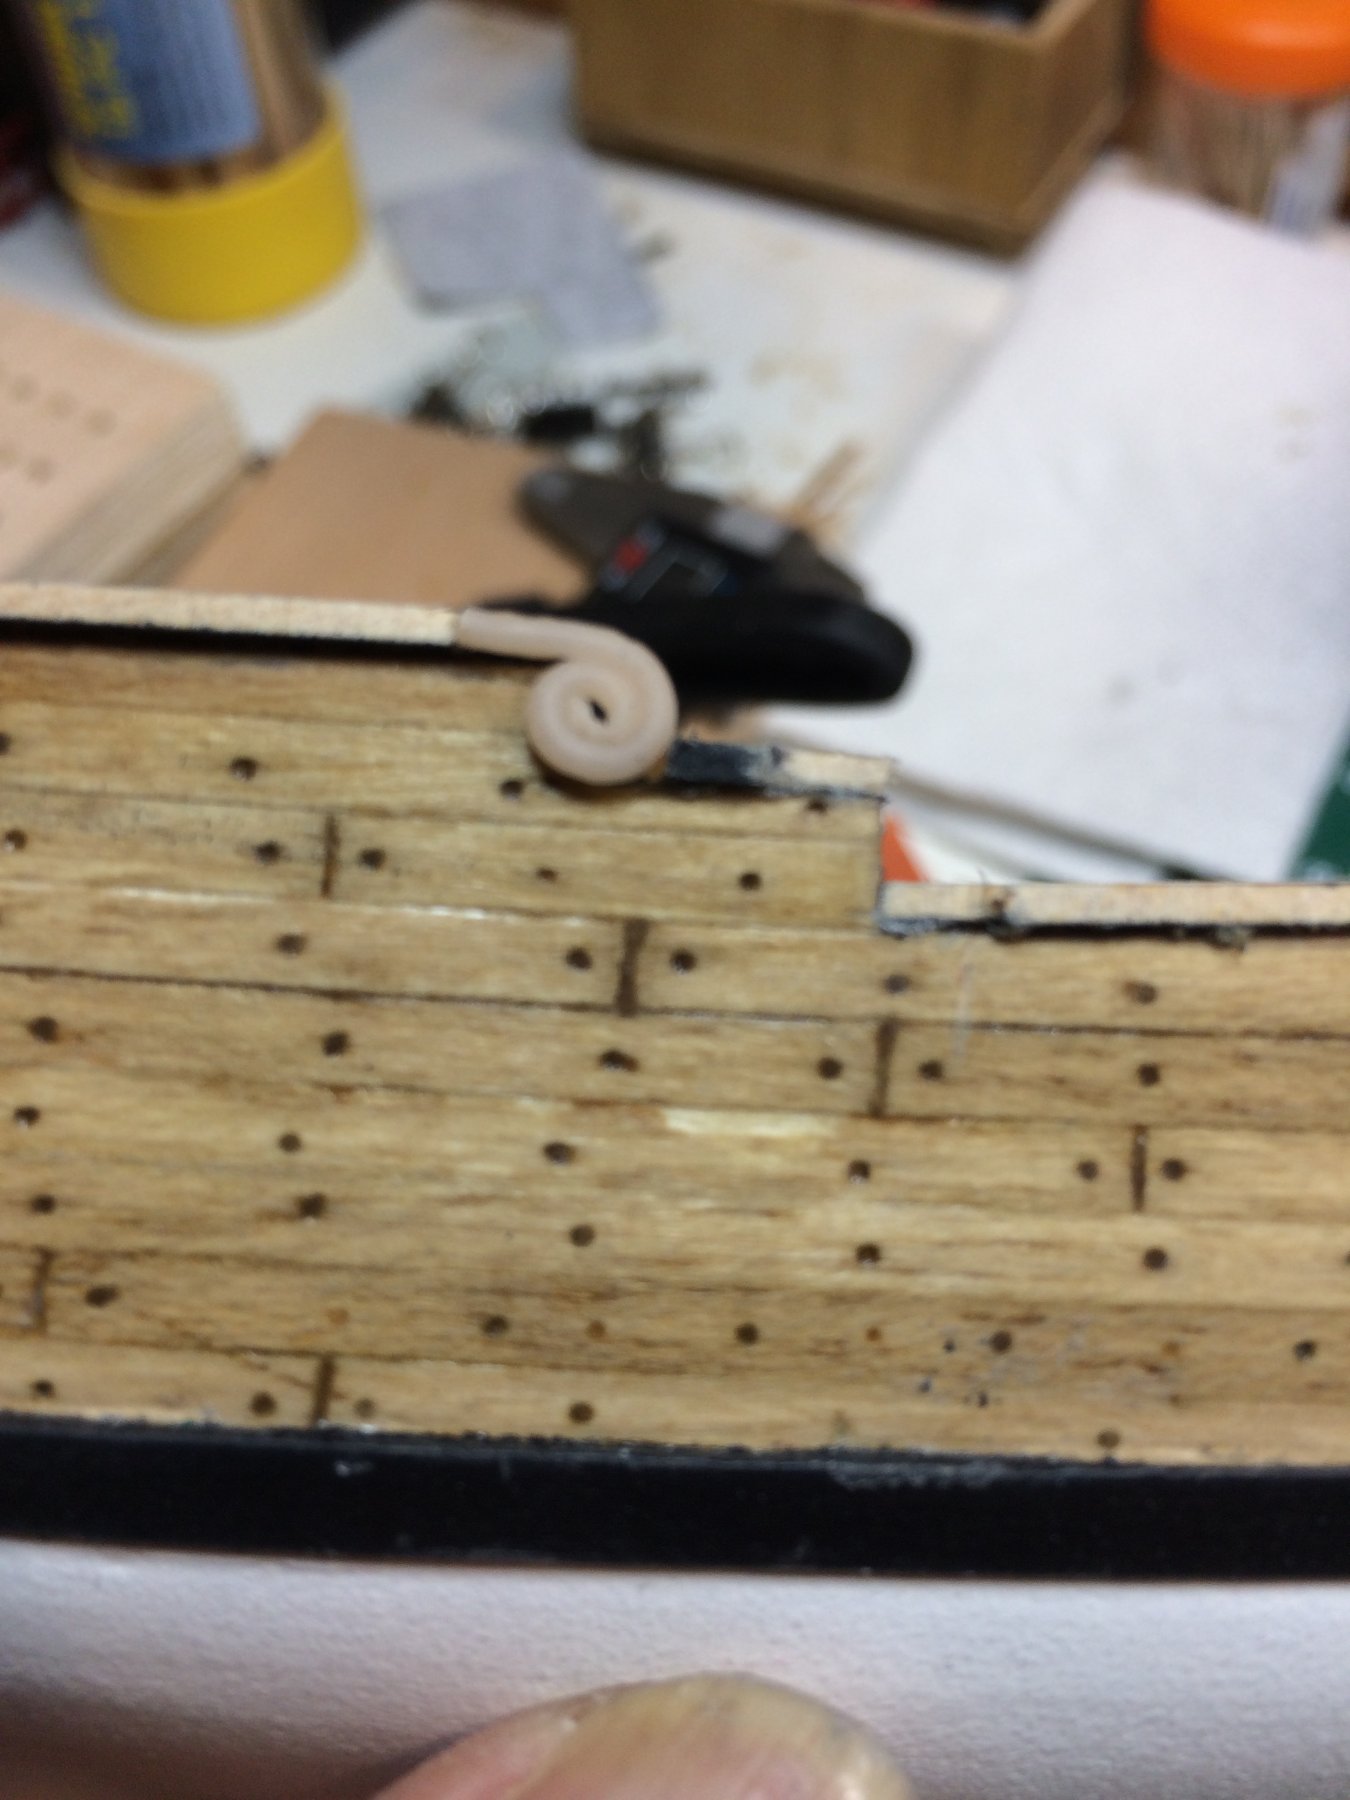
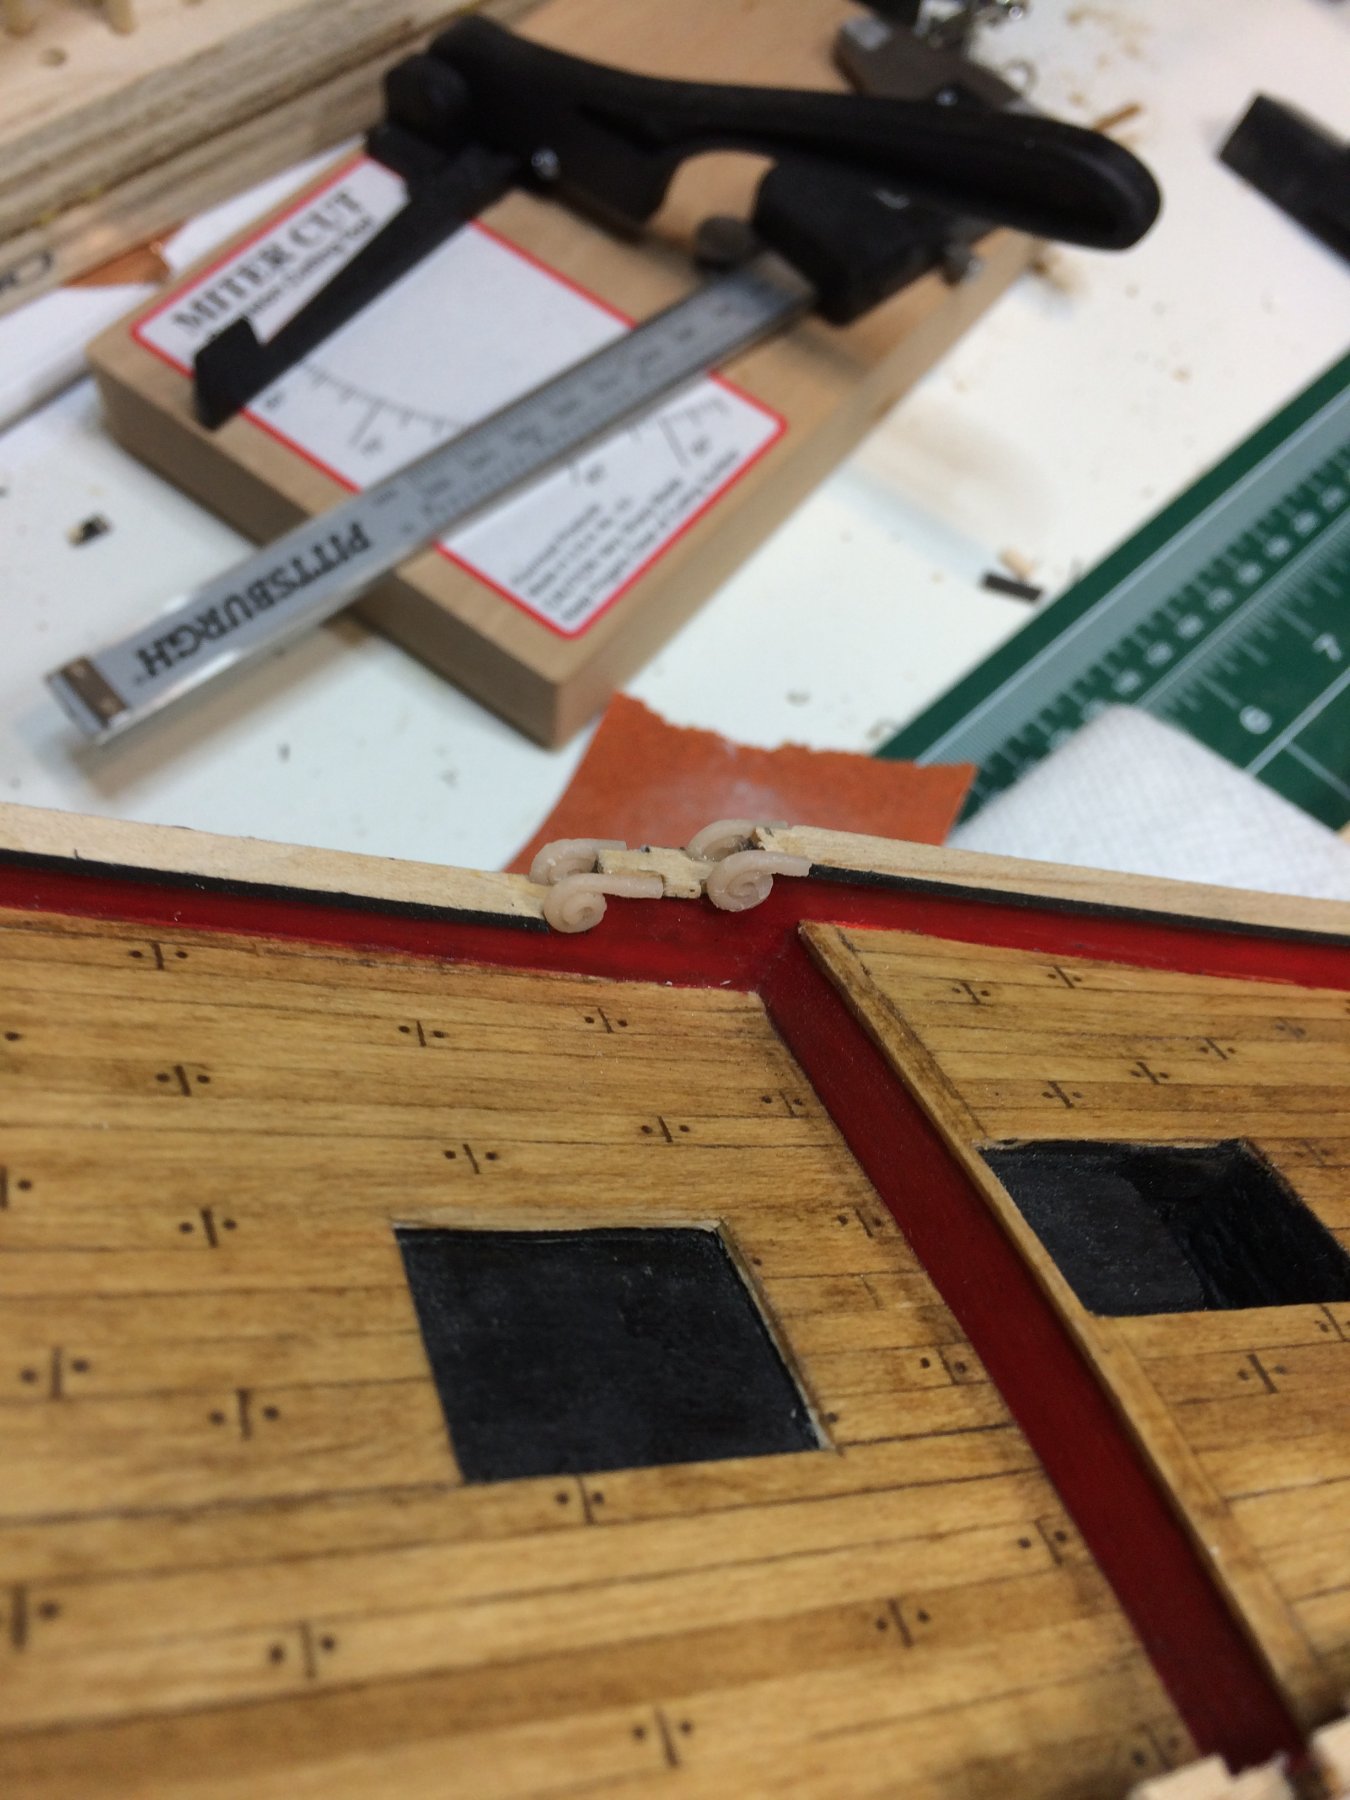
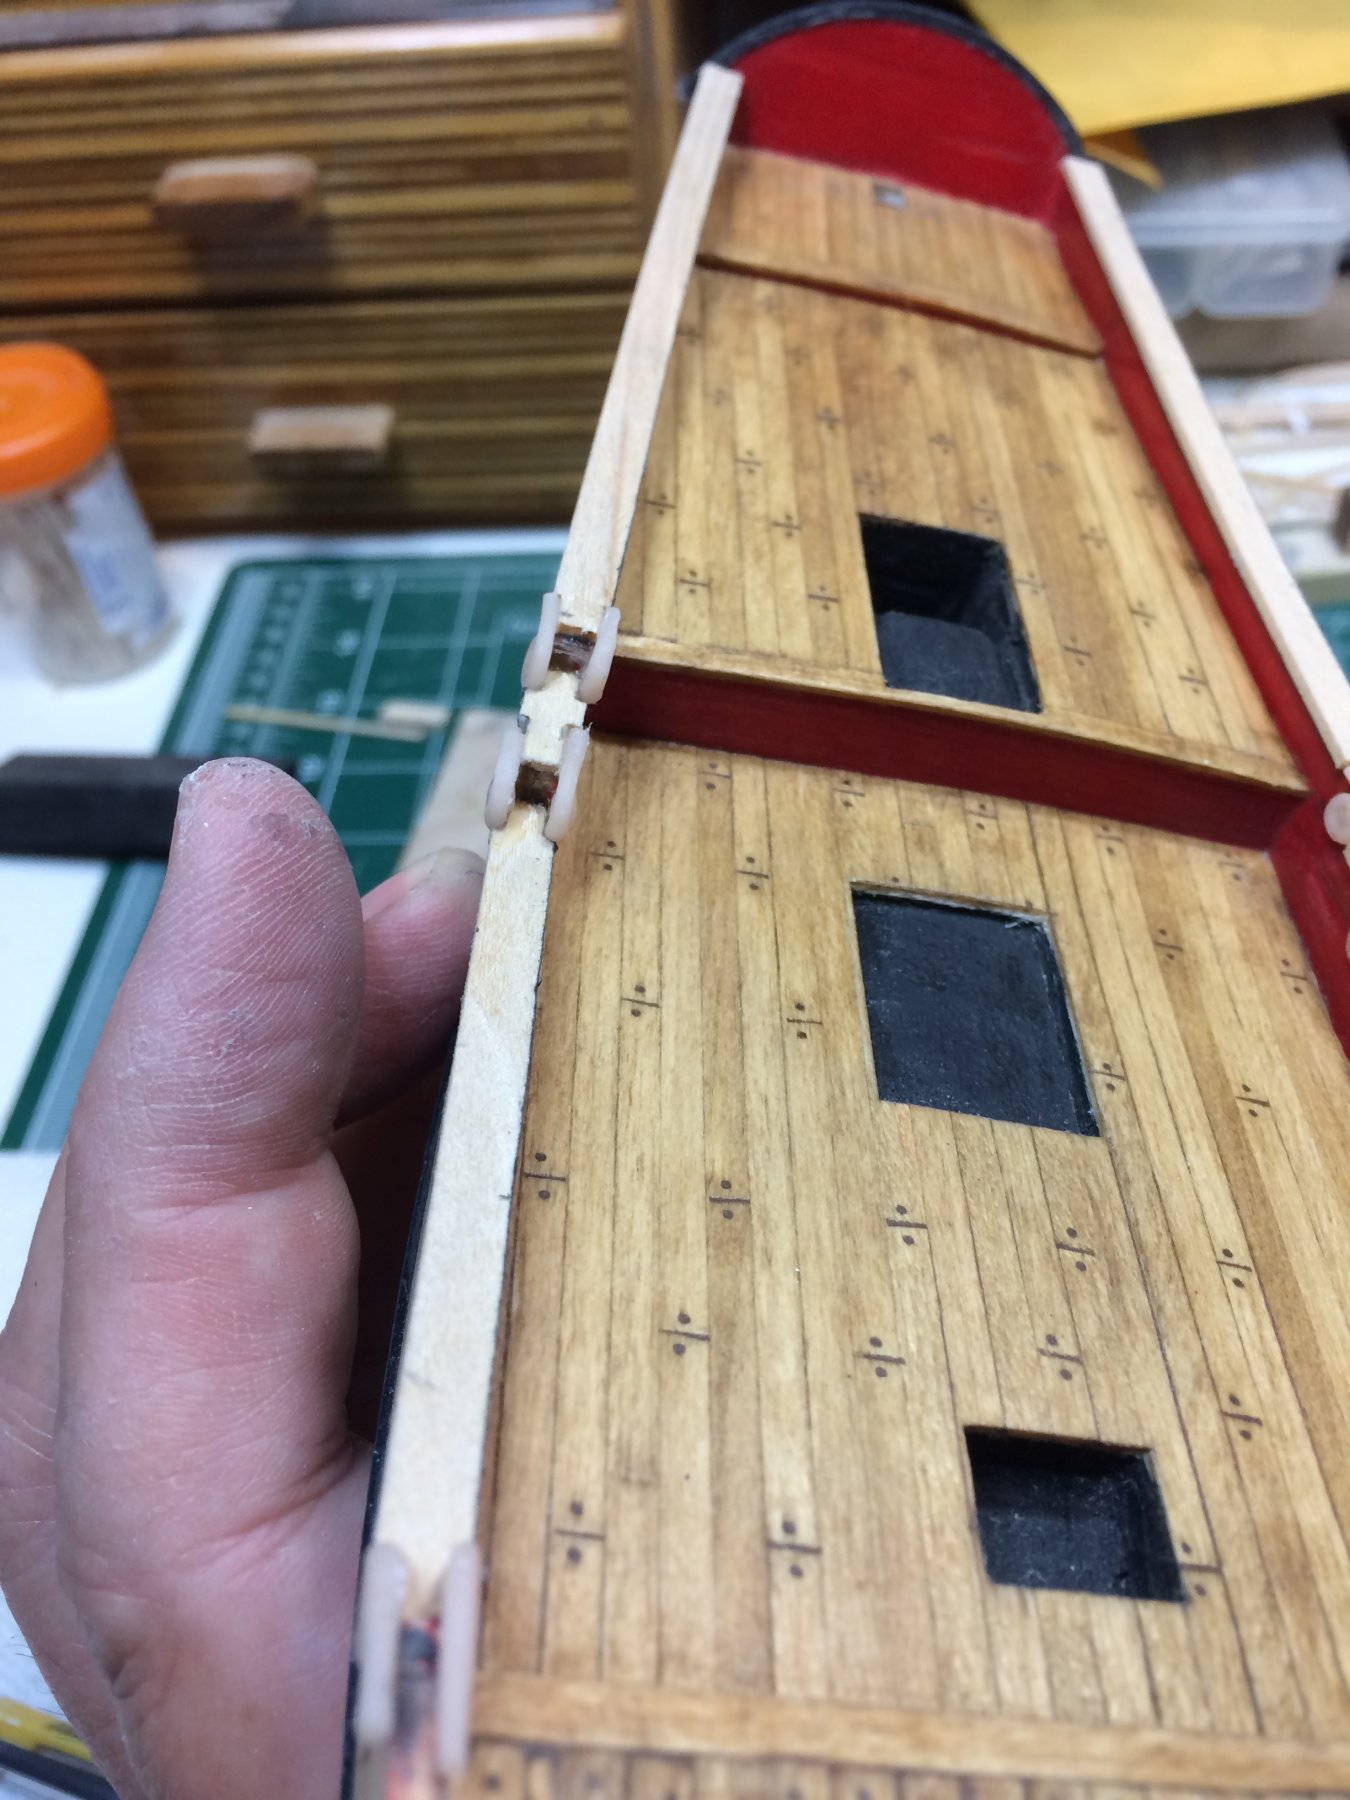
Then i cut cap rails, which were painted black on the bottom so i don't have to paint those tiny spots.
With this attempt i tried to make a little grove on each side of the cap rails; this should made scrolls easier to mount.

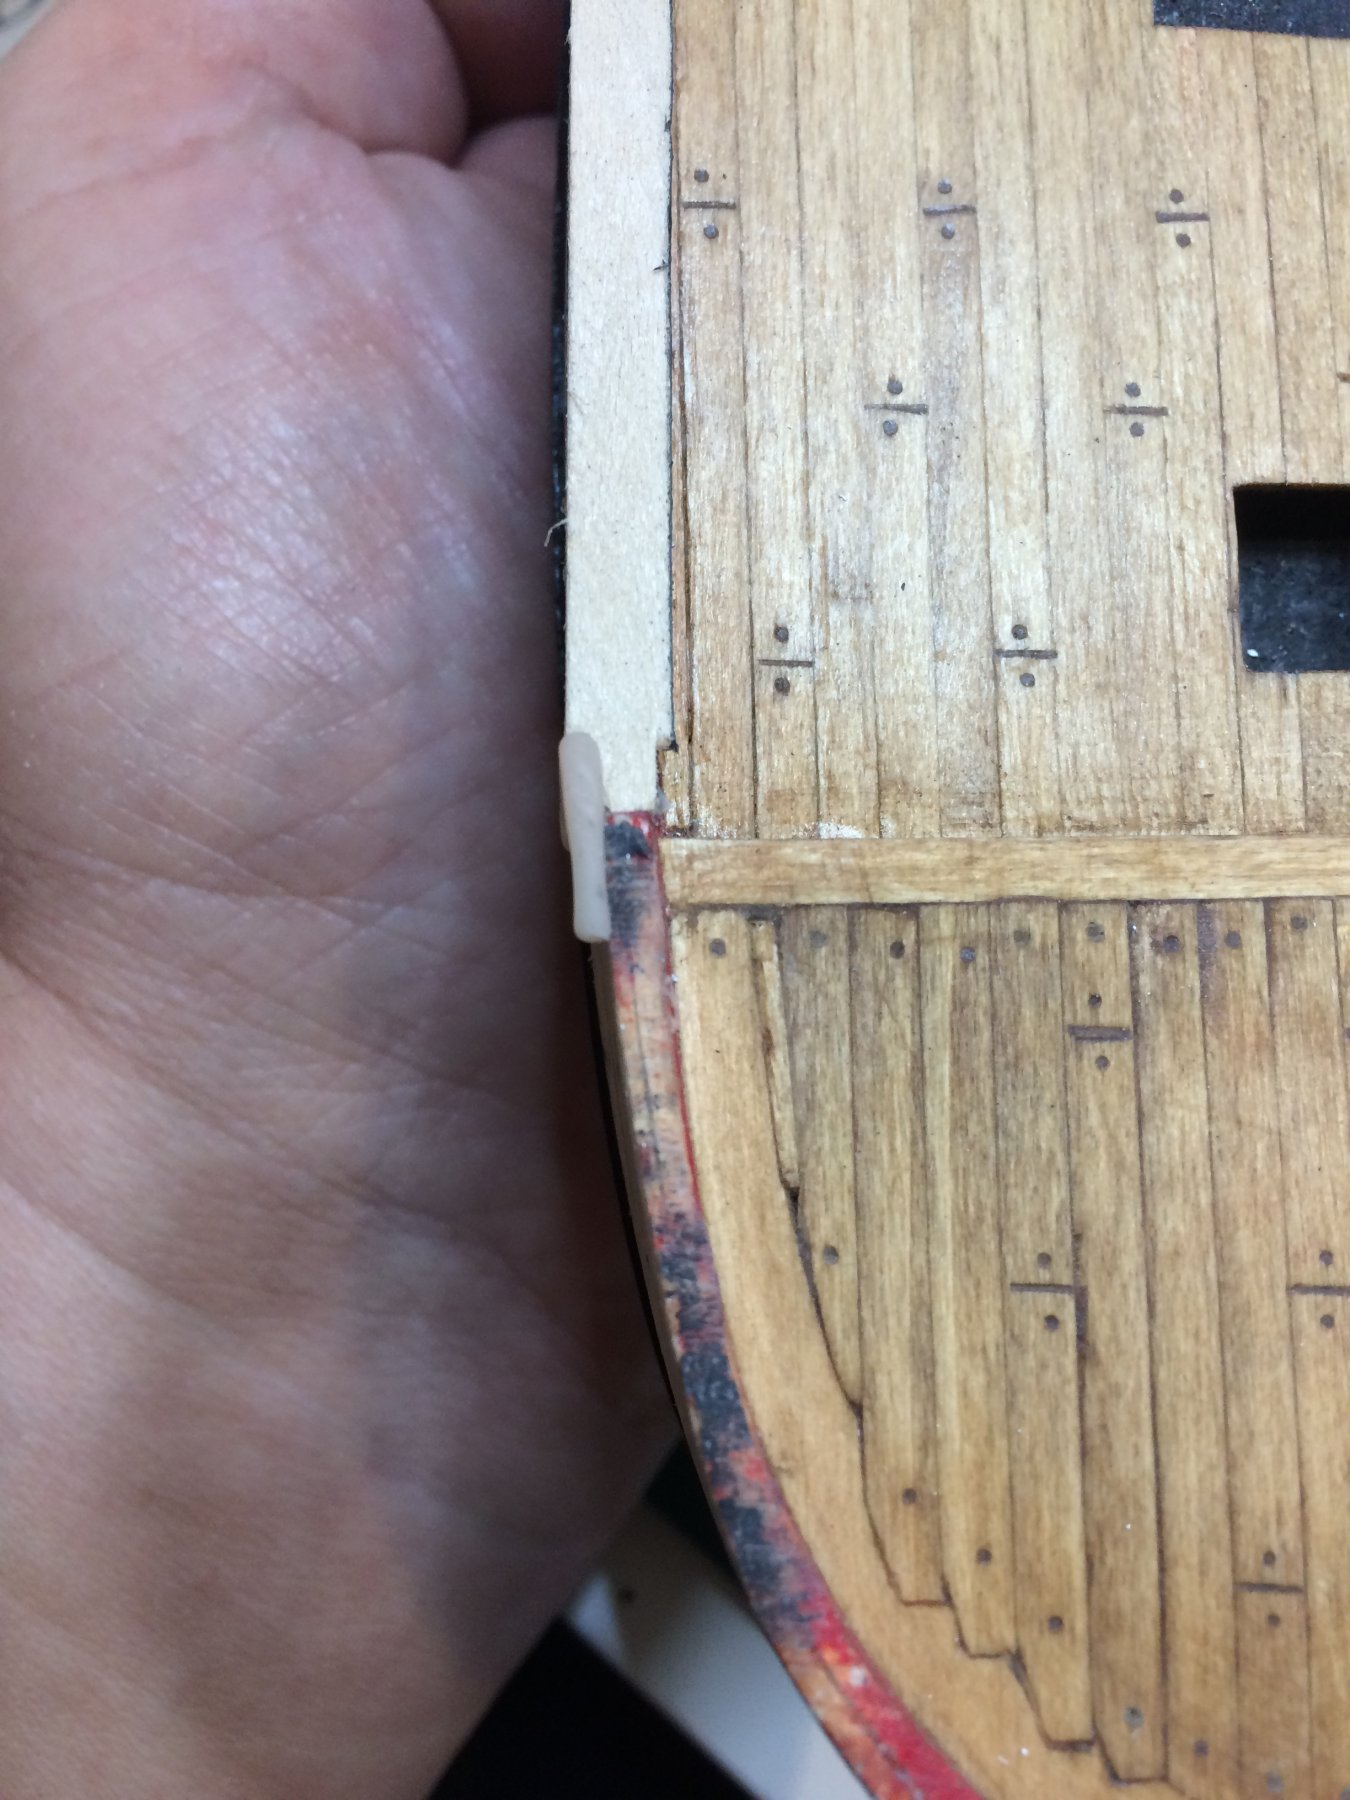
Then i started to mount scrolls, very tiny pieces...
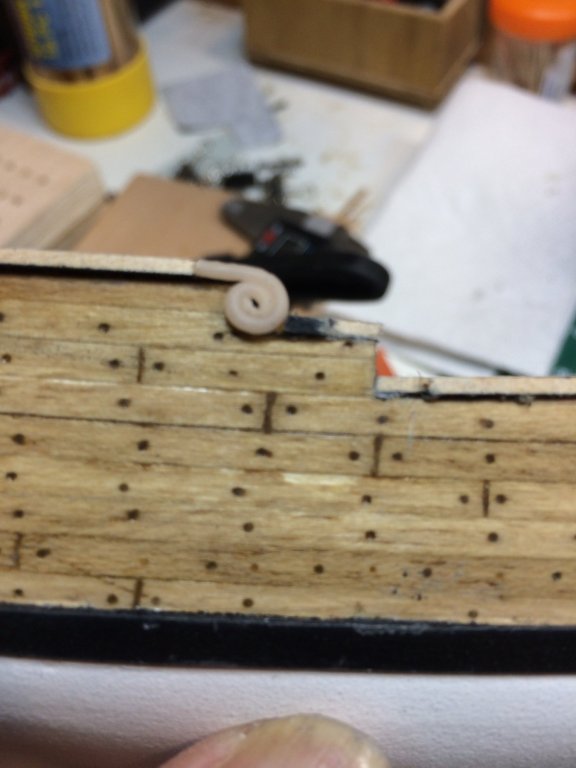
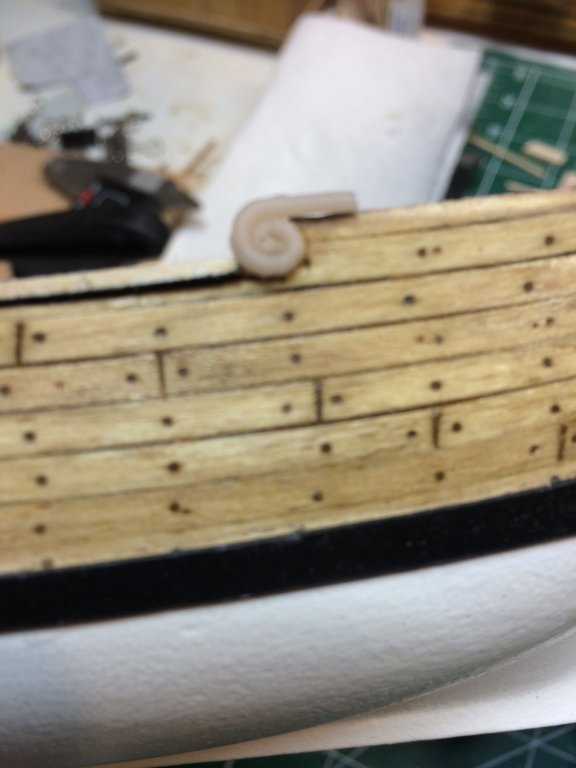

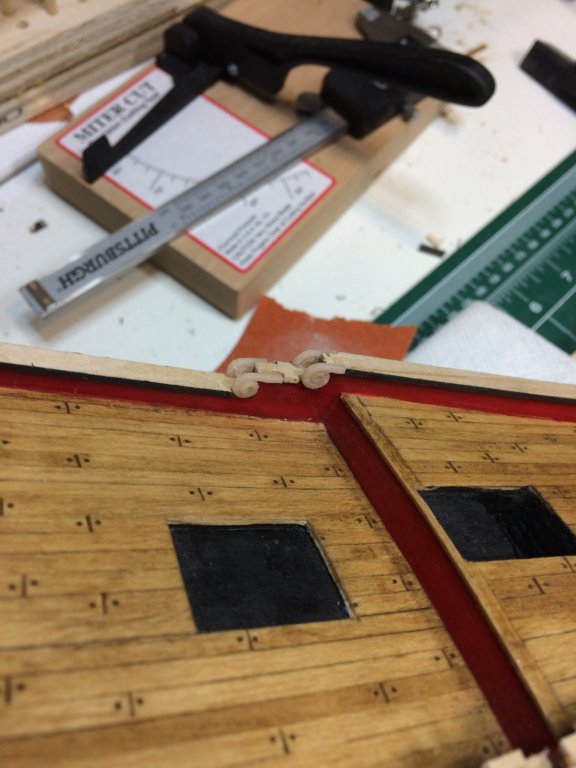
And all is done...

Next step is to fill up all gaps between scrolls and cap rails and to paint all in black..
Well, that is for today...
-
Yes, i would definitely see it every time i looked at the model so it is worth get it right...


.JPG.8d04cf9279b23cdd8fc5072fb6174416.JPG)


.JPG.93f2416c28698784951ceb247e25849d.JPG)


Sultana 1767 by moreplovac - FINISHED - Model Shipways - 1/64 - Colonial Schooner
in - Kit build logs for subjects built from 1751 - 1800
Posted
It will make big of a difference at the end.
Cheers..