
JGoff
-
Posts
21 -
Joined
-
Last visited
Content Type
Profiles
Forums
Gallery
Events
Posts posted by JGoff
-
-
-
I concur with Allan. Your work and attention is exceptional.
- CiscoH, Glen McGuire, Knocklouder and 4 others
-
 6
6
-
 1
1
-
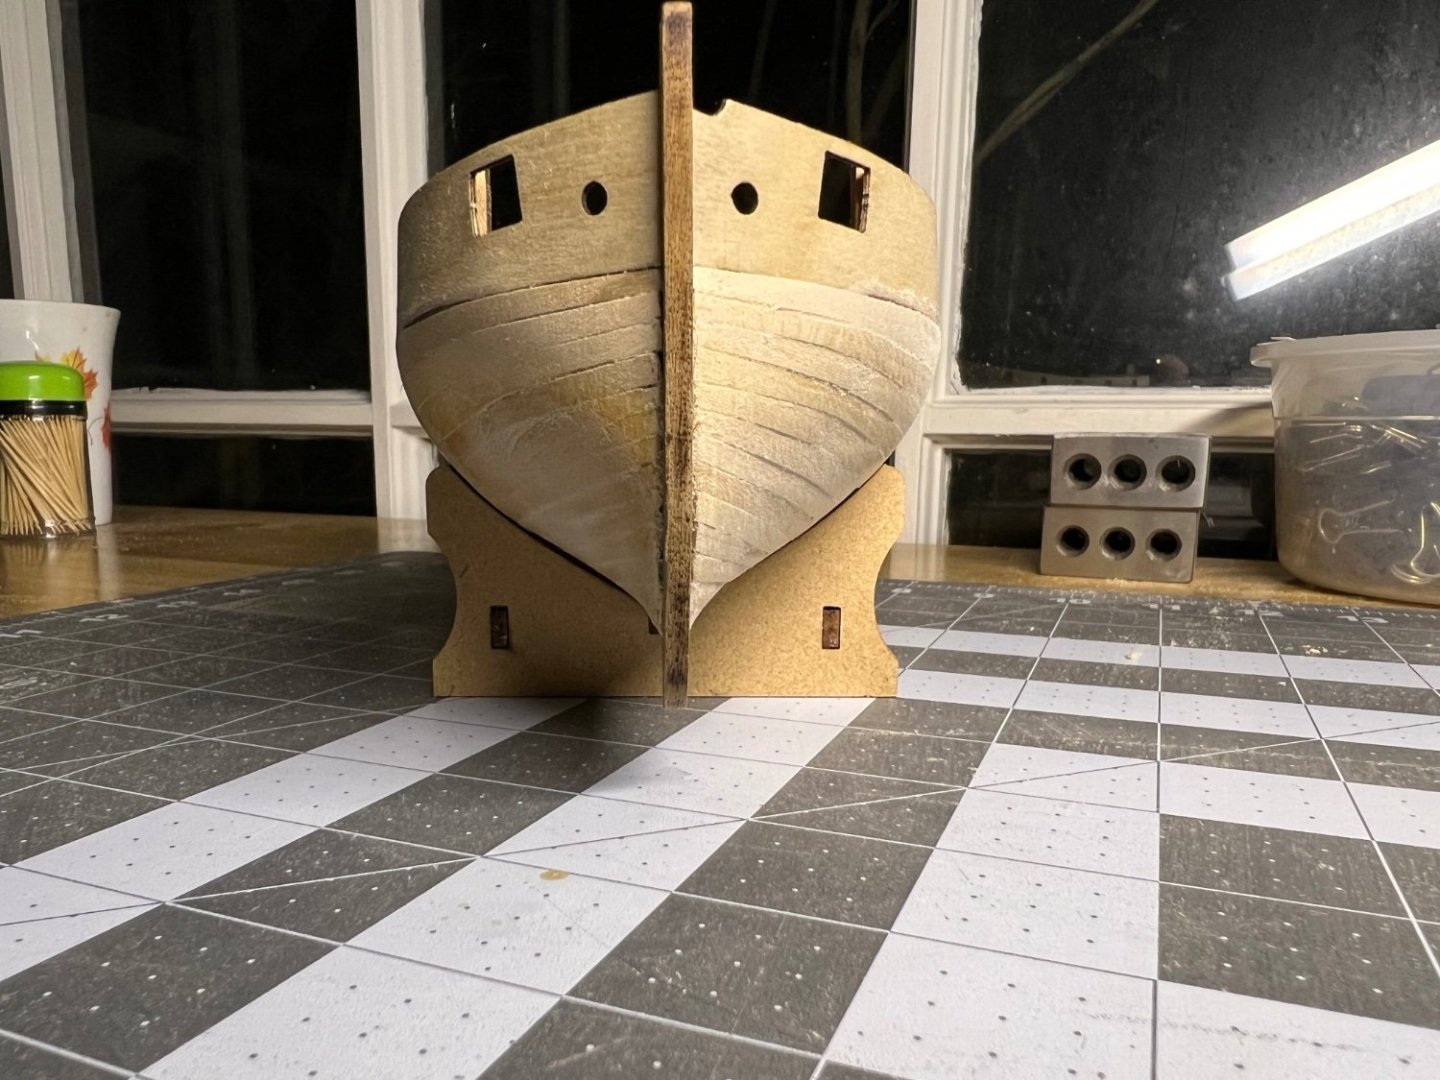
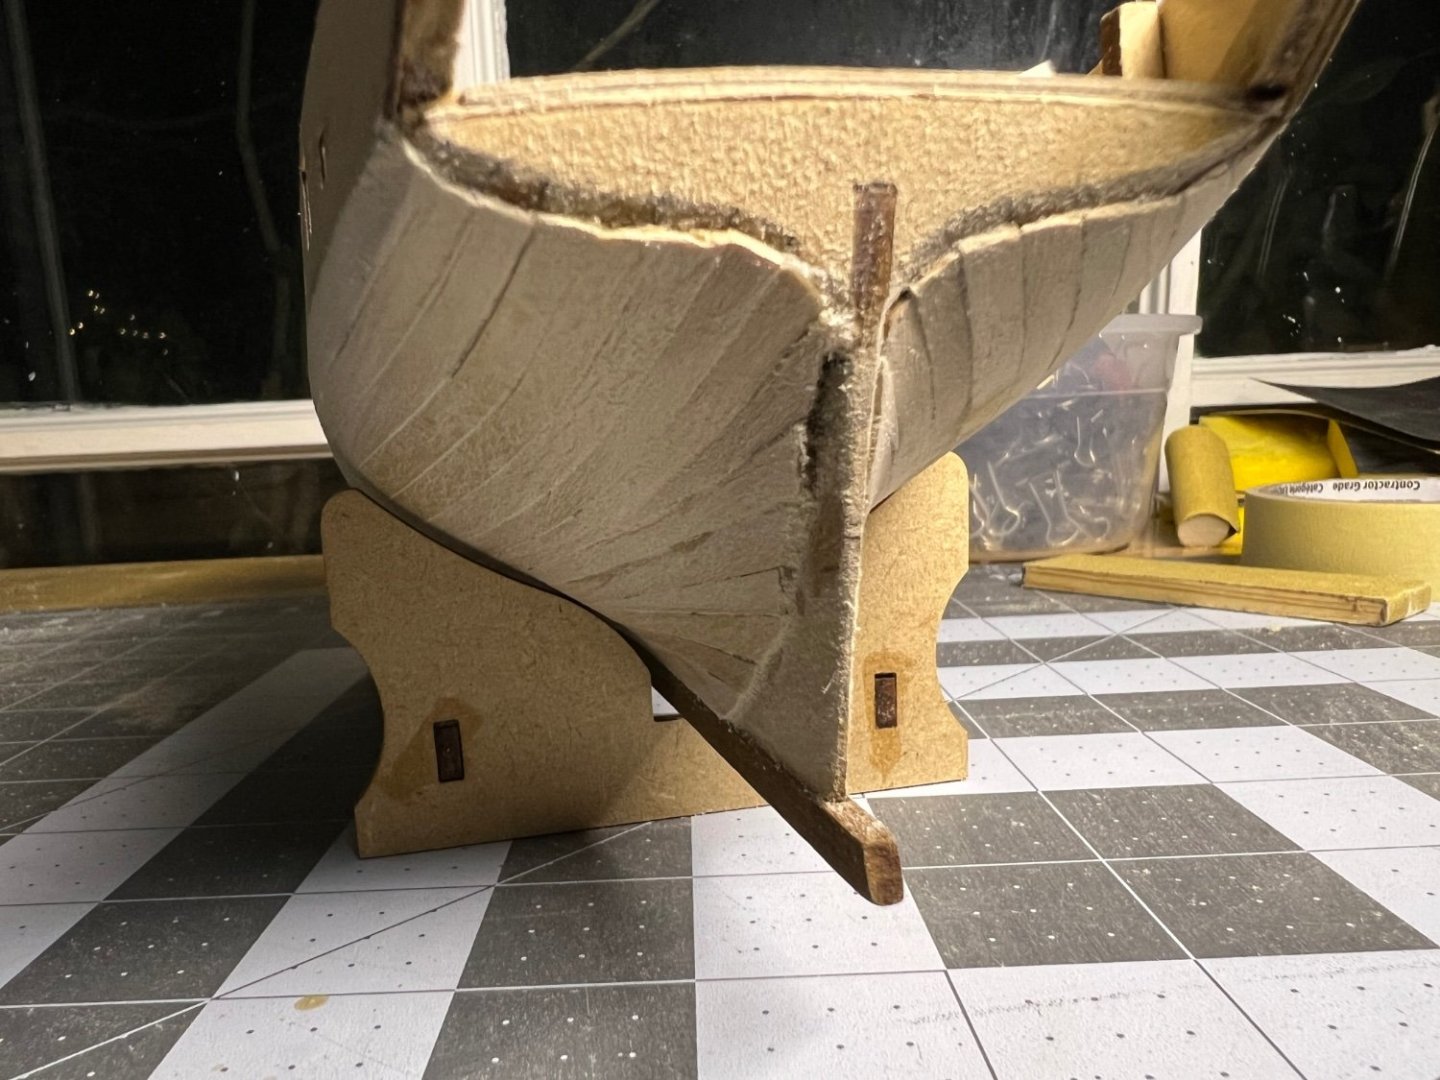
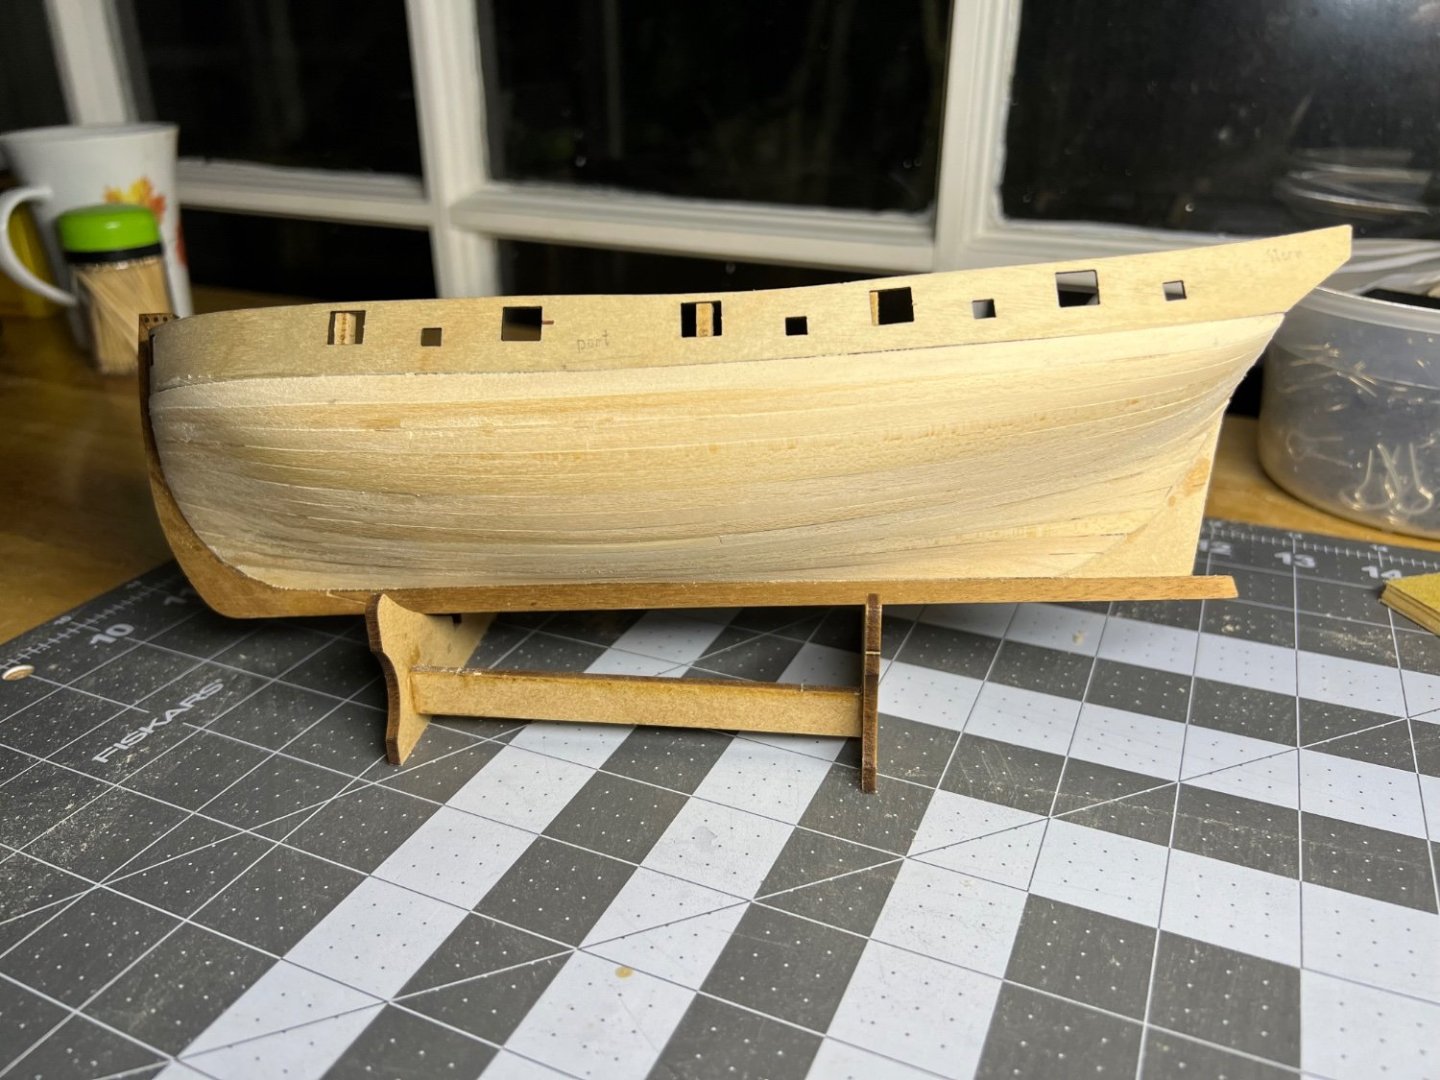
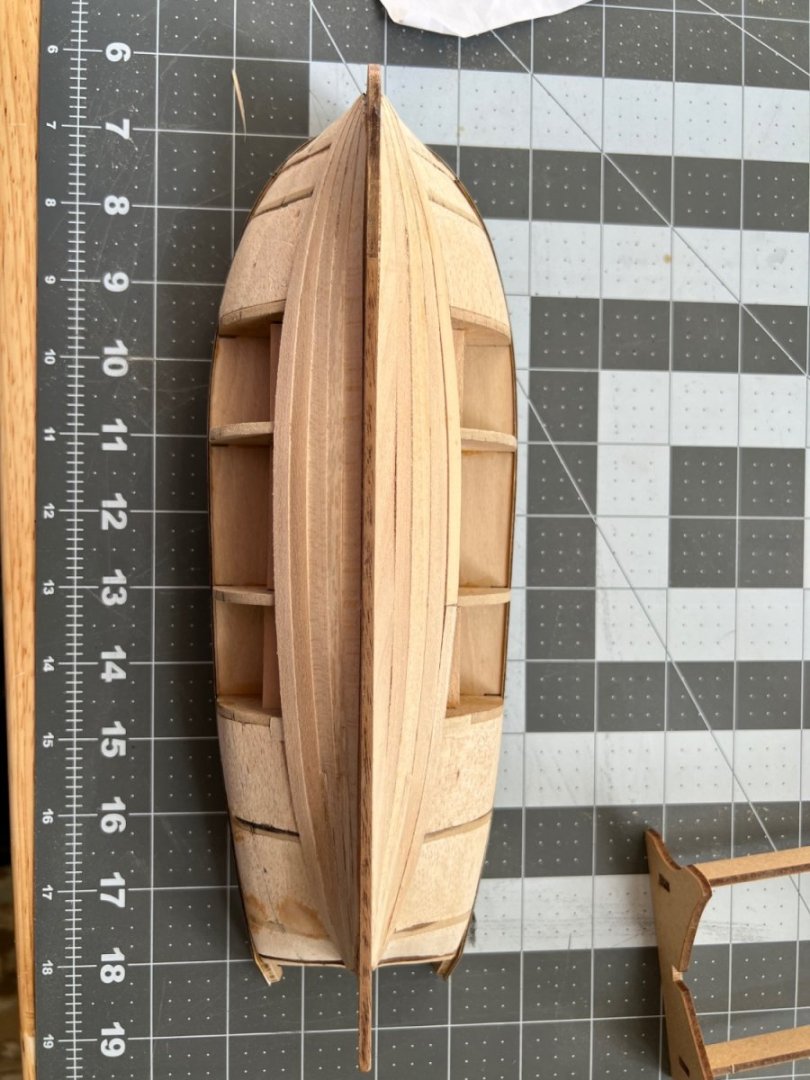
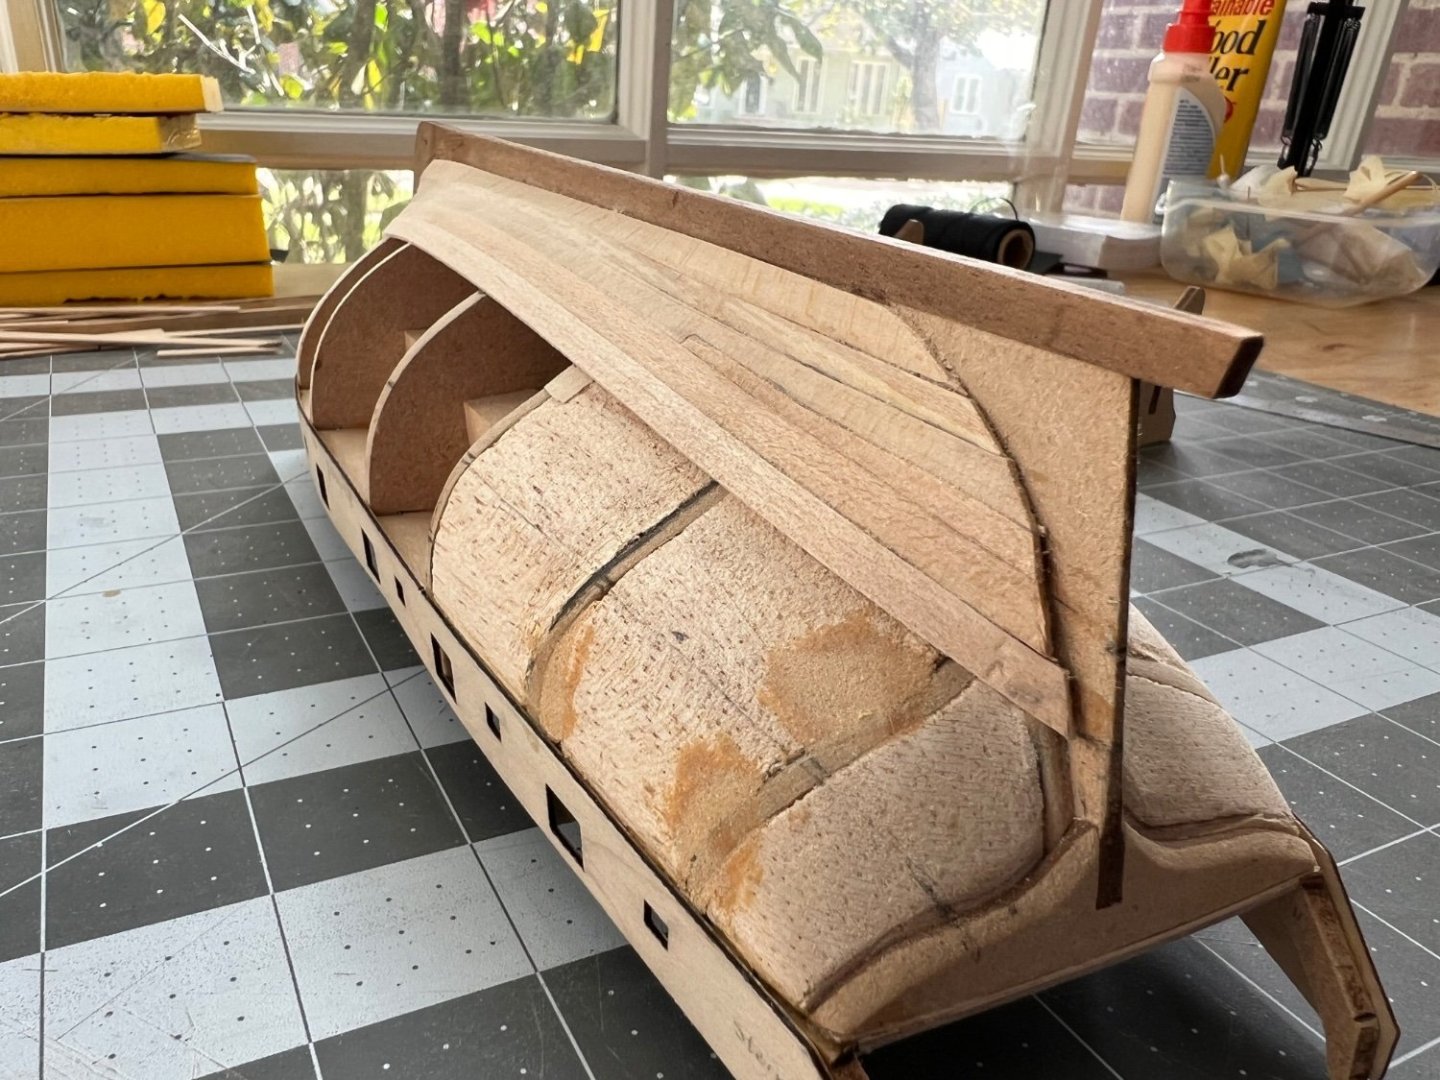
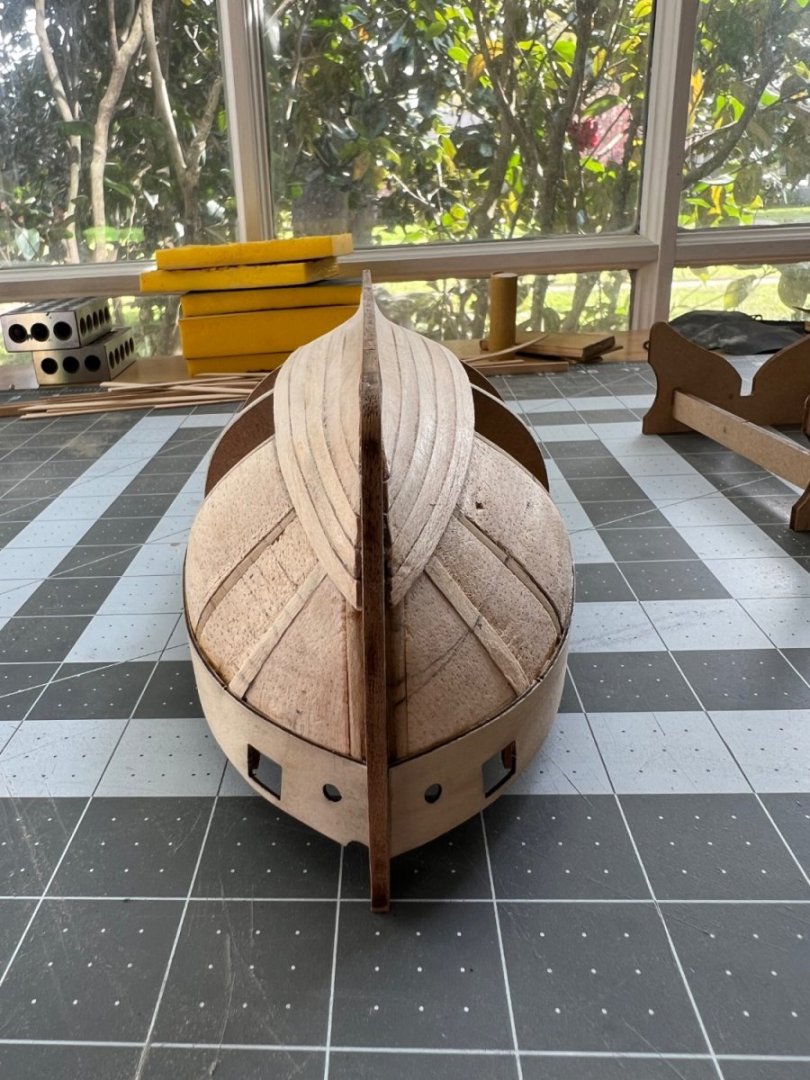
I have finished the first planking and have done some sanding. There were some difficulties at the bow and stern areas that betrayed my fairing job. I had to do a little more sanding and shem some bulkheads will definitely need some filler.
I started using minwax wood filler on the starboard side, and I’m not sure if is the best filler for the job? It tends to be very flaky but this may not matter much? At any rate, I just received some goodfillas neutral filler so I’ll use that on the port side and compare.
Here are some photos after some sanding.- Gregory and Thukydides
-
 2
2
-
It is hard to believe it has been 2 years since my last post here, although I have certainly not been absent. I put Lady Nelson on hold and decided to work on the Half-Hull Planking Project which was enormously helpful in getting over the planking hurdle I was having.

There is much that can be improved, so we shall see I can continue to improve my planking skills with Lady Nelson. Understanding that this is the 1st planking, I am not overly concerned with attempting excellence for the first layer, simply dabbing a little water on the areas of the planking where I will edge bend them and gently bending the planks using my fingers which has so far been sufficient to the task. I am just building a base for my second planking. Here are the results so far with the first band.
- Thukydides and Gregory
-
 2
2
-
6 hours ago, drjeckl said:
Listen, I appreciate where you may have been a bit stand-offish after installing the bulkheads from taking the more difficult path, the 1st planking, and installed the frames.
Hey John, thanks for your taking time to respond. I haven’t yet installed the bulwarks, and so I thought to install the frames so that when I do install the bulwarks, I can attach those properly. I may not be naming those pieces correctly.
6 hours ago, drjeckl said:But at this point, you have no choice but to start it, so jump in.
I’ve started to come around to this. I believe that I have faired the frames sufficiently, and really the best way to understand the process is to see the result for what it is supposed to accomplish and just start planking…once I get those bulwarks taken care of. I’ll take care of that this evening and start moving forward on the planking. One thing about the planking is that when I take a test plank and lay it across three bulkheads, everything lays properly. When I add a fourth bulkhead to the mix and hold the plank at either end, I start to see some gaps until I lay more fingers down on the plank. Everything seems ready to go and then I might overthink the issue. So I am just gonna have to start, and I’ll check out those posts you sent me.
3 hours ago, allanyed said:There are many places to learn about planking properly, but many members (including me) think a couple of the best and the easiest are here at MSW on the Antscherl spiling piece, Passaro's lining out piece in the Articles data base and Passaro's 3 part video on You Tube. They are not so difficult and they work. For example, your strakes at the stern should run to the stern post rabbet. not the bearding line. I may be wrong on this if you are double planking, but if you look at a contemporary planking expansion drawing you will see how they should lay. Just go to the RMG Collections site and type in planking expansion plans on the search box. There are 16 expansion drawings some of which show both outboard and inboard planking.
https://www.rmg.co.uk/collections/objects/search/planking expansion drawing
Thanks for the advice, Allan. I hadn’t thought to check out those drawings. And I’ll be double planking so my thought was that the first planking would extend to the bearding line and the second planking to the stern post rabbet? Otherwise I might end up sanding the most of stern down to accommodate the thickness of both layers of planking to be flush with the stern post, yes? I haven’t yet done much reading on the bearding line and rabbet, but it’s on the list of things I need to study.
3 hours ago, KirbysLunchBox said:Welcome to the forum and good luck on your build! It can be frustrating at times, but the reward is worth your effort.
Thanks Kirby! It has definitely had its share of frustrations thus far, but I do enjoy the process and seeing the little transformations. Plus, I’ve been finding myself reading more about the period and naval warfare, which - along with Aubrey - supplies some motivation.
-
2 hours ago, drjeckl said:
Jonathon, Welcome aboard MSW and to the LN builders. One caution on those Amati videos (there are about 20 of them). The guy doing the build, was Leon Griffiths from Model Shipyard, a master builder. I followed most of his techniques rather than those found here, to my detriment. After getting myself in a hole (needed to rip off the first 5 planks, port and starboard, of the first planking) the advice I got here straightened me out. What I'm saying is Leon didn't explain to the detail I needed and probably you will need also. I thoroughly read several times some of the experienced builder's LN logs, including Glenn's. Take your time and really understand what they writing about before you try it yourself. It will save you a lot of aggravation, which you have already experienced.
I've been on medical leave since September but may get back into the big show in a month or so. But take a read on Freezing Parrott's LN Build log,
post #2, where I gave him some places to go to get the information that I found extremely helpful. And poke about some of the other forums that deal with specific topics in the Shop Notes, Ship Modeling Tips, Techniques and Research section. And the best advice passed down to me here and I'll pass it to you is: Treat every single item you do (bulkhead, plank, etc.) as a separate project, and do your best on each of those projects, and you'll be fine. Good luck.
Thanks drjeckl! I actually recall your post perusing through some of the build logs when I first started, and I appreciate you taking the time to check out my log. I believe there were only 8 of those short/partial videos on the Amati website, and when I checked the model shipyard website, I could purchase a DVD set for $60 with the full instructional videos. Perhaps the fact that I no longer own a DVD player saved me from making the purchase. What was useful though for me was his explanation and demonstration of fairing, which I haven't really been able to find from casually searching for information on the fairing process here (which I'm still sort of stuck on).
Yesterday, I set up a planking station and started trying out Chuck's method for bending planks (though I am not ready to start planking at the moment). I am going to have find some information on where the proper bend in the plank is supposed to be since I screwed that up twice, and evidently did not fully understand or implement Chuck's instruction properly. Now I did not do a taper on the first plank (which I was experimenting with a first plank as if I was ready to do it), since I had read somewhere that the first couple of planks did not require a taper on this model. So I either should have done a taper on the plank, or I most certainly created the bend in the wrong place. I recall @glbarlow posting that somewhere in response to another log, but haven't found it again yet. It might be prudent to start keeping a separate journal to record good information that I read, so I can remember the details!
So for the moment, I continue fairing. It seems that every time I leave the LN for a moment thinking that the fairing is done, I come back to it and realize there are some spots that need more work. I did want to feel a little visual movement forward, so I went ahead and glued the outside stern counter frames which seem to need a little sanding to conform fully to the hull and allow for the bulwark to have a tight fit towards the stern.
-
Your Lady Nelson is coming along quite nicely, Dave! I’ve been enjoying watching your progress.
- Dave_E and Keith Black
-
 1
1
-
 1
1
-
-
I don’t know if I should have paid more attention to the grain of the balsa, but it has been a heck of a time getting it shaved/sanded down. In the process, I suppose there has been a good deal of hull fairing in the fore and aft bulkheads (did I use that terminology correctly) After sanding and filing the top, I was able to get the false deck installed. I would feel remiss if I did not include the necessary photo of the clamp army holding down the deck.
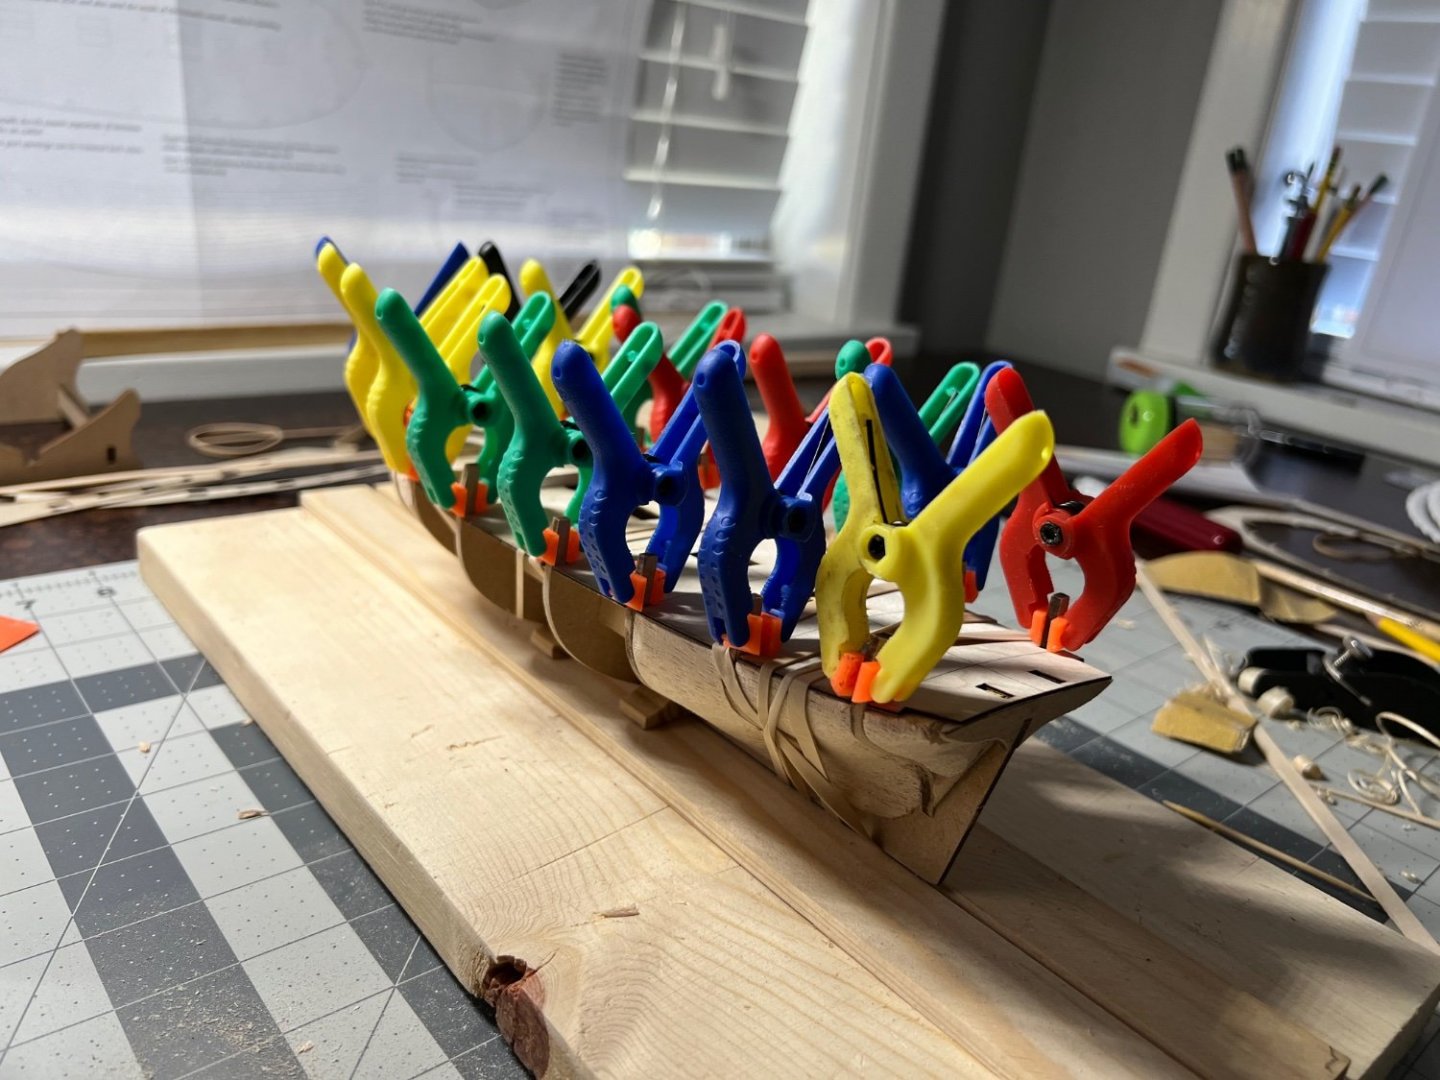
I did get my Stanley plane in and you may can see on the right of the photo the results of me playing around with it on a balsa strip. I haven’t used it yet on the LN, but I’ll expect that I will need it when I get to the masts.
There are a few points about fairing the hull that I have questions about. I’ll be posting some more photos soon, and hopefully my apprehension about this process might be alleviated.
-
-
-
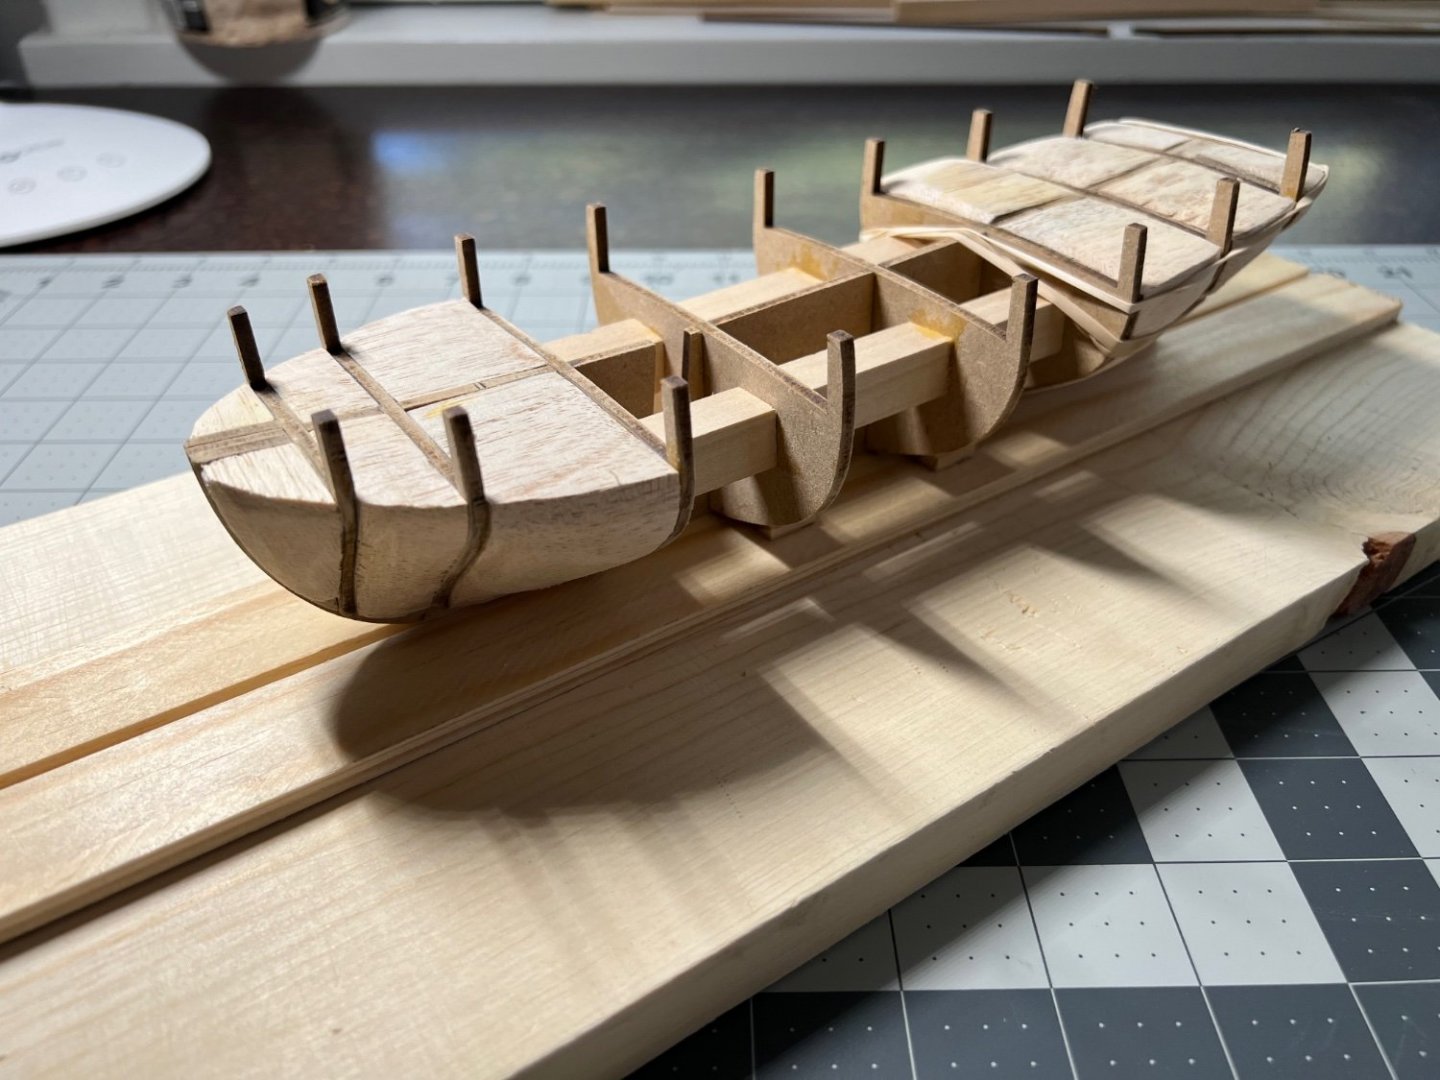
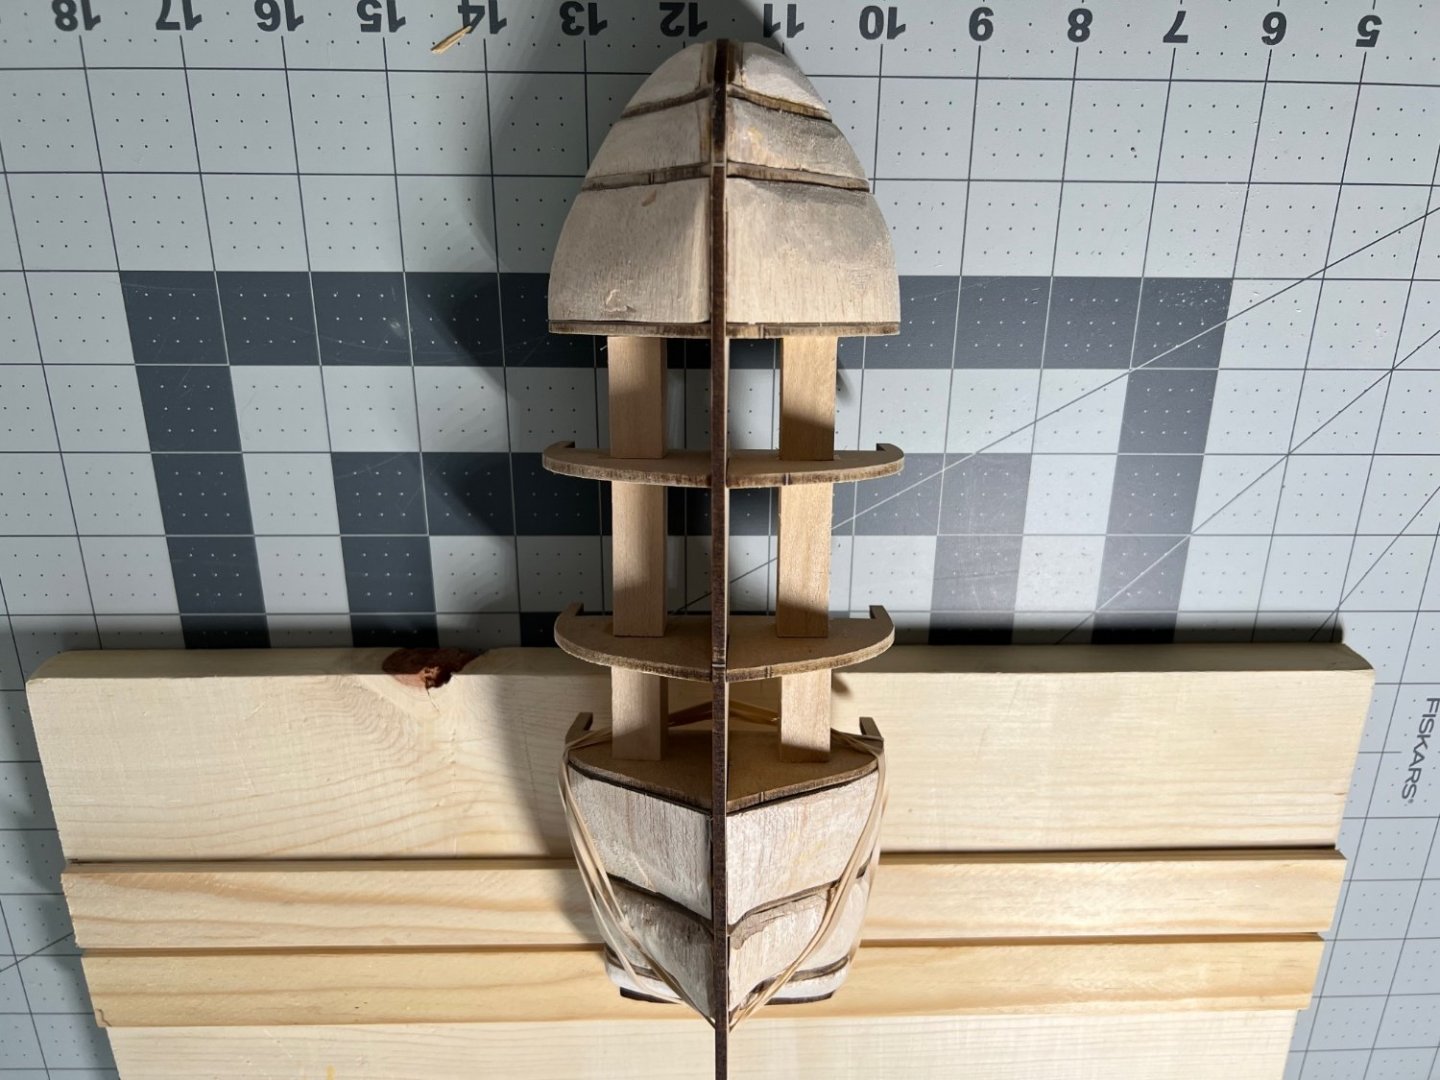
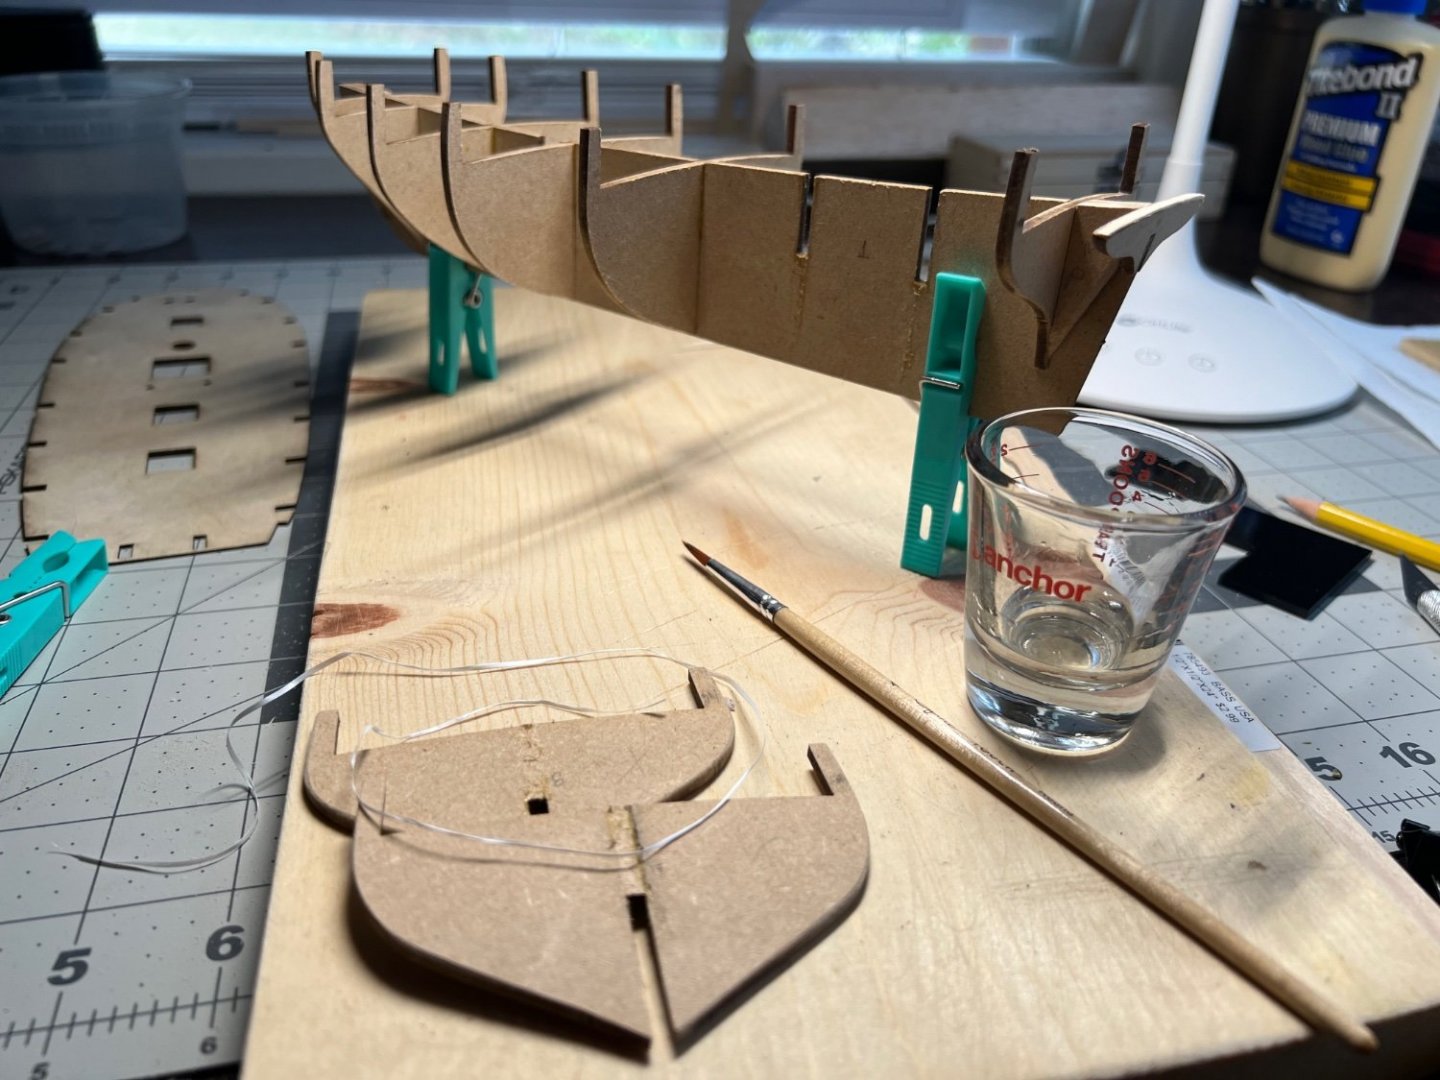
I have been a busy little bee this Sunday. I have finished cutting out and shaping my blocks to fill in between the bow and stern bulkheads, and I added some additional support between the remaining bulkheads. The bulkheads just seem to shift too much, and though I admit this might be a bit overkill, it gives me a bit more peace of mind as I anticipate the fairing process. I also made a “dockyard” of sorts, finally.
Once the glue cures, I’m going to continue sanding and sanding and sanding some more before I finally start fairing the hull 🙂. Based on what I have been seeing from other logs, it seems prudent to wait adding the keel and prow until that has been completed.
Stay tuned…
- Dave_E, Paul Le Wol and BenD
-
 3
3
-
Saturday Morning Update:
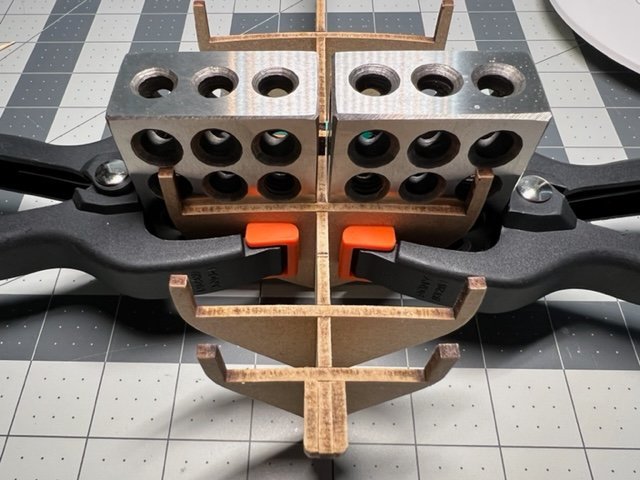
Taking @glbarlow advice, I took my time squaring and gluing the bulkheads, and the 1x2x3 blocks worked well with the addition of clamps. The visual @starlight was indeed helpful in moving forward.
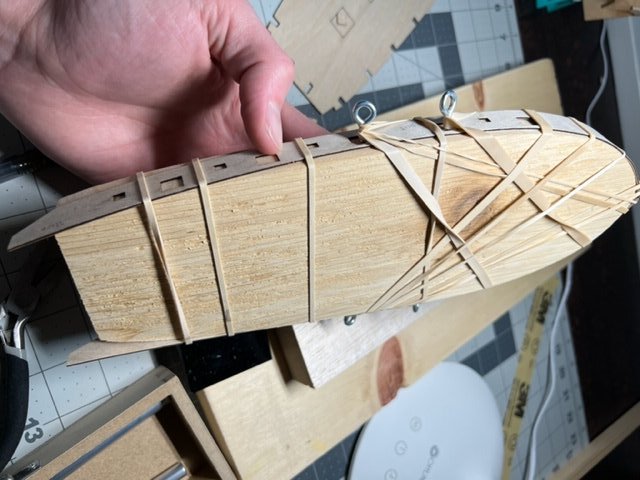
I also started bending the bulwarks. After reviewing a few build logs of the LN, it seemed that a few folks made a wood pattern for the soaked bulwark to form against. So I traced the shape of the false deck onto a scrap piece of board, cut it, sanded and proceeded with the soaking, etc before strapping them on with rubber bands. I used a pin vise and screwed whatever those little thingies are (they were lying around the house somewhere) into the gunports to anchor the rubber bands. I do not yet know whether the edge of bow will be curved enough, but as I get the false deck, keel and prow installed, I will know more then.
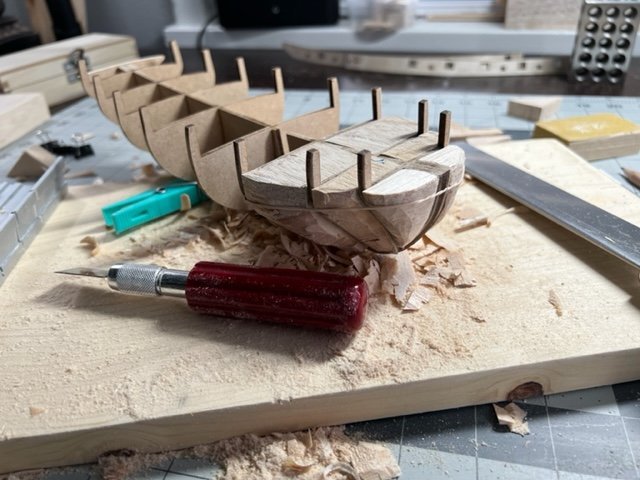
And finally....I decided to insert balsa at the bow and stern to add support and aid in the planking. At the moment I have only worked on the bow doing some general shaping - still more and then some sanding. This part has been a little time consuming, which was one of the reasons that I wasn't sure that I wanted to go forward with that. However, after having started it, it just reminds me to accept that this will be a slow build and that I should not try and rush each step. Each little component or micro-project is a step forward in the build. And as each step starts to take shape and come together, that is exciting to watch.
Thanks guys for the advice and encouragement! More to come.
- Theodosius, CiscoH, glbarlow and 2 others
-
 5
5
-
Thanks Allan!
I took @Oldsalt1950 up on his recommendation for the 1x2x3 blocks. Those should come in today. The lego jig is an interesting idea...might have to make a purchase and try those out at some point.
I have finally have gotten all the bulkheads removed that needed removing, lightly sanded off some of the glue. Hopefully, I'll receive those blocks today, as well as some other necessary tool/paint purchases made a few days ago. I am leaning in the direction of adding some balsa wood blocks in between the bow and stern bulkheads. I'm sure there are some lengthy discussions about this, but I'm thinking a hand saw and sandpaper - perhaps an Xacto blade - will be all that is really required to get those fit and carved. Chisels might make the work easier? Any thoughts about the most efficient way of going about this?
- Dave_E and Thukydides
-
 2
2
-
23 minutes ago, Dave_E said:
Good work. What name do we call you? Look at some build logs concerning the squaring of the bulkheads. Many approaches, one will hit you. Intricate building jigs, squares, Lego blocks, clamps etc., something will reach out to you. 😀
Just call me Johnathon… Yeah I had a little square that I laser cut from acrylic. Clearly I need something a little better for this work.
-
-
9 minutes ago, Gregory said:
Other LN builders would have to confirm this, but the false deck can sometimes help you align the bulkheads.
I'm not sure if that is the case with this kit.
After the bulkheads have already been glued? I actually caught the misalignment when I dry fitted the false deck. You could clearly see that they were not aligned. I was also wondering if maybe placing some blocks in between each of the bulkheads (in addition to aid in planking) would also help to properly re-align the bulkheads.
-
4 hours ago, glbarlow said:
On the plans for LN, as you will see noted in other logs, two of the bulkheads are labeled incorrectly. It's fairly obvious they don't fit that way.
The bow and stern plank terminating pieces were also mislabeled but also easy to catch.
-
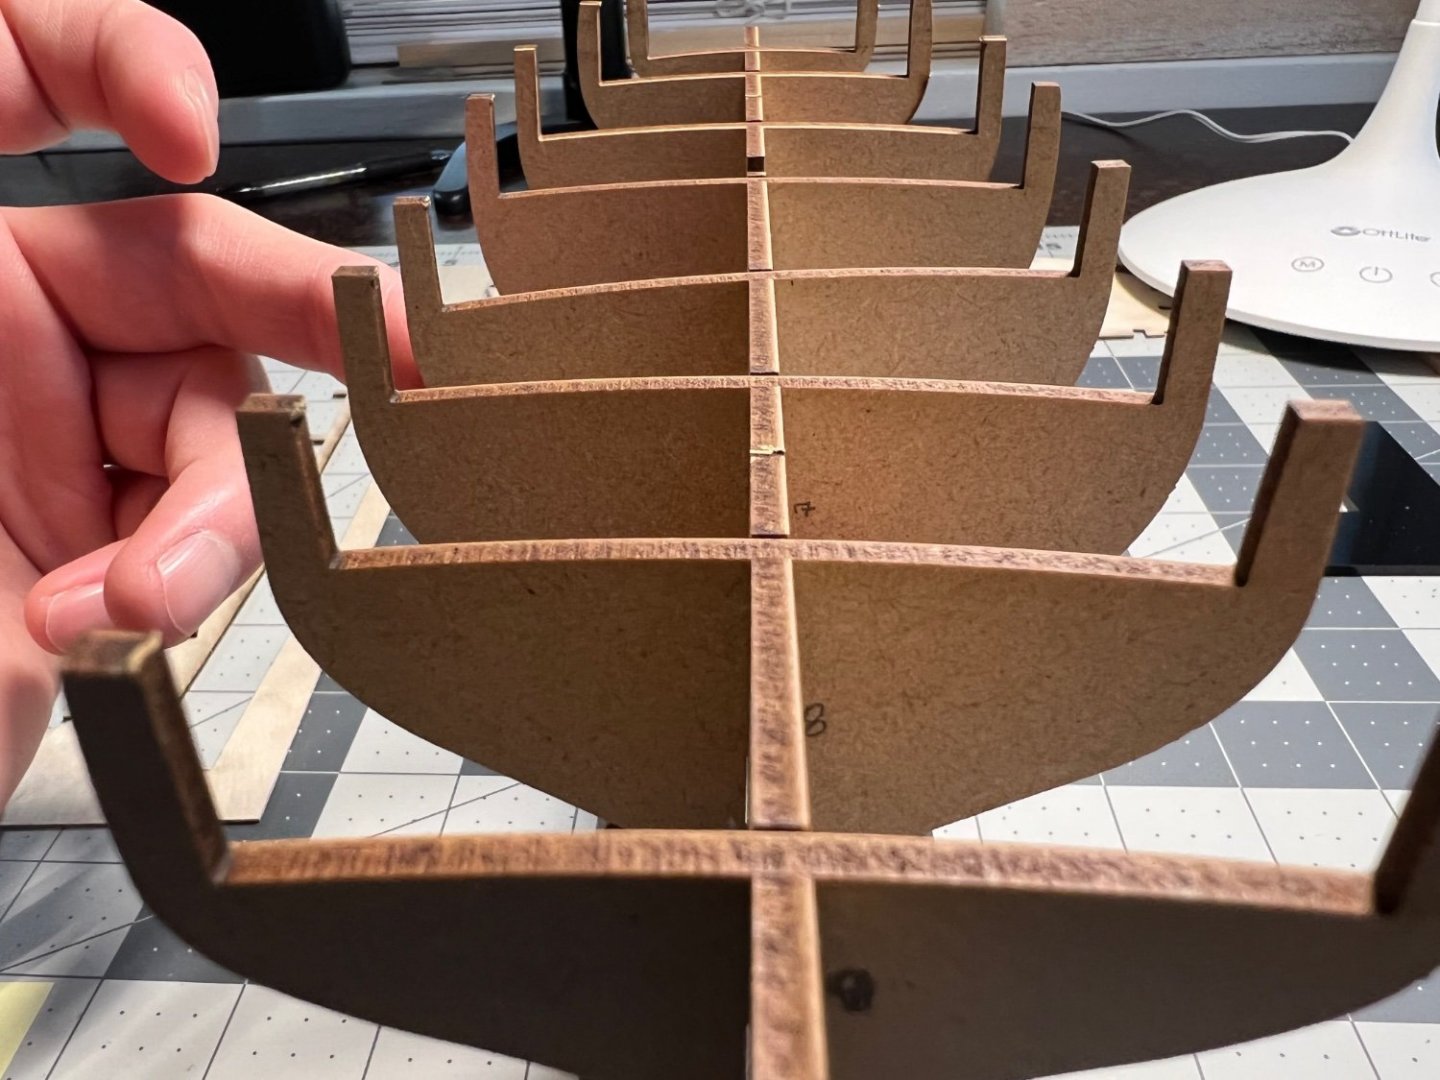
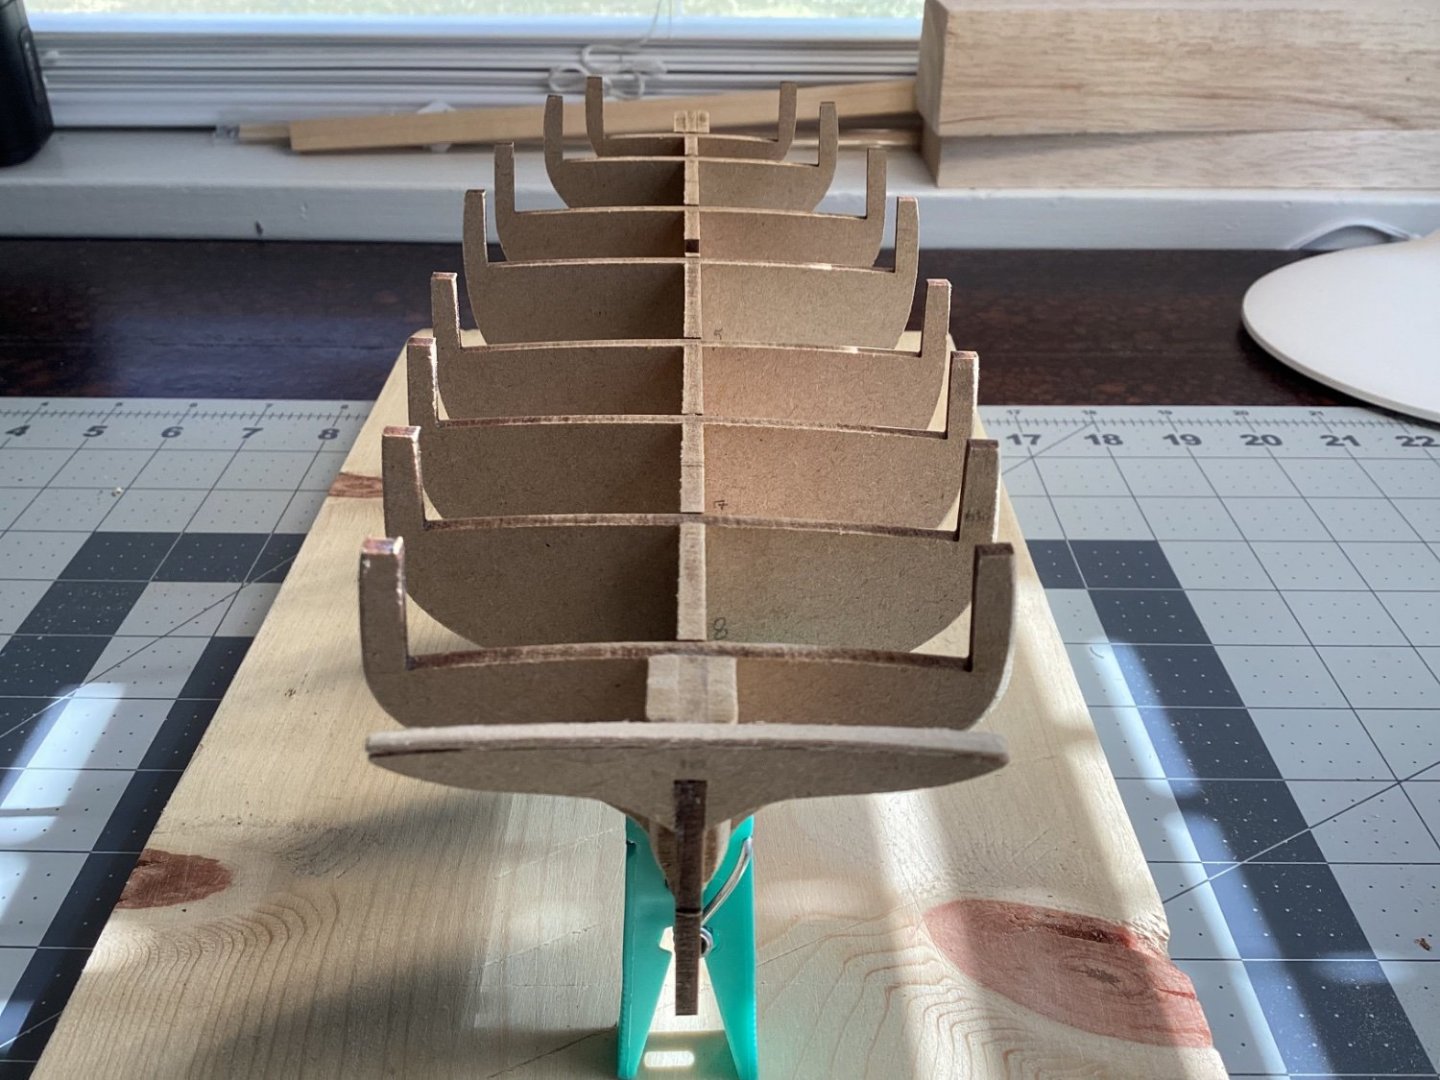
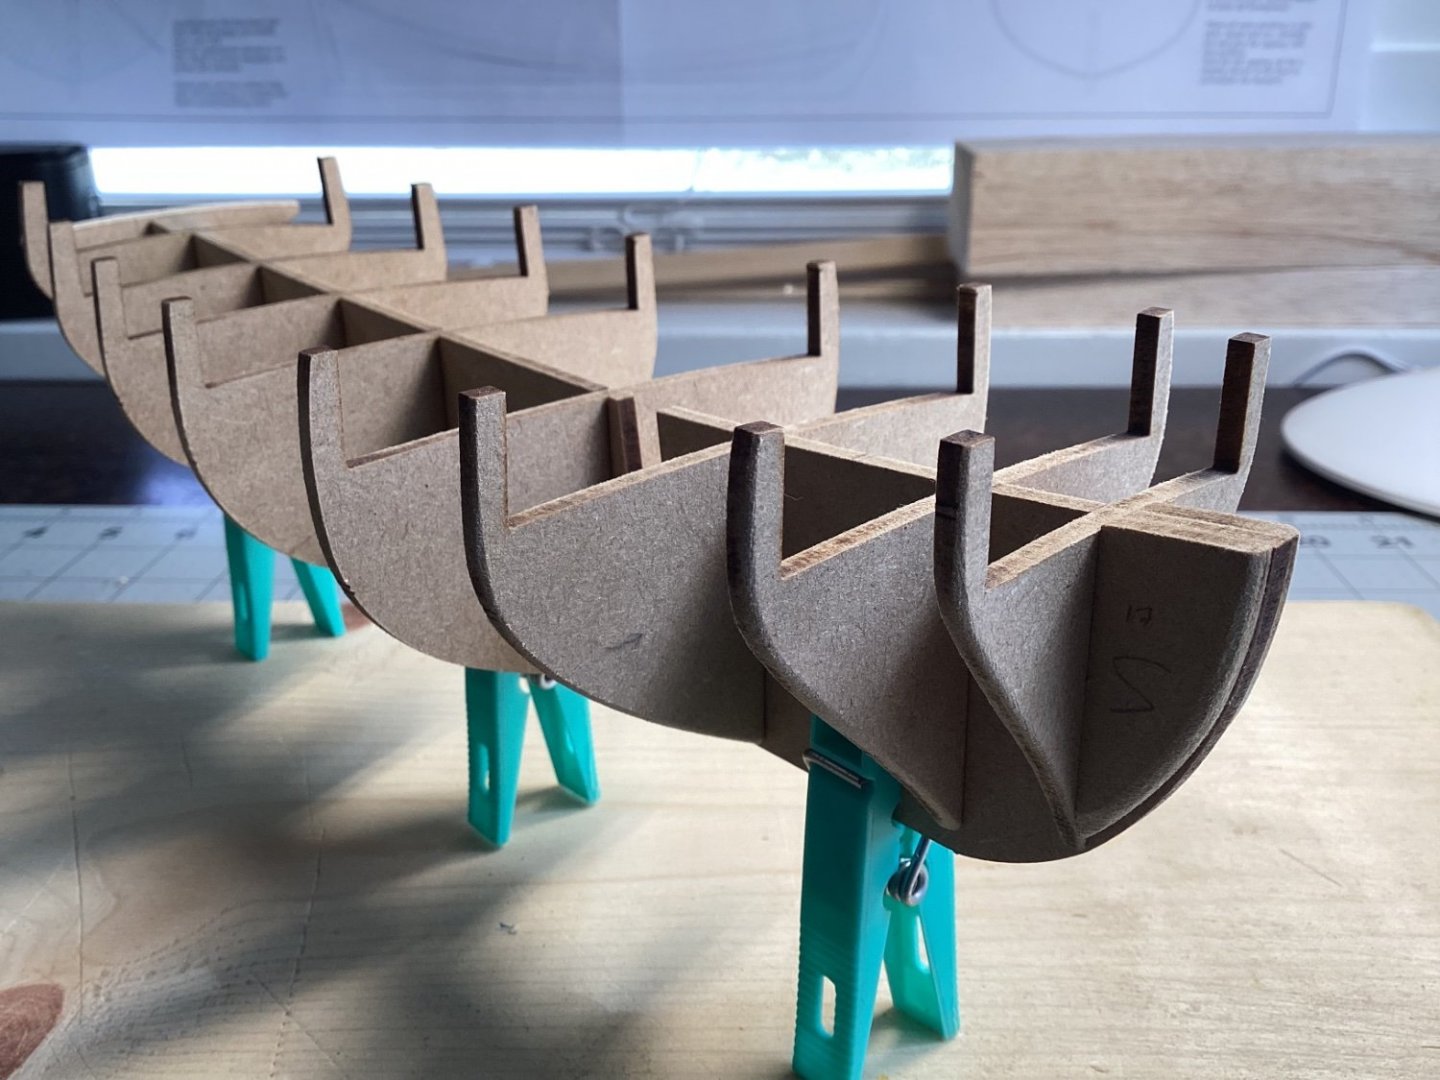
Thanks for the wisdom and encouragement guys! When I started dry fitting the keel with the bulkheads, there was quite a bit of give….more than I thought reasonable. Also, when the bulkheads were placed in the slots, the top of the bulkhead was not flush. After looking at several other logs, I did not see any complaints about it, so I made the assumption that it was quite normal to be this way. And perhaps it is. I just know that in the gluing process (PVA), trying to square and lift the bulkheads to the appropriate height and checking afterwards, everything seemed to fit and be square This afternoon, I rechecked and the bulkheads are off just a smidge. Now I am trying to determine what the next steps are here. The first photo is where I was dry fitting, the other two are photos taken this morning of the glued hull.
- bruce d, Theodosius, CiscoH and 1 other
-
 4
4
-
Hello all! After reading through several posts and build logs, I decided to start my modeling adventure with the Lady Nelson. I have no carpentry/wood-working experience or with many of the very practical things that go into ship modeling, but I do look forward to this craft which so many seem to have found stimulating as well as satisfying. I think my first encounter with ship modeling was through my high school band director 20 years ago, and if I’m not mistaken, his first model was the HMS Victory. Now that I have started reading through build logs and such, I am mightily curious which model kit he started with and what scale he completed! Incidentally, he also got me started reading both C.S. Forester and Patrick O’Brian, so this interest in nautical history and ship modeling has been a little ambition of mine for a long time, which I am finally starting to make good on.
Reading many of the logs available on the Lady Nelson, so many folks have made different improvements along the way to the kit, and I have been having this little debate in my head as to what I might improve and whether or not I will work to elevate the model in a particular way or in several ways. In one sense, there is just the hurdle of the first build (and planking!) to surmount, and then adding various bits to the model can seem daunting when I’m not even so sure that my bulkheads are installed properly! I also understand the need to plan ahead for those improvements should I decide to make them. But all in all, I have decided to try and have fun, take on the problems as they come and let the next step be the next step.
I’ll post some of my initial issues and current progress soon. Cheers!
- Dave_E, Theodosius, dunnock and 1 other
-
 4
4

Lady Nelson by JGoff - Amati/Victory Models - 1:64 - First Ship Build
in - Kit build logs for subjects built from 1801 - 1850
Posted
I have planked above the wales with some remaining basswood I had from the Half-Hull Project. It is probably not ideal compared to boxwood or Alaskan Yellow Cedar, but I like the yellow-ish color when it has a few coats of WOP. For the remaining planking, I'll use the kit supplied walnut. I did like the contrast that I noted in glbarlow's Lady Nelson, and that is the effect I am going for here. Dealing with the gunports was more challenging than I had expected, and had I planned a little better, I would have marked the gunports and such to precut before applying the planks. Since that it was not what I did, I made some cuts with #11 blade and did a lot of filing.
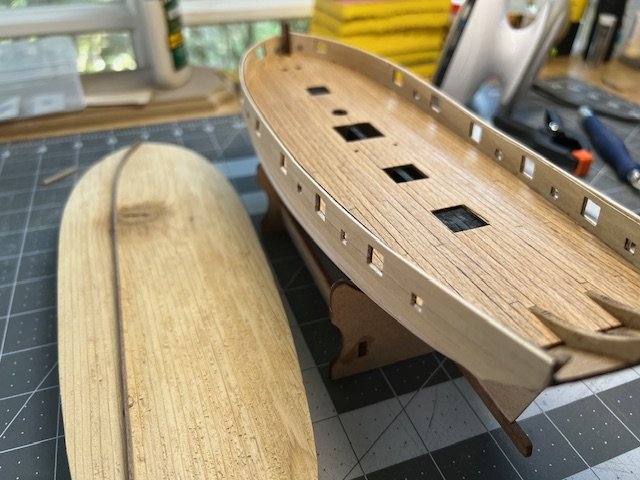
Once I had the planking completed above the wales, I decided to take a break on the hull and move on to planking the deck. I have agonized over whether or not I would do a proper deck planking with waterways, tapering and joggling of the planks. In the end, however, I decided to simply go with a 4-butt shift using a 6B graphite pencil to simulate the caulking. I think for a future builds, I will go through the extra work and make some purchases of higher quality wood. With the kit supplied deck planking, I had to do a lot of sanding to smooth out the edges. I do not know if this typical. Perhaps with .6mm thick plank, the cuts are not so clean in production? At any rate, sanded and marked, I completed the planking with Minwax "weathered oak". The picture makes it appear darker than it is, and it probably too dark for my liking now that the work is done. Overall, I am pleased with the result but also look forward to future improvements.
Planking the inner-bulwarks is proving to be a bit of a challenge. I am using the jig that I made for bending the bulwark strips, as well as a bit of water and a travel iron to form the plank. However, the plank is still proving a little difficult to set, which makes me think that I made need to compensate a bit more and exaggerate the bend some water and my fingers to set it. I think for now, though, I am going to go back to the hull and finish the 2nd planking.
Thanks for tuning in and for the likes.