HOLIDAY DONATION DRIVE - SUPPORT MSW - DO YOUR PART TO KEEP THIS GREAT FORUM GOING! (Only 13 donations so far - C'mon guys!)
×


HIPEXEC
-
Posts
2,698 -
Joined
-
Last visited
Content Type
Profiles
Forums
Gallery
Events
Everything posted by HIPEXEC
-
 I'll definitely use a harness, but might add a pin.
- 1,756 replies
-
- 1
-

-
- constitution
- constructo
- (and 1 more)
-
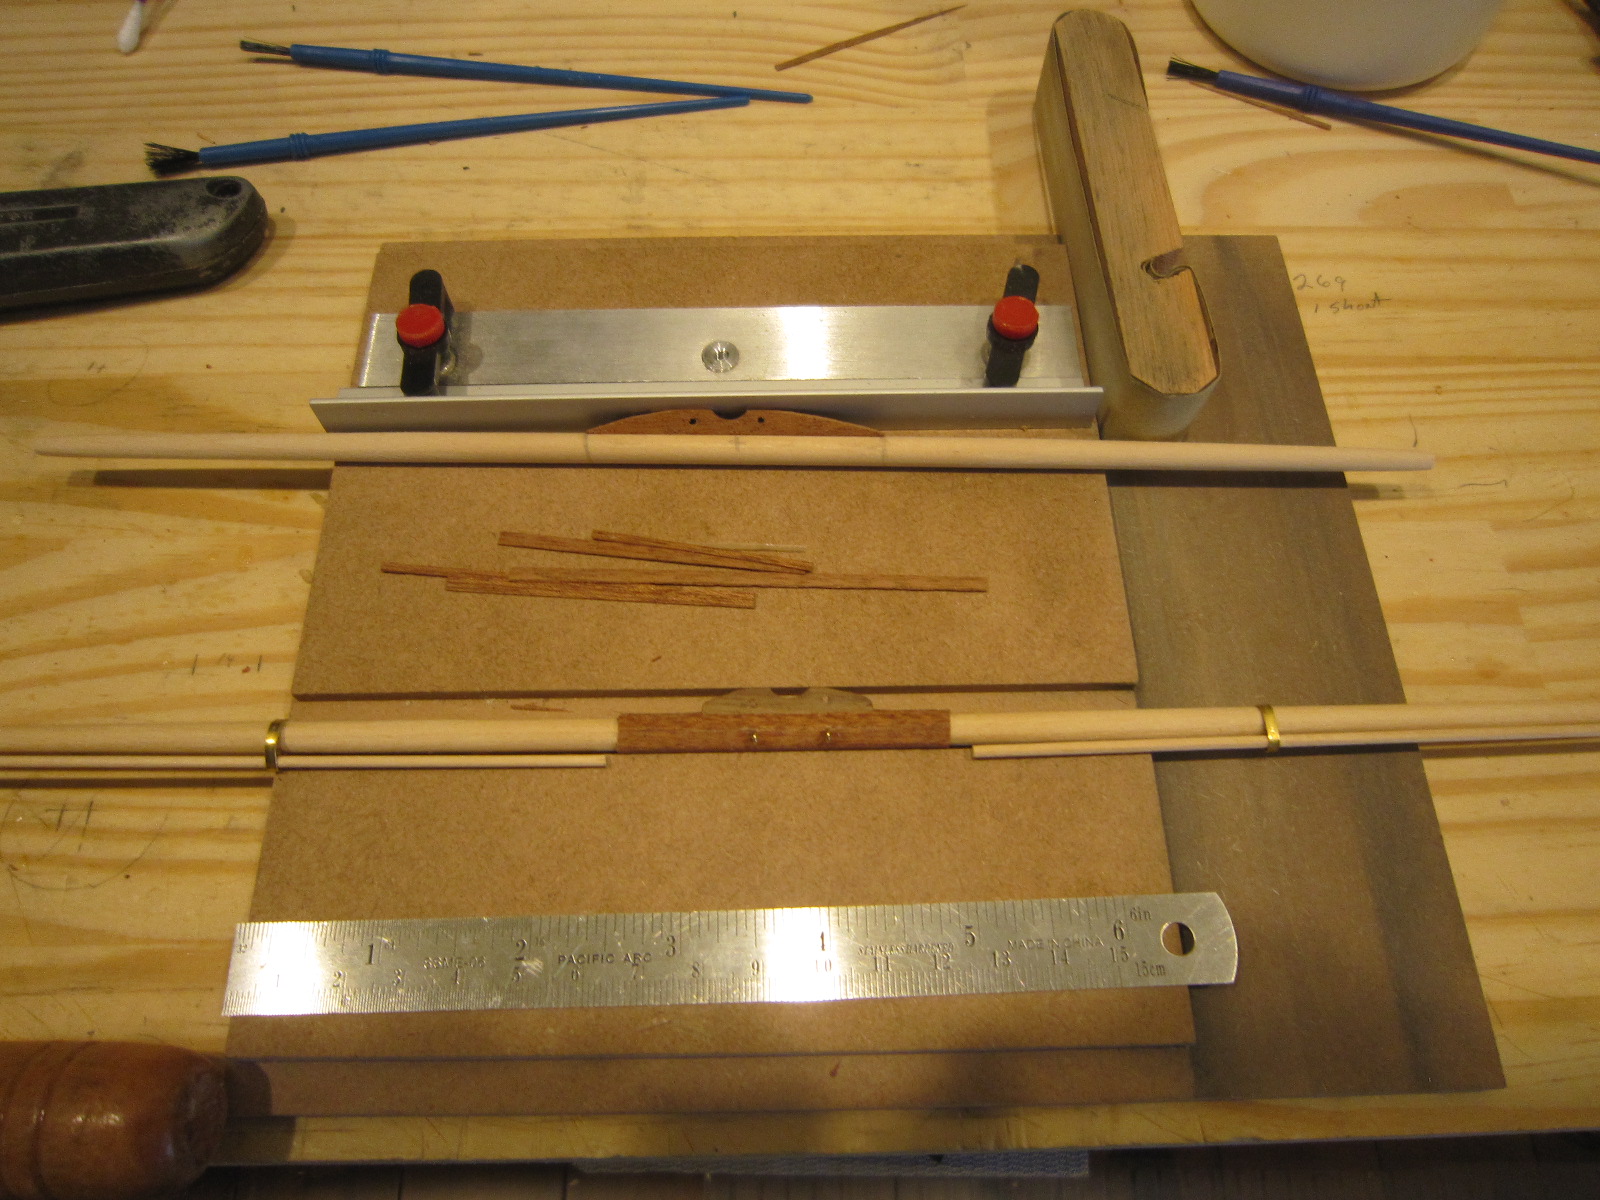
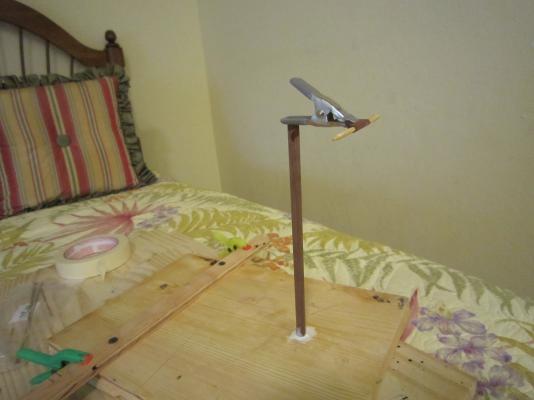
To facilitate doing most of the above suggestions, I built a workholding stand to hold yards while I work on them and their masts
- 1,756 replies
-
- 3
-
-
- constitution
- constructo
- (and 1 more)
-
Sequence of Rigging and Attaching Sails to Yardarms
HIPEXEC replied to fxitgood's topic in Masting, rigging and sails
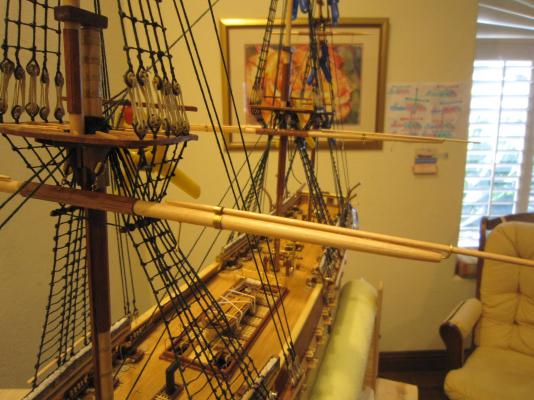
I'm trying to figure that out right now. I slippfitted the sails on to the yards while I figure out the sequence, -
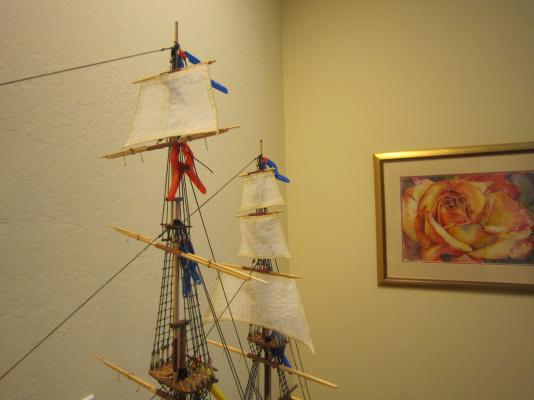
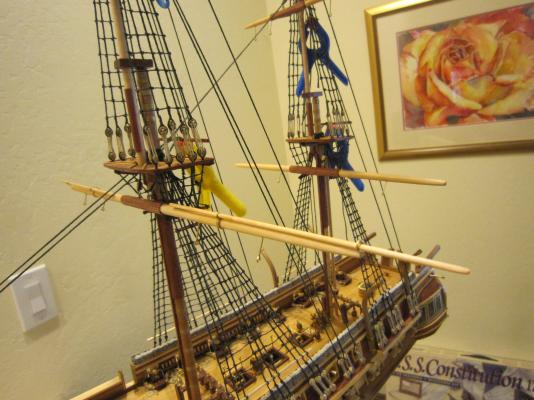
Here's the sails slip fitted on to the yards. Now the rigging begins. I'll be taking the yards on and off during this process.
- 1,756 replies
-
- 8
-
-
- constitution
- constructo
- (and 1 more)
-
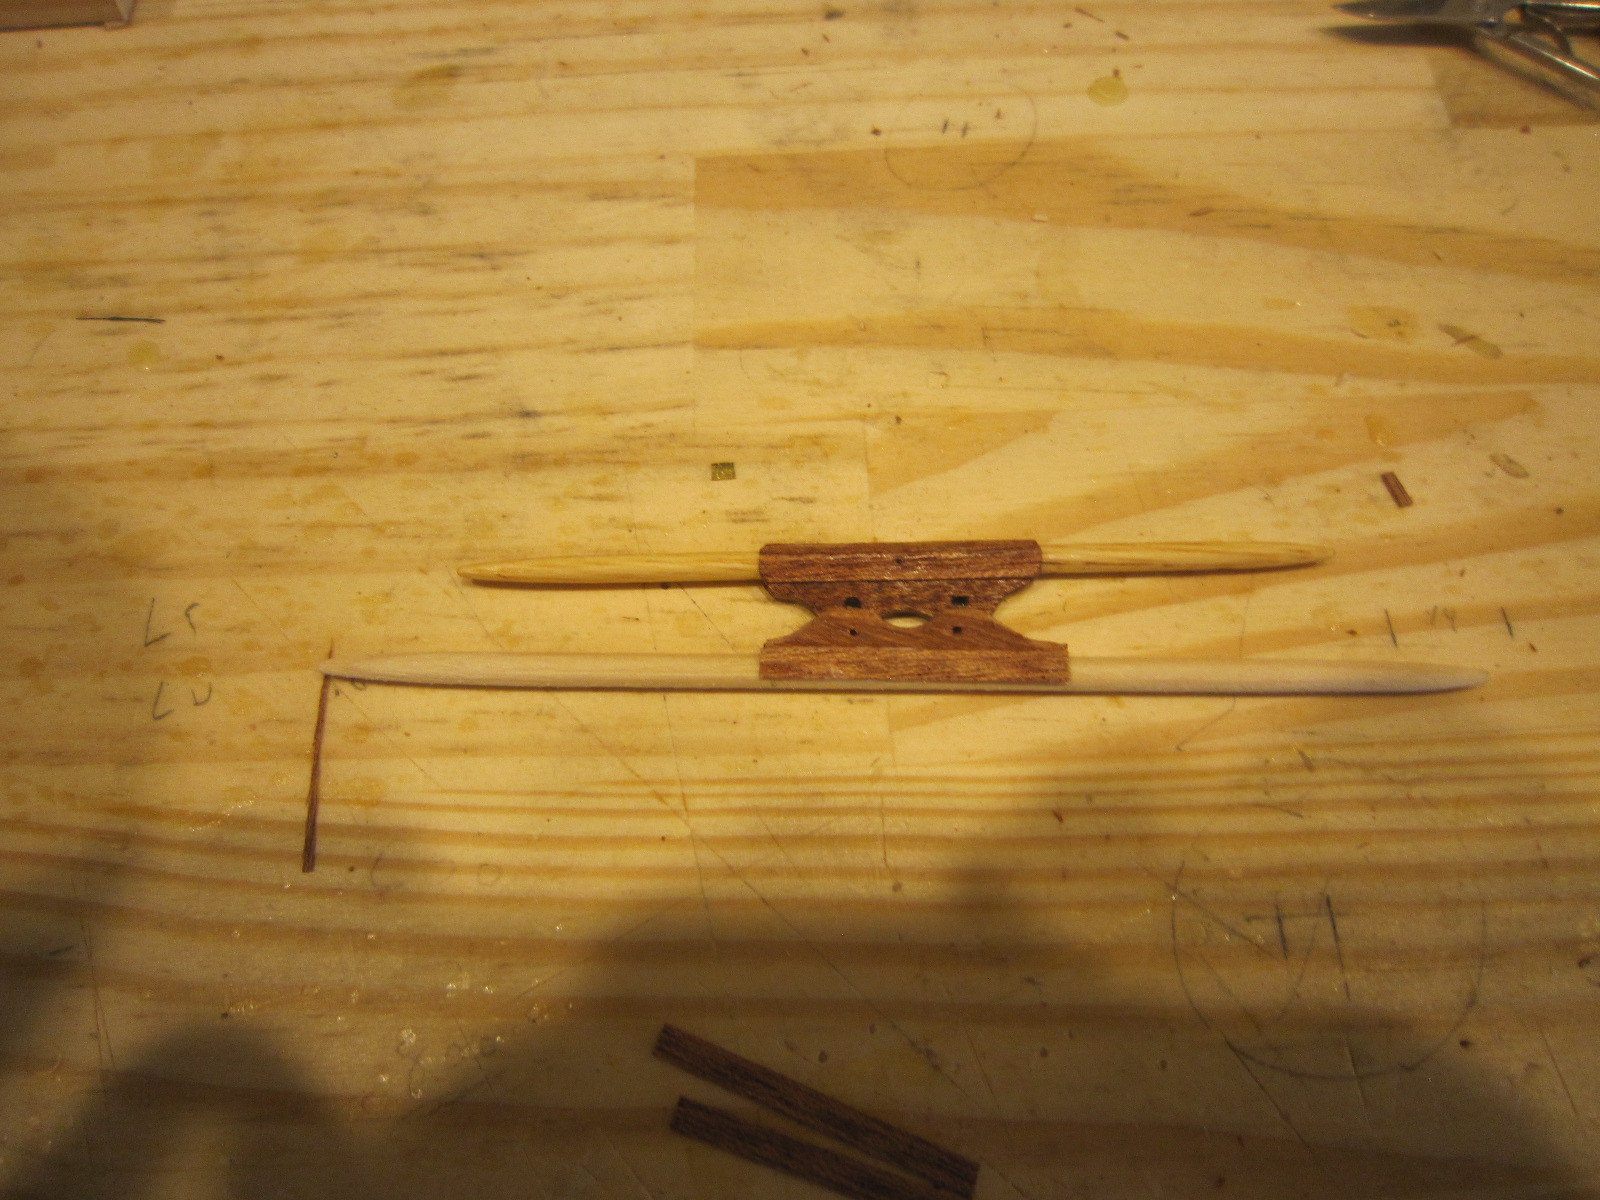
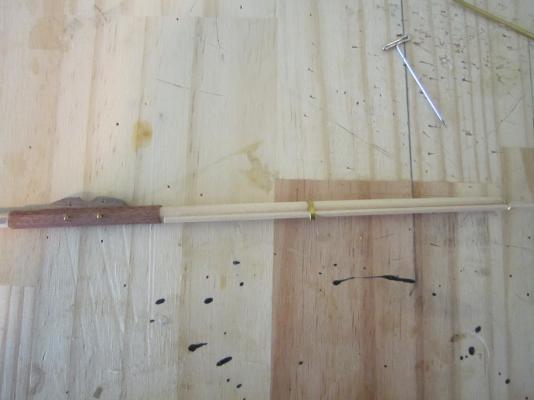
Constructo gives you very little when it comes to rigging. As a mater of fact, they give detailed plans to build the yards which I followed exactly only to find out today that the fore royal yard is too short to hold the correct size sail so I'm making a new front royal yards. I'm also dry fitting the sails to the yards to make sure they all fit.

- 1,756 replies
-
- 8
-
-
- constitution
- constructo
- (and 1 more)
-
double planking a hull
HIPEXEC replied to pugman11's topic in Building, Framing, Planking and plating a ships hull and deck
The second layer of planks is to cover all the mistakes you'll make on the first layer. On my second build....I took my time with the first layer and did not need the veneer. Good luck! -
Thanks, Augie. The site you sent me is very helpful. I bookmarked it. Now I need a tutorial to hang the sails. Oy!
- 1,756 replies
-
- 1
-
-
- constitution
- constructo
- (and 1 more)
-
Is there a step by step guide to rig the USS Constitution. All I can find is pictures of a fully rigged ship. I have to approach rigging it step by step and have no idea how or where to start. Do I start with the fore mast or the mizzen? Do I start with the royals of the mains? I don't even know how to attach the sails to the yards. Boy...do I need help.
- 1,756 replies
-
- 1
-
-
- constitution
- constructo
- (and 1 more)
-
Your ratlines look great....much better than mine. Good job.
-
I varnished all the yards in place after I draped the whole ship to catch any drips. Then I had to operate each studding yard to make sure they weren't varnished in a frozen position.
- 1,756 replies
-
- 14
-
-
- constitution
- constructo
- (and 1 more)
-
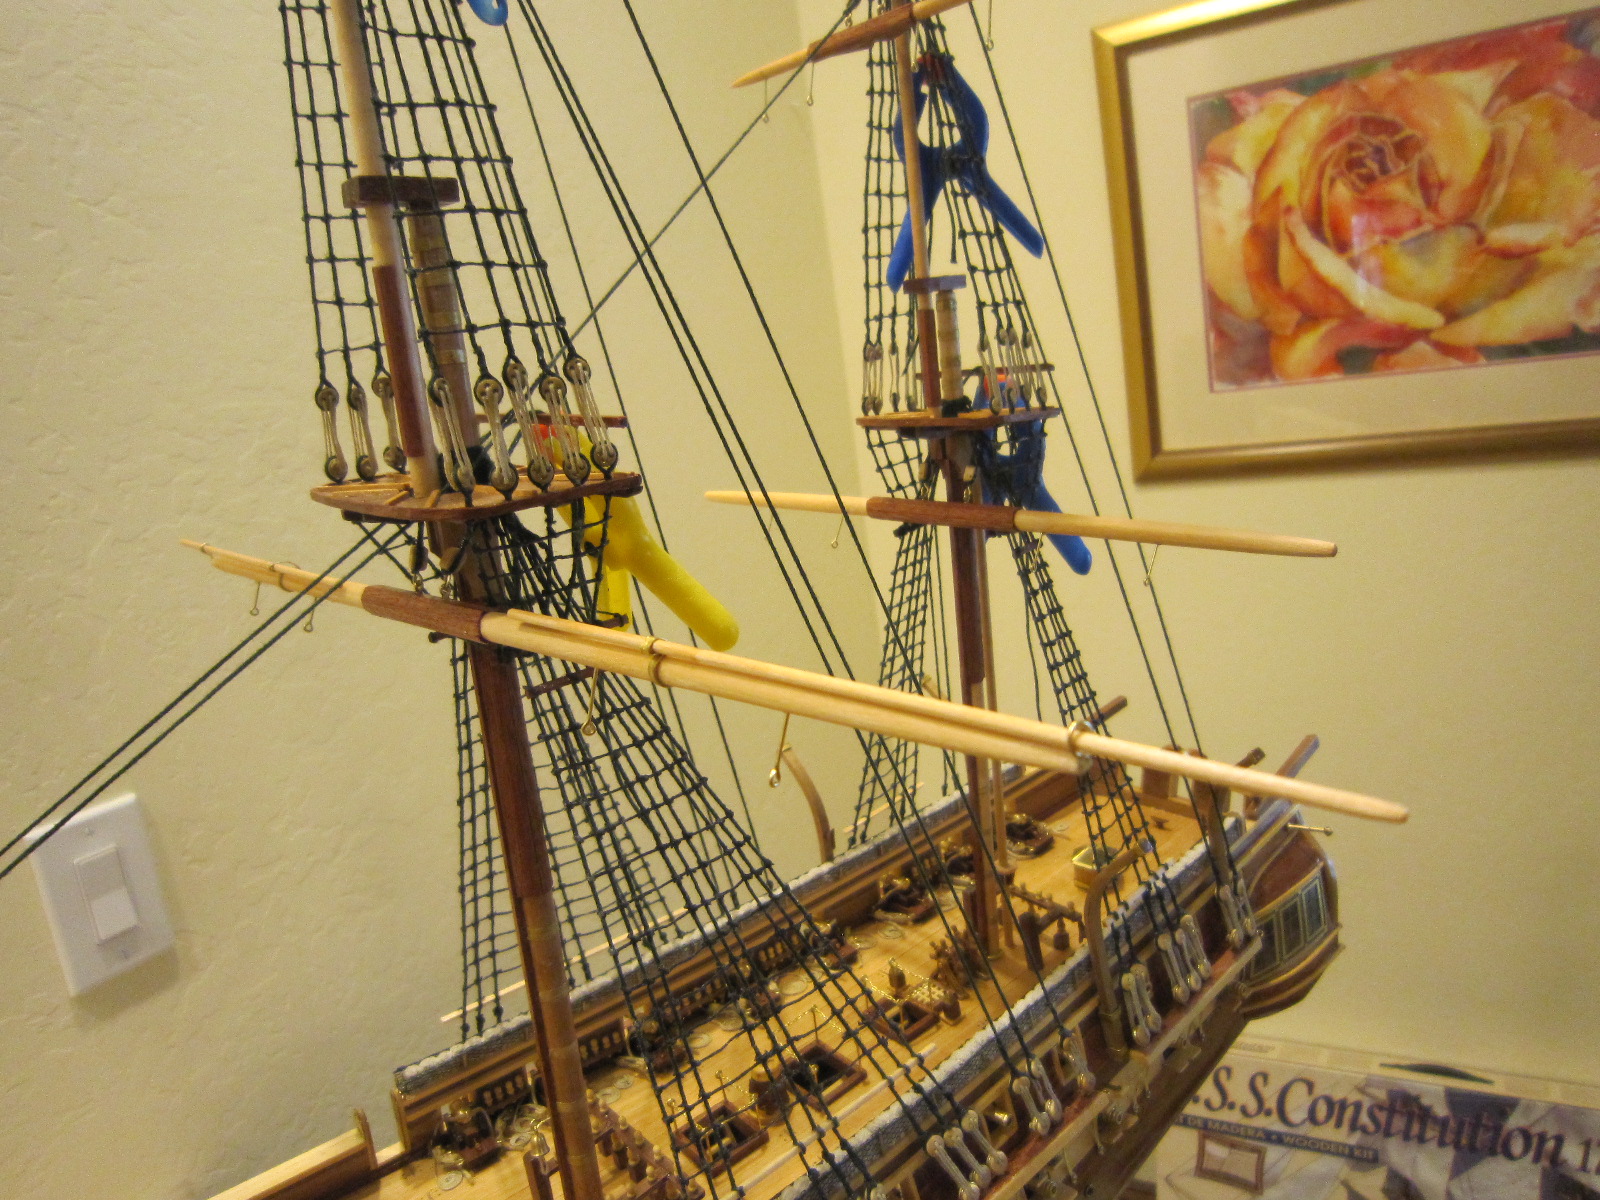
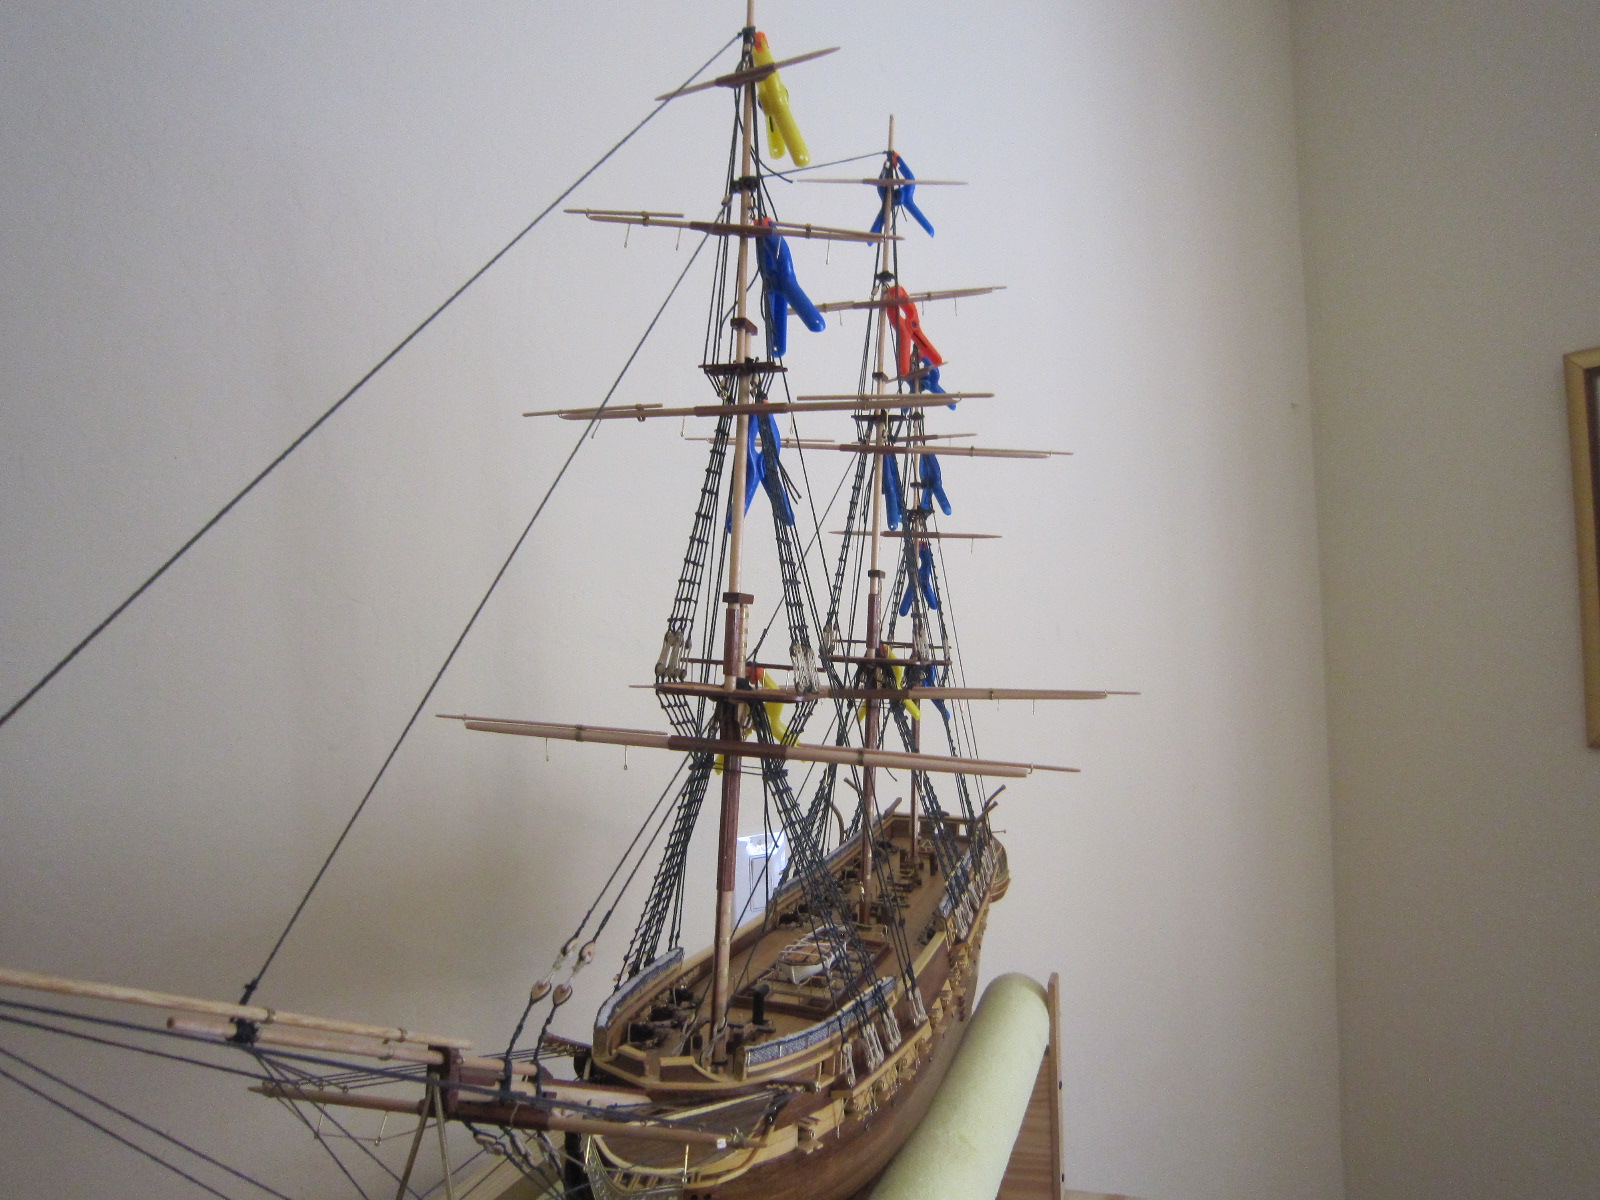
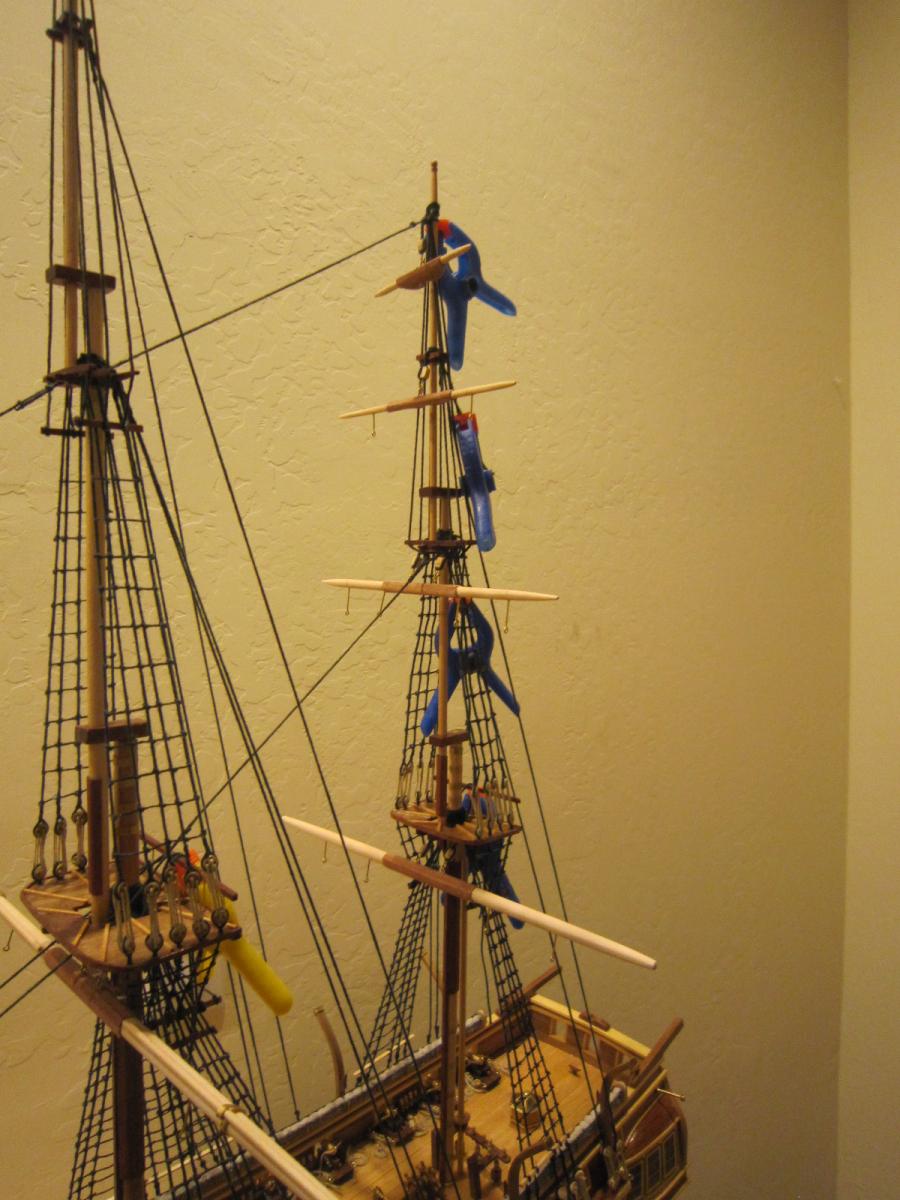
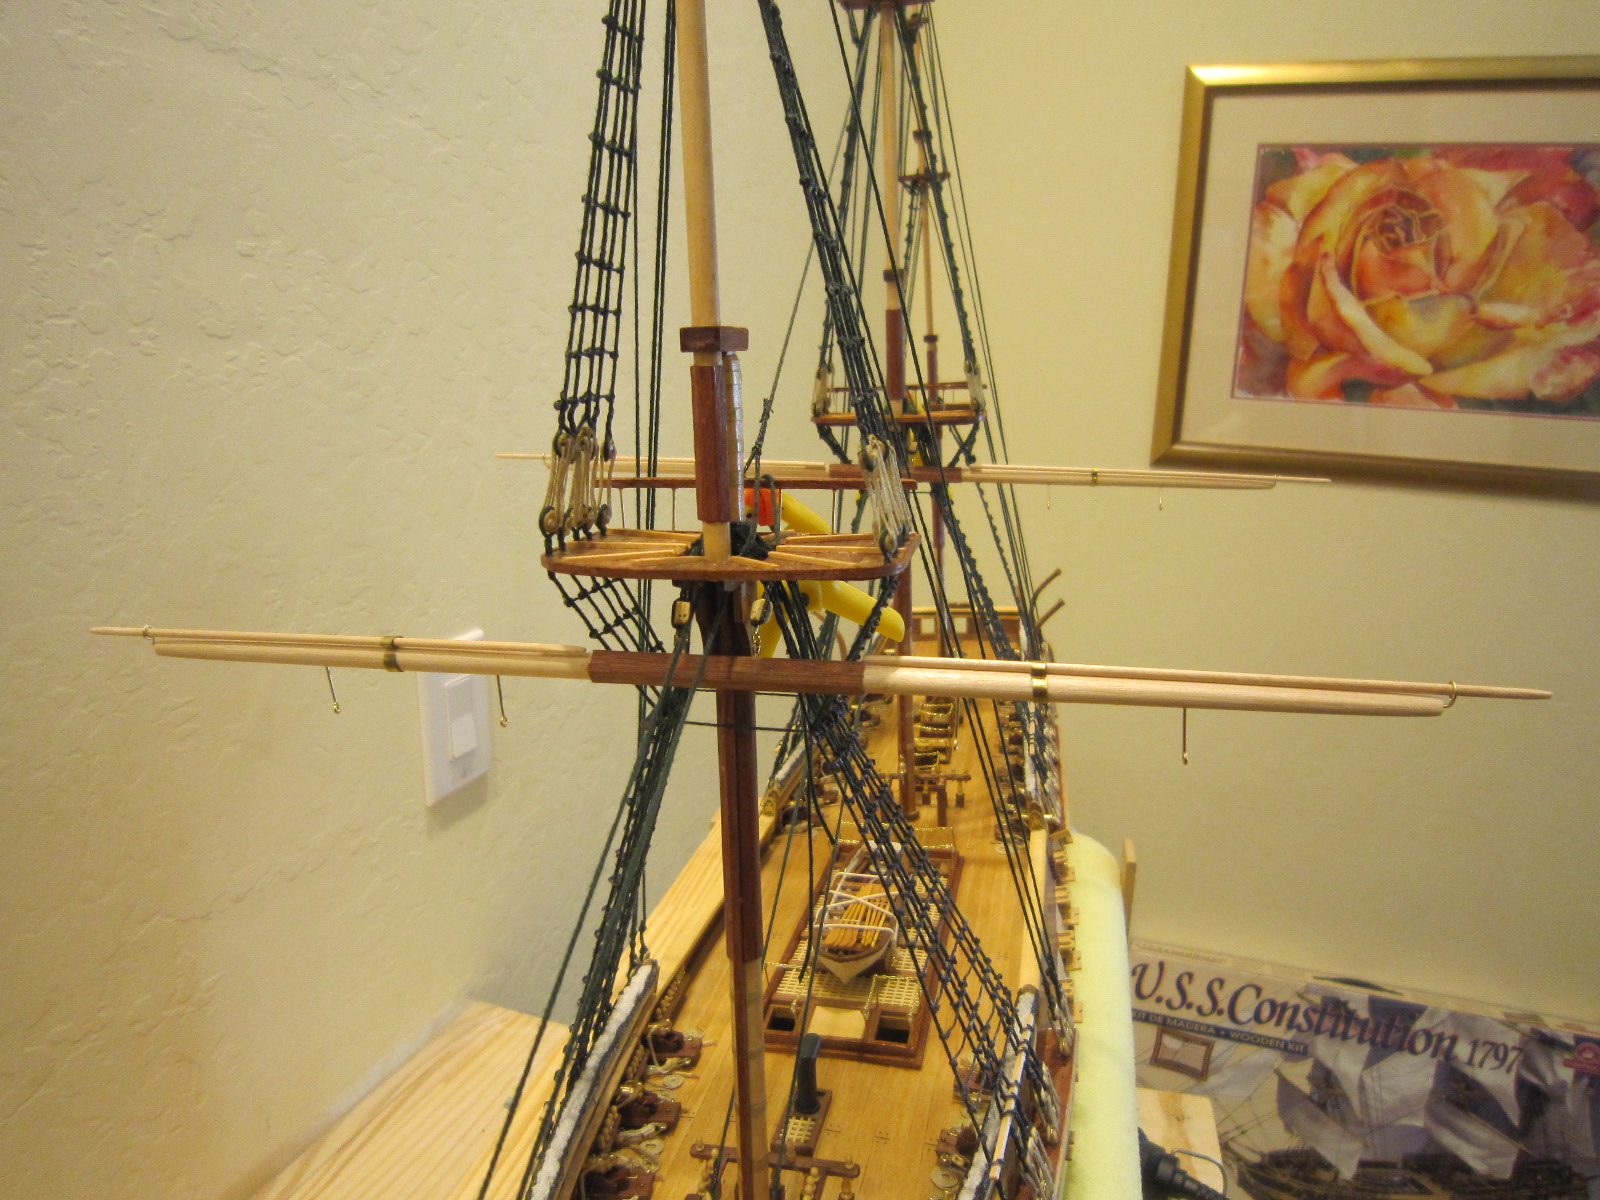
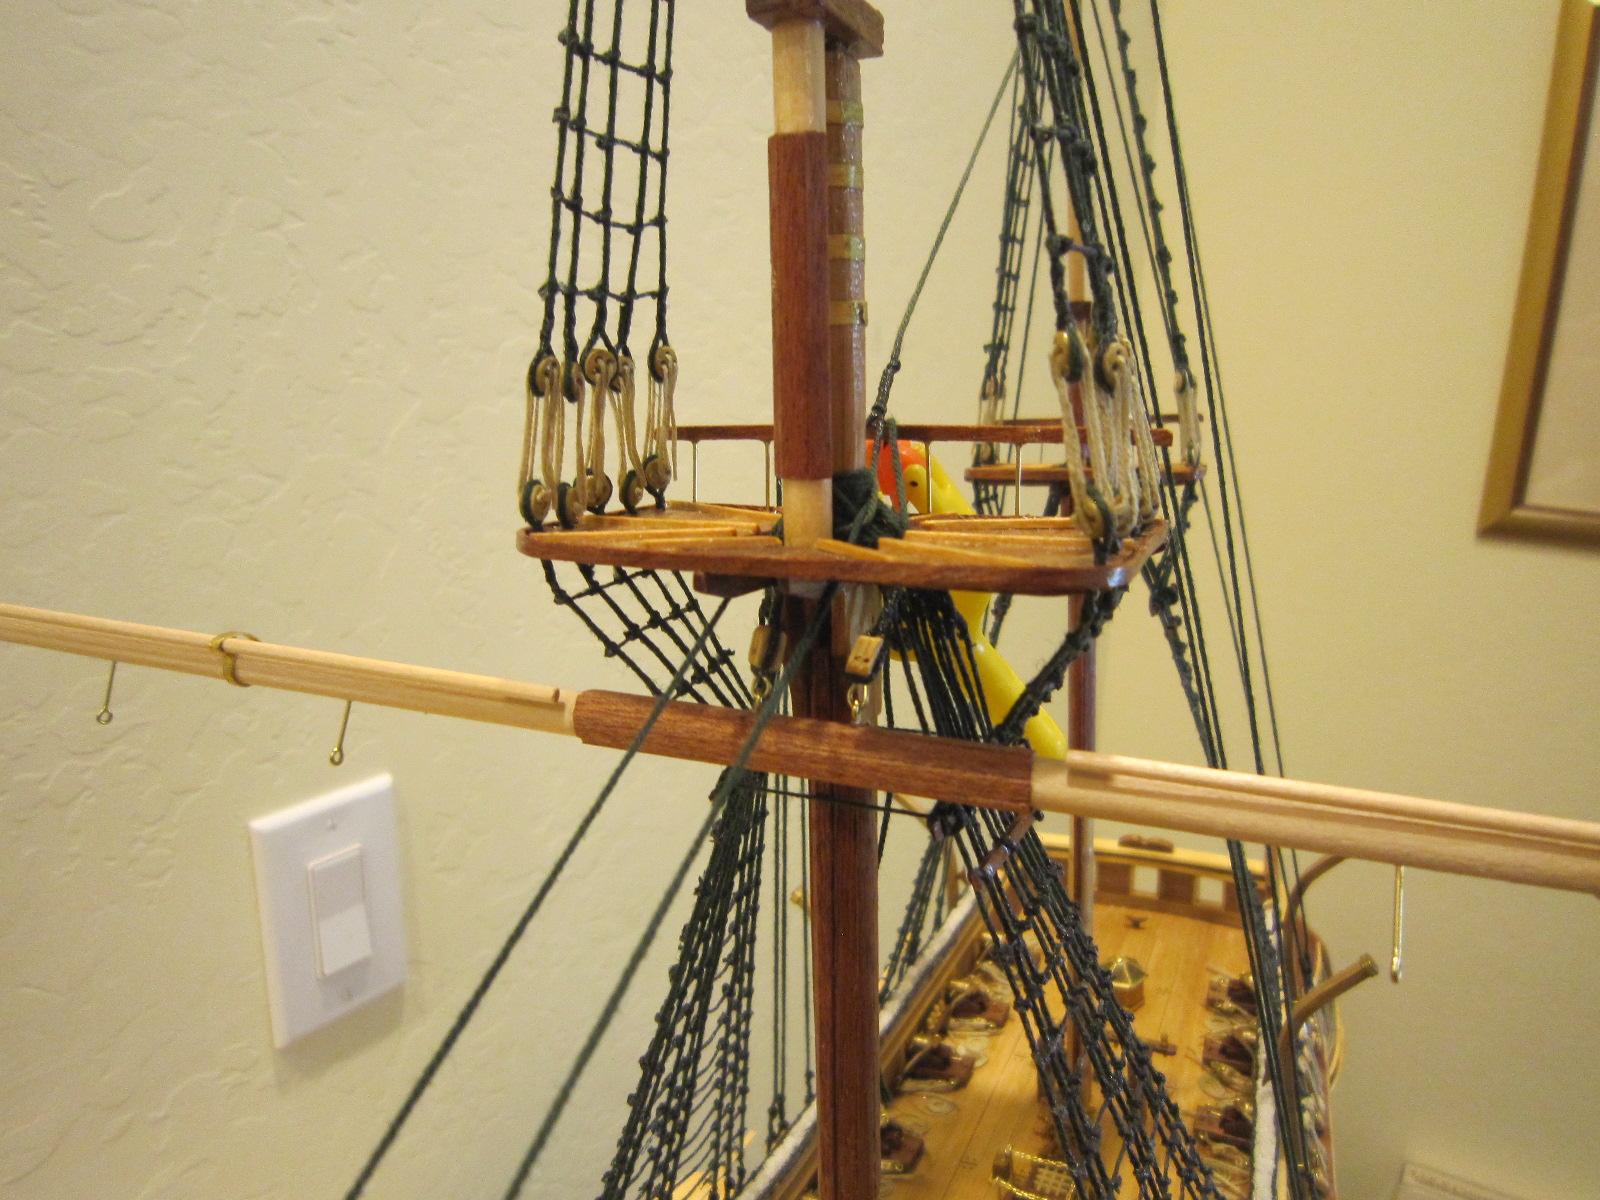
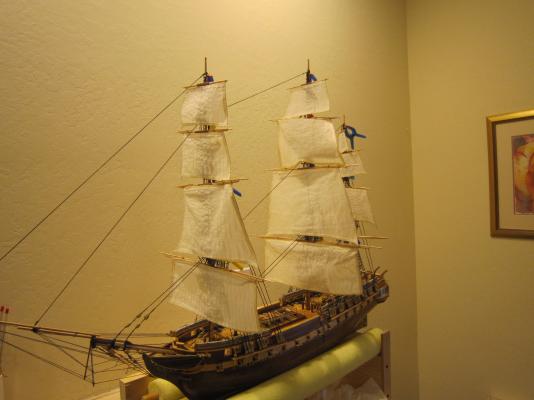
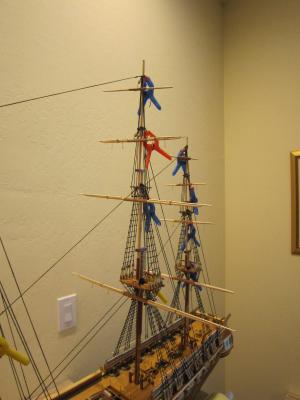
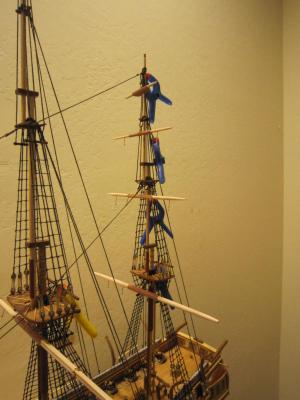
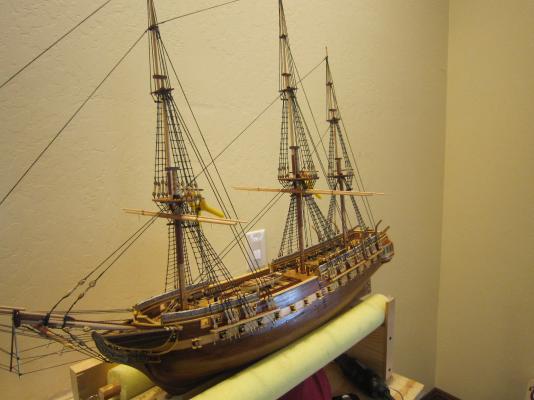
All yards finally done and stored in their respective positions. Now they have to be finished off by gluing the studding sail brackets in their correct position, finish sanding and varnishing them and then.....I'll start rigging them for sails. So far, I can slide the studding yards in and out. I'd like to keep them that way.

- 1,756 replies
-
- 9
-
-
- constitution
- constructo
- (and 1 more)
-
Your ratlines look great!
-
I rough finished all the main yards and stored them in their respective positions.
- 1,756 replies
-
- 10
-
-
- constitution
- constructo
- (and 1 more)
-
That's not likely Brian. I'll take a picture. See you there.
- 1,756 replies
-
- 1
-
-
- constitution
- constructo
- (and 1 more)
-
The mizzen yards are now clipped in place. There's still a lot left to do to fully rig each yard, but I needed a place to store the semi-finished yards, so what better place than.... in place. Besides...even though they're not rigged in, this way makes me feel like I'm making progress.
- 1,756 replies
-
- 9
-
-
- constitution
- constructo
- (and 1 more)
-
Good luck with your Connie. I look forward to watching your build.
-
I never stop learning from all you guys! Amazing.
- 1,756 replies
-
- 2
-
-
- constitution
- constructo
- (and 1 more)
-
Bill, Are you putting sails on her?
-
I just designed and built my own stand. Your Connie looks great.
-
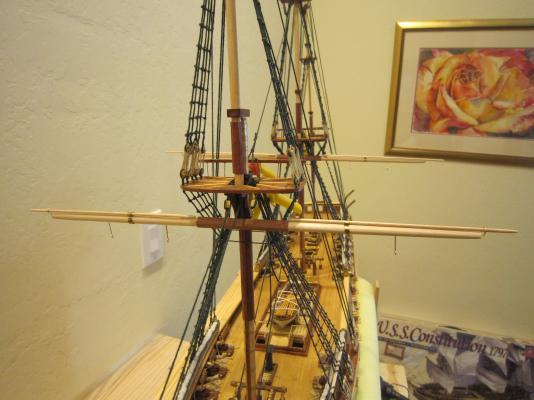
Here's a "dry run" for the first two yards. They still need a coat of varnish and then rig their sails before installing them permanently. There's a lot left to do, but at least now I know what's ahead of me for rigging the sails.

- 1,756 replies
-
- 17
-
-
- constitution
- constructo
- (and 1 more)
-
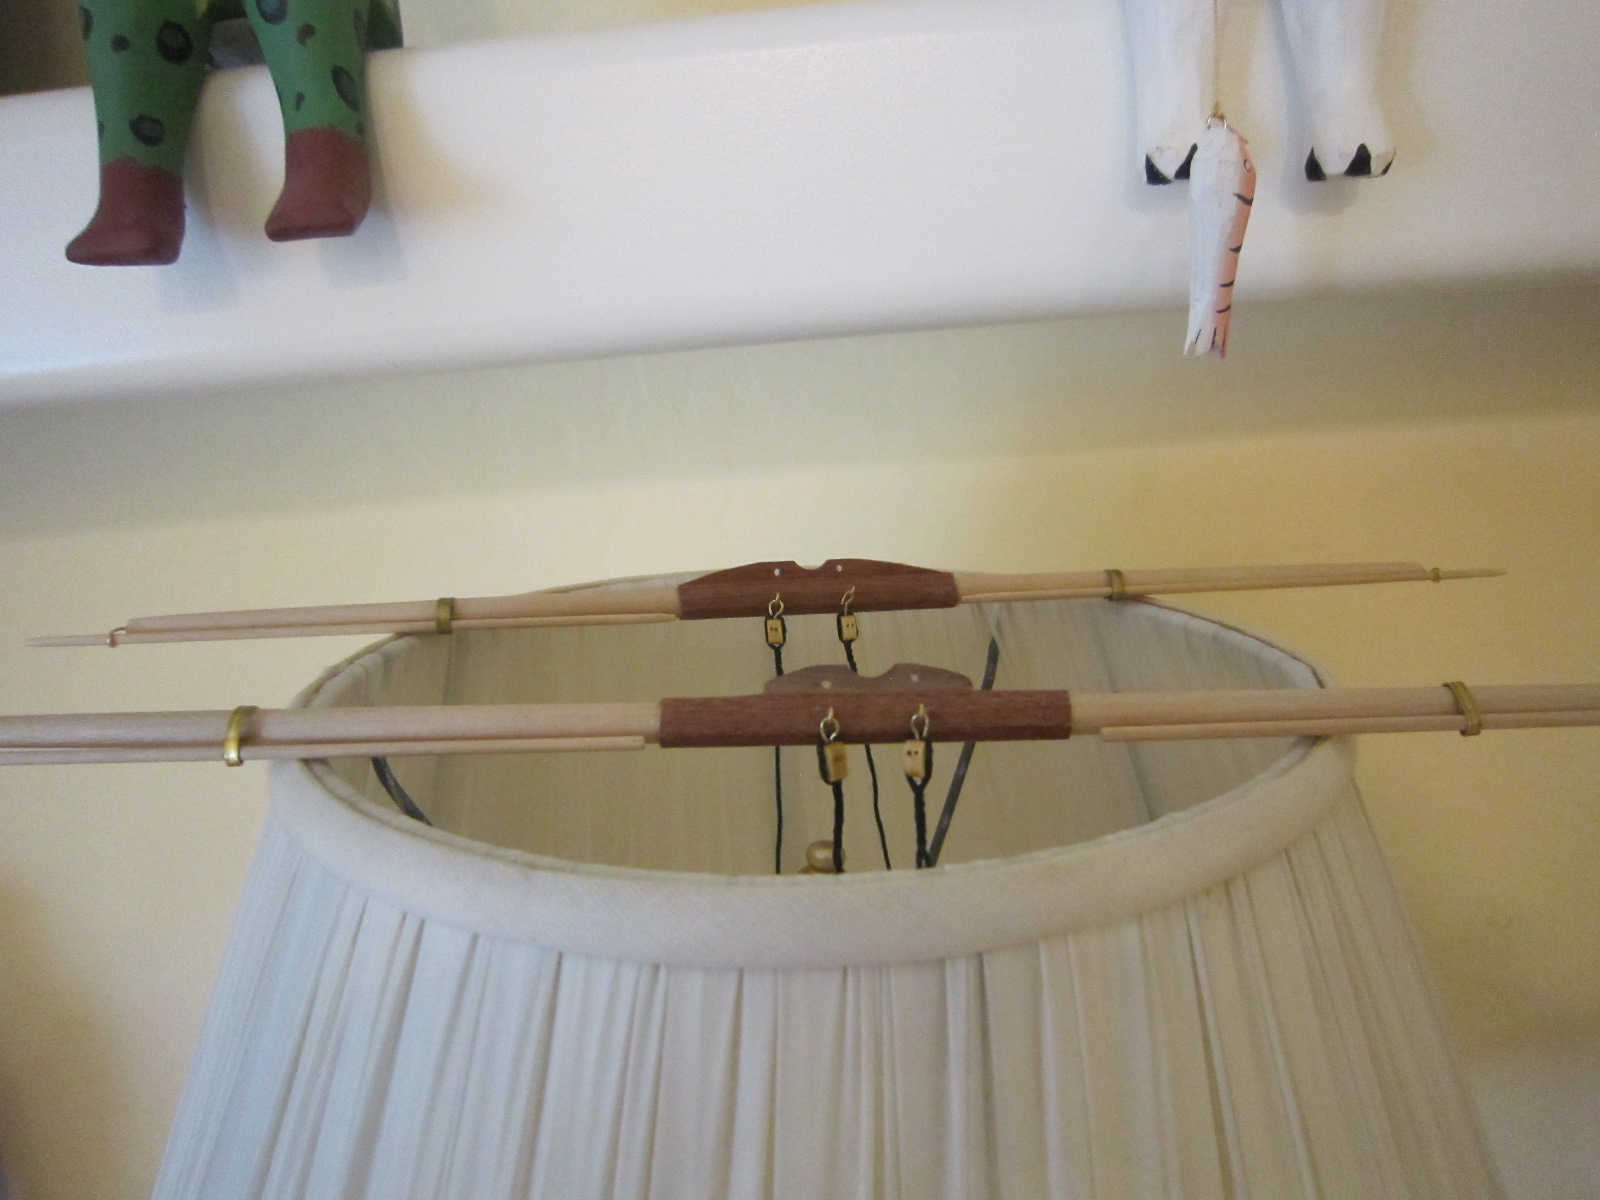
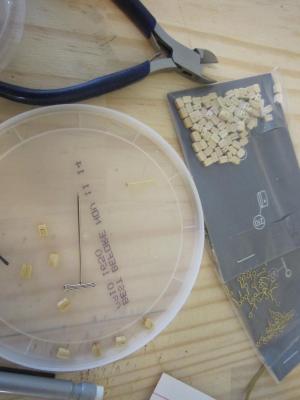
I have to keep coming up with new tools....this time it's a lamp where I can let the glue dry on the blocks on my yards. They need to hang down while the glue sets. My Admiral hasn't seen this one yet.

- 1,756 replies
-
- 10
-
-
- constitution
- constructo
- (and 1 more)
-
Well it feels real good to get back to woodworking again making all the yards...but as soon as I reach for string, line or yarn and blocks....I turn into a big pile if incompetent mush! I've got to read and practice how to do rigging before I can progress from here. Well...nobody said it was easy.

- 1,756 replies
-
- 5
-
-
- constitution
- constructo
- (and 1 more)
-
Help! Do the studding sail spars sit at a 45 degree between vertical and horizontal? My plans are very vague.
- 1,756 replies
-
- 2
-
-
- constitution
- constructo
- (and 1 more)
-
Rat lines revisited, a different approach
HIPEXEC replied to Modeler12's topic in Masting, rigging and sails
I did something similar to your approach but I added a small knot at each joint to simulate tying the traditional clove hitch. It was hard, but not as hard, as you said , as tying those actual clove hitches with my shaky fingers. I would have shaken all shrouds off the ship.