


Jaager
-
Posts
3,071 -
Joined
-
Last visited
Content Type
Profiles
Forums
Gallery
Events
Everything posted by Jaager
-
 Sweet Cherry Prunus avium is more dense than Black Cherry Prunus serotina. Only birds eat the fruit of Black Cherry as far as I know. It is mostly the stone, so eating it would be more work than it is worth. It is used to make wild cherry syrup - an old vehicle for compounded Rx liquids - mainly pediatric. The syrup is made from the bark, not the fruit. I do not consider Black Cherry wood to be significantly hard. It is easy to work and serious sanding can get you into trouble much more quickly than with Hard Maple. Black Cherry is not very far up my list of wood species for fine detail carving.
 -
Hello from the Scottish North Coast
Jaager replied to Scottish Guy's topic in New member Introductions
I followed your wonderlandmodels link - clicked models and kits - so much junk! - then checked the Billings isolating factor on the left and Torborg is top row at the right column. It also looks clinker - the point is that it is an open boat. - Rowing or single mast, a boat is the best chance for completion. The attrition rate for those attempting a first time wooden vessel and even going the extra step of doing it with a log is so high here that I have the conclusion - it is almost impossible to start with a kit that is too simple. Most - probably pretty much all of us - start with plastic. I blame a large portion of the high abandonment rate as involving those who were serious about plastic and tried wood thinking that it is the same process with a different material. The whole process is so different that it is like a whole other planet. The unrealistic expectations about what help the instructions will provide and it being fabrication rather than the simple straight forward assembly of plastic leading to frustration and anger. I have seen no exit interviews to support this proposition. A wooden ship model is not one single process. It is a series of subunits, each of which is a model unto itself. For all of us, our muse and our inspiration comes and goes. The larger, the more complex the model, the higher the probability is that the builder will not be there when the muse returns. This is more likely with freshmen rather than seniors and grad students. Nobody ever graduates. -
Hello from the Scottish North Coast
Jaager replied to Scottish Guy's topic in New member Introductions
Give a thought to something about the size of of Billings' Torborg. With no experience with Billings as far as quality, a search for a log that might provide the desired data came up empty. A log by you would cut new ground. A schooner is not a boat. A boat can be quick and dirty, and if done using quality materials : A finished small subject using one of the larger scales and the completed model living in a case on a shelf near you => confidence and inspiration. The more you bounce around here, the more background gained about what is of interest - and how involved a specific kit really is. As far as real quality wood materials that are a joy to work rather than a fight, options are fairly limited - for example Syren, Vanguard, 3rd party sawmill sourced substitution, you being your own sawmill. -
It drys to a hard shell. It is used to protect steel tables and tools from humidity produced rusting. So it will not be a sticky dust magnet. It also does not contain trace amounts of insect digestive enzymes or anything to allow hydrogen ions for to be acidic. Plastic polymer line IS a shell. There is nothing about it that needs a wax coating of any kind.
-
Kit Model or Plans for HMS Centurion 1732
Jaager replied to Fraser1945's topic in Wood ship model kits
Centurion was a "modified" 1719 Establishment 60 gun. The "modification" was to increase the breadth by 1 foot. The NMM has the original Allin design for sale as a print 1:48 ZAZ1688 - it is pretty beat up. There is also a redrawn plan by I think Fredrik Henrik af Chapman the first naval architect that is cleaner and has more detail (stern) ZAZ 1689 also a print 1:48 -
Hello from the Scottish North Coast
Jaager replied to Scottish Guy's topic in New member Introductions
I do, but I have no hands-on experience with any of them. I started with a solid hull Balsa Scientific kit - a clipper - not a good beginner's choice - but it was so simplified - not much more than a decorator model really - that I was able to finish it. I then started with a yellow box Model Shipways solid hull topsail schooner. Those old style solid hull kits were so basic that going over to scratch and POF was a short step. The lofting for POF was and is a deep dive into a complex world and a serious time sink if the subject is a vessel of some size. So going by a swift current here, the Model Shipways sponsored Shipwright Series appears to be a successful way to enter into this. The old yellow box kits have become extinct. The parent company Model Expo shows problems with ethics from time to time. BlueJacket has beginner small craft that will also probably ease you into this. Both are domestic to western hemisphere colony interests and subjects as well as import duty complexities. I did not offer an initial suggestion because I suspected that there would be suggestions about kits from British source companies. I do not know if there are any starter kits that are as hand holding as the Shipwright Series. However you appear to be starting a bit farther down the road than our usual complete tyro so perhaps something a bit more sophisticated would work for you. But - start with a boat in any case. Even if you wish to replicated Nelson's fleet or in my case Allin's (booo, booo) and Anson's (yeah) fleets, all of these ships carried multiple boats. Learning how to build them first is anything but a waste of time. -
How to see all profiles builds
Jaager replied to Isaiah's topic in How to use the MSW forum - **NO MODELING CONTENT**
Find a post of the person of interest. Placing the cursor over the name or the cartouche opens a window. In the window is a link: Find Content. Click that a scroll the list. On the entries where the person is the author of the post, check to see if it is a build log. Not efficient, but it is through. -
Hello from the Scottish North Coast
Jaager replied to Scottish Guy's topic in New member Introductions
From my perspective - wood - scratch - POF - if your near term goal is to scratch build a yacht using wood, any time spent building a plastic model is time wasted. There is very little overlap in the skills required. The rigging on a large scale version of a modern yacht will have very little in common with the rigging of Nelson Era first rate man of war. You may even choose to paint with wood rather than pigment in a binder, so the only other overlap is not relevant if you do. The surface prep on plastic does not relate to that of wood either. A small craft starter kit of a wooden model would be a more productive time investment. It will probably want a couple more incrementally complex kits to get there. Meanwhile - read. Chapelle's Boatbuilding, Books covering small craft and yacht construction, lofting. As a background alert, I see plastic as being an absolutely terrible material to simulate wood. It is close to essential as a material to simulate steel. But, it requires really special skills to use it as a raw material and be shaped to match a one-off plan. -
It is also possible that knowledge and lessons learned give you the power and determination to persevere , when not having that chip would have lead to the easy path. If you did it twice, that would be troubling. At least you are not a song writer who signed over the rights to a song whose royalties could have supported you for the rest of your life.
-
The situation is probably even worse. The veneer has a high probability of being rotary cut. Think of a blade producing a continuous sheet of wood that resembles paper towels coming off of a roll. The wood came from a curved environment and will always "want" to go back to that cupped conformation. Wetting, pressing, ironing will just be a futile fight against Mother Nature. Even at a distance, that hideous yellow stuff looks like crap. It will likely not be the joy to work that an appropriate species is. It appears that the ZHL episode was not the aberration that I was hoping it was.
-
It is a terrible choice. It has a relatively short life. It becomes brittle and releases its bond. It is thick and does not allow positioning. There is no easy way to reverse it. Attach Lino to a plywood sheet for something intended to last 10 years or so - go for it. PVA plus heat can become a contract cement of sorts. A dry even coat on both meeting surfaces plus heat activates a bond. The outside layer has to be thin enough to allow heat transfer at a temp that does not char or cook the outer layer.
-
I offer another ship that you might give some consideration as a subject : Namure 90 1756 it underwent a bit of a metamorphosis for the Nelson Era but as launched is my choice. There is a bit of fame attached to it now.
-
The choices Linen seems to be lost into the past. Cotton - limited lifespan - smaller fibers -smaller fuzz Poly - seems to be winning the race. As long as the model itself is plastic, any resistance to using man-made materials is moot. Poly already is what a wax would provide. Wax seems to me to be pointless. If it is beeswax on it - I would question it ever case hardening to become NOT a dust magnet. Paraffin would change its phase with changes in room temp. The semi liquid phase would also hold dust. Renaissance wax will case harden as its organic solvent evaporates. It is probably more positive than negative for linen and cotton. It would offer no advantage with poly.
-
Northeast US, There are many low cost species that will work. Looking at species that are favored for scratch clear finish wooden sailing vessels is not a productive or economical path for your needs. Pear - Swiss Pear ( is a steam oxidized European wood ) It is expensive here. It is difficult to source here. Basswood is favored for architect's models because it is available precut and does not rival platinum in price. It is also soft and fuzzy. Your economical choice is construction Pine (not Fir). The endcap loss leader at Home Depot. Pick clear with no sap. Yellow Poplar is low cost and would do exactly what you want. Hard Maple, Black Cherry are over kill, but like the above two also have closed pore, so save a finish step. Nut wood species would work - Oak, Ash, Hickory, Willow - they just need a pore filling step Sand-n-Sealer. Your problem is getting lumber into 1:12 scale 2x4 and 2x6 and 1x8 -1x12 clapboard. If you do not have a bandsaw and a thickness sander and a modelers table saw, you can make do with a full size table saw. Just mount a hollow ground rip blade. Borrow the use from someone who has one and bring your own blade. Try to avoid feeding your fingers to the saw or getting impaled by a kickback. If you use Pine, the extra loss to kerf is something that you can stand. Prime any wood with half strength Zinsser shellac - Scotch Brite- follow on with full strength - Scotch Brite and tack rag. Then any paint will bond.
-
I would use a filler at the stem and paint the hull. or remove the planking and buy a replacement from a site vendor or visit your local WoodCraft store and get a veneer that is better - sawn not rotary cut if possible. Veneer just needs a steel straight edge and a keenly sharp knife. Strop often. The color of the planking is way darker than any species that I believe was used for an actual ship. To my eye, it looks brittle, course, open pore. - not even close to a 1:75 scaled down version of real wood that was used. A Wayback machine view of this: Taper the stem to about half its thickness at the outer char. Cut a rabbet - a proper rabbet = the correct width in the stem. Small chisel. Practice a lot on scrap first. Start the planking at the rabbet and add bonding as it fits aft. Apply the same plank P&S - not all one side and then the other. Planking width 6" -8" in scale with the the garboard maybe a bit wider.
-
Warship identified off Florida coast 3 centuries after it sank
Jaager replied to Gregory's topic in Nautical/Naval History
The War of Jenkins Ear. The bureaucracy managing this war for England were incompetent amateurs. Really a lazy effort on the part of the scribbler. Obviously zero understanding. HMS Tiger 1722 was old and obsolete - it was actually a pre 1719 Establishments design. Definitely NOT a frigate. In that era, even a 40 gun would not have been a frigate. With two full gun decks, they were slow slugs that were definitely top heavy. Often not able to use the guns on their main gun deck, because much wave action would flood thru the open ports. -
Might this tool help with getting a uniform thickness? https://bridgecitytools.com/products/hp-8-mini-block-plane
-
It is a Jarmac. The ID label has been removed. It was made in a one-man shop in Springfield, IL. When the owner died, his shop died with him. It filled the small table saw niche during the time between the loss of the Unimat with its saw attachment and the JIM saw. The motor is probably a repurposed sewing machine motor - no power. It sorta worked with stock that was essentially veneer thickness. The fence was a welded bar - low - no adjustment. Simple miter gauge. Two tracks - so a home made sliding table worked for it. If you make a sliding table - about a full afternoon's time expense - it will be machine that fills the crosscut function that the recent chopper saw thread was all about. Note that the blade is a slotting blade - too many teeth for anything more than thick veneer. The companies that made reasonably priced blades that fit - Thurston and Martindale - no longer do. I think that there was a similarly T-ball league disc sander in the Jarmac line. Not really good, frustrating, but better than nothing if it was the only thing available. In my imagination, I can see this machine as a negative example for Jim.
-
Along with my premise that plastic may be a hindrance as an introduction to wooden ship model kits because of the difference in now the instructions relate (or how the older wooden kit instructions did). Unrealistic expectations because of the many different skills beyond just assembly and and that most of them are common to just about every kit. This gets repetitive and and excessive to do for every kit when there are "how to" books that do this. Looking at the above, I have another premise. A plastic kit is straight forward assembly. Additional knowledge about the anatomy and physiology of the object being assembled is not necessary. For a wooden ship model, it is important to have at least a basic knowledge of the individual parts and how they fit together. Knowing the proper names allows for an easier look up or inquiry about what is going on. Knowing what a proper keel, keel rabbet, stem, stem rabbet, hawse timbers (the first planking layer has to cover the purpose of the hawse timbers) the proper run of planking, would help with this specific problem. Faking it is not likely to yield a satisfactory product.
-
Rather than the vertical under the counter supports, why not mimic the original and use horizontal instead? I would worry that vertical may not fit well with the run of the planking. The upper part of the planking will run in almost the same axis. You could have flat filler pieces between the pseudo transoms with holes for dowels into the last mold. This would make a precise locator for each filler (reverse mortise) for almost idiot proof slots for the transoms. You could include a few Bamboo skewers as the dowels and burn holes that are their diameter. If you doubled up on each transom (two pieces instead of one in each slot) the planking would have a firm support. The planking will have serious bending and a firm base will have a better grab.
-
Instructions for rigging Cutty Sark
Jaager replied to bill mckee's topic in Masting, rigging and sails
I see the original volume is available on the second hand market Half of it covers masting and rigging I have the US reprint by Sweetman : CUTTY SARK, THE 1933 LONGRIDGE,C N EDWARD W SWEETMAN NEW YORK 1959 Make sure the loose plans are in the pocket. -
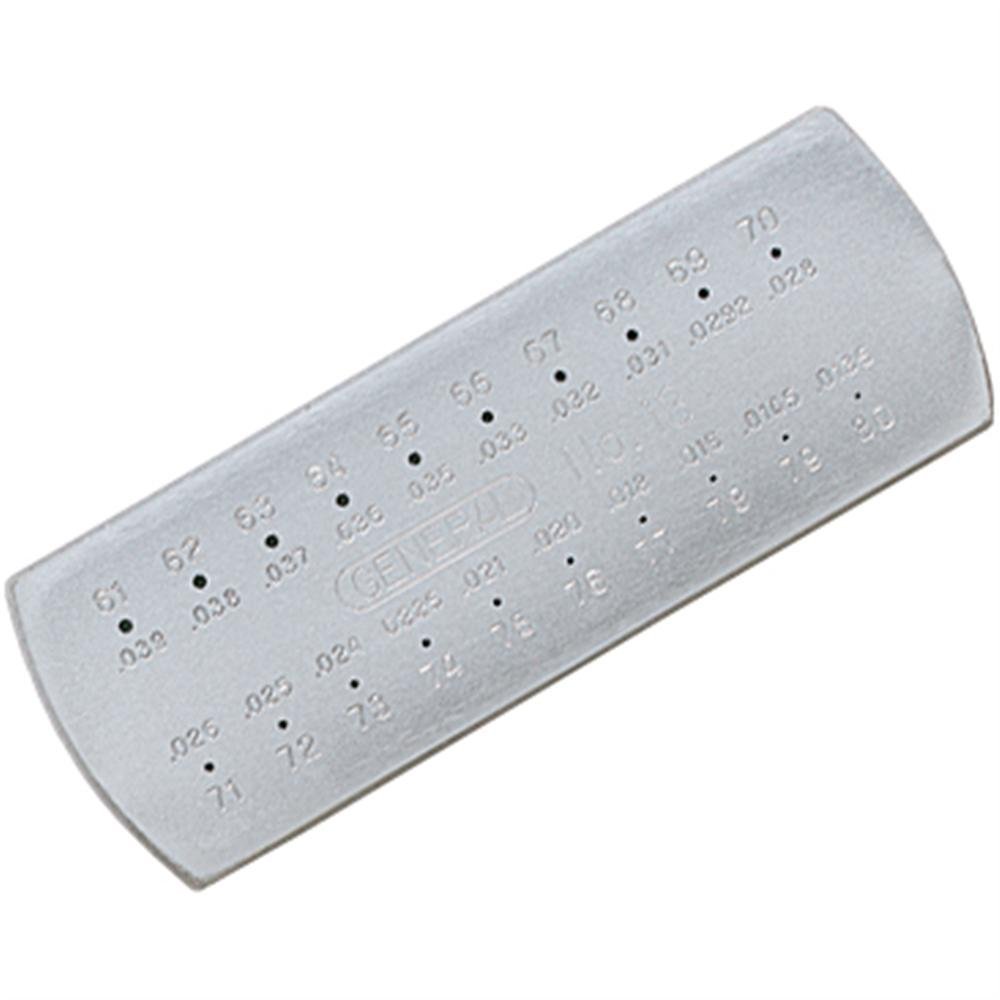
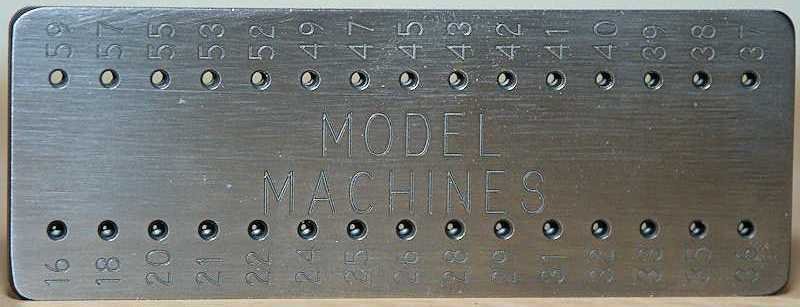
It is the same as drawing Bamboo trunnels. For years I have used General steel drill gauges 1-60 61-80 They work -I rub the reverse on a sharpening stone from time to time. Then there was one that works really well The Jim drawplate which I think is still available from http://www.byrnesmodelmachines.com/drawplate5.html The Bamboo skewers on the end caps are hit or miss as to which variety is in the bag. Some are soft and play nice but then to crush at the gripper and some are hard and brittle and fight you all the way. I have never seen drawplates for wood and I wonder if there is the necessary range of holes? I have jewelers drawplates, but they are more difficult to use - Thick with a cone on the reverse - it is a lot of work to get enough Bamboo thru the hole to have enough to grip and pushing does not work ar all
.jpg.41c9ea636edabf5f1027e2d45ba8672a.jpg)
-
Things are not nearly a dire as they seem. Polaris is a double layer POB build. You are doing the first layer. The only function of the first layer of planking is to provide an adequate base for the actual planking. The molds on most POB kits are too widely spaced to provide support by themselves. Even though the first Italian kits termed them bulkheads, this is not what they are. Actual bulkheads are a feature of steel vessels and Chinese sea going junks. Western wooden ships did not have bulkheads. They are a mold of the cross section at their location. For that first planking layer - just good enough for the outer layer is enough. Gaps between strakes are not important. They do not need to be filled. If there are dips and hollows between the molds, these need to be fleshed out. Often a scab of wood does a better job than spackle if the dip is significant. If there is enough support for the outer planking, it does not matter what it looks like.
-
If you click on the Articles Database link at the top here and scroll down to the Framing and Planking section, the bottom three articles will show how the planking should be done. You do not have the materials to match what is shown, but this may give you a map for adapting as best can. Or you can buy wider and better replacement planking from a vendor at the right side of this page. You cannot spill an "S" shaped plank from wider stock with what is your kit supplied planking, Trying to edge bend to a serious degree is fighting the nature of the wood, so at least you should have some idea about the cause of your frustration. The garboard is the key to getting the rest of the planking to work out. For it, the edge opposite the keel should stay dead straight. Any removal should be at the keel edge and that should mostly be at the stem rabbet. Never bend the ends up the stem.
-
Fridericiana Alexandrina Navis, 1st century Roman Danube River boat
Jaager replied to dcicero's topic in Wood ship model kits
What with the epidemic of greed which defines the current era, there is a high probability that any plans would rival the kit in how much is the cost. If you have the materials and facilities to fabricate the model from its plans, the parts of the kit itself can be used as 3D plans for to fabricate a total replacement model using appropriate species of wood. Just a suggestion.


