
Patrick B
-
Posts
71 -
Joined
-
Last visited
Content Type
Profiles
Forums
Gallery
Events
Posts posted by Patrick B
-
-
-
- Capella, Ghost029, The Gimps Chimp and 5 others
-
 8
8
-
- Cathead, DonSangria, Mr Whippy and 6 others
-
 9
9
-
-
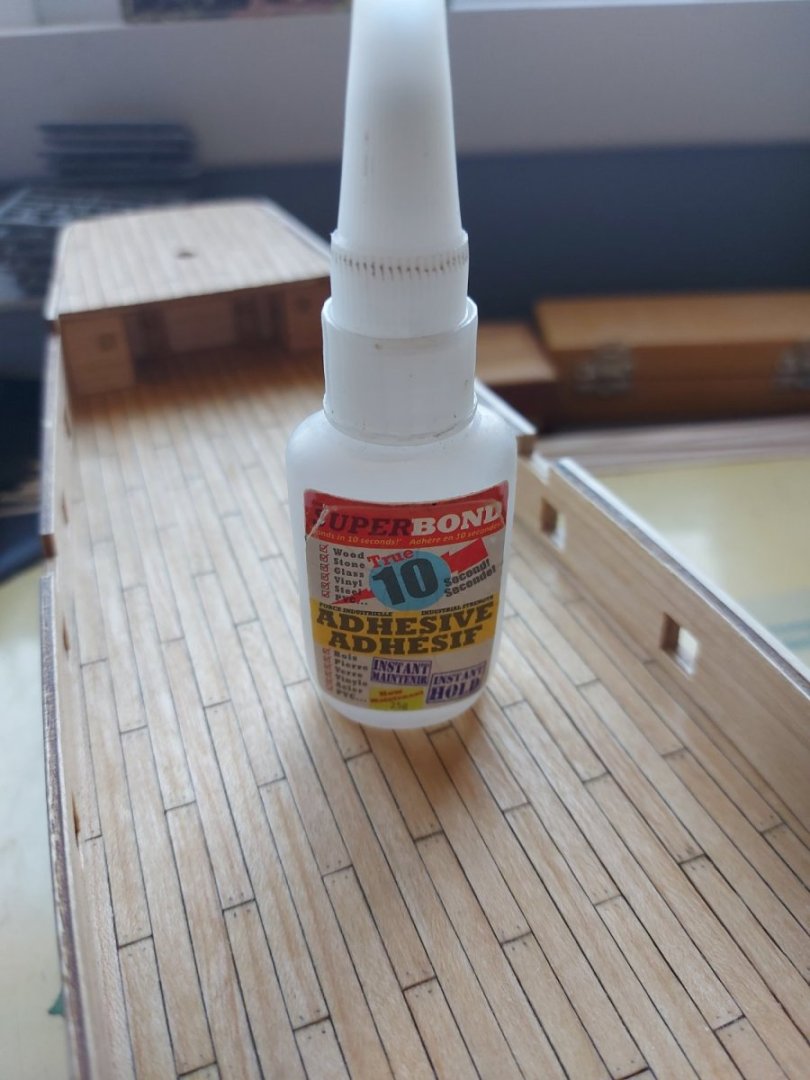
Hi RossR, could you show a picture of the cement glue you are using.
Thanks, Patrick B
-
-
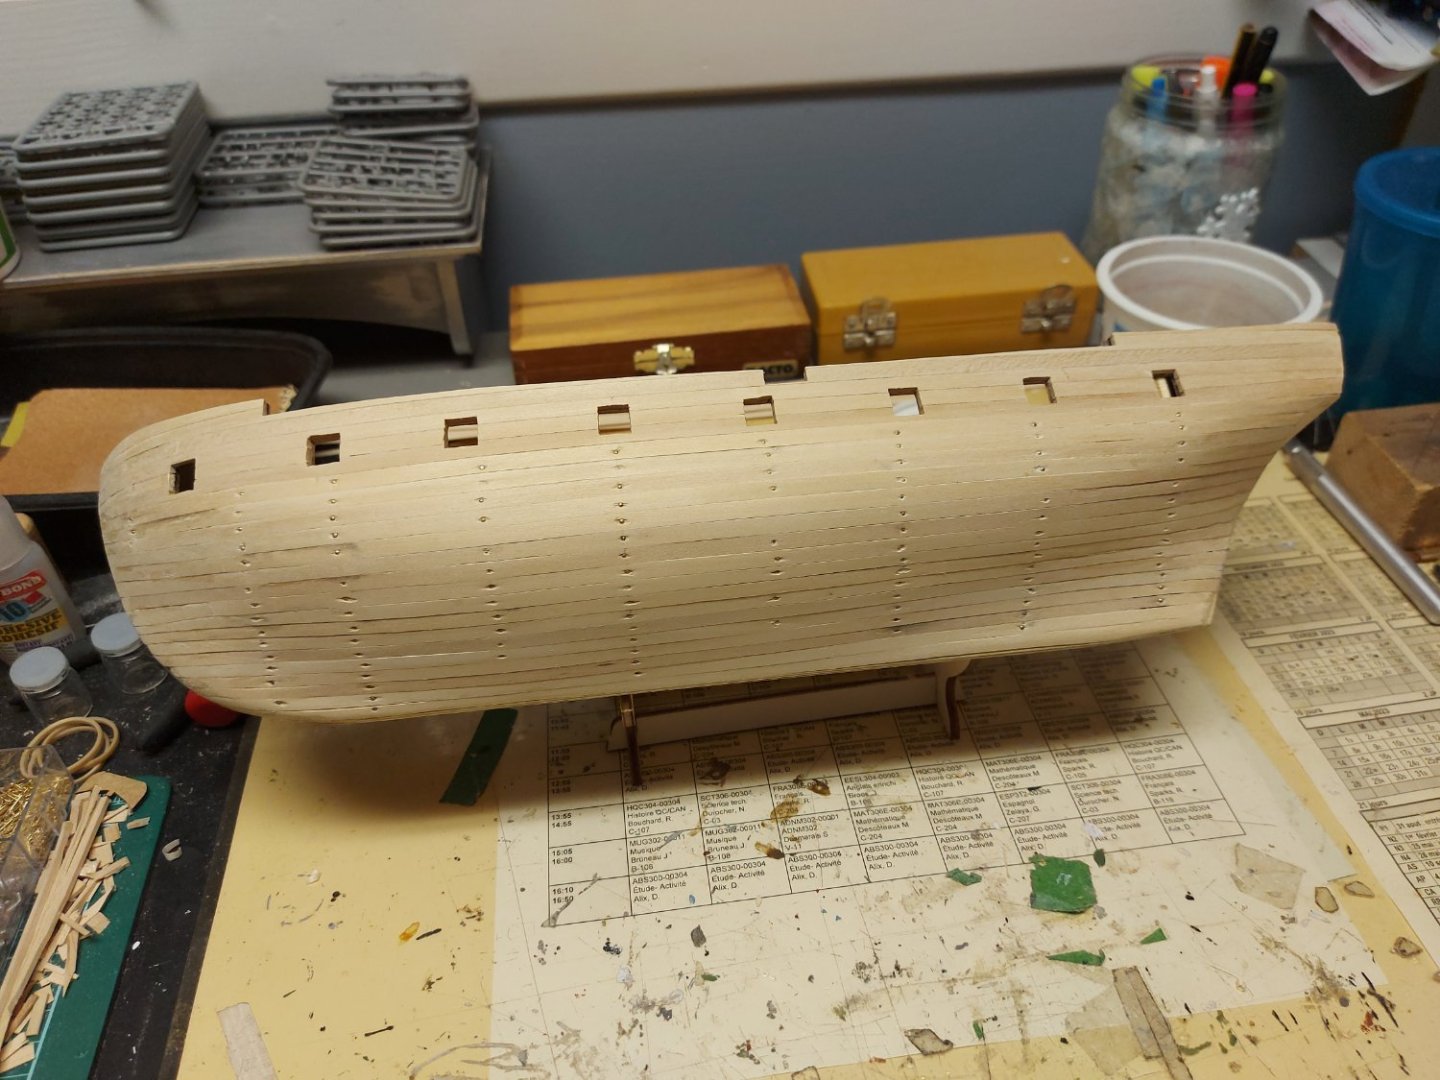
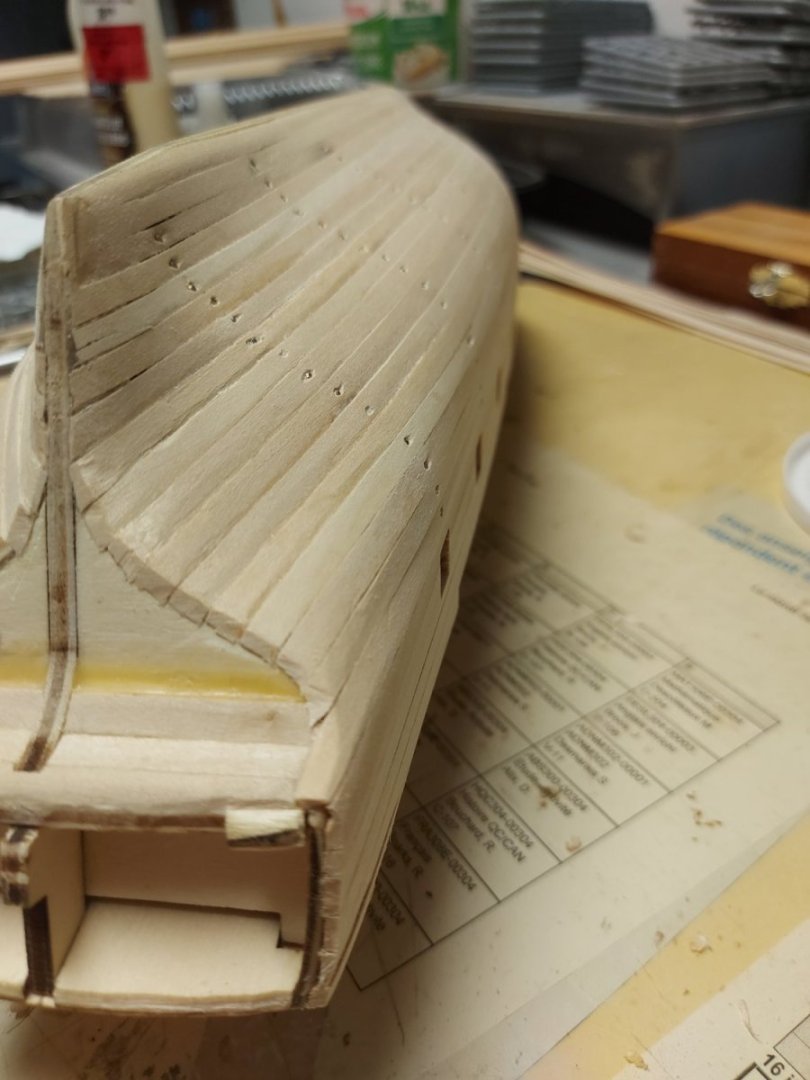
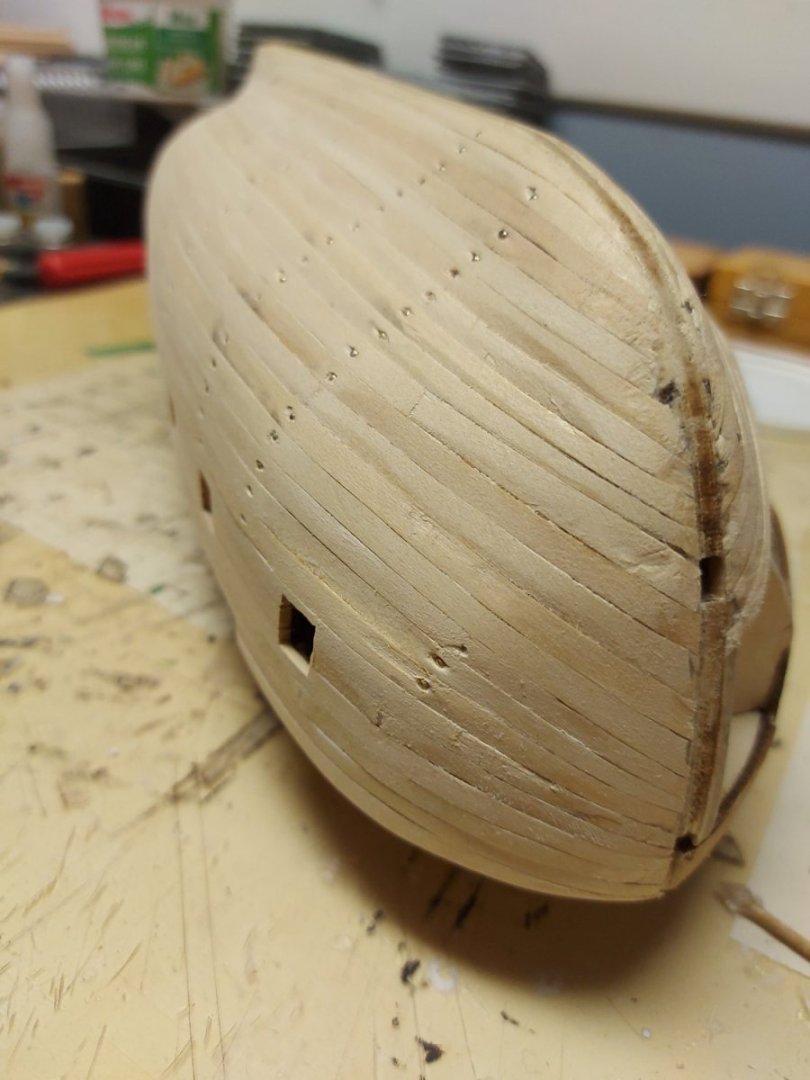
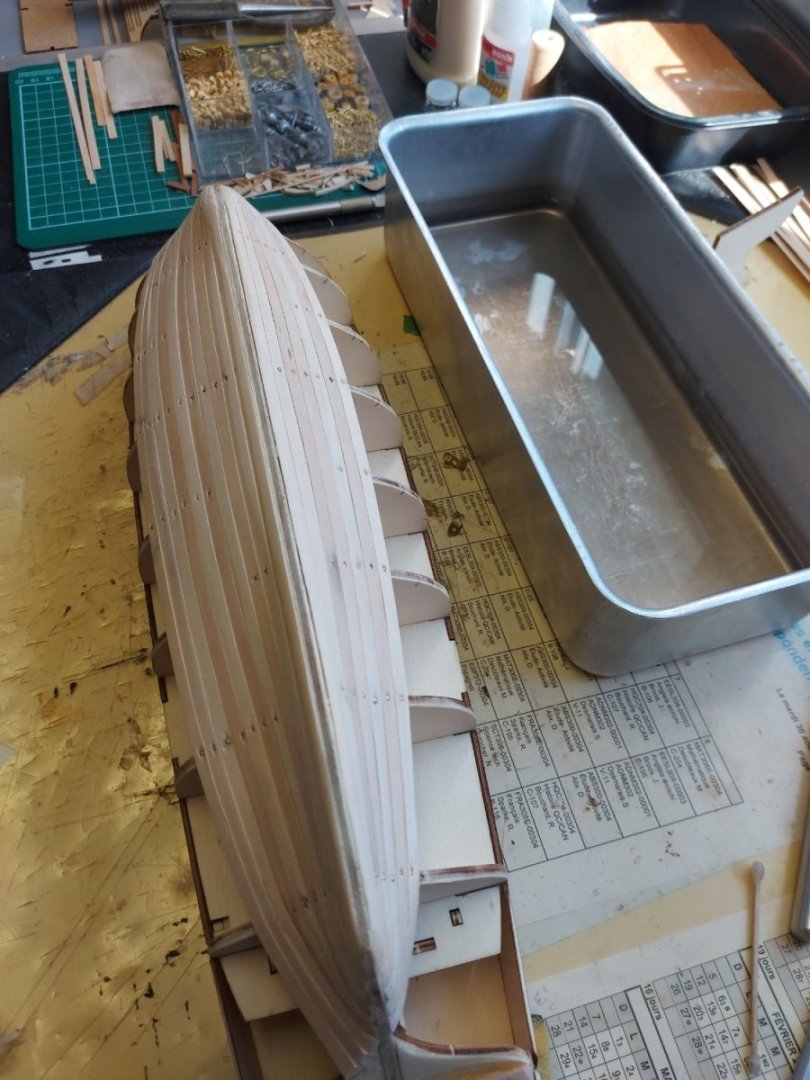
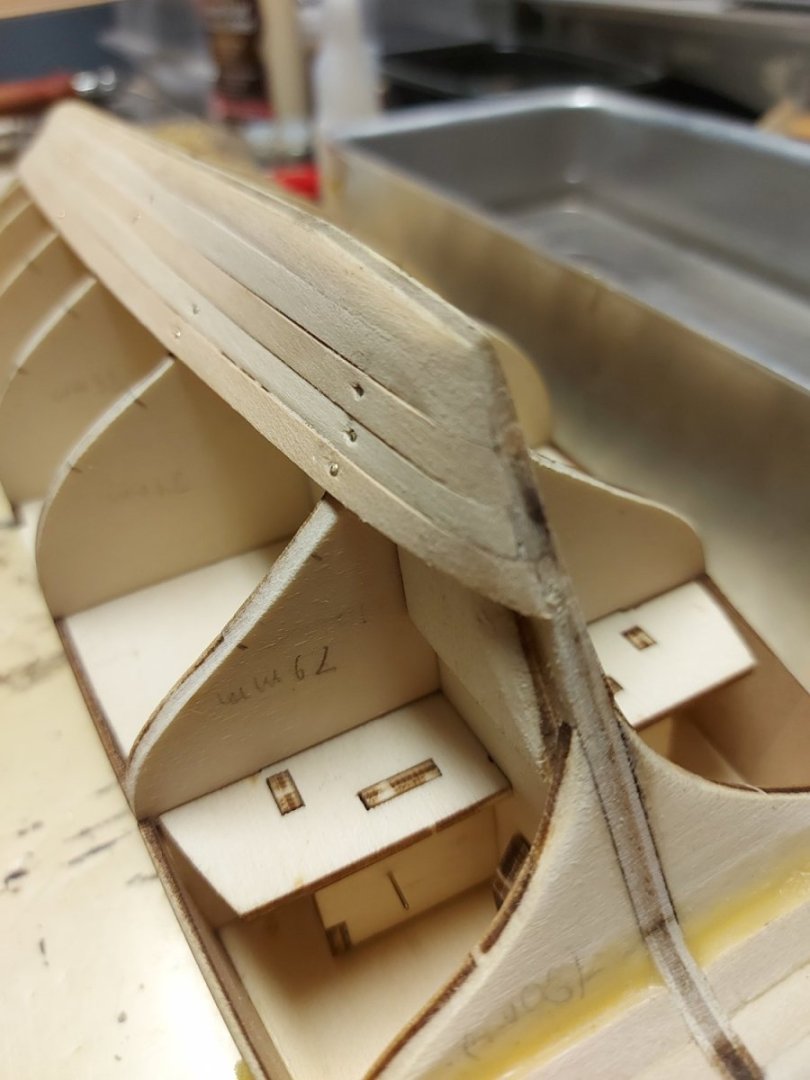
Planking update :
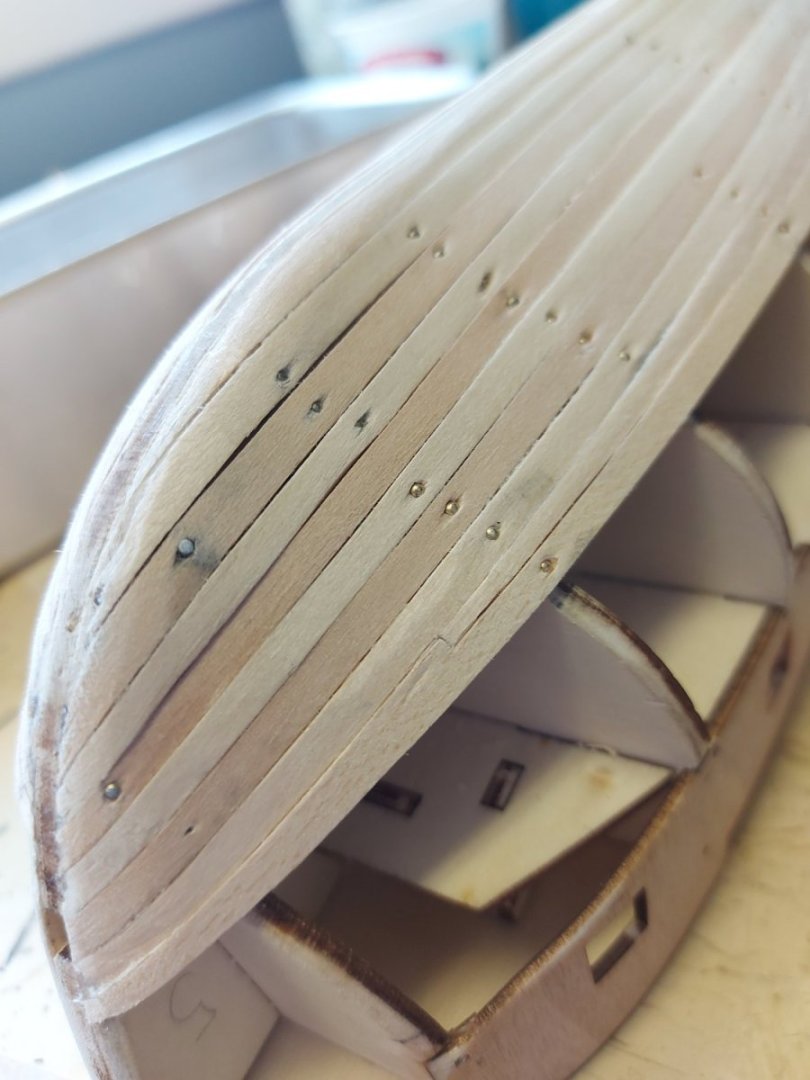
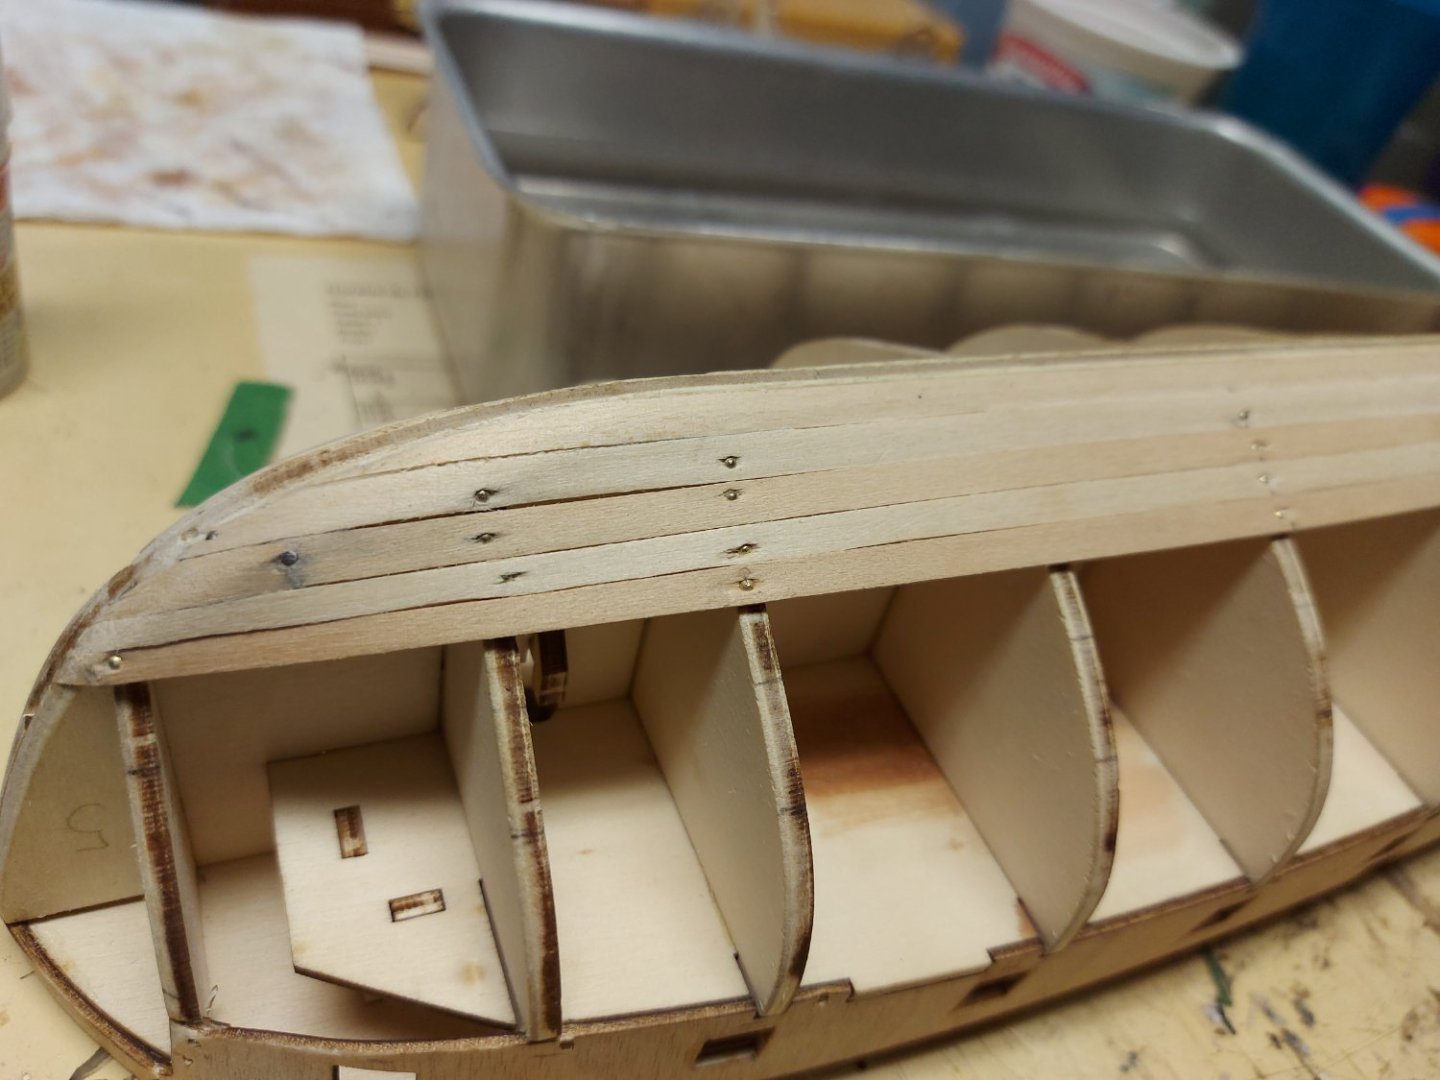
The first side is finished planking. I am very happy with the result, as no wood filler was needed whatsoever, and little to no sanding was done too. Due to the carefull attention in the planking process, no "steps" where created.
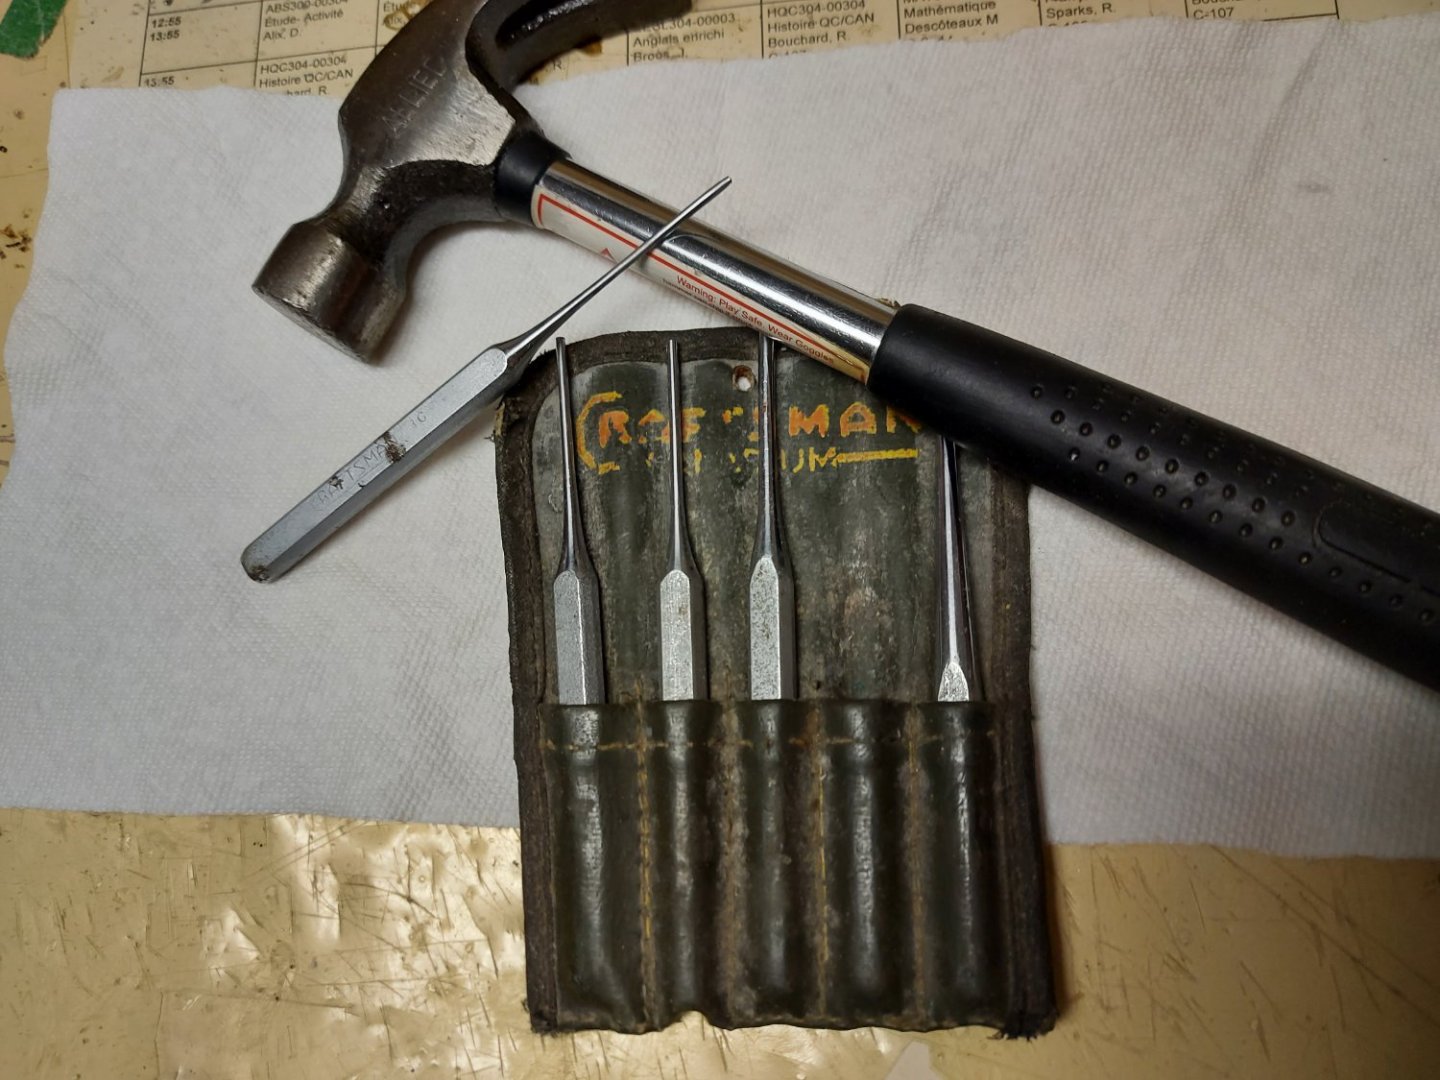
I leaved the nails in, contrarly to the popular behavior, as this didn't affect the sanding process at all. This choice was made because of the fact that I posses a nail pusher. Without it, I would have certainly took the nails off.
I leaved the nails in, contrarly to the popular behavior, as this didn't affect the sanding process at all. This choice was made because of the fact that I posses a nail pusher. Without it, I would have certainly took the nails off.
- RossR, Ghost029 and The Gimps Chimp
-
 3
3
-
- The Gimps Chimp, RossR, Cathead and 1 other
-
 4
4
-
- RobTBay, Knocklouder, Cathead and 3 others
-
 6
6
-
-
Thanks for the attention allanyed, but I guess for this one, the rowers will need to bring their legs back, or stand. Haha
- Penfold and The Gimps Chimp
-
 2
2
-
5 hours ago, allanyed said:
Hi Patrick
The launch design is interesting. I think there may be a mistake in the kit as it shows three thwarts double banked and two thwarts with no oarlocks for any rowers at all. Based on contemporary plans a 23 foot launch typically had six thwarts and was usually single banked for six rowers. It may be too late for your boat, but for the future you might want to check out the build logs on the 23 foot launches here at MSW as well as plans at RMG Collections and on the Wiki Commons site. The following happen to be for the 23 foot launch found on the Bounty but they are appropriate for a wide range of years and are accurate.
https://modelshipworld.com/topic/33539-23-foot-launch-by-allanyed-bounty-late-18th-century/
and https://modelshipworld.com/topic/33614-bounty-launch-by-imustbecrazy-116-small/
There are scantlings available for a wide range of boat types sizes available if that would be of interest to you for your other boats.
Allan
You are right.
But I still like the appearance of the 1-3-1 thwart pattern. This being my first ship, I incourage you to inform me about these interesting tricks the old sailors know. Keep in mind that I might change some other things afterwards if not too much added work is needed. I am very interested in those small tweaks that coulds make it more realistic.
- Cathead and The Gimps Chimp
-
 2
2
-
2 hours ago, Cathead said:
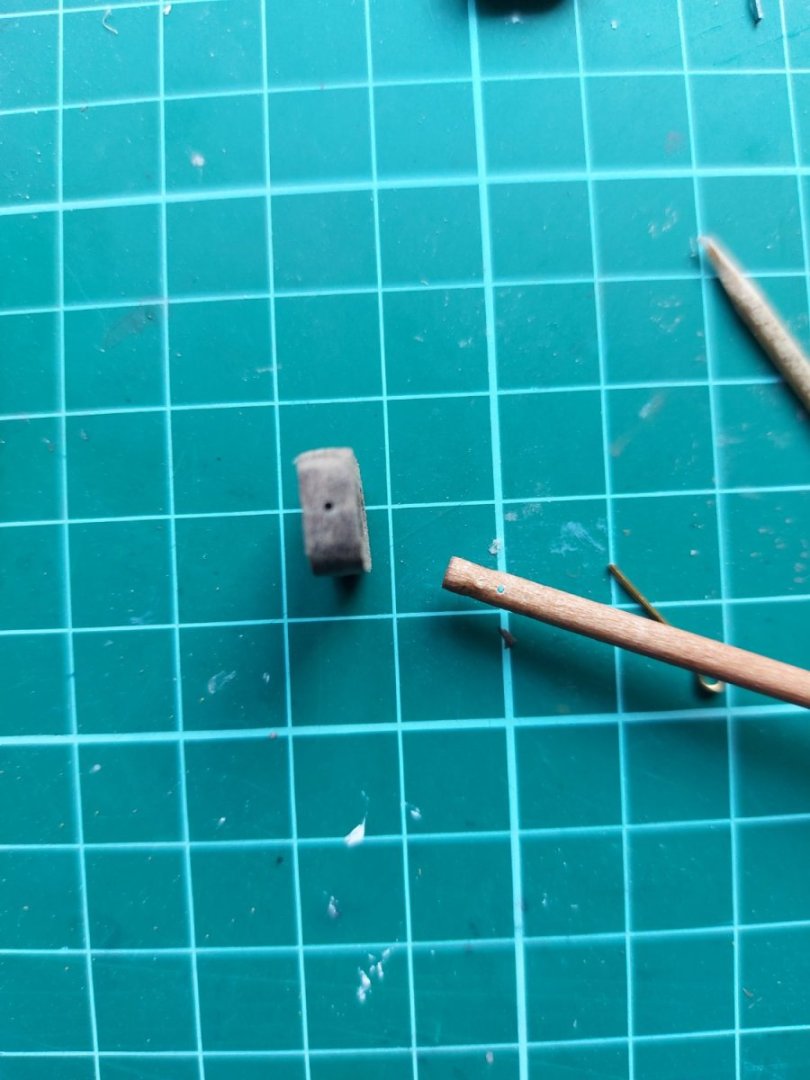
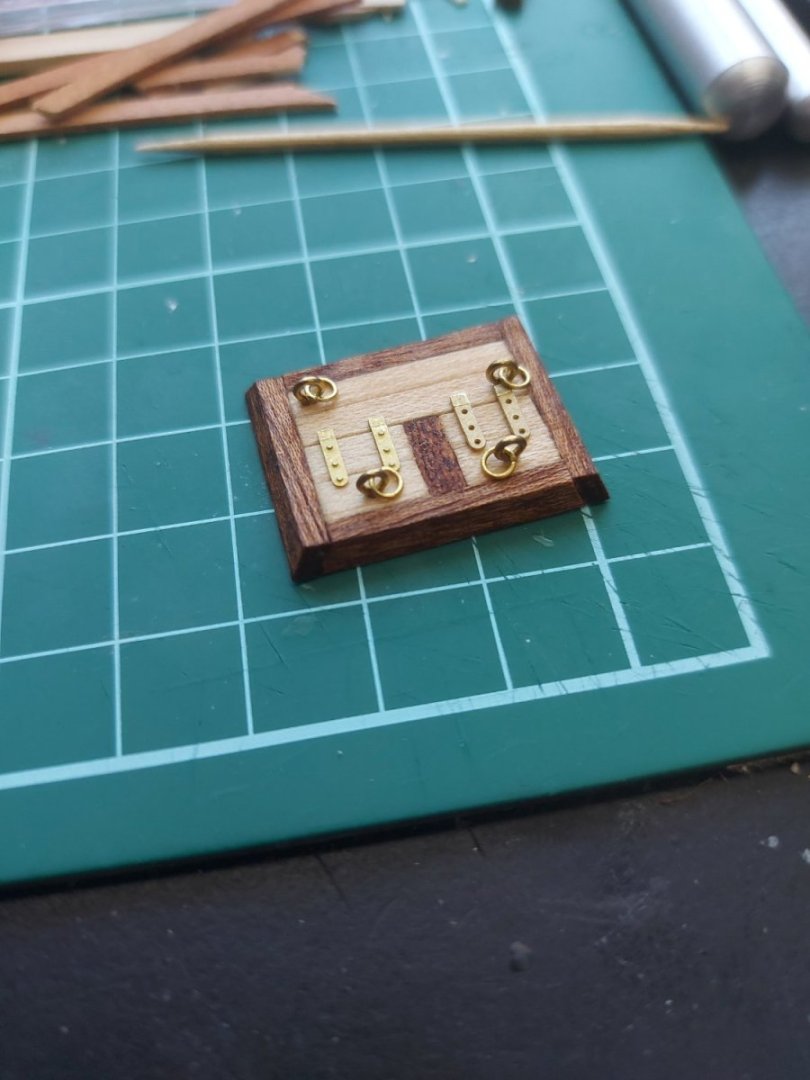
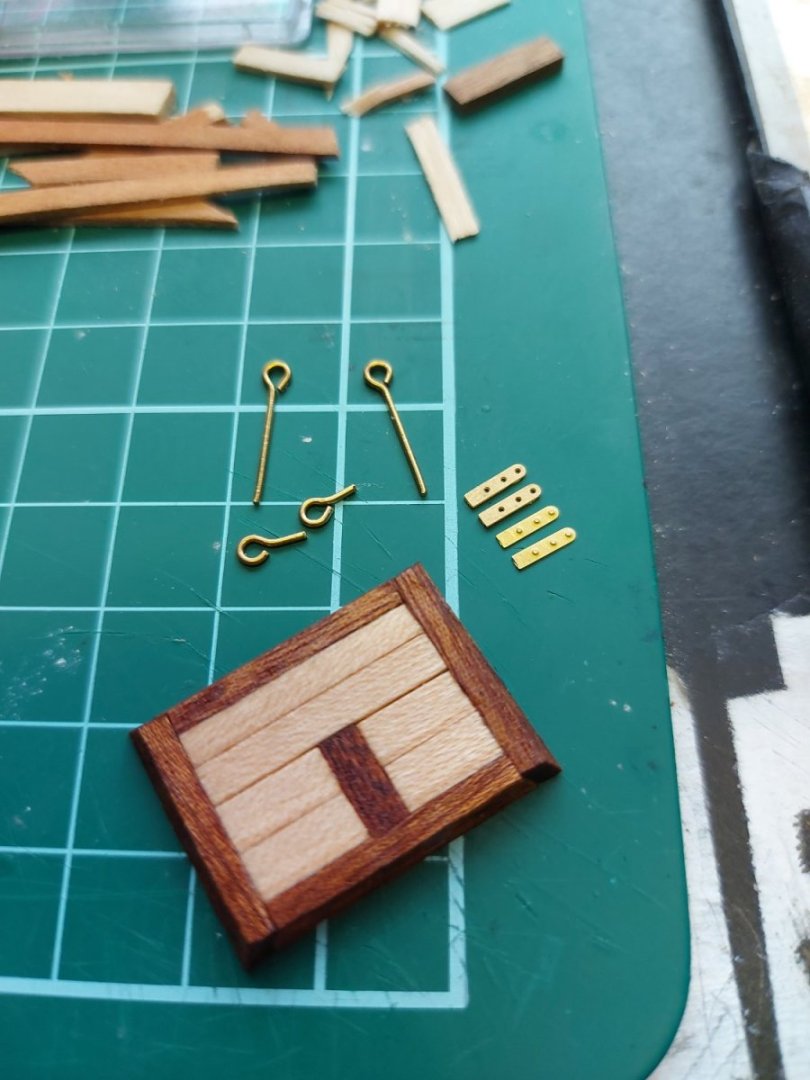
Those hinges are bizarre. And you're sure they're the only J7 parts provided? And are they all meant to be mounted to the one fitting you show there? Also, based on the shadows, the set with holes looks thicker than the set without. Are they actually different?
Yes, the thickness is different. The one with holes is a bit thicker than the other pair. It's color is different too, being a bit darker. They are the only use of the J7 parts. The other hinges have different sizes and names.
I decided to put one pair for each hatches. Otherwise looked odd.
-
- Prowler901 and Cathead
-
 2
2
-
-
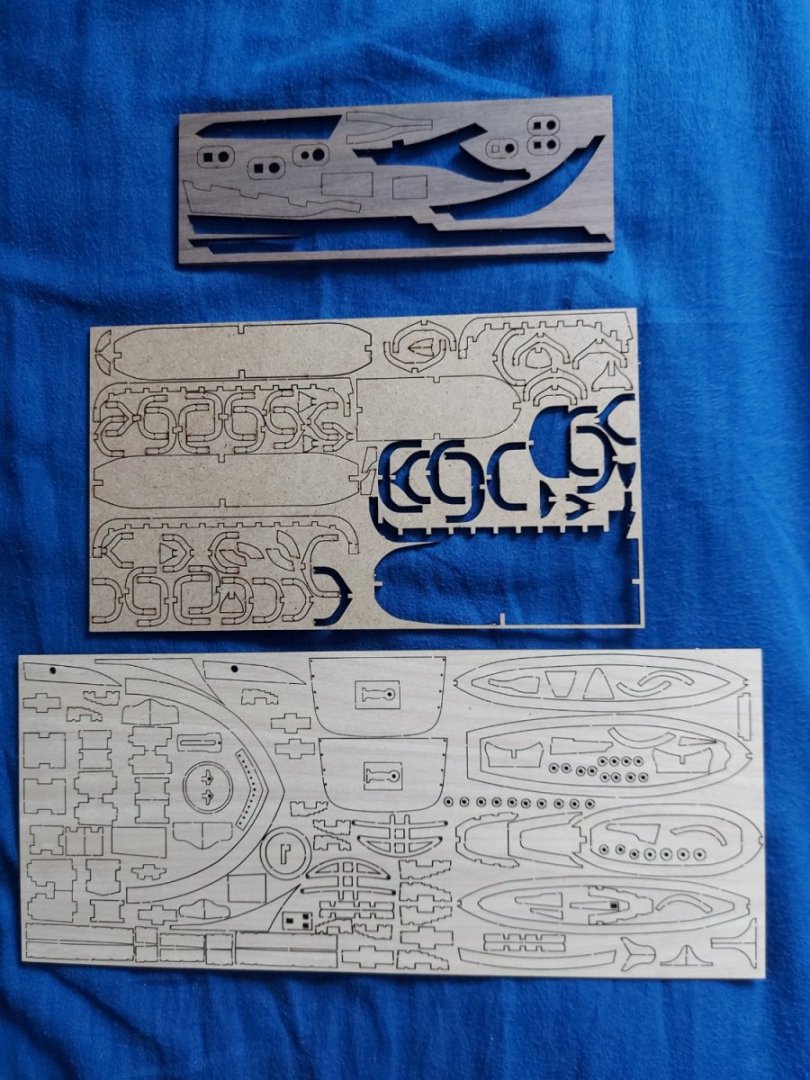
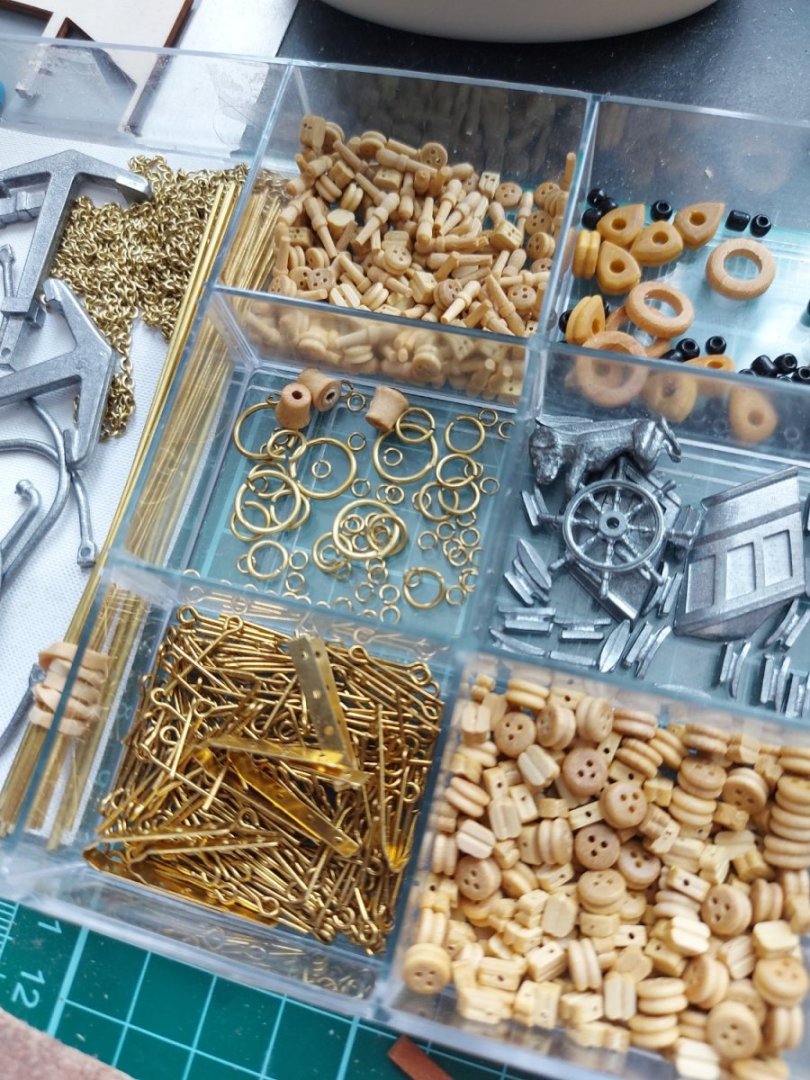
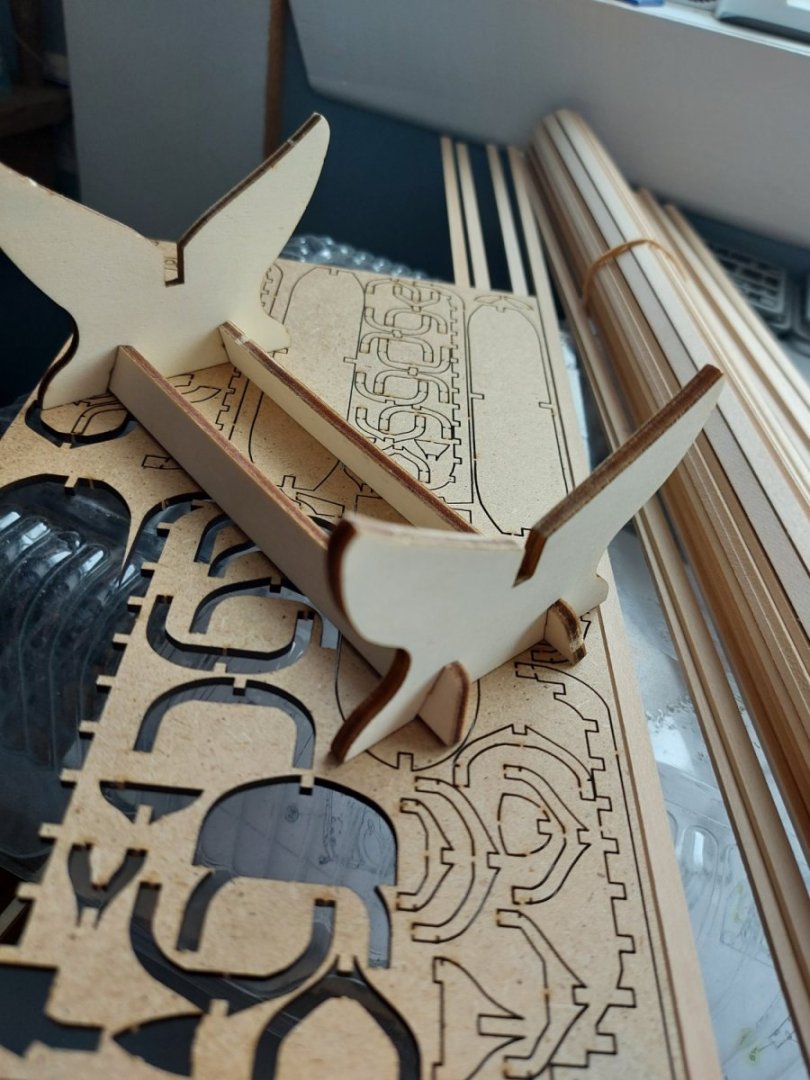
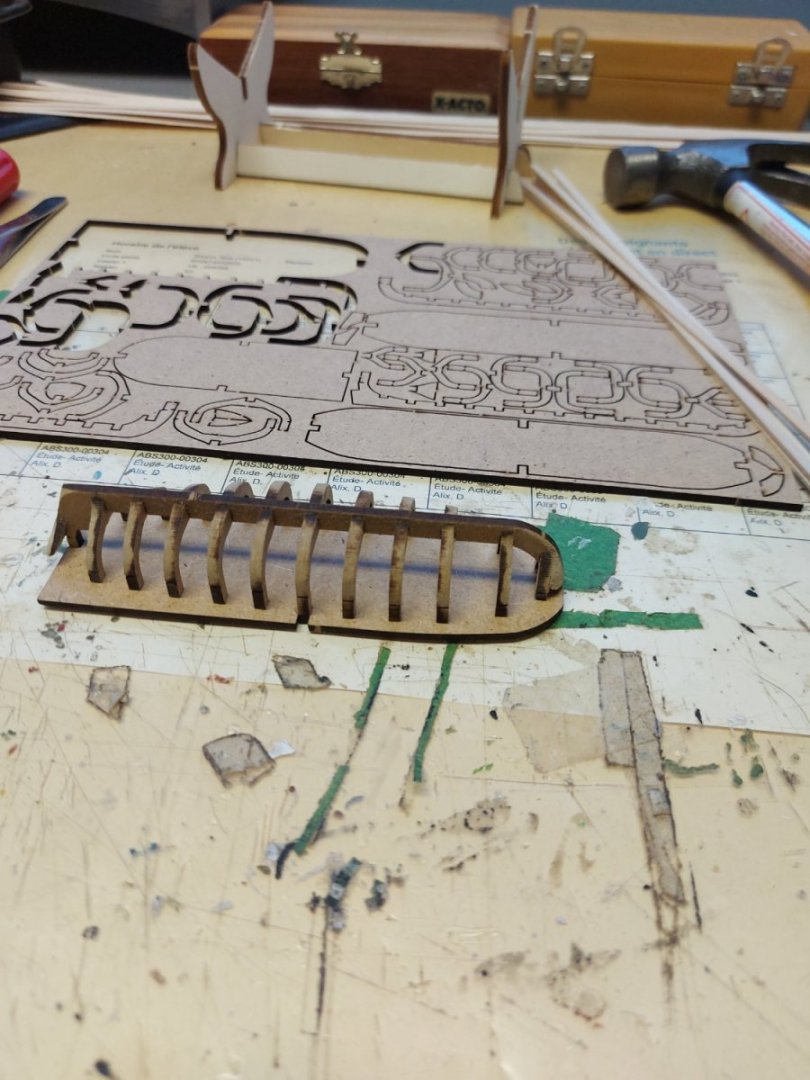
I have bought the Beagle in the last 3 month, and a couple of things have changed.
-The stained plywood was changed to solid africain walnut
-The other mixed sheet was changed to solid wood (unknown)
-The launche's sheet was changed to mdf
-The blocks have changed again to (box?) wood
-The little cylinders made from brass where changed to (box?) wood also.
-The stained plywood stand was changed to unstained plywood.
See photos
-
All right, I made a mistake. Not a modelling mistake tought.
I went to one of my relatives, and brought the hull to show them the processus of ship building and how far I was. The thing is, I forgot it there. The good news is, I will go to this person's house again in about 2-3 weeks and I will be able to bring it back to the shipyard.
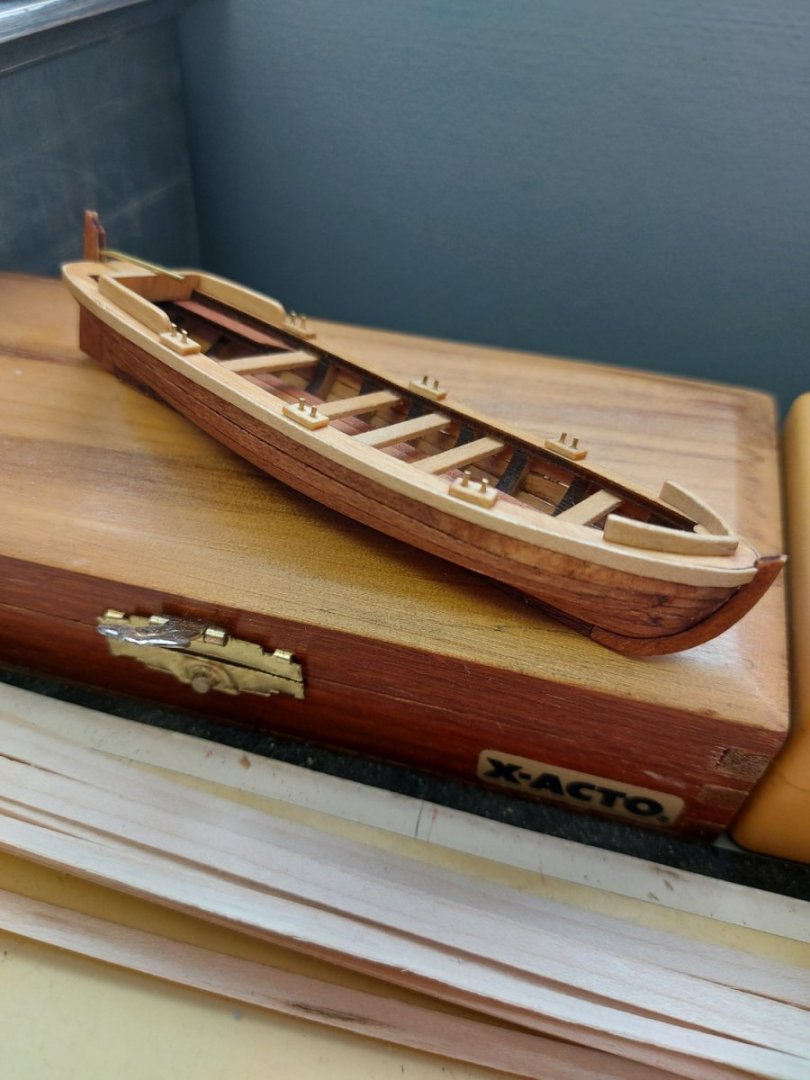
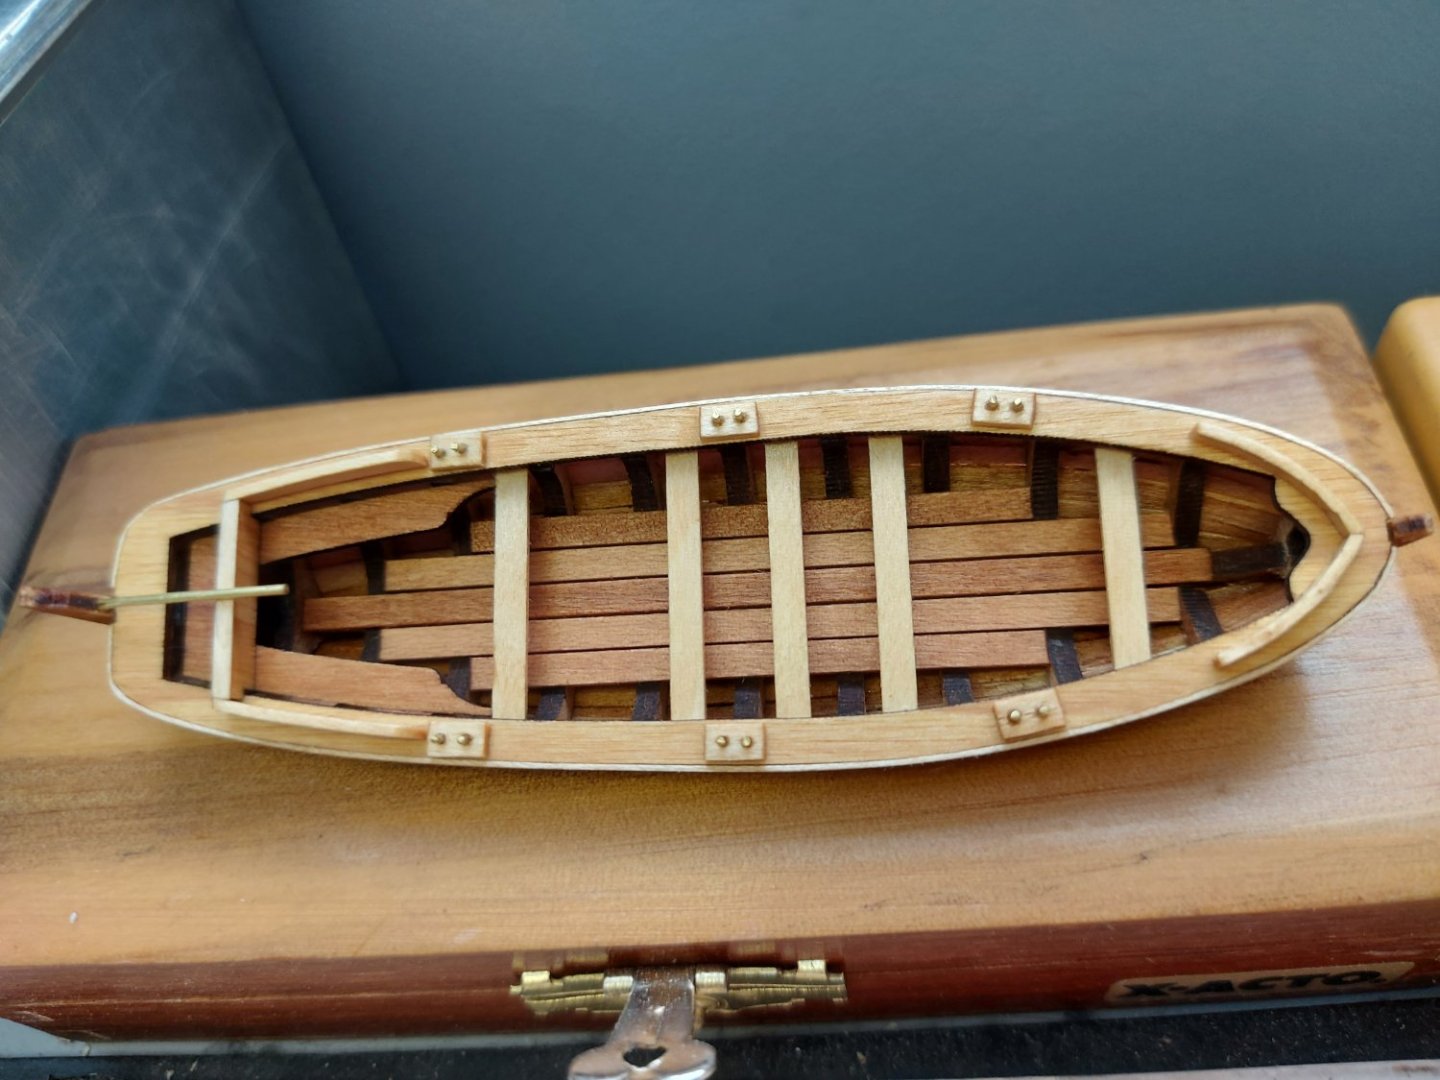
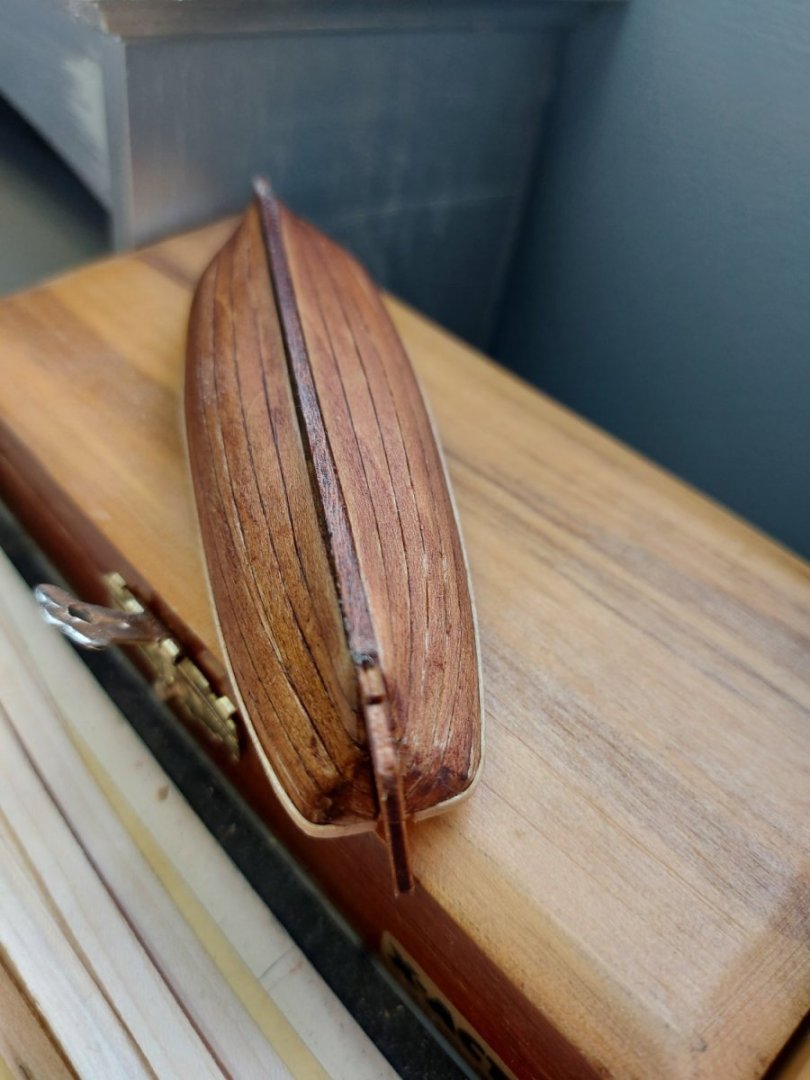
In the meantime, I will be doing the several launches. Here is where I'm at for the (23 foot?) one. I don't think I will be painting it white if I do a good enought job on the hull.
-
20 hours ago, Capella said:
Okay, I got the windows and doors, and the upper fore and aft decks mounted:
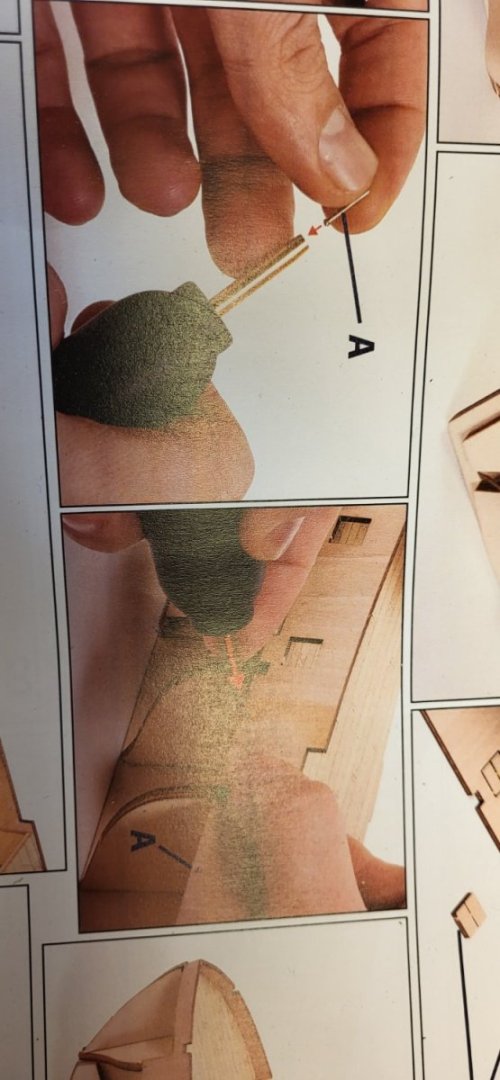
A question regarding these steps:
Sorry. I can't seem to rotate the image on my phone.
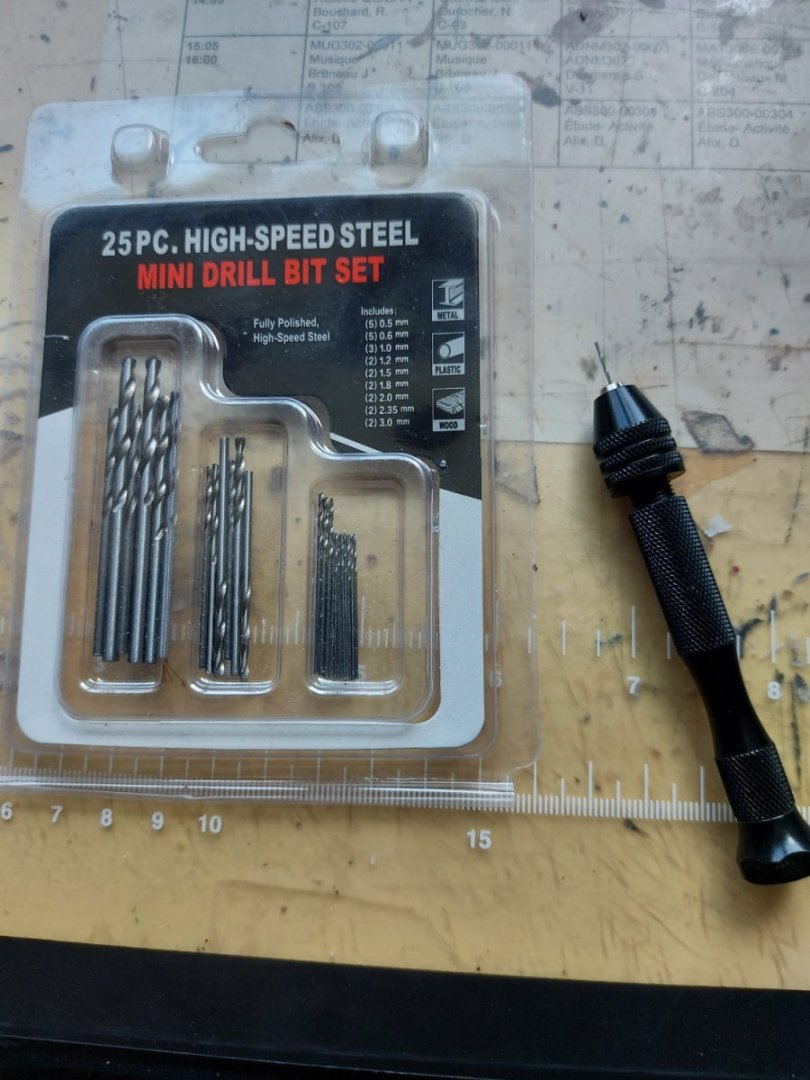
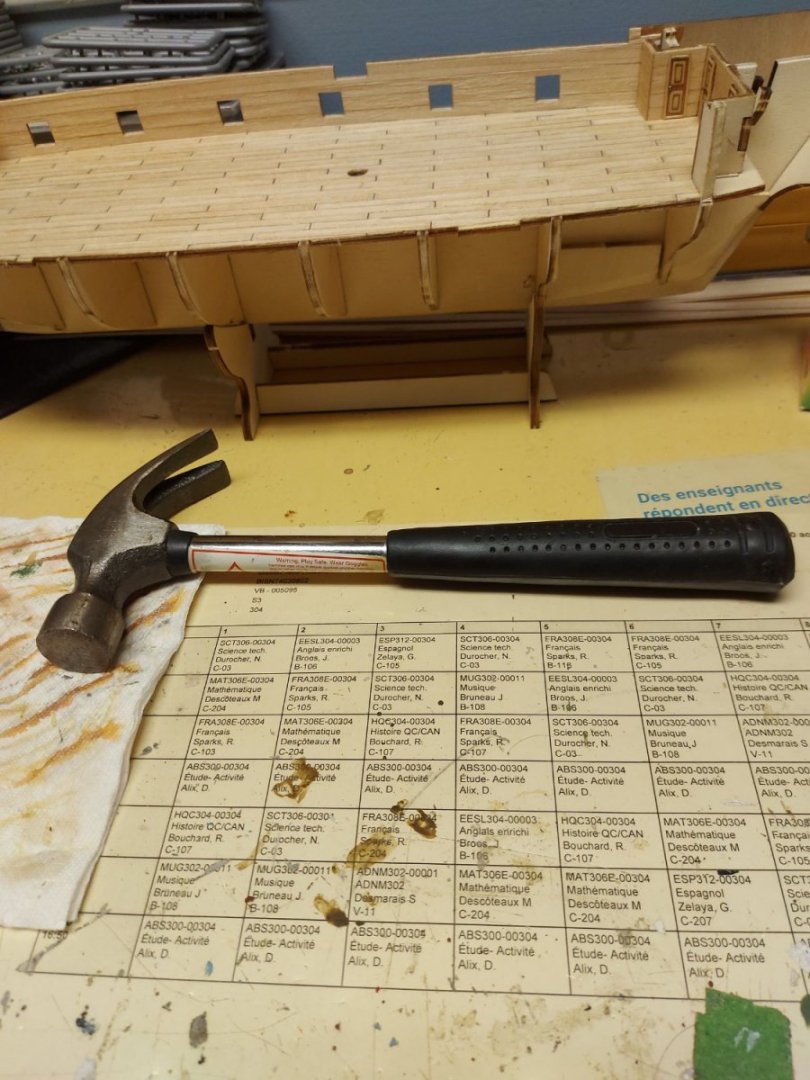
Anyway there are nails provided with the kit. The pictured tool is a "pin pusher", right?
I looked for something similar on Amazon, but came up with a LOT of results - most of which weren't anything close to the tool in the image. Can someone suggest a good, cheap tool like that?
A small hammer?
-
-
-
A drop plank or a stealer is a way to condense or enlarge either the bow or the stern.
I think a picture will explain it better than me.
Just write drop plank on google and try a look at Chuck's hull.
It looks like a hook.
-
- ccoyle, Cathead and Prowler901
-
 3
3
-
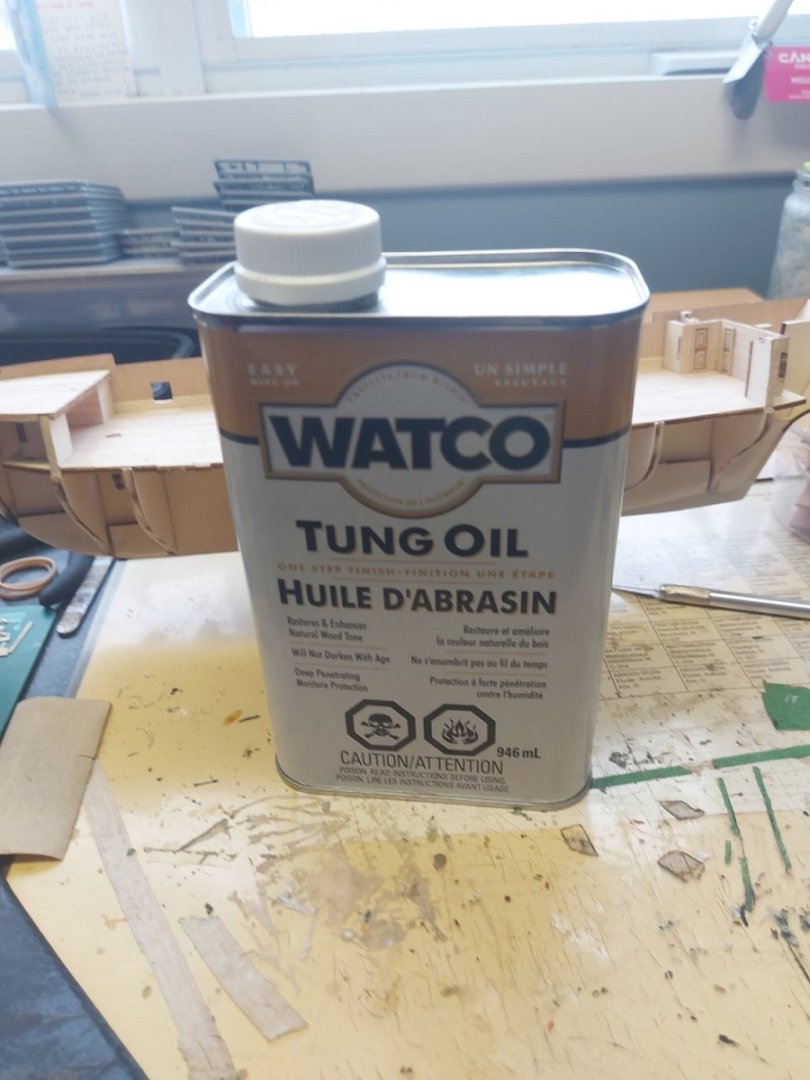
Question:
Yesterday, I went to my local hardware store and bought the Watco Tung oil. I plan on using it over pretty much every wooden part of the build.
Any suggestions on application and usage?
I didn't want to use varnish because it would leave a film all over the nice woodgrain.
I hesitated a bit over tung oil and boiled linseed oil, but the linseed oil bottle mentionned that it had a poor shelf life and could darken a lot porous wood, wich is most of the wood I received.
-

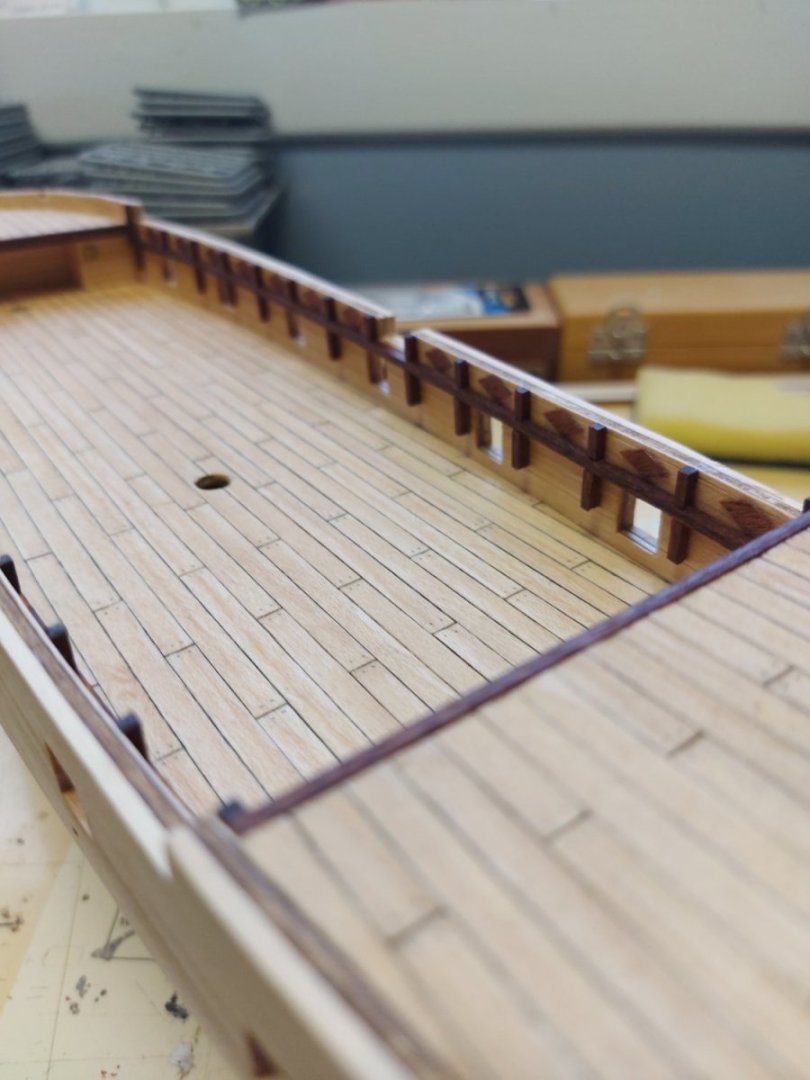
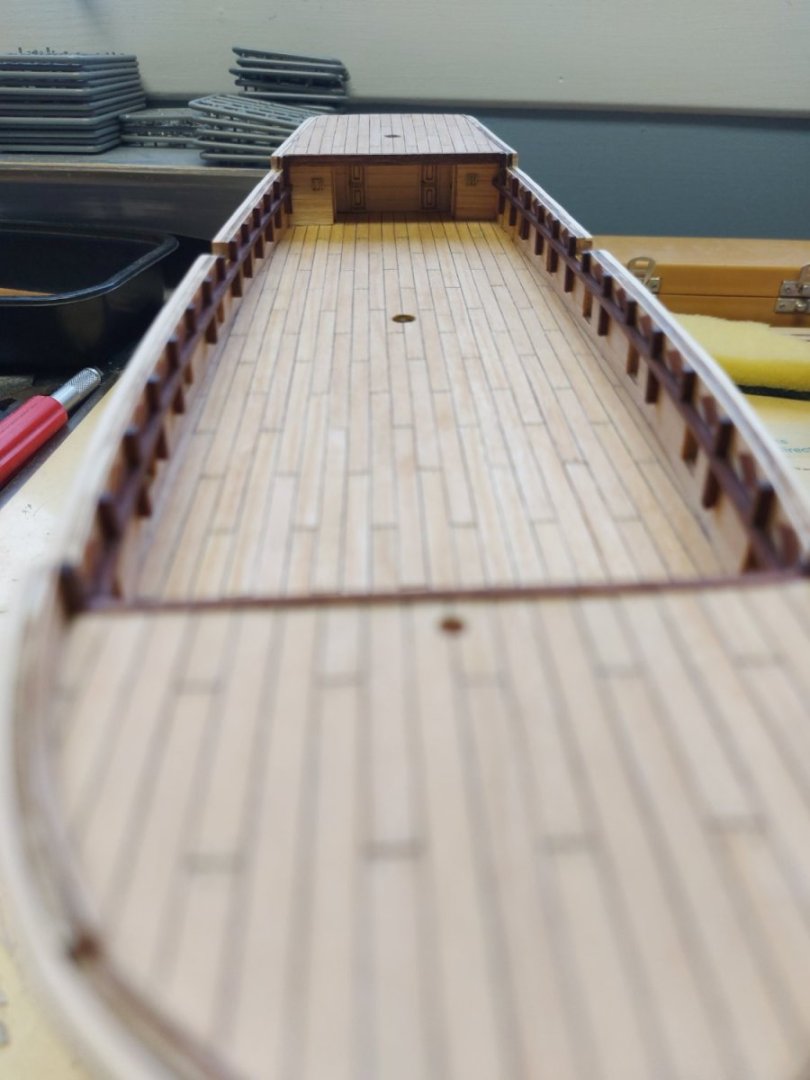
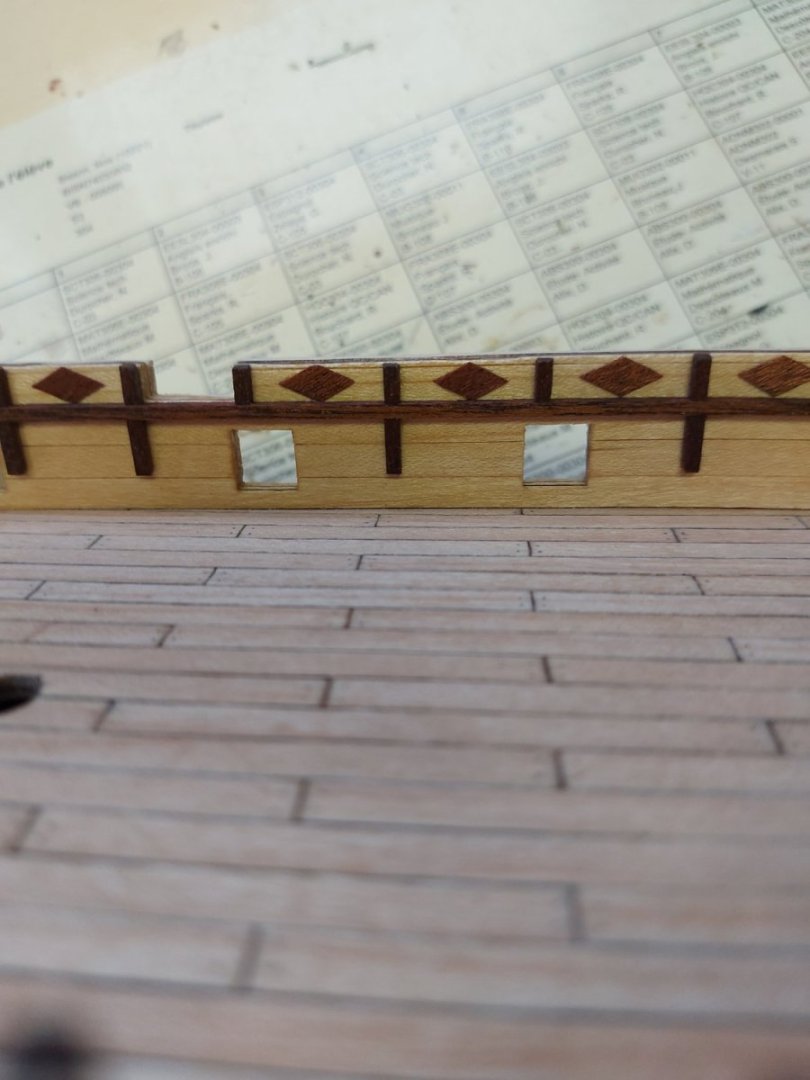
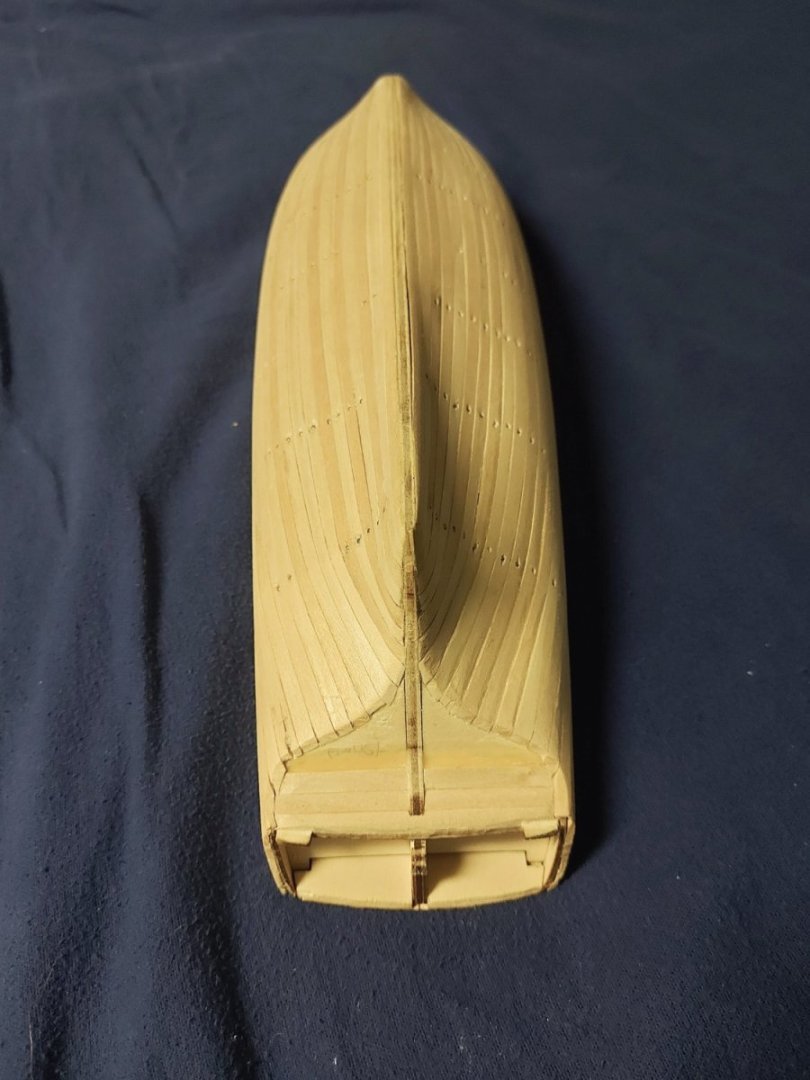
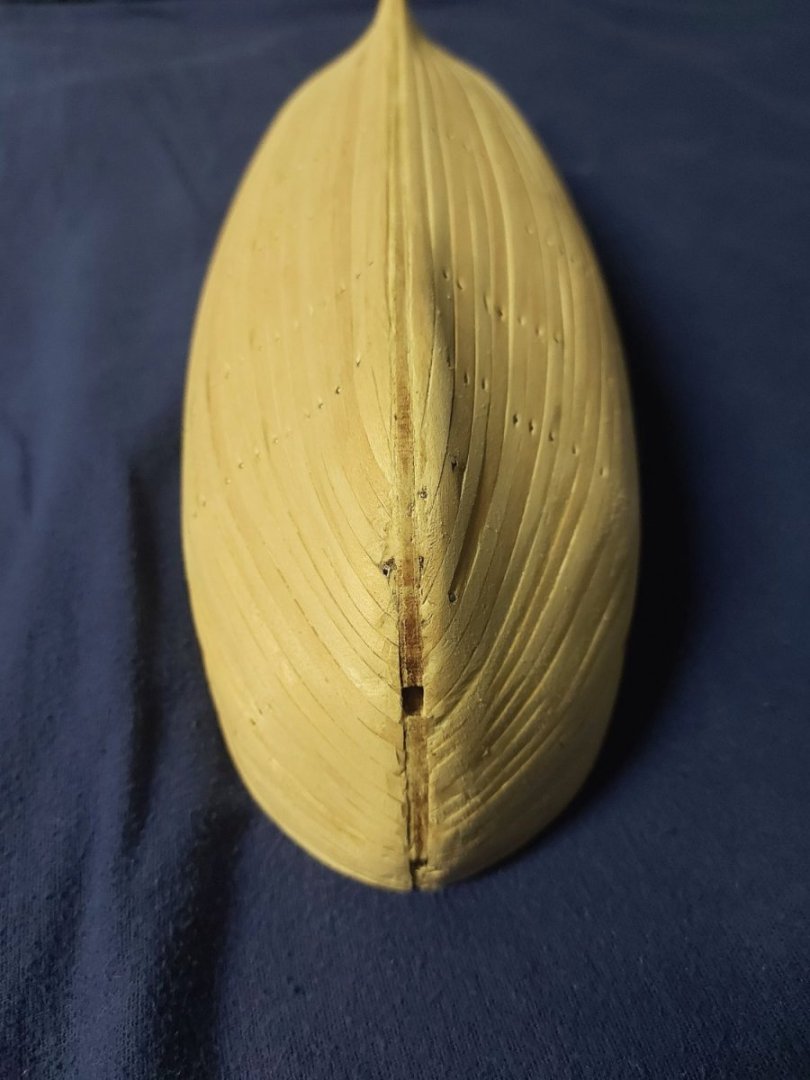
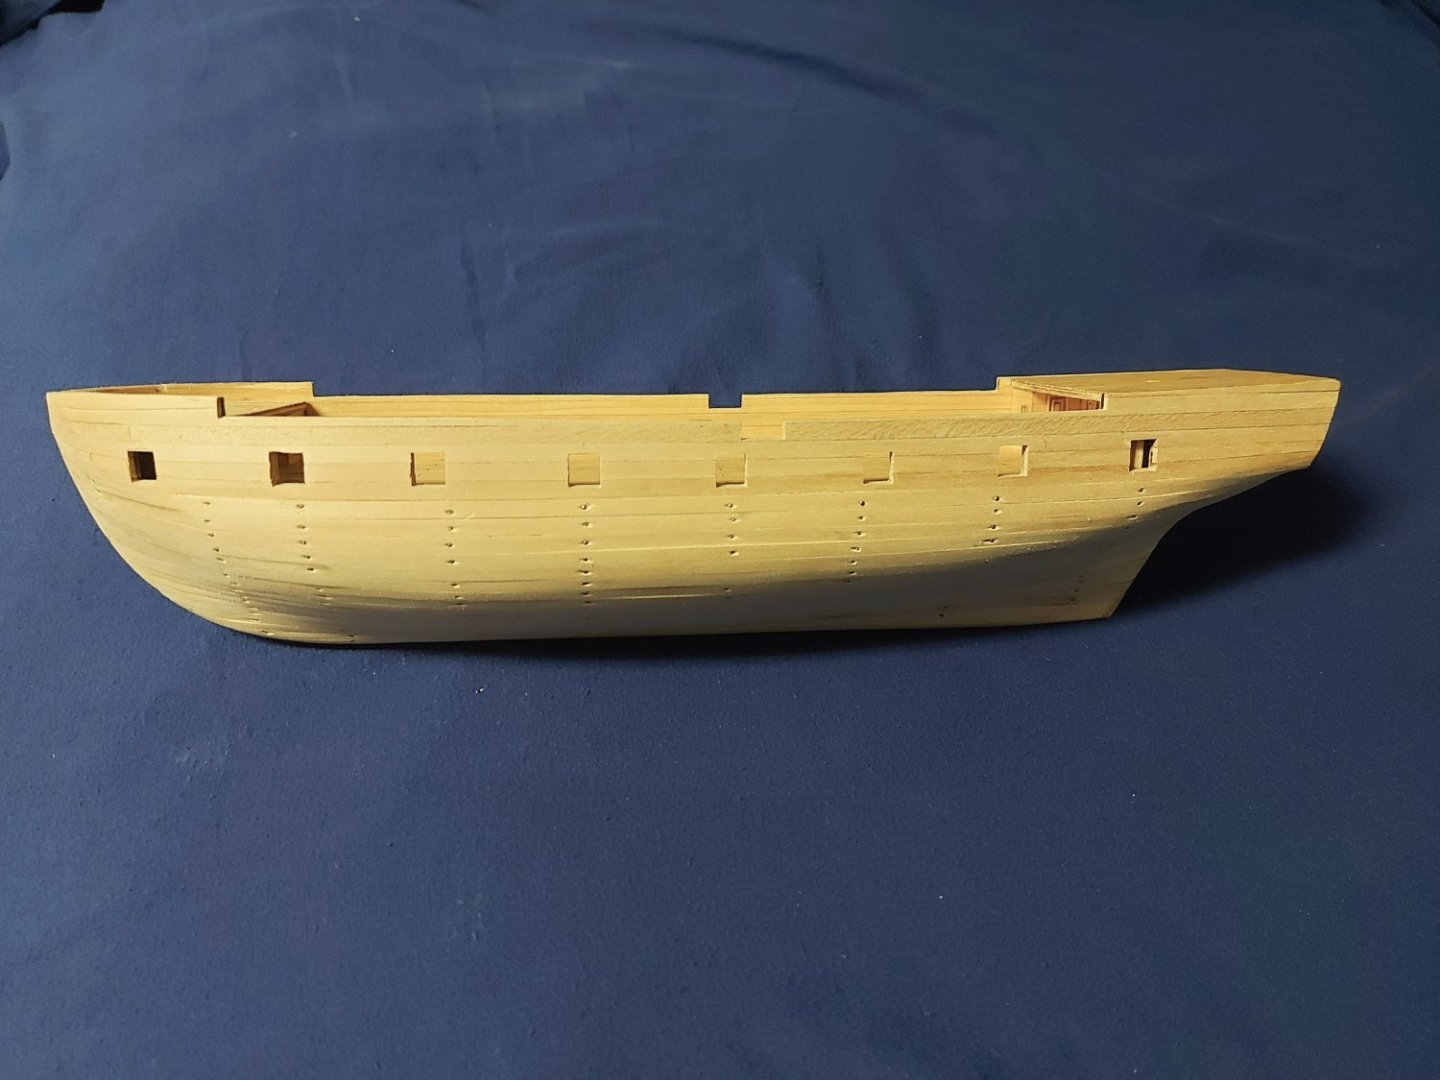
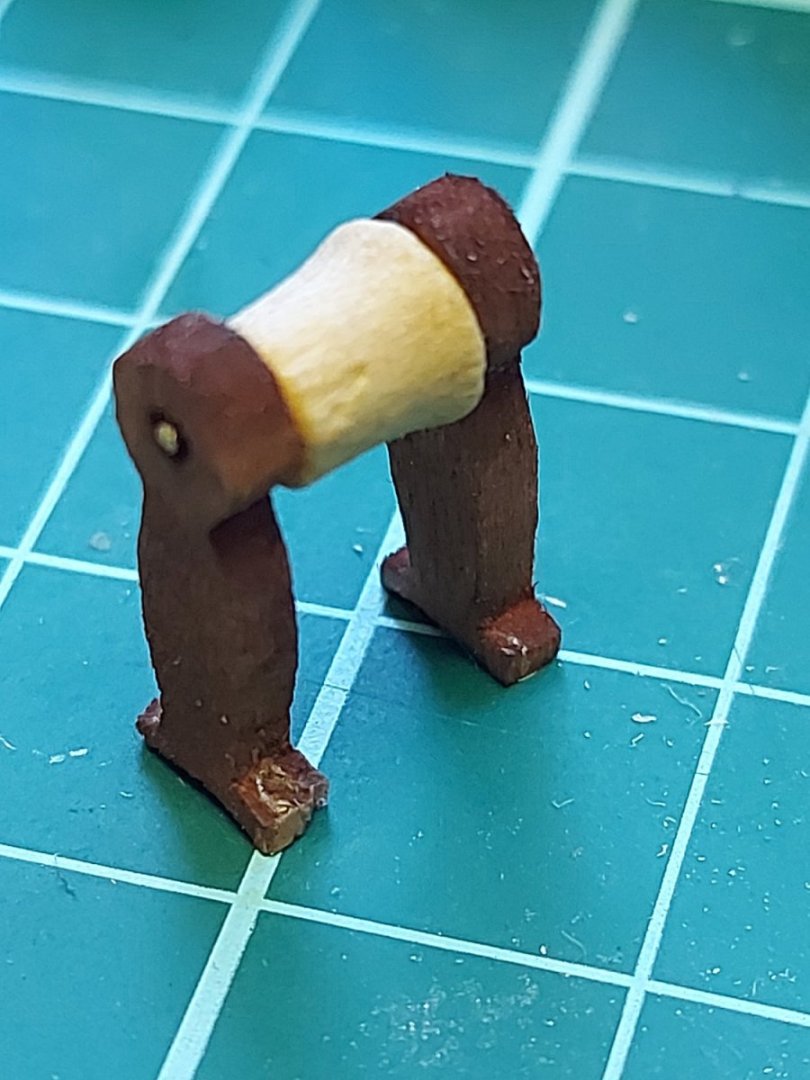
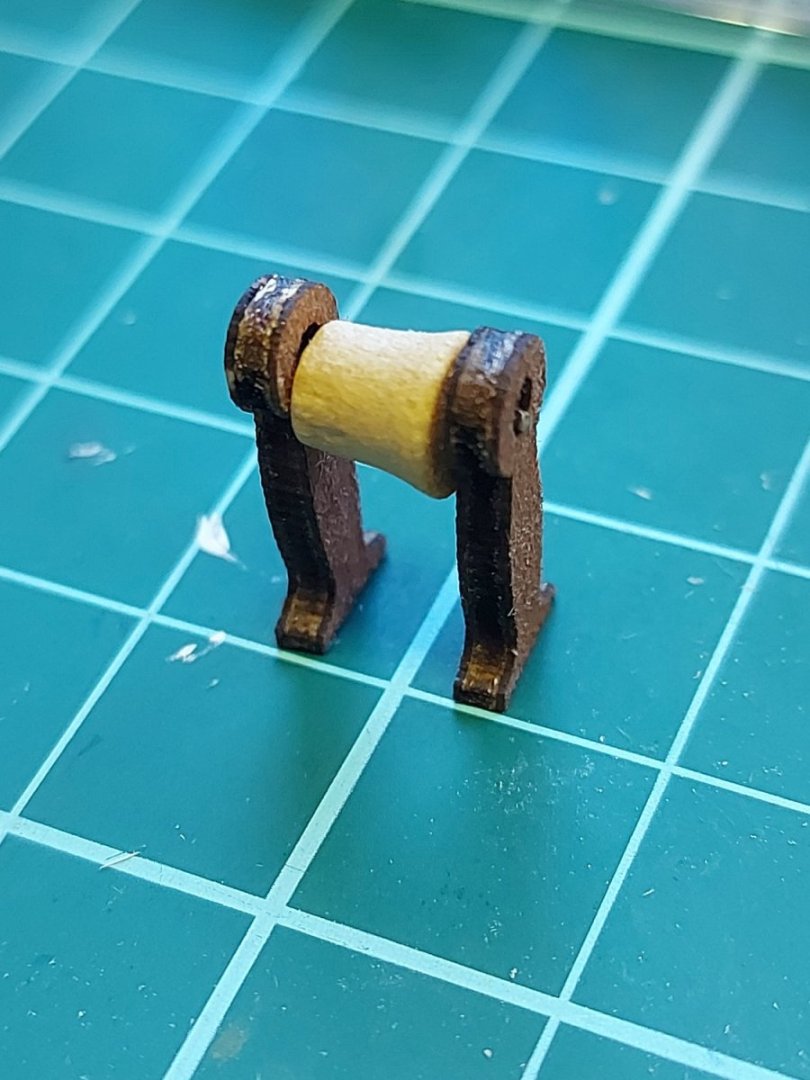
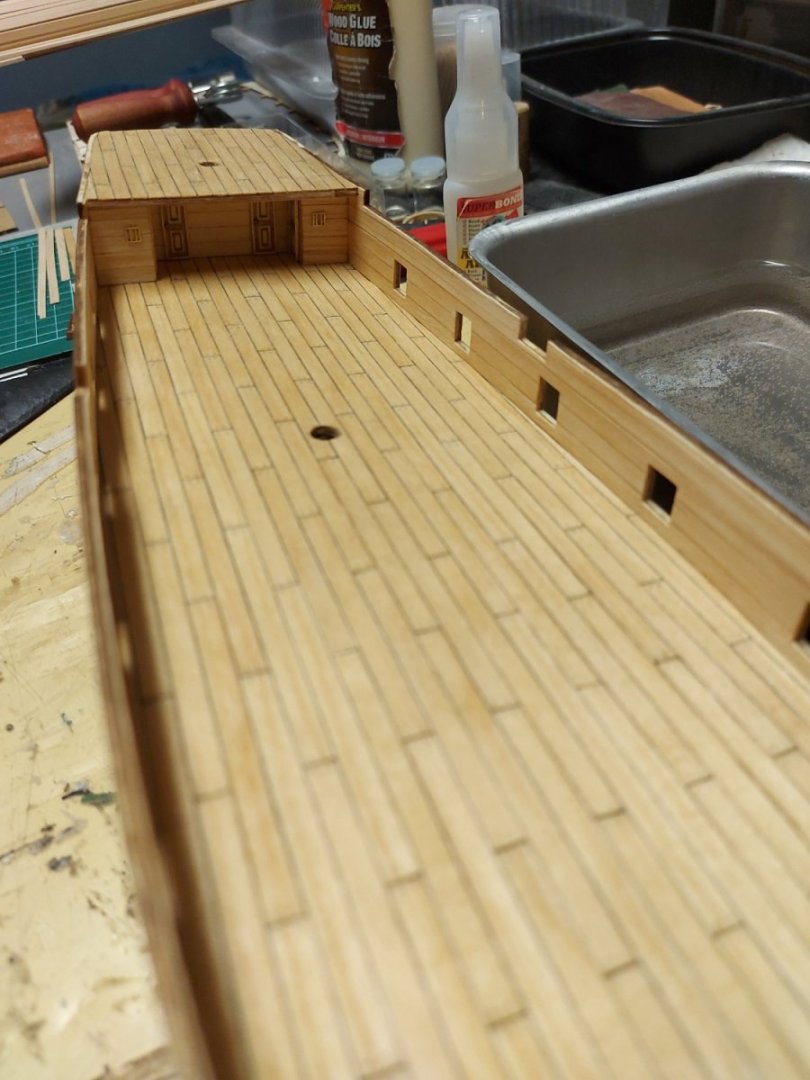

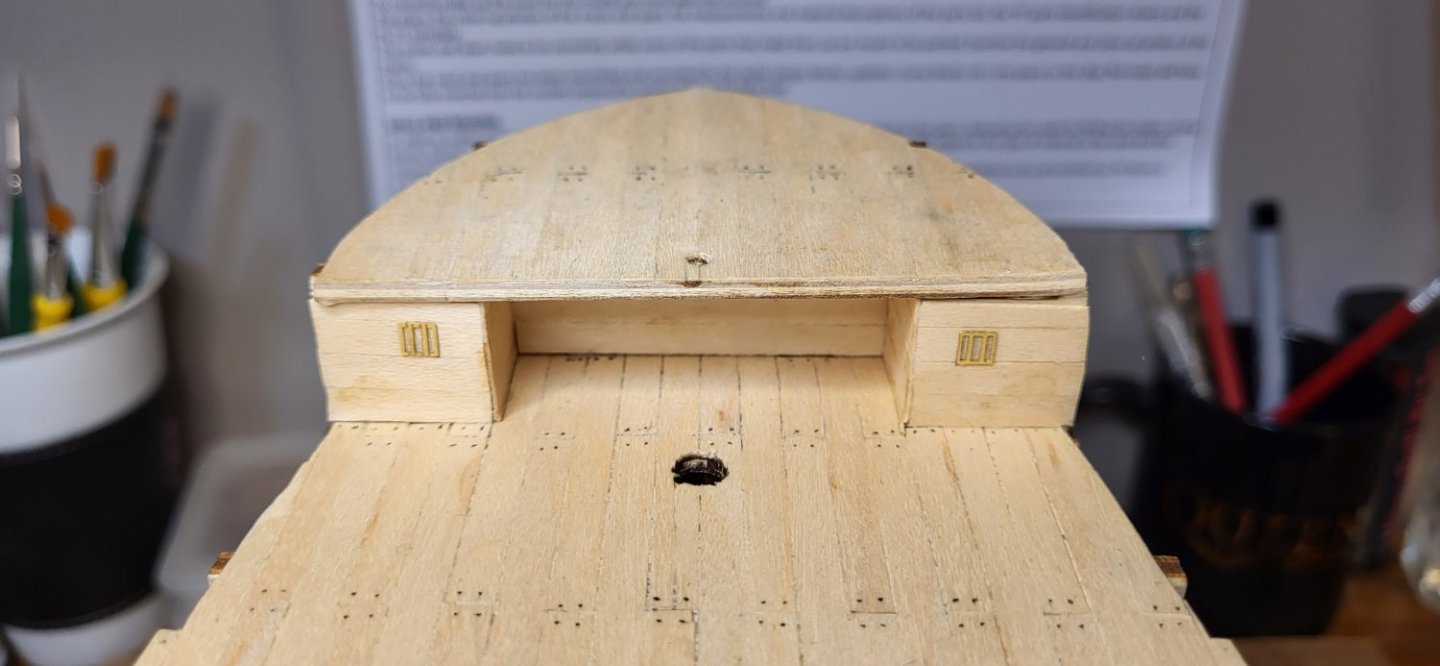
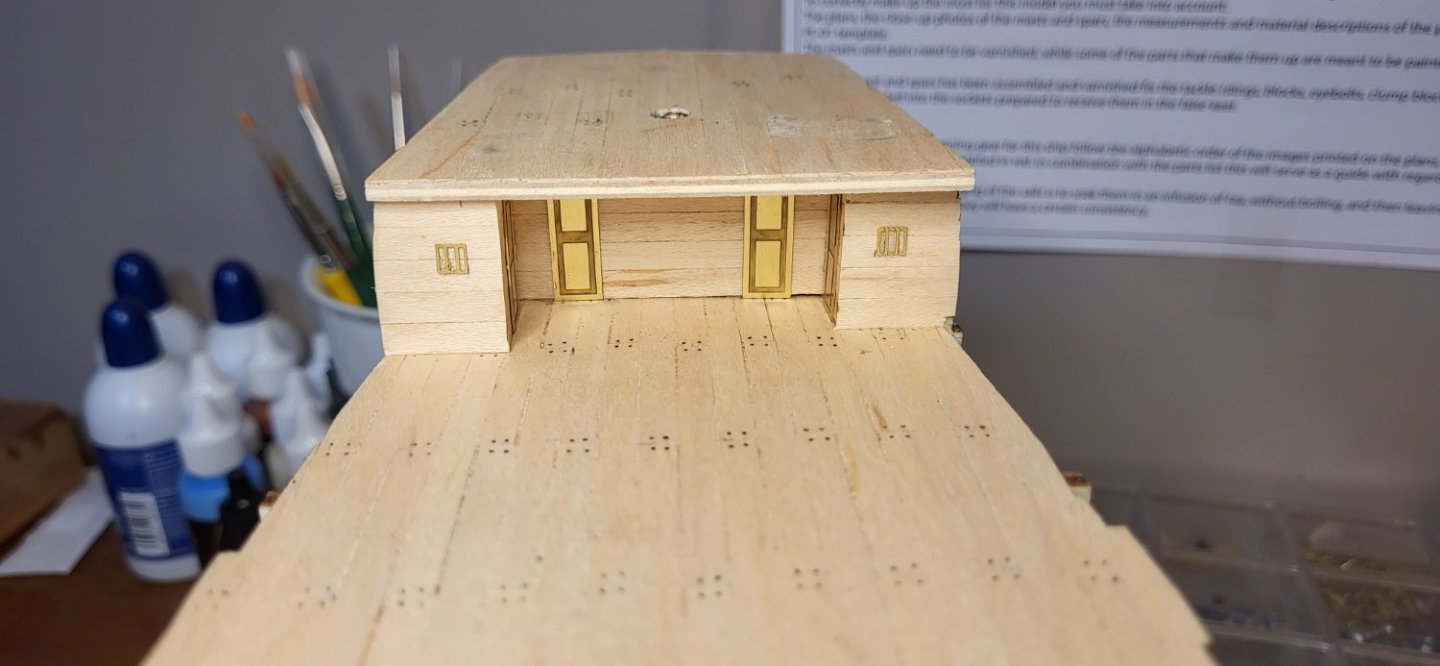
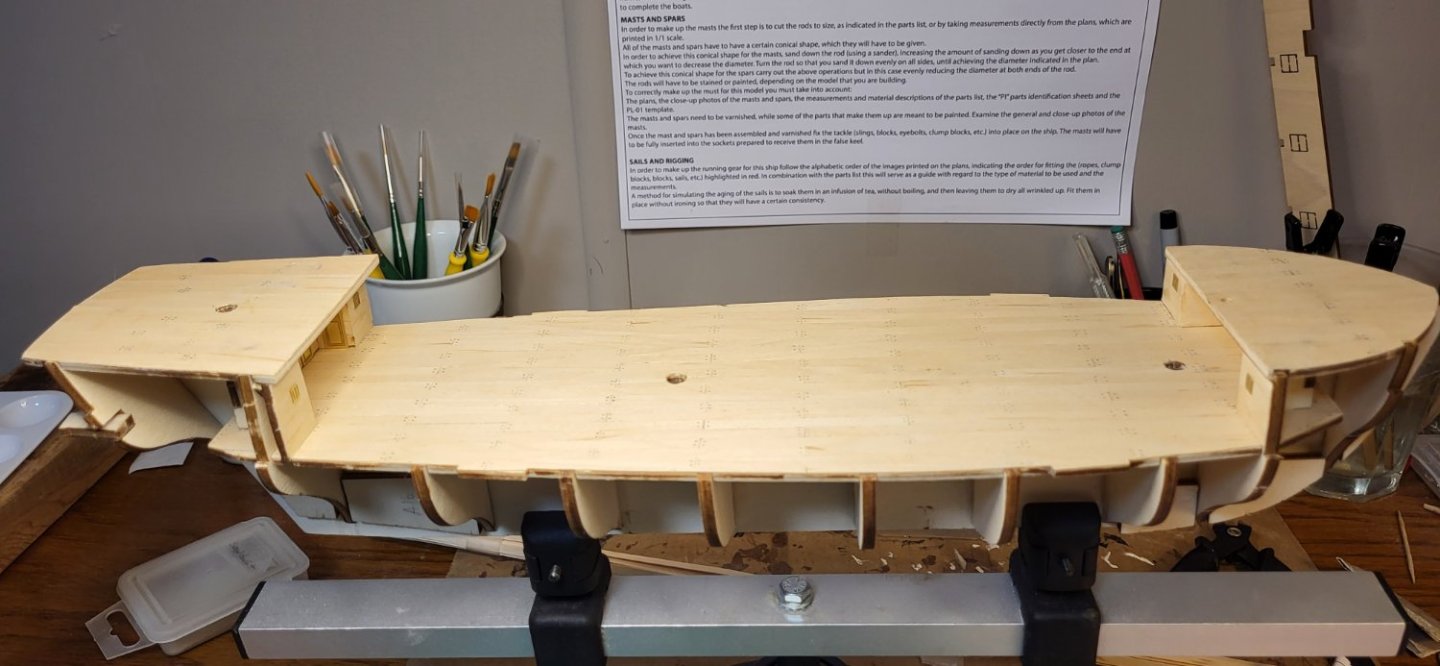 Next steps are to sand the false bulkheads near the upper decks in preparation for planking, bend and mount the gunwales (not sure if that's the proper name) and plank the gunwales.

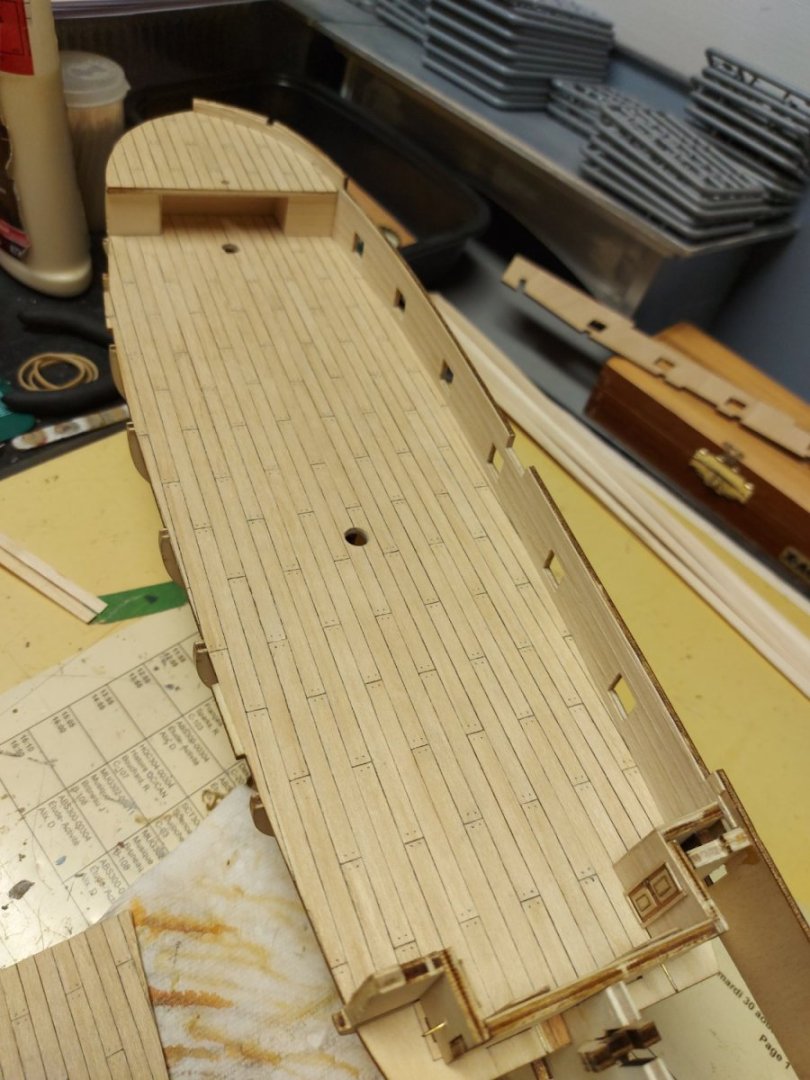
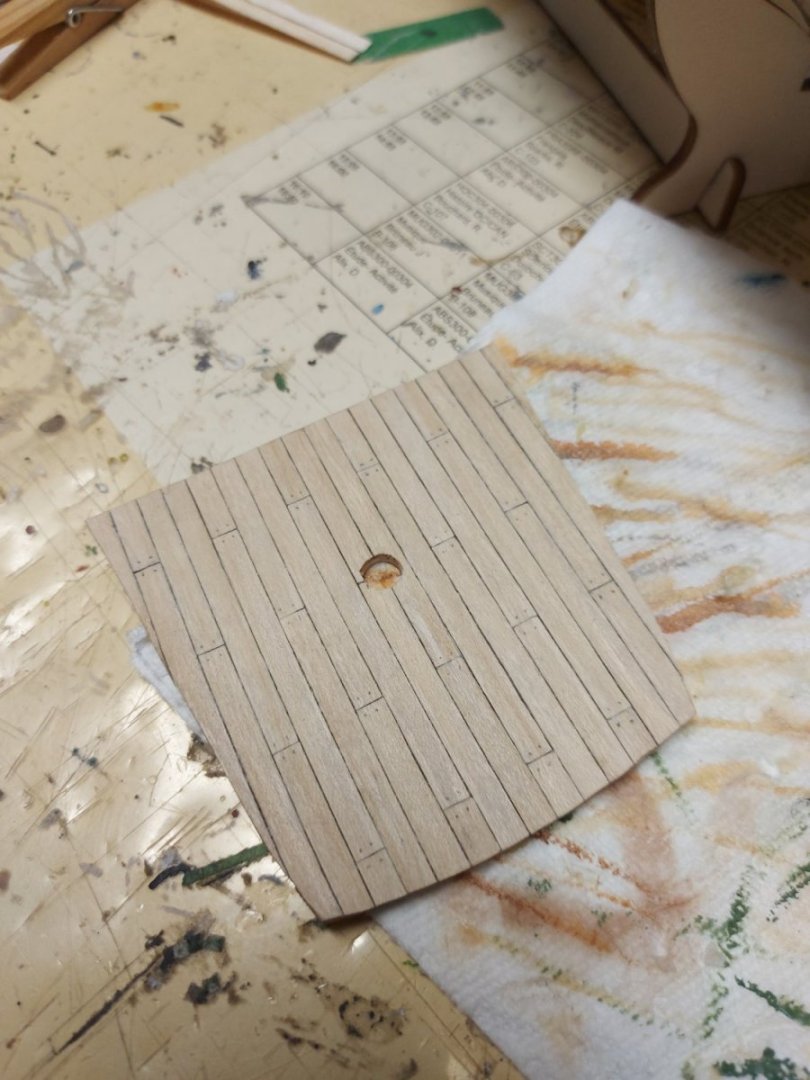
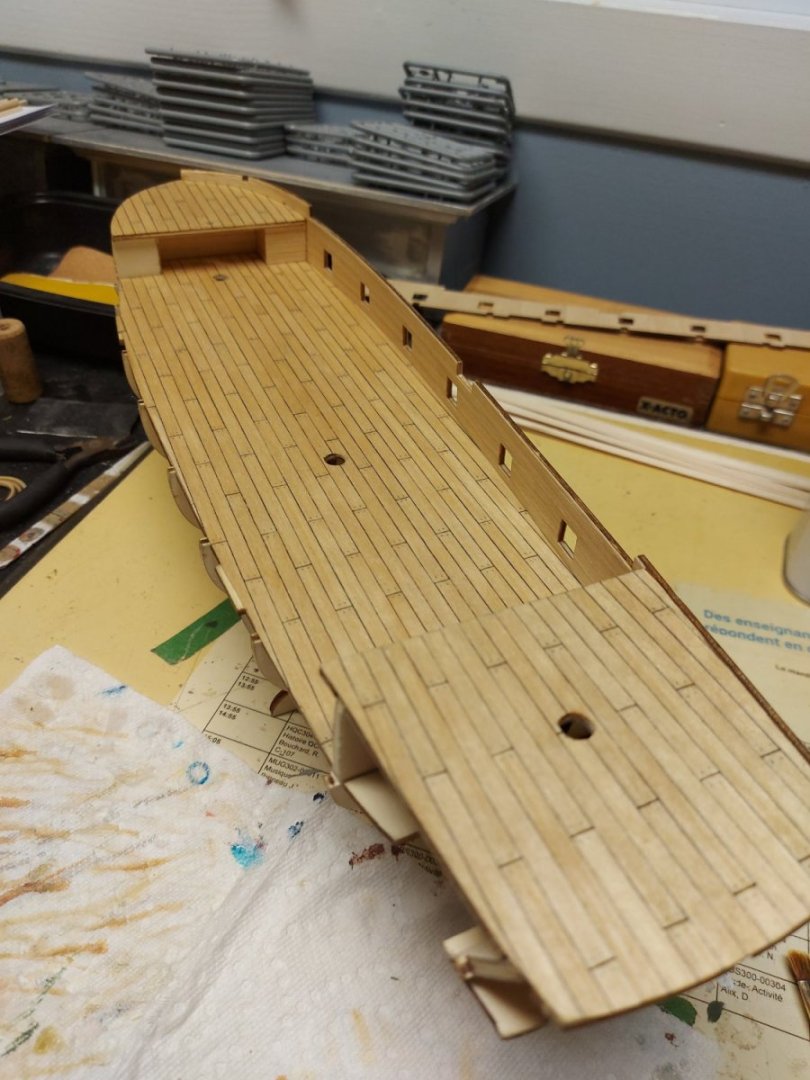
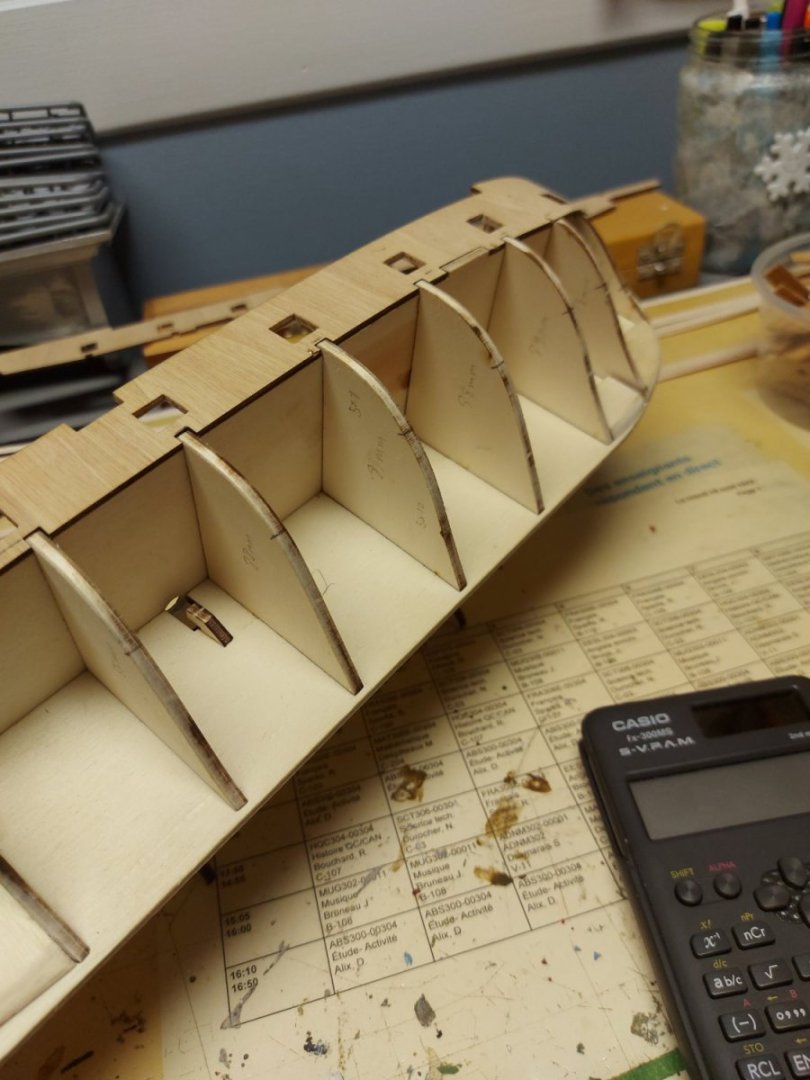
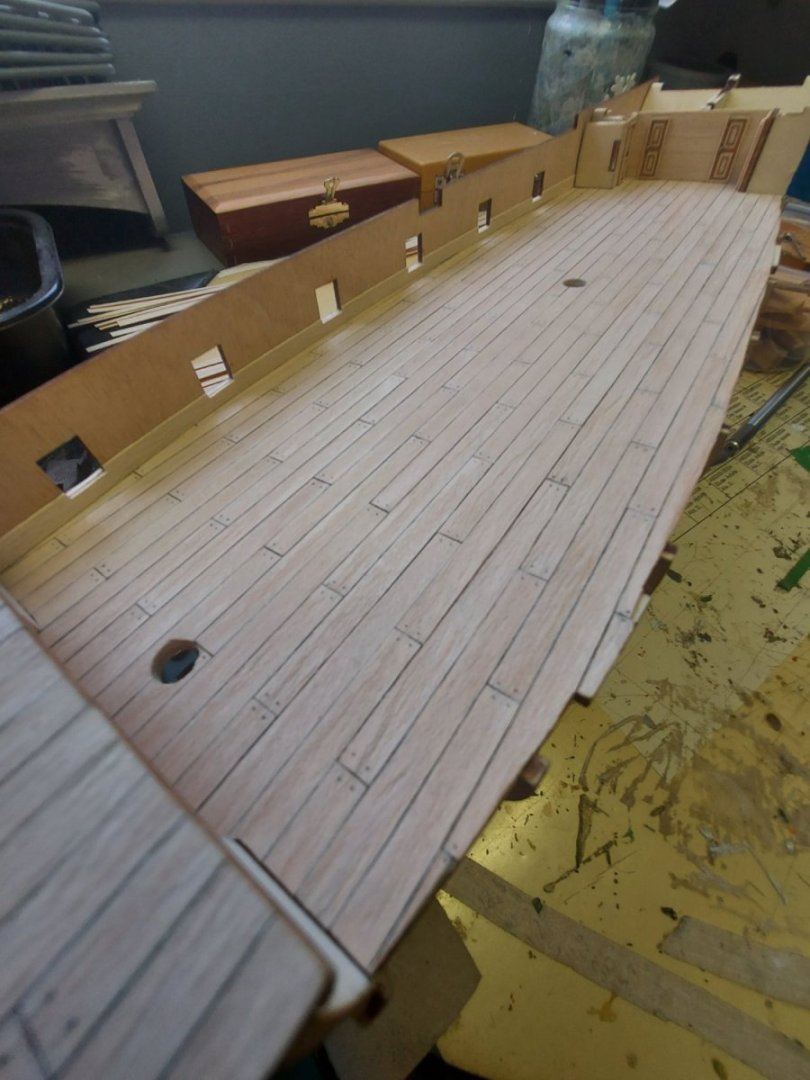
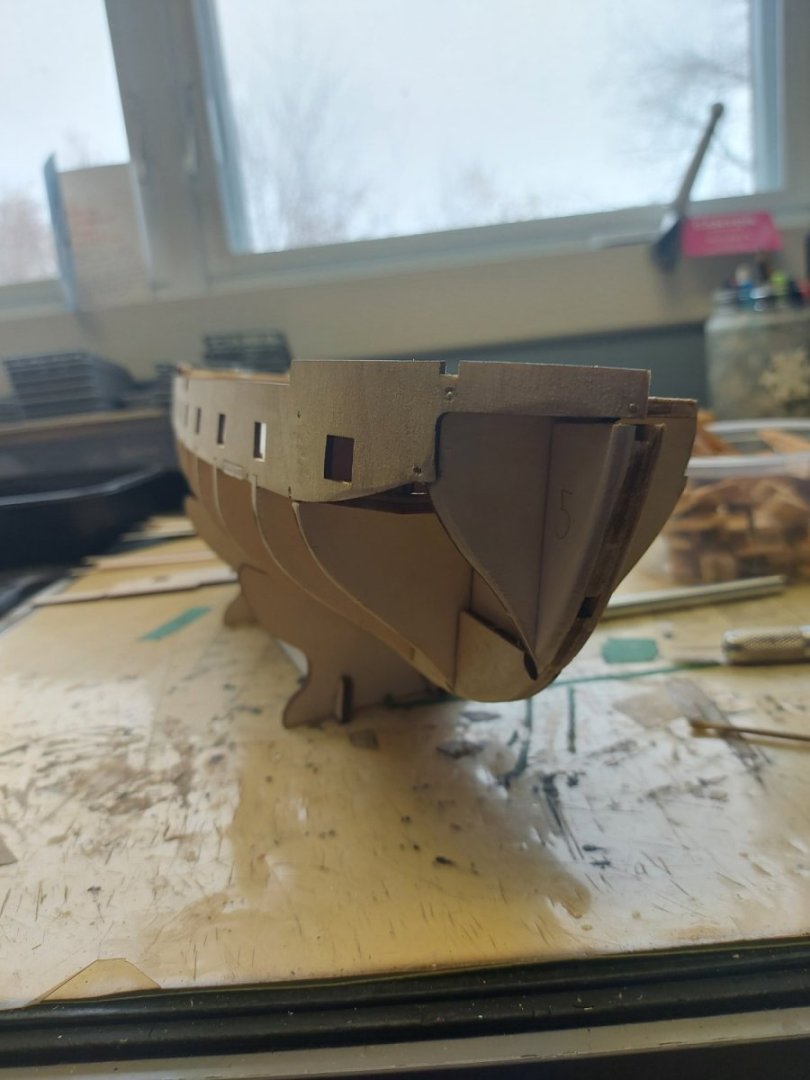
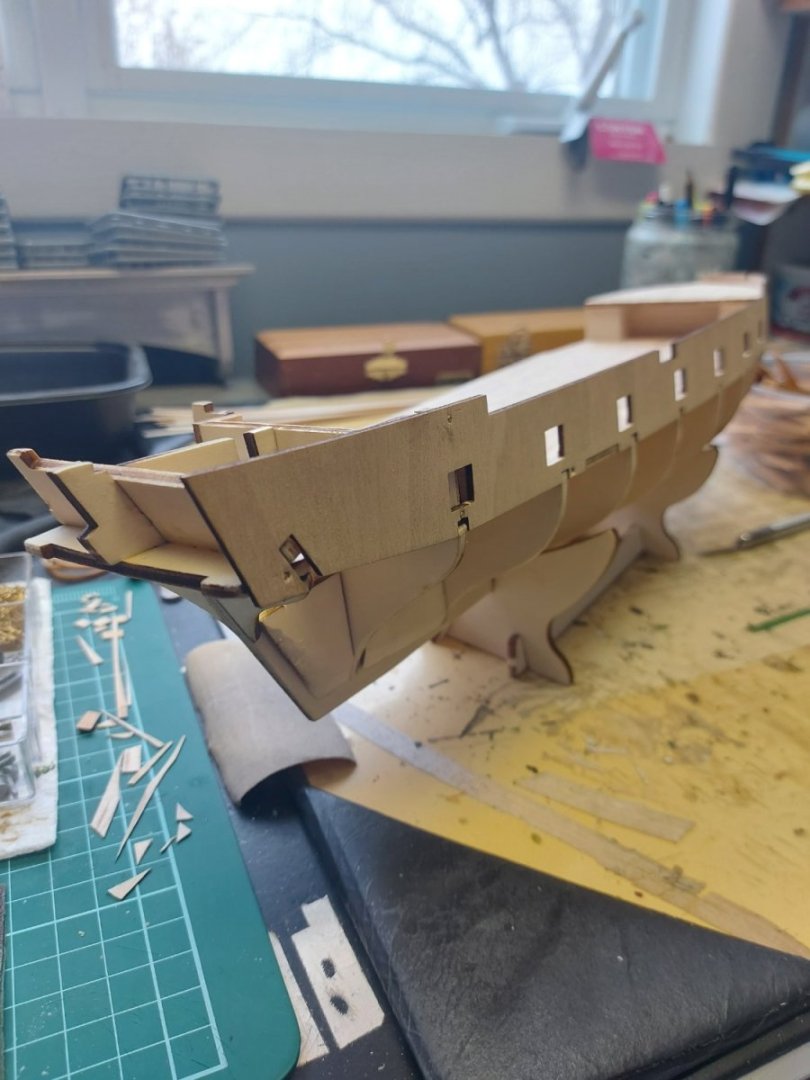
HMS Beagle by Patrick - OcCre - 1/60
in - Kit build logs for subjects built from 1801 - 1850
Posted · Edited by Patrick B
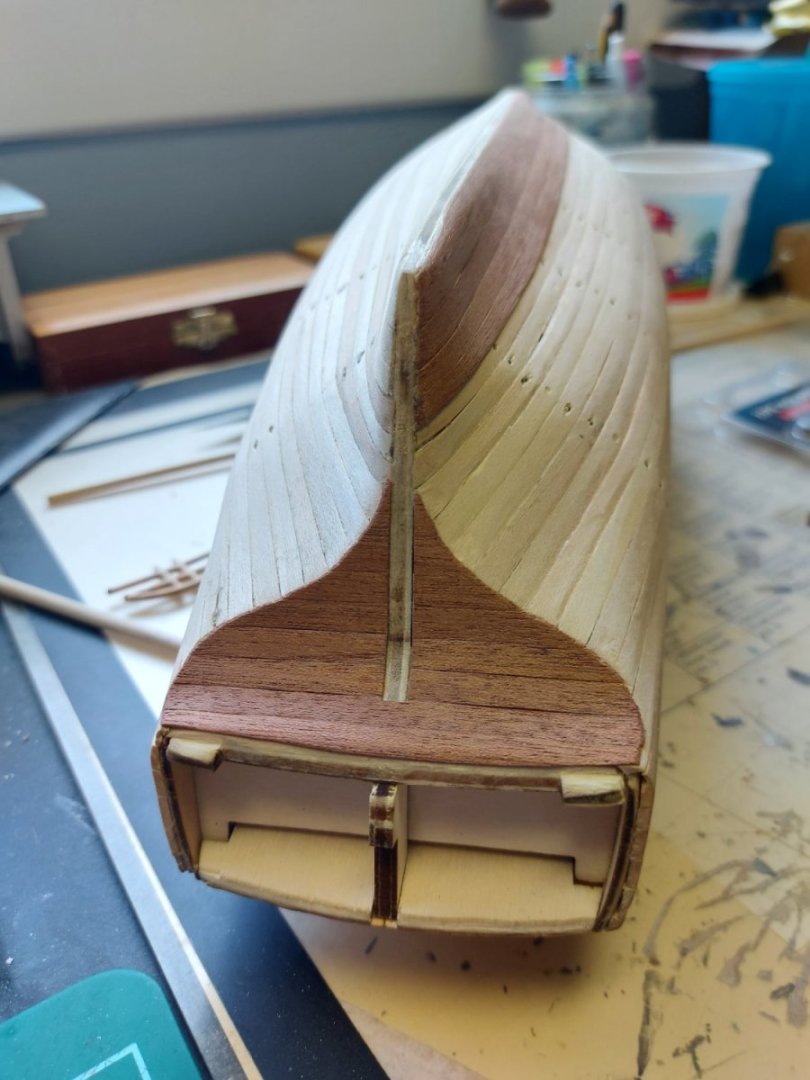
One side of the model has now 10 strips of double planking. The keel fits seamlessly into it to my great hapiness.
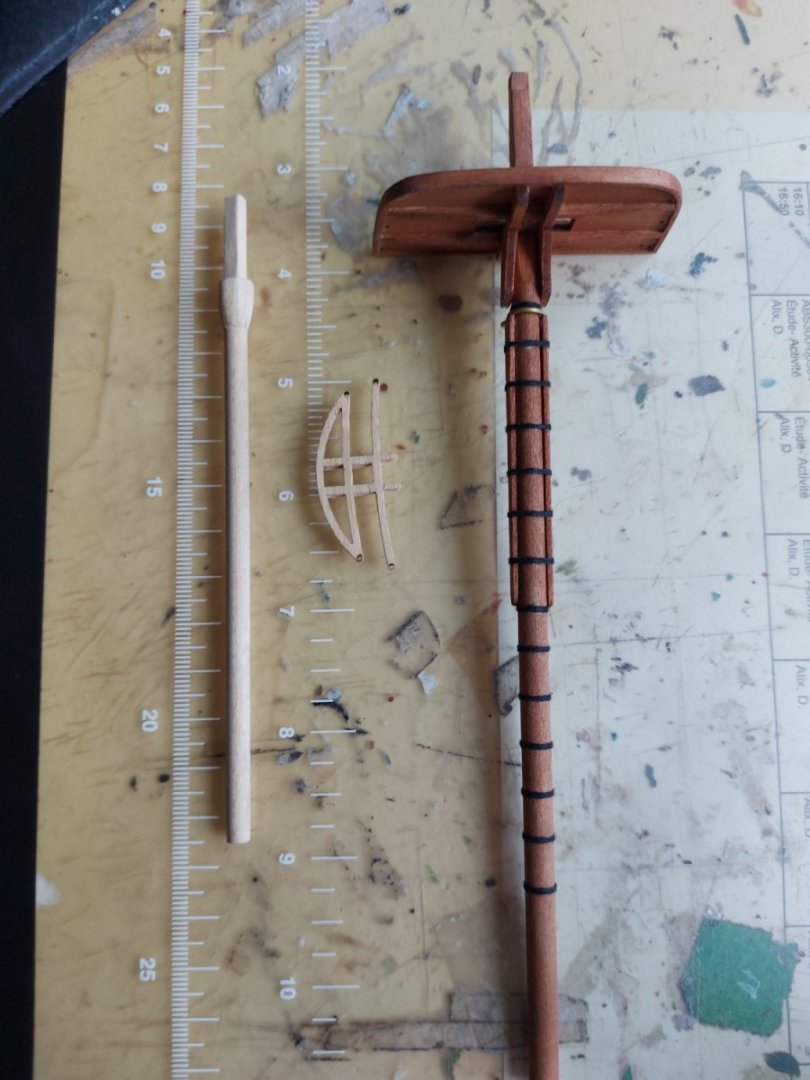
The main mast, lets call it step 1 of it, has been finished. The mast is temporarly secured with a smal wedge.