Ghost029
-
Posts
27 -
Joined
-
Last visited
-
 Ghost029 reacted to a post in a topic:
Viking Drakkar by Balclutha75 - FINISHED - Amati - 1:50 - TAKE II, First Ever Model
Ghost029 reacted to a post in a topic:
Viking Drakkar by Balclutha75 - FINISHED - Amati - 1:50 - TAKE II, First Ever Model
-
Ghost029 reacted to a post in a topic:
Viking Drakkar by Balclutha75 - FINISHED - Amati - 1:50 - TAKE II, First Ever Model
-
Ghost029 reacted to a post in a topic:
Viking Drakkar by Balclutha75 - FINISHED - Amati - 1:50 - TAKE II, First Ever Model
-
Ghost029 reacted to a post in a topic:
Armed Launch by Sluicemaster - Panart - 1:16
-
Ghost029 reacted to a post in a topic:
Armed Launch by Sluicemaster - Panart - 1:16
-
Ghost029 reacted to a post in a topic:
Armed Launch by Sluicemaster - Panart - 1:16
-
Ghost029 reacted to a post in a topic:
Santa Maria by Lapinas - FINISHED - Amati - 1:65 - First build
-
Ghost029 reacted to a post in a topic:
Corsaro II by John Ruy - FINISHED - Corel - 1:24 Scale
-
Ghost029 reacted to a post in a topic:
Corsaro II by John Ruy - FINISHED - Corel - 1:24 Scale
-
Ghost029 reacted to a post in a topic:
Cutty Sark by VitusBering - Revell - 1:96 - PLASTIC - Redux
-
Canute reacted to a post in a topic:
Grecian 1812 by James H - FINISHED - Vanguard Models - 1:64 - protype build of US Baltimore Clipper Privateer Schooner
-
Knocklouder reacted to a post in a topic:
Santa Maria 1492 by Dragdonius - Artesania Latina - scale 1:65
-
 I like the flickering lights. Looks like lanterns. Very nice job.
 -
iMustBeCrazy reacted to a post in a topic:
18th Century Longboat by Ghost029 - Model Shipways - 1:48 - First Build
-
Thank you IMustBeCrazy. That I will do.
- 24 replies
-
- 1
-
-
- 18th Century Longboat
- Model Shipways
- (and 1 more)
-
Sorry not brass, it is copper. The hand drill keeps skating and I can not get it to bite. I have tried to punch it to give the drill a start. I don't have a vice, so I am holding in one hand against the table and using the other to try to drill. Got it to work on the wood.
-
ccoyle reacted to a post in a topic:
Swift 1805 by Ghost029 - Artesania Latina
-
Montaigne reacted to a post in a topic:
18th Century Longboat by Ghost029 - Model Shipways - 1:48 - First Build
-
Ryland Craze reacted to a post in a topic:
18th Century Longboat by Ghost029 - Model Shipways - 1:48 - First Build
-
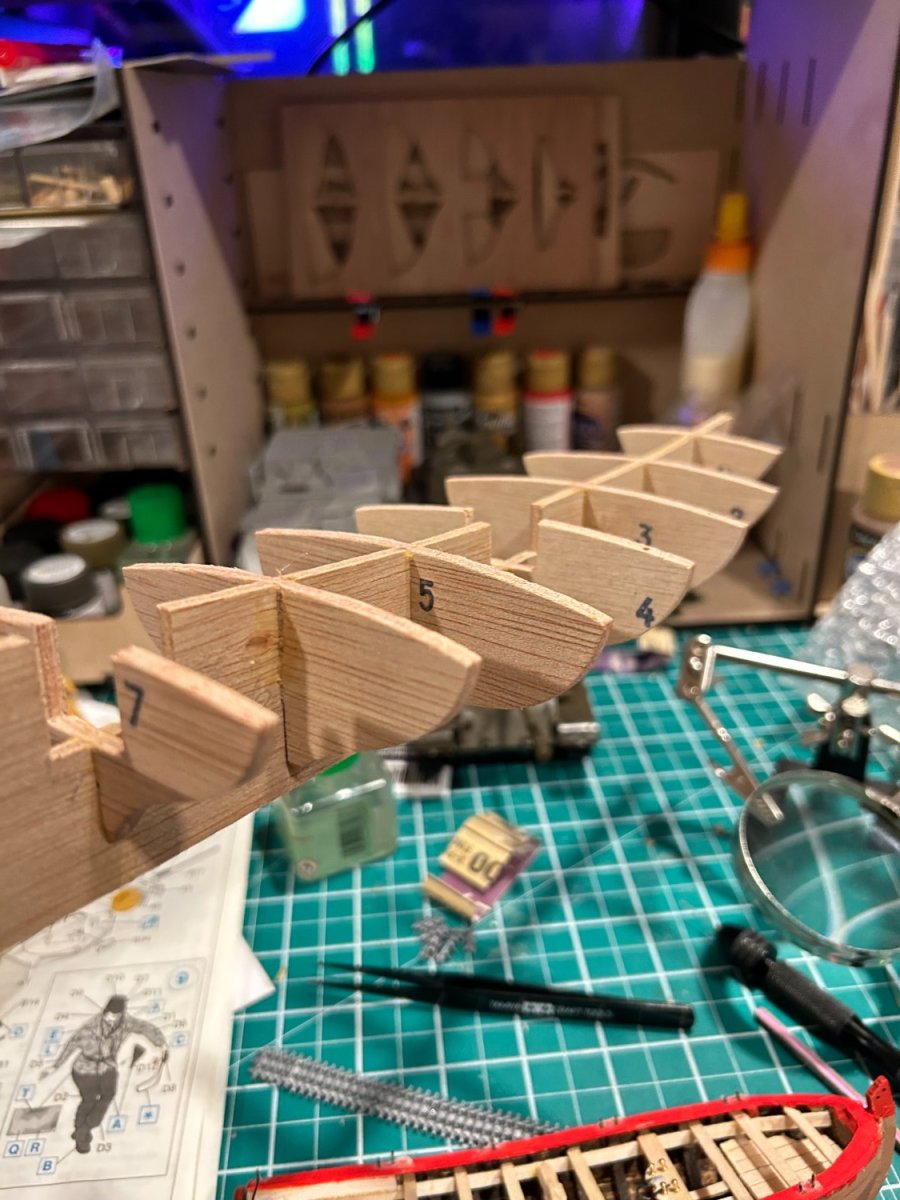
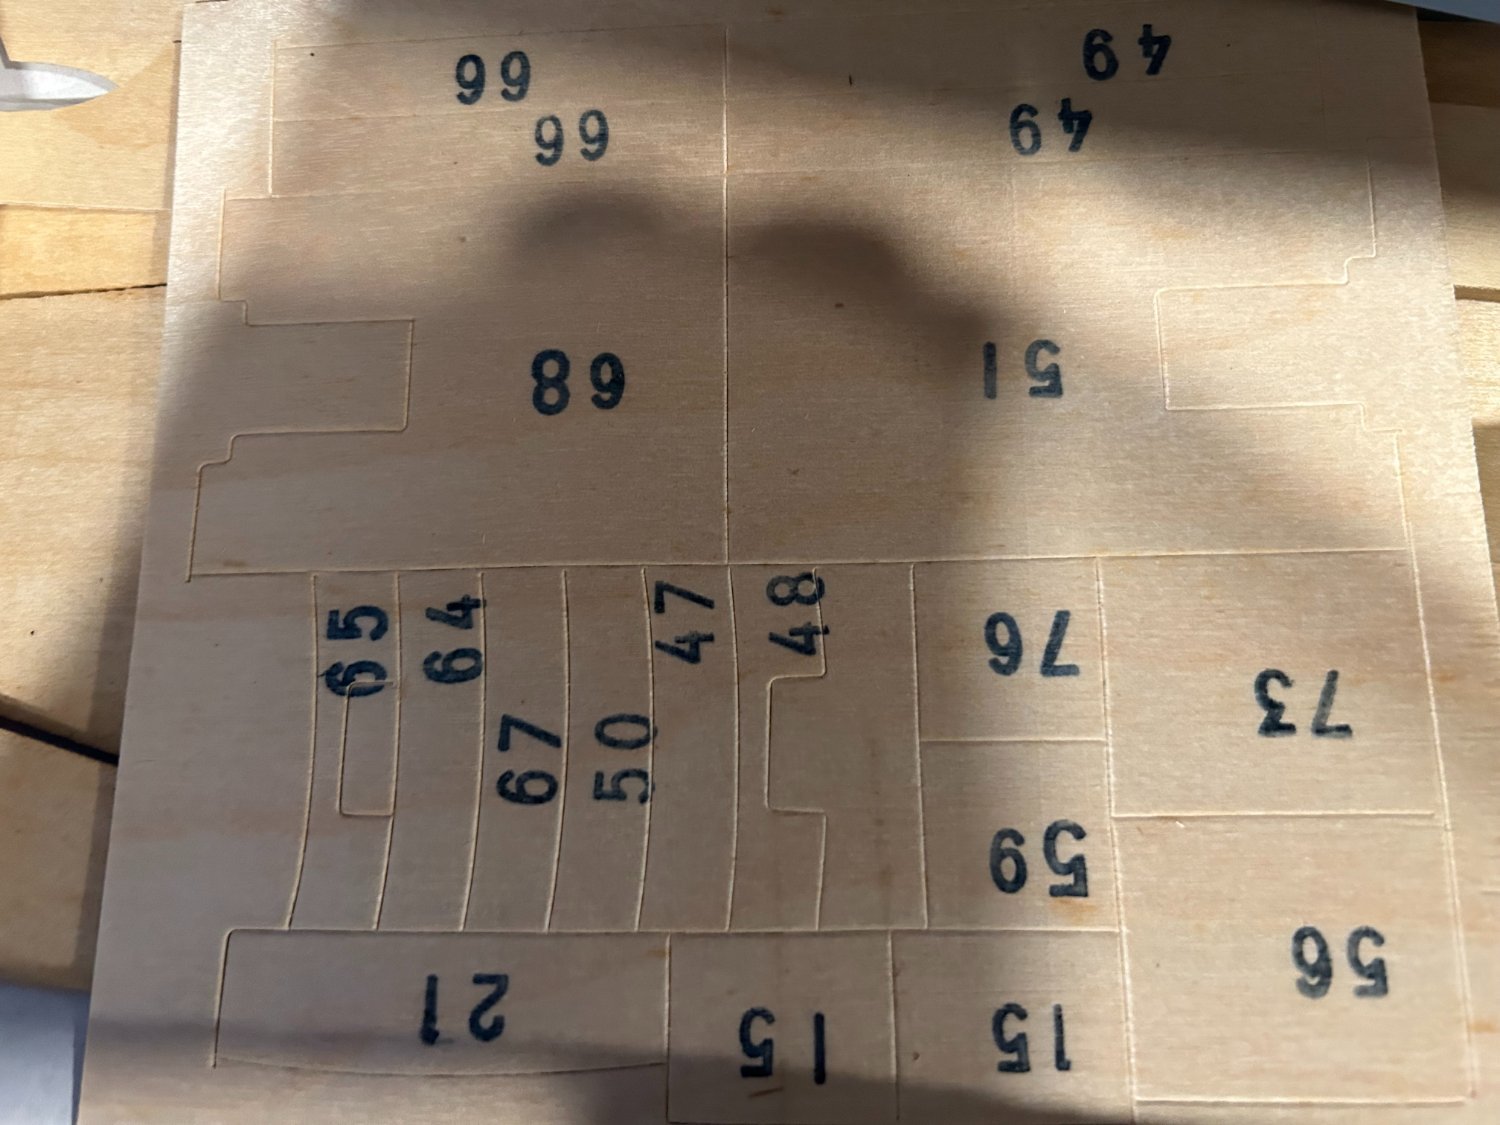
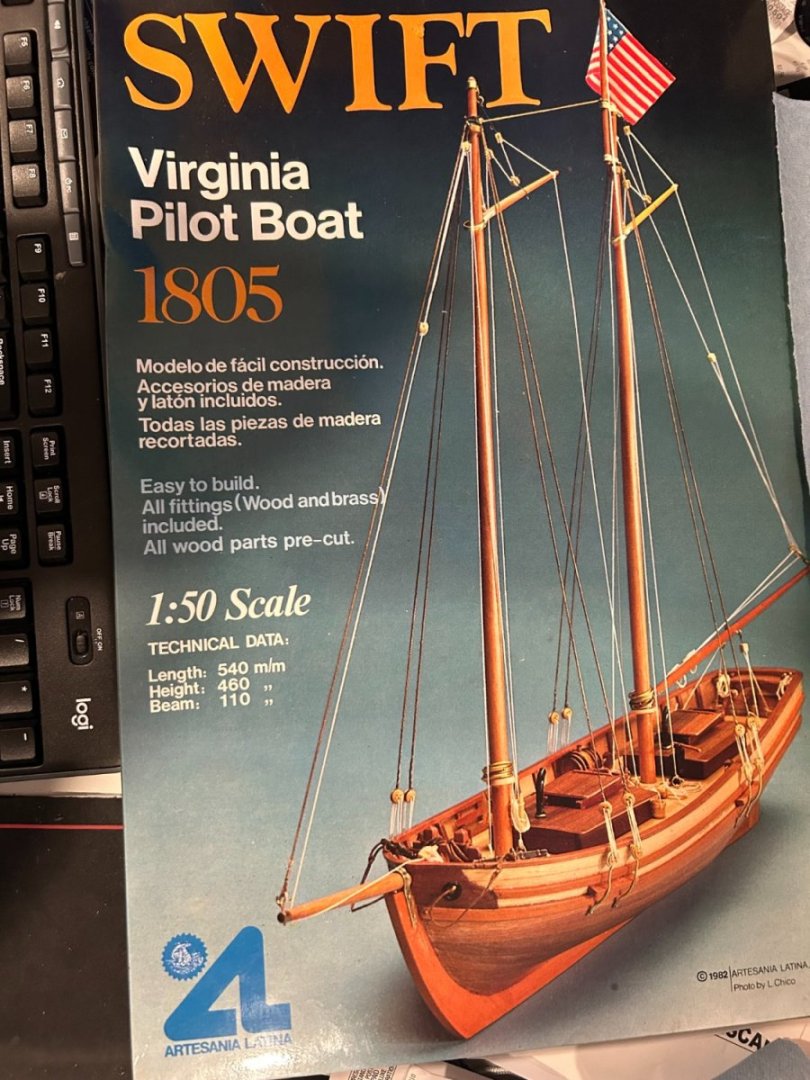
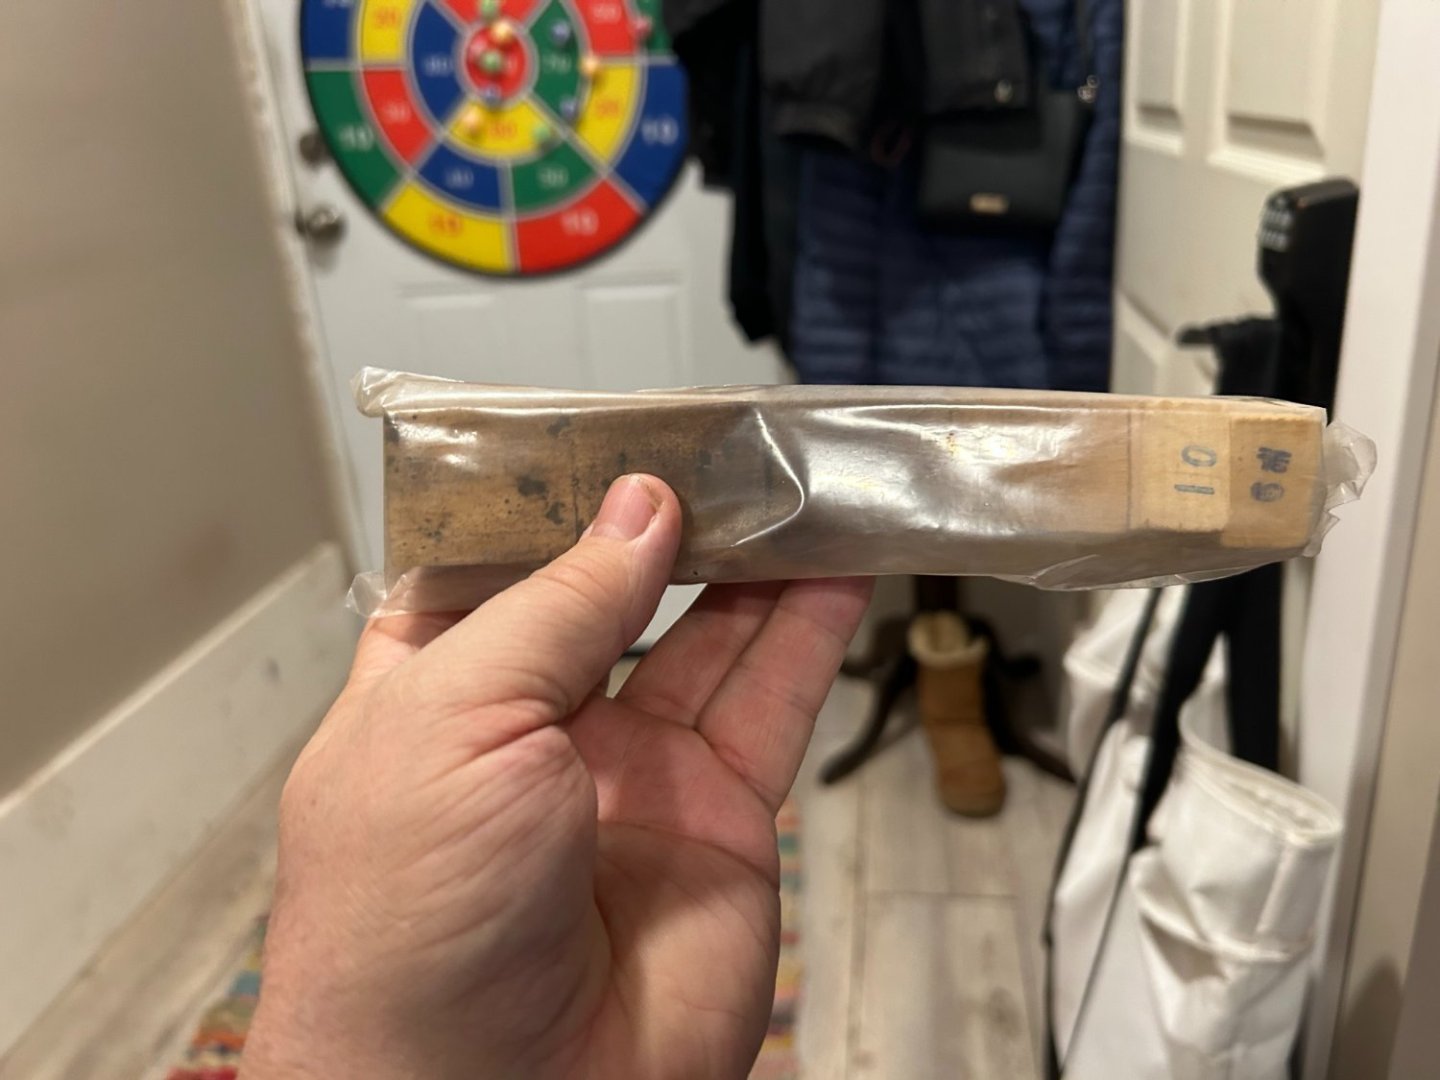
So while I am waiting on some tools I started the Swift. I got it off Ebay and it came with the original receipt. It was first purchased in 1983. It looks like they were die cut in 1983 versus laser cut. Laser Cut didn't exist then. Looks like everything is there. Only is issue is mold on the spacing blocks. That is not a problem. I do mold remediation for a living so this will not be an issue. I put the frames on.


-
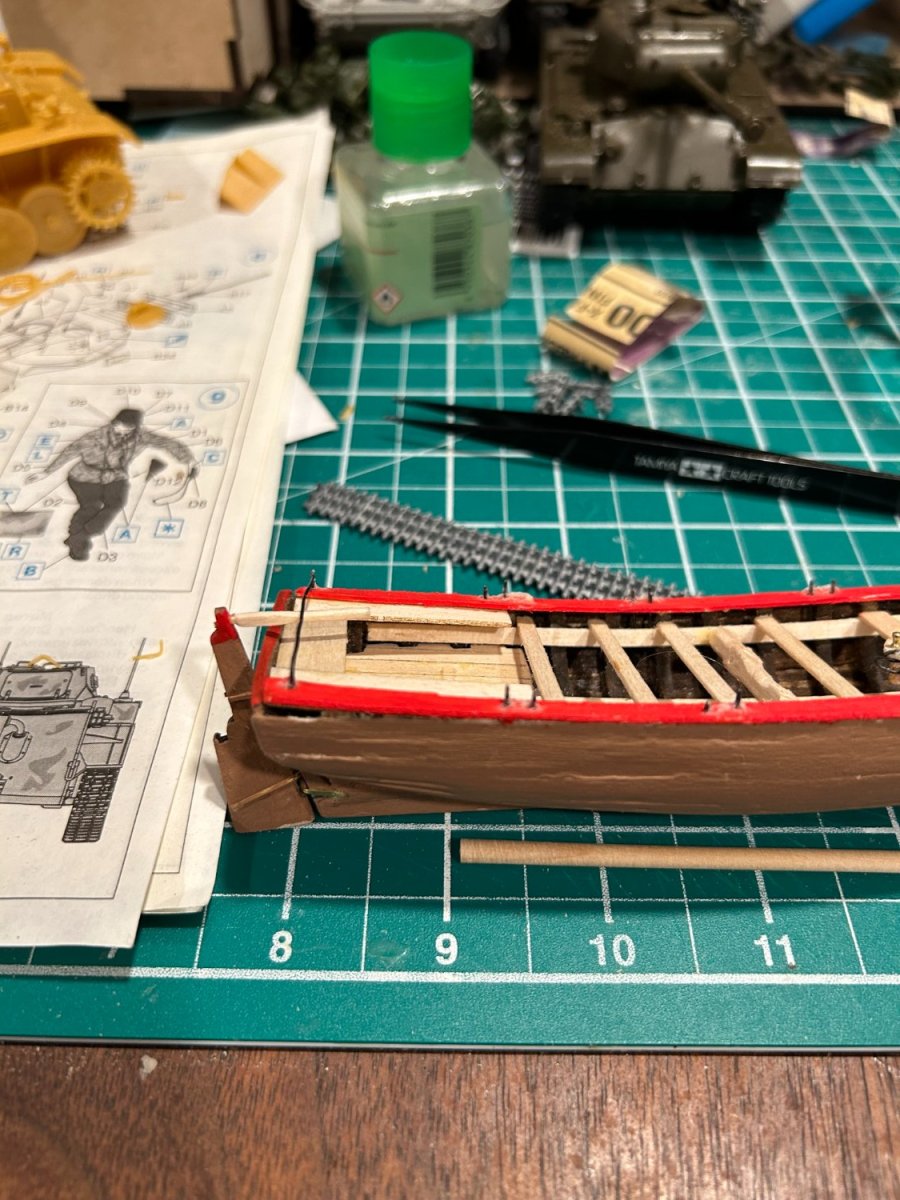
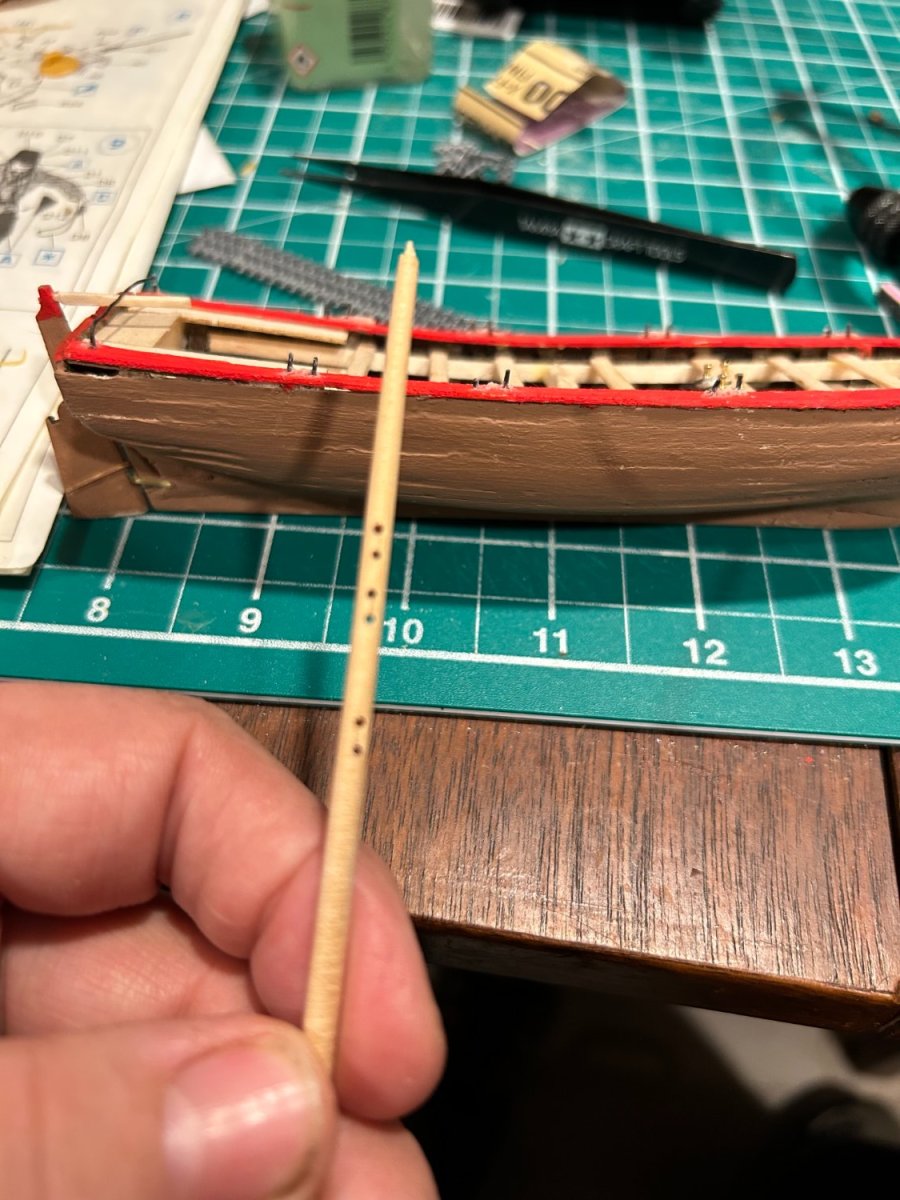
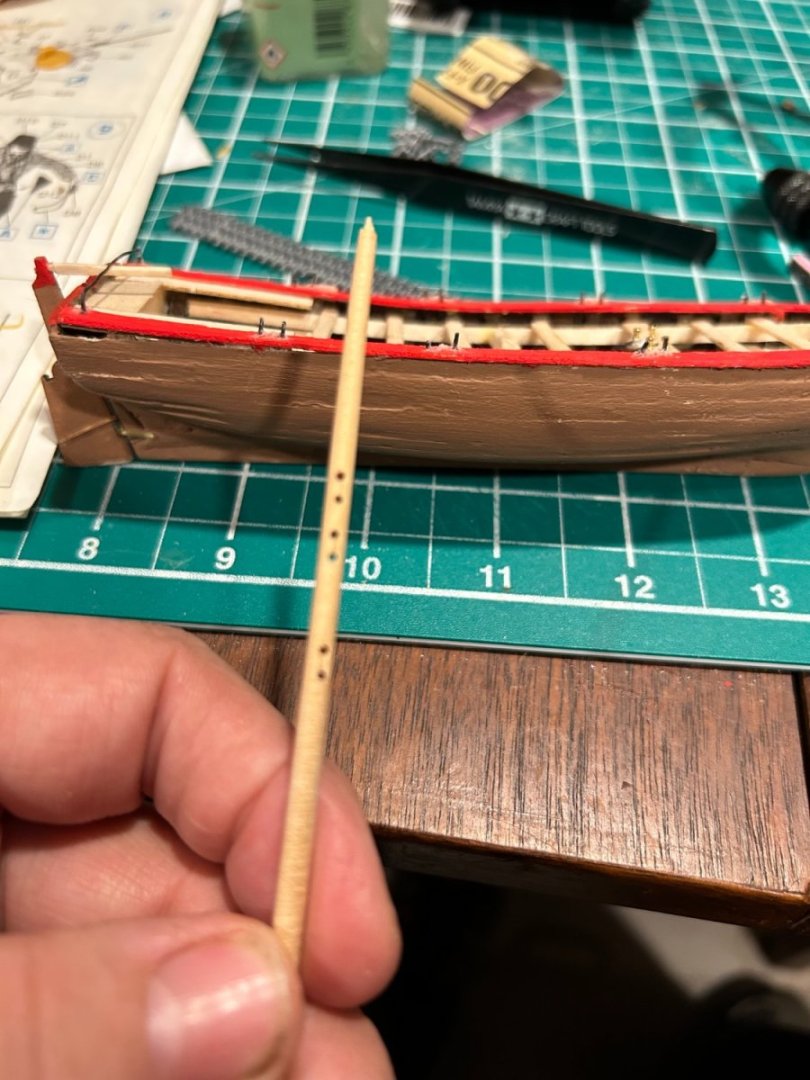
Running into a problem. Finished the rudder, tiller and horse. Sanded main mast down and drilled sheaves. Working on the brass collars. I need either a drill press, or dremel stand. I also need a desk vise. I have just not be able to drill through the brass to attach the deadeye. Going to work on another ship while I get the tools. Swift 1805.

- 24 replies
-
- 2
-
-
- 18th Century Longboat
- Model Shipways
- (and 1 more)
-
KARAVOKIRIS reacted to a post in a topic:
18th Century Longboat by Ghost029 - Model Shipways - 1:48 - First Build
-
Did some painting. Working on the windlass.

- 24 replies
-
- 2
-
-
- 18th Century Longboat
- Model Shipways
- (and 1 more)
-
Cap rails installed, being sanded down to fit.
- 24 replies
-
- 4
-
-
- 18th Century Longboat
- Model Shipways
- (and 1 more)
-
Pulling up a chair and getting some lessions in.
-
Front deck and risers installed. I don't know how you guys do the deck, but the only way I seem to be able to do them is to do the templet at the gunnel and sand down until it fits. If I try to do the templet where I want the deck, I just screw it up.
- 24 replies
-
- 2
-
-
- 18th Century Longboat
- Model Shipways
- (and 1 more)
-
Ghost029 changed their profile photo
-
Rear platform installed. I really screwed this up. I did not get the templete right and ruined 2 attempts at the platform. Thank goodness I do not have the cap rail on yet. Hopefully I can save one of the bad rear platforms for the forward platform.
- 24 replies
-
- 5
-
-
- 18th Century Longboat
- Model Shipways
- (and 1 more)
-
Tigersteve, I did look at the planking tutorials. I am going to have to go though them several times to get them to make sense to me. Thank you for the heads up on them.
- 24 replies
-
- 1
-
-
- 18th Century Longboat
- Model Shipways
- (and 1 more)
-
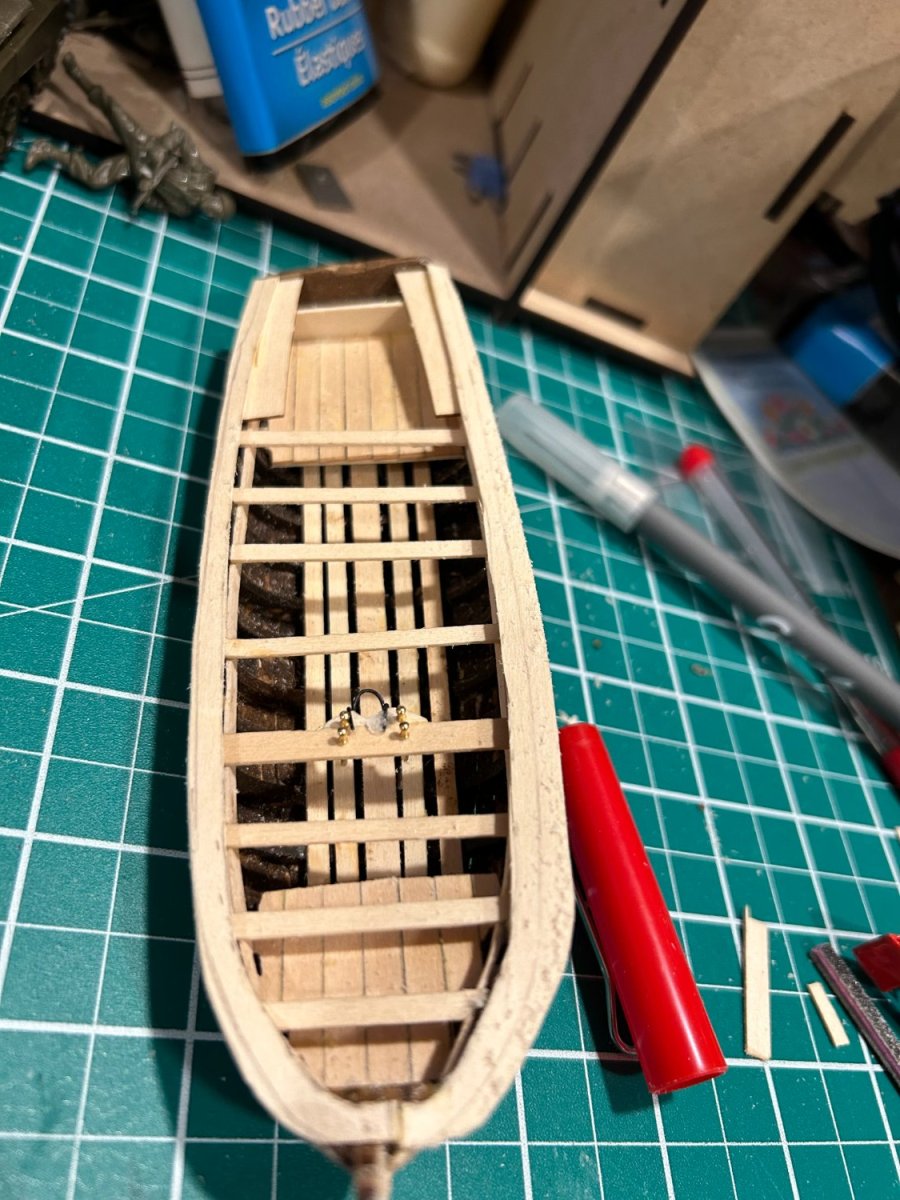
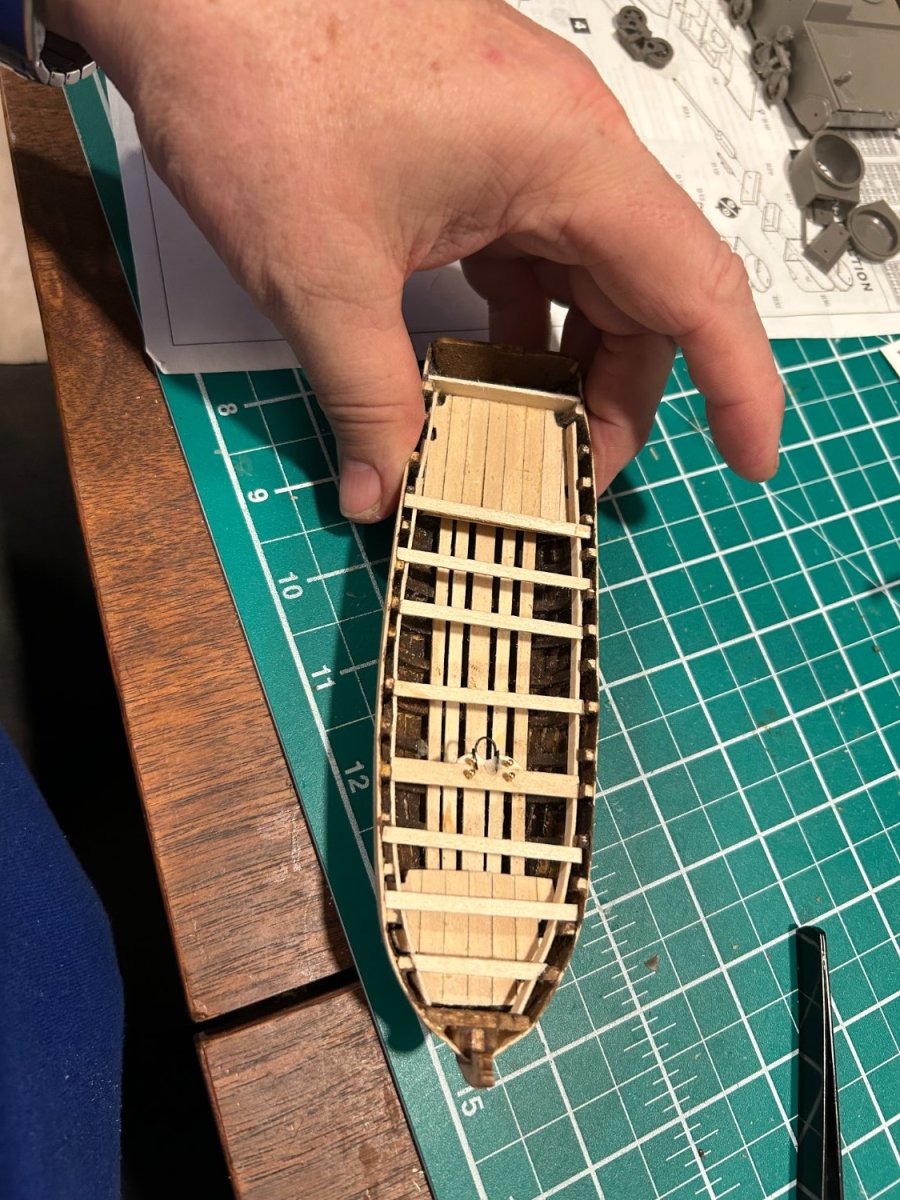
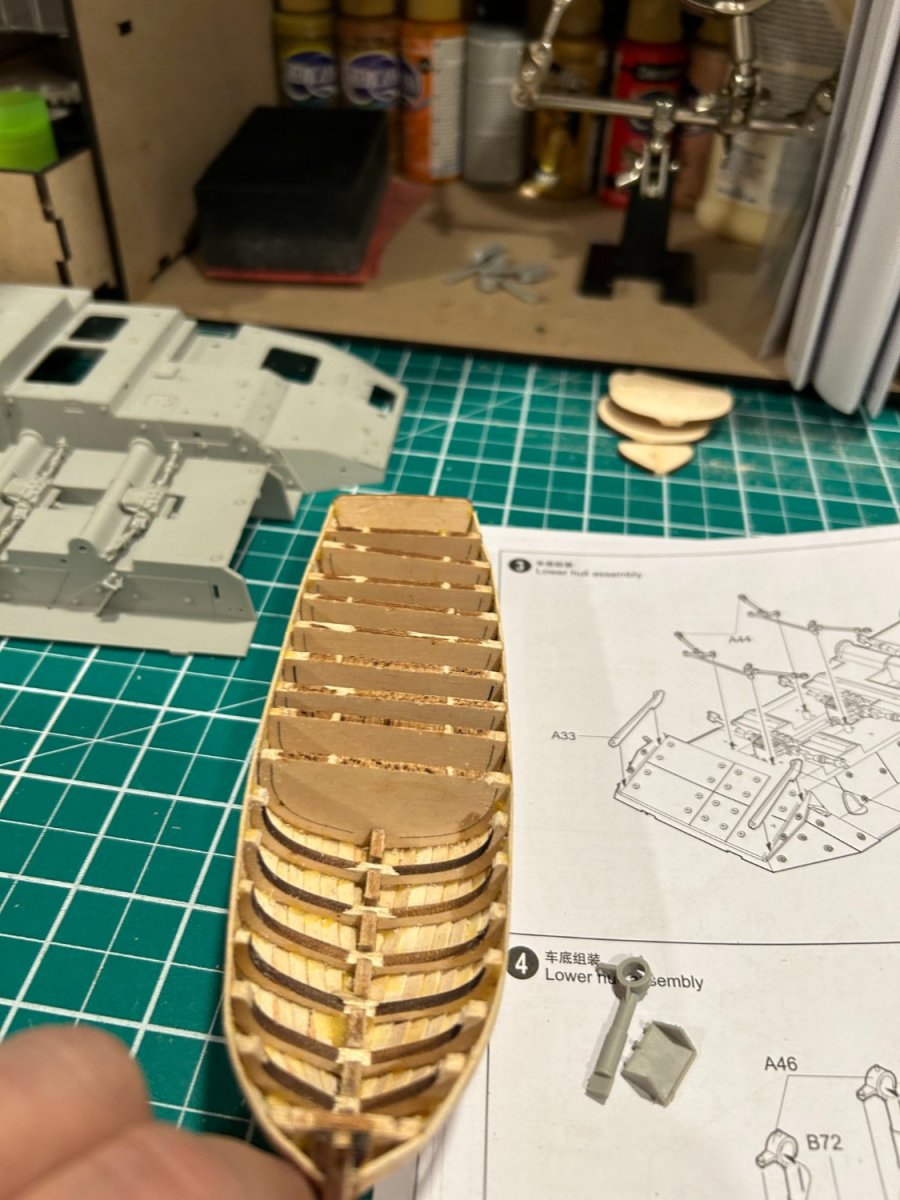
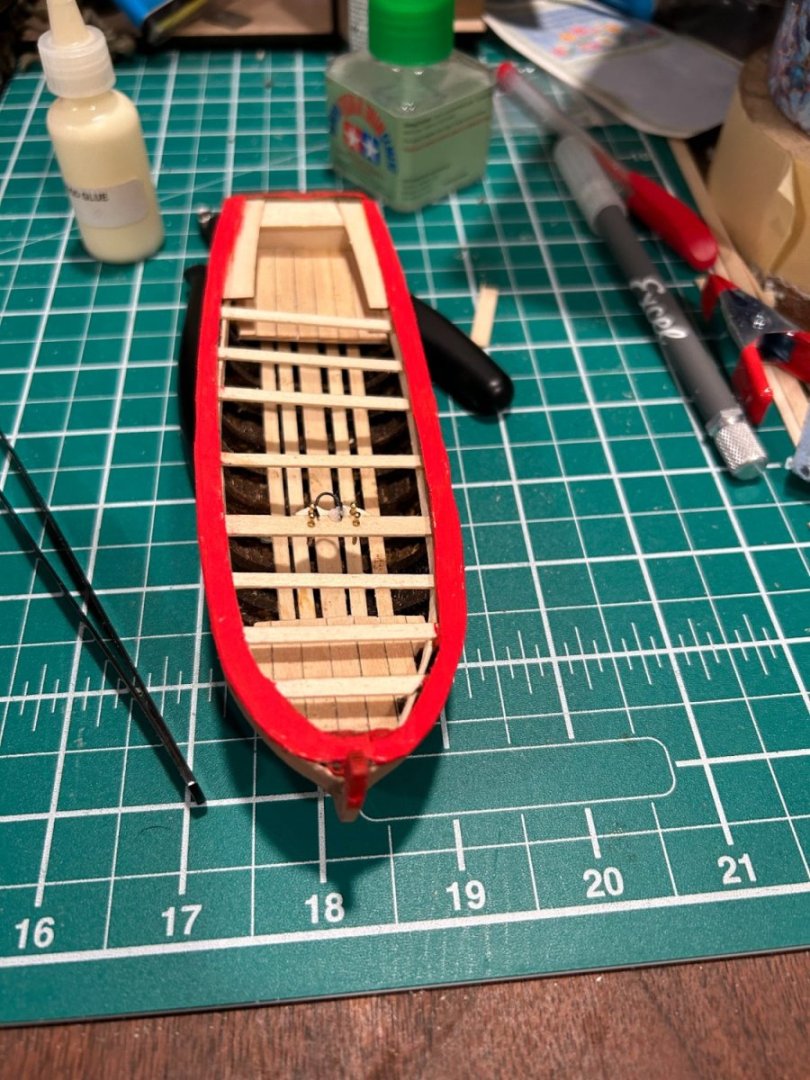
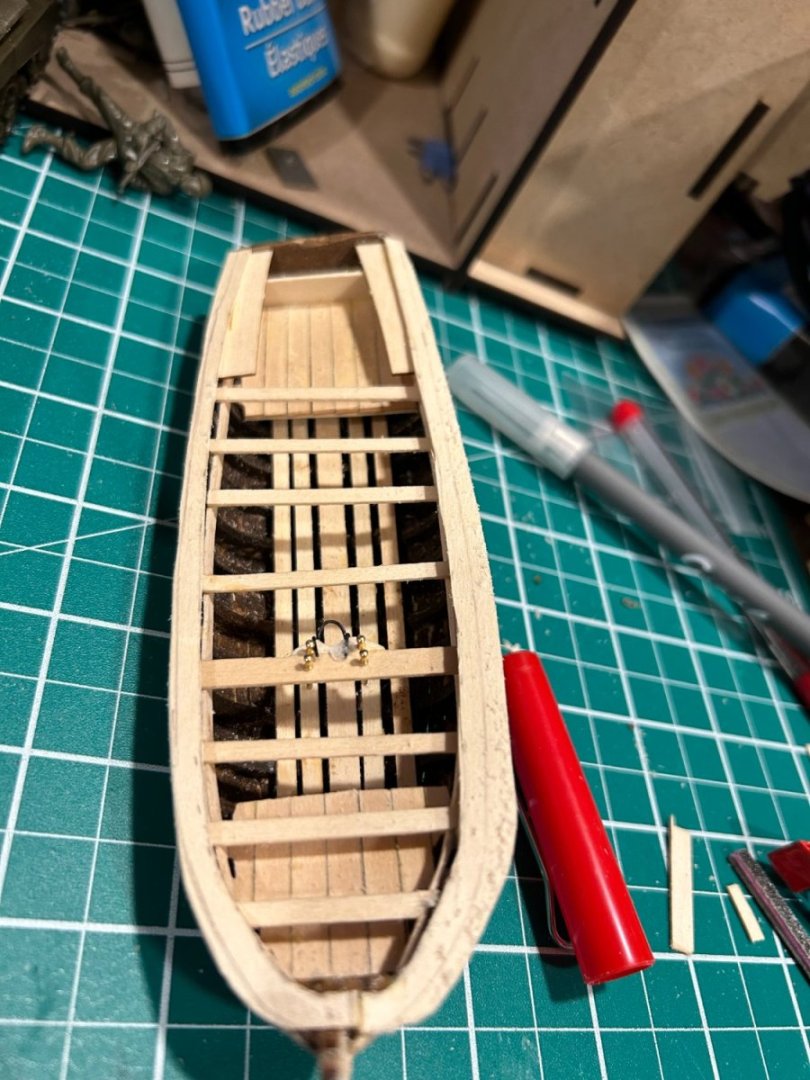
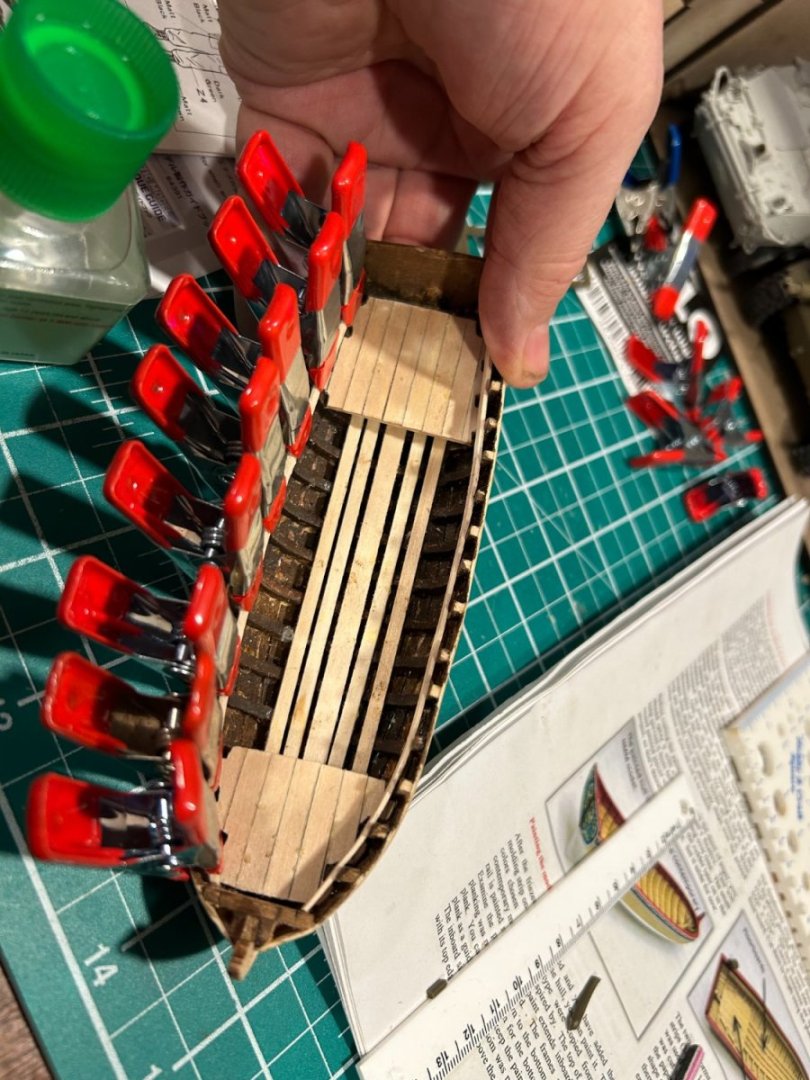
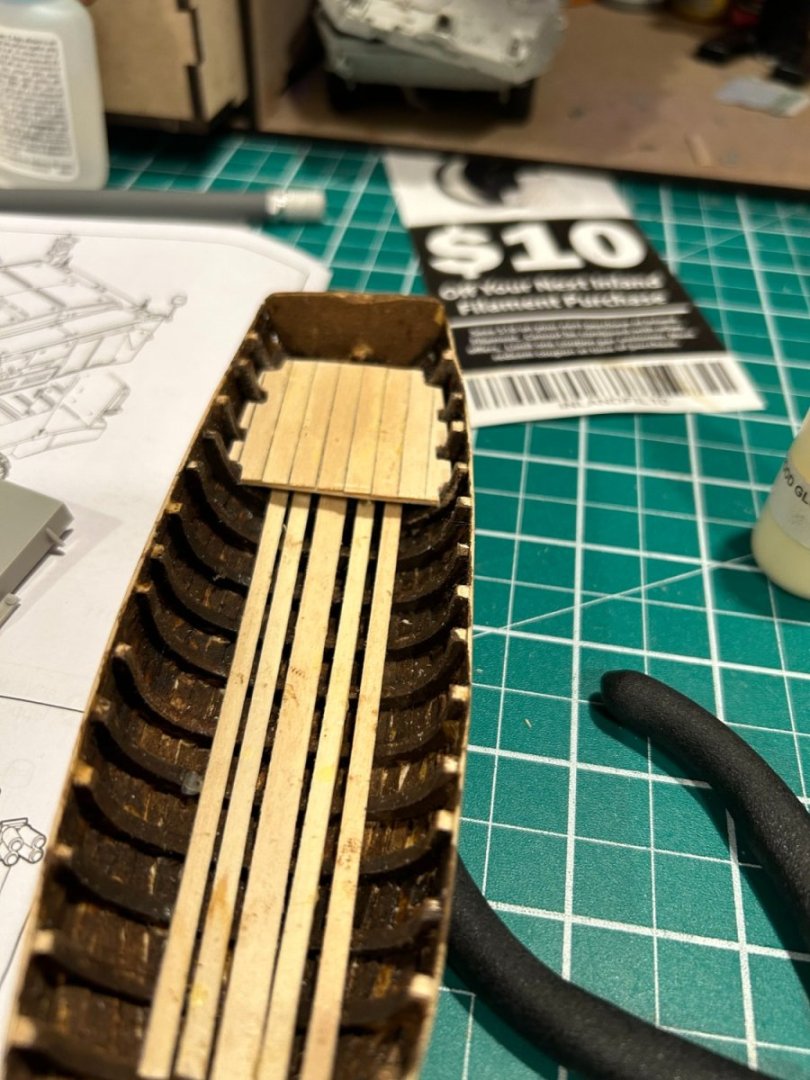
Removing interior frames. Planking turned out better than I thought after filling and sanding. Great learning experience. Instructions state to now sand interior frames and install cap rail. I would think that I want to install floor planks and seats before the cap rail. I will go back through the directions again.

- 24 replies
-
- 4
-
-
- 18th Century Longboat
- Model Shipways
- (and 1 more)