


The Sailor
-
Posts
298 -
Joined
-
Last visited
Content Type
Profiles
Forums
Gallery
Events
Posts posted by The Sailor
-
-
-
Very nice coppering, Dan.
-
Thanks for stopping by, Nils.

Well, Pickle is my first wooden ship after many many years. I think it's better builing her out of the box without sails.
Hamilton, thank you very much for the nice comment.
-
What a beauty! You did an awesome job, Kay.
-
-
Thank you very much for your kind words B.E., Ferit and Bob.
This afternoon I've painted the masts.

- SkerryAmp, Mirabell61 and ccoyle
-
 3
3
-
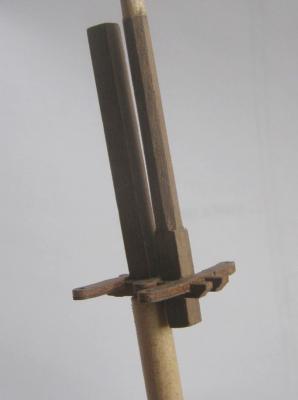
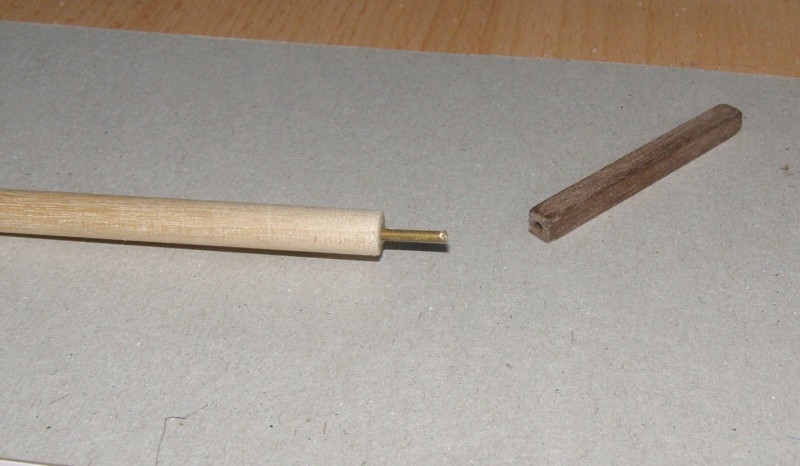
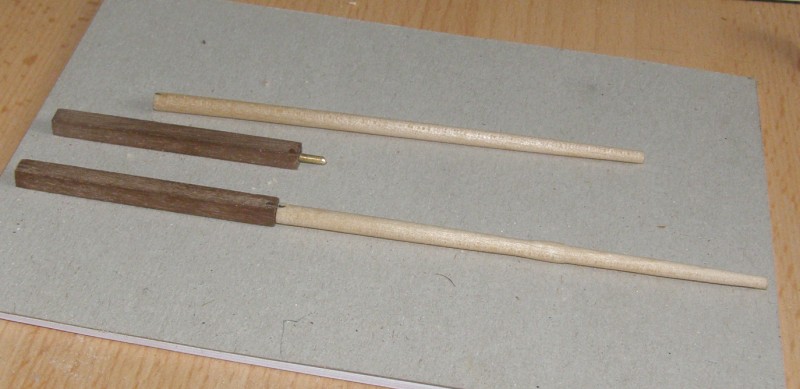
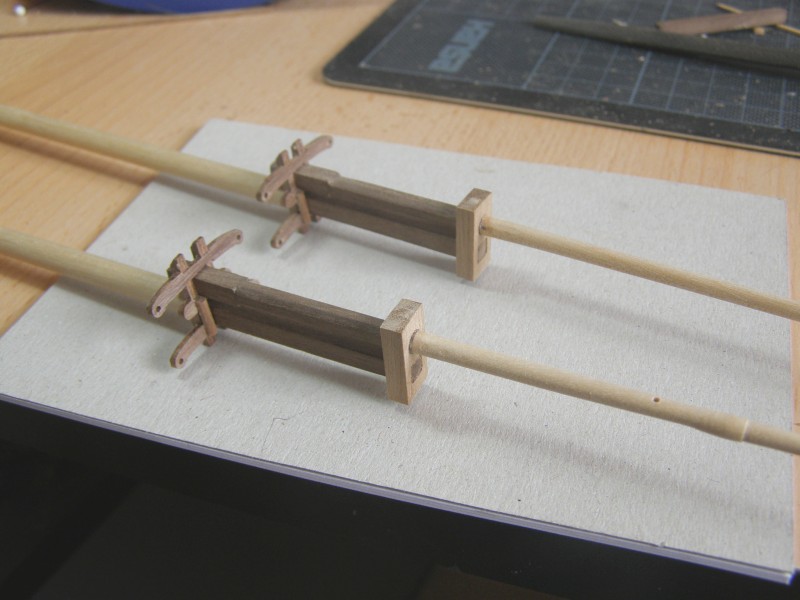
Assembly of the masts.
The two parts of the lower masts. The lower parts are 6mm dowels and the upper parts are 4x4mm walnut.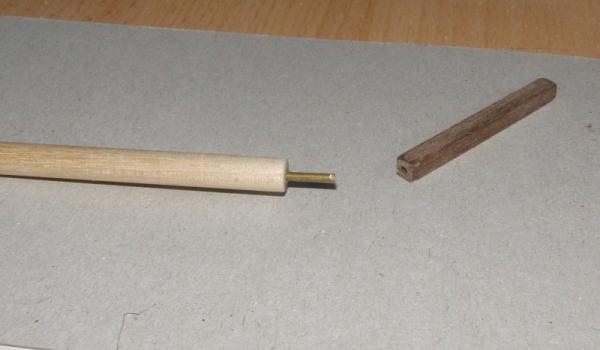
Fore top and main top are fitted. The top must sit parallel to the waterline when the masts are fitted into locating holes.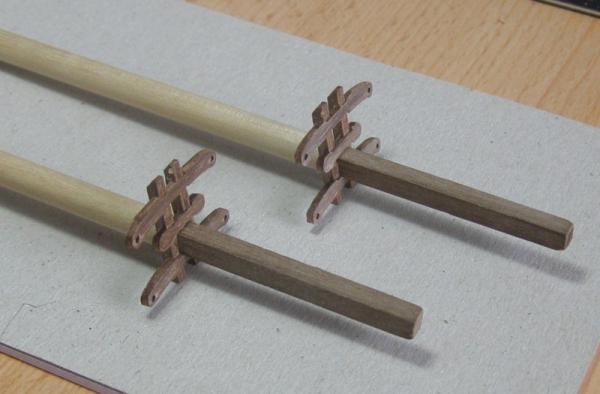
And the same procedure with the topmasts. This time the lower parts have to be sanded to an octagon.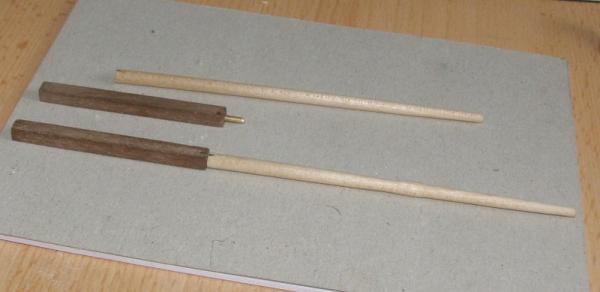
Ready for painting.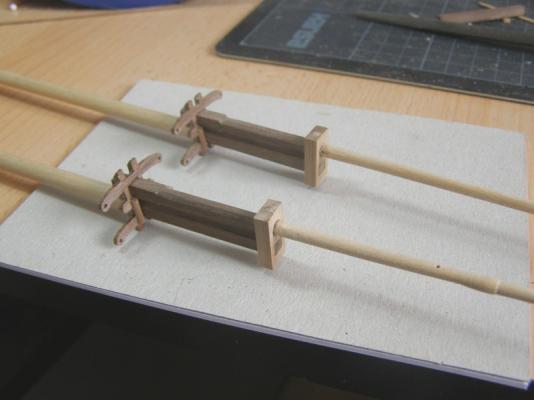
- hamilton, Blue Ensign, Ferit and 4 others
-
7
-
I'm speachless! Absolutely fantastic!
-
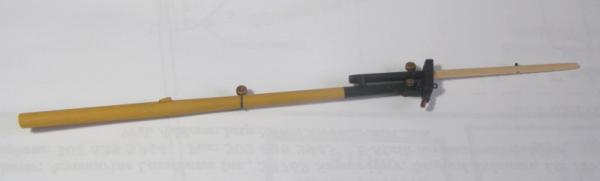
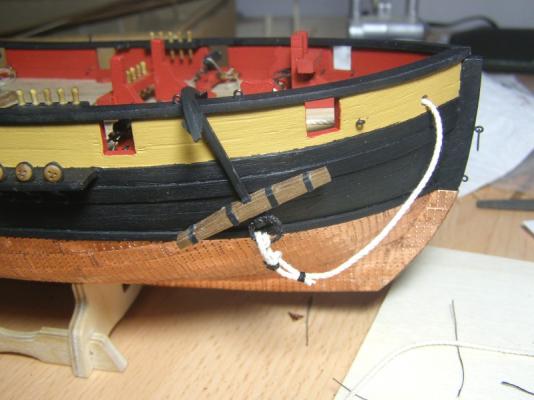
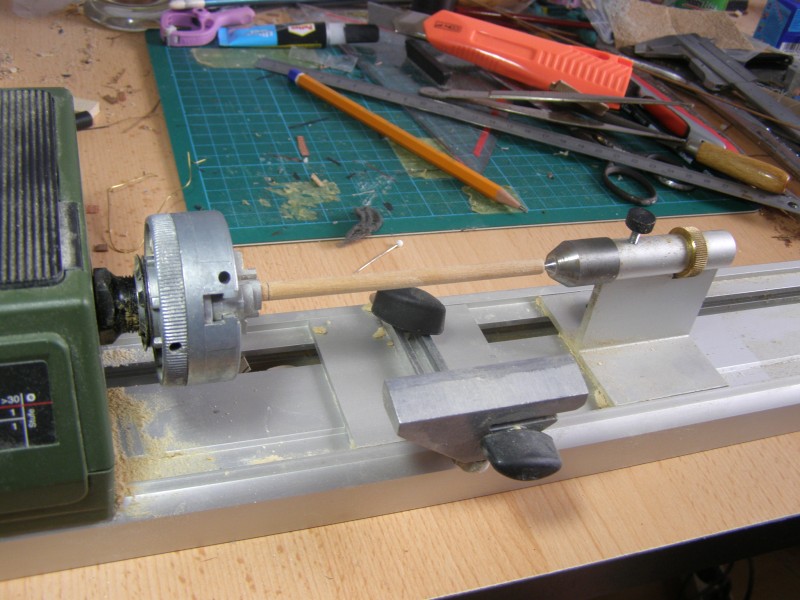
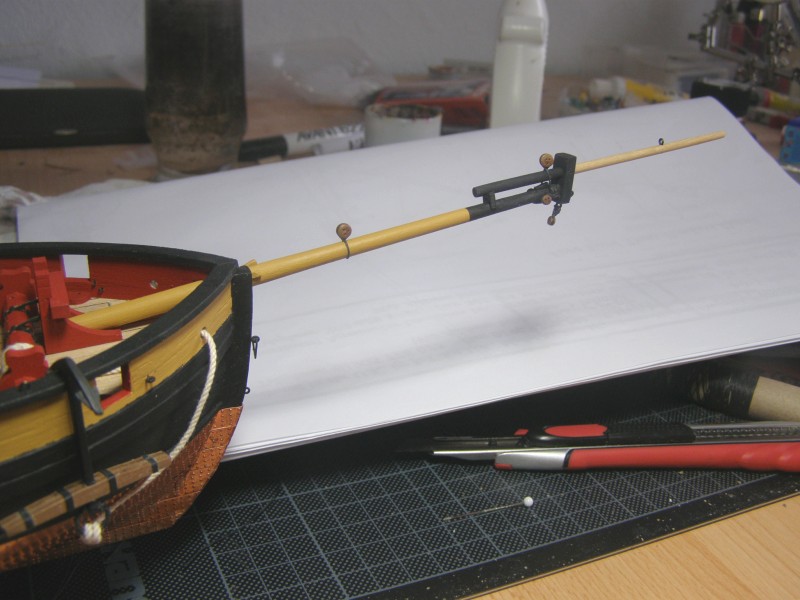
Time for bowsprit and mast assembly. I‘ve just finished the bowsprit. For tapering all the masts, yards and booms I‘ll use my Proxxon lathe.

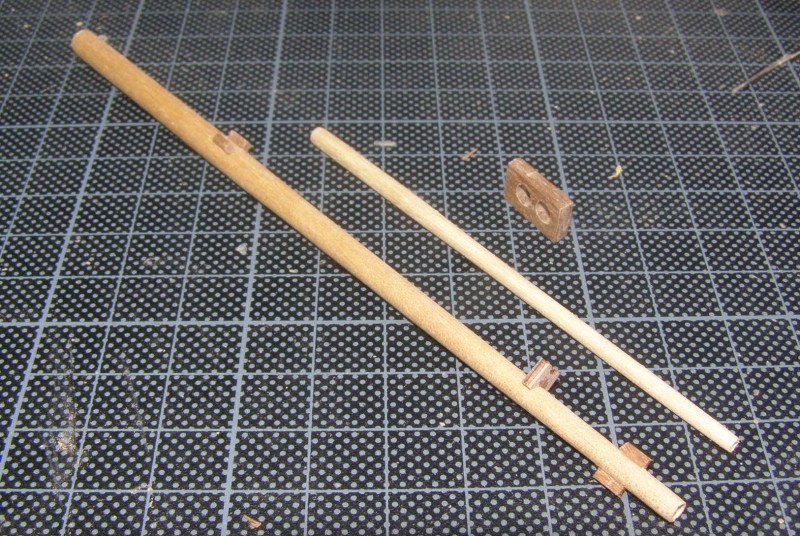
Here are the tapered parts. The two holes in the bowsprit cap have to be drilled in.
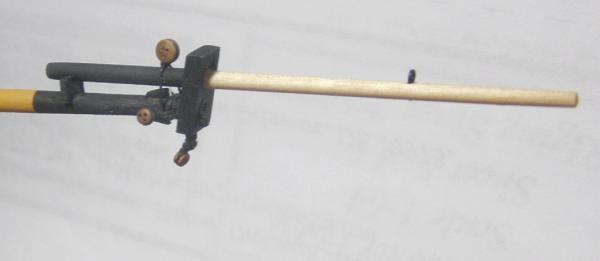
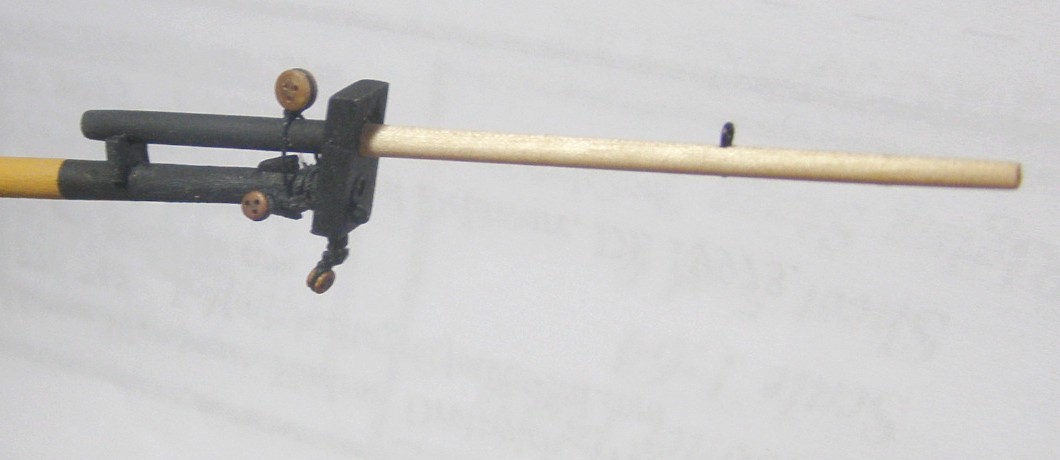
And here is the assembled bowsprit with all the fittings. The bowsprit and jib-boom should be stained walnut, but I like this colouring more. Well, it's just a matter of taste.

-
Very nice work. She looks fantastic.
-
Hi guys, thanks for your nice words.
Hamilton, you are right the best result is leaving them natural. But then I should have used a better wood like pear or something else.
Pawel, that's a problem when painting etched parts. The next time i'll use a blackener.
-
Thanks for showing, marsalv! That looks very easy.
-
That's a good question, Bill. I should have paint them in red or brown.
-
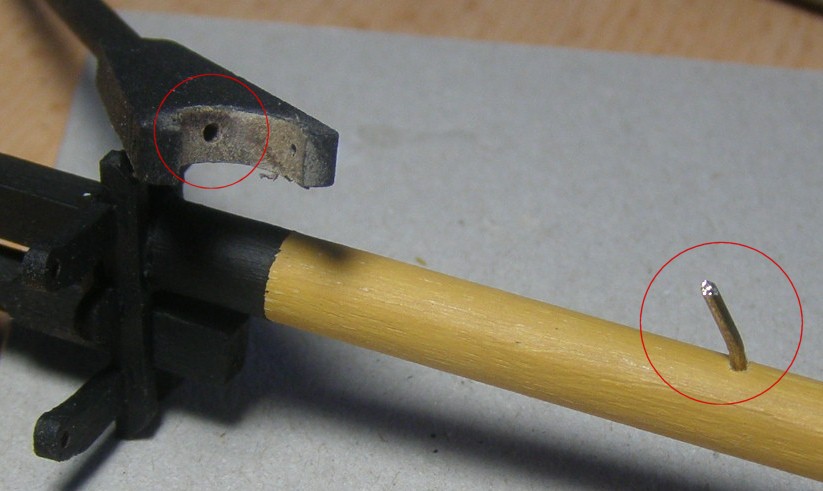
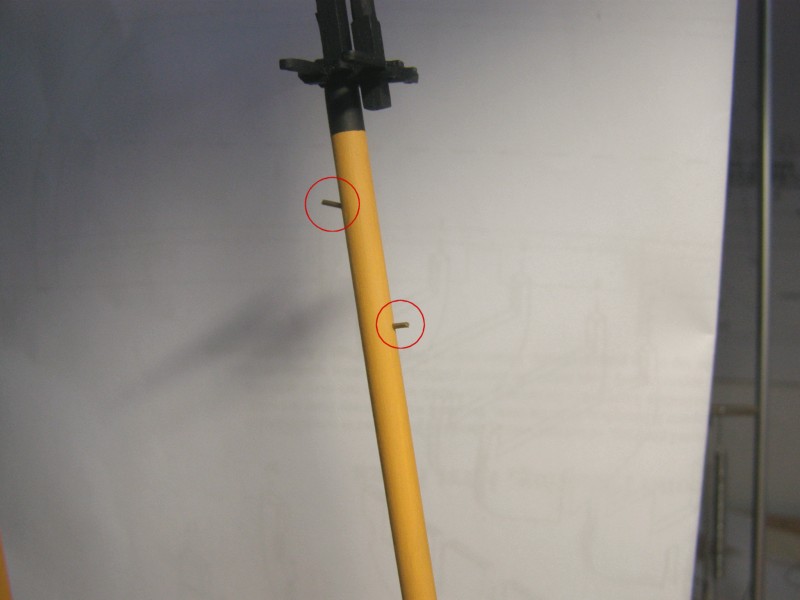
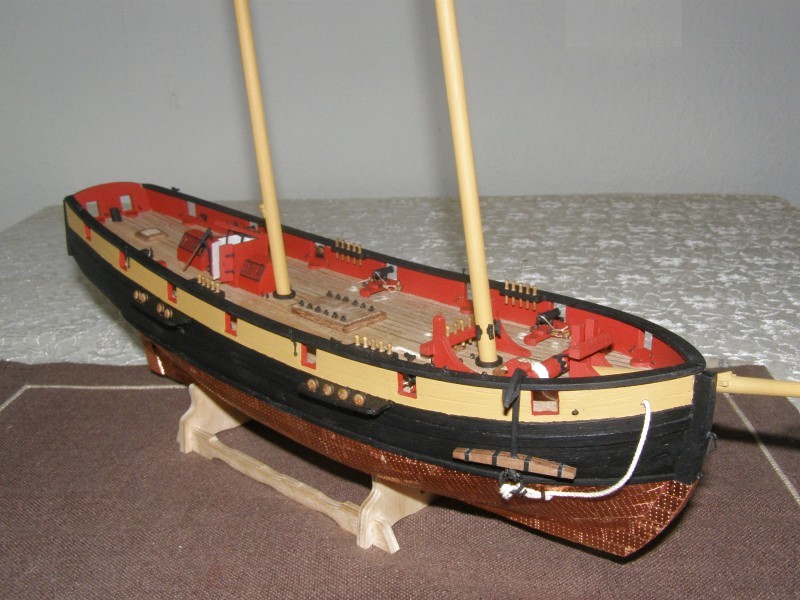
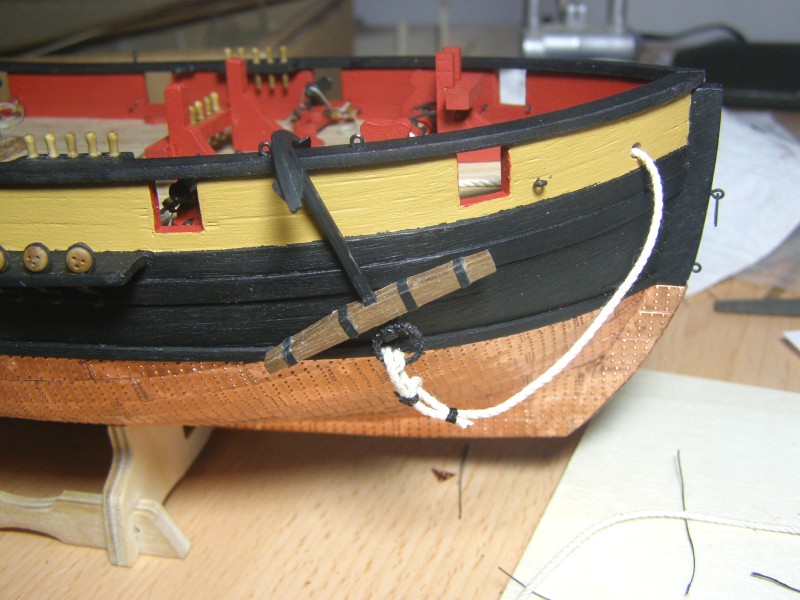
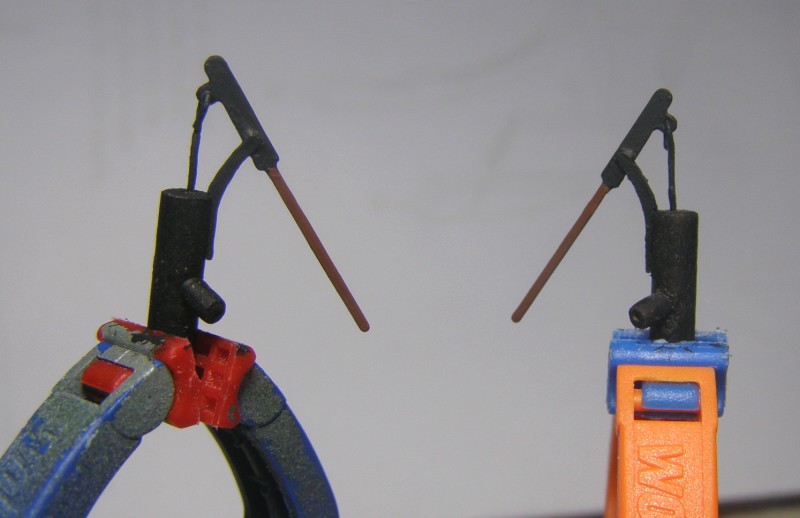
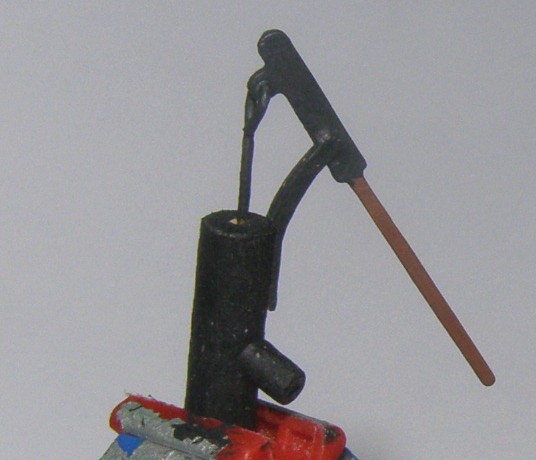
Only a minor update for today.
I've glued the elm tree pumps into place and fixed the anchor to the anchor cable.
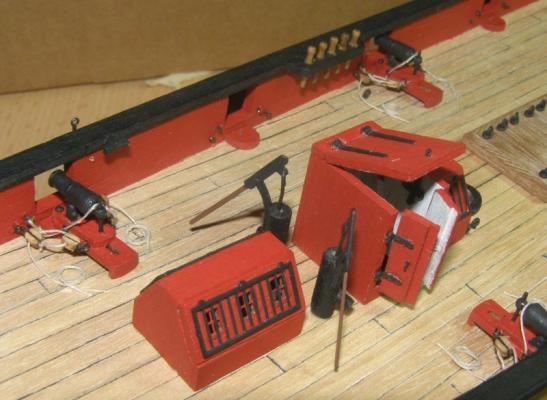
Well, it wasn't even a good idea to paint the casing and the outlet black...

The anchor will be stowed later
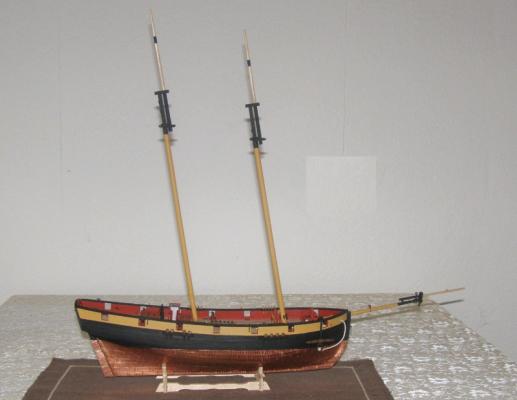
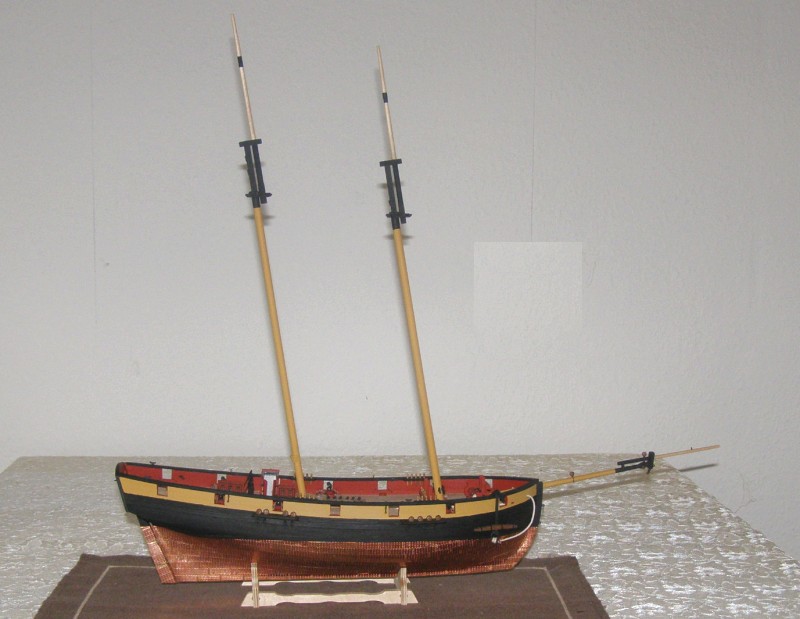
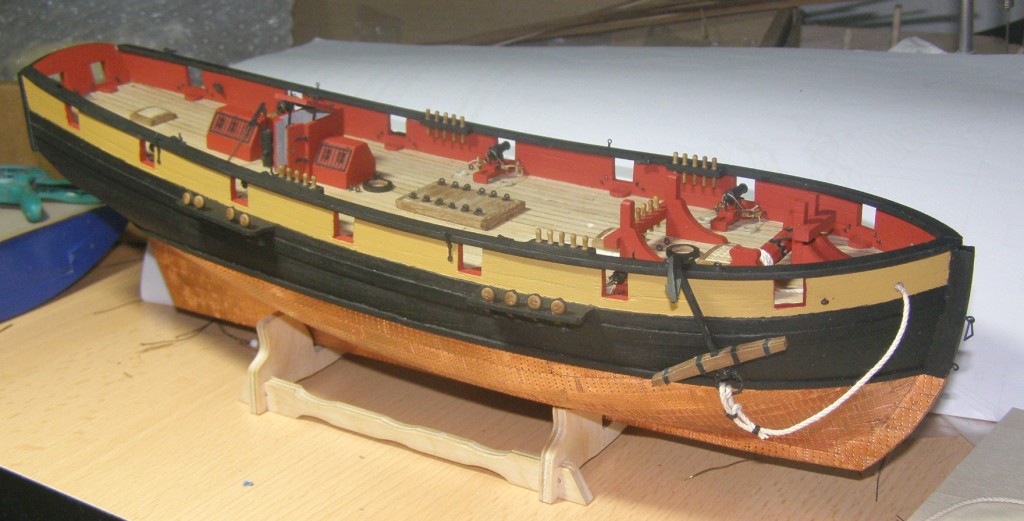
And at last a total view as of July 27.

- ModelBoatMaker, egkb, SkerryAmp and 4 others
-
7
-
Wow, that's an interesting project. I love the movie Jaws!
-
Very good job, Max. The deck looks nice.
-
-
The windlass looks fantastic.
-
Hi Bill, thank you very much for your kind comment.
-
Hi ZyXuz, you did a very nice job.
-
Very nice start, Bill. I really like the Badger. She could be one of my next models.
-
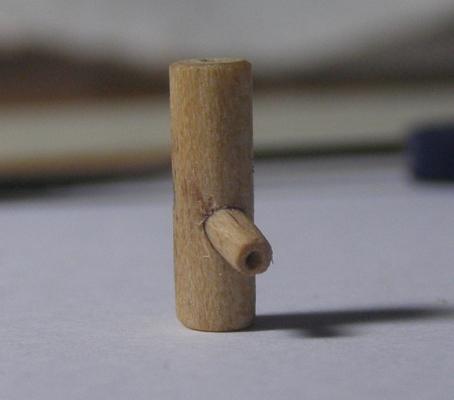
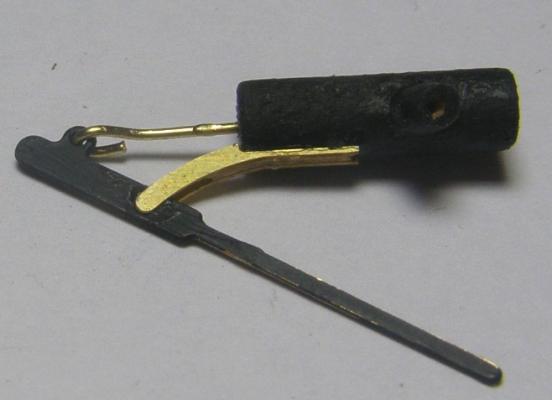
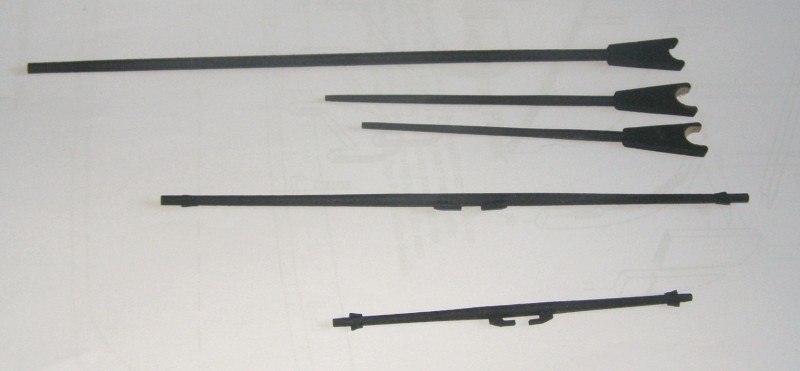
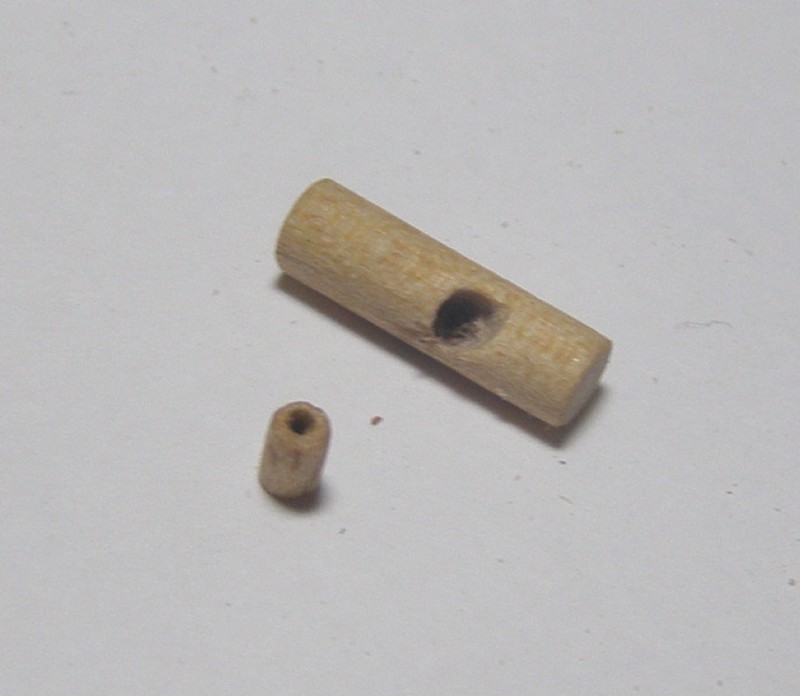
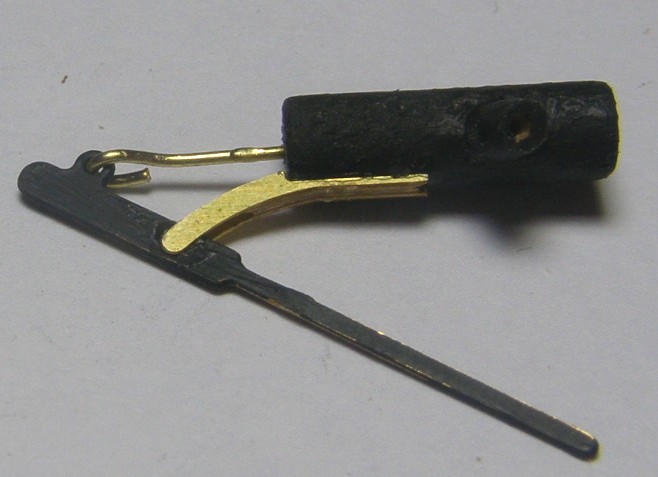
Hi all, the next part of the deck fittings is done: the elm tree pumps. The assembly was quite time-consuming.
The first image shows all the parts of the pumps

Referred to the instruction the outlet should be just glued to the casing and nothing else. I decided to fit the parts into each other. I also drilled a little hole into the outlet.

In the next step I've glued the two parts of the yoke together and glued then to the side of the pump casings.
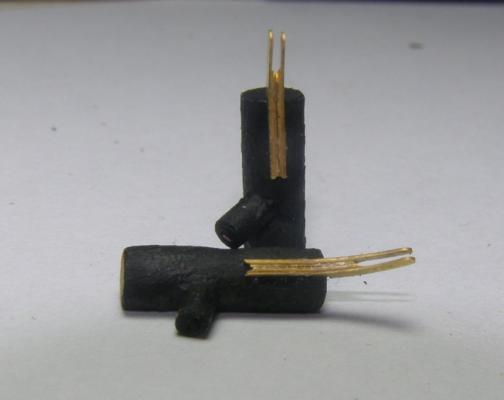
The rest of the assembly was quite easy.


-
Hi Bob, that's a really cool project.
-
Hi Eddie, I like little schooners.
You did a very nice paint job. Keep on the good work!
It's too late now, but If you have problems with your tape just give the Tamiya tape a try. It's perfect for those paintings.
- Salty Sea Dog and Sjors
-
2


HMS Vanguard by Alexey Domanoff - Amati
in - Kit build logs for subjects built from 1751 - 1800
Posted
Indeed a very nice nailing. You did a great job!