Der Alte Rentner
-
Posts
1,038 -
Joined
-
Last visited
Content Type
Profiles
Forums
Gallery
Events
Everything posted by Der Alte Rentner
-
 I just had an amazingly disappointing session at the shipyard. I spent the solid hour trying to get a single hinge on one of the stern gunport lids. Nothing I have tried works. The hinge sticks to the tweezers or my fingers or falls to the floor. It just can't Wrangle it into position where it needs to be. Does anyone have any tips on how best to put these hinges on the gunport lids? I'm thinking about just painting them on now.
 -
USS Constitution by mtbediz - 1:76
Der Alte Rentner replied to mtbediz's topic in - Build logs for subjects built 1751 - 1800
Hasn't Mustafa's ship already sailed on that Jon? Happy Thanksgiving at your sister's either way! -
USS Constitution by mtbediz - 1:76
Der Alte Rentner replied to mtbediz's topic in - Build logs for subjects built 1751 - 1800
Having read Gregg's comment on my build log, and then seeing that you're just making the catheads, I'm asking myself: Self, where did you put the catheads you made oh so many months ago? As always, it's a pleasure watching the master at his craft. -
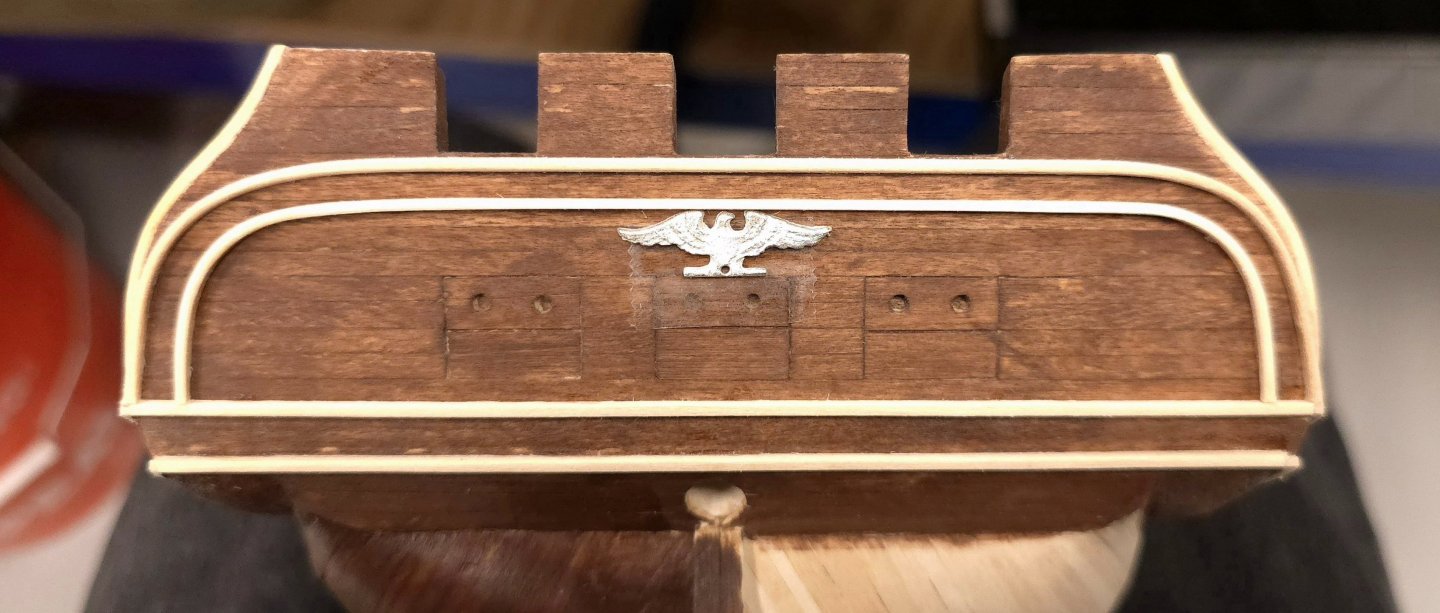
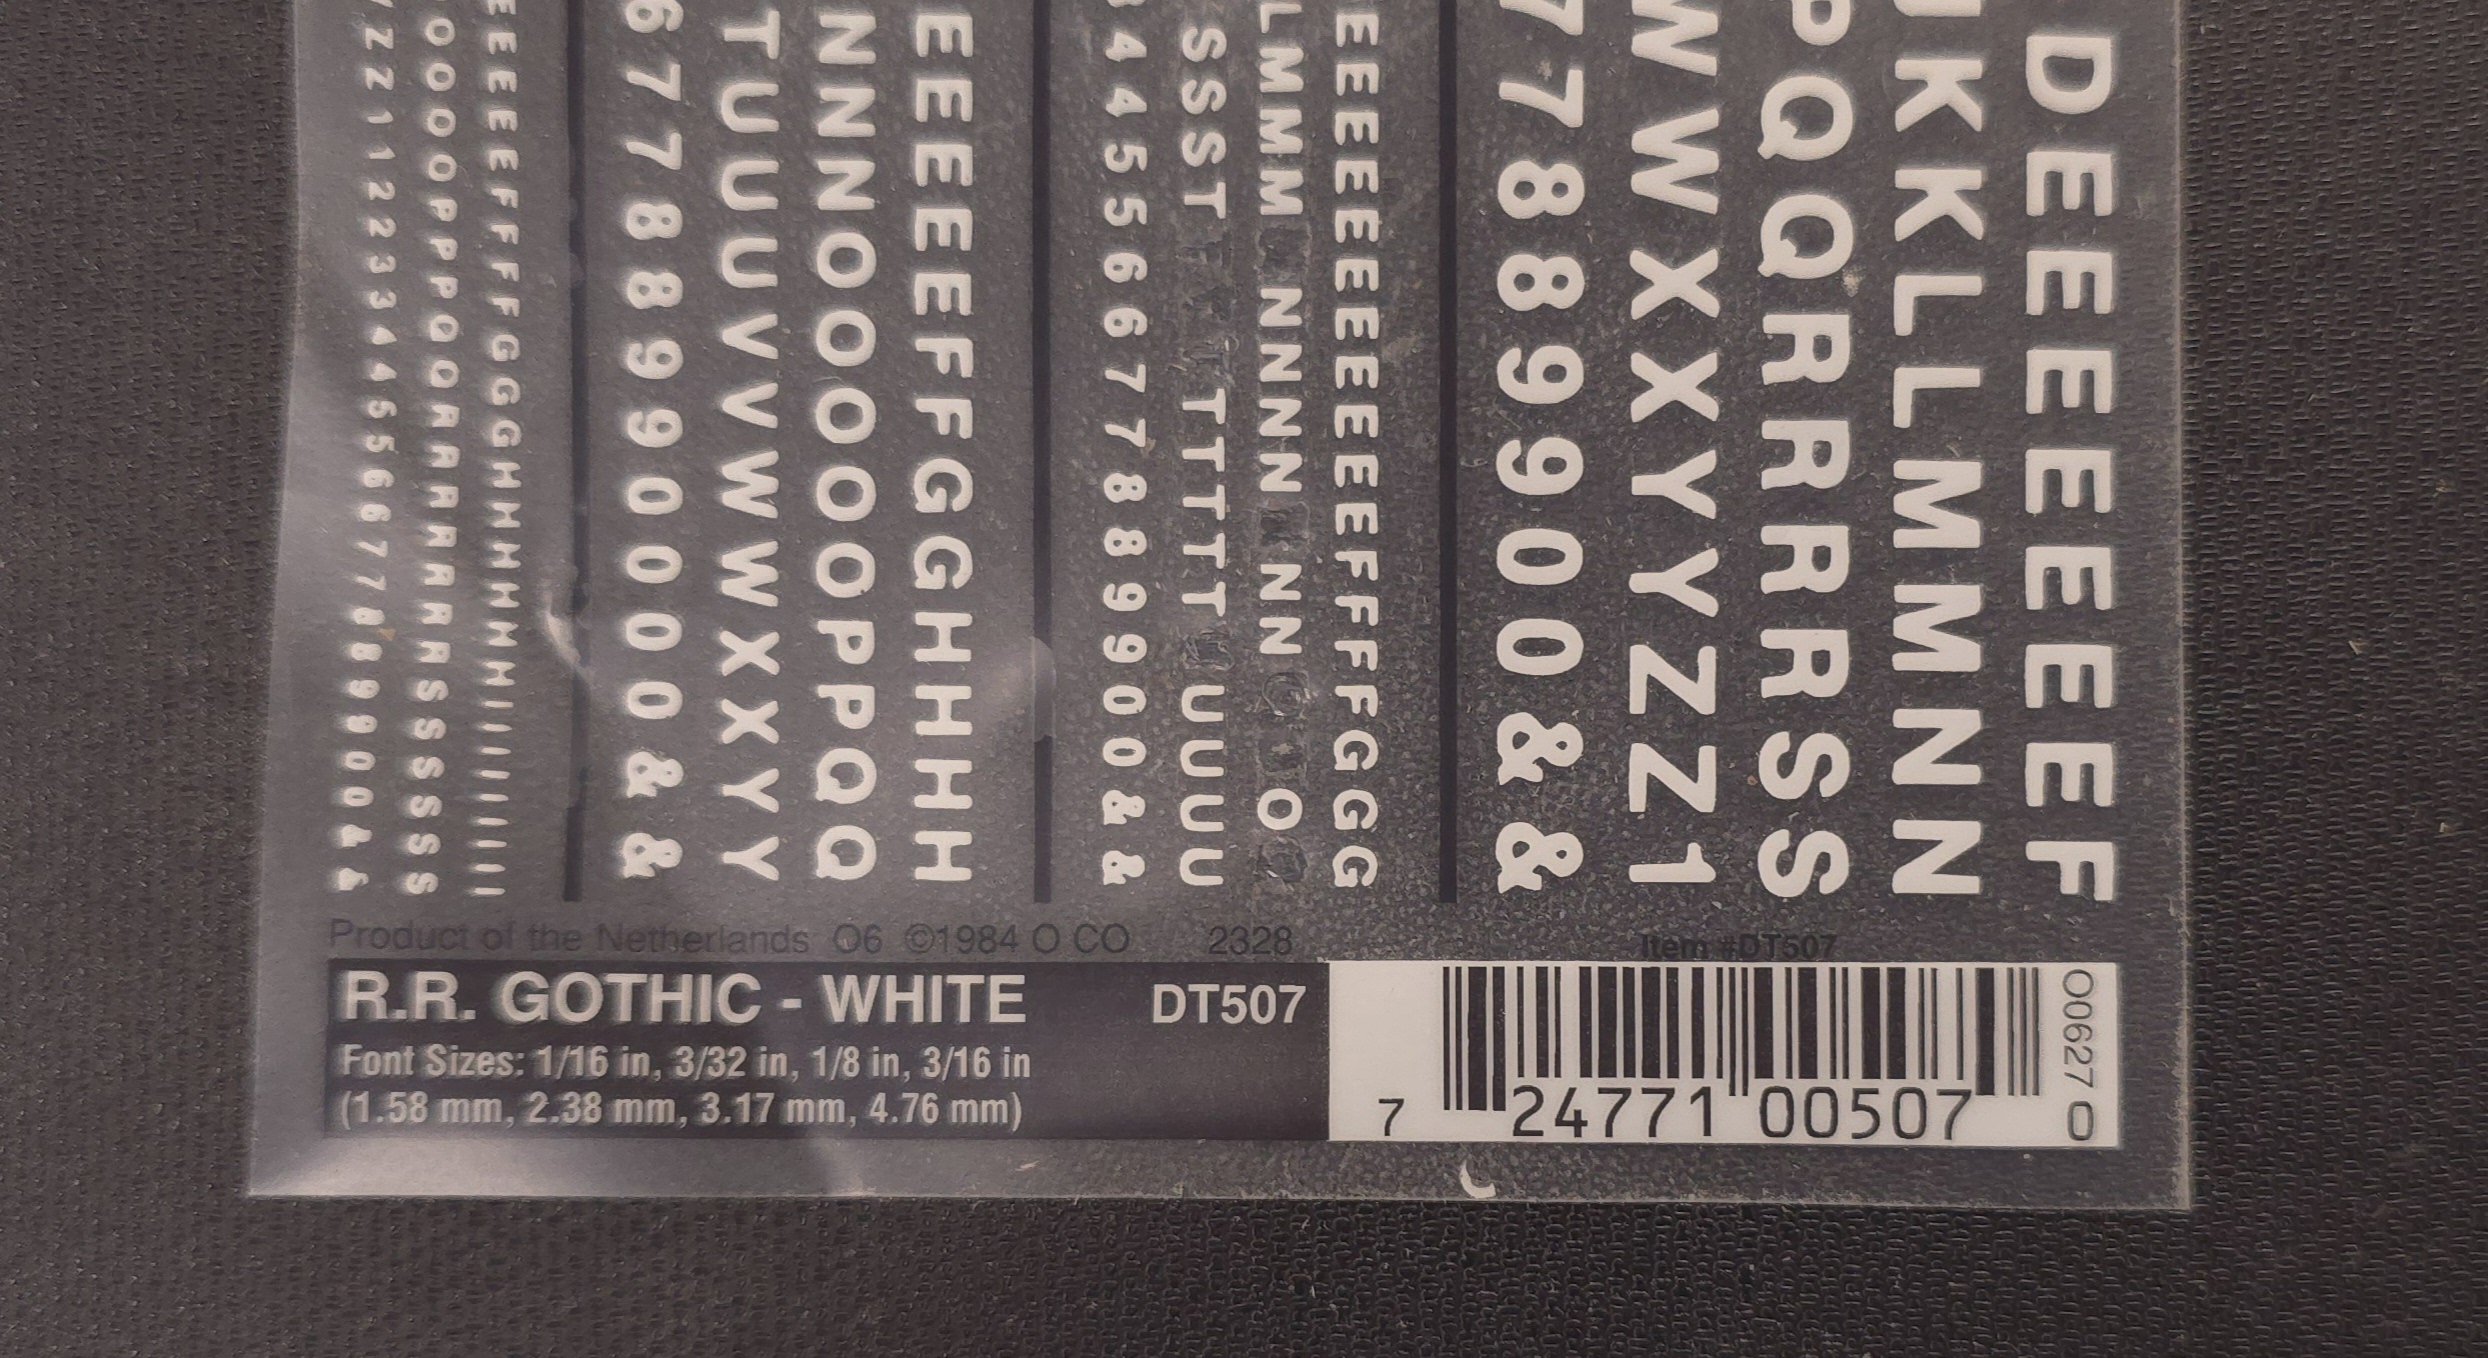
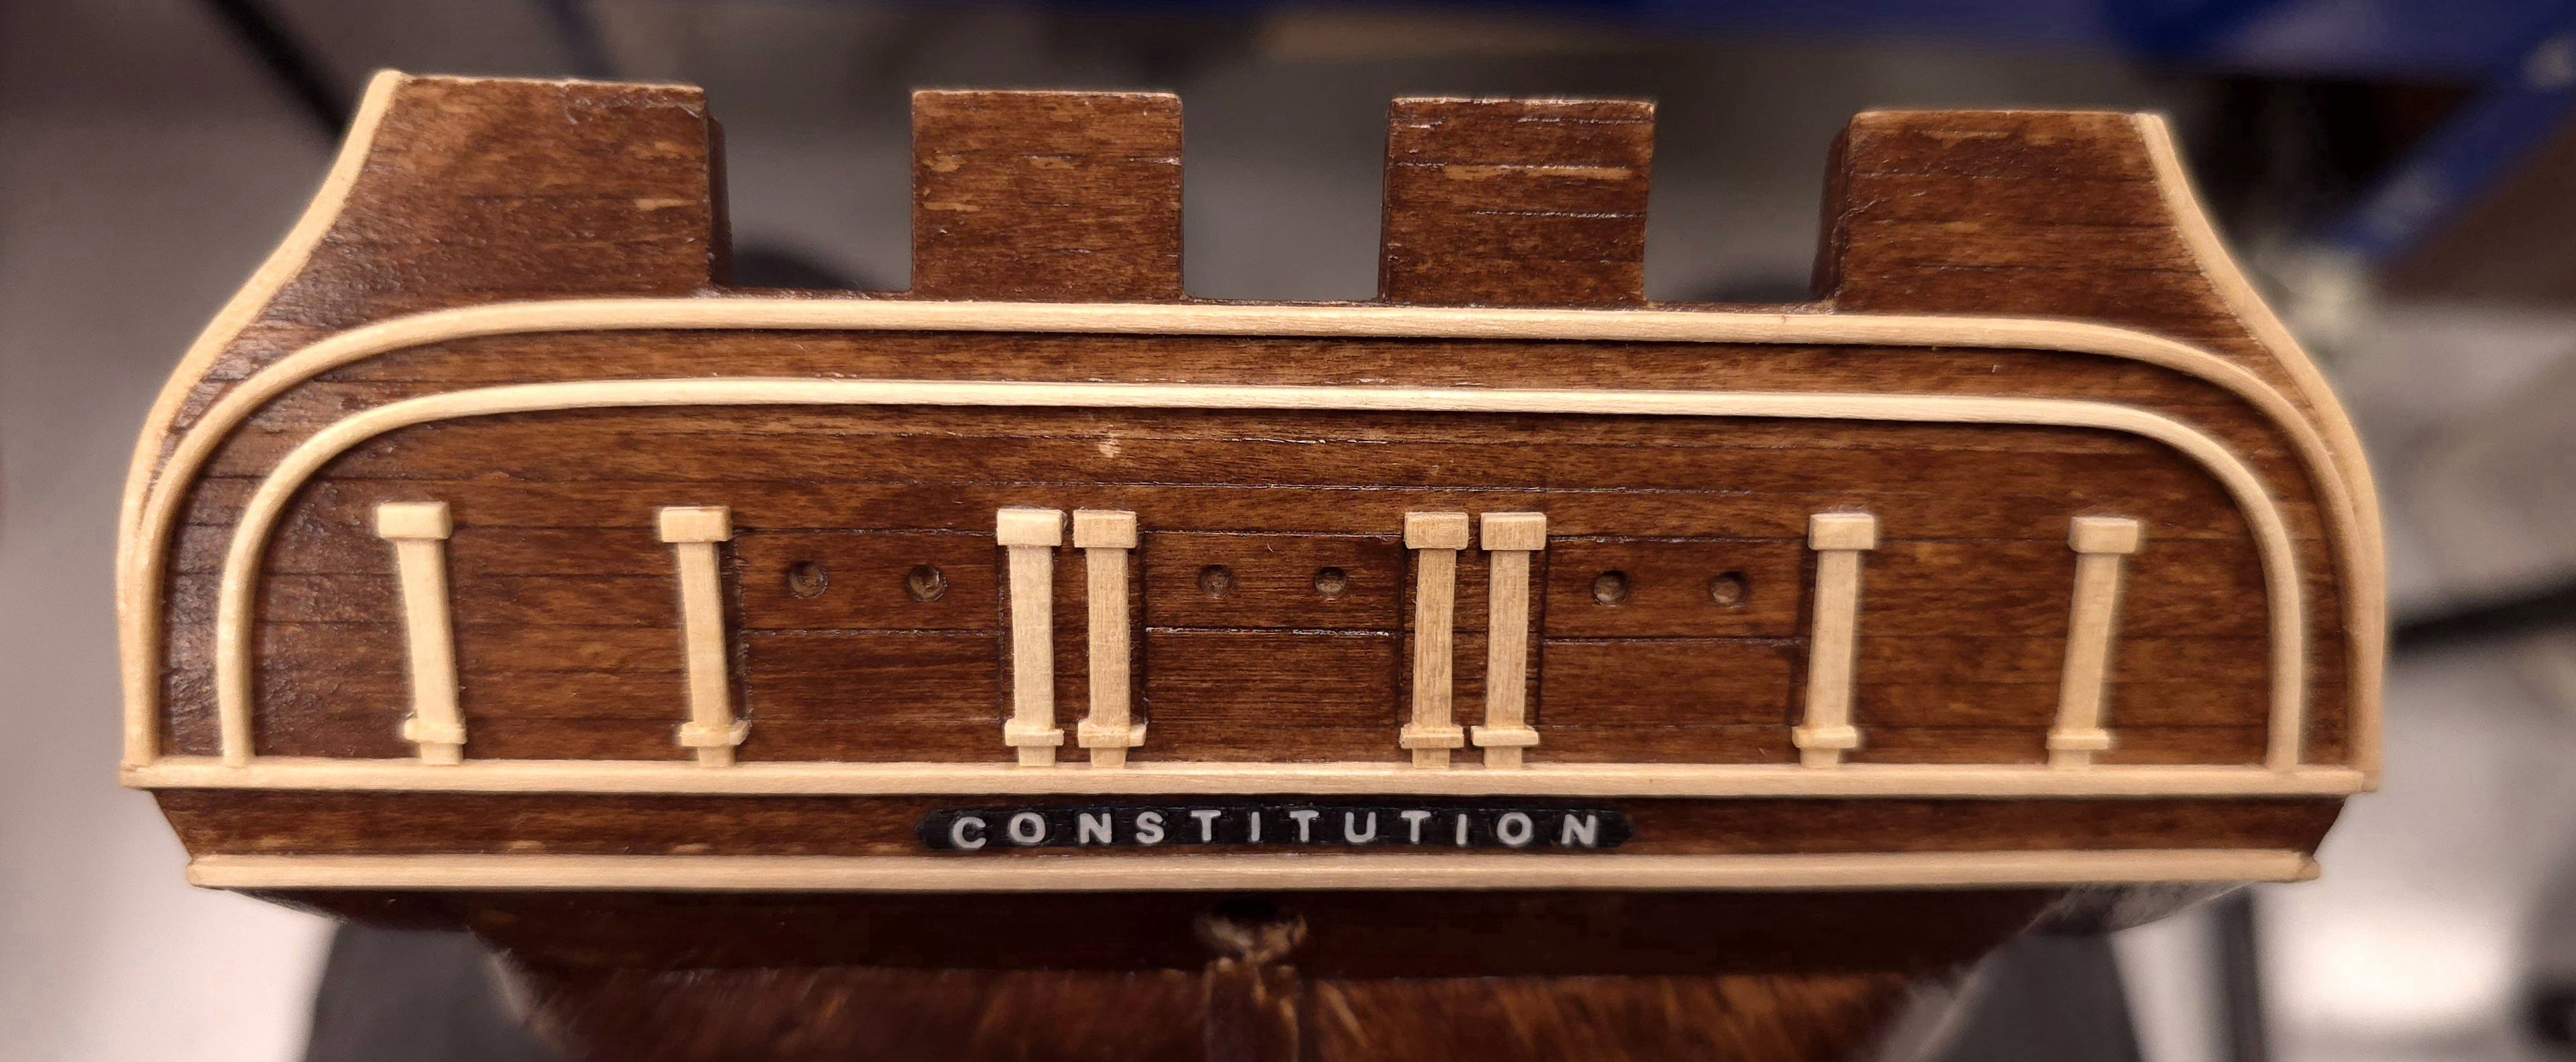
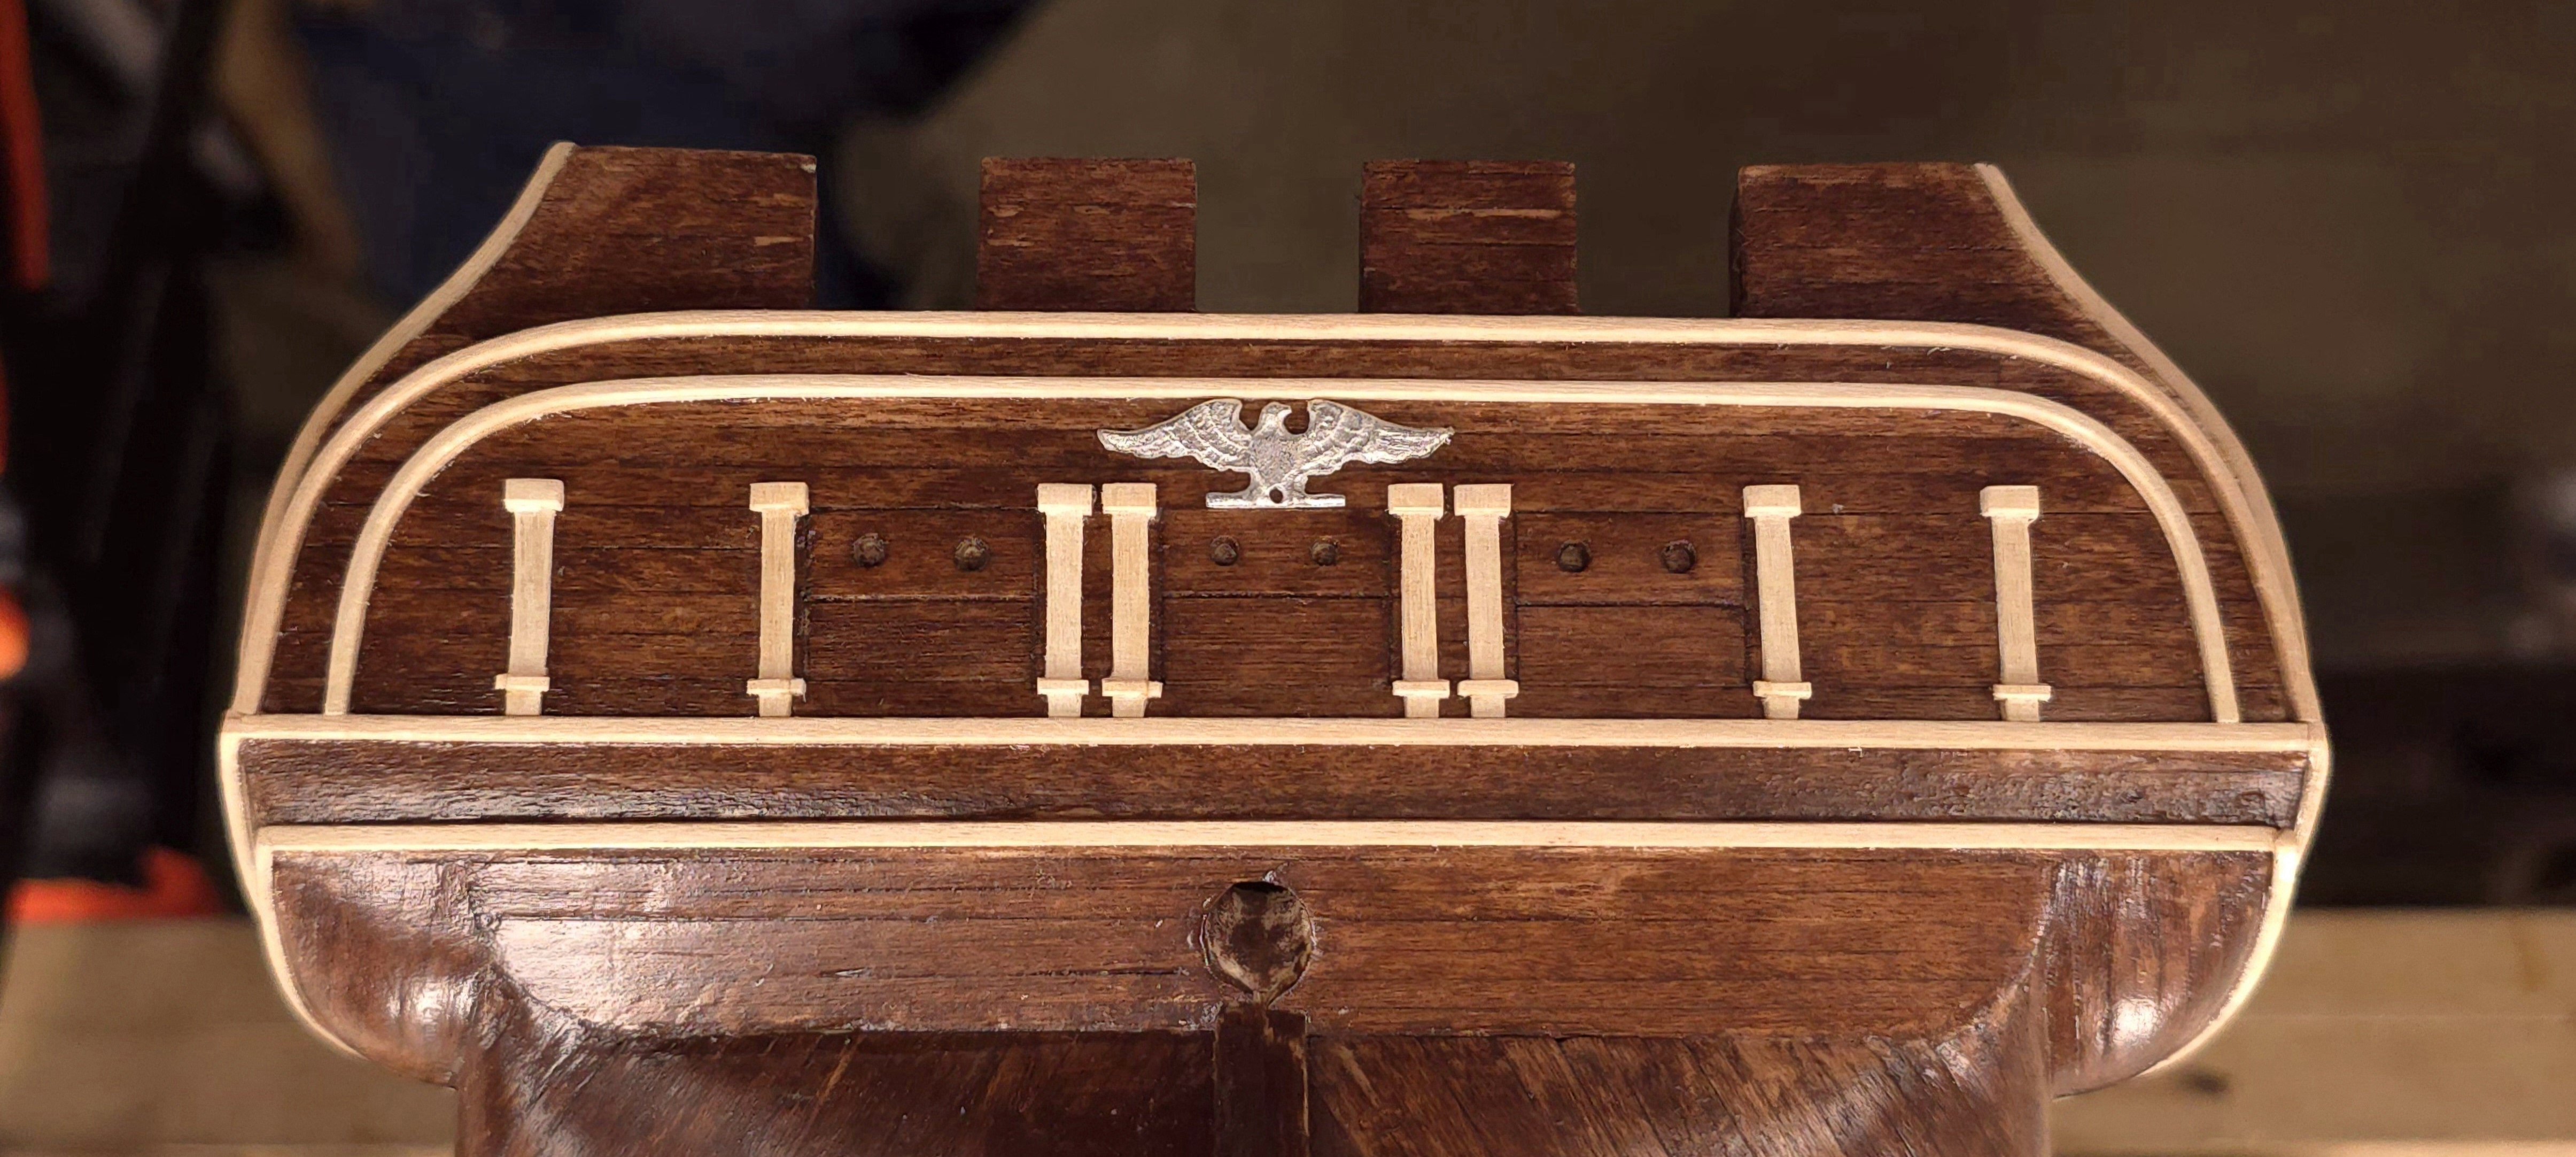
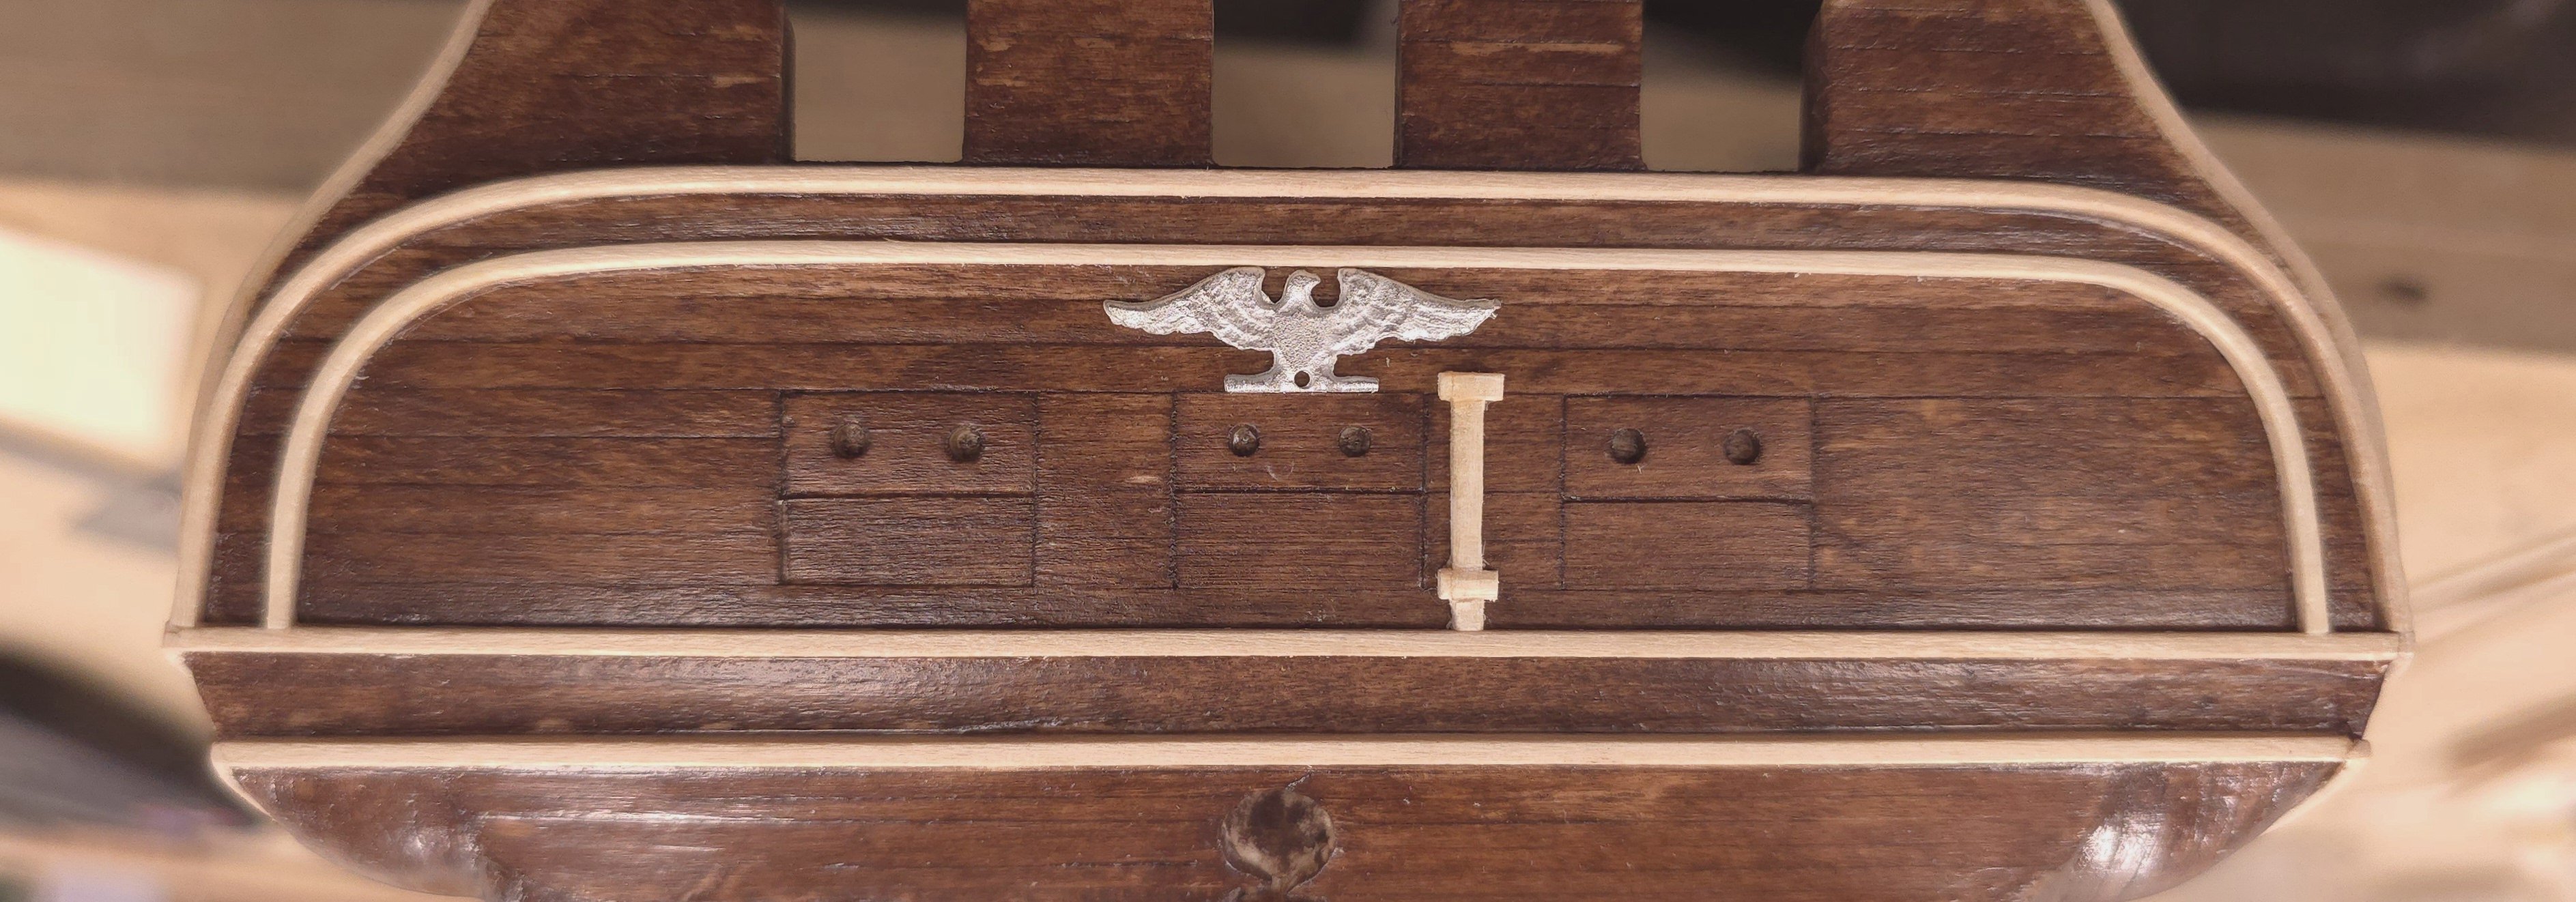
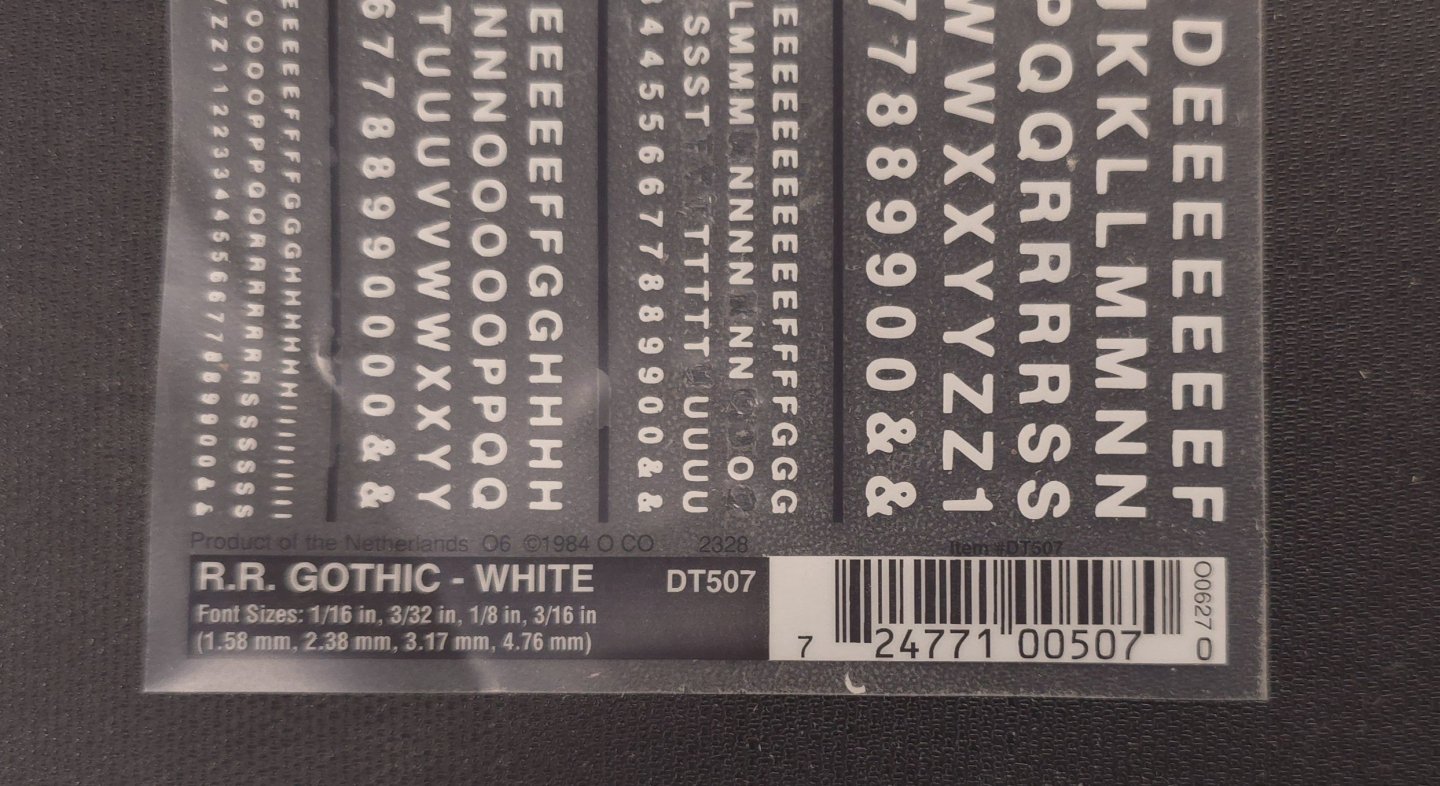
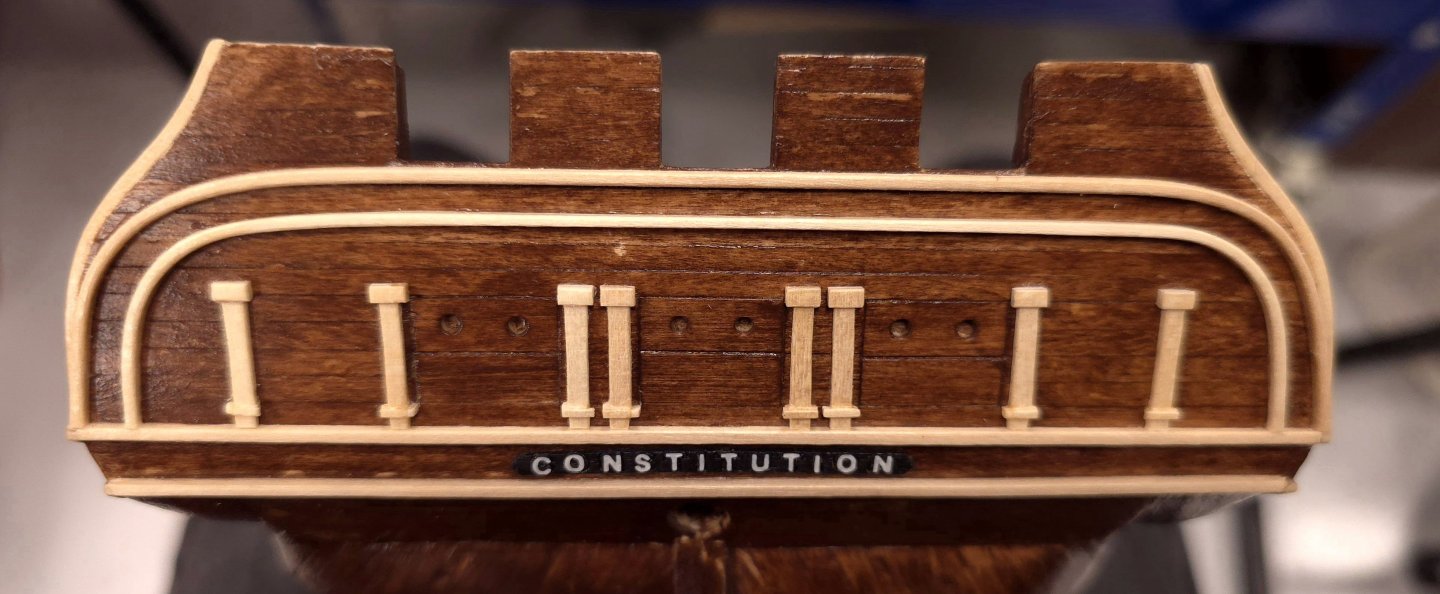
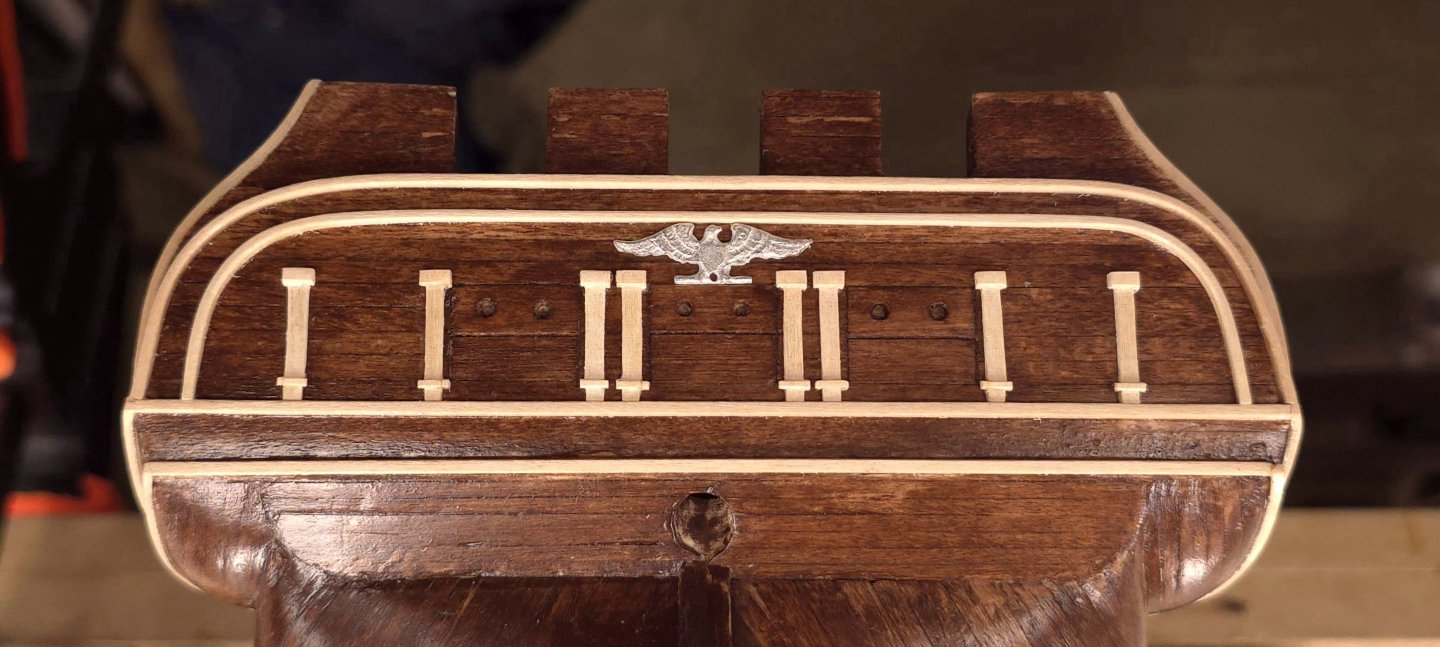
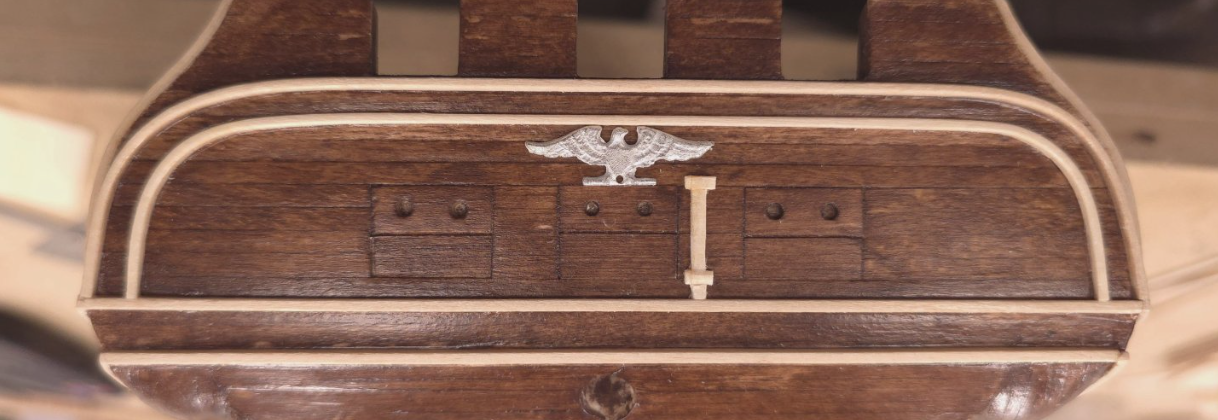
Having been sidetracked with matters mechanical in my Shipyard, I haven't gotten much done in the last few days. Today at least I managed to deal with the Constitution name plate. I took a tip from the Bob Hunt method and obtained the dry transfer decals he suggested using. I didn't see the need to make a separate name plate out of styrene. Instead I just sanded the top of the laser cut piece that came with the kit, painted it, and positioned the dry transfer decals over the outlines of the letters spelling Constitution. Since I already have the black/white contrast on the gallery windows, I thought I'd repeat that theme here, as opposed to staining the name plate. It's a good thing that the dry transfer decals from Woodland Scenics we're still available online.
-
USS Constitution by mtbediz - 1:76
Der Alte Rentner replied to mtbediz's topic in - Build logs for subjects built 1751 - 1800
Good save! -
Whew. I'm glad this is done..
-
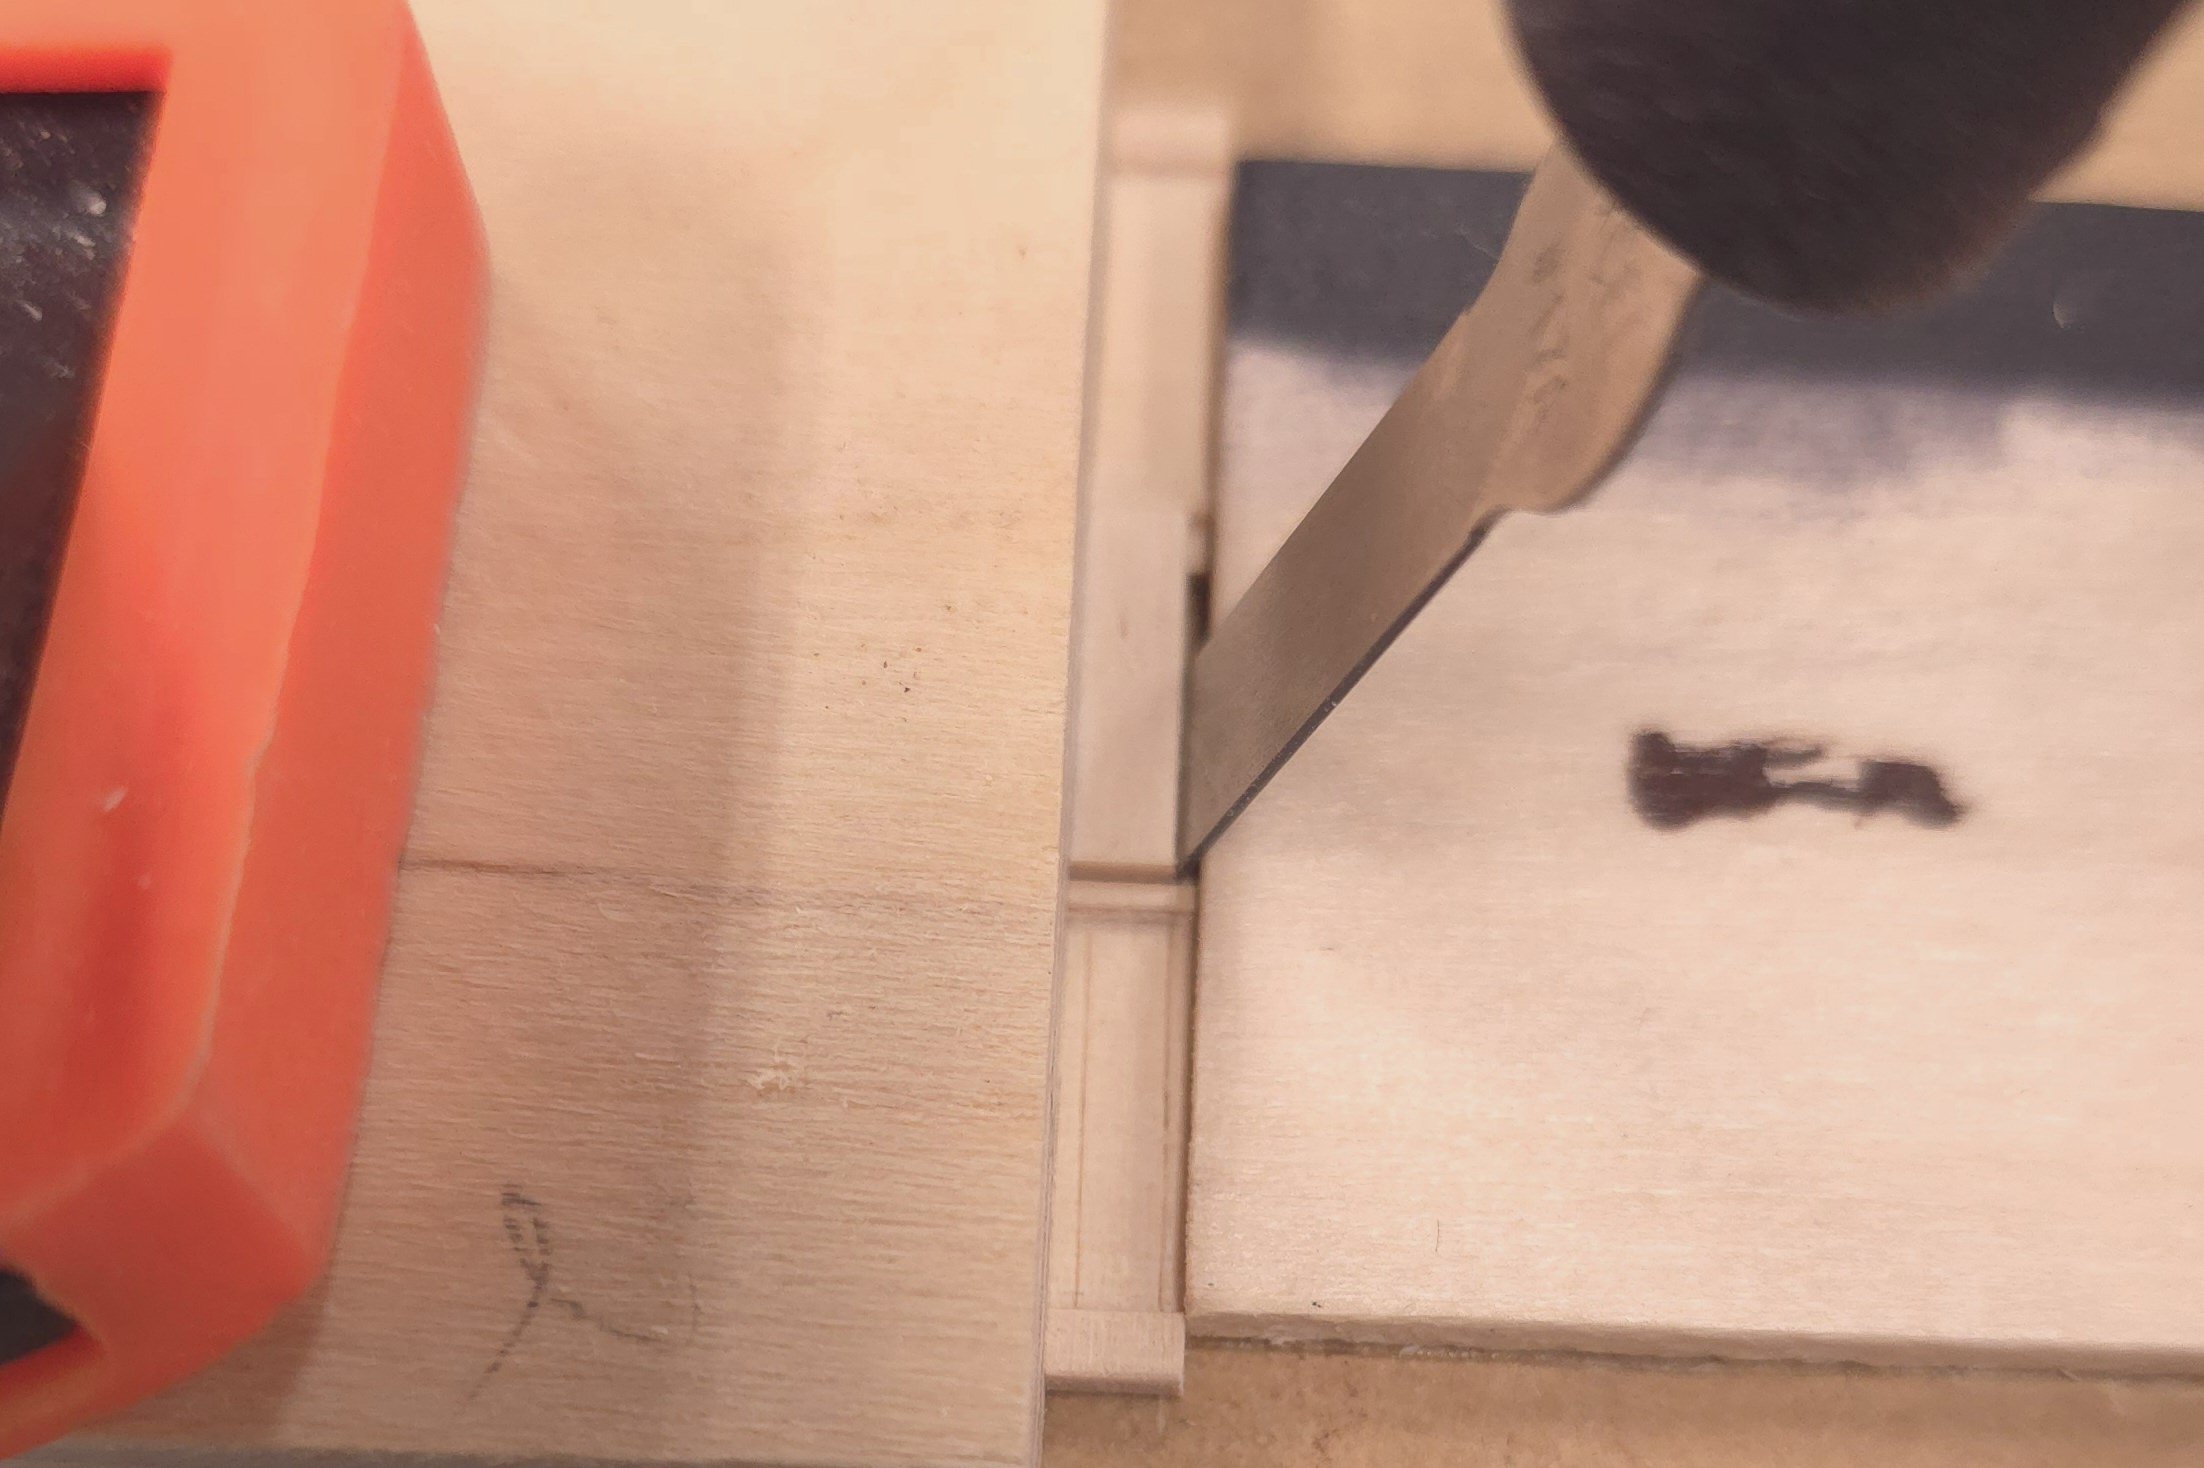
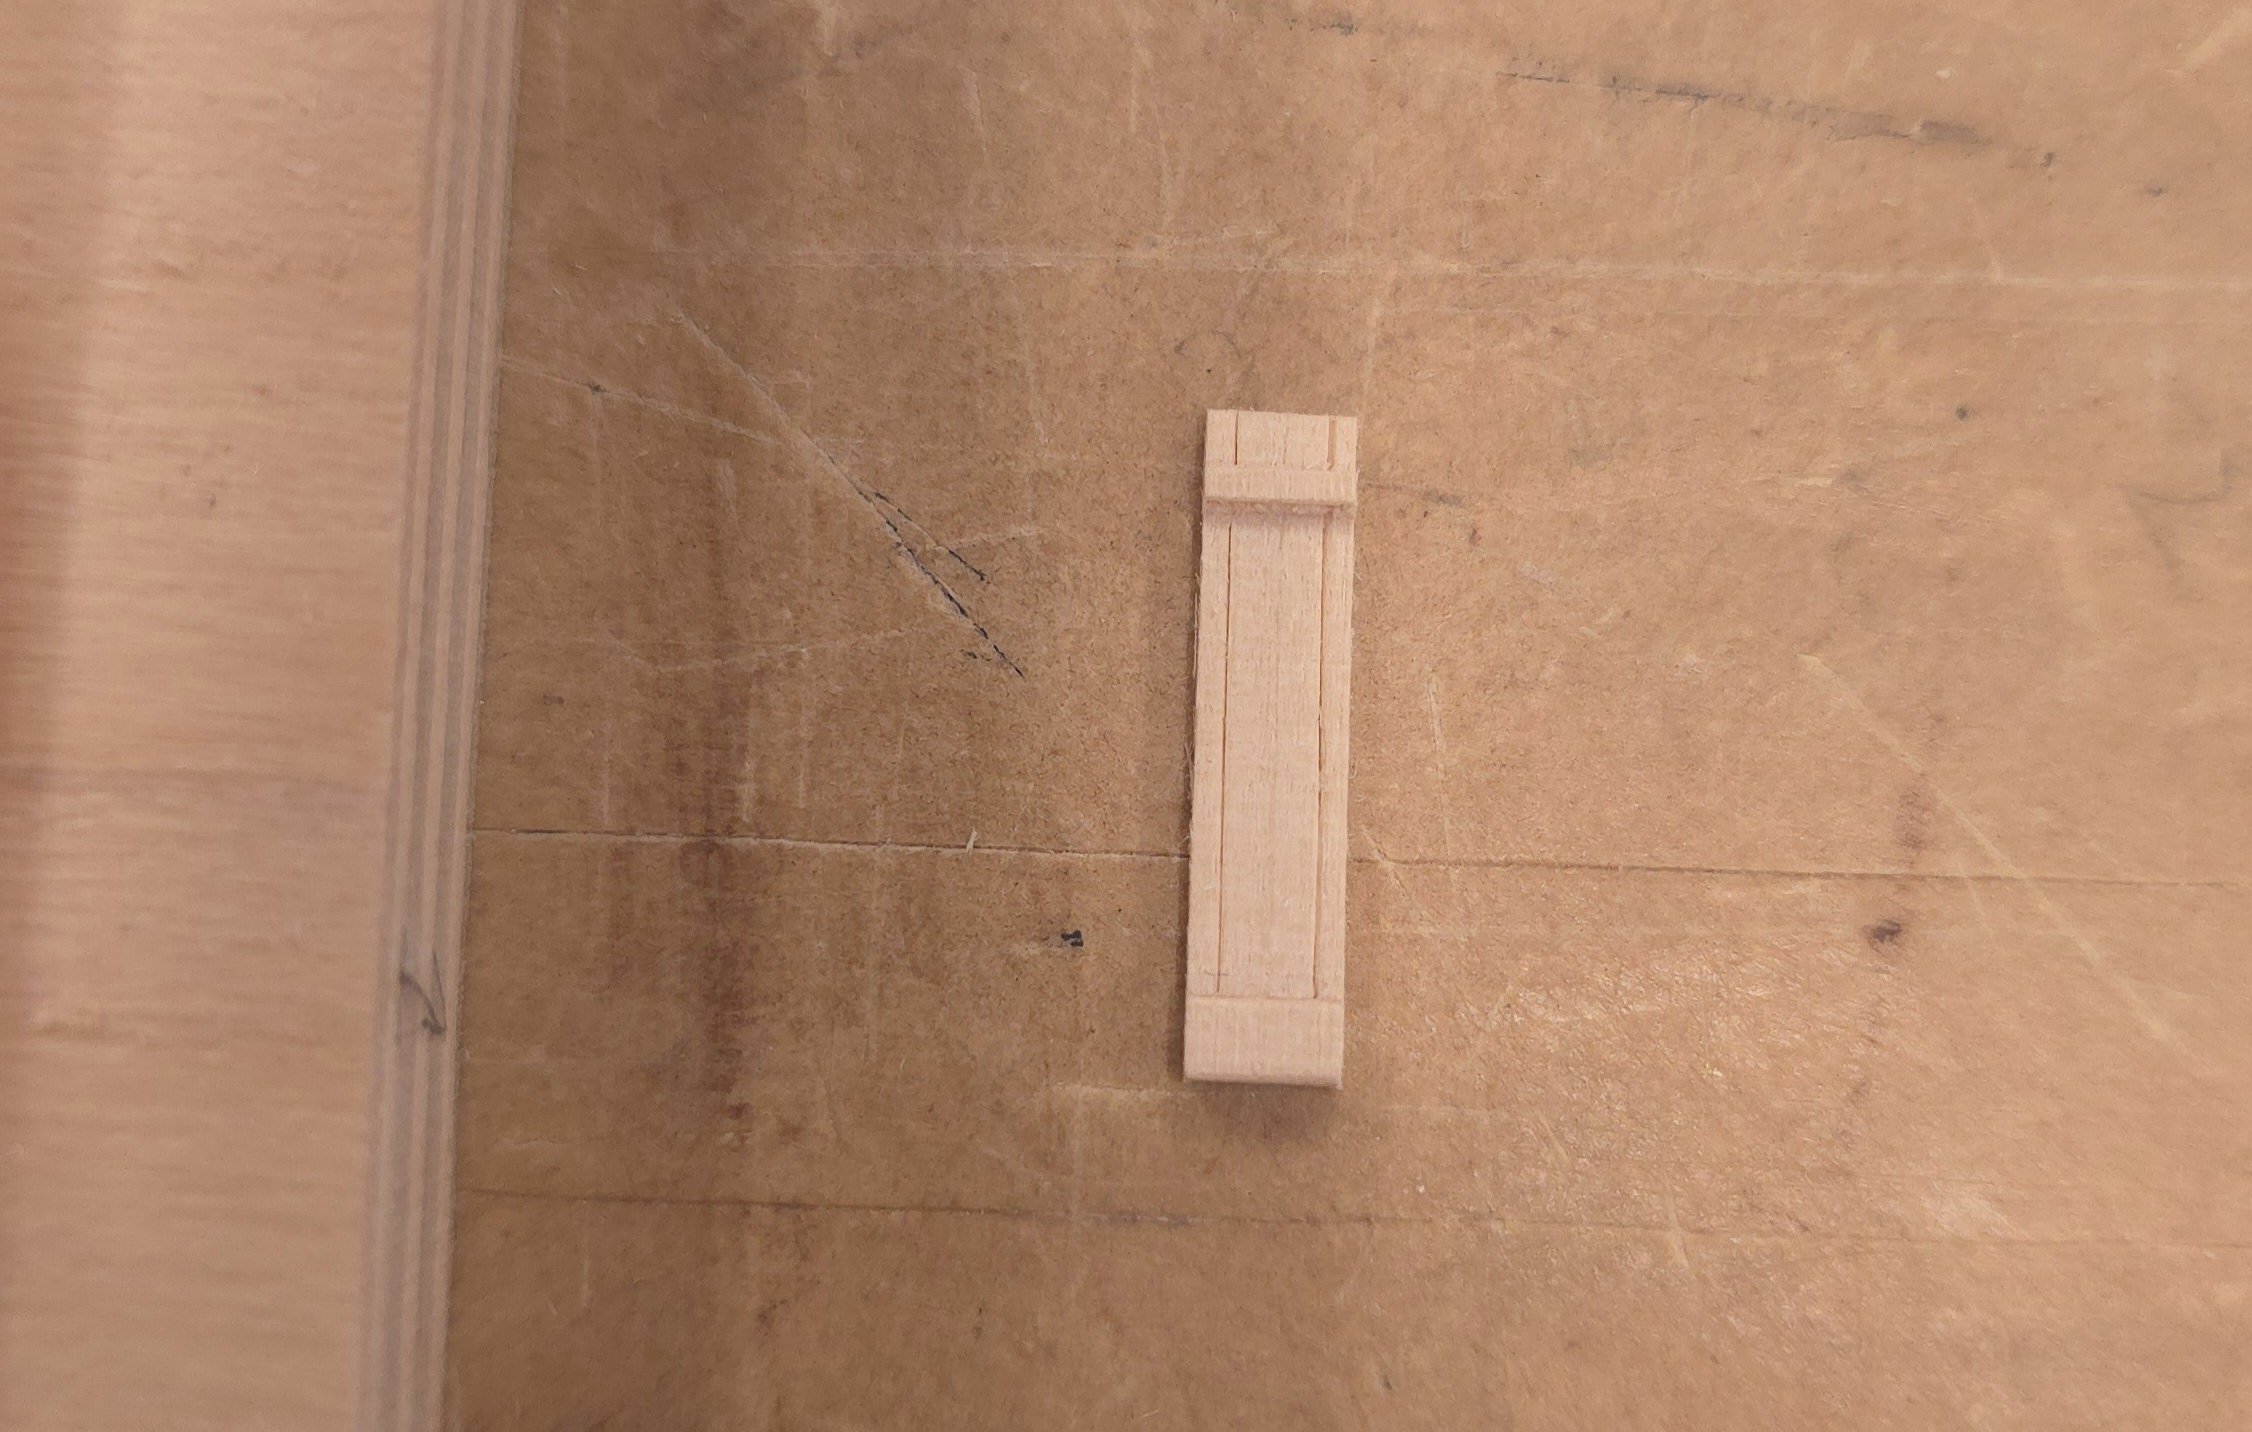
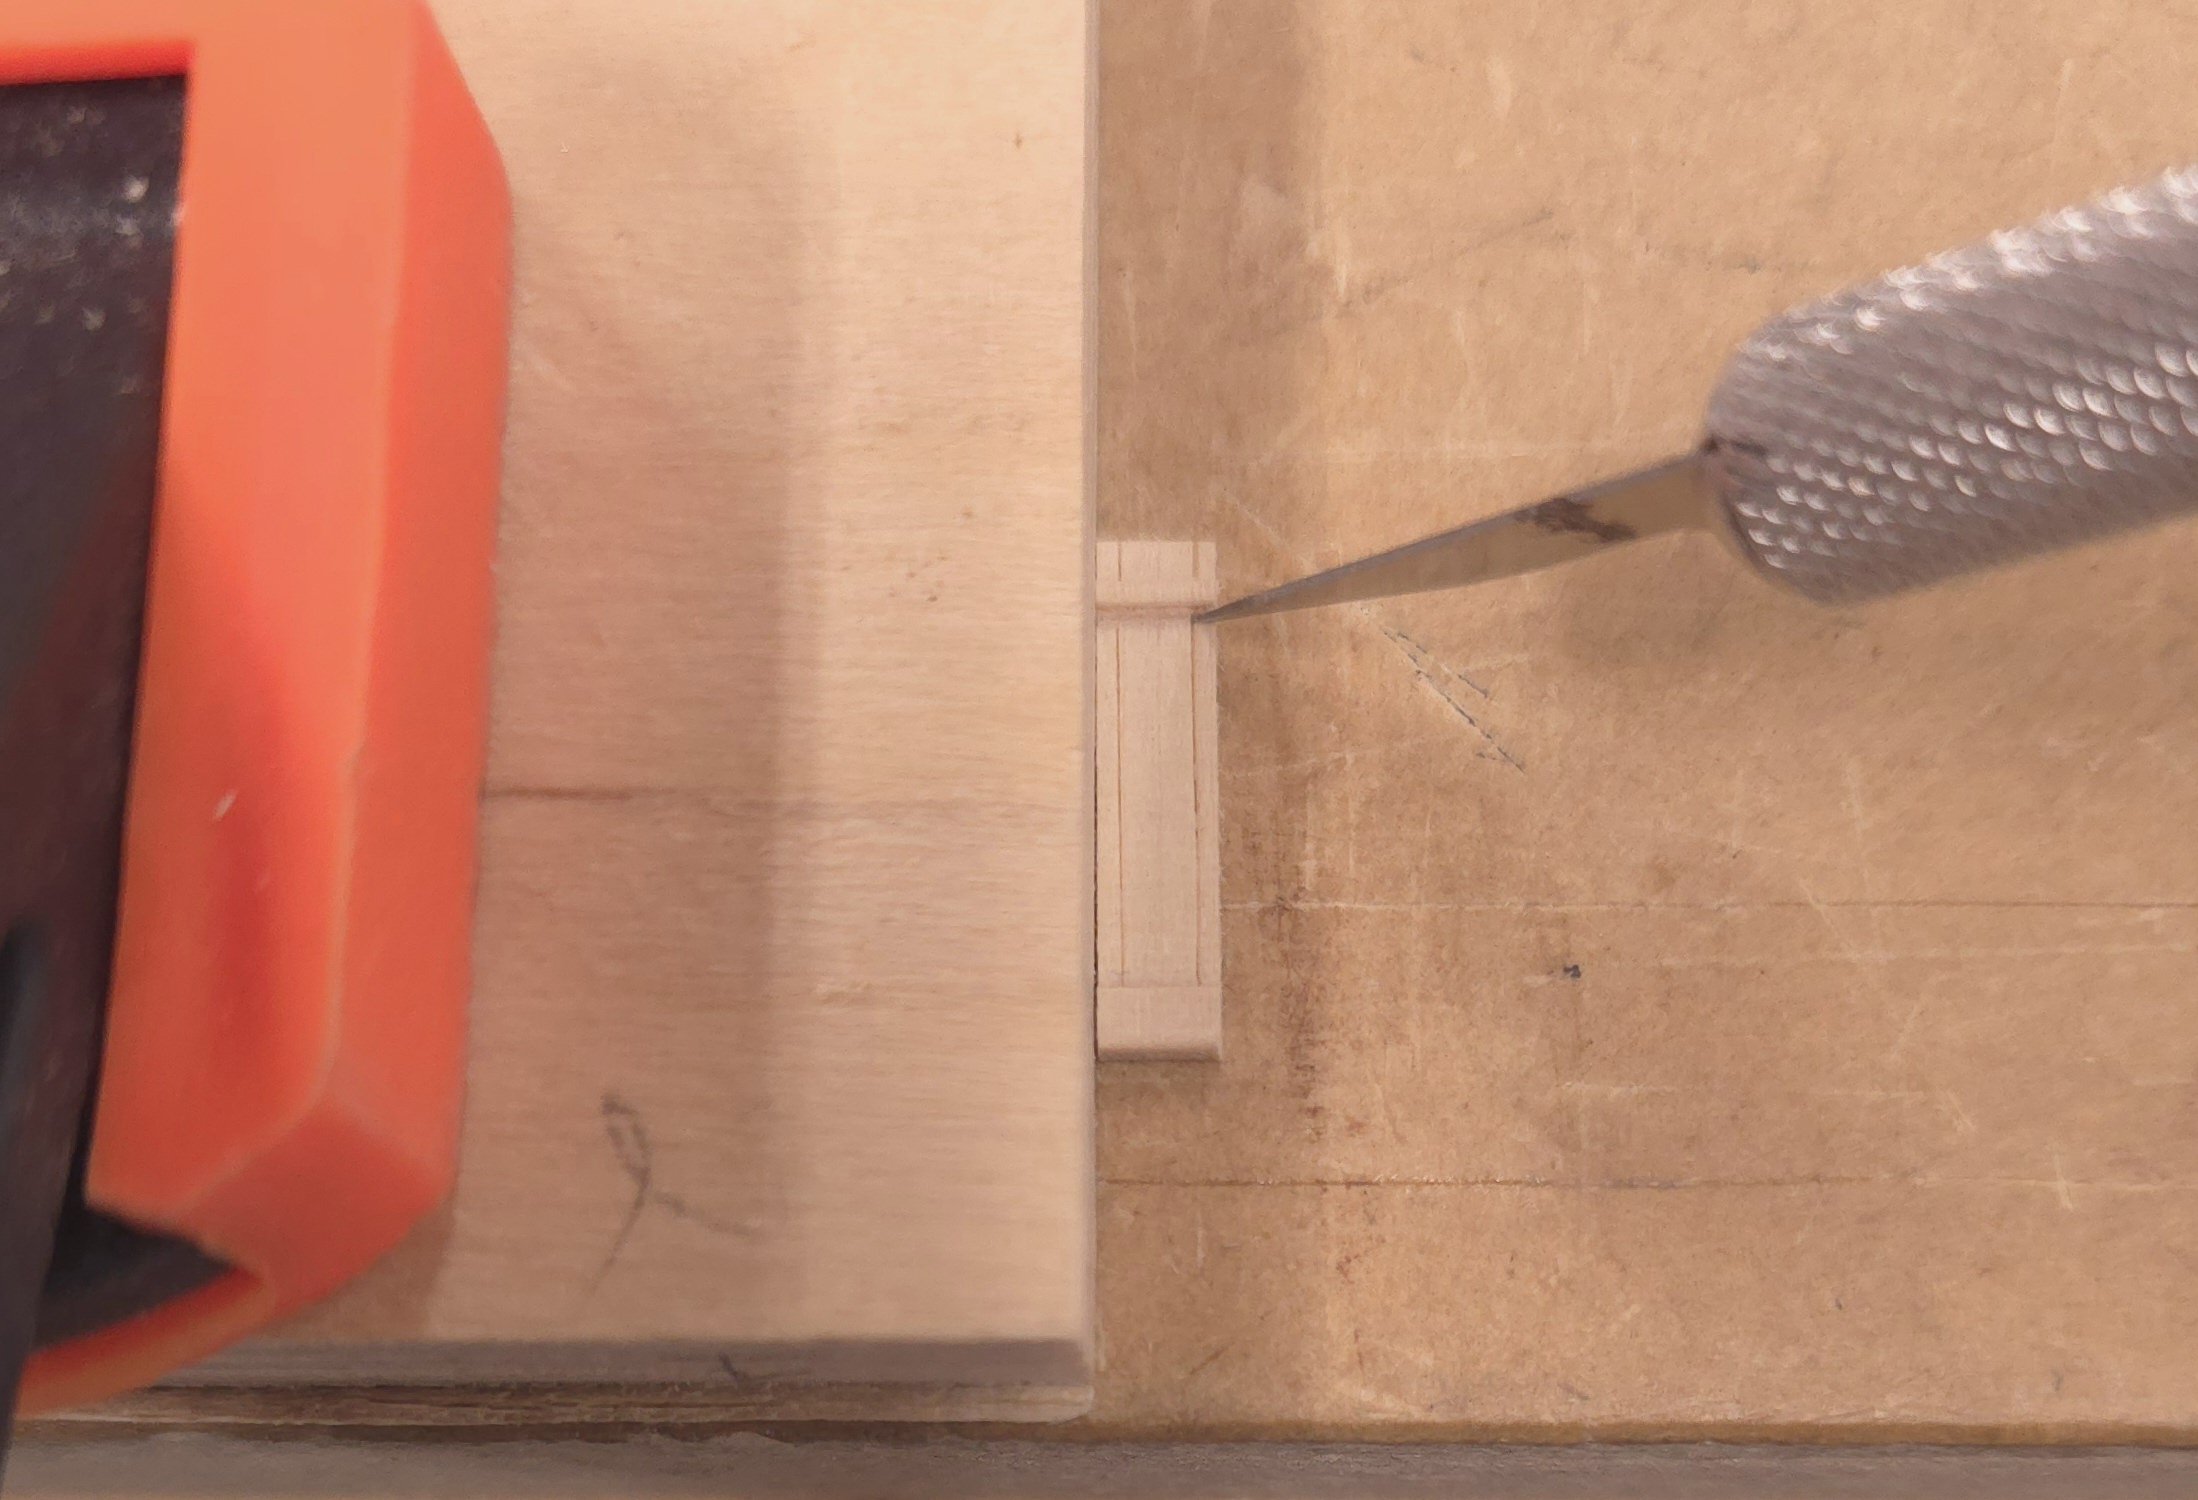
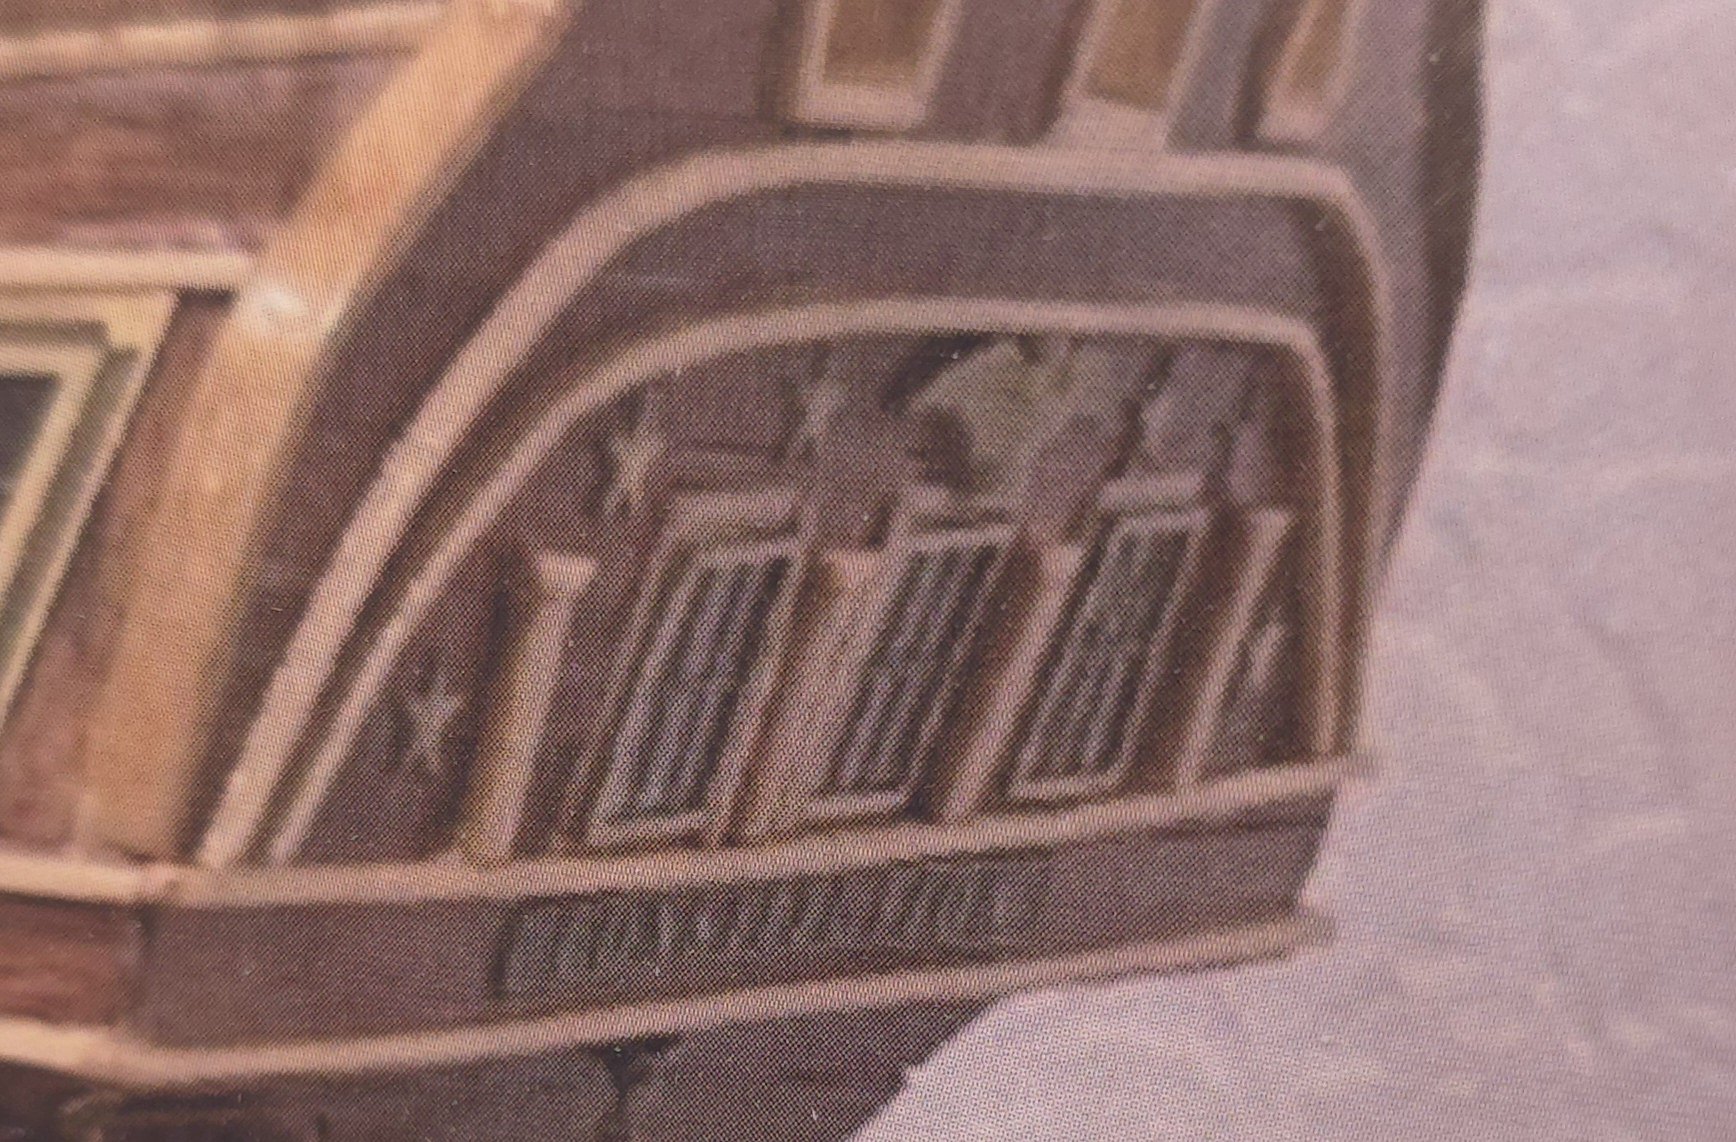
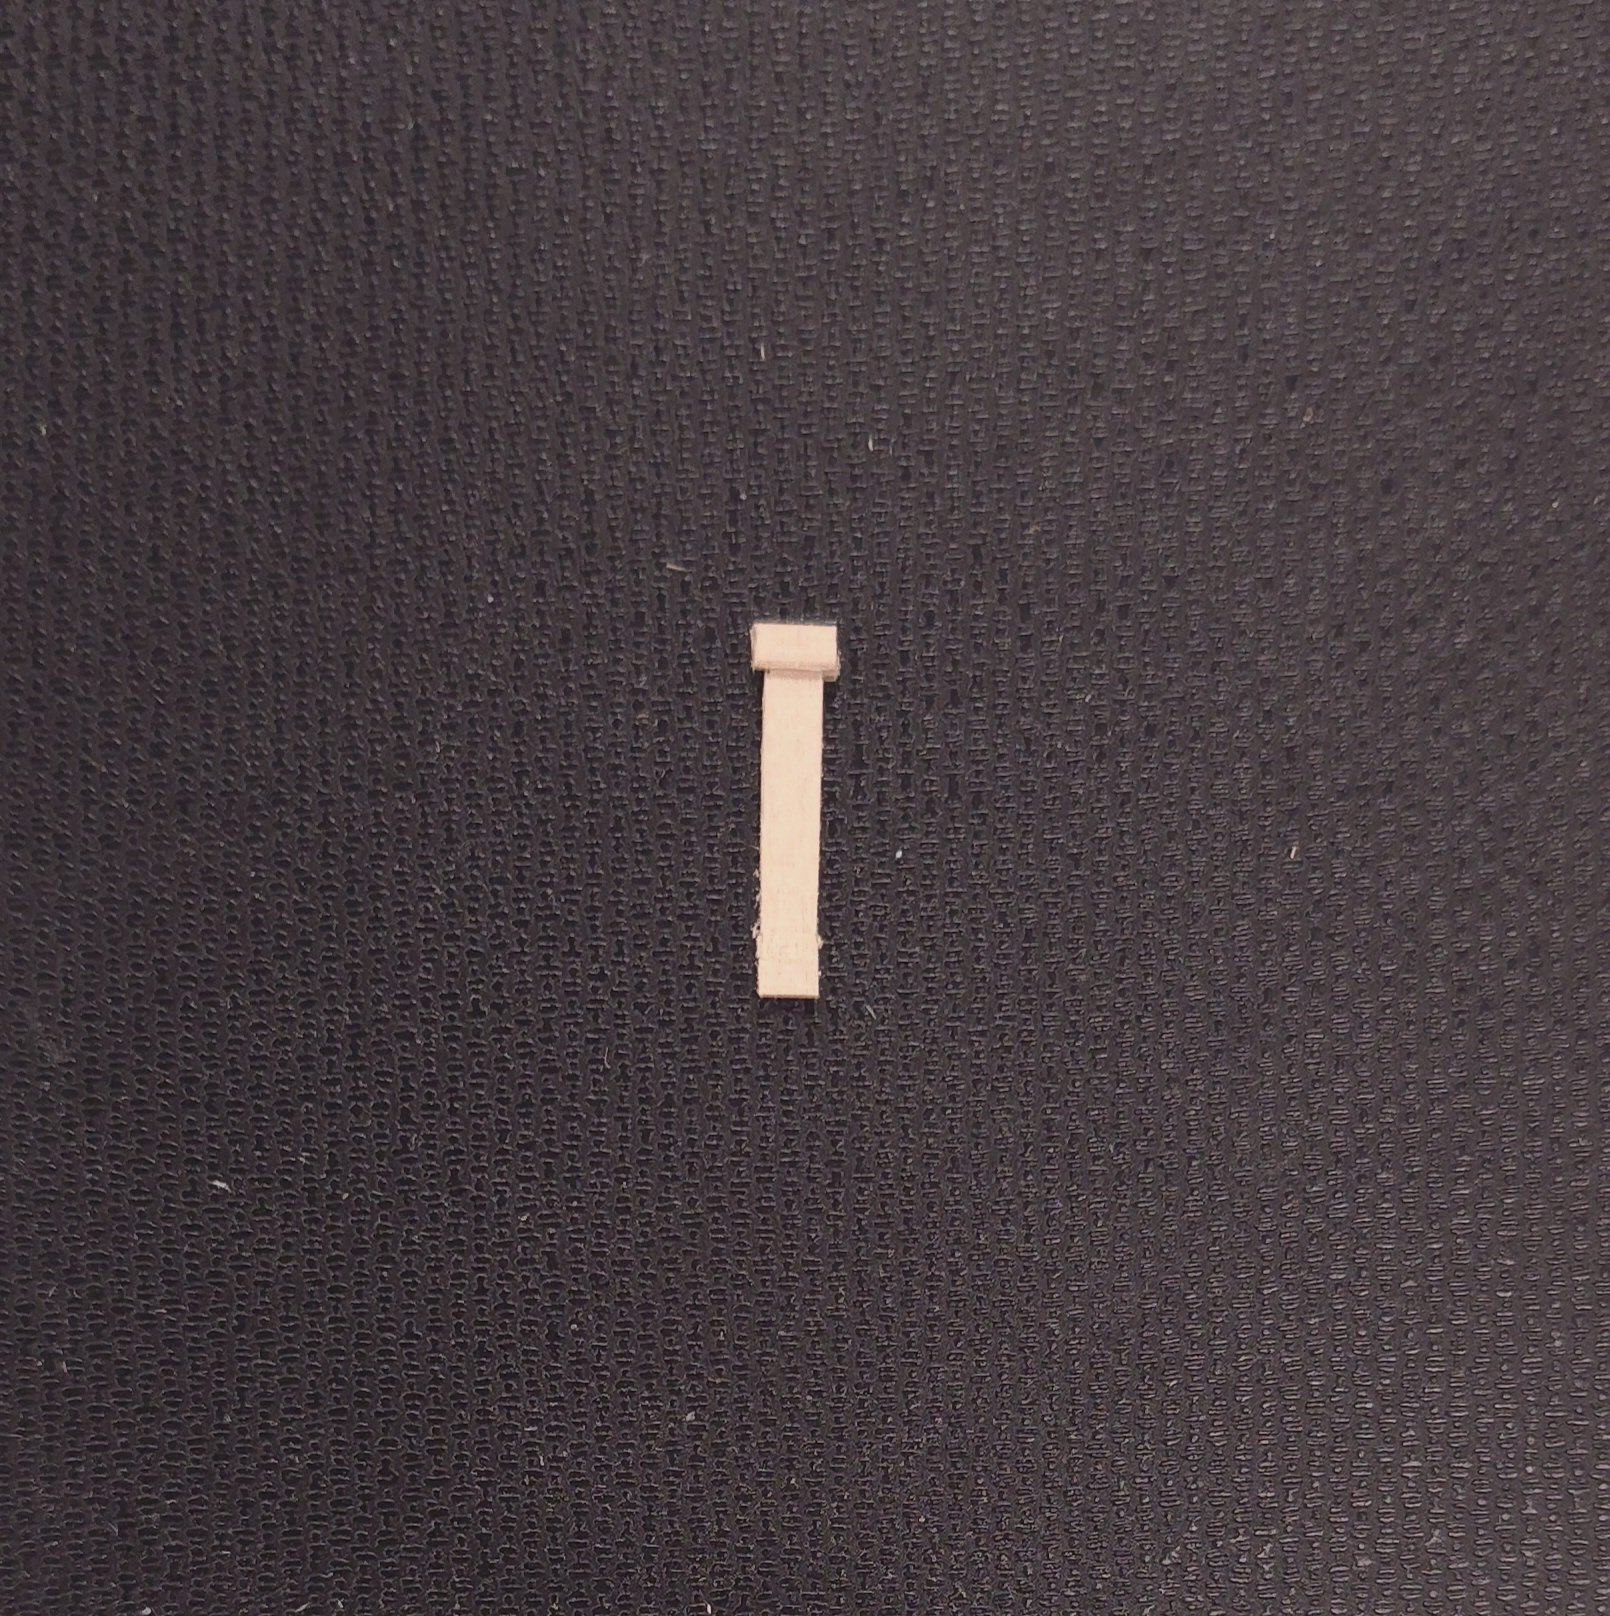
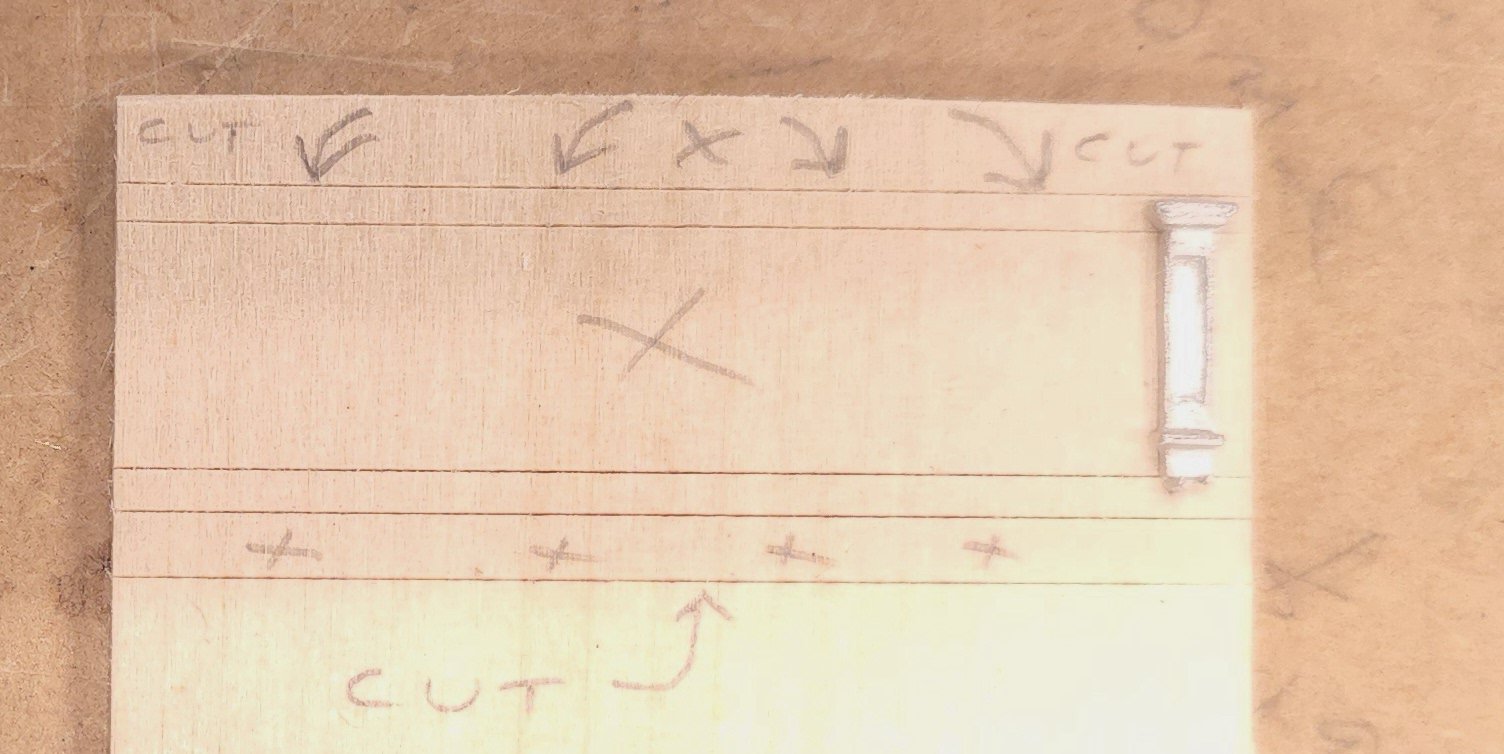
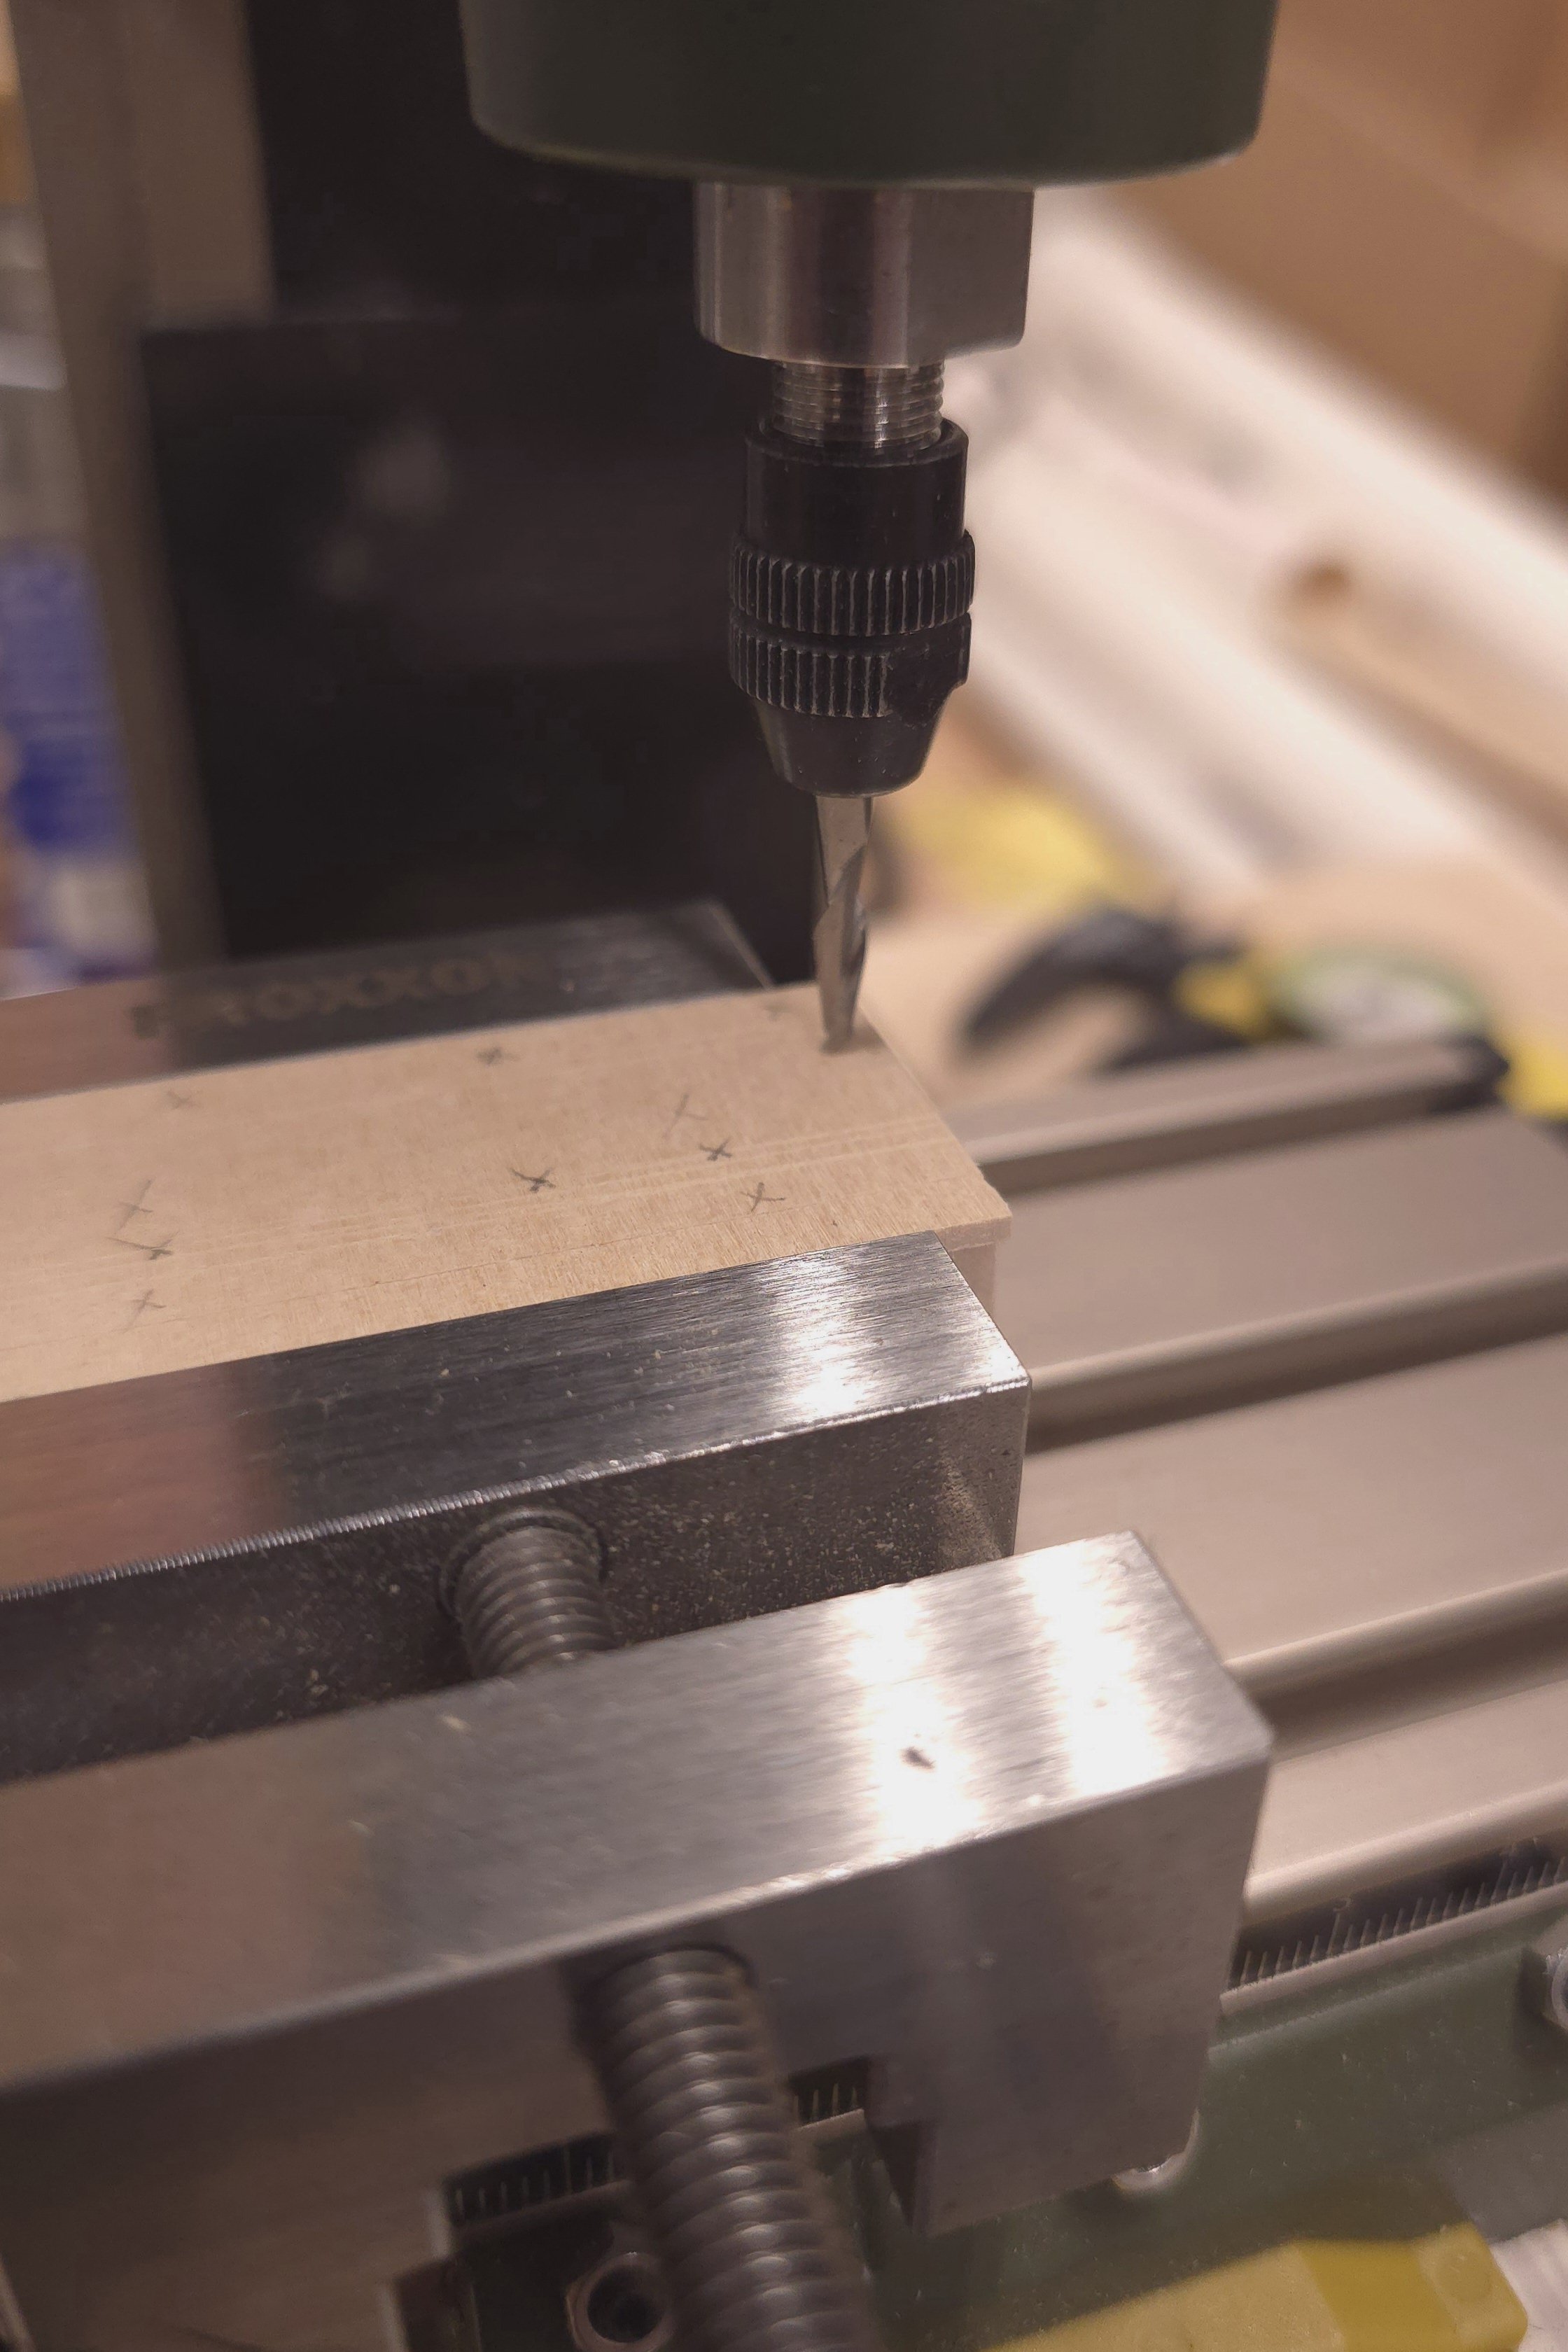
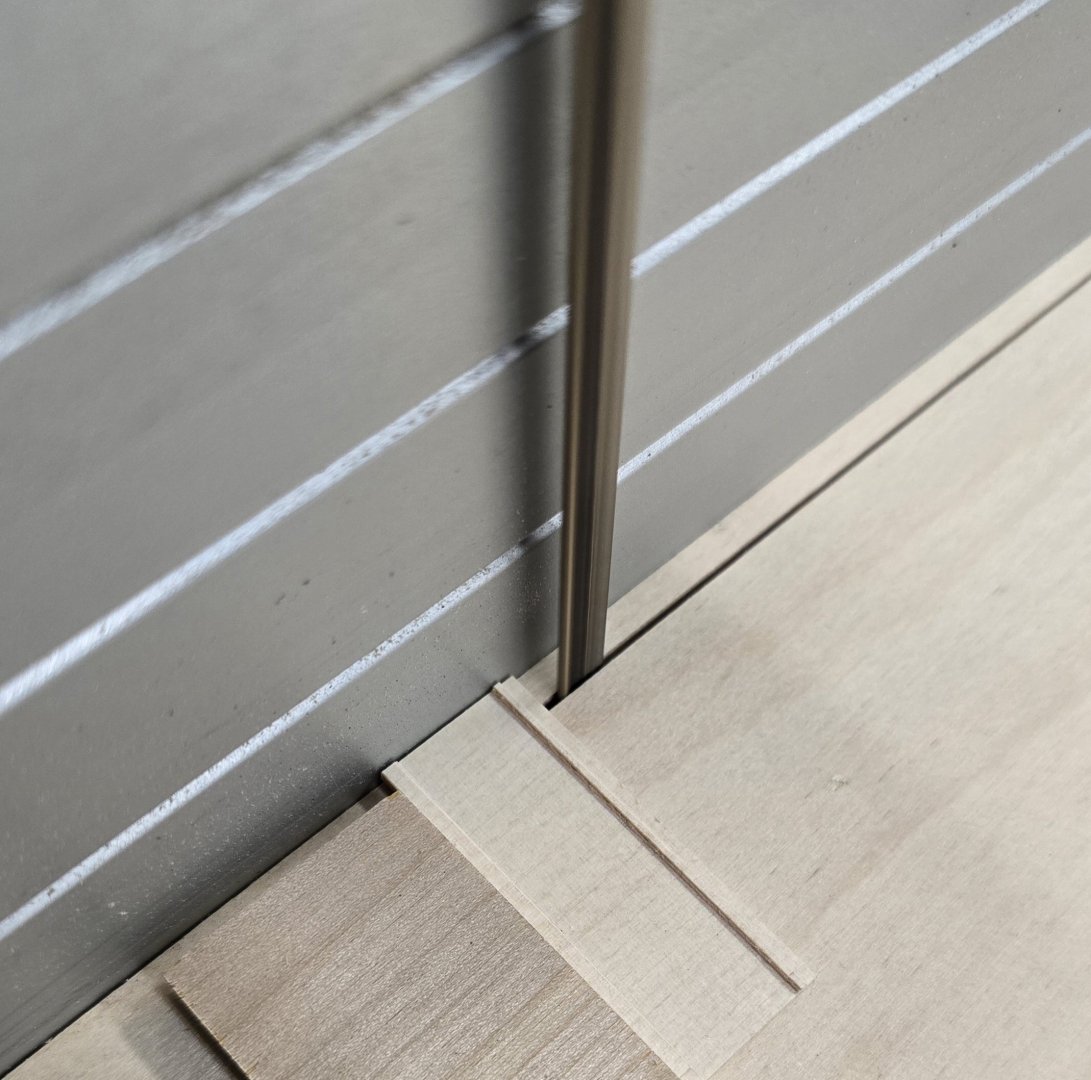
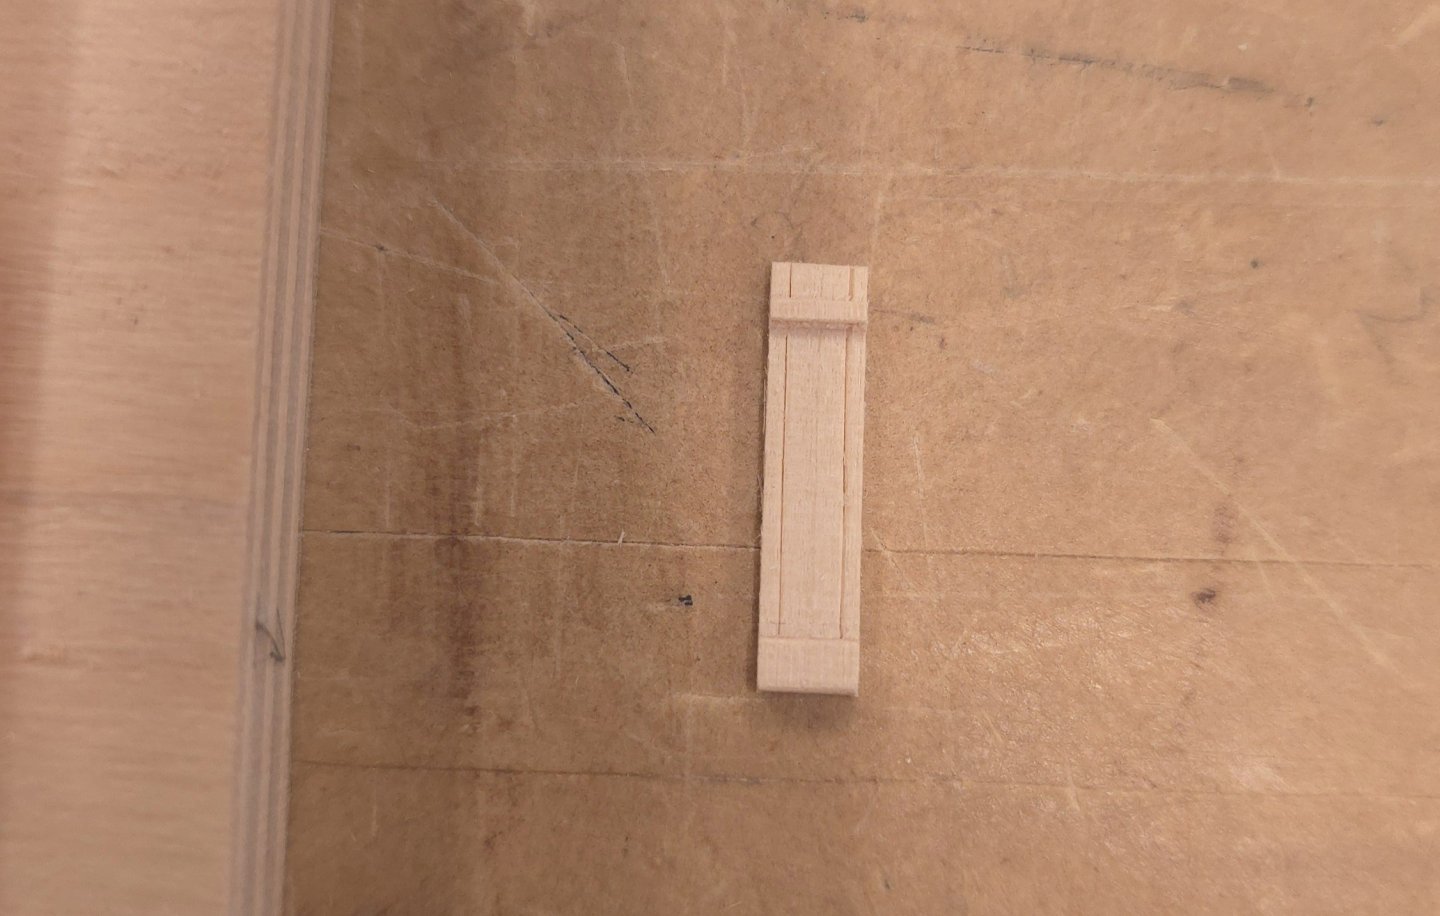
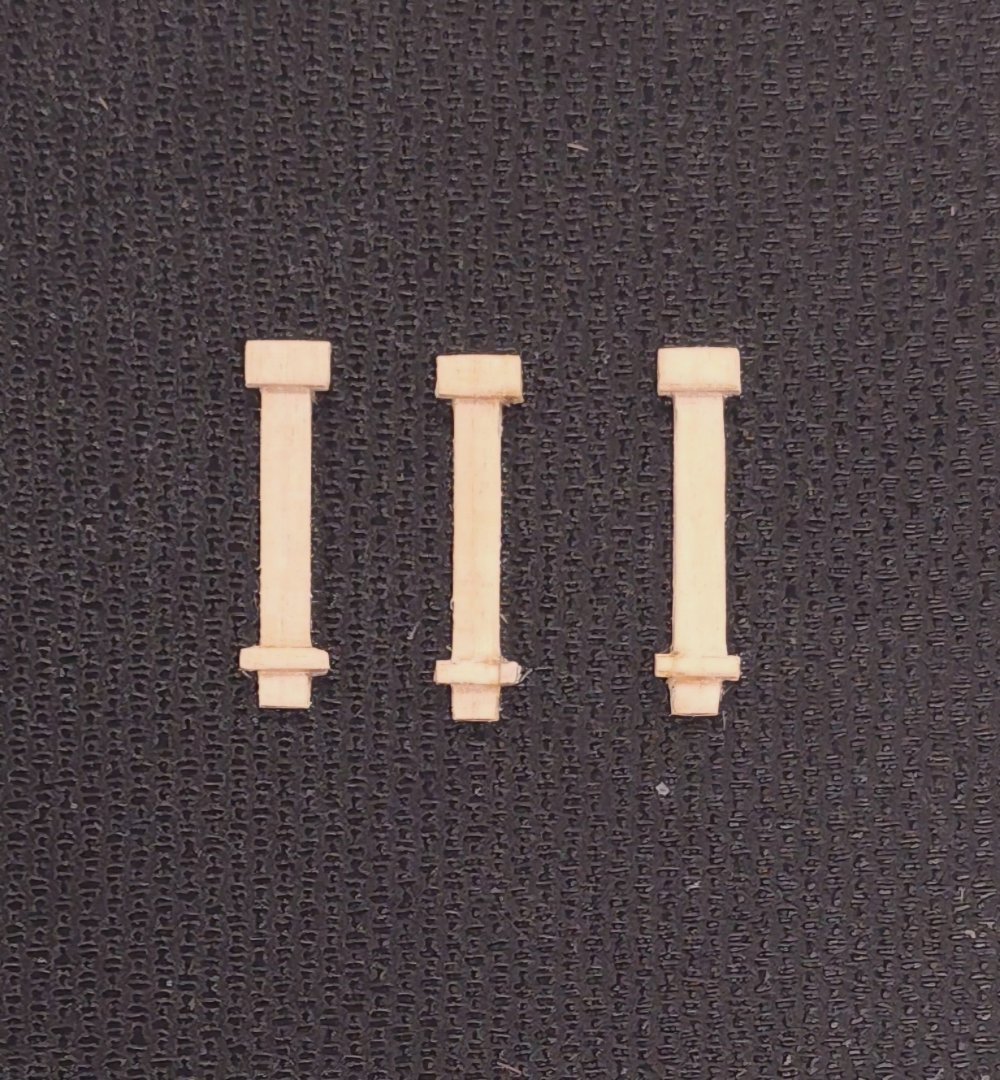
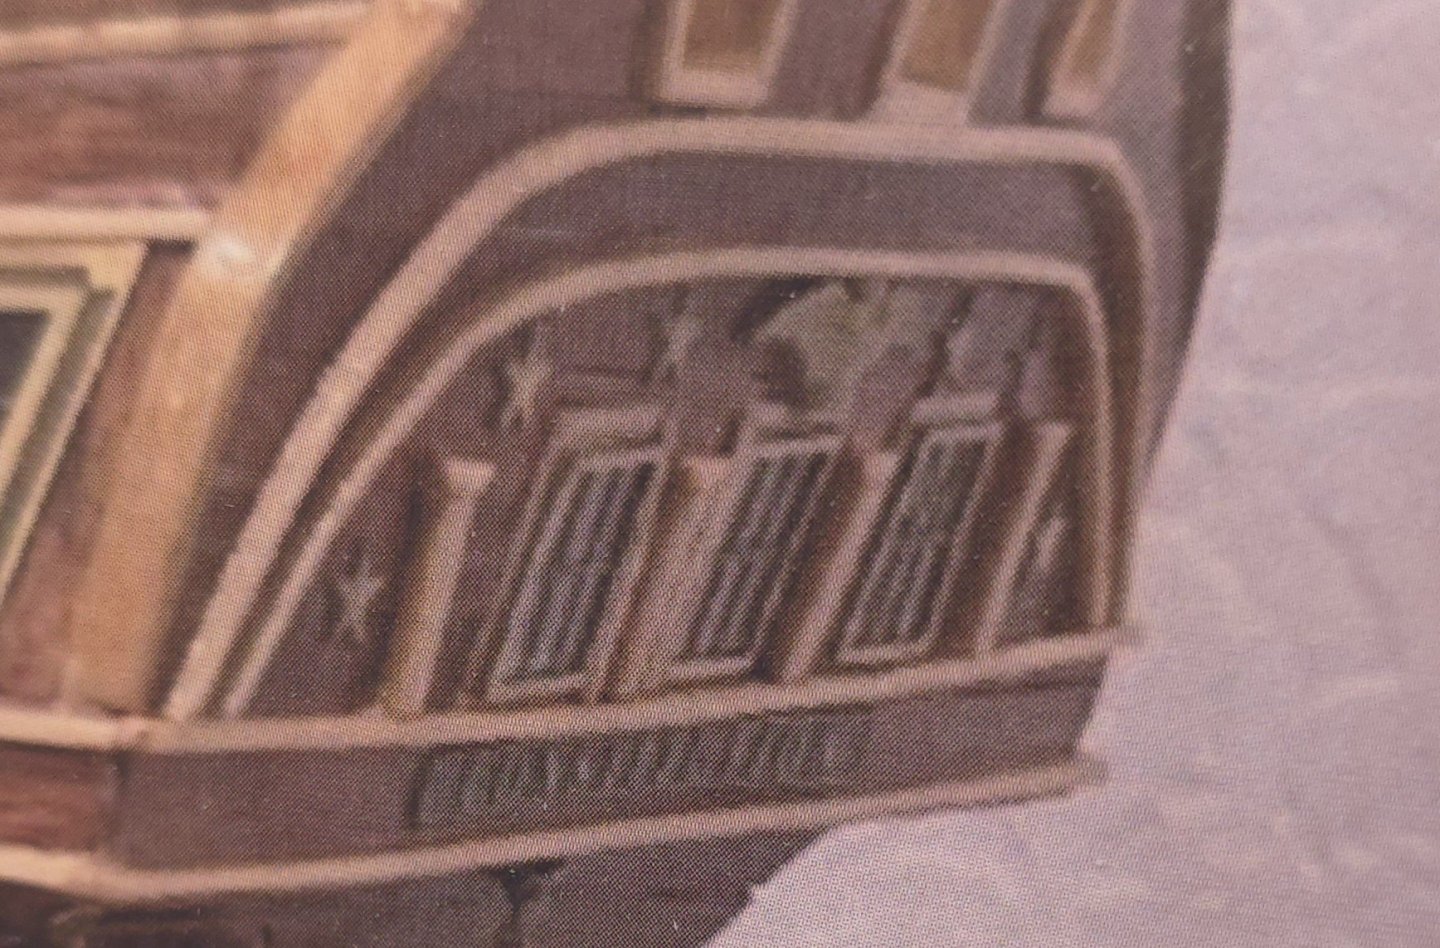
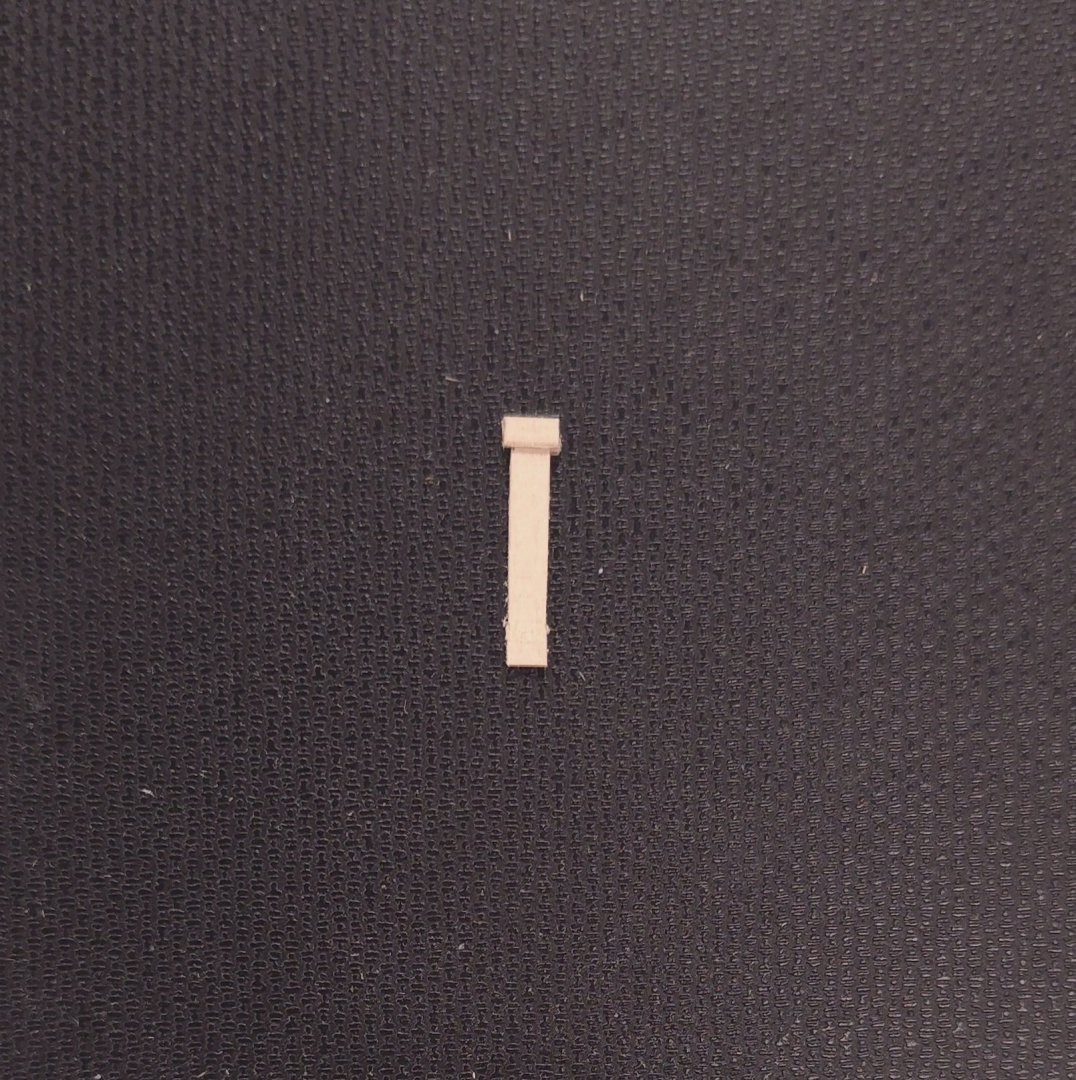
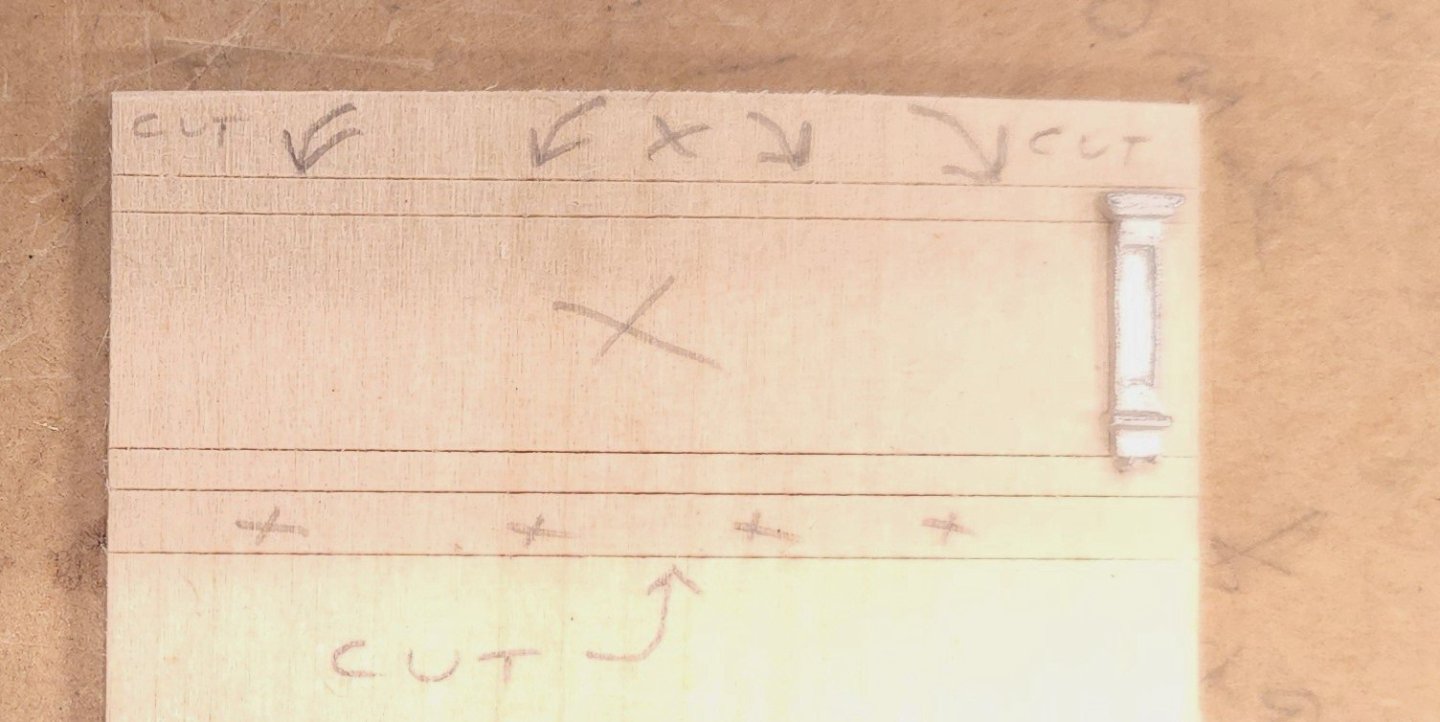
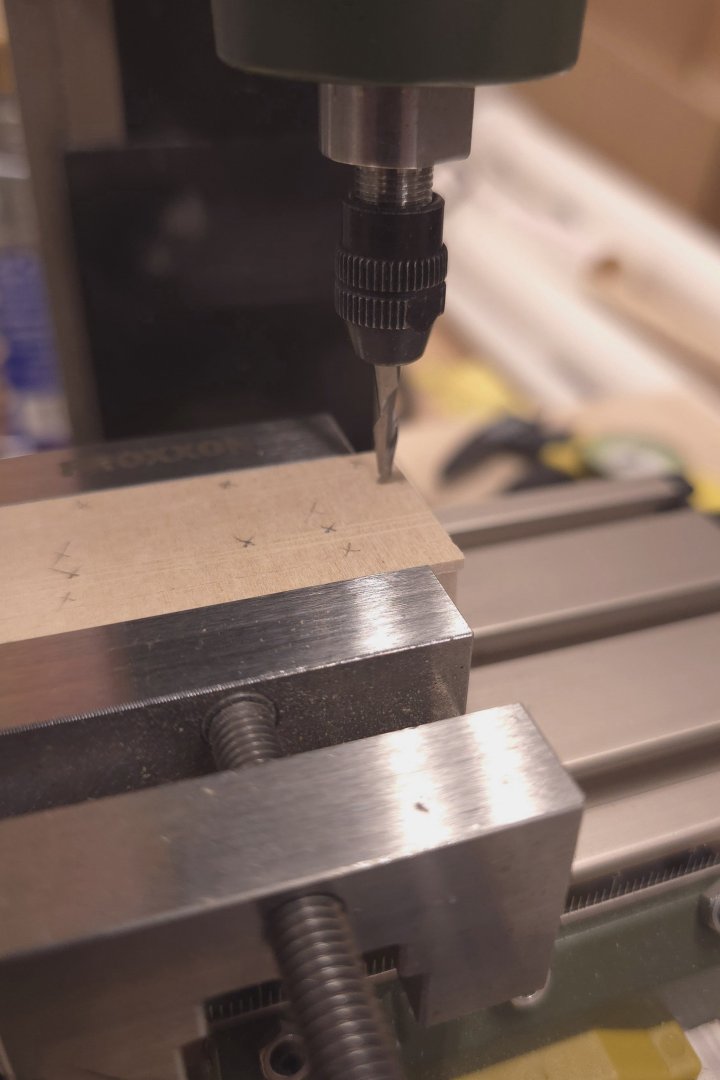
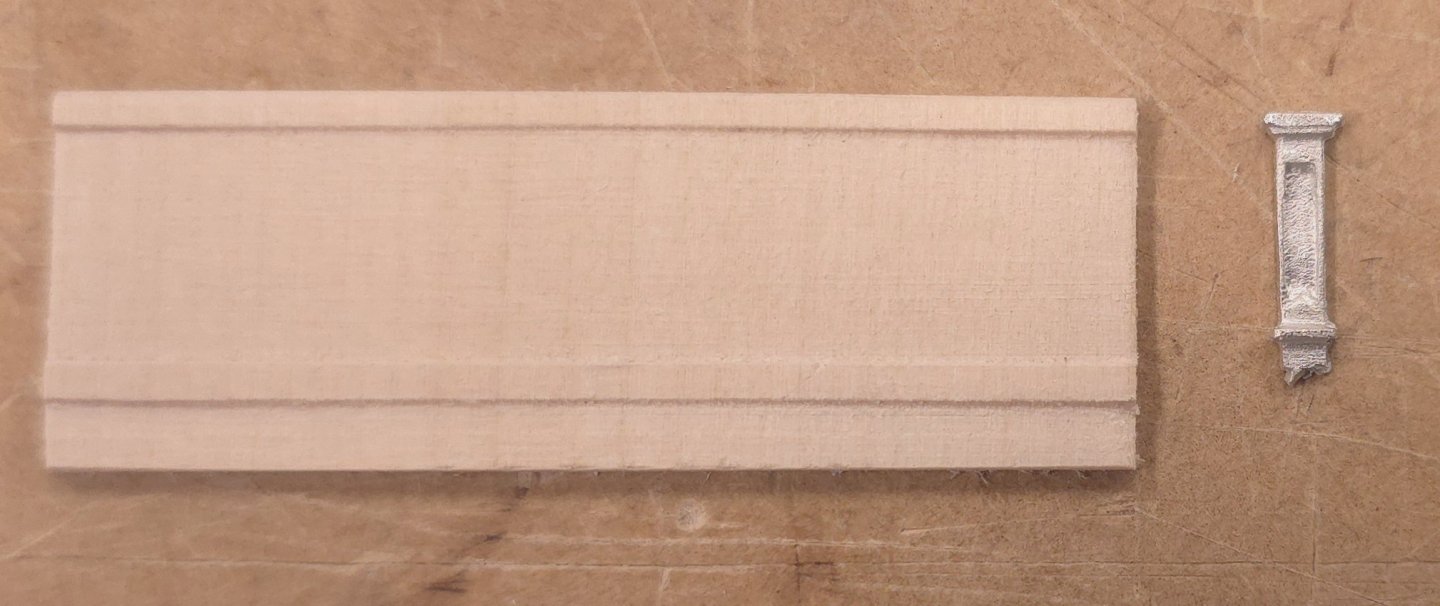
Trying to construct these pillars from the boxwood left over from planking the deck was problematic. And with the boxwood this close to the curved Basswood molding, the difference in materials was notable. Therefore I used the same material - basswood, and procedure to start making more pillars but with a narrower bottom cross piece. Time consuming work to be sure.. I use the same milling method I used yesterday, but narrowed the strip for the lower cross pieces. Using a spacer, I made marks where I needed to remove material. Then, ever so carefully, I pared away the material for the indentations. Despite supremely careful handling of very sharp tools, breakage occurred on every piece, requiring repairs. If this continues to plague me for the remaining five pieces, I will just get rid of the lower crosses all together, and go with the solution exhibited in the Constructo kit.


-
Jon, You may have noticed that I'm not exactly following the plan. Given the screwup with the lower molding, for example, I'm forced to make the pillars longer than the plan. And since I already used basswood for the round molding on the transom, I think I may be stuck using the same for the pilasters, to keep the color there consistent. However, since I'm less than satisfied with the first one I made, I'm pretty sure I'll be revisiting the process, and may yet try boxwood, as I have some left over from the deck planking. I'll see how I feel when I return to the shipyard..
-
I started working on the pillars for the transom today. Not 100% sure I like the result. I'm going to look at the pictures for day and decide if I'm going to take a different approach. Here is one of those cases where styrene would have been a fabulous material to work with. Not so much basswood.. I'm thinking that the bottom cross member should be narrower, perhaps half as wide..

-
There you go, Haiko, you now have the attention of one of the most knowledgeable contributors on the subject of the USS/Frigate Constitution at this site. You'll not want for plans or pictures going forward. 😄
- 233 replies
-
- 1
-

-
- Model Shipways
- constitution
- (and 5 more)
-
Doh! Of course, that makes absolutely perfect sense. I can't believe I didn't remember that. Go for it! By the way, if it hasn't already come up, you'll also need to make planking for the spar deck.
-
You've nailed it on the head! That's all these kits are. If I hadn't found this website and the Bob Hunt practicum, I would be completely lost.
- 233 replies
-
- 2
-
-
- Model Shipways
- constitution
- (and 5 more)
-
In my humble opinion, if you have the kit, use the stem that came with it. I don't see an appreciable difference between the drawing you showed and the part in the box.
-
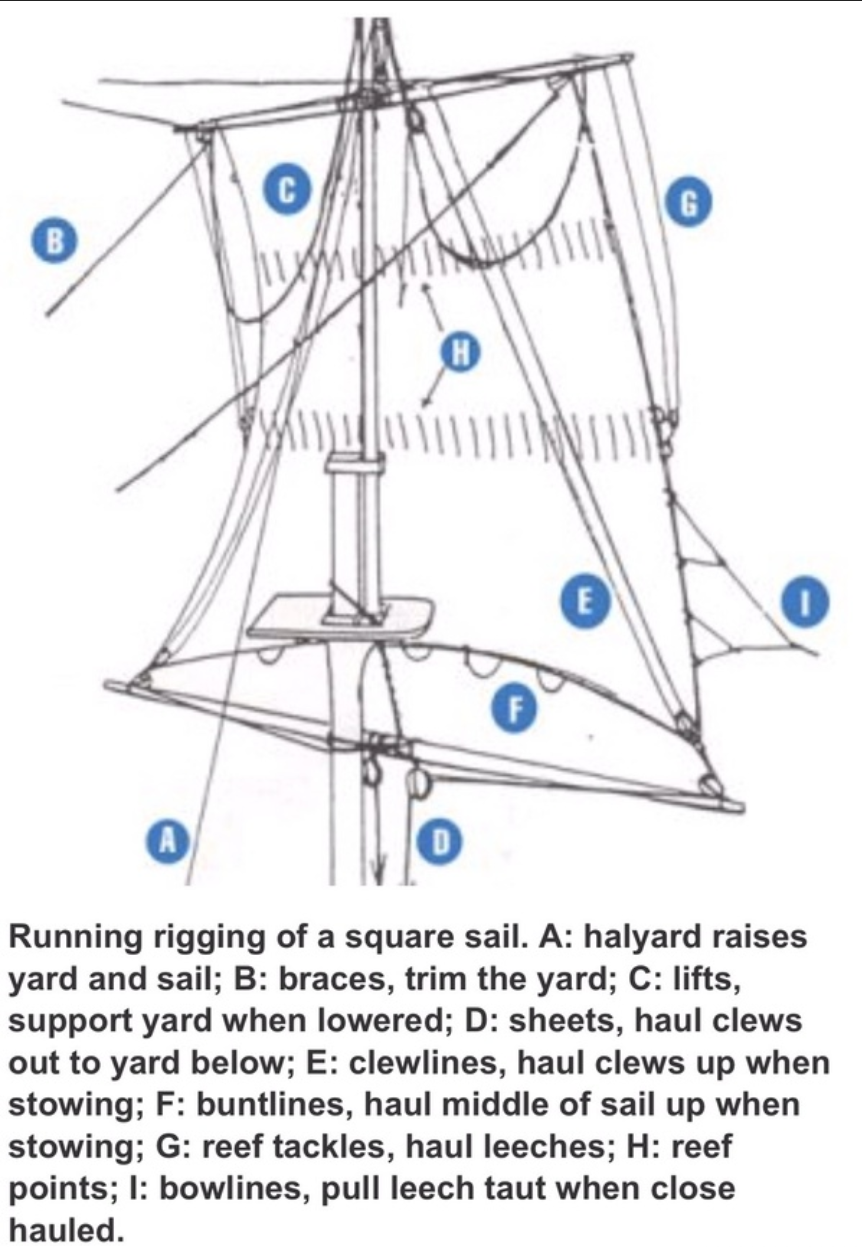
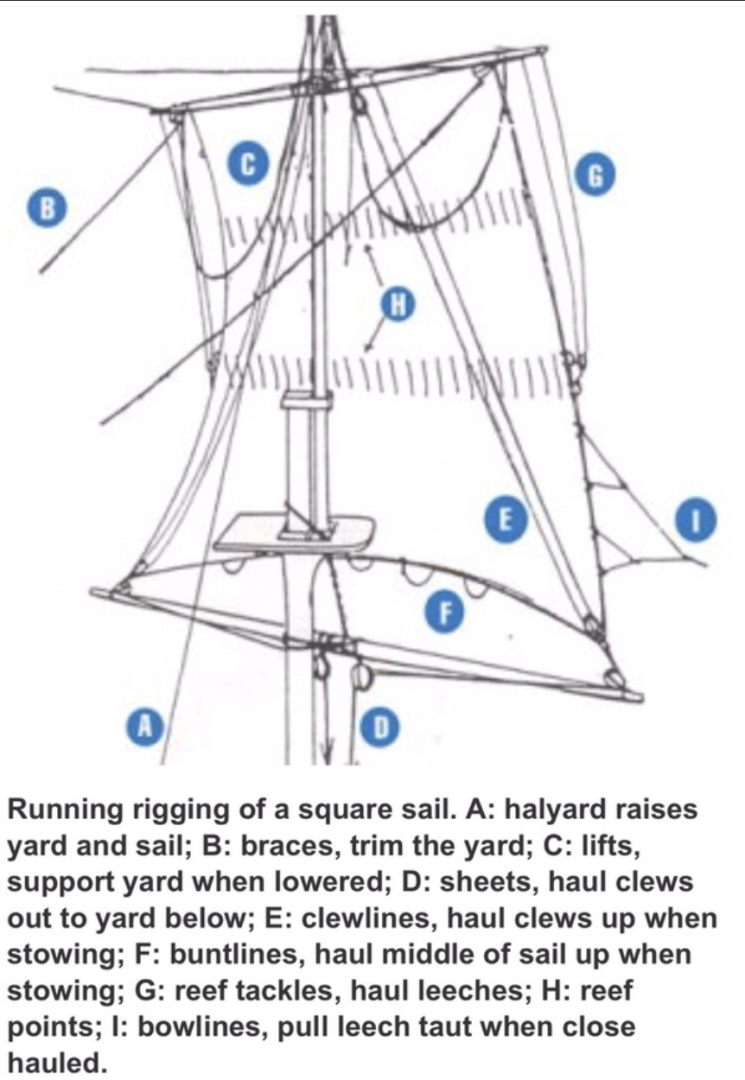
I only knew two definitions for bow lines, the first was the line was the one you used to secure your boat in a slip - along with stern and spring lines. The second was the knot commonly used aboard a boat. I had to do an online search to find the definition or use you put them to.. I couldn't find one of my own photos from my '95 Soren Larsen passage from Sydney to Auckland, but I do have this one that I got from their promotional postcard. No bowlines that I can see (or remember). From my profile, admittedly from the wrong side of the sails, but no evidence of bowlines here. Learn something new every day. Thanks for the education, Tom Best


- 144 replies
-
- 2
-
-
- HMS Speedy
- Vanguard Models
- (and 1 more)
-
I had you in mind when I asked Jon the question..
-
I had to kill some time this morning before heading out for an eye exam. So, I opted out of the shipyard and perused MSW Constitution builds ad nauseam instead. When I reviewed the Jeff Toma build, I had to ask myself, was this indeed the one I remembered? Though my recollection of where he left off doesn't quite jive, I must admit, this may have been the one. I would have cut the lower mast sections short and painted them before calling it quits, but here's hoping Jeff someday comes back to finish it. Once again, you're the go-to guy for Conny arcanity!
-
Thank you Geoff. I'm glad I didn't have to cut off his talons..
-
I see that the sails have some shape, and it's via rigging. What are the lines called that bow the sails to forward? I don't recall seeing such on the tall ship I sailed on. Bravo! Very nicely done.
- 144 replies
-
- 1
-
-
- HMS Speedy
- Vanguard Models
- (and 1 more)
-
I assume you're using a good resaw blade on a bandsaw to get your boards. With a 1" resaw blade on my bandsaw, I can get really thin strips if wood as wide as 3 or 4 inches, depending on the hardness of the wood. The key is to run the board you just cut a piece off through a planer or thickness drum sander to completely flatten the surface before the next resaw. But how ever you make the boards, if you make the strips fairly long, a thickness drum sander is ideal for precise dimensioning. I've got a 16" Jet drum sander and it has netted me perfectly dimensioned thin strips. I had to run some of the wood that came with my Model Shipways kit through the sander to get them to uniform thicknesses. You might need to experiment to see just how thin you can go, but I'm pretty sure that you can easily produce stock for planking. You might want to reach out to Mustafa for advice, as I'm pretty sure he makes his own strips too. Well, you're off to the races. Congratulations, and again, welcome aboard.
-
If you're going to double plank, you could skip the filler blocks, as you can do a lot of correction after the first planking. That's what wood putty Is for. And as you mentioned, the practice is worth the exercise. Make the second planking as thin as you can, would be the one thing I would suggest that this point. But you have a long way to go before you start planking, so I'm looking forward to seeing your first photos. Good luck and welcome aboard.
- 233 replies
-
- 1
-
-
- Model Shipways
- constitution
- (and 5 more)
-
Much prep work, staining, correcting. Despite very careful application of masking tape some stain still got underneath the tape and I'll be doing some more work trying to clean up the main hatch. But by and large I'm on the home stretch and can move on with construction. (I've got to figure out how to get consistent results from my phone camera..)

-
Ace Hardware bass wood. Soak it long enough and use one of those converted soldering gun type plank benders - very carefully, and you can get very good results.
-
I'm positive it was at model ship world. Well, unless it's only in my head.. 😁
-
Can't wait to see the final pictures. Excellent workmanship, beautiful build.
- 144 replies
-
- 1
-
-
- HMS Speedy
- Vanguard Models
- (and 1 more)
-
I feel even better now, after 2 hours of tweaking those moldings