Der Alte Rentner
-
Posts
1,025 -
Joined
-
Last visited
Content Type
Profiles
Forums
Gallery
Events
Everything posted by Der Alte Rentner
-
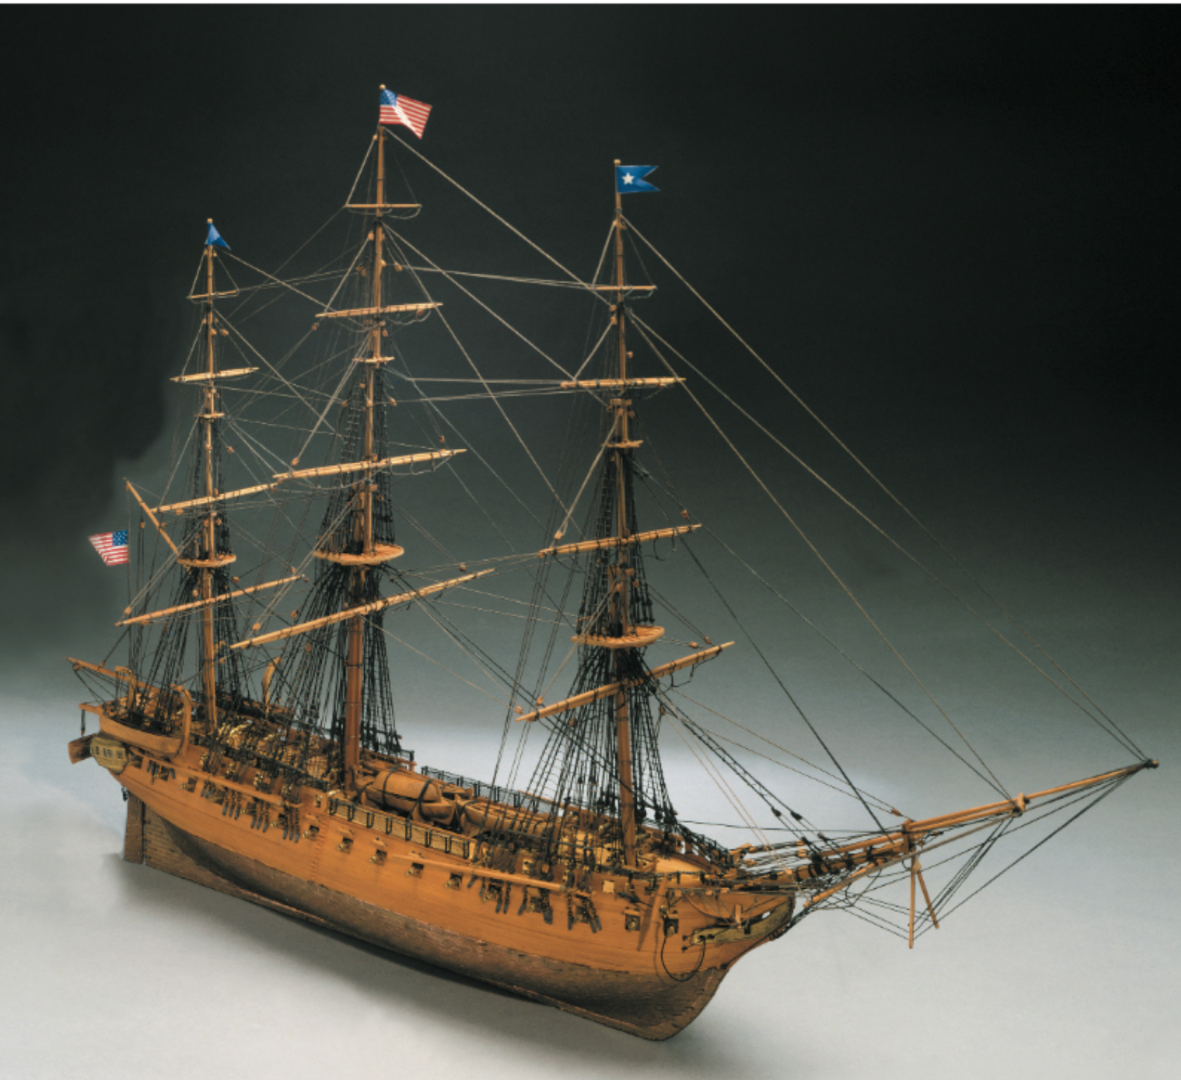
 I look forward to seeing how the sails look when sheets, tacks and bowlines are added. Excellent workmanship on them, by the way. Kudos! As a data point, I submit this photo of HipExec's Constitution. He achieved a very nice look by somehow shaping his sails to look like they were catching a breeze.
 -
Jon, I went to the Mantua UK website and got a slightly higher resolution photo. To my taste, the copper plating detracts from the appearance. However, this color scheme seems doable with one or two stains, depending on how the spar deck planking looks with a clear finish. As usual, you deliver the goods. Thanks Peter
-
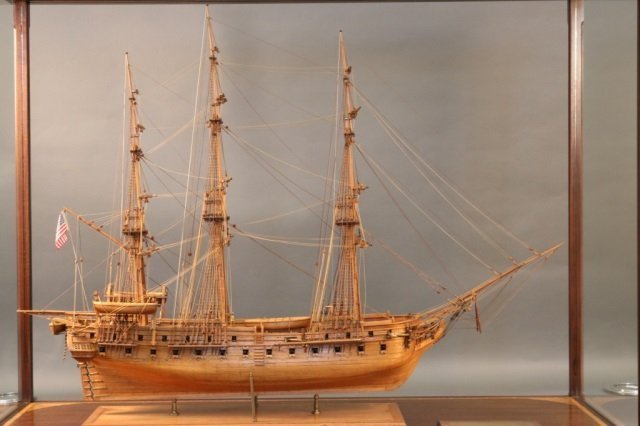
One more picture gleaned via search of images at MSW site. from dkettl, who posted this in 2013, but hasn't been back since 2015. This is the Constellation, but it's another possibility. Looks nice with the furled sails.
-
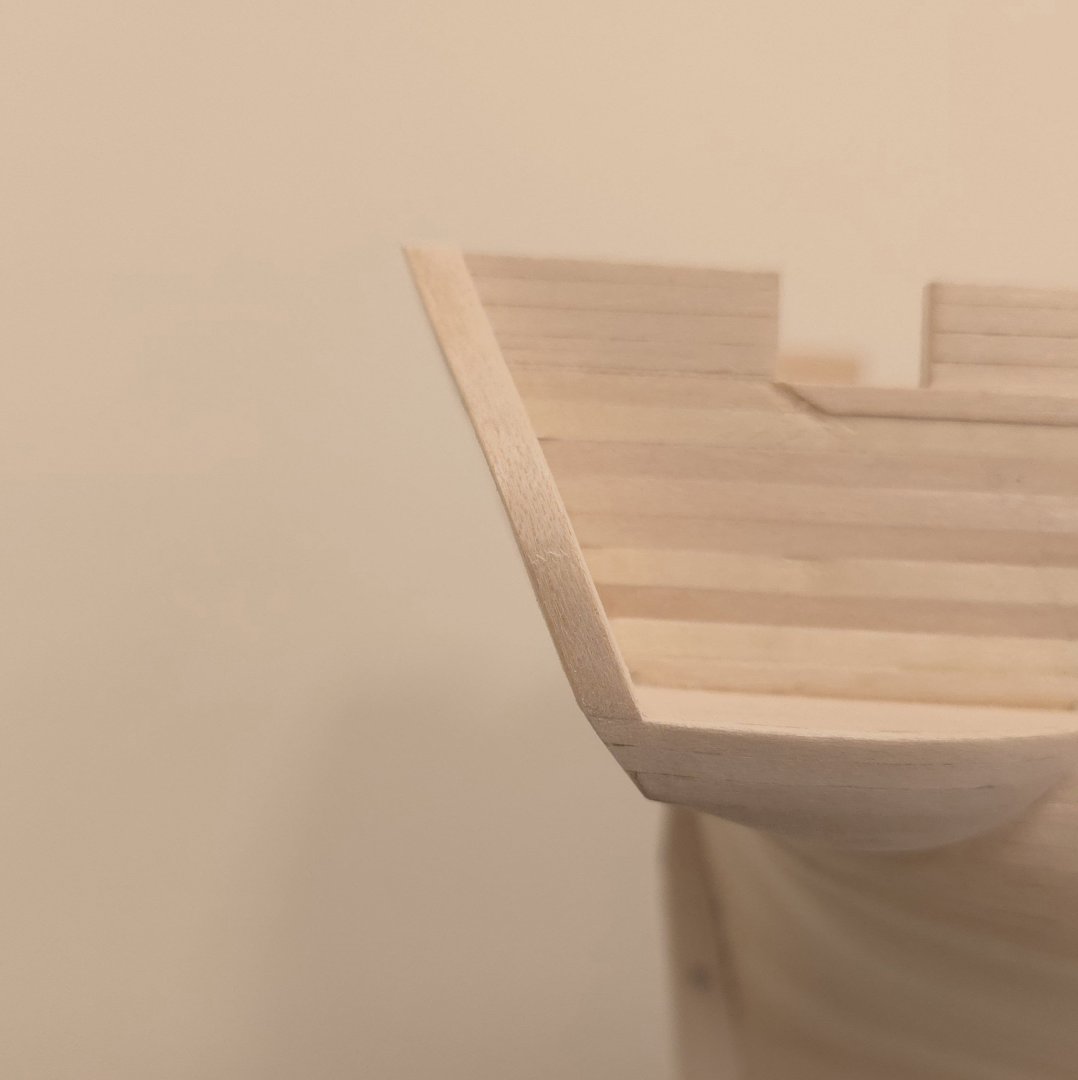
I think you will find that those lines will end up interfering with the planking effort. You might wish to consider making tick marks at those intersections. Use marker pen, so they don't disappear when you're sanding/fairing as you go. Also, note how flat the segment between bulkhead A and B is. Having JUST gotten through this stage myself, I suggest you consider some more filler blocks - at least between those two bulkheads. You're off to a very good start. I look forward with keen interest to follow your progress.
-
I have emailed her twice to no avail and the website still shows this message: However, I just called and left a voice mail message for Donna, and hope to be pleasantly surprised. Thanks for the suggestion. Best Peter

-
At least one at MSW, but it's a Constructo kit built by HipExec. Jon, has shared photos of another model that he has in his collection of Constitution materials as well. So, there are at least two. I'm pretty sure that I stumbled upon a natural finish version of the Constellation, but am having a hard time finding the photos. Here's the link to HipExec's entry for the photo above.


-
My thoughts exactly, assuming I will indeed paint the model. I'm still stalling on making that decision, but I'm weakening in my resolve to try for a more "natural" finish. Thank you Mustafa.
-
I agree 100%. Jon is the man!
-
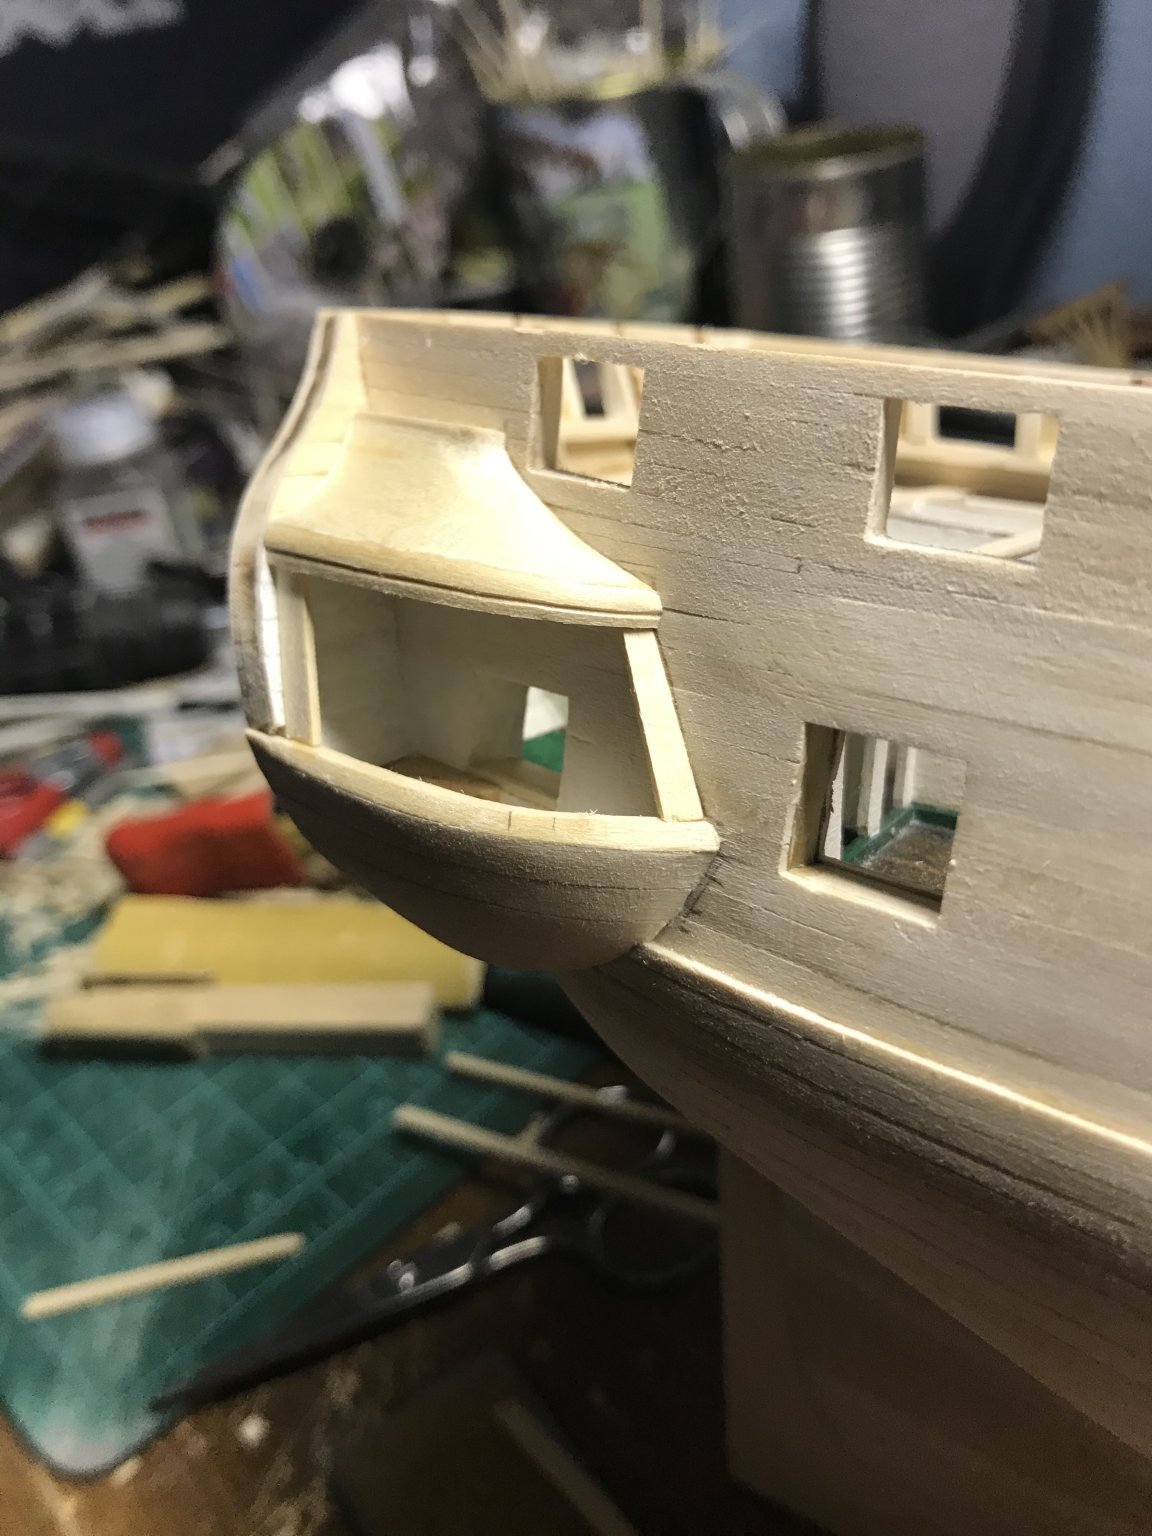
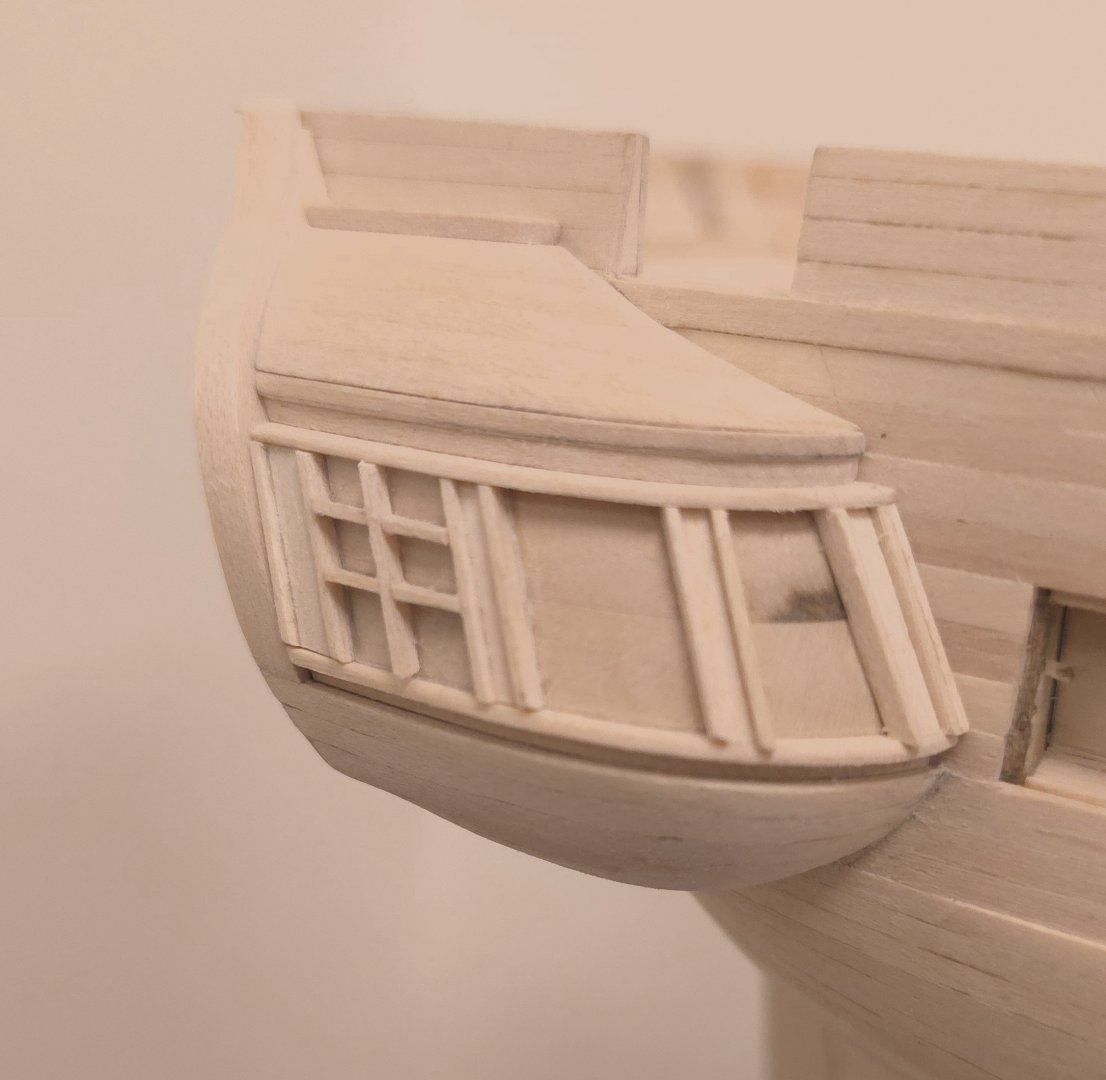
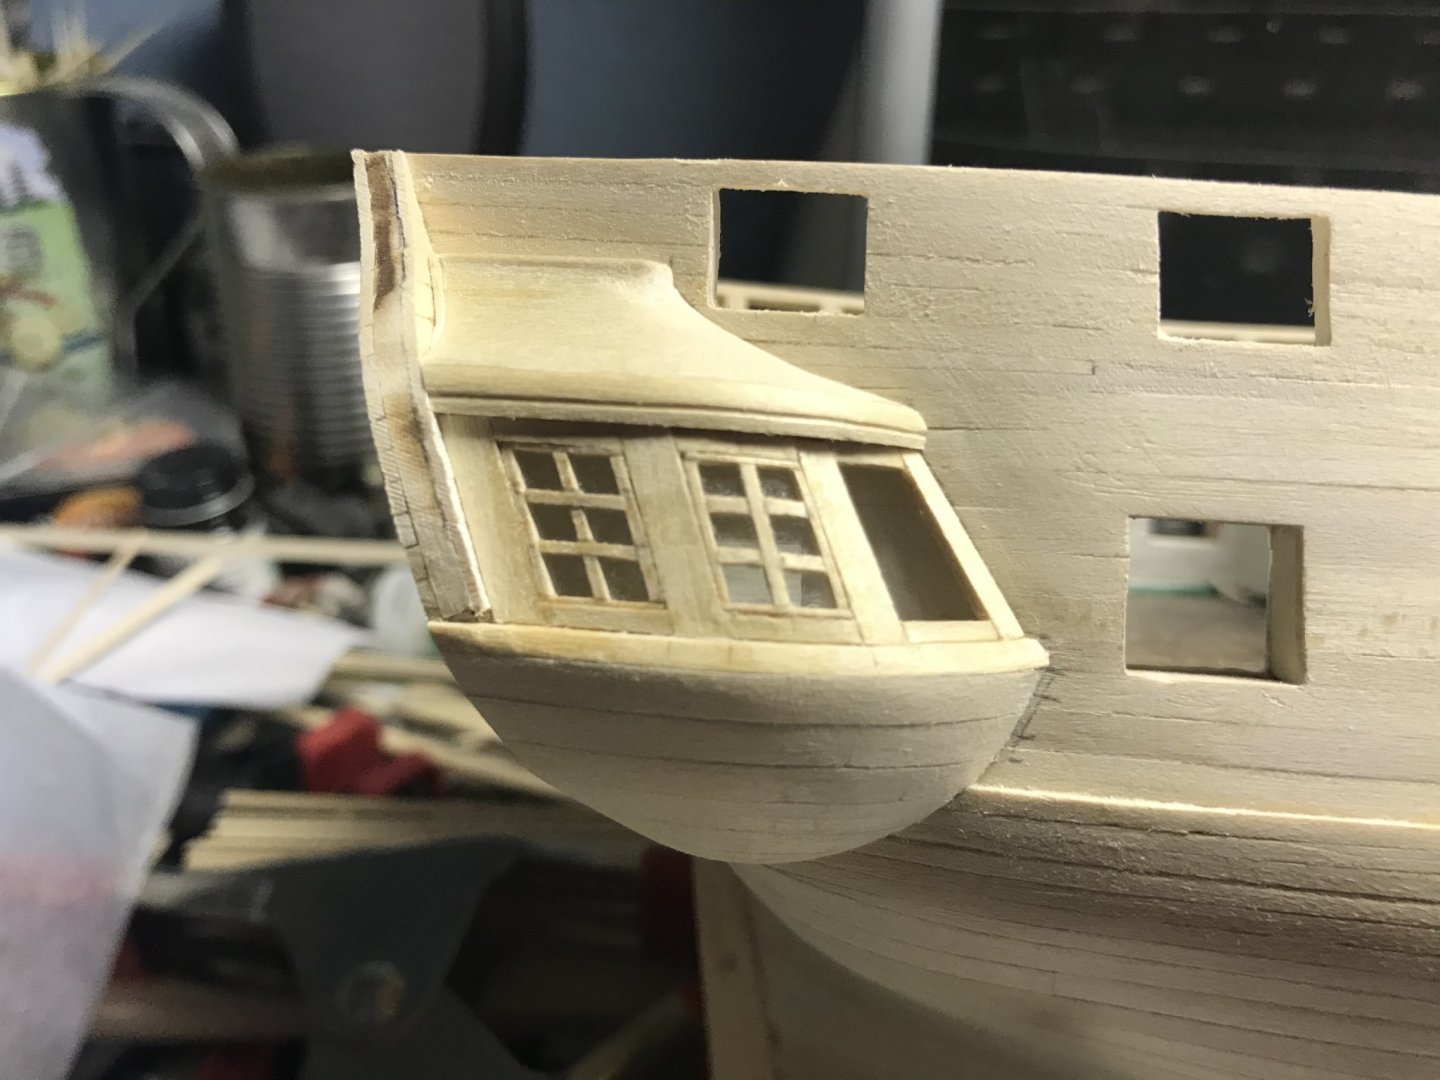
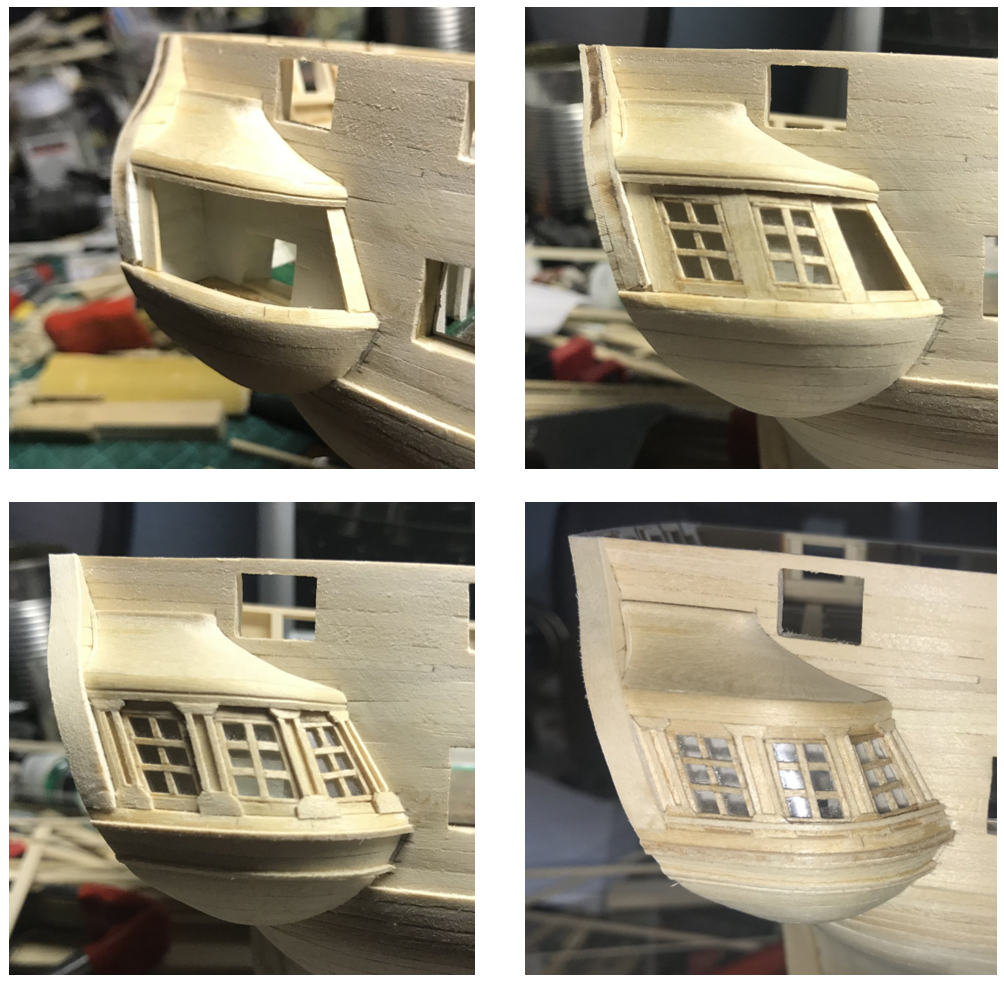
We'll see. Here's the first window. There is a piece of plexiglass behind the frame, and I'll probably paint the back side white. Also, frames will be trimmed flush with sills. Time consuming work this.. Aug 22 update: I'm just not happy with this. My brain keeps nagging at me about creating a vacant space behind the windows, which my brain insists would look even better if it were somehow illuminated. And Mustafa's point, in post 307 below, about keeping all the parts separate until painted (or stained) is a good one. The pilasters are glued to the filler block and the window frame is glued to the glass, making finishing work a bit of an issue. With the nice weather calling me outdoors, and family issues likewise intervening, I may ponder next steps a while longer. (Procrastination IS my middle name. 😉)
-
I would give my eye teeth for either of the Byrnes tools. I wish someone would reorganize and relaunch the machine tool part of the business. I've been hunting for either of these online on and off for almost a year. Were I to scratch build, these two would be a must have. I'm surprised you don't have a belt sander. That has come in so handy, so often, that I can't imagine anyone managing to get by without one. Having said that, I reiterate my respect and admiration for those who manage this hobby with hand tools. (I wish I would have taken notes of the build log I just perused, but there are some really talented hand crafters posting on this site.)
-
And the reason the laser cut window frames are virtually useless. Since I love difficult things (I am married after all), I can't wait for the next challenge!
-
That's my working plan. Thanks for casting your vote!
-
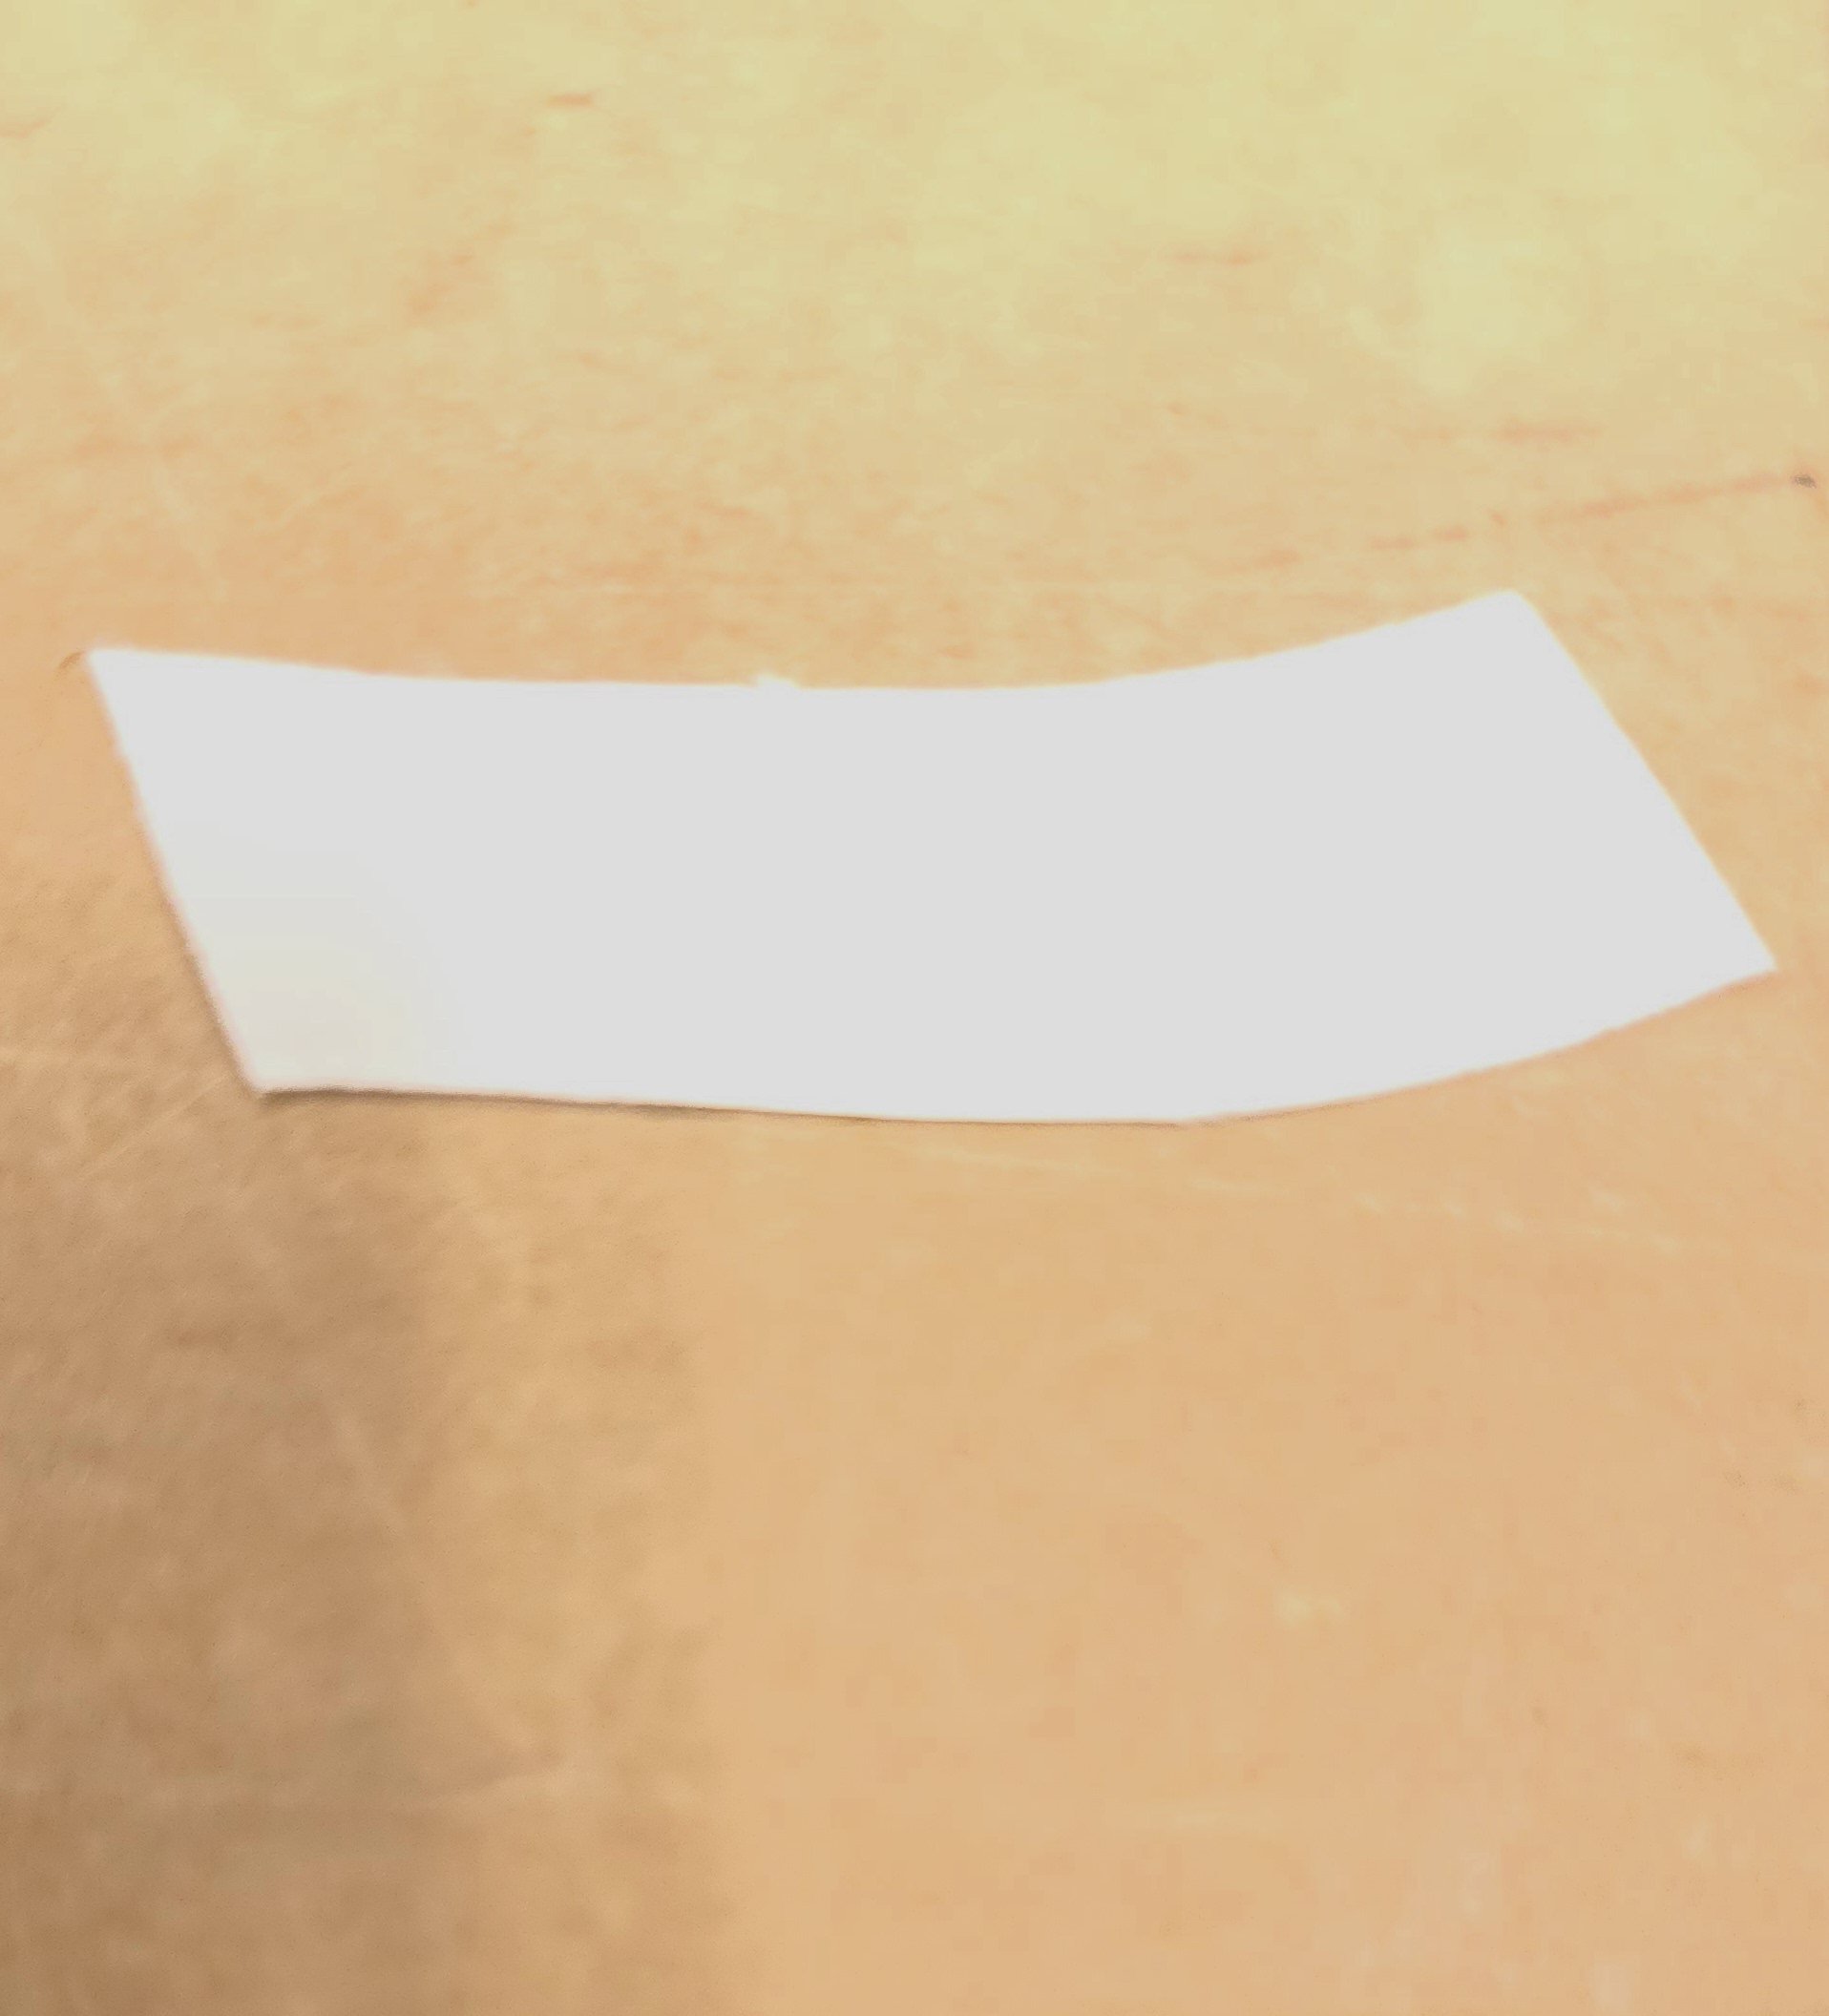
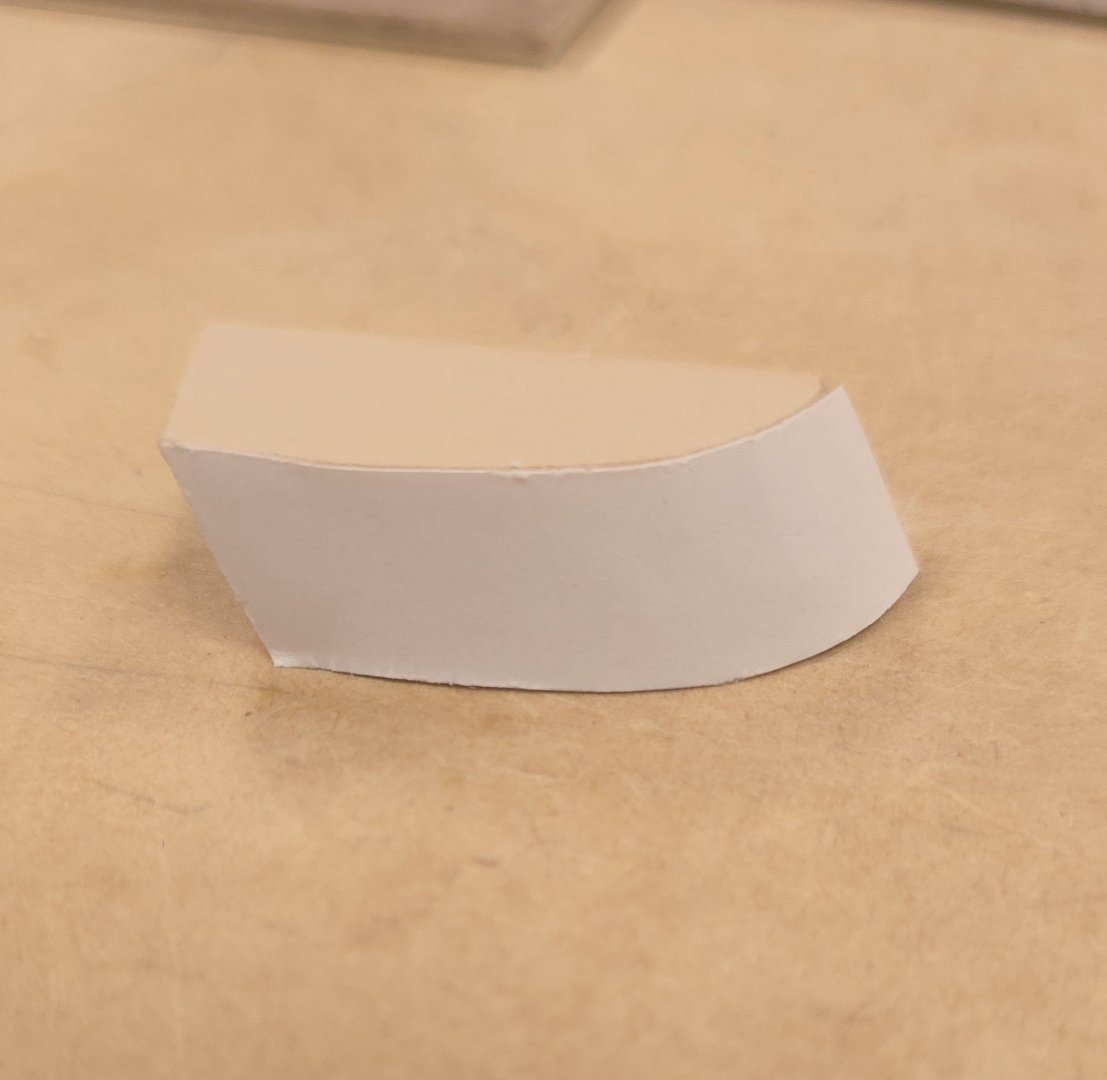
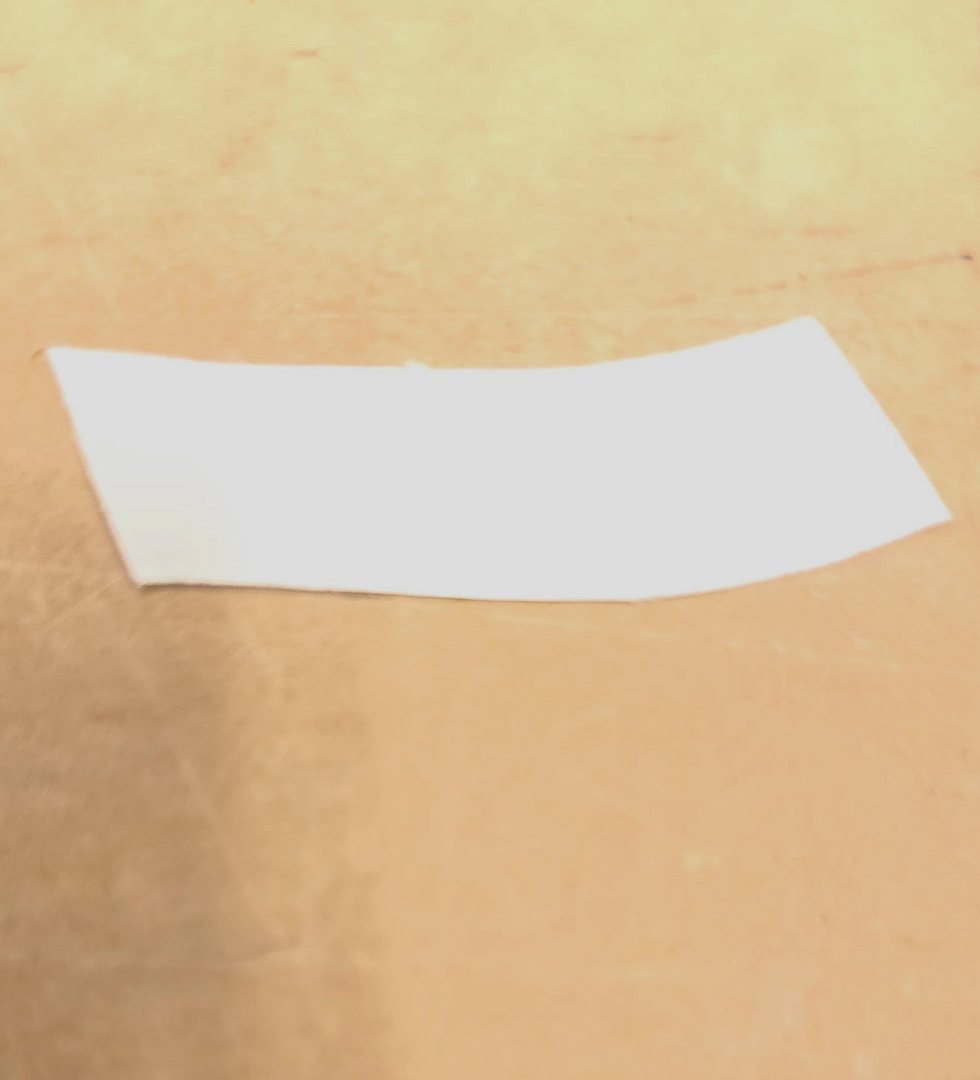
I was more or less on autopilot on Wednesday. The photo I forgot to include, is the one where I drew the window frame and pilaster patterns on the piece of paper, which I subsequently taped back on to the filler block to guide my work on the pilasters. They are a little proud of the sills right now, but I'll sand everything flush after I build the window frames. I'm thinking that perhaps I should not have glued the pilasters to the filler block. I guess I'm now committed to using paint or something else behind the window panes that will follow. Black paint, white paint, or mylar? for underneath whatever clear film I decide on for the panes themselves..


-
As for item 1 none of those are necessary for anything on this model. Item 2 relates to keeping the Admiralty happy, but has nothing to do with funding your hobby. As Mustafa pointed out, spread out over time, the cost of specialized tools is not so bad. Keep this in mind. Time is money. The less time you spend on your model, because you have more efficient tools, the more time you have available to satisfy the Admiralty. Since you are already past the filler block phase of the project, you don't need a band saw. But since you are about to Embark upon planking the hull, let me just say I found the proxxon milling machine to be invaluable in that endeavor. The other tool I use more than just about anything else is the small belt sander. If you don't already have these, they would be items number one and two on my shopping list right now. But I'm also a fan of hand craftsmanship. So, I will ne looking forward to see what you can accomplish with hand tools. 😁 Good luck either way.
-
Guilty as charged, but acquired over a lifetime, the costs are not as bad as all that. Think of them as investments instead of expenses. One thing that I learned is that, I'll tackle projects that I would not otherwise have tackled, because I have the tools. But as I've said before at this website, I may have more cents than sense. Welcome back.
-
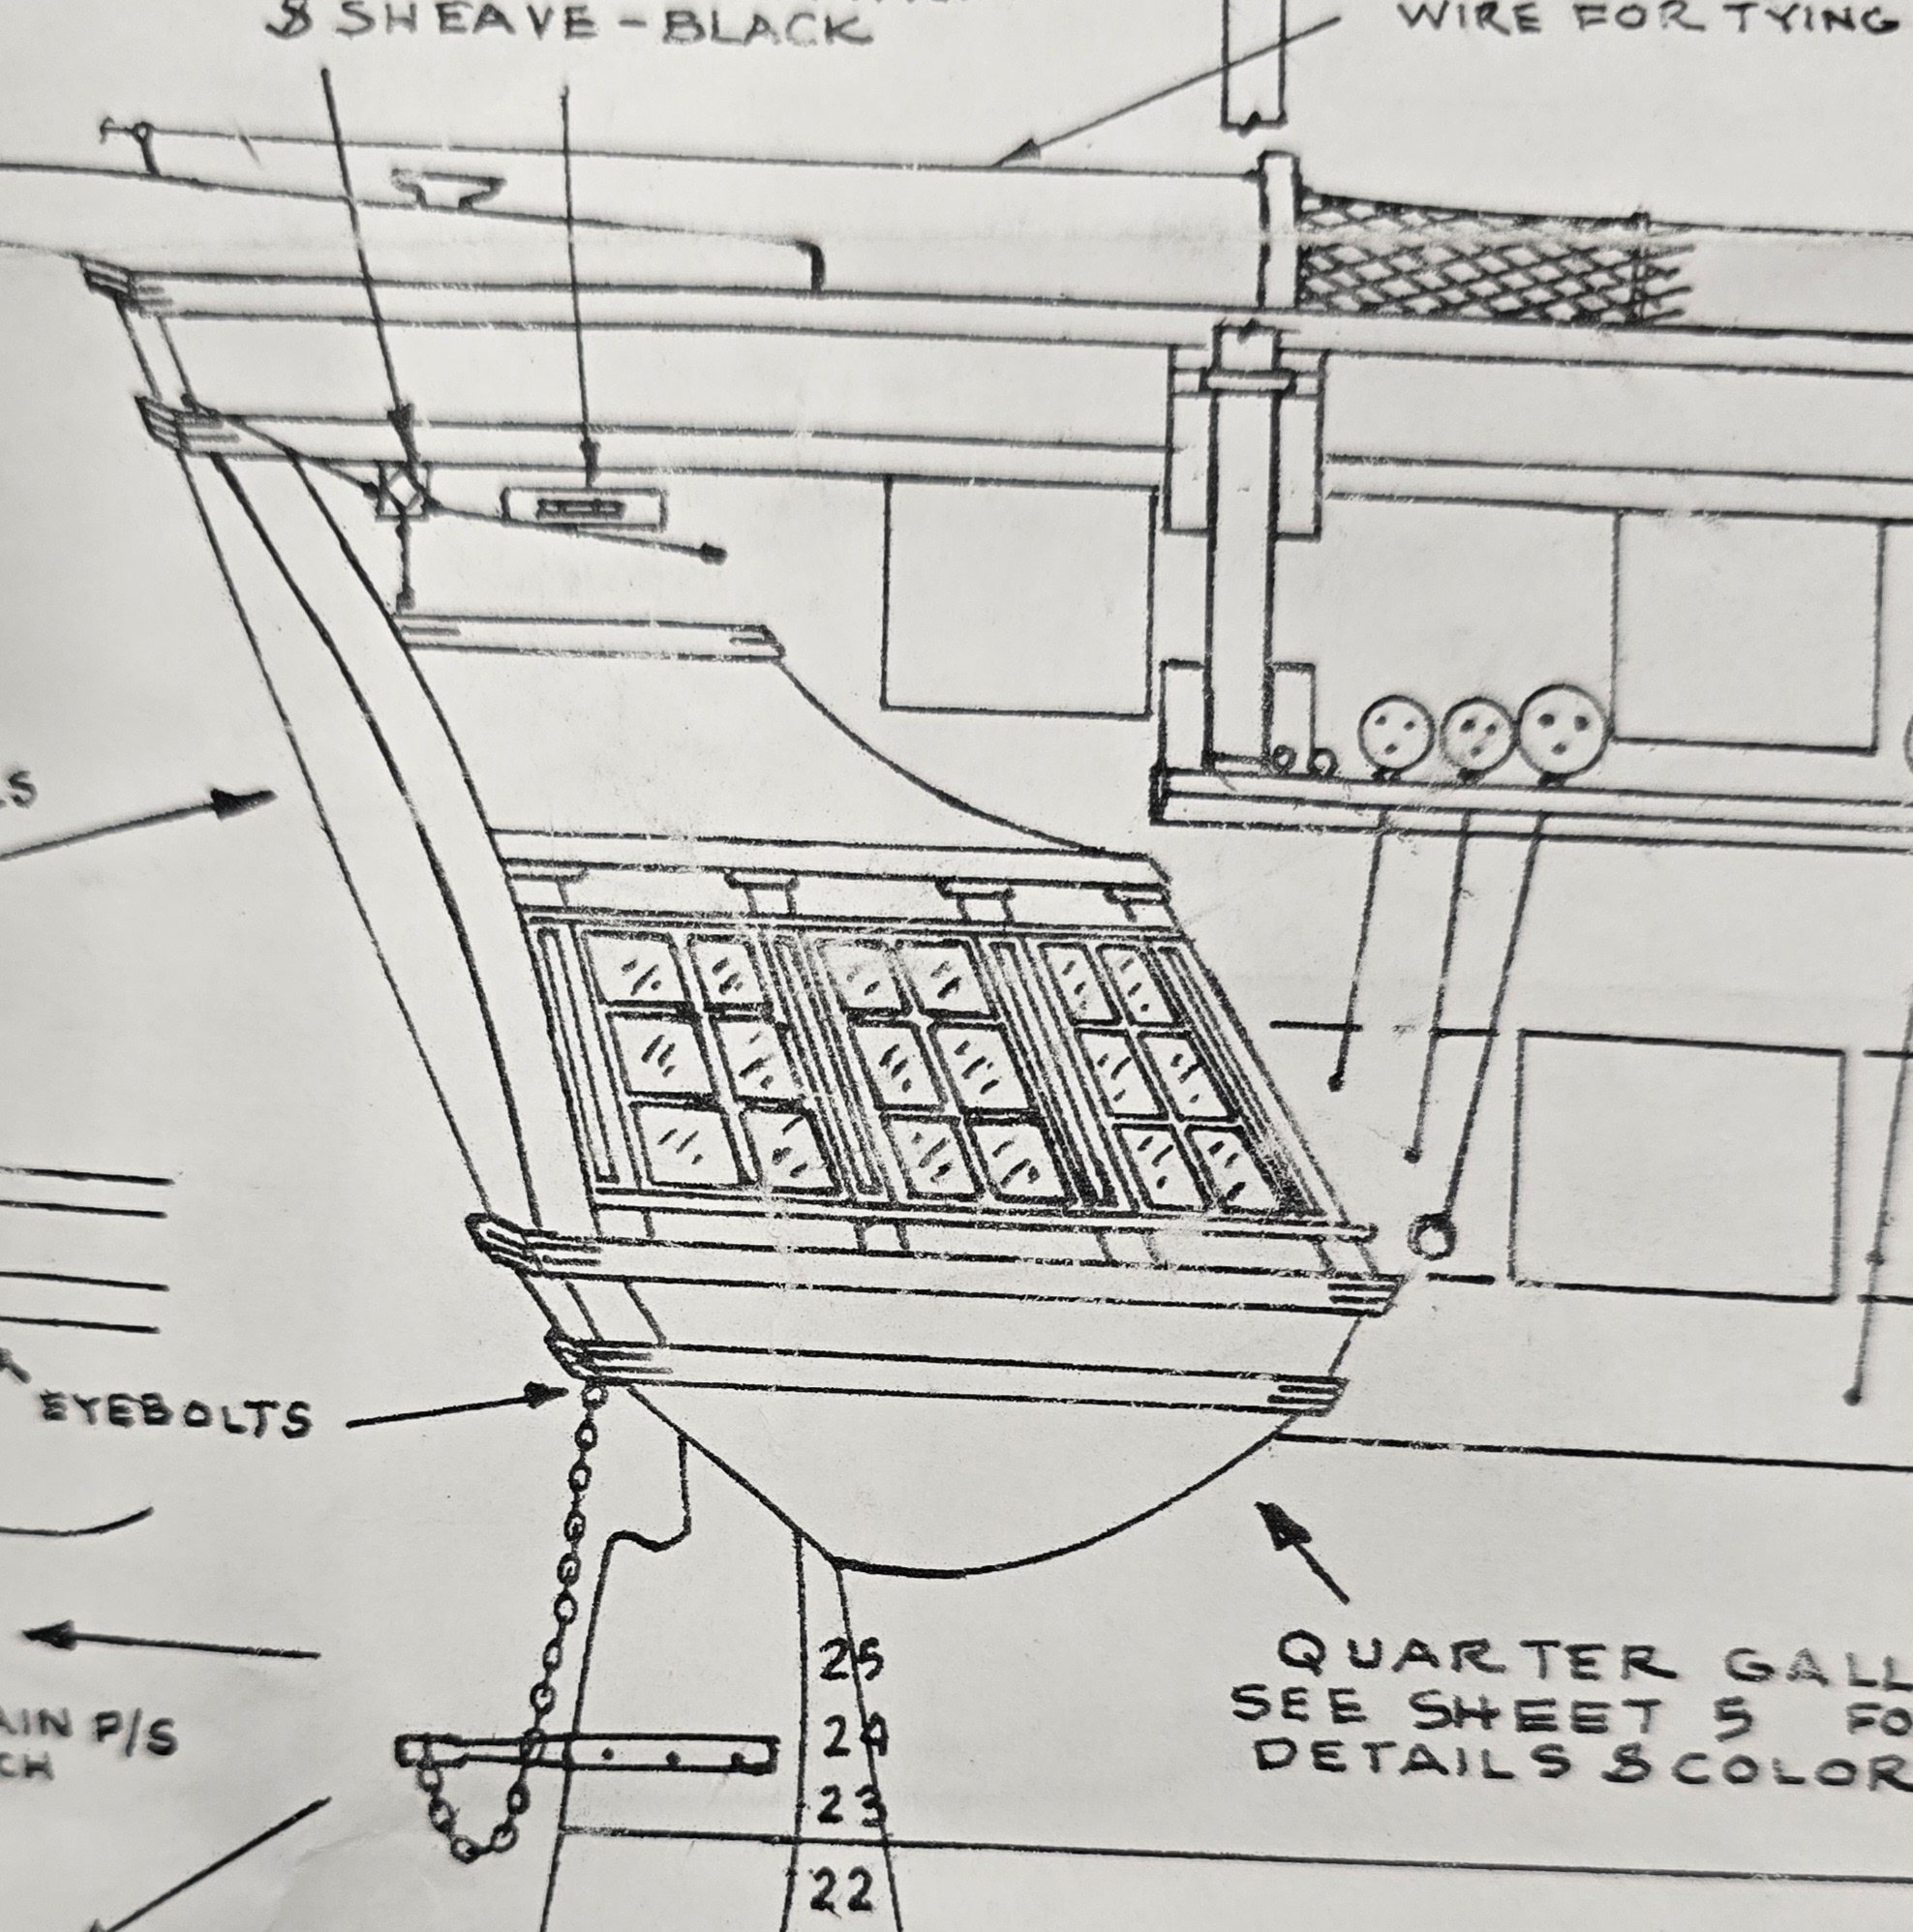
Geoff, It's been too long since I last checked into your build log. But every time I do revisit it, I am astounded by the quality of your workmanship. Your work on the galleries is outstanding. (No) thanks to you and Unegawahya's sterling example, I'm asking myself how to modify my technique to include clear windows. I wonder how it would look if I just took a photograph of the interior of the gallery (to scale of course) and placed it flush with the inside of the glass panes. (For those wondering why I would do that, I'm presently considering a filler block instead of an open compartment behind the windows..) Again. Kudos to you Geoff. P.S. One of these days - before the snow flies, I hope to get out to Harvard to meet you and to see your Conny in person. (Sorry, it's been a much busier than expected summer.)
-
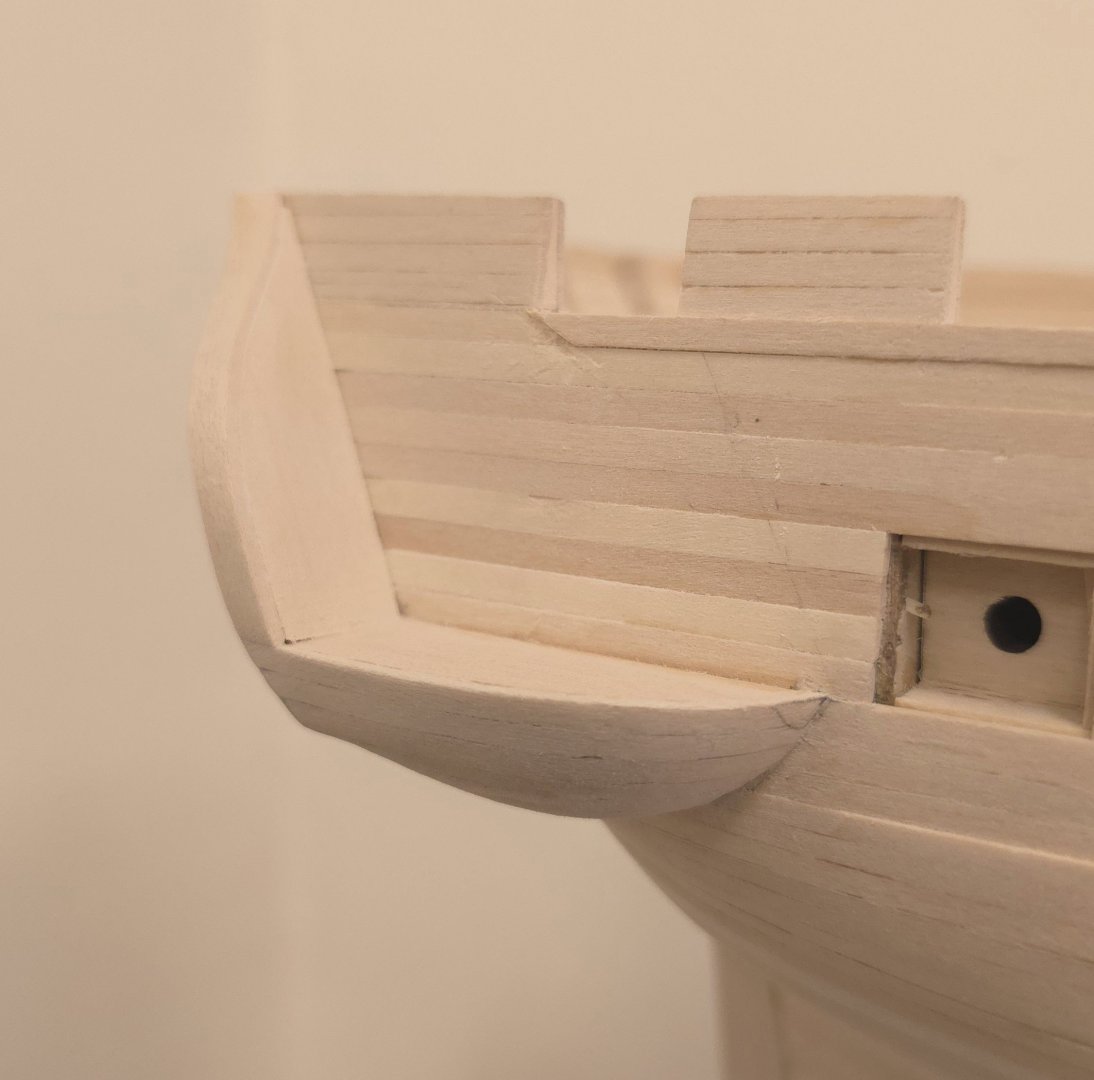
I know this reply comes well after your posting, but I happened to be reviewing Geoff's build log this morning, to see how his galleries looked, when I revisited this entry. To my eye, there is definite tapering aft of the main hatch. I agree however that it's hard to tell what's going on on the foredeck, but it seems less so. Anyway, now that I'm past that problem, I'm happy with my half and half approach - tapering the aft end, leaving the foredeck untapered. As usual, oh master of the photo archives, thanks for providing this much appreciated reference material.
-
I love all the work on the airplanes, but I'm perusing your build log for ideas on how to proceed on the gallery window construction. I wish there was more detail provided, but your photos from page 1 of your log tell most of the story. Man, oh man, did you do a spectacular job. Kudos! You've got me rethinking how might go about doing mine.

-
Thank you Gregg. I consider that a great compliment coming from you. After seeing all the examples of gallery construction I could find at MSW, I think I might be the only one ever to attempt this particular approach. Hmm, will I henceforth be known as "the Filler Block guy". 😁 I took a second lap through other's build logs this morning and took particular note of Unegawahya's workmanship. I wish he'd included some detail about his construction methods, but man, oh man! did he nail this.
-
After perusing your build log here, and seeing the wonderful job you're doing on the Pegasus, I wonder what you could possibly hope to glean from anything I've done on the USS Constitution, especially since I'm a newbie figuring things out on the fly. In fact, I might come to you for some tips and techniques. Splendid work!
-
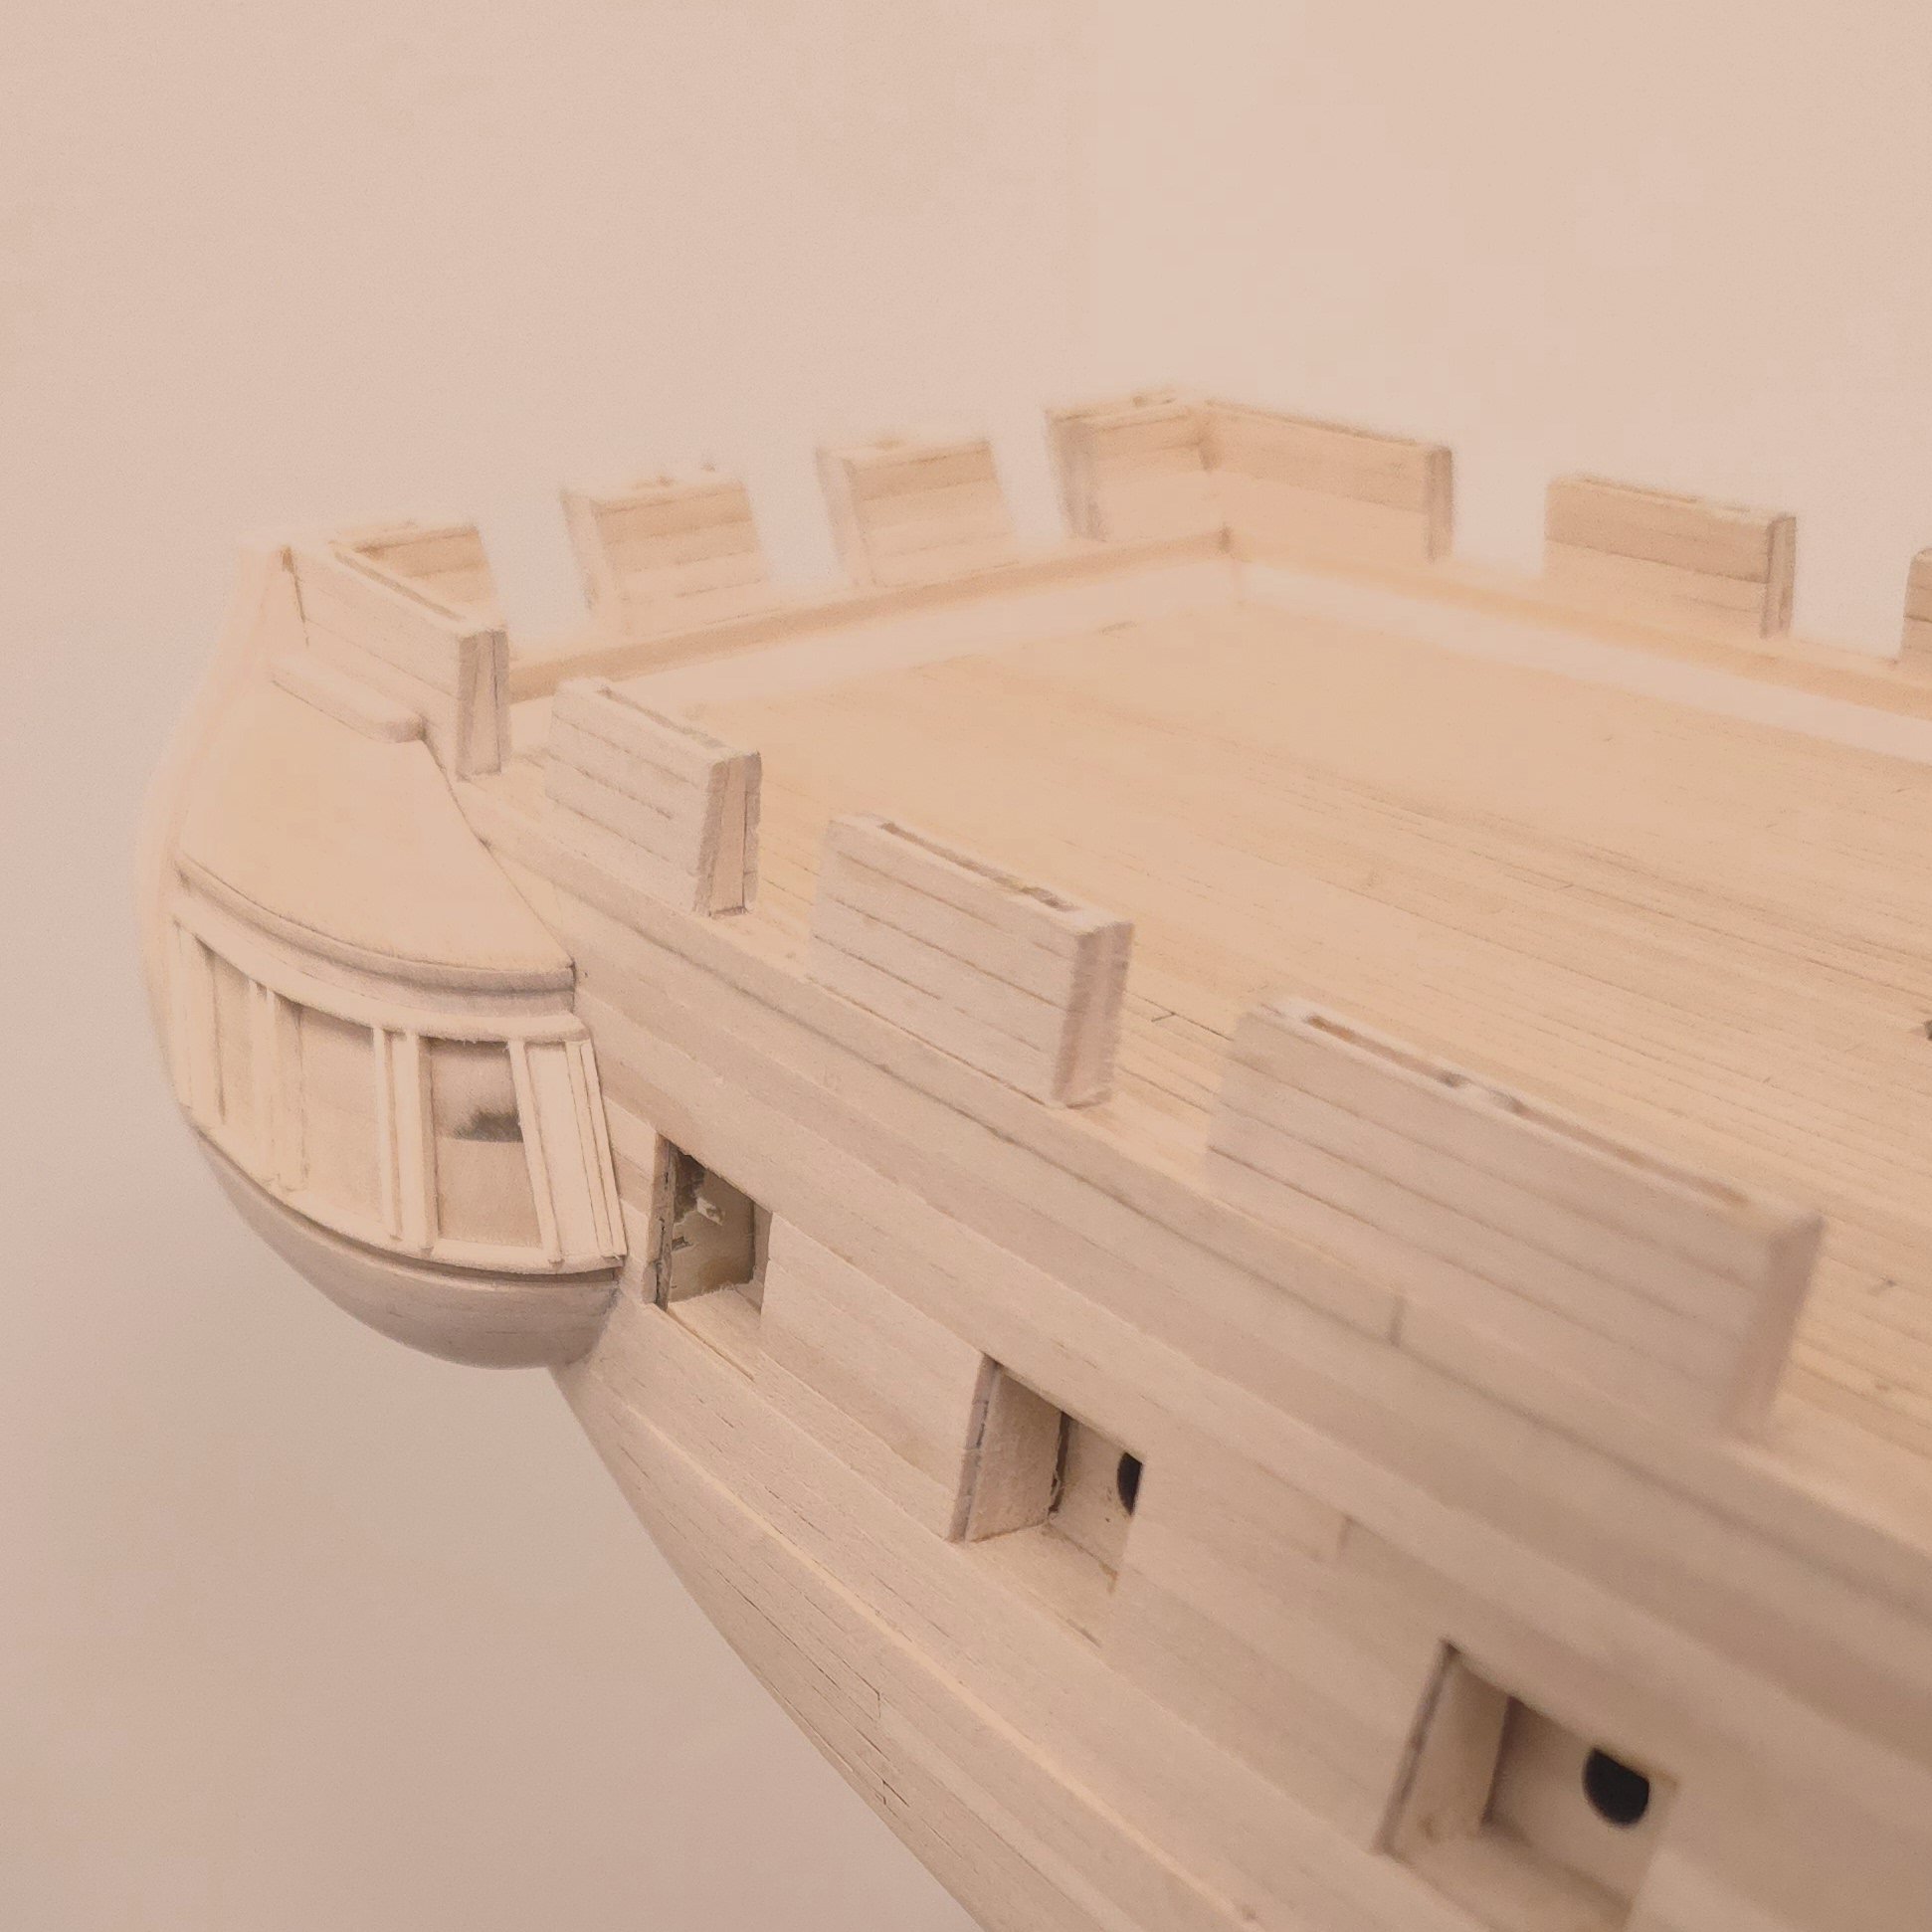
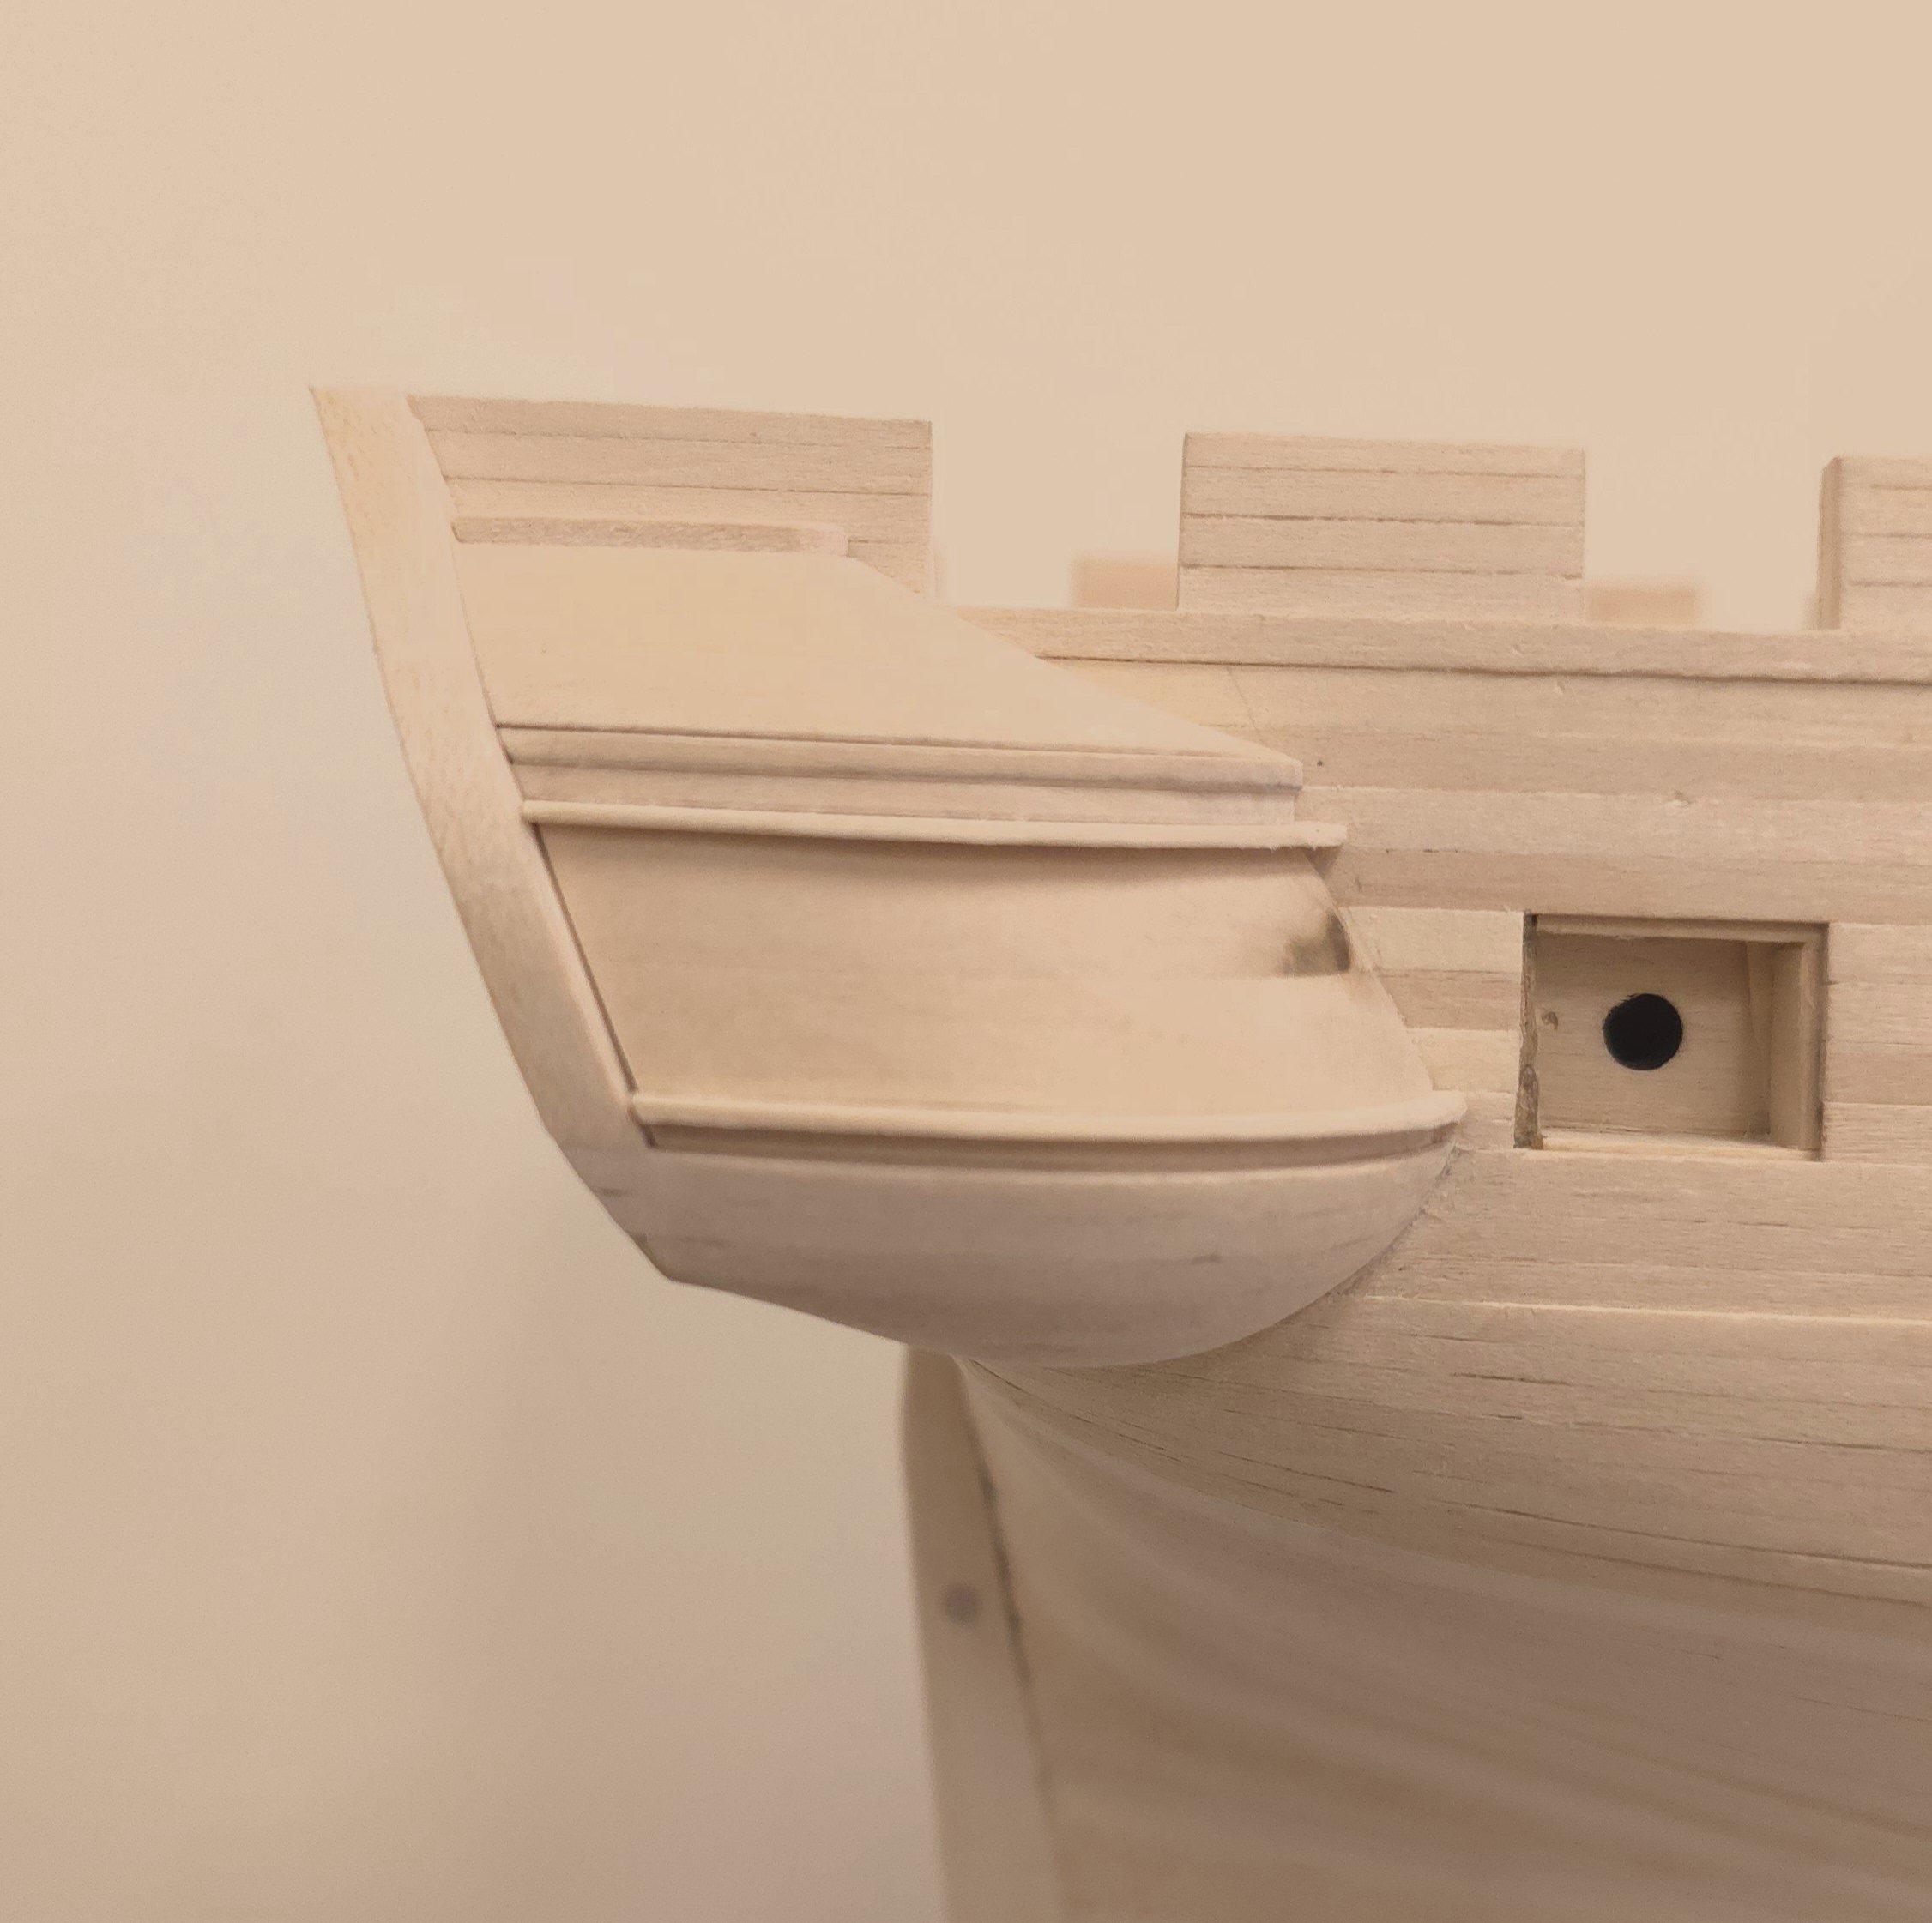
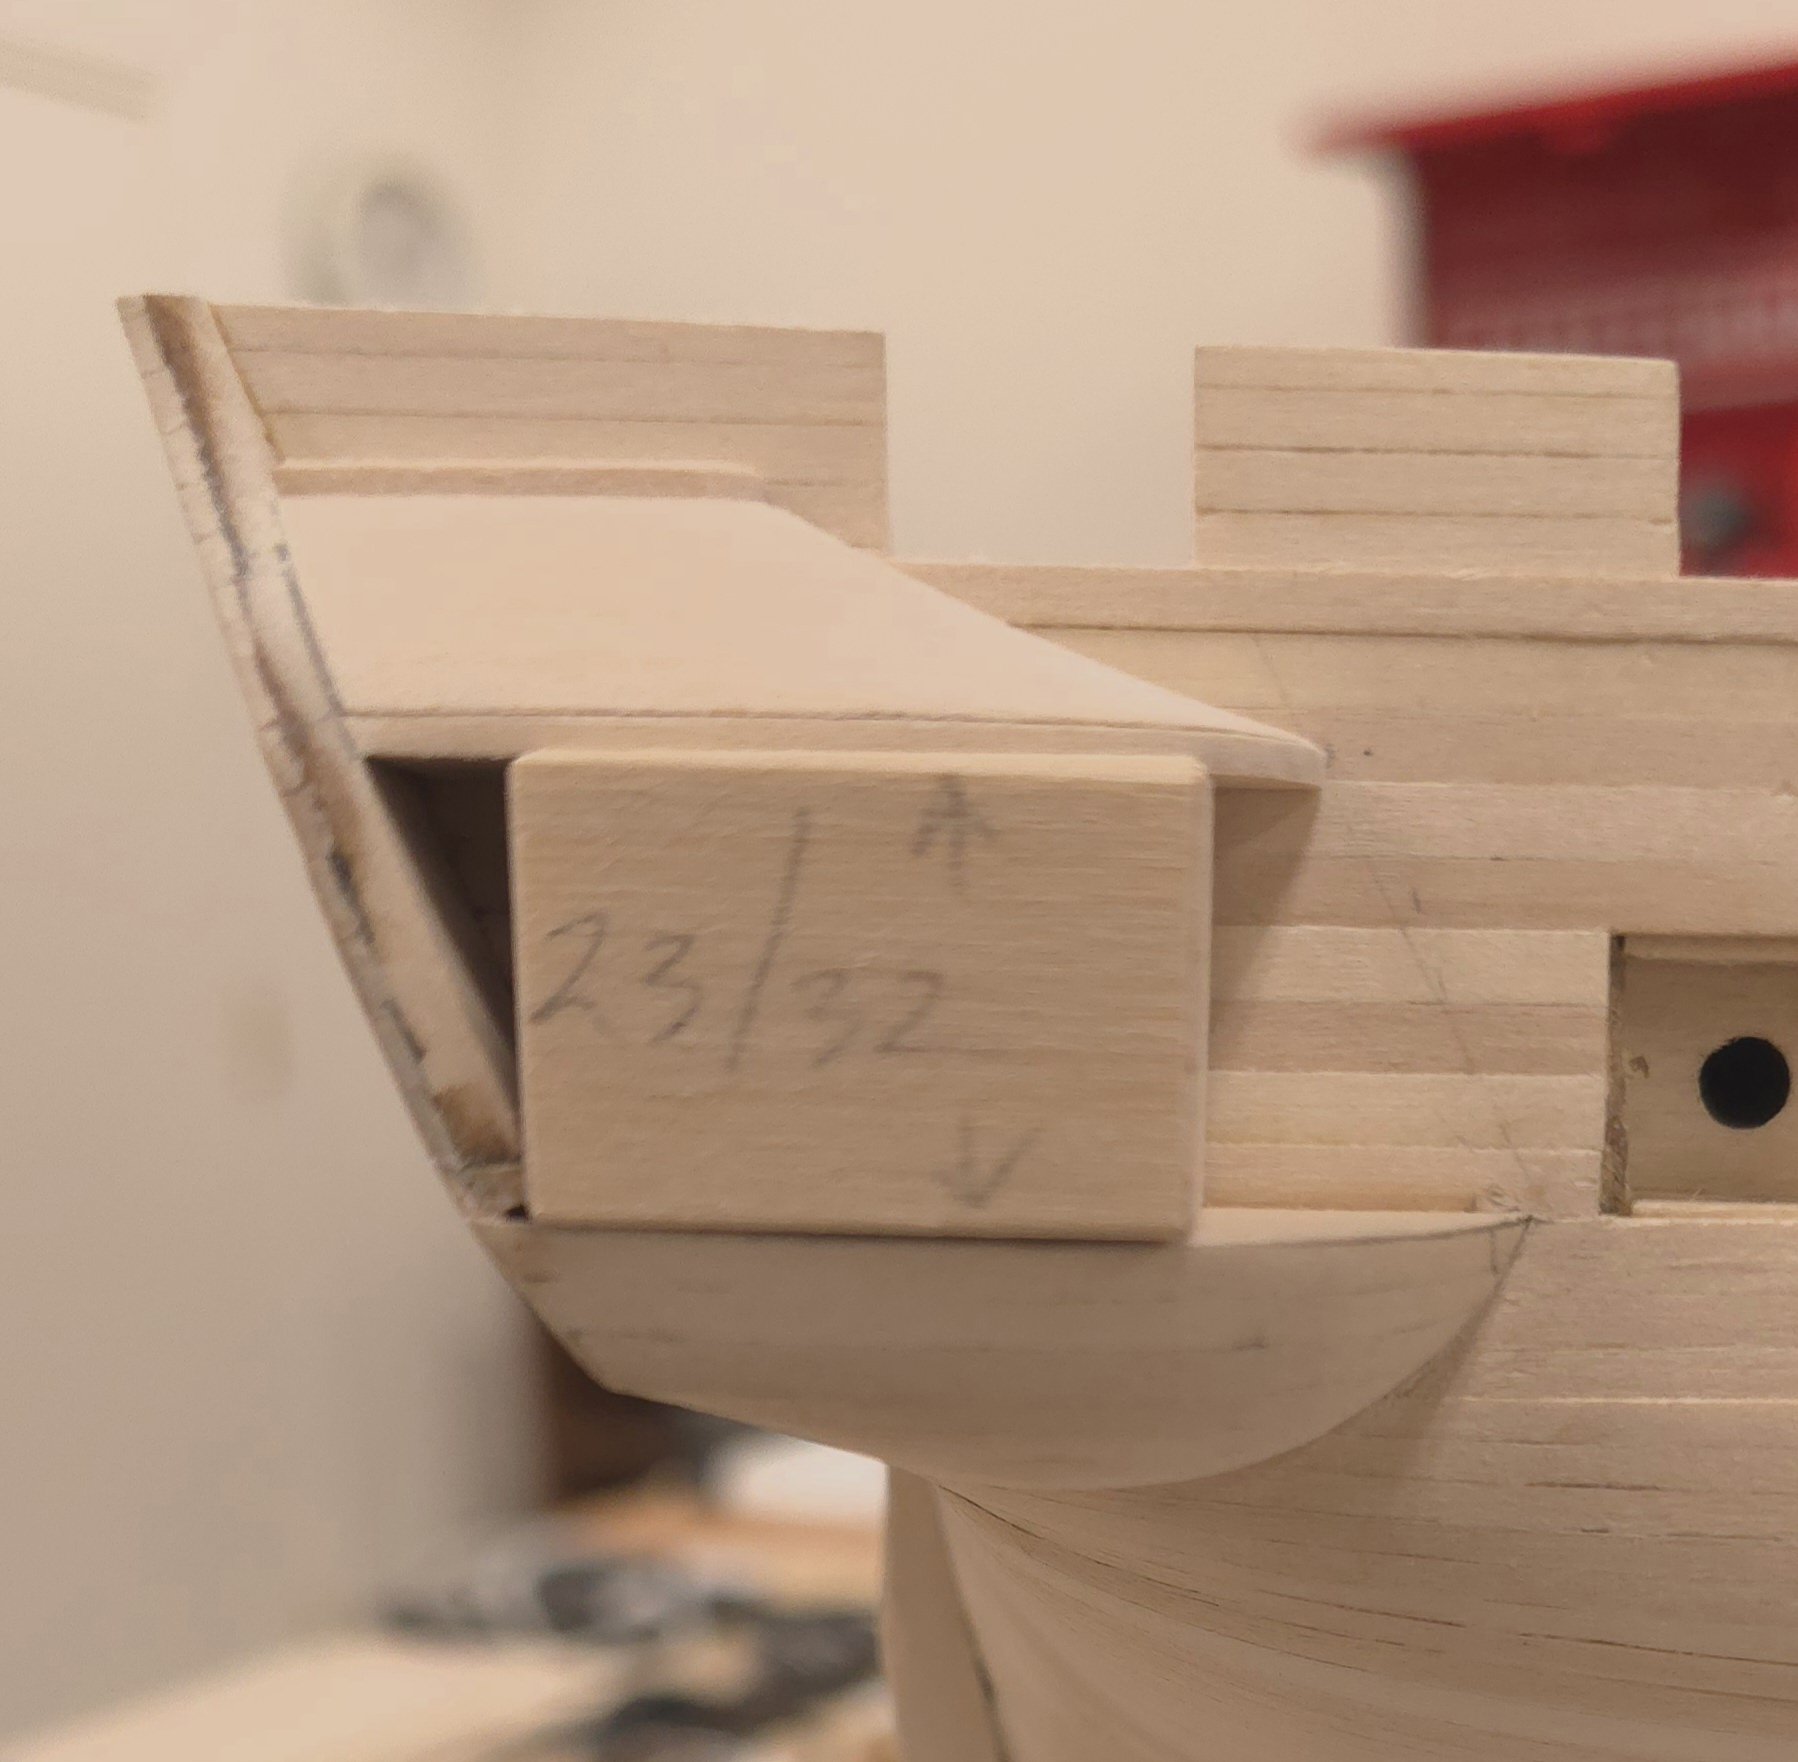
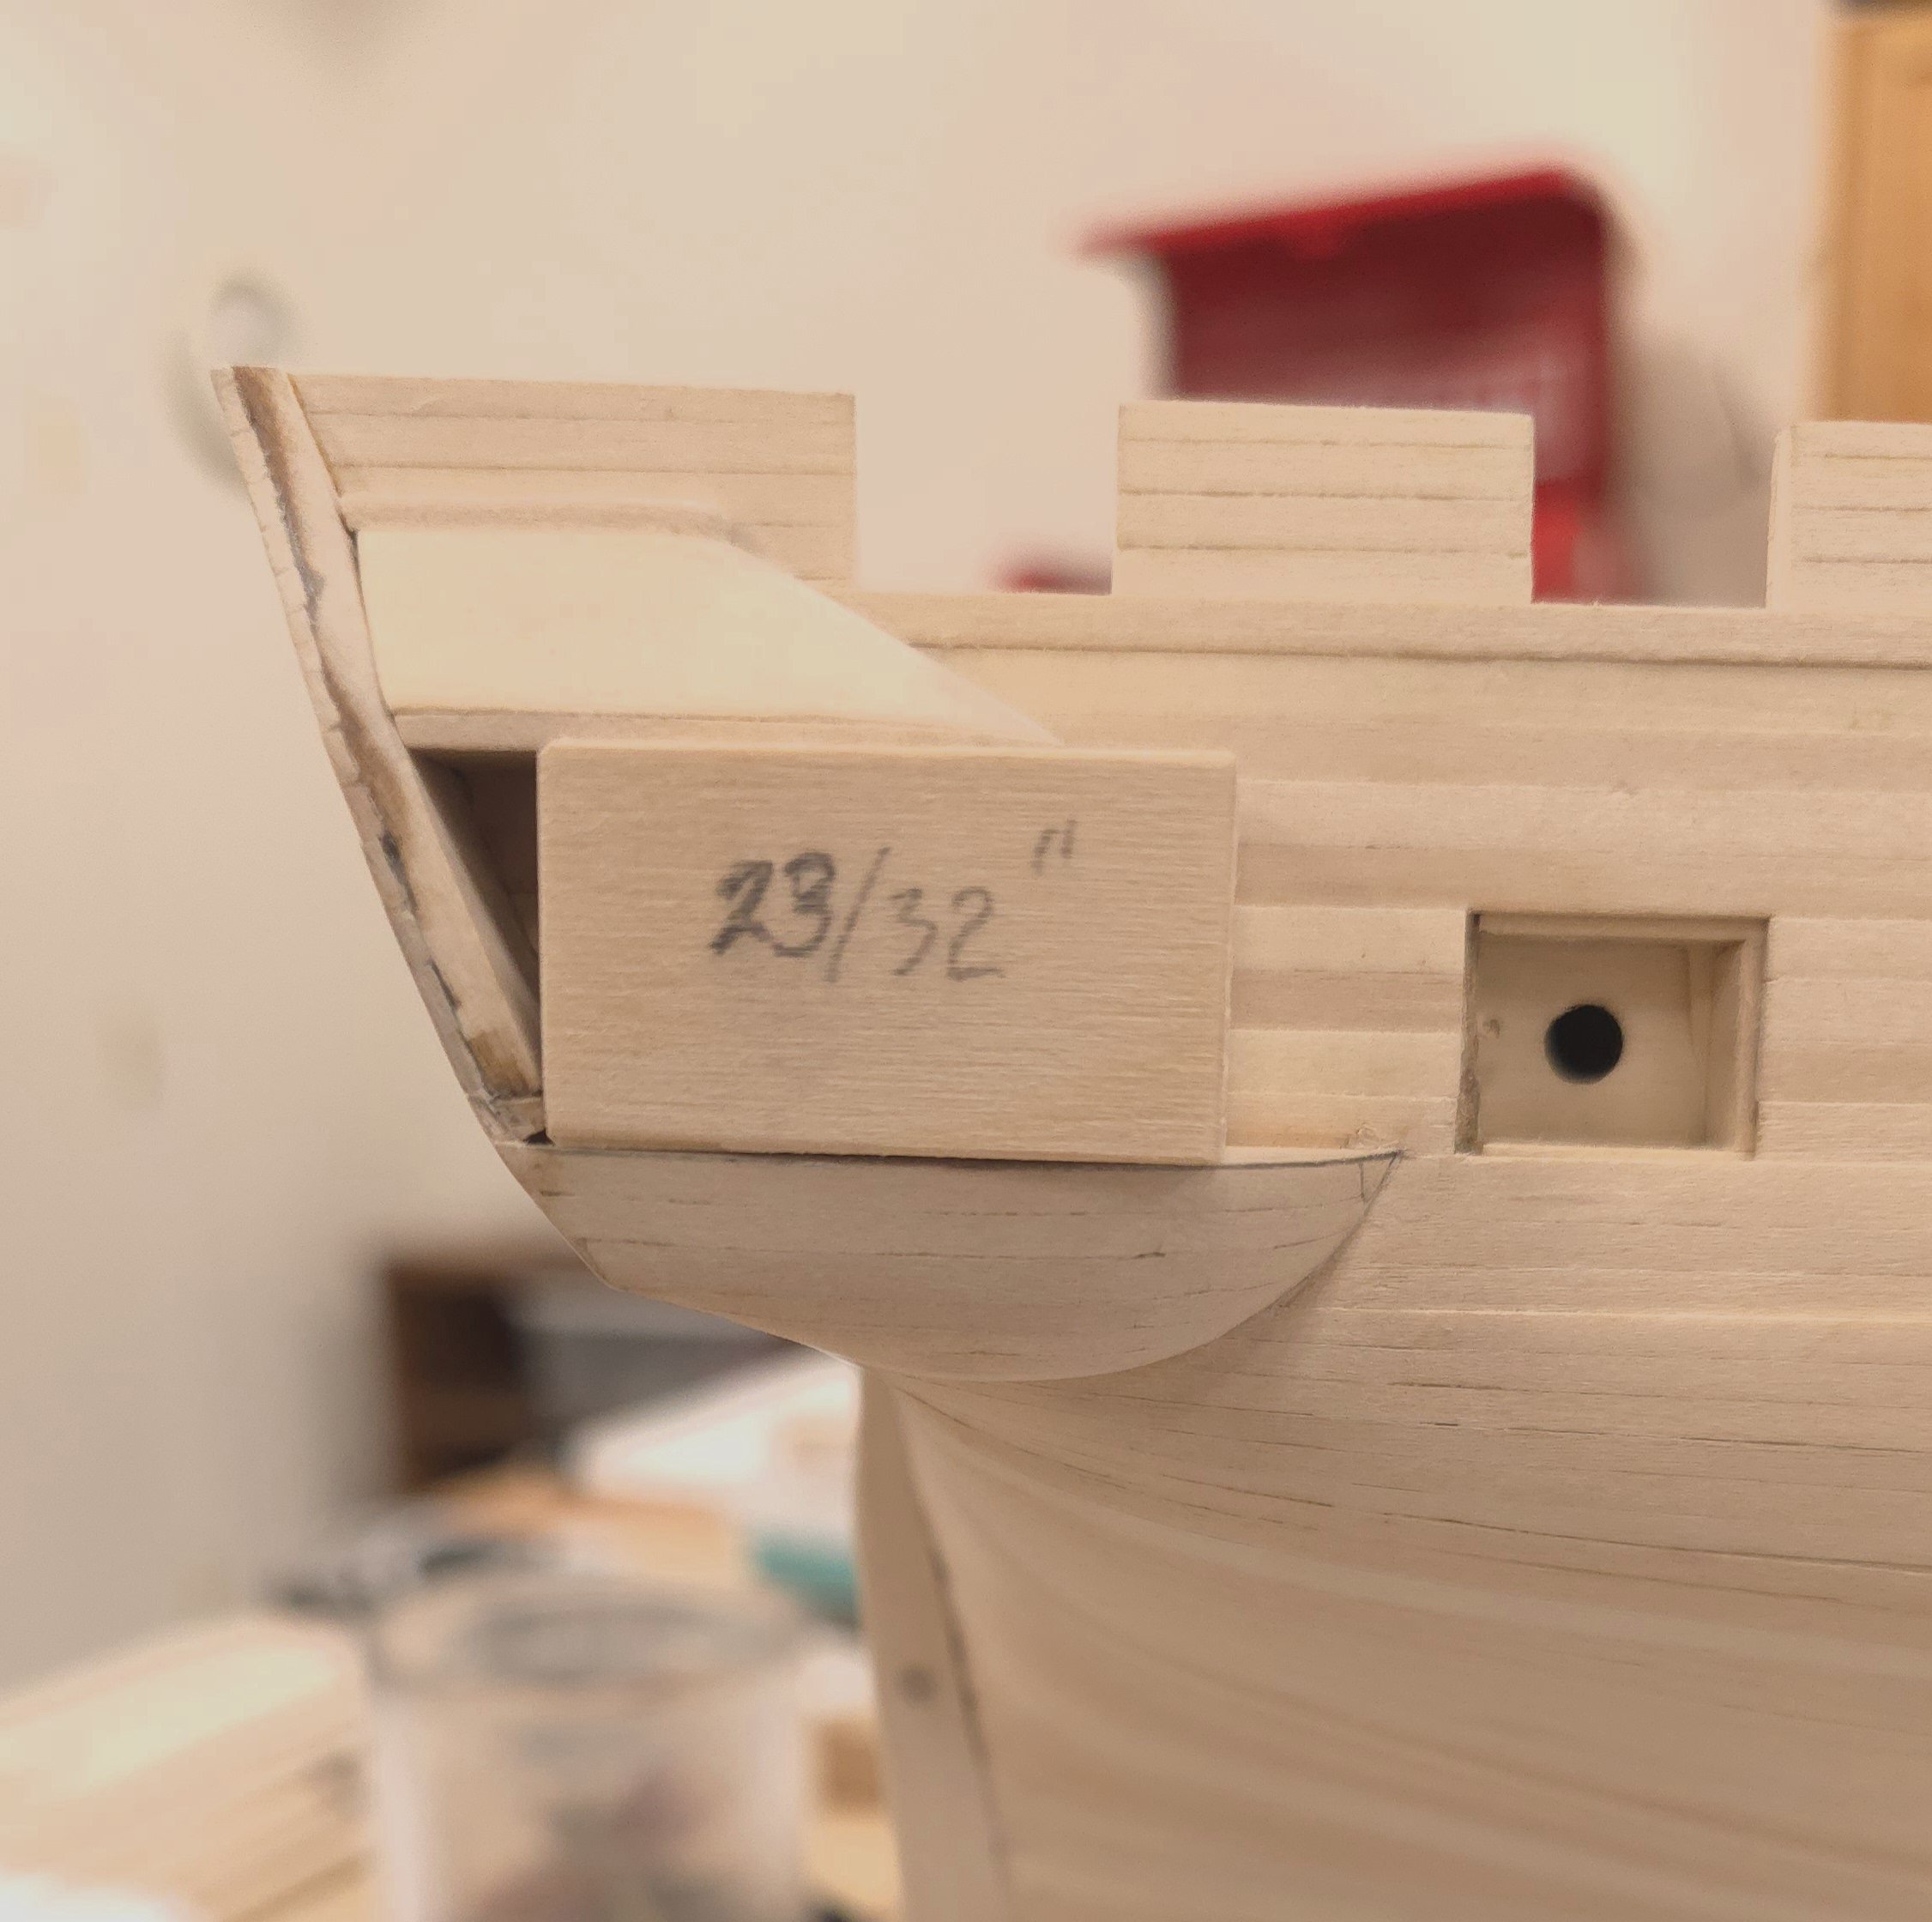
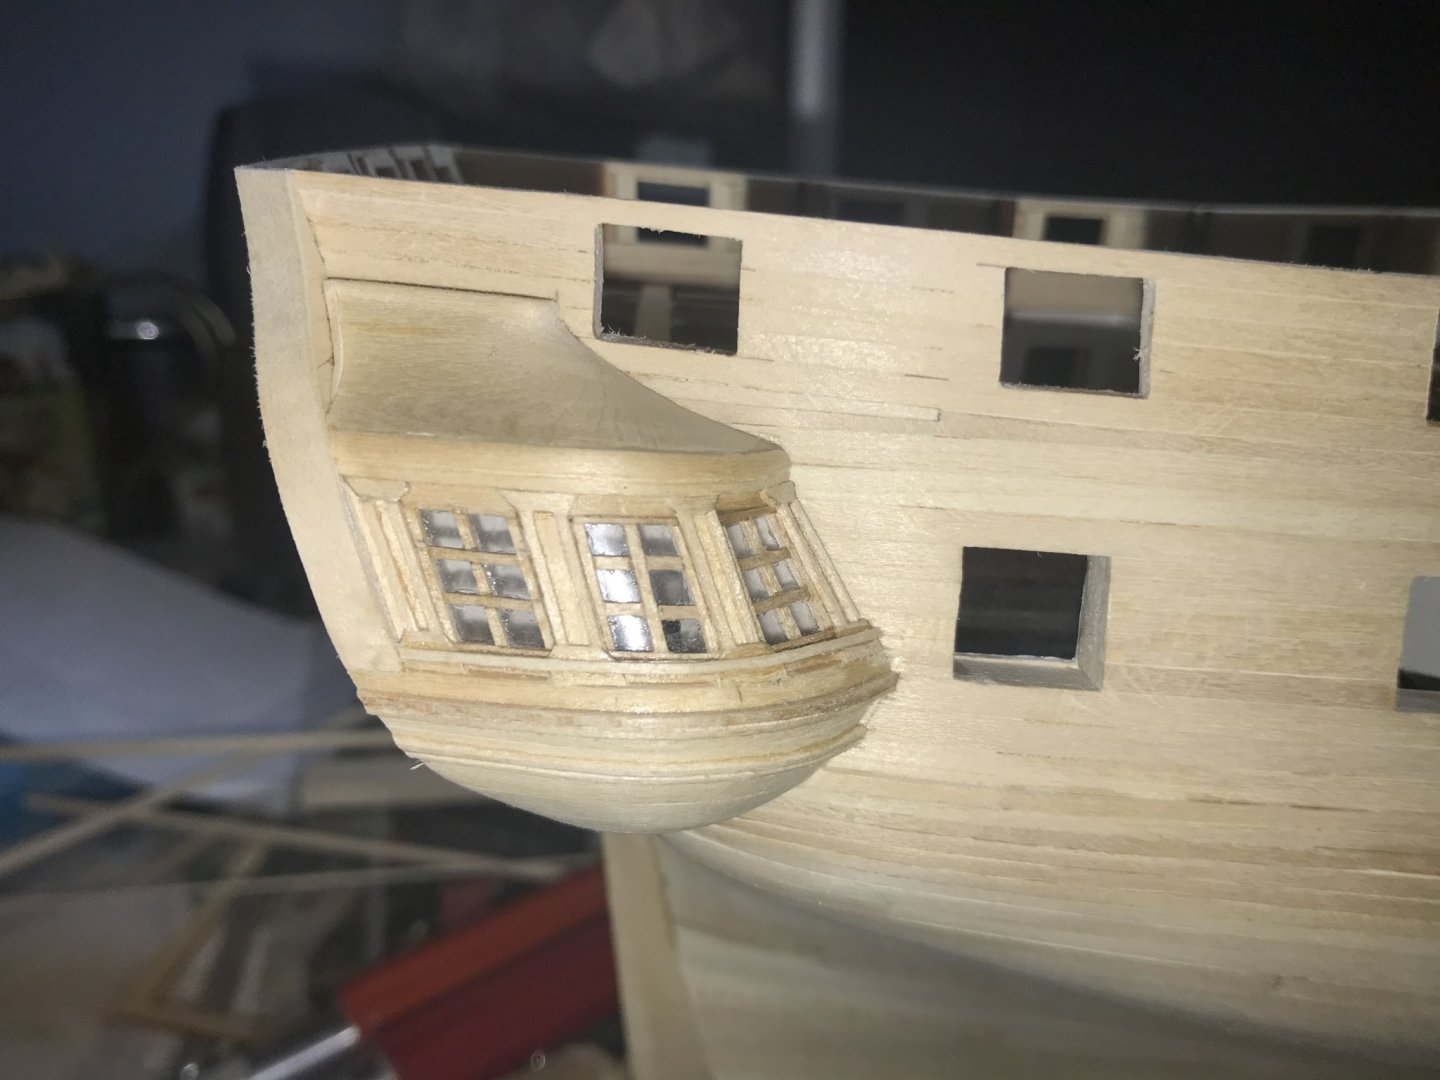
I found a few hours this morning to get to the shipyard and did some retro-fitting, and hopefully finished up the components of the starboard gallery. My plan is to pull the filler block out of the center, mark where the windows and plasters should be, then (sigh) fabricate both. I have been toying with the notion of painting the windows on. We'll see how that goes.. Resuming my hiatus. Back in a few.


-
Oh, well, yeah....! Now it makes perfect sense! <shrug> 🤣🤣 Having taken drafting in high school and drawing classes at a Community College in the lead up to my retirement, I have some perspective on perspective and actually understand the point Jon is trying to make. I didn't upload the photo, but I am pretty far along with the filler block, which has me reconsidering the use of those pre-fab parts. I just don't like the way they fit. So, I may be constructing windows of my own after all. I'm taking a few days off to ponder my existence. Rest assured, I will not be "vanishing" at this point. 😁 Back in a few...
-
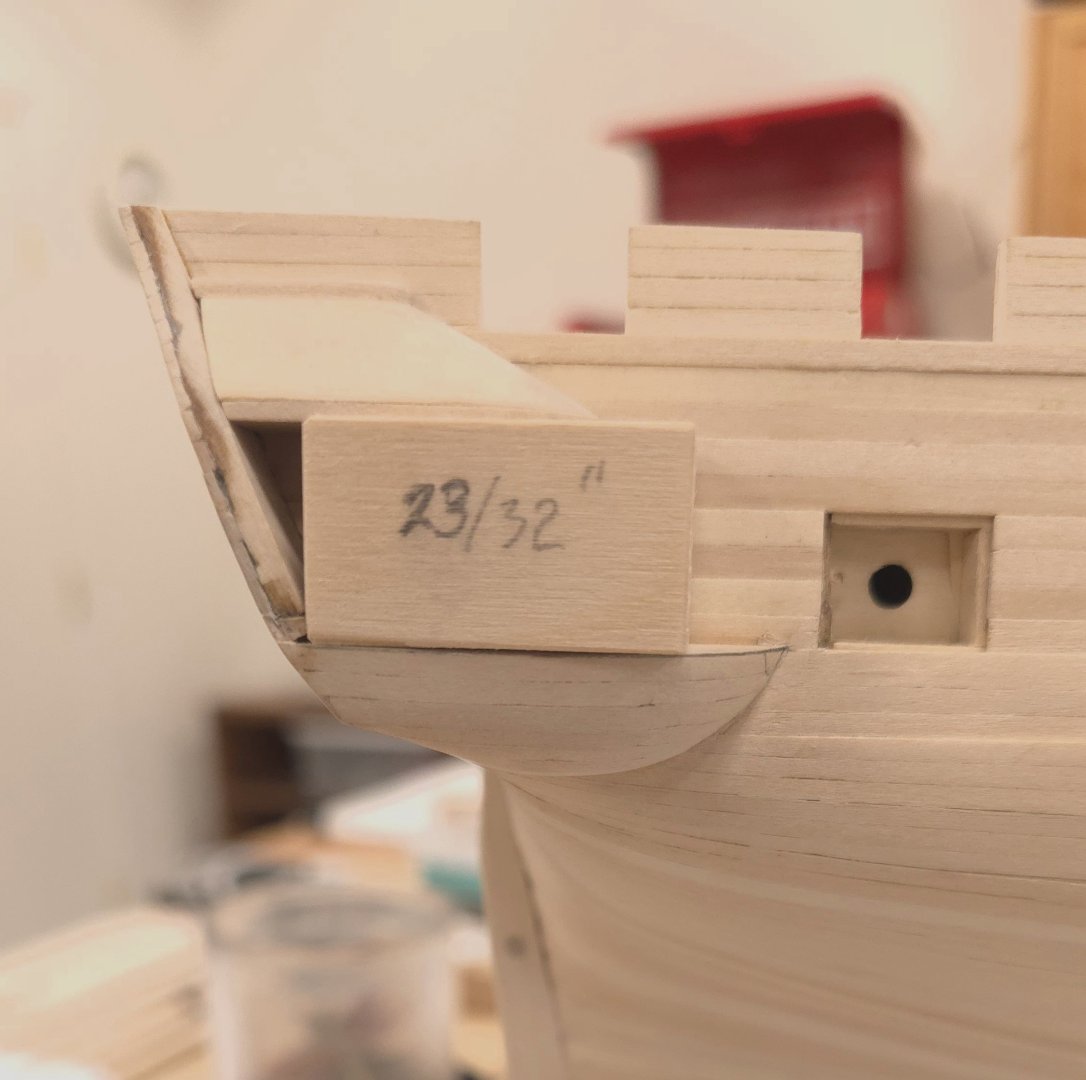
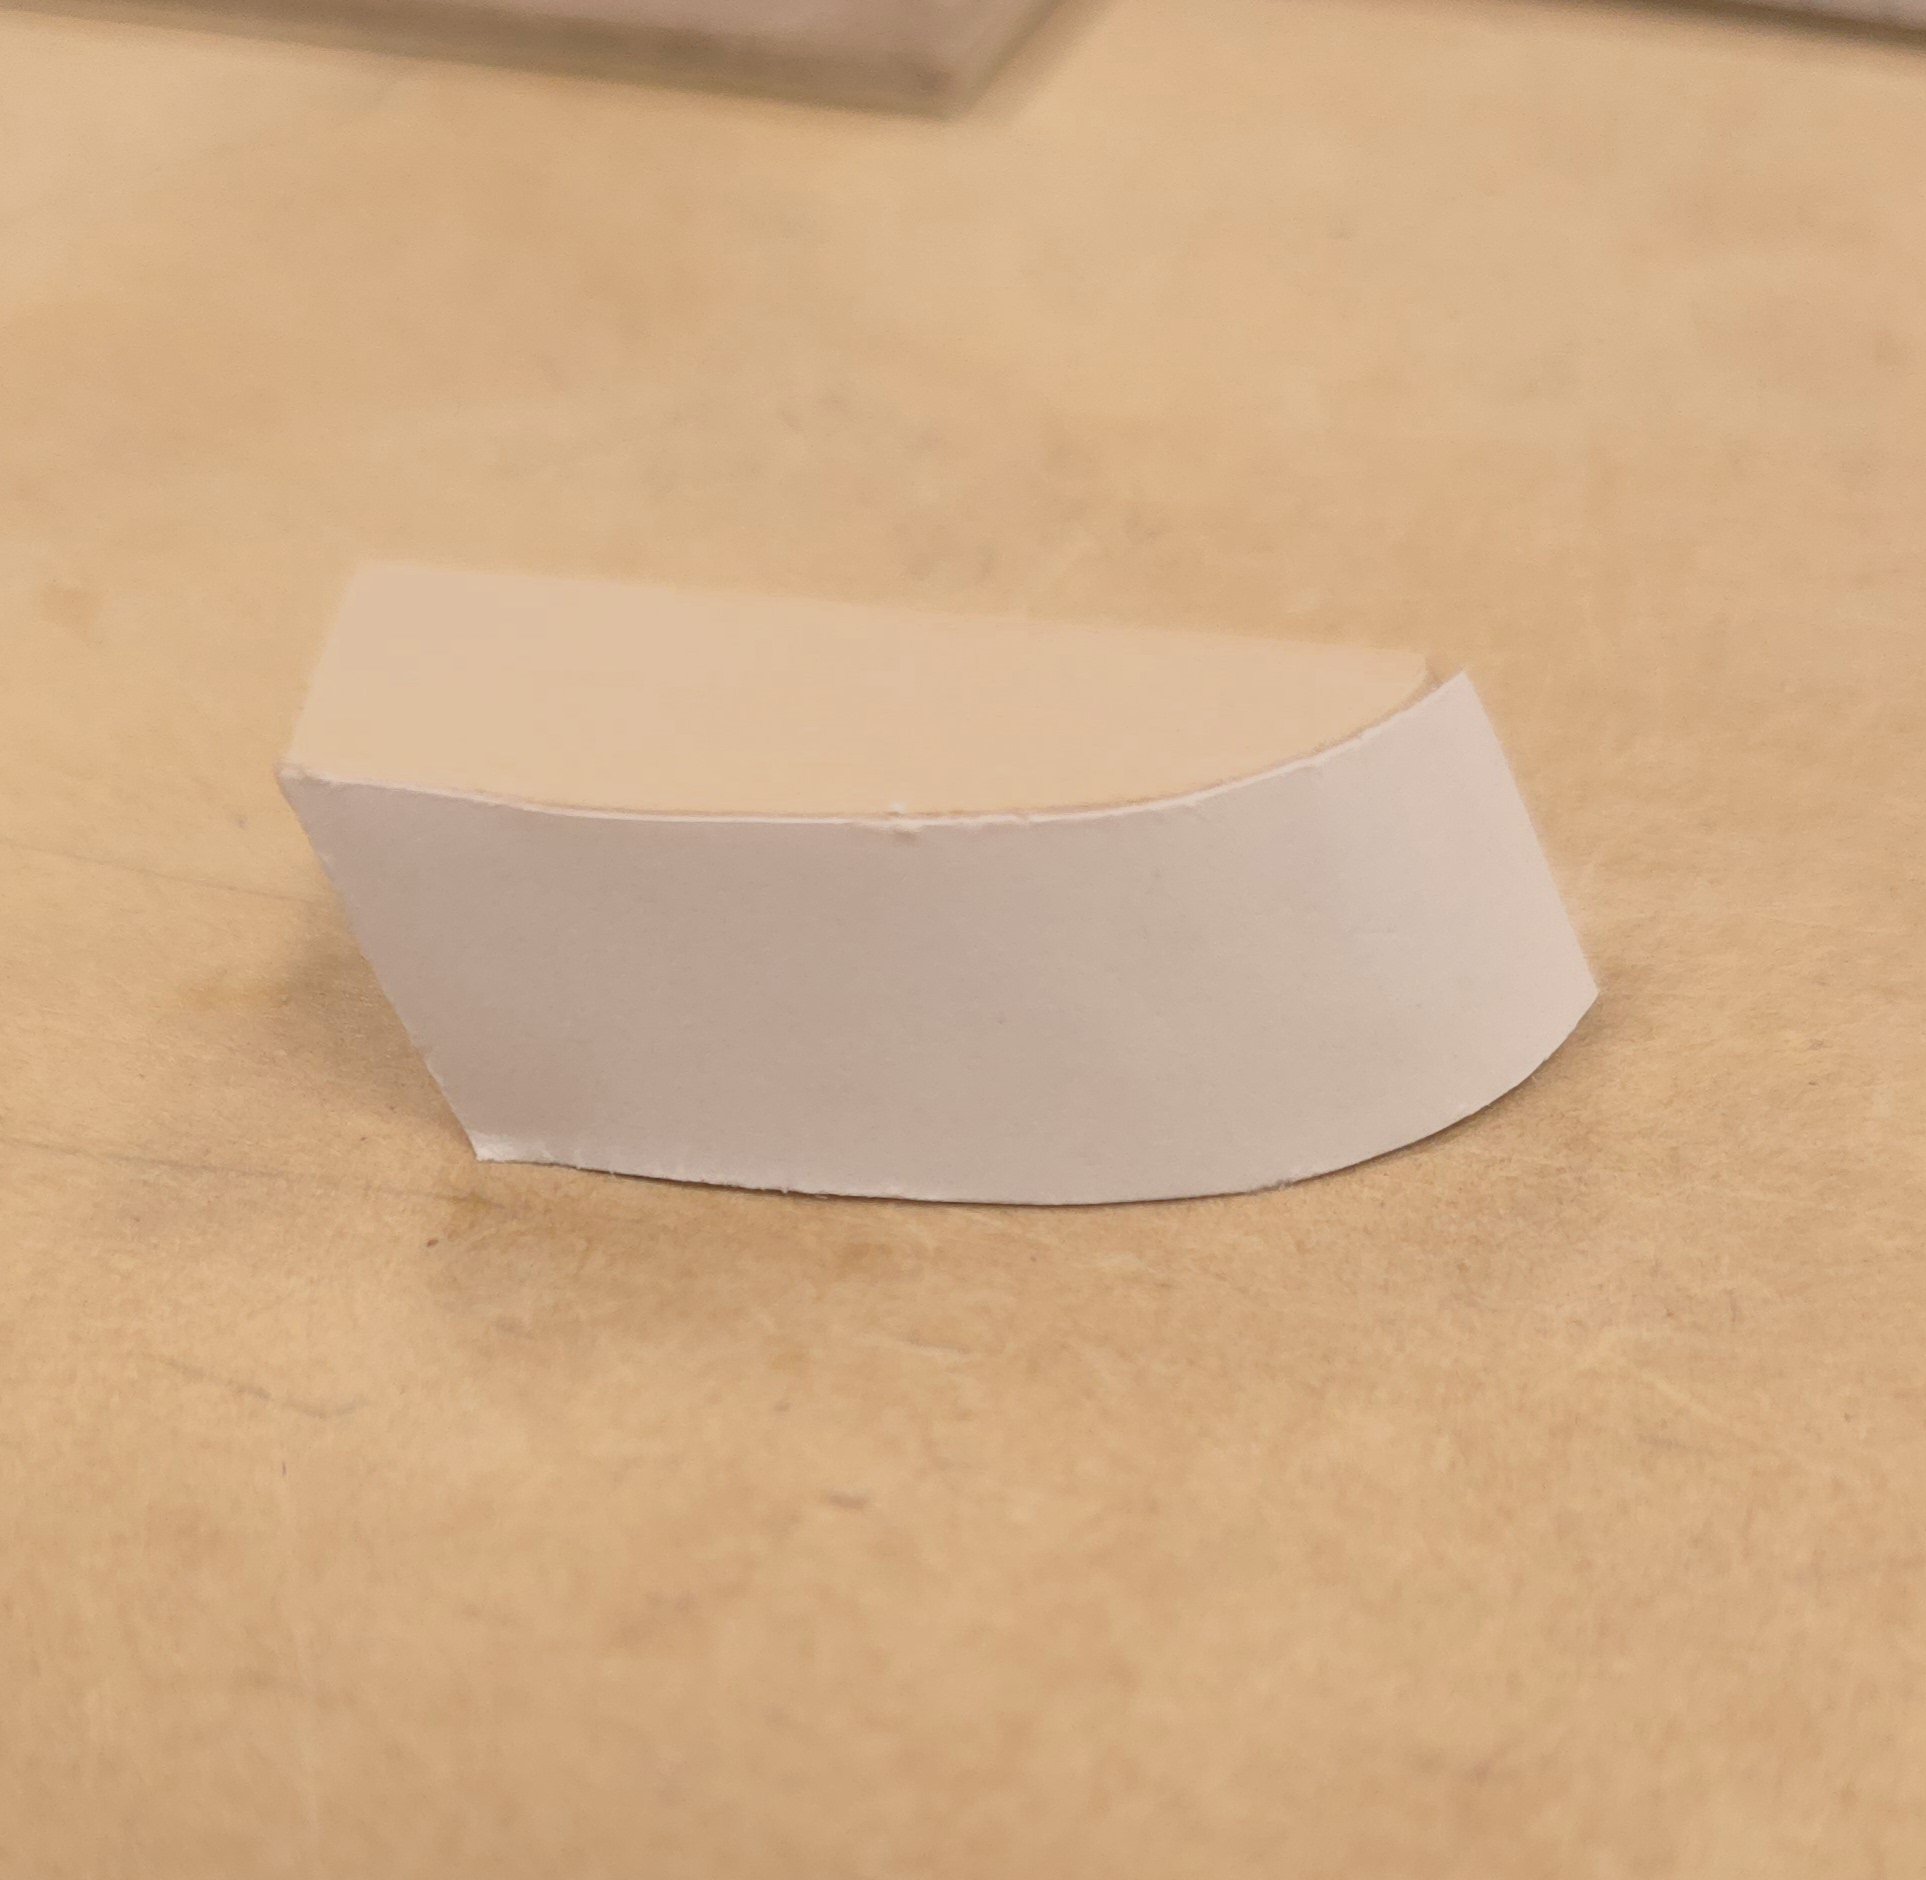
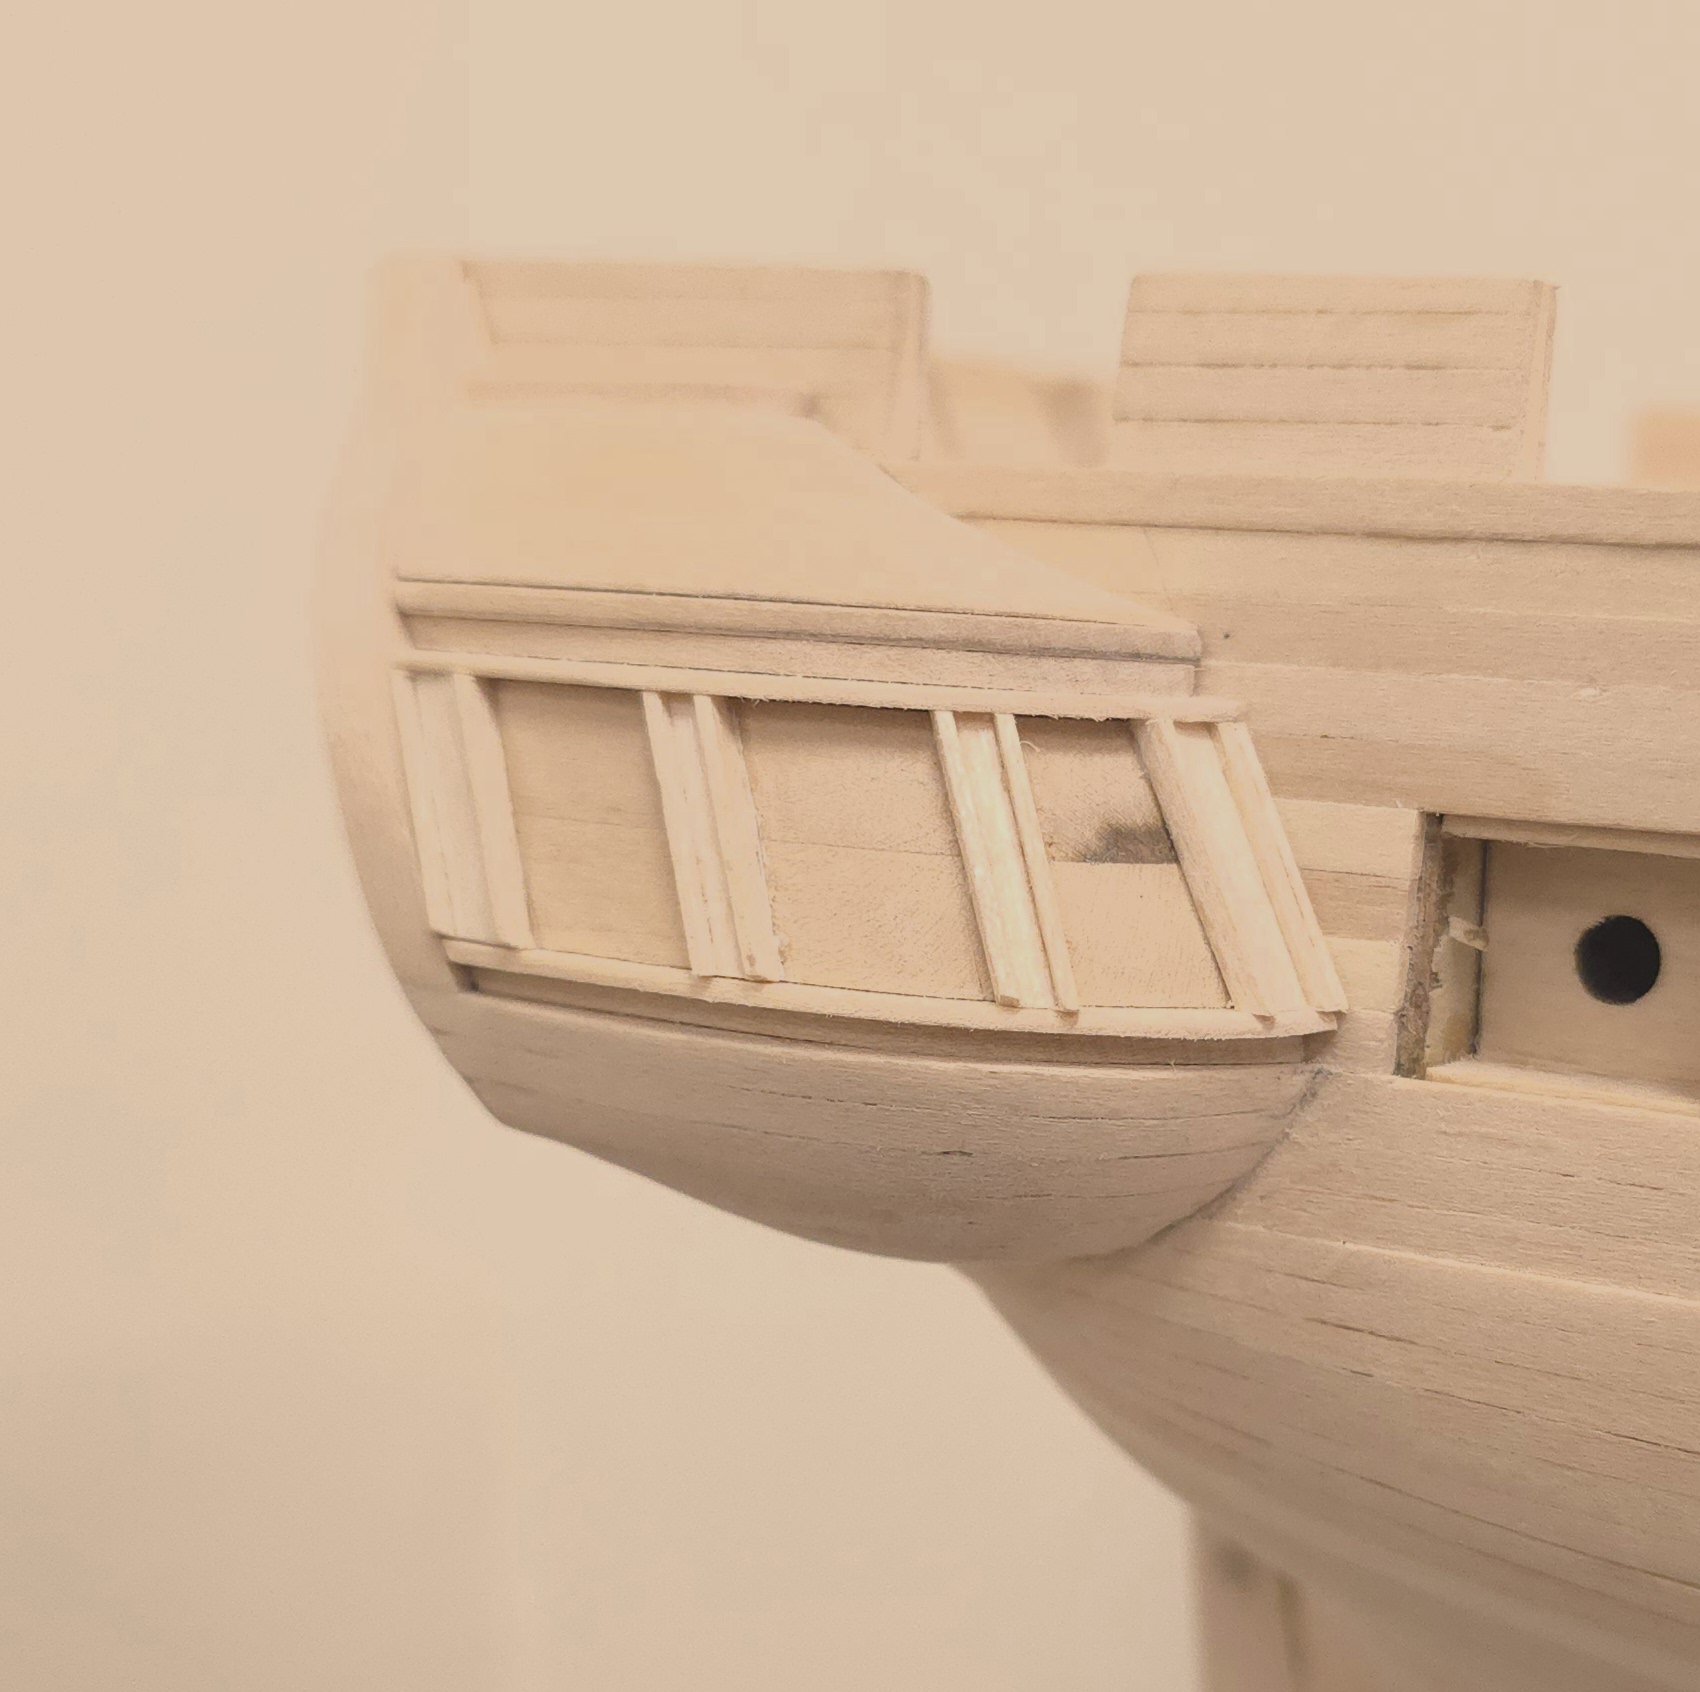
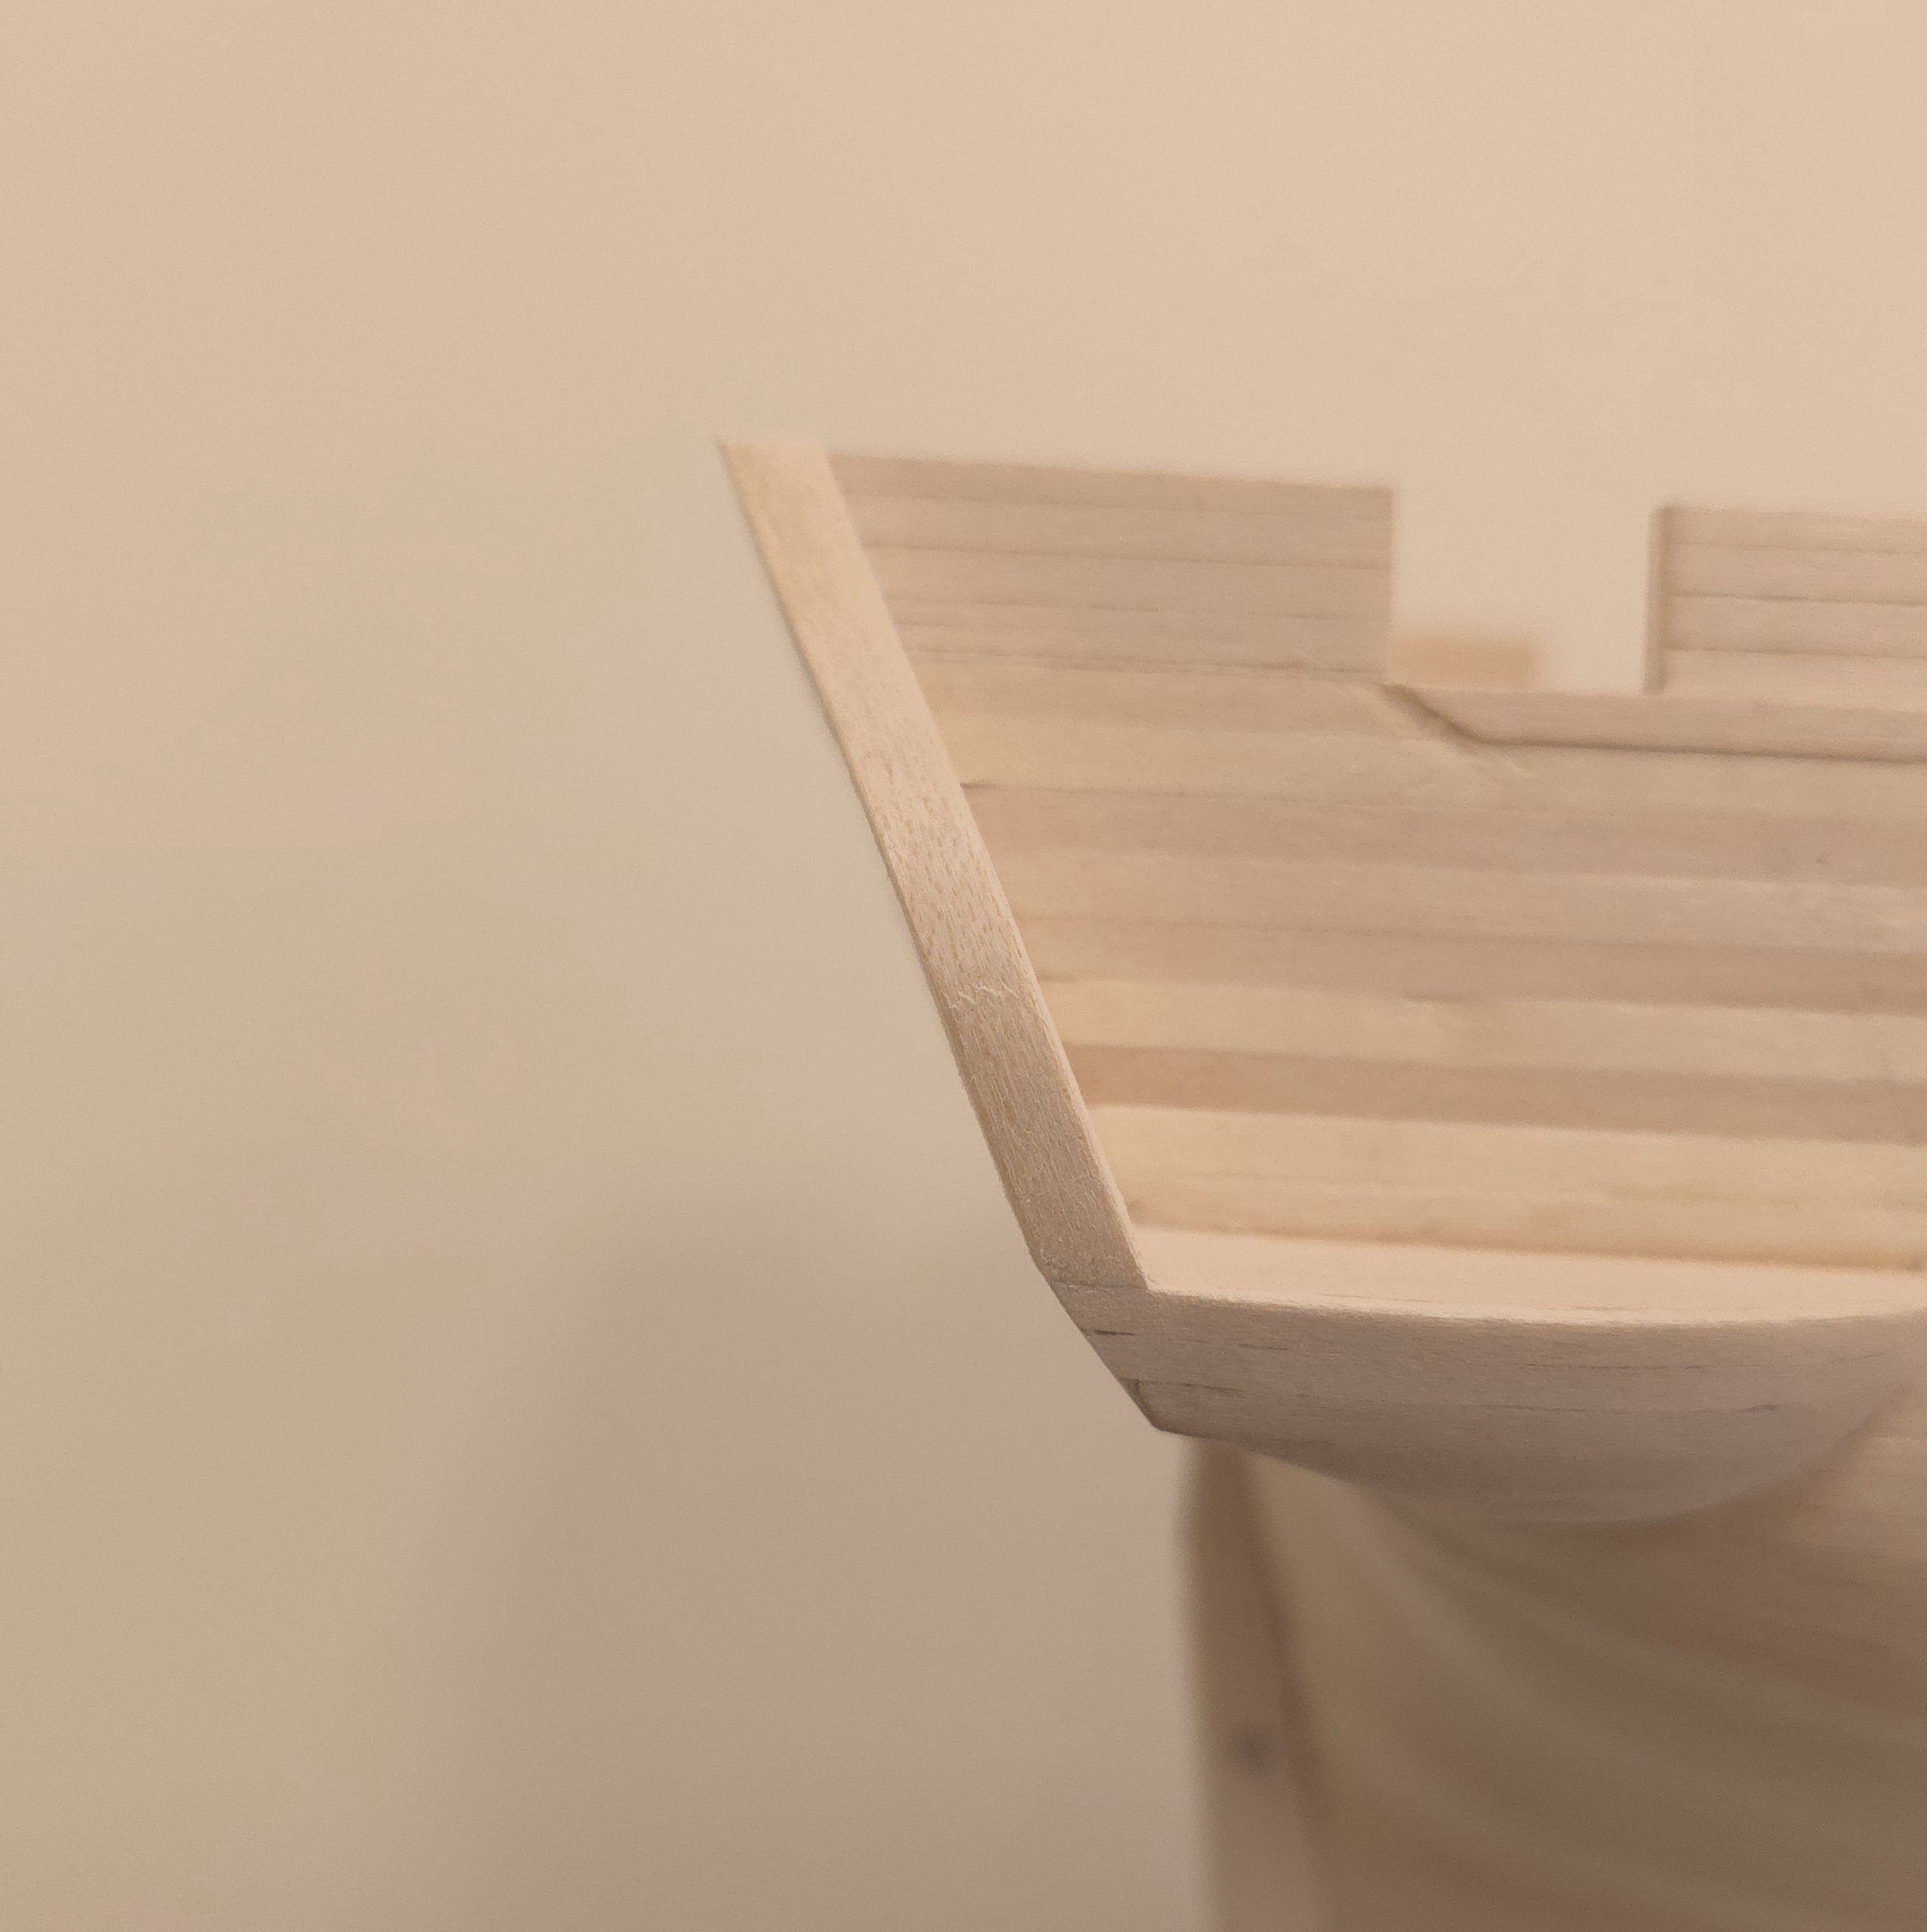
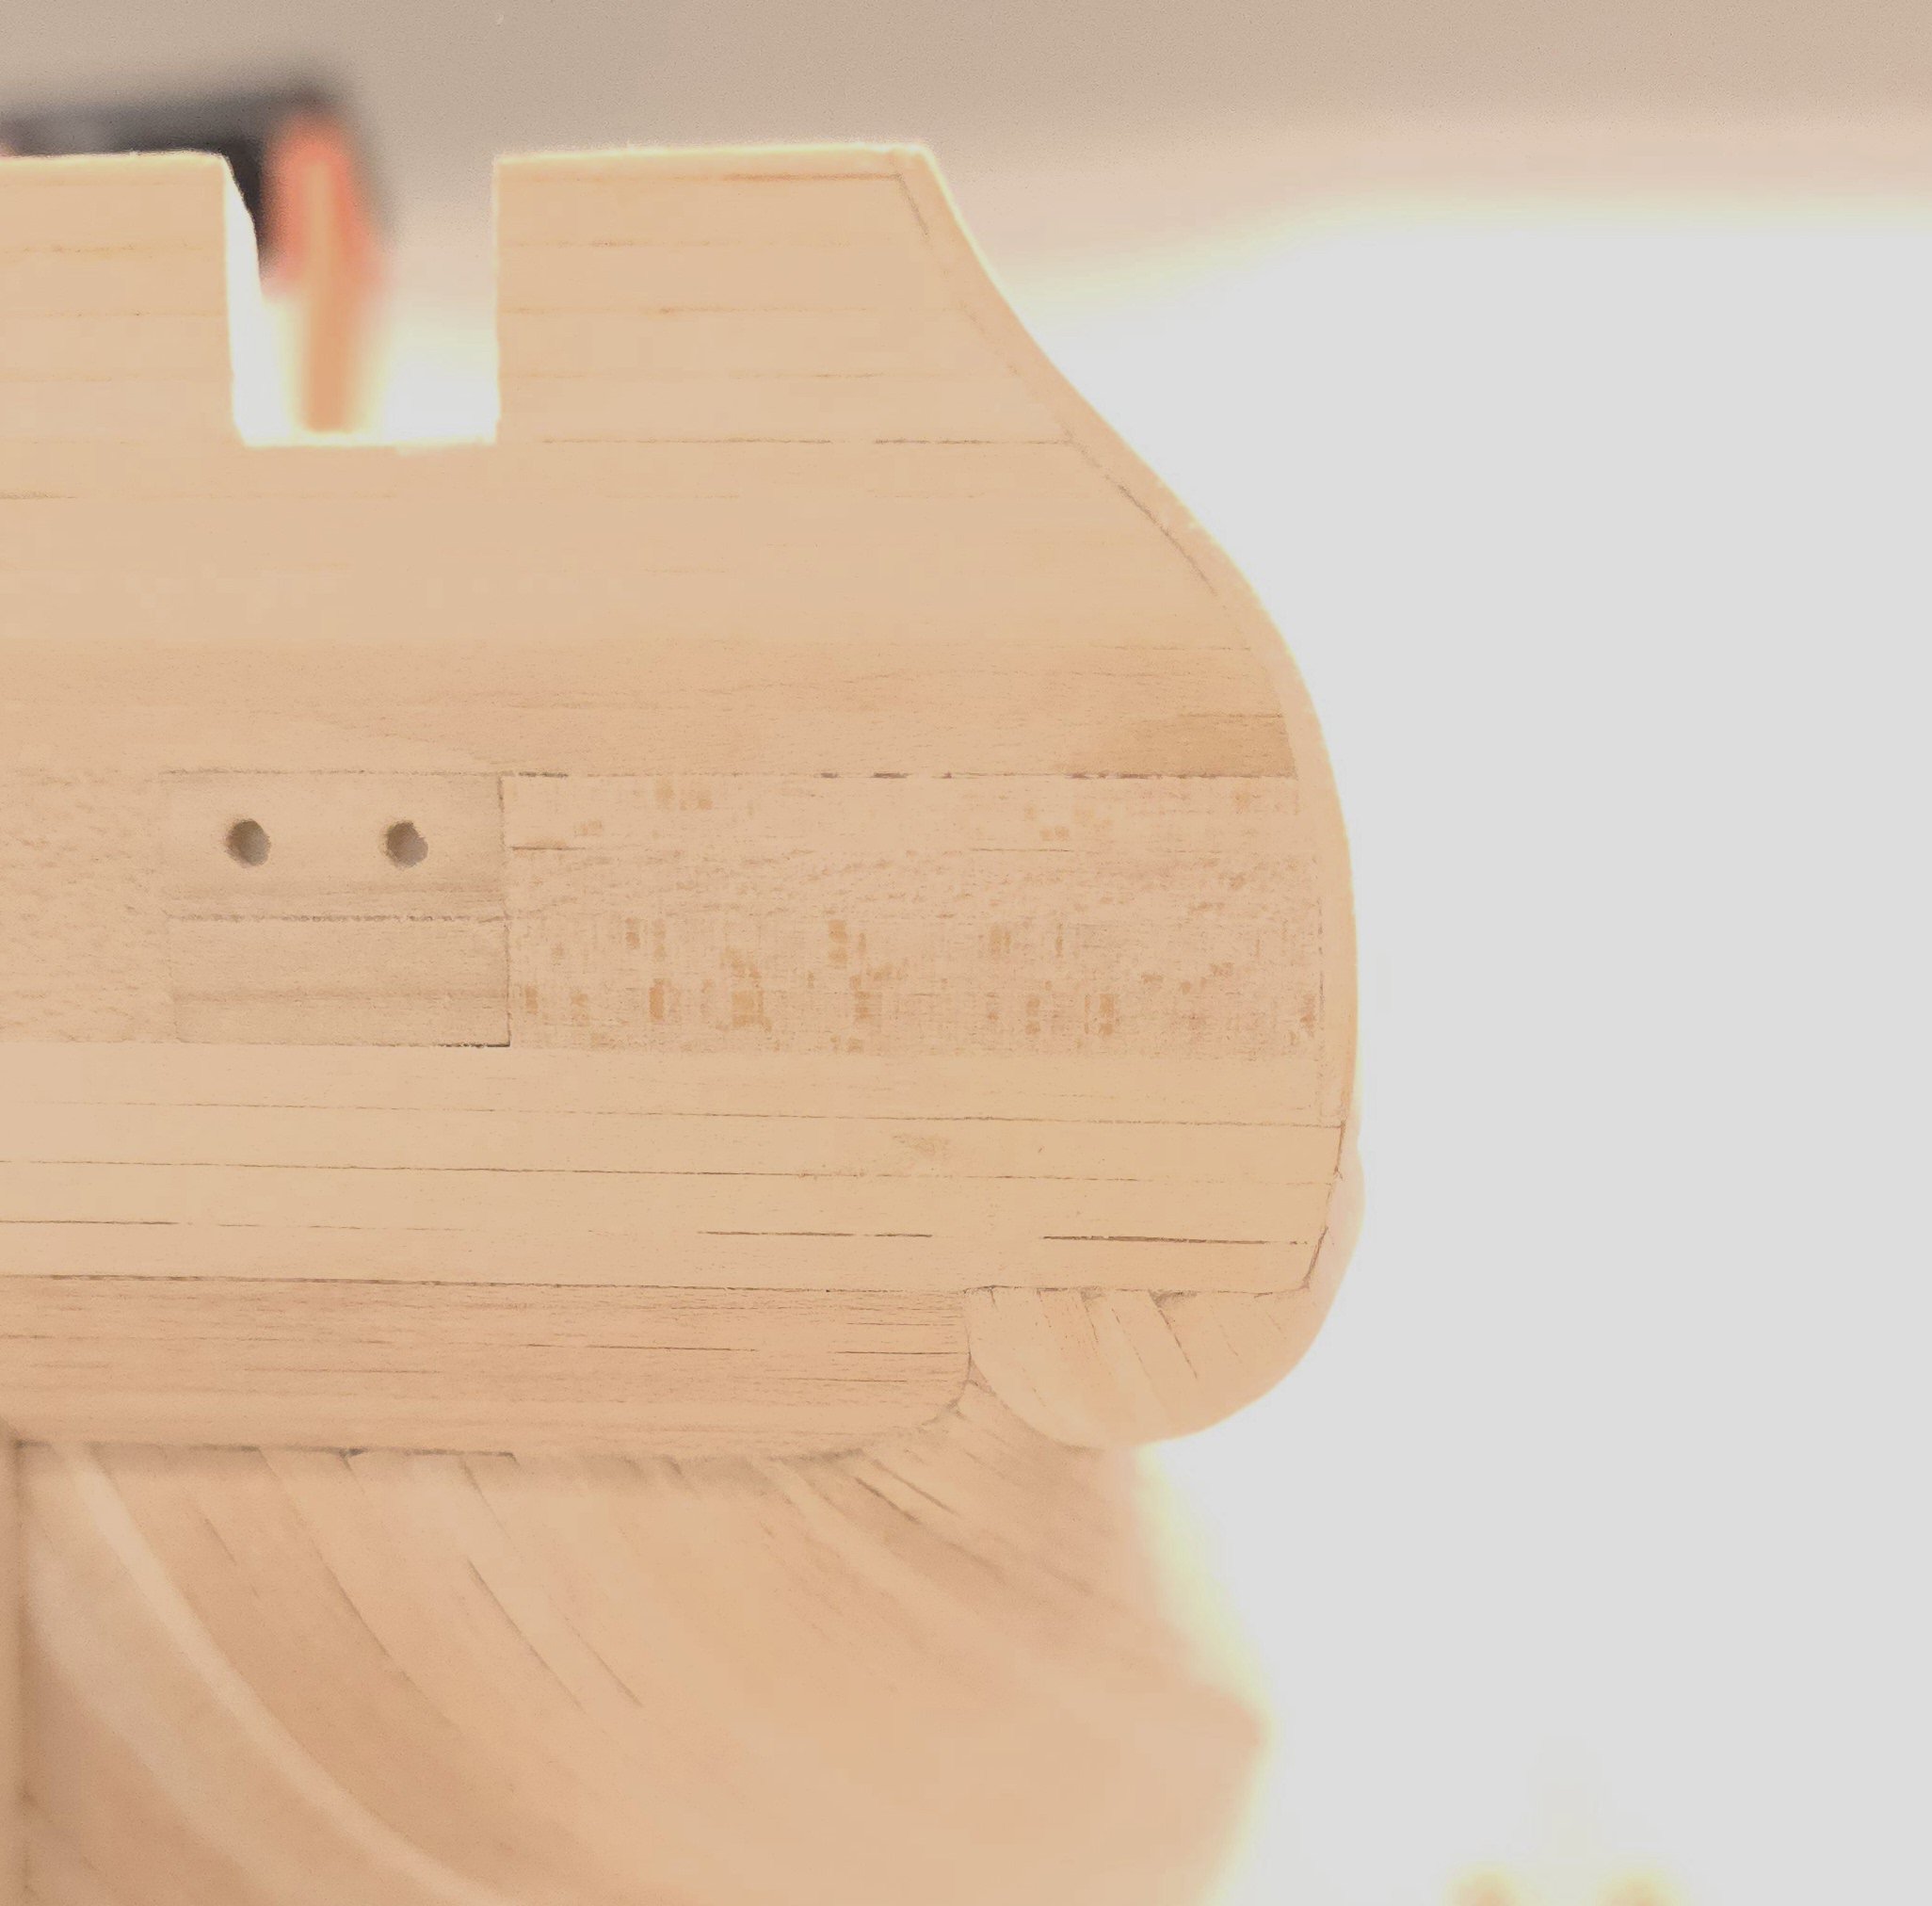
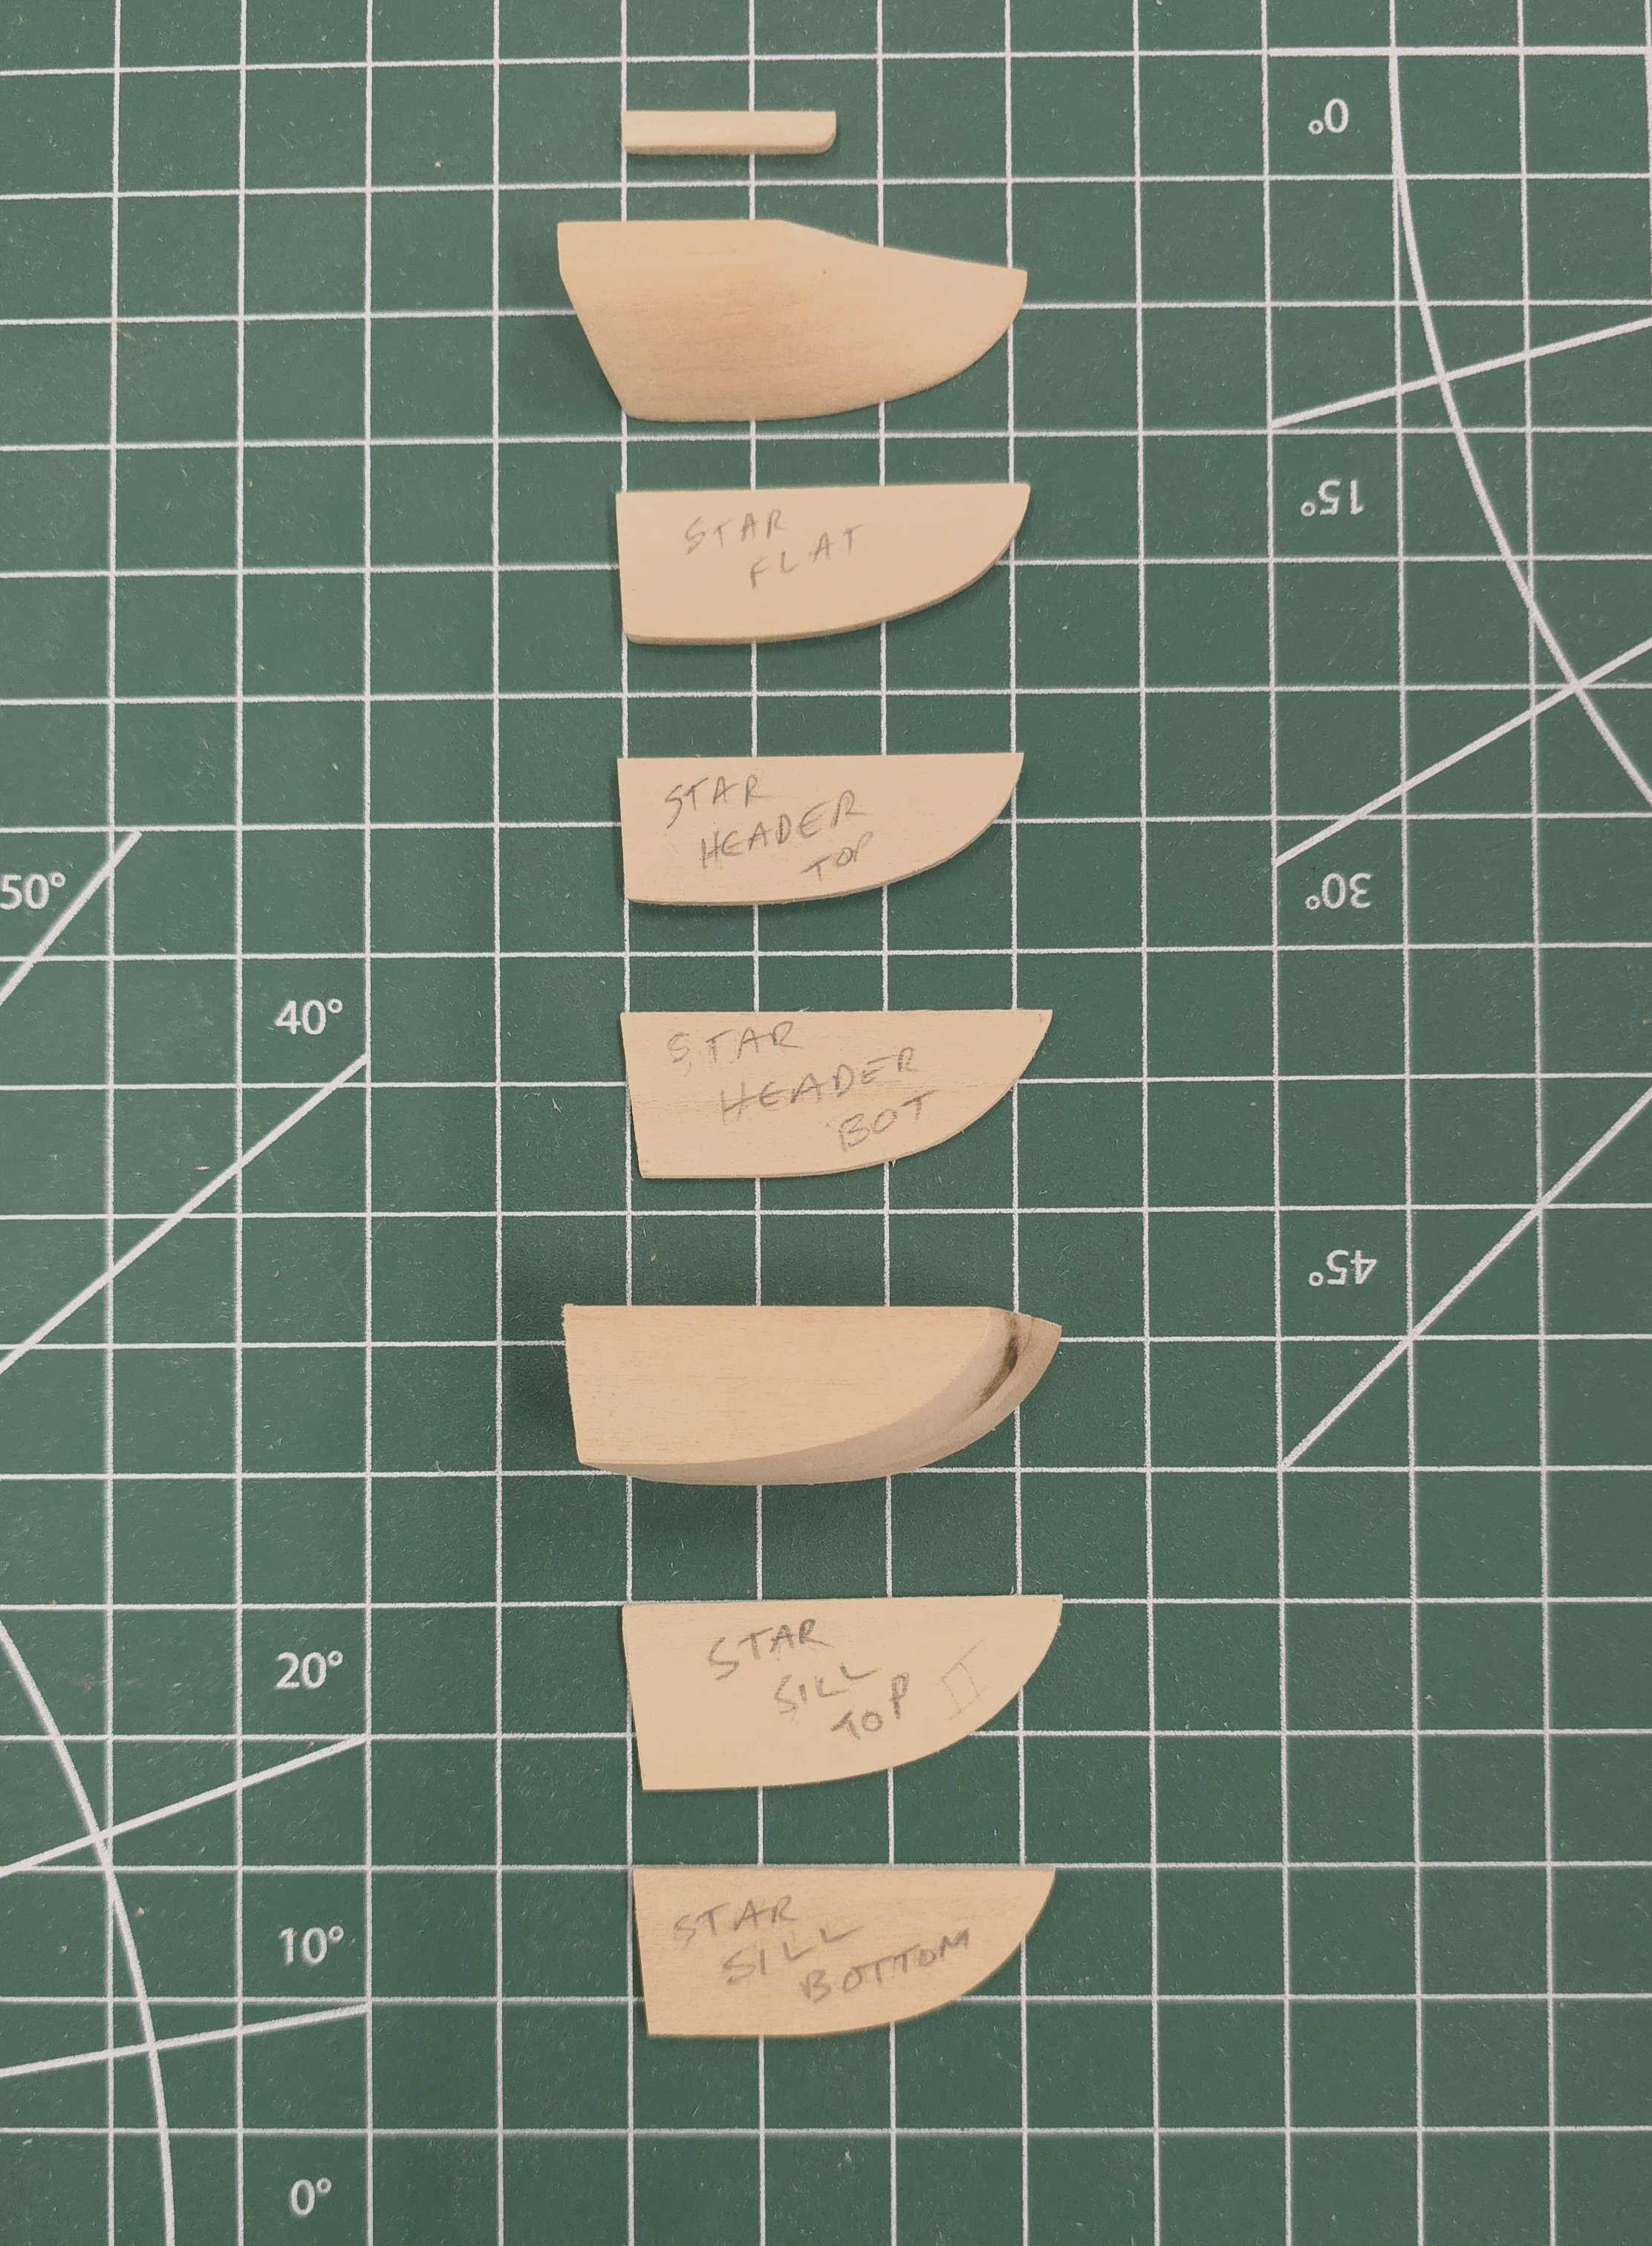
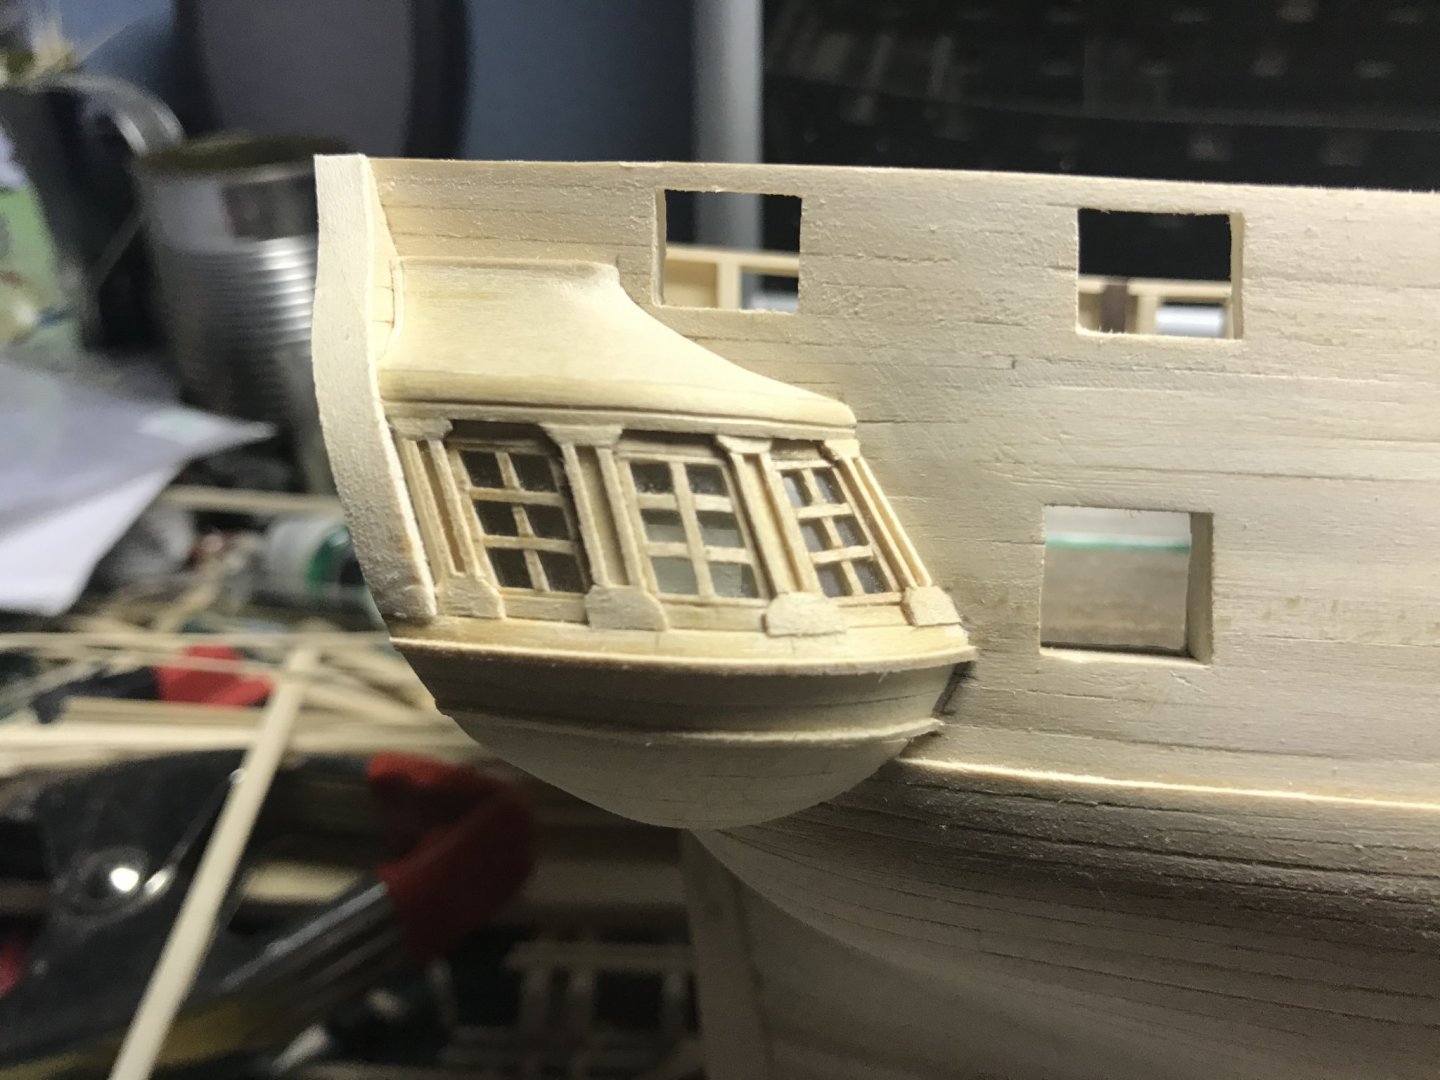
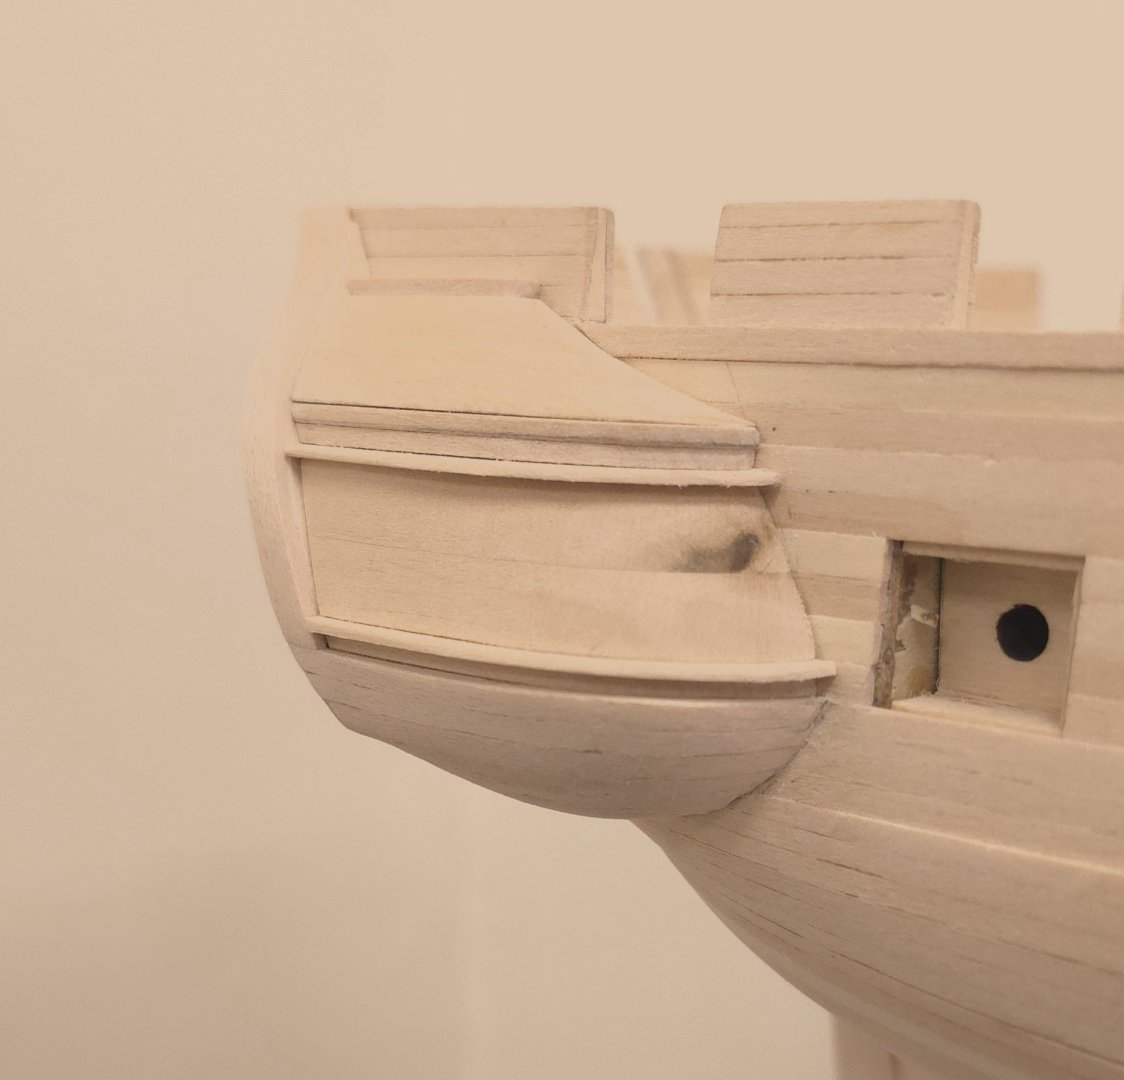
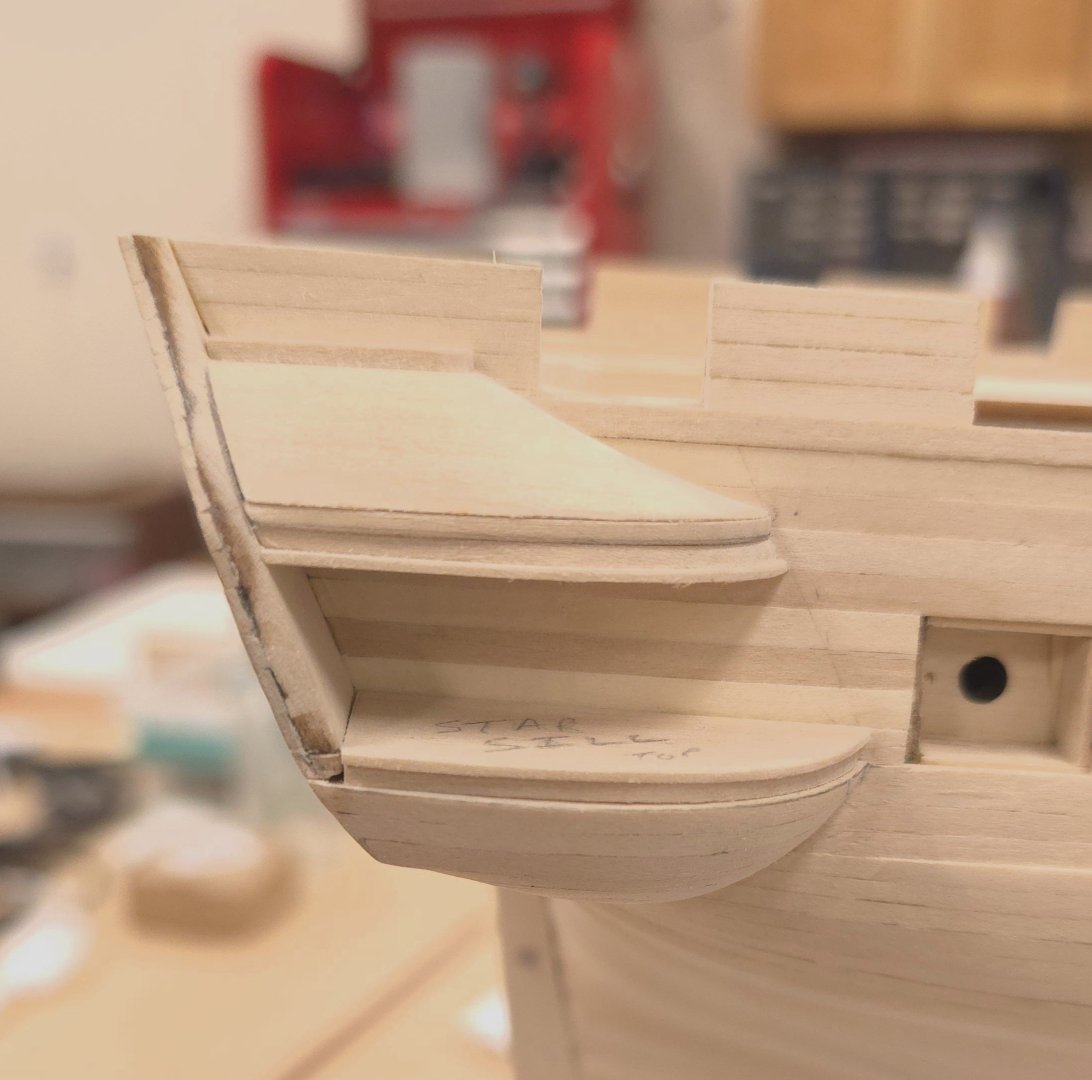
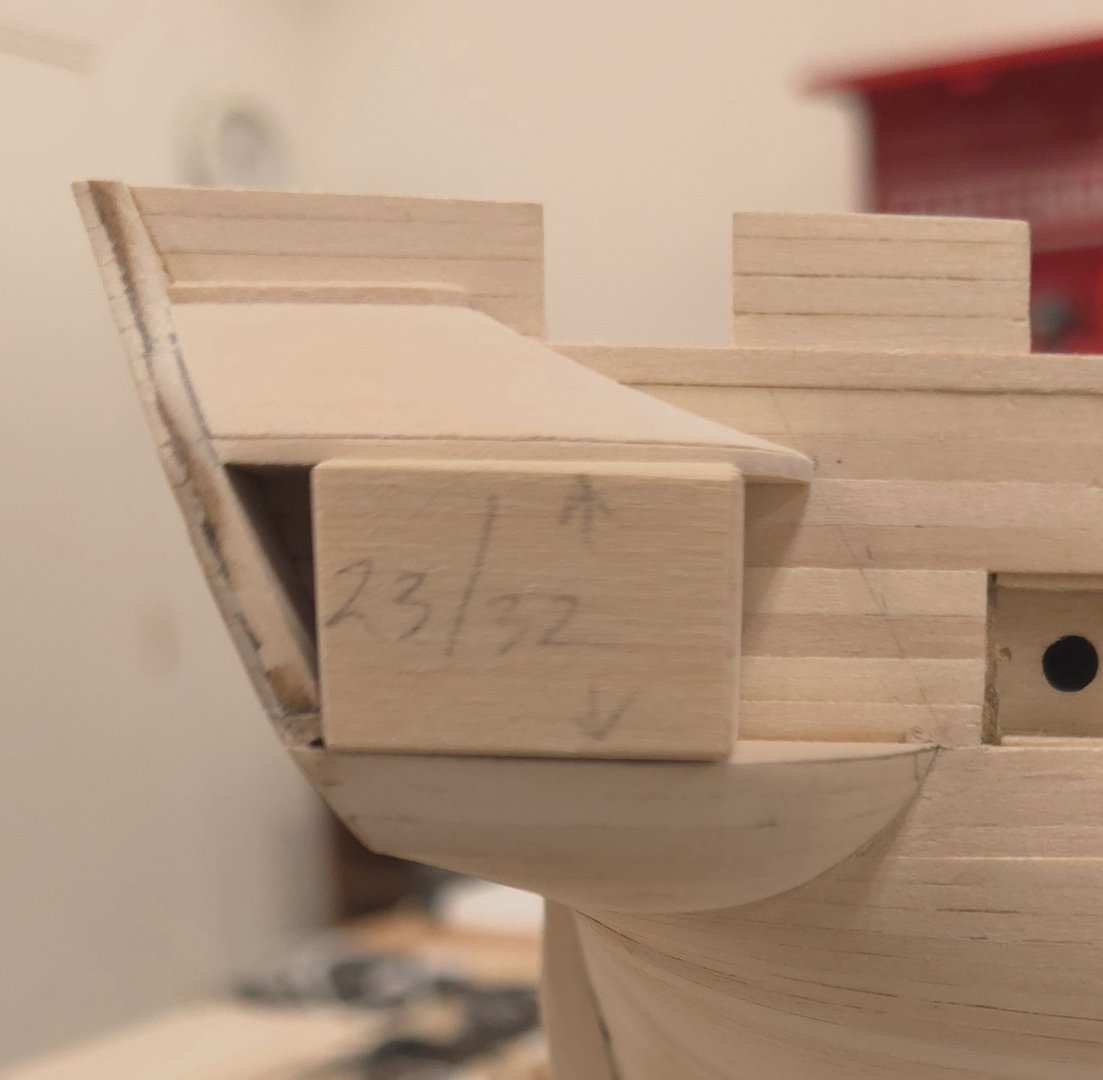
I'm taking a different approach to sills and headers. (Nothing is glued in yet. Double sided tape is holding the roof cap, roof carving, flat, top part of header, and bottom part of header in place.) And I'm going to try a different approach for the windows too. I'm leaning towards making a curved filler block shaped to fit this opening, and afixing the windows to the filler block. We'll see how that goes..
-
Cheer up Gregg. I achieved a much better result on my 2nd attempt.
-
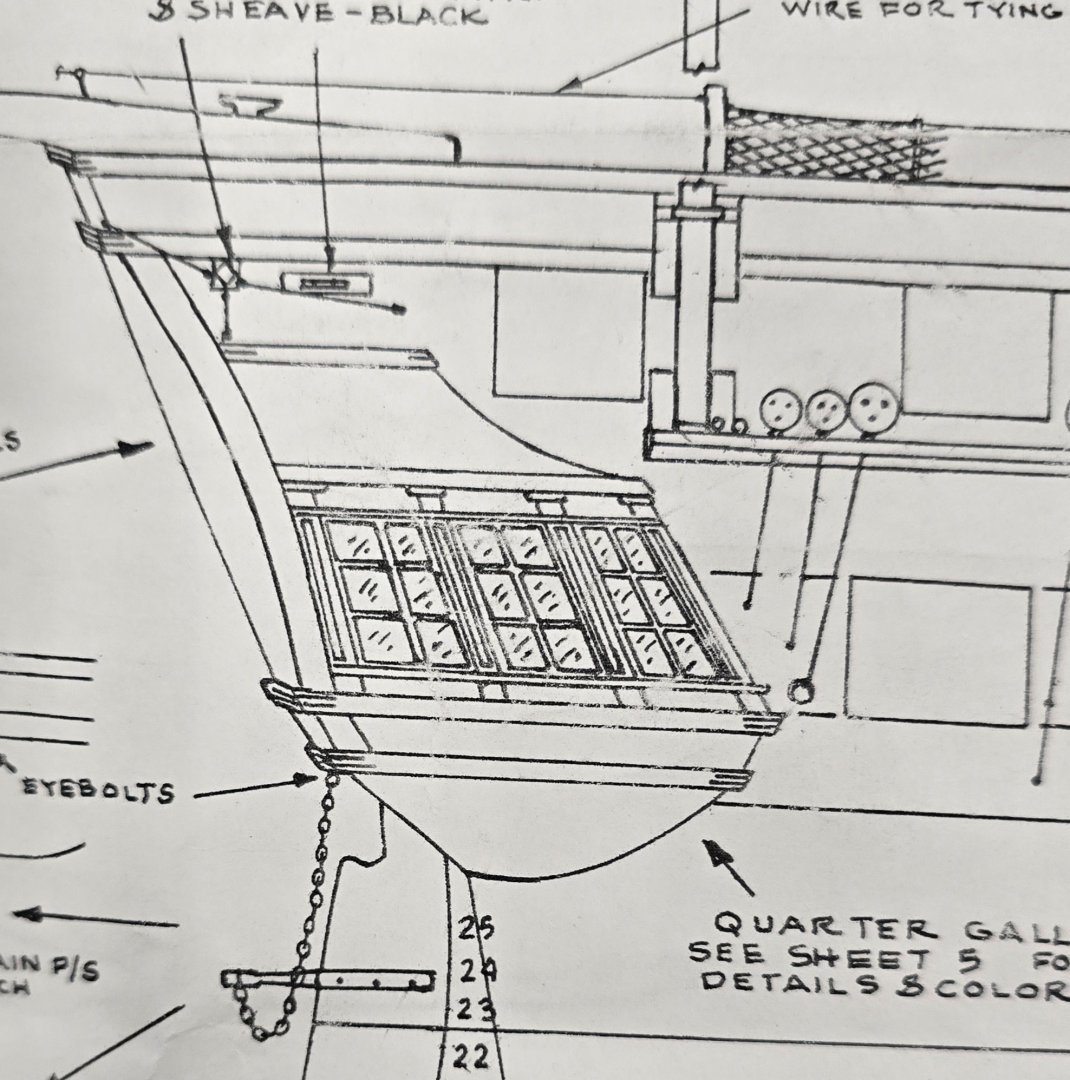
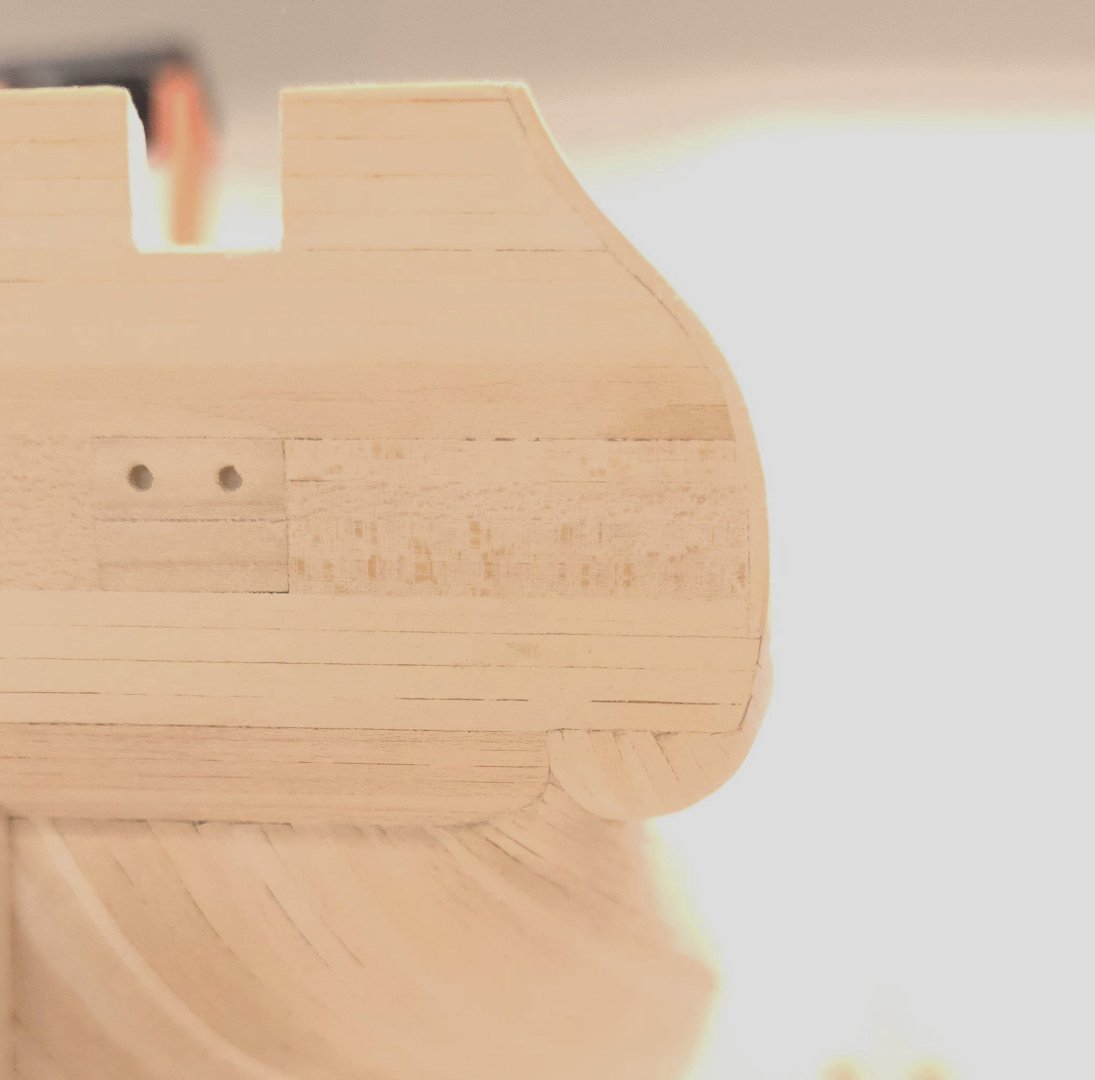
Nuts! Close, but no cigar. Exaggerated transom angle is now interfering with the roof structure of the gallery. I'm going to have to lengthen it at least a quarter inch at the bottom edge, so to mitigate what looks to portend a rather extreme angle by the forward Gallery window. Back to the drawing board..