FifeModels
-
Posts
528 -
Joined
-
Last visited
Content Type
Profiles
Forums
Gallery
Events
Everything posted by FifeModels
-
 Apologies for a very late reply, I have taken an extended break from the hobby. If I remember rightly, I used the Admiralty paints, thinned down and piped through an airbrush. Certainly for the red ochre anyway. The black would have been rattle can and the white brushed on (also Admiralty paints).
 -
It certainly makes life easier! If I am understanding you correctly, you are writing the construction manual for this? That being the case, any chance you could dumb it down some what? For those of us that aren't sailing buffs. I love the look and styling of sailing ships, but I don't know the first thing about them. I couldn't tell the difference between a Stuncel or a yard arm. TIA
-
It's the porthole frames that do it for me. If I was in two minds, this is what sold it. I can't believe that hasn't been done before now. So simple, yet such ingenuity.
-
I've taken an extended sabbatical from building wooden ships, favouring instead the quick fix of plastic. But seeing this, has given me the excuse I need to get back into this field. Looking forward to this being released.
-
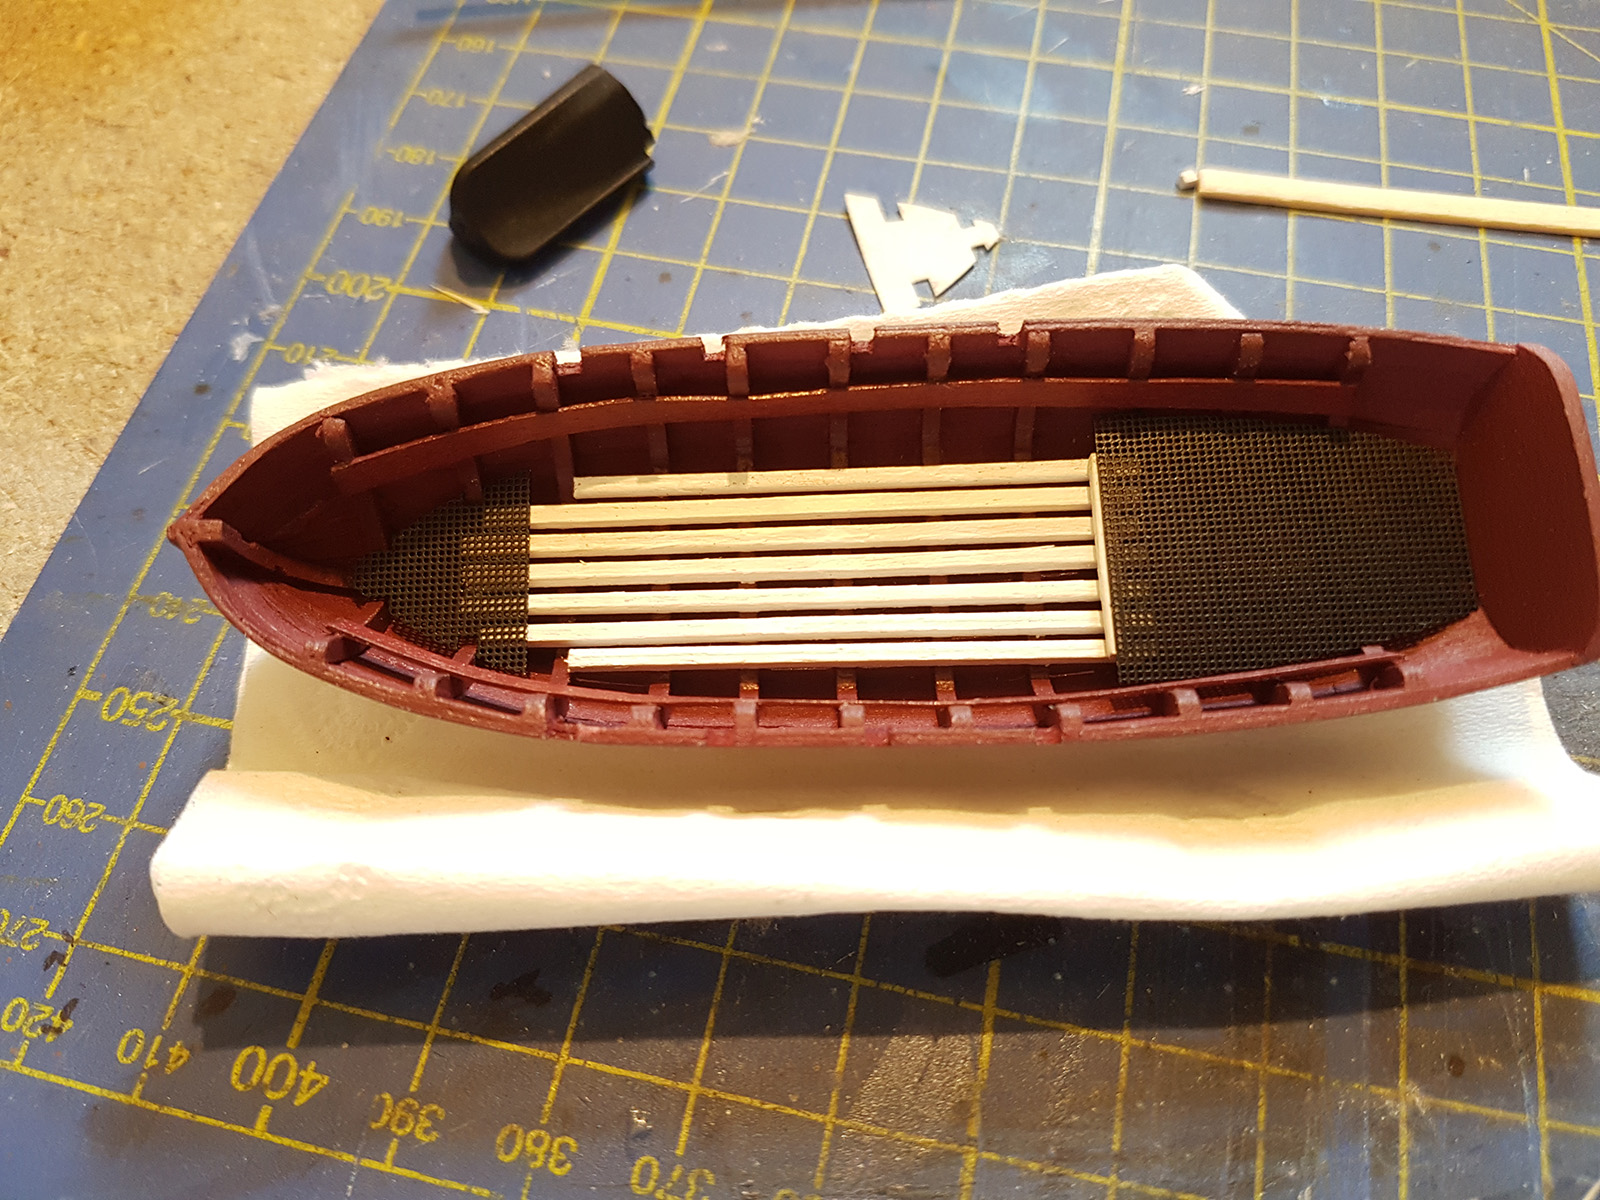
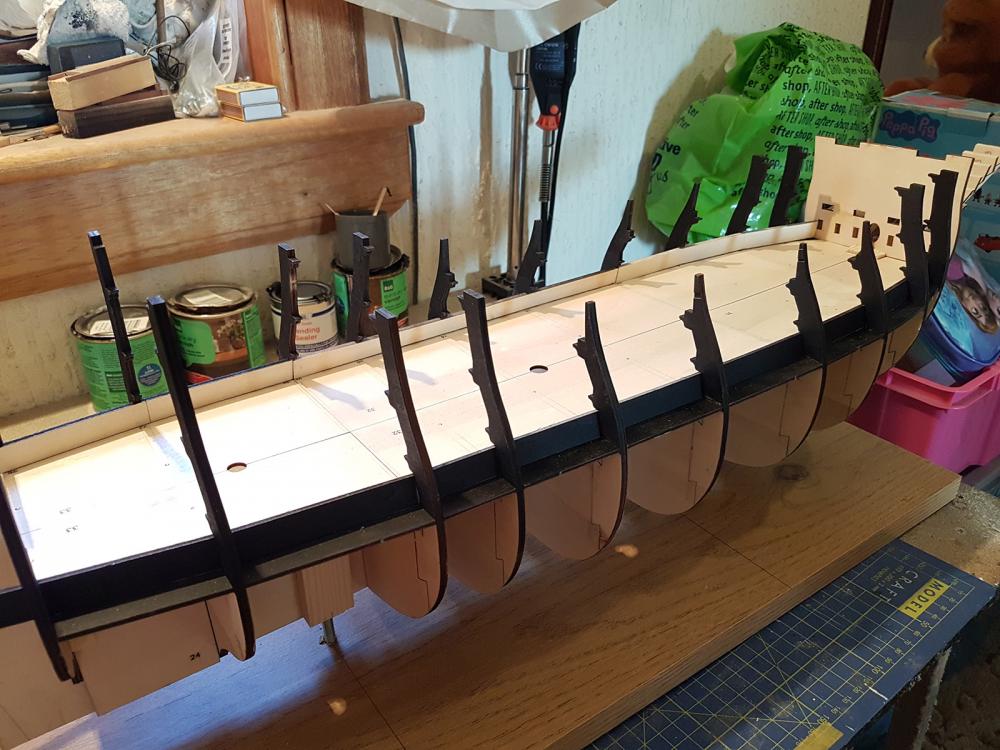
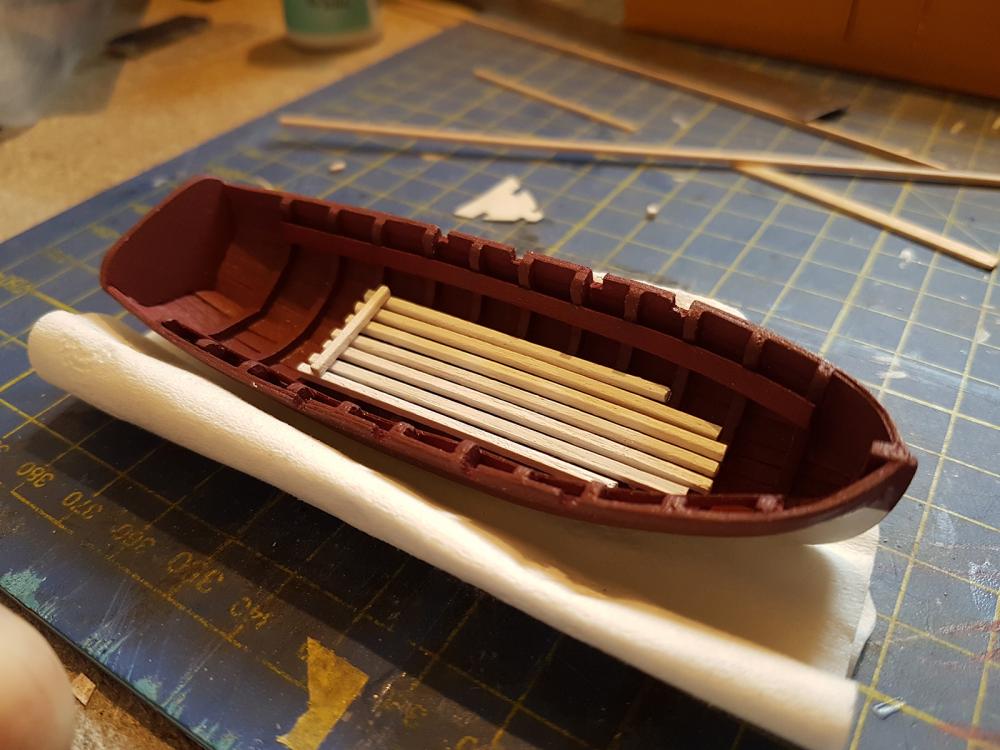
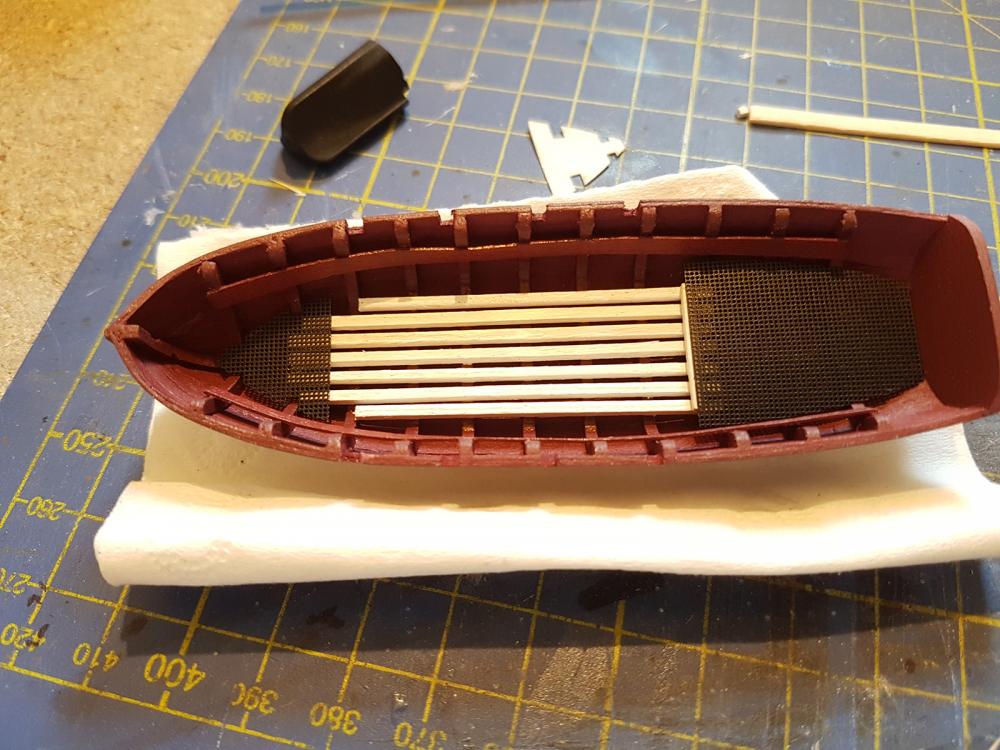
Helloooo. Now that I've had to halt on my Bluenose II, I decided to do a few small bits on this. I've this time added the lower gun deck dummy gun support beams, after cutting to fit and pre-painting matt black. I've also done a few bits on the launch, the deck and duck boards. Not really much to report on this as I am still wanting to gather a few months worth of parts before I crack on with the planking...

-
Paddle Steamers have such strange hull profiles lol. Looks great so far though Mike
- 225 replies
-
- 4
-

-
- chaperon
- model shipways
- (and 1 more)
-
Thanks. Construction has ground to a halt as I have just noticed that the 194x19x1.5 Walnut fret with part numbers "53" is missing from the set. (Gunwhale covers). I've emailed AL for a replacement...no idea how long it will take though. Bugger I wanted to build this while stocking up on my SotS packs...still, I have AL's Cutty Sark coming tomorrow...but I am reluctant to have another build on the go...
-
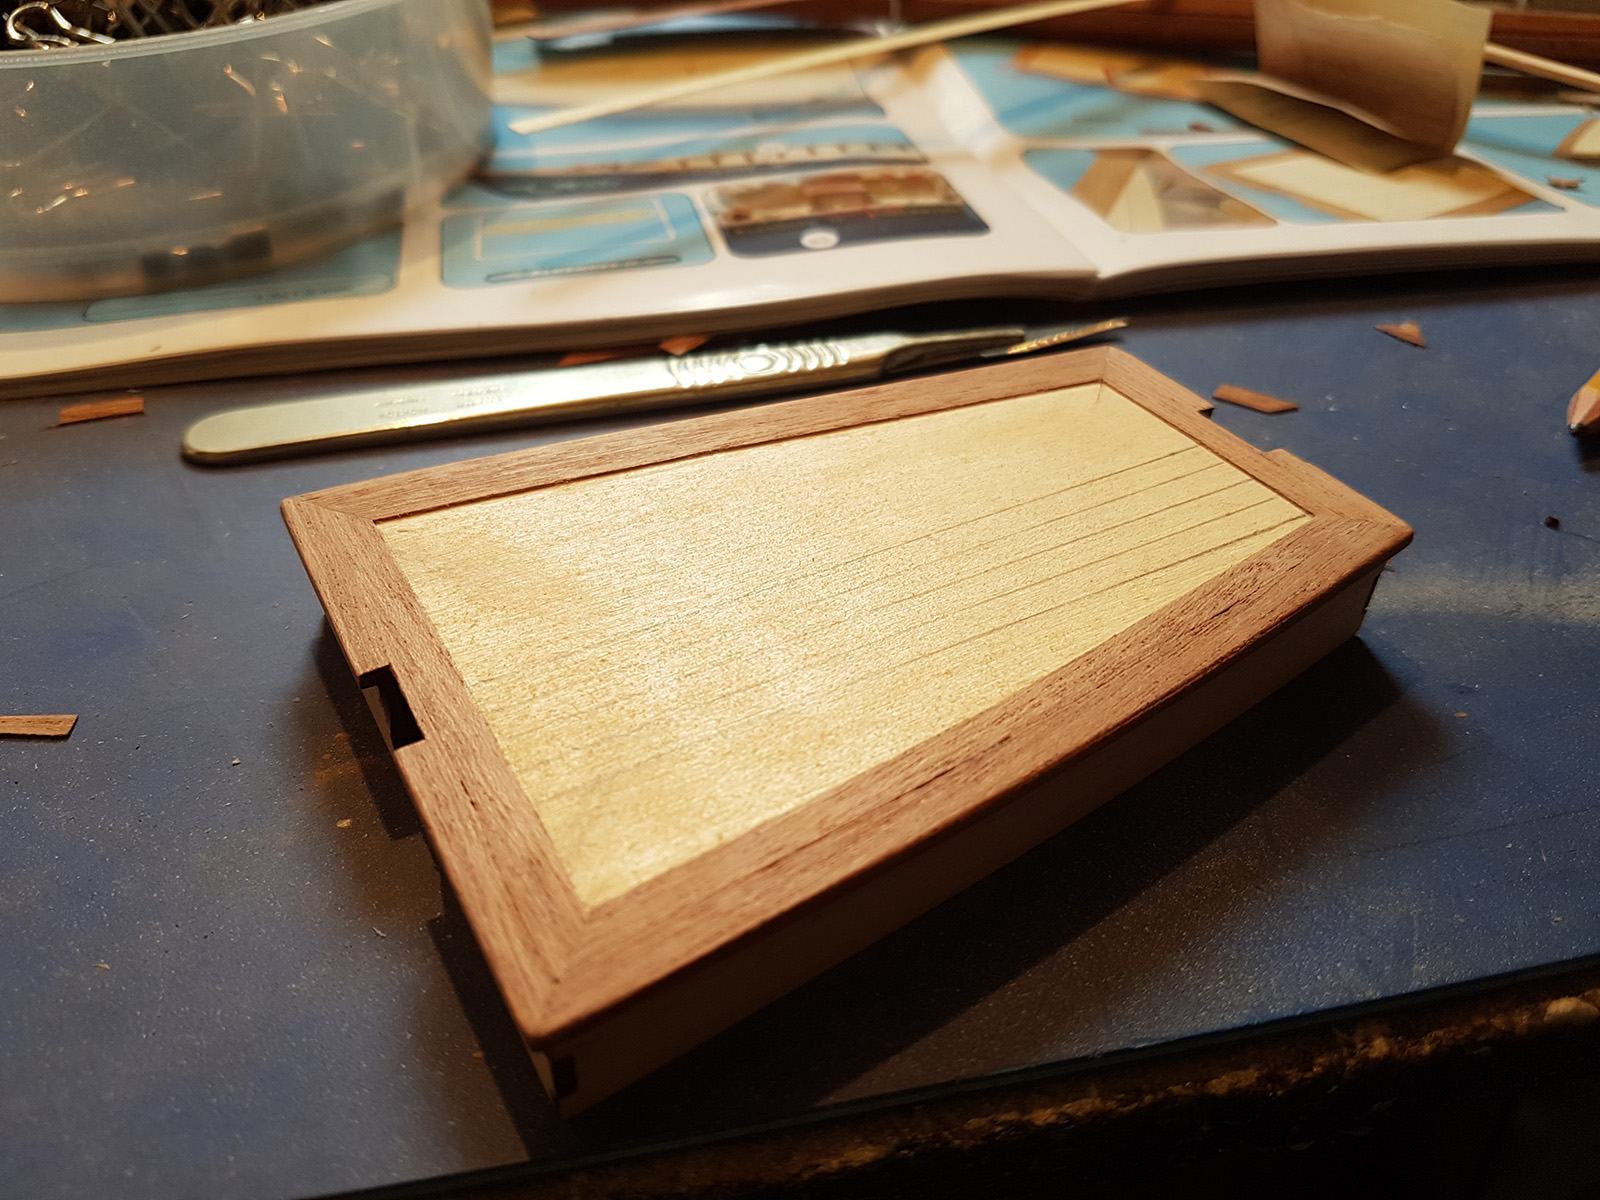
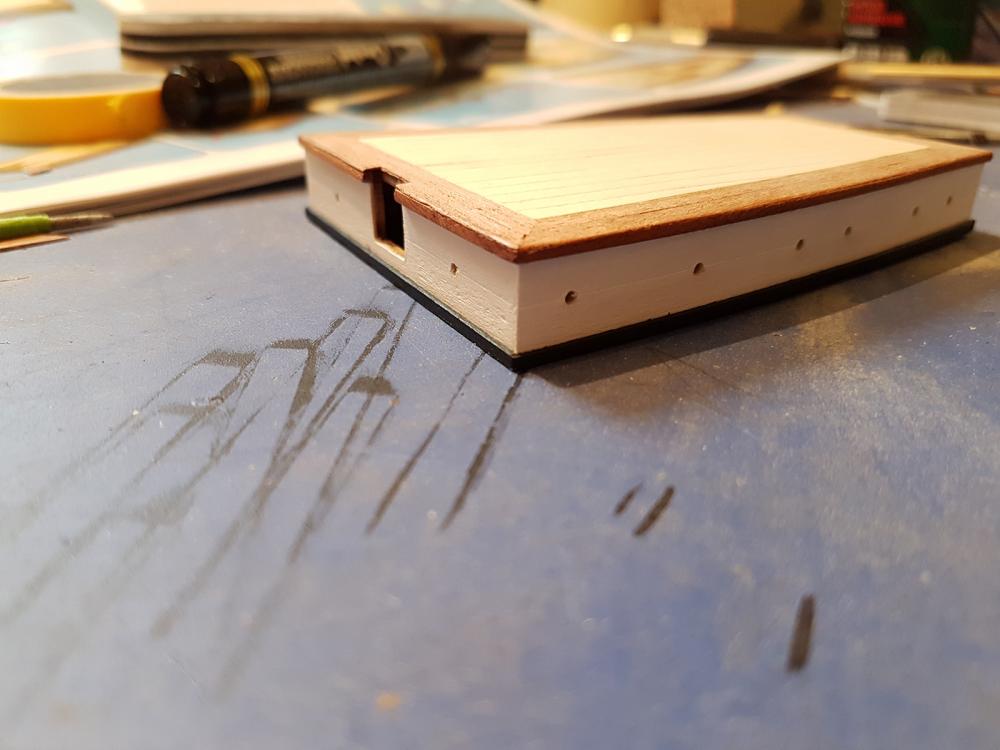
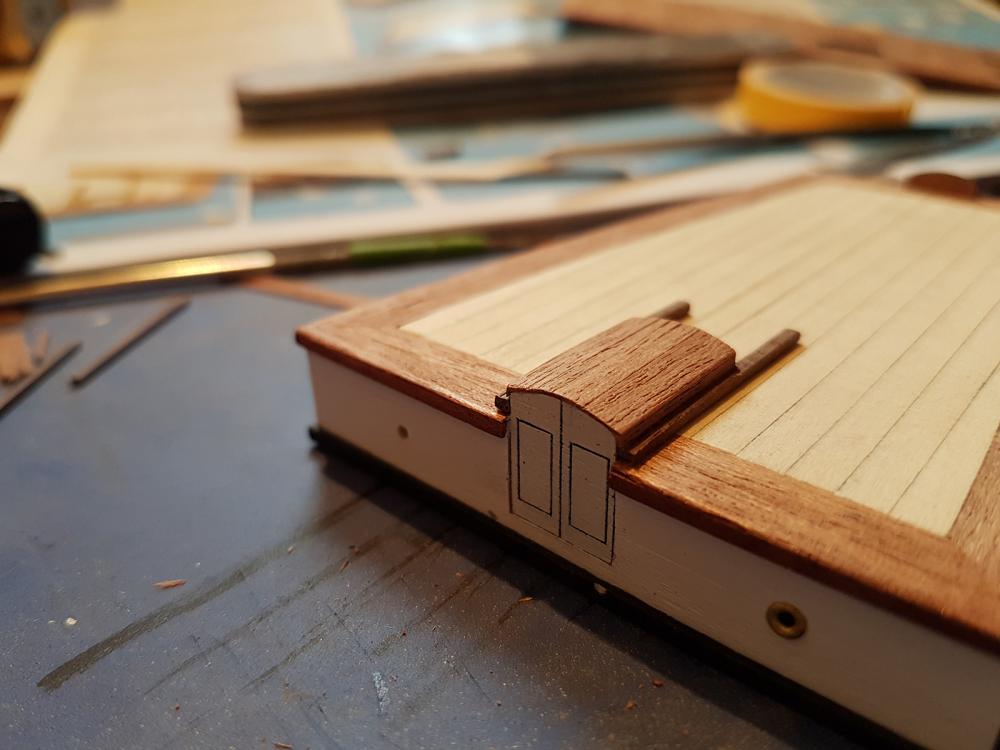
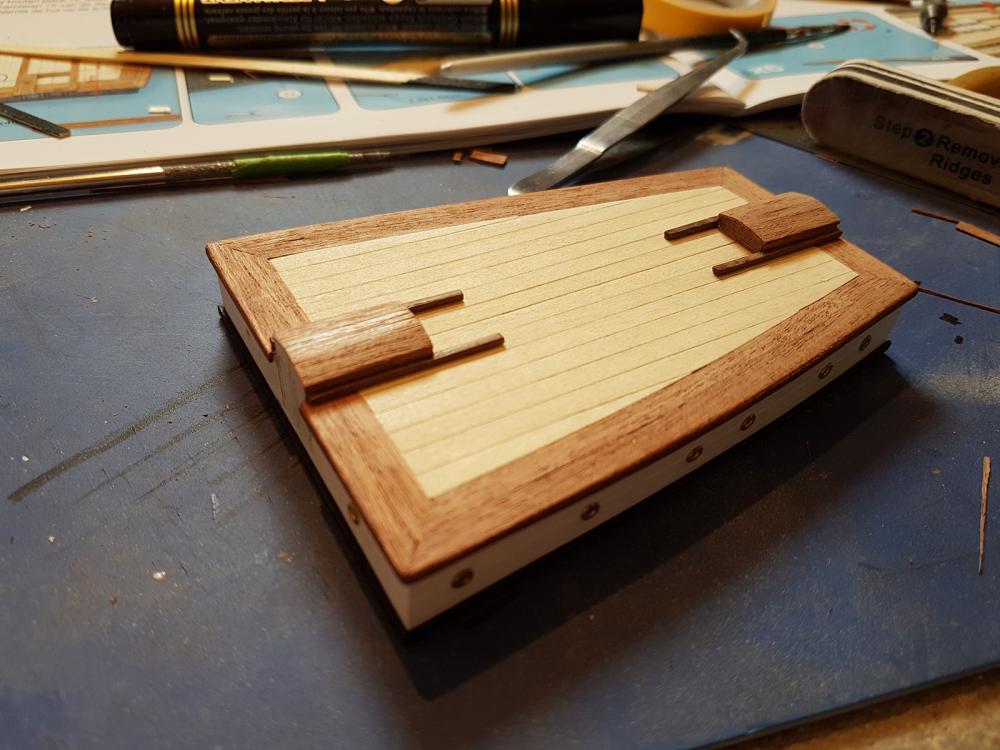
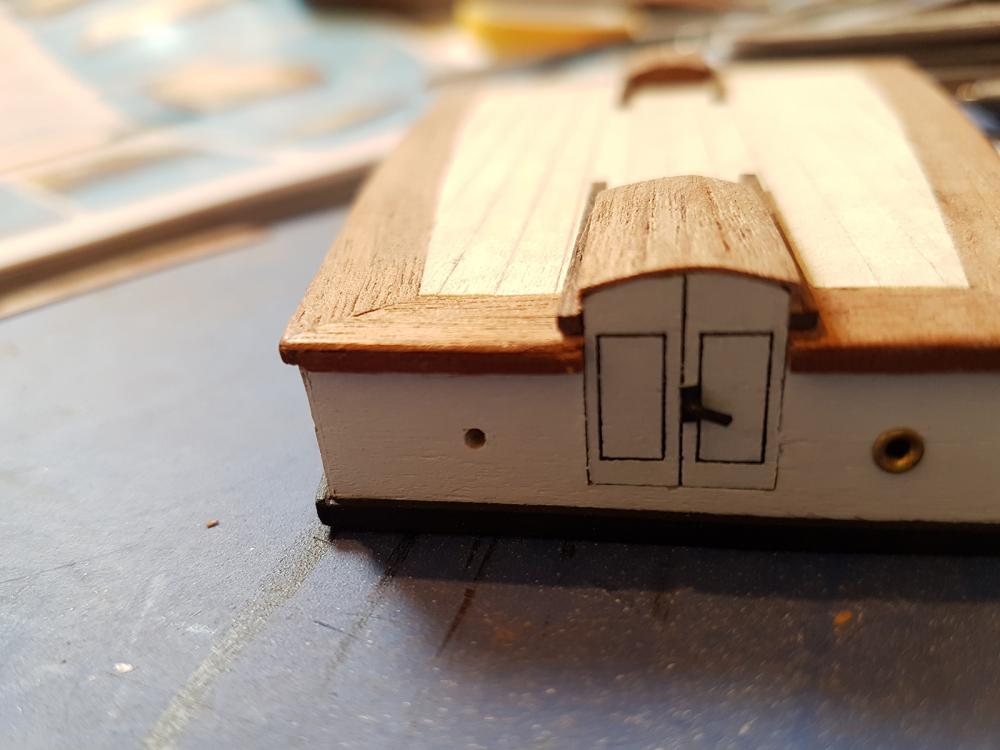
Hello. I spent the last few days building the largest cabin. I pretty stuck to the build with this one, except I added a touch more detail on the door handles and omited the hinges, as from what I can tell on the full size counterpart they aren't really visible anyway. Pics below show the progress...


-
Thanks for the comments folks Levie...there are a few things I am doing out of sequence, the main thing I would suggest is get the planking done as soon as possible into the build. It's done quite early anyway but I think it could be a step sooner. Also, regarding the planking, I would either invest in some more of the veneer used for the 2nd planking, or try do a good enough job on the 1st planking so it isn't needed. Reason being is the 2nd planking only goes as far up as the ply bulwarks, which doesn't follow the waterline, and the waterline would also intersect the end of the 2nd planking, where there would be a "step" inwards. Makes masking quite tricky. (The build doesn't account for this as its for an unpainted version.). Also, later in the build it calls for a thin strip to be places around the hull. The real ship doesn't have this. If you want accuracy, do a little research as the scuppers go further towards the stern than the build calls for. (I omitted this step though and went with the build). With the scuppers, the template for fitting the bulwark supports isn't wide enough. Make your own that is the correct width or do what I did and use a little artistic licence. (Bangs goes the accuracy though). I would also suggest lining the inner bulwarks. Personal preference this but I don't like the idea of bare ply, even if it's painted. I would also leave finishing/painting the hull until just before you start working on the deck furniture. I've had to re-spray mine at least once so far. Leave final fitting of the props until last. The mounts are quite delicate and I've left mine off as they would be easy to catch and rip the mounts off with them. If I think of anything else I'll let you know PS: Don't bother with the included stand. It is less than useless! Dave, I hate doing water lines! But thank you. I think this one is the best success I have had with them. I did think afterwards, if I was to do this over, I would spray the waterline first. IE, undercoat of white. Then mask off to do the lower anti-rust red and then the black. I think I would have been able to get a much straighter, crisper line...maybe.
-
Hello. Been a few days since my last update, but that is because of the absolute hash I made of the inner bulwarks. Sorry, no pics, it was simply too tragic. So I've spent this last week stripping it out and repairing, then redoing it from scratch. In the end I had to line them with some very thin basswood veneer I had spare. I also used a wider wood for the uprights, as the kit supplied ones were square, and was wrong. Now that I have finally got that out of the way, I made a small start on the bowsprit assembly...
-
Thank you. Just a very quick update. I added the 1mm white waterline. Just need to work out the best way of doing the level markings now...
-
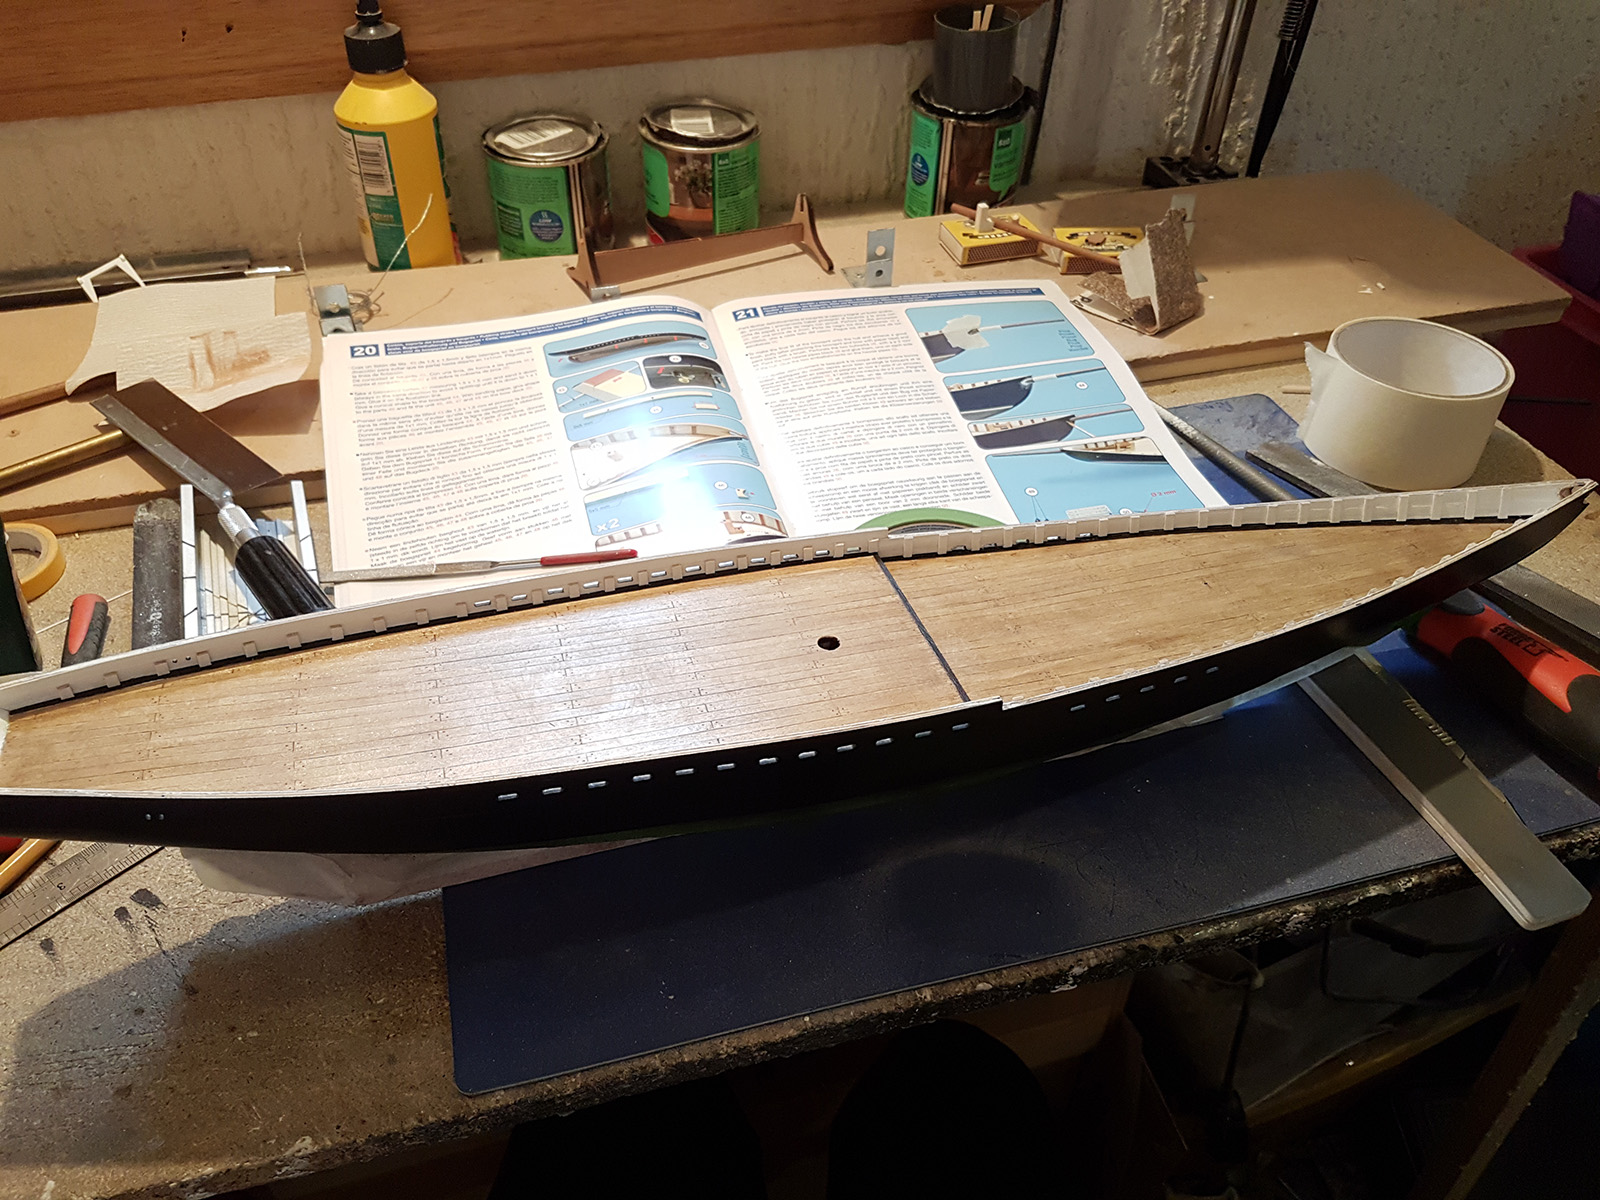
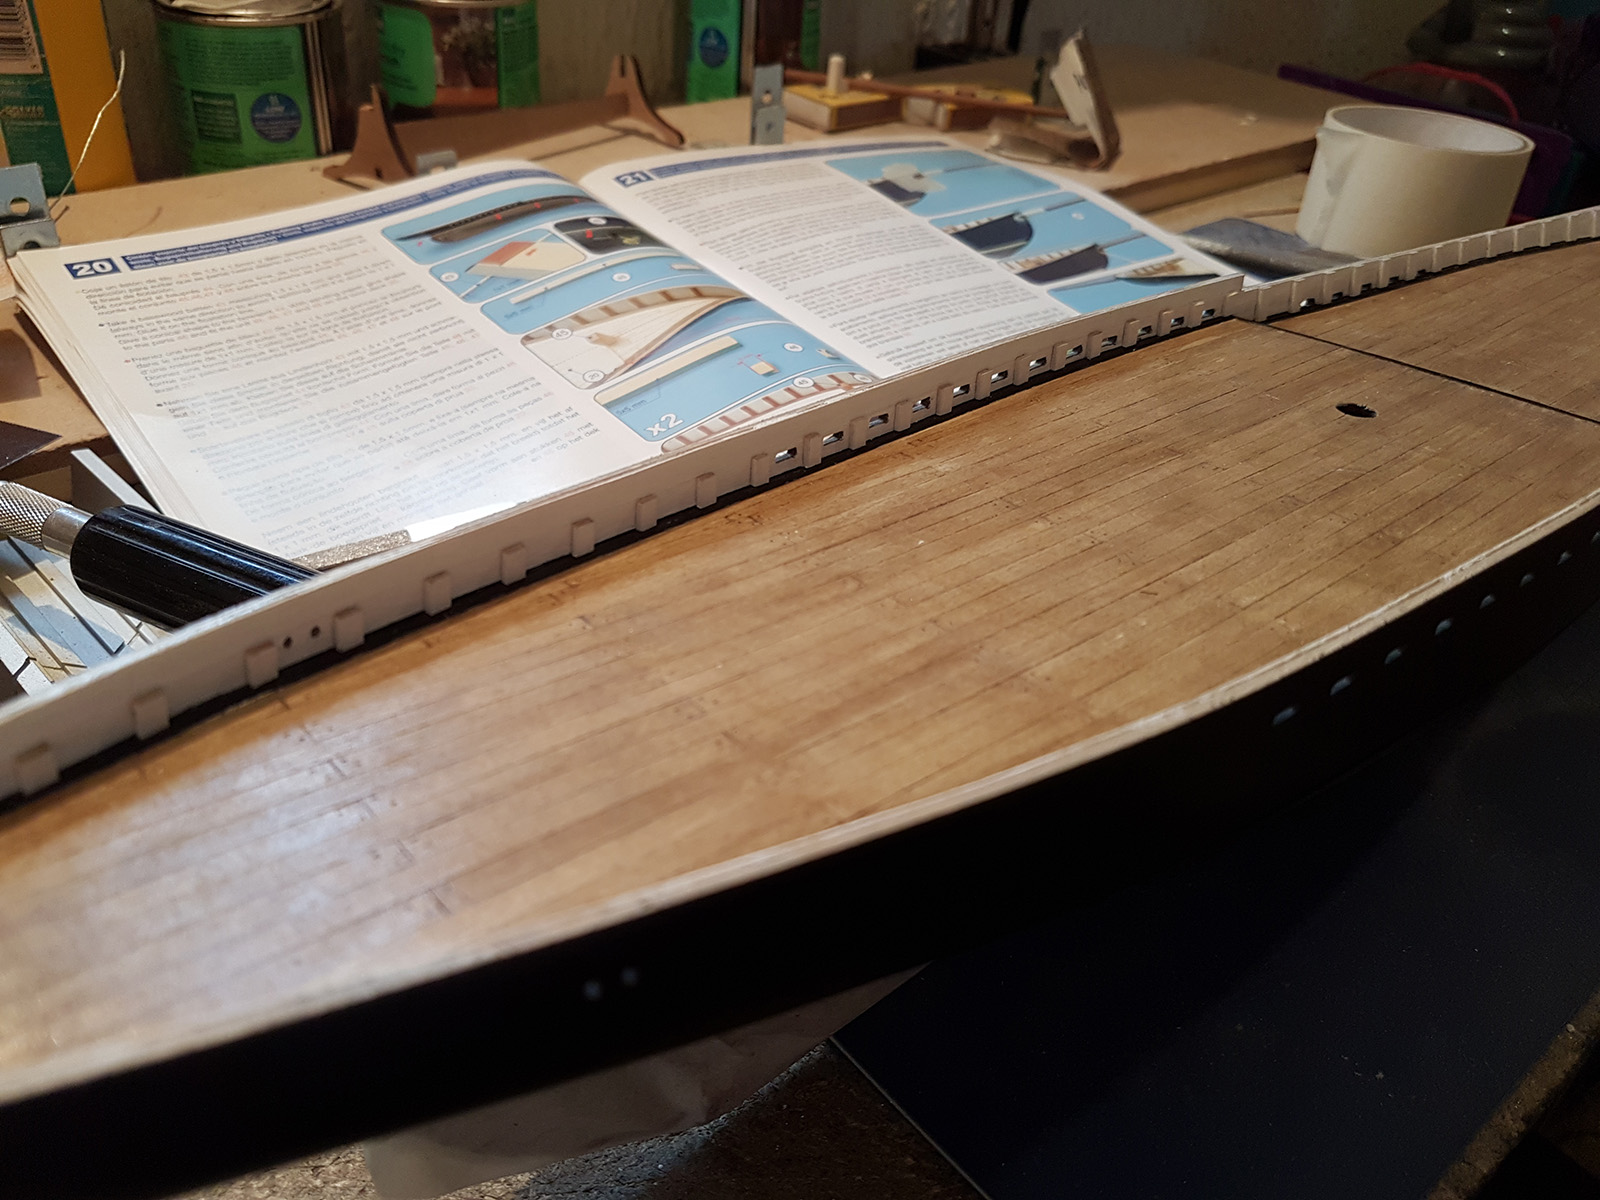
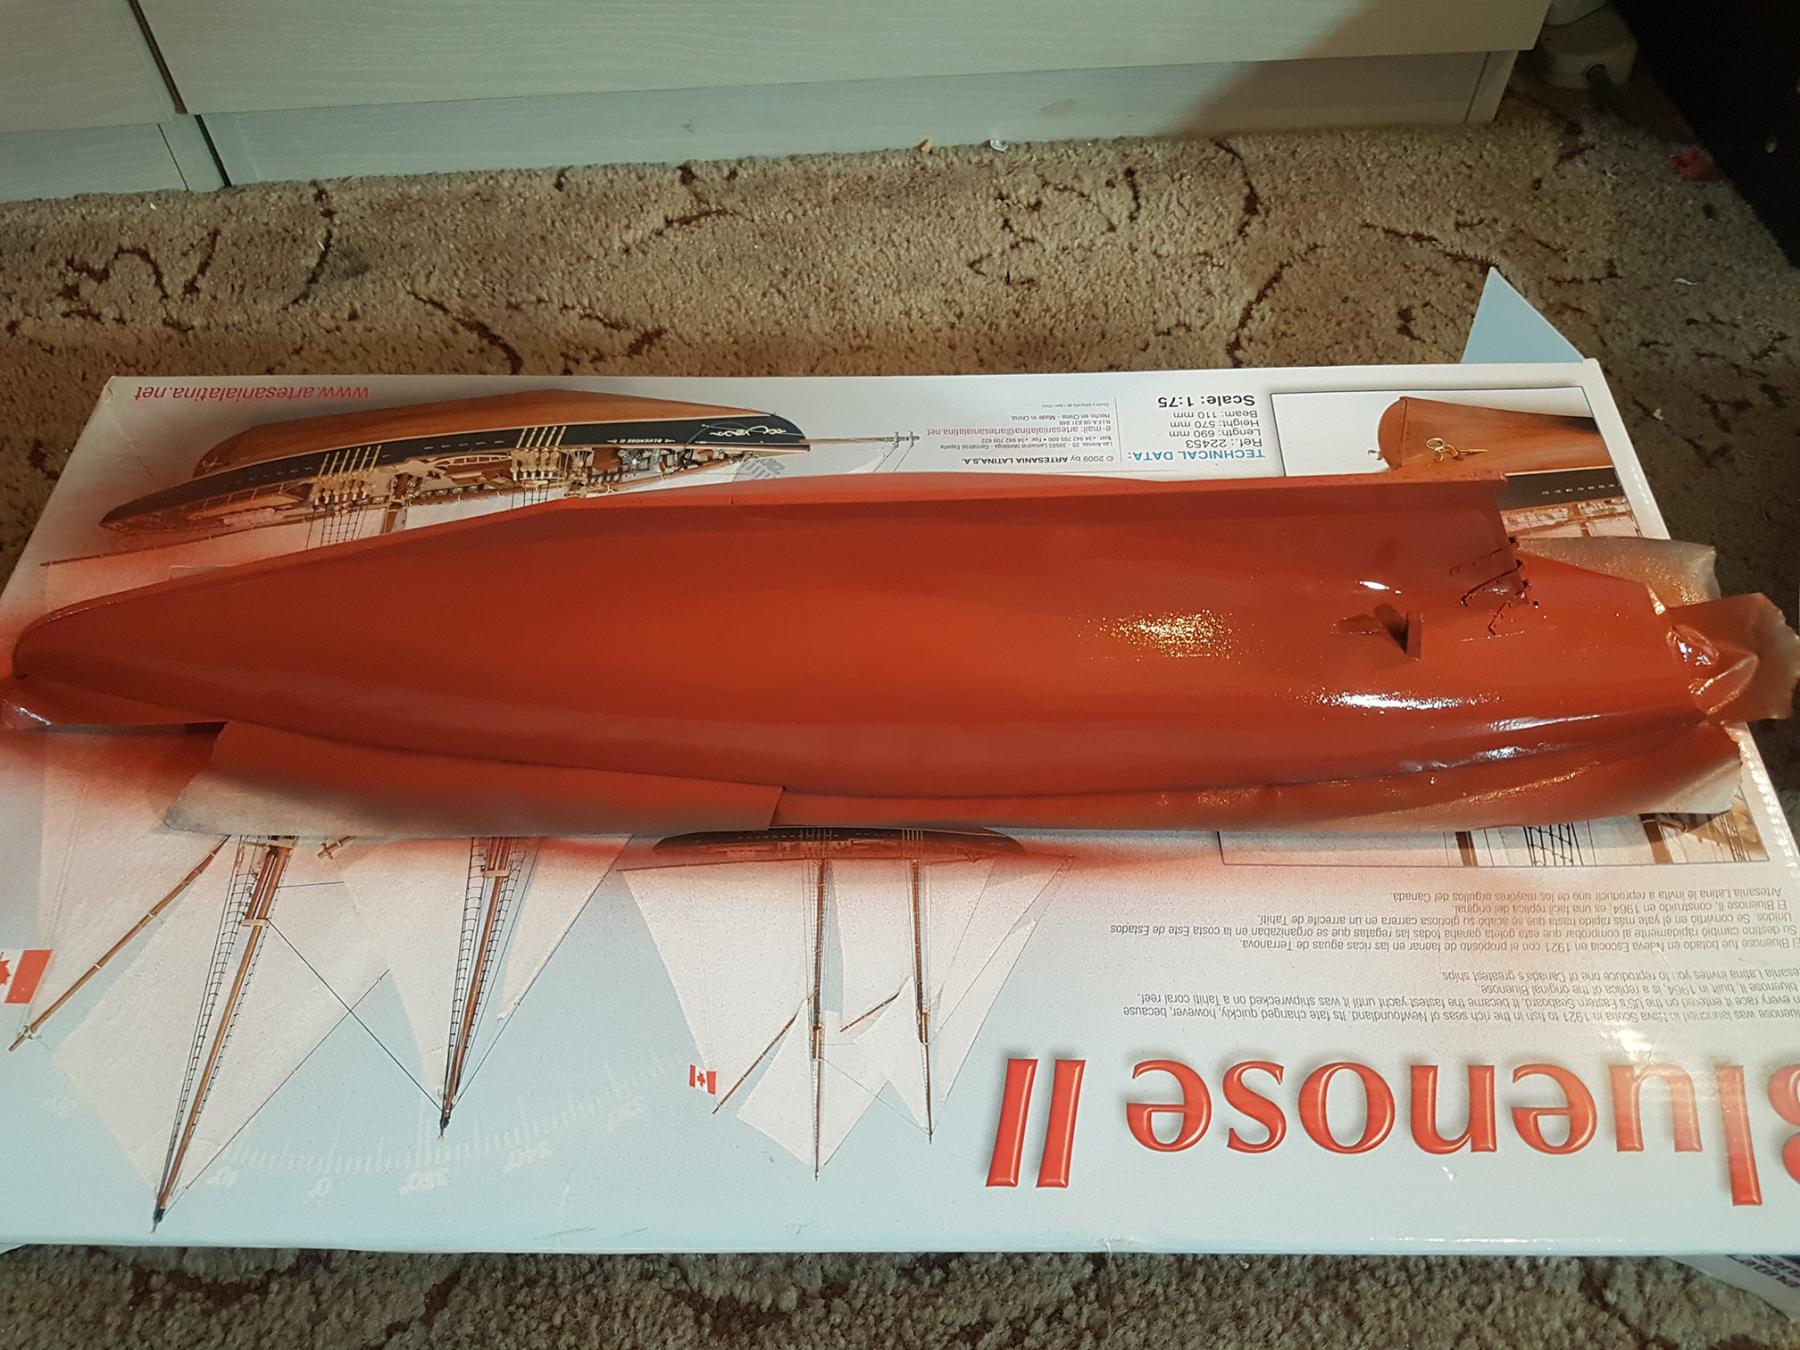
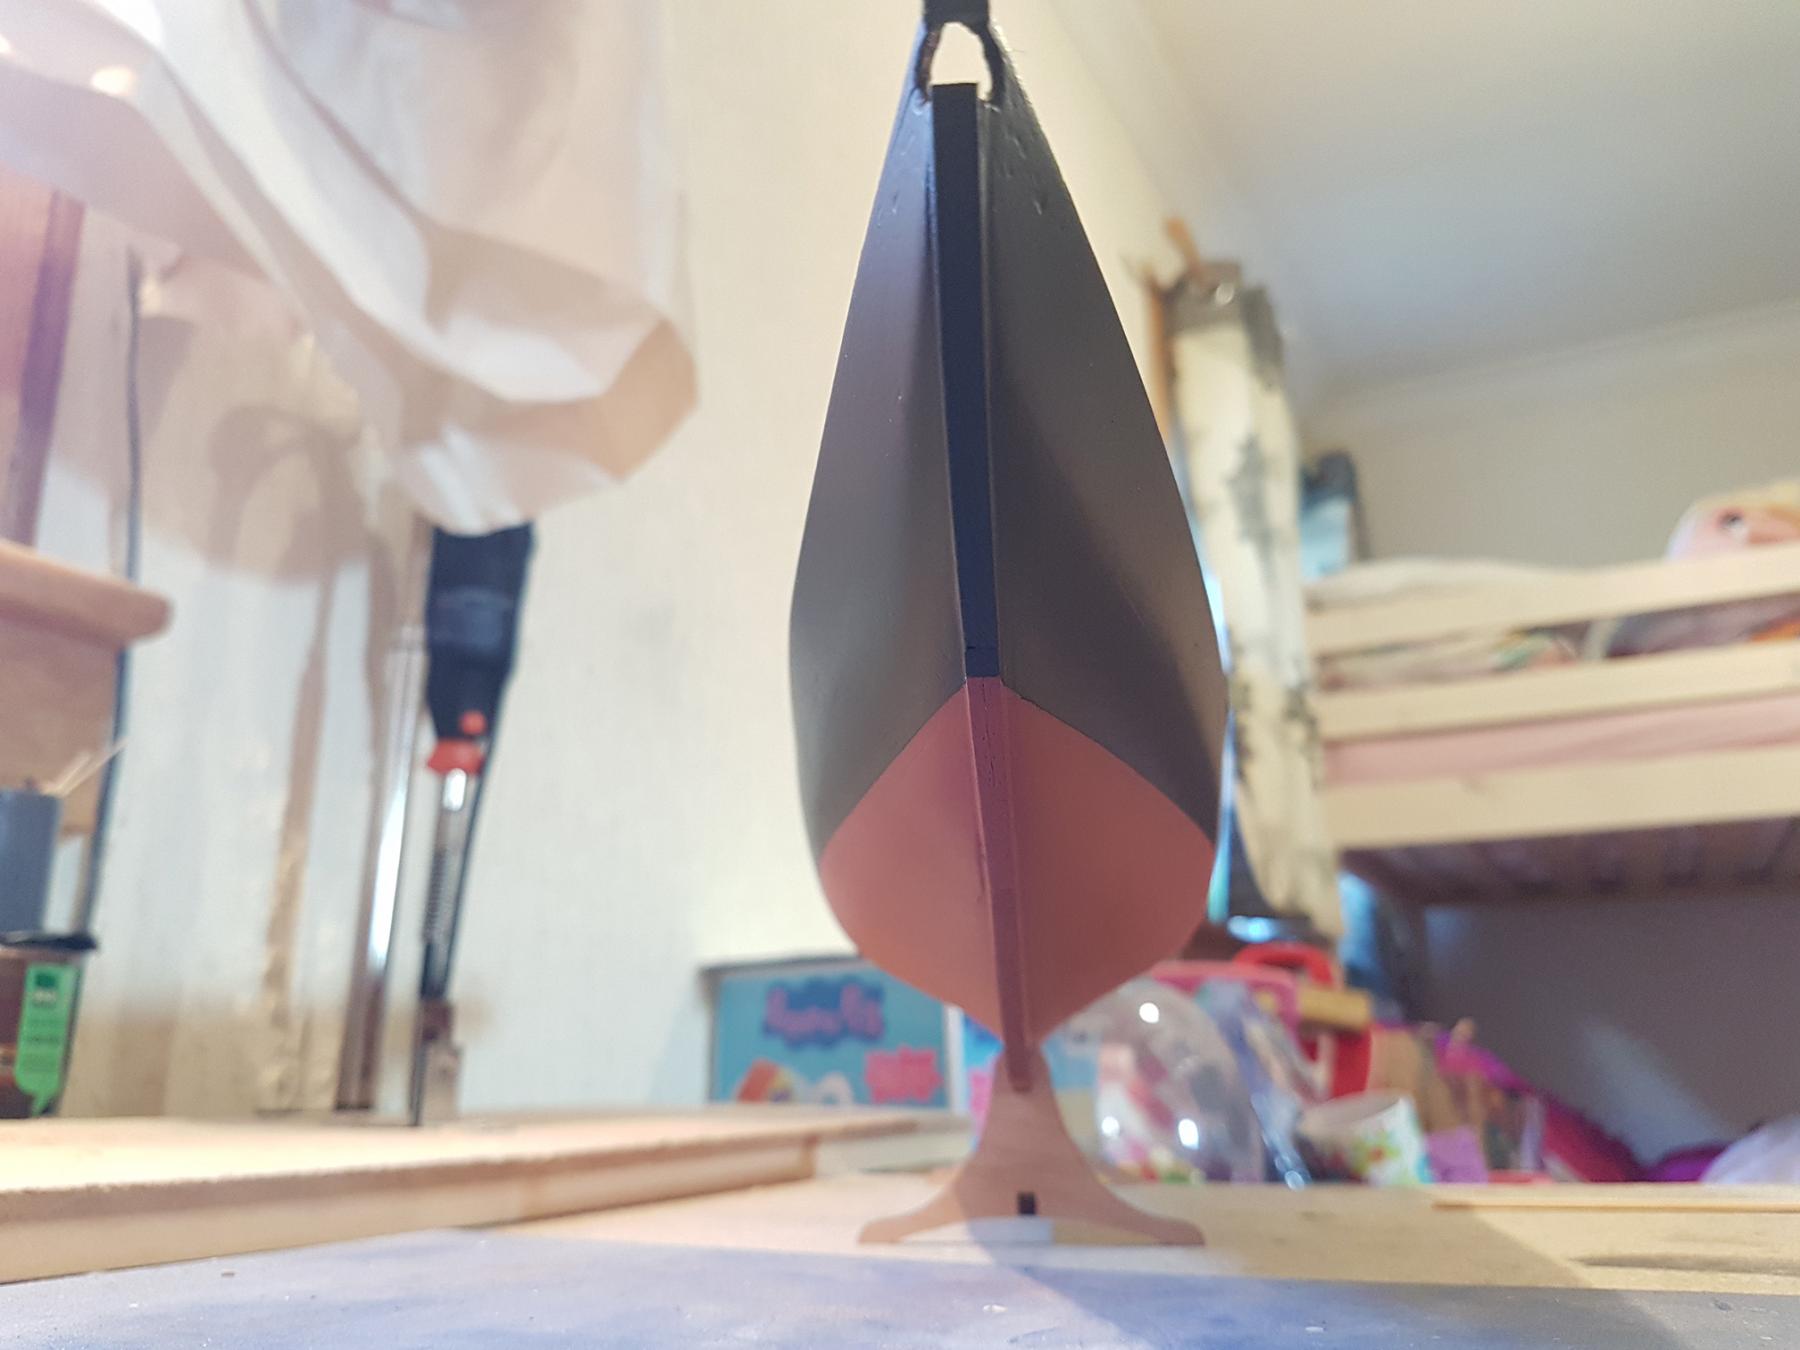
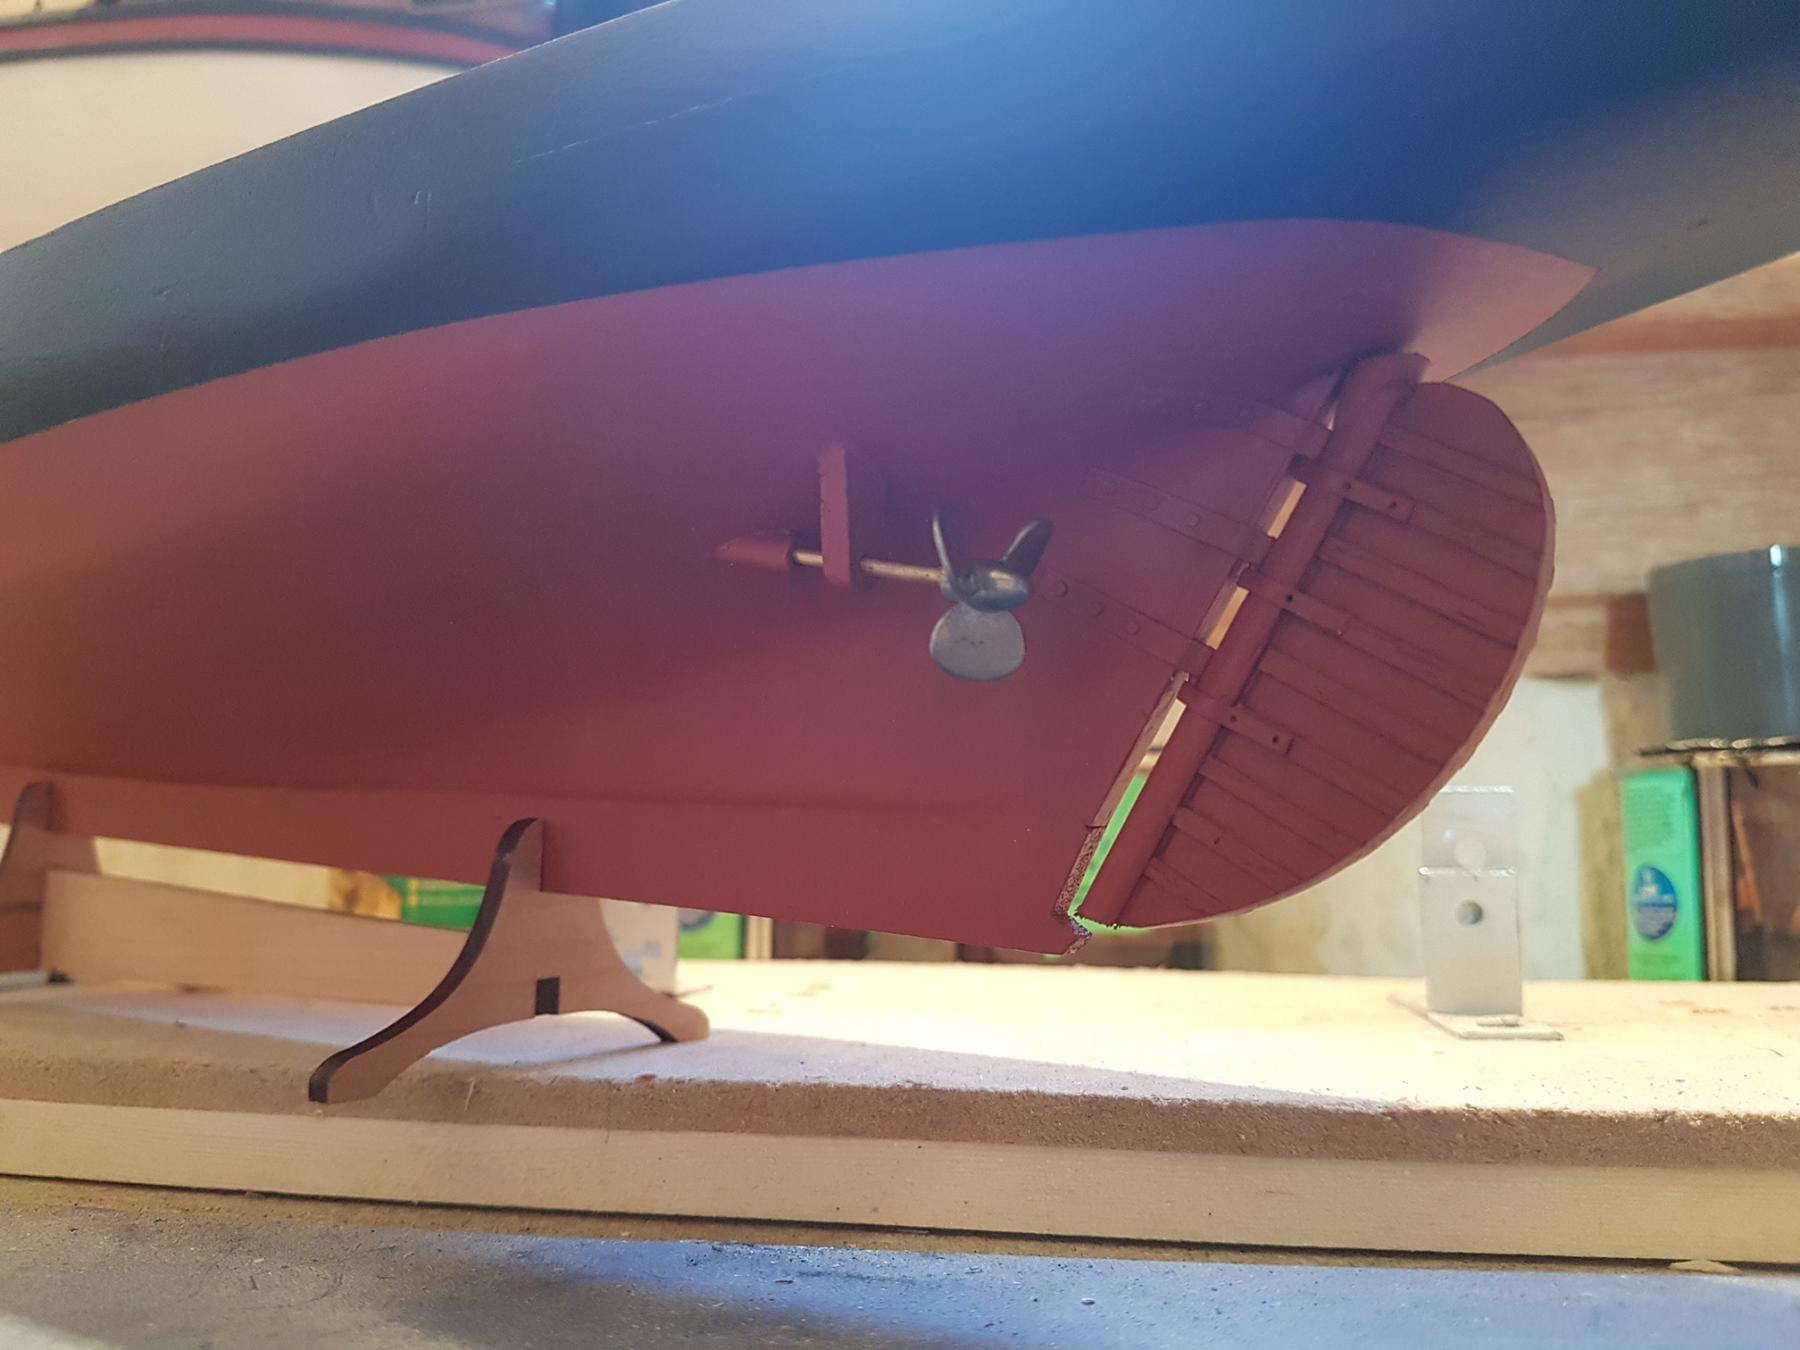
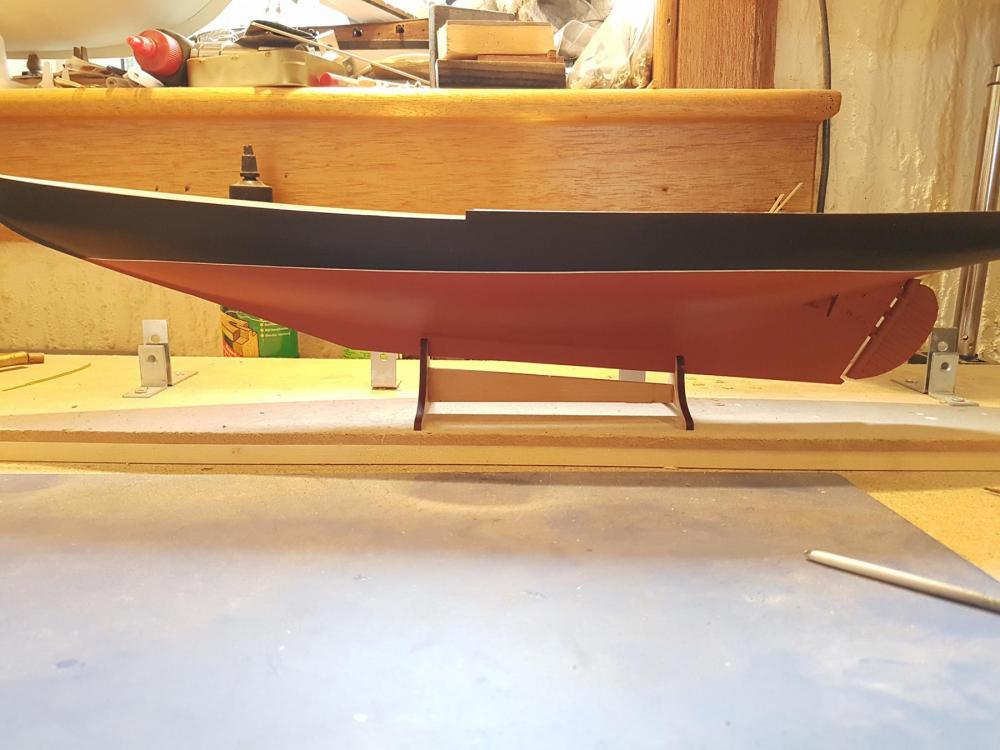
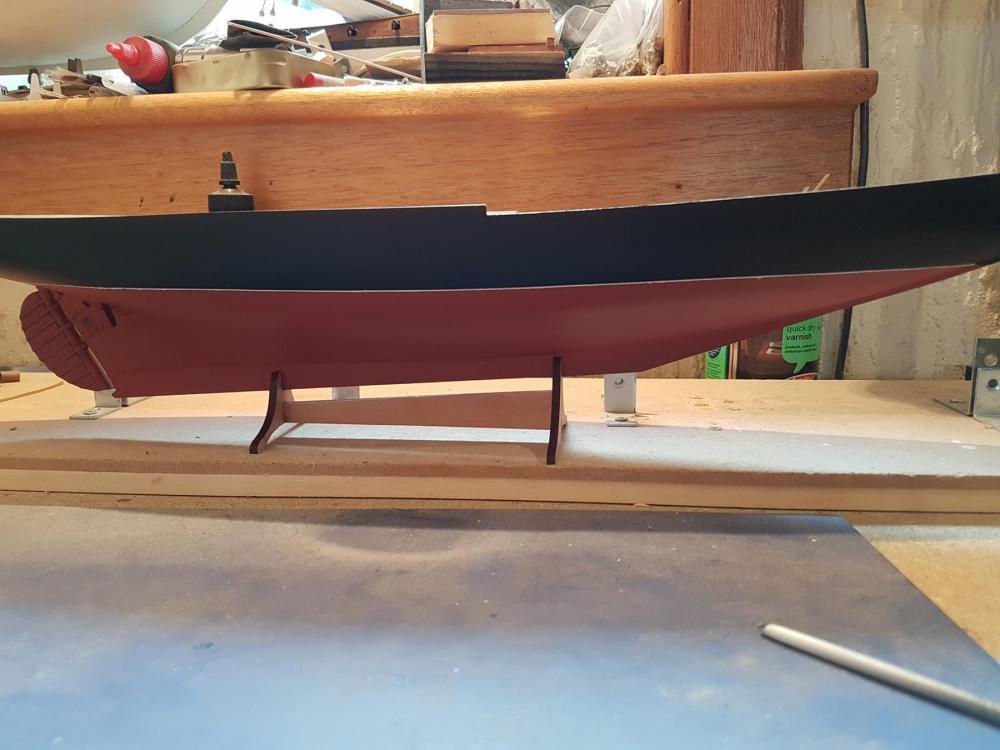
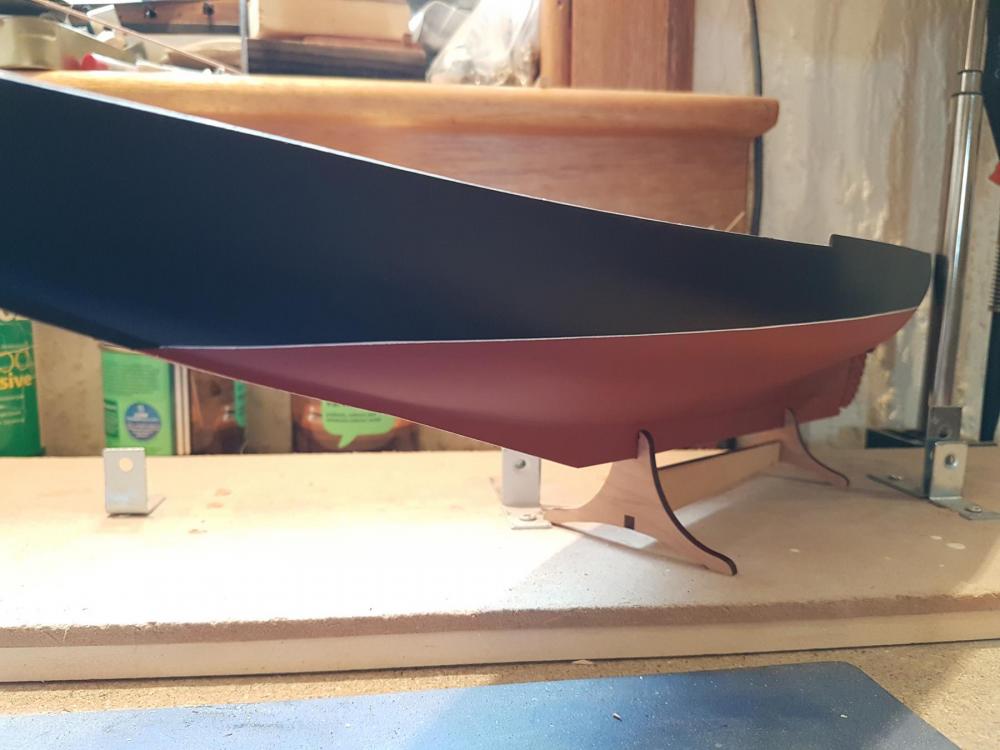
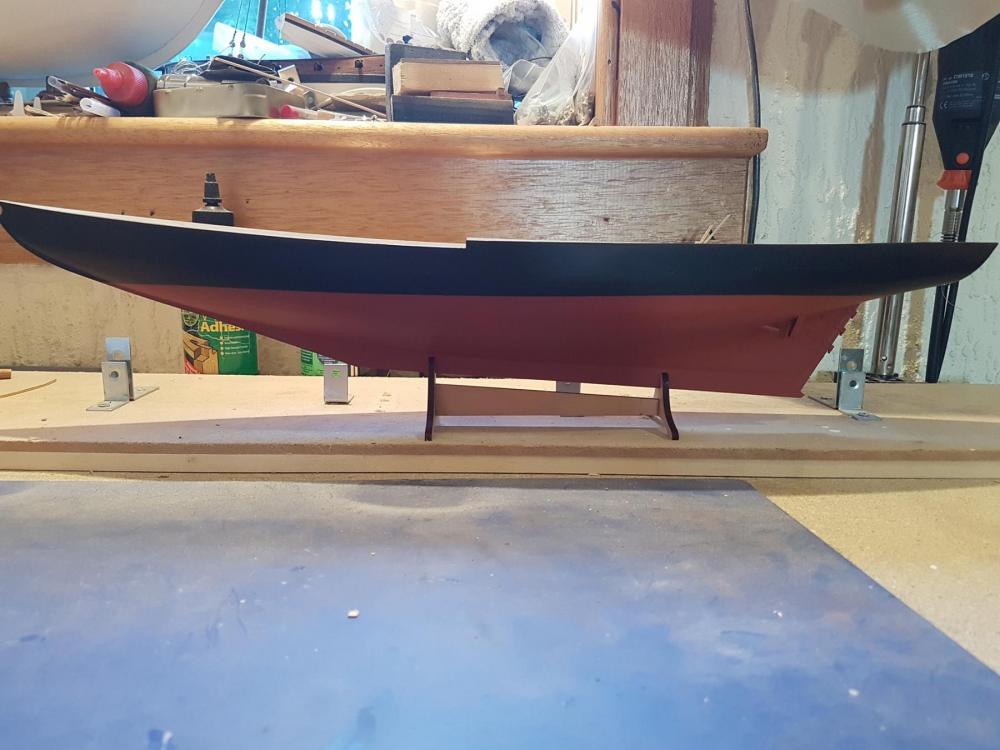
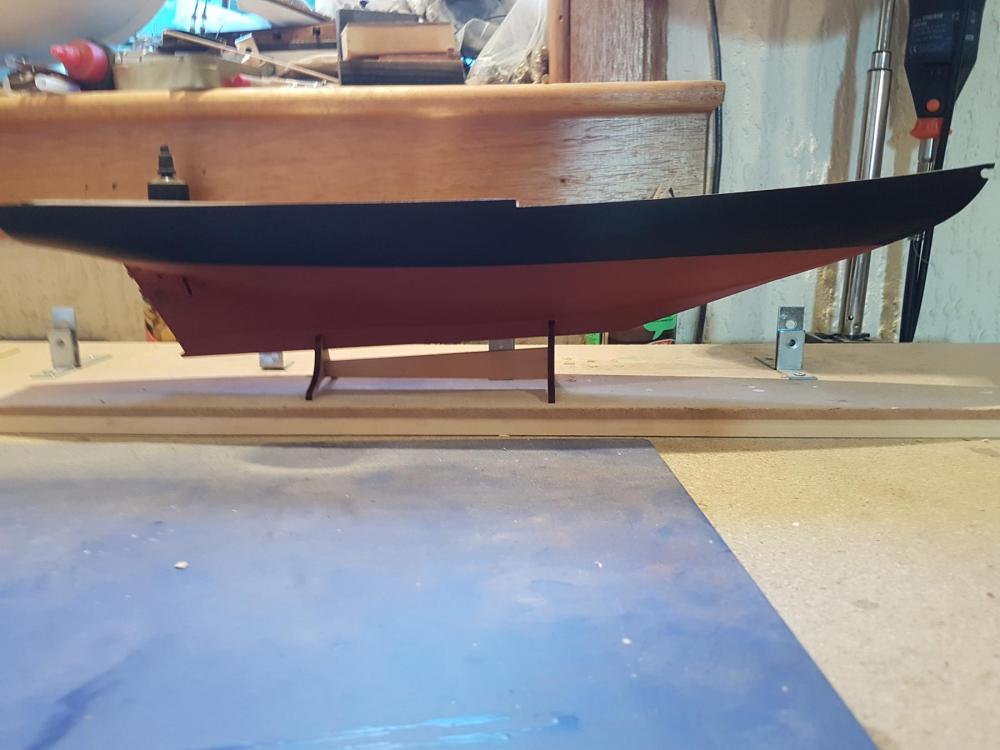
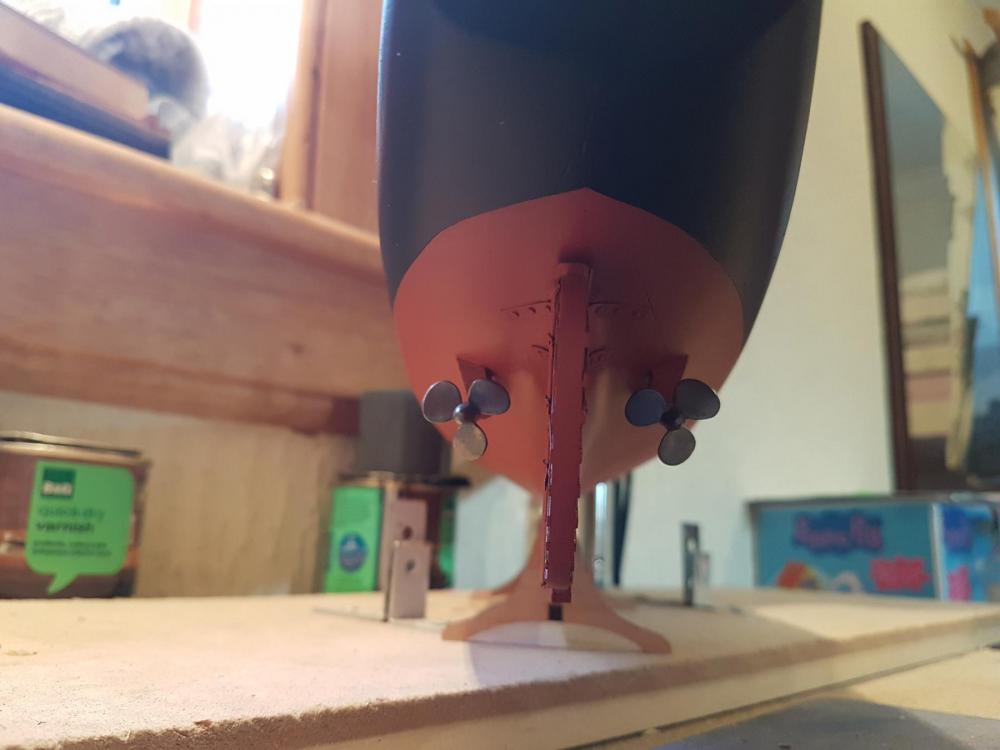
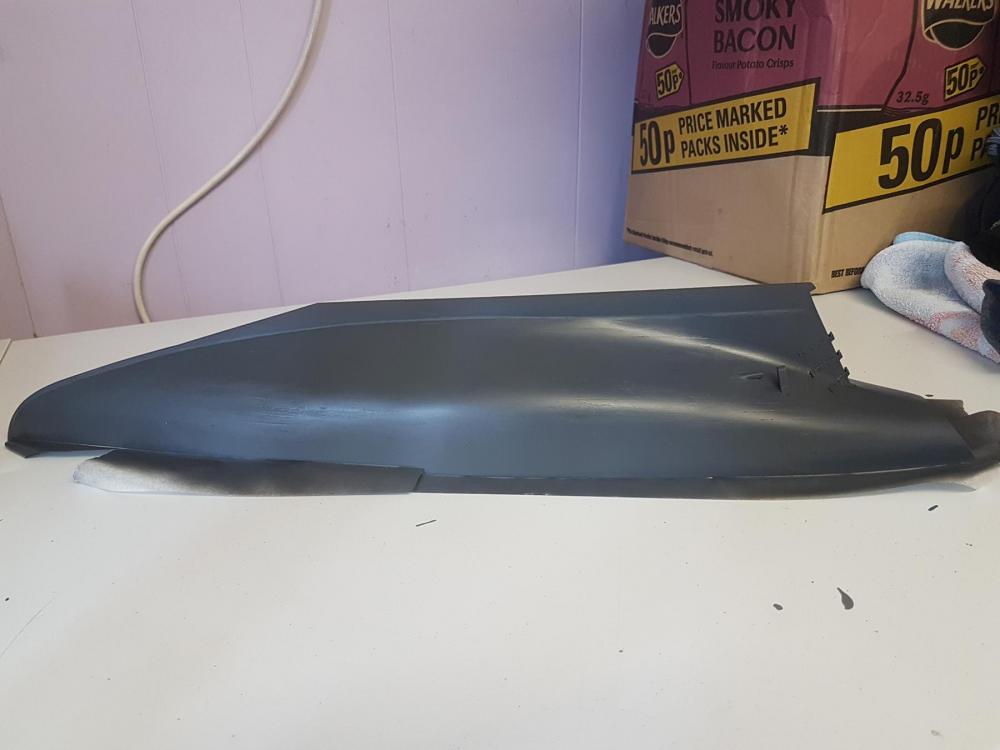
Good evening. More progress on the hull this afternoon. I sprayed the entire hull with red ochre, as it gave the closest match to the oxide paint used on the real ship. The two photo's below were taken immediately after spraying, so had a lovely gloss too it... Which quickly vanished as it is a matt paint. I masked off and painted the upper section above the waterline black, then fitted the rudder and temporarily fitted the props. I've not done the white waterline yet... More soon.


-
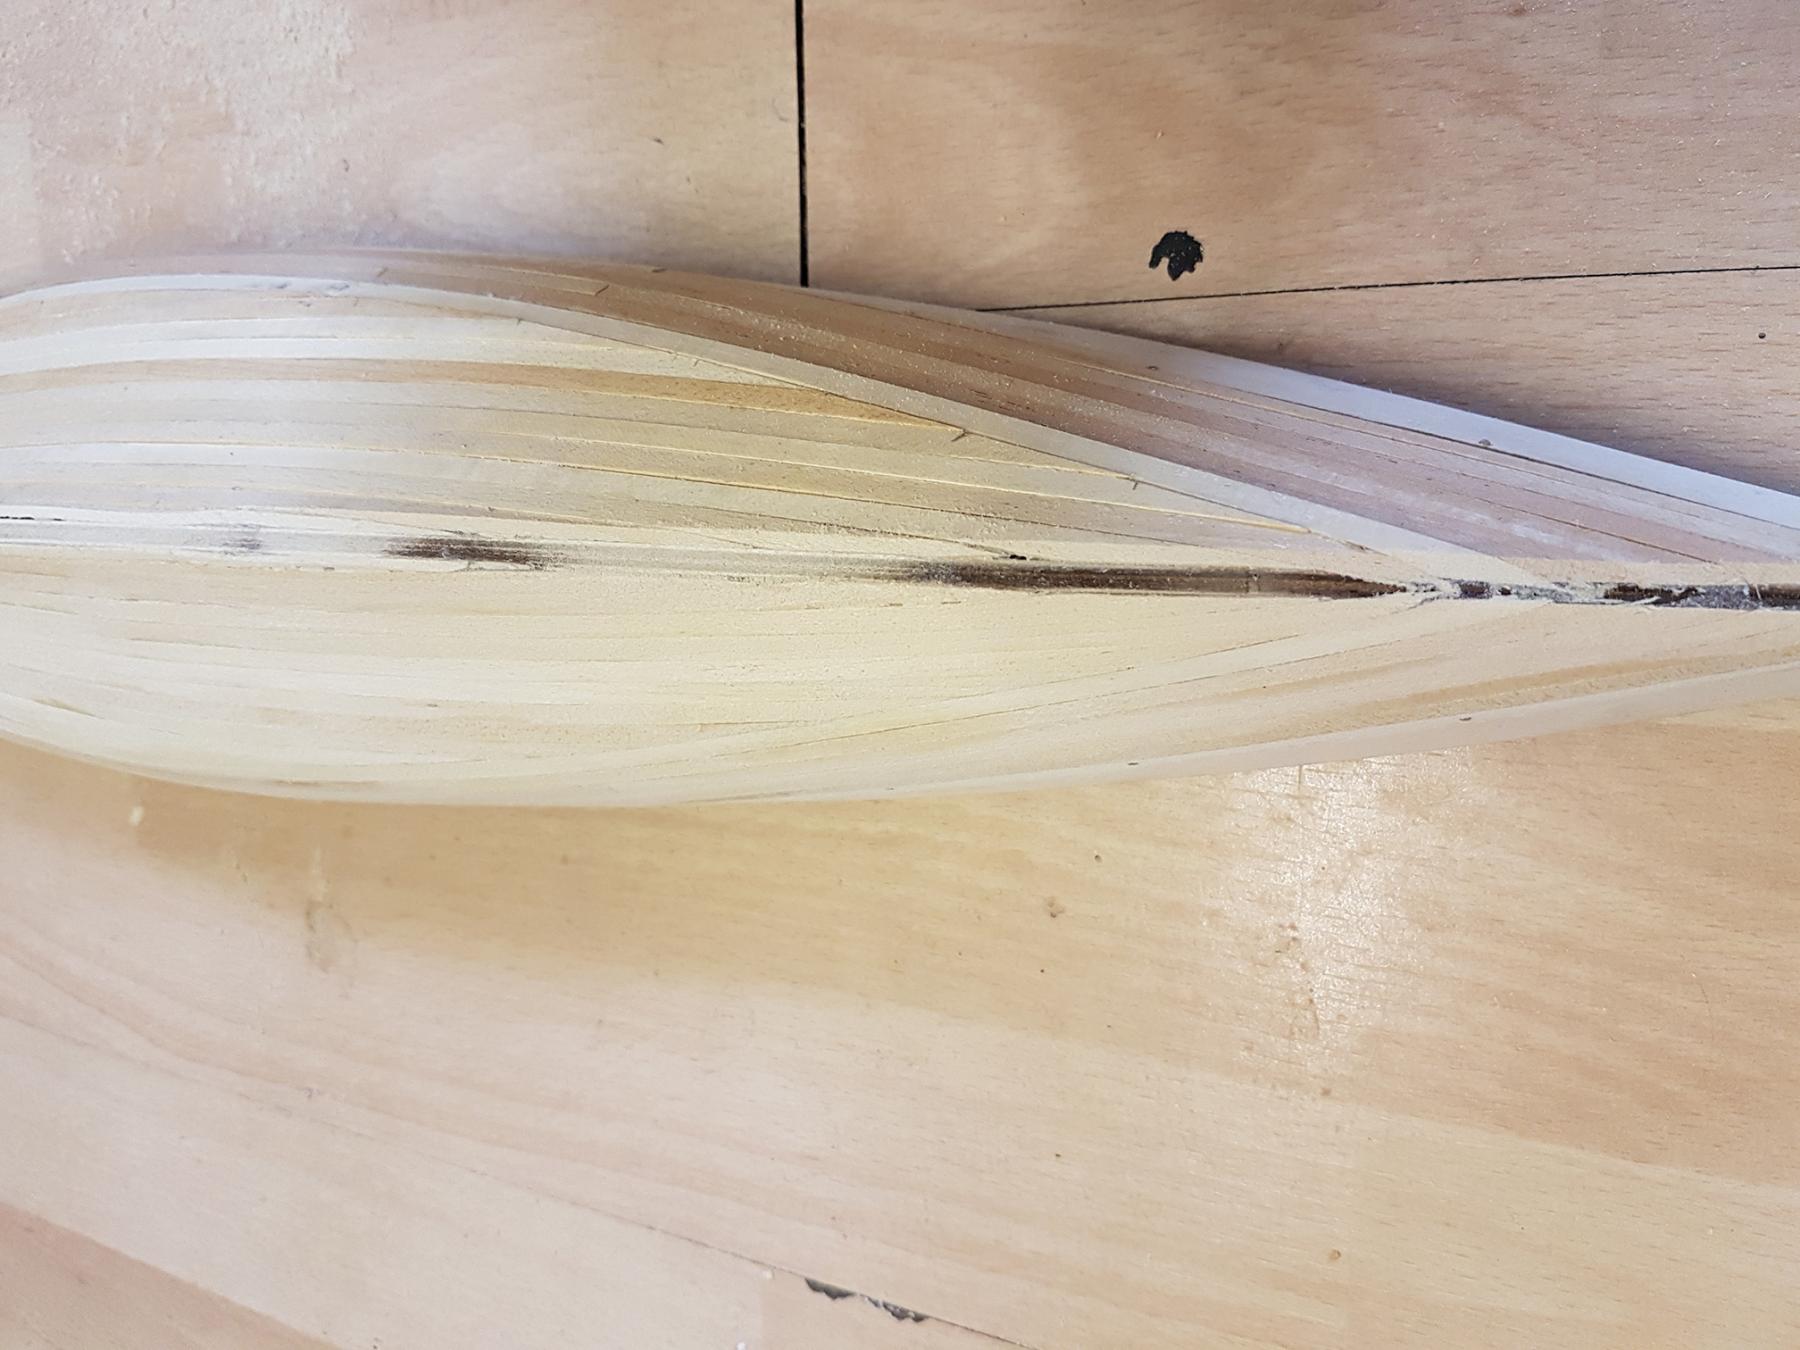
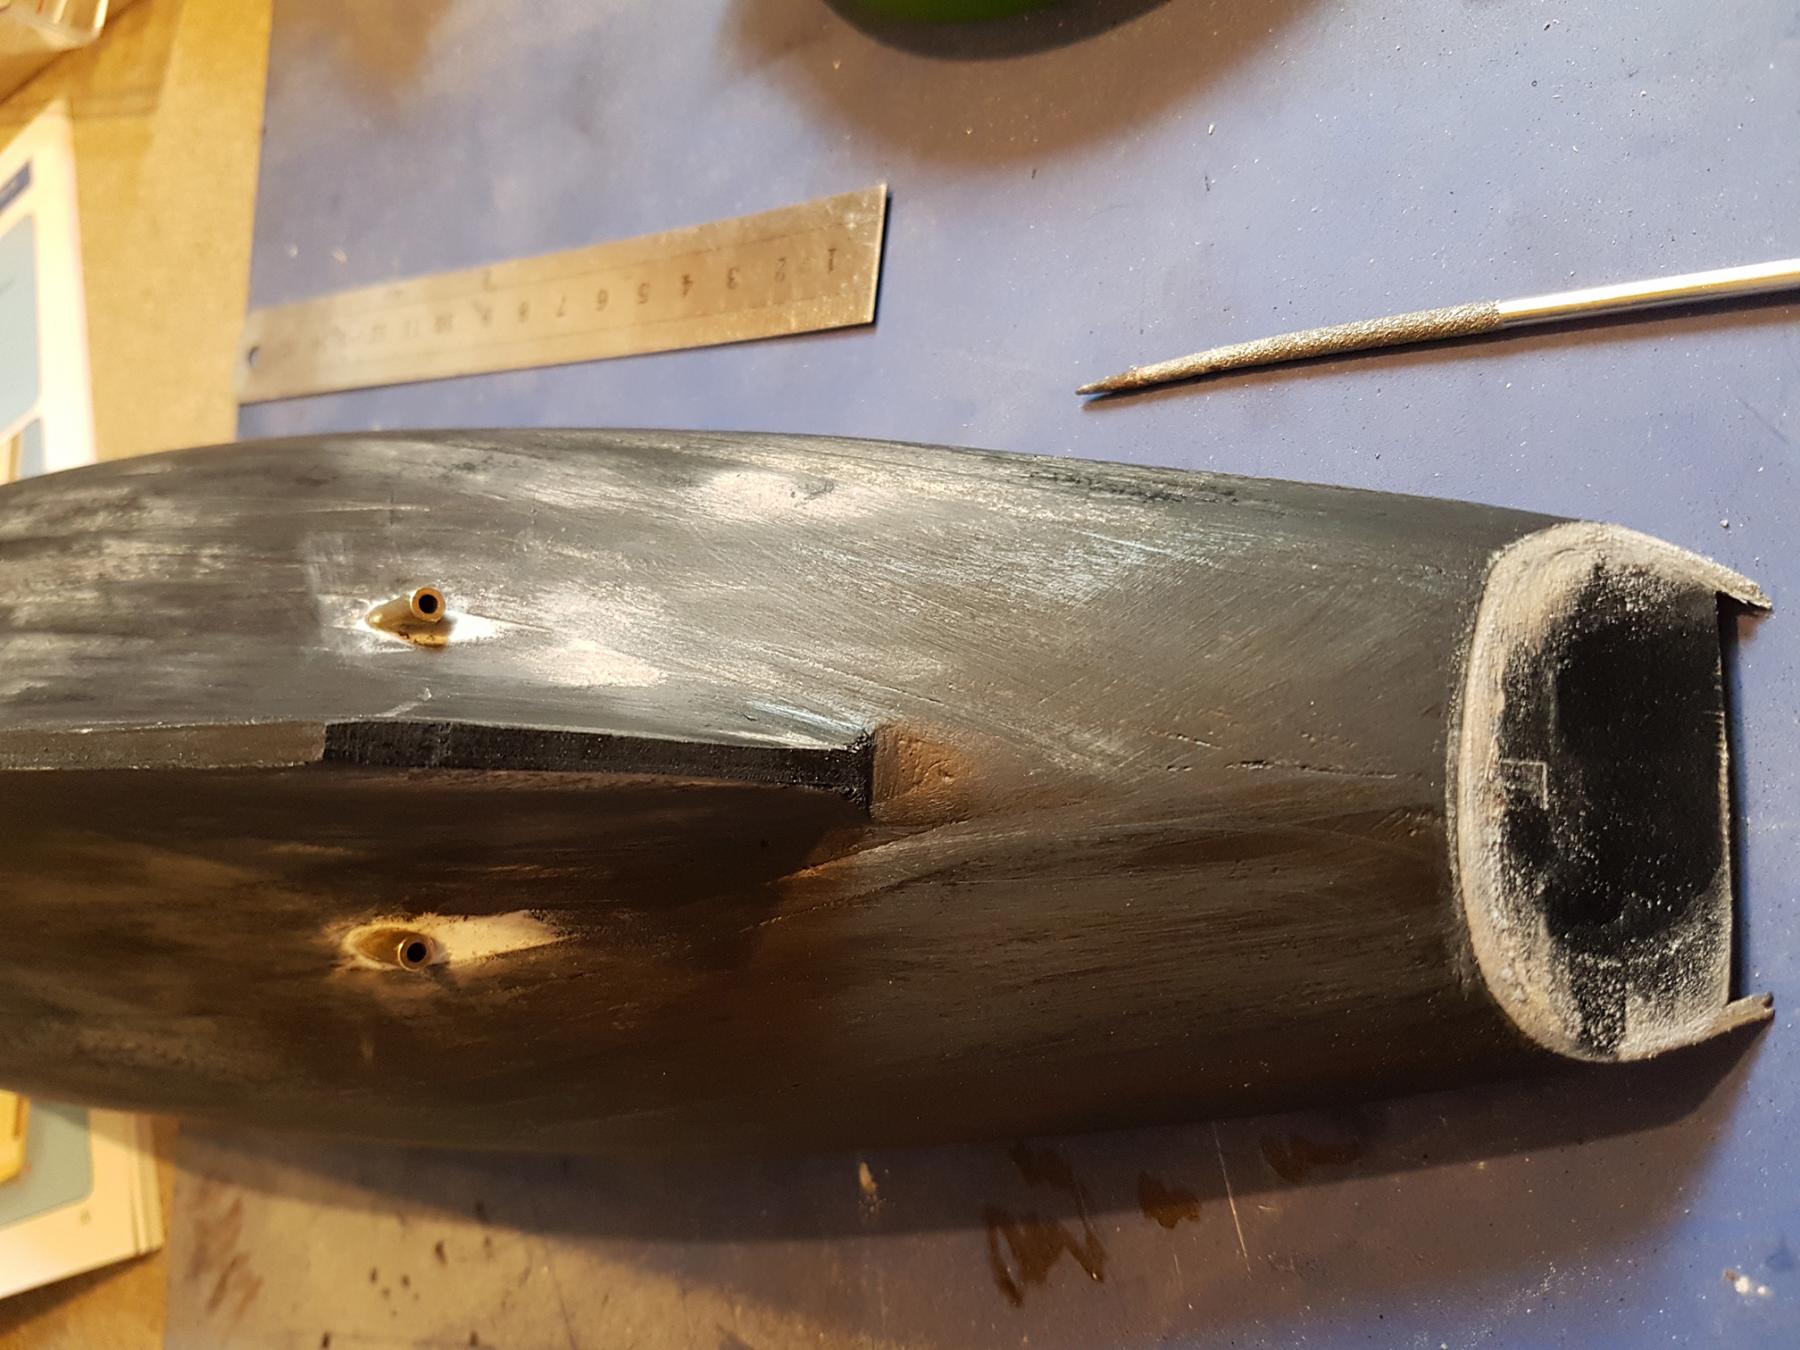
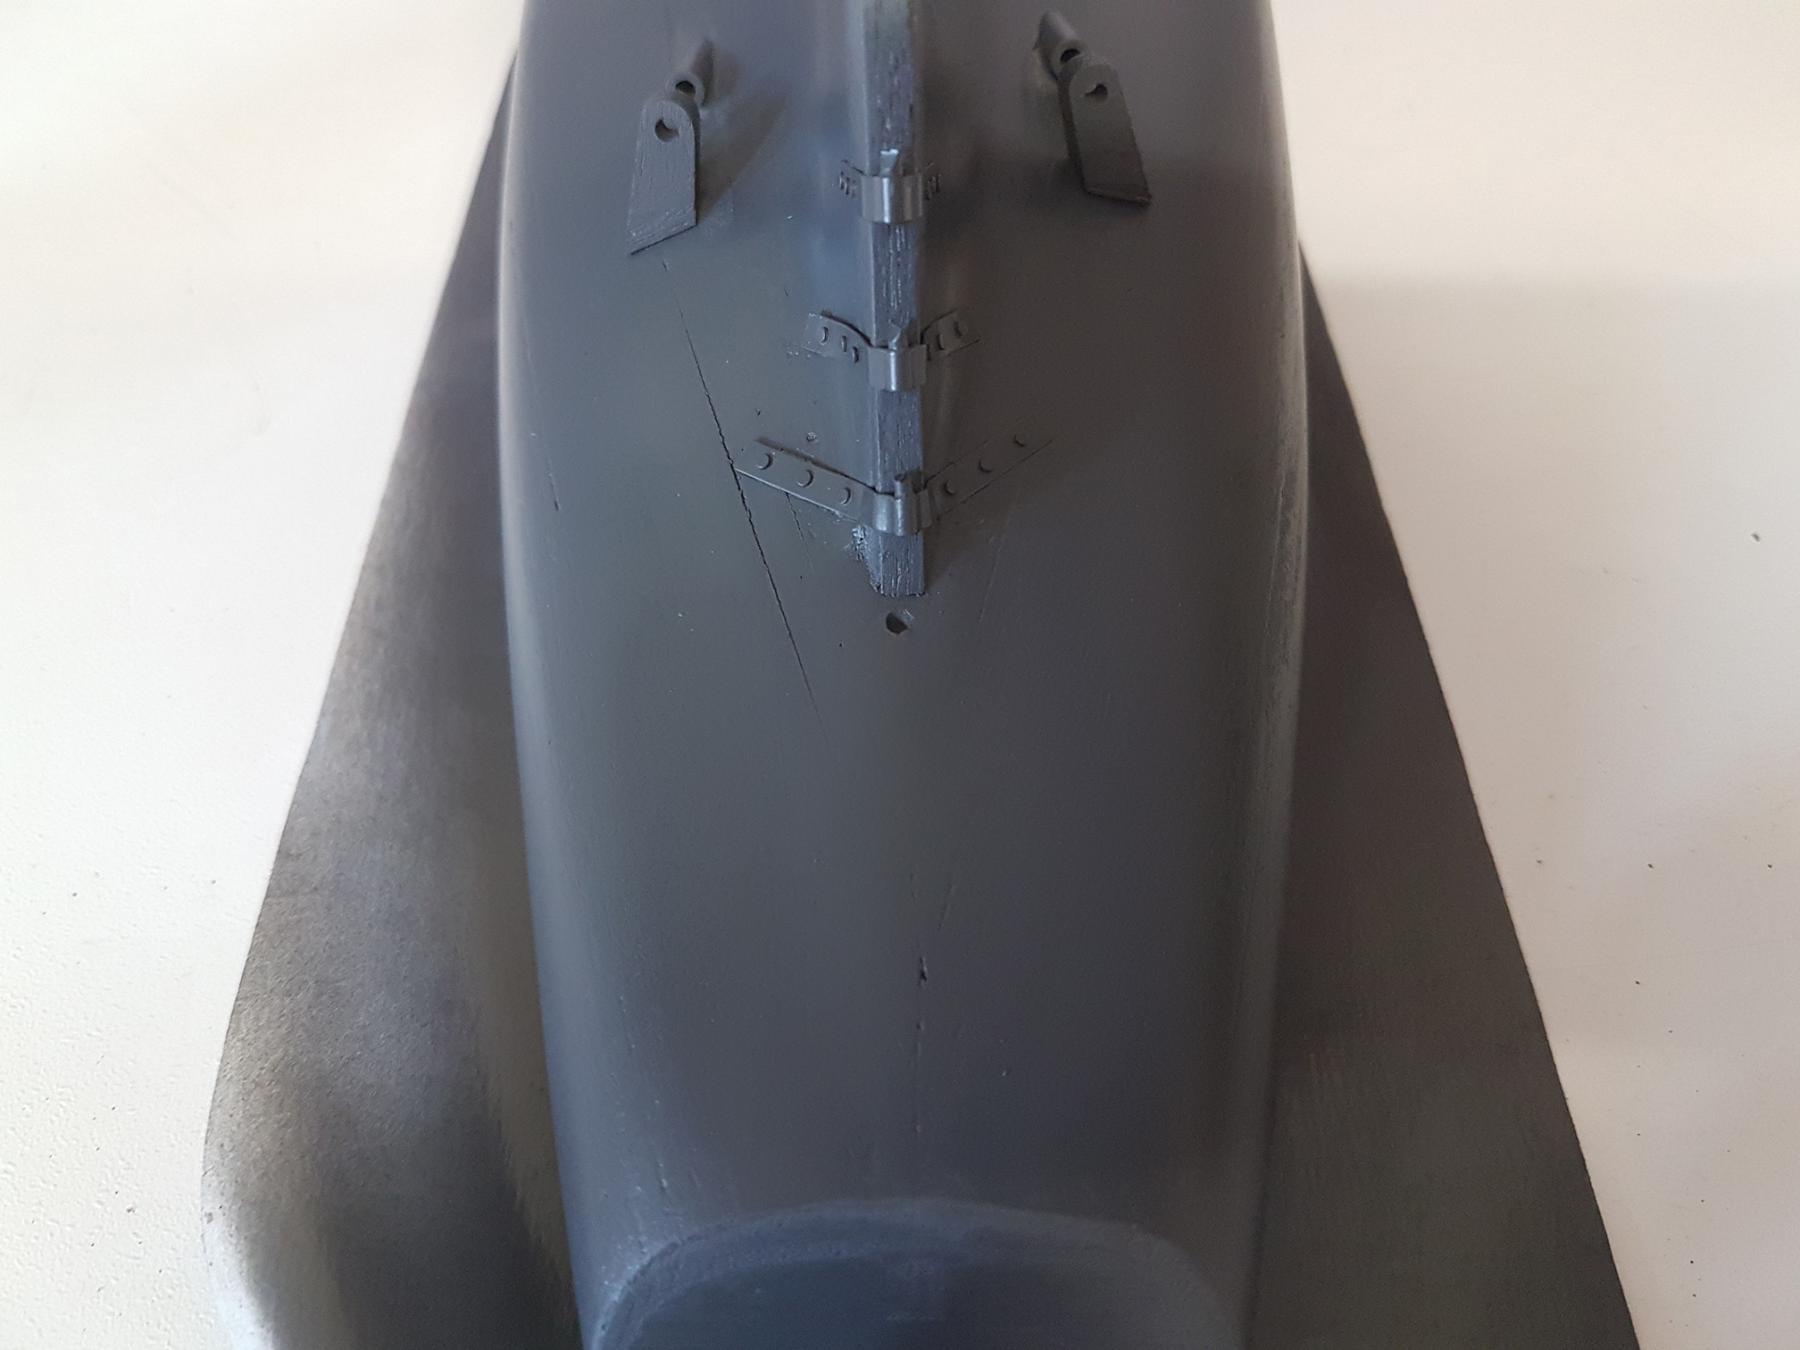
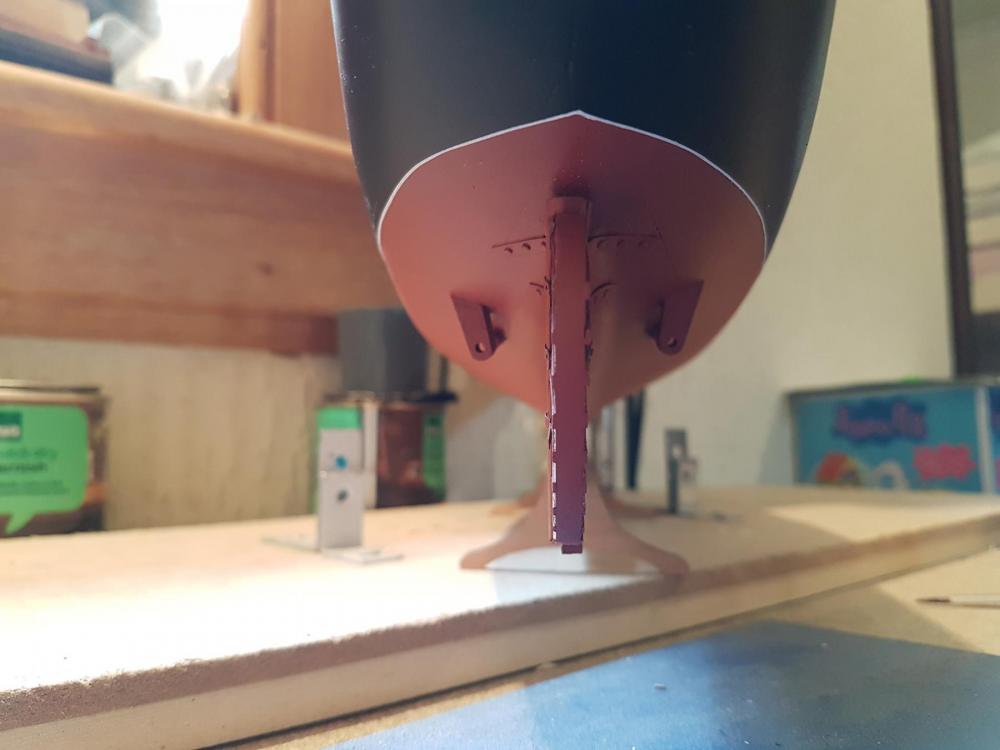
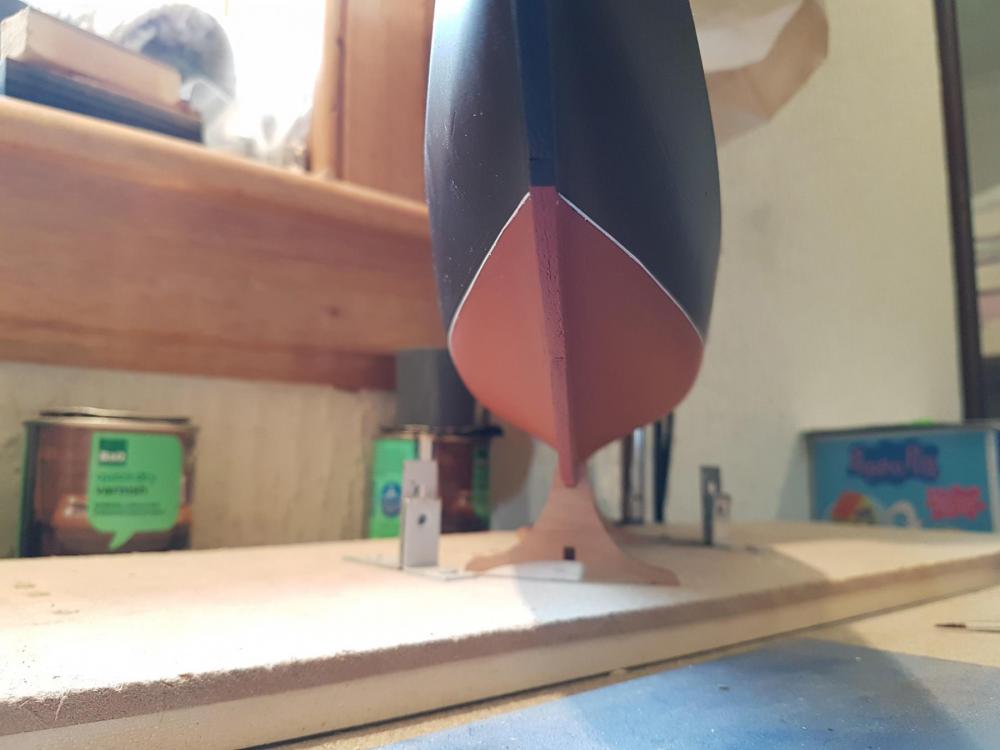
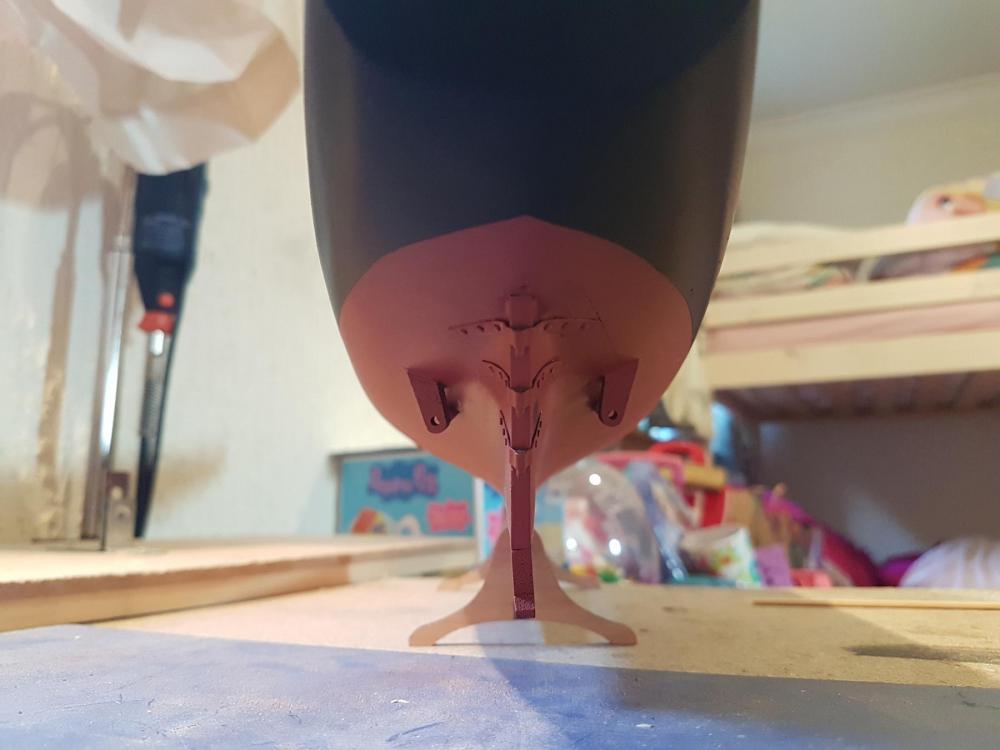
Thanks HOF. You'll have to forgive me, my naval terminology is rubbish lol. I have seen a few posts about the original version of this kit, with the text only instructions. I must admit, I prefer the new version...although the lack of any scale plans is disappointing. I will check on the chainplates though (I know what they are lol), and let you know I have started to make/planning on making a few modifications myself...mainly to the rudder as the kit is just a simple wire into the base of the transom, where as the real article is pintle mounted etc, pics below will show that. The one thing I have noticed is the join between the keel sections is one of the worst I've seen yet. I've got the hull planked now, and fairly well sanded smooth and filled. Still have a few areas that need touching up yet. I decided not to double plank, as I was fully painting the hull anyway and was able to get a good enough finish with the first planking, plus I didn't like the idea of a noticeable step as the 2nd planking only goes up as far as the bulwarks. Aside from not looking good as this one has no wales, it doesn't follow the waterline either so would make painting a little harder. I am plodding on...


-
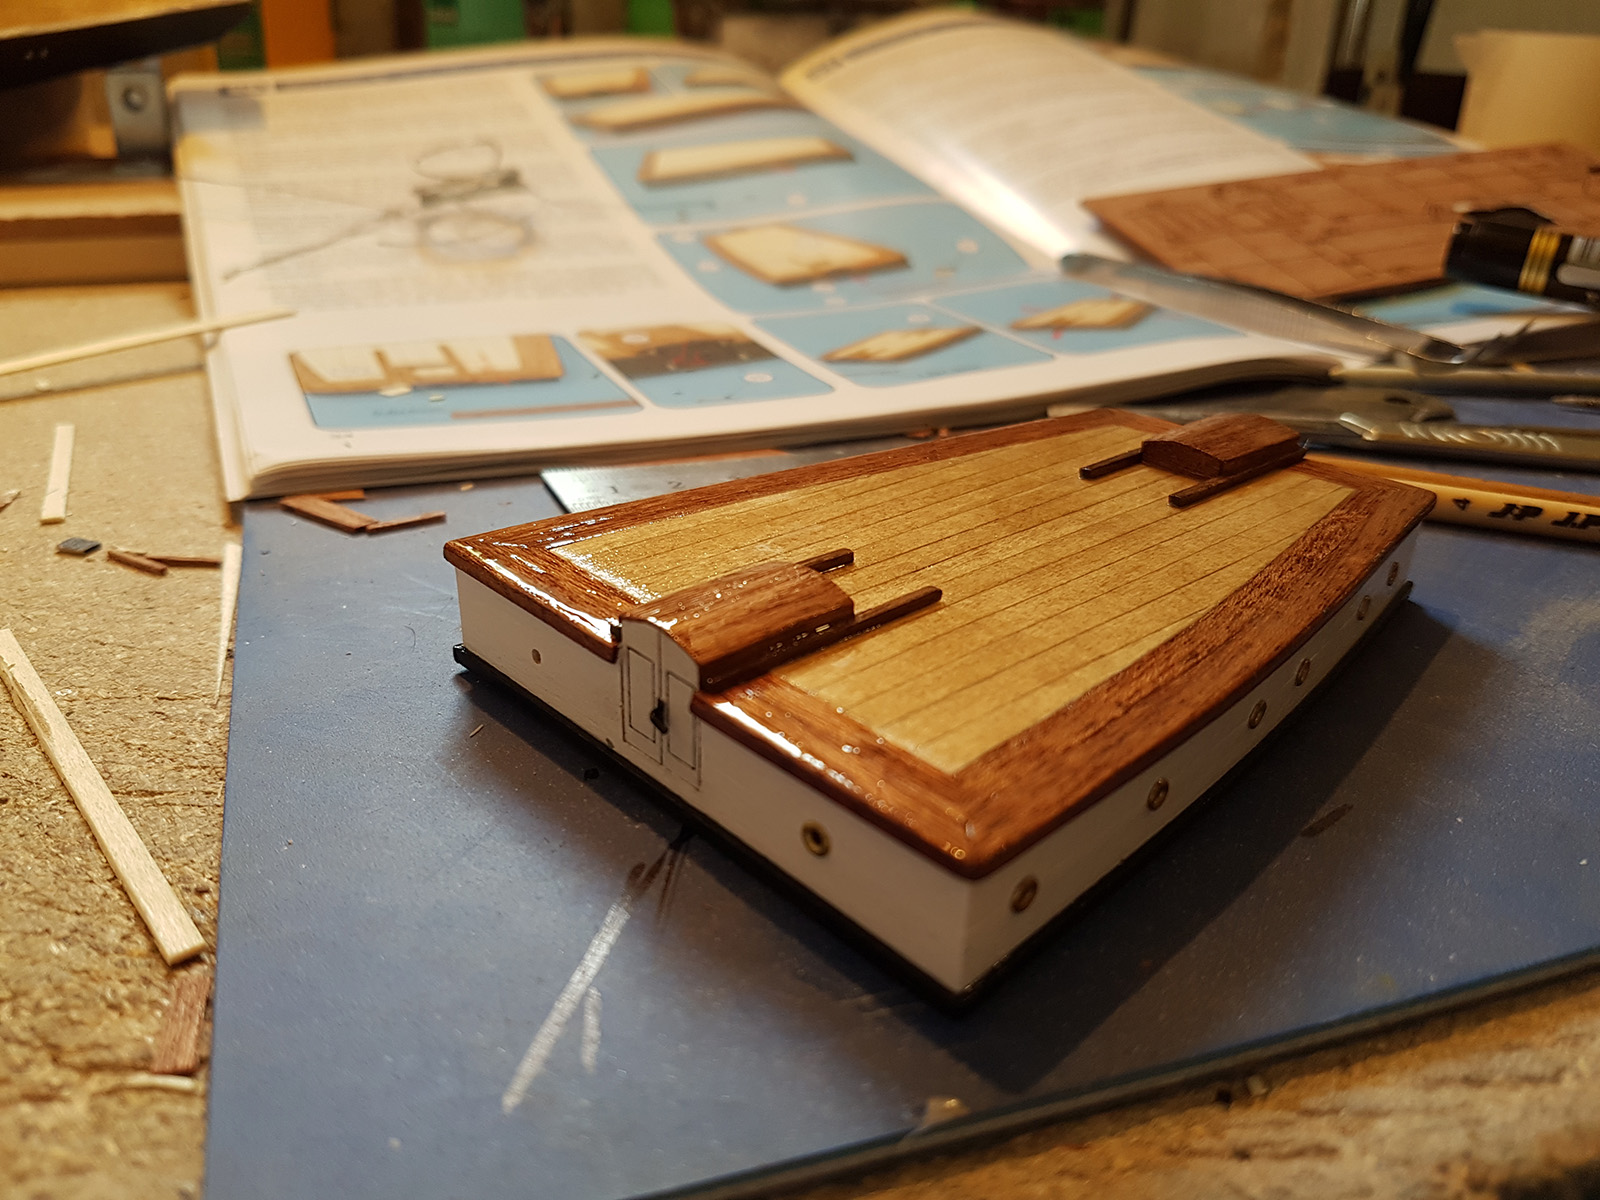
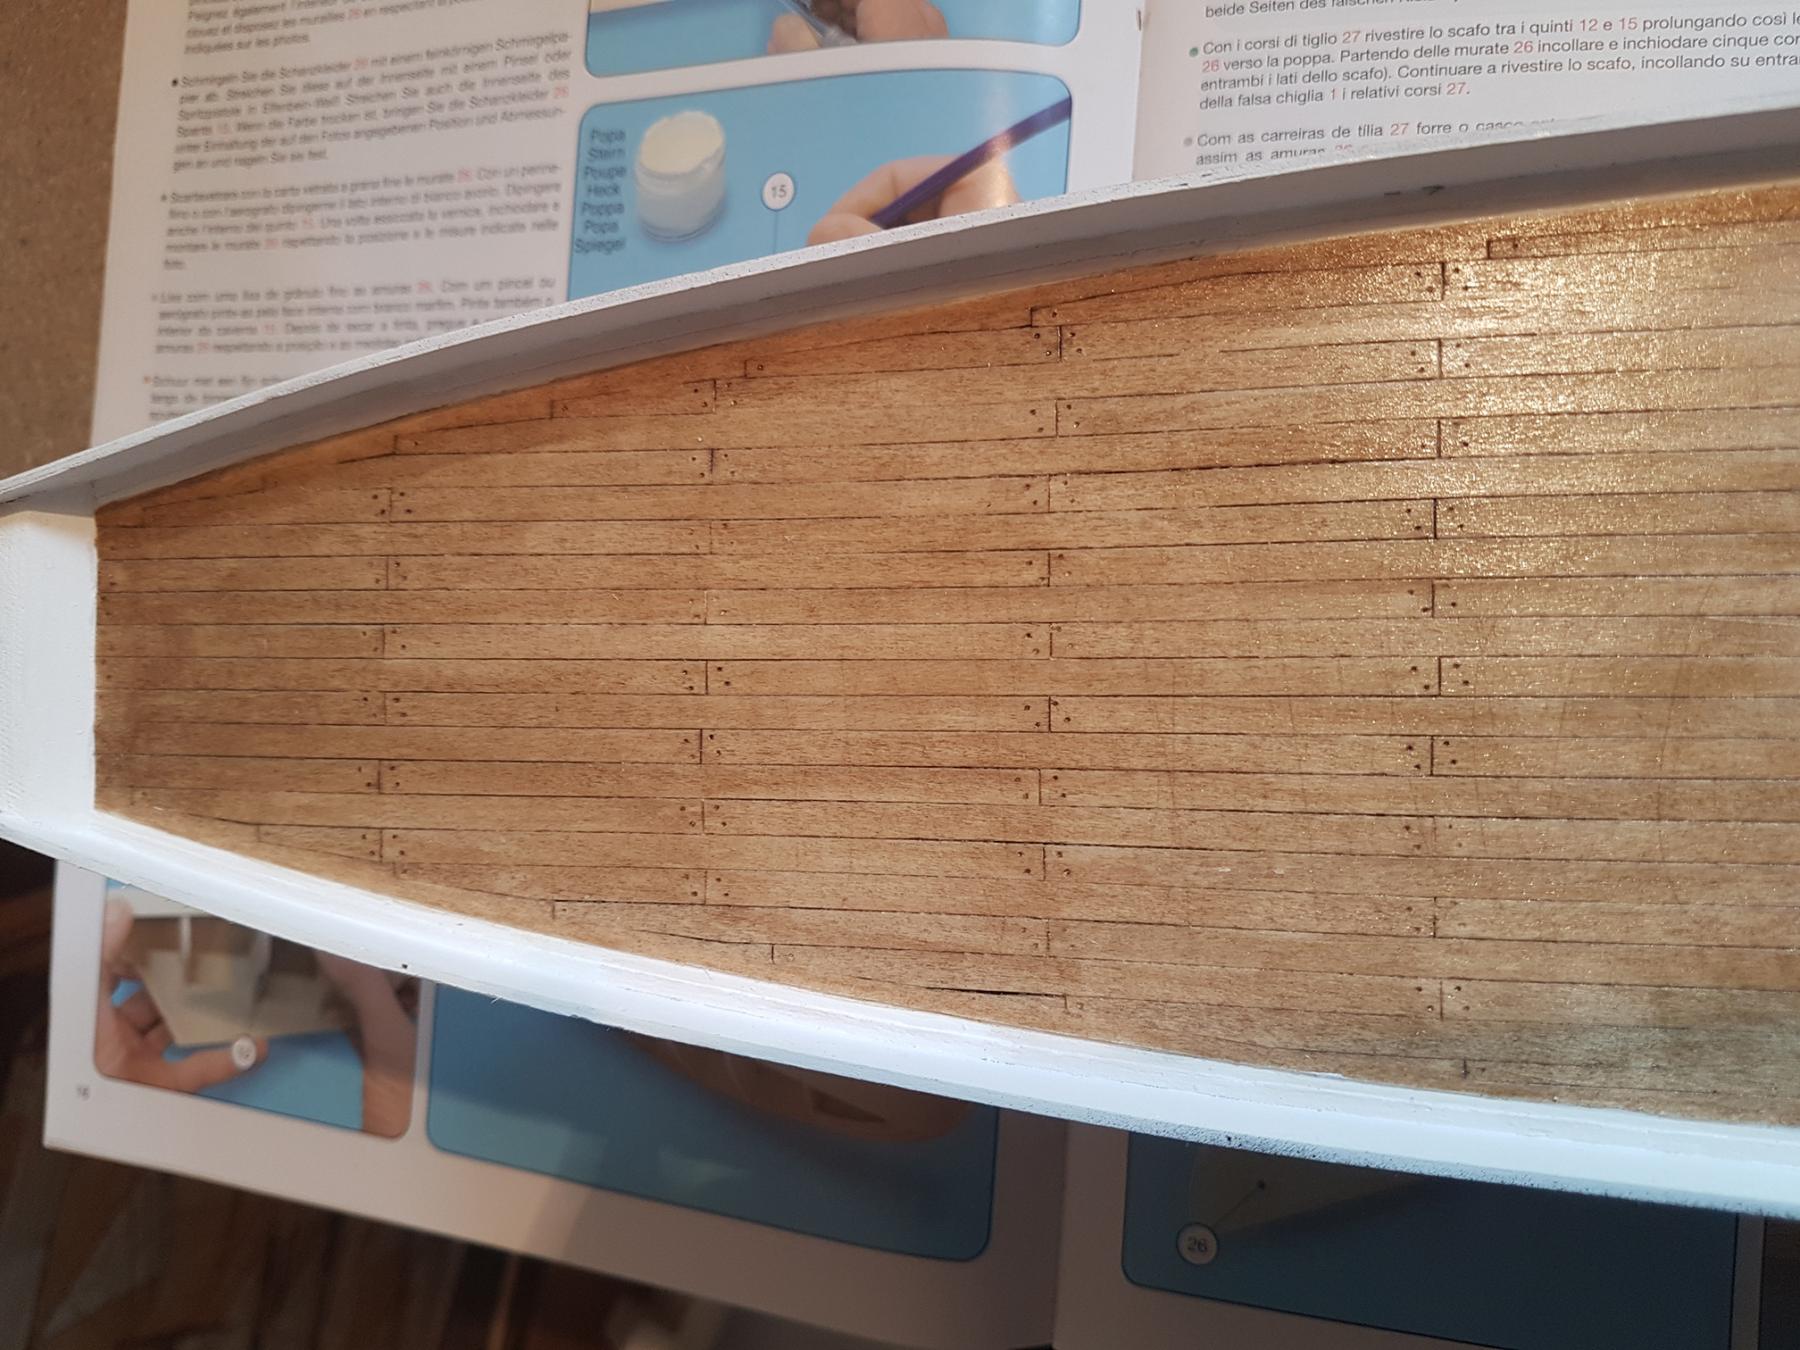
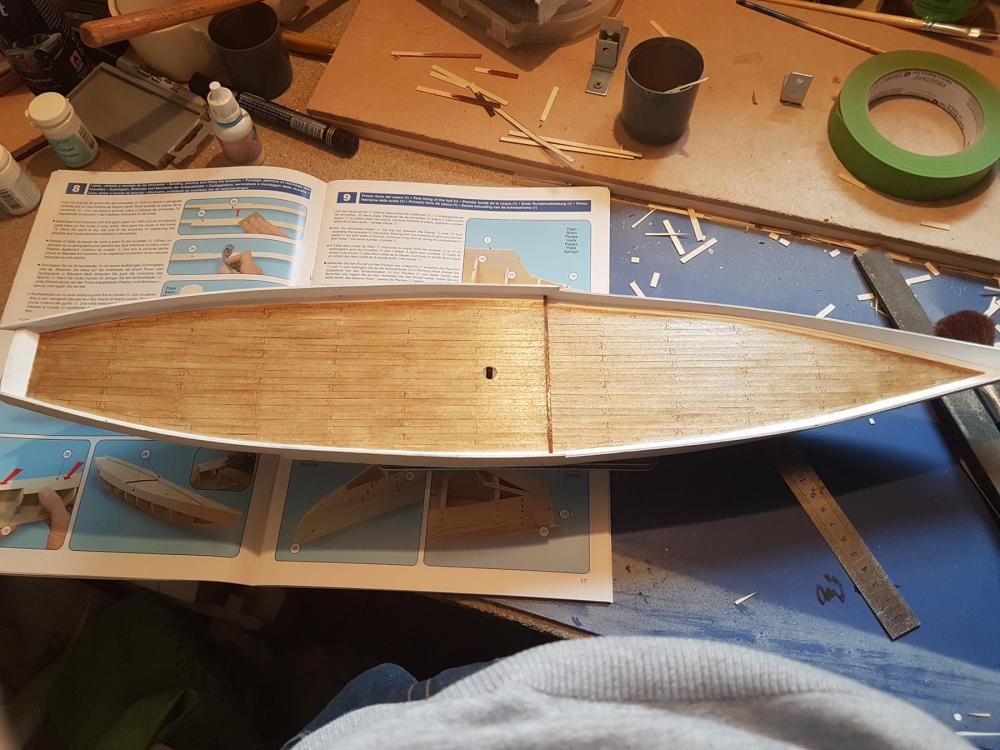
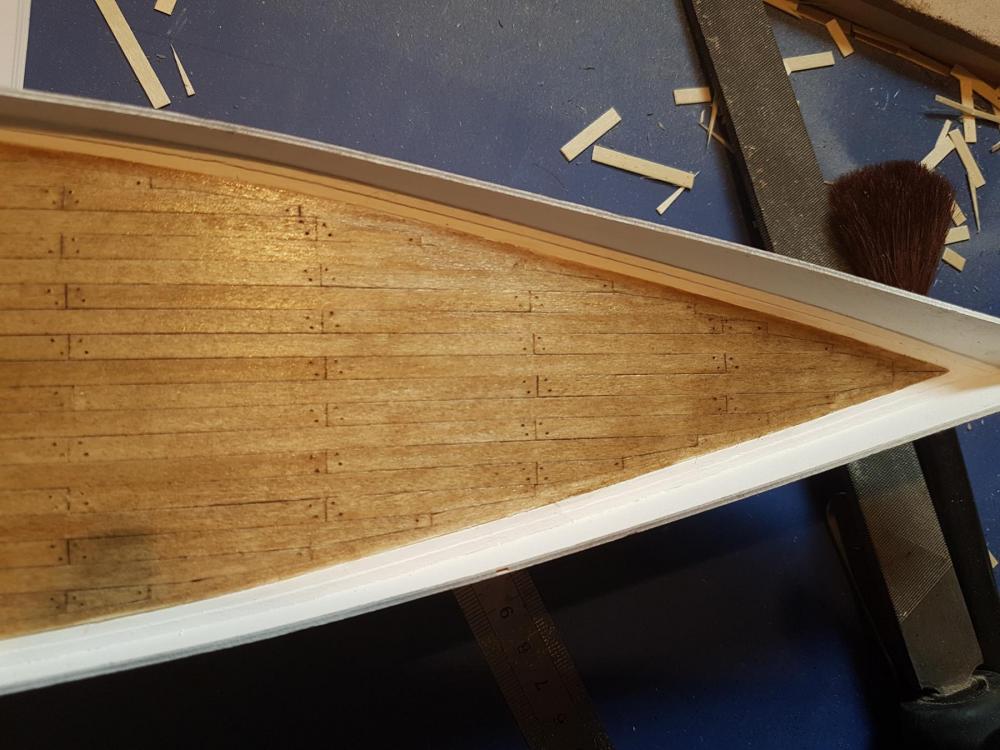
Hello. Just a very quick update. I've finished the deck planking and stained with an oak stain as it gives quite a good "wet look" deck which is comparable to the real thing, and finally a few coats of satin varnish. Thanks for looking in.


-
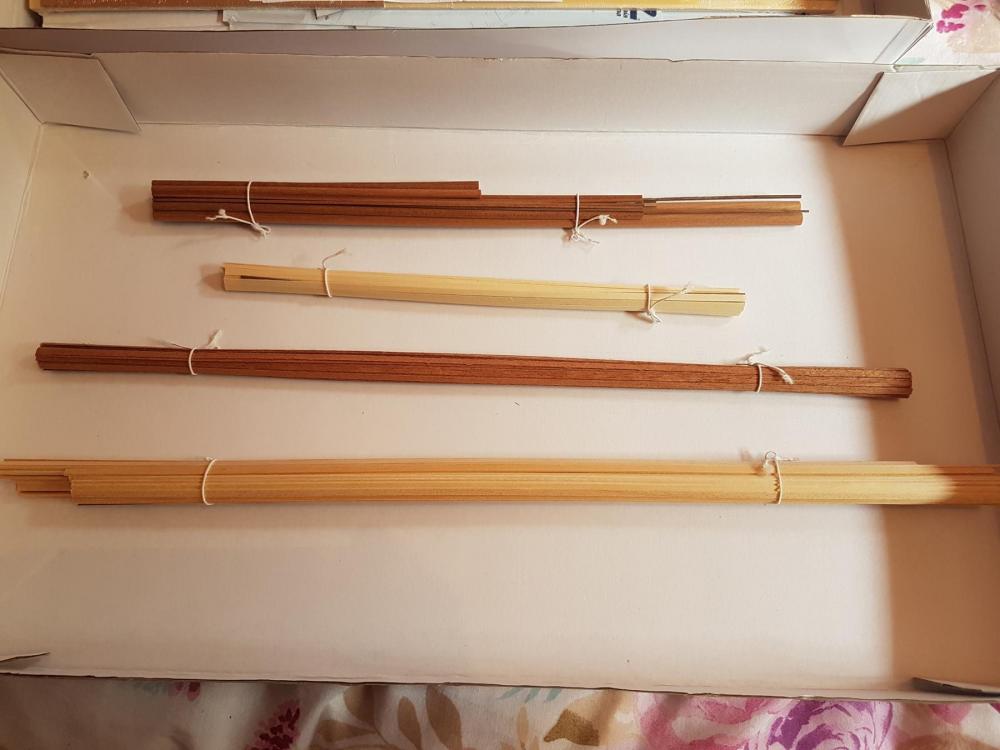
Hiya Sjors. I see the bamboo-issue is rearing it's ugly head again with this one from Deag. Still, great that you have enough alternatives to plank with. But if you think it's bad now, wait till it comes to the cutting the gunports Enjoy
-
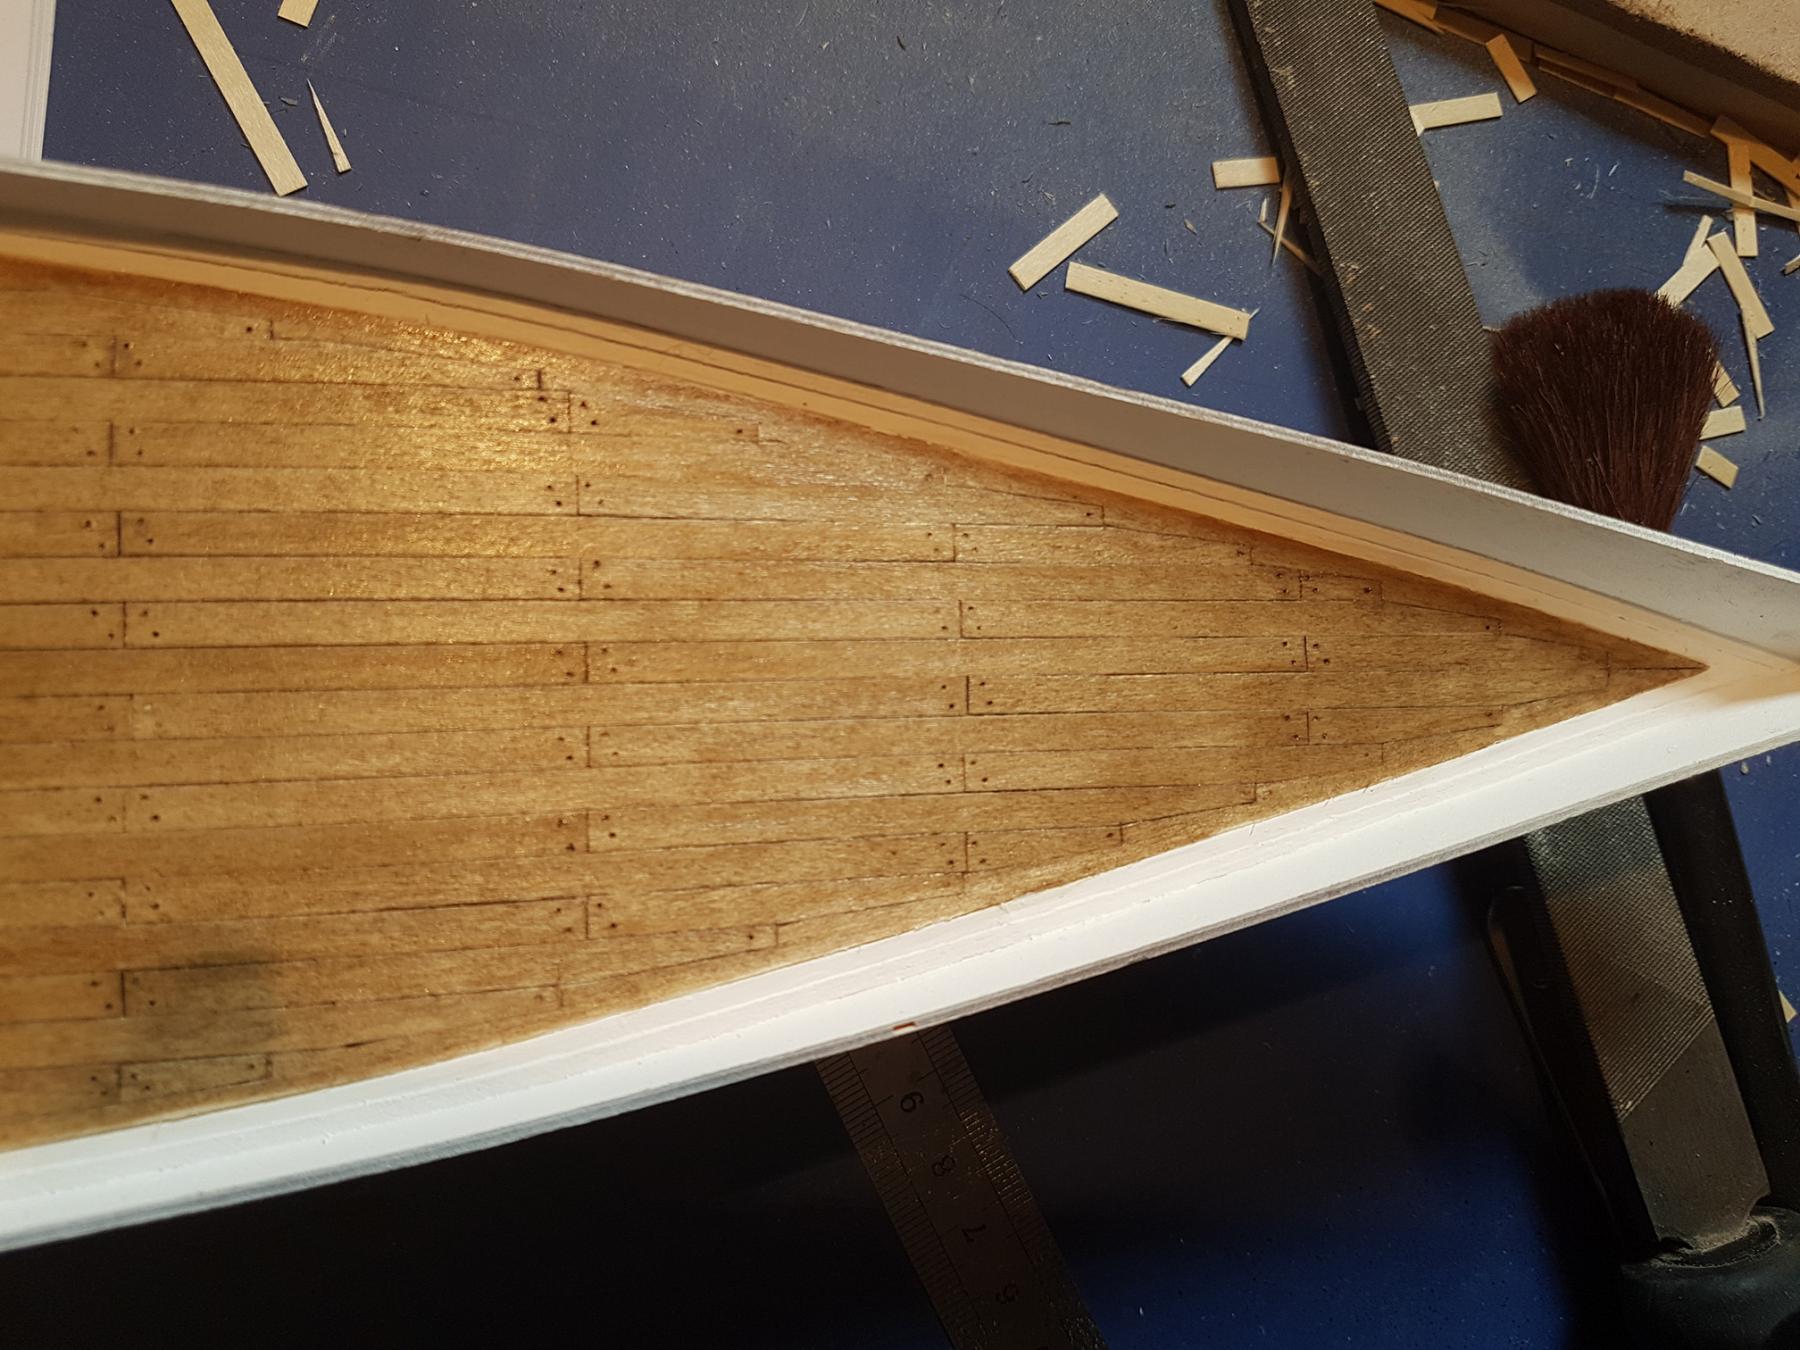
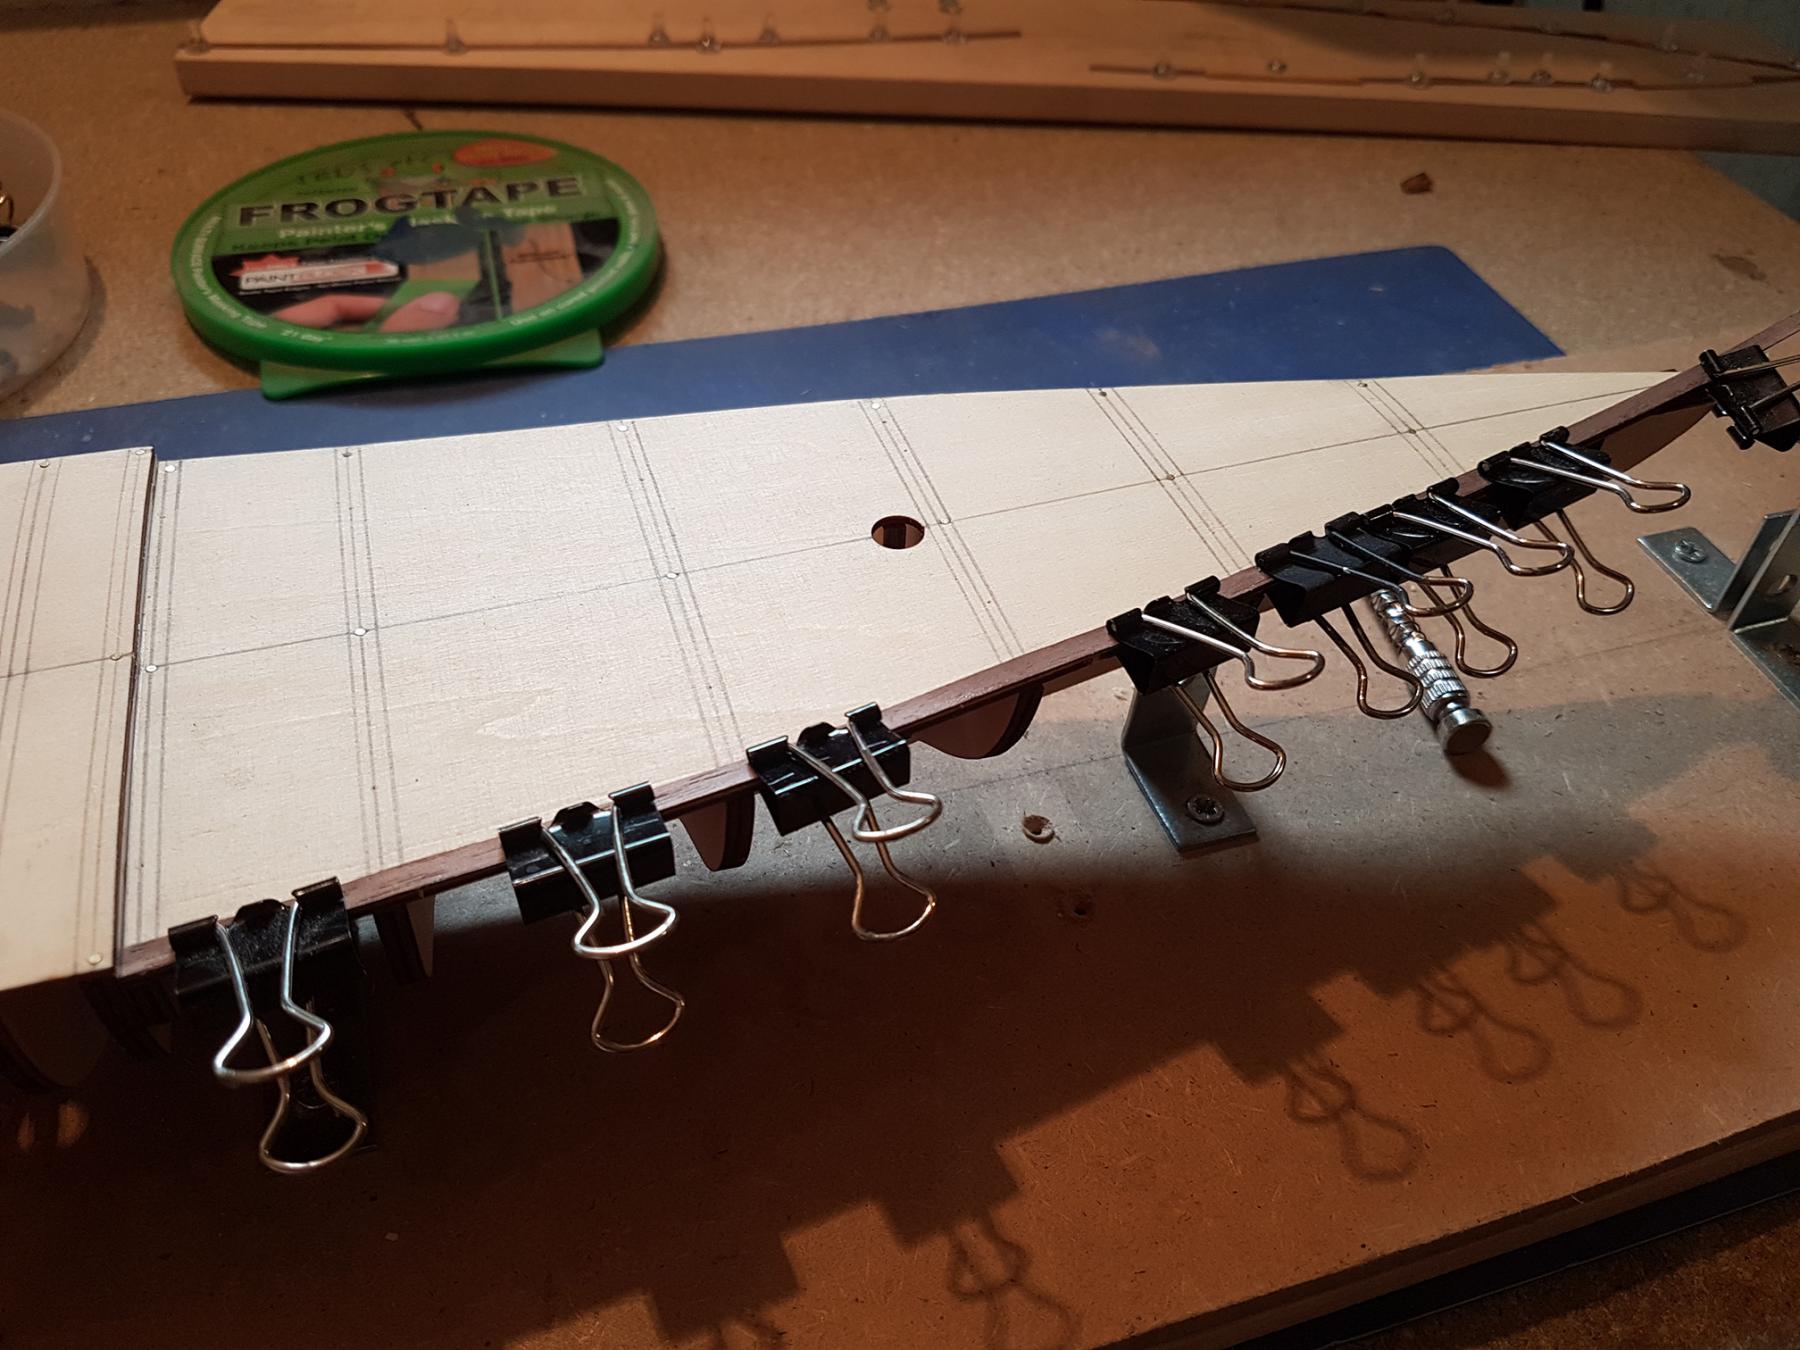
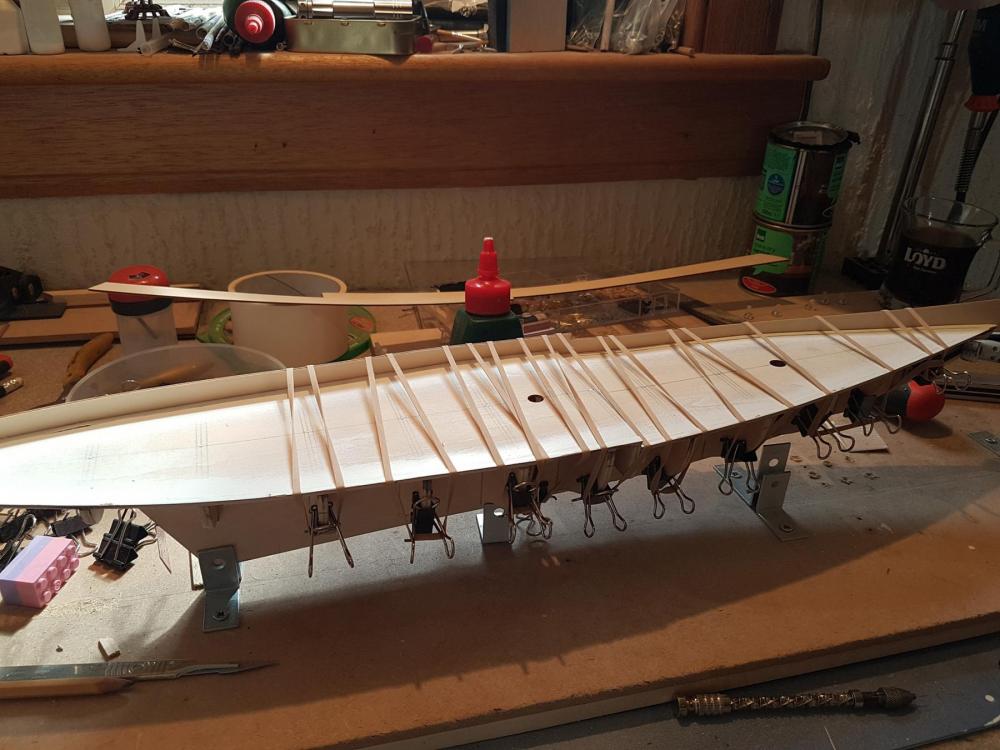
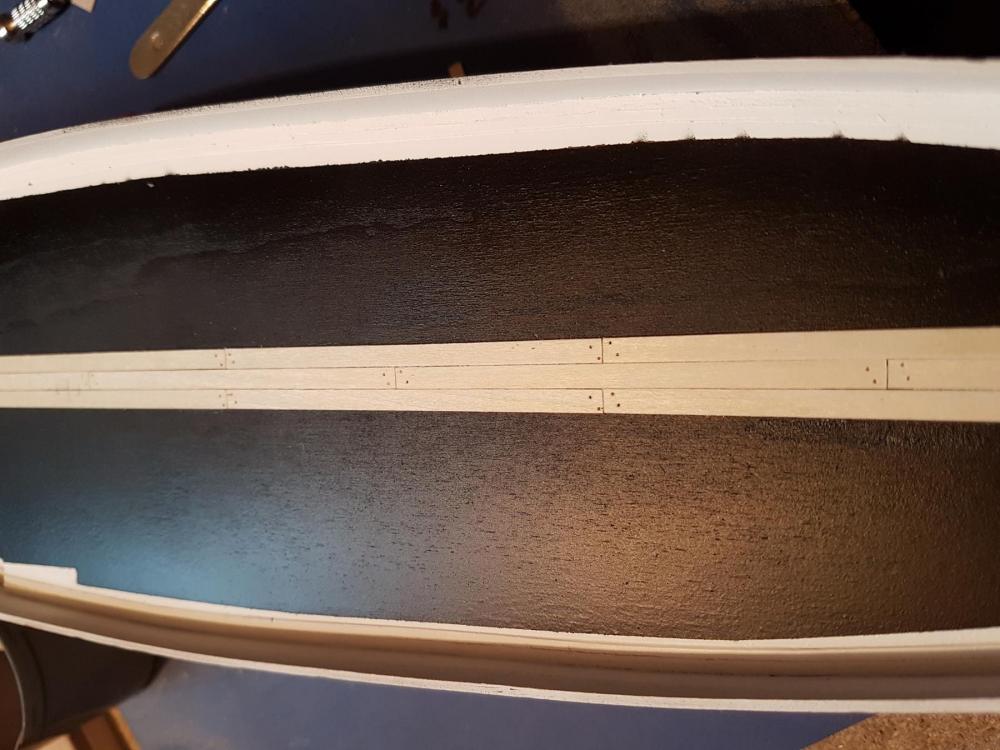
Good evening. I soaked and fitted the bulwarks. (I hate these things personally). I used a combination of pins, bulldog clips and rubber bands to hold in place. I was less than impressed later though, as despite my best efforts I still had a gap between the bulwark waterways and the bulwarks. (In hindsight, I should have ignored the build order and fitted the waterways afterwards). I decided to take a little artistic licence and fitted some thinner strips over the existing waterways, plugging the gap. And went over again with my airbrush. All in all, it didn't turn out too bad in the end... Now, time to plank the deck. My approach to planking is rather unconventional when it comes to simulating the caulking. I pre-cut to length the planks and drilled the treenails. I didn't however, do any caulking on the planks themselves. Instead, I sprayed the false deck black. When fitting the planks, I fit using white glue, spread on very thinly using my thumb, and fit to the deck. When I do the adjacent/butt on planks, I fit the same way, but afterwards I use the same drill I used to make the treenail holes and just shift it away a fraction, literally less than a hairs width away, and then before the glue starts to dry, I just dip the bit into the treenail holes to remove the glue built up. Finally, I run my scalpel gently between each plank and the butts. It sounds more work than it is, but it is actually very quick and efficient way of doing the caulking. I've used this method on my Vic build as well and the result is pretty good...well I think so anyway lol... Thanks for looking in.

-
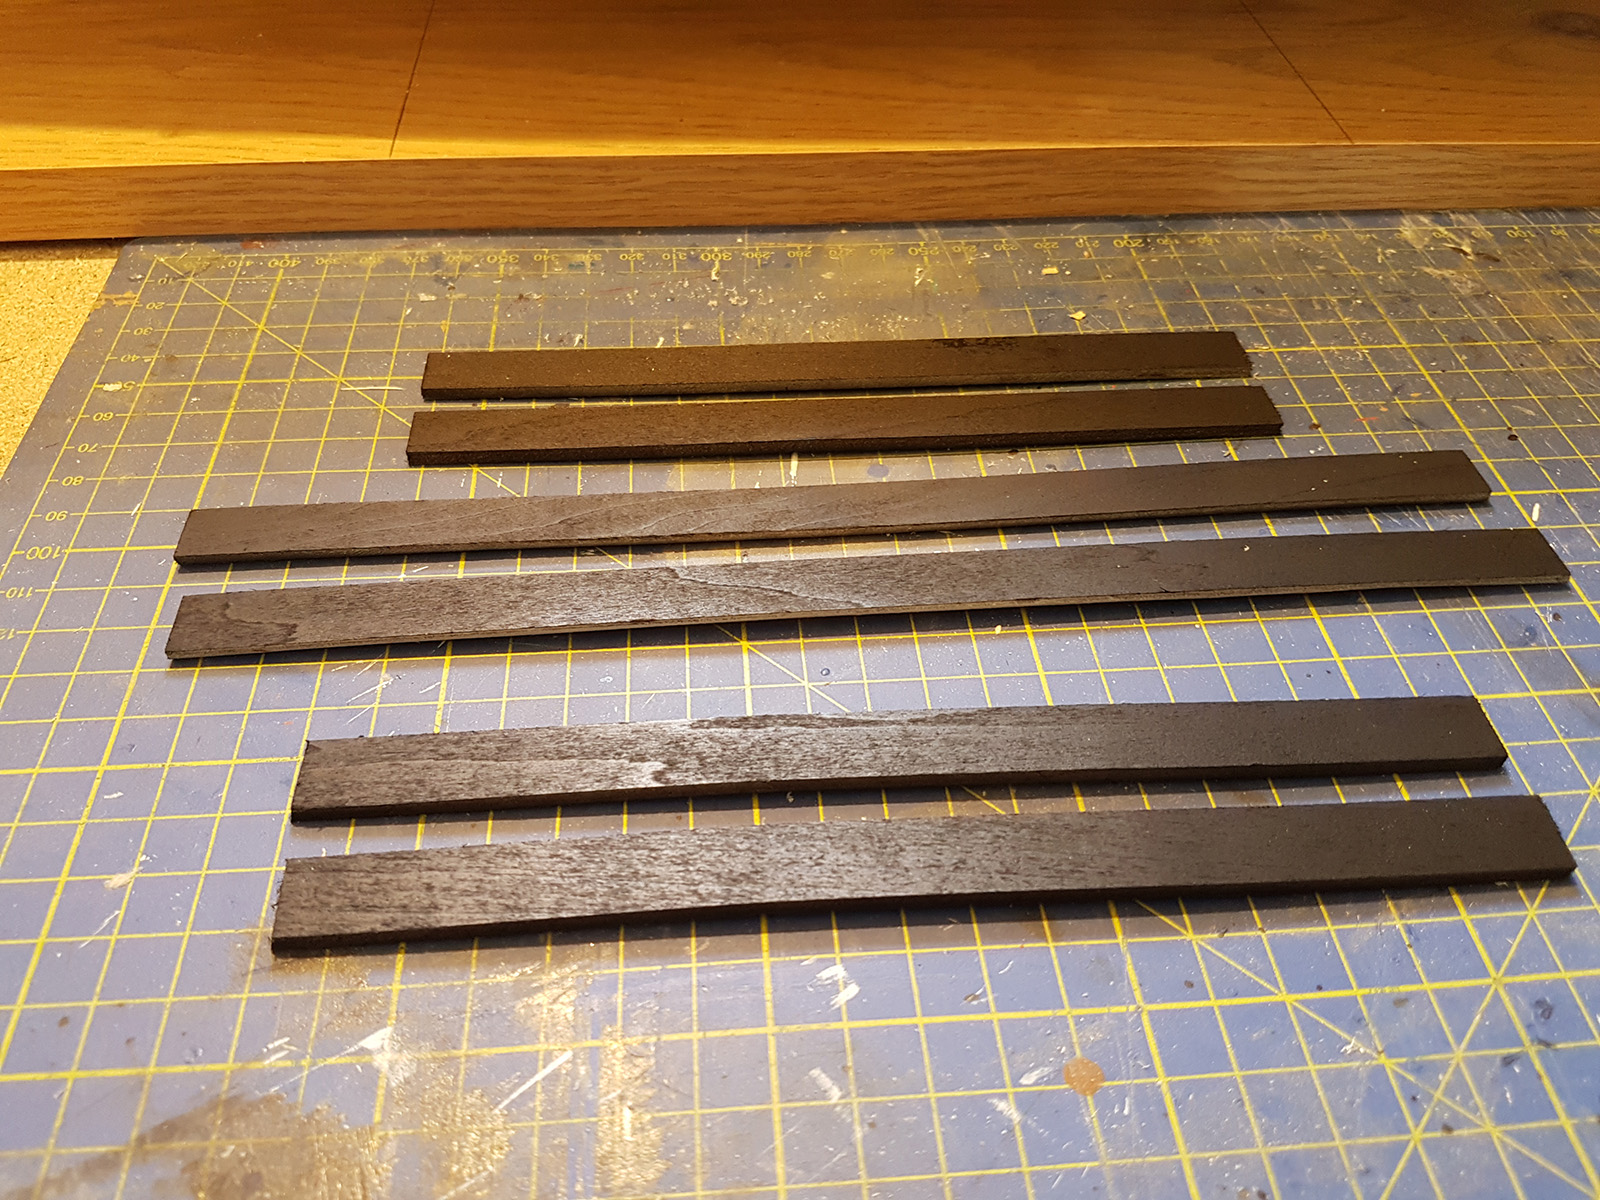
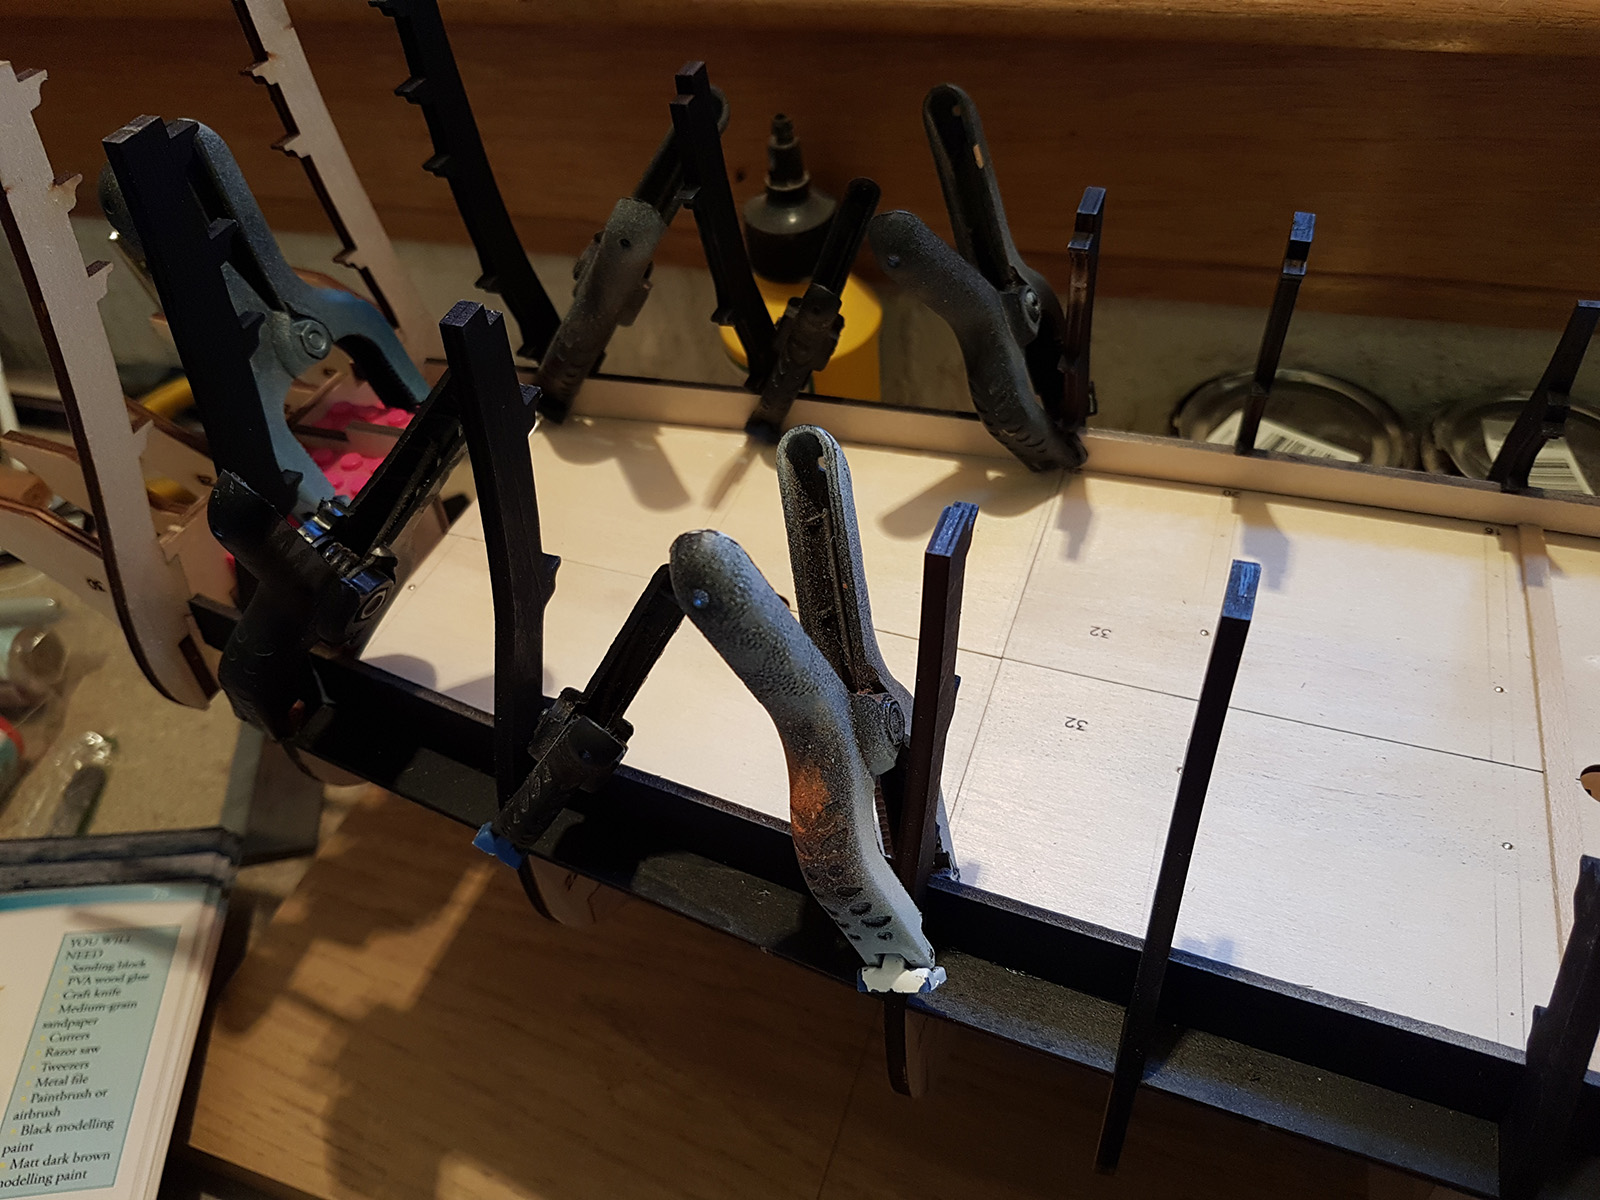
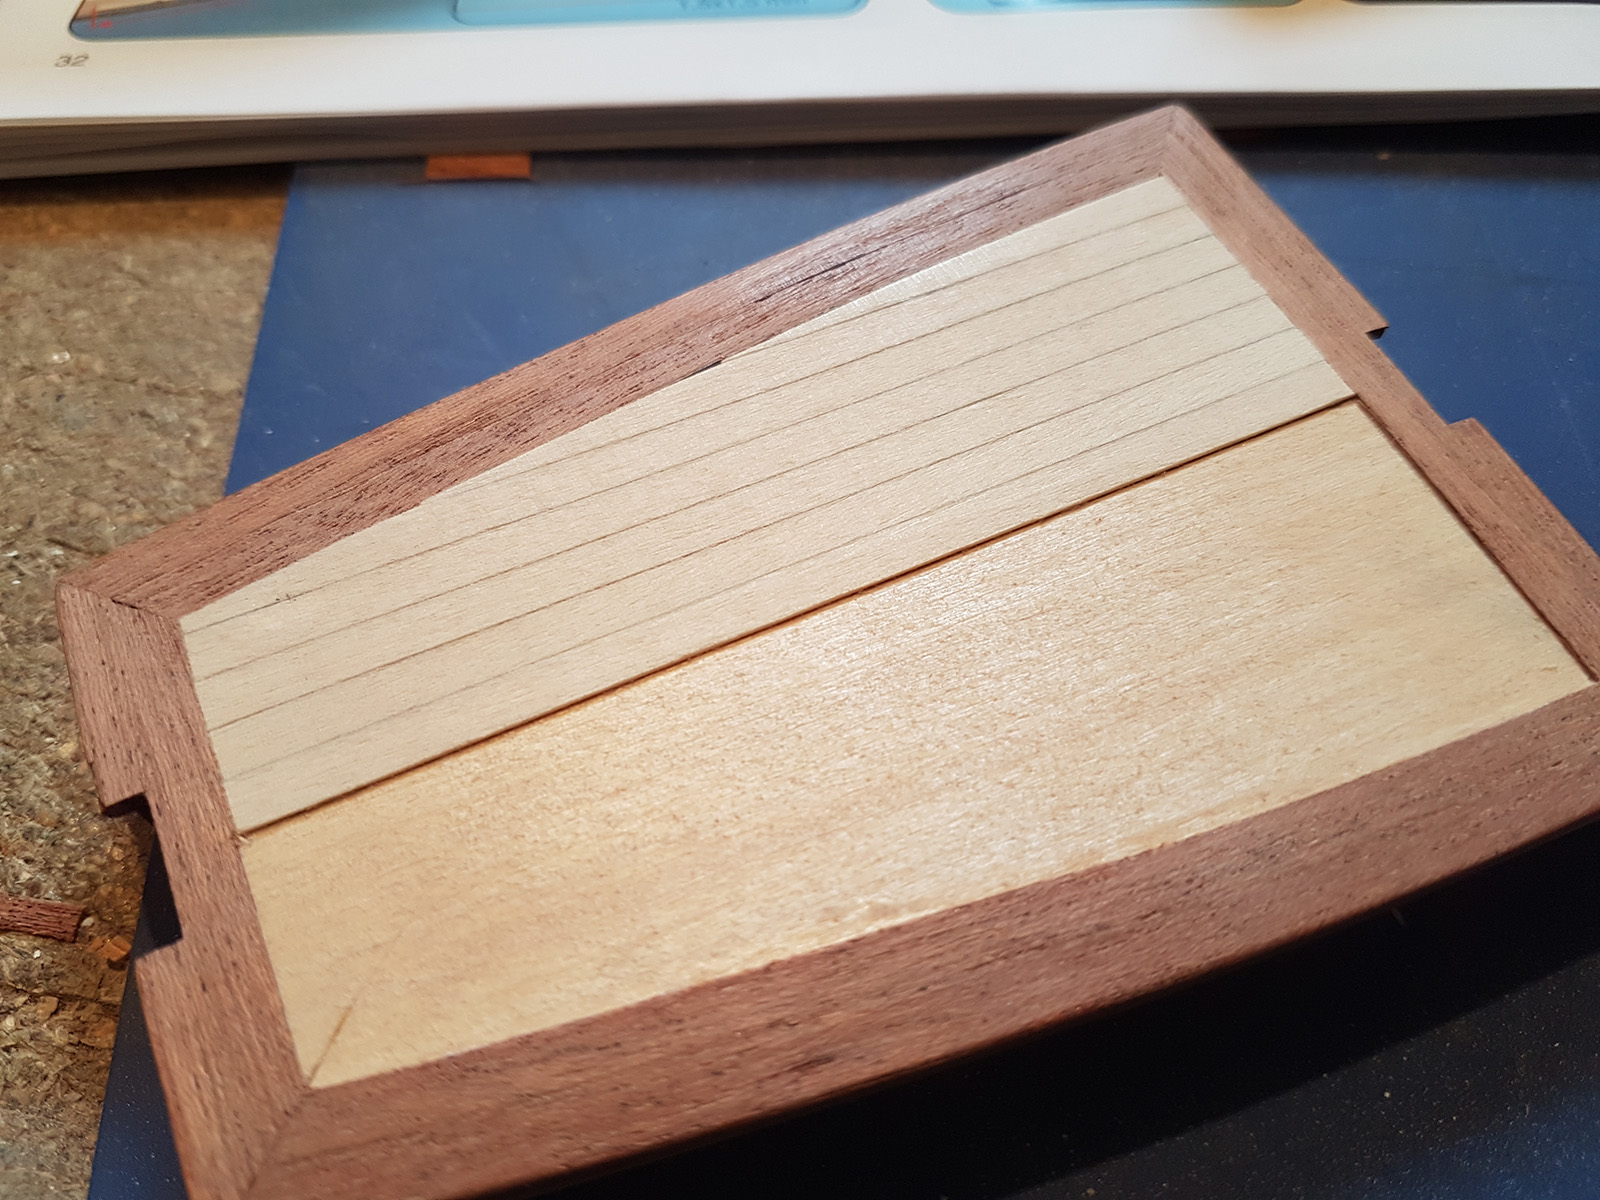
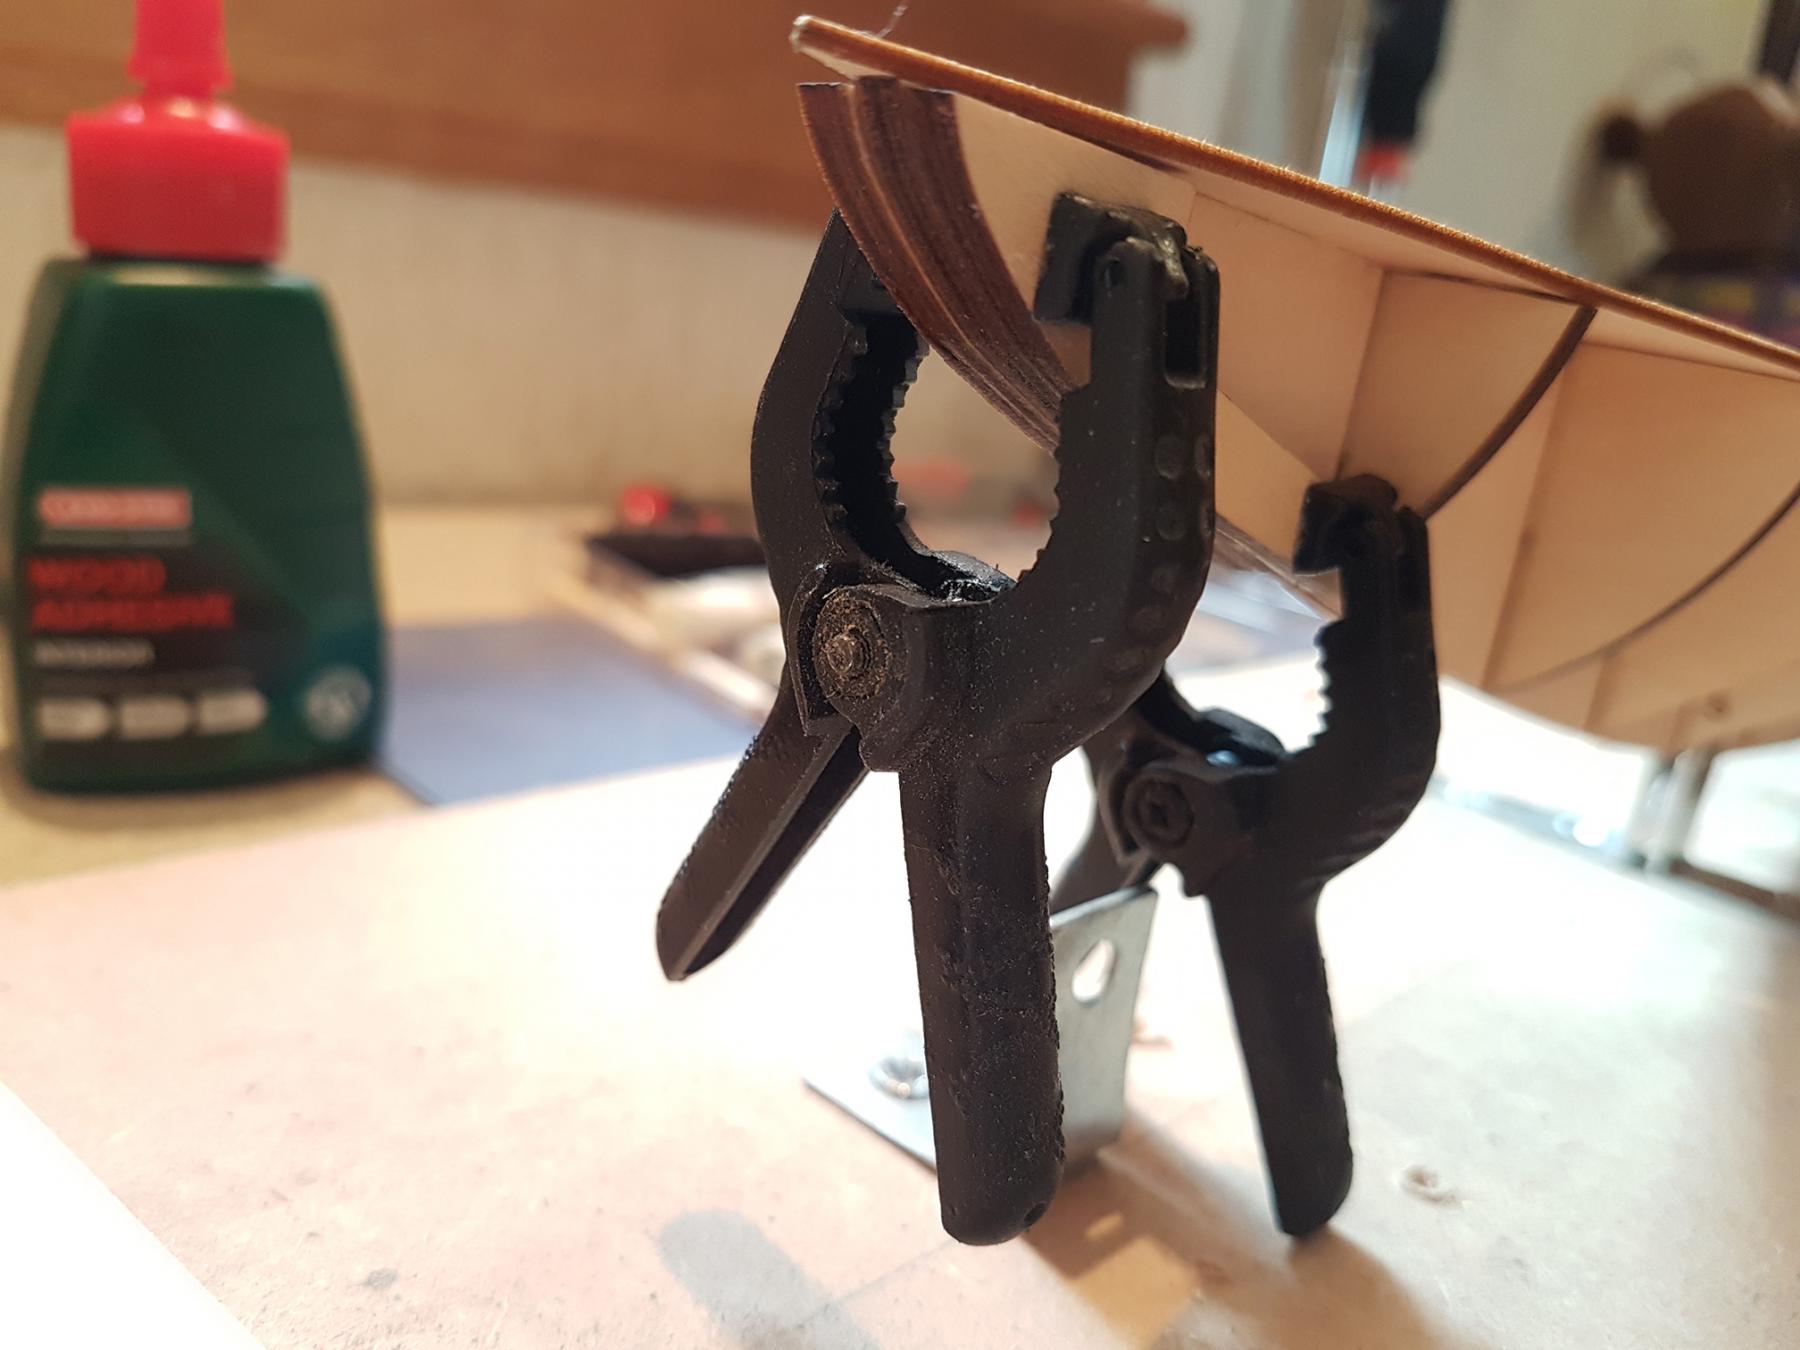
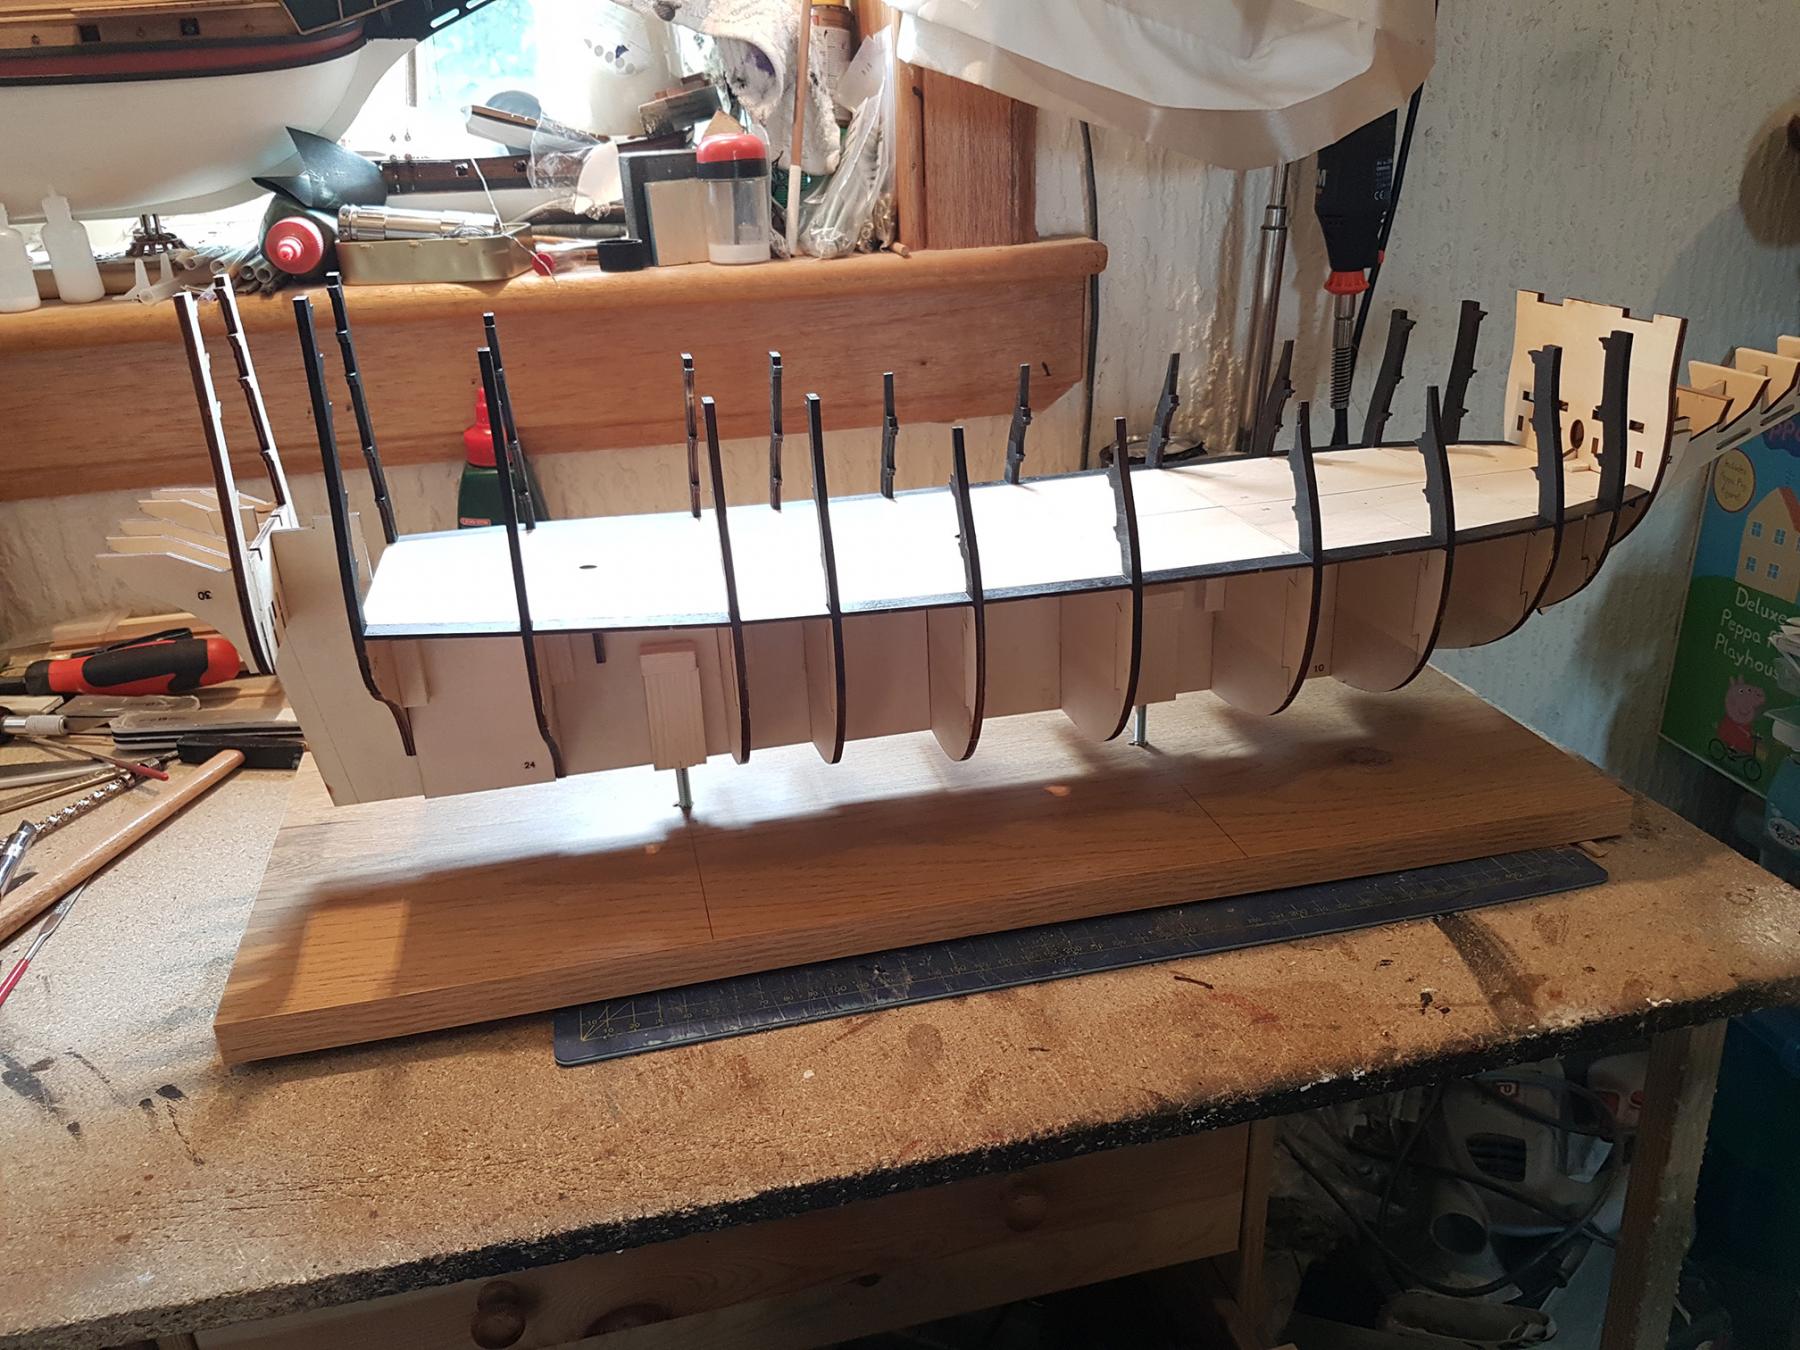
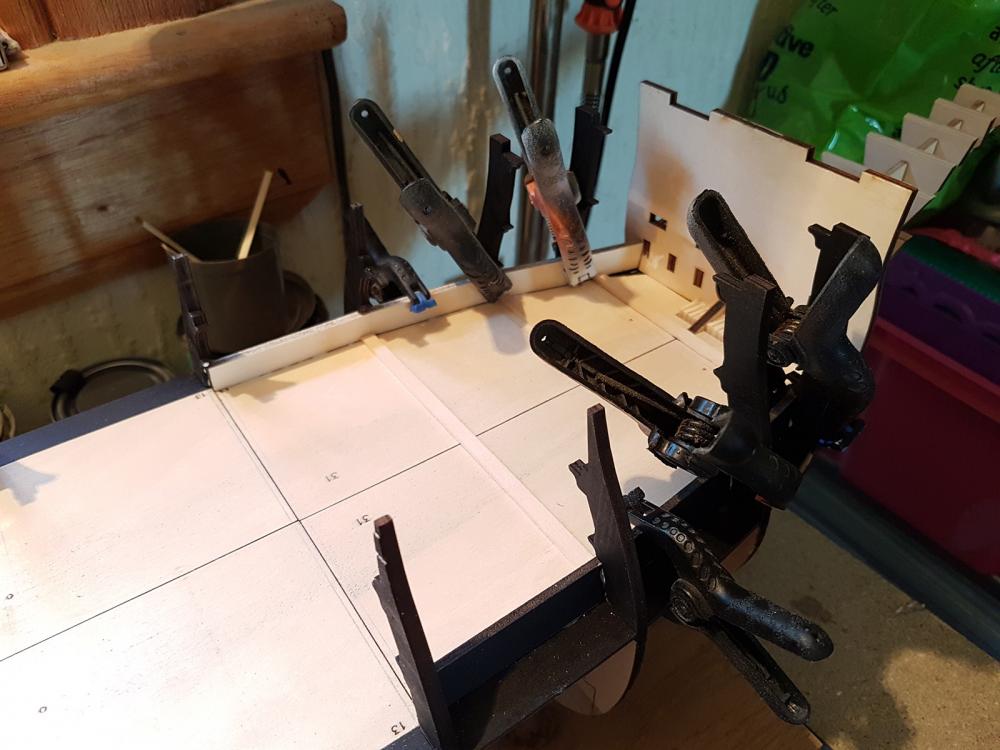
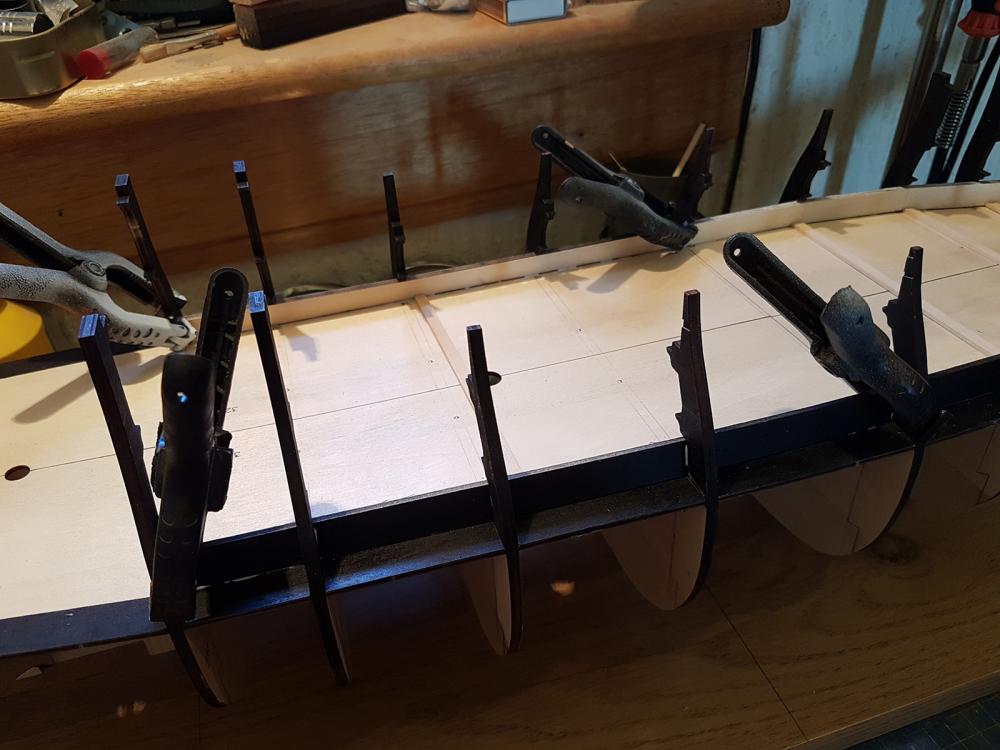
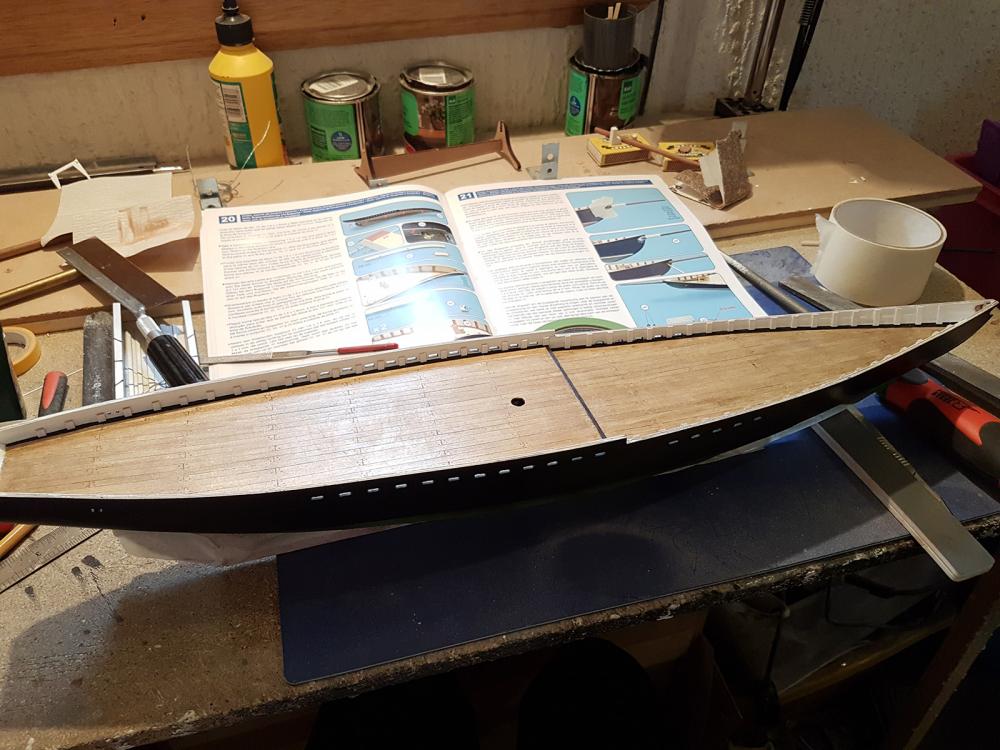
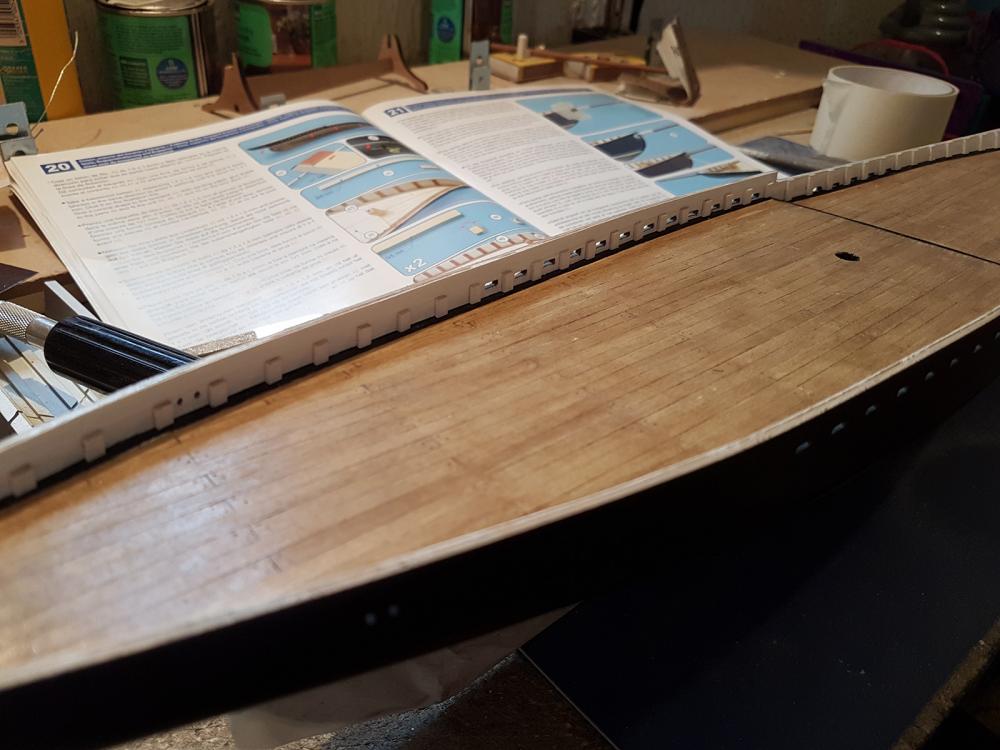
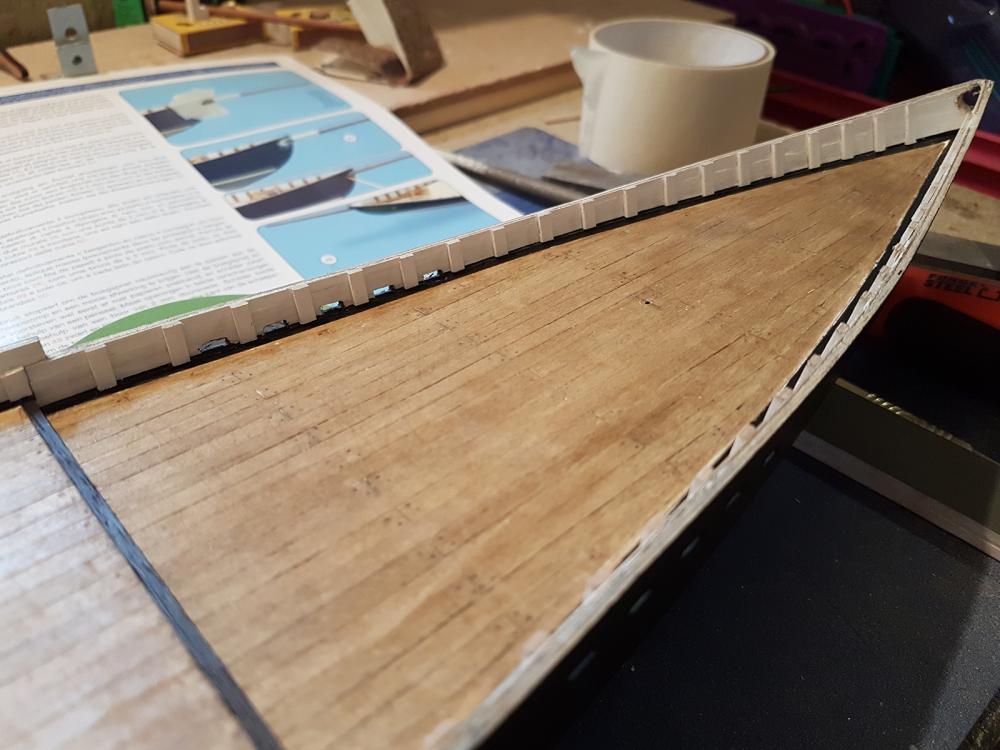
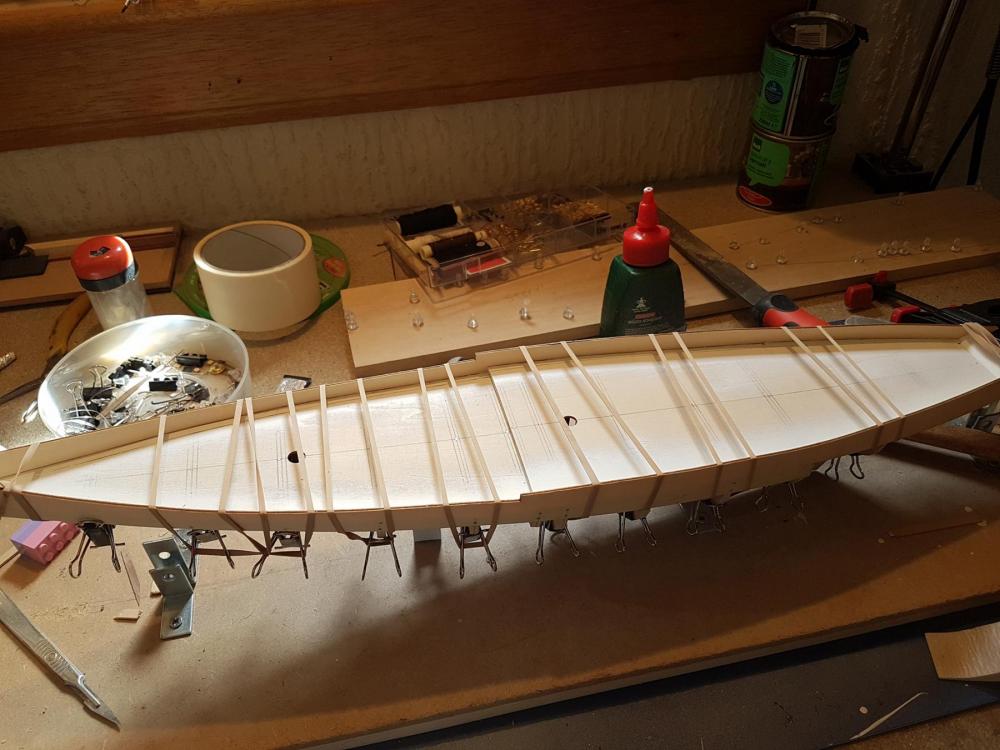
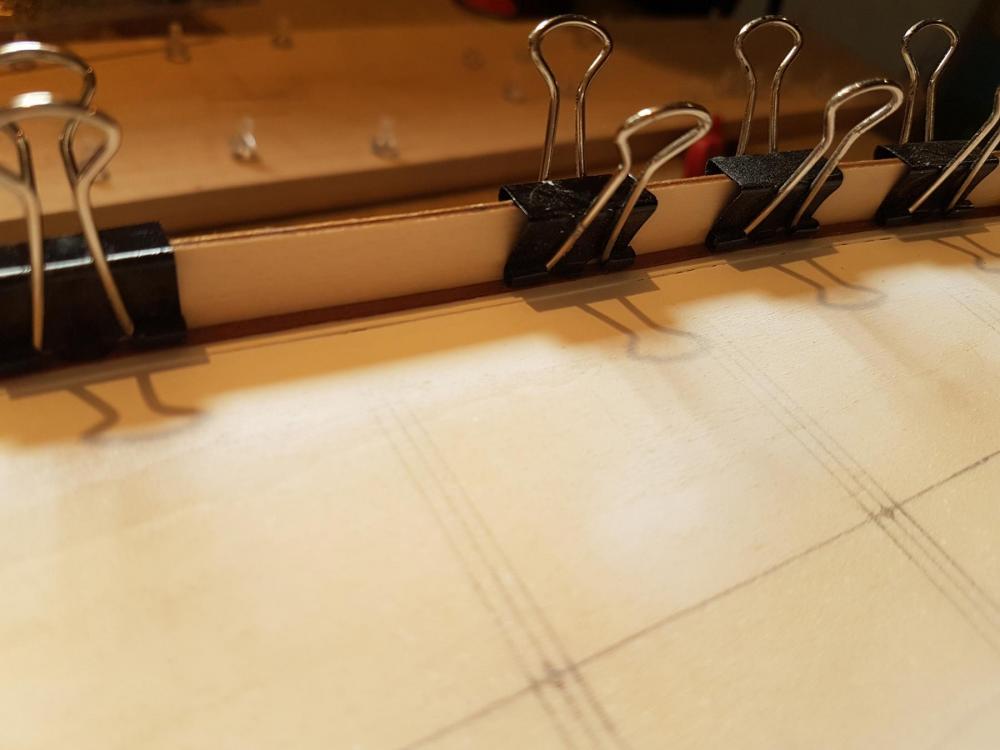
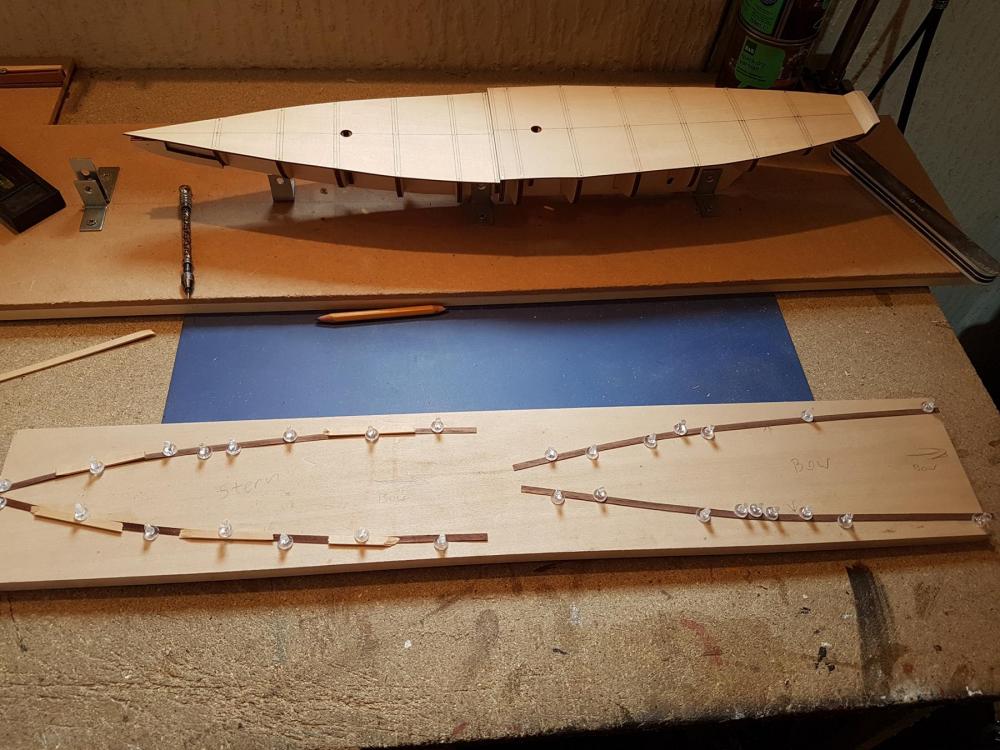
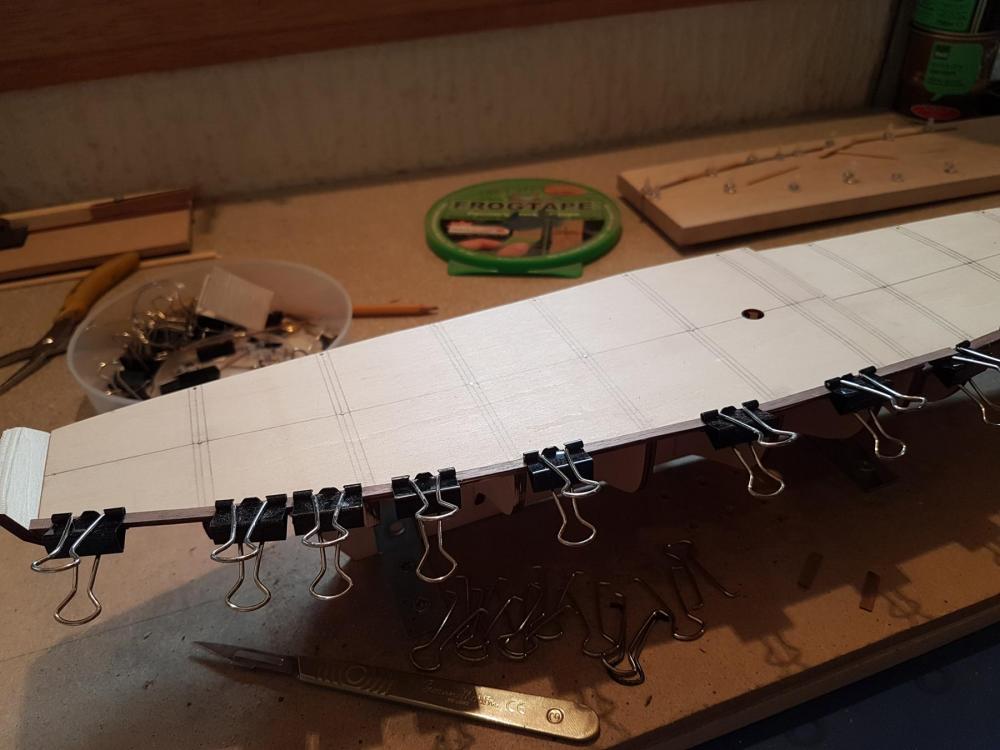
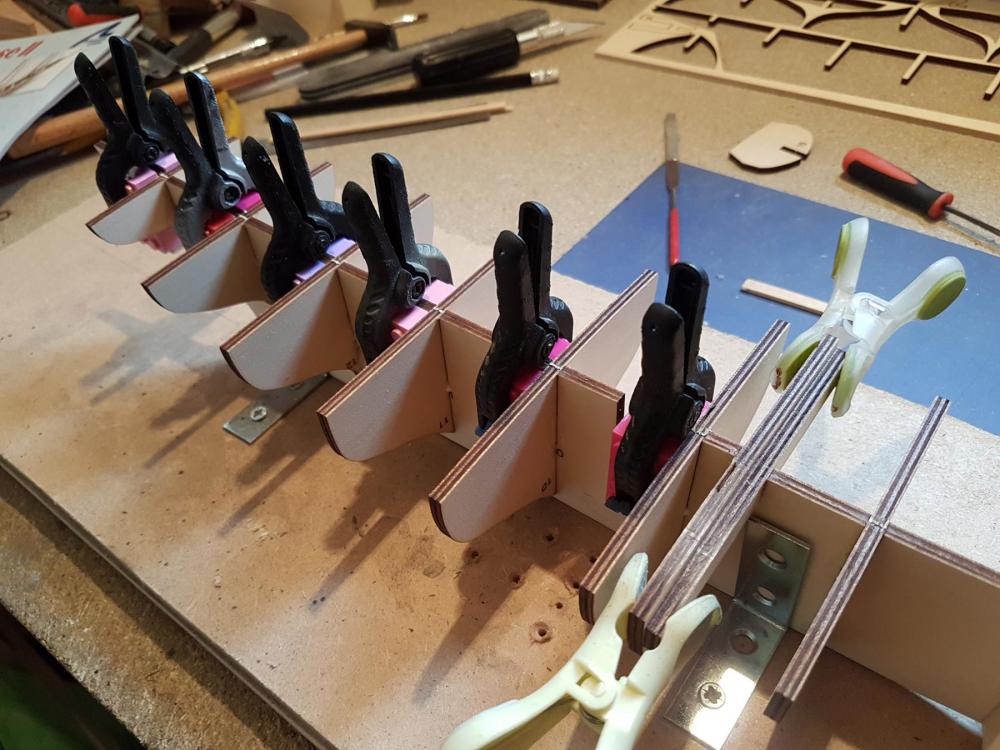
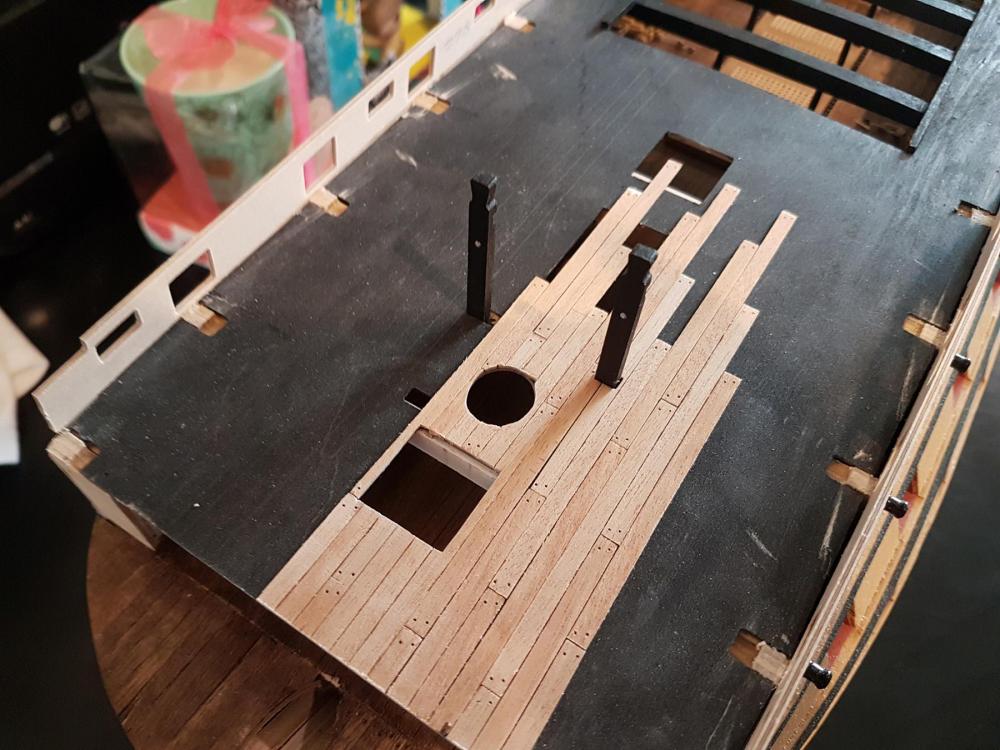
Evening folks. Progress as follows...I decided, in the end, to fit the decks and let them follow the curvature of the rest of the frames, and just packed out the lower two to bring them up to the same level. Pinned down the centre and along both edged and allowed to set over night. I've faired the ribs now, rather than wait until after the decks were planked. Then began the process of adding the bulwark waterways. Usually, I hate having to bend planks laterally as I've never had much success. But owing to the scale the planks used are only .6mm so are very forgiving. Simply drew the general outline on a piece of spare wood, soaked the four planks and pinned them so they dried to shape. Aside from the odd hump here and there, it went pretty well. I fixed to the decks using bulldog clips and scraps of wood to keep them flat whilst the glue dried, and this evening I have just fired up my very simple propellent based airbrushed and painted them white, as per the real ship currently in service.


-
lol yeh it does a bit. There is a flexible camera attachment I can get for my phone, that would make for some great shots
-
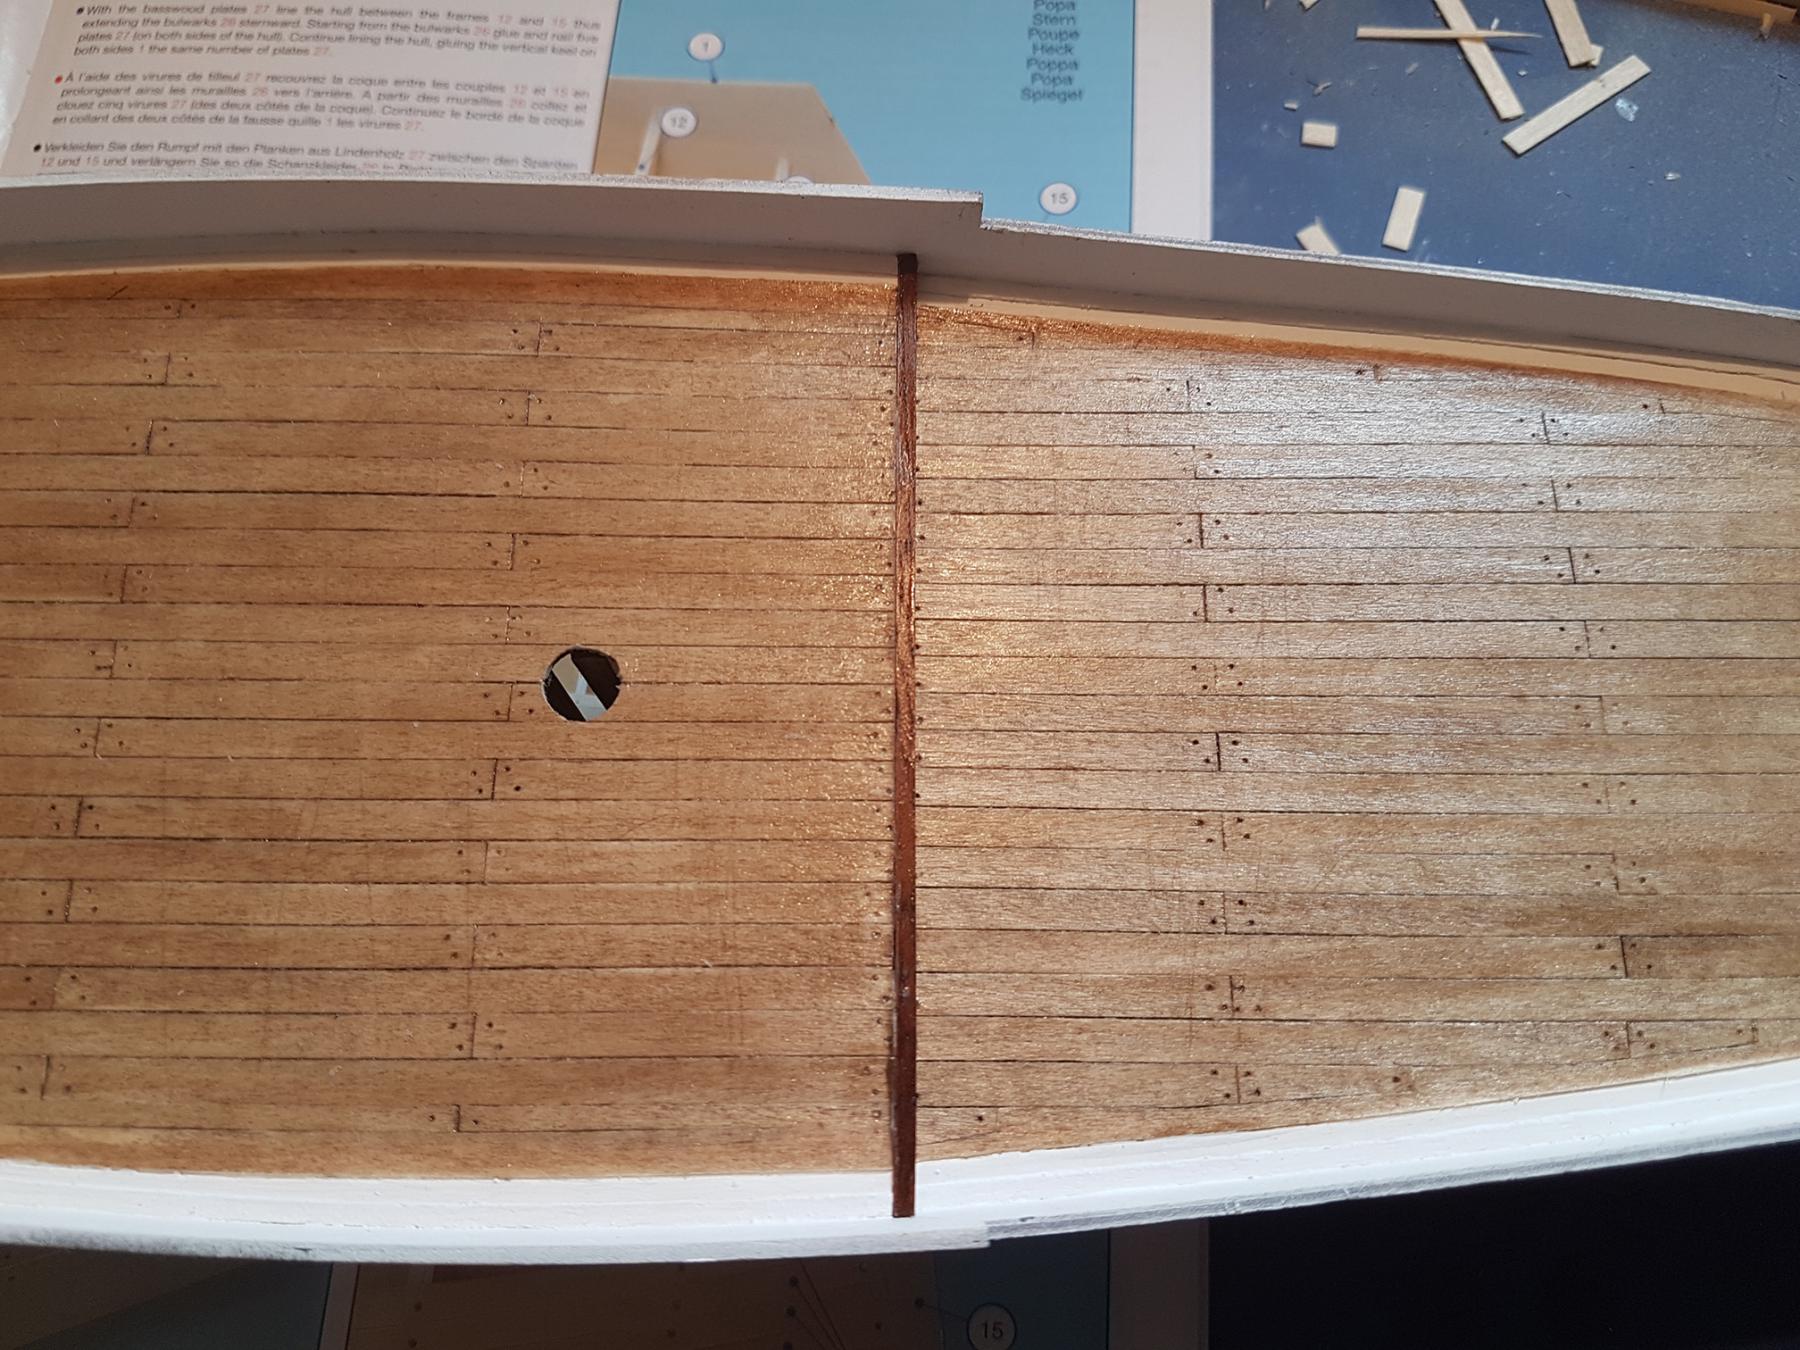
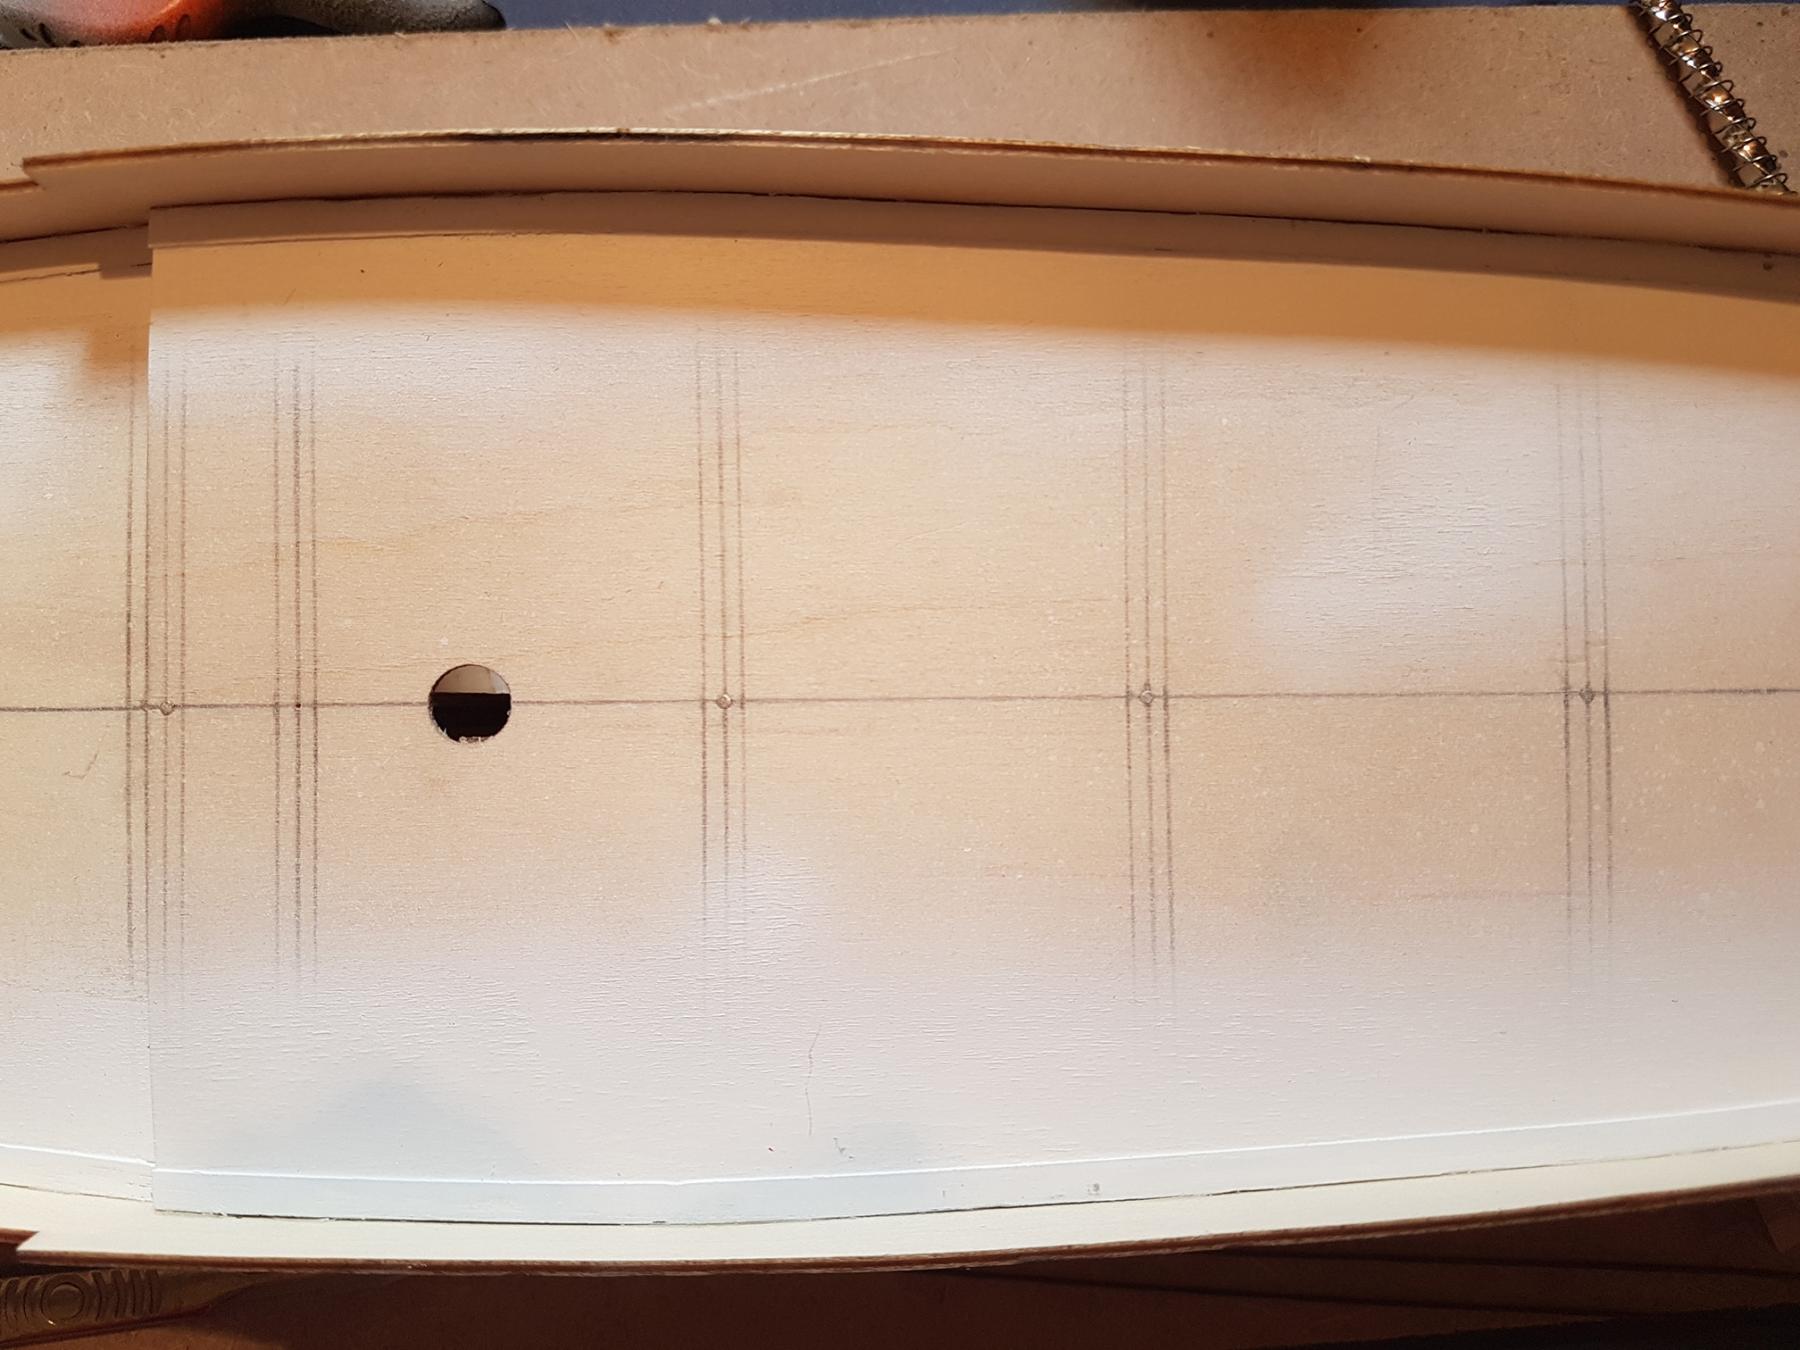
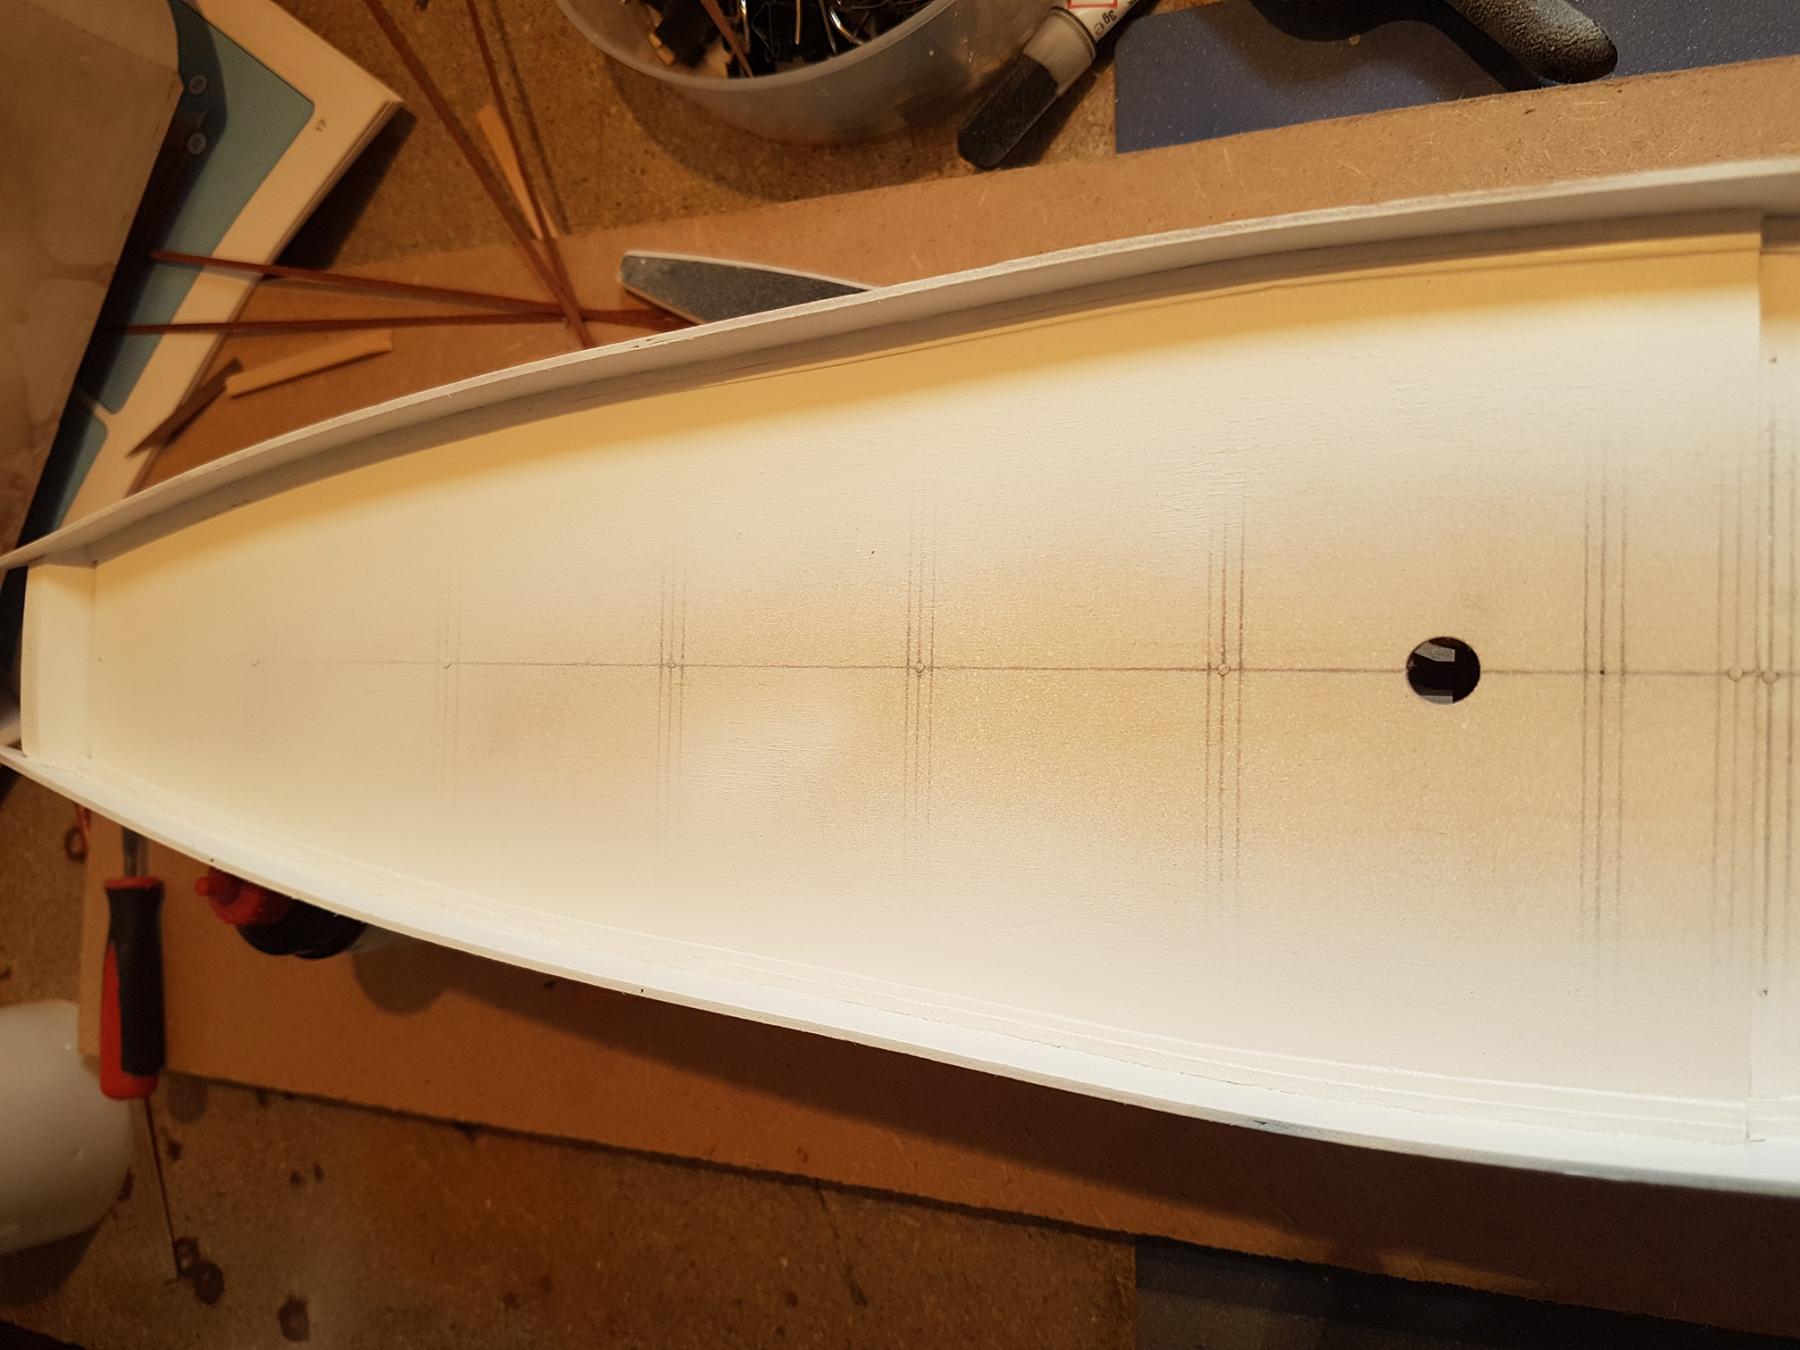
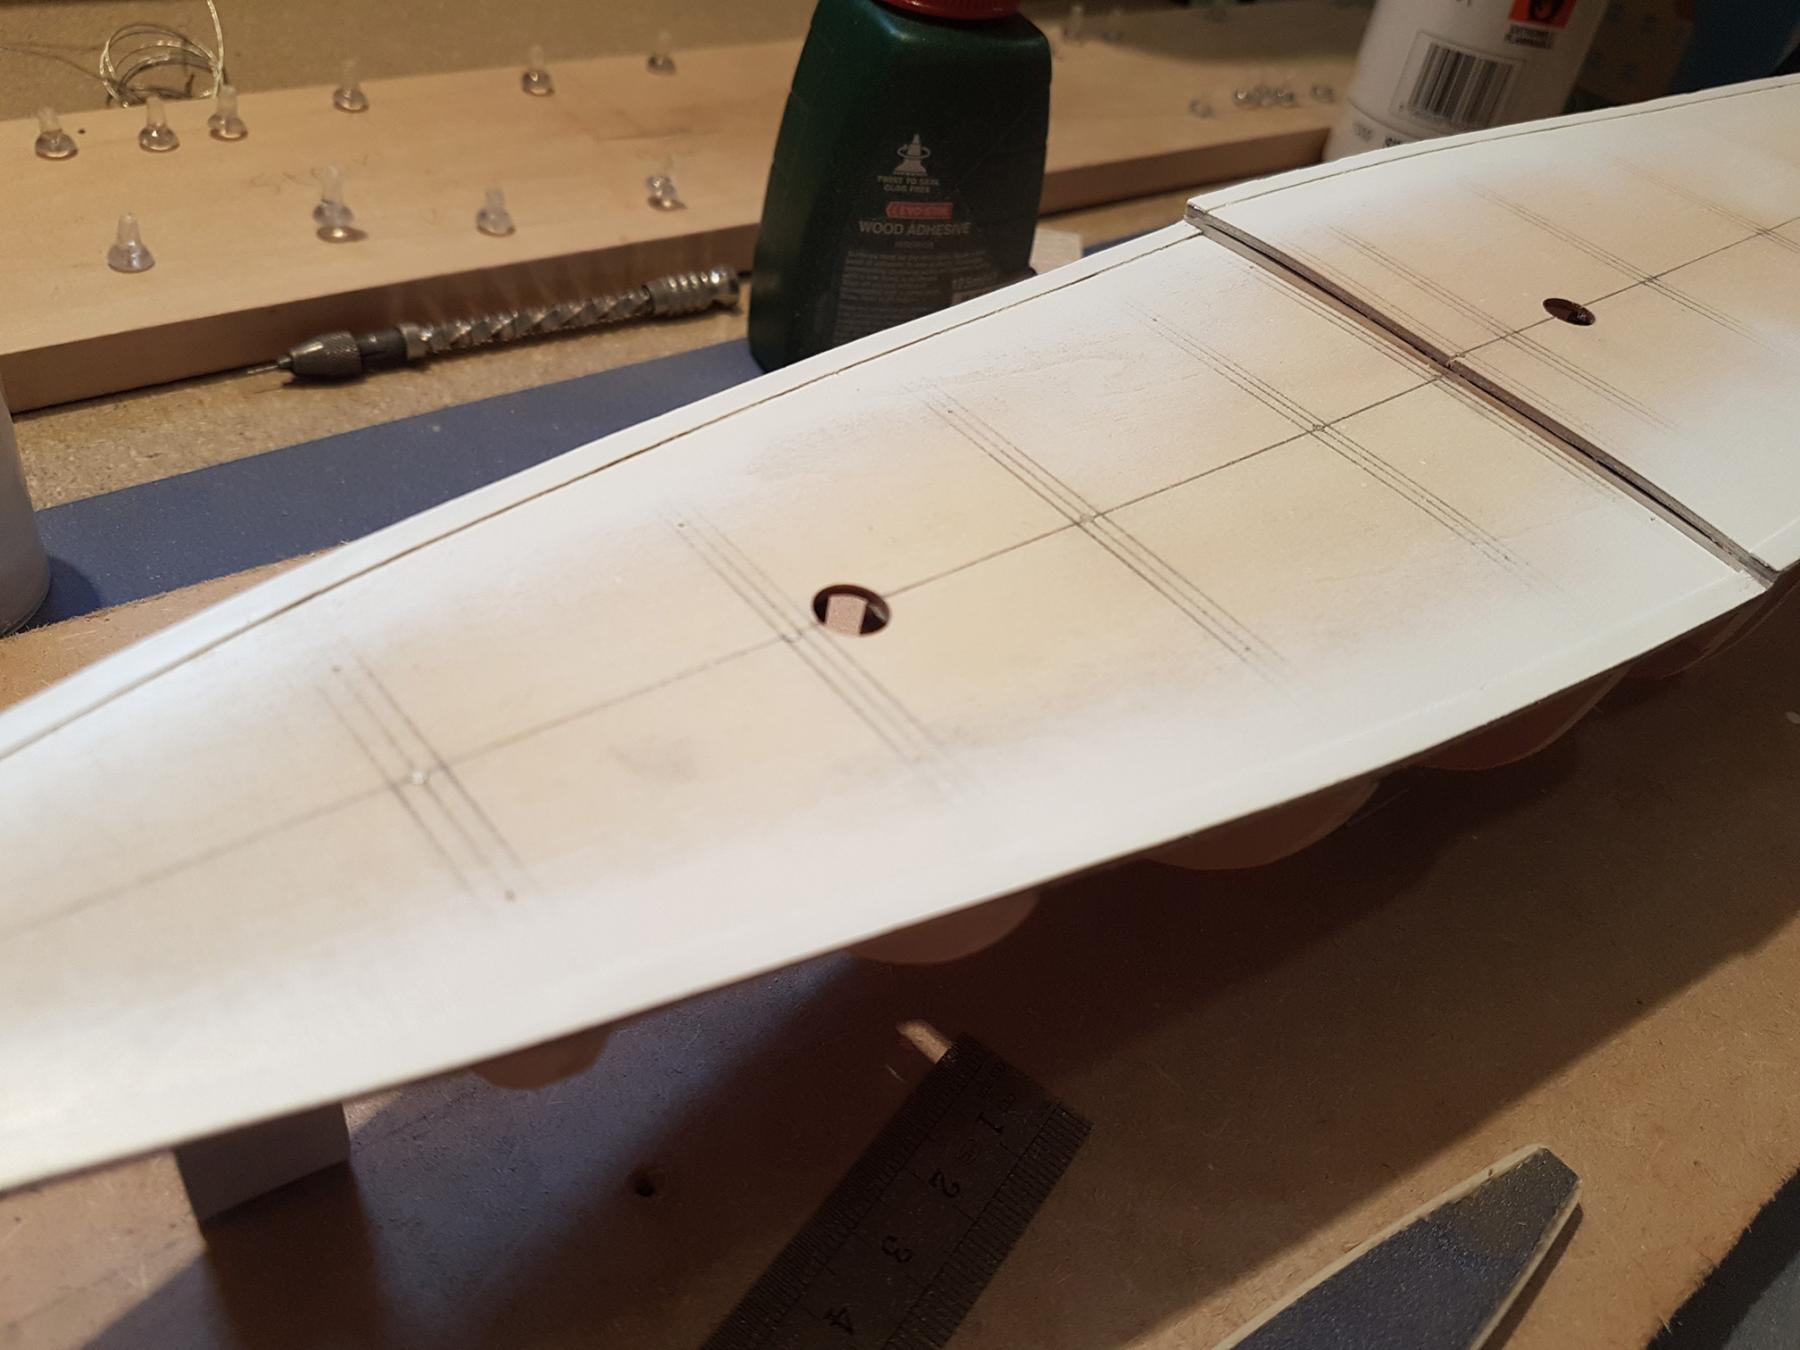
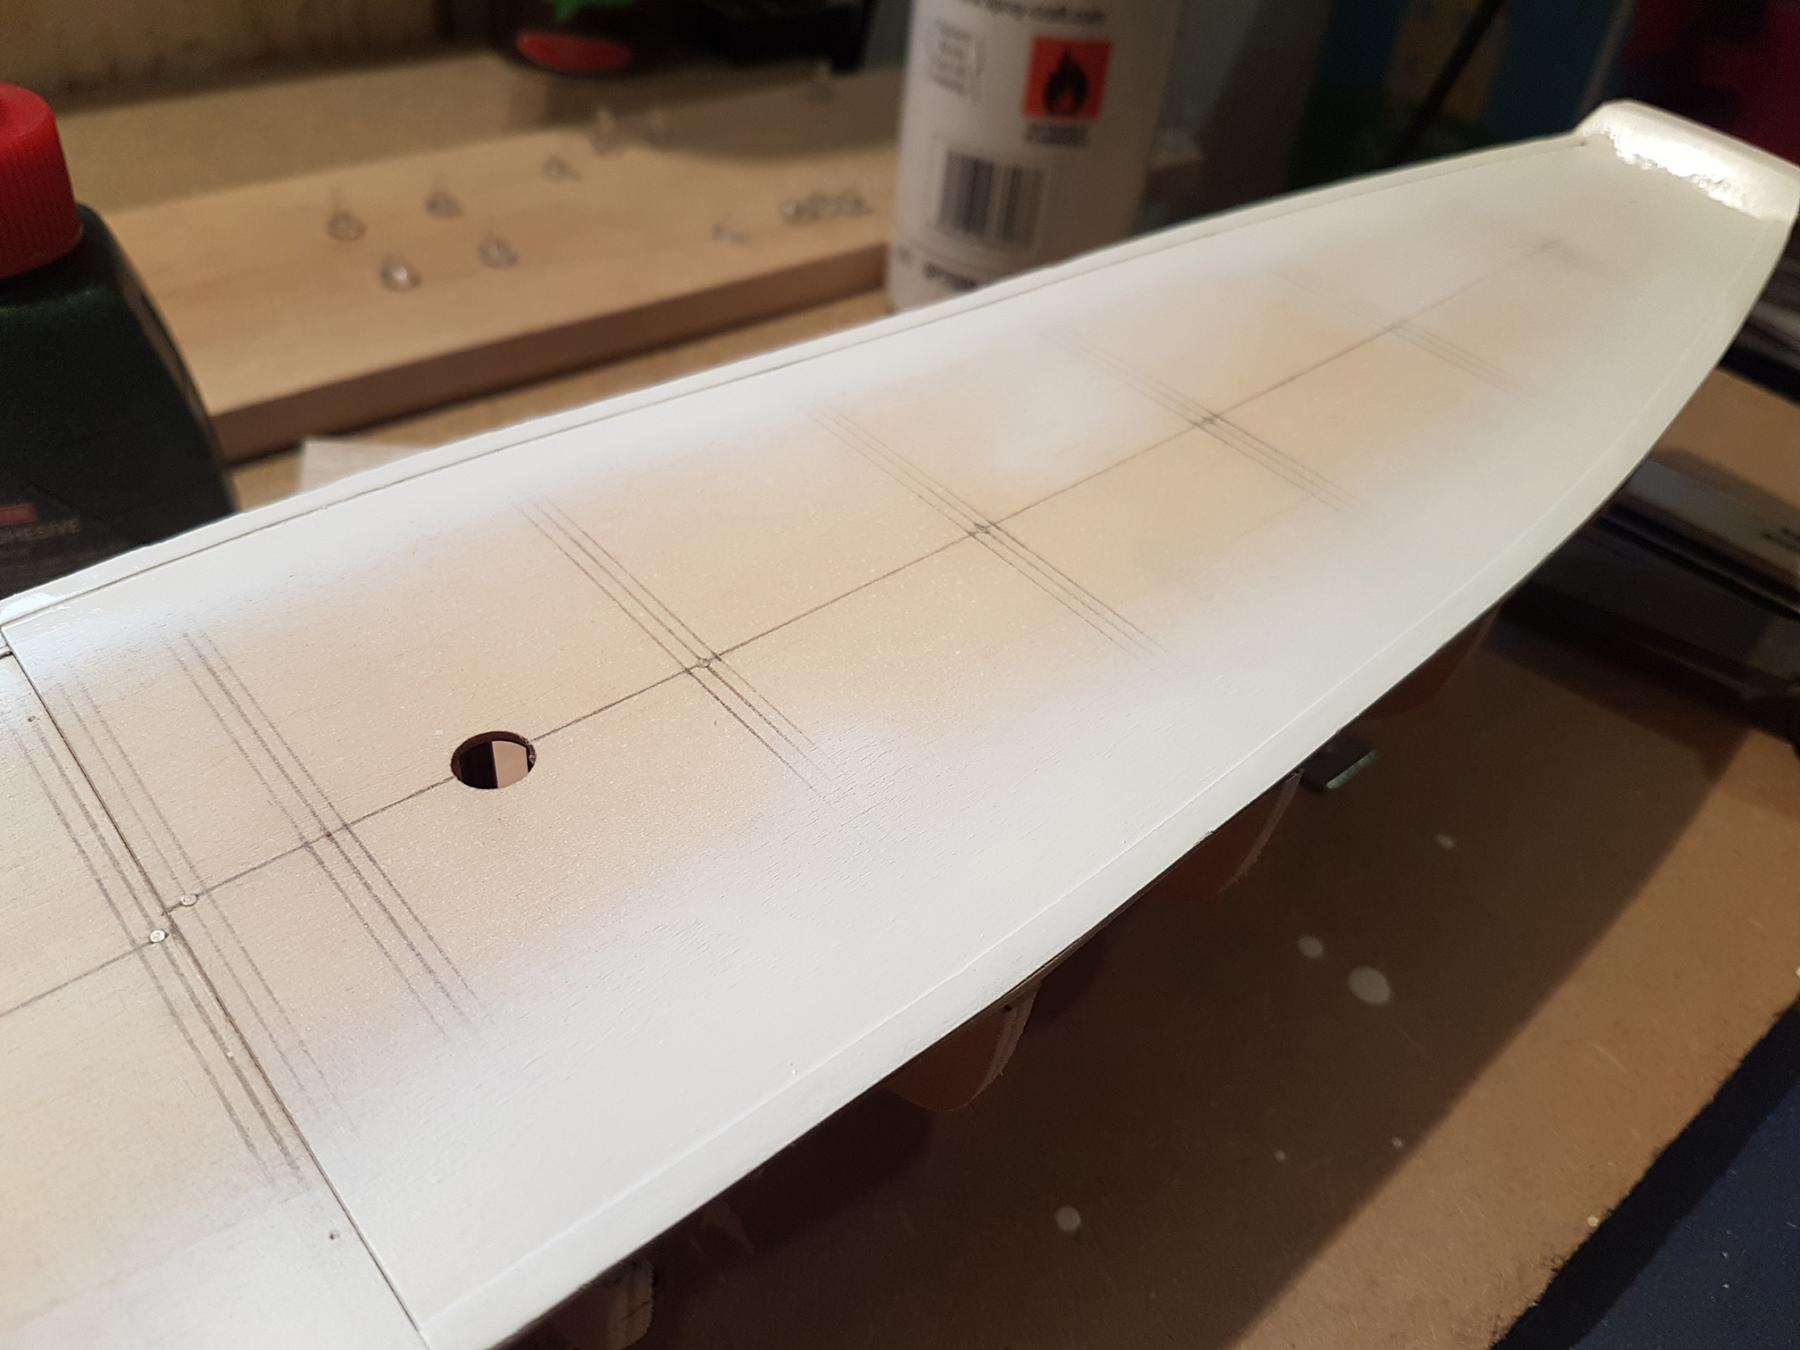
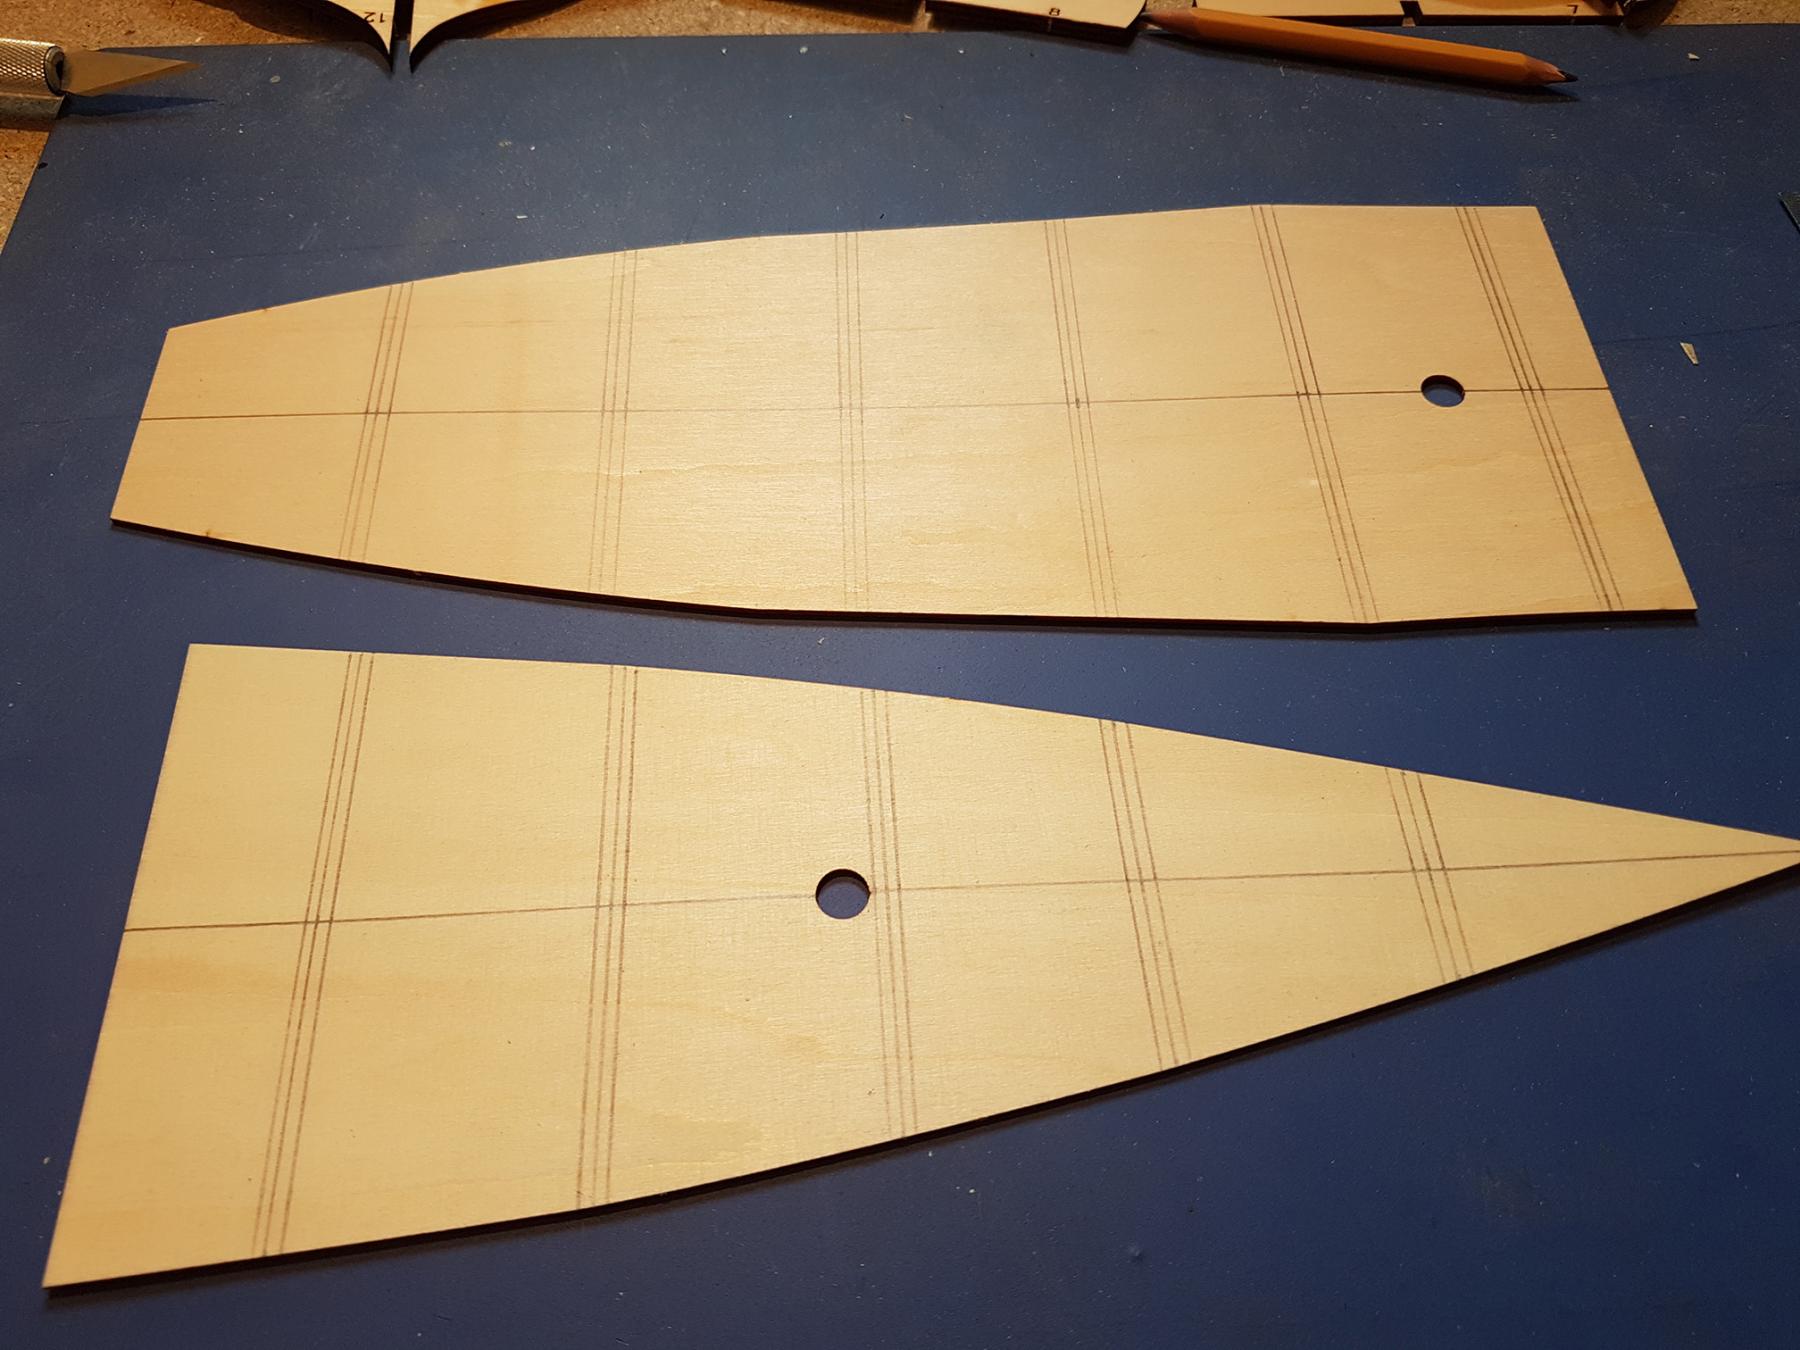
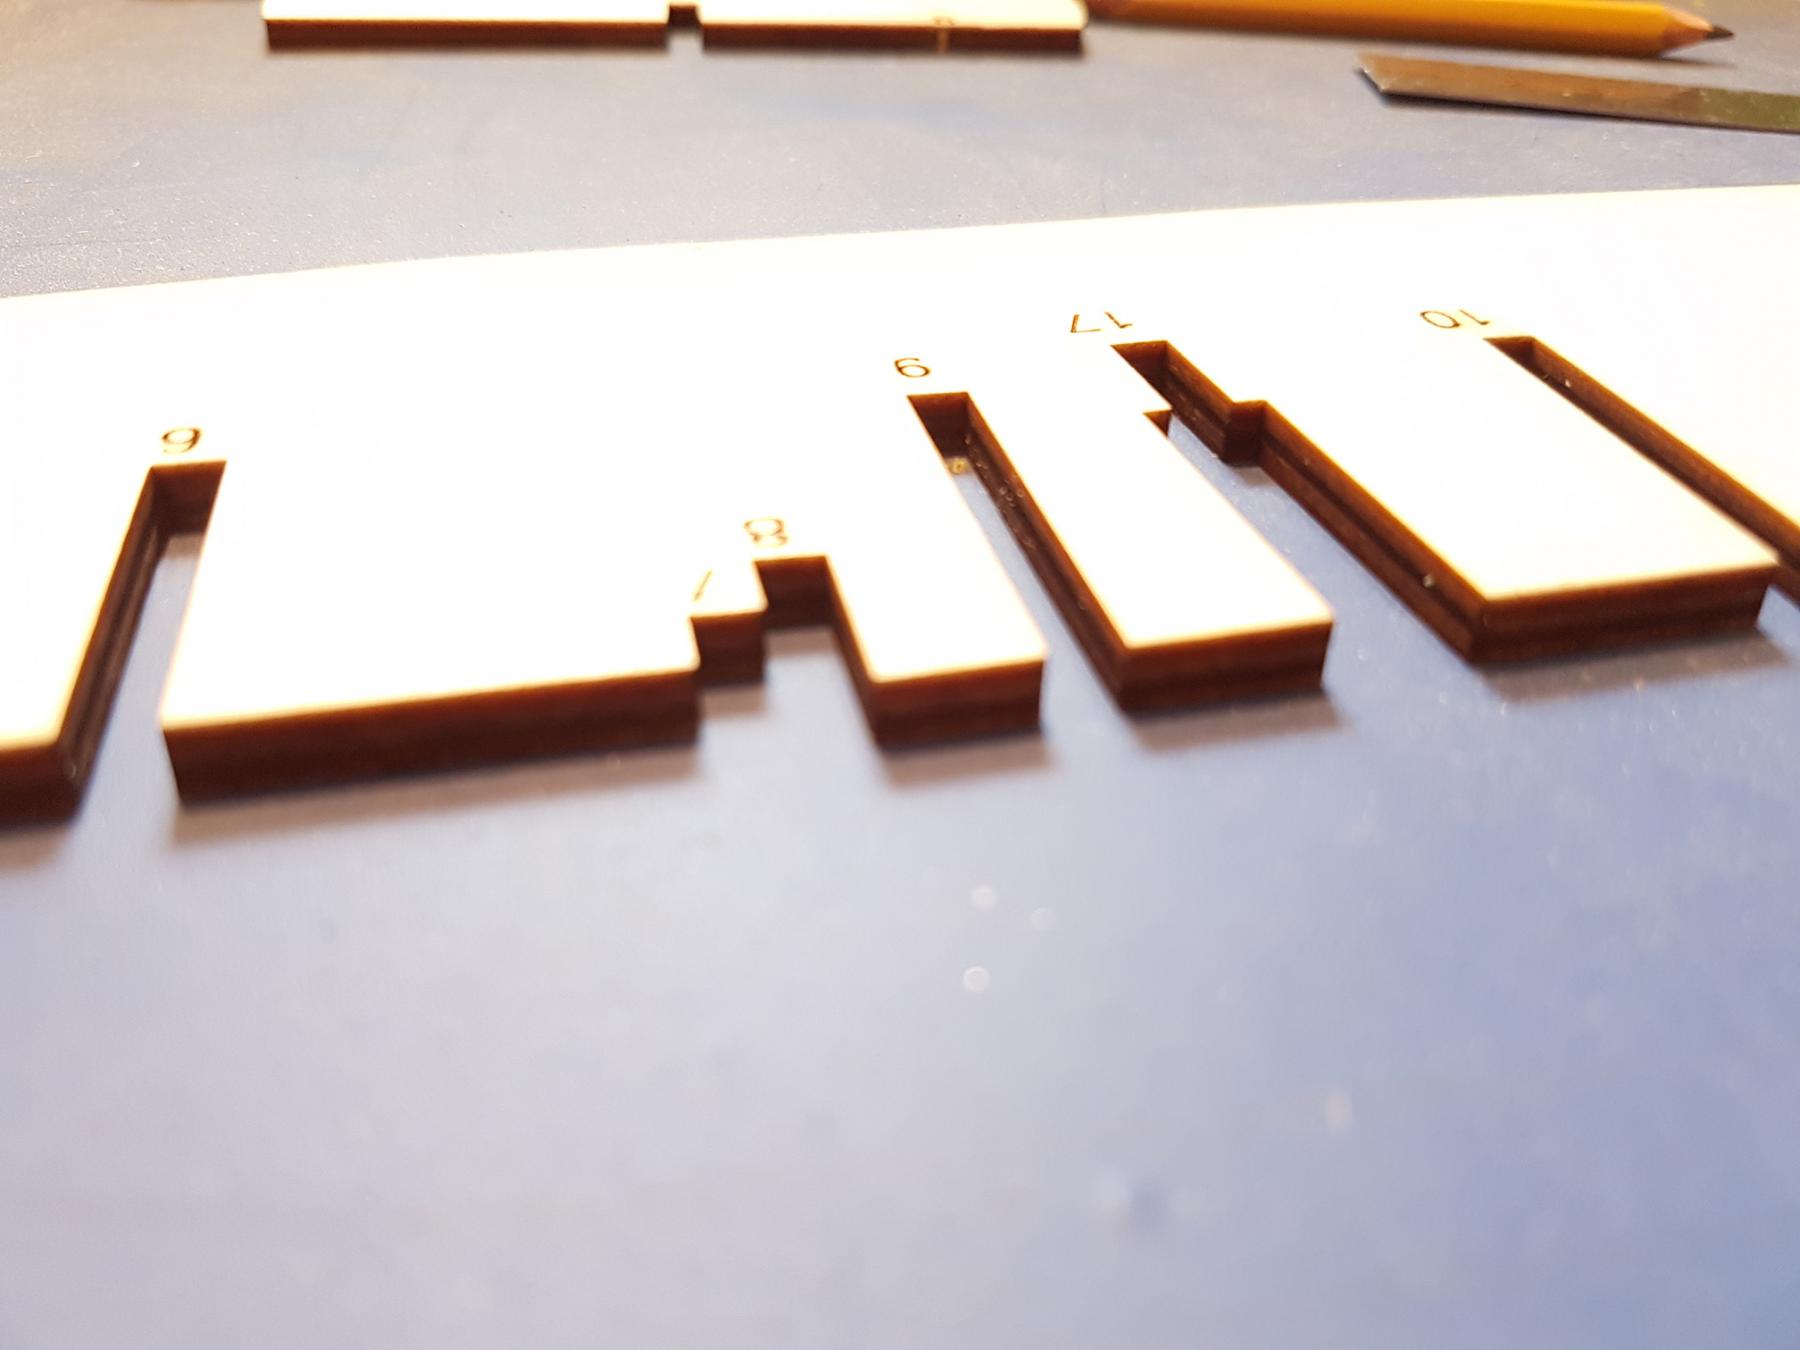
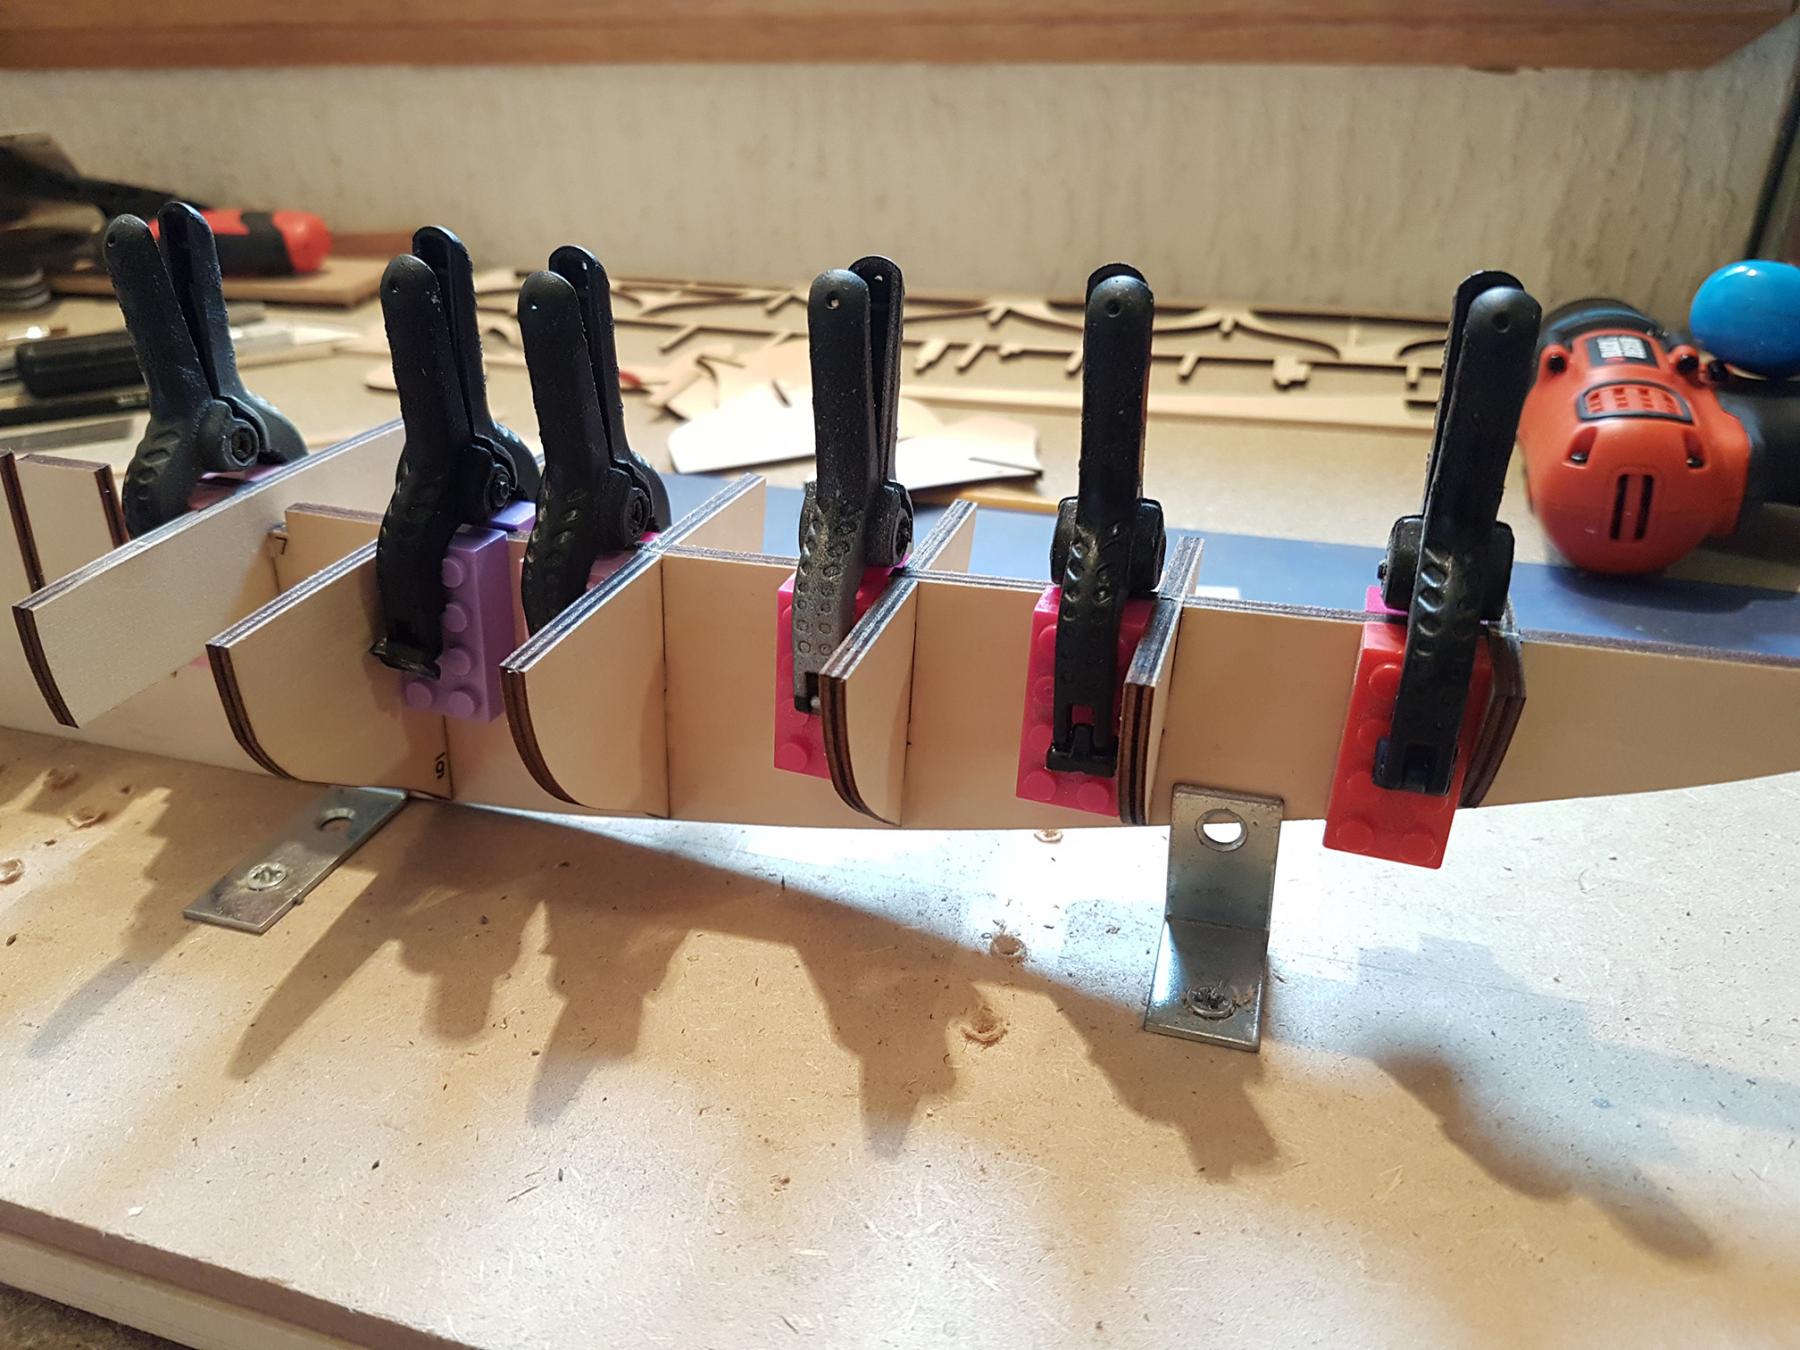
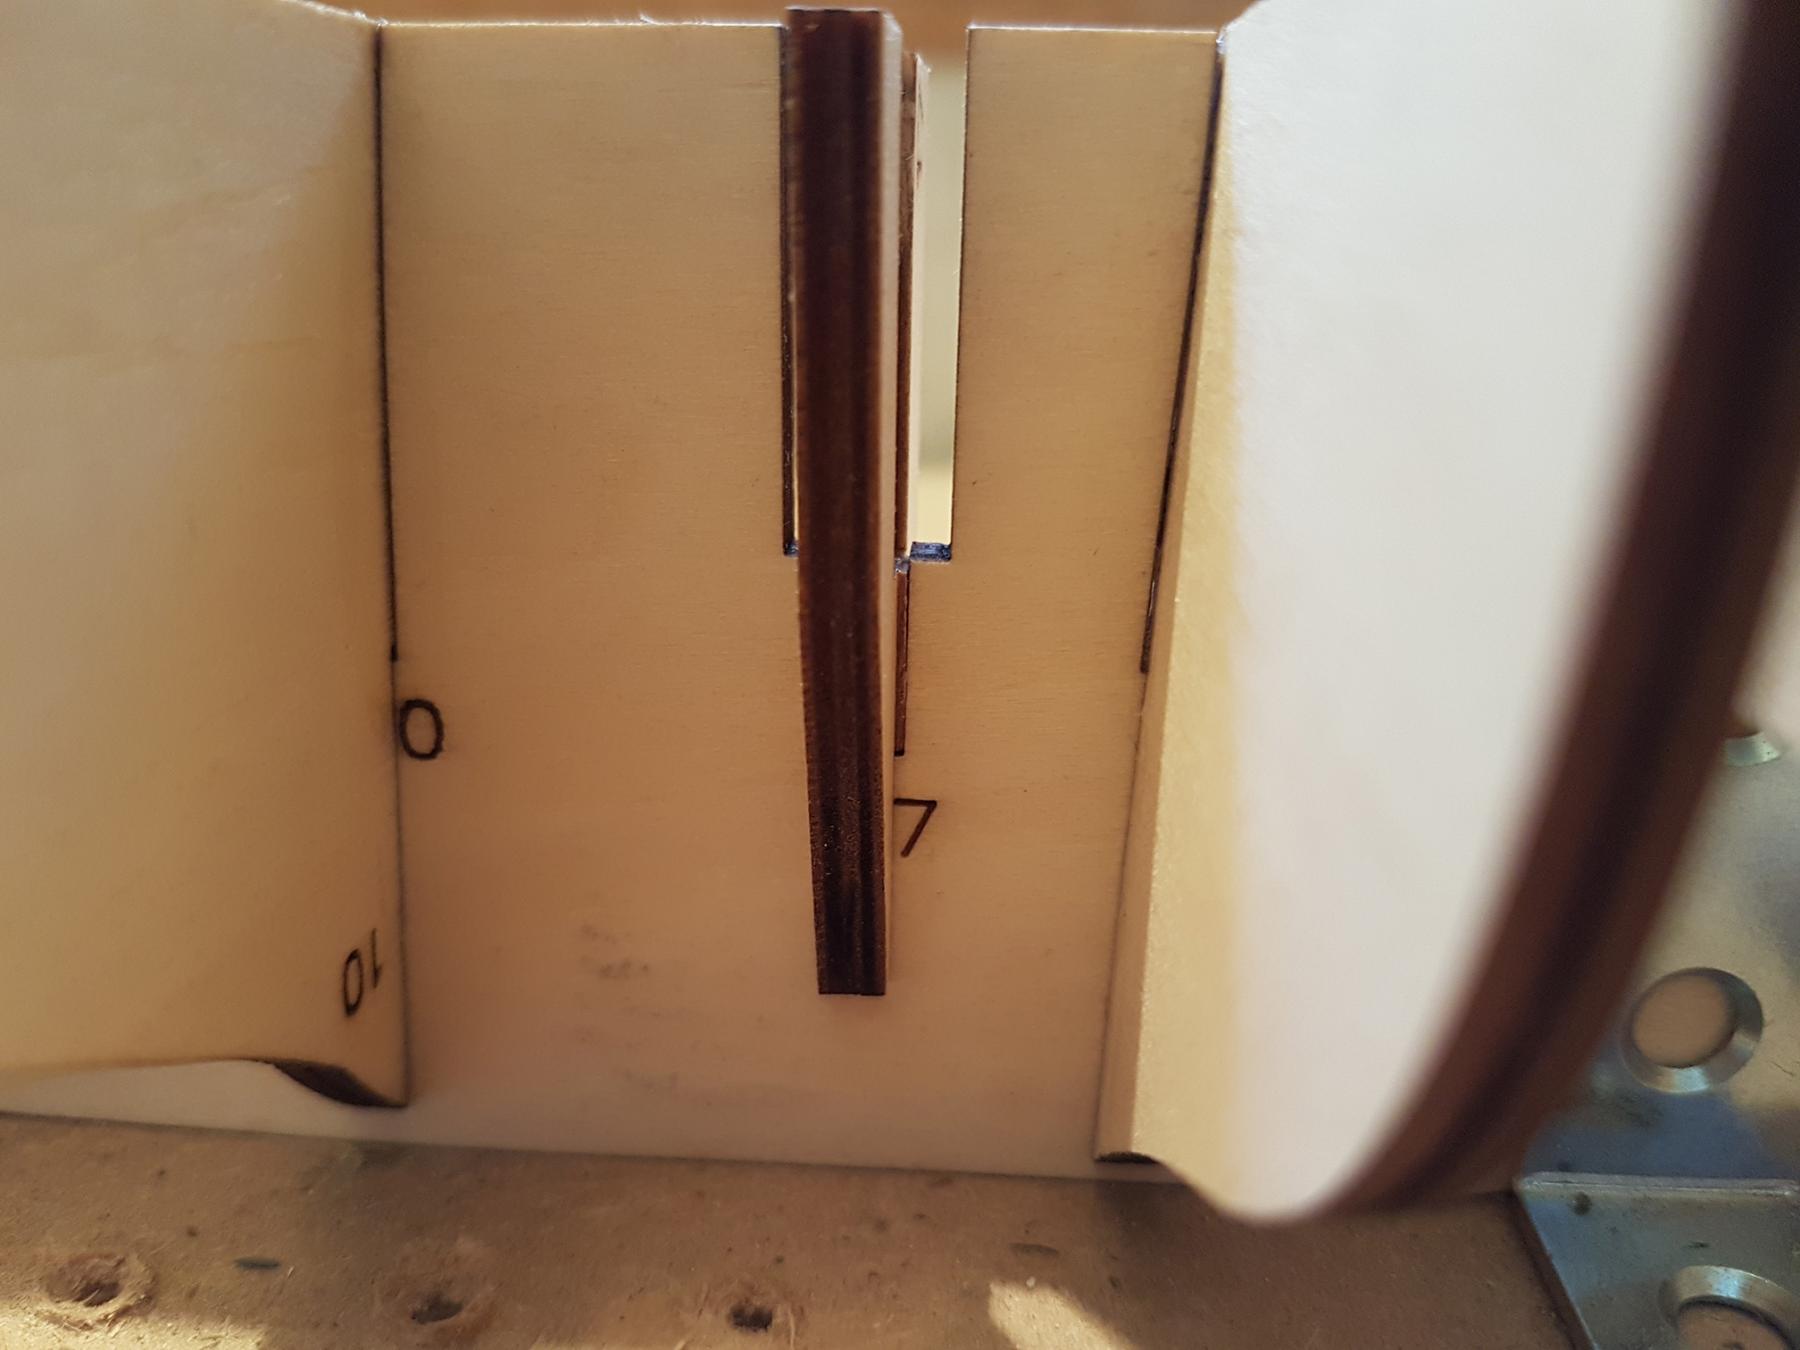
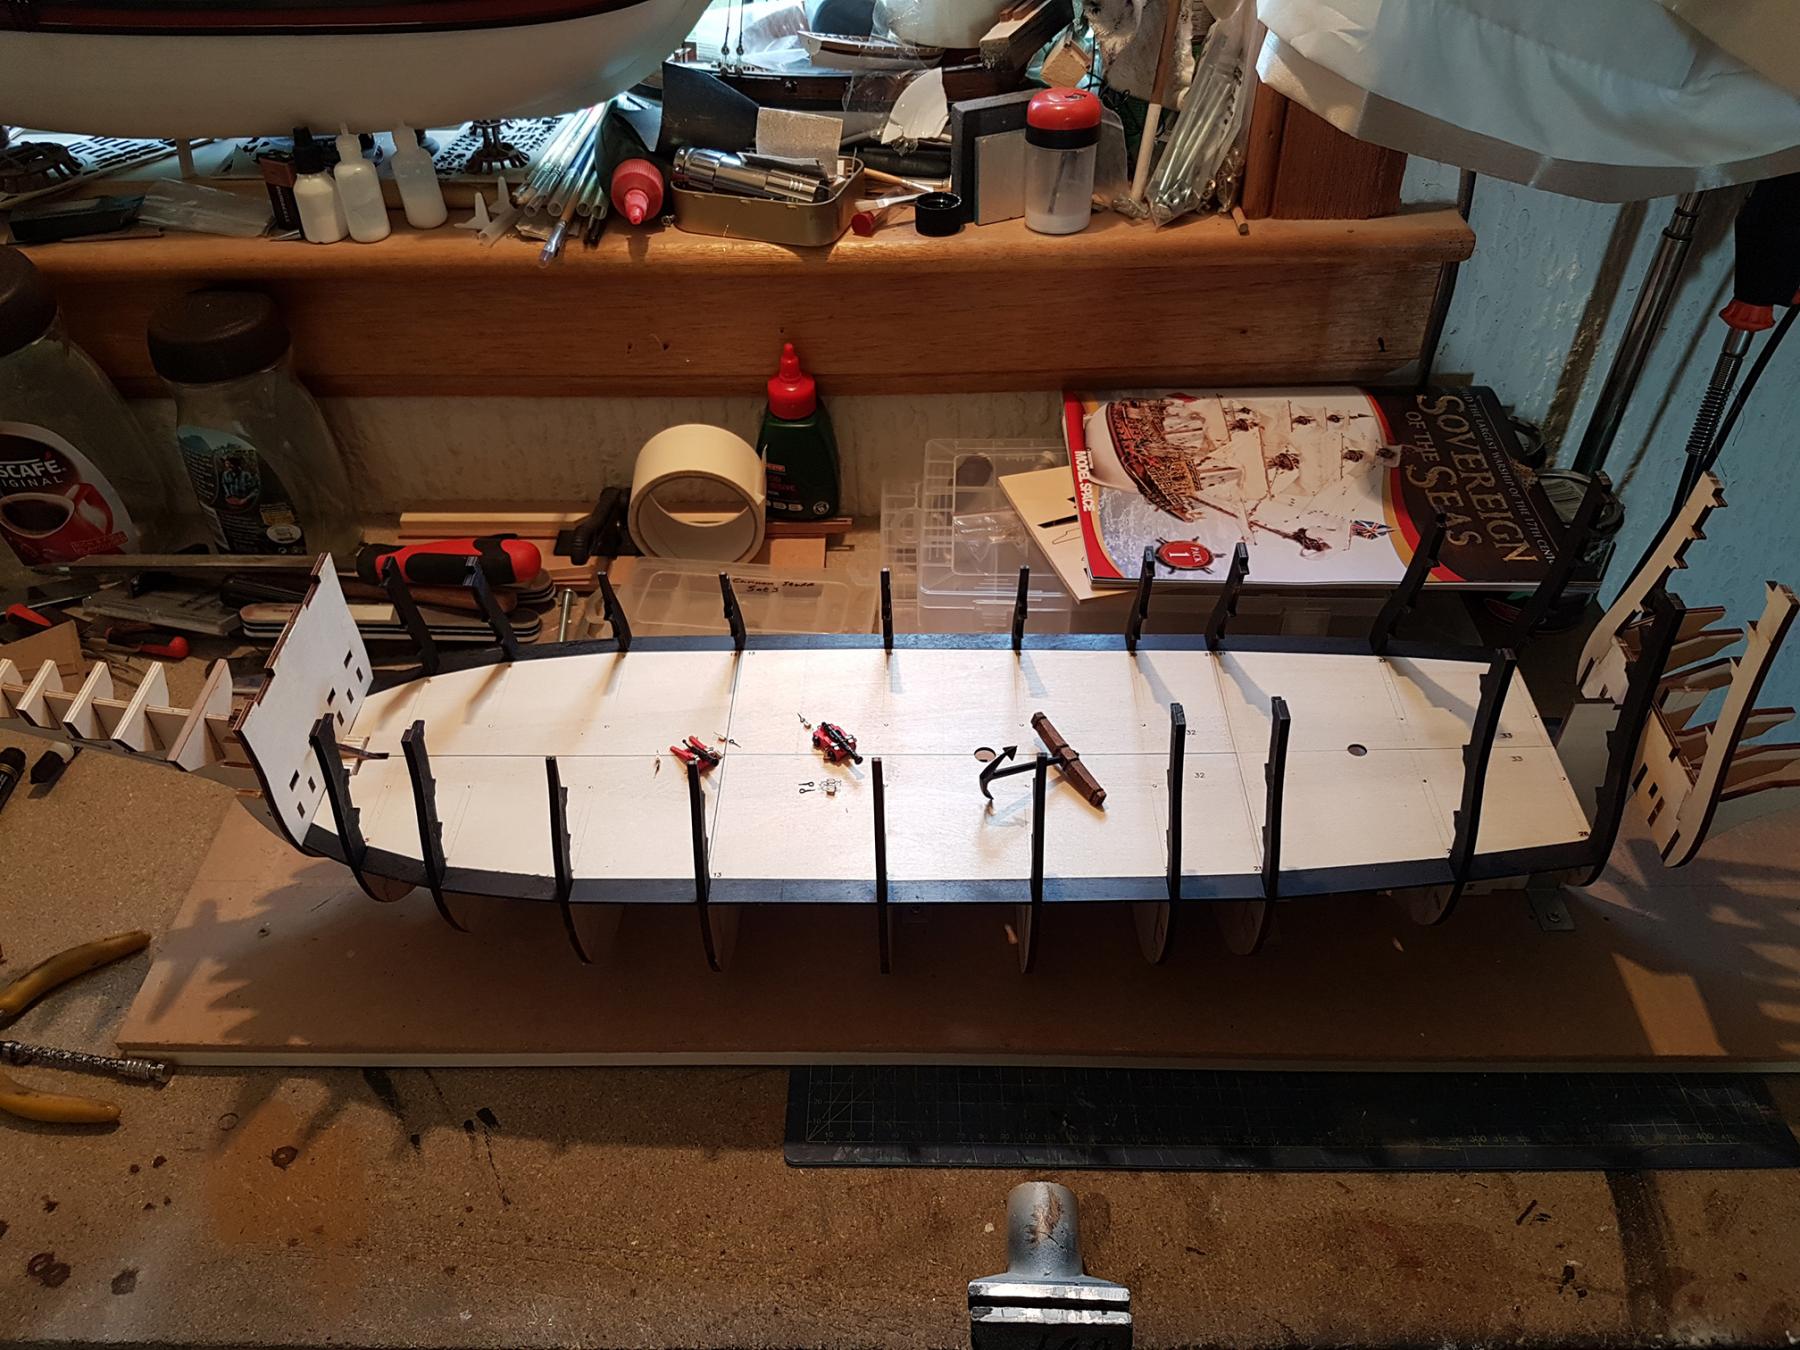
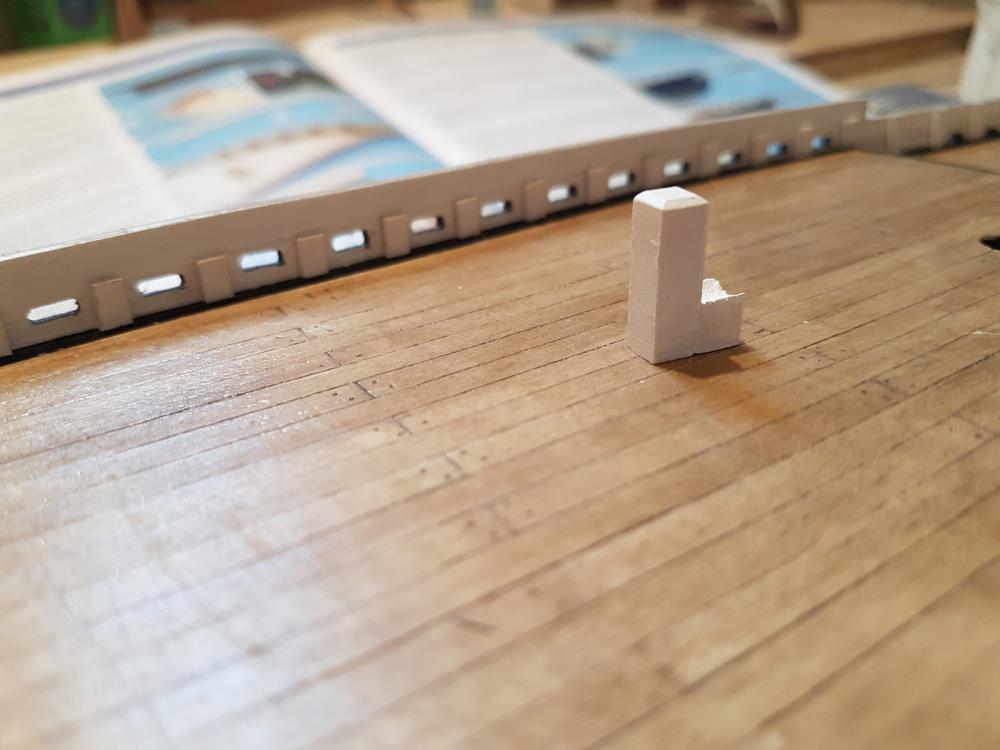
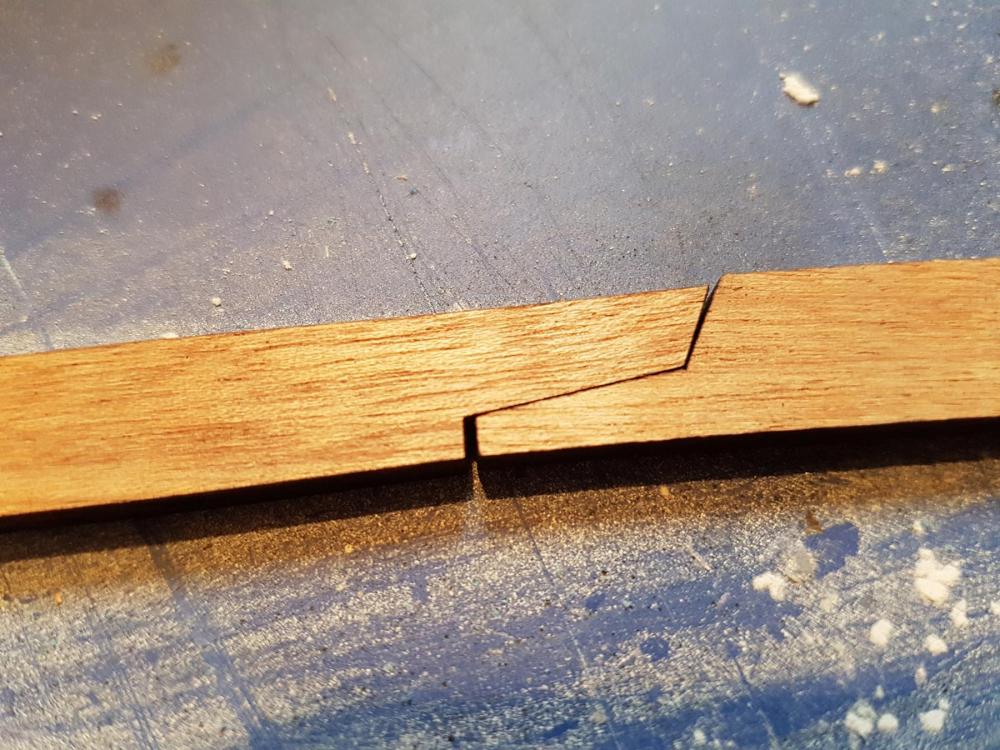
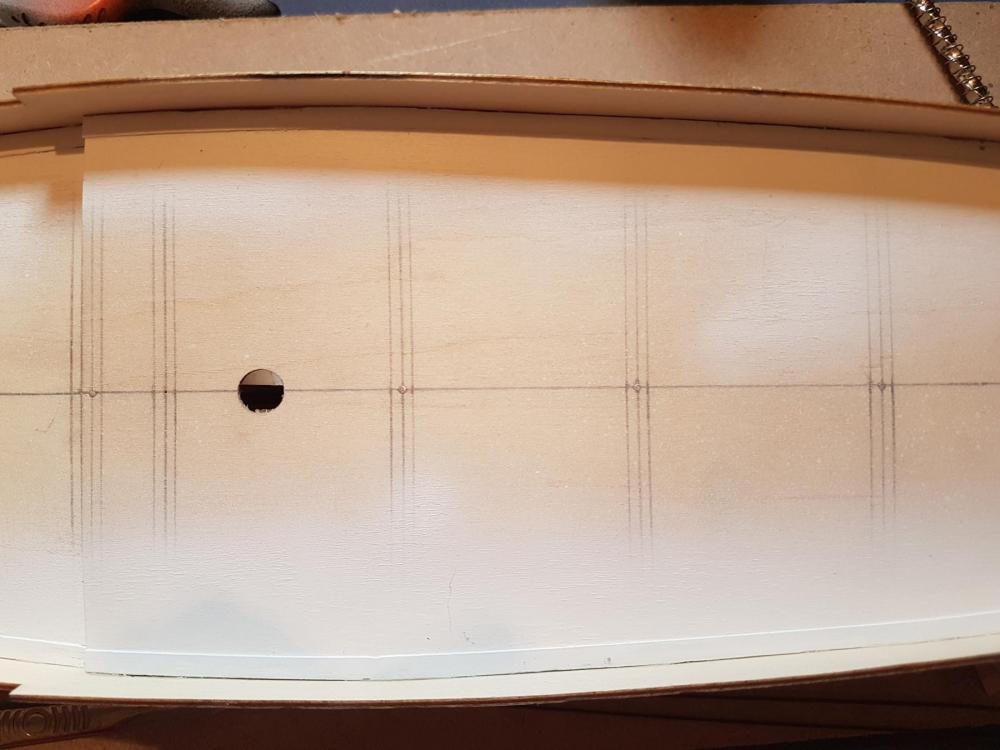
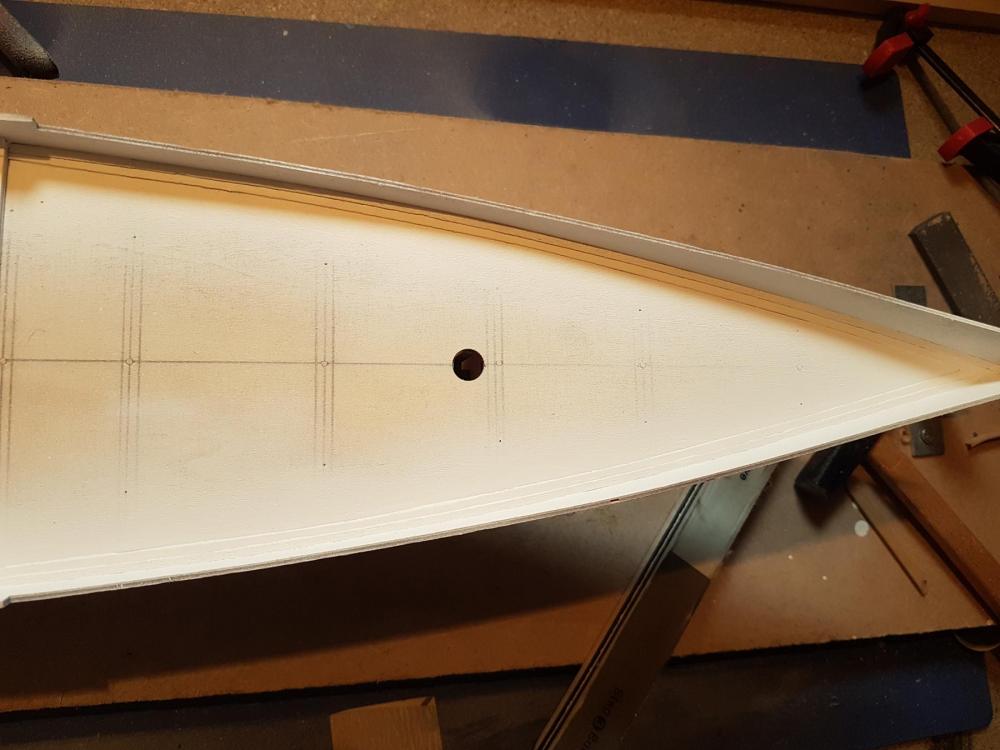
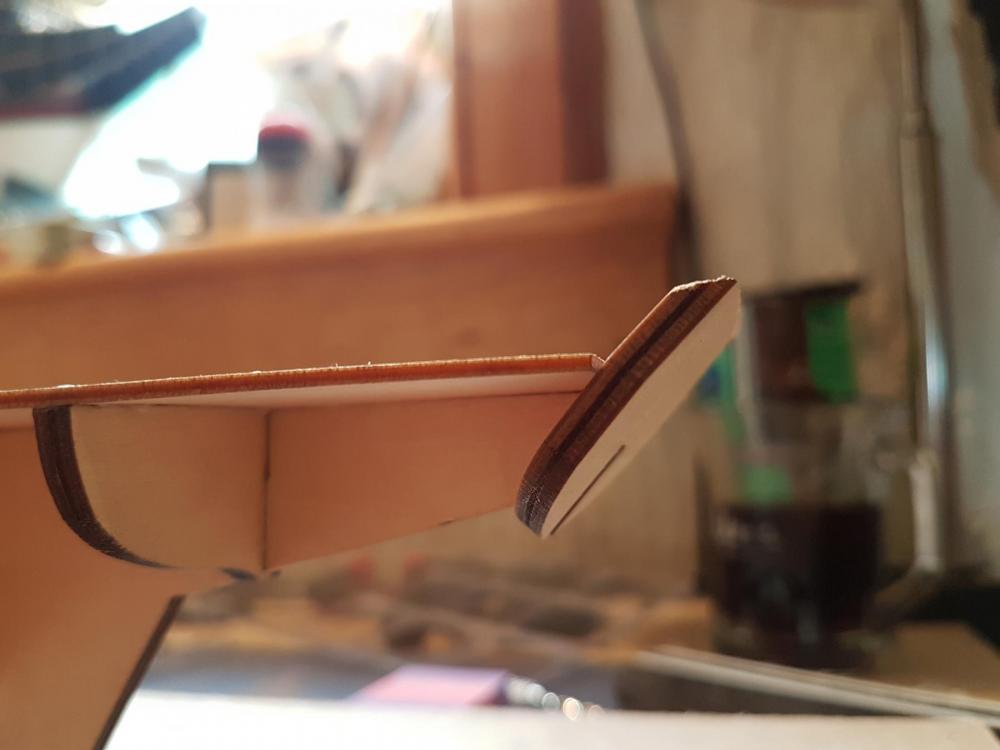
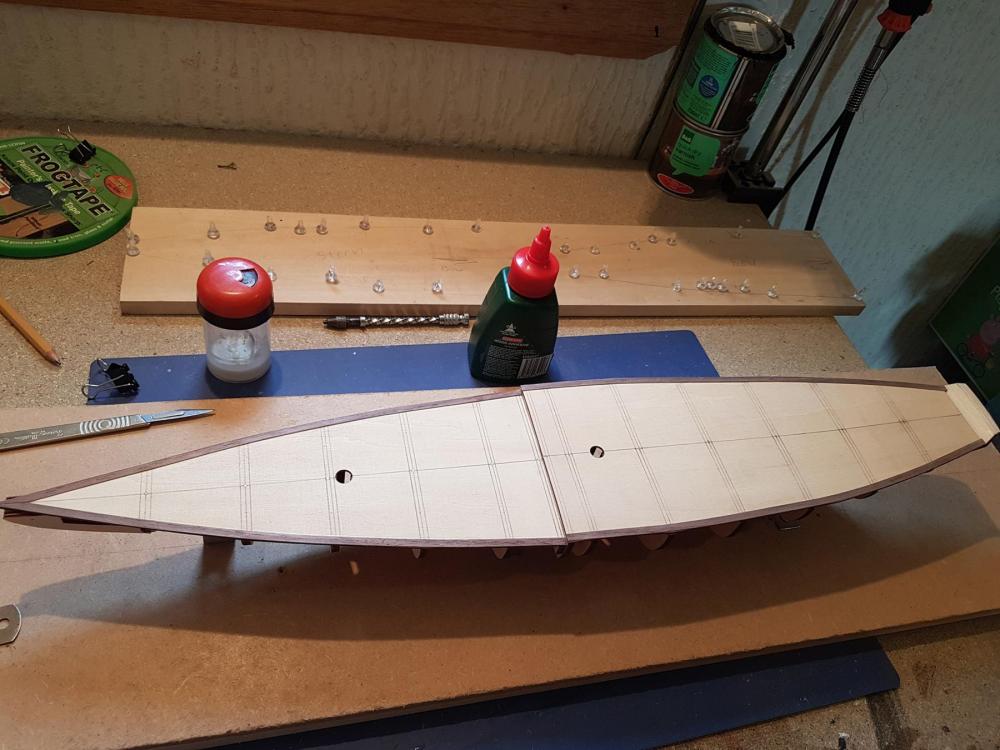
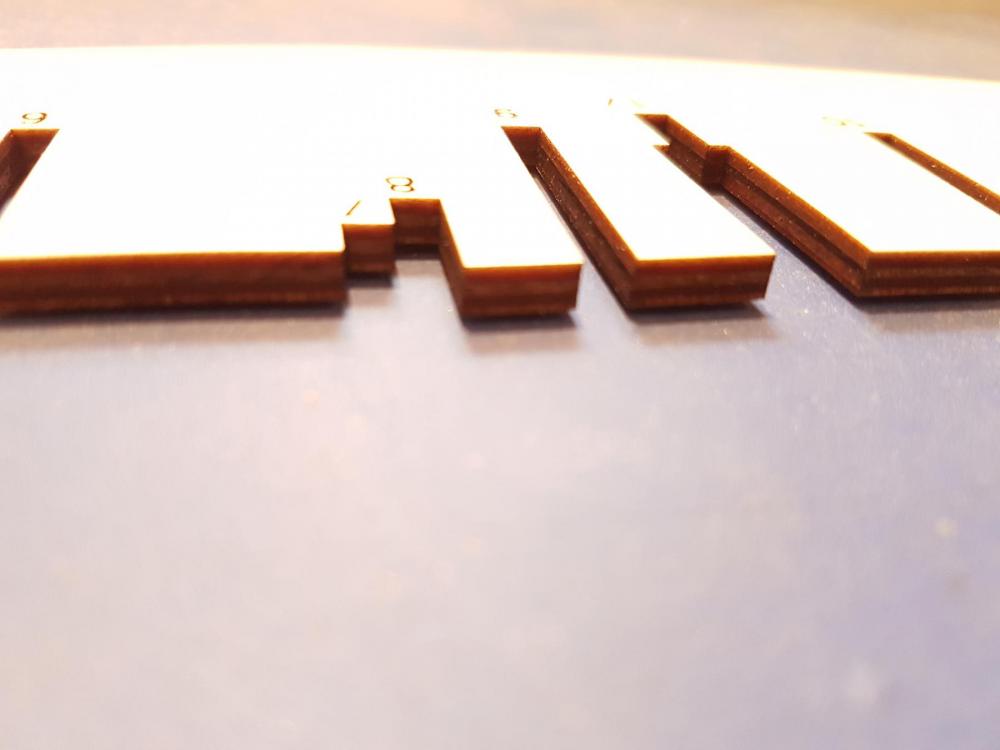
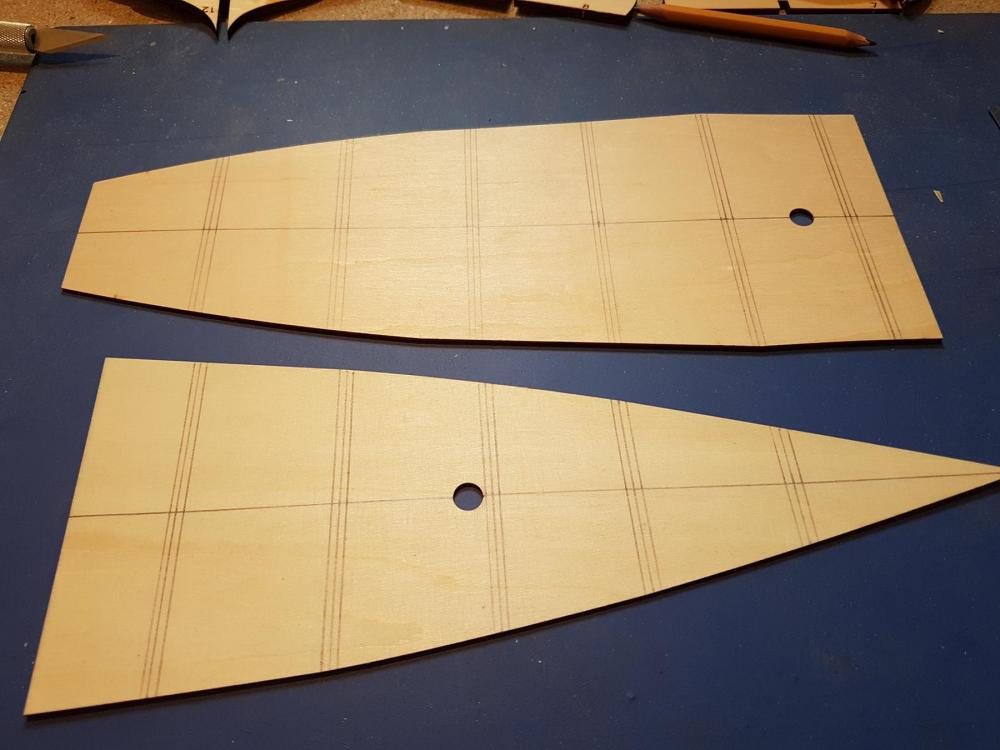
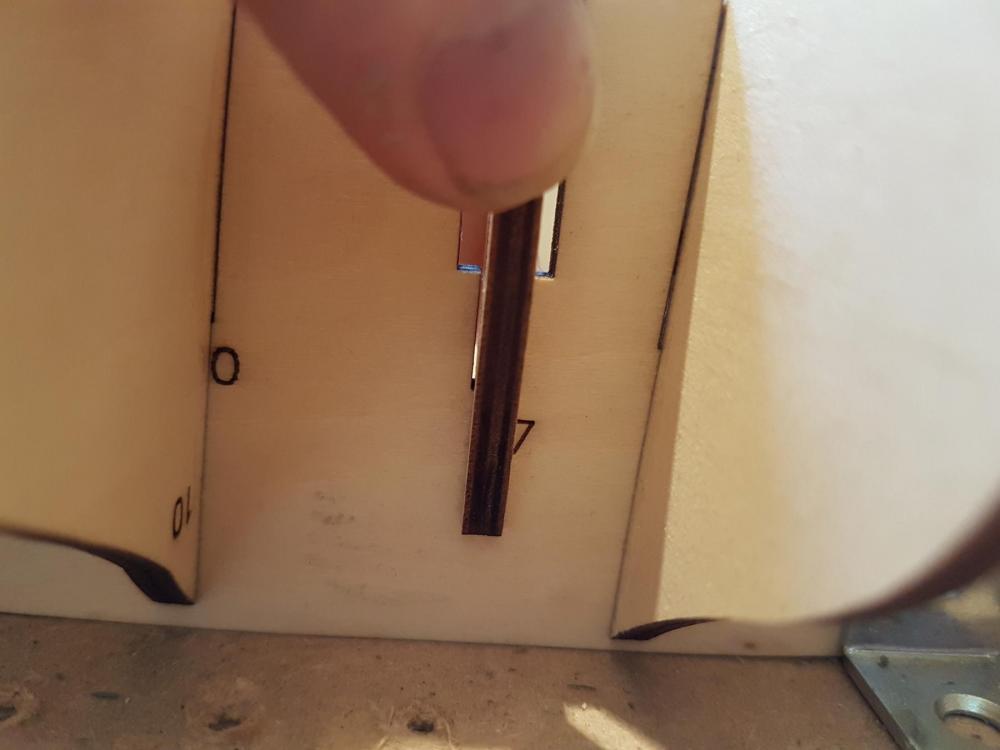
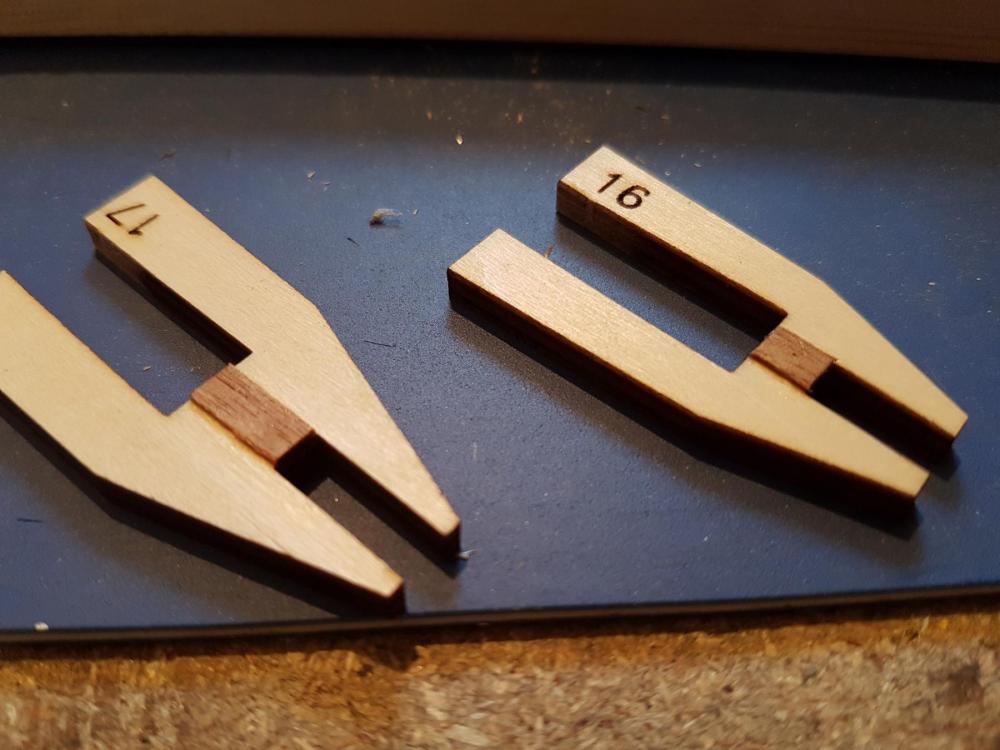
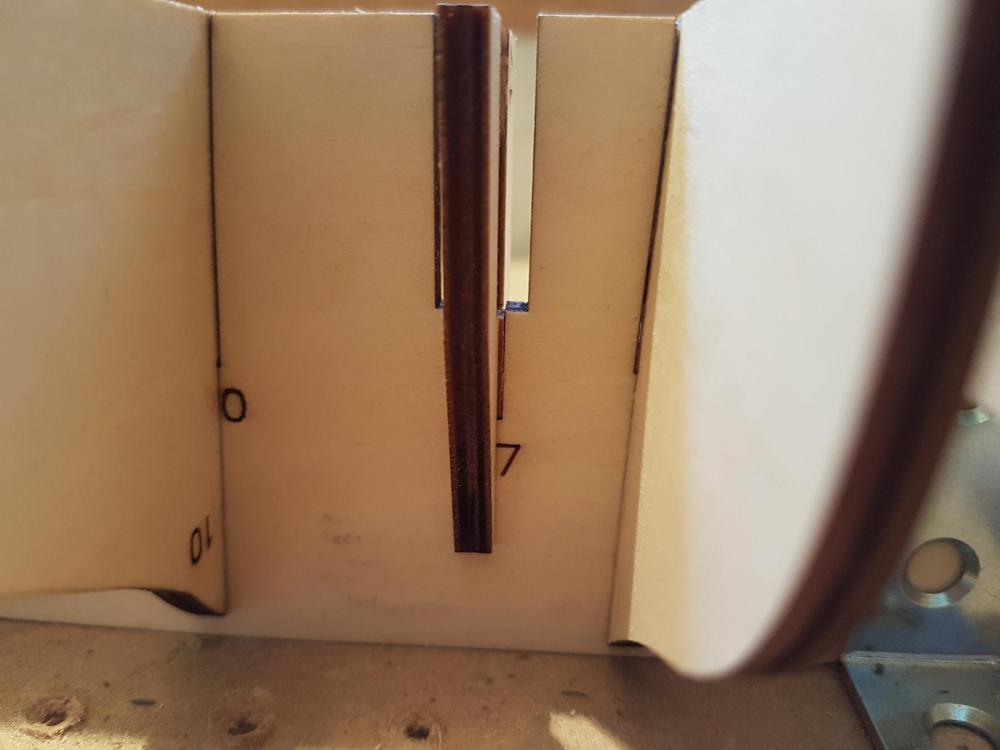
Good evening. Thanks Ian. I looked on your build. Look forward to seeing you progress on her. I made a quick start on this one. After a brief attempt to straighten the keel which was, mostly successful. The remainder can be corrected by way of the false decks when they get fitted. You can see below the difference in before and after my attempt to straighten the keel: Before: After: In between that drying, I knew I was going to be using the deck pieces to correct what was left of the bend, so I marked the position of the frames as they would meet the underside of the ply deck pieces, using the fret that the keel came from as a guide, and marked the centre lines as well as the width of the frames: Once that was done, and the keel had dried out, I adjusted my slipway and began the process of adding the frames. When it came to the mast supports, the slots in the keel was a good mm larger, creating a loose, floppy fit. I simply added some scrap to the front edge of each mast support and sanded until I was able to achieve a snug secure fit. Now, I have a slight problem. I noticed, when dry fitting the deck pieces, that the 2nd and 3rd frame AFTER the step frame, has a significantly greater curve than the rest. Both the step frame and the remainder of the frames are all in line, so to speak. I've created a small animation to show the effect on the deck if I was to go with the greater curve at this section. As you can see, it creates a dip in the deck at those sections, towards the outer edge of each side of the deck. So...do I go with that? Do I pad out those two frames to match the rest, or do I alter the rest of the frames to match those two? (Click on the image for the animation to play.)


-
Wow been a while since I popped my head in here. I love what you did with the wales. Looks fantastic
- 191 replies
-
- 3
-
-
- victory
- caldercraft
- (and 1 more)
-
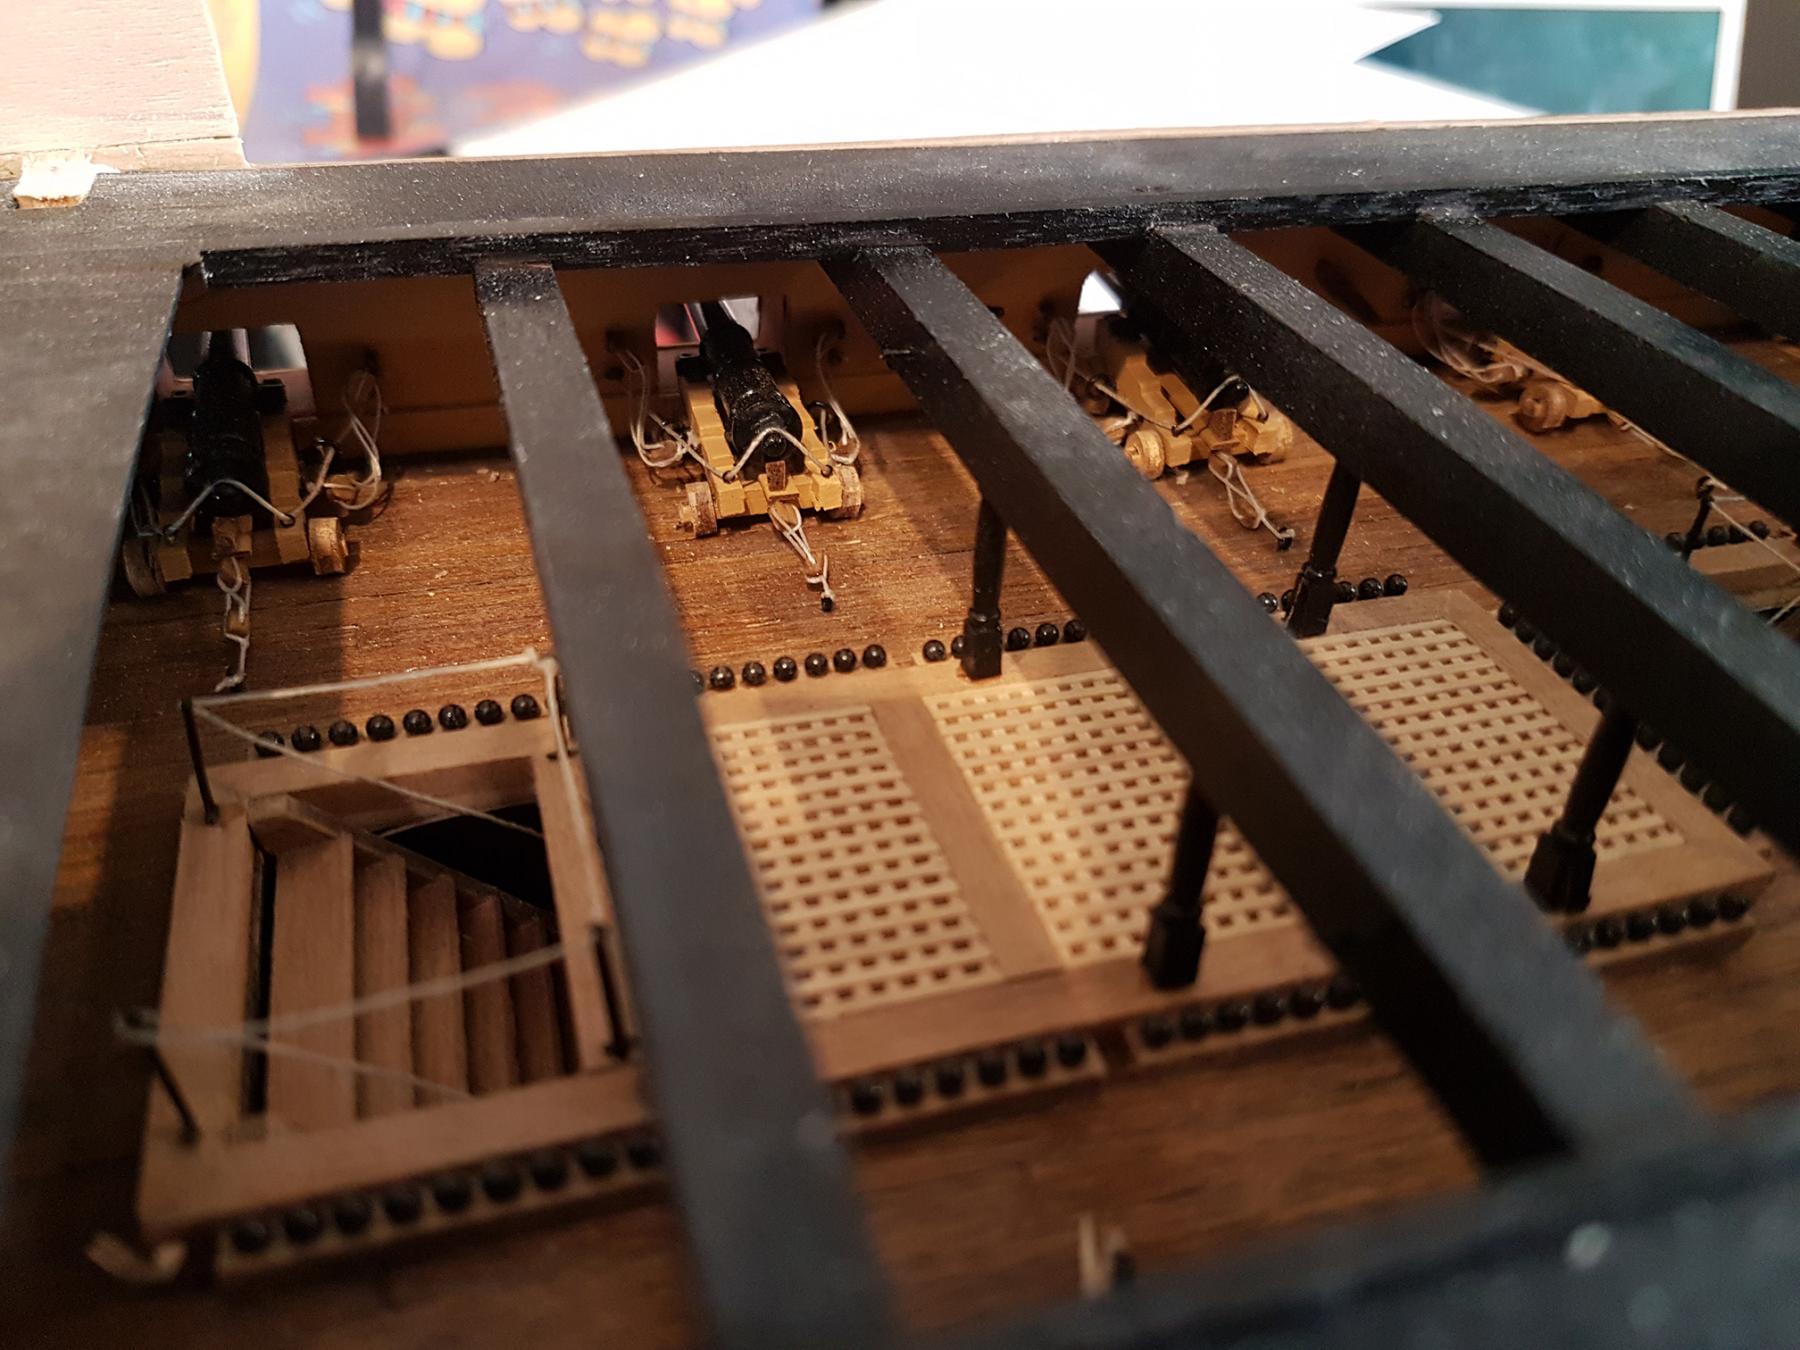
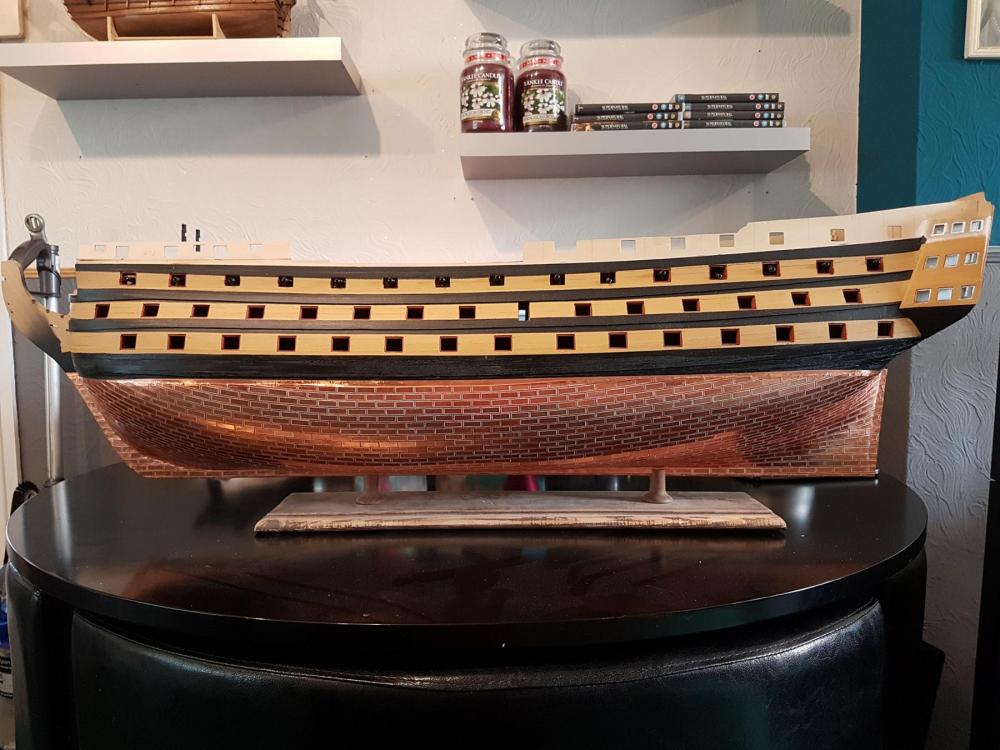
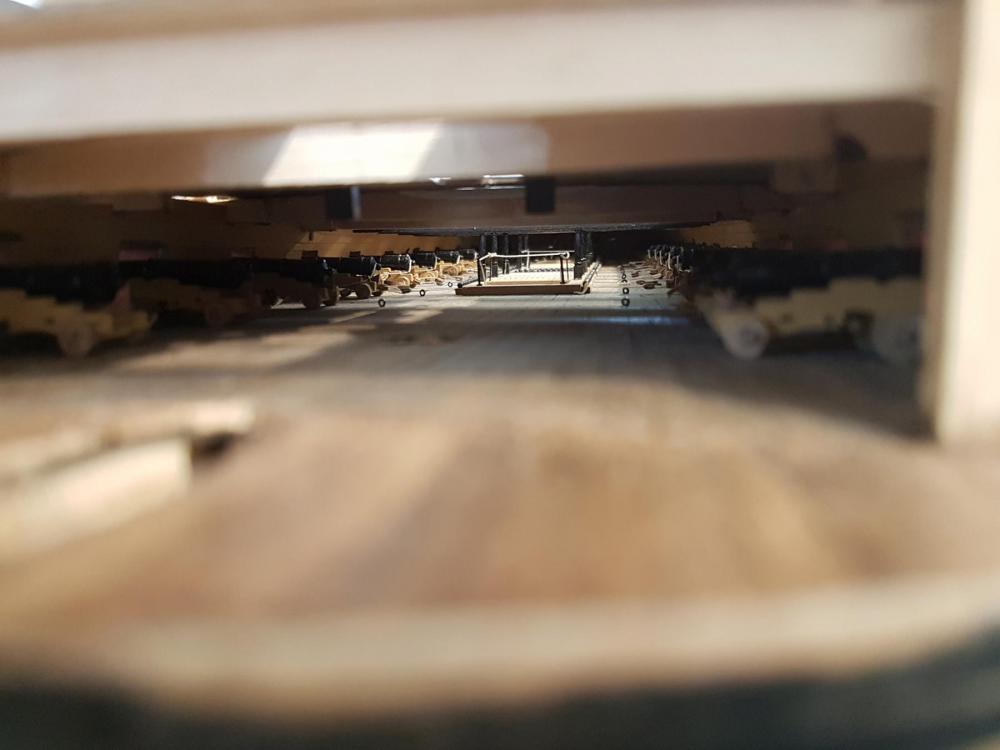
Hiya Guys. Really sorry I've not updated this for such a long time. Life gets so busy sometimes. Some of you may have noticed I am back with two concurrent builds, but that doesn't mean I have neglected my vicky. I've made a fair bit of progress since my last update. Coppering has been finished. For the most part, gunports are all complete except the top row. I've completed the middle gun deck including cannons. I must confess I did only rig the cannons that were immediately visible. I've had to make some adjustments at the stern, I didn't like the idea of just painting bare ply for the galleries, so I have planked them over using some spare .5mm veneer. I prefer the effect as it means the edges are visible instead of just being a smooth surface. I've spent a lot of time filling the joins to the main hull and extending the wales into the galleries. I've fitted the upper deck and am in process of planking that. She is on the back for now though, as I am building the Bluenose II right through while stocking up on parts for my SotS build. I am in no hurry to finish this one anyway...as I haven't a clue where I am going to put her when she is finished... Thanks.

-
Hiya Ian, thanks. She is coming along nicely yeh. I will take some pics and update my log on her. Made quite a bit of progress since I last updated it, just got side tracked with kids, bills, life...always getting in the way lol. I've finished the coppering on her, finished all but the top row of gunports. Wales have been fitted and Trafalgar colours applied. I chop and change projects quite a bit so as not to burn myself out on one thing, always ensures it is getting my best efforts then.
-
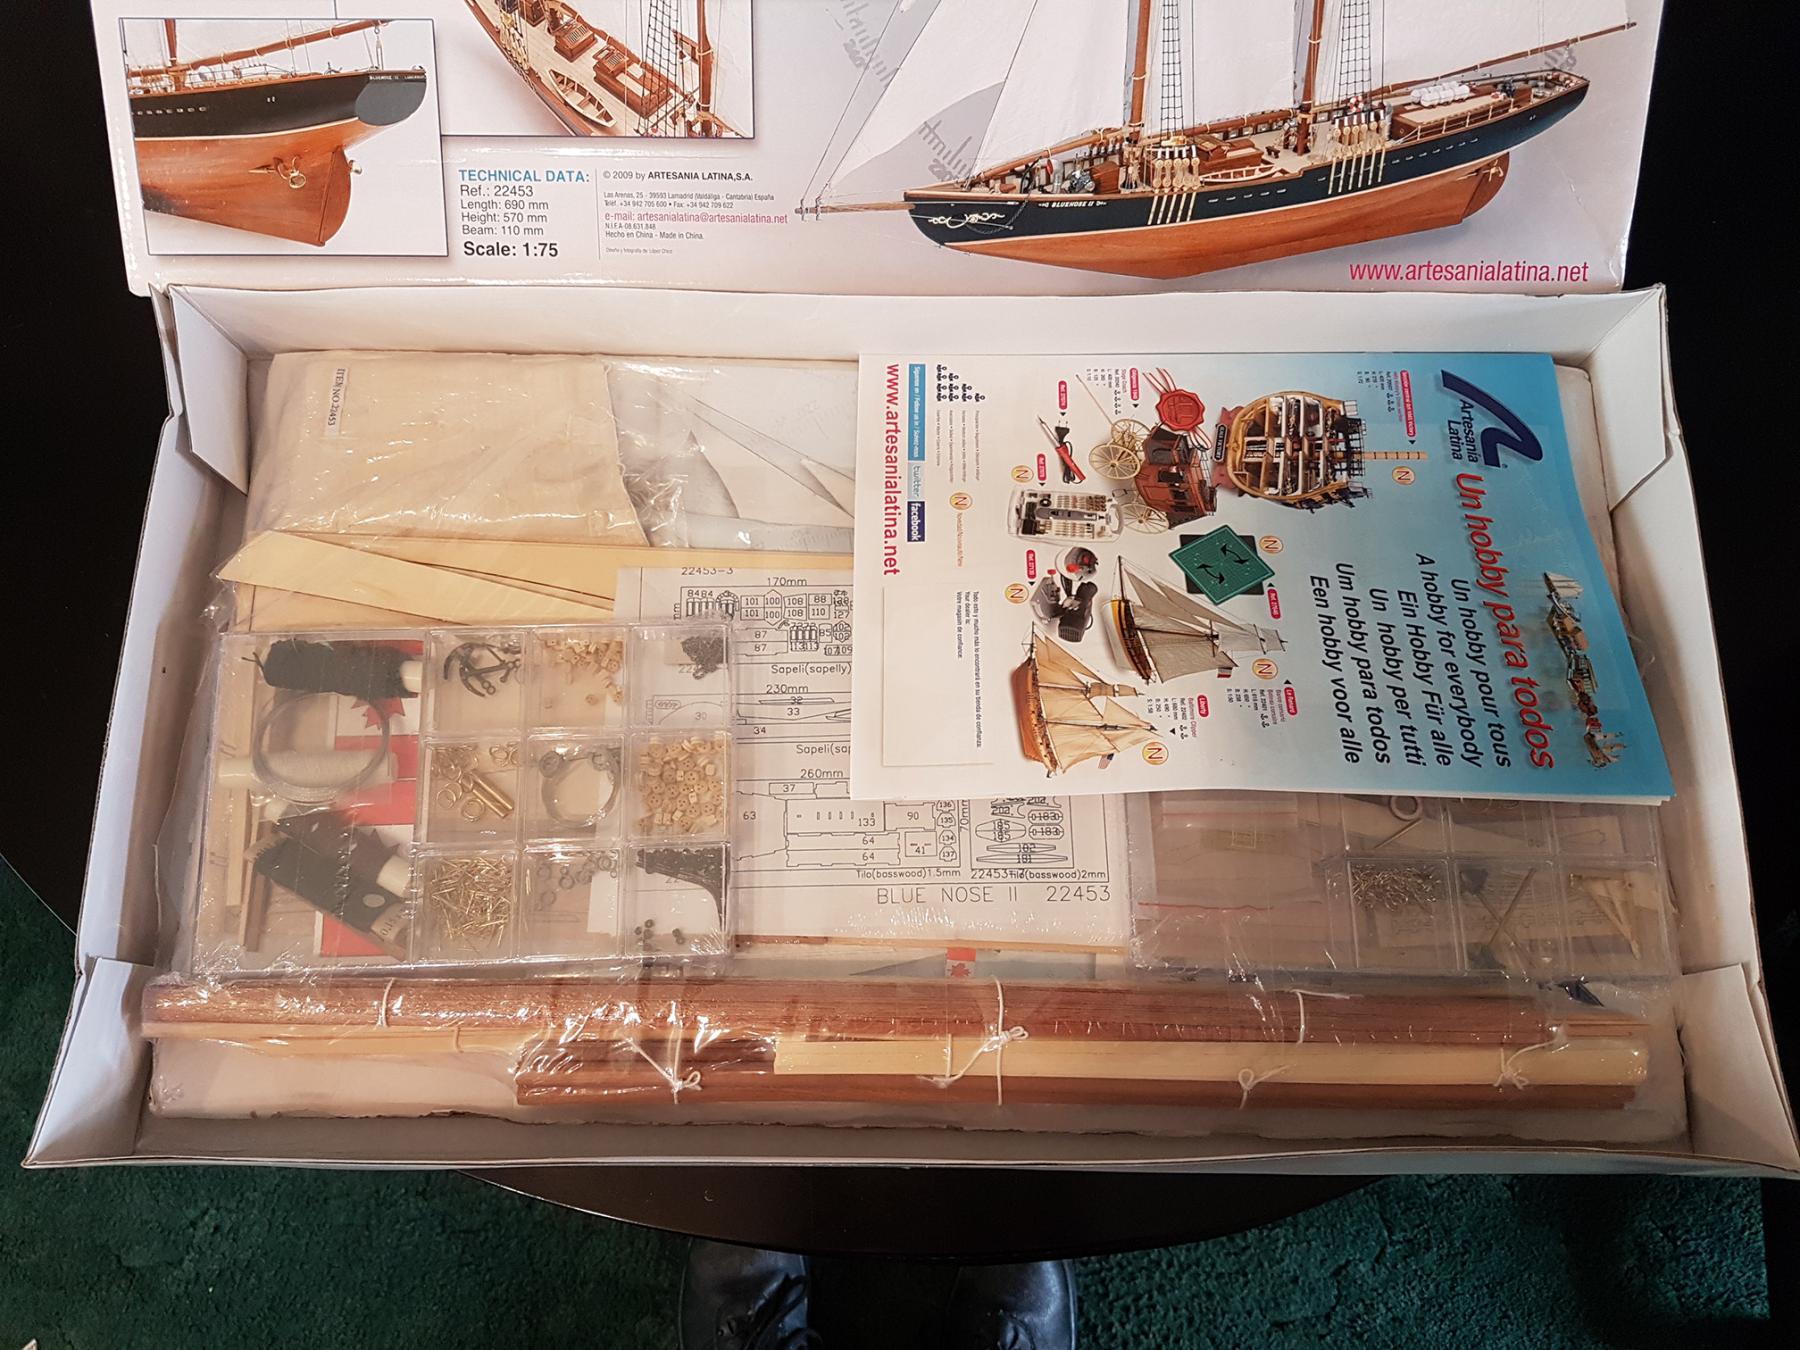
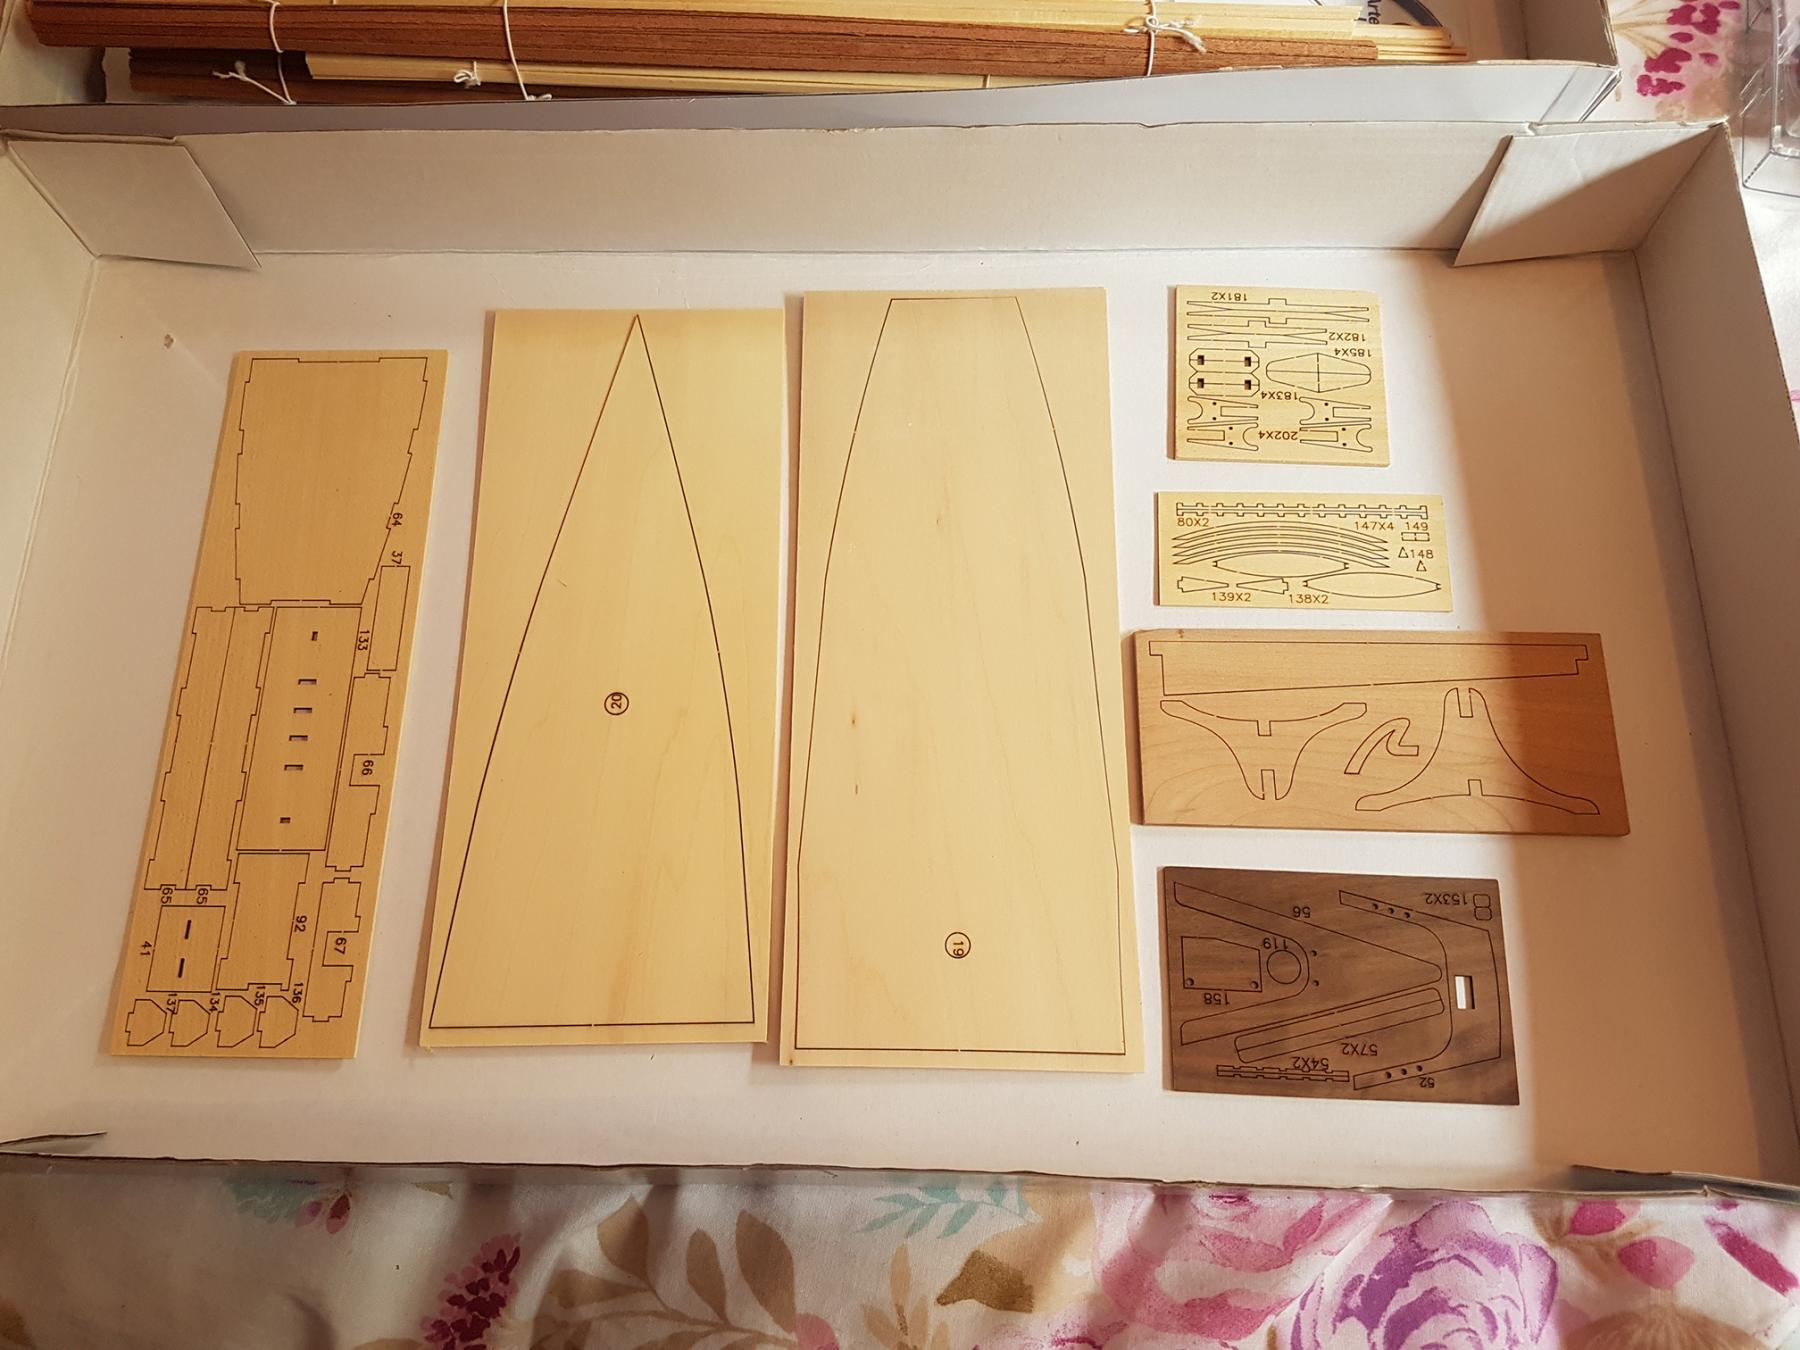
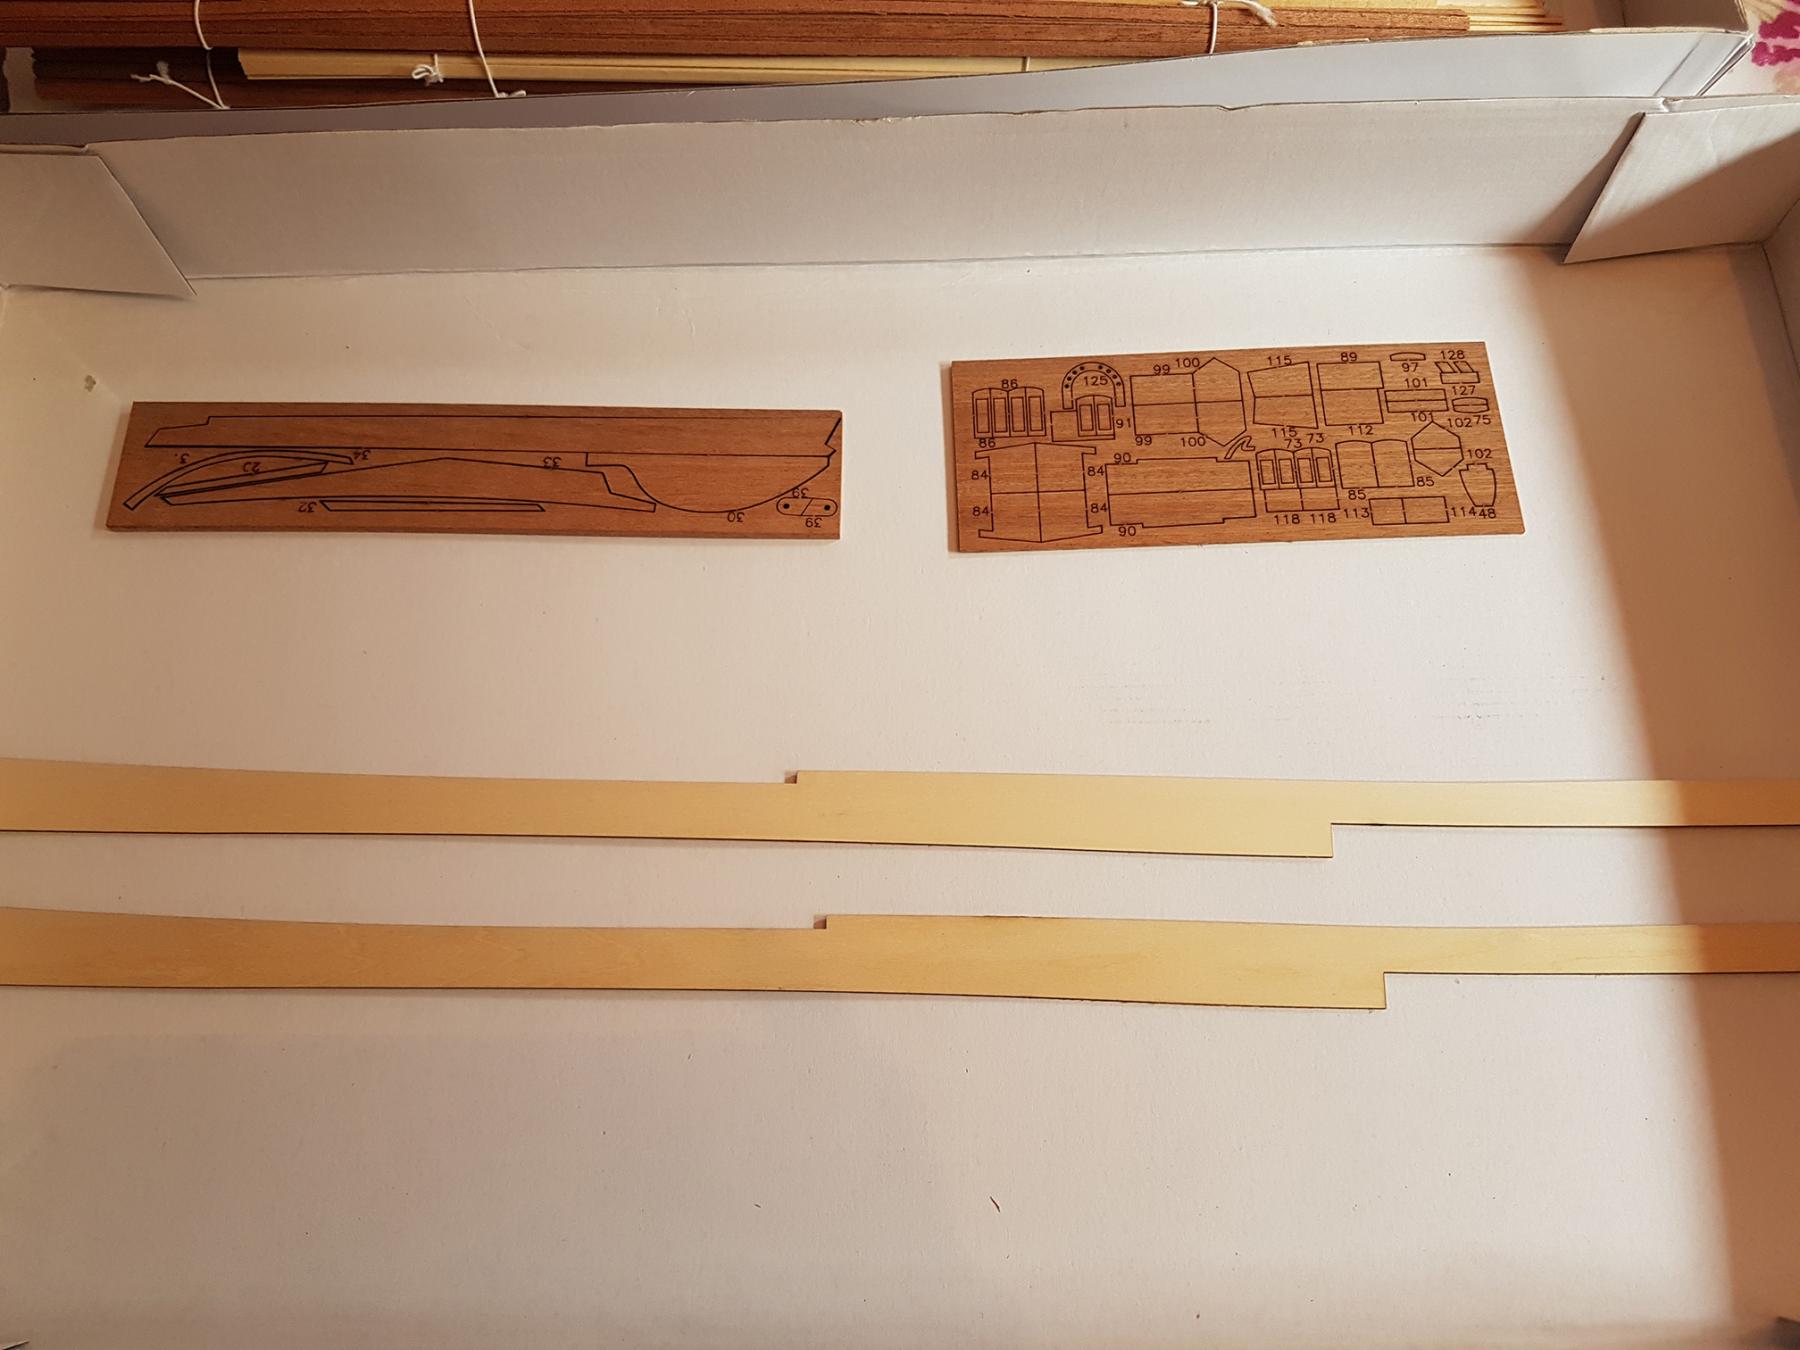
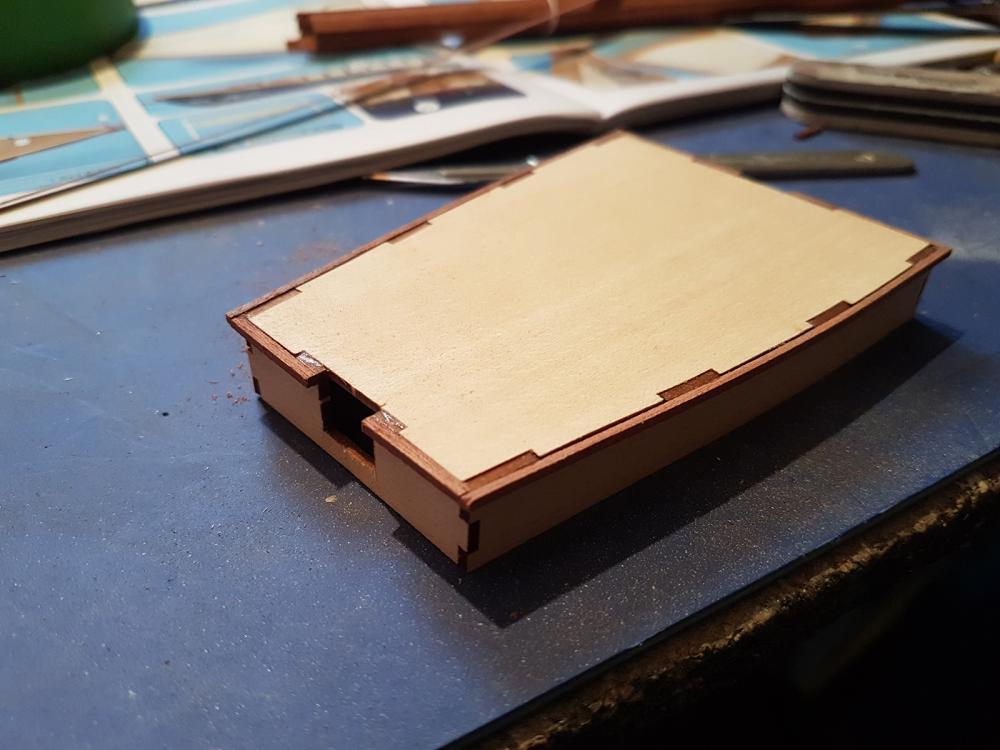
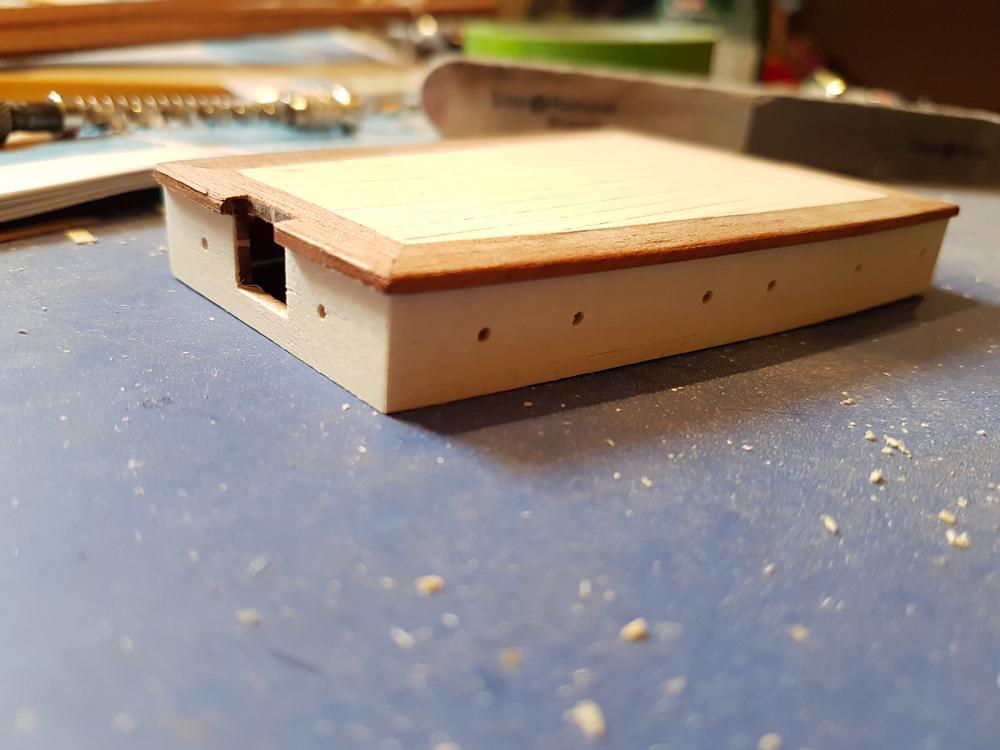
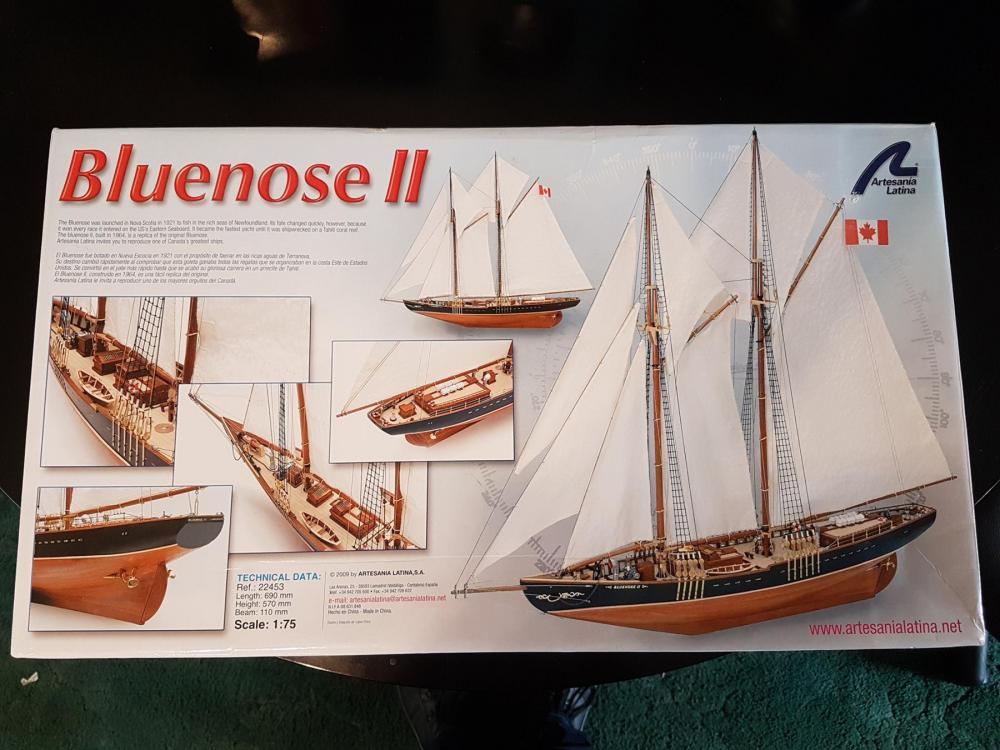
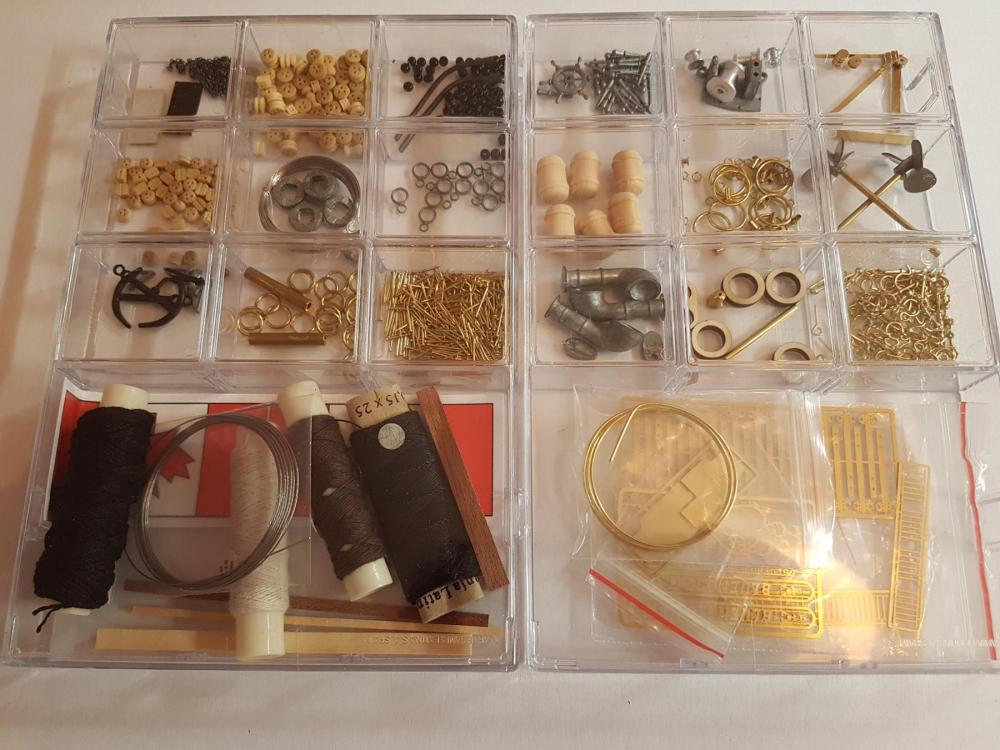
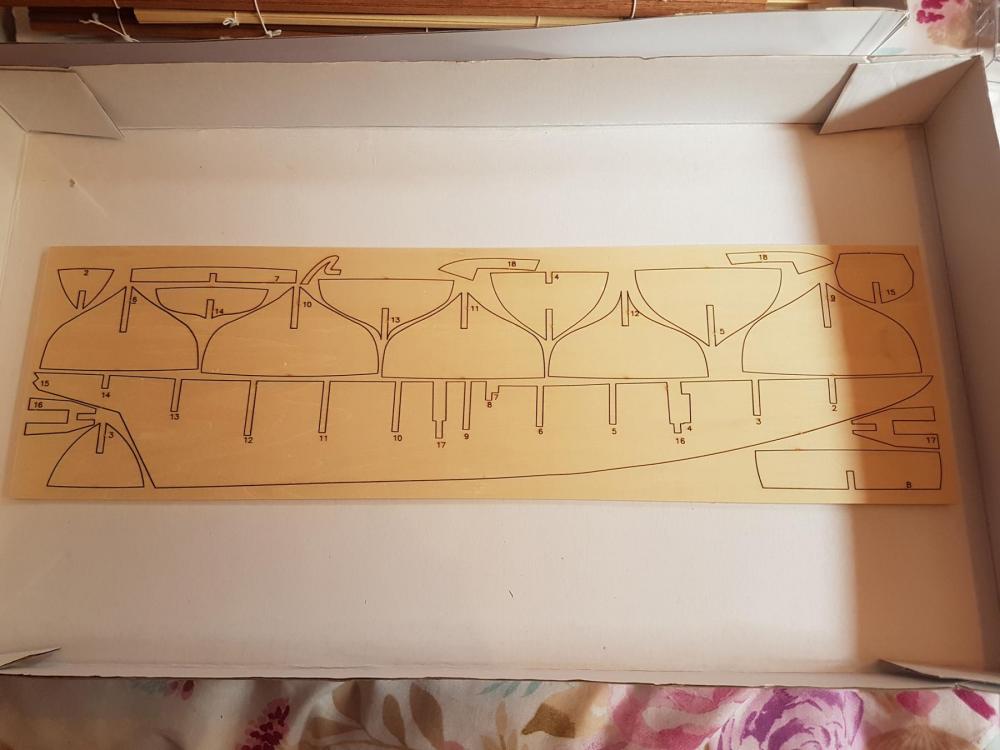
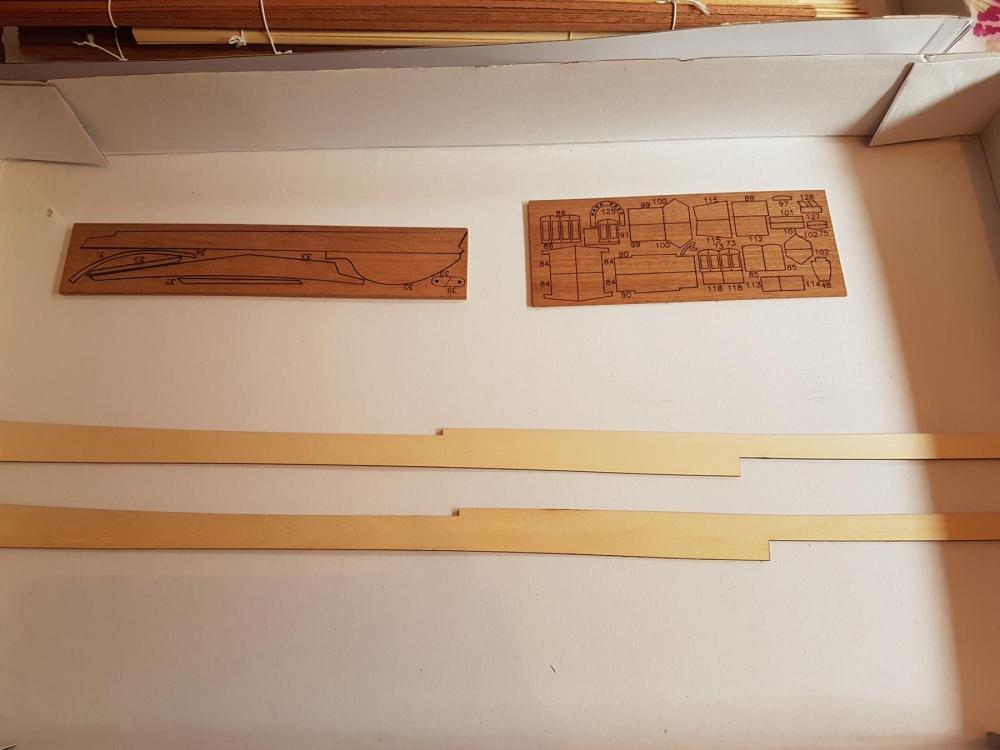
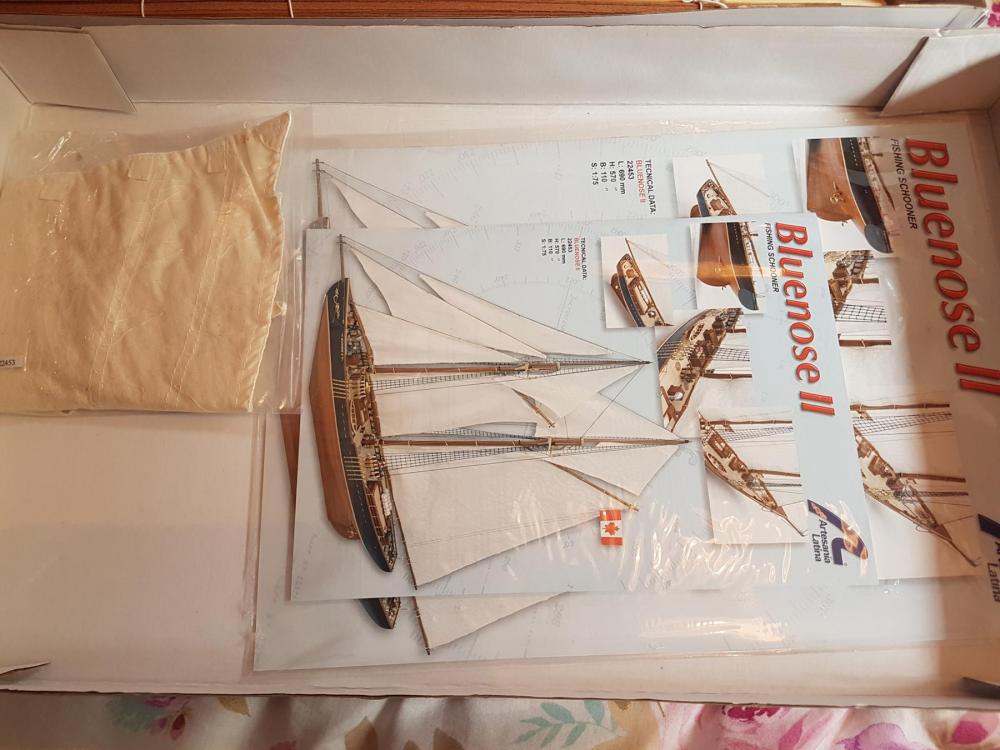
Hello. I will be working on this one whilst I collect parts for my SotS build. I picked this one as I wanted something smaller that I can build right through from start to finish in one go, and for a change of type, something a little different from the gunships I tend to favour. I like the hull configuration on the Bluenose, I find it quite an interesting design. That and the lack of beams makes it easier to find somewhere to display it when it is finished. I know there are few other Bluenose builds on here already, both I and II, so I hope I don't bore too much. I ordered the kit from AL as I find their quality fairly consistent, and their instructions are more to my liking than simple plans/text based. Although I was disappointed in the lack of plan sheets with this kit. My only issue with AL, is I have yet to receive a kit with a straight and true keel piece(s). And this one was no exception. As ever with AL, everything was nicely packaged, along with plastic cases for the fittings which come in handy post build. Getting quite a collection of those now. Anyway, pics of the contents. Back soon


-
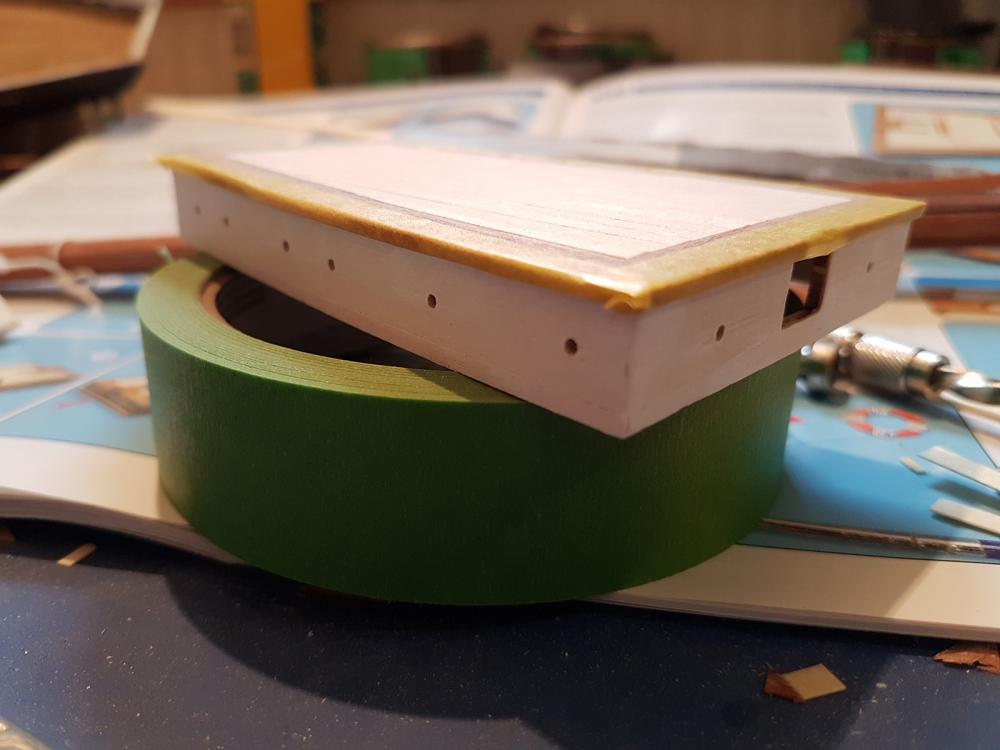
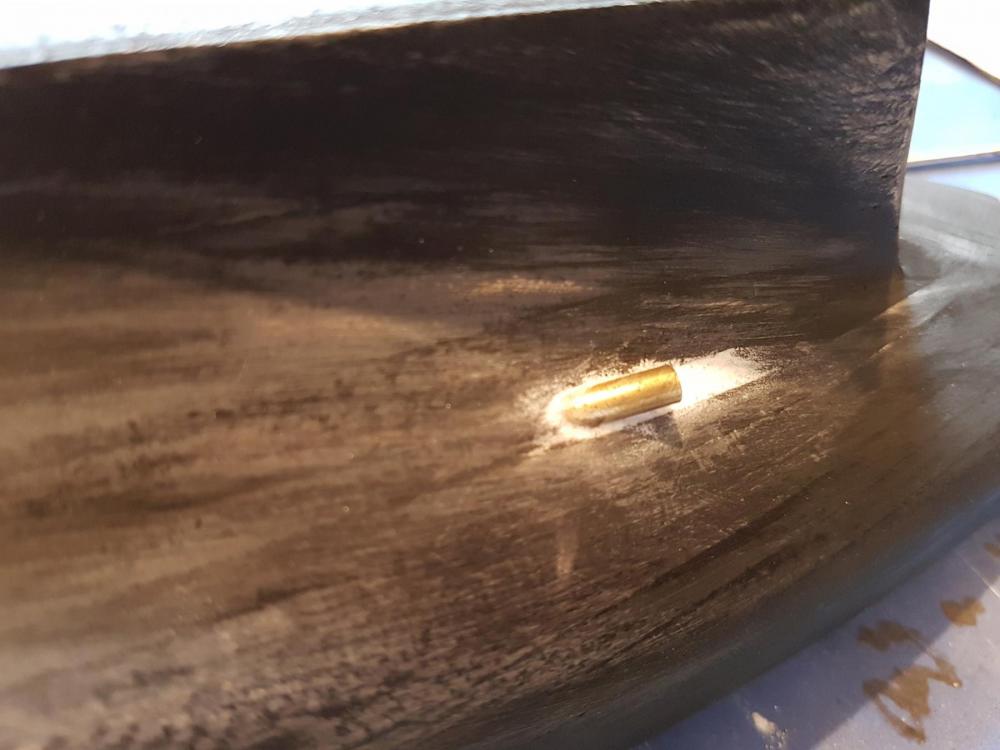
Hello. Just a very quick update before I move to the back bench for a few months. I just tested out my mounting bolts on a test base. (A spare section of floating shelf I had laying around) Seems to be a very solid and stable mount. I will be leaving this now for a few months to stock up on parts, in the mean time, I will be starting a new project to tide me over: AL's Bluenose II. Thanks for looking in.


-
Hiya sjors. I've just started my 2nd attempt at this one too. Good luck