fifthace
-
Posts
498 -
Joined
-
Last visited
Content Type
Profiles
Forums
Gallery
Events
Everything posted by fifthace
-
 I've had a reply to my query regarding the entrance:
 -
On that note, have you seen that her colours are wrong? They are thinking now she was mainly black and blue, and was re-painted after Nelson took her as his flagship, but even then the ochre would have been much much paler.
-
Possibly...or perhaps the rings served a multitude of purposes? An extra/Emergancy gun port as you pointed out, or to act as a hard point for some kind of pully system or dragging heavy loads up any gangplank, such as a new cannon...no idea, I might email the RN historical society and enquire...
-
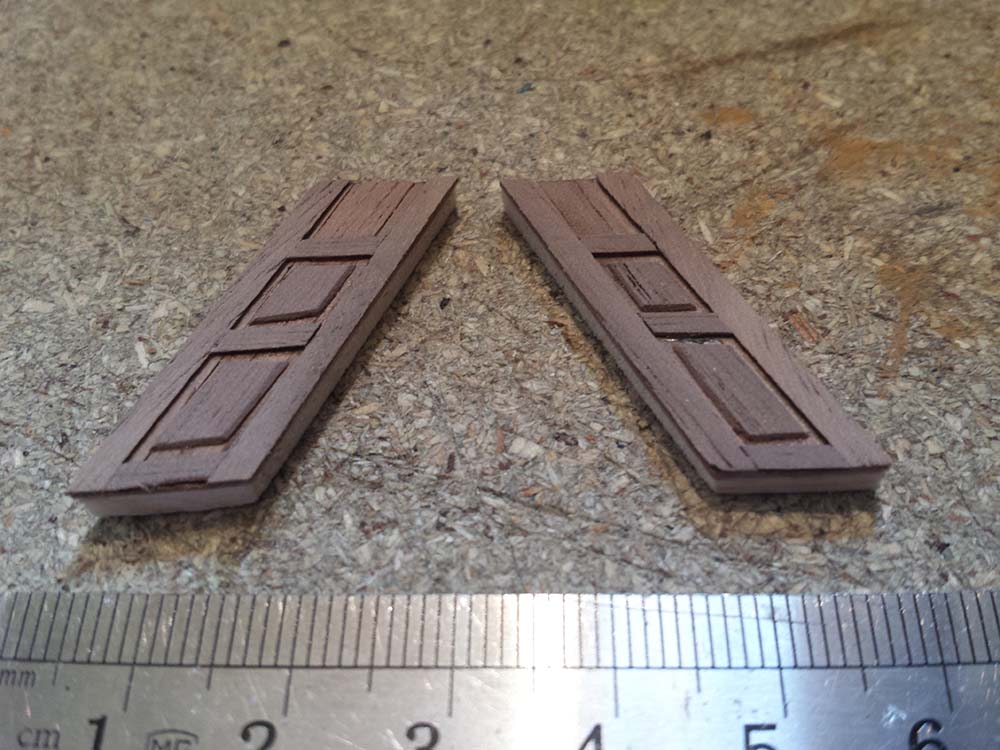
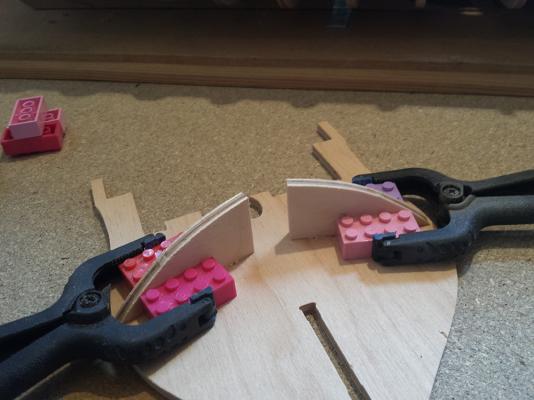
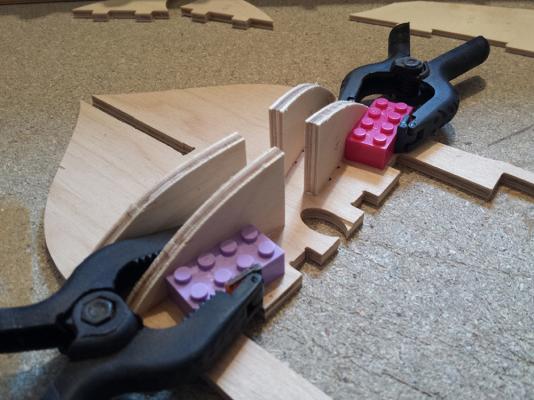
Whist the template patterns are drying I had a look at creating the entrance sides. I used some spare balsa as a base as it is quick and easy to work with, and some 0.5 veneer I had laying around. This is the result so far:


-
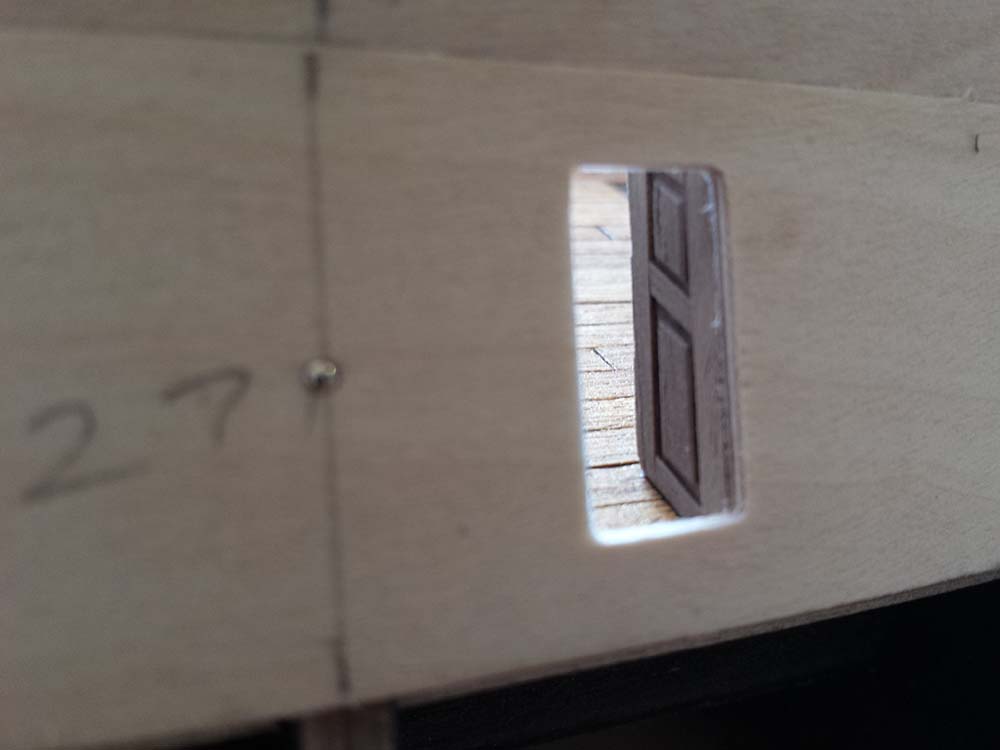
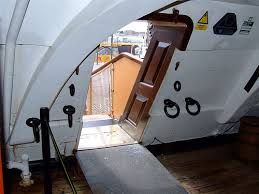
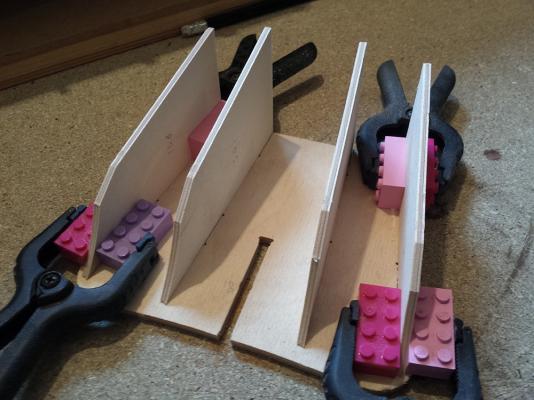
Thanks Kevin. The other side went on much smoother, most likely because of what I learned with the first side. Currently the next sections are wet and clamped in place drying to shape, in the mean time I have been looking at the Sally Port, Vic's main entrance way, and how to model that into the ship. I've been able to find just this single photo of the inside of the port looking out, but it's a good enough photo to show what was there. The panelling looks much newer than the ship, so I have no idea if this would have been how it originally looked: Source: http://www.omnilexica.com/?q=sally+port#.VbZJP_lRLgA
-
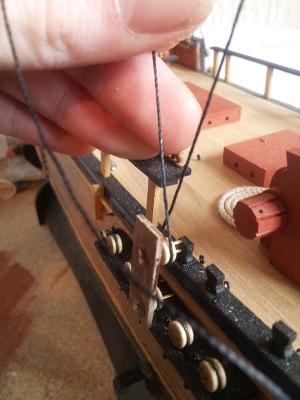
Looks good Kevin. I had a look at the plans and you are right, the deadeyes are too low down. The reason your pics are coming out like that is the window behind the ship, it's blinding the camera. Best sort of lighting for this is the sort of strip lights you get in a kitchen, but generaly try to make sure your light is behind the camera or directly above the object you are photographing but out of the lens' field of vision.
- 1,319 replies
-
- 5
-

-
- caldercraft
- Victory
- (and 1 more)
-
Sorry, I've massively got confused between kits. For some reason I was mixing up their HMS Warrior kit with this one. Completely disregard my post lol. Not sure where my head was at yesterday As for the CC Vic...so far I've actually found it the best one I've come across. I like the AL version but it bugs me that they only include metal boats for the Launch'. The CC version includes them all PoB, (or PoF, I always get them mixed up which is which). CNC cut parts annoy me though...they're a bugger to remove from the frets. Anyway, good luck with the Conny, look forward to seeing her progress.
-
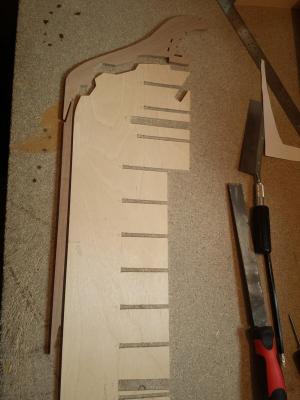
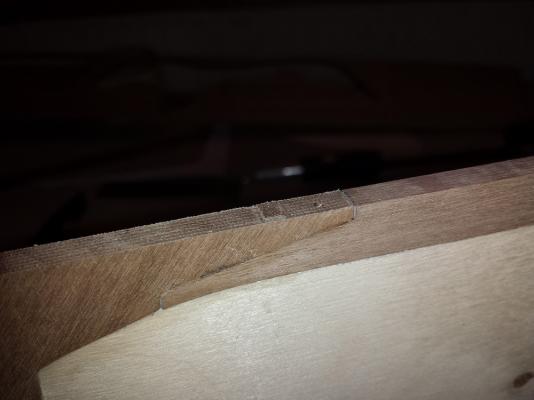
Keith I was right! Everything had gone too easy. Fixing the first pattern was a bit of a nightmare. I ended up doing it in three parts, starting from the stern and glueing/pinning about a 3rd, allowing that to dry for a few hours and then doing the mid section and finally the forward. I did split one rib though, #17, but in a place it won't show or cause any other problems thankfully. And to top it all off, I need to hope I get it 100% right, as my partner bought me some more evostik yesterday, and just noticed she picked up the weatherproof stuff...so no simple soak in hot water to remove it now
-
I've not forgotten or abandoned this one. I took a break from modelling for a few months and then when I came back to it had the opportunity to buy CC's 1:72 version so currently working on that one.
-
Thanks again David. I'm just at that critical stage of fitting the gun port patterns. I've pinned the qaurter deck in place as a guide...but I've not yet got any further. I am sat there looking and reading and checking the plans and doing all of that over and over. I've seen from Kevin's build this bit is critical to get right now. Also I am beginning to regret fitting the stem and keelson piece when the instructions stated to. I had my concerns at the time and wish I'd listened to them...they are going to get decimated when it comes to fairing the frames Saving grace is most of that will be below the waterline which is coppered...but not really the point. So far everything has gone too well, too easy....
-
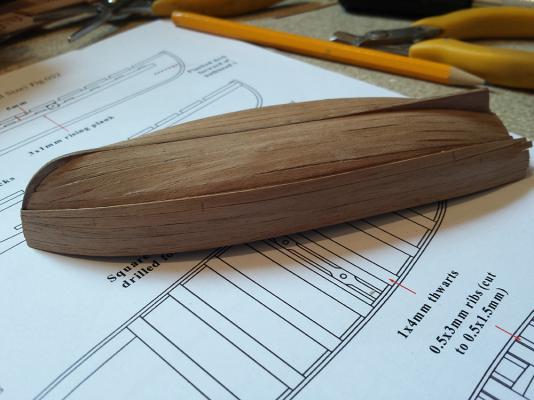
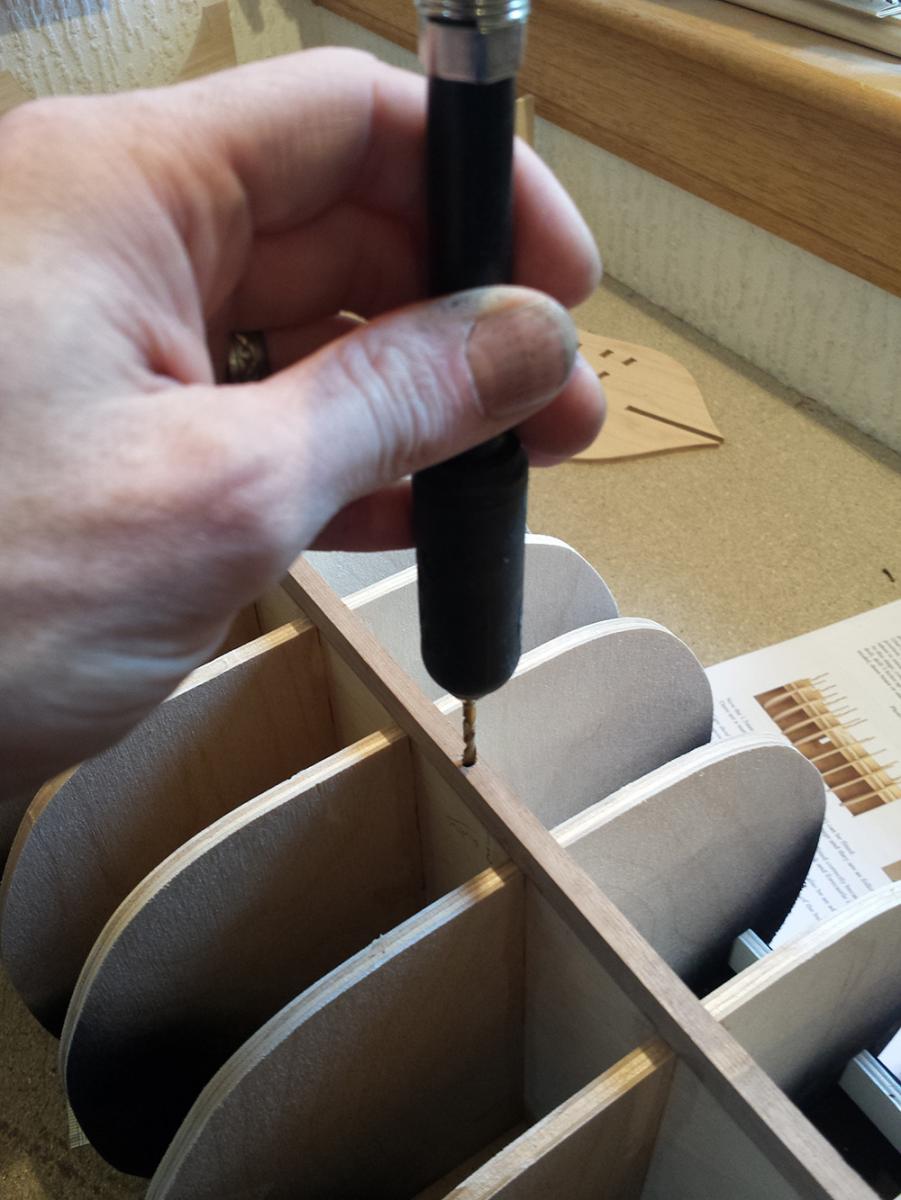
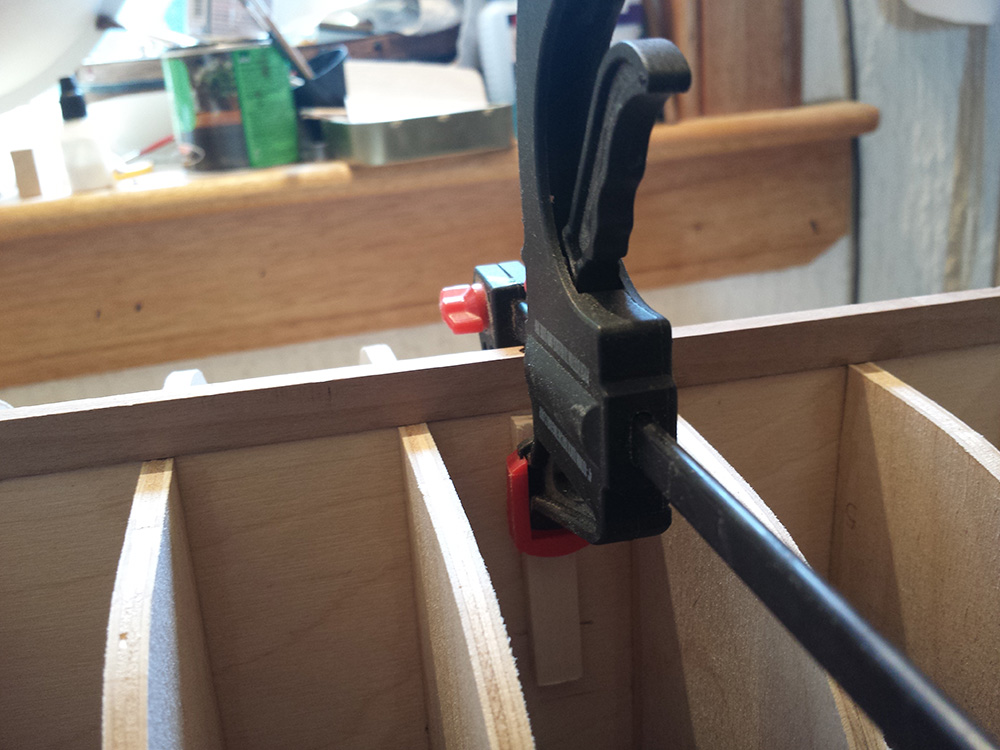
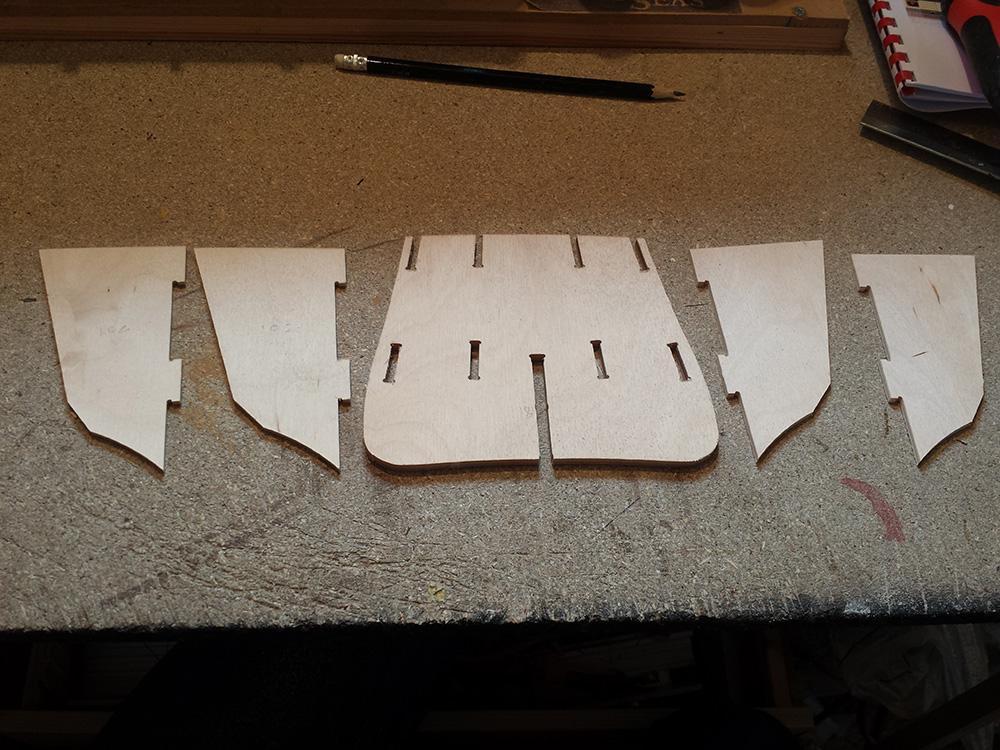
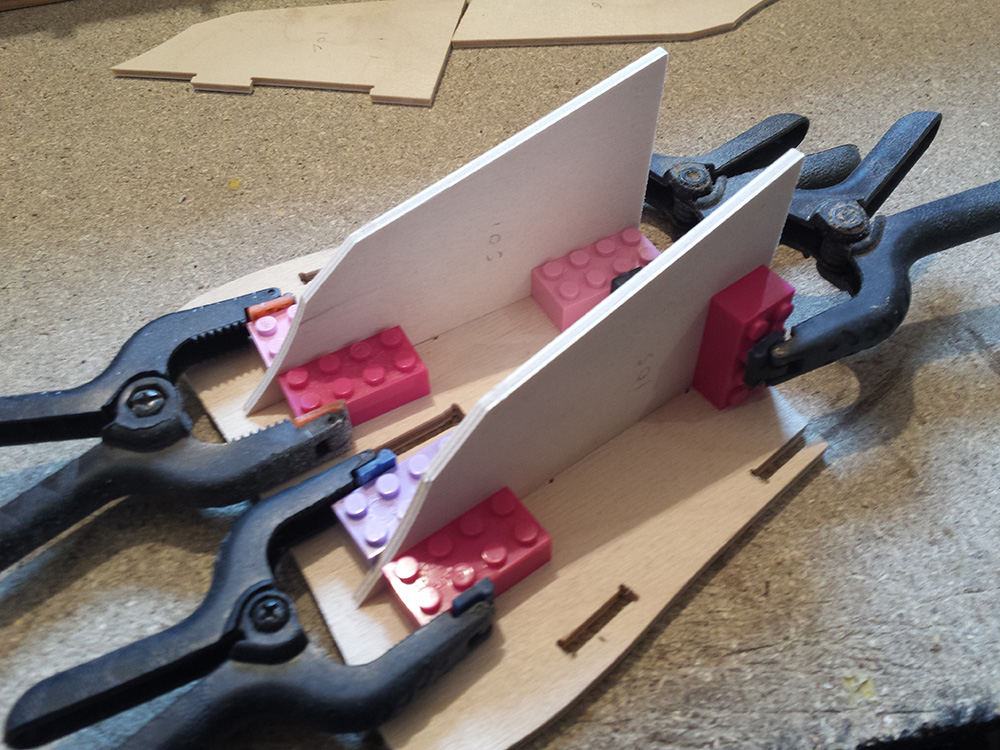
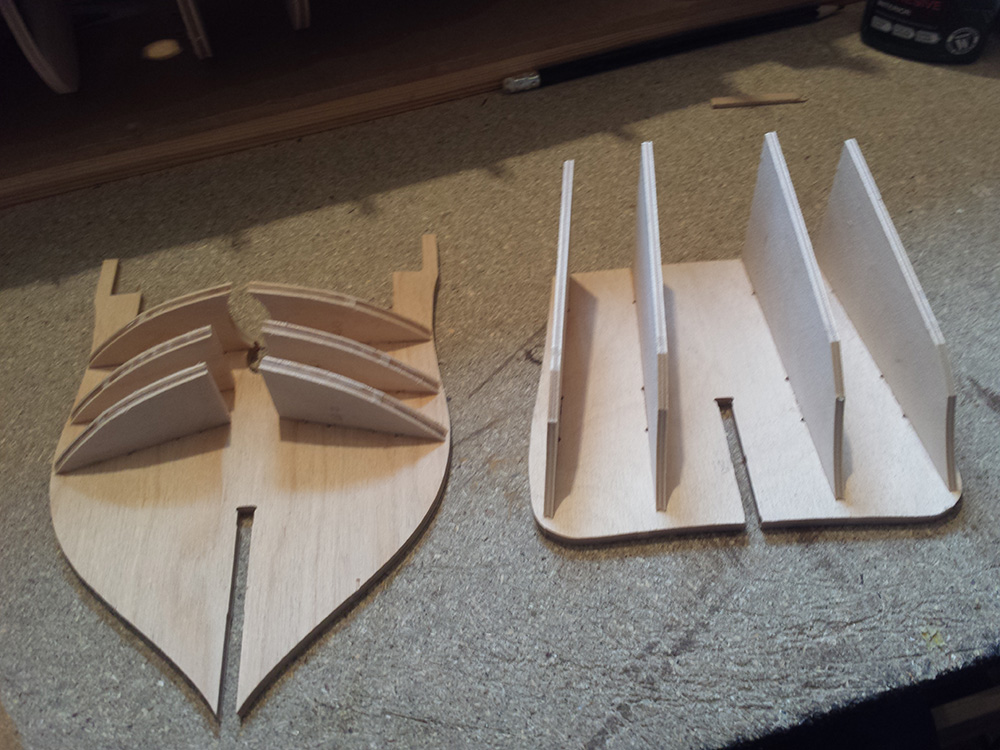
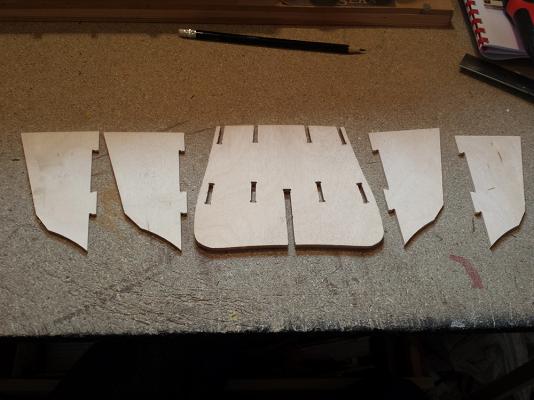
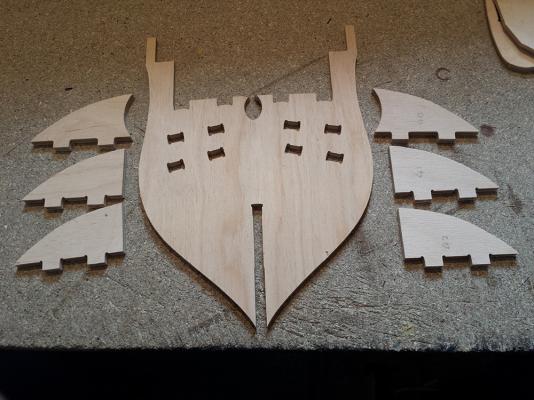
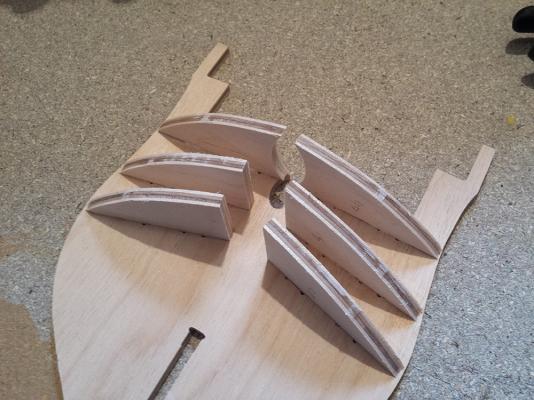
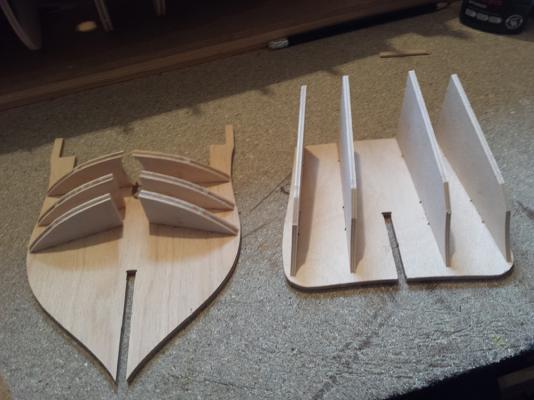
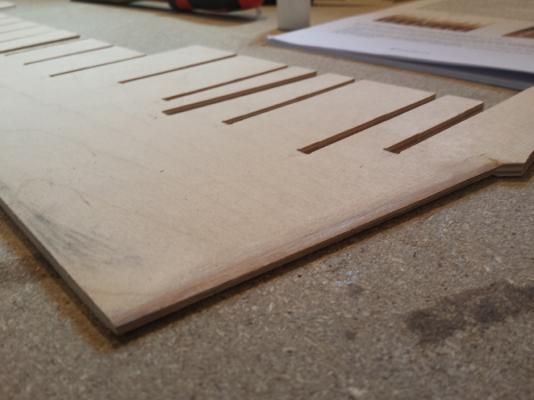
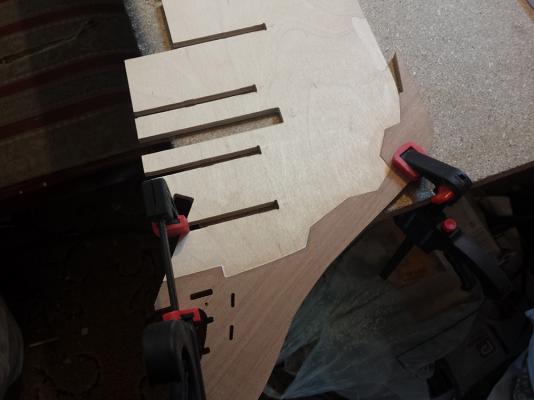
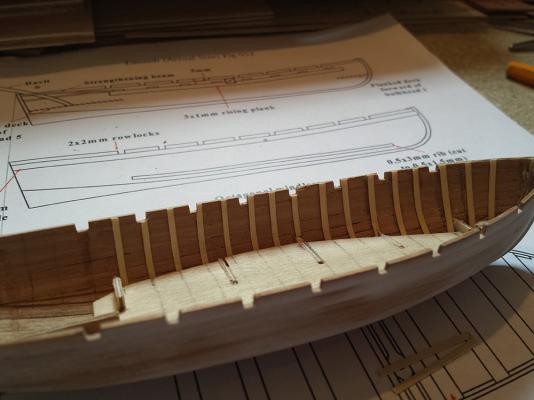
I finally feel like I am actually making progress now... I've drilled 2 3mm holes into the keel, and have on order 2 3mm x 100mm steel rods which will serve as mounts later on. All the ribs are now glued in place, aside from the very fore and very aft ribs. I'd recommend to any future builders varying from the instructions slightly, and not over sanding the slots for the ribs to fit. Dry fitting ribs 2 - 17 in place after any prep work, fitting the deck piece in place as well using pins to help locate the ribs. This deck will keep the ribs perfectly aligned. Then simply use watered down PVA to brush into the joins of all the ribs where they meet the keel and deck. Next I've prepped the fore and aft ribs and fixed the bow/stern formers in place. Once dried I will fit them to the ship along with the plank termination patterns.


-
Hiya Kevin. Before you get too much further, can I suggest you make a wee tool for spacing the deadeyes evenly? Edit: oh just noticed you already have lol sorry.

- 1,319 replies
-
- 5
-
-
- caldercraft
- Victory
- (and 1 more)
-
Looking good so far I've looked at this kit a few times myself but have always been put off by the plastic parts...what are they actually like ?
-
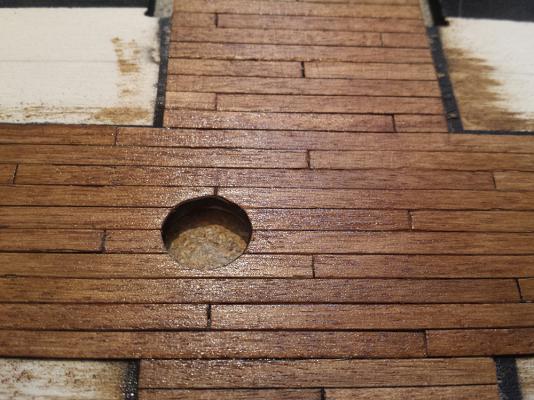
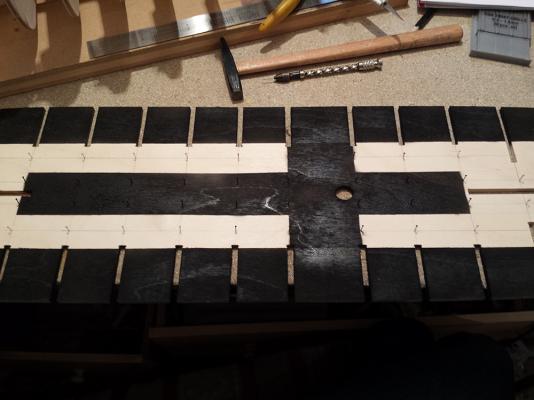
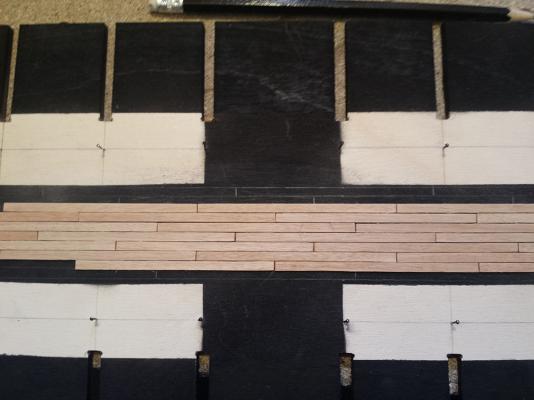
I've finished the planking on this deck, sanded smooth and coated with Dark Oak. Will allow to dry then varnish. (No, I didn't add treenails...I don't like them in all honesty)

-
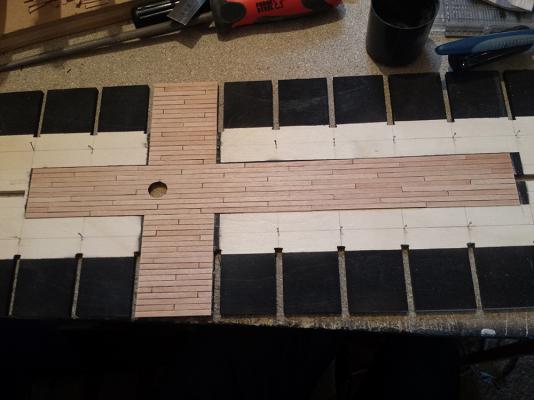
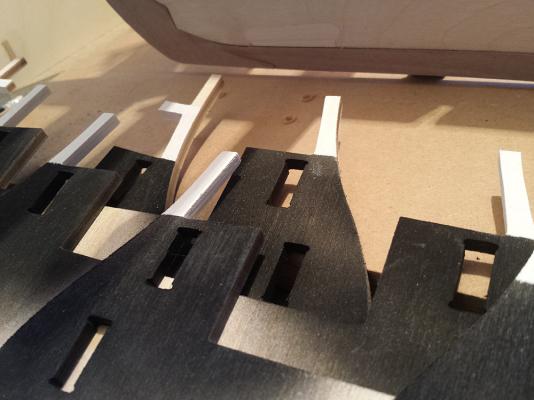
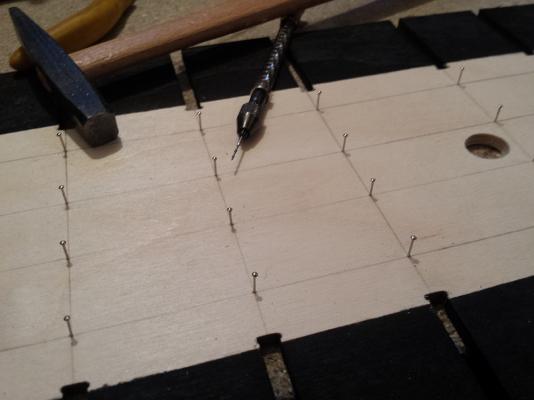
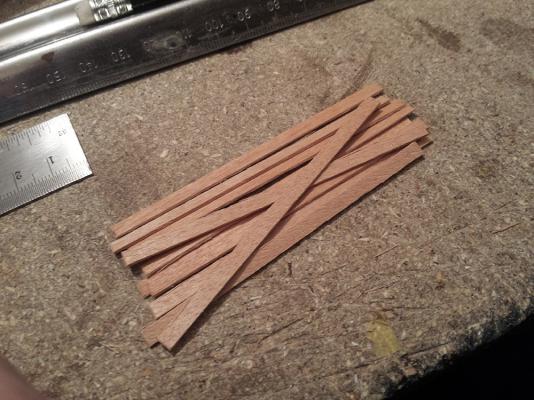
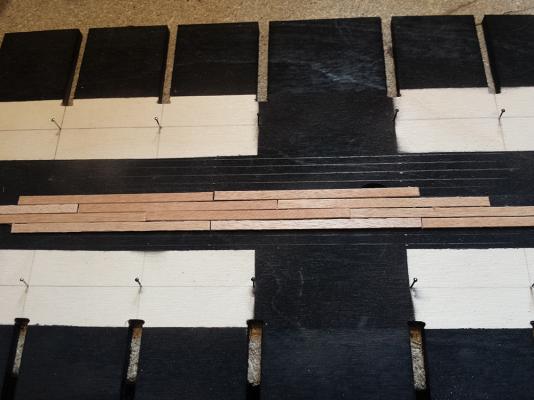
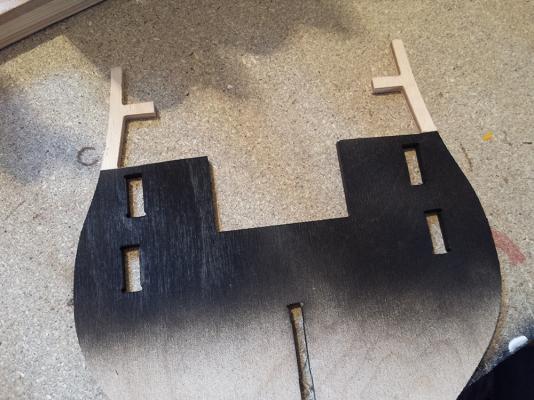
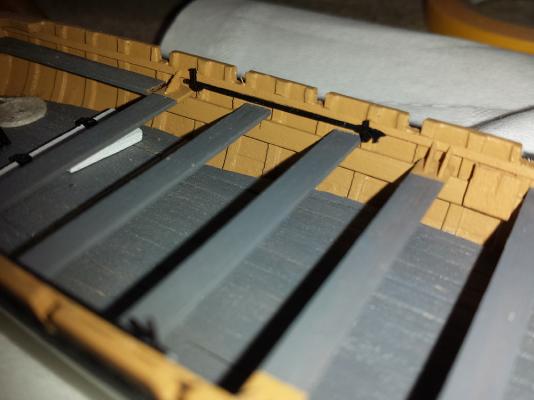
Good afternoon. Small progress made, although still not even glued the ribs on yet, just more prep work. I finished spraying the cannon port areas of the ribs black, and painted the tips of bh 4 - 12 (i think) white. This was something I tried on my constructo Vic 1:96 and it worked pretty well, aside from the split rib Next I've turned to the fist deck. I've marked the locations of the ribs and pre-drilled/pinned them ready. First though I need to plank the areas that will be visible. Prepped the planks at 85mm for teh 4-butt shift system employed on the Vic. I've come up with my own method for simulating the caulking, which has worked well for me in the past.
-
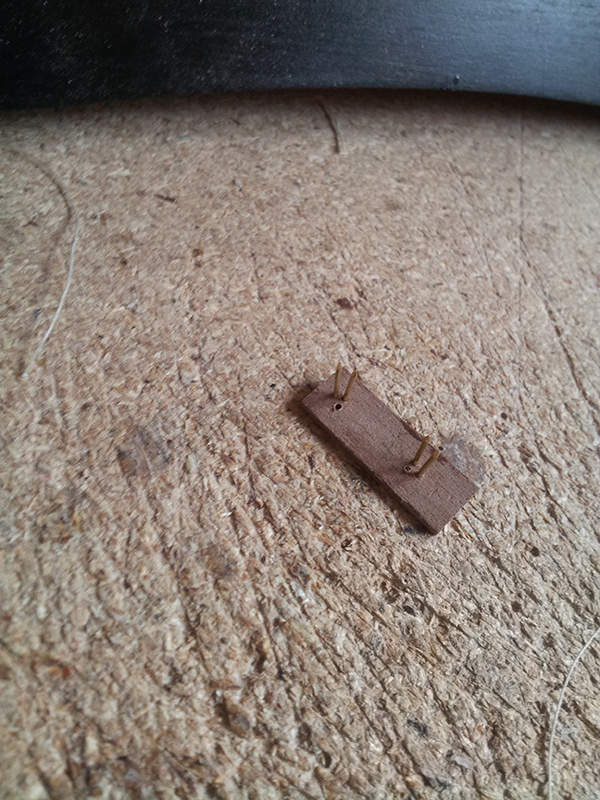
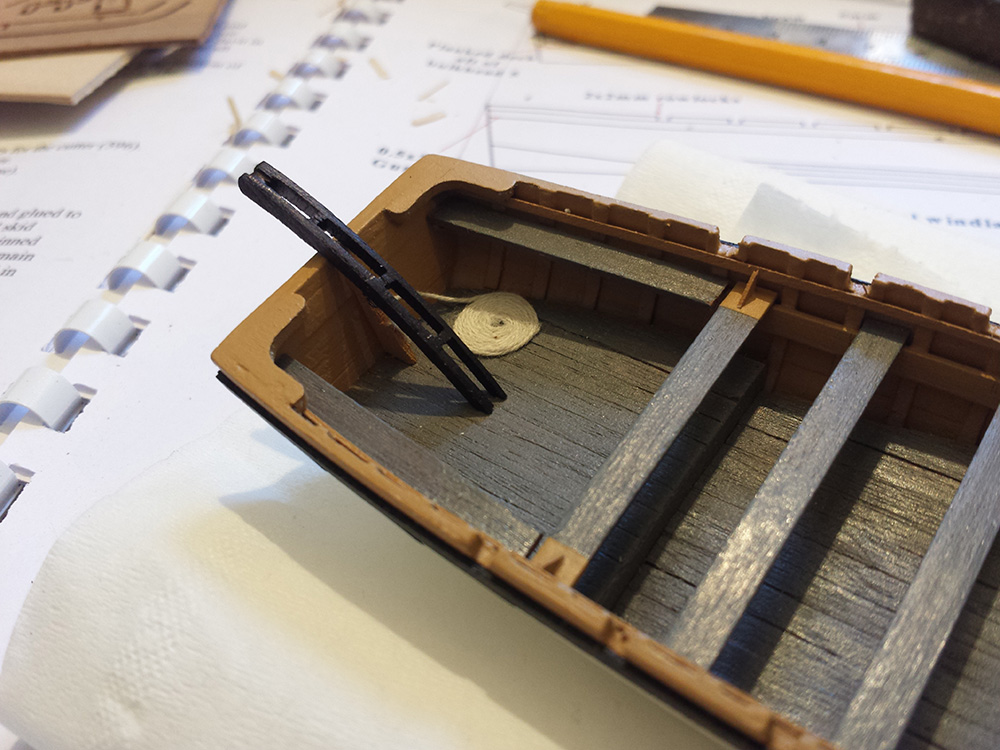
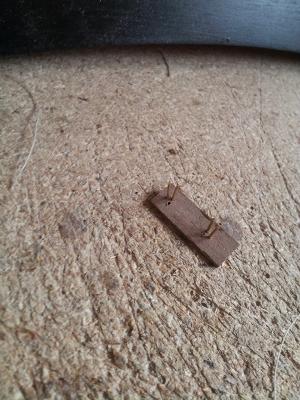
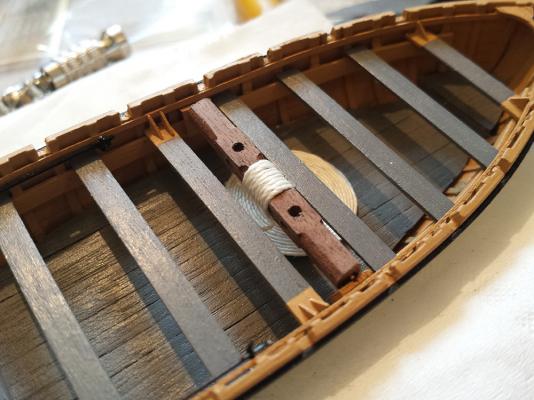
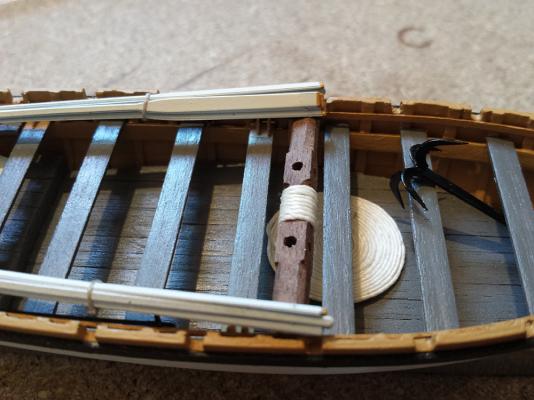
Hiya Malcom, thanks I used a spare block of balsa. Some masking tape, just cheap stuff. And a cocktail stick. Fold the ends of a strip of masking tape over at the ends so you can stick it sticky side out to the block. press the ends down tight to it's laying as flat as possible. (You can use some thinner strips of masking tape to tape around the edges if you like. Sitck a cocktail stick in the centre through the tape into the balsa. Mark your diameter out. Then, depending on if you need two free ends or not, press the end of your thread down in the centre and just continue to wrap around the cocktail stick and then around the thread itself. (If that makes sense). When finished, use some watered down PVA glue and brush onto the thread. (Remove the cocktail stick as soon as you're done). Leave to dry, then use the edge of a scalple to prise the coil off the tape. The face that was stuck to the tape is your "good face". Although with practice when brushing on the pva you can have both sides looking ok. Next time I do one I will take some photo's
-
Such nice comments. No pressure then
-
Thanks fellas Not a great deal to report today, just some prep work on the keel and fitting the stem and keelson. I've also planned ahead and am saving some time later by pre-spraying the dummy cannon port areas black on the ribs, will do the same with the beams before fitting them.
-
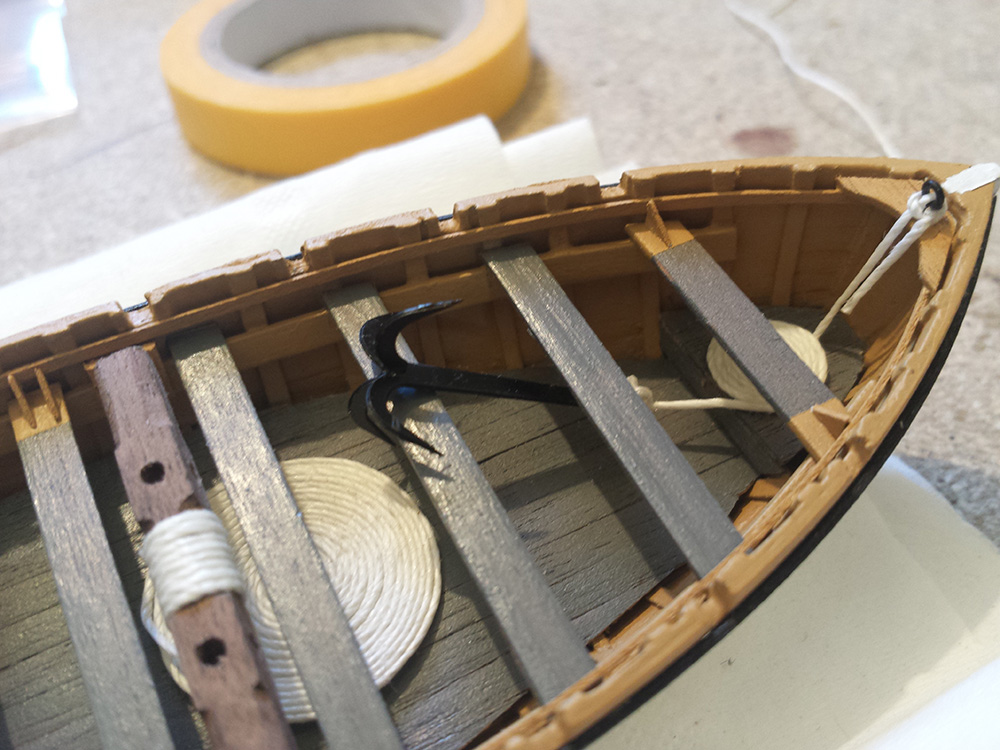
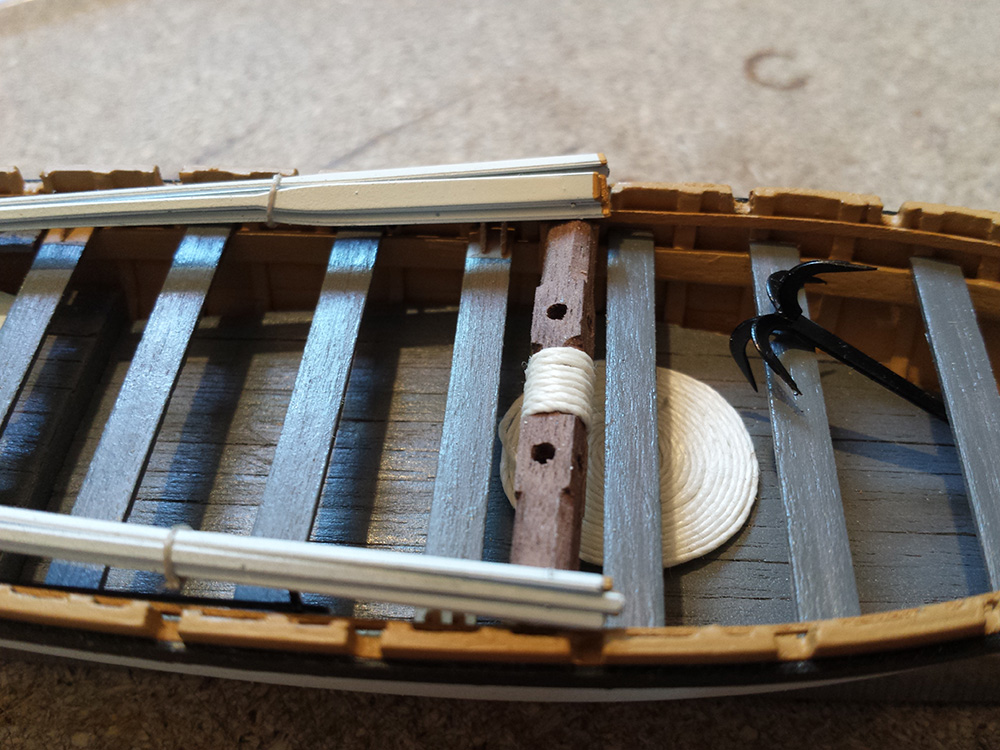
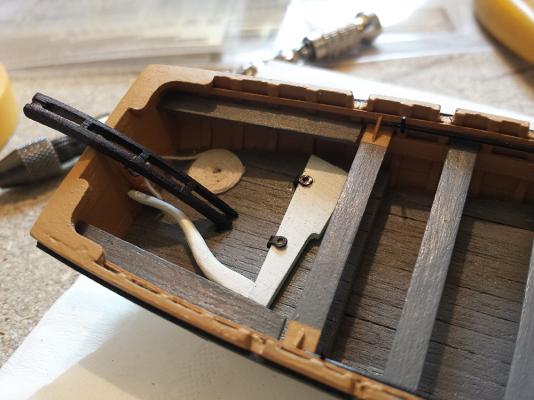
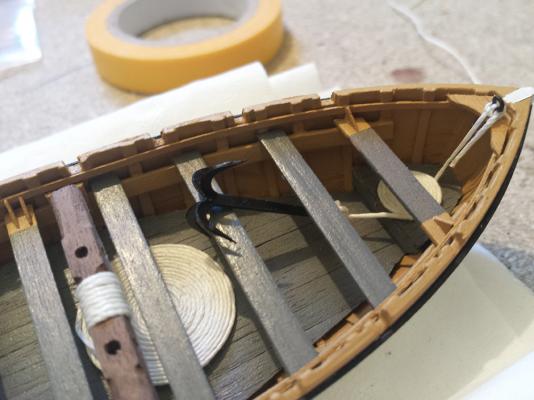
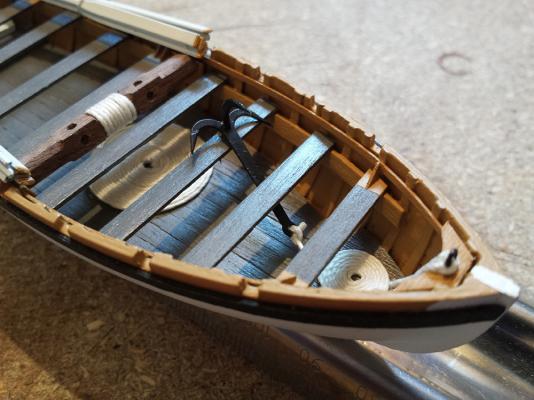
I've continued to fit out the launch, shaping and fitting the windlass, rudder, davit, anchor, boat hooks and oars. This little side project is finally complete, and now I can set about her mother

-
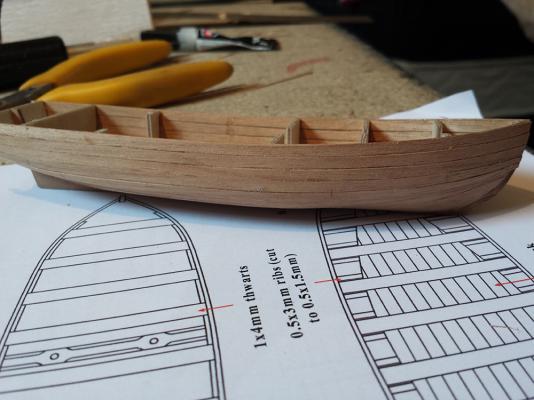
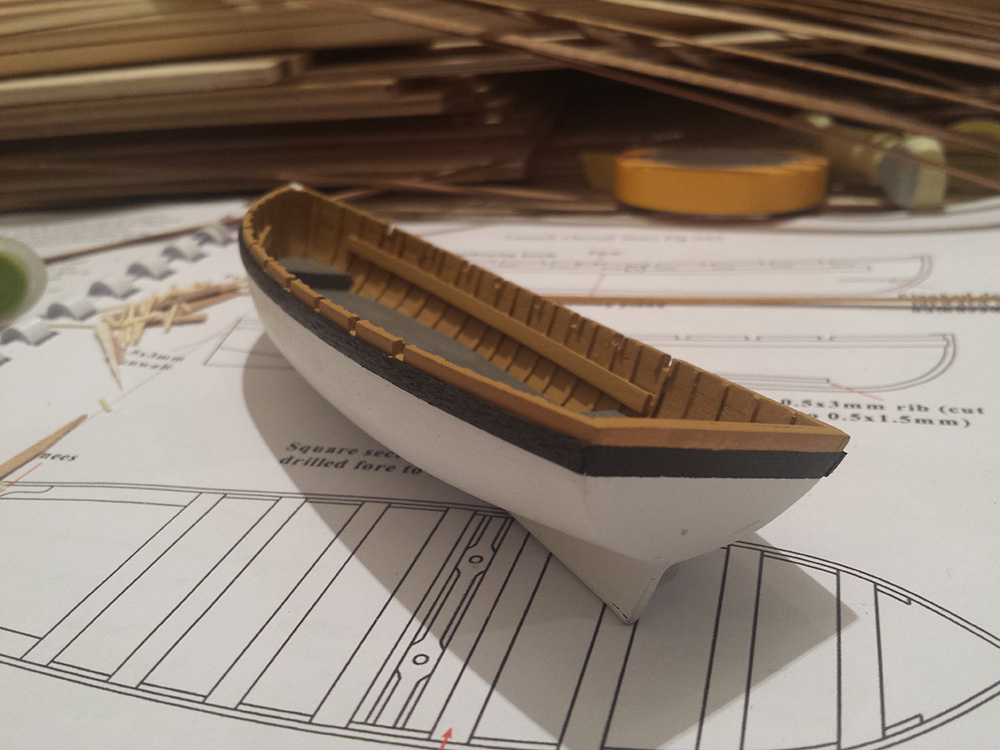
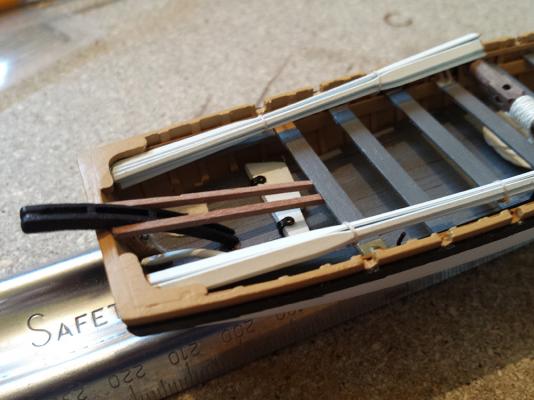
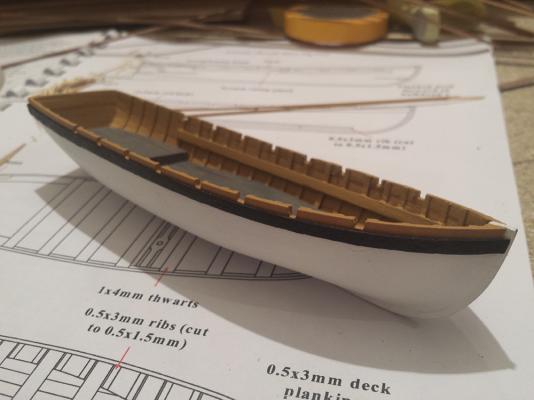
Thanks Malcom. I've always found CC/Jotika kits pretty good as well. The quality of the parts in this one are partularly good. I think the only thing that could make this a little better would be the same sort of illustrated manual that comes with the AL 1/84 version. I've been working still on the launch, added the thwarts and an upper support rail (not mentioned in the kit, but clearly visible on the real boat), and I've added some finer details, thwart support braces etc. I've also fitted the davit. Wasn't sure on the colour so went with metal black.


-
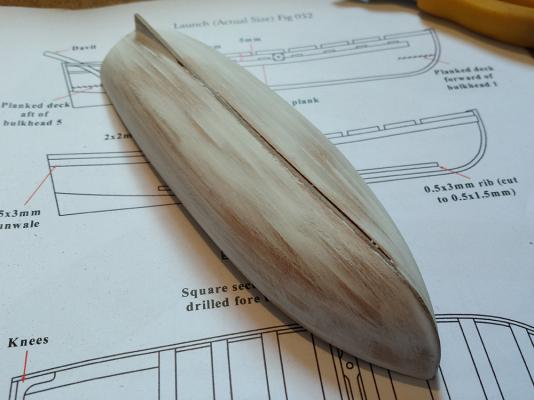
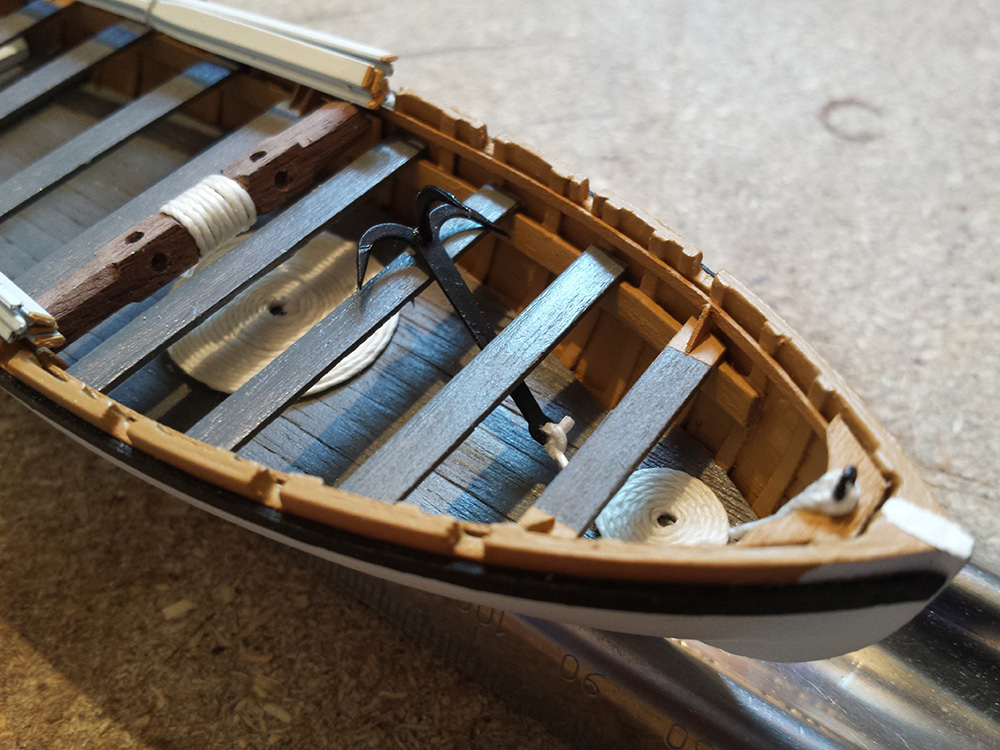
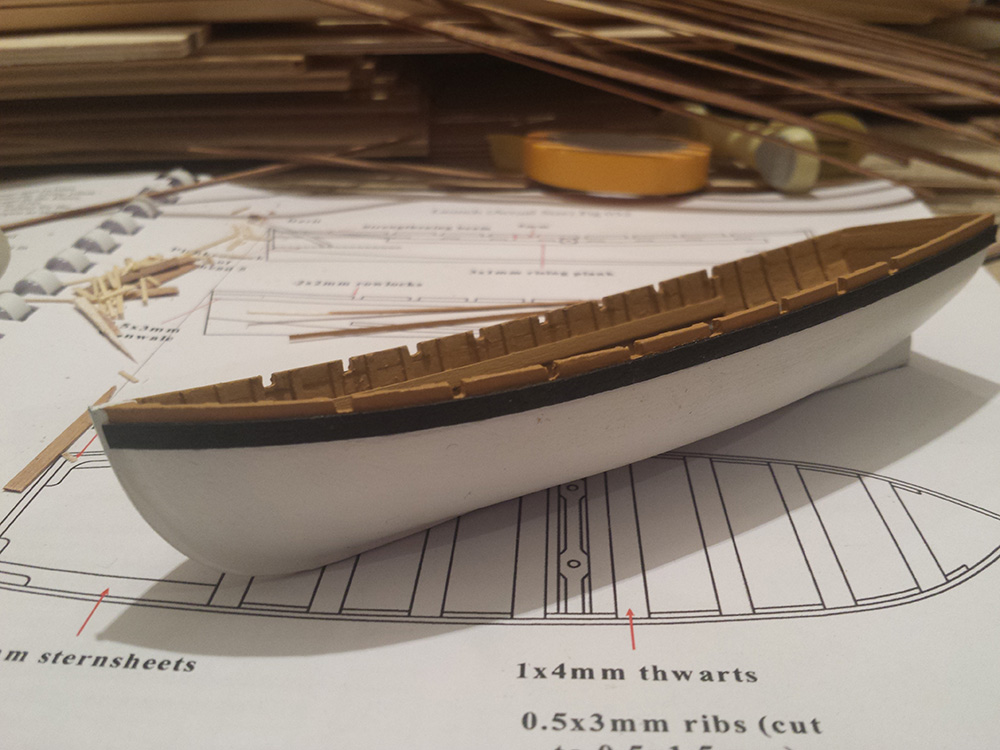
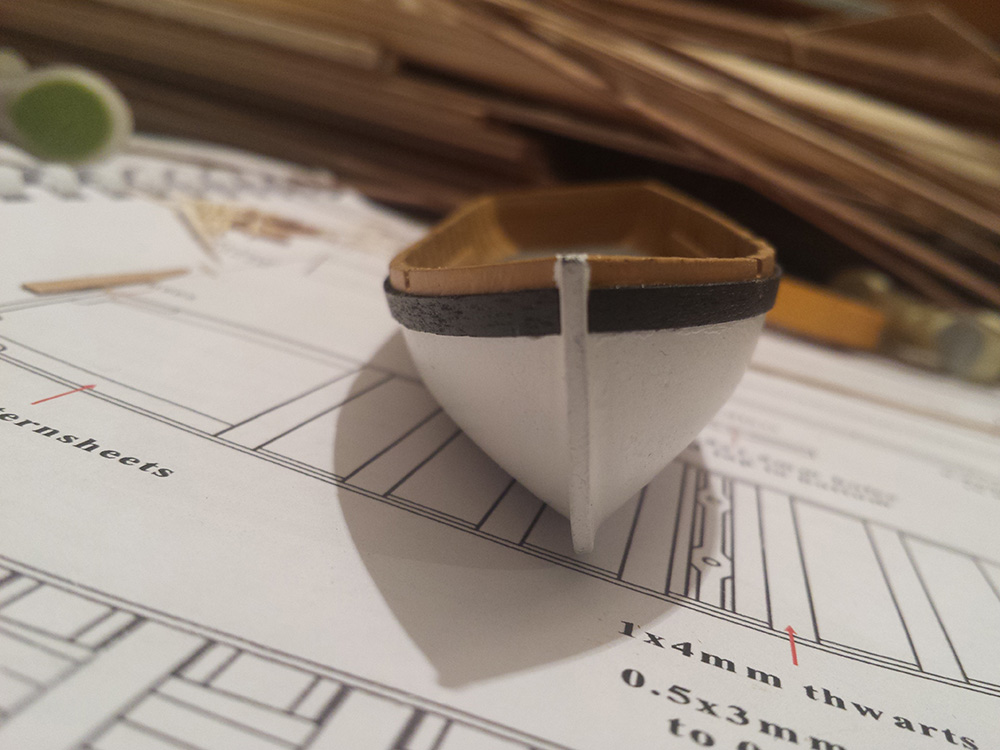
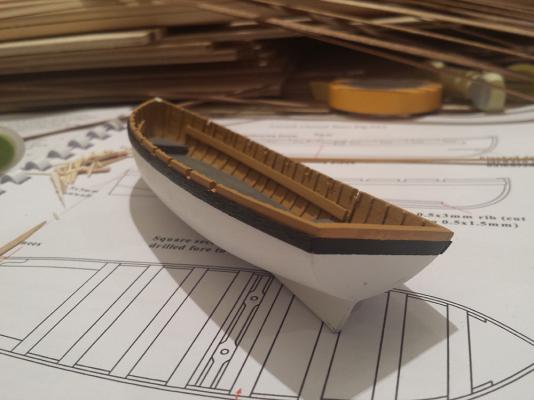
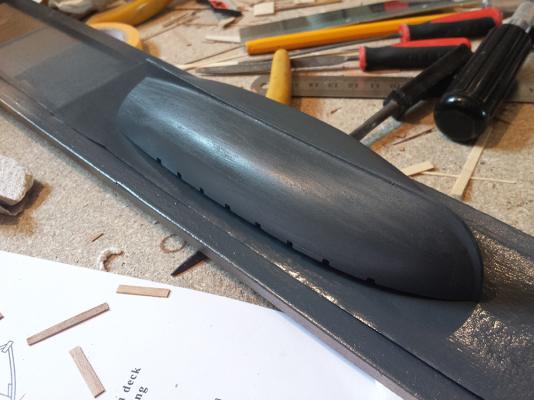
Thanks Kevin. Small update. I've finished spraying the hull white, and shaped/painted and fitted the gunwales.


-
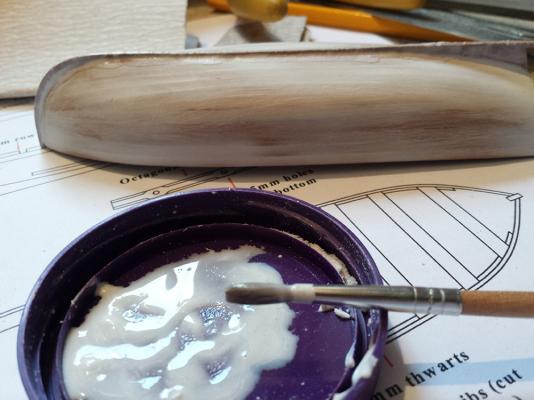
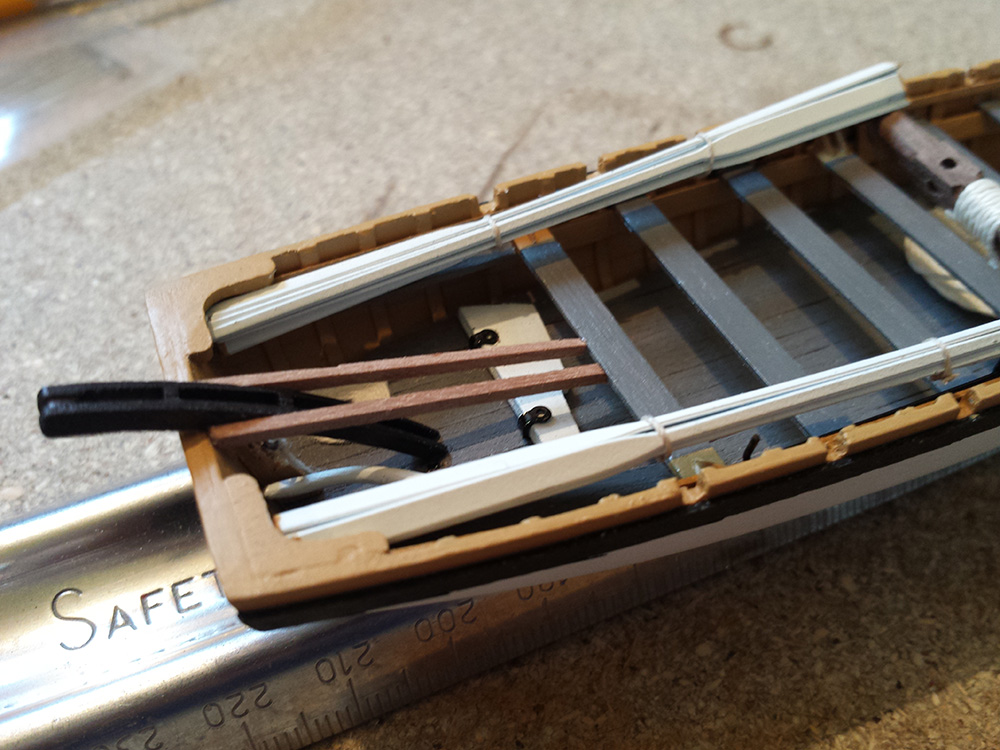
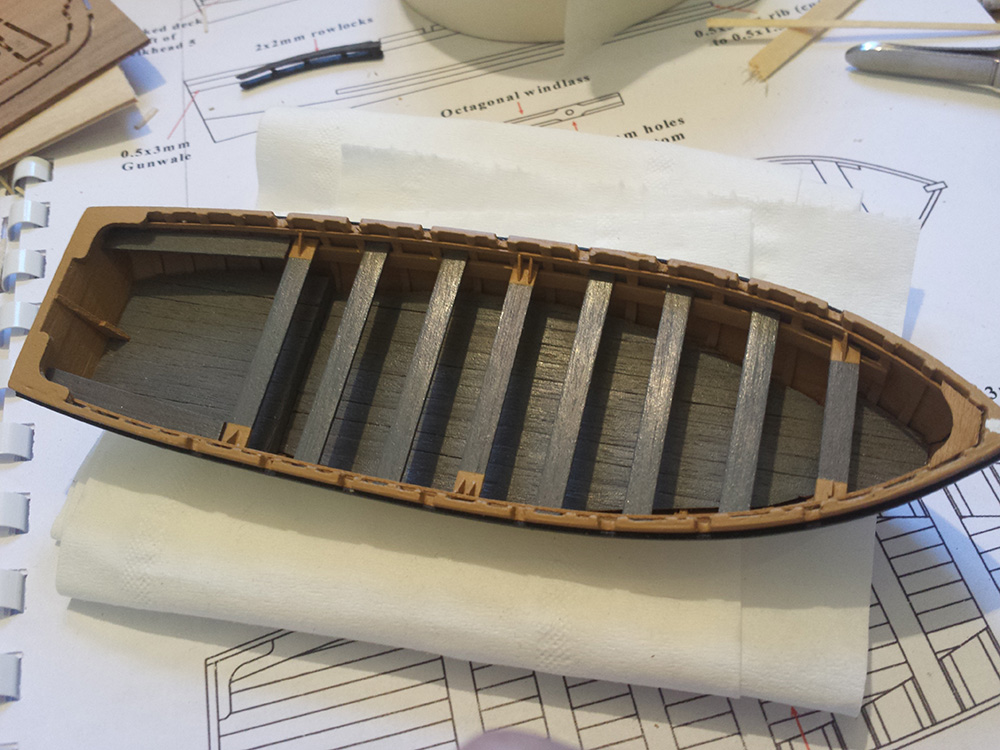
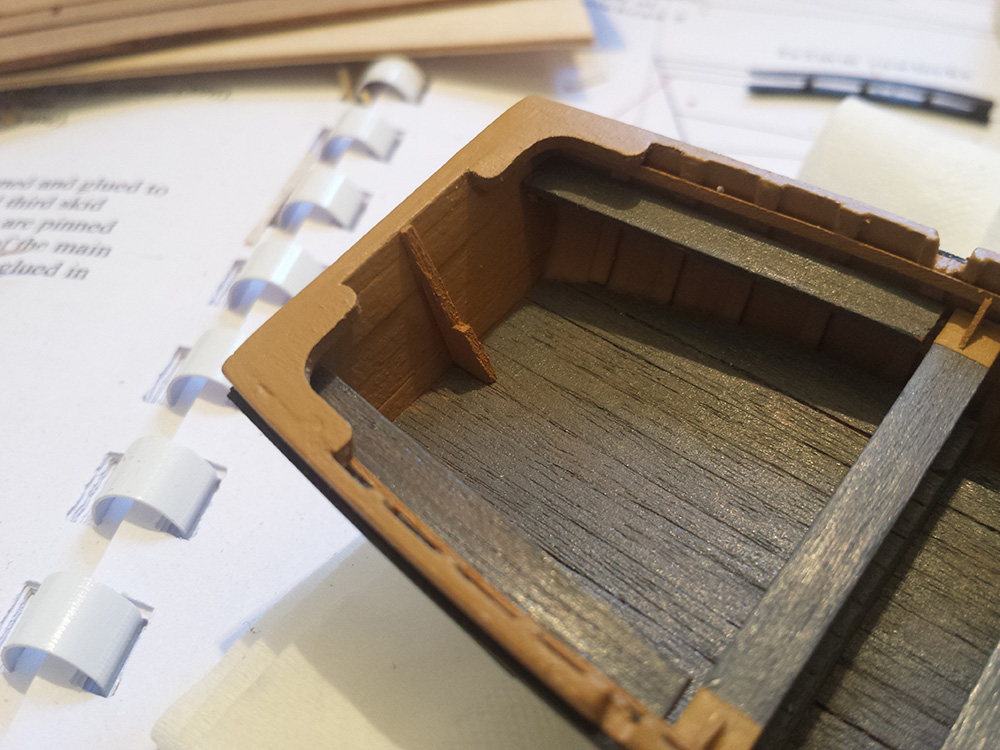
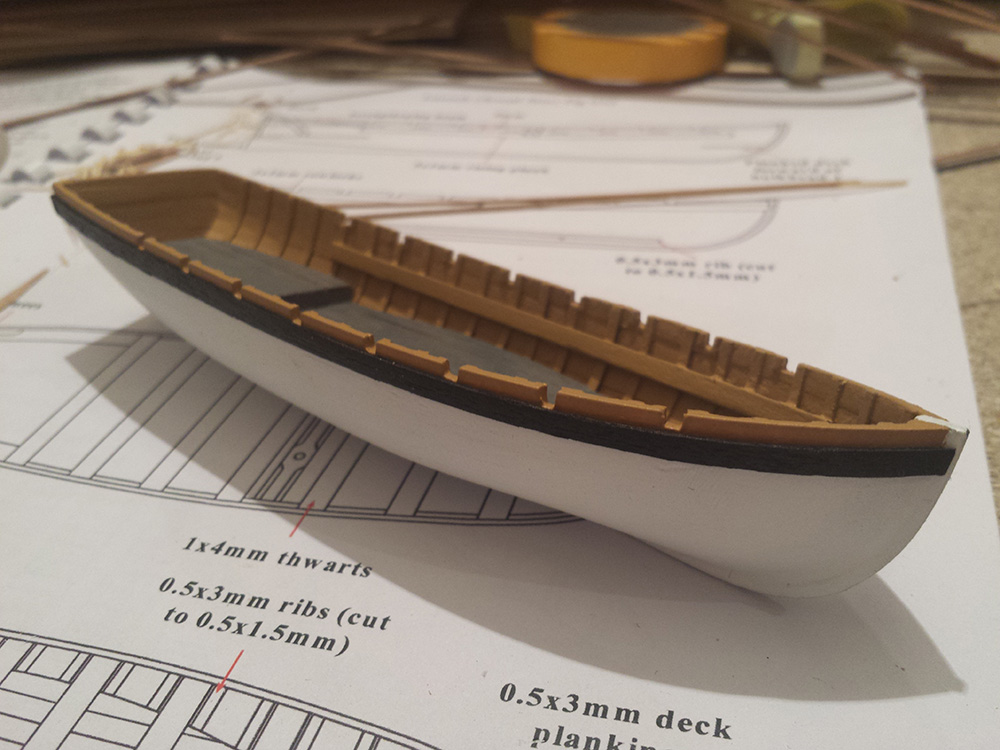
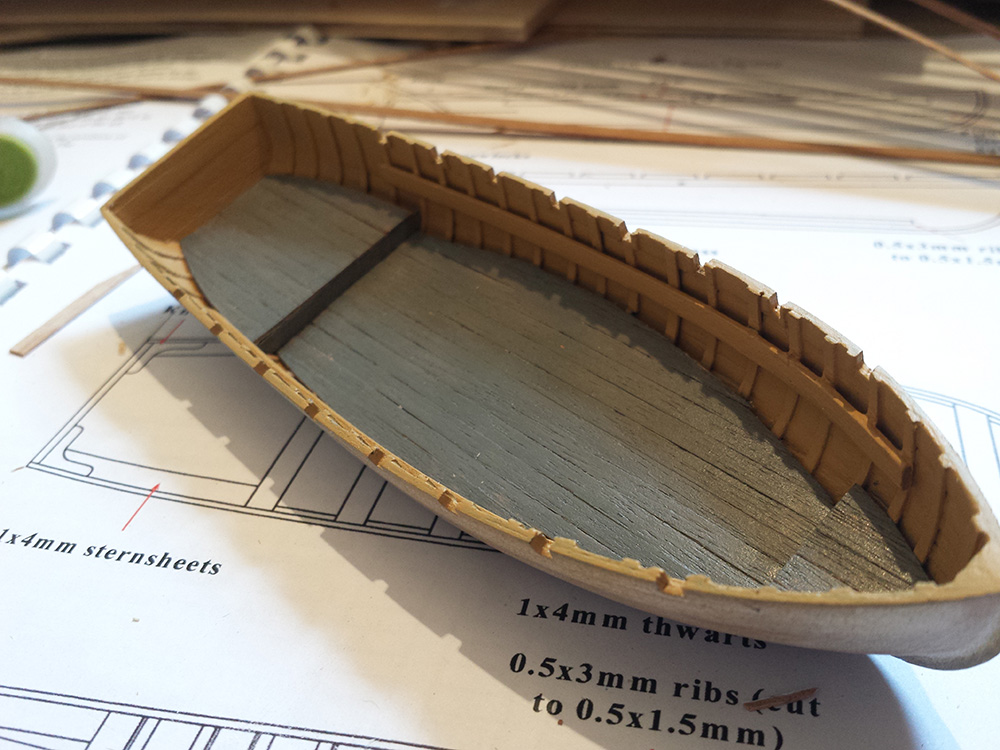
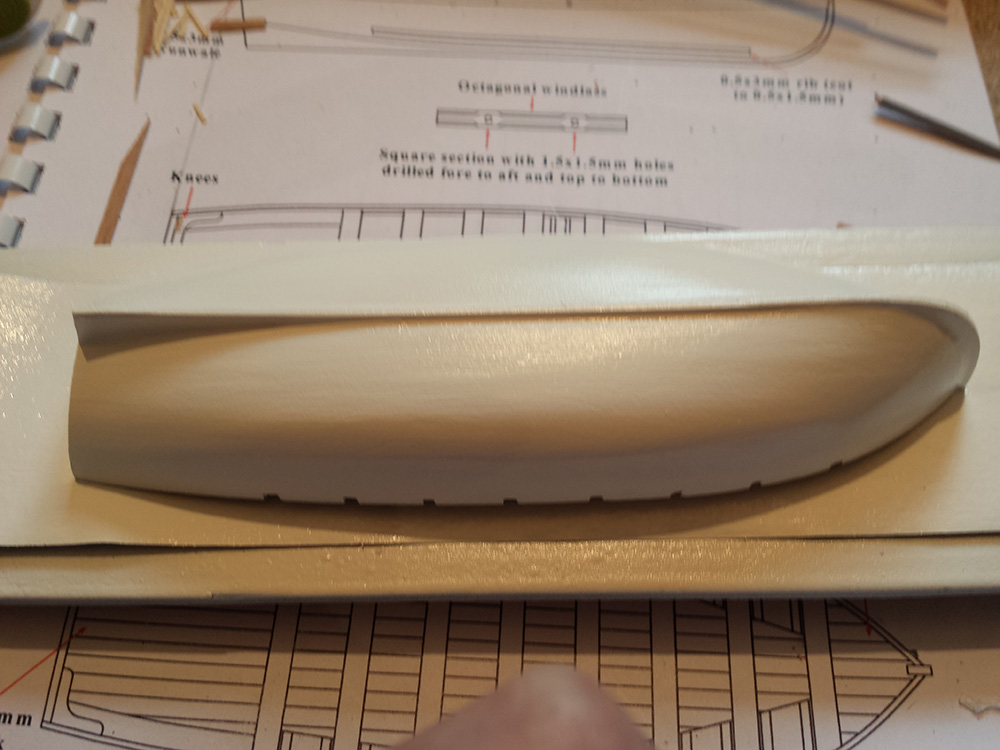
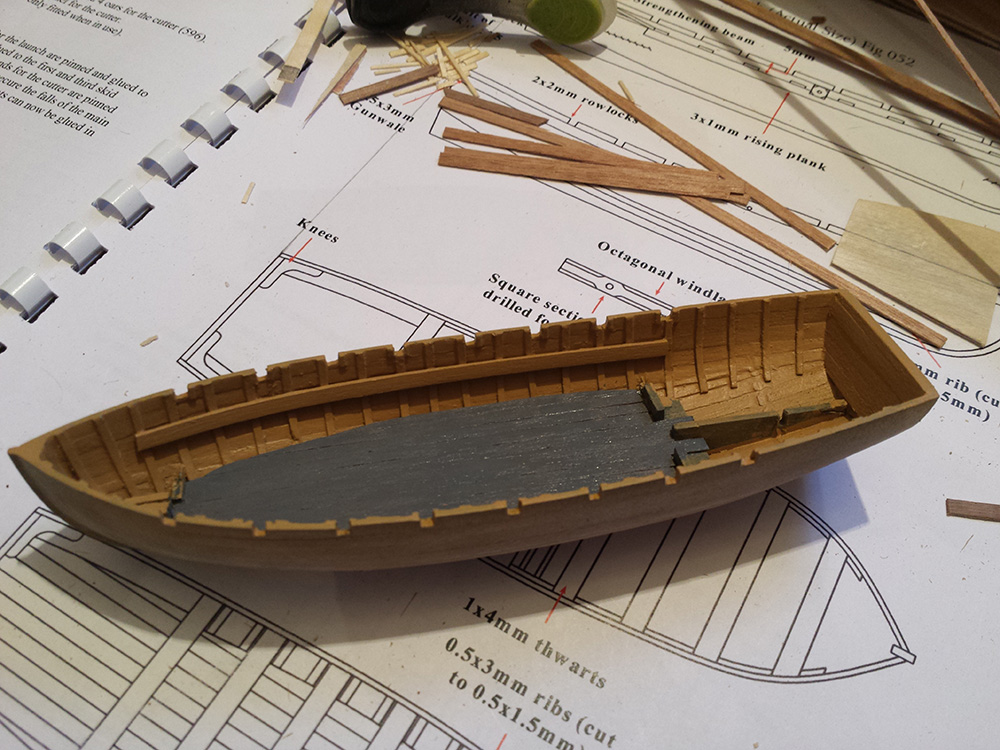
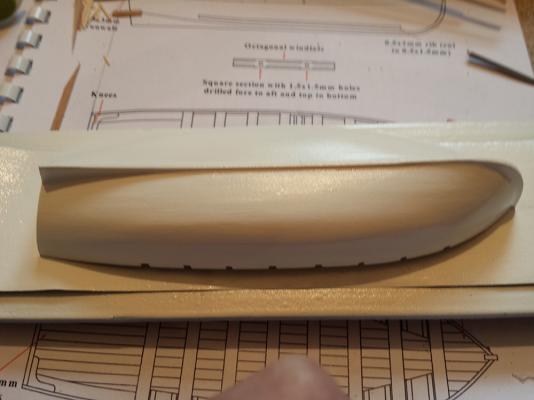
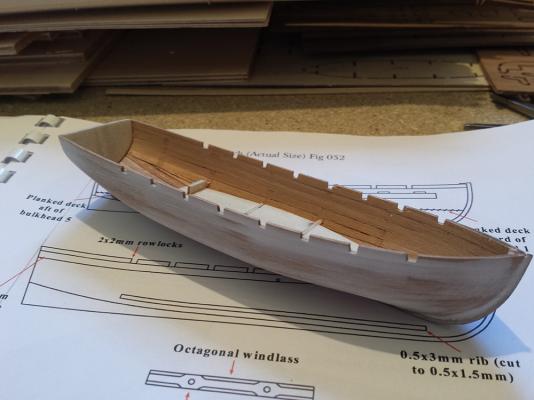
Thanks David. I've finished fitting out the interior for the moment, with the addition of the fore and aft duckboards. I've given the hull a coat of primer, refilled and sanded, and finally several coats of matt white, the last of which is drying as we speak.

-
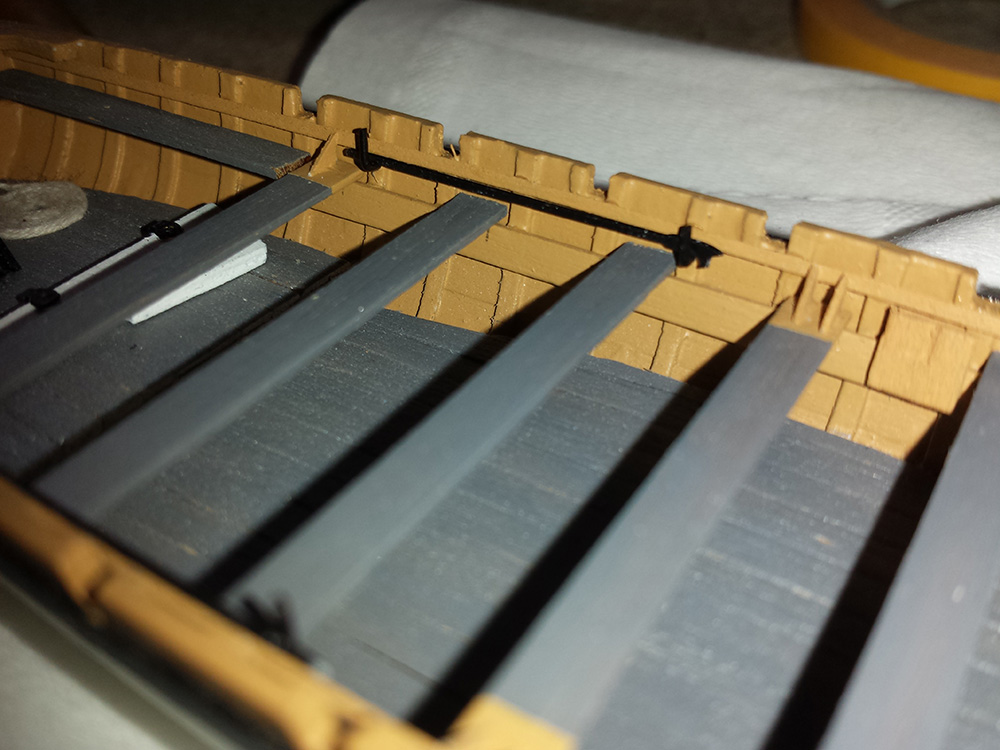
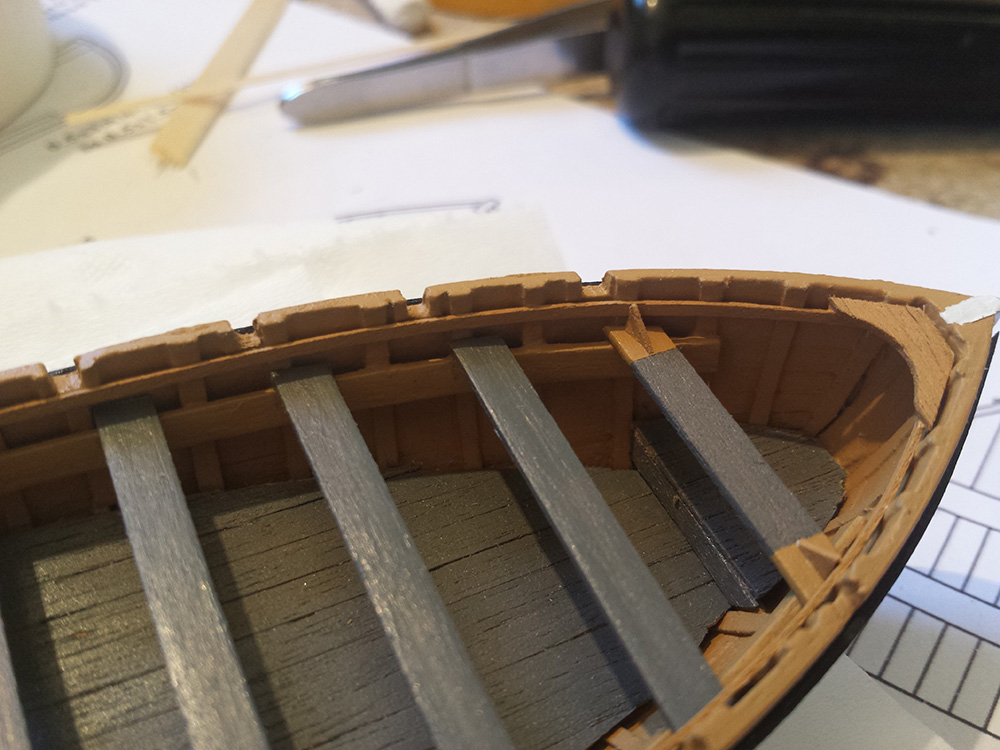
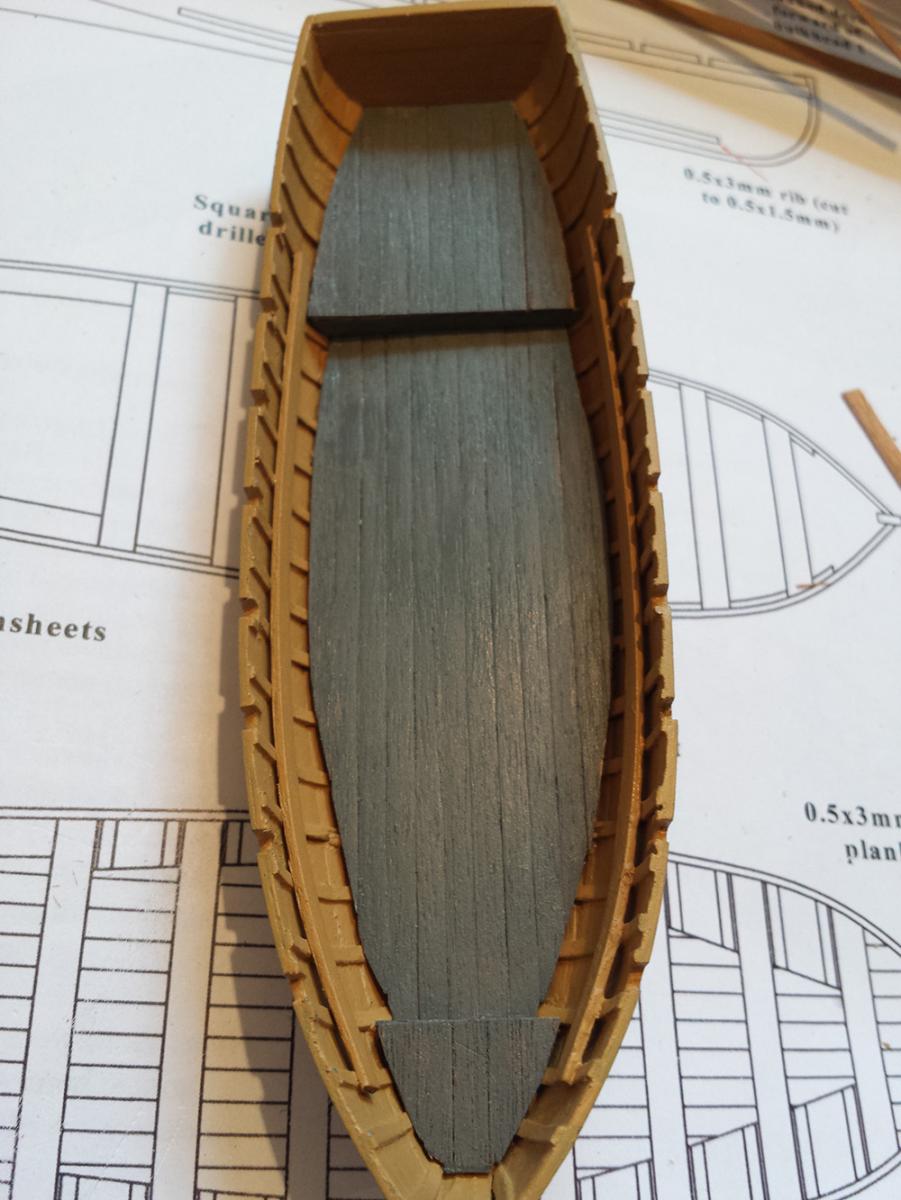
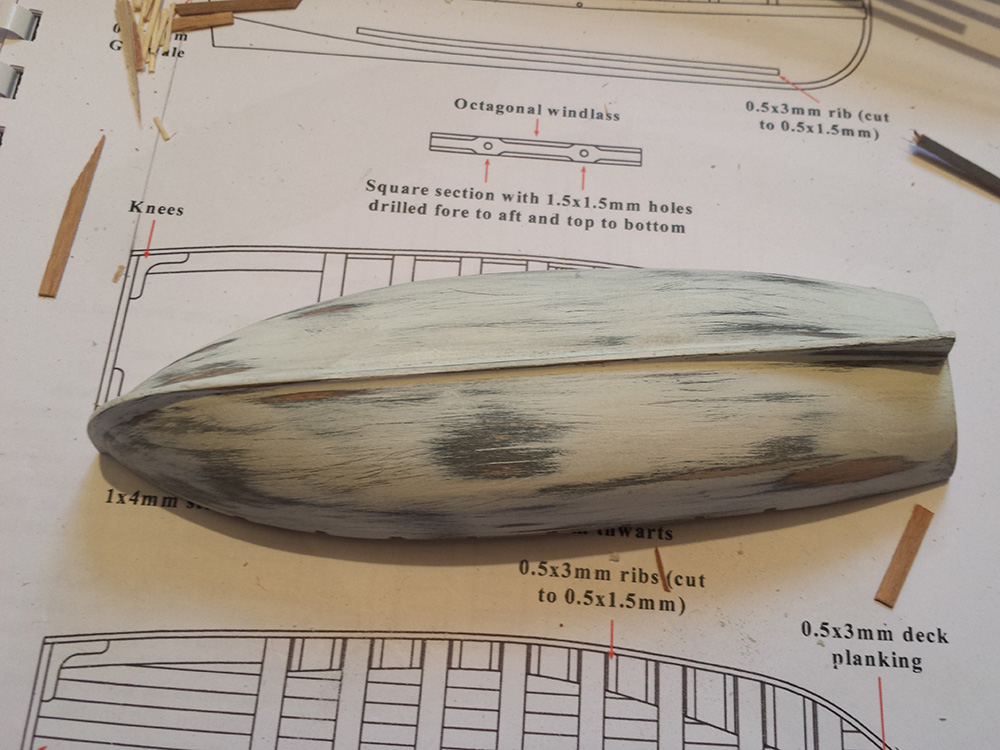
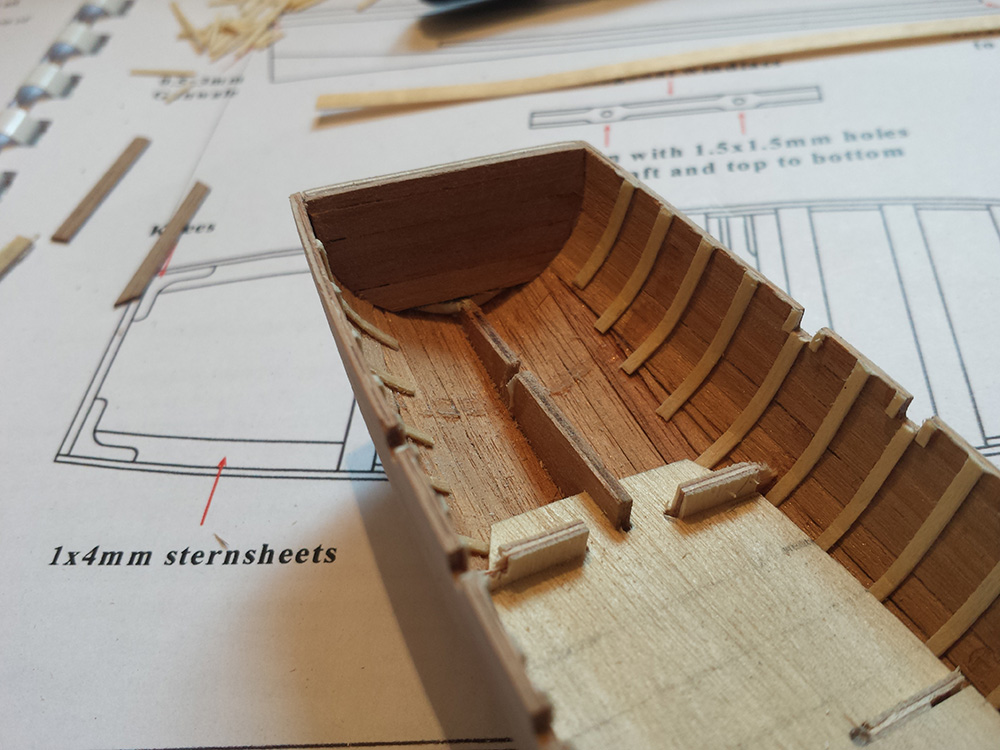
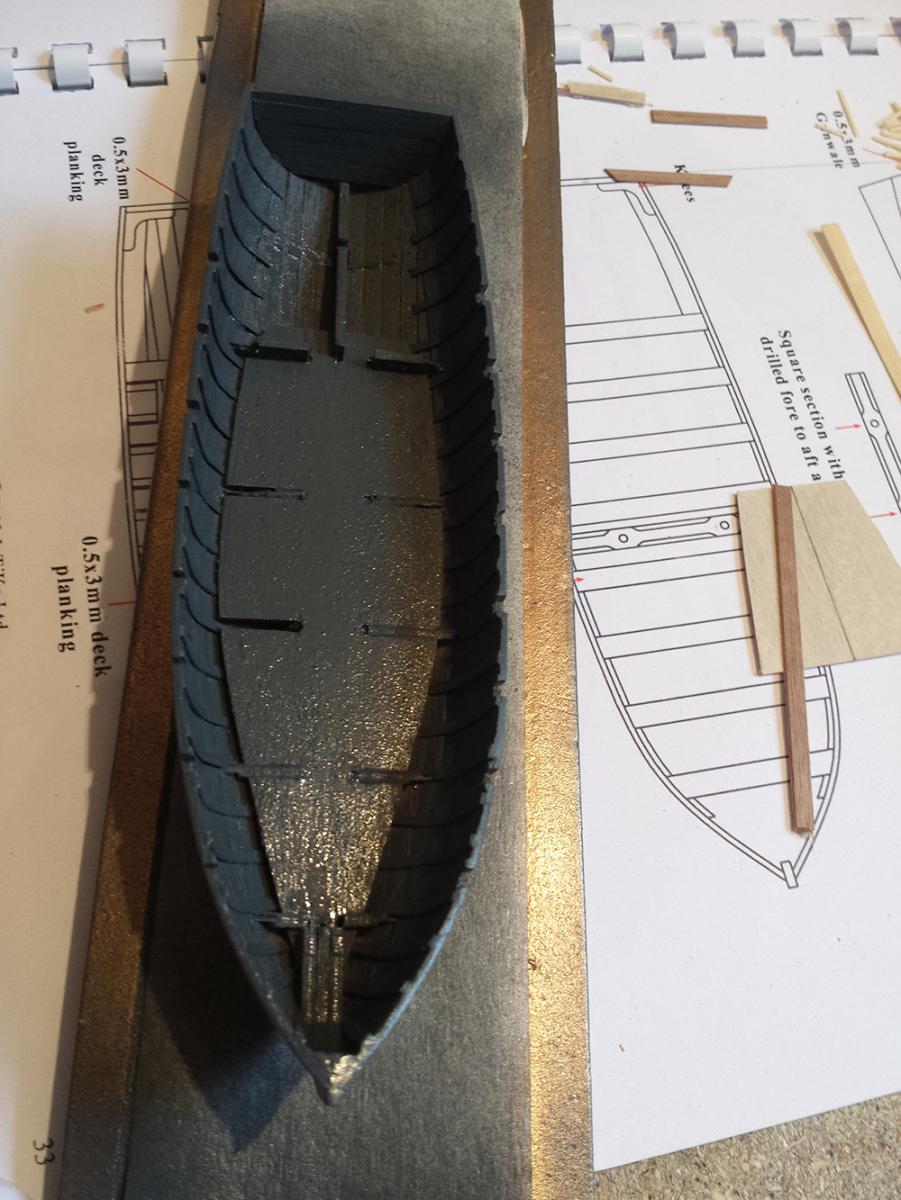
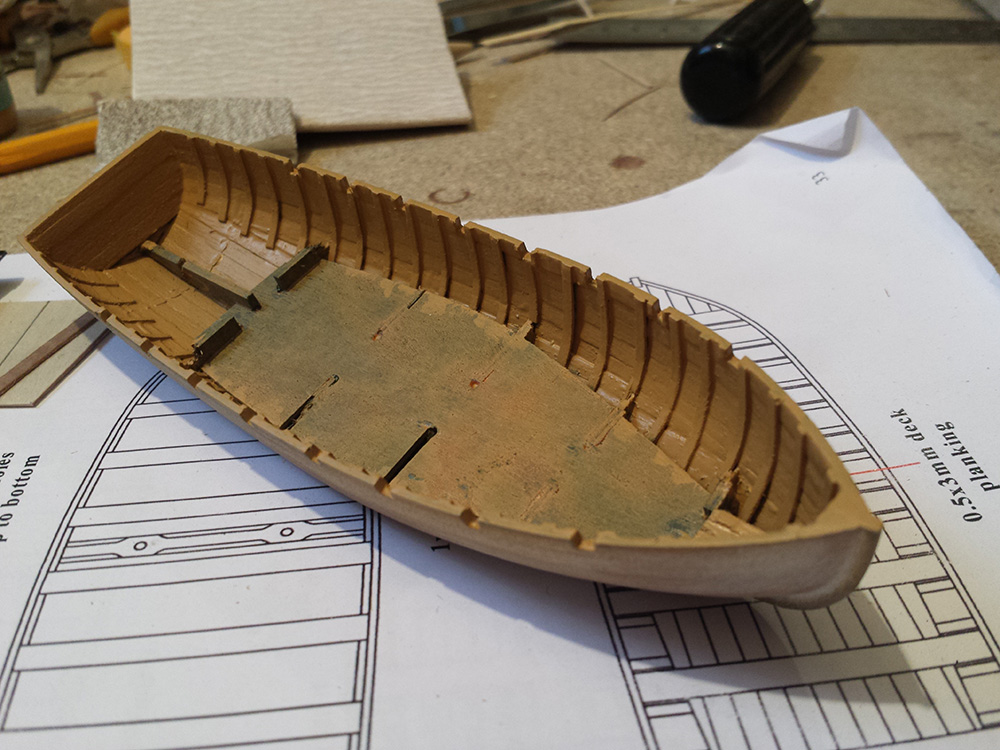
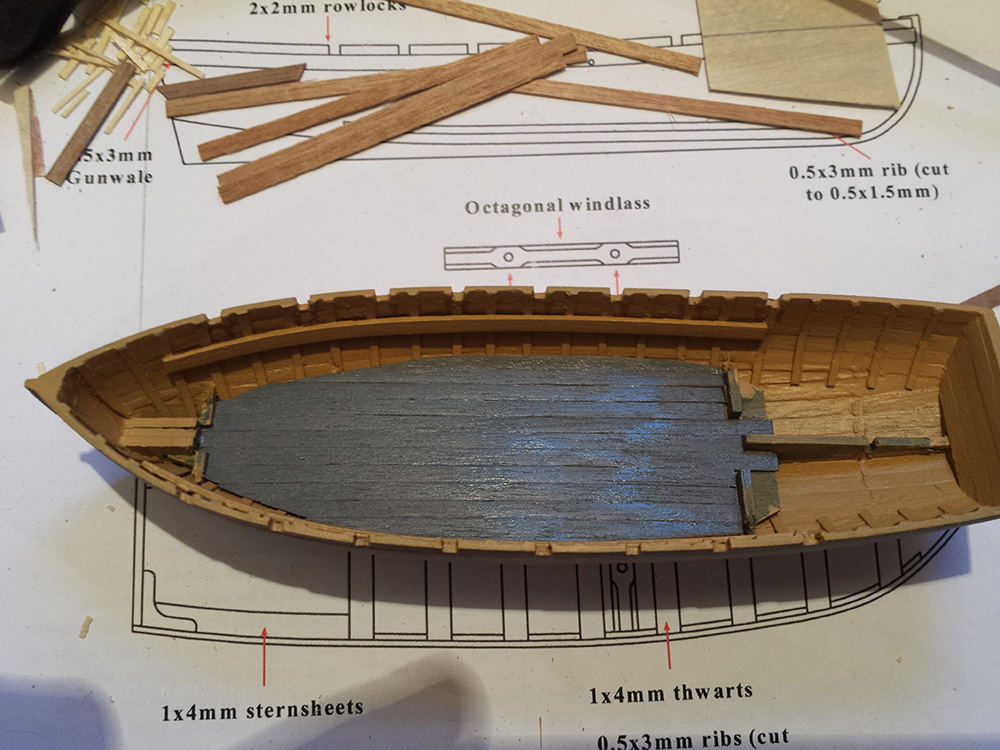
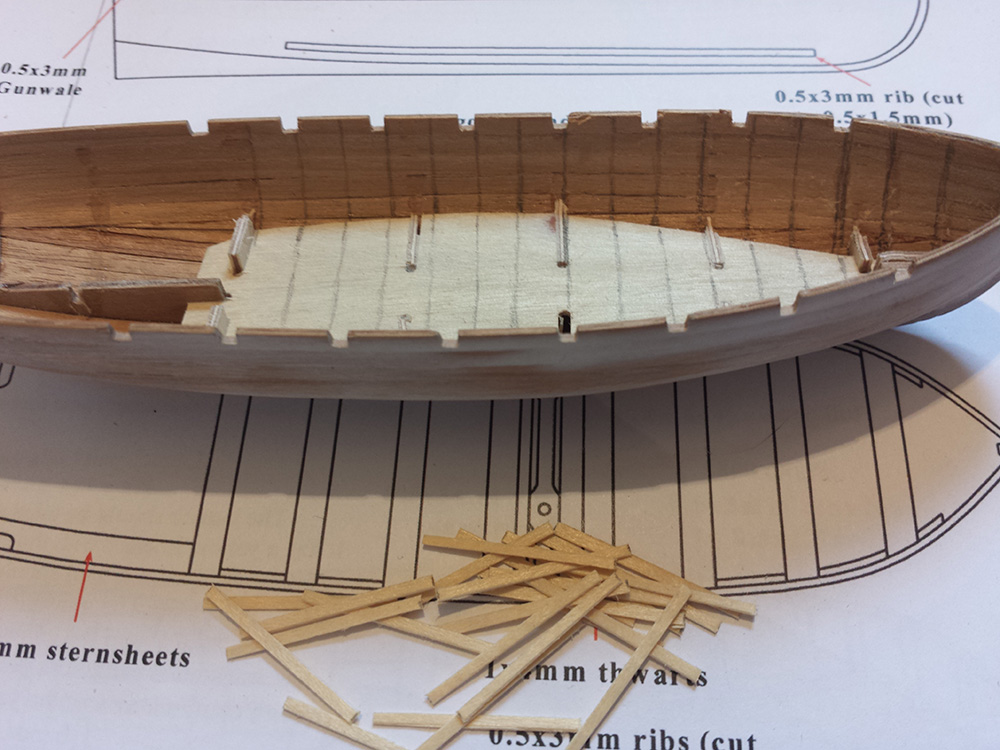
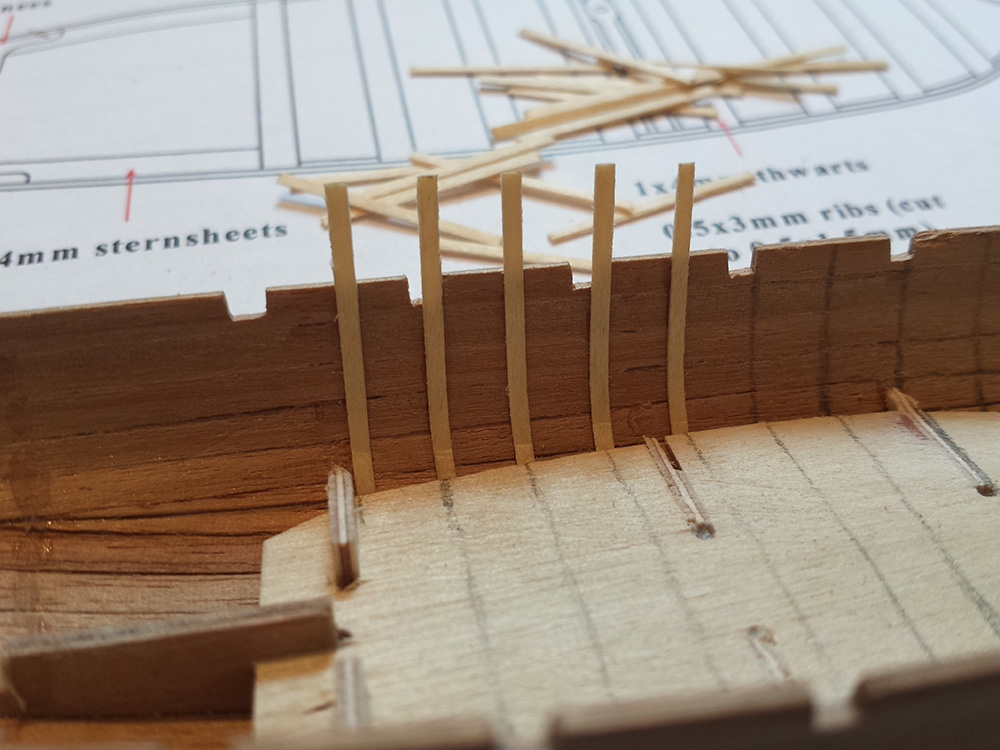
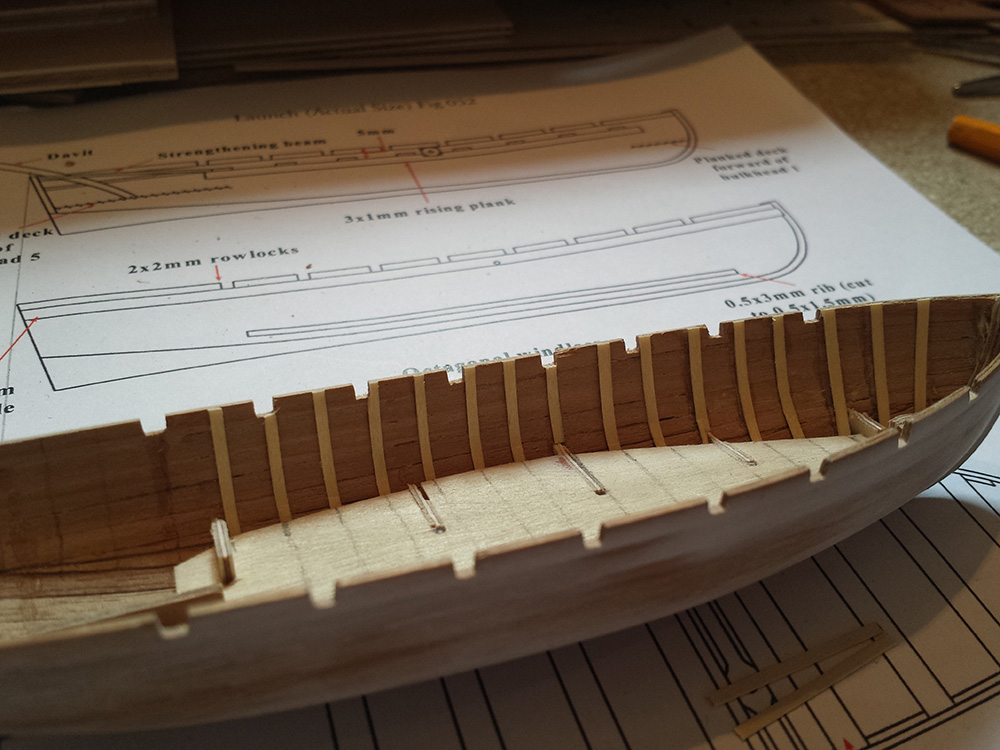
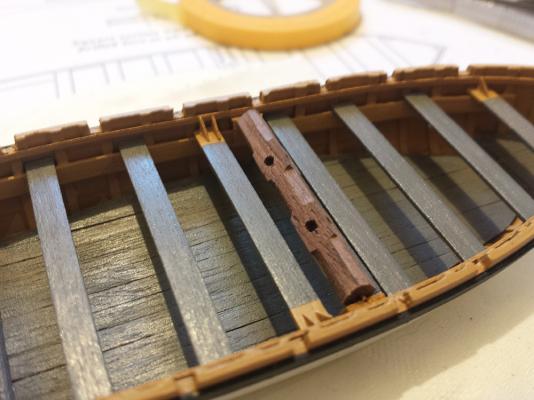
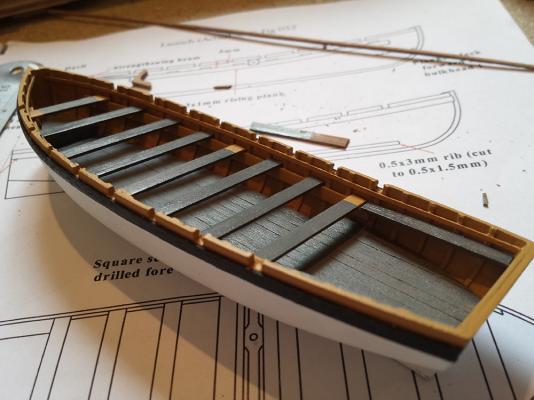
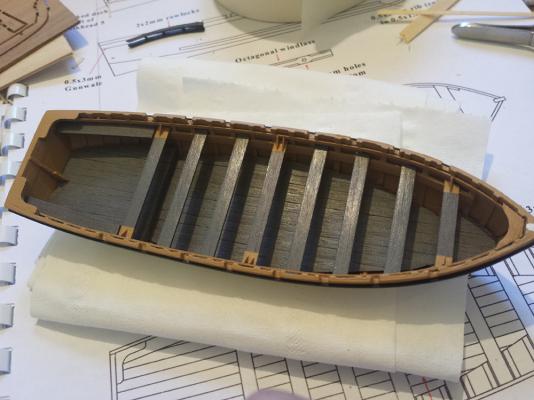
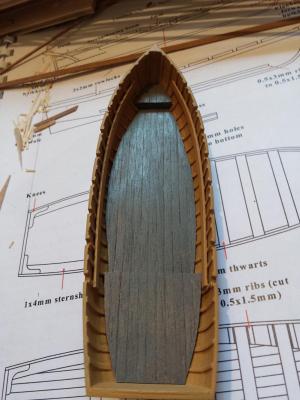
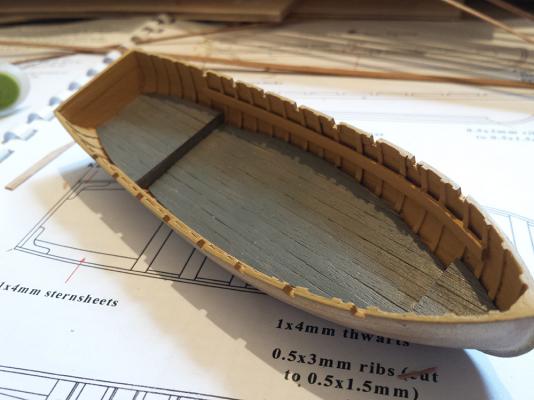
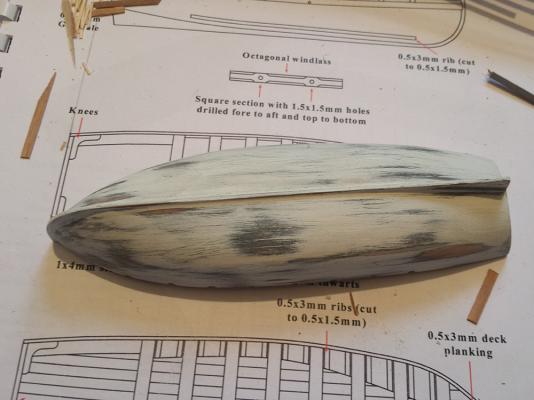
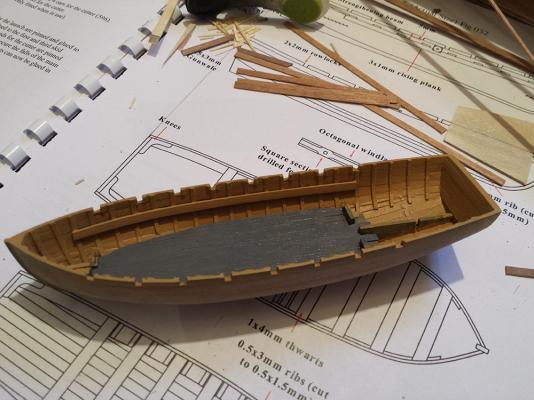
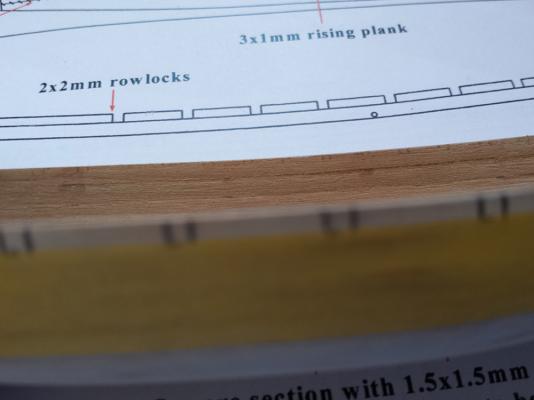
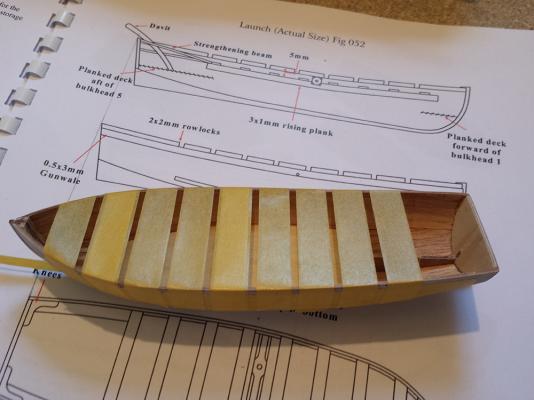
I completed adding the simulated ribs, along with starting on some small extra detailing I am adding in. Not sure if they have a correct term, but the small strips of wood that seem to bolster the row locks. Then after a coat of grey primer, and a disasterous attempt at airbrushing yellow ochre, I hand painted the interior. (I must have really screwed up on the mix). I also planked the deck (duck boards) and used admiralty metal primer to simulate the sub-bleached-washed-out effect based on the reference photograph of the actual launch.


-
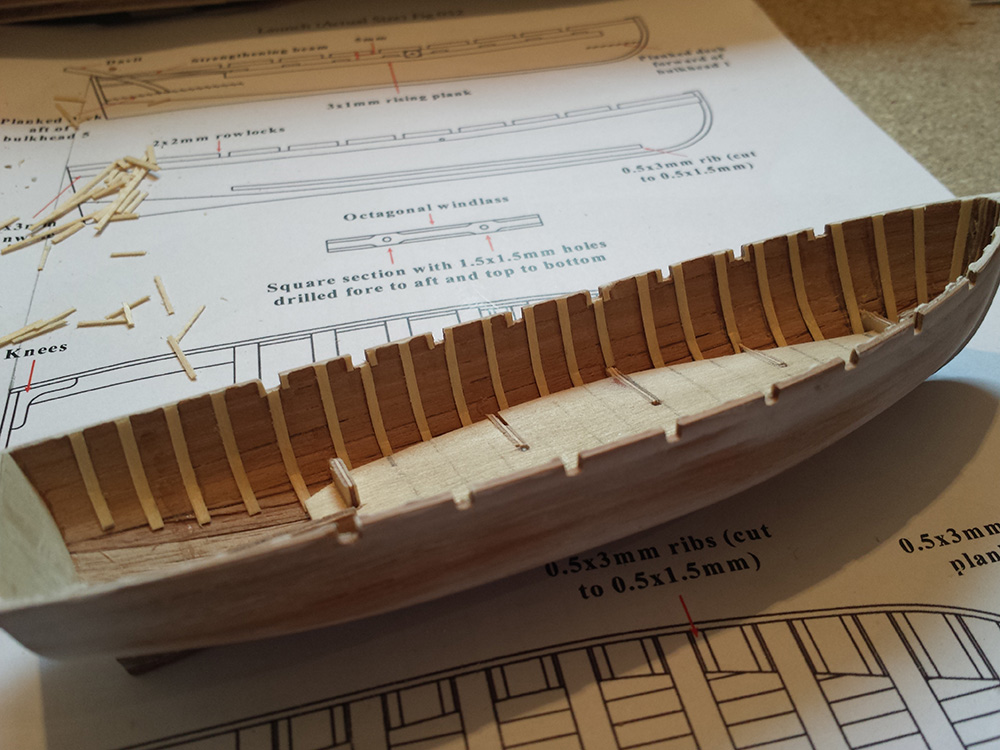
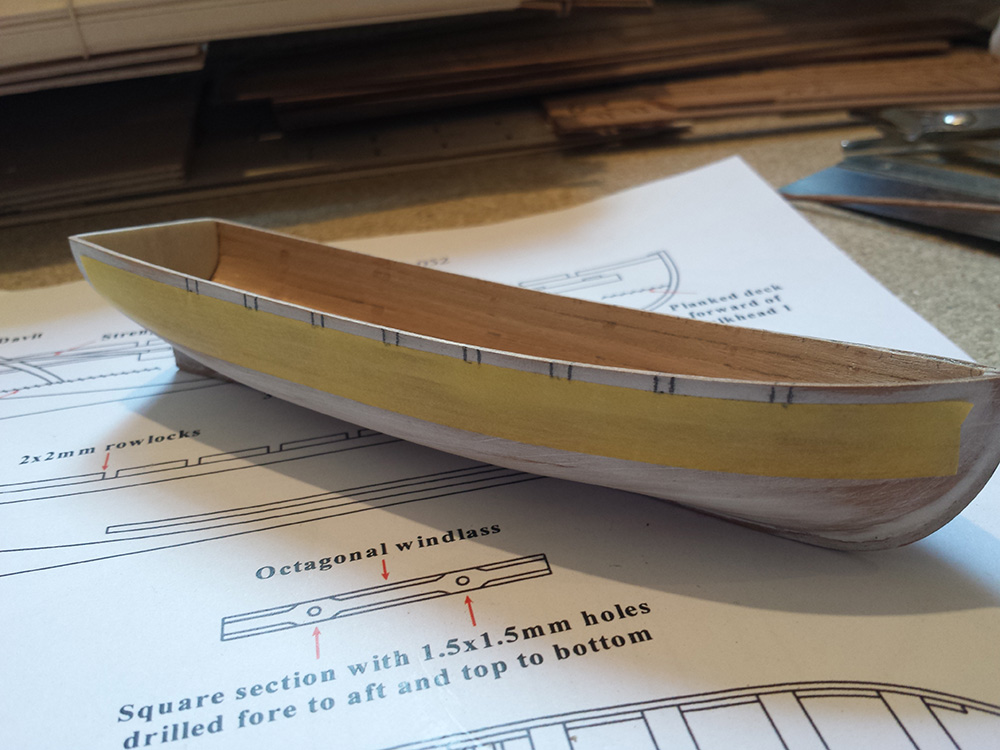
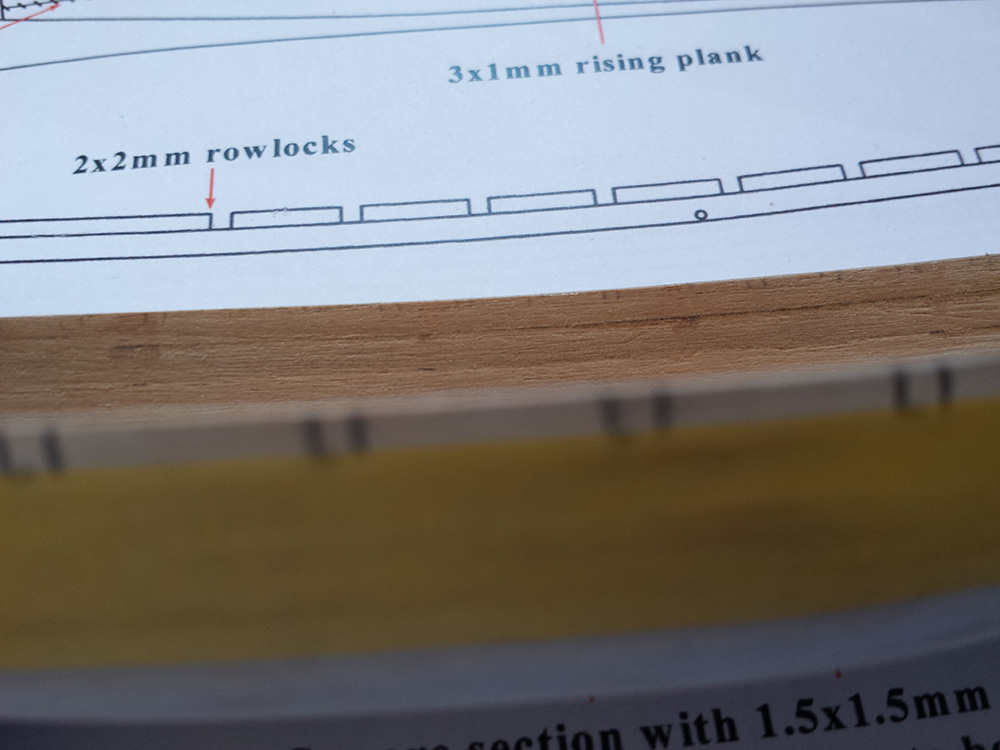
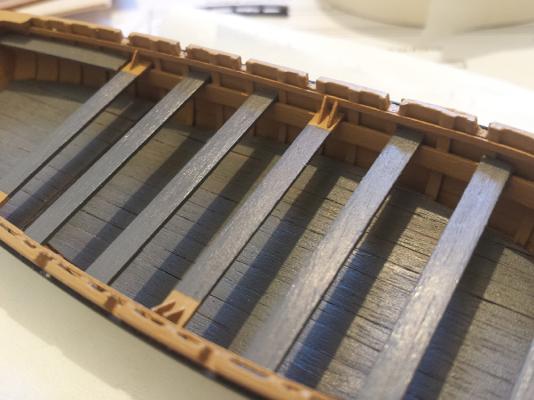
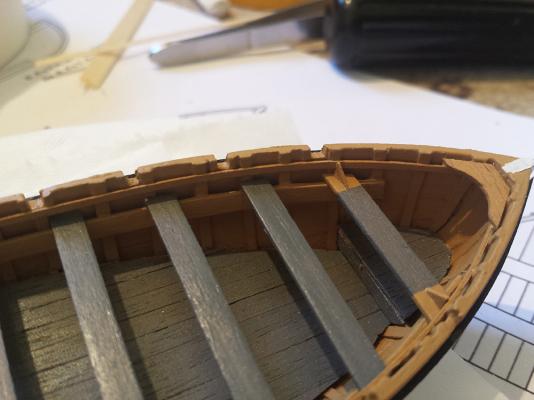
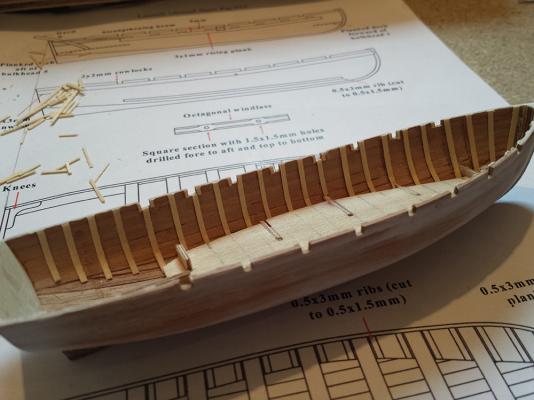
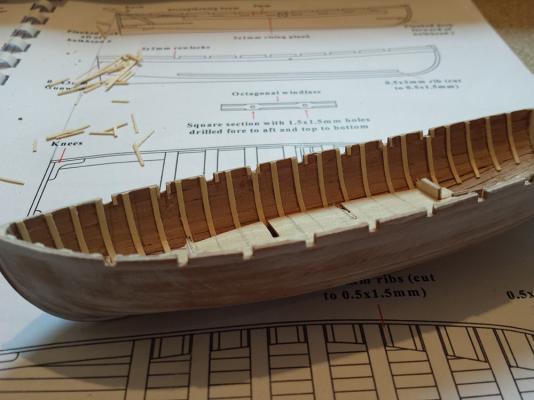
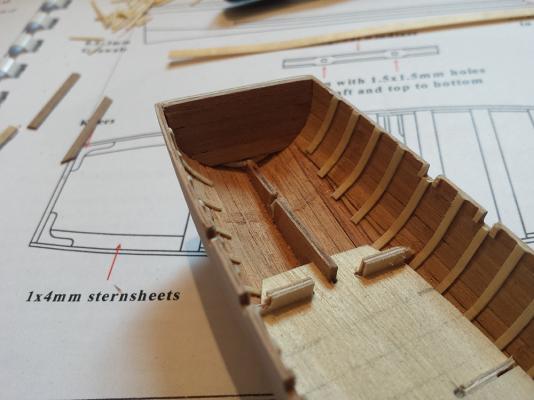
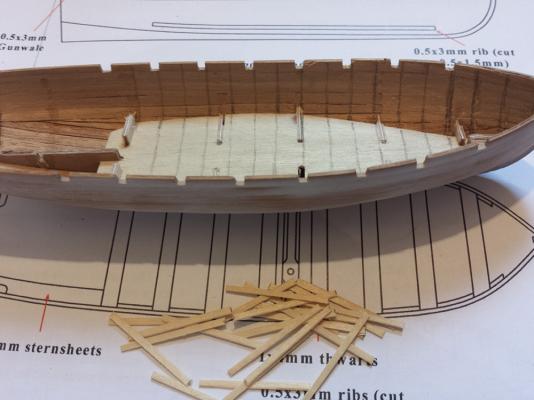
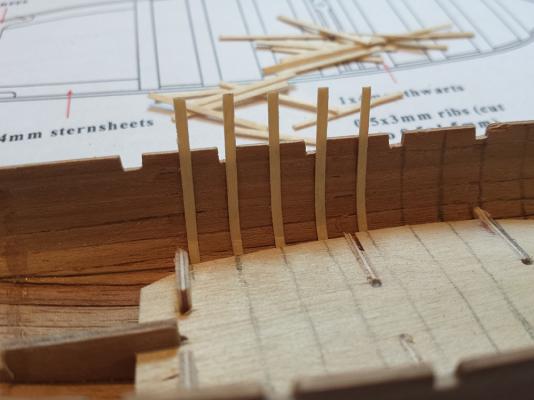
Continuing with the launch, I've marked and cut out the row locks, and made a start on the internal ribs. I used some stock 0.5 x 5 wood cut to 1.5 strips instead of the supplied wood.

-
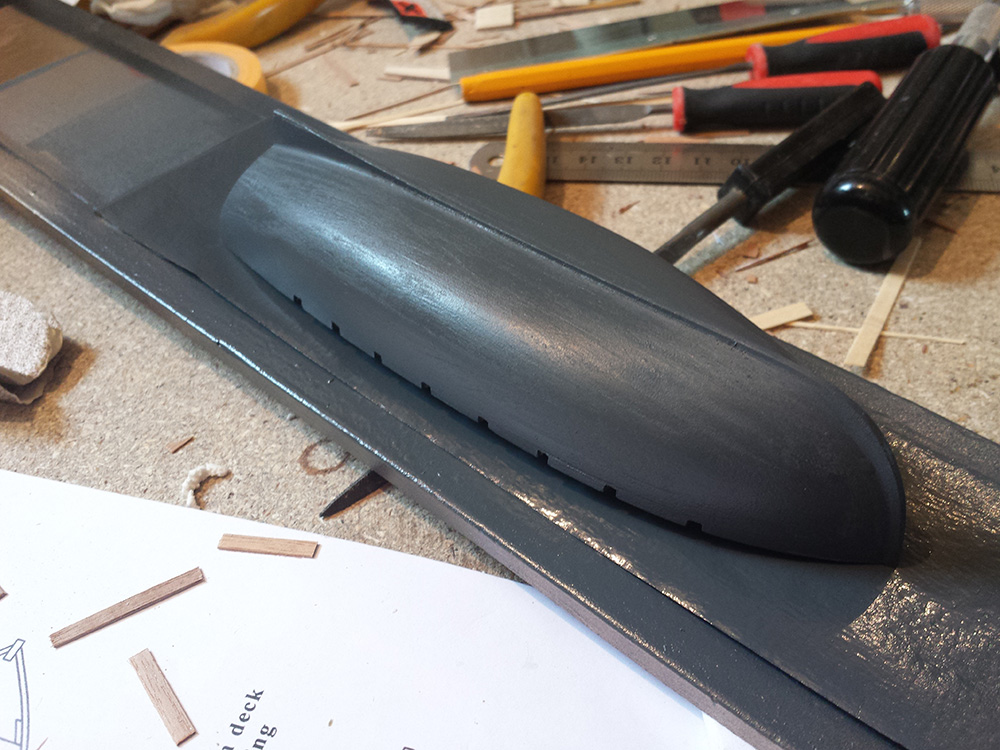
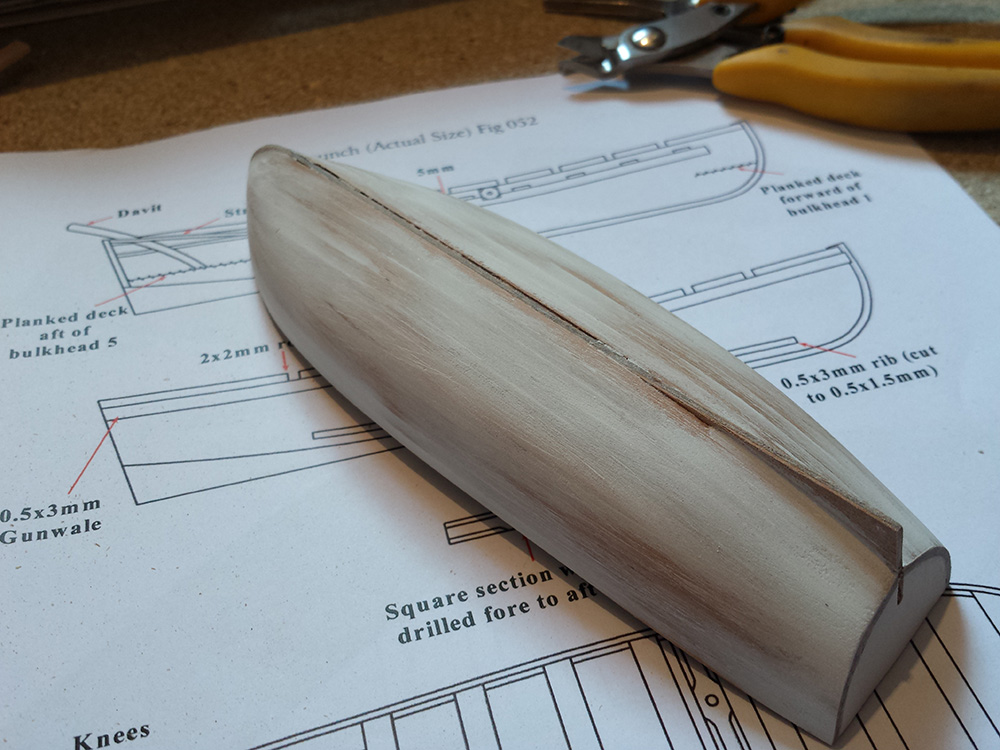
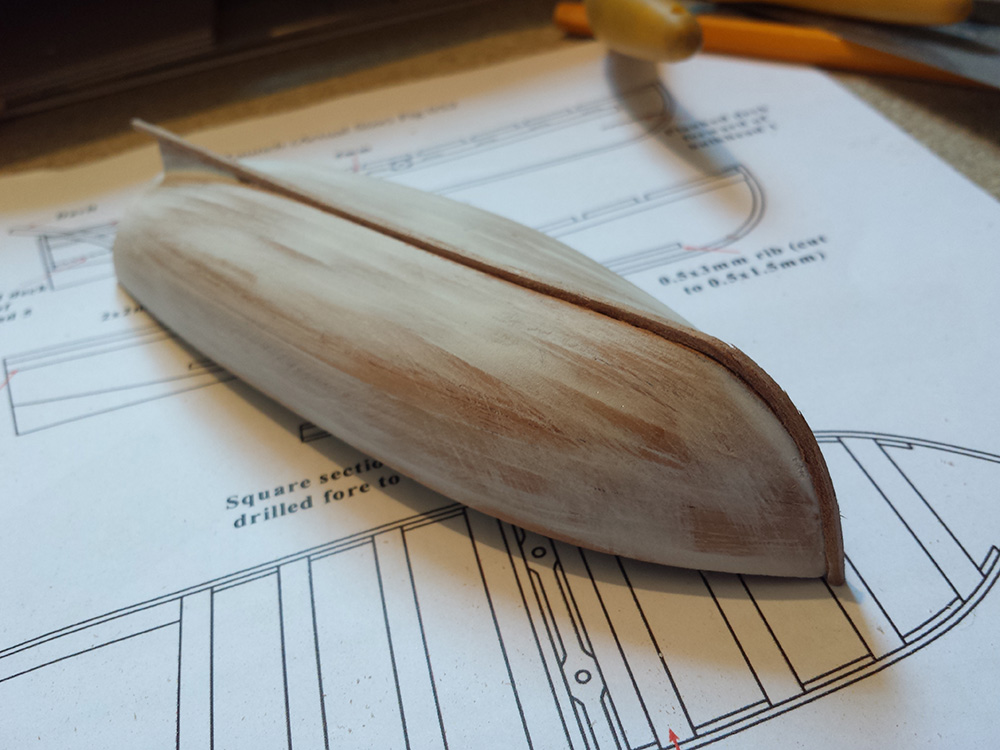
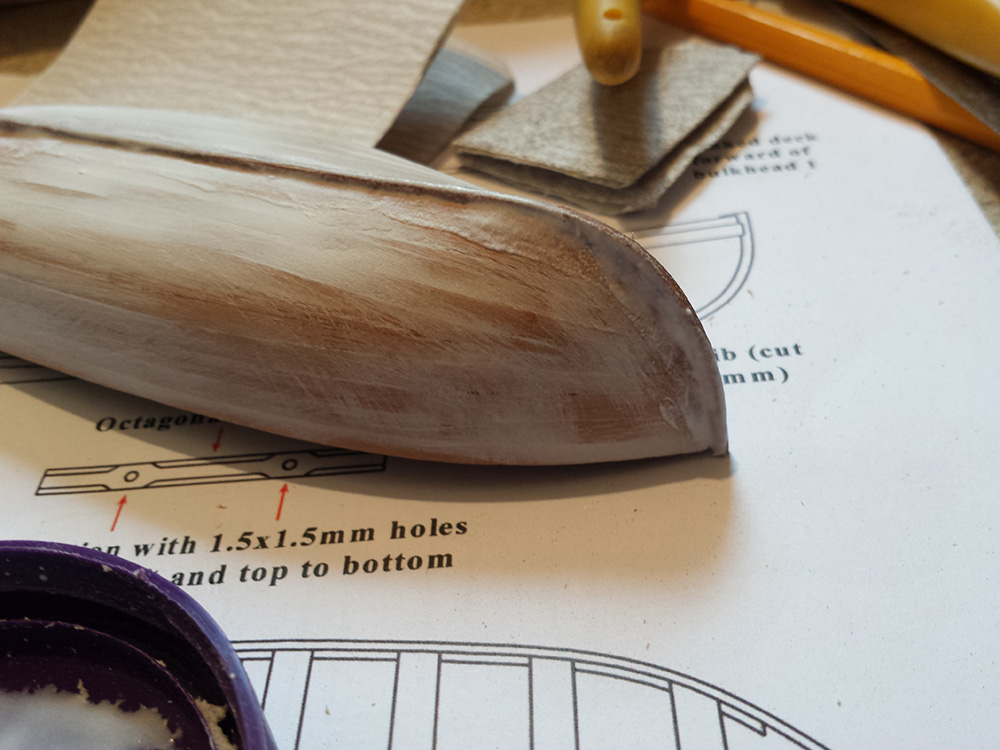
Afternoon. I've put the second planking on the launch which went on much easier than the first. After a rough sand I filled and re-sanded. I also rebuilt the keel as once both layers of planking was on it almost covered the entire keel, so I am guessing either the dimensions are out or I needed to take a lot more off the frames than I did, so the launch is going to be slightly deeper/longer at the keel, but it's not something that is going to be vastly noticeable....annoying though. After shaping/fitting a new keel I used some watered down filler and a paintbrush to fill any gaps, and sort out the area ar the bow where the frames meet the new keel.