-
Posts
498 -
Joined
-
Last visited
Content Type
Profiles
Forums
Gallery
Events
Everything posted by fifthace
-
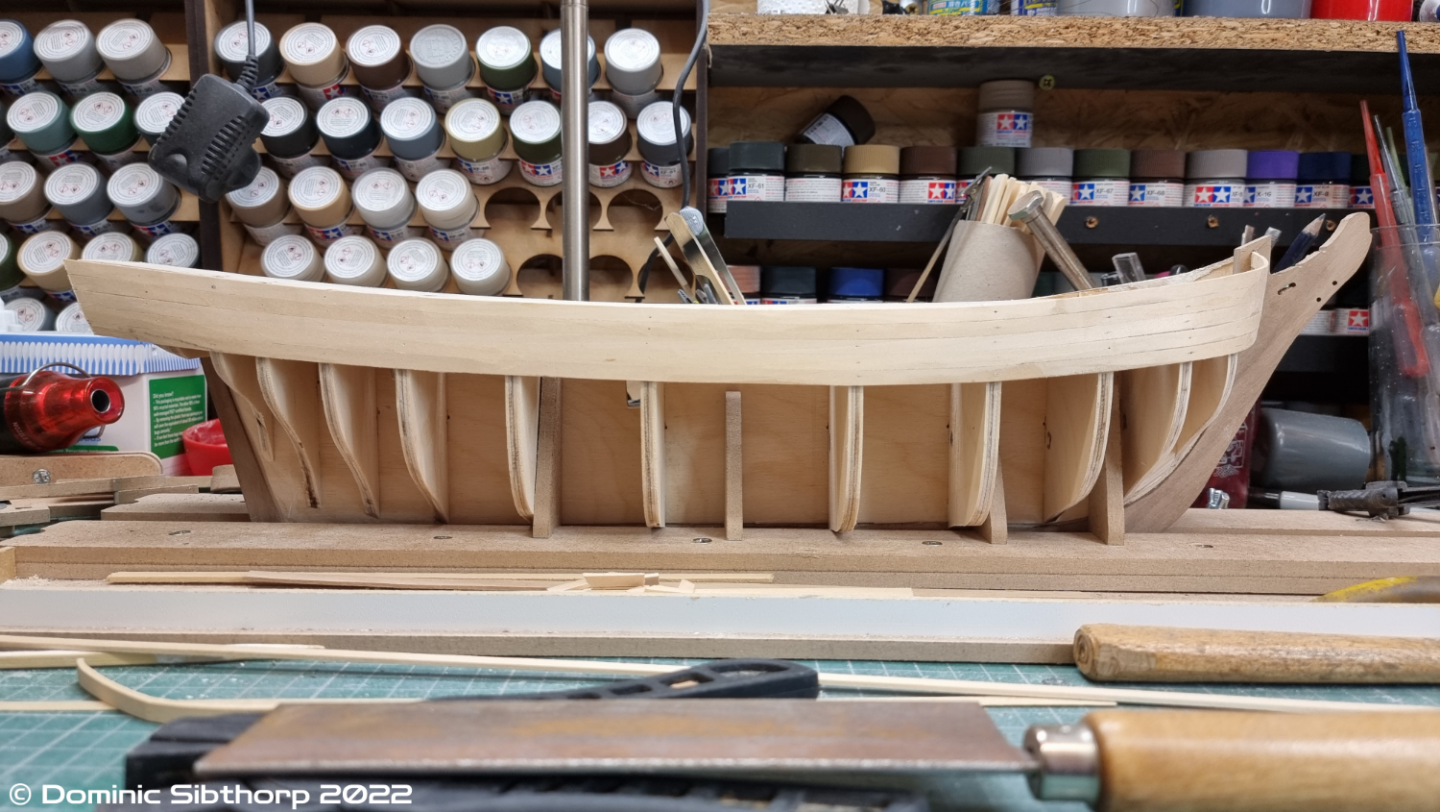
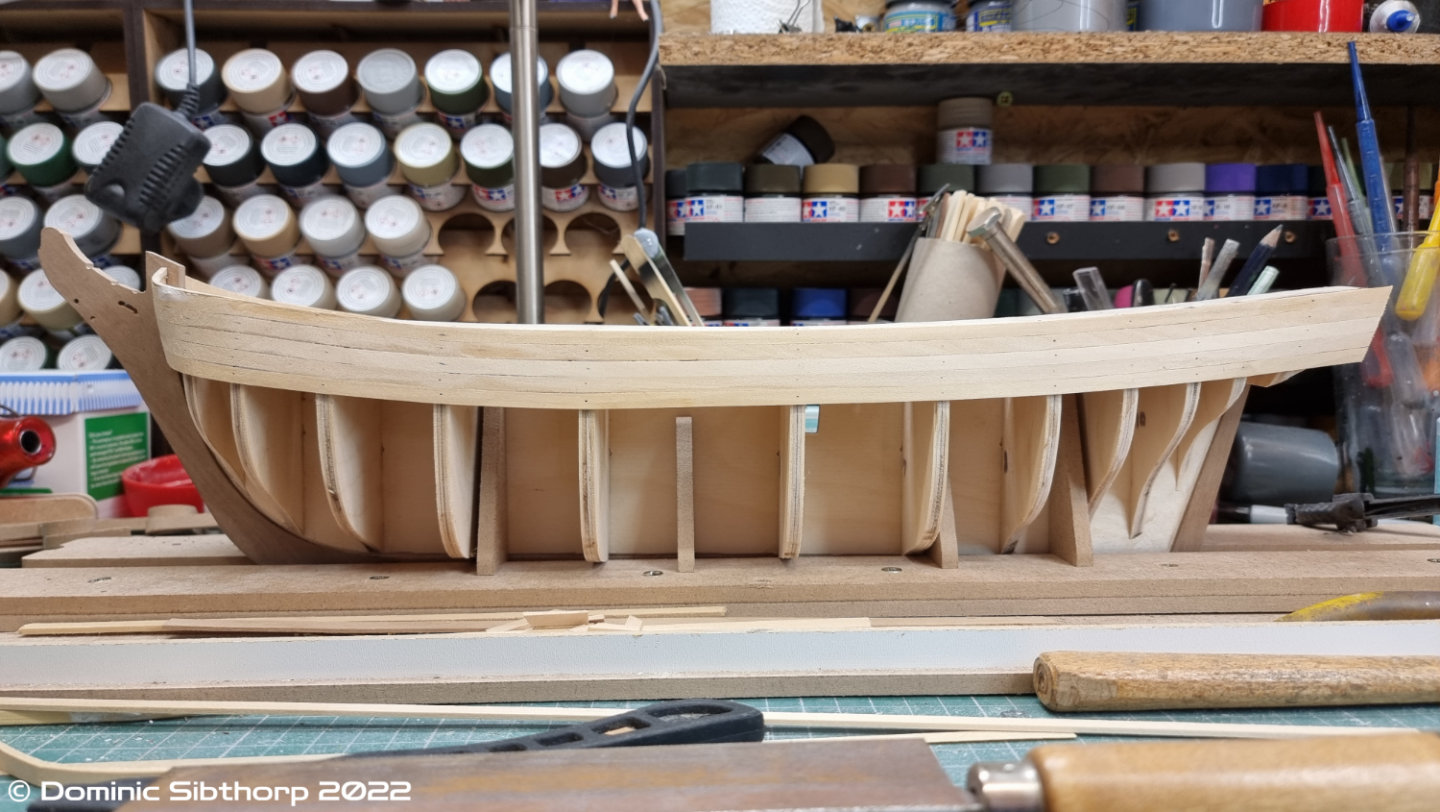
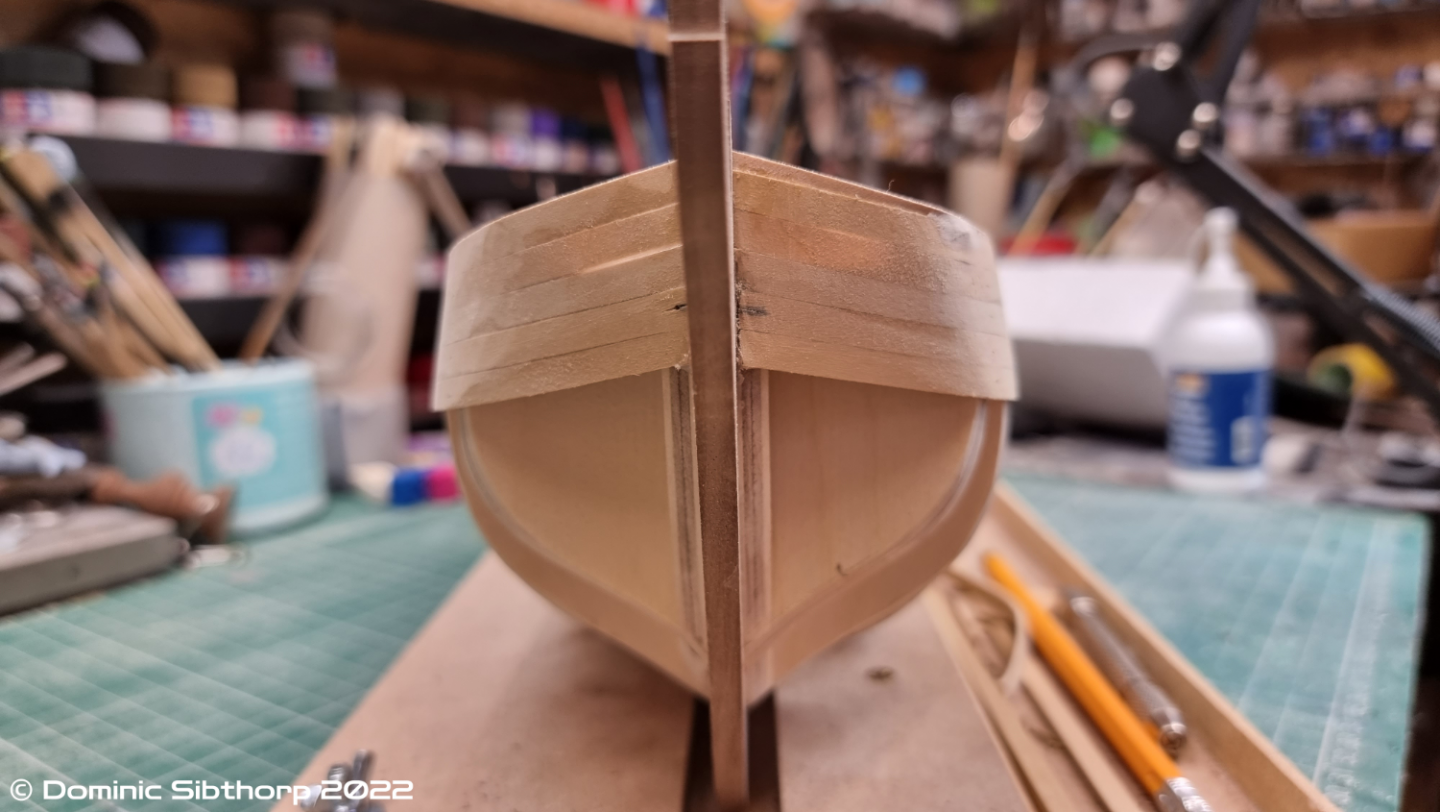
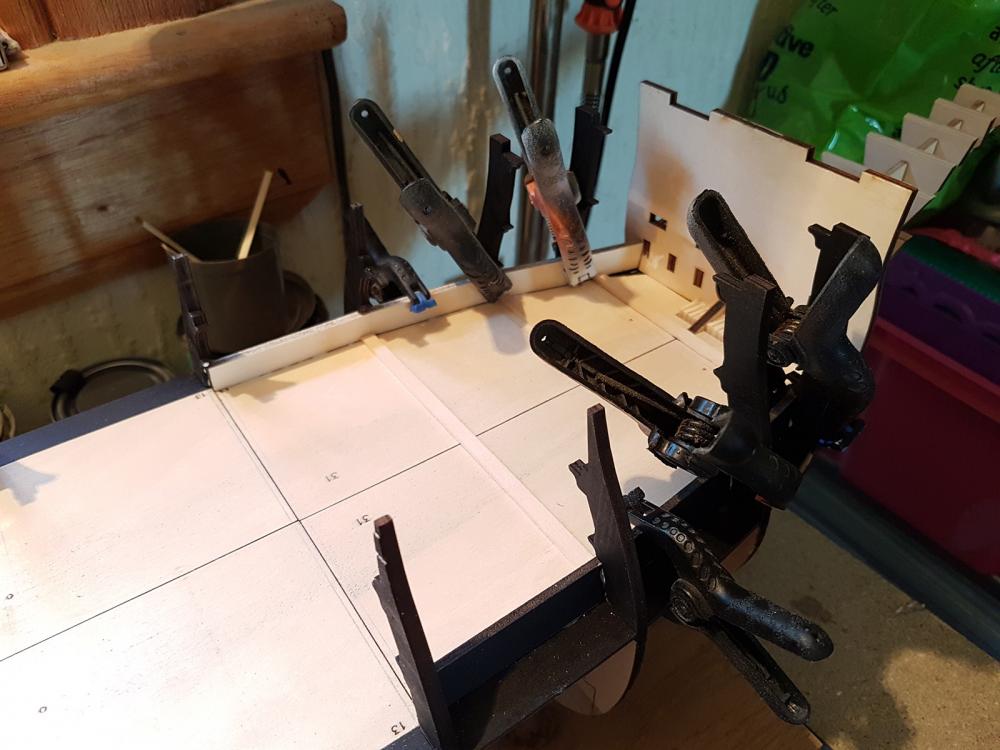
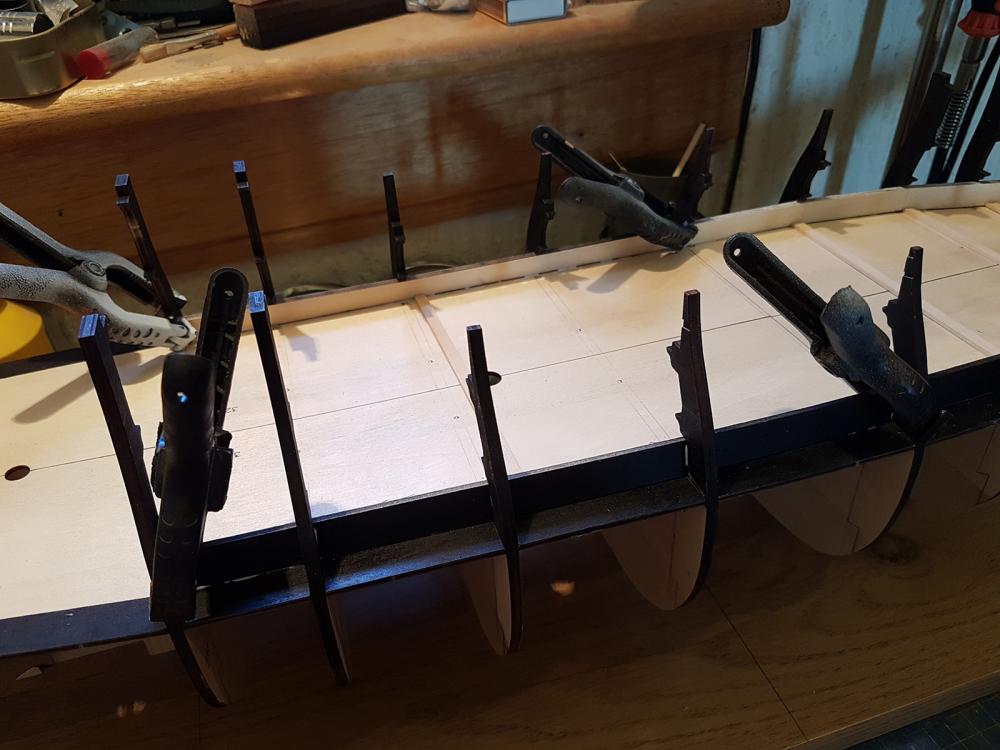
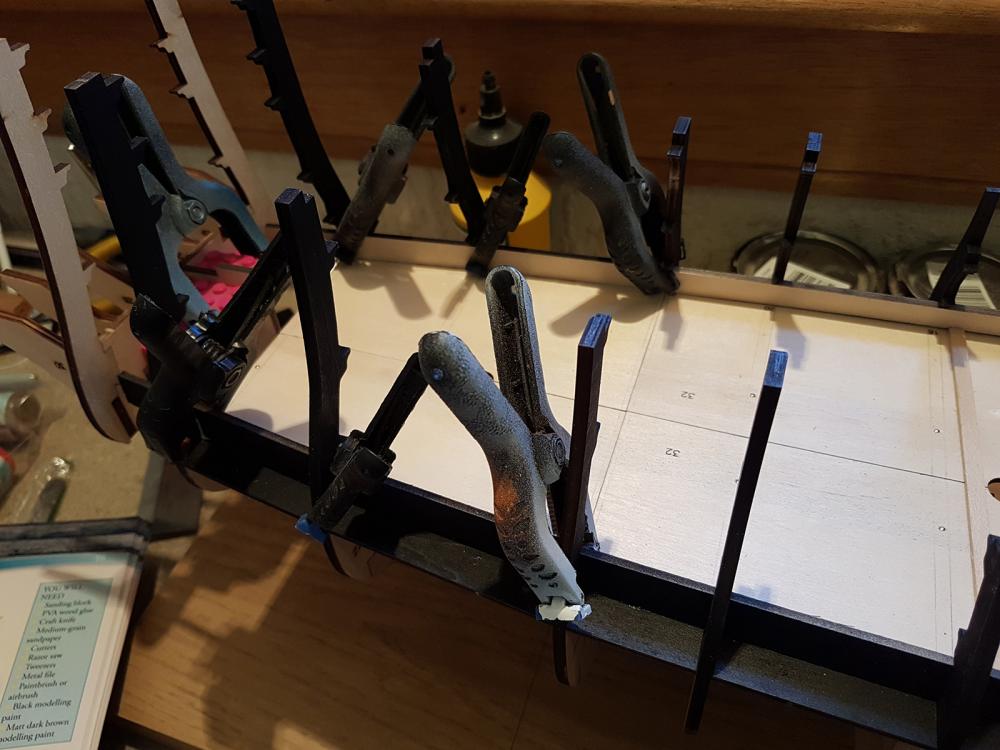
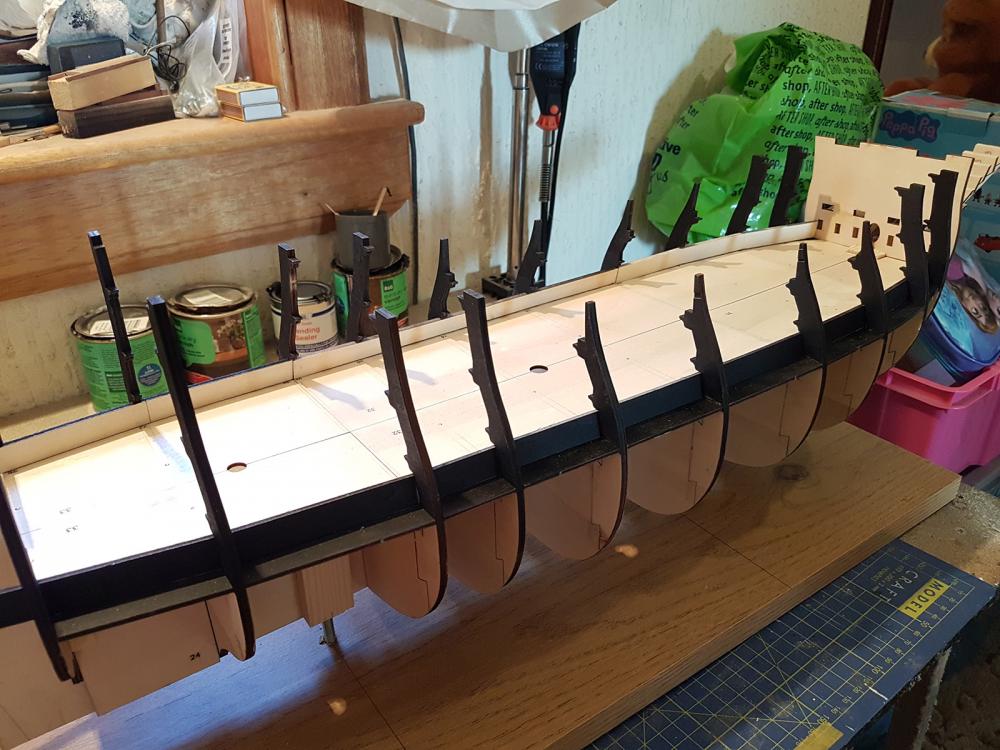
Morning folks. Made a start on the first planking. Not bad for a days work considering it's been a good 5 years or so since I have done anything like this. Had one minor issue at the bow, one side the first top plank had slipped down without me noticing, so I had to add a new piece above it to bring it back in line. Not sure how all the other planks below still remained in line with the other side though, not complaining however.
-
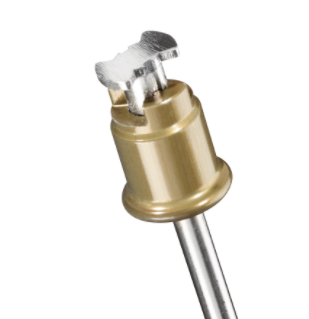
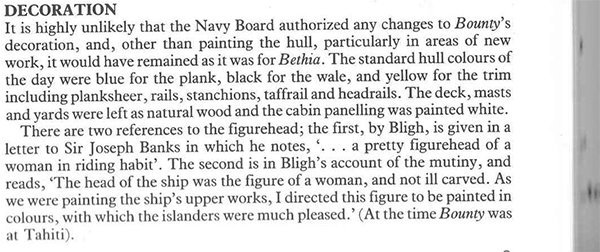
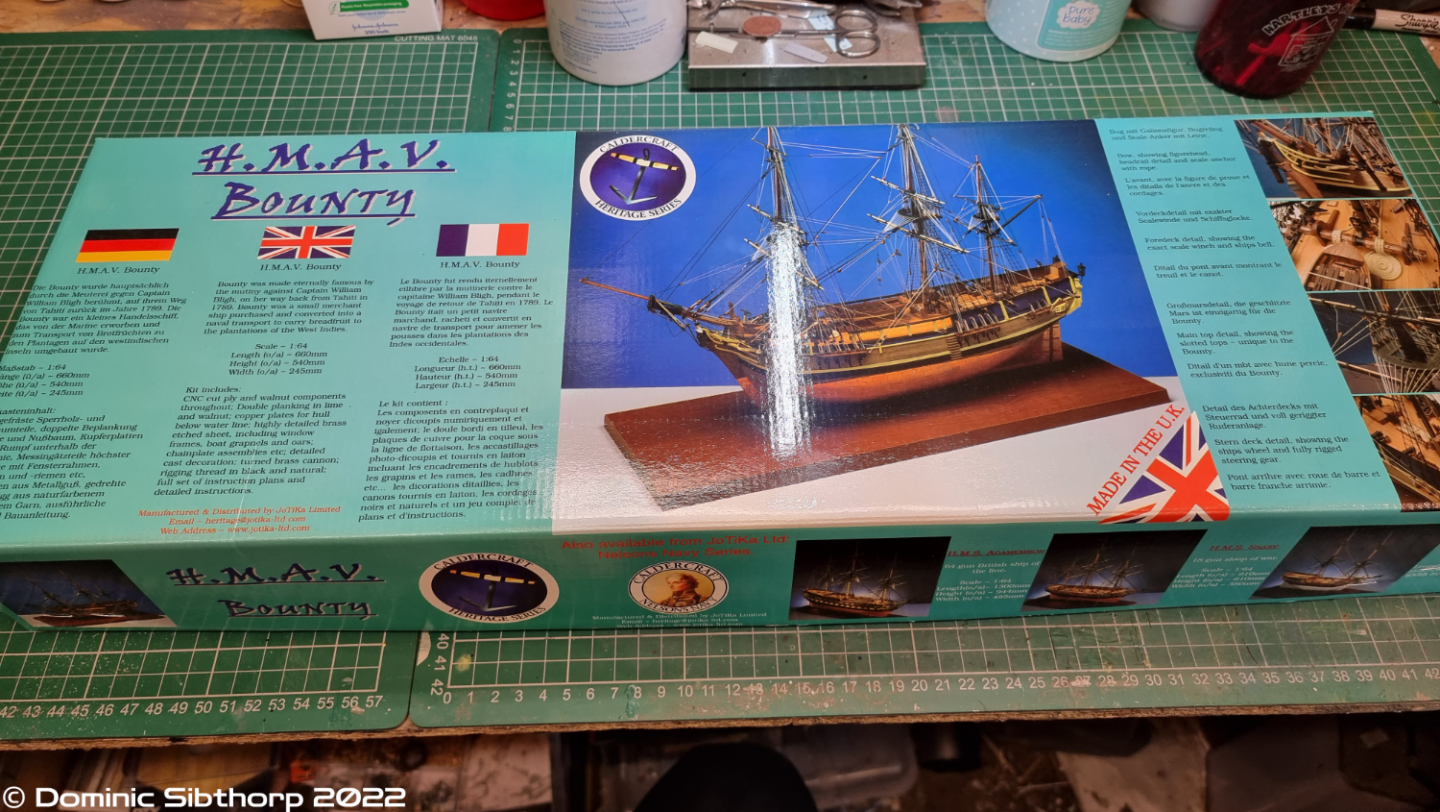
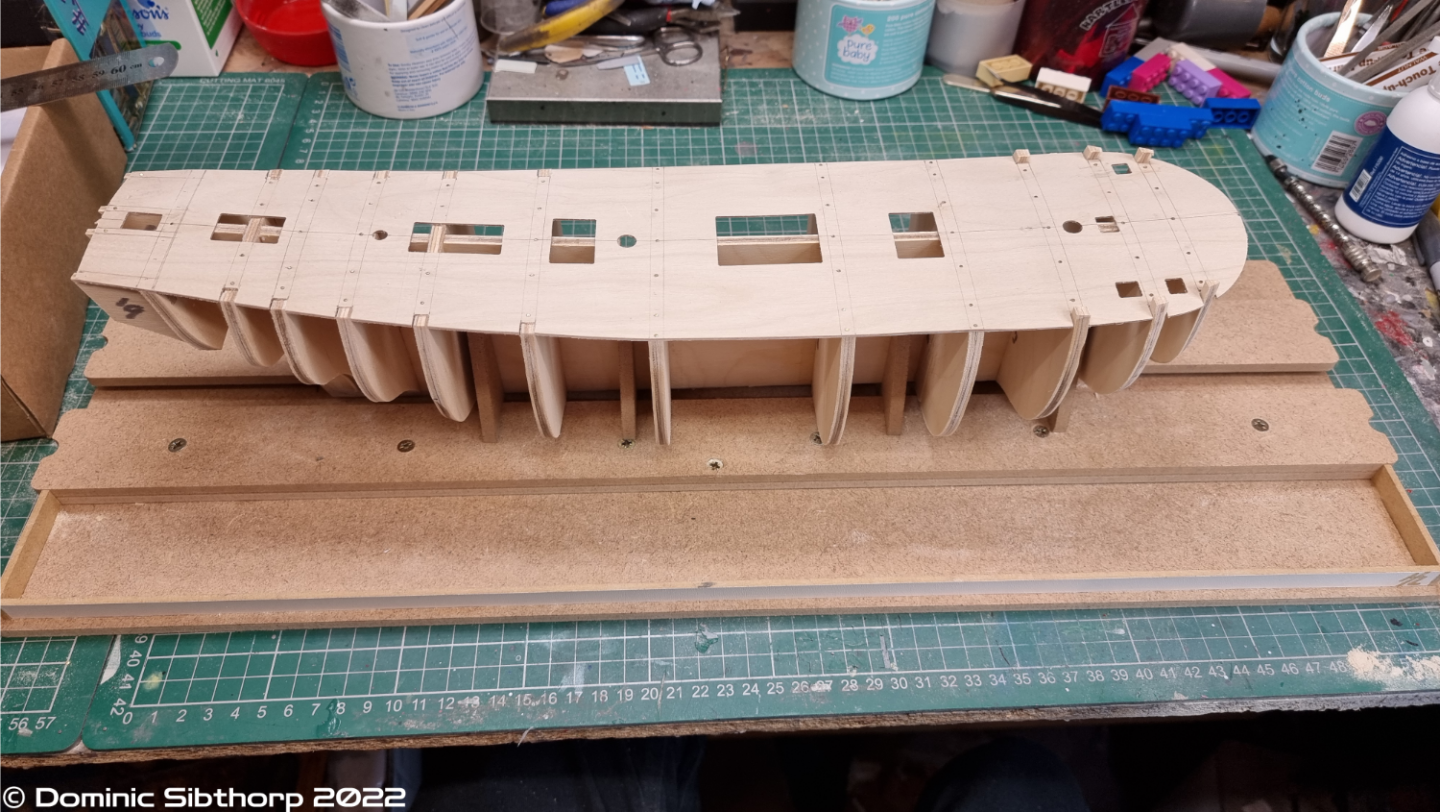
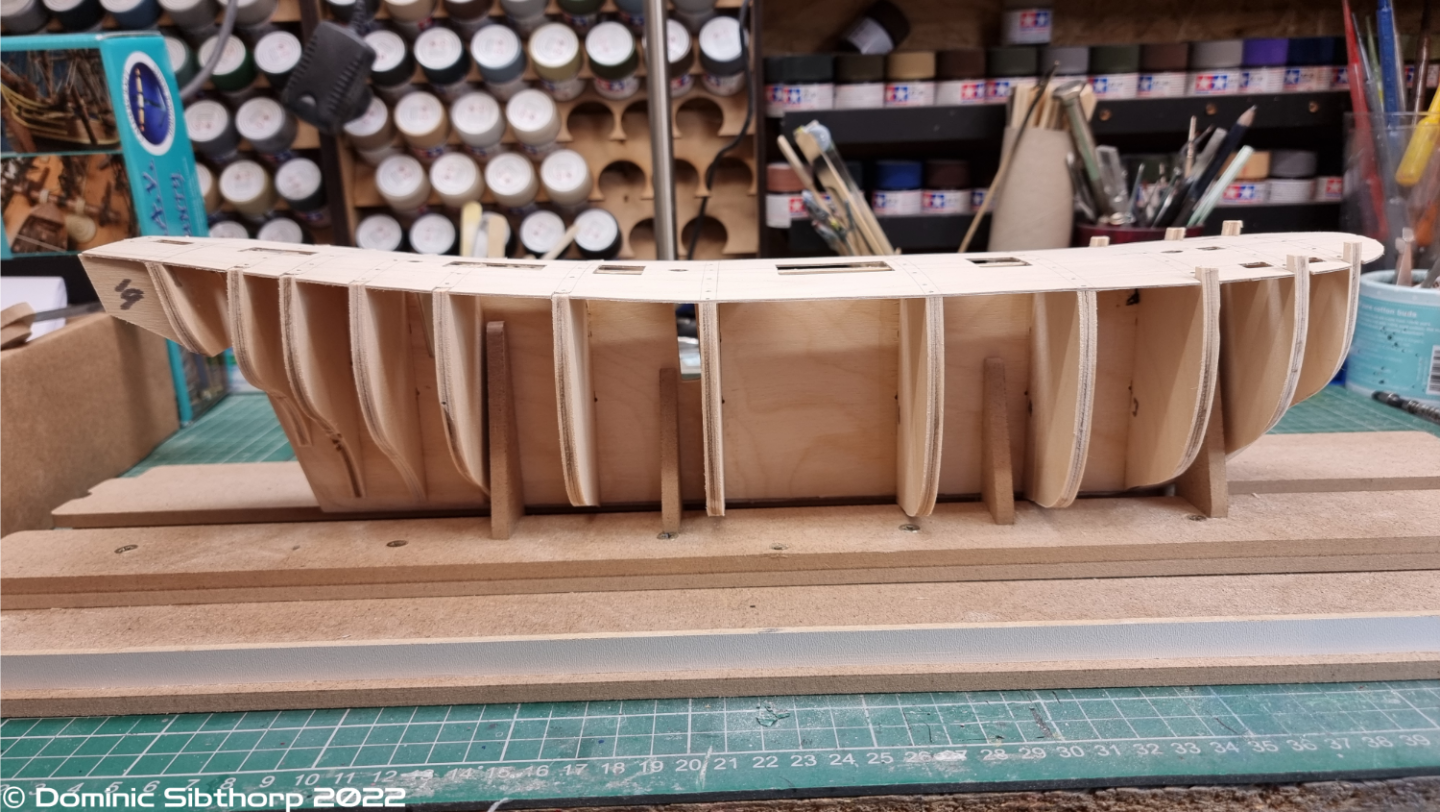
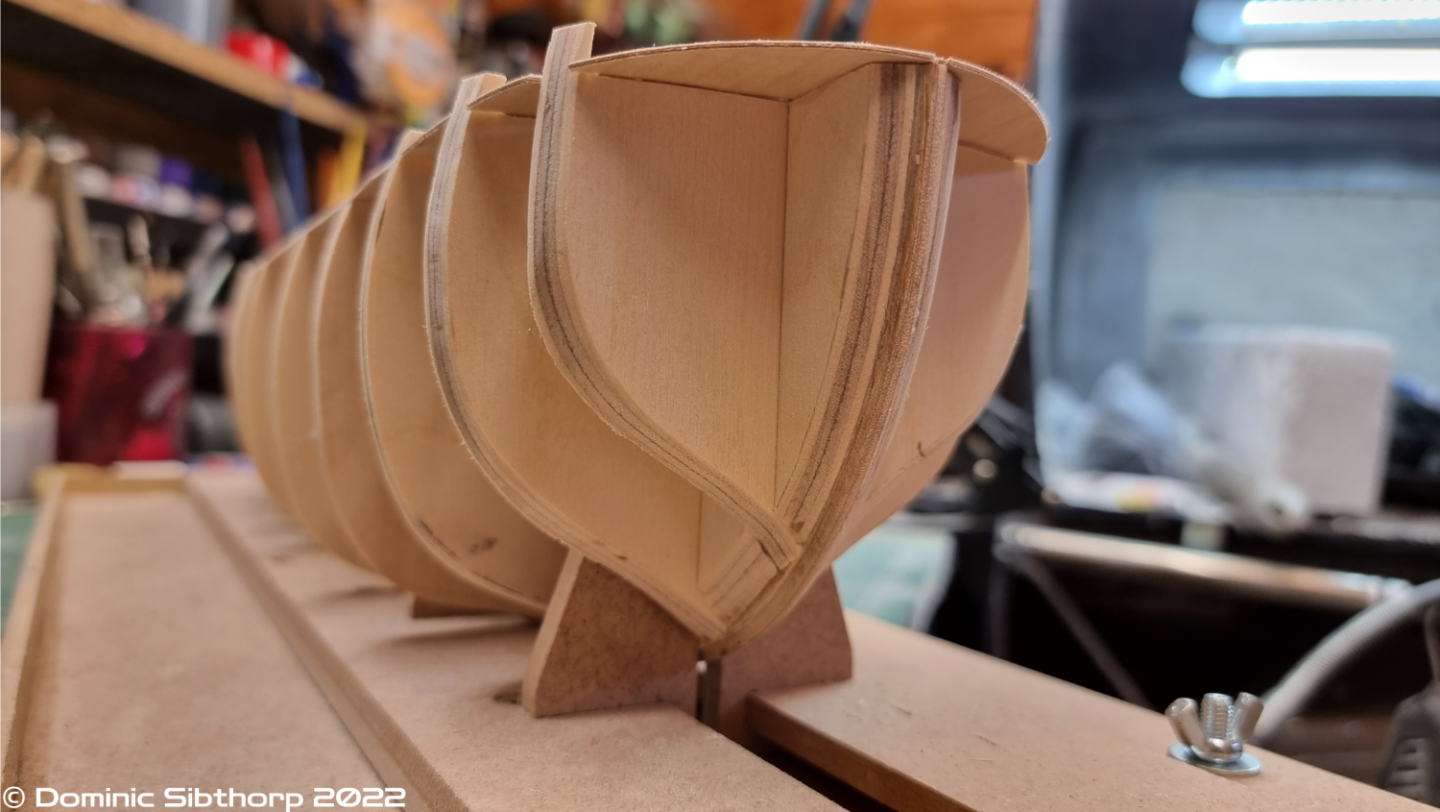
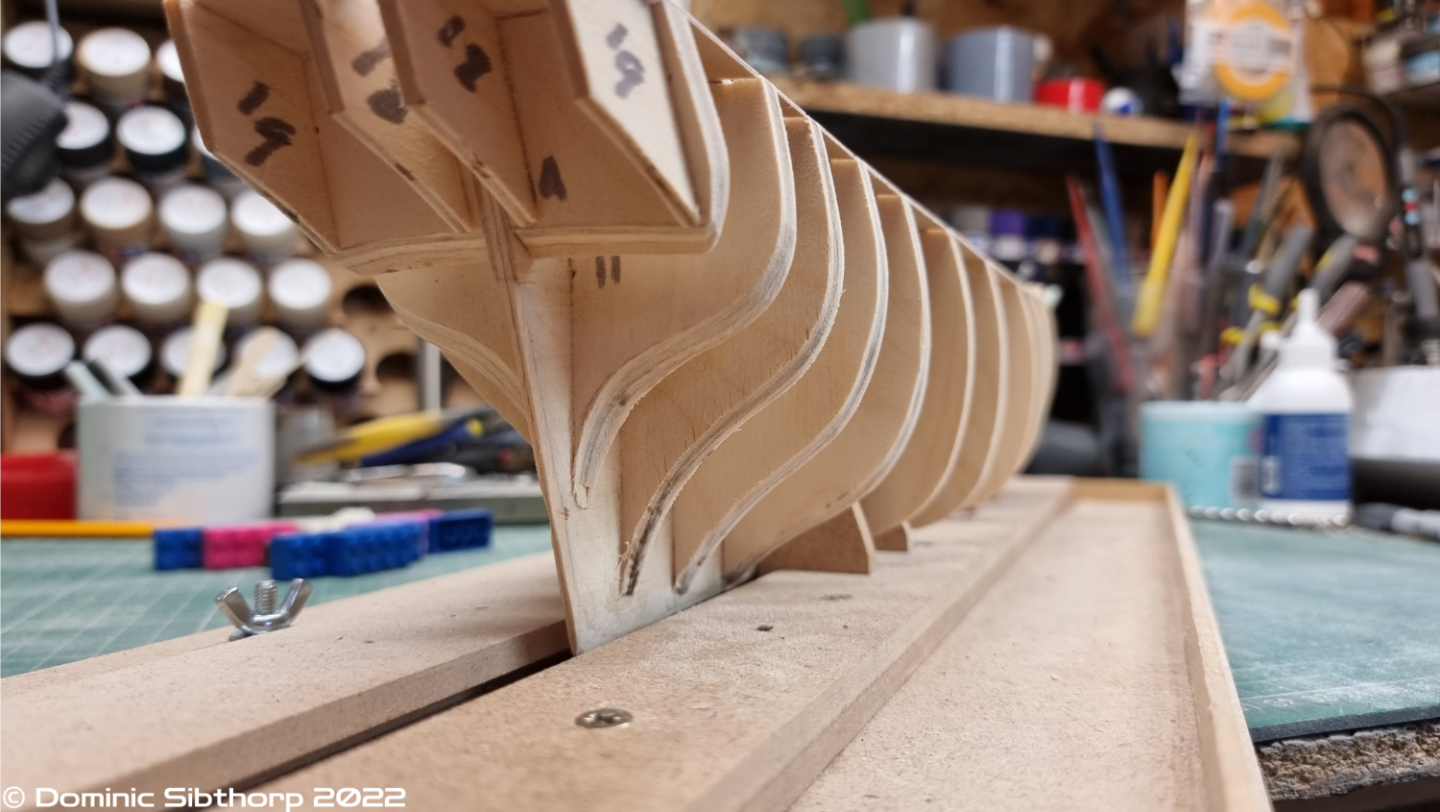
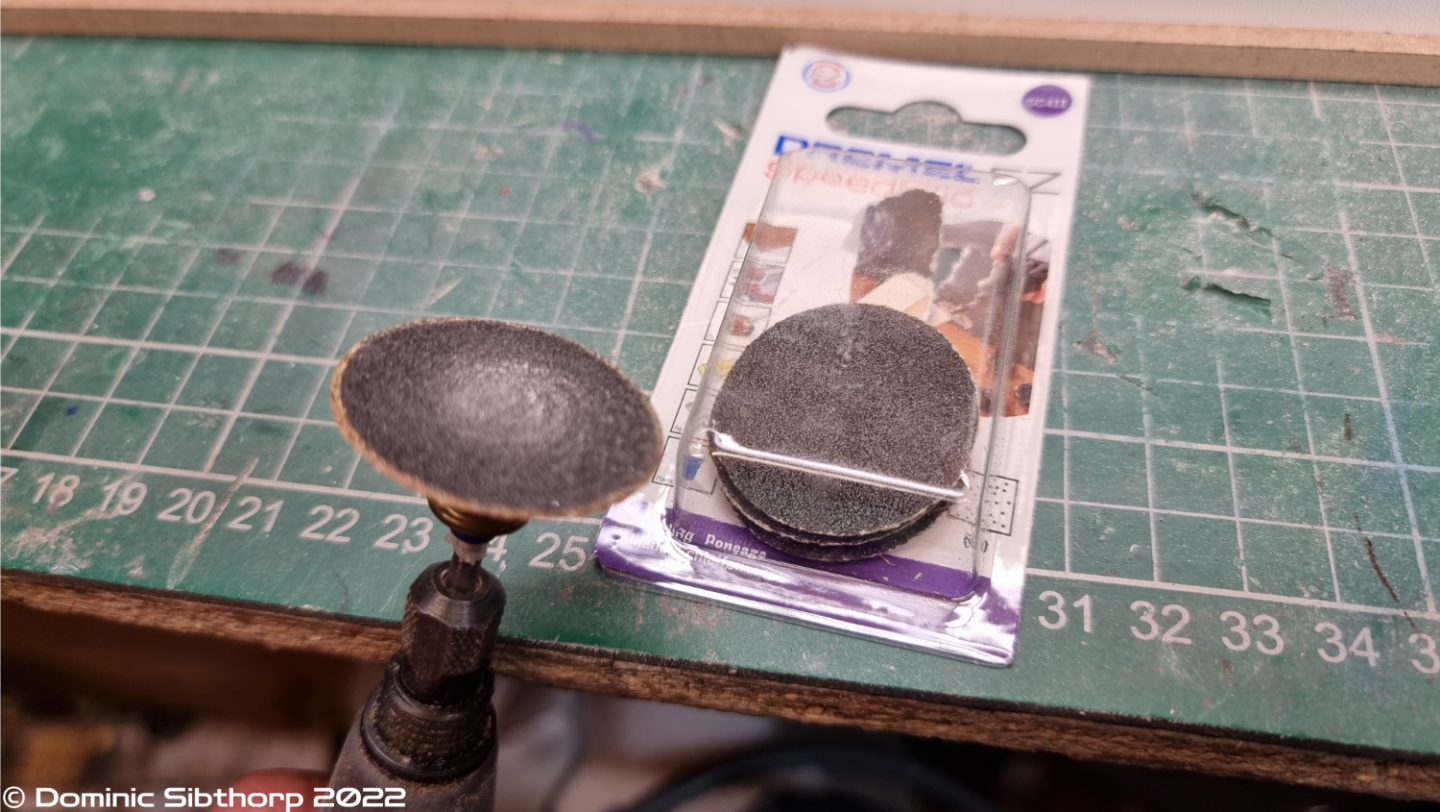
Greetings folks. It's been a while since I last battled with timber, I got lost in plastic, but I decided I wanted to return to wood. Having learned new skills and improved on existing ones, I felt I could probably do a better job than my previous efforts. And to start with, I wanted to right a wrong on the last ship I completed, HMAV Bounty. On the last one there were a number of errors, most glaringly was the main rubbing strake. It sweeps too low, way too low, at the bow, and it's annoyed me for years. Plus I enjoyed the kit last time, it was a good quality kit with only one minor issue: the length of the centre section of the keel is a few mm too short. Wasn't a problem last time as I coppered the hull as per the kit, I am not planning on doing that this time as it is subject to a lot of doubt as to whether she received that upgrade before leaving Portsmouth (or was it Plymouth?) for the last time. I also invested in some new tools that I didn't have before, and a proper slipway rather than a home made one. Following the general consensus on here I was directed to the Model Shipways one, which I have to say is pretty good. My only gripe with it is it's designed for ships that have the keel already attached, so at the moment it isn't easy to get it to sit level, but that's not an issue at this stage anyway. I also wanted to try a better method of the hard sanding work, using my Dremel and the sanding discs attachement ezclic thingy, and I have to say it makes that job soooo much easier. Anyway, so far I have got the keel/bulkheads assembled, false deck fitted and the majority of the fairing done on the bulkheads. Time to soak some planks and work on the bit I hate the most, planking the hull... Thanks for stopping by...
-
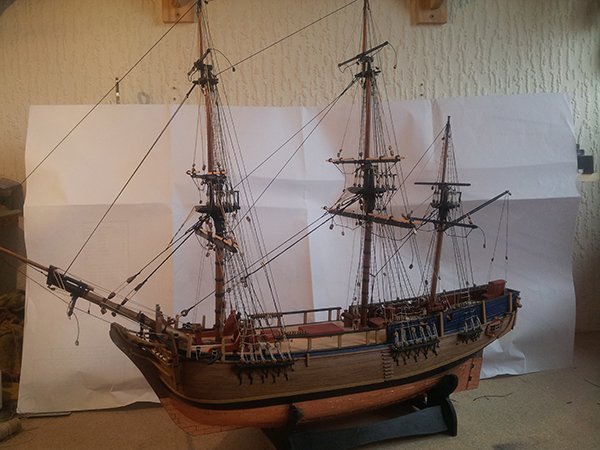
Hello Dave, Thanks for a quick response. This is the build I had in mind. I did this about 5 years or so ago, but it got destroyed. I'm taking the opportunity to redo this, fixing the mistakes I made with this one. So it will be pretty much the same except I won't be coppering the hull, instead it will be white. Overall I think I'd probably want a satin finish. I don't like high gloss, I always feel it makes things look too toy like, but at the same time I don't want a completely flat finish either, so satin is probably the one I want. I do remember painting this was a complete pain as I didn't seal first and it took far too many coats to get colour and coverage, and I want to avoid making that mistake this time. Thanks
-
Hello. Forgive me if this question has already been asked a 1000 times, I've searched and searched and I am still nonethewiser. Sanding Sealer. When to use it and how to use it. For example, I have a build I am planning where the hull will be a mix of painted below the waterline, natural wood (stained?) between the water line and upper section, then painted for the bullwarks. I've read one comment that says you can't stain after sanding sealer and another that says you can? Do you use sanding sealer before or after sanding? Do you use it before paint or after? And how does it differ from varnish? Thanks in advance.
-
Hello. Been a while since I have been able to post any updates, but this is how things look at the moment. Most of the superstructure is complete now, but not yet permanently fixed in place. Currently working on the boat deck. A few things I am not happy with but the result still looks pretty good.
-
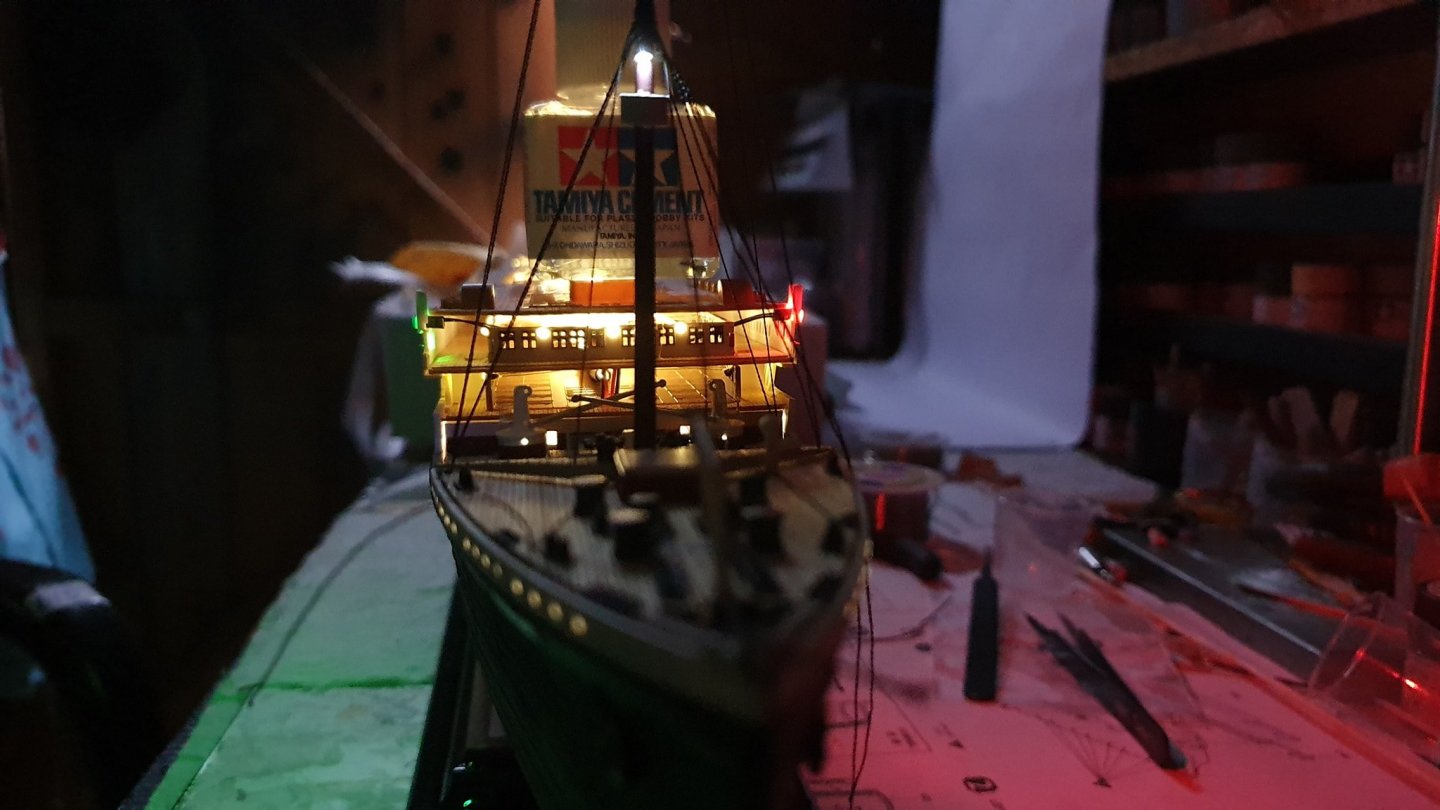
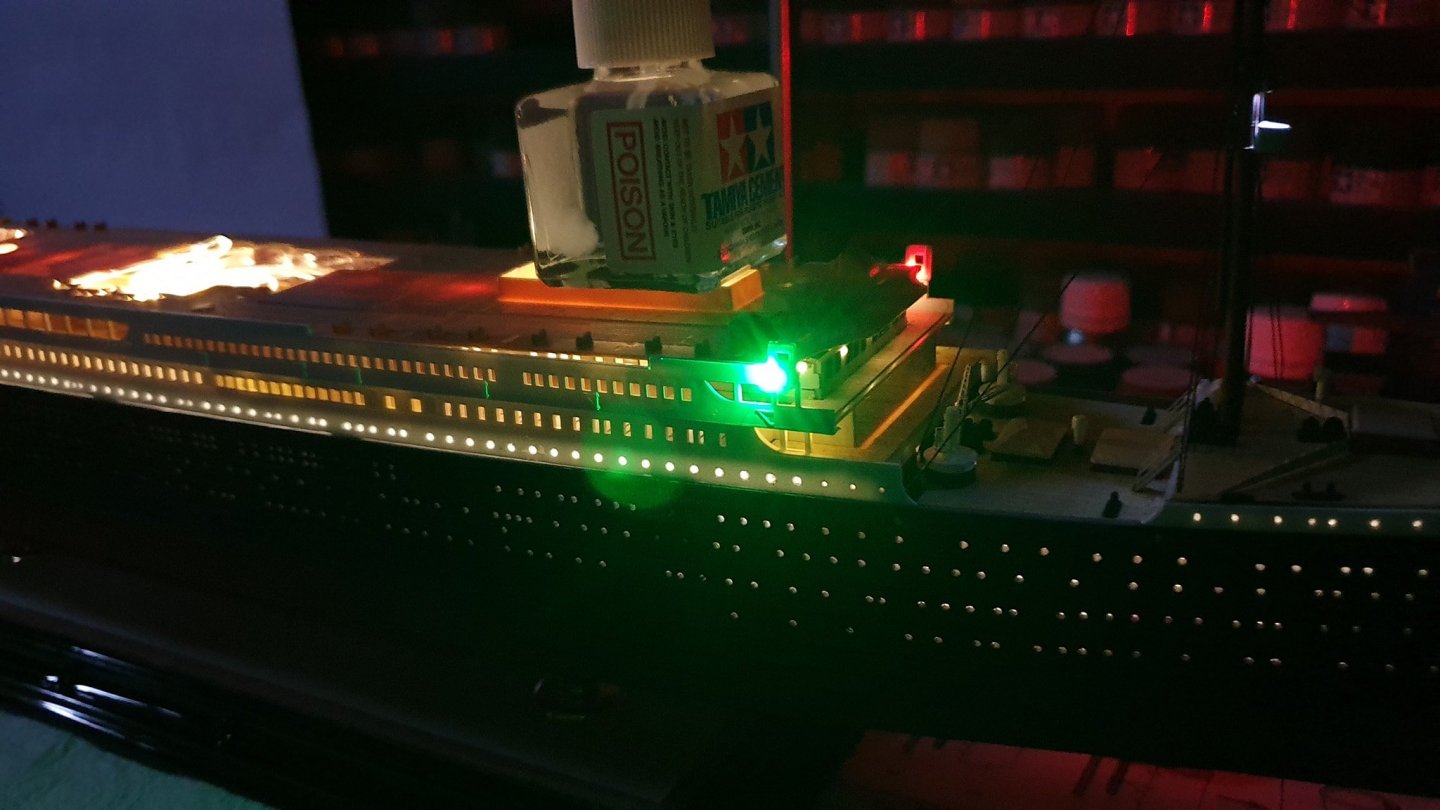
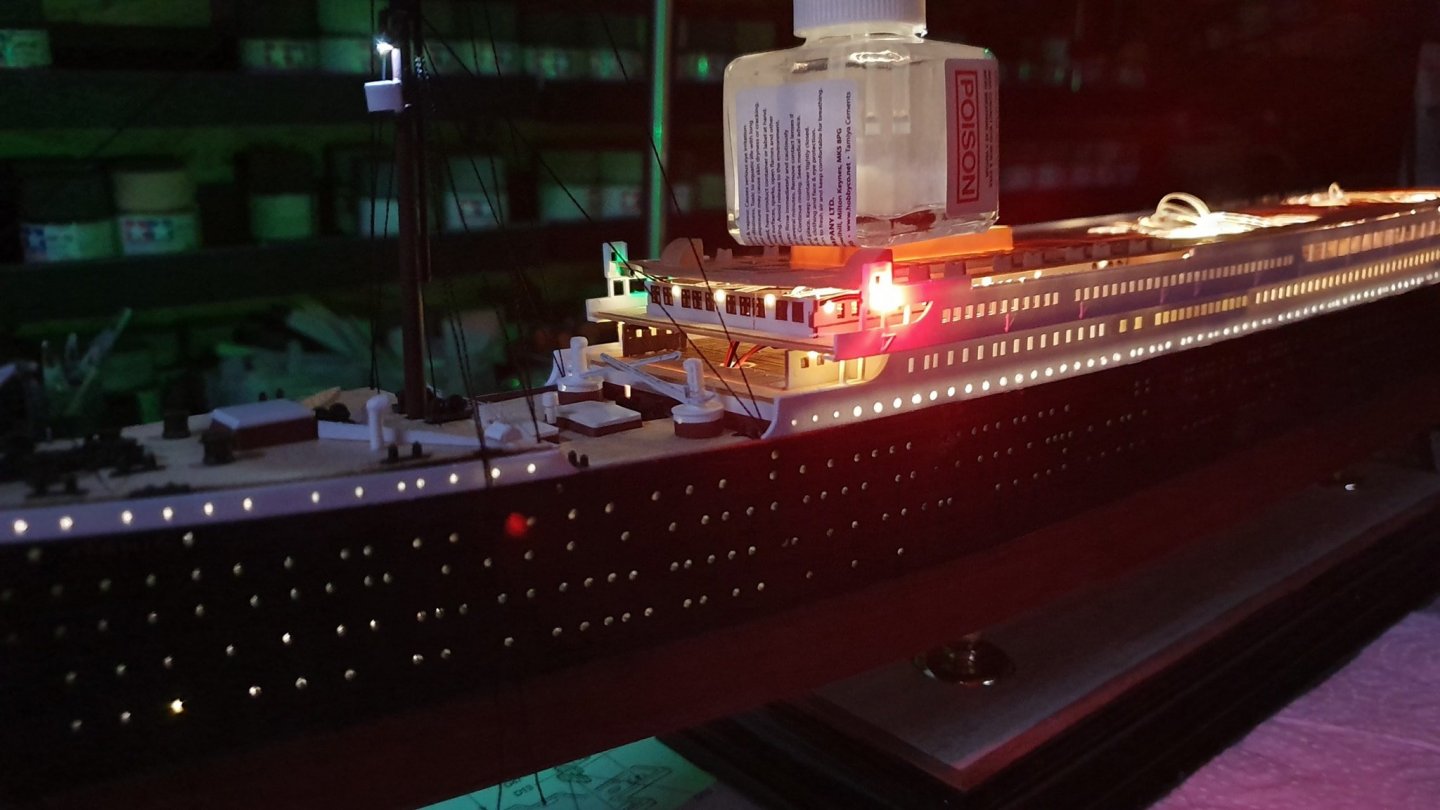
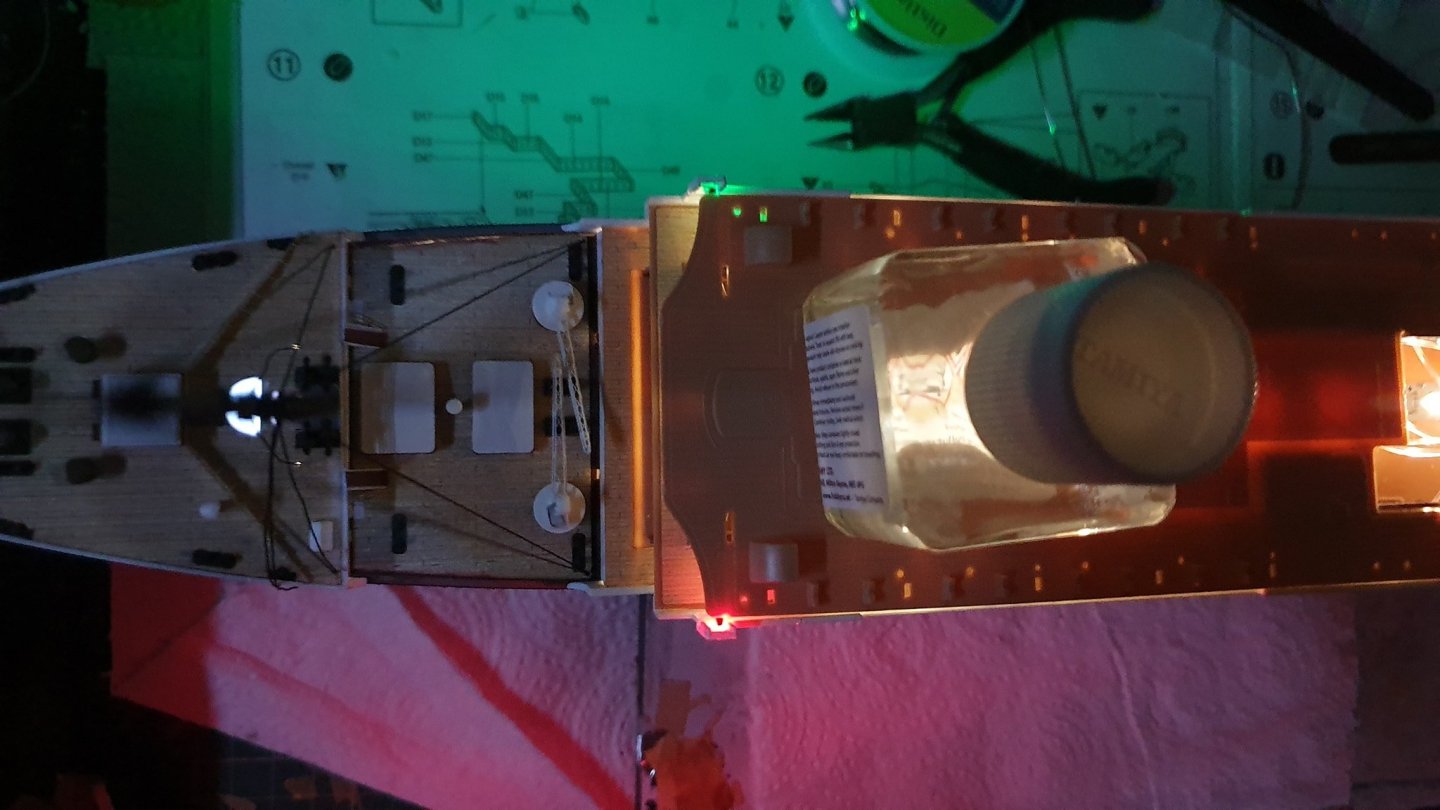
Hello Stern section is complete, well for now anyway. Not happy with several things, mostly PE and lighting bits, but it will do for this one. This felt like I just did an entire kit from end to end just in itself. Back soon...
-
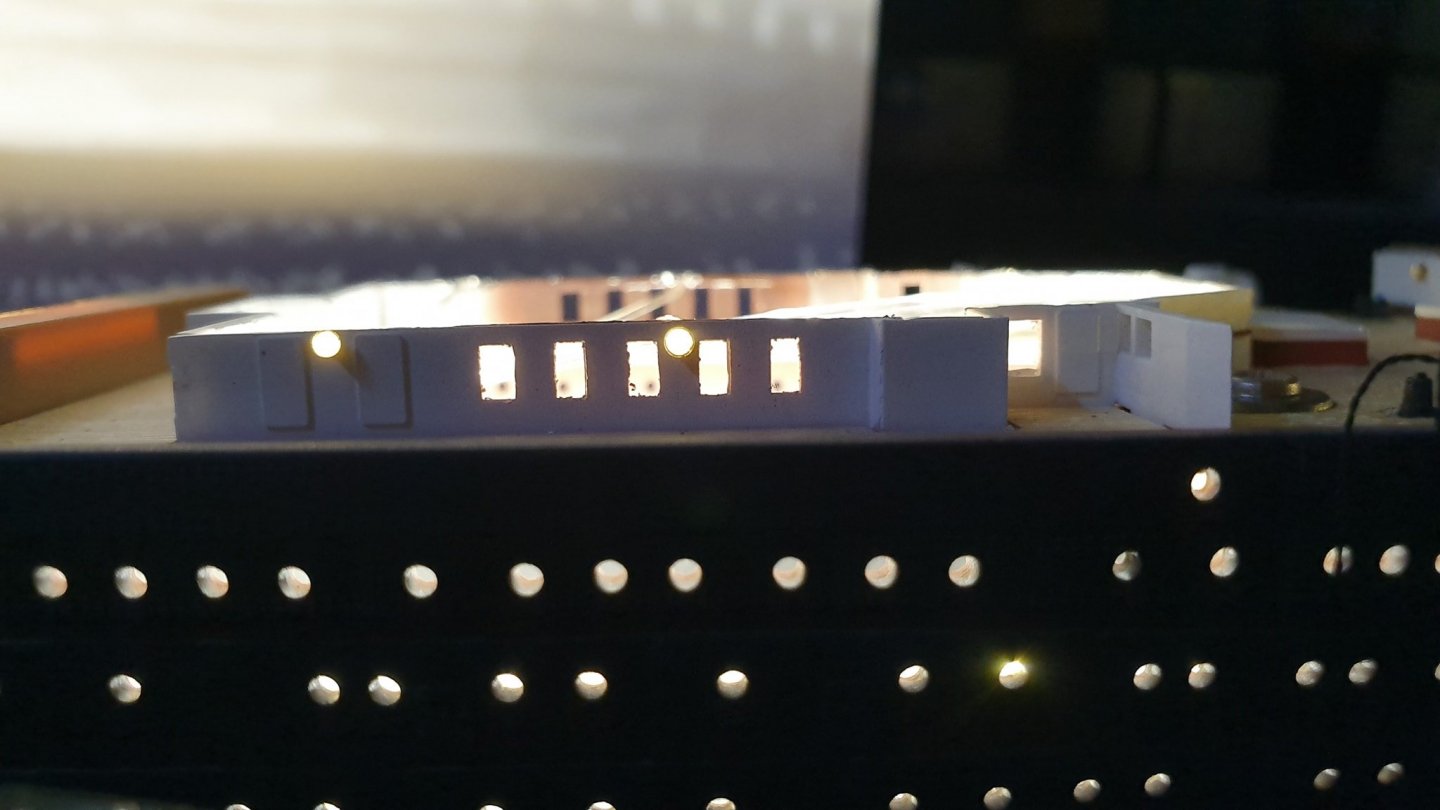
Thanks Lou. I'd personally not use fairy lights, especially chinese ones. They tend to get warm and, well this is plastic and all that. The foil is actually aluminium tape. It doubles up as increasing the light and also to light proof the plastic, especially the white and tan parts, as even with layers of paint and the wooden deck, under light they become very transparent. This is also acting as a trial run for the Trumpy 1/200 version, and what I have learned so far on this I will be able to add so much to the larger scale.
-
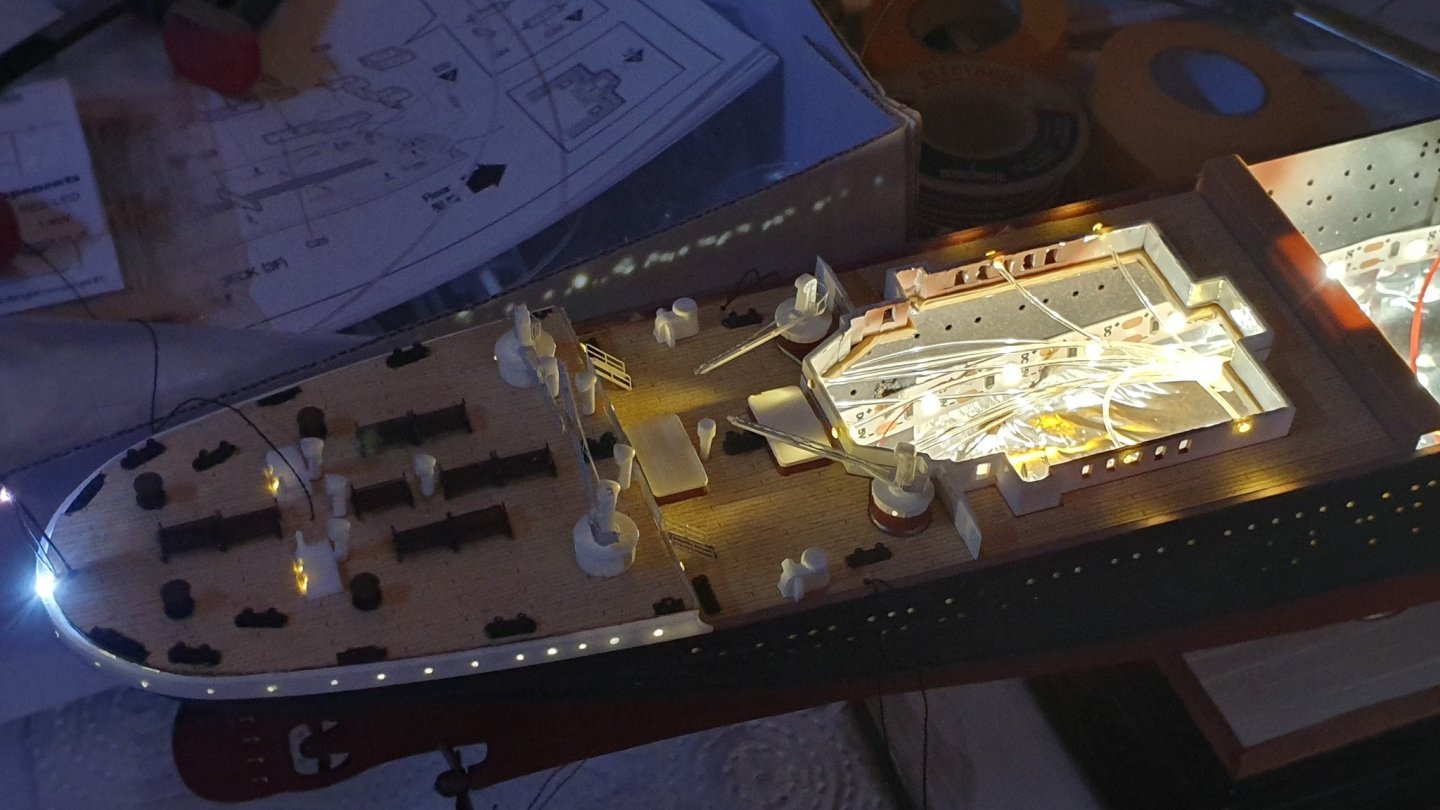
This is very slow going. But some progress made on the stern section and the bulkhead lamps. I need to tidy up those windows. It's not actually the plastic part, but the aluminium tape I used for light proofing.
-
I have that being bought for my Christmas this year, along with the Addon set. Looks an amazing kit. The LED's are a little lacking OOB, a bit like this one, so I will probably add to it as well when I do get it. Might even see about getting a steam generator too...
-
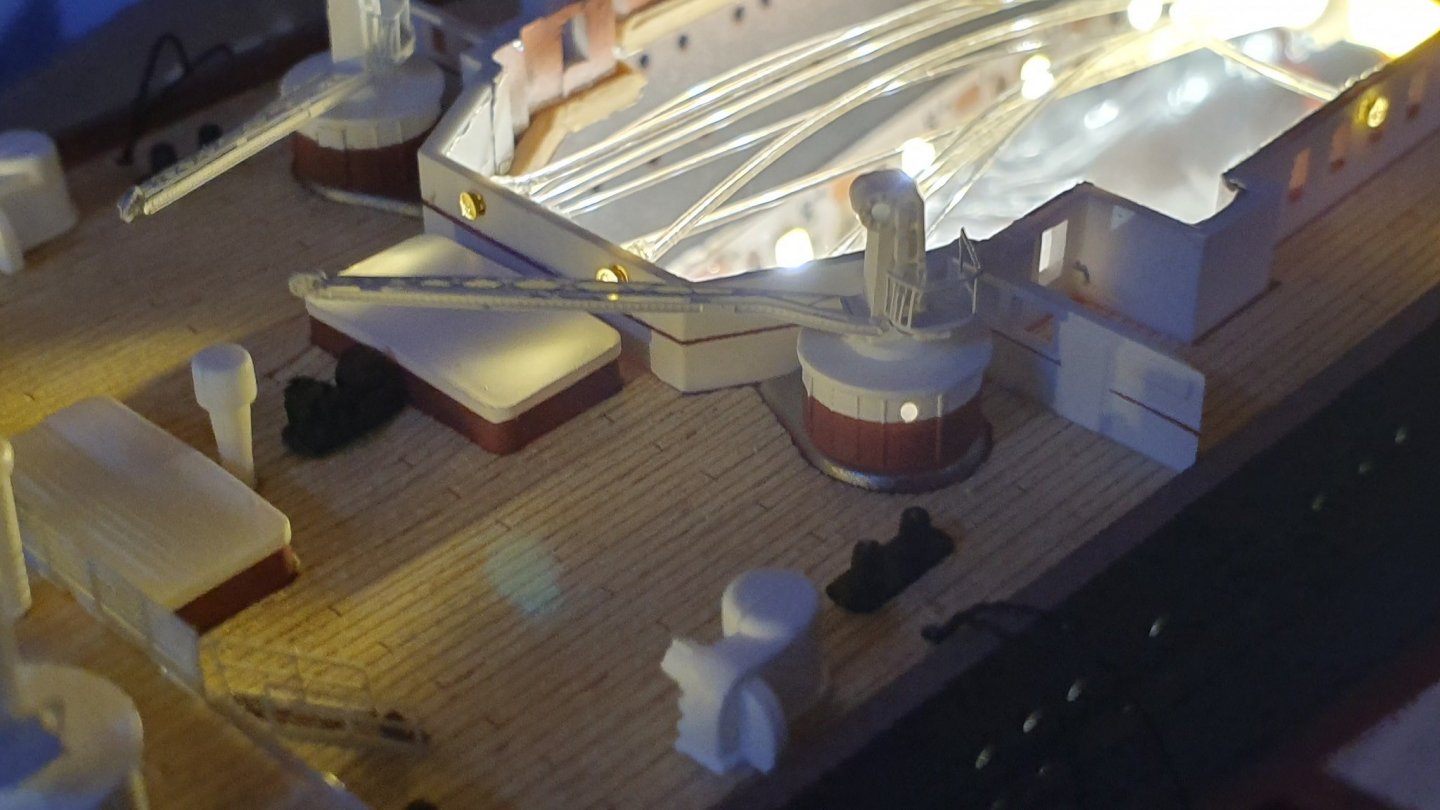
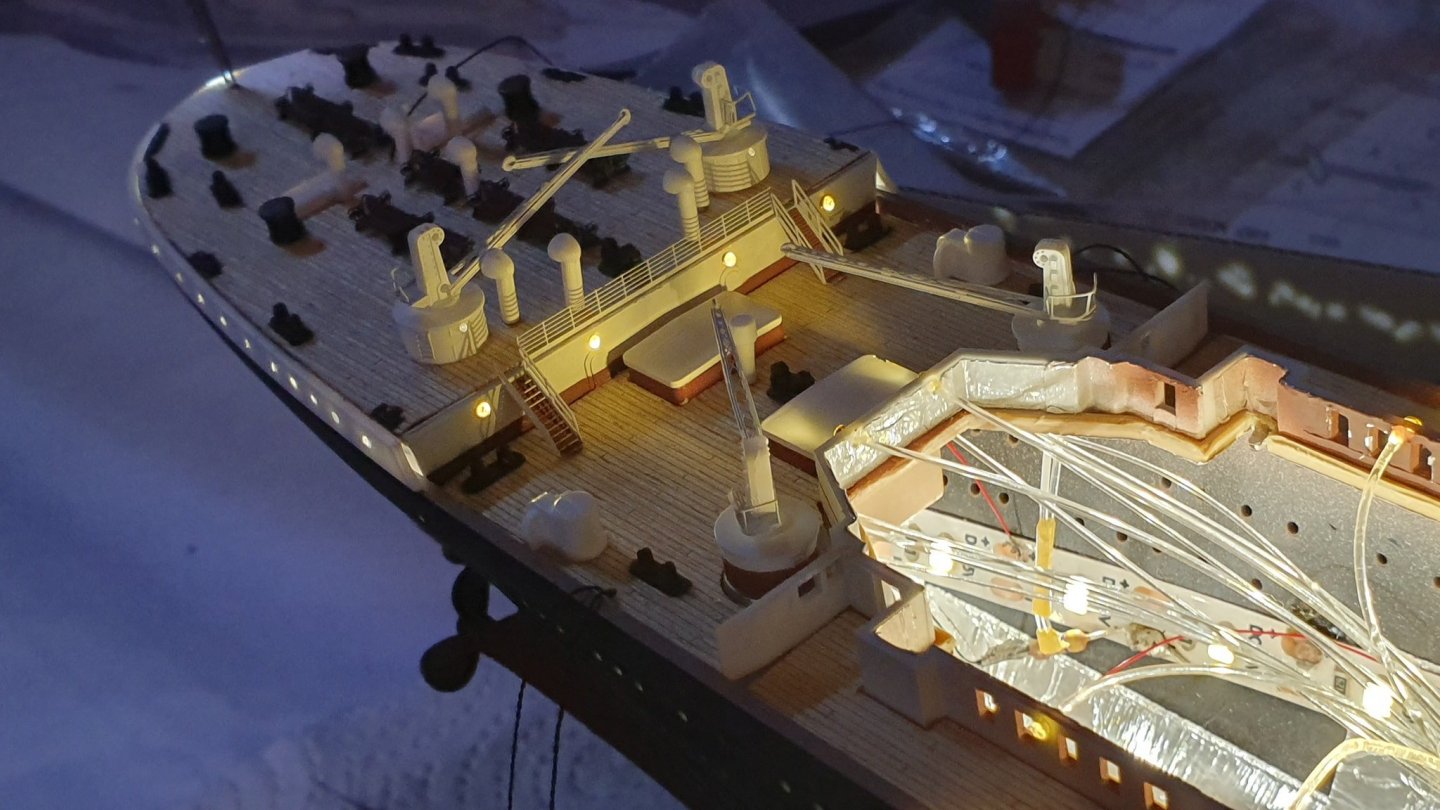
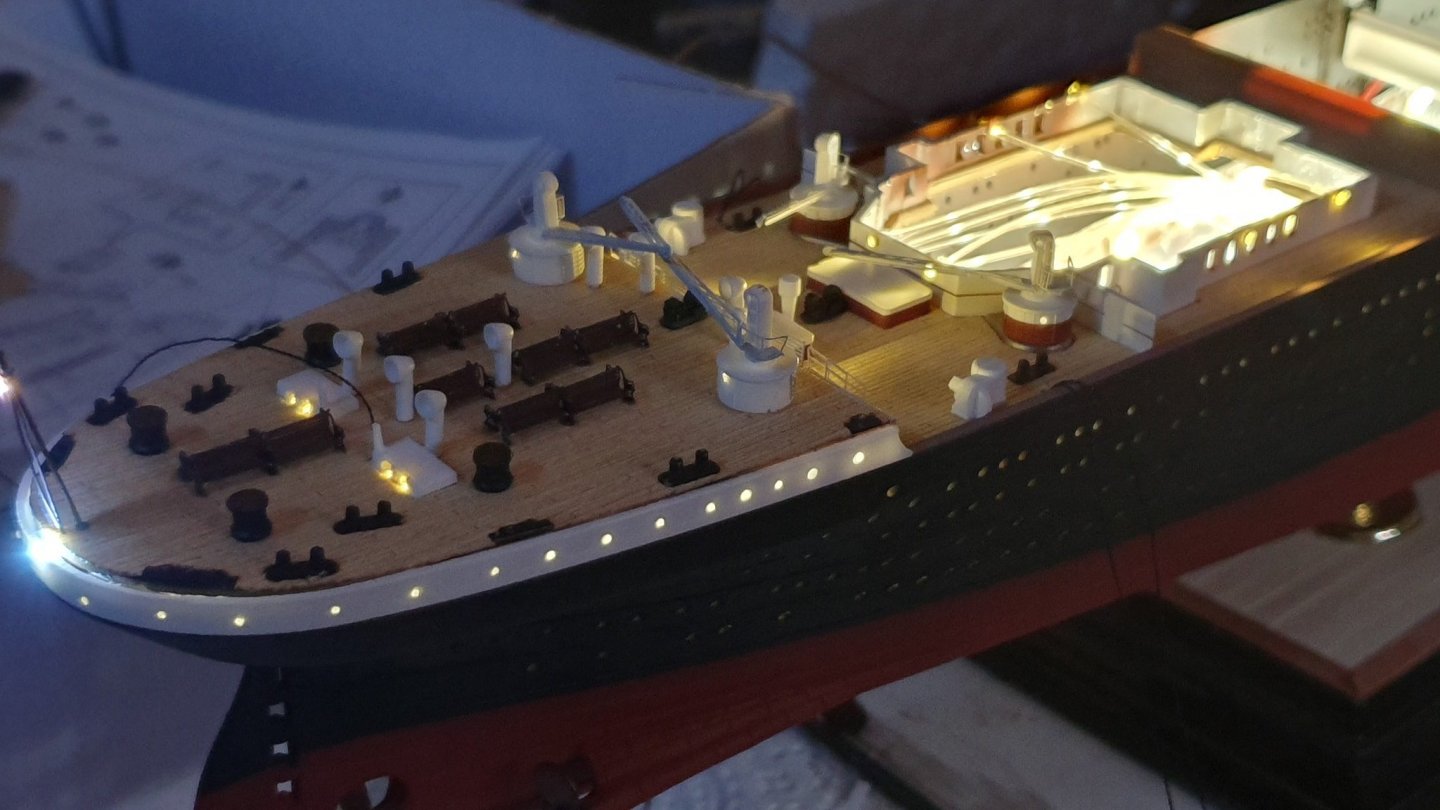
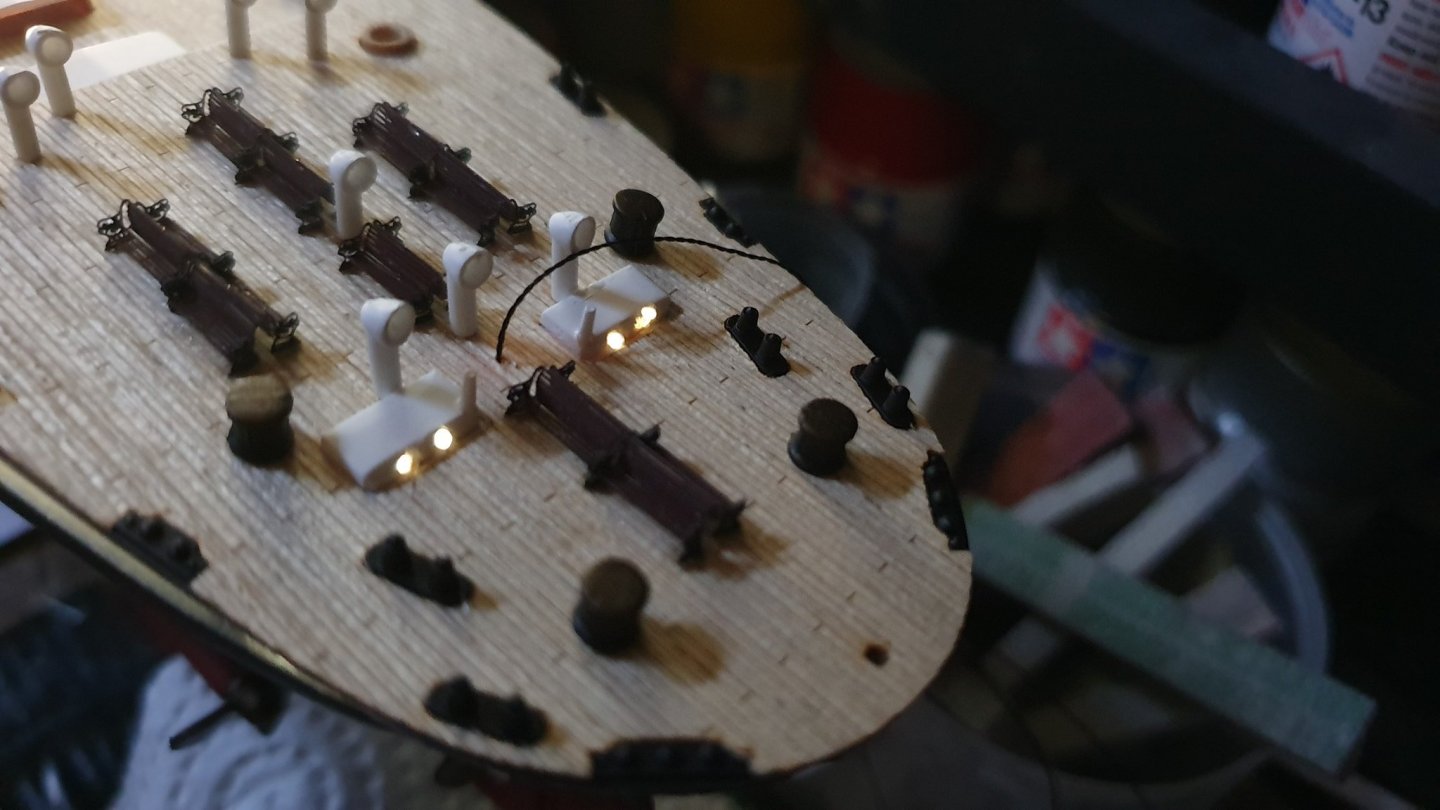
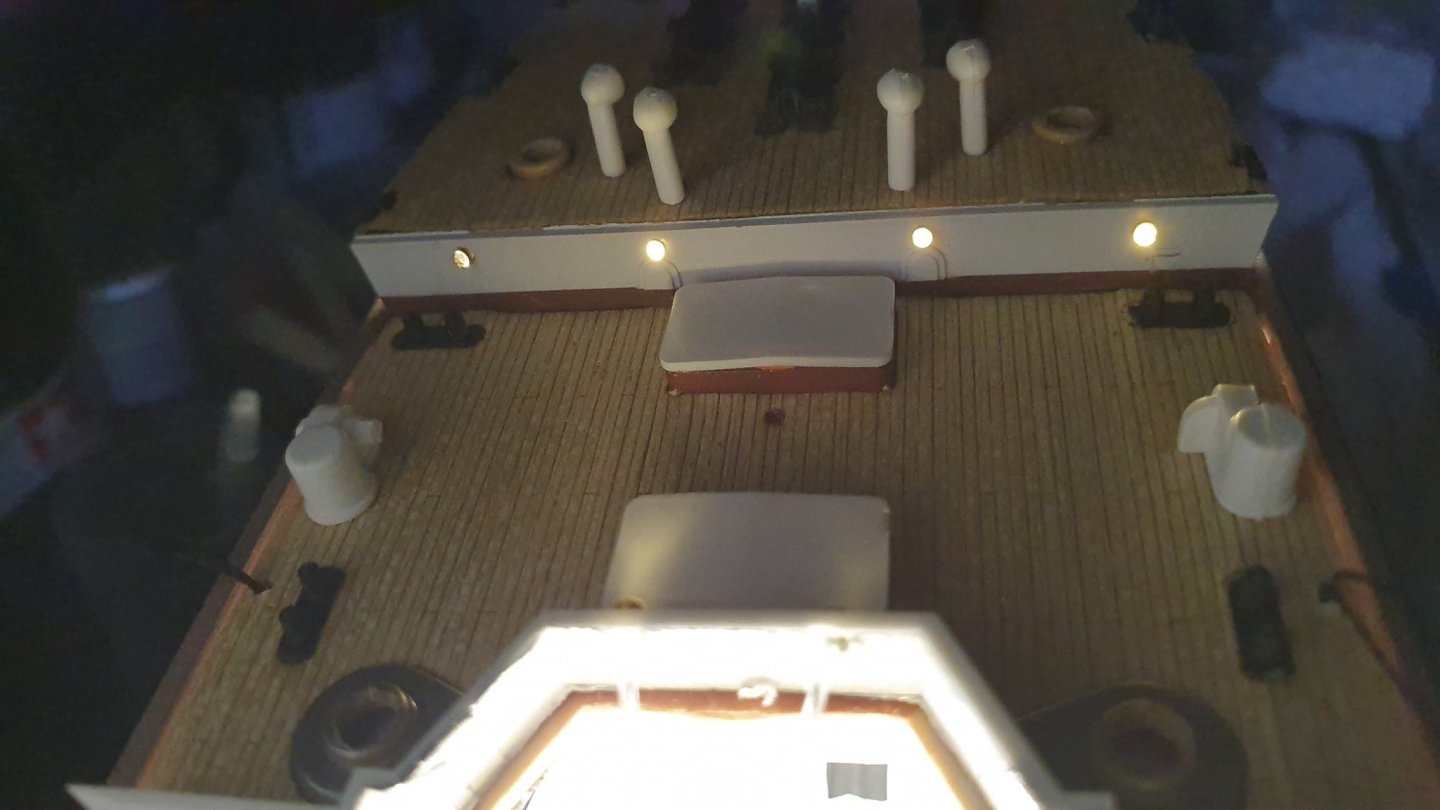
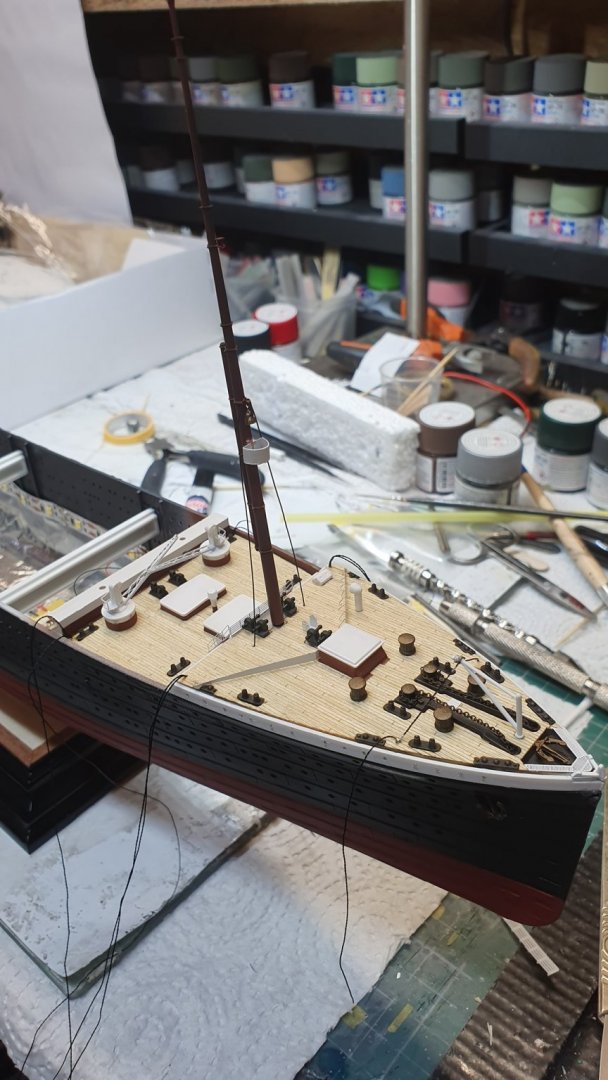
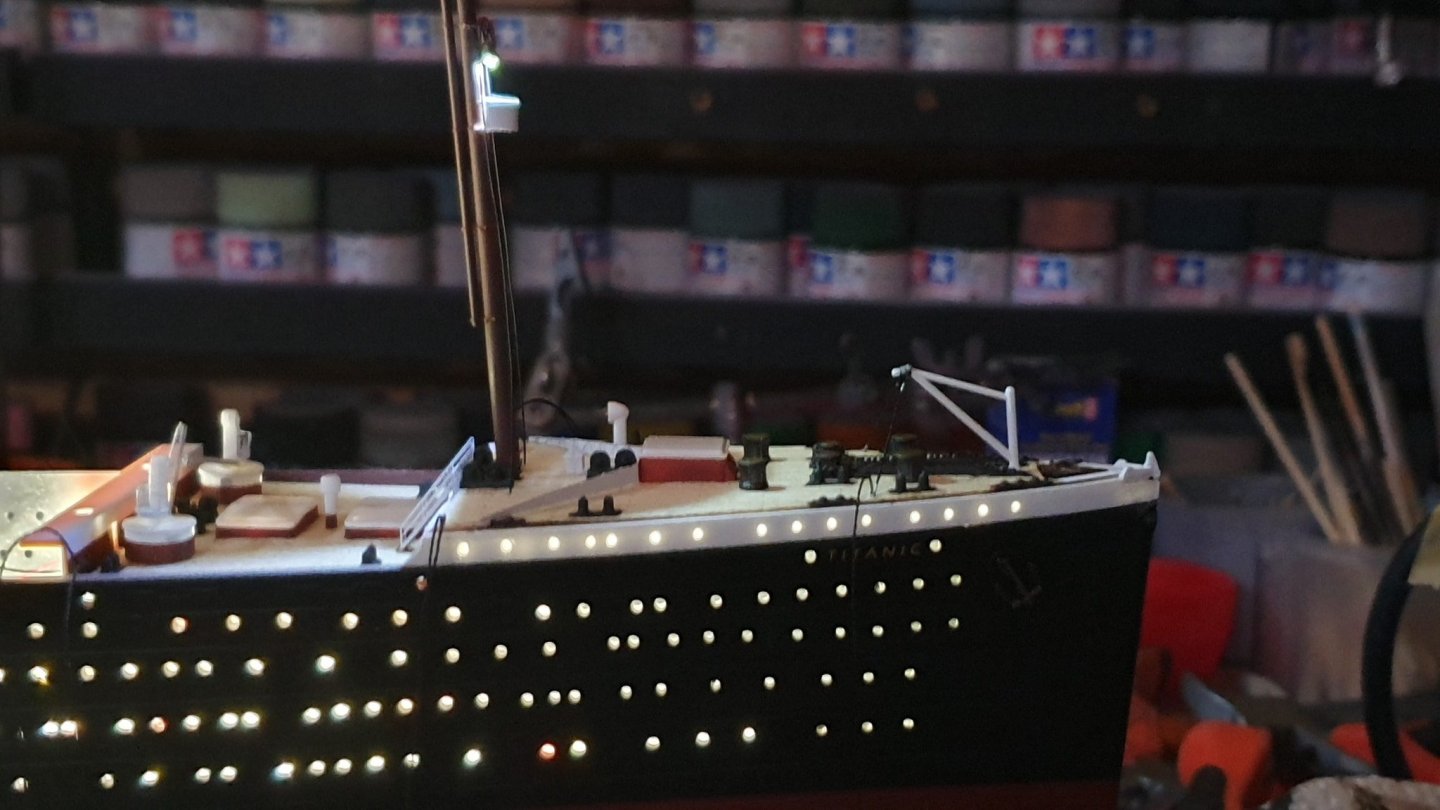
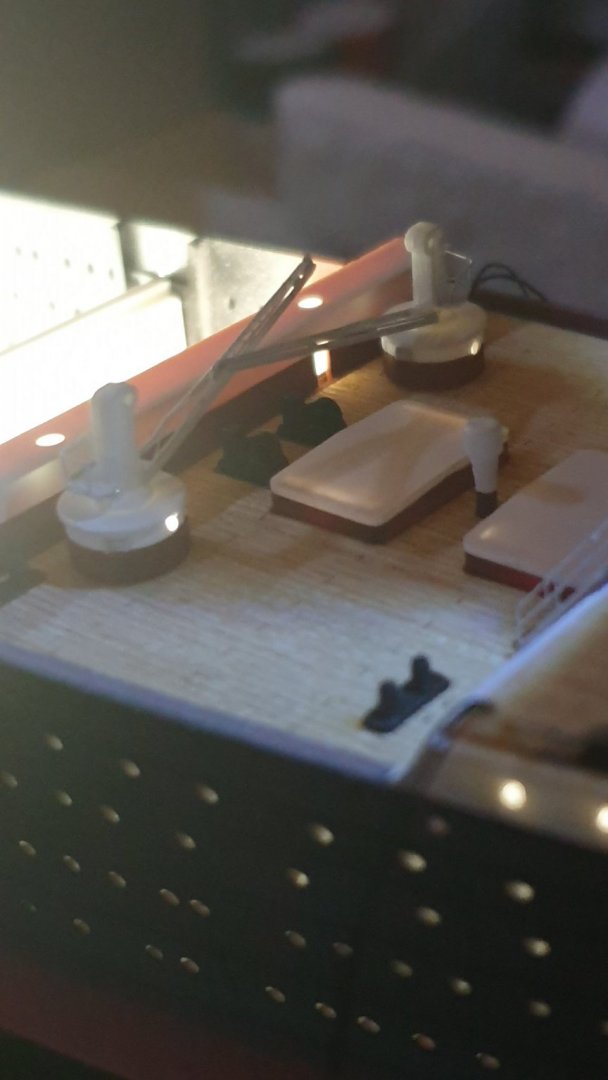
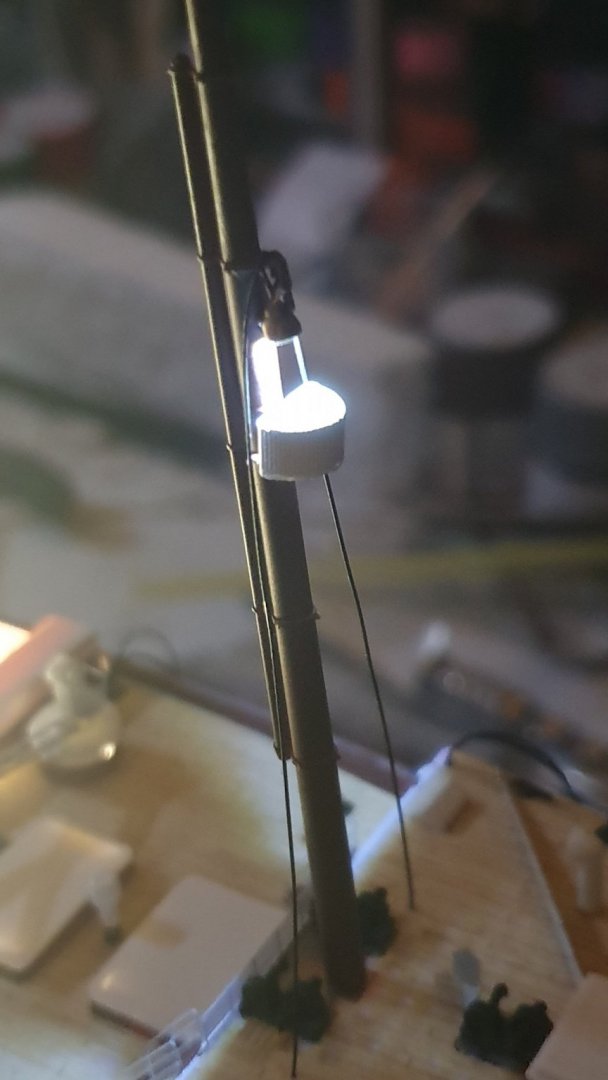
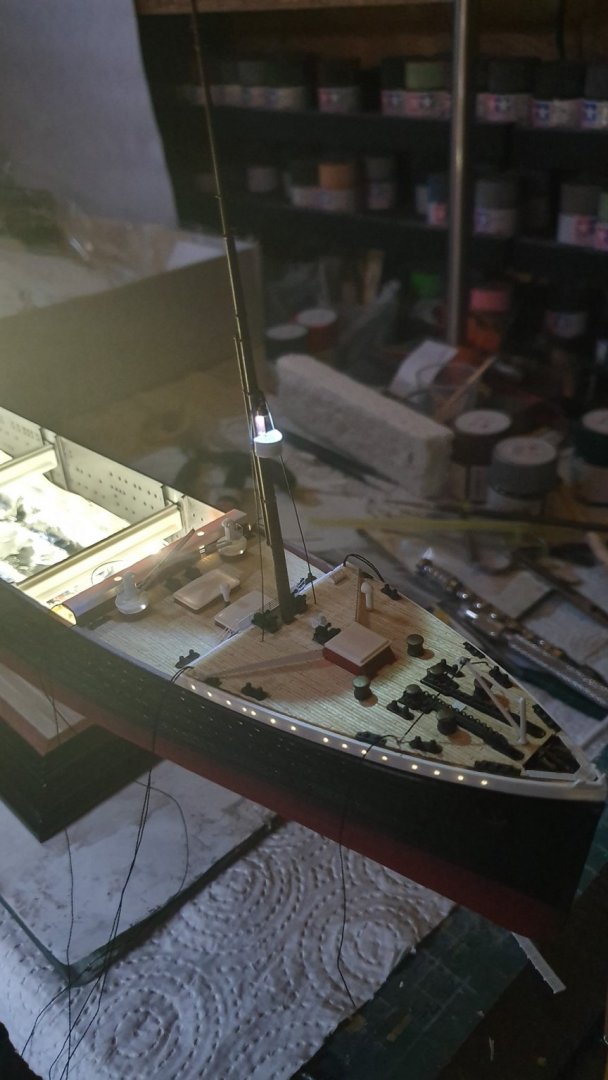
Starting to get somewhere now with this. Fo'castle deck fitted into place, managed to get a good seal with little or no light bleed, the well deck section isn't yet sealed though. I added the lamp to the look out post. Really it should have been a warm white led rather than a bright white but it still looks fine. I disguised the wire for the LED as rigging, and then connected it inside to the contact points between the LEDs on the strips. Fibre optic cables for the porthole lamps on the well deck cranes worked well, as did the ones for the forward potholes that weren't pre drilled. Some light bleed on the cargo door covers but I believe these were canvass so not entirely unrealistic. Back soon...
-

kit review 1:8 Ferrari Timossi Racer ‘Arno XI’ (Special Edition)
fifthace replied to James H's topic in REVIEWS: Model kits
I am tempted by this, thanks for the detailed info. For the Ferrari Red...if anyone owns an Airbrush, check out Zero Paints' (I won't post a link as not sure of the rules on here yet). But you can get colour matched paint for just about any automotive paint. You just need the code or you can choose from the large range of pre-set ones. Couple that with their 2K clear diamond finish and that will look sublime. Looking at the photo's of the instructions, it's Rosso Corsa (Red) or Rosso Ferrari. Of course, prime first. Zero paints tend to be hot, but over fibreglass it shouldn't be an issue.- 12 replies
-
- hydroplane
- arno
-
(and 2 more)
Tagged with:
-
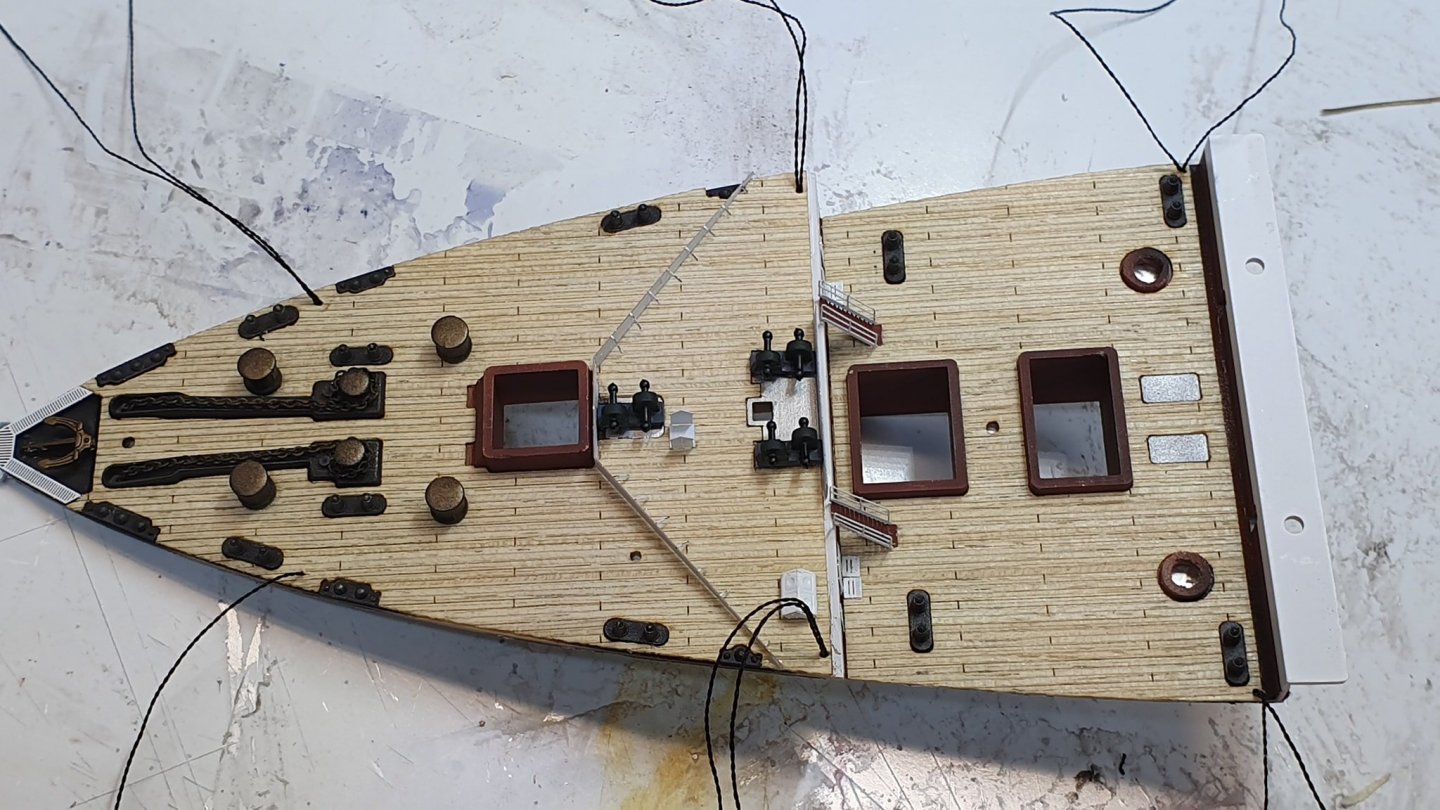
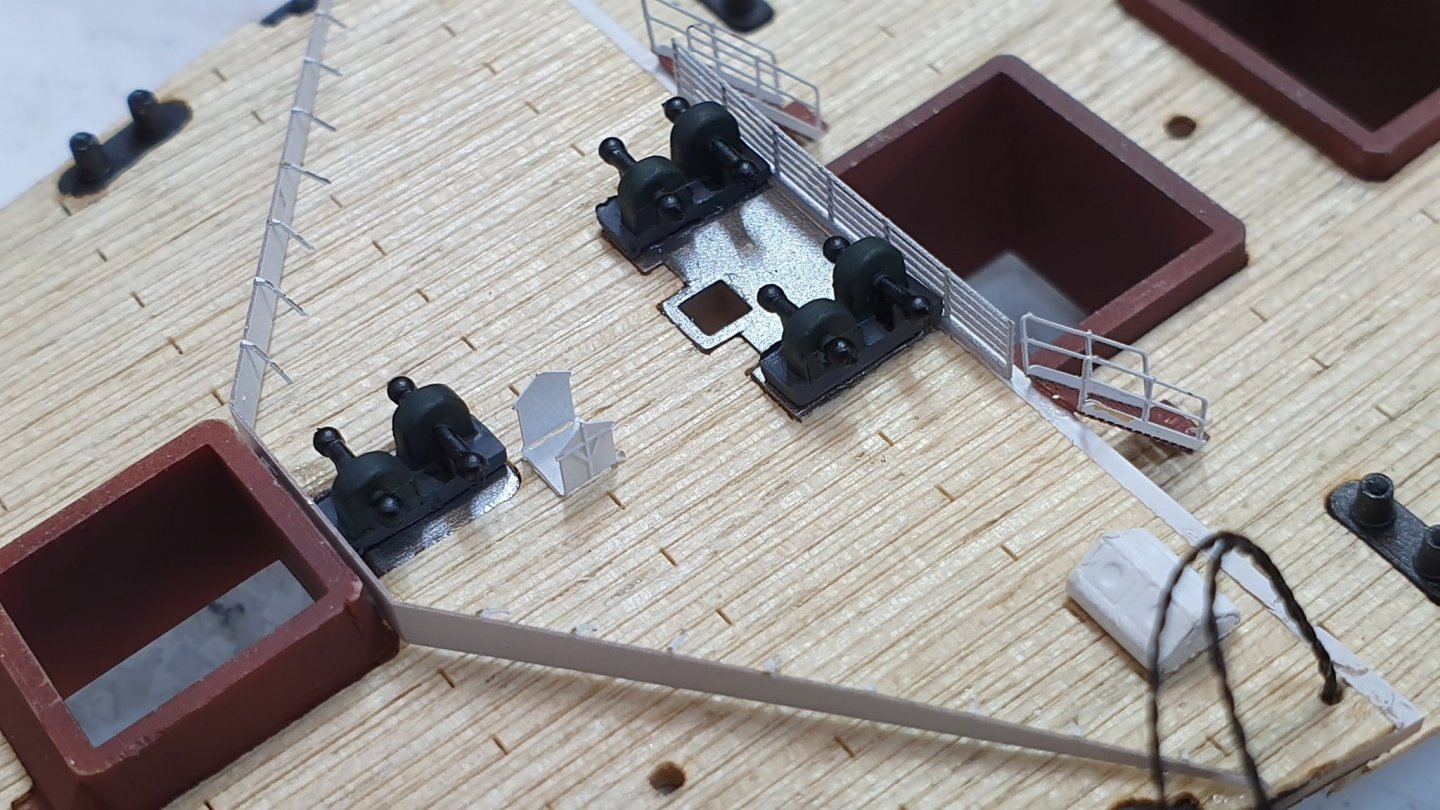
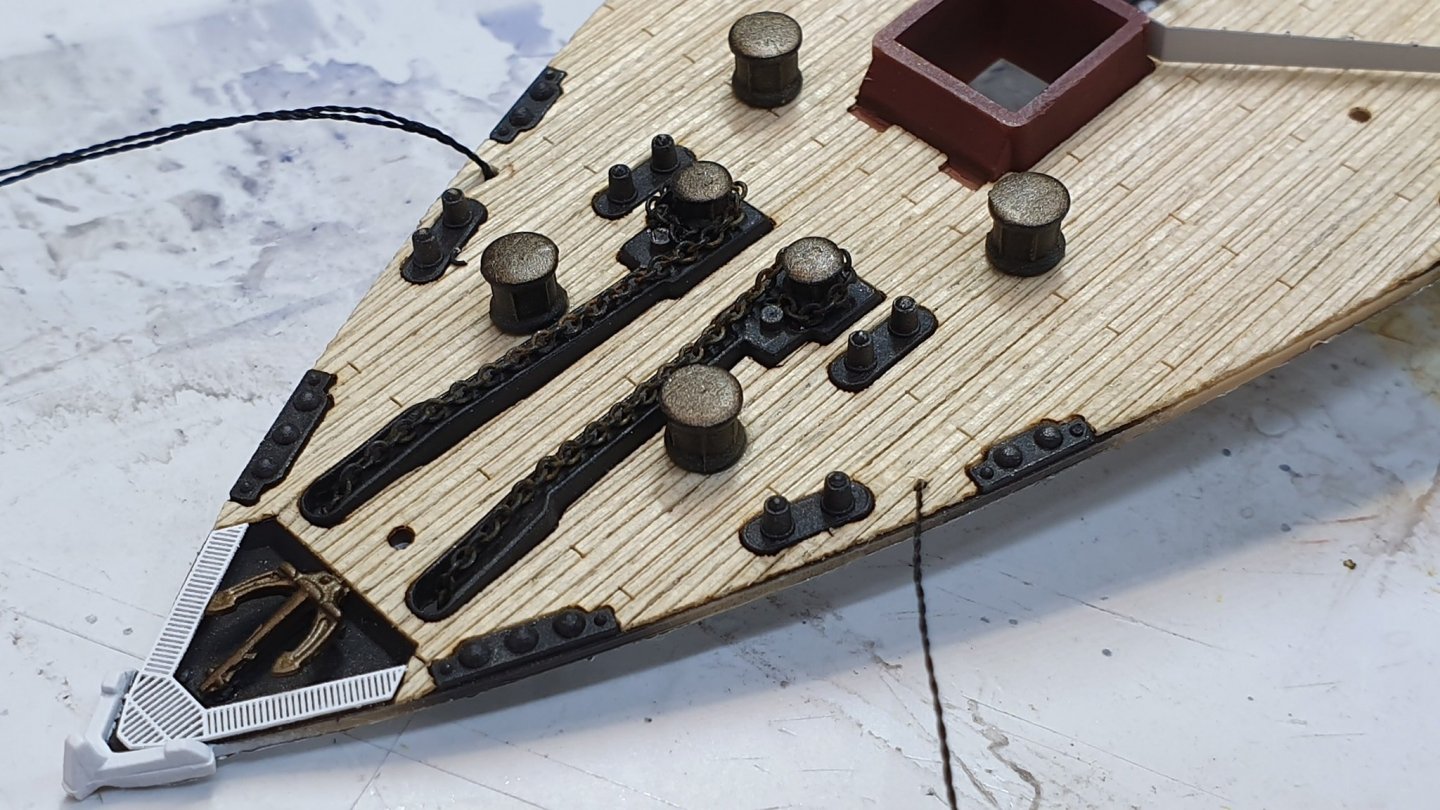
Very slow progress on this. I've got the forecastle about half done so far. A lot of it doesn't get completed until later in the build, but so far so good. I have a few areas I need to touch up on the PE parts. Back soon...
-
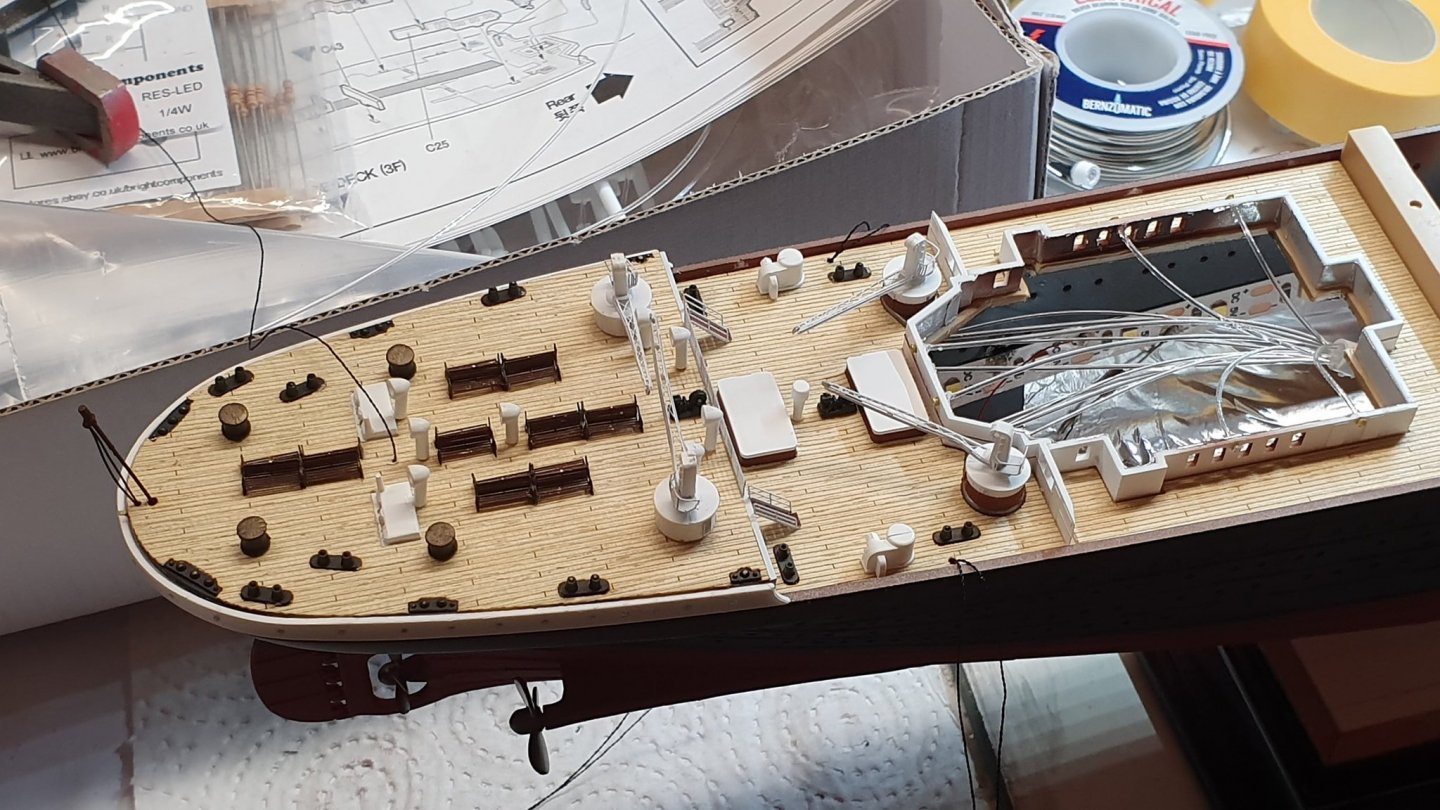
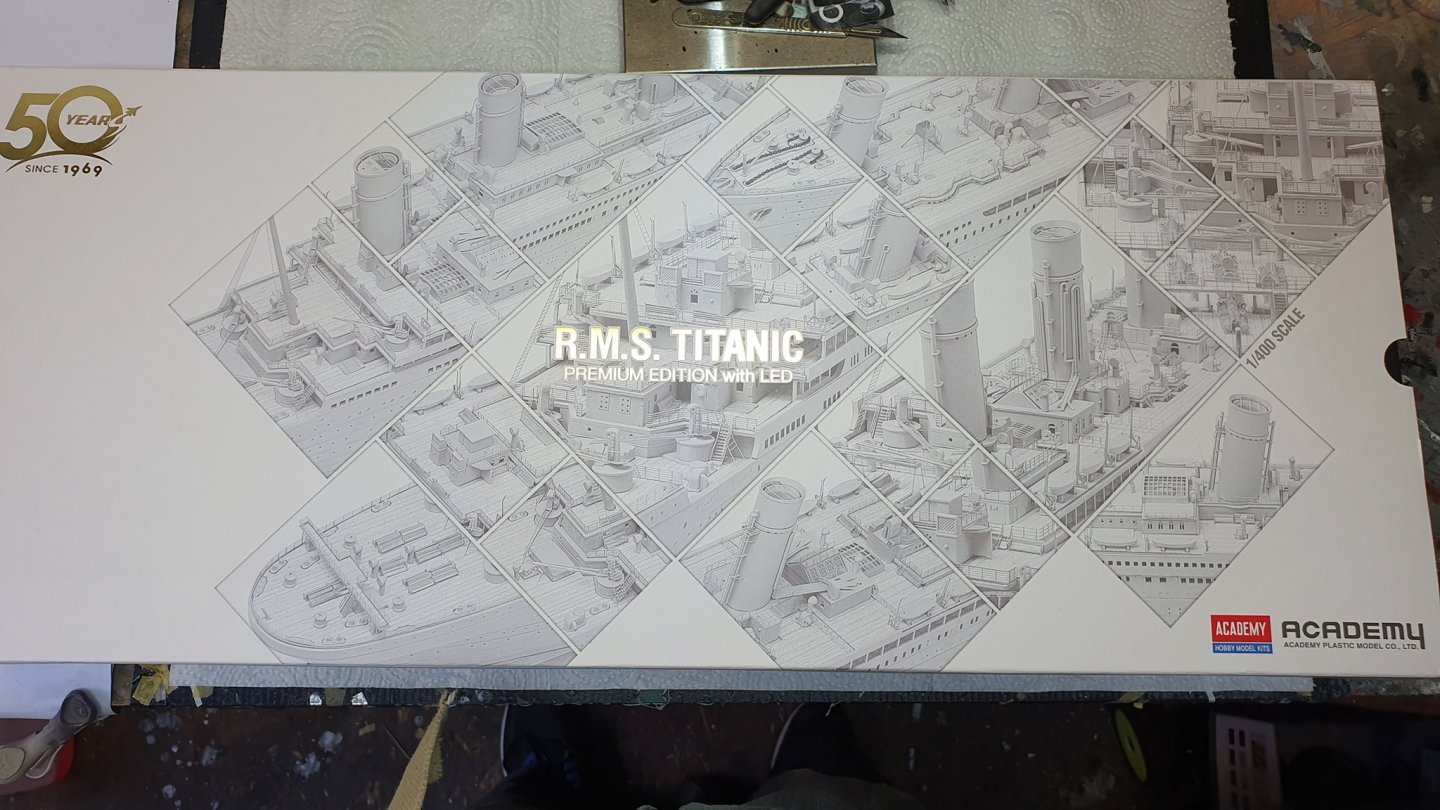
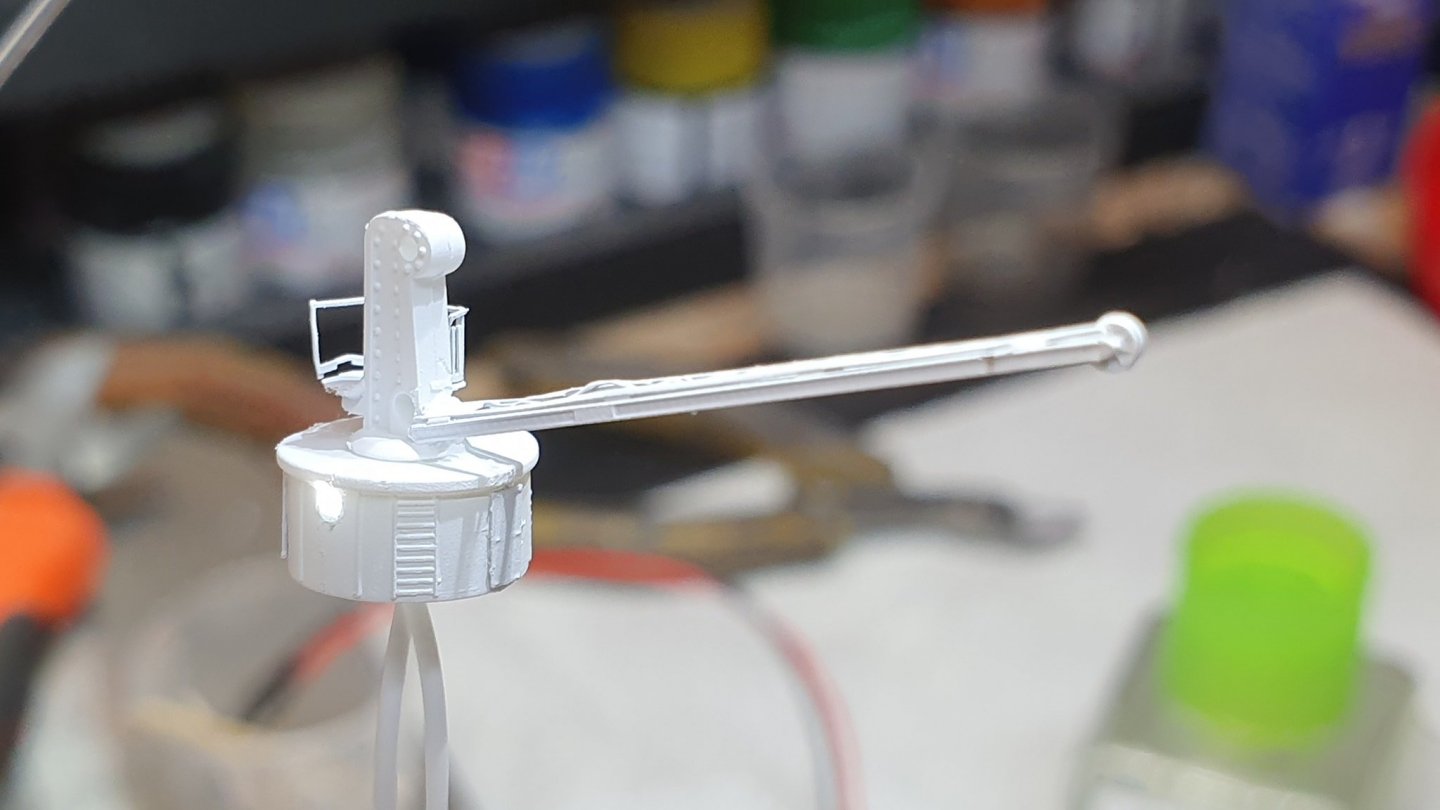
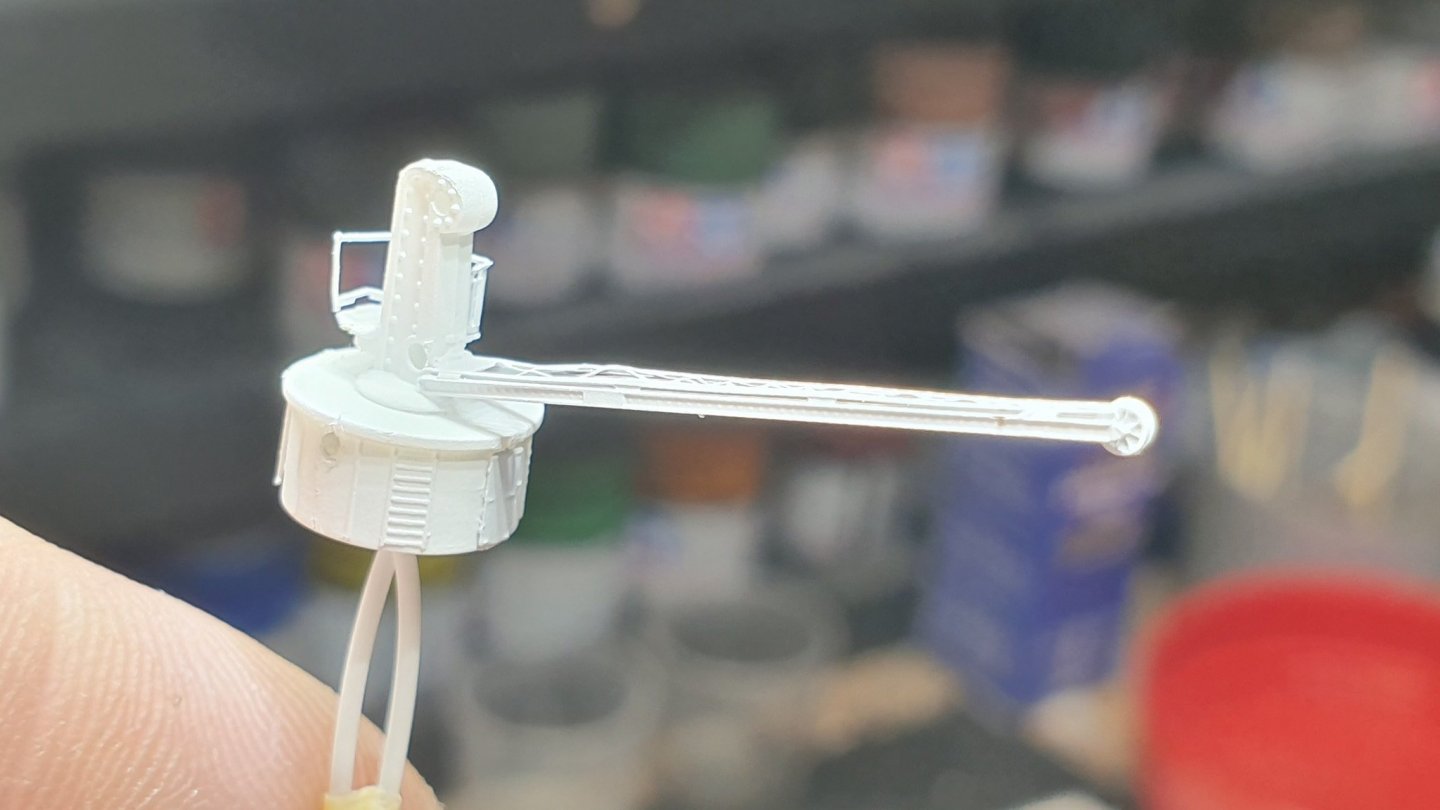
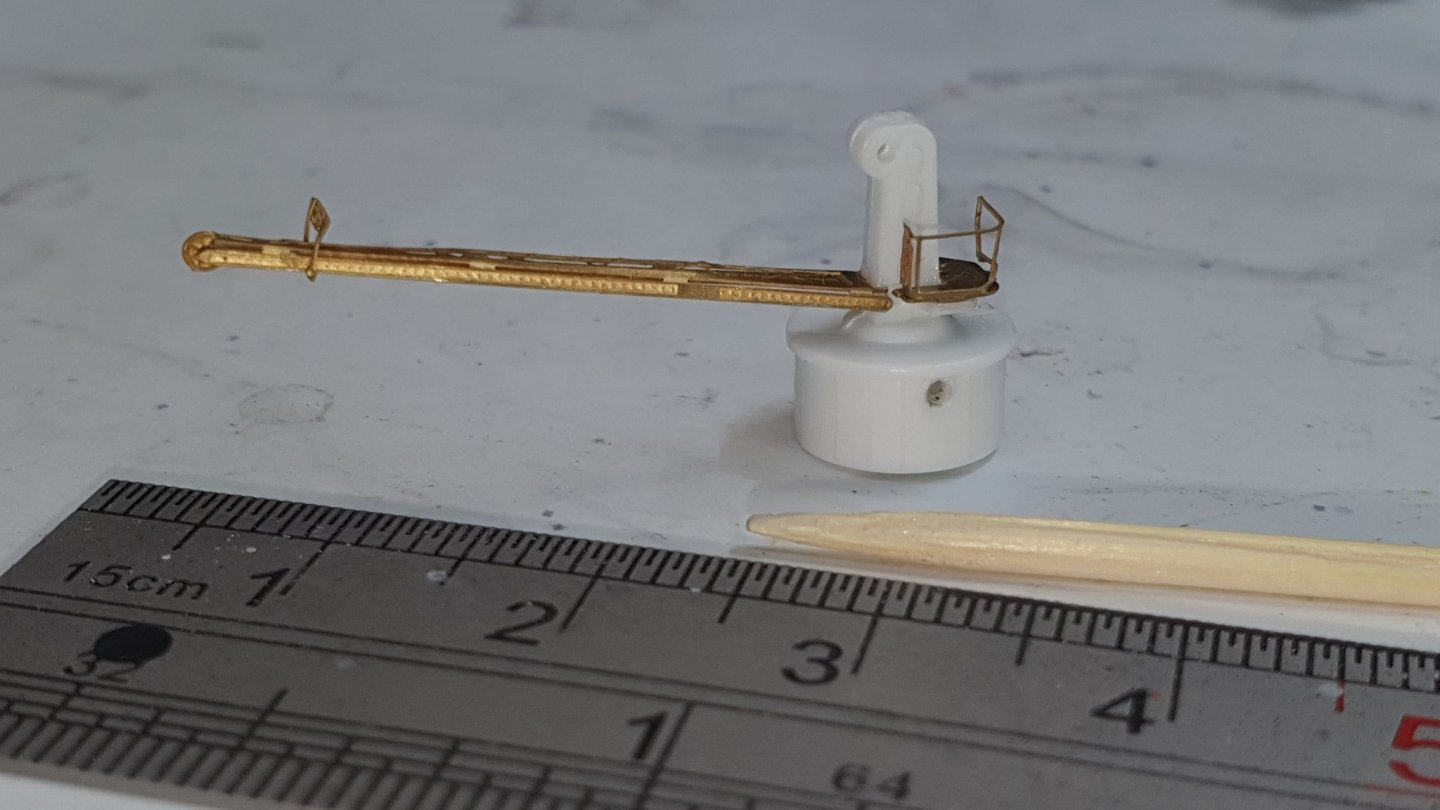
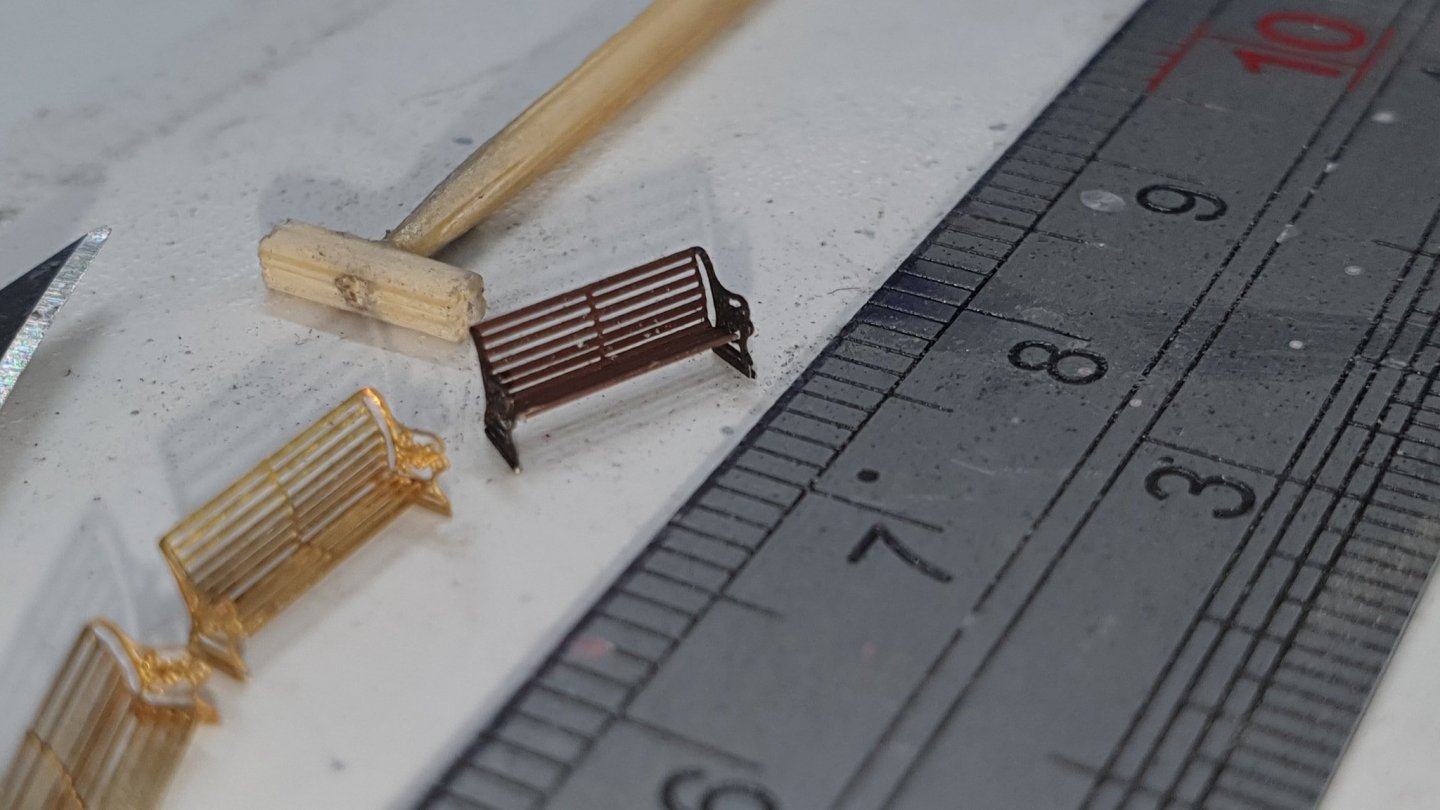
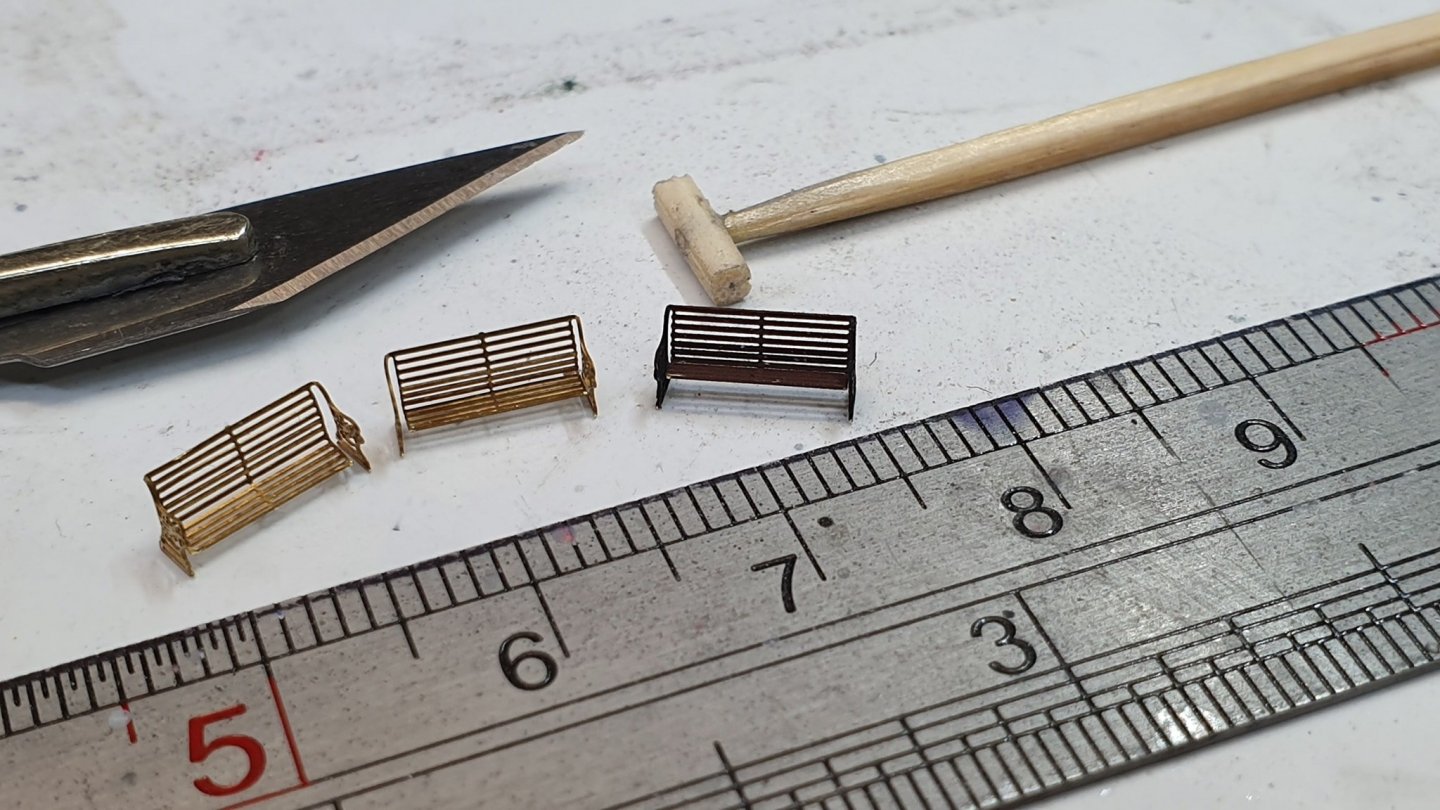
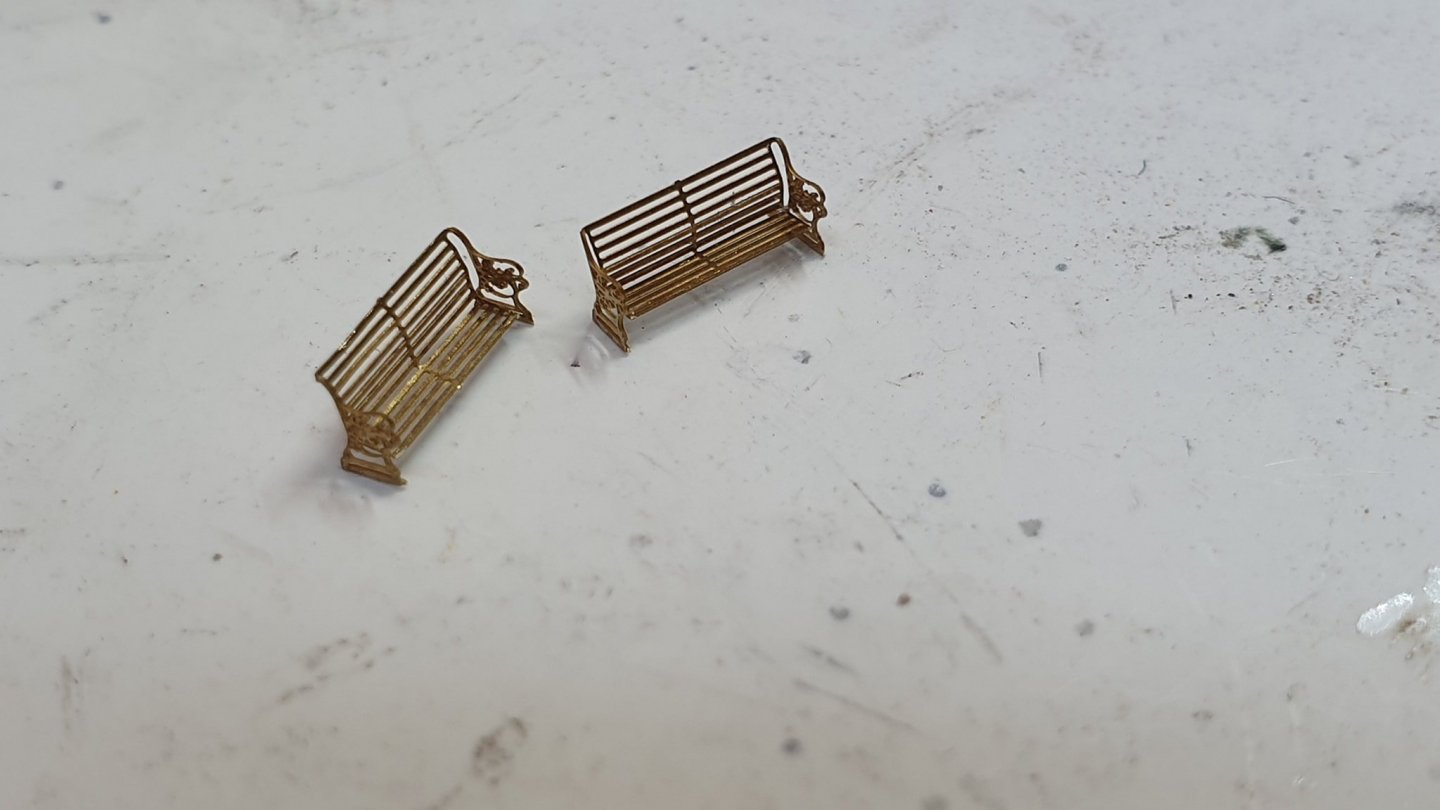
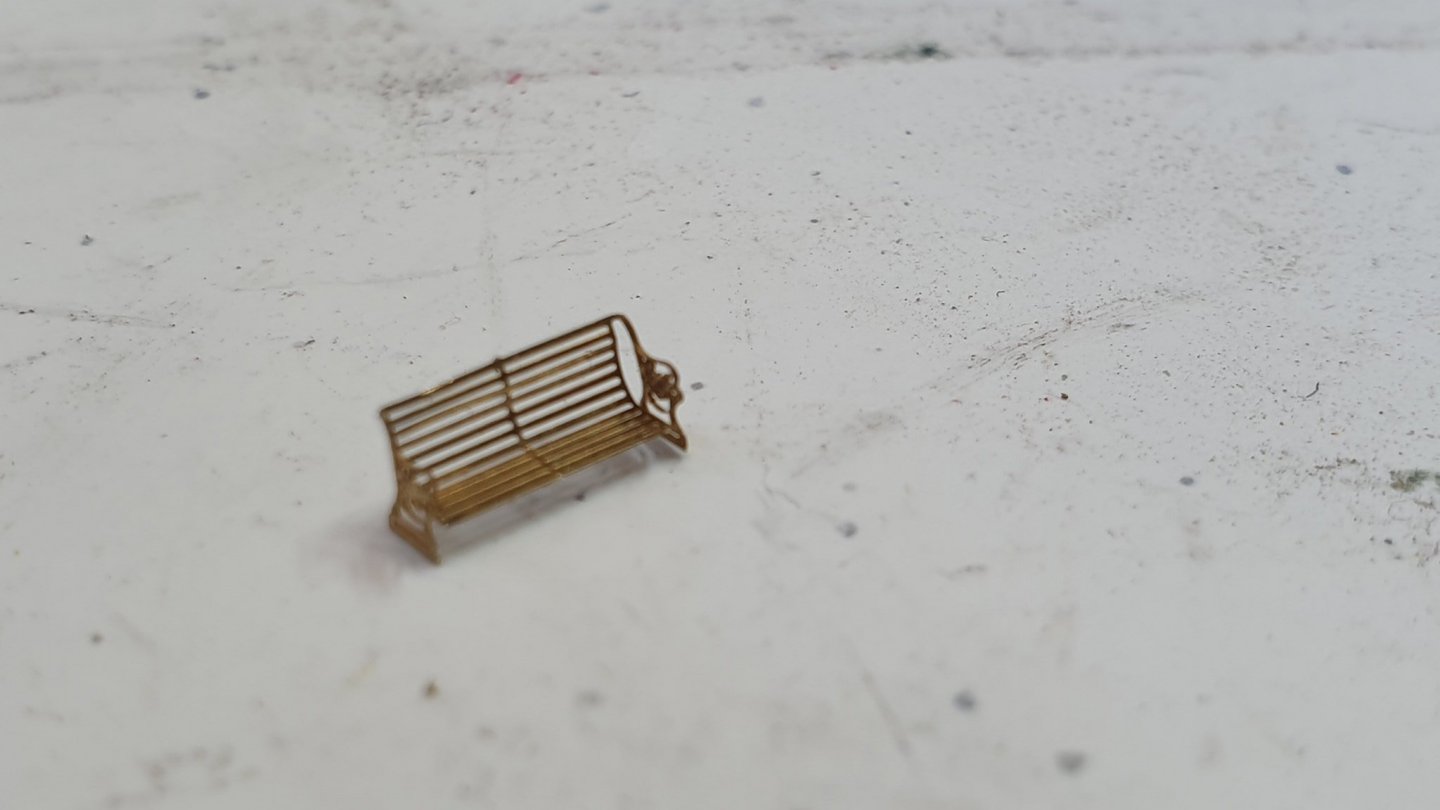
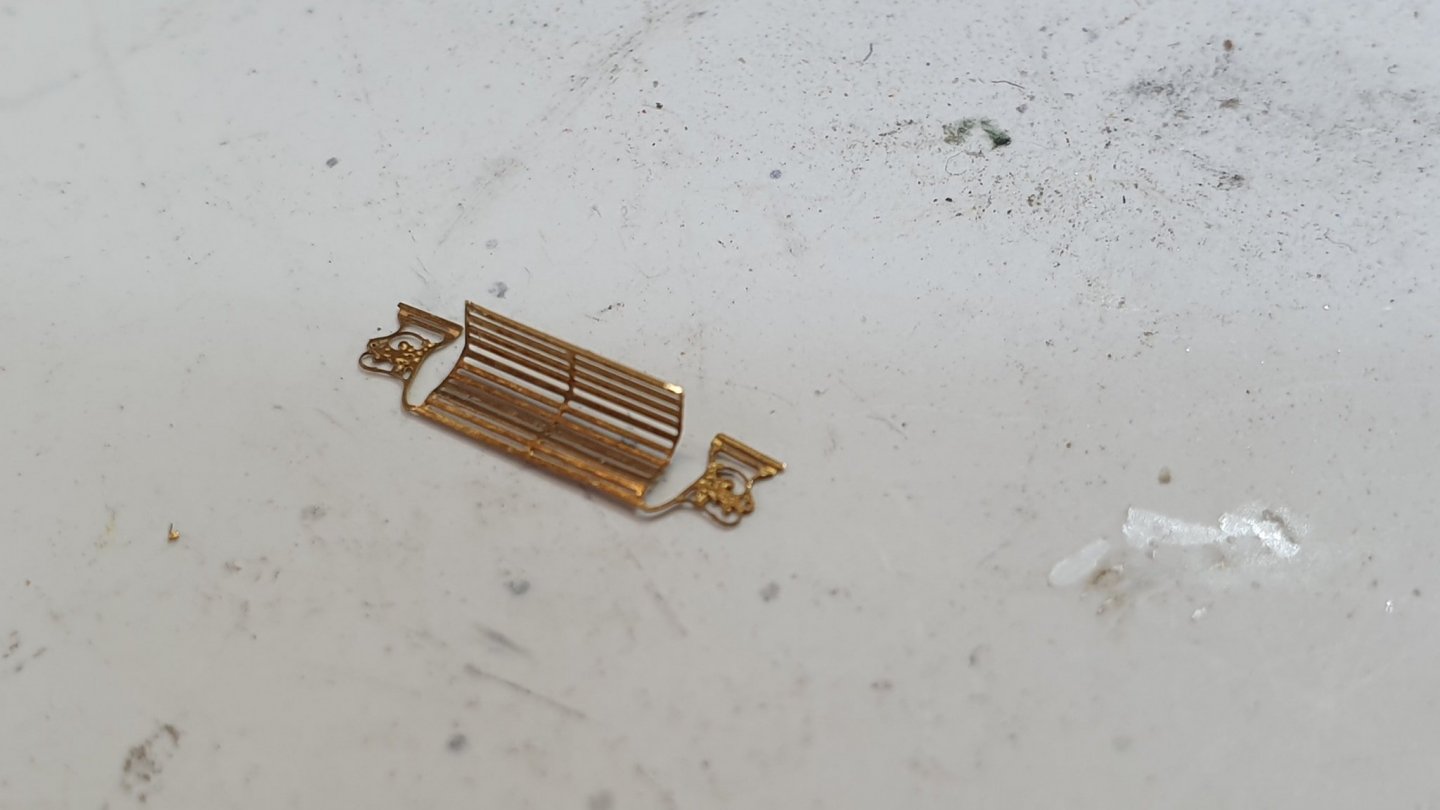
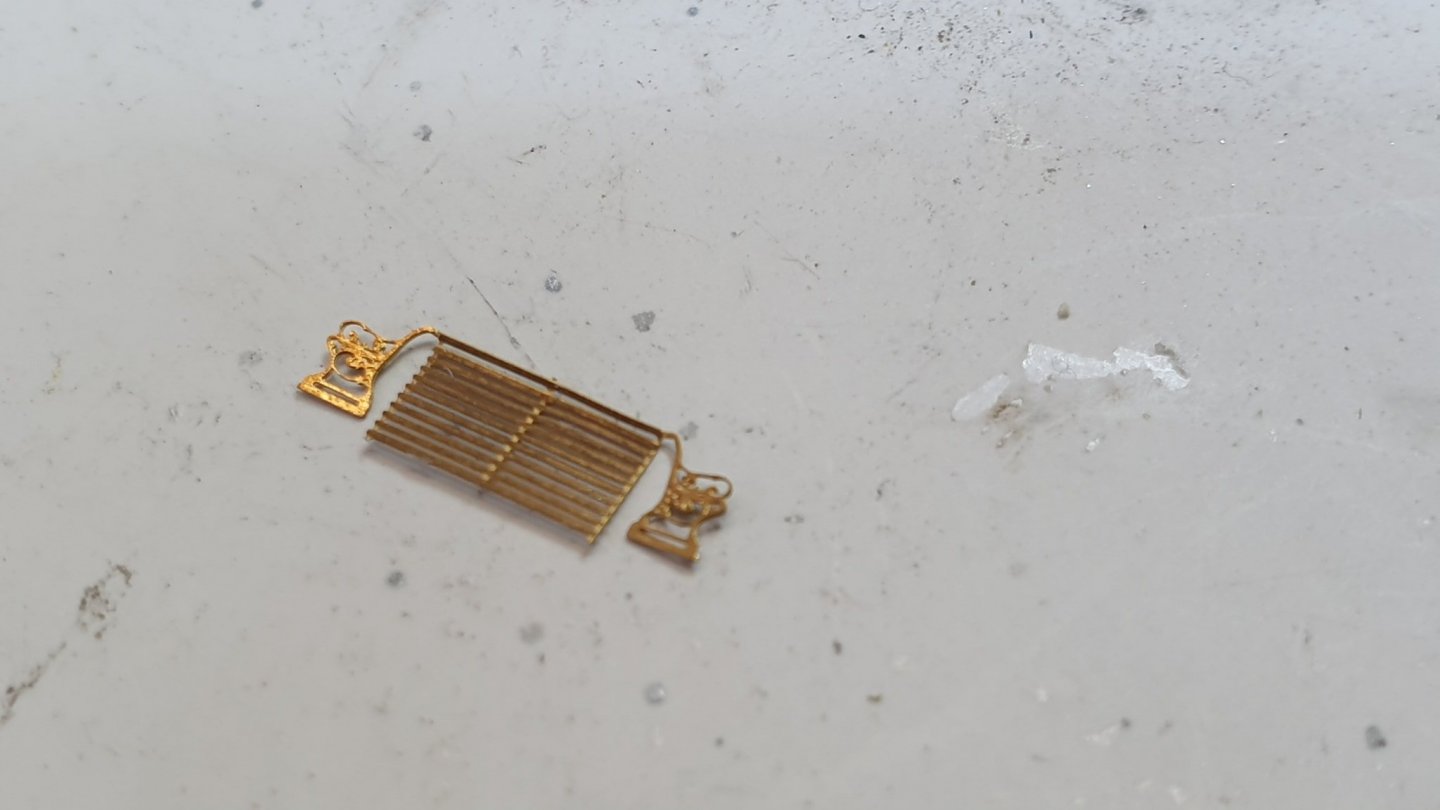
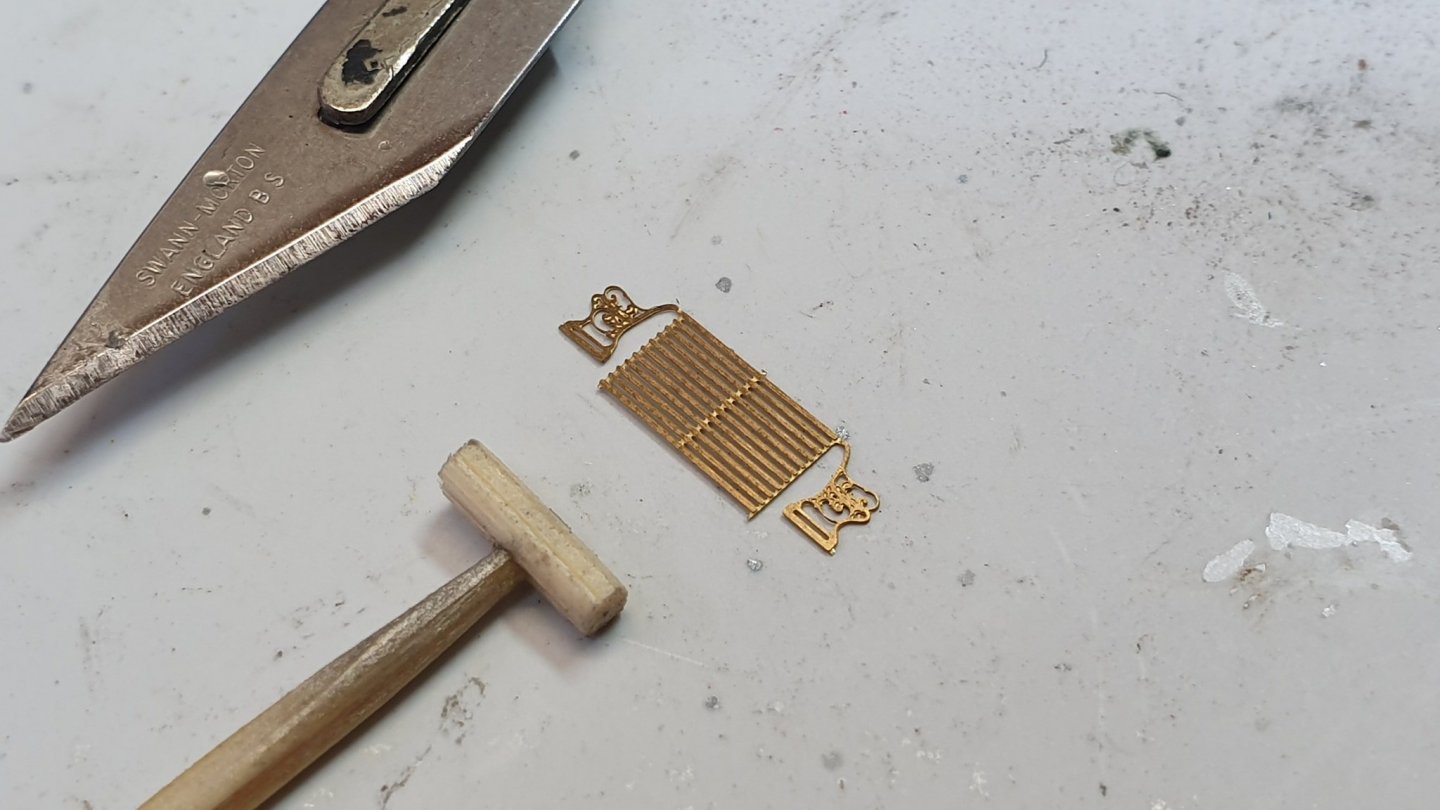
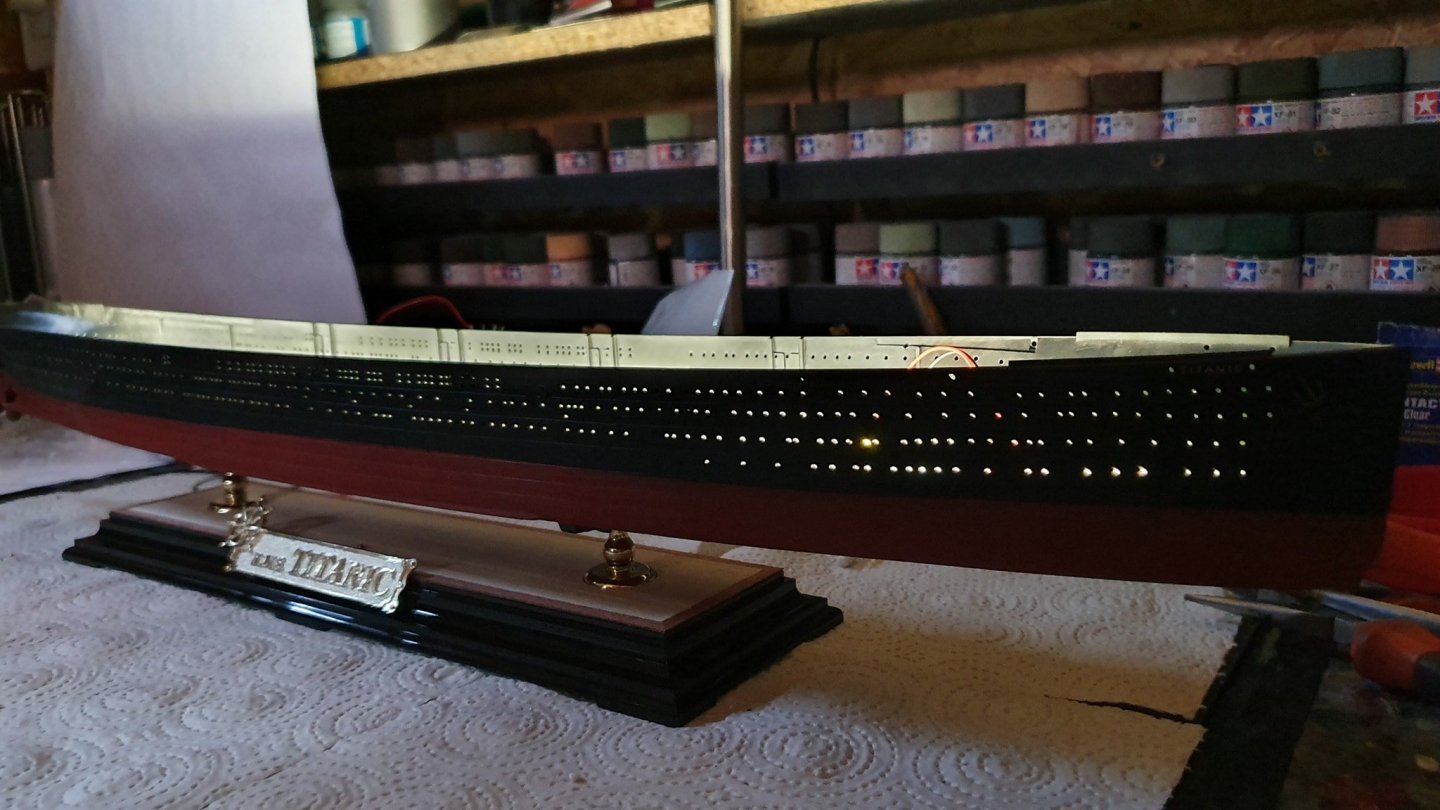
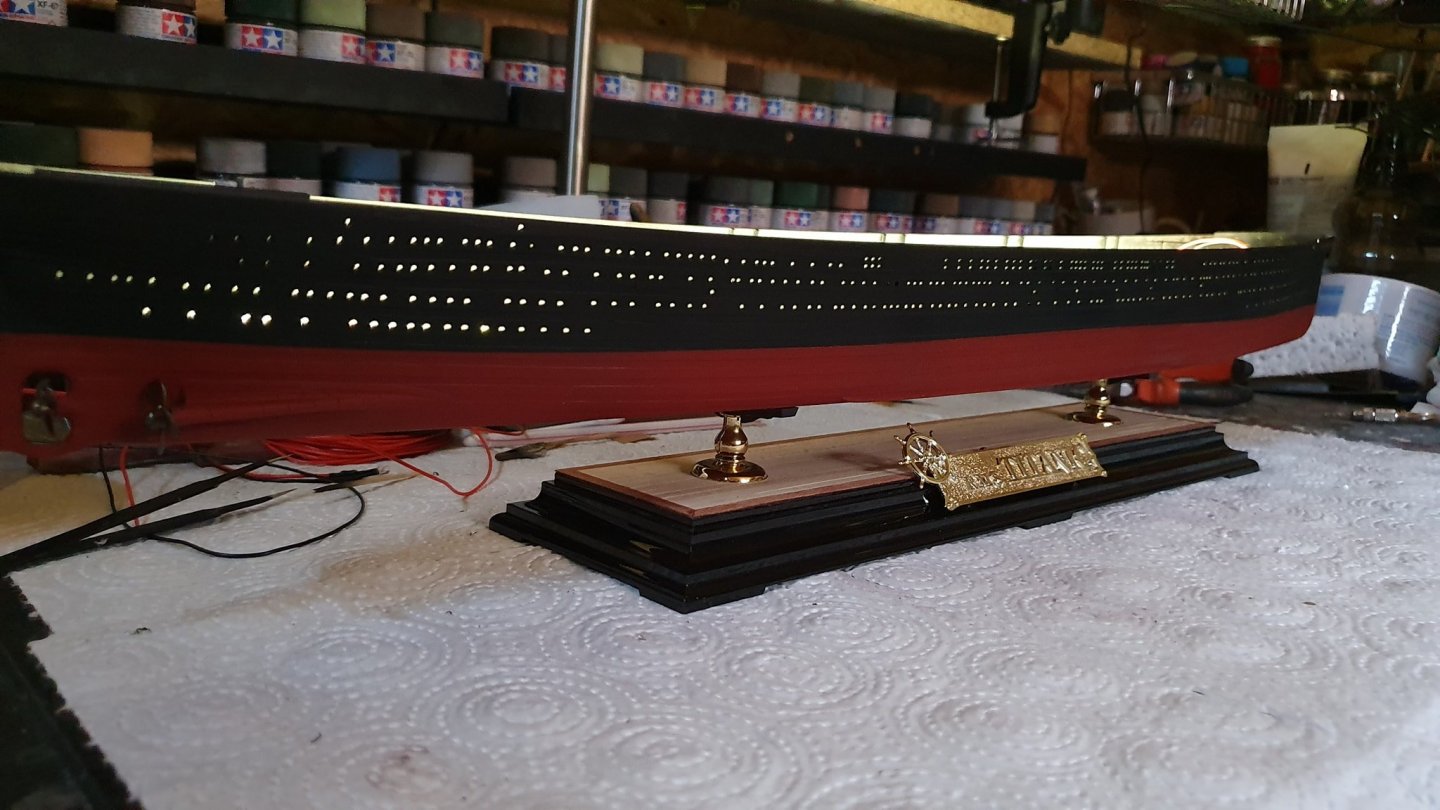
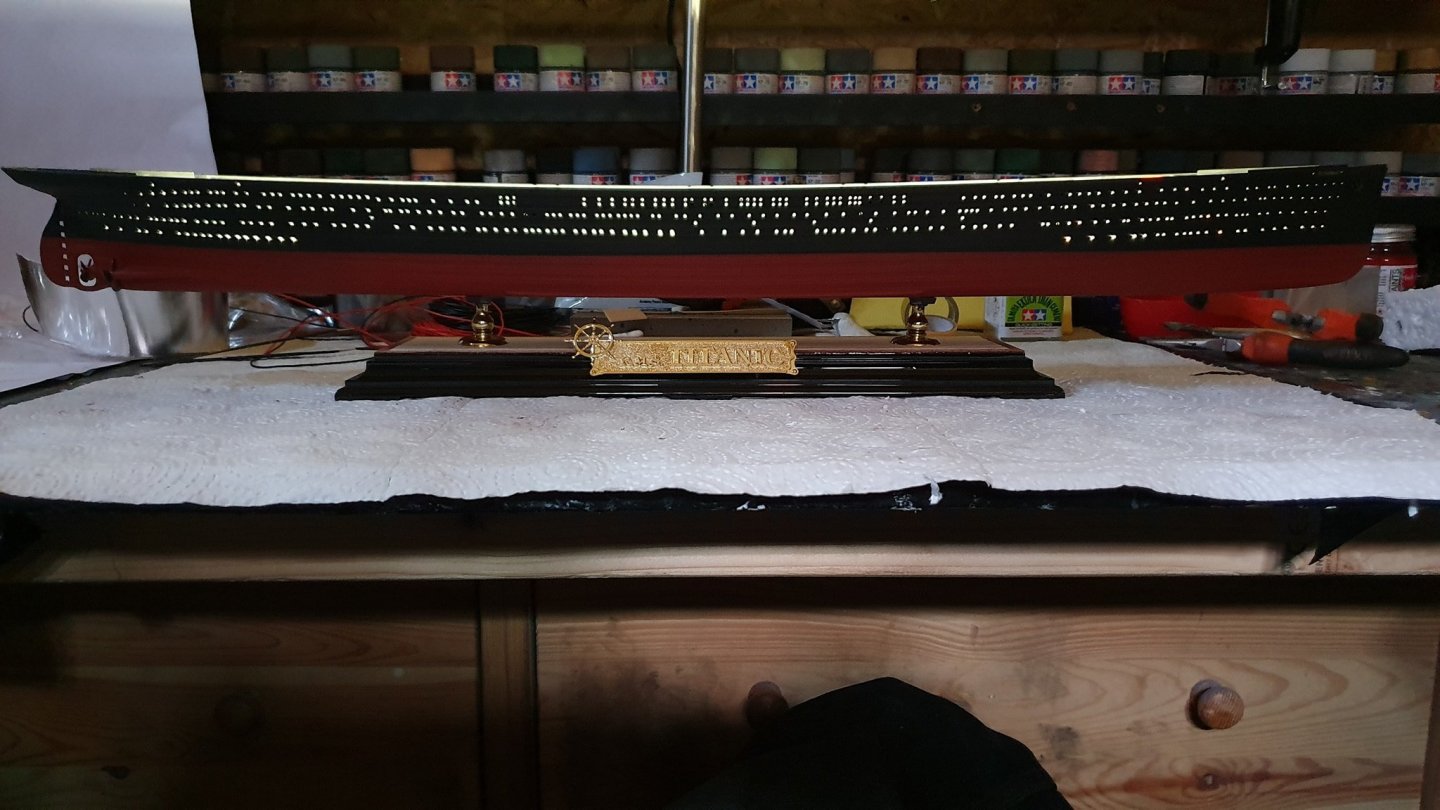
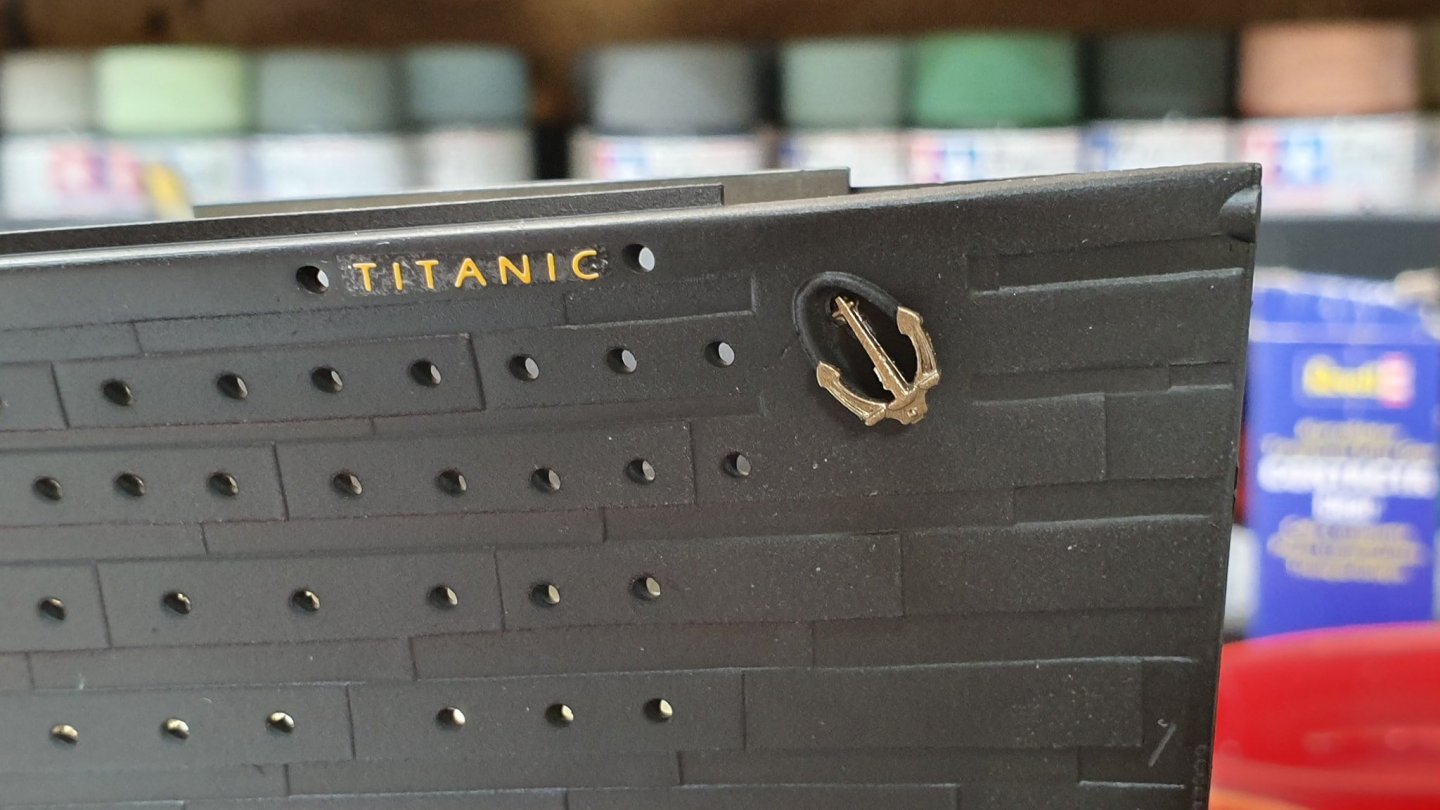
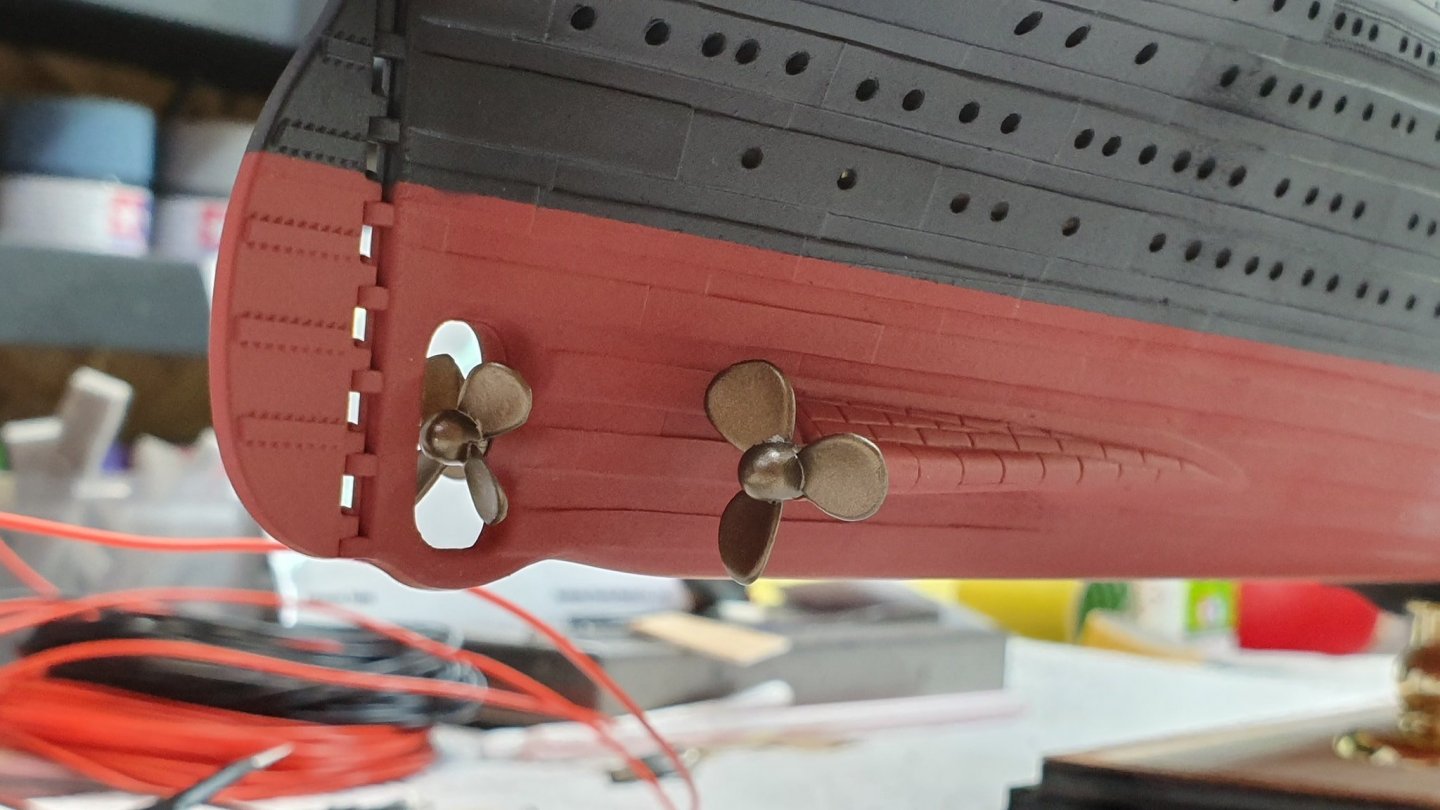
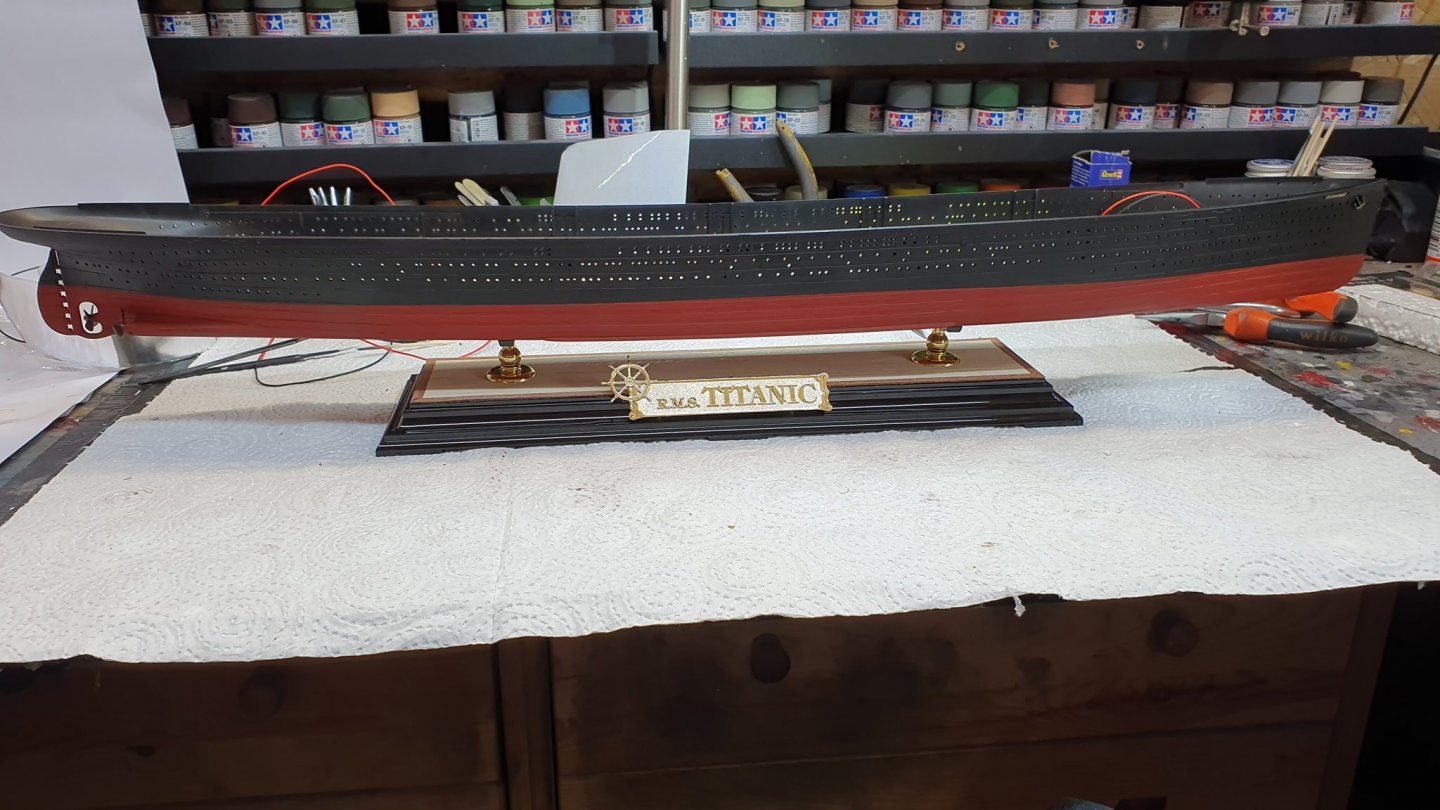
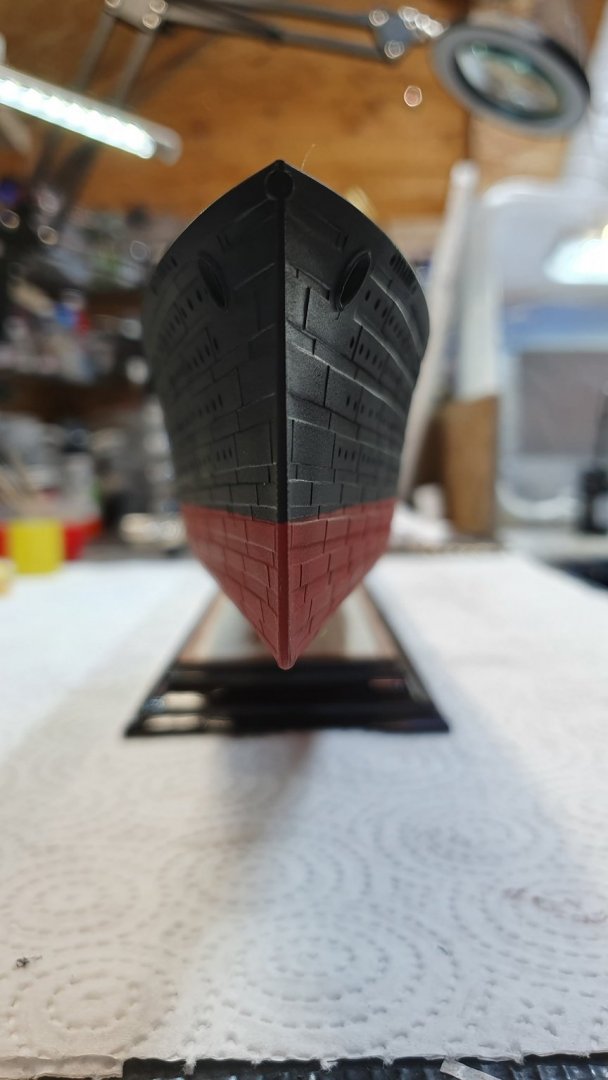
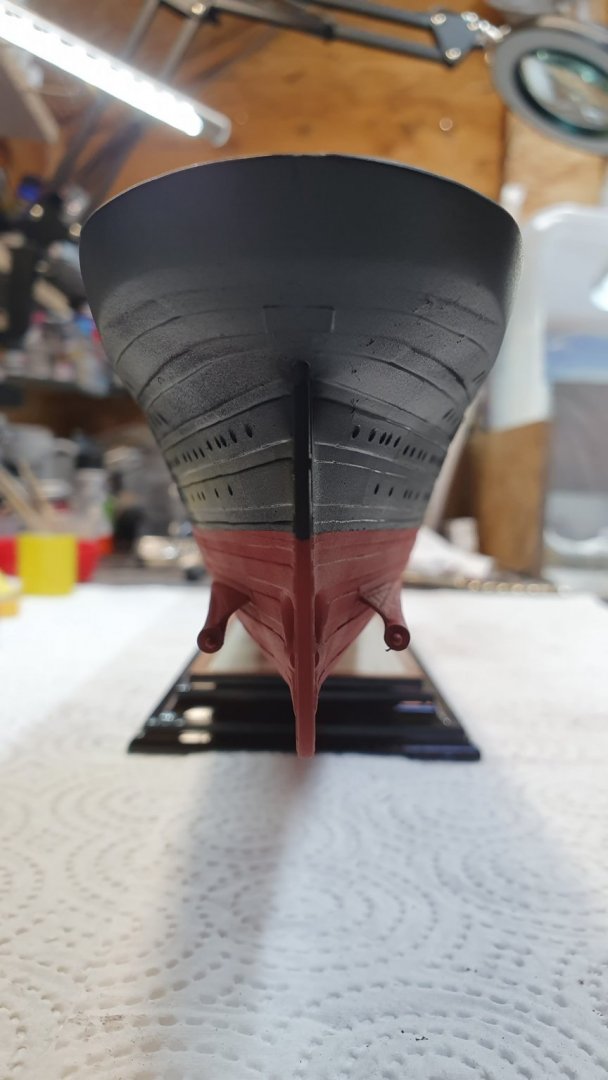
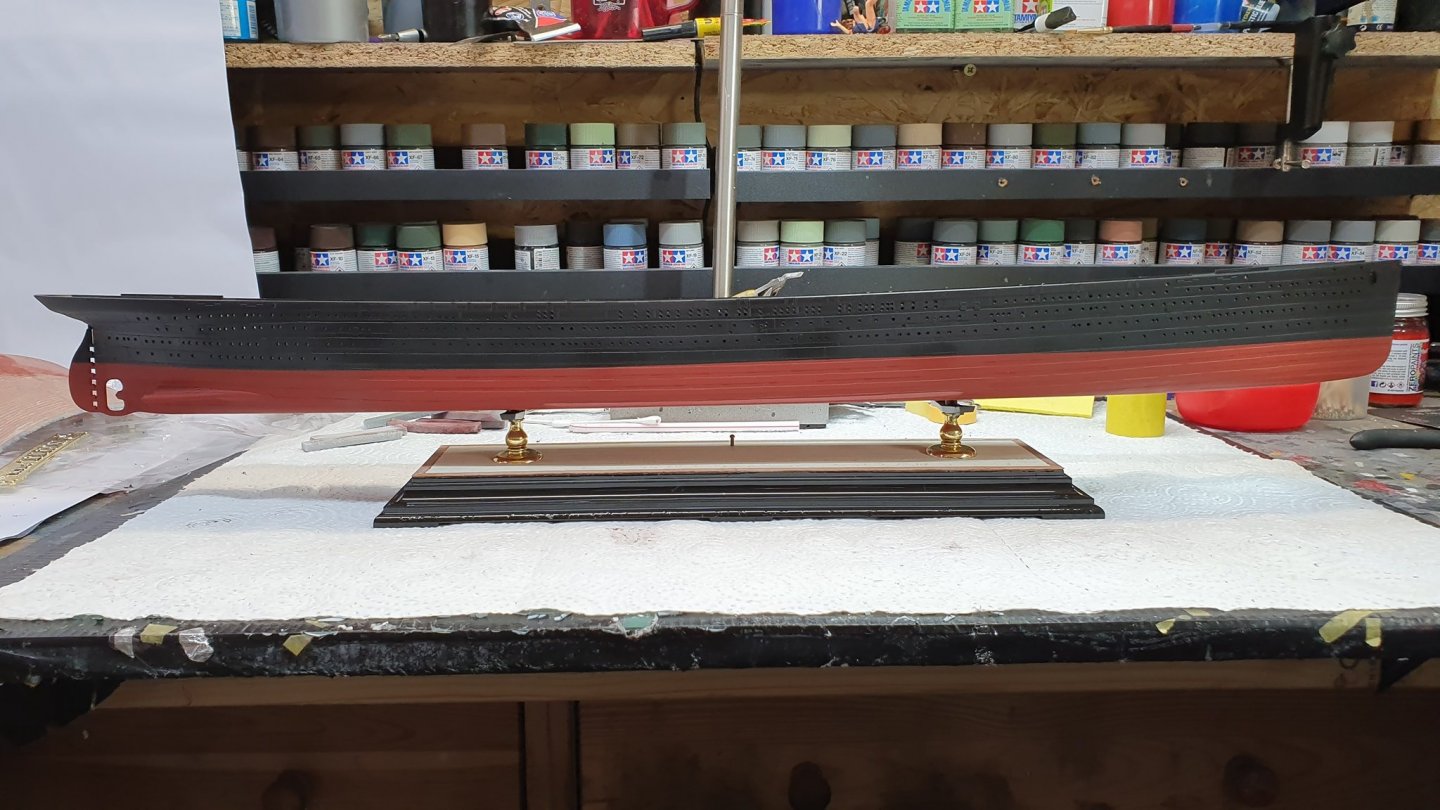
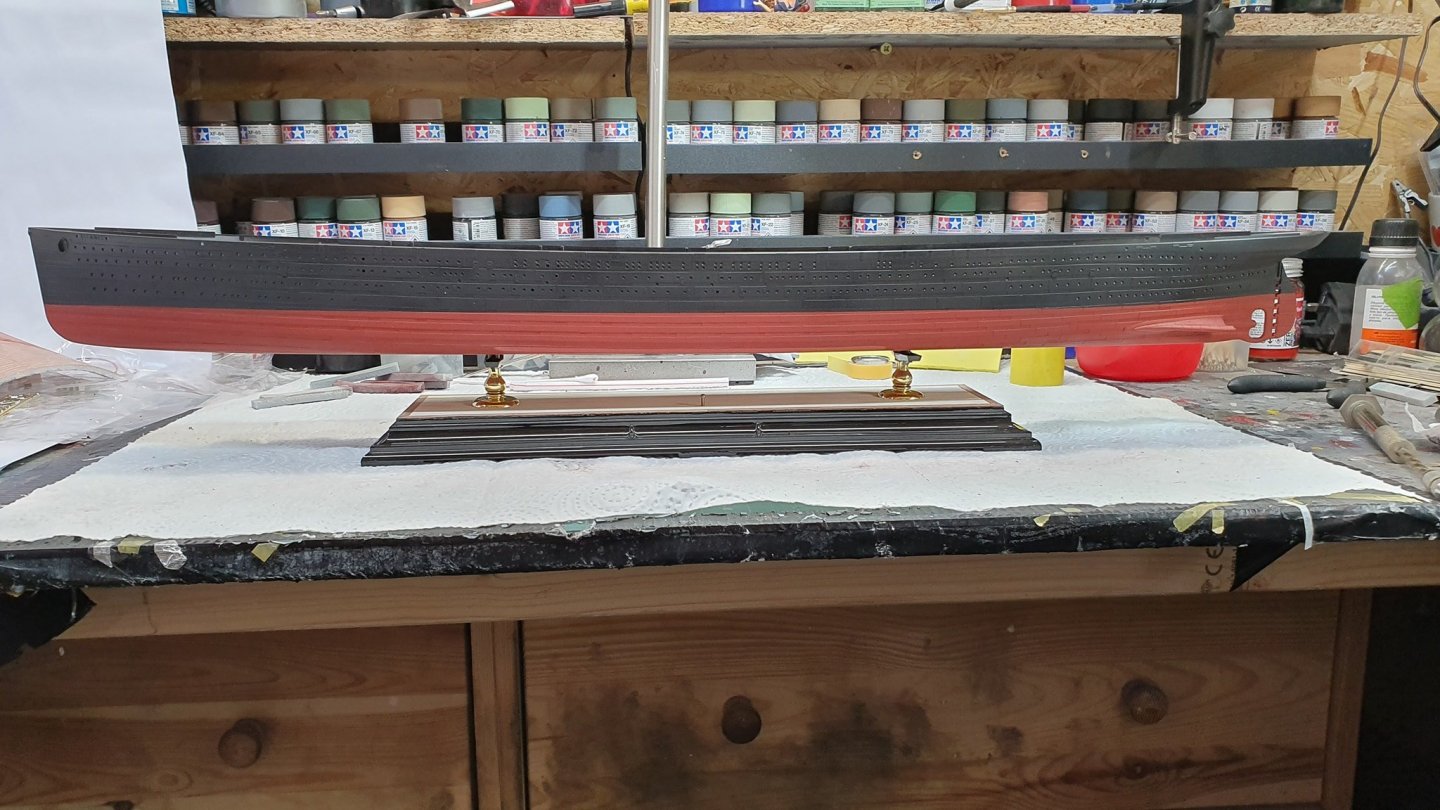
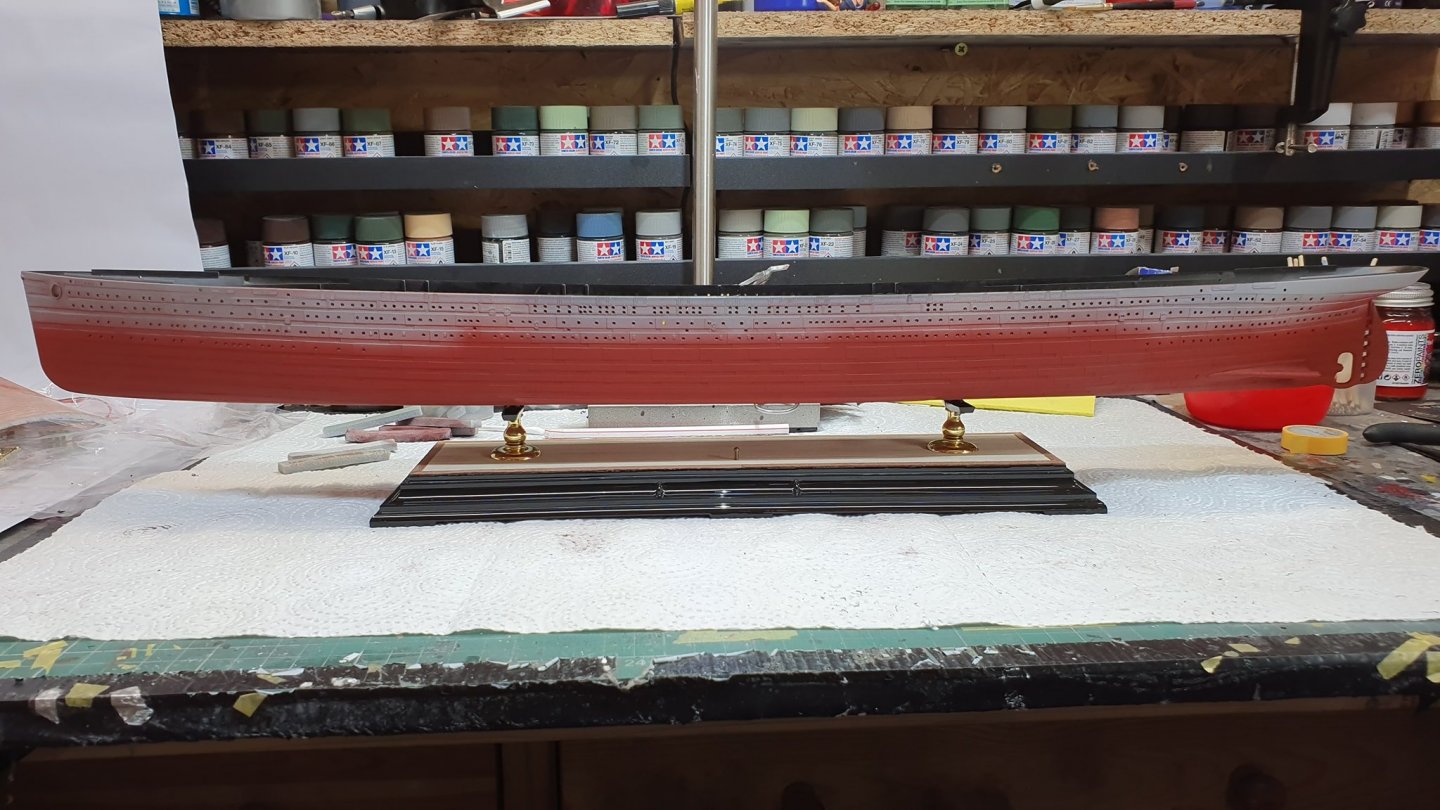
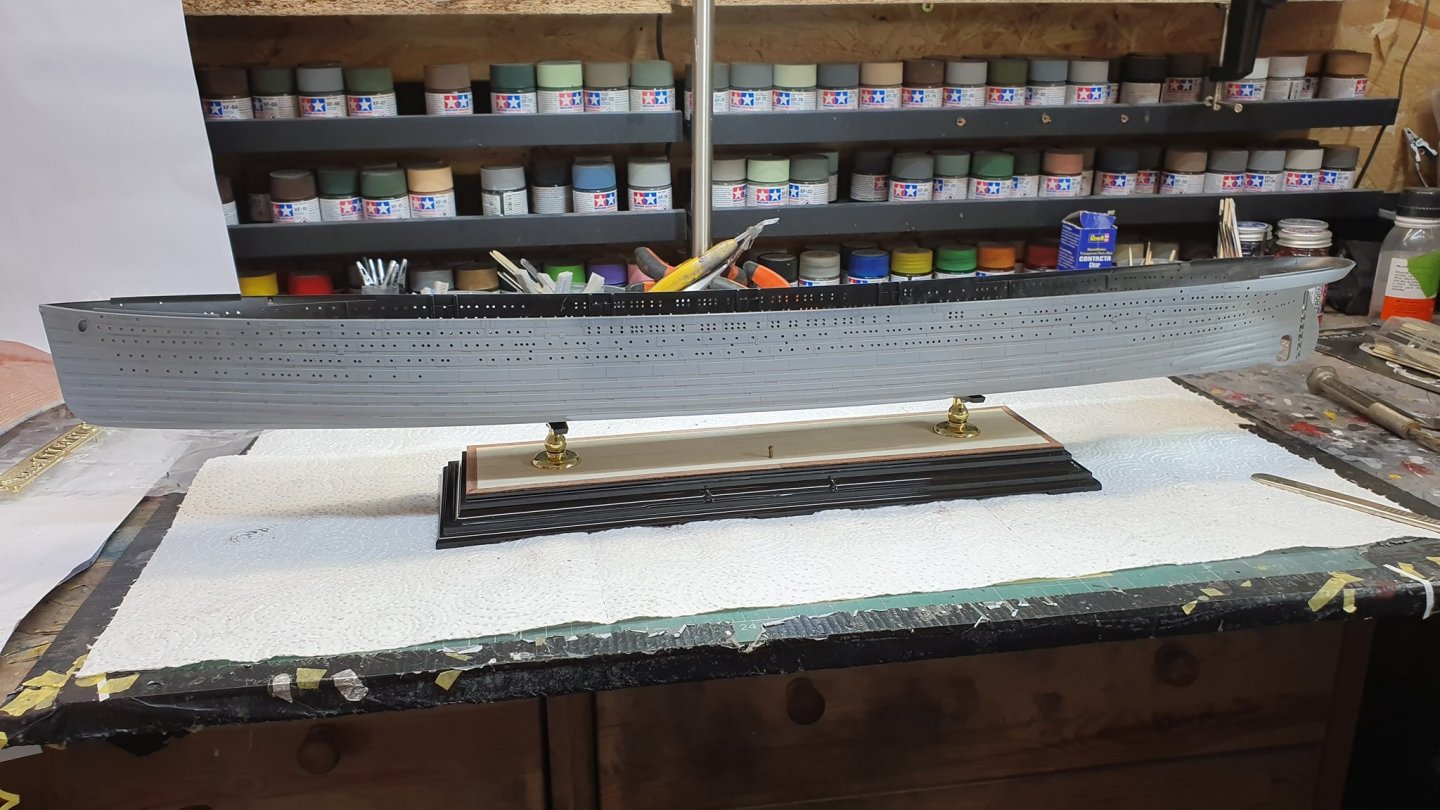
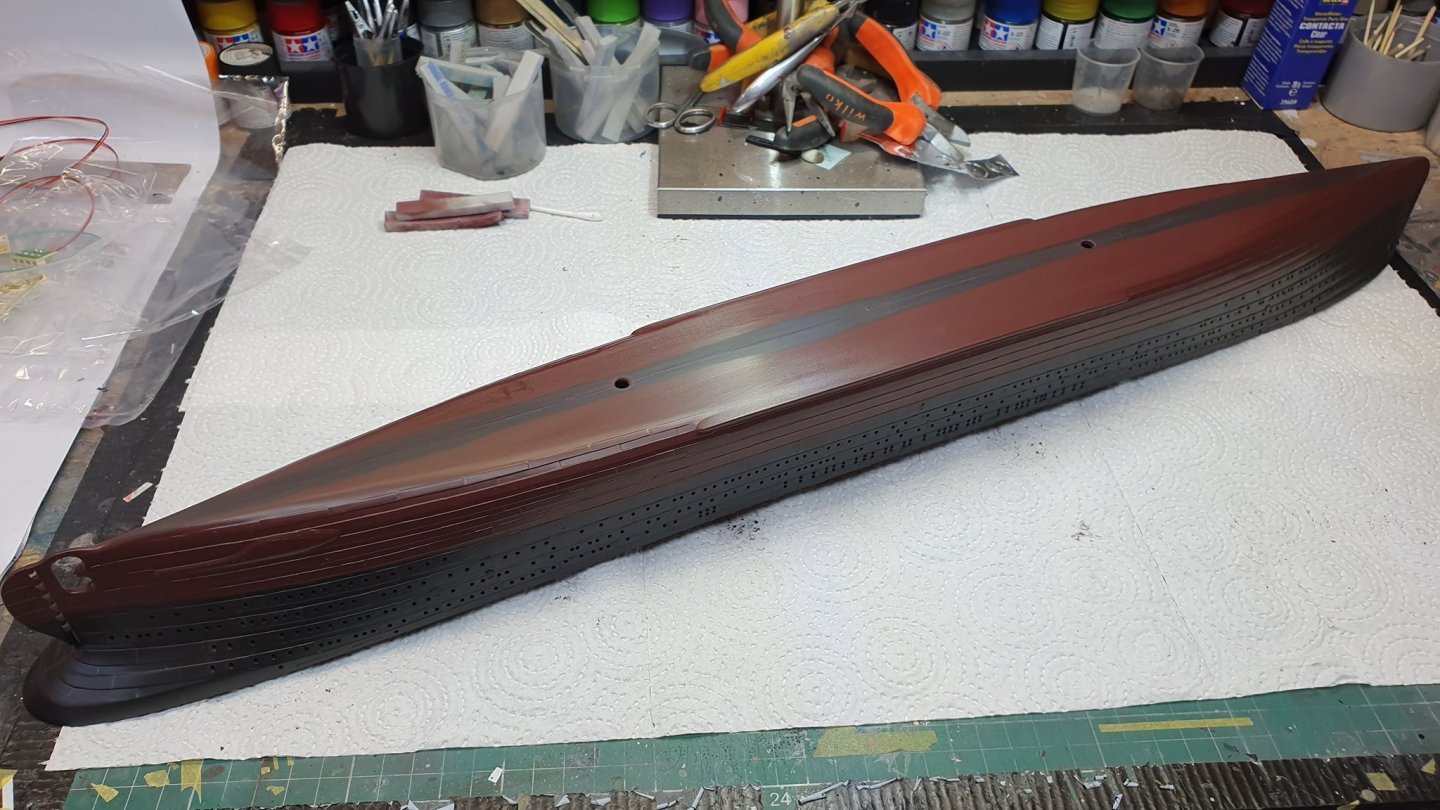
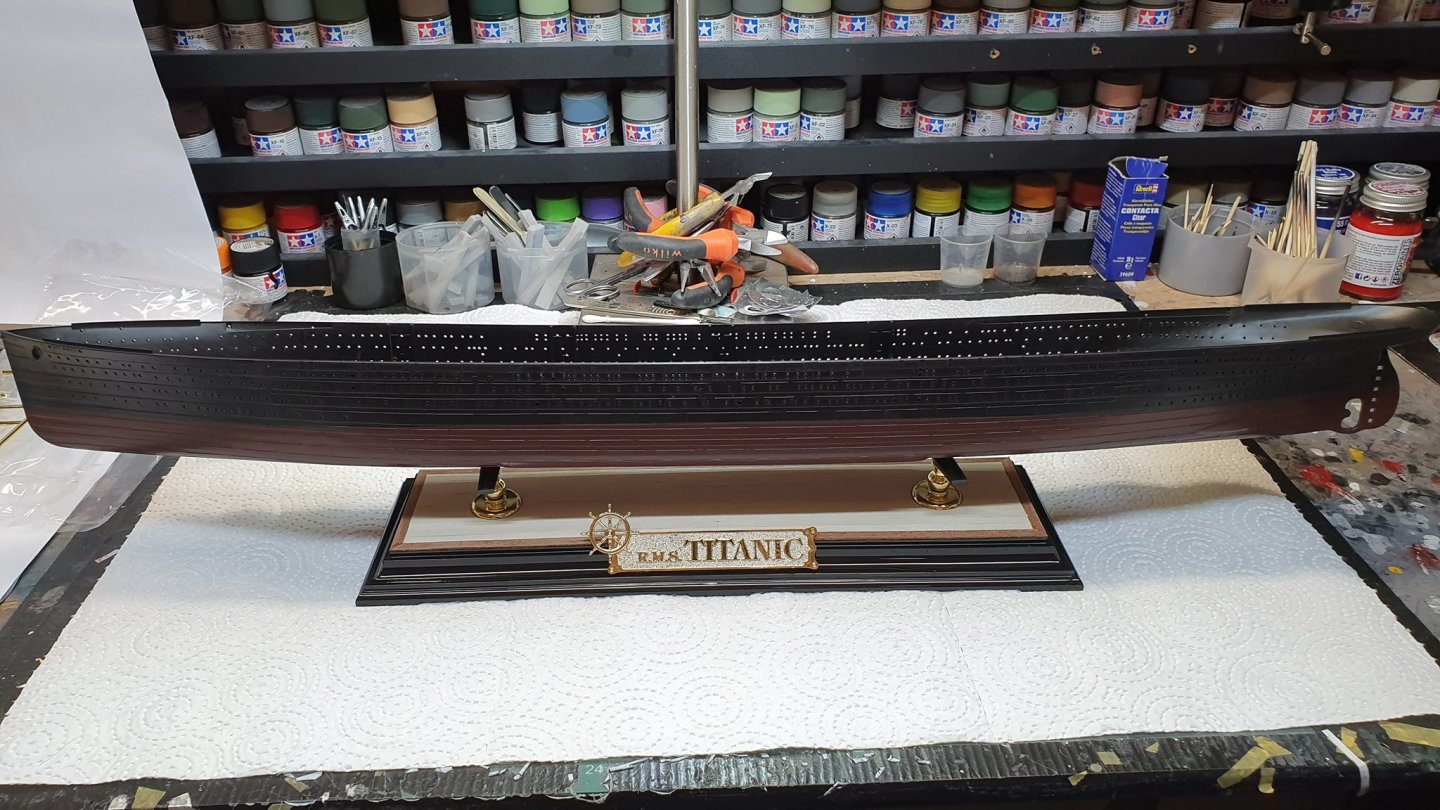
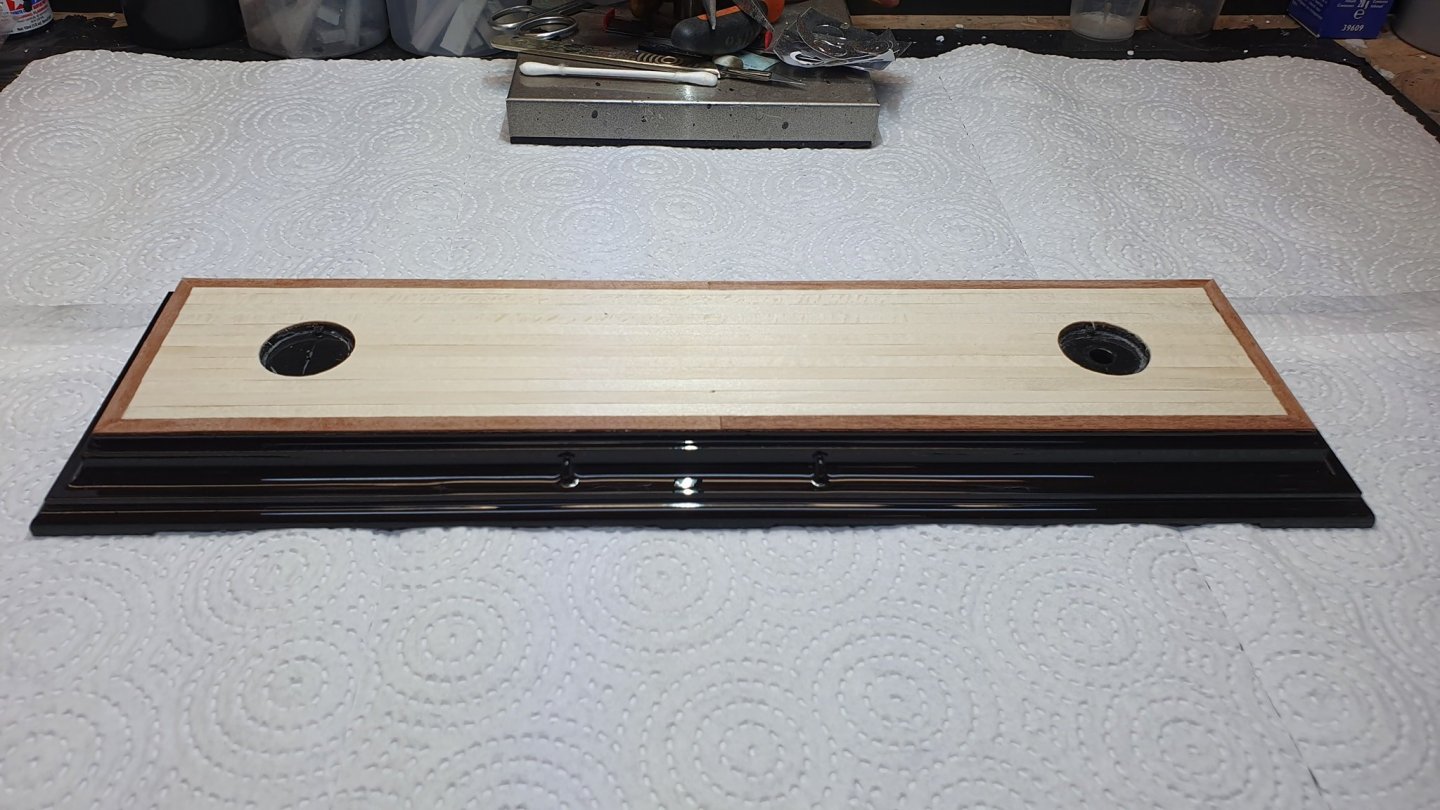
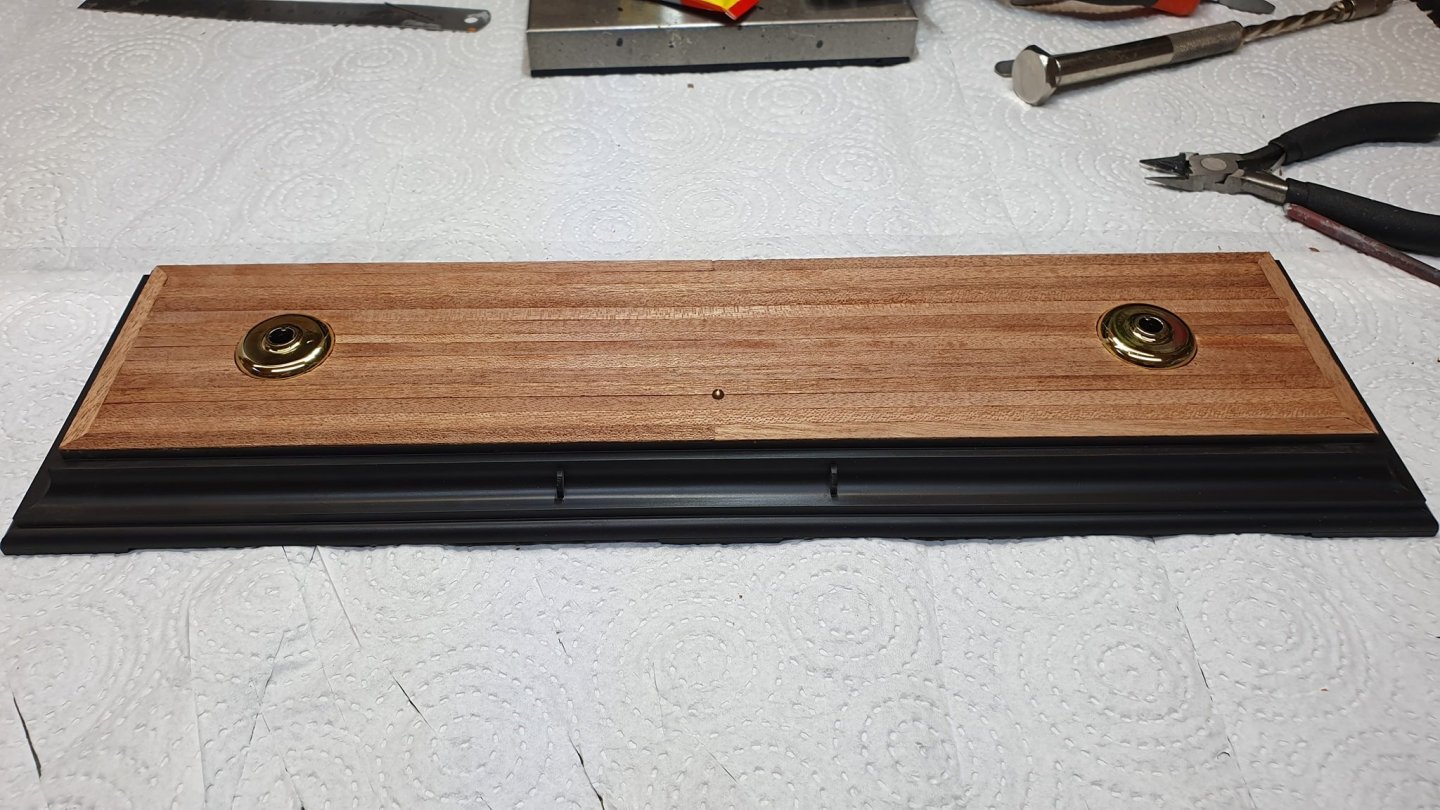
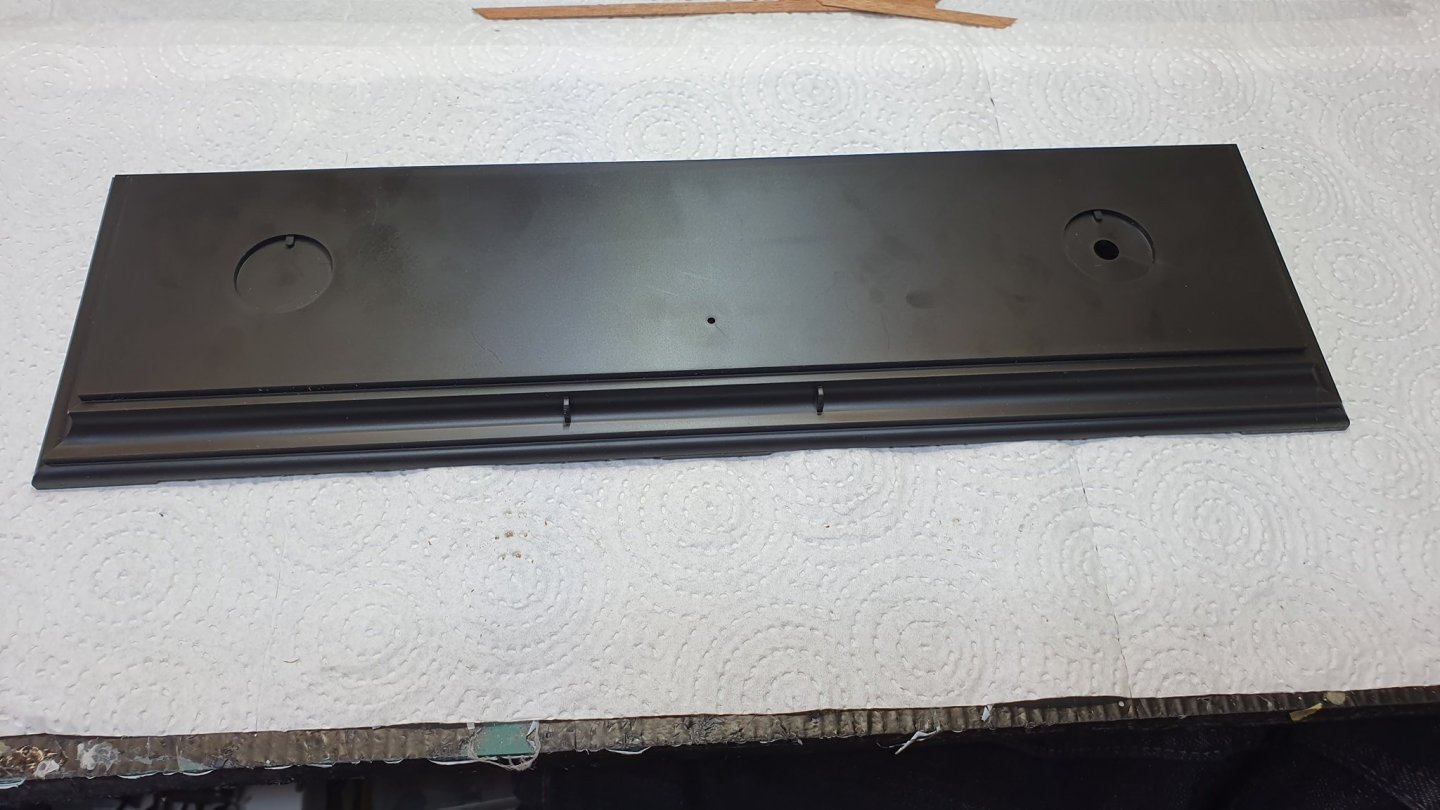
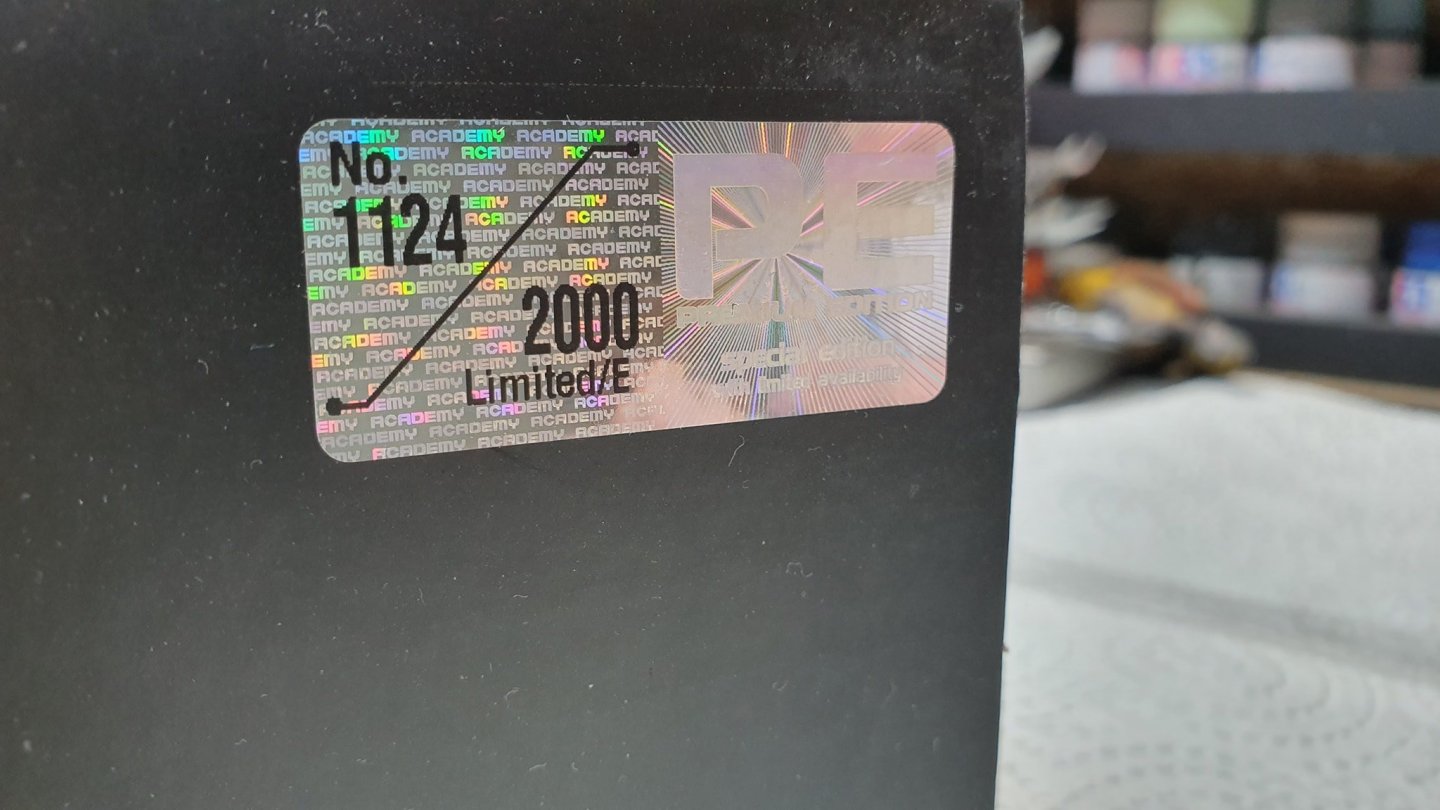
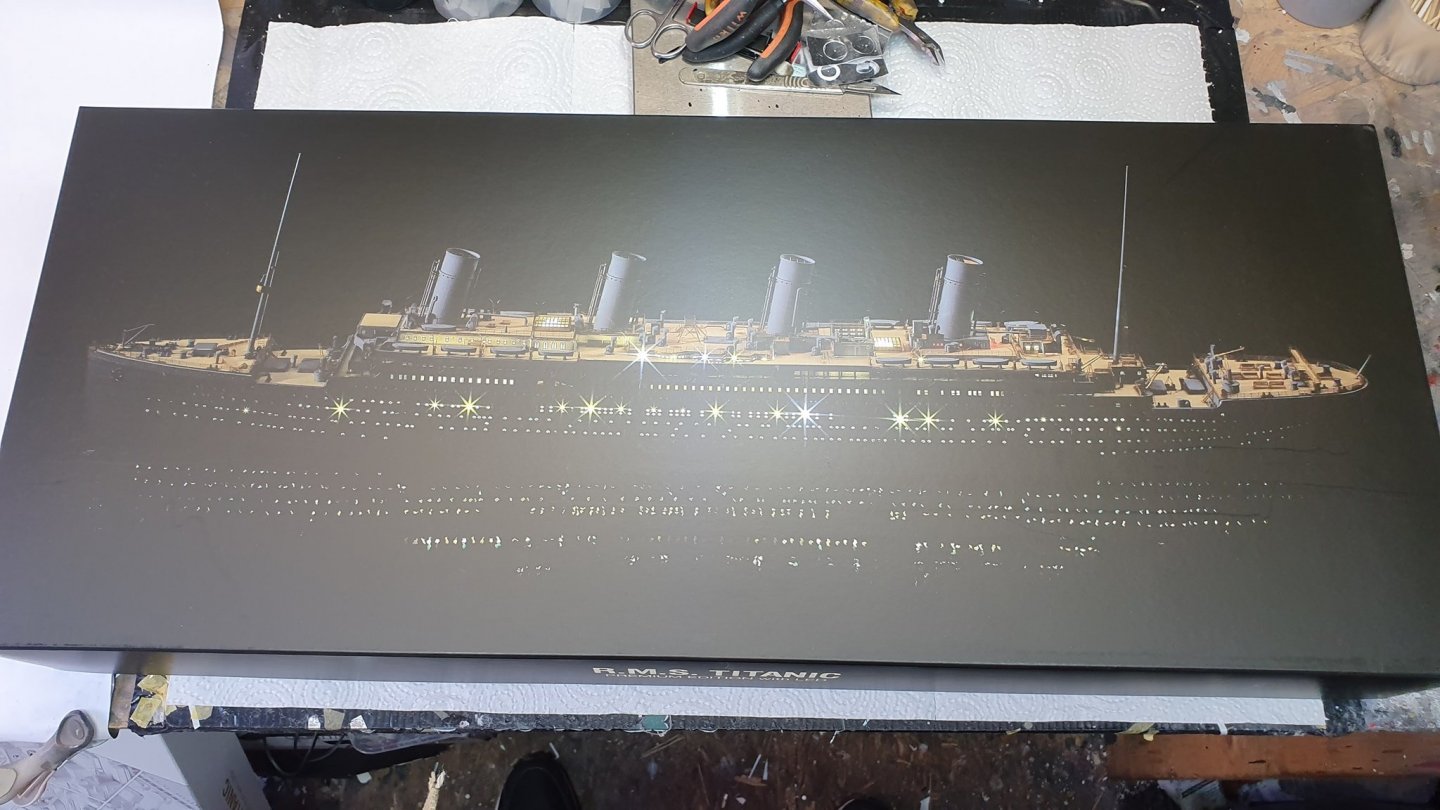
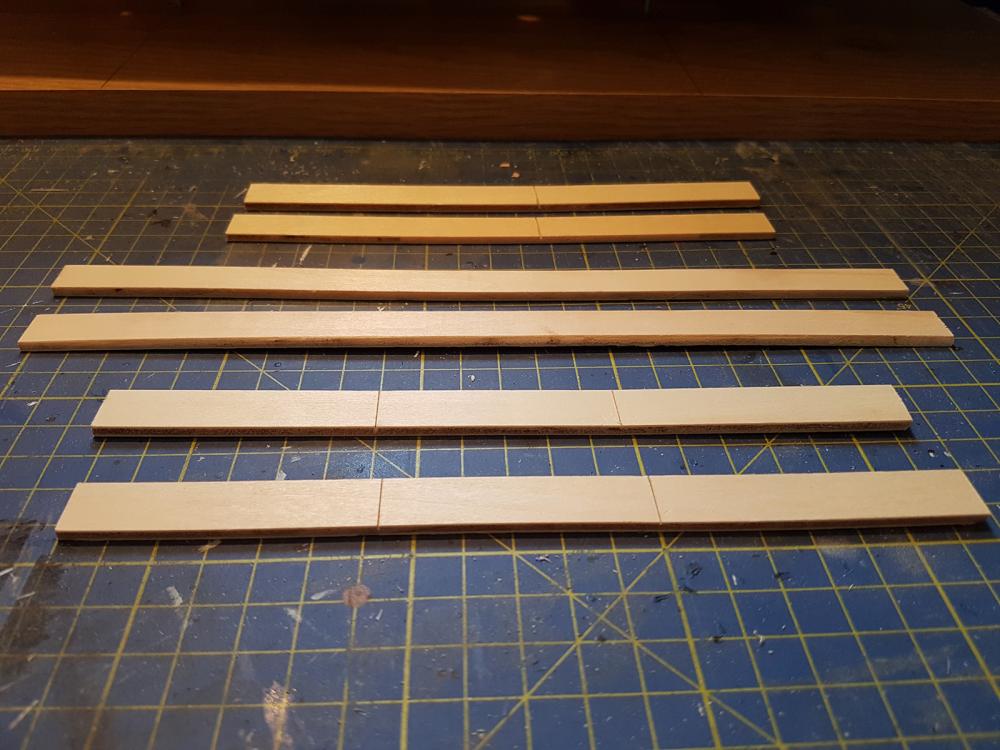
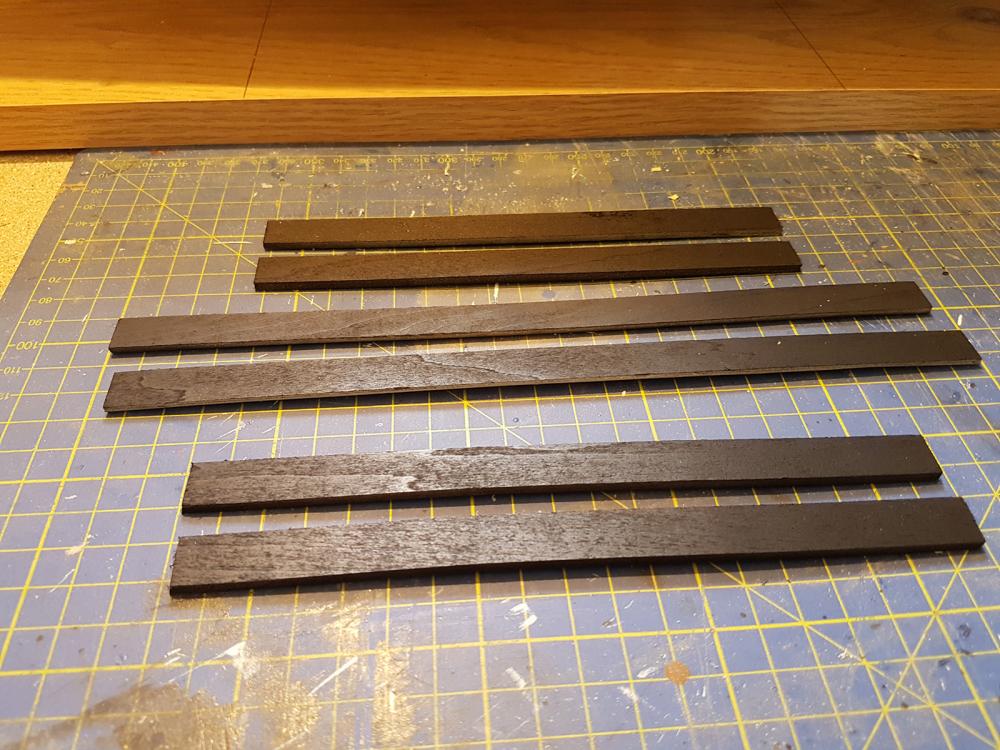
Good morning. It's been quite some time since I posted on here. I have taken a long break from ship builds, focussing mainly on cars/bikes. However my partner wanted a Titanic built, and has been nagging me for about 2 years now. So I snagged Academy's 1/400 Premium Limited Edition, c/w PE, wooden deck and lighting. If you can call it lighting. It's just 4 LED strips, but it does come with a nifty touch sensitive switch, and the contacts between LED's are conductive so I can, and plan on, adding to them. Came in a nice double sleeved box: The first thing I wanted to address was the rather plain stand. I had planned on planking the entire thing but I decided on just the upper surface, it was sprayed black and glossed using a 2K clear. And a quick check to see how it was going to look... OK so, moving on, the prepainted hull. I absolutely despise prepainted plastic, especially when they also get the colours wrong, as well as leave an awful mold line. So that got rubbed down, and a coat of primer applied. That was followed by a dull red, which was then masked and the black for the upper hull applied. Academy molded the kit so the white sections are seperate so no need to mask those. Interesting side note, I cannot seem to find a definitive answer as to whether or not the gold sheer stripe was present or not. Most of the advertising images show it there, but any photographs suggest it wasn't. At this point I am undecided, but for now, it's being left off. I tackled the spinners and anchors next. Gold plated plastic. Ugh, no, just no. They were stripped using a foam oven cleaner, then painted black and overcoated with a brass/bronze. I think the anchors were probably black or even an anthracite colour, but I think this is more visually appealing. I also at this stage, permanently attached the hull to the stand, and installed the power source and switch in the stand, and the first two LED strips into the hull. Things get a little scatted from hereon in. I wanted to check my ability with the PE before I started hacking off parts of plastic I couldn't then replace. I am not that great at working with small fiddly photoetch. I started doing a few benches, with one painted up. I made a crude tool for bending the slats which was very effective. They didn't turn out too bad, so I don't think they will be a problem. Now that is out of the way, I can start actually moving forward. The first task is making the cargo cranes, which also involved more photoetch. This didn't turn out as neat as the benches, but with the naked eye they look quite good. Close up camera photo's say otherwise. Also, this was the start of adding some further lighting. This being done with fibre optics which I will later drive from a 3 or 5mm LED. That's pretty much where I am upto now. I have since painted the lower half of the 4 well deck cranes in a shade of brown. I should probably point out, I rarely build for accuracy. At times certain things are either beyond my abilities or I simply don't like reality, so forgive me if a few things aren't quite right here and there. Back soon...
-
It certainly makes life easier! If I am understanding you correctly, you are writing the construction manual for this? That being the case, any chance you could dumb it down some what? For those of us that aren't sailing buffs. I love the look and styling of sailing ships, but I don't know the first thing about them. I couldn't tell the difference between a Stuncel or a yard arm. TIA
-
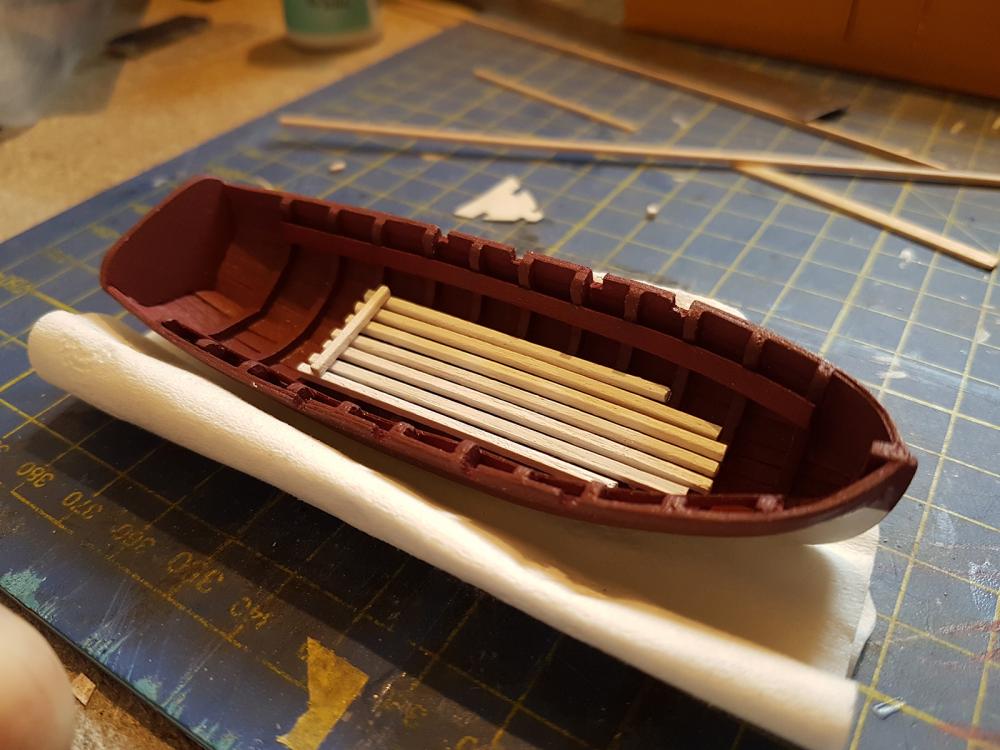
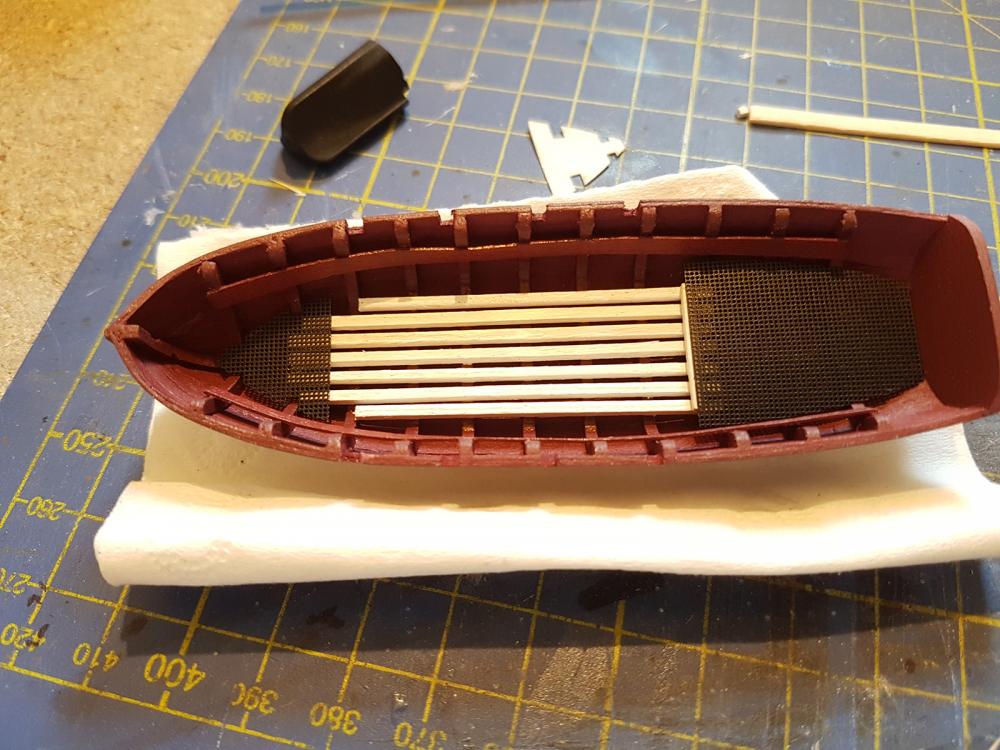
Helloooo. Now that I've had to halt on my Bluenose II, I decided to do a few small bits on this. I've this time added the lower gun deck dummy gun support beams, after cutting to fit and pre-painting matt black. I've also done a few bits on the launch, the deck and duck boards. Not really much to report on this as I am still wanting to gather a few months worth of parts before I crack on with the planking...
About us
Modelshipworld - Advancing Ship Modeling through Research
SSL Secured
Your security is important for us so this Website is SSL-Secured
NRG Mailing Address
Nautical Research Guild
237 South Lincoln Street
Westmont IL, 60559-1917
Model Ship World ® and the MSW logo are Registered Trademarks, and belong to the Nautical Research Guild (United States Patent and Trademark Office: No. 6,929,264 & No. 6,929,274, registered Dec. 20, 2022)
Helpful Links
About the NRG
If you enjoy building ship models that are historically accurate as well as beautiful, then The Nautical Research Guild (NRG) is just right for you.
The Guild is a non-profit educational organization whose mission is to “Advance Ship Modeling Through Research”. We provide support to our members in their efforts to raise the quality of their model ships.
The Nautical Research Guild has published our world-renowned quarterly magazine, The Nautical Research Journal, since 1955. The pages of the Journal are full of articles by accomplished ship modelers who show you how they create those exquisite details on their models, and by maritime historians who show you the correct details to build. The Journal is available in both print and digital editions. Go to the NRG web site (www.thenrg.org) to download a complimentary digital copy of the Journal. The NRG also publishes plan sets, books and compilations of back issues of the Journal and the former Ships in Scale and Model Ship Builder magazines.


