
Desertanimal
-
Posts
237 -
Joined
-
Last visited
Content Type
Profiles
Forums
Gallery
Events
Everything posted by Desertanimal
-

Problems with blackening brass
Desertanimal replied to Desertanimal's topic in Metal Work, Soldering and Metal Fittings
Knight, I’ve thought the same thing. The finish from blackening sure looks good though. As long as I can get it to stay! Thanks for all the tips and it’s good to see I’m not alone in my frustration. Somehow that makes it a little better. 🤣 Chris -
Simply stunning work.
-
Problems with blackening brass
Desertanimal replied to Desertanimal's topic in Metal Work, Soldering and Metal Fittings
Looks like I’ll be picking up some Sparex for the next project. Sure sounds like the way to go. Chris -
Problems with blackening brass
Desertanimal replied to Desertanimal's topic in Metal Work, Soldering and Metal Fittings
Thanks for the info! Can’t believe I missed that that I need to coat it afterwards! That should make things go a lot better going forward. Chris -
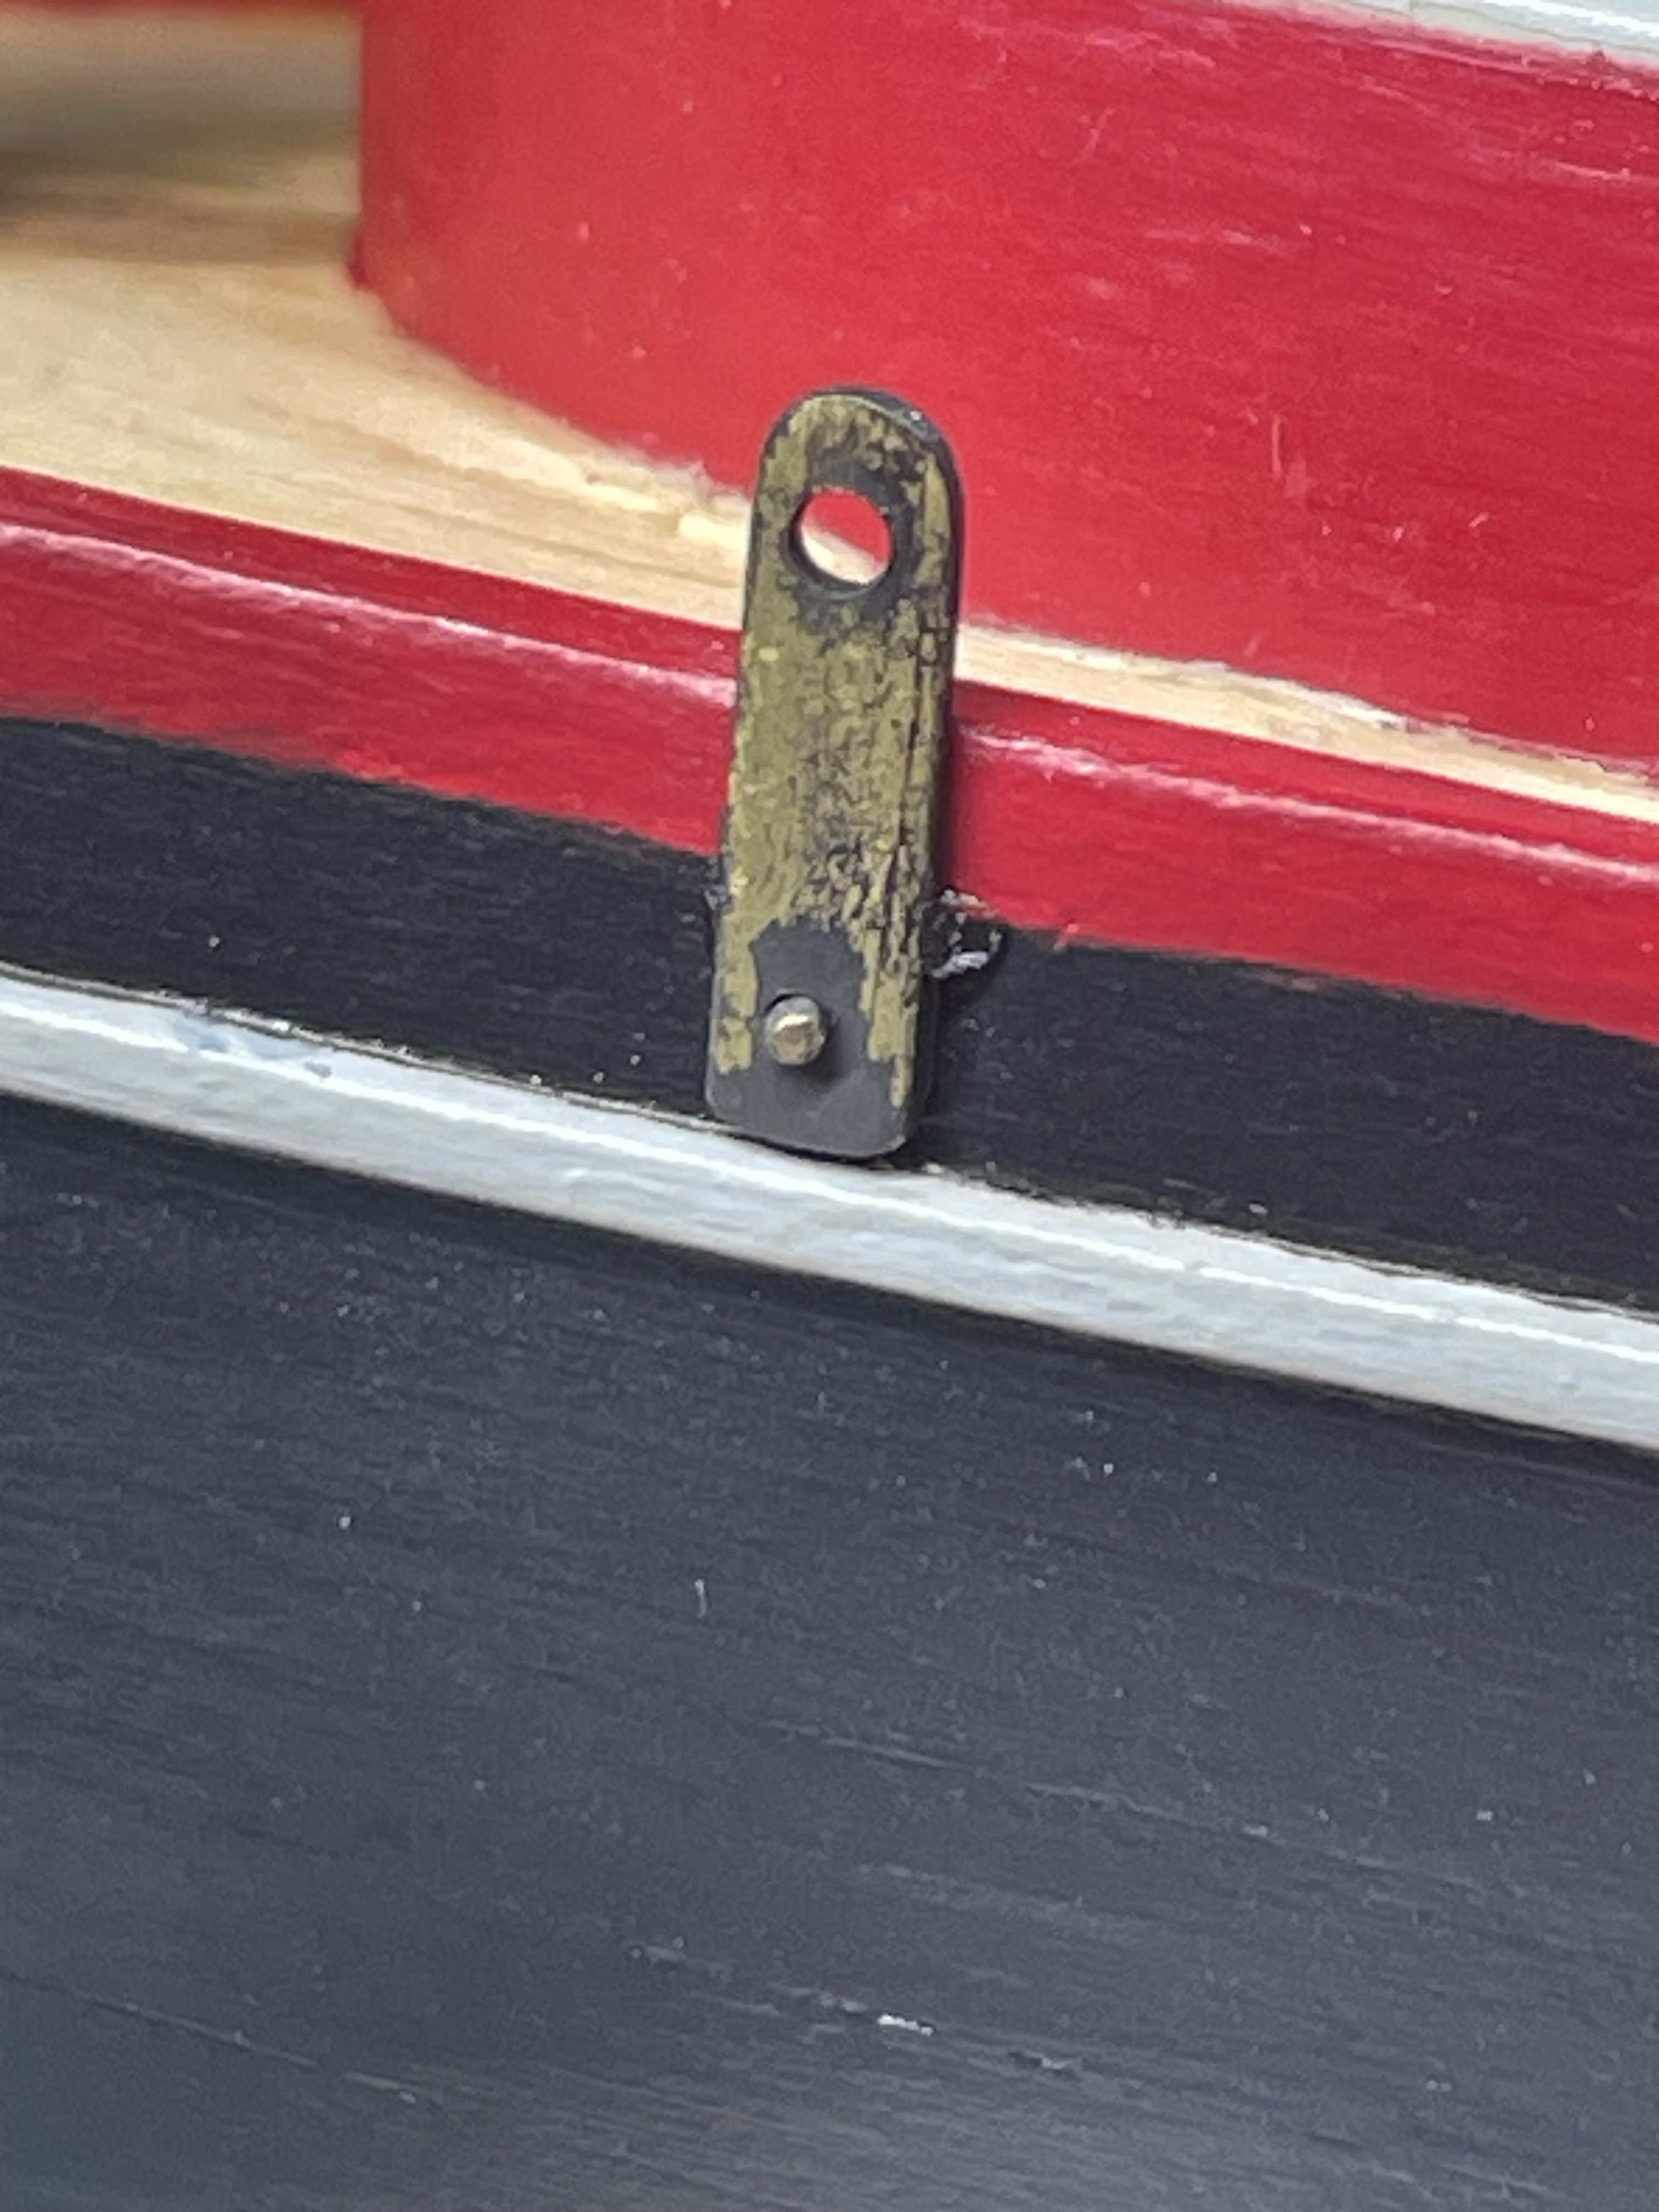
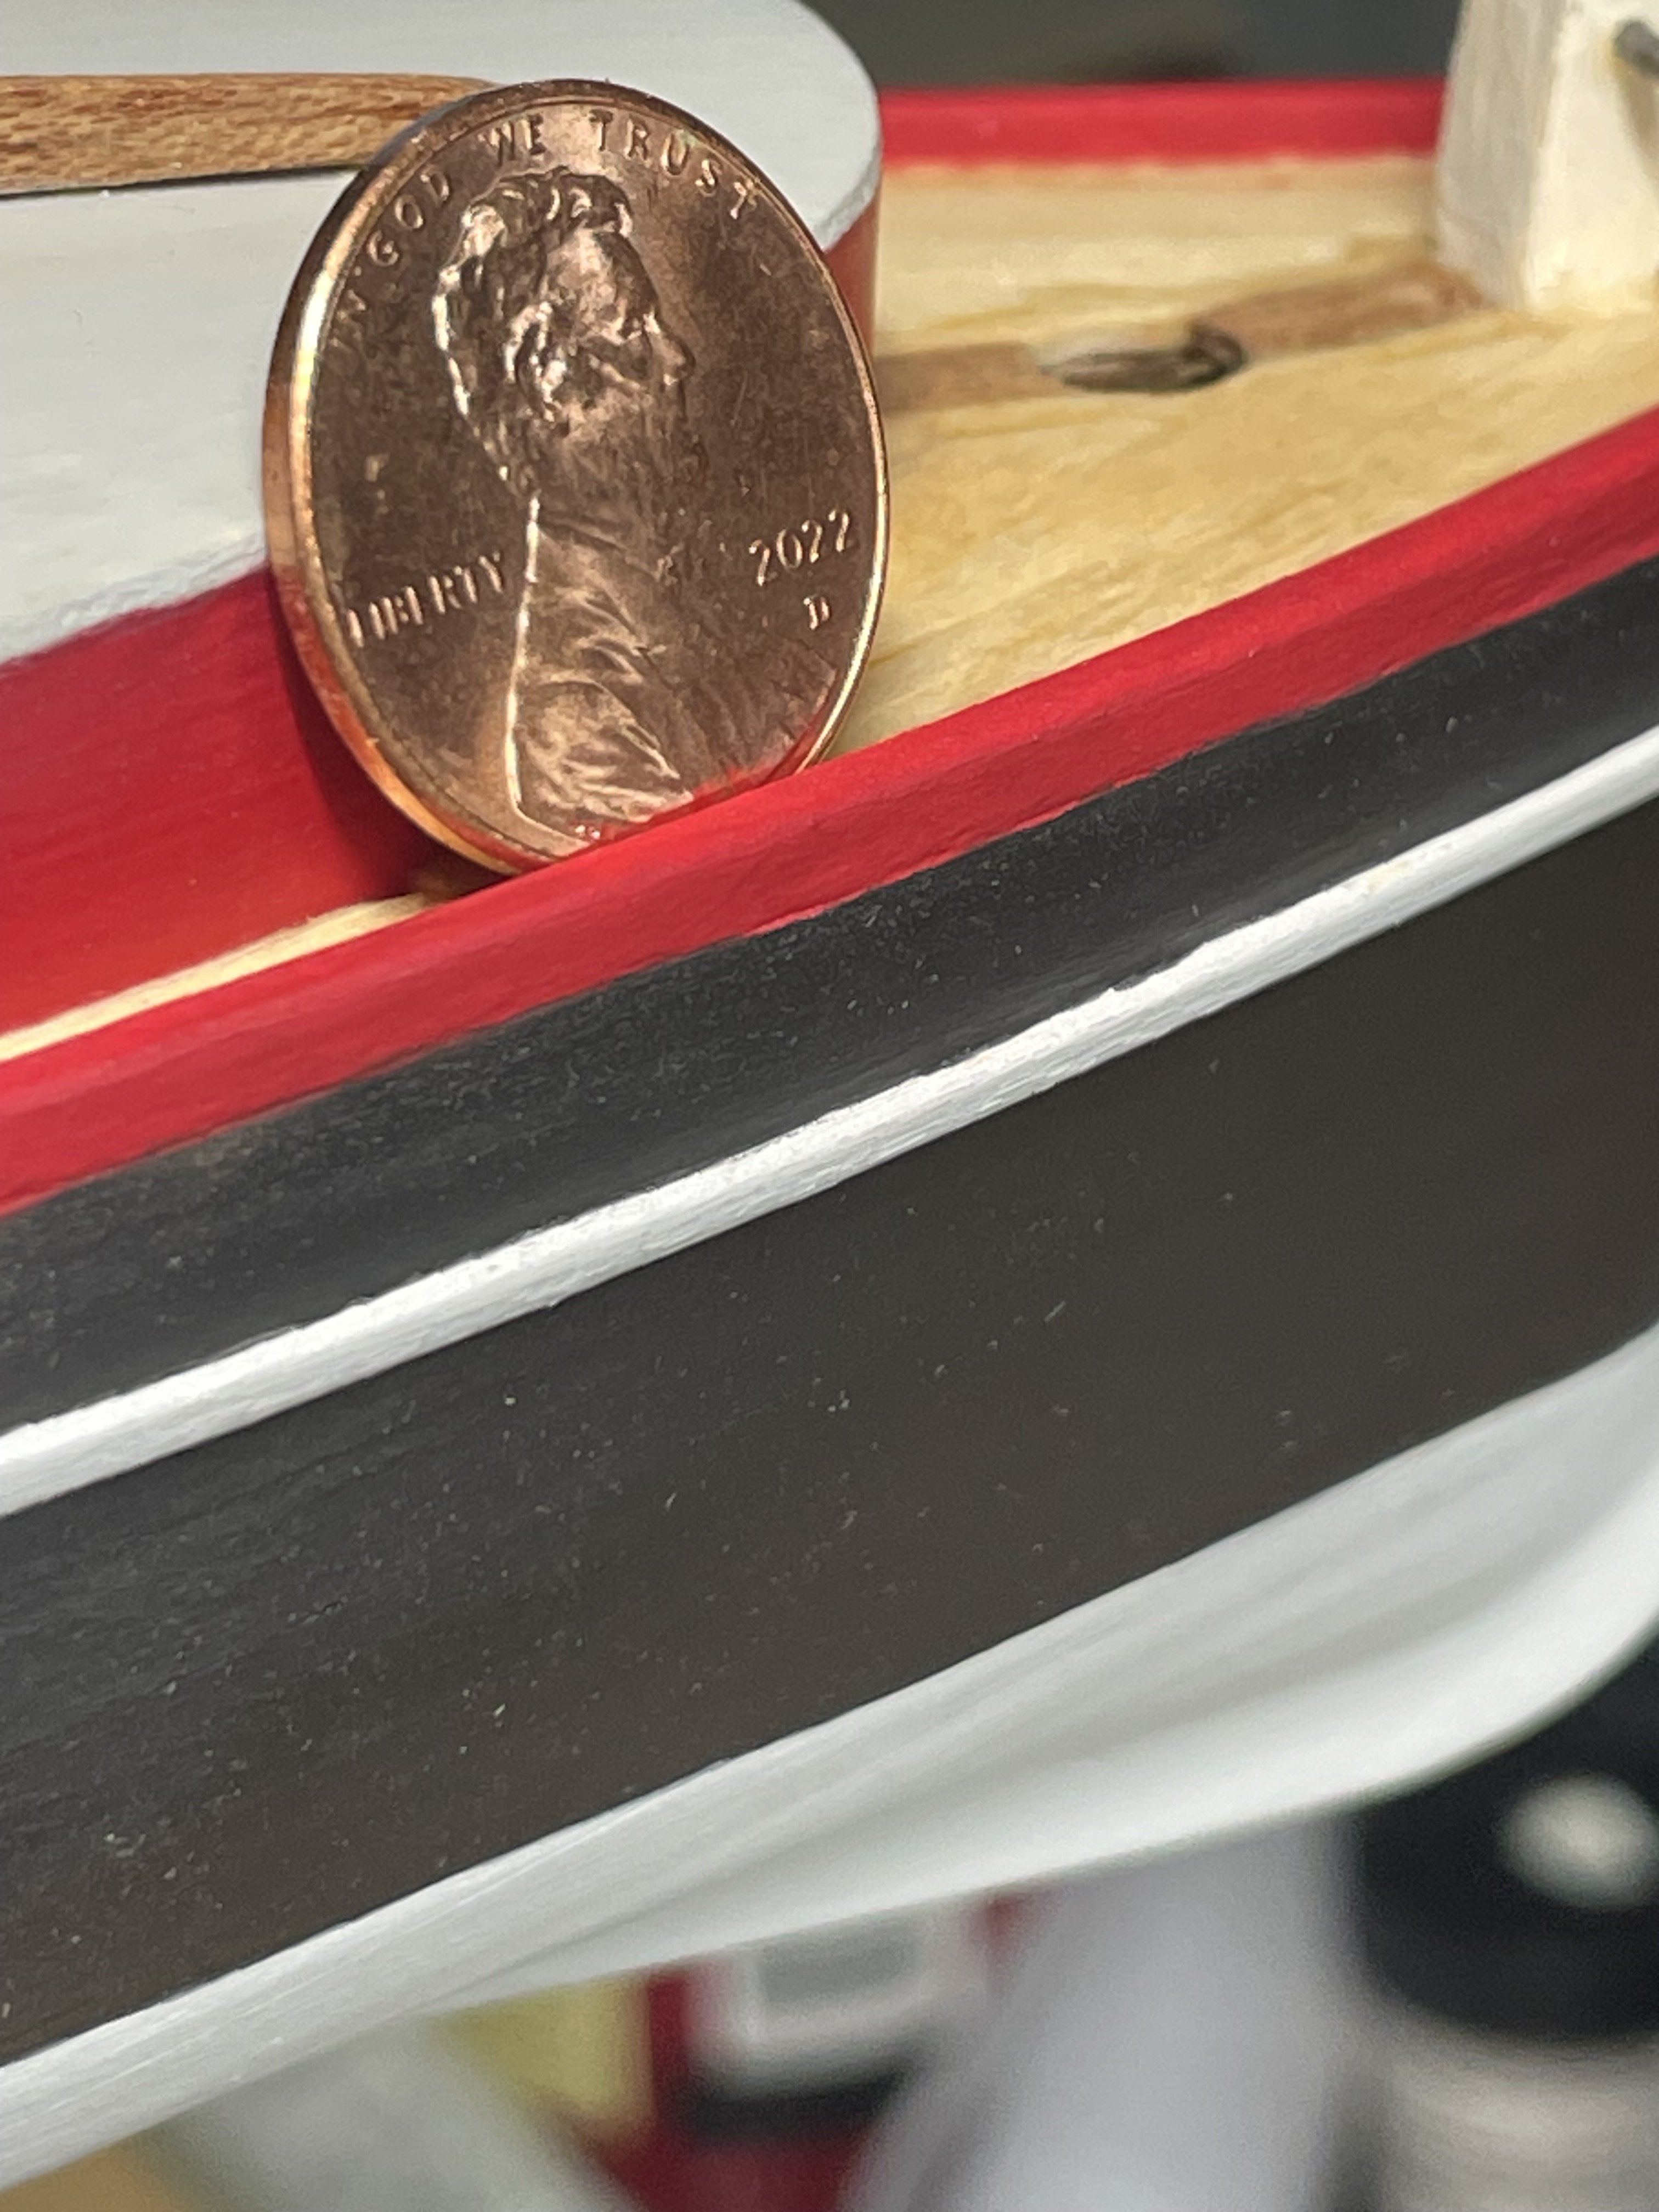
So I’ve read several posts about blackening brass. I’m using Birchwood brass blackener. I prepped the parts by sanding with fine paper, acetone soak, dry. Then in the solution for a few minutes 1-2, rinse with water buff with cloth/paper towel. They look great, I take off the black chalky stuff with the towel and they look like steel. I used some blue tape to hold this piece in place to glue and when I took the tape off this is what I got. 🤬 I used a cotton bud and applied more solution and wiped with clean water it turned out well, but I did that on the boat and I was really afraid of getting some on the paint. I thought this was more permanent? What am I doing wrong? Thanks! Chris

-
Thanks! I do have the one of Chapelle’s books with the friendship sloop in it. Not a lot of info. I think pictures of existing boats will be the way to go. Then I’ll decide how to proceed.
-
Excellent points! I was unaware of the change to steel cable. Makes sense obviously. I had to laugh at myself thinking well, you see builders post how they wrap their blocks on a daily basis. That’s got to be standard practice on all boats right? Sure… from 200 years ago!!! 🤣🤣 Thinking I’d have to reinvent the wheel to create rigging at this scale, I may just go the instruction route and worry about all that on the next build. Thanks!! Chris
-
So I’m at the point that I’m about to mount the boat on the stand (once I figure out what I’m going to use). Then I need to start the rigging. This is the 1:24 Model Shipways Lobster Smack. I’m assuming the metal wire around the blocks is to keep things easy for the beginning builder. I would like to wrap them with rope and seize/serve, don’t know the correct terms, them like I see on larger builds. My question is what should they look like? If someone could direct me to a reference source that will show me what the arrangement should be and size of rope etc. So far I haven’t had much luck looking on the web. I have bashed this kit pretty severely so I figure why stop now? It will give me some practice for the next build. Thank you for your suggestions! Chris
-
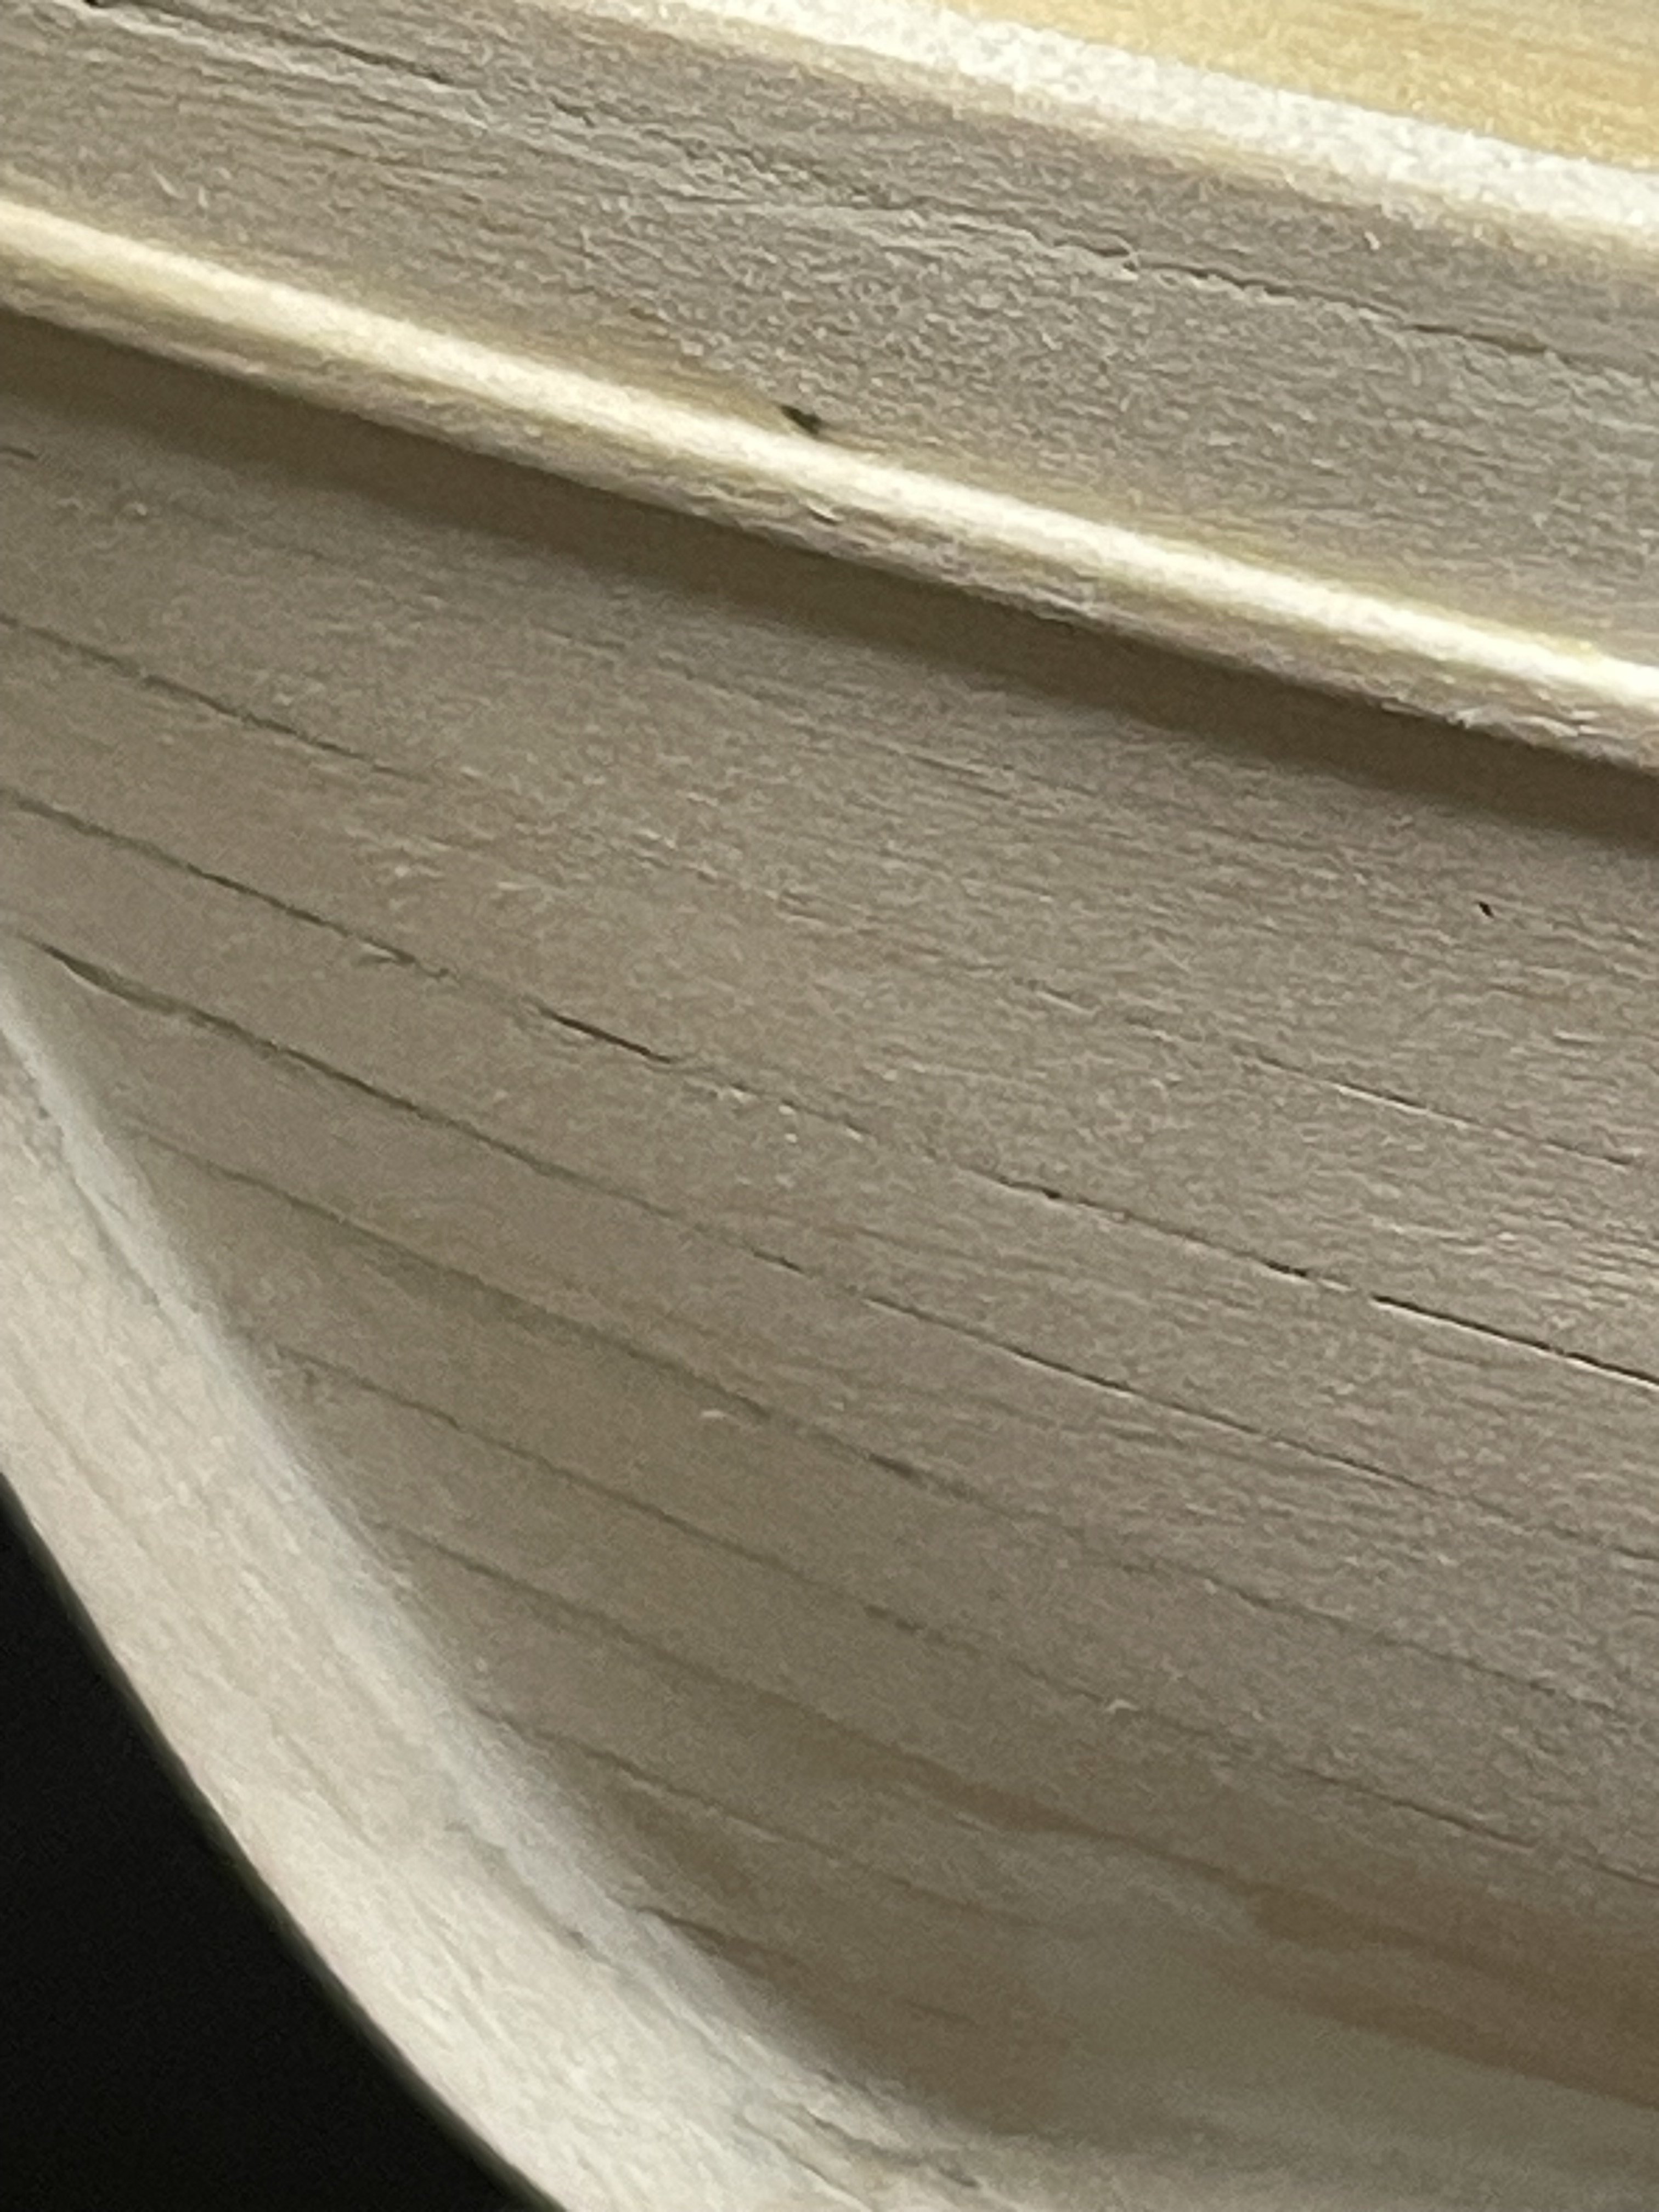
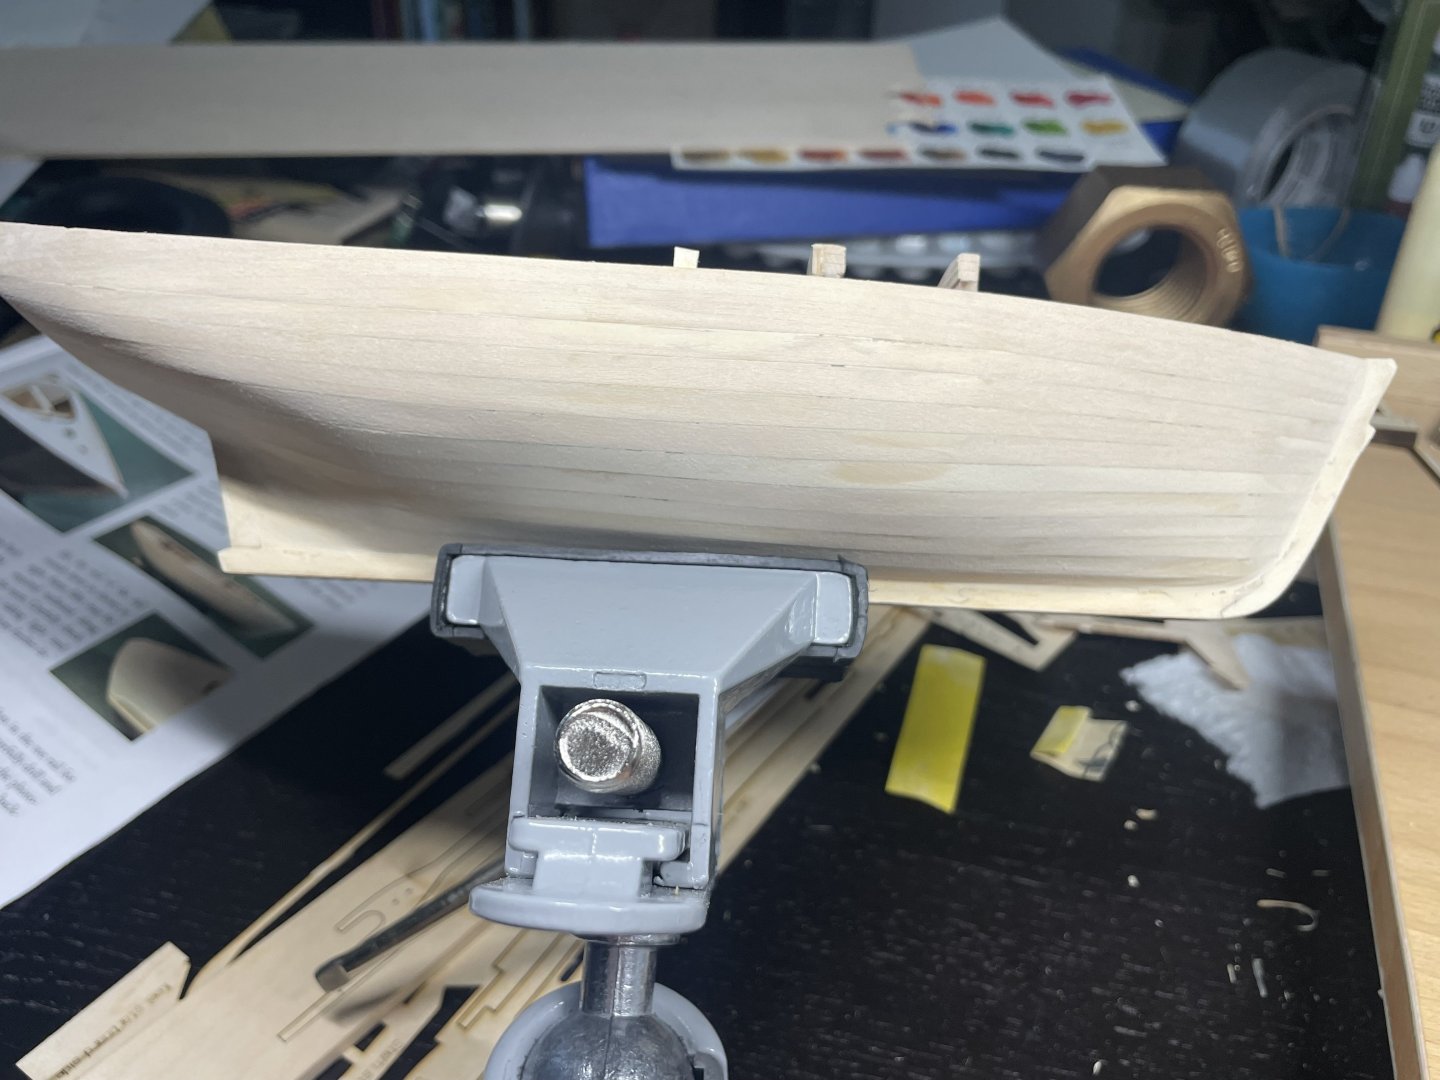
Ok so here’s the result. No tape, just paint, various brushes, bright light and 2x magnification. I’m pretty happy with the result with the naked eye. That wood sure is rough up close. Is that a characteristic of Basswod and it will be less pronounced on harder woods? Let me know what you think! Thanks again! Chris

- 11 replies
-
- 10
-

-

-
Congratulations on completing the build. Your work is astounding, the tightness on those joints is something to envy. Love the presentation.
- 82 replies
-
- 3
-

-
-
- half hull planking project
- half hull
- (and 2 more)
-
At this point I’m painting the toe rail red, doing this before the black on the hull(coverage). I’m practicing on the straight line of the joint of the toe rail and the hull. I’m using a high quality brush, folk art paint, and my steadiness is ok. Coming along ok, I think I’ll be able to freehand the black up to the rails when I get there. Thanks for all the help!! Chris
-
Tim, when painting by hand I end up putting on several coats. Should I expect any issues with the clear sticking to the tape and pulling up the paint? You think the entire process should be completed relatively quickly, say a few hours? Overall that sounds like an excellent idea. Paint seeping under the edge is such an issue sometimes you think you could have done a better job freehand.
-
Well, I didn’t think of painting before! So glueing in top of paint isn’t an issue with adhesion? I use titebond II. Chris
-
So the top part of the hull will be black but I want the rub rail grey. In what order would you paint it? The rub rail is 1/16x1/32, pretty tiny. Painting by hand. Acrylics and brush. I’ve got tamiya tape. Paint the black above and below the rail, probably getting some on the rail. Let it dry, mask up to the rail then paint the rail? If different from that, I’d love suggestions. Thanks! Chris

-
Hey Gregg, thanks for the reply! I may not have been clear this is for the hull. Let me know your thoughts!
-
Just found your log. Very nice work. Precise and clean. I’ll be watching along! Chris
-
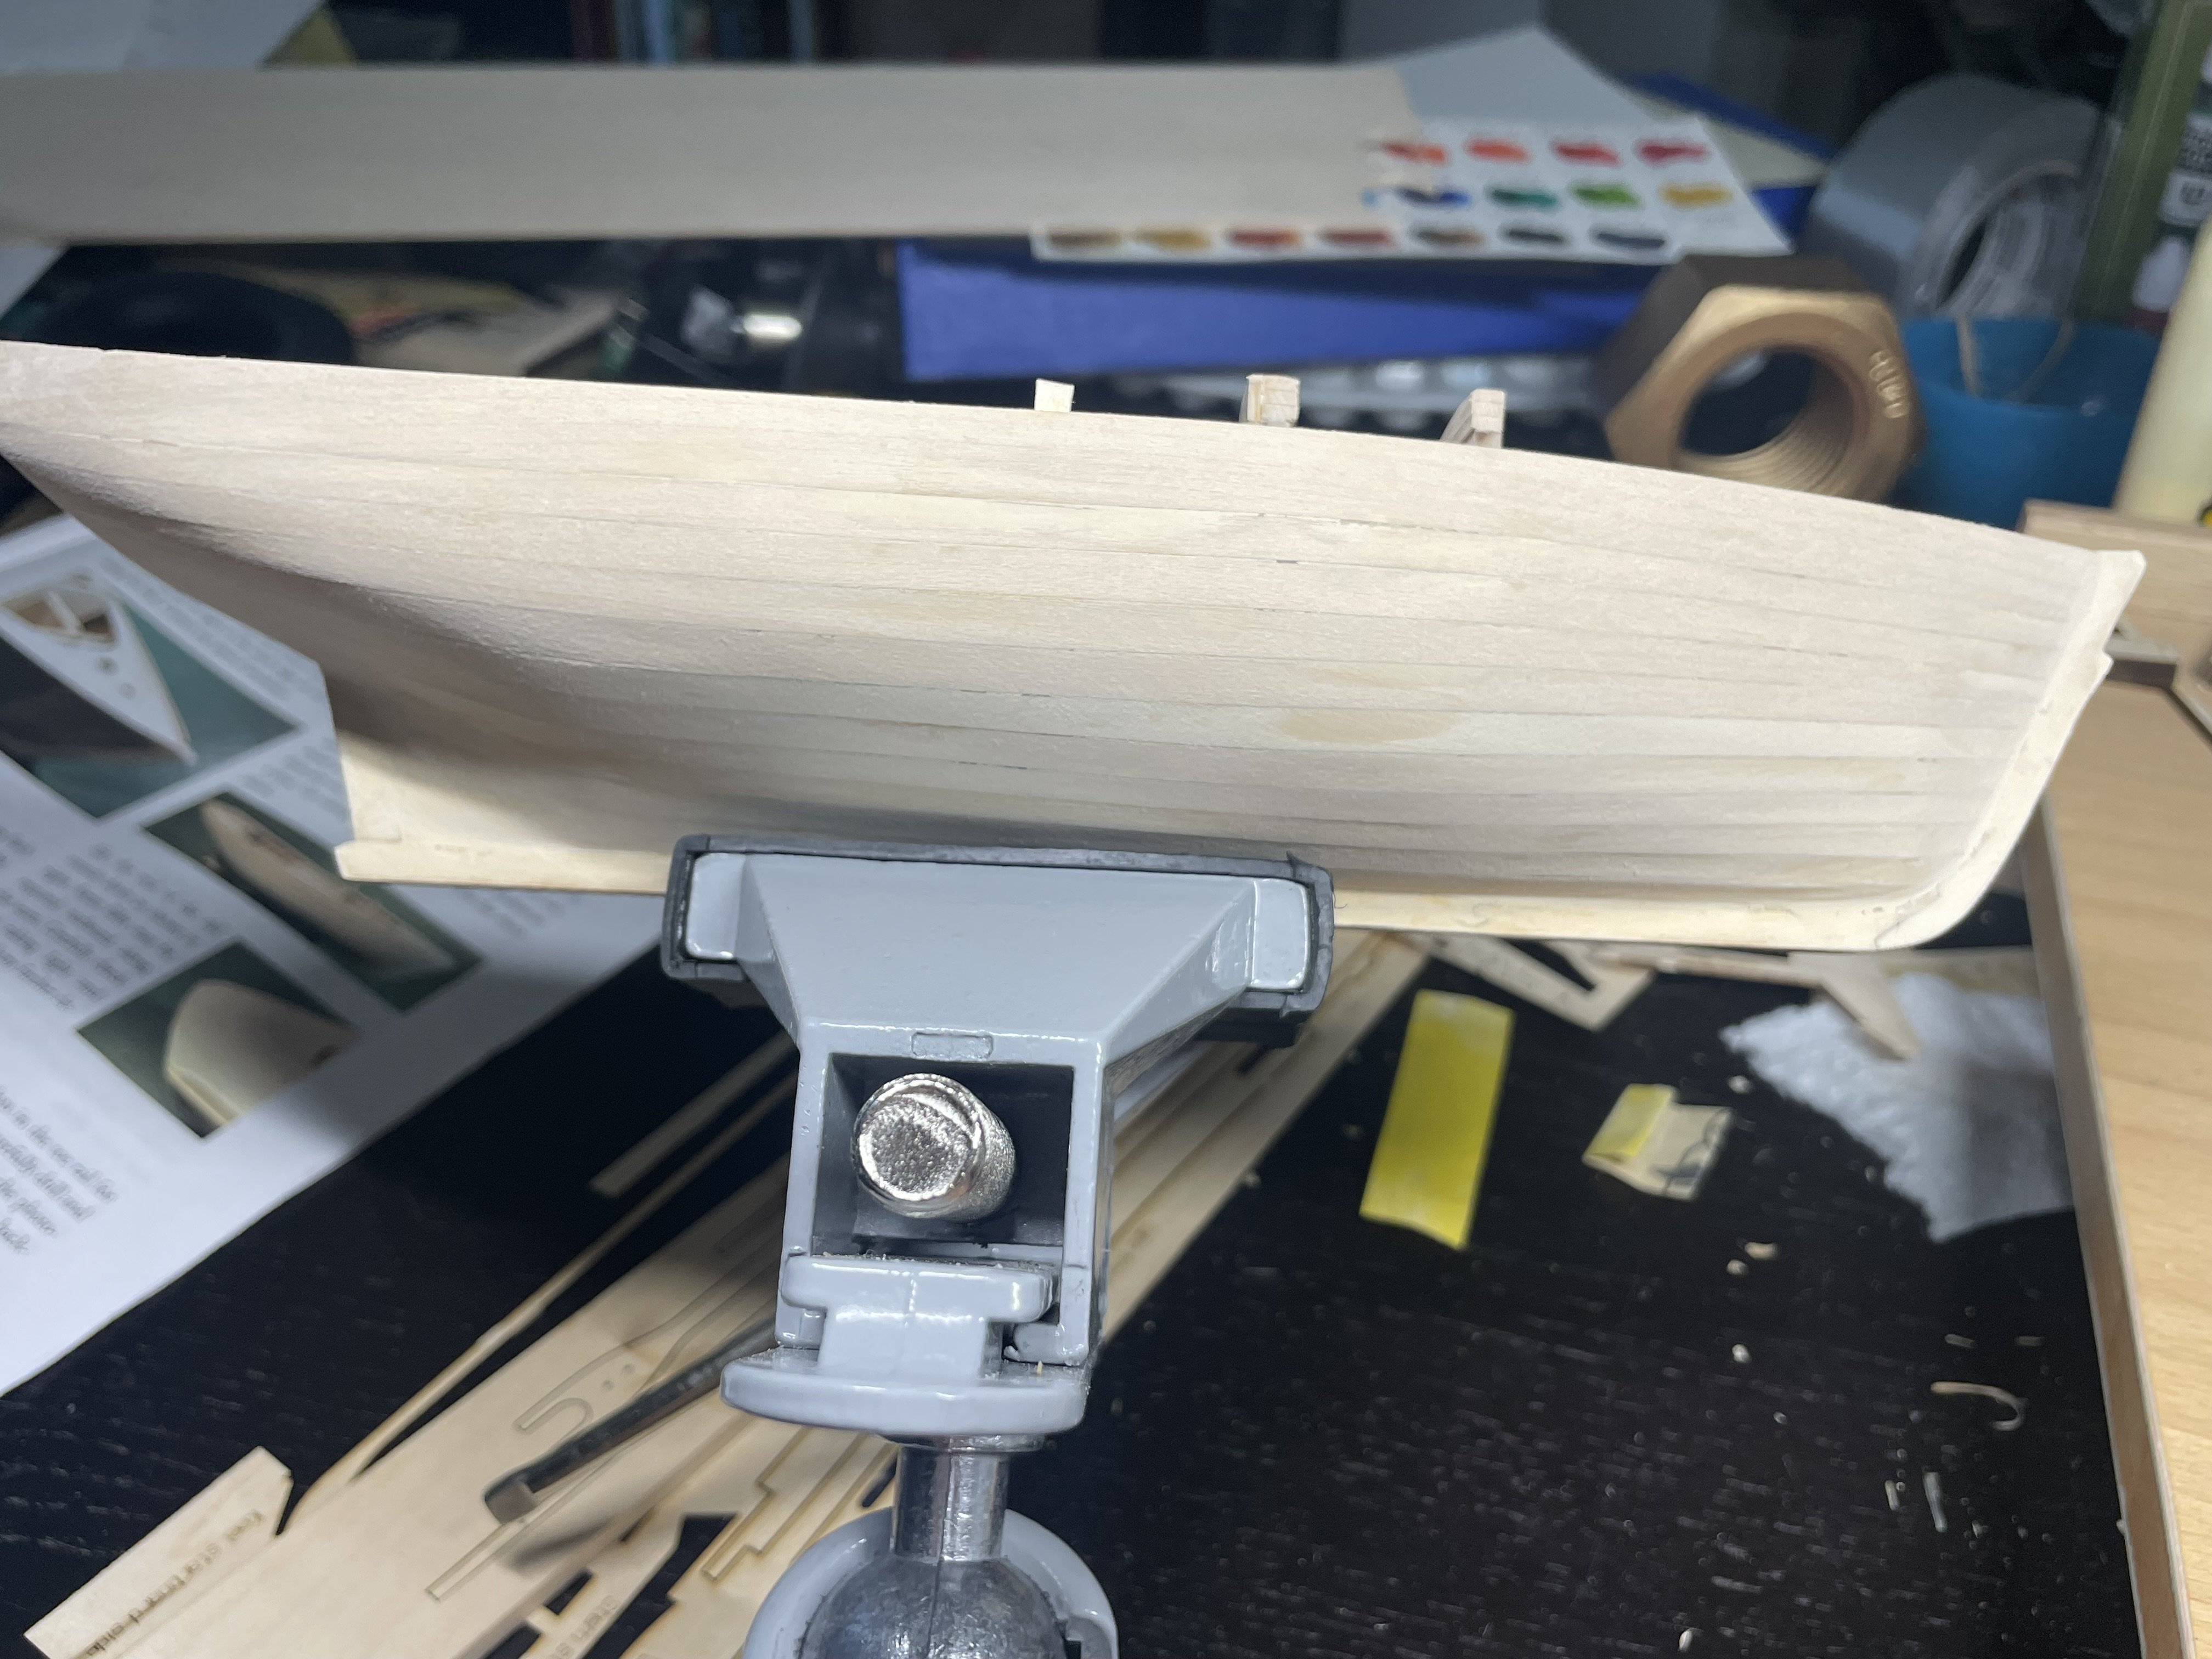
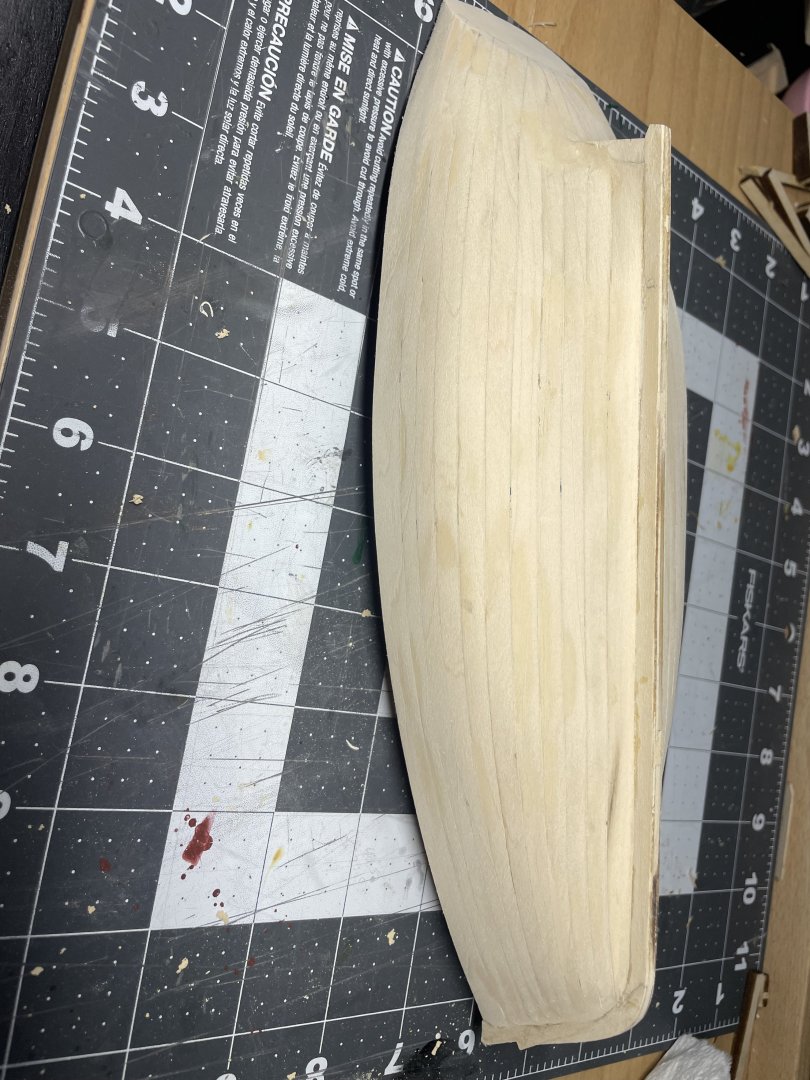
So I’m planking my model shipways lobster smack and it’s going pretty well. My question is how to finish the surface. Looking at some build logs the finished hull is completely smooth. They covered it with filler (wood filler, bondo etc) and then sanded smooth then paint. Since my planking is looking pretty good can I just fill some joints that need some attention then paint? Leaving the planking texture visible? I mean it’s my boat and I can do what I want, I get that. But what do these boats really look like? Never lived anywhere near boats and photos on the web aren’t particularly helpful. Why put so much labor of love into these joints to look good then slather them in bondo? Thanks for your comments! Chris eta-Now that’s not to say I’m so deluded as to think my planking is ready for just stain and poly, this is only my third boat. Don’t want to guys to see the pictures later and say “ what was he thinking?” 🤣🤣🤣
-
The detail you can achieve is truly astounding. Amazing work! After your discussion about high end cutter/choppers I bit the bullet and ordered the ultimation slicer. Looking forward to receiving it.
-
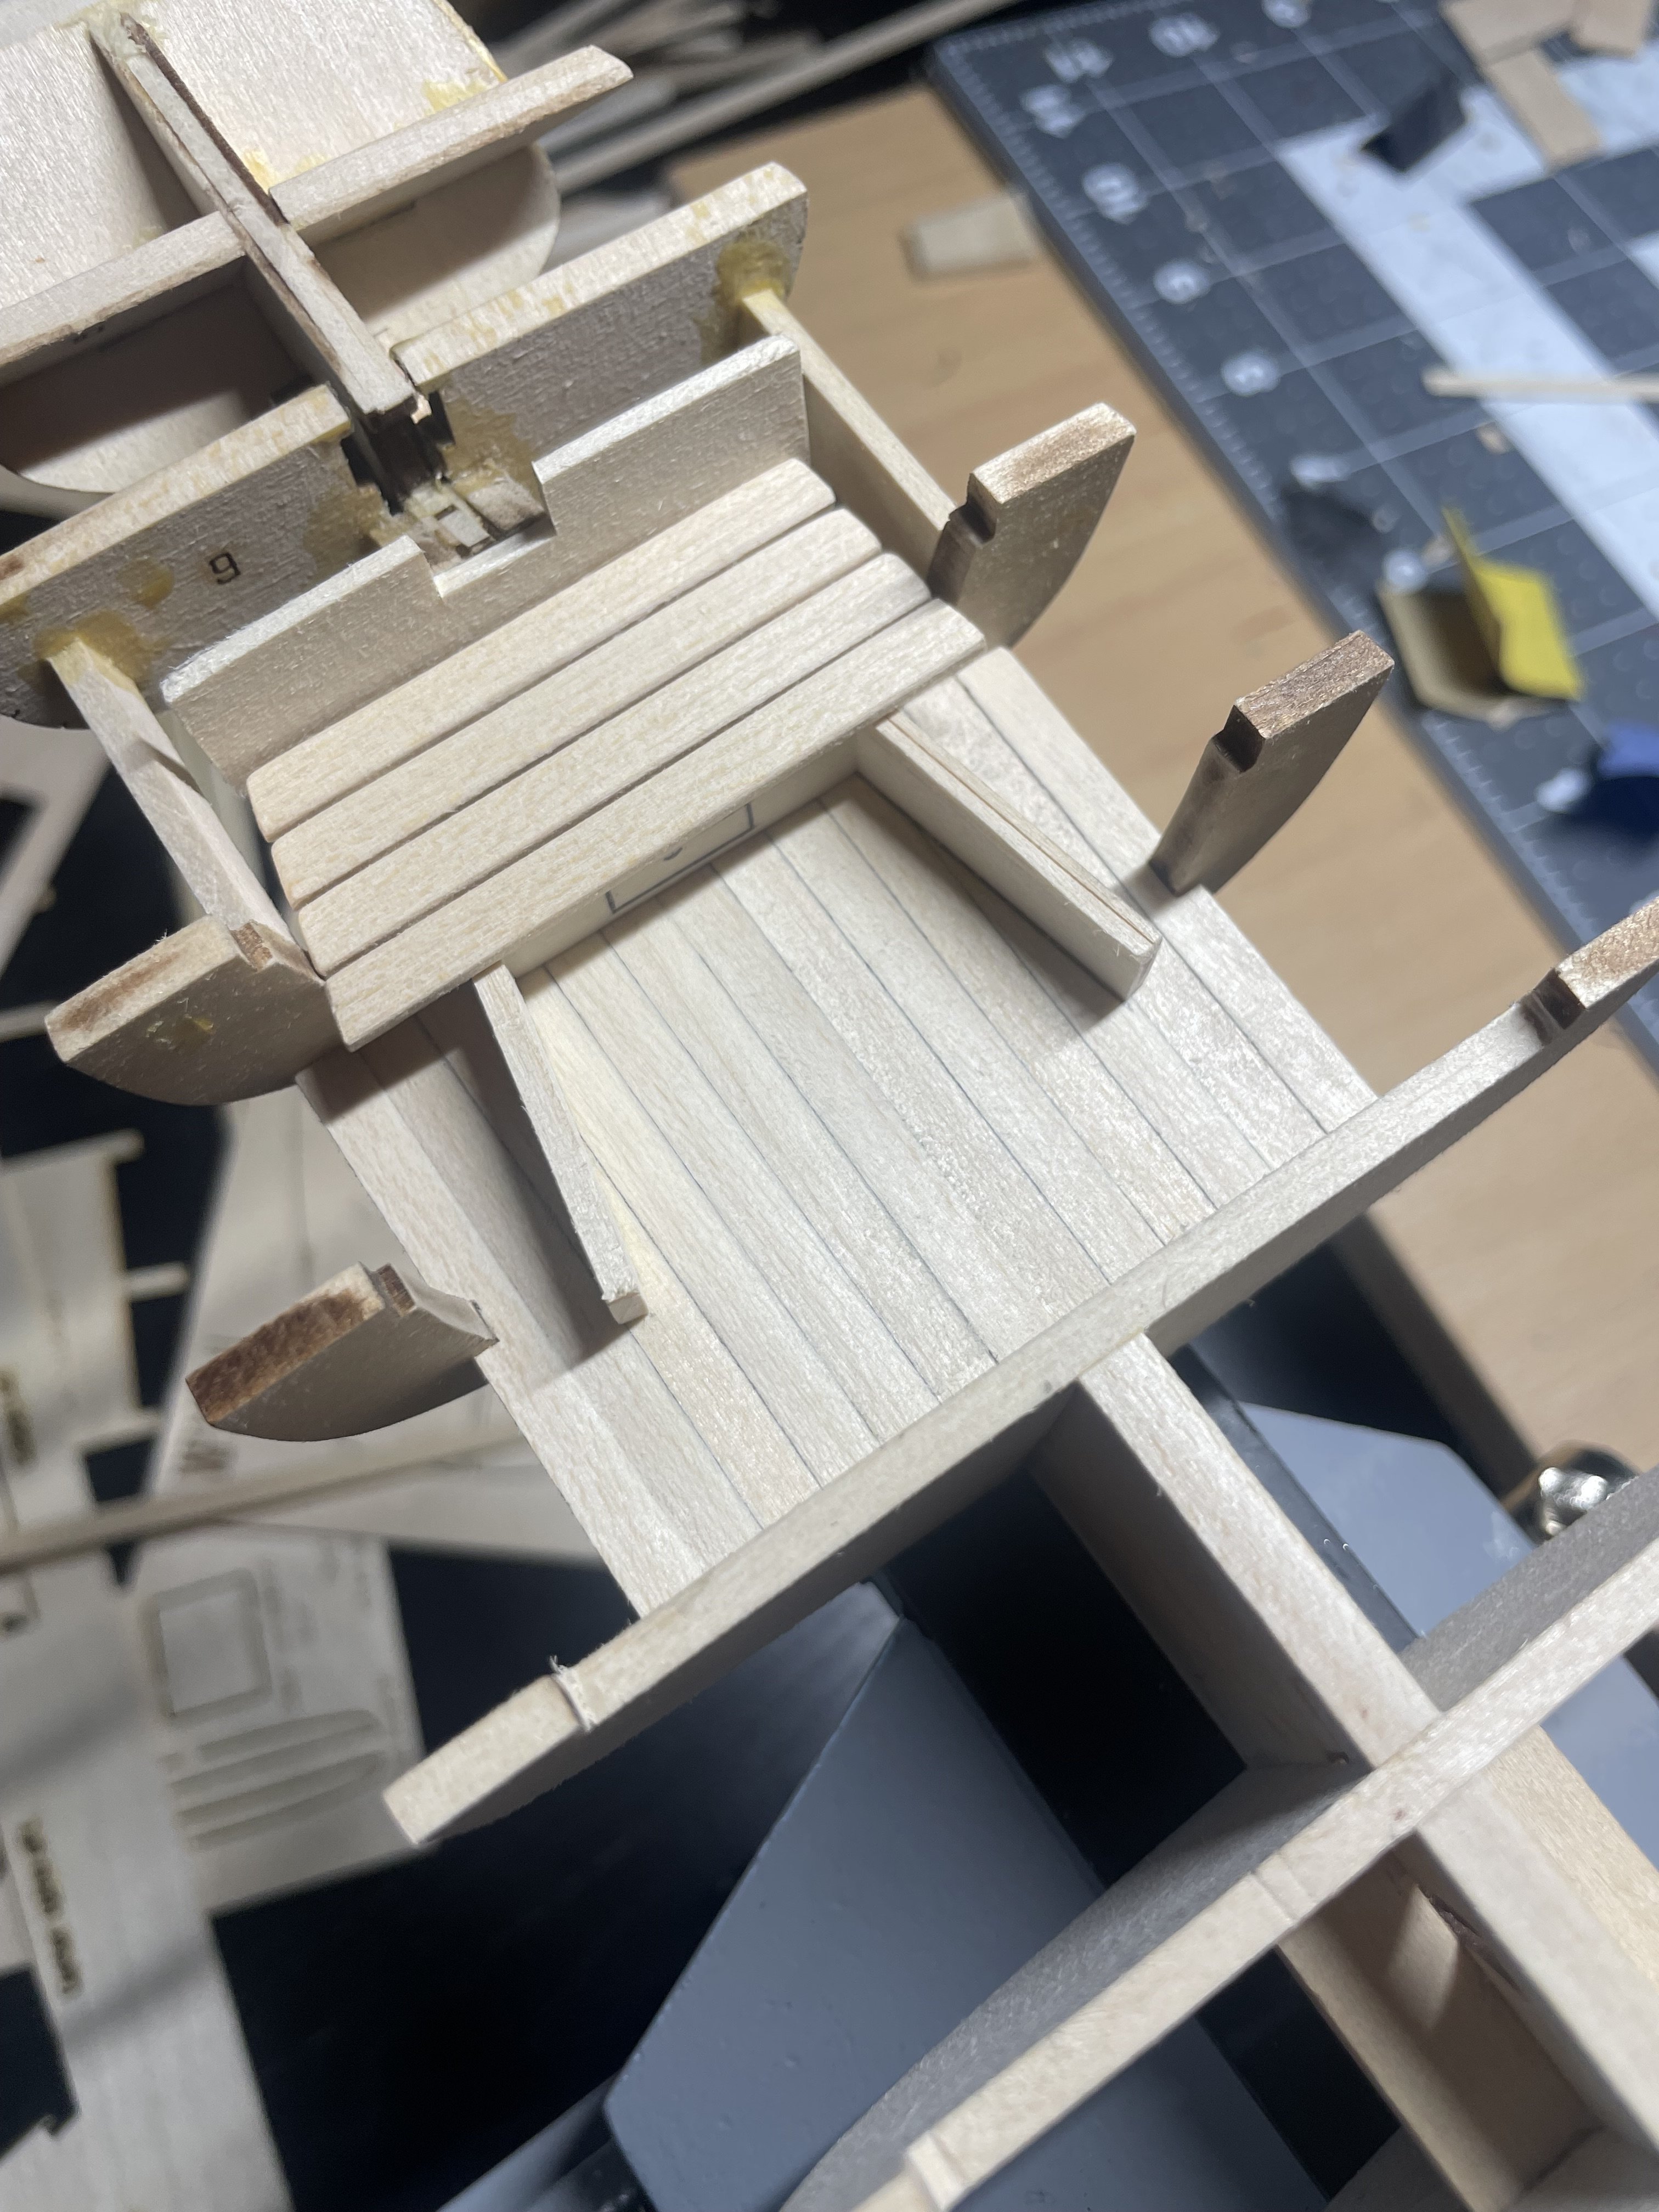
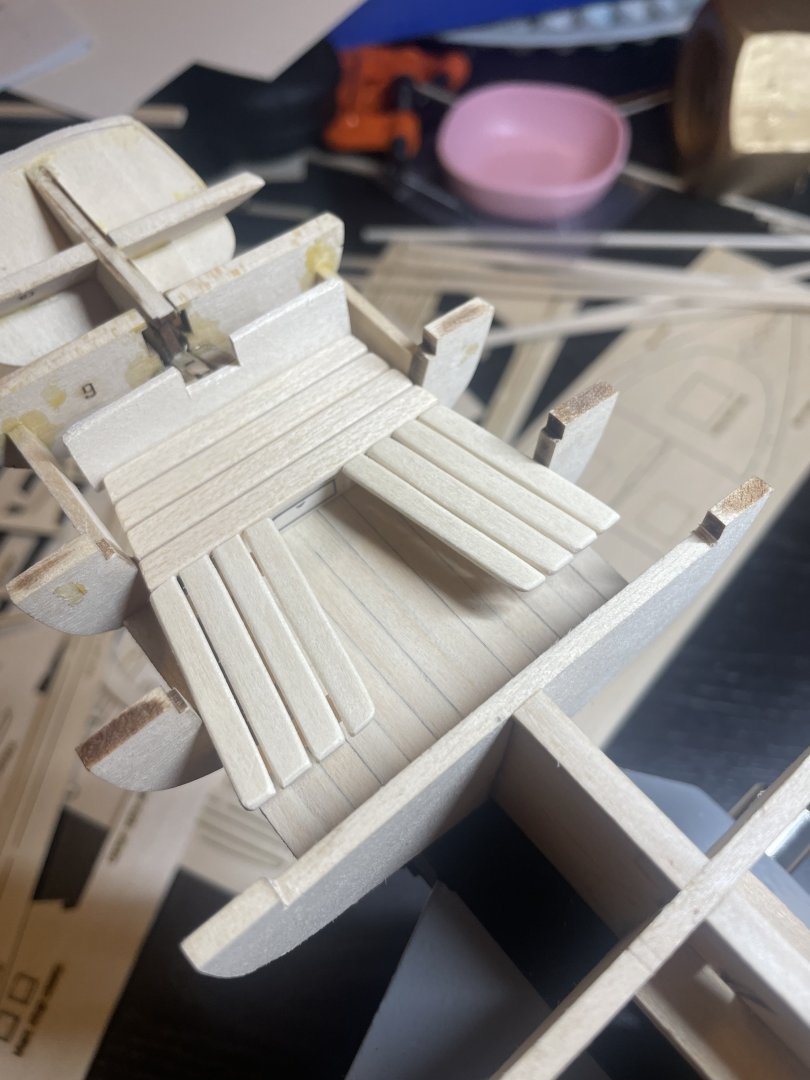
Might not be super scale but I’m gaining skills for the next project! I thought the side thwarts looked a little small with only 3 planks. Now they’re a little wide but I’m happy with the result.
-
It’s the 1:24 scale model shipways version. I’ll have to check that build log! Those planks do look thinner than mine. Thanks for pointing that out. I swear I had looked everywhere for an example. Don’t think I’ll be redoing it at this point.
-
I’m going with it. I think the scale looks ok 🤷

-
I’m working on my Muscongous Bay lobster smack. I’m planking both the deck and the floor of the cockpit. How wide should the boards be for each? I was starting on the cockpit and my lumber comes out to about 4.7” (120mm) wide. That seems a little wide to me. Thanks for any suggestions! Chris
-
I’m looking for my next build. I’m liking the look of this boat. I’ll be following along! Enjoy!
-
Are you sure you’re using the correct size collet? If you remove the nut the collets are double sided. You might be using one that’sa tiny bit too large. The Tamiya pin vise is expensive but feels so much better in the hand. Chris