HOLIDAY DONATION DRIVE - SUPPORT MSW - DO YOUR PART TO KEEP THIS GREAT FORUM GOING! (Only 13 donations so far - C'mon guys!)
×

Desertanimal
-
Posts
236 -
Joined
-
Last visited
Content Type
Profiles
Forums
Gallery
Events
Everything posted by Desertanimal
-
 I’ve received one comment sheet. I had two entries. I’m assuming it’s all takes time. Chris
 -
She’s coming along very nicely. Excellent work! Chris
-
Congratulations on completing her! Beautiful work!! Chris
- 205 replies
-
- 1
-

-
- Endurance
- Shackleton
- (and 2 more)
-
Bower anchor project by Sizzolo
Desertanimal replied to Sizzolo's topic in - Build logs for subjects built 1751 - 1800
You may have said, but what’s the diameter of that ring? Chris -
Paduak is a very pretty wood. As it ages it gets very dark. I also smells like cotton candy to me when you cut it. I used to work with it quite a bit. C
-
Thank you Ron! Cherry is one of my favorites. Thanks Nick! I got the map from the David Rumsey historical map collection. Printed it on regular printer paper, reversed, don’t forget that! I glued that to the mdf with mat medium, you can also use modge podge and probably white glue also. The rubbing was done with small amounts of distilled water and rubbed 90% with my fingers, 10% with a pencil eraser, that is how you remove the paper. Give it a try on some scrap. It was surprisingly easy and I am really happy with it. Thank you very much Yves.
- 38 replies
-
- 3
-

-
- 18th Century Longboat
- Model Shipways
- (and 1 more)
-
Thank you very much JC! The hull is all coated in home mix wipe on poly. C
- 38 replies
-
- 2
-
-
- 18th Century Longboat
- Model Shipways
- (and 1 more)
-
OK it is done. Started the project August 2. So about 2 1/2 months. Wrapping up the details took quite a while but I’m quite happy with the results. I got a piece of cherry from a friend whose husband passed away so I thought this would be a great place to use it. I did some garage rearranging and pulled out the planer. It’s been mothballed for the last few years. I used to have a big shop but sold the building after covid. I miss my dust collector…. Here it is planed down to 3/4” I can’t get to the table saw but an old friend who bought a small table saw from me 25 years ago decided he didn’t have room for it and dropped it off. I put a new blade on it and made the frame. The amount of board feet I put through this saw would be staggering. Funny that it’s back in my life. Oiled it with “walrus oil”, not from real walruses. It’s sold as a danish oil finish but it’s basically tung oil with some polymerized oil. I don’t recommend. Now the interesting part. First I found an old time map of Britain. I glued it to a piece of 1/4” mdf with mat medium, then sparingly used water to remove the paper while occasionally stopping to dry it with a heat gun. If you’re careful and don’t rub too hard, the ink stays on the wood. Then I sealed it with mat varnish. Here are some practice pieces. Here’s the final version. I’ve got brass pins with smaller piano wire inside that the boat will sit on. They are glued into a thicker piece of wood under the insert. Here she is in place. I mounted the oar racks to the base. I put some pins in the ends of the frame from underneath. They go through the acrylic cover. They sit proud about 1/4” so they will be glued in with a small amount of white glue but they can be levered out easily if I ever need inside. So here she is. Officially complete. It was a great journey. Working with boxwood proved to have its issues but it sure looks nice and finishes beautifully. Thanks for all who have followed along and provided encouragement with your kind words and likes! Chris


- 38 replies
-
- 11
-

-
-
- 18th Century Longboat
- Model Shipways
- (and 1 more)
-
So I decided to try to make an ensign. Never done it before. I looked up a few build logs and hoping I learned something I plunged ahead. I simply estimated the size to be about 2.5 cm long. I went to the internet and found a picture, saved it, resized it in Paint and printed it. First one was too big, second one just right. I made up a little frame and glued down some tea bag material. Everything I saw used airplane fabric but I didn’t have any and knowing it’s just a nonwoven fabric I thought a tea bag should work nicely. I painted it both sides with watery elmer’s white glue. When it dried it was tight as a drum. I taped the dried fabric on top of the printed paper to a piece of glass. No fancy reason it’s glass, it was handy, flat and I could move it around as opposed to taping it to the work surface. You would think the glass would help let light under to help with the transparency, but the truth is the fabric is see through. I painted it with Army Painter Warpaint. This picture is the blue painted first. I flipped it over and painted the other side. Along with a thin white strip where I’ll glue it to the flag halliard. I wasn’t to bother with making a pocket and the proper rigging. So far I’m just happy the painted looks better than expected. I tried to shape it with some foil then a light spray of matt varnish. The lightest spray would send it across the spray booth…chasing a sprayed piece of tissue across the spray booth is not a fun exercise. It was a lesson in something. Not sure in what yet… And here we are hoisted. I’d love to hear your thoughts. It’s my first try so go easy on me. If you’ve got ideas for improvement, I’d love to hear those too, as I’m sure I’ll be adding one on the next build. Chris


- 38 replies
-
- 10
-
-
- 18th Century Longboat
- Model Shipways
- (and 1 more)
-
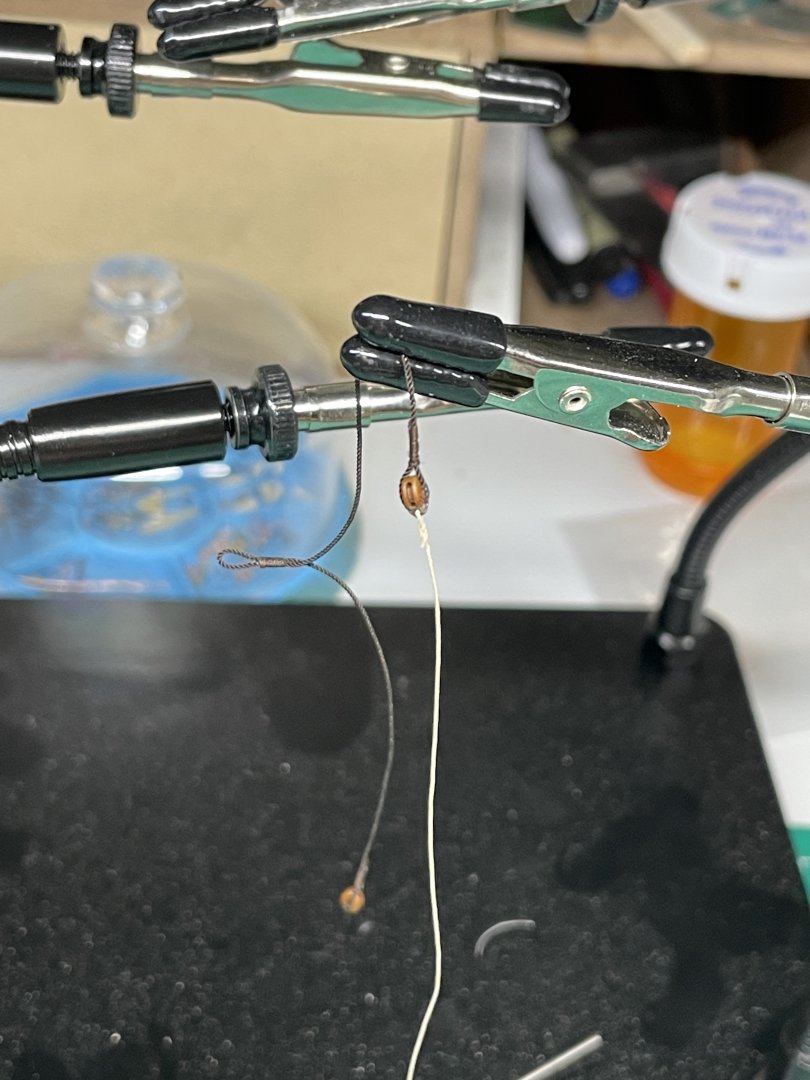
It’s been a minute since I’ve updated. Work has progressed. I’ve now finished up the rigging and I’ve working on ideas for how to display it. So let’s get everyone caught up with some photos! Here I’m working on the backstays. Along with bringing the gaff into the fun. Getting the shrouds tightened up. I didn’t use any jig while rigging the deadeyes. I did on Alert, but I decided to just eyeball this one. They are a tiny bit off but I think I was able to get them all lined up while tensioning the shrouds. Starting to get the bowsprit sorted. This one made me a laugh and cry and everything in between. Generally I’m quite careful, I move around the ship methodically and rarely break anything. I swear to whatever is holy in boat building…. I think I reattached that bowsprit no less than six time due to me knocking it off!! The traveler.. I put the clip on there and then went over the ropes with matt medium to hold them straight so they look like they’re under some tension. It worked ok for a while but I think as I continued to futz with the rigging I kind of “broke” the finish on the rope so I probably should redo that. Now it time for my nemesis. Rope hanks….DUM dum. I’ve tried several methods I’ve found on here and youtube and they pretty much ended up looking one step above dog doo. Doing more research to give them another try I saw/learned an idea. That was that the there’s really no reason that the loop at the top needed to be the same piece of rope as the hank. That was always my problem area. So I tried a few things and came up with this jig and these hanks. I’d love to hear your opinions. This method makes the hanks all the same size. I’m not sure it that good. I know they should be uniform but should they be identical? I tried a few sizes of rope for the anchor and settled on this. I think it’s .8mm Shaping up the oars… I decided I would paint the oars so I used the kit versions and didn’t bother making them from boxwood. I’m again emulating @BobF’s build log in the manner that he displayed the oars. After one false start, some new flux and solder I finally got a design I like. So that’s the latest. Next up is the cherry base and acrylic cover and I think we’ll be calling her complete. Thanks for stopping by! Chris


- 38 replies
-
- 10
-
-
-
- 18th Century Longboat
- Model Shipways
- (and 1 more)
-
I don’t have a laser nor a printer. I would be interested in a capstan group build though. Chris
-
Truly beautiful work. Would you mind tossing in some photos of the construction process of the frames? Those joint’s are sources of envy!! Chris
-
I read that and said out loud, what? (Scrolls through own thread) Ummm. I’m more than a little embarrassed to say I’m not quite sure how that happened. I just got carried away I think. I’m off to look at the plans….😒 C Edit: Yeeeaaahhh, that’s not supposed to be like that…. Thanks for pointing that out!
- 38 replies
-
- 3
-
-
- 18th Century Longboat
- Model Shipways
- (and 1 more)
-
Continuing on, starting on the rigging. At least the beginning of it. Made the chainstays according to the instructions. Made the back stays out of some brass parts. Rigging up the boom and sheet. Rigging up the back stay pendants and the topping lift. I’ve also slipped on the shrouds after seizing them in my serving machine. I had some boxwood belaying pins that just needed the bases thinned down. I saw that thread about the fly tying tool used to seize blocks. I made one up and while it was quite a chore to keep all the ends where they needed to be, it worked quite well. I was putting hooks on the blocks so I had many parts to watch. Here’s the results. These are Syren 1/8” blocks and syren hooks, I think it was 4mm. .35 mm rope with Mara 150 thread. Putting the deadeyes on the shrouds. Next up it really will start coming together as the rigging starts to connect all the parts! It’s always very daunting to me but I do enjoy the results of all the work. Thanks for stopping by! Chris


- 38 replies
-
- 11
-
-
- 18th Century Longboat
- Model Shipways
- (and 1 more)
-
About the same here as others. I’ve got one, works great. Cheap Amazon kit. $130?? Don’t use it too often. Most of the time I can be in and out with a brush without leaving my chair. Faster, looks just as good. Good brushes and quality paint is the answer. No way around that. Army Painter makes airbrush ready paint. Never used it myself. Chris
-
The dory project sounds interesting. I’ll definitely be waiting on that. All the best for your surgery and a fast recovery! Chris
- 44 replies
-
- 2
-
-
-
- maine peapod
- peapod
- (and 4 more)
-
Hi Kenny! Thanks for the comments! I’ve drilled a couple small holes in the keel for some stiff wire. That wire fits inside a brass tube. That tube will go down into the base of the display. Nothing too fancy, a wooden base and corners and glass sides. The brass will be blackened as I’ll also be making a little rack for the oars from brass. Chris
- 38 replies
-
- 3
-
-
- 18th Century Longboat
- Model Shipways
- (and 1 more)
-
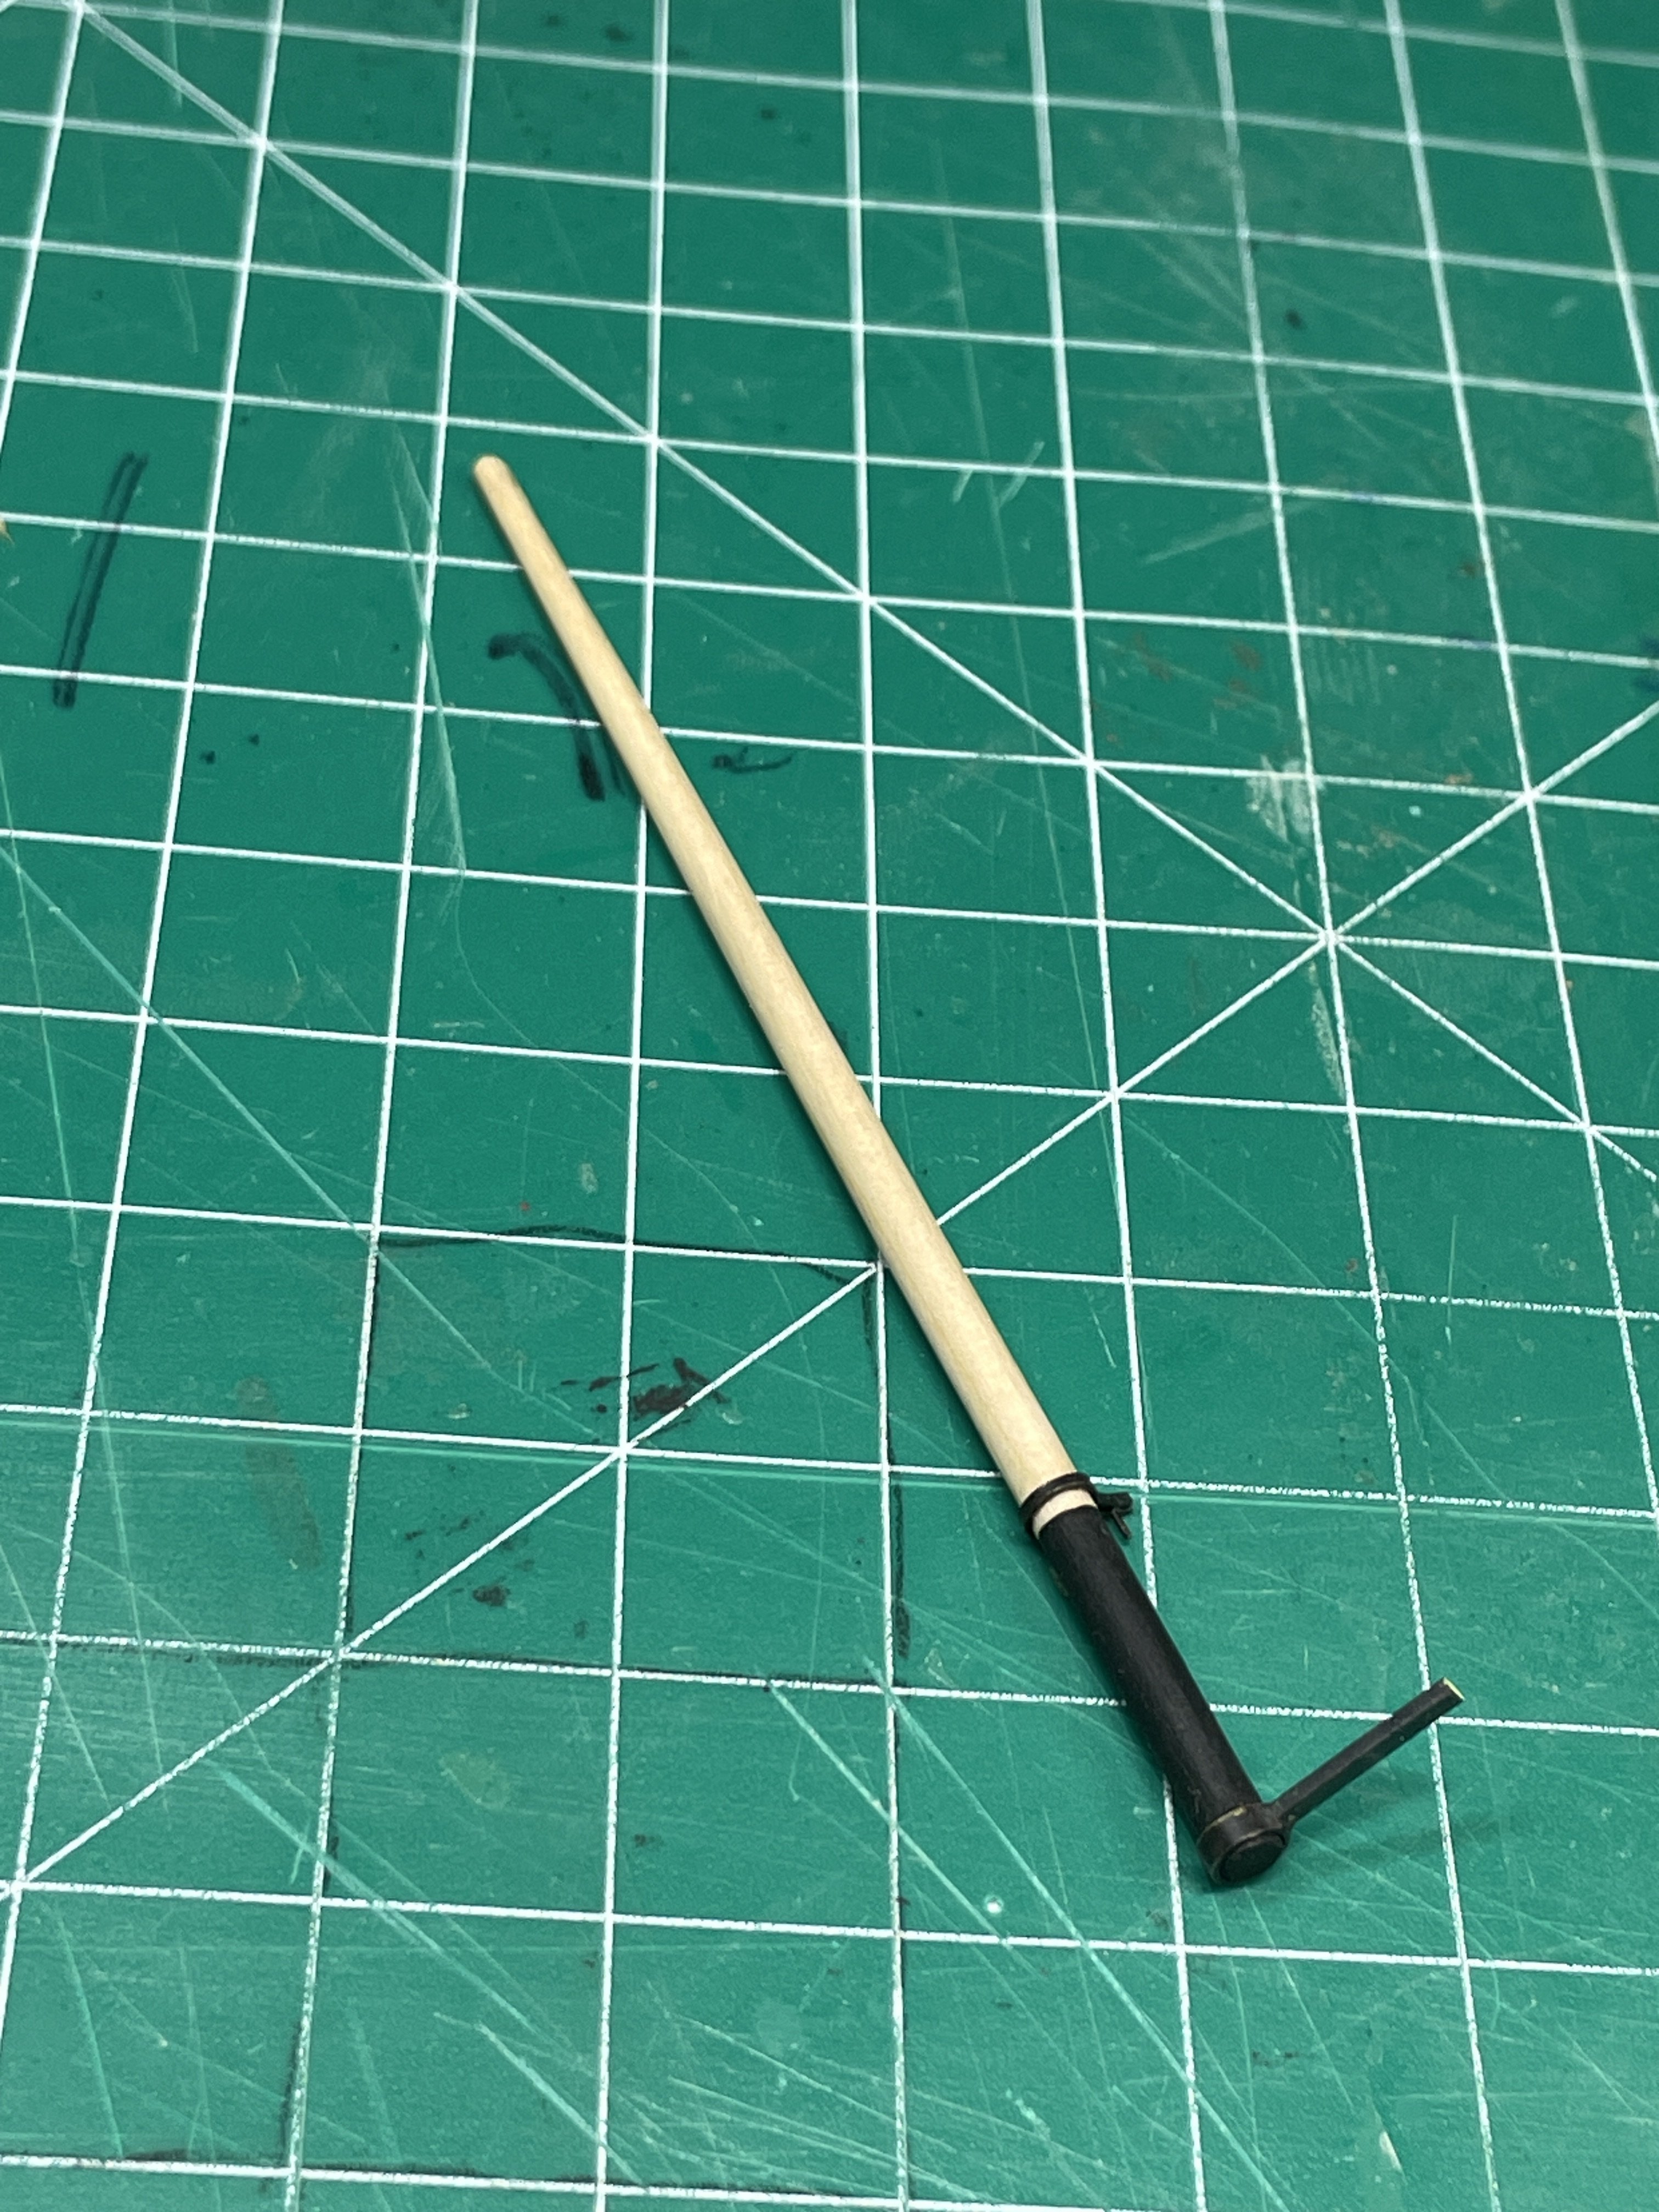
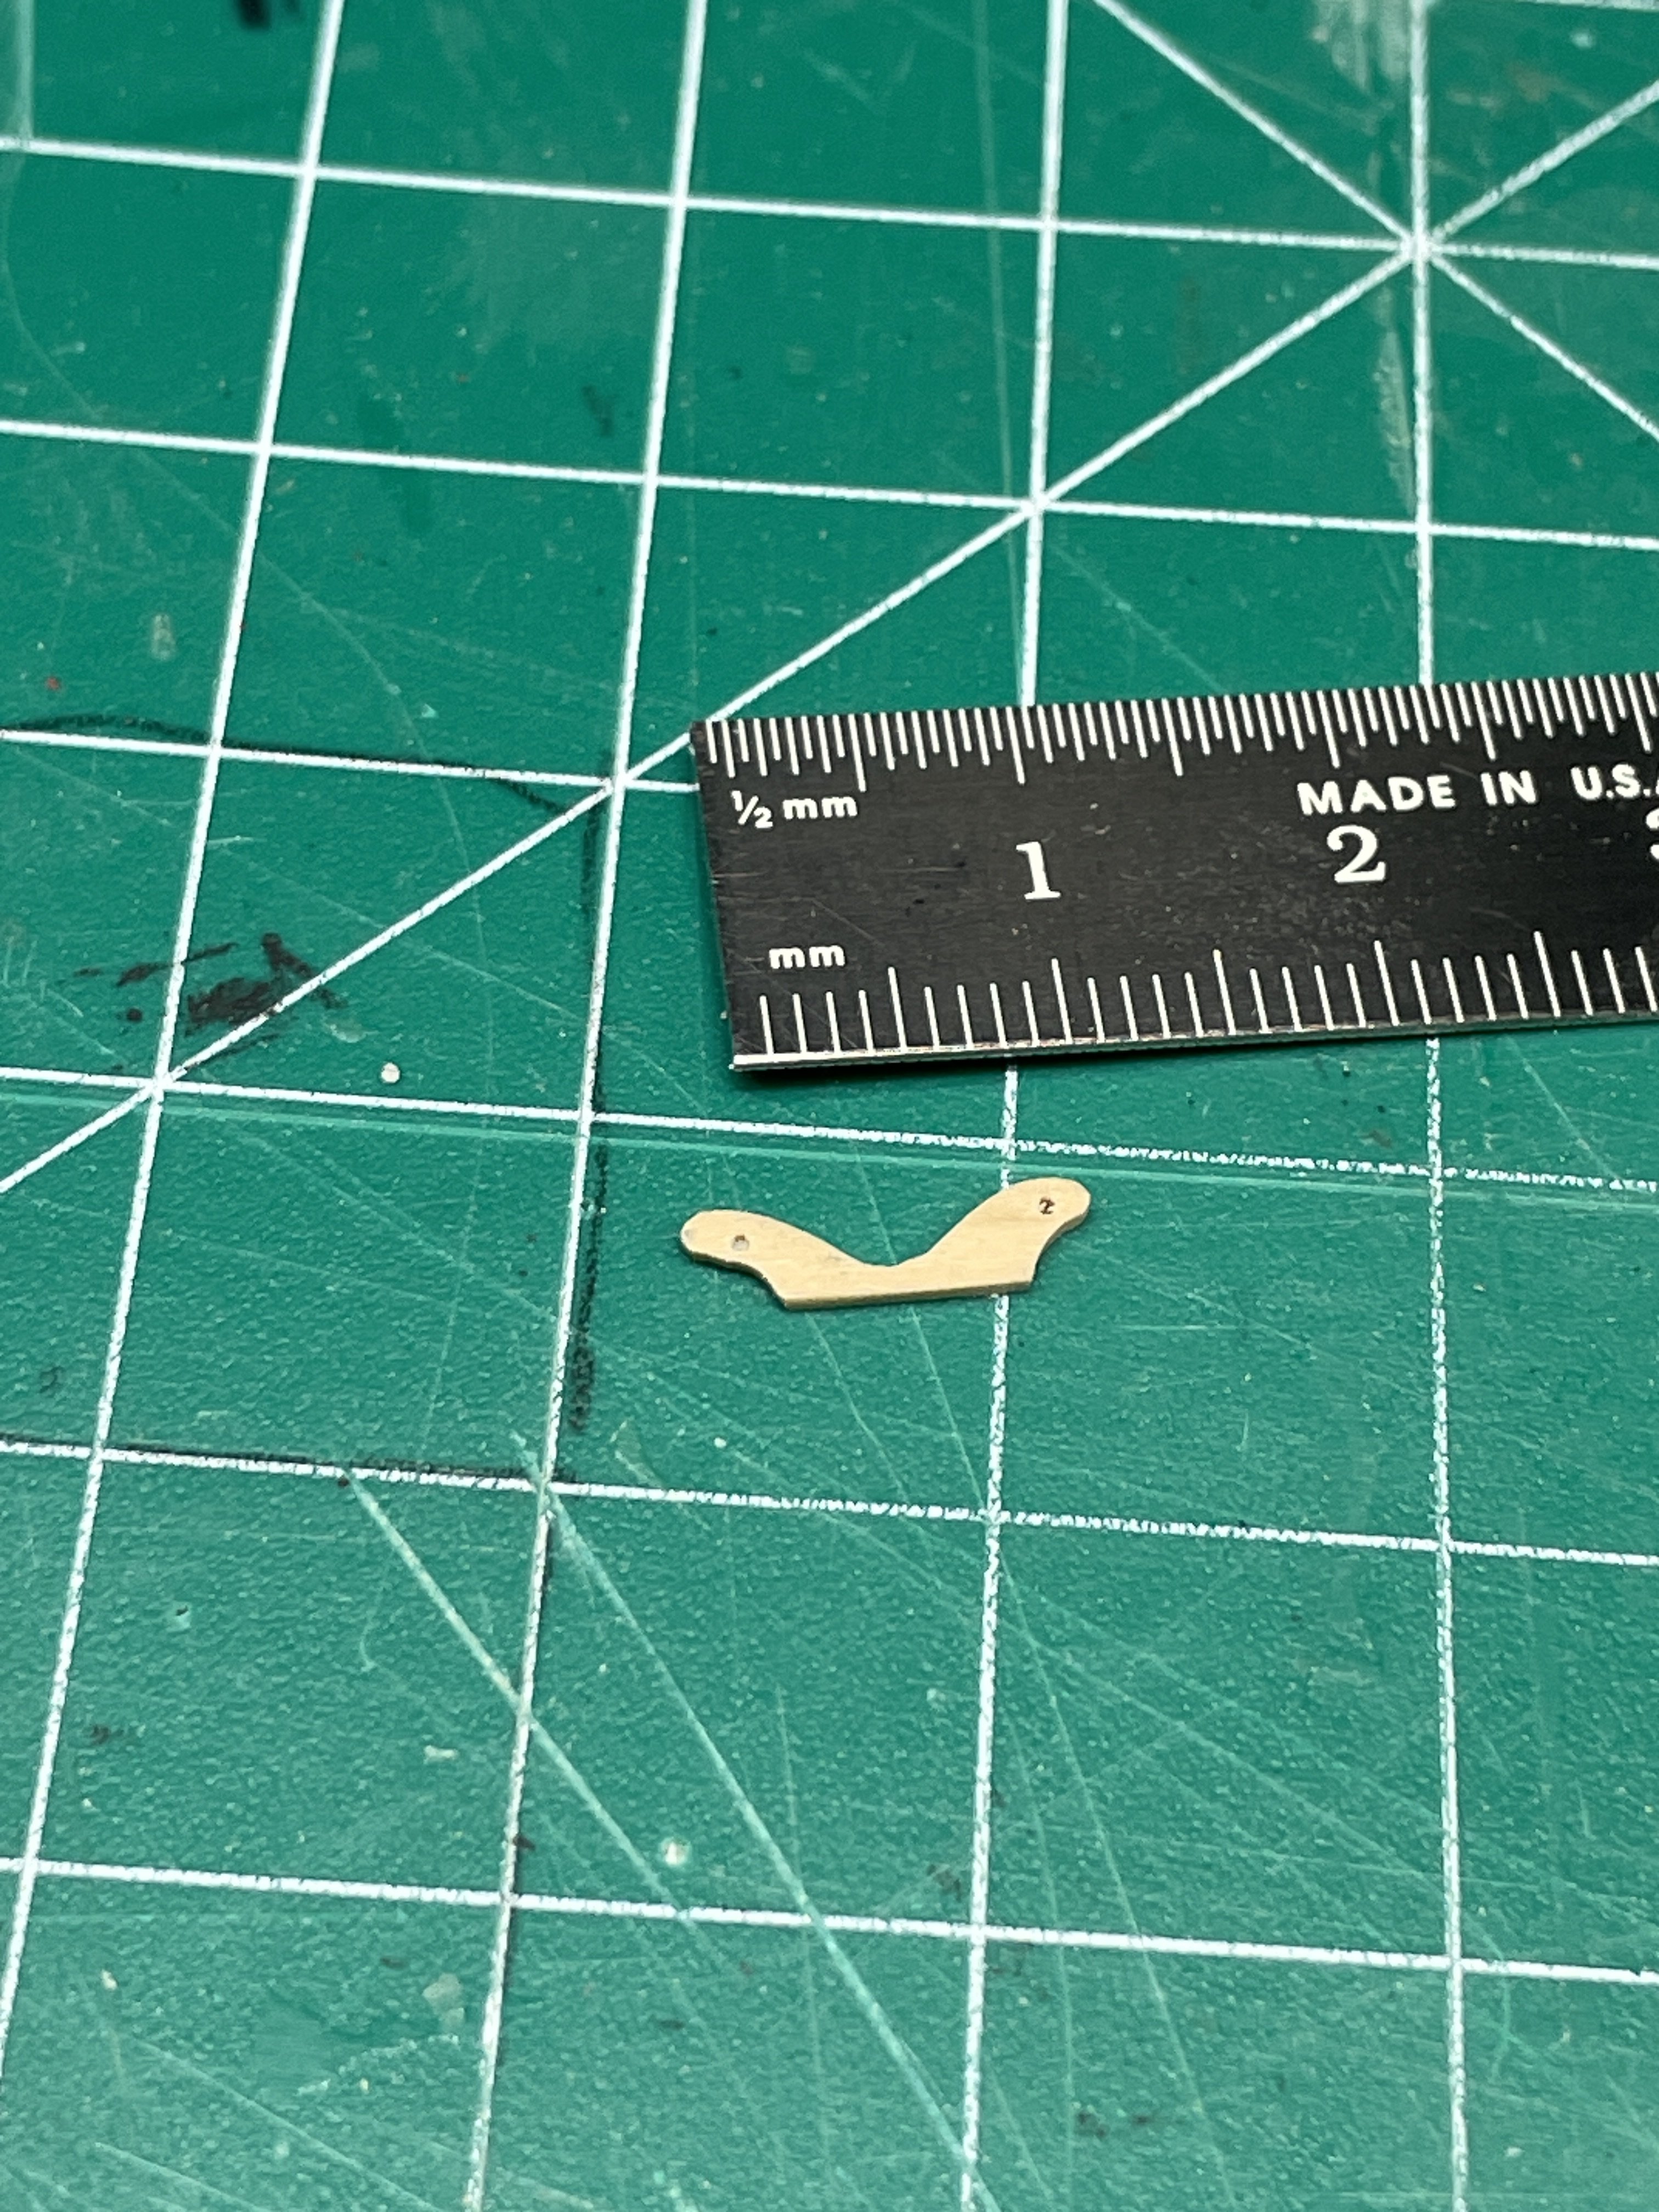
OK it’s been a bit since an update. Thank you for all the likes and encouragement! Progress is being made but it’s not been super interesting. Shaping the mast and bowsprit, I used the drill technique. The goal here is to go slow and check your progress often. I start with 120 grit and go up from there. Be sure to leave enough meat on there for the finer grits. Getting some paint on the mast. I made a small mistake here. Maybe I can save someone the headache. I usually give something like this a coat of WOP before painting to prevent the paint from running in the grain. I managed to forget that step and the black ran a little. Gotta pay attention. These are the rings for the mast. I ended up seizing the blocks to the upper rings. Then I later read that having them connected with hooks was more historically correct. I actuality I even removed and reinstalled them at least twice. So if I had been paying attention I had multiple chances to change it. These are the parts for the bowsprit. I decided to solder together some brass parts. Boom and gaff shaping now. I made at least 3 pairs of these little ears for the gaff before I had a set that was 1- small enough and 2- looked ok and symmetrical.. The boom rigged up. I had to use some left over blocks for the horse while I wait for my Syren block order to arrive tomorrow. And the beauty shot of where she sits right now. Thanks for stopping by! Chris


- 38 replies
-
- 10
-
-
- 18th Century Longboat
- Model Shipways
- (and 1 more)
-
What if you drill it from the opposite side, push out the drill bit piece then you can patch that hole and paint. Should be invisible. You can probably even use a smaller size bit. Chris
- 51 replies
-
- 1
-
-
- bounty jolly boat
- Artesania Latina
- (and 2 more)
-
Congratulations on finishing her! She looks great! Chris
- 133 replies
-
- 2
-
-
- Ranger
- vanguard models
- (and 1 more)
-
This looks to be quite the project! Best of luck. I’ll be following along. Chris
-
Very interesting. What kind of wood, overall size? Chris
-
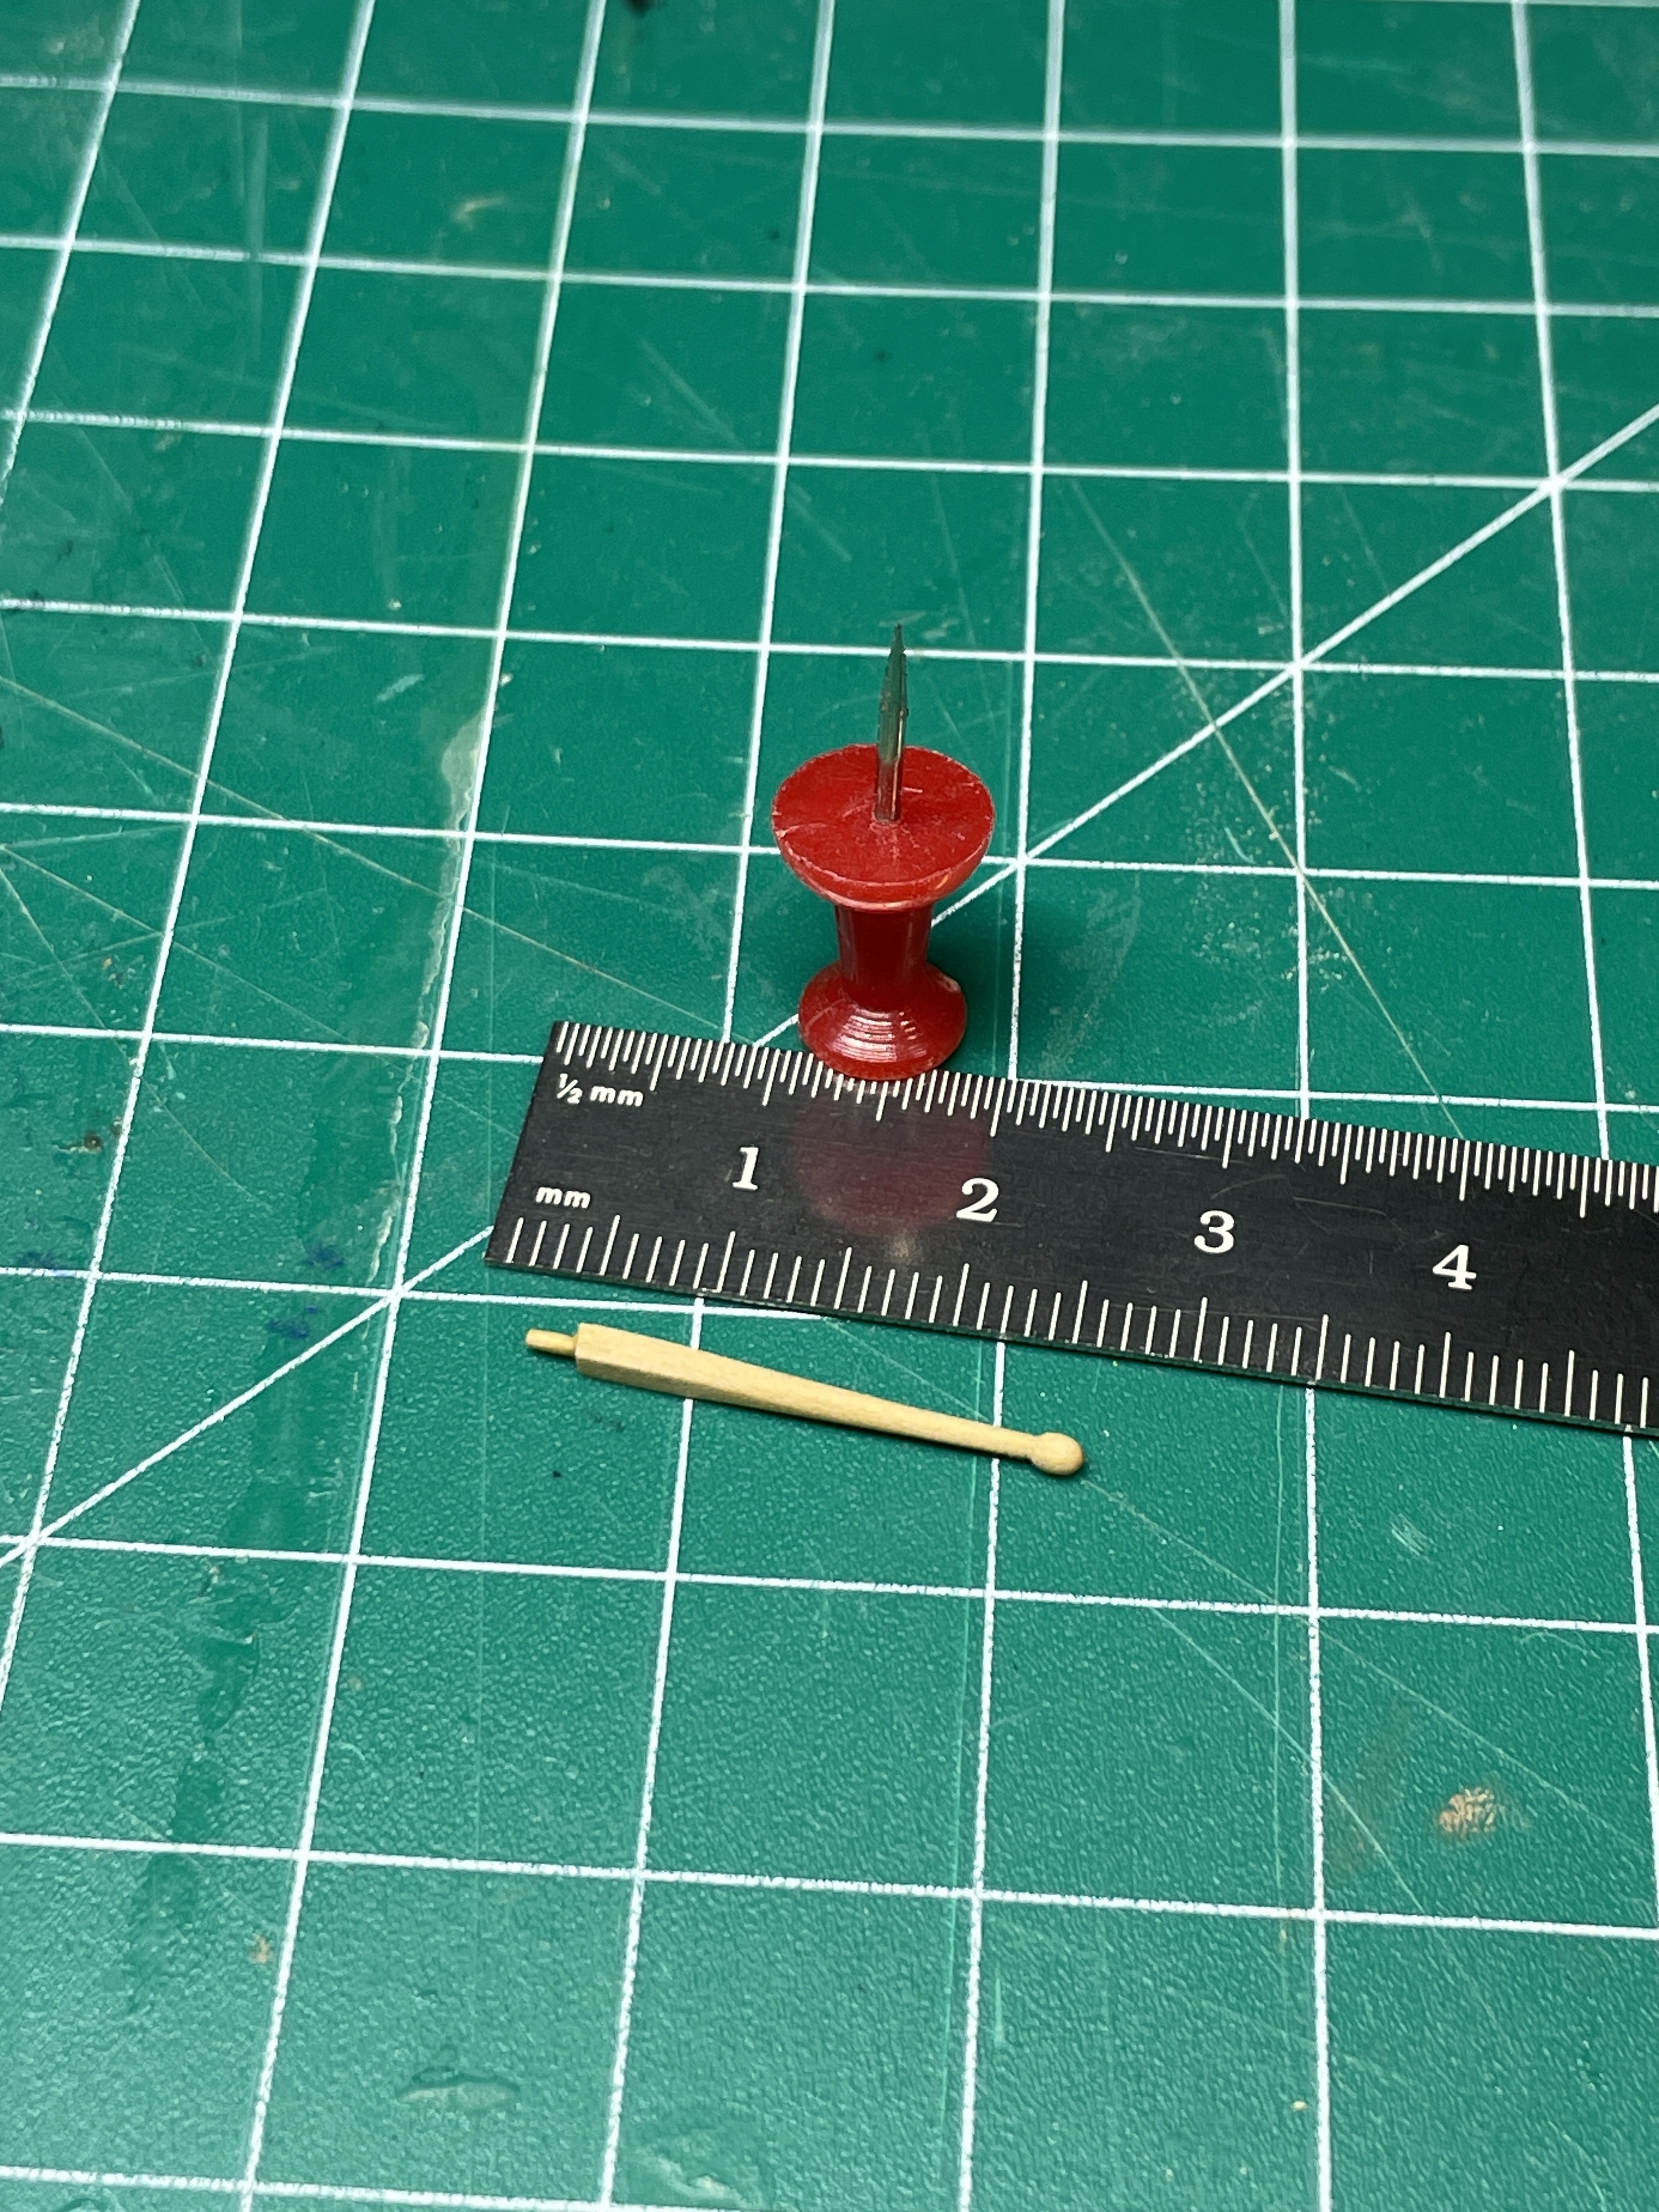
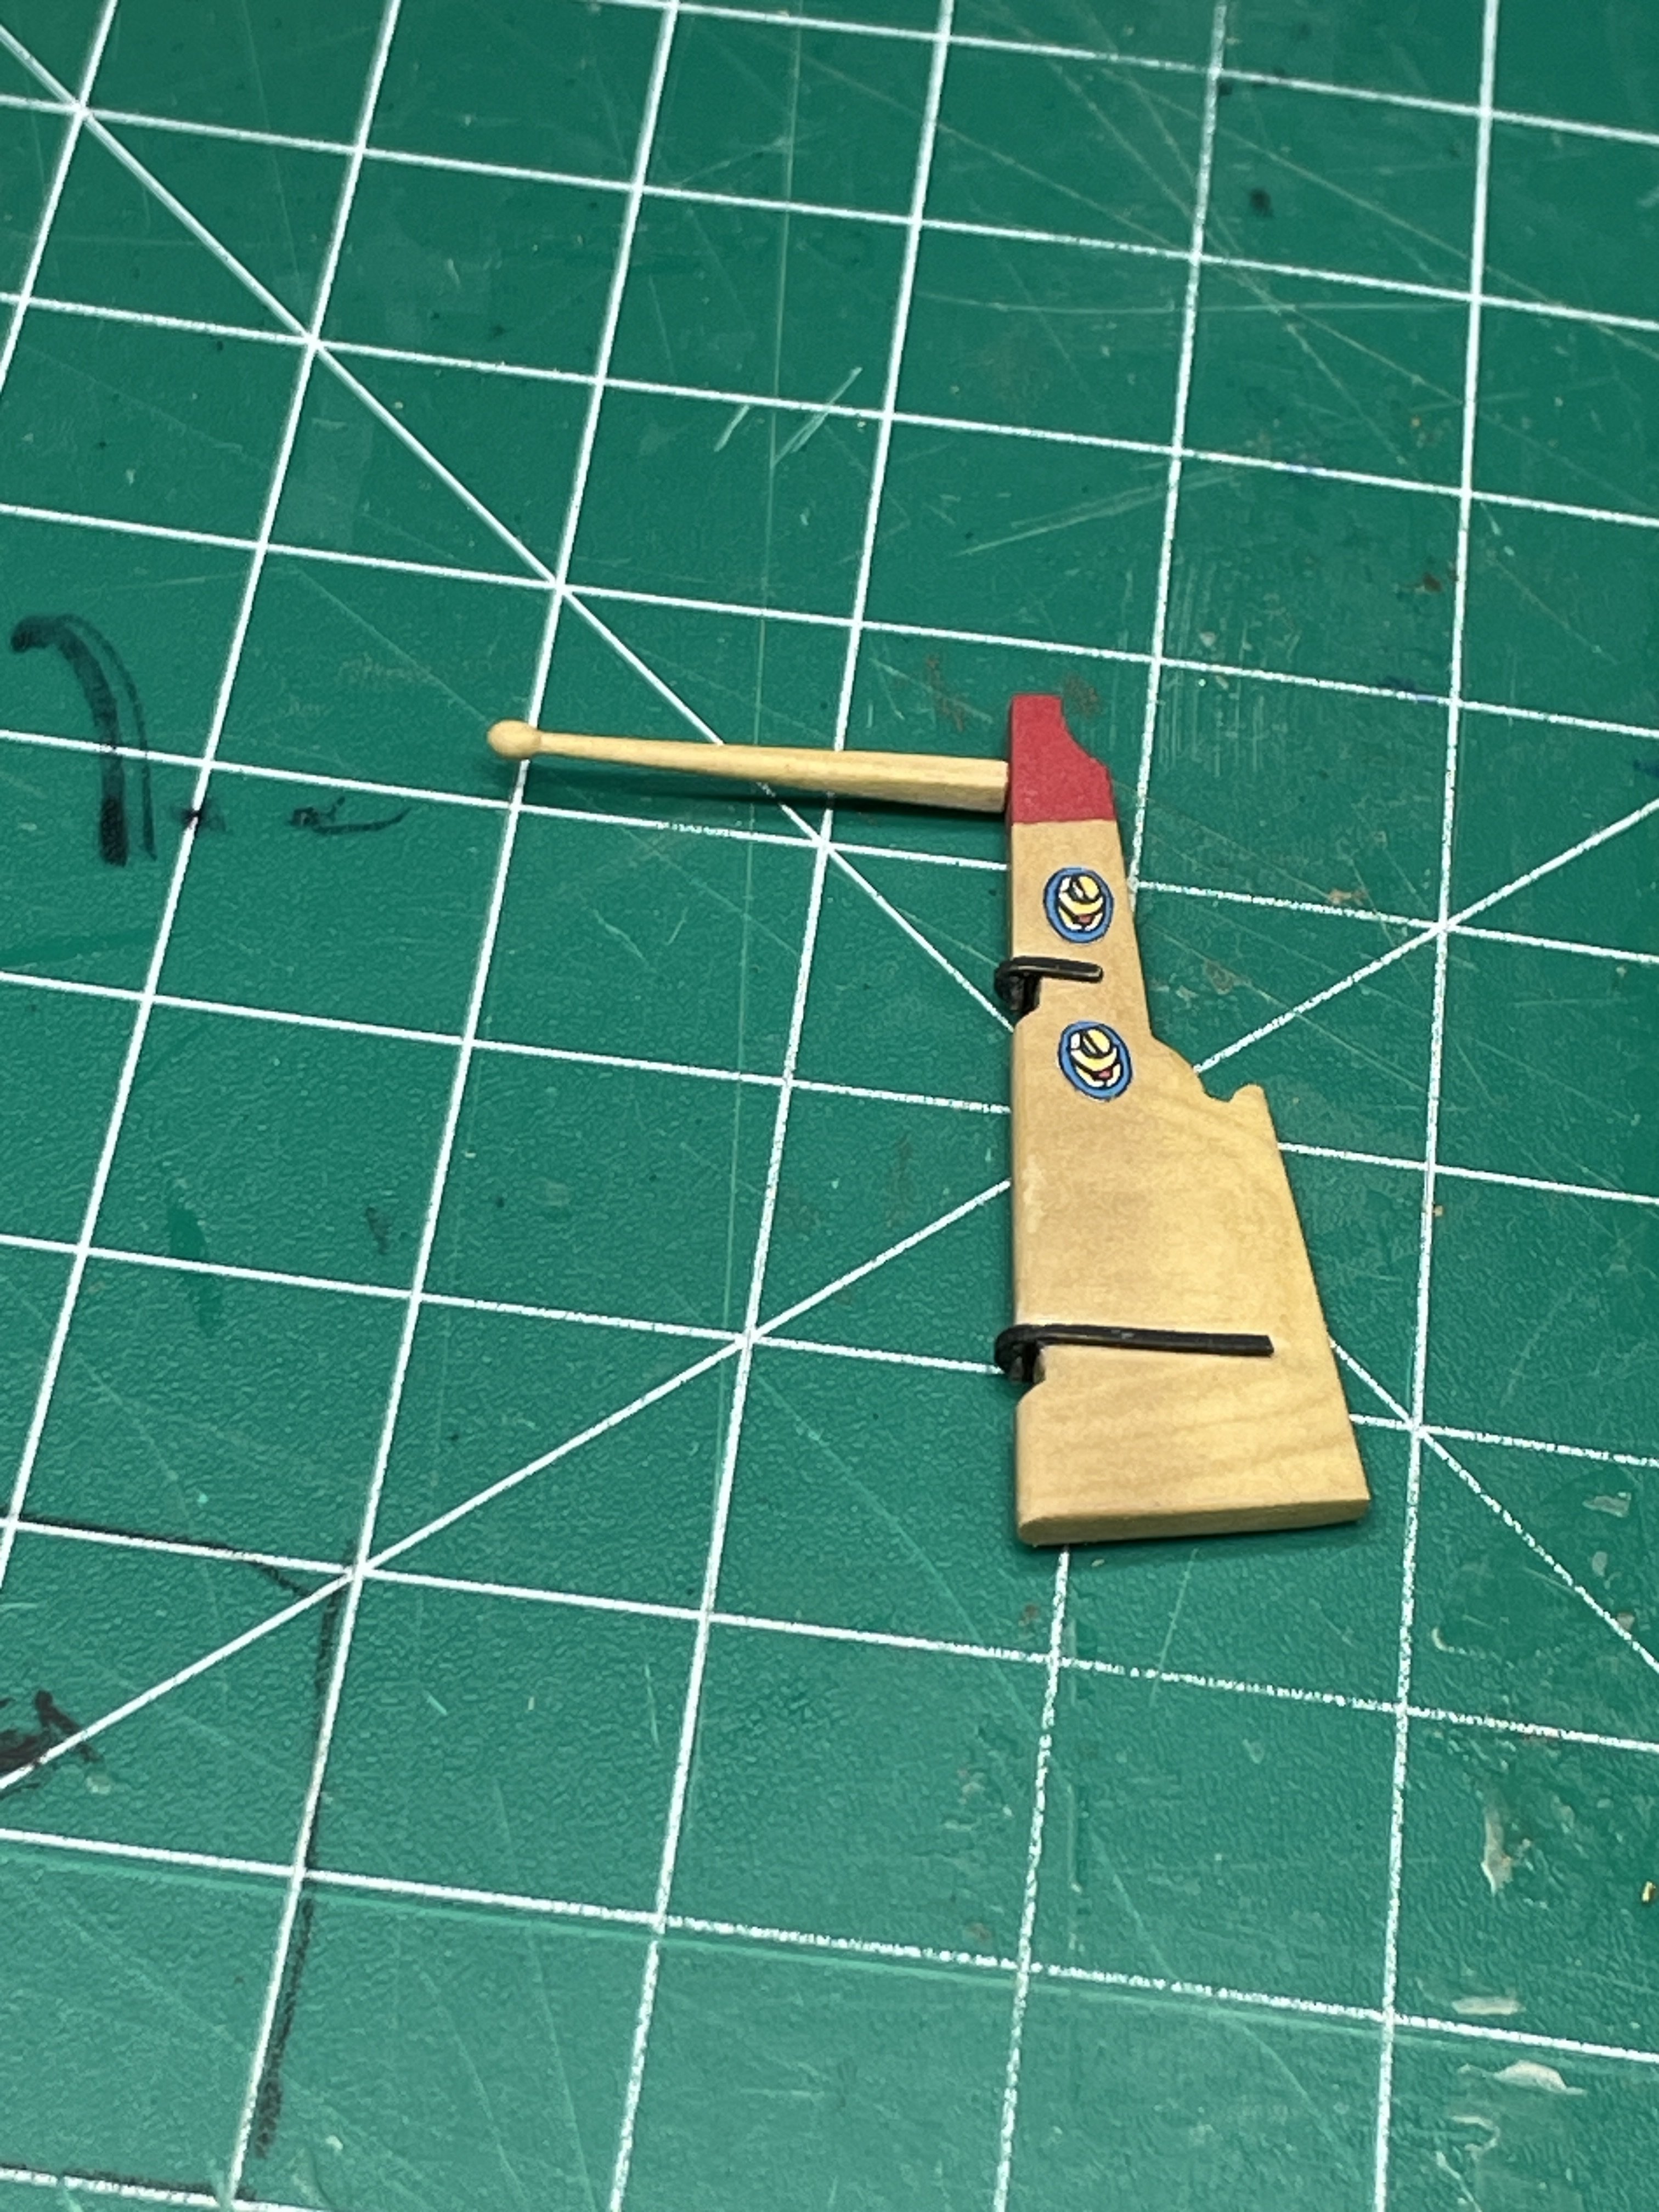
Time to work on the windlass. The issue I’ve got is my risers are not vertical near the top where the windlass would sit. I solved it by putting in two baseboards for the it that are sneakily sanded to a wedge shape which brings the mounting area just about vertical so mounting it looked a lot better. I think I ended up making three for various reasons. Thanks for dropping in and let me know what you think! Here is the finished windlass and my homemade broach for making the holes square. Rudder time! Here is the rudder, cut from boxwood and matching tiller. I had a heck of a time getting the ironwork aligned. I think glueing those to the hull and rudder are my least favorite parts. Thanks for checking out my quick update. Rigging is coming up soon! Chris


- 38 replies
-
- 11
-
-
- 18th Century Longboat
- Model Shipways
- (and 1 more)