HOLIDAY DONATION DRIVE - SUPPORT MSW - DO YOUR PART TO KEEP THIS GREAT FORUM GOING! (Only 13 donations so far - C'mon guys!)
×

Desertanimal
-
Posts
236 -
Joined
-
Last visited
Content Type
Profiles
Forums
Gallery
Events
Everything posted by Desertanimal
-
 If you get a chance, look at my build log. I think I’ve got some close up photos of the beveling of the planks. The main bevel is pretty straightforward, the rolling bevel on the other side is a little tricky until you see what’s going on. Keep at it!
 -
First like! Haha Love it! Such a wonderful build. Truly amazing work.
- 235 replies
-
- 5
-

-

-
- Banshee II
- Bottle
- (and 1 more)
-
Good luck with the build. Move slowly and triple check your steps. The biggest help to me was reading build logs and having them handy for photo reference.
-
Looking forward to this coming together! Hopefully I’ll learn a thing or two.
-
Hey Rob. I saw that on a build log and essentially forgot! Thanks, I’ll add those! Chris
-
Truly impressive work! So inspiring to look at! Thanks for sharing it.
- 419 replies
-
- 2
-
-
- Victory Models
- Pegasus
- (and 2 more)
-
Chairs! Let’s see your chairs.
Desertanimal replied to Desertanimal's topic in Modeling tools and Workshop Equipment
I was thinking the same thing. But there are plenty on Amazon. -
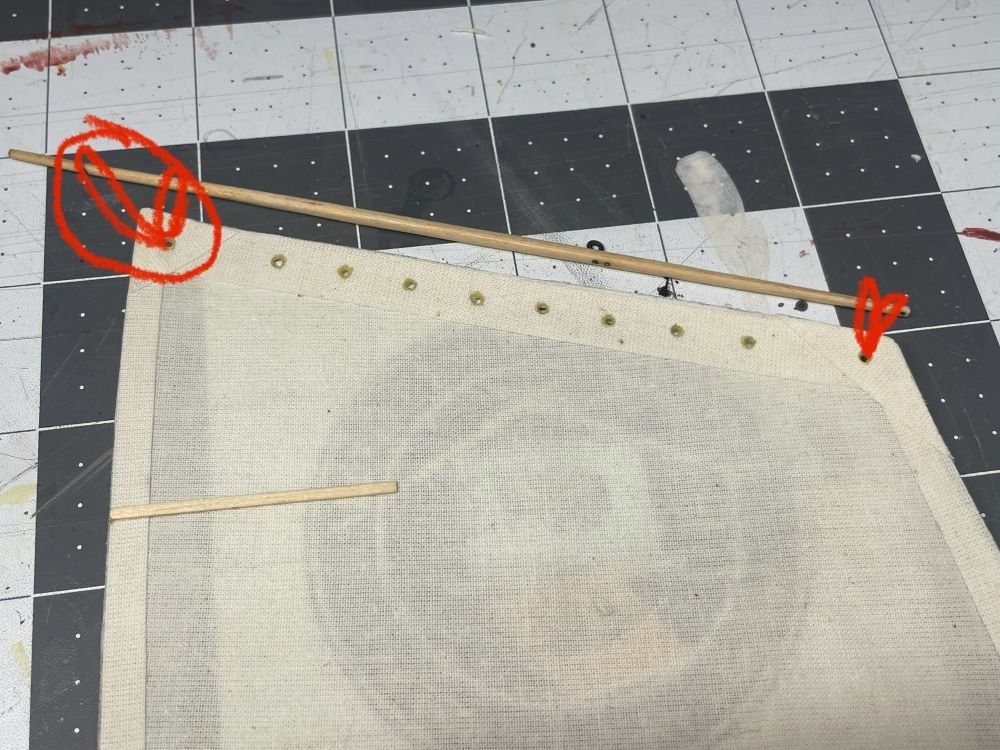
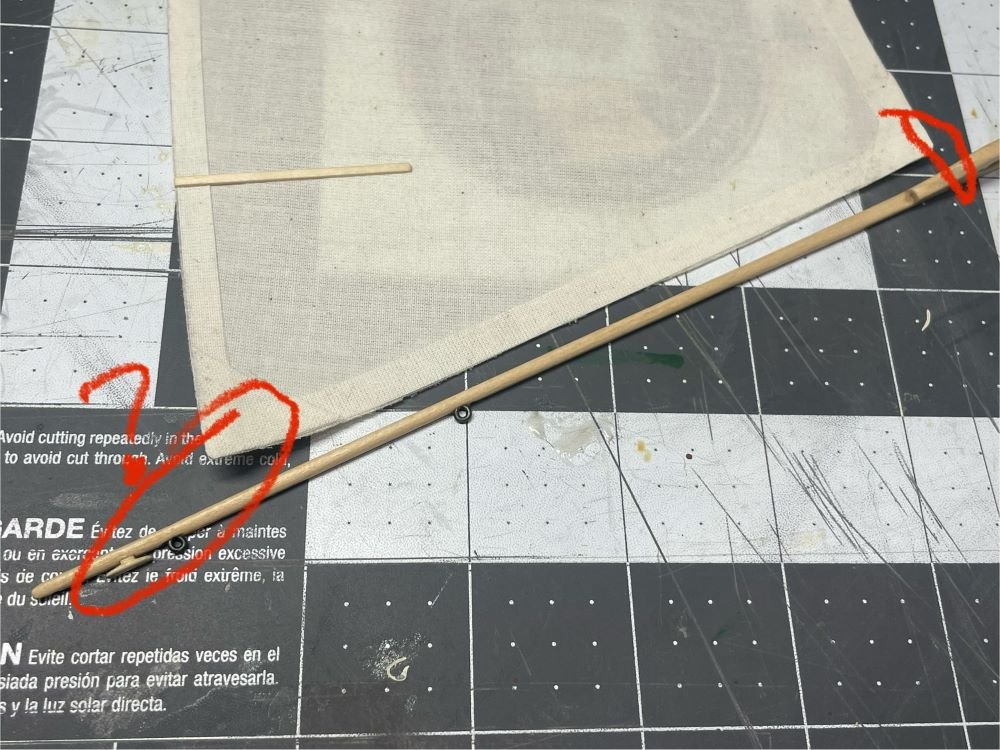
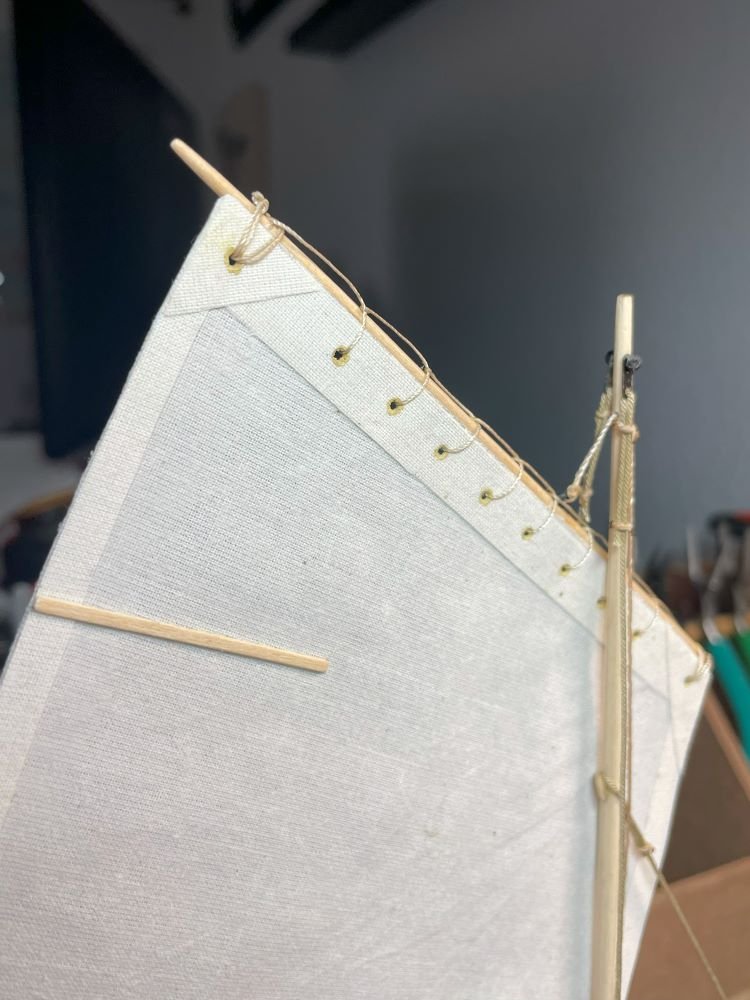
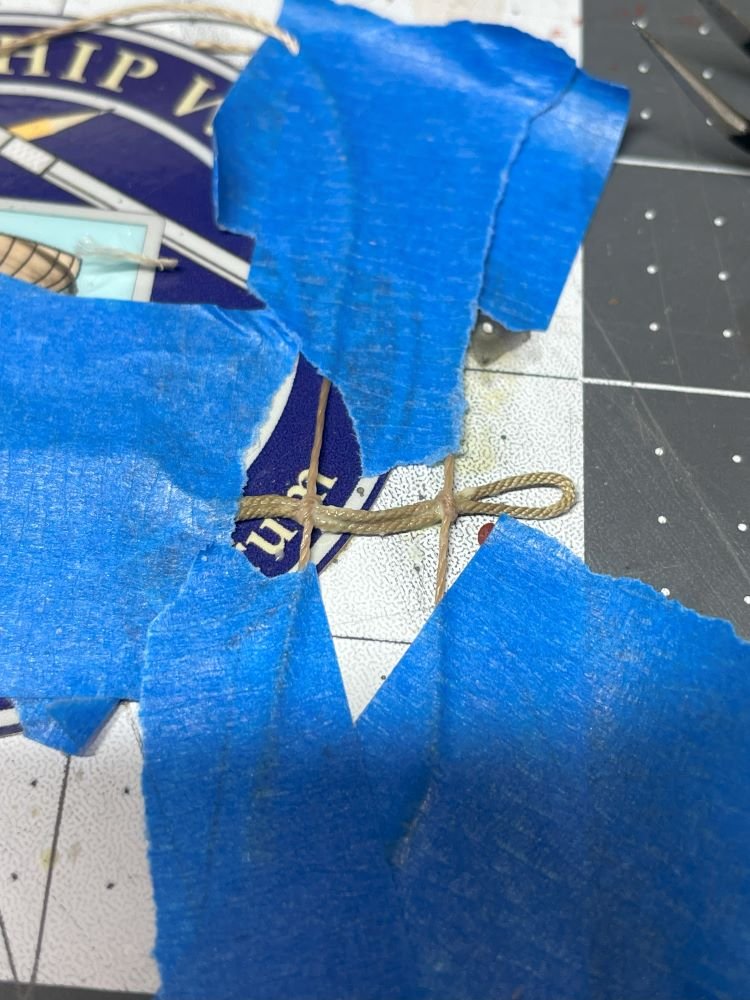
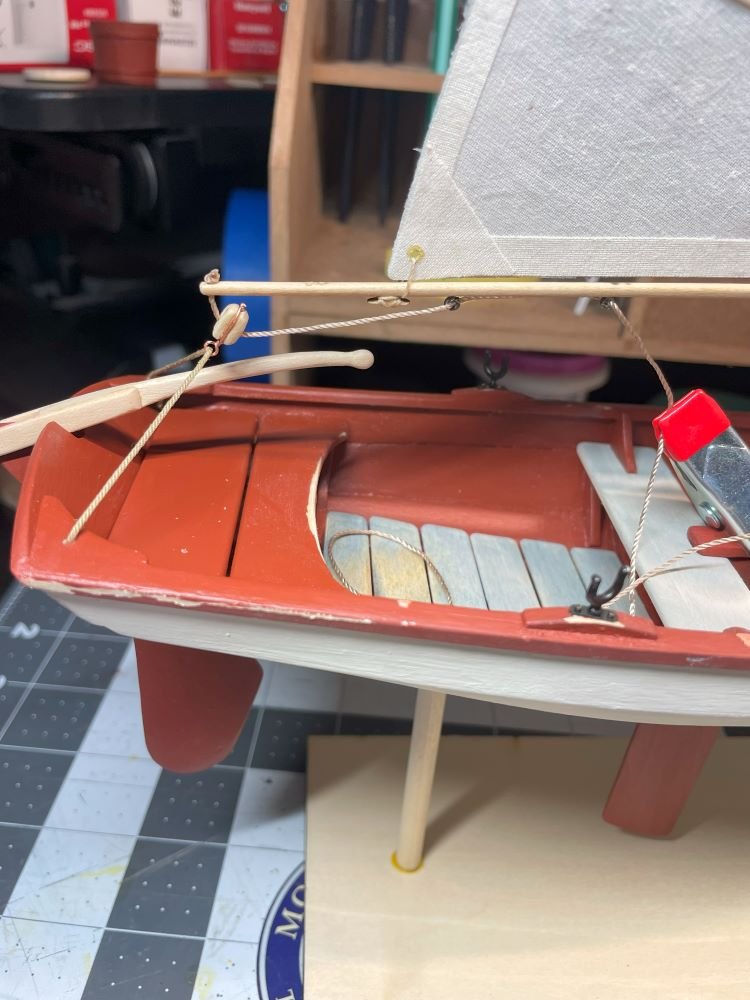
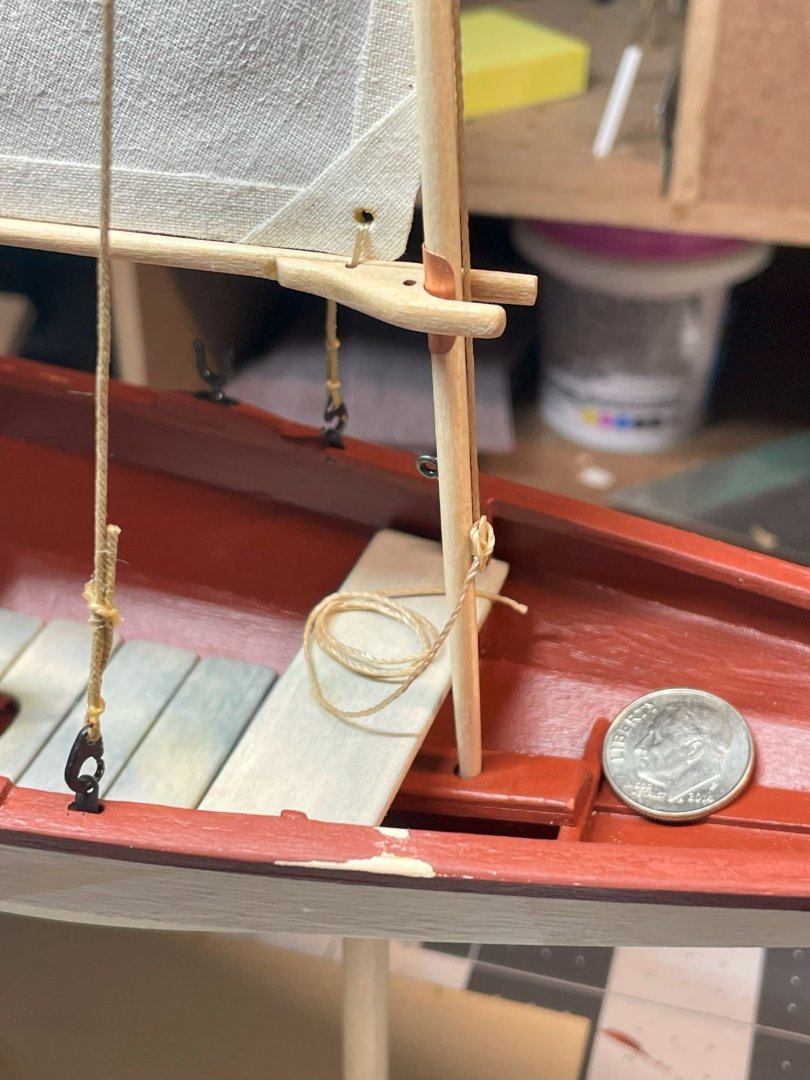
There has been progress on the pram. I have/had a concern with the sail. It seems too small for the boom and the gaff. You can see in the top pics how the corners line up with the associated hole or cleat. After much consternation and looking at the pictures in the instructions I decided to move parts and shorten the gaff and boom. Here are the results. The angle of the sheet is a little wonky. Not sure what was with all that. It looks to me that adjusting the sizes of the boom and gaff were the wrong move and making a larger sail would have been better but I didn't have sail material so that pushed my choice. I used some thin copper sheet for the chaffing pad on the mast. I rolled it around a paint brush handle to shape it and added a tiny bit of epoxy to attach it. Here is how I had to wrangle the rope to get them glued up. When you tie a half hitch it will loosen if there is no tension on it. Is that a function of nylon rope and is it less pronounced on cotton? I also had trouble cutting it close to the knot without it fraying. I used a soldering iron to burn off the little ends but that left blackened ends. (Angry face here). Trying a rope hank... I'll be making another one with the sheet. I've still got a little work to do. Some more weathering was going to try a little rust on the metal parts. Thanks for all that are following along. I'd love to hear some constructive criticism if you see something I can improve on. Chris
-
Chairs! Let’s see your chairs.
Desertanimal replied to Desertanimal's topic in Modeling tools and Workshop Equipment
Where did you get that little four wheeled thing? I like that. -
Chairs! Let’s see your chairs.
Desertanimal replied to Desertanimal's topic in Modeling tools and Workshop Equipment
I was actually thinking of the stool idea just today ! -
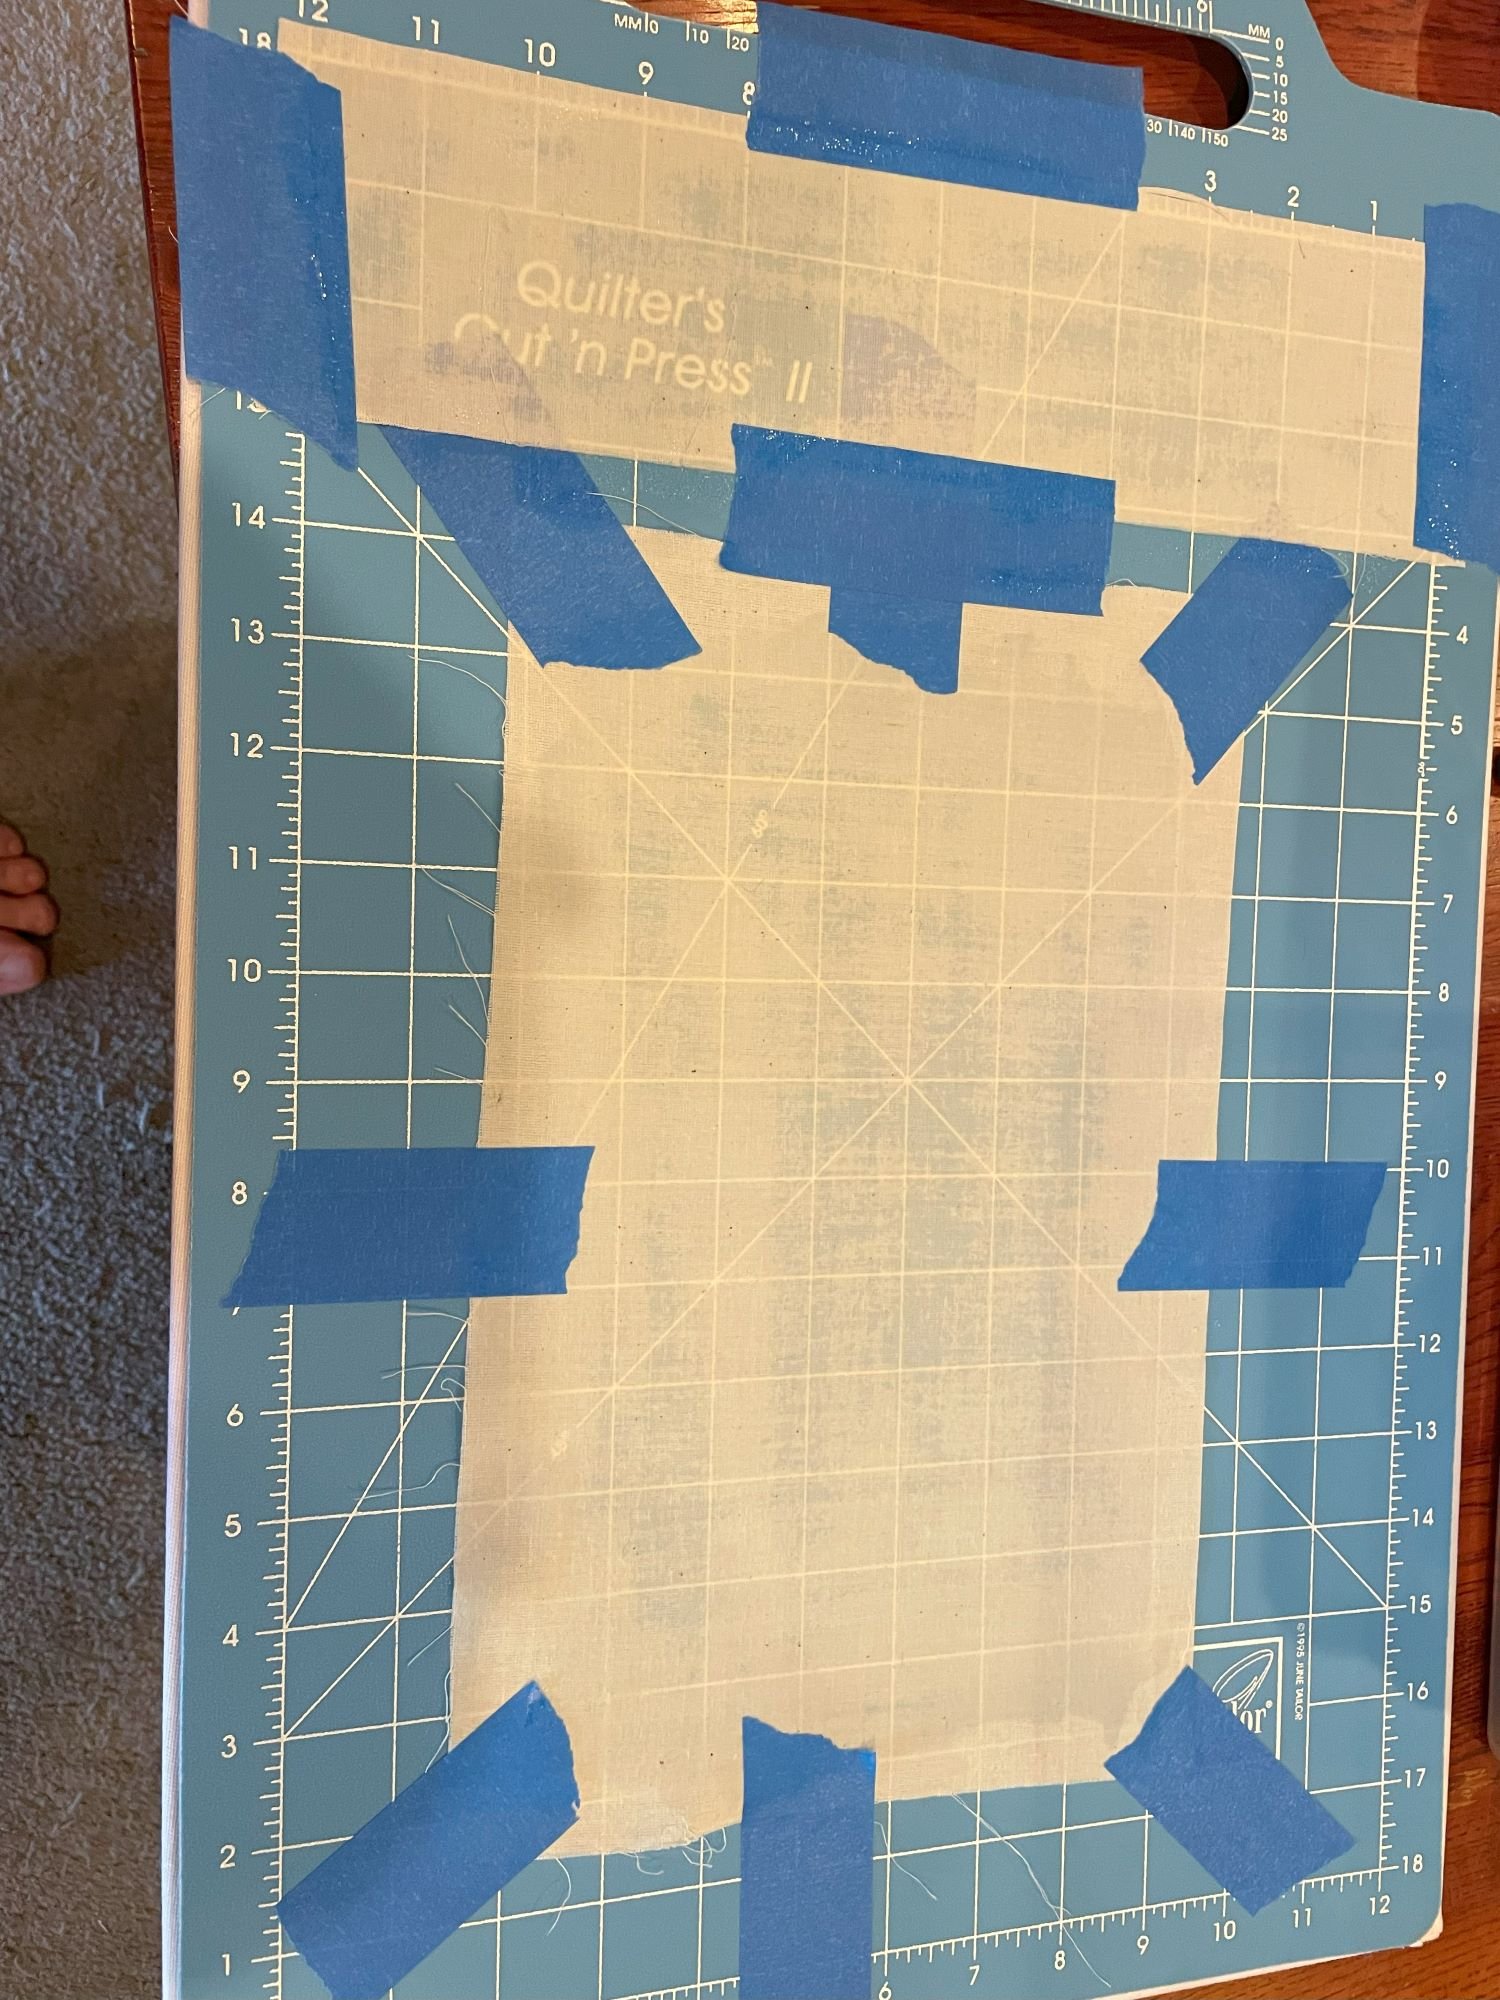
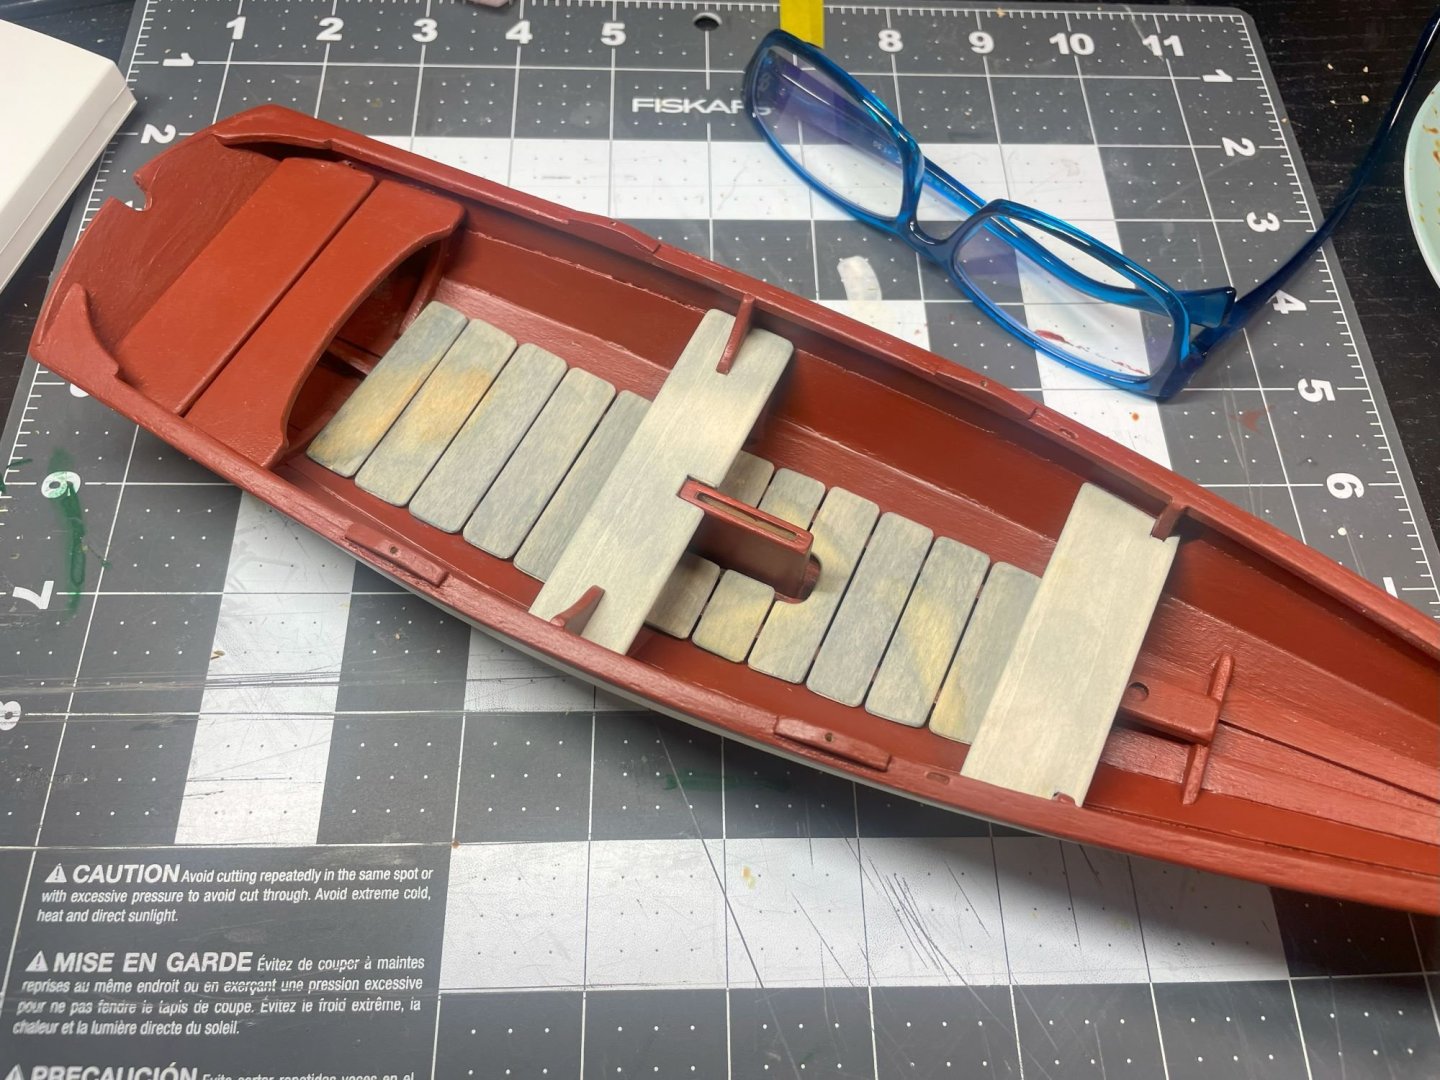
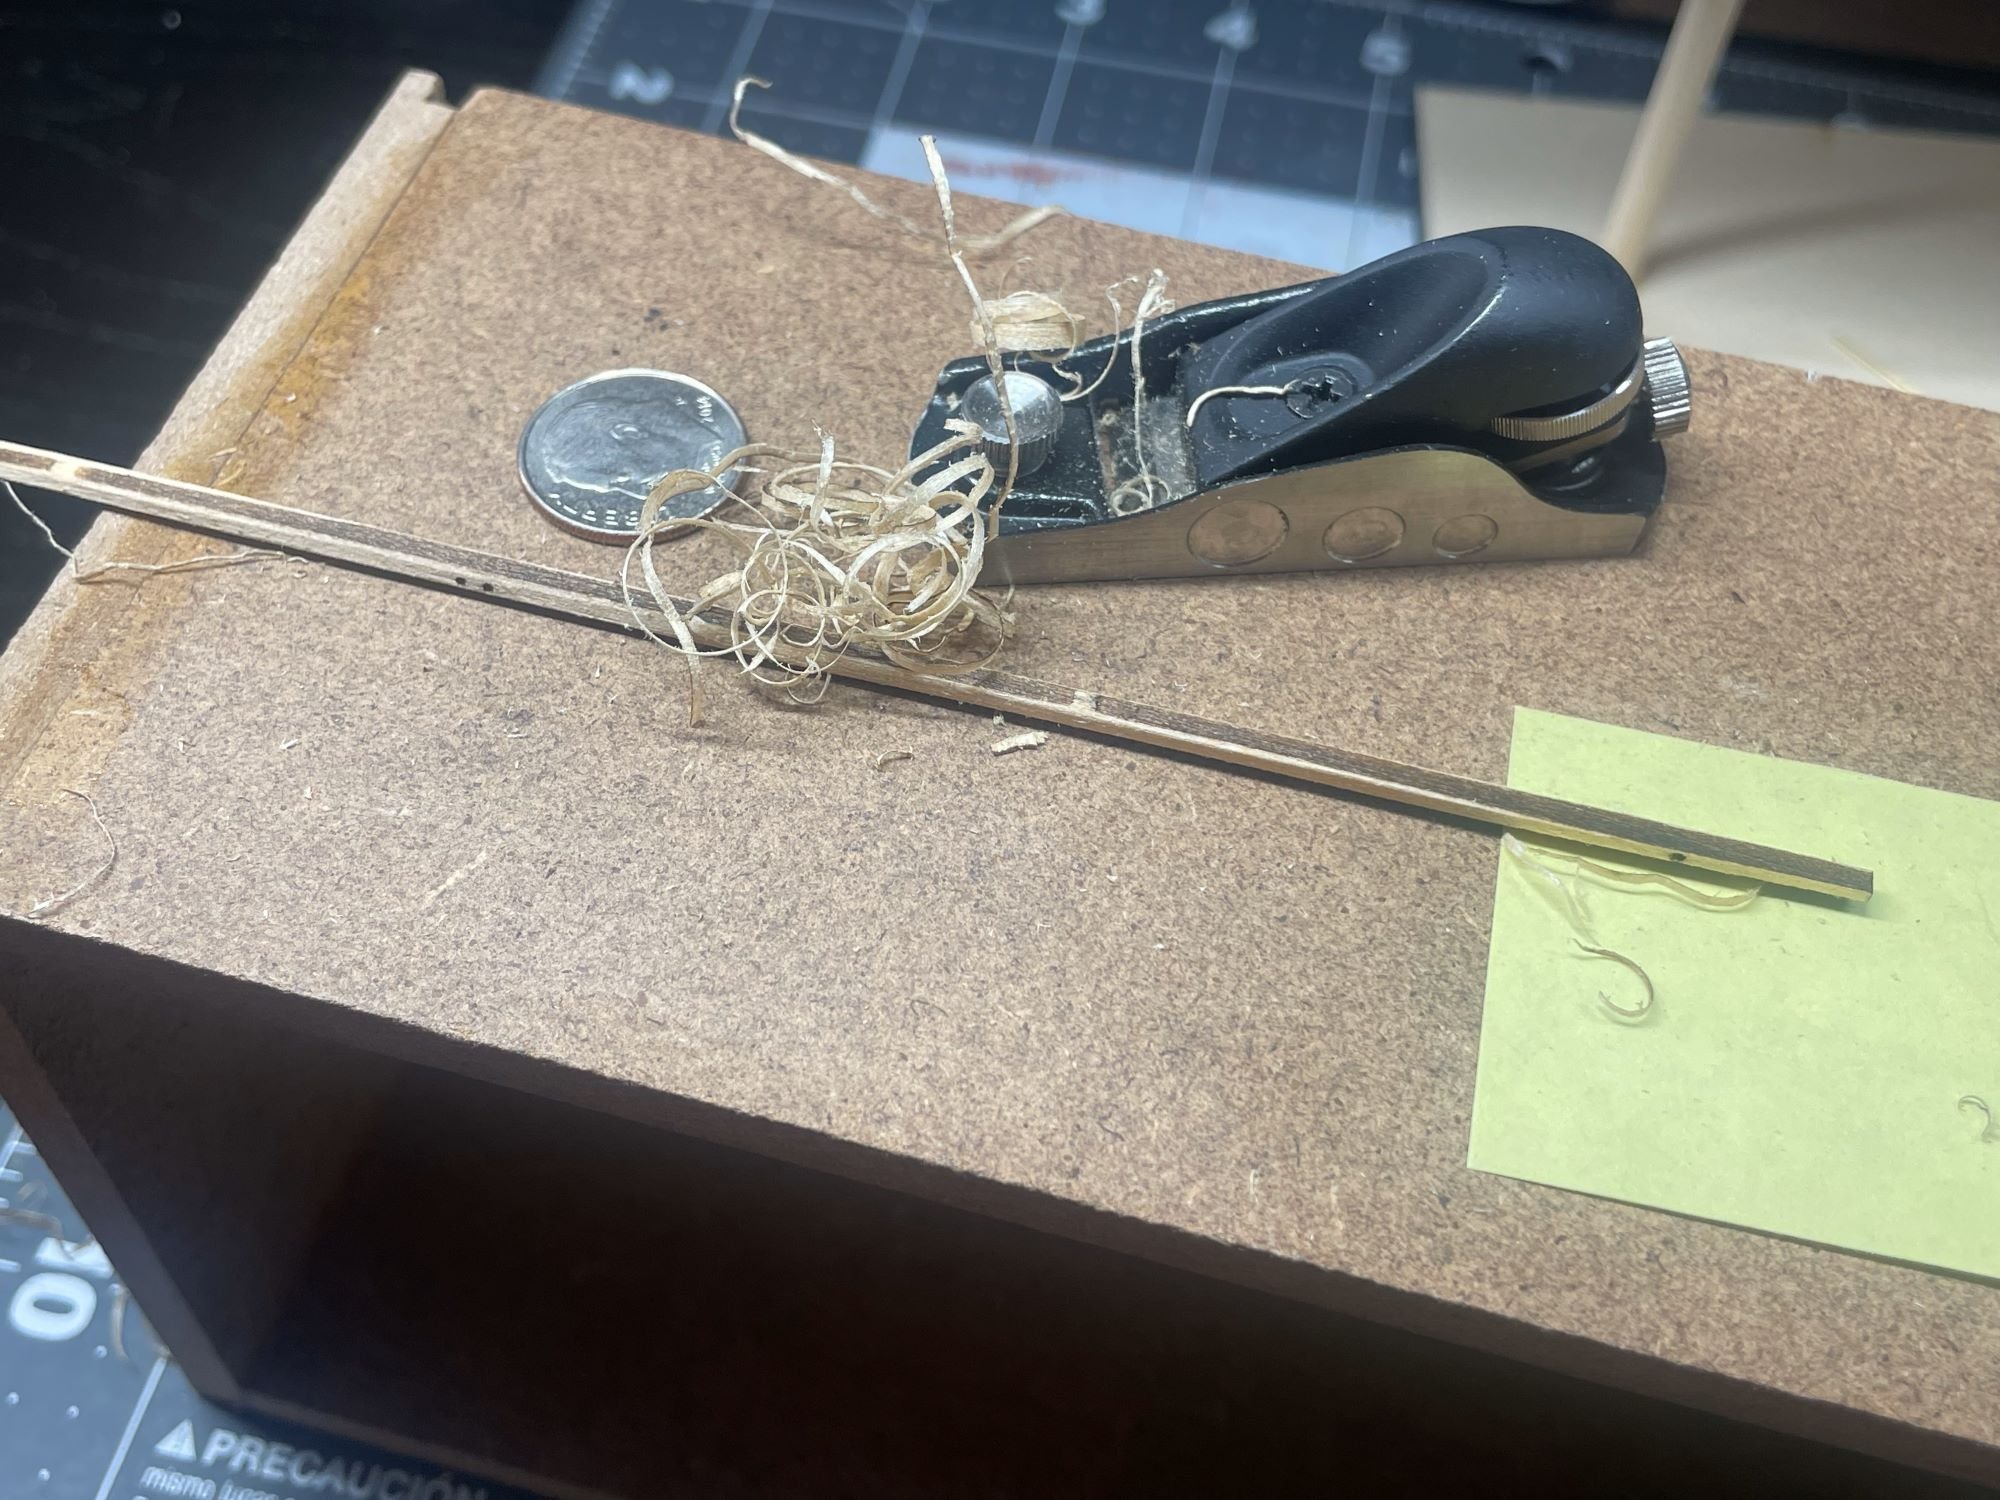
More progress, I got the painting of the white stuff figured out. I used Mr.Color primer and AK paint. I think they look good, maybe a little too shiny. Received my replacement block plane the other day. The first package came with the plane missing and the package obviously taped closed. Lee Valley replaced it with no issues but I hate that companies have to do that. I hate thieves. Anyway here's a picture planing the gaff. Some pictures of the other masts. (Are these all "masts" of some sort?) I made my own eyes with brass wire and blackened them. Also made an attempt to make a big bolt at the top of the mast. Started working on the sails. These are the pieces getting the glue treatment. I seem to remember the word "sizing" regarding the watery glue stuff. Where did I get that? I was considering adding some machine stitching to the sails but I kinda want this build done. So maybe on the next one. Thanks for checking in!! Chris

.thumb.jpg.c807473c22293a2478e35560307fc80e.jpg)


-
I’ve been using that in the brass. Can’t use it on the white metal, can I? That could solve a lot of issues…
-
Chairs! Let’s see your chairs.
Desertanimal replied to Desertanimal's topic in Modeling tools and Workshop Equipment
All nice chairs. Moonbug, that thing is a beast but I think out of my price range. At least what I’m willing to spend that kind of money on. I think I’ll be perusing Amazon to see what they’ve got. -
Chairs! Let’s see your chairs.
Desertanimal replied to Desertanimal's topic in Modeling tools and Workshop Equipment
I hadn’t even thought of the term “drafting chair” ! Thanks guys! -
I’m curious what kind of chairs you all use at the workbench. My chair is so-so, I find I’m sitting forward quite a bit, like on the front edge. I don’t think I need to move around much so I don’t think I need wheels but I’m wondering if a stool type seat might be better. I’m also planning on modifying my desk so I have a higher work area like a watchmaker desk. I’d like some chair recommendations. Thanks!! Chris
-
You say it’s not the smoothest, but those planks look amazing.
- 65 replies
-
- 3
-
-
- Maine Peapod
- Midwest Products
- (and 1 more)
-
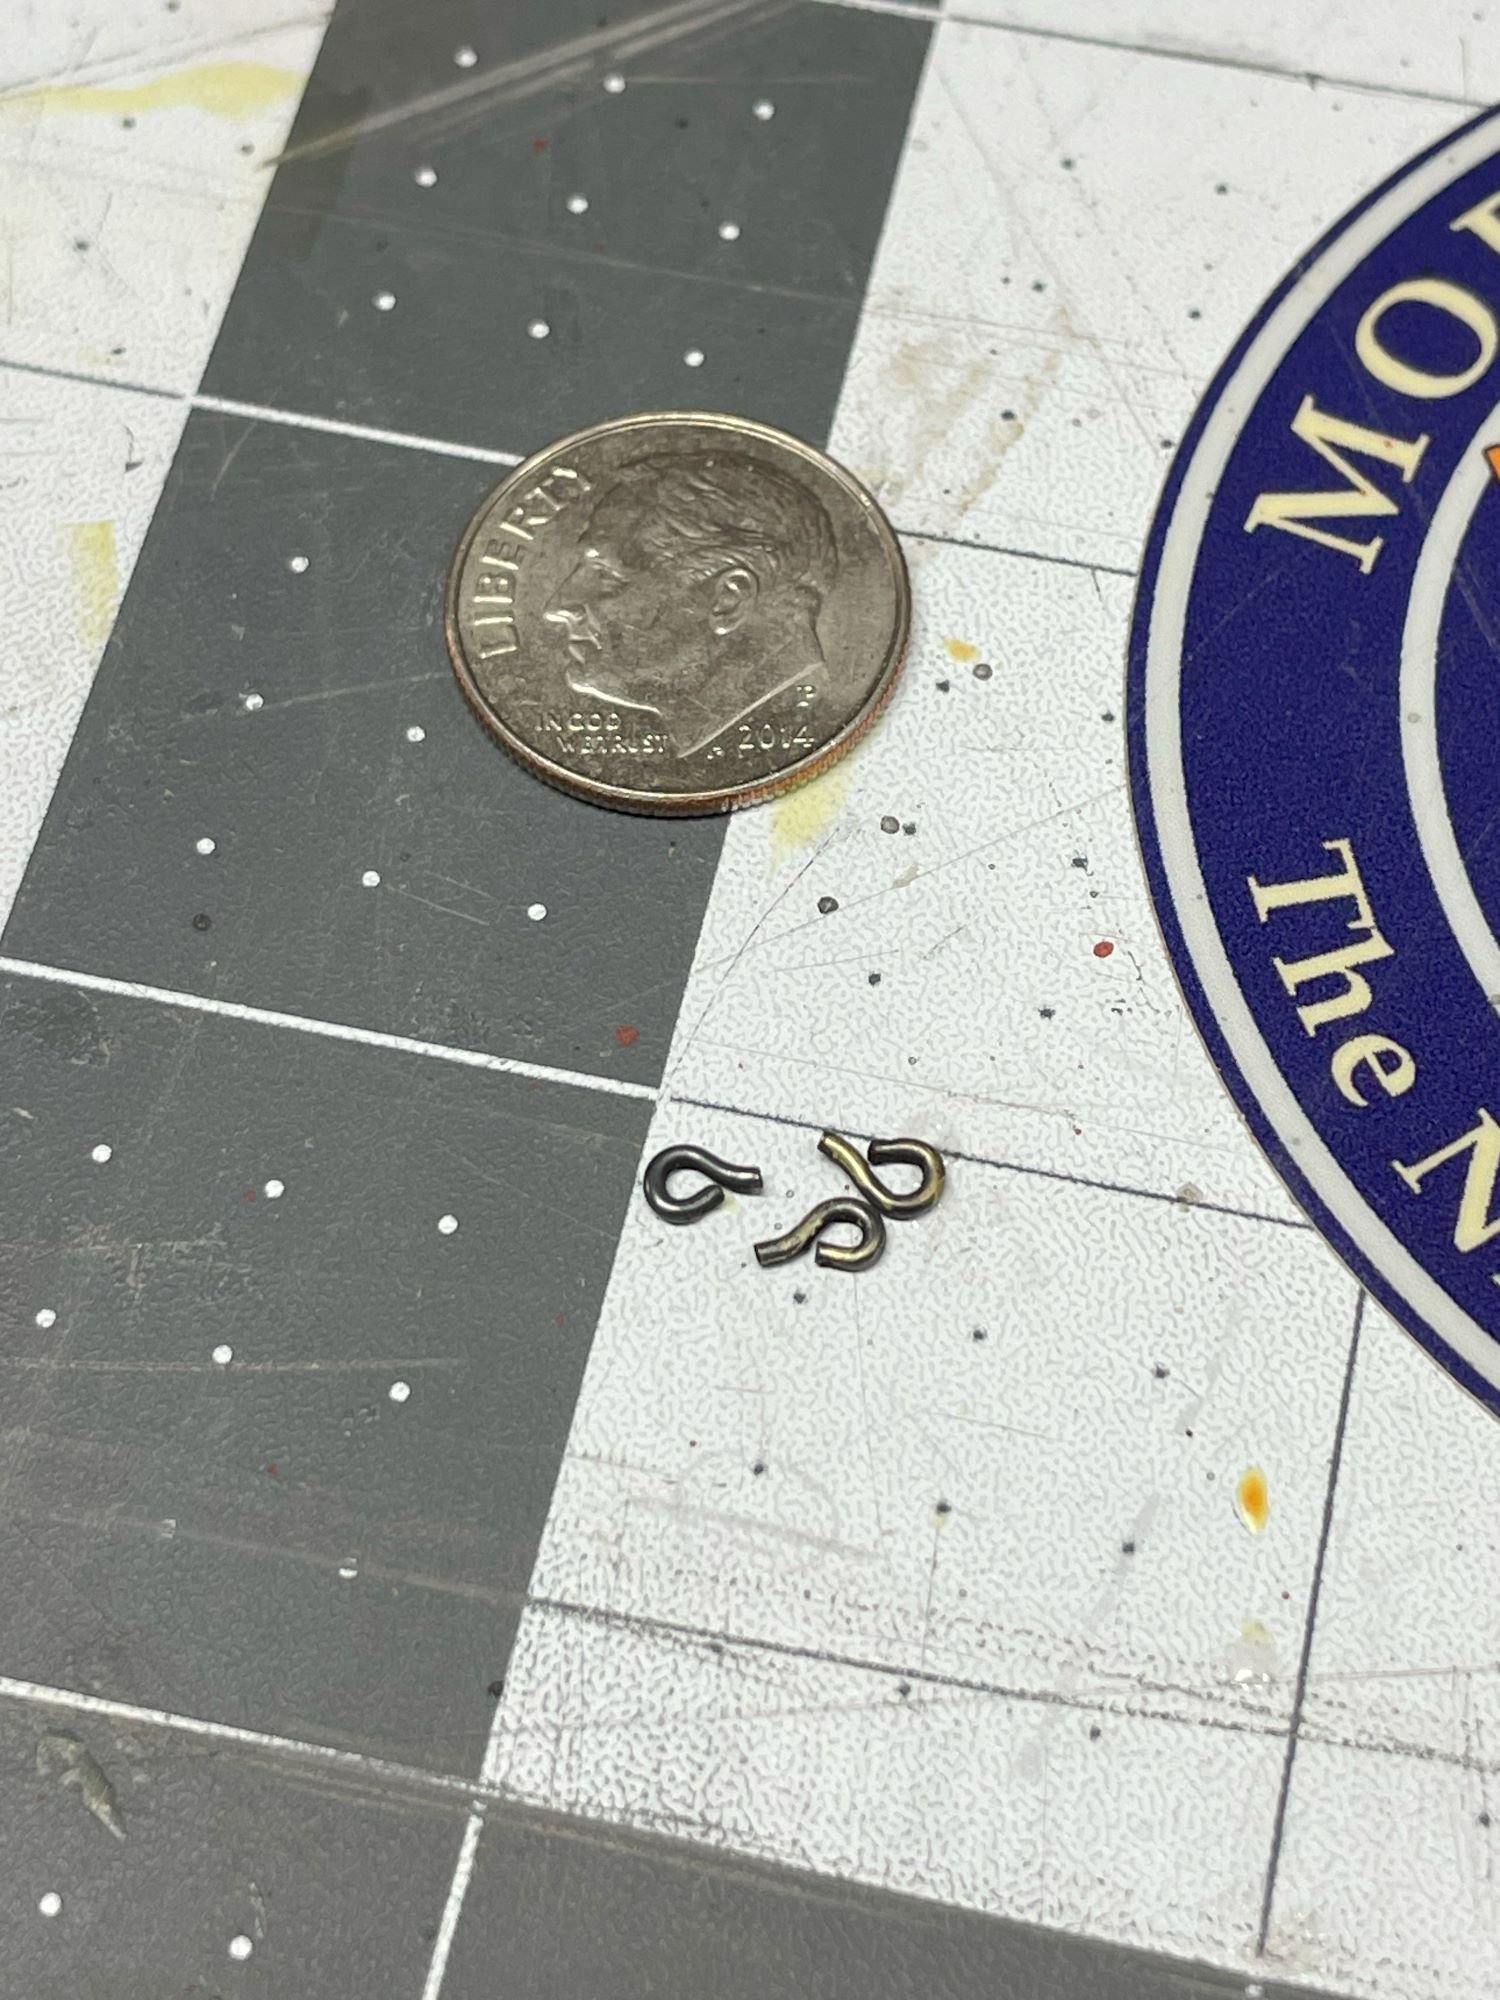
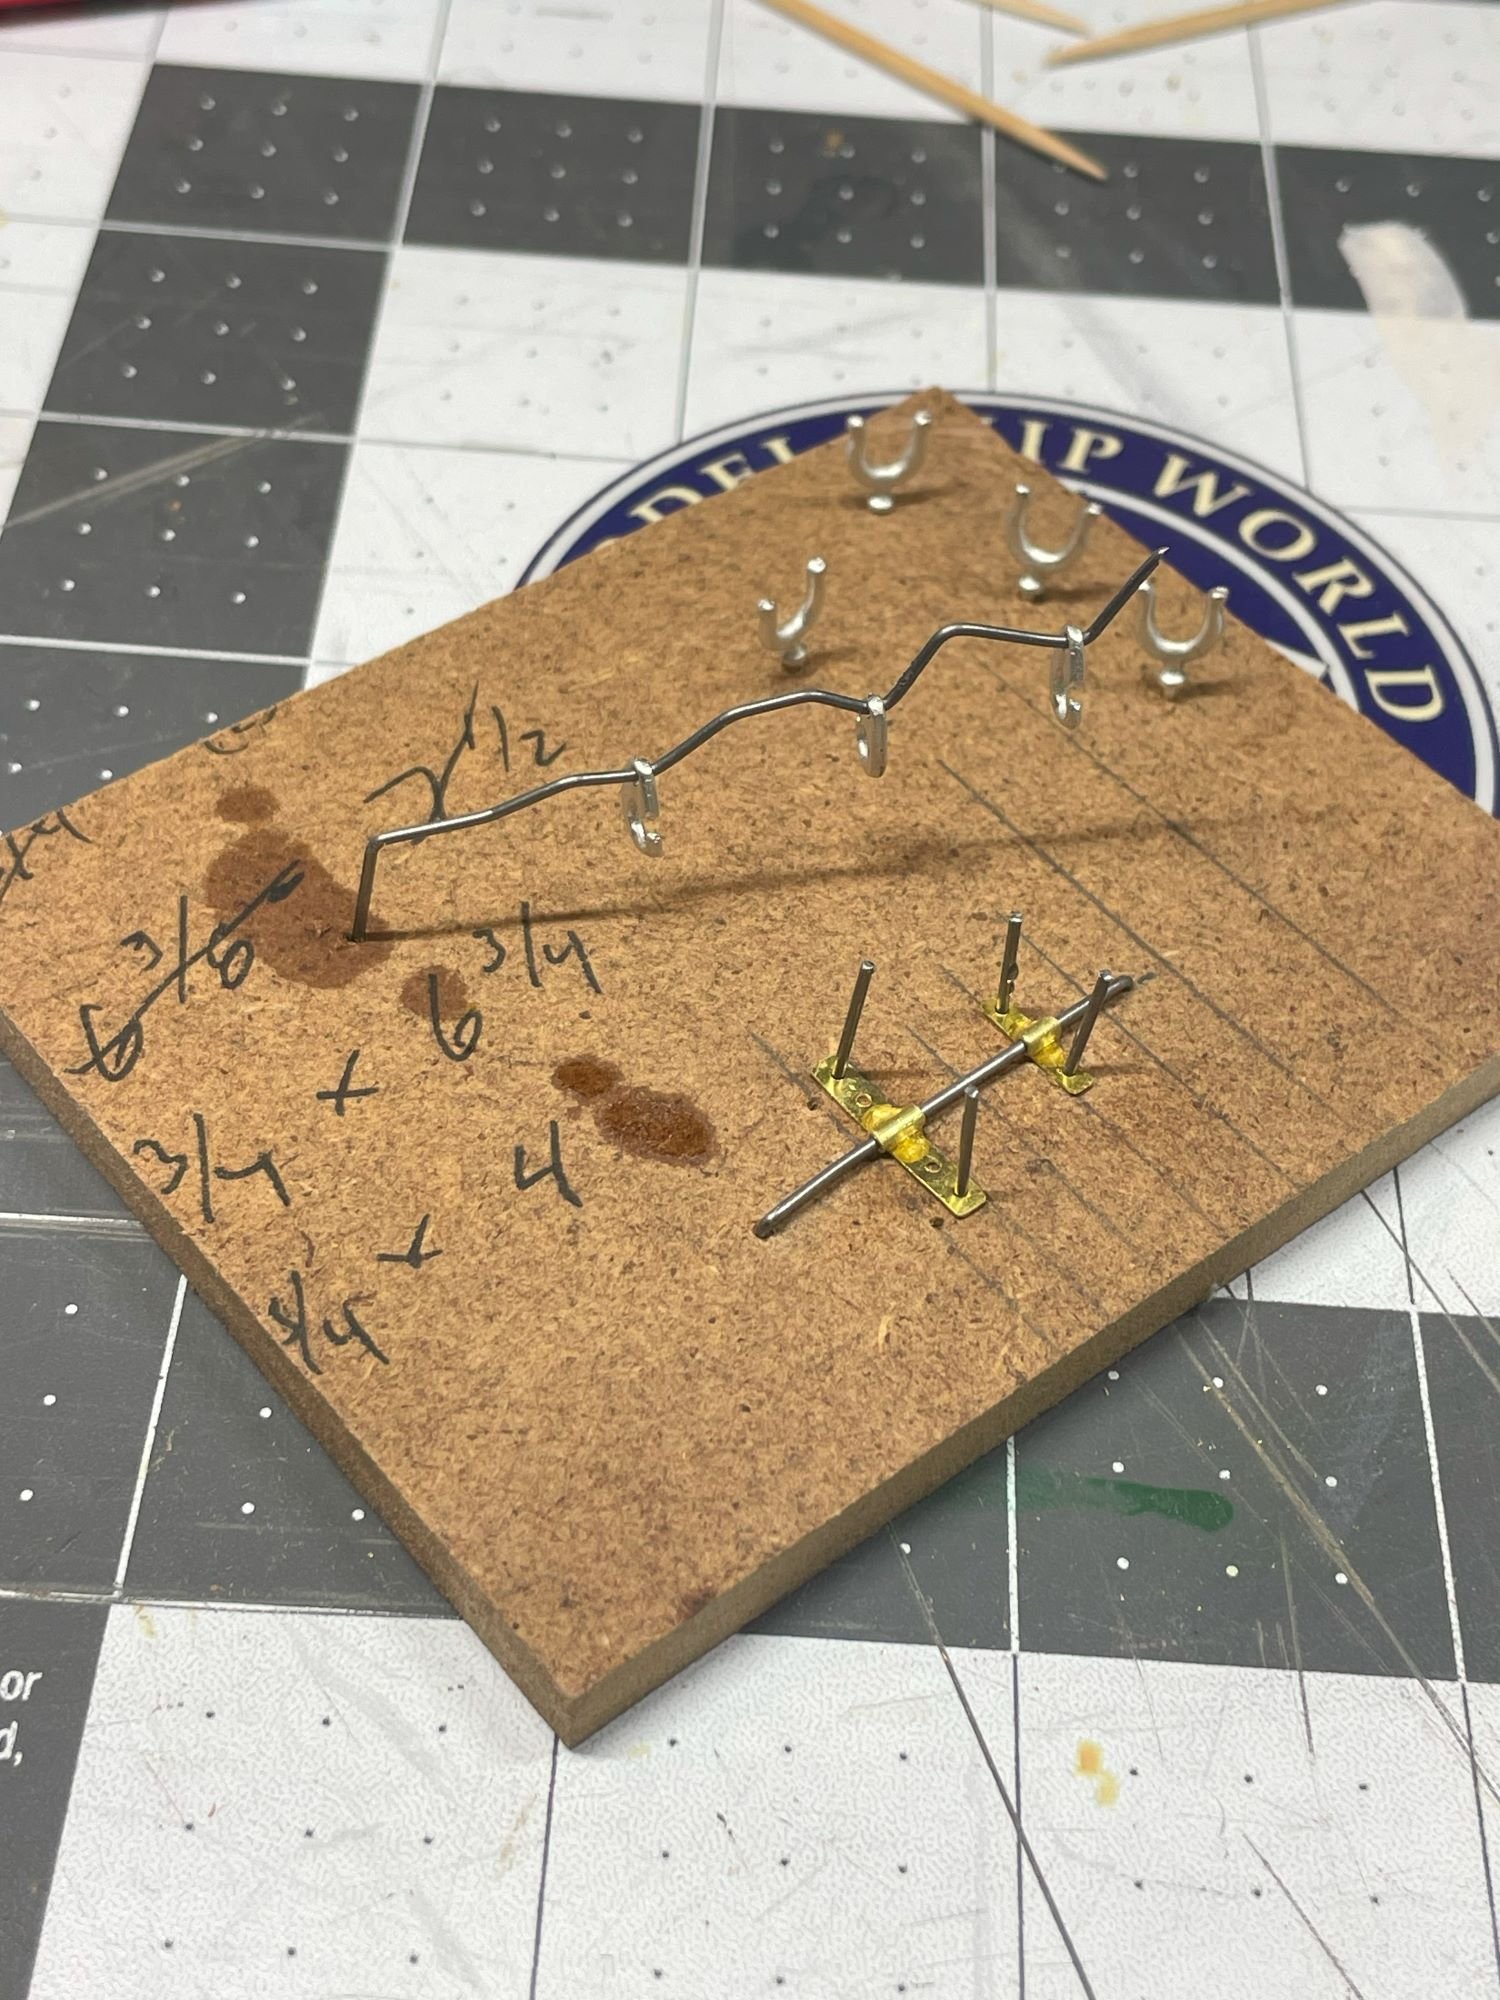
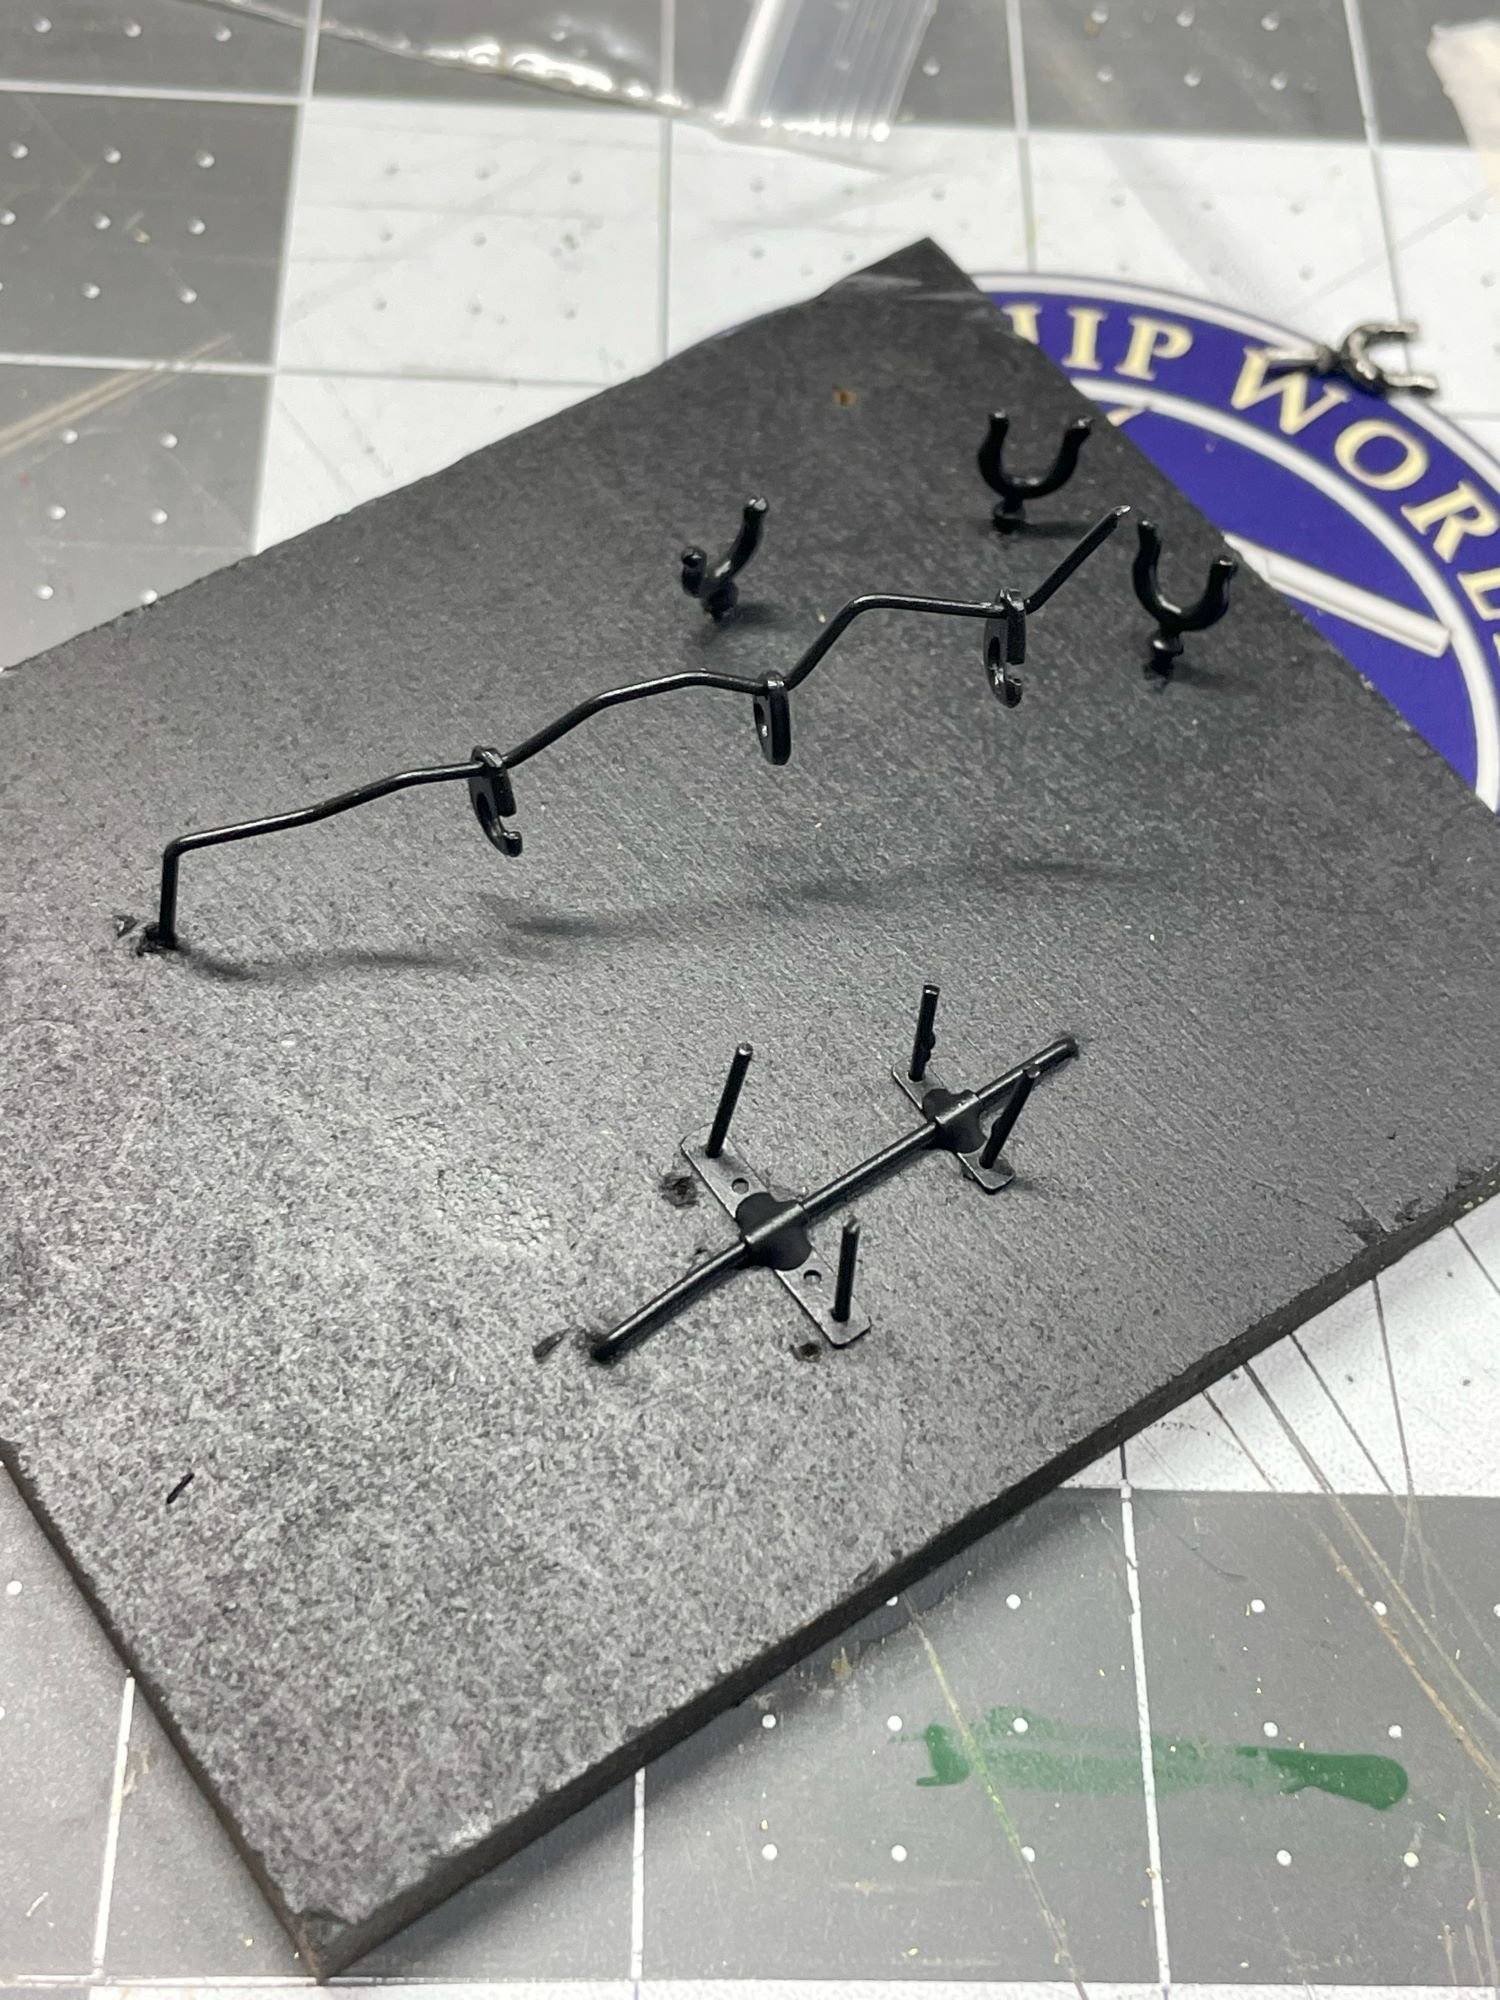
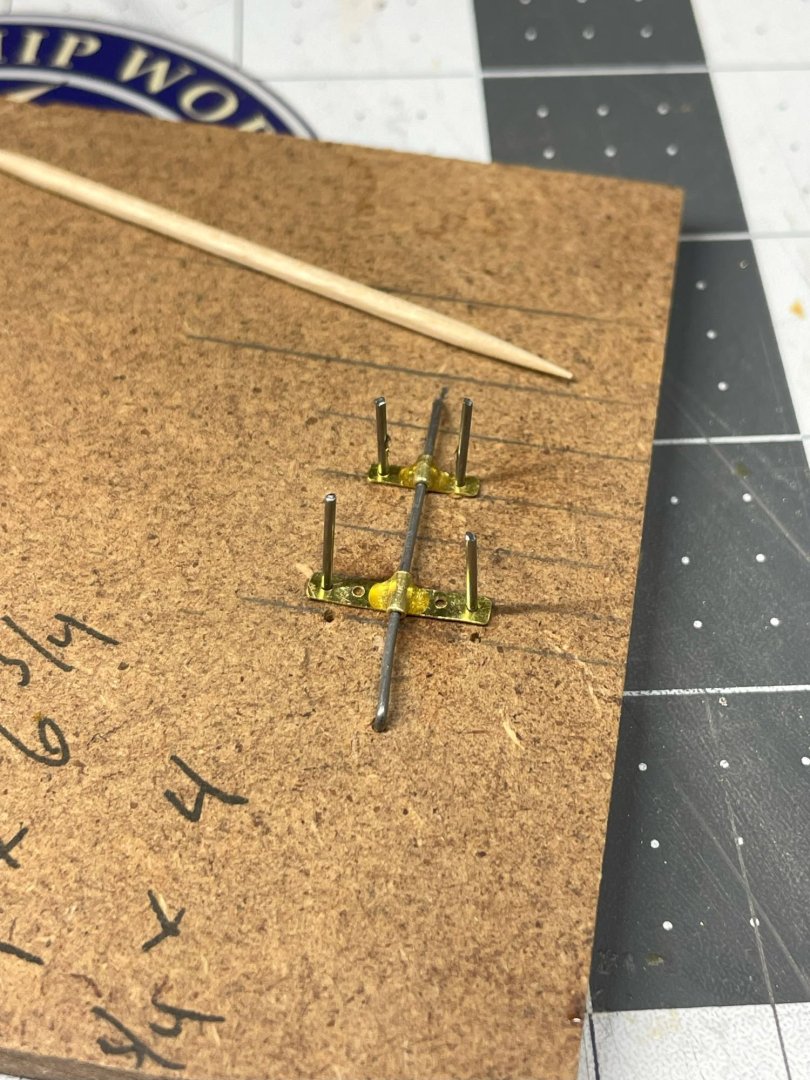
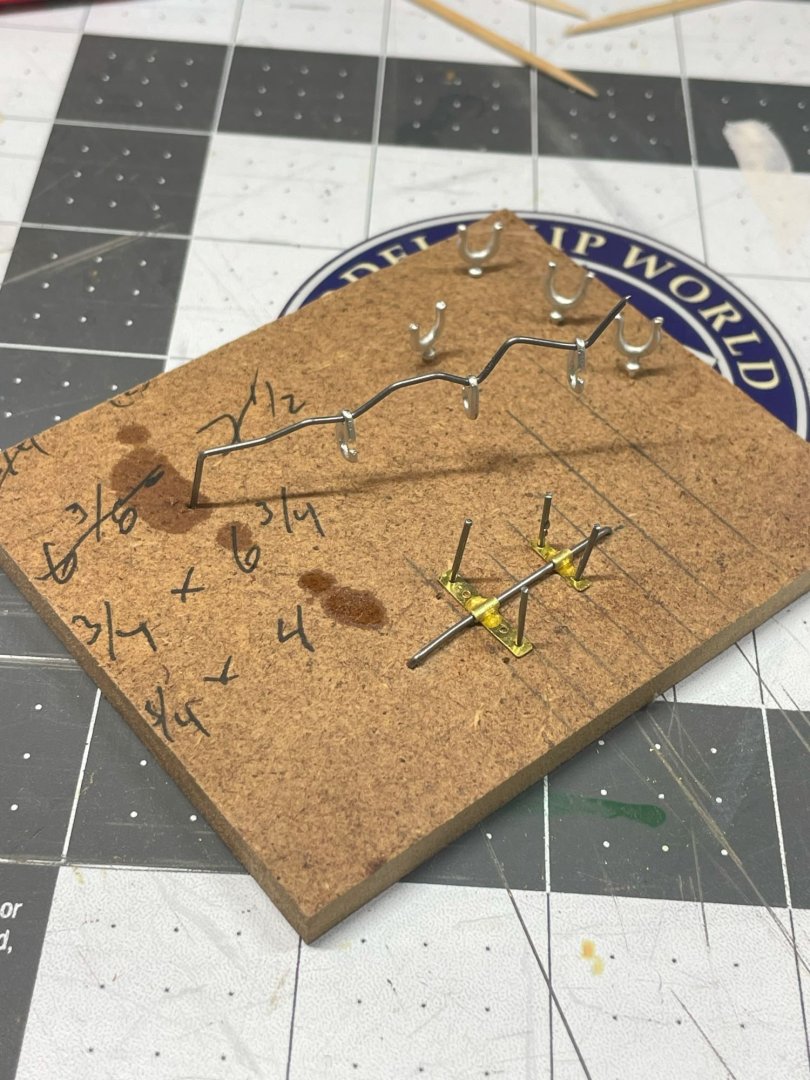
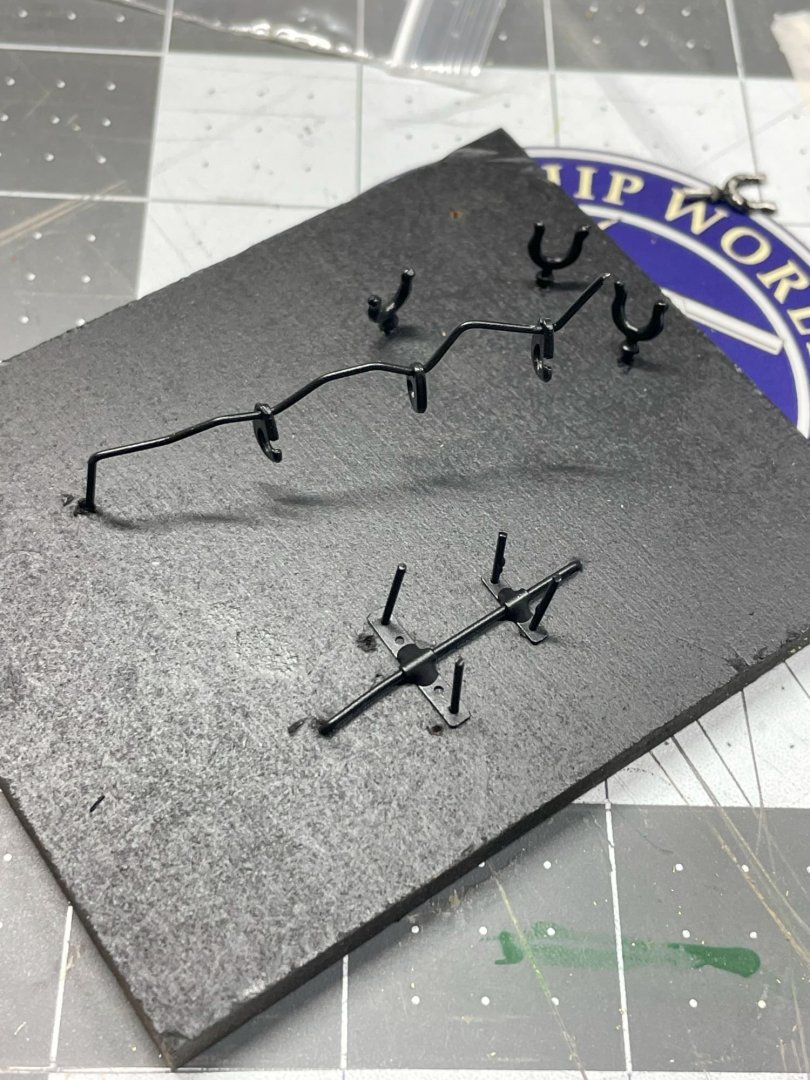
OK, I've started working on the brass and metal parts. First thing I did was make this little setup to hold stuff down. Then I used epoxy to put the tubes on. I couldn't decide between soldering or epoxy and figured I can't blacken either one so I'll go the easier route. The wires are .031 and I had to drill out the holes so they wouldn't deform. Setting up the other metal parts for painting. I was just using flat black spray paint. I cleaned the parts with 91% IPA. Spray paint magic! Or at least you would think right? Next I thought it might be a good idea to rub the painted stuff with a 6b pencil to get a more "iron" look. Umm, the paint came right off! Essentially you can get the paint off by rubbing your fingers on it. What the heck did I do wrong? I don't know if the brass is the same. I'm afraid to check. This picture looks like I'm asking "why won't my pencil graphite stick to these metal parts?" I swear it WAS painted!! HAHAHA I'd love some suggestions on the paint situation. Also on the rudder side, I'm thinking if I can get a small enough amount of epoxy inside the bend, and/or sand off any exposed epoxy, I'd be able to blacken those parts. However since I'm painting (trying) the gudgeon side will there be a stark difference in finish and I should just paint the other parts also? I appreciate all the support and comments! Chris

-
Looking forward to watching this boat come together. What kind of mini plane did you get? I’ve got the Veritas mini block plane showing up on Monday, fingers crossed.
- 65 replies
-
- 1
-
-
- Maine Peapod
- Midwest Products
- (and 1 more)
-
That actually sounds pretty helpful. Especially since I’ll switch units willy nilly, whatever fits the situation best. Unfortunately doesn’t look like it’s available for Apple. I’ve loaded one by woodland scenics. It’s not rated very well but they’re pretty simple.
-
Haha 👍 I do believe you just solved it for me. I didn’t realize I could replace the “1” with the item I’m working on! Units are the same regardless, mm, inches, whatever. I just need convert the decimal to whatever I’m working in. Thanks !!
-
Is there a quick method you guys and gals use when scratch building an item to figure out the size? I use a scale calculator online right now. Down side to do that is I need to find my phone, open the web etc. I’m fairly good with math but for some reason this scale thing gets twisted in my head. As an example I’m working in 1:12 on the sailing pram. I wanted to know what 1” was. Found out it’s just shy of 3/32 and close to 2mm. I thought hmm, I should write that down so I’ve got a cheat sheet of common sizes. Is there an easier way? Thanks! Chris
-
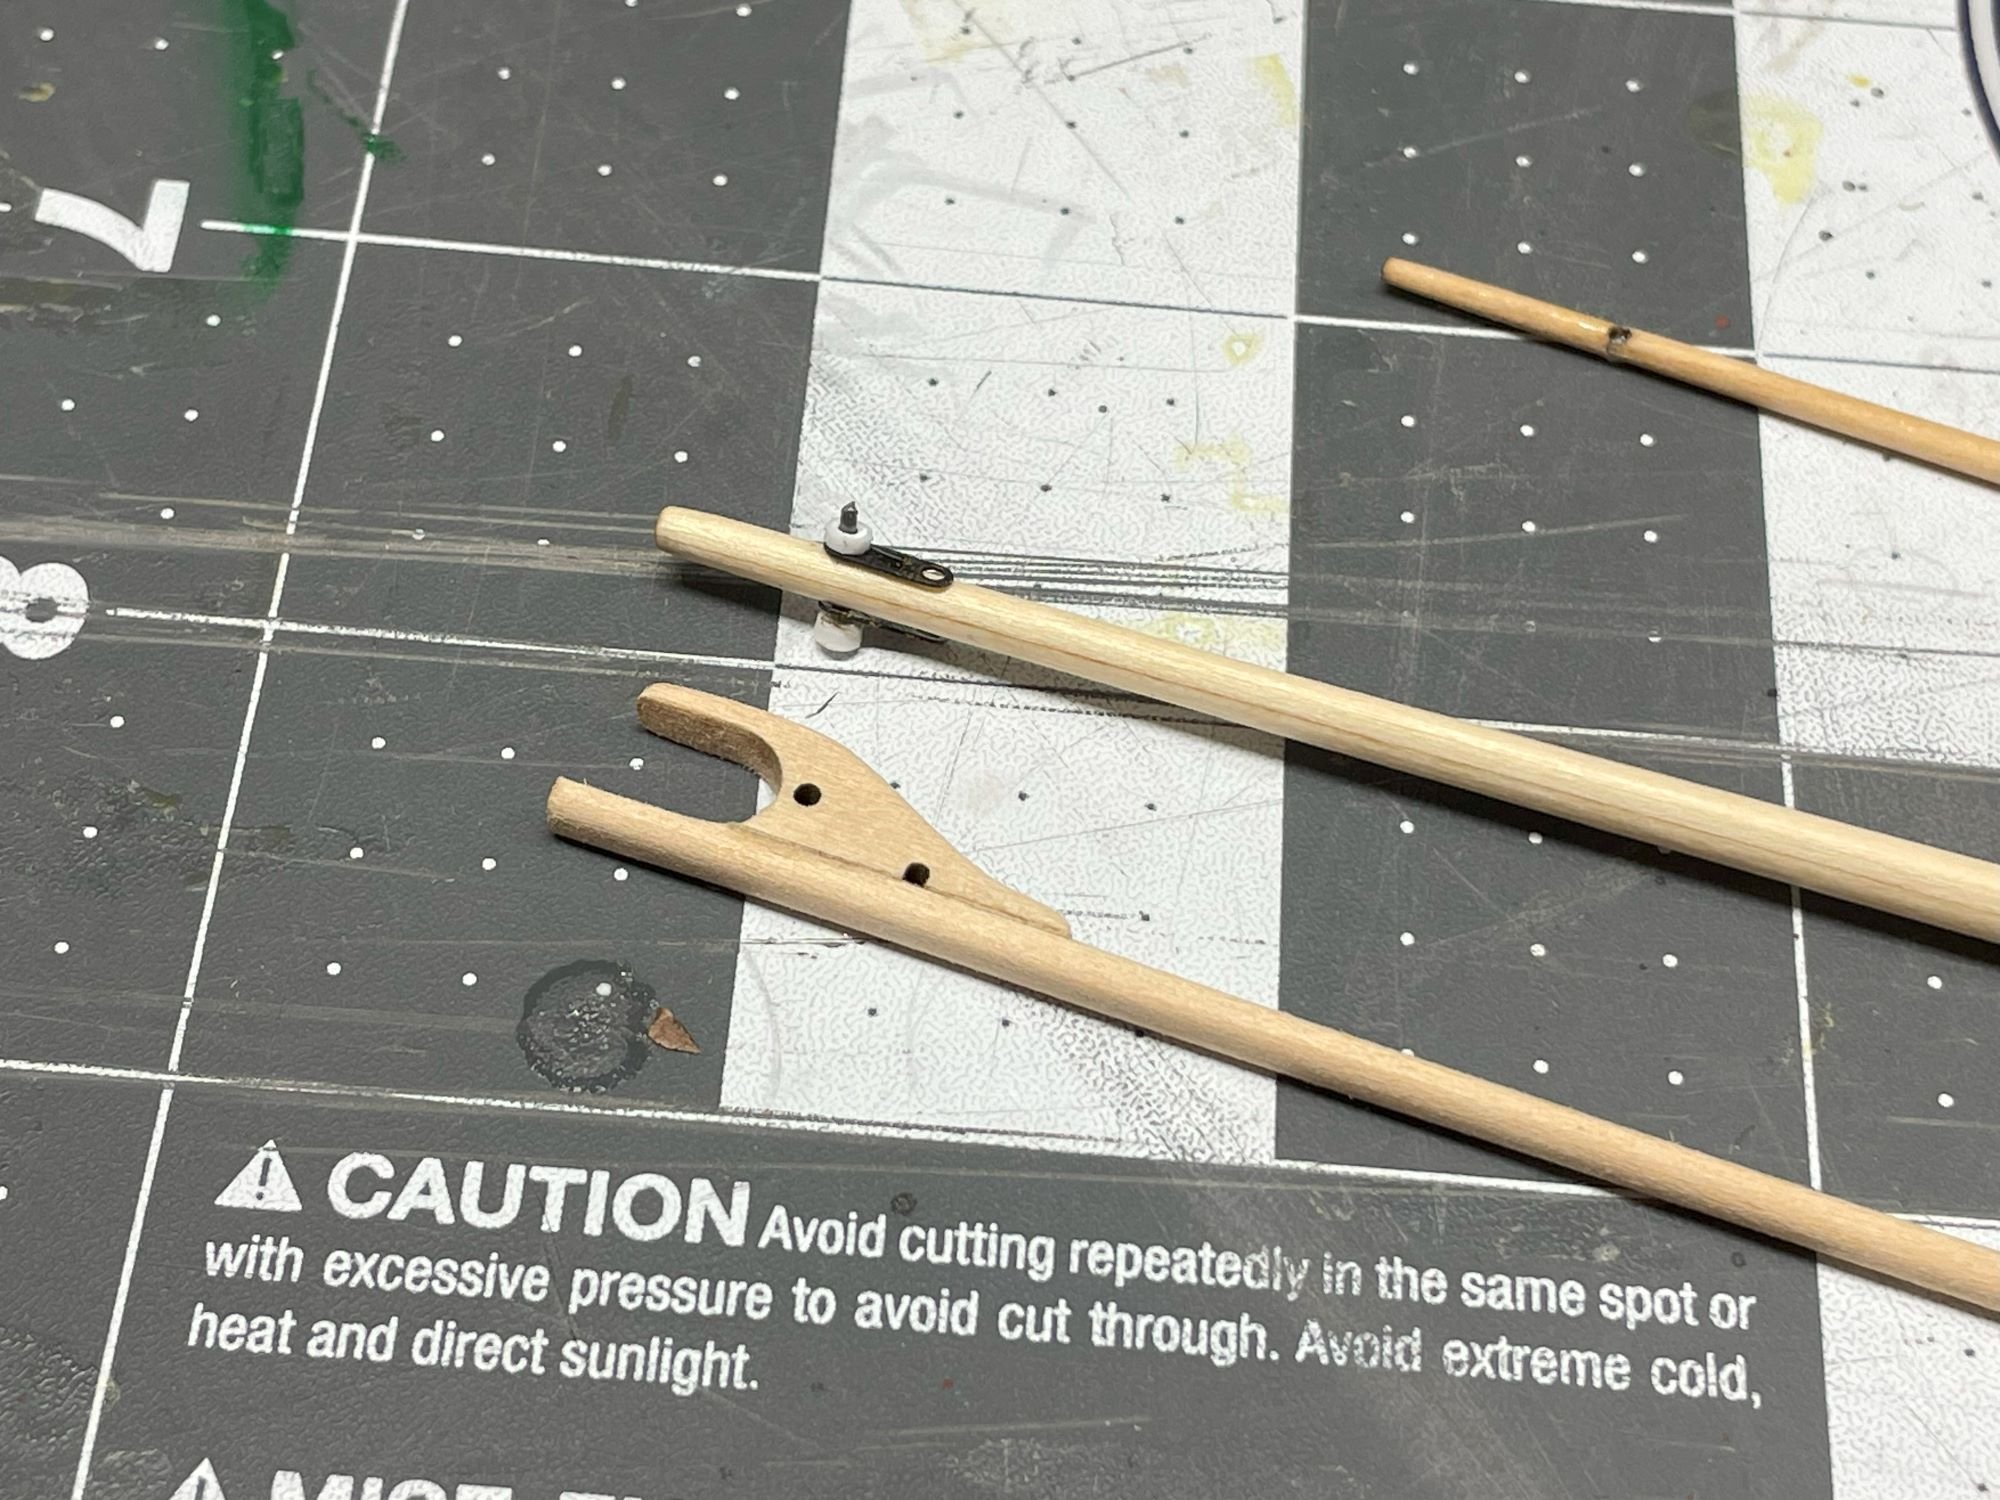
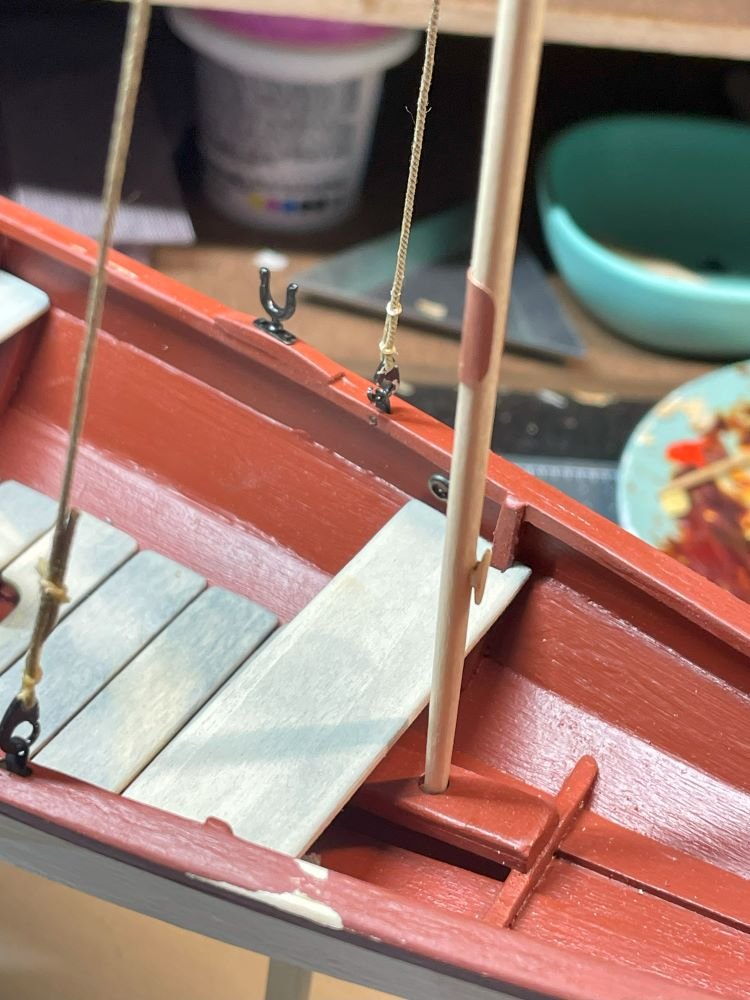
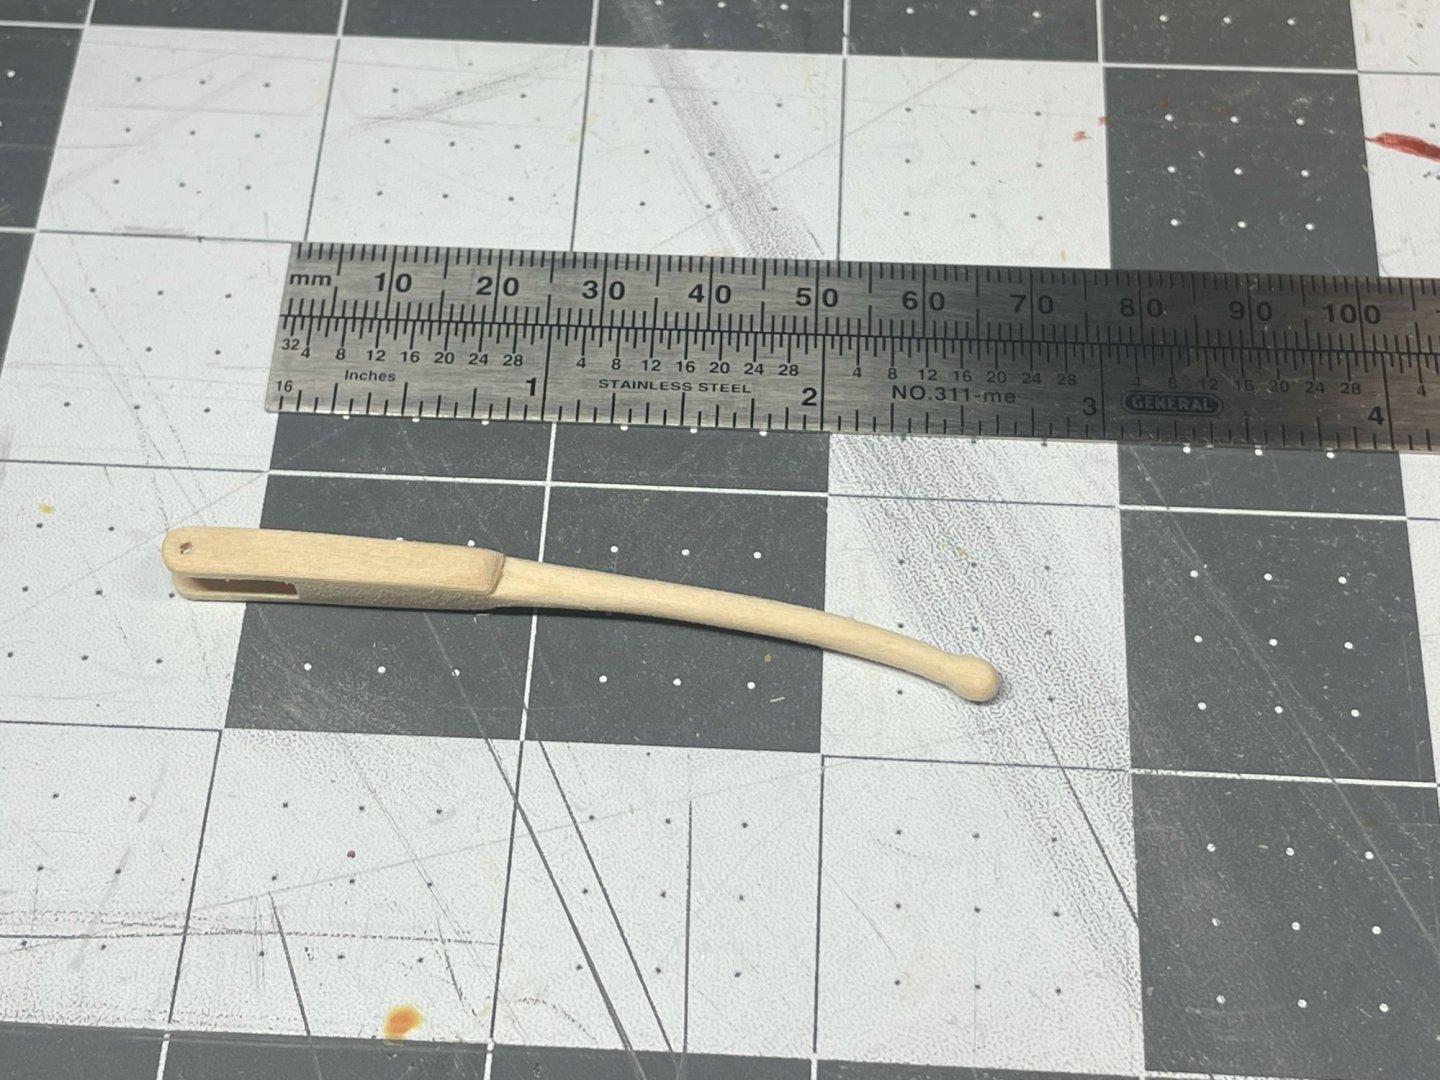
OK, there has been a little progress as I'm still waiting on supplies and tools. After looking at some pictures online, I noticed some tillers had a more ergonomic shape. So I decided to make one from scratch. It has the same overall dimensions as the original for the most part. It might be completely inconsistent with this time period or boat. If so please let me know. Then I decided to try my hand at some weathering/wear marks. I'm not really sure where these should be so I made what I hoped was an educated guess after looking at photos online. I can't find a lot that describes this boat. I'd love your opinions of my work and suggestions for what else to do. I'm thinking the boat should have more wear and rub marks but I don't know where to put the wear! (see what I did there?) I'd like to add a slightly dirty wash to the hull. Would that be appropriate for this time/boat? I'm not sure if these boats sitting out of the water was a common sight or not? I did this with watercolor paints. I'd like to try my hand with some dry pigment soon! Thanks again for stopping in! Chris
-
Jet 1020 drum sander
Desertanimal replied to SteveA's topic in Modeling tools and Workshop Equipment
Sorry I can’t help with that exact sander. I have a larger shop version of Jet sander. It’s an excellent tool. I’ve found it to be well engineered and when I had a technical issue they solved it right away on the phone. I’ve used it to sand pieces probably 1/16” occasionally.

.jpg.e74a3d500fb616c506c95bab4a8528b9.jpg)