HOLIDAY DONATION DRIVE - SUPPORT MSW - DO YOUR PART TO KEEP THIS GREAT FORUM GOING! (Only 13 donations so far - C'mon guys!)
×


jim_smits
-
Posts
653 -
Joined
-
Last visited
Content Type
Profiles
Forums
Gallery
Events
Everything posted by jim_smits
-
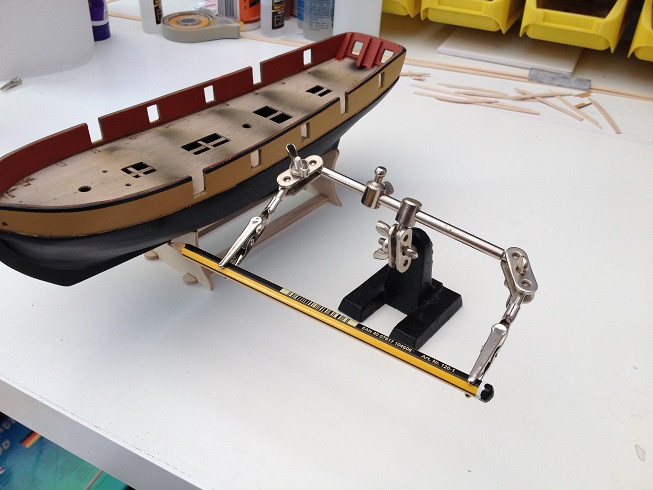
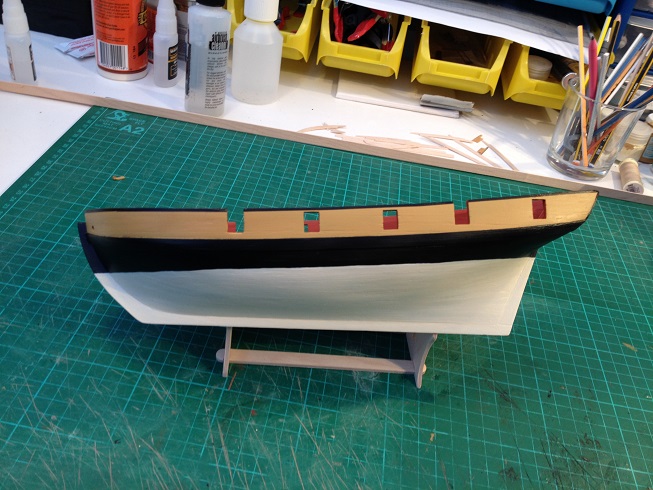
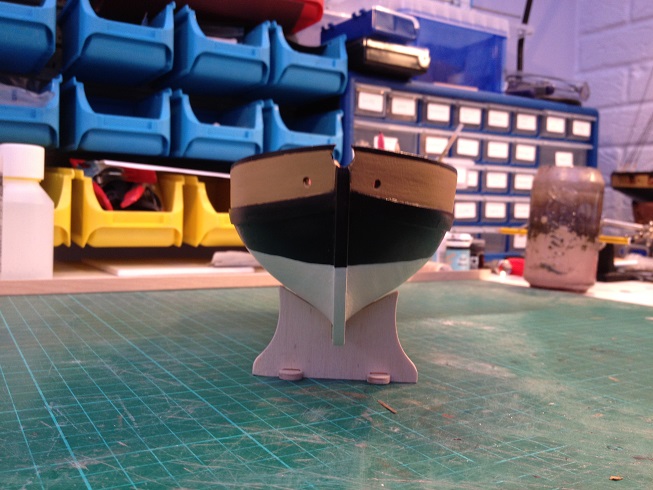
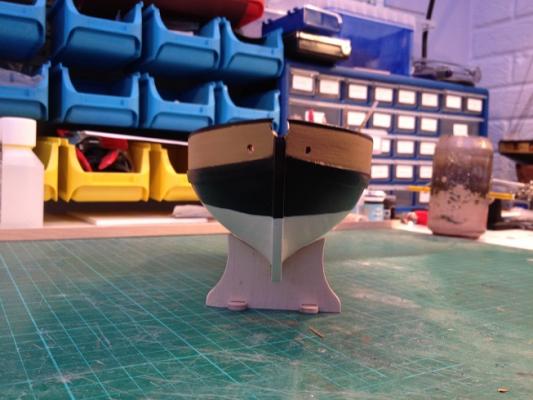
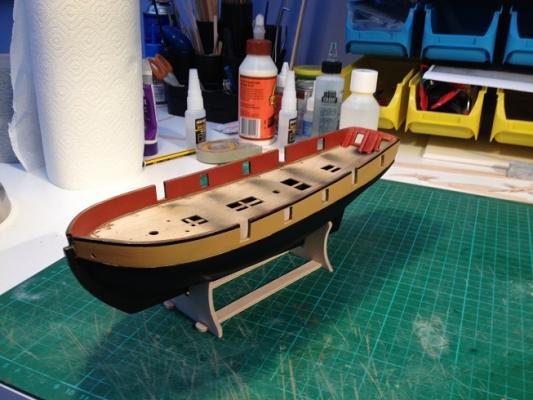
 Another update. I've now marked the waterline and painted the lower hull in white stuff. I used my helping hands to hold a B pencil at the desired height and carefully marked the waterline onto the ship. Mixed up a paint for coating 'white stuff' onto the hull using 80/20 white to yellow ochre to give a off white cream colour. Gave the hull a three coats to give an even finish. Need to smooth the finish with some ultra fine grit sandpaper but essentially ready to start the decking process.


- 226 replies
-
- 5
-

-
- ballahoo
- caldercraft
- (and 1 more)
-
Minor memory lapse but also need to mark the waterline and add white stuff....
- 226 replies
-
- 1
-
-
- ballahoo
- caldercraft
- (and 1 more)
-
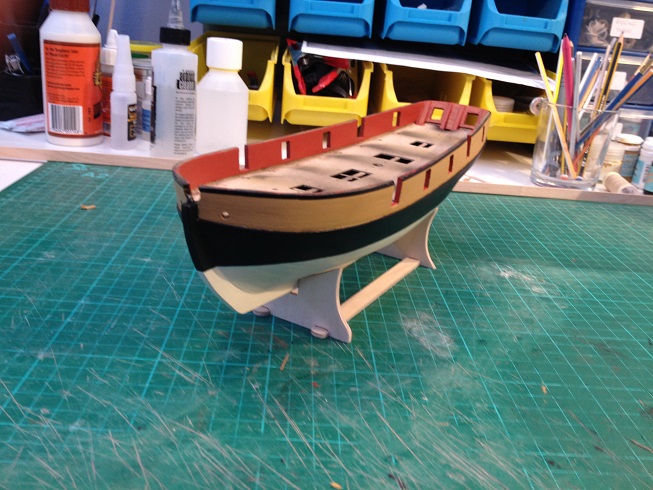
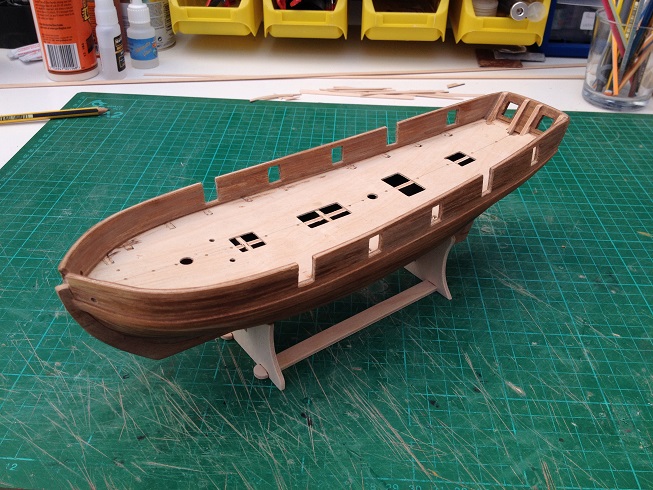
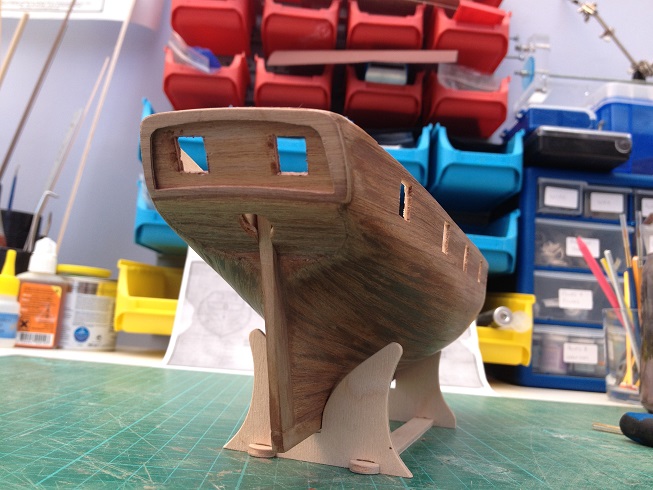
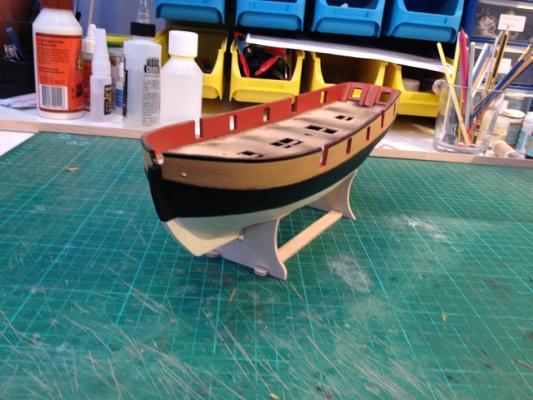
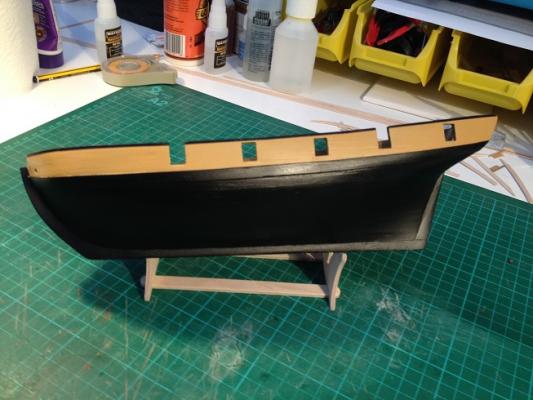
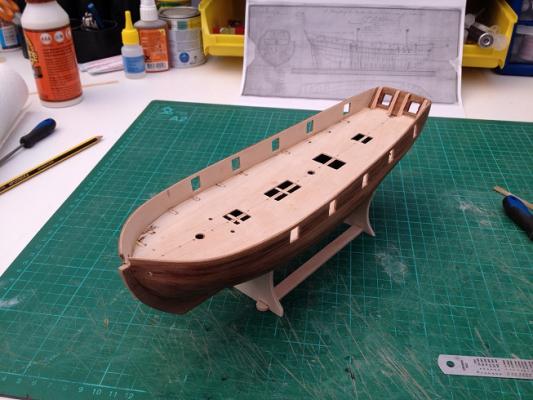
Got the main painting of the ship out of the way finally! Took several layers of black sprayed on with the airbrush. After each layer any cracks located were filled and gently sanded back and a further layer of black added. eventually got to a point where I as happy with the finish. Next step was to add a coat of yellow ochre to the top section above the wale. Needed two or three coats to get decent coverage over the black undercoat but the airbrush made this fairly quick and painless. Finally, some Tamiya tape was used to cover over the band of yellow to be kept over the gunports and a further couple of coats of black used. Stripped back the tape to leave the finished look. Got a couple of small bleeds under the tape but nothing major, and a slight touch up on the top edge of the wale is required. Also need to paint the transom area by hand. Painted the inside bulwarks with red ochre by hand with a couple of coats. After final touch ups, I'll almost be ready to start the decking process.
- 226 replies
-
- 3
-
-
- ballahoo
- caldercraft
- (and 1 more)
-
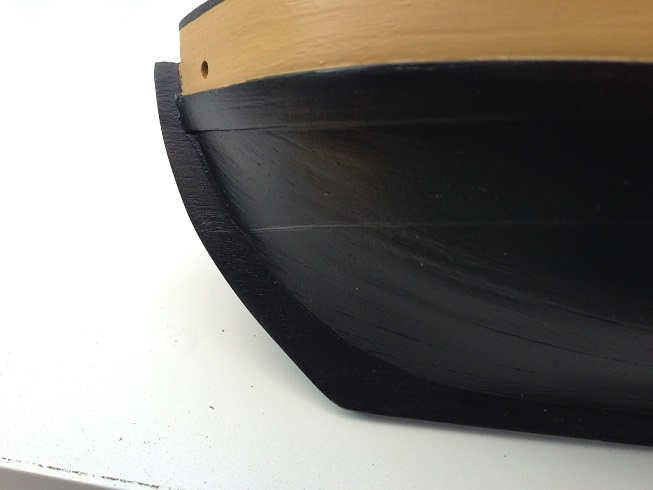
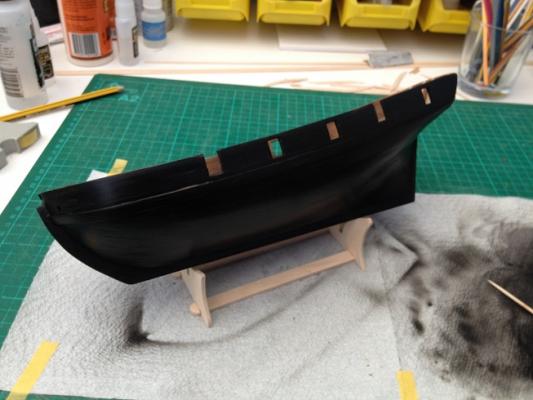
Had a couple of days off work leading upto Easter, including my Birthday on Wednesday (Thanks btw Eamonn!), and managed to make some more progress on the build. Planked the inside of the bulwarks and re-cut the gun ports. Applied filler to the planks and sanded back. Also added in the main wales. Finally got to a position to start painting the hull inside and out. Also gave me a chance to really stretch the legs of my airbrush I bought a couple of months back. Bit of playing round with paint and thinner combinations, and came to the conclusion that only a hint of thinner is really needed. Gave the outside of the hull a coat of dull black from Admiralty Paints. And....... there really is nothing like a coat of paint to show up all the flaws in a hull....! Loads of micro cracks in the planking and filler sections. I think I will need to apply some additional filler with a metal scraper and really drive the filler into the cracks.

- 226 replies
-
- 2
-
-
- ballahoo
- caldercraft
- (and 1 more)
-
Victory and Warrior are over in Portsmouth but that's about an hour or so away....
- 226 replies
-
- 1
-
-
- ballahoo
- caldercraft
- (and 1 more)
-
Finished starboard side of margin planking. Just one more piece on starboard and the scarfing to go. Eamonn - this picture should show the bow piece I have used. Completed port side margin planking.

- 226 replies
-
- 4
-
-
- ballahoo
- caldercraft
- (and 1 more)
-
Looking good! The pieces I fitted to the stern look almost identical to yours, although I am trying out a bow filler as well to give a flat edge for the middle two planks.
-
Cheers Eamonn. Once the margins are all dry fitted I'll be planking the bulwarks and then painting the ship inside and out. I can then replace the margins and start joggling and nibbling.....
- 226 replies
-
- 1
-
-
- ballahoo
- caldercraft
- (and 1 more)
-
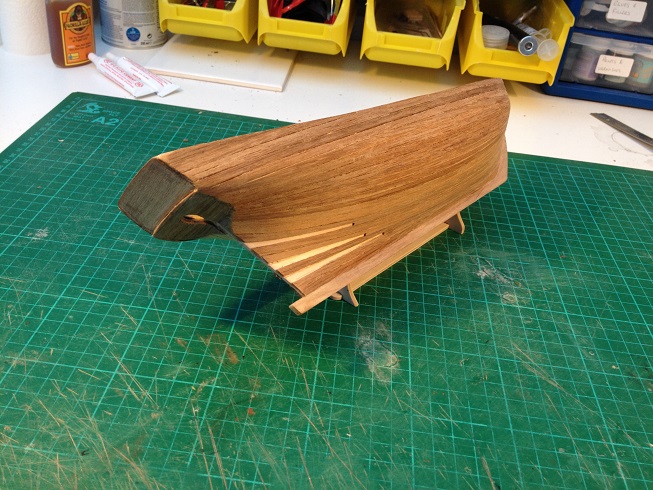
Margin planking continuing..... Another length should fit on each side before I reach the curve of the bow section. Also done some testing of marking the maple planks with a sharpie and getting a slight bit of bleed into the planks, so I will varnish the edge of each plank before marking the edges for caulking.

- 226 replies
-
- 4
-
-
- ballahoo
- caldercraft
- (and 1 more)
-
A quick silly question. I have made the next margin planks and cut the scarf joint into one side. Would the scarf joint would be caulked? I would have thought so but just wanted to make sure.
-
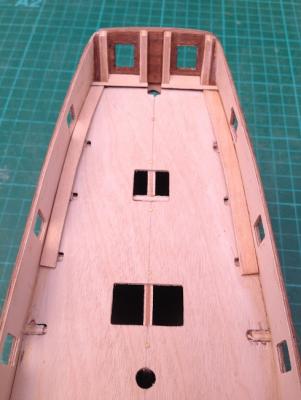
Made the decision to do all of the dry fitting of the margin planking. I can then use the margin planking as a gauge to plank the inner bulwarks and remove prior to painting the hull and inside. Ordered some 1mm Maple from CMB to do all of the decking. First made up two pieces to fit against the transom and the stern frames. Not sure if this is entirely accurate but they fit nicely and set up for the rest of the margin planking. I cut some initial lengths of maple and did some 'gauging' to try and work out some optimal lengths to cut to. The rearmost pair have started at 8cm length. Then cut some initial shaping into the planks and fine tuned using sandpaper, checking regularly for the fit and adjusting as necessary. Once the fit against the bulwark was as good as I could make it (bearing in mind the leeway given by the bulwark planking to come), I then used a compass set to 6mm to draw in the shape of the other side of the plank to be cut. Very happy with the results achieved so far. Completed the rearmost pair. The next plank I will aim to overlap by about 1cm to allow notches to be cut to lock in both planks.
- 226 replies
-
- 4
-
-
- ballahoo
- caldercraft
- (and 1 more)
-
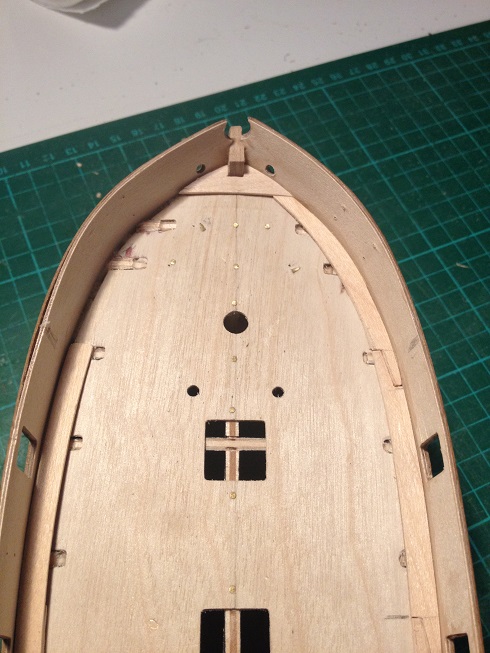
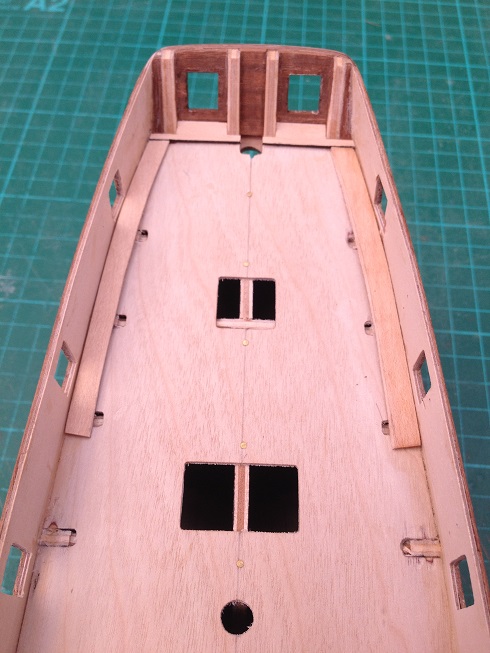
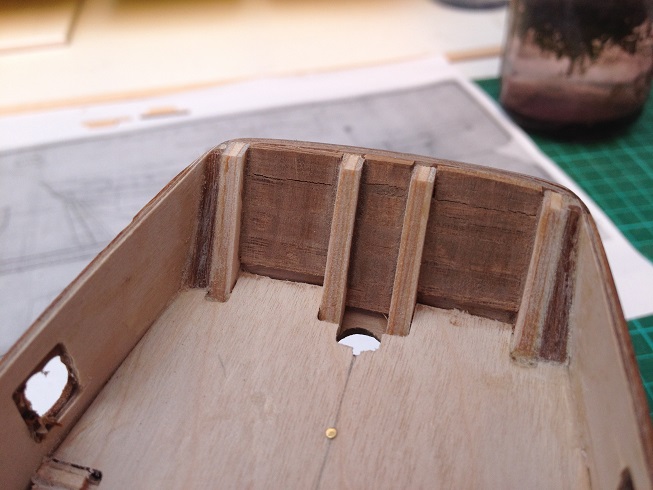
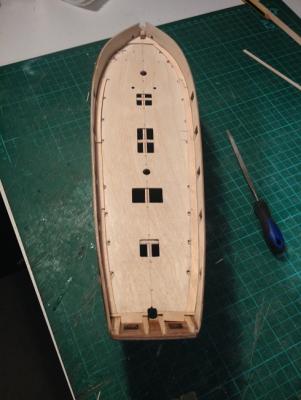
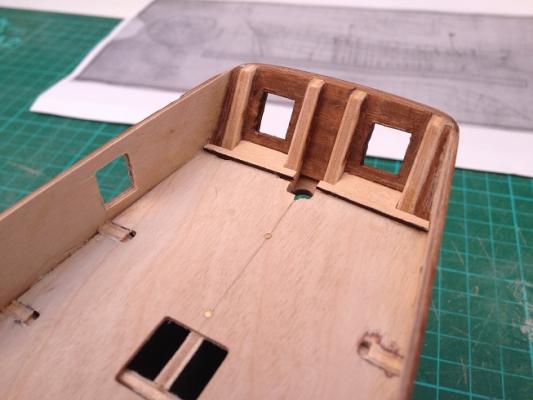
More progress this morning. Managed to plank the inside of the transom ready for the gunports to be cut. Used a piece of decking to get the correct height of the lower planks and then planked up to the top of the transom. Gave the planks a coat of 50/50 PVA and water mix and allowed to dry. I then drew a guide mark for both of the rear gunports, drilled out the four corners and used my dremel to bore out the majority the ports. Finished off with a sharp blade and file. Also repeated for all of the port and starboard gunports.


- 226 replies
-
- 5
-
-
- ballahoo
- caldercraft
- (and 1 more)
-
This is where my dilemma is; outside is far easier and retains depth of stern frames but will mean that the 'picture frame' on the transom will sit proud and it looks like the plans (haddock not kit) call for it to be flush with the rest of the stern. I may be wrong however....
- 226 replies
-
- 1
-
-
- ballahoo
- caldercraft
- (and 1 more)
-
Yeah, was thinking about it. Although the transom of the ballahoo kit doesn't exactly match that of the Haddock plans I will probably add in the gunports. I need to add a second layer of planking to add some strength. Not sure if inboard or outboard just yet. Leaning towards inboard though at the moment.
- 226 replies
-
- 1
-
-
- ballahoo
- caldercraft
- (and 1 more)
-
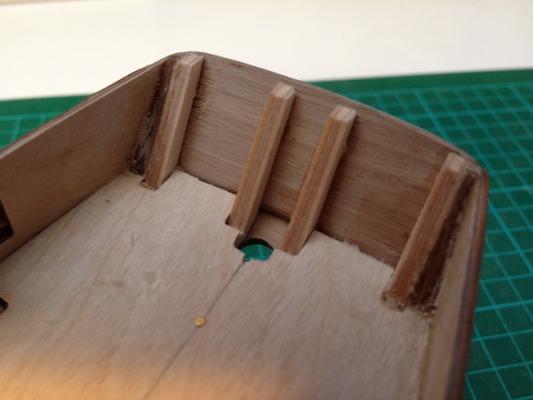
Quick additional! After the conversations on Eamonns build I have decided to fill the gaps between the outermost stern counter frames and the bulwarks.
- 226 replies
-
- 3
-
-
- ballahoo
- caldercraft
- (and 1 more)
-
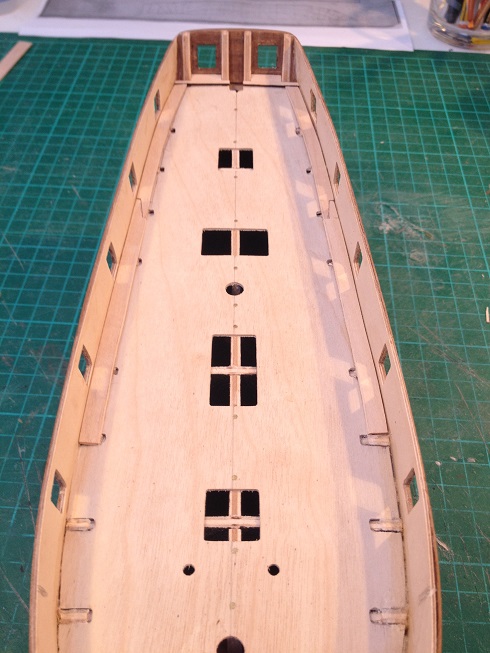
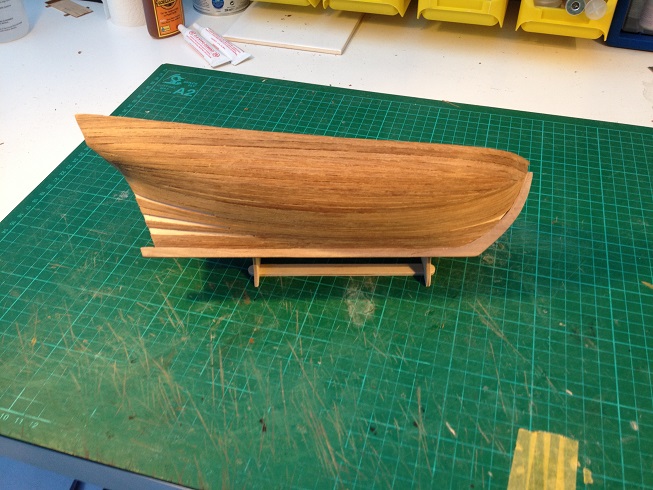
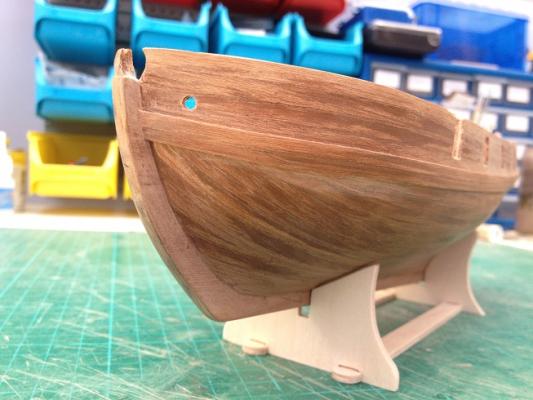
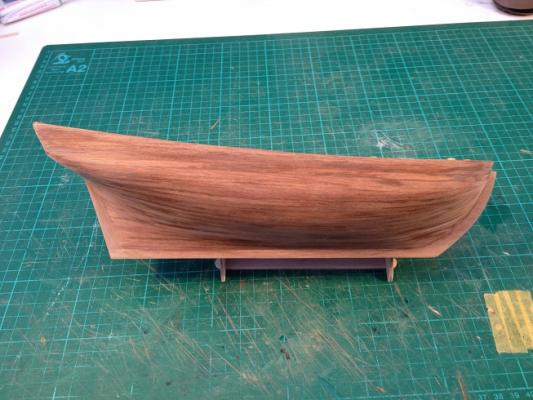
Second planking complete! Spent this morning finishing off the main strakes and then went back over and added all the stealers that were required. Next step after this was a coat of 50/50 PVA and water to soak into the walnut planking and help reduce any splintering. Once fully dry, gave a full sanding with 120 grit over the entire planking and get rid of any major lumps and bumps. Then gave the second planking a layer of walnut filler, smeared into the cracks with the mark I thumb. Again allowed to fully dry and a major sanding back down to the wood with 120 grit, followed by 180 grit and finally 240 grit. Finally gave another coat of 50/50 PVA and water, allowed to dry and a final sanding with 240 grit. I am hoping that the two soaks of PVA mix will prevent any potential splintering when I come to cut out the gunports, which was something that was a tedious and frustrating task with the Snake build.
- 226 replies
-
- 4
-
-
- ballahoo
- caldercraft
- (and 1 more)
-
Jason I was going to paint the hull only with this build. Not sure if Schooners were coppered? Most builds show them as having been finished with 'white stuff'.....
-
In fact Jason - See the image of the belaying plan above. The fore yard trusses will be belayed to cleats marked point 8 on the plan. I have belayed the stays to the cleats just behind them.
- 412 replies
-
- 1
-
-
- snake
- caldercraft
- (and 1 more)
-
As with Nigels post - I was planning onshaping the outer edge of the margin planks to fit the bulwarks and then use a compass to scribe a pencil mark to give inner edge to be cut down to. Easily said, how easily done is an entirely diffrent matter....!
- 1,039 replies
-
- 1
-
-
- ballahoo
- caldercraft
- (and 2 more)
-
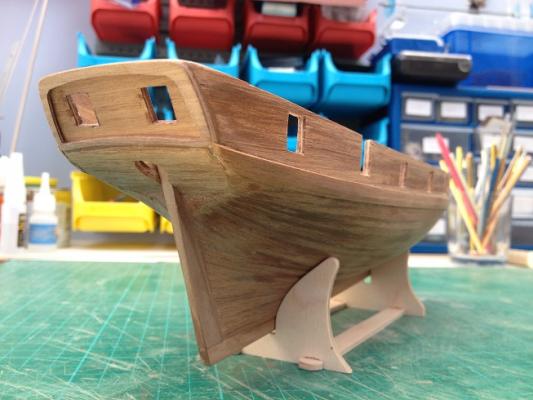
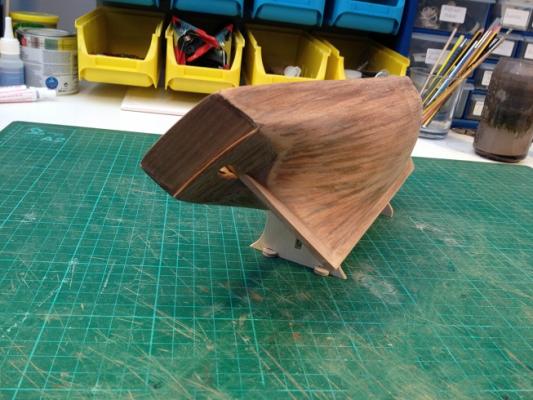
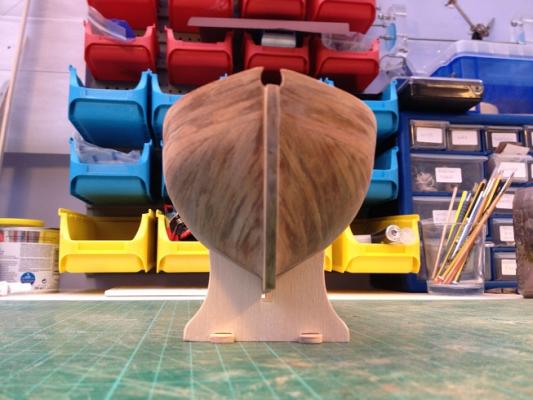
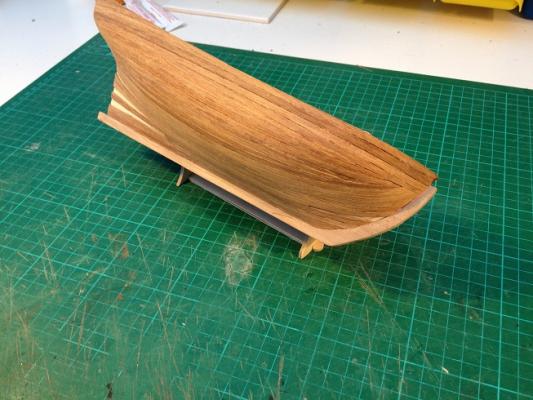
Starboard side second planking almost complete! I just need to add in a few stealers at the stern and one more at the bow. Then onto the port side. Had a tricky little section where the planking from the keel started to meet the planking at the bulwarks but nothing too horrendous that a bit of though and sanding couldn't resolve. After this a generous sanding, filling and sealing with watered PVA before cutting out the gunports.


- 226 replies
-
- 5
-
-
- ballahoo
- caldercraft
- (and 1 more)
-
Hi Jason, Thanks for the heads up. Had a double check of the plans and on mine it shows the fore and main yard trusses will be belayed to points 8 and 9 respectively on the belaying plan. Both 8 and 9 correspond to mast cleats as you say but I had allowed for this and left the foremast pair of cleats clear on my build when rigging up the main stays. Are the mast cleats not numbered on your plans?
- 412 replies
-
- 1
-
-
- snake
- caldercraft
- (and 1 more)