
Supplies of the Ship Modeler's Handbook are running out. Get your copy NOW before they are gone! Click on photo to order.
×
Sjors
-
Posts
5,536 -
Joined
-
Last visited
Reputation Activity
-

 Sjors reacted to rafine in Halifax by rafine - FINISHED - The Lumberyard - 1:48 - semi-scratch schooner
I spent the first part of my time since my last update completing the fairing of the hull. This involved first adding boxwood strip shim pieces to the frames that were low as a result of the the jig slot misalignments. This was tedious work, but straightforward and uneventful. I've attached photos of the faired hull which don't look all that different from the prior photos, but there really is a big improvement.
After completing the fairing, I turned to the stern framing. This presented some challenges. I quickly realized that the laser cut wing transom and stern frames were simply not right. After wasting some time trying to figure to ways to "improve" them, I decided that the easiest solution was simply to cut entirely new parts from scratch. I started with the wing transom, which required multiple efforts to get any thing that was any good at all. The plans don't really show it in any way, other than it's position, and the book photos are are also somewhat vague. I cut the part from boxwood sheet, rough shaped it to fit and cut notches in the top side with small chisels for the stern frames. I then cut and shaped the other two transoms from boxwood sheet and mounted all three. I did some rough fairing of the lower two transoms, but left the wing transom until the stern frames are in place.
The laser cut frames were simply too small and didn't match either the plans or my construction. I cut them from boxwood sheet, but have not mounted them yet. I have attached a photo of the rough wing transom and the stern frames before mounting. The photo also shows a laser cut frame, for comparison. The final photo shows the three transoms mounted.
Next up will be the mounting of the stern frames and the remainder of the stern framing.
Bob
-
Sjors reacted to Tallshiptragic in Sovereign of the Seas by Tallshiptragic - Sergal - 1/78
Using modeling clay (air dries without shrinking) to modify some of the kit carvings to match that of Van de Velde.
-
Sjors reacted to Tallshiptragic in Sovereign of the Seas by Tallshiptragic - Sergal - 1/78
Continuation of the hull. Have also planked the forepeak. The kit suggests that this forepeak runs continuously onto the beak head, but I've separated them and raised the level of the deck to match the Van de Velde sketch and other vessels practice at the time.
-
Sjors reacted to Tallshiptragic in Sovereign of the Seas by Tallshiptragic - Sergal - 1/78
Thanks Scott, the flat black I've used for the lower wales are almost too black so will need to give it a wash to tone it down to my liking but overall I'm happy with her appearance. The white I'll have to adjust as I painted the white right up to the wale astern and therefore the bows also to match the Serb on the Ley painting, however on the Van de Velde sketch after re checking the white is clearly only up to the waterline so I'll mark out the waterline over the lower wales which will be over painted white and the white on the stern and bows will be covered in black to give the natural straight waterline.
Thanks BV, I have considered that also but displaying one side as you mentioned and the other just full hull - similar to the Greenwich model of the Endeavour, without the cutaway hull obviously haha. I should make a decision soon as the more I build on her topsides the more fragile and susceptible she will be to damage.
Back to the model, more 'iron bolts' added using the forementioned mode train nail heads for the larger bolts and drilled holes with black ebony wood filler for the smaller diameter bolts. So far both hull sides are at the same level of completion with the obvious bolt locations placed but I'm deciding whether to continue and add more bolts and then the treenails. I'm using the 1/10 Vasa model from the Vadamuseet and the Batavia replica as a guide for these and again happy so far.
You'll also notice some more carvings added using a mixture of the sergal fittings which are actually upon closer study reasonably accurate.
-
Sjors reacted to Tallshiptragic in Sovereign of the Seas by Tallshiptragic - Sergal - 1/78
As she sits tonight the figurehead and great lantern isn't fixed, just wanted to see how she looks haha
-
Sjors reacted to Tallshiptragic in Sovereign of the Seas by Tallshiptragic - Sergal - 1/78
Before I got too carried away, thought I should finish the lower hull. Still yet to decide completely whether to display her as a diorama or full hull..
The transom still requires a sand before painting. I've also started to cut away at the side of the transom for the footing of the carving that will be fixed to the arch of the transom.
-
Sjors reacted to Tallshiptragic in Sovereign of the Seas by Tallshiptragic - Sergal - 1/78
The start of a very long process of carving....
-
Sjors reacted to Tallshiptragic in Sovereign of the Seas by Tallshiptragic - Sergal - 1/78
Have started fixing bolts to the hull. Initial bolts represent the gun rigging eyelets from the inside of the hull. These are plastic bolt heads used in model train building and come in all sorts of sizes and types, again found these while building my modern ships. Also playing around some of the brass fittings from the sergal kit - what is suitable and what should be replaced. Some of the carved filigree carvings that would need to be replaced is so small I think I'll have to sculpt rather than carve to keep them fine enough. I wish these were painted on like the later vessels of the 17th century! I'd find that much easier to do.
-
Sjors reacted to ken3335 in Royal William by ken3335 - FINISHED - Euromodel - Scale 1:72
Hi, Another picture
This is the Svitzer, A Mersey fire tender, a common sight on the river. I think that this is what happens when the captain has had a few beers with lunch.
I'm also making progress on the window frames, only another twelve pieces to go, but getting there.
Ken
-
Sjors reacted to ken3335 in Royal William by ken3335 - FINISHED - Euromodel - Scale 1:72
Hello Everyone,
It seems that there has been a problem for some with viewing my last post so I'll re-submit it. Some may see two versions of the same post so at least you know the reason.
You'll be pleased to know that after that hiccup I'm back on track.
The big question, was it worth the extra work involved? The answer is an emphatic yes, worth every minute spent on doing it and I think that when you look at the pictures you'll agree with me.
I got some Tanganyika for the planking as this is what I normally get in kits and I'm familiar with it. I used an electric sander and took the planks back as much as I could with it rather than rip them off and leave a rough surface. I used a soft pencil on the edge instead of a marker pen which gave excellent results, I tree nailed in the same way using filler and finished the surface as I had done on my earlier attempt. I am so pleased, this is my best planking yet and one that I'm quite proud of, it looks even better in real life due to the matt varnish. The colour is truest on the first picture. The last picture is the before and after.
Don't you wish life itself was like this, you screw up but you can put it all behind you and start again!
Ken
-
Sjors reacted to EJ_L in Le Soleil Royal by EJ_L - FINISHED - Sergal - Scale 1:77 - 1669 Version
S.R.'s shipyard has been back in production this week and the main deck has been planked. Very little of this deck is visible once the forecastle and quarter decks go on. Mostly just the area around the large cargo hatches will be easily seen. I needed to get this deck planked though so I can continue upward with the framing so I can continue planking the hull. The framing needs to be in so I can place the upper decks (temporarily for now) so I can make sure my elevations are correct and where to terminate the hull planking as it does not run the full length of the ship the higher it goes.
I have also started to clean up the port side gun ports and set the frames in them. This doesn't have to be done right now but I was just looking for something simple to start working on last night.
I will be starting the last Captain's cabin build out soon as well. When that one is done, I will be able to finish up the wiring for the lights and close up the starboard side. Then the fun job of smoothing the hull can begin...
-
Sjors reacted to Elijah in HMS Sovereign of the Seas by Sjors - DeAgostini - 1:84
Looking very nice, Sjors! What paints are you using?
-
Sjors reacted to Piet in HMS Sovereign of the Seas by Sjors - DeAgostini - 1:84
Great progress Sjors. That's a lot of painting
Cheers,
-
Sjors reacted to Hennie in HMS Sovereign of the Seas by Sjors - DeAgostini - 1:84
Looks great
Will see her life this weekend
Hennie
-
Sjors reacted to lb0190 in Niagara by lb0190 - Model Shipways - 1/64
After all of the above I could not successfully drill another hole without breaking drill bits! I went thru 8 bits, breaking them off each time and losing a stanchion each time. I varied the drill bit speed, tried to drill much slow in respect the bit pressure, talked to two machinist friends until I finally gave up. Plan "B" is to glue the rope on the inside of the stanchion. At this scale is should look ok providing I use small enough thread.
Next is to add the stirrups on the top of each leg.
I found some StripStyrene plastic channel thats 0.060 wide with 0.037 channel walls. I think this will give me the look I want if I can glue it on and sand the channel down to the width of the brass bar. below are some photos on where I'm at with this process. The macro shots show dust, fuzzies etc, which I hope will clean up. I painted one unit but did not clean it very well before painting and looks pretty bad but I'll clean it up later - I think this looks like this may work out. I used enamel paint for this step, thinking since I'm gluing rope to it, it may be less likely to peal off.
-
Sjors reacted to Piet in Nuestra Señora del Pilar by Anja & Sjors - FINISHED - OcCre - Scale 1:46
Checking in on your progress Anja. Nice work.
Cheers,
-
Sjors reacted to Ulises Victoria in Nuestra Señora del Pilar by Anja & Sjors - FINISHED - OcCre - Scale 1:46
Hmmm I just went over your build again, and I'm thinking to buy me a box of those Lego thingies you used to square your frames. Cheaper than the engineer's metal rulers.
-
Sjors reacted to mtbediz in Nuestra Señora del Pilar by Anja & Sjors - FINISHED - OcCre - Scale 1:46
It looks she will be a beautiful ship when completed Anja. Good luck on this build.
Mustafa
-
Sjors reacted to Anja in Nuestra Señora del Pilar by Anja & Sjors - FINISHED - OcCre - Scale 1:46
Hi Eddie,
Thanks for stopping by and the compliment.
I have little time for the build right now, so progress is very slow.
Will show an update this weekend.
Thanks again and regards,
Anja
-
Sjors reacted to Eddie in Nuestra Señora del Pilar by Anja & Sjors - FINISHED - OcCre - Scale 1:46
Hey howya goin Anja mate, love what you done so far, how long till I see more, I need to see more more more.
-
Sjors reacted to Anja in Nuestra Señora del Pilar by Anja & Sjors - FINISHED - OcCre - Scale 1:46
Hello all,
For the newcomers, a warm welcome to my buildlog.
Thank you for stopping by and the compliments. It is appreciated.
@ Popeye,
Yes Denis, I know you use the archive pen as well. I have that idea from you and it works great. Thanks for the tip.
@ Ulises
If you can get the Lego blocks, they will be a great help for little money.
It is again high time for an update. She is by far not seaworthy, but this is how she is right now.
Work done:
- Deck caulking (a bundle of 10 planks at a time)
- Reinforcing pieces glued onto the last frame
- Gun carriages painted (red Ochre from Admiralty paints)) and put a layer of surface primer on the canons (Negro black from Vallejo)
- Interior quarter deck bulwarks, forecastle bulwarks and interior hold bulwarks painted (red Ochre from Admiralty paints)
- Cut out parts the crossbeams that remain exposed over the holds
To be continued .....
Thank you all for watching and enjoy.
Regards,
Anja
-
Sjors reacted to vulcanbomber in San Francisco by vulcanbomber - FINISHED - Artesania Latina - (Original Version)
Hello Dewey, thanks for your comments, I'm glad you found some help in my log. It is only through others help that I managed to get a pleasing result with my San Fran.
Hello Kip, Yes, I remember almost giving up with it right back then, but with yours and others' encouragement, I overcame the problems and learned a lot along the way. How is your modelling going? I really must get back to my Pegasus sometime.
-
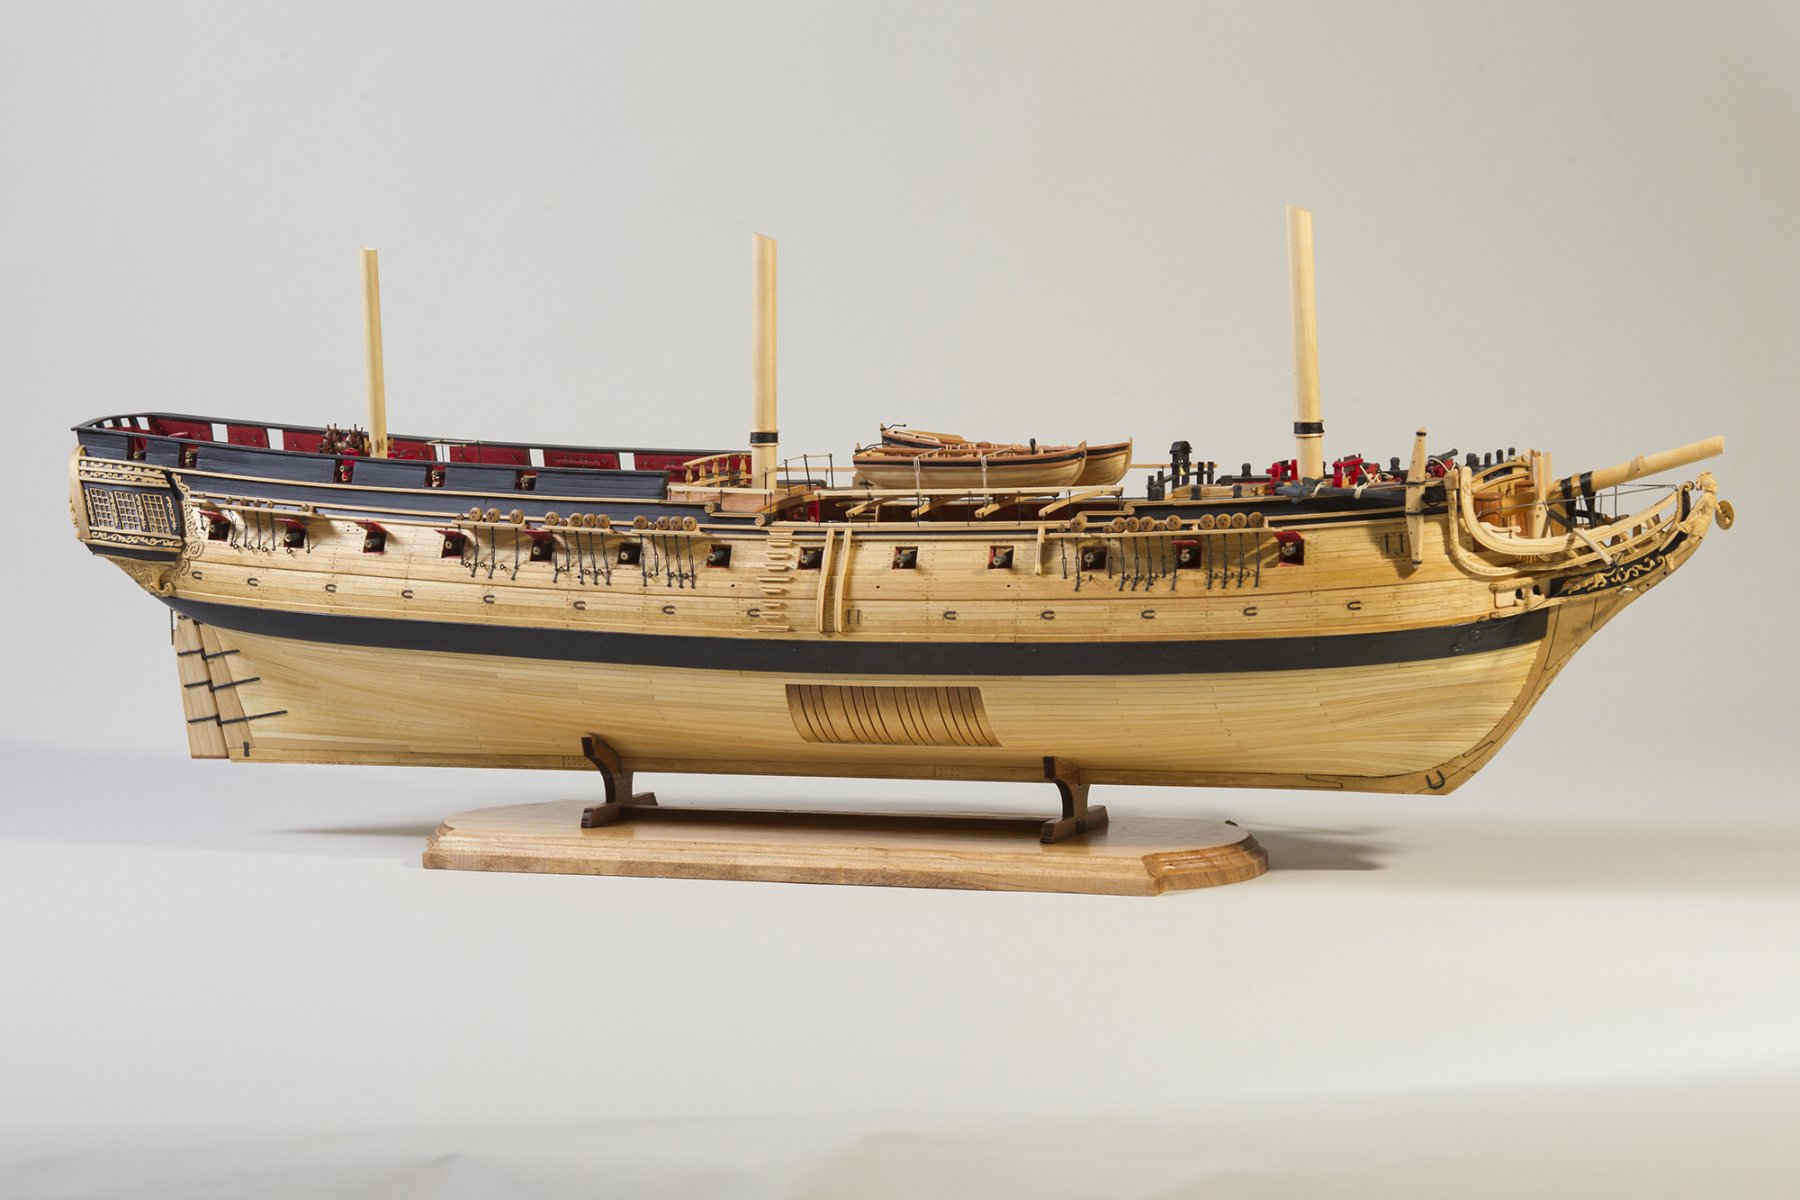
 Sjors got a reaction from lb0190 in Charles W Morgan by texxn5 - FINISHED - Model Shipways - 1:64
Ill missed the finish ?????
How is that possible !!!!!!
Great job John.
That diorama is just the ice on the cake ( correct ? )
fantastic !!!
Sjors
-
 Sjors got a reaction from Landrotten Highlander in HMS Agamemnon by Sjors - FINISHED - Caldercraft/Jotika - 1:64
That's it.
She is finished !
After a journey that took more then 3 years she finally reached port.
I wanna thank you all for being my passengers all that time.
Also thanks to Anja for helping me with a lot of things.
Sjors
-
 Sjors got a reaction from Ferit in HMS Agamemnon by Sjors - FINISHED - Caldercraft/Jotika - 1:64
So, after more then 3 years I can tell you that the rigging is done....
Not the total build because there are a few things that has to be done like.....hammock netting ( yep, still to do ) anchors and lanterns.
But as it goes in the whole build now and then an update.
Don't ask me where all those ropes are going.....I don't know it anymore.
I have done the best I can do with it.
At the end it looks like spaghetti and all the time the hands are in the way.
I had the feeling that tying blocks will never come to an end.
Even at the last drawing I have to make blocks.
I think it is to difficult to show it in the first drawings.....
I try to put all the ropes on there own position but even that was not possible.
The belaying pins are that small that I can not put an hair around it !
I try because you don't see the difference with my grey hair or the grey rope
But i'm satisfied with it.
Then rest me only one thing and that are pictures.
Sjors