
HOLIDAY DONATION DRIVE - SUPPORT MSW - DO YOUR PART TO KEEP THIS GREAT FORUM GOING! (Only 51 donations so far out of 49,000 members - C'mon guys!)
×


schooner
-
Posts
739 -
Joined
-
Last visited


.thumb.jpeg.ffac2f8a24d212961a83eab4efb06a6c.jpeg)


-
 schooner reacted to a post in a topic:
Seguin by Phil B - BlueJacket Shipcrafters - 1:48
schooner reacted to a post in a topic:
Seguin by Phil B - BlueJacket Shipcrafters - 1:48
-
schooner reacted to a post in a topic:
Seguin by Phil B - BlueJacket Shipcrafters - 1:48
-
schooner reacted to a post in a topic:
USF Essex 1799 by RossR - Model Shipways - 1:76
-
Jared reacted to a post in a topic:
SS Stephen Hopkins by schooner - FINISHED - BlueJacket Shipcrafters - Liberty Ship
-
schooner reacted to a post in a topic:
US Brig Syren by Argaen Lok (aka Scott Larkins) - Model Shipways - Scale 1:64
-
schooner reacted to a post in a topic:
USF Essex 1799 by RossR - Model Shipways - 1:76
-
king derelict reacted to a post in a topic:
USS Pillsbury DD-227 by michael.denigan - BlueJacket Shipcrafters - 1/96
-
Canute reacted to a post in a topic:
USS Pillsbury DD-227 by michael.denigan - BlueJacket Shipcrafters - 1/96
-
schooner reacted to a post in a topic:
Red Jacket by John Ruy - Marine Model Company - 1/16”=1’ (1/192 scale) - Vintage Solid Hull Clipper Ship Kit
-
 You might try Distefan 3-d printing, they have a lot of stuff in 1/96 scale, including a motor whaleboat. They might be willing to gin up a launch for you. The following link will get you to the website, you then select 1/96 scale, their MWB is on the first page. https://distefano3dprint.com/collections/1-192-scale?page=9
- 37 replies
-
- 2
-
-
- Pillsbury
- Clemson-class
- (and 1 more)
-
schooner reacted to a post in a topic:
USS Kearsarge by gak1965 - BlueJacket Shipcrafters - 1:96
-
schooner reacted to a post in a topic:
Seguin by Phil B - BlueJacket Shipcrafters - 1:48
-
Nirvana reacted to a post in a topic:
Seguin by Phil B - BlueJacket Shipcrafters - 1:48
-
schooner reacted to a post in a topic:
USS Kearsarge by gak1965 - BlueJacket Shipcrafters - 1:96
-
schooner reacted to a post in a topic:
USS CONSTITUTION by Brian Falke - BlueJacket Shipcrafters - Scale 1:96
-
Using 1mm art tape worked well! I'll have to remember that.
-
michael.denigan reacted to a post in a topic:
USS Pillsbury DD-227 by michael.denigan - BlueJacket Shipcrafters - 1/96
-
Canute reacted to a post in a topic:
USS Pillsbury DD-227 by michael.denigan - BlueJacket Shipcrafters - 1/96
-
Looking great! Your .50 cal mg's came out very nice.
- 37 replies
-
- 2
-
-
- Pillsbury
- Clemson-class
- (and 1 more)
-
RVB reacted to a post in a topic:
Seguin by Phil B - BlueJacket Shipcrafters - 1:48
-
This is an amazing build Brian.
-
Good luck with your build. Take your time with that stern post assembly - it is more complicated than it seems, it might be worthwhile to tape together the parts that make it up until you are sure you have it right before glueing it together. If you look at my build log bear in mind that my sternpost had to be heavily modified to accept a stern tube for an RC setup, yours will not need those modifications but it is still a bit of a 3-D puzzle
-
Flyfisher reacted to a post in a topic:
USS Constitution by Flyfisher - BlueJacket Shipcrafters - 1:96
-
Hey Jim, I had to deal with the same issue with the scribed decking on my ALFRED, OLYMPIA and SEGUIN builds. Assuming you have not already glued the decking down you can reduce or eliminate the seam. What worked best for me was to place the 2 pieces side by side on a piece of white paper (to improve visibility), mark with pencil on each side where the gaps are between them and then carefully sand outside of the marked areas, i.e. where there already is contact. That decking material sands fast so only do a little before rechecking by erasing your previous marks and making new ones. As long as you are careful to ensure your sanded surfaces don't get a bevel in them it shouldn't take too many repetitions to get a tight, invisible seam. If you want you could do the above on only 1 of the sides but you might end up with a seam that is tight but not parallel to the keel. Your gundeck won't be very visible on the finished model due to limited light and sight lines so the seam will pretty much be out of sight, out of mind.
-
This is a bit of a coincidence, I just bought a couple of packs of those same 3/32 blocks from Syren this week for my carronades. I'm glad to see they are workable, if not easy to work with at that size. I'm impressed with the 1/8" hooks you made. I was planning on using the plastic rigging hooks available from Syren, the smallest of which is also 1/8" but now I might take a shot at making my own. Regardless of the hooks the whole tiny block adventure will undoubtedly lead to some pretty bad language. Can't wait.

-
king derelict reacted to a post in a topic:
USS Pillsbury DD-227 by michael.denigan - BlueJacket Shipcrafters - 1/96
-
Canute reacted to a post in a topic:
USS Pillsbury DD-227 by michael.denigan - BlueJacket Shipcrafters - 1/96
-
If I understand the railing issue correctly it looks like some areas are 2-bar and higher parts looks to be 4-bar. You might be able to "double- stack" some short pieces of 2-bar where needed. If their length is a problem you can always trim them to the needed length and then add a small piece of spare PE to make the vertical stanchion at the end. The key would be to get all the required bending done first before glueing pieces of PE to each other. The painted tissue idea from ddp works well and would also serve to cover up some of the joints.
- 37 replies
-
- 2
-
-
- Pillsbury
- Clemson-class
- (and 1 more)
-
I looked hard for 1/96 water-cooled mg's for my Liberty Ship build - no luck. I ended up scratch building them, not hard. You can see them on post #183 of the attached link: https://modelshipworld.com/topic/13443-ss-stephen-hopkins-by-schooner-finished-bluejacket-shipcrafters-liberty-ship/page/7/
- 37 replies
-
- 2
-
-
- Pillsbury
- Clemson-class
- (and 1 more)
-
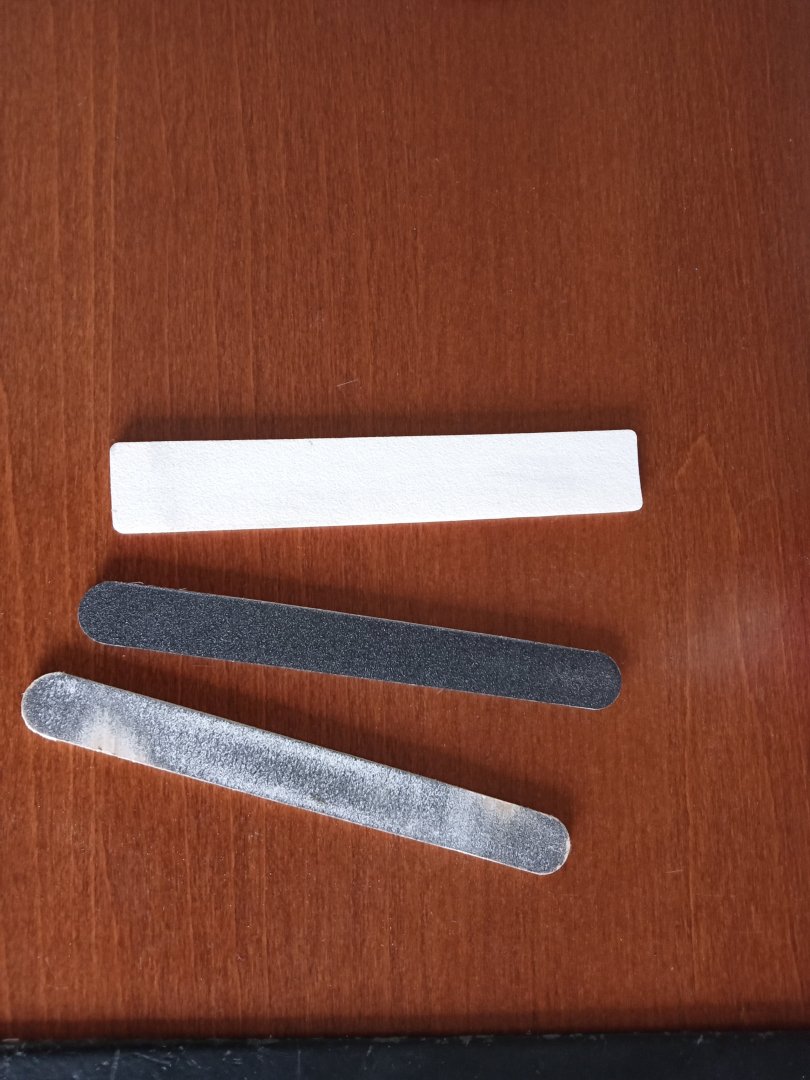
Hey Ross, I'm currently working on the SYREN, which I see you have on your shelf. It has similar issues with how to sand the inside of the bulwarks given their inward slope. I've found that flexible sanding sticks work well. I've found them online at various sites, they come in a wide range of grits. They have enough "give" to conform to the fore and aft curvature of the bulwarks and, importantly, they do not have any grit on their edges which means I don't have to worry about un-intentionally sanding the tops of the bulkheads which would cause problems with the deck planking sitting too low and screwing up the placement of the gun barrels in the ports. I hate sanding and use power tools wherever possible just to get it over with but I would be leery about using them on the inside of the bulwarks where is is really hard to judge how much you are taking off, and where. Keep up the good work, your log will be a big help when I get around to the ESSEX.
-
Wonderful work!!! I was in the first crew for PHM-6 and I can tell you that this is a VERY realistic model! Well Done!.
-
Great stain color and your treenails look just right for size and color. Just to double check - the instructions call for drilling the treenails with a .55 bit but you used a a .025, is that correct? They sure look right.
-
I'll be following along as I recently bought one of the old Revell plastic kits of the Buchanan along with the PE set from GMM. I always thought the 4-stackers were an elegant design. The Anatomy of the Ship The Destroyer Cambelltown by BlueJacket's Al Ross (who designed your kit) has some vey good line drawings of the ship in her USN days, albeit without any of the China Station modifications like the searchlight tower. Enjoy your build - it should turn out to be an eye-catching model.
- 37 replies
-
- 1
-
-
- Pillsbury
- Clemson-class
- (and 1 more)
-
Hi Julie, I'll be following along with interest since I bought a MS Forester on Ebay a few months ago. My intent was to cut the hull in half for a half hull model (maybe even 2 of them!) that I could ship to my sister who lives on Grays Harbor WA, which around 1900 was the biggest lumber port in the world. Trying to ship a fully rigged model to the West Coast would be prohibitively expensive, plus gifting someone a cased ship model might lead to one of those "Gee, thanks, I guess..." moments. My kit seems to have all the fittings and I've been thinking of buying another kit like yours where the seller says "parts missing" for the half hull model and using my kit for a rigged version for me. If you are going to use the hull just as a template for bulkheads keep me in mind before you toss the hull, I might be interested in buying it. You mentioned not being able to find a photo of the finished MS model - if you google "schooner forester model" and look under images a nice one pops up right away. Good luck Tim
-
Very well done. I'm impressed with your technique for the furled sails - I'll have to use it when I get around to building my FORESTER kit, an old Model Shipways West Coast Lumber schooner. Once again, great job.


